
Valor Mortis contains 55 Amber collectible locations. Finding at least 1 of all 28 unique Ambers unlocks the Ambersmith trophy & achievement.
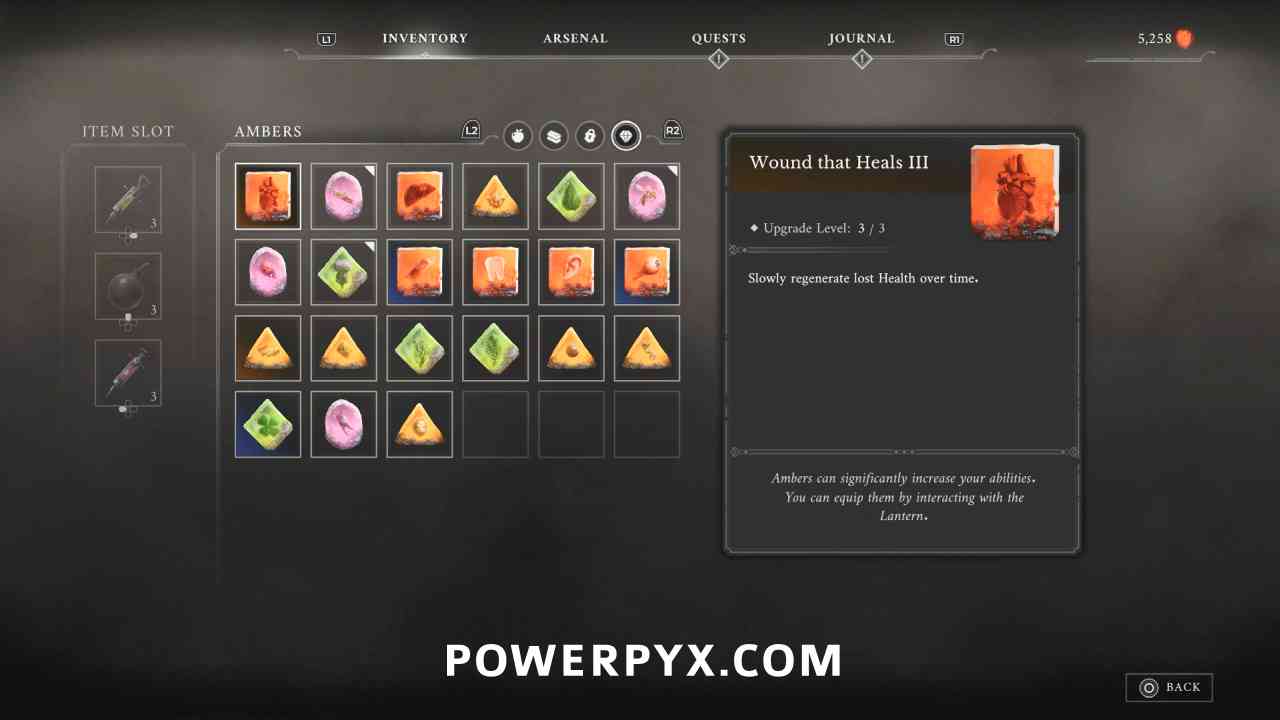
Amber is this game’s form of equipment, which doesn’t provide specific defensive stats, but typically gives some sort of effect such as regenerating health or increasing damage after dodging or parrying. There are 28 unique Ambers, with 15 of them being upgradeable to level 3 by obtaining a duplicate Amber pickups. Collecting all duplicates is not required to earn Ambersmith though, you only need to obtain all 28 unique Ambers at least once.
None of the Ambers are missable, they can all still be found after the story in free-roam along with all other collectibles.
Collectibles Overview:
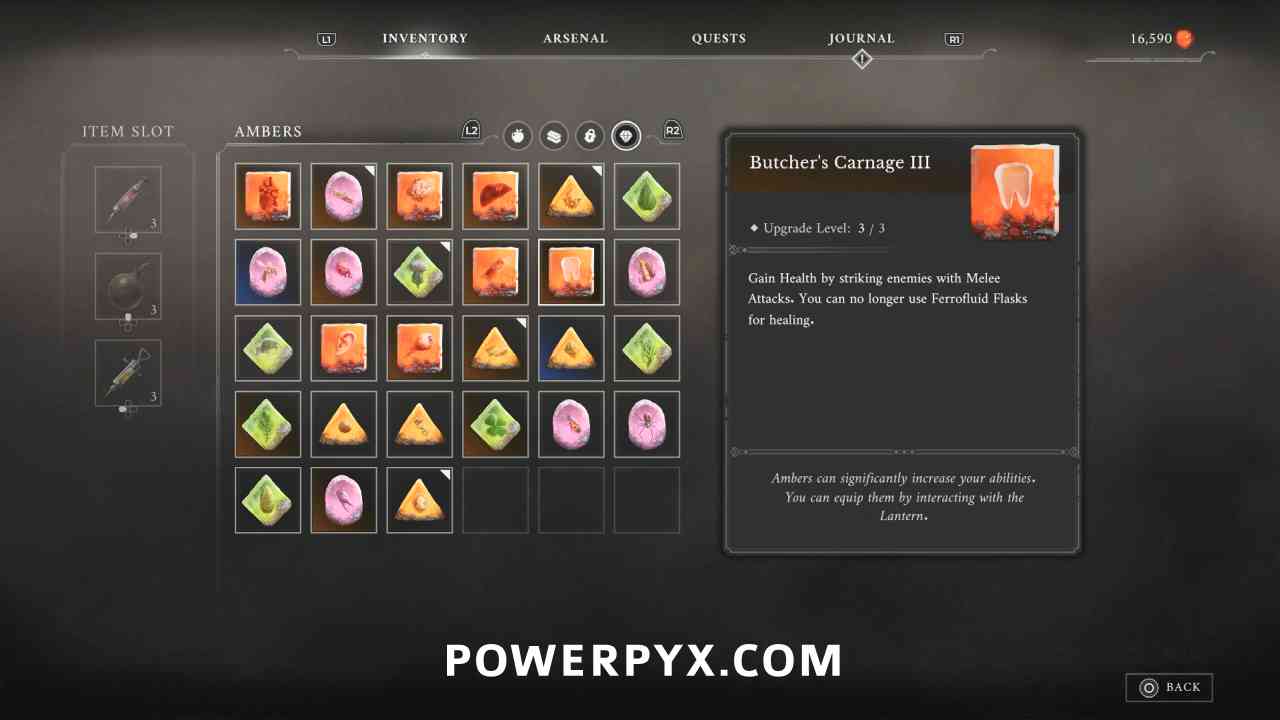
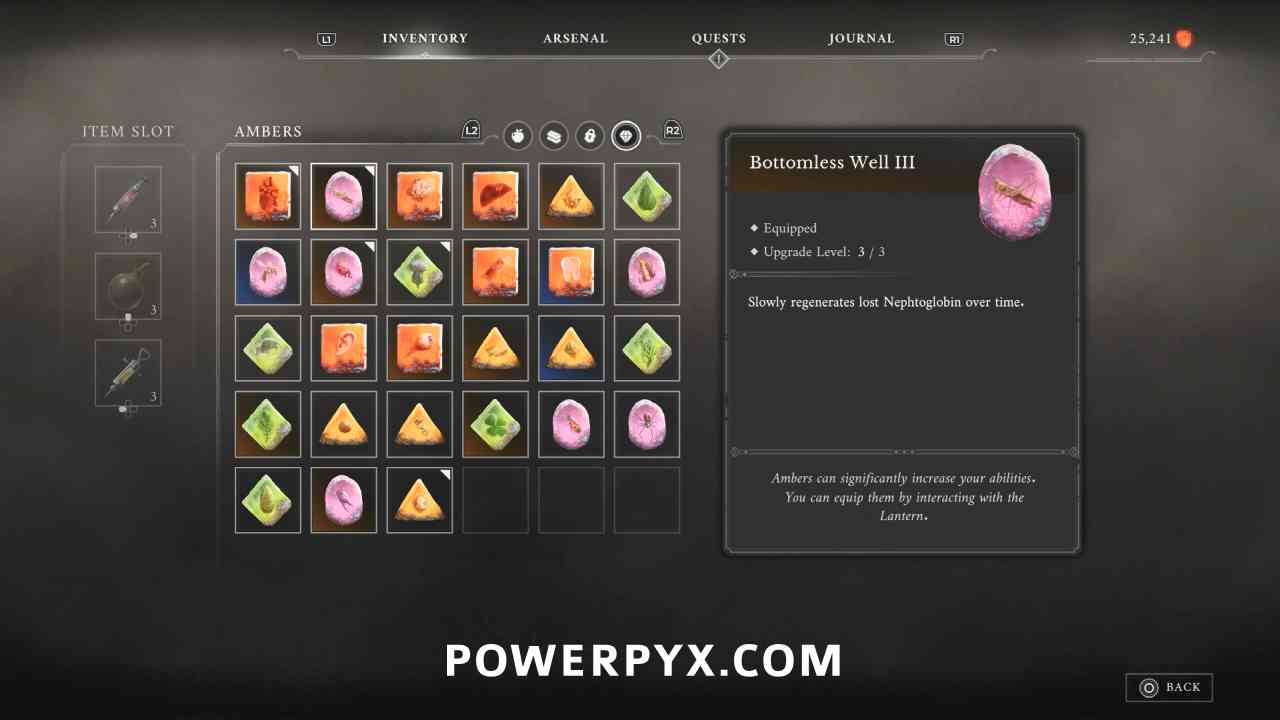
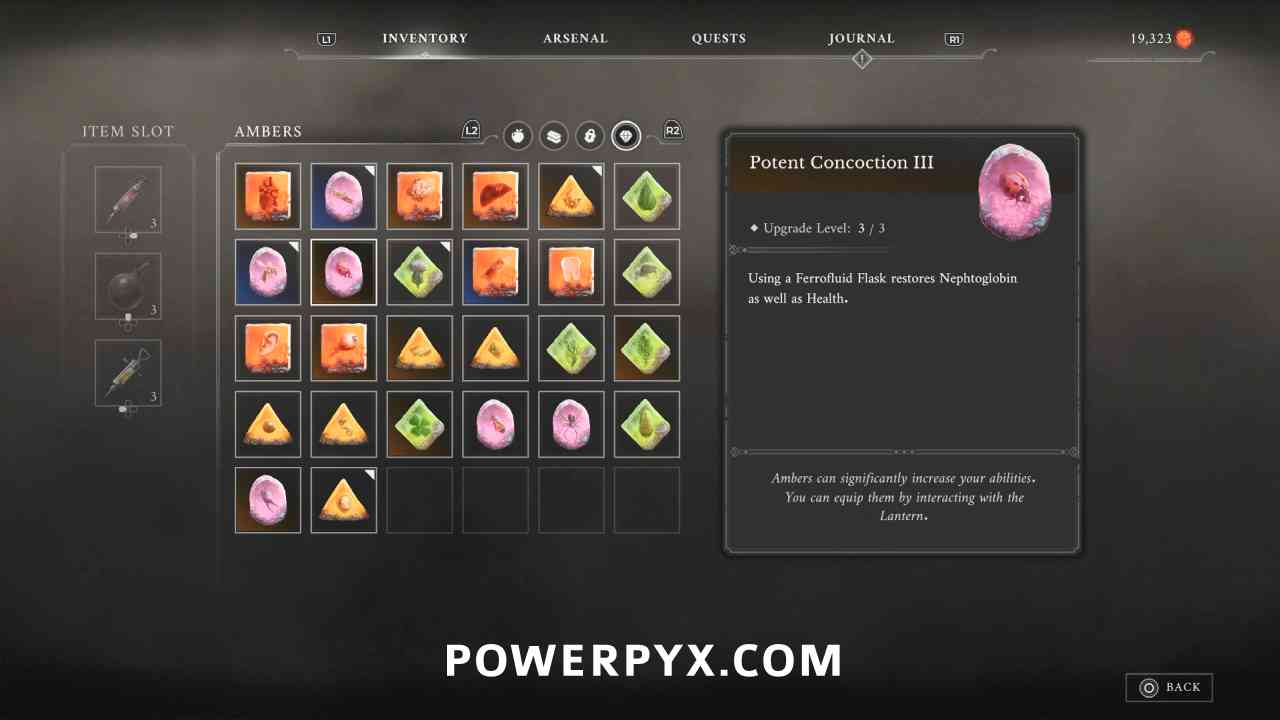
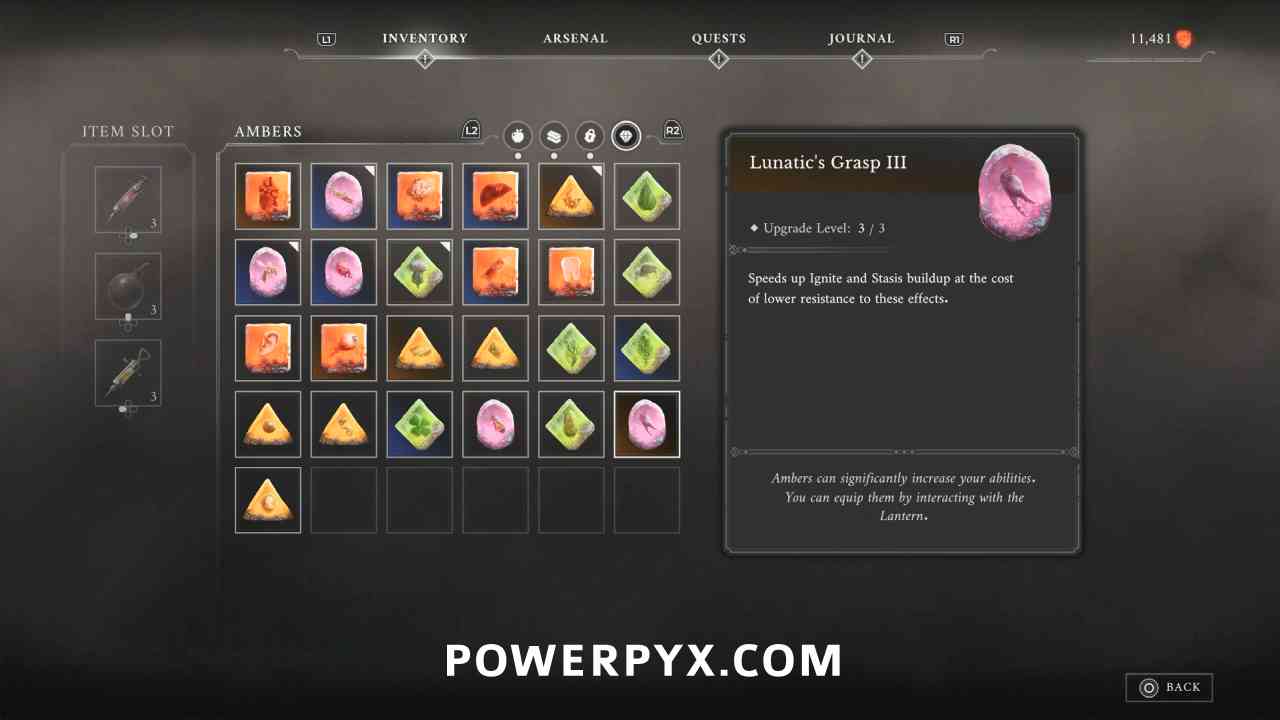
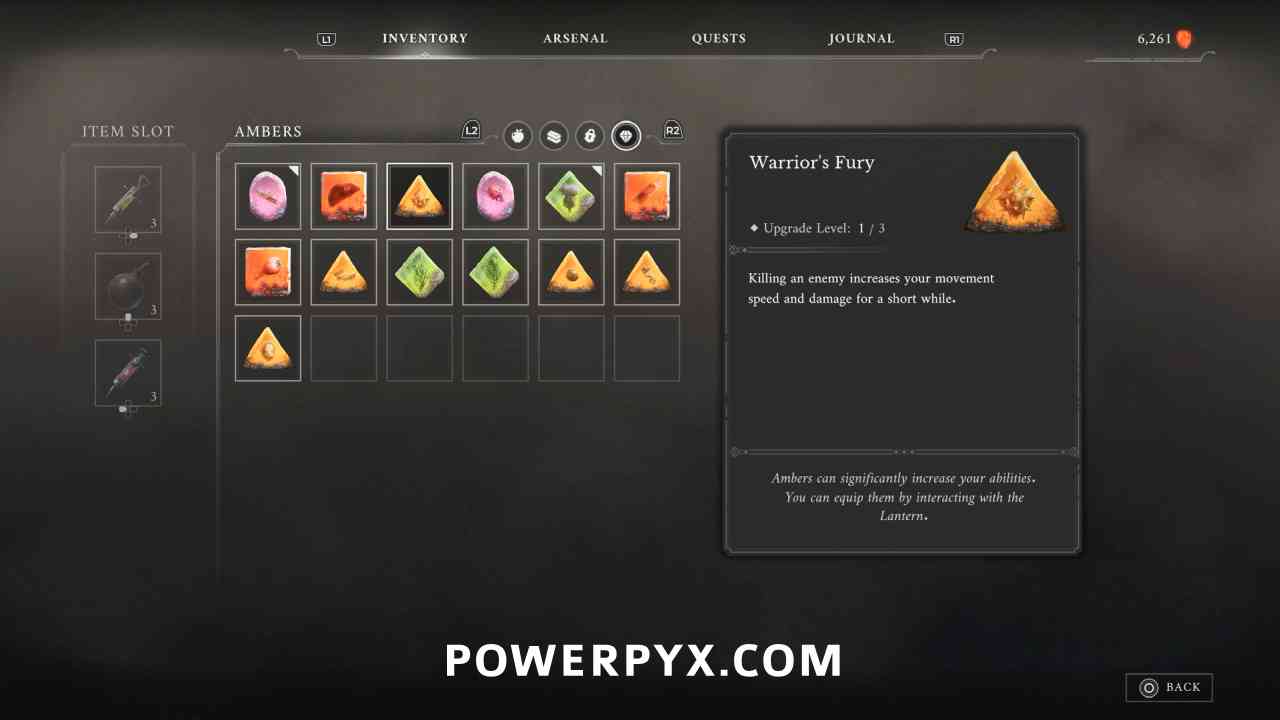
Ambers are listed in the order they appear in the Inventory > Ambers menu, so you can compare if you are missing a unique one. There is no other tracking so if you are trying to collect duplicates to upgrade the Ambers you will need to check each location if you don’t remember which ones you have picked up.
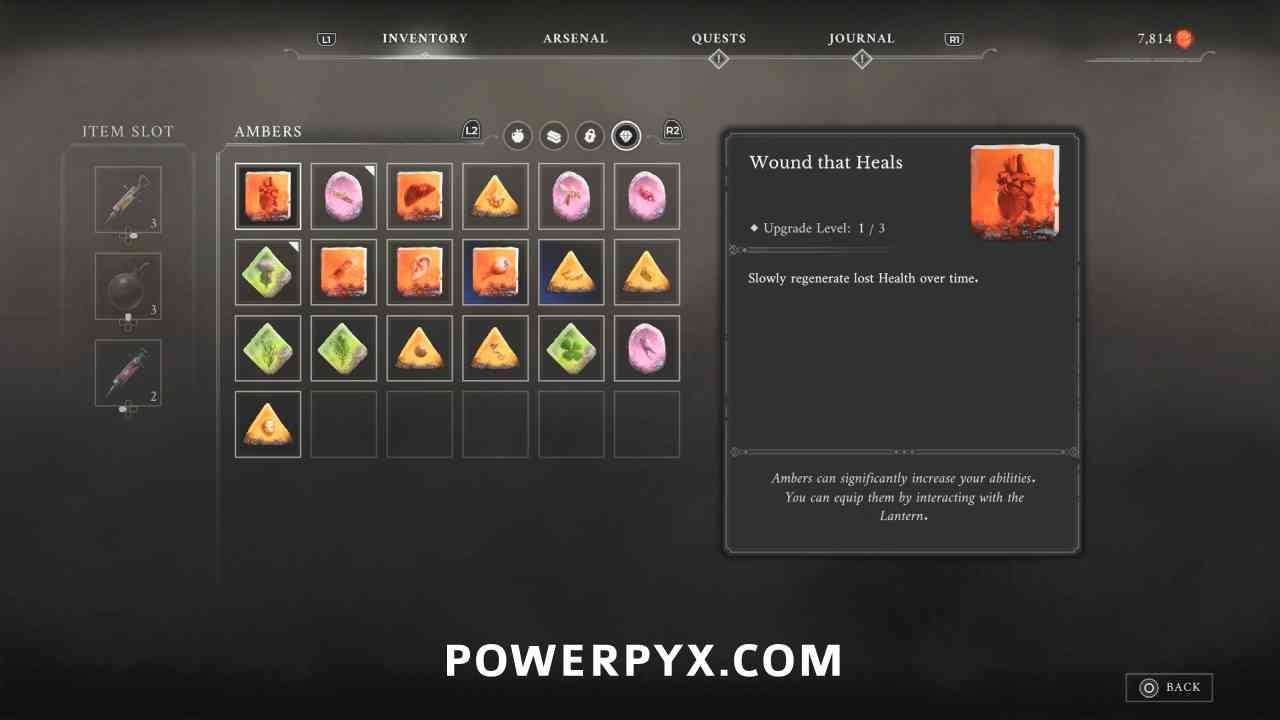
Amber #1: Wound that Heals
Location #1
Lantern: Vale of Wrath > Wolfsbane Field
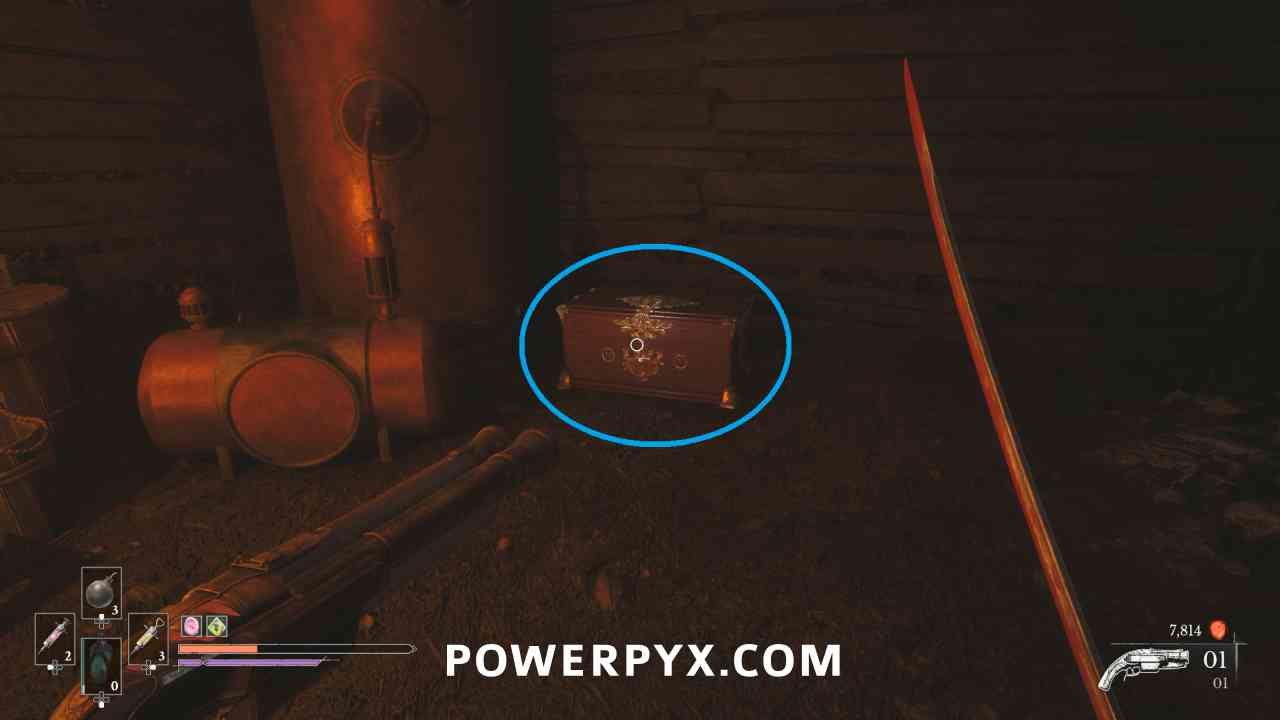
In the cellar accessed during the Lost Boy quest, in a chest.
Location #2
Lantern: Vale of Wrath > Under the Bridge
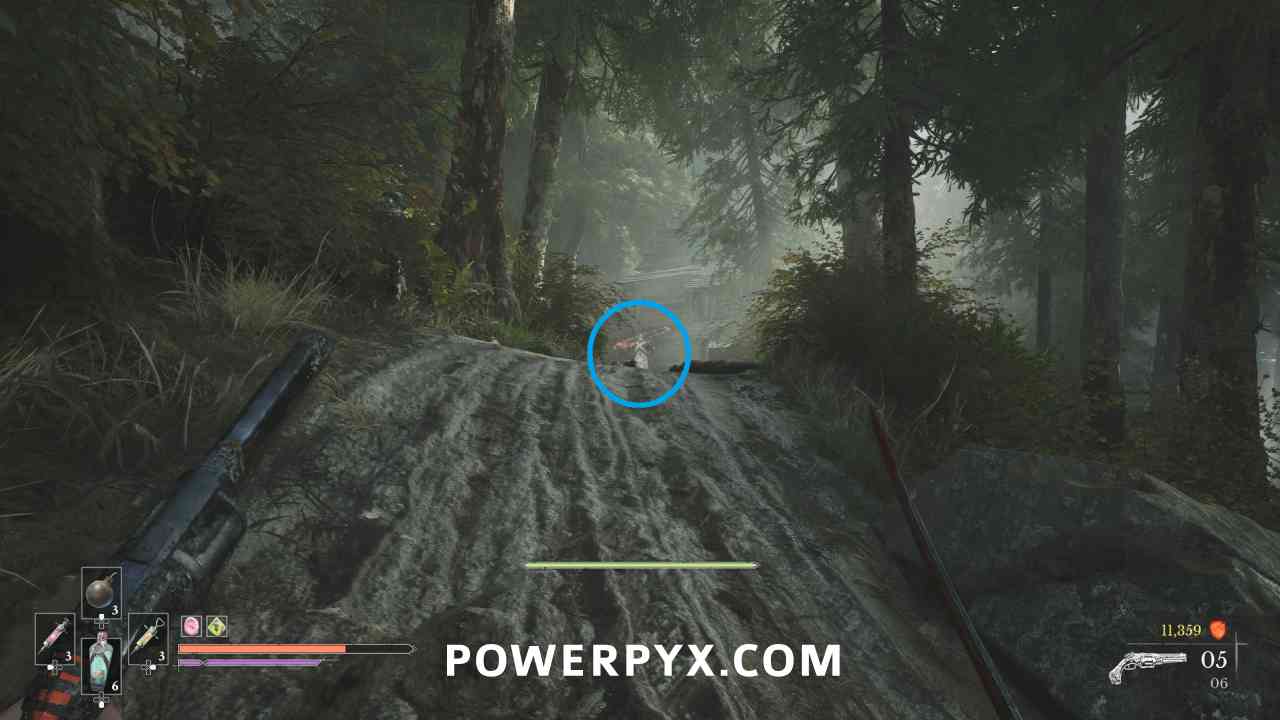
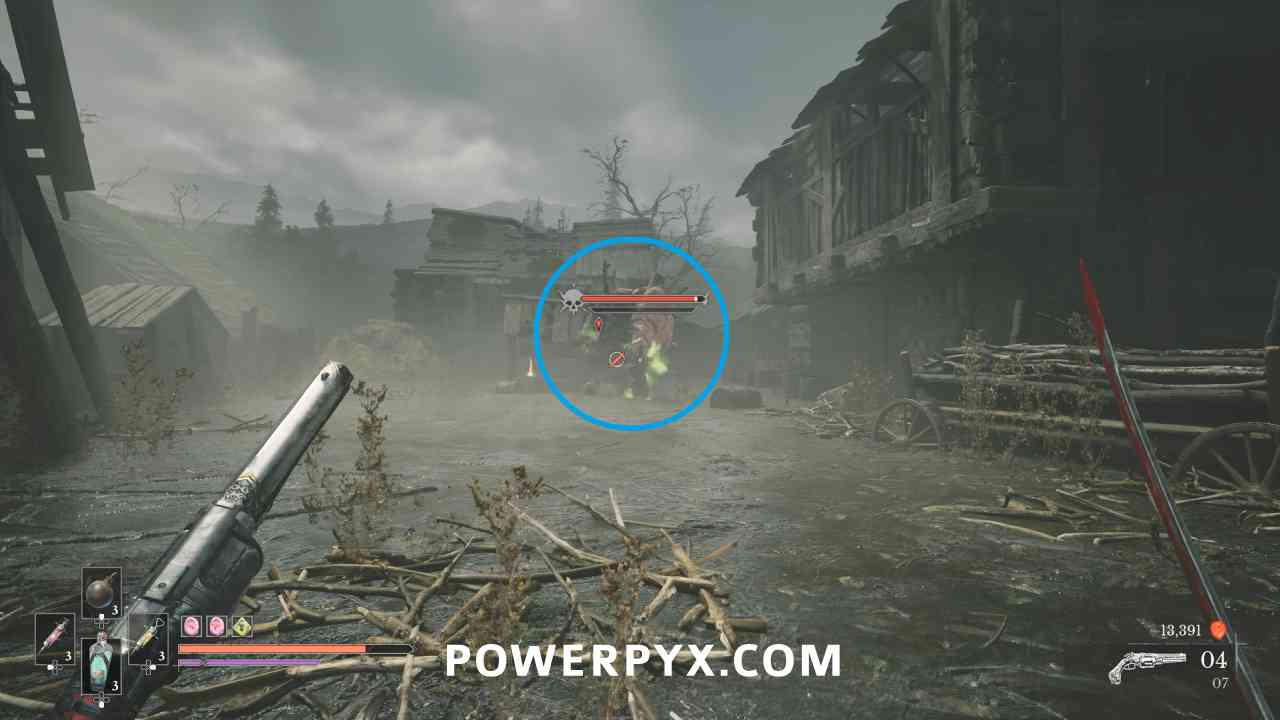
Progress along the main path into a forest area. When you approach a road covered in bodies, there is a path up the hill to the right with a miniboss at the top (on the left side of the house). Defeat the miniboss to receive the Amber.
Location #3
Lantern: Cursed Hollow > Deep Water
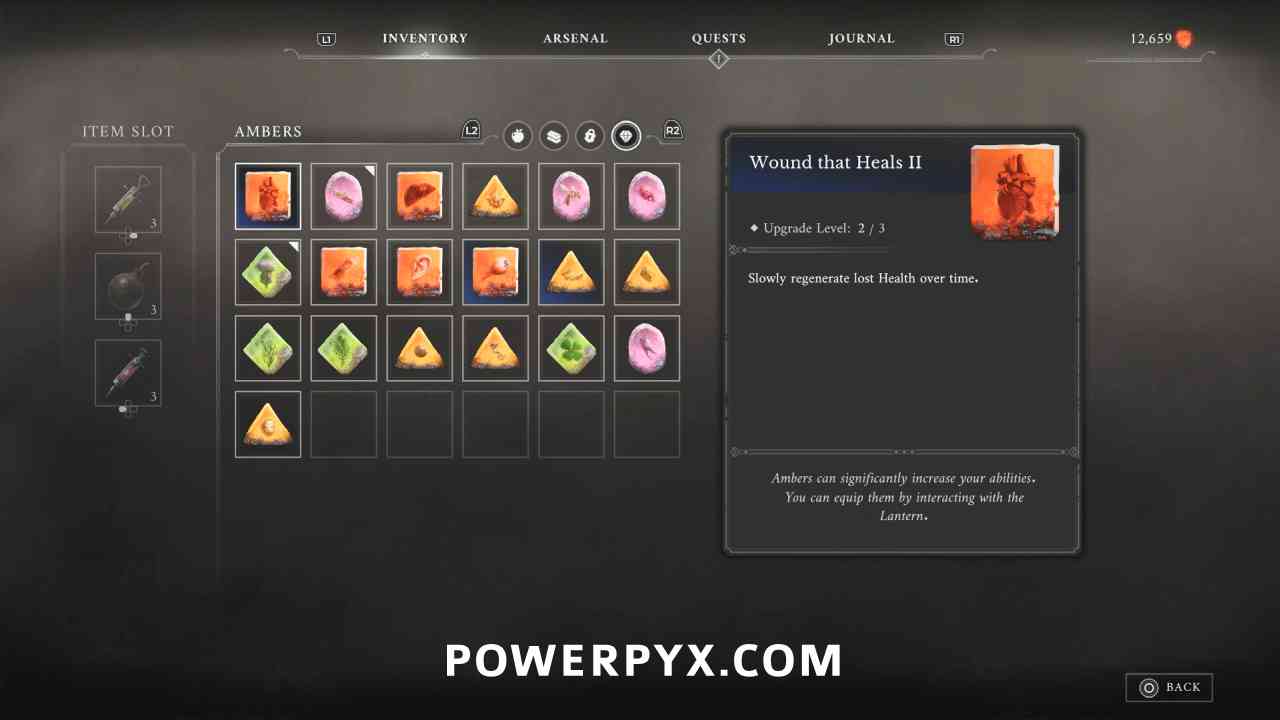
From the Lantern turn around and go back to this miniboss that was straight on the path. When they are defeated you receive the Amber.
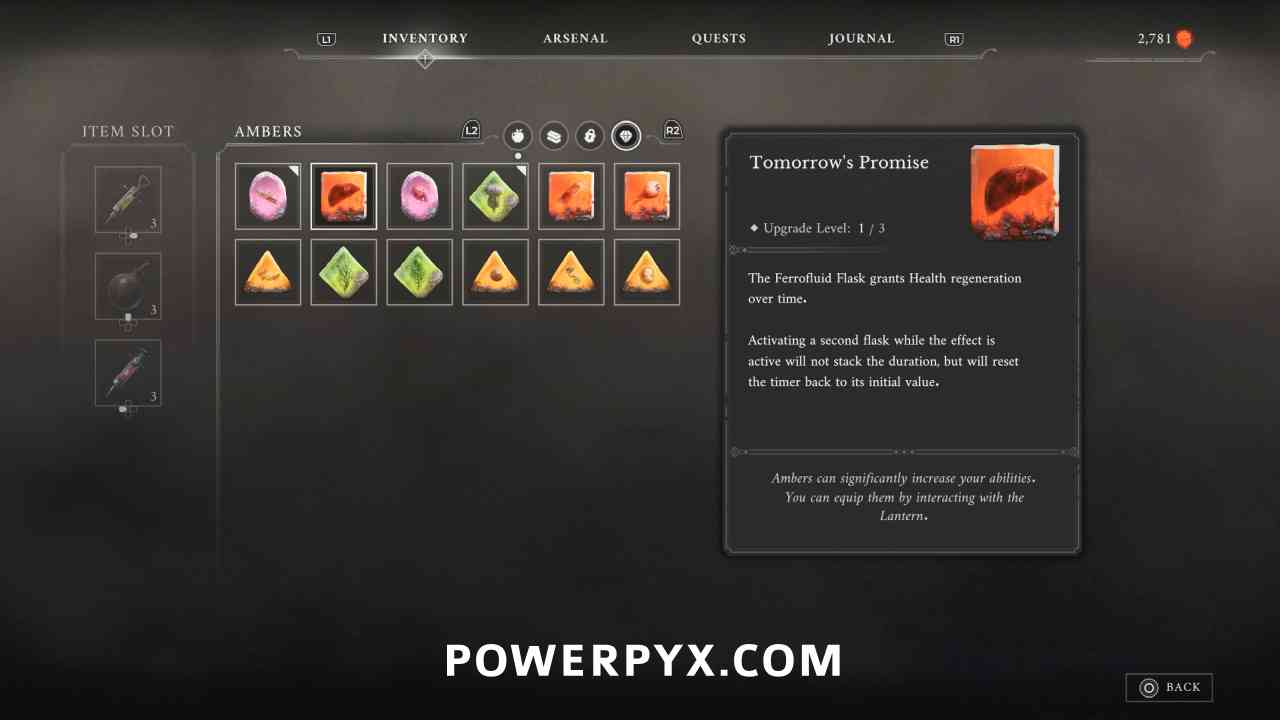
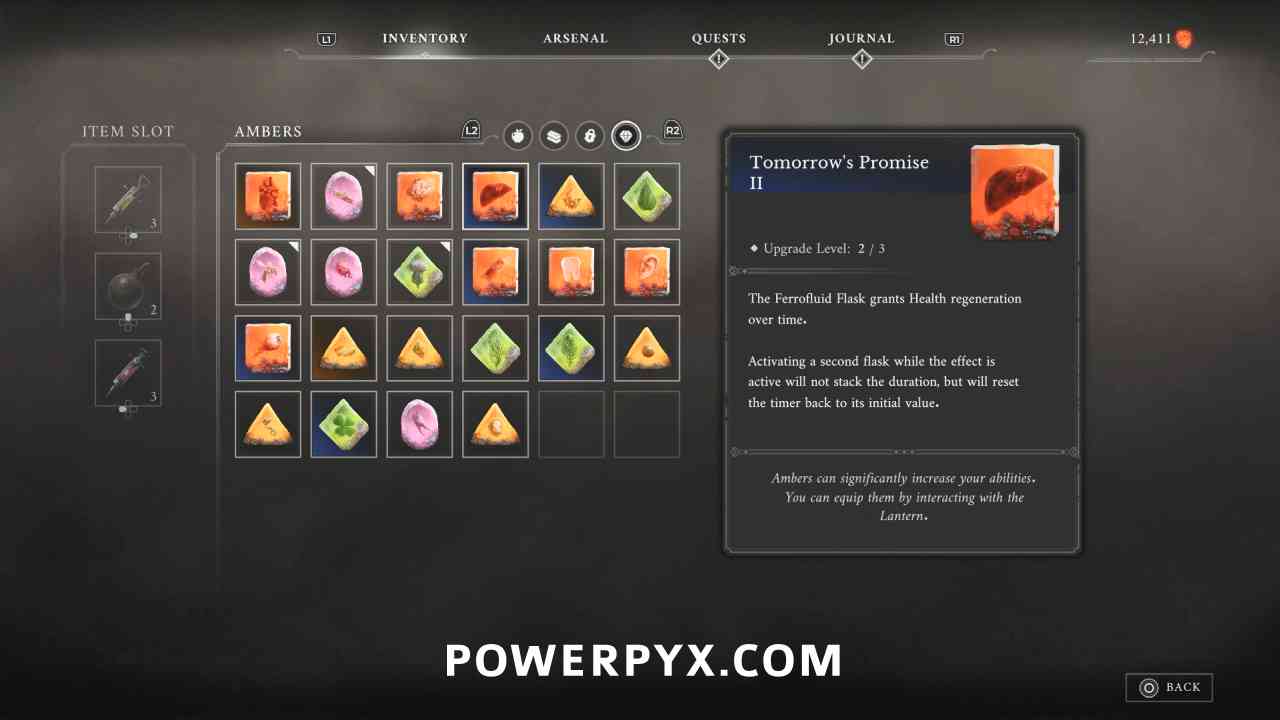
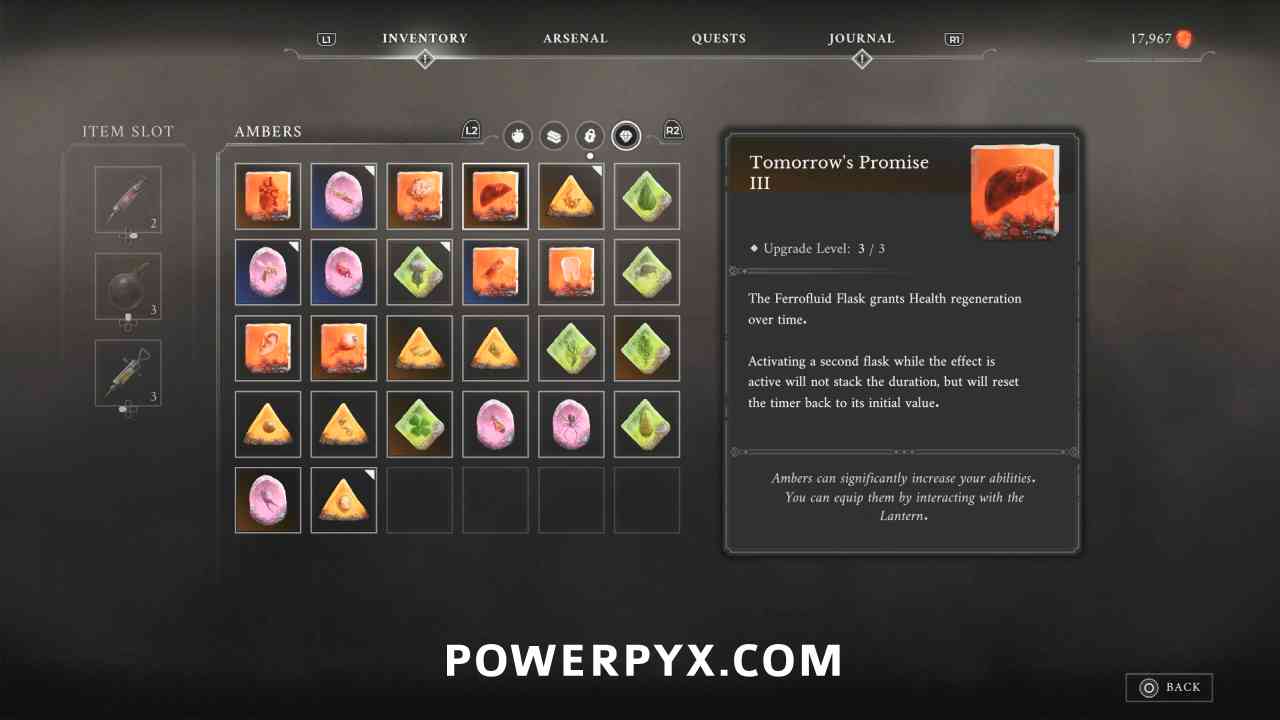
Amber #2: Tomorrow’s Promise
Location #1
Lantern: Fallen Village > Marketplace
Reward for completing side quest Lullaby.
Location #2
Lantern: Cursed Hollow > Village Church
Reward for completing Step #3 of Till Death side quest.
Location #3
Lantern: Fortress > Chapel
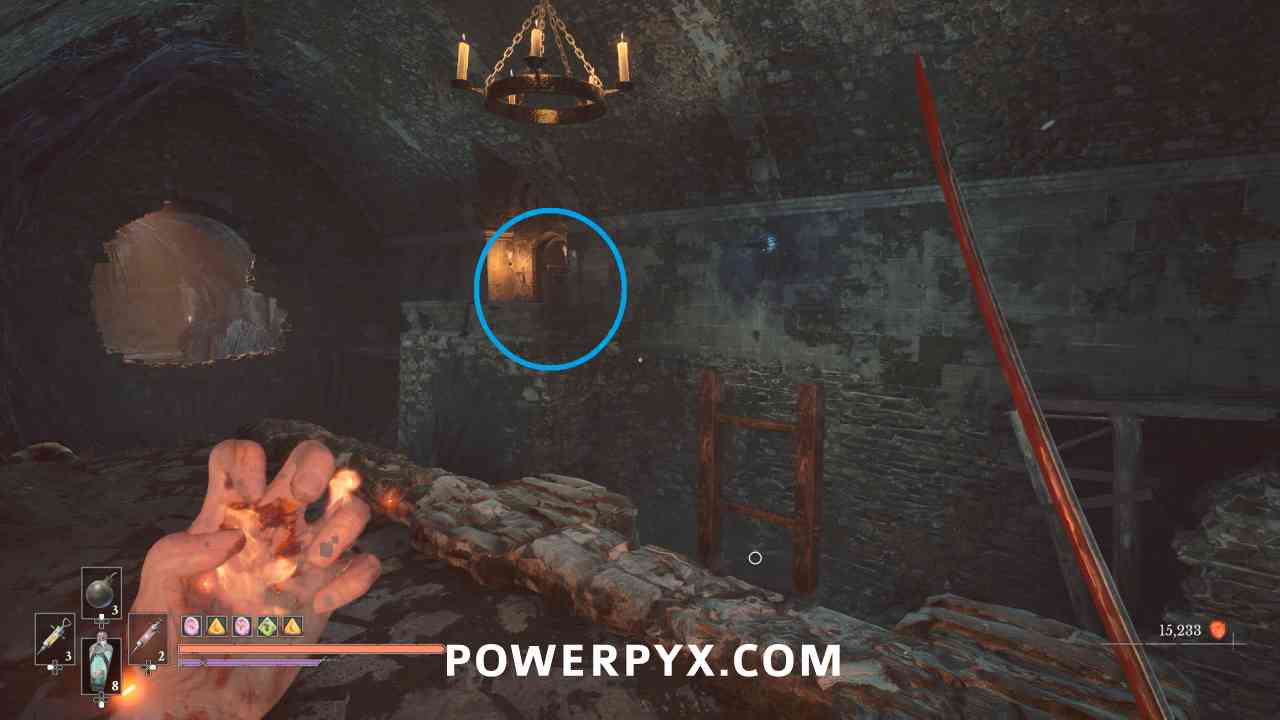
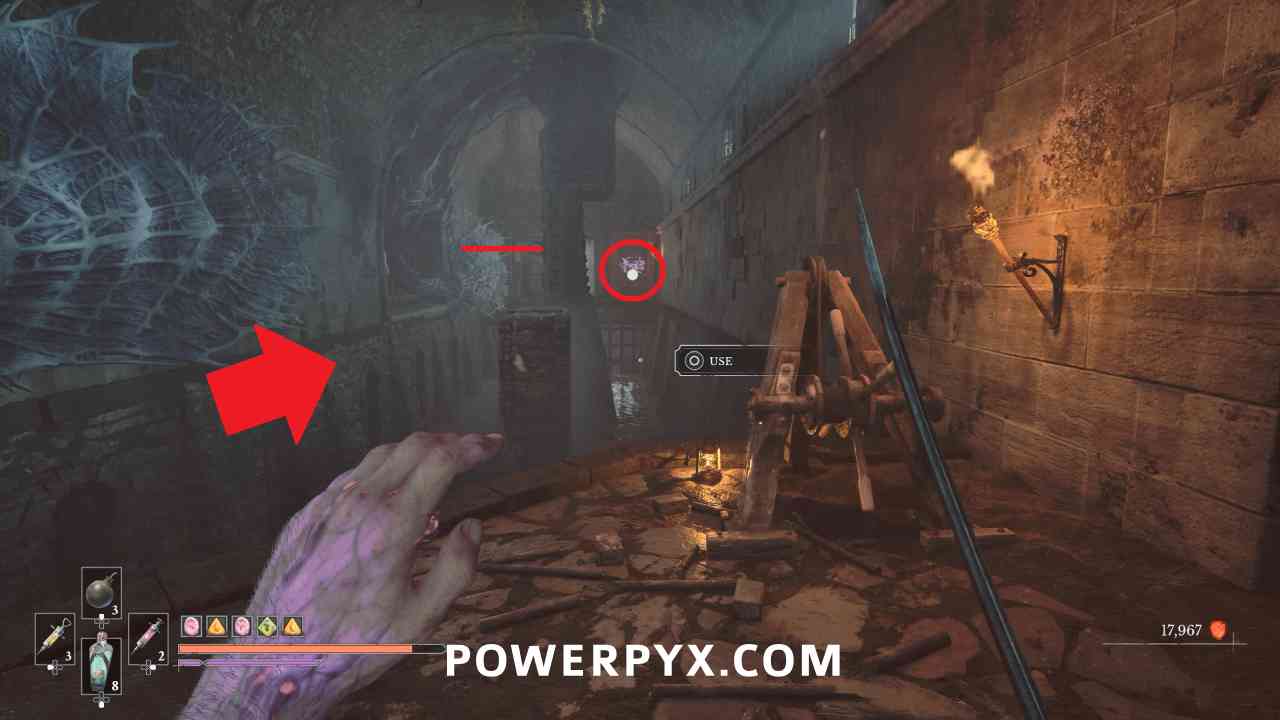
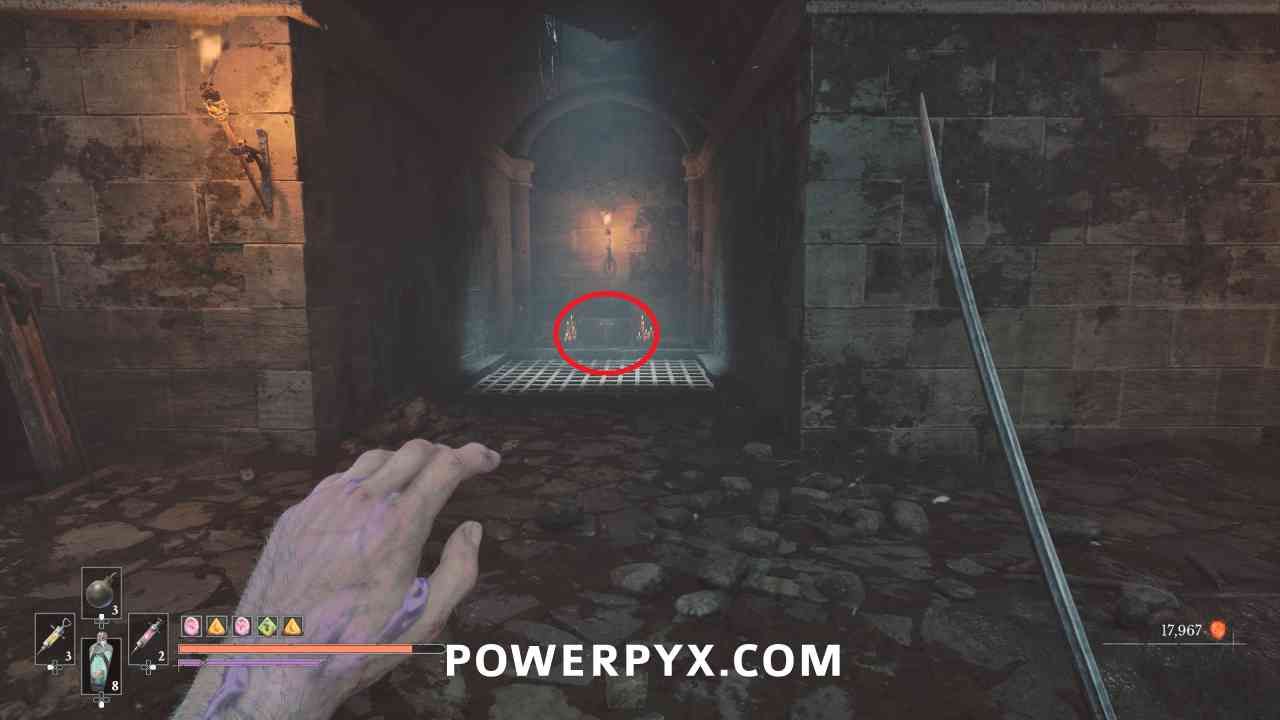
Progress into the underground area until you reach a sewer room with a door on the left side after a pole jump. Go into that area, then to the bottom of the flight of stairs. Turn to the left and in the corner there is a ladder leading to a long room with a switch door at the far end. Reach this area and there is a chest on the right that contains this Amber.
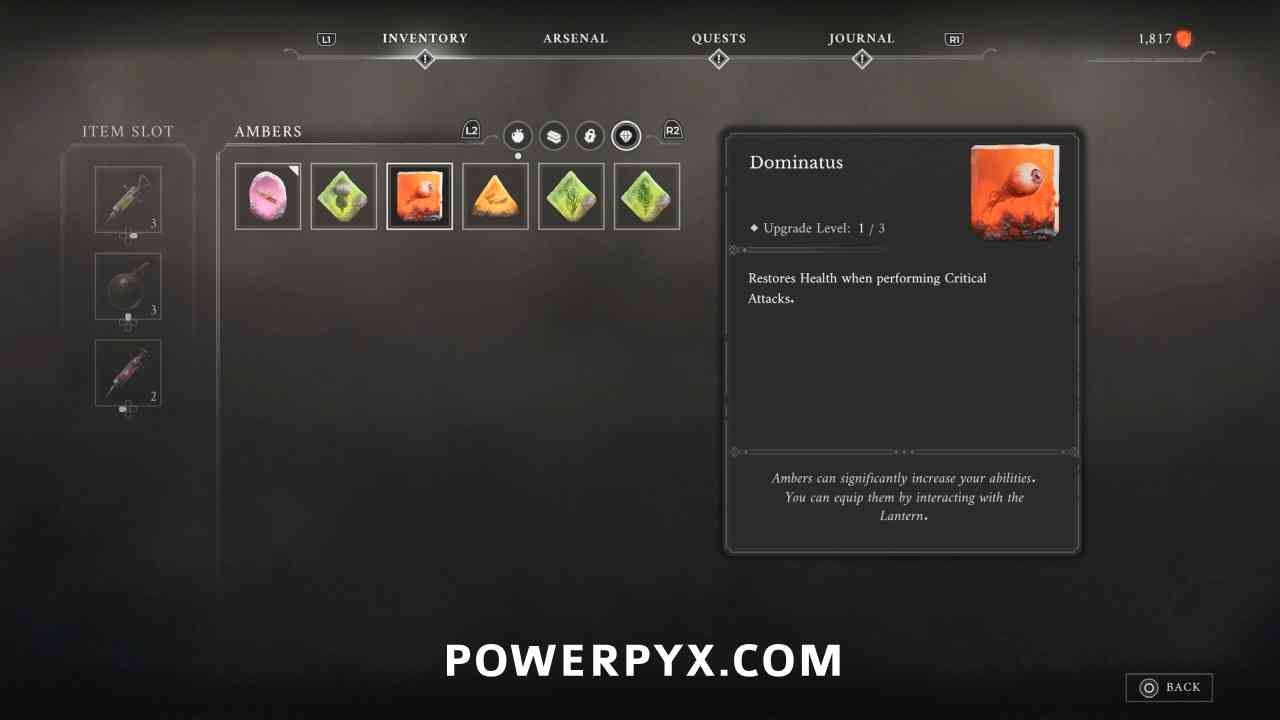
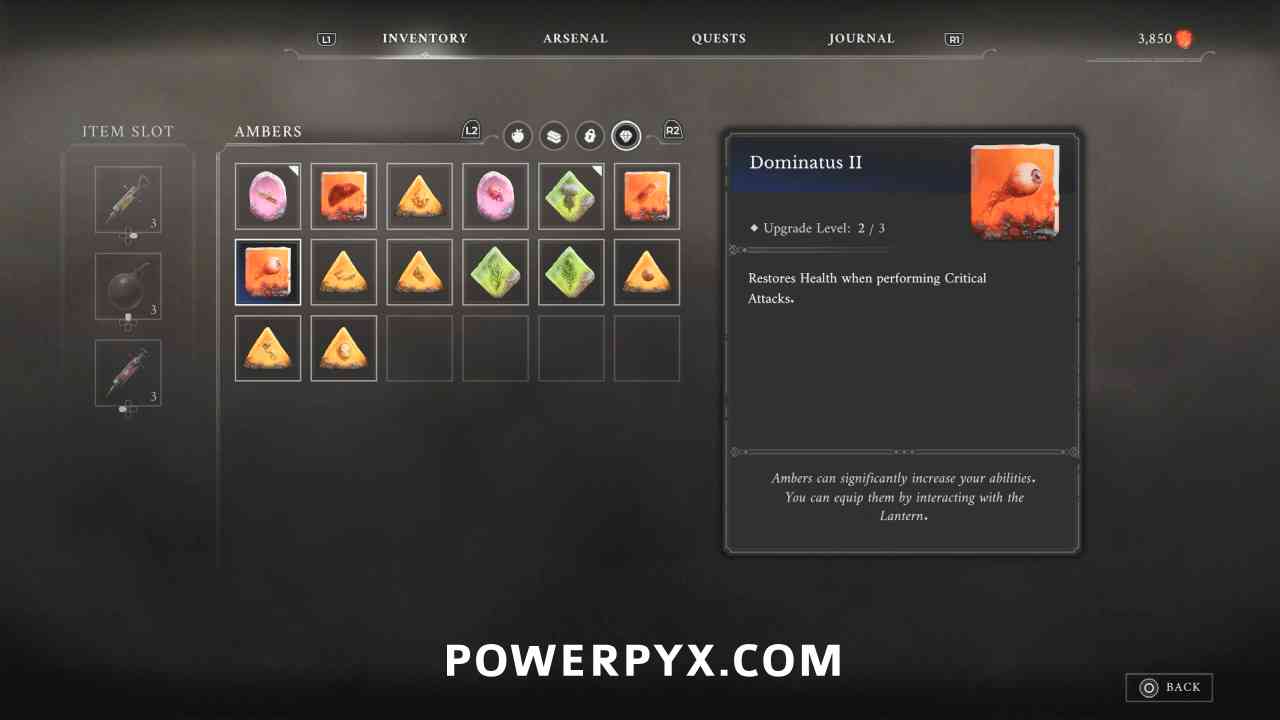
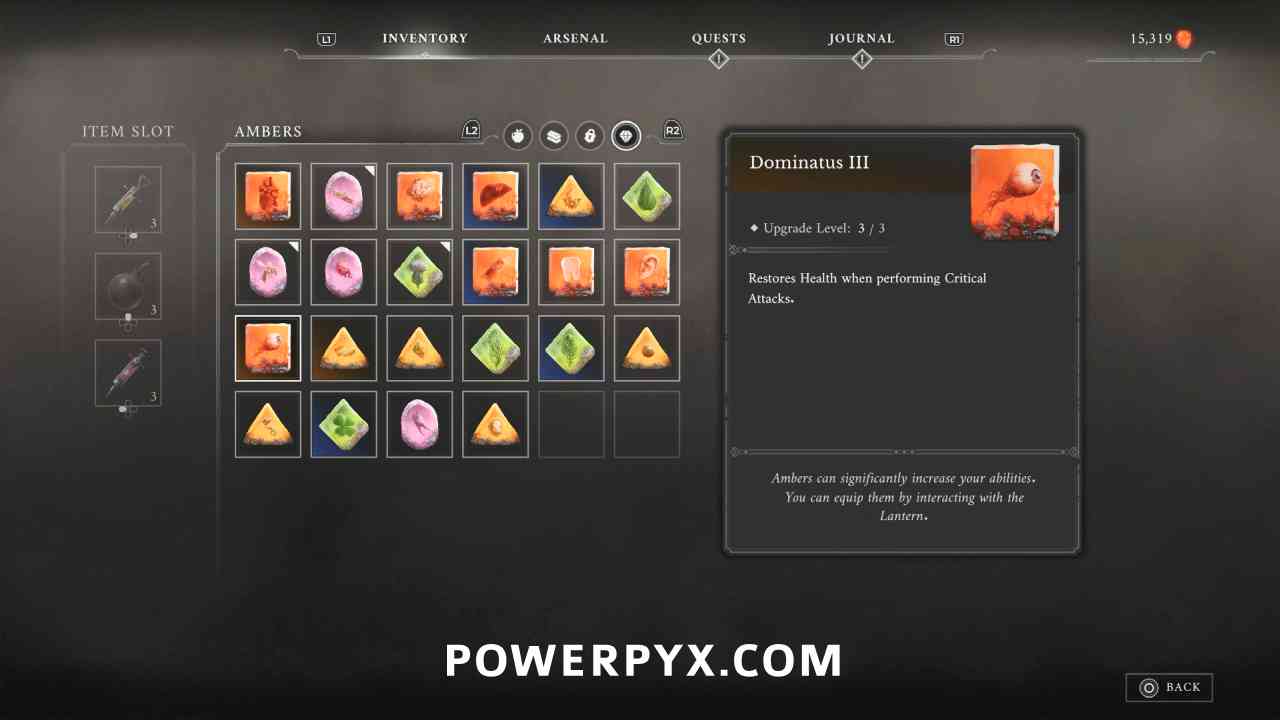
Amber #3: Dominatus
Location #1
Lantern: Valley of Ashes > Military Camp
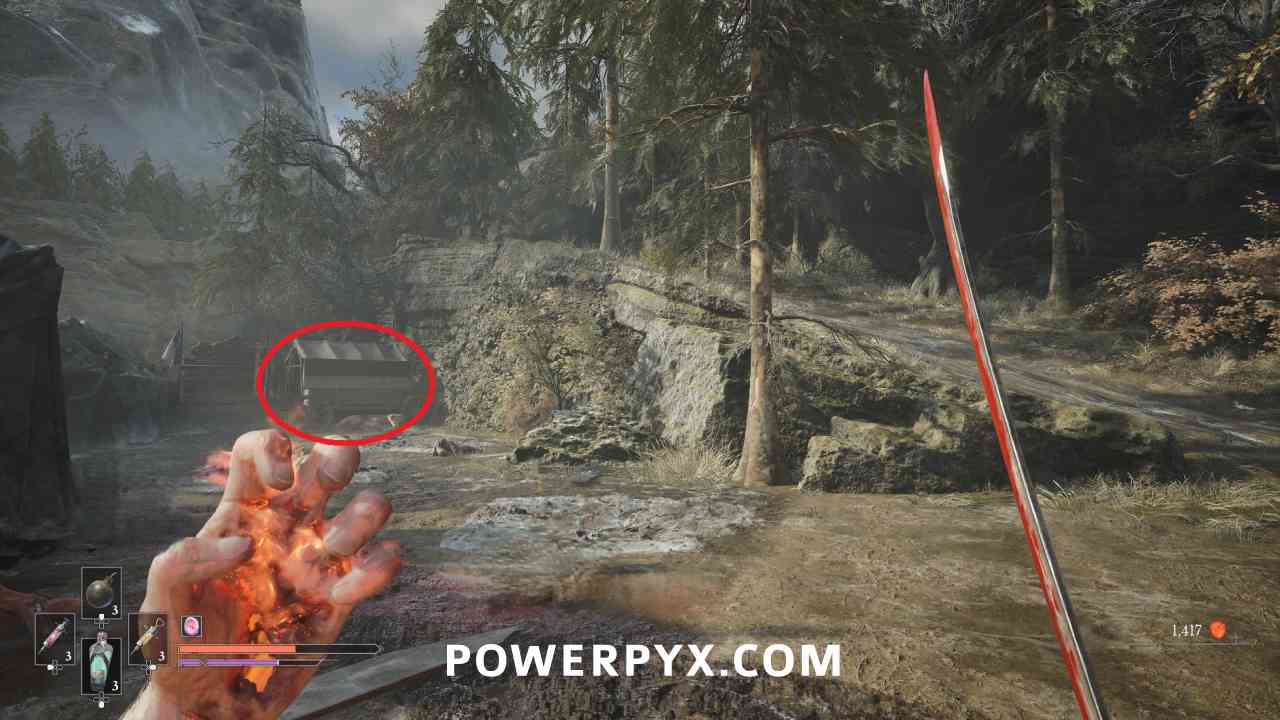
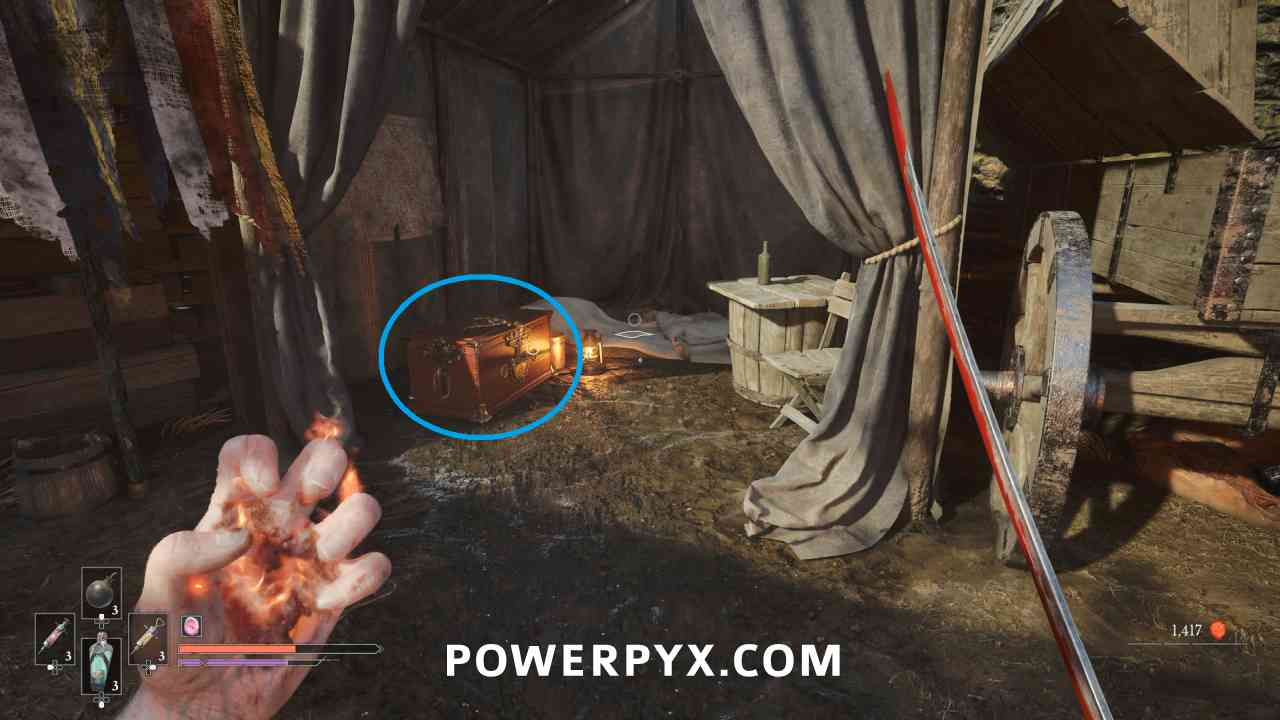
When progressing through the camp area with the explosive barrels all over, to the left of the hill you start progressing up there is a tent in a corner. Inside is a chest with this Amber.
Location #2
Lantern: Caverns > Last Sunlight
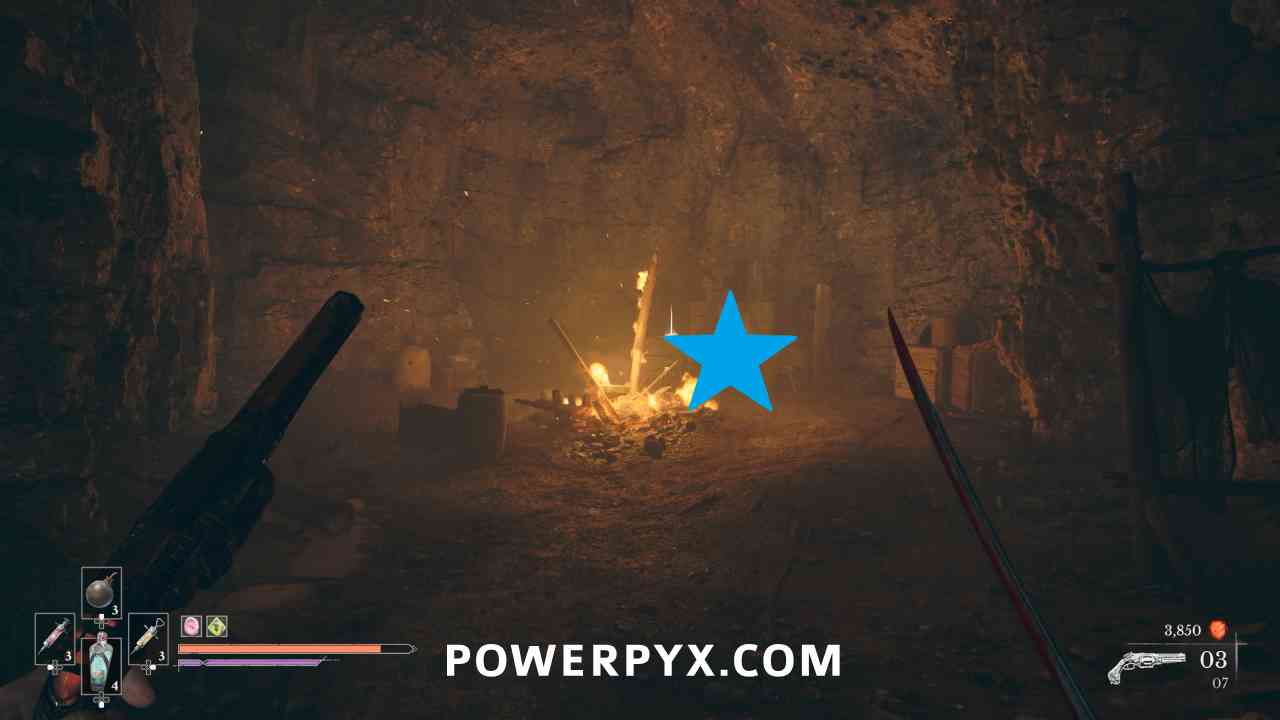
Progress into the cavern area that is full of enemies. Stick to the left side where you can find a miniboss along with some other enemies near a campfire. Defeat the miniboss to obtain this Amber.
Location #3
Lantern: The Outskirts > Broken Bridge
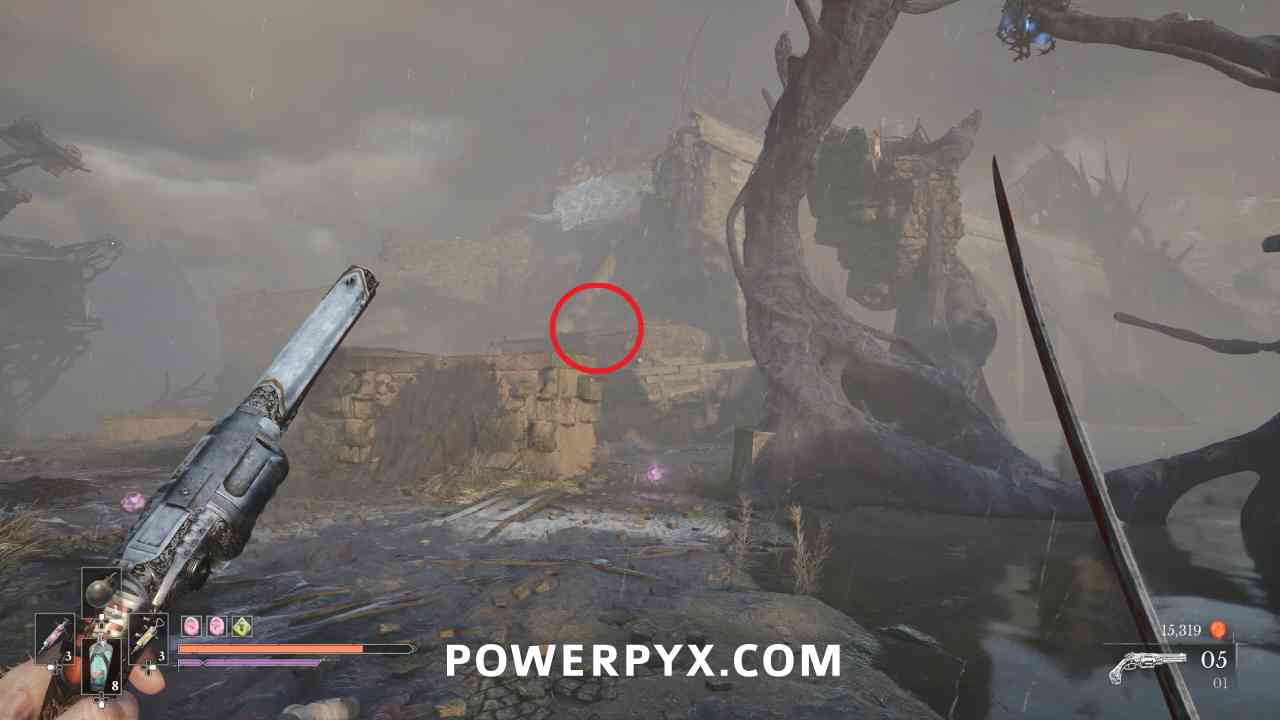
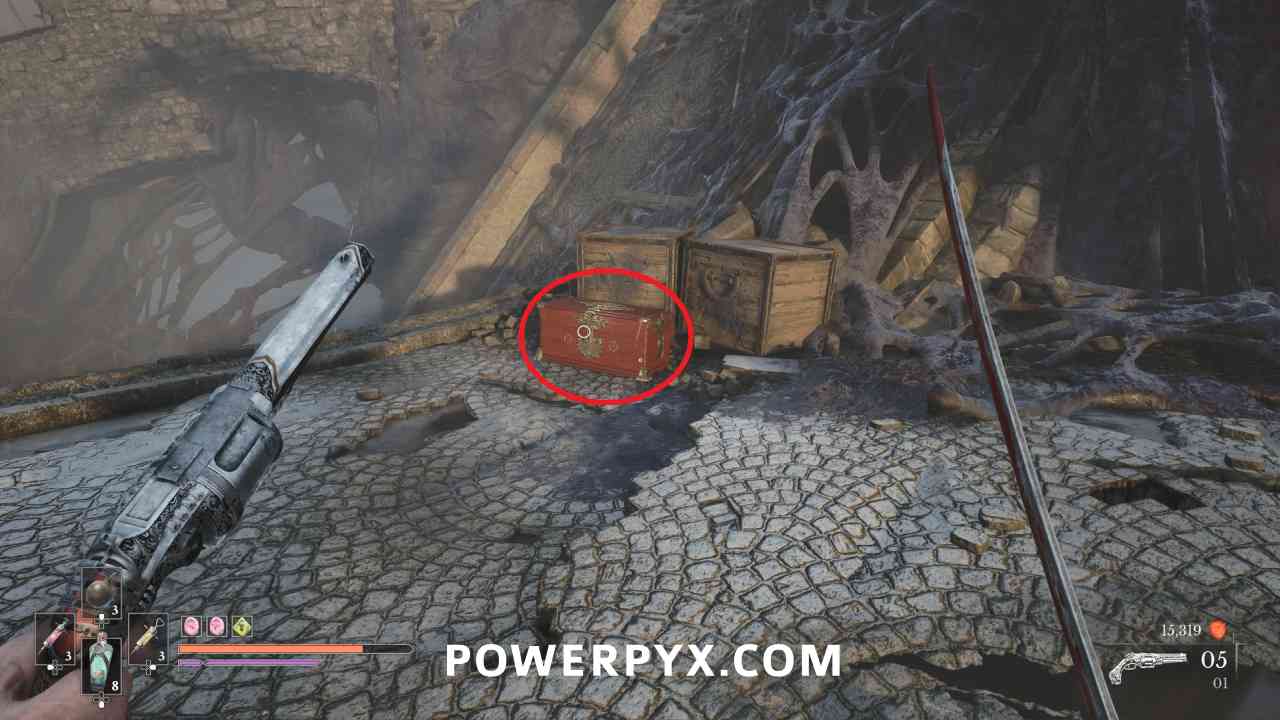
Progress from the Lantern to the area with a bunch of enemies on the ground and some wall jumps and grapples to progress. To the left of the wall jumps, there are a couple platforms you can climb to find a chest that contains this Amber.
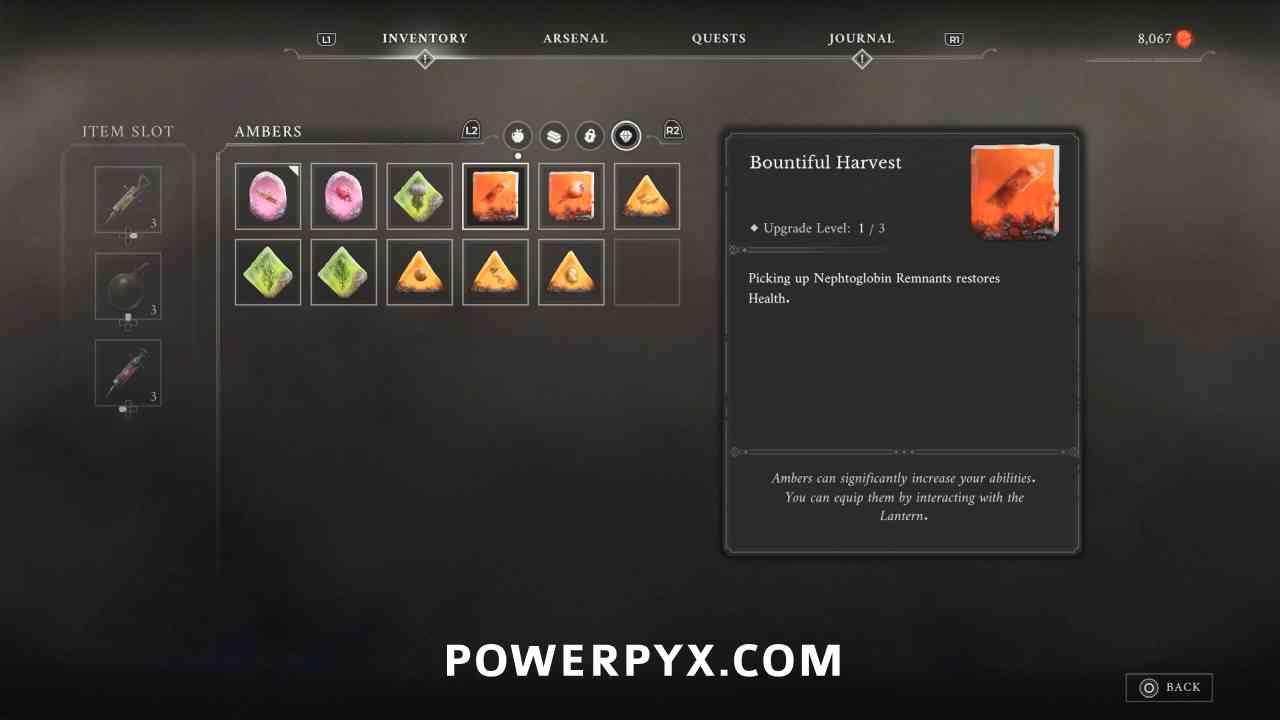
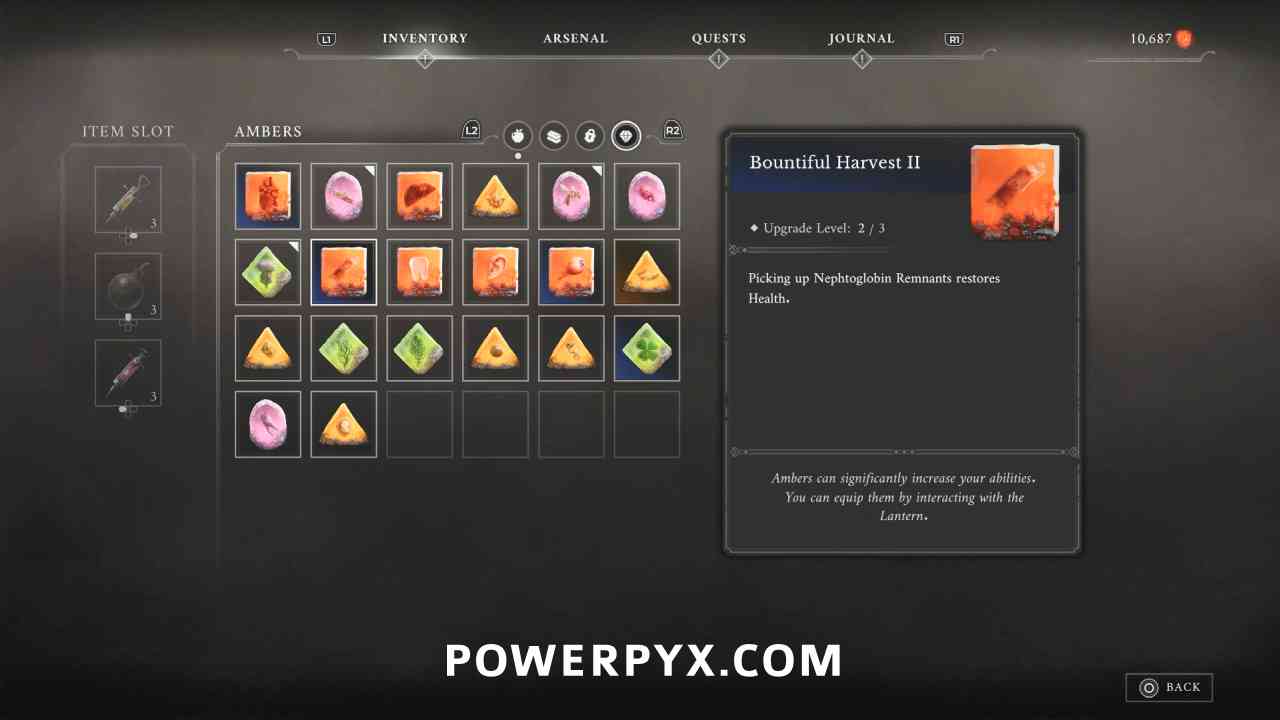
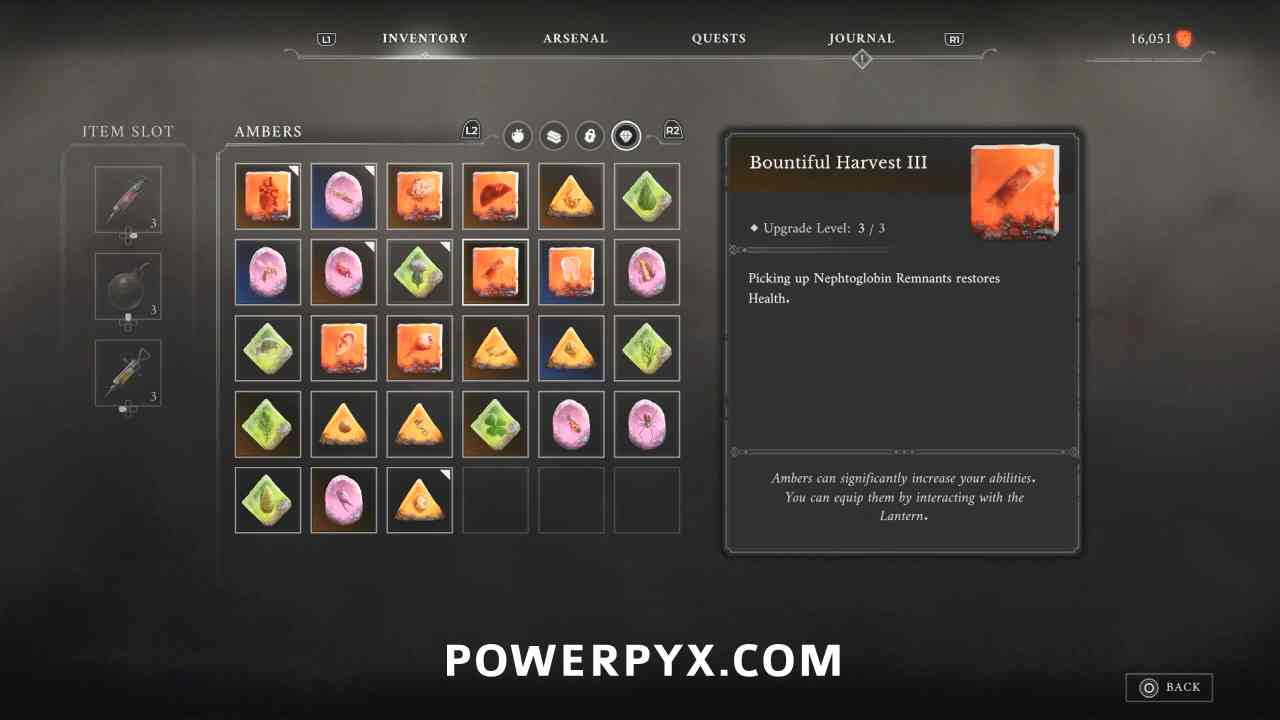
Amber #4: Bountiful Harvest
Location #1
Lantern: Fallen Village > Fields
Reward for completing side quest The Scarecrow.
Location #2
Lantern: Vale of Wrath > Under the Bridge
Reward for completing side quest The Deserter.
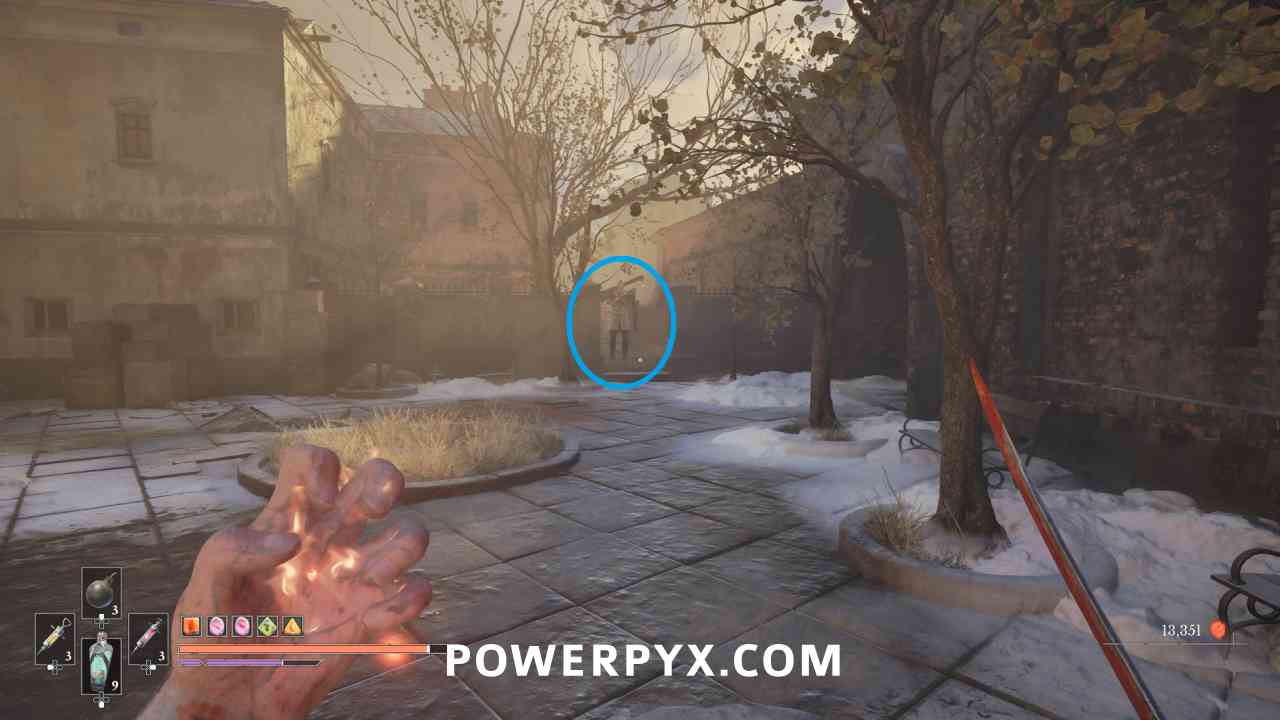
Location #3
Lantern: City of Orphans > Tribunal Square
Take the shortcut back up near the tower and there is a miniboss at the top of the second ladder. Defeat them to obtain this Amber.
Amber #5: Equivalent Exchange
Lantern: Vale of Wrath > Wolfsbane Field
After destroying the second weak point in the area required to progress, continue into the cave with the shortcut that leads back to the prior area. In the room on the right you can grapple up to the platform above and defeat the miniboss to obtain the Amber.
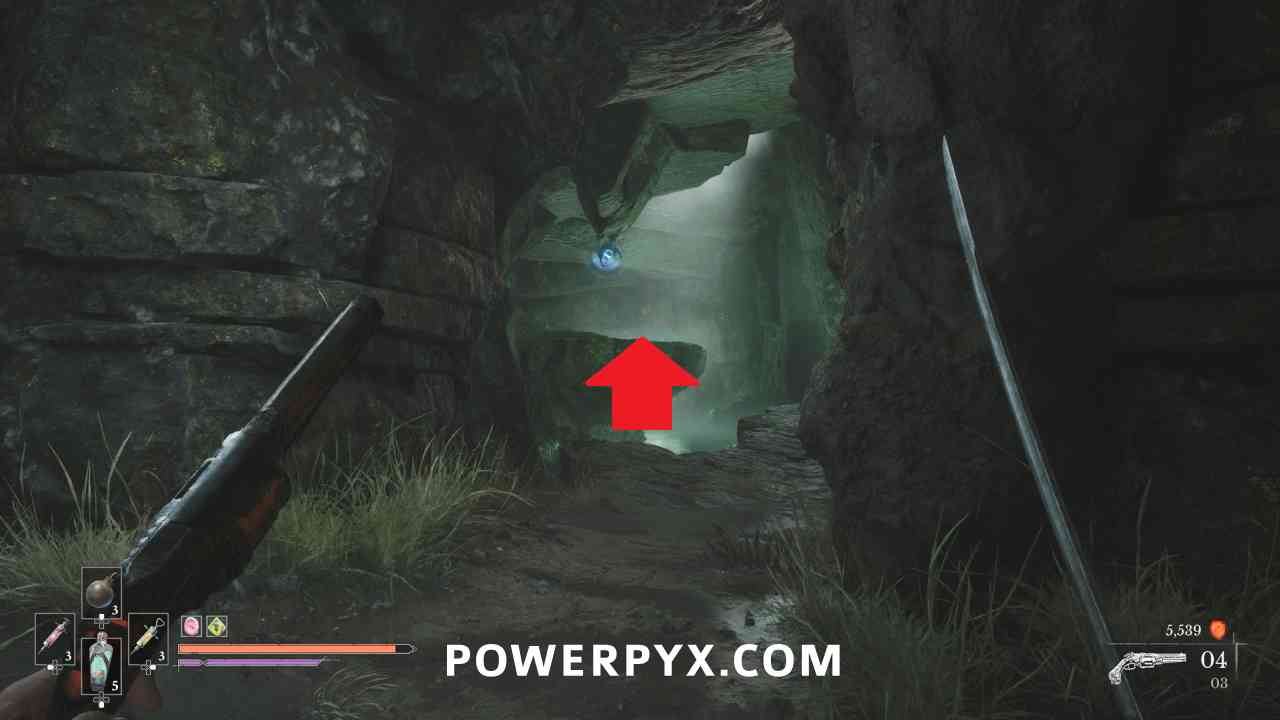
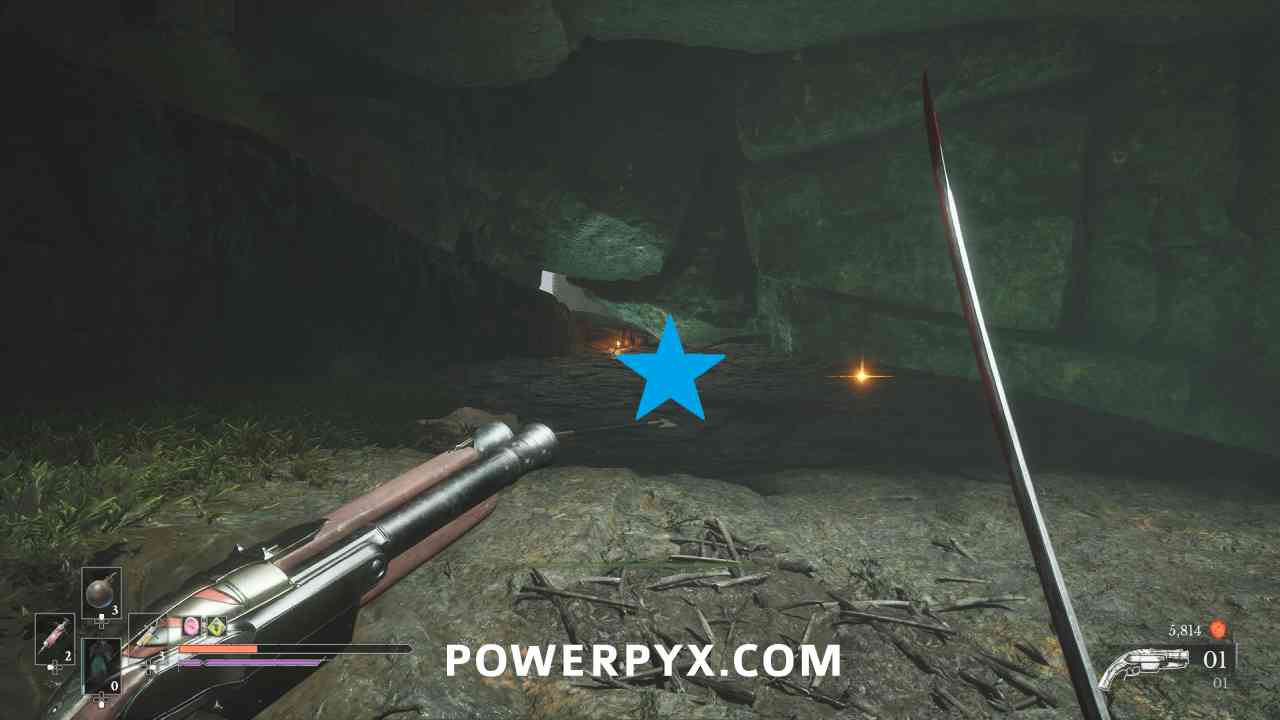
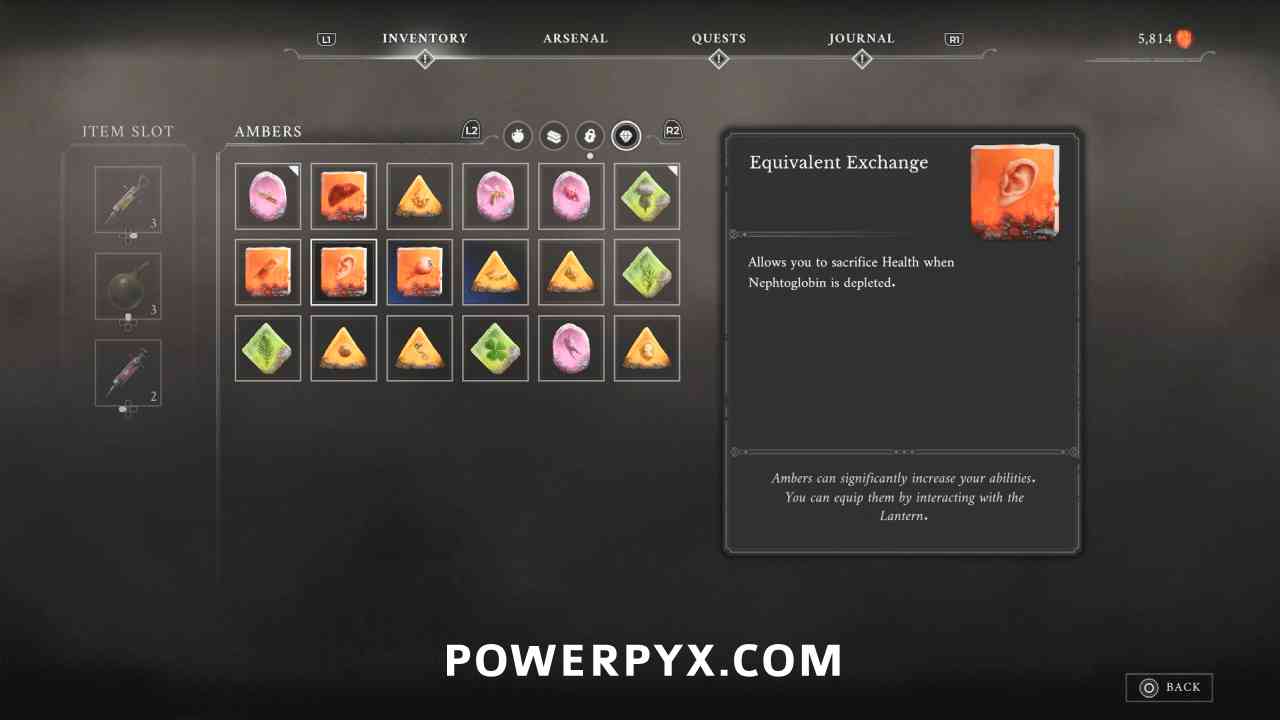
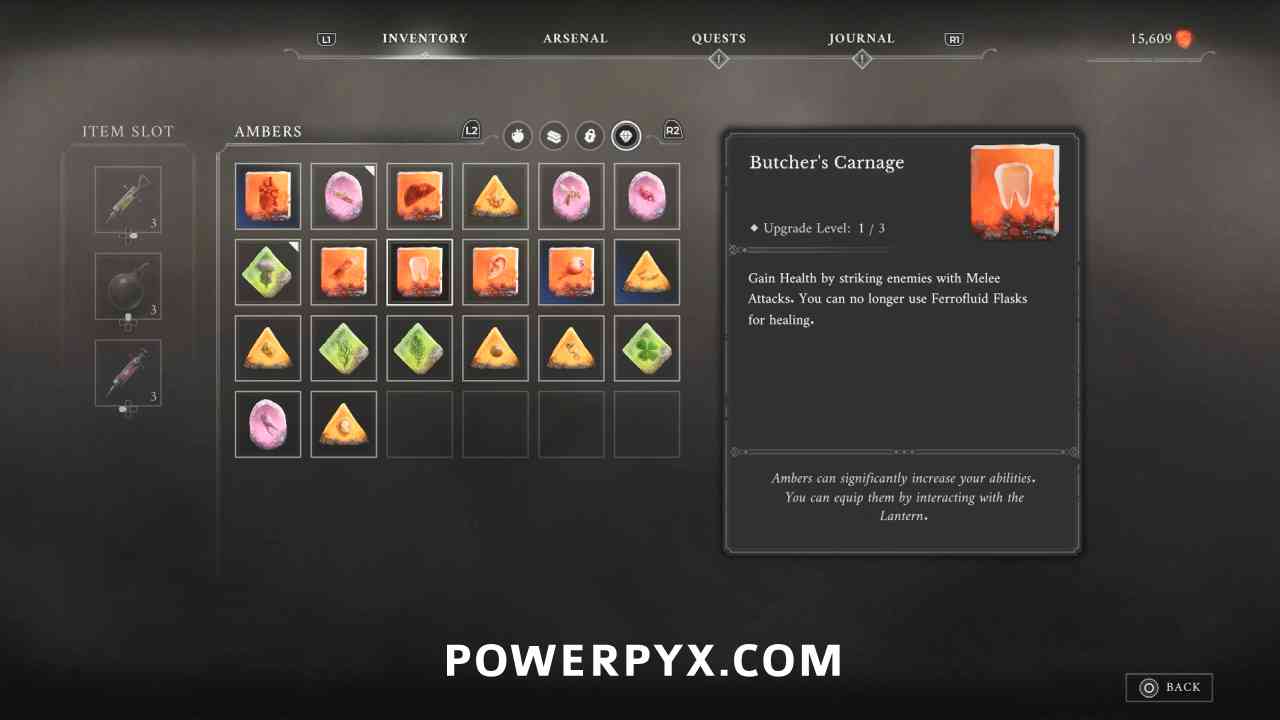
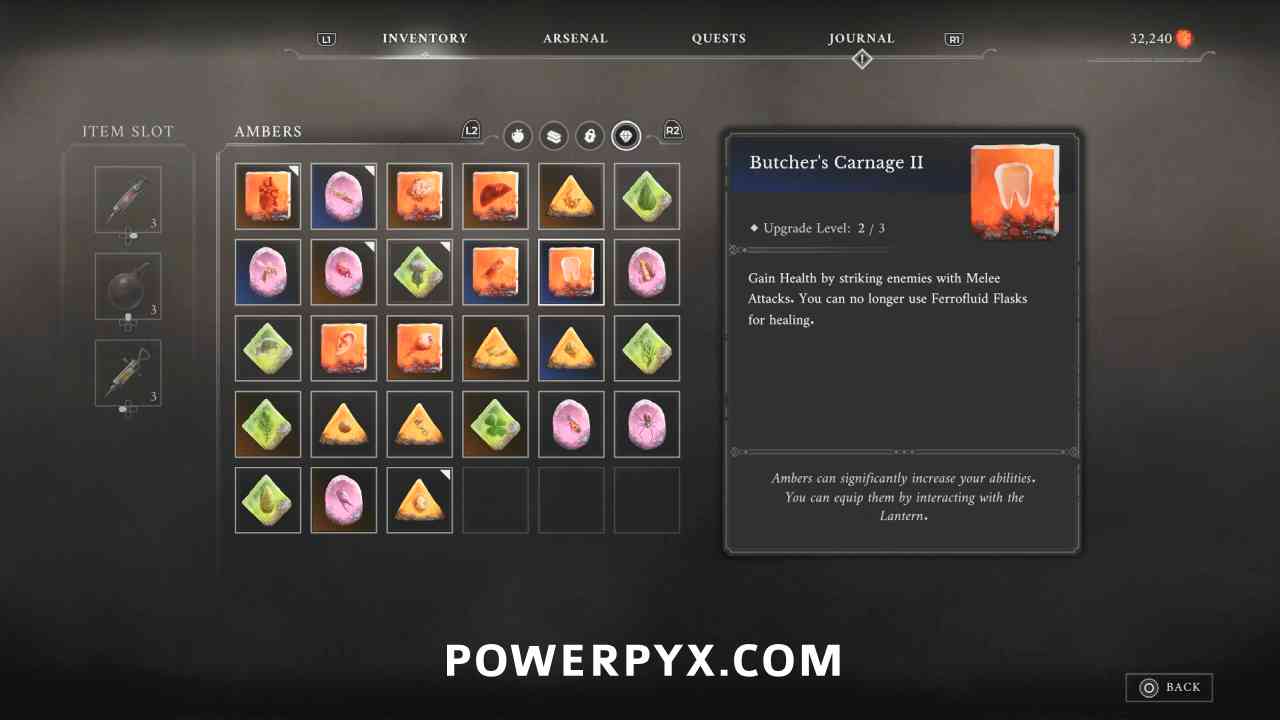
Amber #6: Butcher’s Carnage
Location #1
Lantern: Vale of Wrath > Under the Bridge
Reward for completing side quest In the Name of Art.
Location #2
Lantern: Vale of Wrath > Ship Graveyard
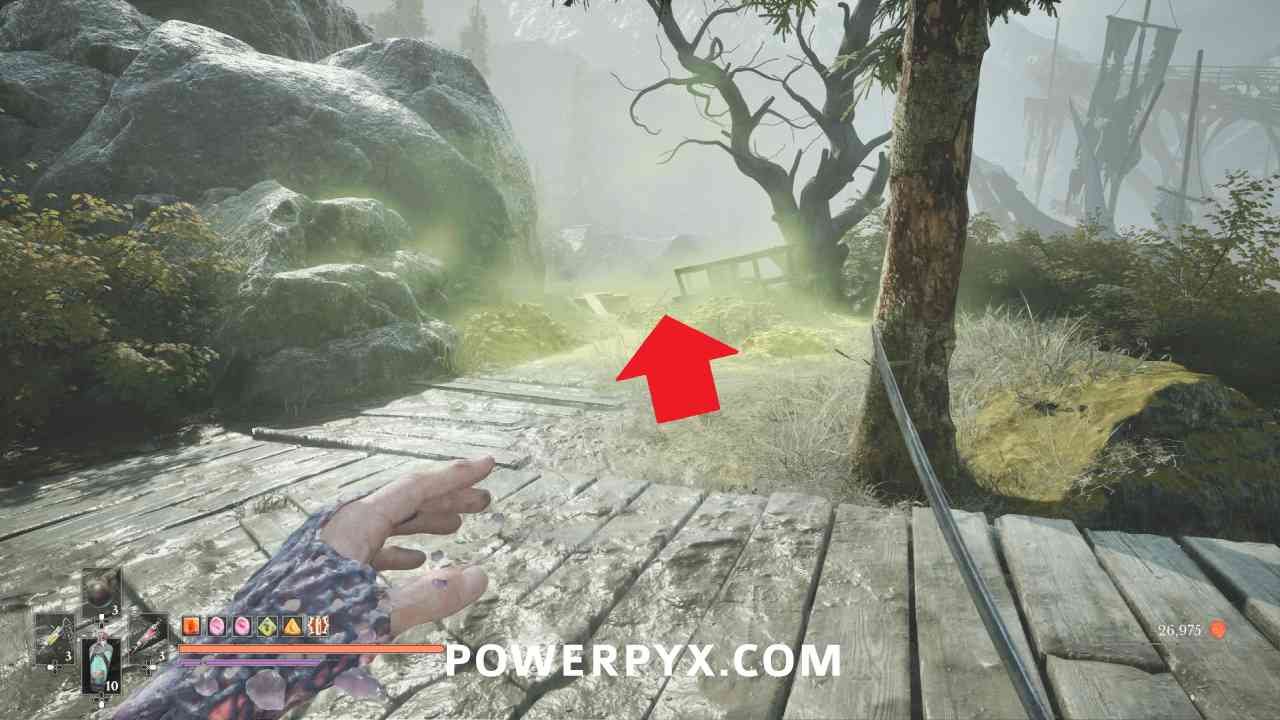
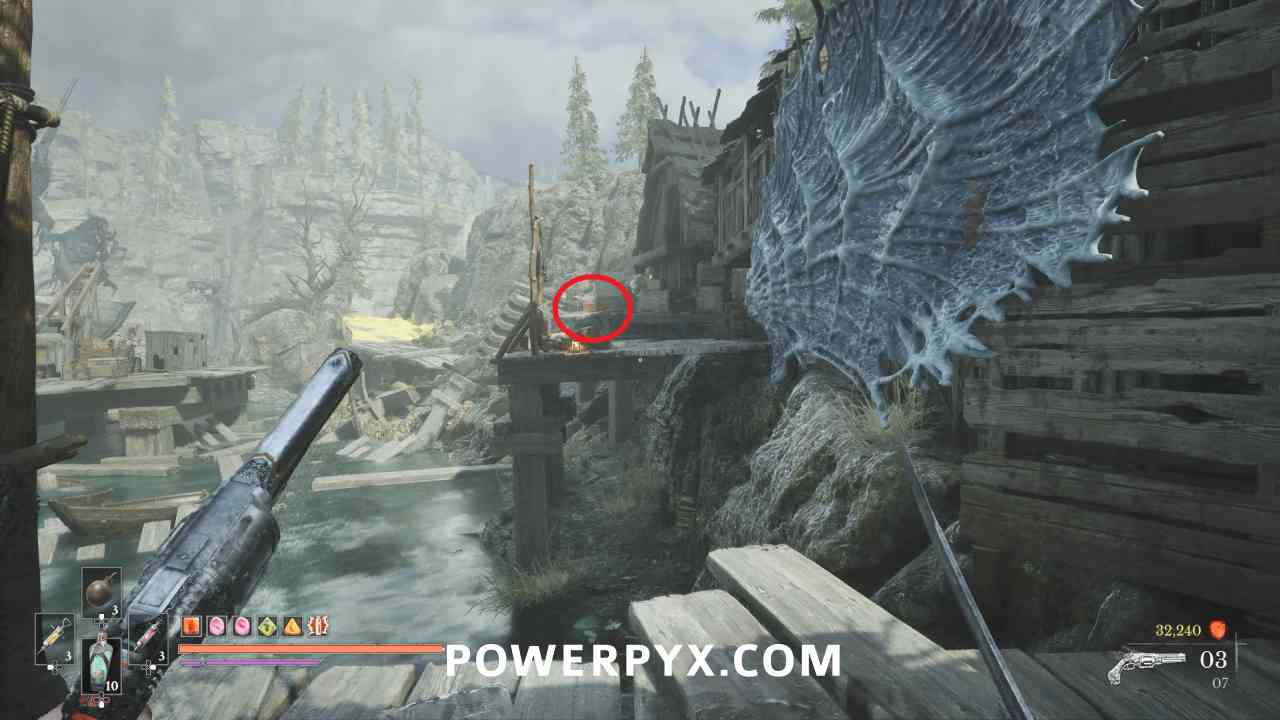
Turn around and grapple back toward the village, then turn right to find a poison field. Follow the path to the balcony you can see immediately on the left when you enter the area to find a chest with this Amber.
Location #3
Lantern: The Outskirts > Harbour
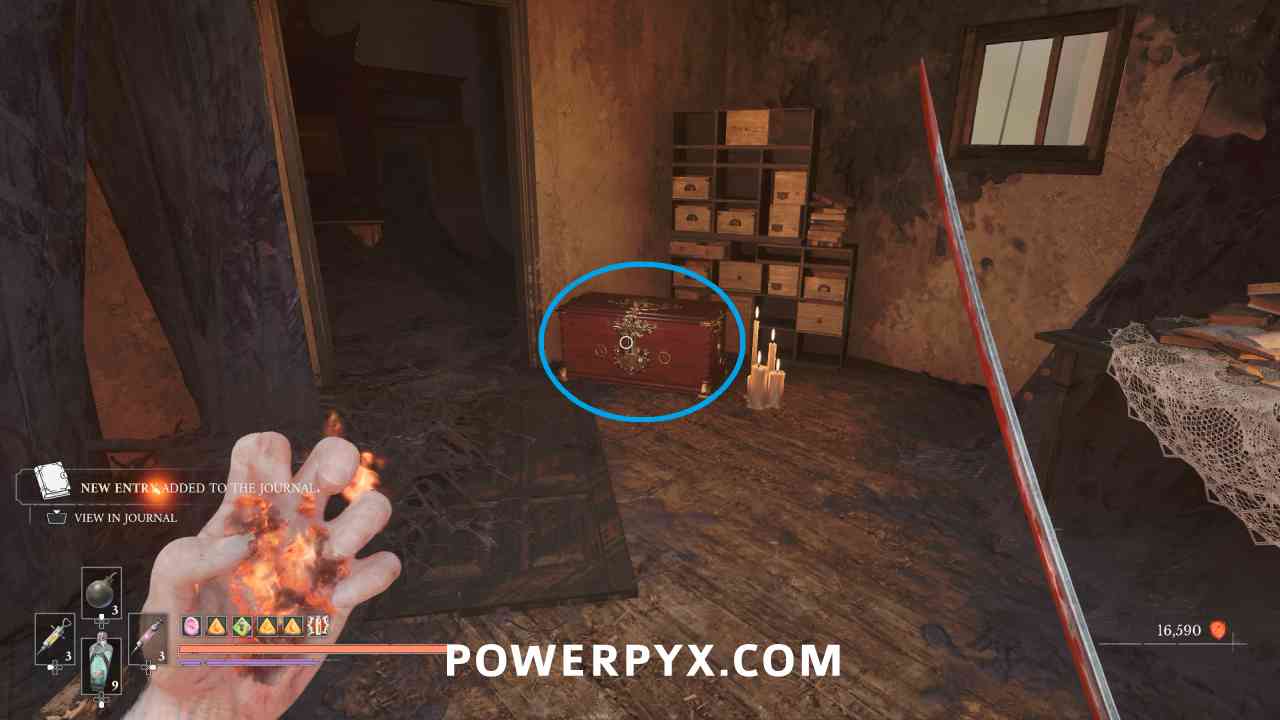
In the chest right beside the note picked up during The King of Smugglers side quest.
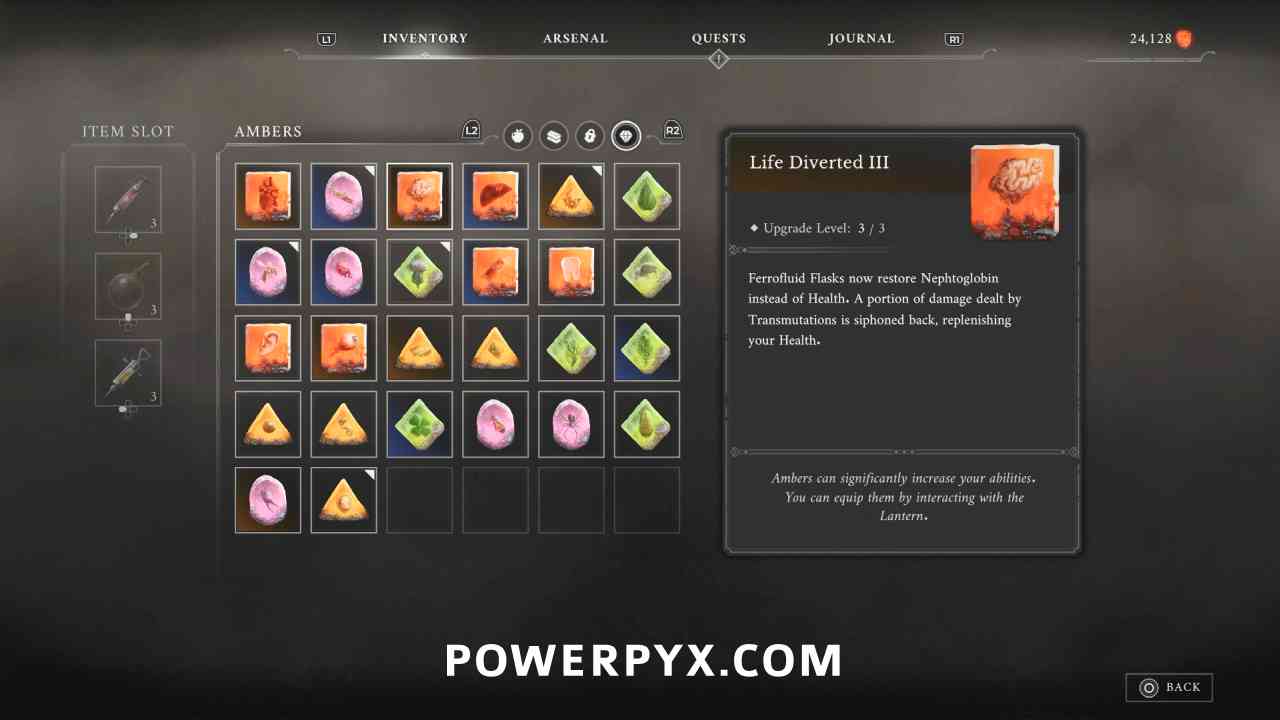
Amber #7: Life Diverted
Location #1
Lantern: Cursed Hollow > Deep Water
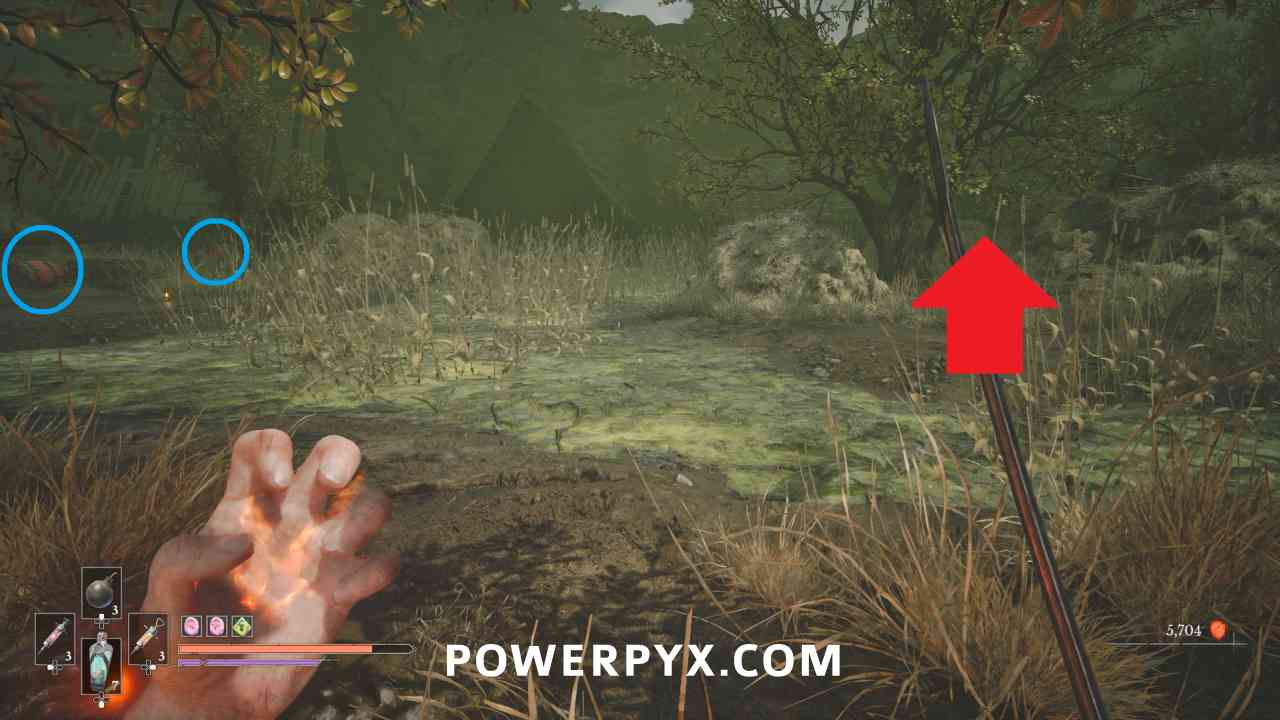
Progress through the area until you reach the long straight stretch before the church, where there is the round area with a hay bale in the center and a cannon enemy walking around. To the right past the building leading to the shortcut, you can see some explosive barrels on the left island. Go on the right island and go around the hay where you can find an Eternal Guardsman enemy related to the Oathbound side quest.
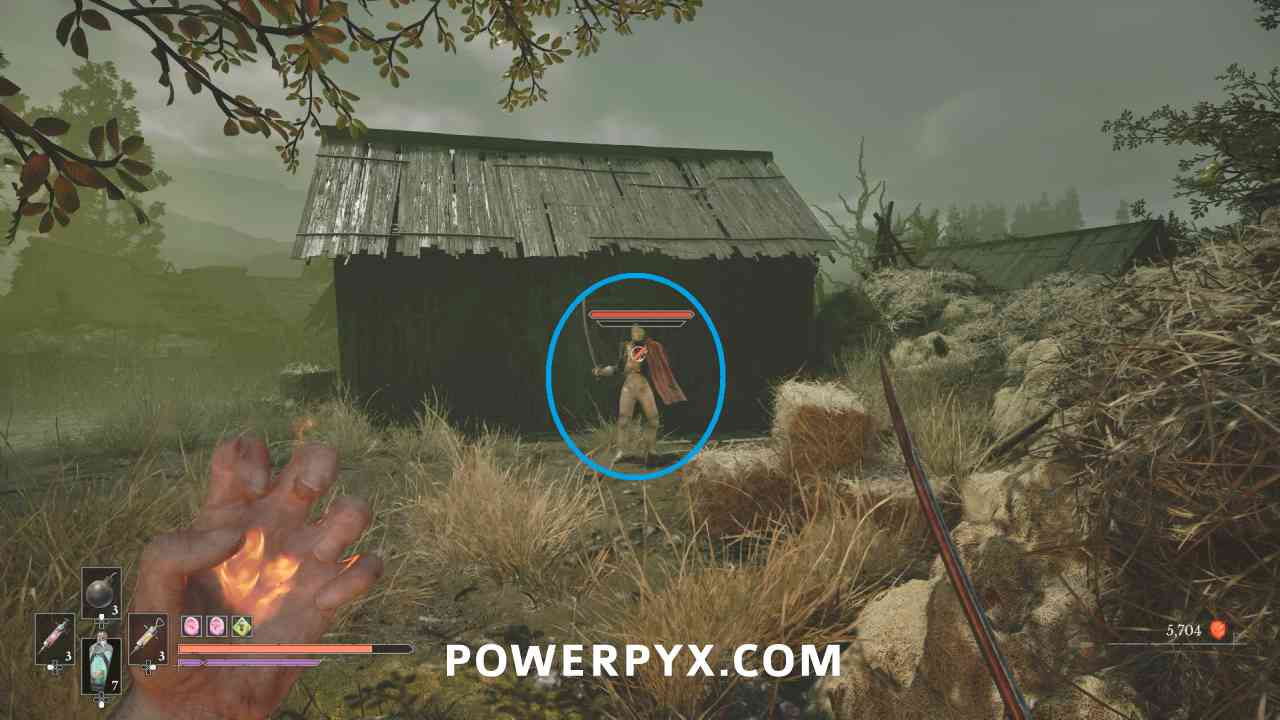
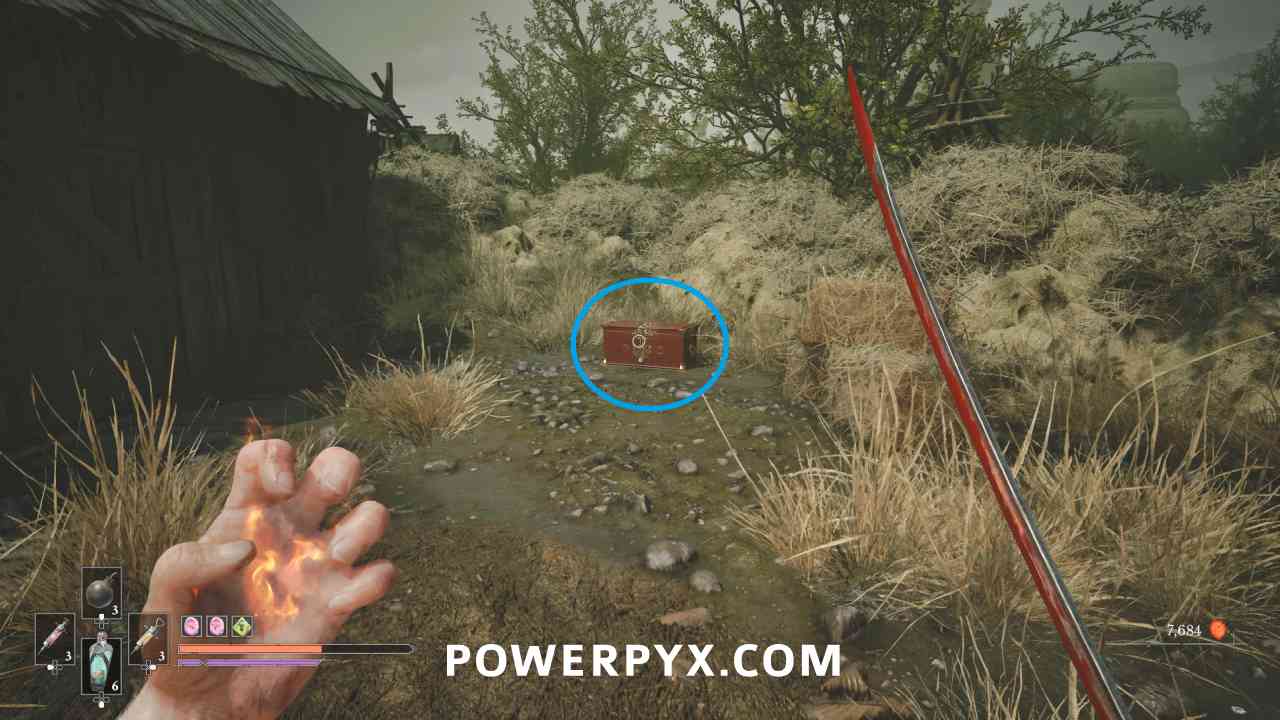
The Amber is in a chest behind where the Eternal Guardsman was standing.
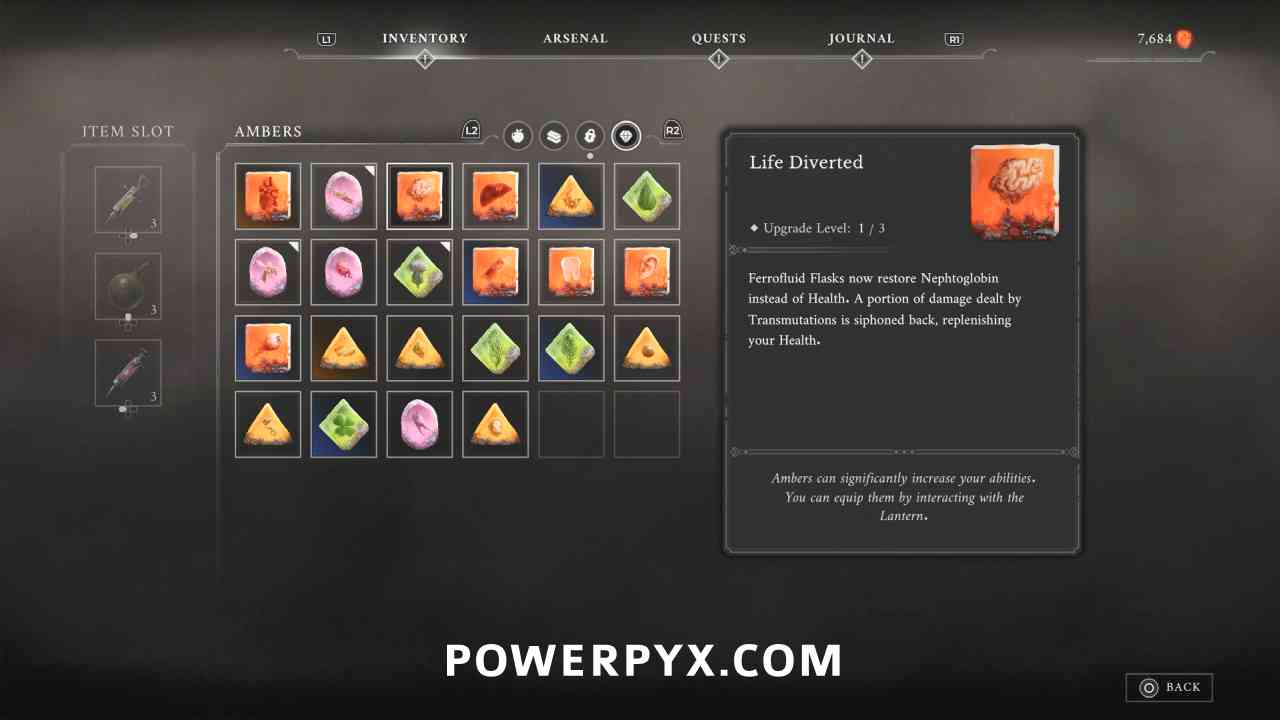
Location #2
Lantern: City of Orphans > Shamble Street
Progress along the main path until you progress through a building and a chest with this Amber is directly in your path on the way out of the building.
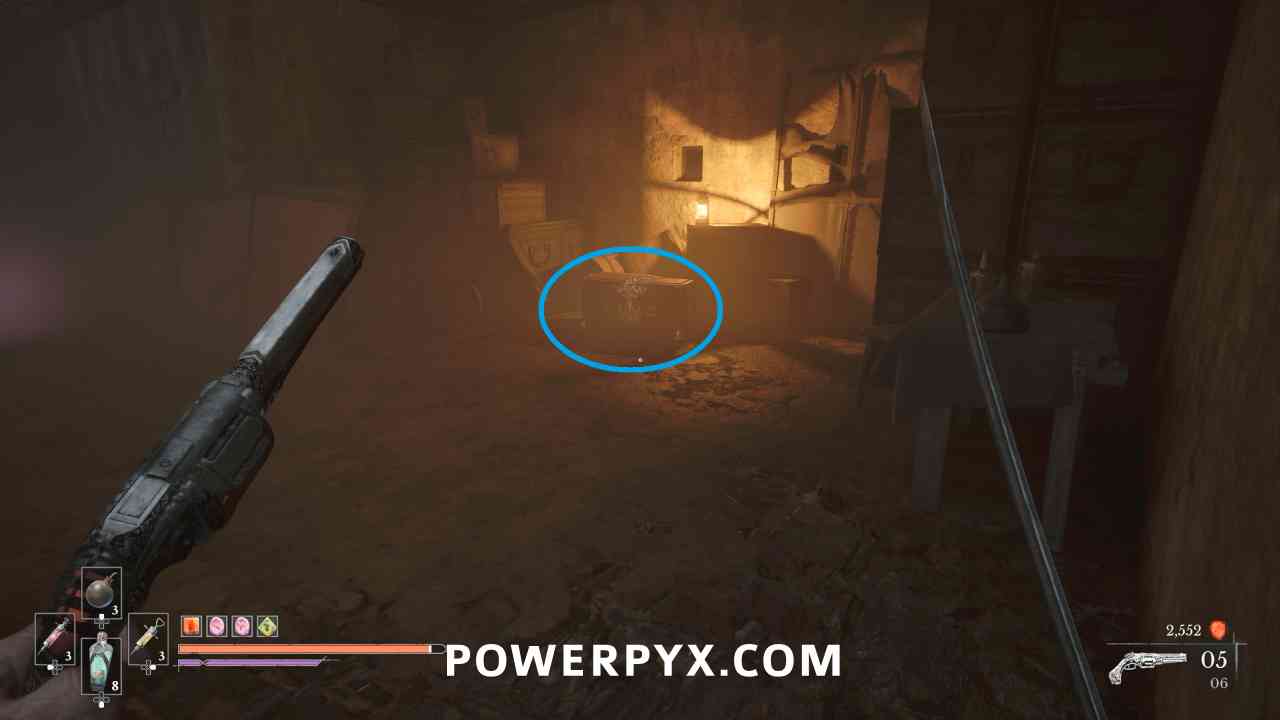
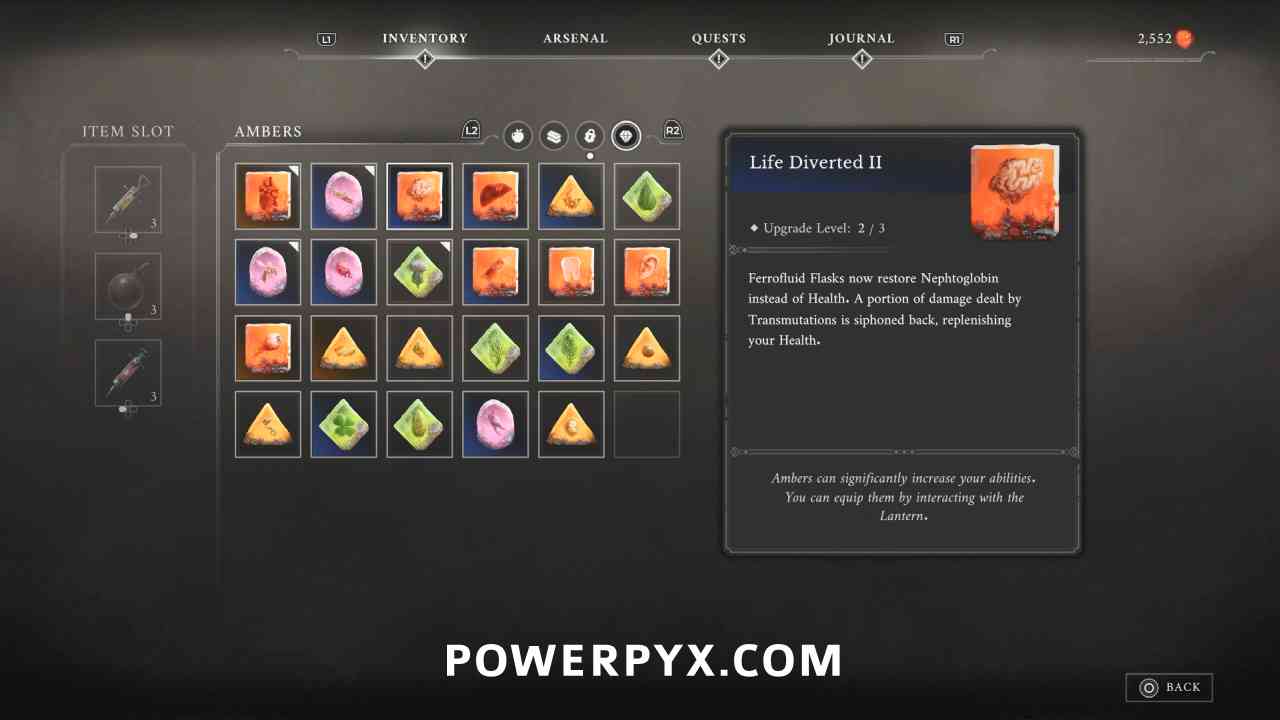
Location #3
Lantern: Fortress > Traverse
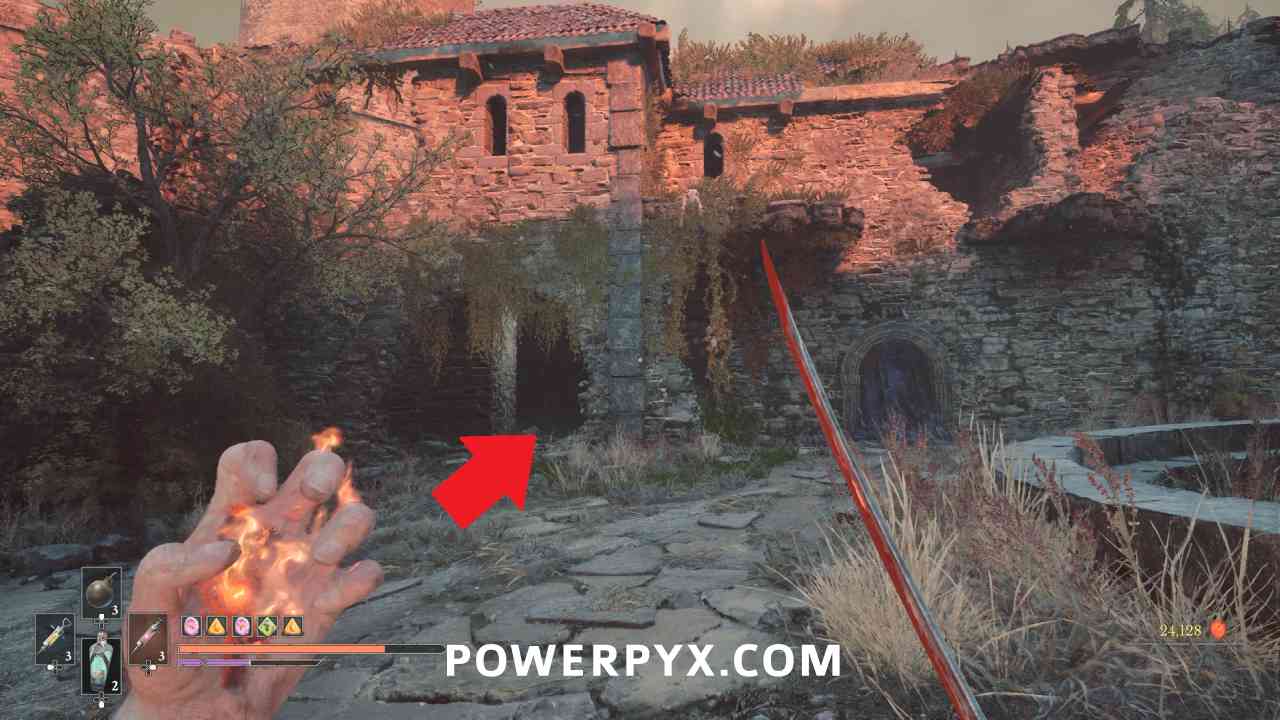
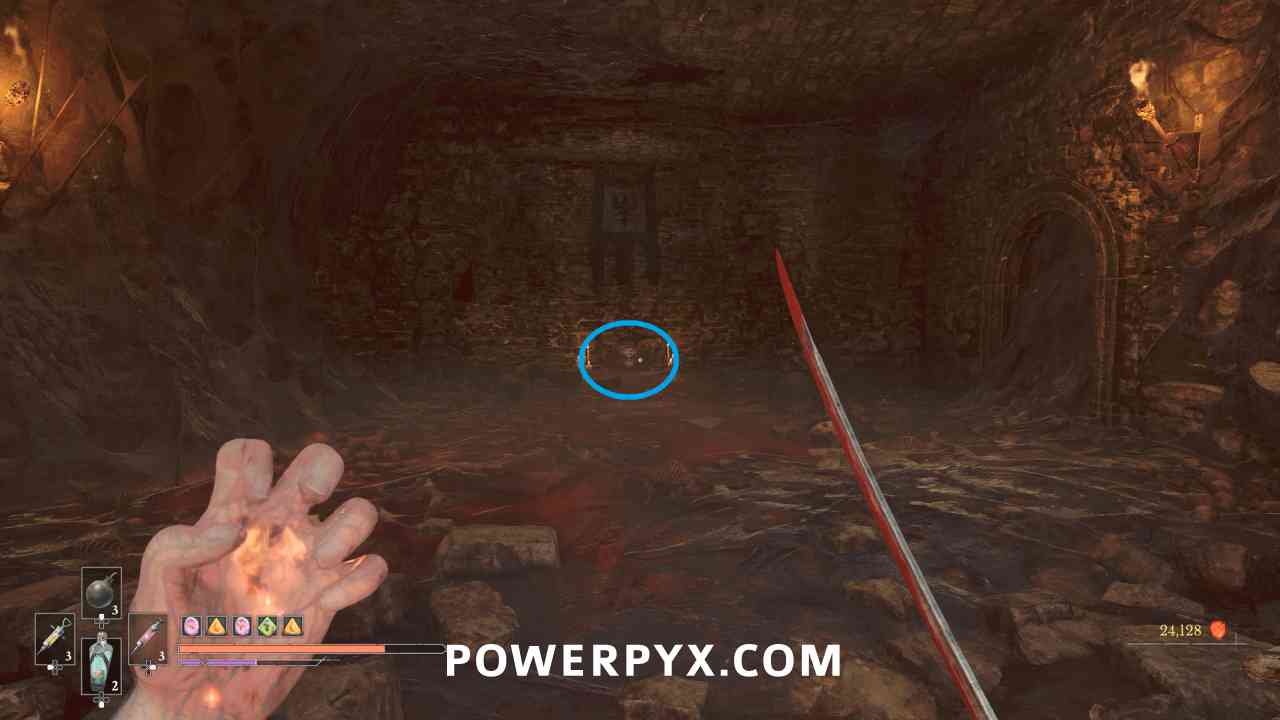
Progress until you reach the Traverse Lantern in the second courtyard. Turn around from it and go through the path to the area to the left past the enemies. The building on the opposite side of this area has gold vines inside. Burn them and defeat the enemy that appears from inside the building, then there is a chest at the back wall with this Amber.
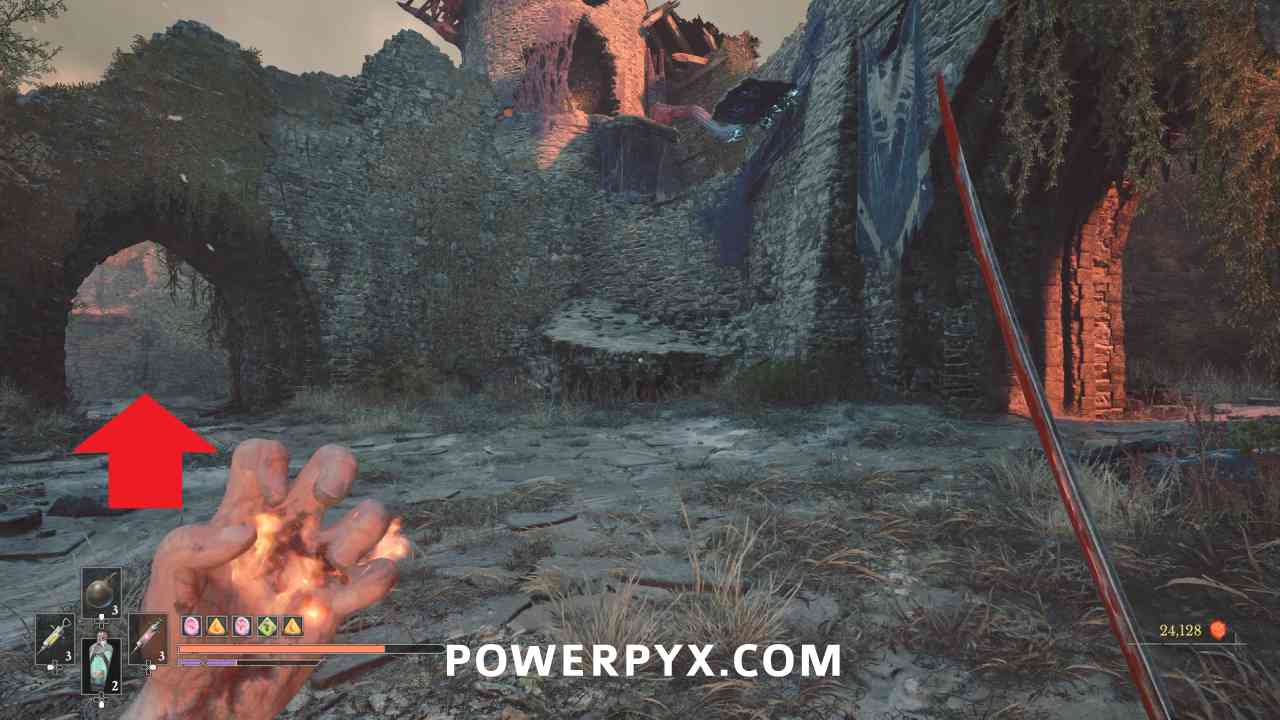
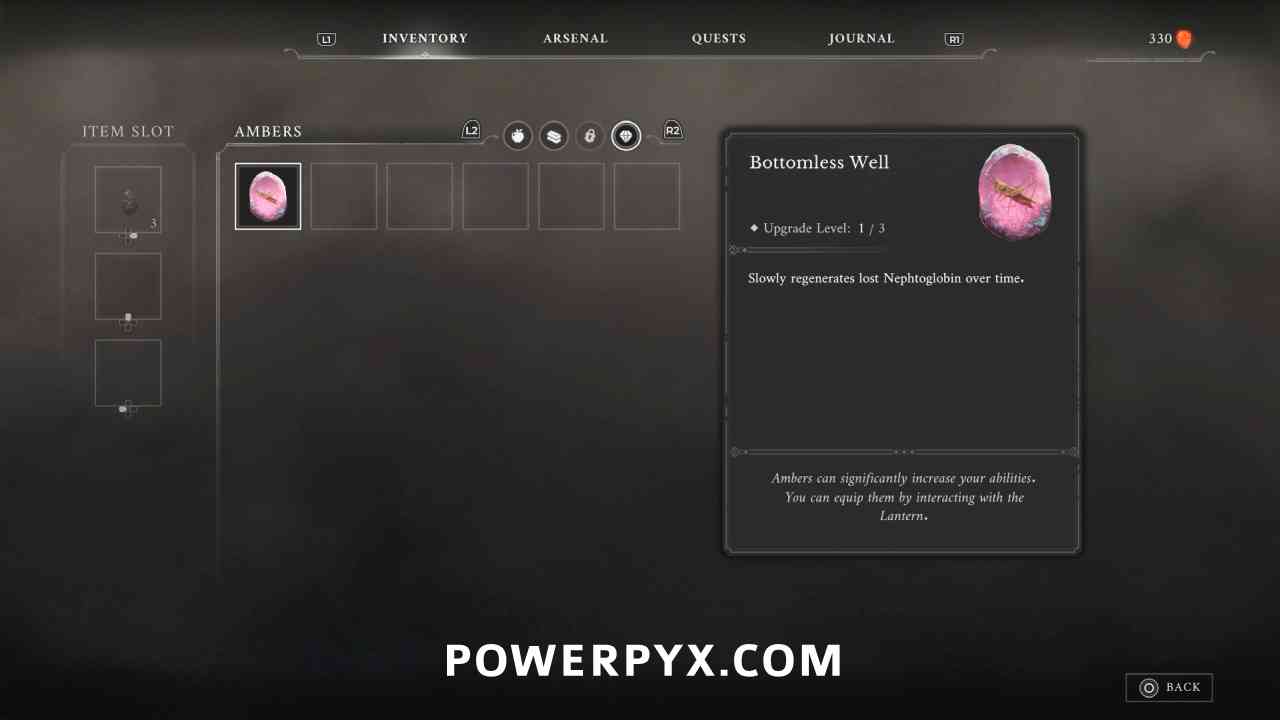
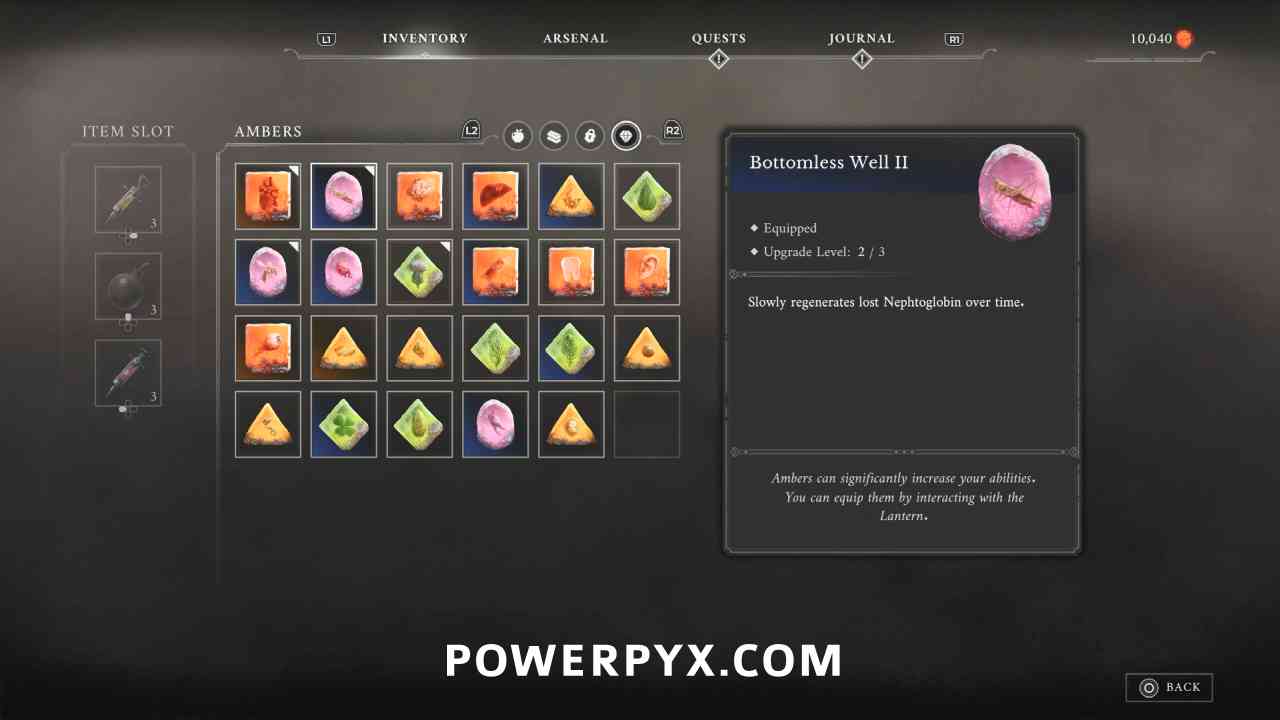
Amber #8: Bottomless Well
Location #1
Lantern: The Battlefield > Onslaught Arch
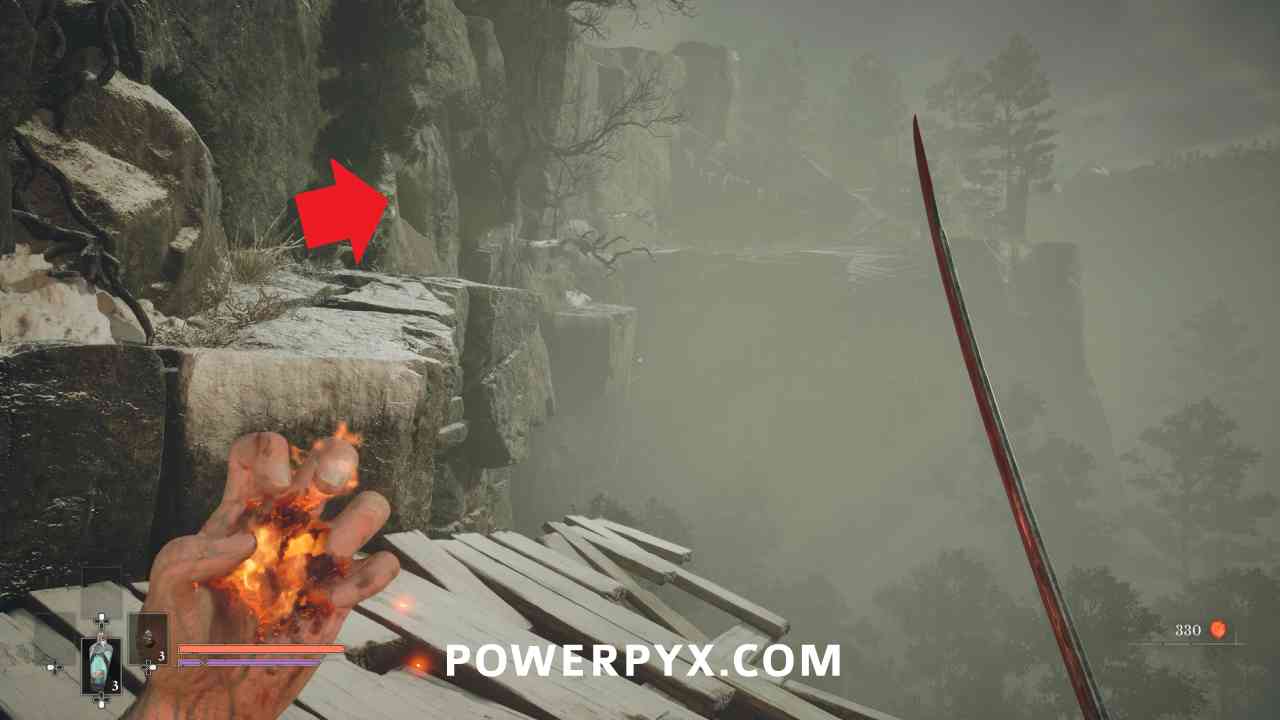
From the first lantern turn around and climb back up the cliffs across the branches. To the left are some gold vines that you can burn with Fire, and behind them is a chest that contains this Amber.
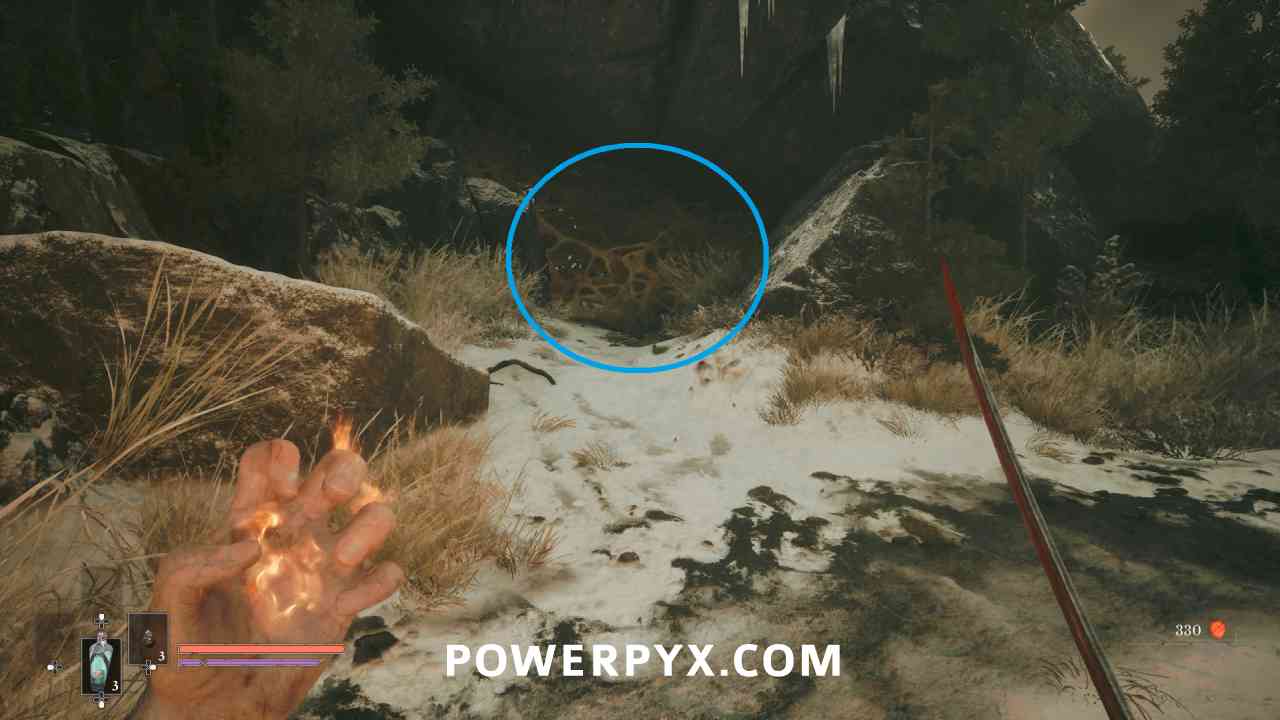
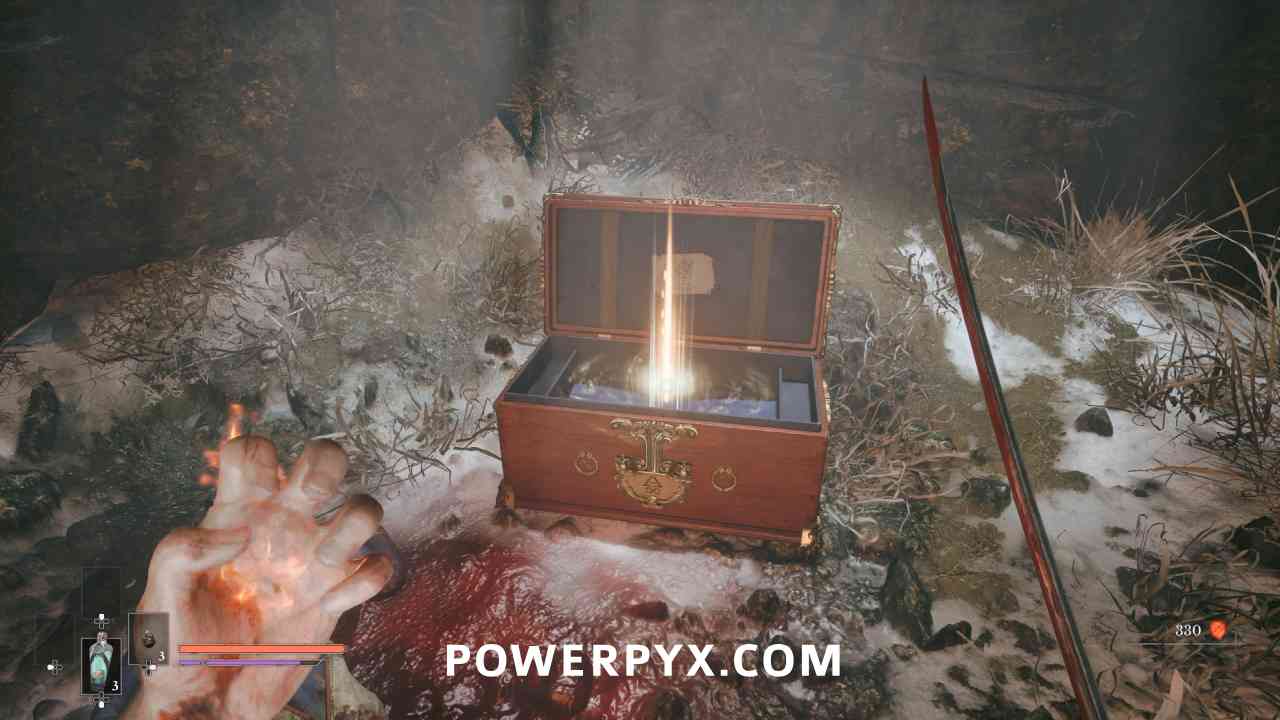
Location #2
Lantern: Caverns > Weeping Ledge
Reward for completing side quest Homesick.
Location #3
Lantern: City of Orphans > Tribunal Square
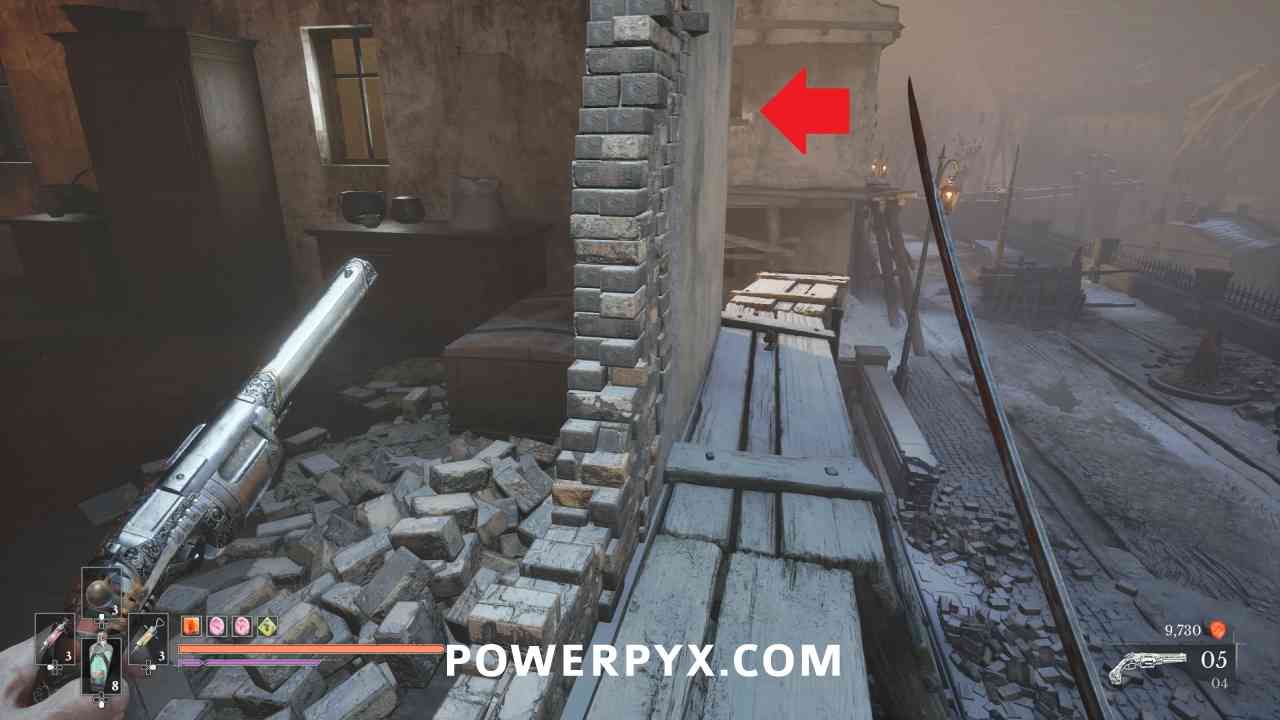
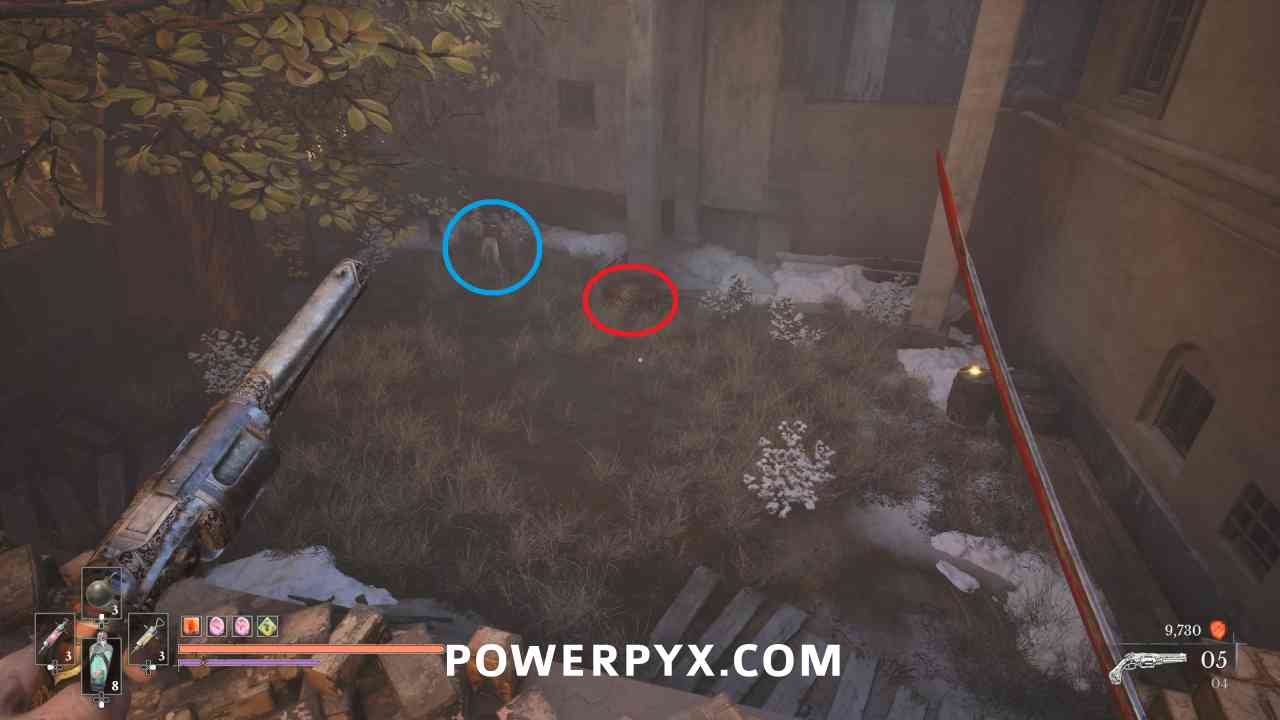
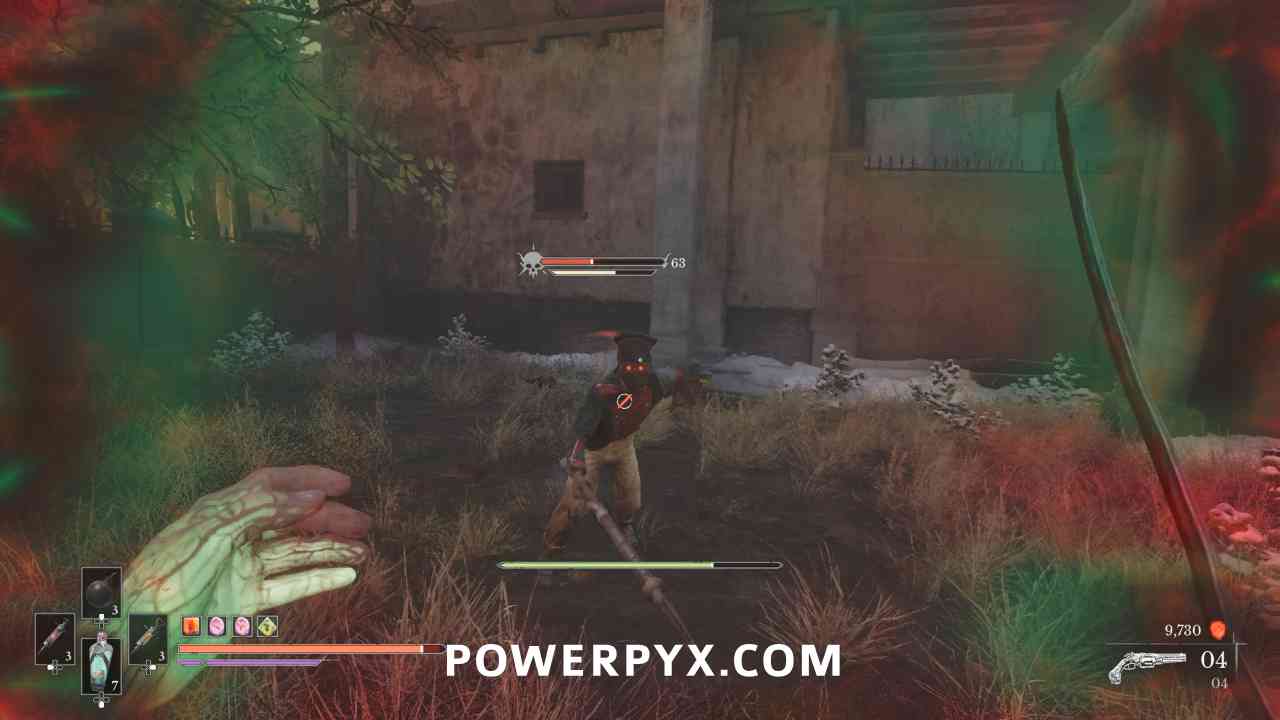
Progress until you go up to the top floor of a house, then can shoot weak points out of one of the windows. Go the opposite direction and follow the path around the building to a courtyard, where a miniboss is near a chest. Defeat the miniboss for this Amber.
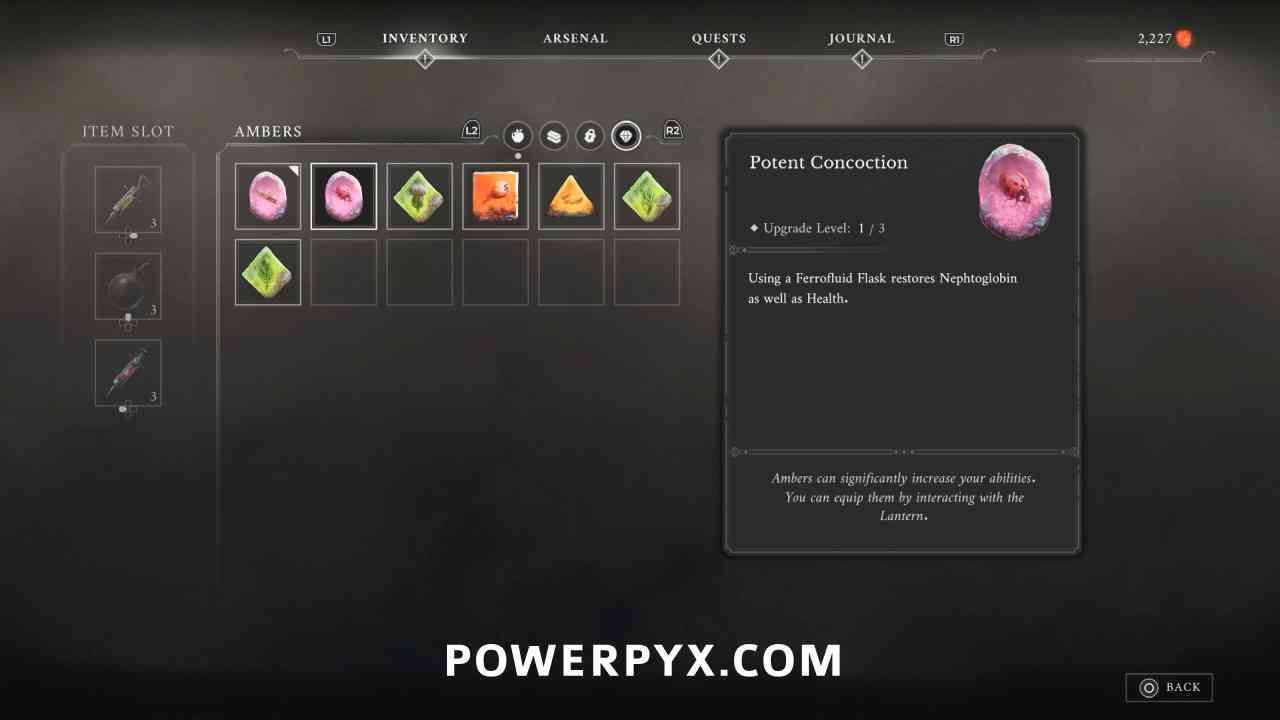
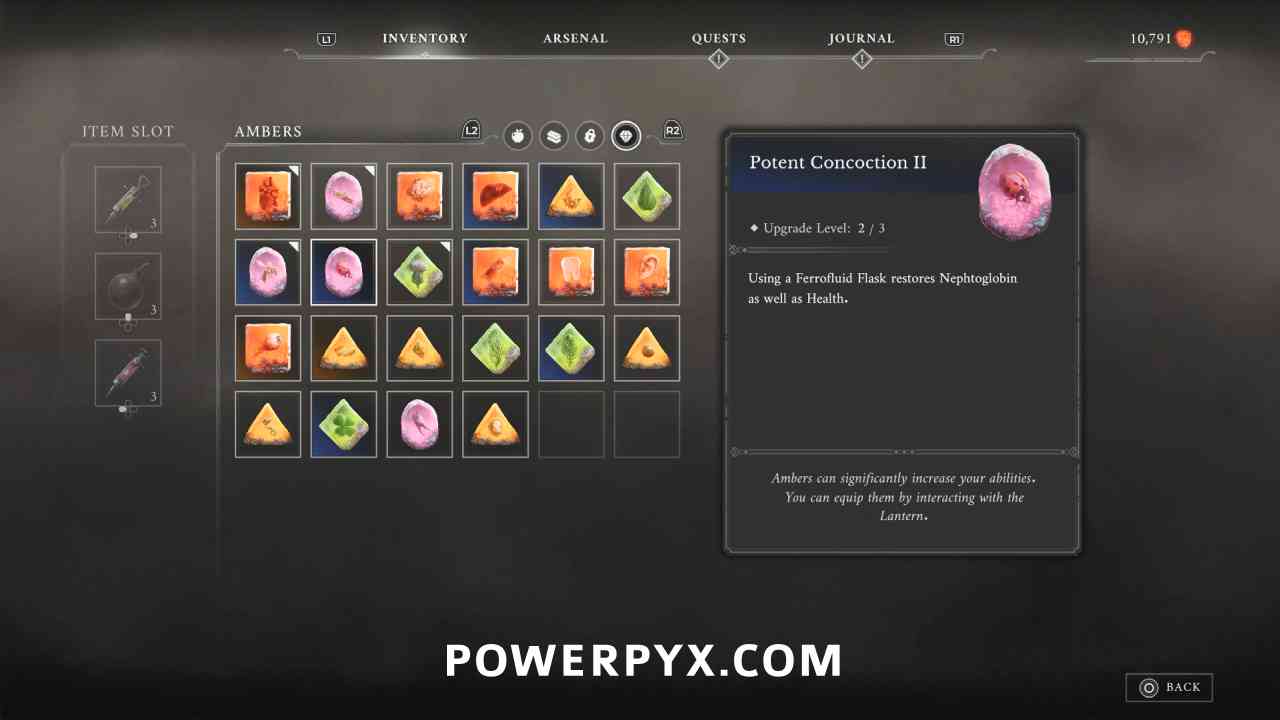
Amber #9: Potent Concoction
Location #1
Lantern: Valley of Ashes > Quarry
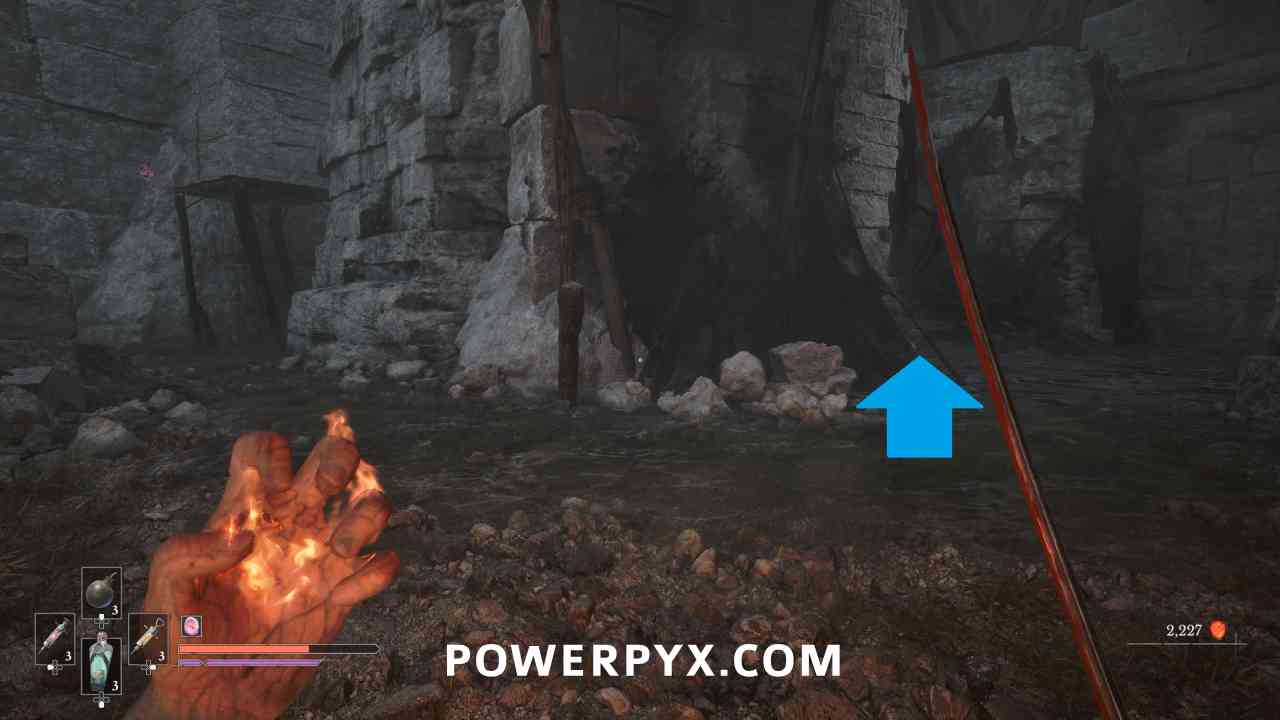
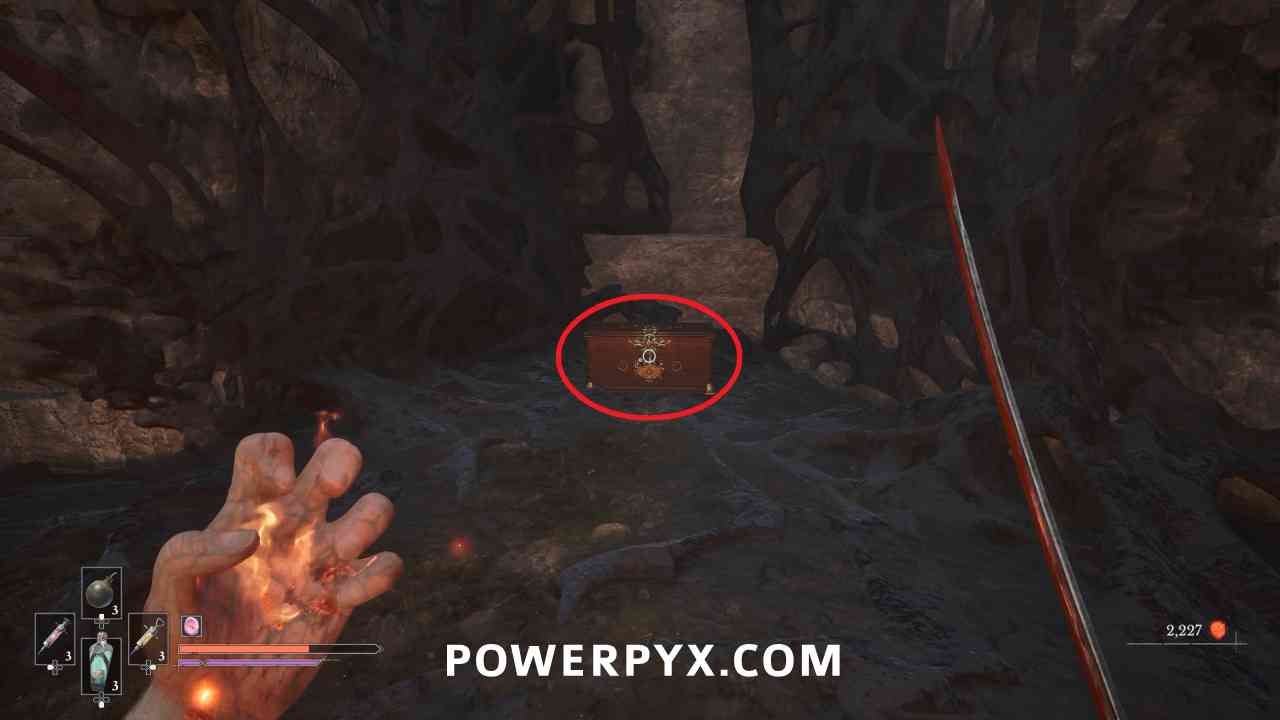
After climbing up the first wooden platforms and dropping down to the ledge, go to the right where there is a shortcut ladder, and opposite is some gold vines to burn. Behind them near a group of enemies is a chest with this Amber.
Location #2
Lantern: The Outskirts > Island of Whispers
Reward for completing side quest Laudanum.
Location #3
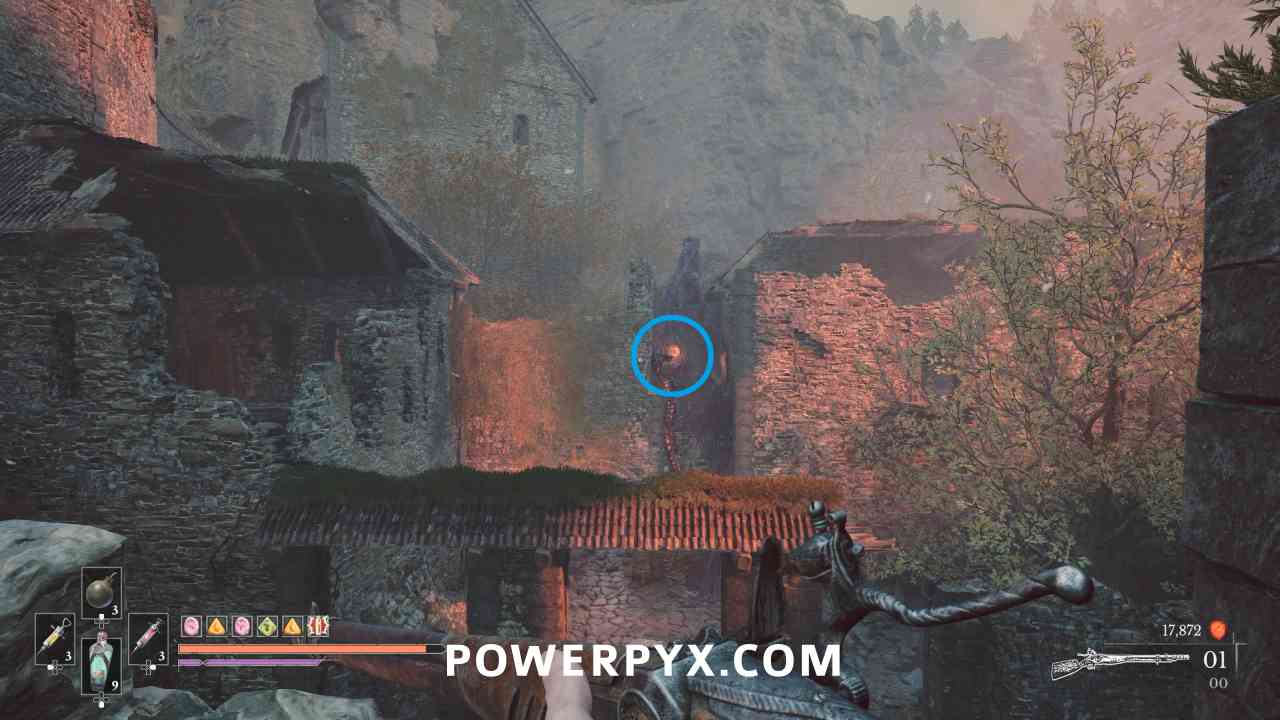
Lantern: Fortress > Ramparts
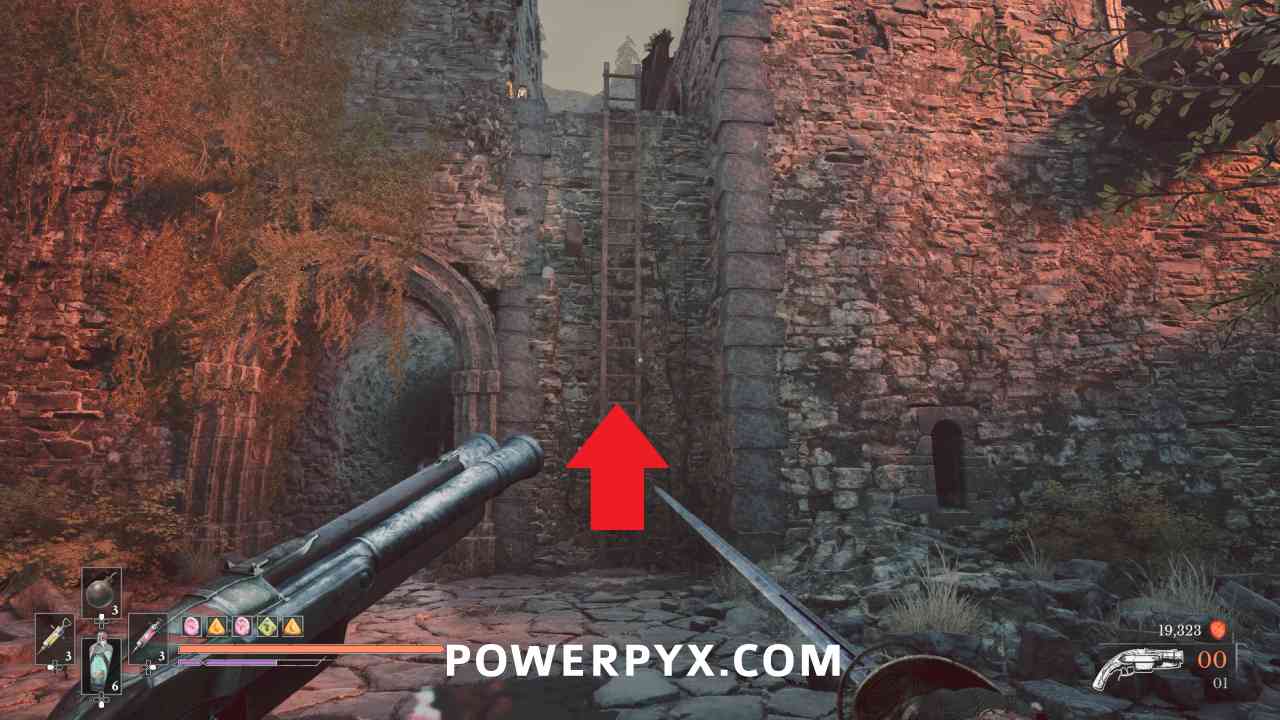
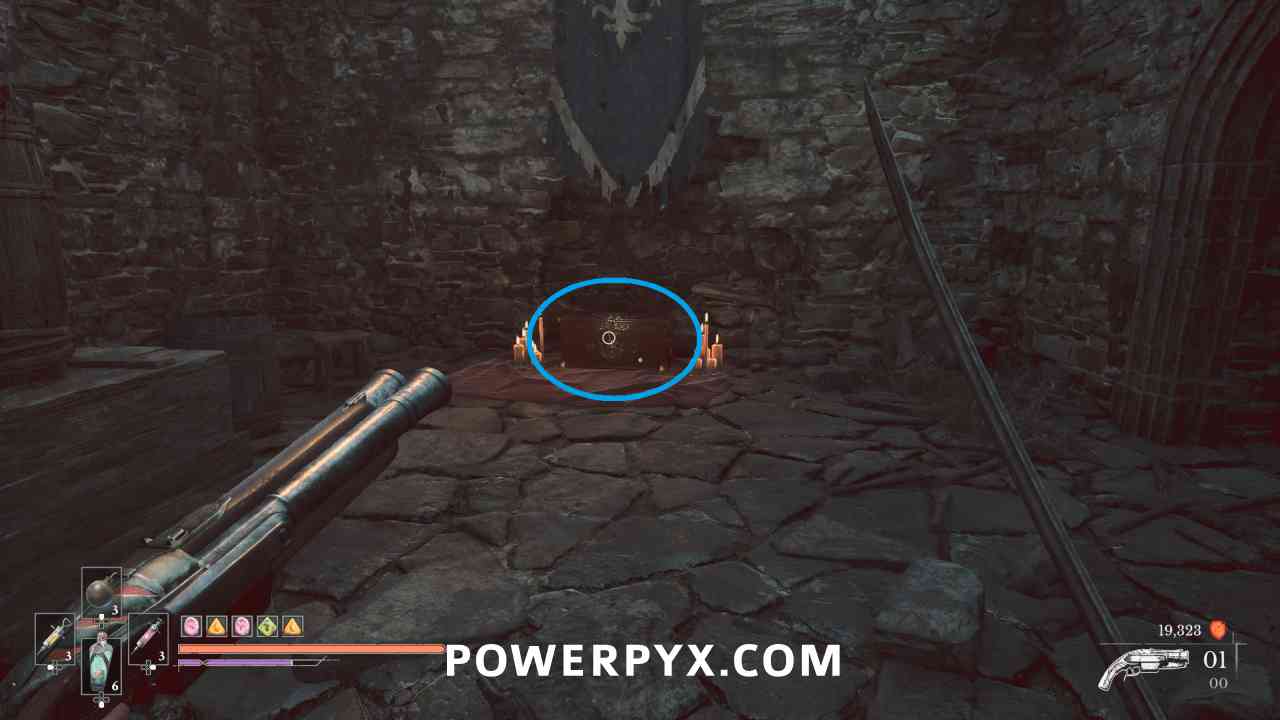
From the Lantern go up the stairs and then turn around, where you can see a weak point on the wall across from you. Shoot it to reveal a ladder. Go up the ladder and follow the path through this area to find a chest that contains this Amber near a weak point to shoot to exit the area.
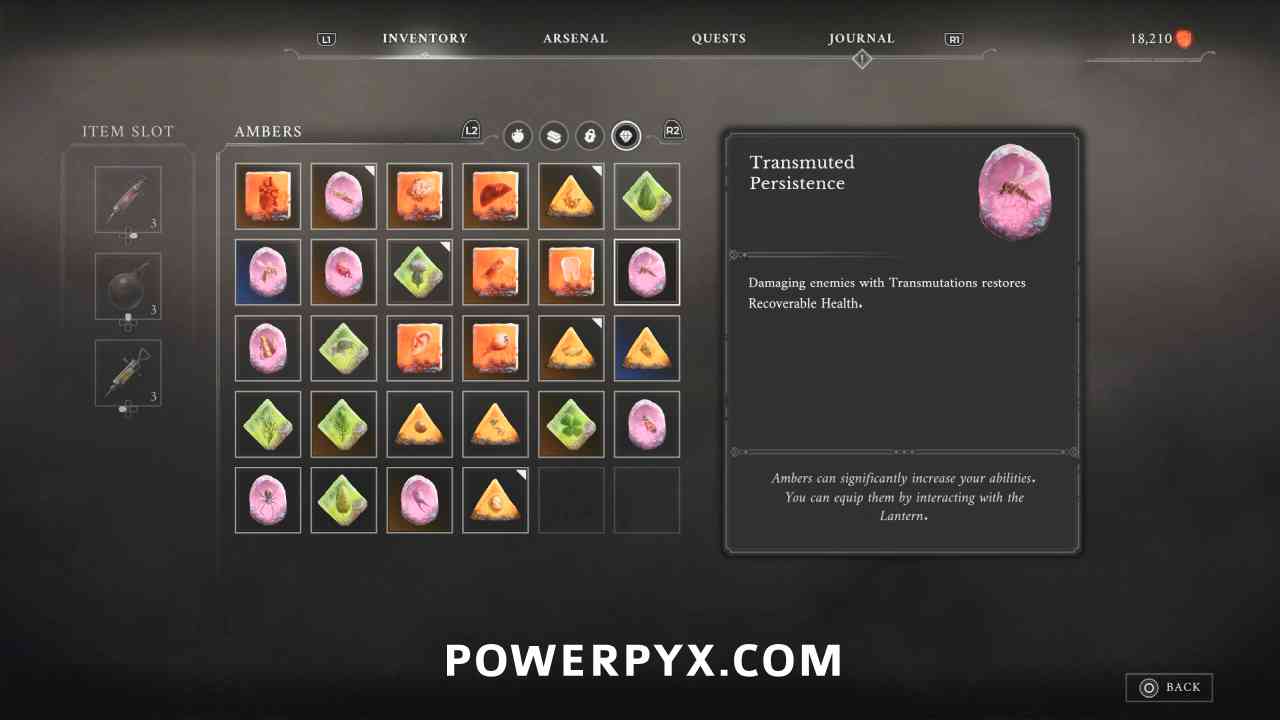
Amber #10: Transmuted Persistence
Lantern: The Battlefield > Onslaught Arch
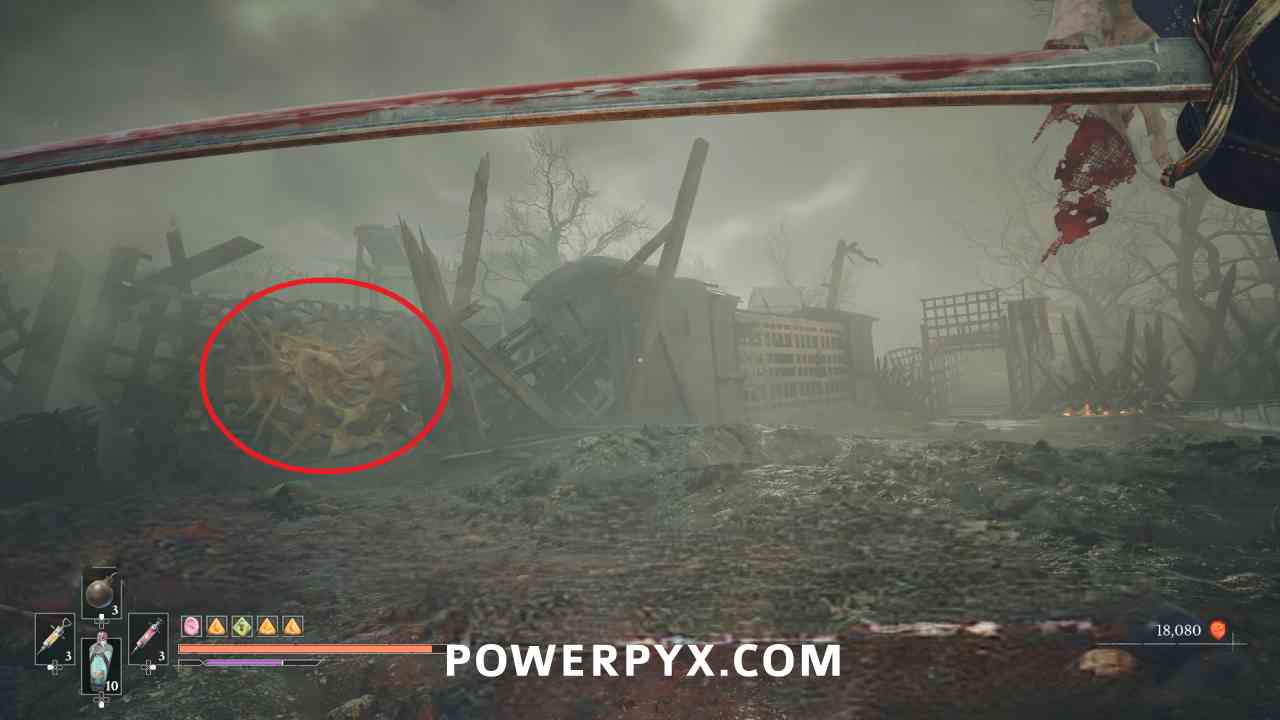
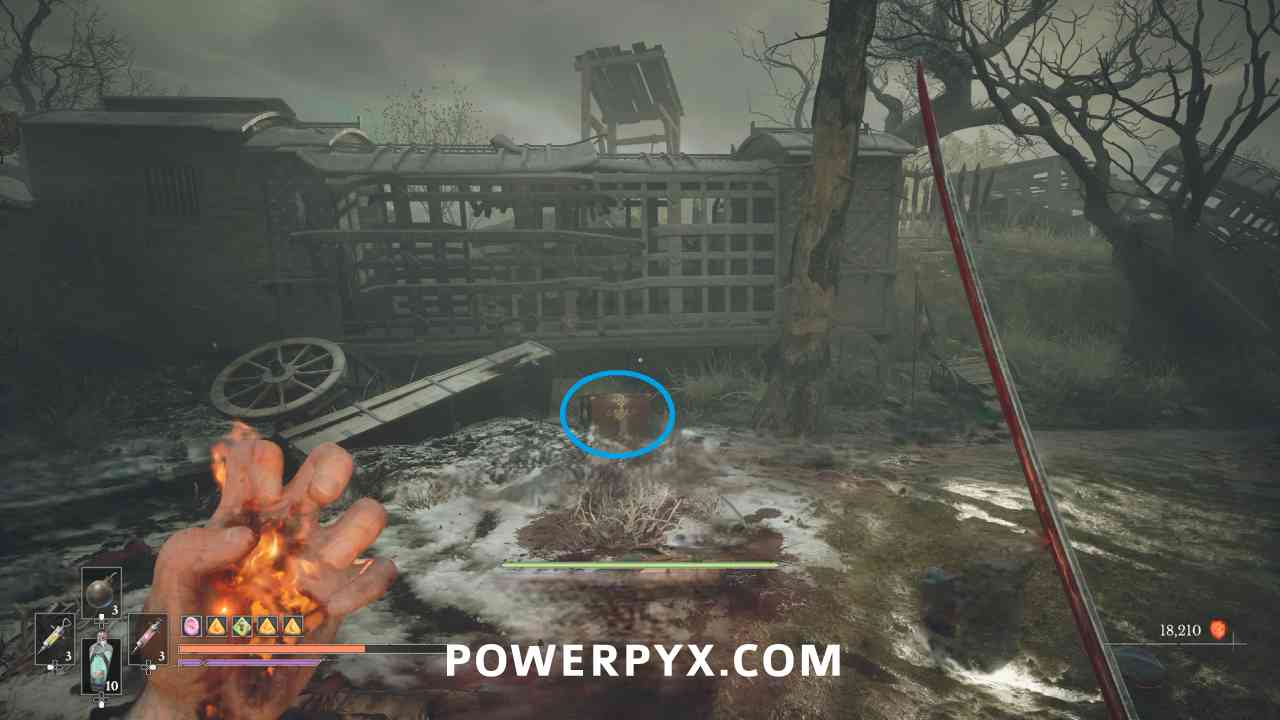
Progress into the battlefield area and stick to the left side. Before walking through a metal carriage there are gold vines you can burn on the left. Behind them is a group of enemies, along with a chest that contains this Amber.
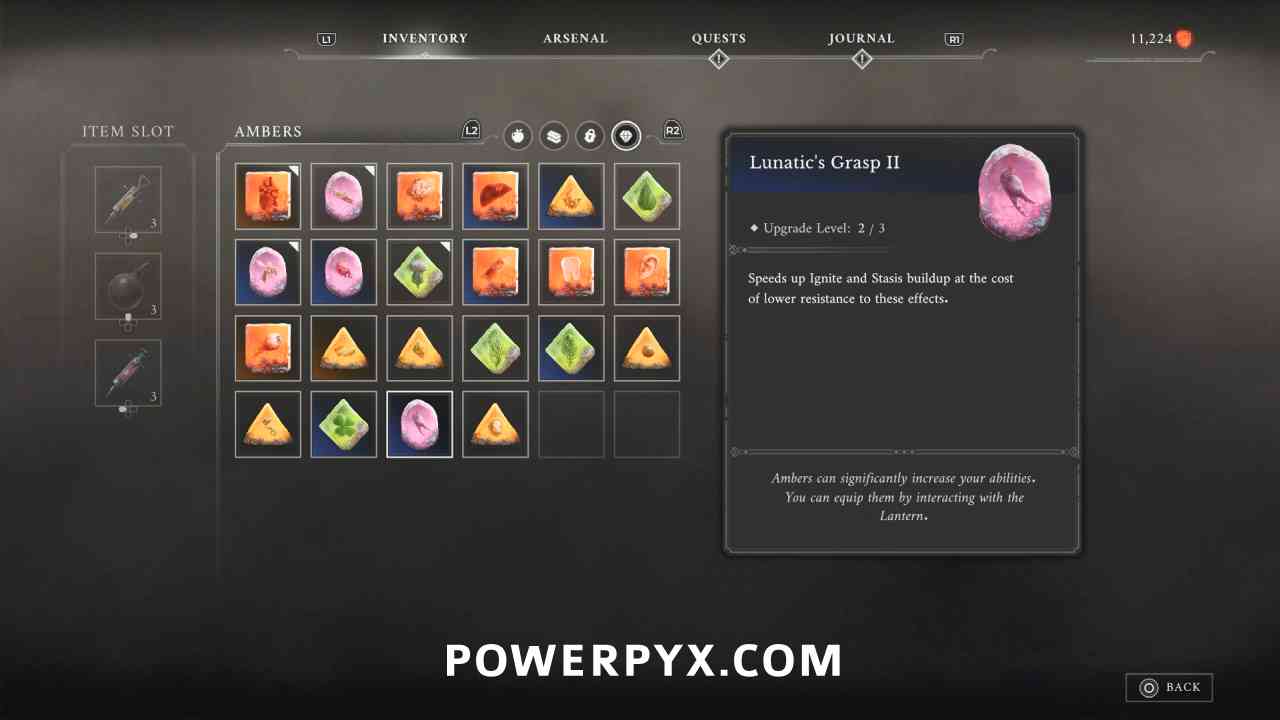
Amber #11: Lunatic’s Grasp
Location #1
Lantern: Caverns > Weeping Ledge
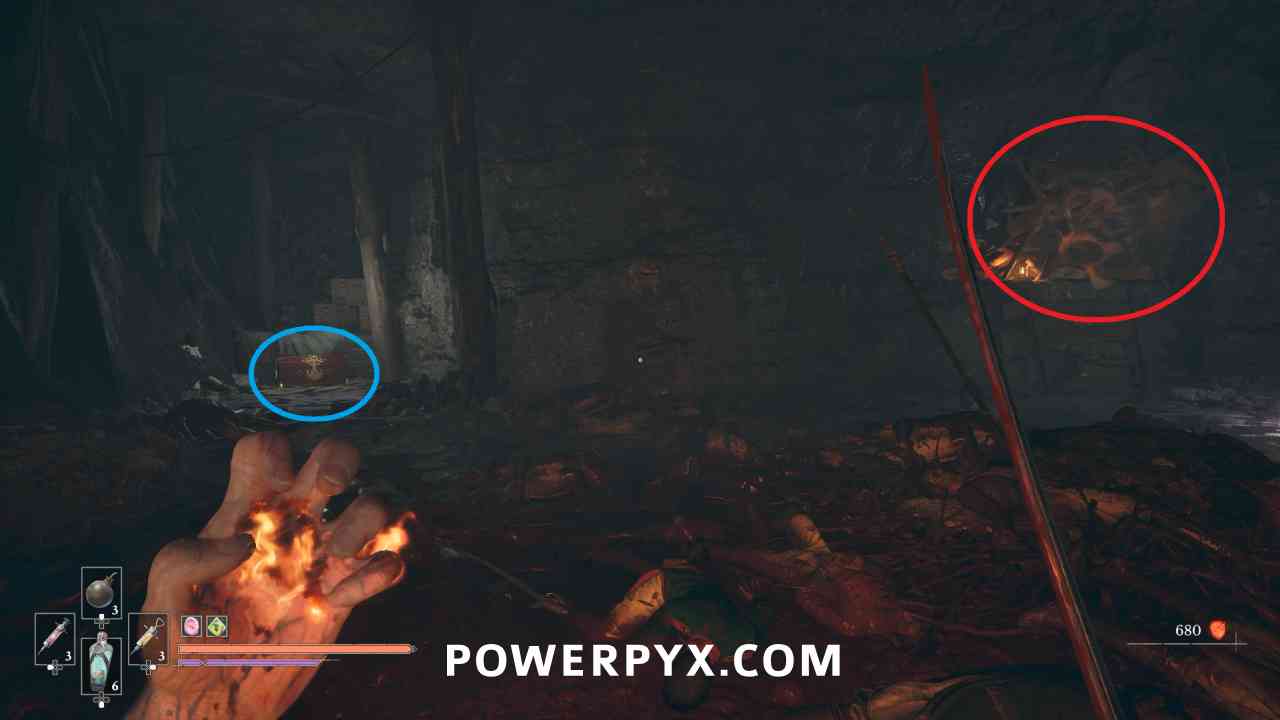
Follow the main path until you drop into the room with the large number of Carrion enemies. To the left of the gold vines you burn to progress through there is a chest that contains this Amber.
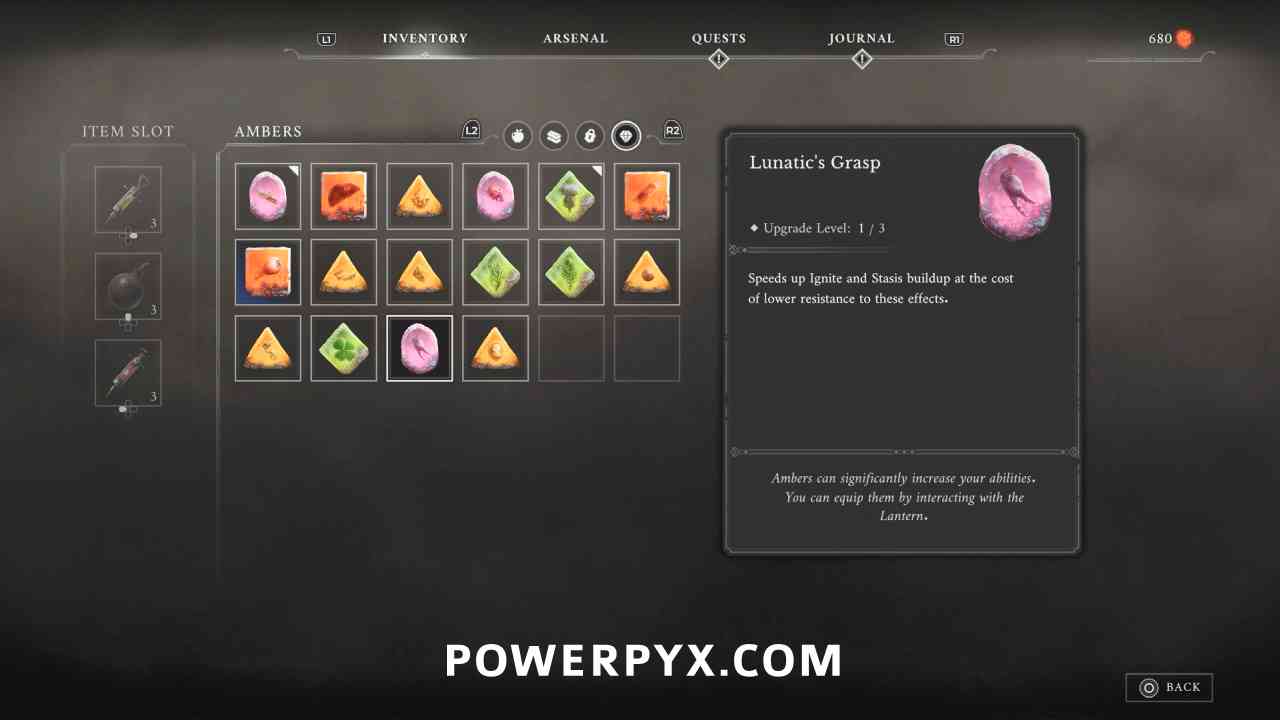
Location #2
Lantern: The Outskirts > Market Square
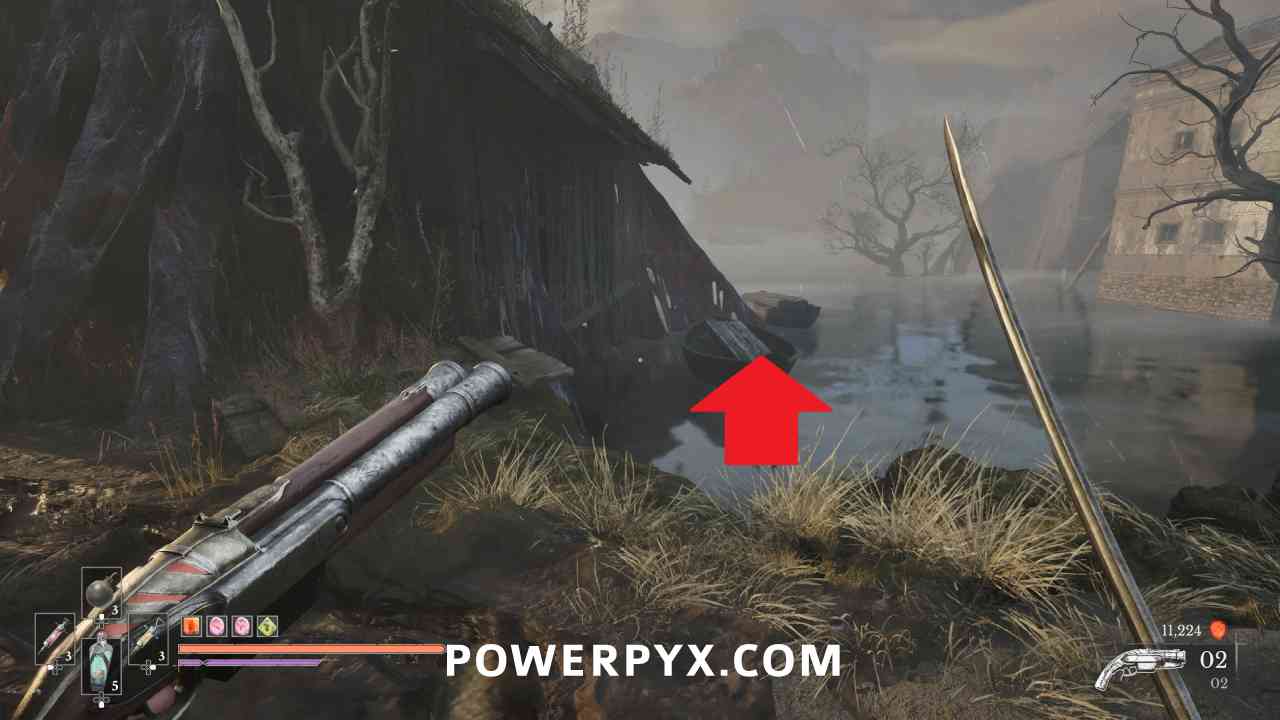
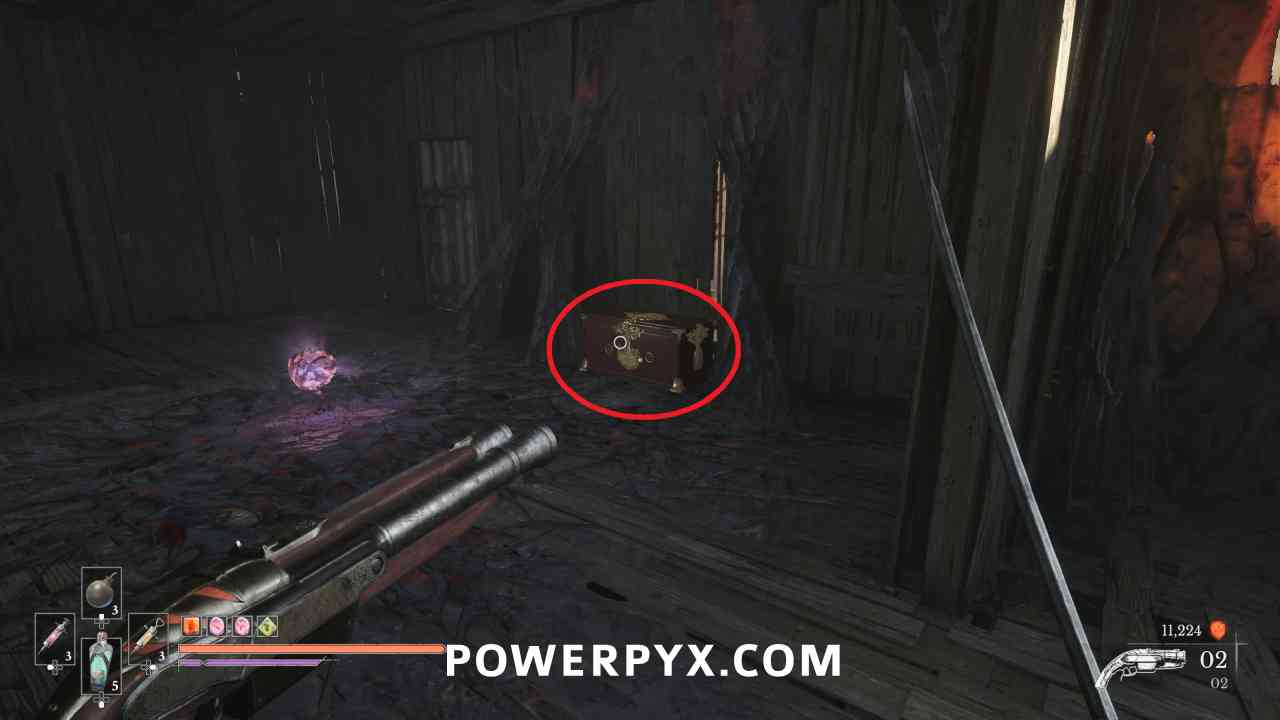
Progress to the point where you go through a barn and have a grapple point ahead of you. Turn around and go around the barn to a side area. Jump across the boats to reach the inside of the building where this is in a chest.
Location #3
Lantern: University > Lift Shaft
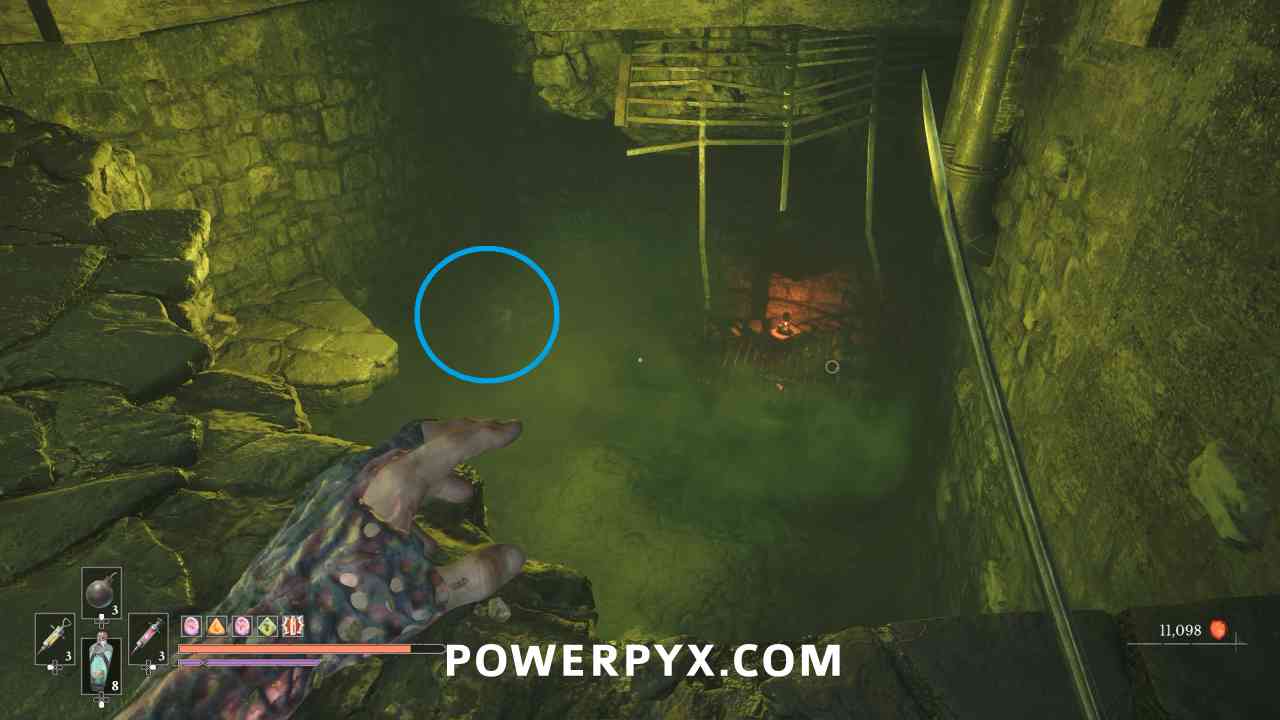
Progress along the main path until you reach the long hallway where there is poison on the lower level and you are meant to jump across the platforms. At the end on the lower area are two explosive chests. The left chest contains this Amber.
Amber #12: Surplus
Location #1
Lantern: Caverns > Old Mine
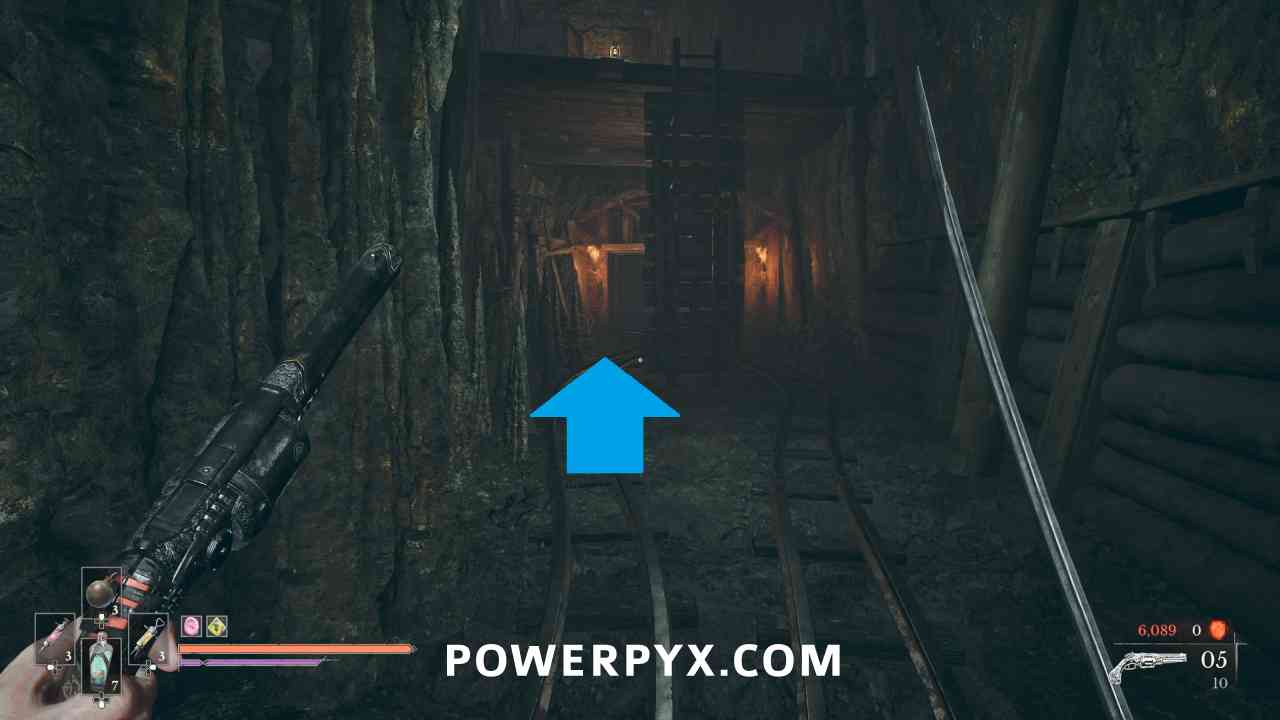
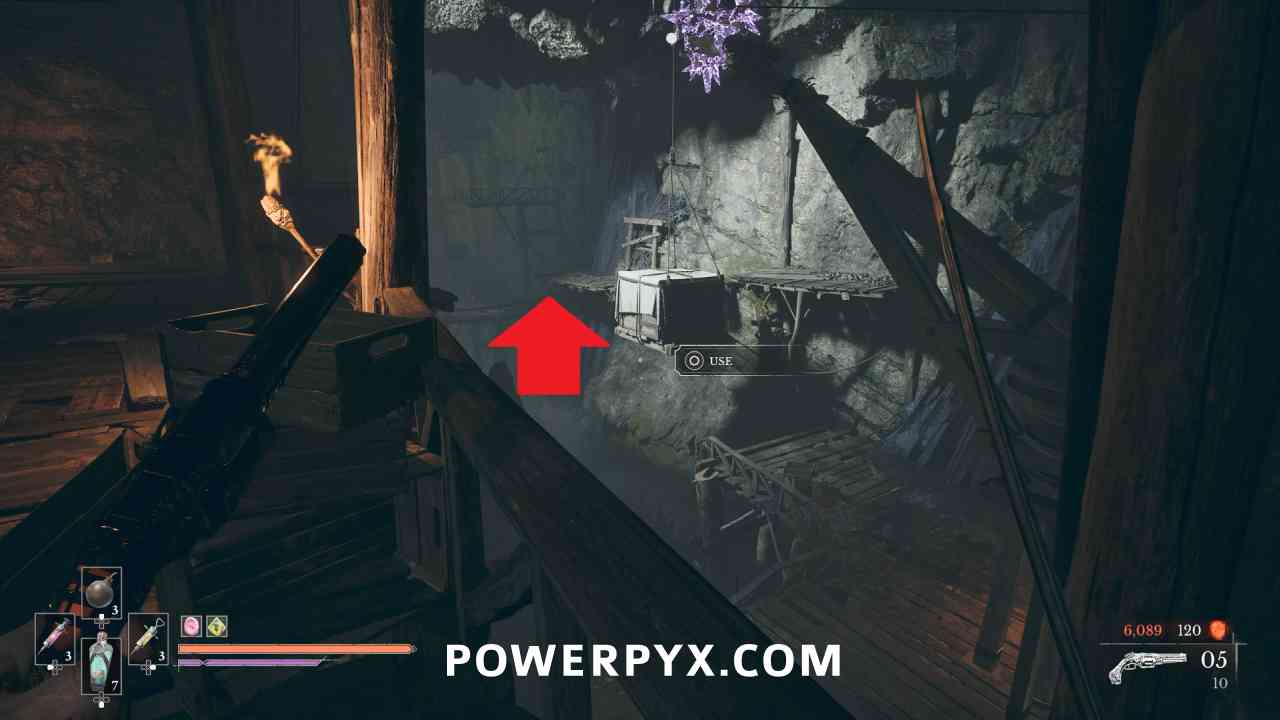
From the Lantern keep progressing through the area until you reach the tunnels with the mine carts going through them. In the first tunnel where you drop down a ladder between two tracks that is by a shortcut back to the Lantern, walk back past the ladder and there is a path leading to a new area. Make your way through this area until you reach a spot with a lever that moves a box up and down that you can freeze. Go up the platforms to the right where this is in a chest.
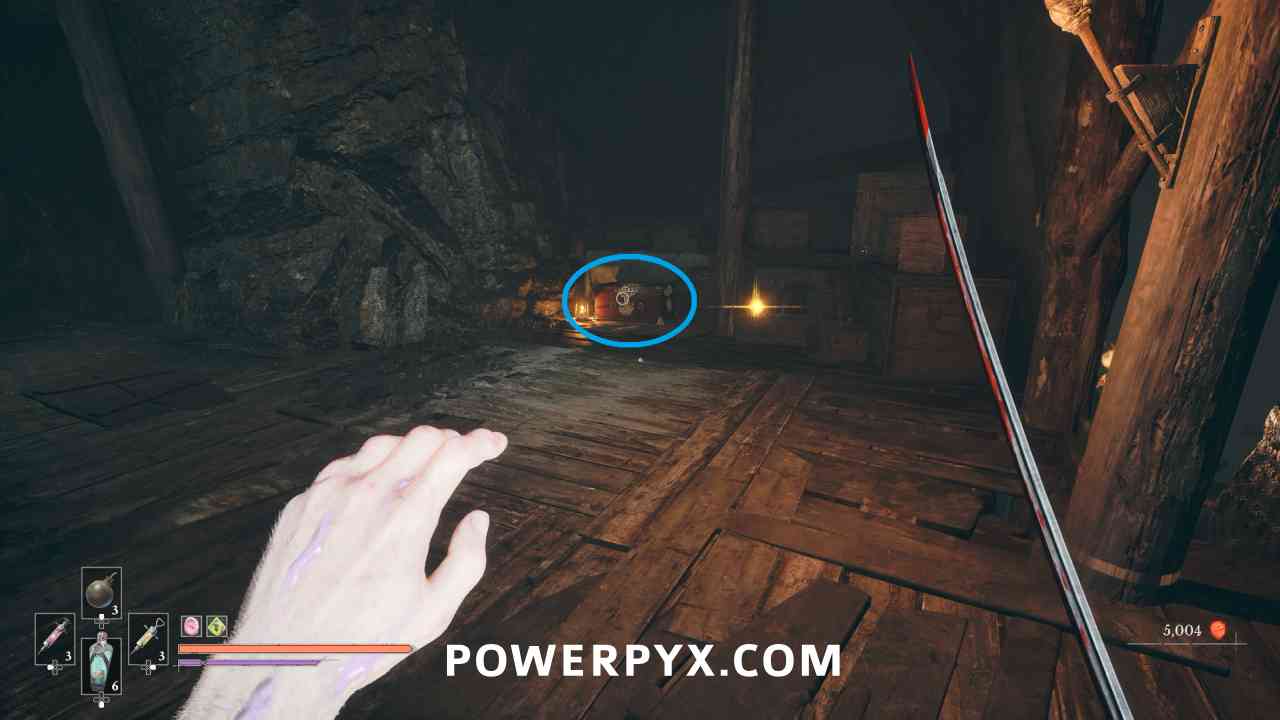
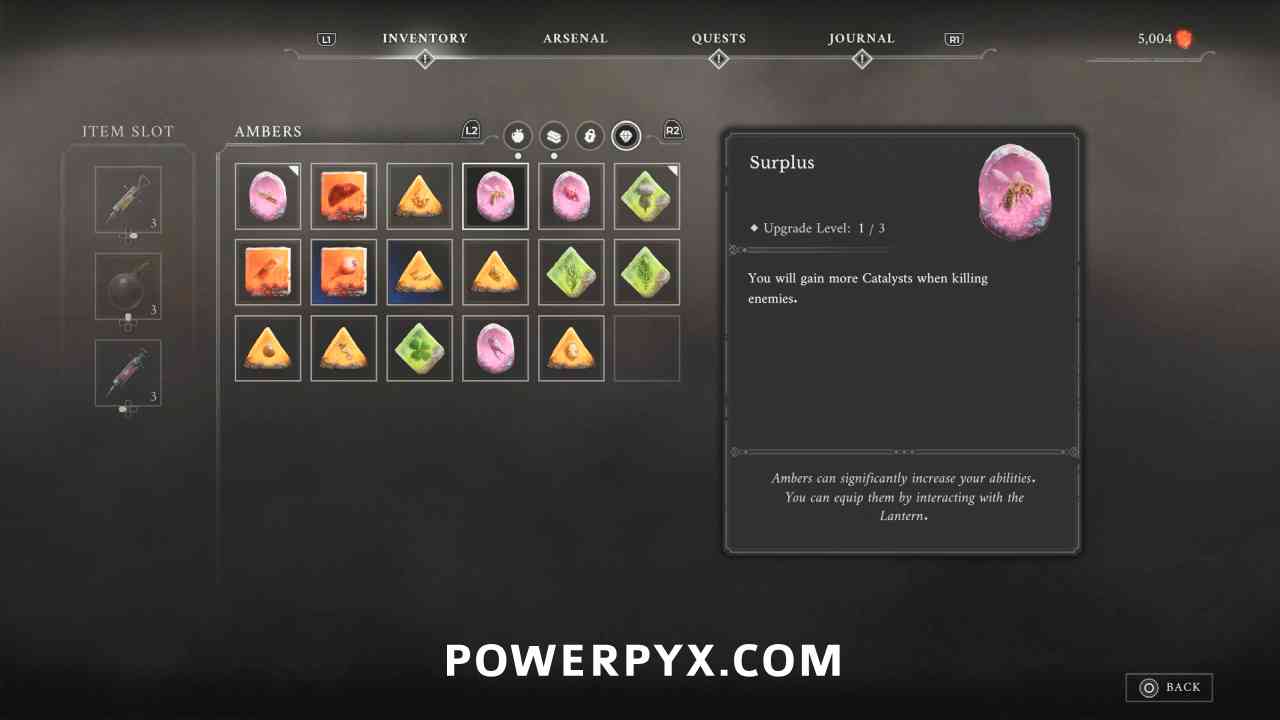
Location #2
Lantern: The Outskirts > Island of Whispers
Progress along the main path until you reach a long road area with two tall enemies in front of you. On the left about halfway down the road is a chest with this Amber.
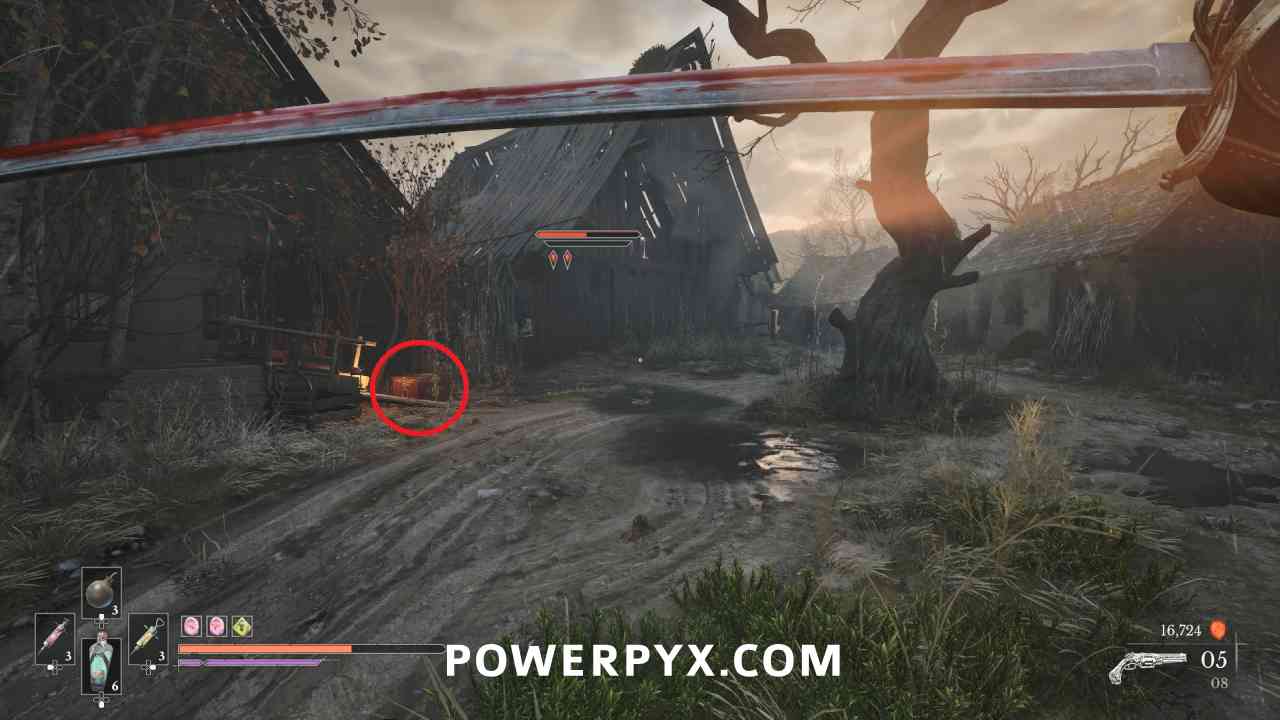
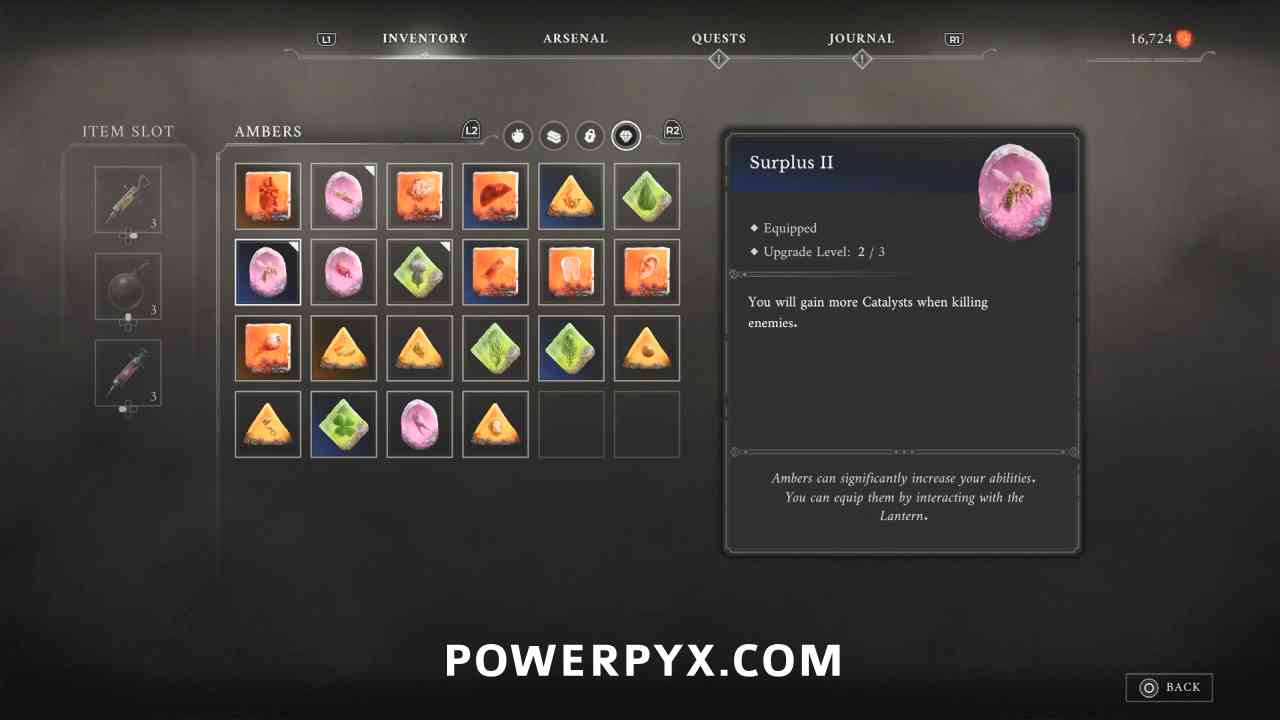
Location #3
*Currently unknown*
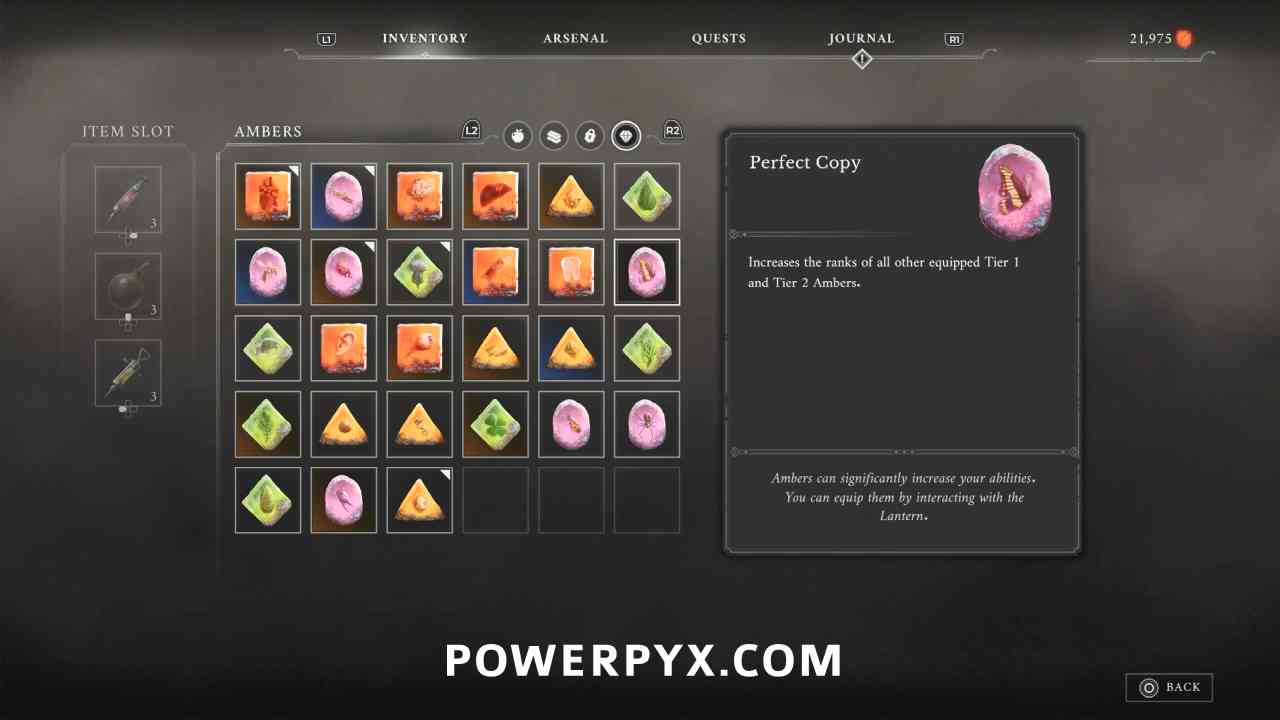
Amber #13: Perfect Copy
Lantern: Valley of Ashes > The Other Side
After obtaining the Shield Transmutation so that you can traverse the poison area, follow the path down the hill where you come to a camp hidden by the poison.
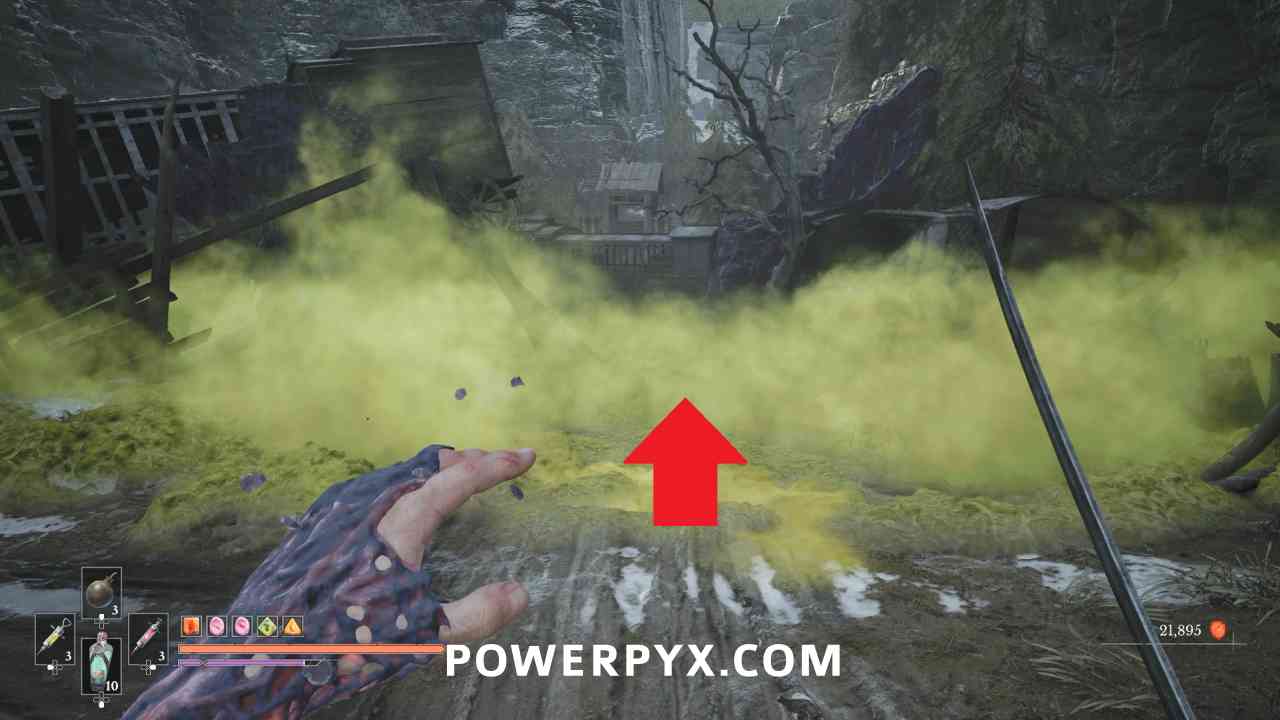
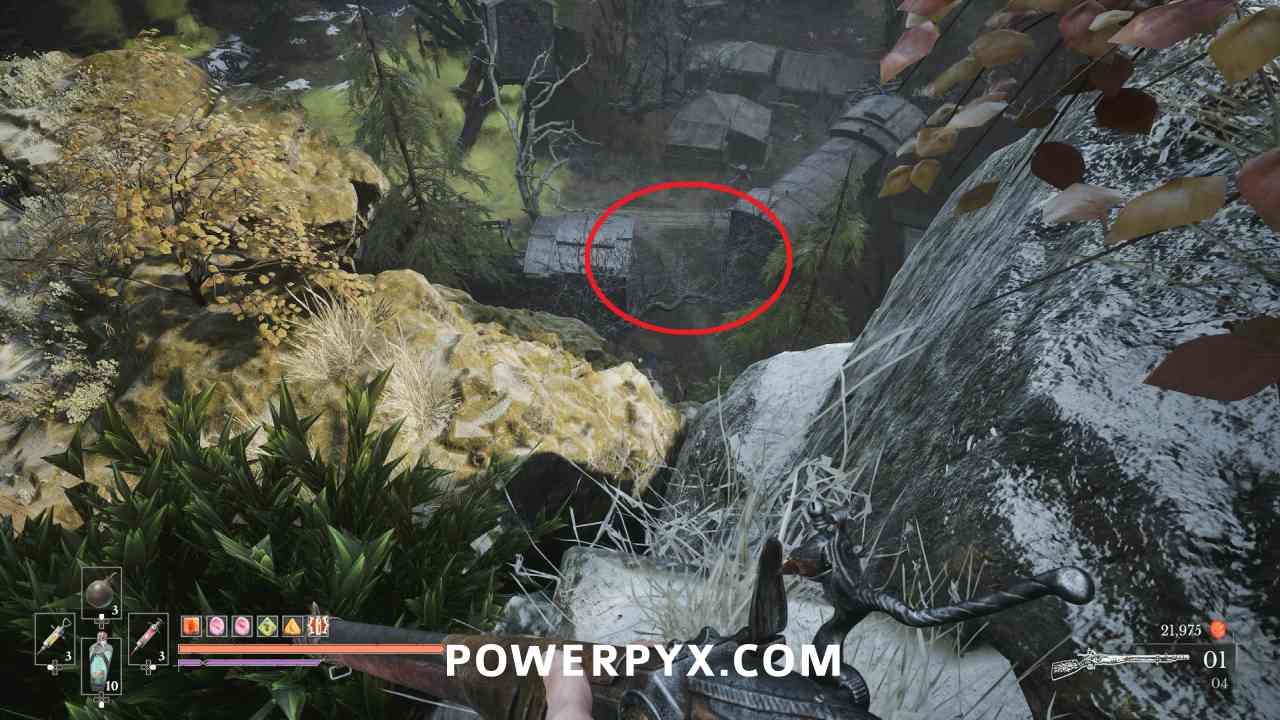
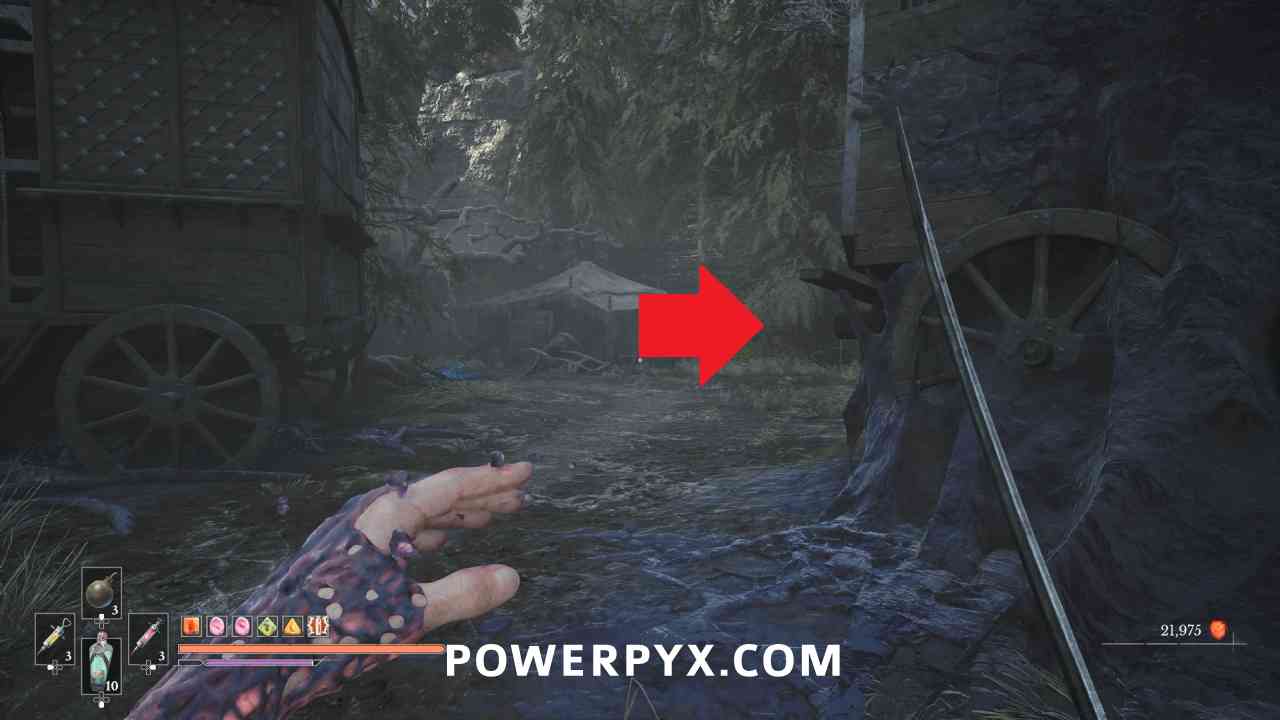
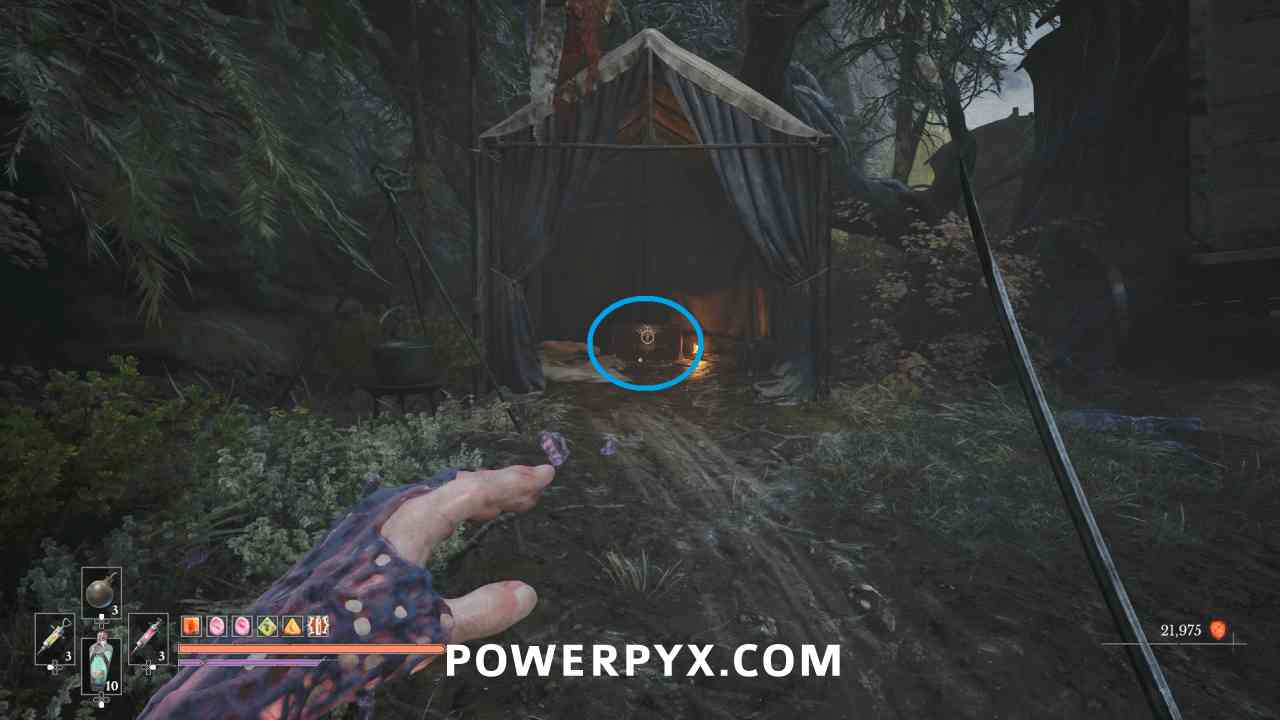
Shoot the weak spot in the train car to open up the path near the poison (if you can’t find an angle from ground level, you can go to the area up the cliffs and aim down toward it). In the tent immediately right is a chest containing this Amber.
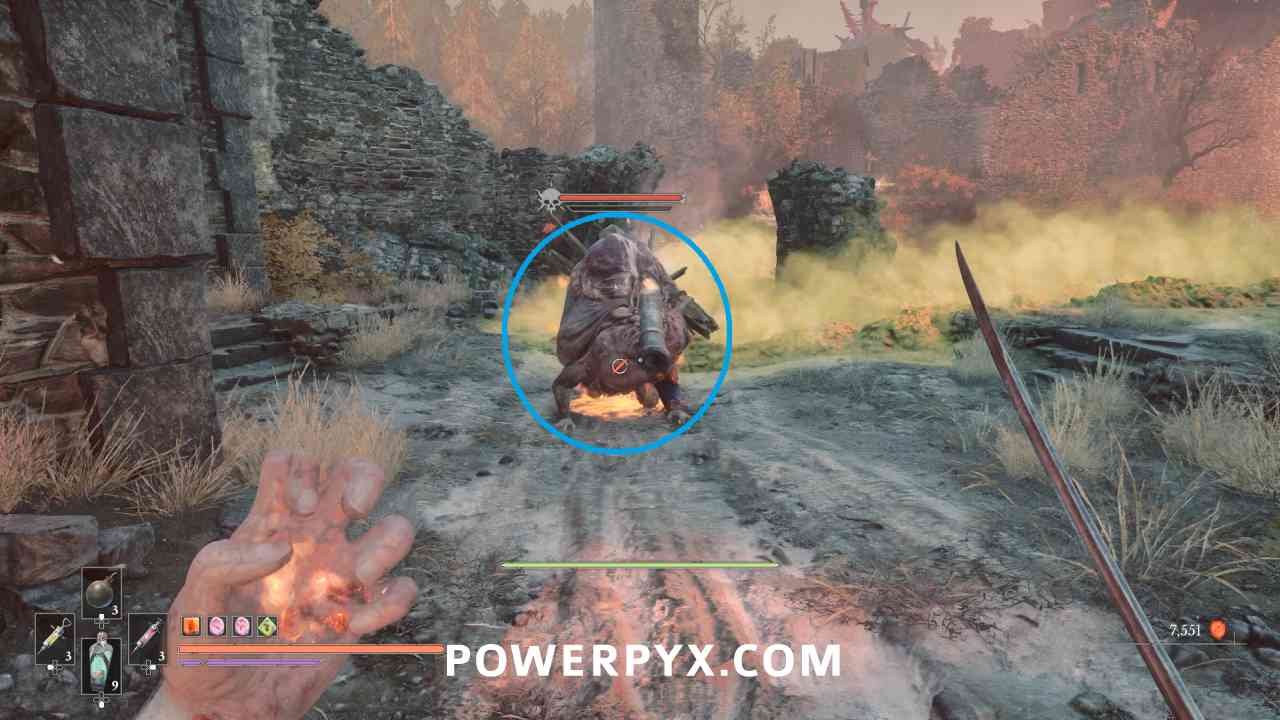
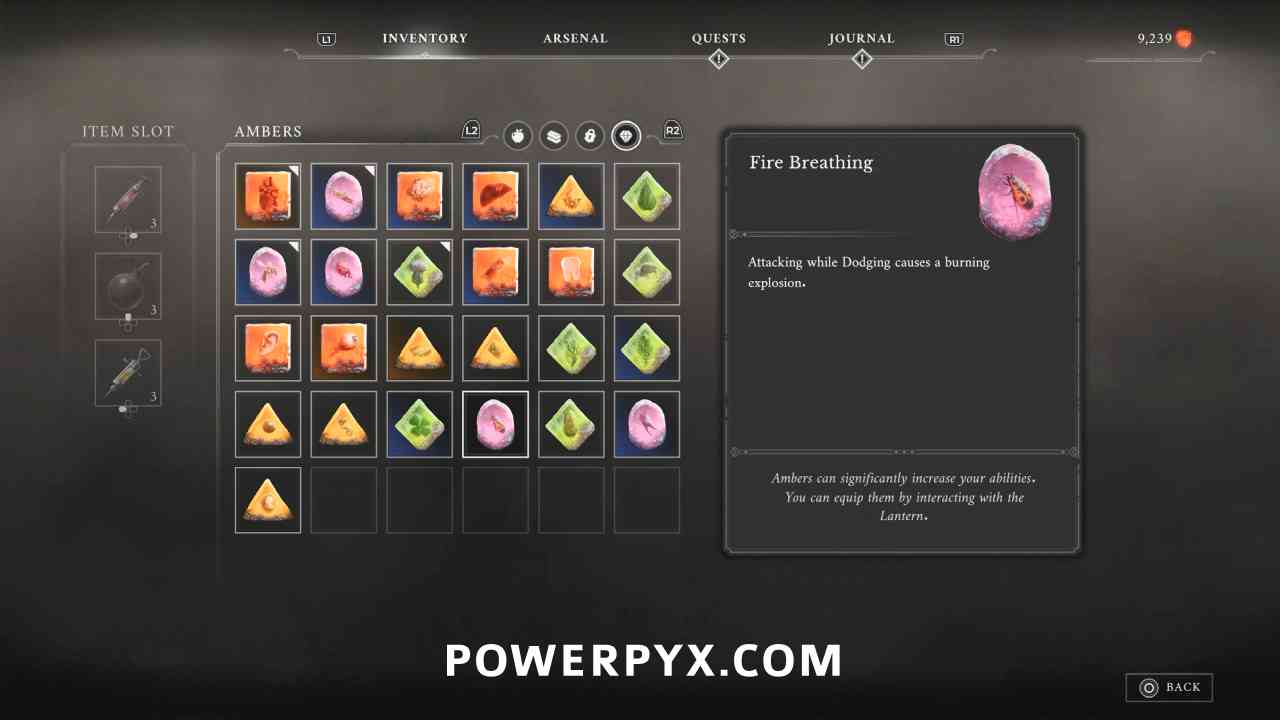
Amber #14: Fire Breathing
Lantern: Fortress > Main Gate
In the entrance of the Fortress area, defeat the cannon miniboss to receive this Amber.
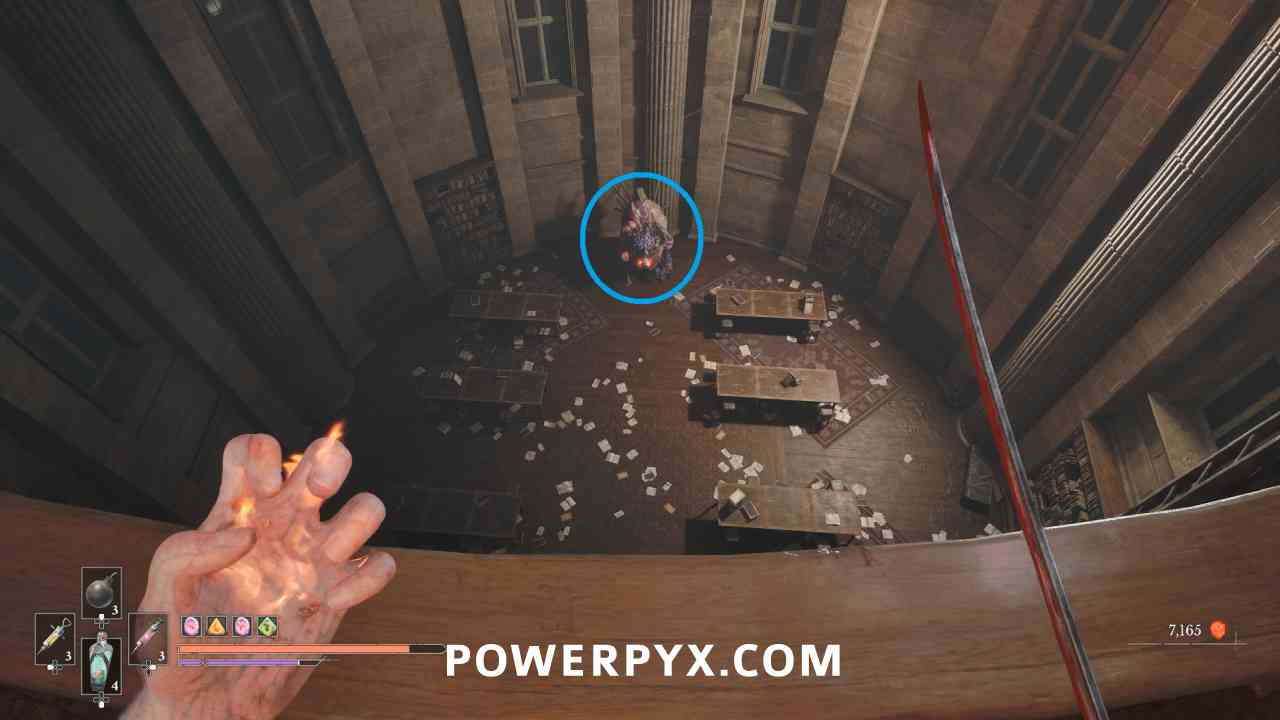
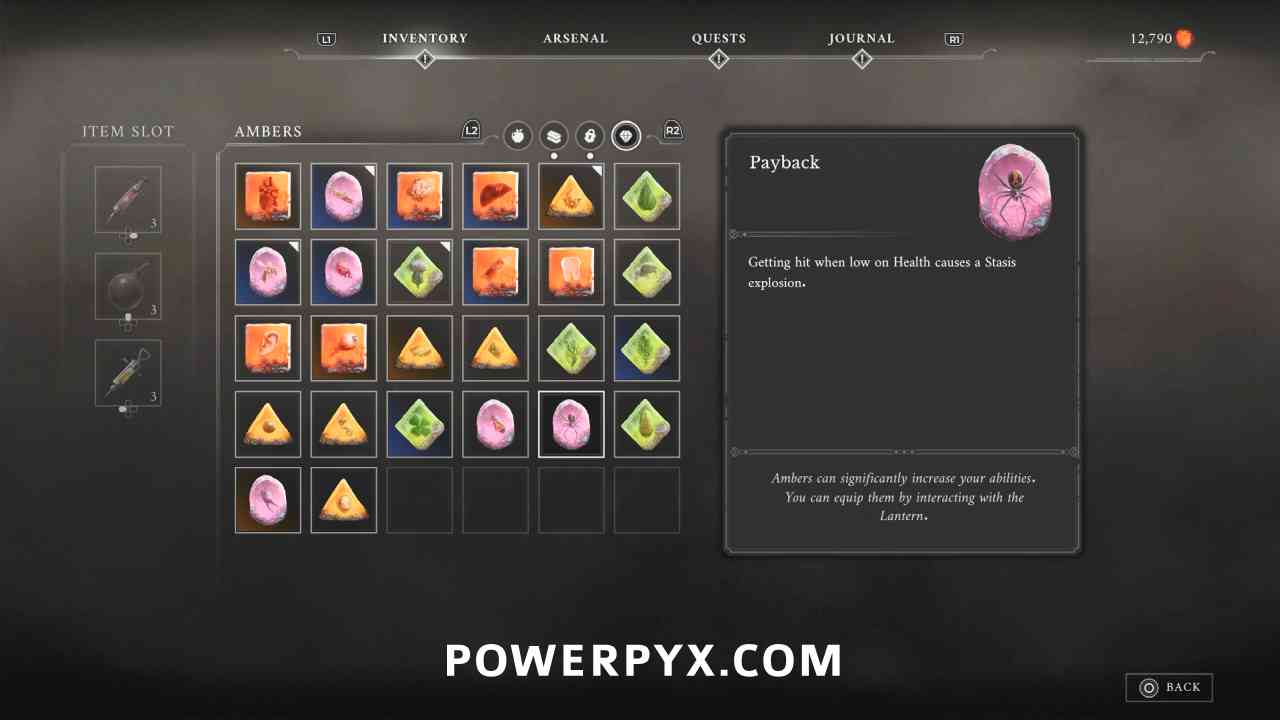
Amber #15: Payback
Lantern: University > Main Hall
Progress until you reach the circular room where you can climb to the rooftop. Instead of doing that, climb down the ladder to the area below where there is a cannon miniboss. Defeat it to receive this Amber.
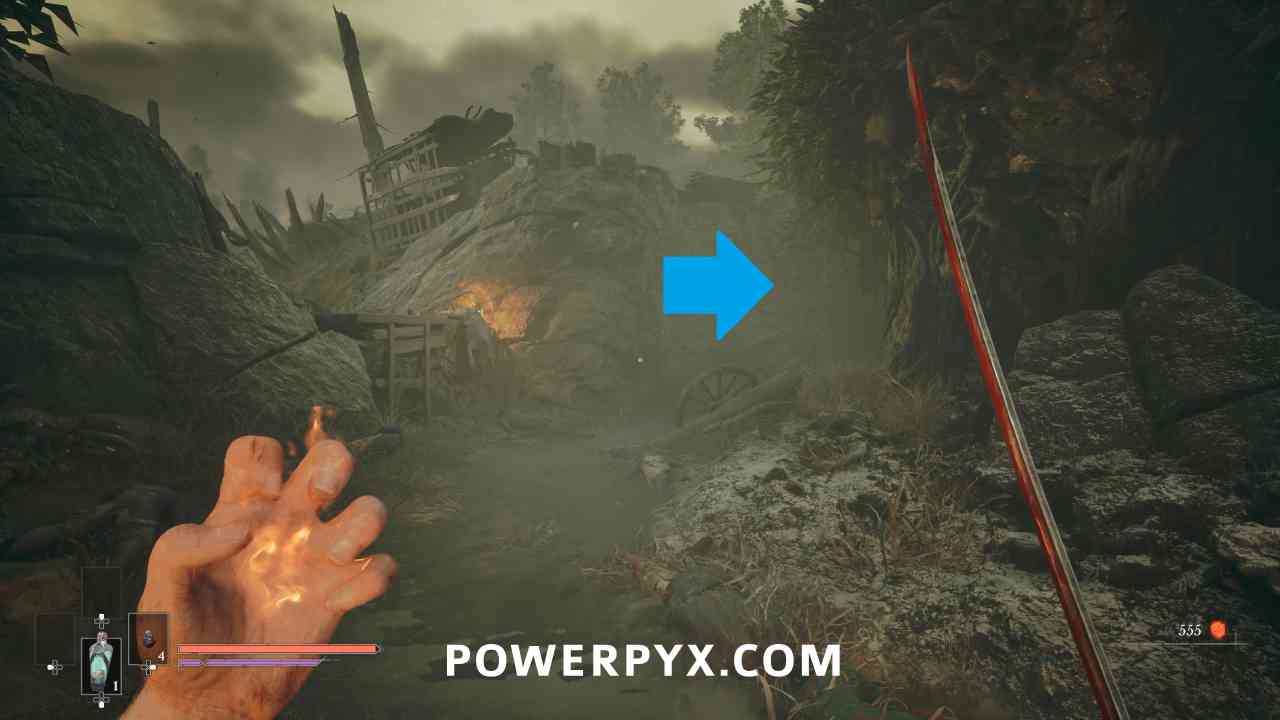
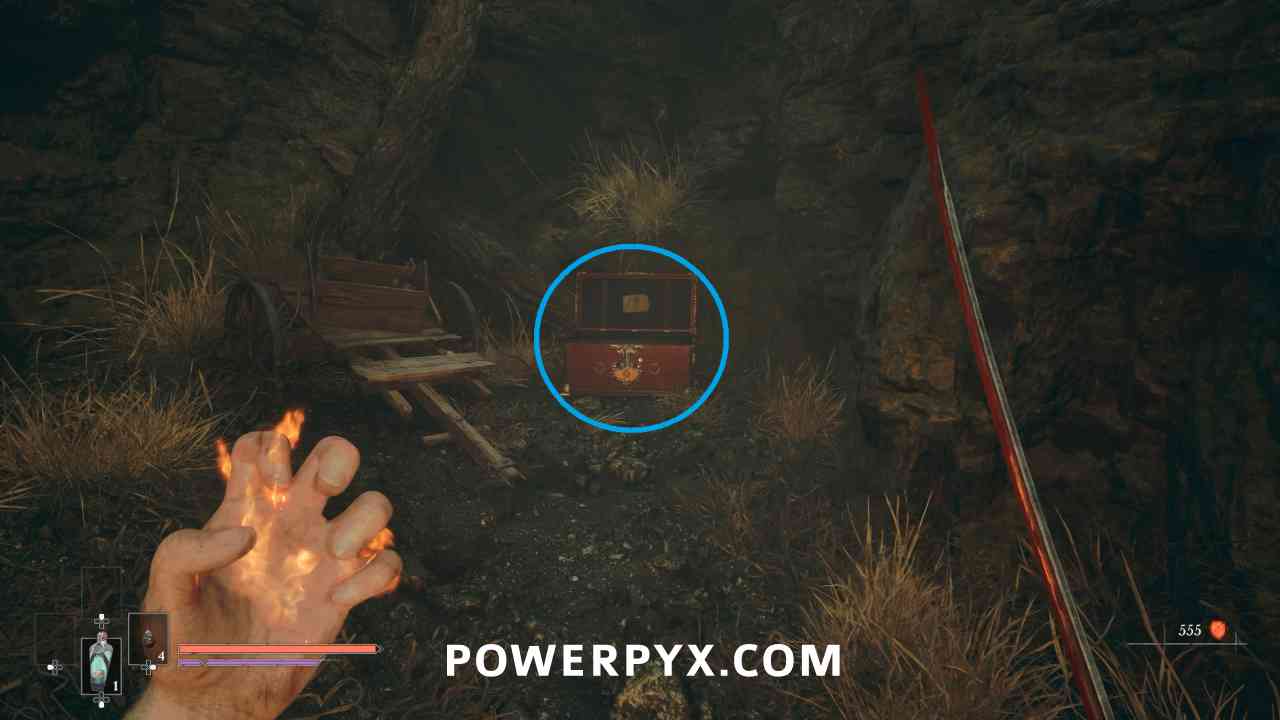
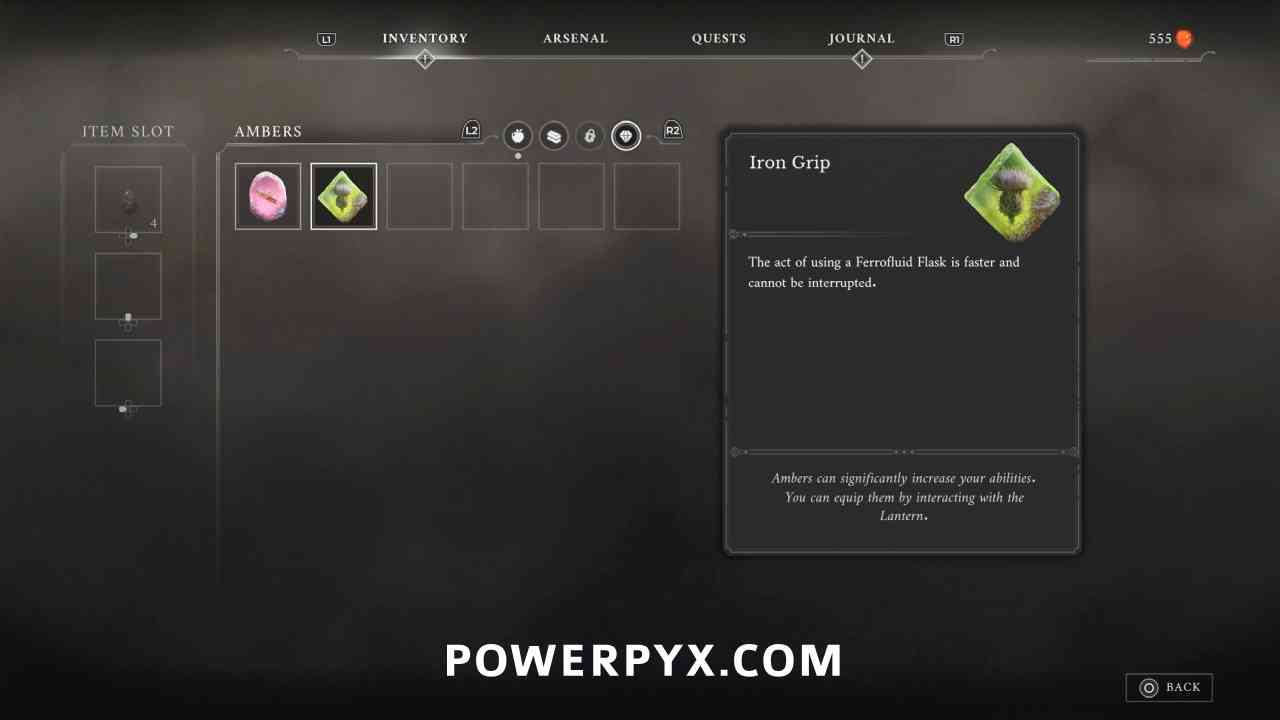
Amber #16: Iron Grip
Lantern: The Battlefield > Trenches
After the spot where you receive the Plunge Attack tutorial, turn right instead of climbing the wood ledge. This is in the dead end behind an enemy in a chest.
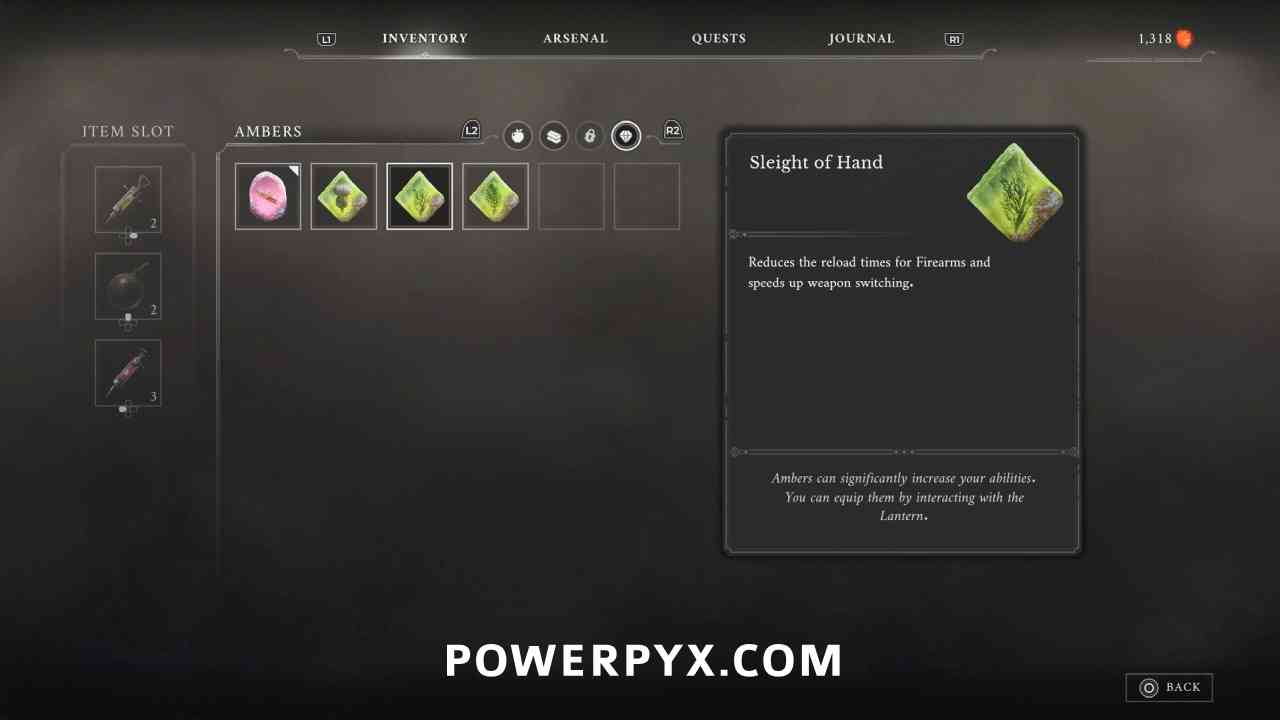
Amber #17: Sleight of Hand
Lantern: Valley of Ashes > Demolished Path
Reward for completing side quest An Unheard Farewell.
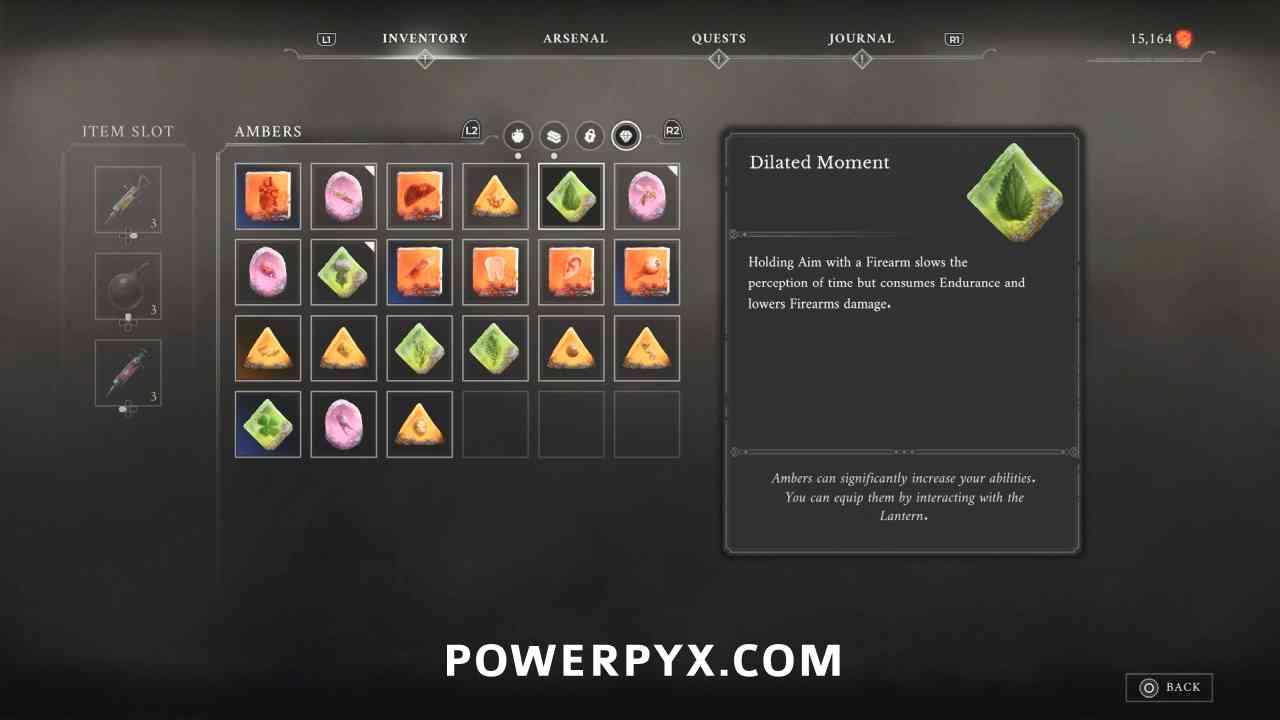
Amber #18: Dilated Moment
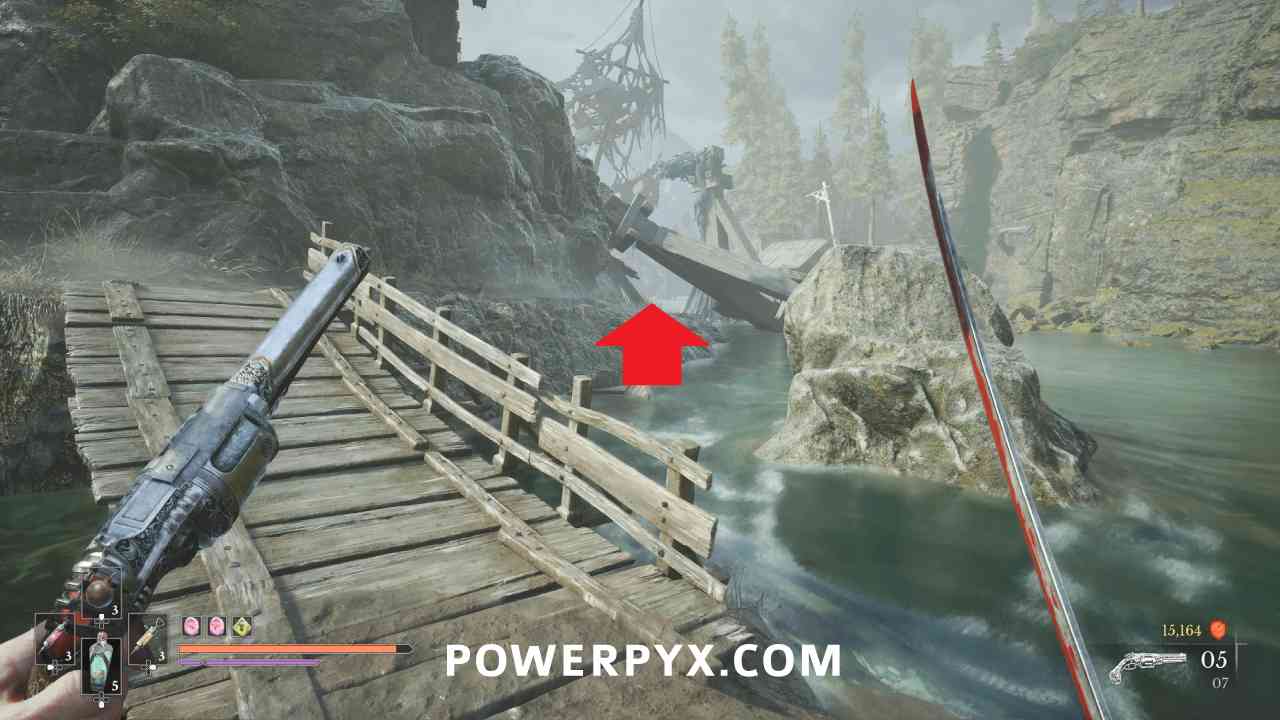
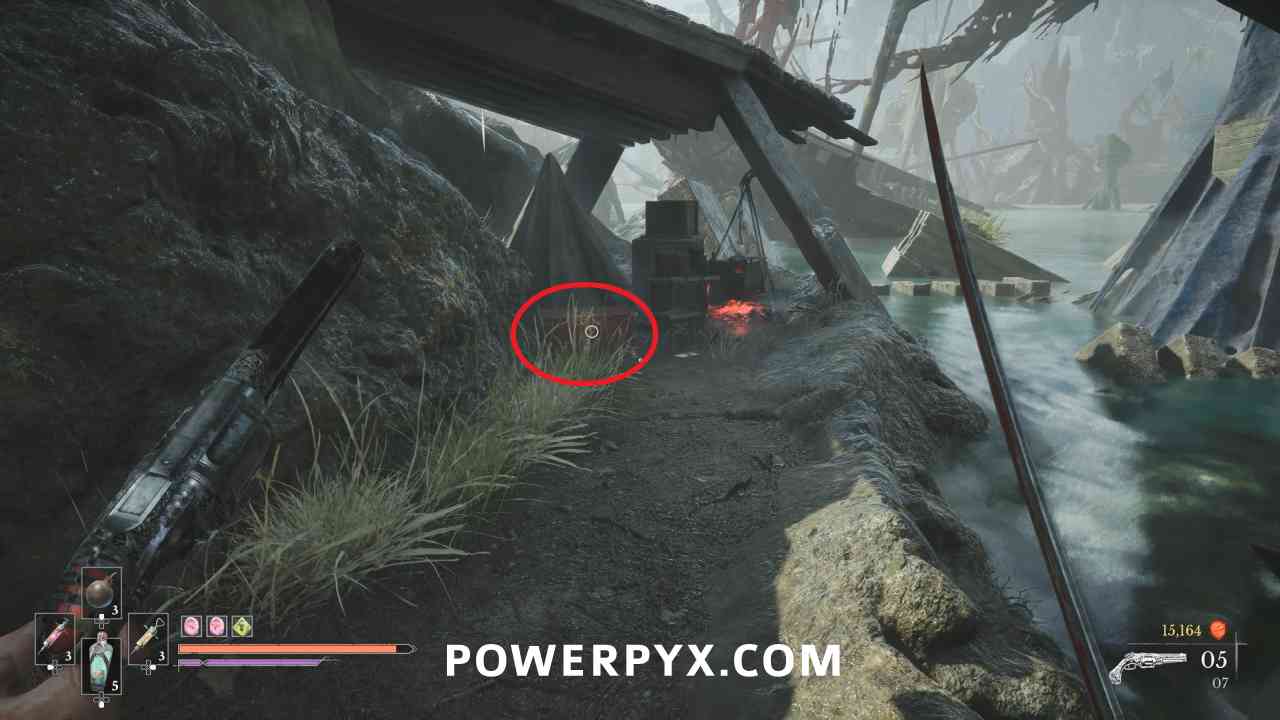
Lantern: Vale of Wrath > Under the Bridge
On the right side of the fishing village area (close to the river) follow the path leading along the river to a dead end where this is in a chest just below a grapple point.
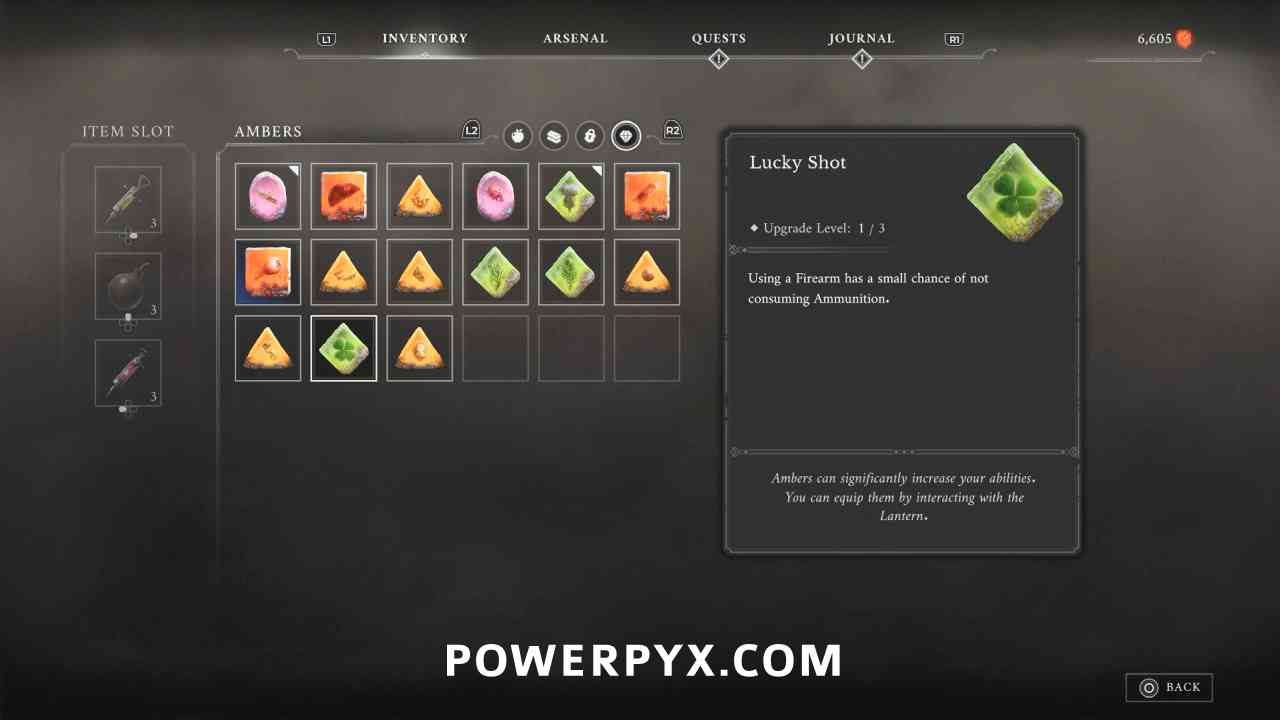
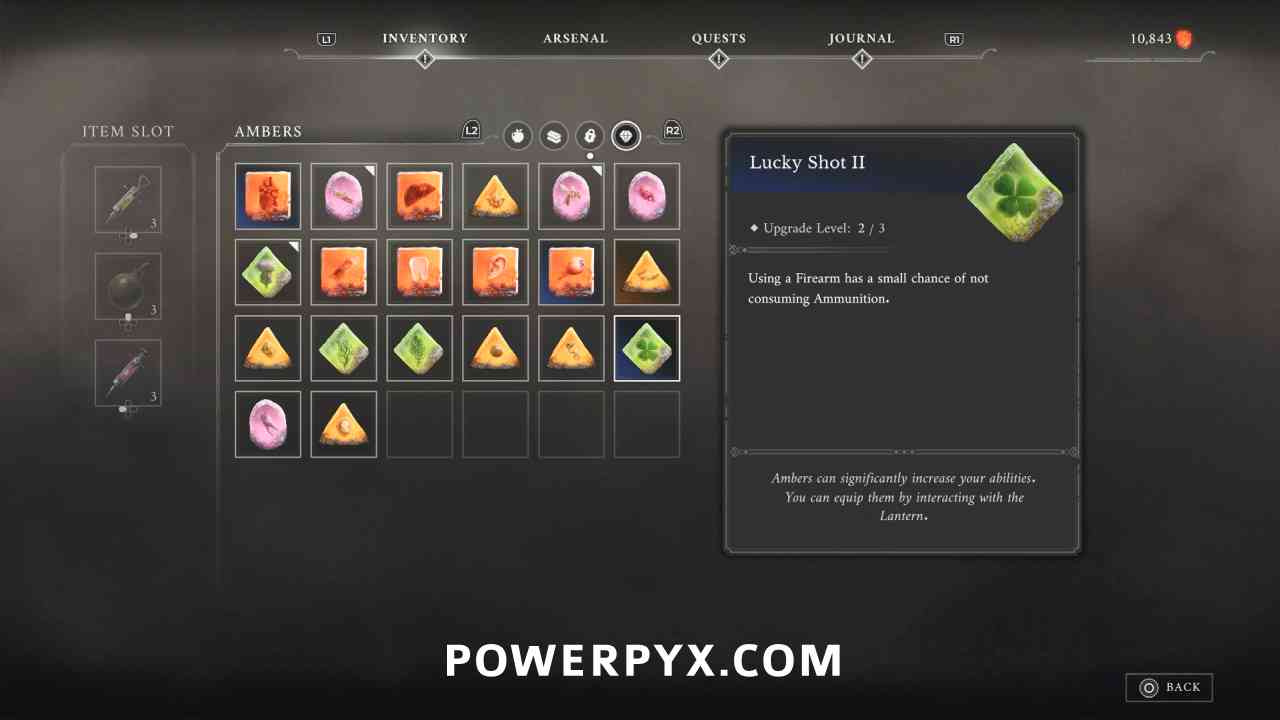
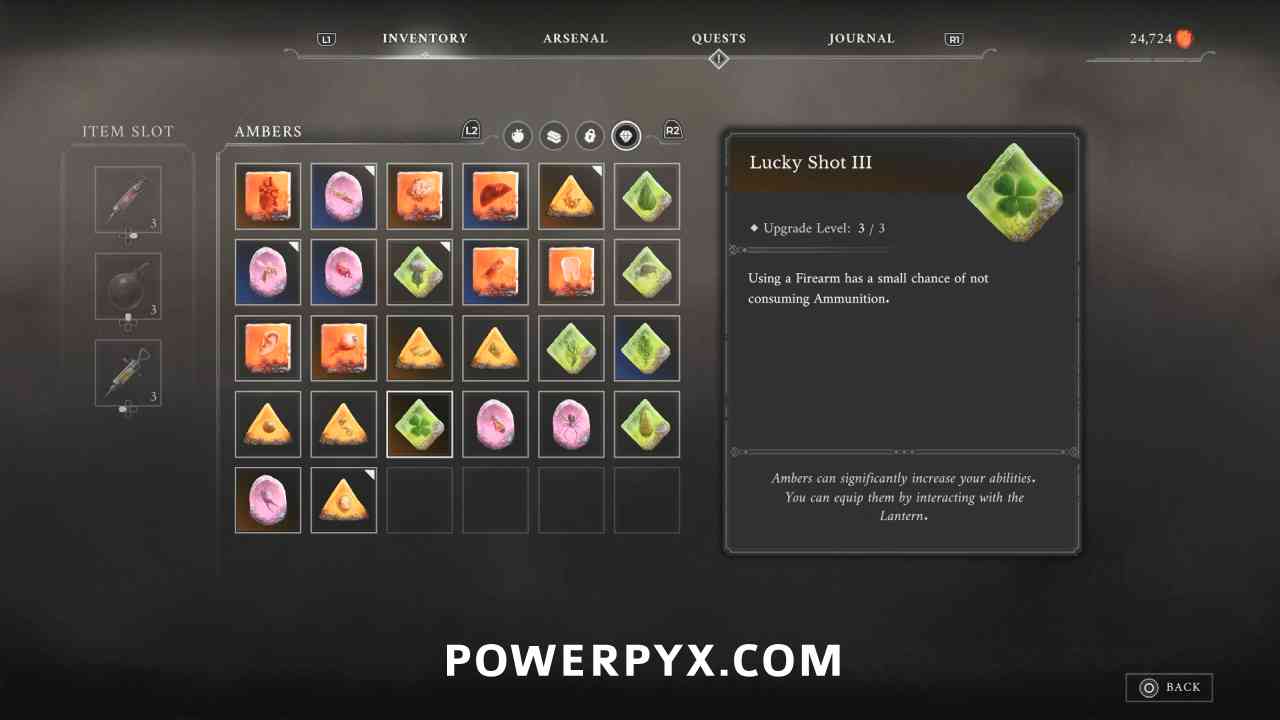
Amber #19: Lucky Shot
Location #1
Lantern: Caverns > Last Sunlight
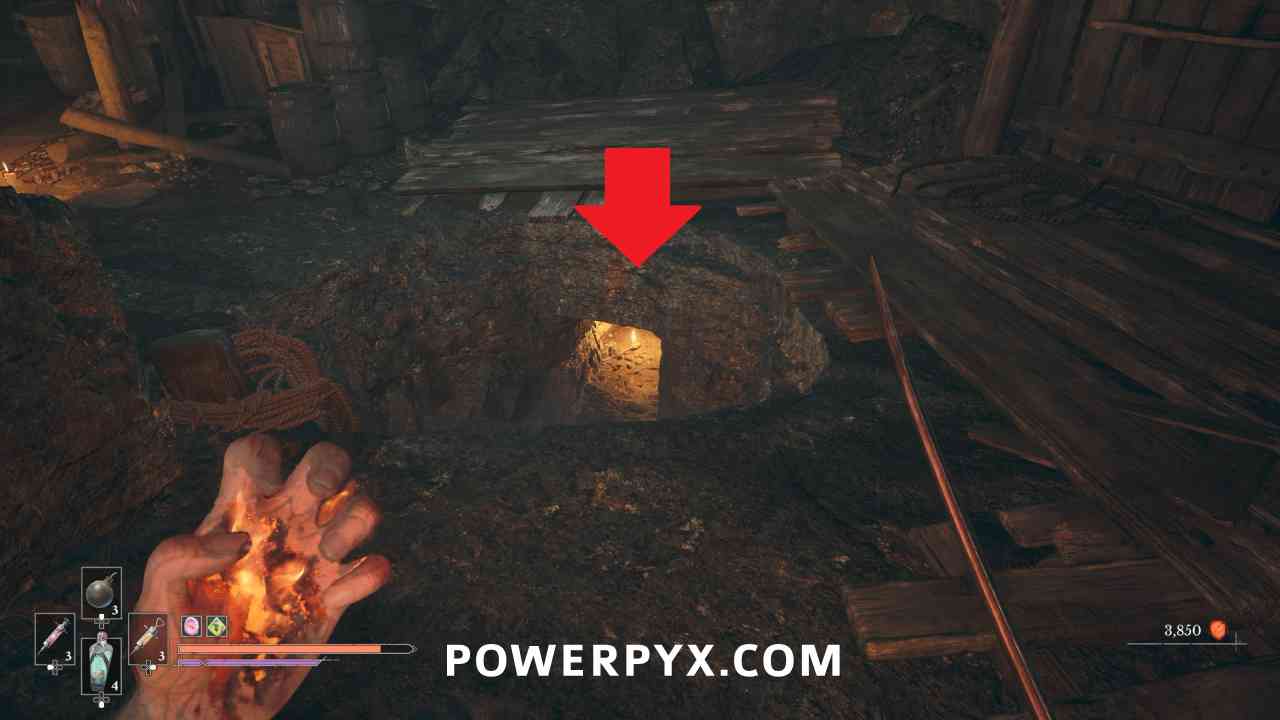
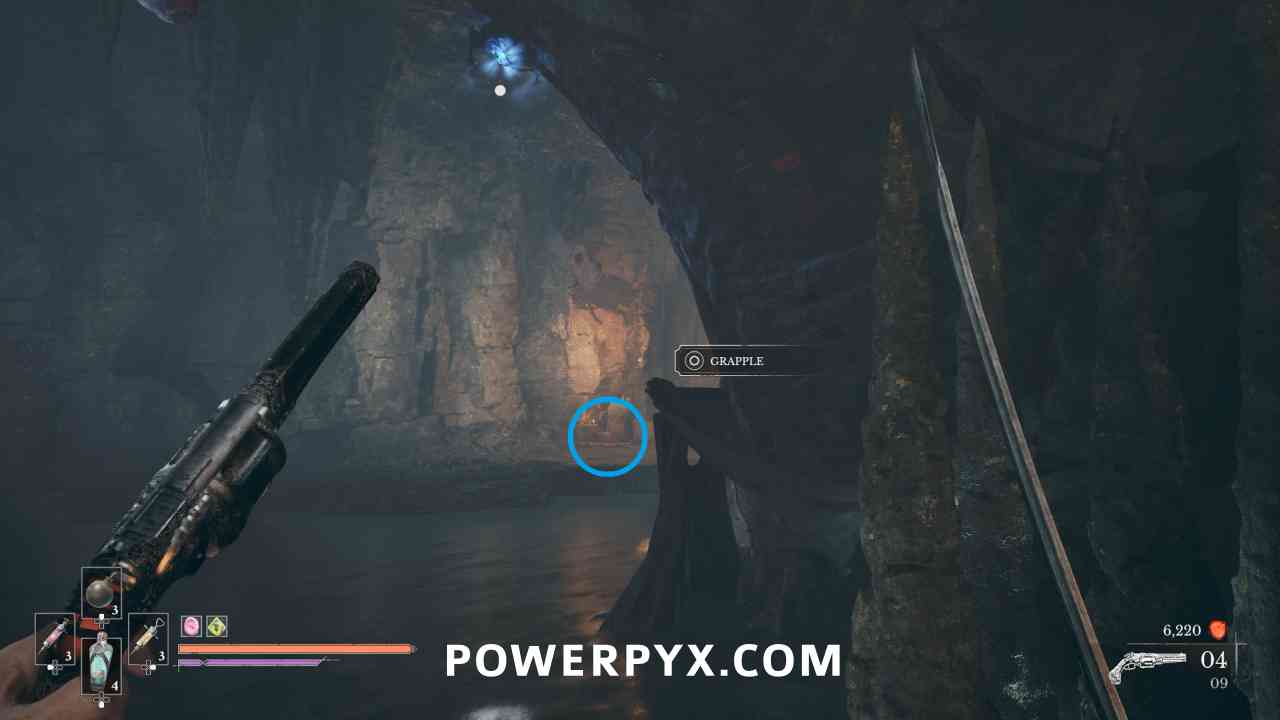
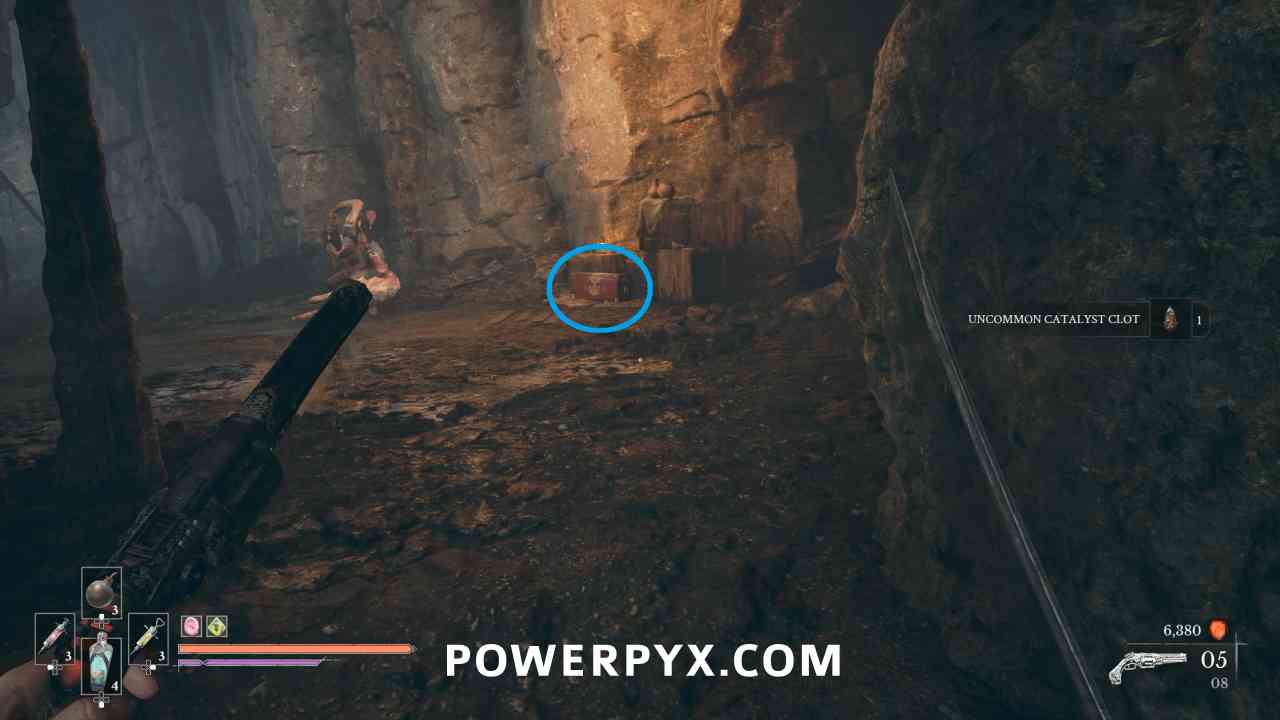
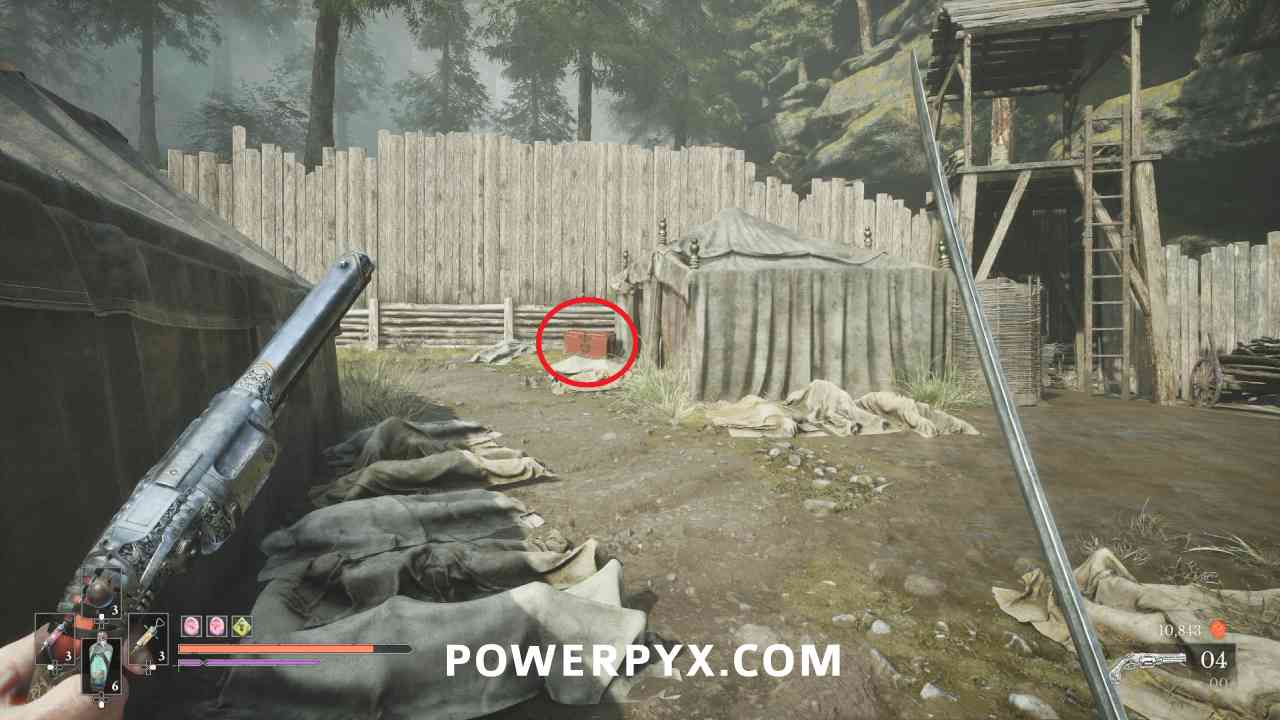
In the cavern with all the enemies there is one hole in the ground with a tunnel you can see in it. Follow this to a new area, where there is a chest near a Grenadier. Inside is this Amber.
Location #2
Lantern: Vale of Wrath > Poisoned Camp
While progressing through the camp area, immediately after the spot with the two flamethrower Volunteers, this is in a chest in a corner. If you are facing the Lantern from where you exit the carriage, it is left through the path you clear by shooting the weak point on the carriage wall. The chest has bombs in it that go off when you first try to open it.
Location #3
Lantern: Fortress > Traverse
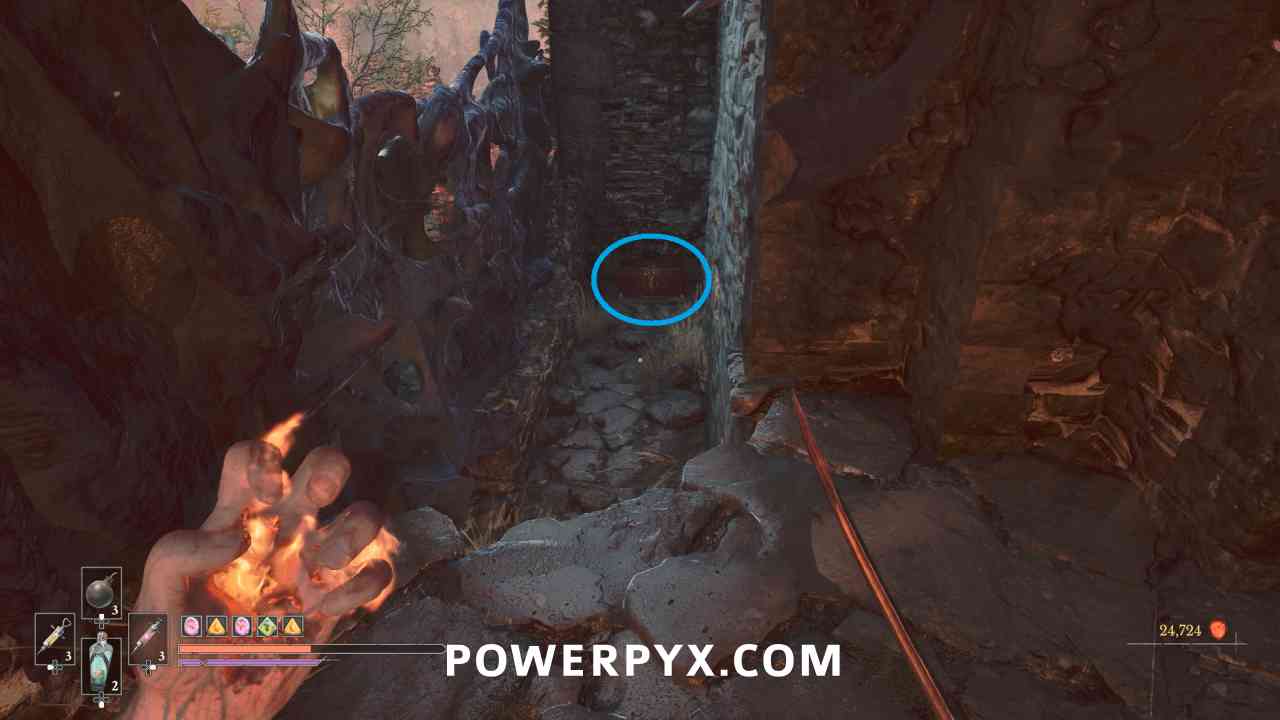
Progress until you reach the Traverse Lantern in the second courtyard. Turn around from it and go through the path to the area to the left past the enemies. Continue left and go up the stairs to the upper area. Go to the back left of this area (toward the entrance to the fortress) and there is a ledge you can drop down leading to a chest with this Amber.
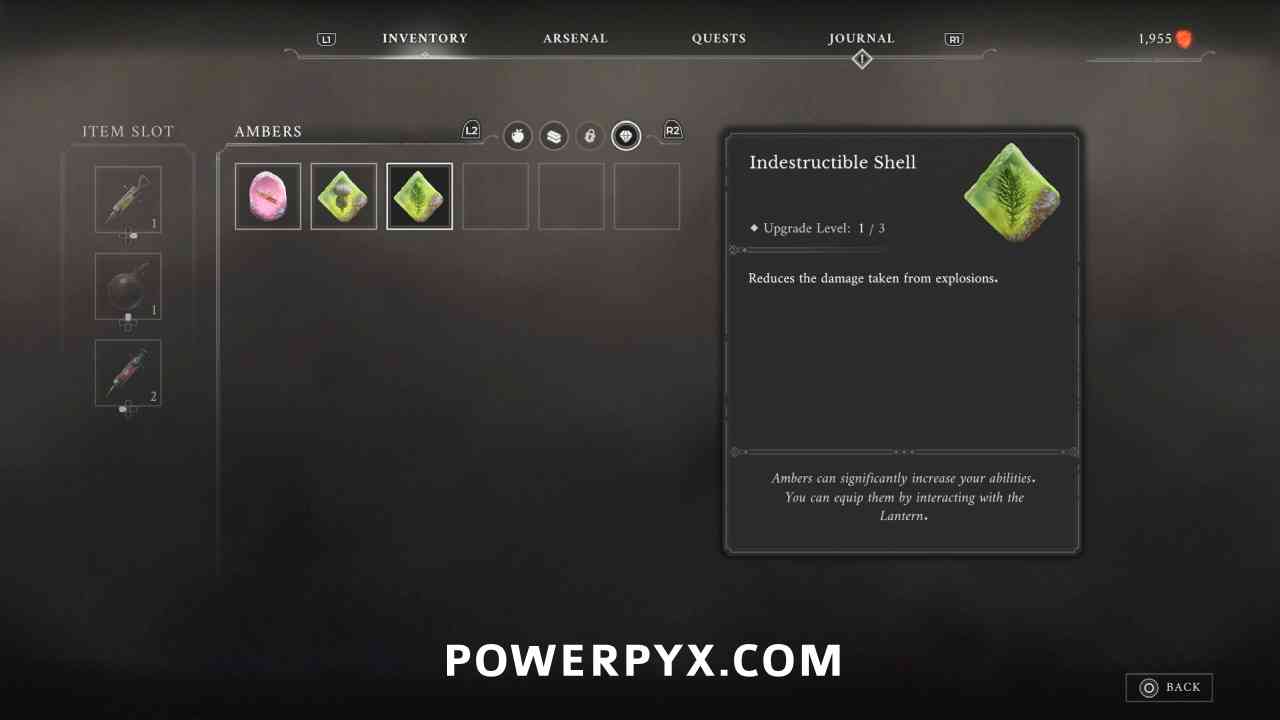
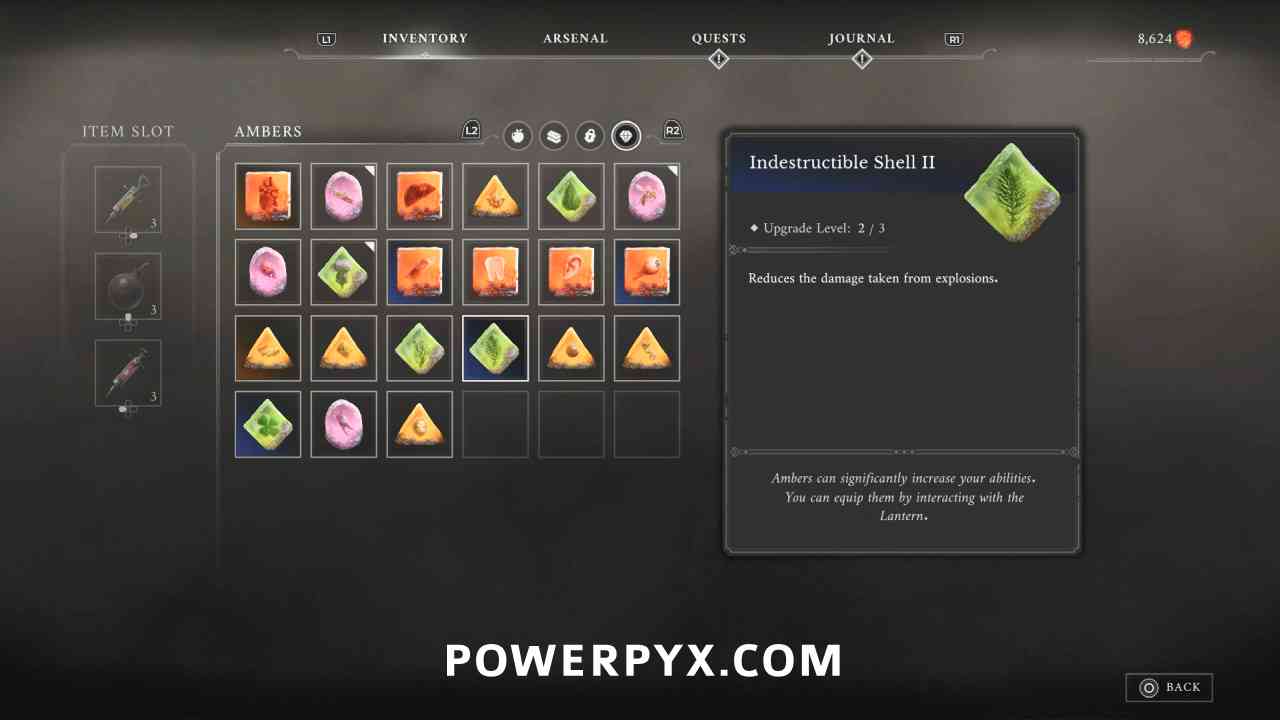
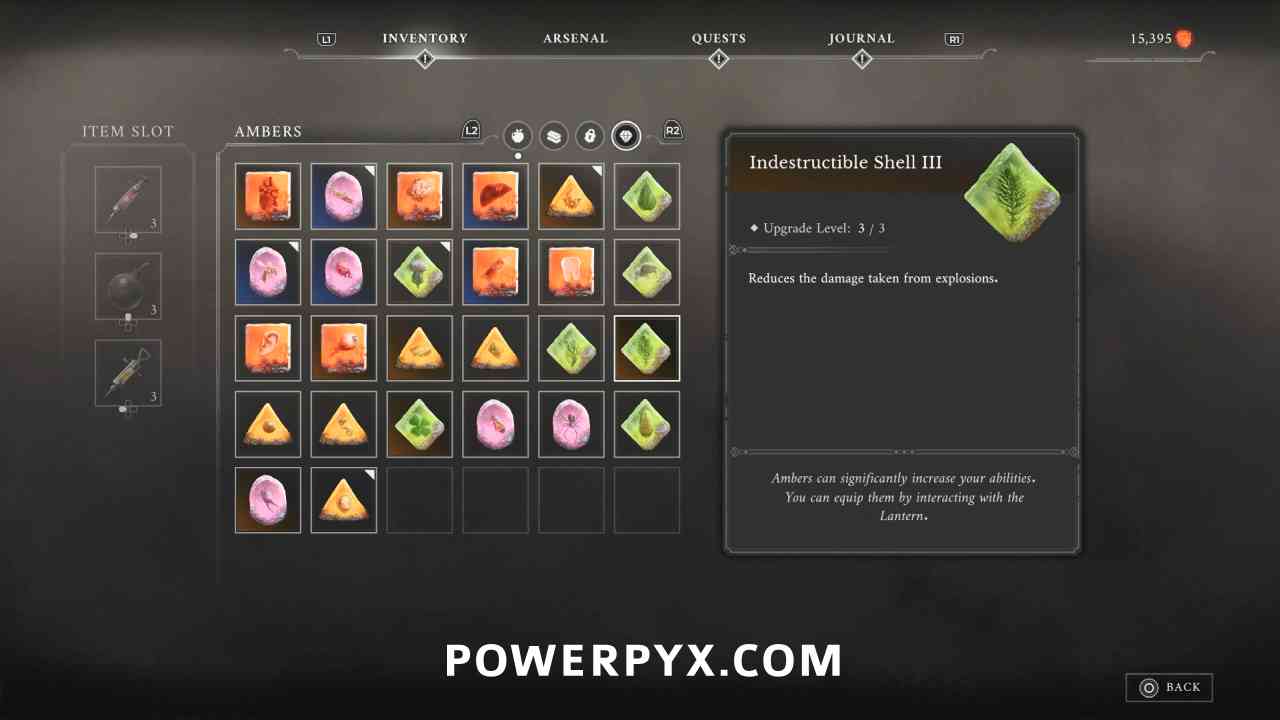
Amber #20: Indestructible Shell
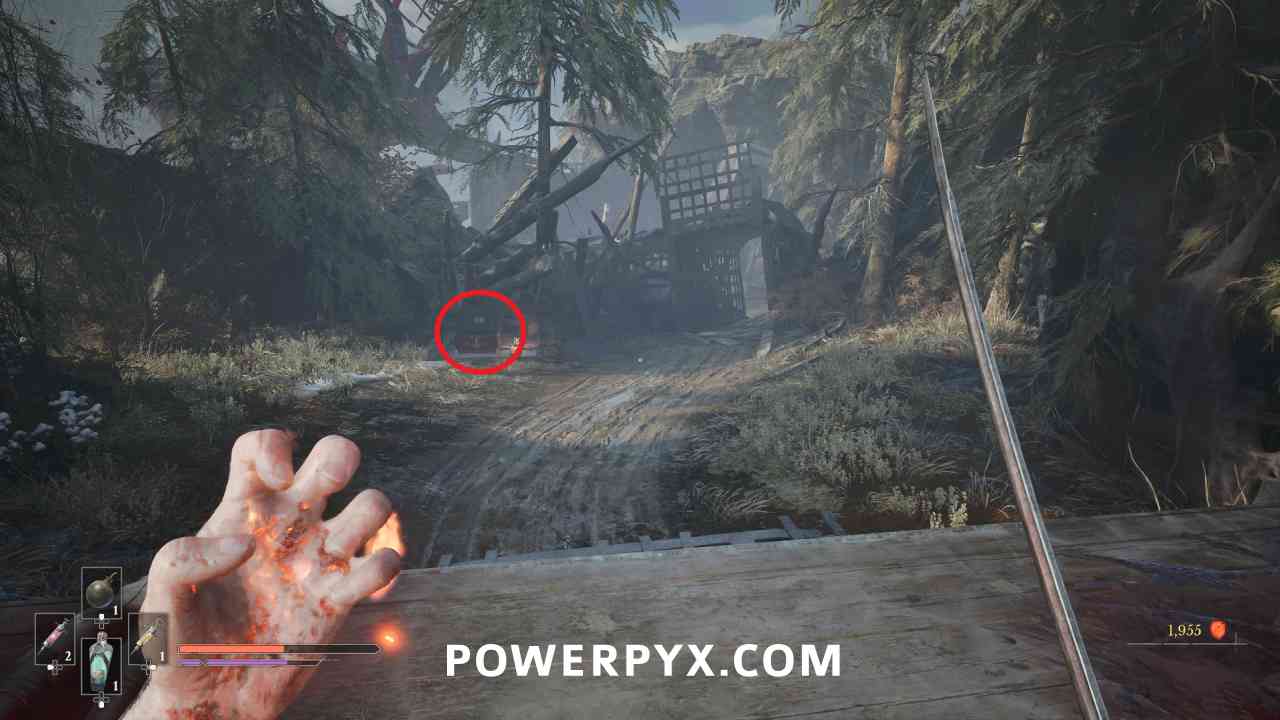
Location #1
Lantern: Valley of Ashes > Guidepost
Along the main path immediately after the first Grenadier enemy, in a chest on the left before walking through the next metal carriage.
Location #2
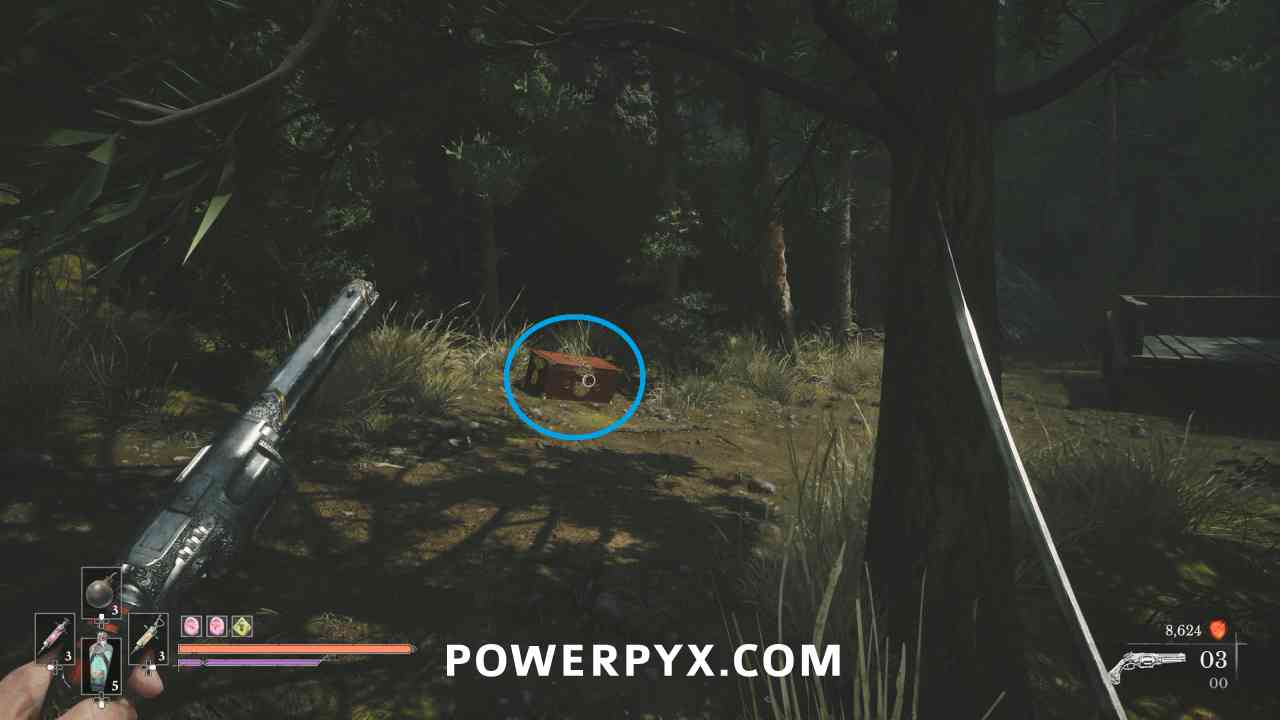
Lantern: Cursed Hollow > Silent Cannons
In the area past the shack Seamus is in, in a chest by some exploding bodies. The chest also explodes when you open it.
Location #3
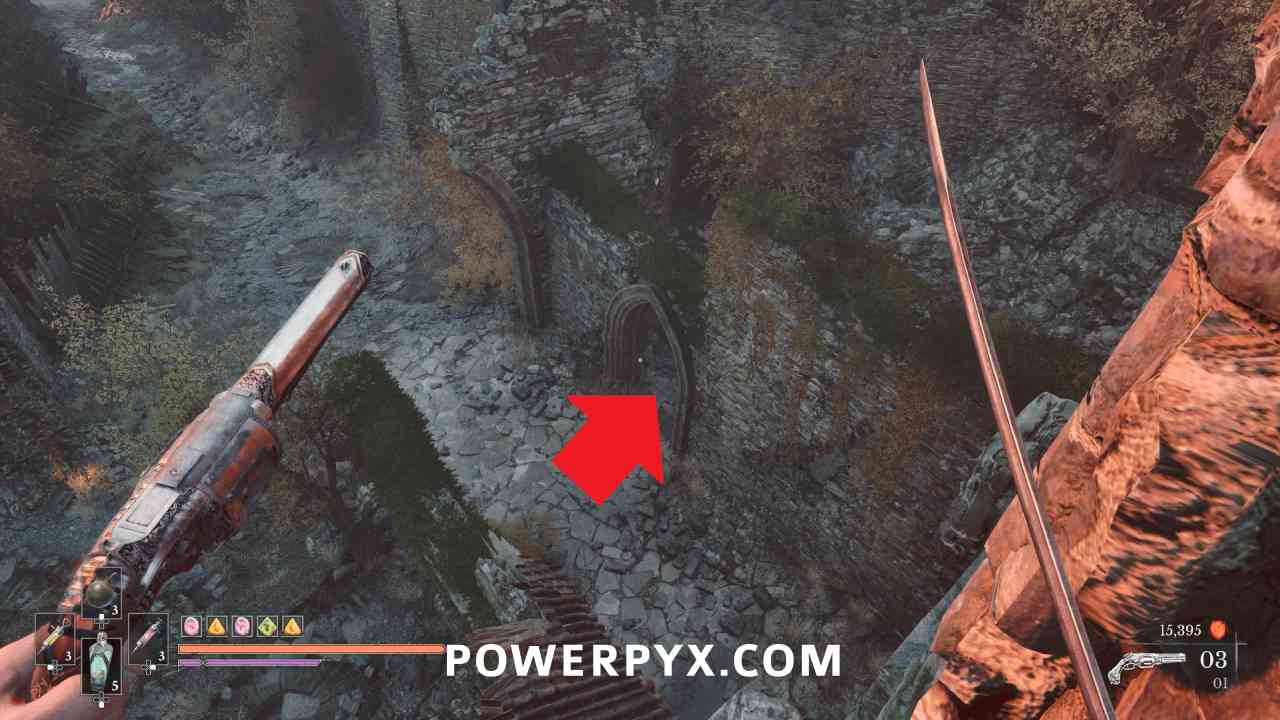
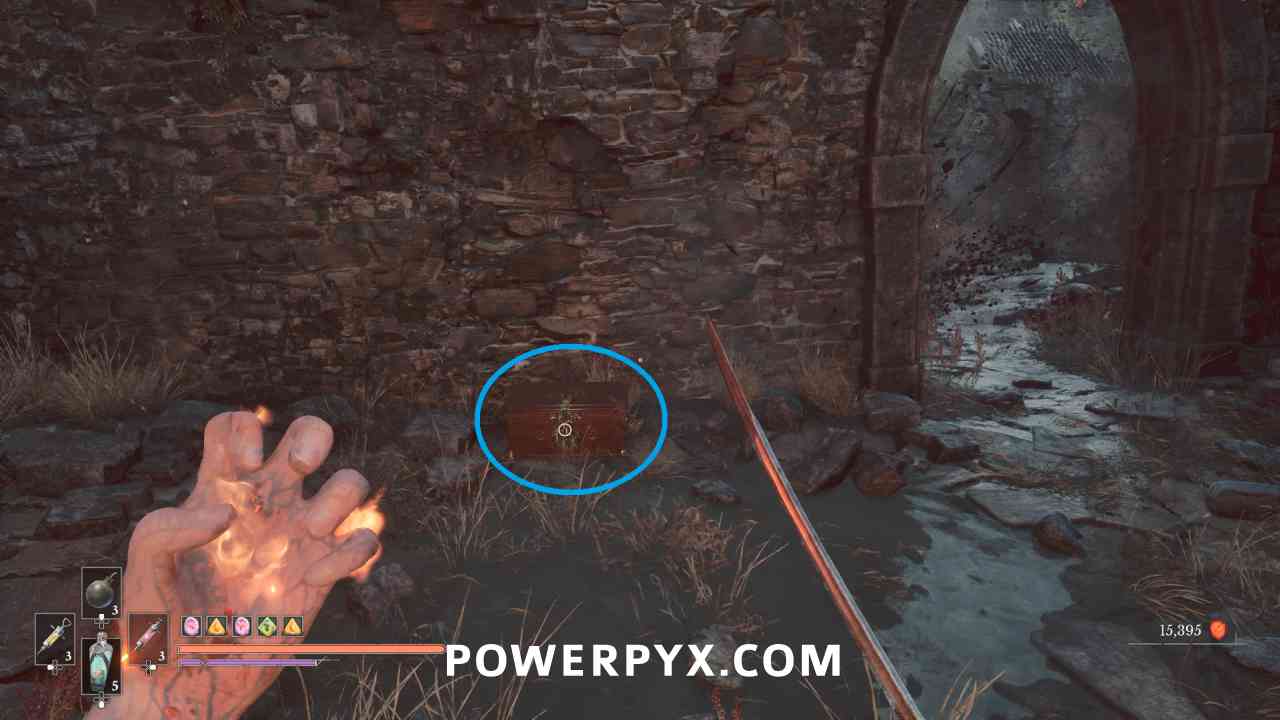
Lantern: Fortress > Traverse
Go down the path left from the Lantern, you will need to avoid the cannon fire in the area. At the end of the path you can go into the small area to the left where there is a chest that contains this Amber.
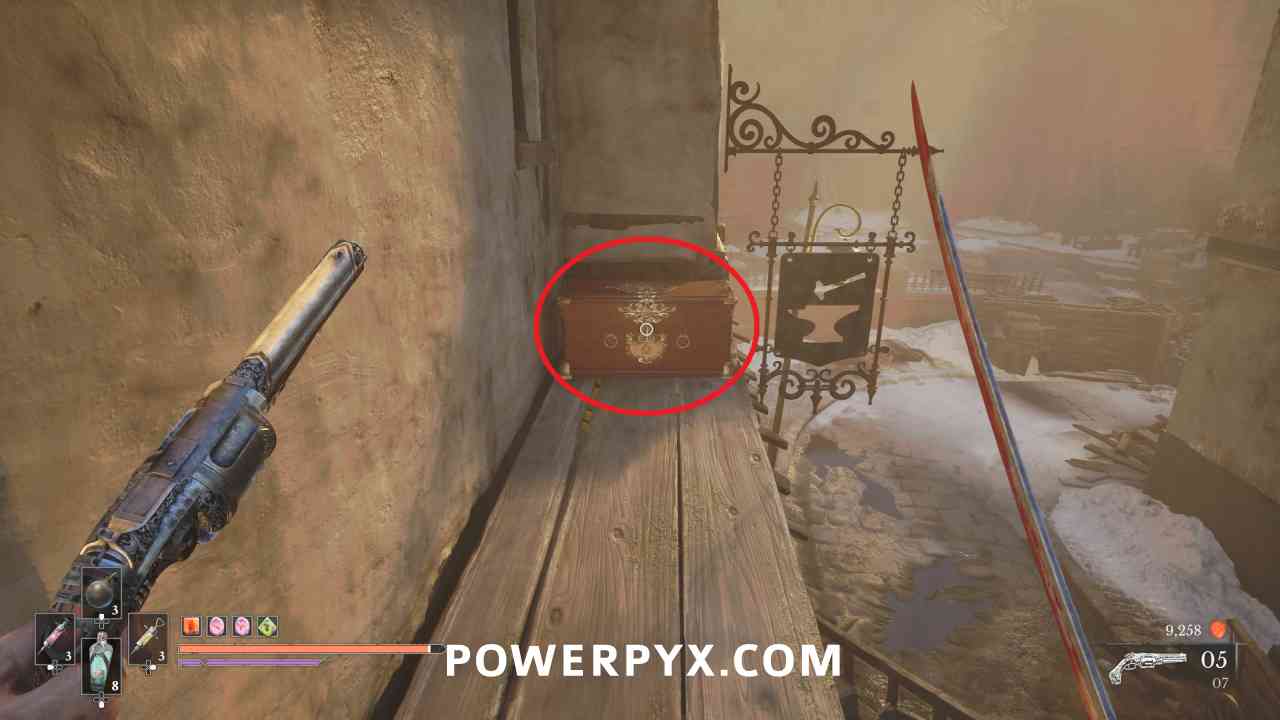
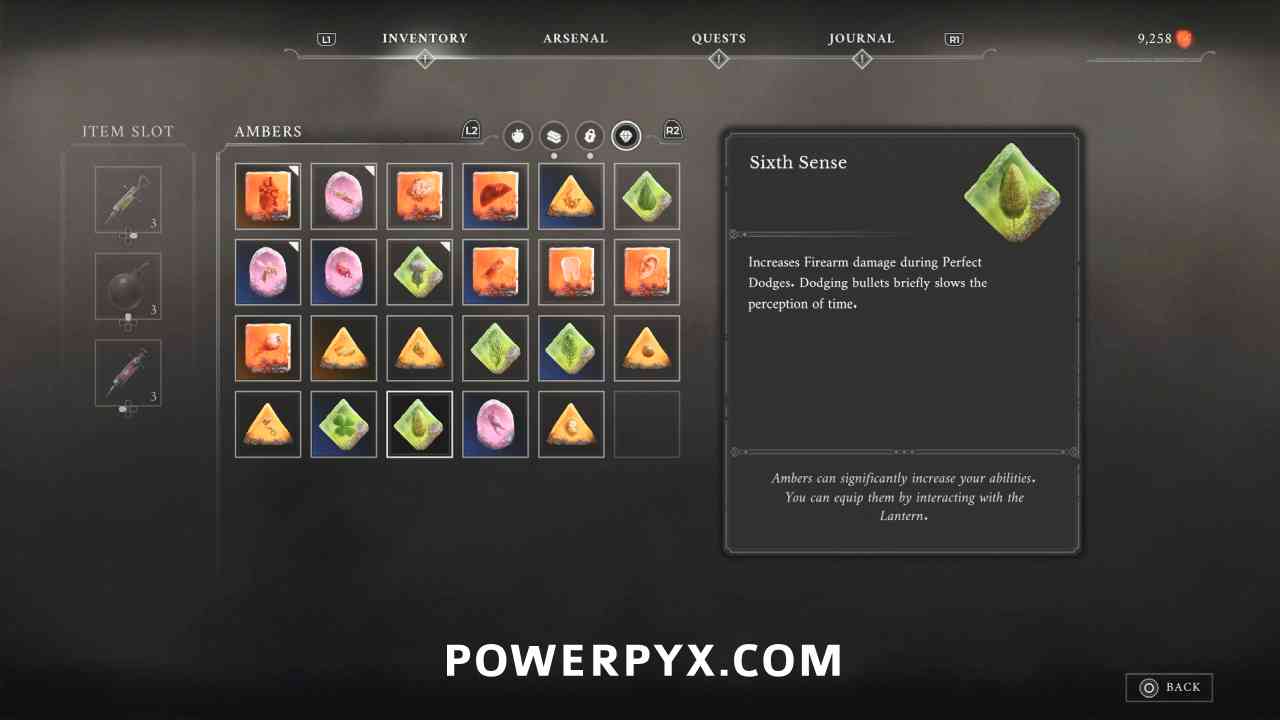
Amber #21: Sixth Sense
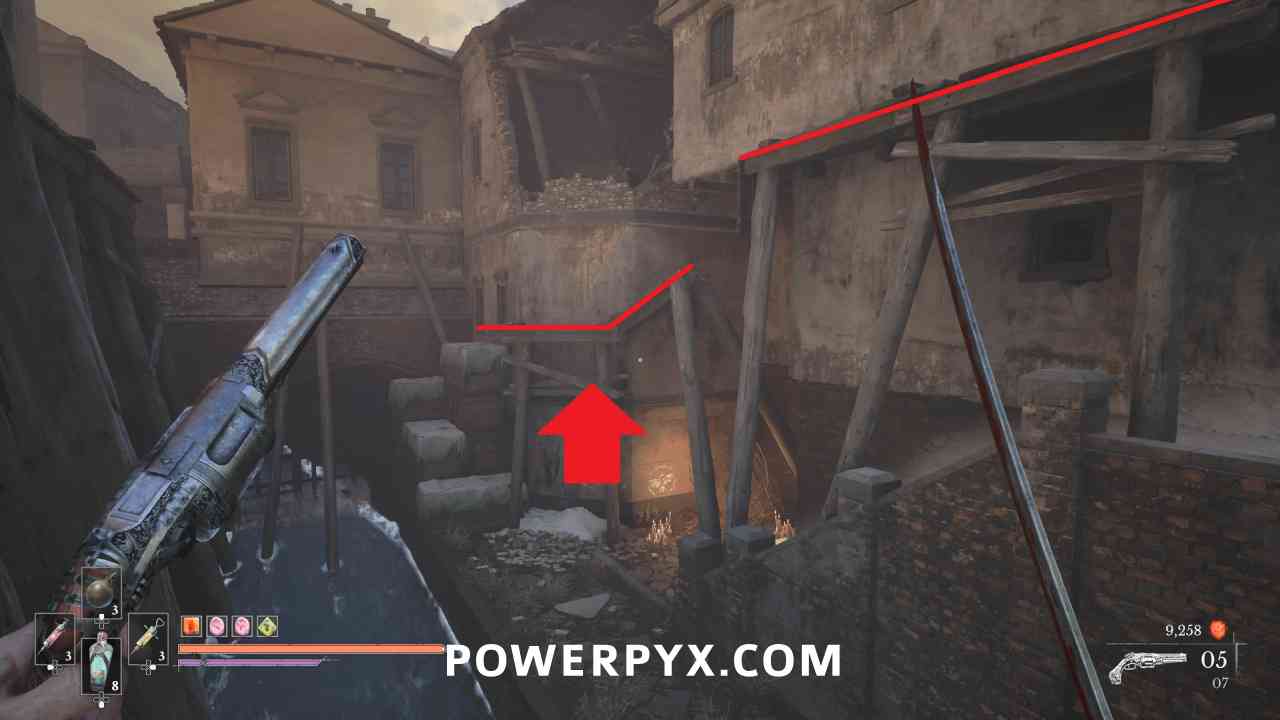
Lantern: City of Orphans > Tribunal Square
Progress until you reach the burrow near the river. To the left of it are some boxes you can climb, which allow you to follow a path around to building to reach a chest with this Amber.
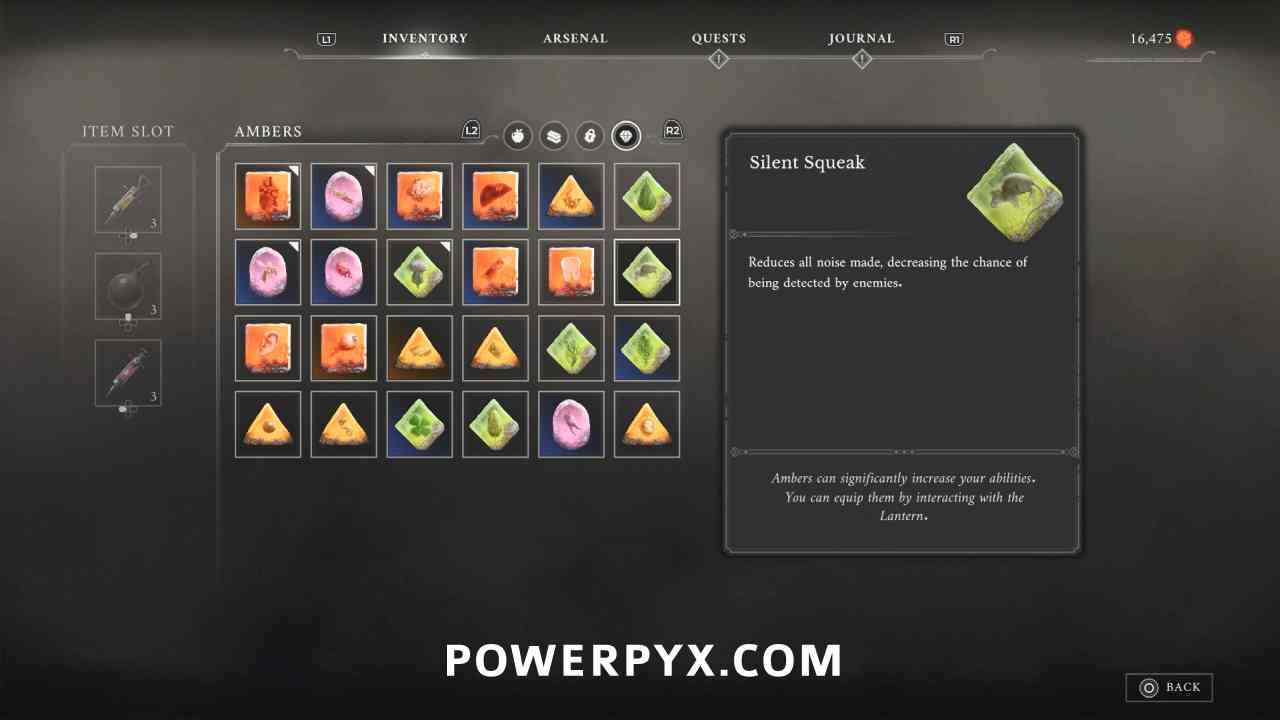
Amber #22: Silent Squeak
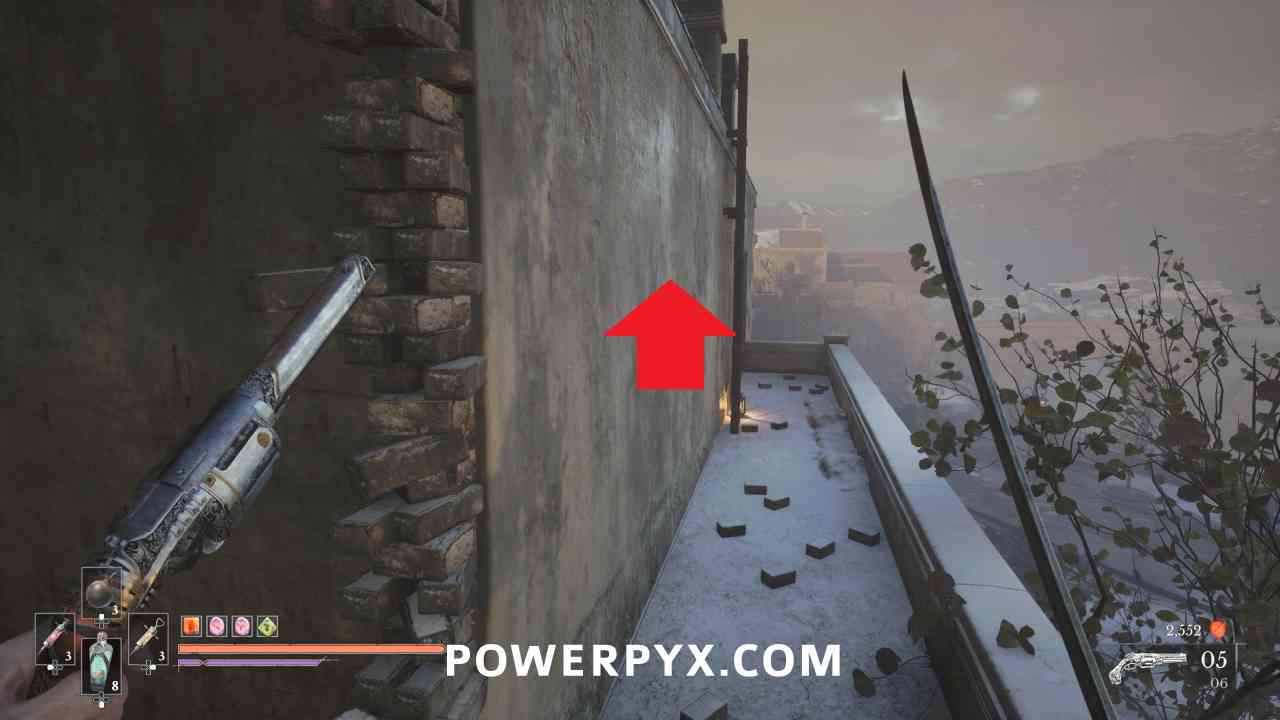
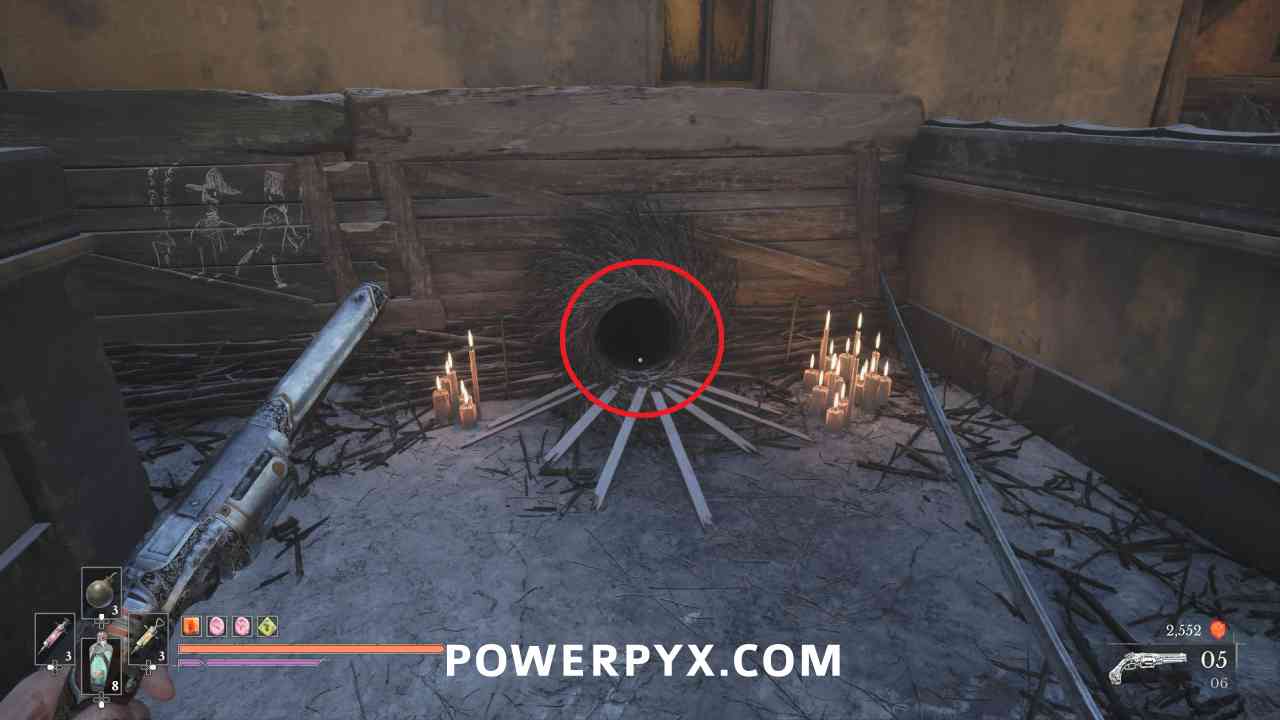
Lantern: City of Orphans > Shamble Street
Progress along the main path until you grapple across a courtyard to a room with stairs leading down. Go outside from that room and climb to the rooftop. Interact with the burrow to receive this from the children.
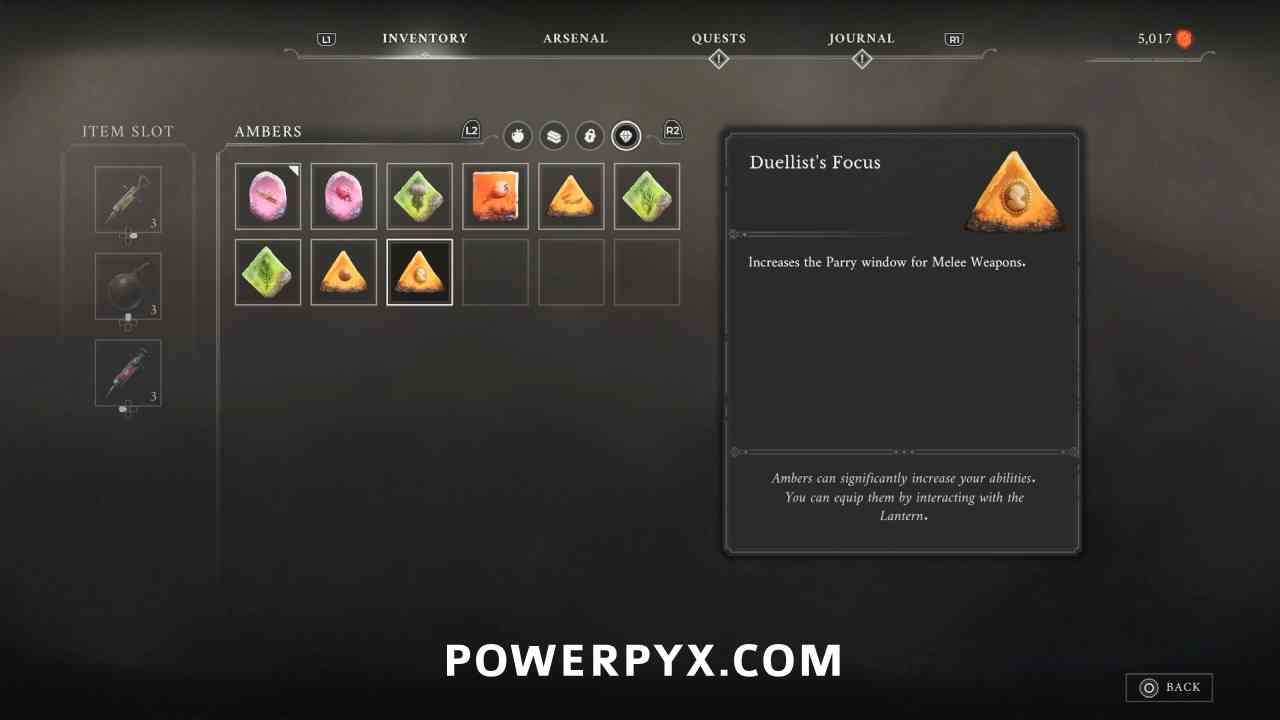
Amber #23: Duellist’s Focus
Lantern: The Battlefield > Onslaught Arch
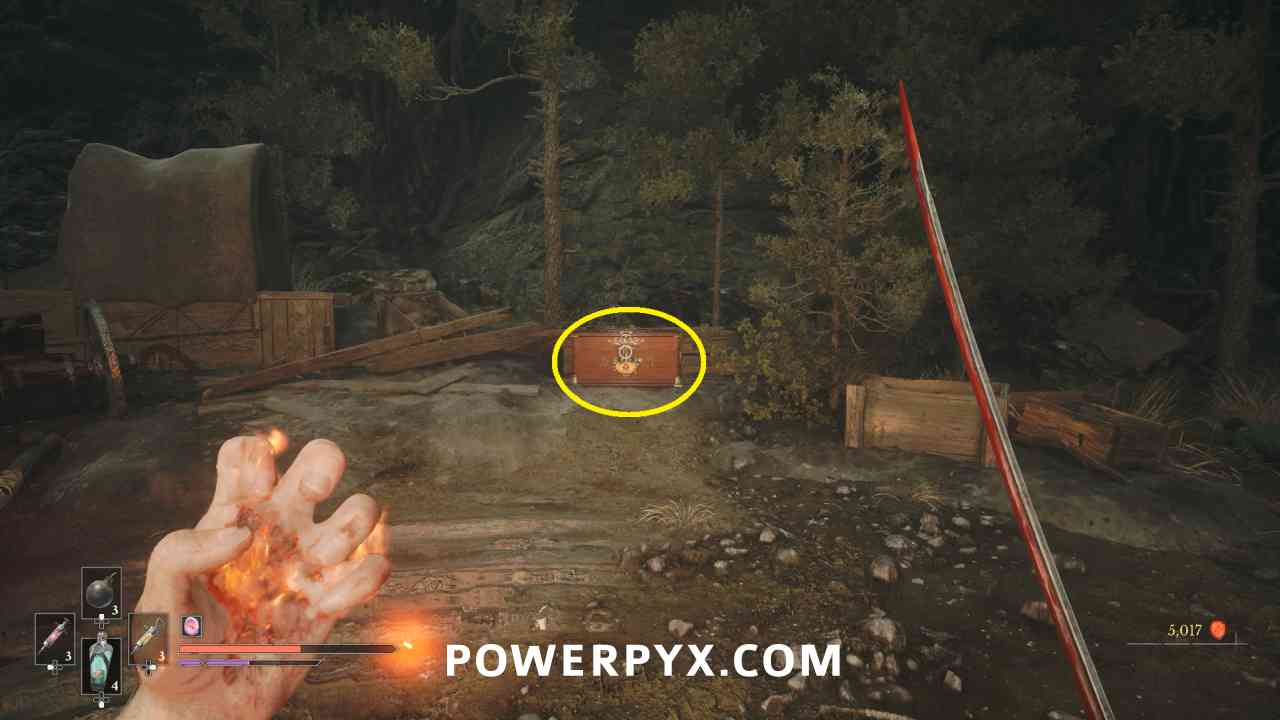
Turn around from the Lantern and go back up the cliffs, then continue past the camp to the split in the path with the enemies. Go left where there is a weak point to shoot on a wall. In this area defeat the Eternal Guardian enemy related to the Oathbound side quest.
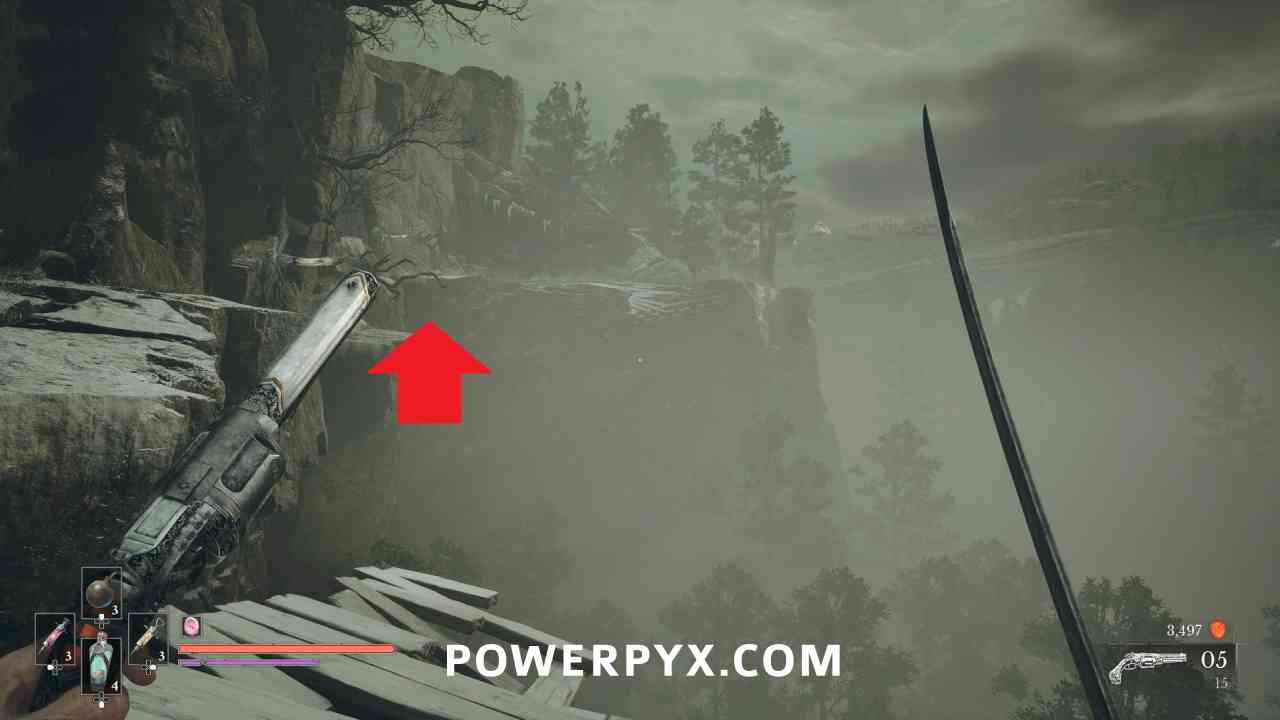
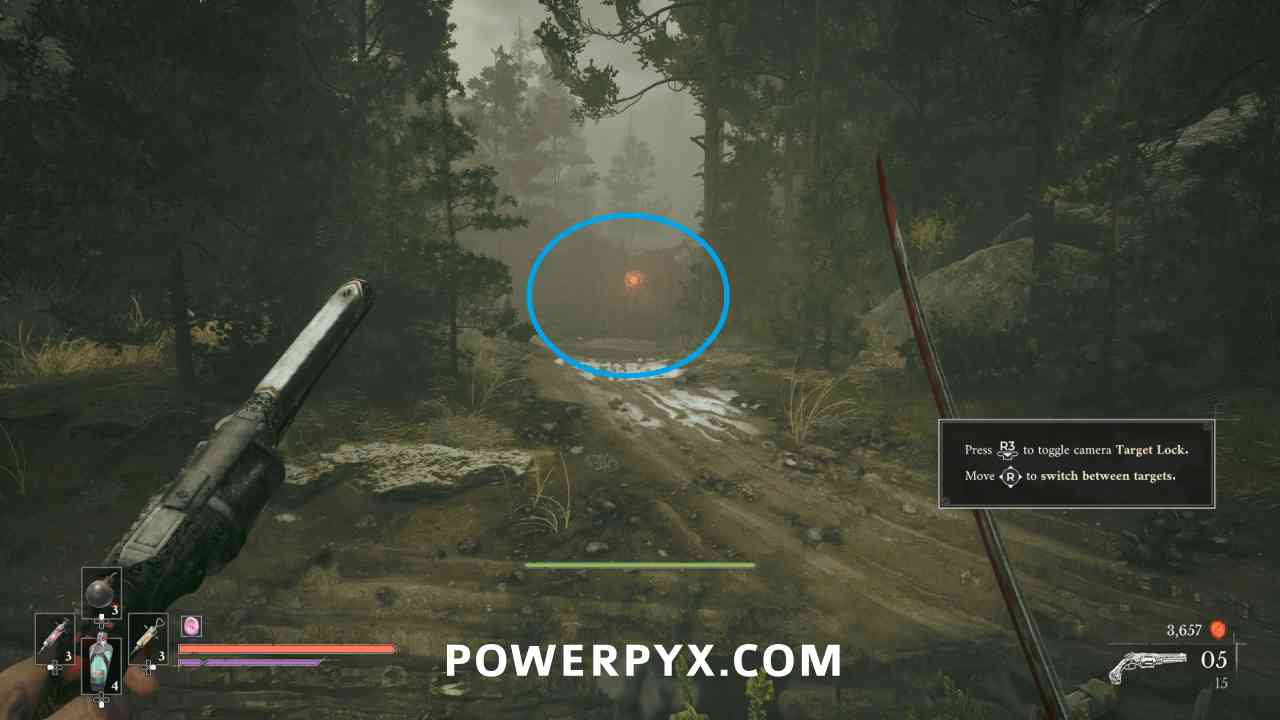
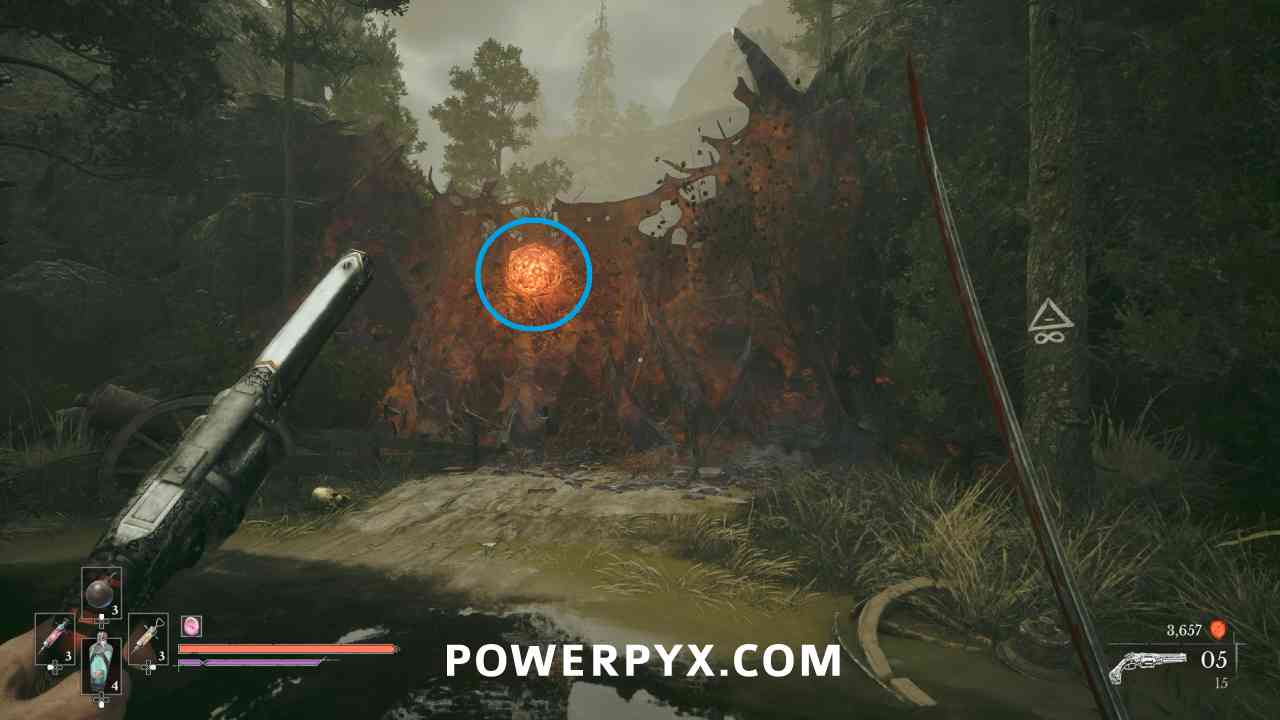
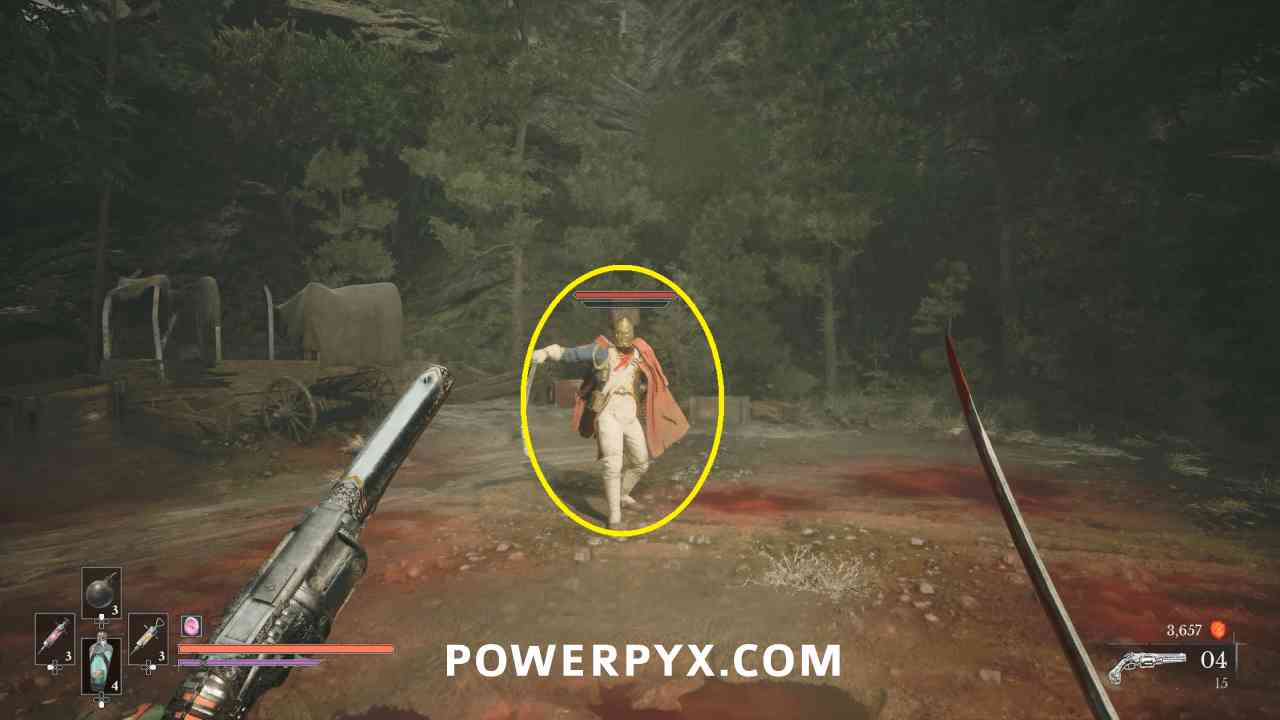
This is in a chest behind where the Eternal Guardian was standing.
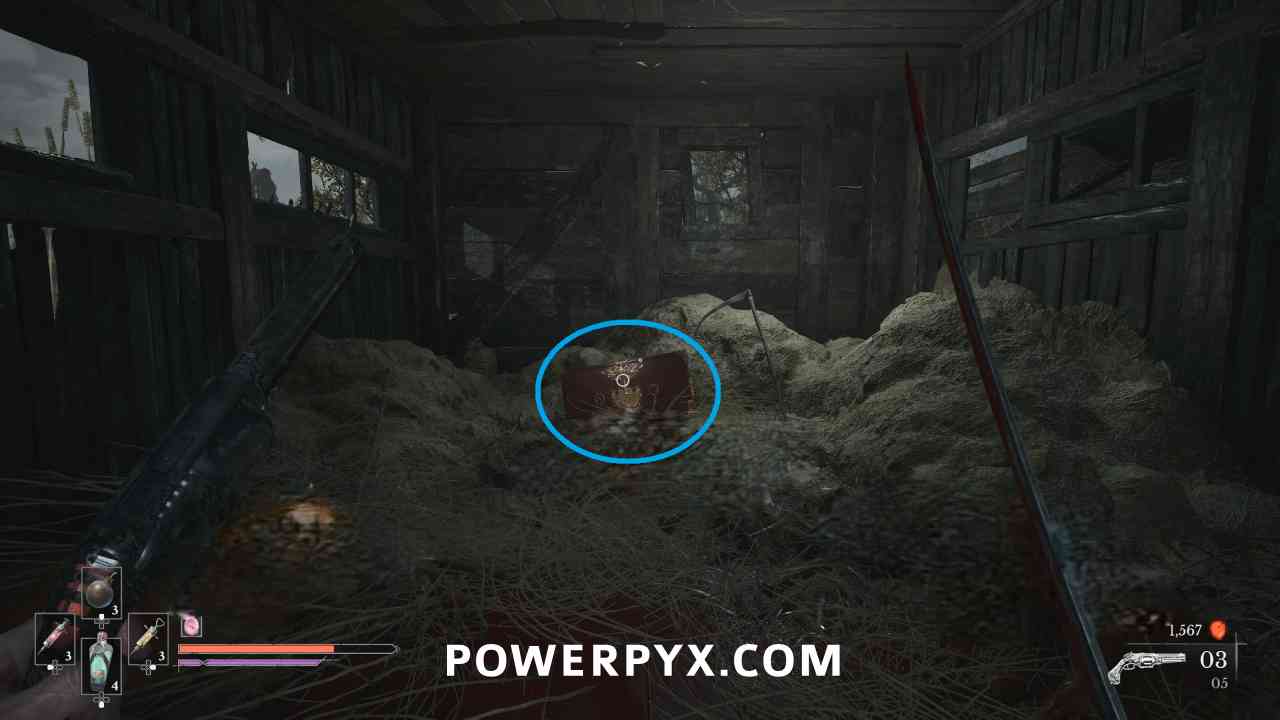
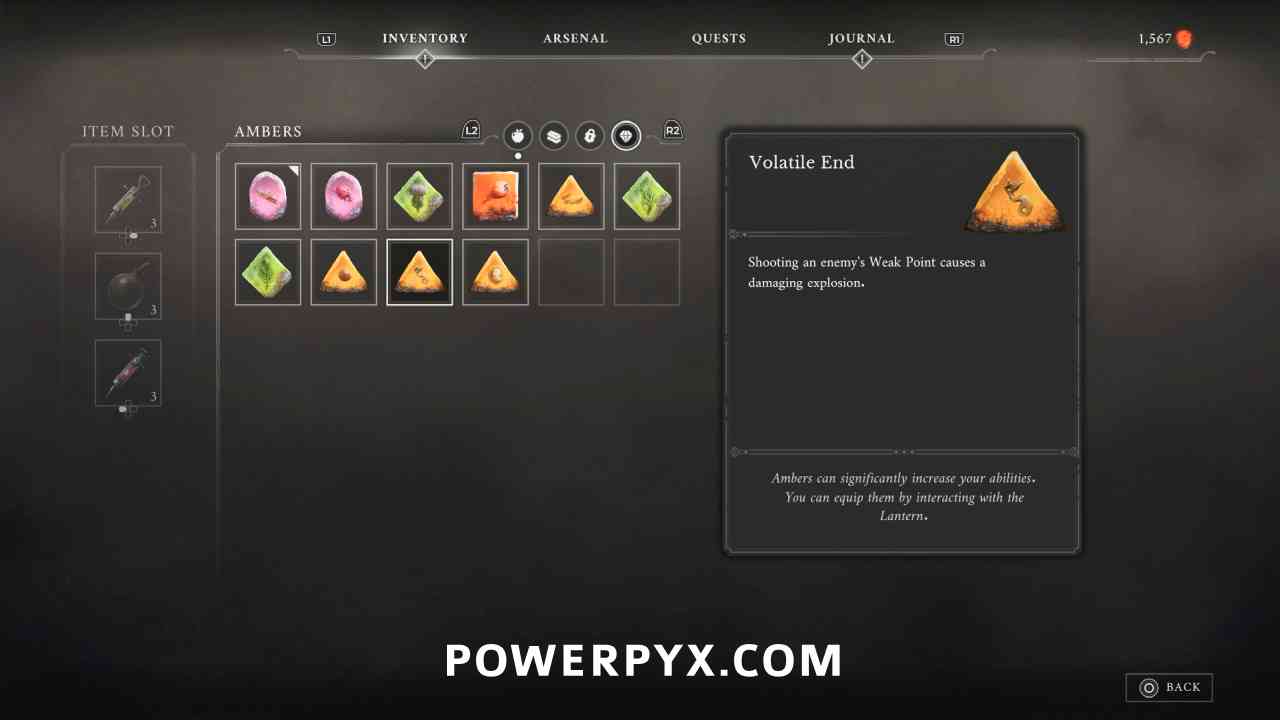
Amber #24: Volatile End
Lantern: Fallen Village > Fields
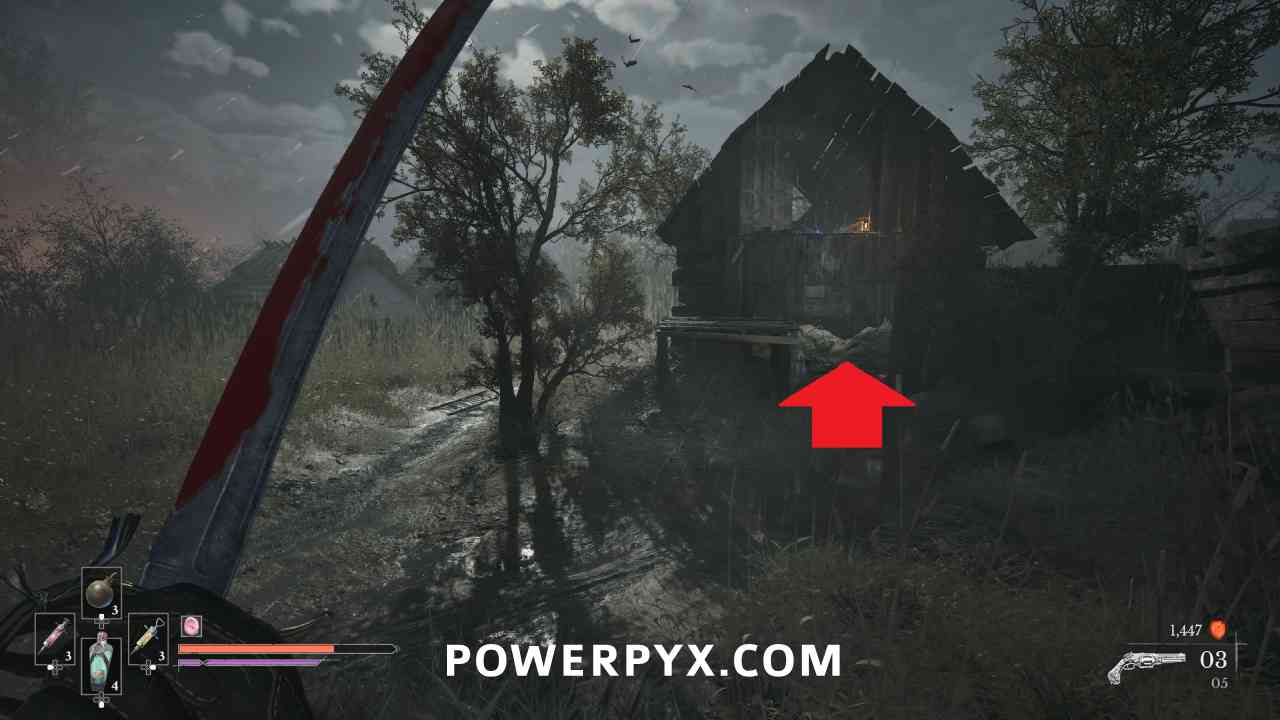
Progress along the main path into the field area, and on the right there is a barn full of exploding bodies. Behind them at the back is a chest with this Amber.
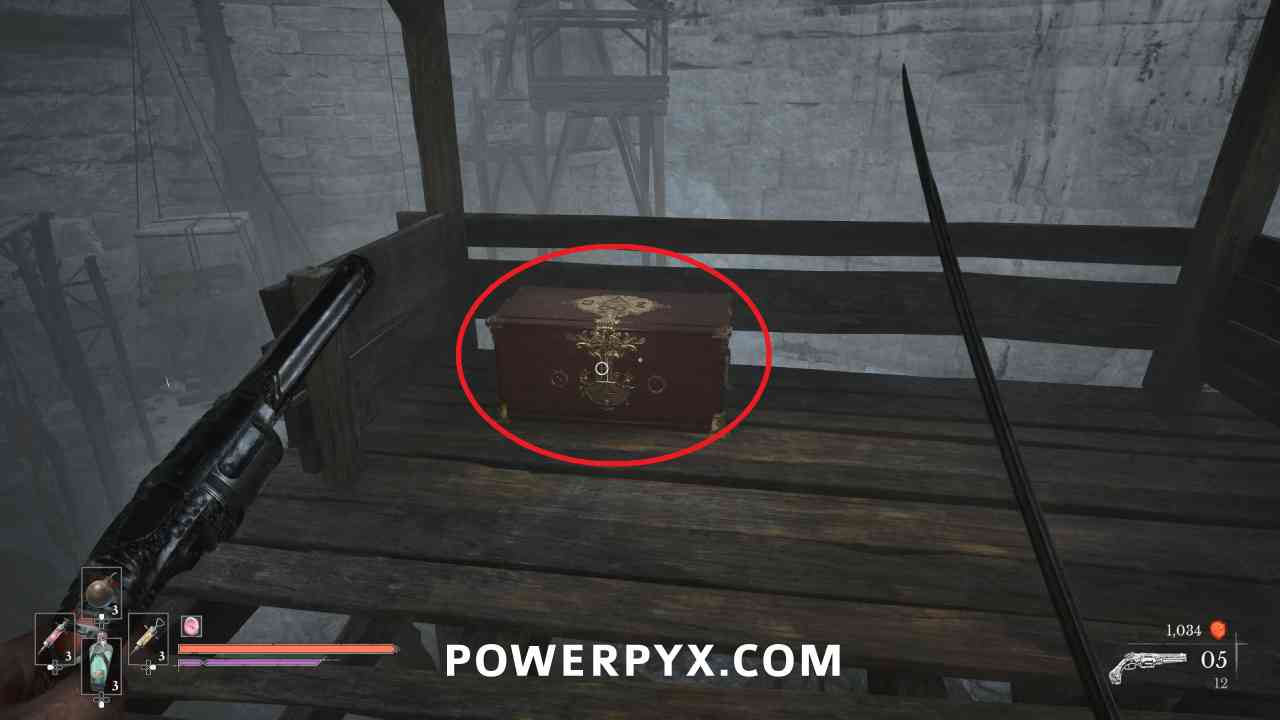
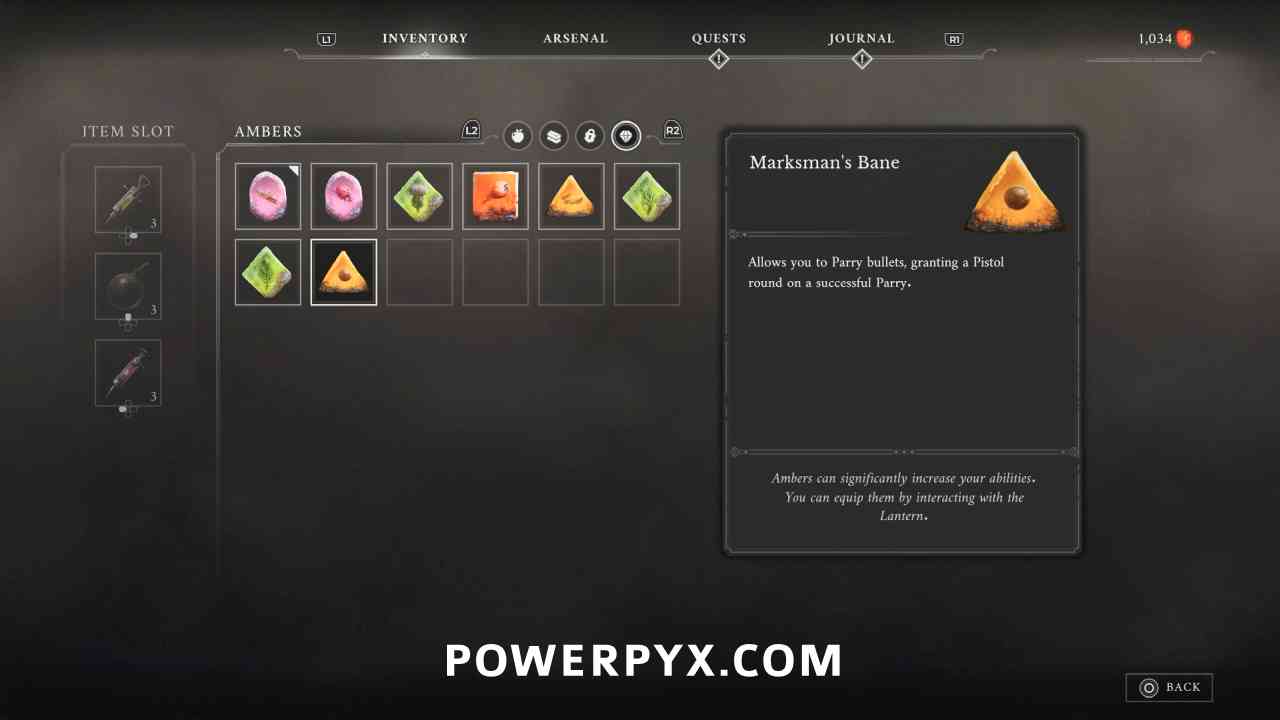
Amber #25: Marksman’s Bane
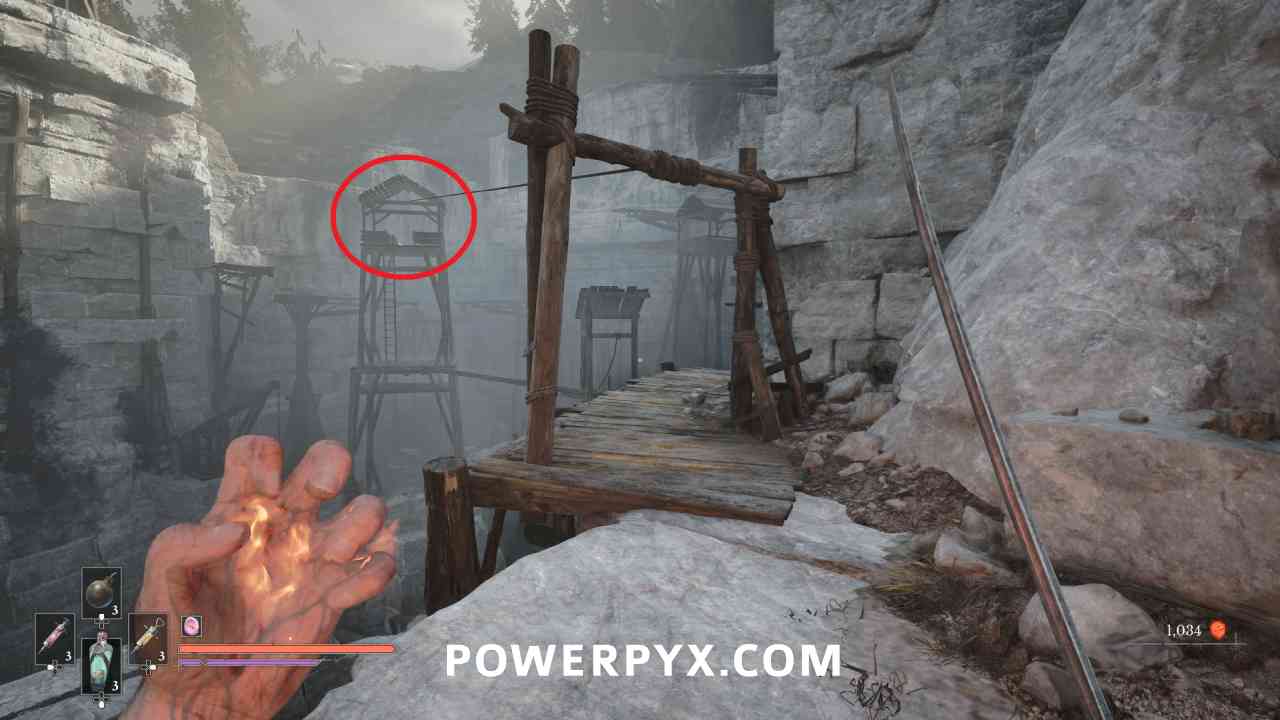
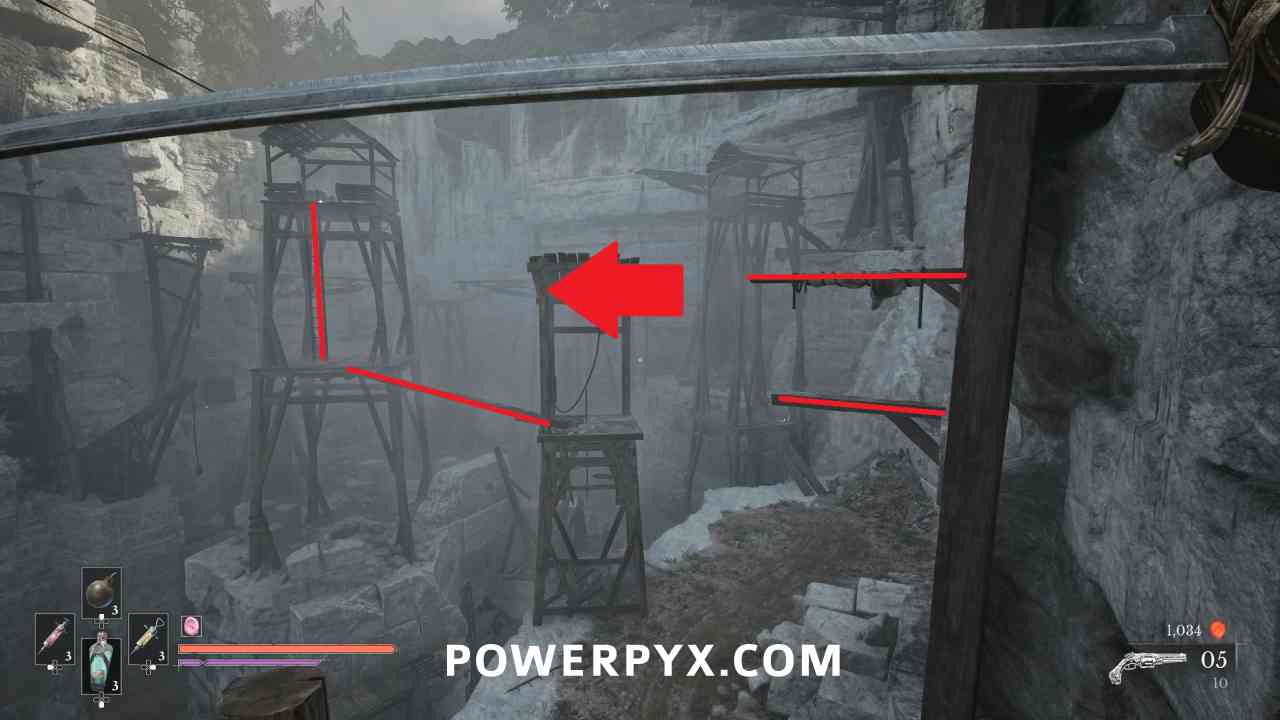
Lantern: Valley of Ashes > Quarry
After reaching the top of the area and riding the first zipline, go to the left instead of up the hill and there are some boxes to break on the edge of the platform. Behind the boxes you can see a path leading to the tower where an enemy is. Reach the tower to find a chest containing this amber.
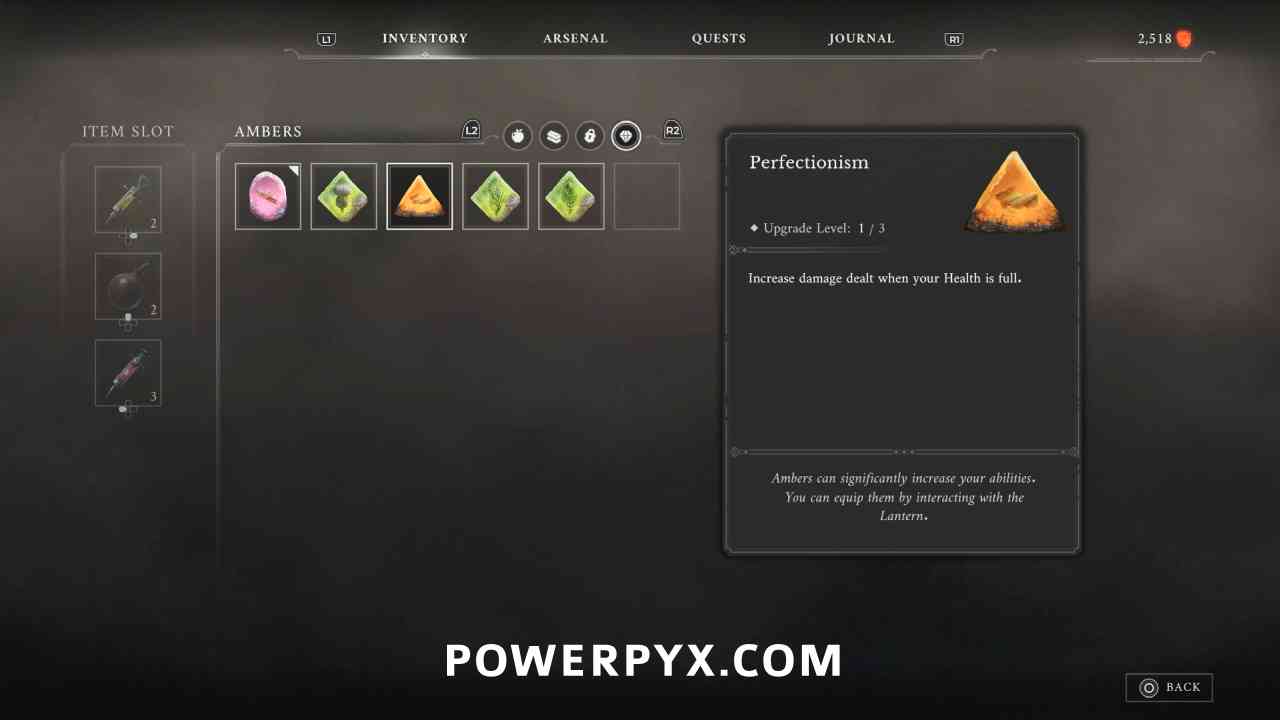
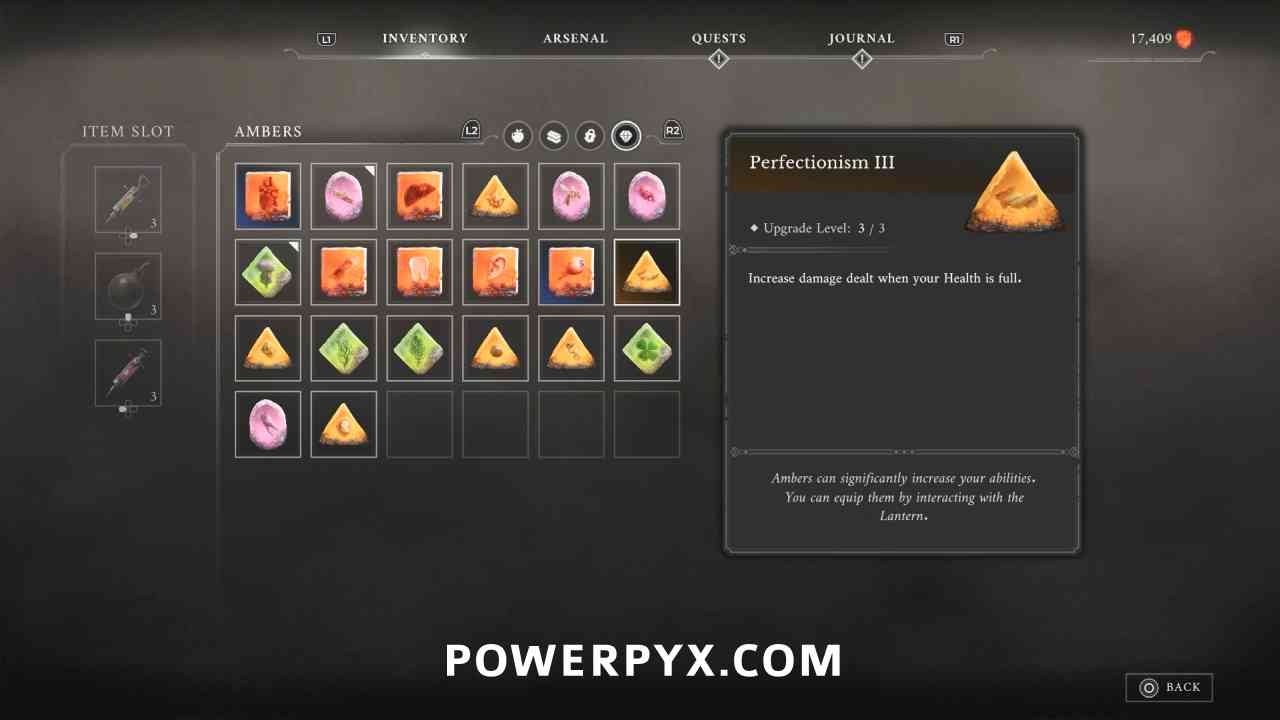
Amber #26: Perfectionism
Location #1
Lantern: Valley of Ashes > Demolished Path
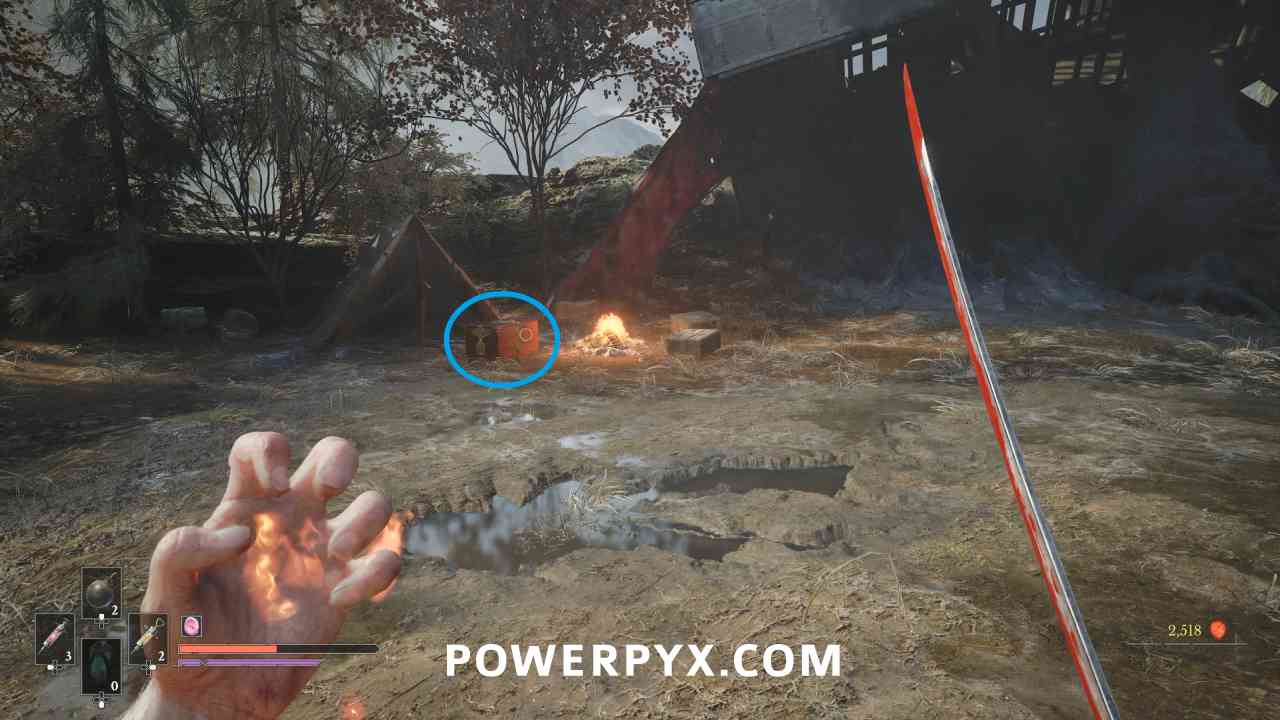
From the area where you kick down the ladder, follow the path back down the plague vines and when you are behind the ground of 3 enemies, take the path to the left to find an Eternal Guardsman enemy related to the Oathbound quest.
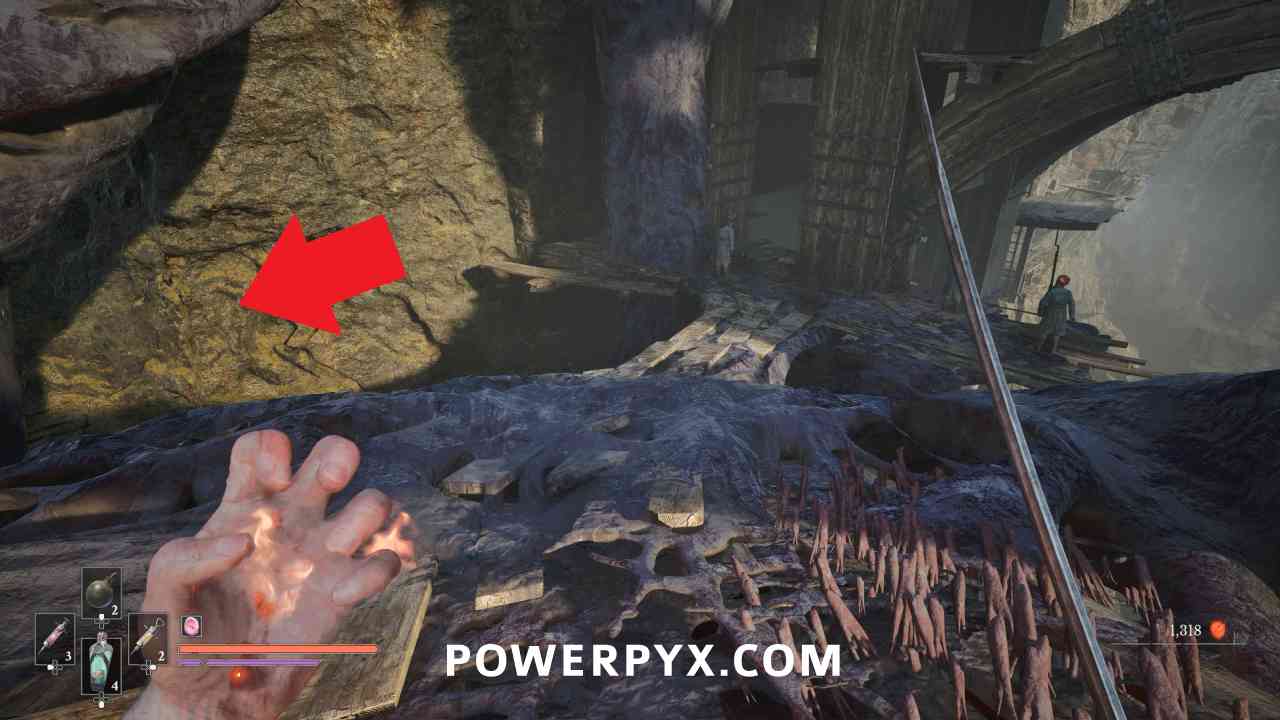
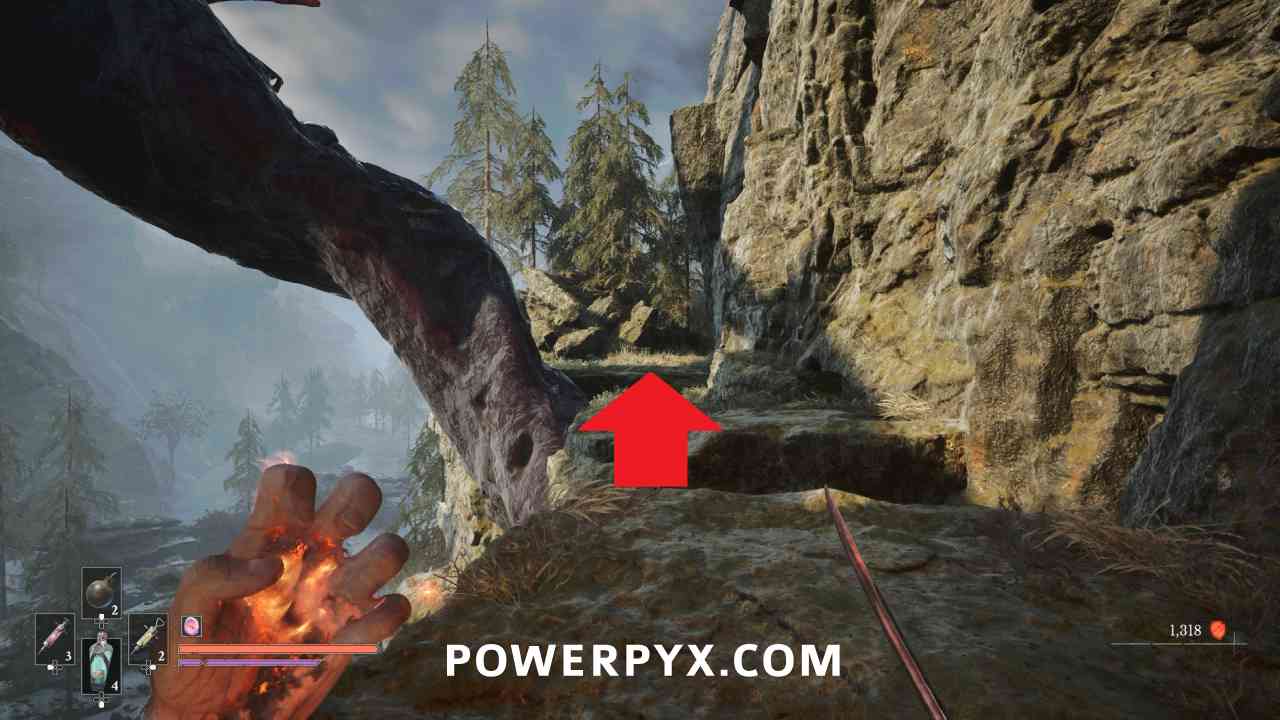
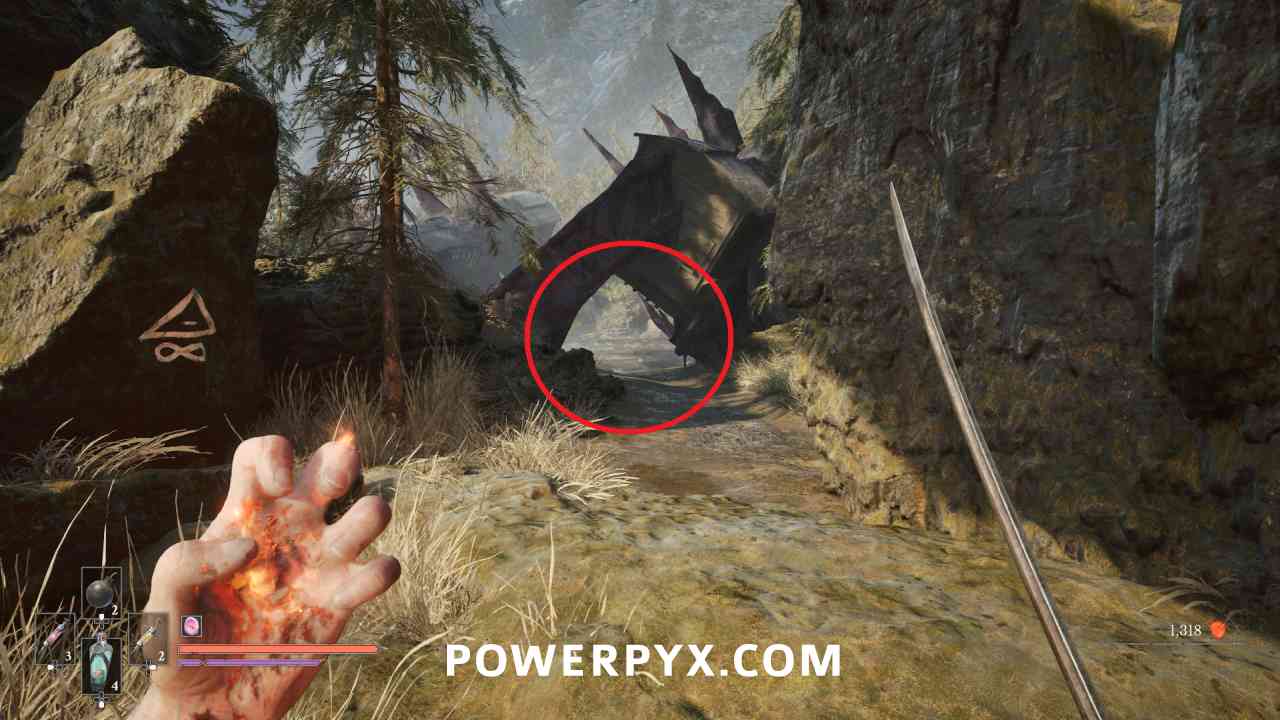
After defeating the first Eternal Guardian enemy, this is in a chest behind where they were standing.
Location #2
Lantern: Caverns > Old Mine
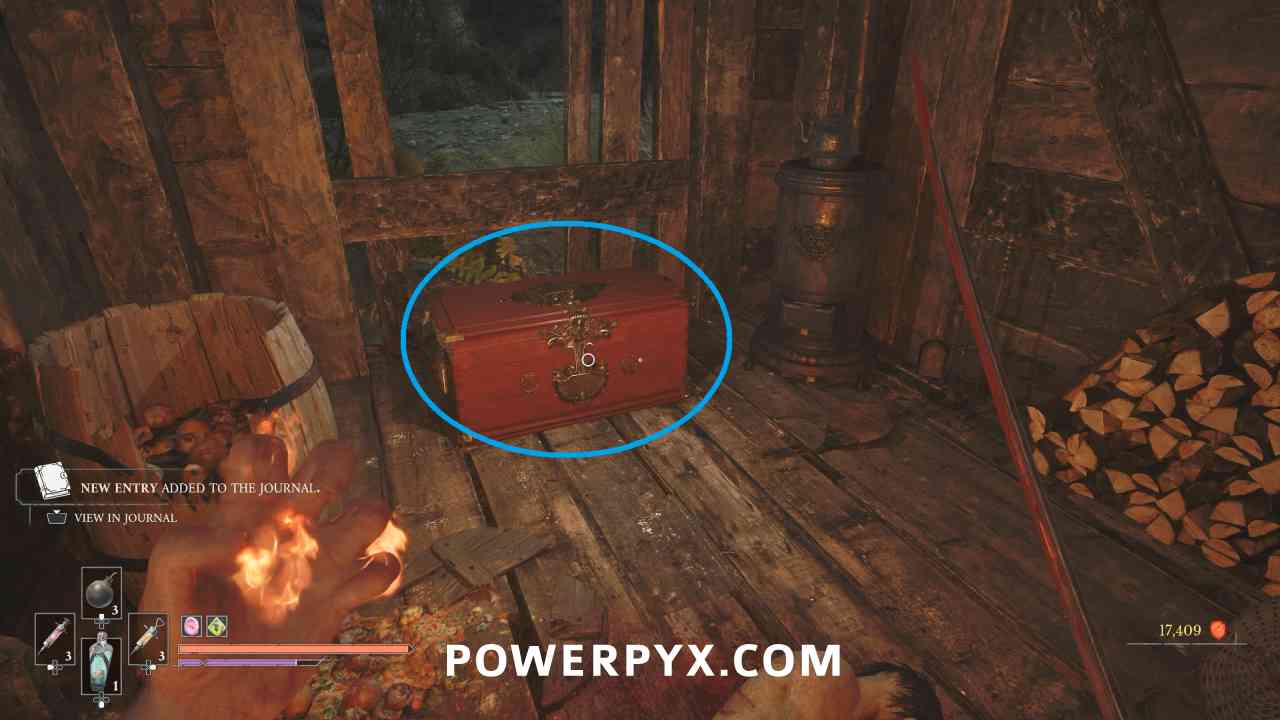
From the Lantern progress into the next area where you can use the box on the crane to jump across to the other side, then climb the ladder and use the box to reach the top platform. Follow the path to the end where you can find the Eternal Guardian enemy related to the Oathbound quest in a cave.
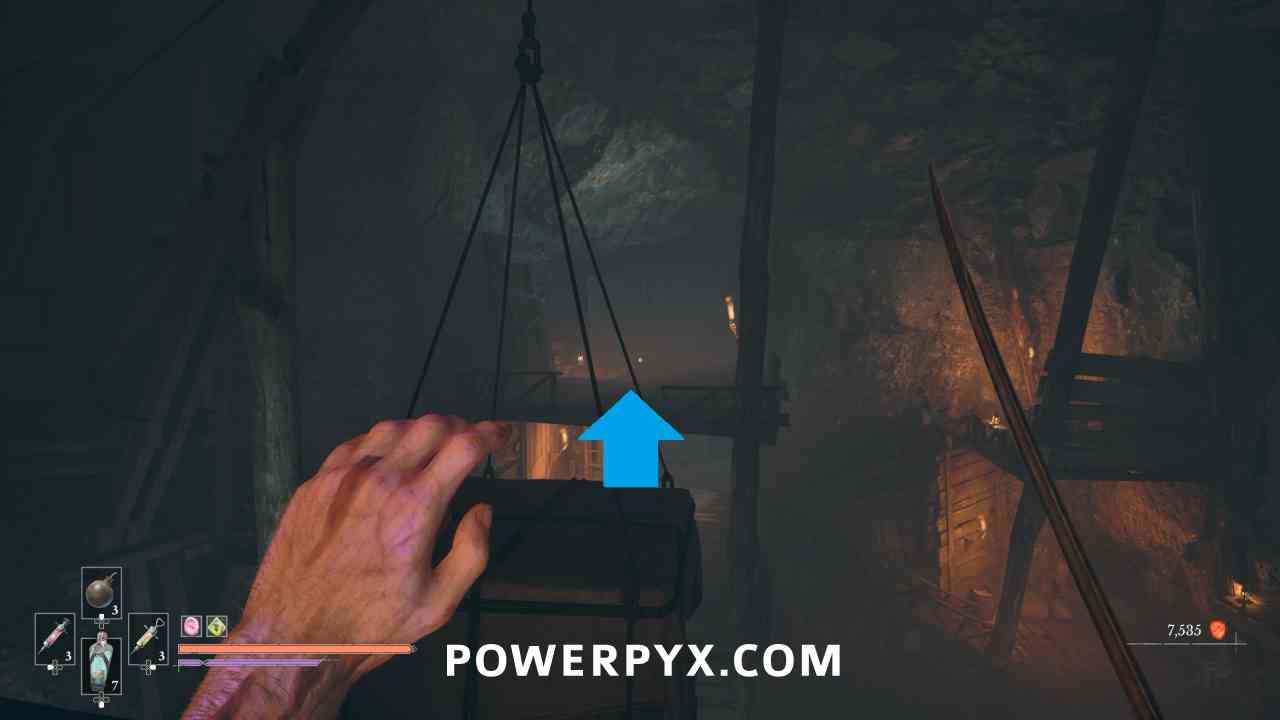
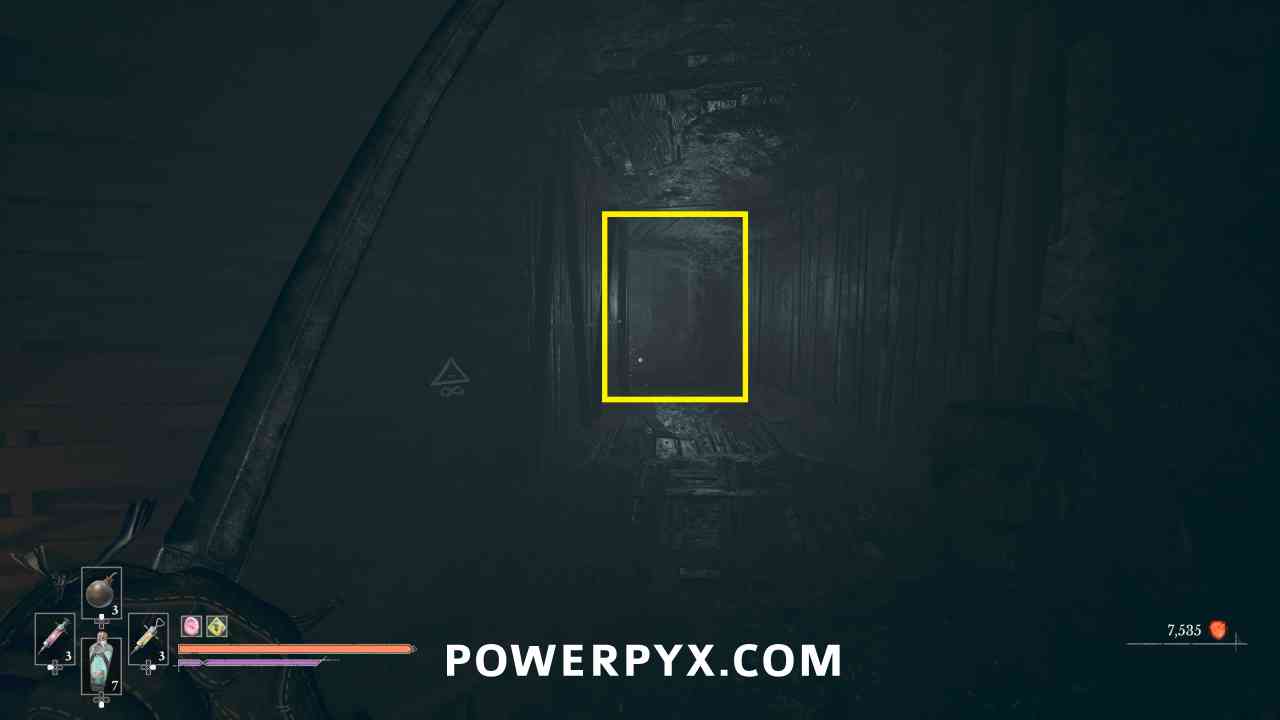
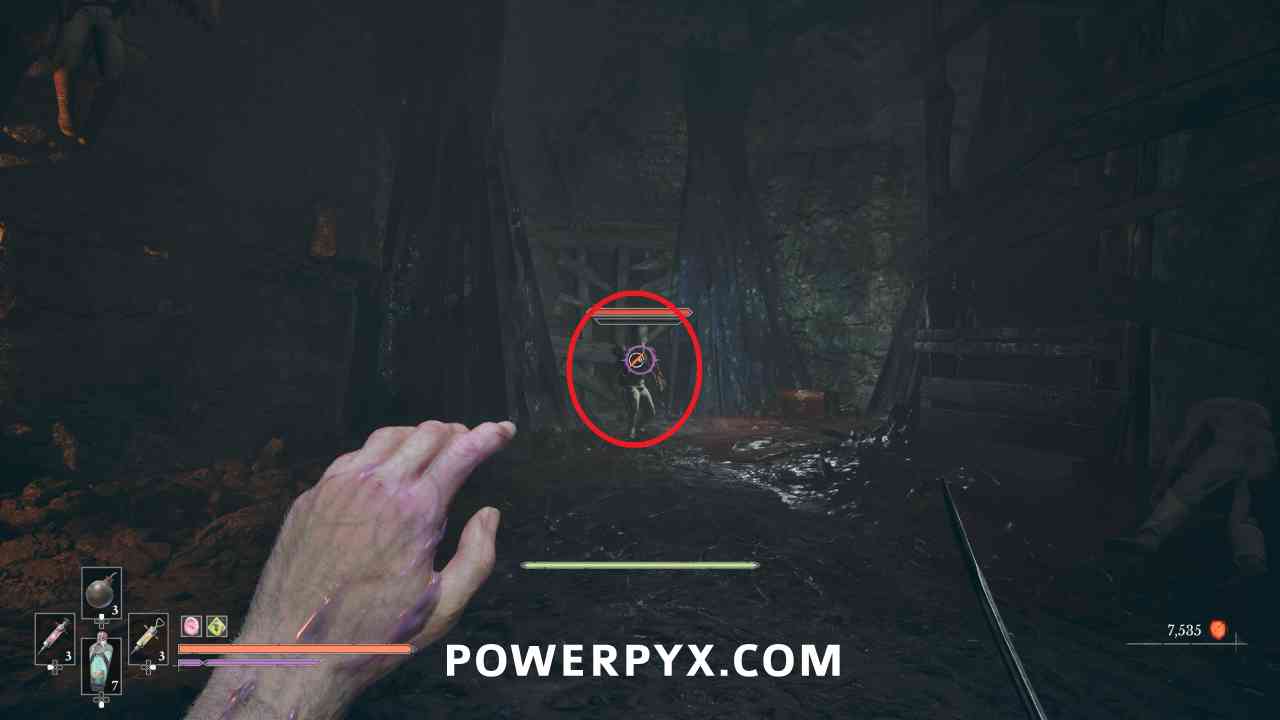
This is then in the chest behind where the Eternal Guardian was standing.
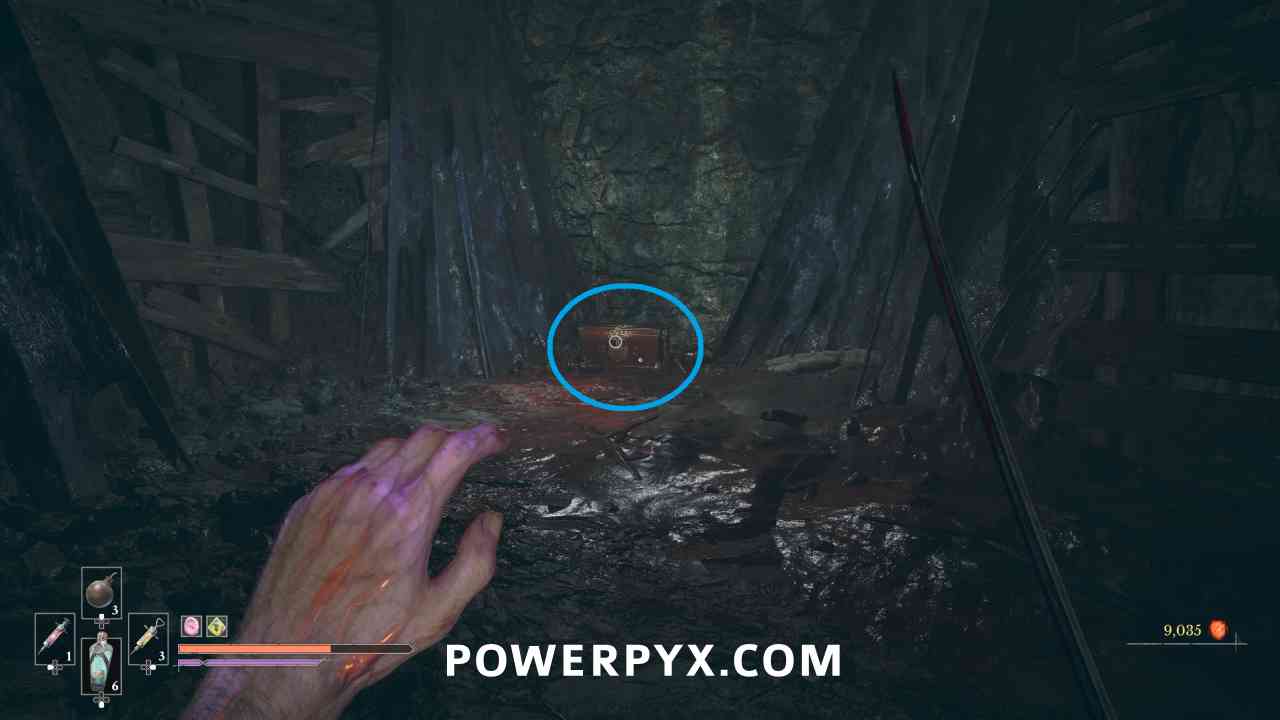
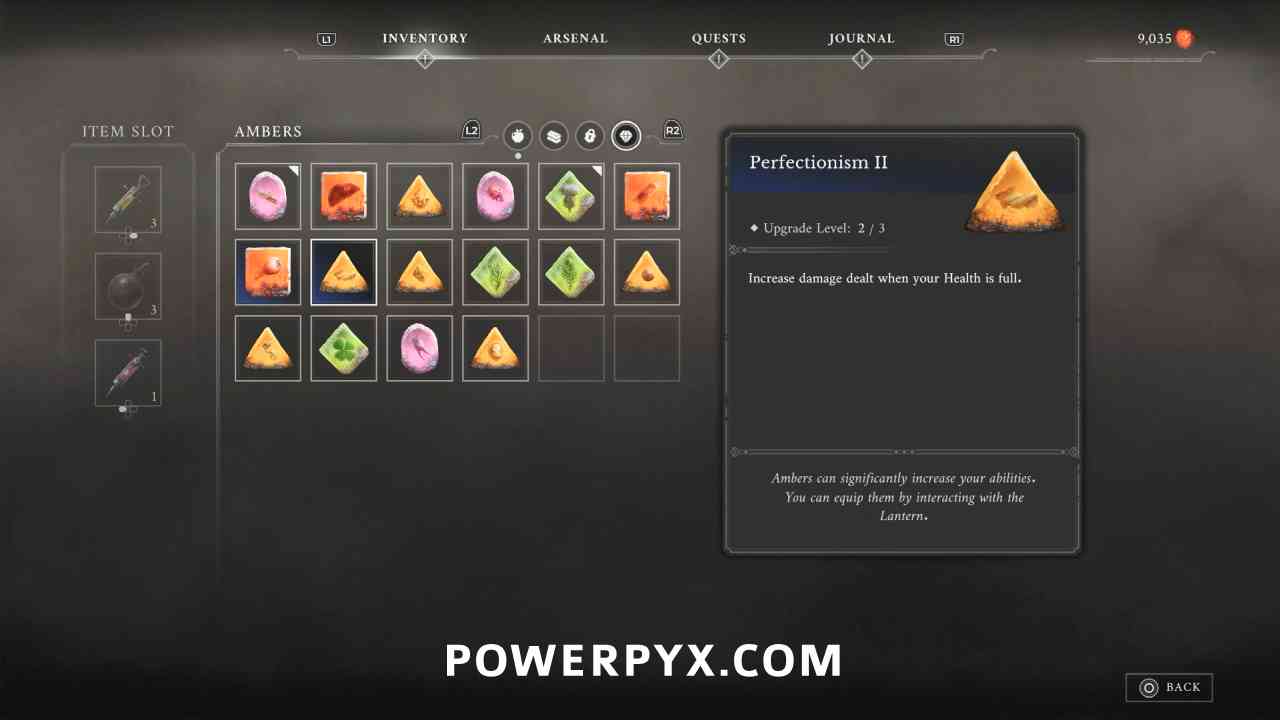
Location #3
Lantern: Vale of Wrath > Under the Bridge
In the chest at the back of the building accessed during The Deserter side quest.
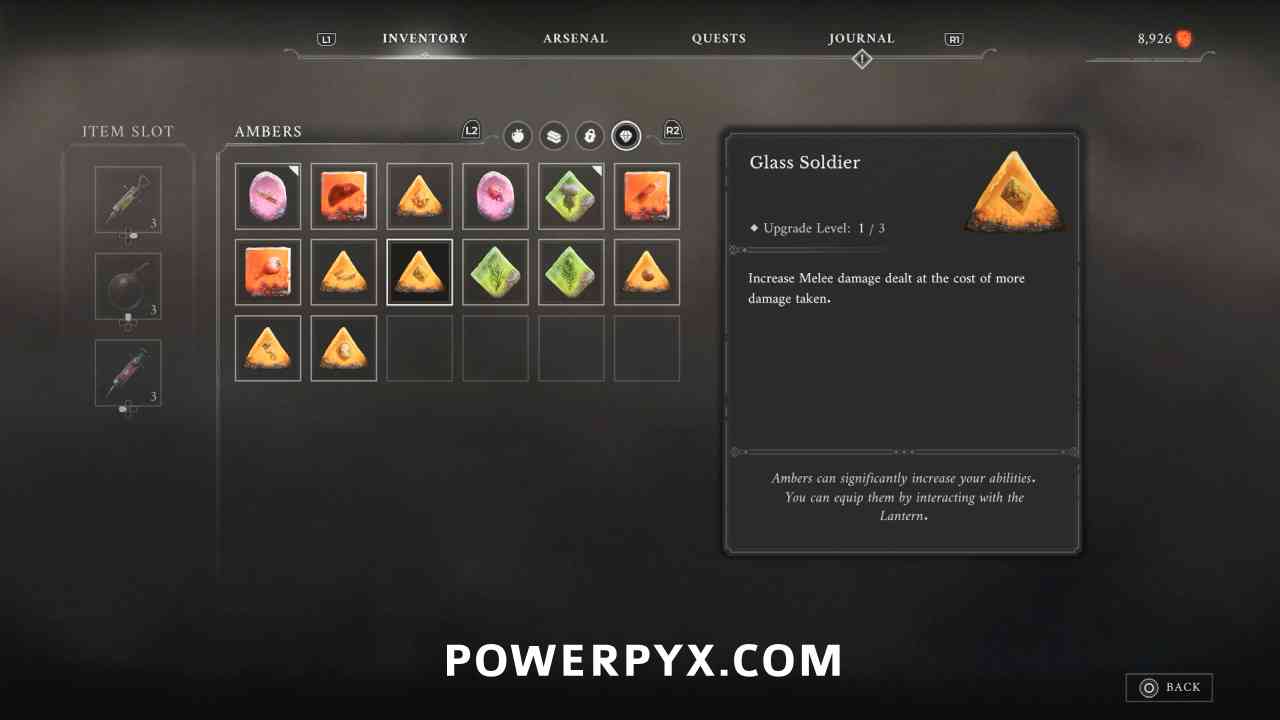
Amber #27: Glass Soldier
Location #1
Lantern: Fallen Village > Orchard
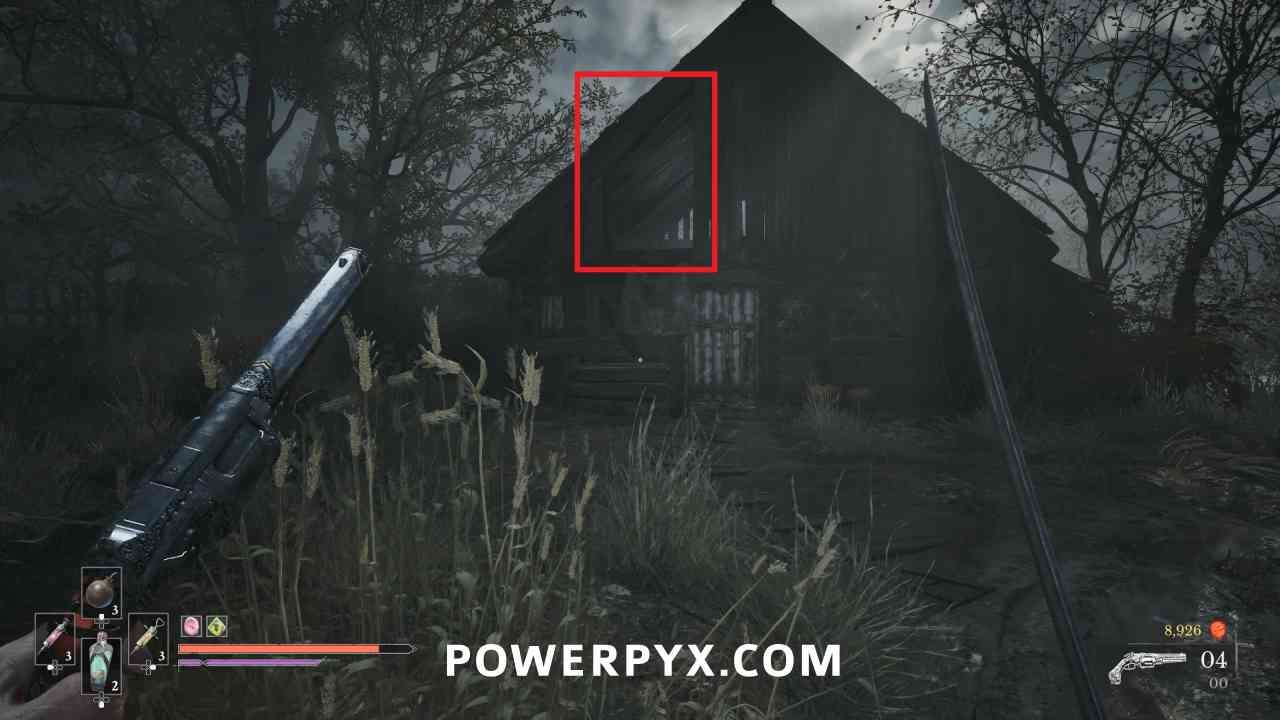
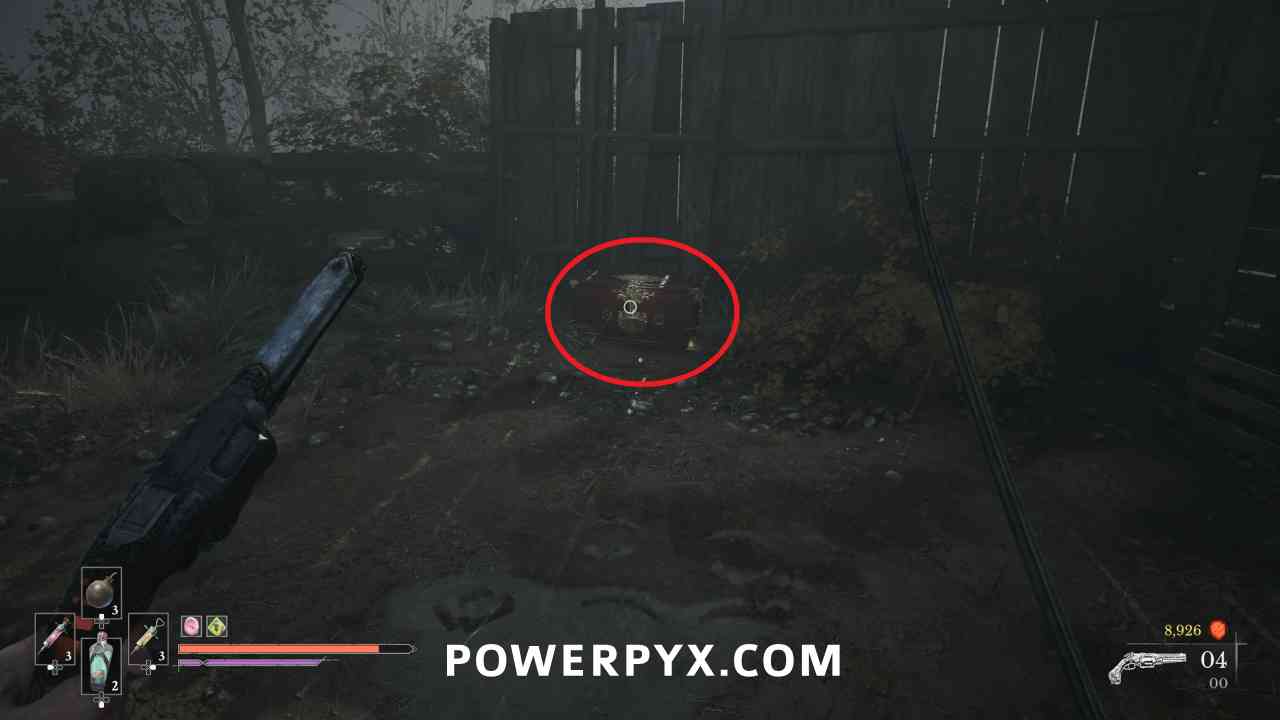
In the boss area, climb up into the building to the right of the area (from where you entered). Break the boxes and then drop out the back of the building to find a chest that contains this Amber.
Location #2
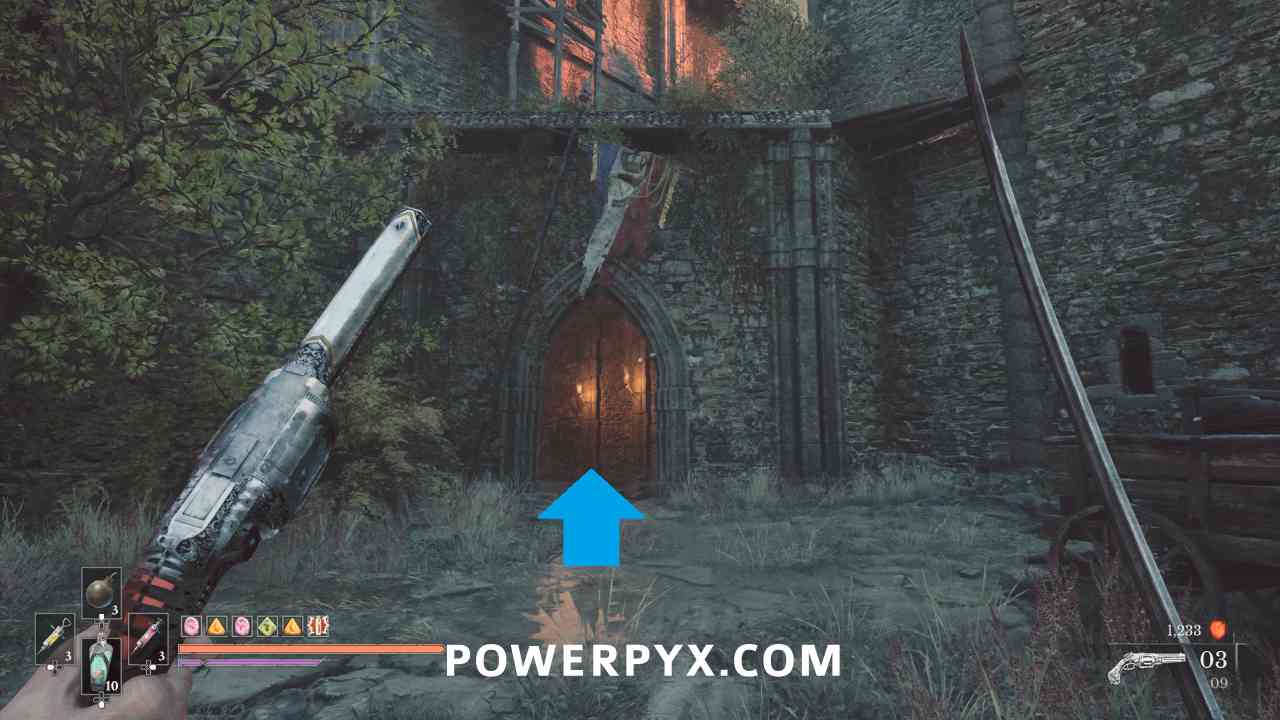
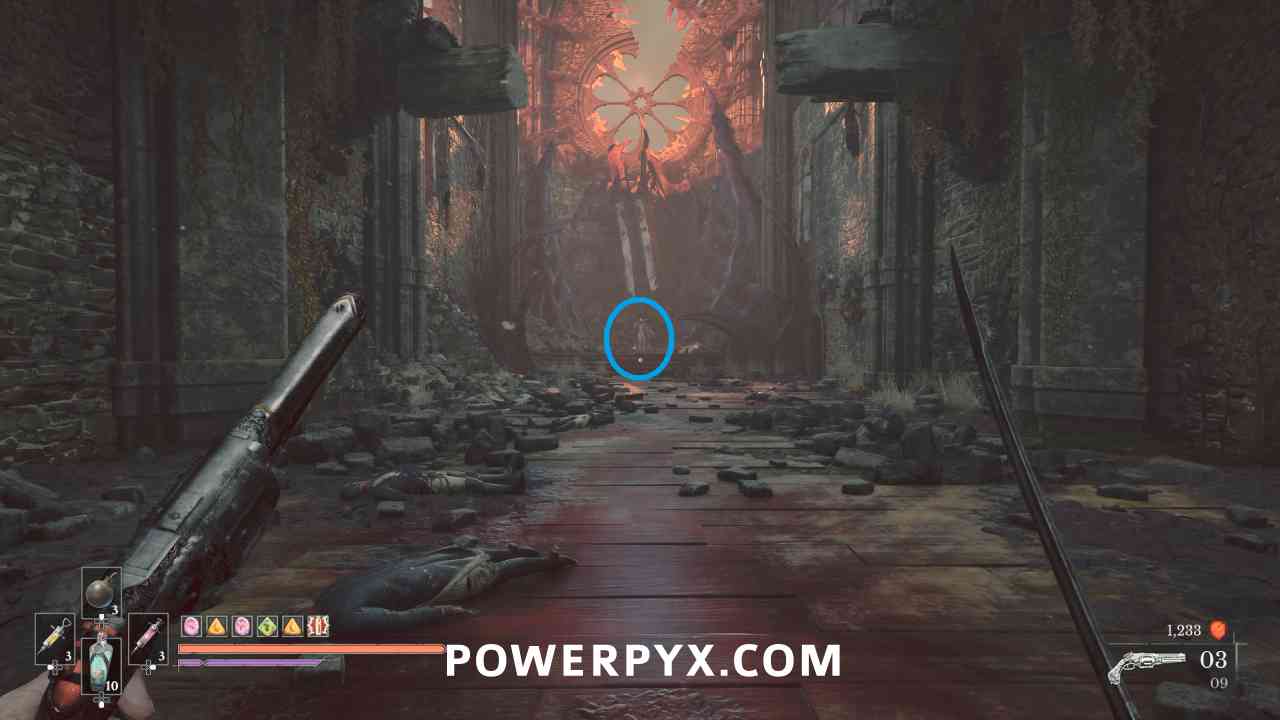
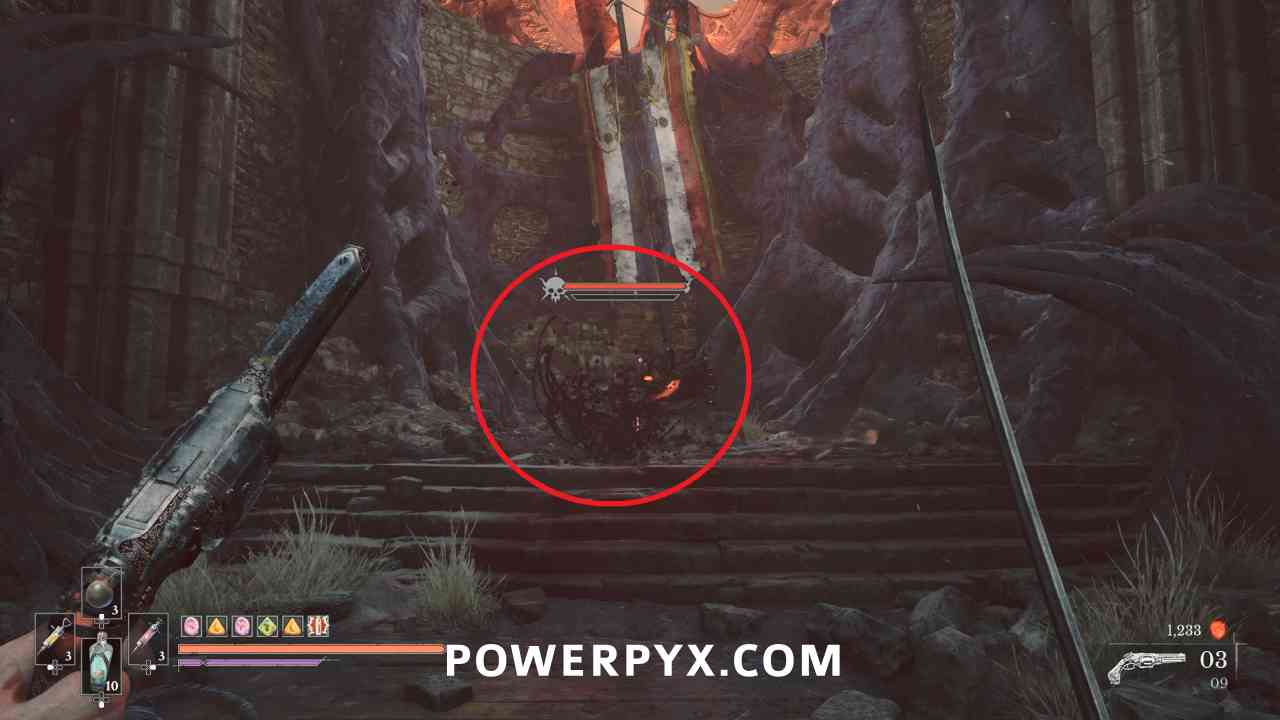
Lantern: Fortress > Courtyard
Progress through hallway that the flag is hanging above, then turn left in the large room to find the monster Eternal Guardsman at the end. Defeat them to receive this Amber.
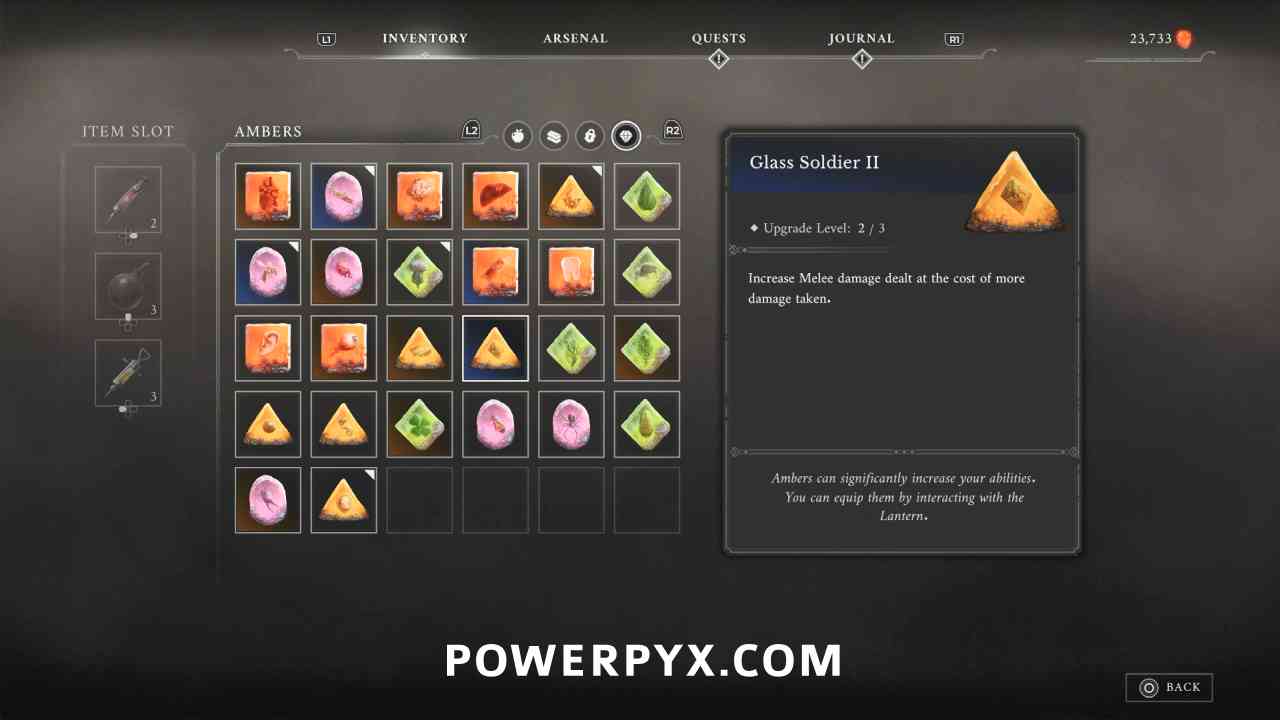
Location #3
*Currently unknown*
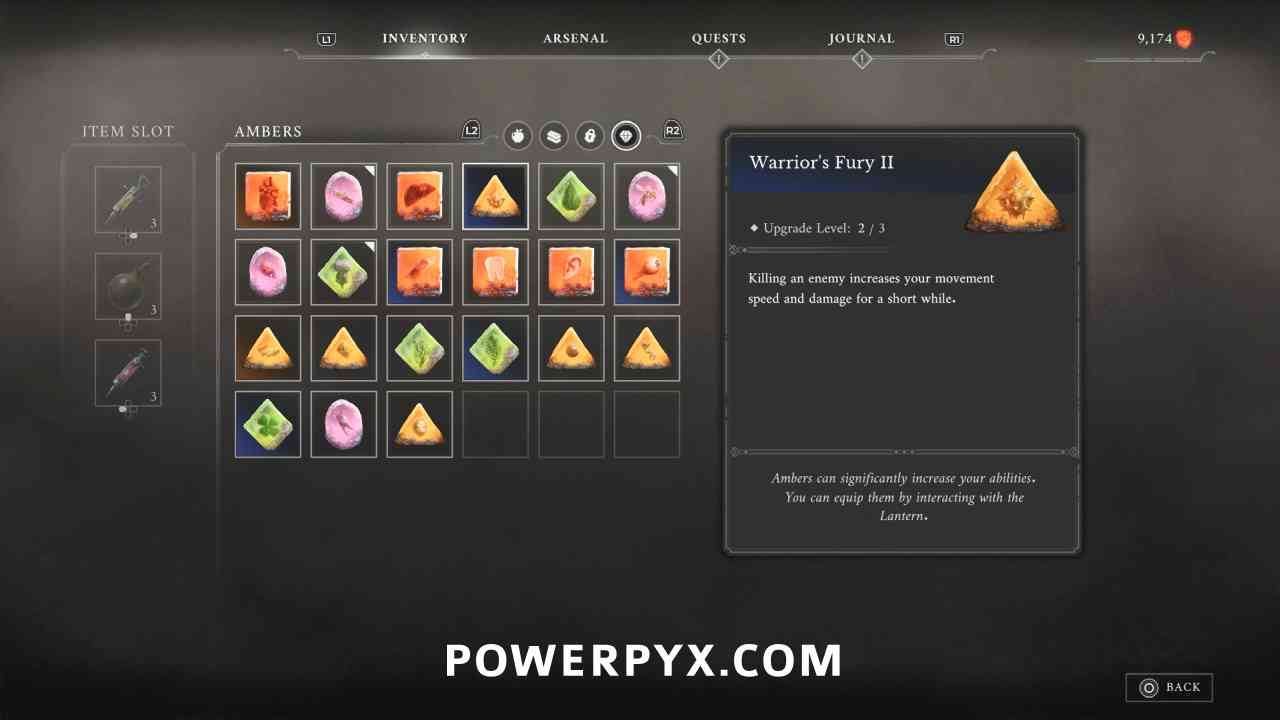
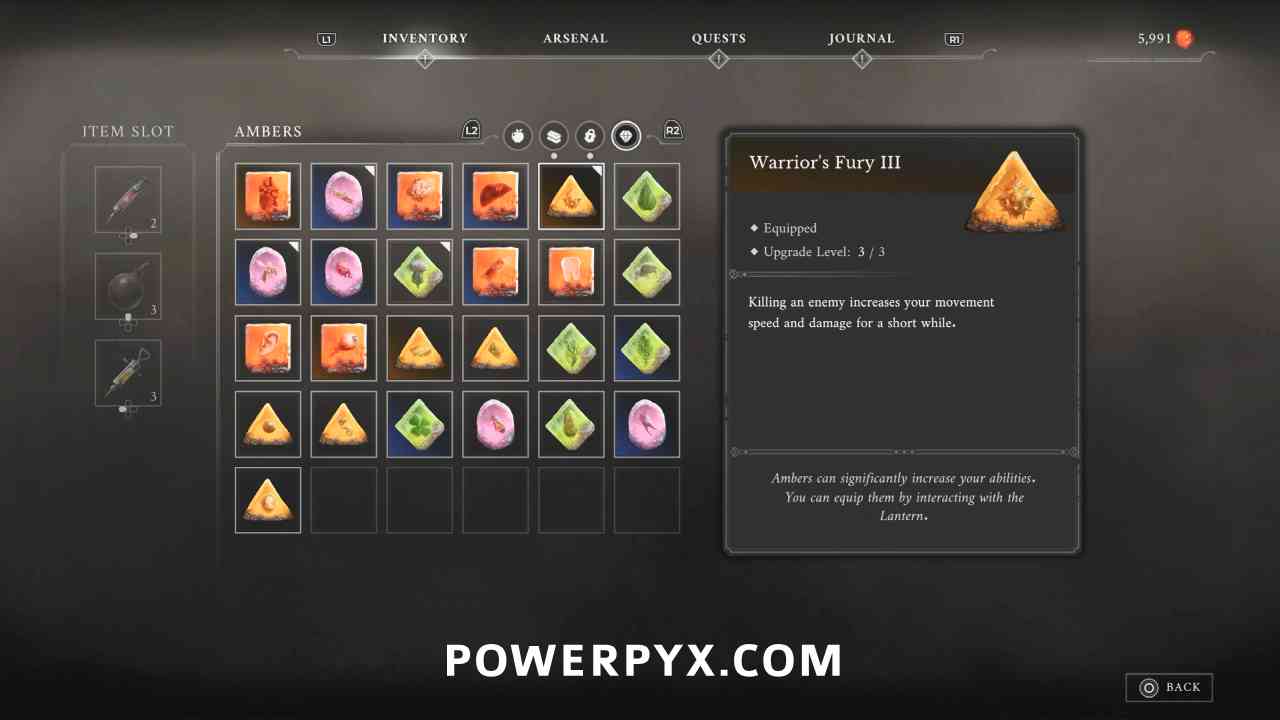
Amber 28: Warrior’s Fury
Location #1
Lantern: Fallen Village > Marketplace
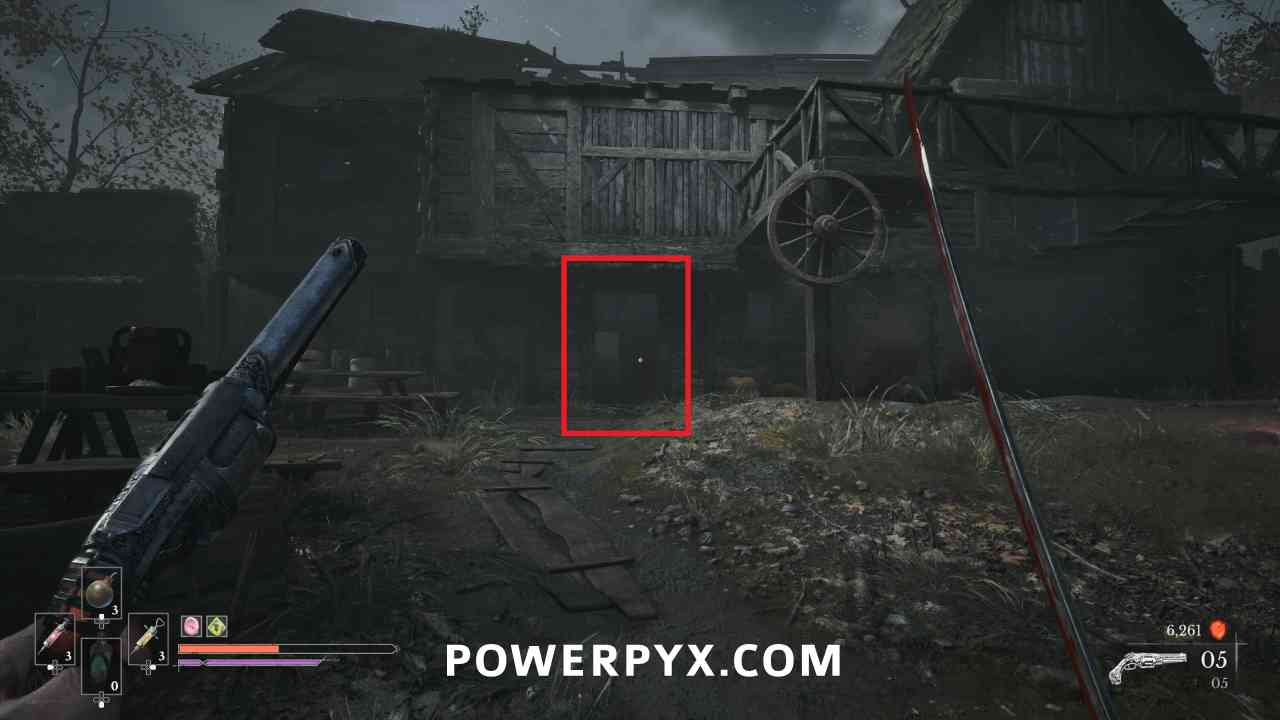
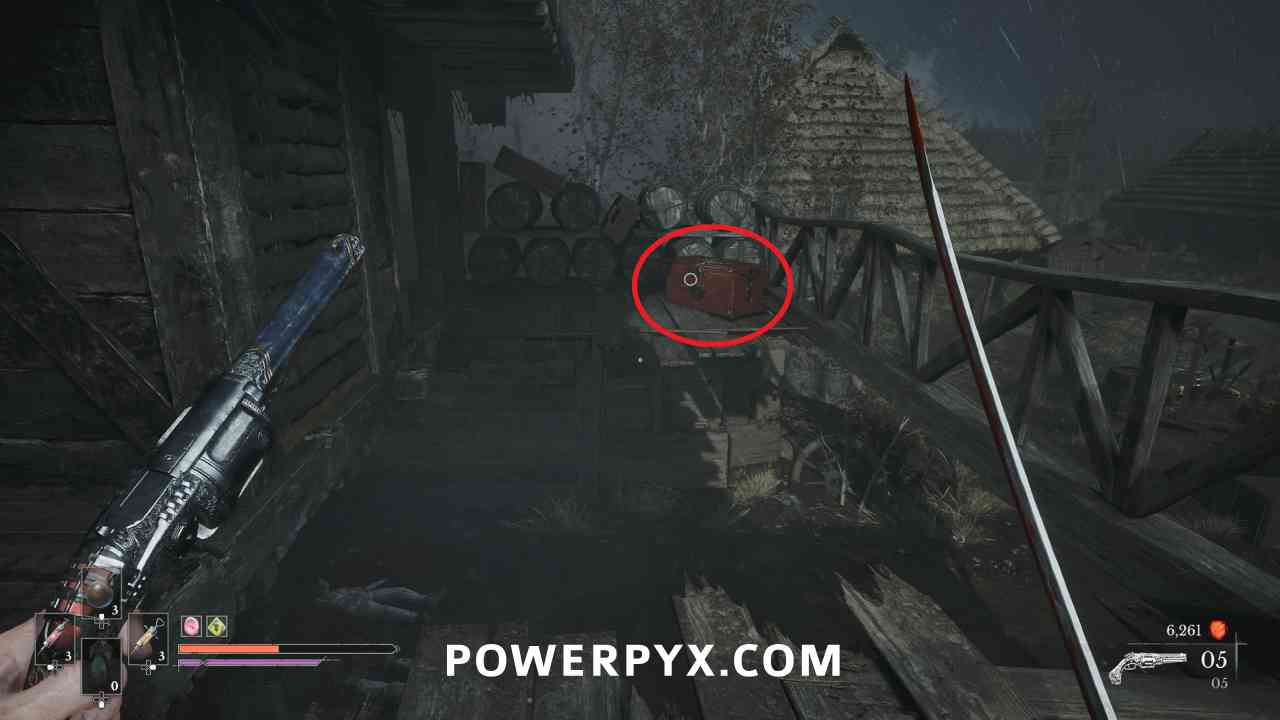
In the village area, enter the house that the group of enemies is shooting at. On the top floor you can go onto the balcony and jump across to the chest that contains this Amber.
Location #2
Lantern: Cursed Hollow > Silent Cannons
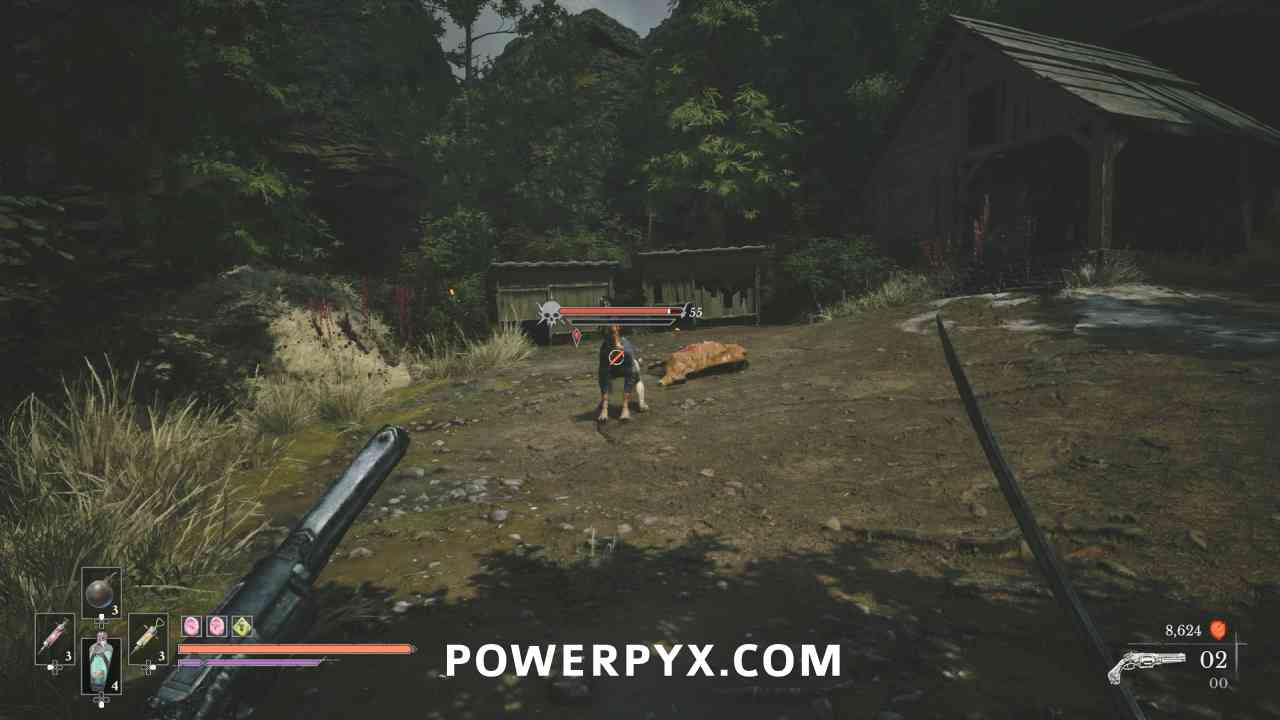
In the area past the shack Seamus is in, go through the house at the back of the area with the three notes in it, on the other side is a dog miniboss. Defeat the miniboss to receive the Amber (it may drop early after defeating one of the clones the dog summons).
Location #3
Lantern: University > Lift Shaft
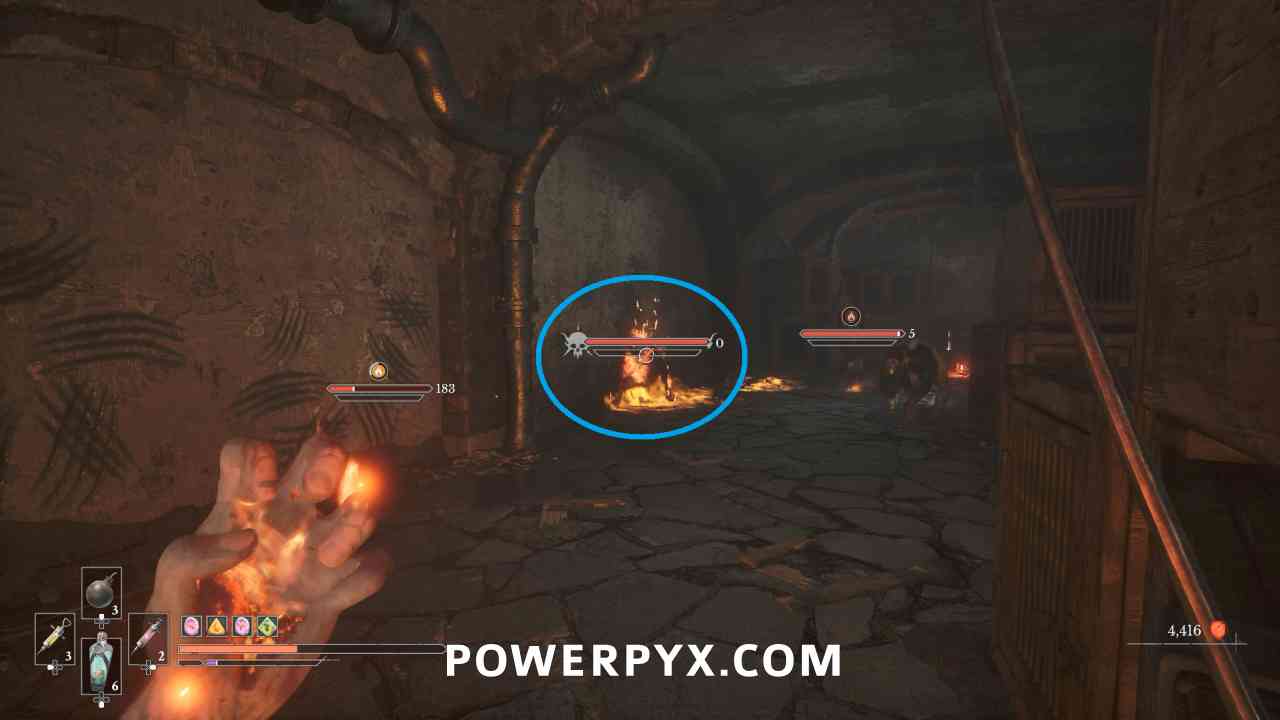
Progress through the underground area until you reach the room with all of the square cages. Defeat the dog miniboss in this room to receive the Amber.
For everything else needed for 100% Completion, refer to the Valor Mortis Collectible Guide.
Leave a Reply