
Chapter 11: Reflection is the final section of Valor Mortis and occurs after escaping from the jail in the previous chapter. This also includes all remaining cleanup, which can be done either before or after fighting the final boss. This walkthrough will guide you through all collectibles available in the Shackled section. Everything that’s needed for trophies and 100% completion is included, nothing is missable and you can return to all areas at any time.
Collectibles Walkthrough:
Chapter 11: Reflection
When speaking to Lucjan if you choose to go to the cave you will be taken to the Caverns > Ancient Lair Lantern, then need to go interact with the stone door at the end of the area to trigger the final boss. If you want you now have the opportunity to clean up everything before the ending. If you want to do the ending first you can do that. After the ending you are placed back in the game world after the final boss and can return to all previous locations.
Entropy
Boss: The Entity

Cleanup
Valley of Ashes
Quest: The Emissary – Step #2
Lantern: Valley of Ashes > The Other Side
You can now traverse the poison area. Follow the path down the hill where you come to a camp hidden by the poison. Go in and pick up the note off the ground, then interact with the body in the middle of the area.
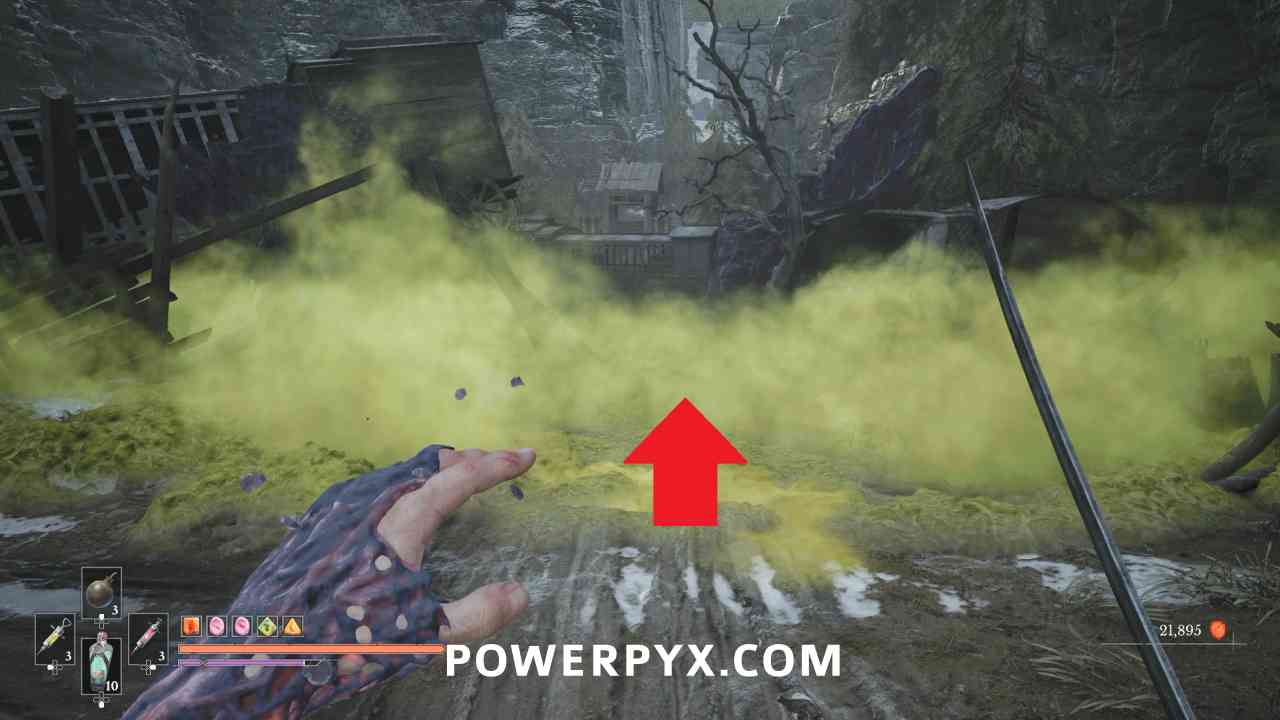
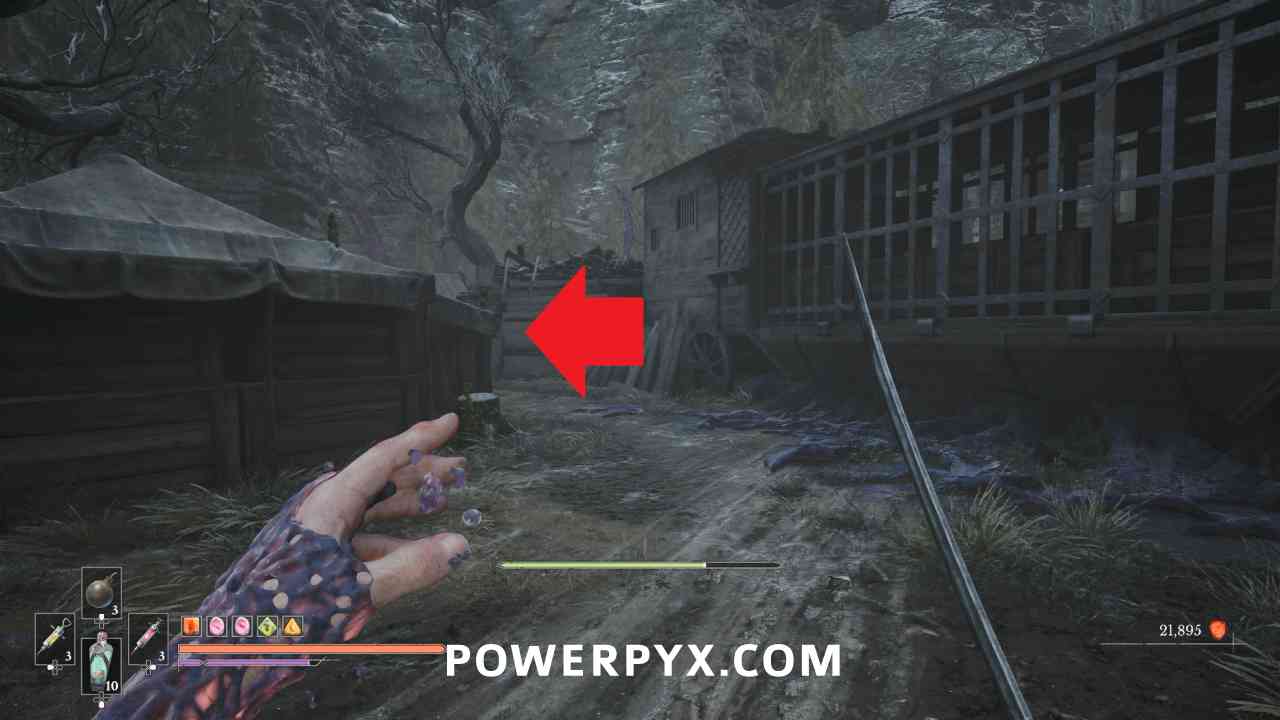
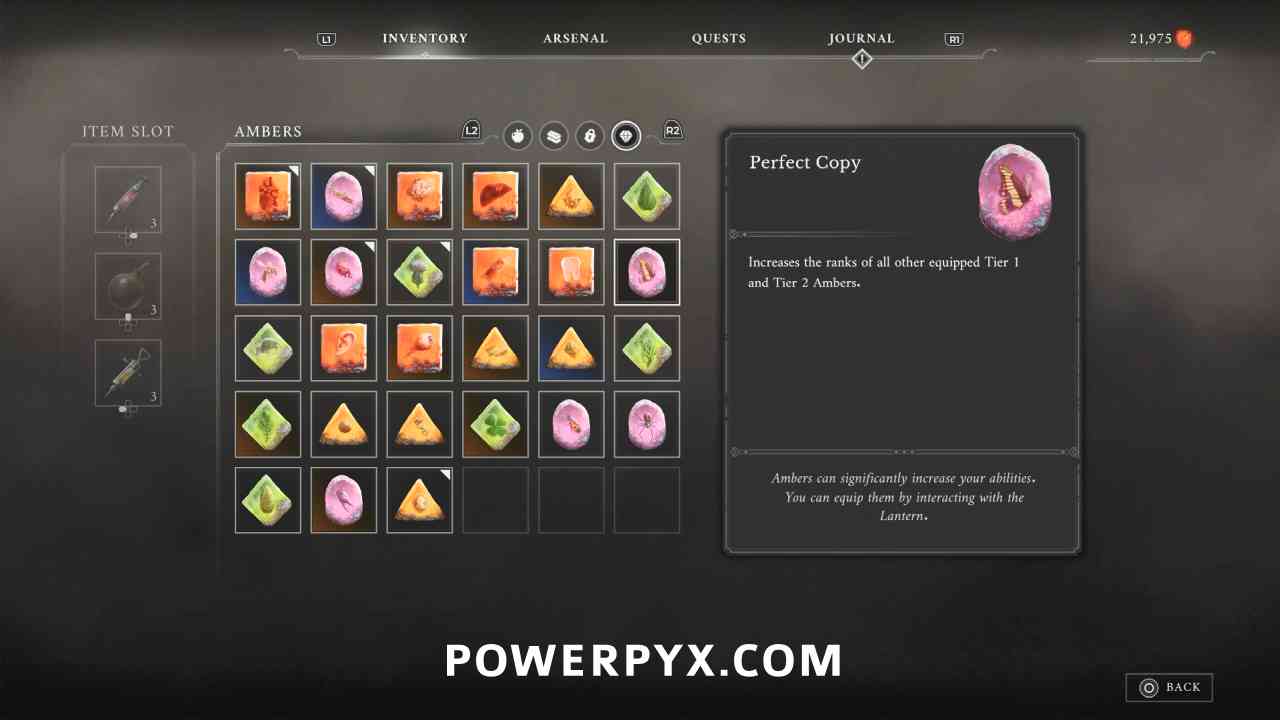
Amber #51: Perfect Copy
Lantern: Fortress > The Other Side
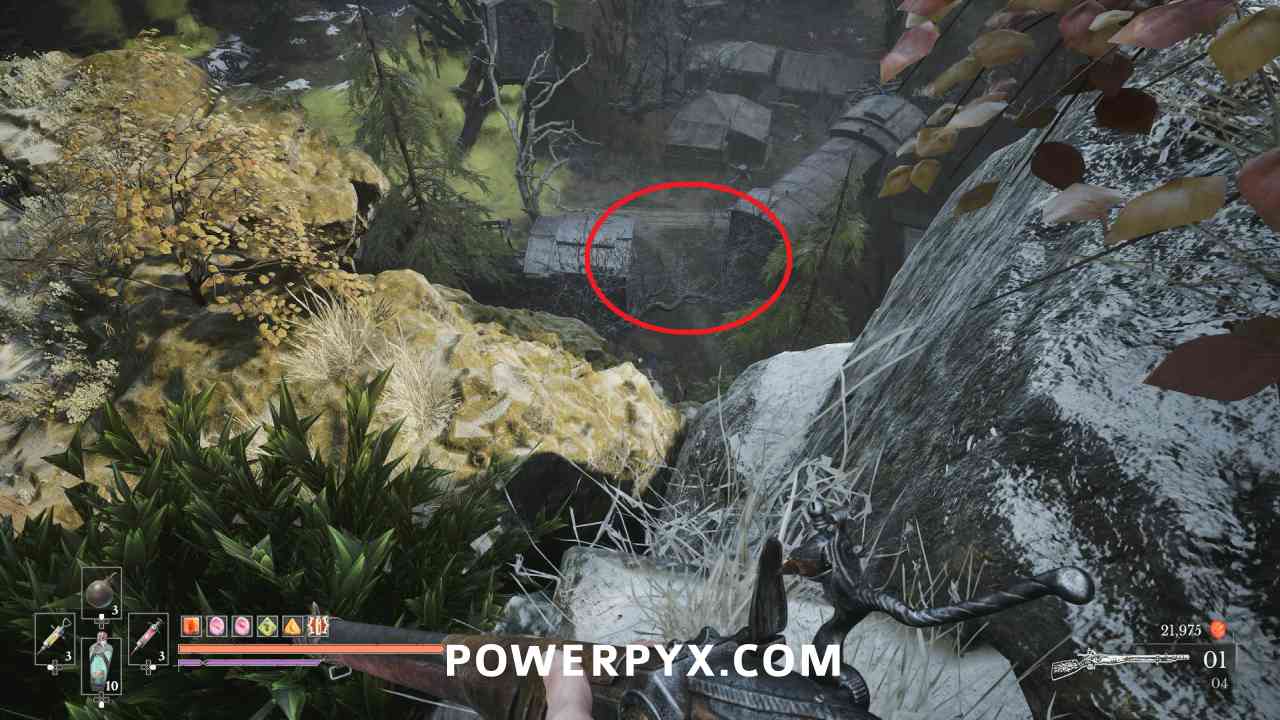
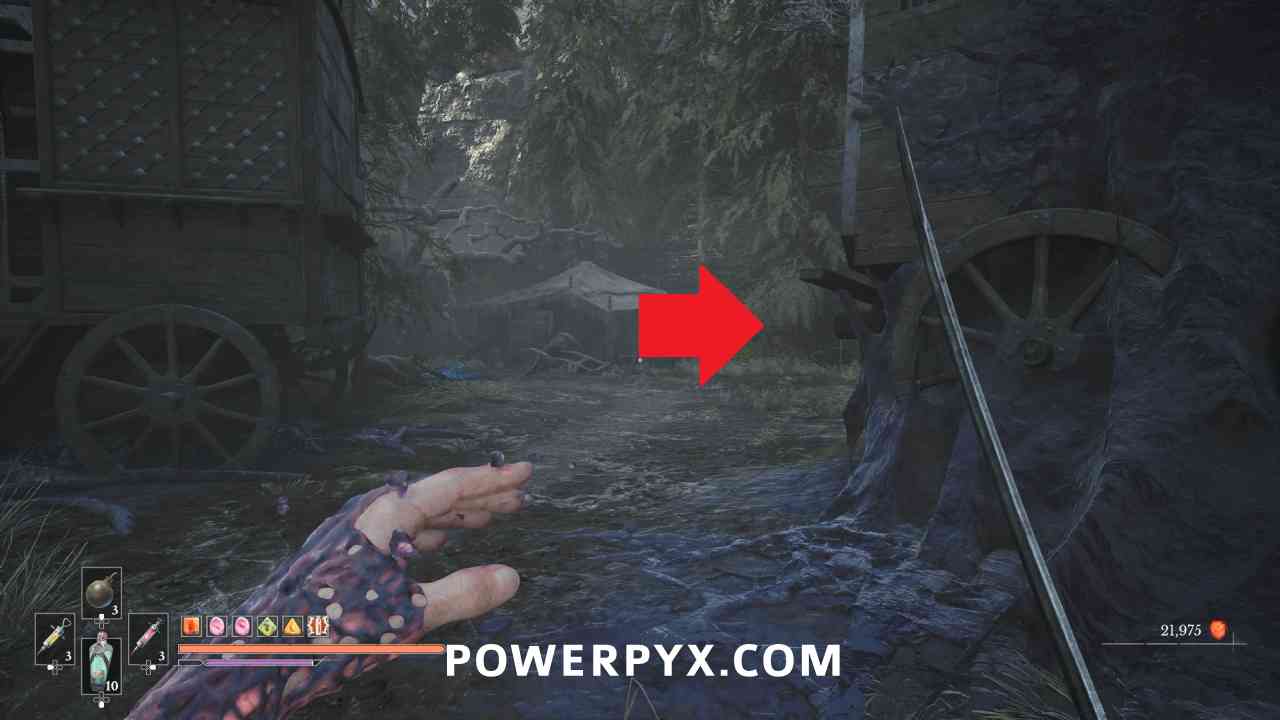
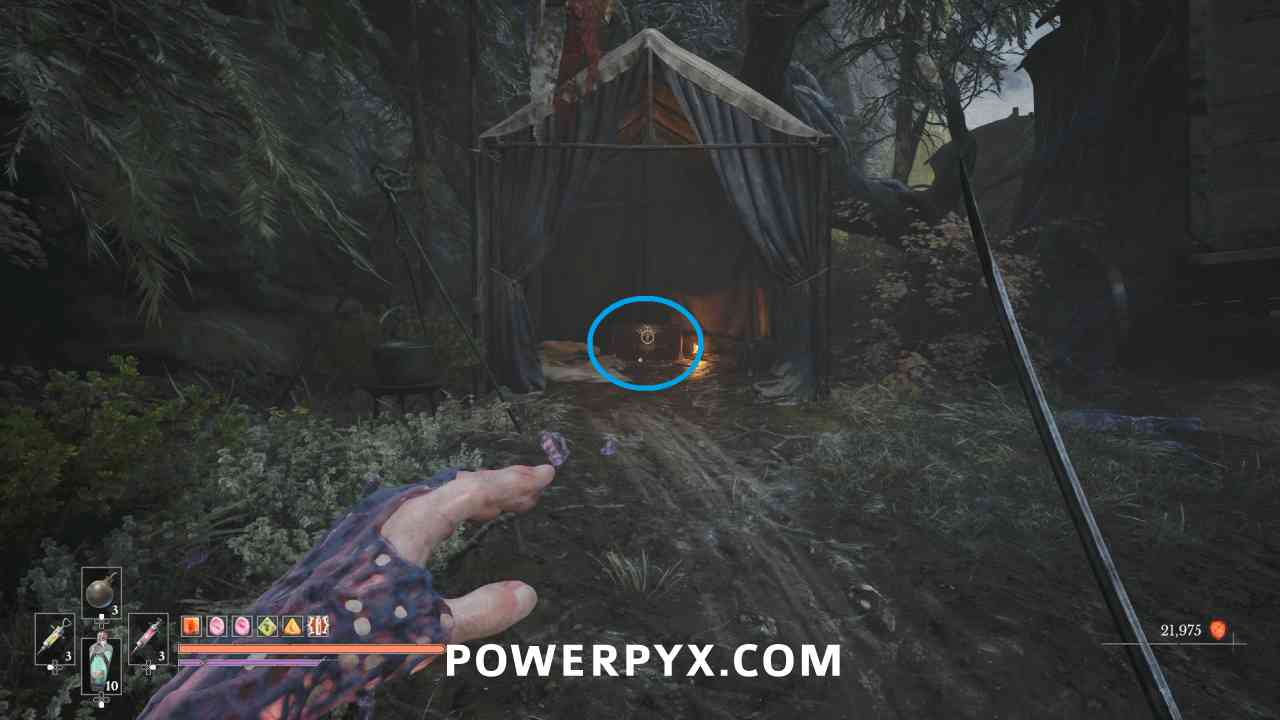
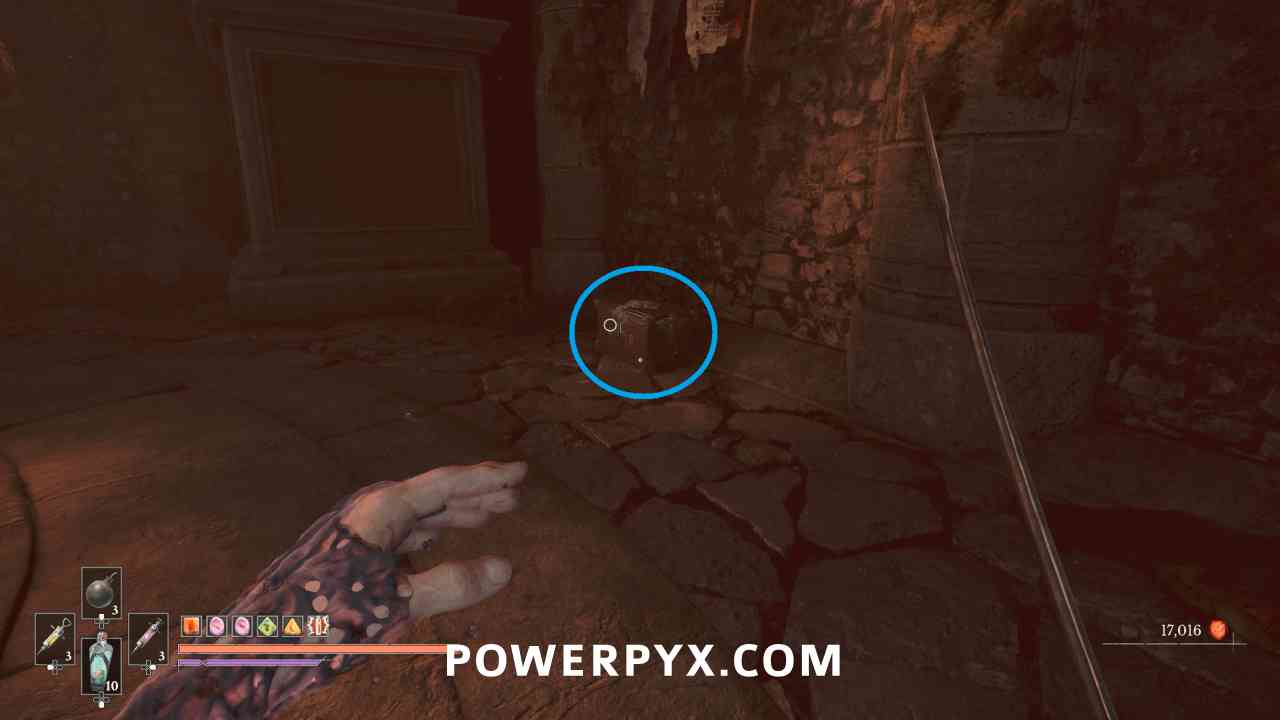
Shoot the weak spot in the train car to open up the path near the poison (if you can’t find an angle from ground level, you can go to the area up the cliffs and aim down toward it). In the tent immediately right is a chest containing this Amber.
Quest: The Emissary – Step #3 (Complete)
Lantern: Valley of Ashes > The Other Side
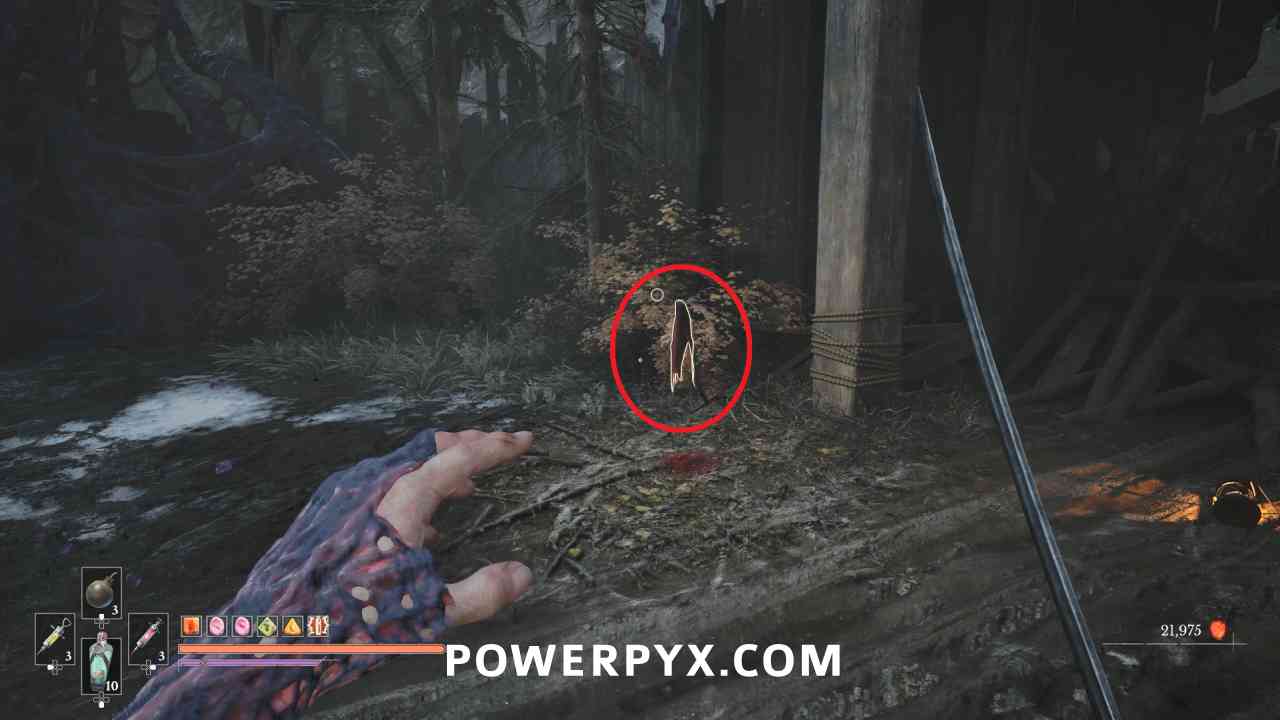
Go further into this area and by the blocked gate you in can interact with the red cloth to complete the quest and receive a Sands of Time consumable.
Vale of Wrath
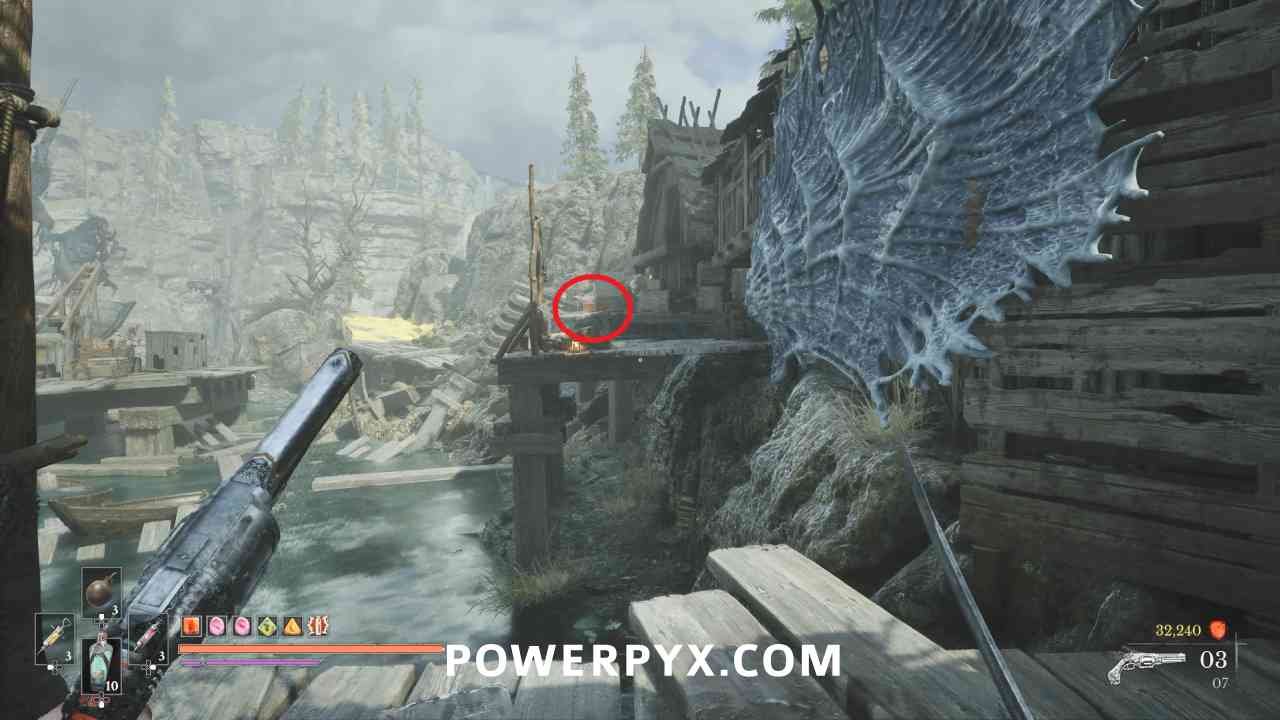
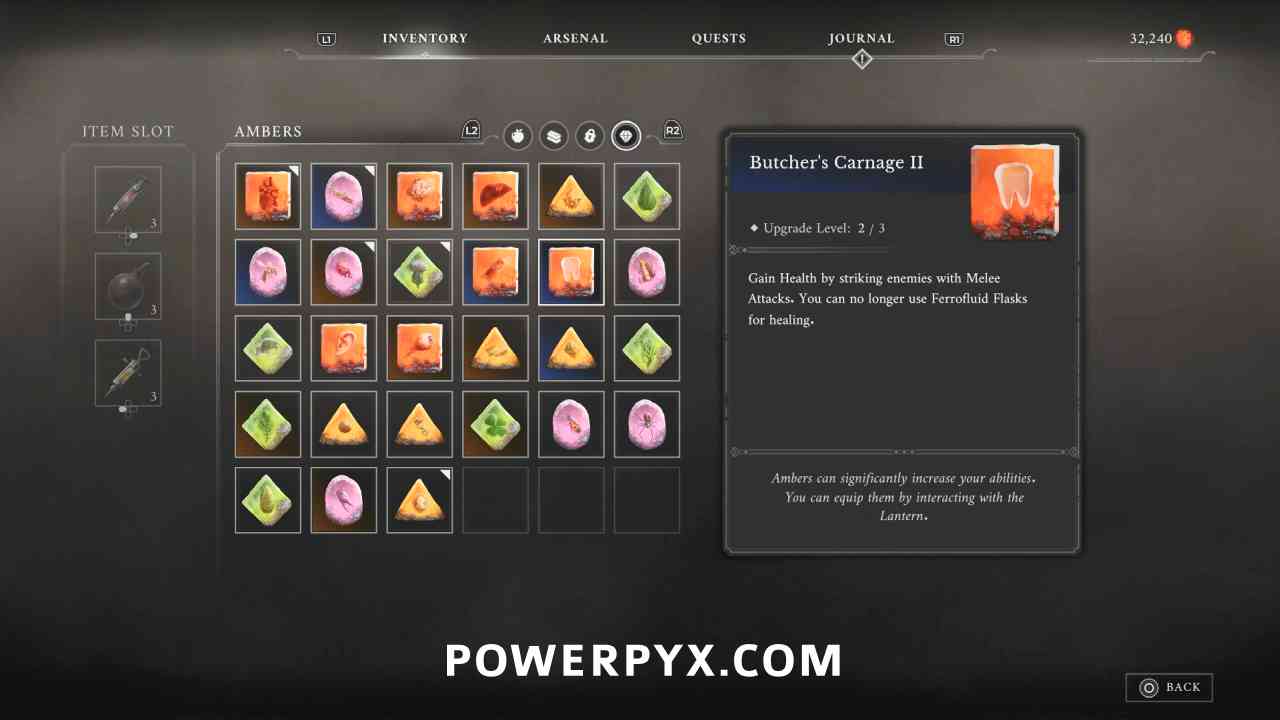
Amber #52: Butcher’s Carnage (Duplicate > Level 2)
Lantern: Vale of Wrath > Ship Graveyard
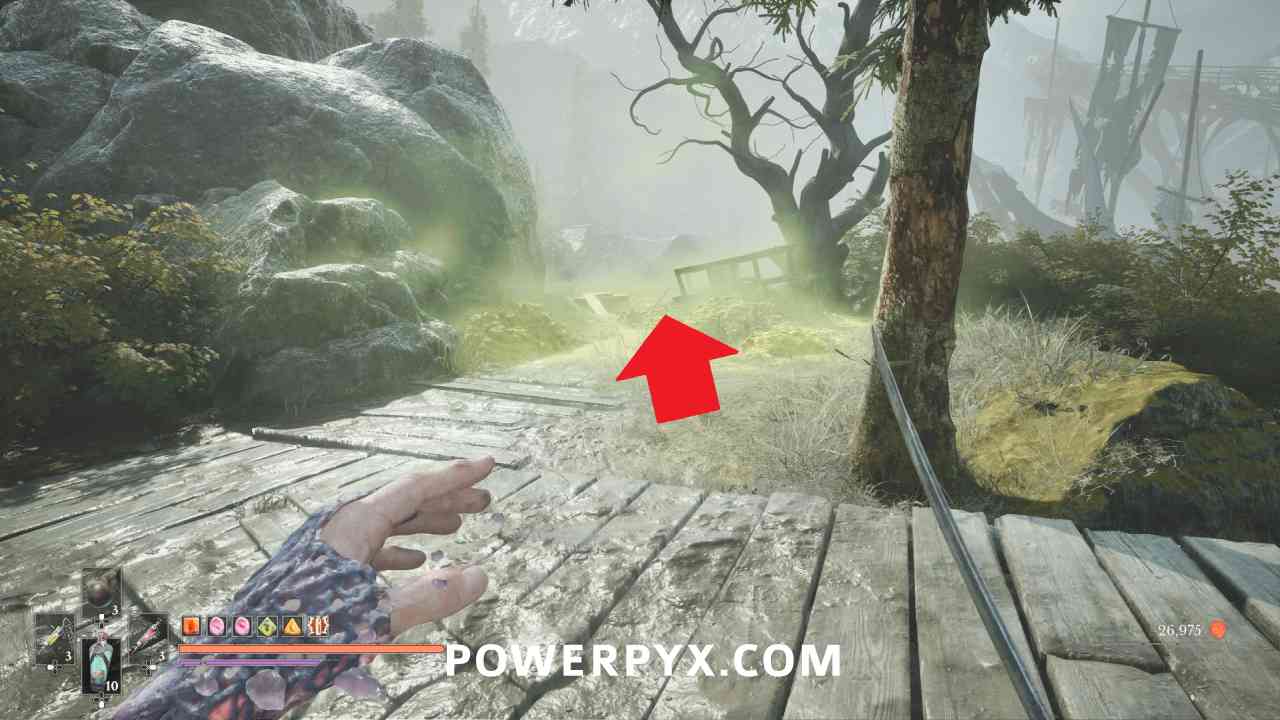
Turn around and grapple back toward the village, then turn right to find a poison field. Follow the path to the balcony you can see immediately on the left when you enter the area to find a chest with this Amber.
Quest: The King of Smugglers – Step #1
Lantern: Vale of Wrath > Ship Graveyard
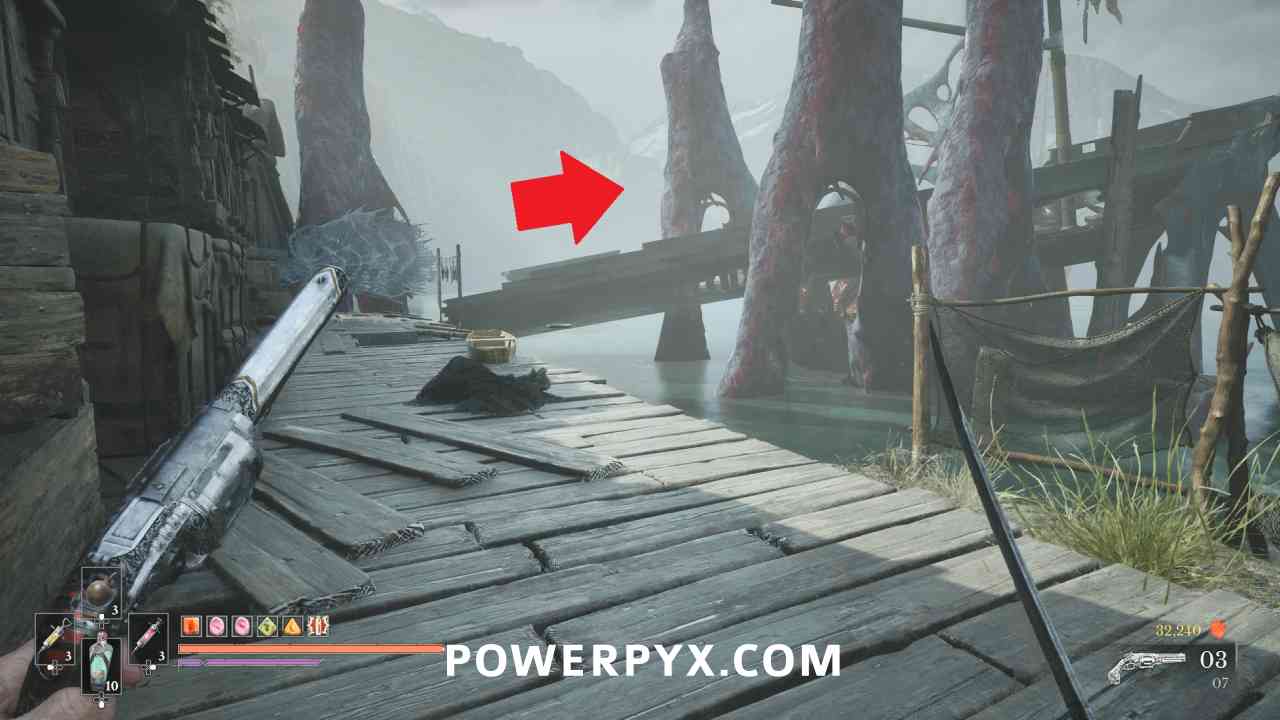
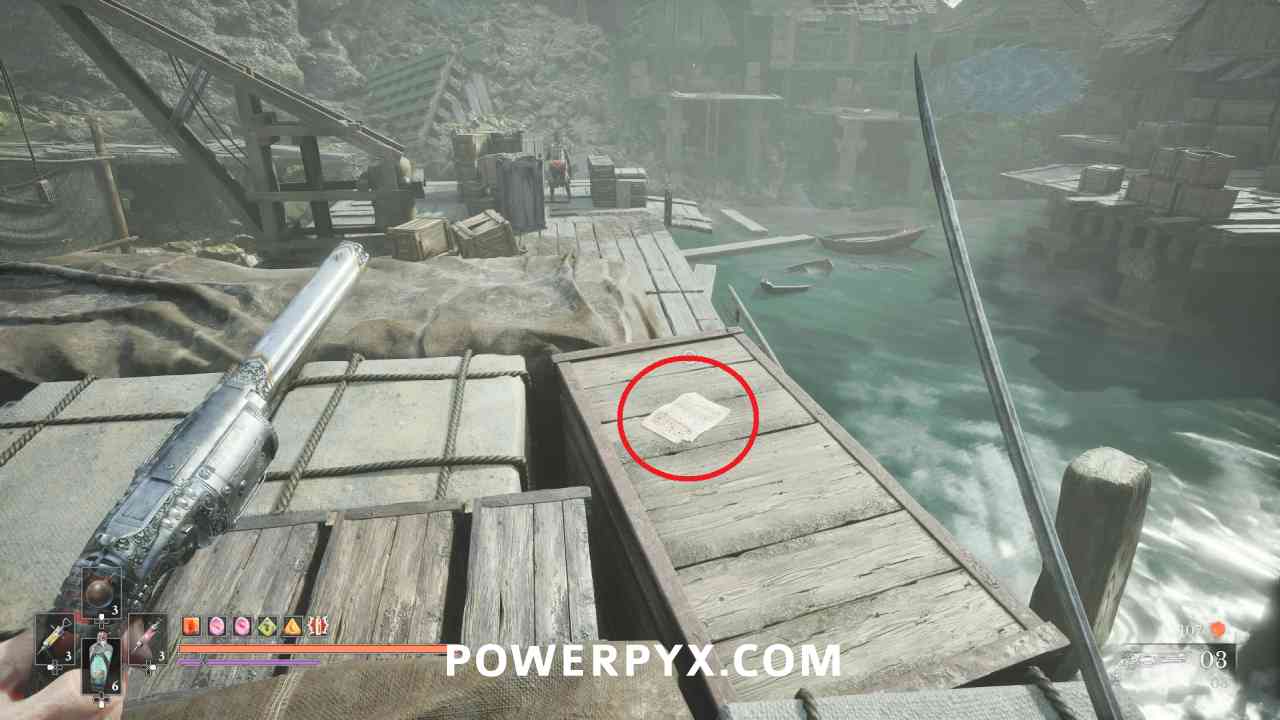
Continue through the area past where you fight on the boat against the soldiers and flying enemies. After the walljump onto the cargo you can pick up the note “Cargo Manifest” to start the quest.
The Outskirts
Quest: The King of Smugglers – Step #2
Lantern: The Outskirts > Harbour
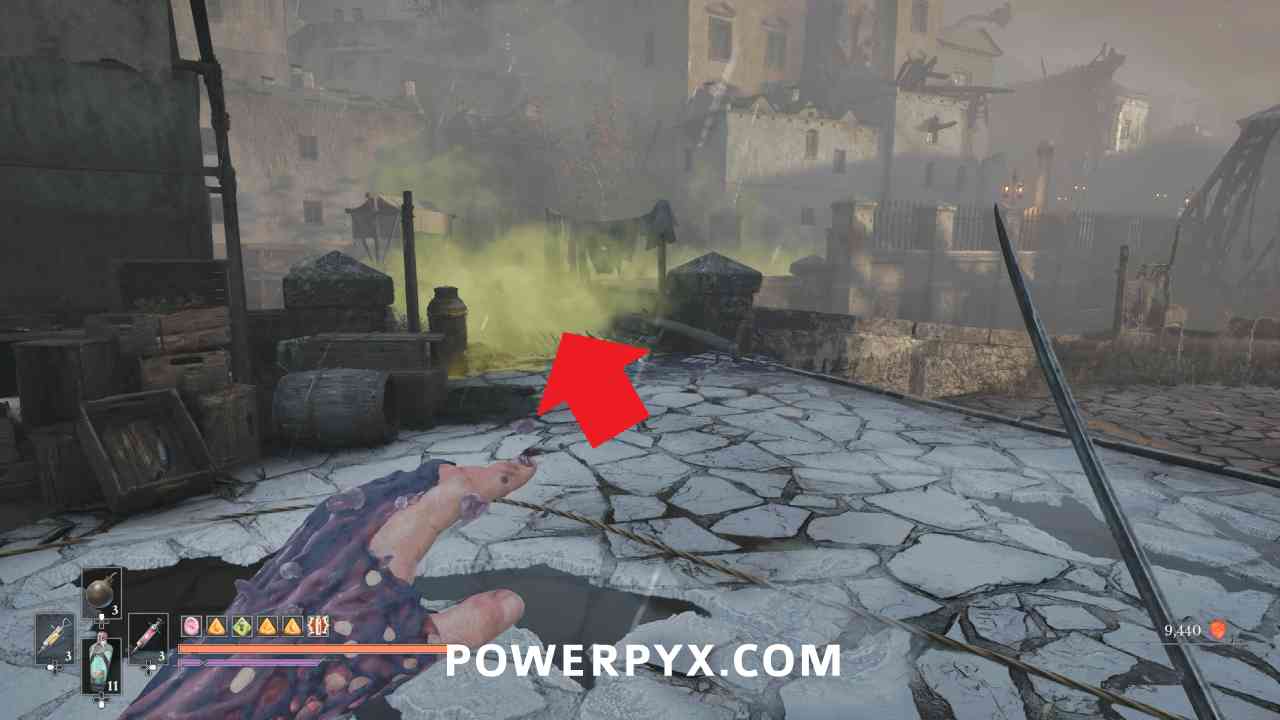
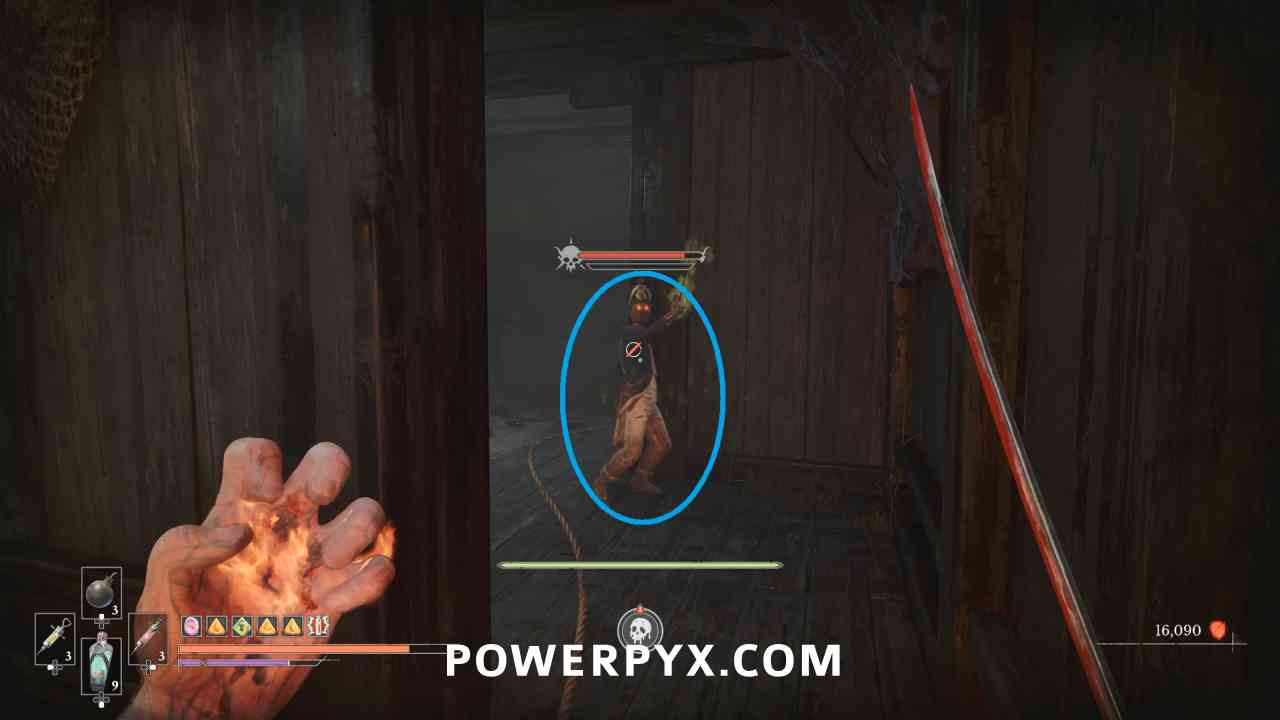
From the Lantern, go through the poison area to reach a side dock. Go through the ship and into the hold where at the end you can find a miniboss. Defeat them to obtain the Harbour Residence Key.
Quest: The King of Smugglers – Step #3 (Complete)
Lantern: The Outskirts > Harbour
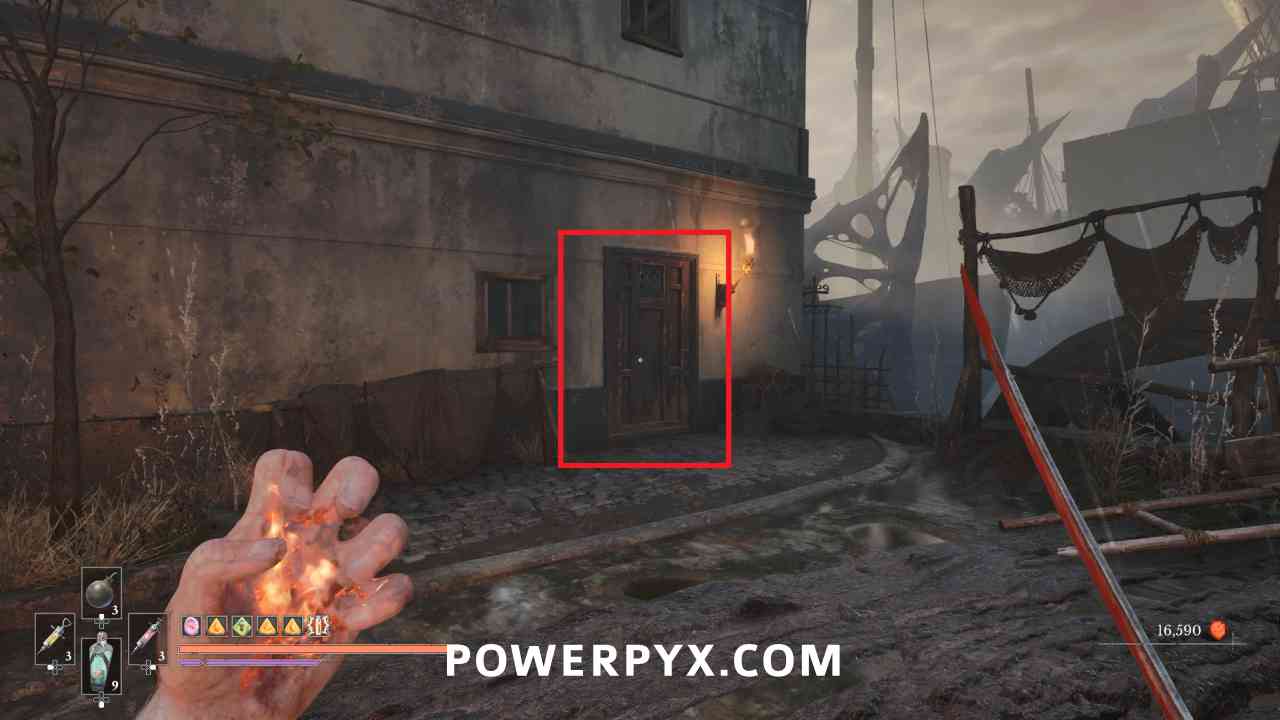
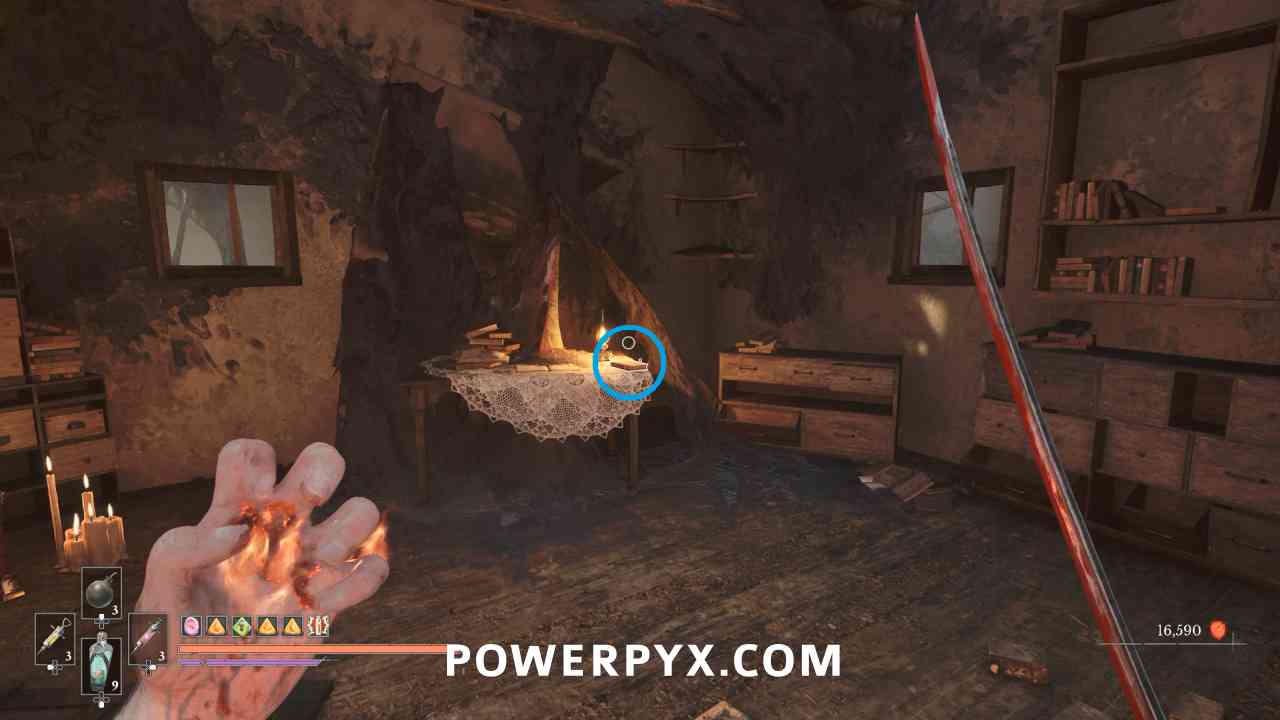
Go back toward the poison area and there is a building you can enter with the Harbour Residence Key. Go to the top floor and pick up the note “Crusty Benek’s Journal” off the table, then loot the chest to the left.
Master Firearm Parts
Lantern: The Outskirts > Harbour
Obtained when completing The King of Smugglers side quest.
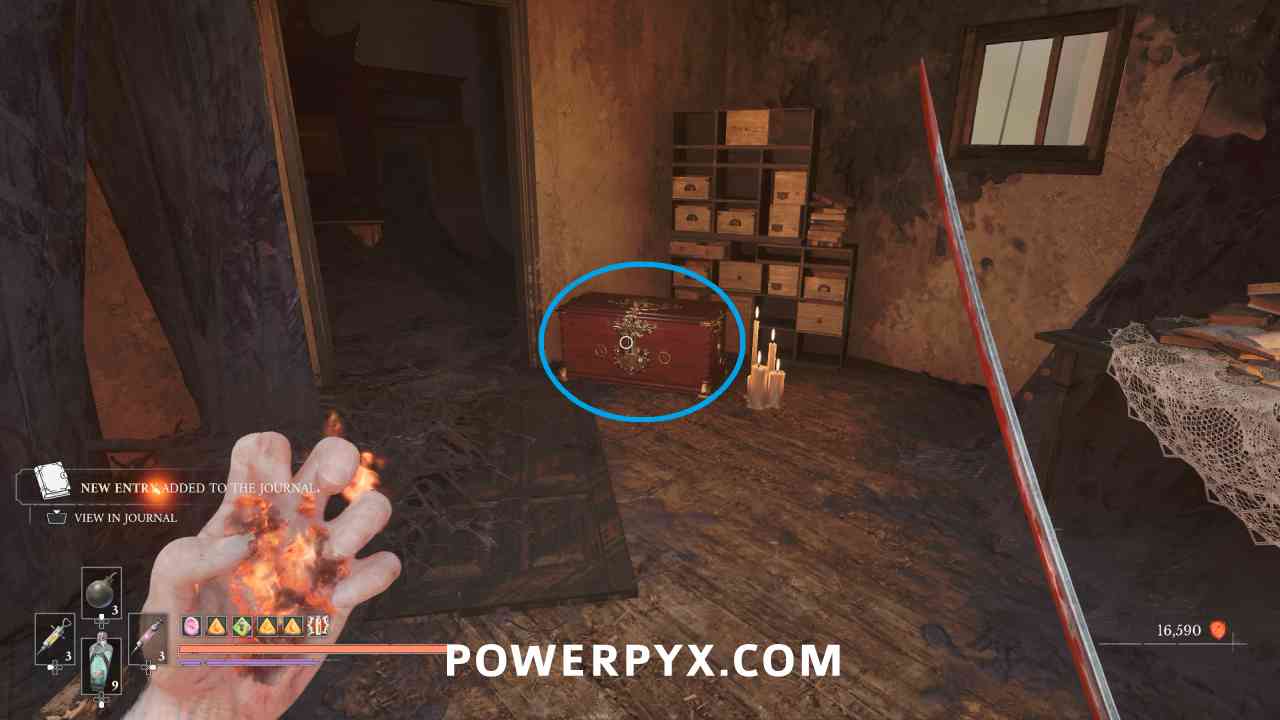
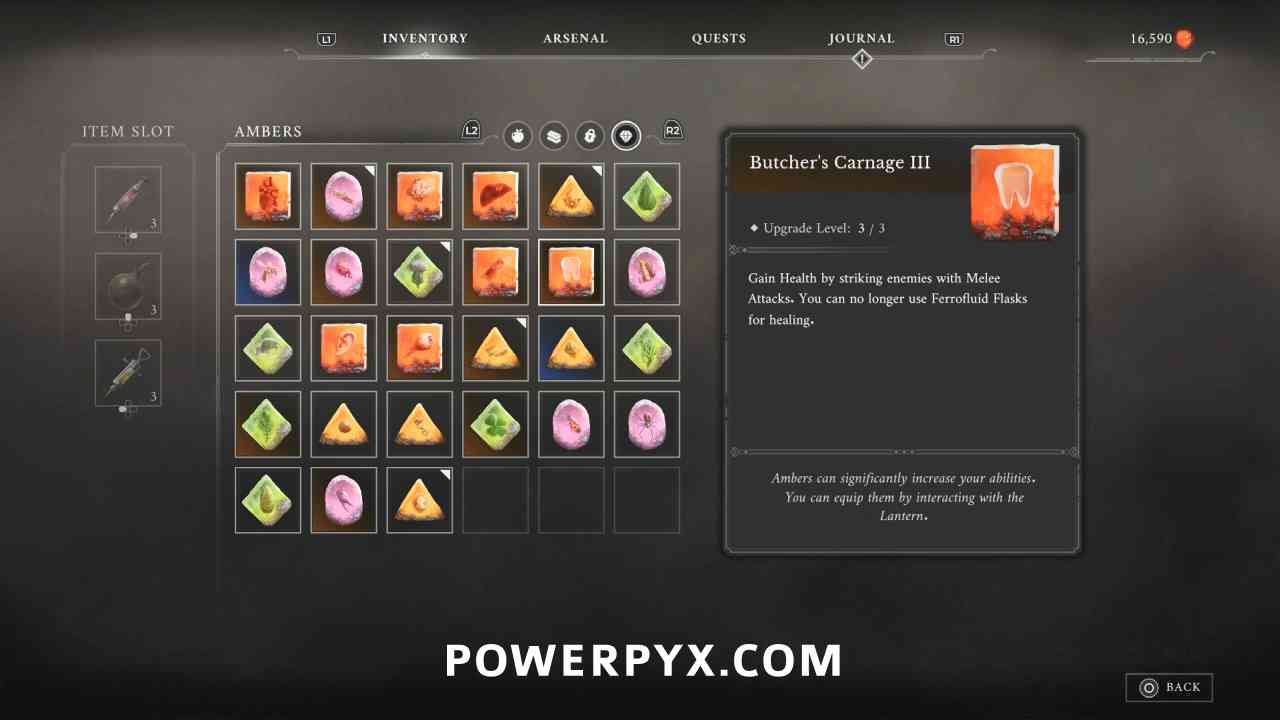
Amber #53: Butcher’s Carnage (Duplicate > Level 3)
Lantern: The Outskirts > Harbour
In the chest right beside the note picked up during The King of Smugglers side quest.
City of Orphans
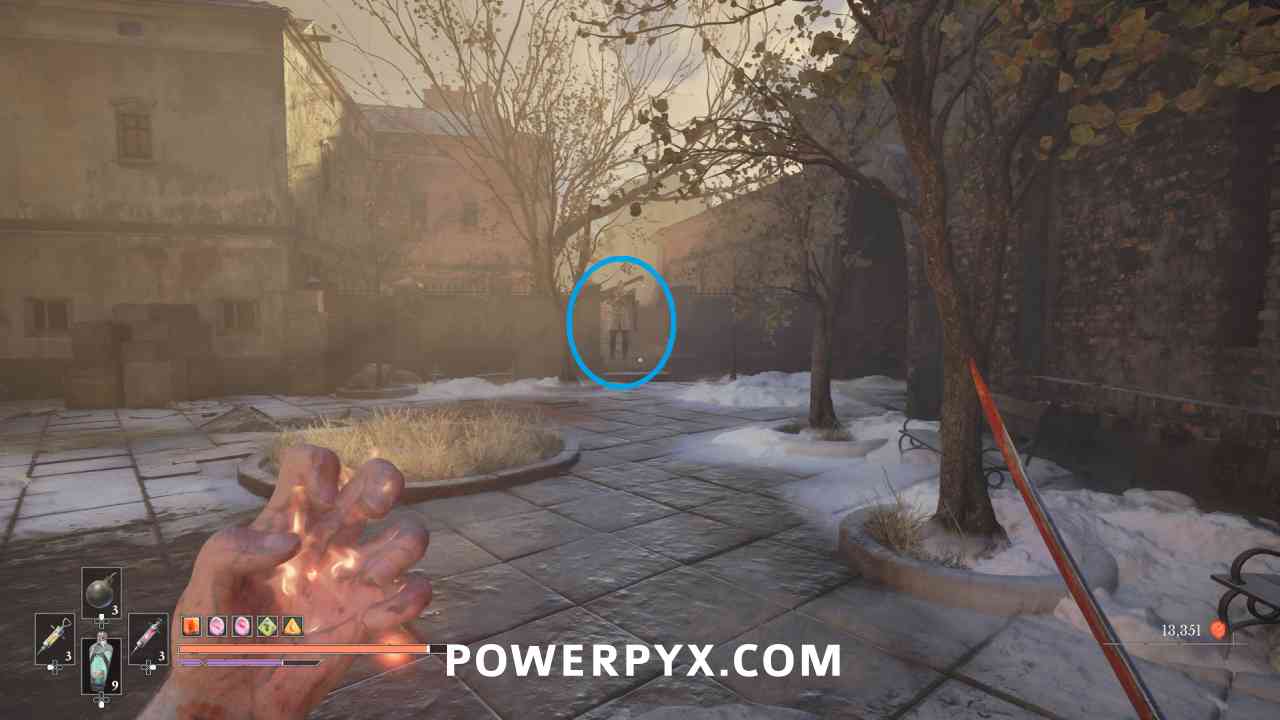
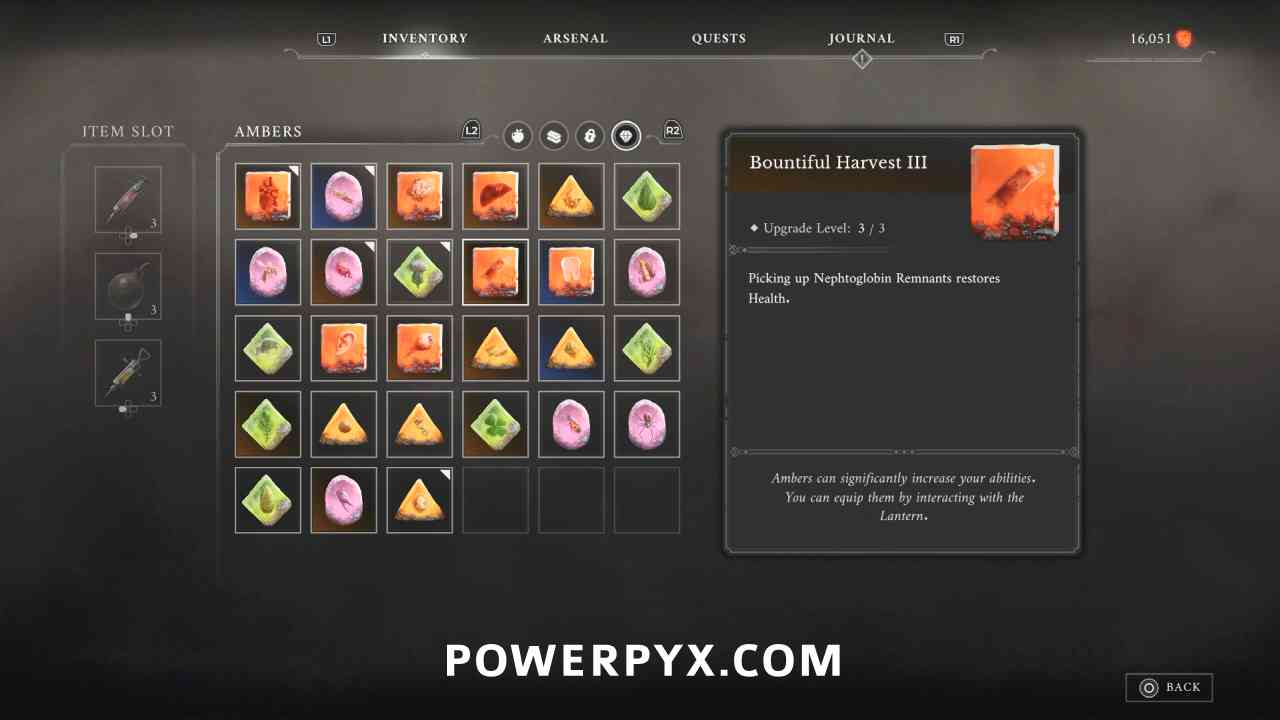
Amber #54: Bountiful Harvest (Duplicate > Level 3)
Lantern: City of Orphans > Tribunal Square
Take the shortcut back up near the tower and there is a miniboss at the top of the second ladder. Defeat them to obtain this Amber.
Quest: The Oathbound – Step #6
Lantern: City of Orphans > Shamble Street
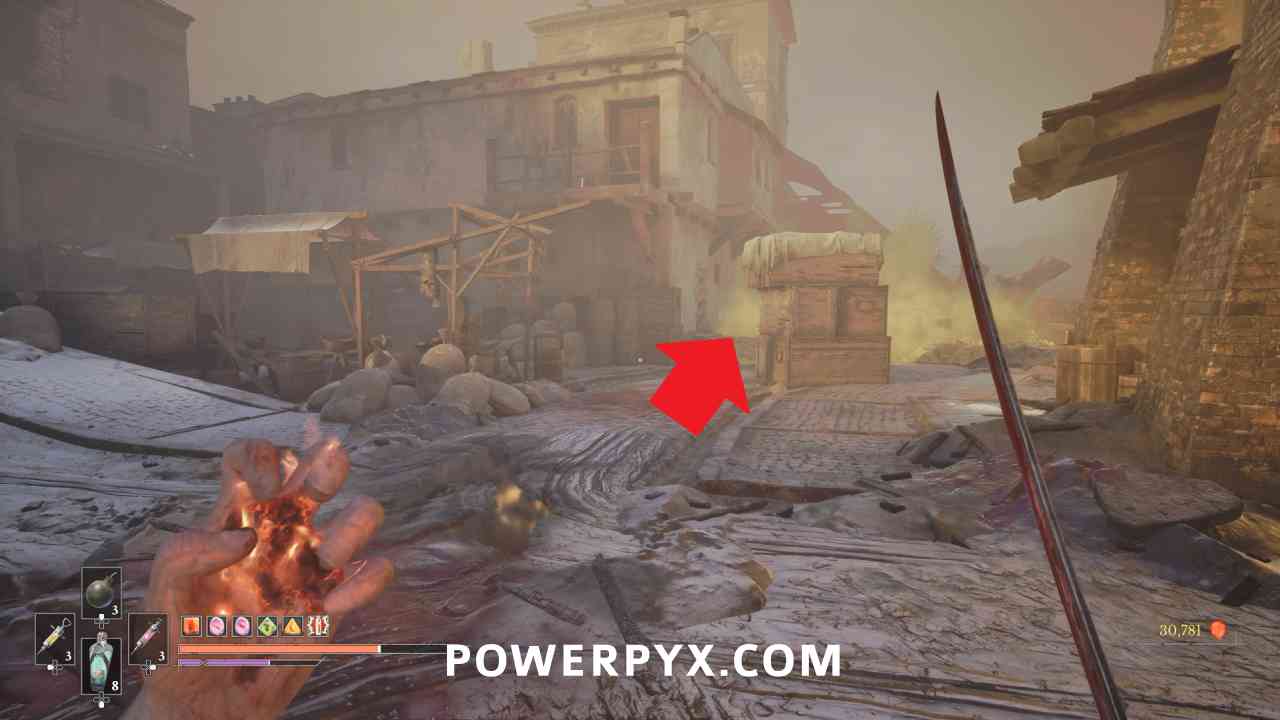
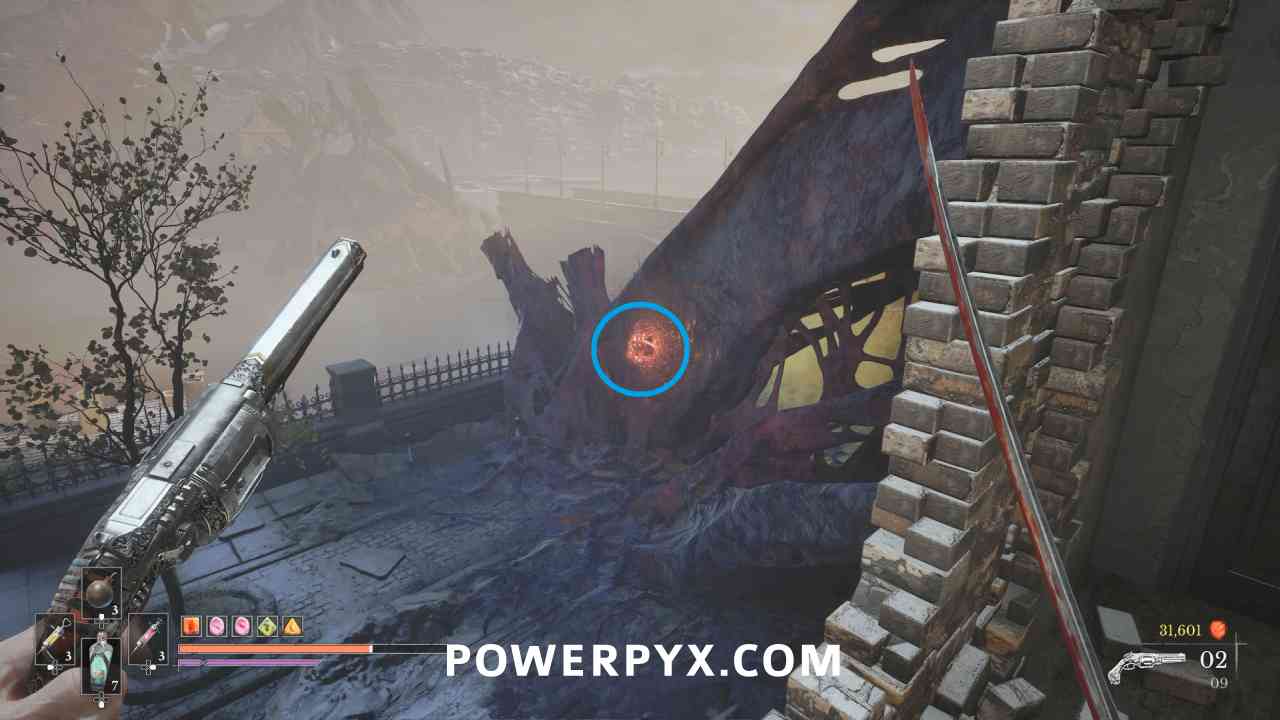
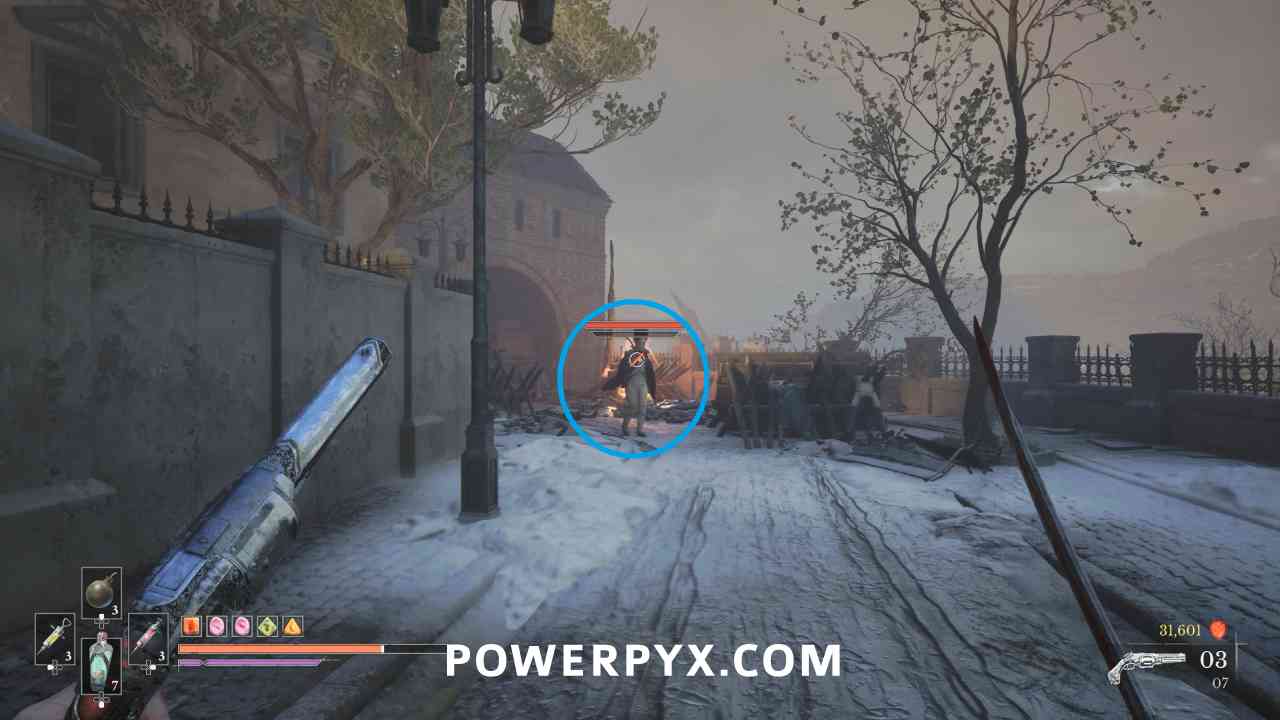
Take the shortcut out the large gate toward the river, then to the left to the ramp with the two tall enemies walking around. At the bottom of the ramp on the left is a poison area you can now go through. Follow the path through the area then when climbing into a house you can shoot a weakpoint to clear a path. At the end of this area you can find the Eternal Guardsman, who drops Mysterious Stone Pyramid and Adrien Cassell’s Emblem.
Quest: The Oathbound – Step #7
Lantern: City of Orphans > Shamble Street
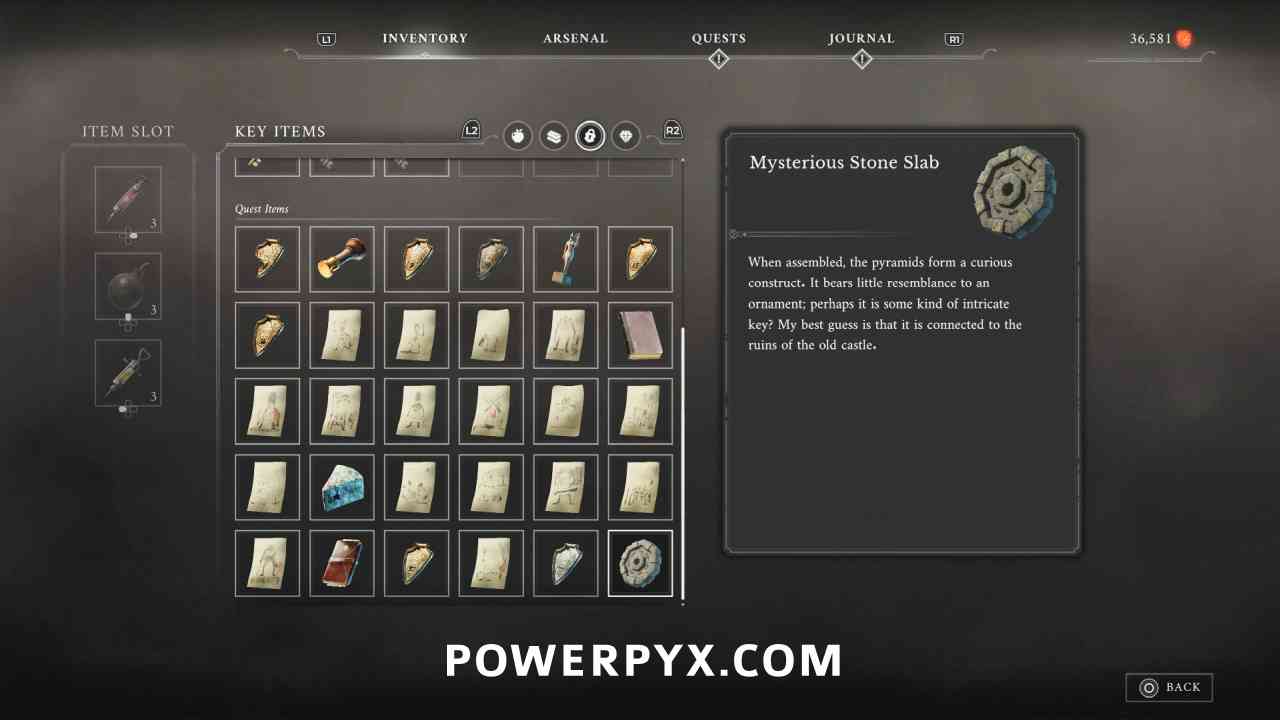
For collecting all of the Emblems, you now receive the Mysterious Stone Slab.
Fortress
Quest: The Oathbound – Step #8 (Complete)
Lantern: Fortress > Courtyard
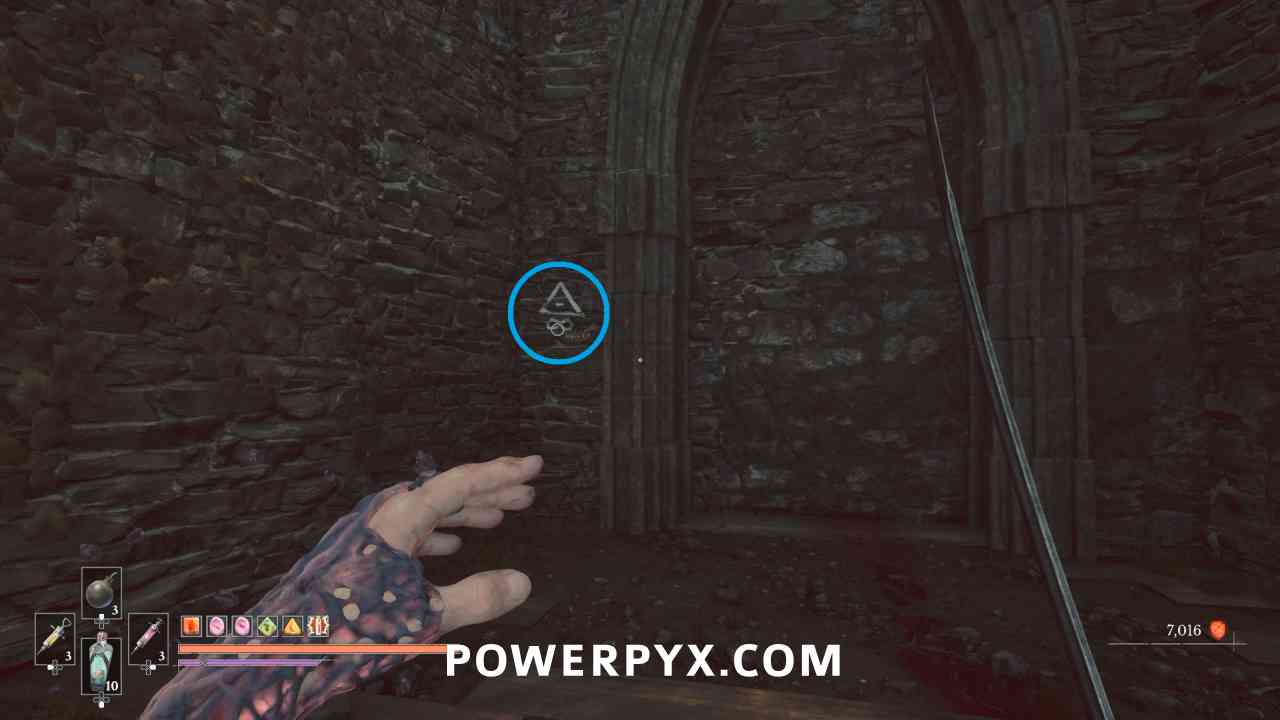
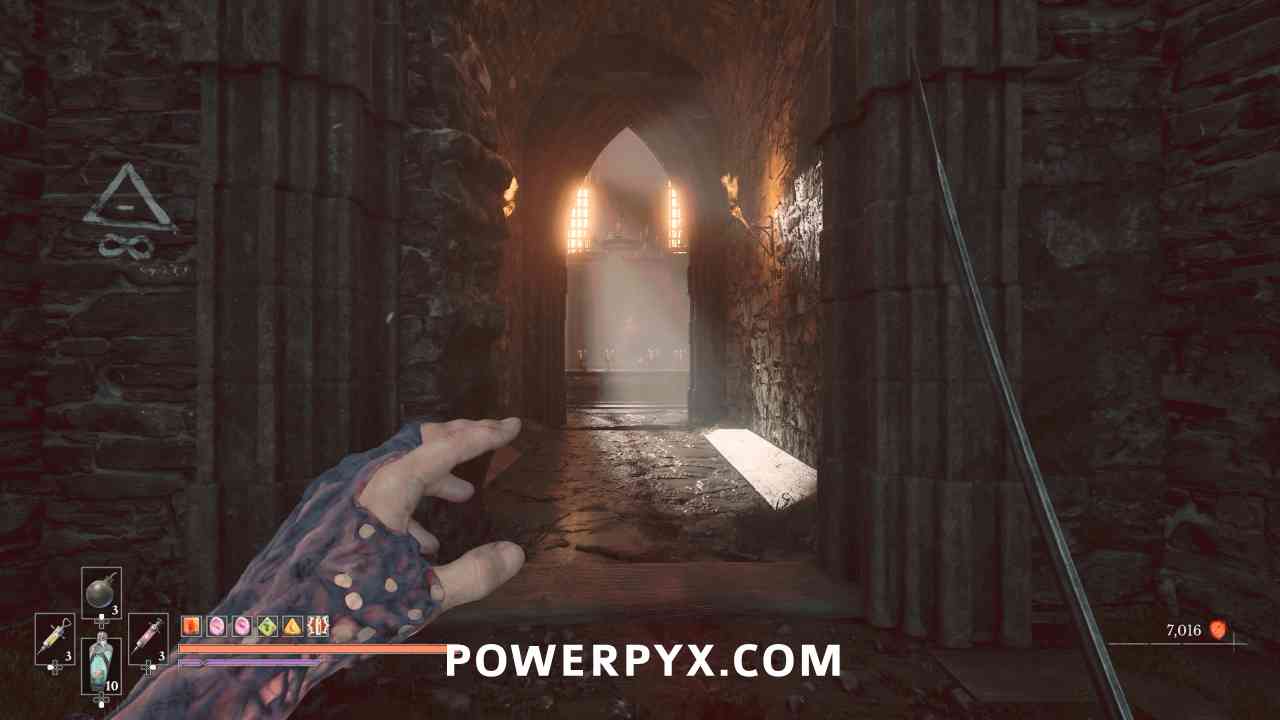
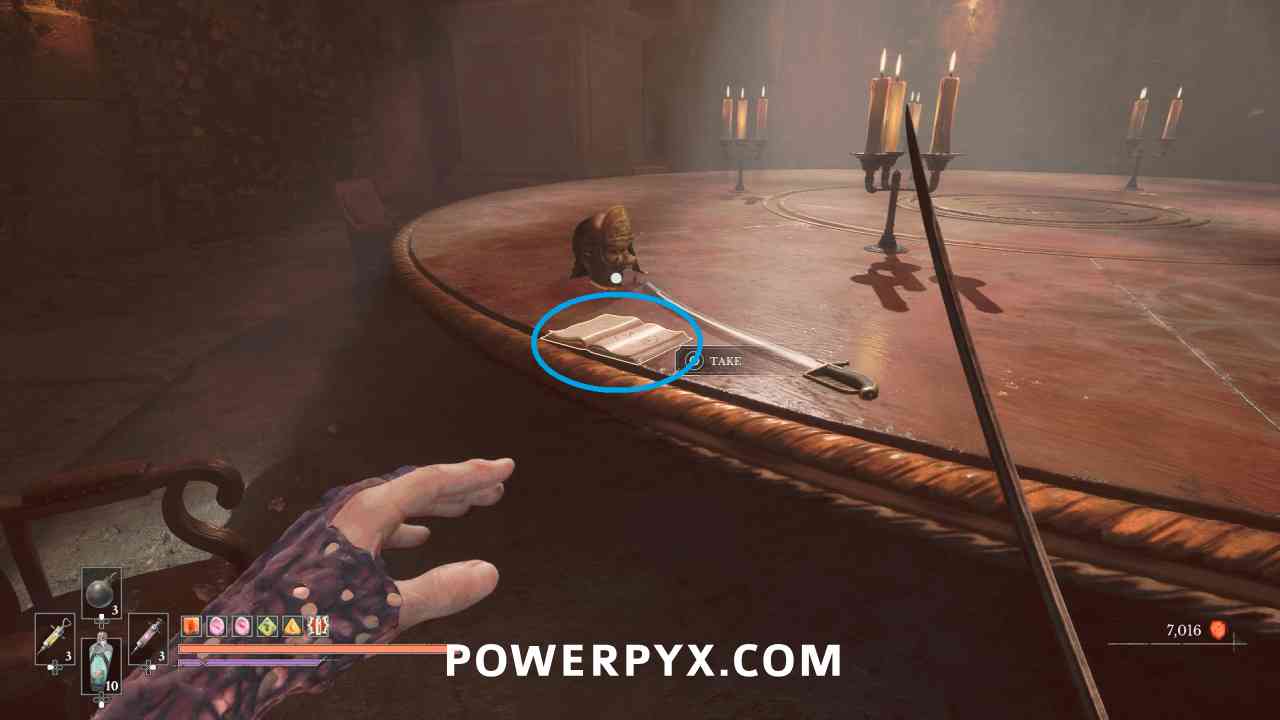
Go back to where you fought the monster Eternal Guardsman in this area, and go to the opposite direction where there is a wall with the Oathbound symbol to the left. Interact with it to open the wall. Pick up the note off the table to complete the quest.
Empty Ferrofluid Flask #9
Lantern: Fortress > Courtyard
To the left of the table in the chest.
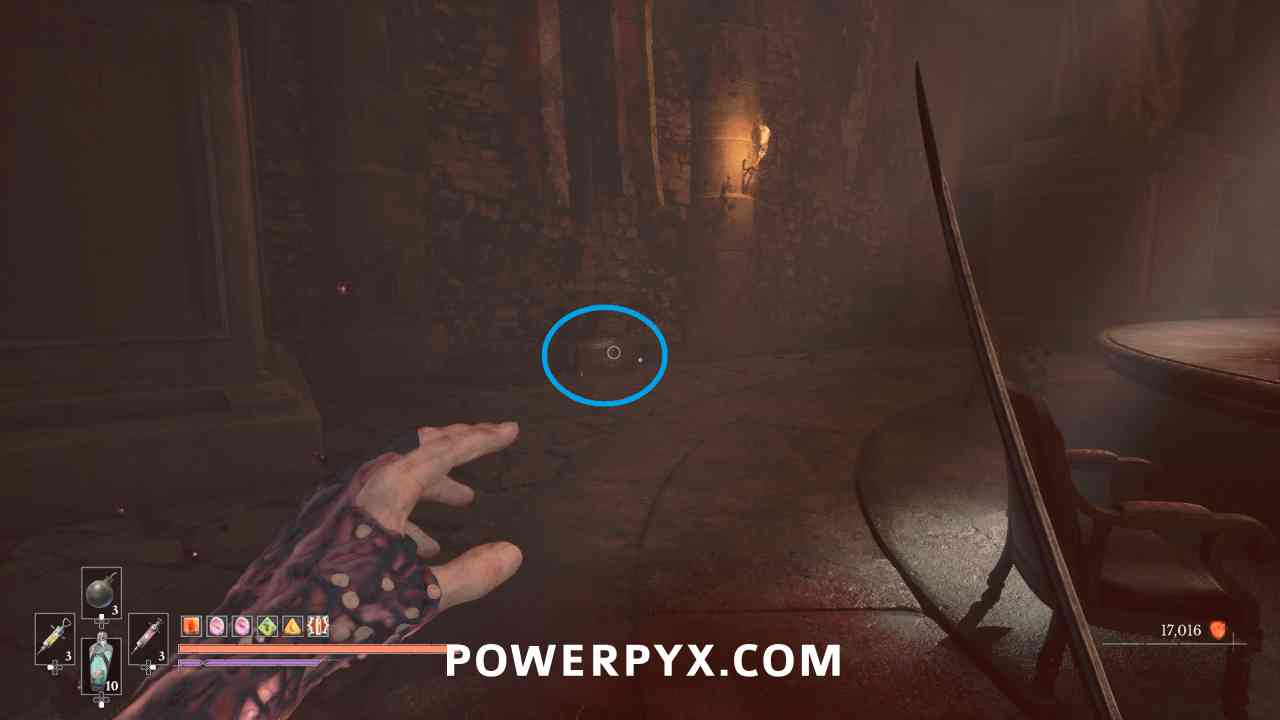
Quintessential Blade Material
Lantern: Fortress > Courtyard
To the right of the table in the chest.
For all other Chapters and by-type collectibles, check out the complete Valor Mortis Collectible Guide.
n3mur1t0r says
For The King of Smugglers – Step #1 – you also have to pick up Toothless Jack’s Journal – it’s in the same area, under the platform, behind the lower ladder, otherwise the quest won’t complete.
n3mur1t0r says
The reward for the Emissary quest is just a Remnant’s Return – I think they removed the Sands of Time item from the game.
Greg says
Can confirm. Just finished The Emisary and only got remnants return from the felt. Which is a HUGE bummer, seeing as the other reward is a completely useless gem. By the time I aquired Perfect Copy I only had 3 gems that weren’t maxed. 1 of those 3 i never used, 1 I no longer needed (surplus) and the last would be upgraded anyways in about 30 more minutes of gameplay. They need to either make Perfect Copy aquired MUCH sooner or (and this would be my preference) make it also apply to lvl 3 gems so they could be enhanced beyond any other means.