
The Ditcher is a side mission in Tiny Tina’s Wonderlands. This walk through will guide you through all objectives of The Ditcher Side Quest.
The Ditcher is unlocked after completing Main Quest 8: The Son of a Witch.
Region: Overworld
Area: The Sweetsands
Quest Giver: Mysterious Voice
Requirement: having completed Main Quest 8: The Son of a Witch.
Recommended Level: 26
Reward: 9,433 XP, $1,910  “So Much for That Guy” Trophy / Achievement
Mission Info: Just open the Mysterious Chest. What could possibly go wrong?
Objectives:
- Go to Sunfang Oasis
- Find treasure chest
- Open treasure chest
- Talk to mysterious individual
- Kill irate Coiled
- Talk to Gerrit
- Find throne room
- Clear out throne room
- Free Salissa’s form
- Collect seawarg hearts
- Kill vizier of sand
- Kill vizier of air
- Kill vizier of fire
- Pick up battle standard of sand
- Pick up battle standard of air
- Pick up battle standard of fire
- Return to Everfrost icetomb
- Place Coiled battle standards
- Shatter ice
- Go to shrine of the goddess
- Talk to curator
- Enter the shrine
- Leap into darkness
- Find sand crystal
- Find air crystal
- Find water crystal
- Find fire crystal
- Defeat Avatar of Hephasia pick up fire crystal
- Find the way back to reality
- Place sand crystal
- Place air crystal
- Place fire crystal
- Place water crystal
- Talk to the curator
- Escort curator Ssylix
- Protect Curator Ssylix/Salissa
- Find labyrinth entrance
- Find missing keystone
- Place keystone
- Speak incantation
- Navigate labyrinth
- Take bident
- Defeat the heartphage
- Return to temple
- Jump in geyser
- Place bident
- Kill Salissa
- Claim your destiny
- Celebrate in the throne room

Starting Location: The Ditcher
This quest is started in The Overworld after Main Quest 8: The Son of a Witch.


Go to Sunfang Oasis
Your task is to find a mysterious chest. Go to Sunfang Oasis by following the quest marker.

Find treasure chest
Just follow the marker to the treasure chest once you enter the Sunfang Oasis.

Open the treasure chest
Once you have found the chest, proceed to open it.

Talk to mysterious individual
After opening the chest, a mysterious individual will start talking to you, you must speak with them to advance the quest.

Kill Irate Coiled
Irate Coiled are the serpent type enemies that become aggroed once you open the chest and you’re tasked with defeating them.

Talk to Gerrit
Once all enemies have been defeated, approach the now revealed name of Gerrit (formerly Mysterious Individual) and speak with him.

Find throne room
Follow the marker to the Throne Room. Once the large door with the red dot opens, enter it.

Clear out throne room
After some dialogue from Gerrit, your next task is to clear the throne room of enemies to progress the quest.

Talk to Gerrit
Once again, speak with Gerrit to advance the questline.

Free Salissa’s form / Collect seawarg hearts x5
From here, you will need to do various tasks in order to move the quest on. You will only Free Salissa’s Form once you have completed a series of separate objectives in various areas, but the objective of ‘Free Salissa’s Form’ will be present on screen throughout.
Collecting seawarg hearts are found once you kill the Seawarg enemies (these enemies are shark-like creatures). Once you have all 5 the quest will update.


Free Salissa’s form / Find the Everfrost Icetomb
From here you are tasked next with finding the Everfrost Icetomb. Follow the on-screen marker to the area where a large Ice statue will be present.

Free Salissa’s form / Bury seawarg hearts x5
At the Icetomb site, there are 5 green markers on the ground and you need to place the 5 hearts on them. This will allow the quest to continue.

Free Salissa’s form / Kill Vizier of Sand / Kill Vizier of Air / Kill Vizier of Fire
Next up is you have to kill 3 serpent bosses at 3 separate locations and take their Battle Standard’s that they drop upon death.


Free Salissa’s form / Pick up Battle Standard of Sand, Air & Fire
Upon defeating the 3 serpents of their respective elemental properties, you need to collect their Battle Standards to advance the questline in your goal to freeing Salissa’s form.


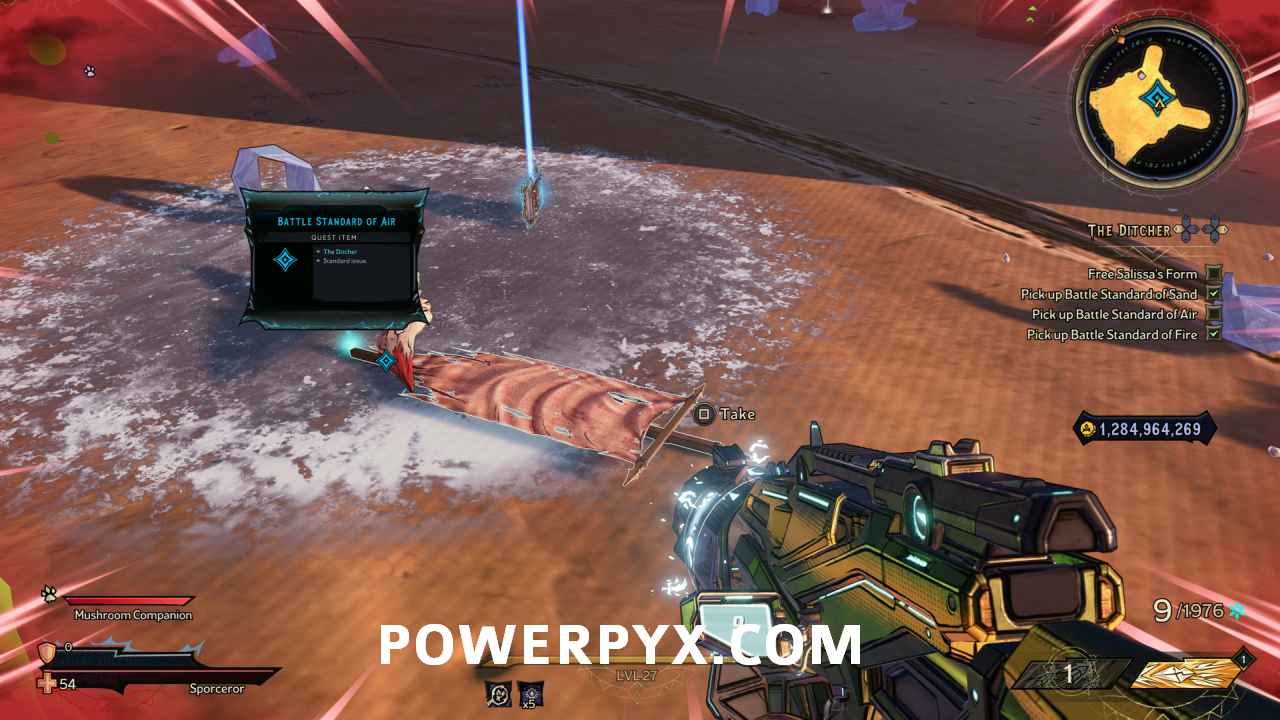
Free Salissa’s form / Return to Everfrost Icetomb
You now need to return back to the Icetomb, where you placed the seawarg hearts. Follow the blue on screen marker back to the area.

Free Salissa’s form / Place Coiled Battle Standards & Shatter Ice
At the Icetomb, place the 3 Battle Standards on their respective green markers and then shoot the Ice to shatter it. From this, the quest will advance further.

Free Salissa’s Mind / Go to Shrine of the Goddesses
Follow the blue marker as normal to find the area you need to go to next.


Free Salissa’s Mind / Talk to the Curator
Once at the Shrine of Goddesses, you will meet the Curator a serpent. Speak with her.

Free Salissa’s Mind / Enter the Shrine
Now that you have discovered the shrine and spoke with the Curator, you have to enter it.

Free Salissa’s Mind / Leap into the darkness
You now have to jump down the well located in the middle of the room.

Free Salissa’s Mind / Find Sand Crystal / Find Air Crystal / Find Water Crystal & Find Fire Crystal
Find 4 separate crystals located in this room. They are on platforms dotted around the room and you can use the yellow-painted ledges to help you parkour up to them. Each crystal is located by a blue marker.
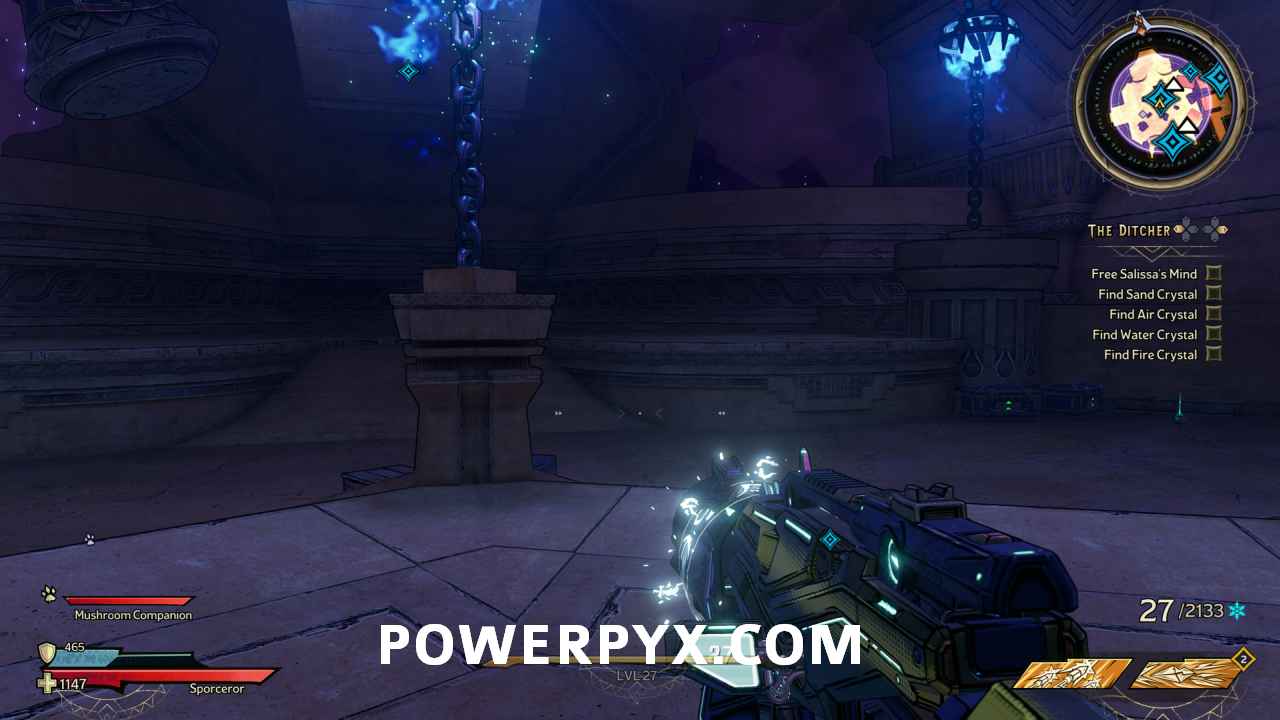


Free Salissa’s Mind / Defeat Avatar of Hephasia / Find the way back to reality
The Fire Crystal is in the serpent, Hephasia’s possession and you now have to kill her to acquire it.
Once she is dead, return to reality. It’s the hole in the wall with the blue marker placed in the middle of it. Walk through it as you approach it.


Free Salissa’s Mind / Place Sand Crystal / Place Air Crystal / Place Fire Crystal / Place Water Crystal
Now, back at the Shrine, place the four crystals on the green markers as highlighted.


Free Salissa’s Mind / Talk to the Curator
Once again, speak with the Curator

Free Salissa’s Mind / Escort Curator Ssylix & Protect Curator Ssylix/Salissa
The Curator now reveals her name and you are tasked with escorting her and also protecting her along the way to a mission-specific location. Deal with the various serpent enemies along the way to advance the mission.


Free Salissa’s Mind / Find labyrinth entrance
Now finally, you free Salissa’s Mind. Go through the dialogue and then follow the next objective to find the labyrinth.


Free missing key / Place keystone
At the labyrinth entrance, a green marker on the right side of the entrance will be visible and you have to find the missing keystone and place it on the green marker. Luckily, the keystone is just behind some barrels next to the entrance on the right.


Speak icantation / Navigate labyrinth
A dialogue will play out and your character will speak to open the door. Once the door is open, follow the blue marker to navigate through the labyrinth. You will finally come to an opening in the floor, in which you will have to drop down.


Take bident, Defeat the Heartphage & Take bident
Once in the room you drop into, take the bident in the middle of the room. This initiates a miniboss fight with a Heartphage serpent. Defeat her to advance the quest and take the bident again.

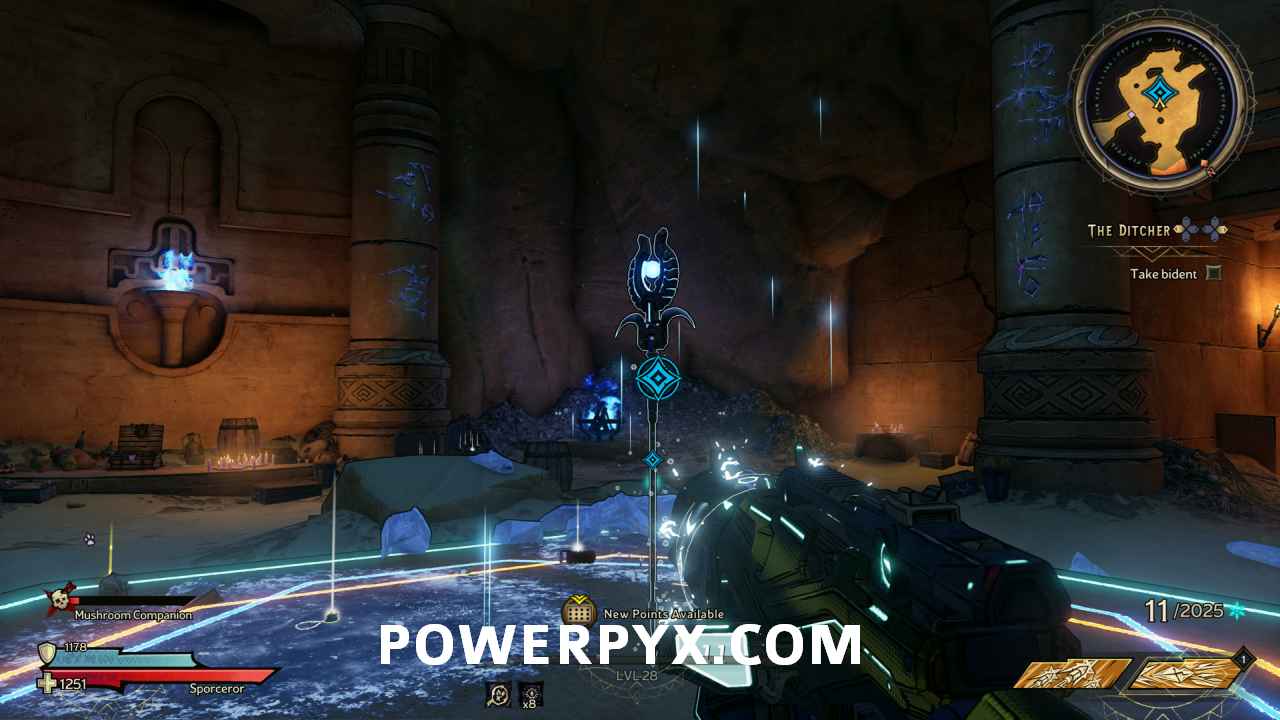
Return to temple / Jump in geyser
Straight forward from here, return back to the temple following the blue quest marker. Upon your arrival the stones in front of you will have an airflow above (geyser). Jump into it to travel upwards.


Place bident / Kill Salissa & Claim your destiny
Upon entering the new area, you are tasked with placing the bident in the green marker. Once you do this, this will initiate the final boss fight of this quest: Salissa. Kill her. Once you have succeeded, claim your destiny by collecting the Quest Item, Tidesorrow, Lament of the Seas.
Tip: Salissa will envelope herself with a shield, which can be broken by shooting the blue crystal shards dotted around the shield she creates.


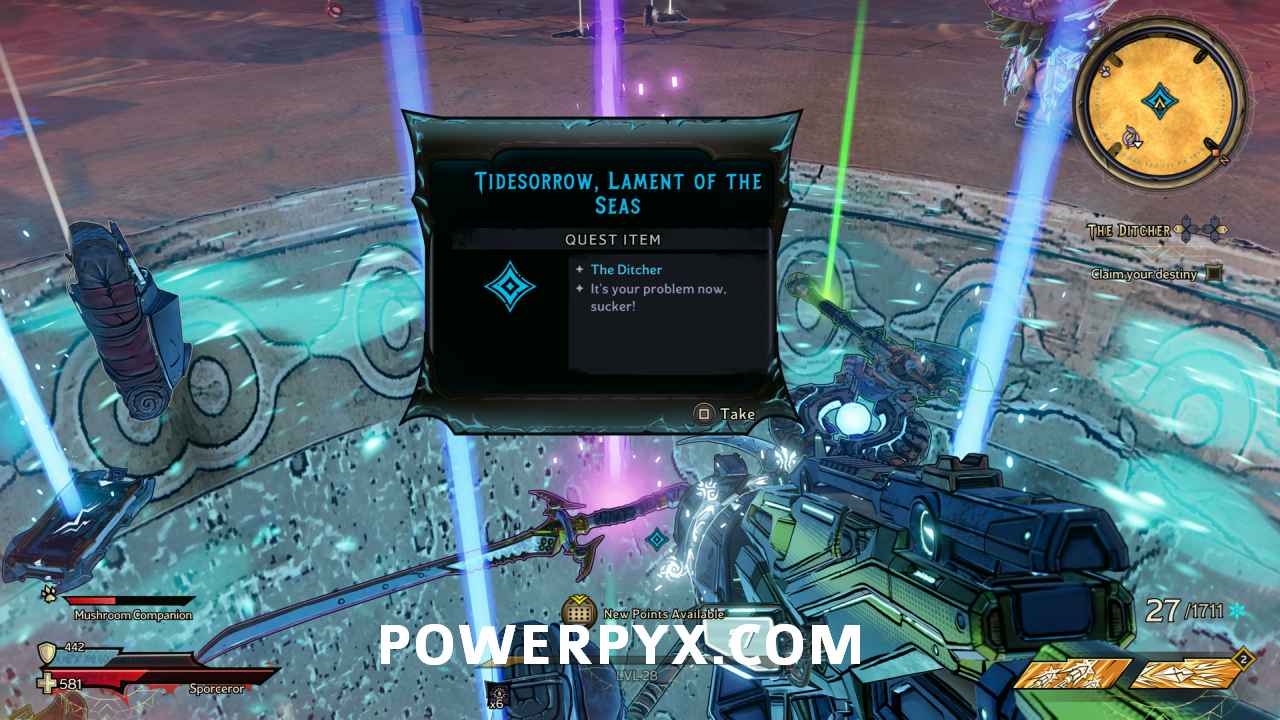
Celebrate in the throne room
Now travel through the newly appeared portal to the throne room to finish the quest The Ditcher.

This finishes The Ditcher side mission in Tiny Tina’s Wonderlands.
For all other Side Mission Walkthroughs, check out our complete Tiny Tina’s Wonderlands Side Quest Walkthrough.
Leave a Reply