
Part 1: Arrival is the first section of Silent Hill Townfall and covers Chapters 1-4. This walkthrough will guide you through all collectibles and puzzles in the Arrival section. Everything that’s needed for trophies and 100% completion is included. Most items are missable if you don’t pick them up during this section, as you cannot replay sections of the game without reloading a prior save or starting a new playthrough.
Collectibles Walkthrough:
Documents and Clues that contribute toward the “Discoveries” statistic which determine the main endings are highlighted in RED.
Part 1: Arrival
Chapter 1: Cold Open
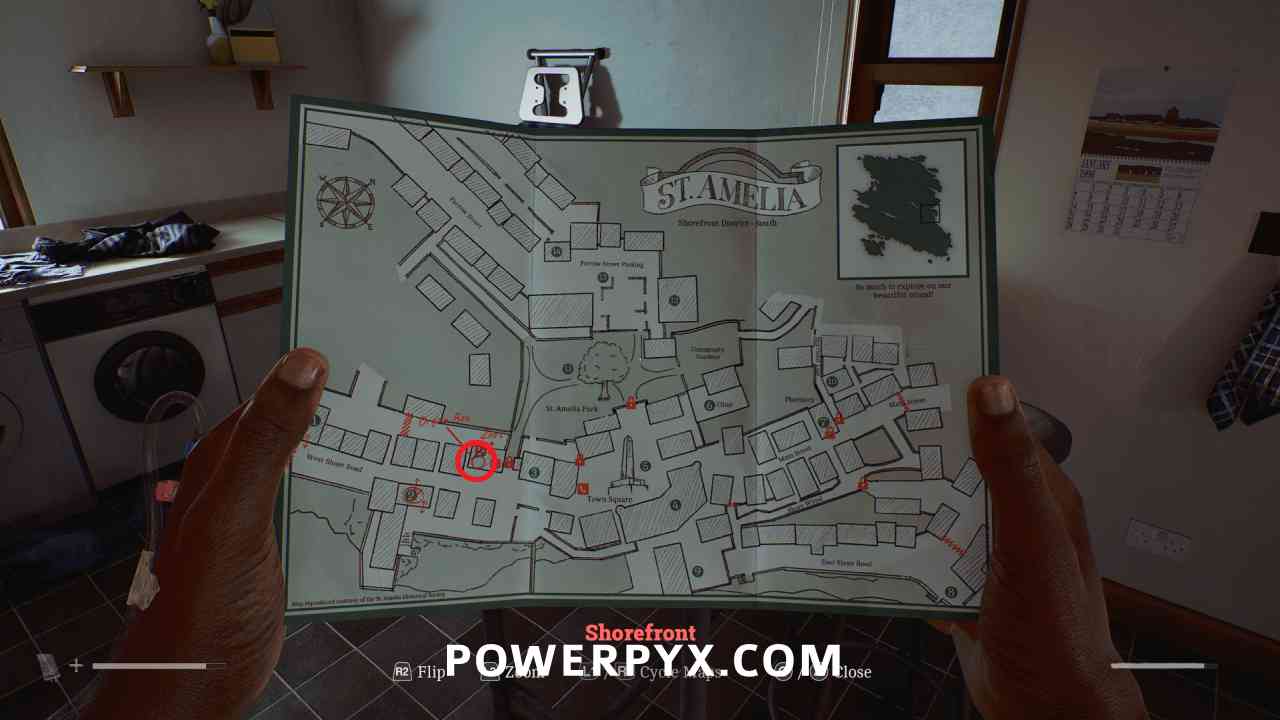
Shorefront District – South
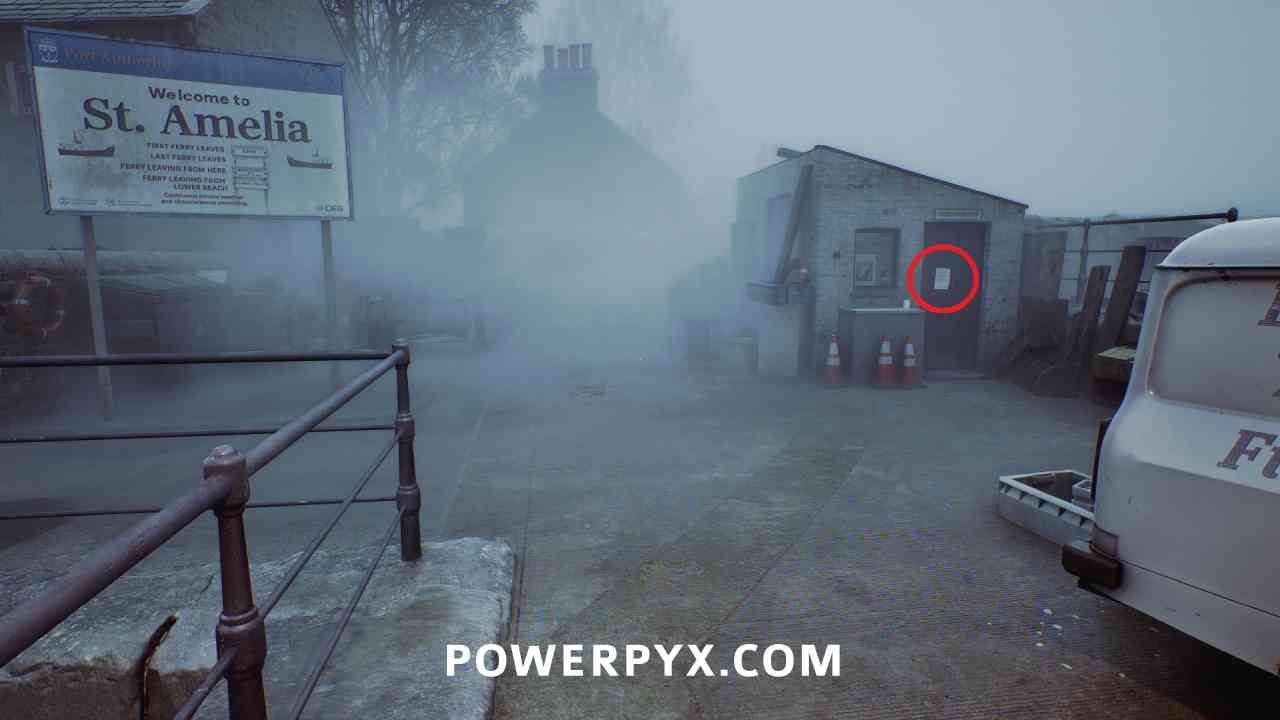
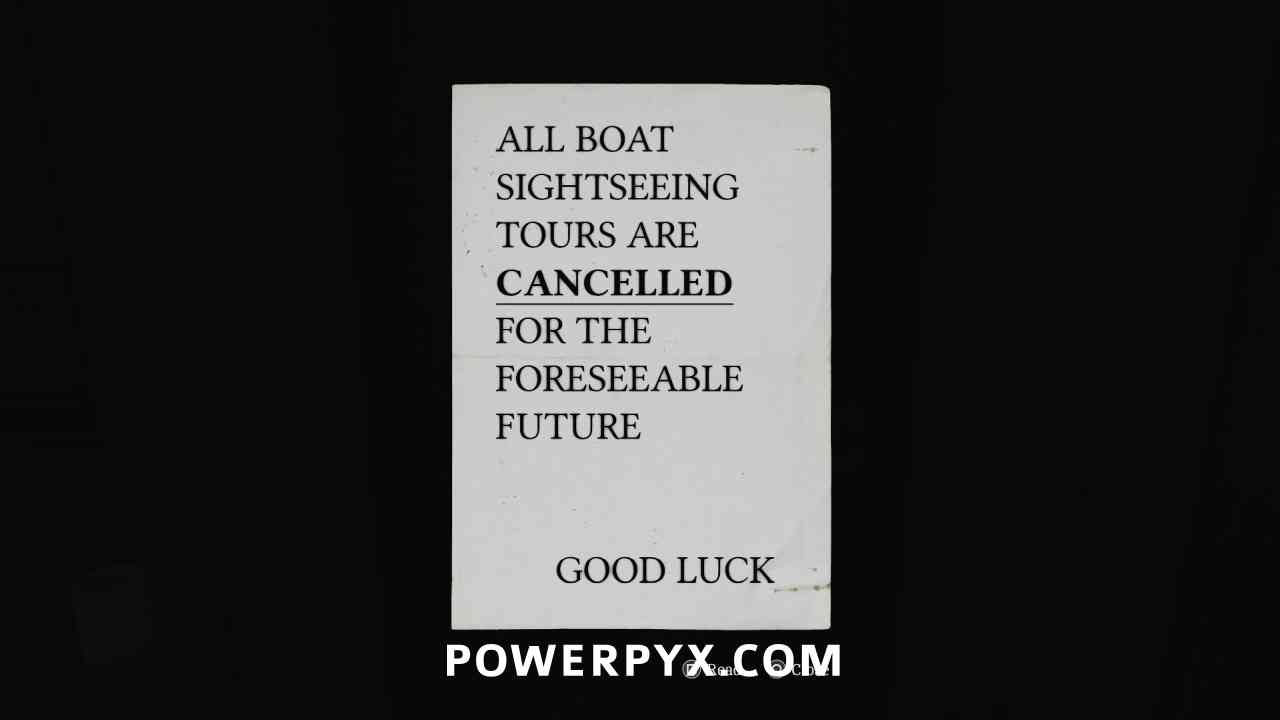
Document: Boat Tour Cancelled Notice
Area: Shorefront District – South
After walking along the pier and seeing the tarp blow off the St. Amelia sign, on the door of the small building to the right.
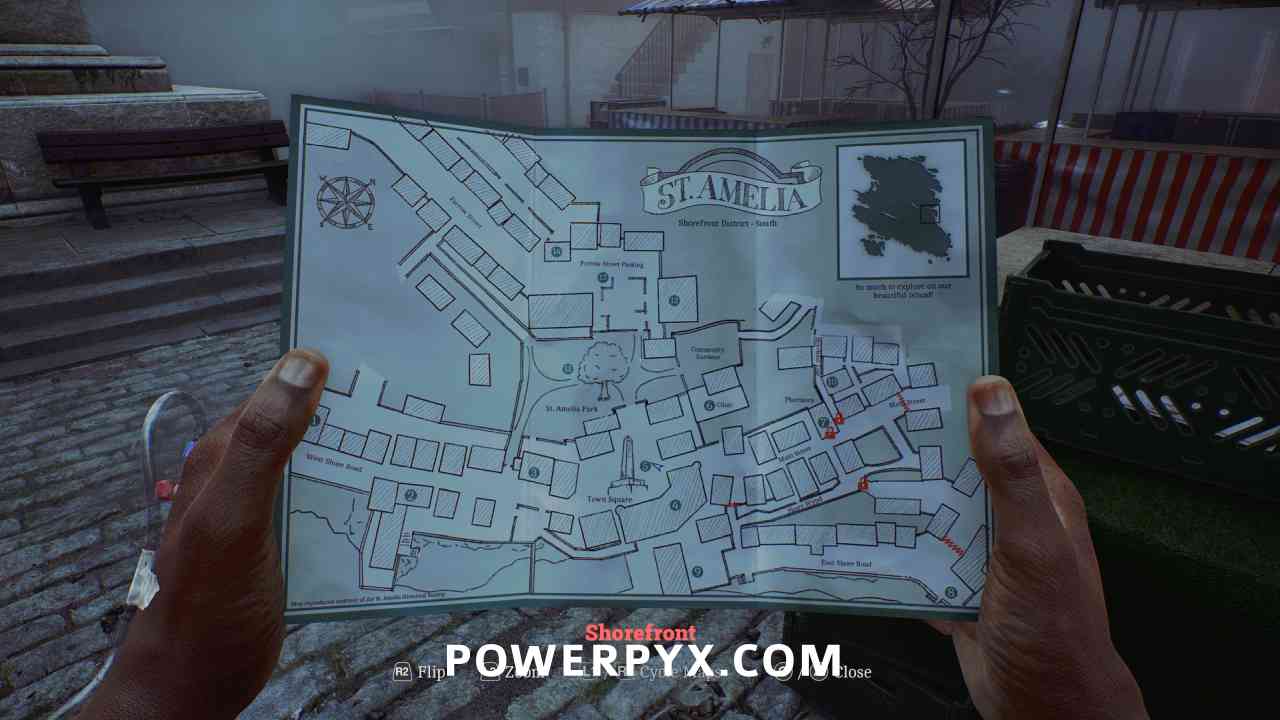
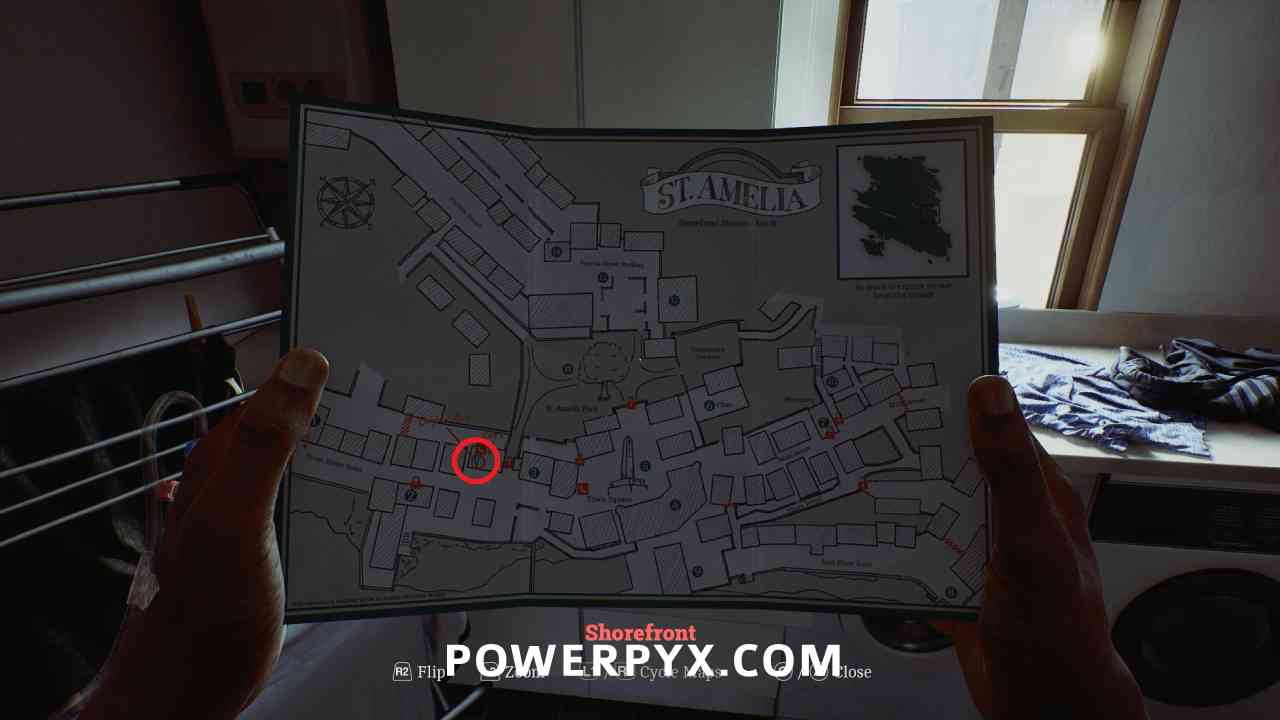
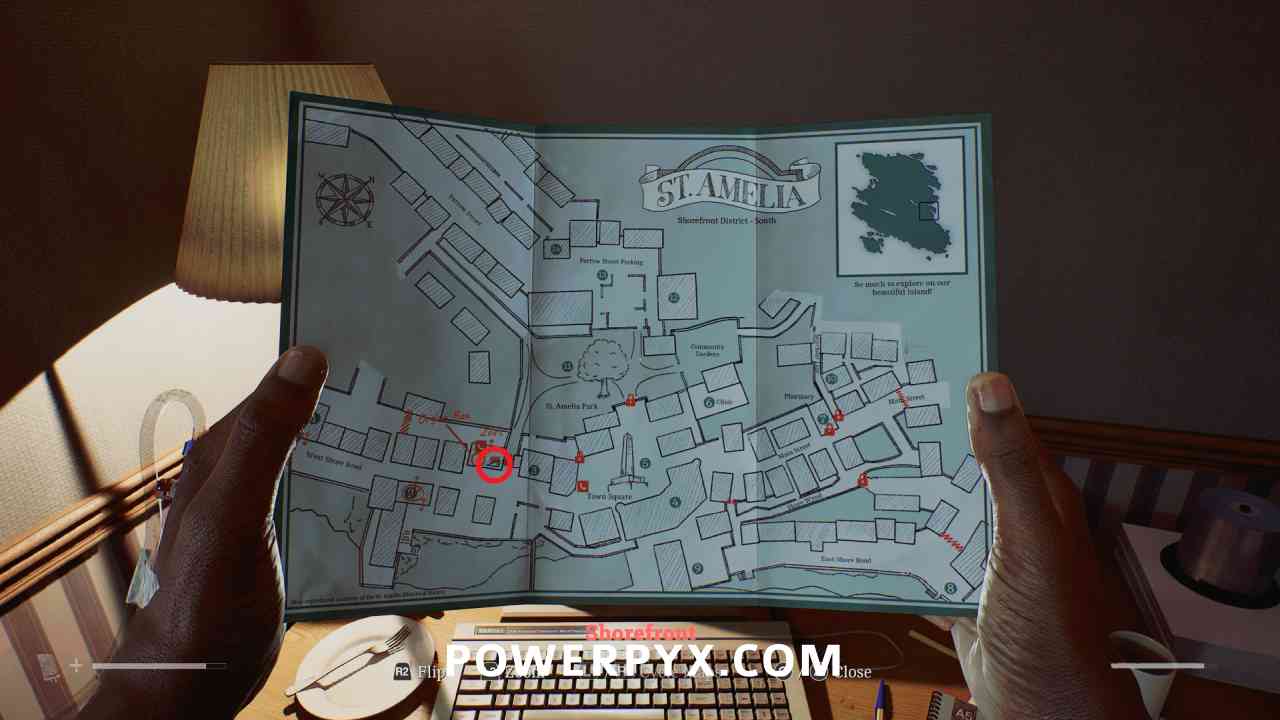
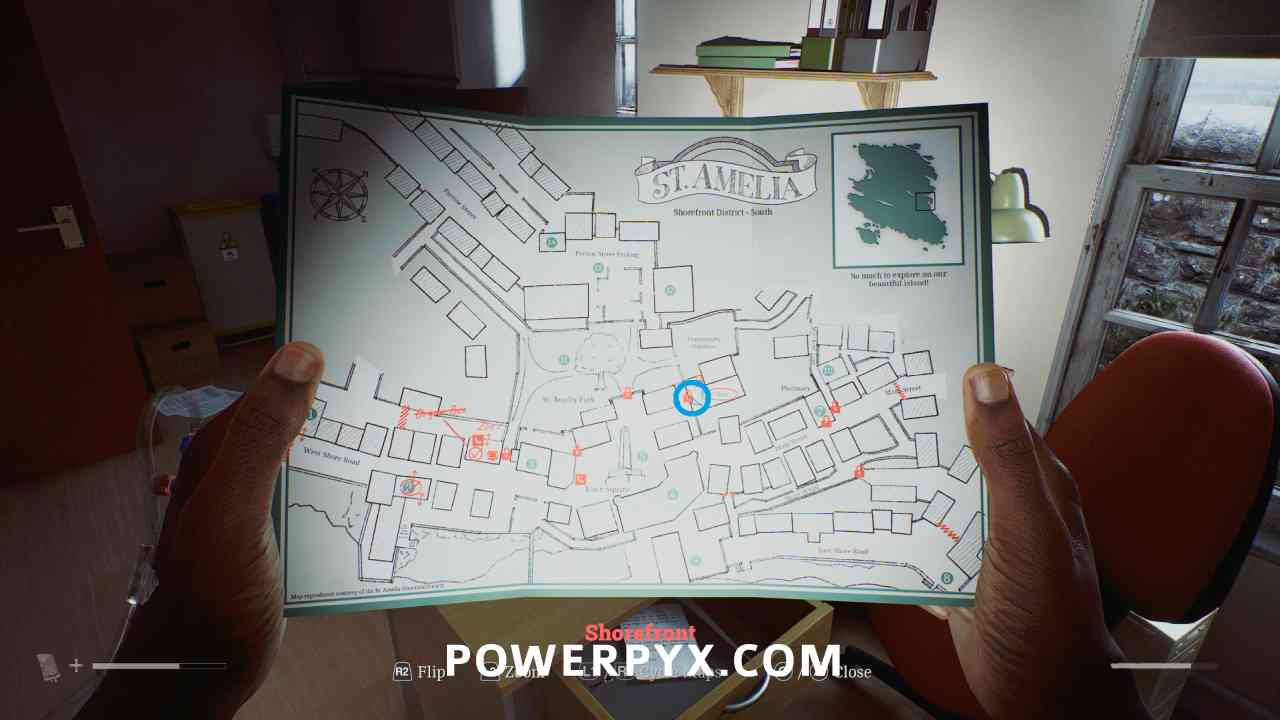
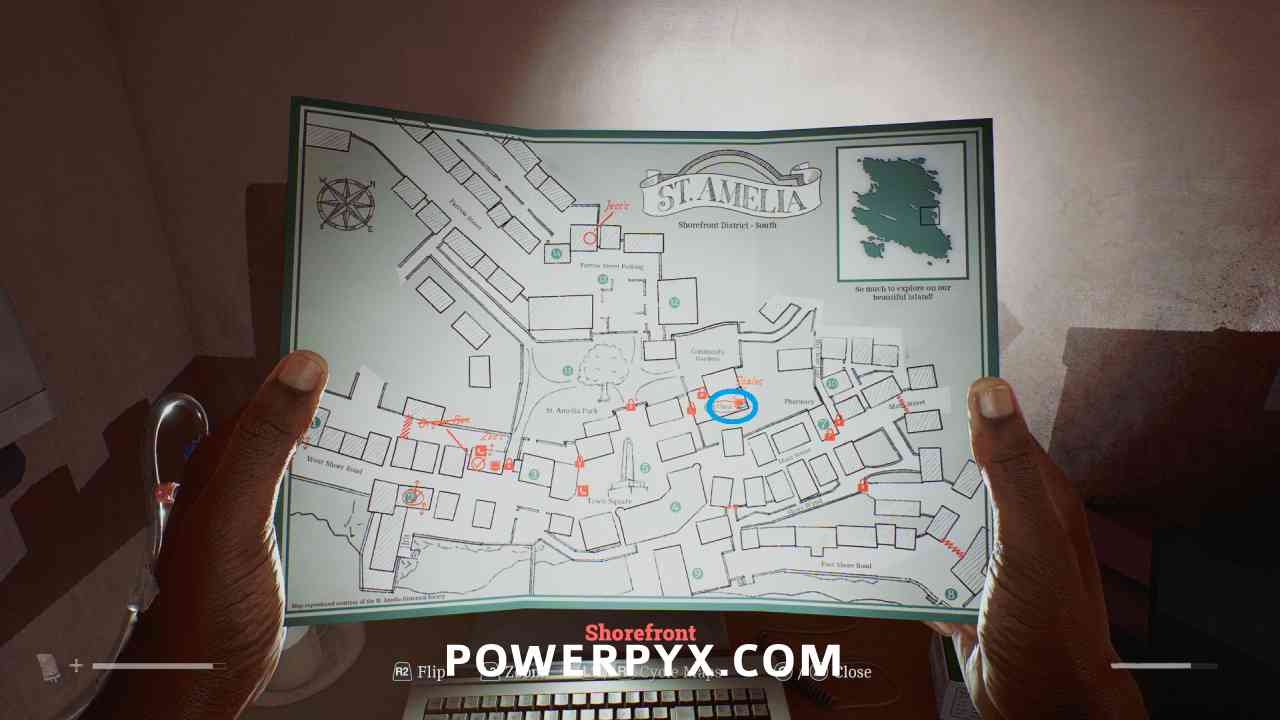
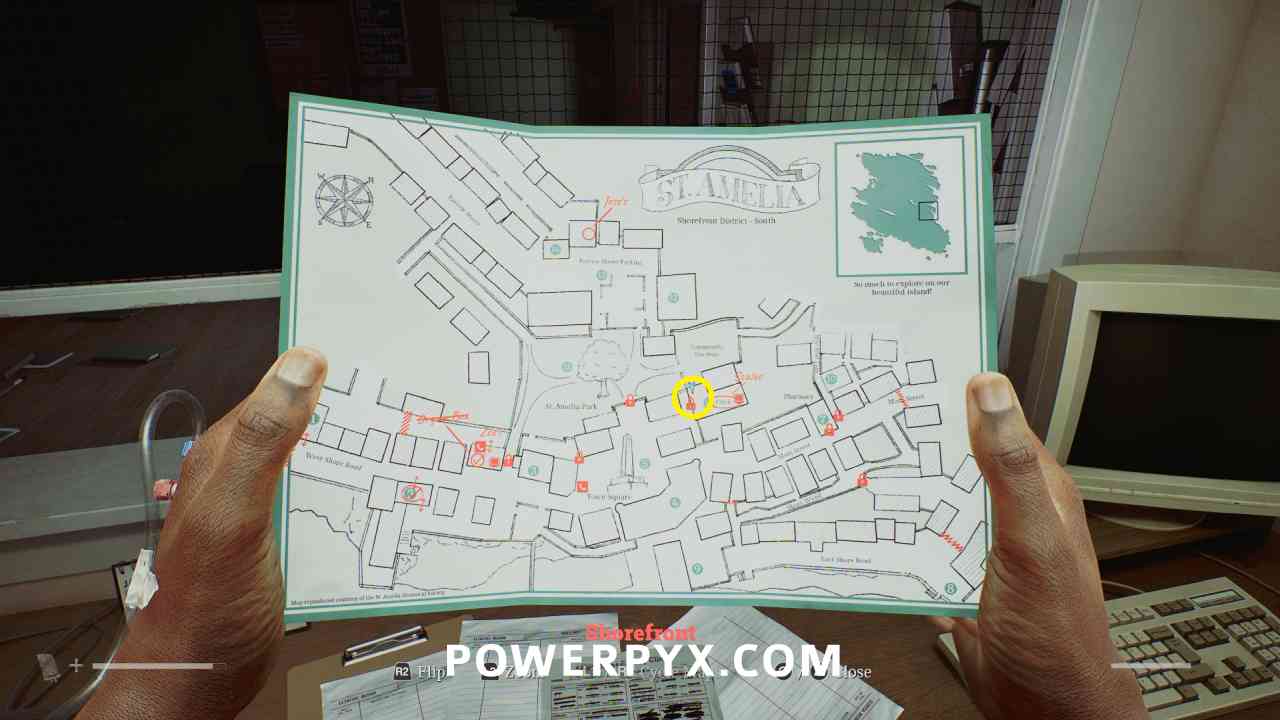
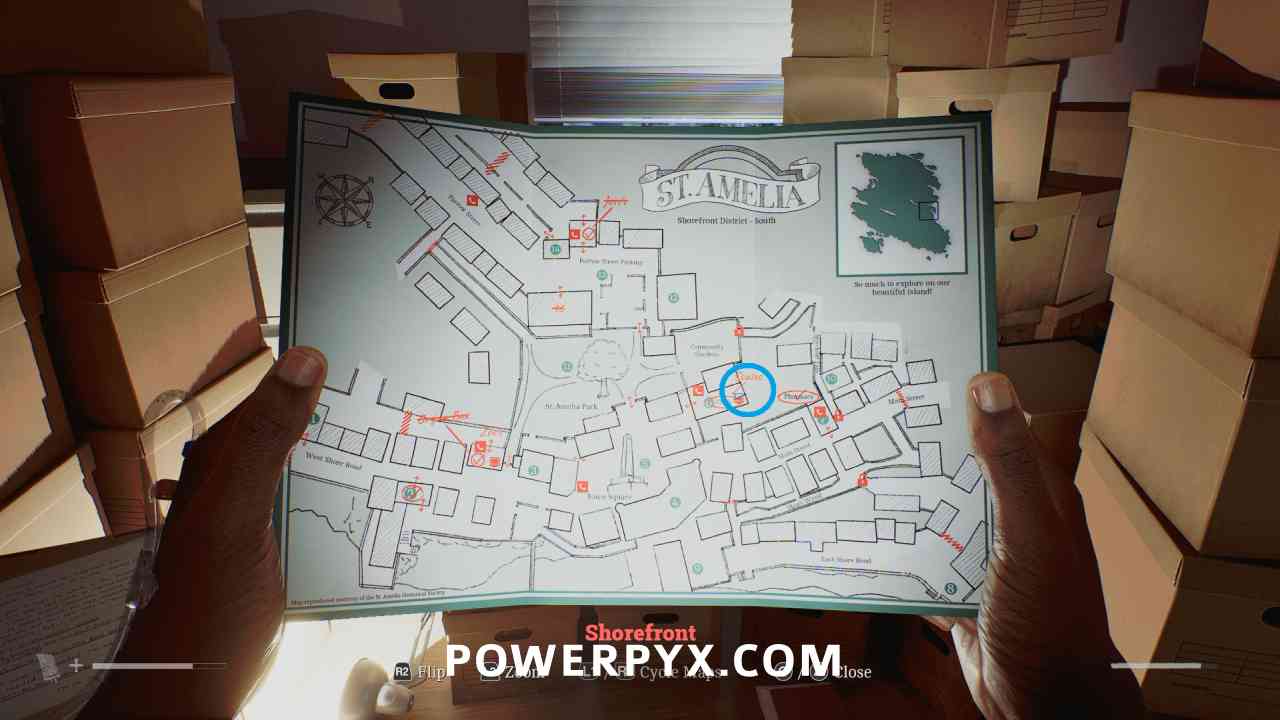
Shorefront Map
Area: Shorefront District – South
Automatically obtained after going through the red fog and reaching the town square.
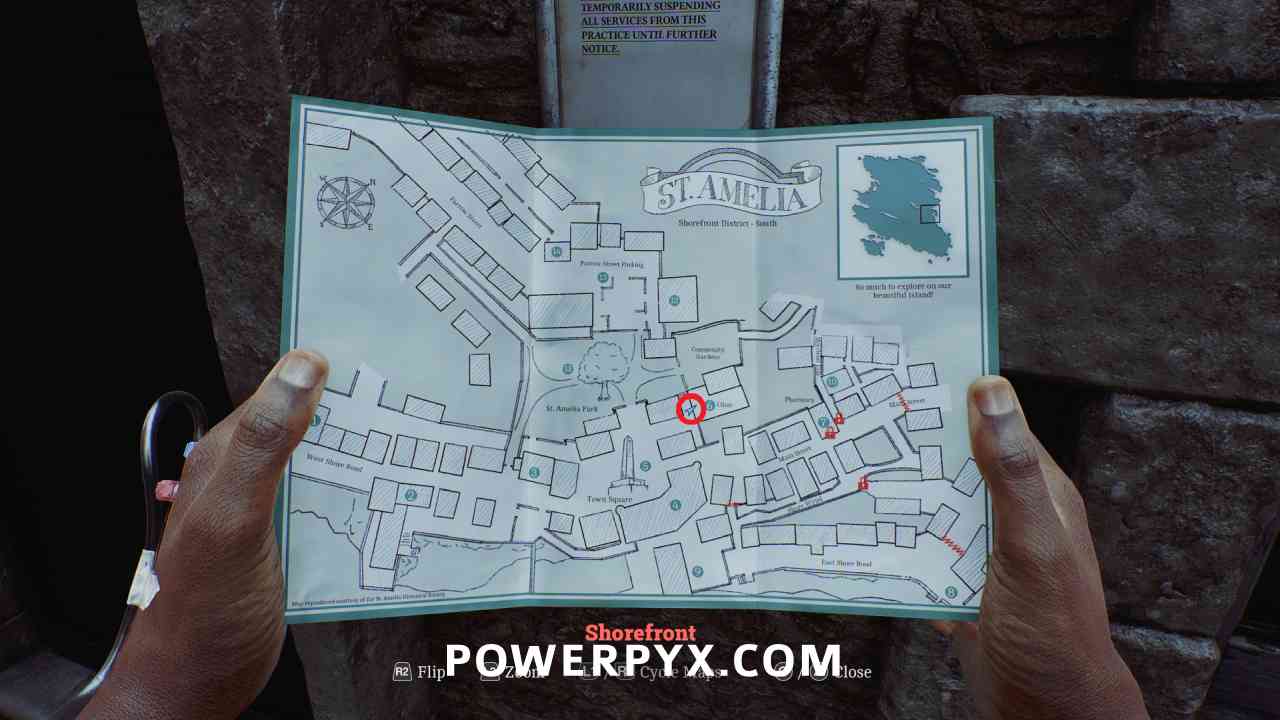
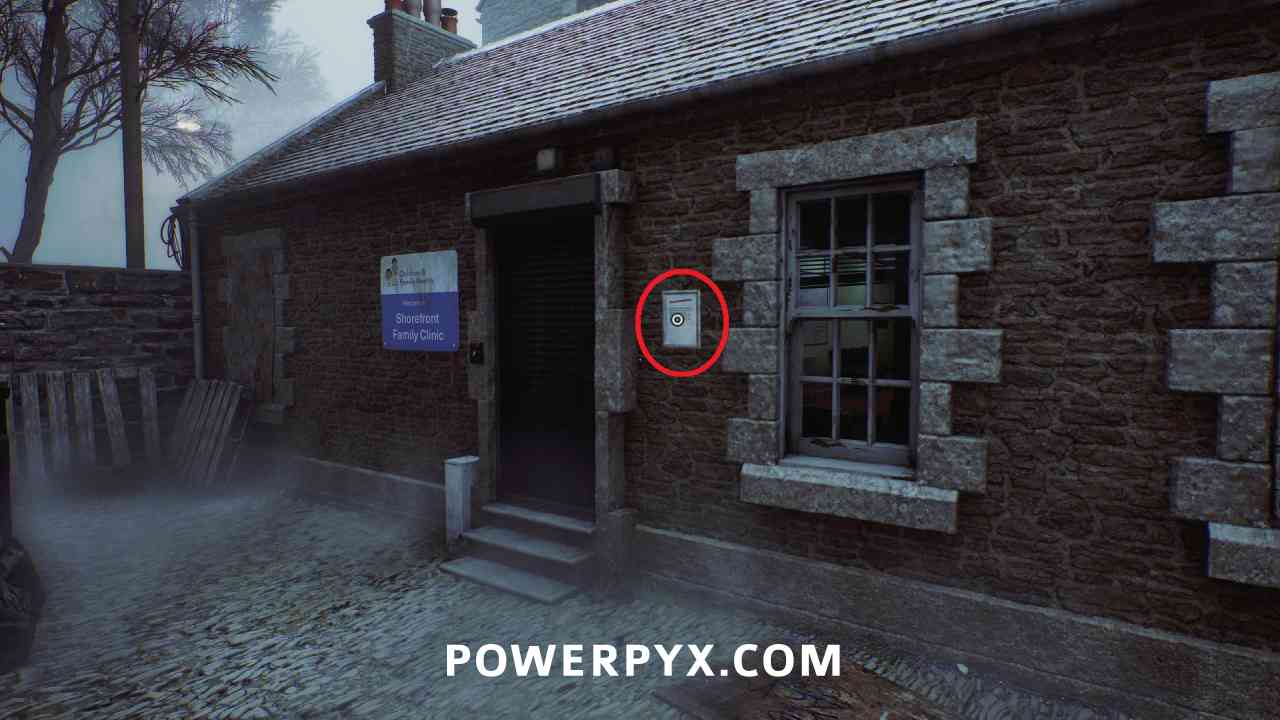
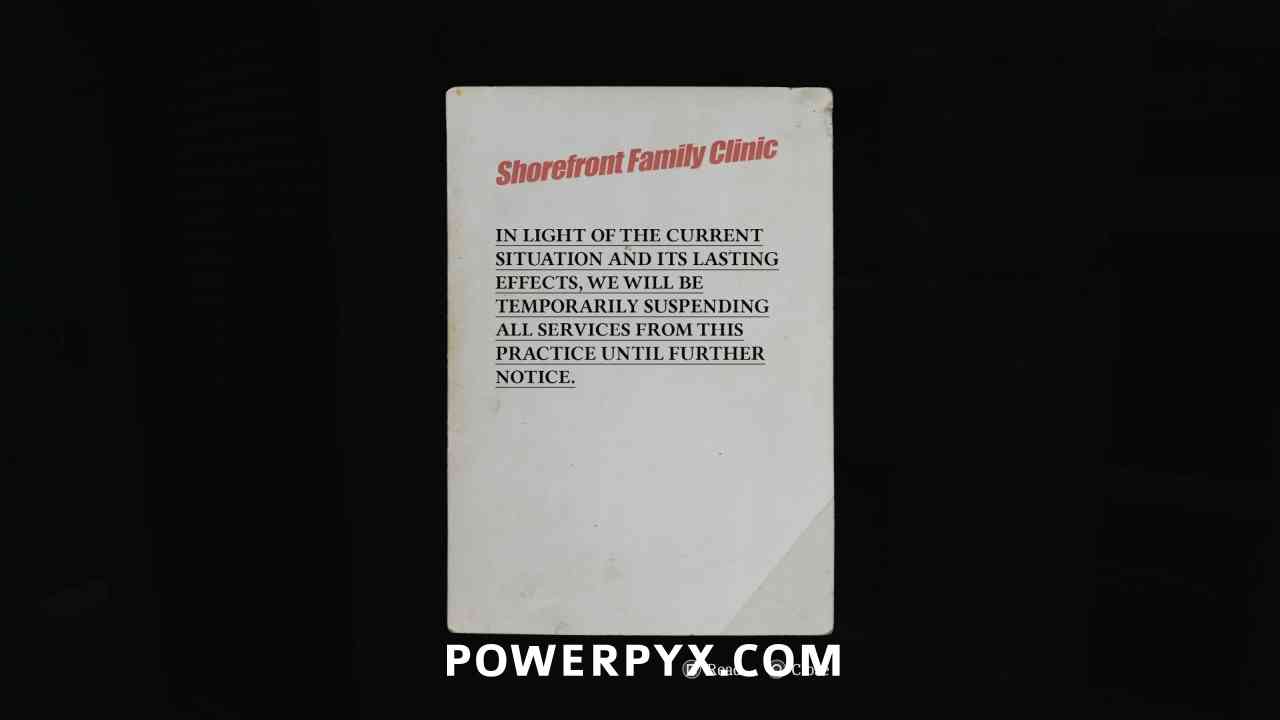
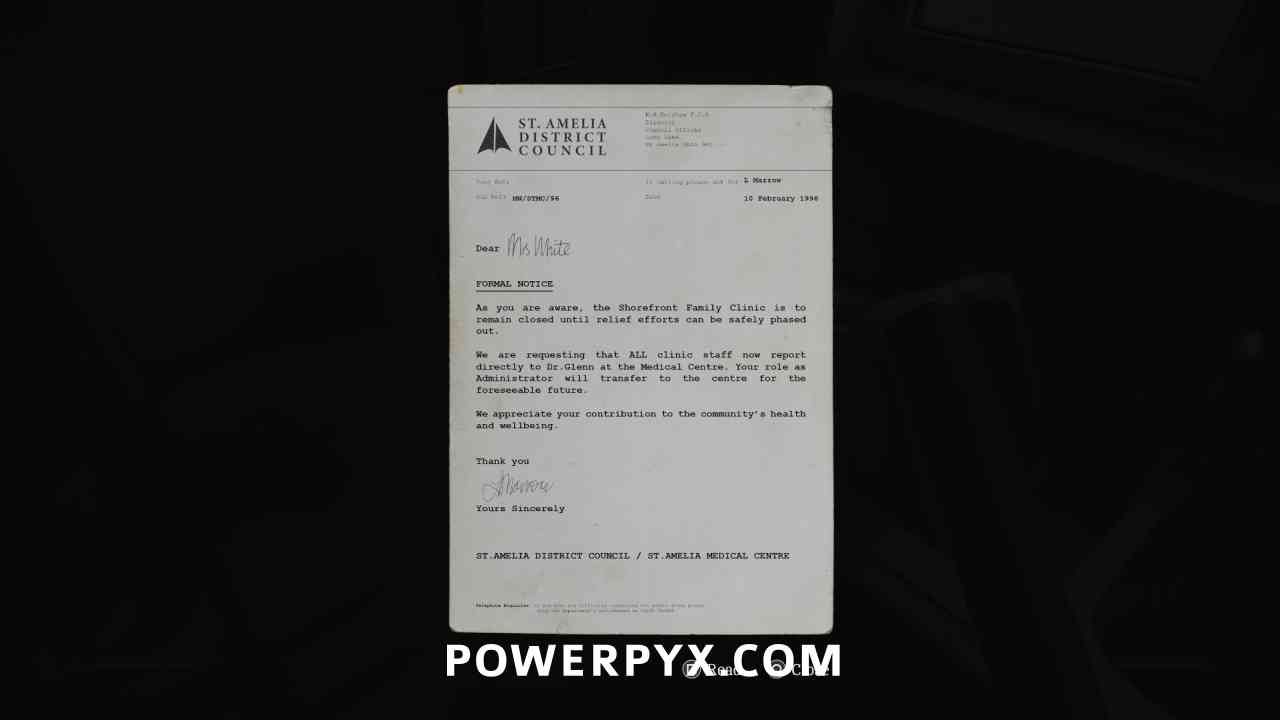
Document: Shorefront Family Clinic Notice
Area: Shorefront District – South
After reaching the Town Square (5) go to the northeast to the Clinic (6) and this is on the wall beside the door.
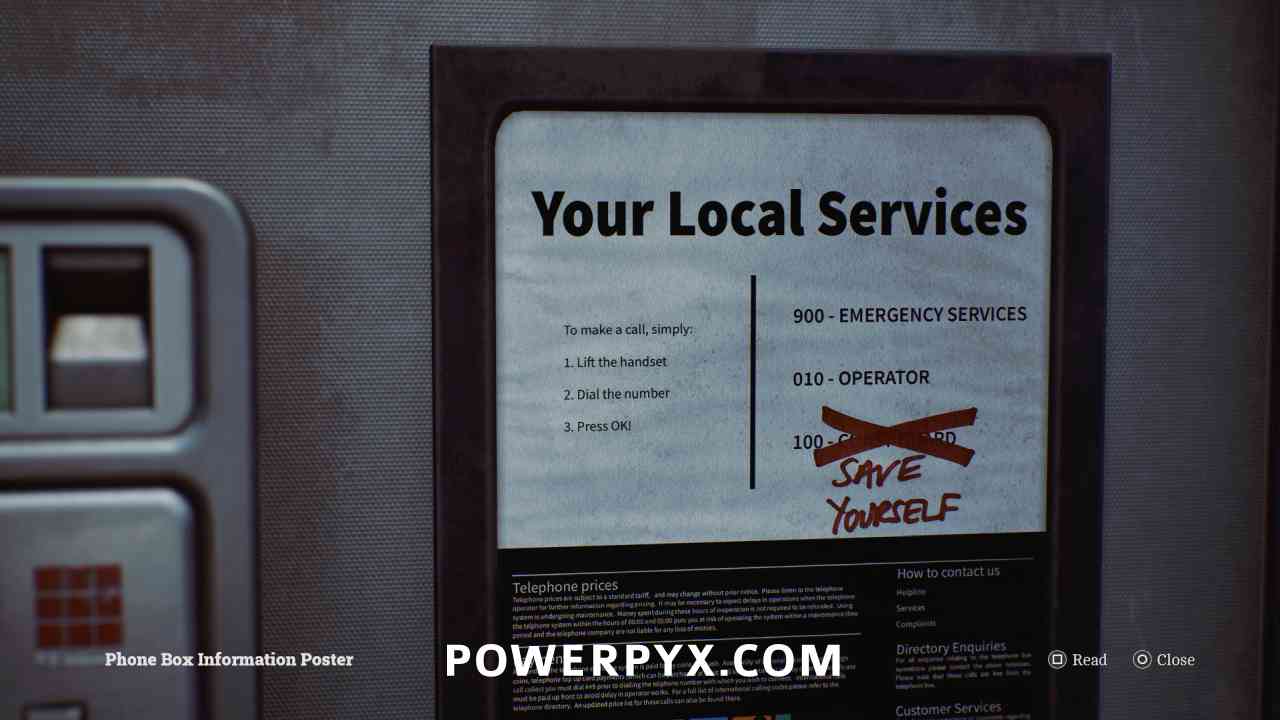
Phone Numbers: 900 – Emergency Services, 010 – Operator, 100 – Save Yourself (Save game)
Area: Shorefront District – South
At the first phone booth in the Town Square (5) inspect the “Your Local Services” flyer to the right of the phone. Call all phone numbers immediately. Phone number 100 is used to save from any phone.
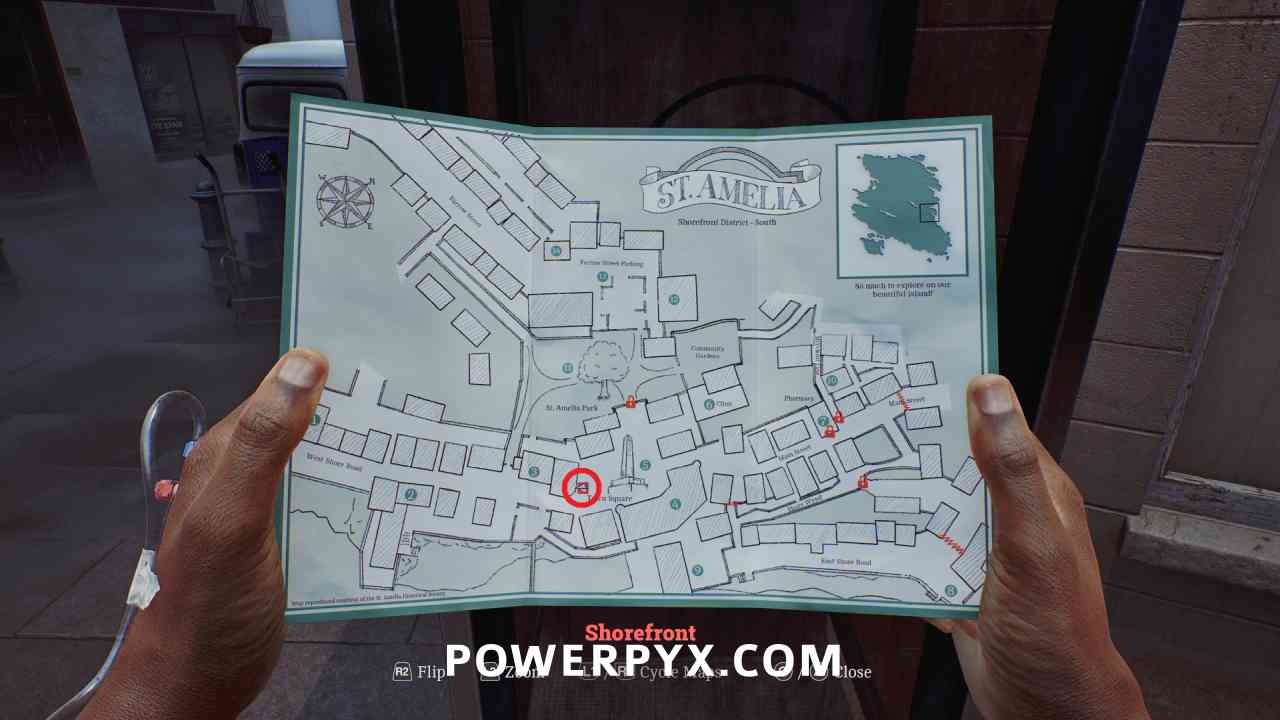
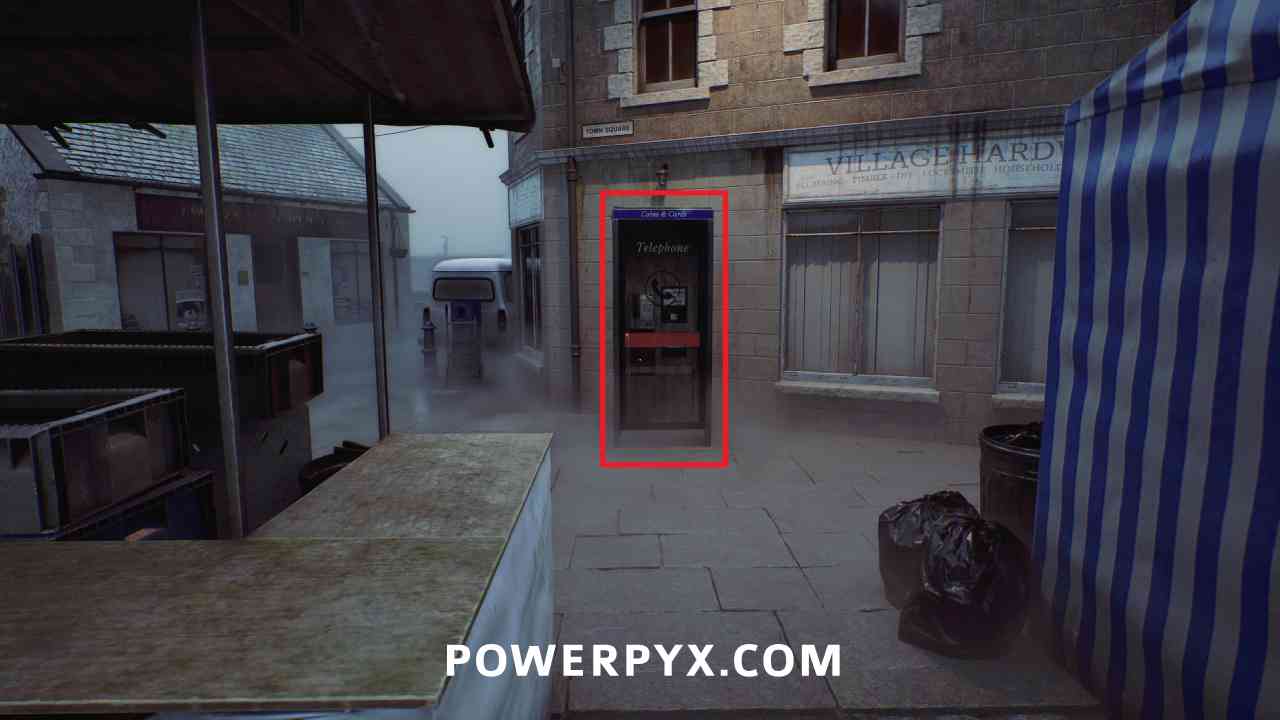
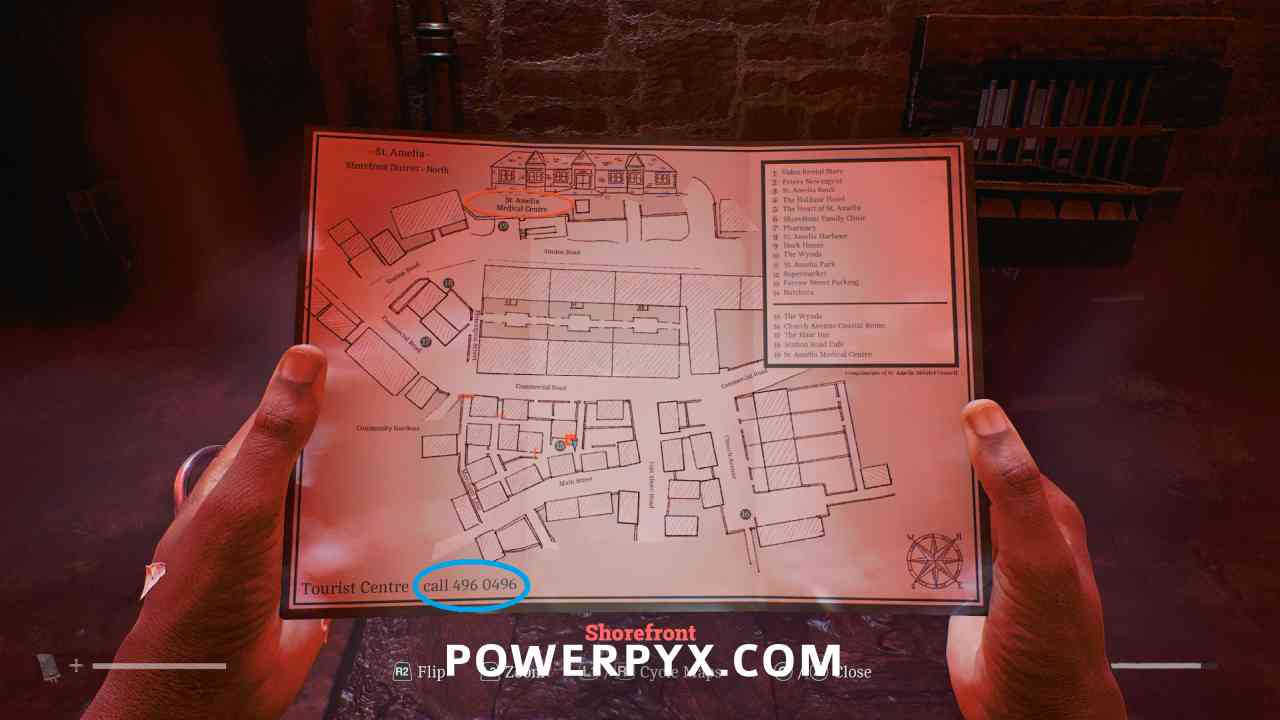
Phone Numbers: 496 0496 – Tourist Center
Area: Shorefront District – South
On the bottom of the map. Can be called and is then added to the Discovered Phone Numbers list at any time.
Chapter 2: Escape
A Different Place
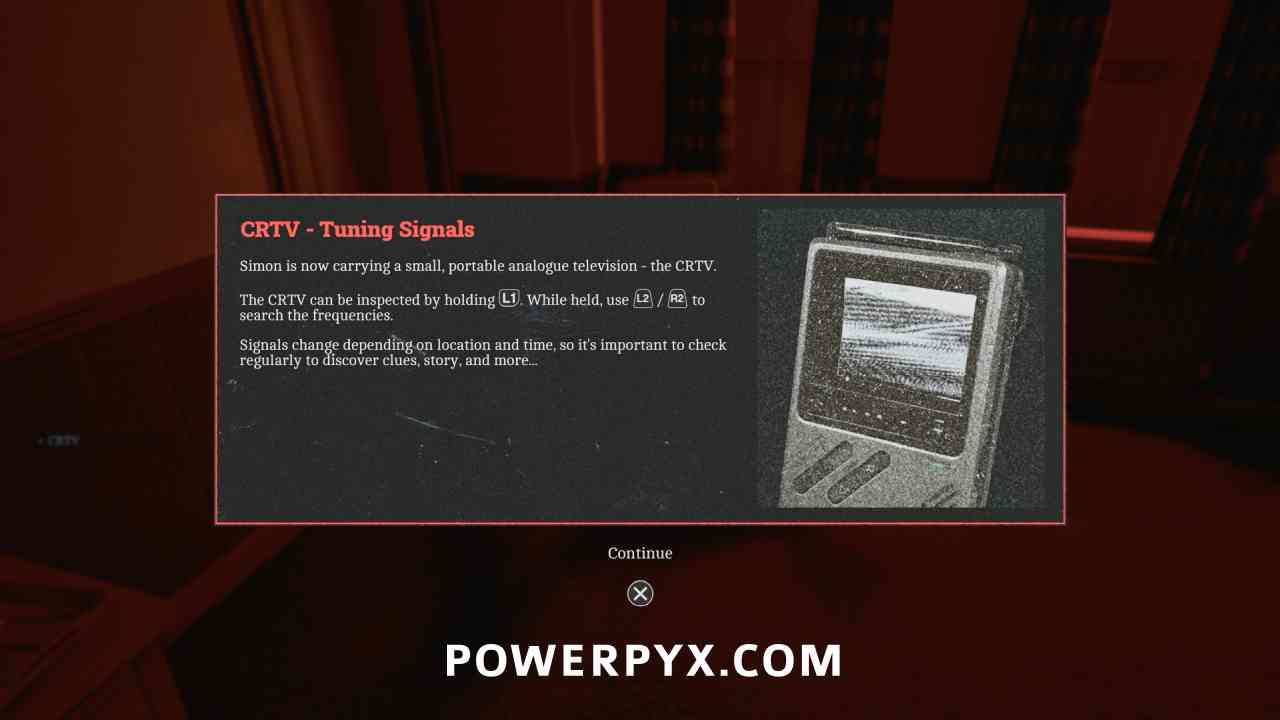
Equipment: CRTV
Area: A Different Place
Automatically obtained after passing through the otherworld area after interacting with the first phone.
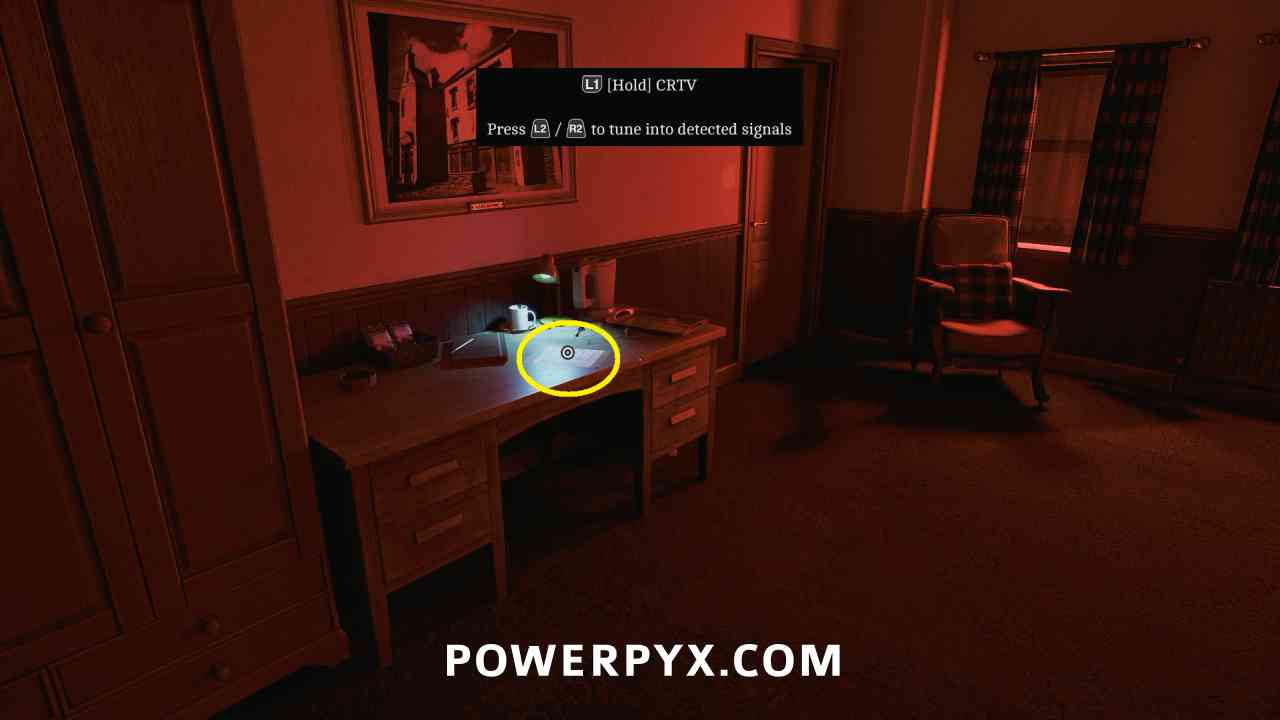
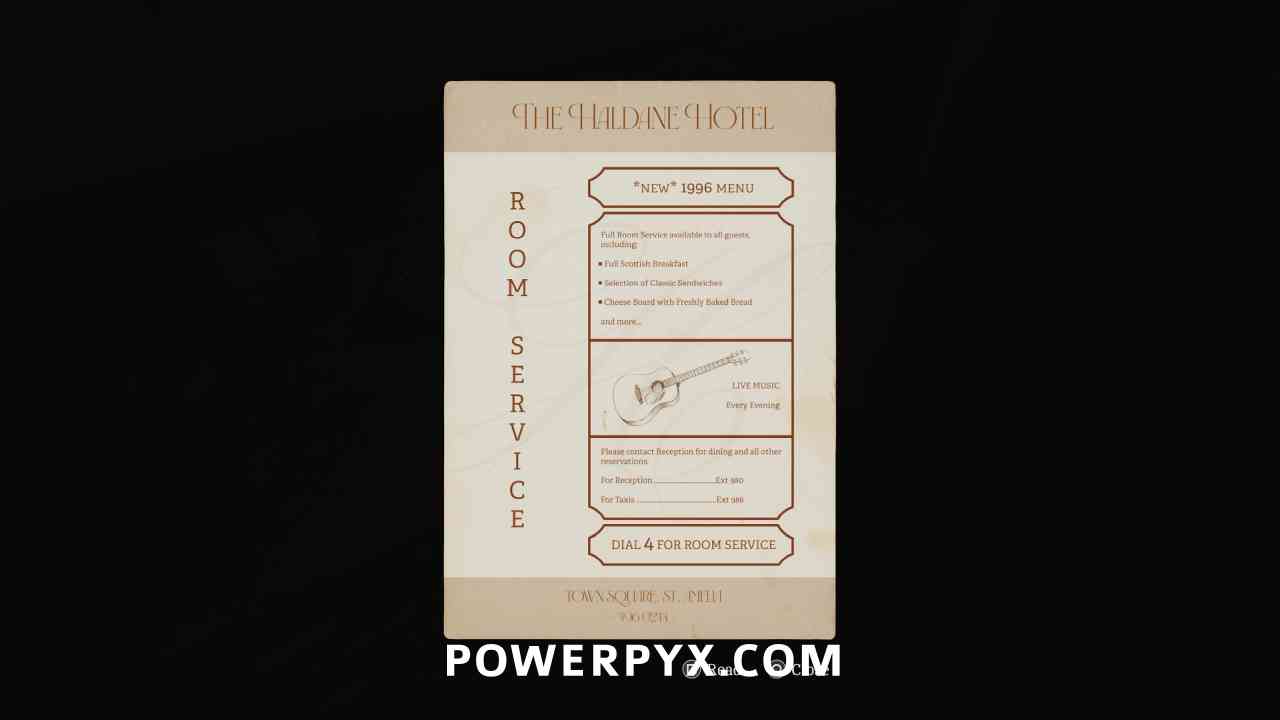
Clue: Room Service Card
Area: A Different Place
On the table after obtaining the CRTV.
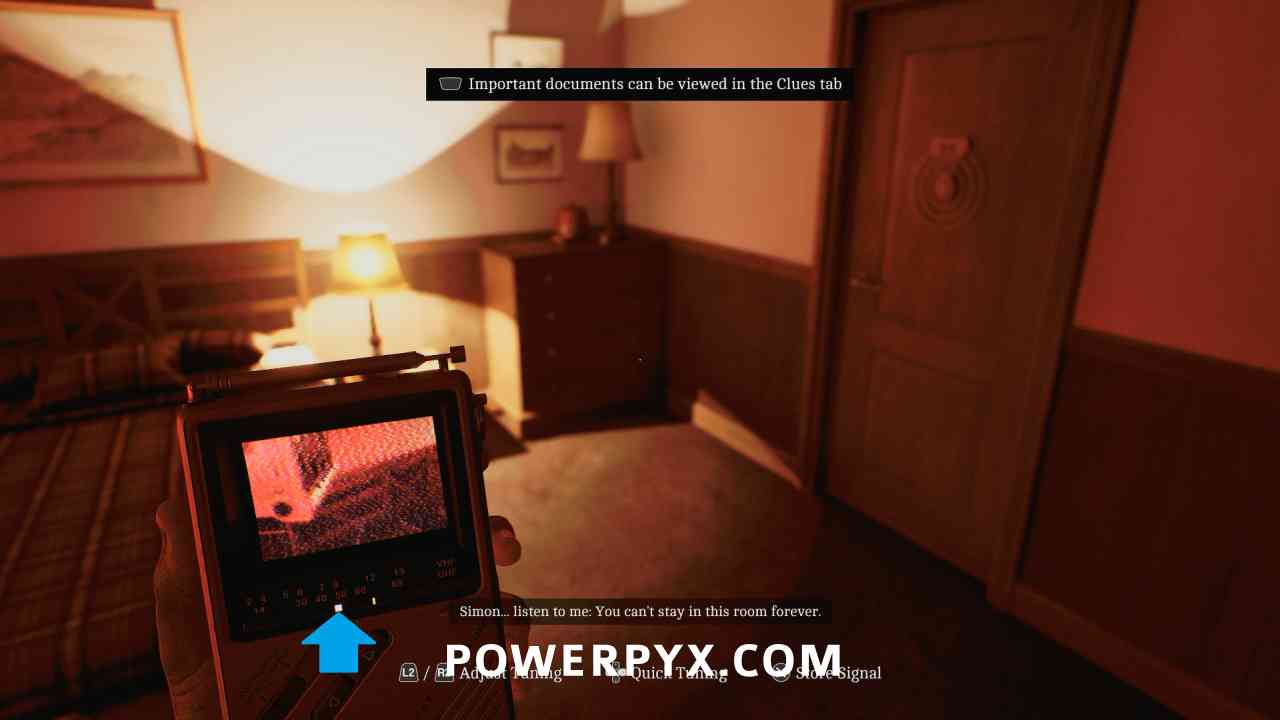
CRTV Channel – 50~
Area: A Different Place
Tune the CRTV to the channel at just under 50, hit X to store the channel when the tracking dot is in the box.
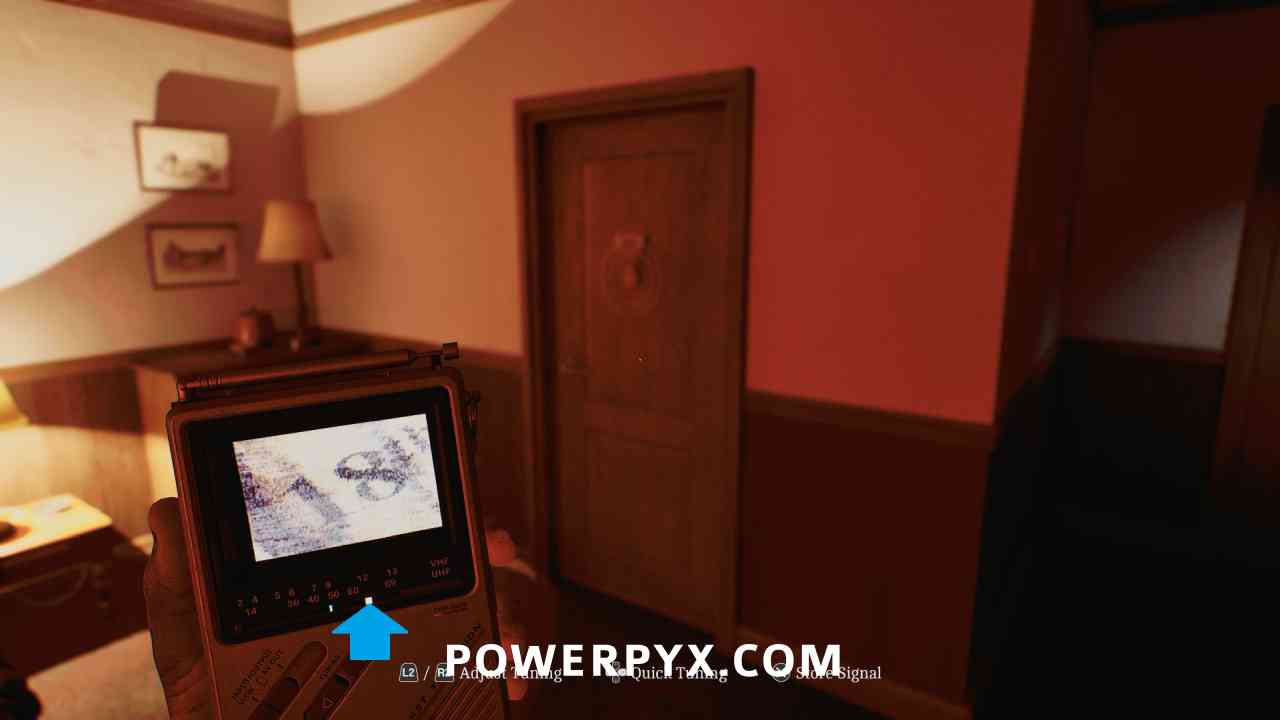
CRTV Channel – 62~
Area: A Different Place
Tune the CRTV to the channel at just over 62.
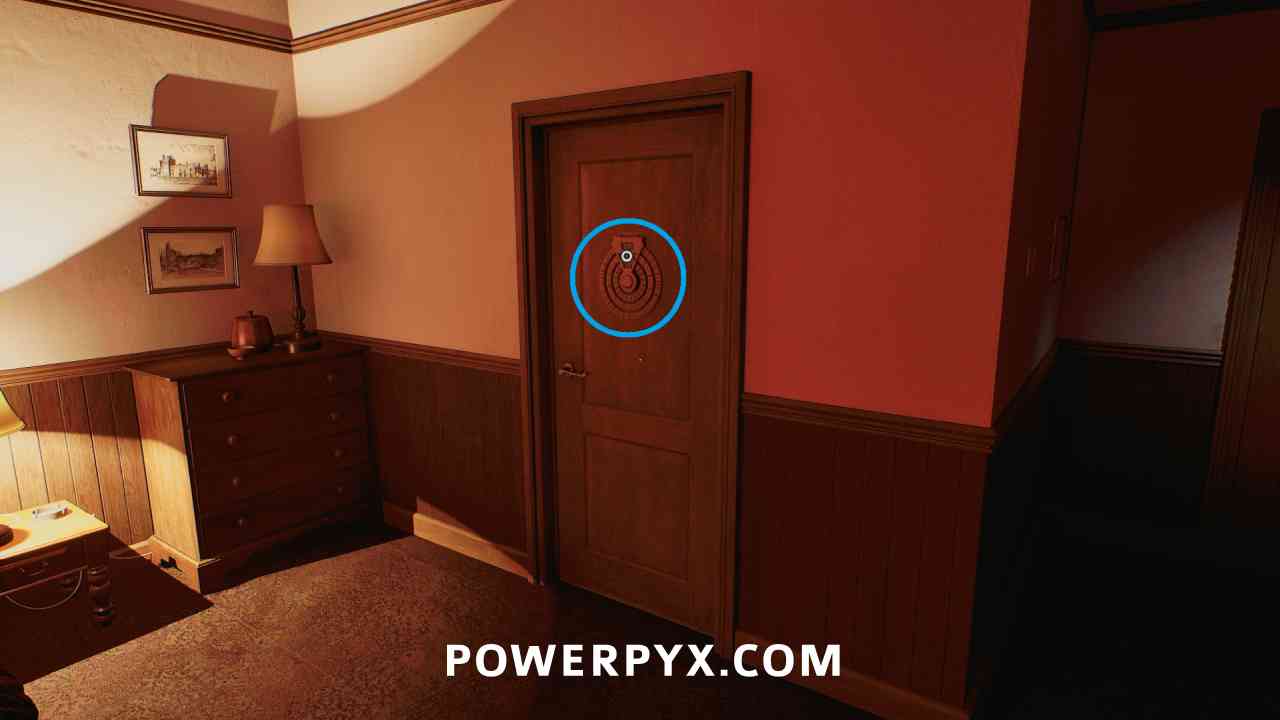
Puzzle #1
Area: A Different Place
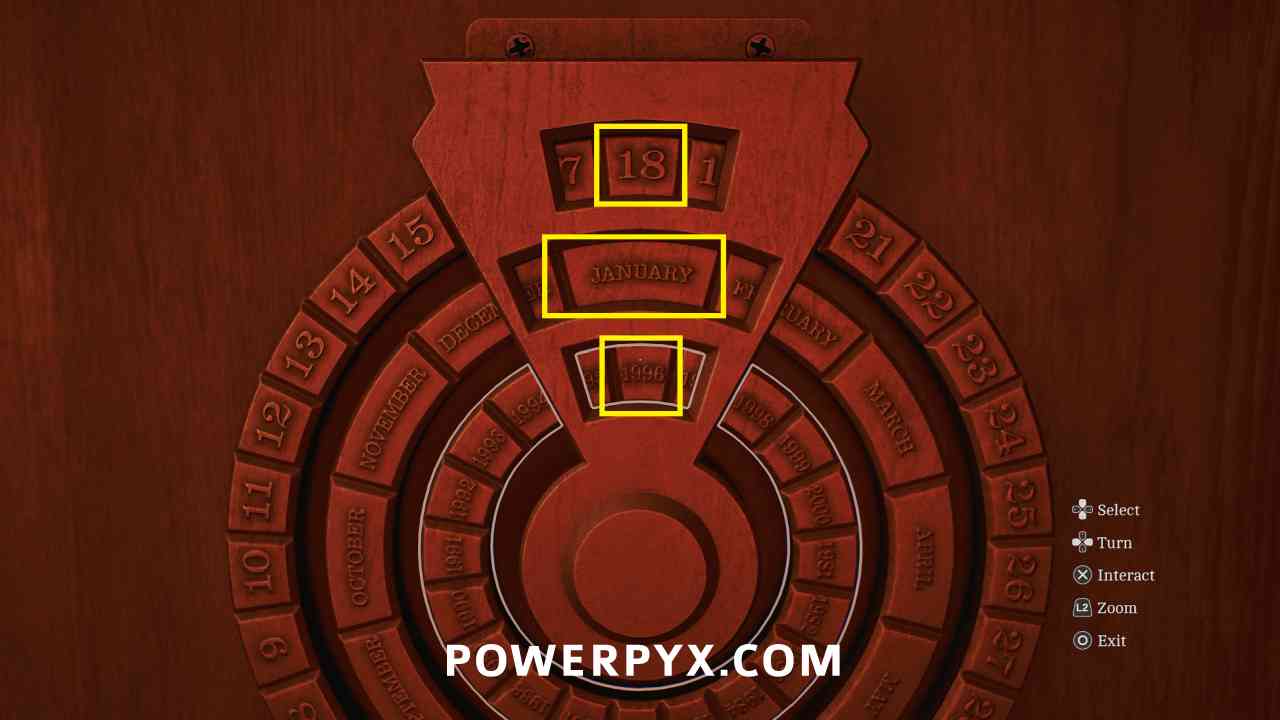
Interact with the wheel on the door, spin the wheels to 18 on the top, January in the middle, 1996 on the bottom. (Clues from the Room Service Card and CRTV Channel 60).
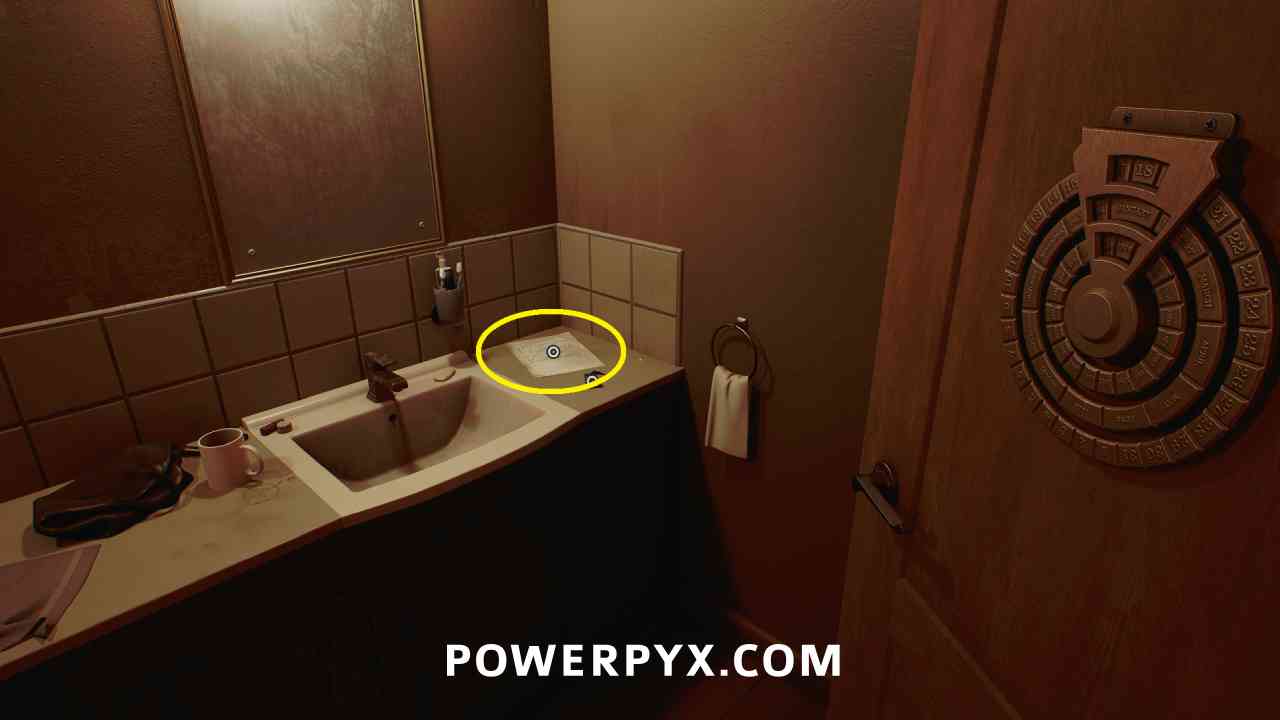
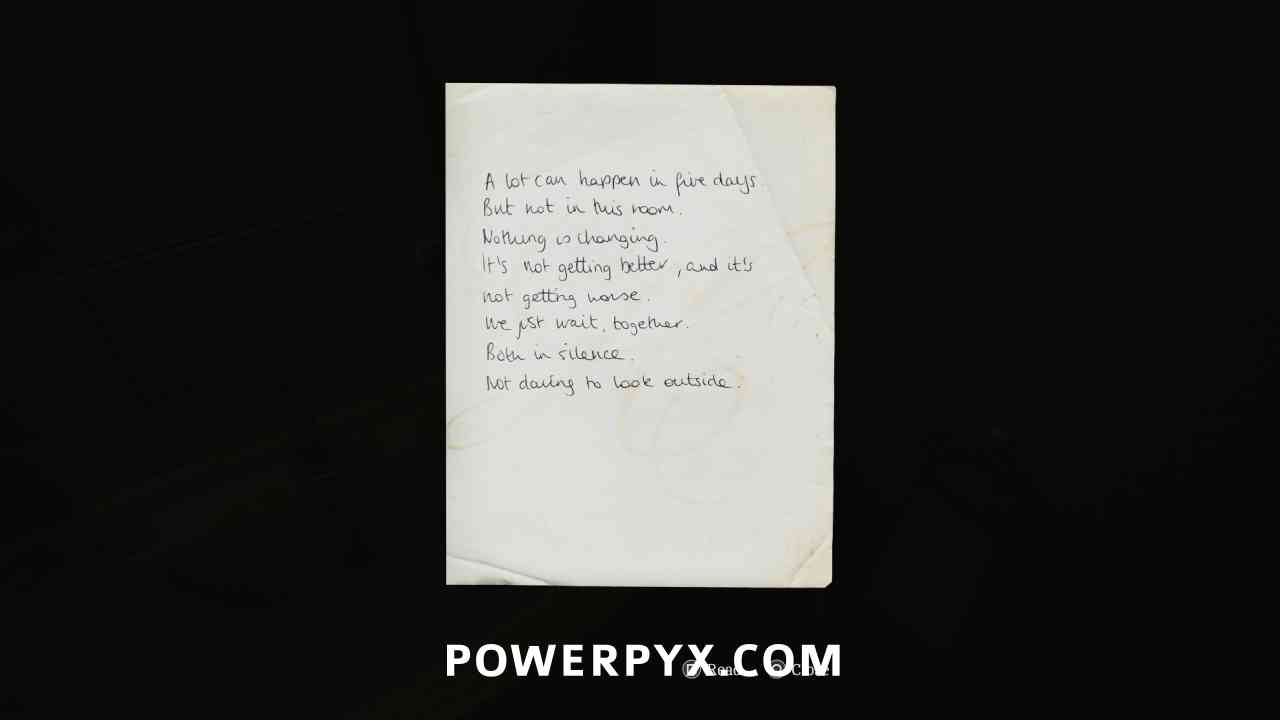
Document: Hotel Room Note
Area: A Different Place
On the counter in the bathroom after opening the door puzzle.
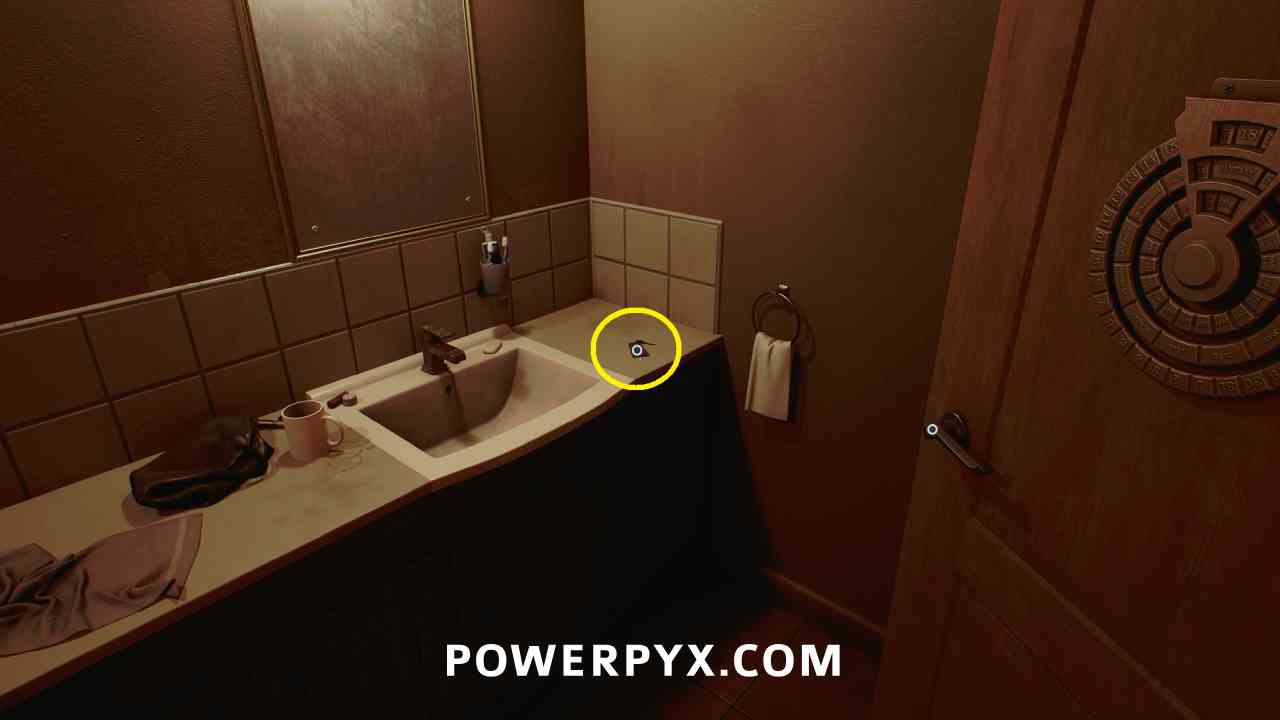
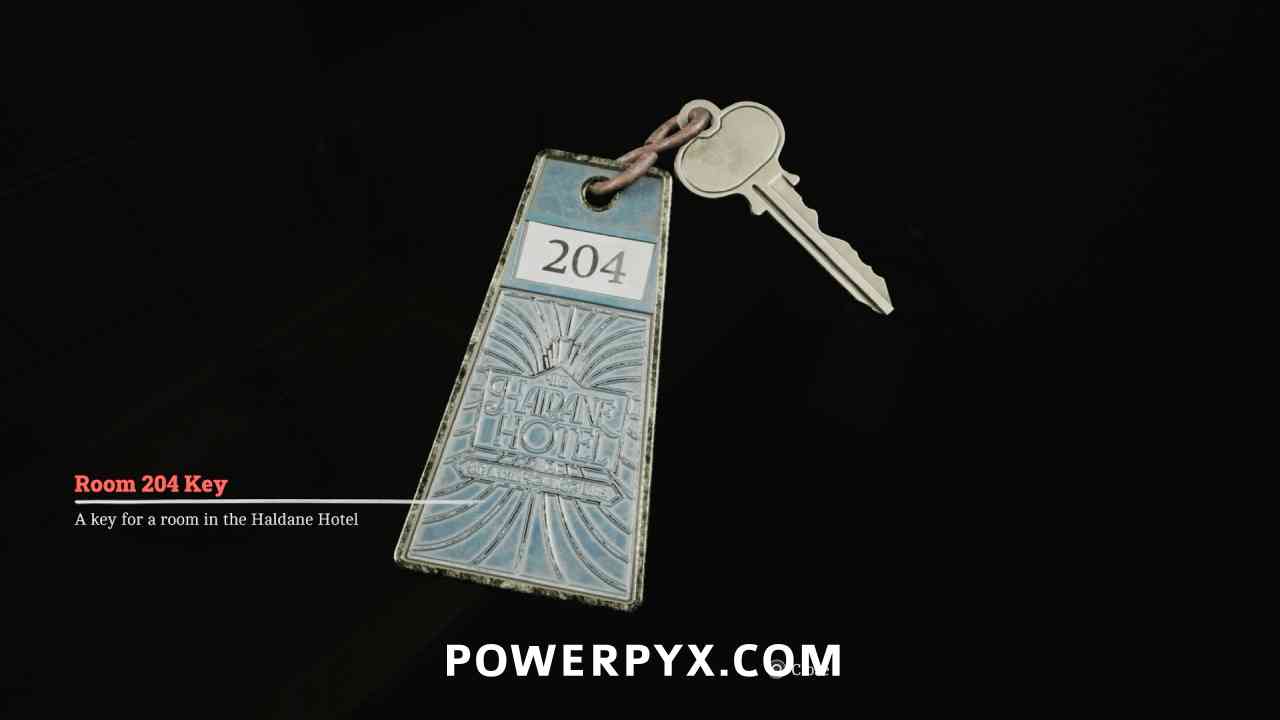
Key Item: Room 204 Key
Area: A Different Place
On the counter in the bathroom after opening the door puzzle. Use to open the door to the hotel room.
Shorefront District – South
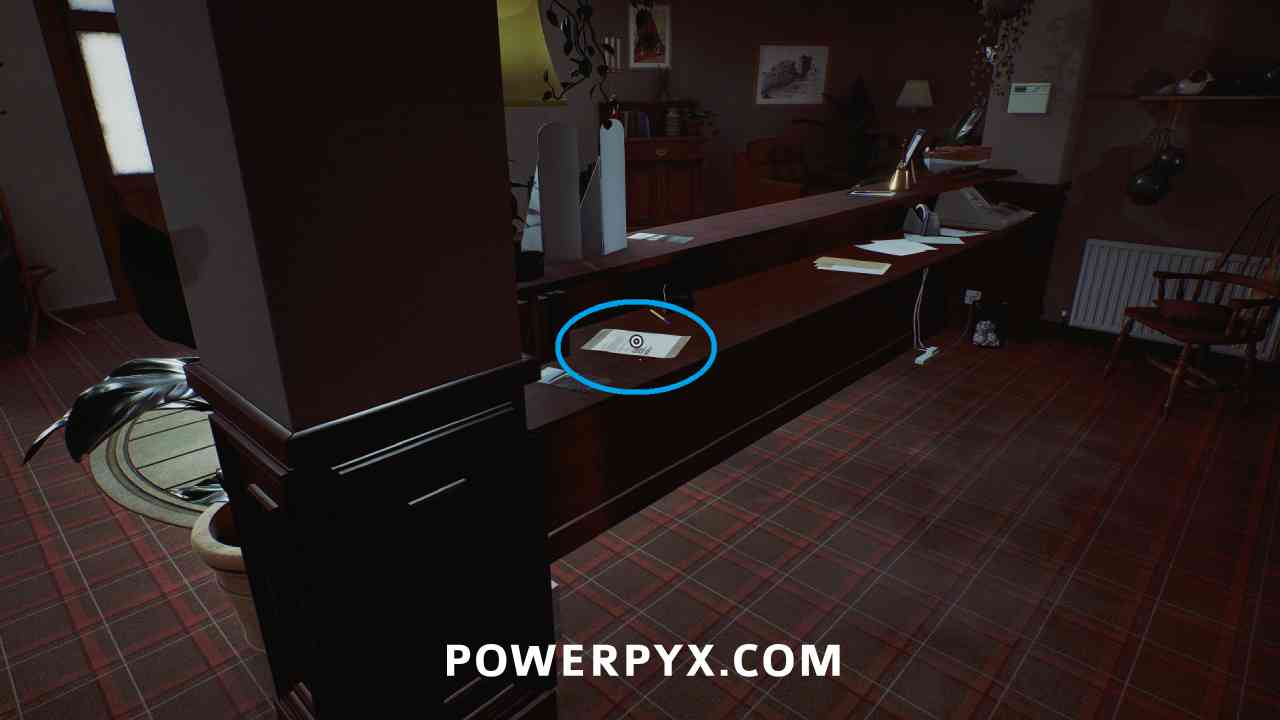
Document: Hotel Reception Notice
Area: Shorefront District – South
Immediately after getting off the elevator, turn right and go behind the reception desk to find this on the counter.
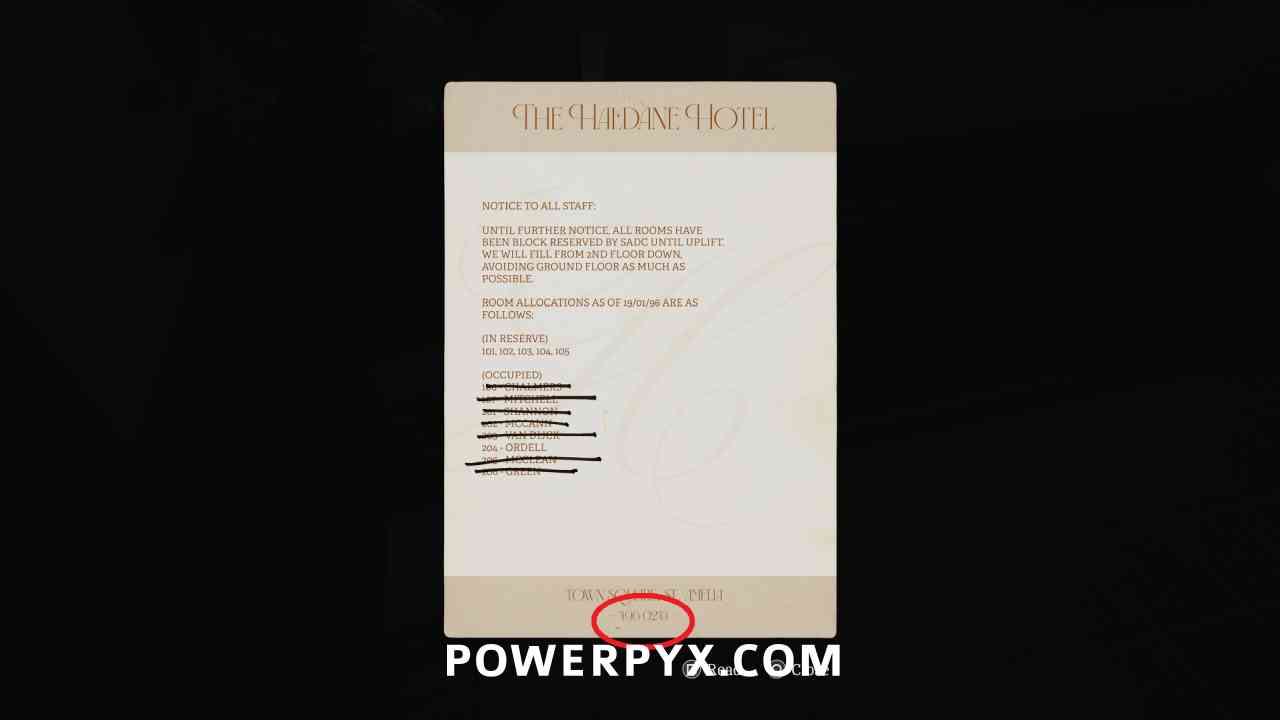
Phone Number: 496 0244 – The Haldane Hotel
Area: Shorefront District – South
On the bottom of the Hotel Reception Notice document. Call when you exit the hotel on the pay phone.
Trophy: Welcome to St. Amelia
Chapter 3: A Connection
Shorefront District – South
CRTV Channel – 45~
Area: Shorefront District – South
As soon as the chapter starts, tune the CRTV to the channel at around 45.
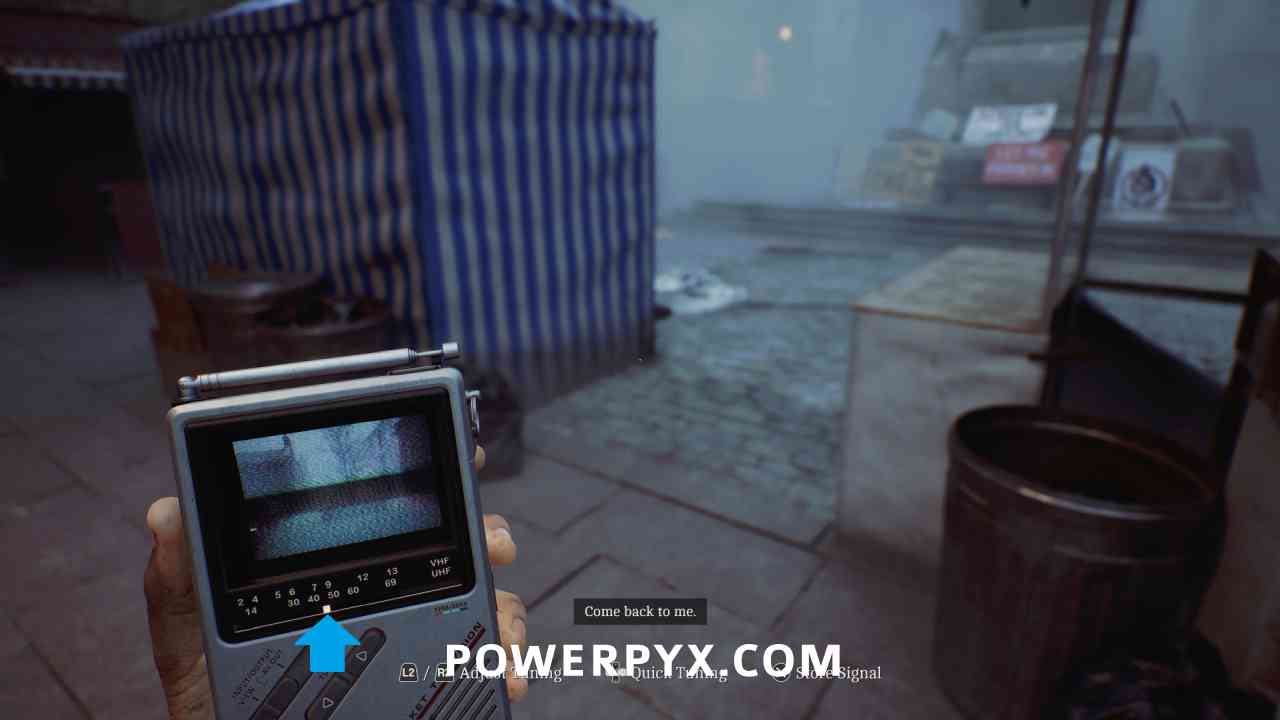
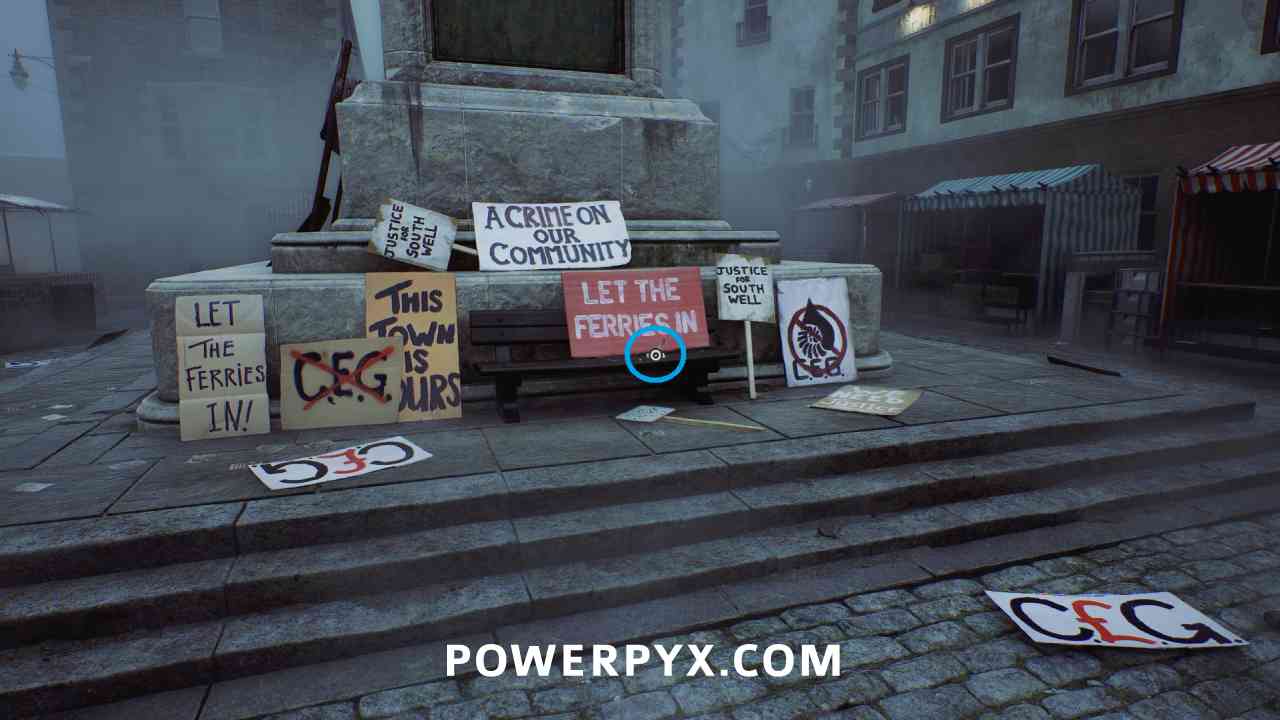
Document: Vigil and Protest Flyer
Area: Shorefront District – South
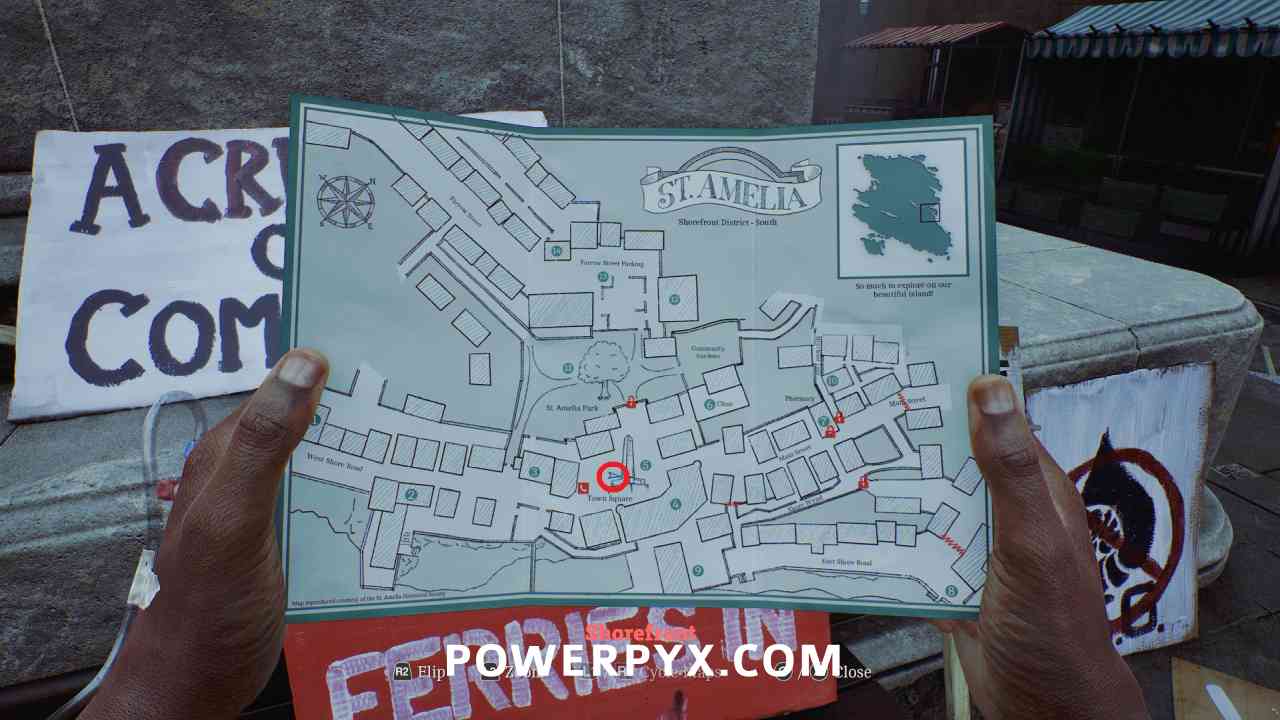
At Town Square (5) on the west side of the pillar, on a bench in front of the red “LET THE FERRIES IN” sign.

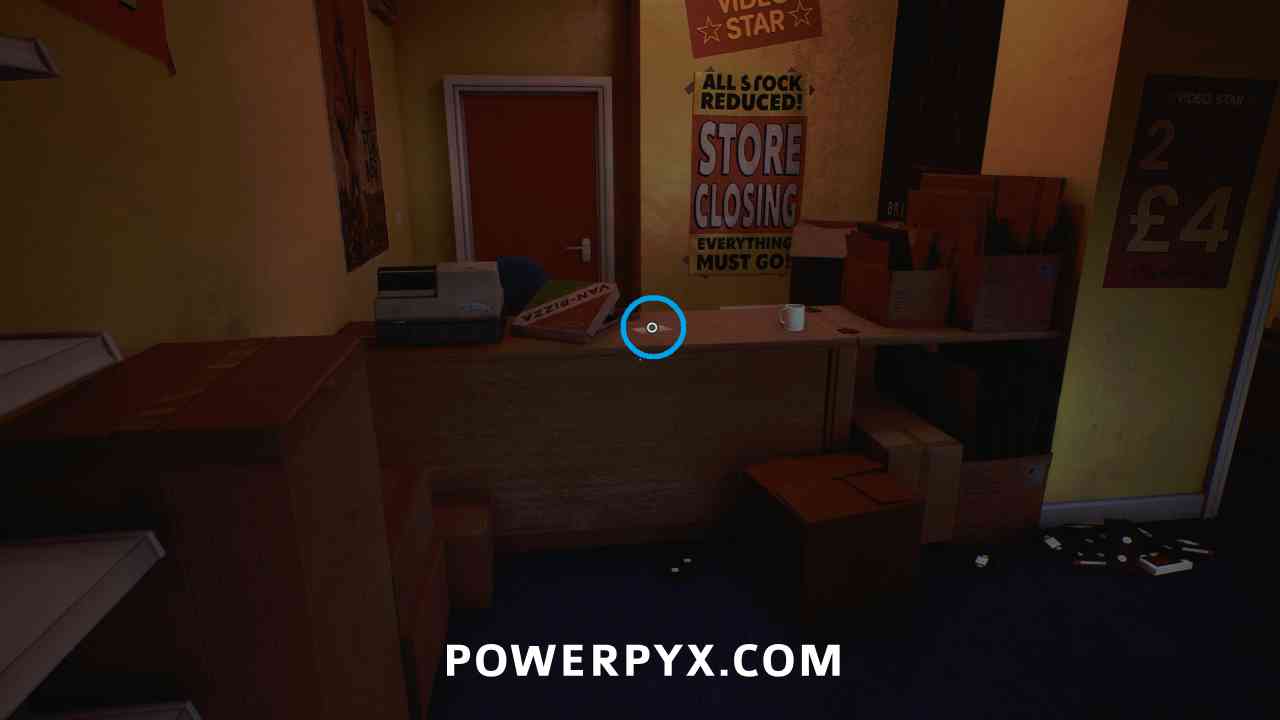
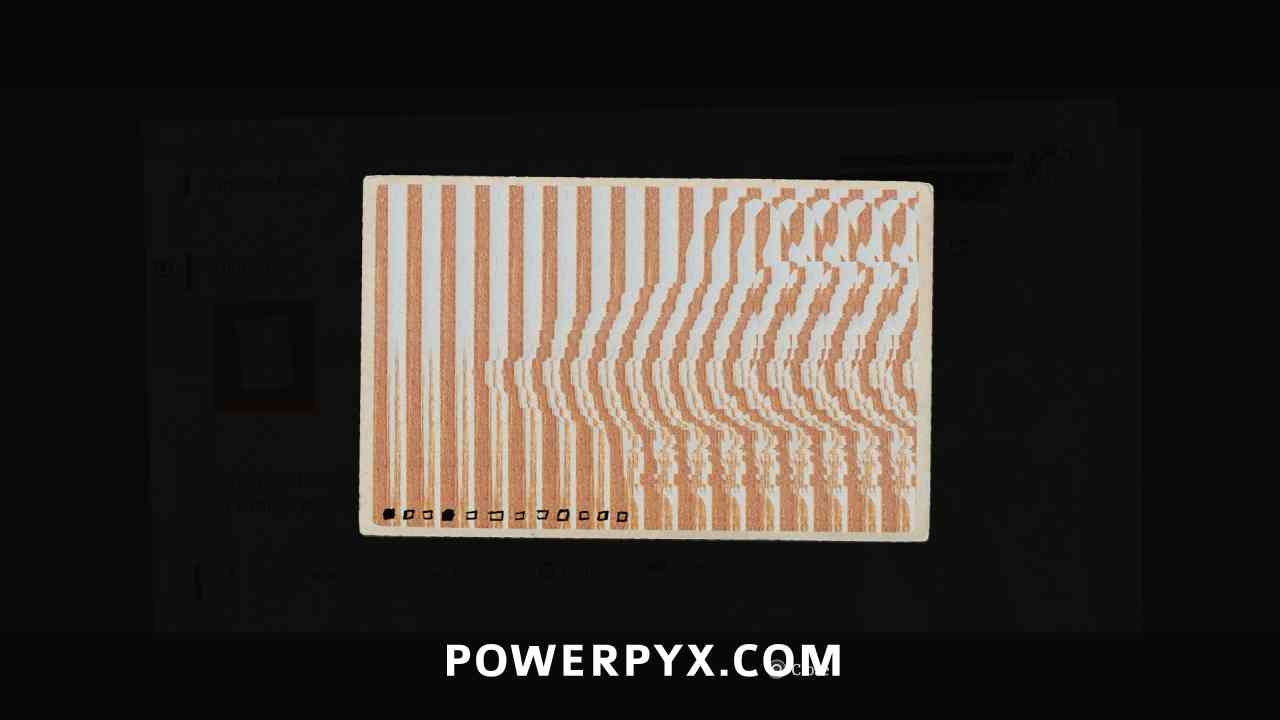
Strange Postcard – 1
Area: Shorefront District – South
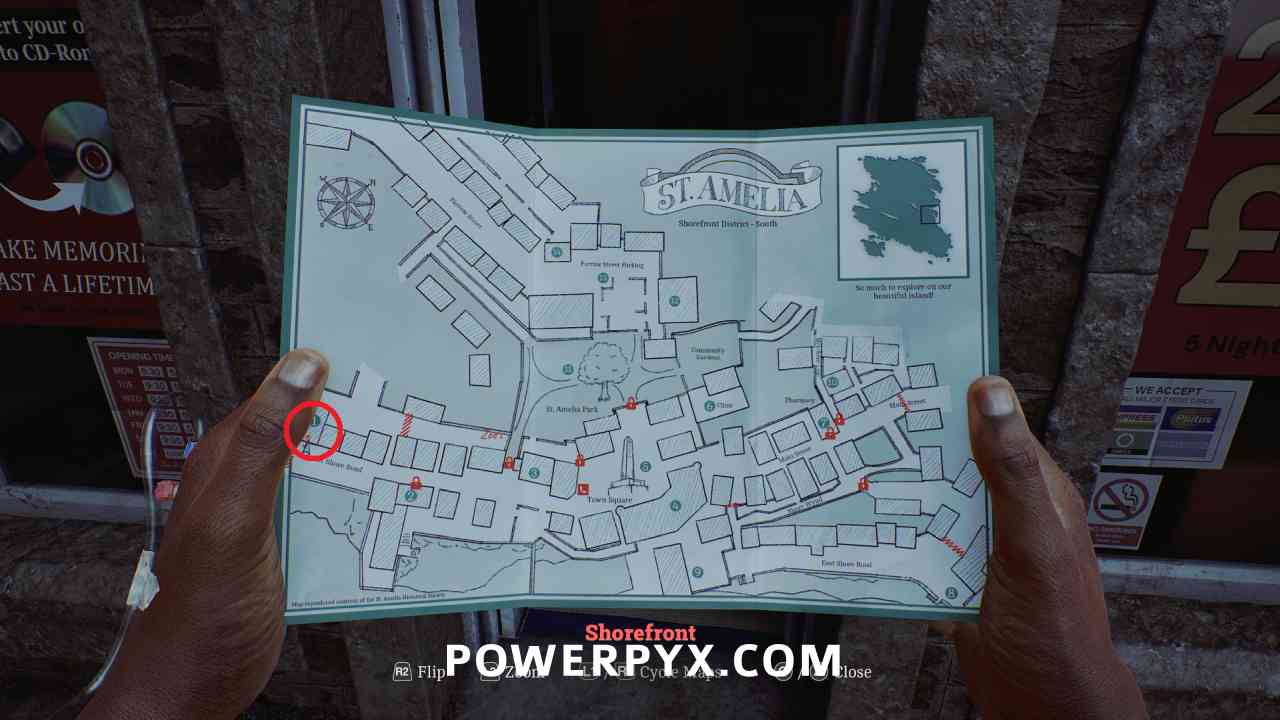
West of Town Square (5) at the end of the road, enter the store VIDEO STAR (1) and this is on the counter.
Shorefront District – South > Zoe’s House
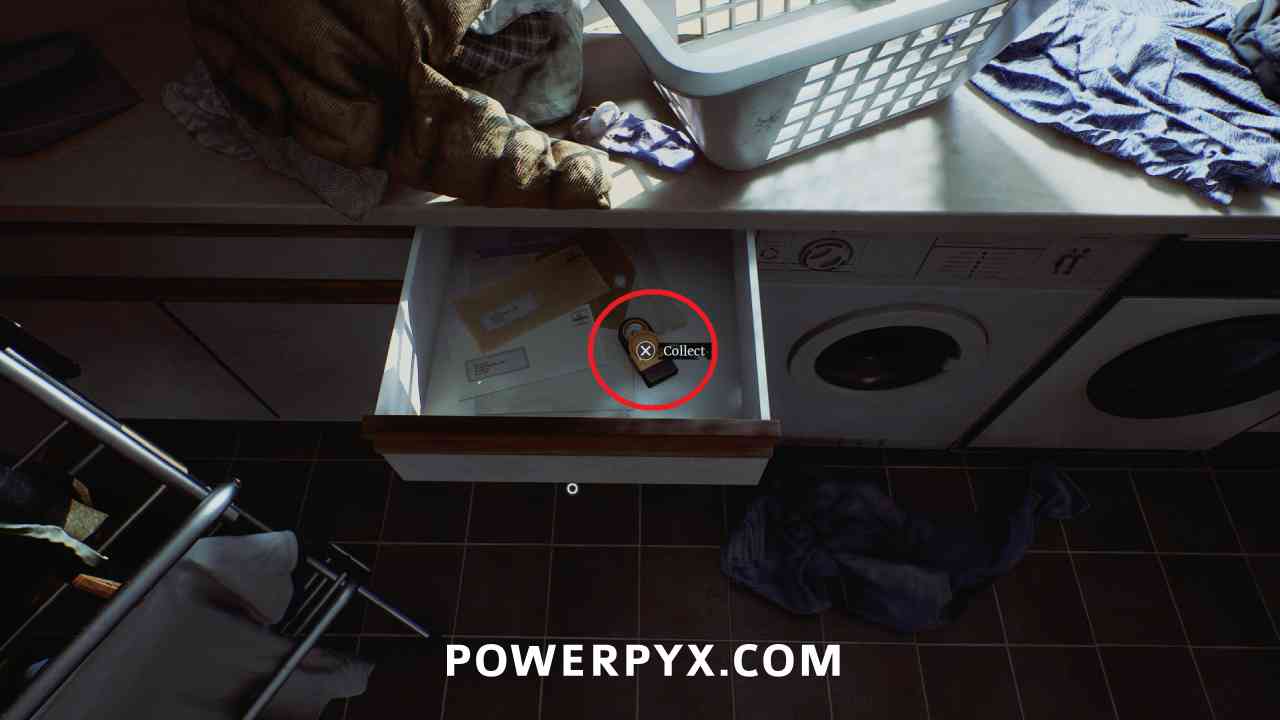
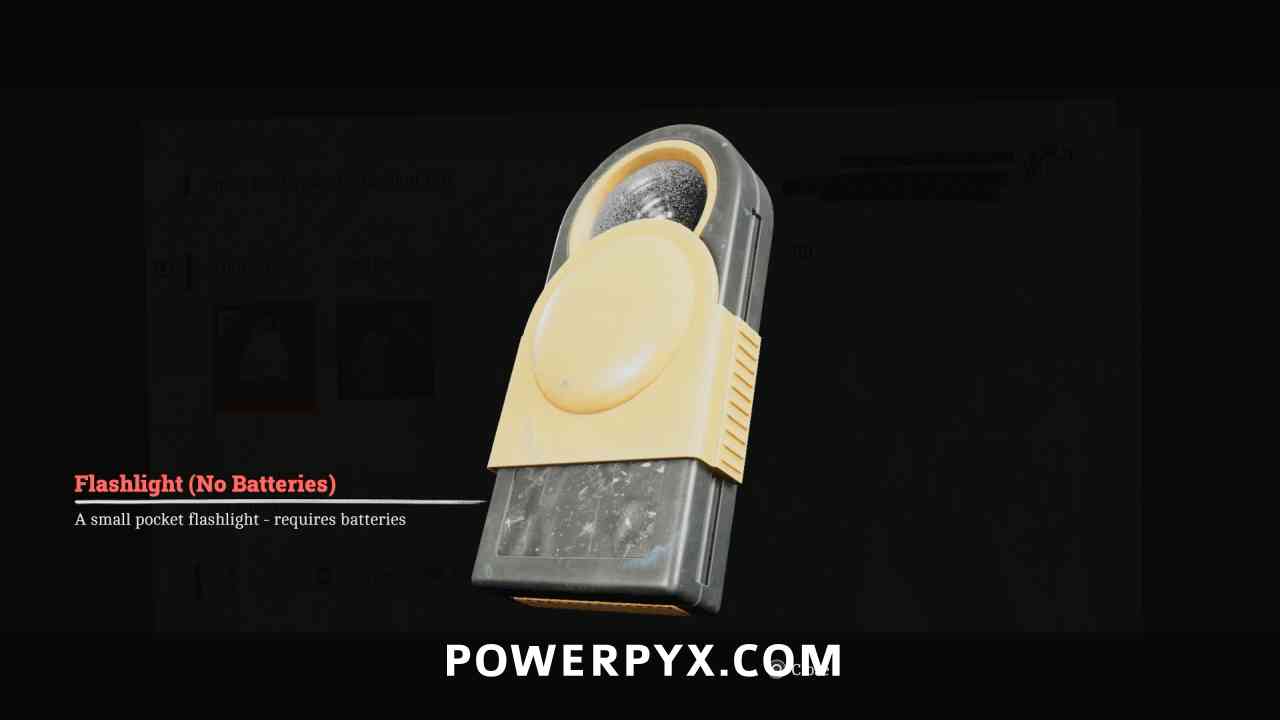
Key Item: Flashlight (No Batteries)
Area: Shorefront District – South > Zoe’s House
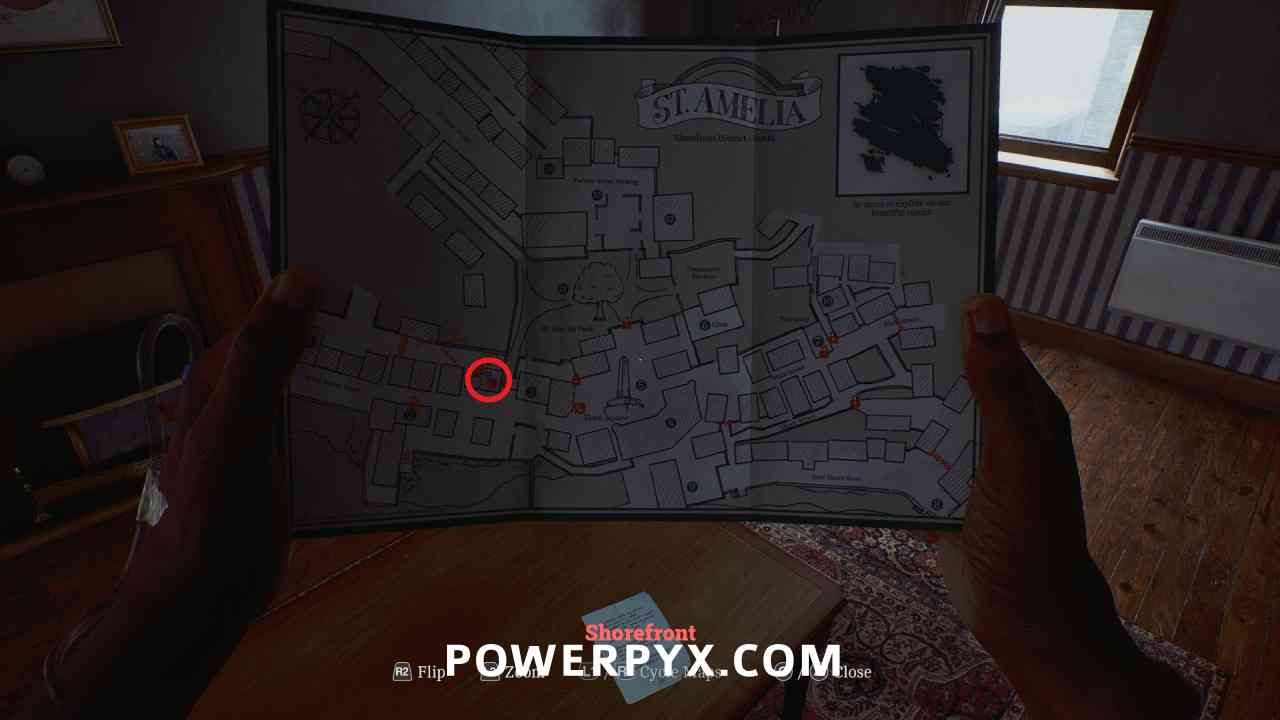
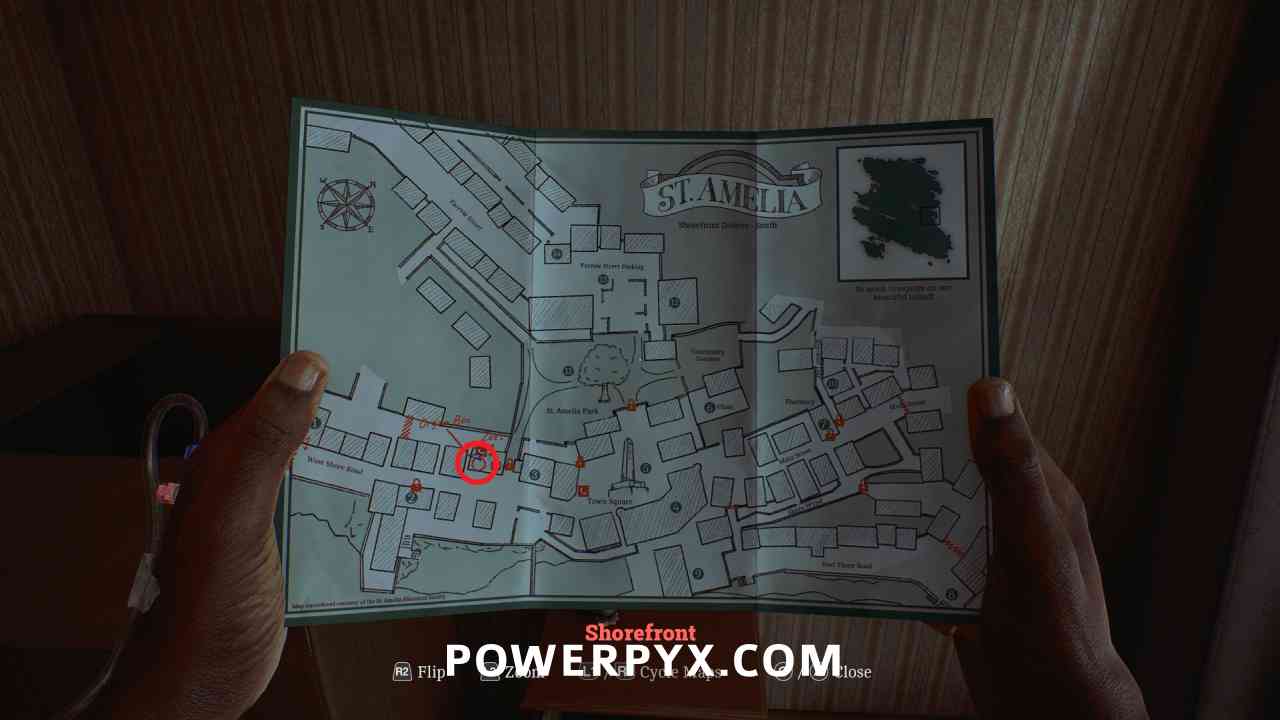
Inside Zoe’s house (west of Town Square (5)) in the drawer to the left of the organ box.
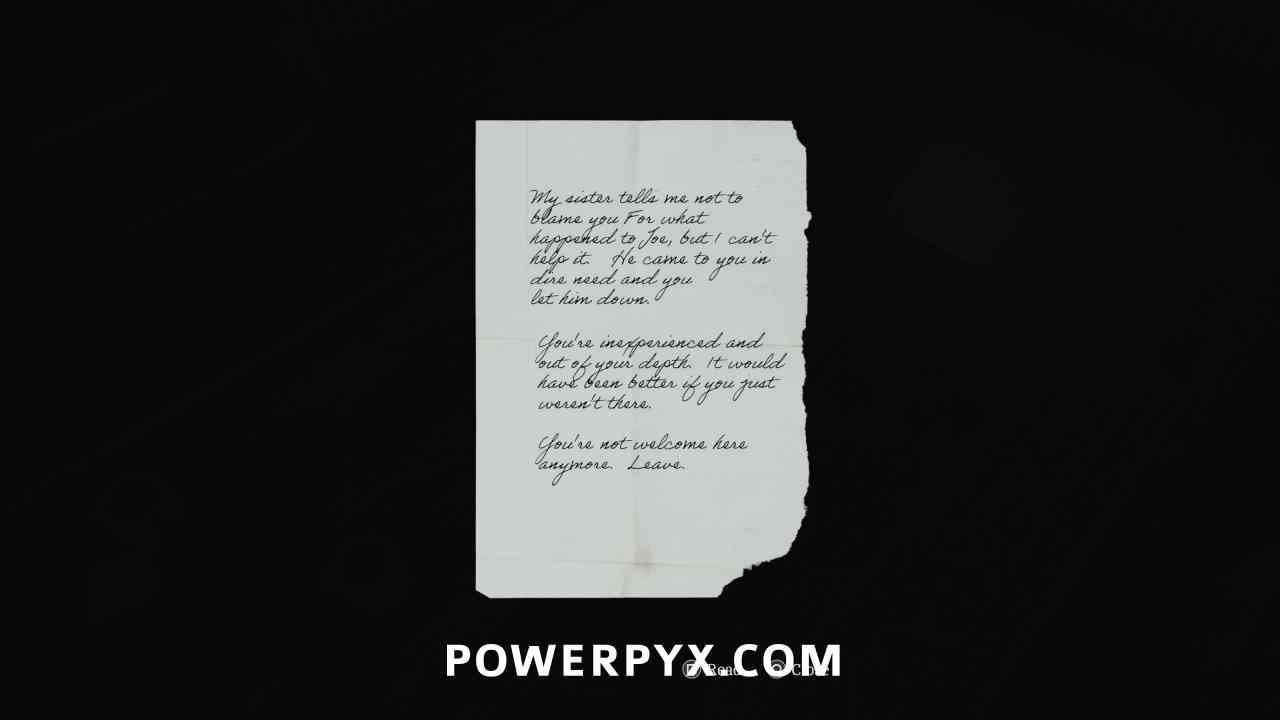
Document: Hand Delivered Letter
Area: Shorefront District – South > Zoe’s House
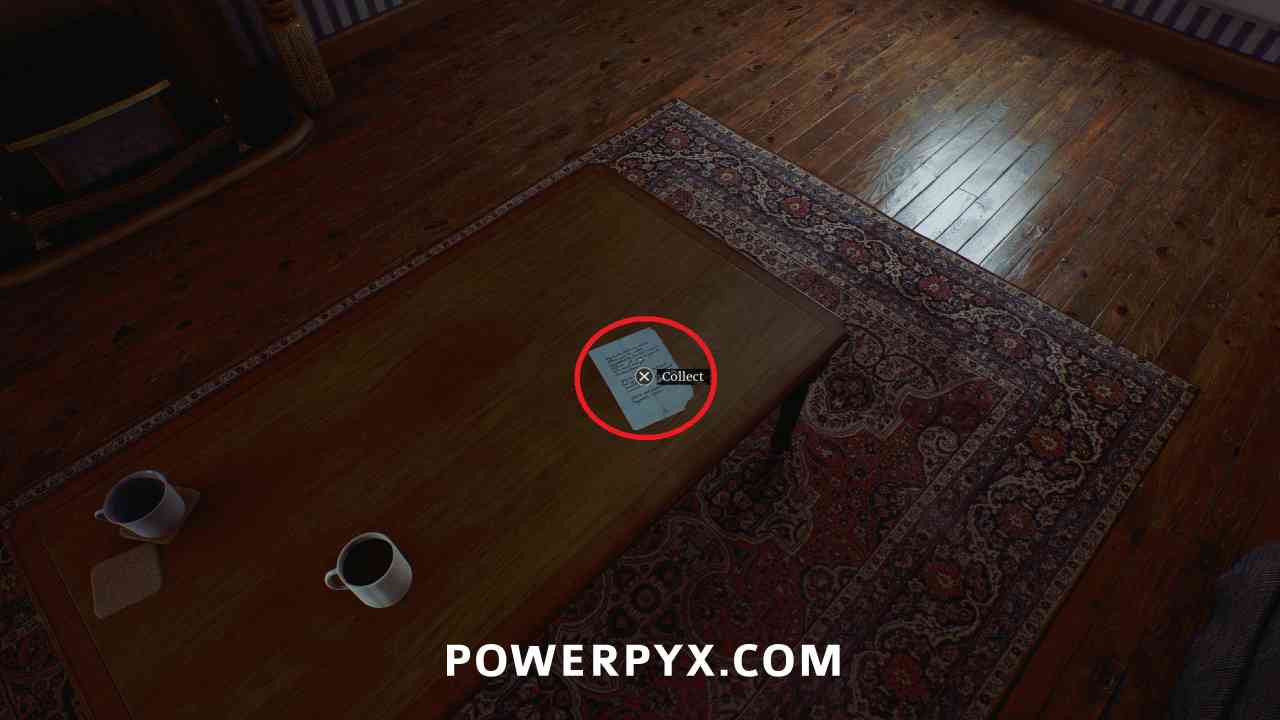
Inside Zoe’s house (west of Town Square (5)) on the table in the living room.
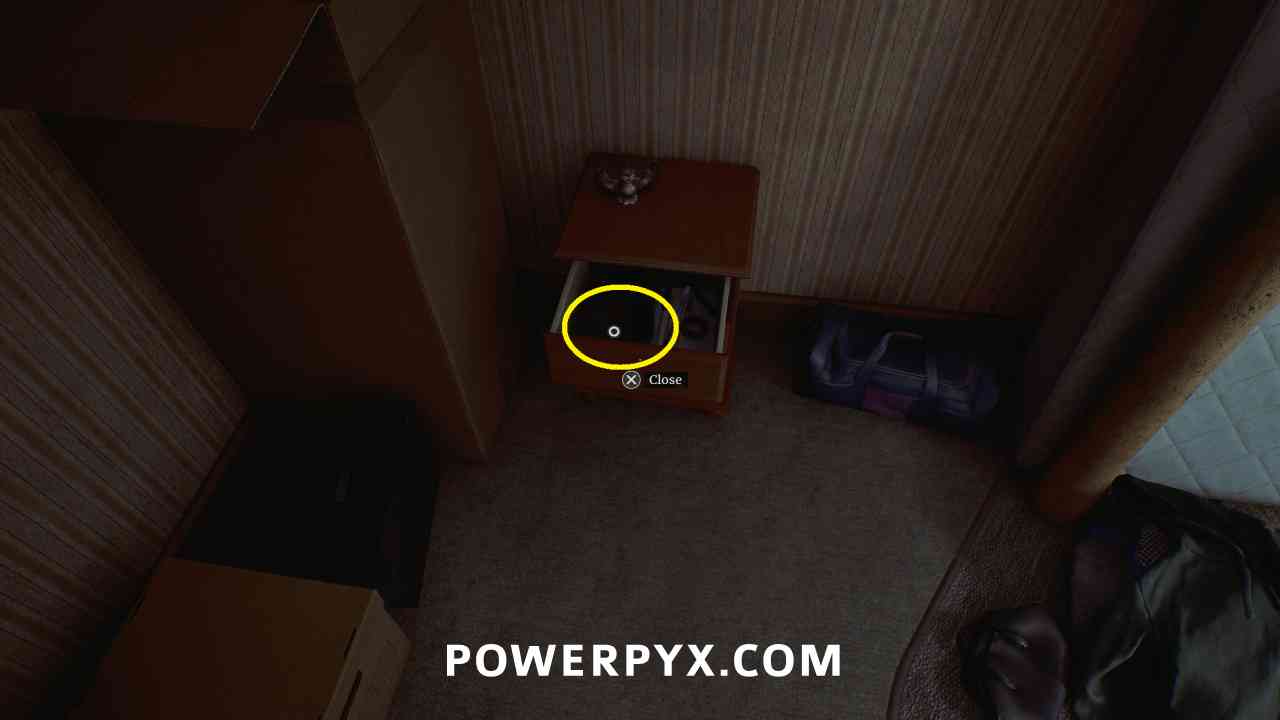
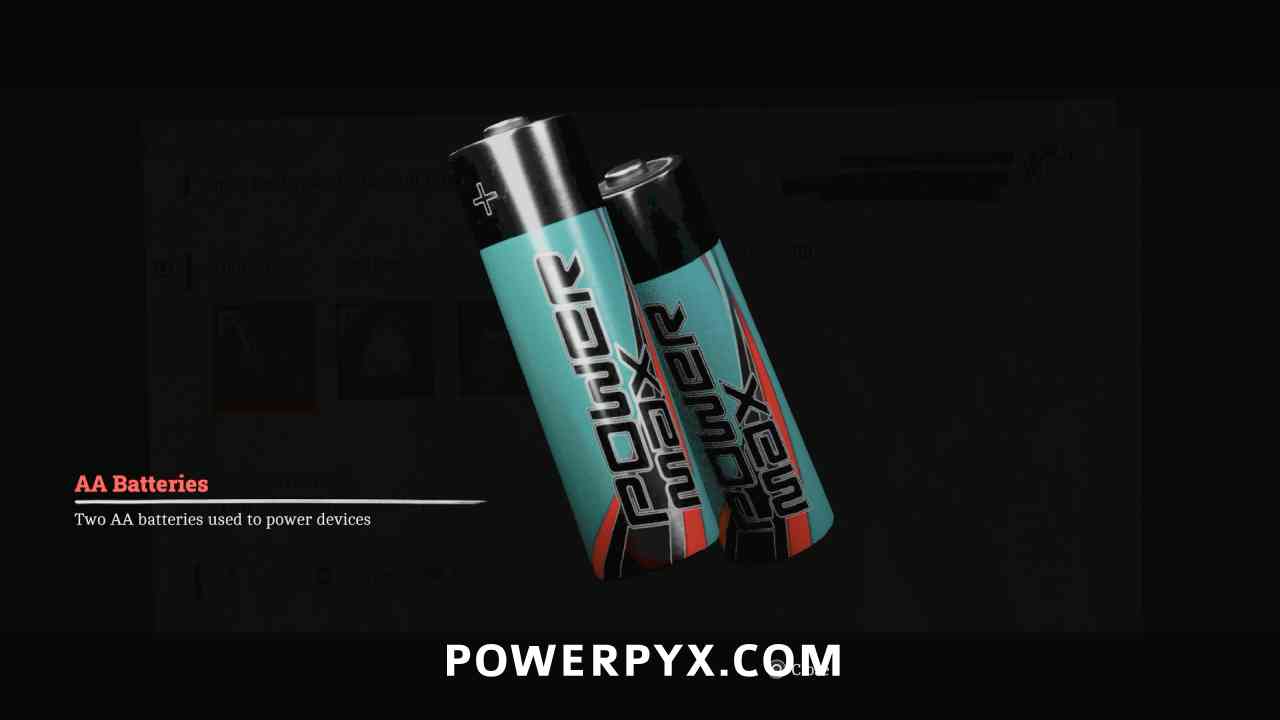
Key Item: AA Batteries
Area: Shorefront District – South > Zoe’s House
Inside Zoe’s house (west of Town Square (5)) upstairs in the second room on the left, in the drawer of the small cabinet.
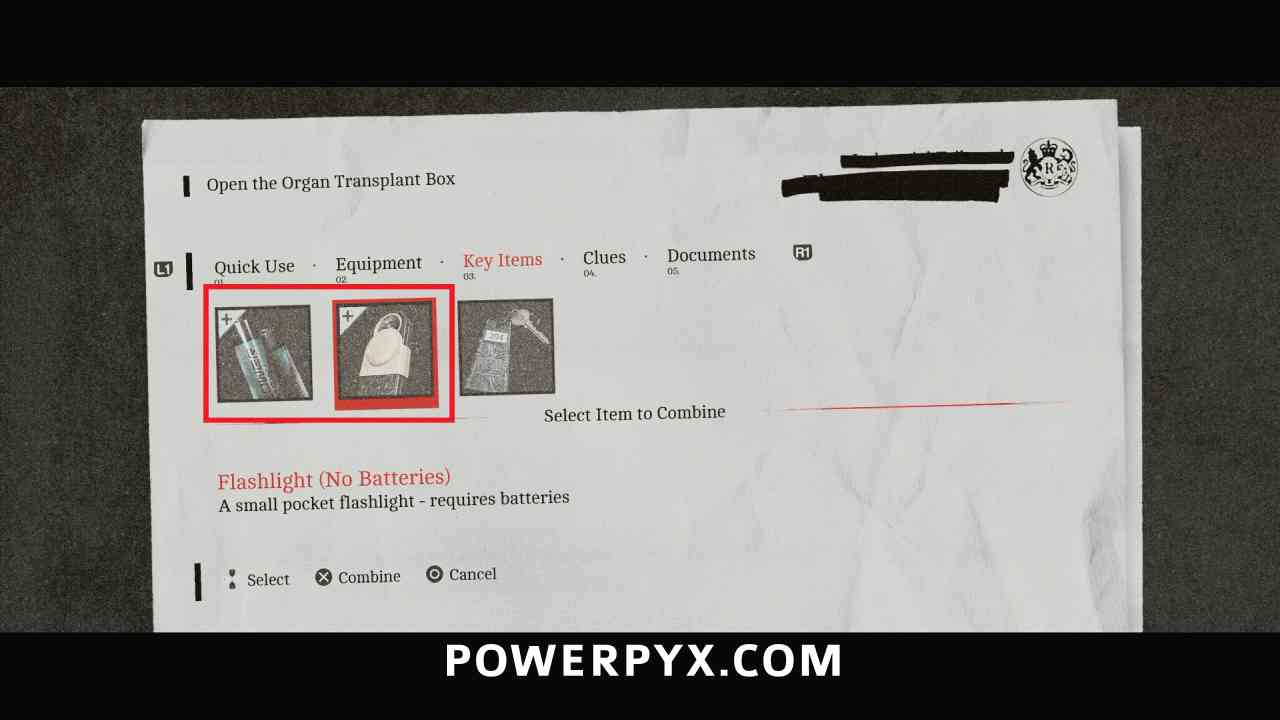
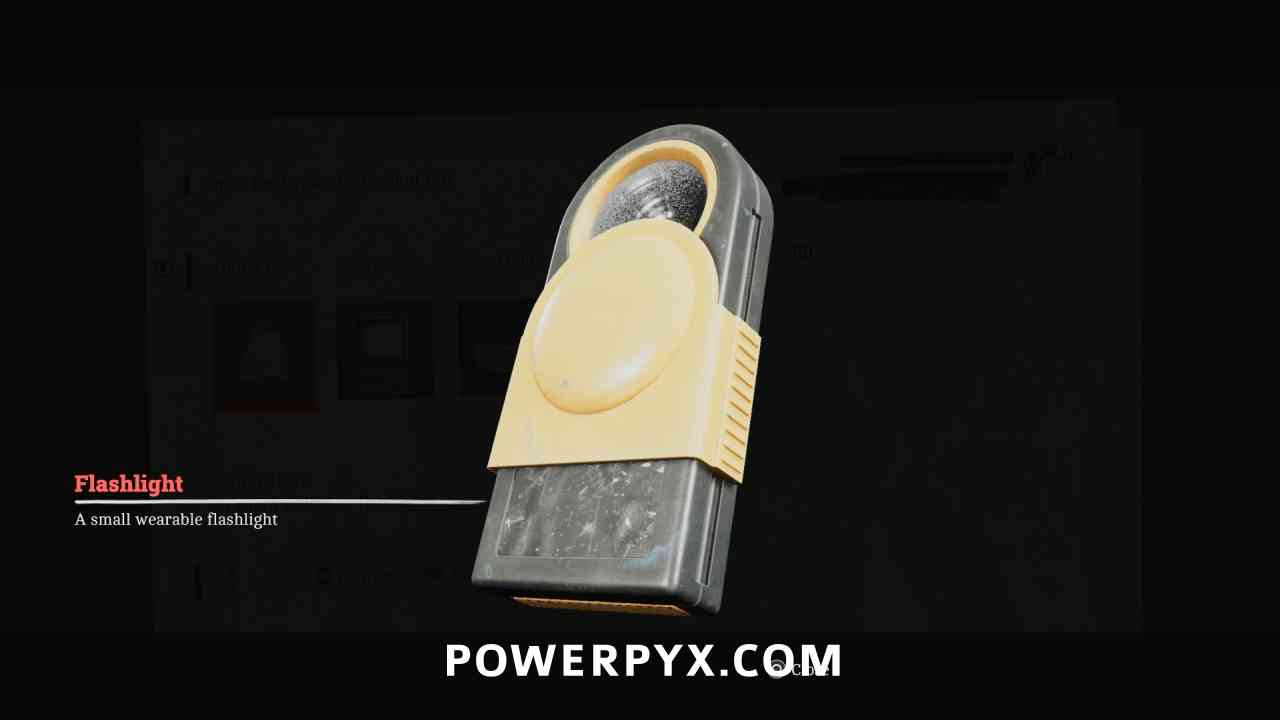
Equipment: Flashlight
Area: Shorefront District – South > Zoe’s House
Combine the AA Batteries and Flashlight (No Batteries) in your inventory.
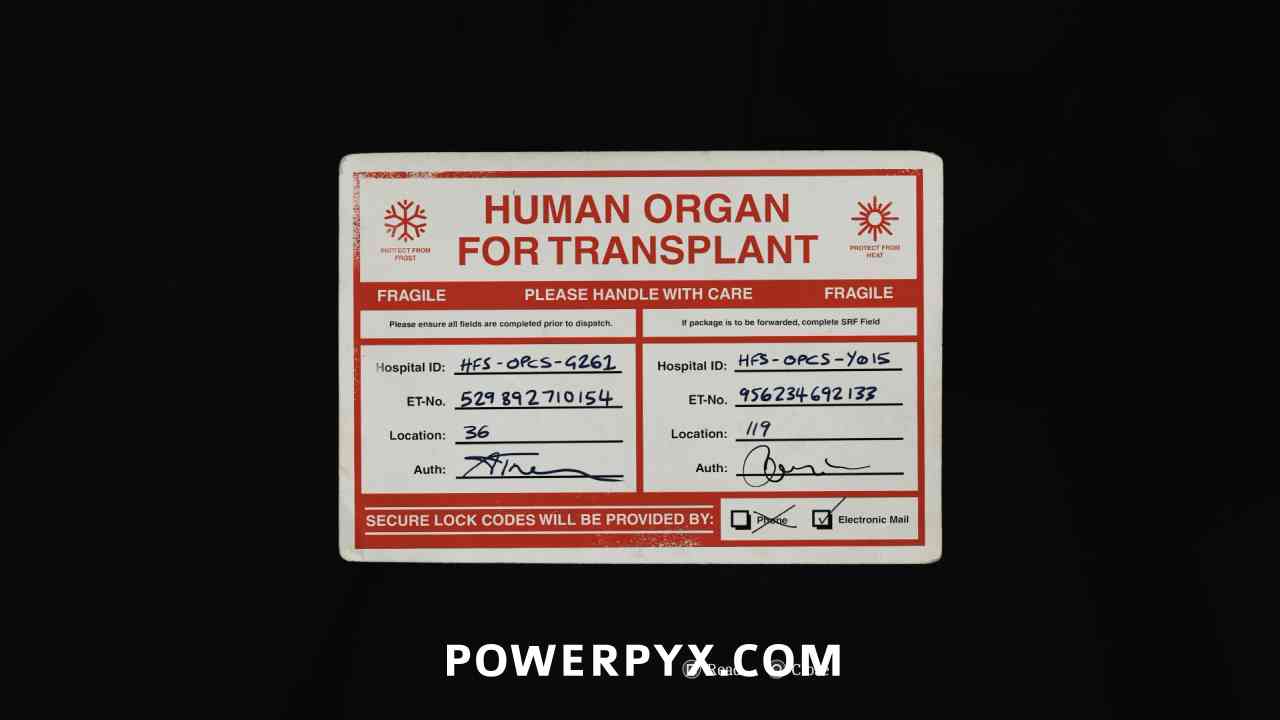
Clue: Organ Transplant Card
Area: Shorefront District – South > Zoe’s House
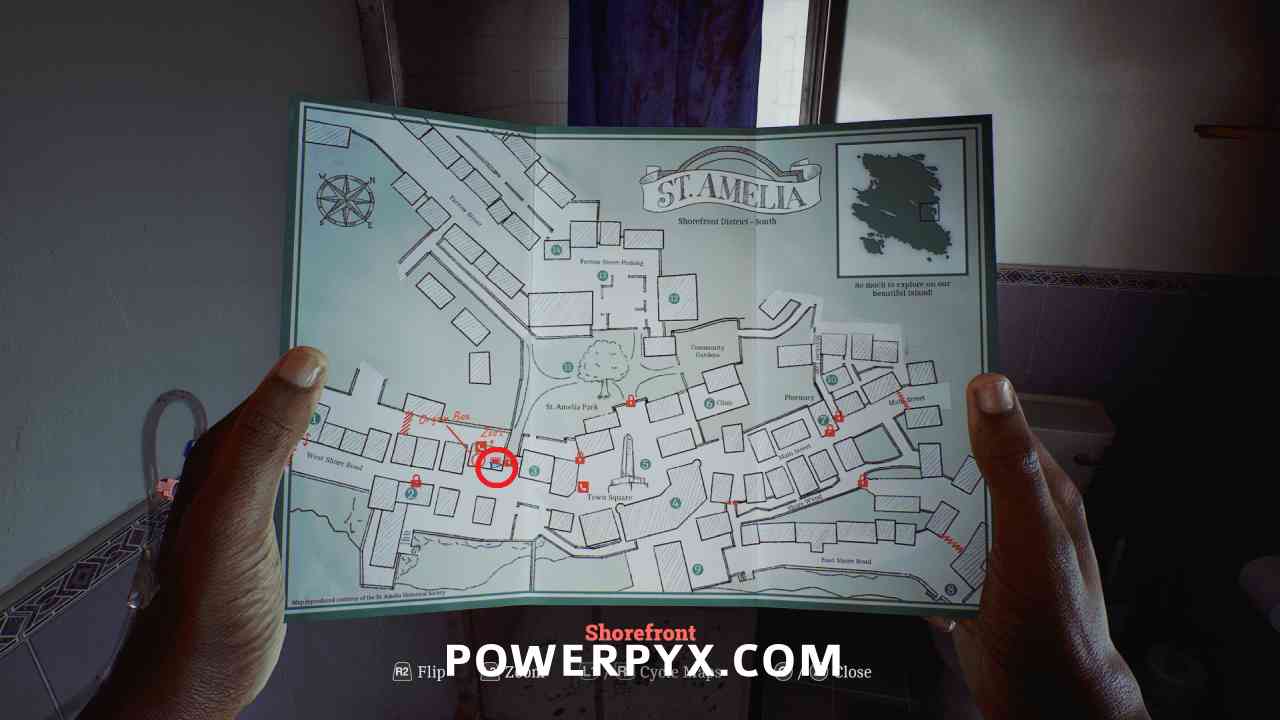
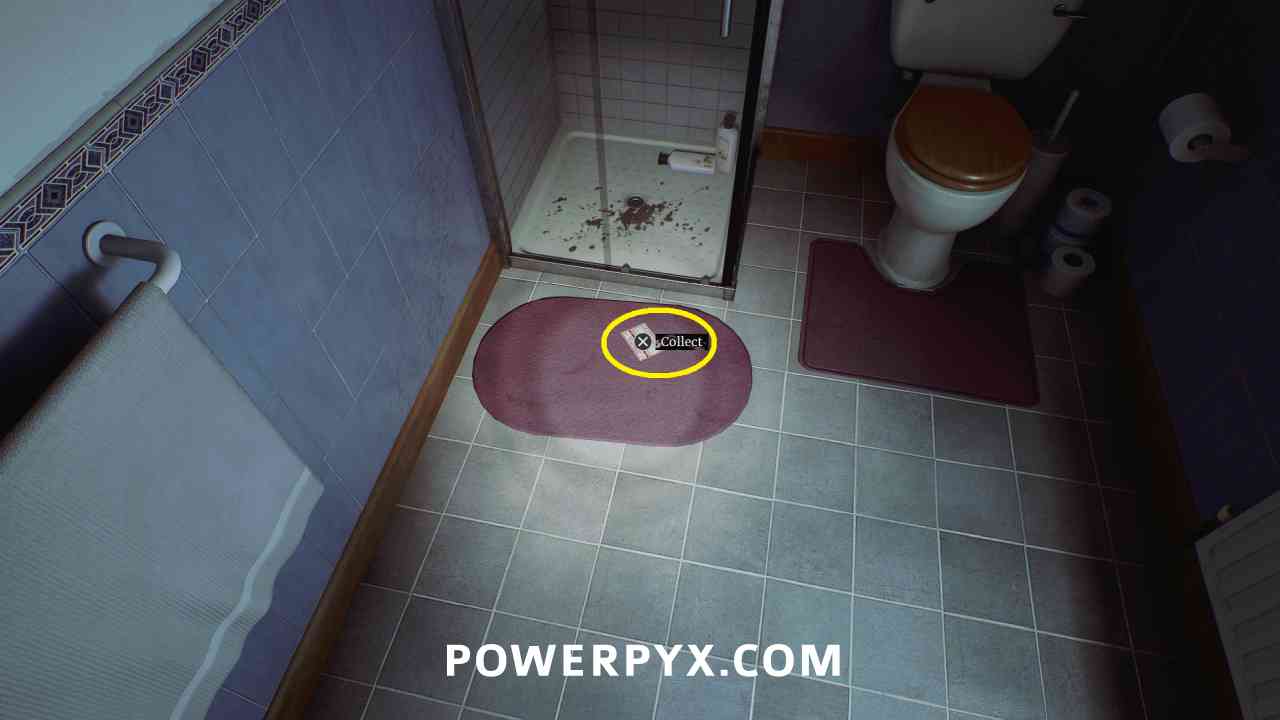
Inside Zoe’s house (west of Town Square (5)) upstairs through the room on the right, on the floor of the bathroom.
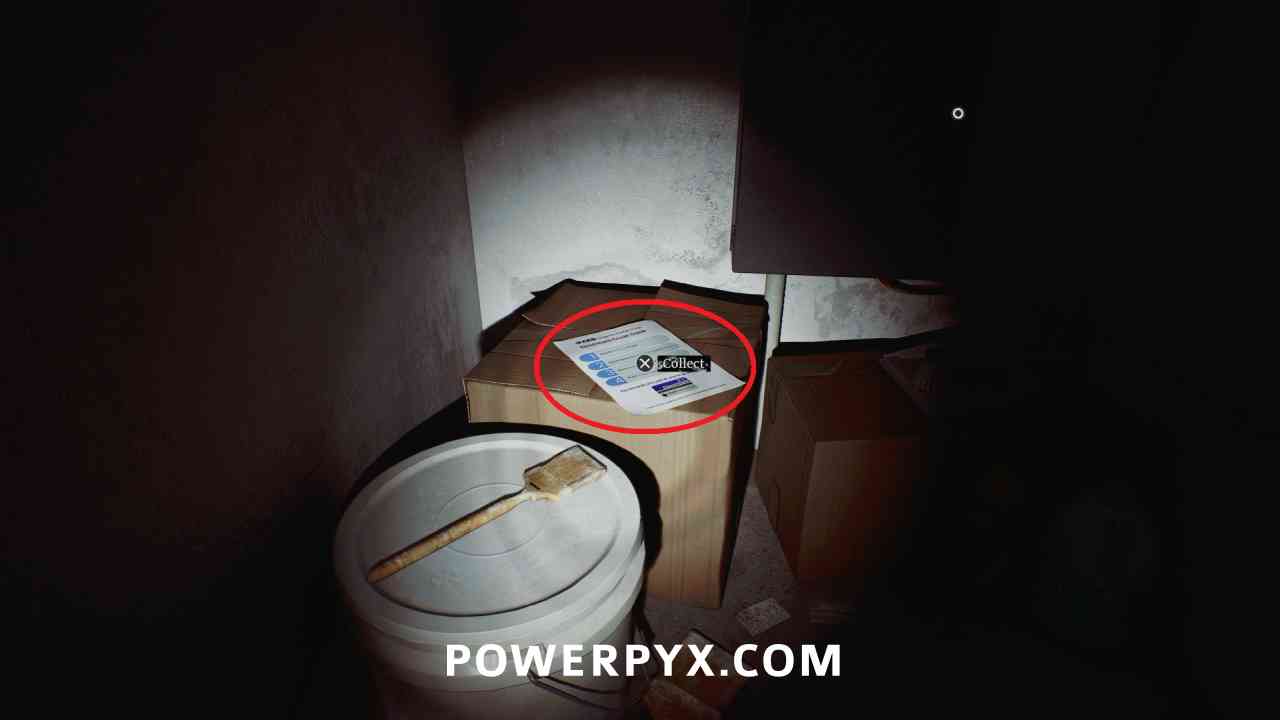
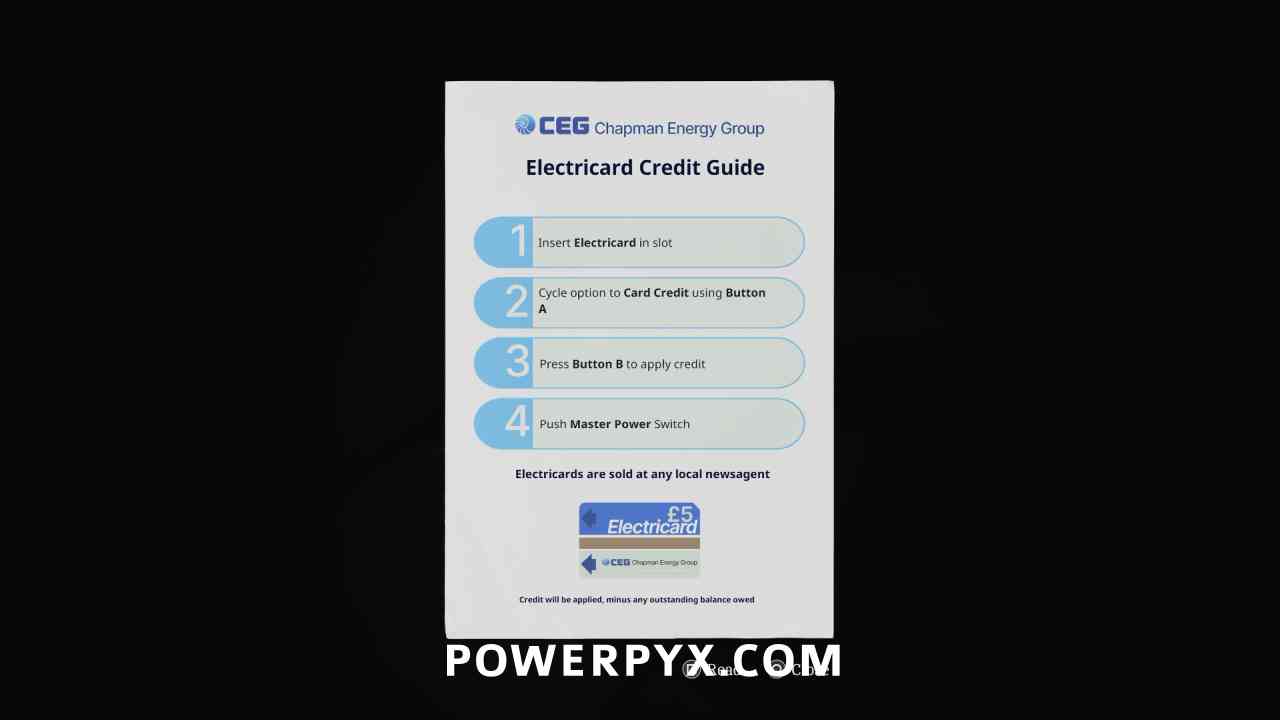
Clue: Power Card Credit Guide
Area: Shorefront District – South > Zoe’s House
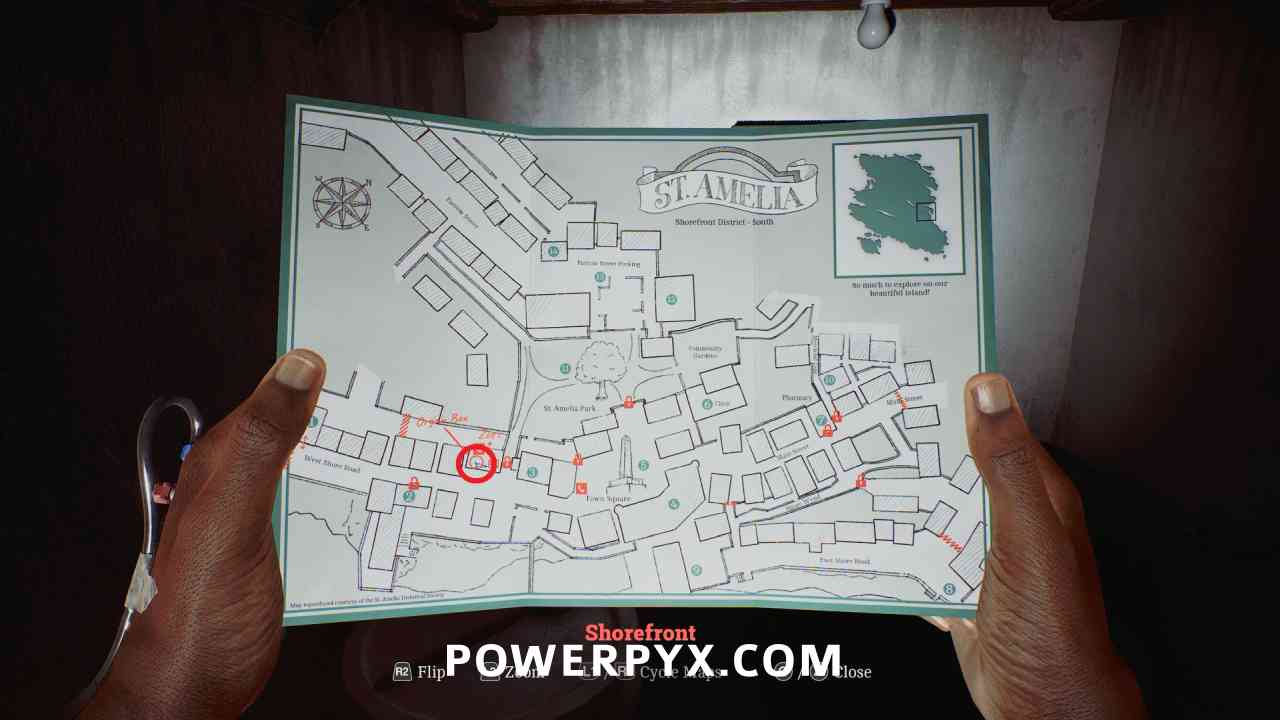
Inside Zoe’s house (west of Town Square (5)) crouch and enter the crawlspace beside the stairs, using the flashlight to see this.
Shorefront District – South > Peters Newsagent (2)
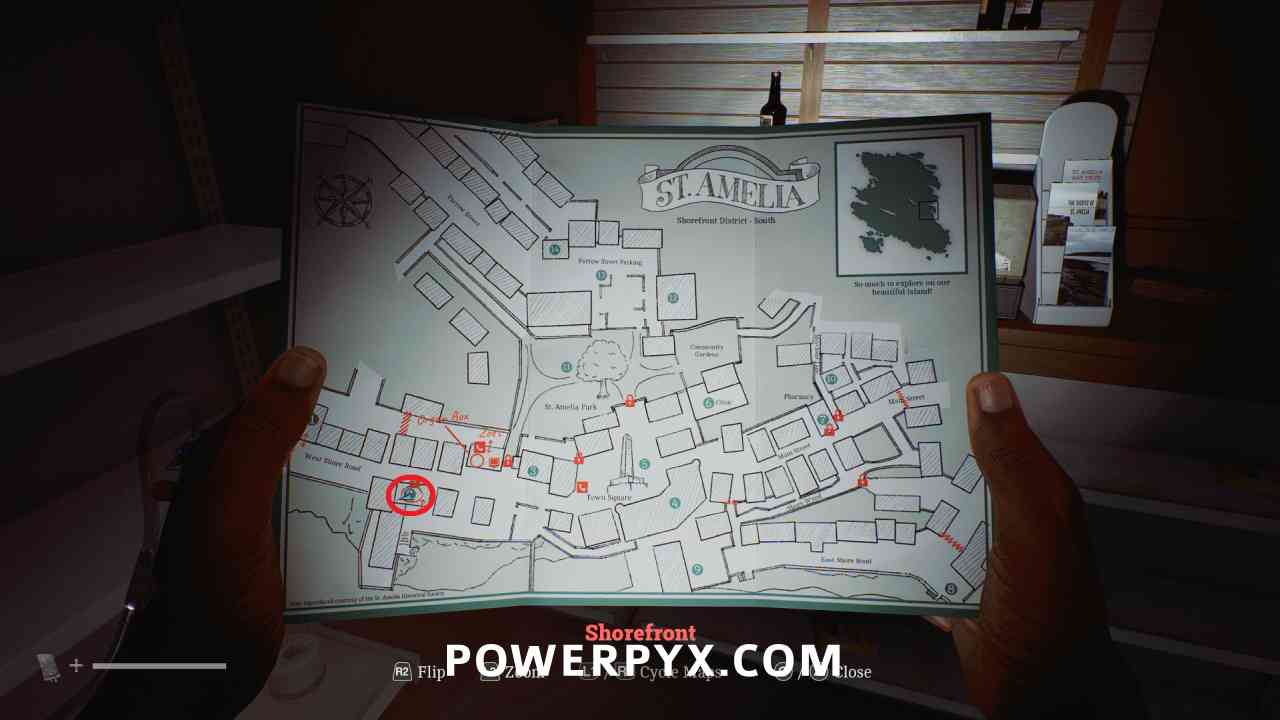
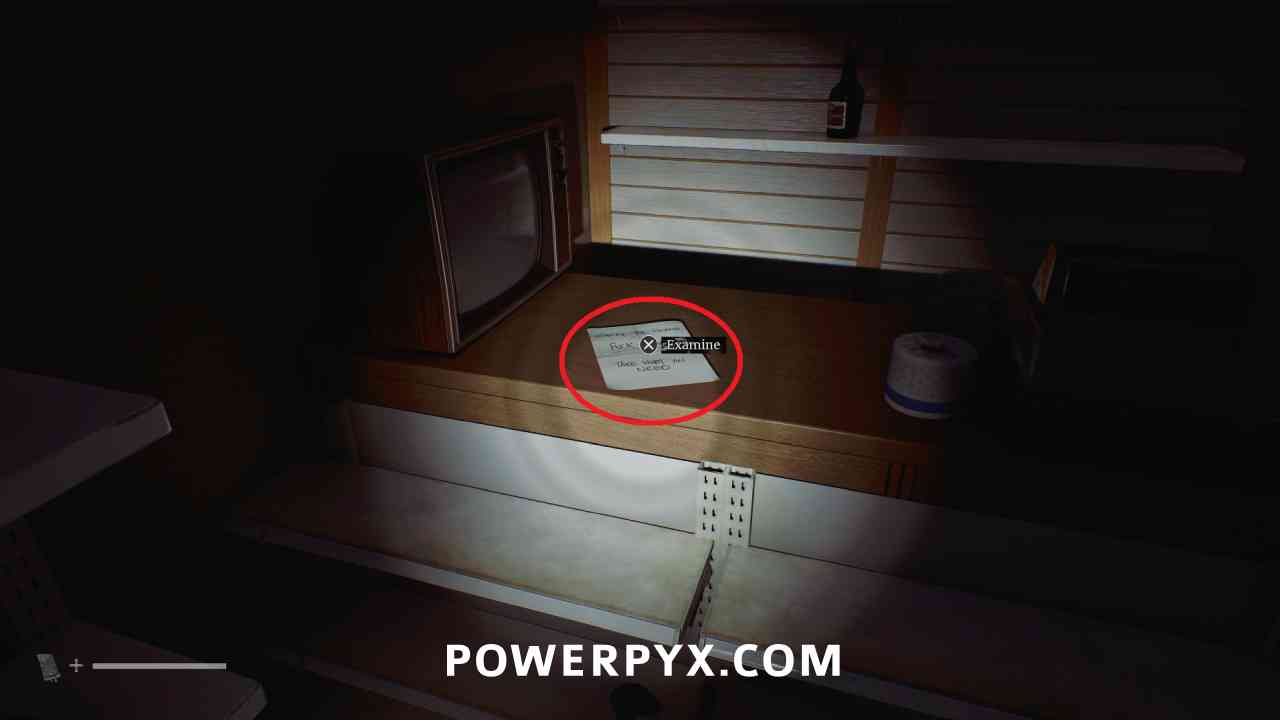
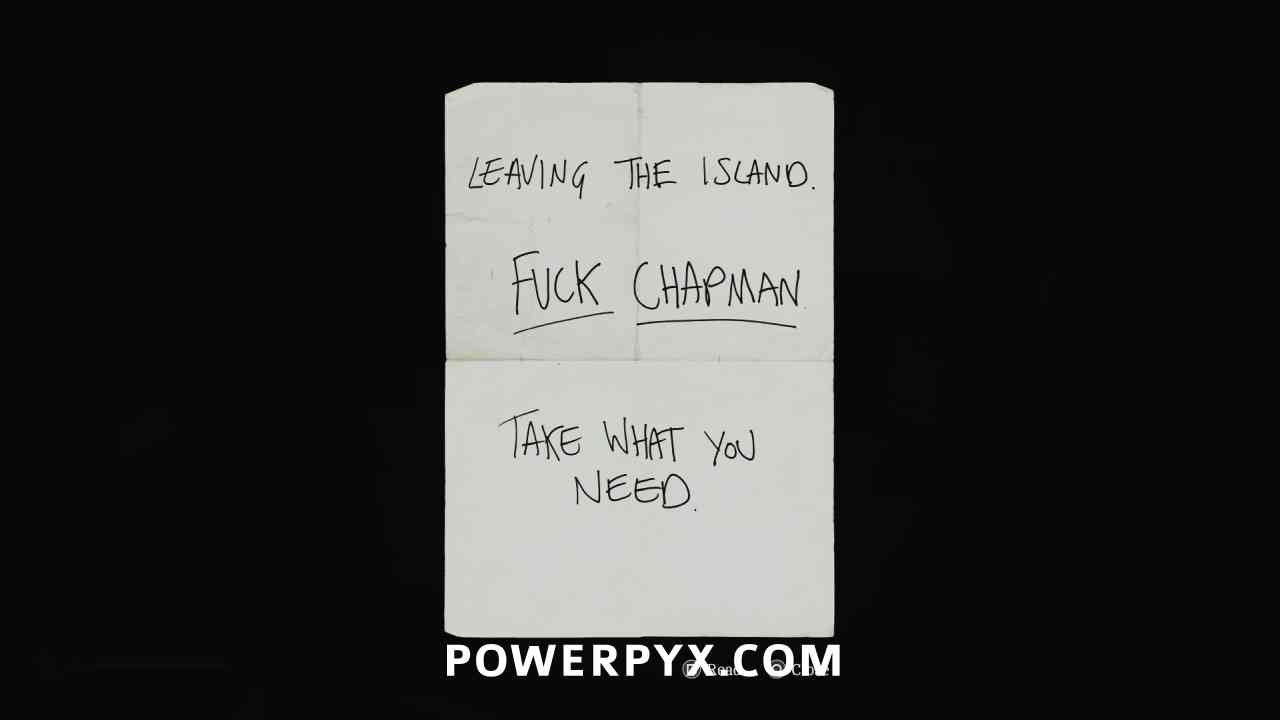
Document: Newsagents Note
Area: Shorefront District – South > Peters Newsagent (2)
Inside Newsagents shop, on the counter.
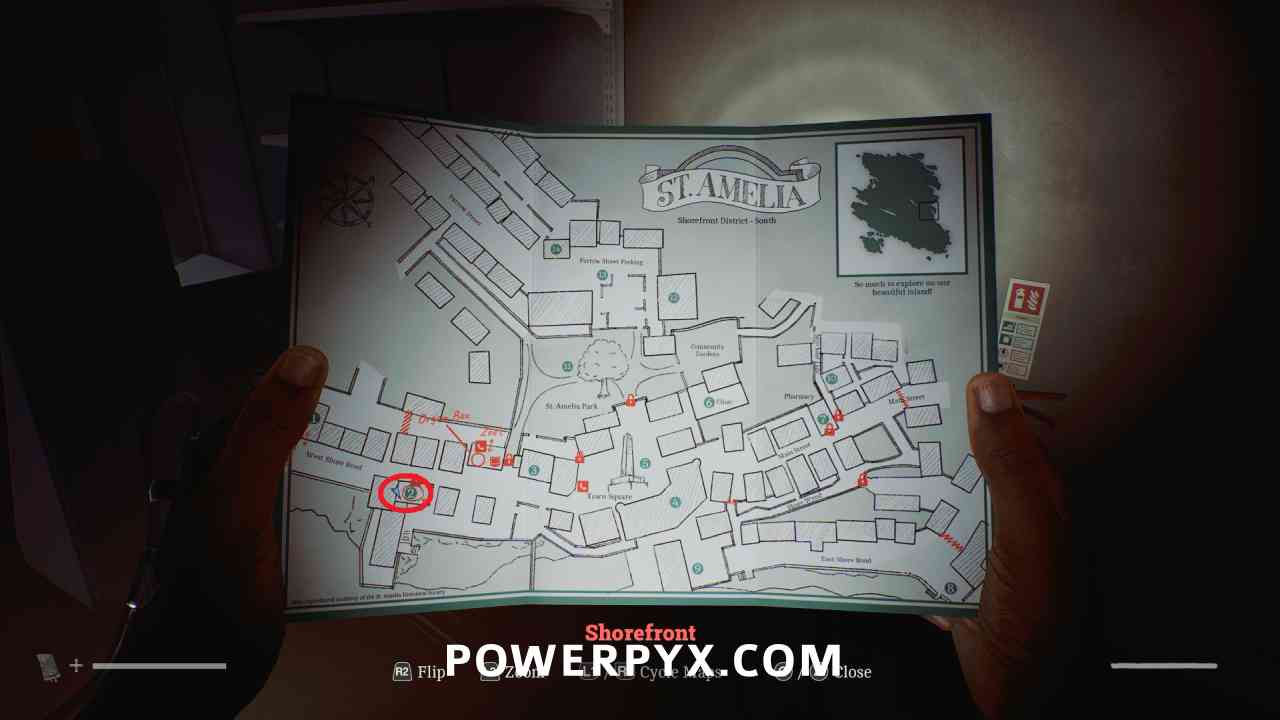
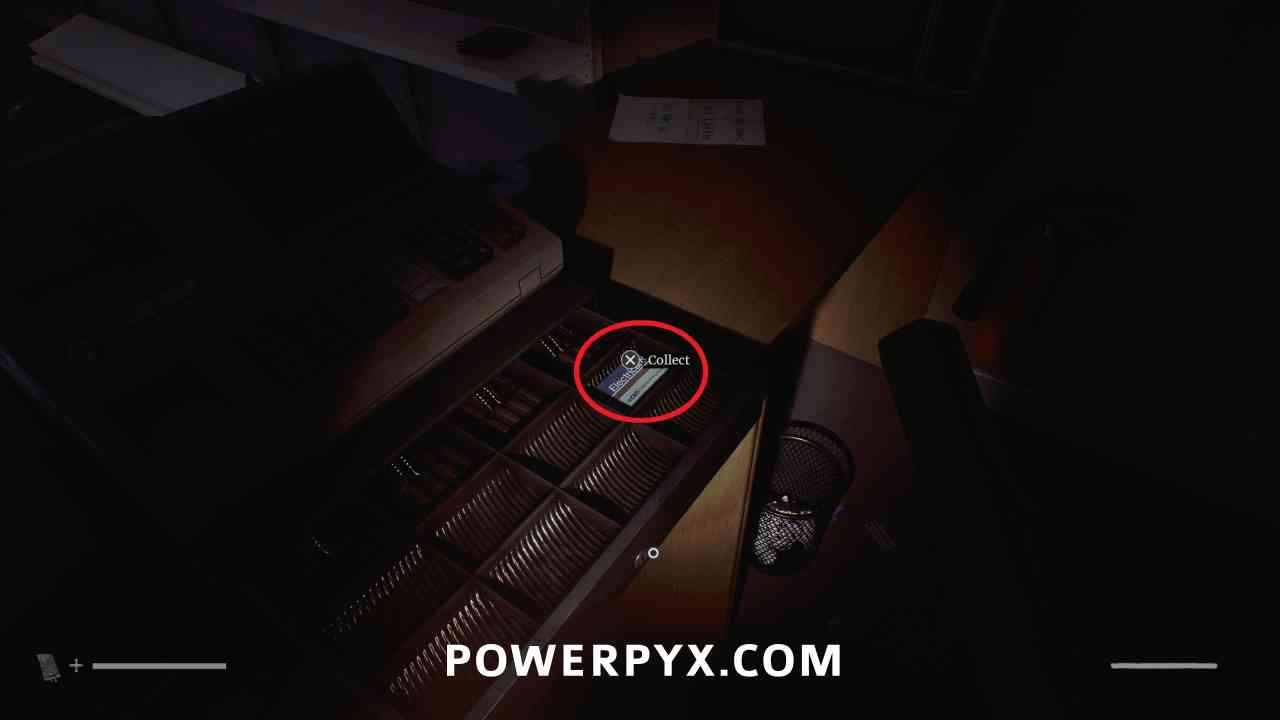
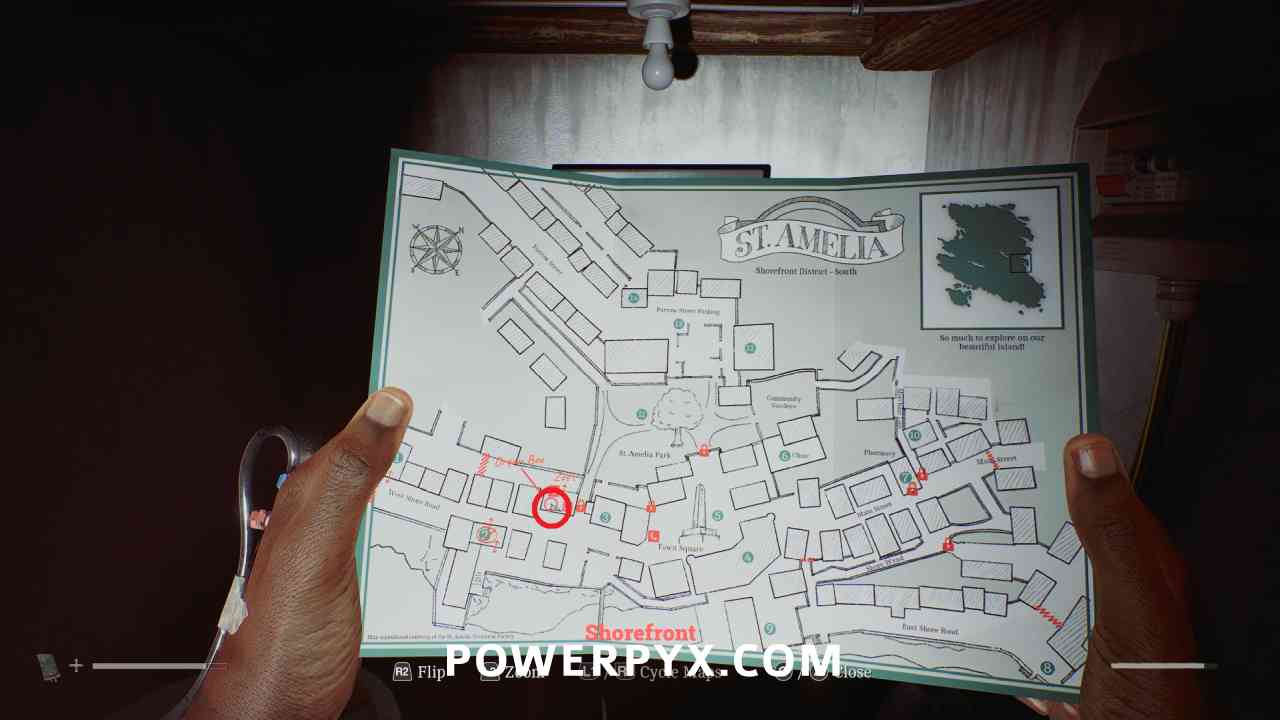
Key Item: Prepaid Power Card
Area: Shorefront District – South > Peters Newsagent (2)
Inside Newsagents shop, in the cash register.

Shorefront District – South > Zoe’s House
Puzzle #2
Area: Shorefront District – South > Zoe’s House
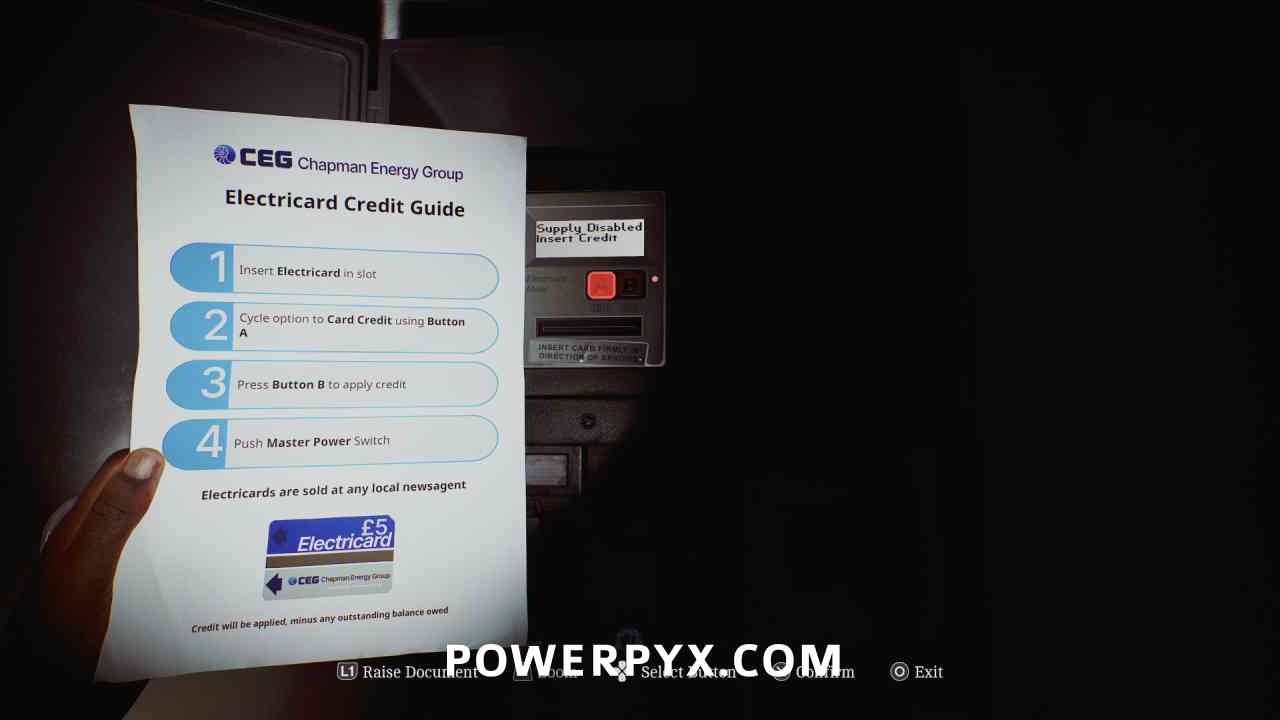
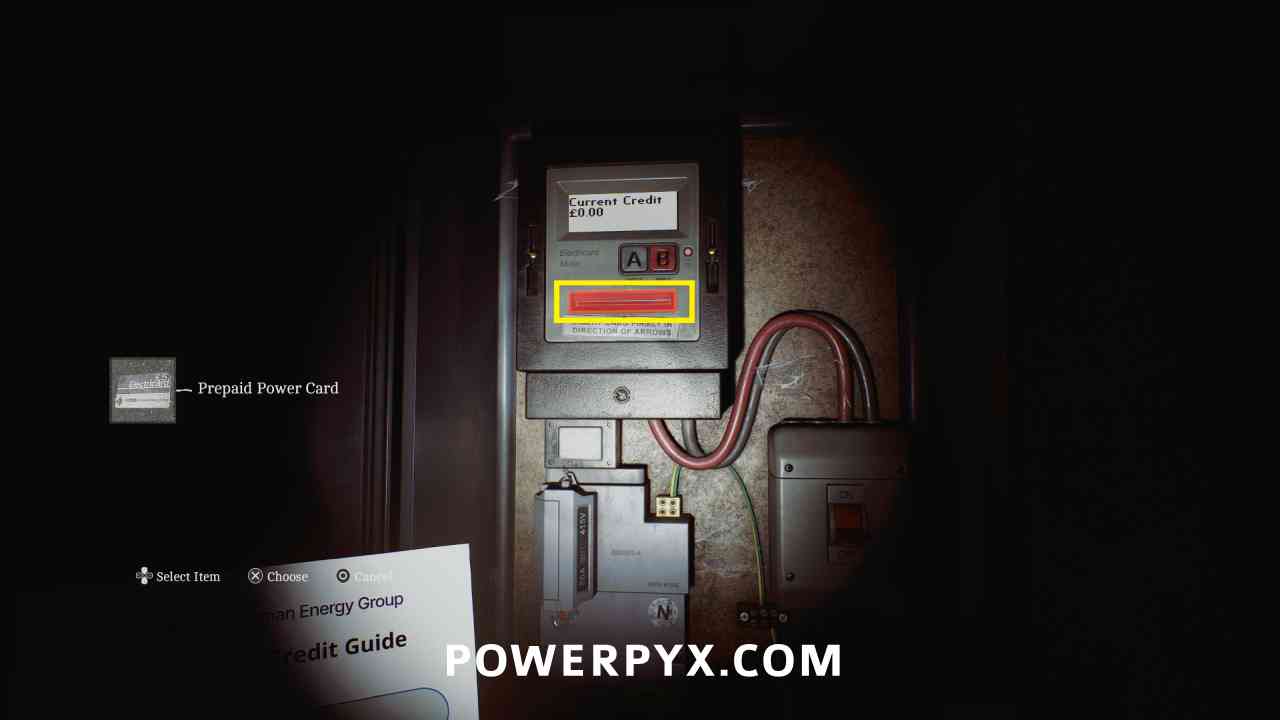
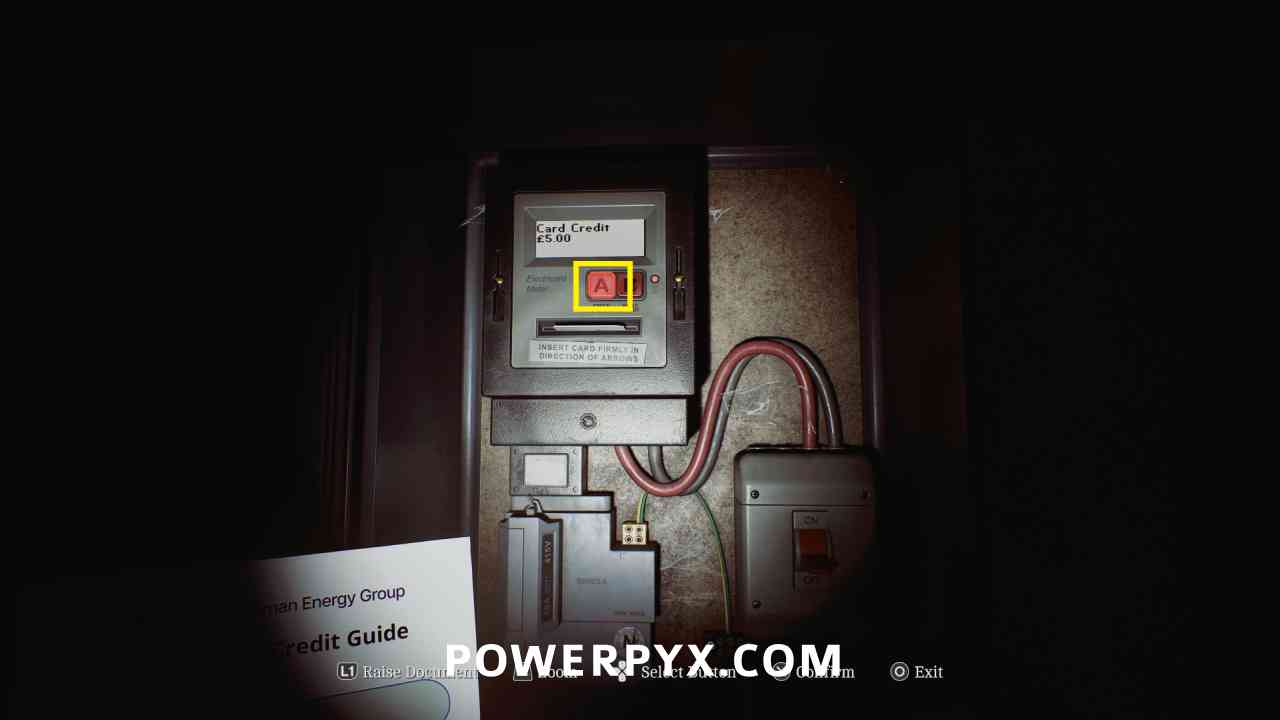
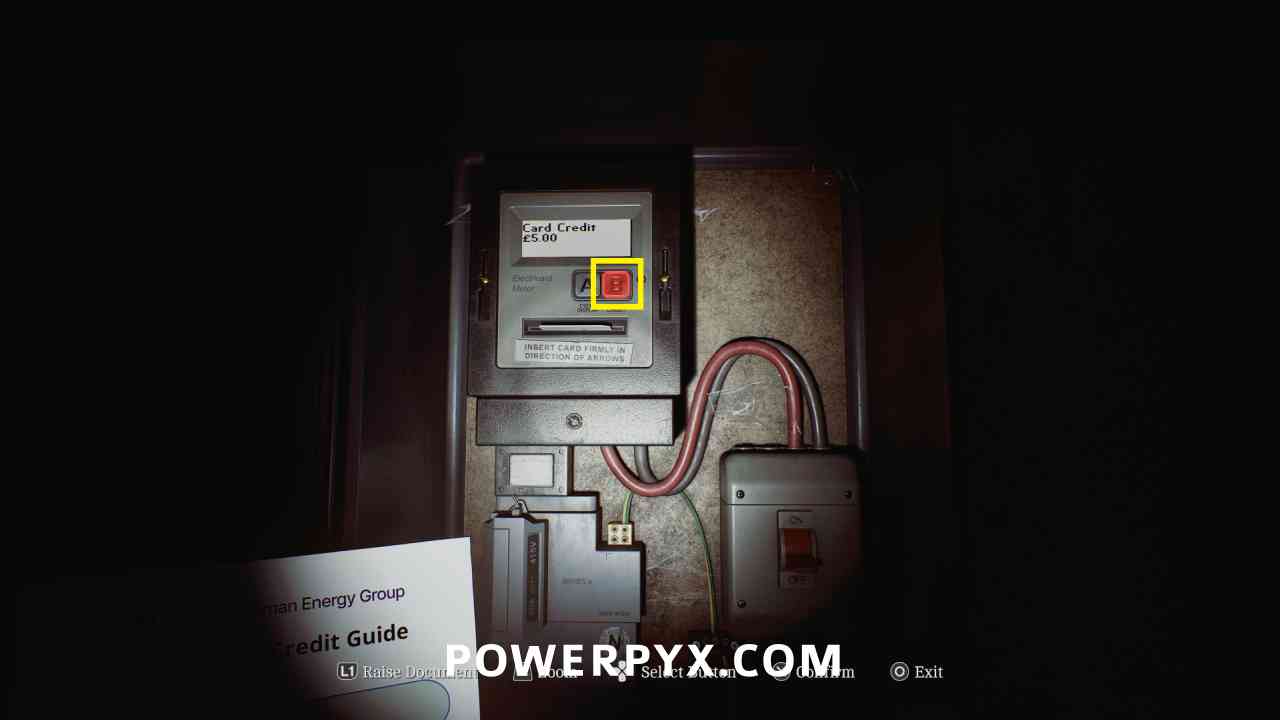
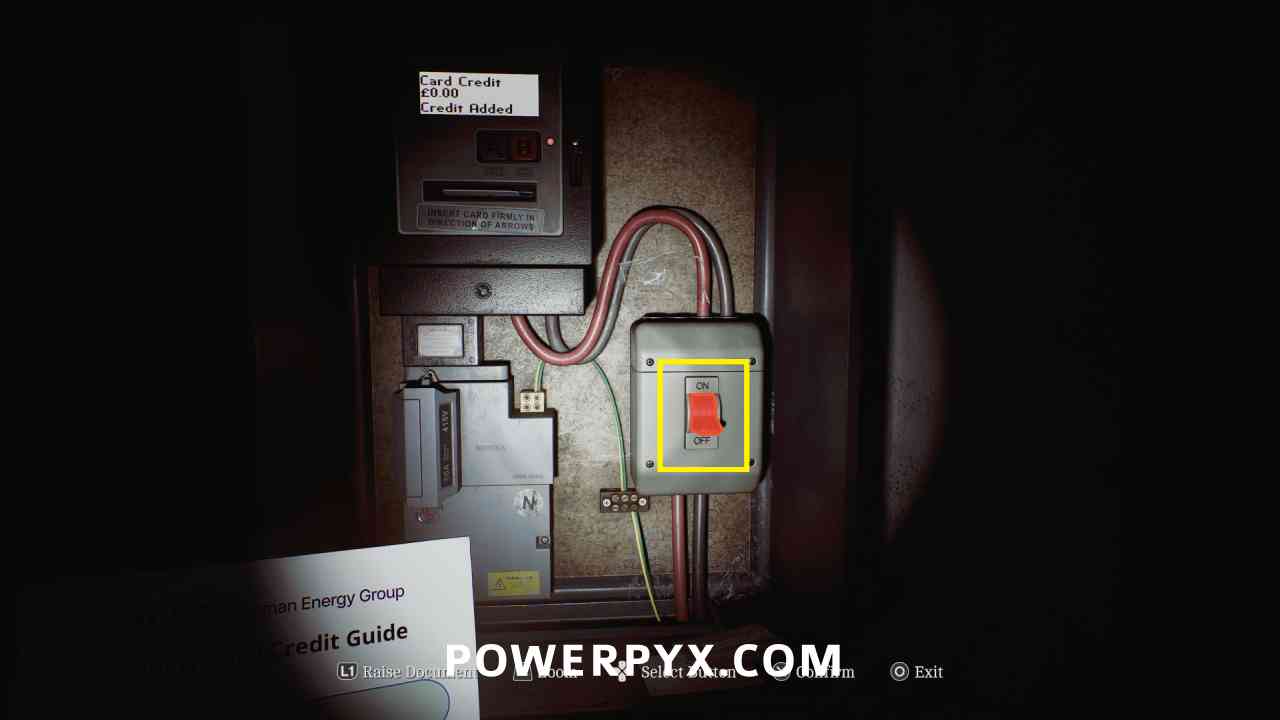
Inside Zoe’s house (west of Town Square (5)) crouch and enter the crawlspace beside the stairs. Interact with the panel on the wall. Insert Prepaid Power Card in slot on the bottom of the display. Hit button A to cycle screen to say “Card Credit”. Hit button B. Hit main switch on the bottom right.
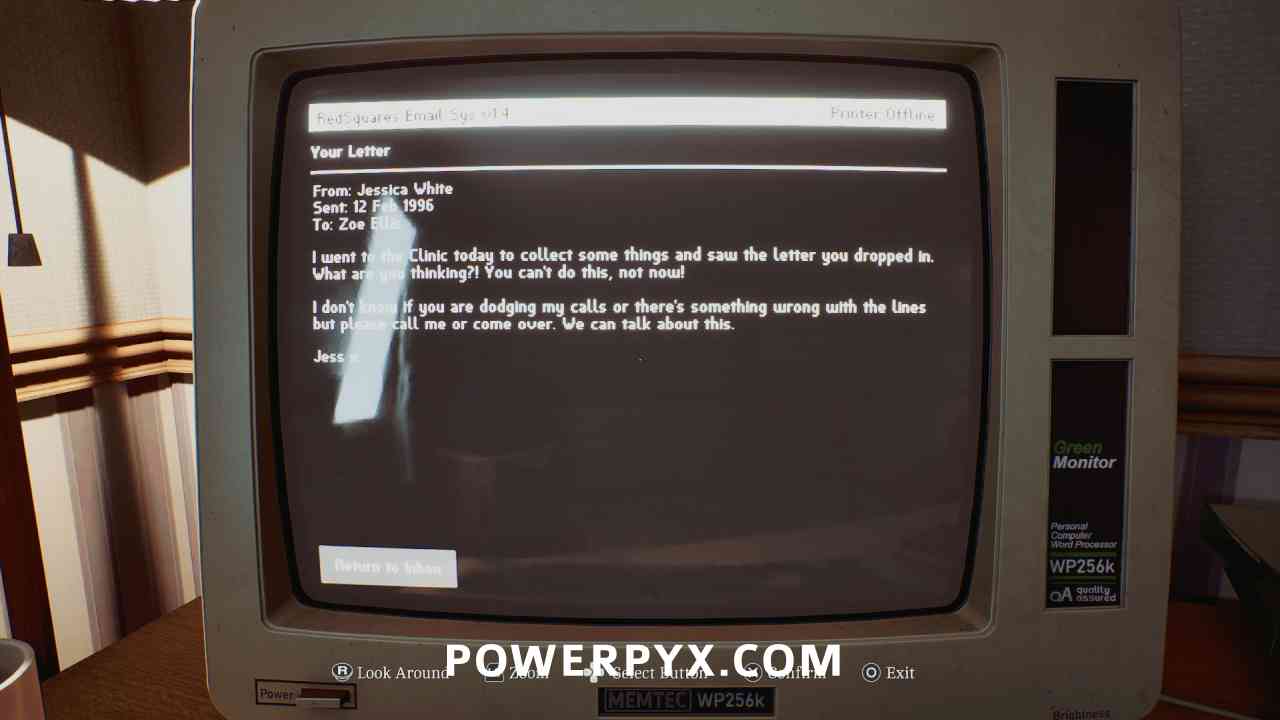
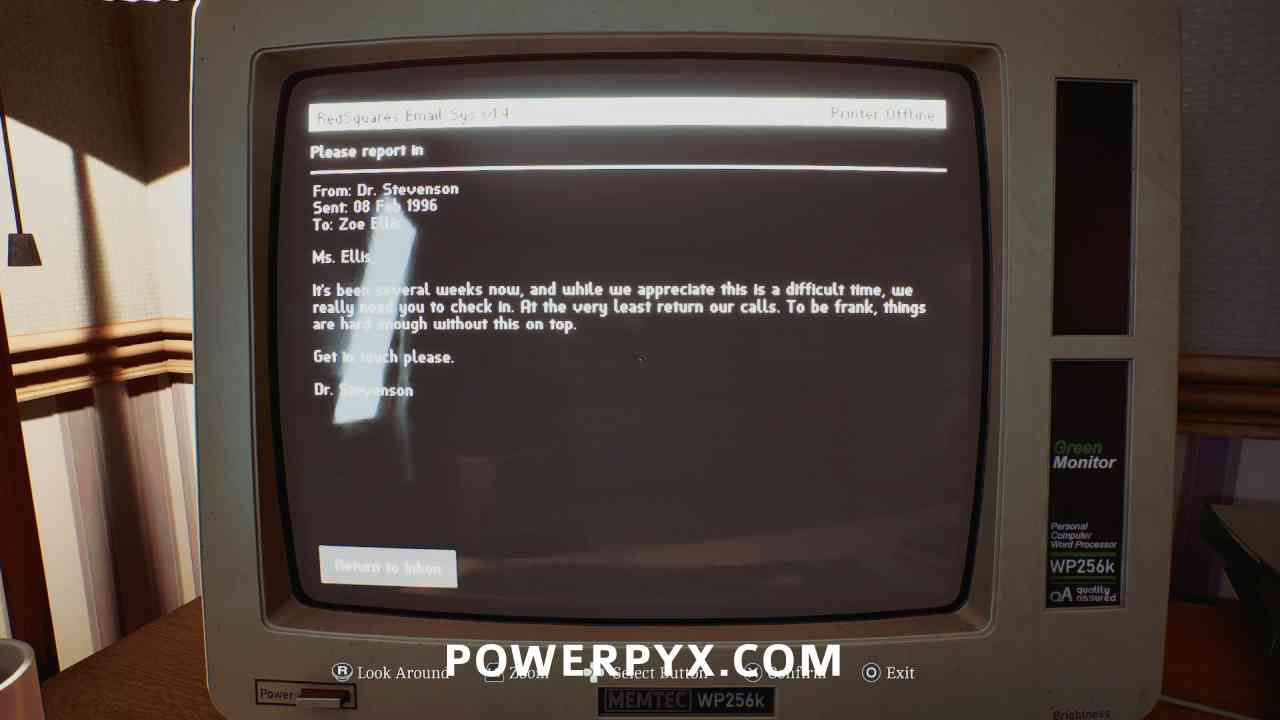
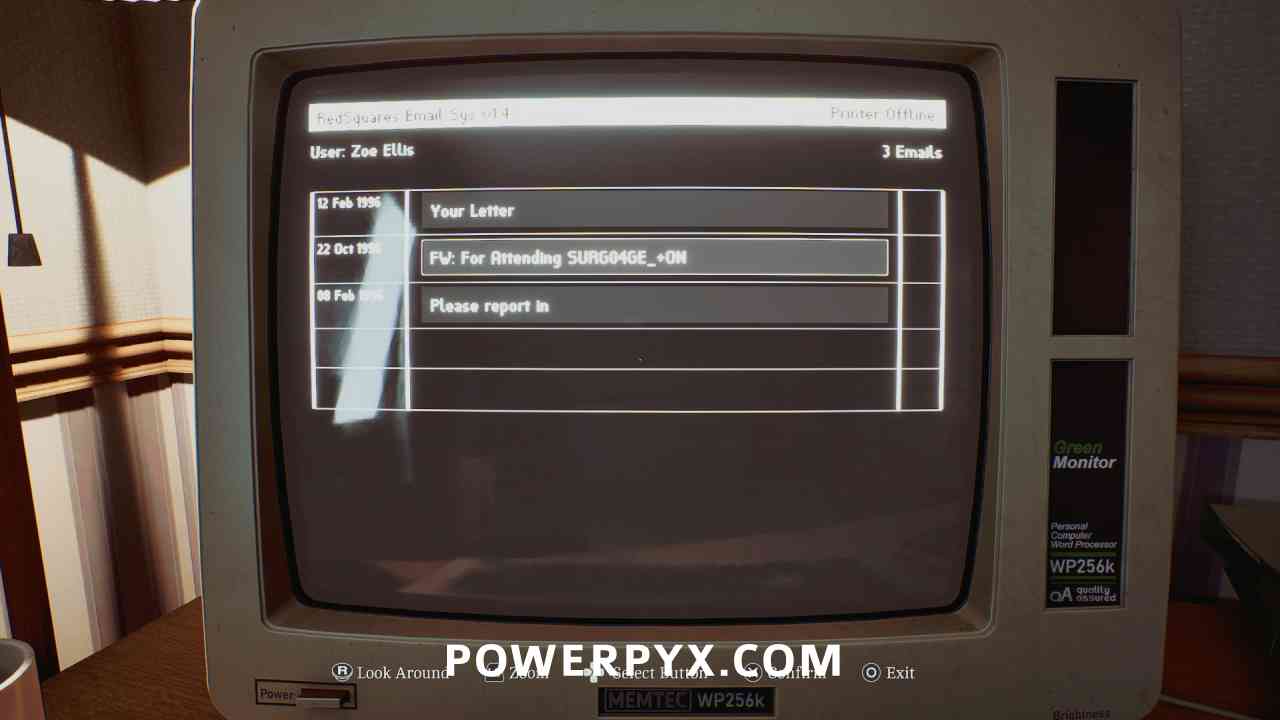
Documents: Zoe’s Email: “Your Letter”, Zoe’s Email: “Please Report In”
Area: Shorefront District – South > Zoe’s House
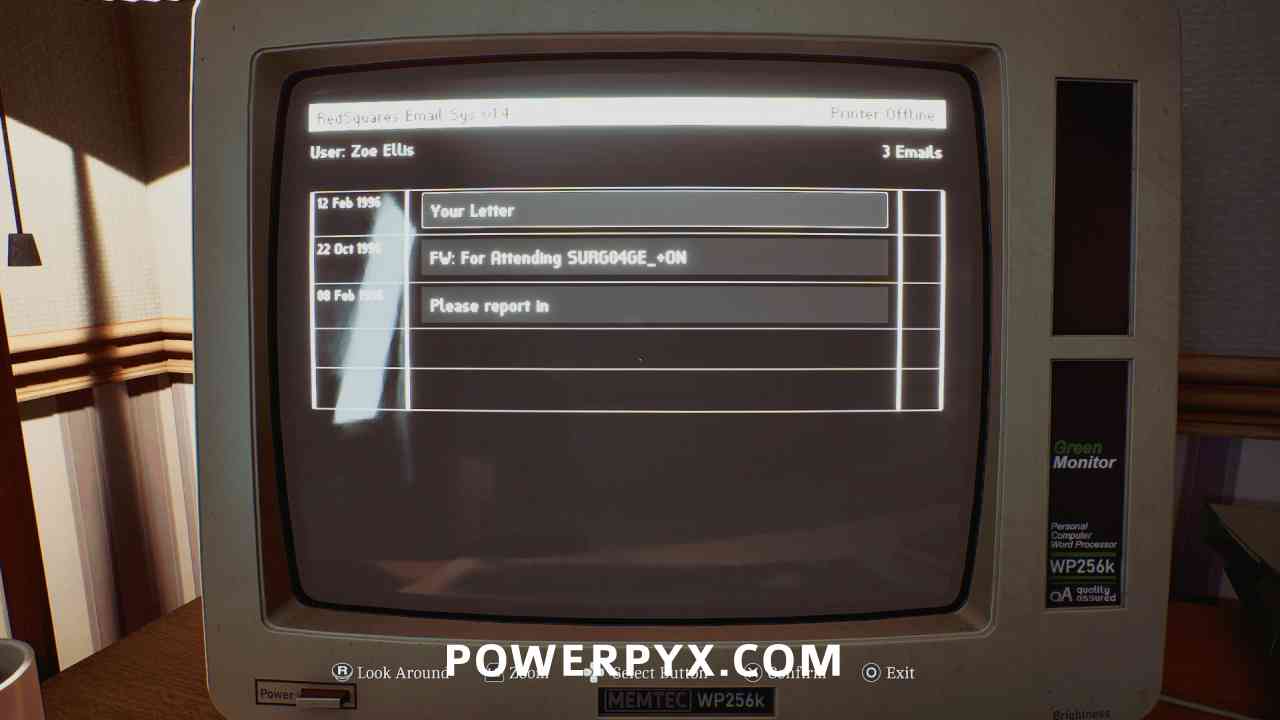
Inside Zoe’s house (west of Town Square (5)) after turning on the power, interact with the computer and turn it on, then refresh inbox. Read the top and bottom emails.
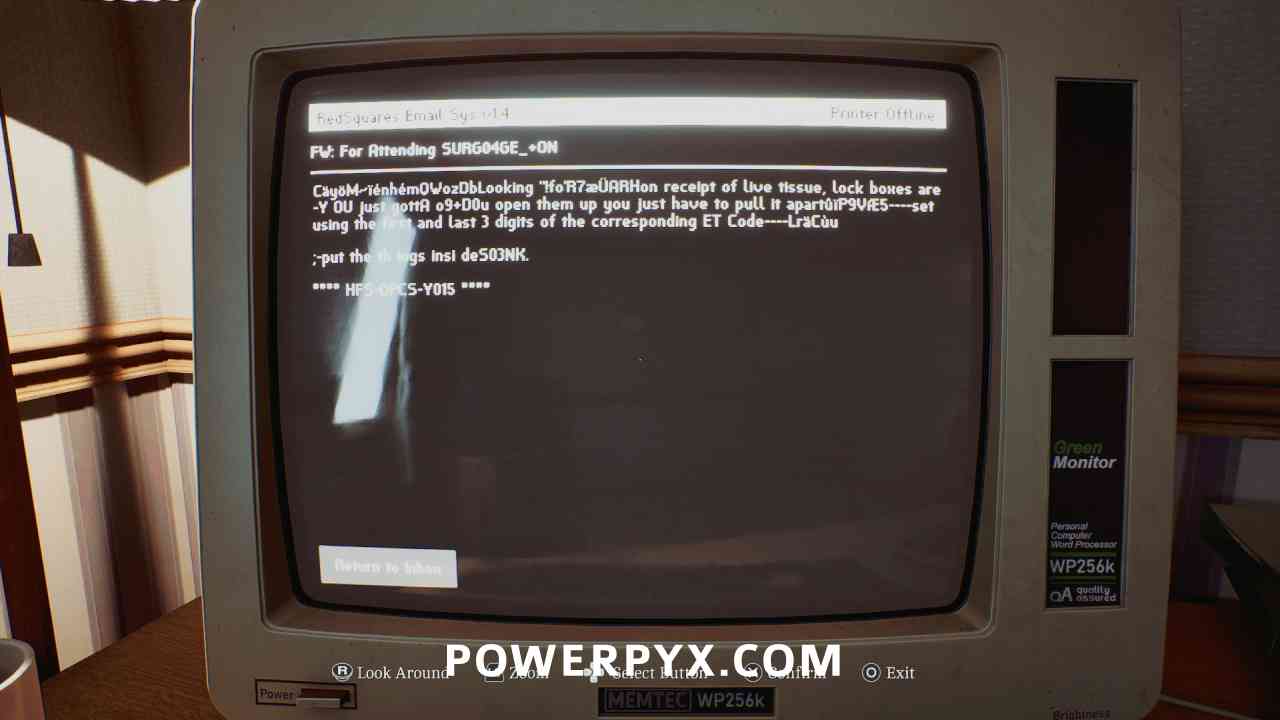
Clue: Zoe’s Email: “For Attending…”
Area: Shorefront District – South > Zoe’s House
Inside Zoe’s house (west of Town Square (5)) after turning on the power, interact with the computer and turn it on, then refresh inbox. Read the middle email.
Puzzle #3
Area: Shorefront District – South > Zoe’s House
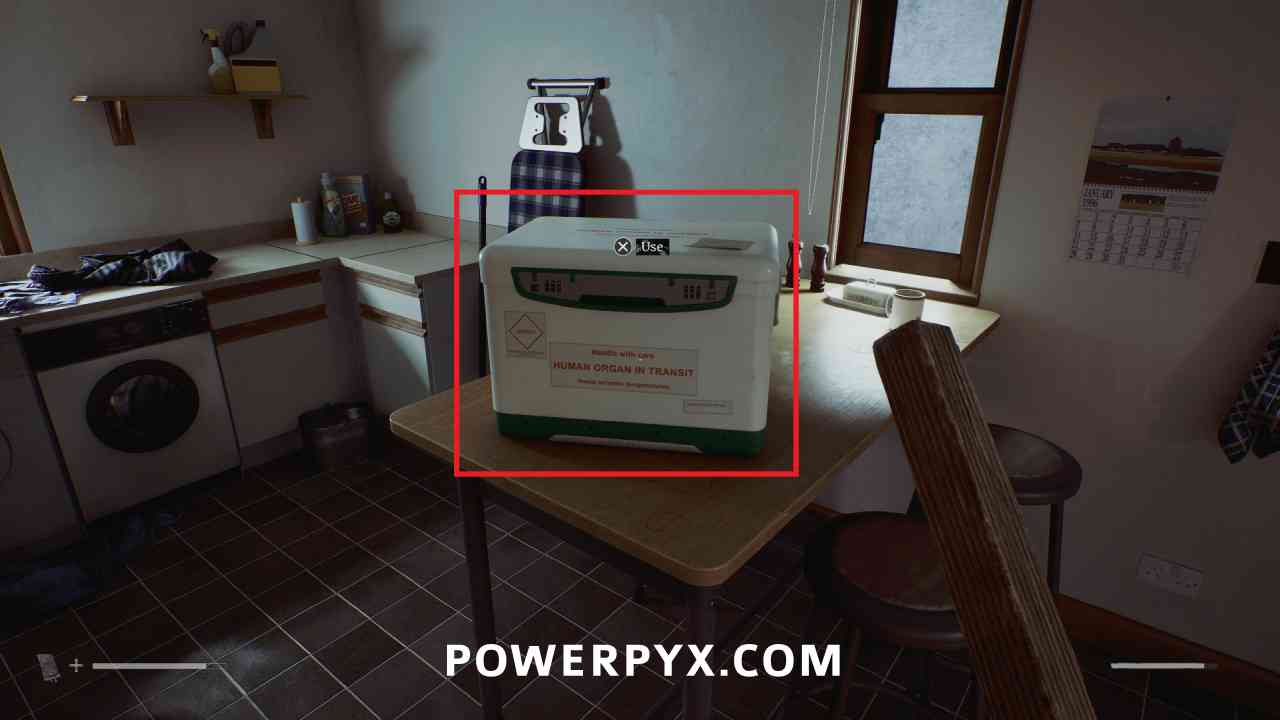
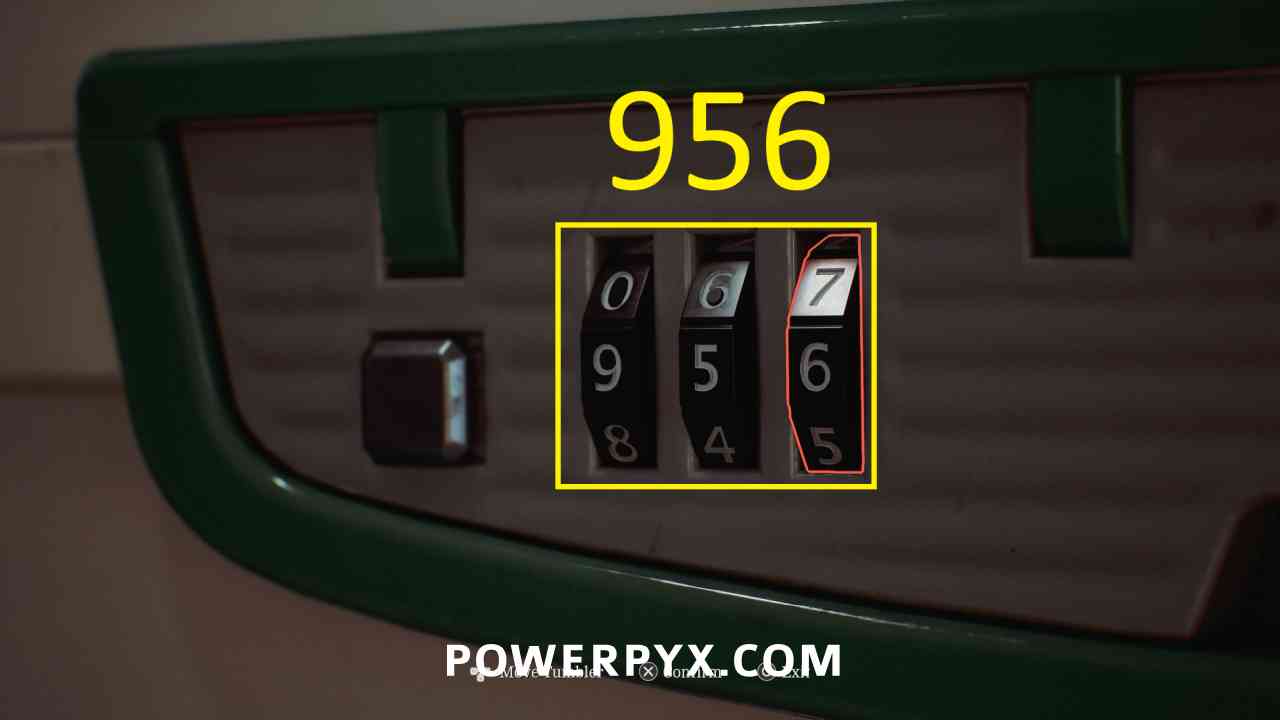
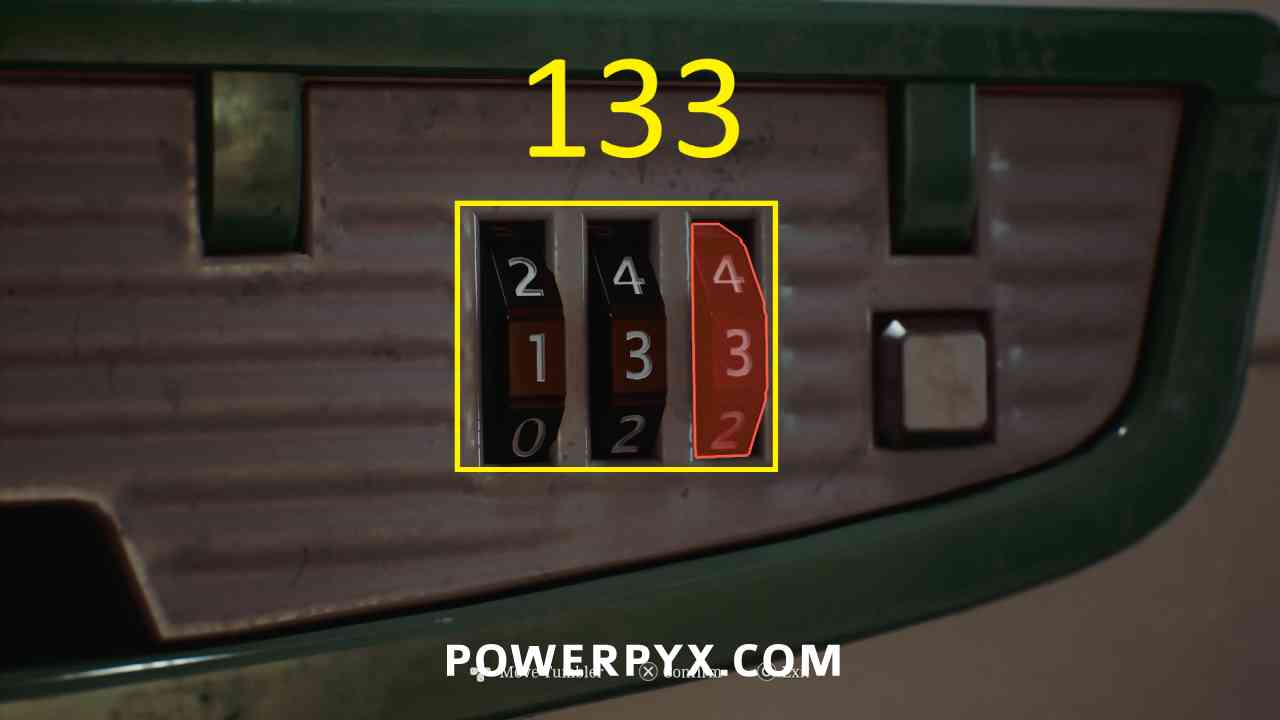
Inside Zoe’s house (west of Town Square (5)) go into the kitchen and interact with the organ transport box. Enter 956 on the left and 133 on the right. (From the email and Organ Transplant Card).
Key Item: Zoe’s Lanyard
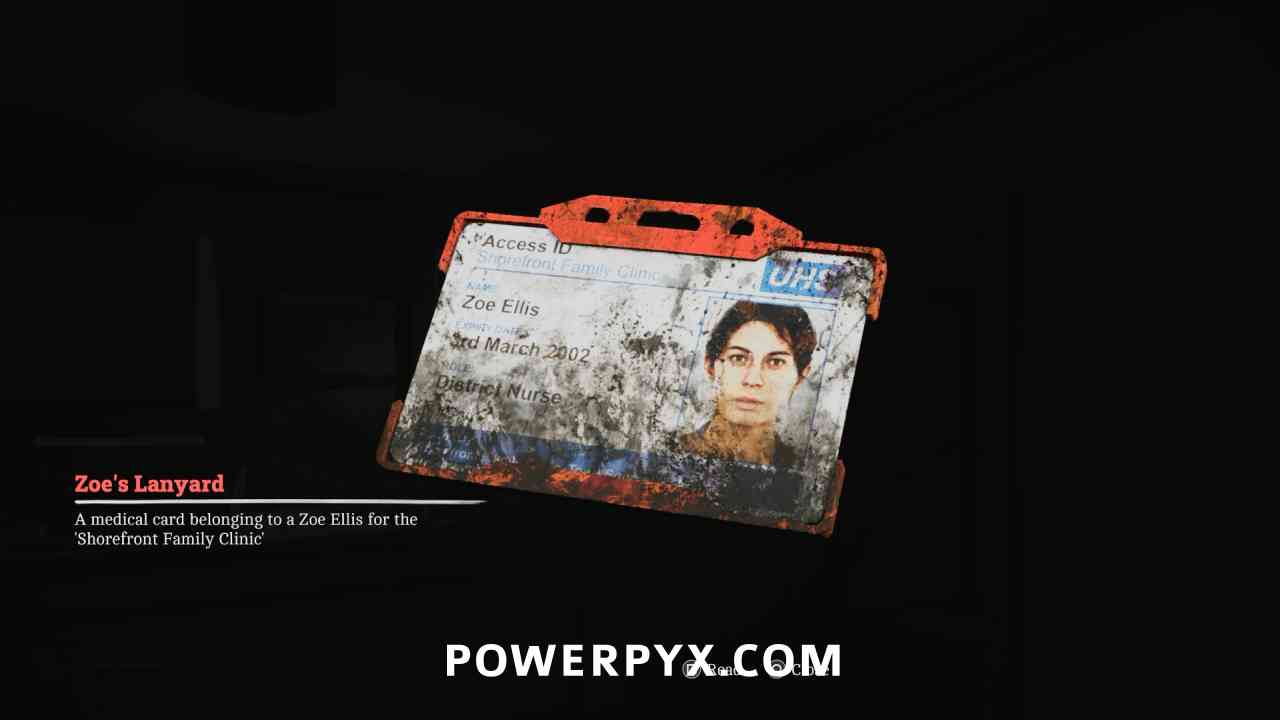
Area: Shorefront District – South > Zoe’s House
Automatically obtained after opening the organ transport box.
Chapter 4: Searching for Zoe
Shorefront District – South
CRTV Channel – 17~
Area: Shorefront District – South
When approaching Town Square, tune the CRTV to the channel at around 17.
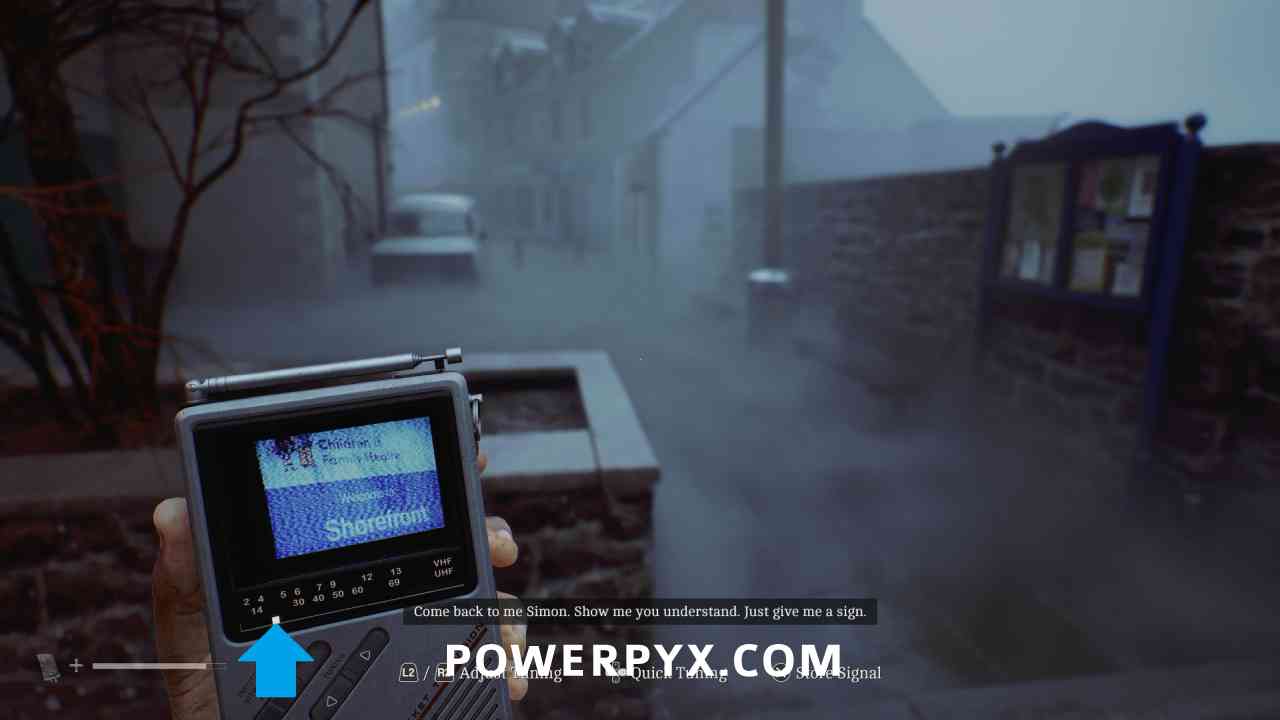
Puzzle #4 – Locked Door: Clinic
Area: Shorefront District – South > Clinic (6)
Outside the Clinic interact with the pad to the left of the door and use Zoe’s Lanyard to open it.
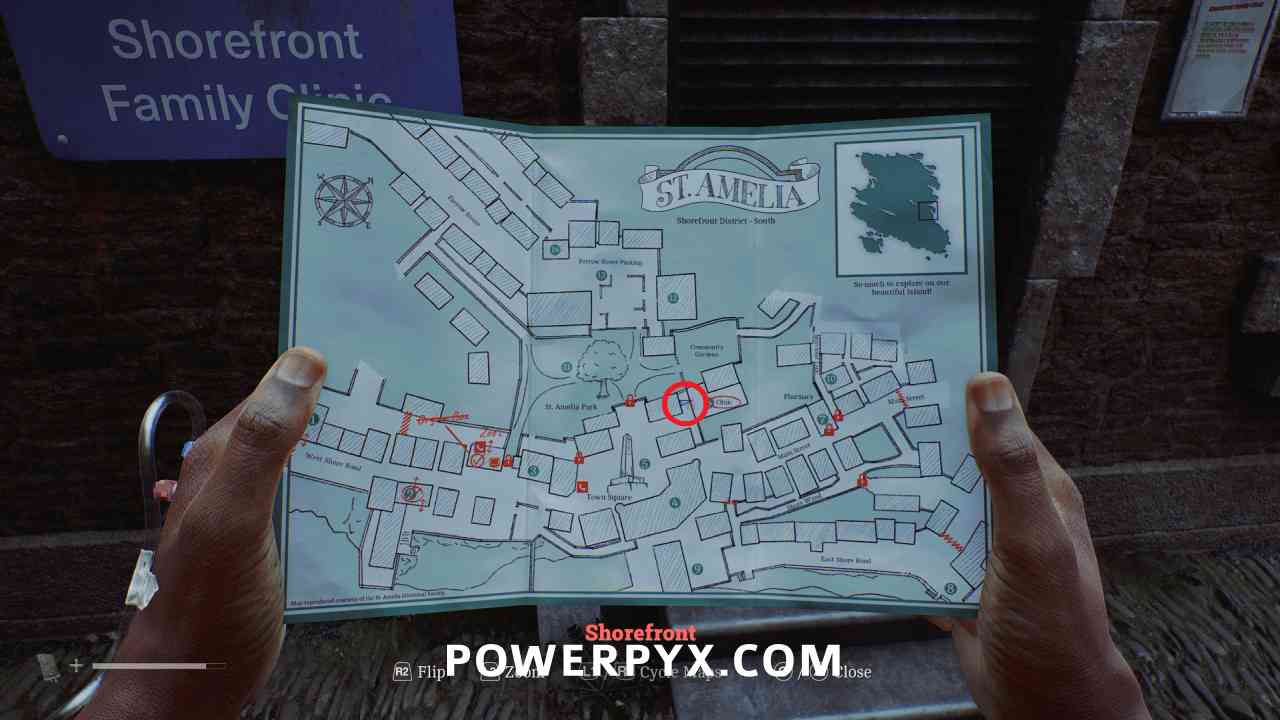
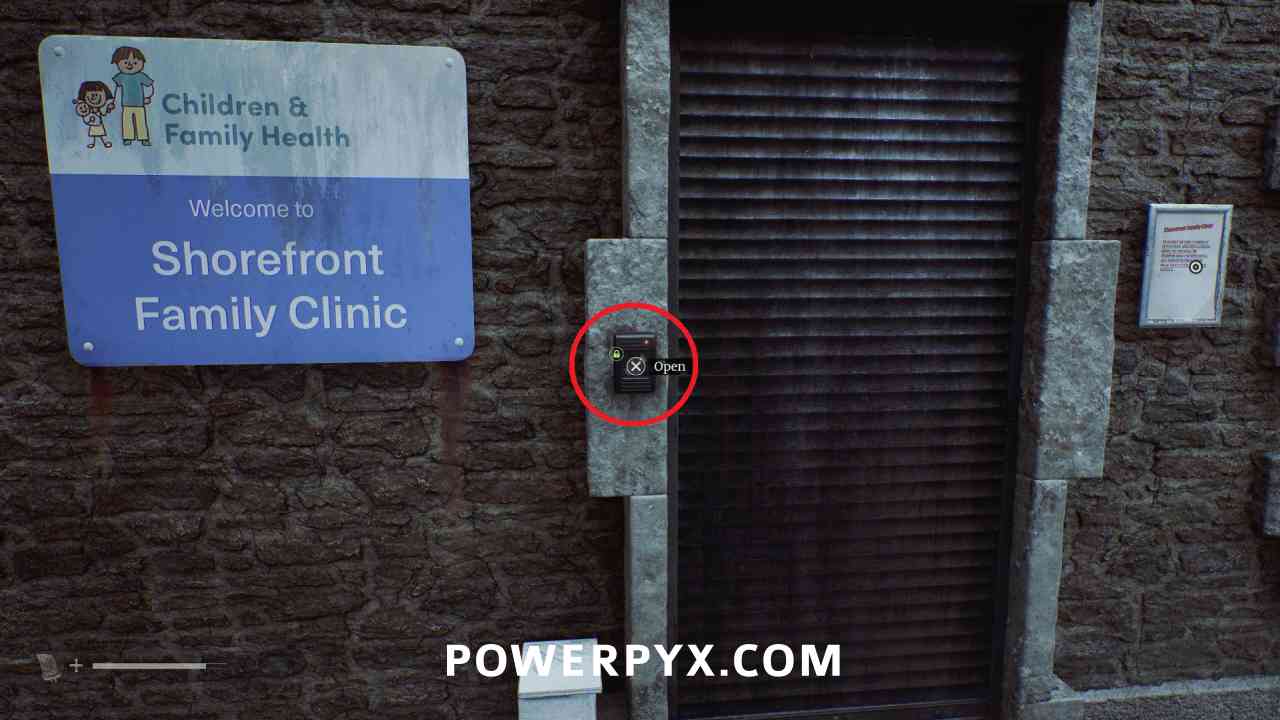
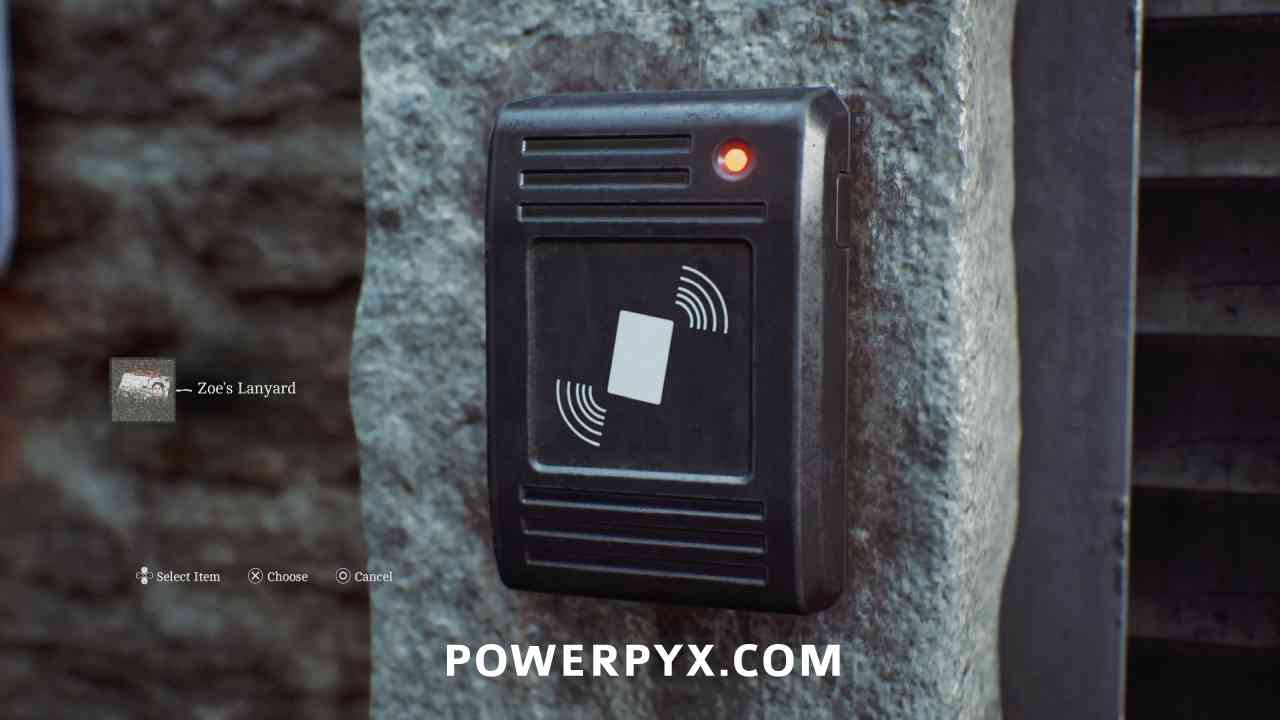
Shorefront District – South > Clinic (6)
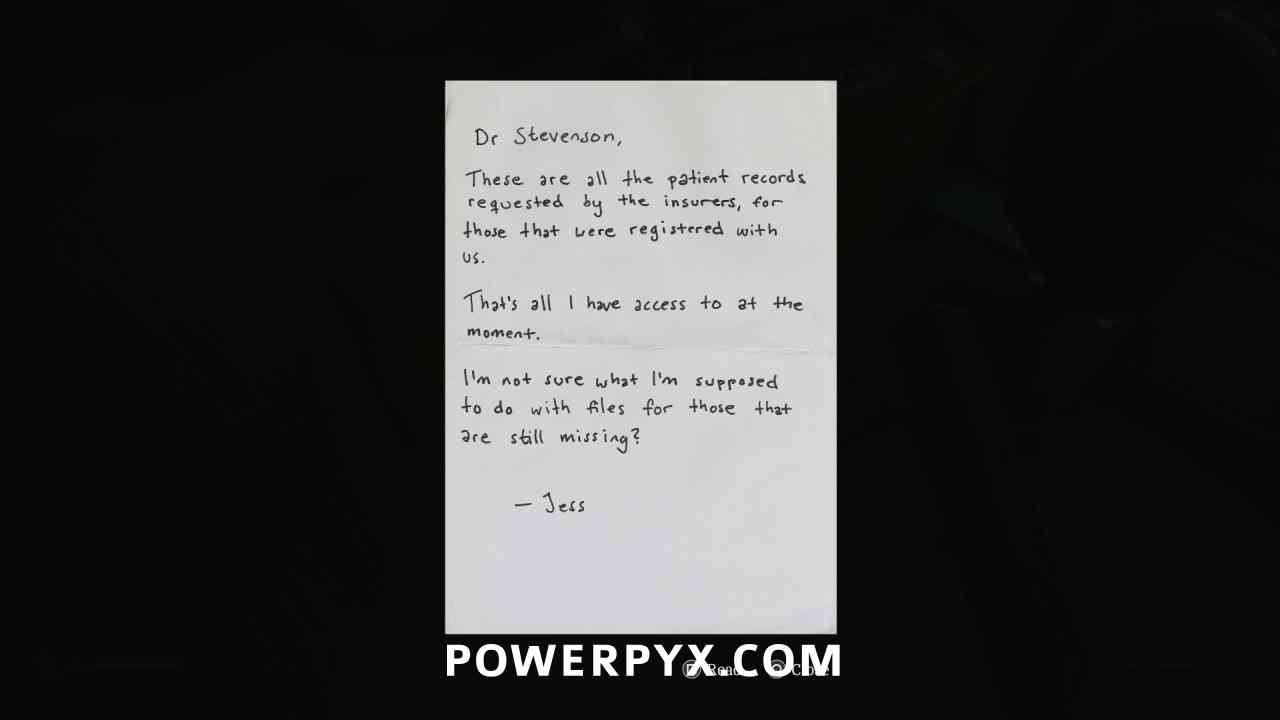
Document: Note on Patient Records
Area: Shorefront District – South > Clinic (6)
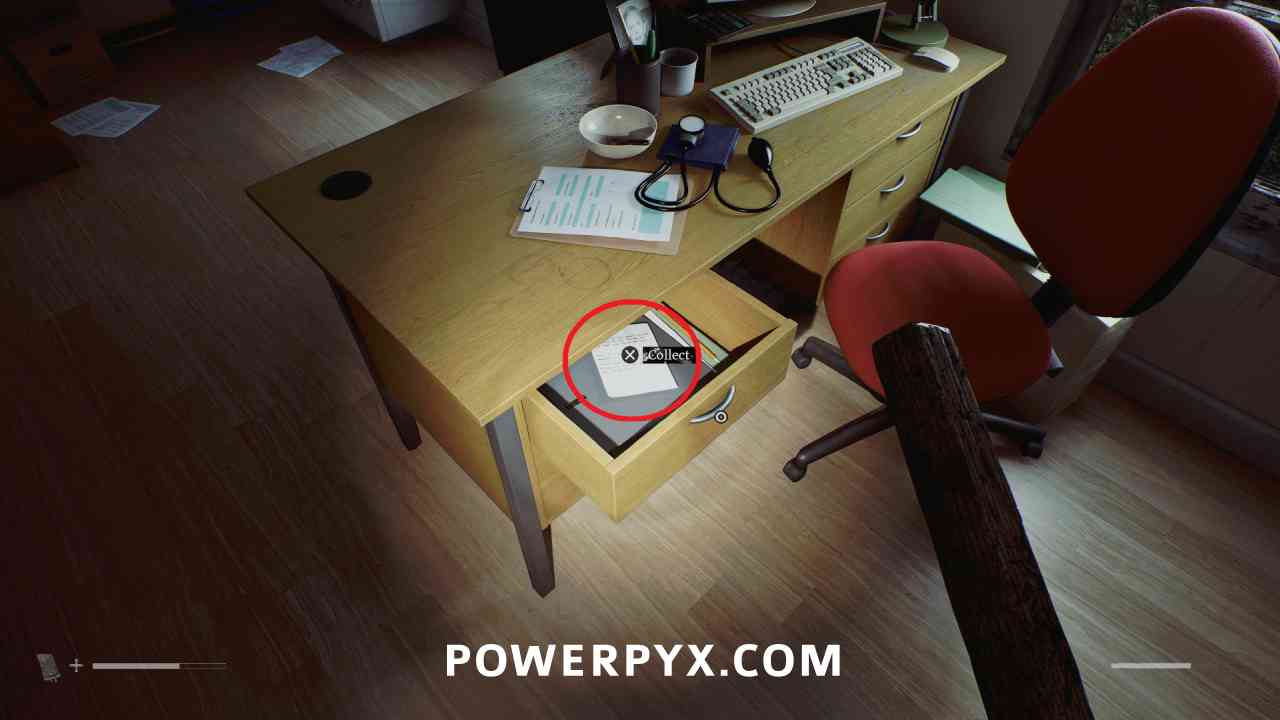
Inside the Clinic, go in the first door on the right (Dr Stevenson) and pick this up from inside the desk drawer.
Clue: Resignation Letter
Area: Shorefront District – South > Clinic (6)
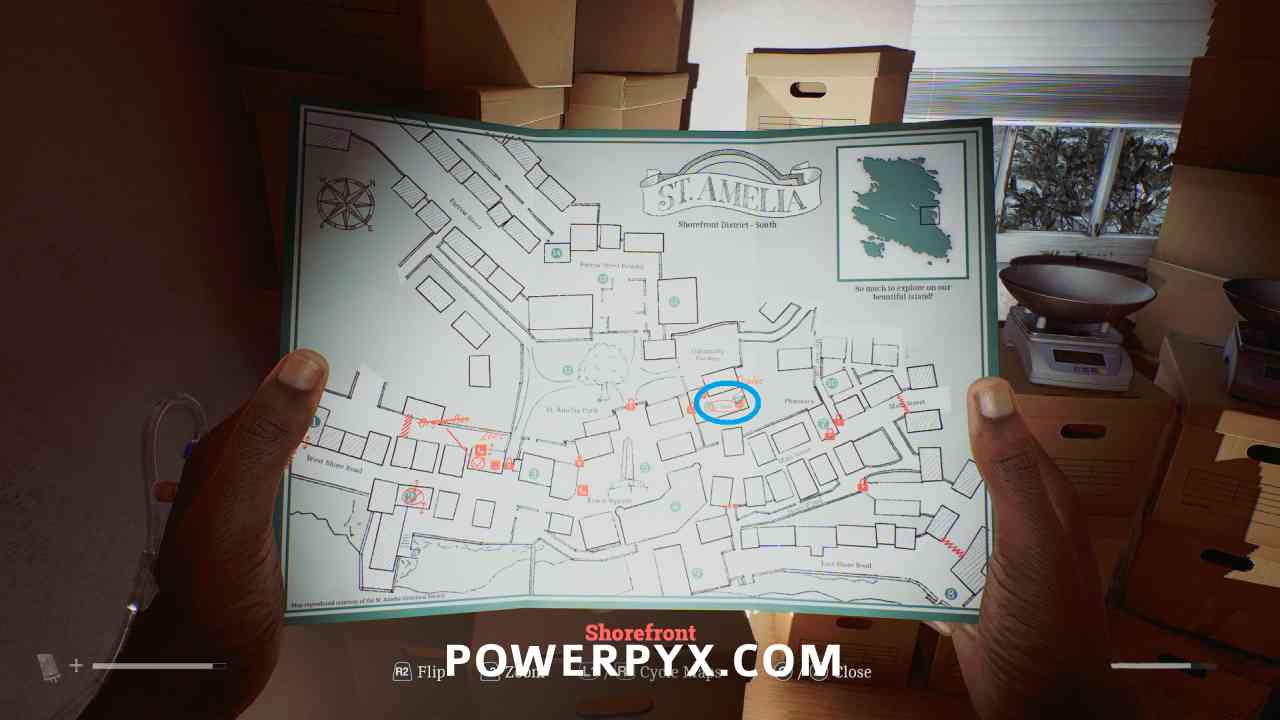
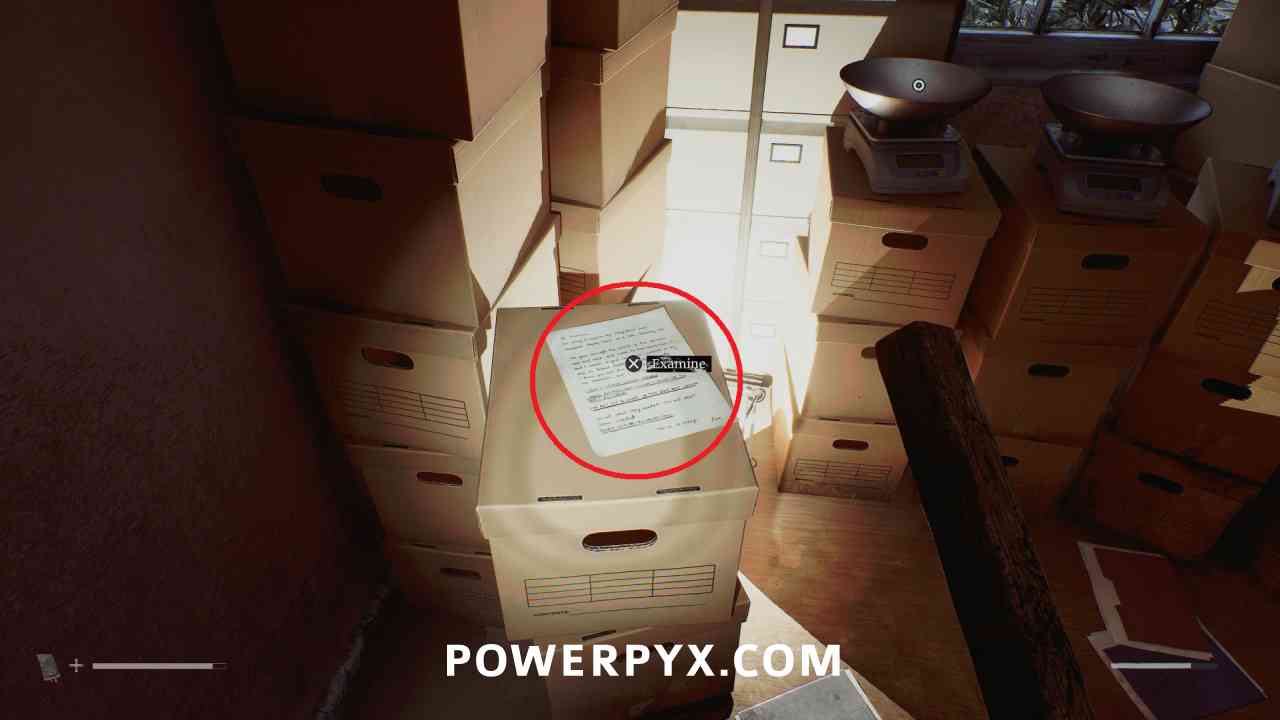
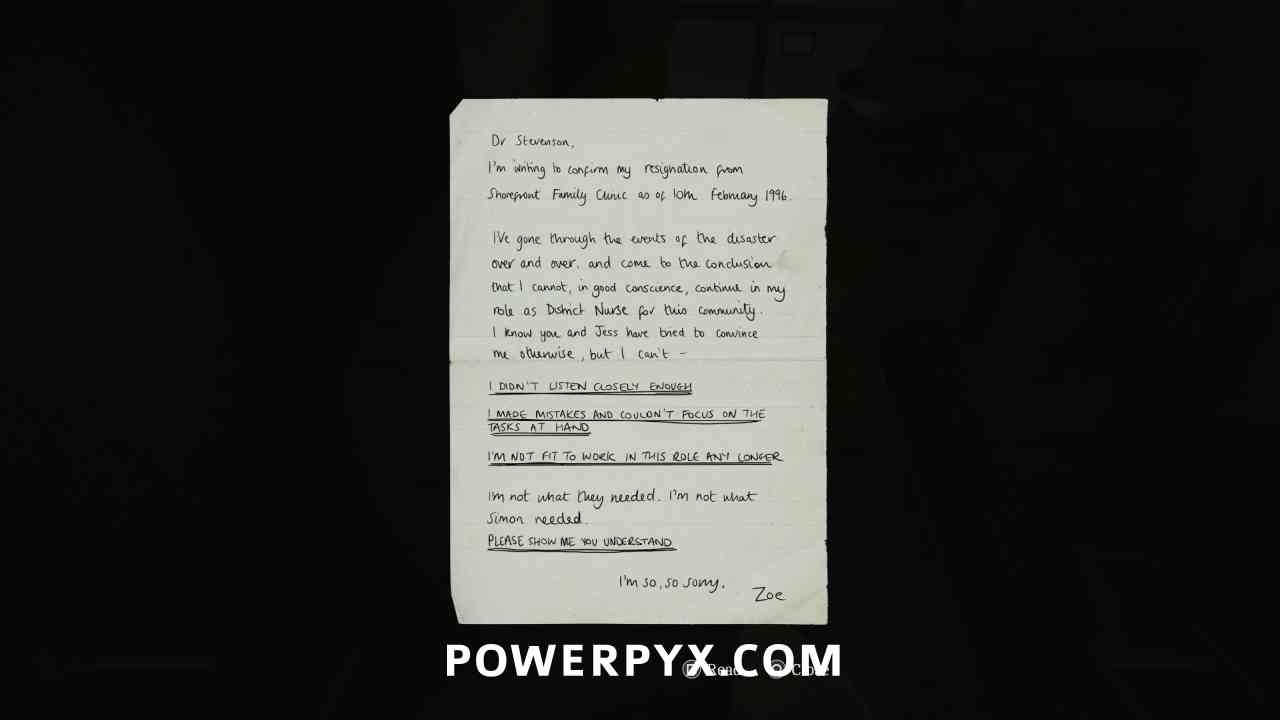
Inside the Clinic, go in the second door at the end of the hallway (Z Ellis) and examine the paper on the left of the scales.
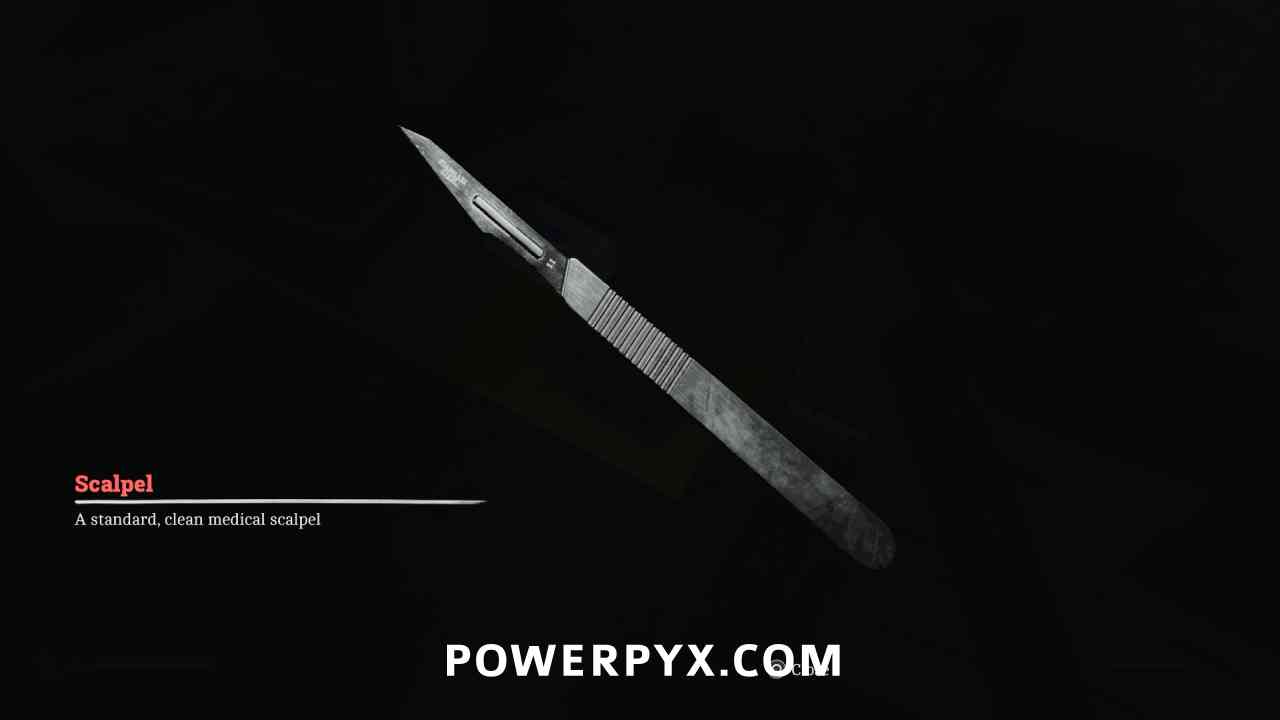
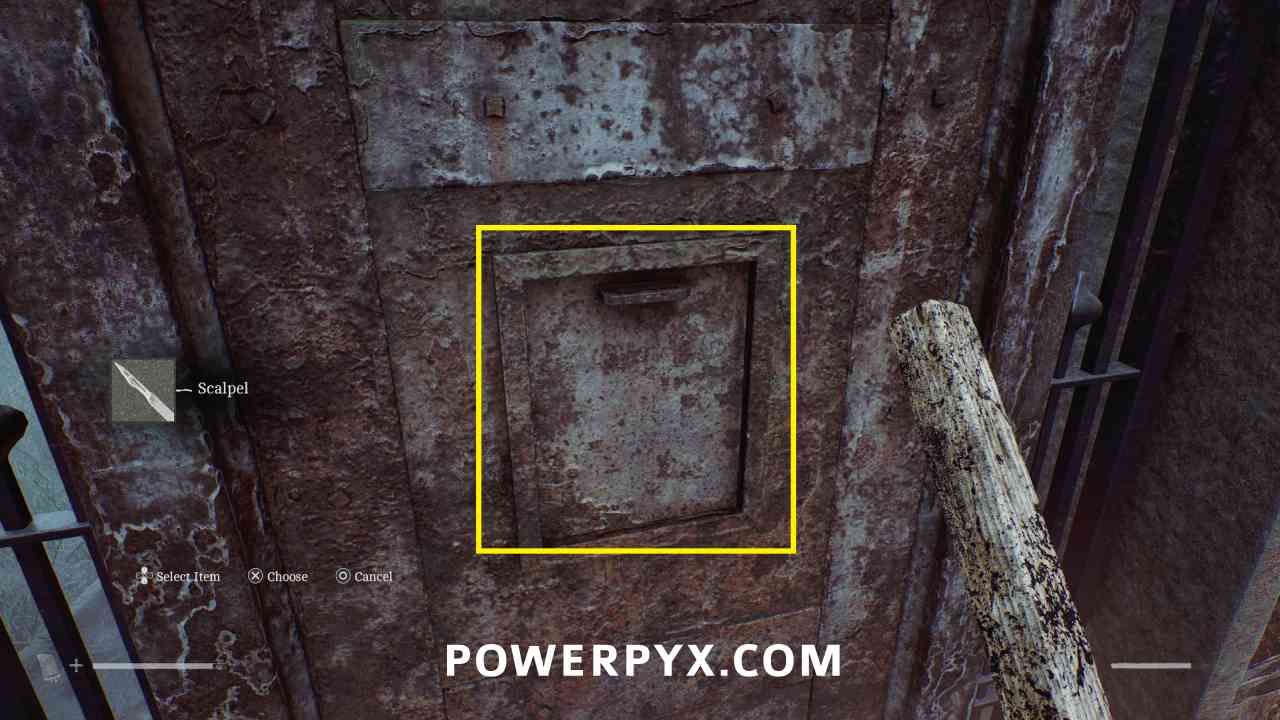
Equipment: Scalpel
Area: Shorefront District – South > Clinic (6)
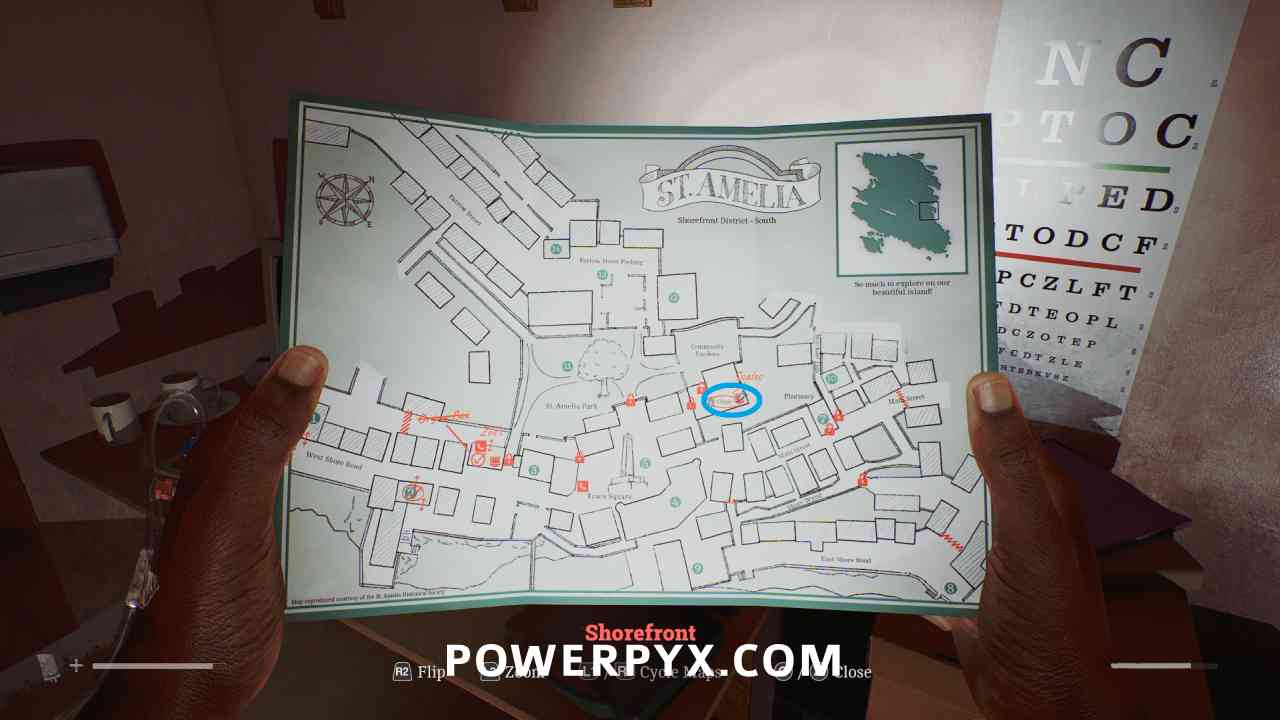
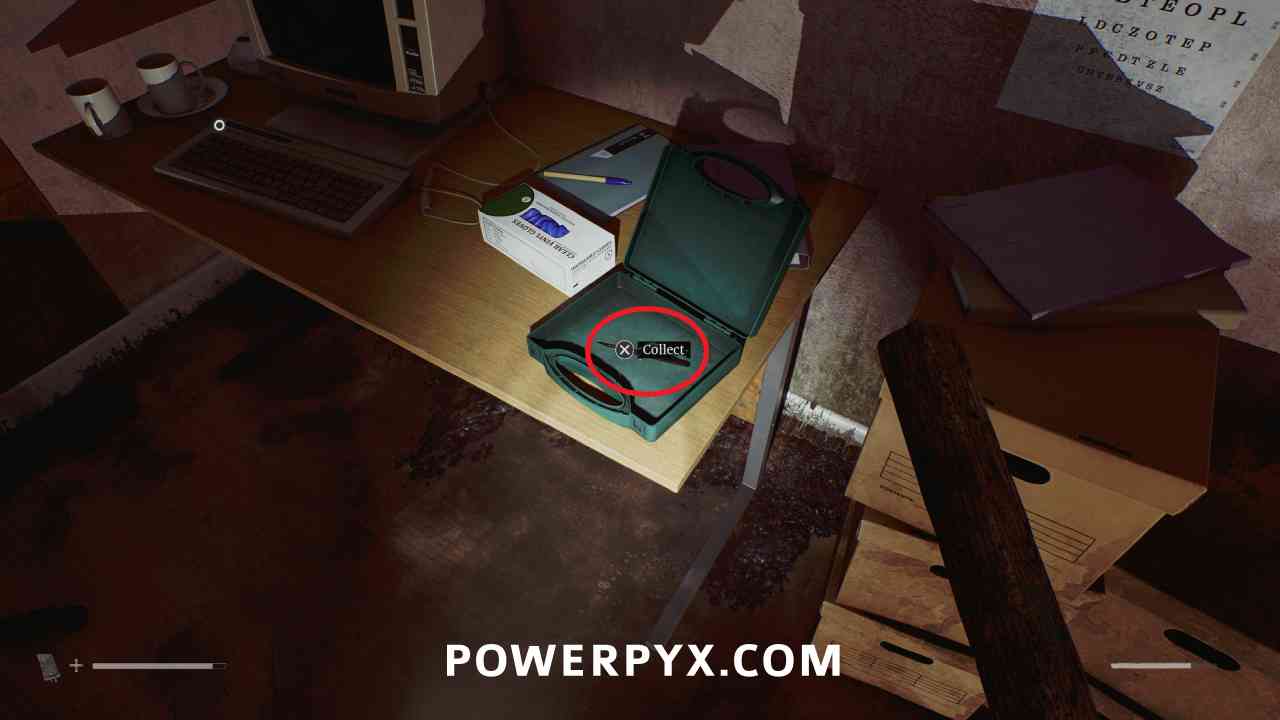
Inside the Clinic, go in the second door at the end of the hallway (Z Ellis) and pick this up from the green box on the table beside the computer. This is used to open the rusty doors with the hatch in the middle.
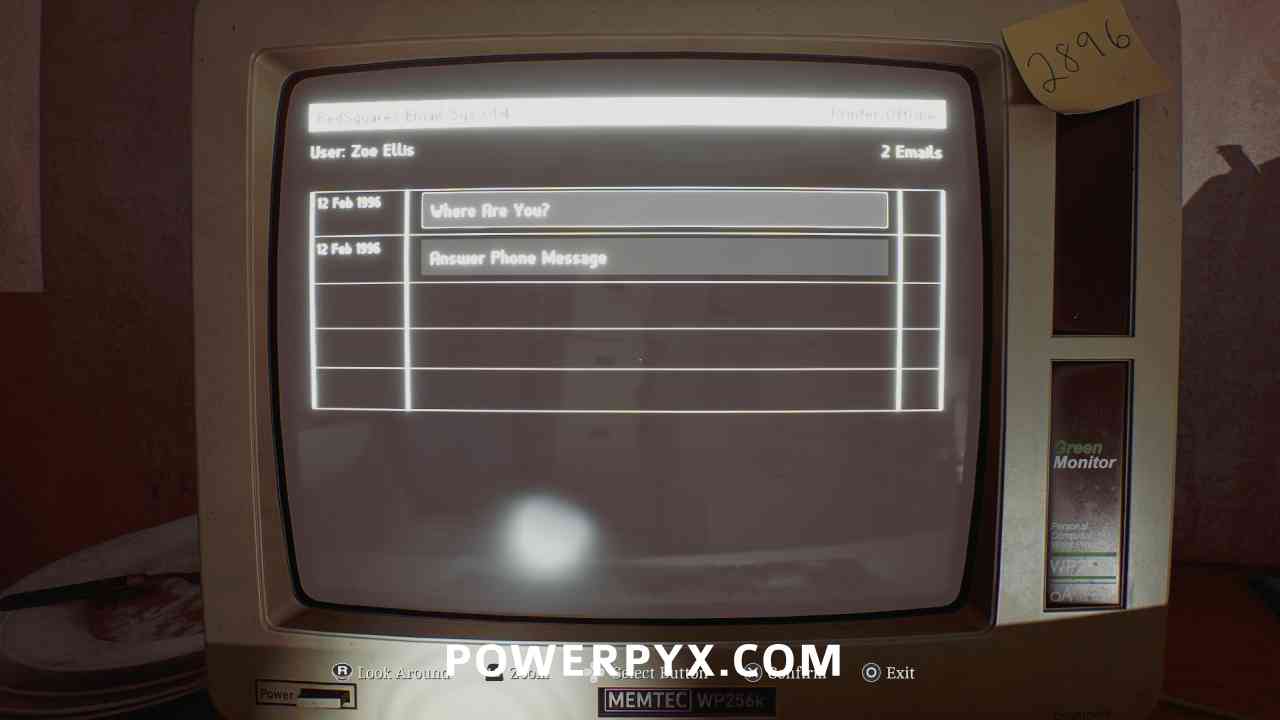
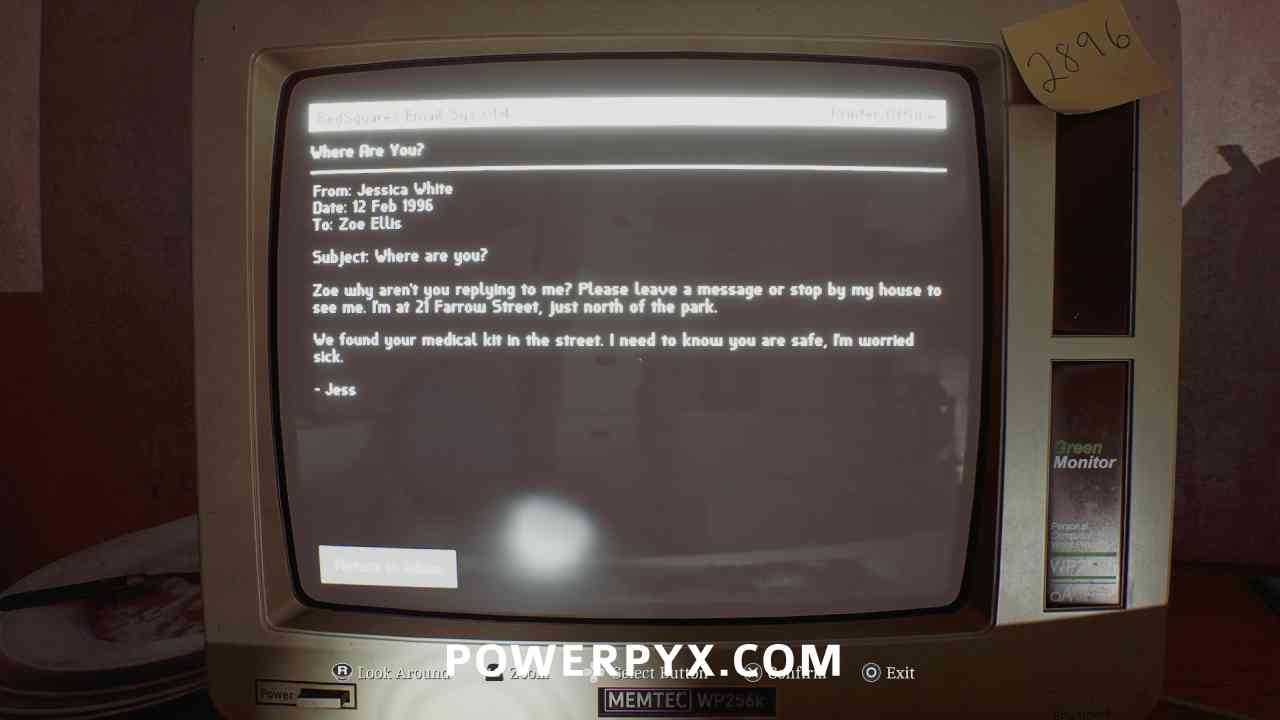
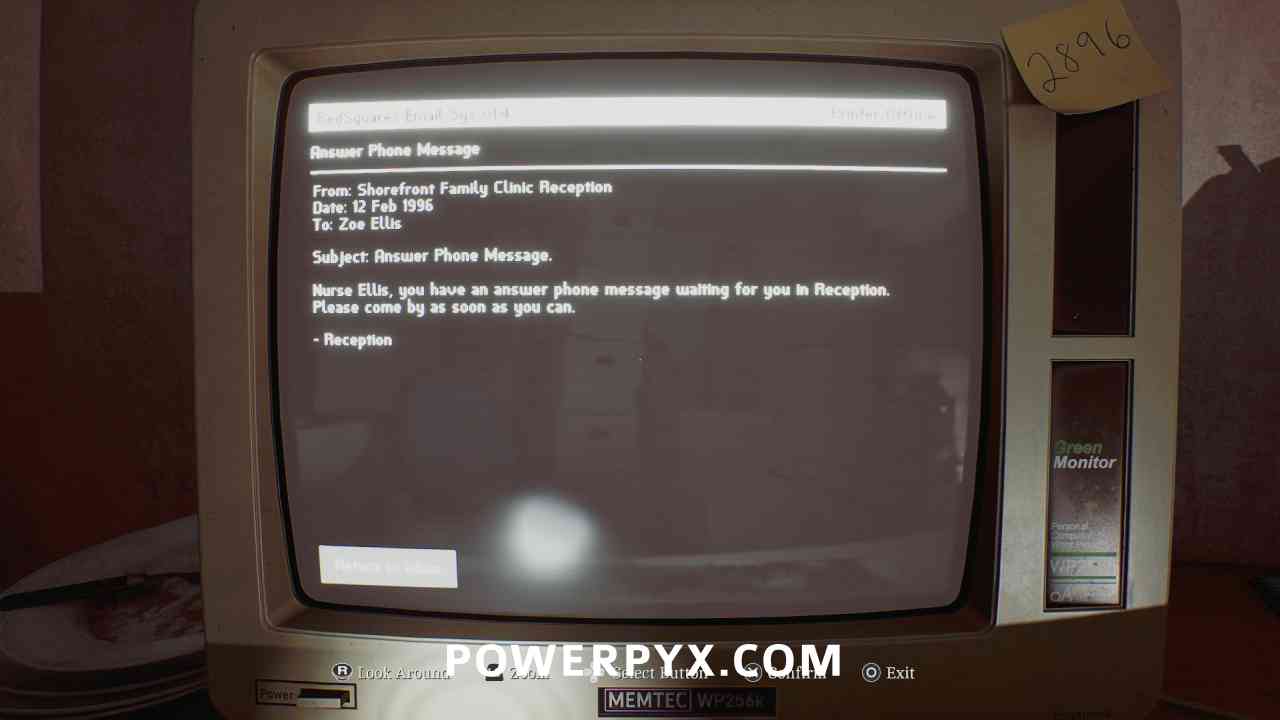
Clues: Clinic Email: “Where Are You?”, Clinic Email: Reception Answer Phone Message
Area: Shorefront District – South > Clinic (6)
Inside the Clinic, go in the second door at the end of the hallway (Z Ellis) and interact with the computer. Read the two emails.
Puzzle #5
Area: Shorefront District – South > Clinic (6)
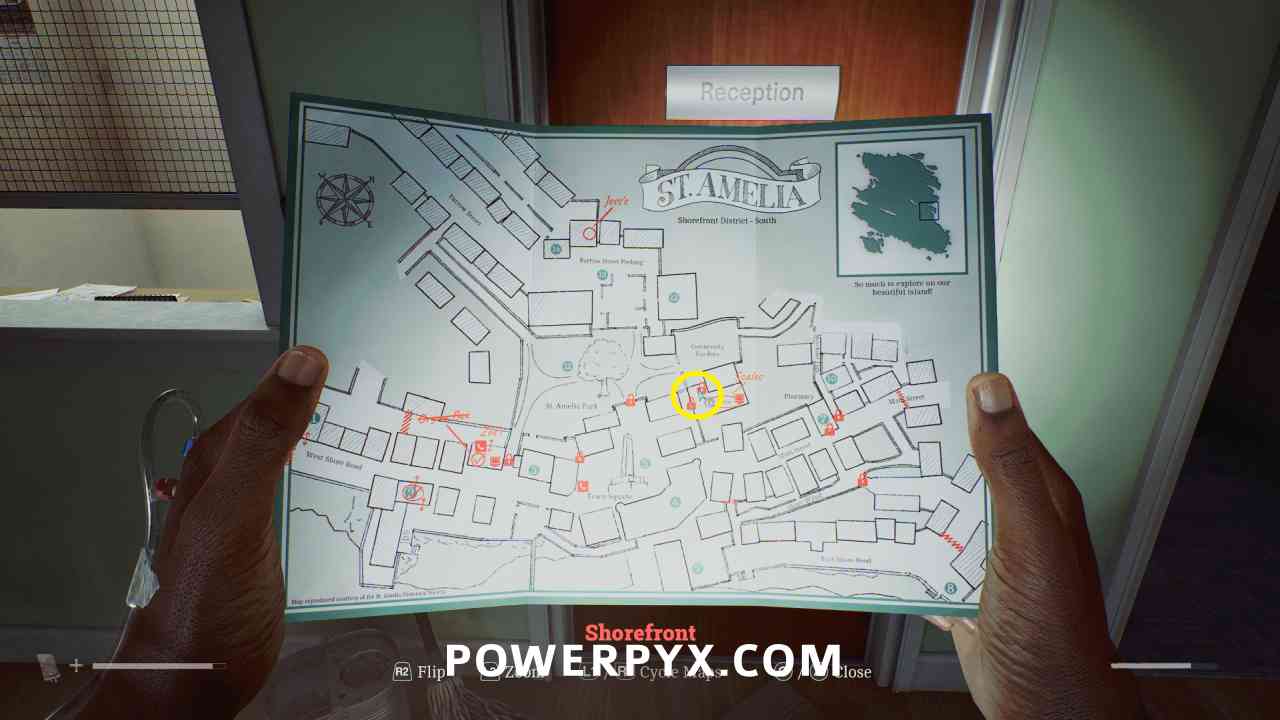
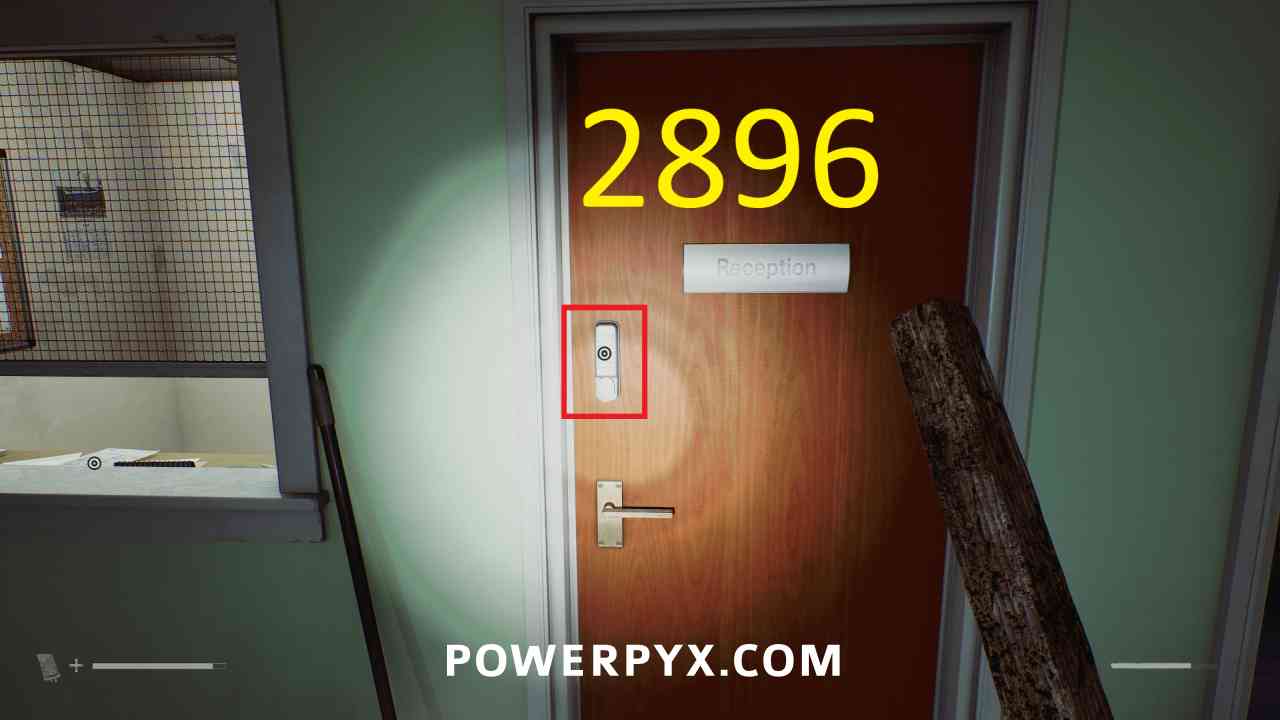
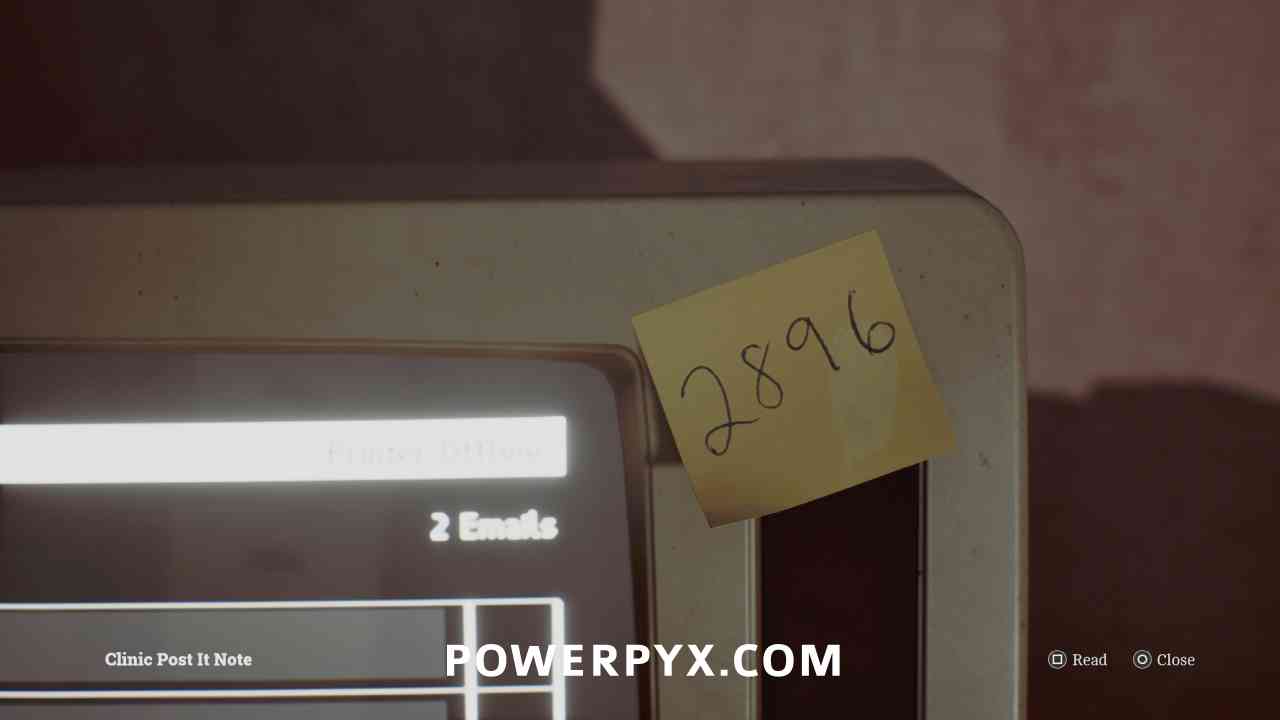
Inside the Clinic, go to the Reception door on the left near the entrance, interact with the keypad on the door and enter 2896 (the post it note that was on the computer).
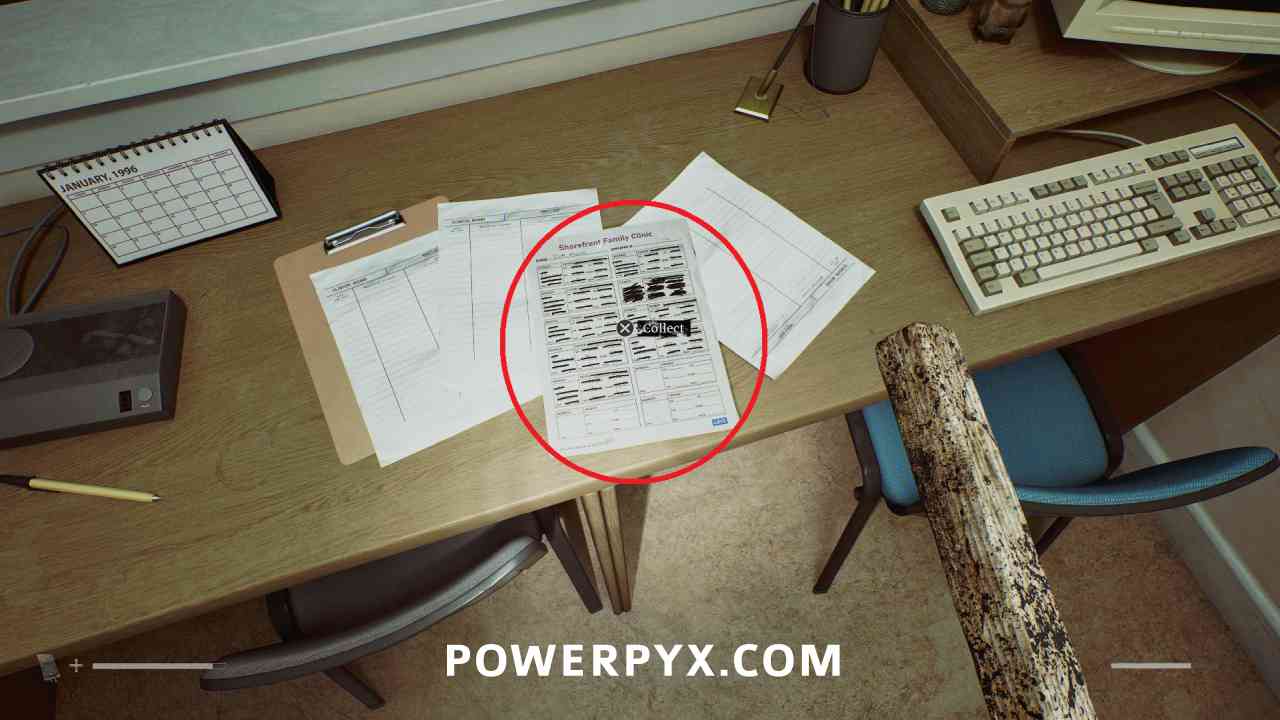
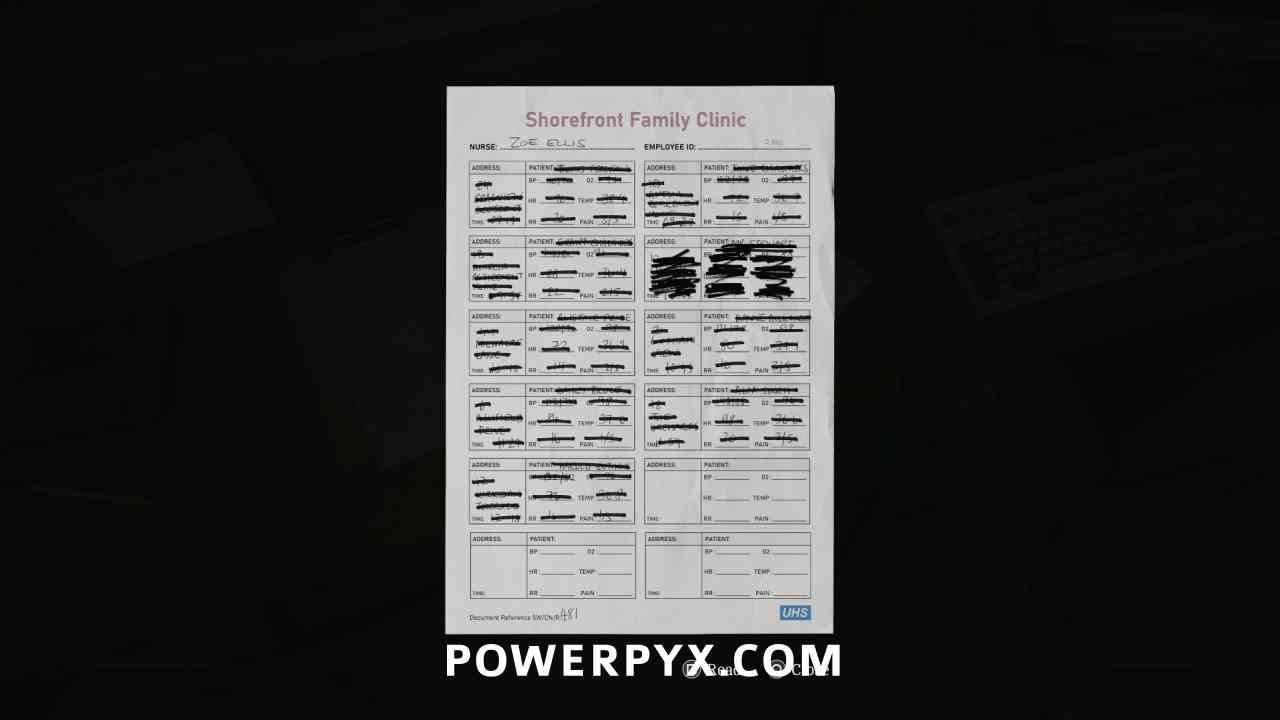
Document: Nurse’s Rounds Form
Area: Shorefront District – South > Clinic (6)
Inside the Clinic in the reception room, on the counter.
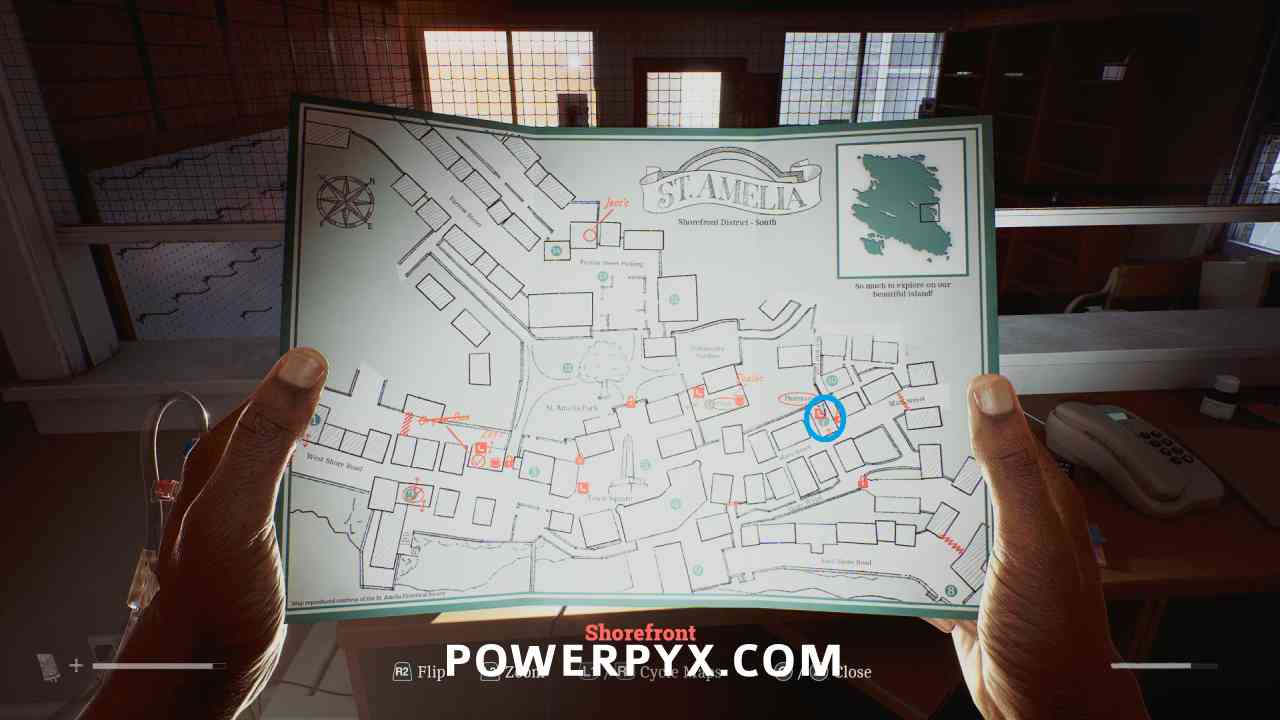
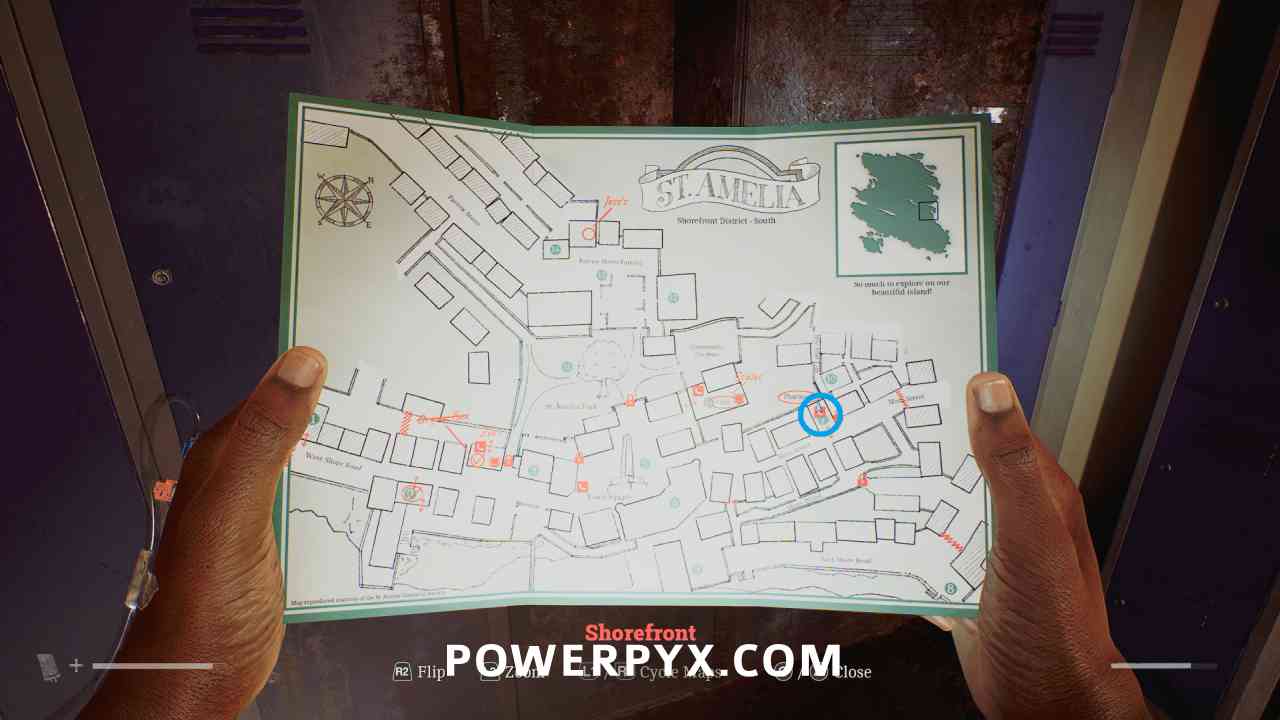
Map Location: Pharmacy
Area: Shorefront District – South > Clinic (6)
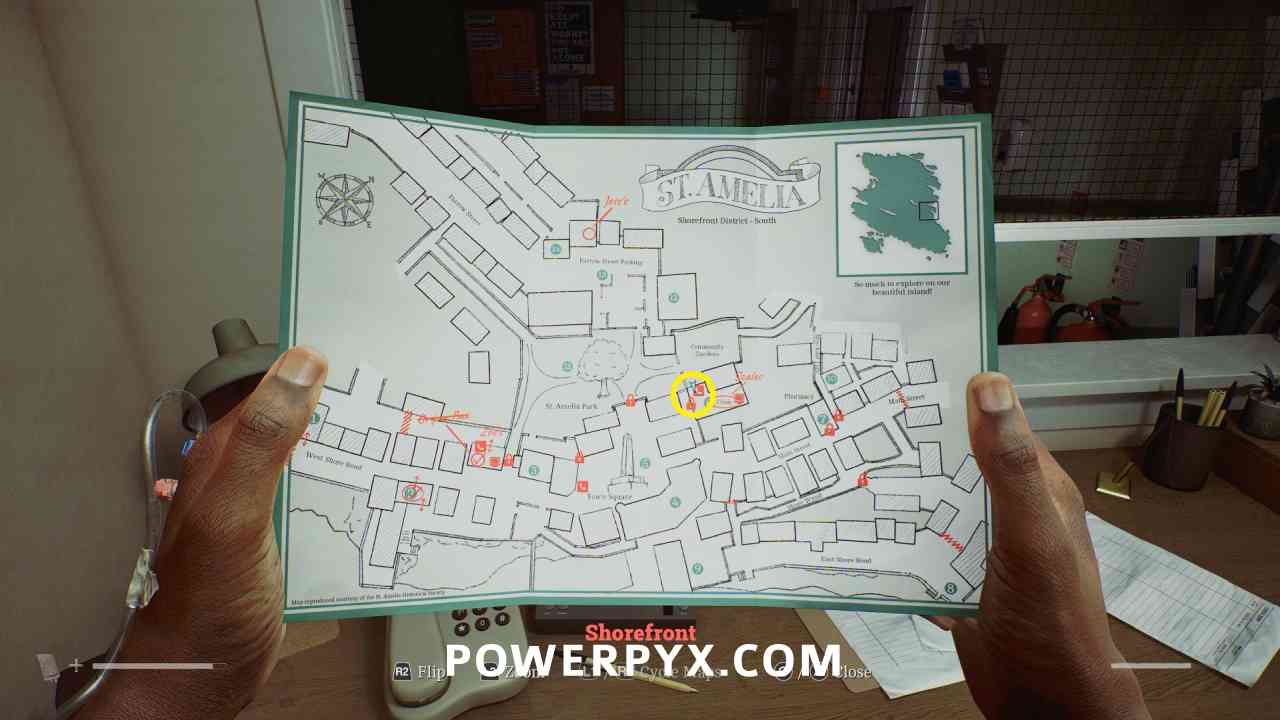
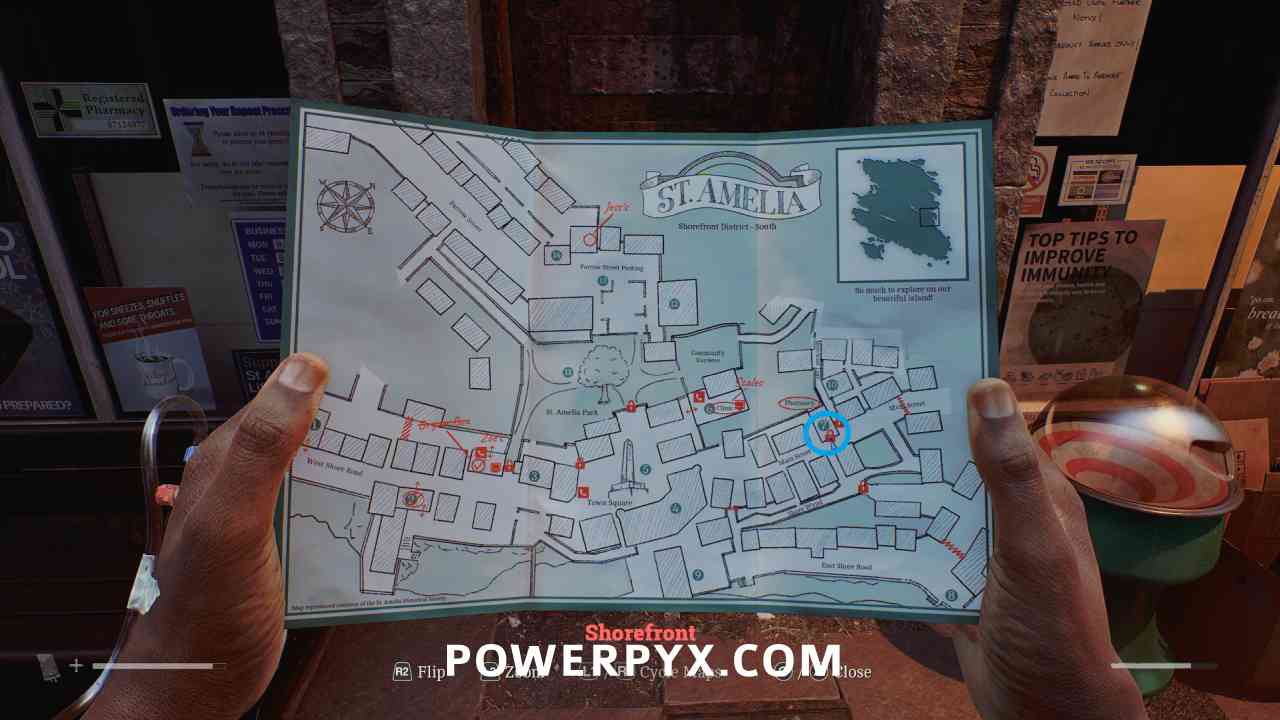
Inside the Clinic in the reception room, interact with the phone and listen to the message on the answering machine to have the Pharmacy pointed out on the map.
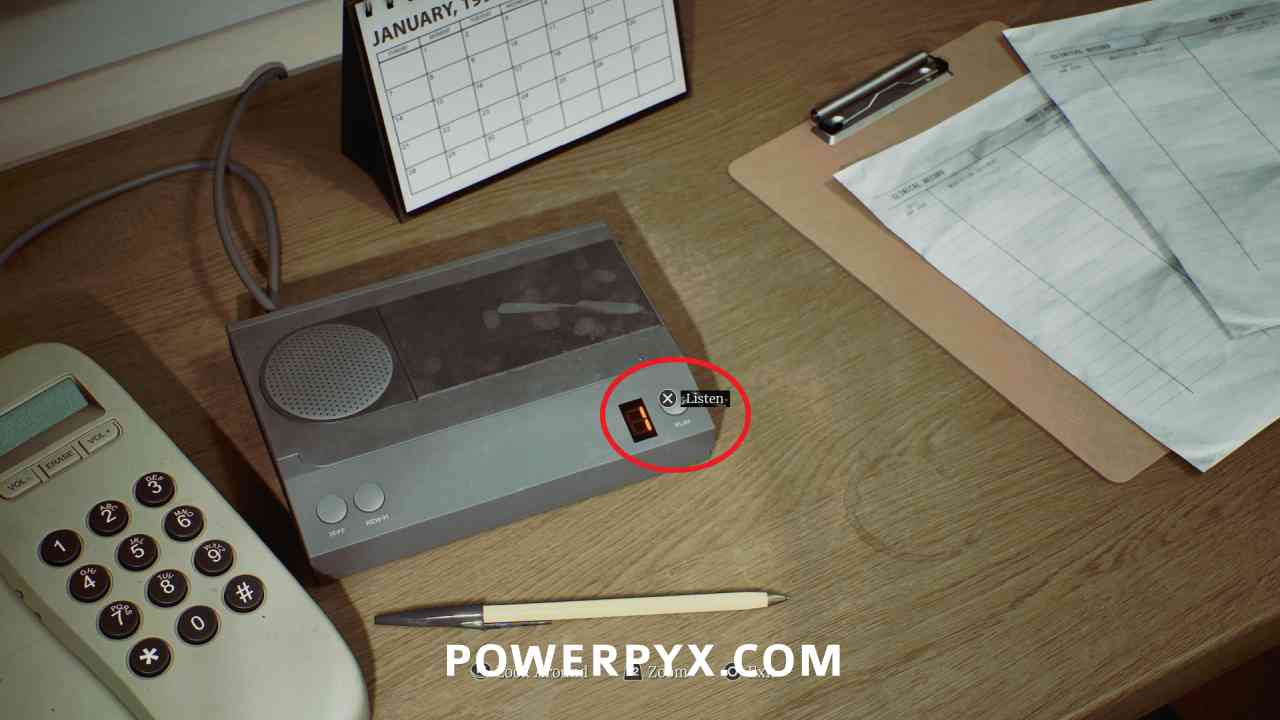
Shorefront District – South
Locked Door – Pharmacy
Area: Shorefront District – South > Outside Pharmacy (7)
Outside the Pharmacy, interact with the door and choose to use the Scalpel.
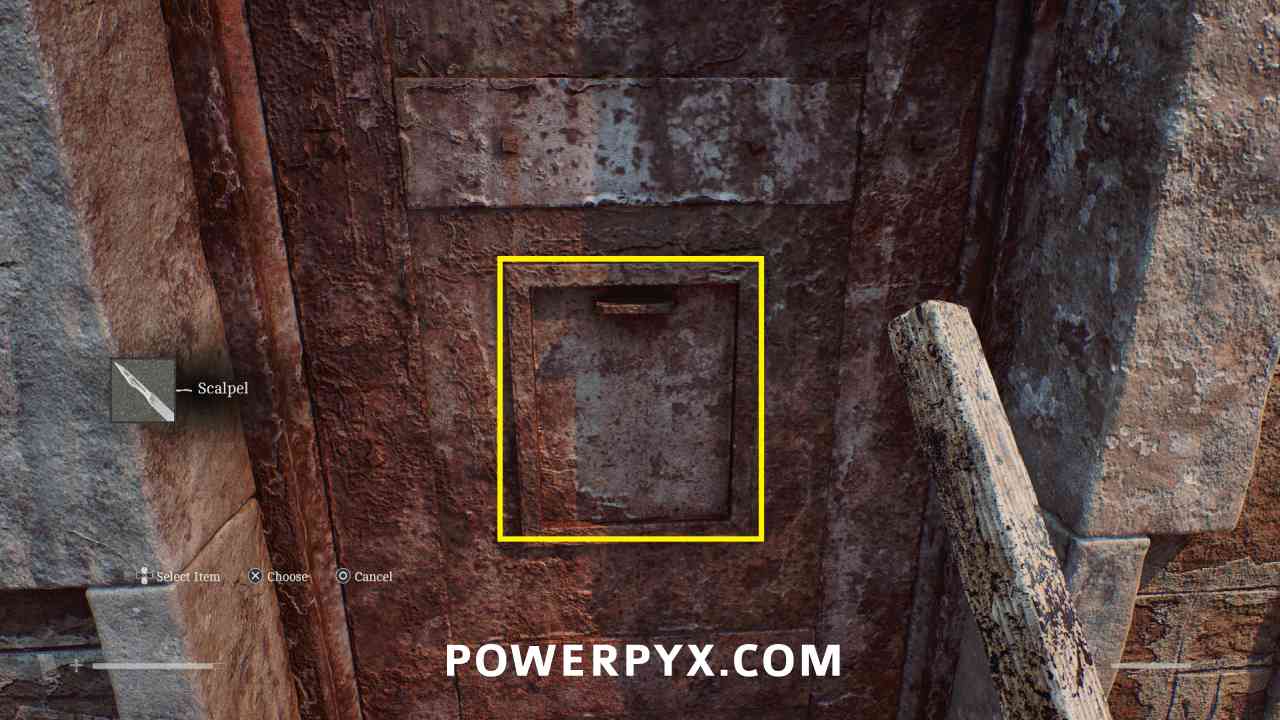
Shorefront District – South > Pharmacy (7)
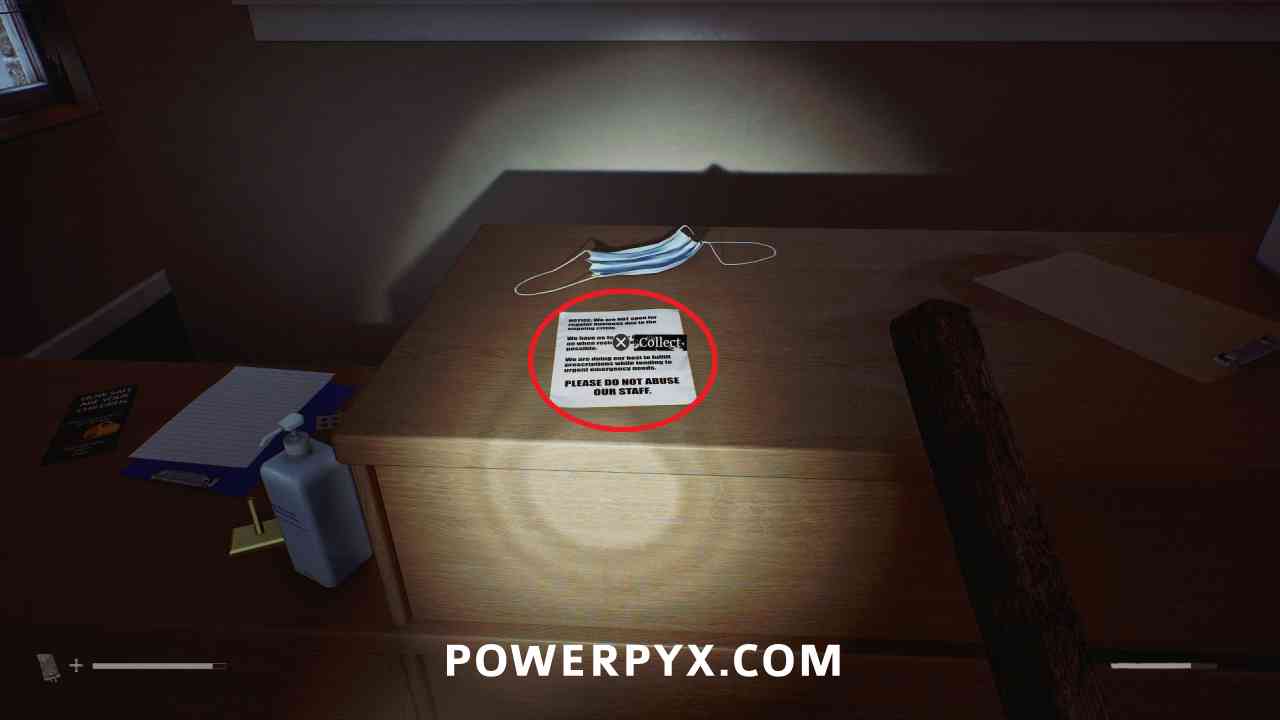
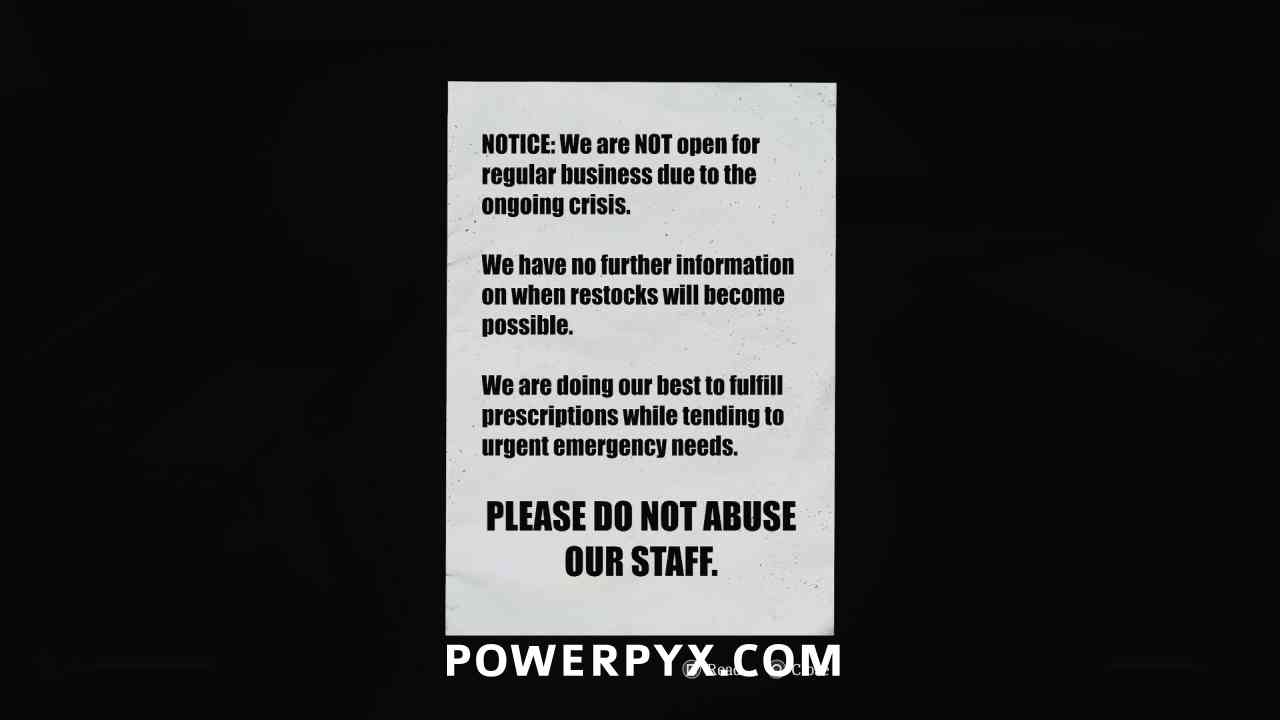
Document: Restock Issues
Area: Shorefront District – South > Pharmacy (7)
Inside the Pharmacy, on the front counter.
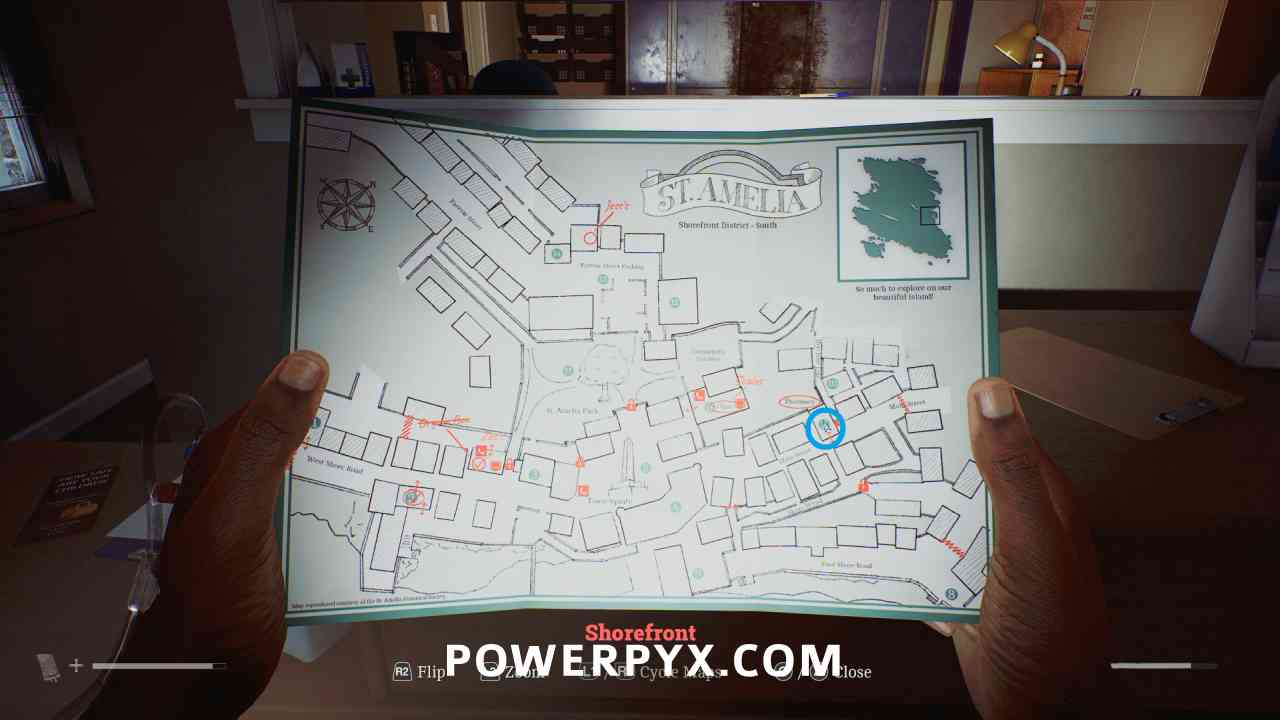
CRTV Channel – 30
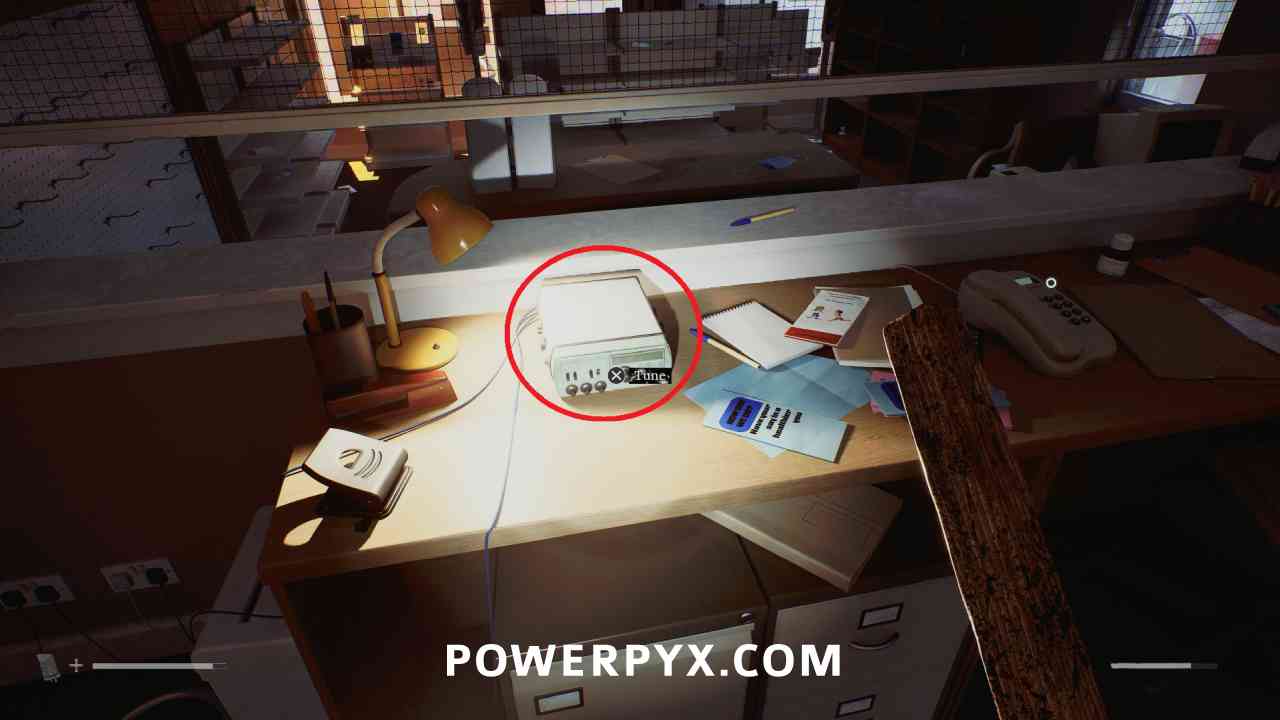
Area: Shorefront District – South > Pharmacy (7)
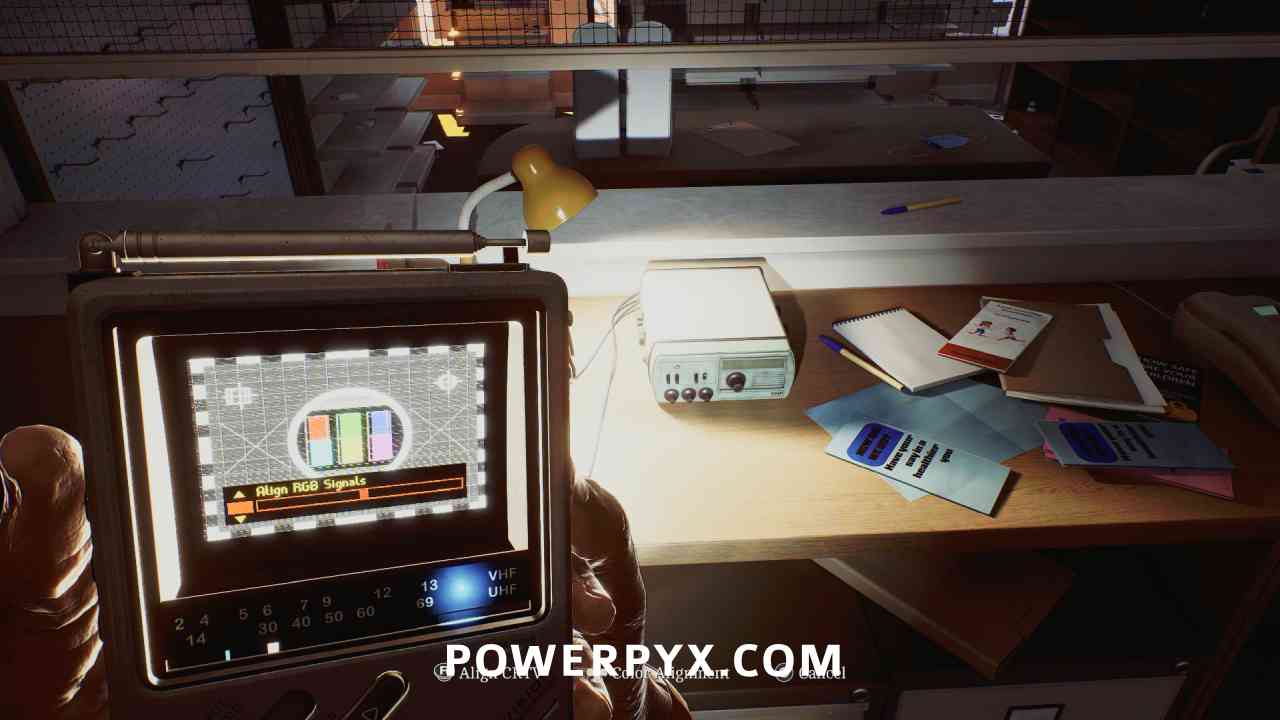
Inside the Pharmacy in the back room, interact with the radio on the table. Align the CRTV tilt so that the colors stop moving using the right stick (on PS5 you can turn off “Enable CRTV Motion Sensor controls” in control options if you are struggling with the motion controls), then adjust colours so they fit in all boxes using the DPAD.
Puzzle #6
Area: Shorefront District – South > Pharmacy (7)
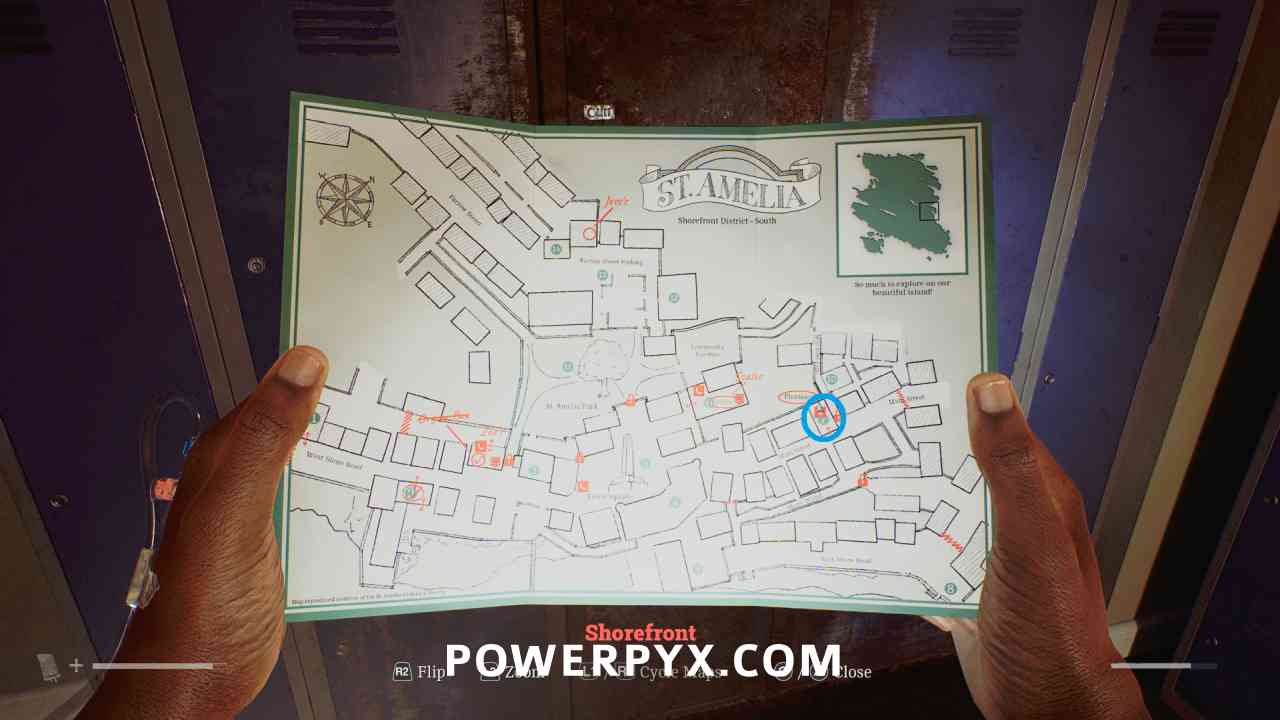
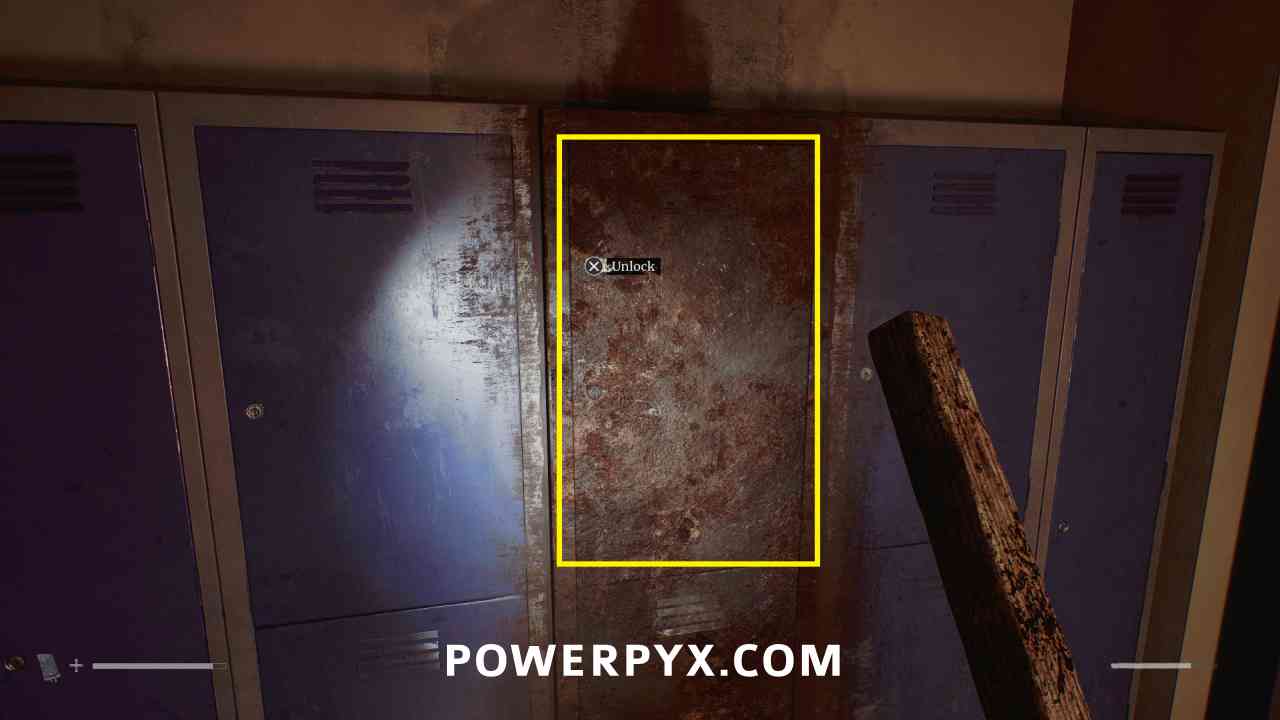
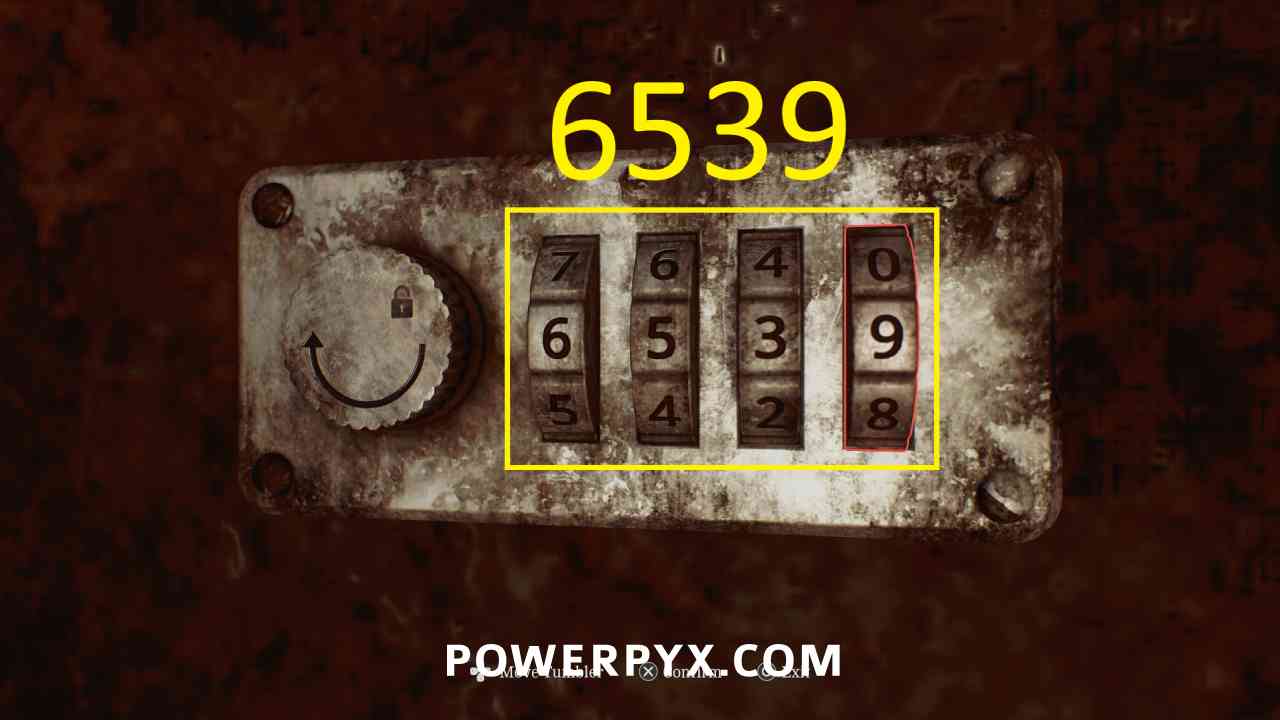
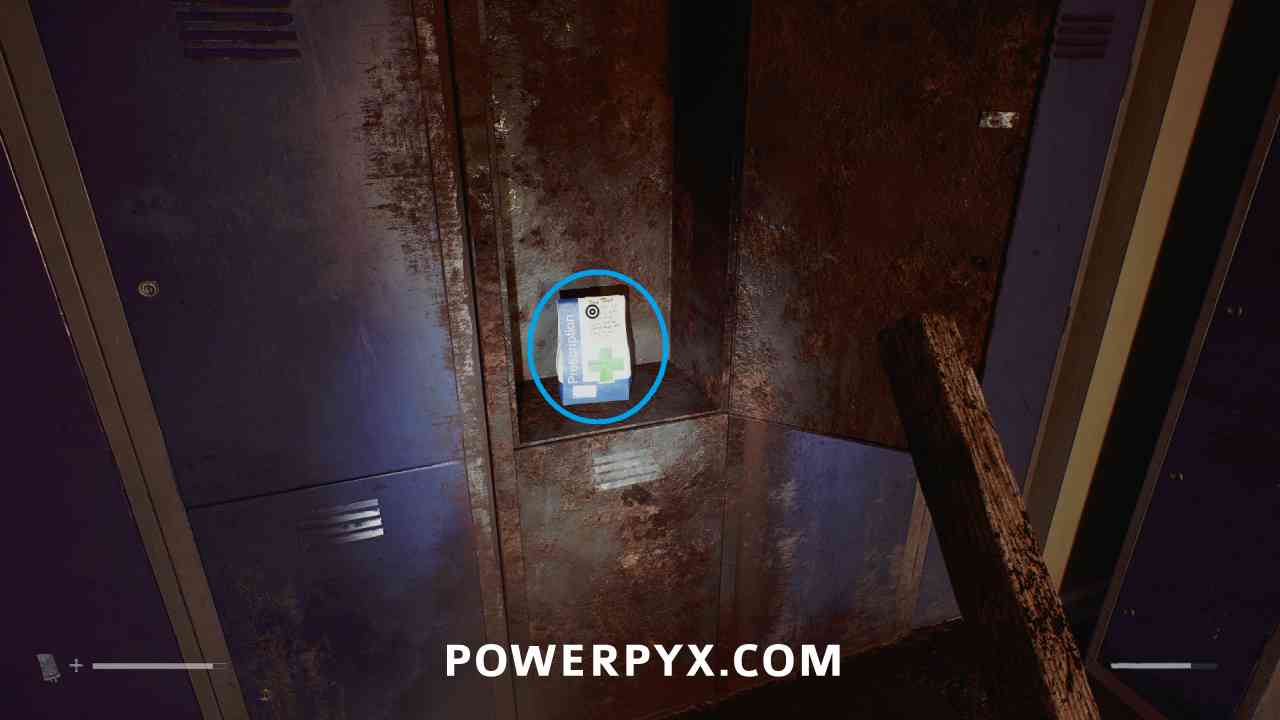
Inside the Pharmacy, in the back room interact with the rusty locker and enter 6539 (the posters in the Pharmacy have numbers on them, entered in the order they are shown in the CRTV broadcast).
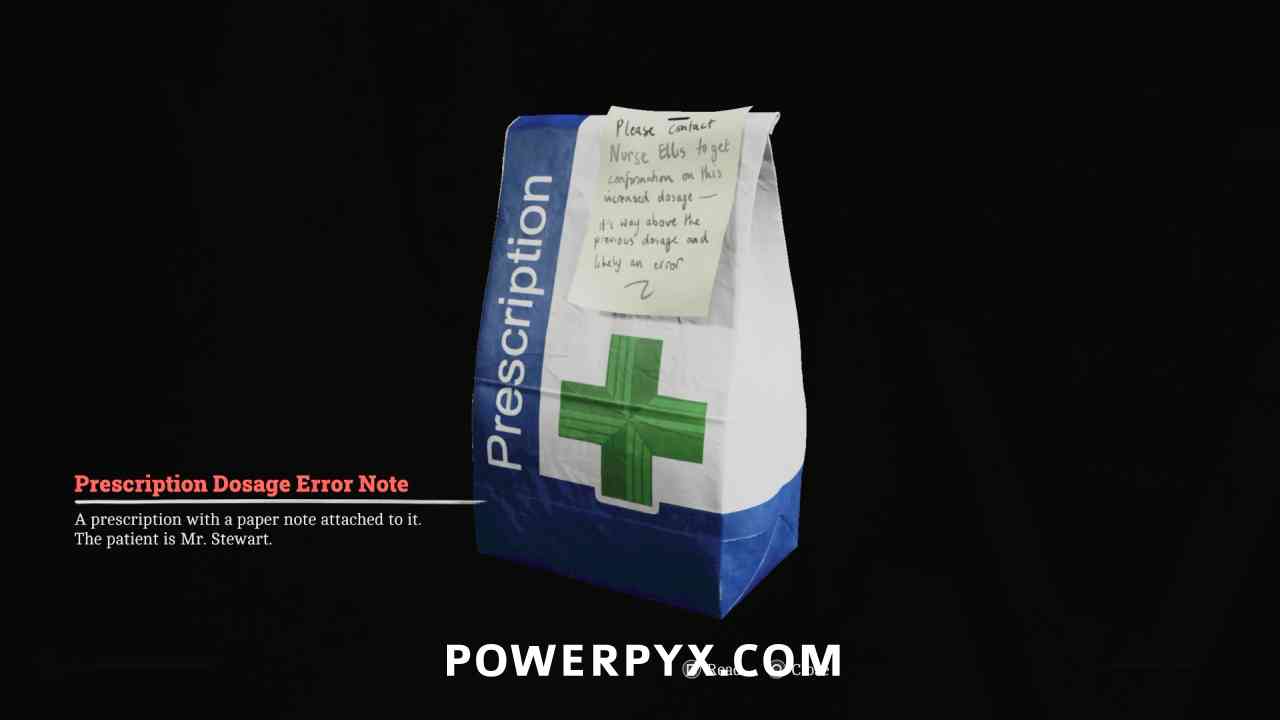
Key Item: Prescription Dosage Error
Area: Shorefront District – South > Pharmacy (7)
Pick up from the locker after opening it.
Shorefront District – South
Locked Door – St. Amelia Park
Area: Shorefront District – South > Outside St. Amelia Park (11)
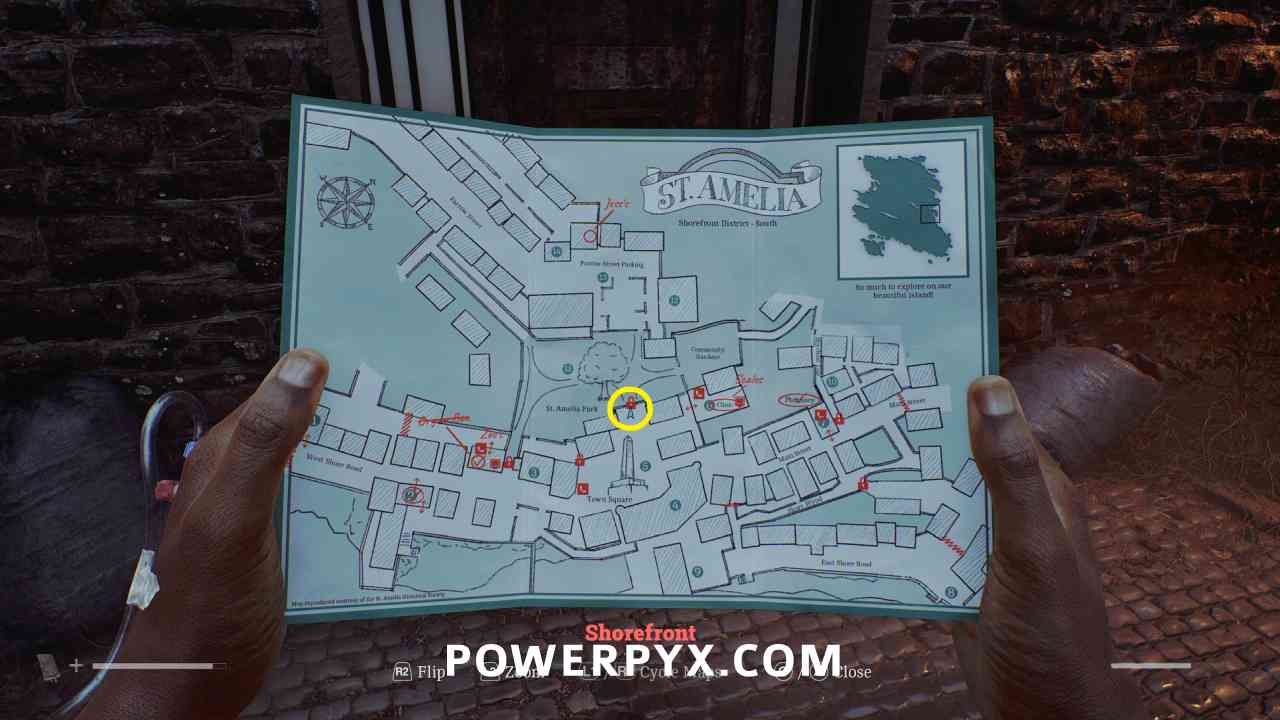
At the south side of St. Amelia Park (11), interact with the door and choose to use the Scalpel.
Strange Postcard – 2
Area: Shorefront District – South
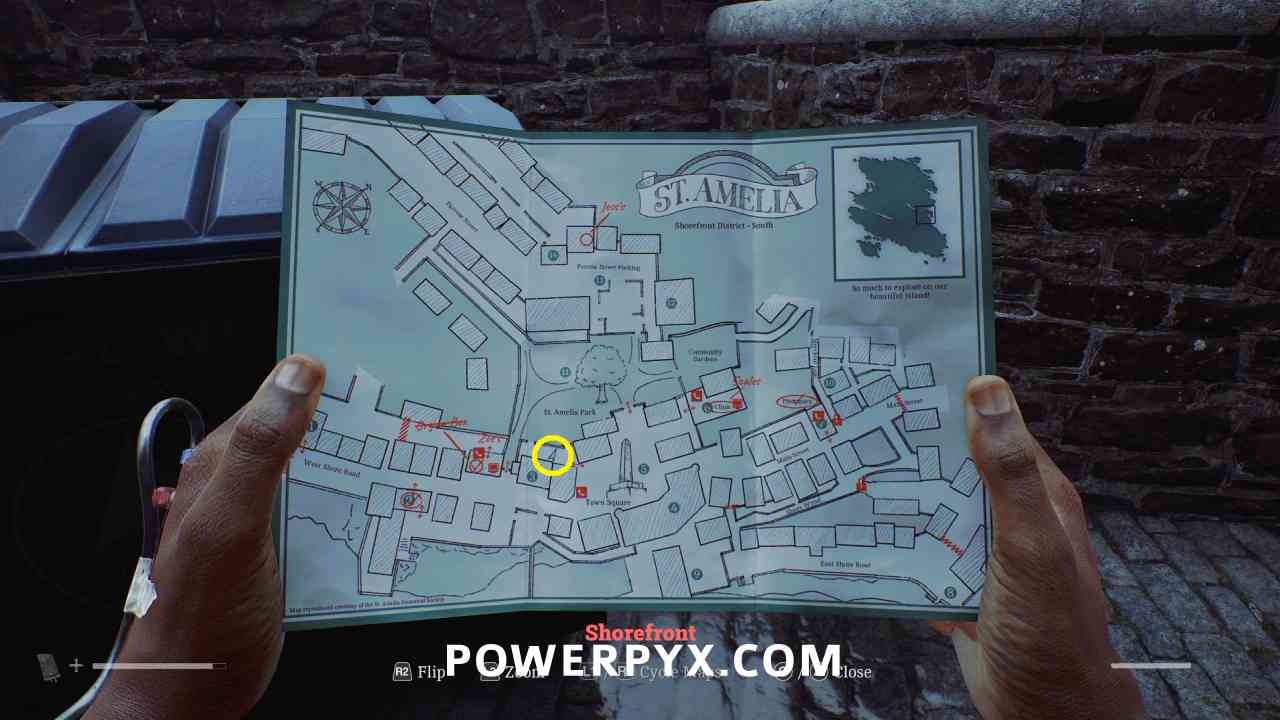
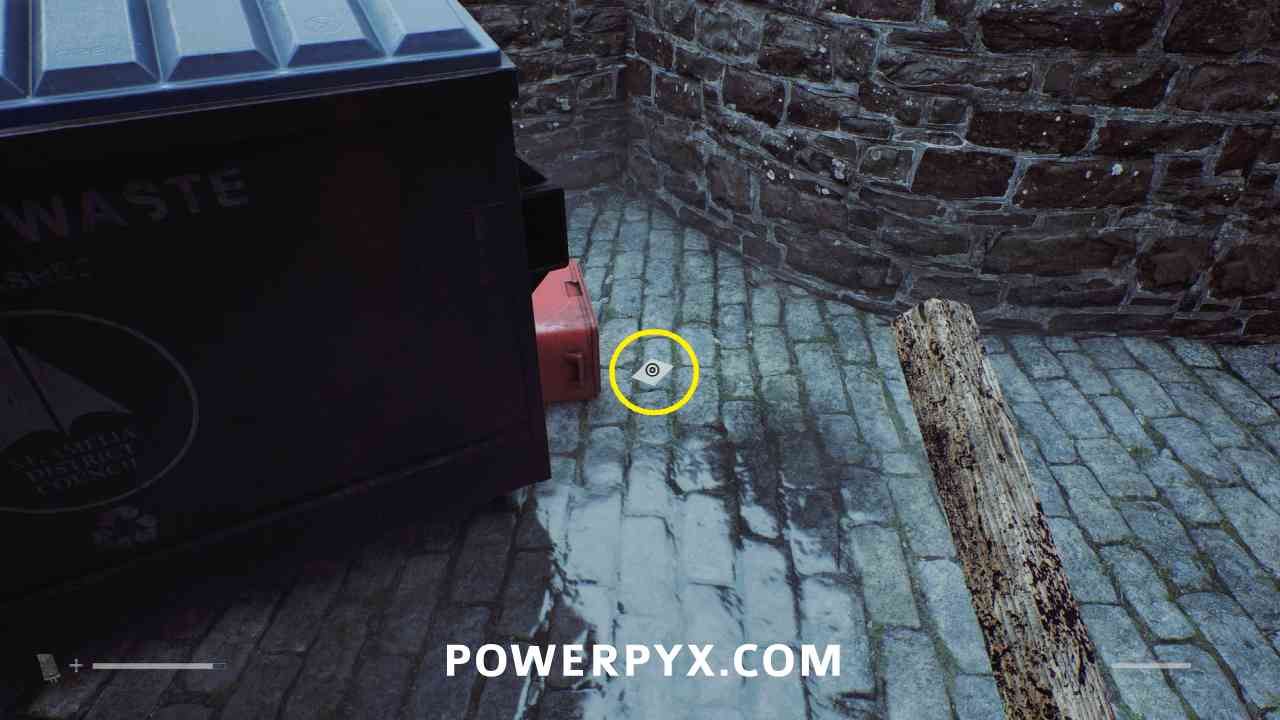
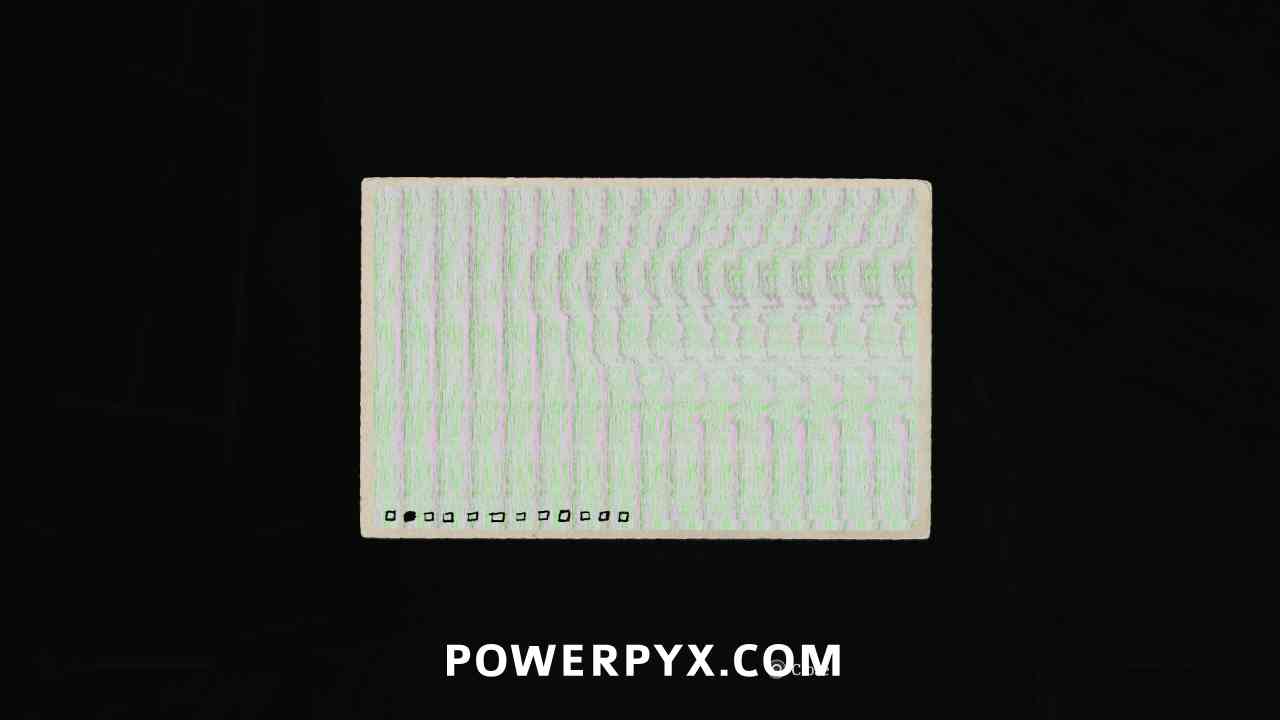
Go through the south entrance of St. Amelia Park then turn left. Enter the back alley behind the building labelled (3) and this is on the ground beside a dumpster.
Strange Postcard – 3
Area: Shorefront District – South
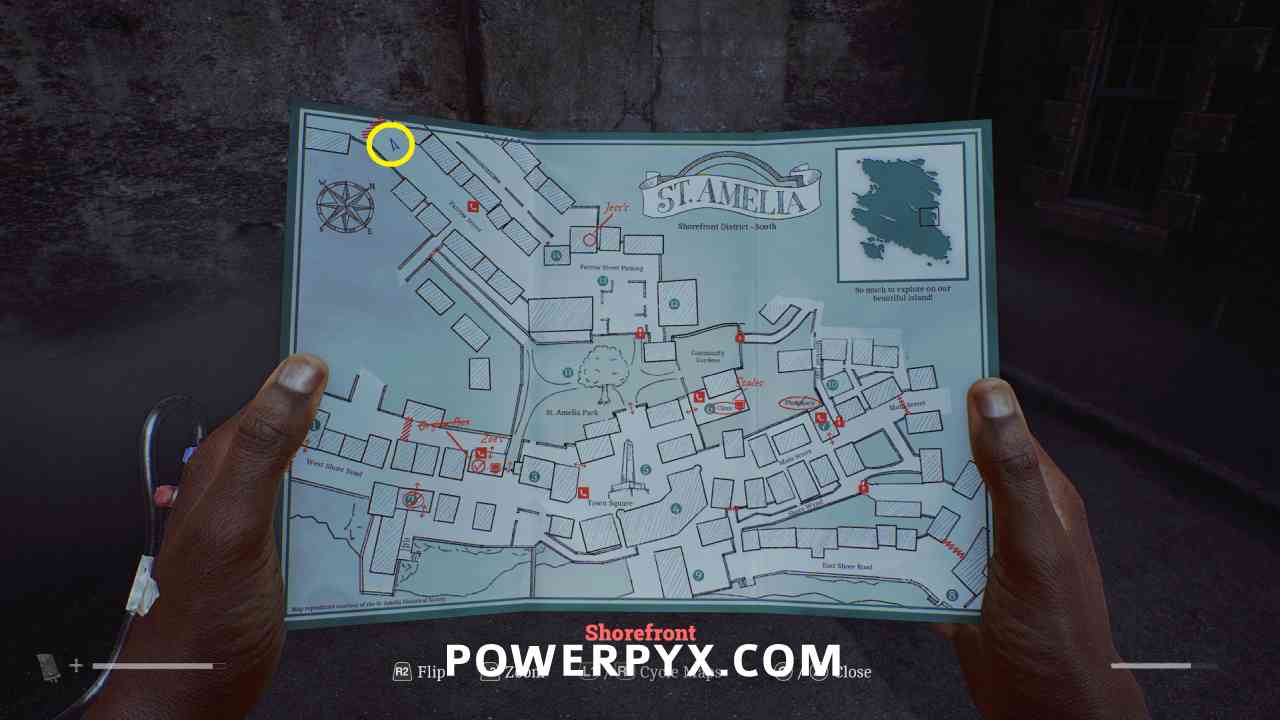
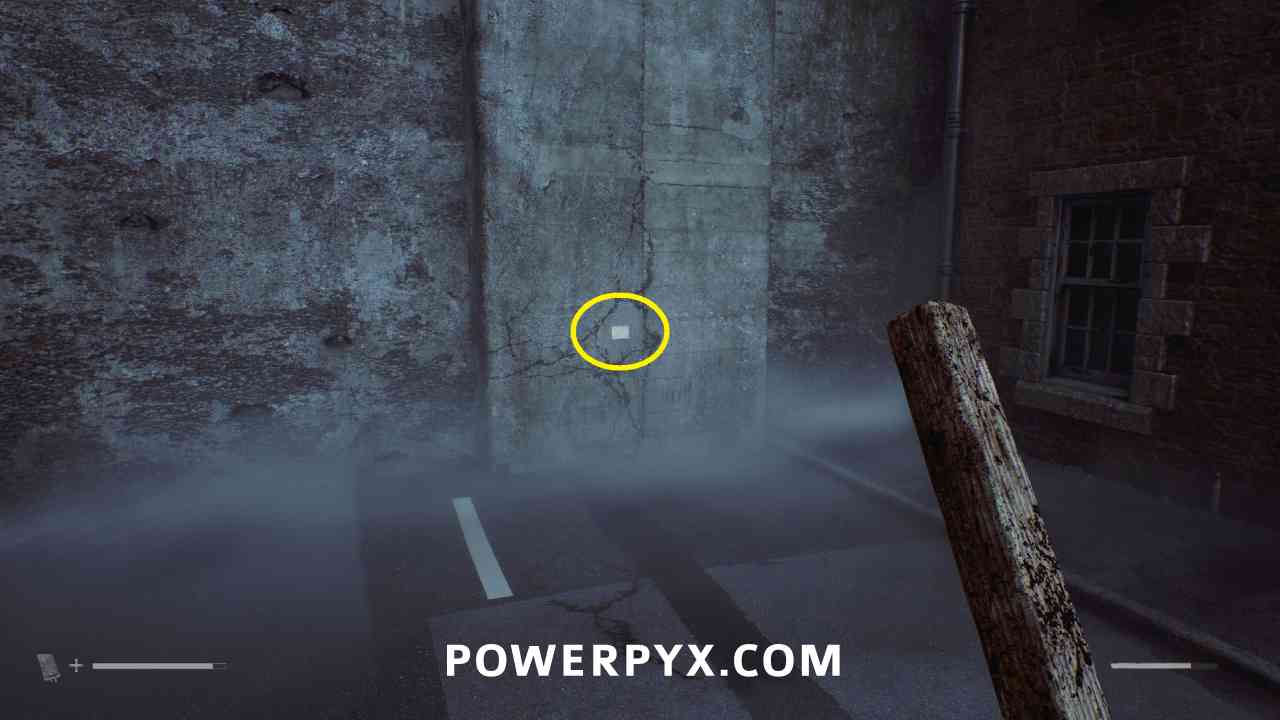
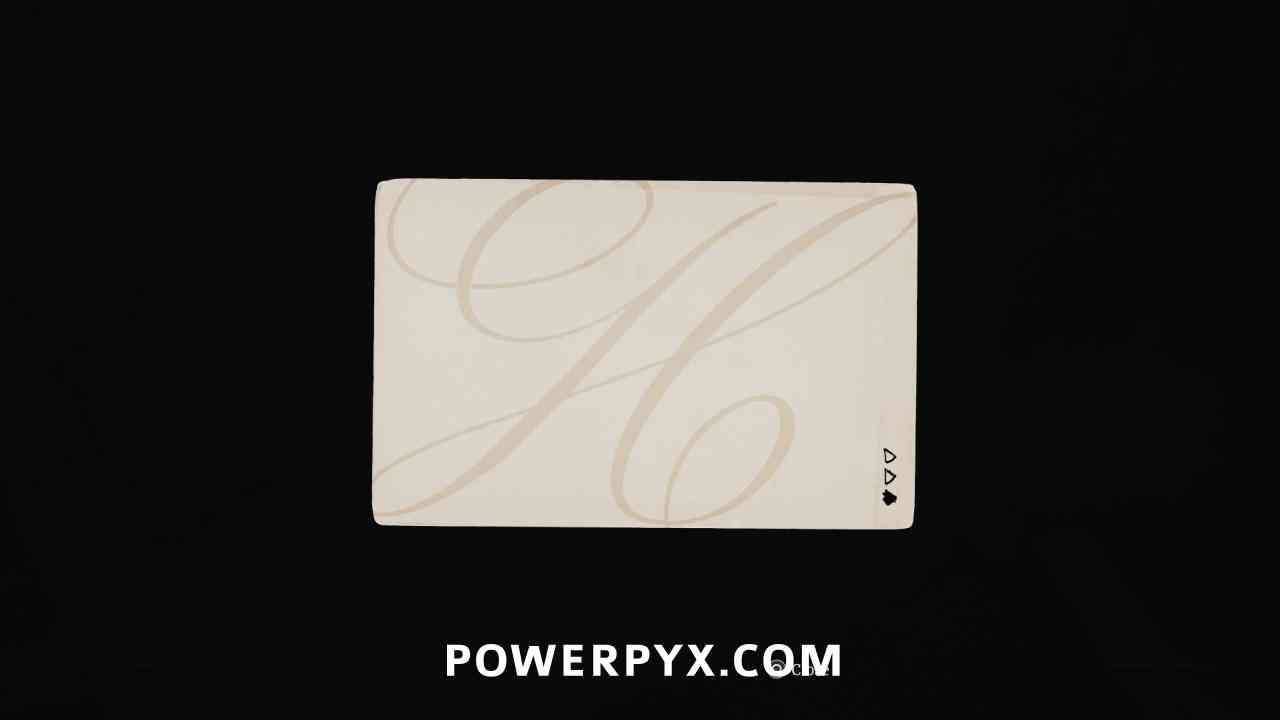
In the north part of the map after St. Amelia Park, go to the west end of Farrow Street and this is stuck to the wall.
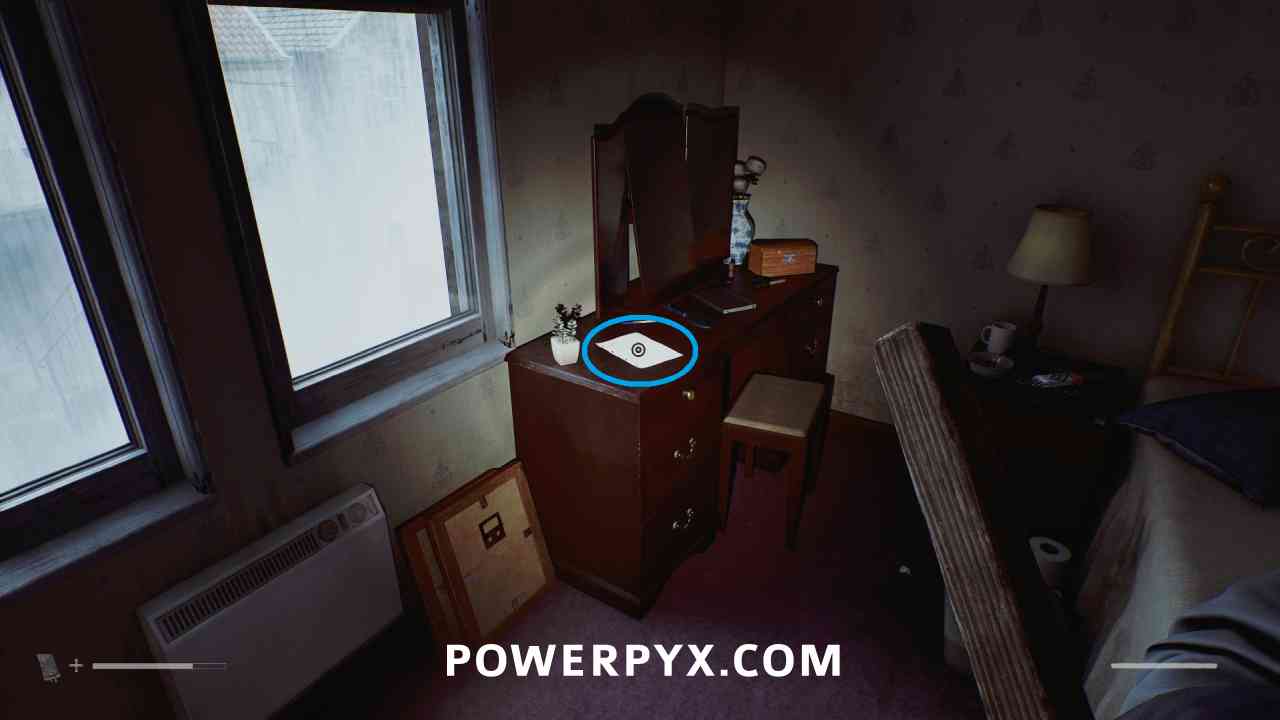
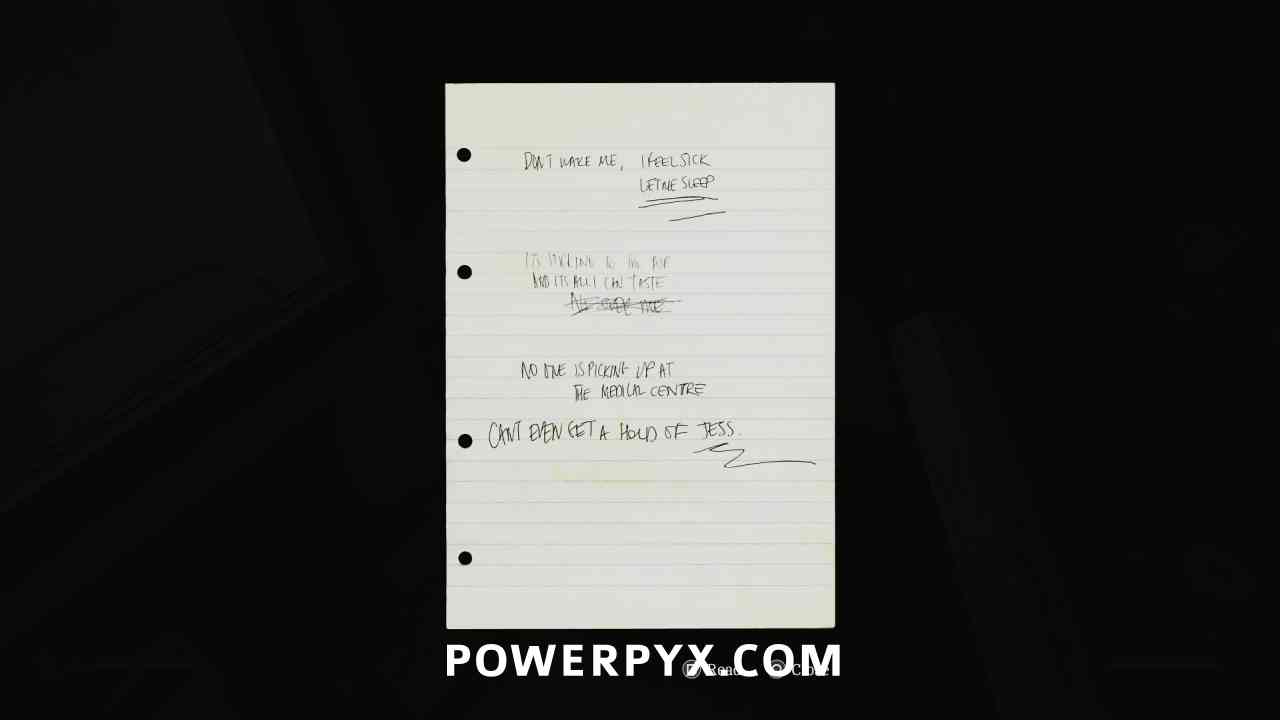
Document: Feeling Sick Note
Area: Shorefront District – South
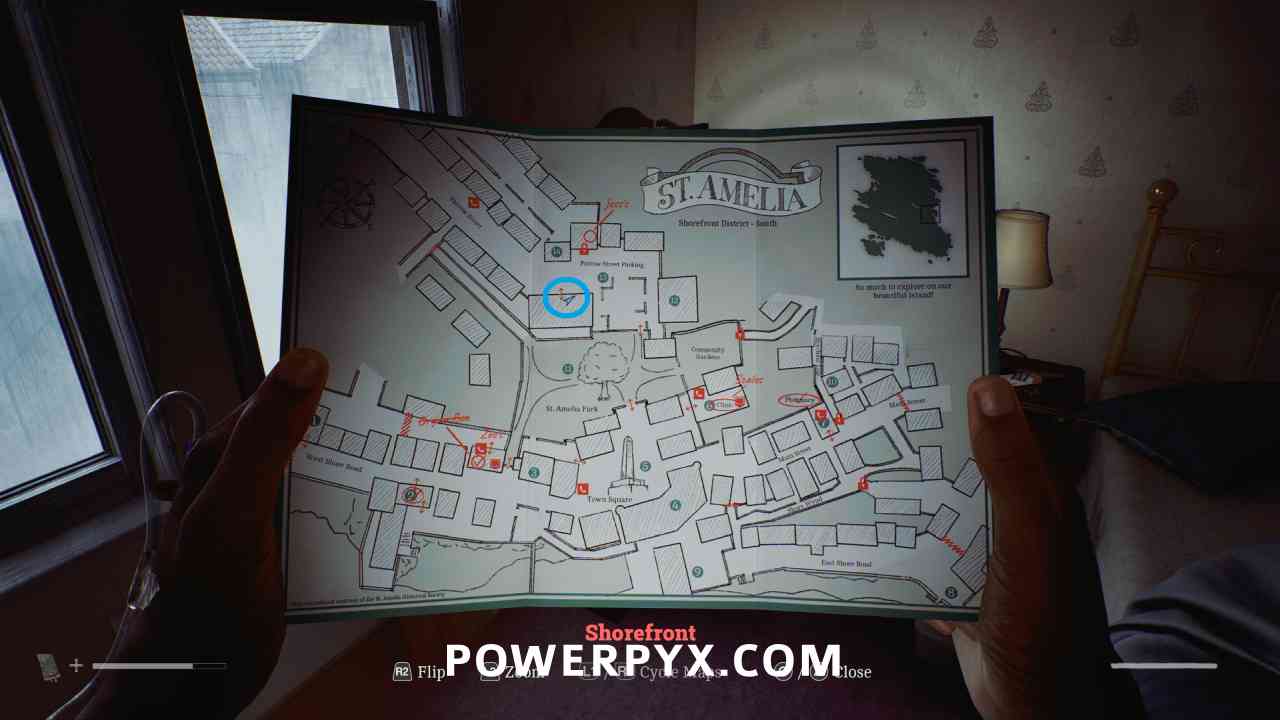
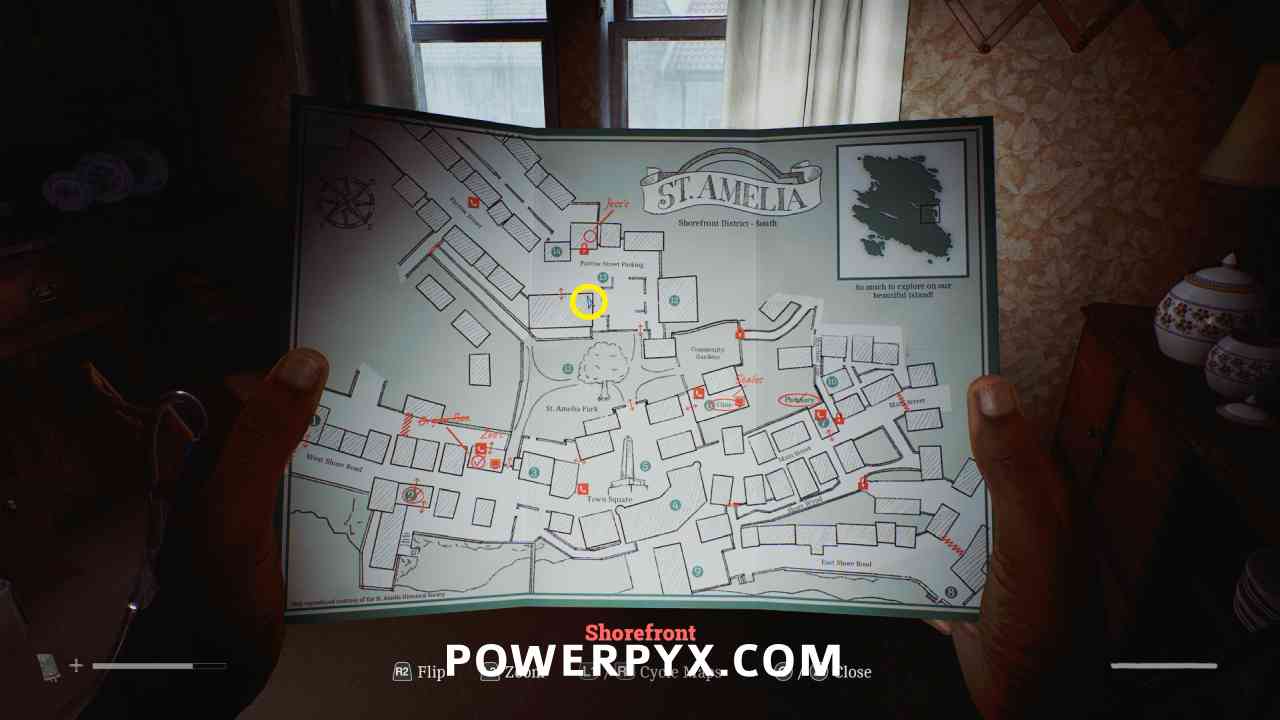
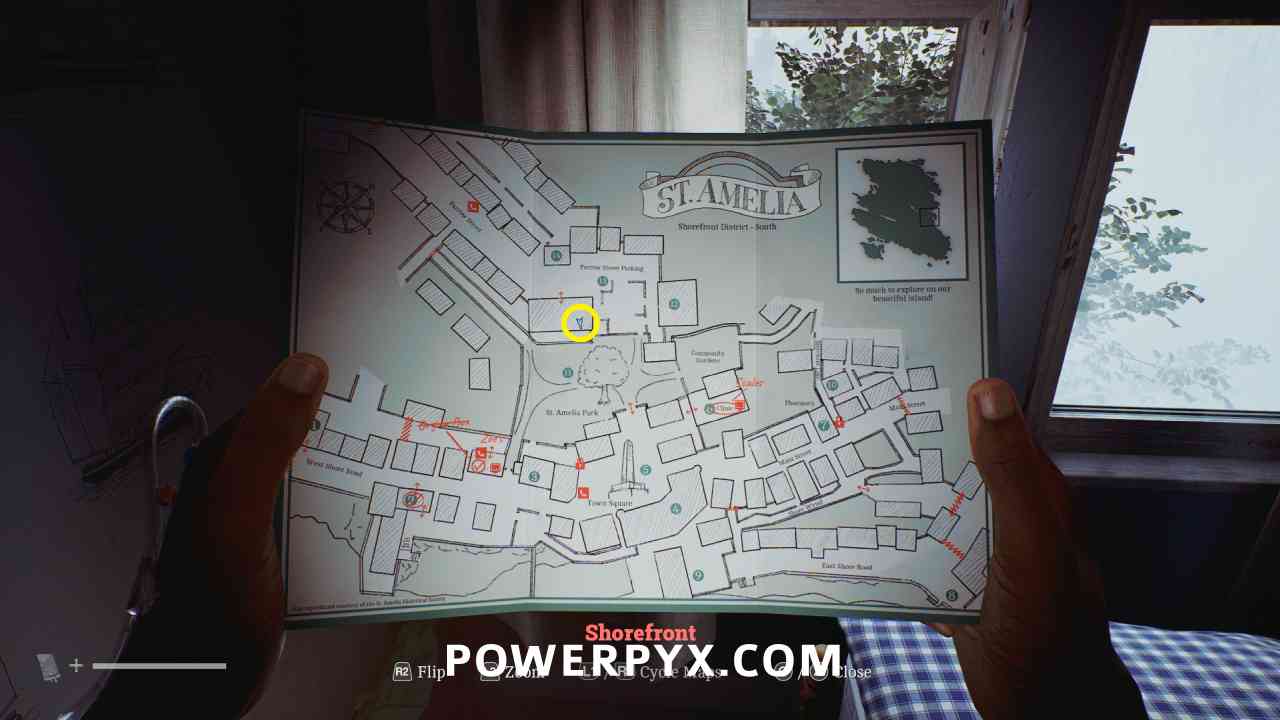
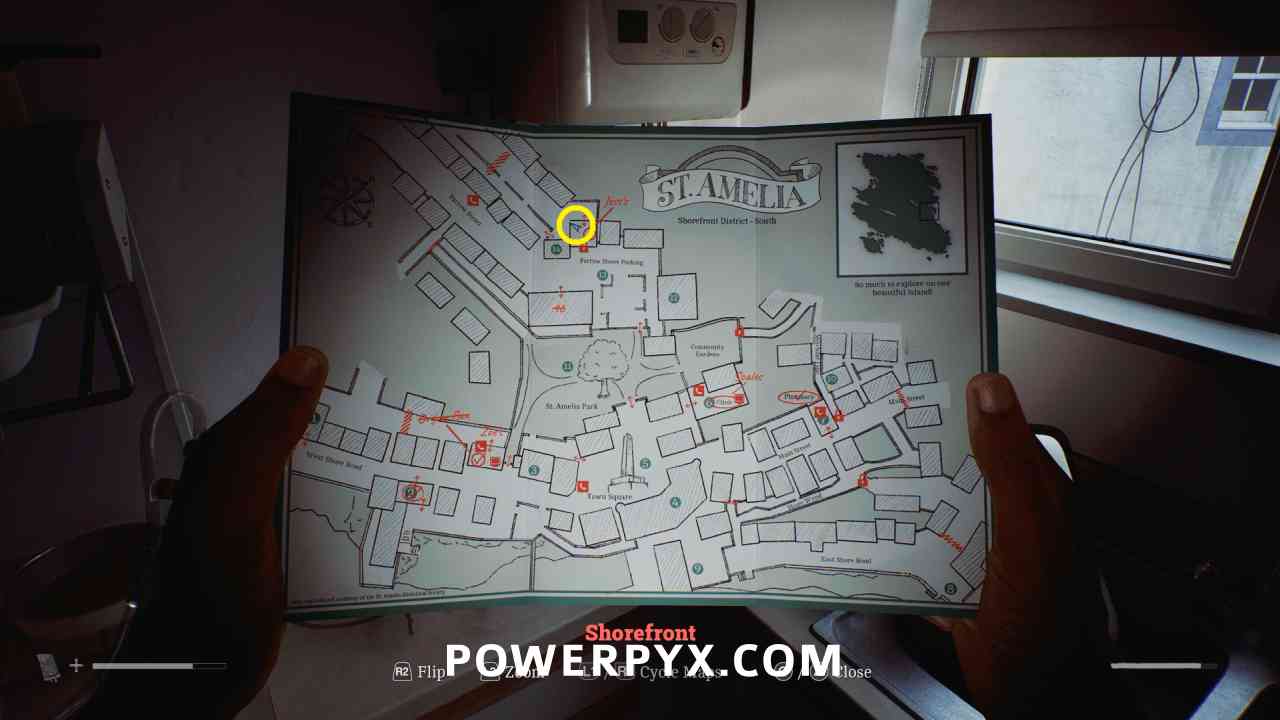
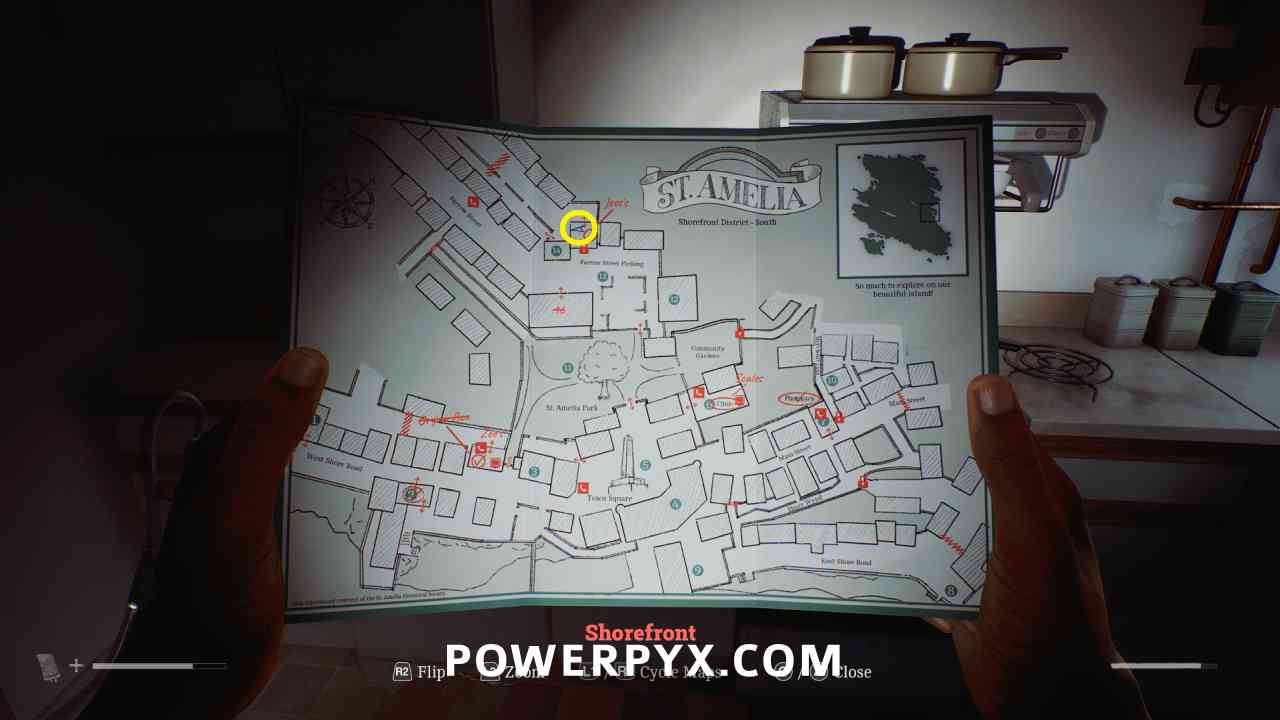
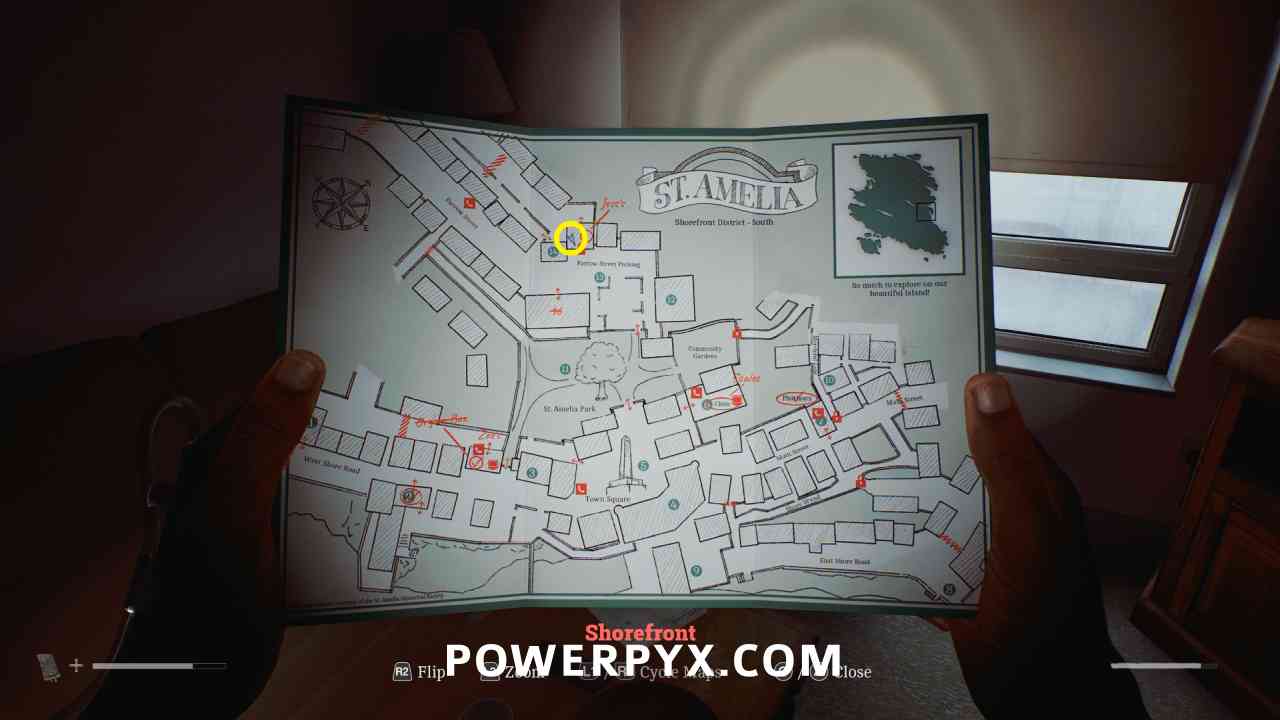
Inside the apartment building south of the building numbered (14), go up to the second floor into apartment 1/2, then into the bedroom on the left where this is on a dresser.
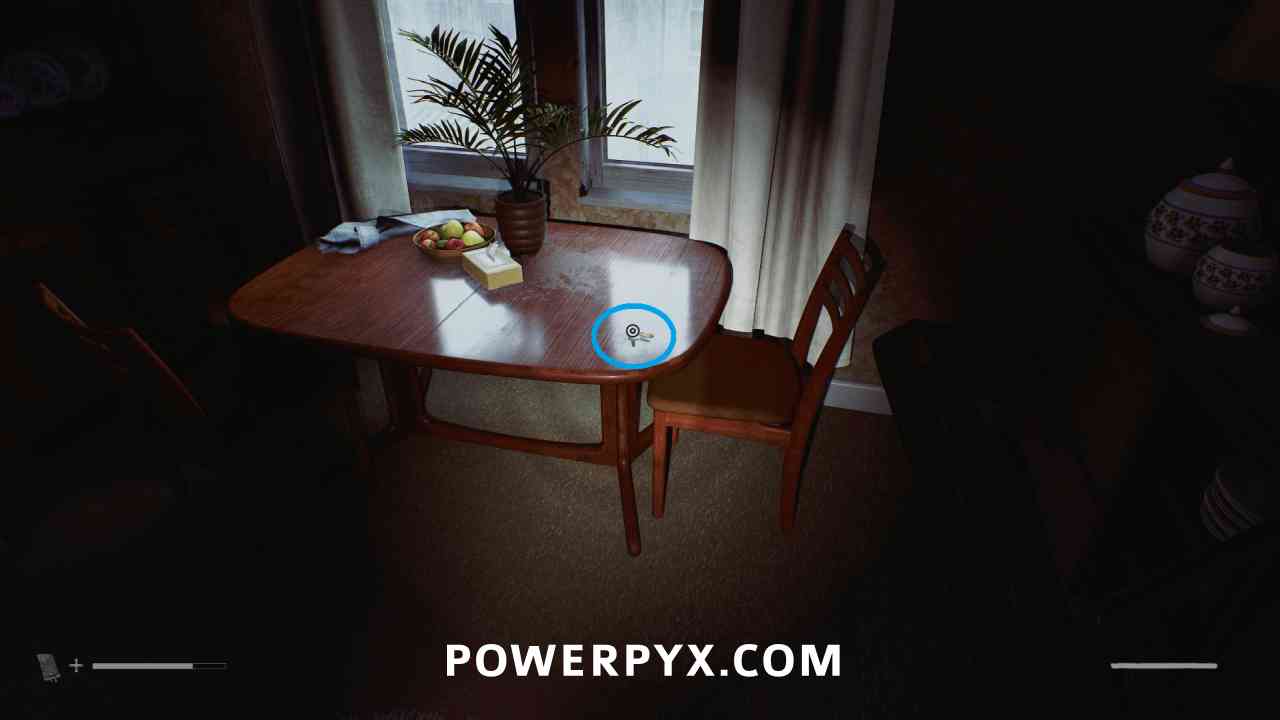
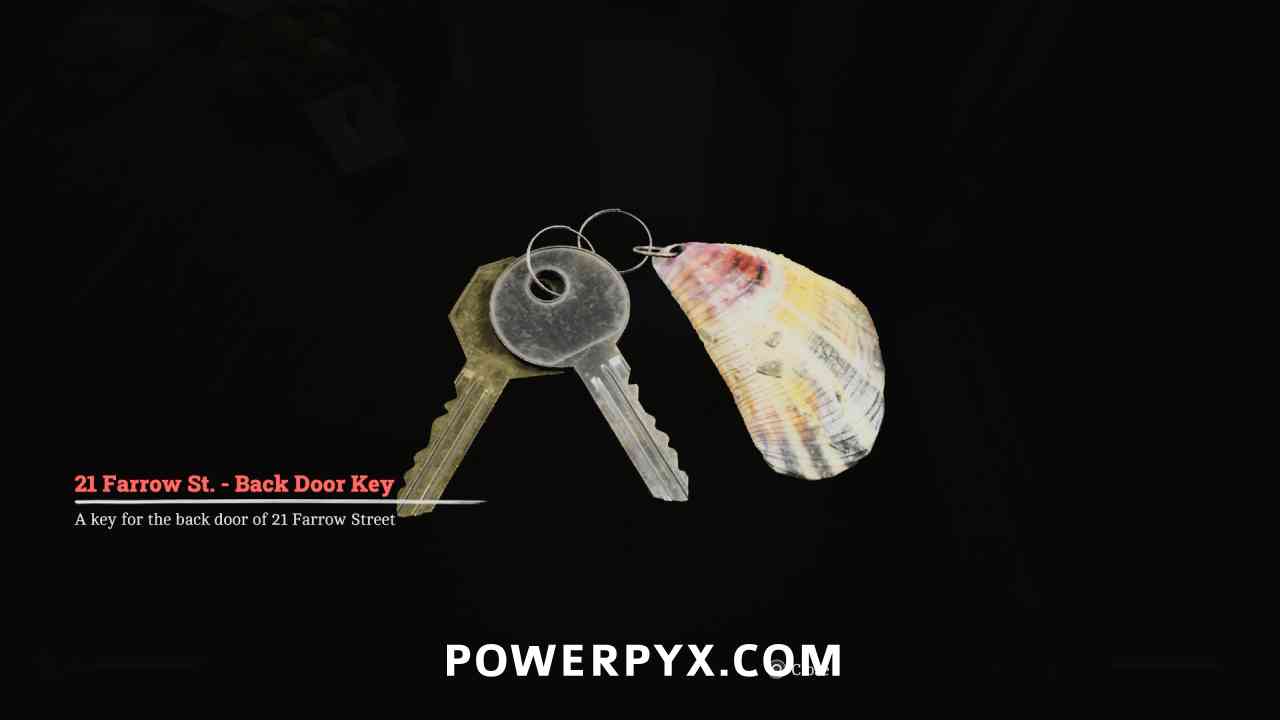
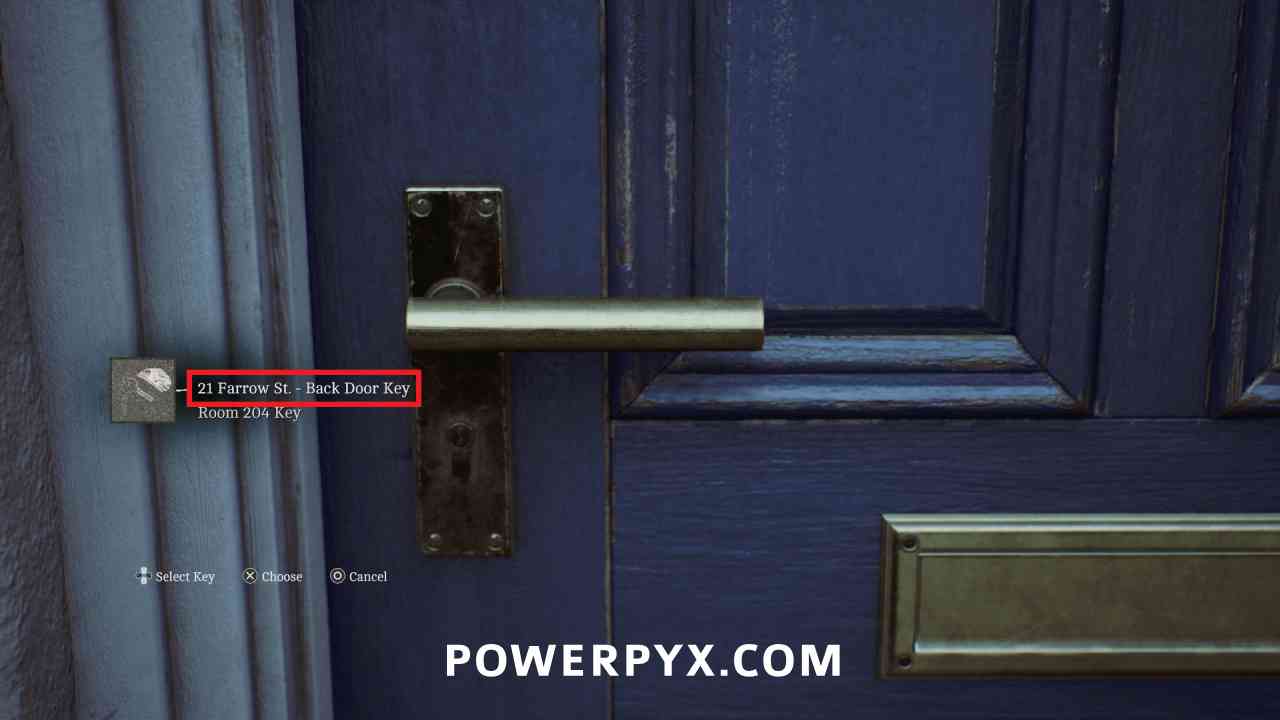
Key Item: 21 Farrow St. – Back Door Key
Area: Shorefront District – South
Inside the apartment building south of the building numbered (14), go up to the second floor into apartment 1/2, then on the table in the living room.
Strange Postcard – 4
Area: Shorefront District – South
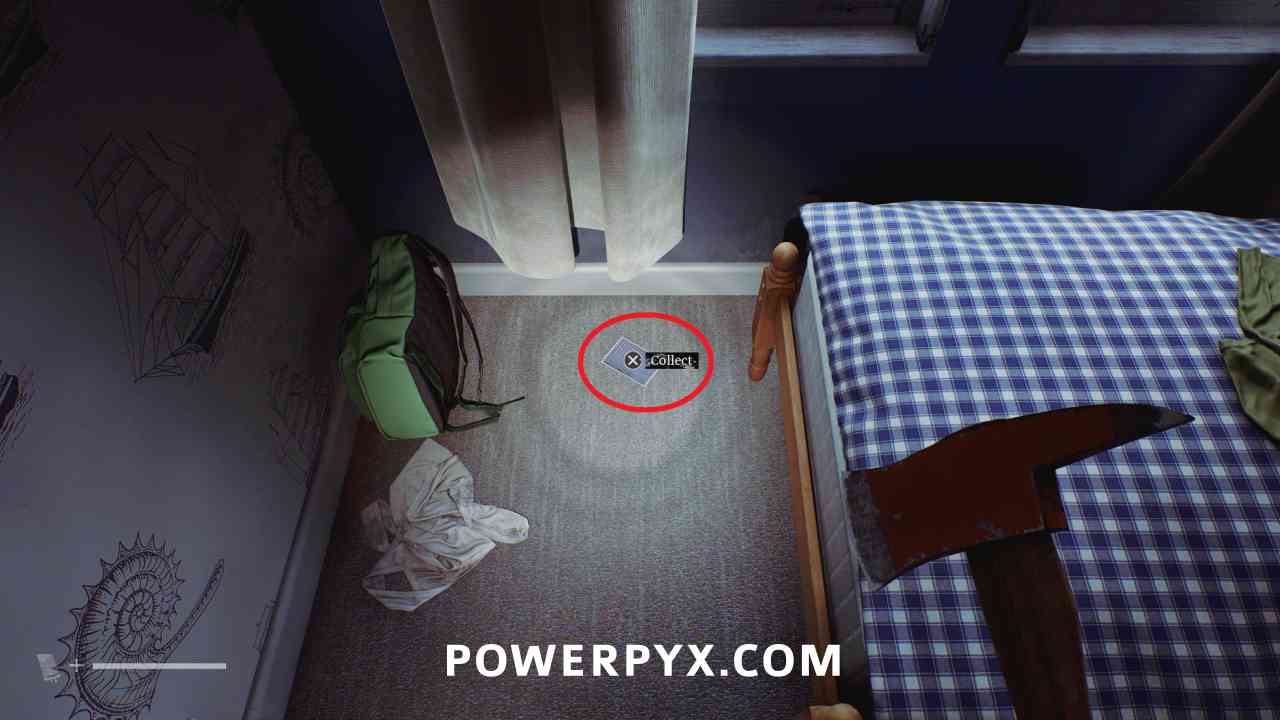
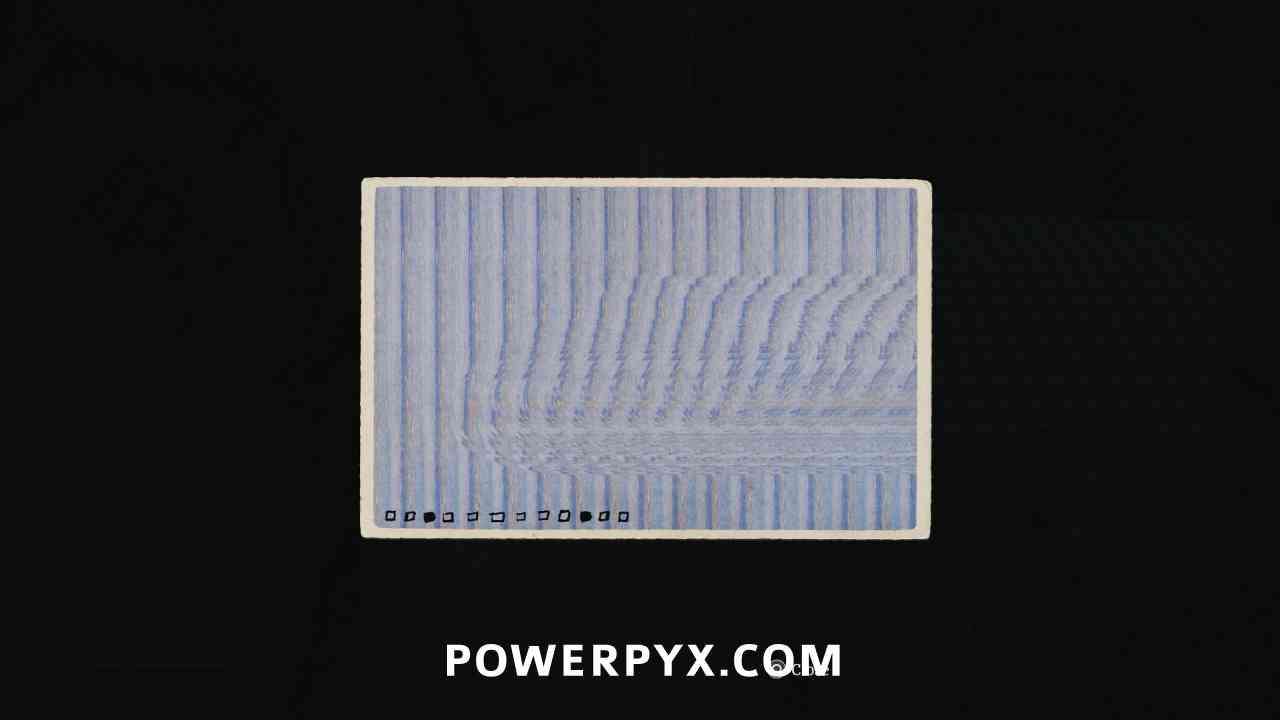
Inside the apartment building south of the building numbered (14), go up to the second floor into apartment 1/2, and it is at the end of the bed on the ground in the southeast room.
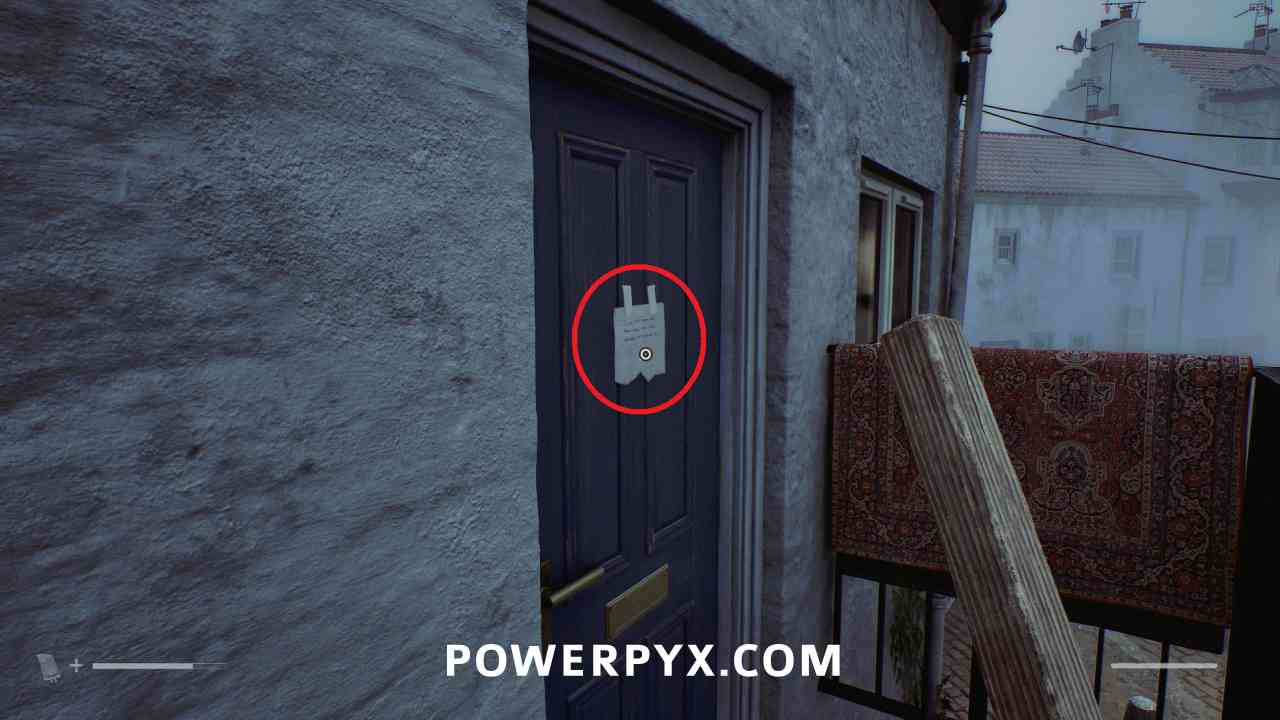
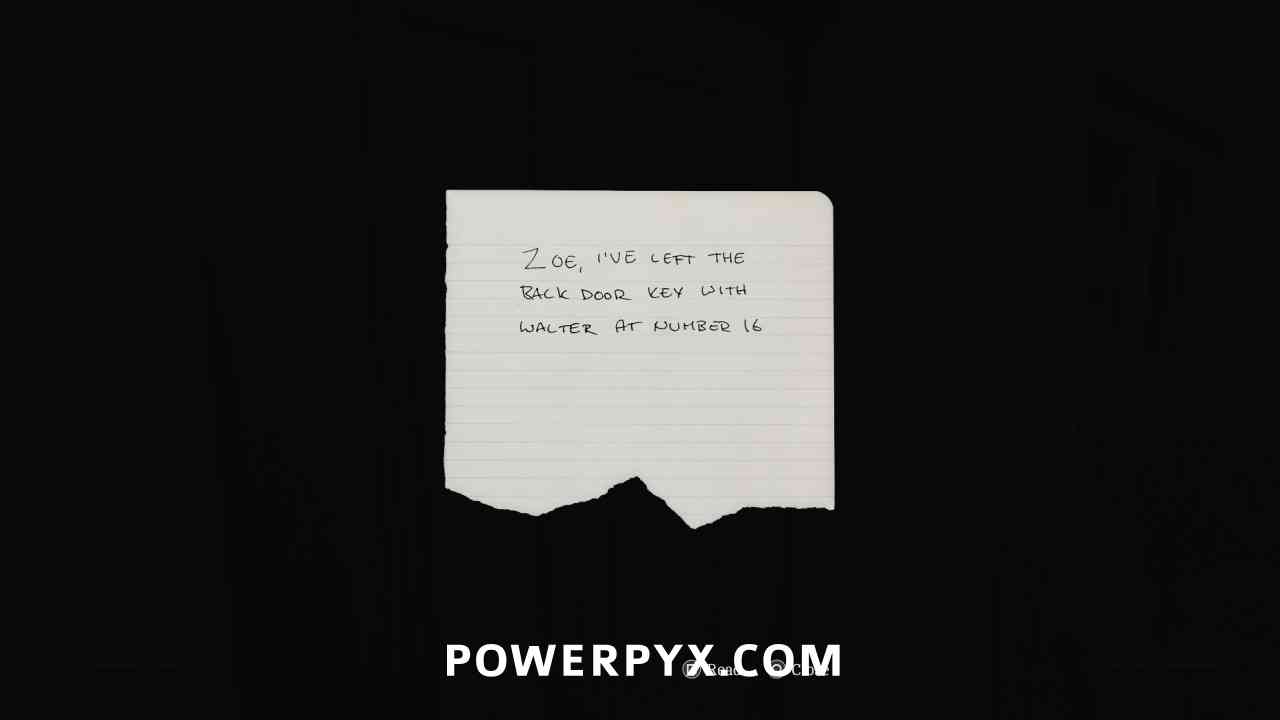
Clue: Jess’s Door Note
Area: Shorefront District – South > Outside Jess’s
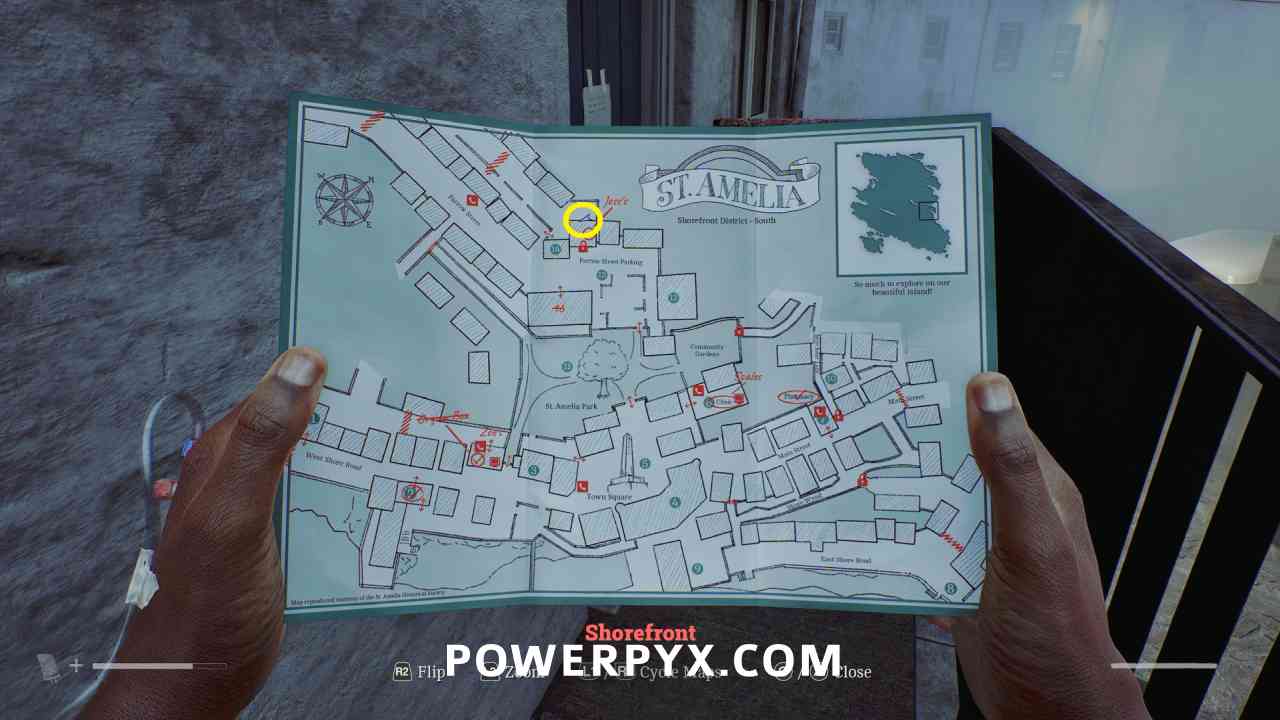
On the back door of Jess’s house (beside (14) inspect the note on the back door.
Locked Door – Jess’s
Area: Shorefront District – South > Outside Jess’s
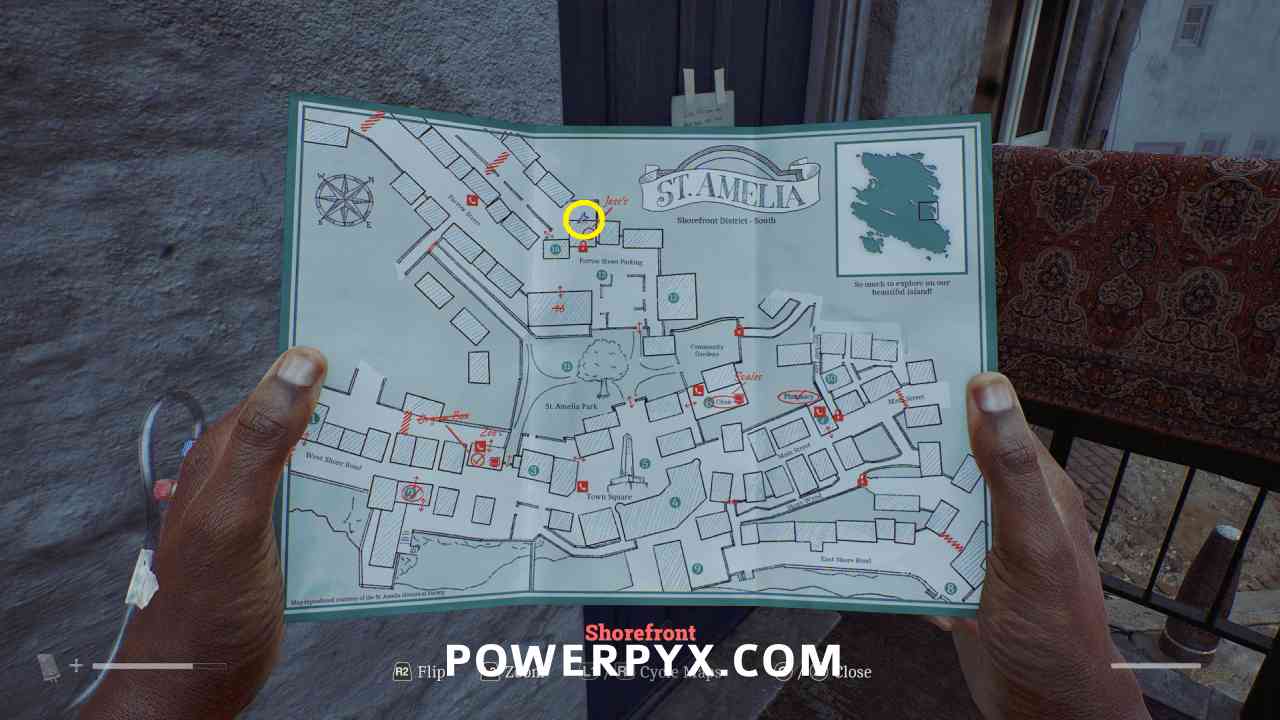
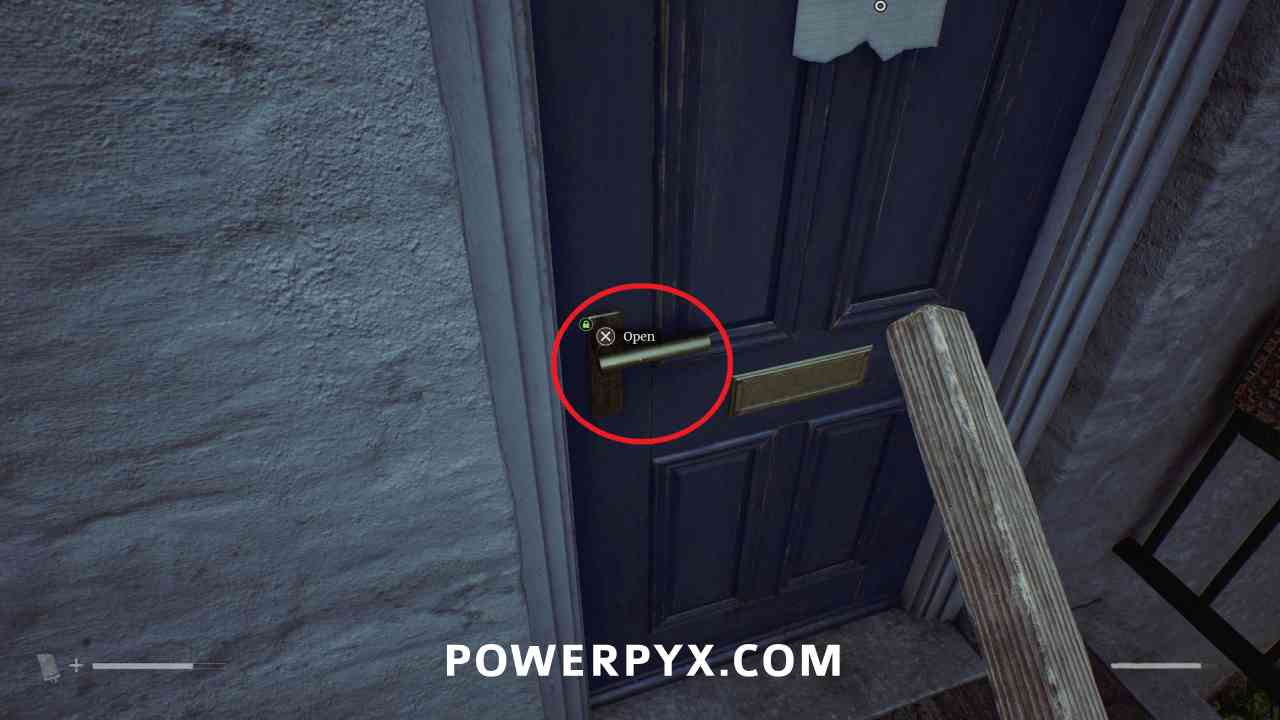
At the back door of Jess’s house (beside (14)) interact with the lock and use 21 Farrow St. – Back Door Key.
Shorefront District – South > Jess’s House
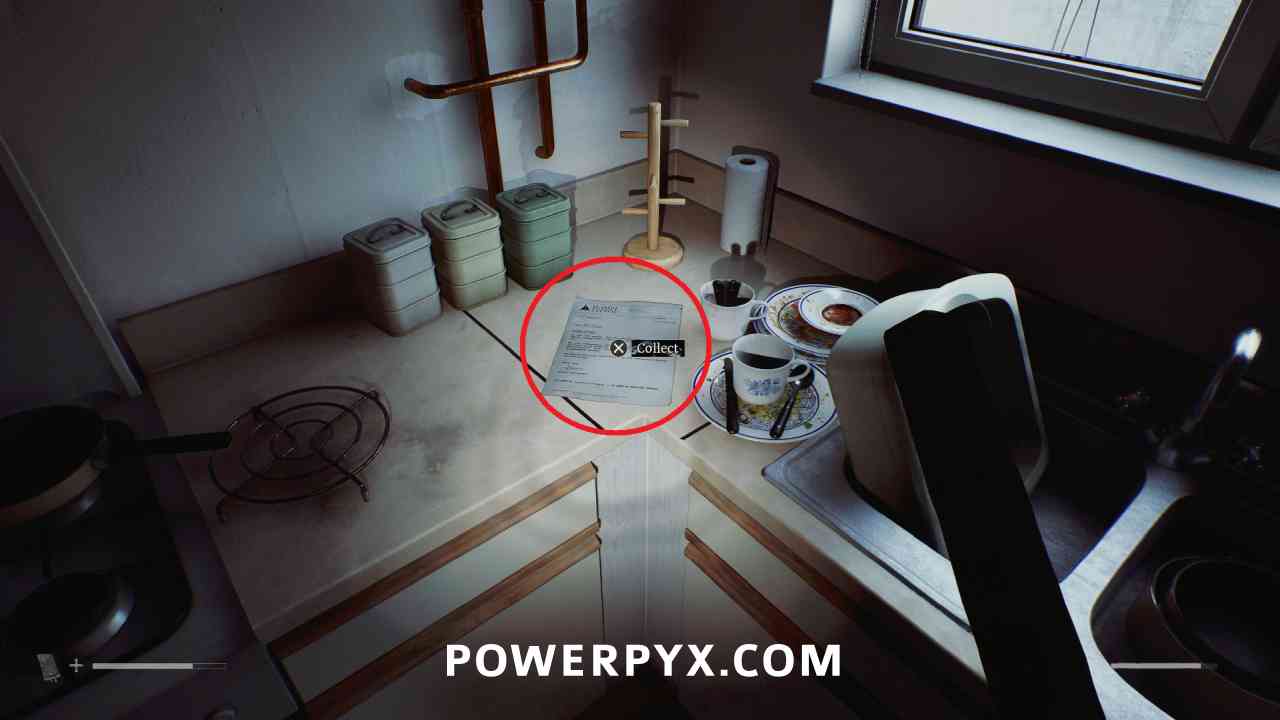
Document: Task Assignment
Area: Shorefront District – South > Jess’s House
Inside Jess’s, on the counter in the kitchen.
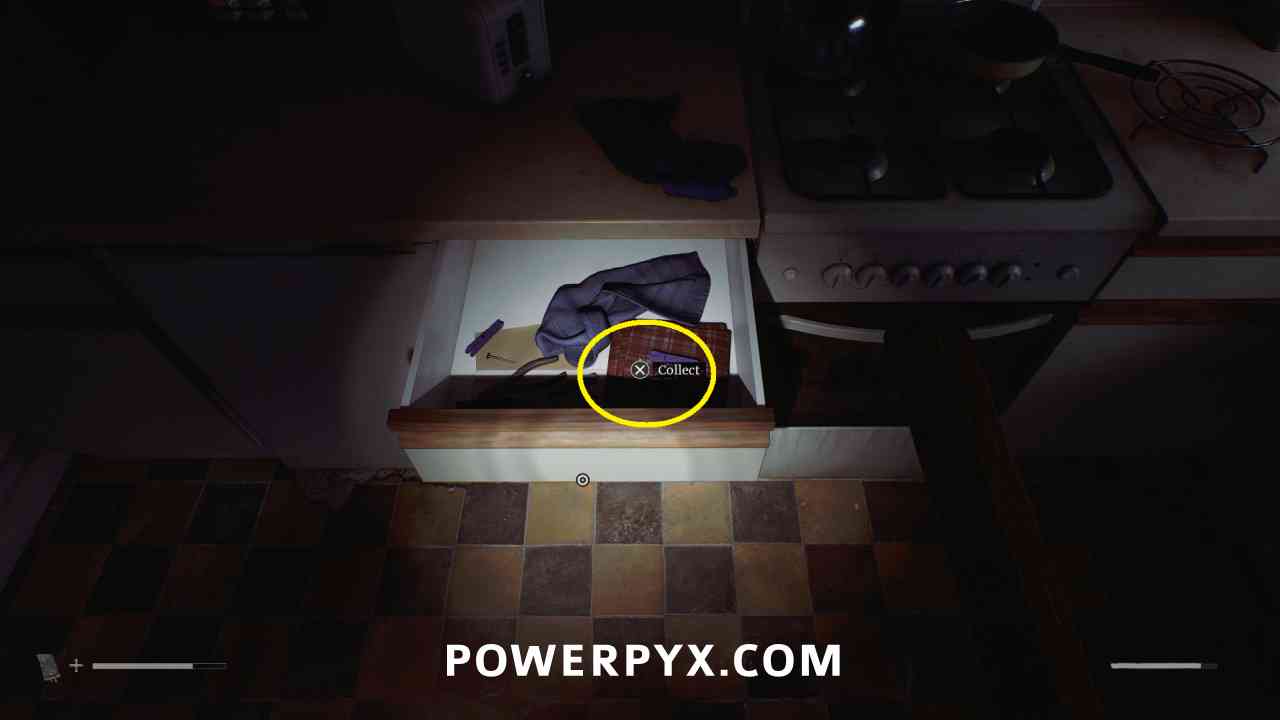
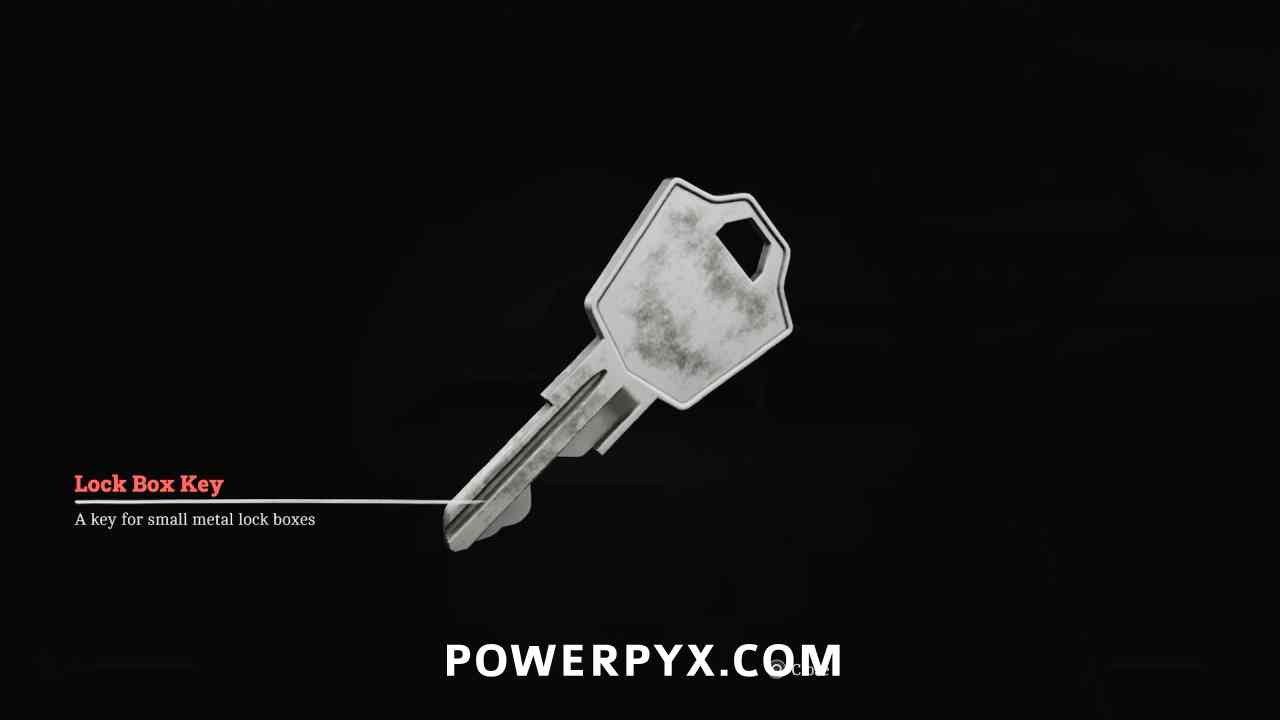
Equipment: Lockbox Key
Area: Shorefront District – South > Jess’s House
Inside Jess’s, in the drawer in the kitchen.
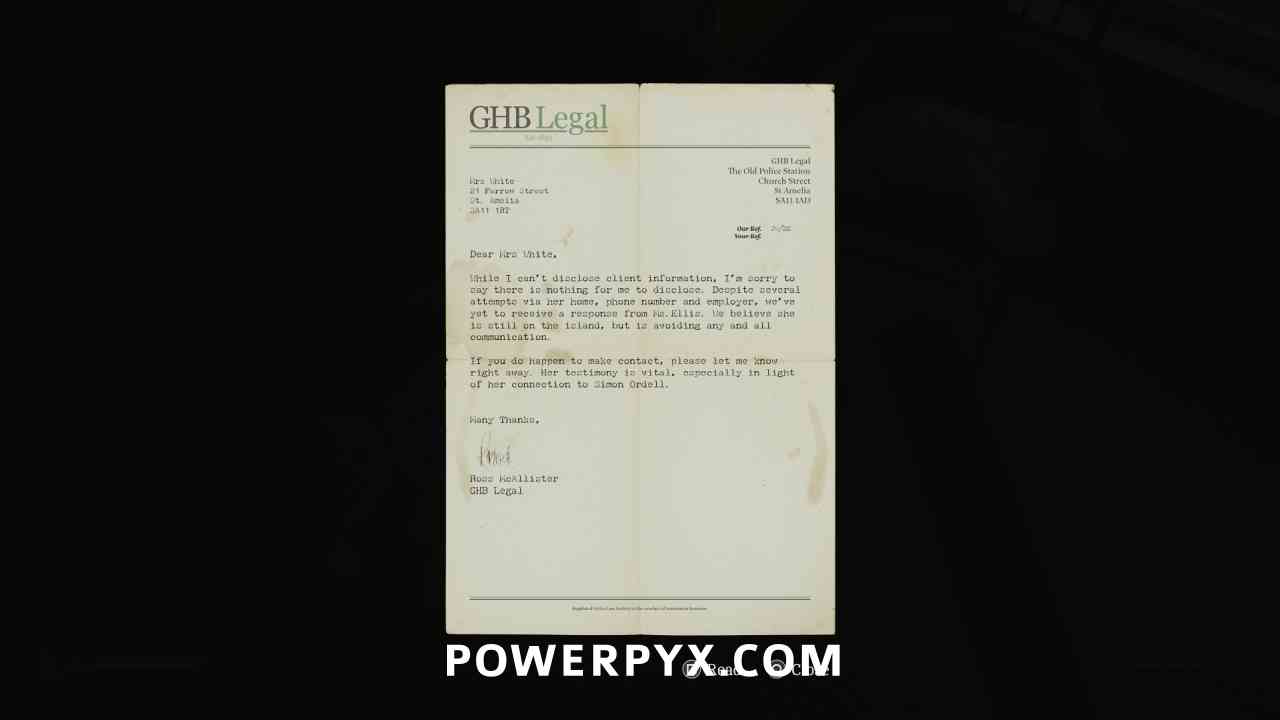
Document: Jess Legal Advice
Area: Shorefront District – South > Jess’s House
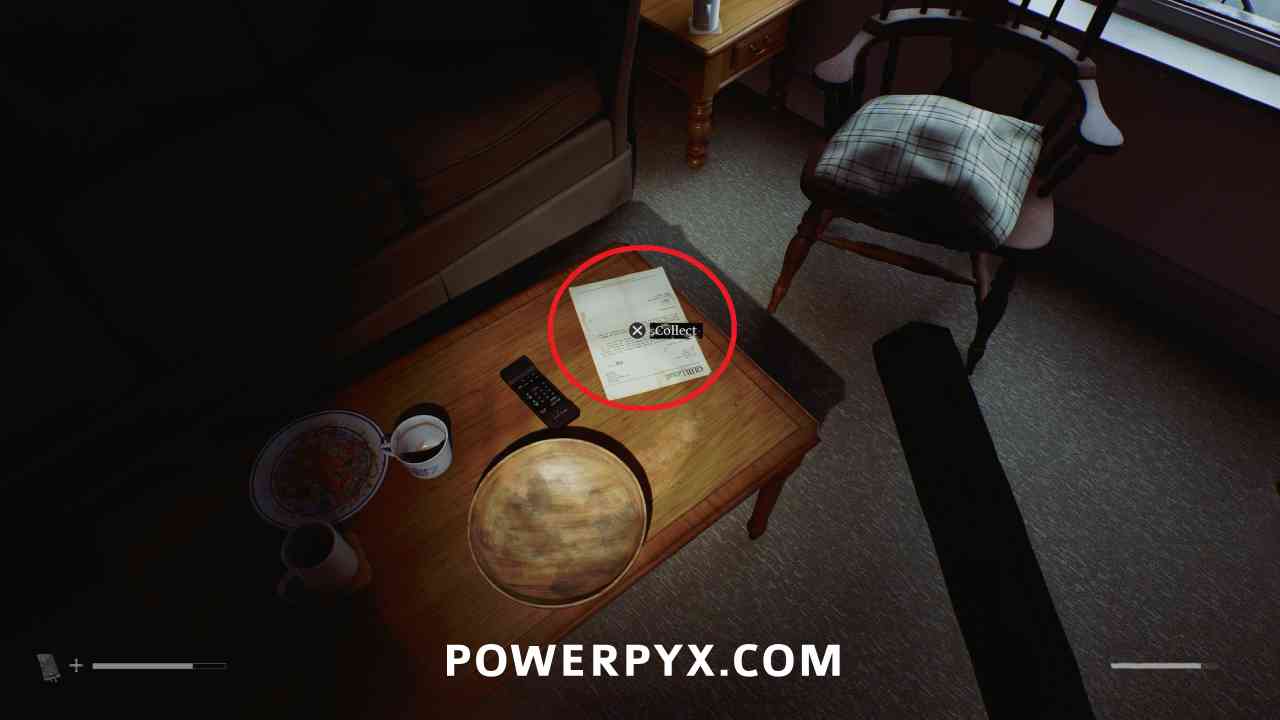
Inside Jess’s, on the table in the living room.
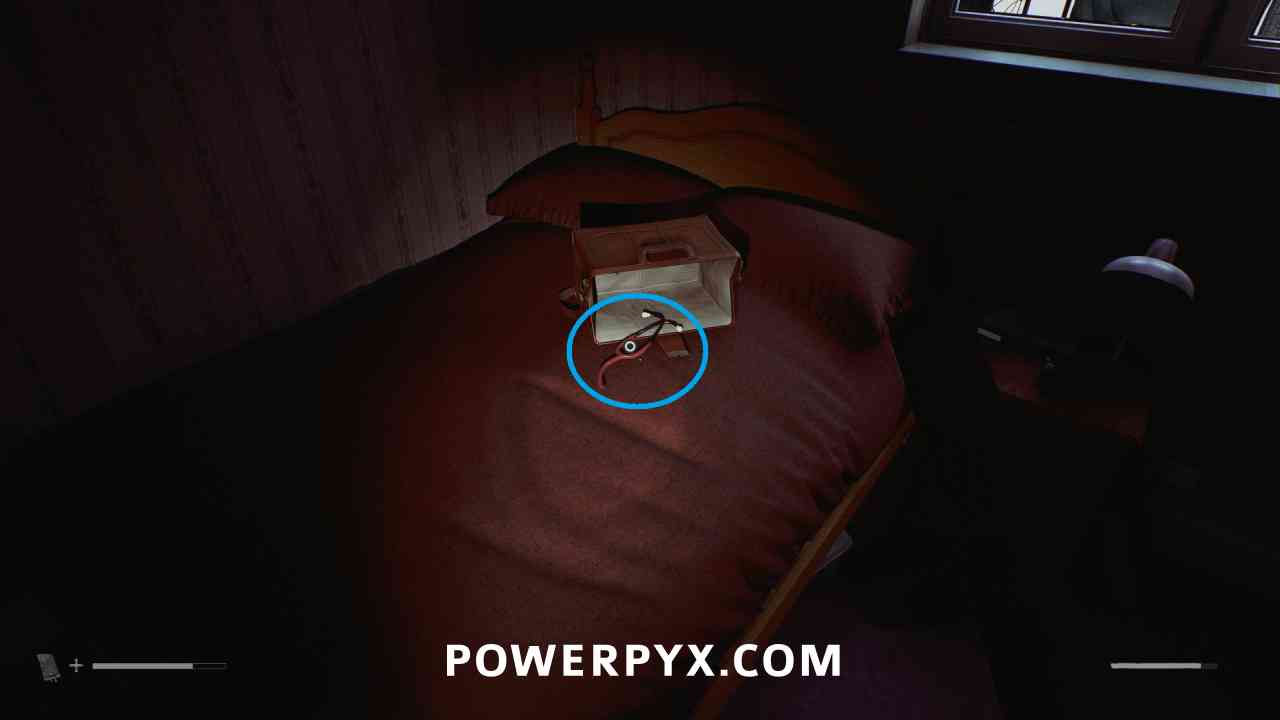
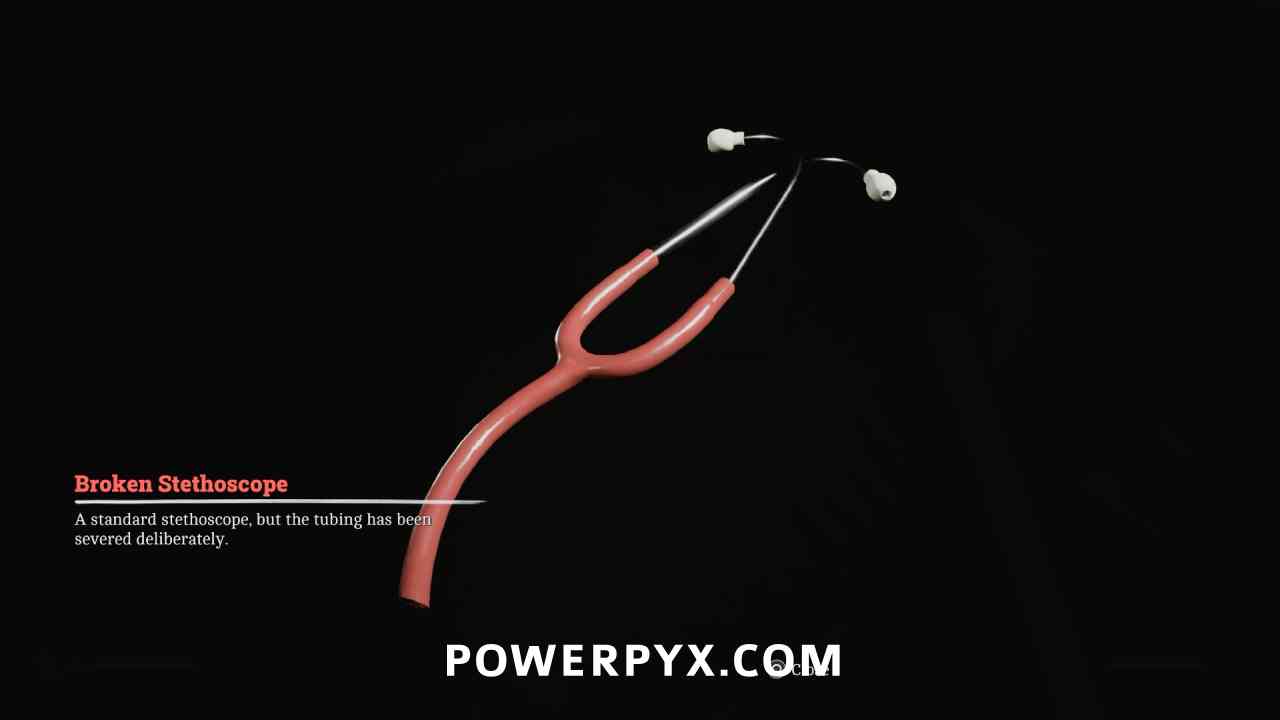
Key Item: Broken Stethoscope
Area: Shorefront District – South > Jess’s House
Inside Jess’s, on the bed in the bedroom.
Resource Container
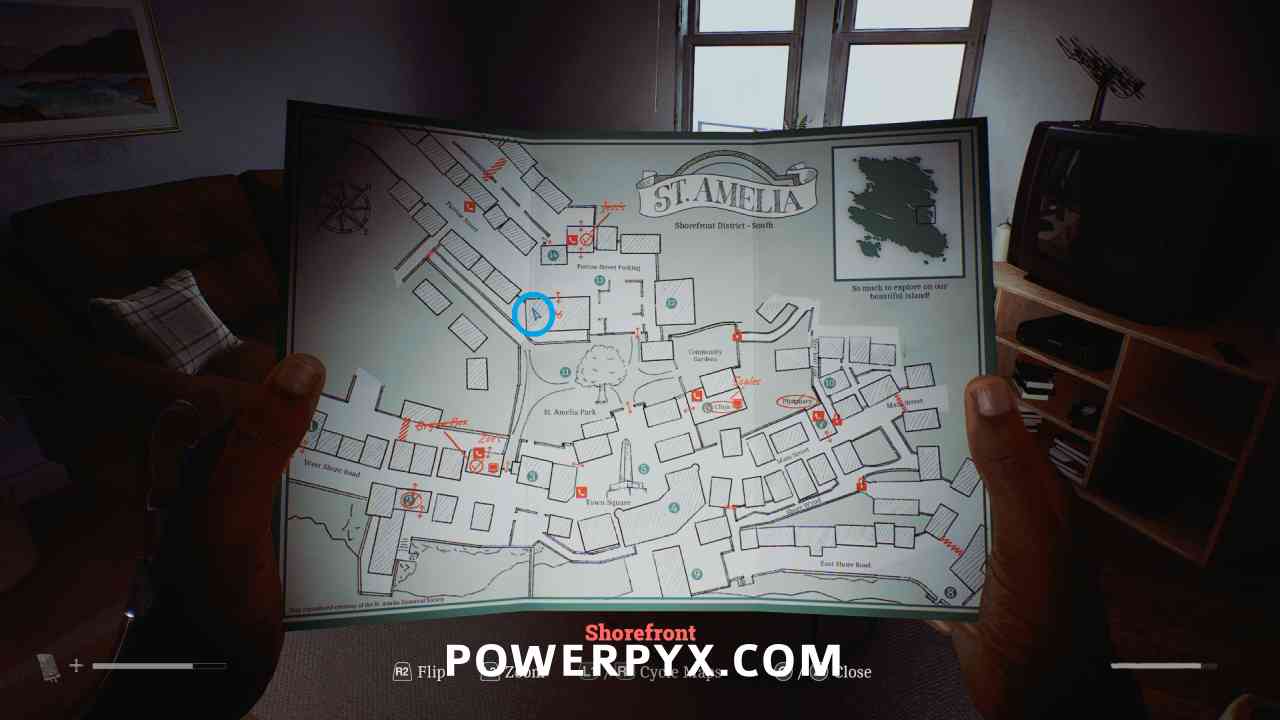
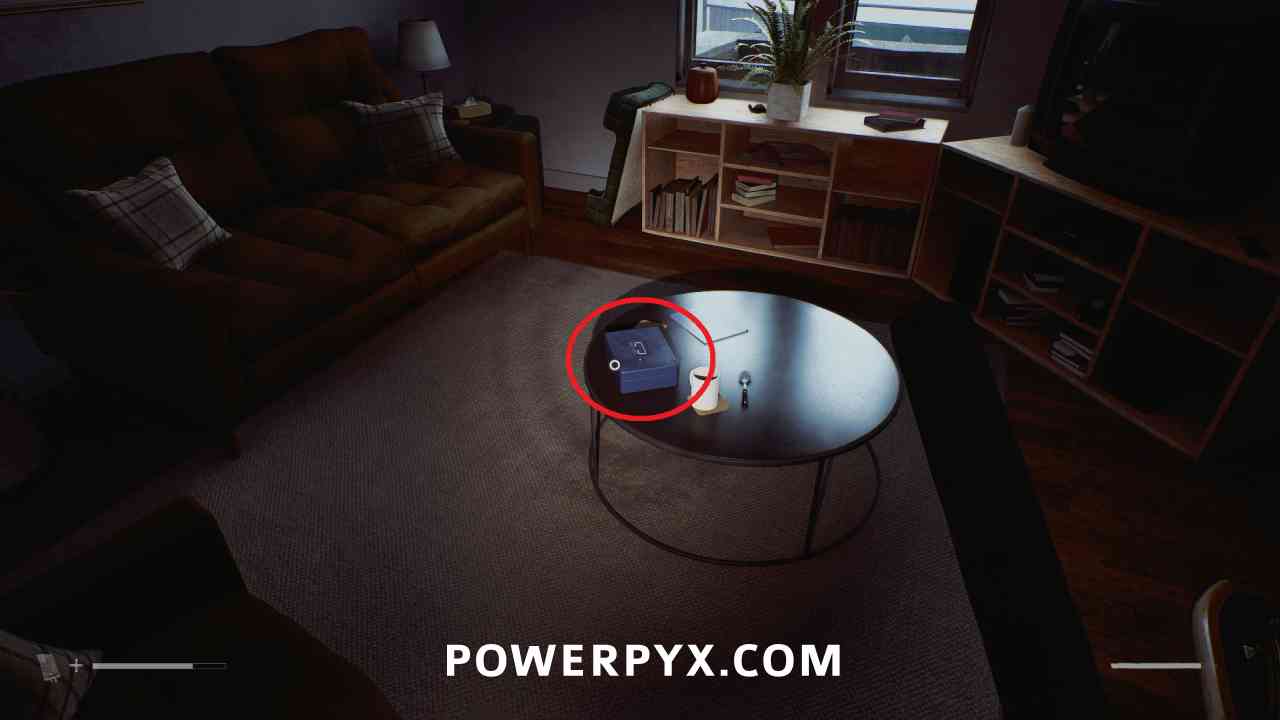
Area: Shorefront District – South
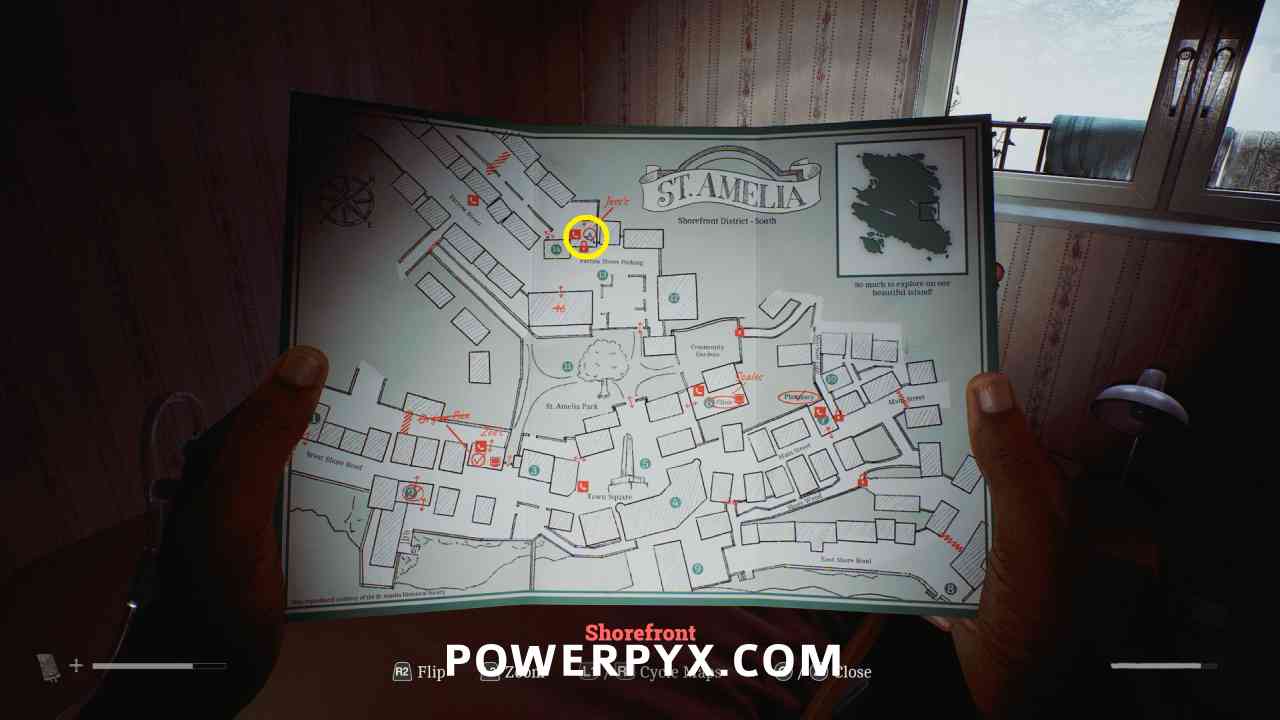
In the apartment building south of (14) in apartment 0/1, use the Lockbox Key on the blue lockbox in the living room.
Shorefront District – South > Clinic (6)
Puzzle #7
Area: Shorefront District – South > Clinic (6)
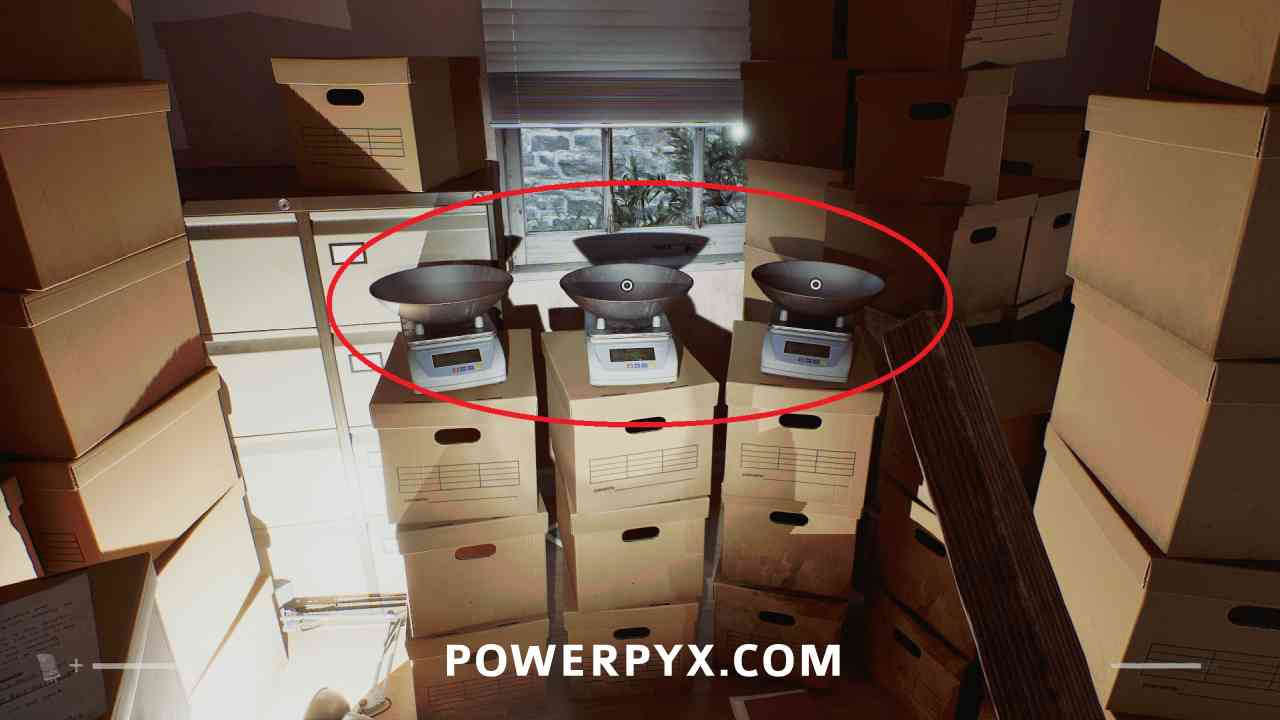
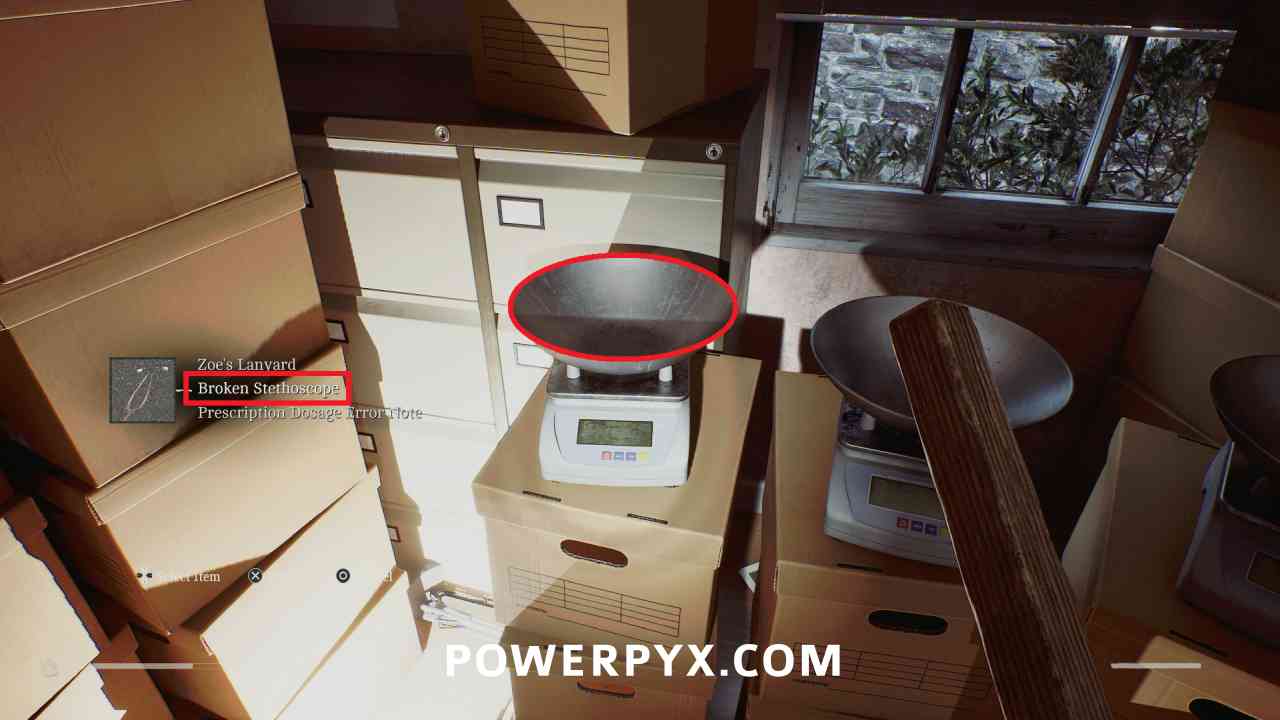
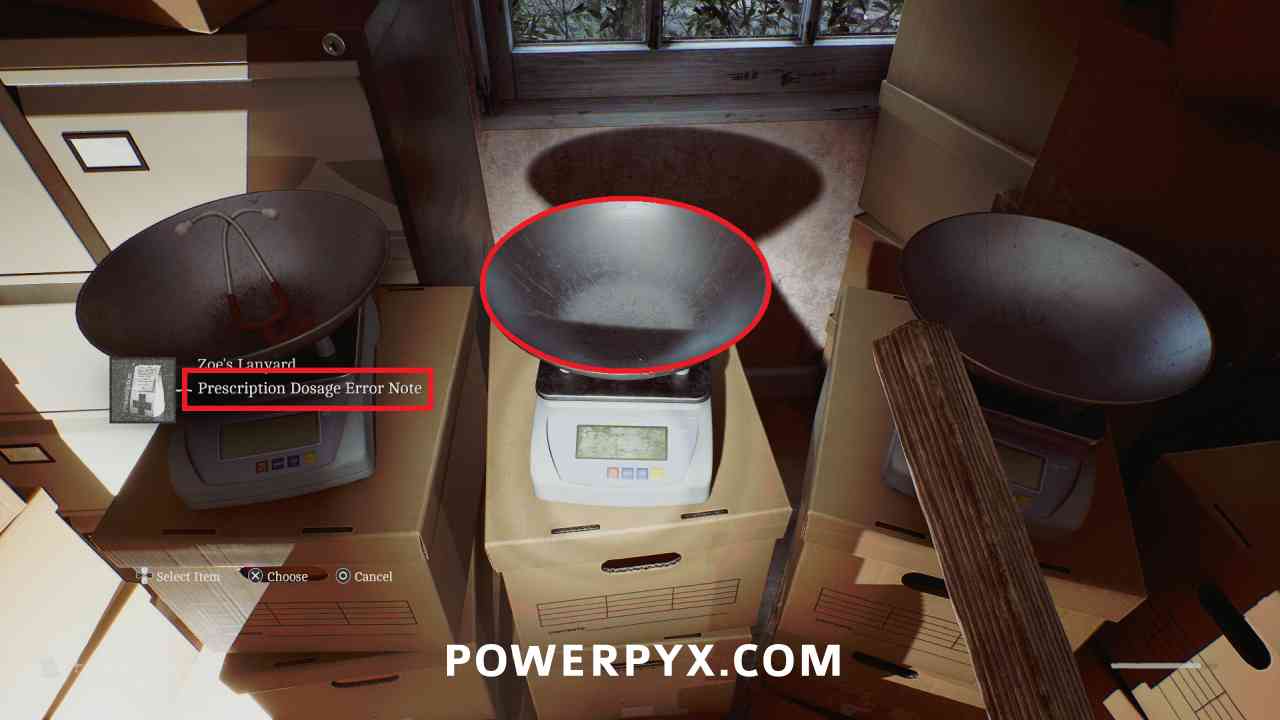
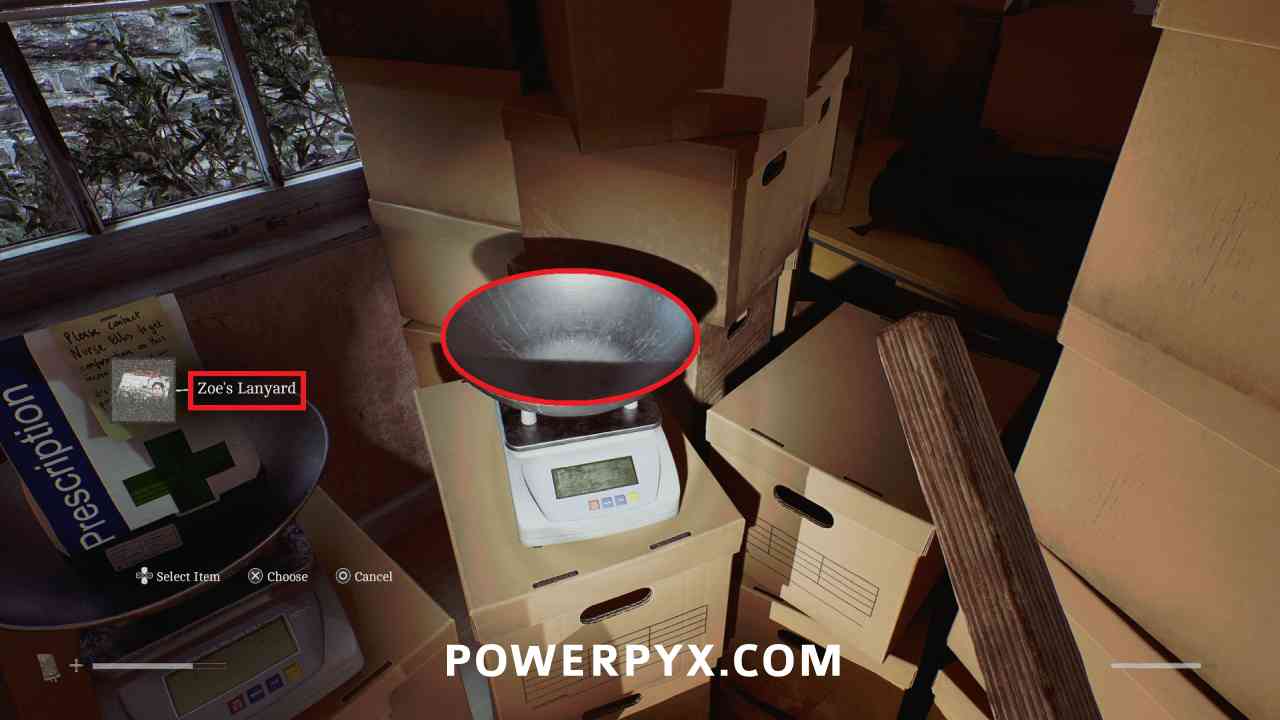
Return to the Clinic, and go to the back room in the hallway (Z Ellis). Interact with the scales and place the Broken Stethoscope on the left, the Prescription Dosage Error Note in the middle, and Zoe’s Lanyard on the right.
Trophy: Resignation
NEXT: Part 2: Zoe
For an overview of all other chapters and by-type collectibles also see Silent Hill Townfall Collectible Guide.
Leave a Reply