
Part 2: Zoe is the second section of Silent Hill Townfall and covers Chapters 5-6. This walkthrough will guide you through all collectibles and puzzles in the Zoe section. Everything that’s needed for trophies and 100% completion is included. Most items are missable if you don’t pick them up during this section, as you cannot replay sections of the game without reloading a prior save or starting a new playthrough.
Collectibles Walkthrough:
Documents and Clues that contribute toward the “Discoveries” statistic which determine the main endings are highlighted in RED.
Part 2: Zoe
Chapter 5: Zoe Rounds
Save It For The Patients 
During this chapter, you must not use any healing items while playing as Zoe.
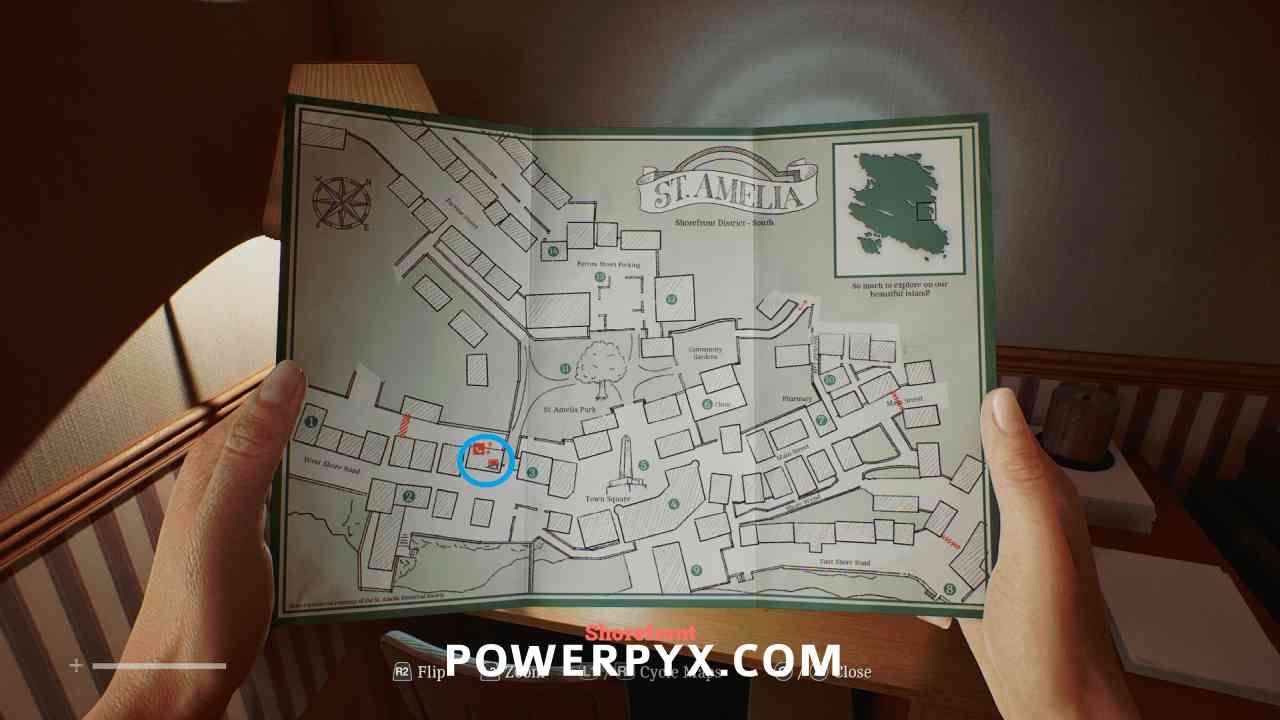
Shorefront District – South > Zoe’s House
Equipment: Pager
Area: Zoe’s House
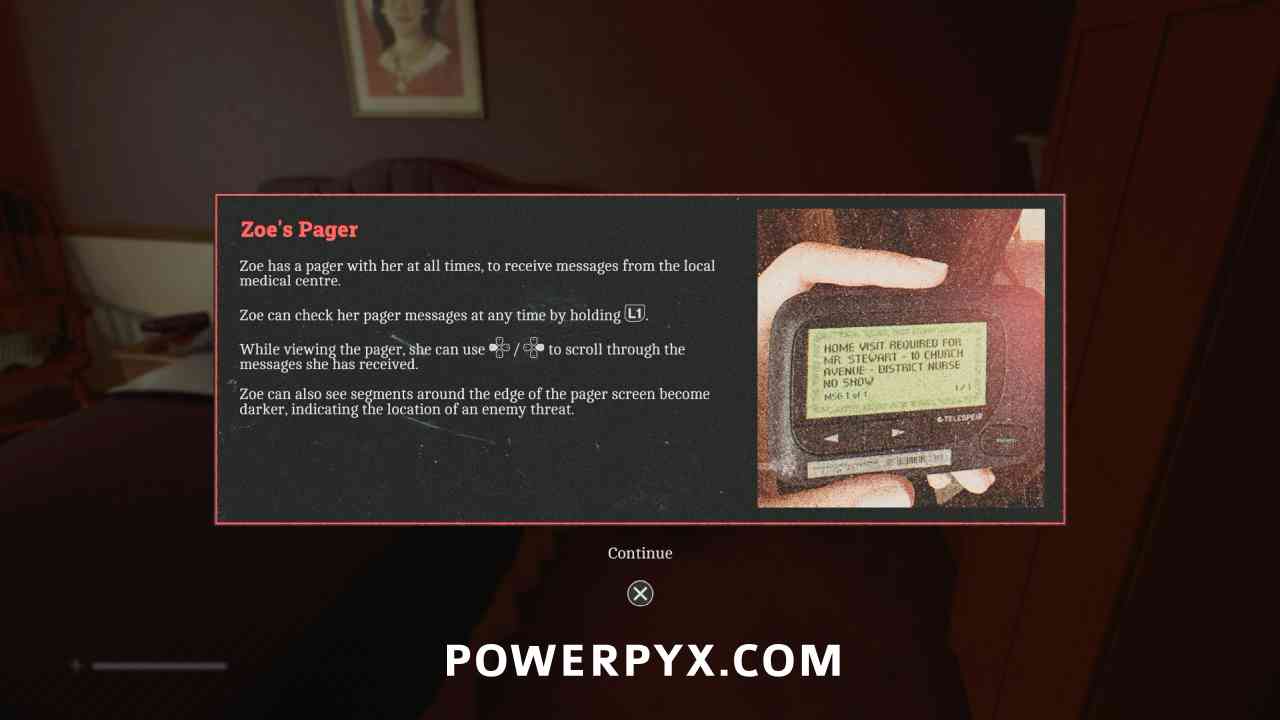
Automatically obtained when you start playing as Zoe. Functions similar to the CRTV for tracking enemies.
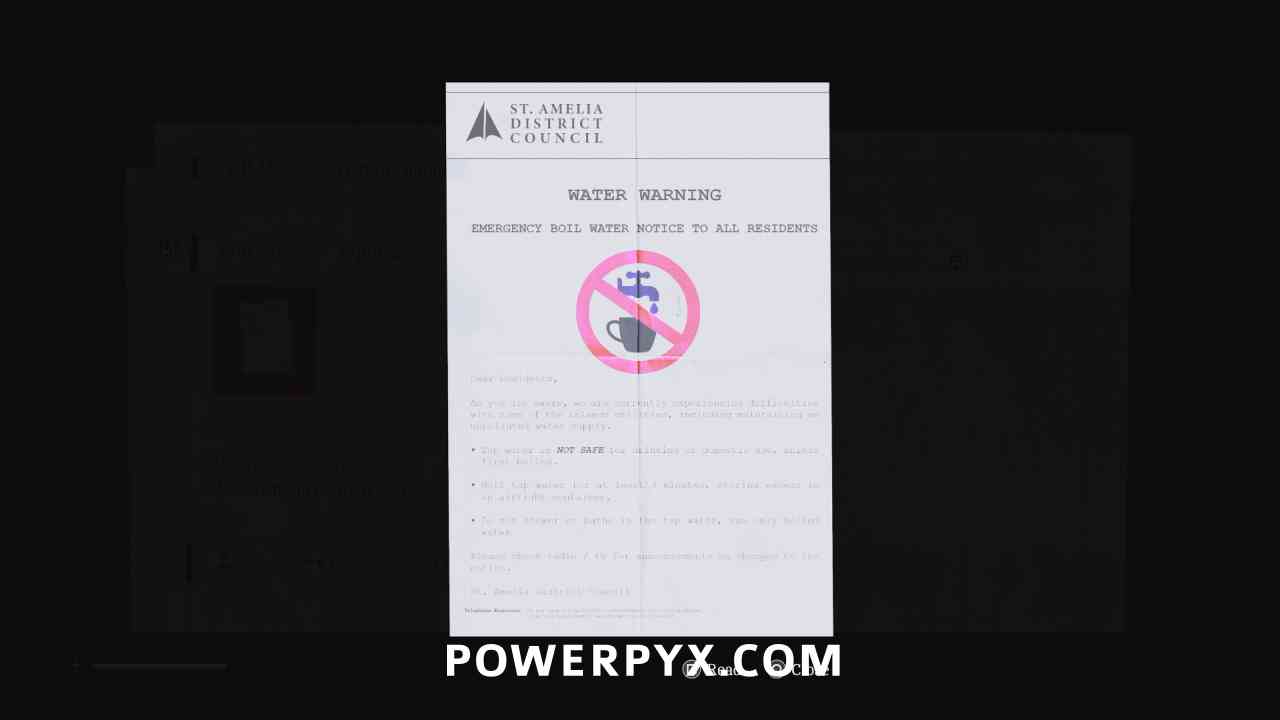
Document: Water Warning
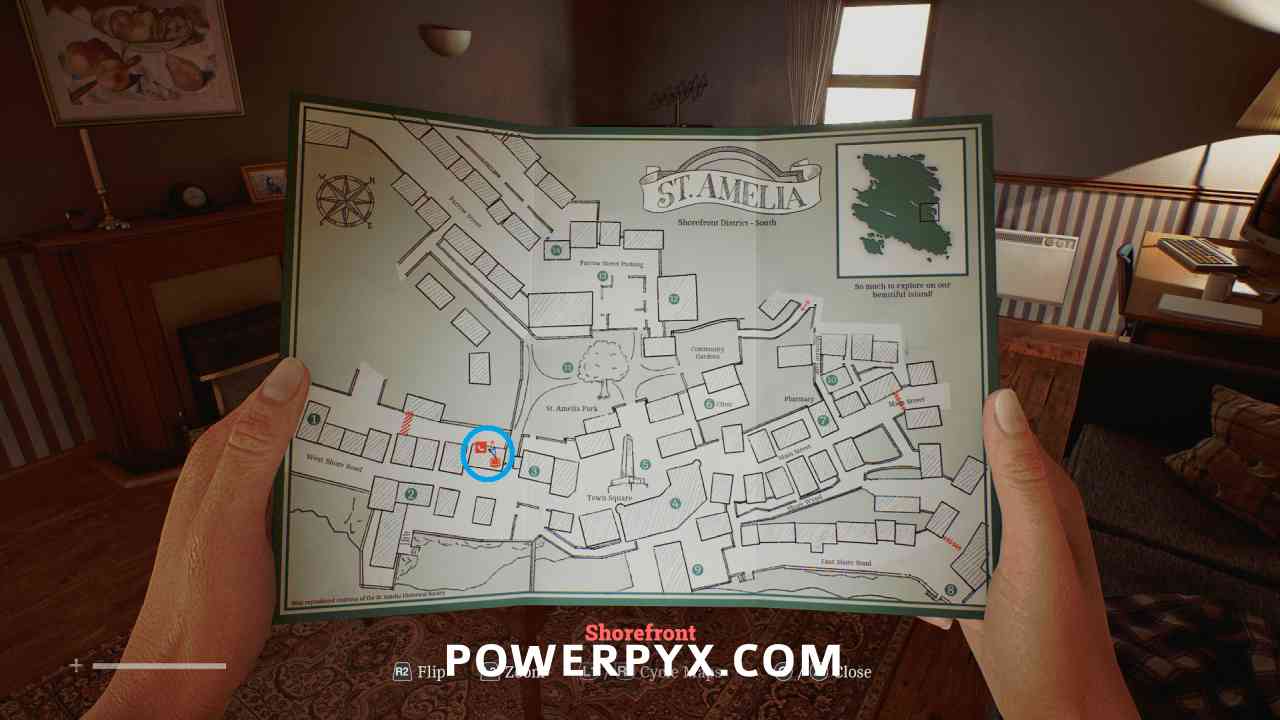
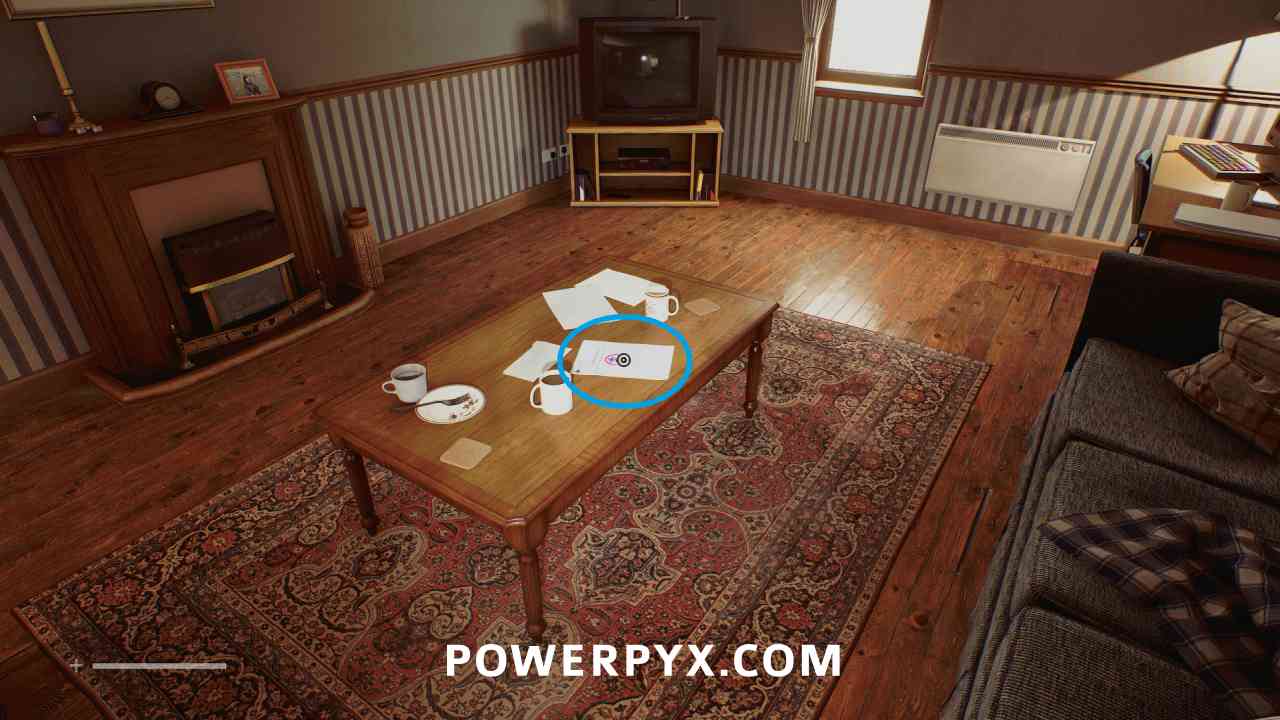
Area: Shorefront District- South > Zoe’s House
Inside Zoe’s House, on the table in the living room.
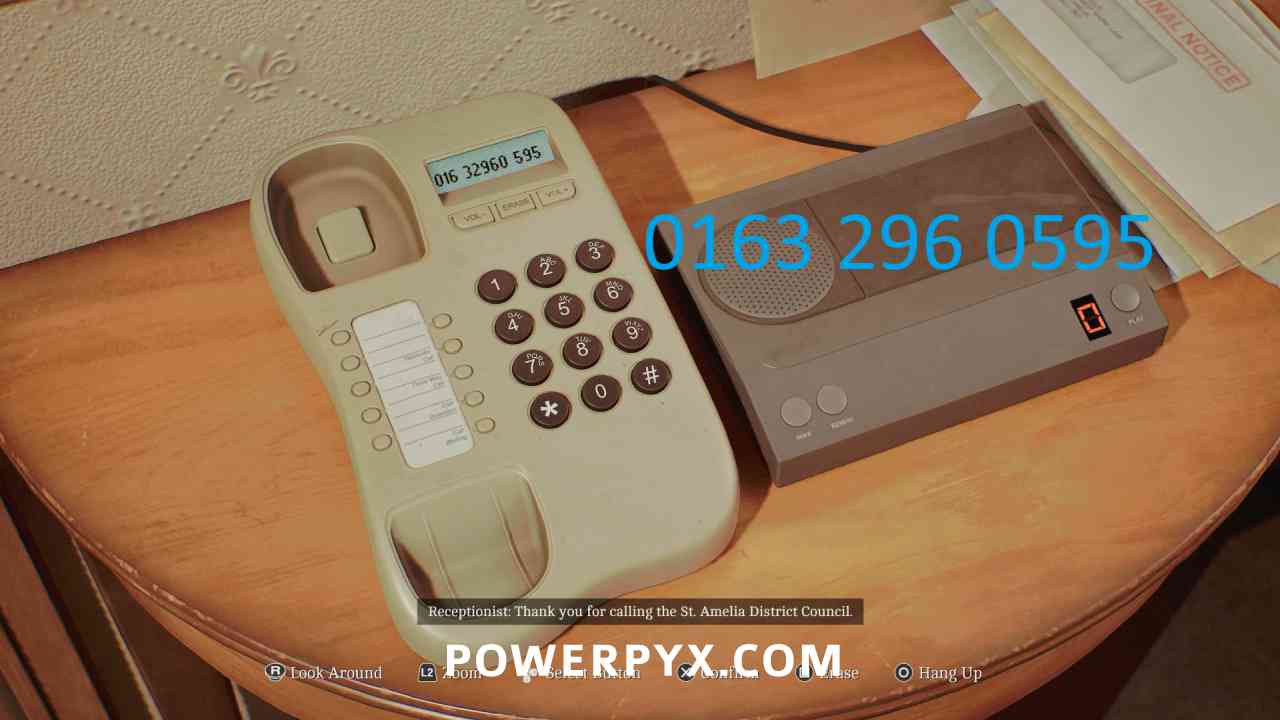
Phone Number: 0163 296 0595 – St. Amelia District Council
Area: Shorefront District- South > Zoe’s House
On the bottom of the Water Warning Document, call the number on the phone in Zoe’s house.
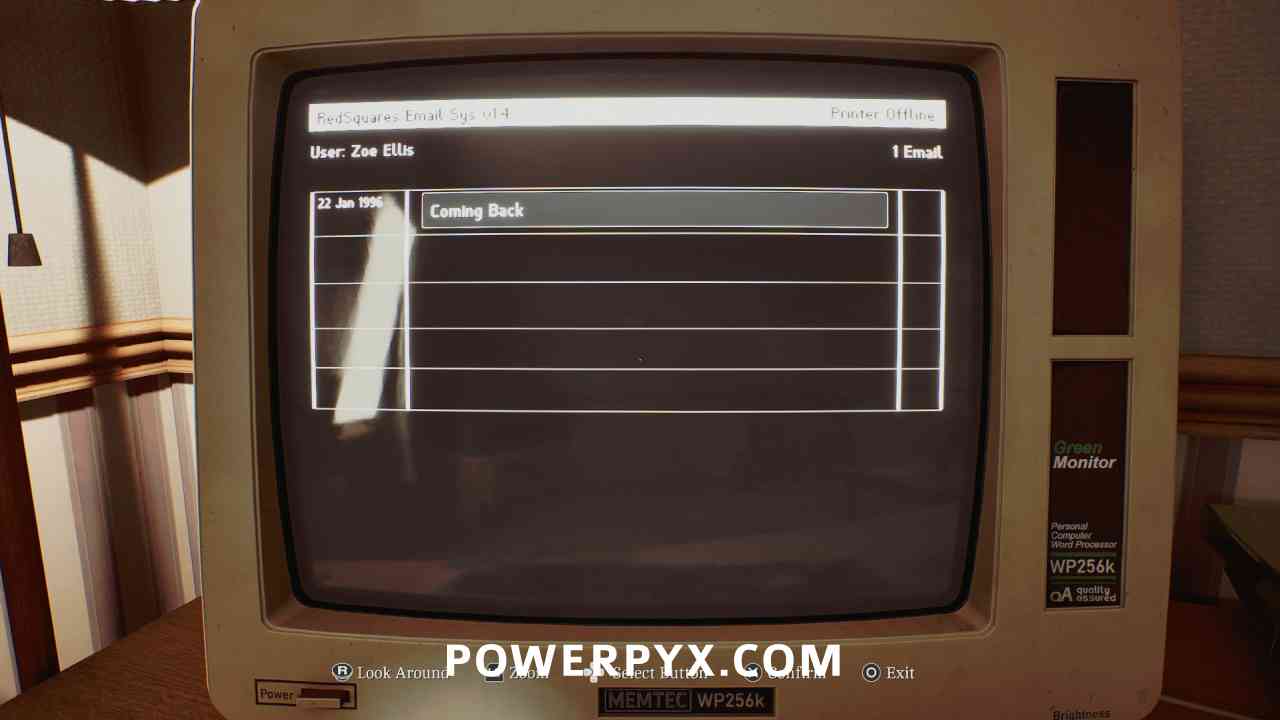
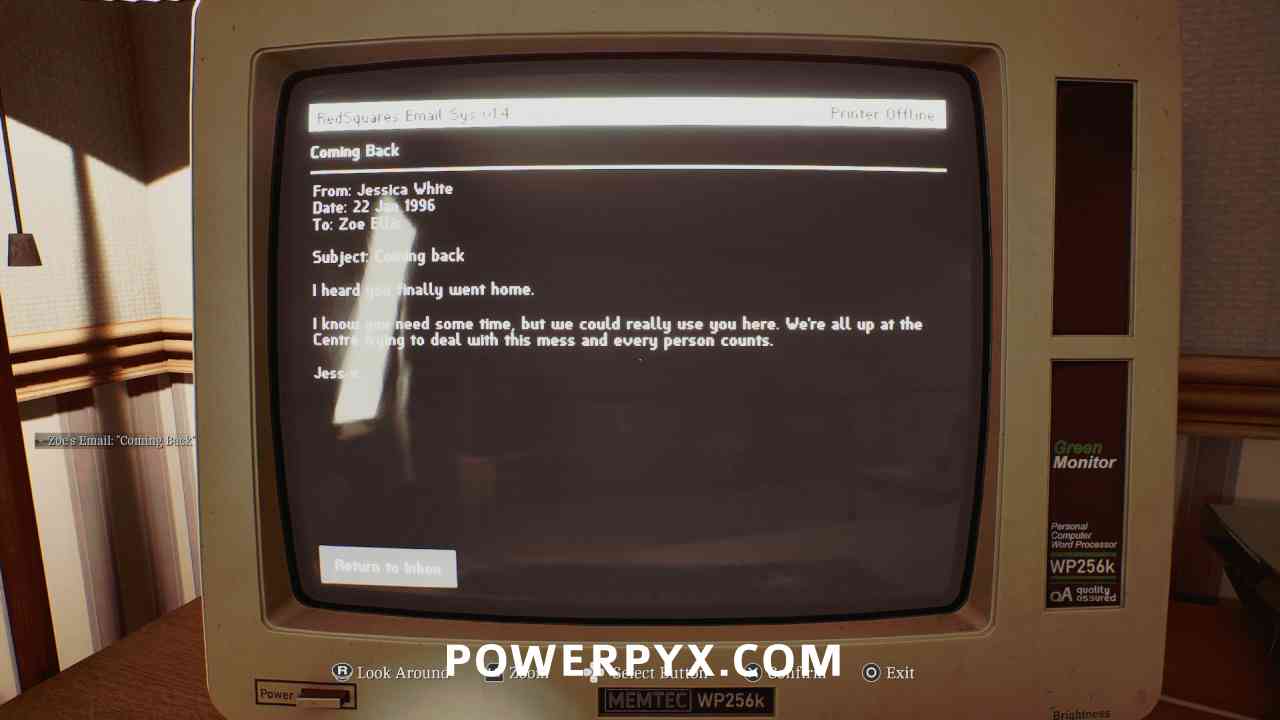
Document: Zoe’s Email: “Coming Back”
Area: Shorefront District – South > Zoe’s House
Inside Zoe’s House, interact with the computer and read the single email.
Shorefront District – South
Puzzle #8
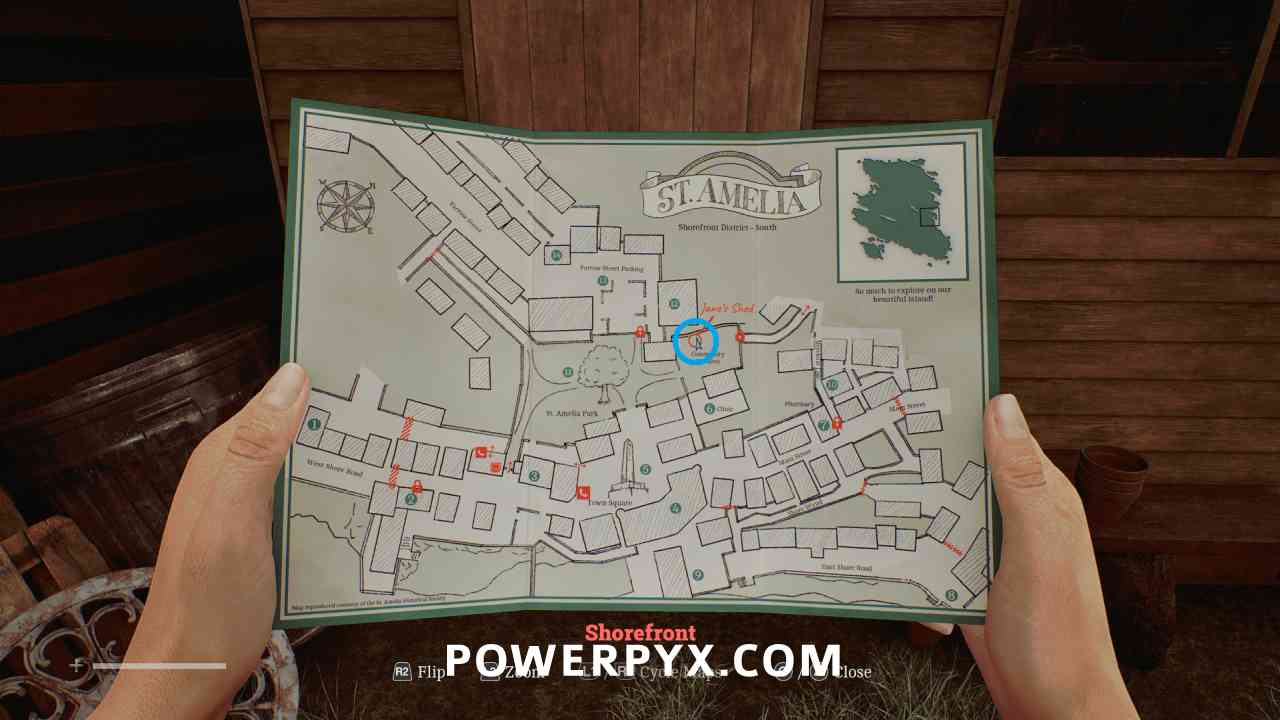
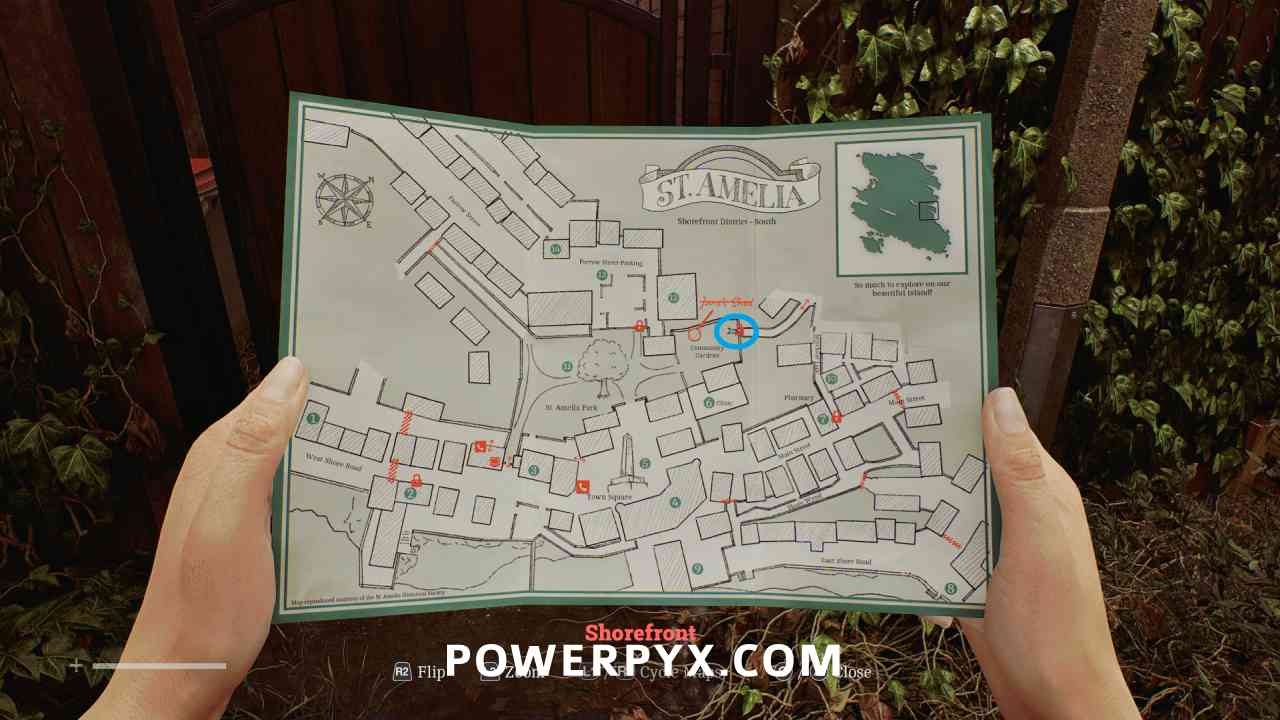
Area: Shorefront District – South > Community Gardens
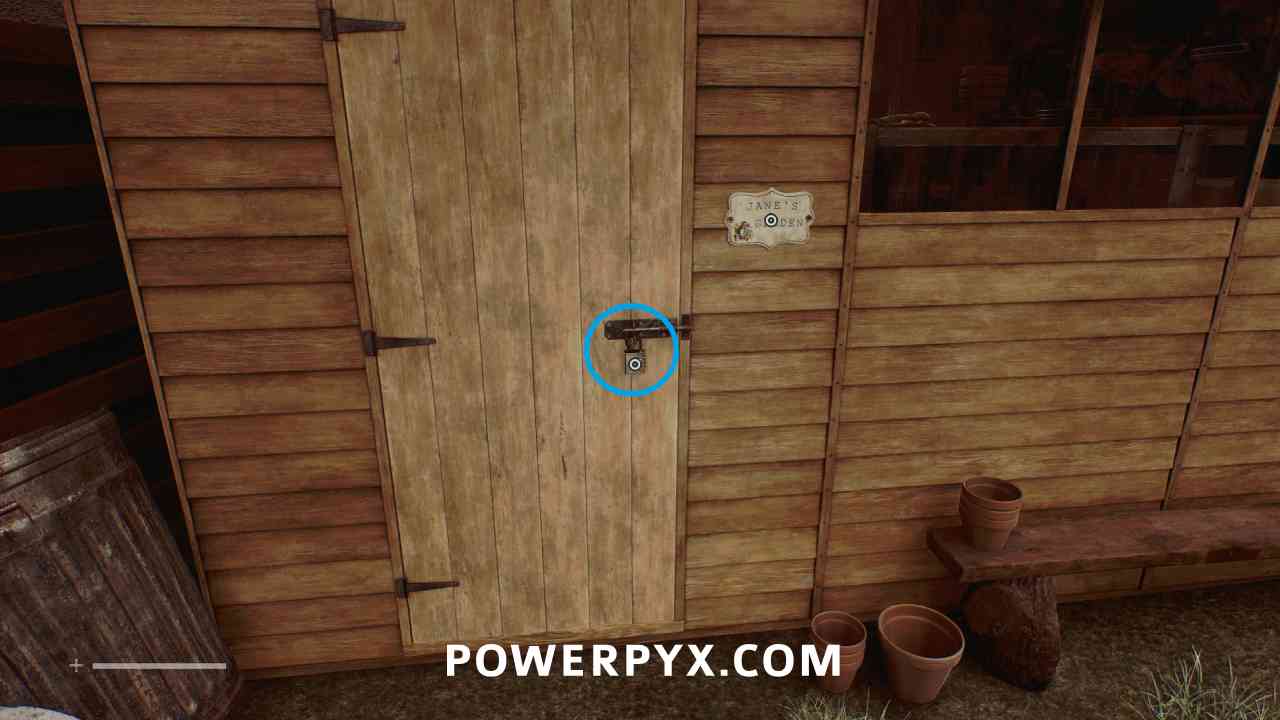
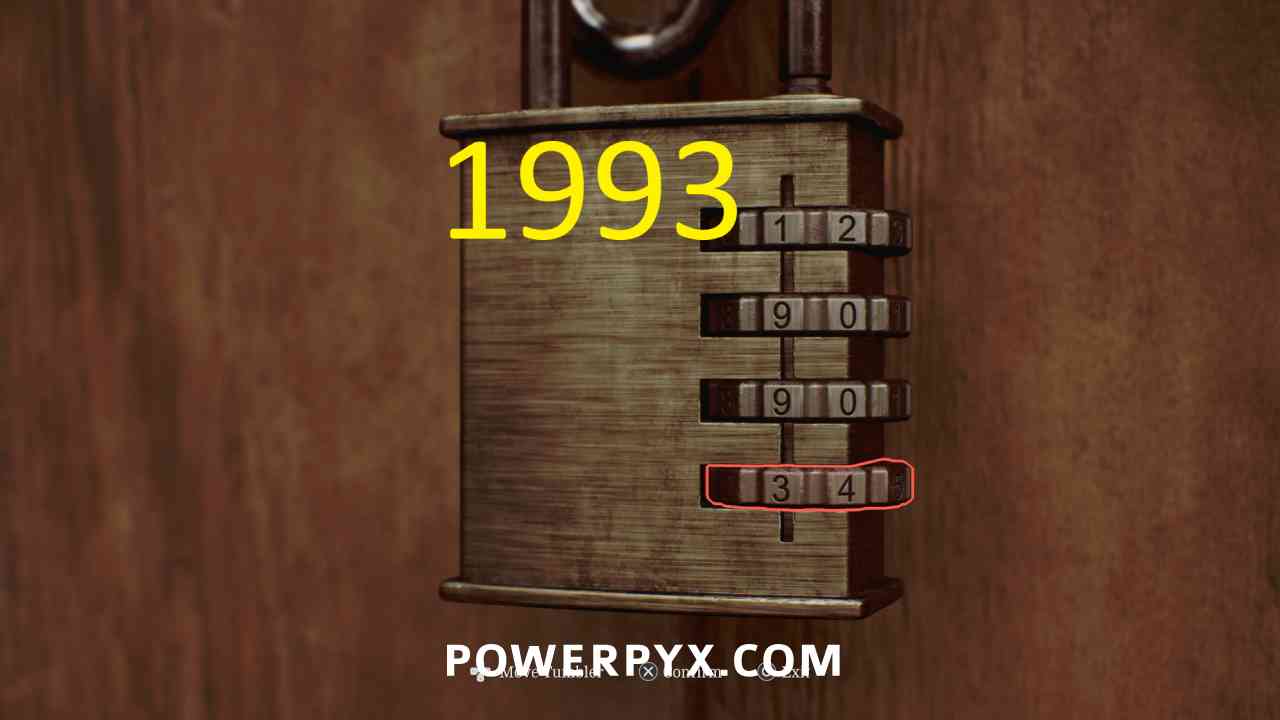
In the community garden, interact with the lock on the shed and enter 1993 (the same year on the flower bed with the name Jane Chalmers on it).

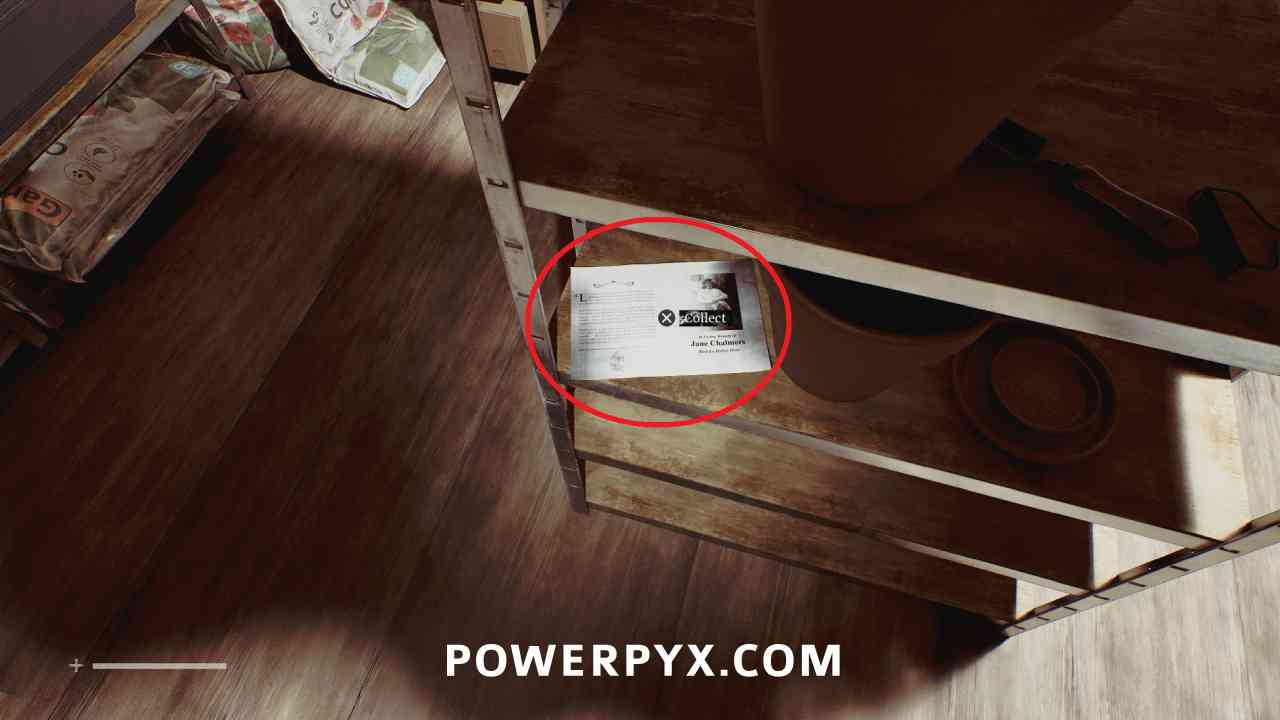
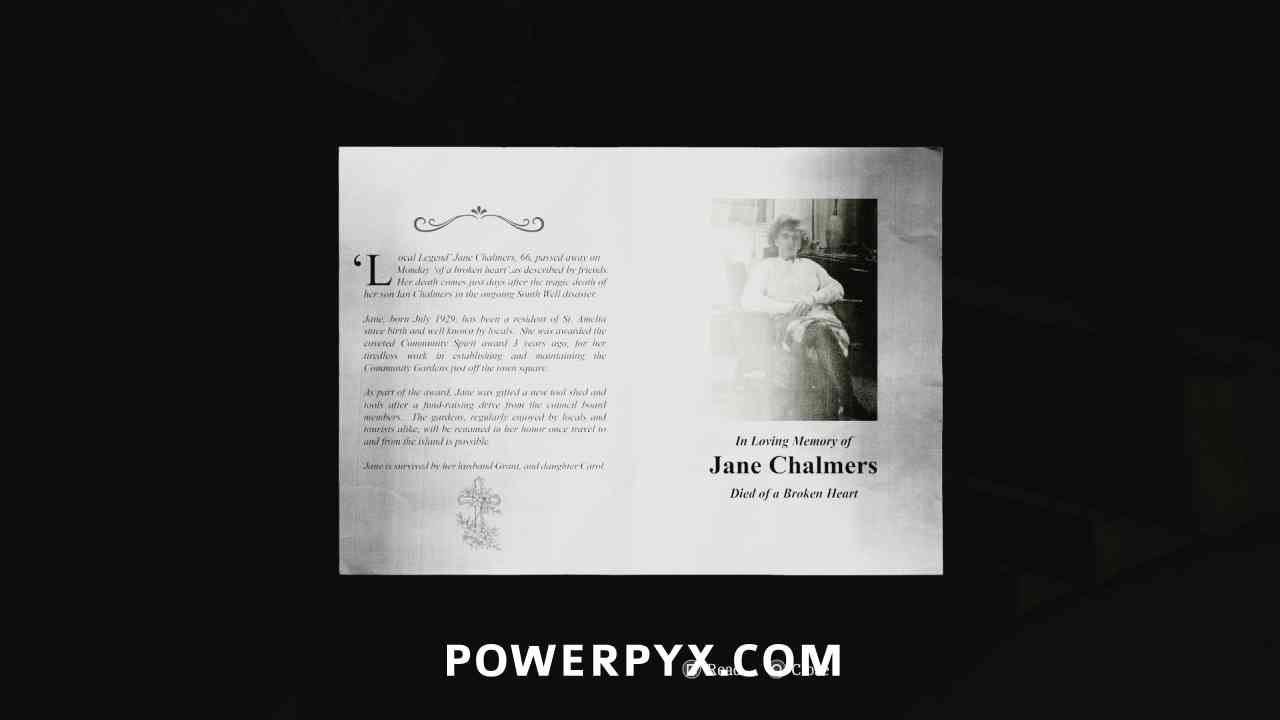
Document: Jane Chalmer’s Obituary
Area: Shorefront District – South > Community Gardens
In the shed, on the middle shelf.
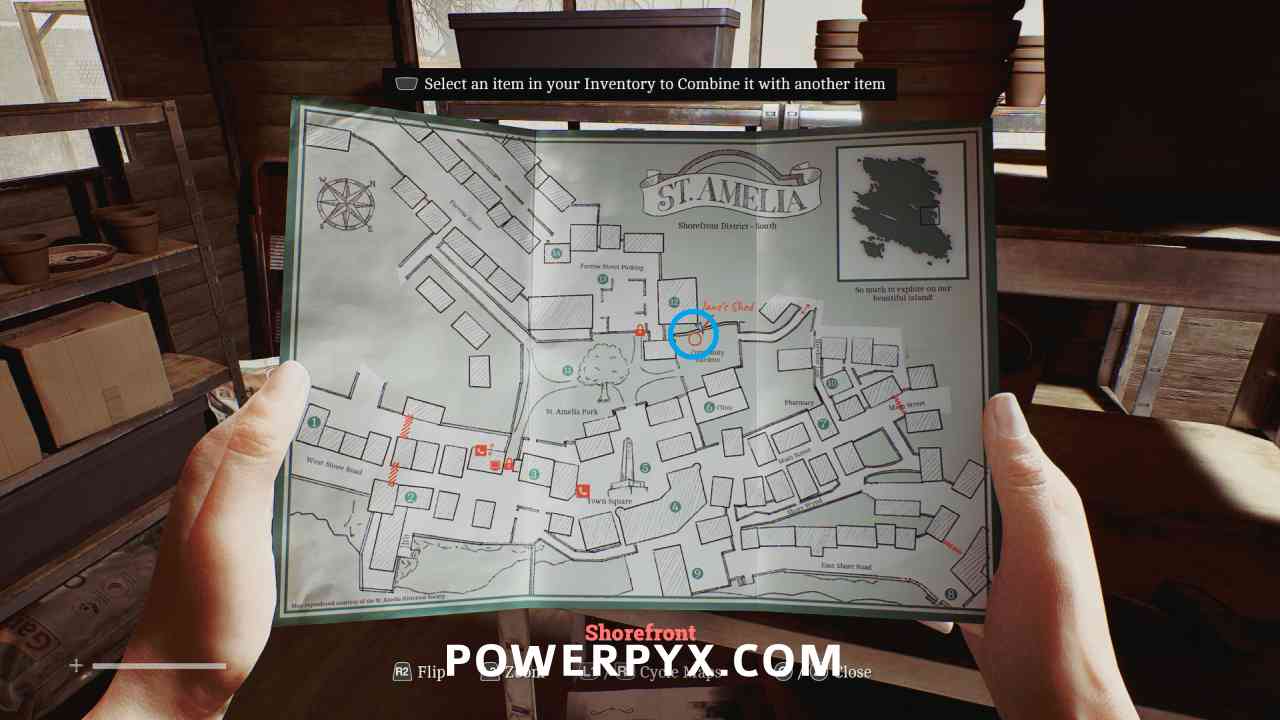
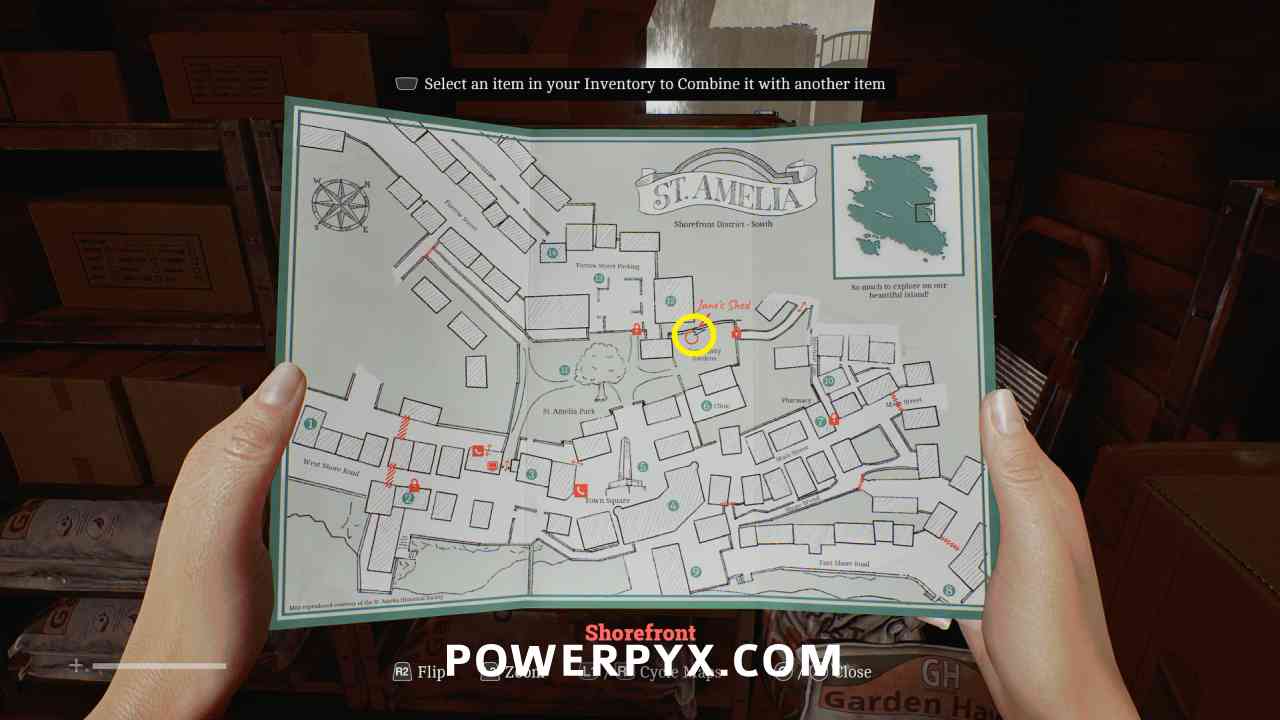
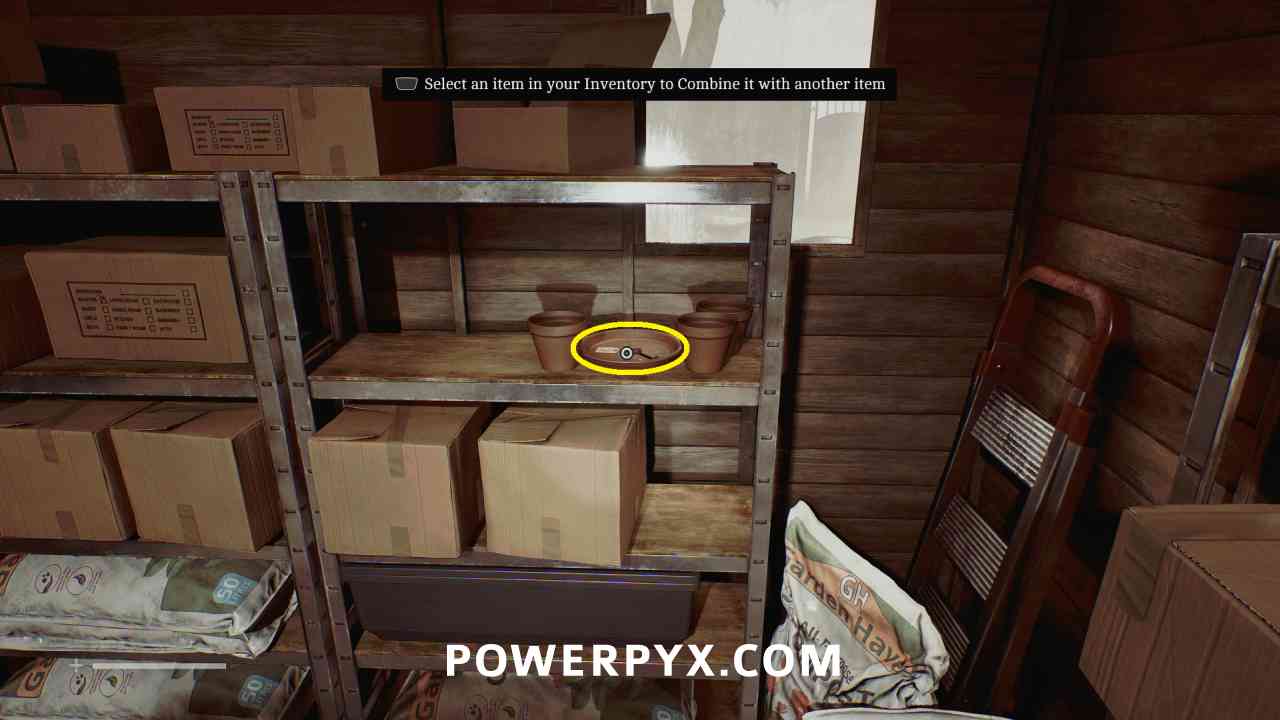
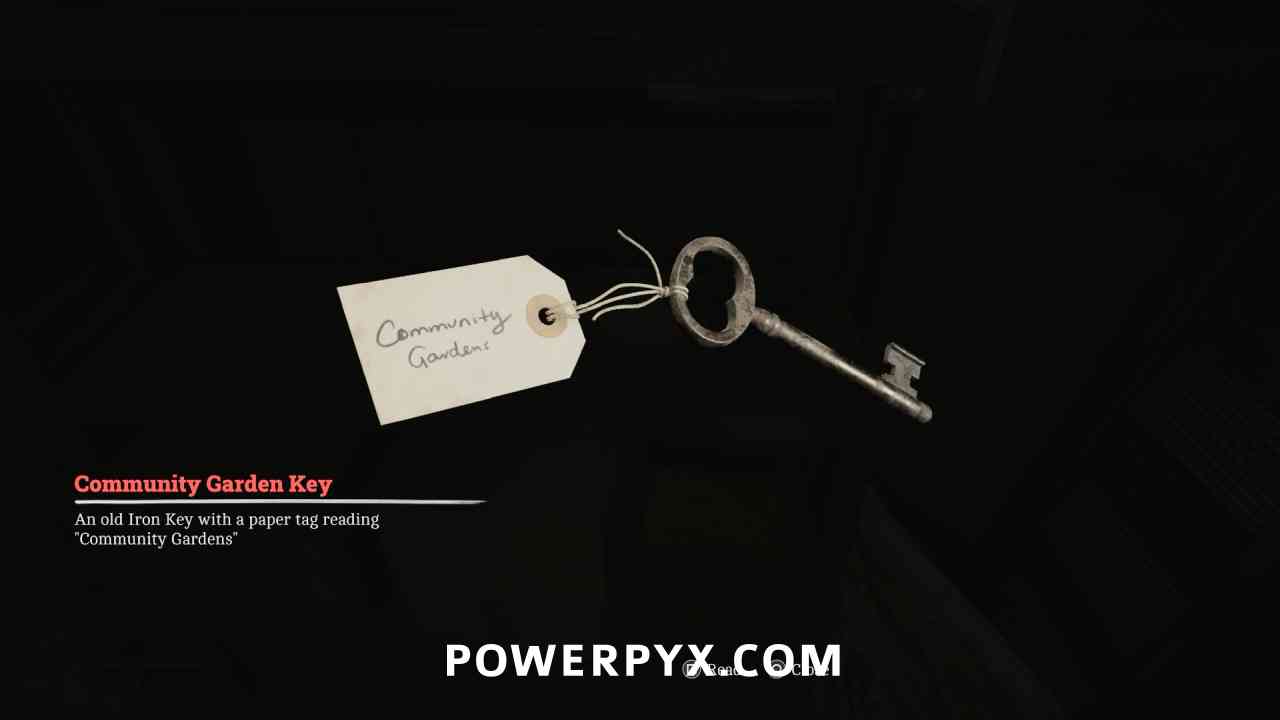
Key Item: Community Garden Key
Area: Shorefront District – South > Community Gardens
In the shed, on a shelf to the right.
Locked Door: Community Gardens
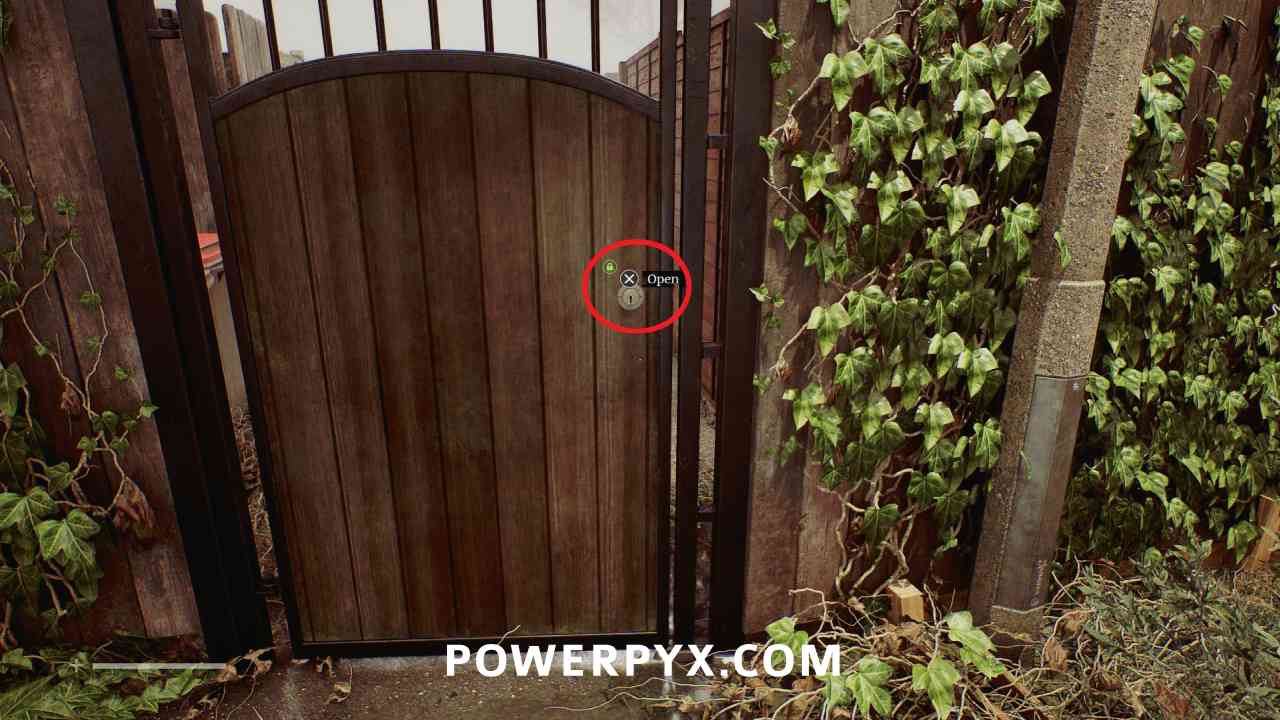
Area: Shorefront District – South > Community Gardens
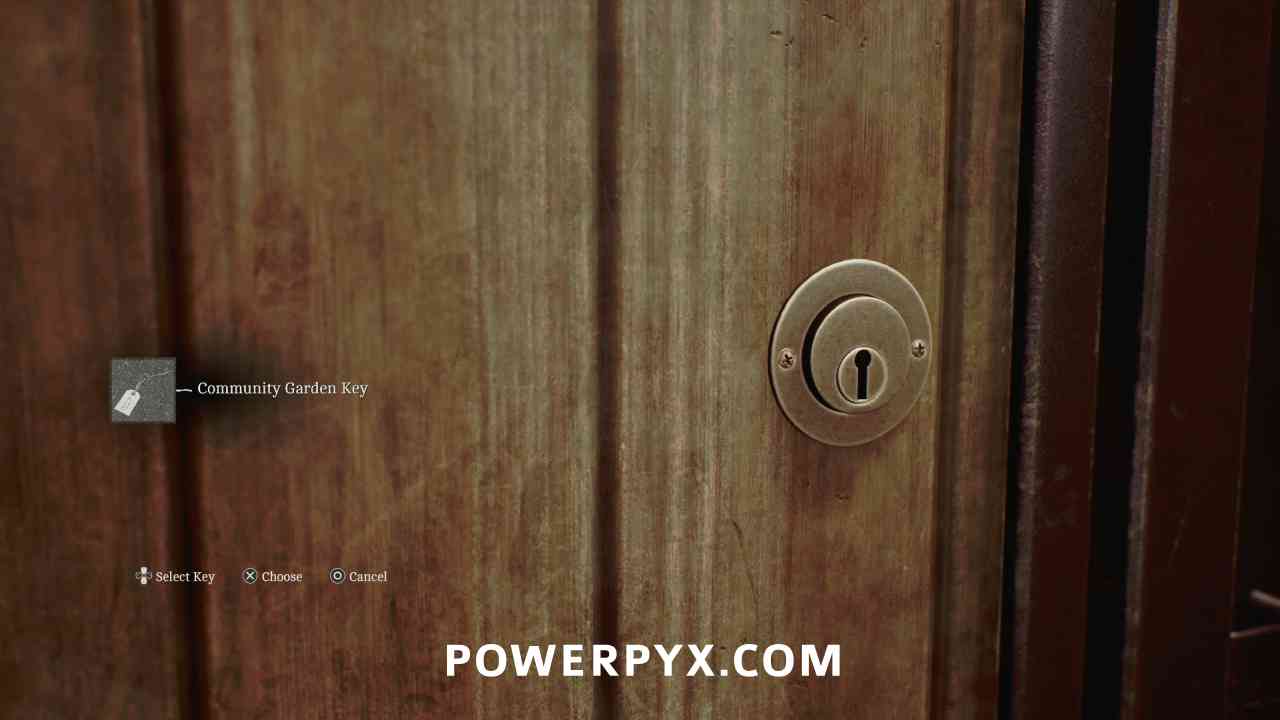
Interact with the gate in the gardens and use the Community Garden Key to open it.
Shorefront District – North > Mr. Stewart’s House
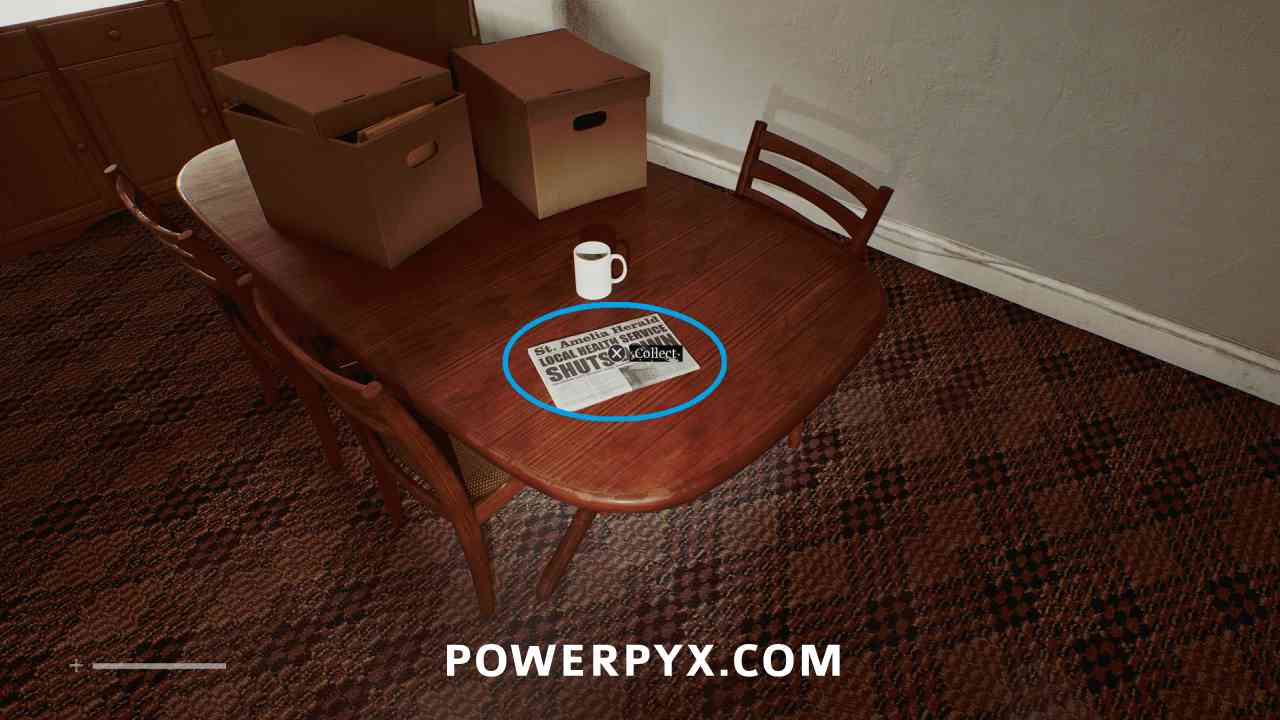
Document: St. Amelia Standard
Area: Shorefront District – North > Mr. Stewart’s House
Inside Mr. Stewart’s House, on the table in the living room.
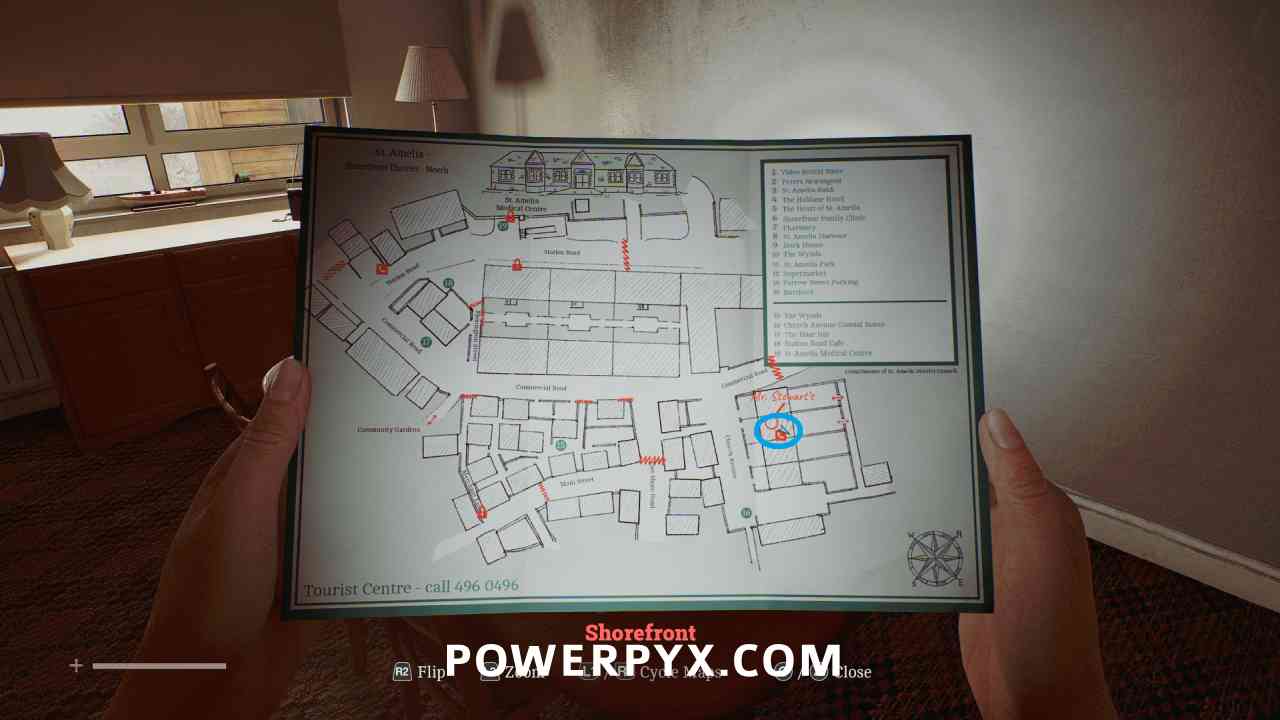

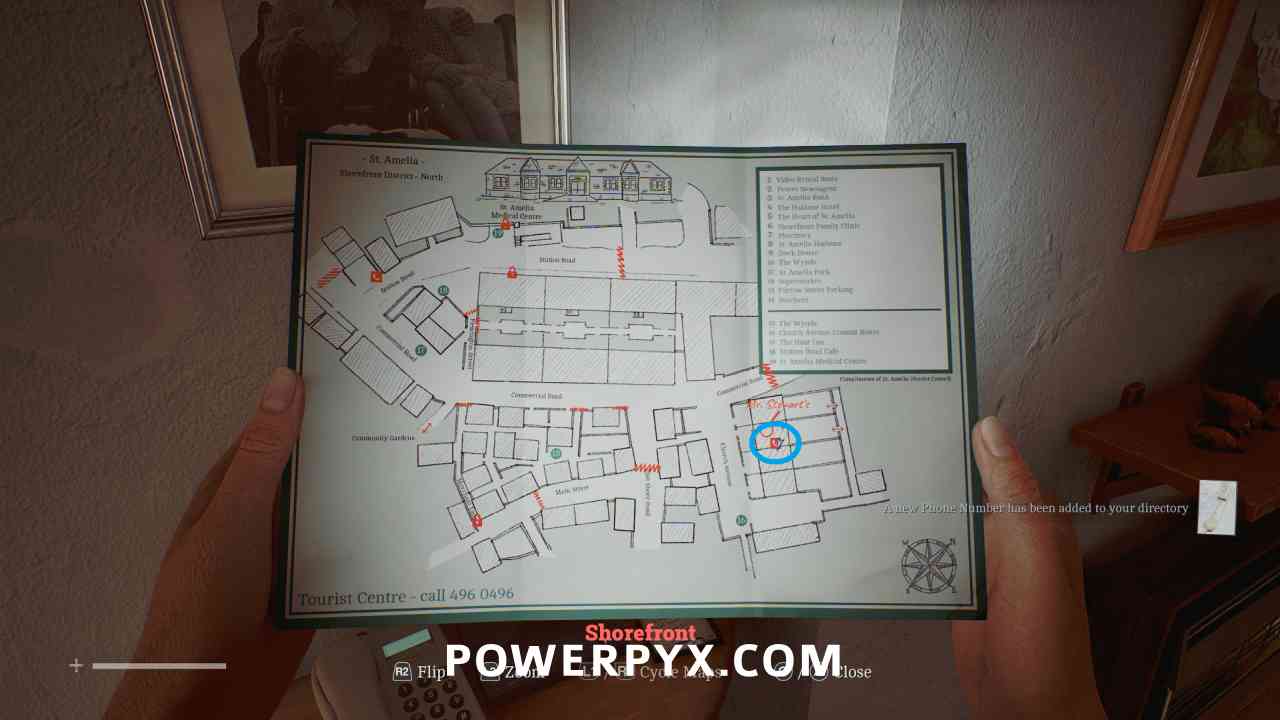
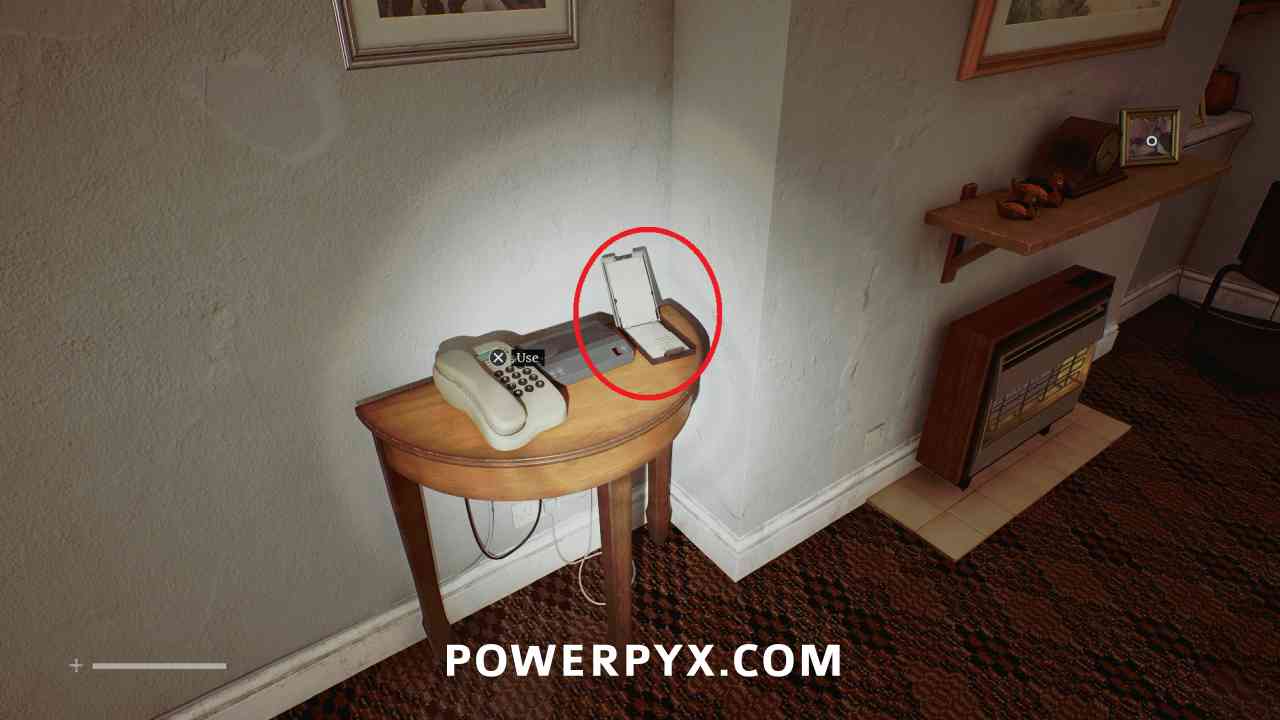
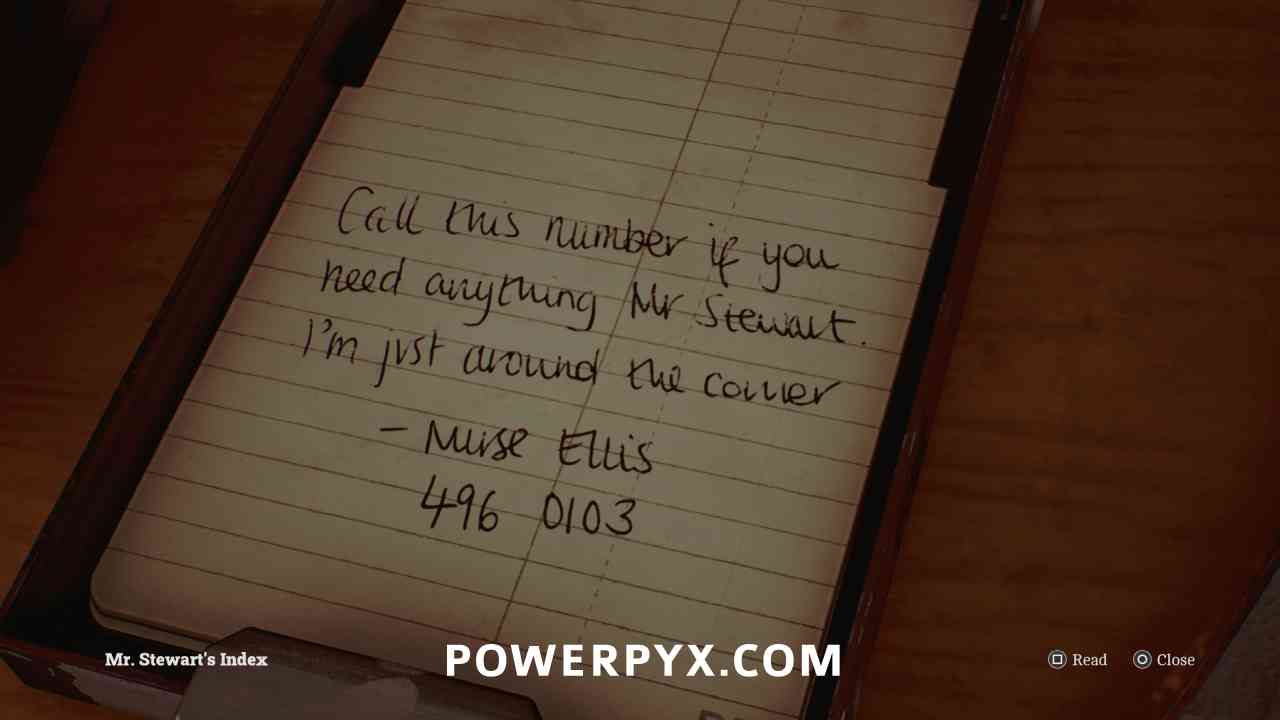
Phone Number: 496 0103 – Zoe Ellis
Area: Shorefront District – North > Mr. Stewart’s House
Inside Mr. Stewart’s House, inspect the phone, then open the folder to the right of the answering machine and inspect it for the phone number.
Static Distractions 
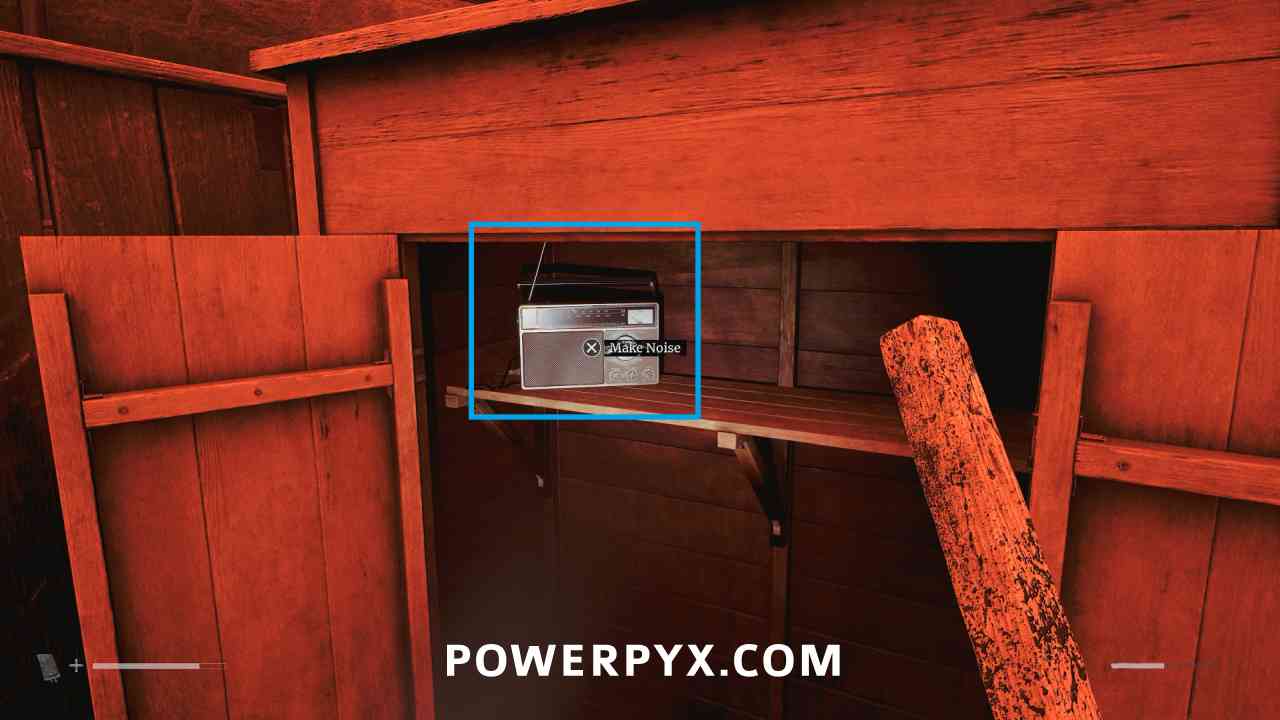
Distract 10 Enemies with a radio in the world.
From this point forward you can turn on radios to distract enemies. There are two in Mr. Stewart’s House.
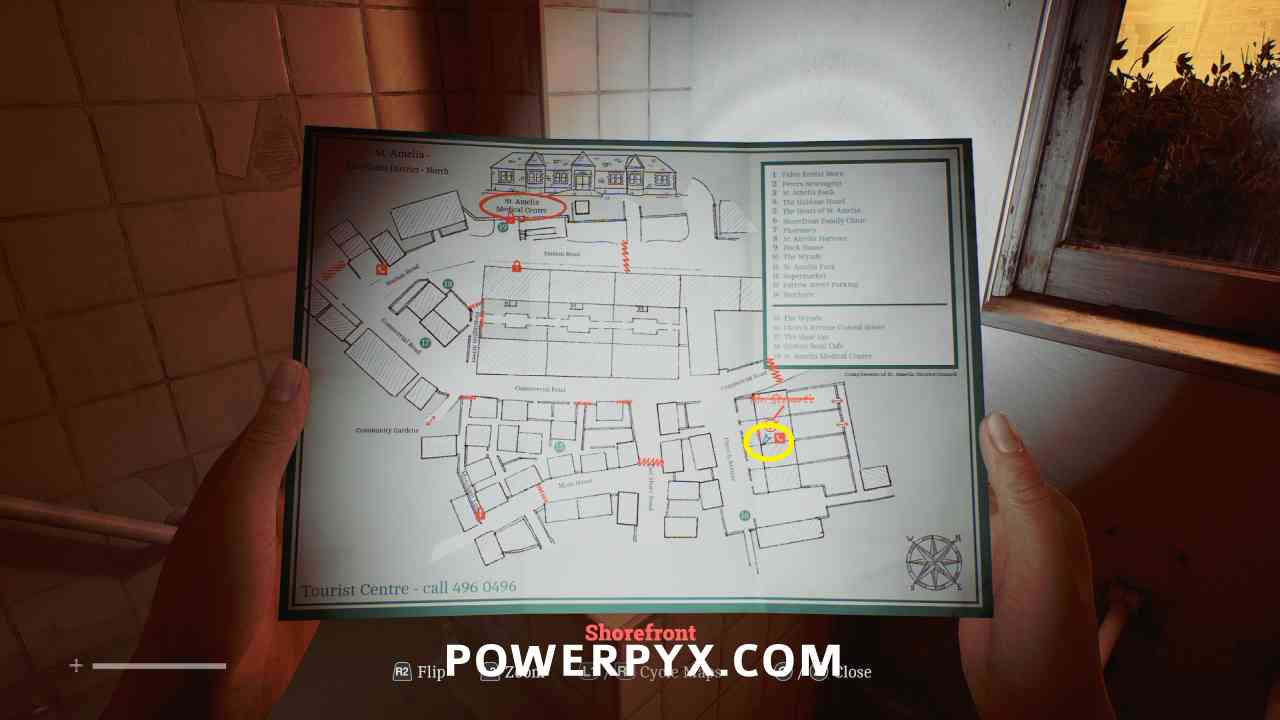
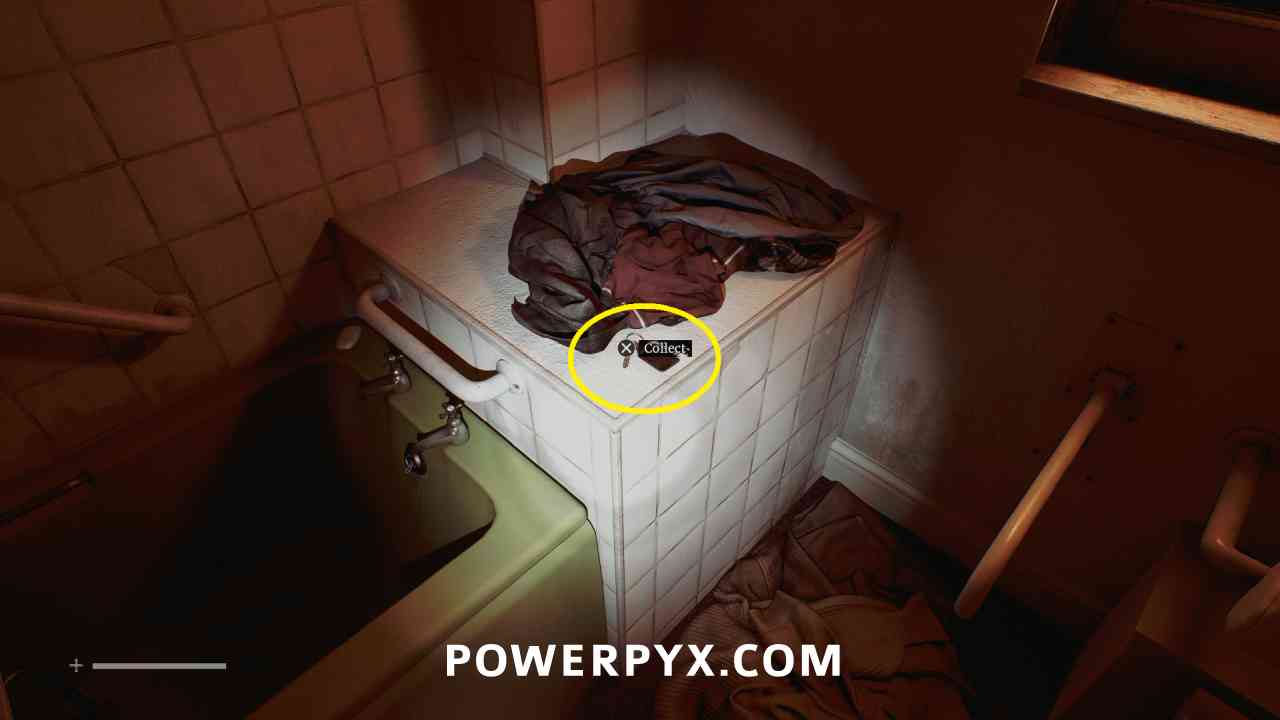
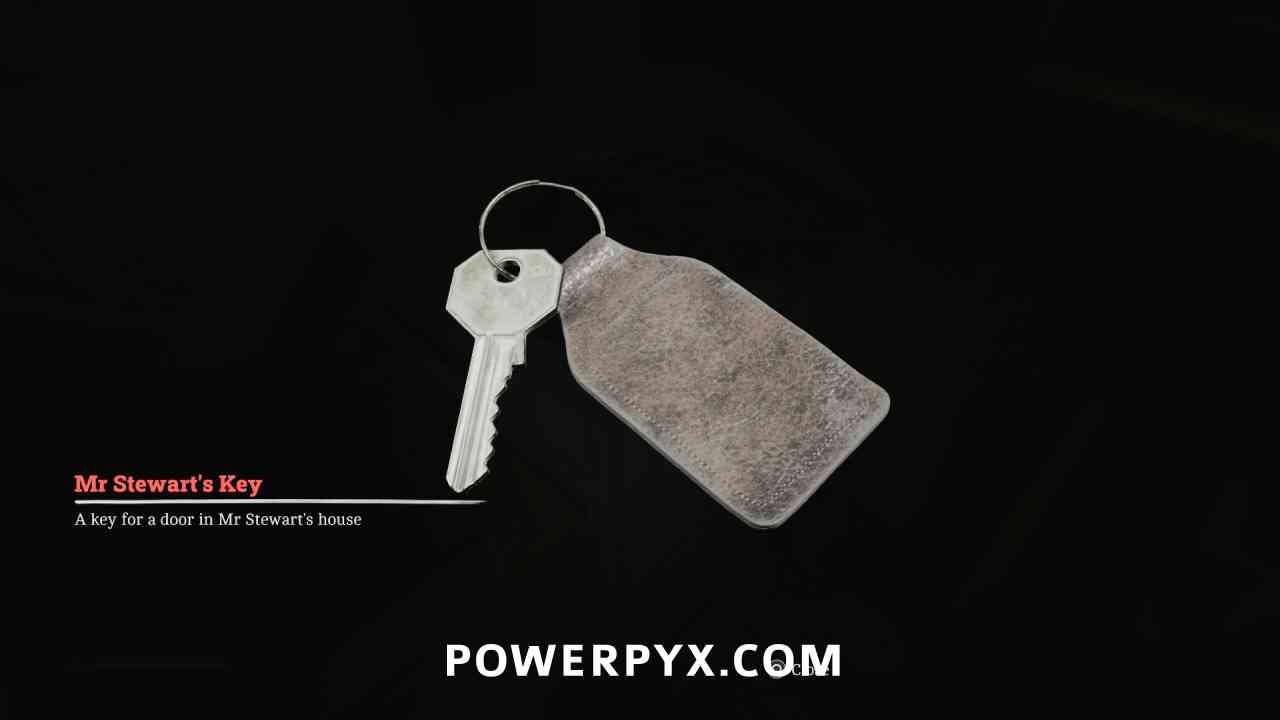
Key Item: Mr. Stewart’s Key
Area: Shorefront District – North > Mr. Stewart’s House
Inside Mr. Stewart’s House, after seeing the monster for the first time, go back in the bathroom and this is to the right of the tub.
Locked Door – Mr. Stewart’s House
Area: Shorefront District – North > Mr. Stewart’s House
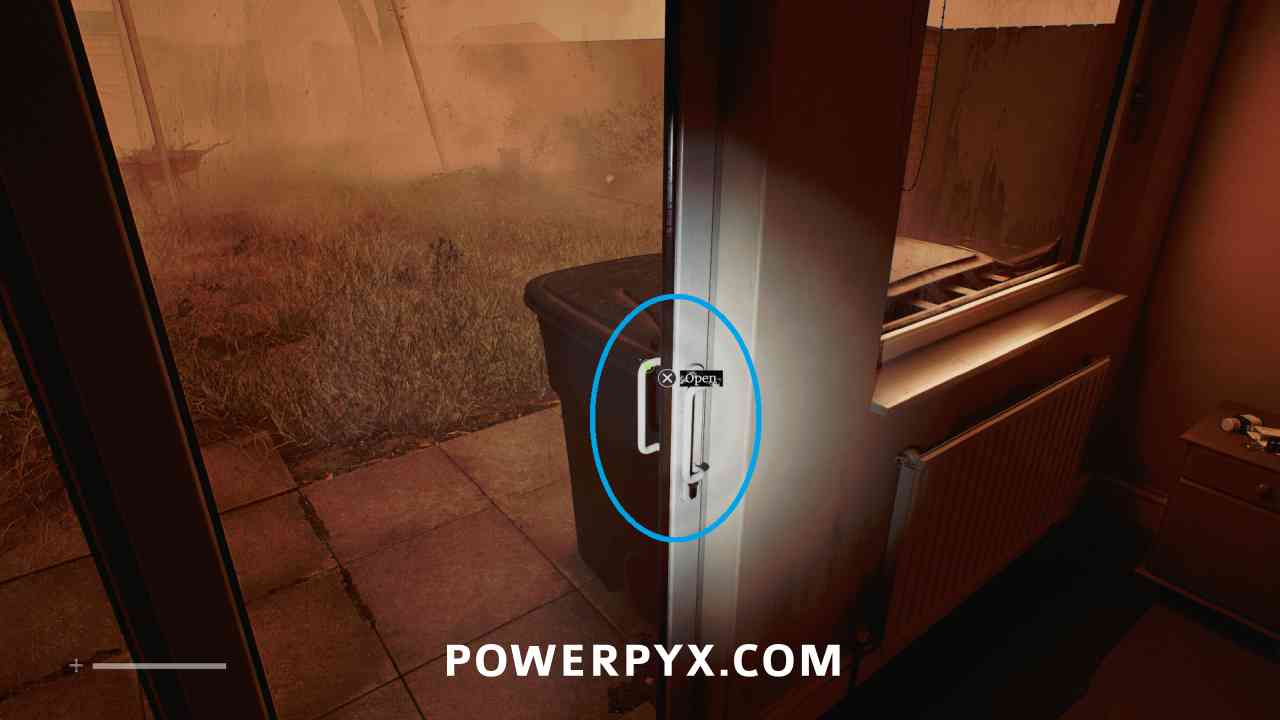
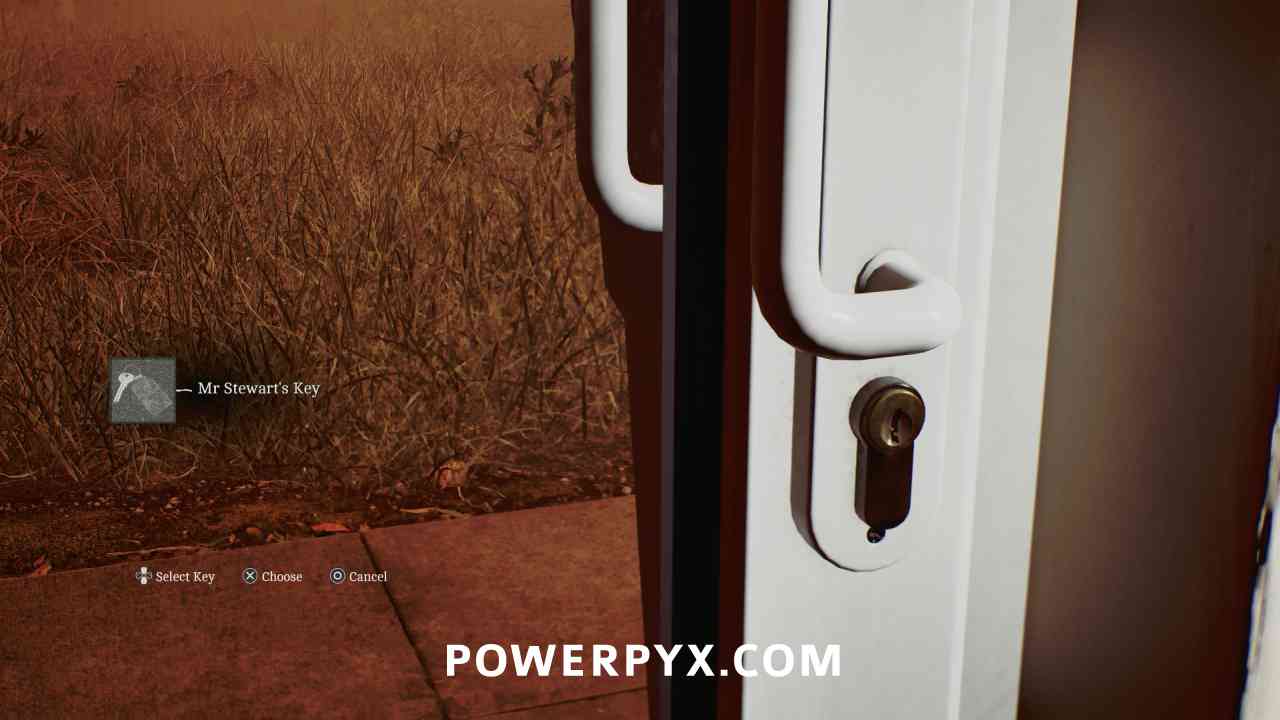
Inside Mr. Stewart’s House, use the key on the back door where you entered to exit the house.
Shorefront District – North
Lured Off Track
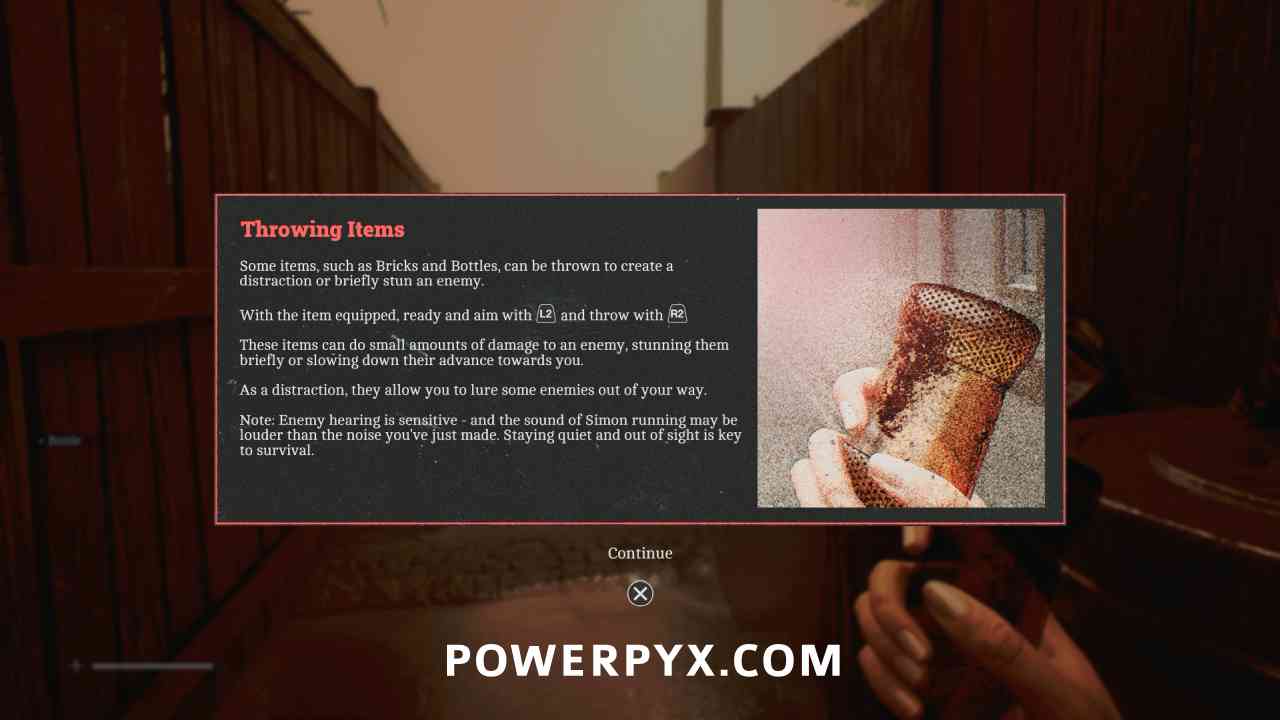
Distract 20 Enemies with a bottle.
From this point forward you can obtain bottles which can be thrown to attract enemies. You can obtain both bottles and bricks to use as distractions, but this seems to specifically only count bottles. This counts between playthroughs
Alarmingly Effective
Successfully distract an enemy by setting off a car alarm.
While making your way back to the Clinic you will automatically set off the alarm off a car in the street. After this point, you can throw bottles or bricks or hit cars with melee to set the alarm off, which while distract enemies. Do this with any car with an enemy nearby.
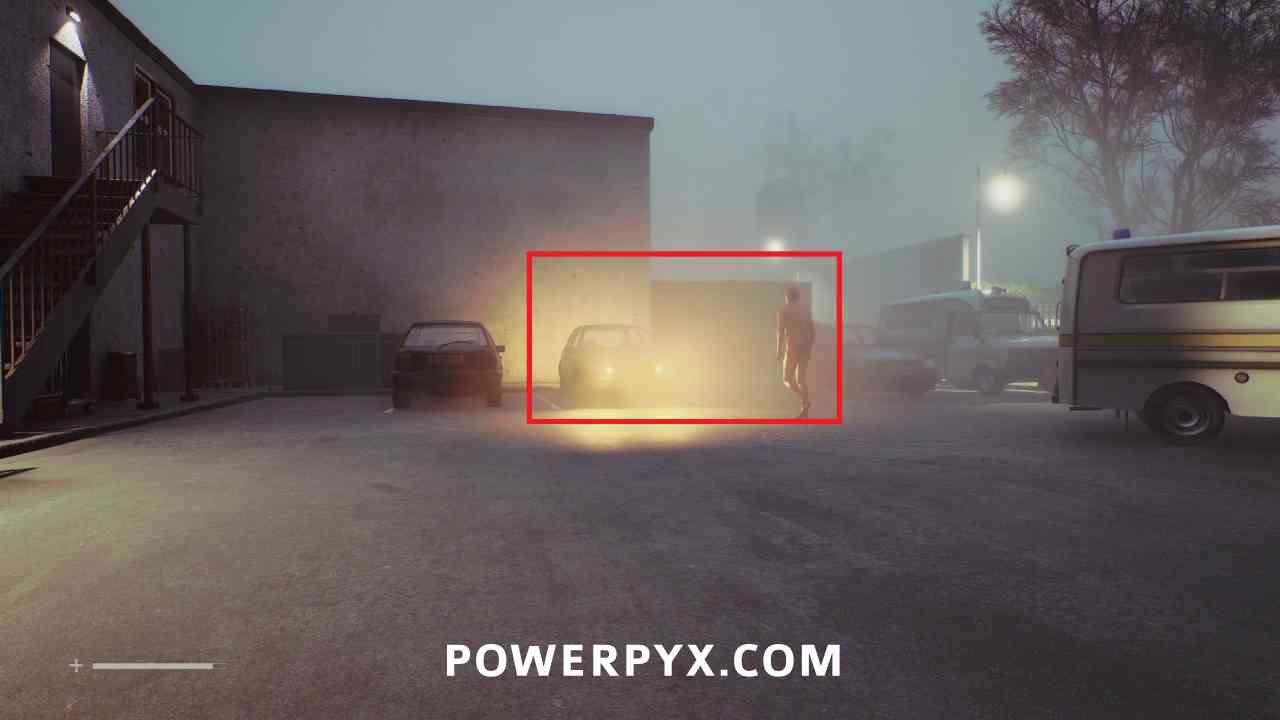
Clue: Medical Security Note
Area: Shorefront District – North > Outside Medical Centre
Outside the Medical Centre, inspect the paper on the window of the security booth.
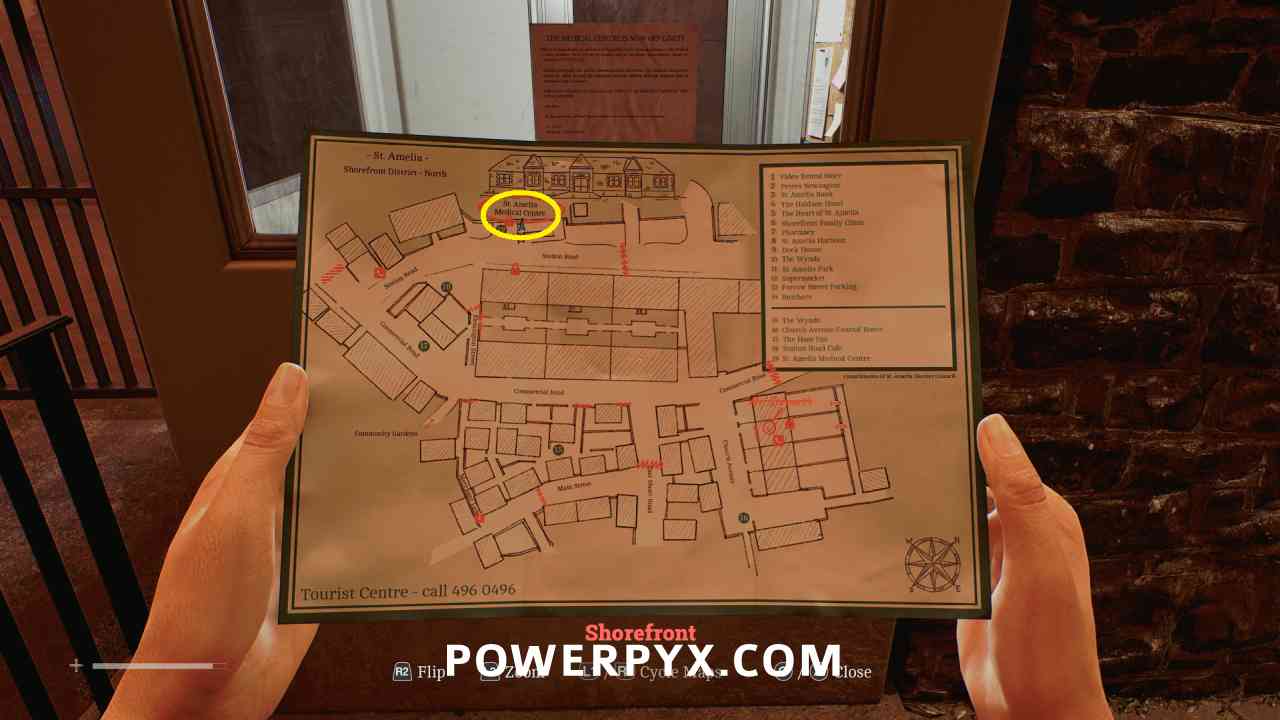
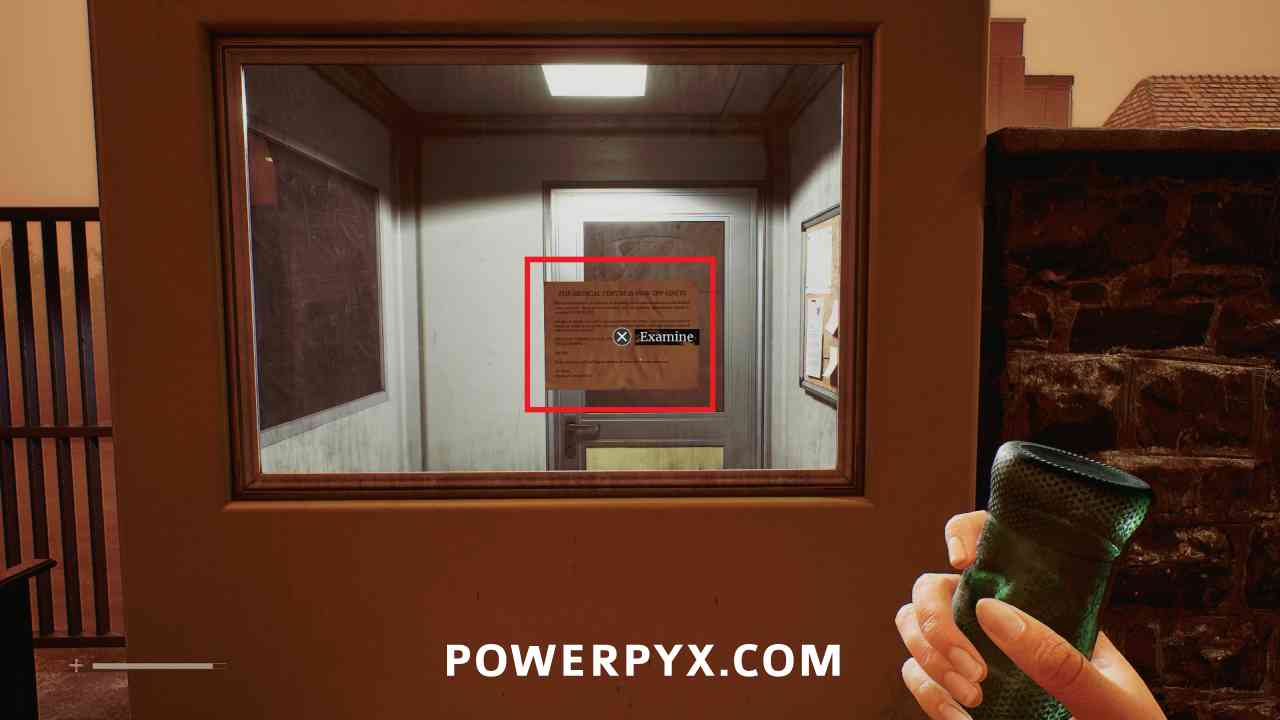
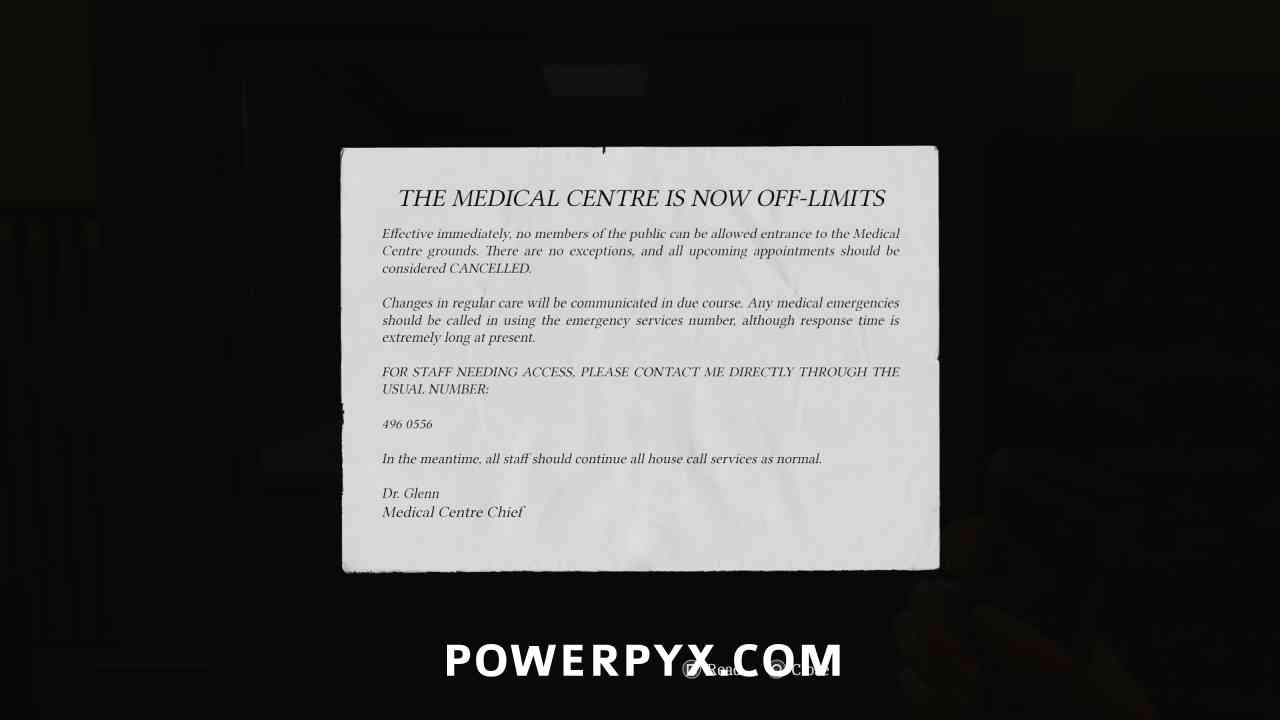
Phone Number: 496 0556 – D. Glenn
Area: Shorefront District – North > Outside Medical Centre
Outside the Medical Centre, obtained when inspecting the Medical Security Note.
Puzzle #9
Area: Shorefront District – North
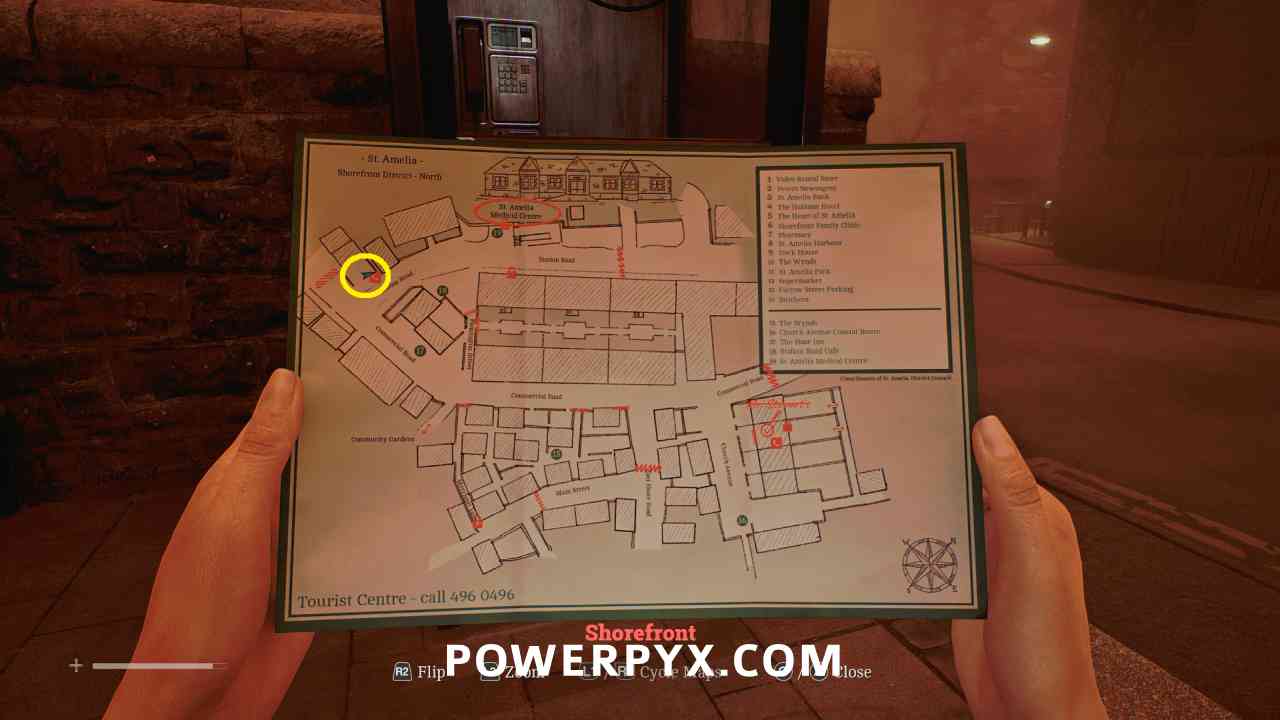
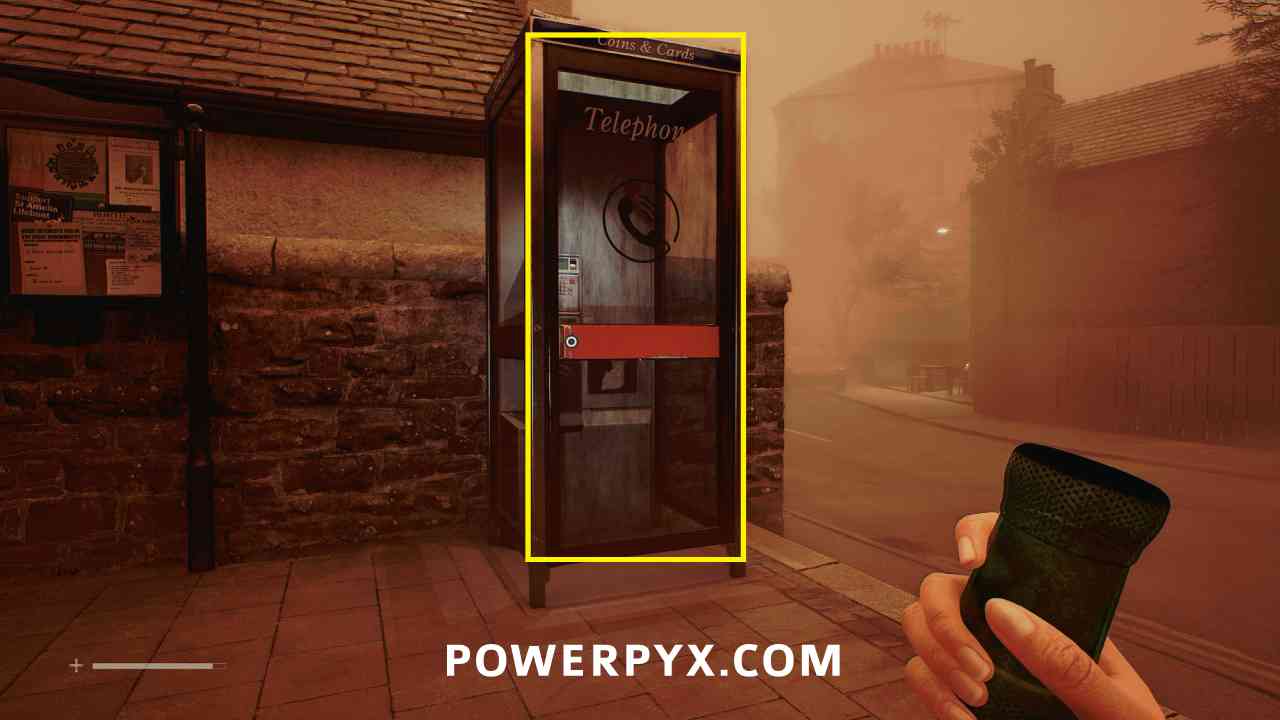
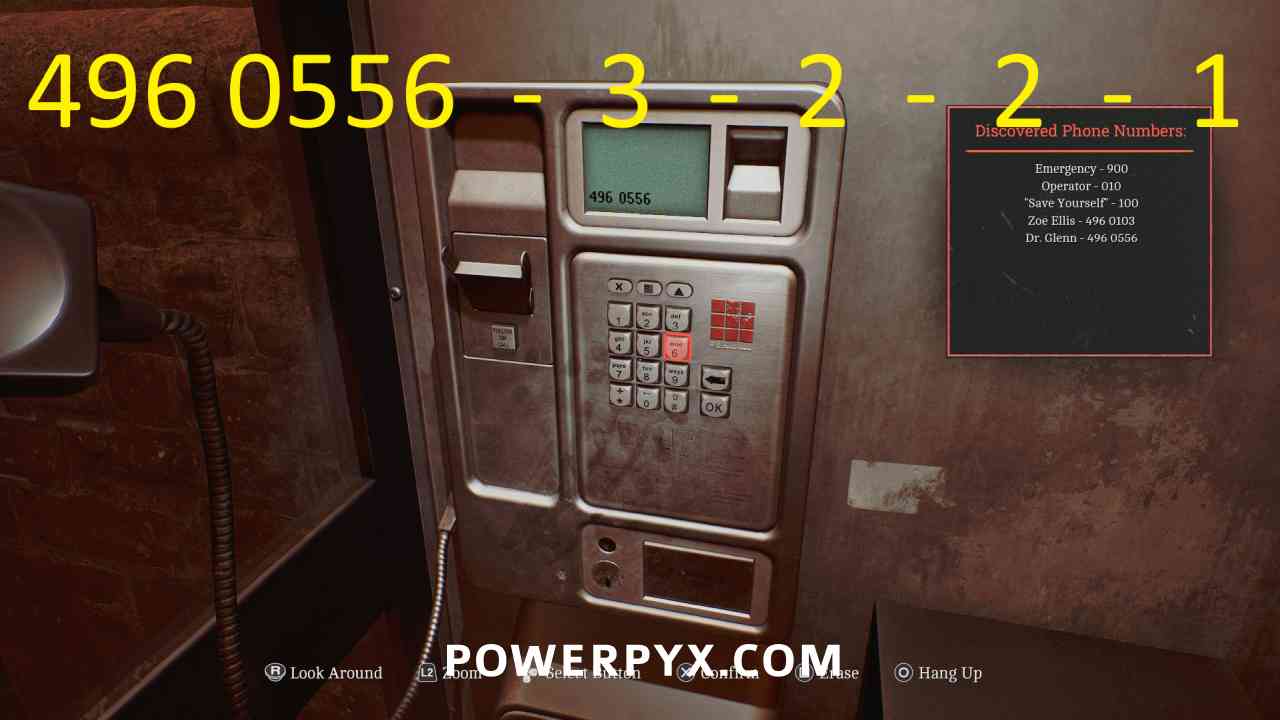
Go back down the street to the phone booth, use number 496 0556 (from the Medical Security Note). Press 3 when prompted, then press 2, then press 2 again, then press 1.
Shorefront District – North > Medical Centre
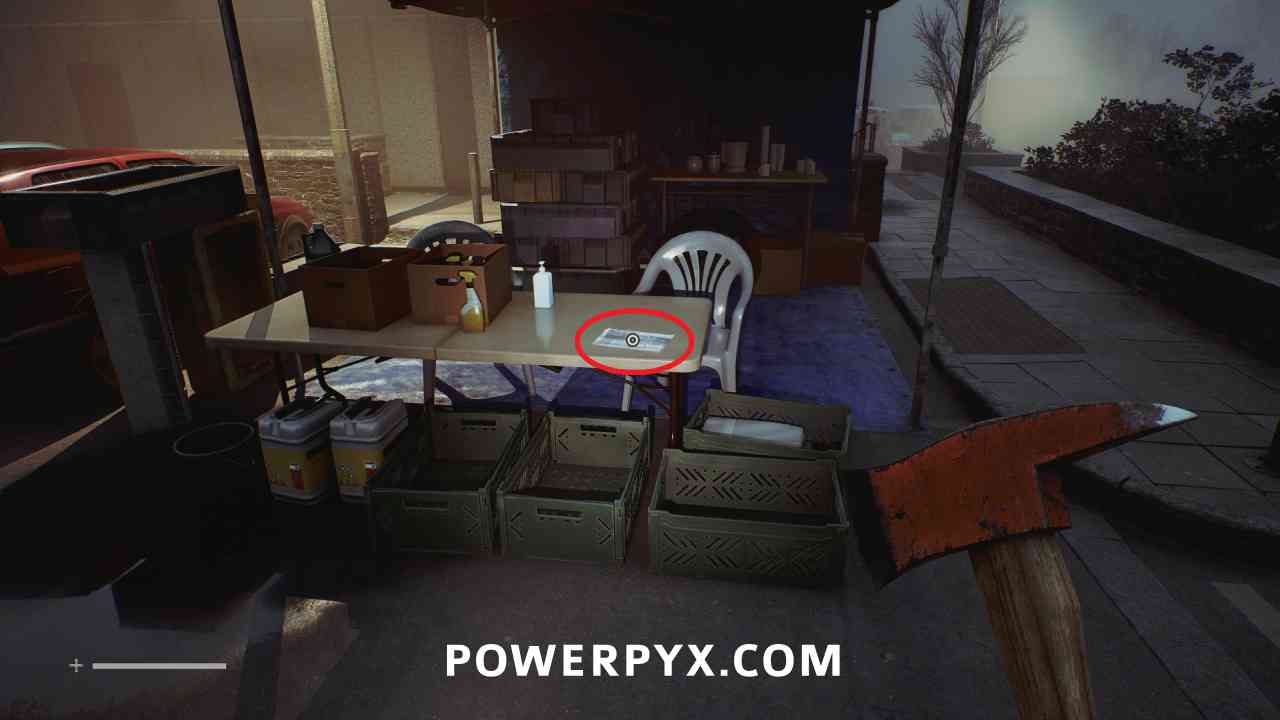
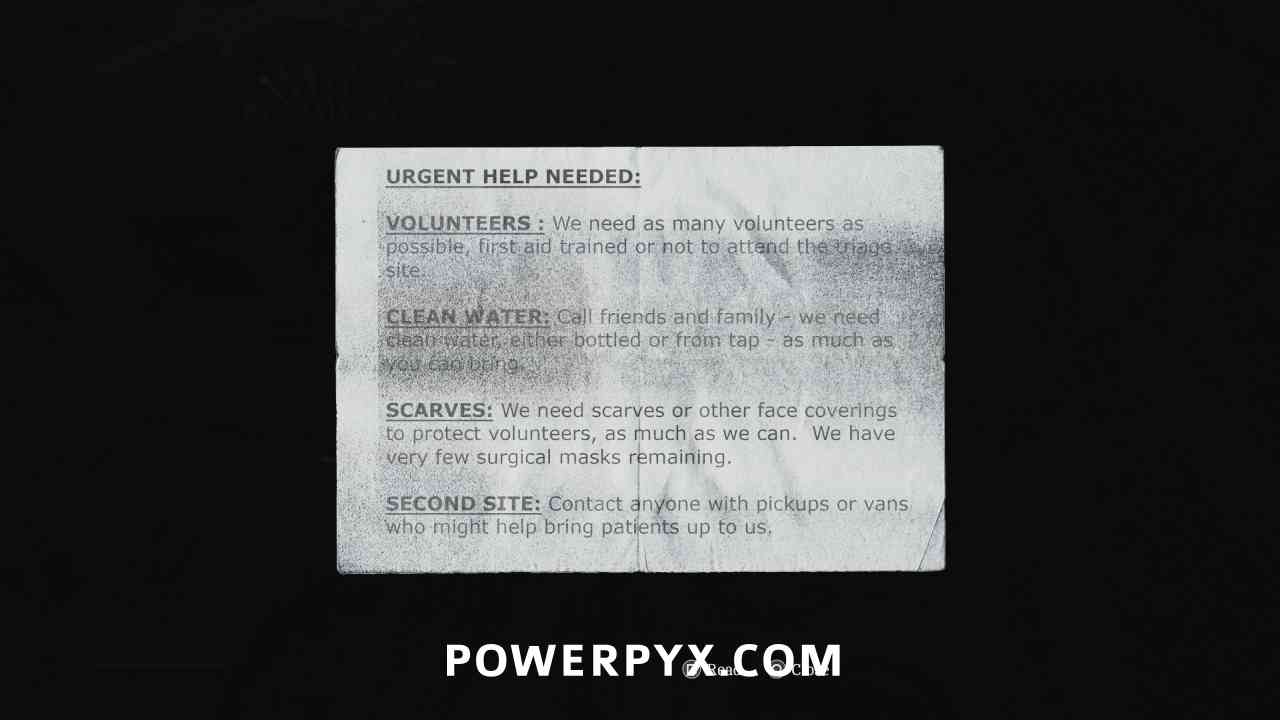
Document: Community Help Needed
Area: Shorefront District – North > Outside Medical Centre
In the Medical Centre parking lot, on the first table on the right.
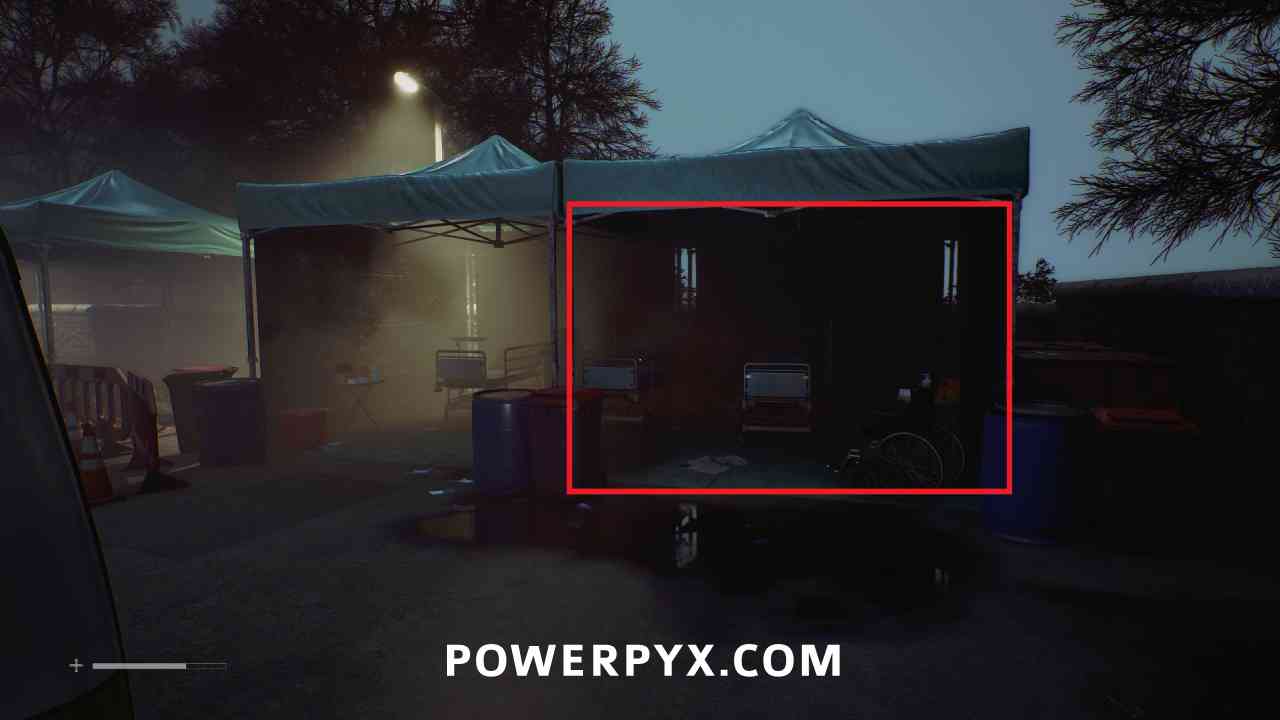
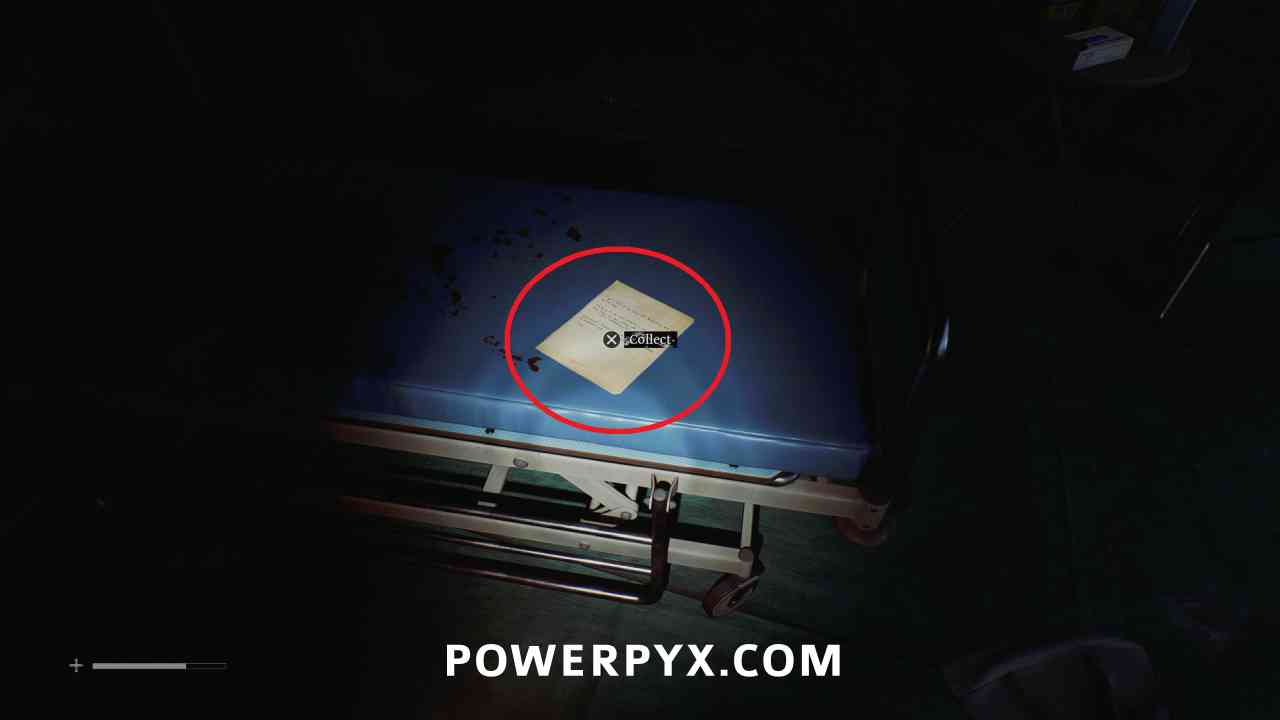
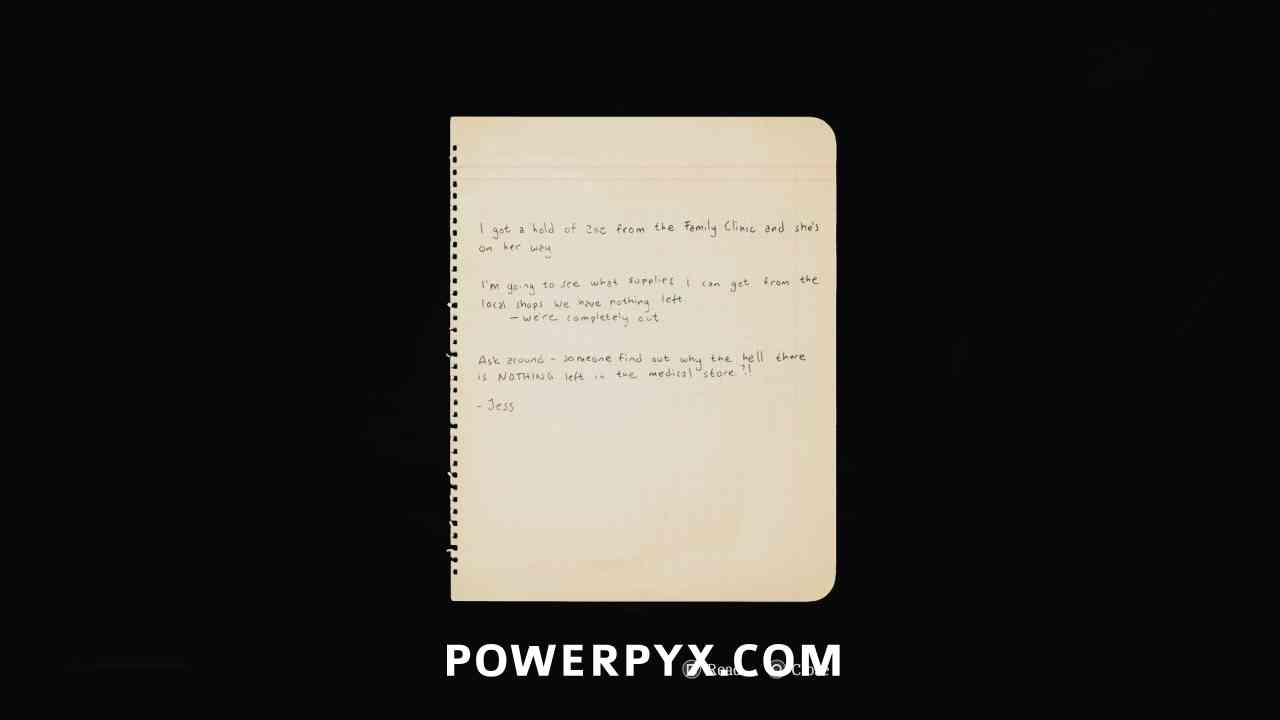
Document: Exhausted Supplies
Area: Shorefront District – North > Outside Medical Centre
In the Medical Centre parking lot, in the tent at the back left on a bed.
Locked Door
Area: Shorefront District – North > Outside Medical Centre
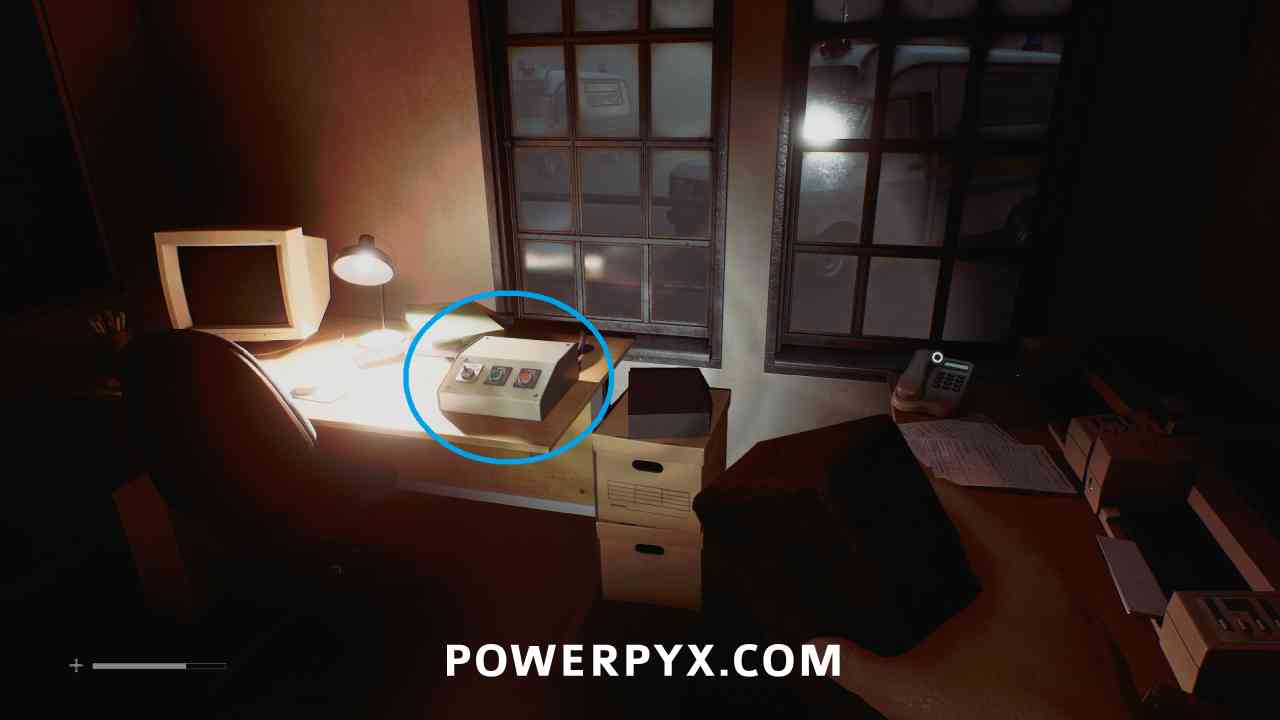
In the back parking lot of the Medical Centre, interact with the garage door to enter it, then go into the office and interact with the button beside the phone to open the gates beside the building.
Trophy: A Long Night Ahead
Chapter 6: Journey to Medical
Shorefront District – South
CRTV Channel – 63~
Area: Shorefront District – South
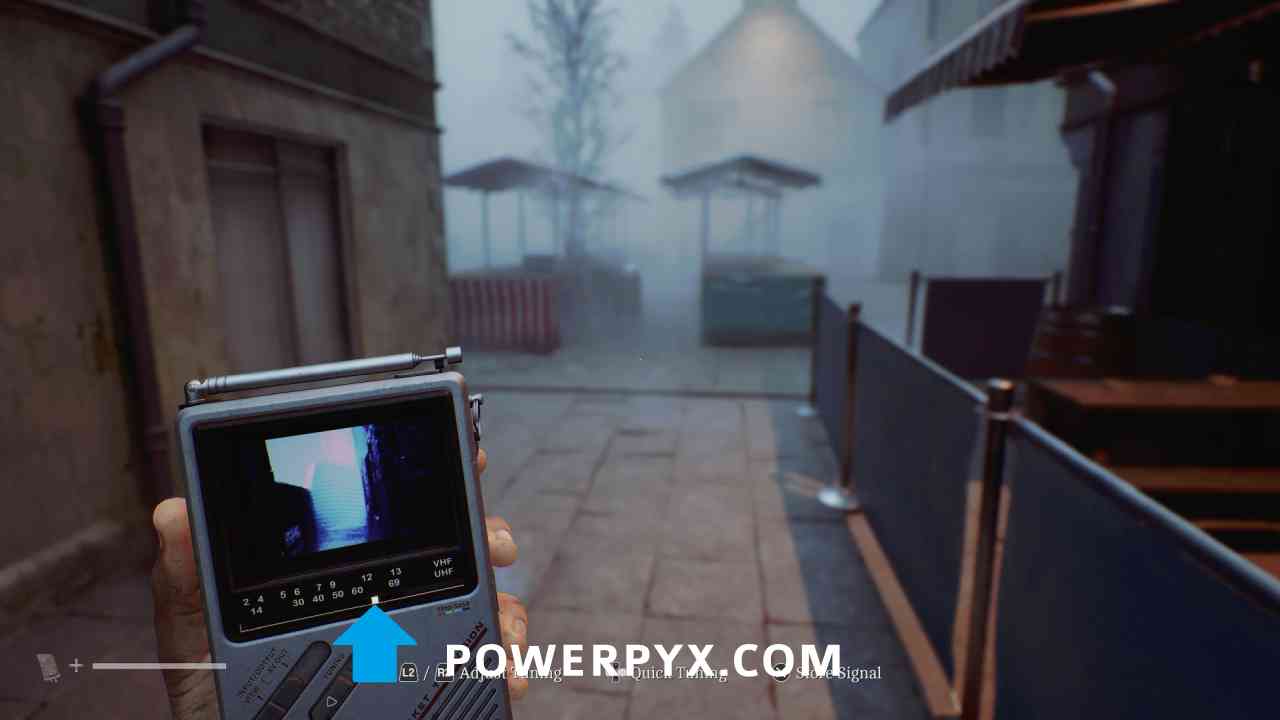
Immediately when exiting the Clinic, tune to around 63.
Equipment: Pistol
Area: Shorefront District – South
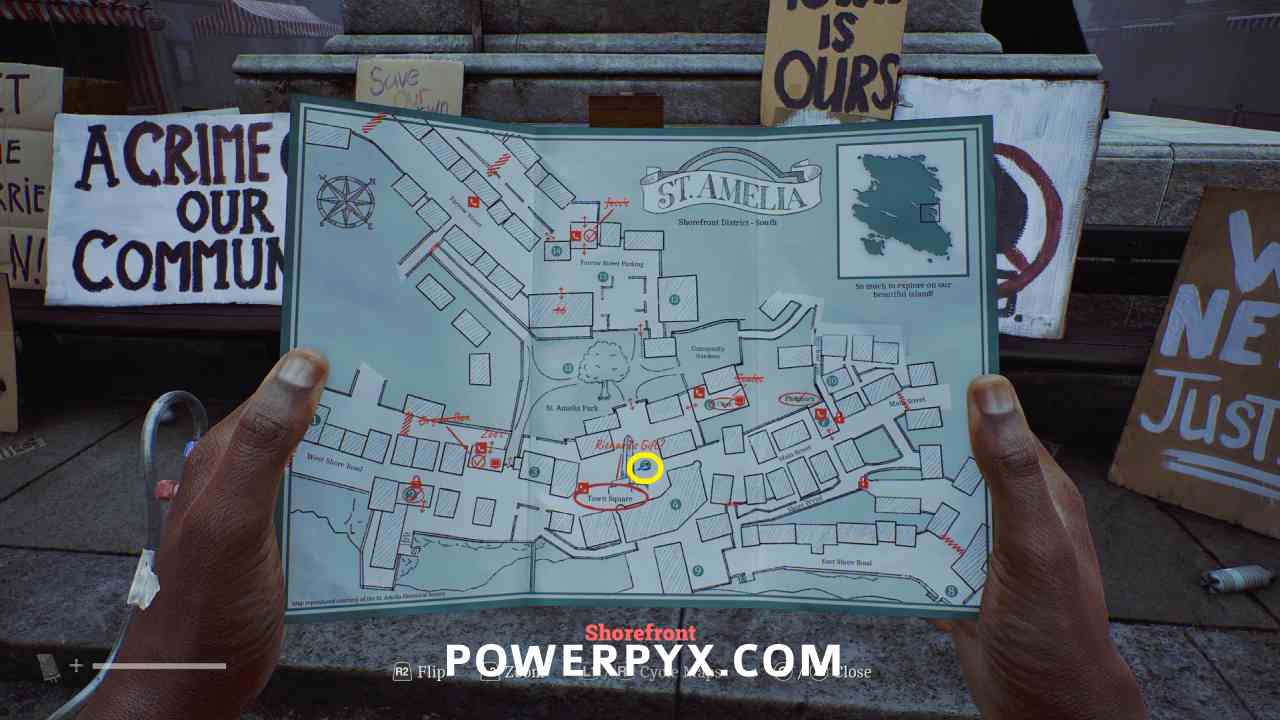
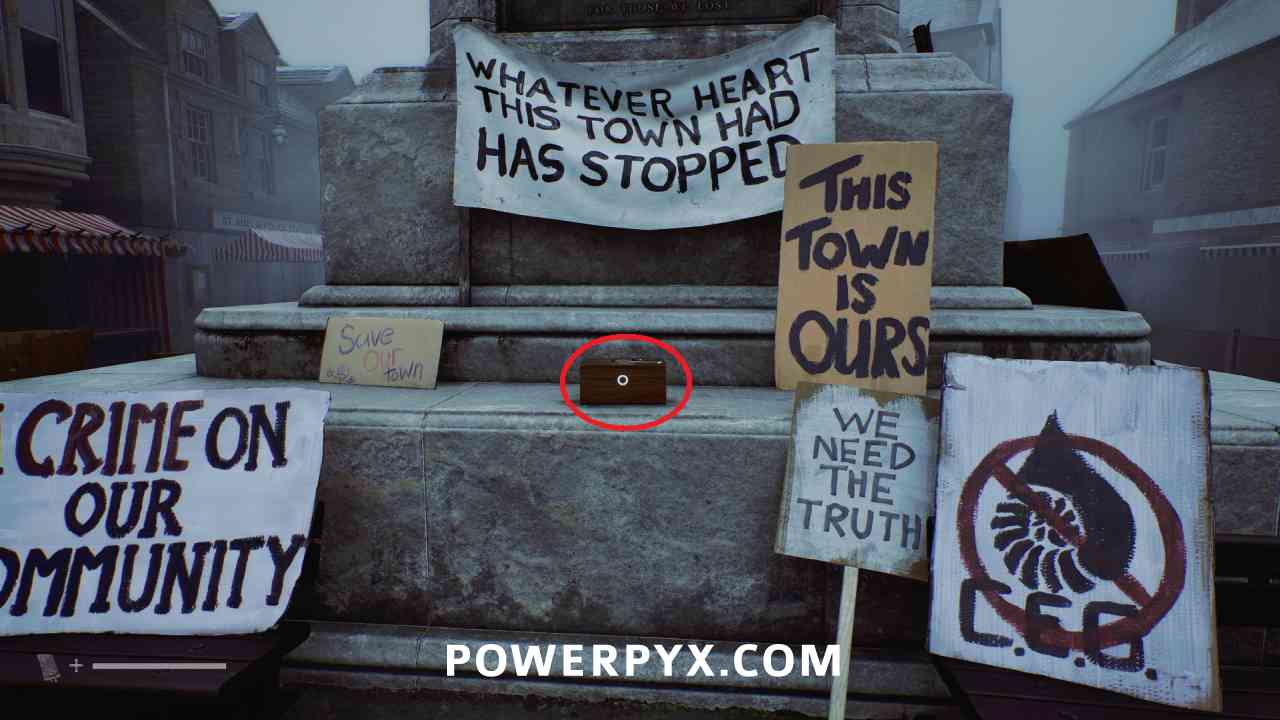
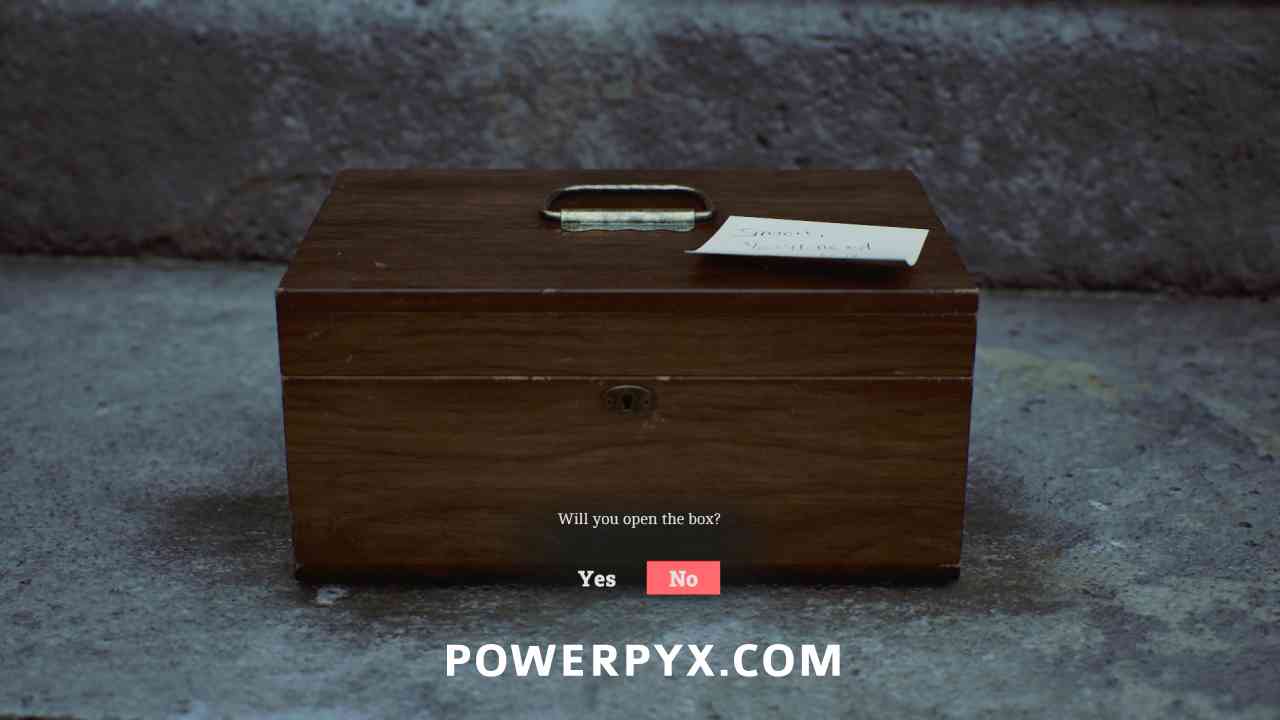
In the Town Square (5) in a box. You must choose “Yes” to this option to trigger the Otherworld shift in the town to allow you to progress.
Trophy/Achievement: Pull!
Throw a bottle into the air, and shoot it with the pistol.
Just past the Pharmacy you can find a bottle as Simon for the first time. Go back to the Pharmacy and save, then in the road throw the bottle straight up in the air then shoot it.
Shorefront District – North
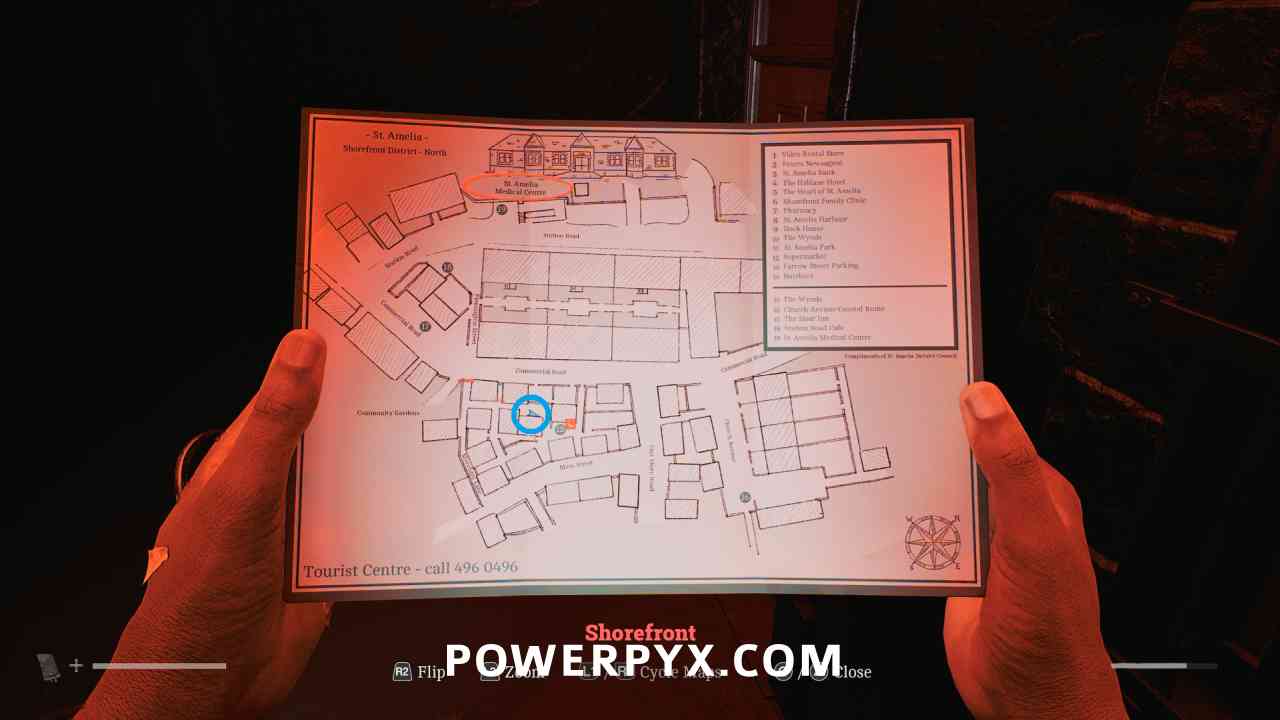
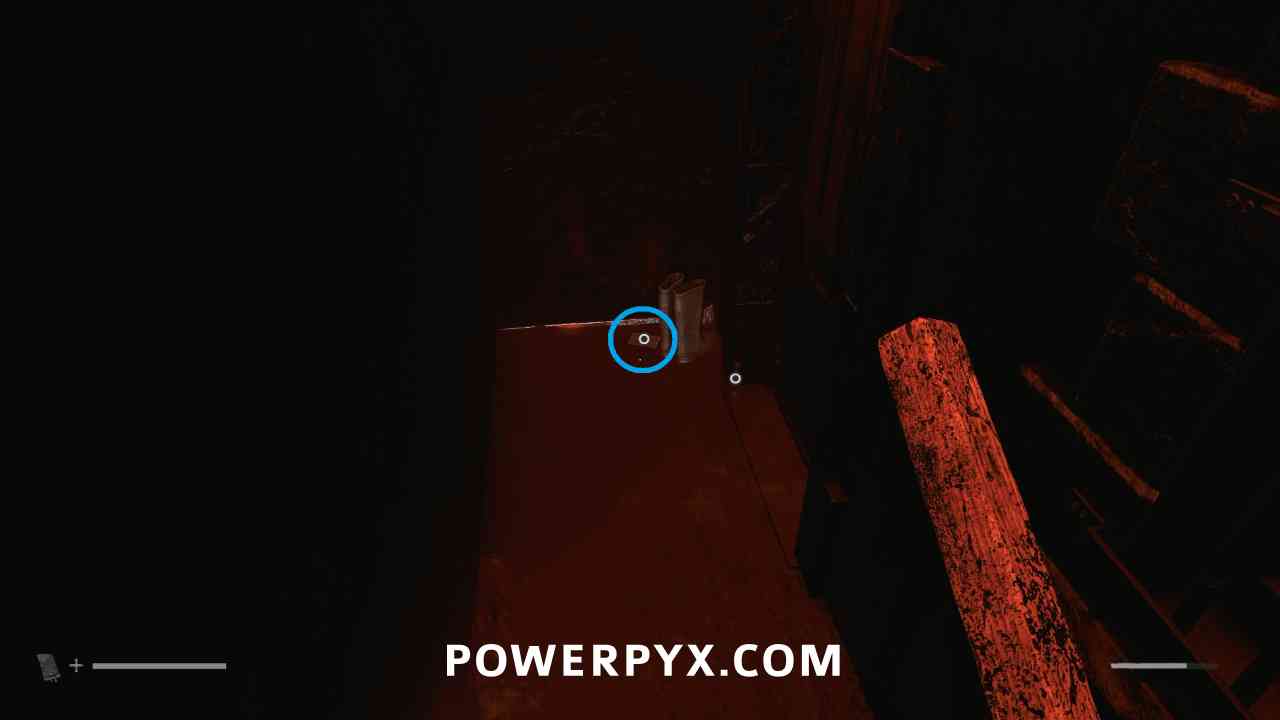
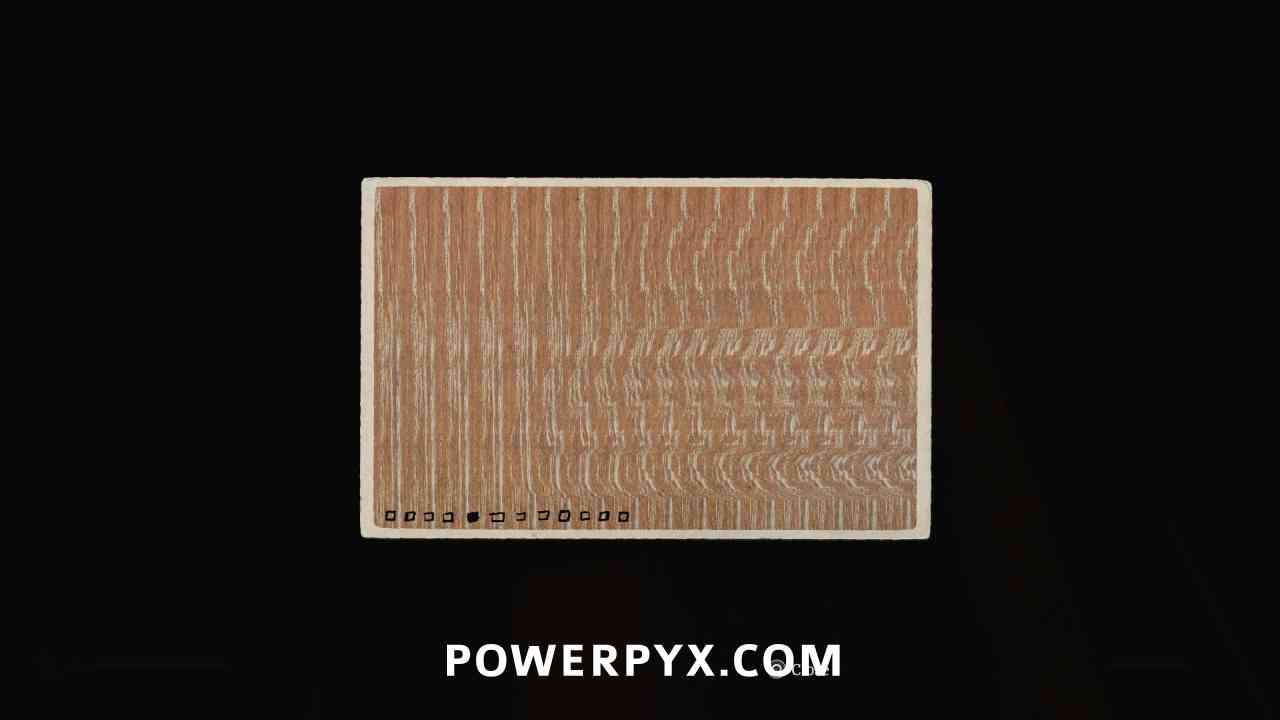
Strange Postcard – 5
Area: Shorefront District – North > The Wynds (15)
In the alleyway west of the phone booth in The Wynds, down a stairwell beside some boots.
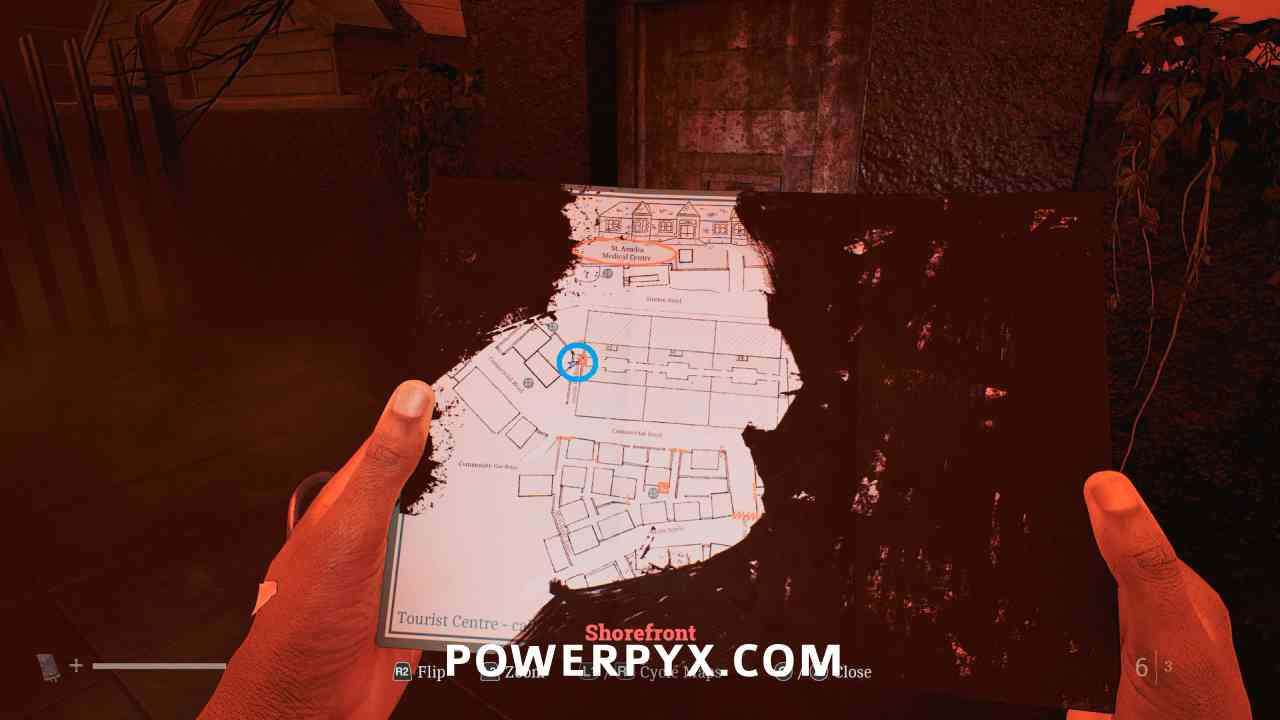
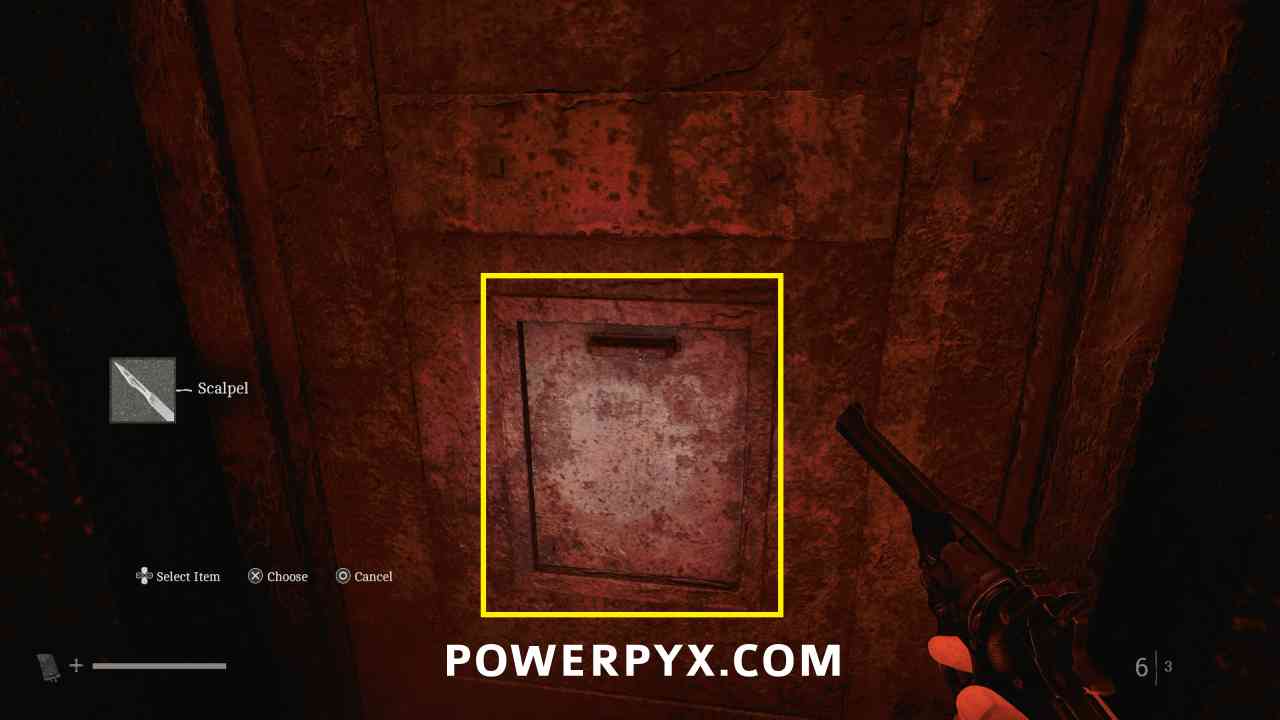
Locked Door – Flemington Street
Area: Shorefront District – North
On Flemington Street, interact with the door and choose to use the Scalpel.
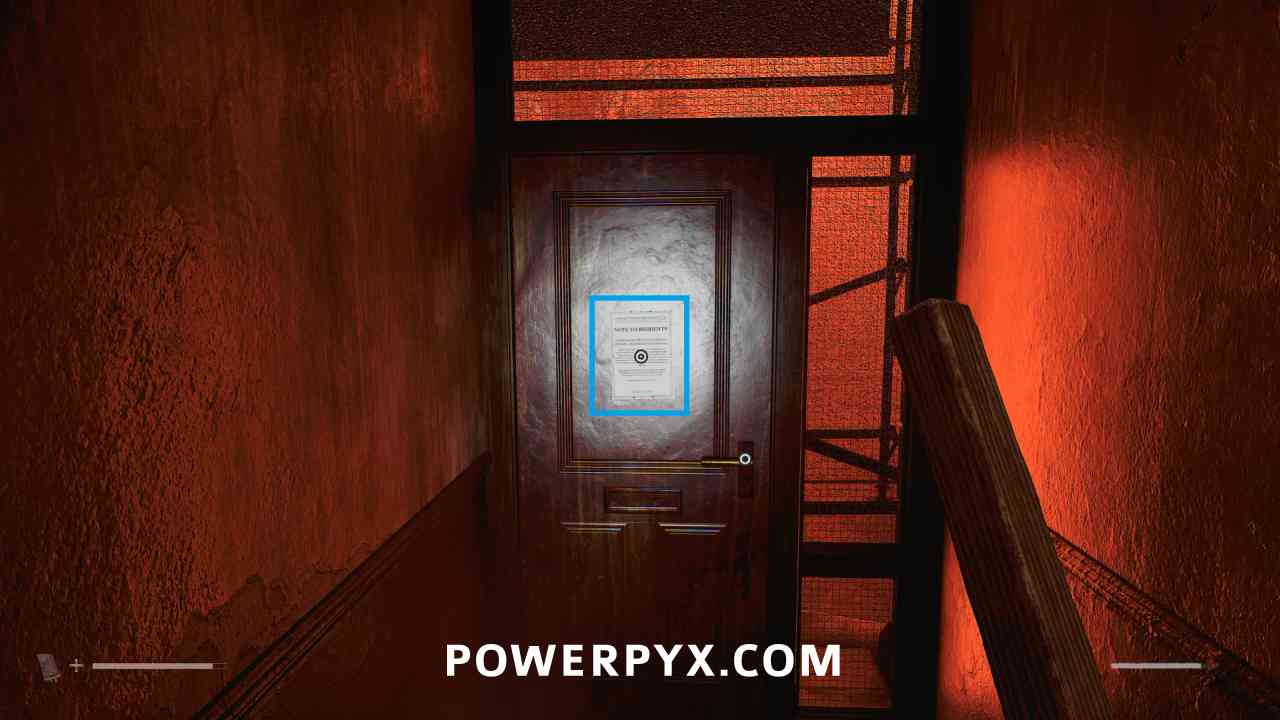
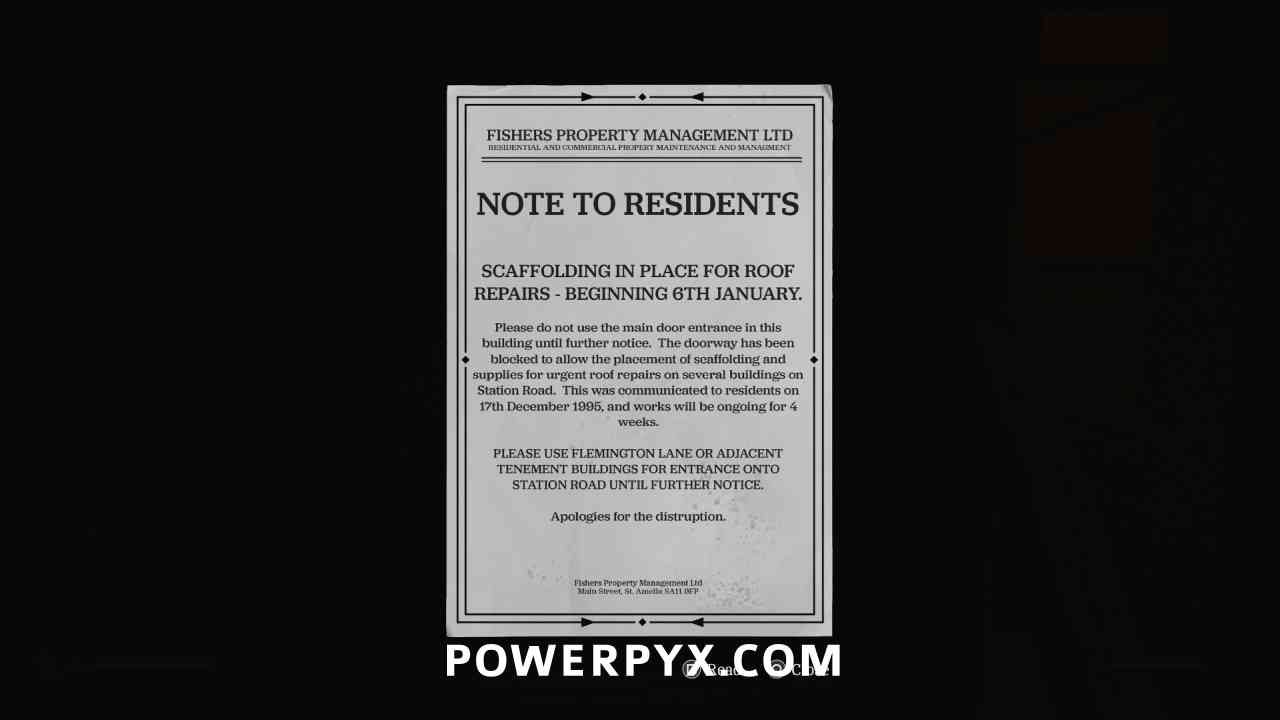
Document: Scaffold Notice
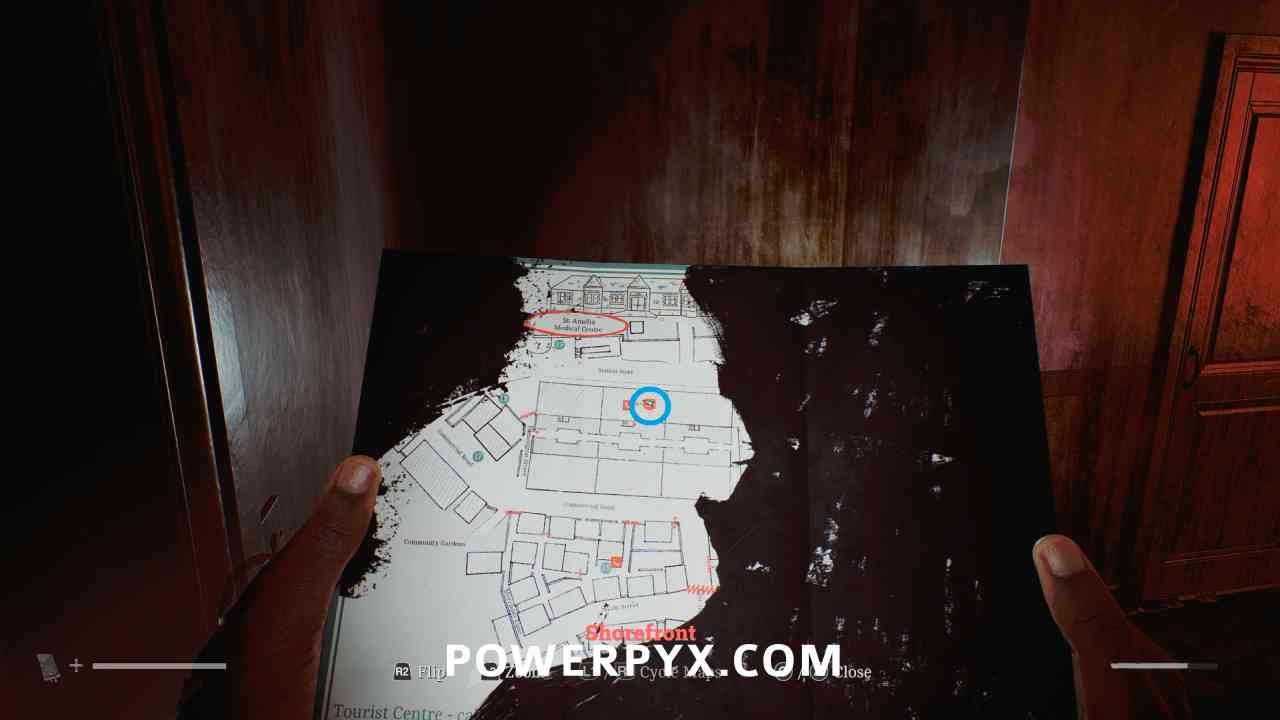
Area: Shorefront District – North > Apartment south of Medical Centre
When entering the apartment south of the Medical Centre, this is on the door on the first floor past the phone.
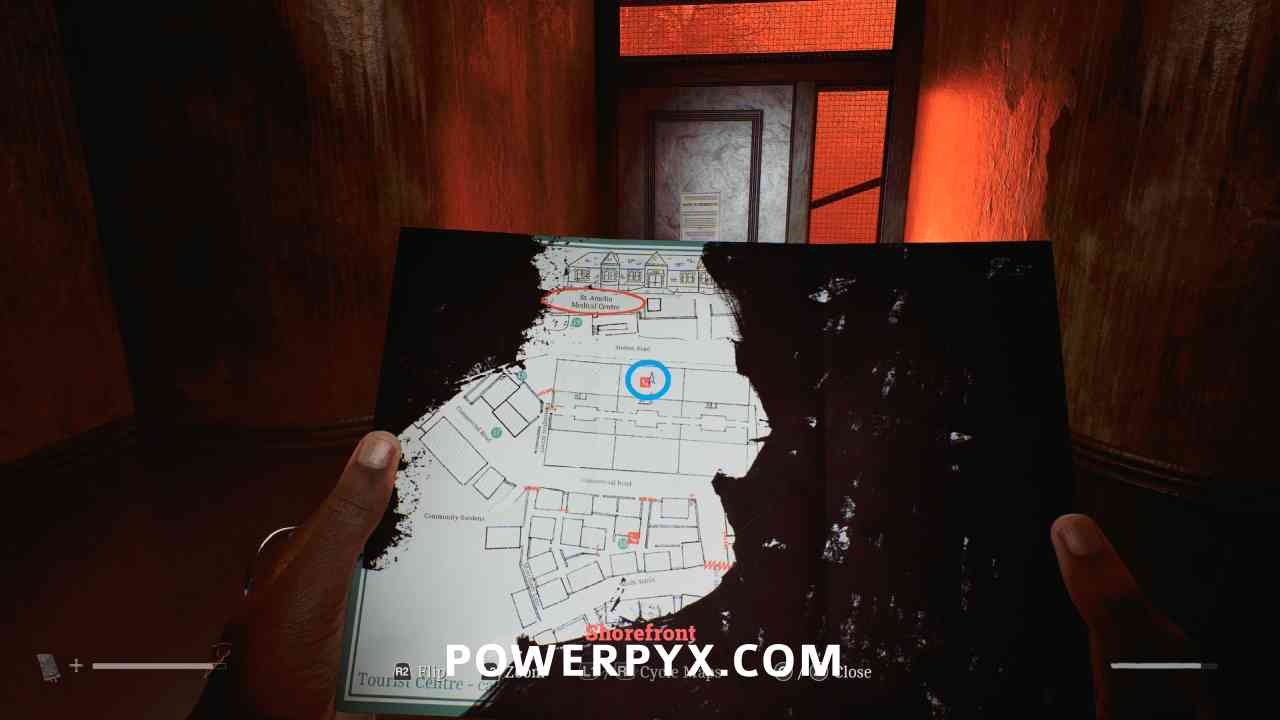
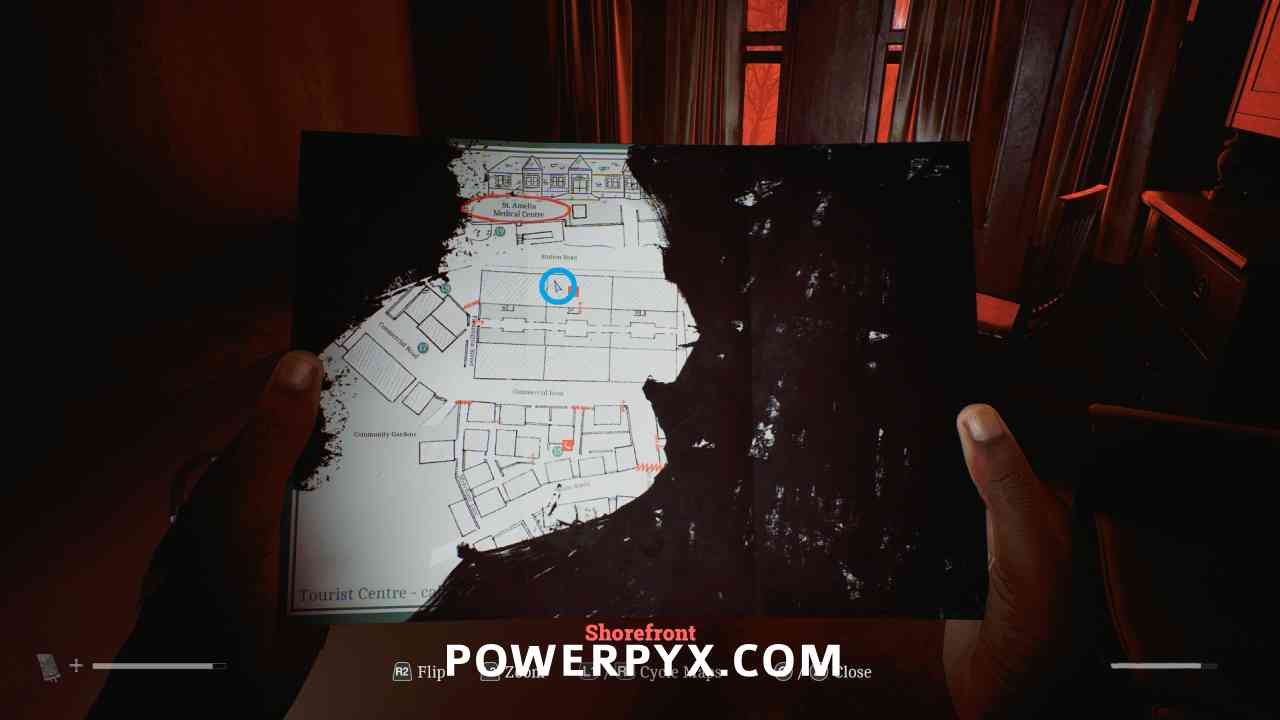
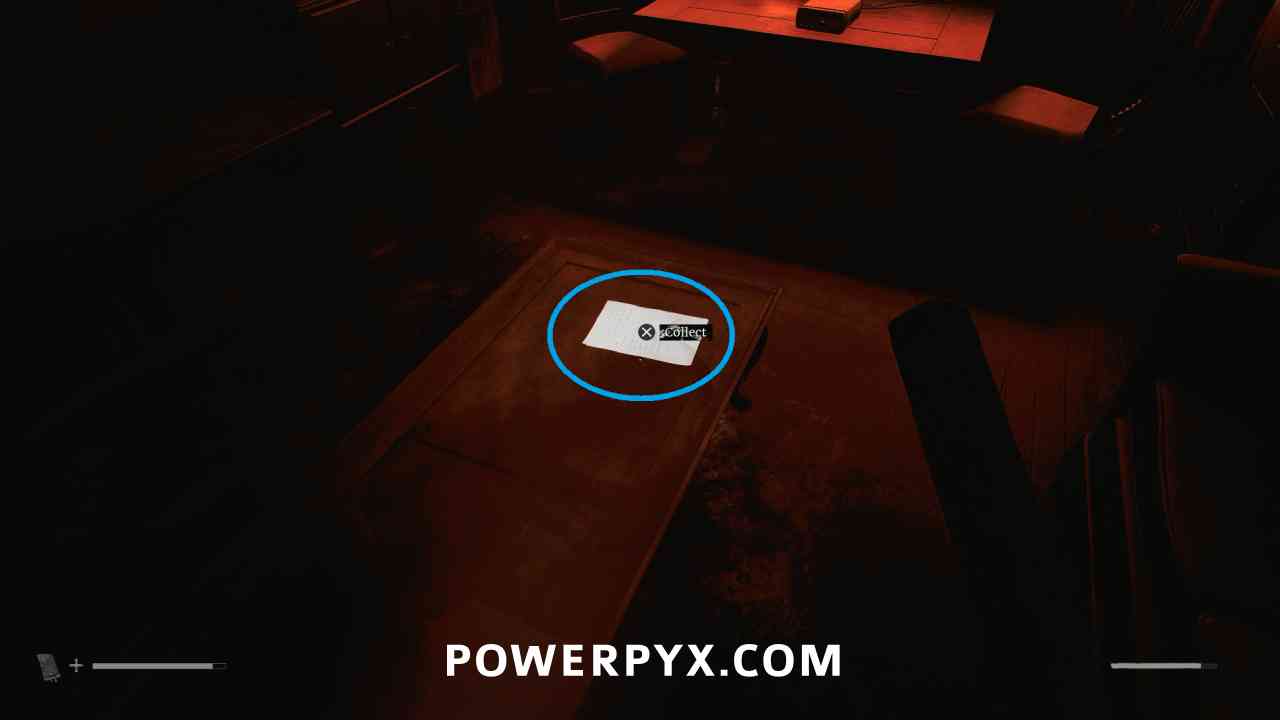
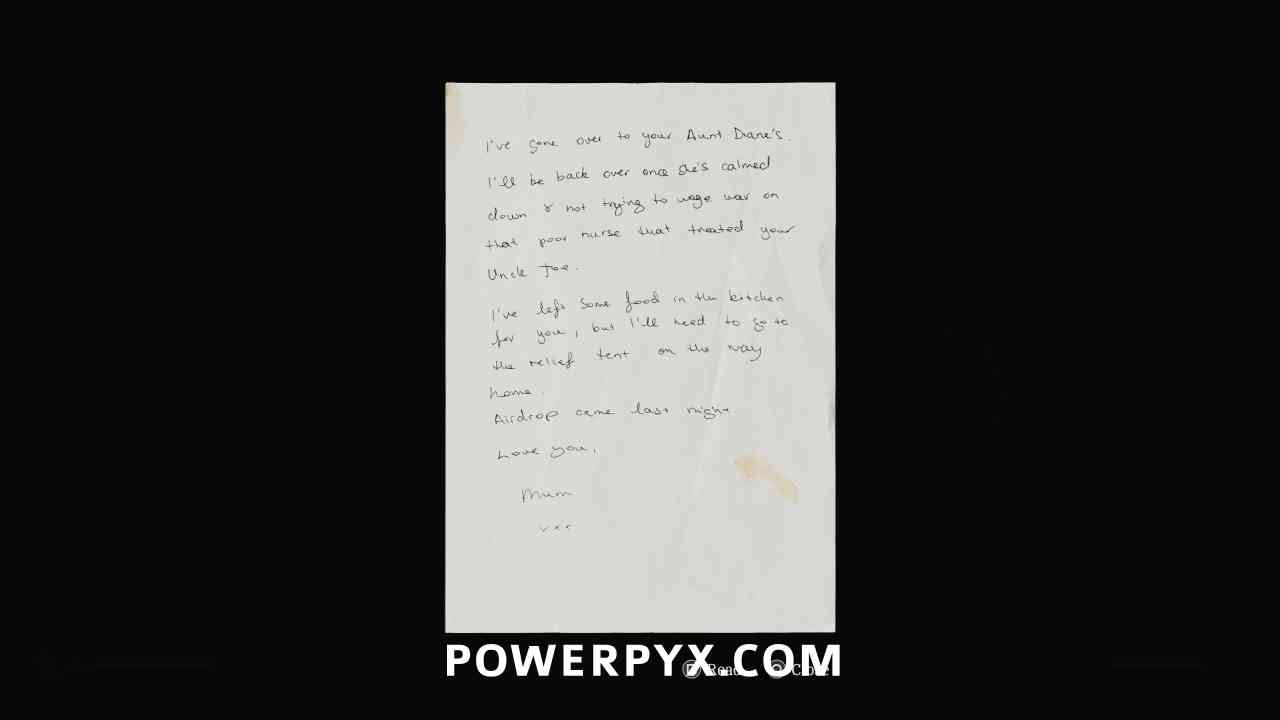
Document: Handwritten Note
Area: Shorefront District – North > Apartment south of Medical Centre
On the second floor of the building in apartment 1/1, on the table in the living room.
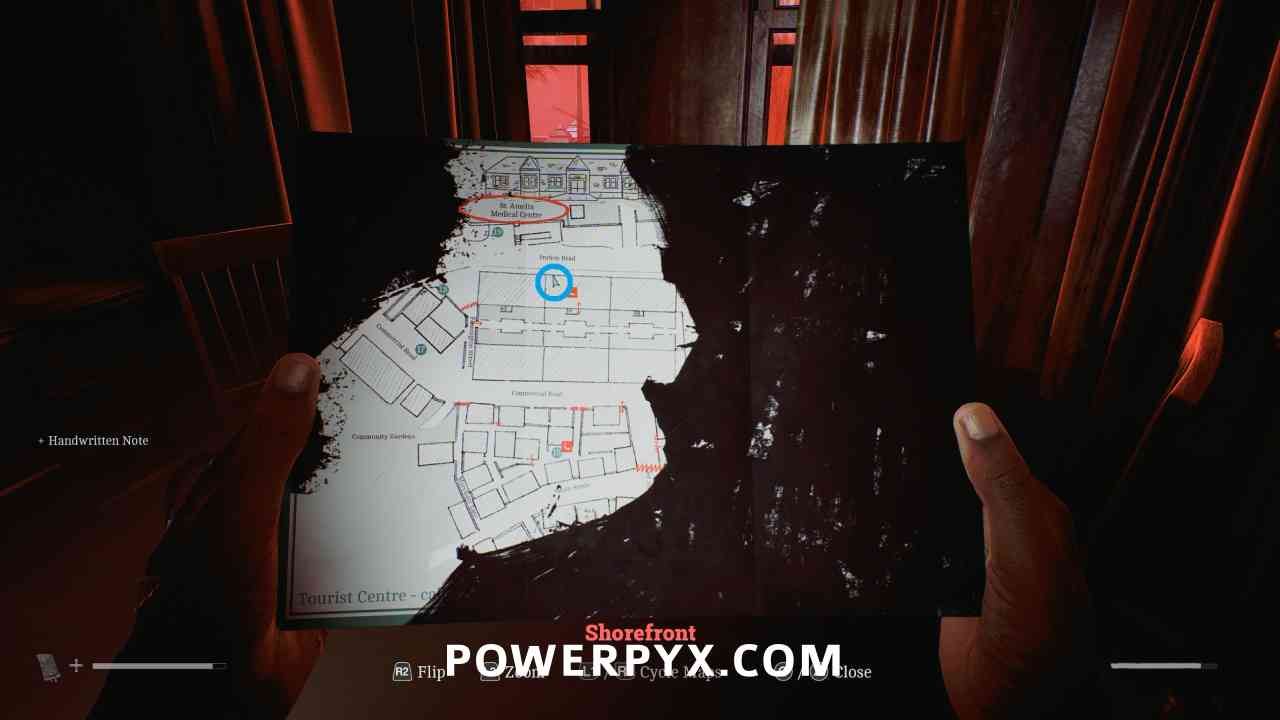
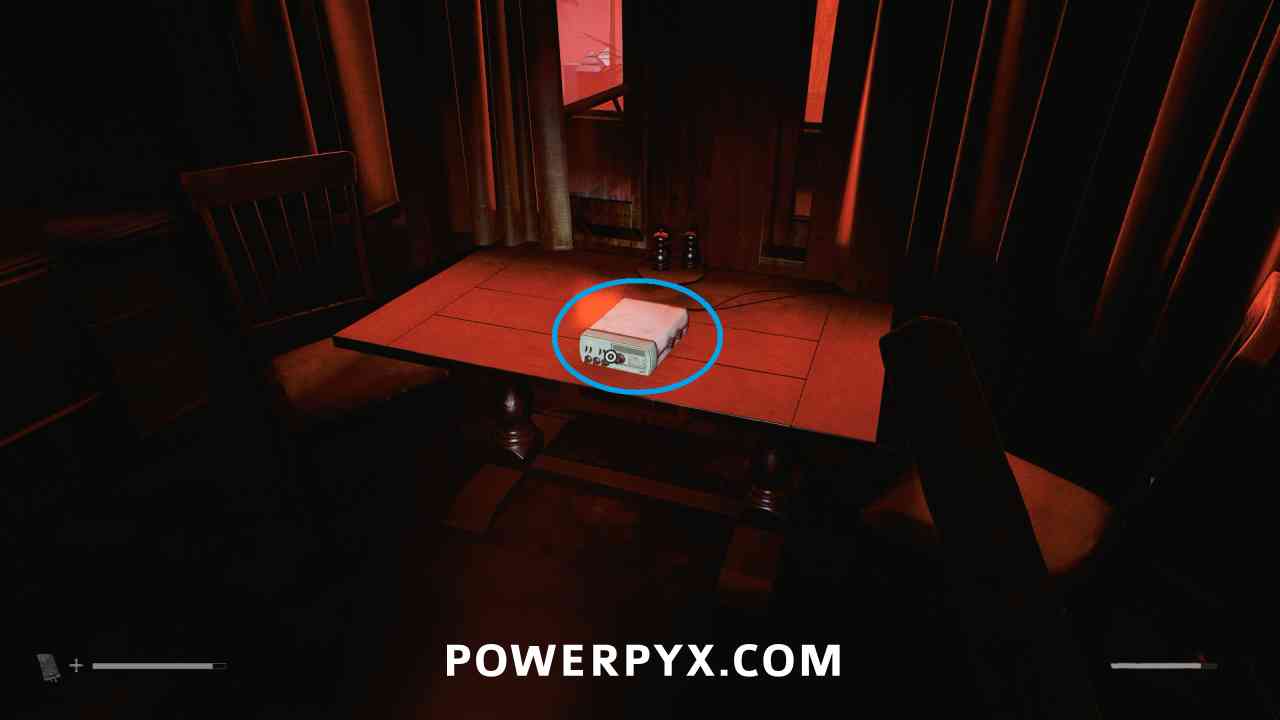
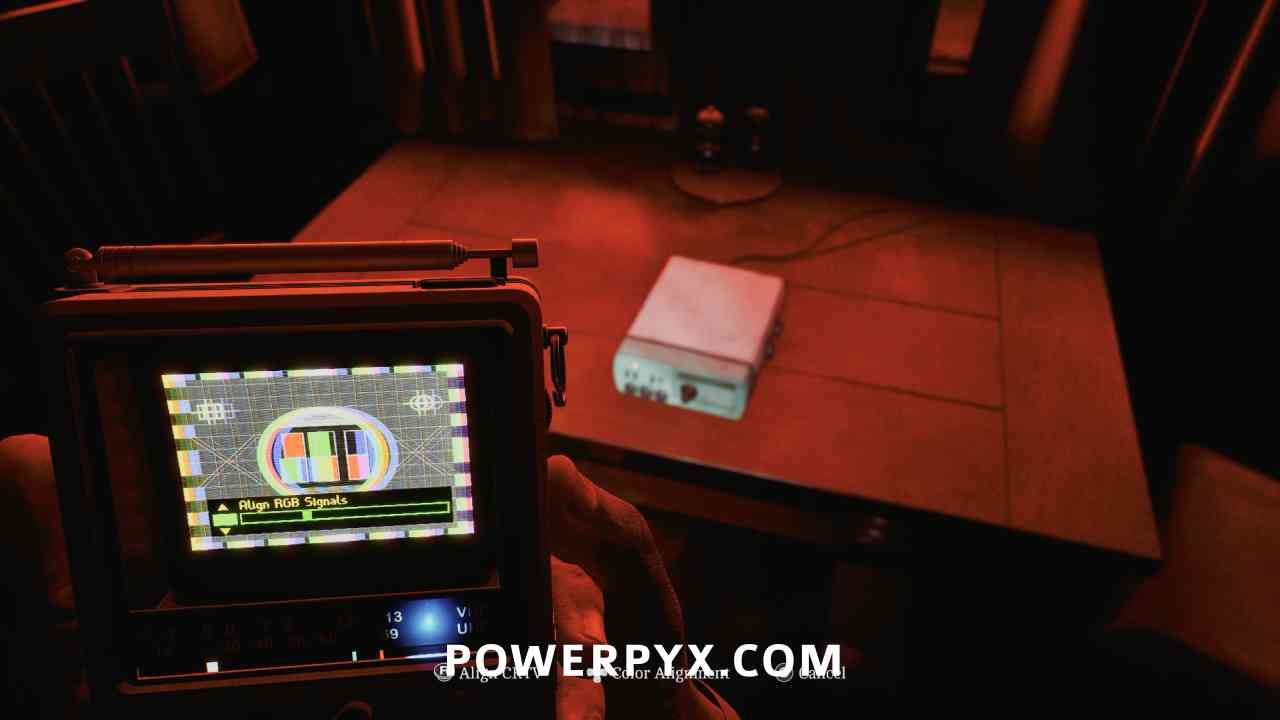
CRTV Channel – 25~
Area: Shorefront District – North > Apartment south of Medical Centre
On the second floor of the apartment south of Medical Centre, interact with the radio on the table. Align the CRTV tilt so that the colors stop moving using the right stick, then adjust colours so they fit in all boxes using the DPAD.
Locked Door
Area: Shorefront District – North > Apartment south of Medical Centre
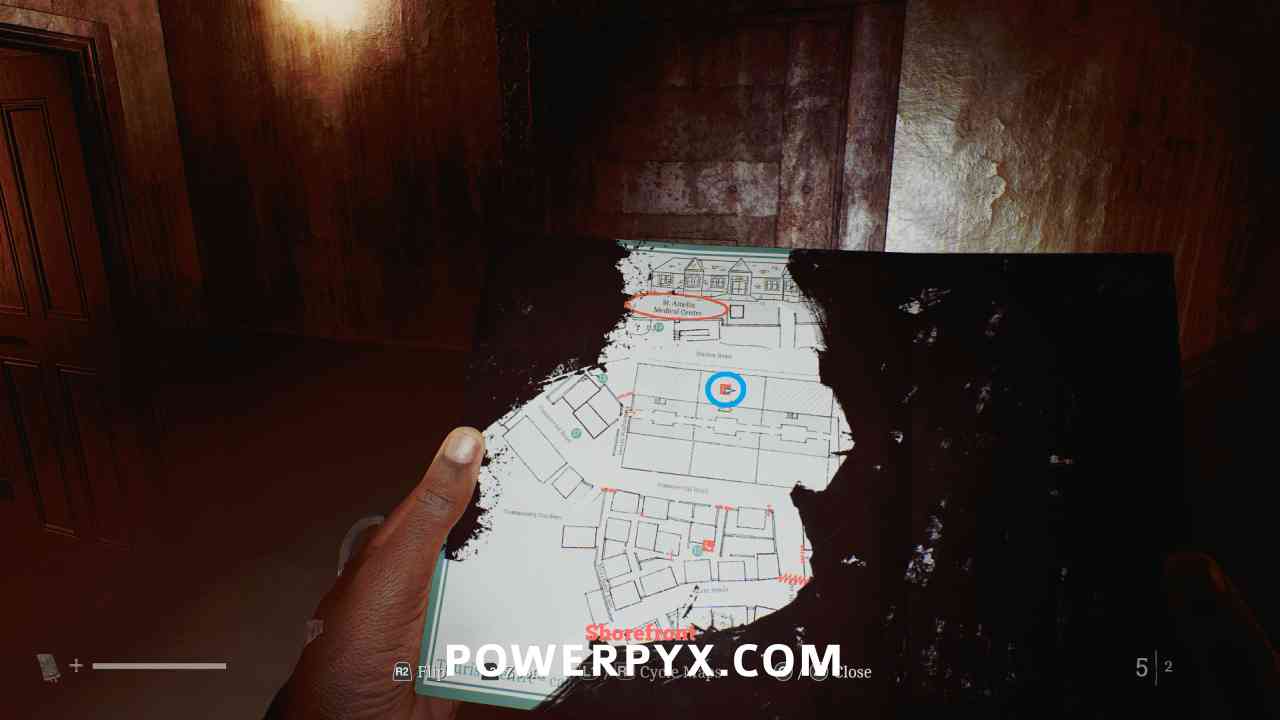
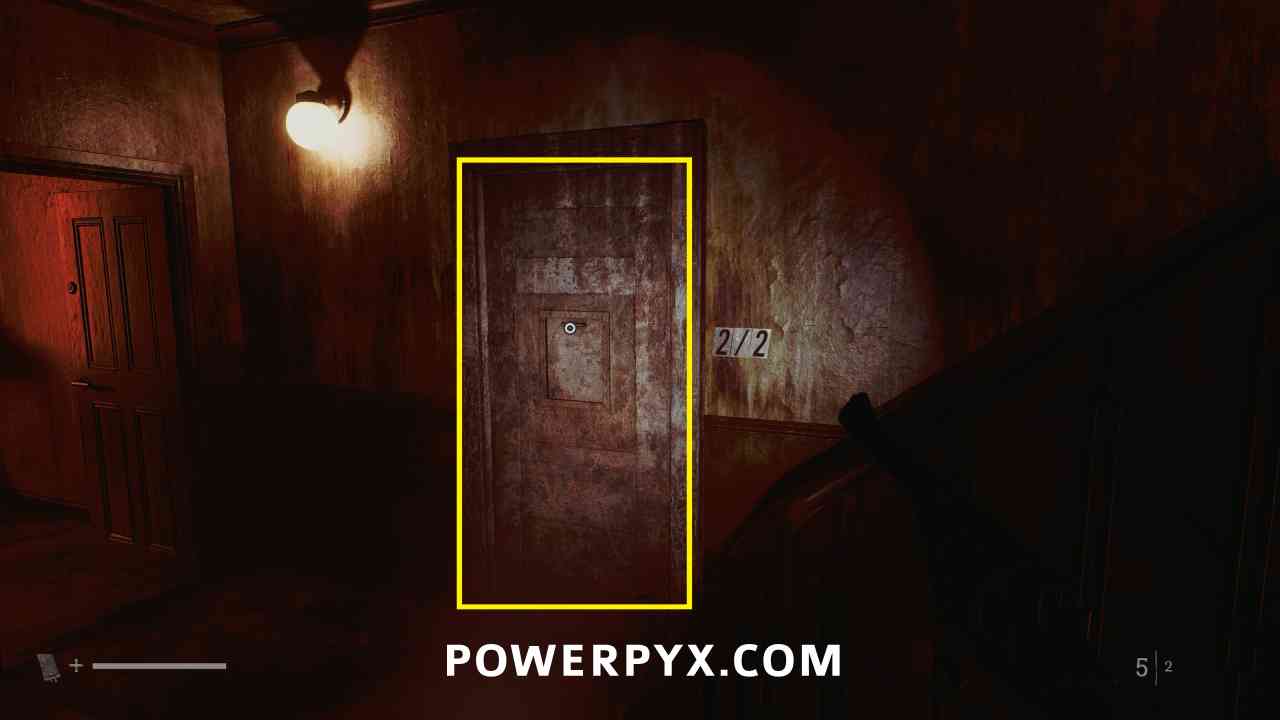
On the third floor of the apartment south of Medical Centre, interact with the door of apartment 2/2 and choose to use the Scalpel.
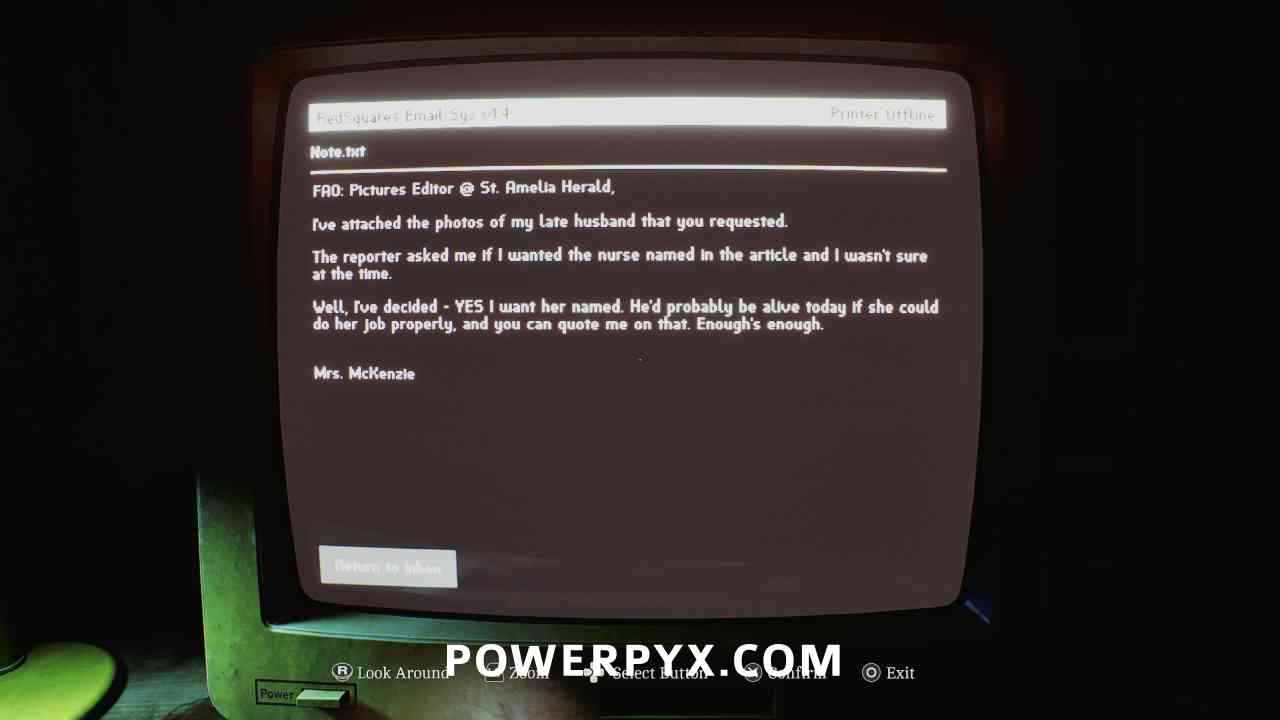
Document: Press Photos “Note.txt”
Area: Shorefront District – North > Apartment south of Medical Centre
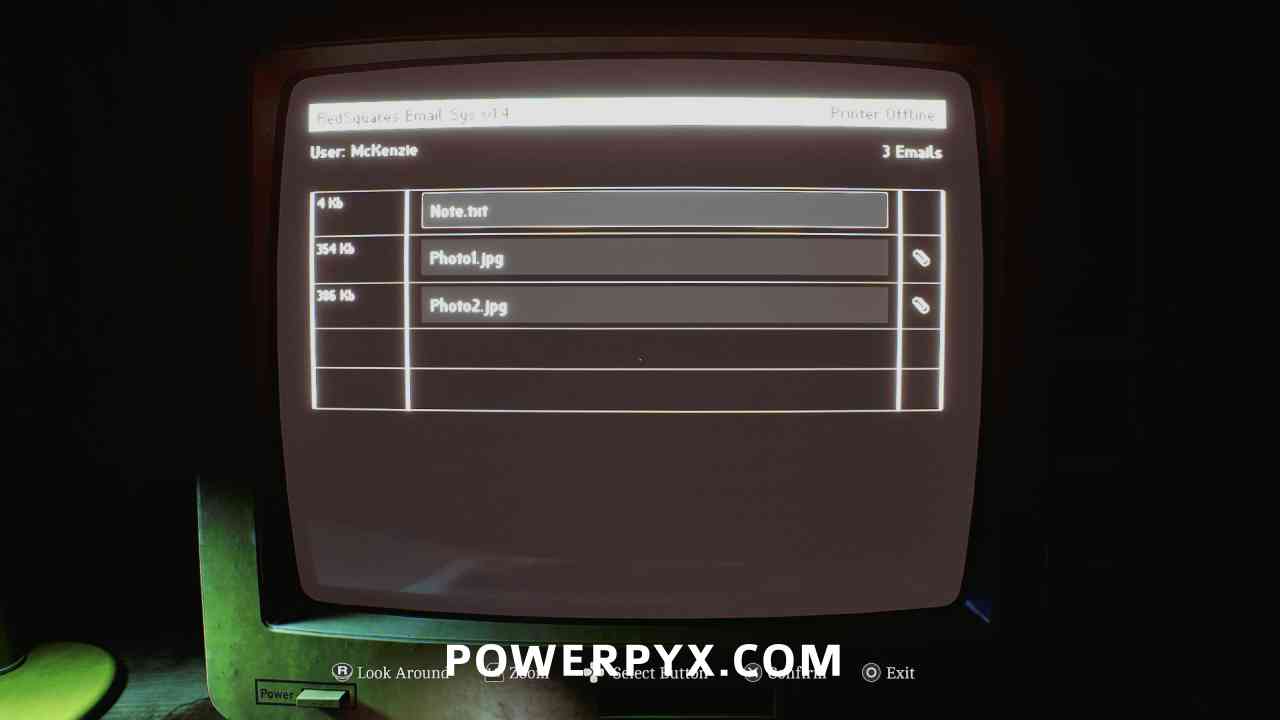
On the third floor of the building in apartment 2/2, interact with the computer on the left and read the top email.
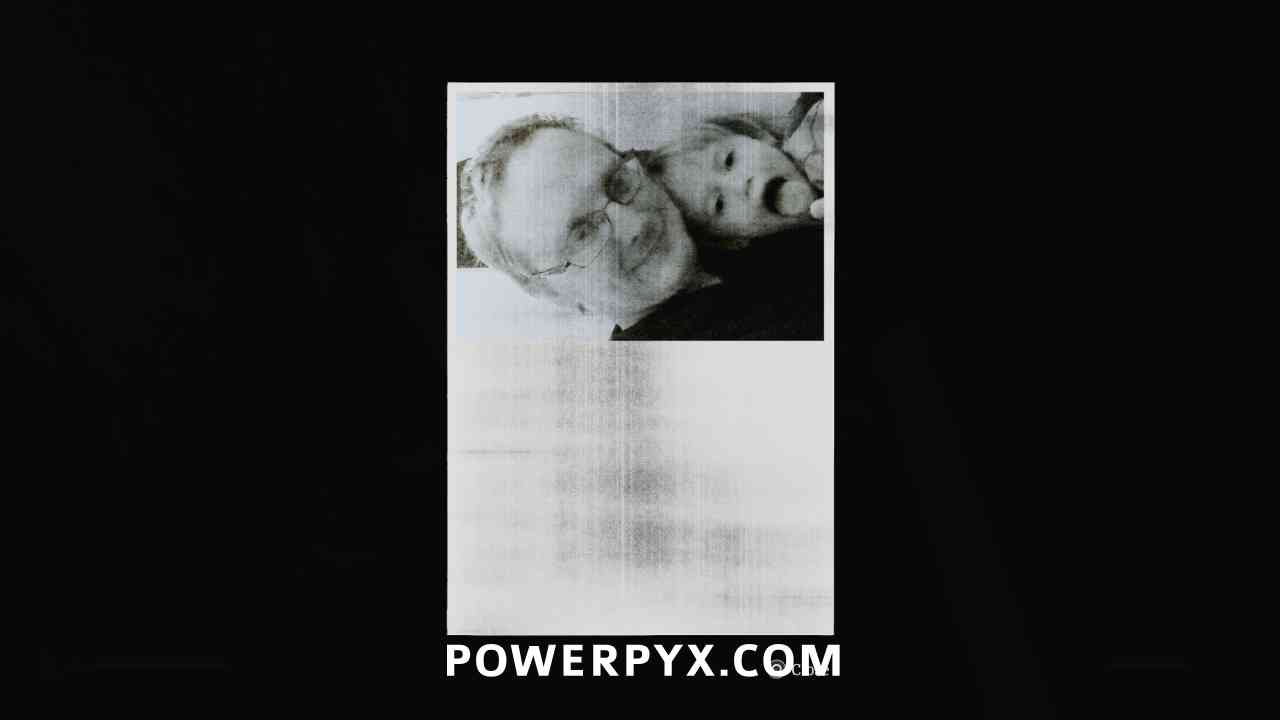
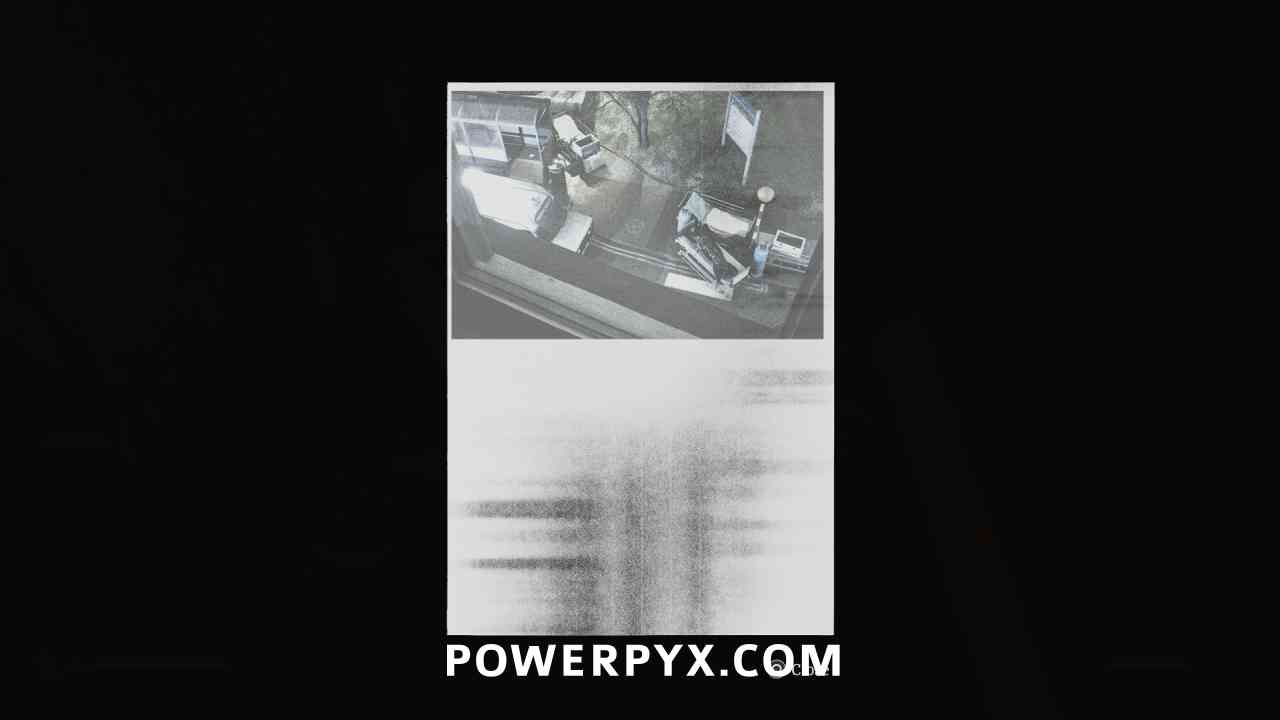
Documents: Photo1.jpg, Photo2.jpg
Area: Shorefront District – North > Apartment south of Medical Centre
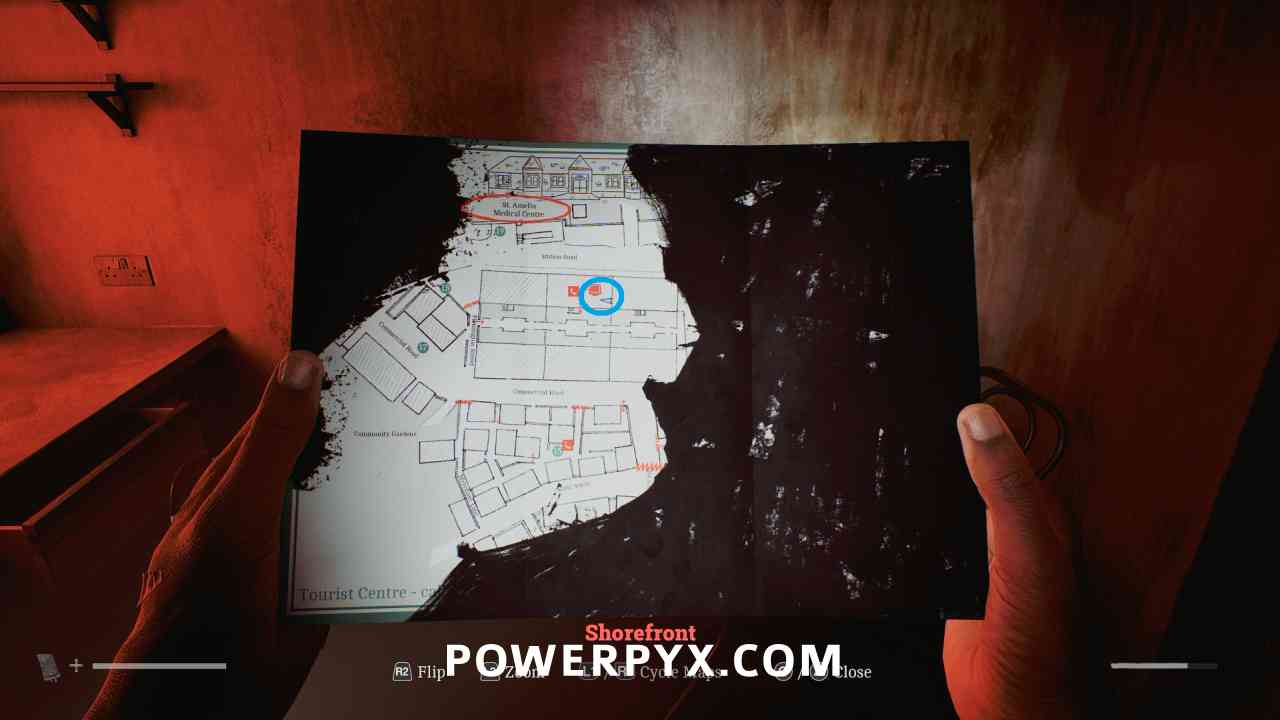
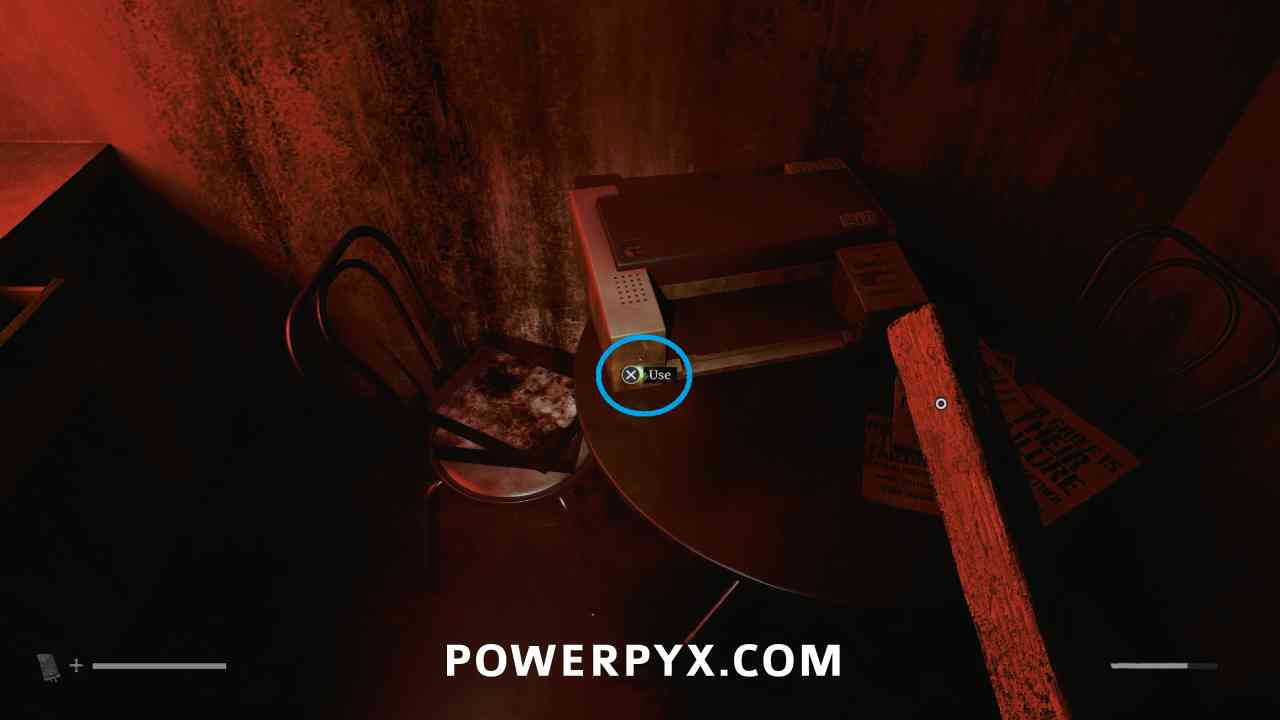
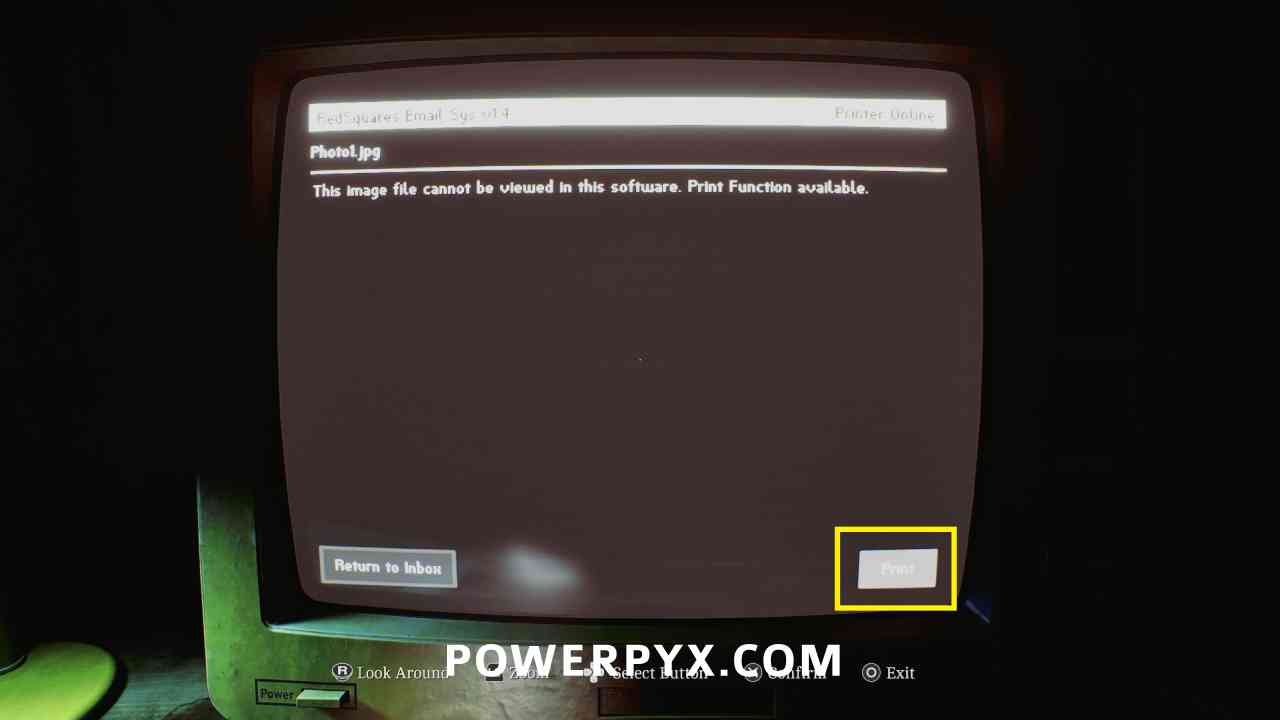
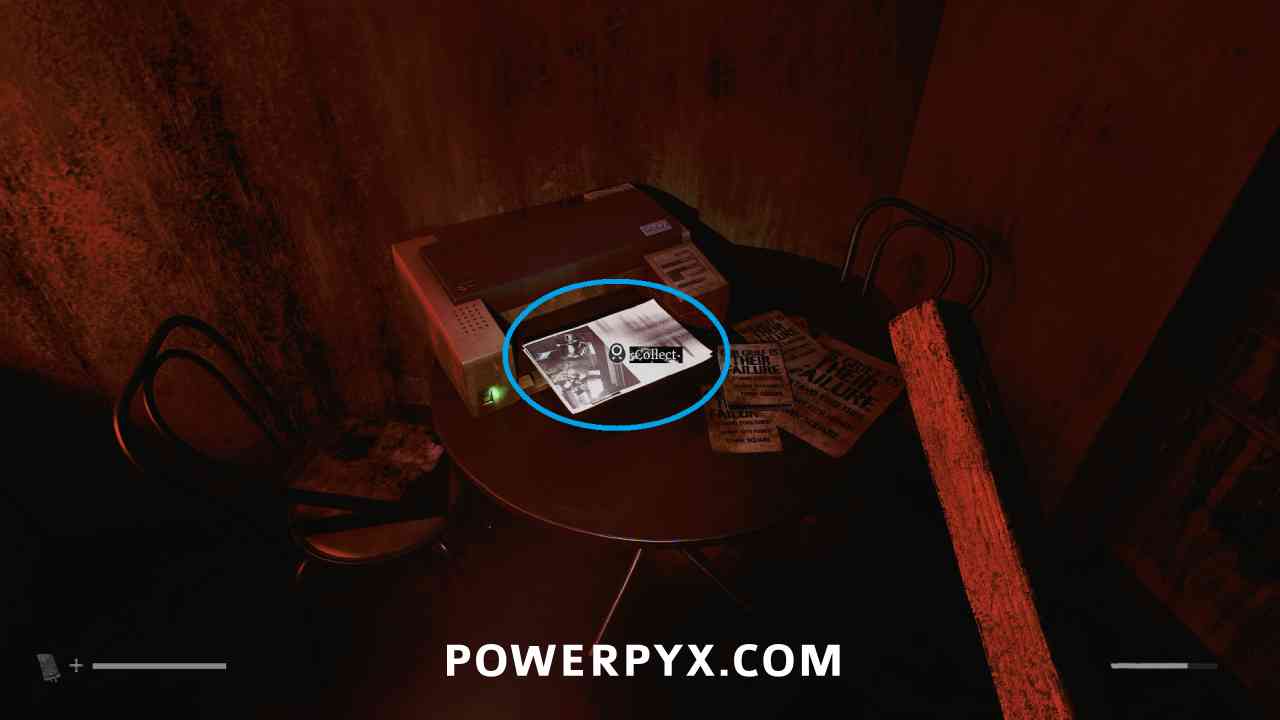
On the third floor of the building in apartment 2/2, go into the kitchen and interact with the printer so it is turned on (green light) then go back to the computer and view the two photos and choose to print them to the printer. Then go back to the kitchen and collect both photos from the printer.
Key Item: Lockbox Key
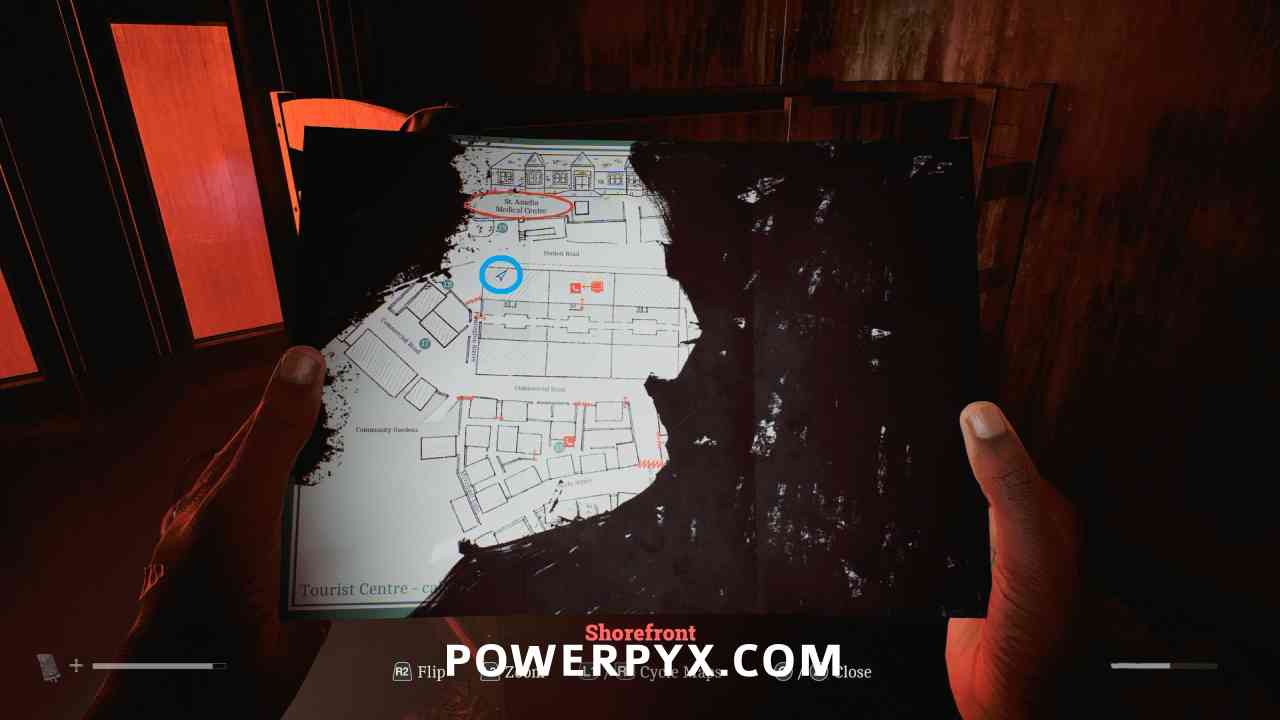
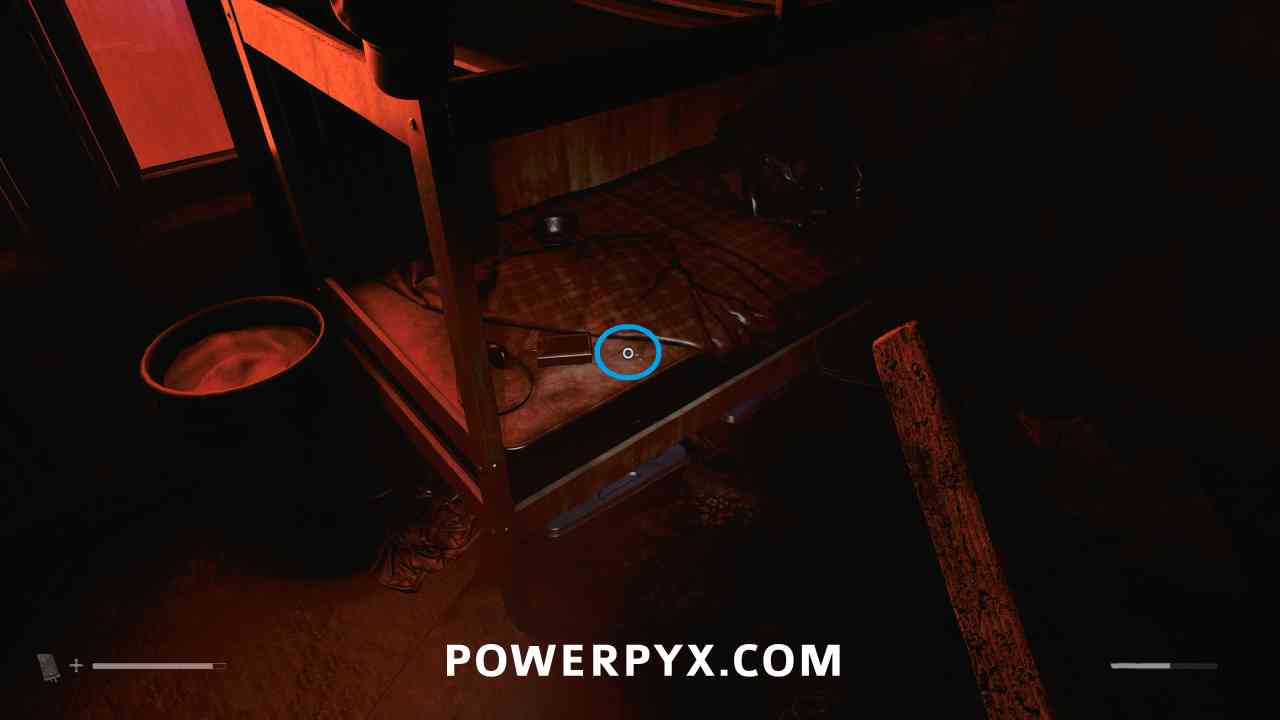
Area: Shorefront District – North > Apartment south of Medical Centre
After going out onto the scaffolding, then back into the second apartment. On the second floor of the building in apartment 1/1, on the bed in the room with the enemy.
Resource Container
Area: Shorefront District – North > Apartment south of Medical Centre
Go up to the fourth floor and use the Lockbox Key on the container on a table on the landing.
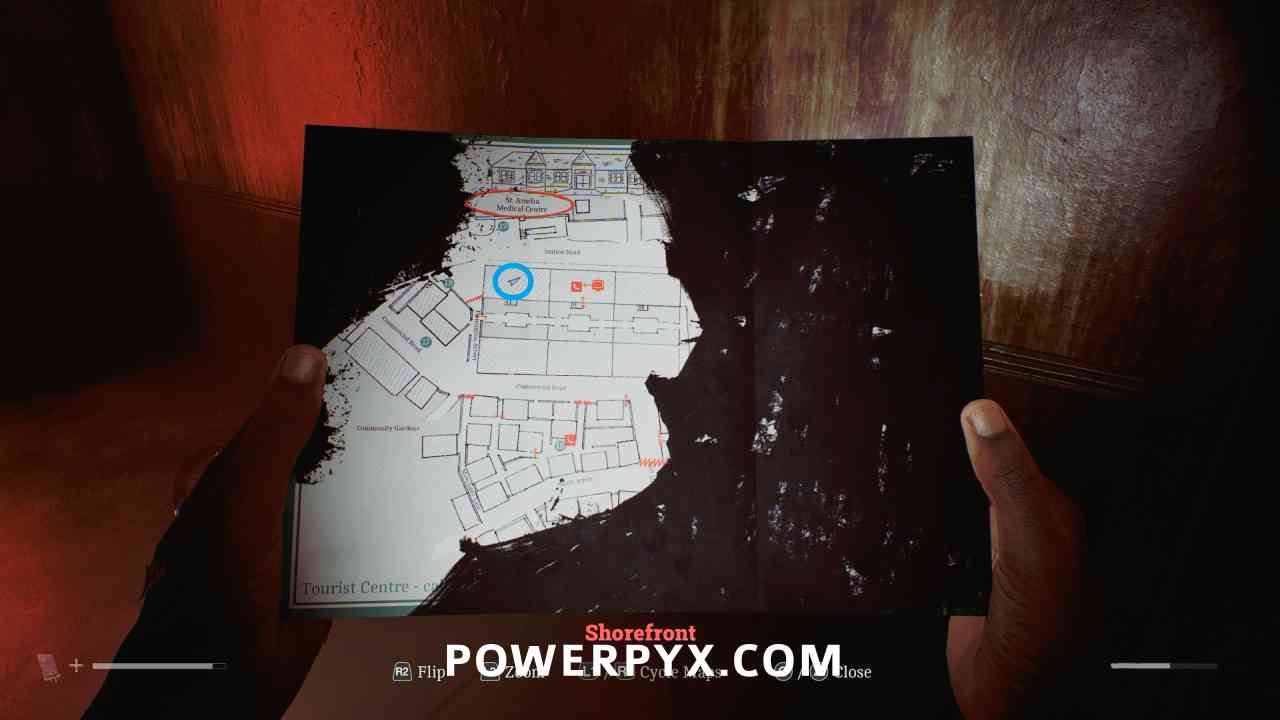
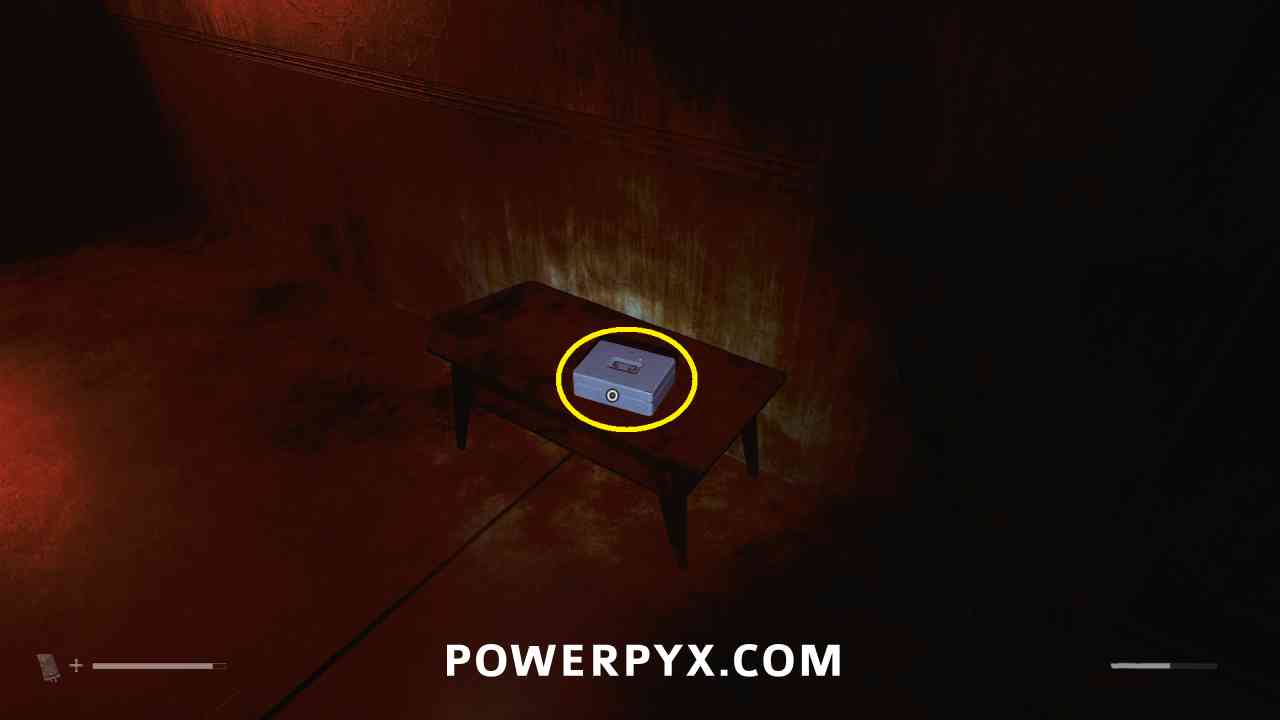
Strange Postcard – 6
Area: Shorefront District – North > Apartment south of Medical Centre
On the ground floor of the apartment, go out the back door (away from the Medical Center) and this is in the last shed on the left.
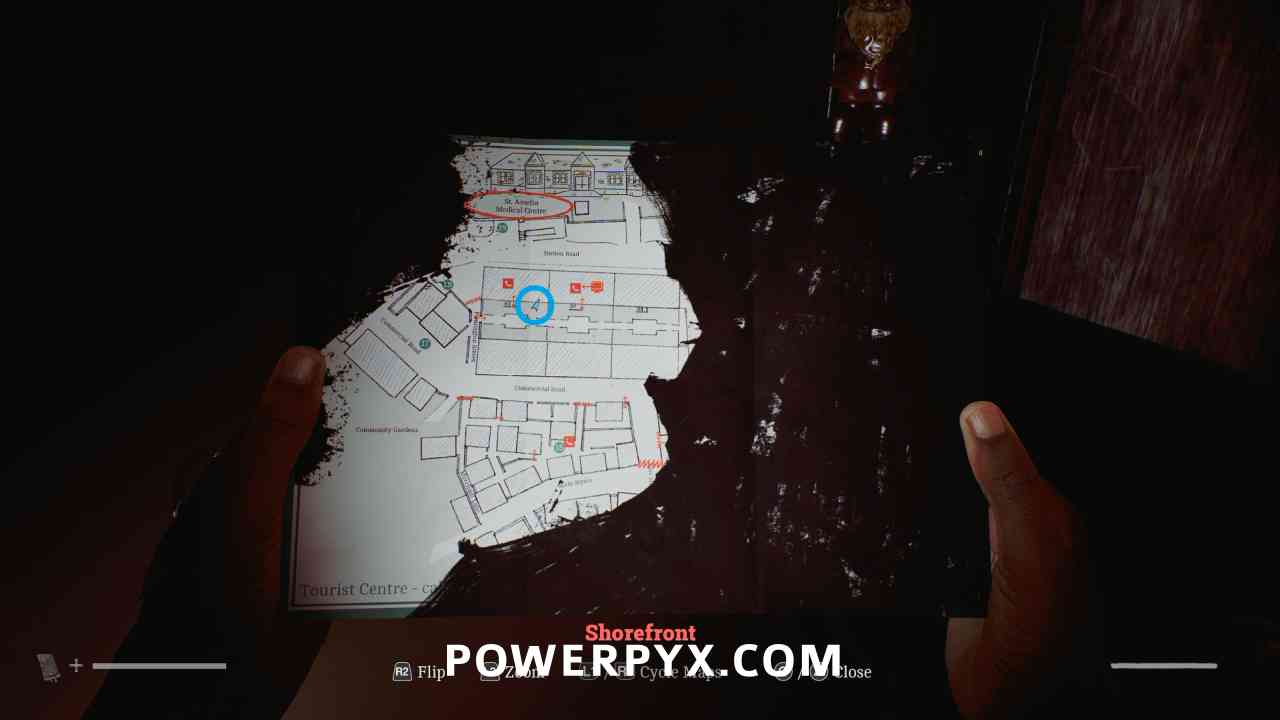
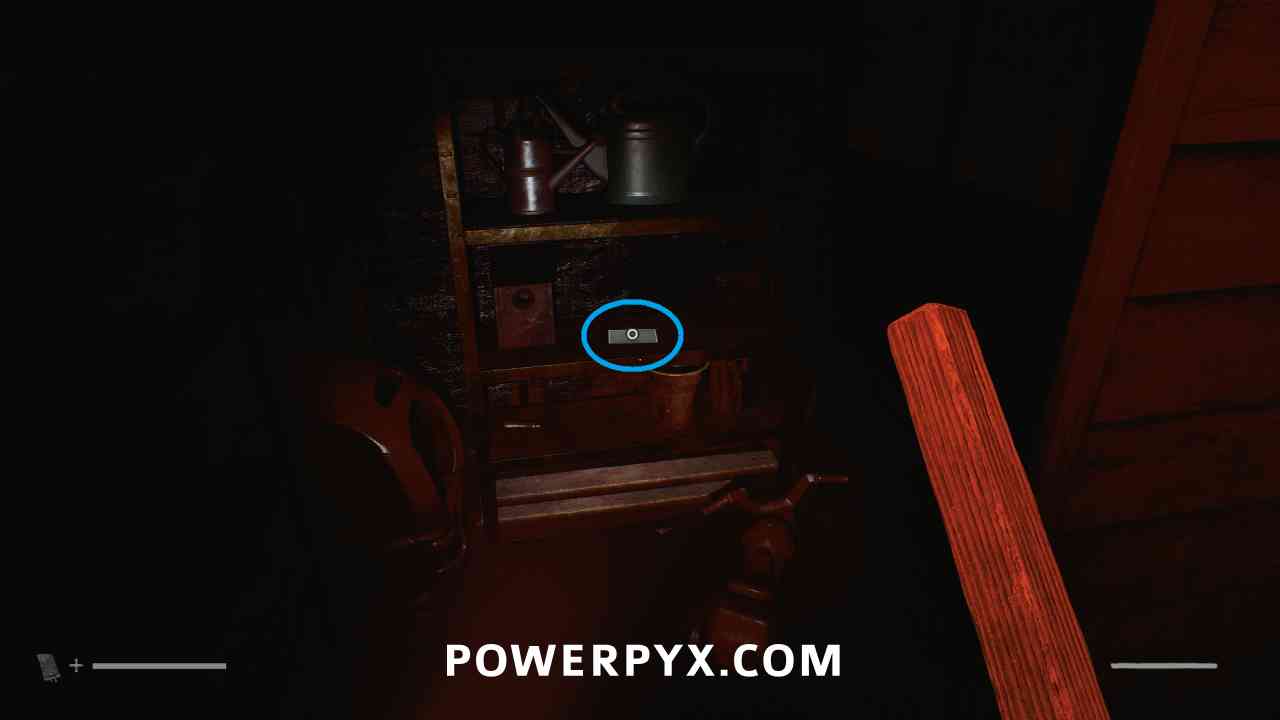

NEXT: Part 3: The Patient
For an overview of all other chapters and by-type collectibles also see Silent Hill Townfall Collectible Guide.
Leave a Reply