
Part 3: The Patient is the third section of Silent Hill Townfall and covers Chapters 7-8. This walkthrough will guide you through all collectibles and puzzles in The Patient section. Everything that’s needed for trophies and 100% completion is included. Most items are missable if you don’t pick them up during this section, as you cannot replay sections of the game without reloading a prior save or starting a new playthrough.
Collectibles Walkthrough:
Documents and Clues that contribute toward the “Discoveries” statistic which determine the main endings are highlighted in RED.
Part 3: The Patient
Chapter 7: Zoe The Patient
St. Amelia Medical Center
Save It For The Patients 
During this chapter, you must not use any healing items while playing as Zoe. If you are struggling in first playthrough you can save this for next playthroughs where you have the Axe and can just instantly kill any enemies.
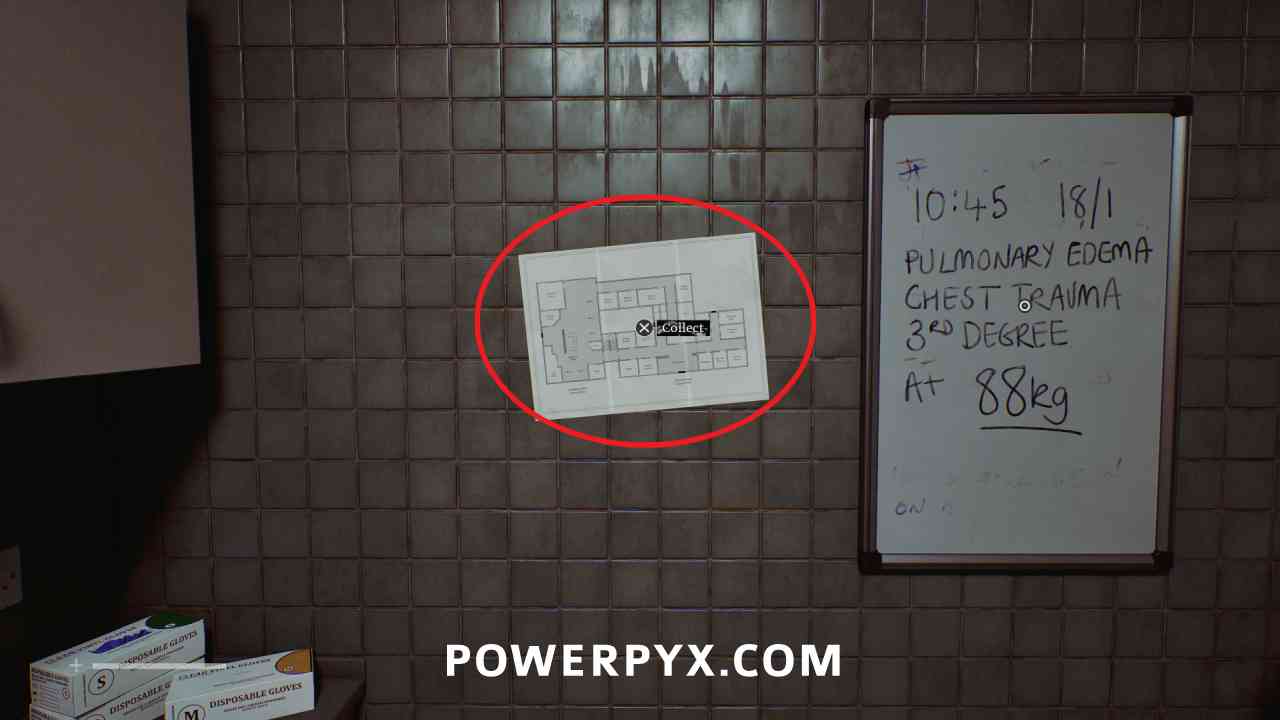
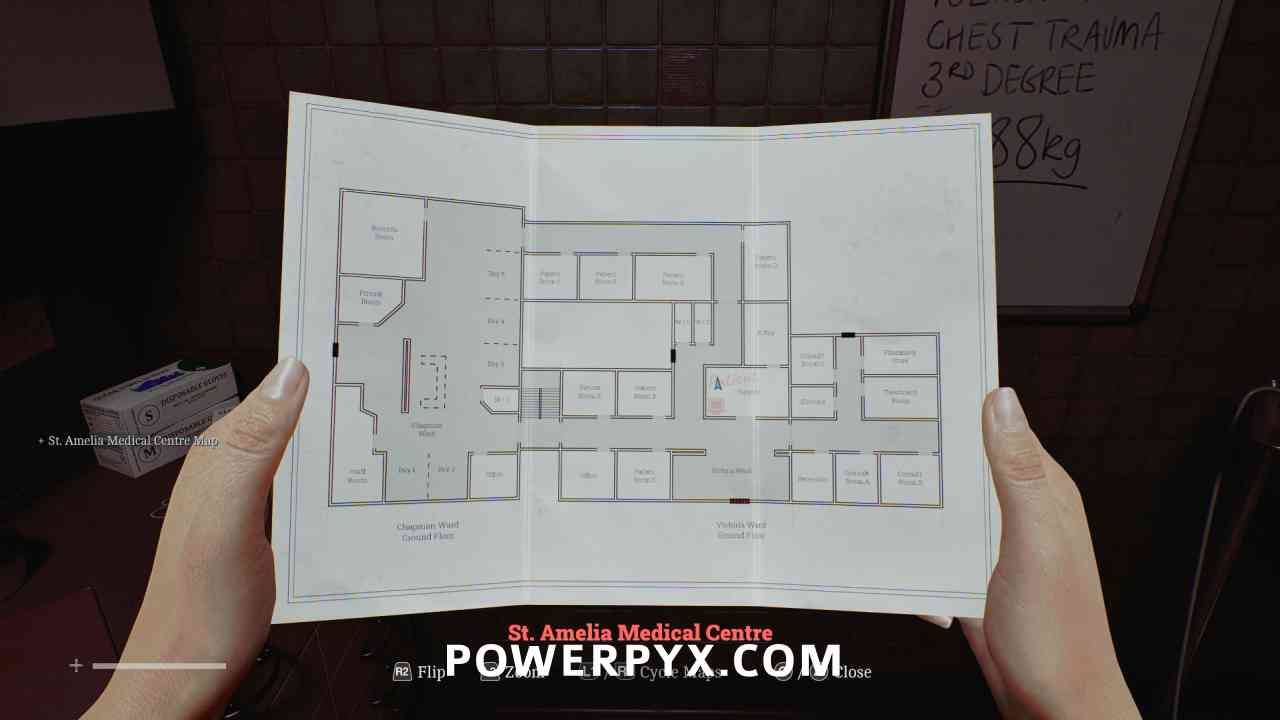
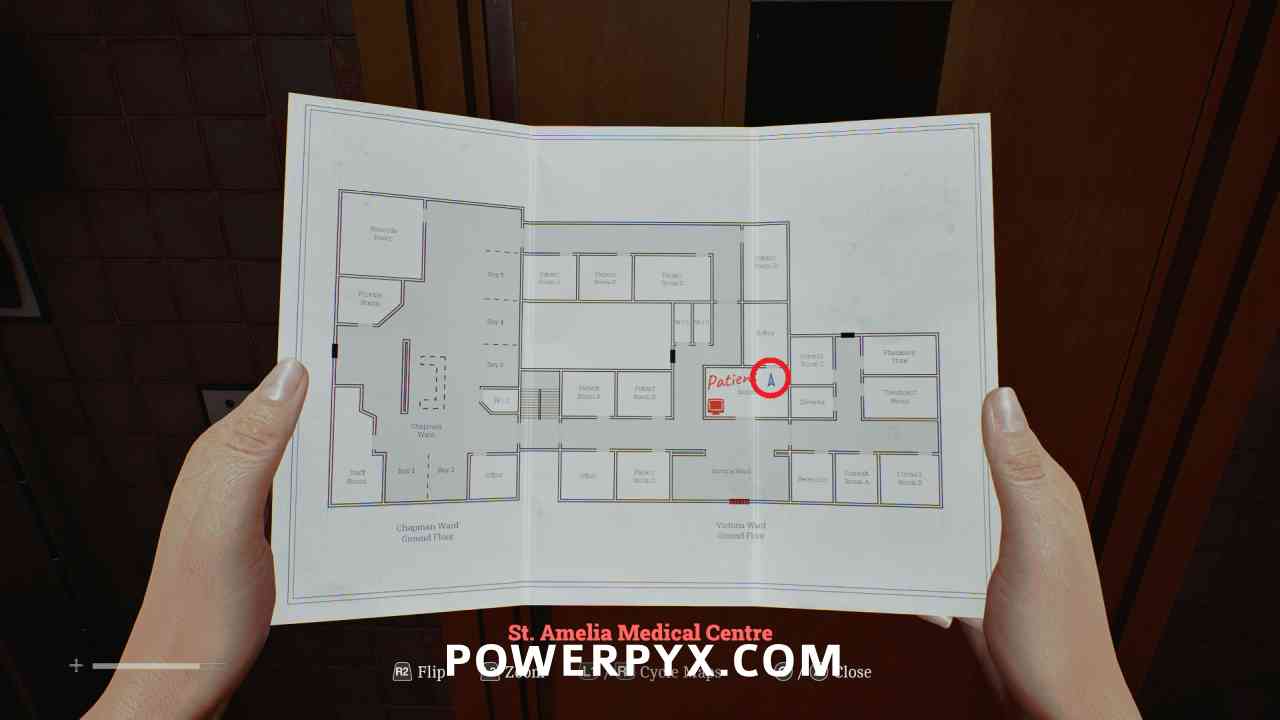
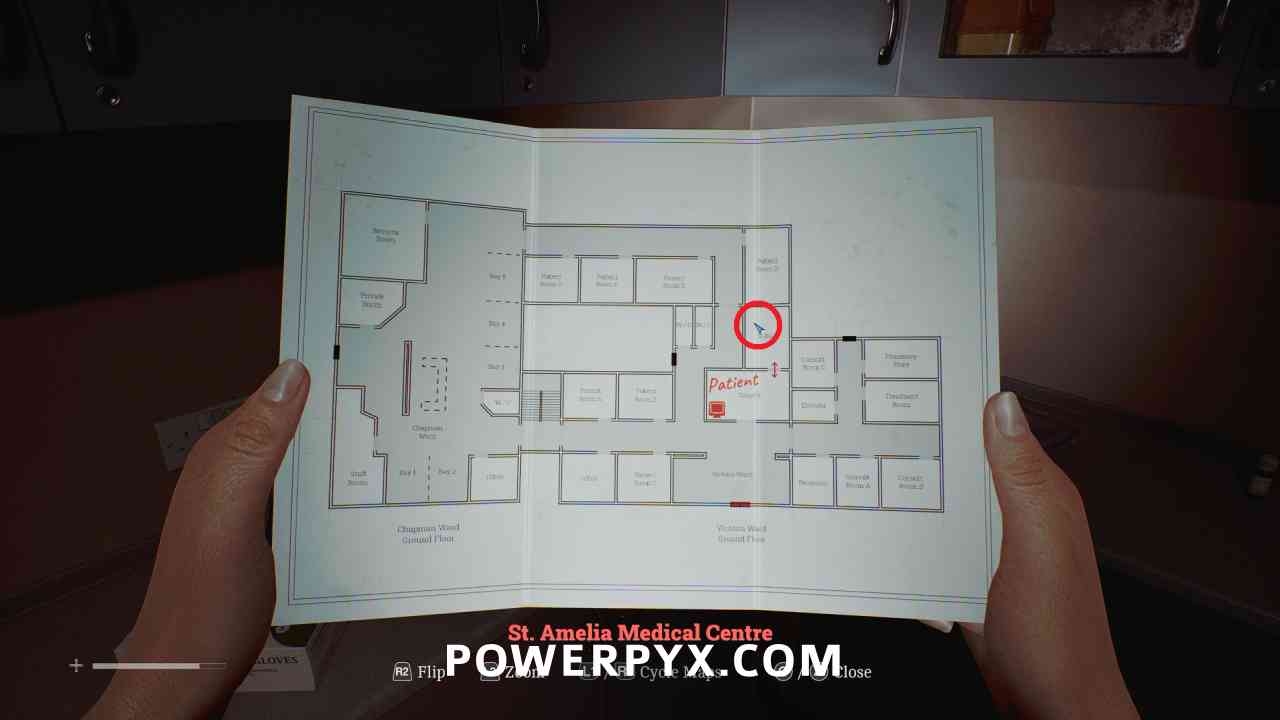
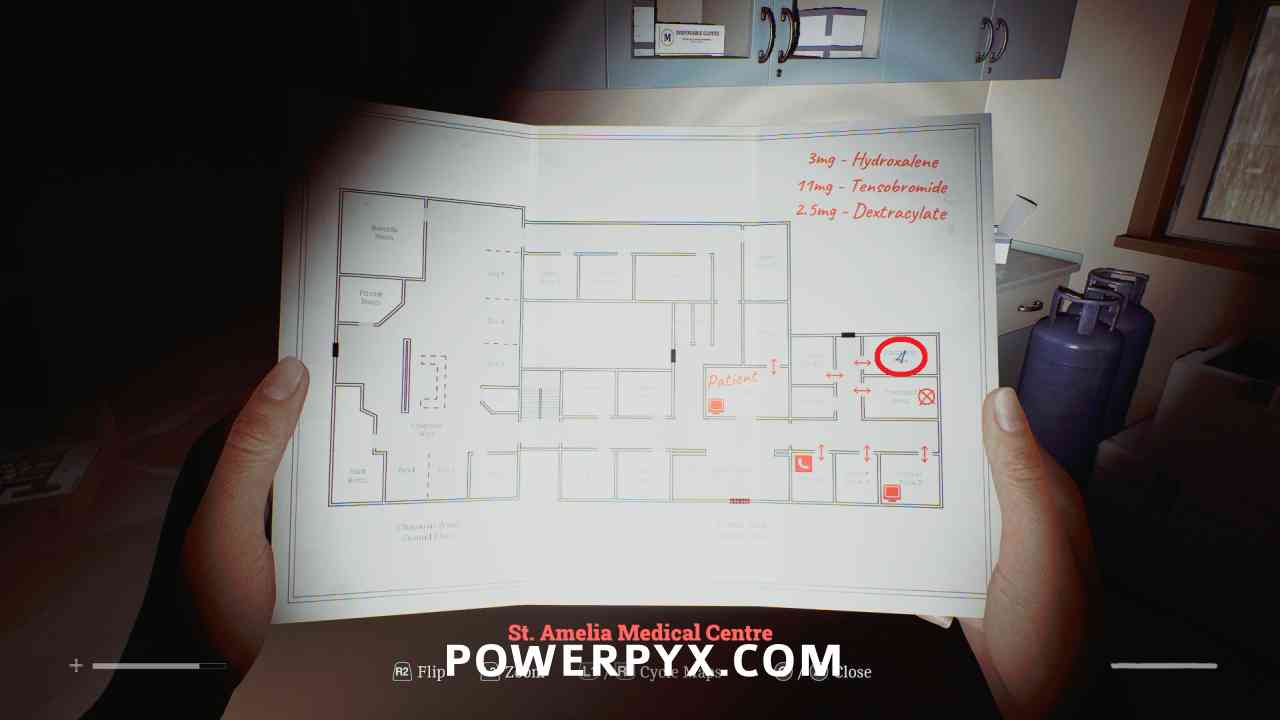
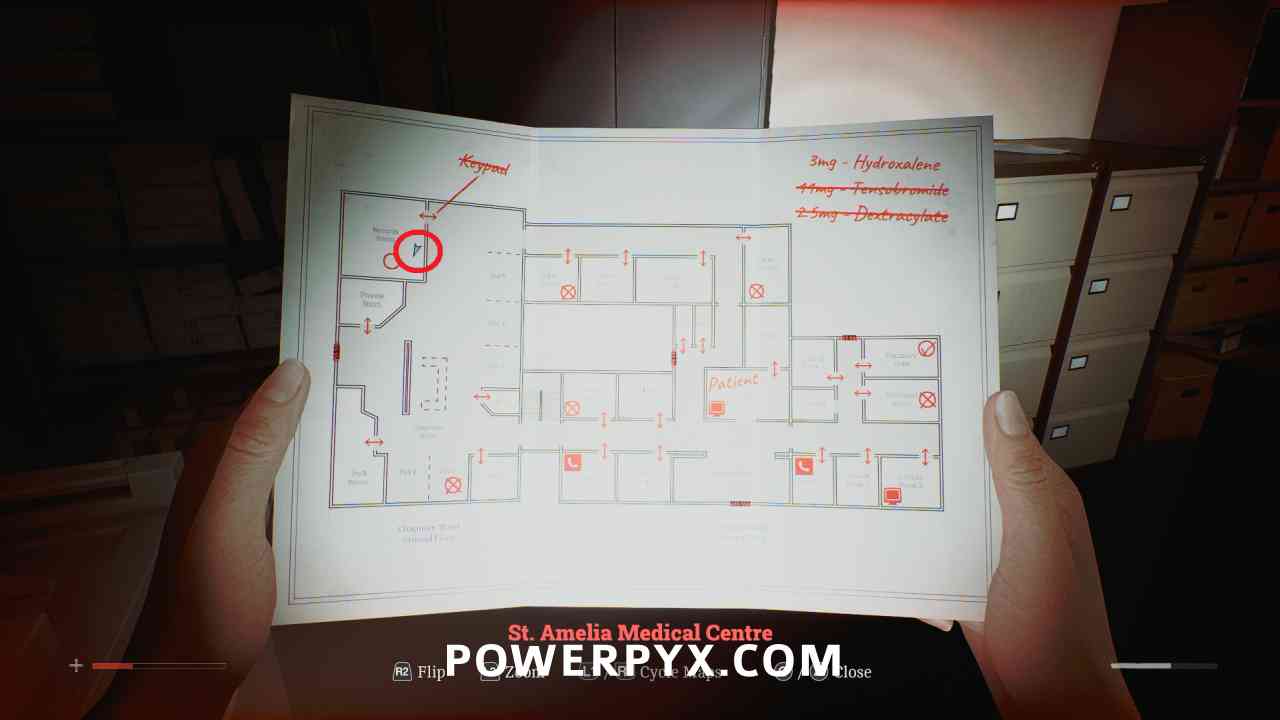
St. Amelia Medical Center Map
Area: St. Amelia Medical Center > Surgery
On the wall to the left at the start of the chapter.
Puzzle #10
Area: St. Amelia Medical Center > Surgery
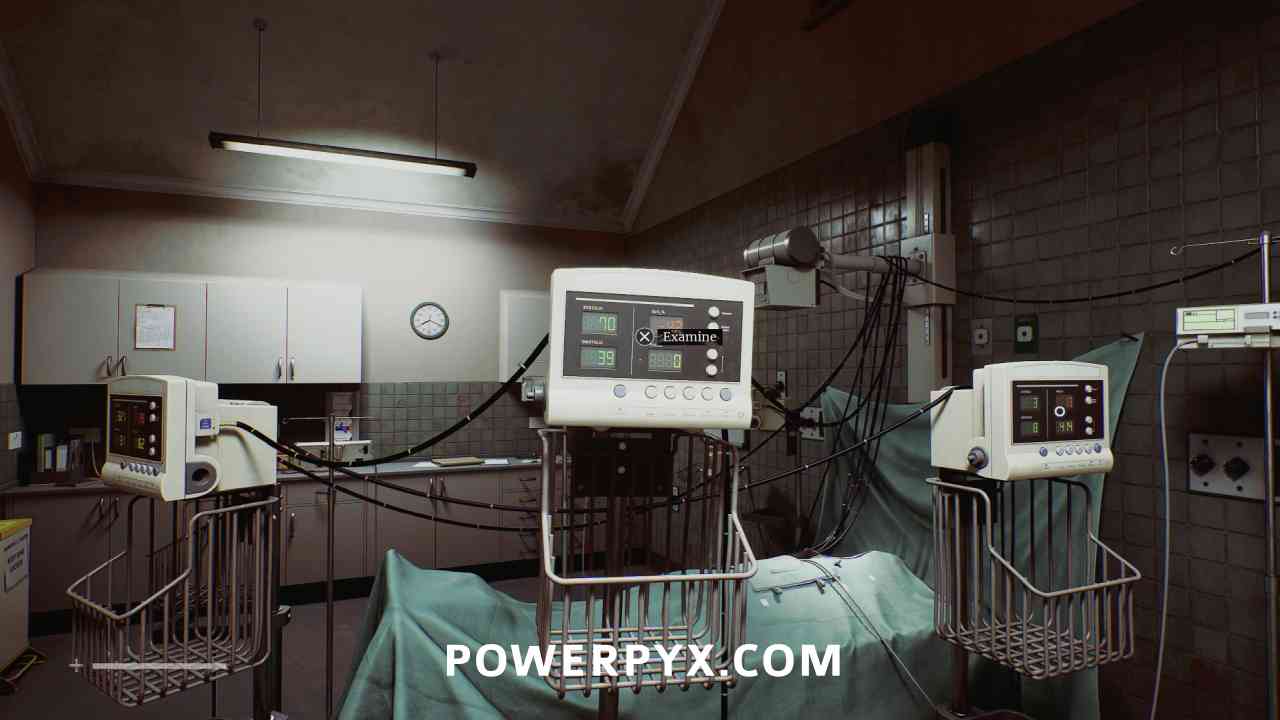
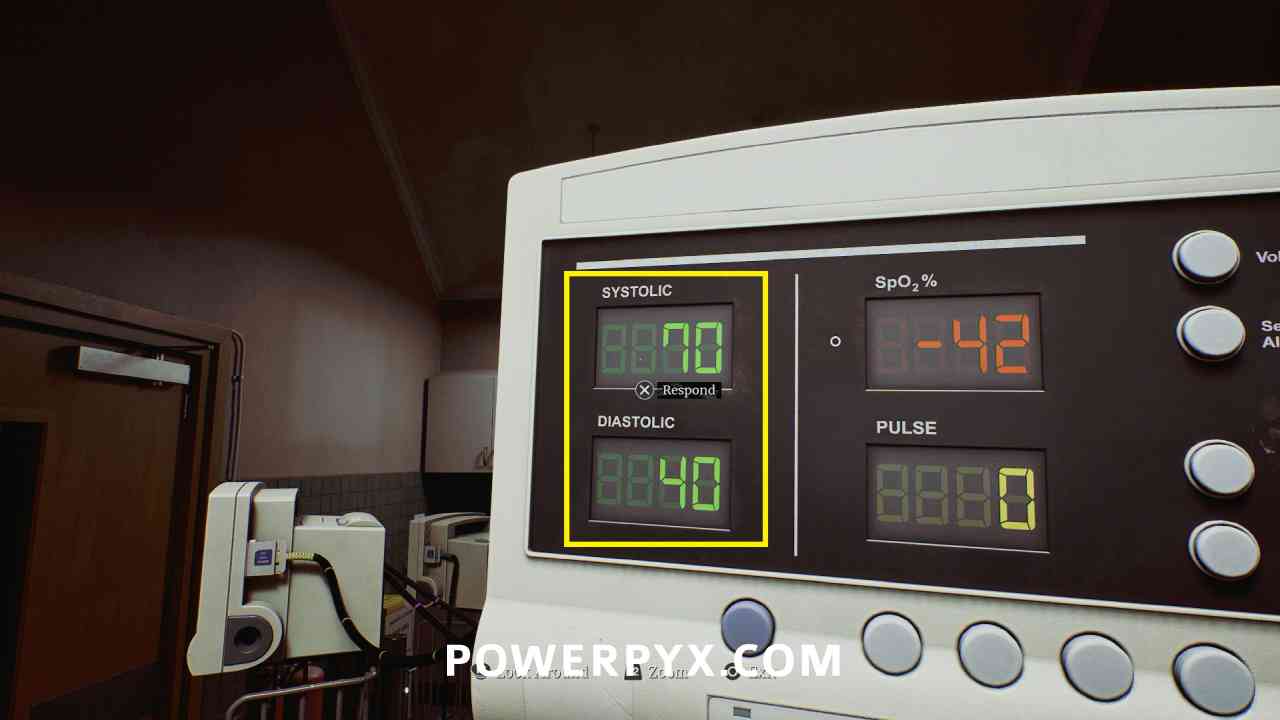
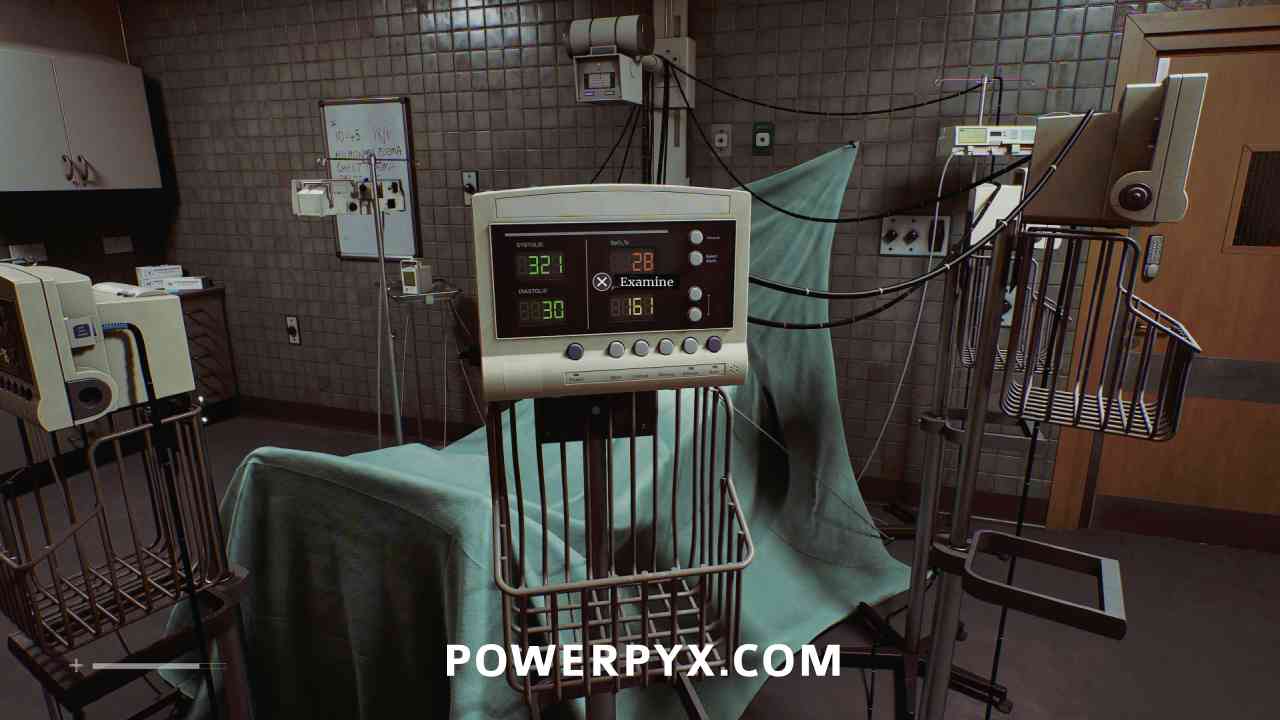
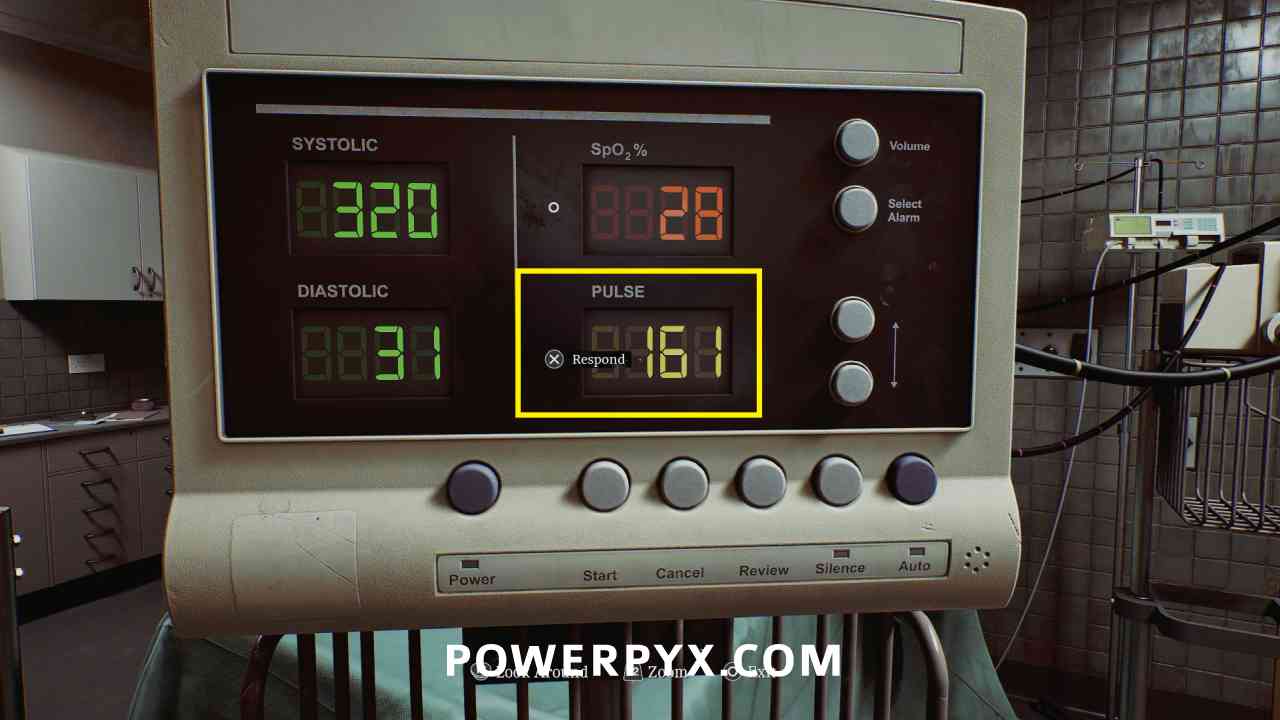
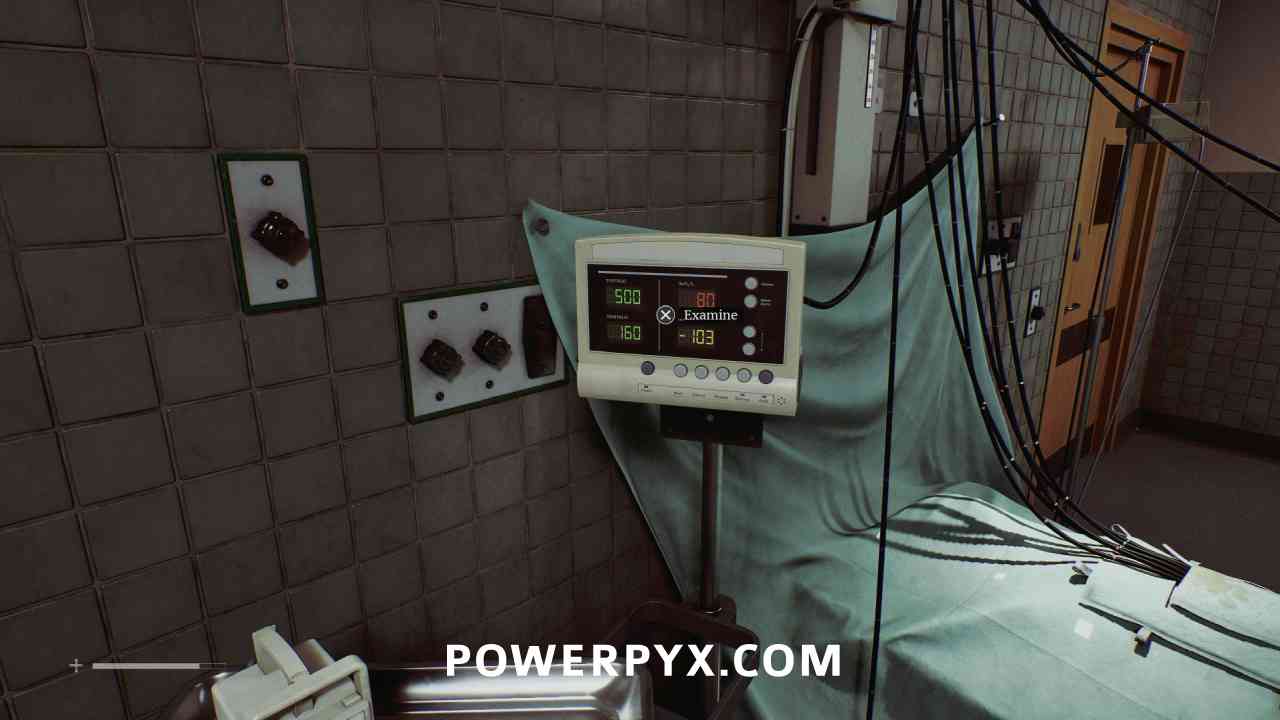
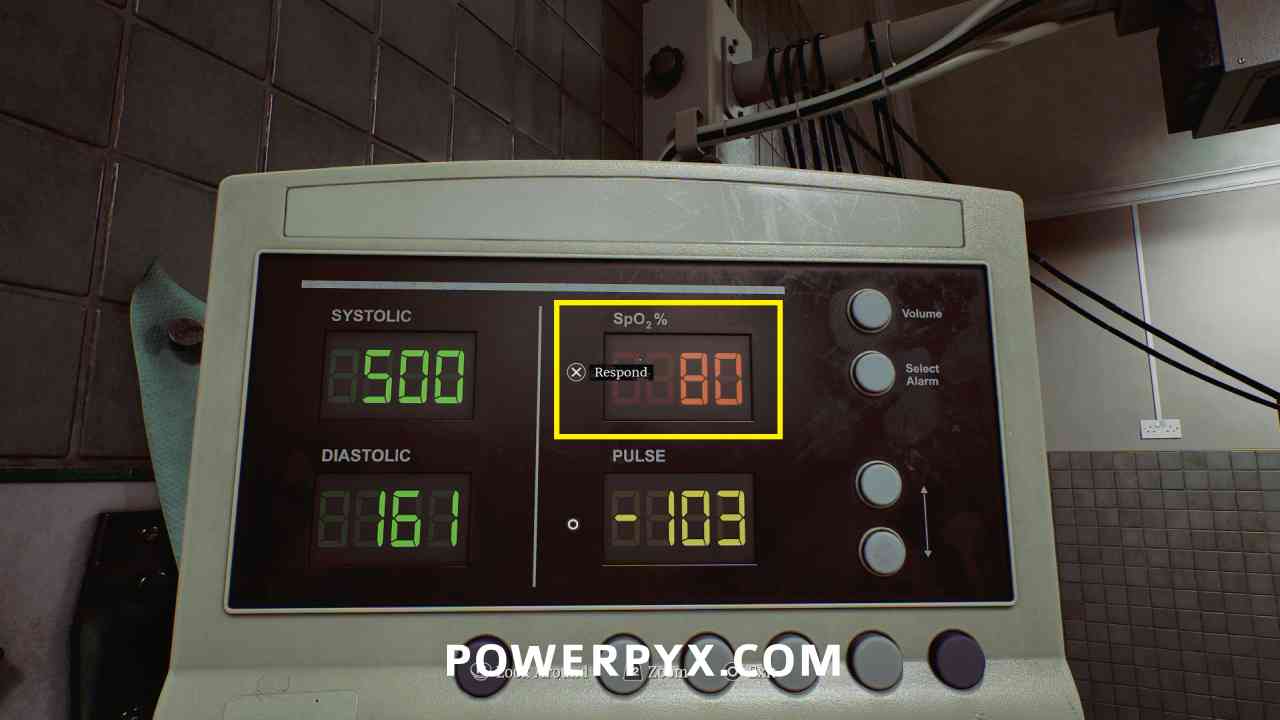
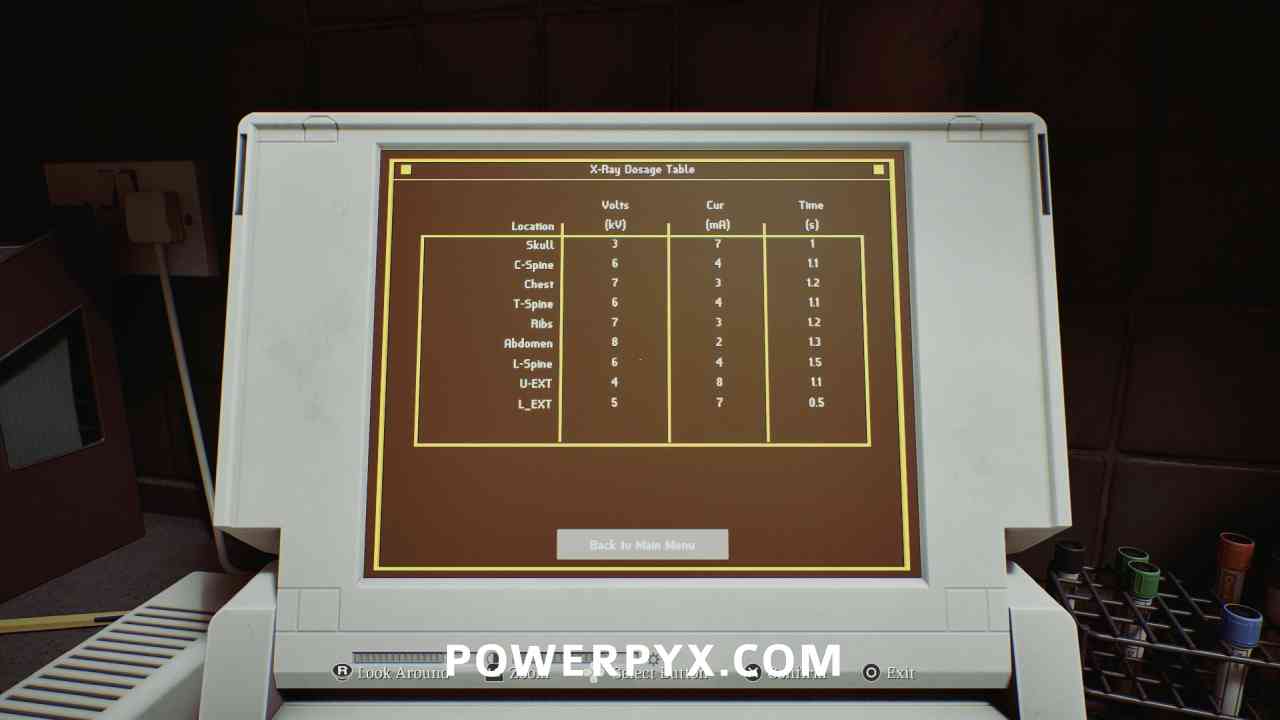
After talking on the intercom, you must respond with the correct readings from the machines in the room. If you select the wrong one you take damage. Hints toward this are on the laptop left of the bed.
First look at the middle monitor on the right (from the foot of the bed), respond with the Systolic (70) and Diastolic (40) numbers for blood pressure. Note the numbers on these displays shift around slightly over time so you are just looking for the closest one.
Second look at the bottom monitor on the right, respond with Pulse (160).
Third look at the upper monitor on the left, respond with SpO2% (80).
Locked Door – Surgery
Area: St. Amelia Medical Center > Surgery
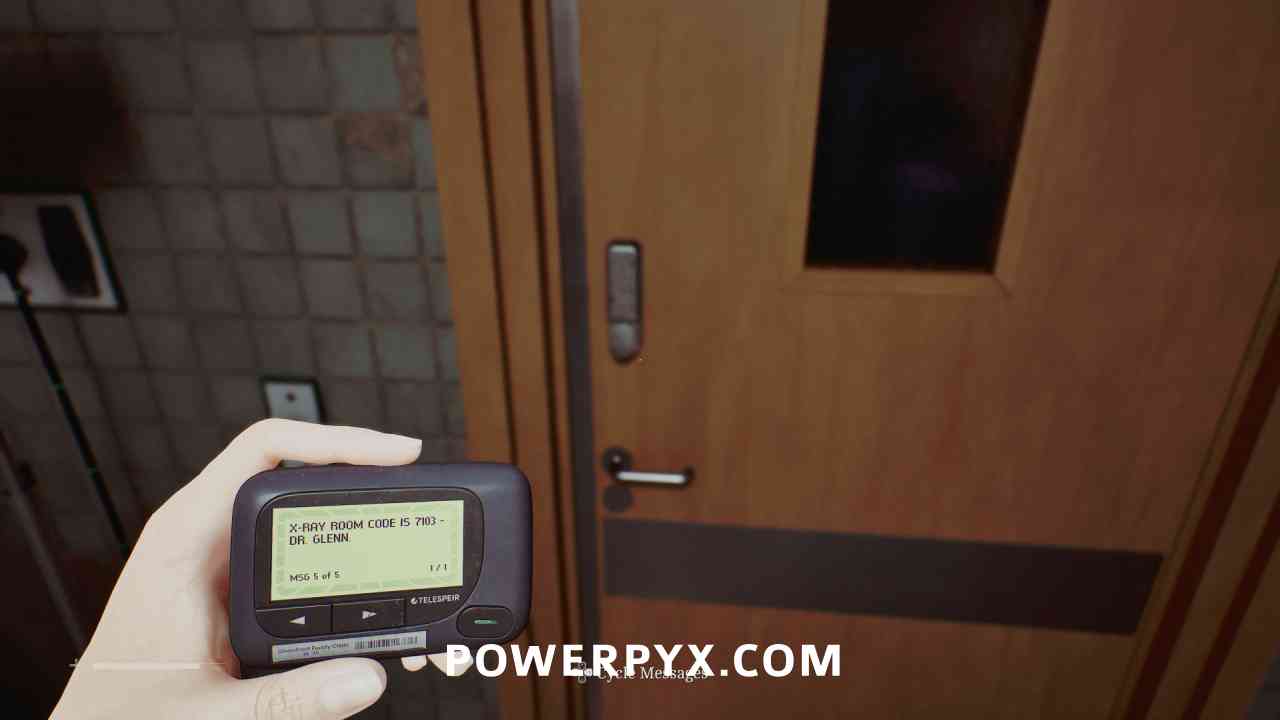
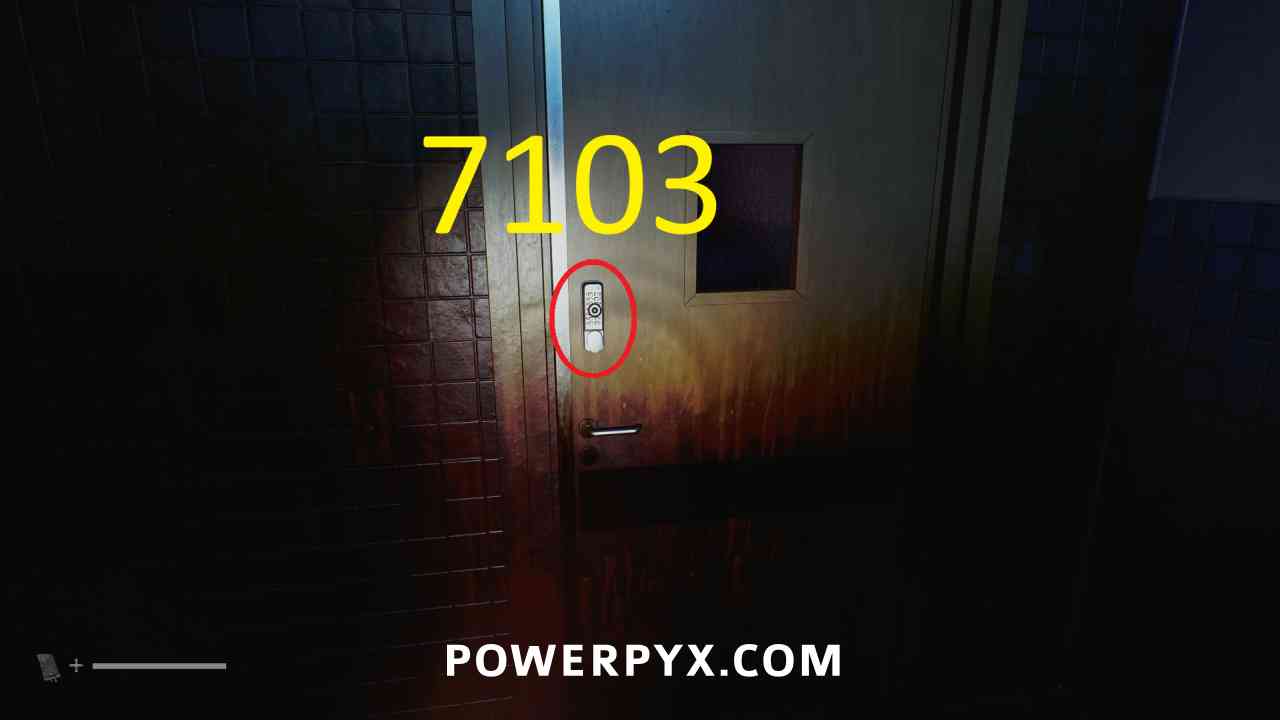
Go to the door on the right of the room, enter 7103 (the number you receive on the pager).

Puzzle #11
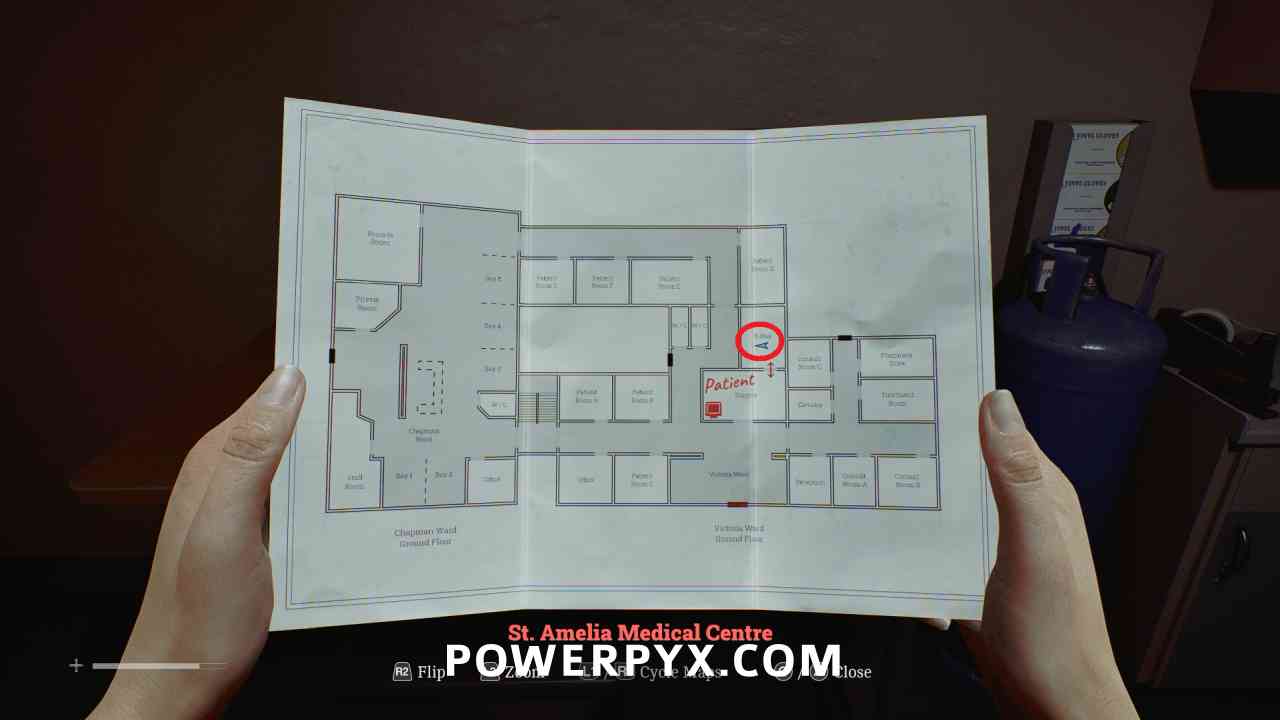
Area: St. Amelia Medical Center > X-Ray
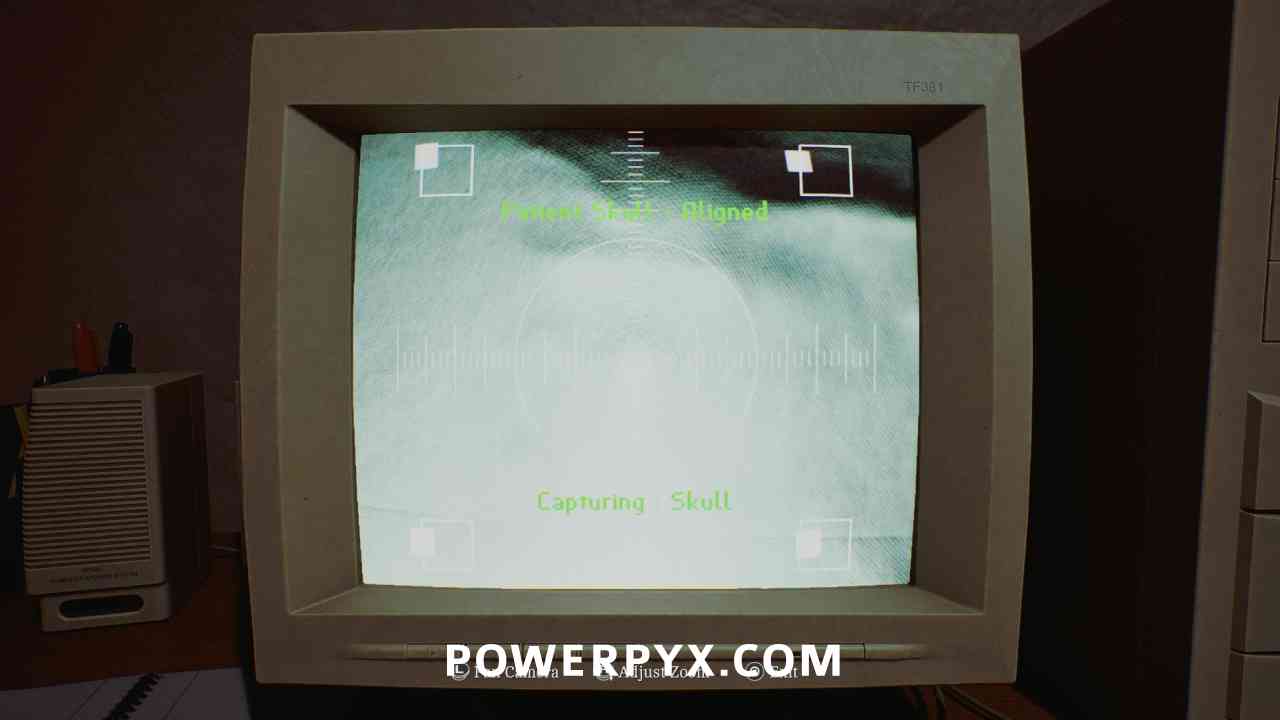
Interact with the computer to turn it on. Zoom in and move the camera up until the “Patient Skull – Aligned” text is at the top of the screen.
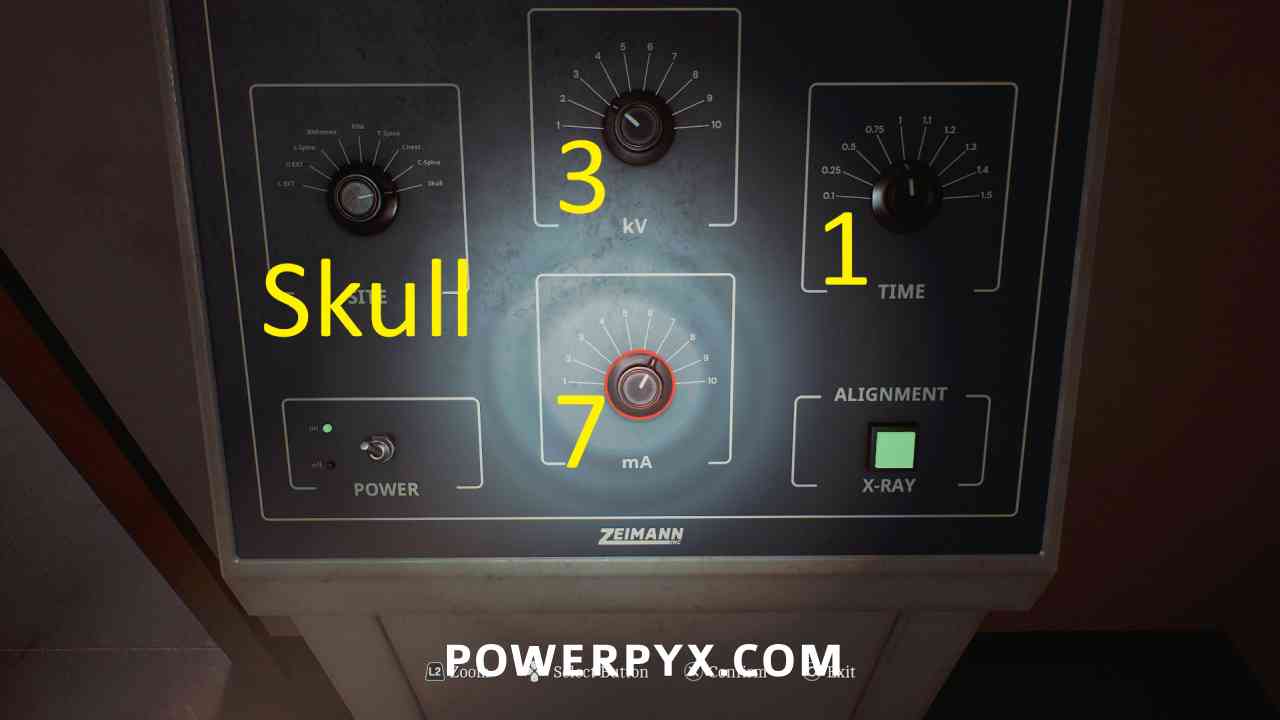
Then interact with the panel on the left, flip POWER to on, turn SITE to Skull, kV to 3, mA to 7, Time to 1. Numbers are from the “X-Ray Dosage Table” on the laptop left of the bed.
When numbers are correct hit the green button on the bottom right.

Puzzle #12
Area: St. Amelia Medical Center > X-Ray
Now repeat the same steps with the chest.
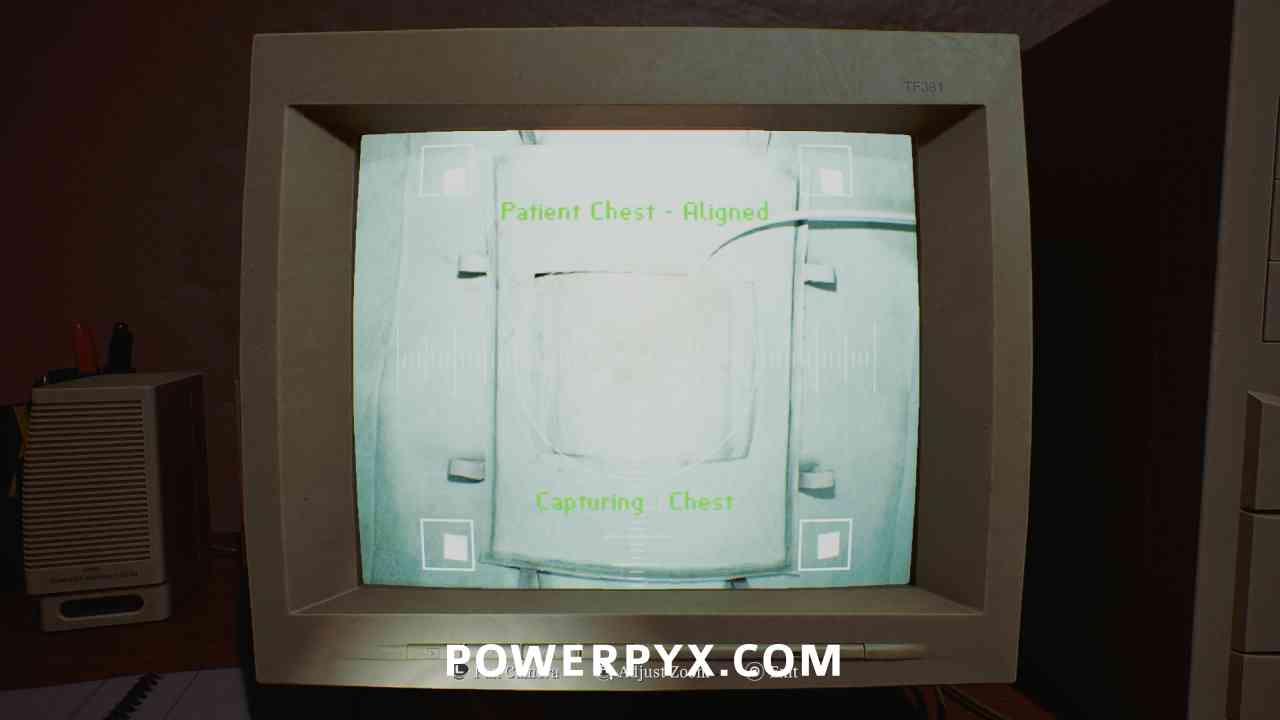
Interact with the computer, zoom and move the camera down until the “Patient Chest – Aligned” text is at the top of the screen.
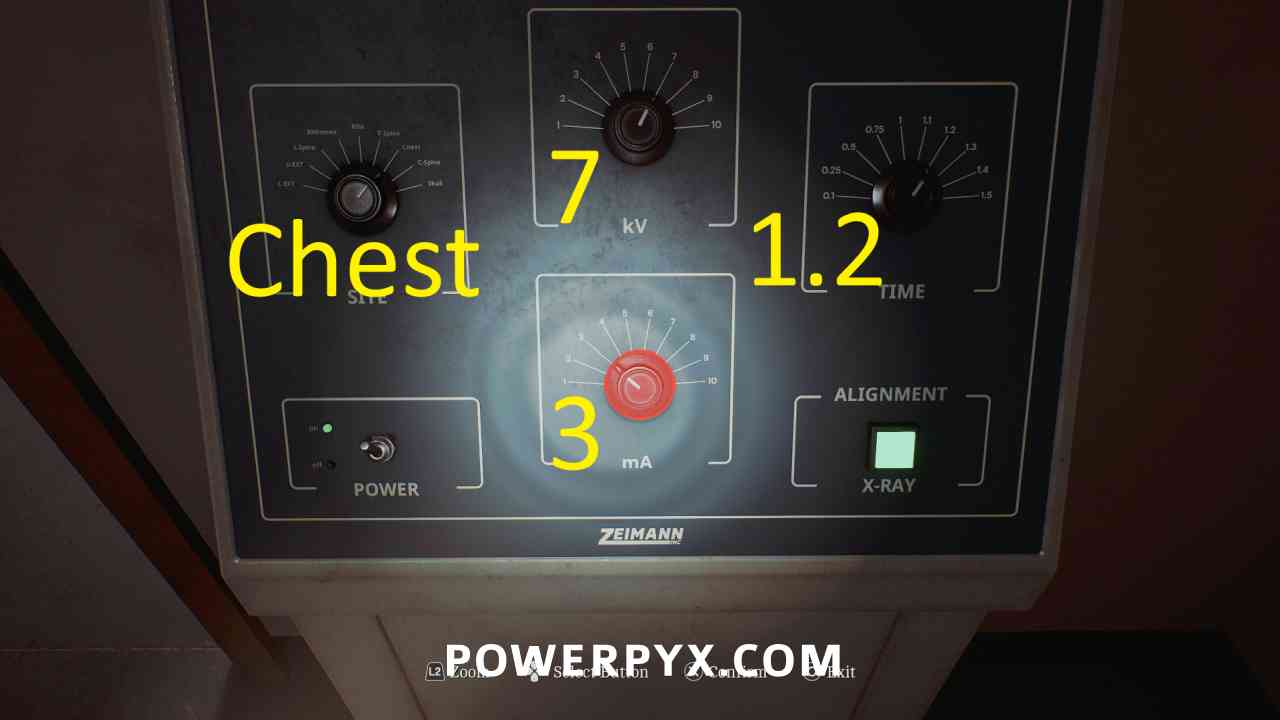
Then interact with the panel on the left, turn SITE to Chest, kV to 7, mA to 3, Time to 1.2.
When numbers are correct hit the green button on the bottom right.
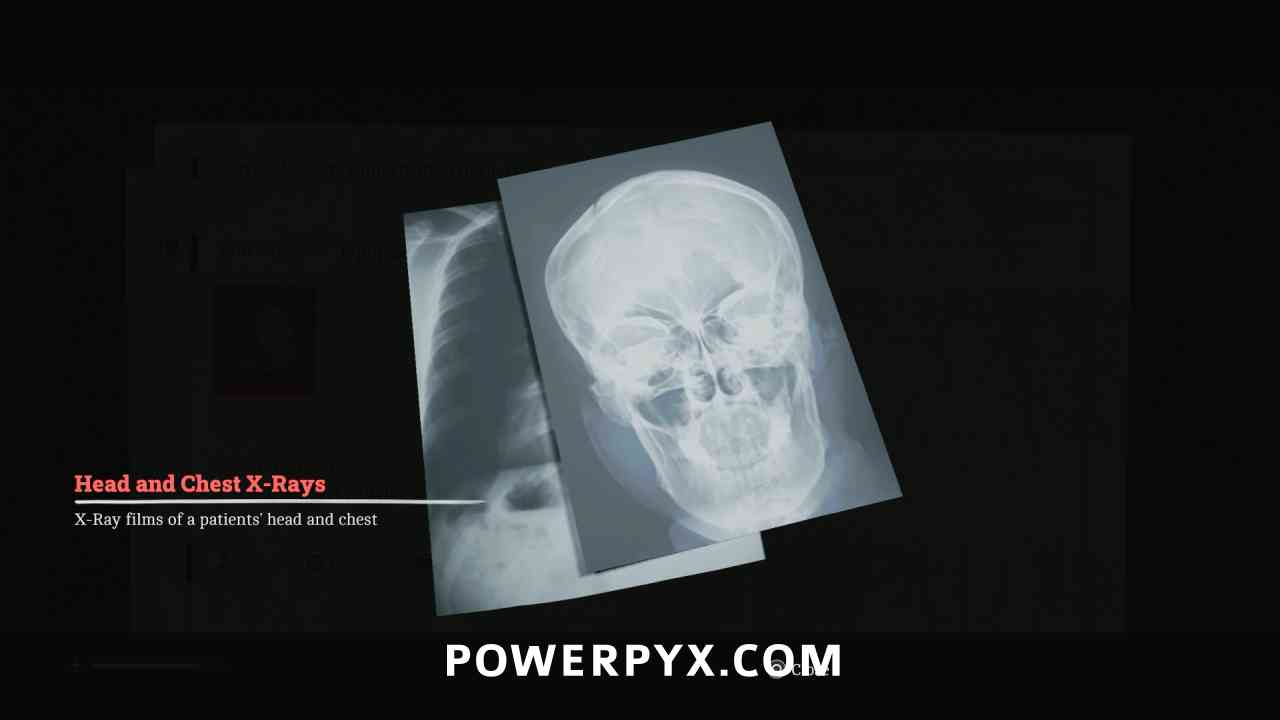
Key Item: Head and Chest X-Rays
Area: St. Amelia Medical Center > X-Ray
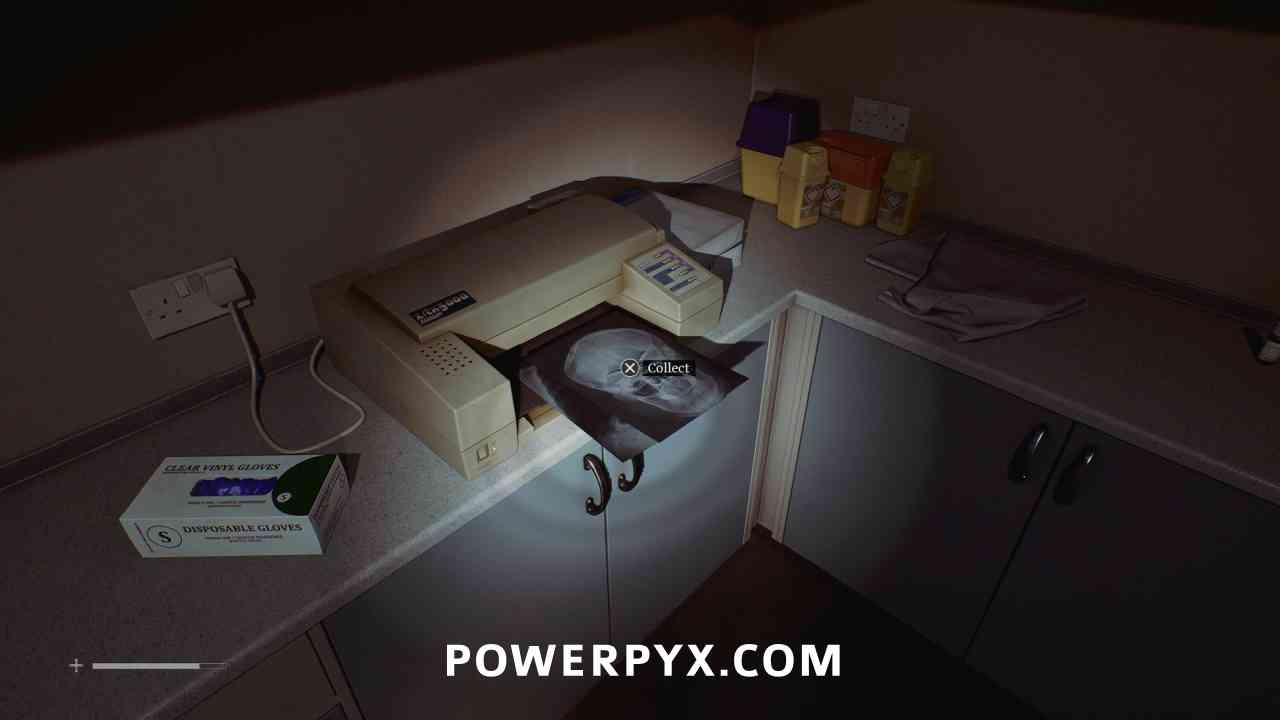
Pick up the printed X-Rays from the printer to the right of the computer. Place them on the board to the left of the intercom, then interact with the head and chest when prompted.

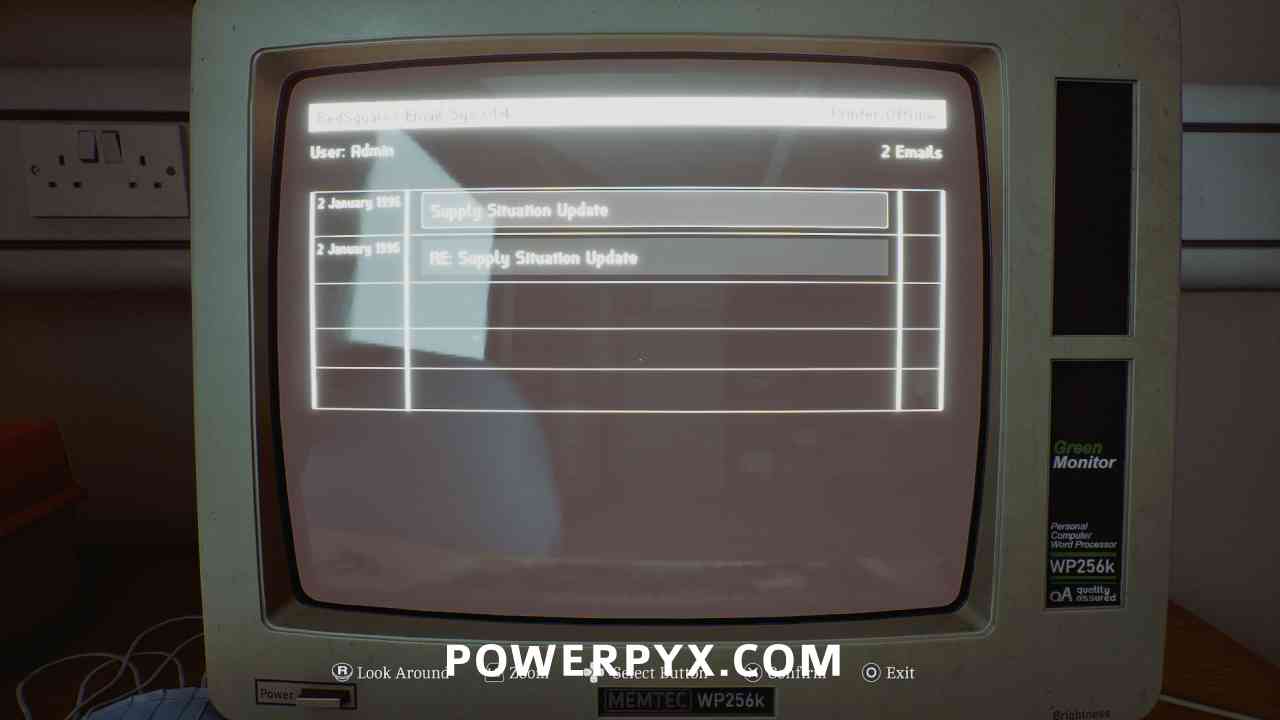
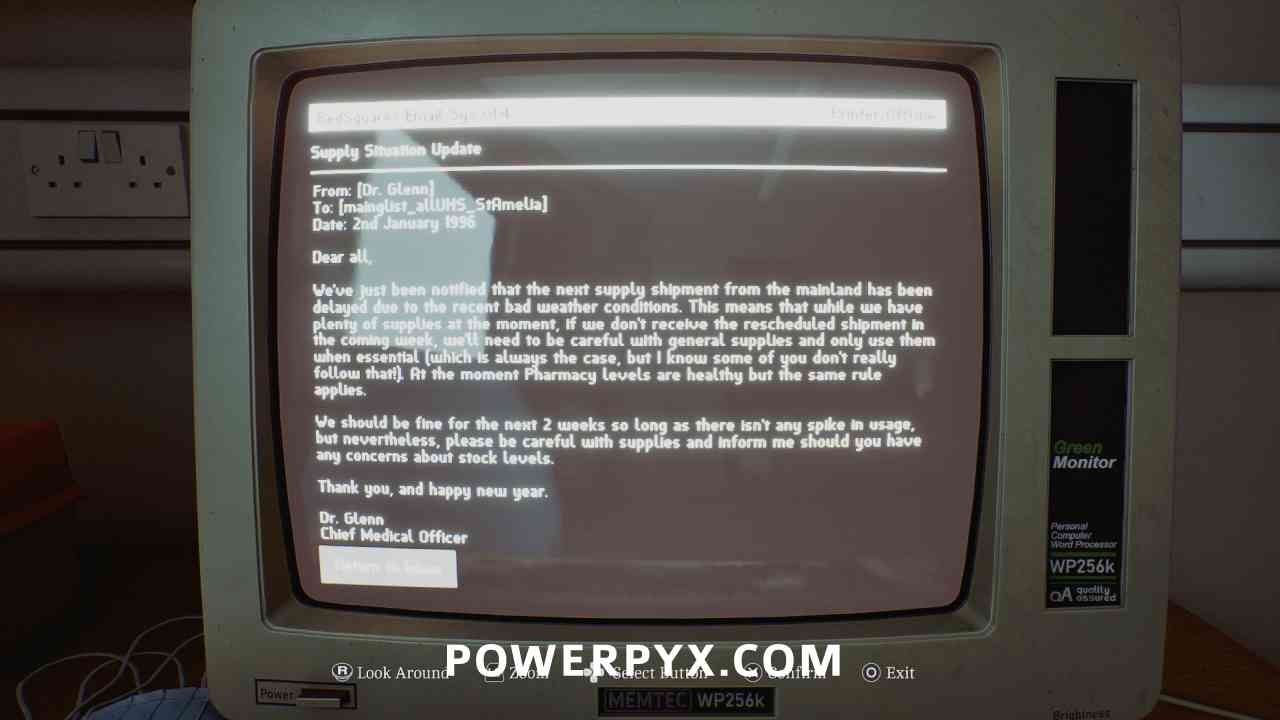
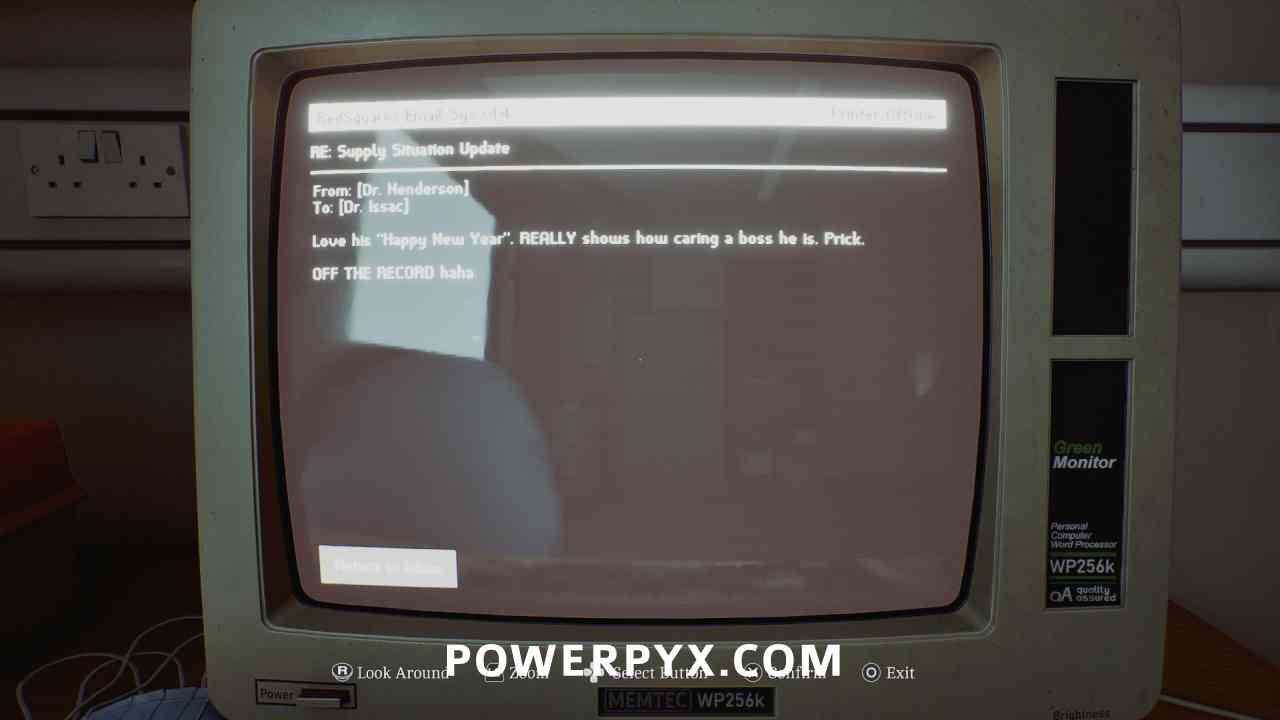
Documents: Supply Situation Update, RE: Supply Situation Update
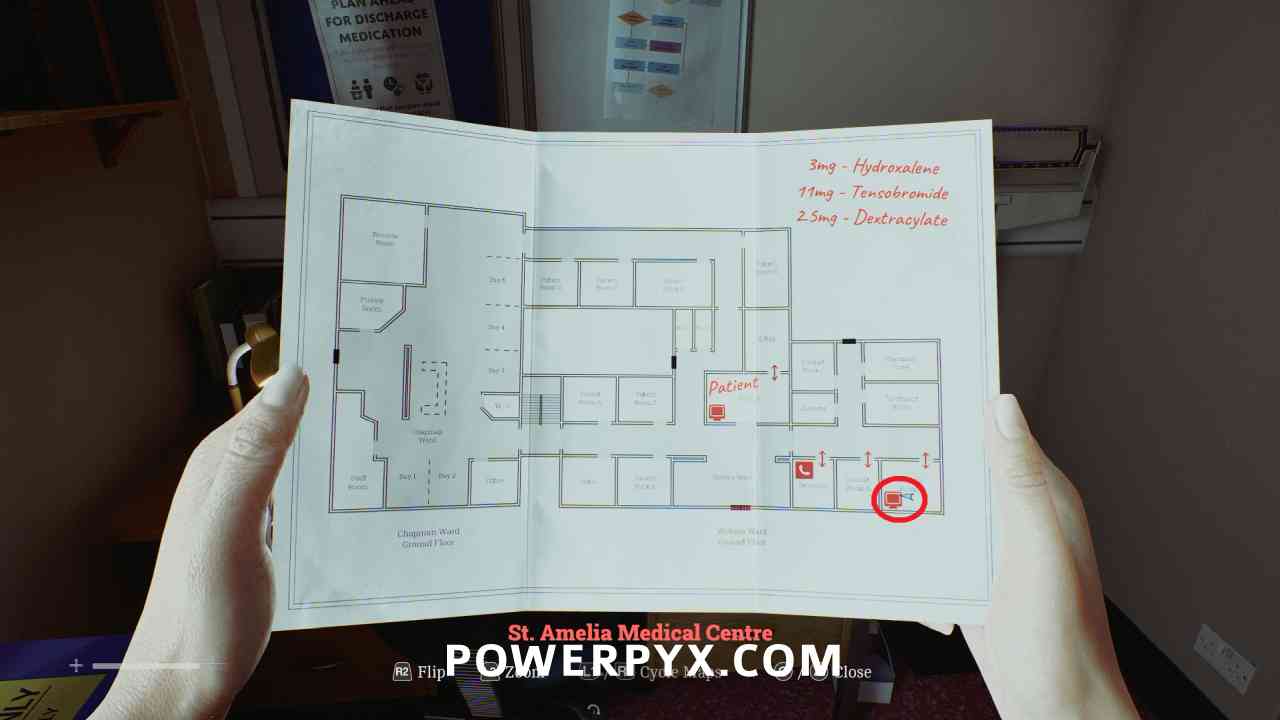
Area: St. Amelia Medical Center > Victoria Ward Ground Floor – Consult Room B
Go to the end of the hallway past reception into Consult Room B, interact with the computer and read the two emails.
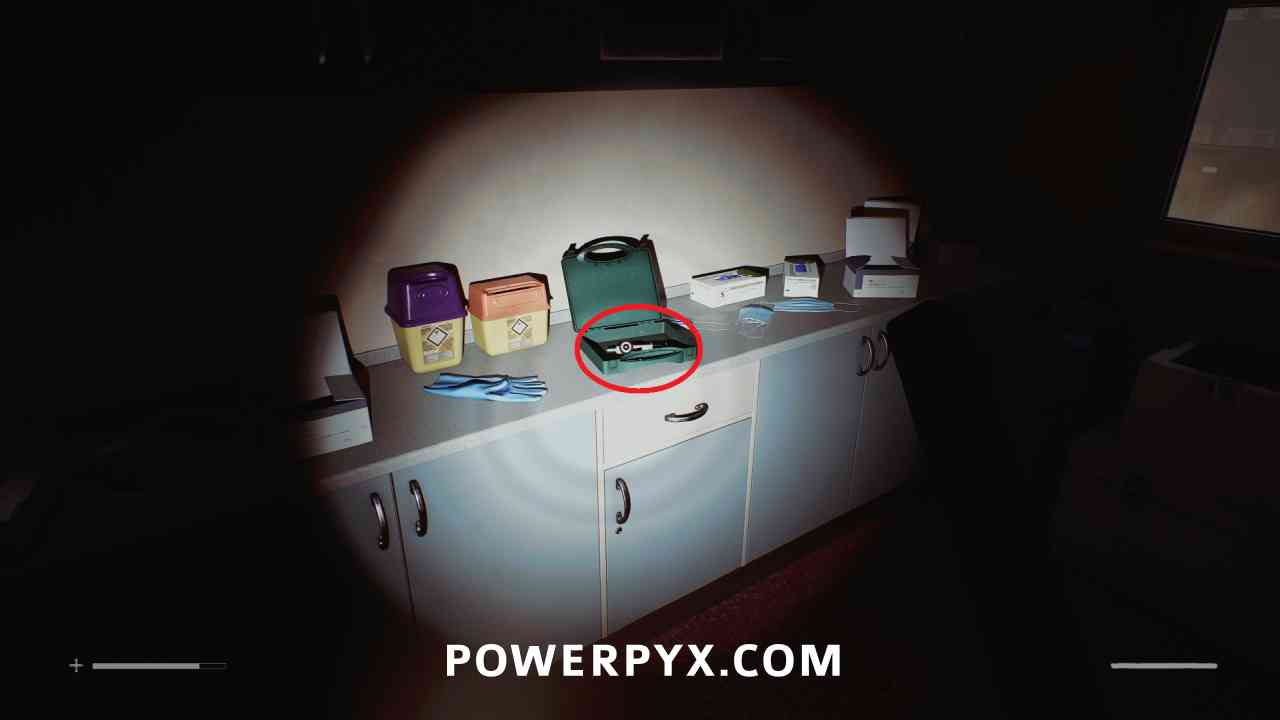
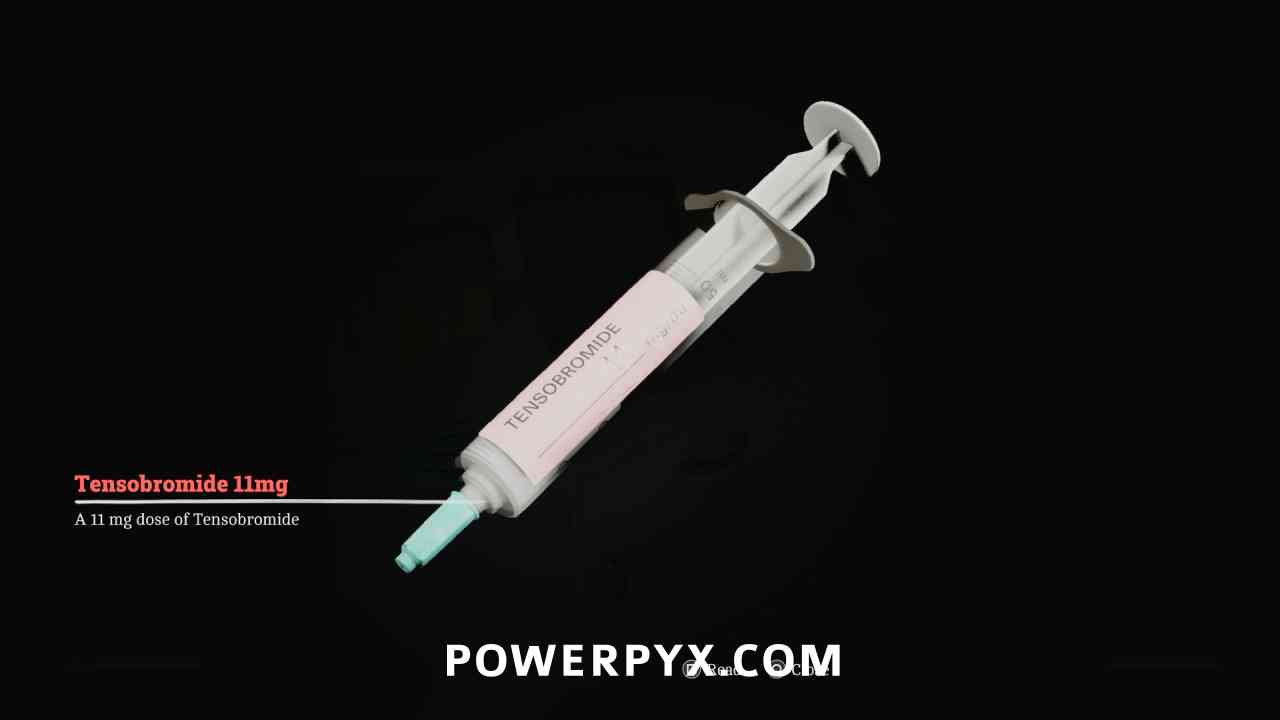
Key Item: Tensobromide
Area: St. Amelia Medical Center > Victoria Ward Ground Floor – Pharmacy Store
Go to the end of the hallway and into the Pharmacy Store room, open the green medical box to find this drug.
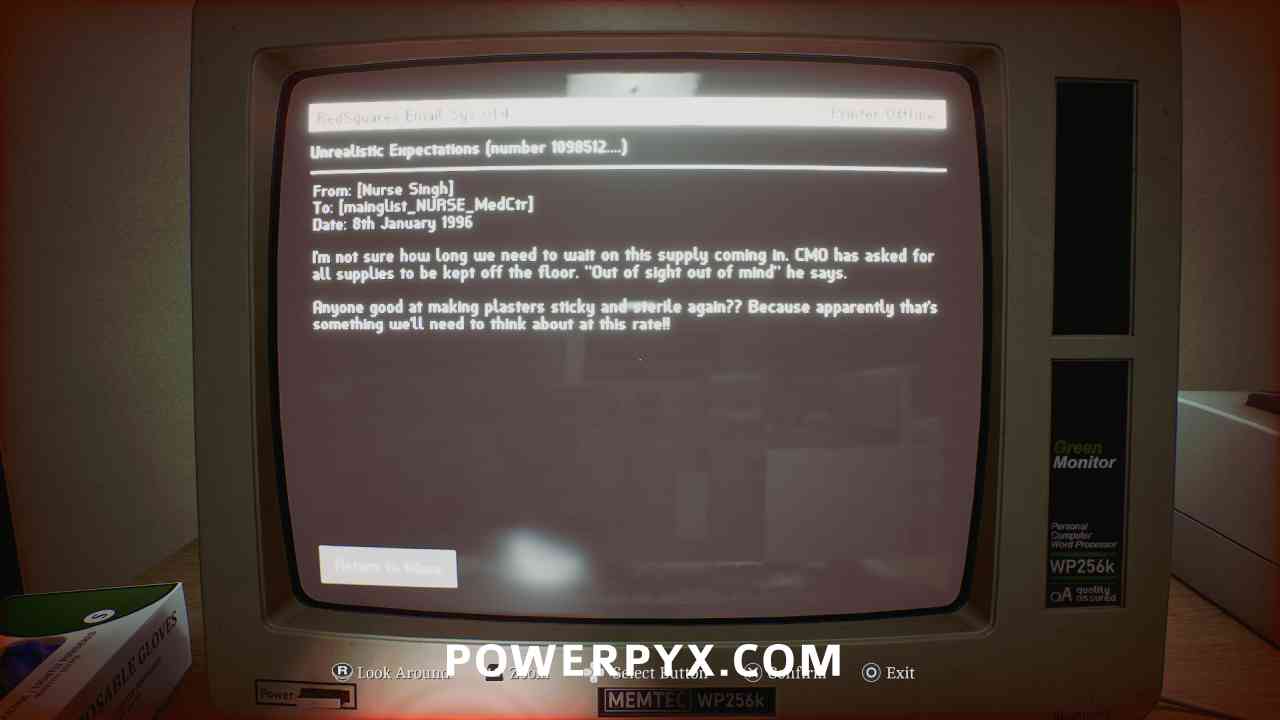
Document: Unrealistic Expectations (number 1098512…)
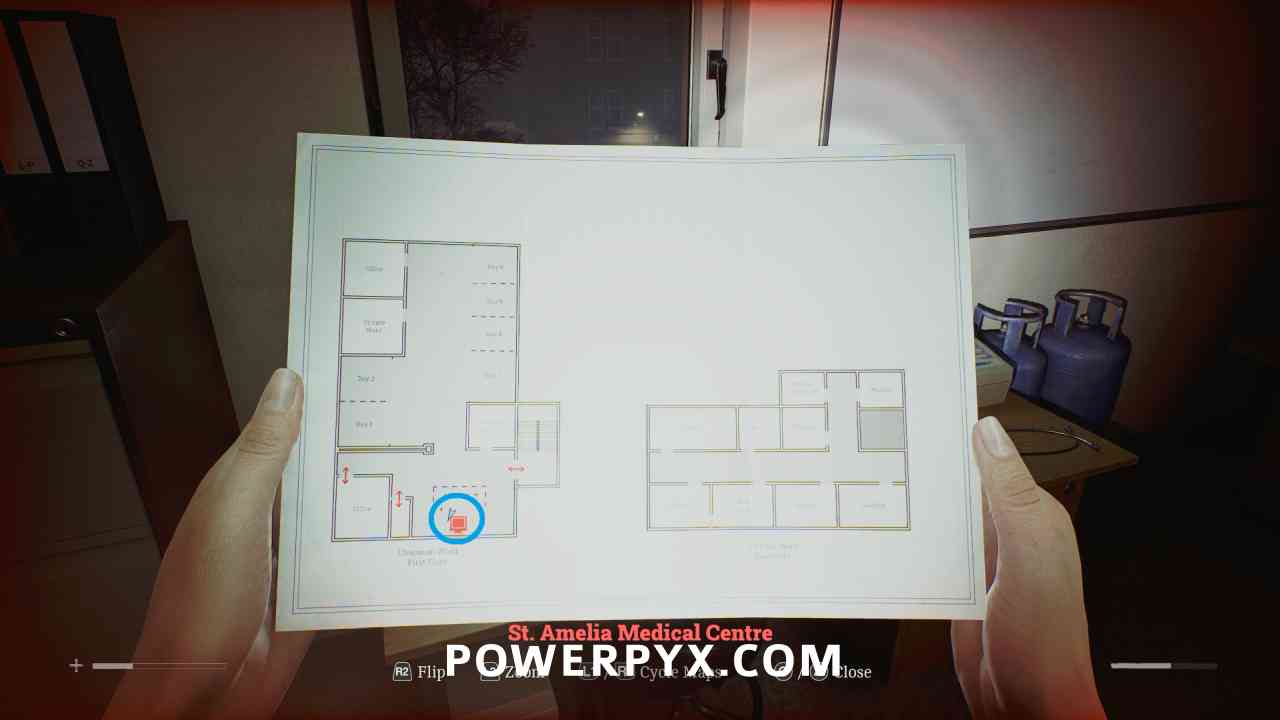
Area: St. Amelia Medical Center > Chapman Ward First Floor
Interact with the computer behind the desk on the First Floor Chapman Ward, read the first email.

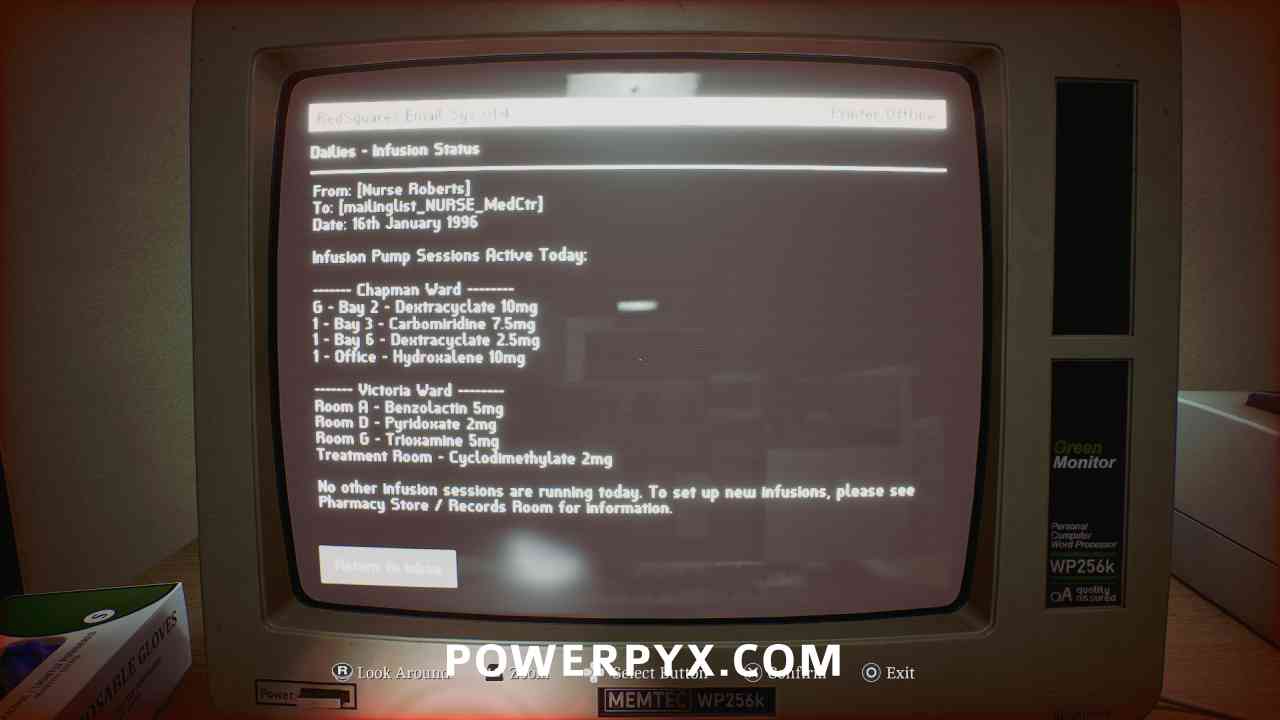
Clue: Dailies – Infusion Status
Area: St. Amelia Medical Center > Chapman Ward First Floor
Interact with the computer behind the desk on the First Floor Chapman Ward, read the second email. This marks locations to check on your map for infusions.
Clue: Dailies – Records Room Code
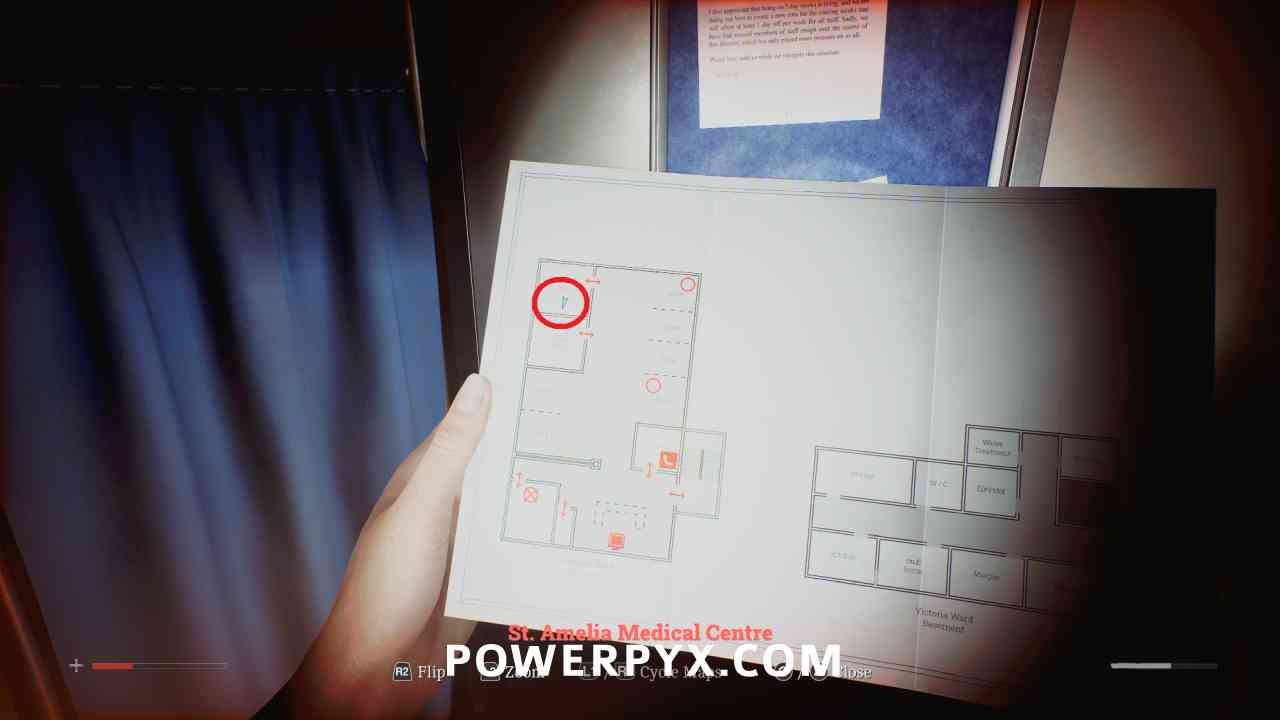
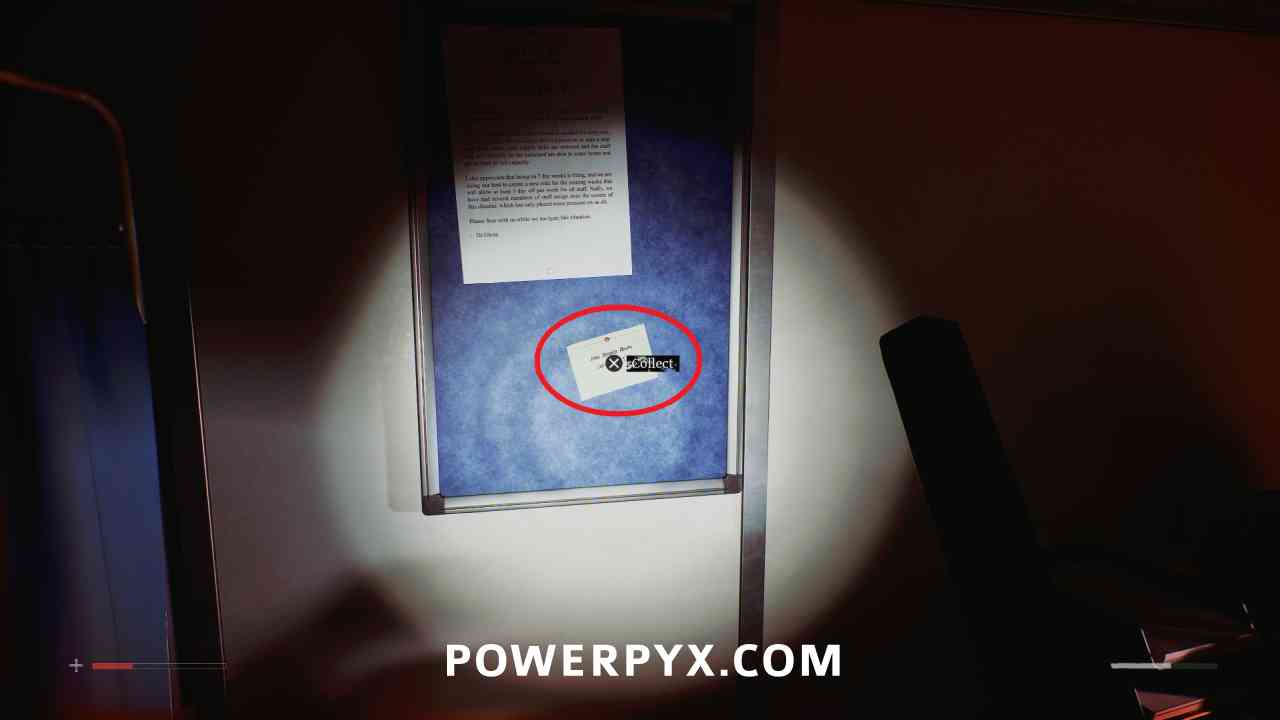
Area: St. Amelia Medical Center > Chapman Ward First Floor – Office
In the top left office in Chapman Ward First Floor, on the board left of the computer.

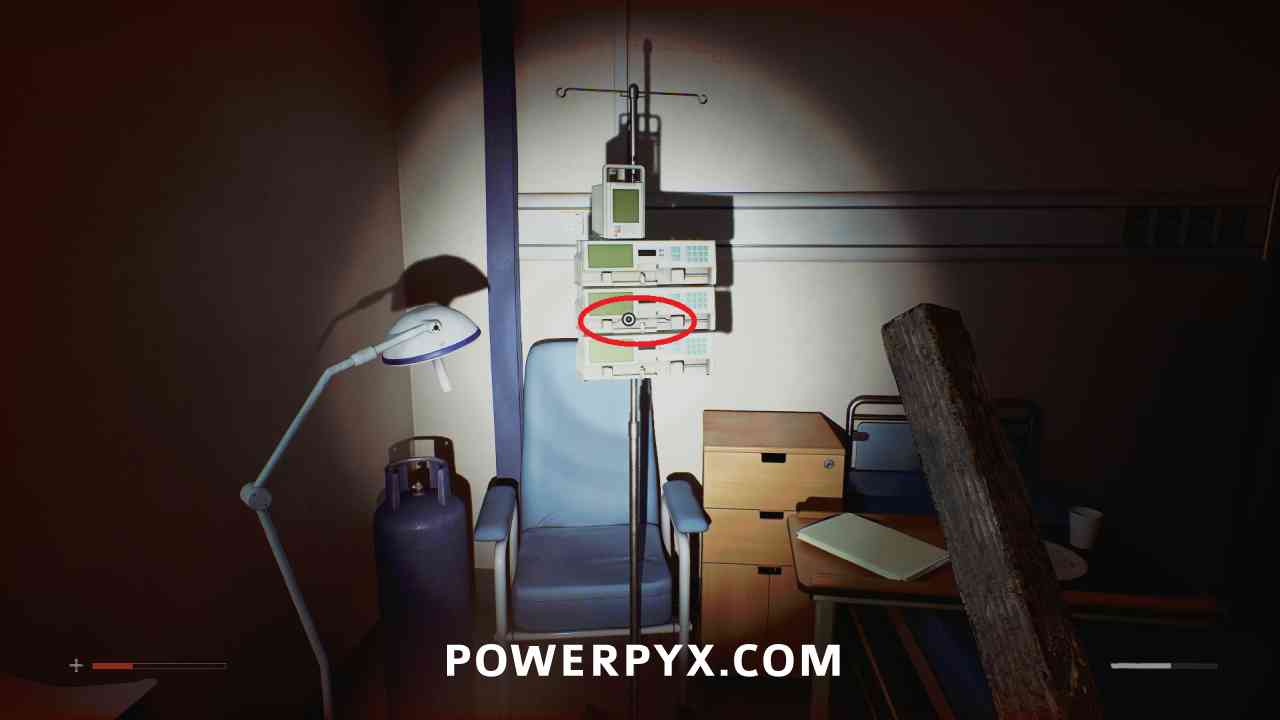
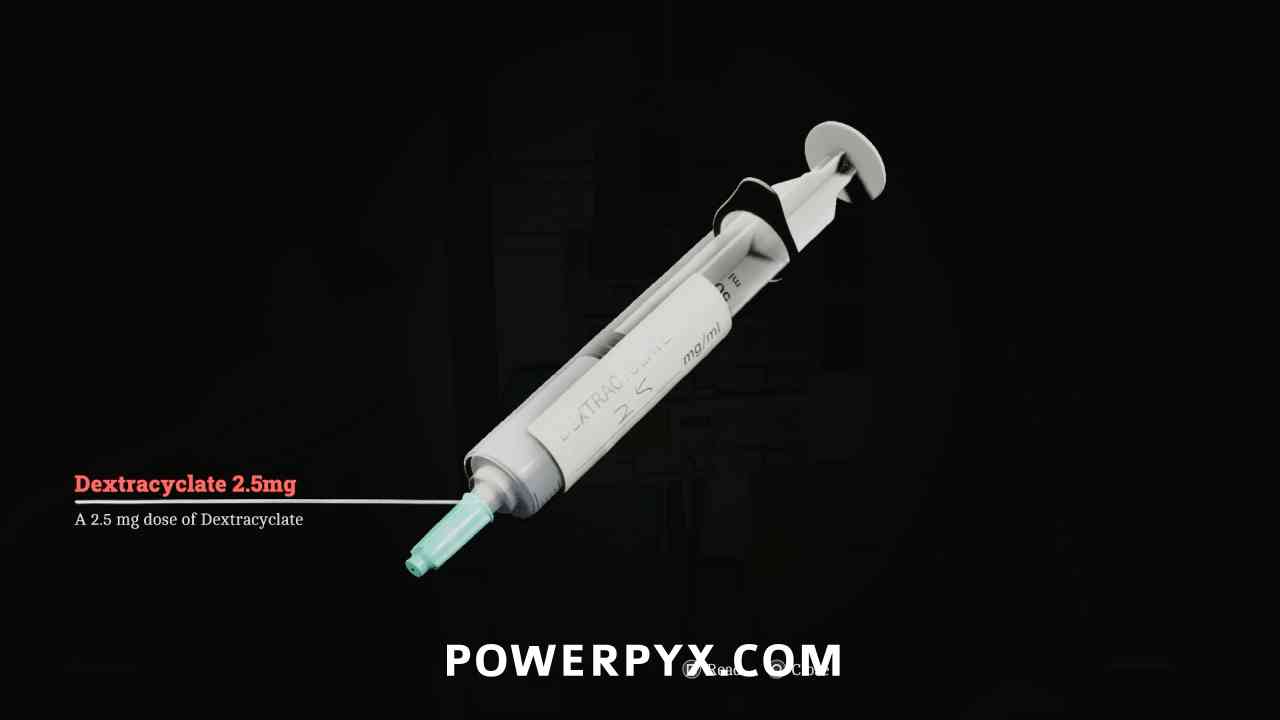
Key Item: Dextracyclate
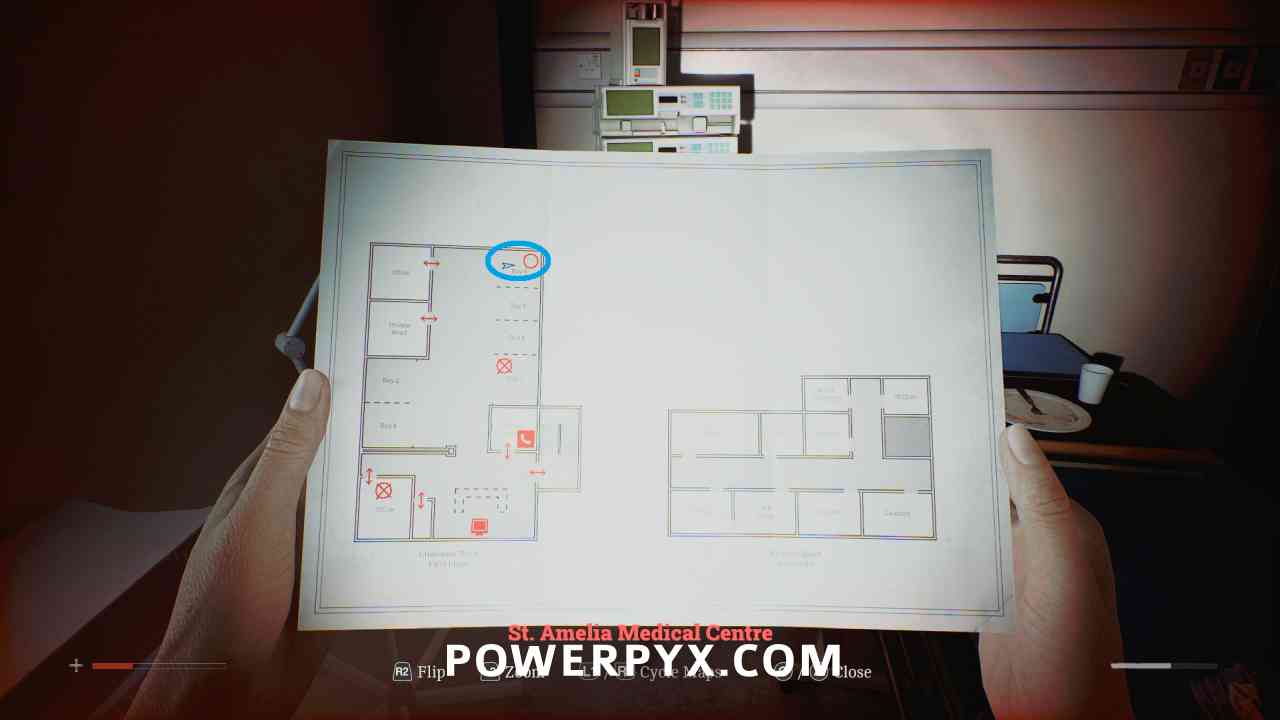
Area: St. Amelia Medical Center > Chapman Ward First Floor – Bay 6
In Chapman Ward First Floor – Bay 6, in the infusion machine.
Locked Door – Records Room
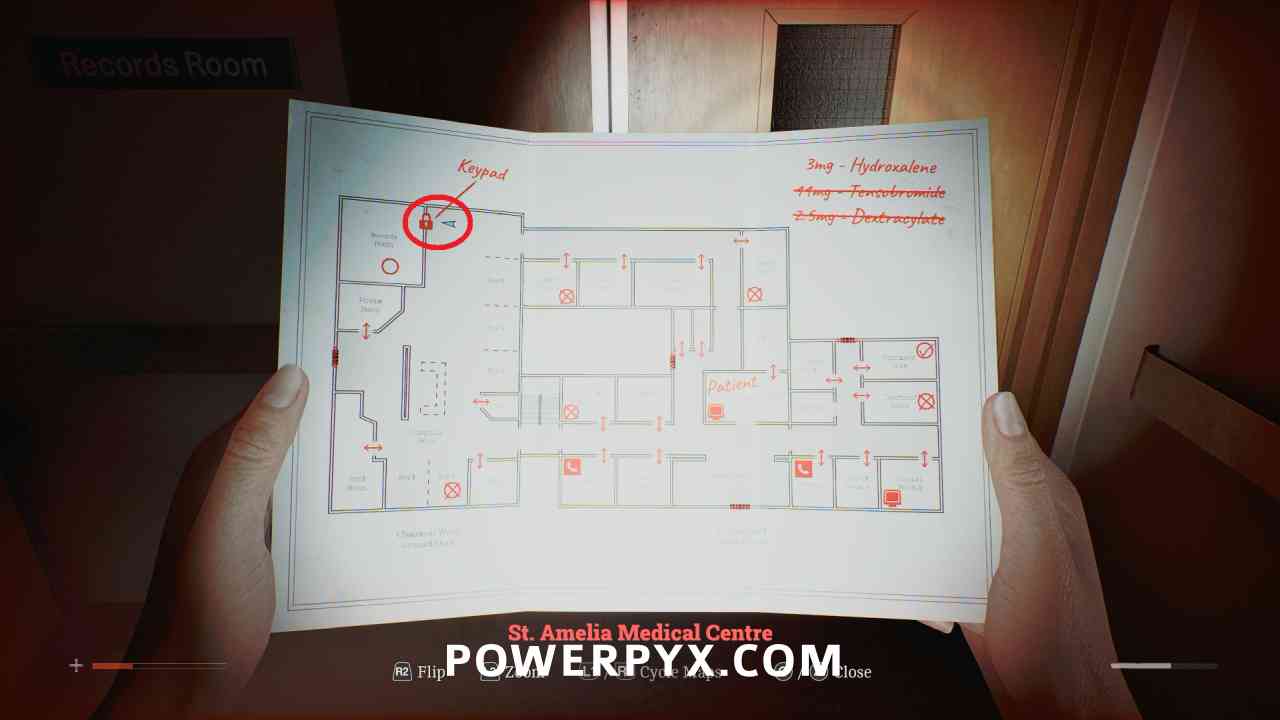
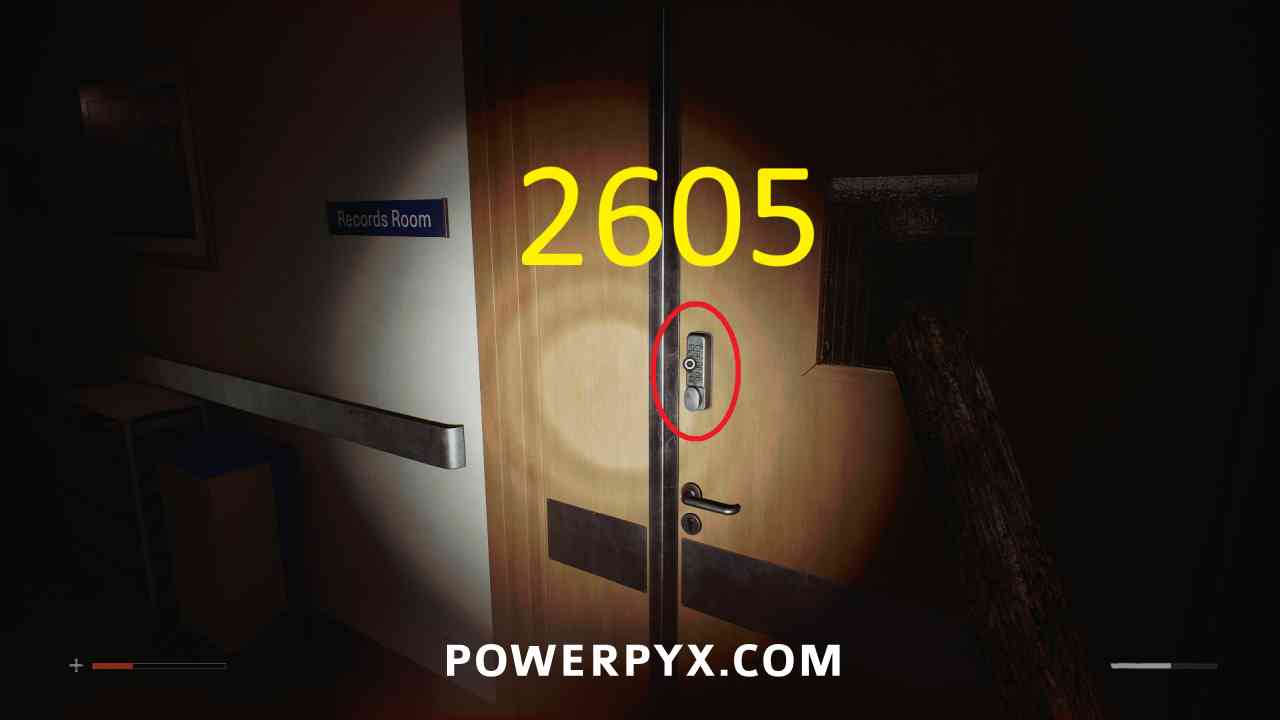
Area: St. Amelia Medical Center > Chapman Ward Ground Floor – Records Room
In the top left corner of Chapman Ward Ground Floor, interact with the door to records room and enter 2605 (the clue from upstairs).
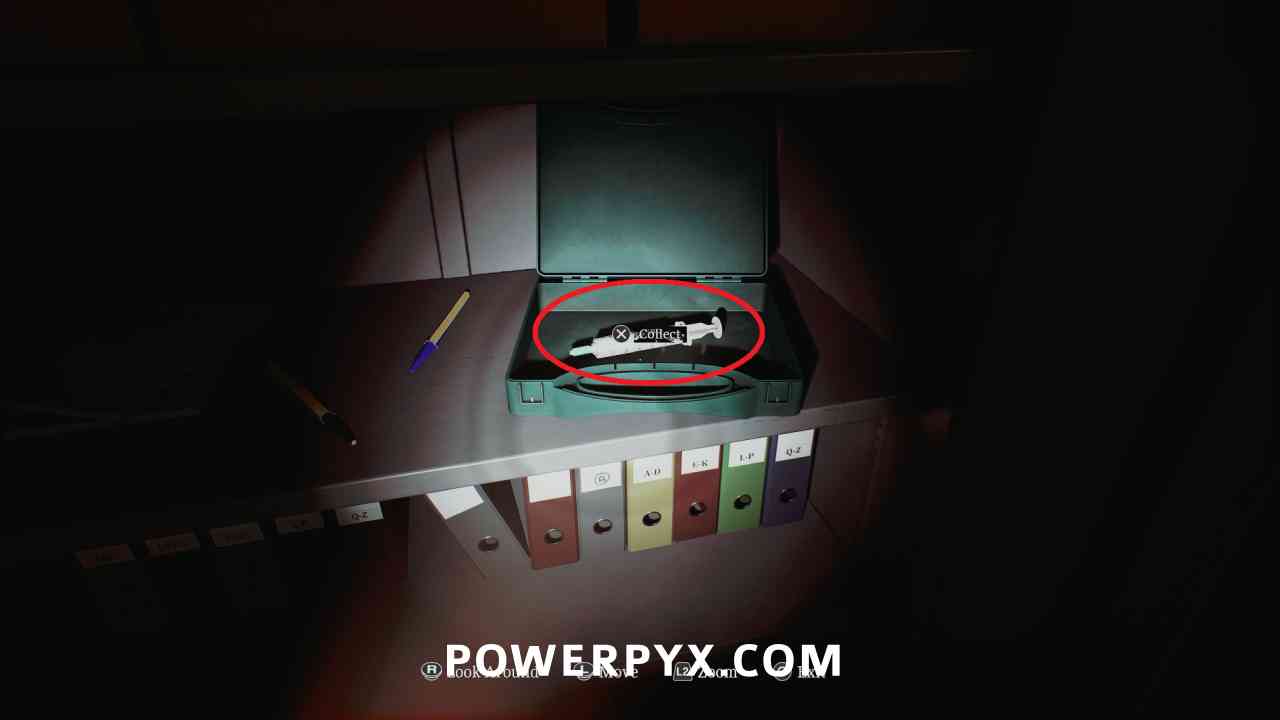
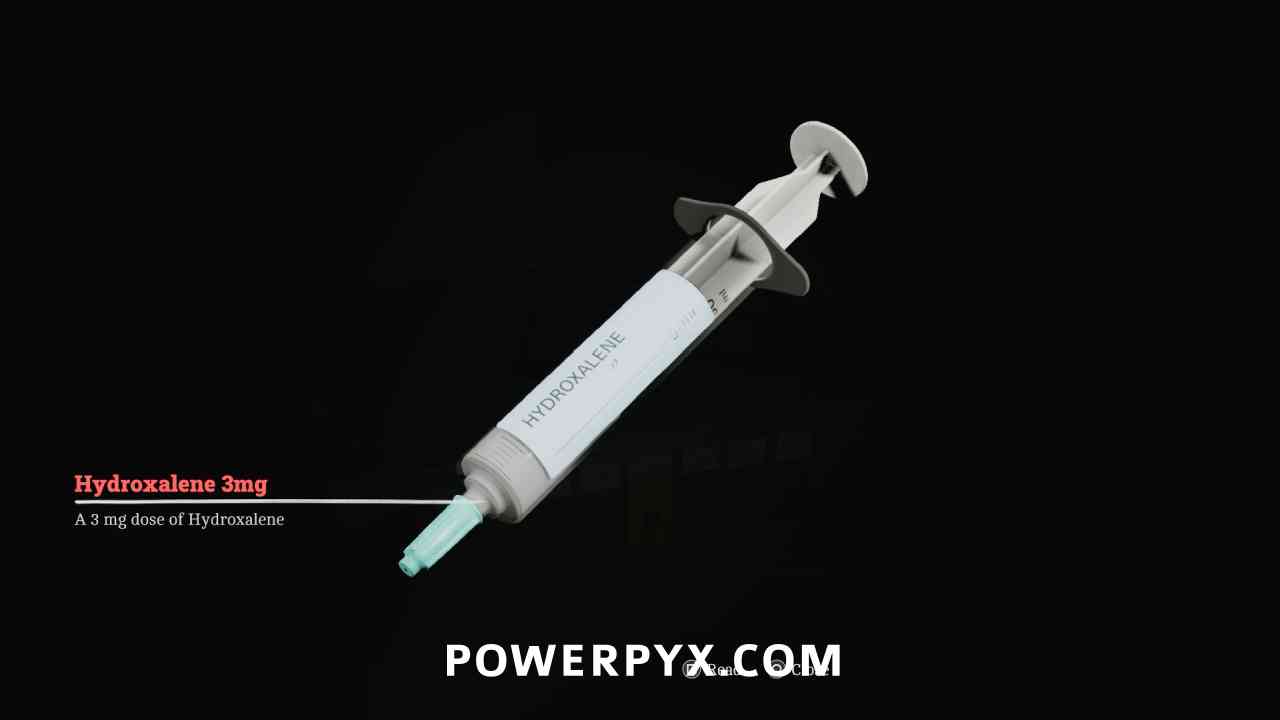
Key Item: Hydroxalene
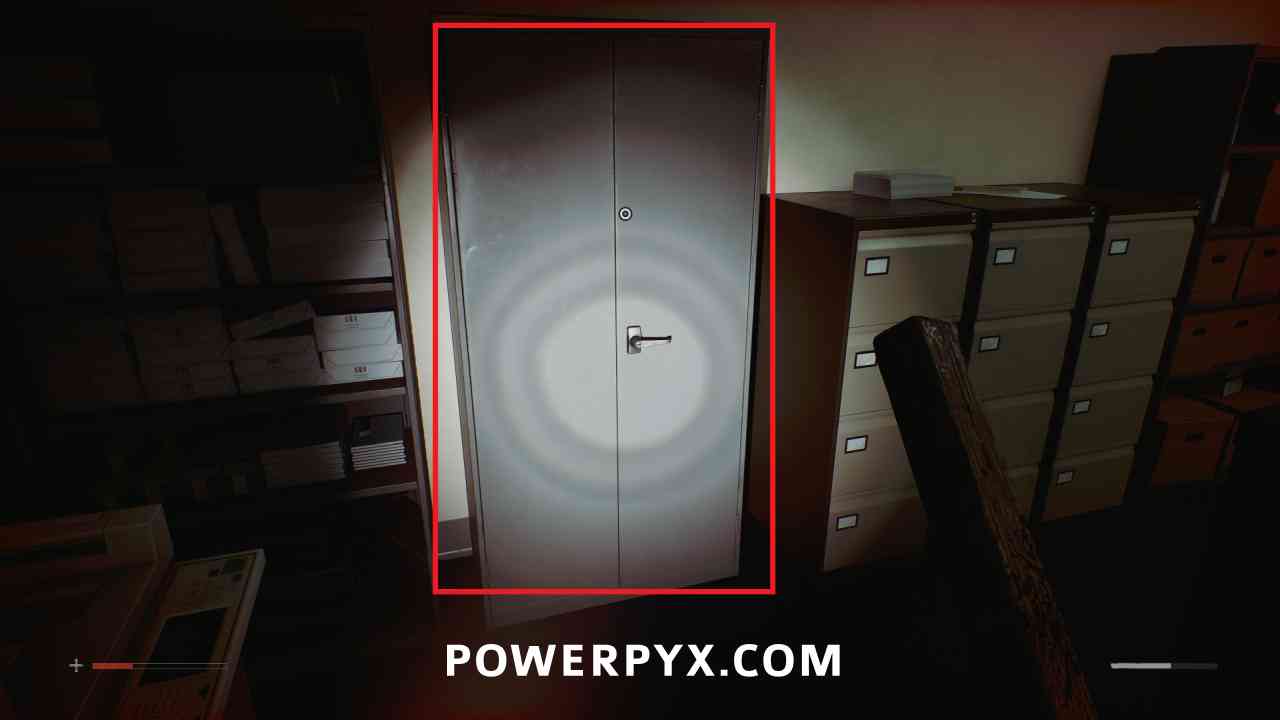
Area: St. Amelia Medical Center > Chapman Ward Ground Floor – Records Room
In the records room, search the cabinet and pick up from the green medical box.
Puzzle #13
Area: St. Amelia Medical Center > Surgery
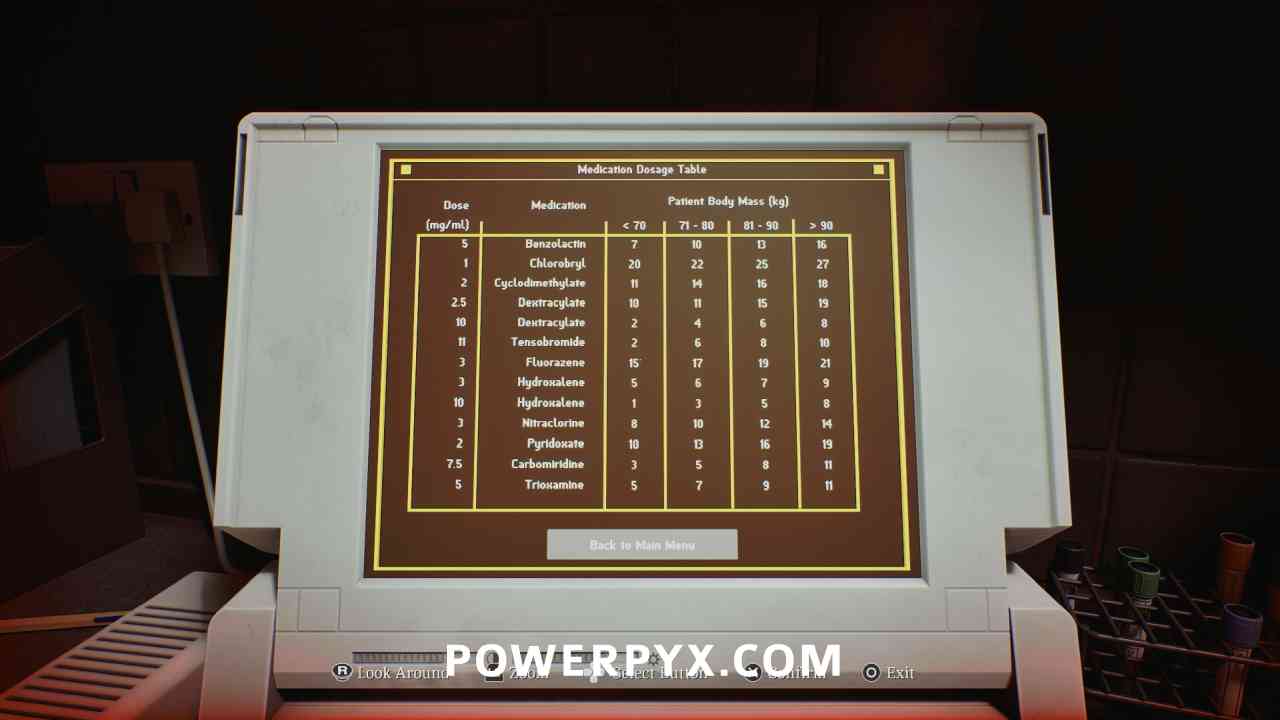
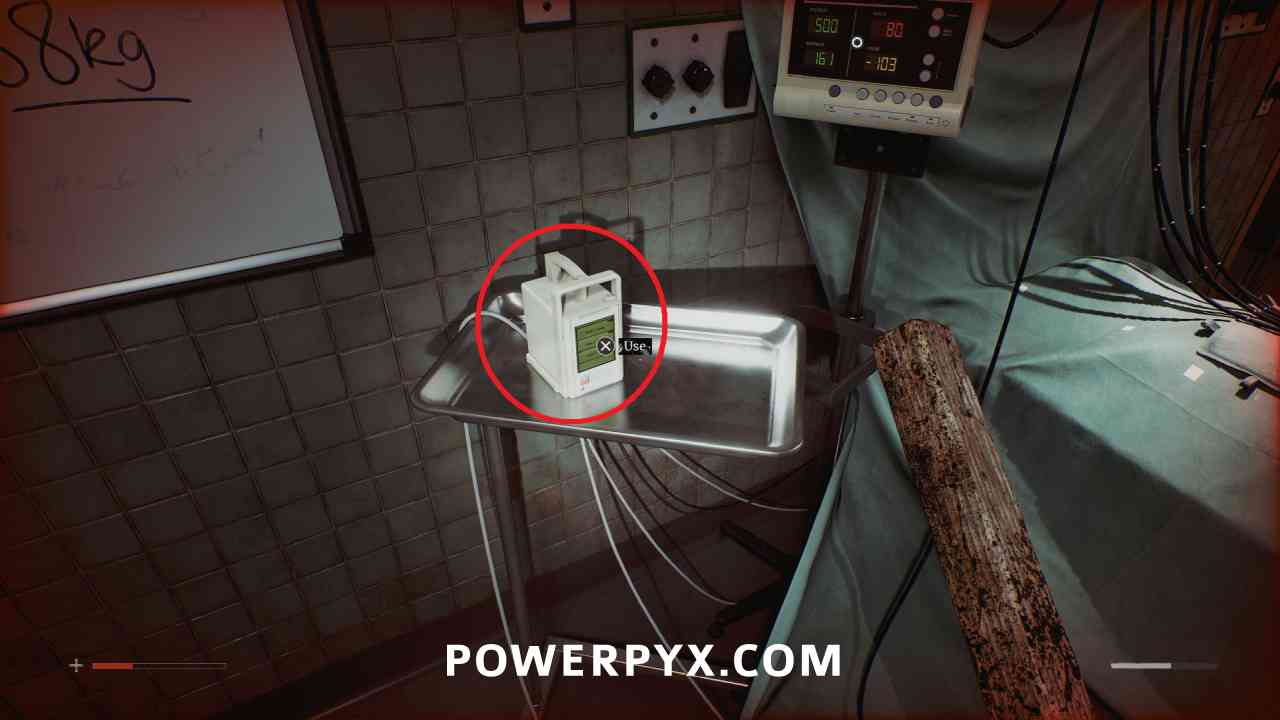
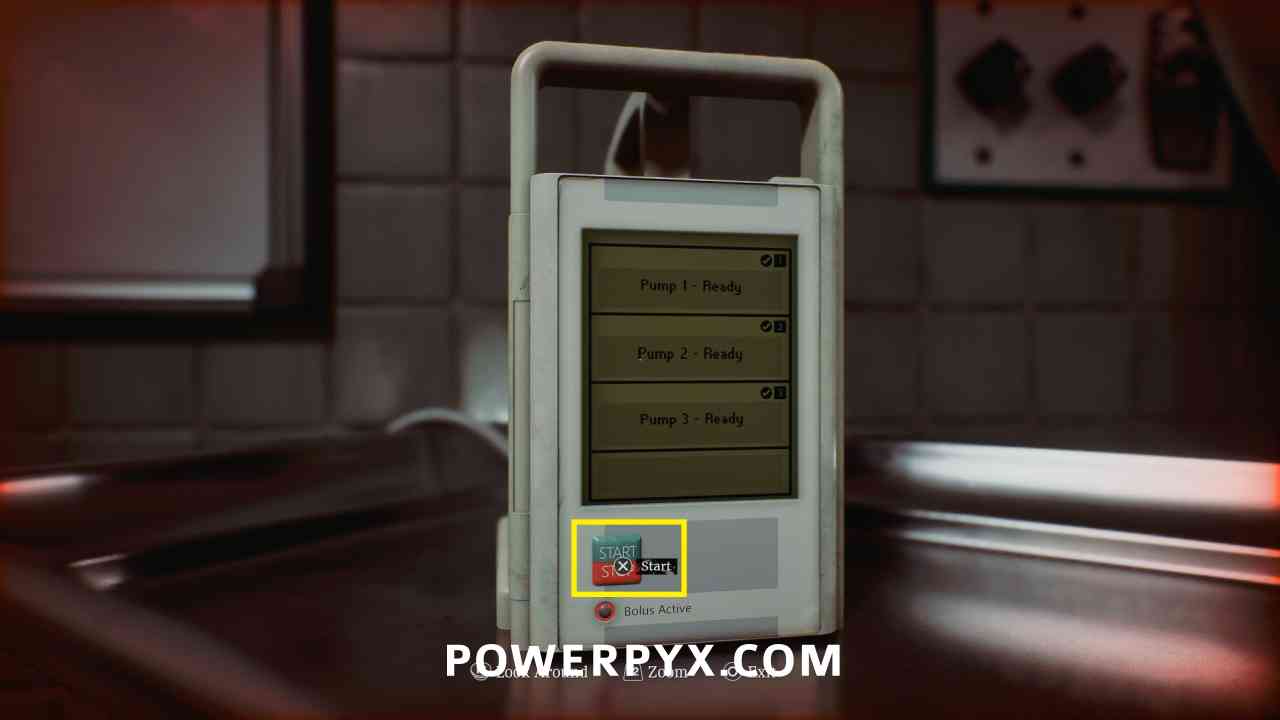
You now return to Surgery and must set up the infusions with the correct dosage rate. You use the Medication Dosage Table on the laptop with the weight from the white board (88 KG, third column).
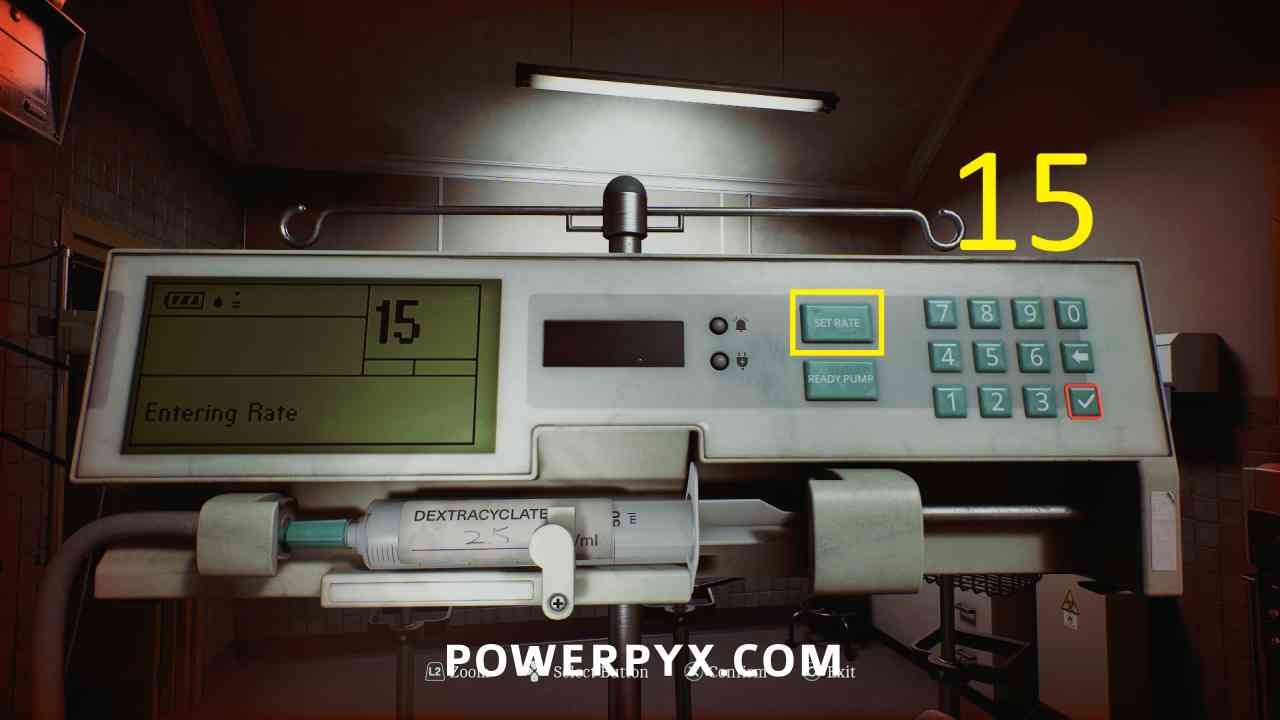
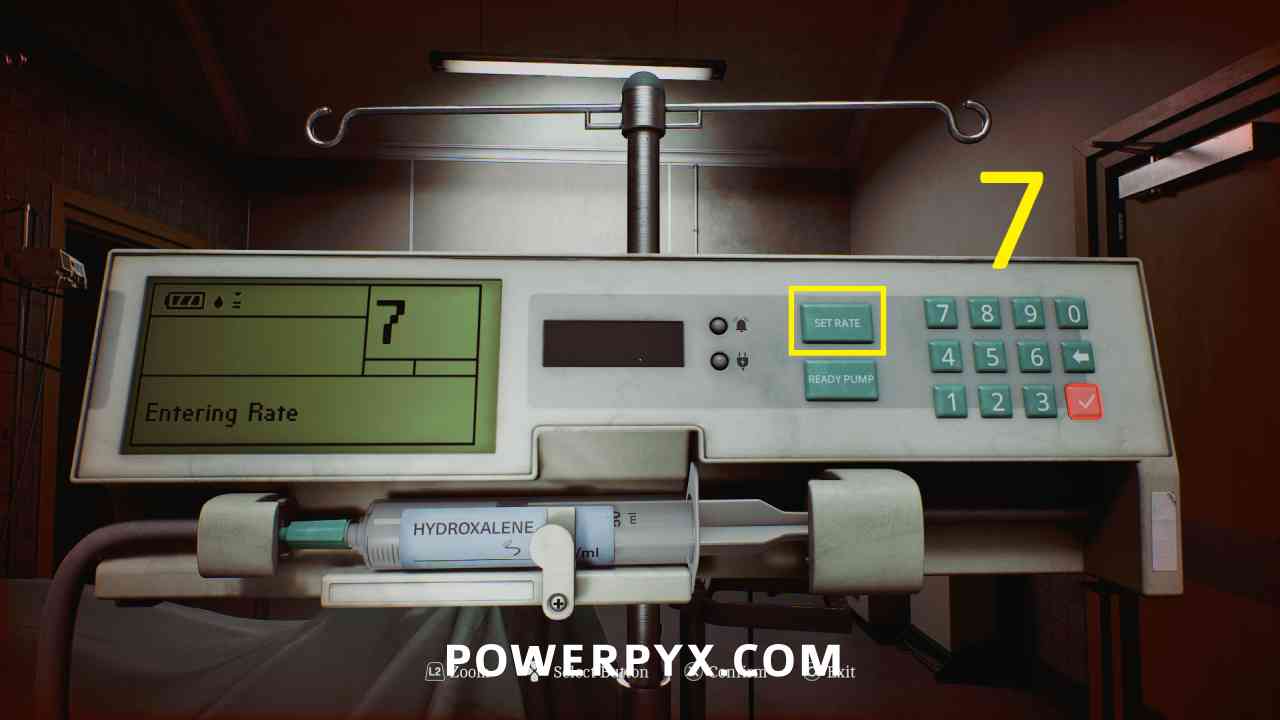
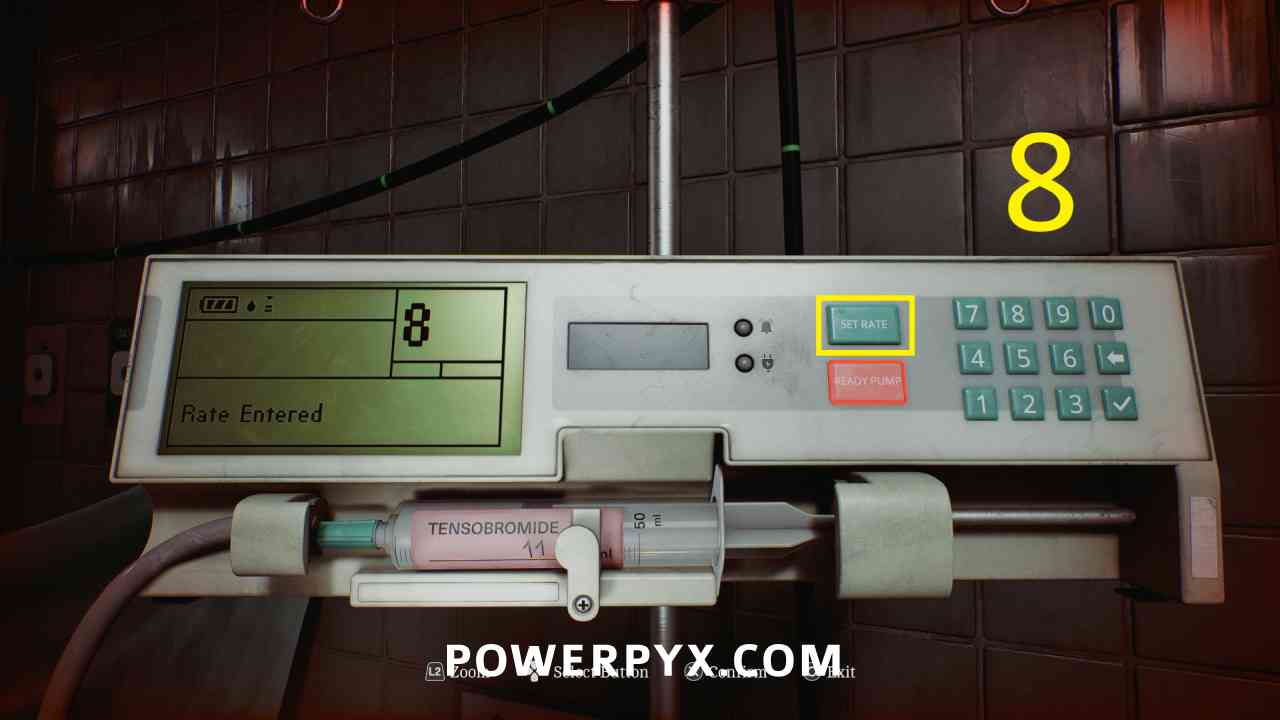
First hit the SET RATE button, then enter the number, then press the check mark, then READY PUMP.
Dextracyclate set the rate to 15.
Hydroxaline set the rate to 7.
Tensobromide set the rate to 8.
Then interact with the small console on the left of the bed to start.
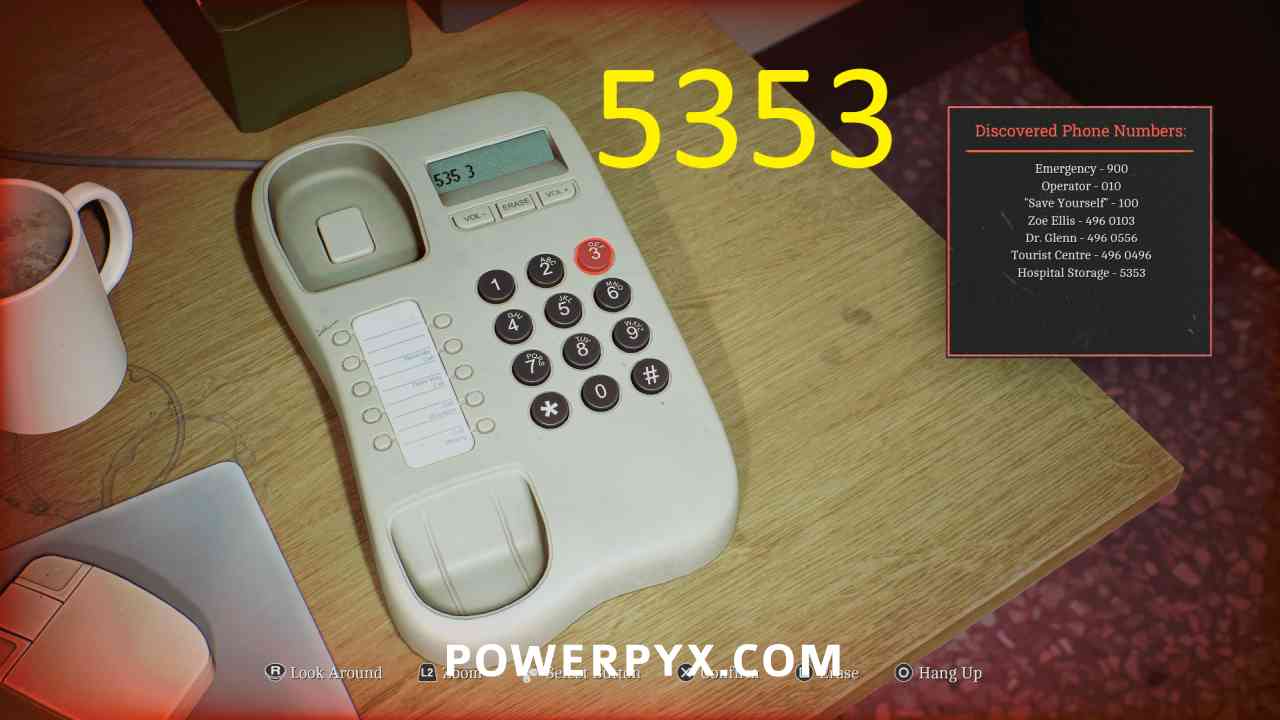
Phone Number: 5353 – Hospital Storage
Area: St. Amelia Medical Center > Surgery
Automatically given to you by Dr. Glenn, use on the phone in reception.
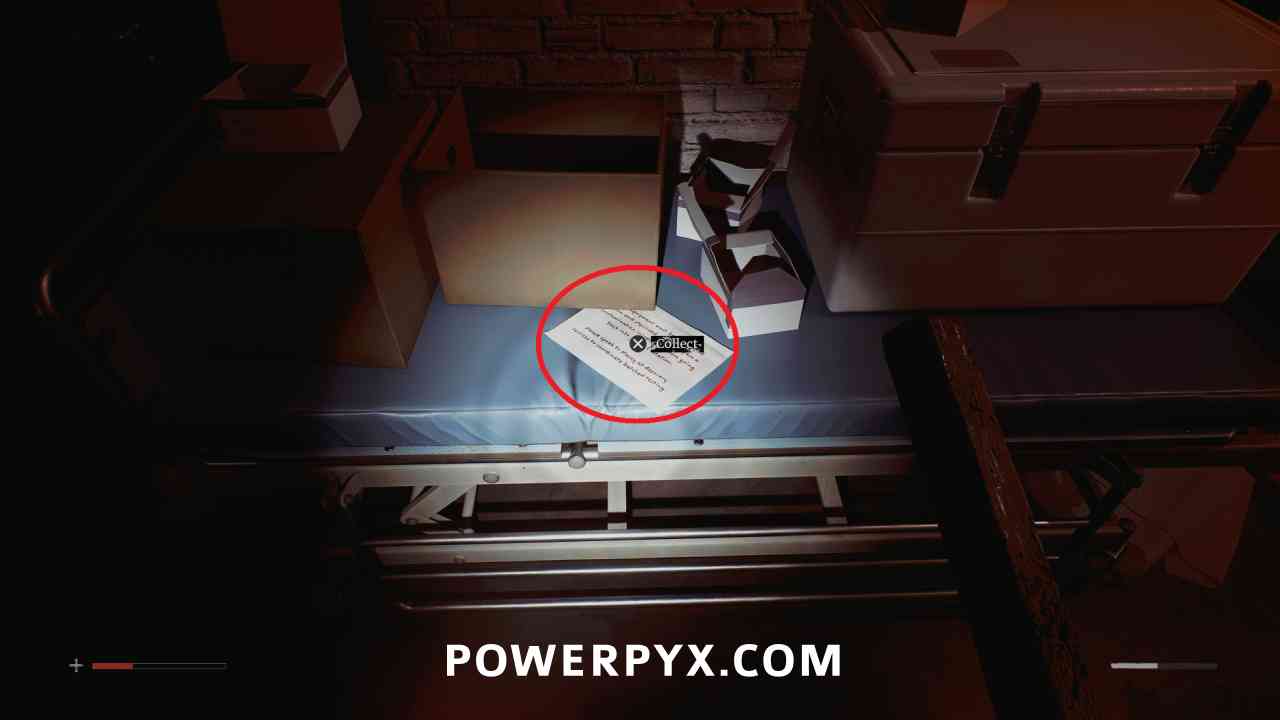
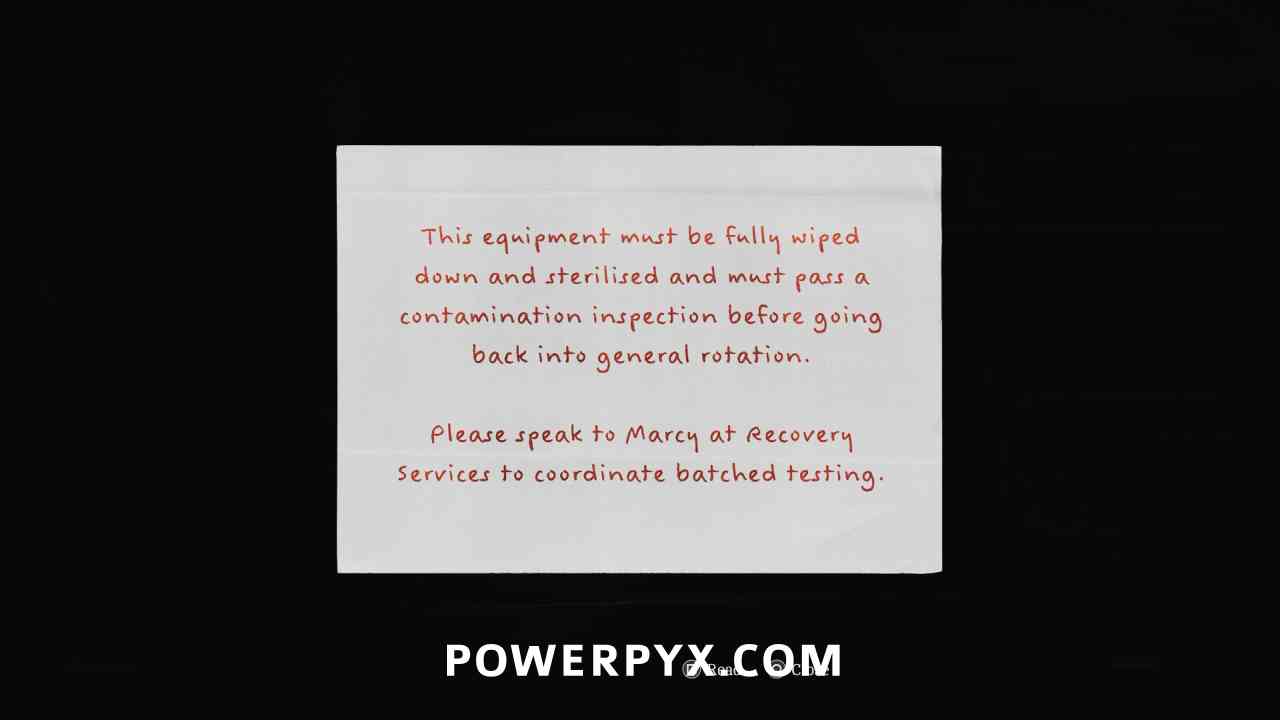
Document: Equipment Cleanup Notice
Area: St. Amelia Medical Center > Victoria Ward Basement
In the hallway in the basement, on a bed.
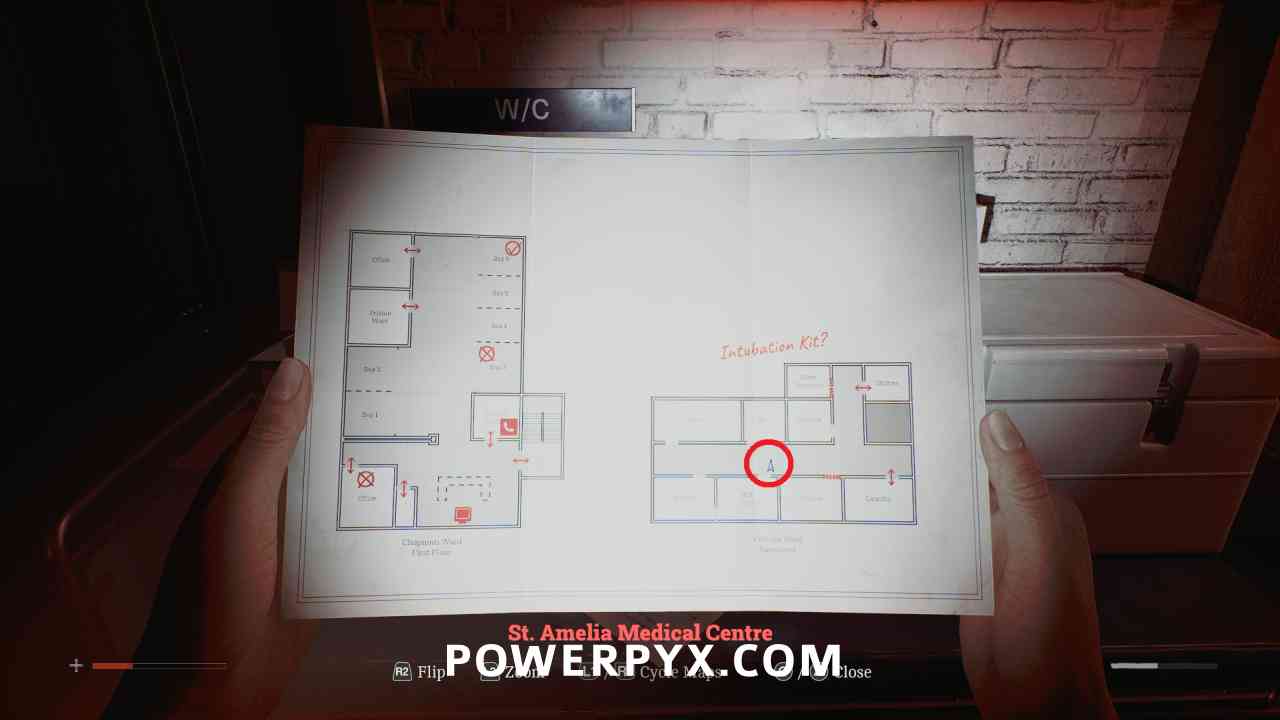
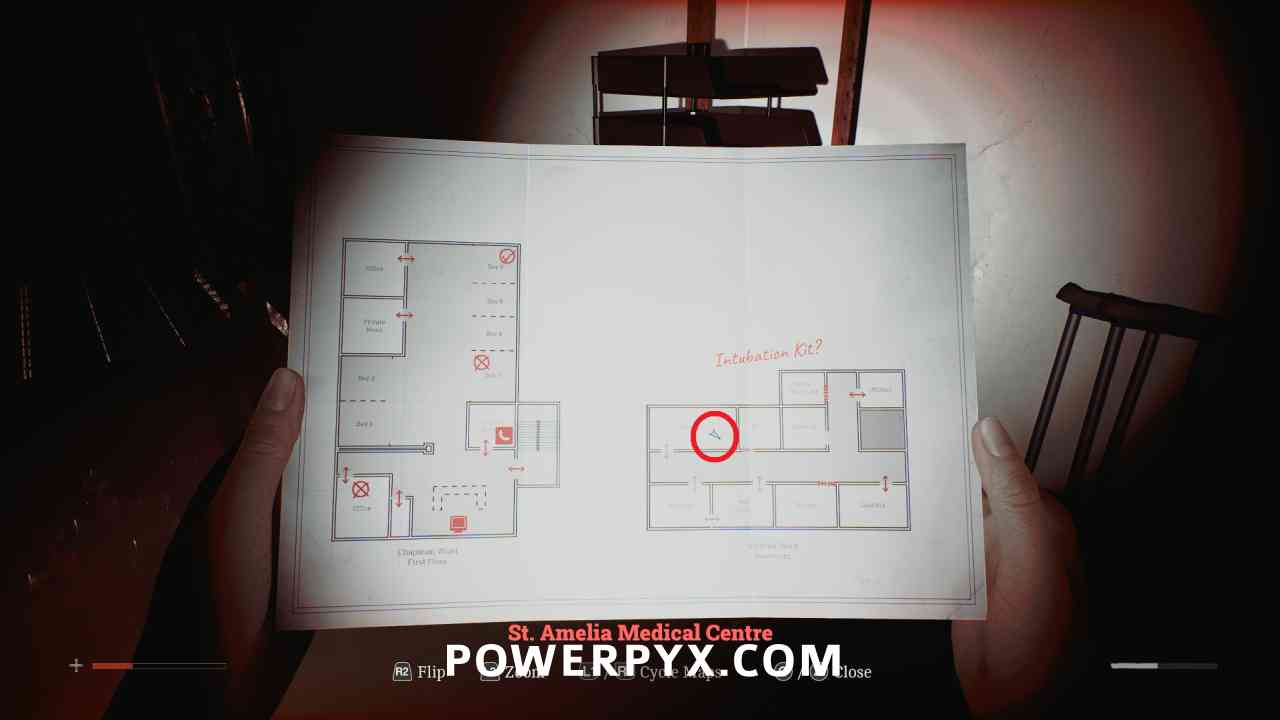
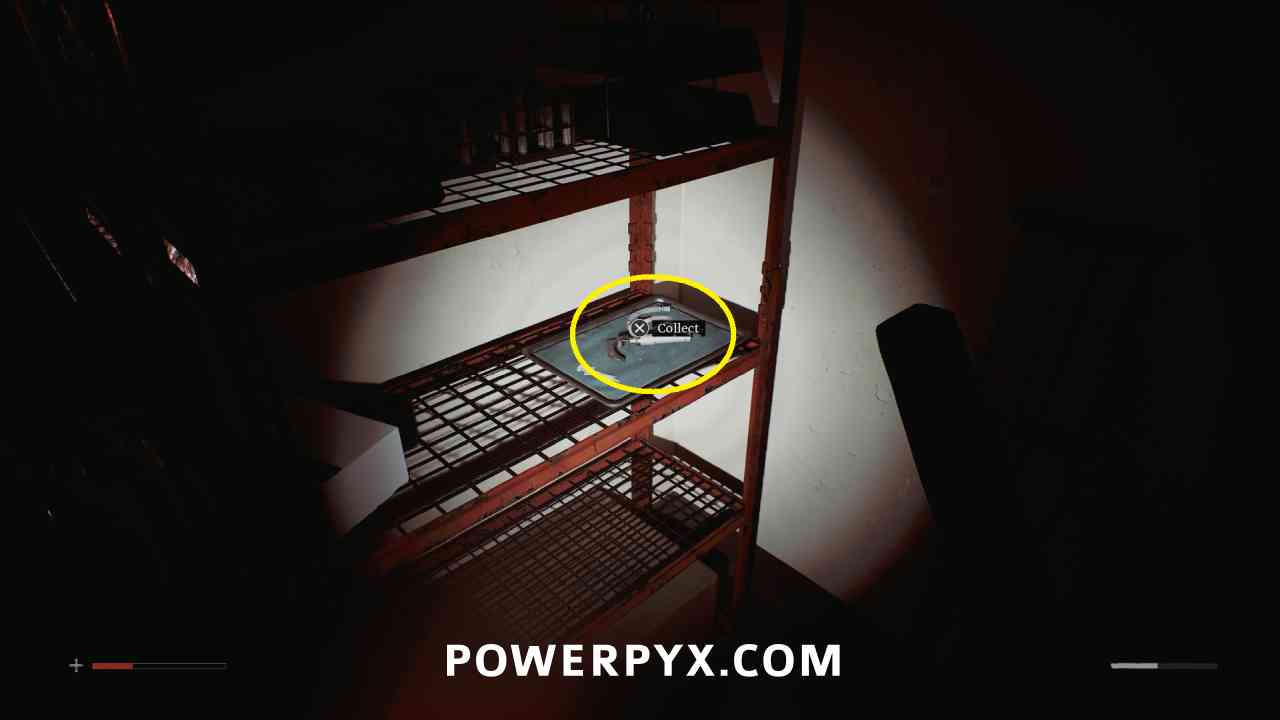
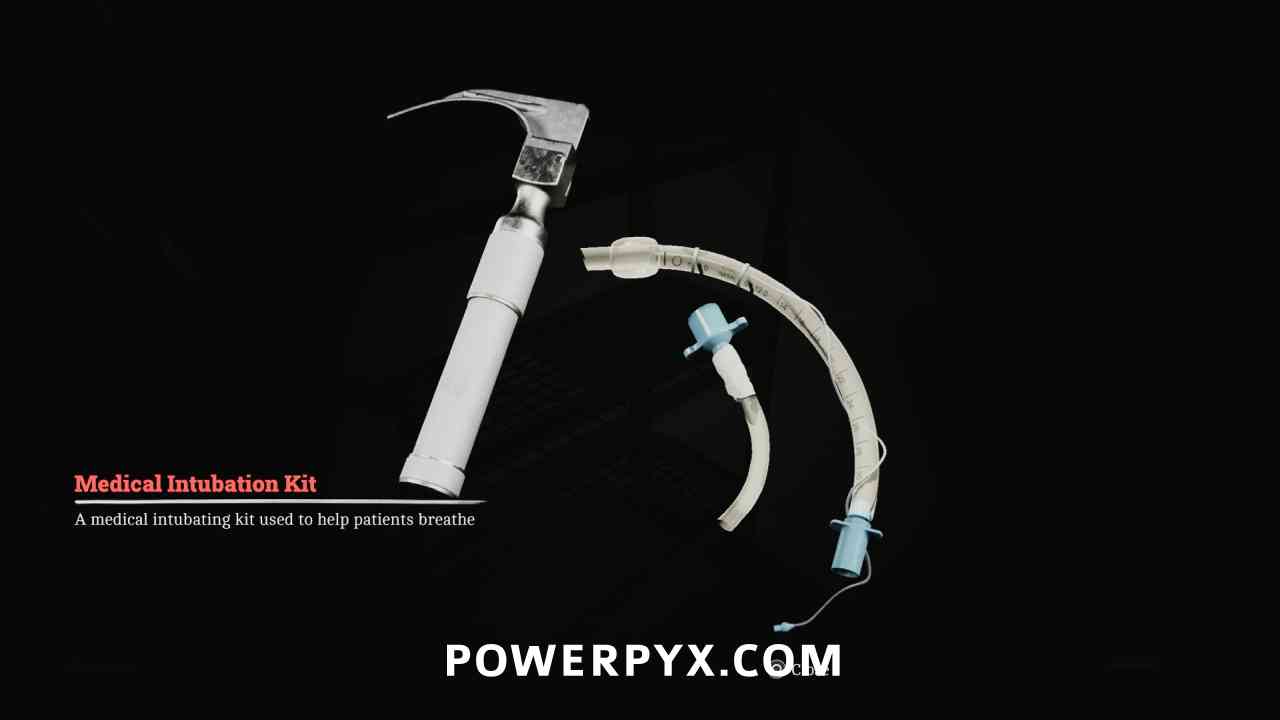
Key Item: Medical Intubation Kit
Area: St. Amelia Medical Center > Victoria Ward Basement – Storage
In the storage room through the gap in the lockers, on a shelf.
Puzzle #14
Area: St. Amelia Medical Center > Surgery
You now must intubate the patient.
When positioning, you need to find the locations where the visual is flashing red, then hold R2/RT to insert. The order is always to the right side, then the lower left, then the top.



Trophy: The Patient
Save It For The Patients
If you completed both chapters as Zoe without using healing items, this will unlock at the same time as the story trophy.
Chapter 8: Many Into One
Medical Center – Different
Locked Door – Surgery
Area: Medical Center – Different (St. Amelia Medical Center > Surgery)
Go to the door on the right of the room, enter 7103 (the same as when you were playing as Zoe.
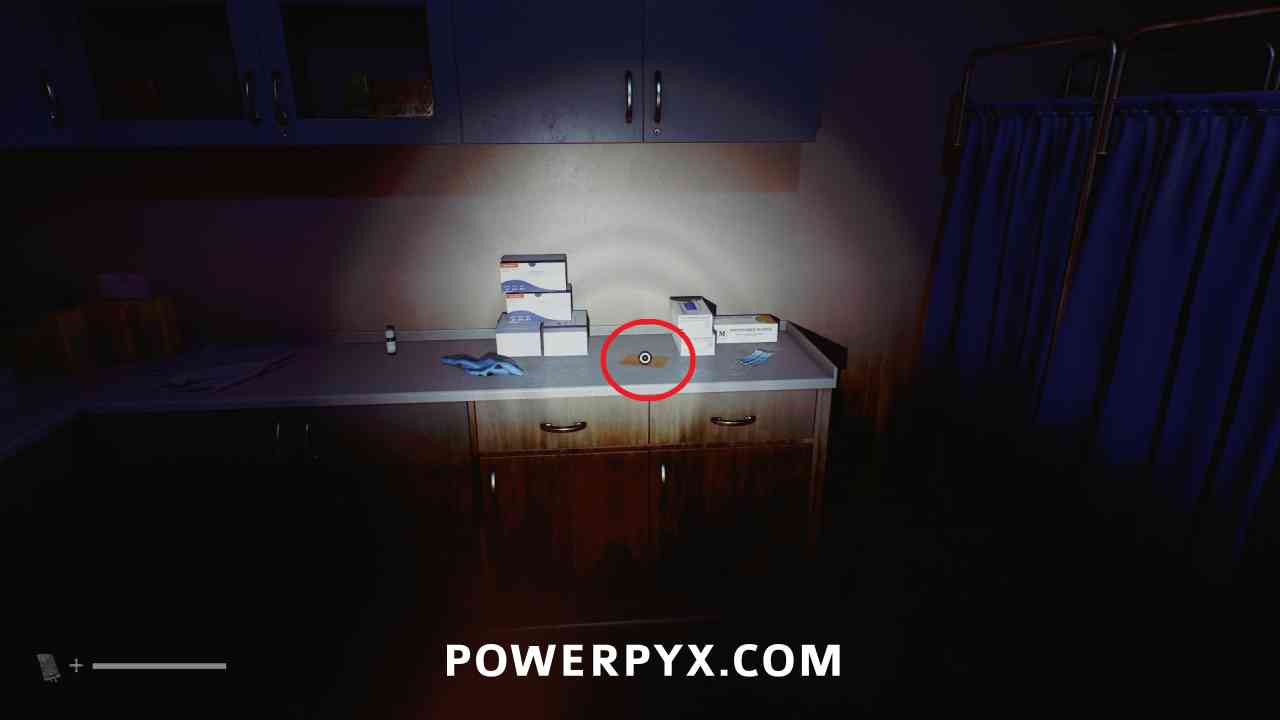
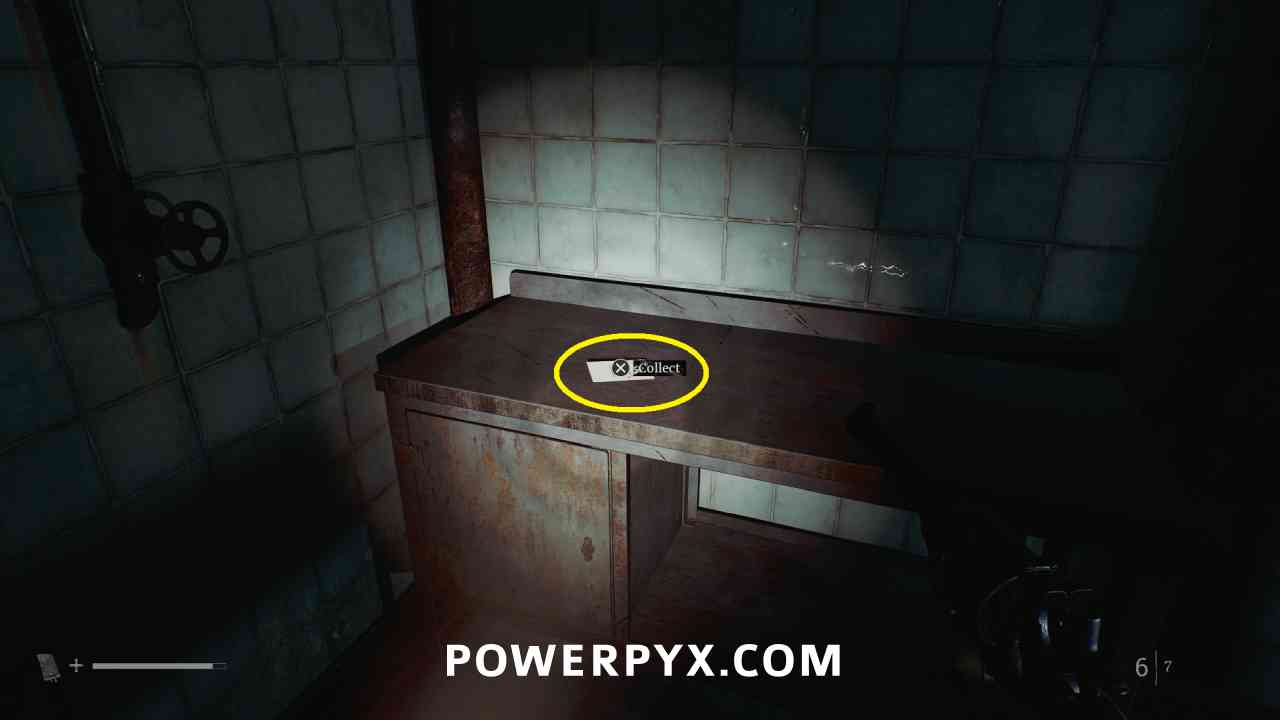
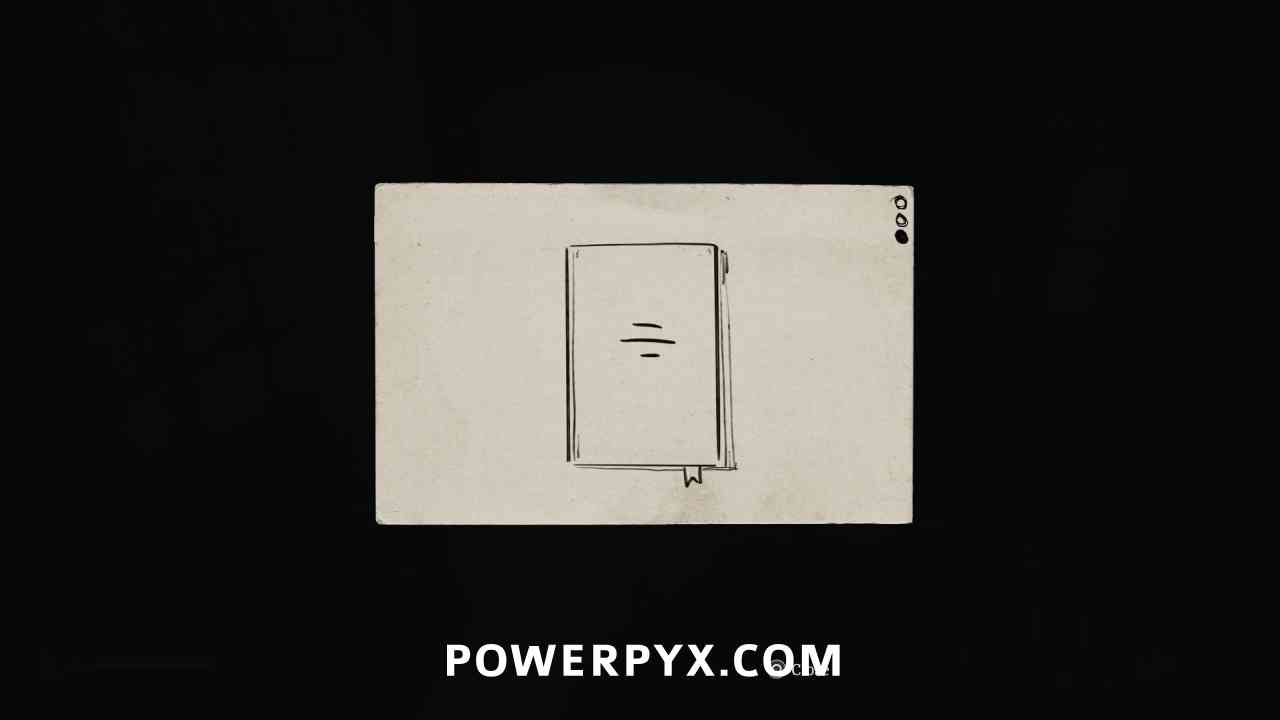
Strange Postcard – 7
Area: Medical Center – Different (St. Amelia Medical Center > X-Ray)
In the X-Ray room on the counter at the back.
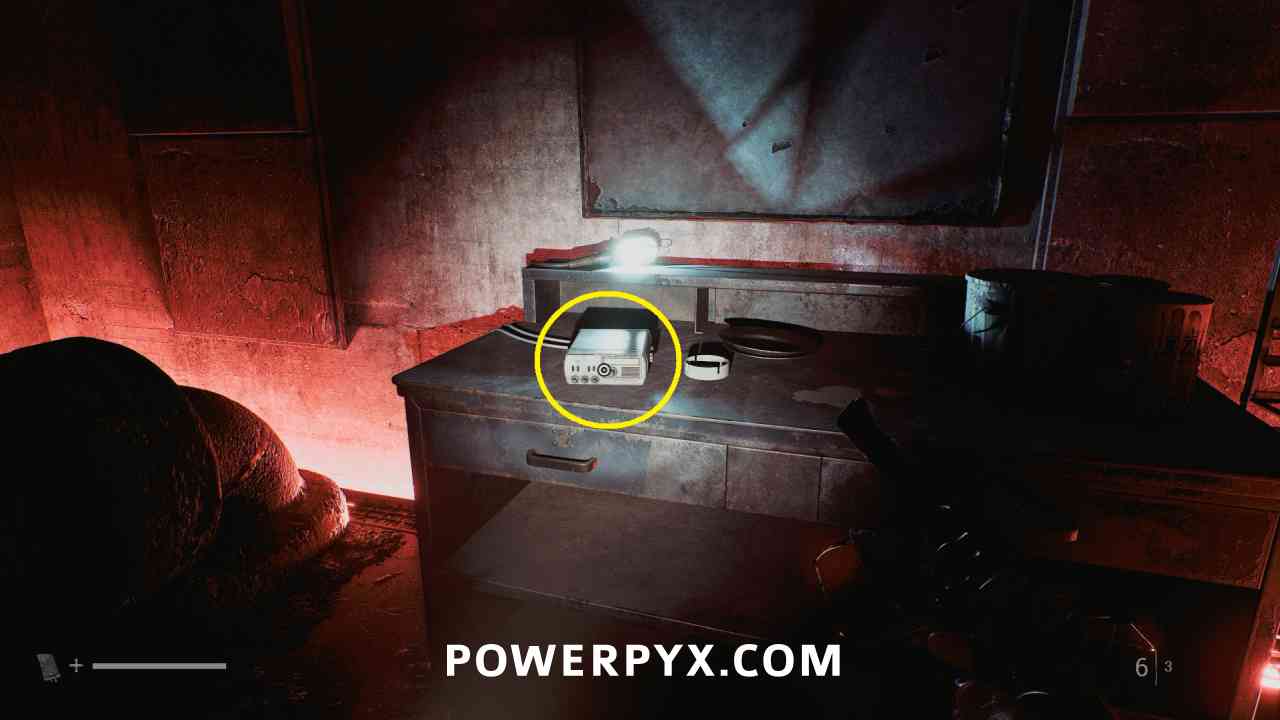
CRTV Channel – 28~
Area: Medical Center – Different
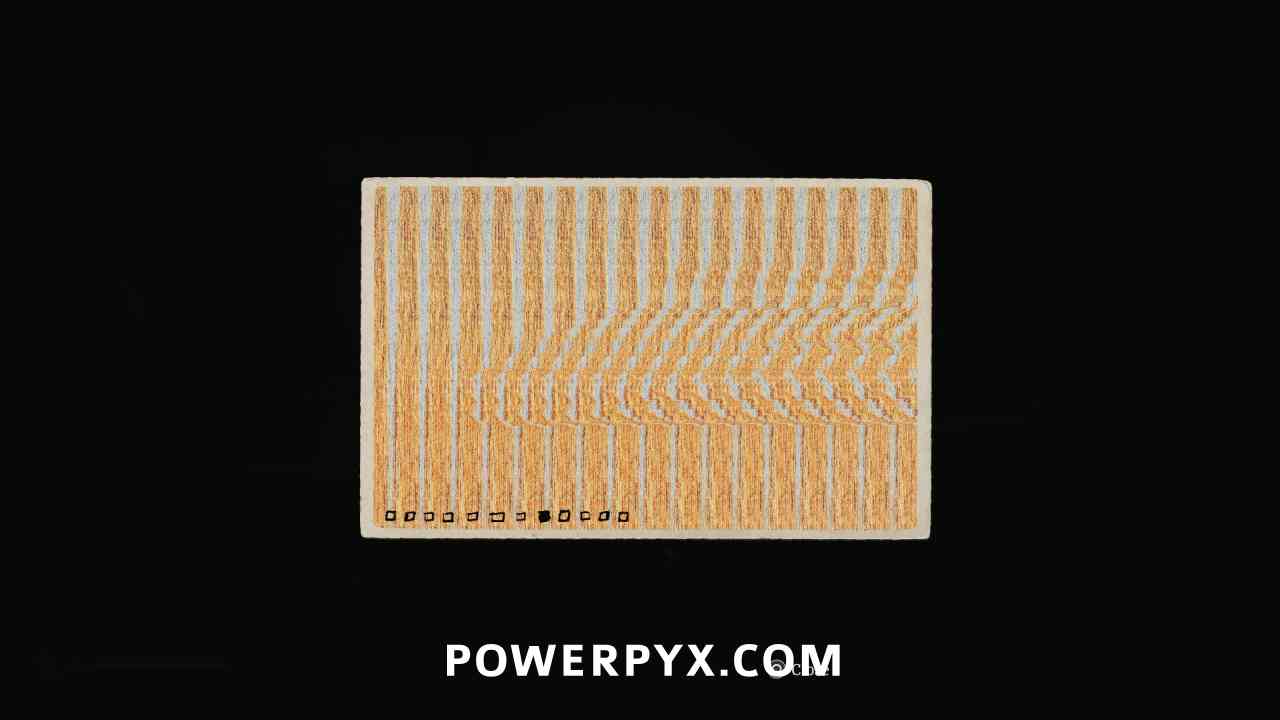
Squeeze through the crack to progress, then interact with the radio on the table. Align the CRTV tilt so that the colors stop moving using the right stick, then adjust colours so they fit in all boxes using the DPAD.

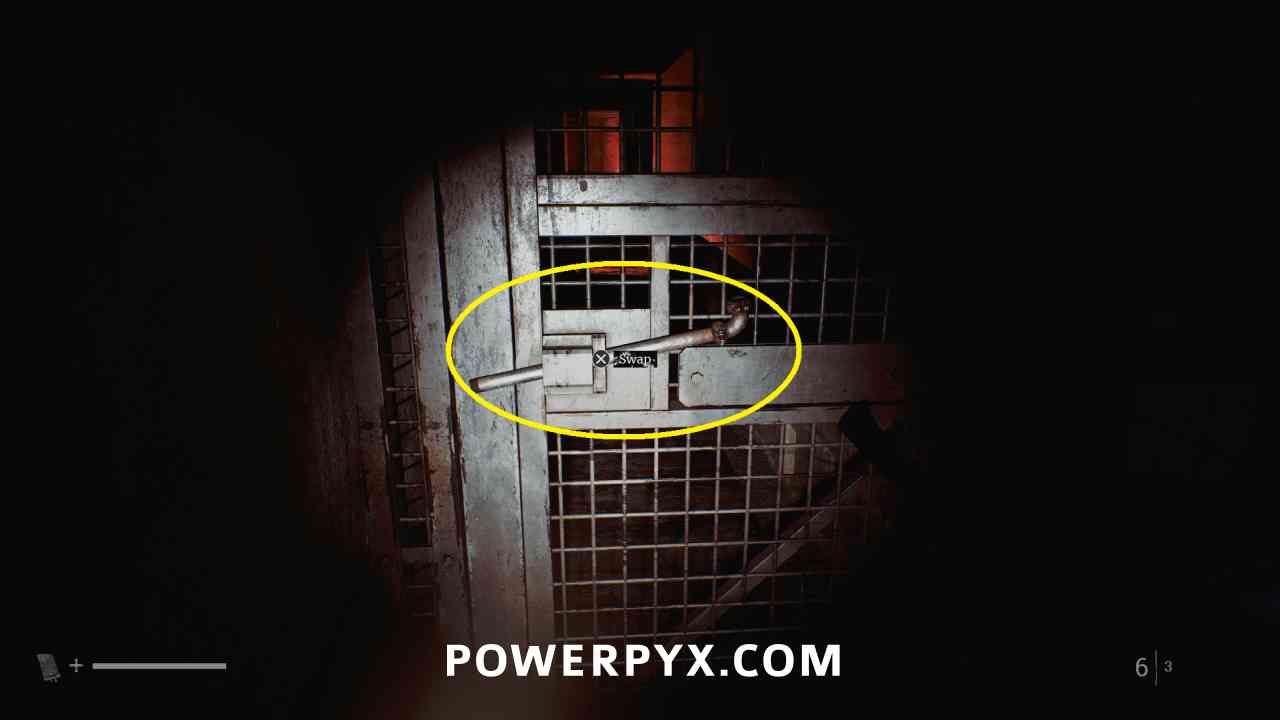
Weapon: Pipe
Area: Medical Center – Different
After crouching through the vent, turn left and grab the pipe from the blocked door.
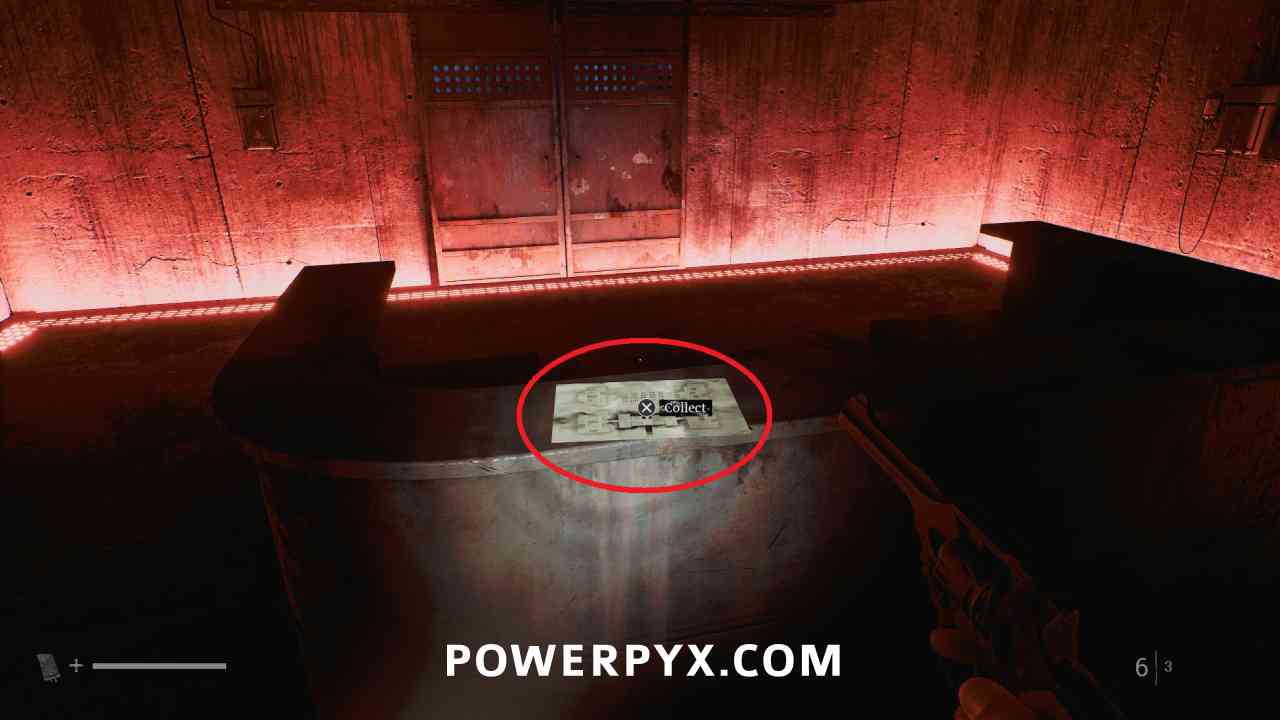
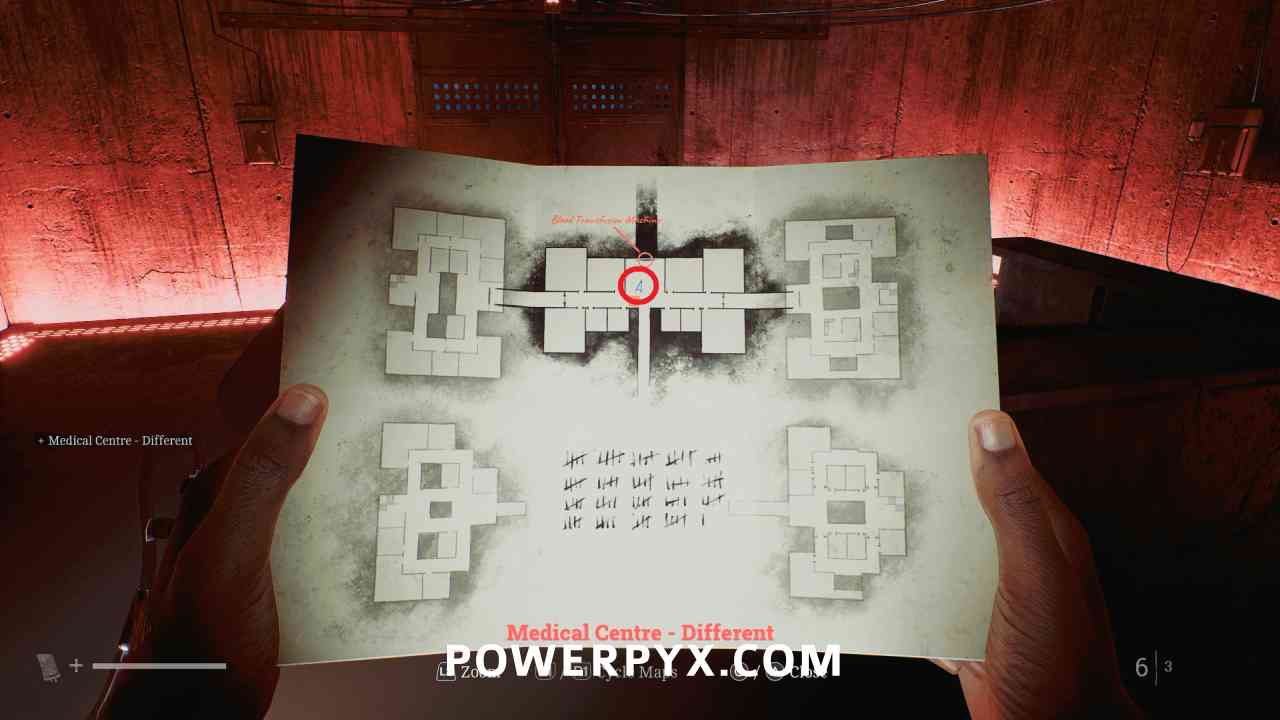
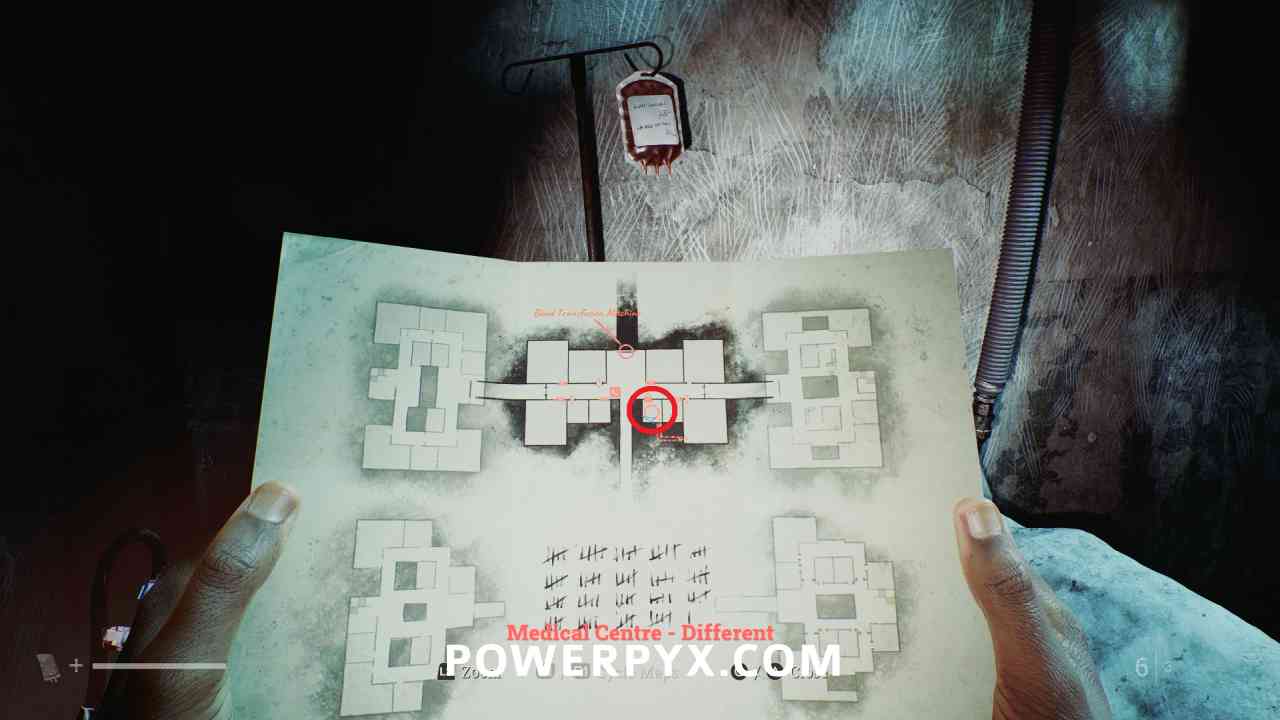
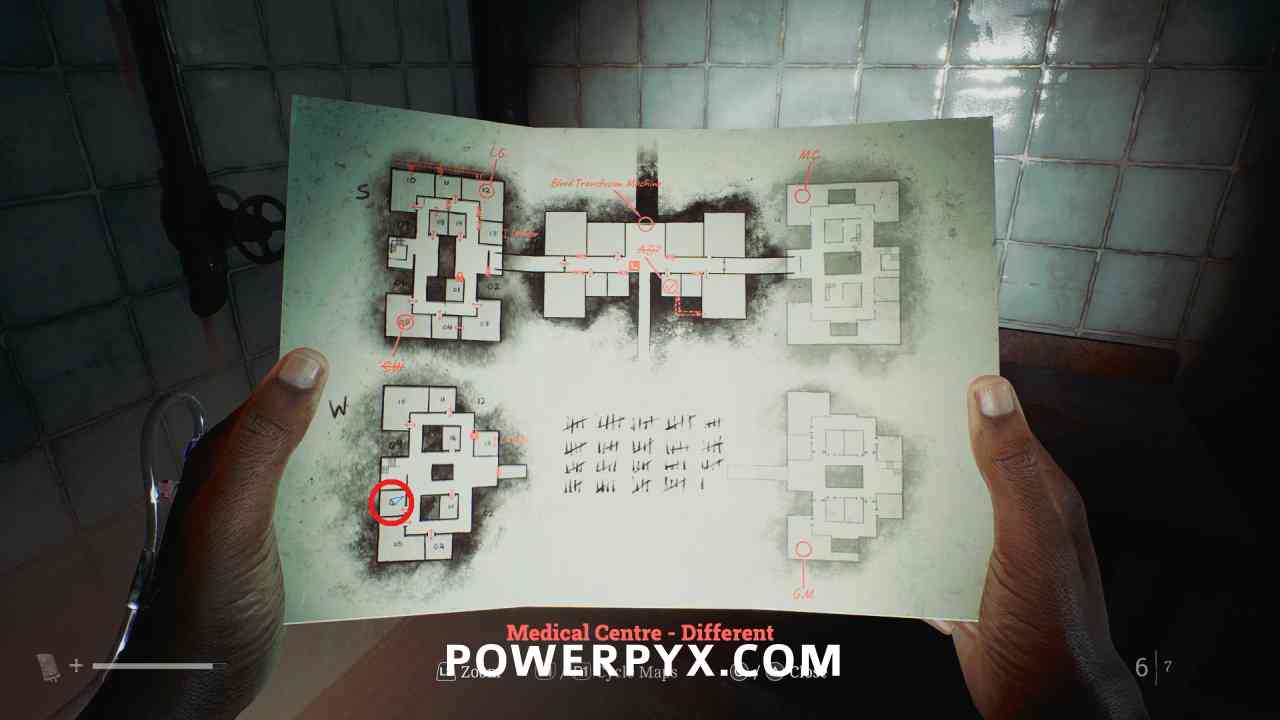
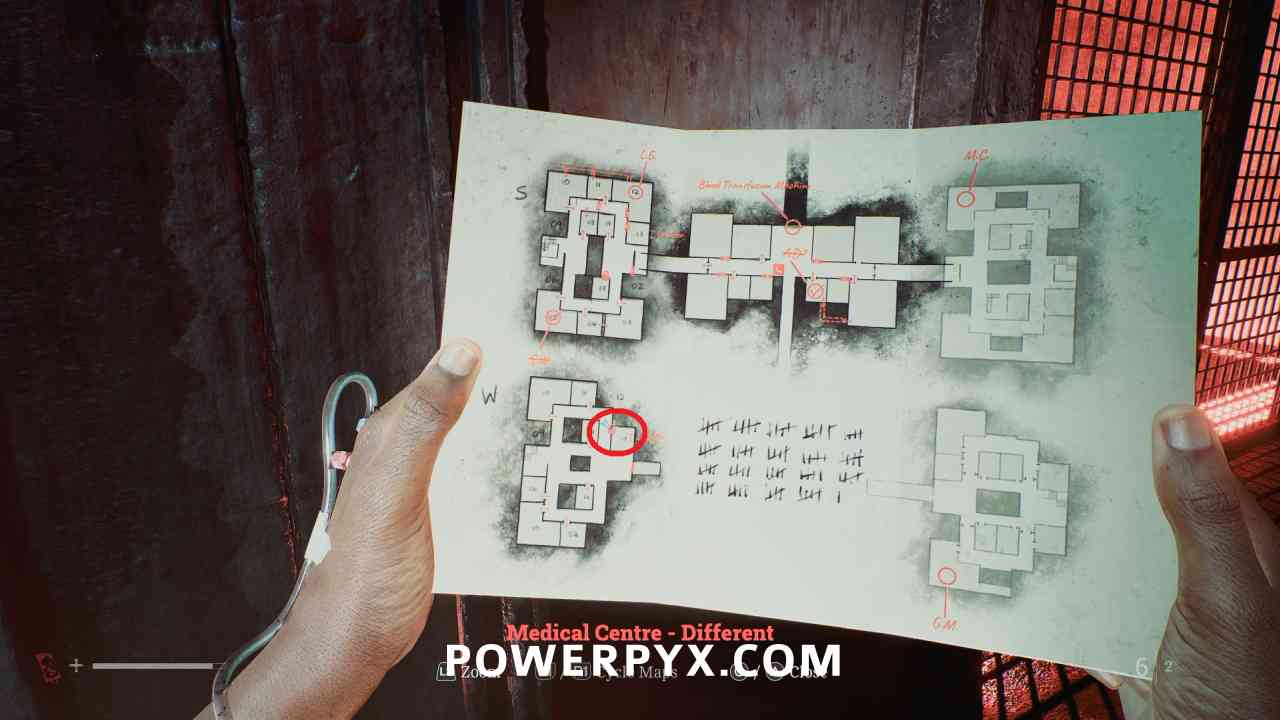
Medical Center – Different Map
Area: Medical Center – Different
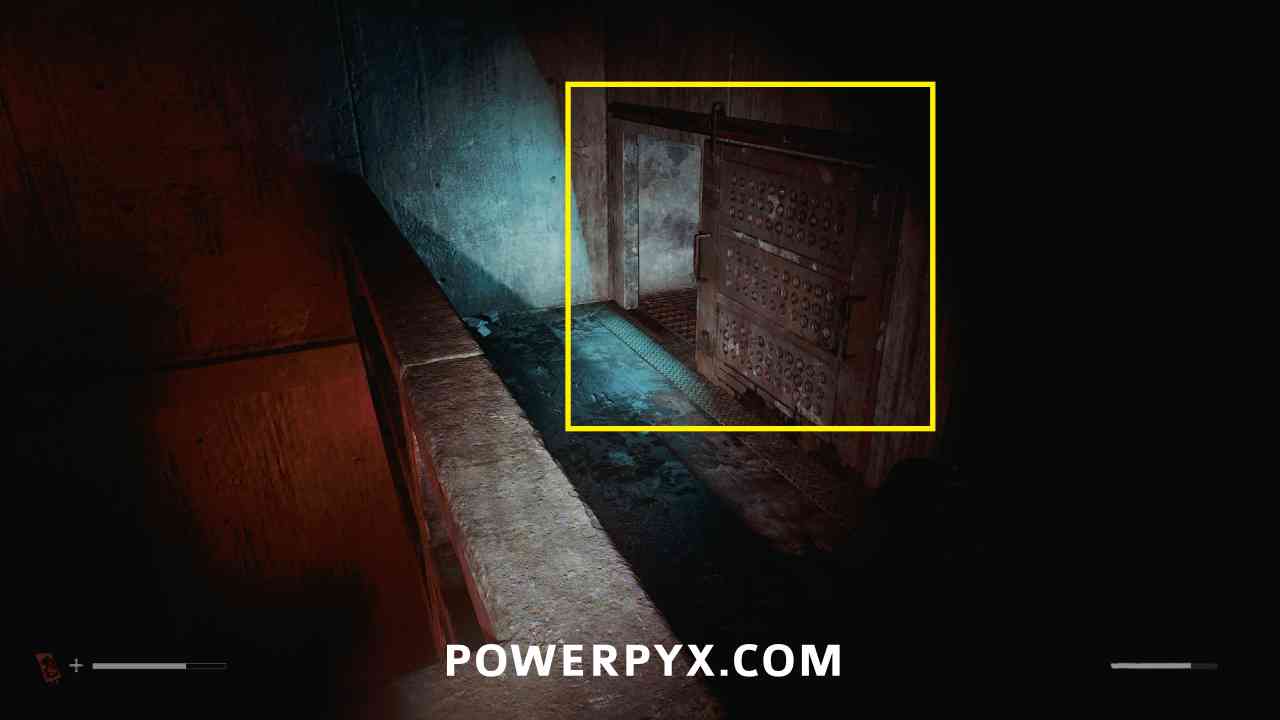
Go down the hallway on the upper floor and pick this up from the counter by the metal door.
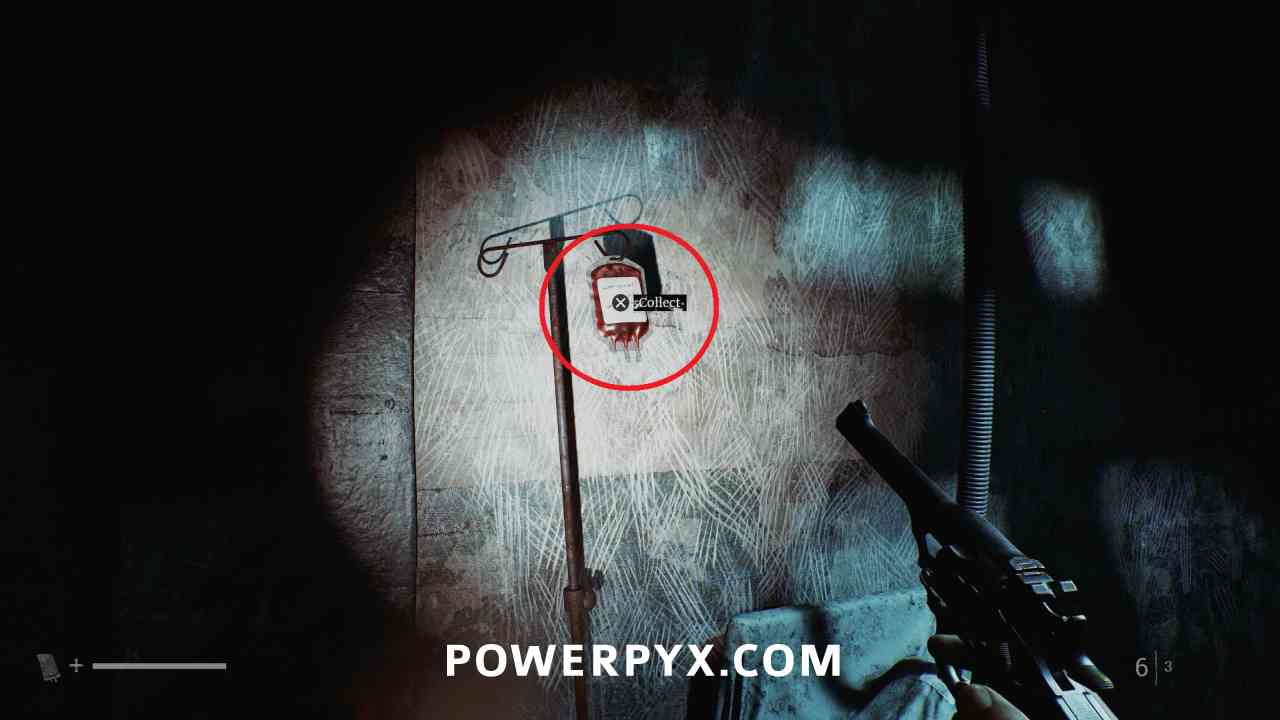
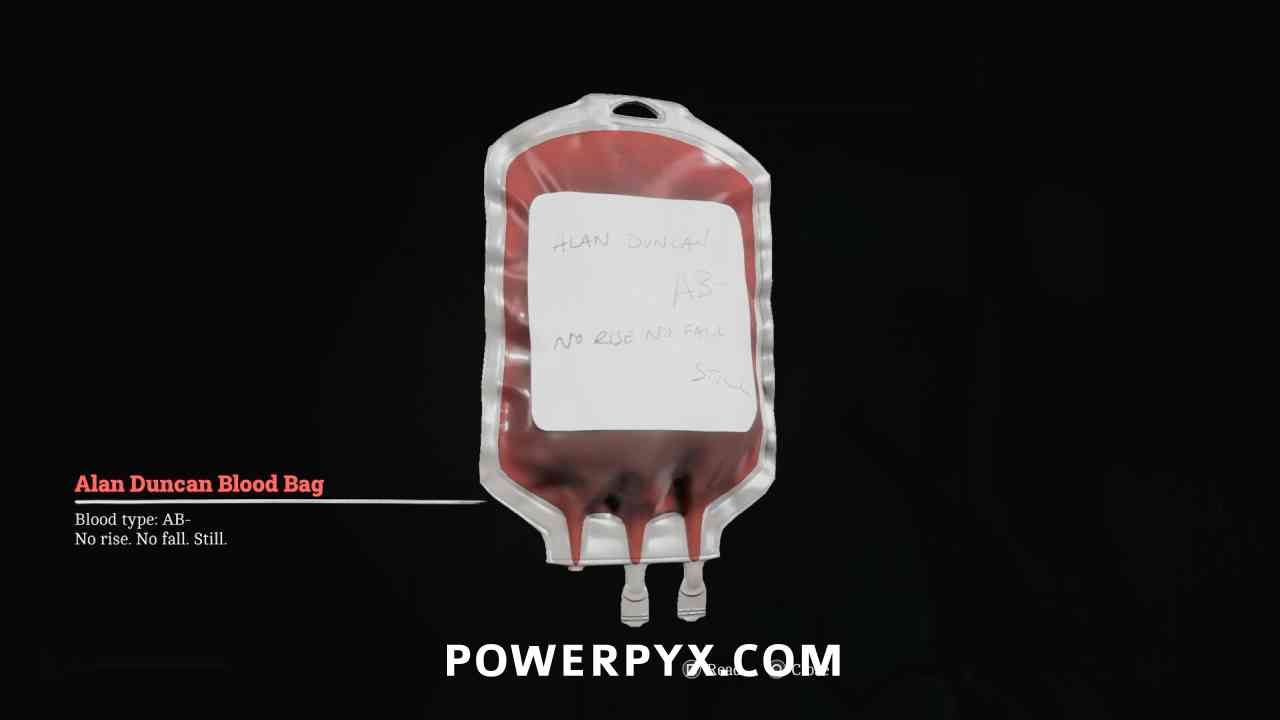
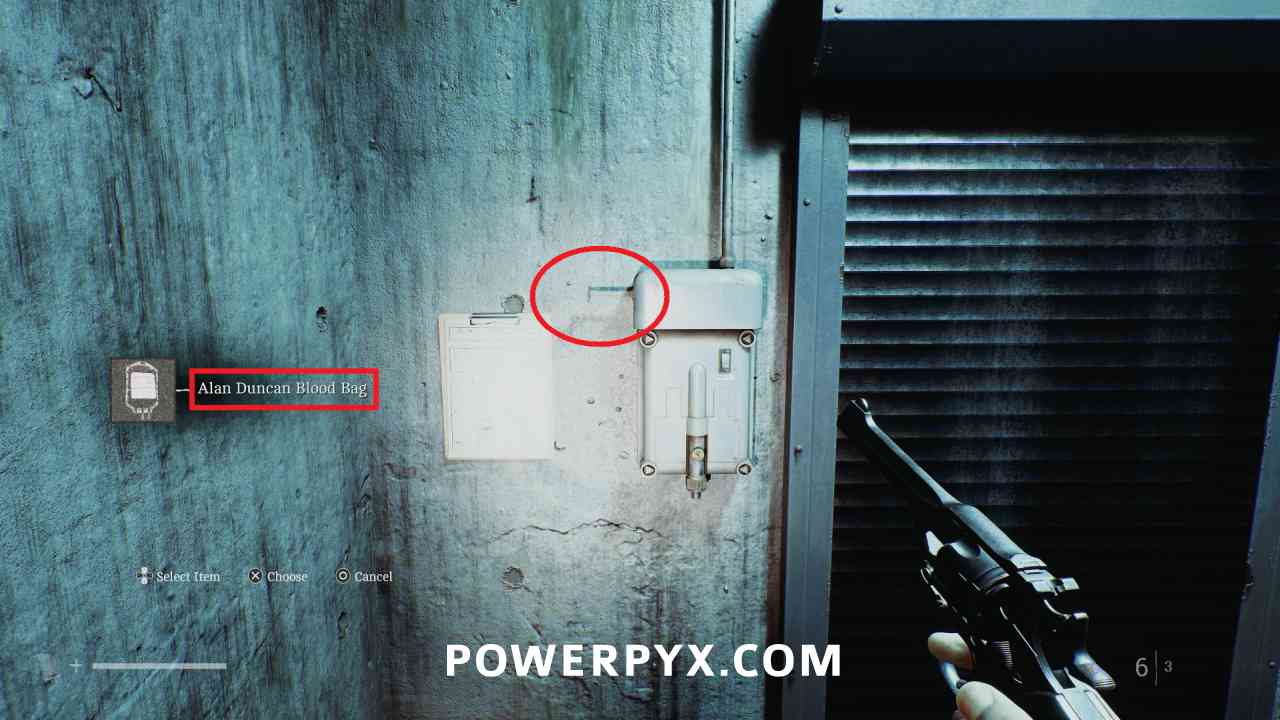
Key Item: Alan Duncan Blood Bag
Area: Medical Center – Different
Go down the right hallway and the bottom door at the end, crouch through the vent and pick this up left of the bed.
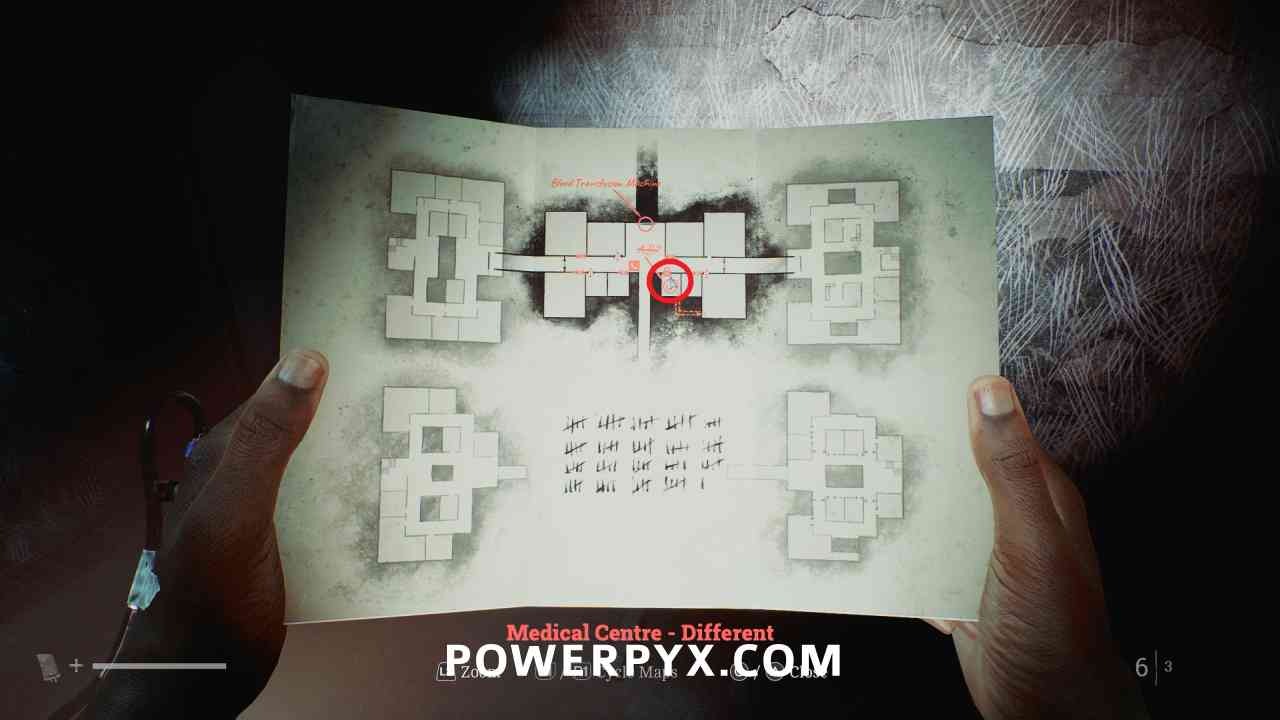
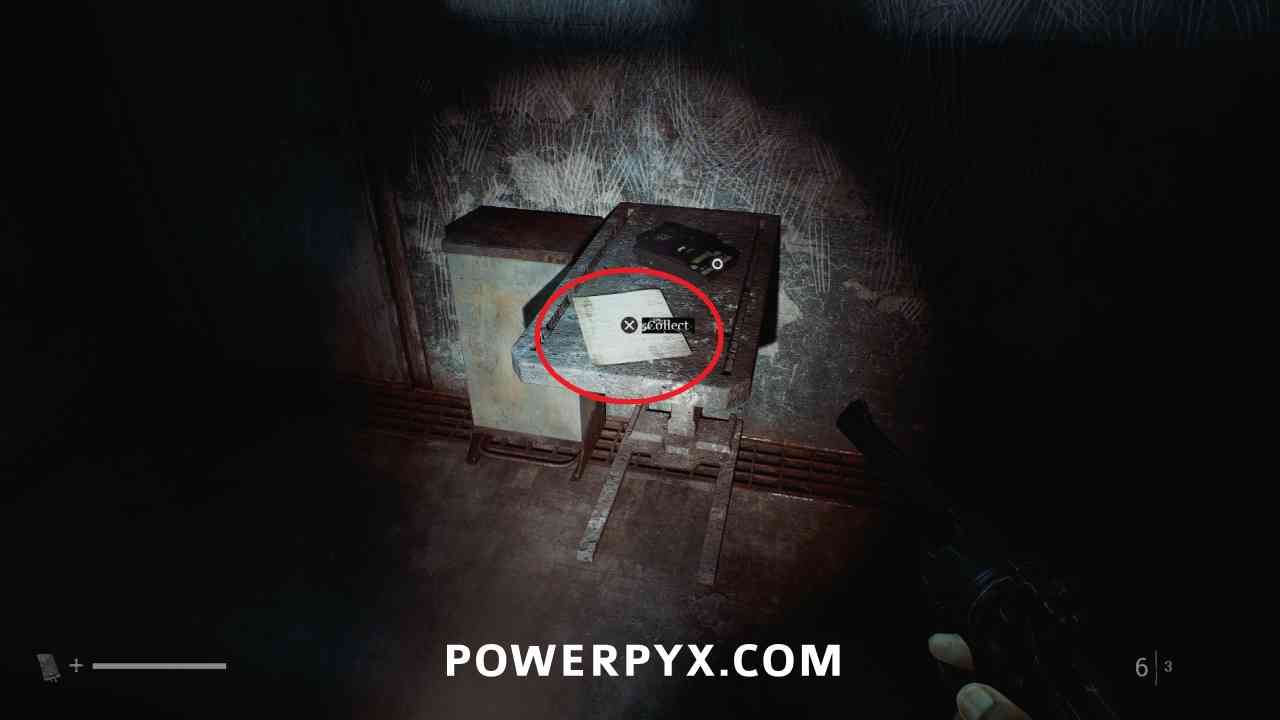
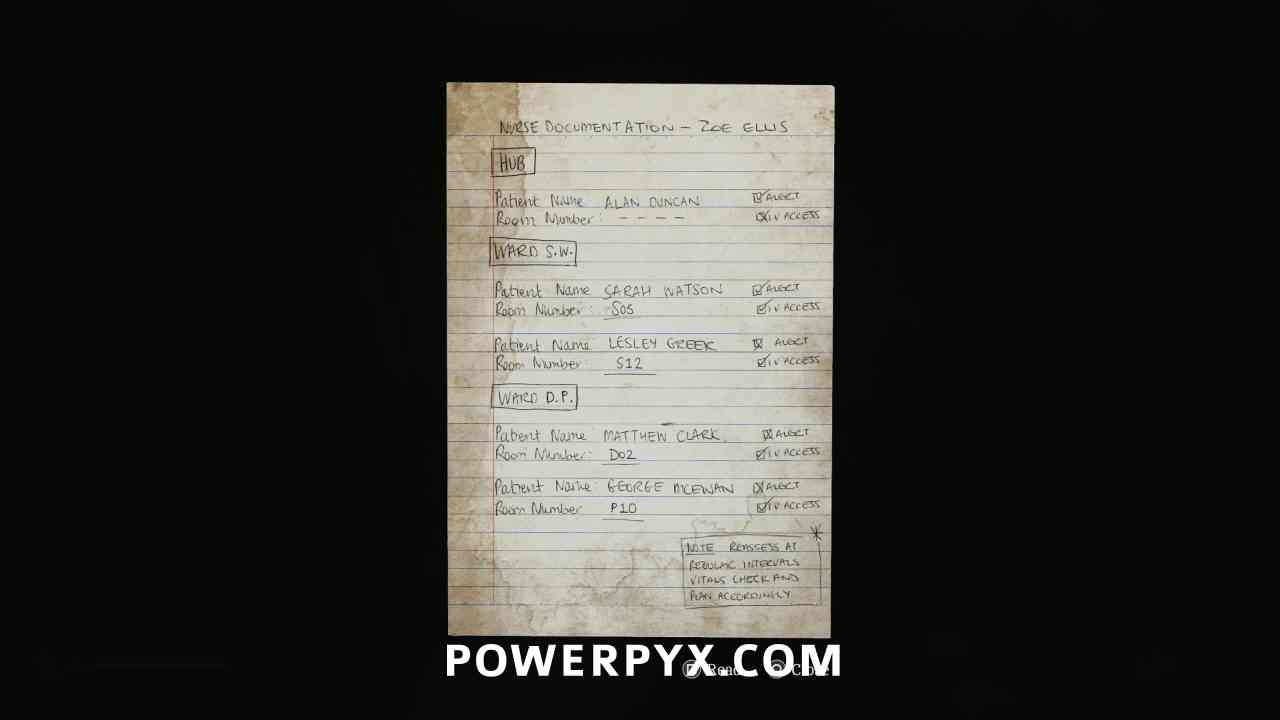
Clue: Zoe’s Patient List
Area: Medical Center – Different
In the same room, on the table beside the tape player. Marks the location of blood bags on the map.
Locked Door – S.W.
Area: Medical Center – Different
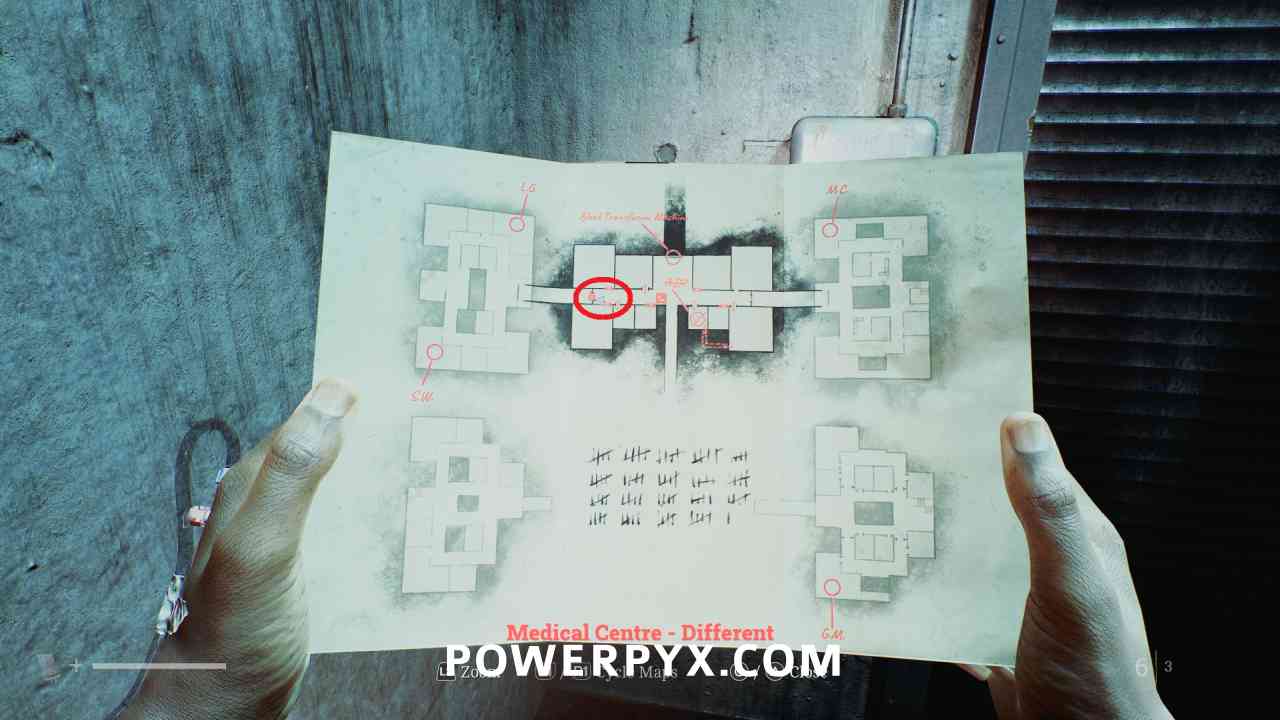
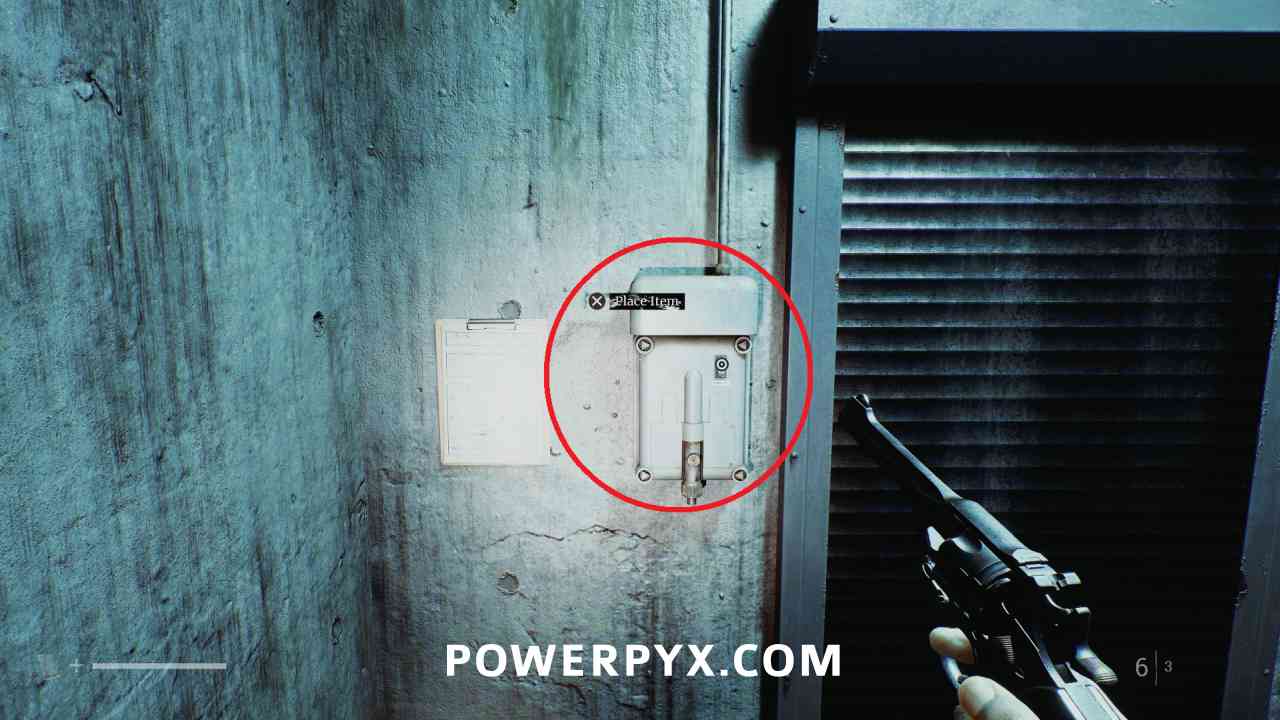
Go to the end of the left hallway (S.W. above door) interact with the transfusion machine and place the Alan Duncan Blood Bag, then use the transfusion switch.
Medical Center – Different – Ward S
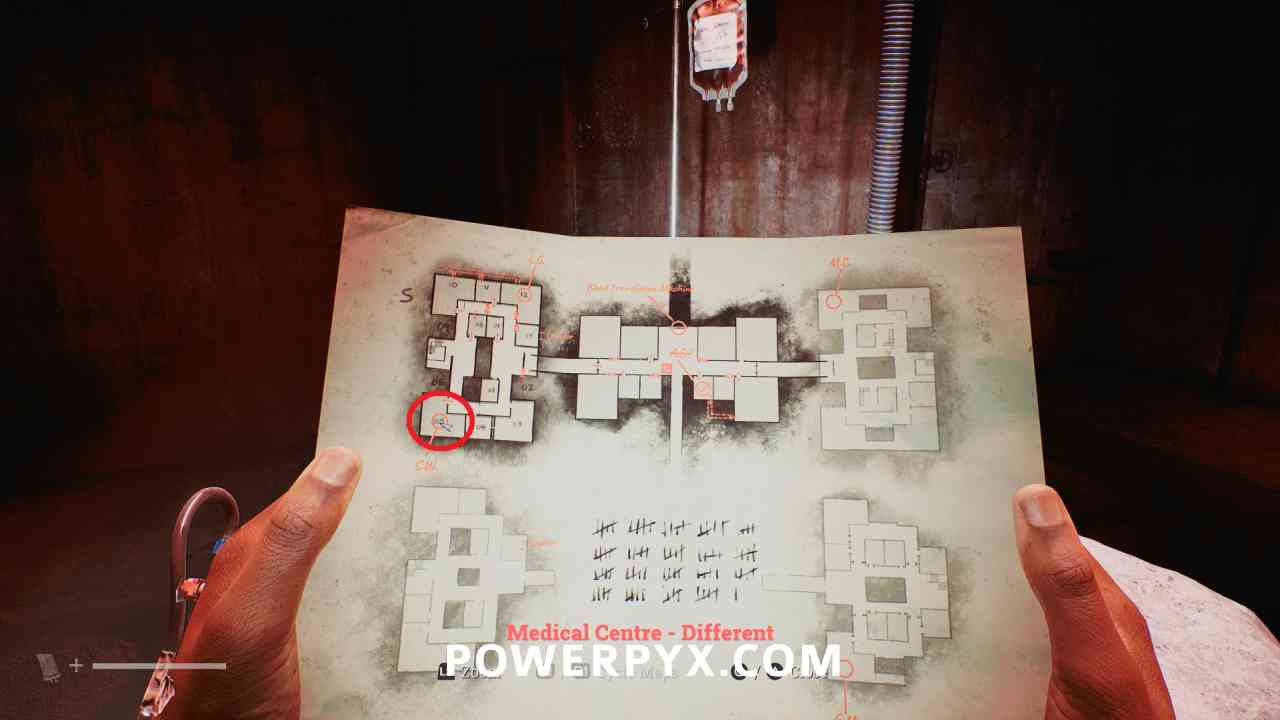
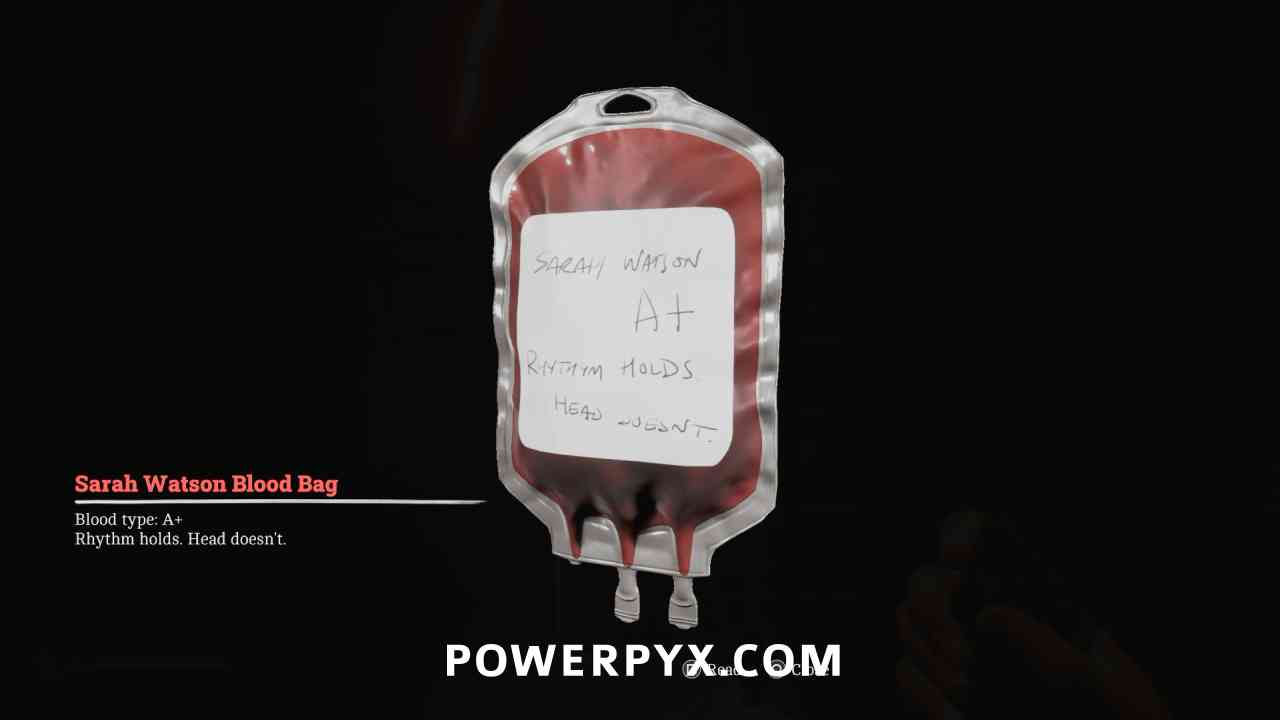
Key Item: Sarah Watson Blood Bag
Area: Medical Center – Different > Ward S
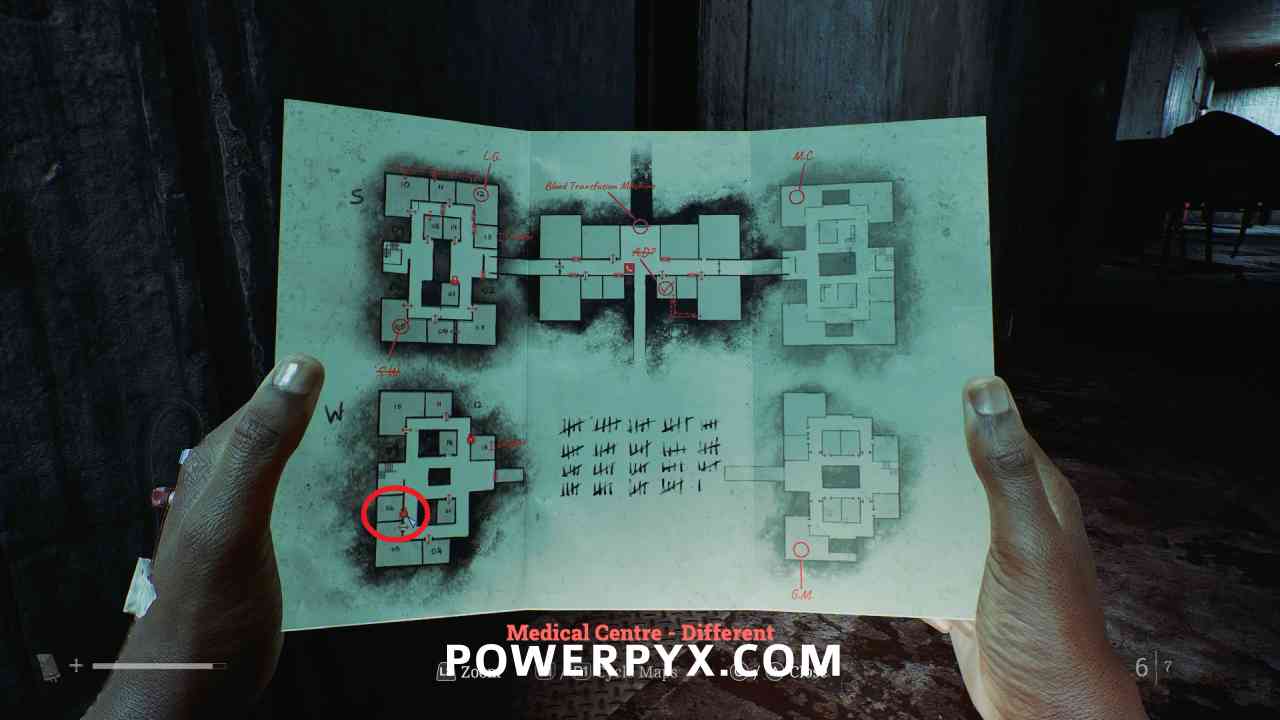
In the left area of the map, follow the path around to room 05 at the bottom left, and pick this up from beside the bed.

Medical Center – Different – Ward W
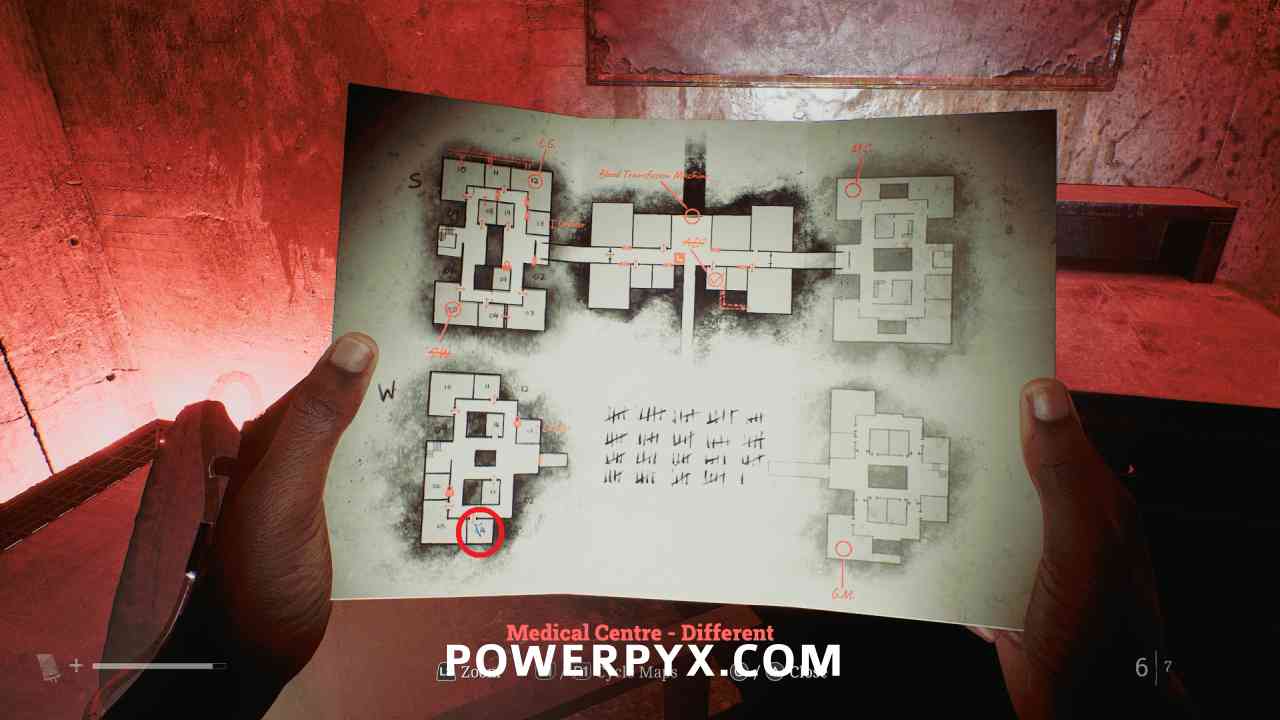
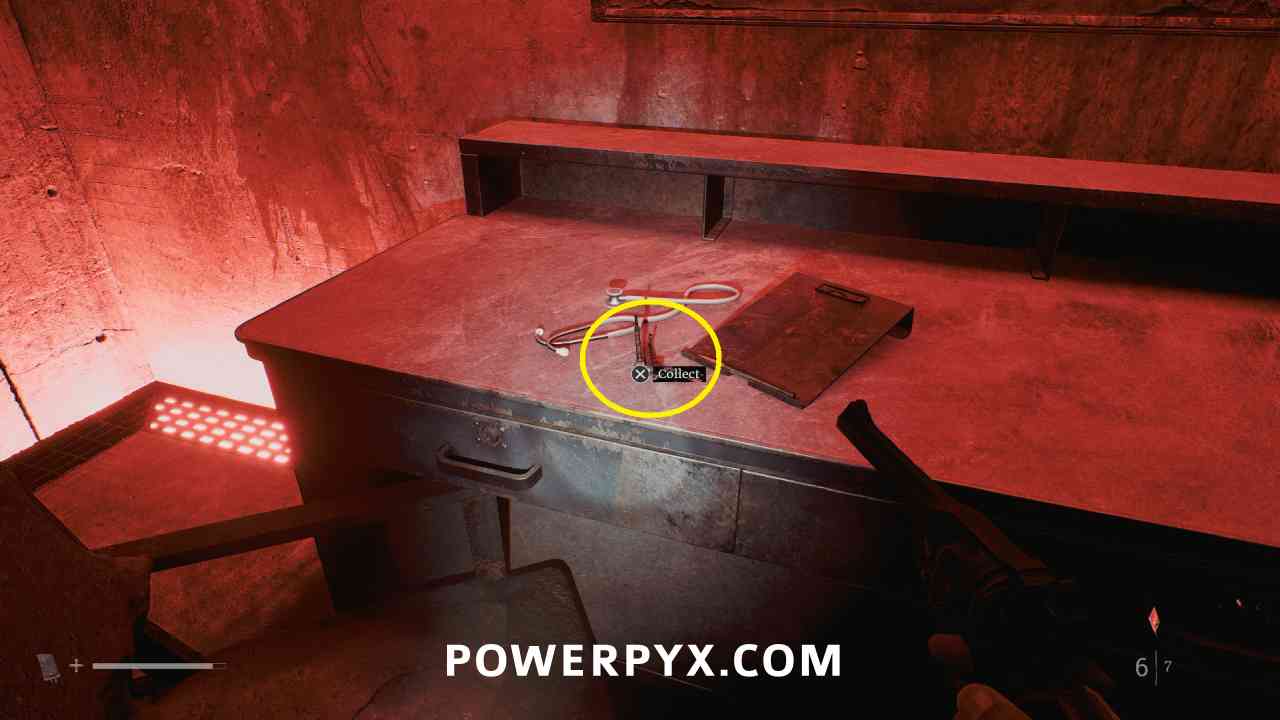
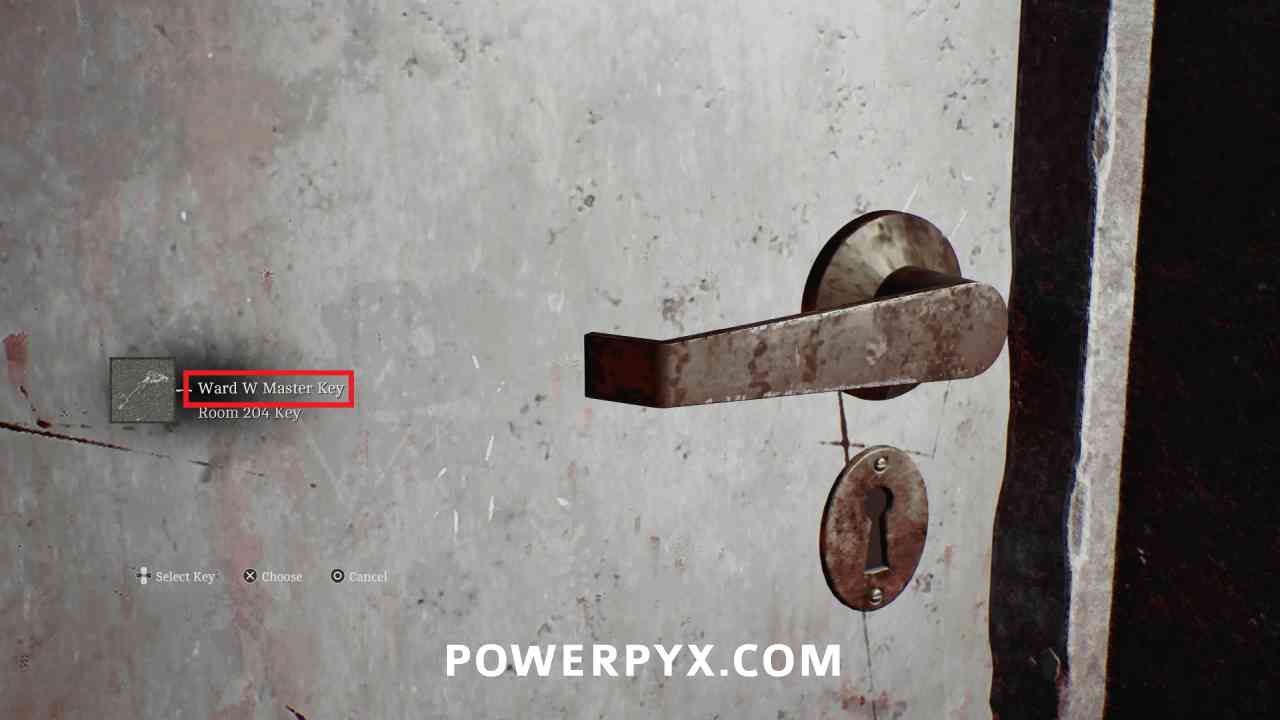
Key Item: Ward W Master Key
Area: Medical Center – Different > Ward W
On the bottom floor on the left area of the map, in room 04 on a table.

Locked Door – 06
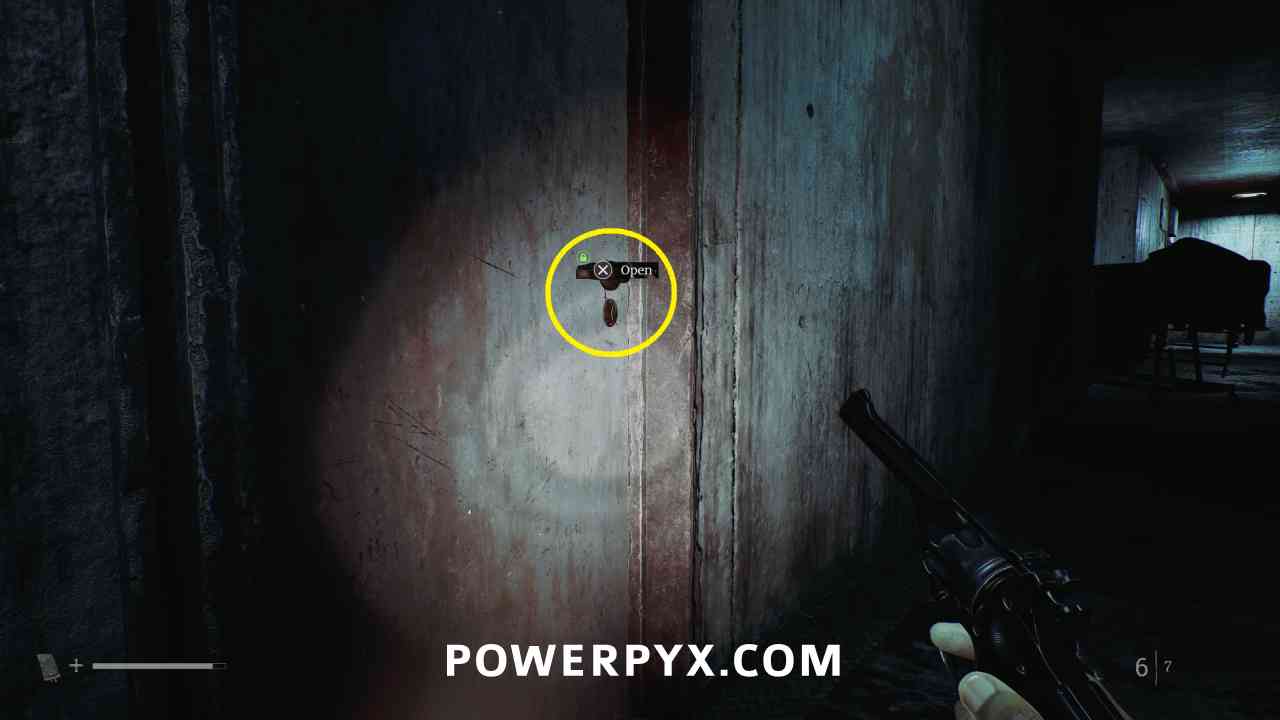
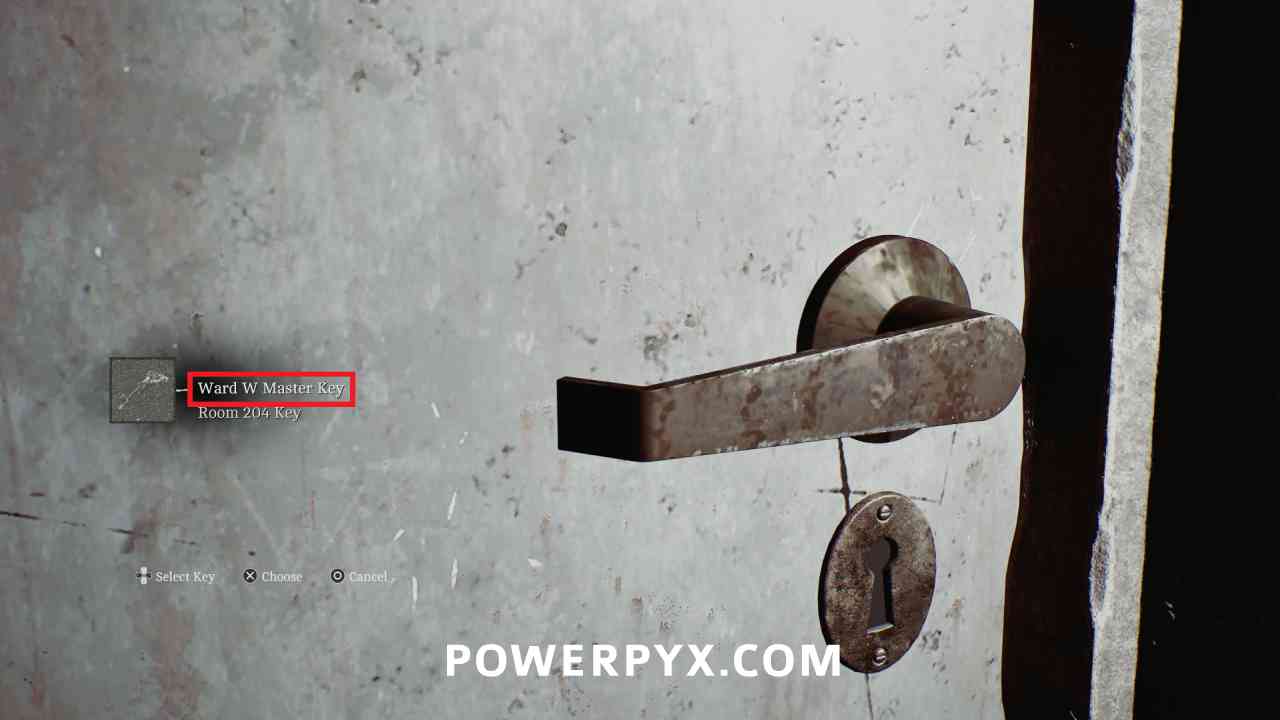
Area: Medical Center – Different > Ward W
Go to room 06 and use the Ward W Mastery Key to open the door.
Strange Postcard – 8
Area: Medical Center – Different > Ward W
Inside room 06 on the table.
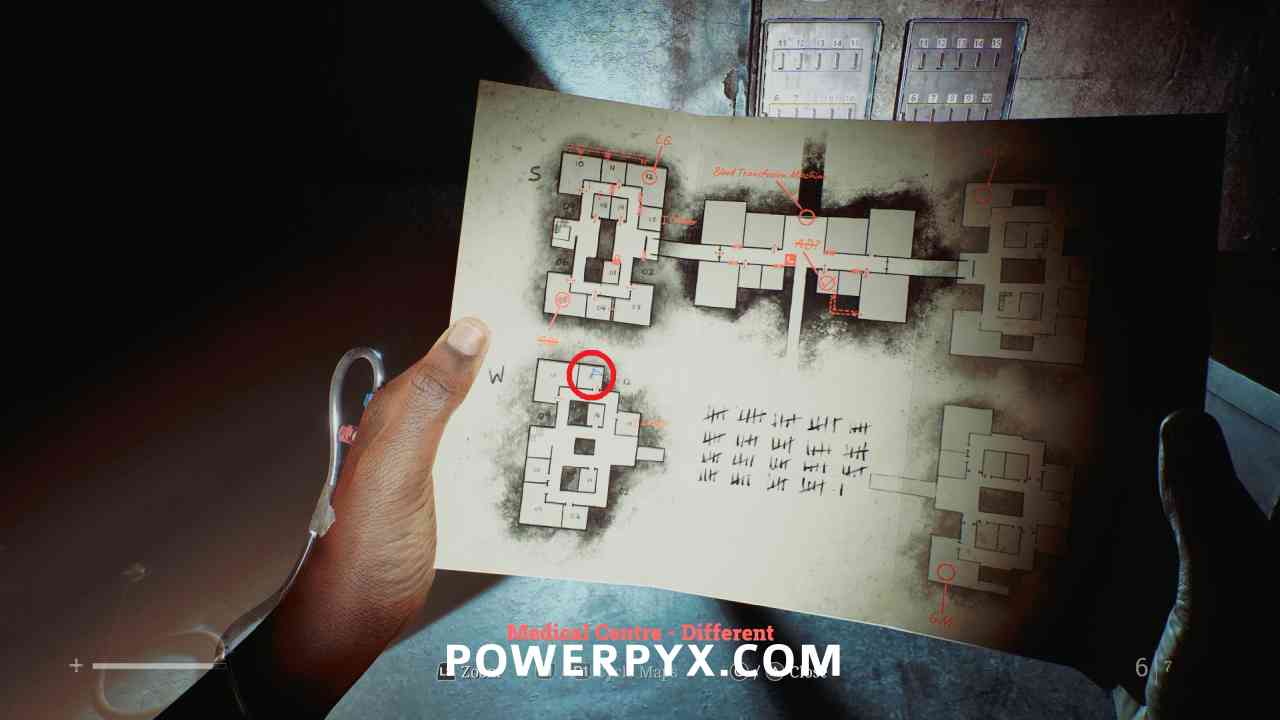
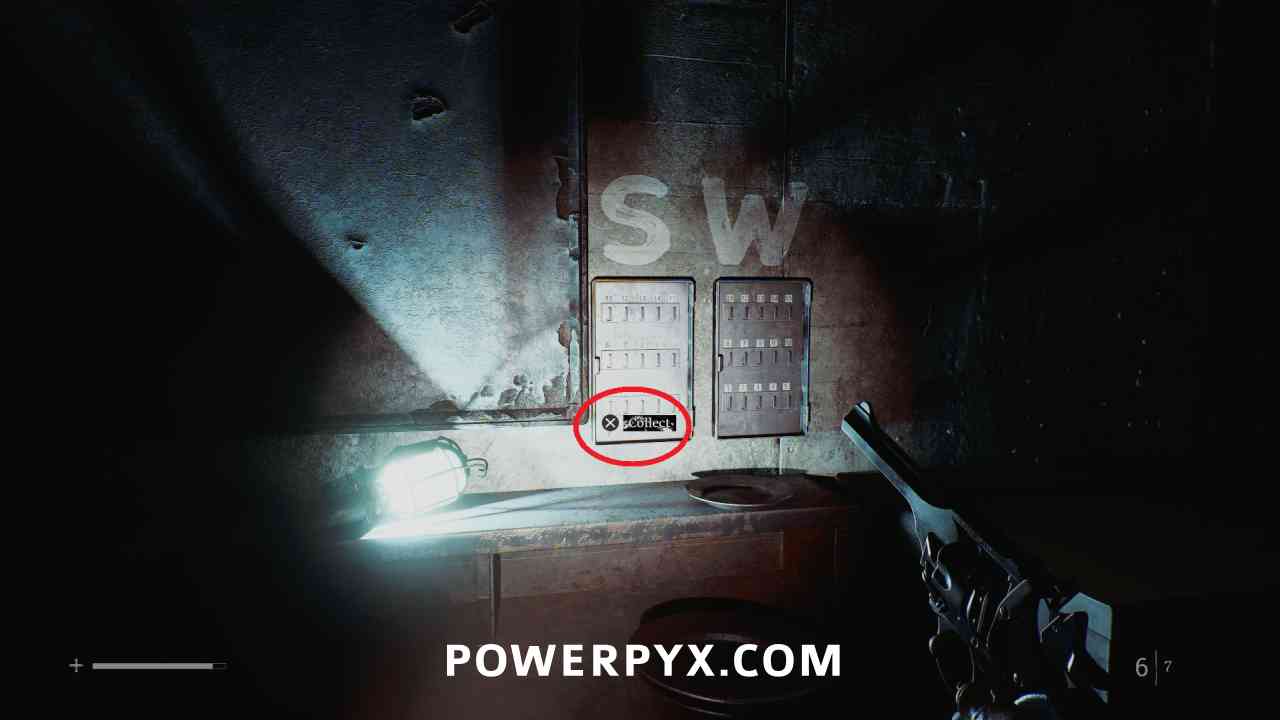
Key Item: Lockbox Key
Area: Medical Center – Different > Ward W
Inside room 11 in a key cabinet.
Locked Door – 13
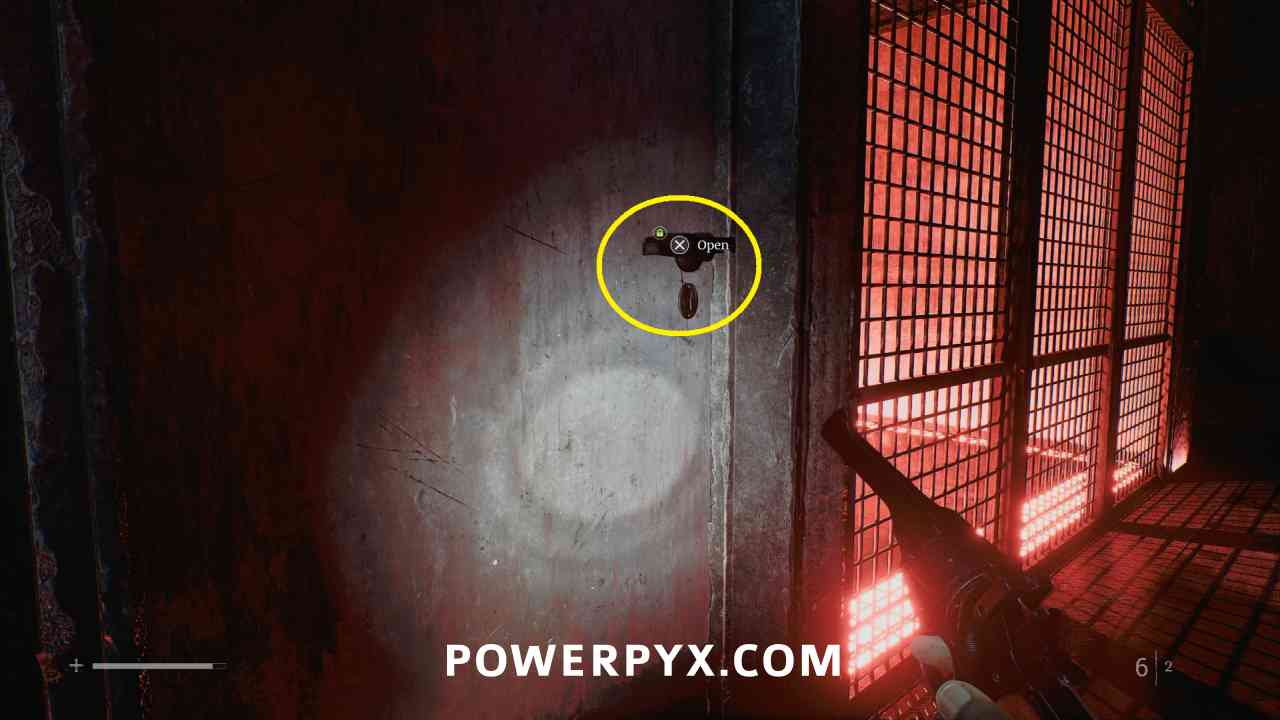
Area: Medical Center – Different > Ward W
Go to room 13 and use the Ward W Mastery Key to open the door.
Medical Center – Different – Ward S
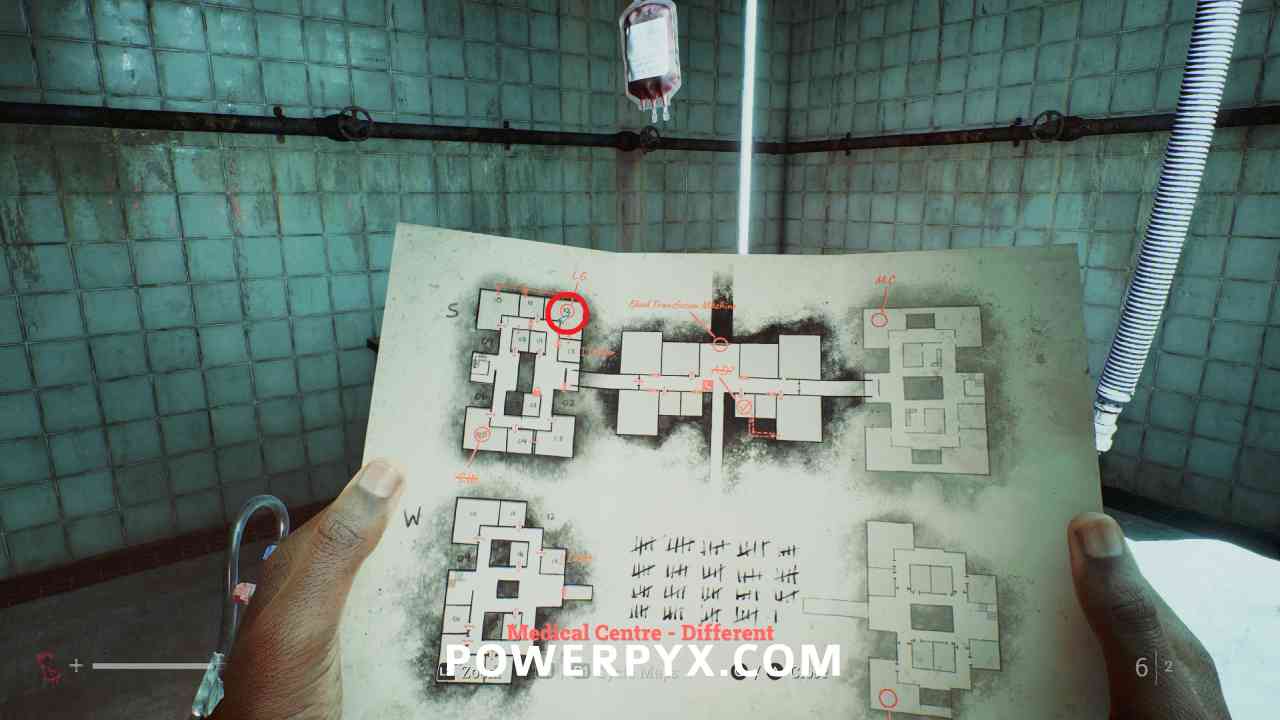
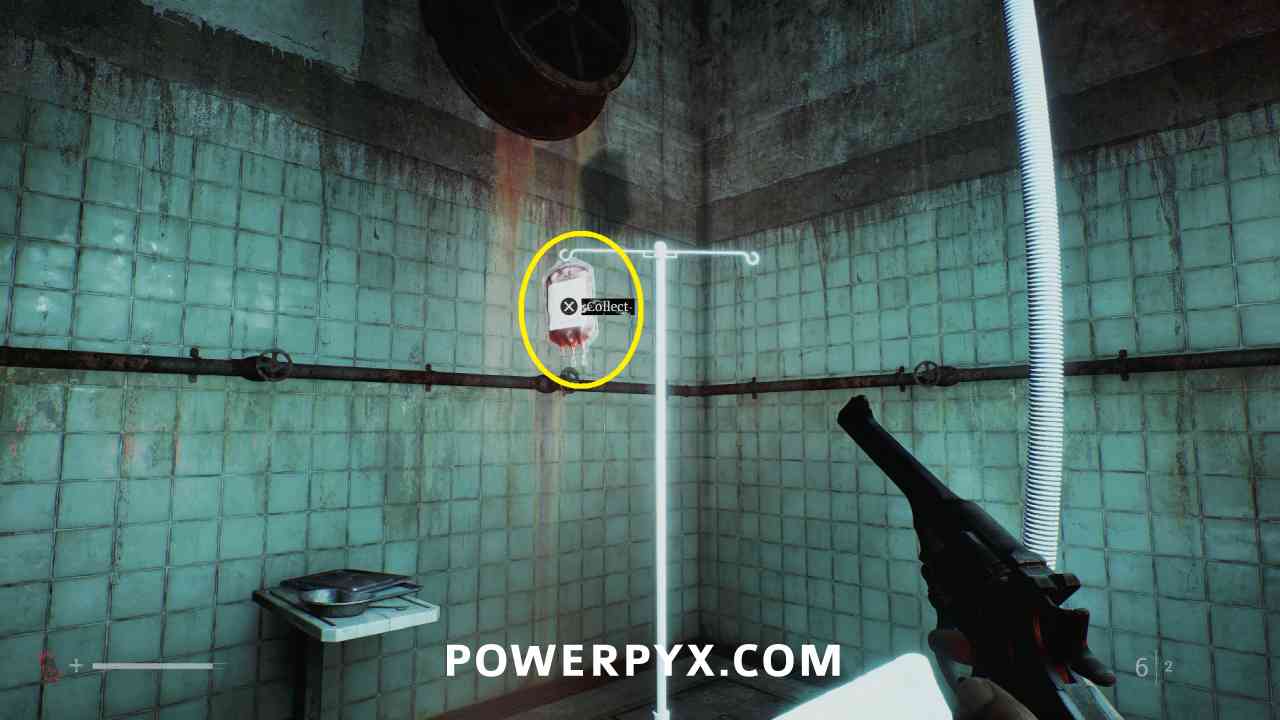
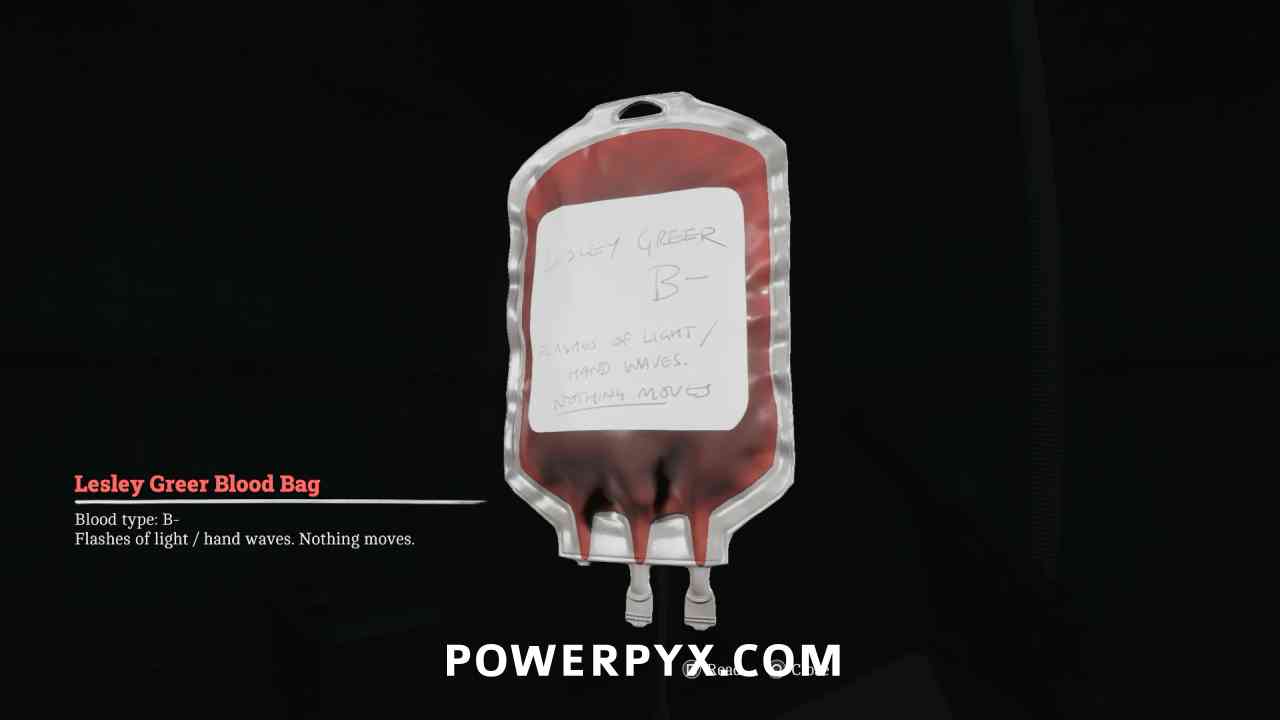
Key Item: Lesley Greer Blood Bag
Area: Medical Center – Different > Ward S
Go up the ladder in lower floor room 13 to reach the upper floor room 12 where this is located.
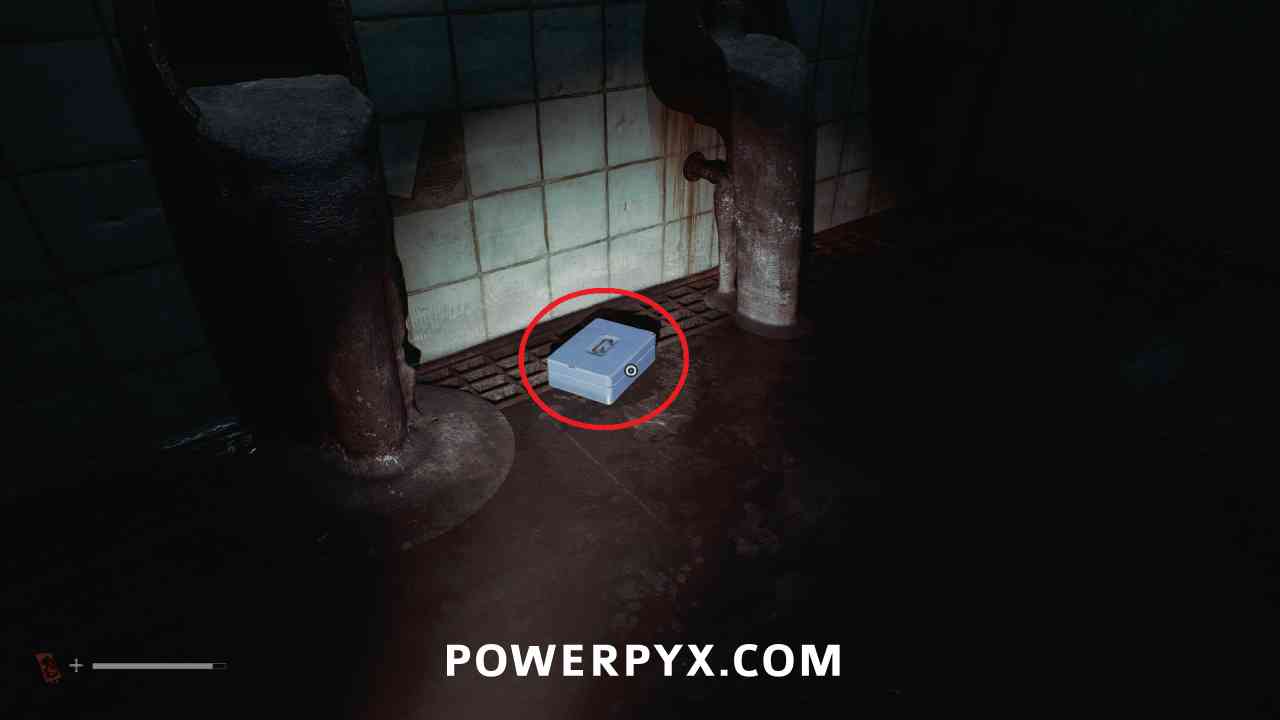
Resource Container
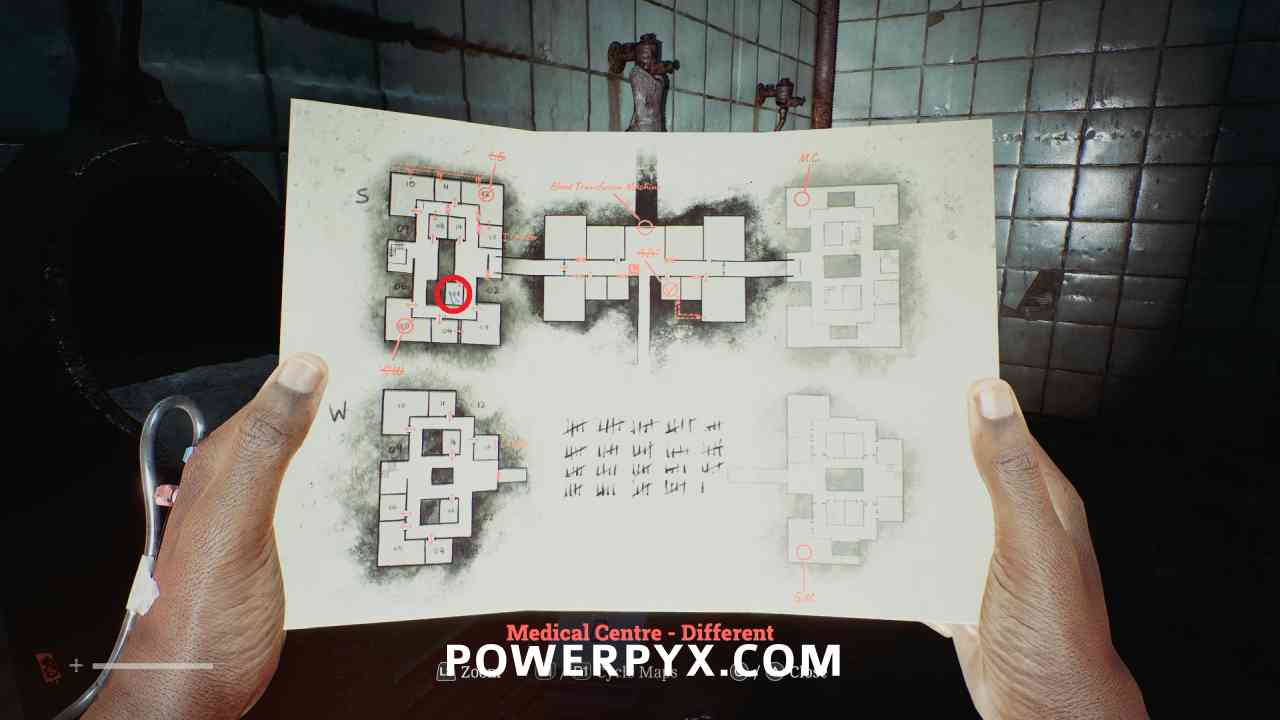
Area: Medical Center – Different > Ward S
Go into room 01 which is now open, where this is on the floor. Open using the Lockbox Key.
Medical Center – Different
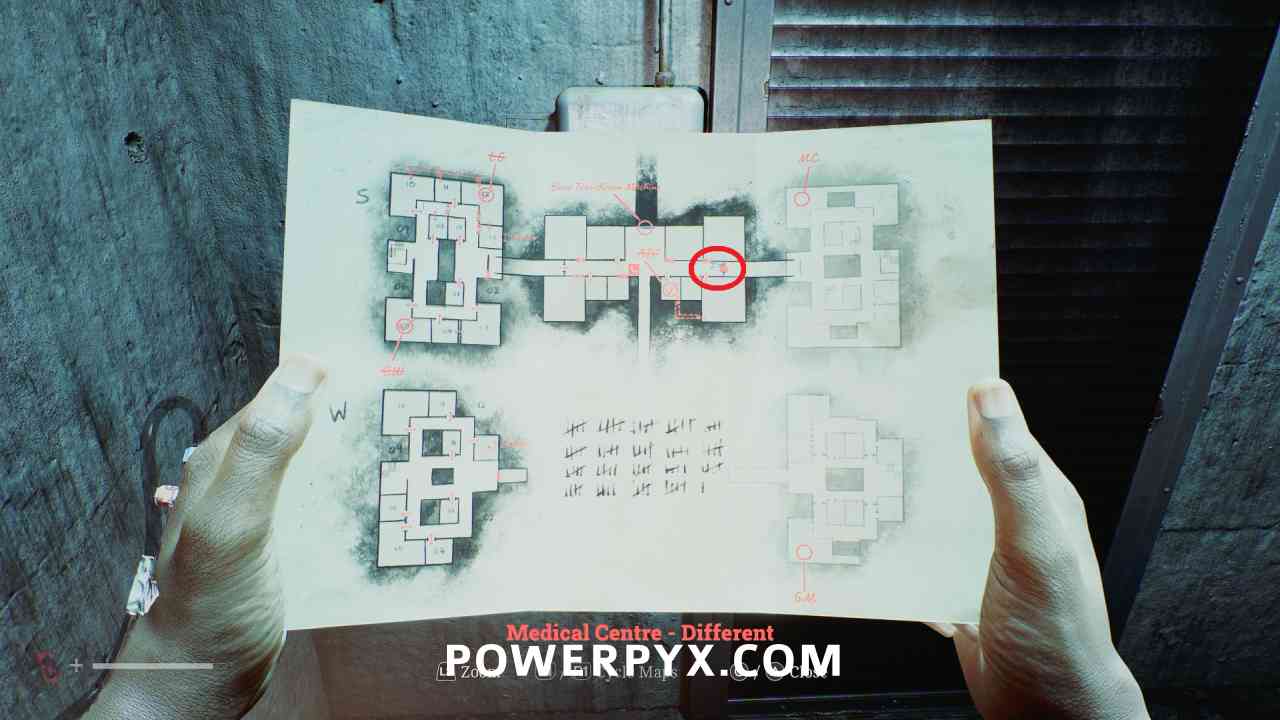
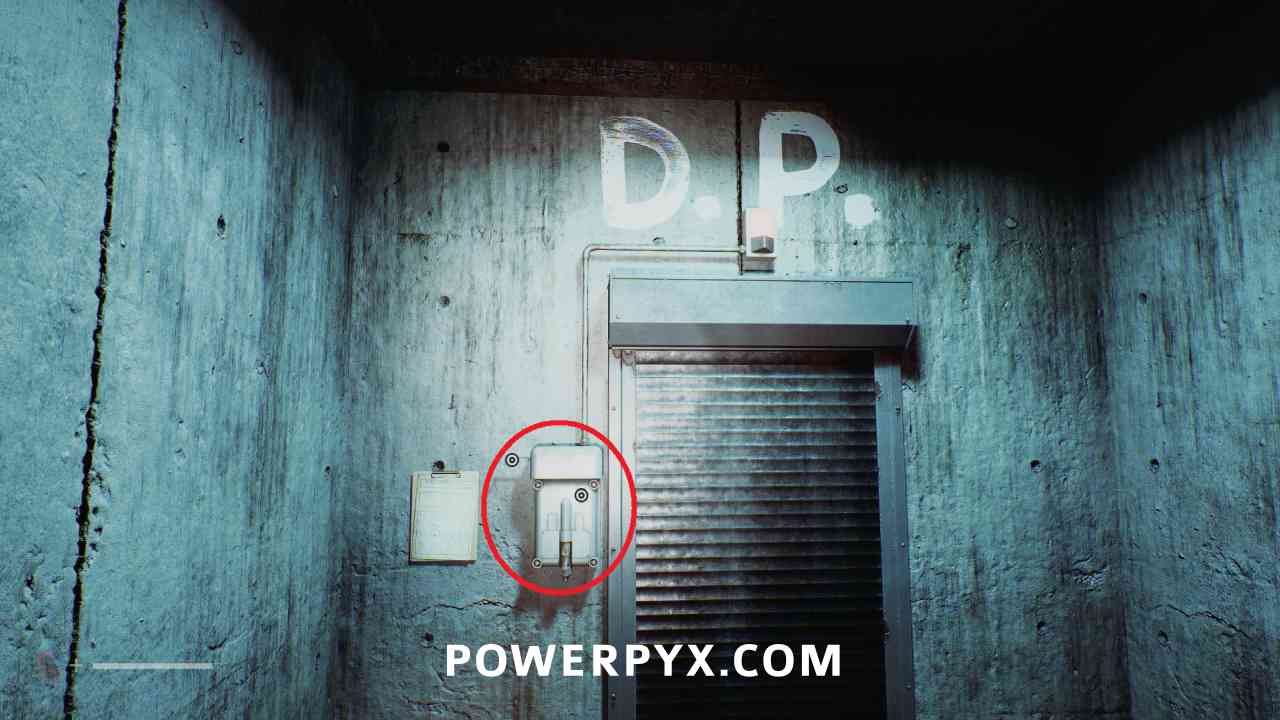
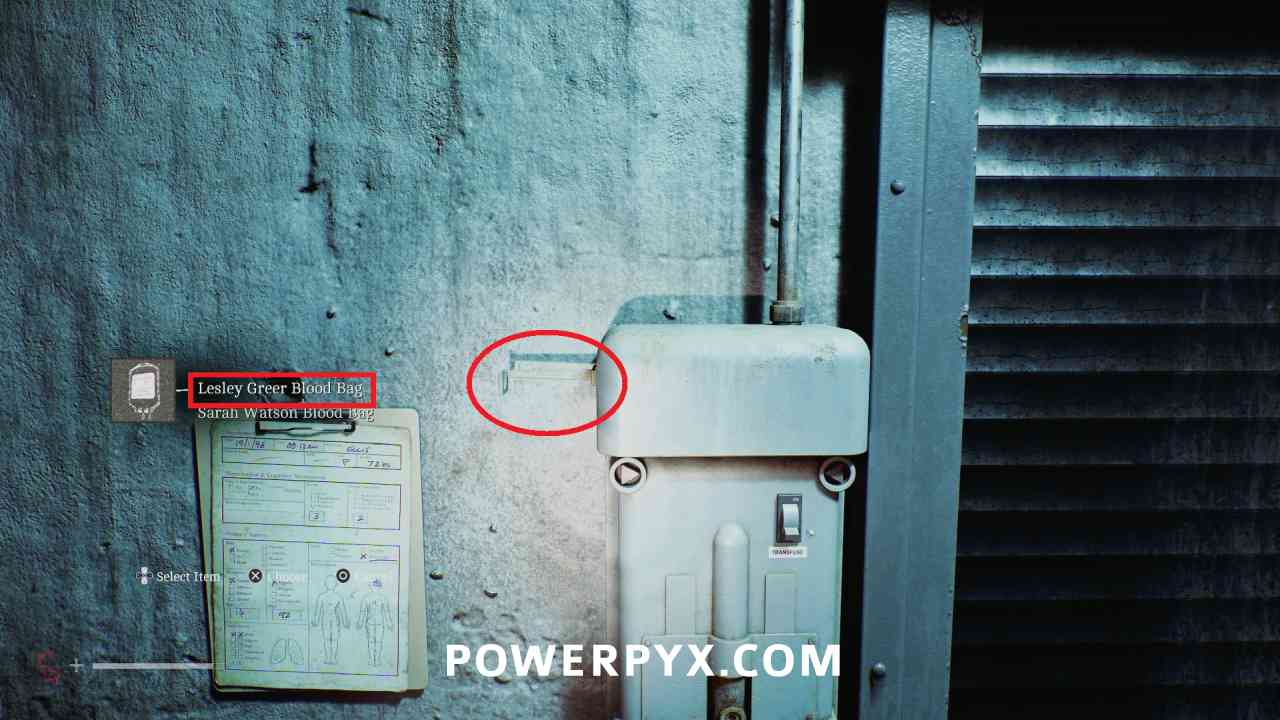
Locked Door – D.P.
Area: Medical Center – Different
Go to the end of the right hallway (D.P. above door) interact with the transfusion machine and place the Lesley Greer Blood Bag, then use the transfusion switch.
Medical Center – Different – Ward D
Key Item: Matthew Clark Blood Bag
Area: Medical Center – Different > Ward D
Go to room 03, then through the hallway to room 02. Interact with the elevator button to drop the blood bag to the lower floor.
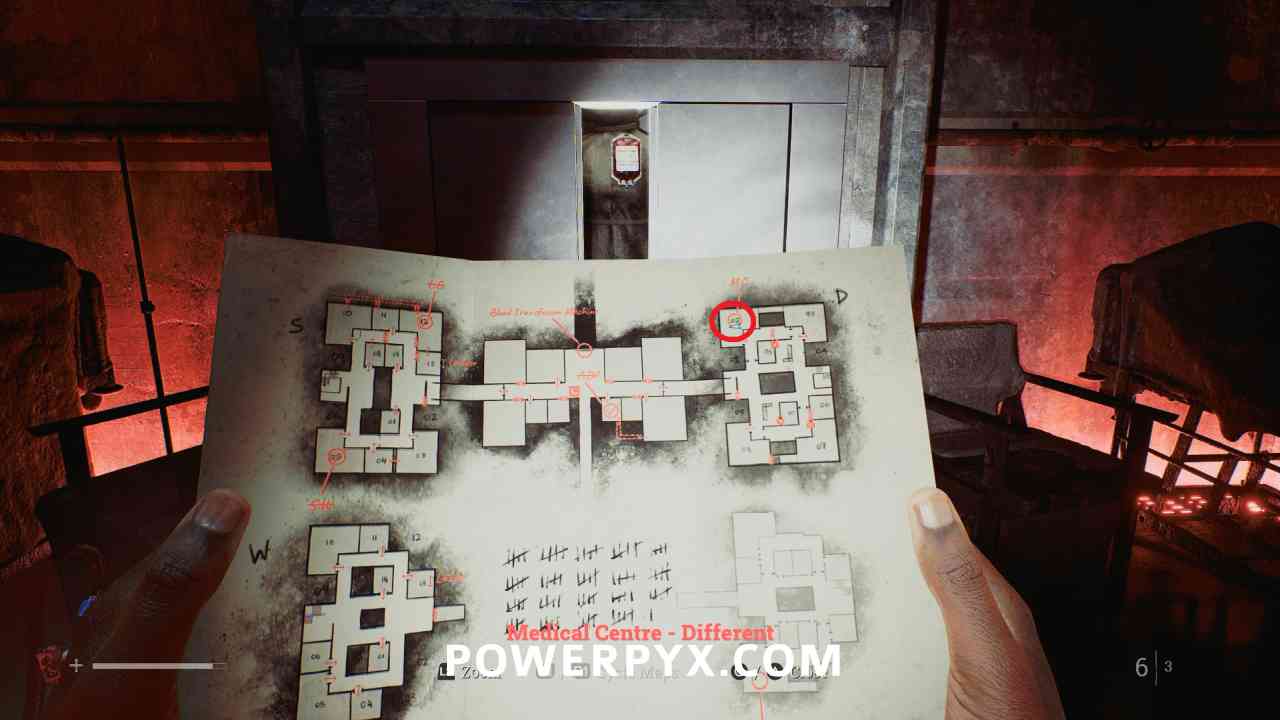
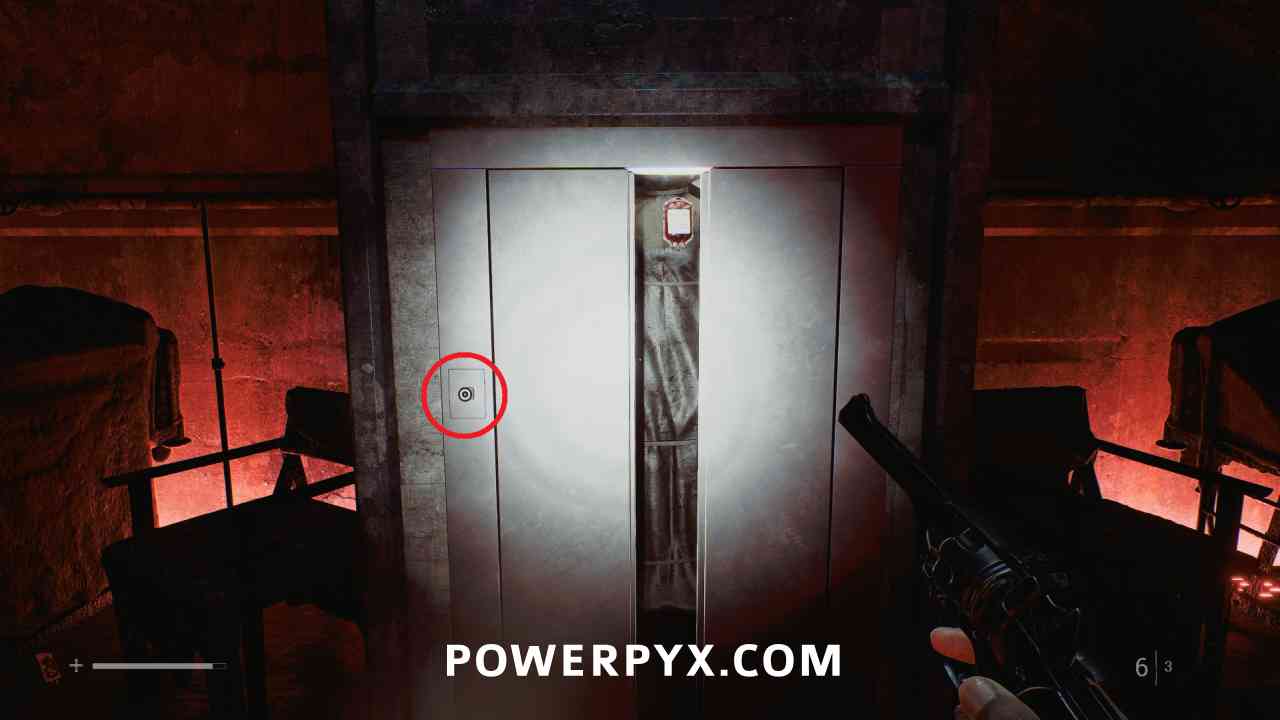
Medical Center – Different – Ward P
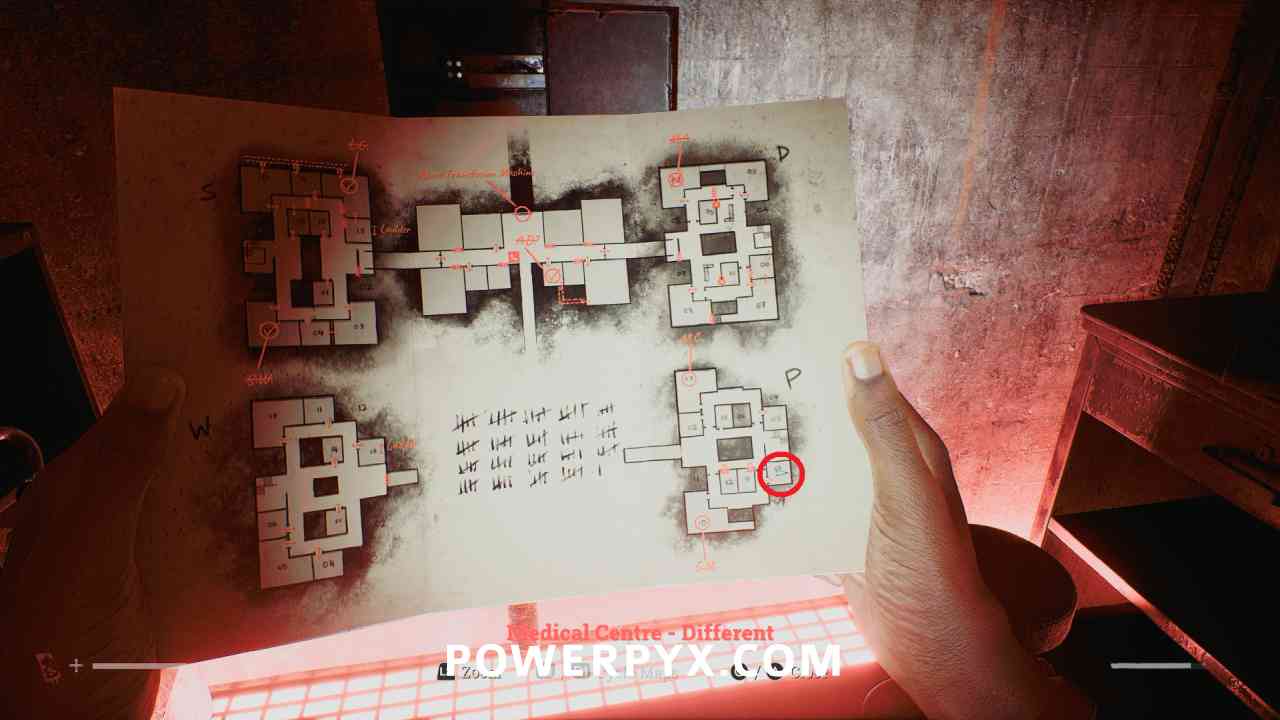
Strange Postcard – 9
Area: Medical Center – Different > Ward P
Inside room 08, open the medical cabinet on the wall and this is inside.
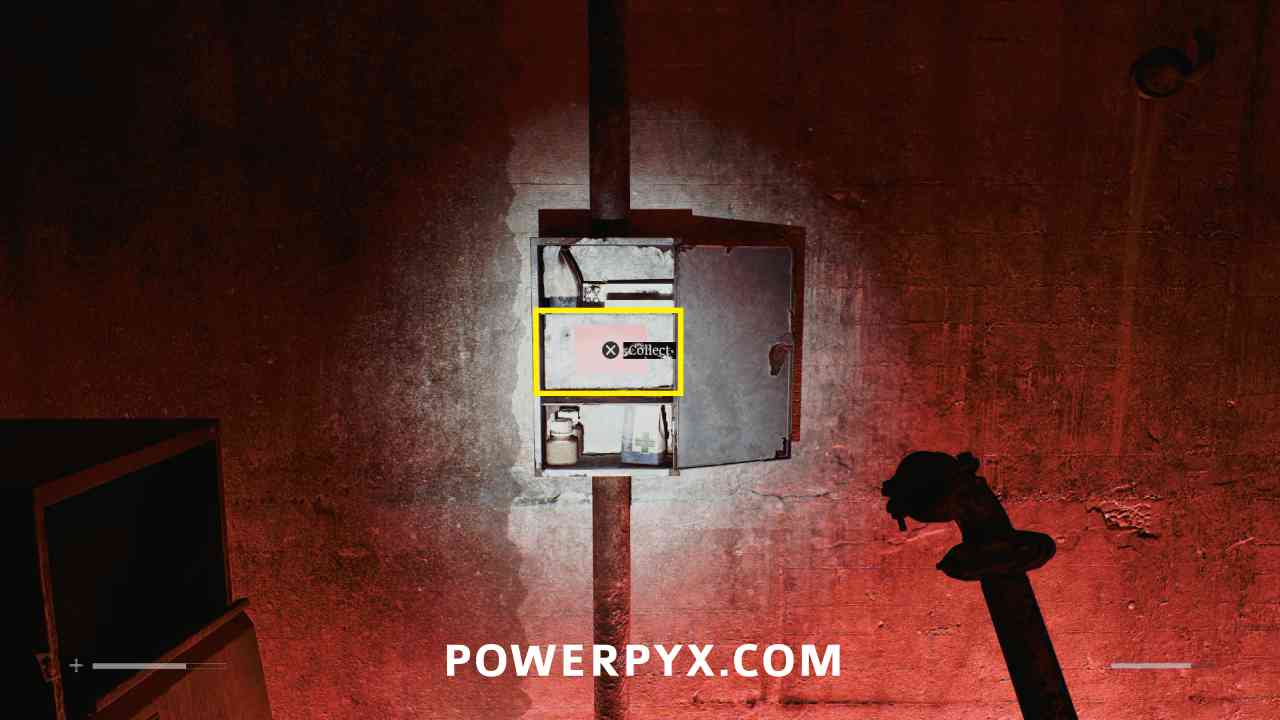

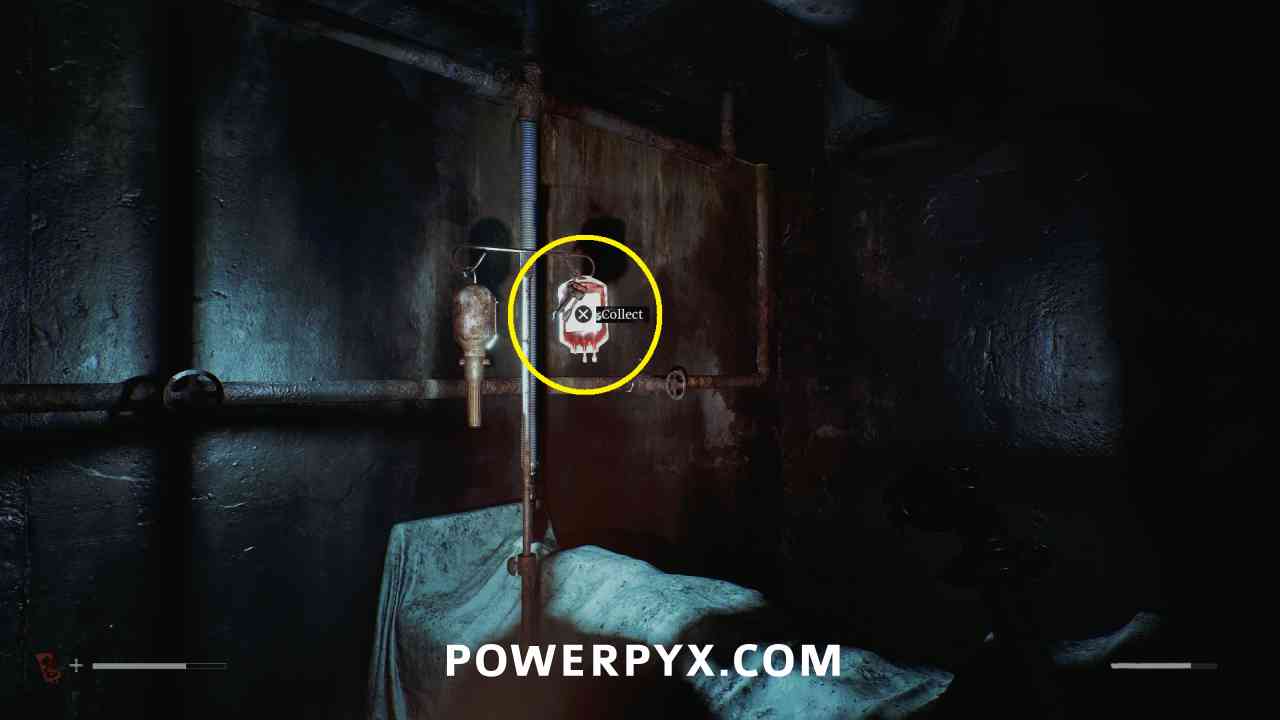
Key Item: George McEwan Blood Bag
Area: Medical Center – Different > Ward P
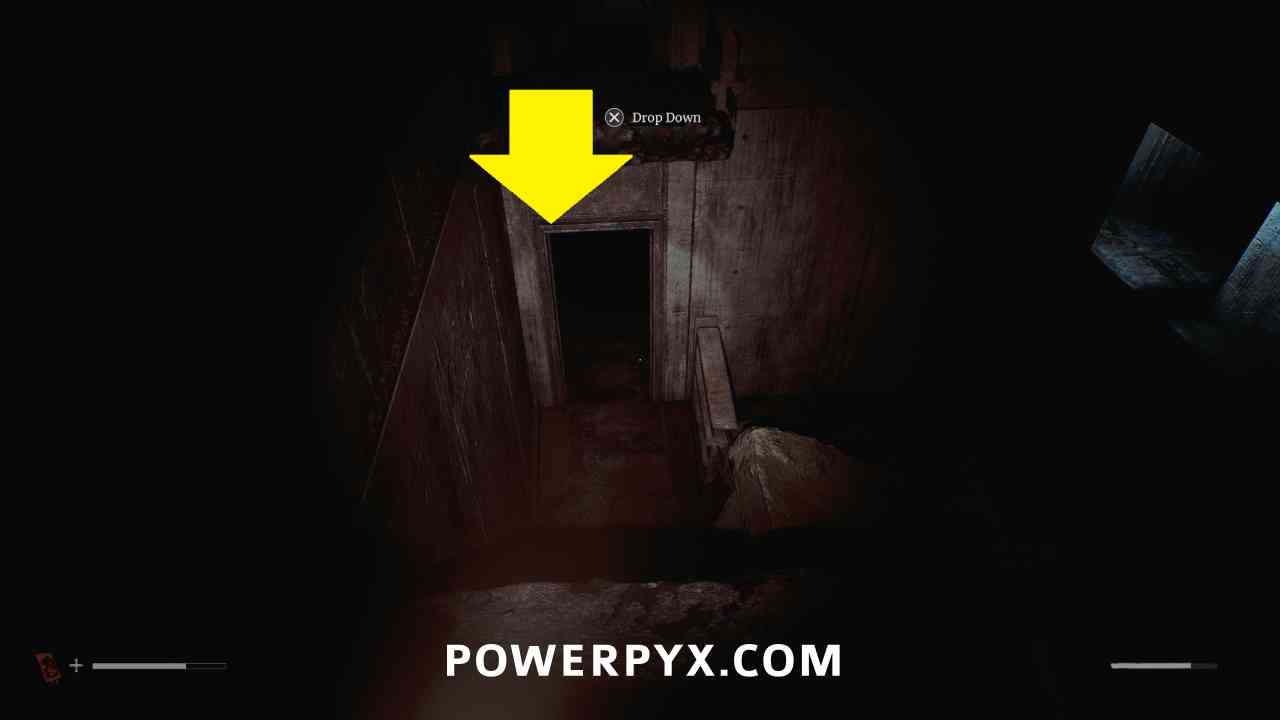
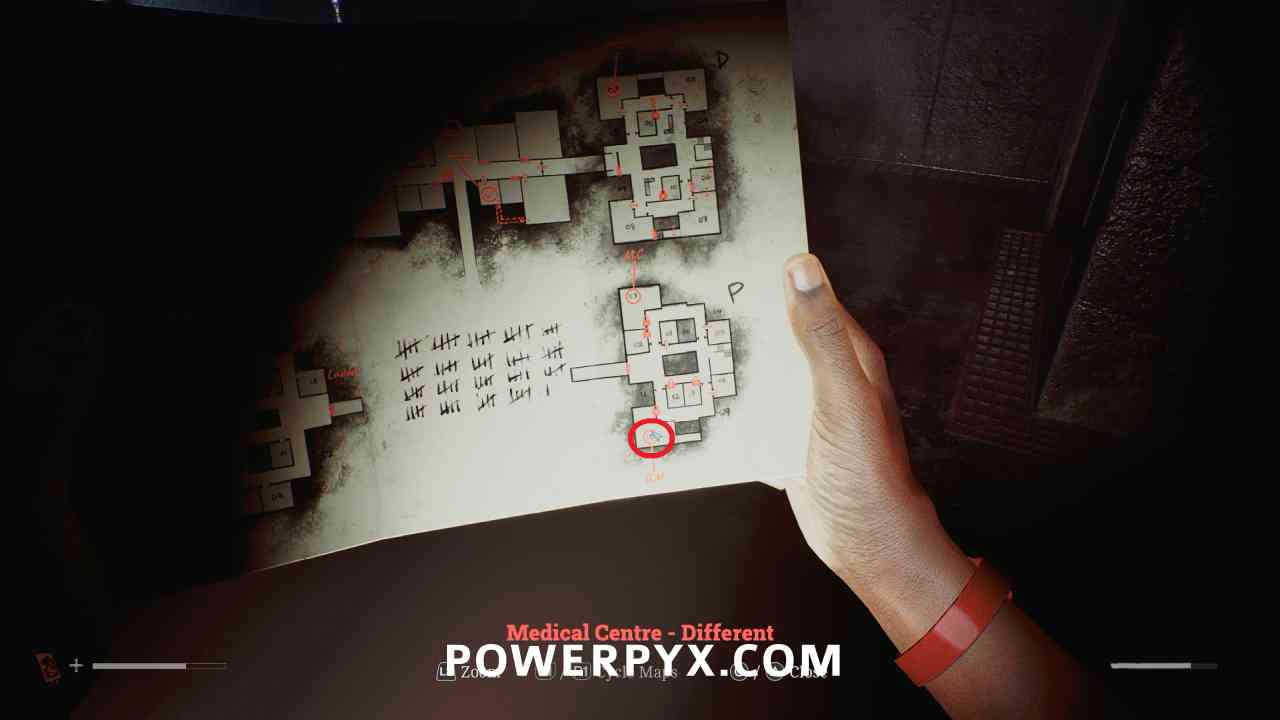
Go back upstairs and on the north wall of room 06 there is a vent you can crawl through. Go through the room to the end and drop down to the lower area, then this is in room 10 on the lower floor.
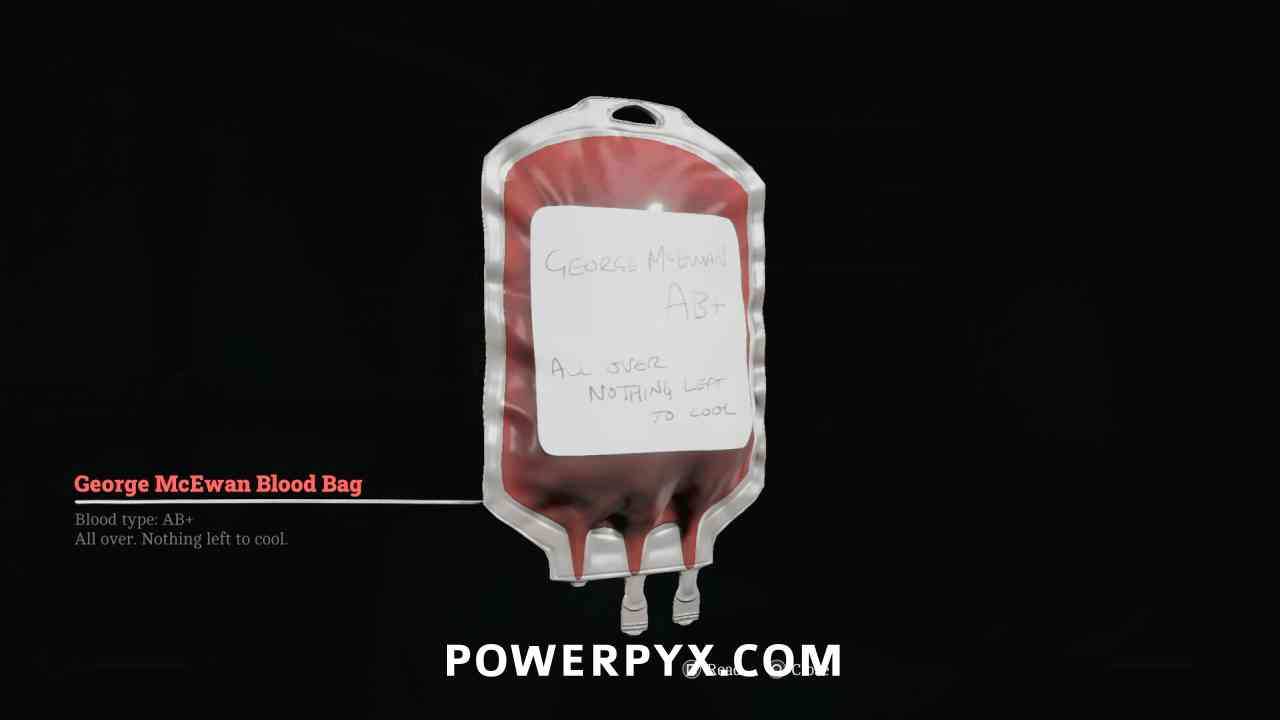
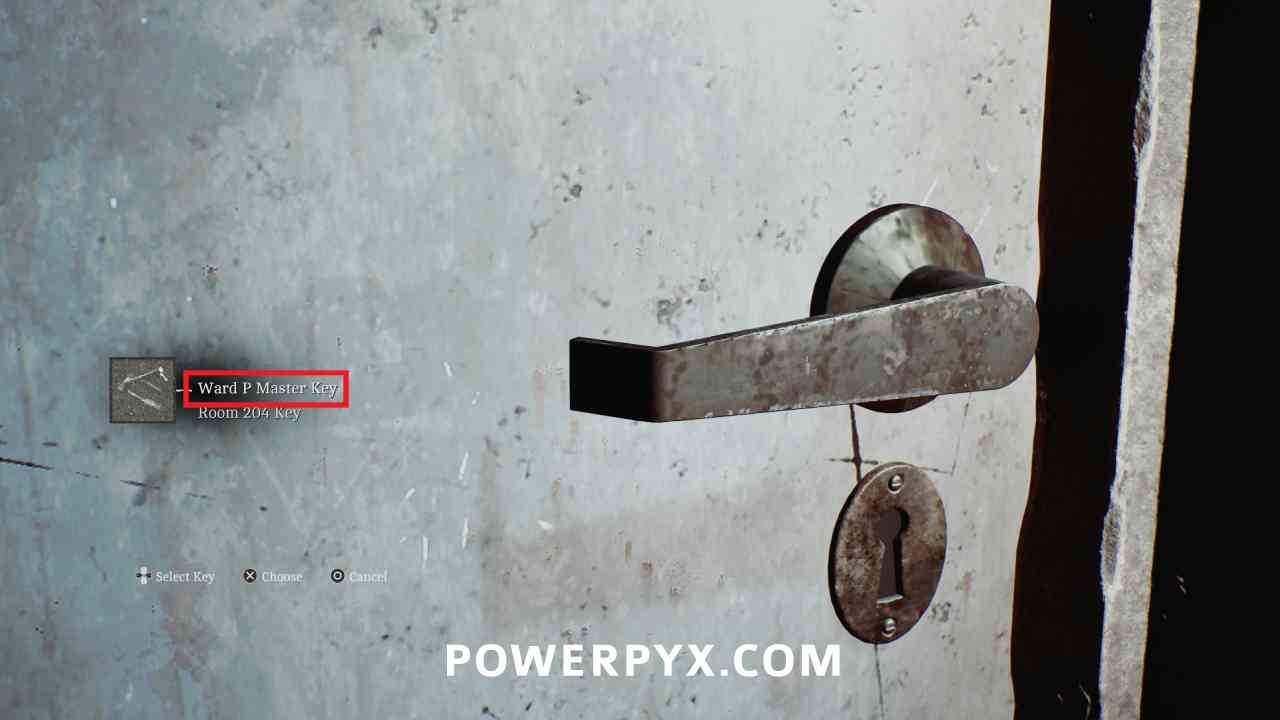
Key Item: Ward P Master Key
Area: Medical Center – Different > Ward P
Obtained automatically at the same time as George McEwan Blood Bag

Locked Door – 10
Area: Medical Center – Different > Ward P
Door of room 10, unlocked with Ward P Master Key.
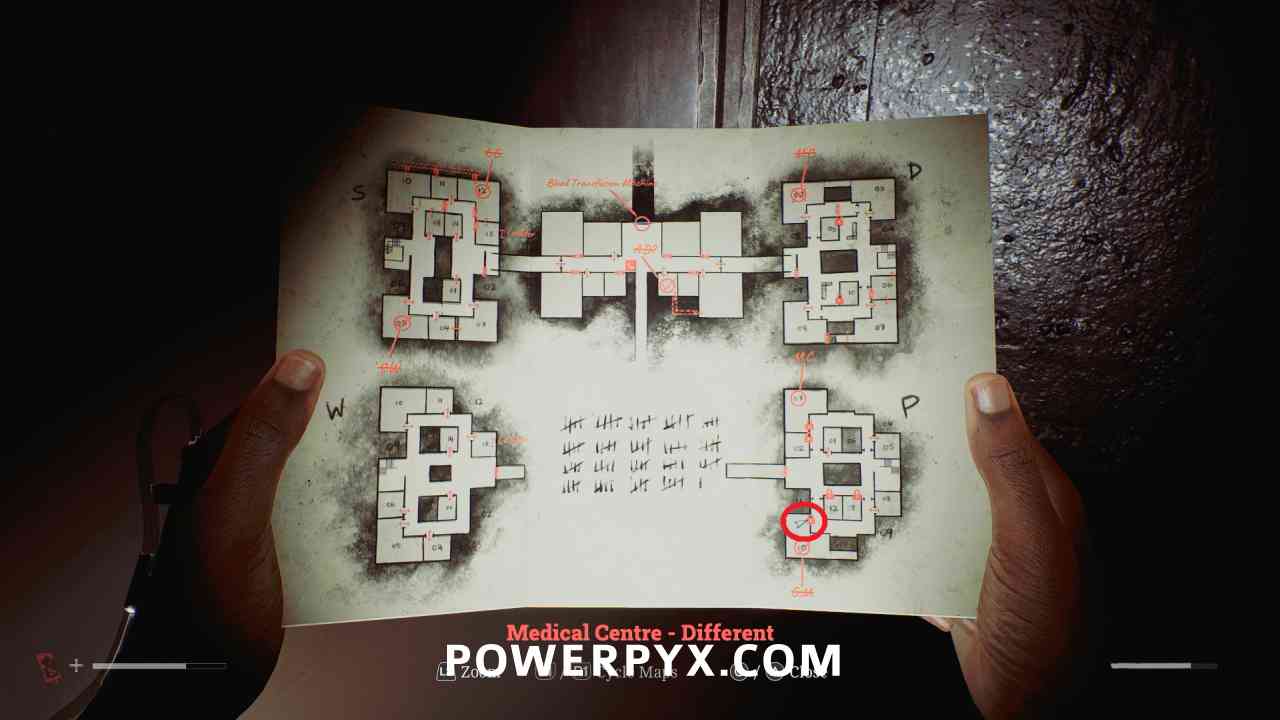
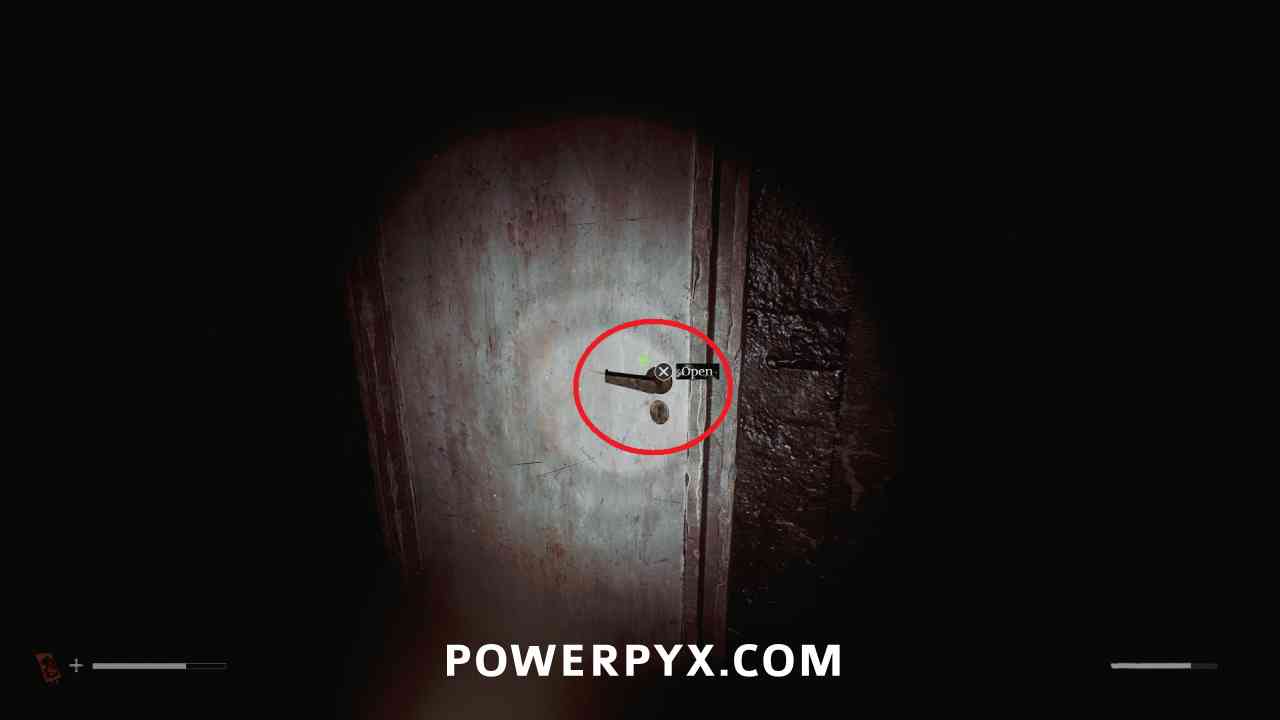

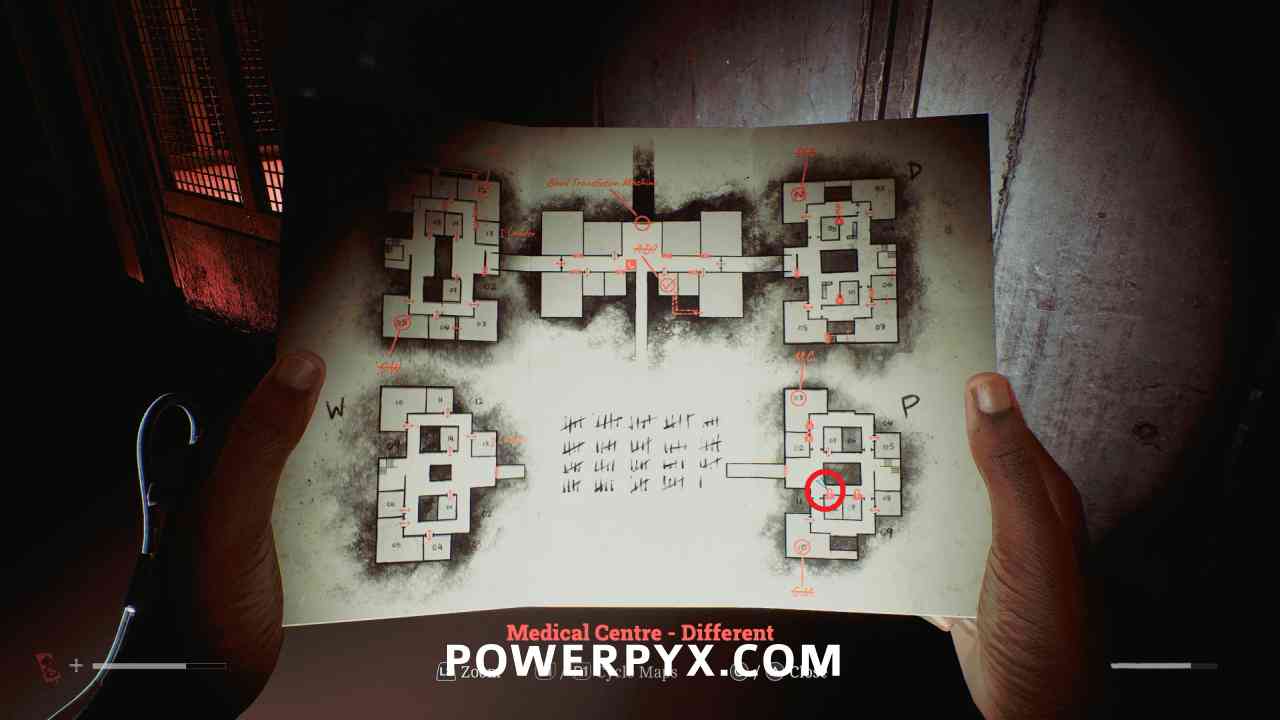
Locked Door – 12
Area: Medical Center – Different > Ward P
Door of room 12, unlocked with Ward P Master Key.
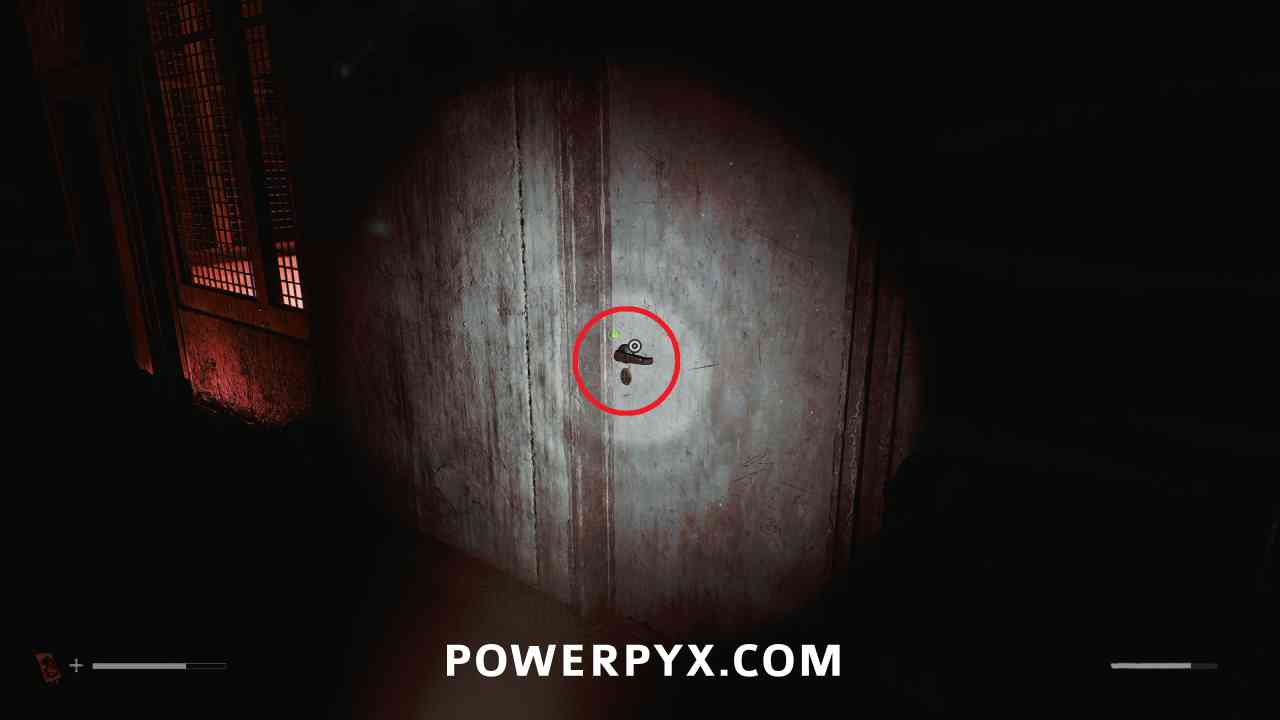
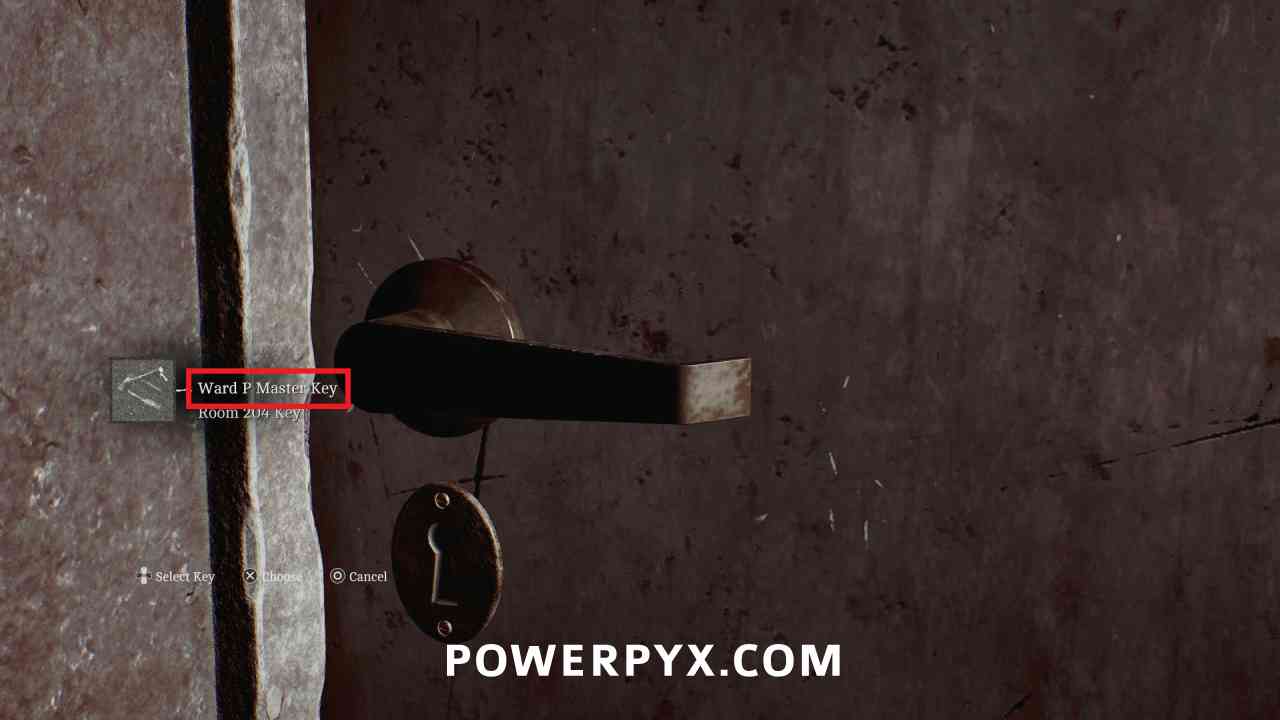
Locked Door – 03
Area: Medical Center – Different > Ward P
Door of room 03, unlocked with Ward P Master Key.
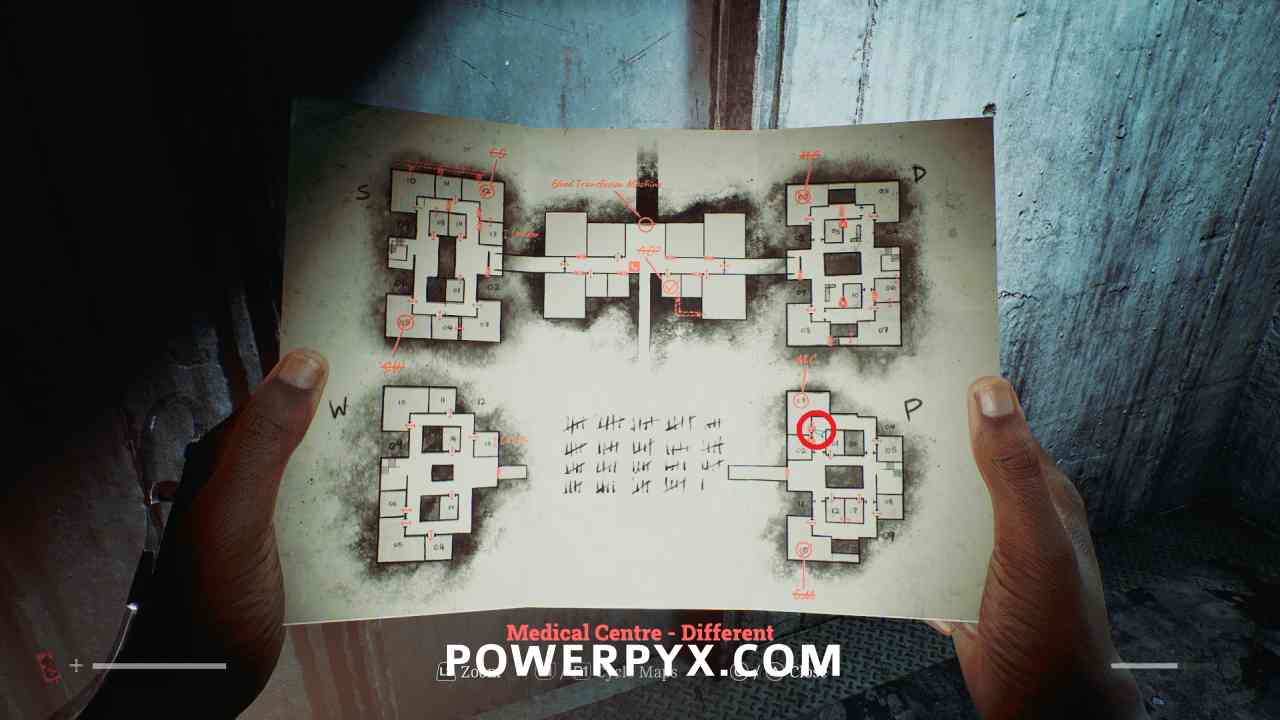
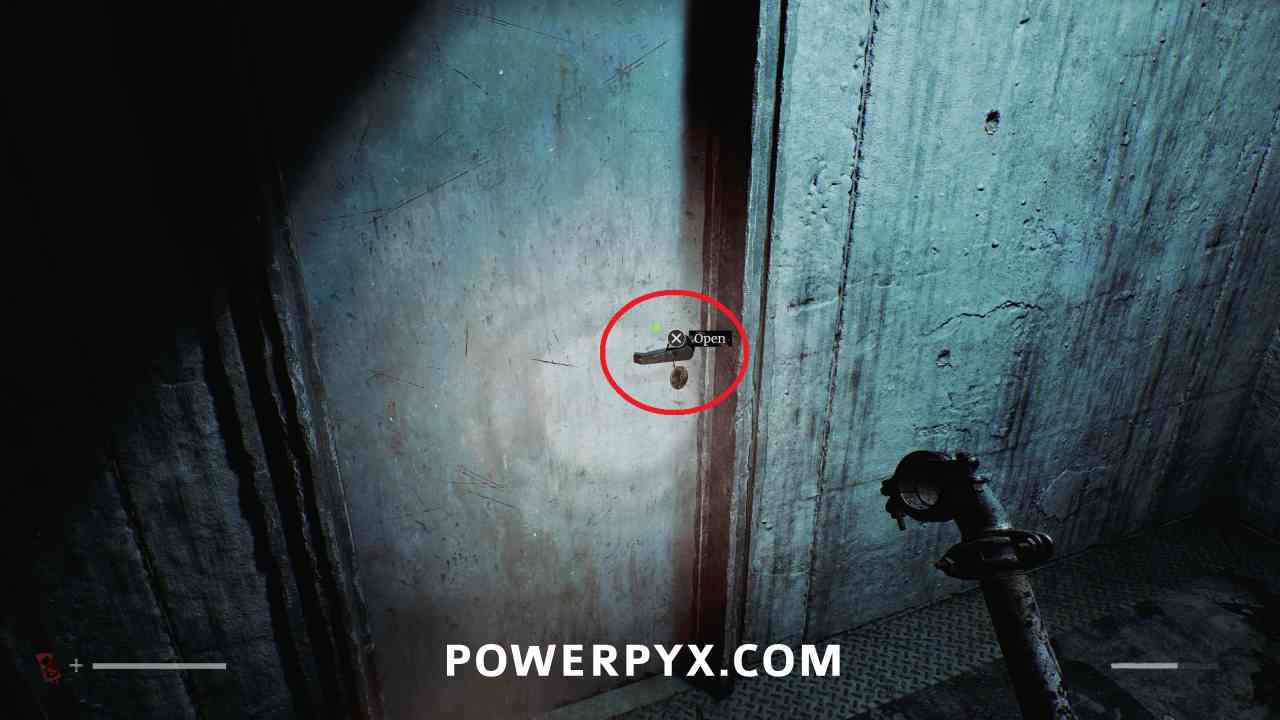
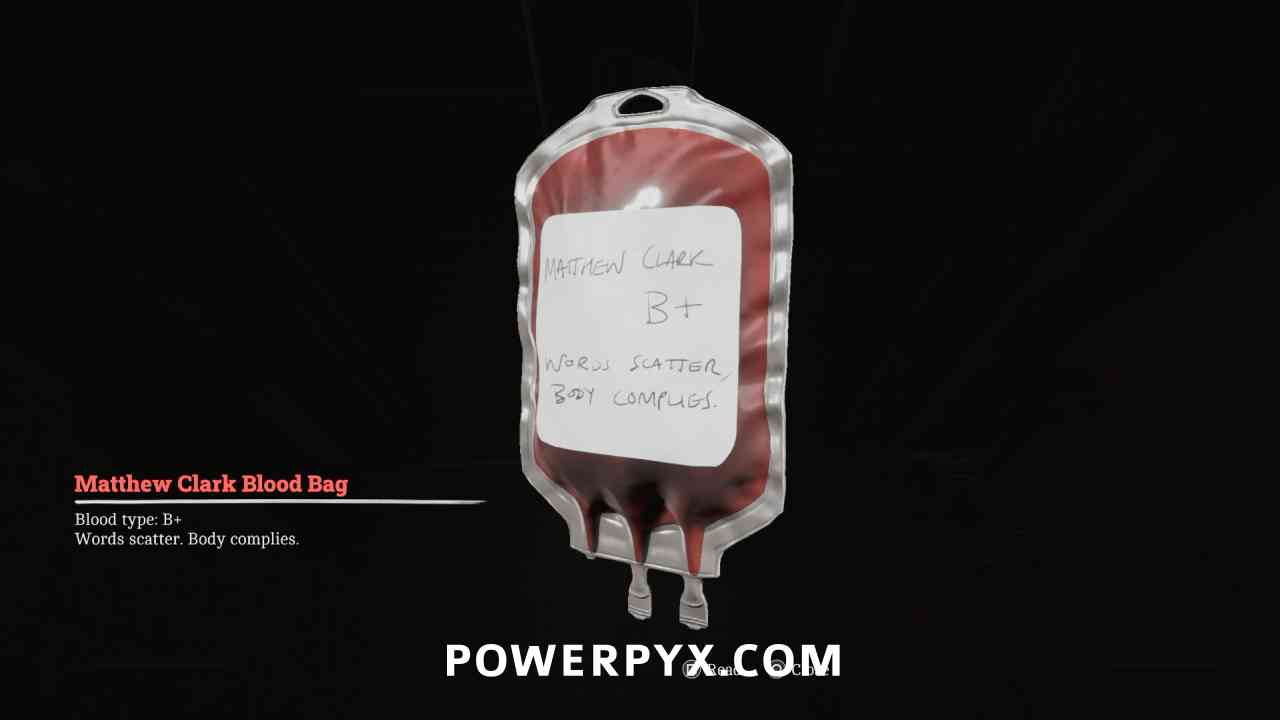
Key Item: Matthew Clark Blood Bag
Area: Medical Center – Different > Ward P
Inside room 03, you can pick this up from between the elevator doors.
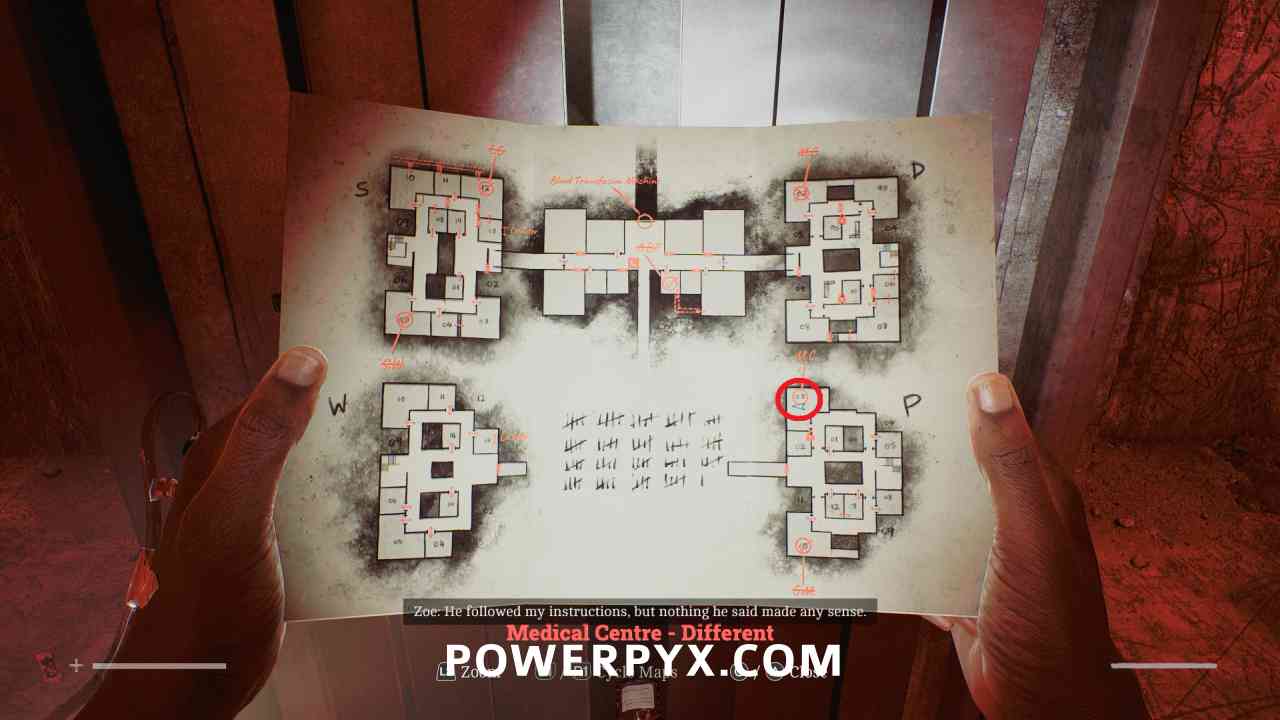
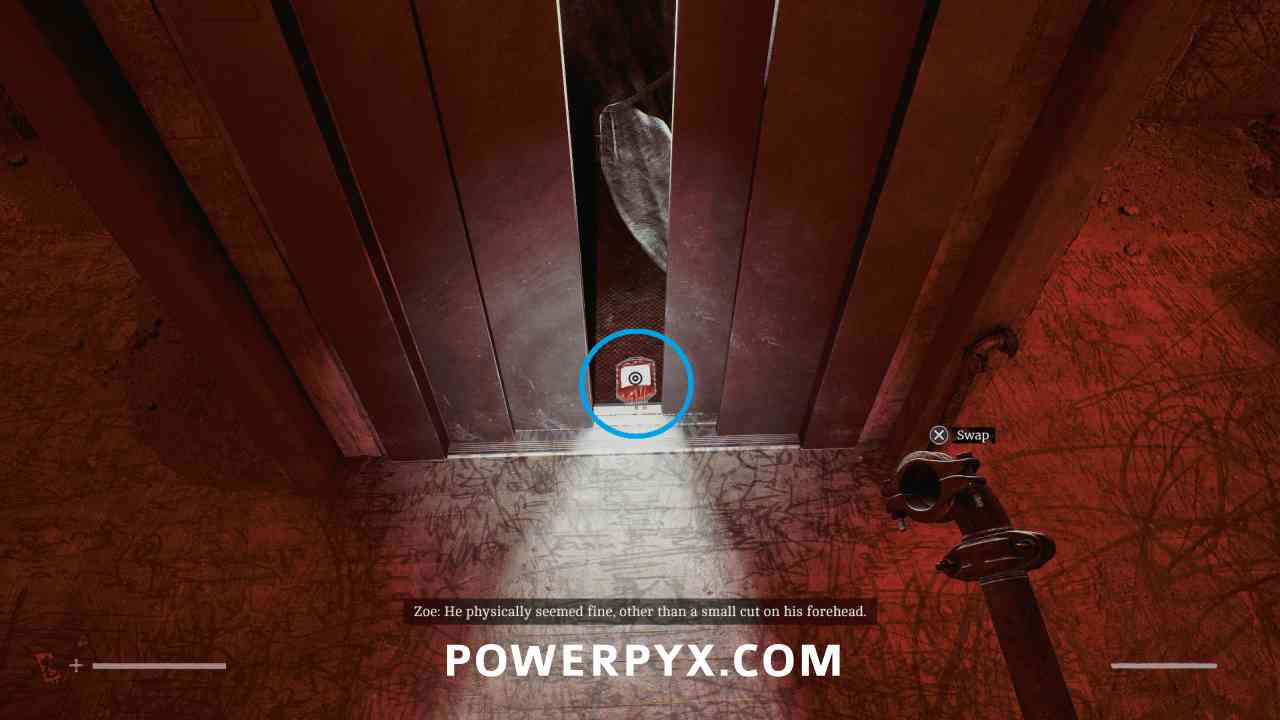
Medical Center – Different – Ward D
Locked Door – Ward D
Area: Medical Center – Different > Ward D
To get back out of the area, you need to turn the valves in rooms 05 and 10 on the upper floor. Wait for the big enemy to be on the other side of the room before turning it. You can hide in the nearby closets if they get too close and start trying to enter the rooms.
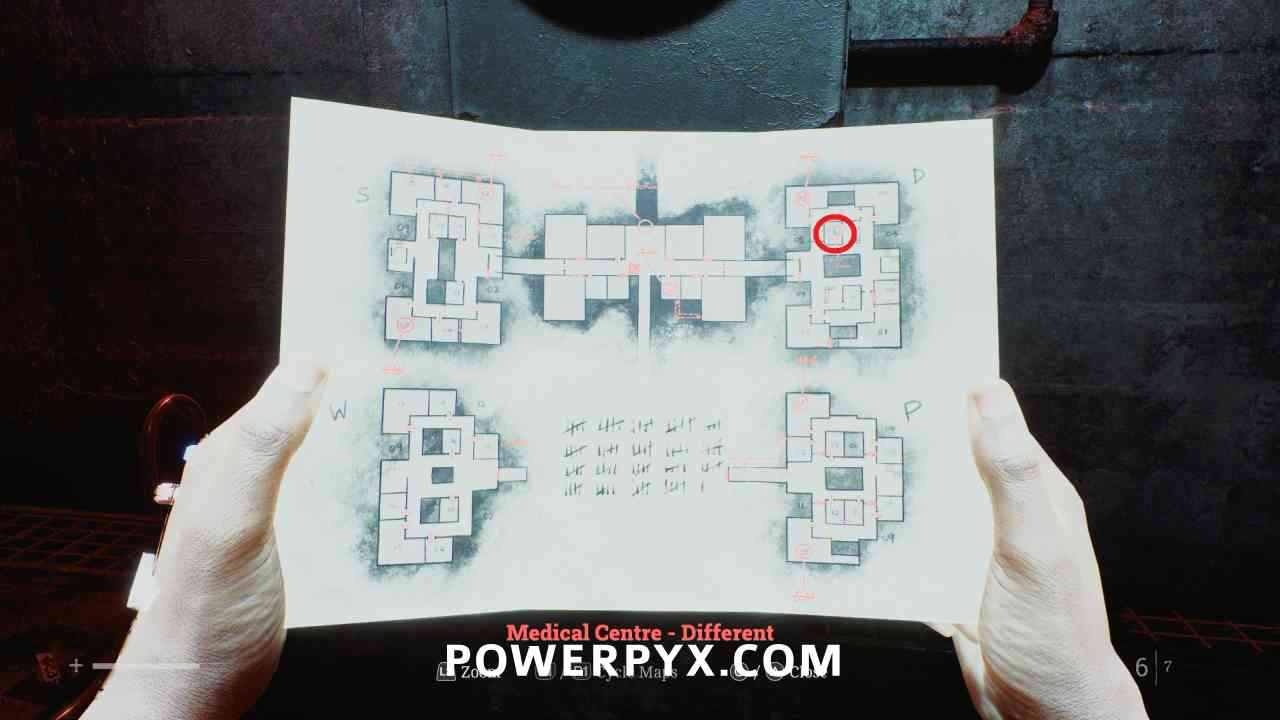

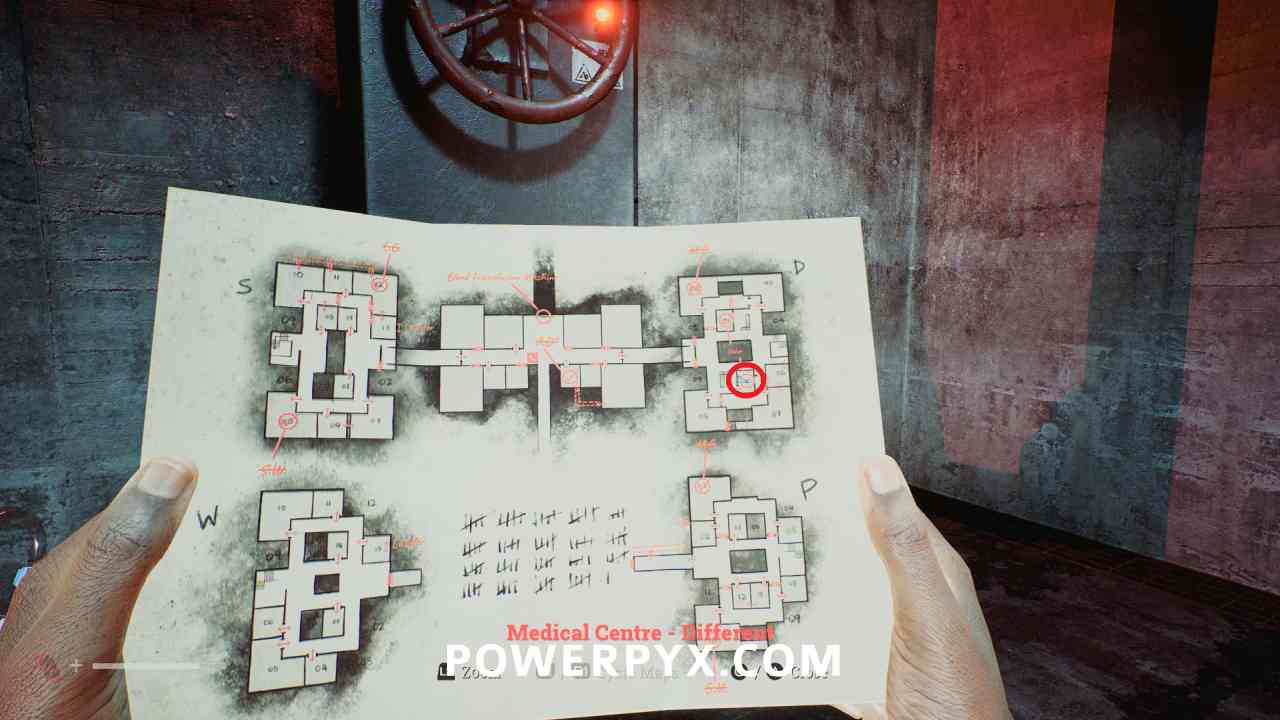


Medical Center – Different
Puzzle #15
Area: Medical Center – Different
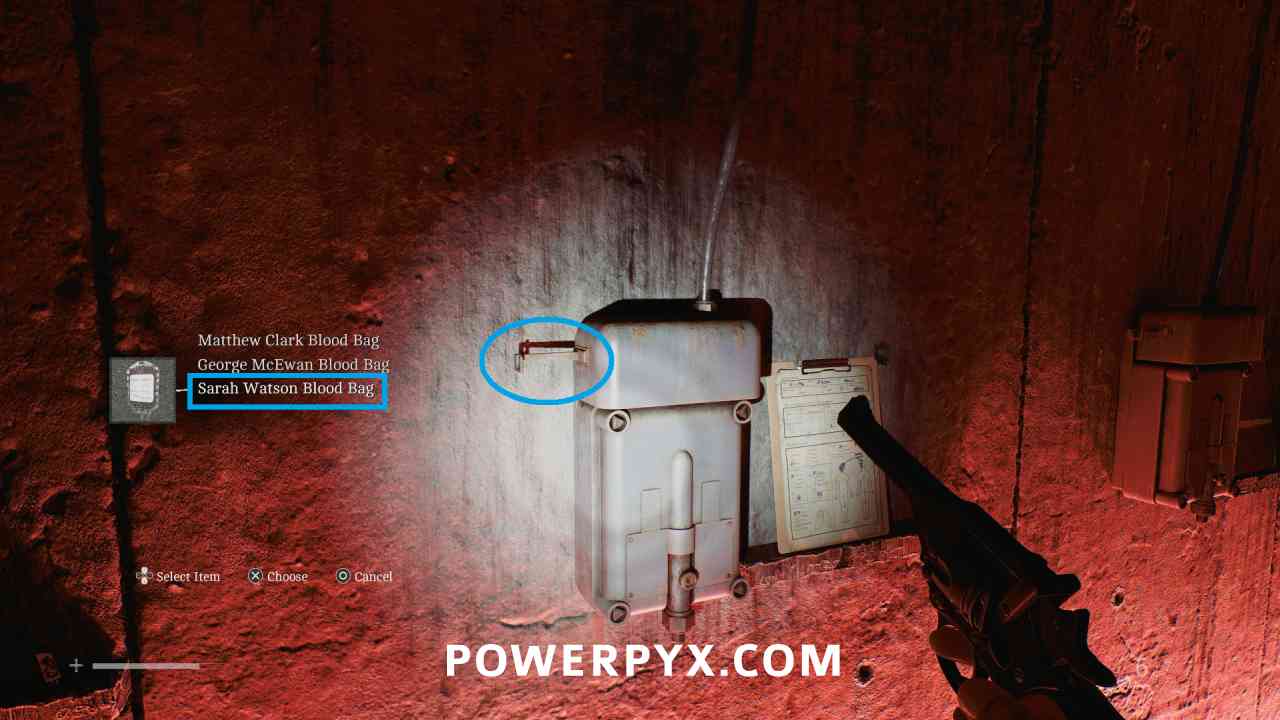
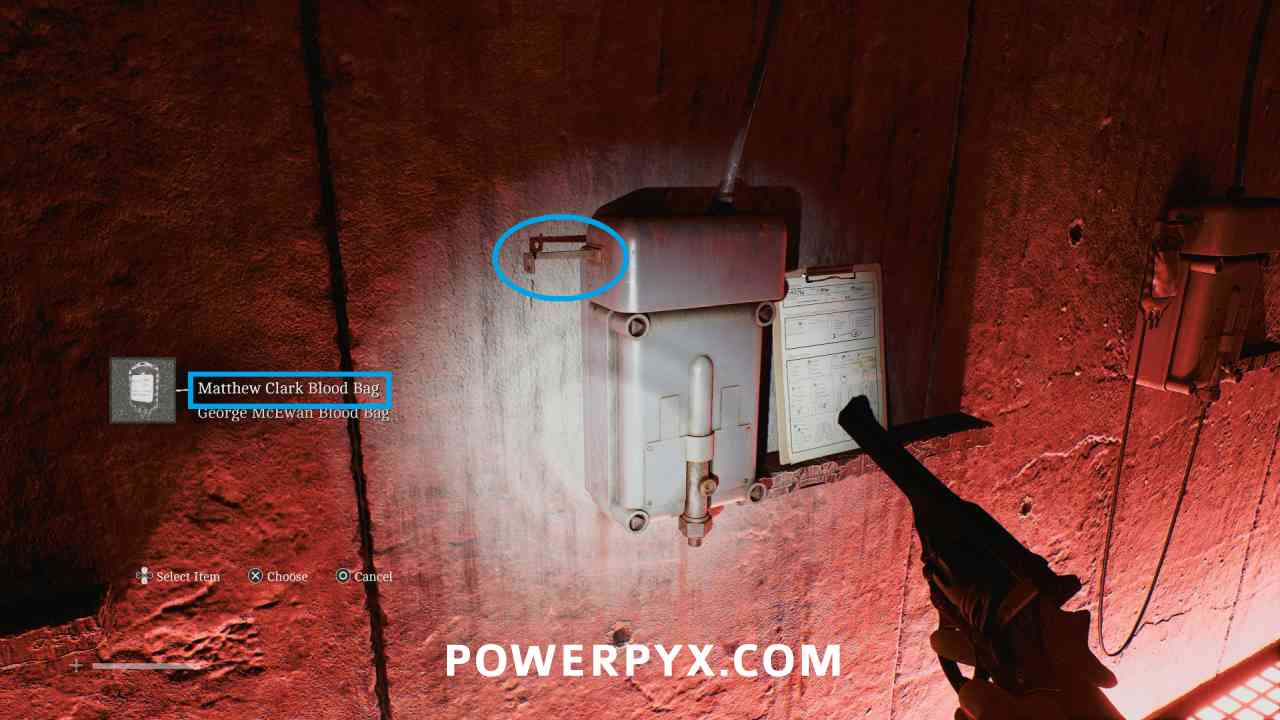
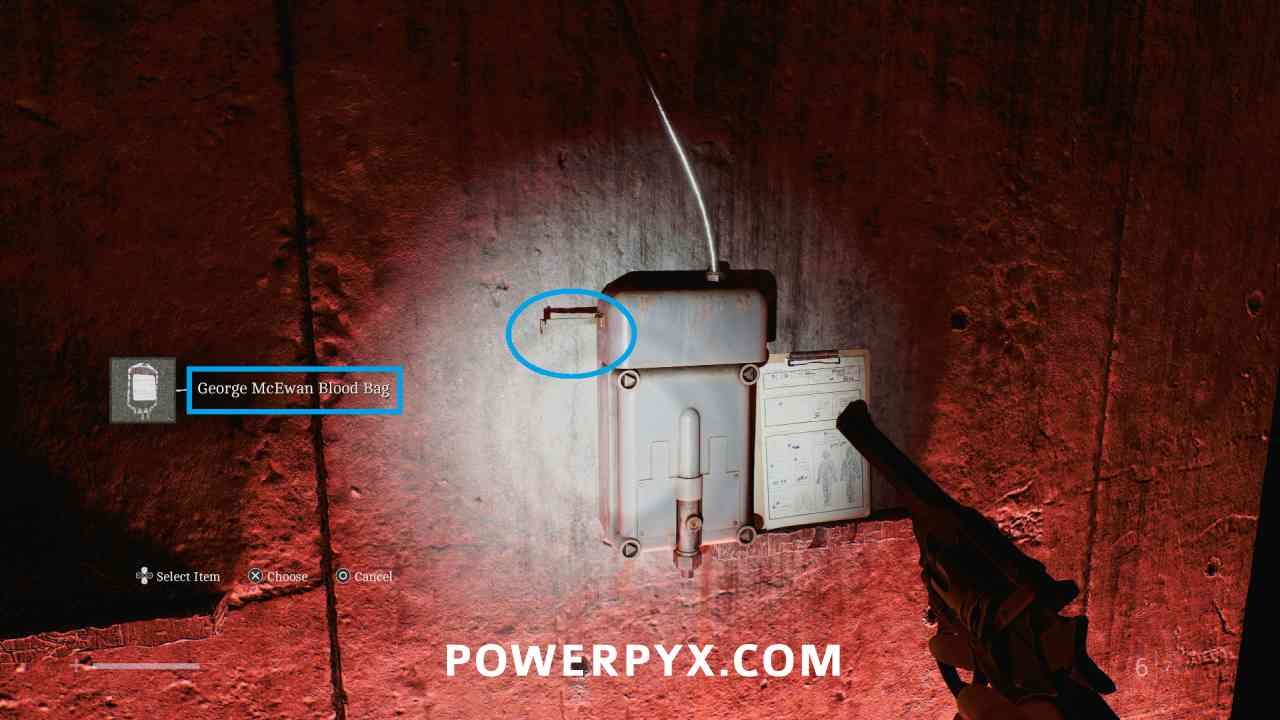
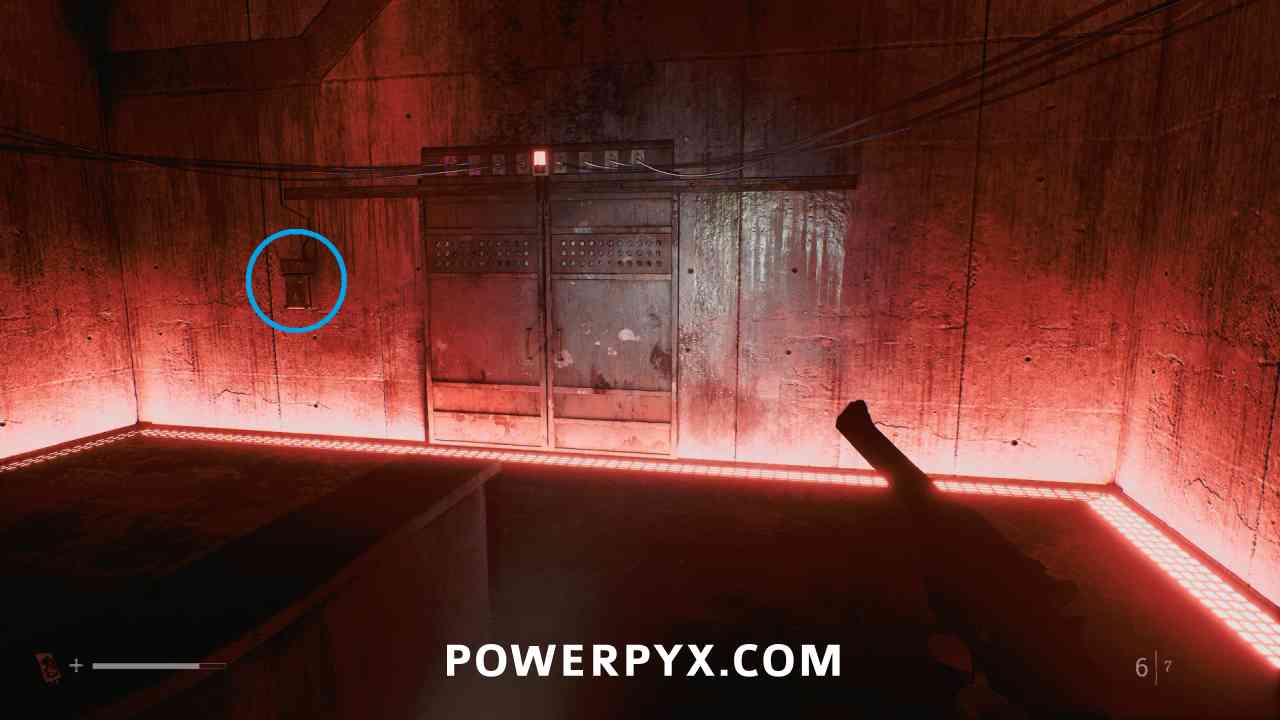
Back in the central area, you must now place the blood bags in the correct spots on the walls.
First spot on the left, place Sarah Watson Blood Bag.
Second spot on the left, place Matthew Clark Blood Bag.
Spot on the right, place George McEwan Blood Bag.
Then interact with the switch to the left of the double doors at the back of the room.
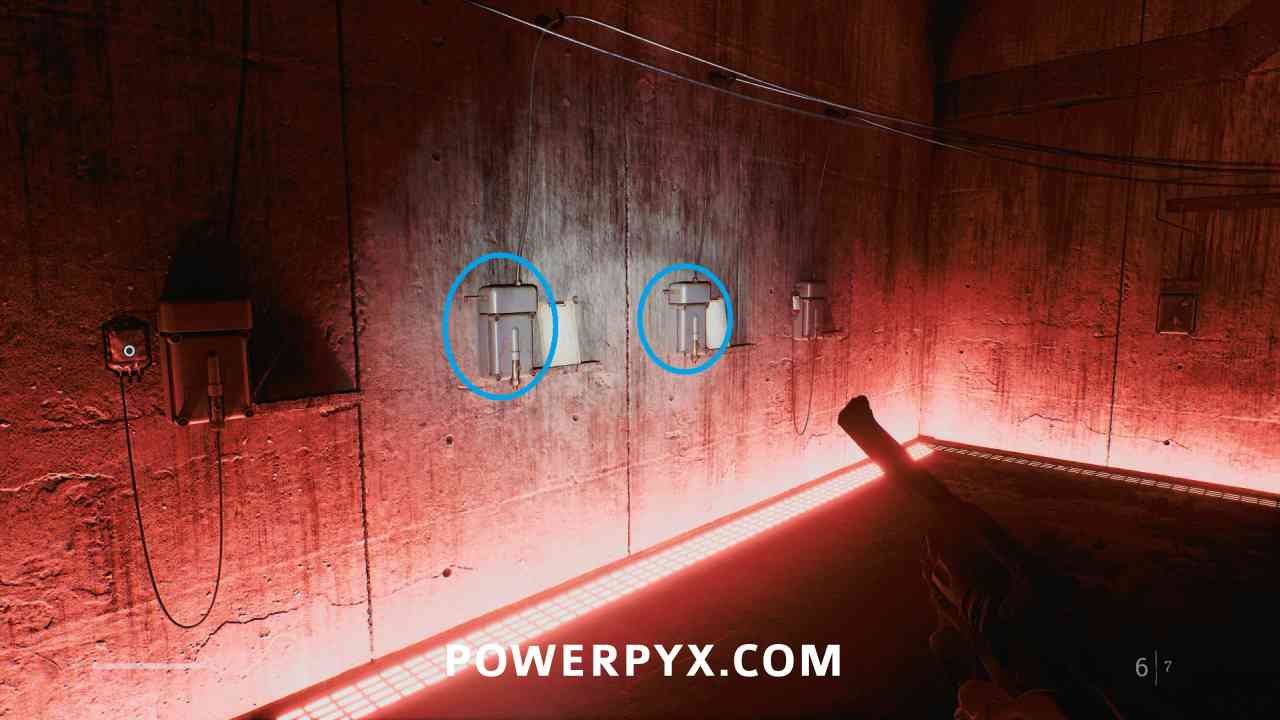
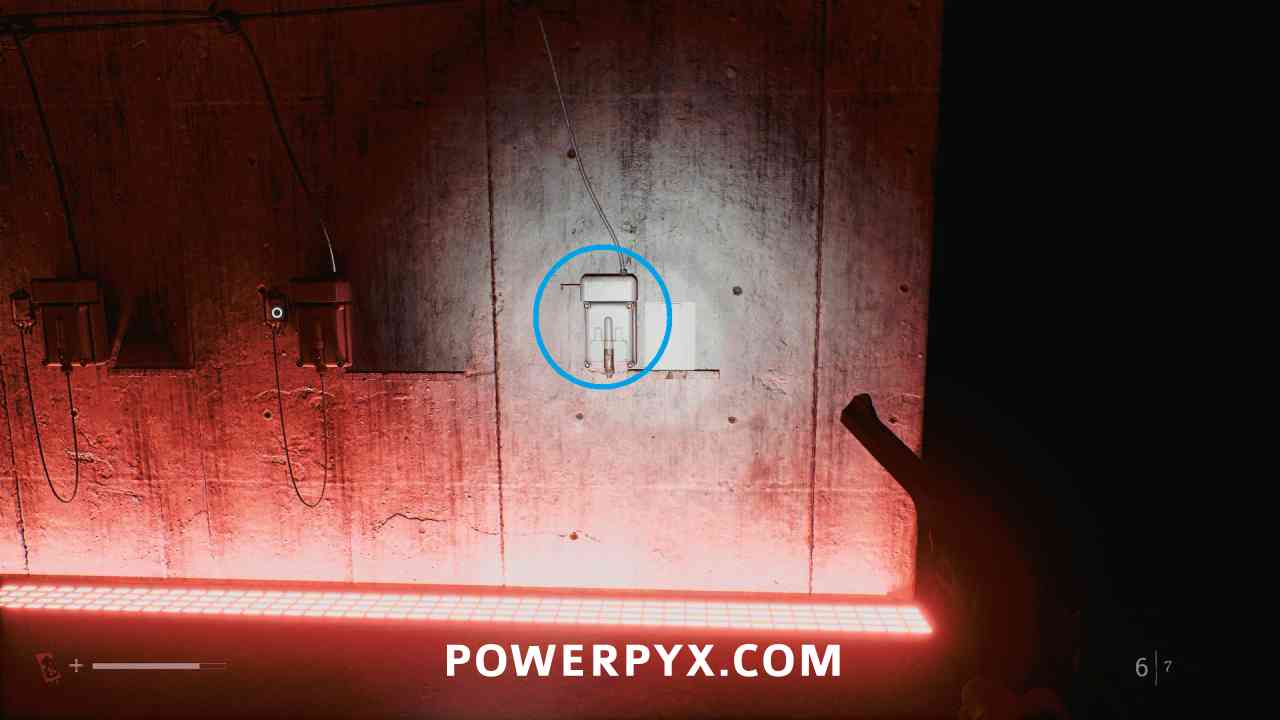
Puzzle #16
Area: Medical Center – Different
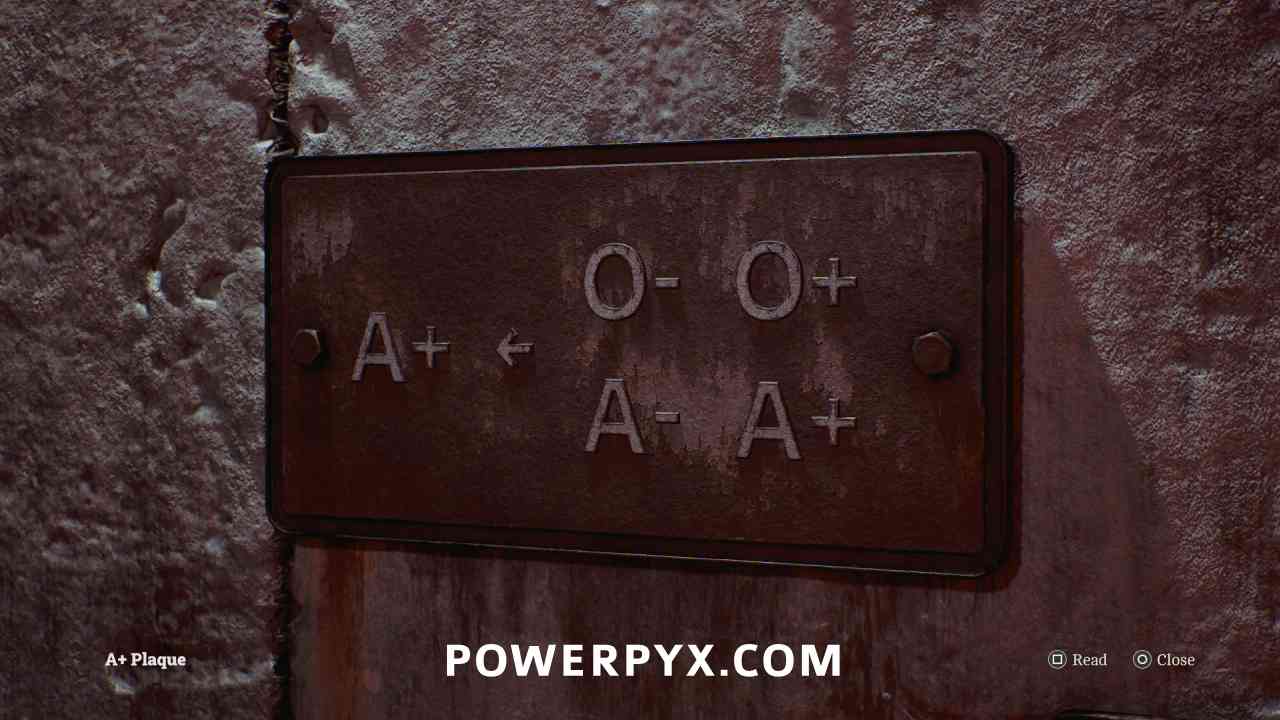
Now you have to correctly have the blood from the outside, go to the interior.
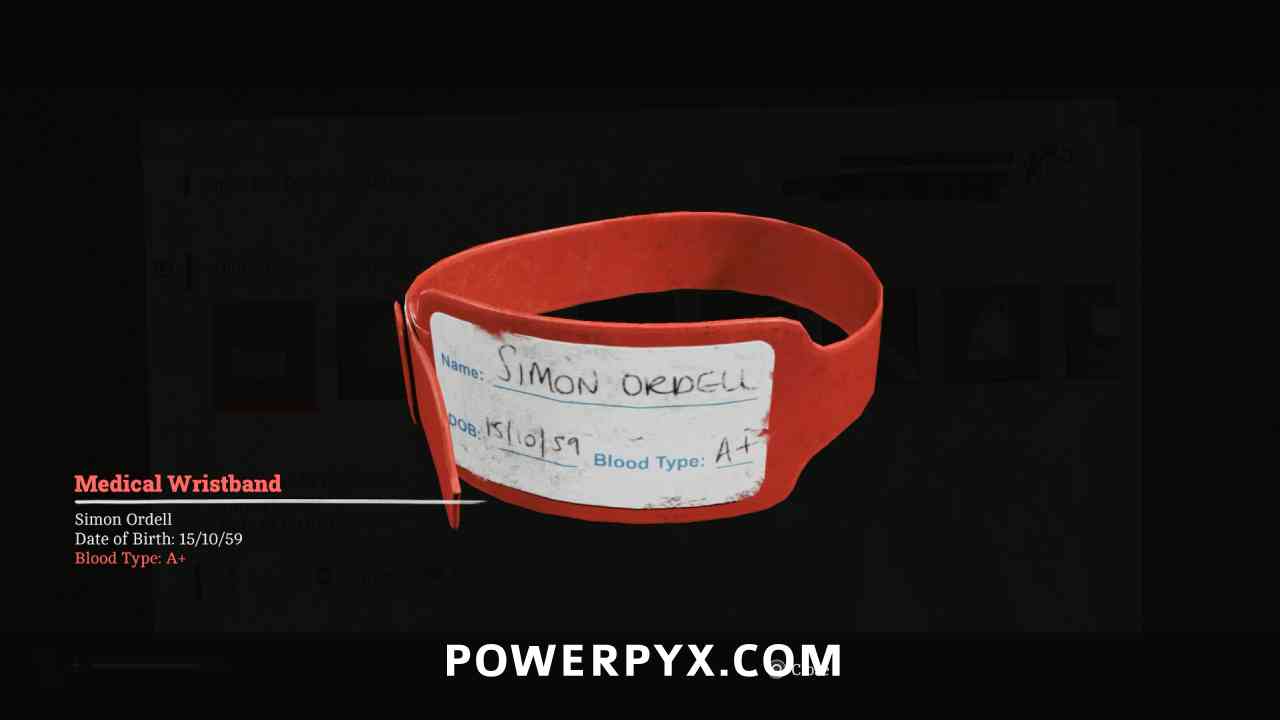
Ordell is Simon’s last name, and you can see his blood type from the Medical Wristband in Equipment.
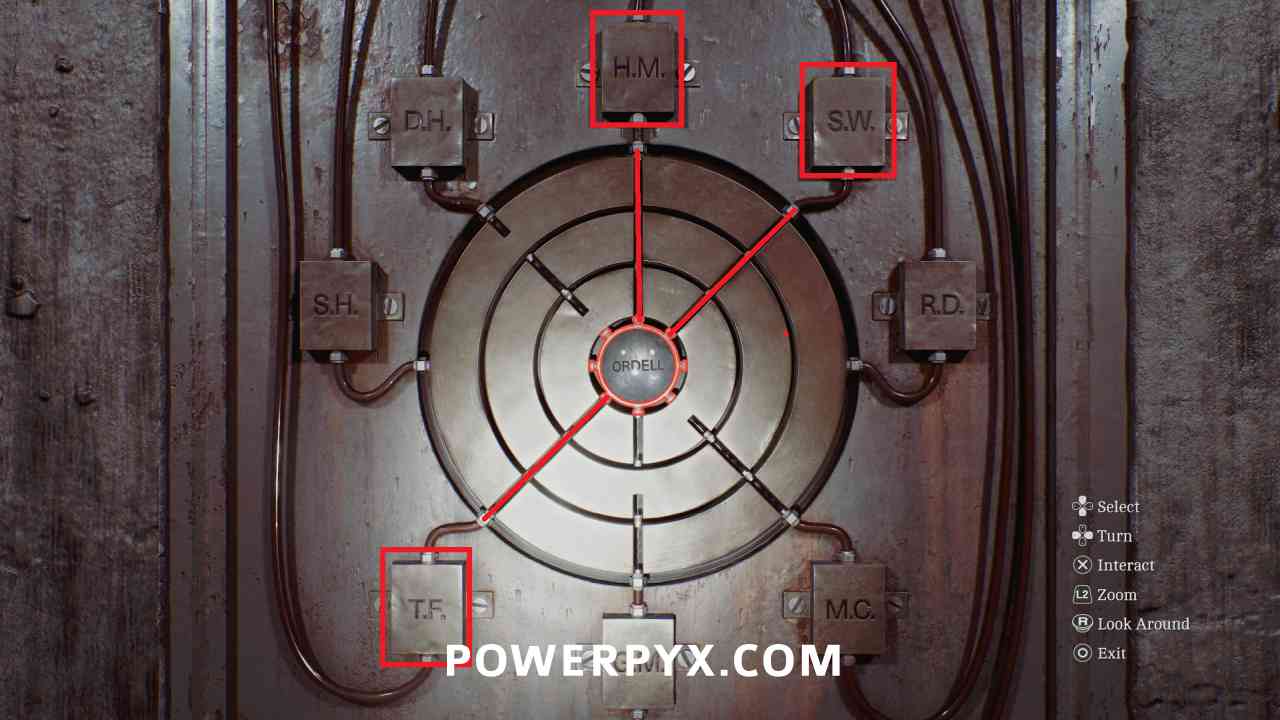
You need to have only O-, O+, A-, and A+ going to the center. This means T.F., H.M., and S.W.
Spin the circles so there are straight lines connecting those three initials, then confirm by interacting with the ORDELL button in the middle.

Locked Door
Area: Medical Center – Different
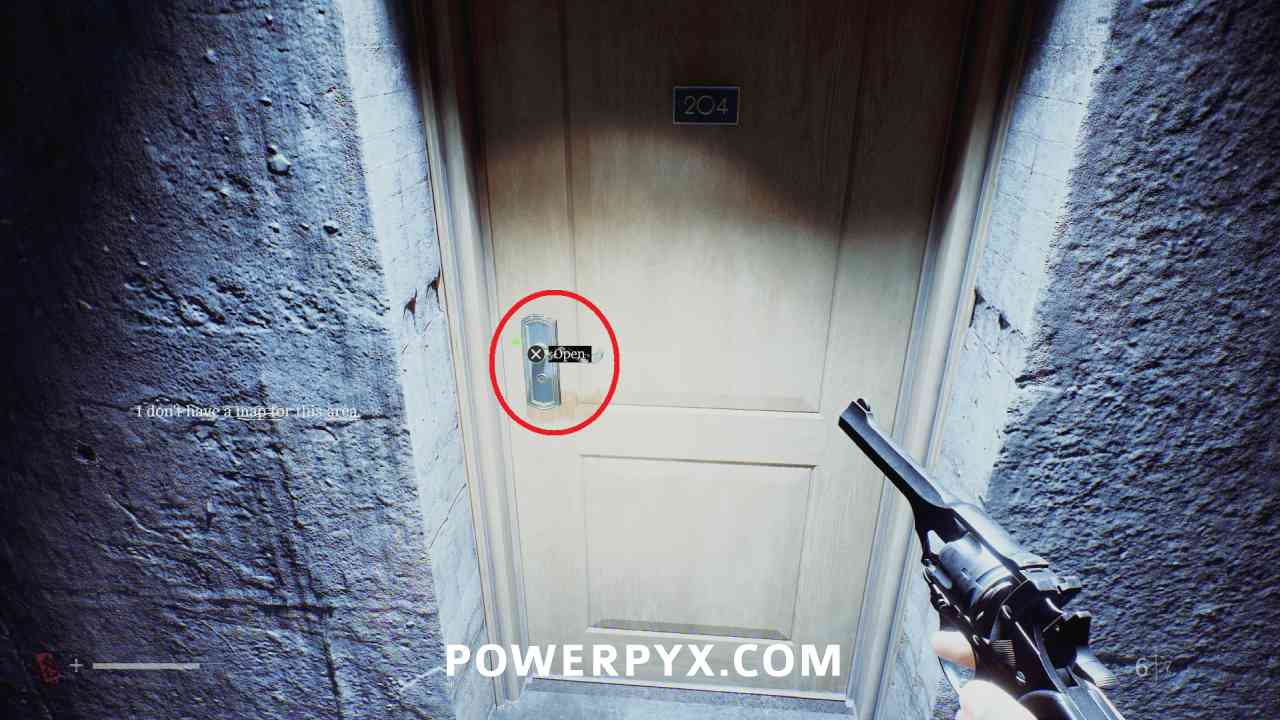
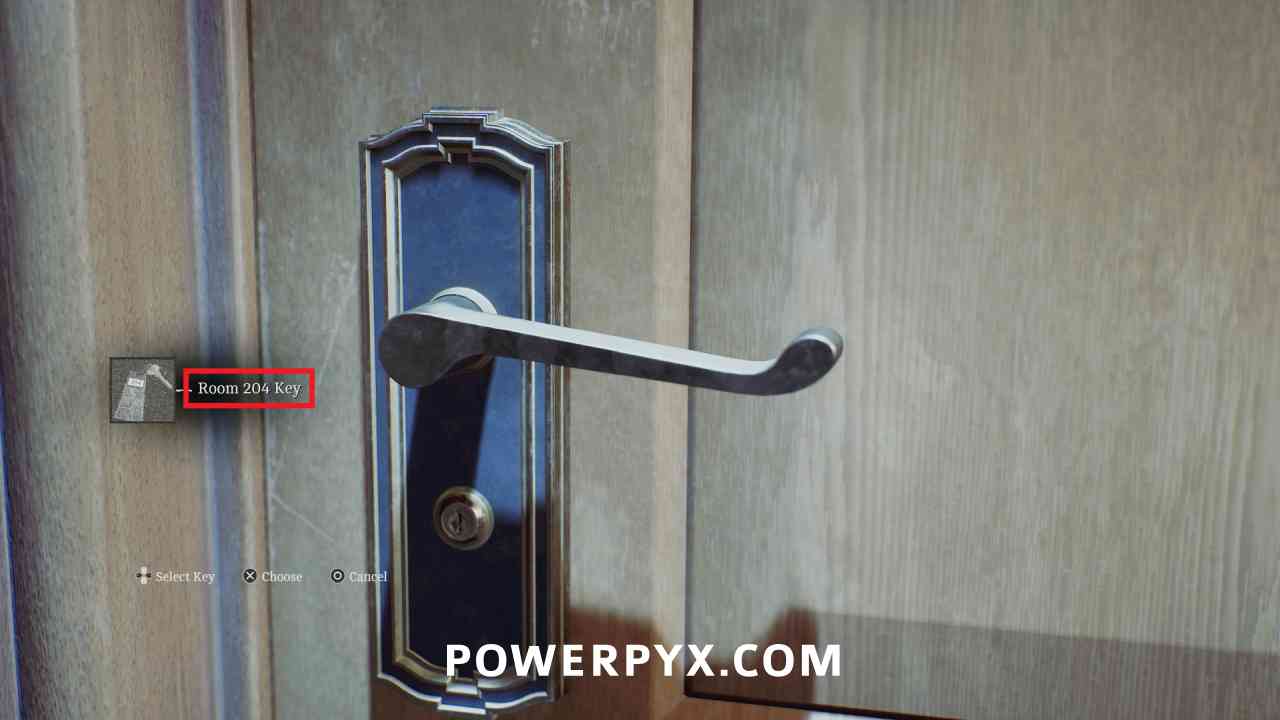
Interact with the door at the end of the hallway and use the Room 204 Key. Note the next Chapter starts immediately after the next cutscene.
Trophy: Many Into One
NEXT: Part 4: Clara Woods
For an overview of all other chapters and by-type collectibles also see Silent Hill Townfall Collectible Guide.
Leave a Reply