
Part 6: Simon is the sixth and final section of Silent Hill Townfall and covers Chapters 14-17. This walkthrough will guide you through all collectibles and puzzles in the Simon section. Everything that’s needed for trophies and 100% completion is included. Most items are missable if you don’t pick them up during this section, as you cannot replay sections of the game without reloading a prior save or starting a new playthrough.
Collectibles Walkthrough:
Part 6: Simon
Chapter 14: Fix This
CEG HQ (Different) > 10th Floor
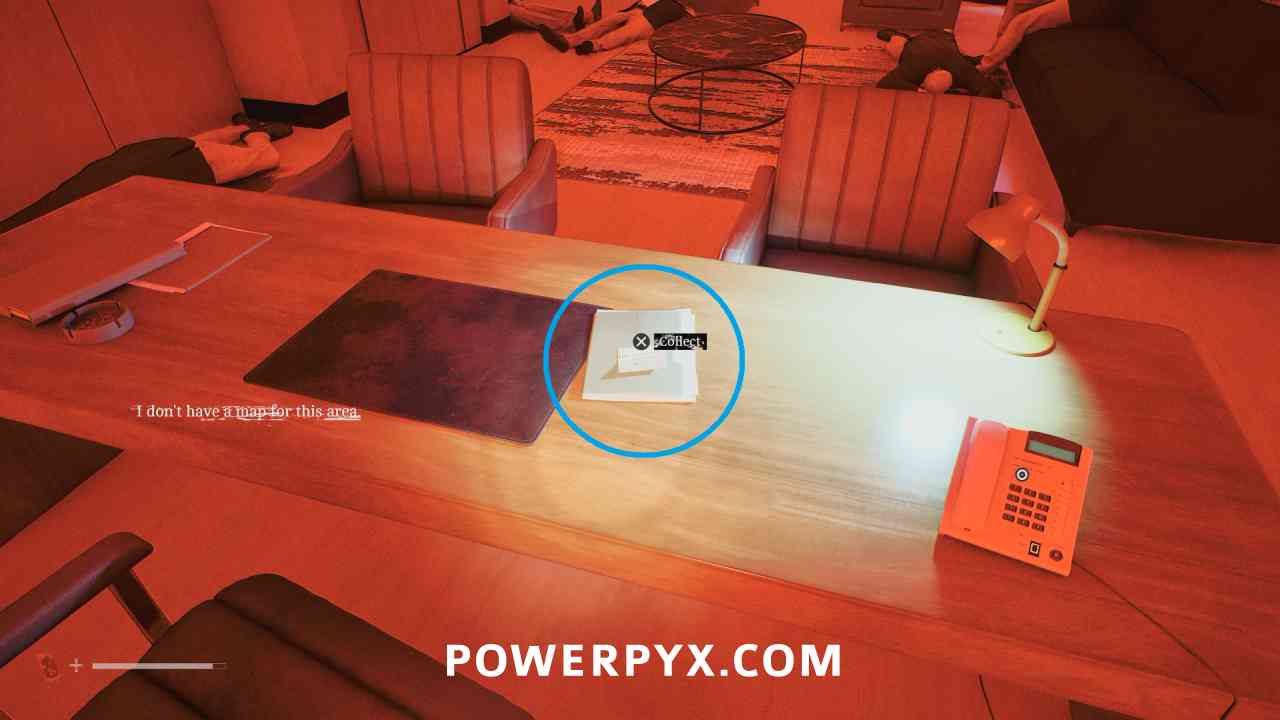
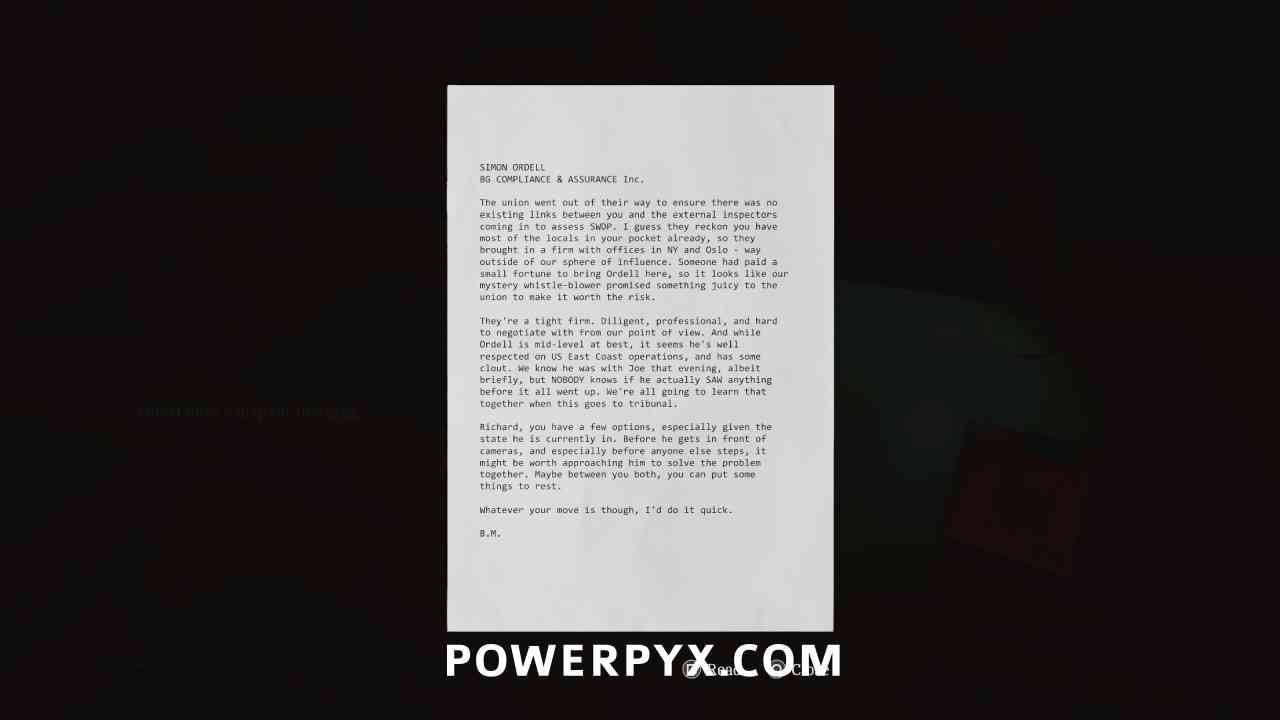
Document: Ordell File
Area: CEG HQ (Different) > 10th Floor
On the desk as soon as you gain control of Simon again.
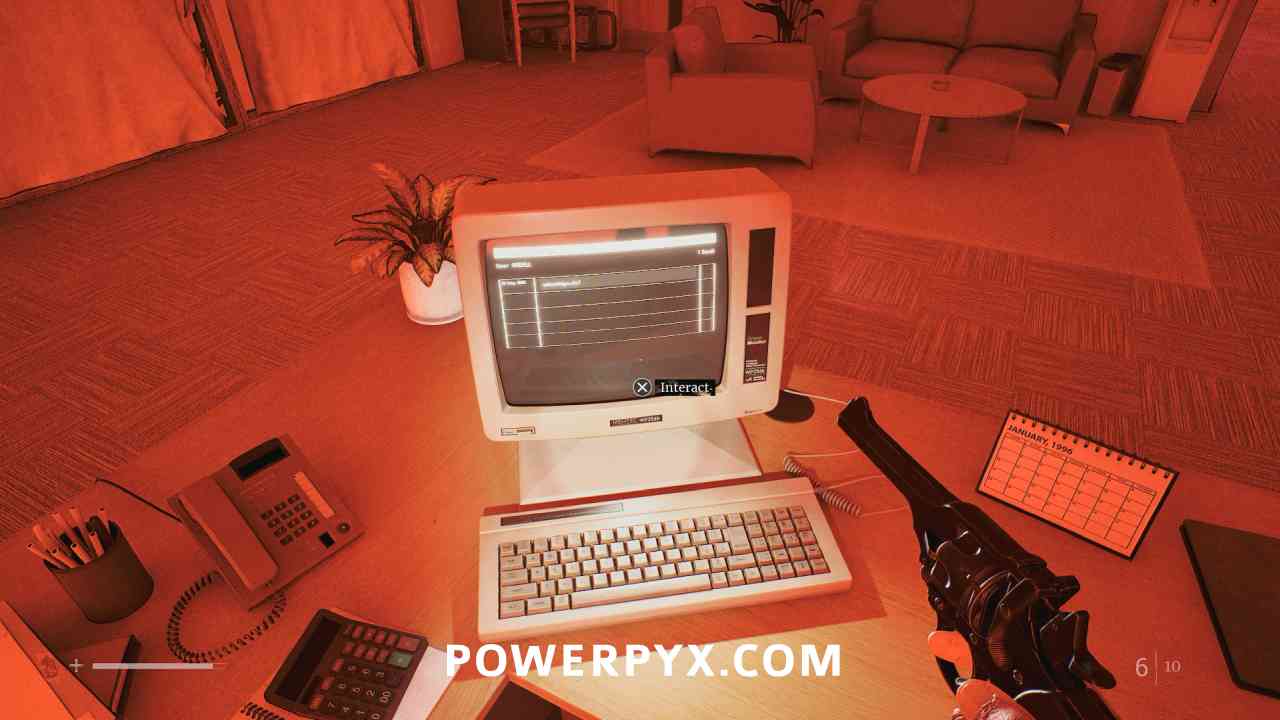
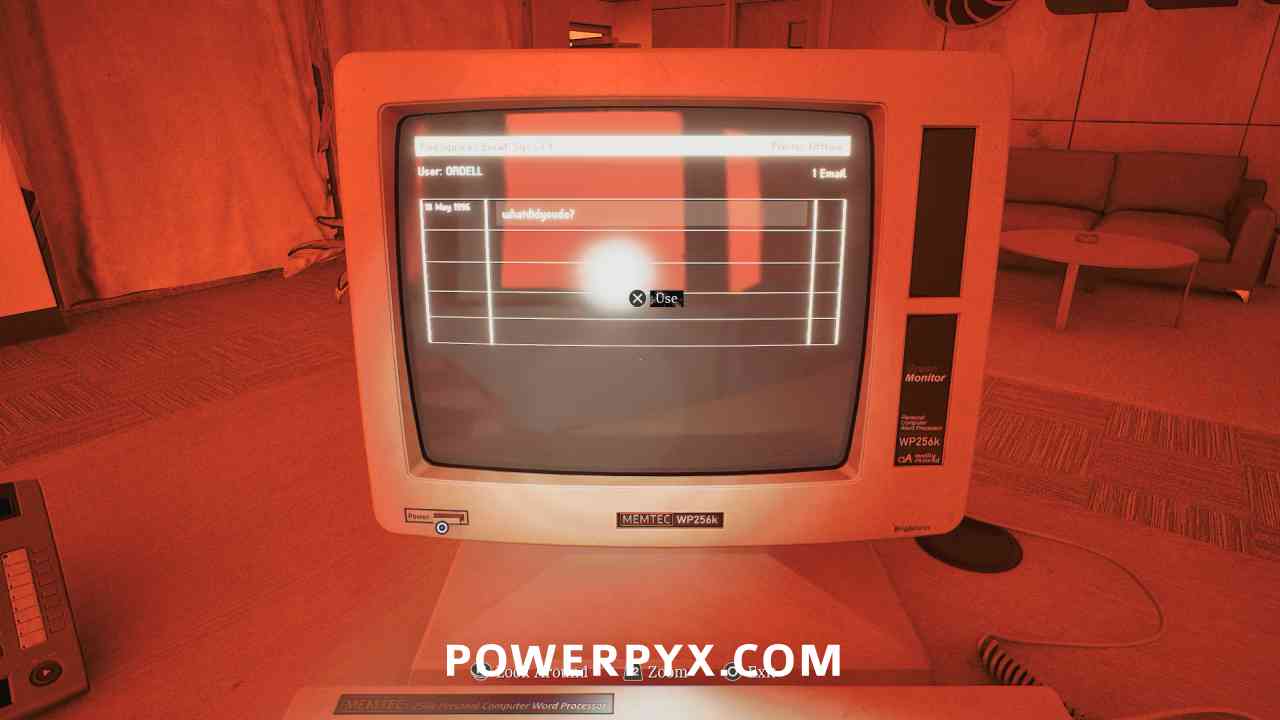
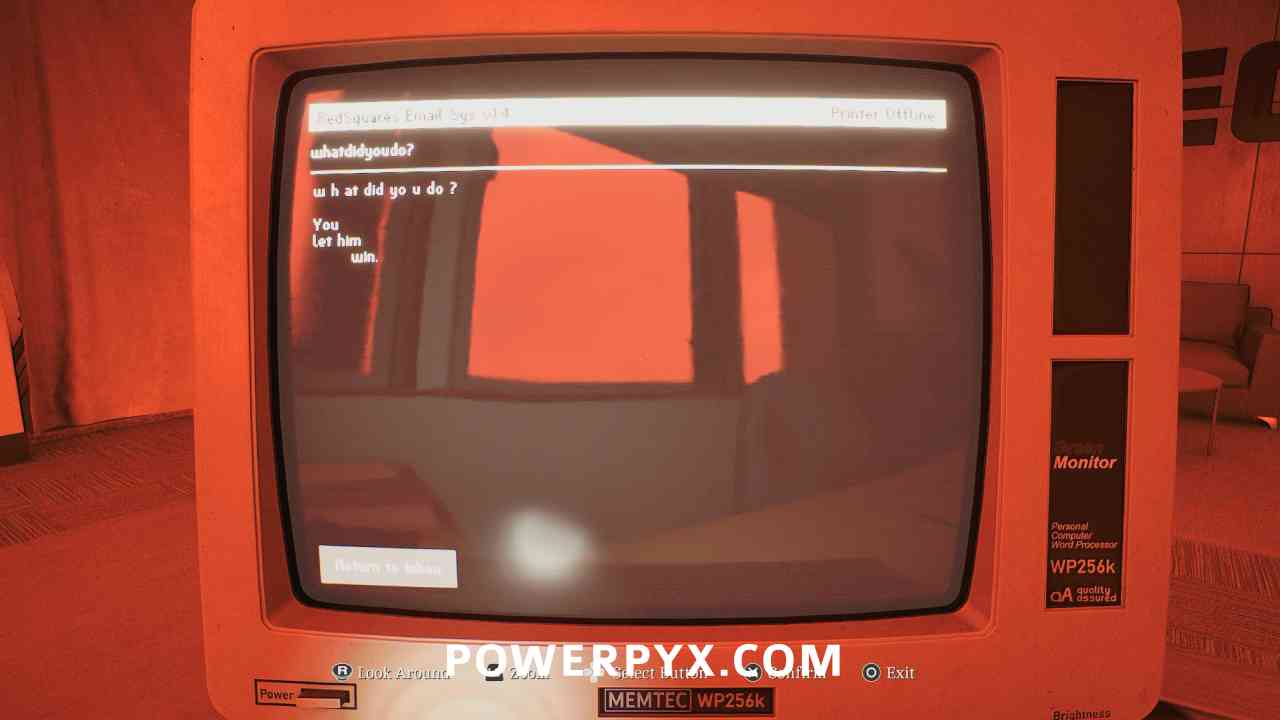
Document: CEG Tower: What did you do?
Area: CEG HQ (Different) > 10th Floor
On the computer outside the office, read the single email.
CEG HQ (Different)
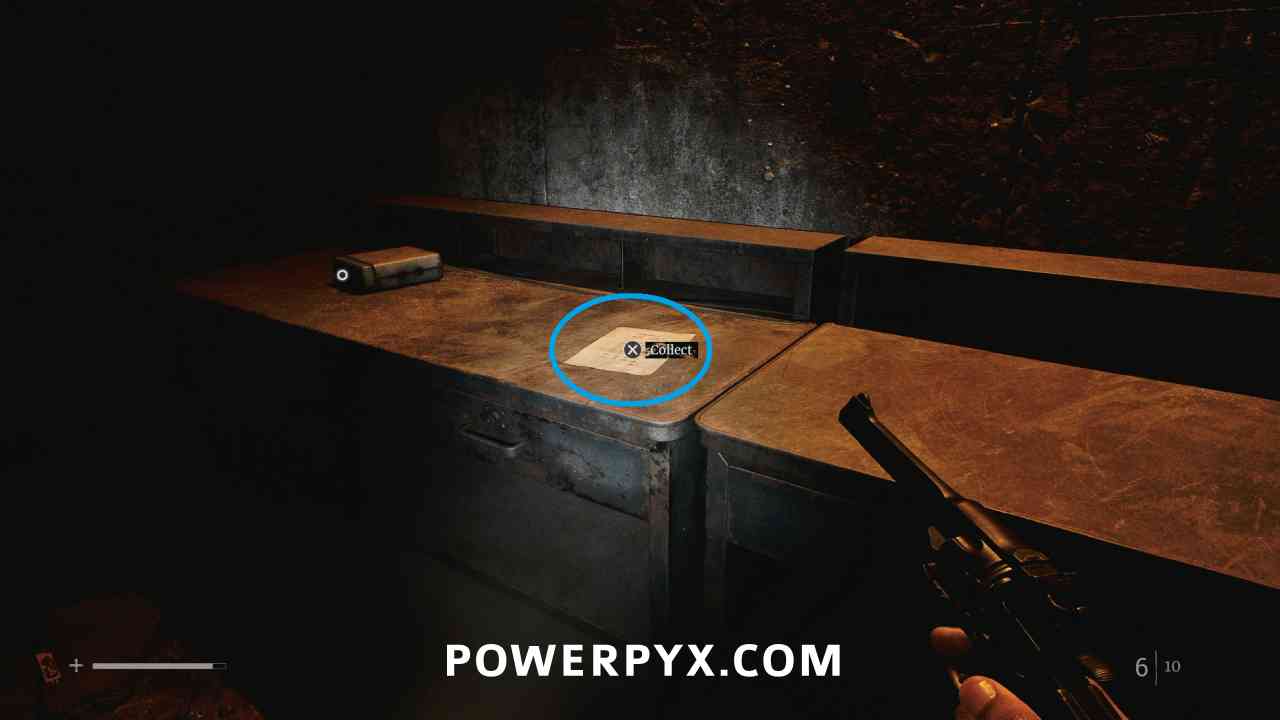
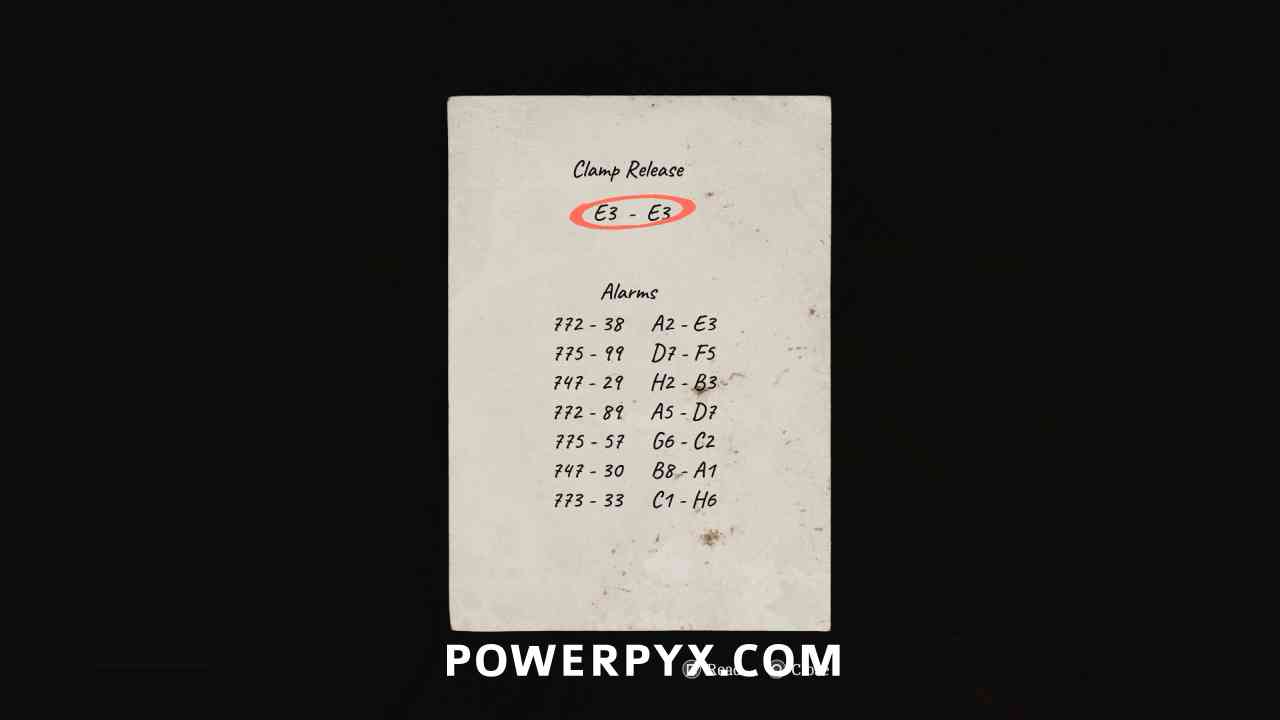
Clue: Reference Sheet
Area: CEG HQ (Different)
As soon as you enter the main room in the new area, on a desk to the right.
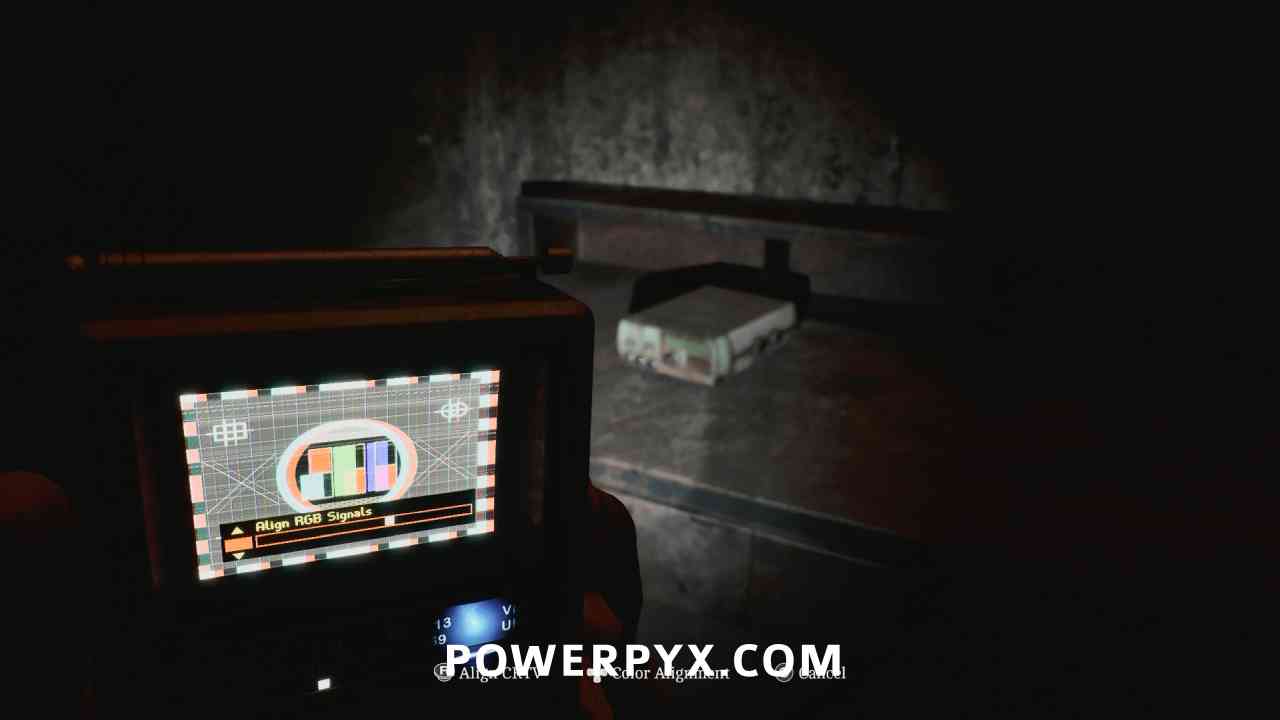
CRTV Channel – 42~
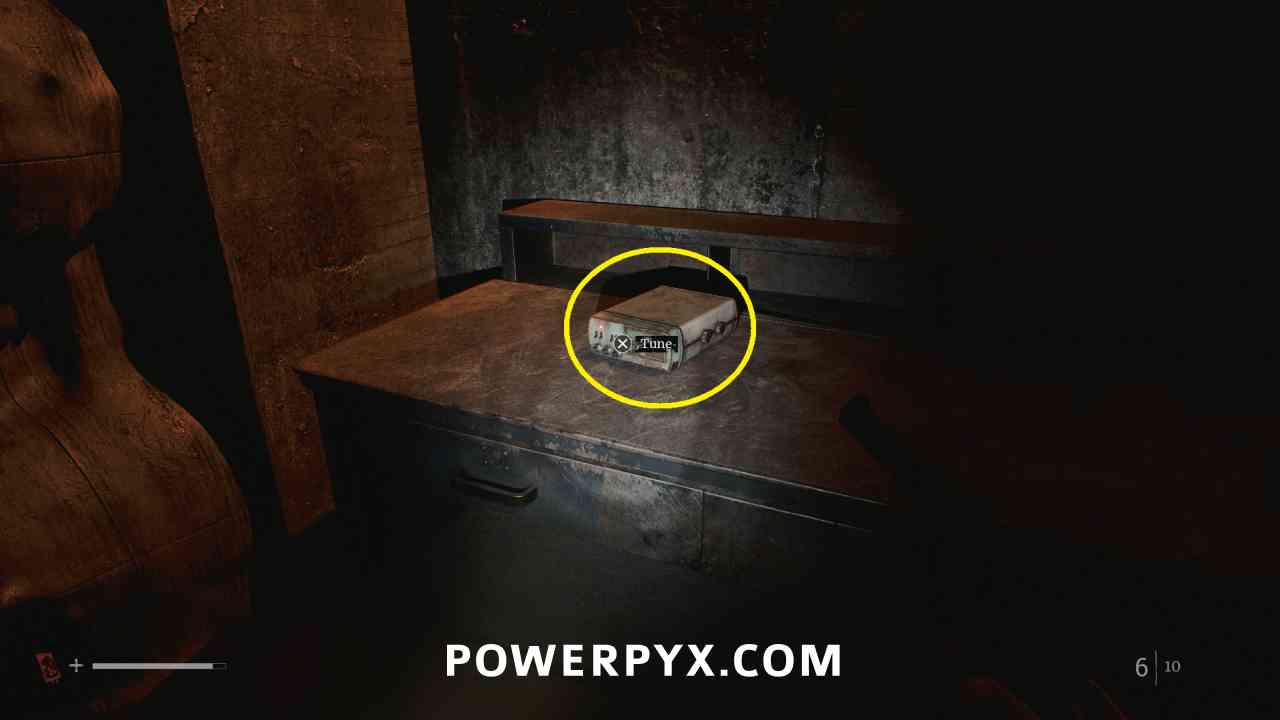
Area: CEG HQ (Different)
As soon as you enter the main room in the new area, on a desk to the right interact with the radio to the left of the clue. Align the CRTV tilt so that the colors stop moving using the right stick, then adjust colours so they fit in all boxes using the DPAD.
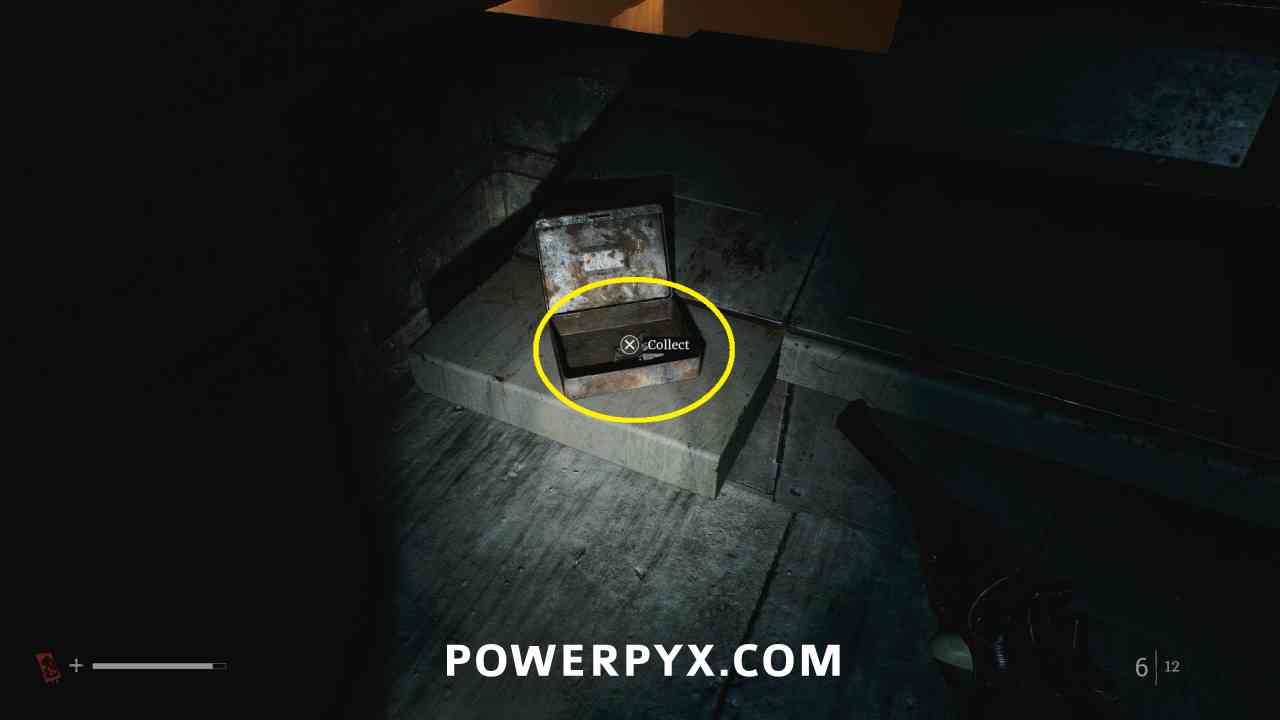
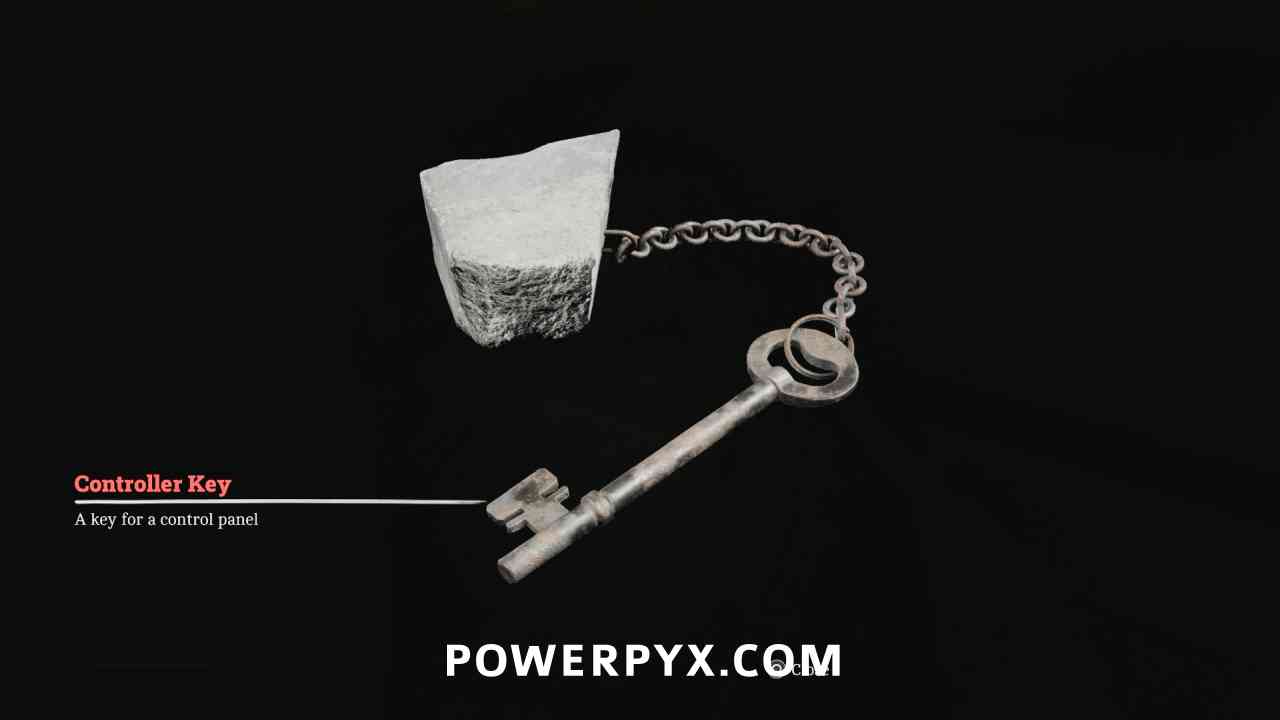
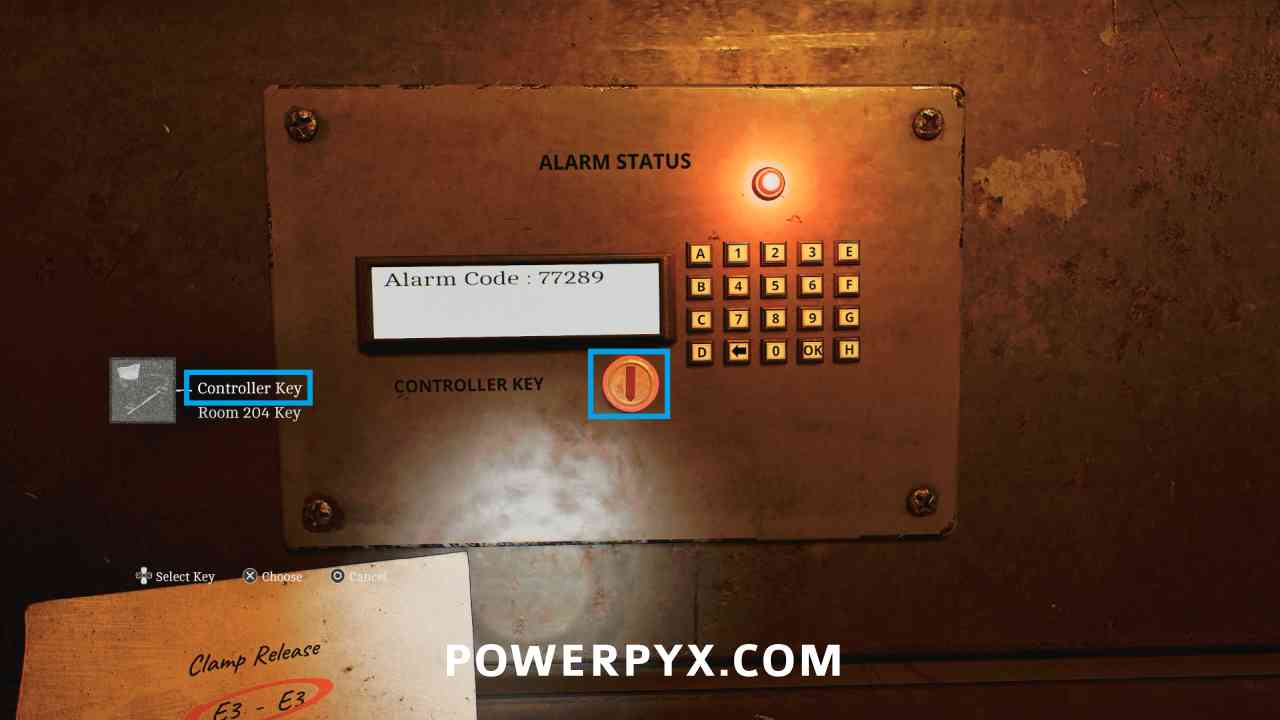
Key Item: Controller Key
Area: CEG HQ (Different)
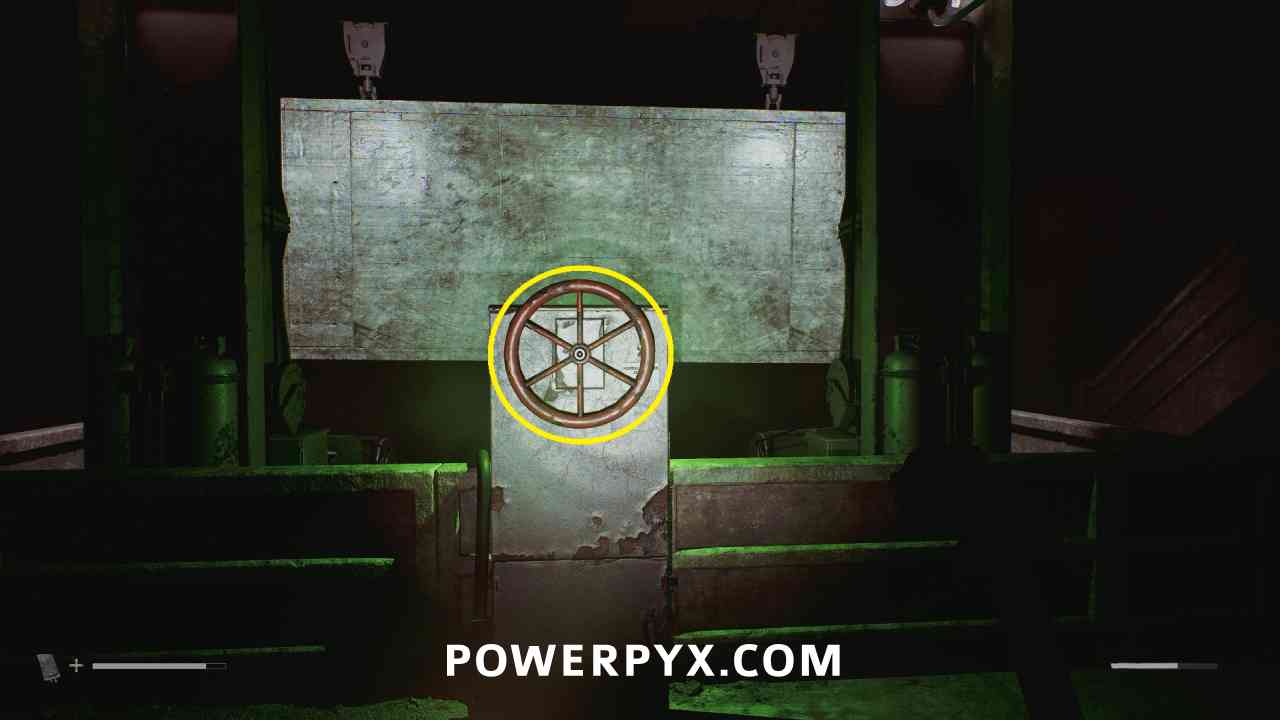
Use the elevator to go up to the second floor, and this is in a box on the console to the left of the red clamp wheel.
Puzzle #30
Area: CEG HQ (Different)
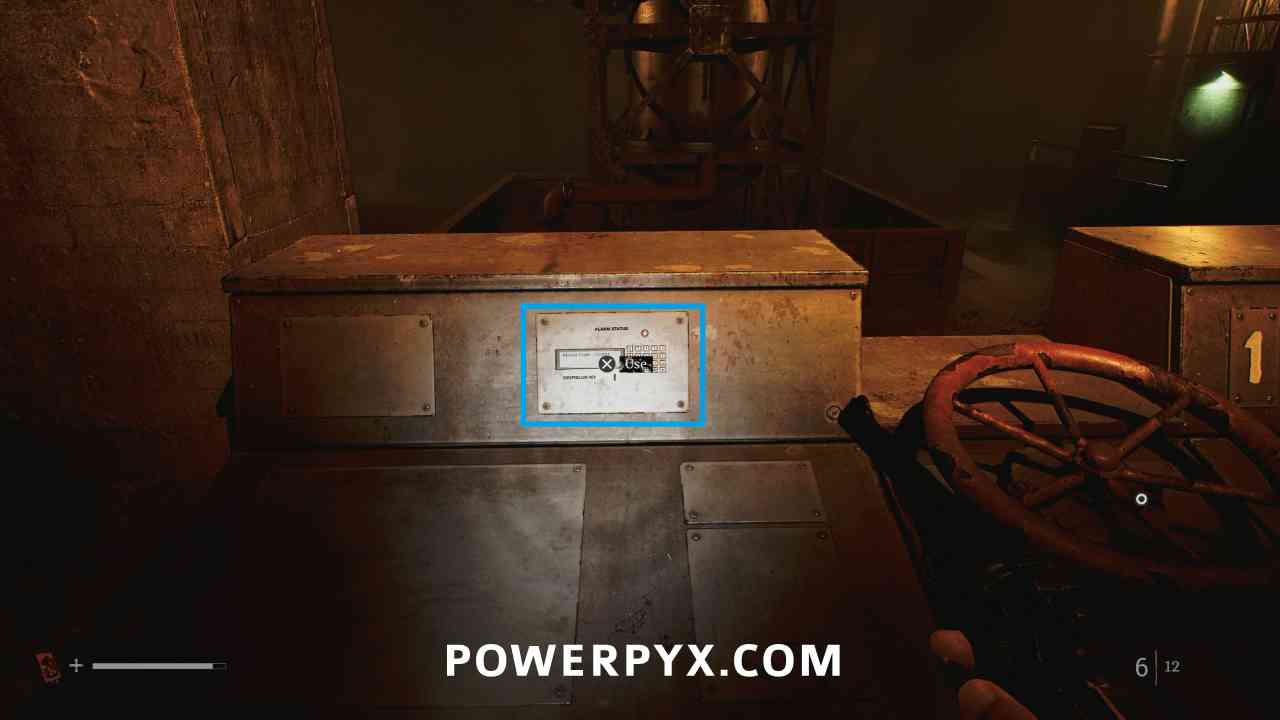
Go back to ground level and interact with the alarm panel beside the red clamp wheel.
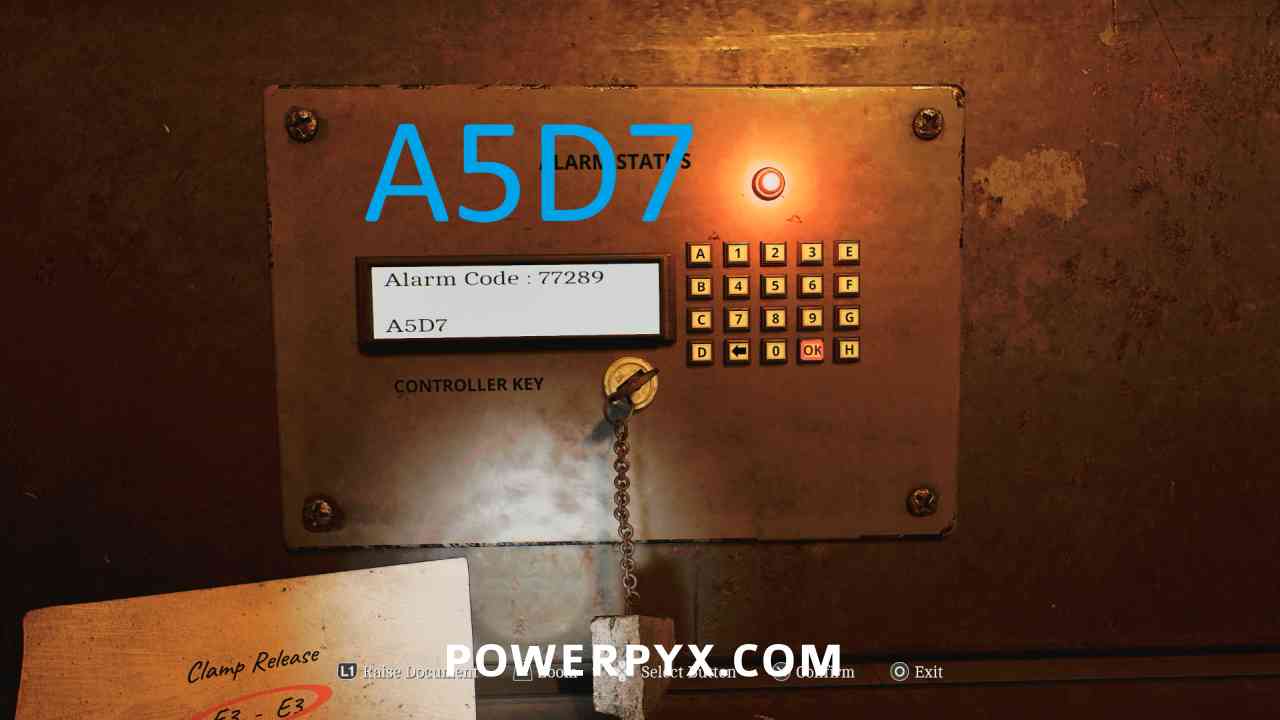
First interact with the keyhole and use the Controller Key to unlock the buttons.
Then enter A5D7 (corresponding to the Alarm Code from the Reference Sheet) and hit OK.
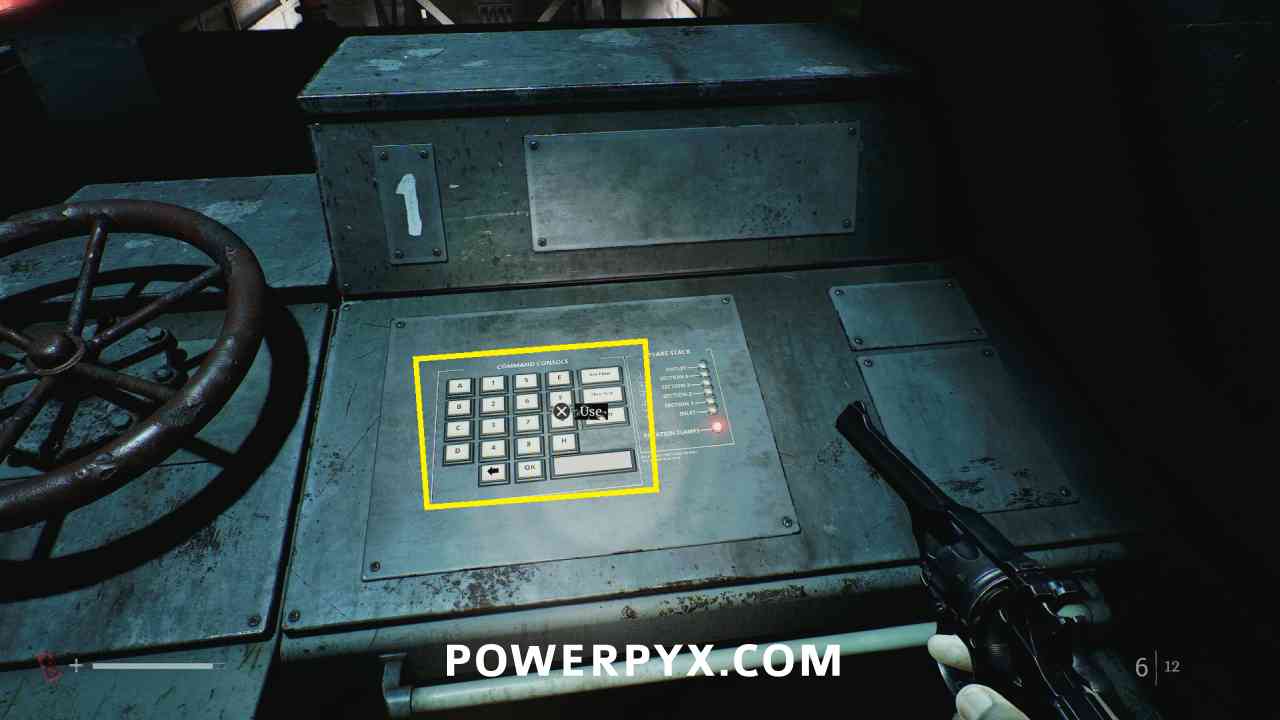
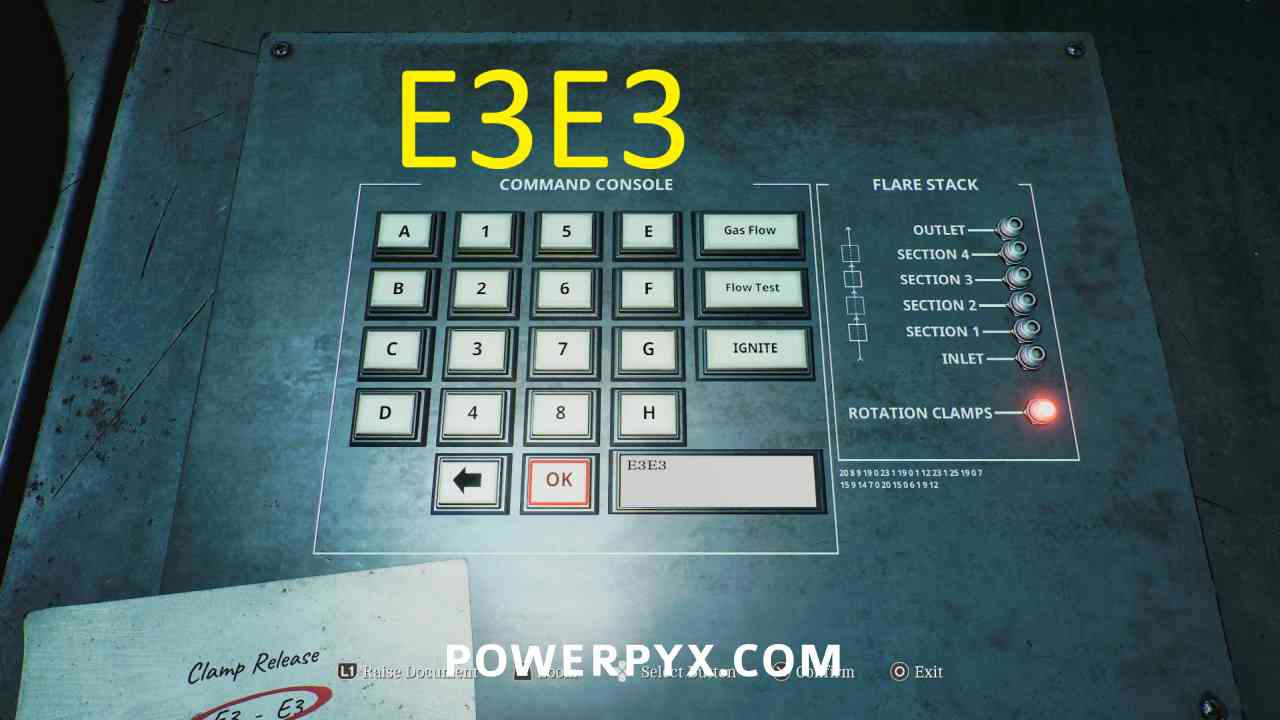
Interact with the panel on the right side and enter E3E3 (from the top of the Reference Sheet) and hit OK.
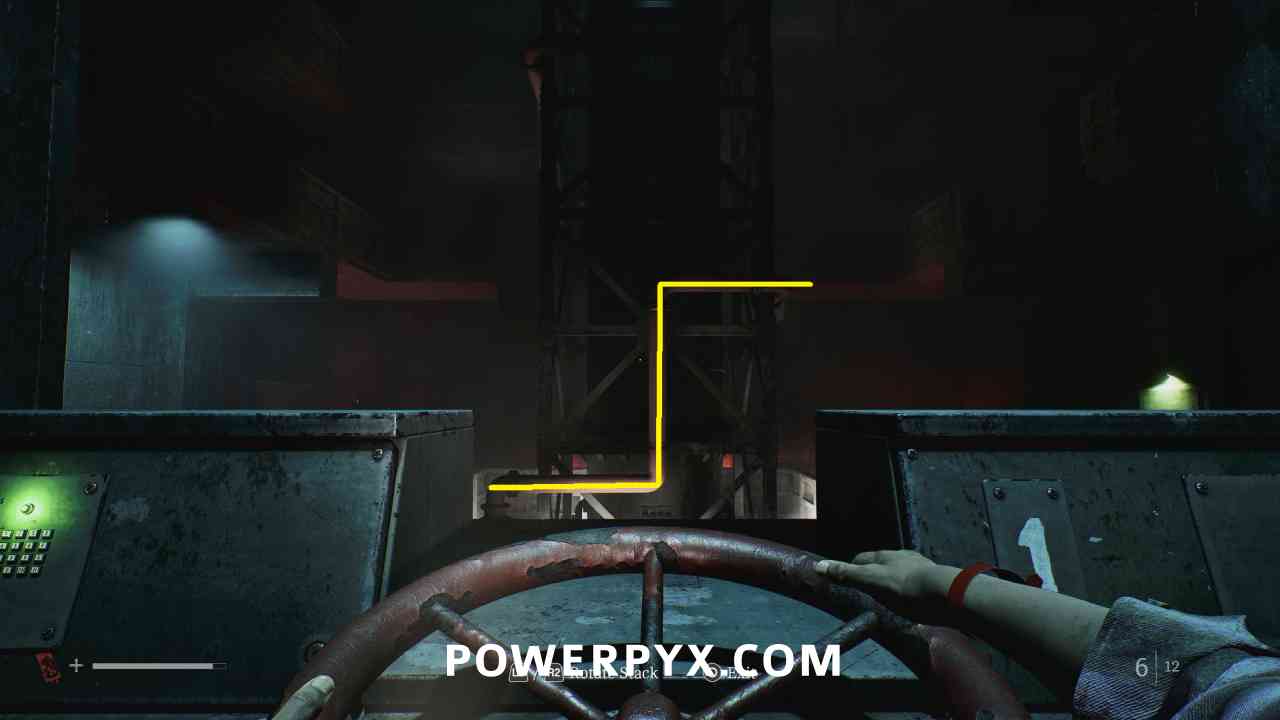
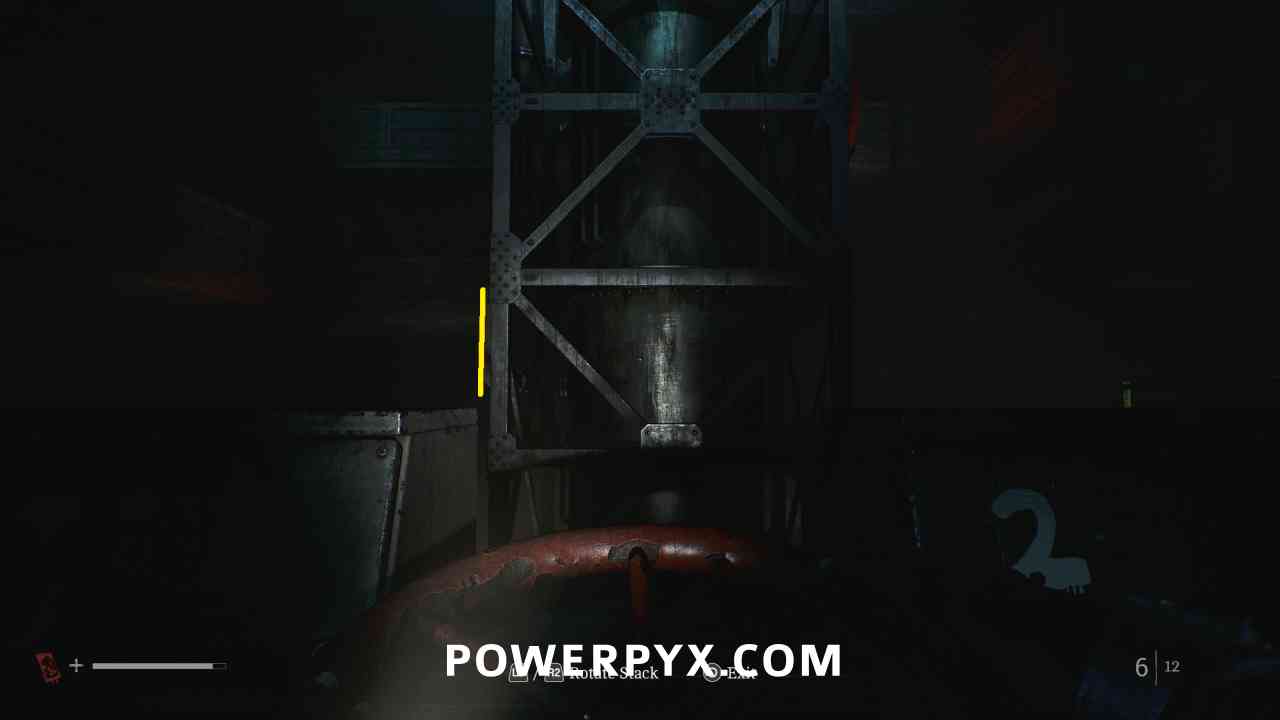
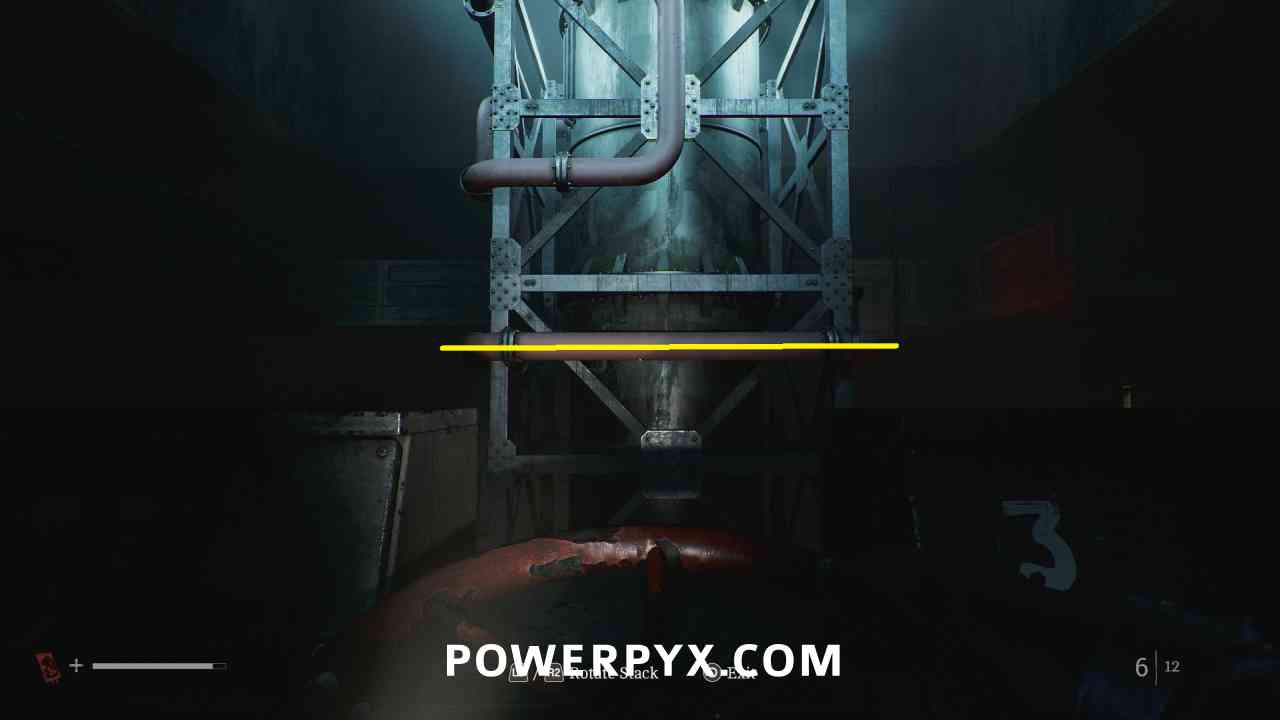
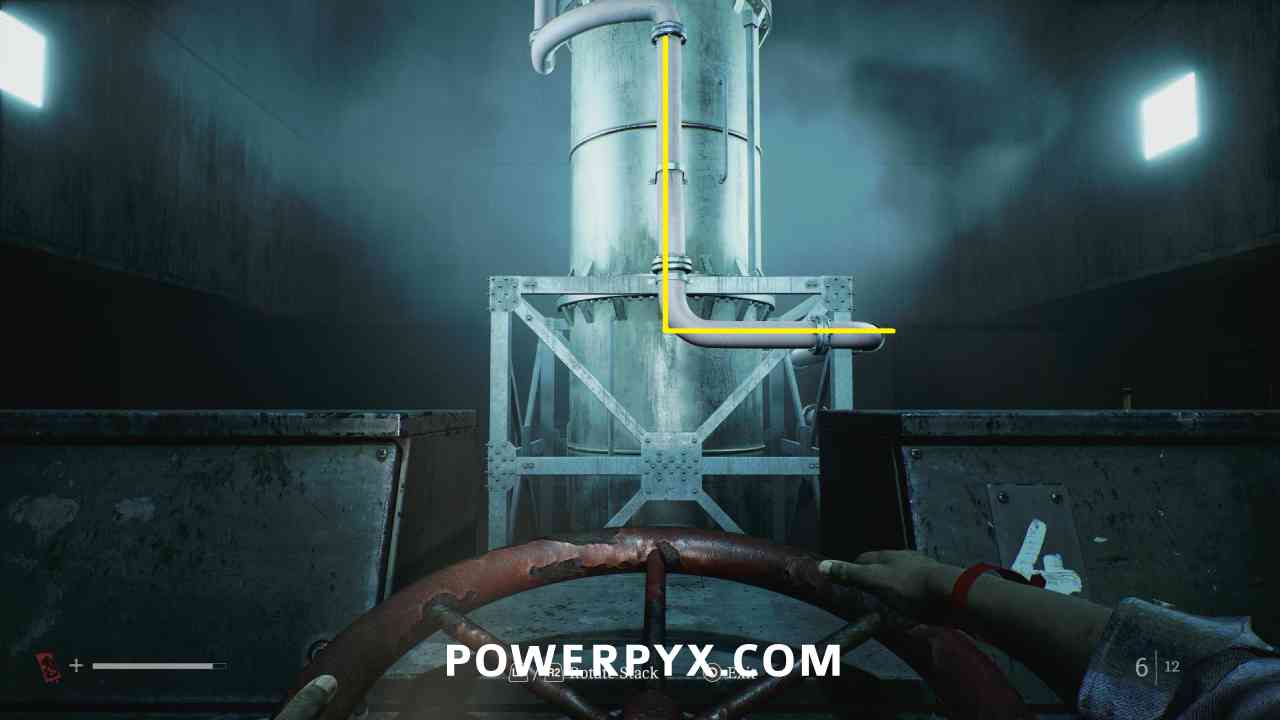
You now need to go through each floor and use the crank to rotate the middle tower, so the red pipe goes all the way to the top.
On floor 1, rotate left or right twice, the pipe is going up and then to the right.
On floor 2, rotate left once, you can see the pipe going up on the left side, and it will be connected on the side near the elevator.
On floor 3, rotate left or right twice, the pipe is connected on the left, and going straight across in front of you.
On floor 4, rotate left or right twice, the pipe is now connected to the top in front of you.
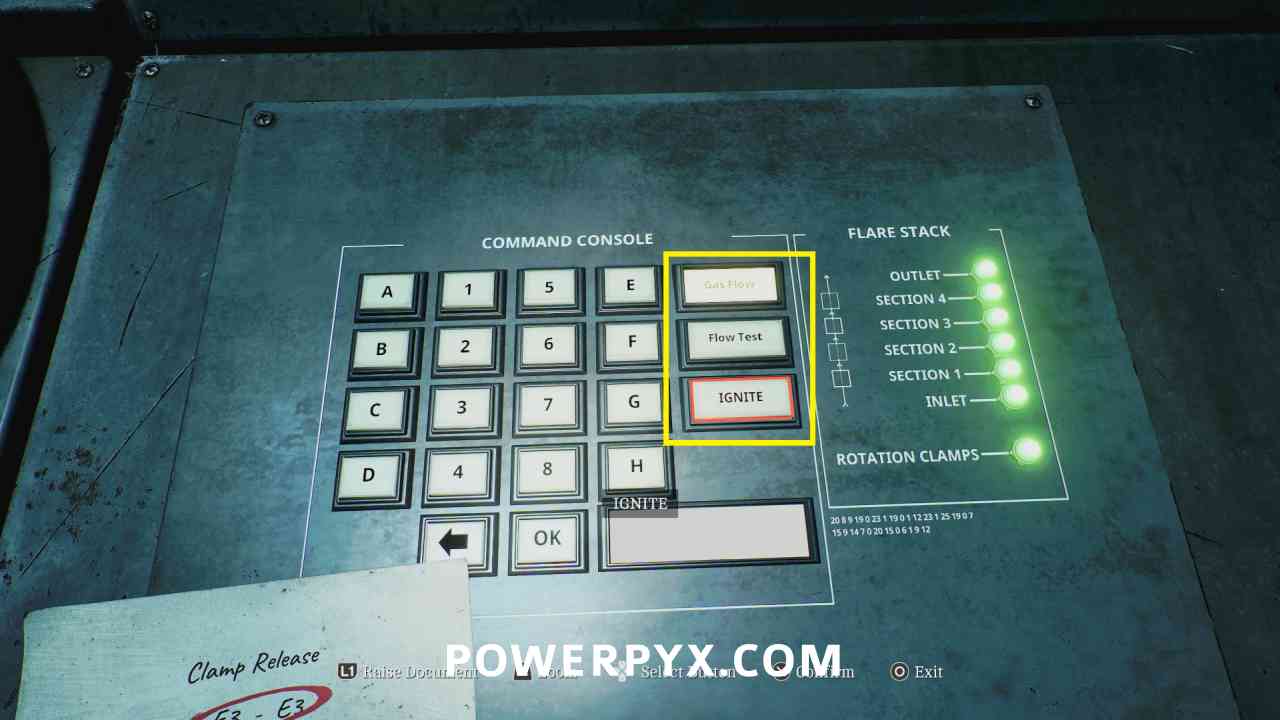
Go back to ground level again and interact with the right side panel. You press the button Gas Flow, followed by Flow Test which should light up all lights green on the panel, then finally IGNITE.
CRTV Channel – 42~
Area: CEG HQ (Different)
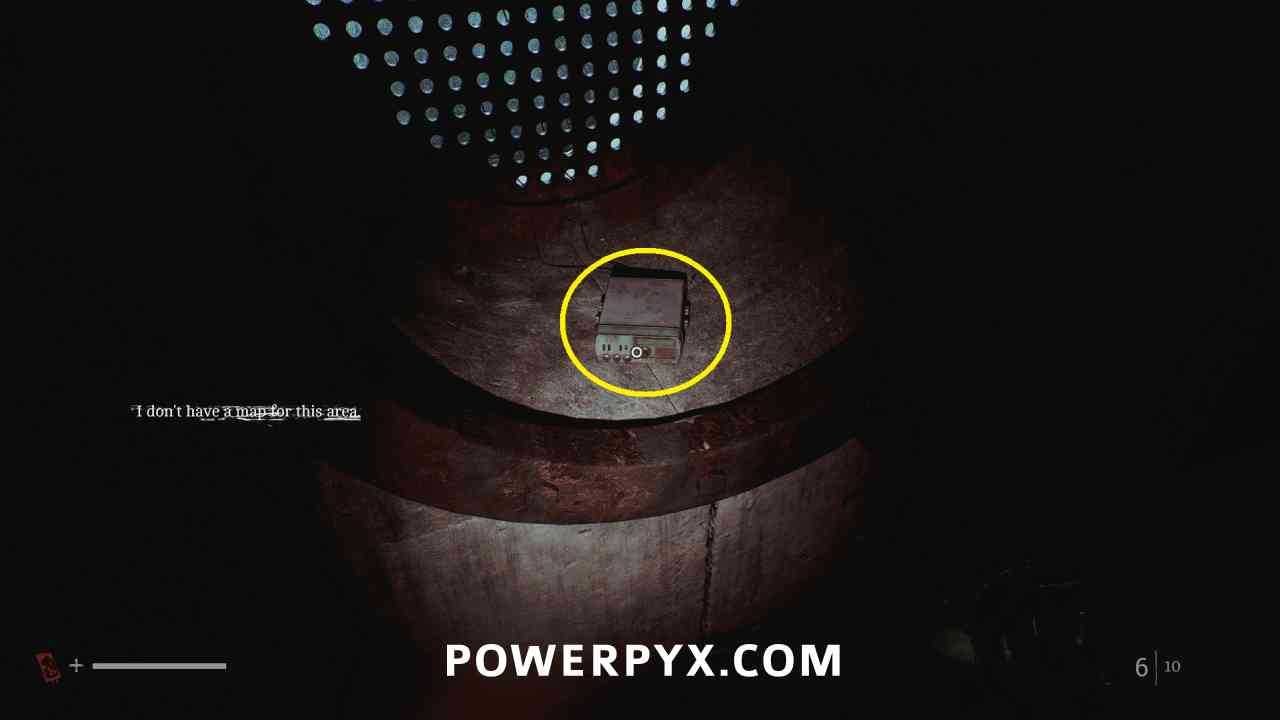
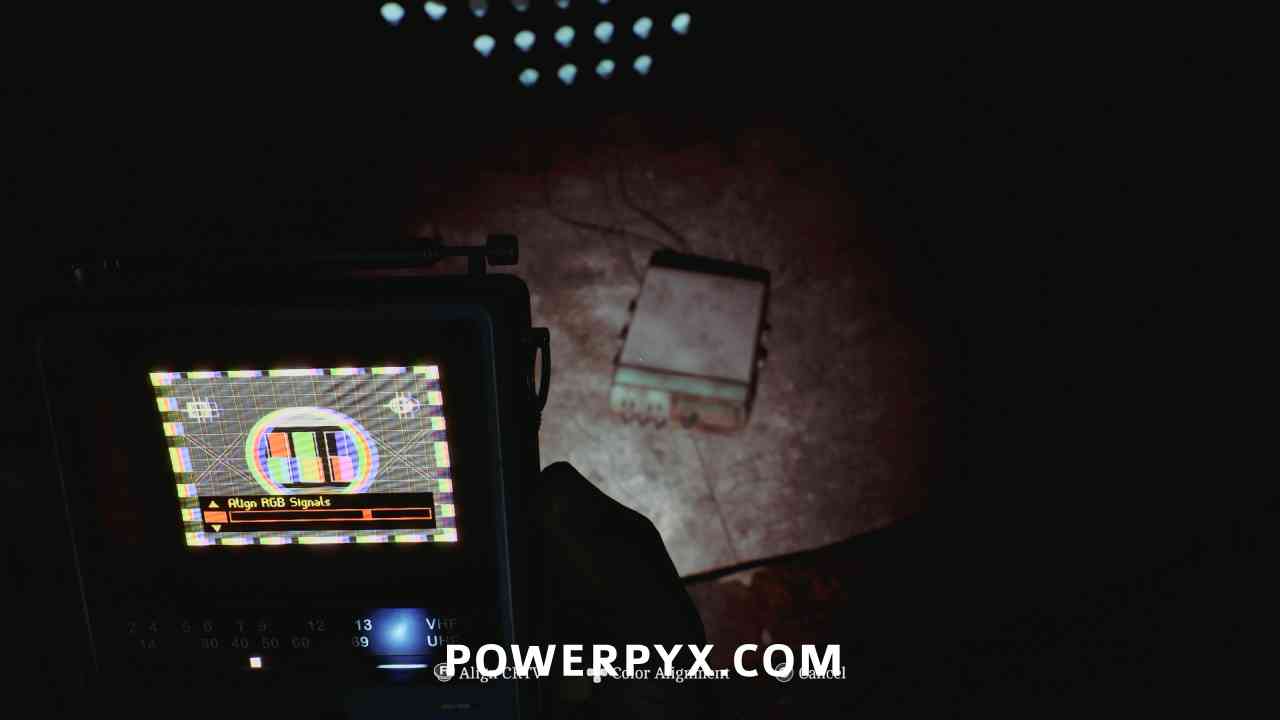
When you exit the pipes you are crouching through, go to the room on the left instead of down the ladder. Interact with the radio in the pipe. Align the CRTV tilt so that the colors stop moving using the right stick, then adjust colours so they fit in all boxes using the DPAD.
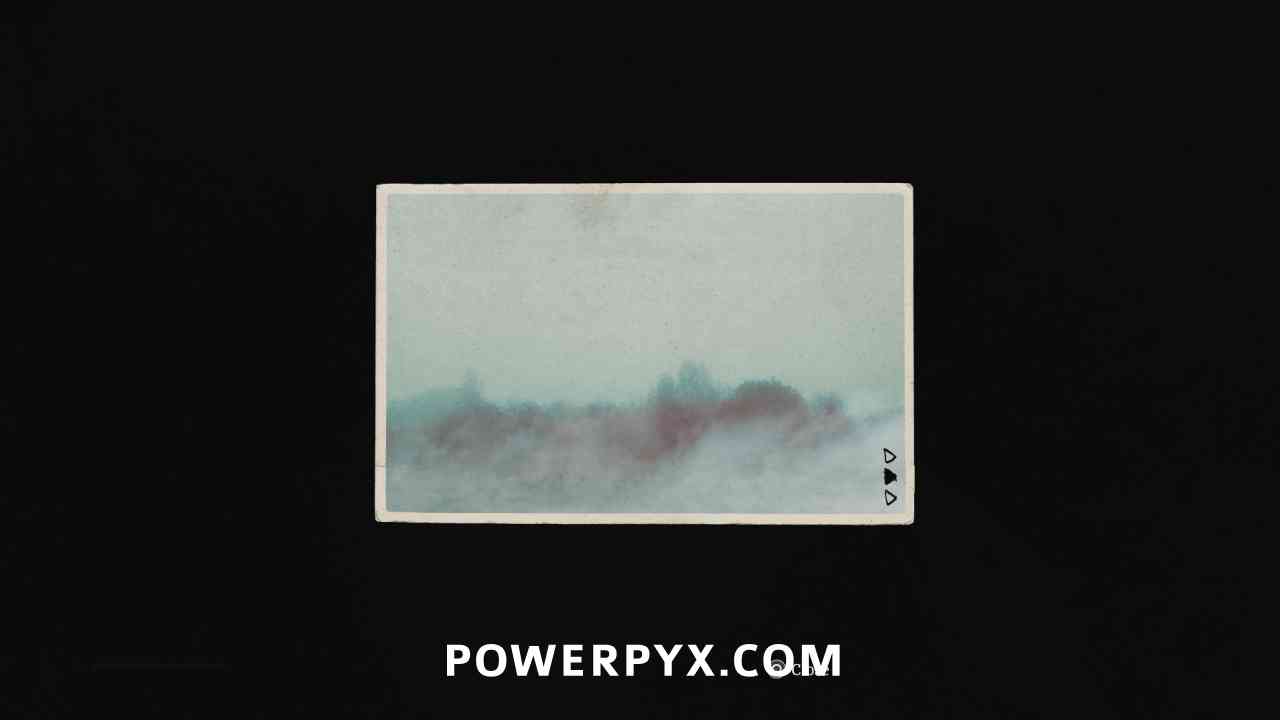
Strange Postcard – 15
Area: CEG HQ (Different)
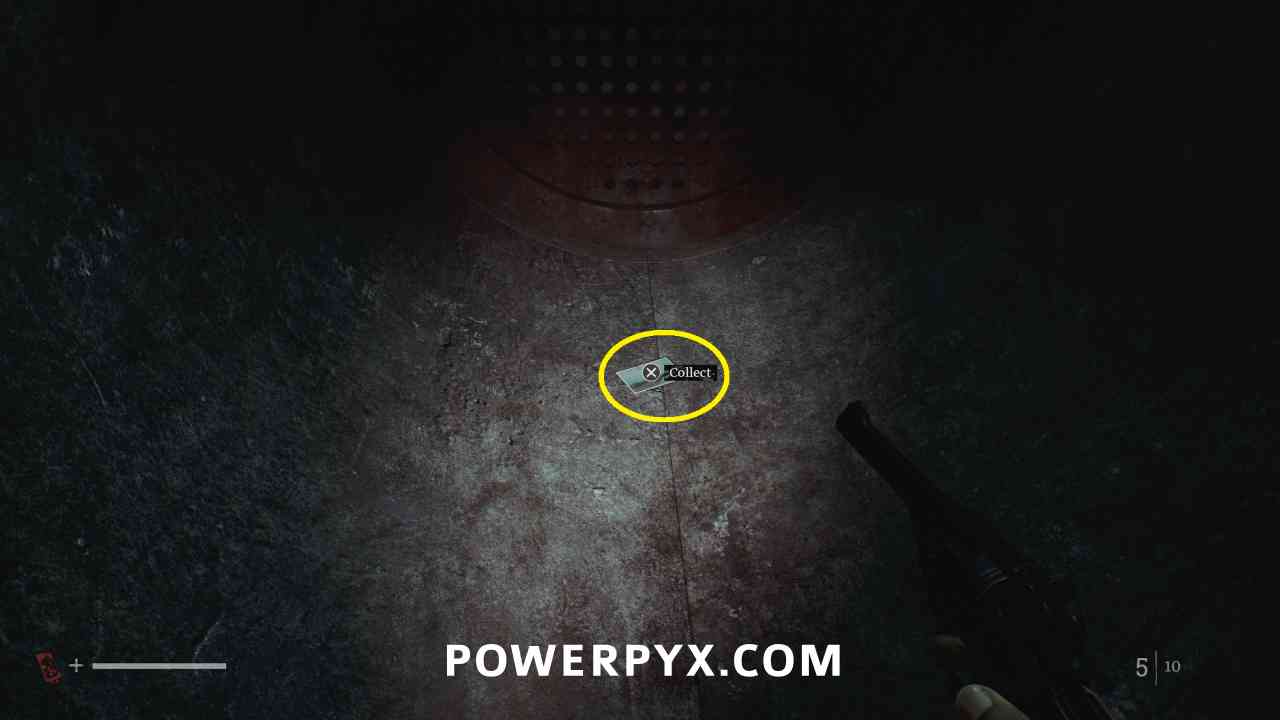
After opening a vent door after a short ladder, you enter another section of pipe. To reach the postcard, turn RIGHT and then LEFT at the 4 way split, and the postcard is on the ground in a dead end.
Blur Your Eyes 
Collect all of the strange postcards.
Chapter 15: Trying Again
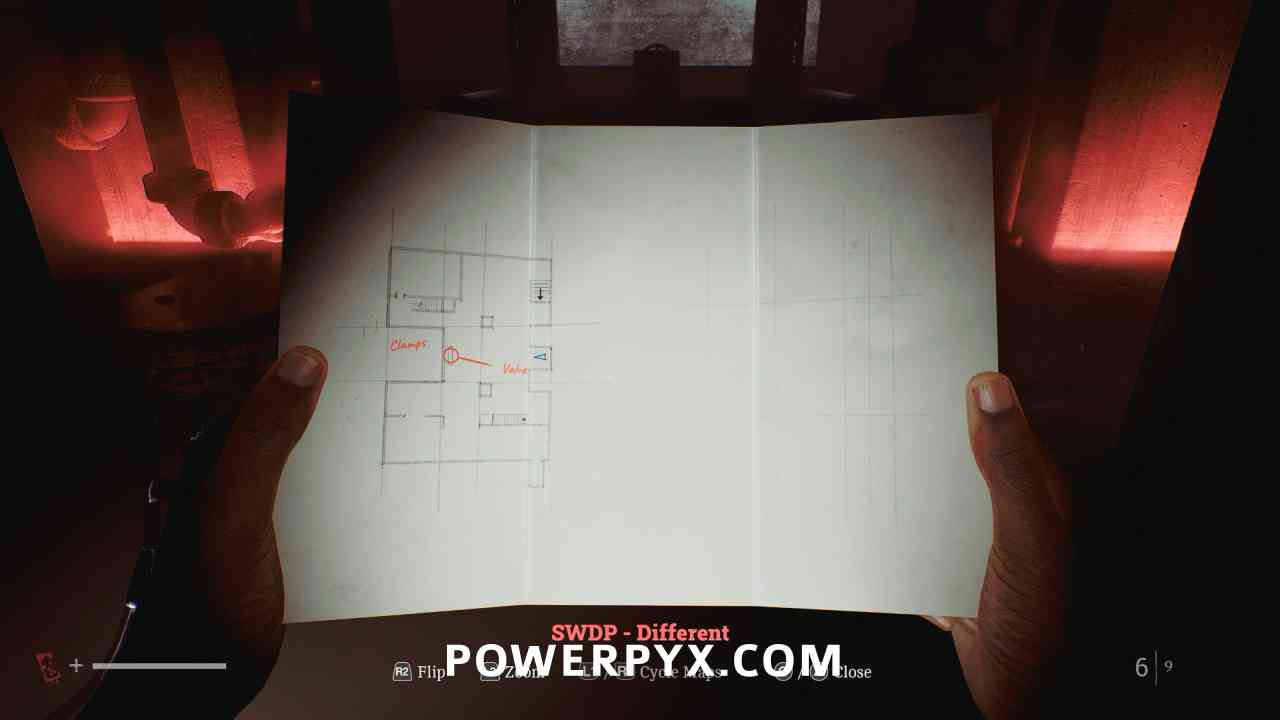
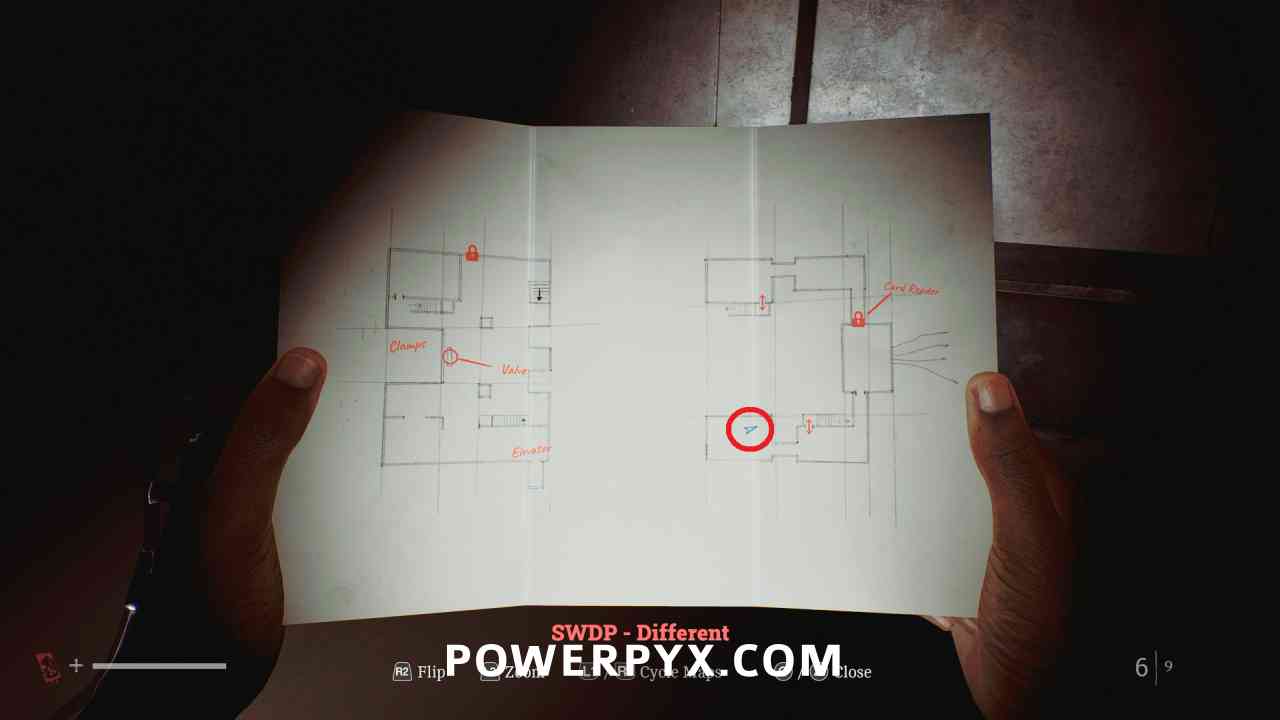
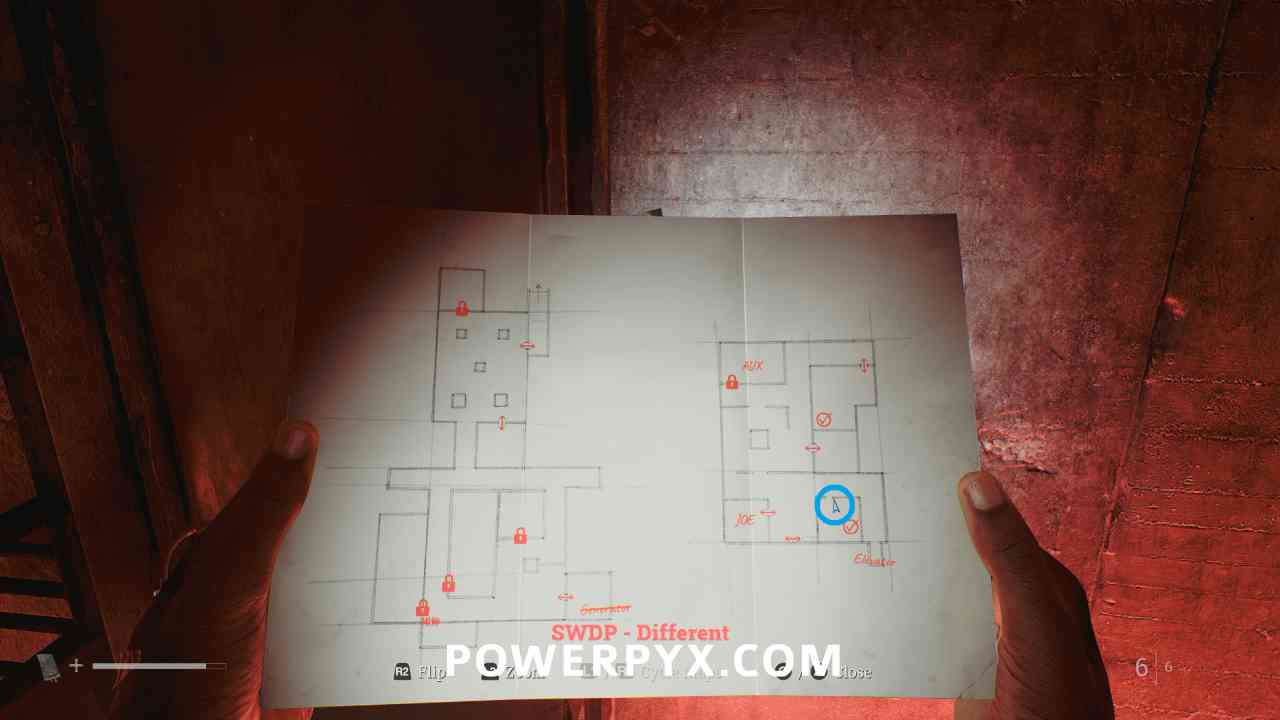
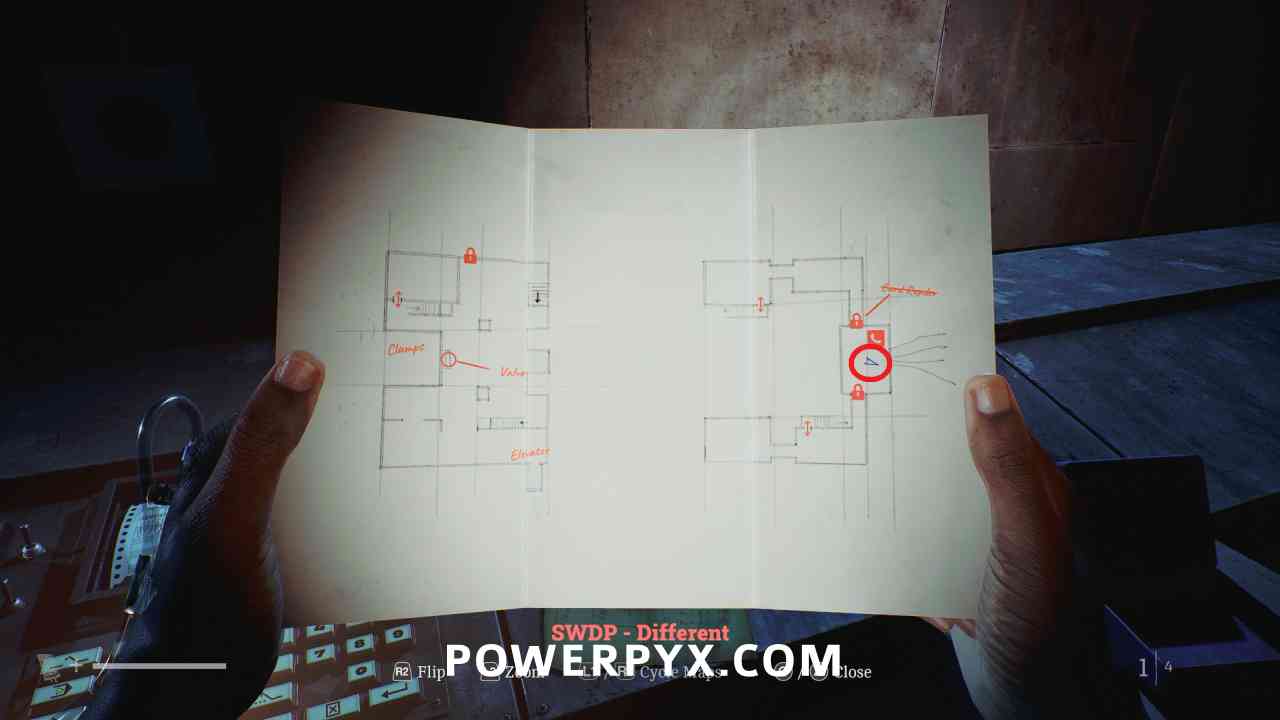
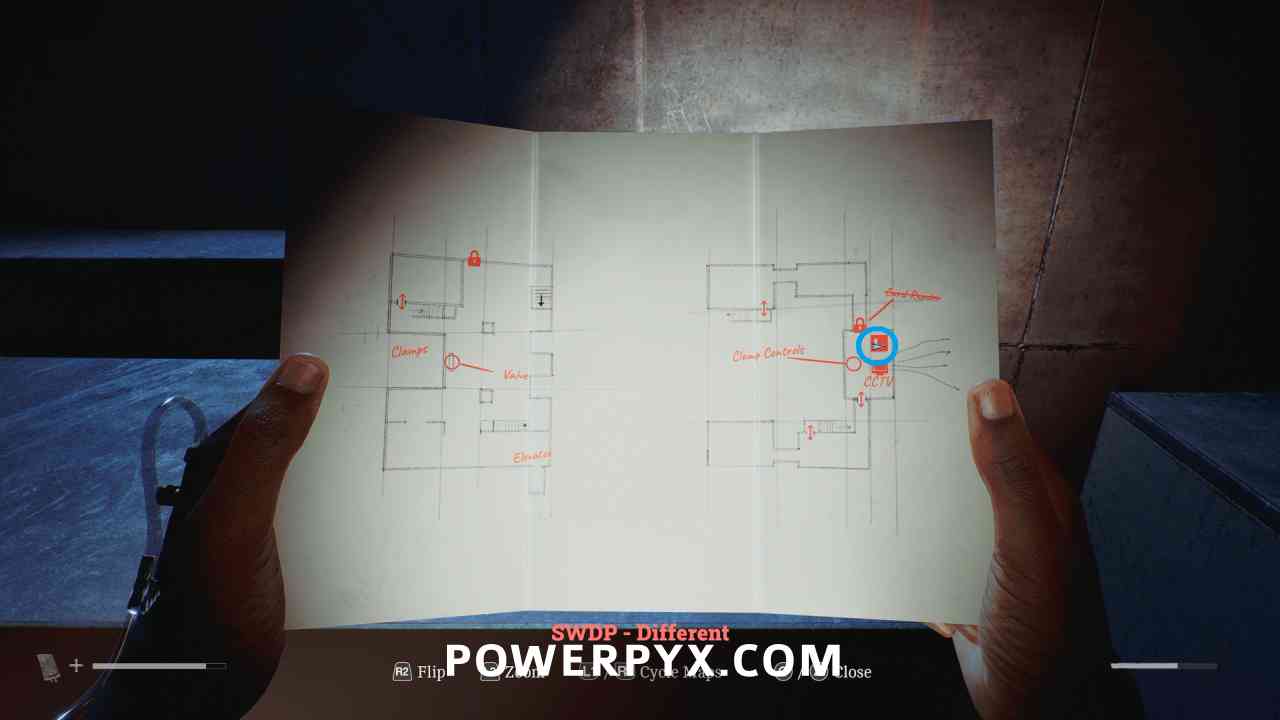
SWDP – Different
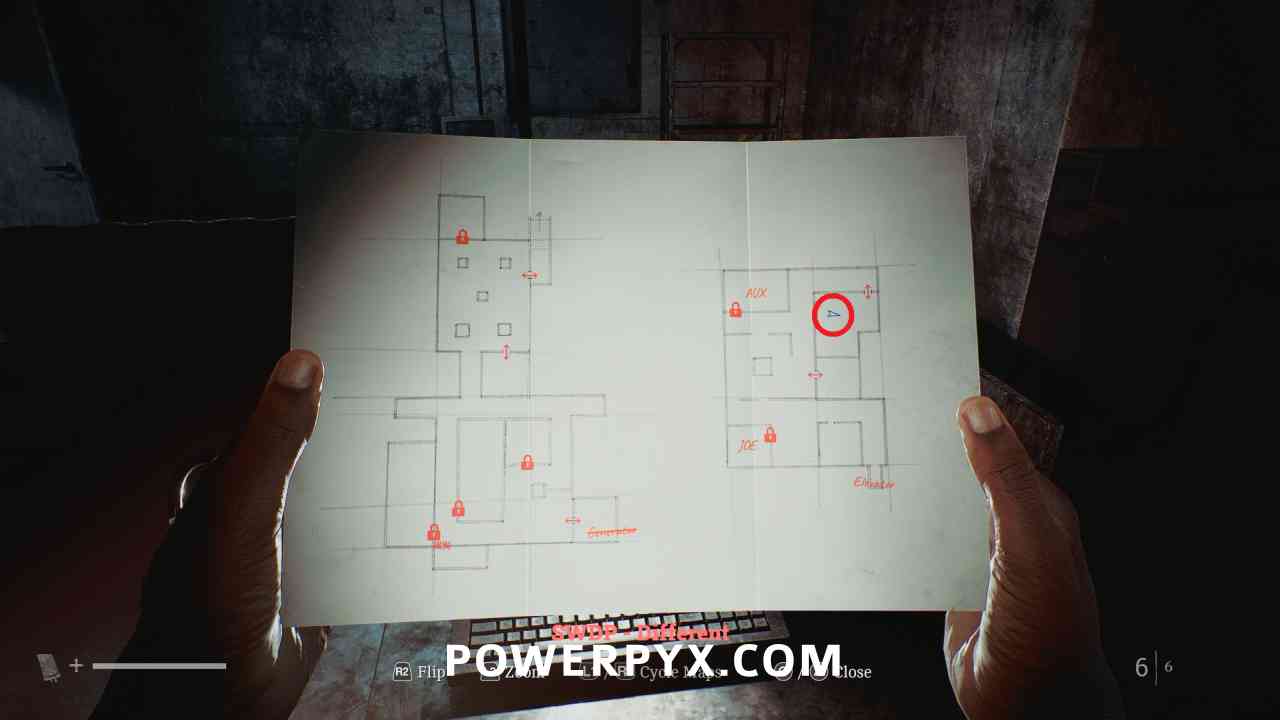
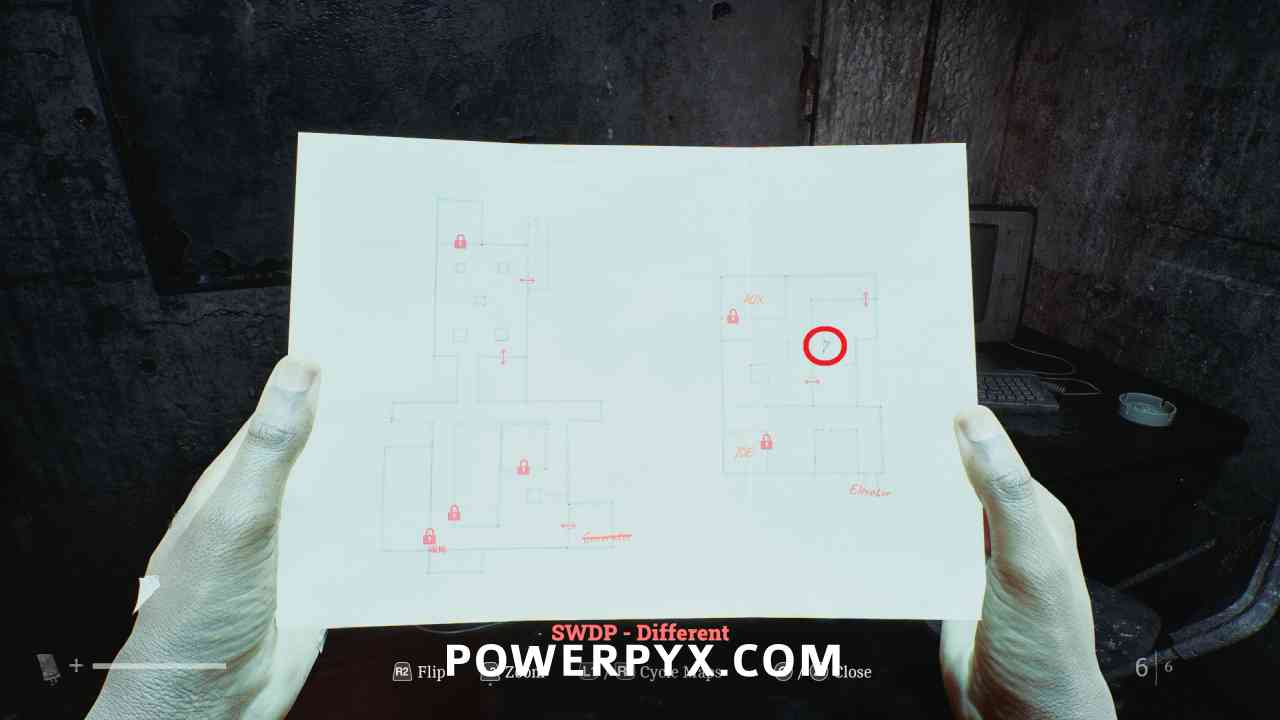
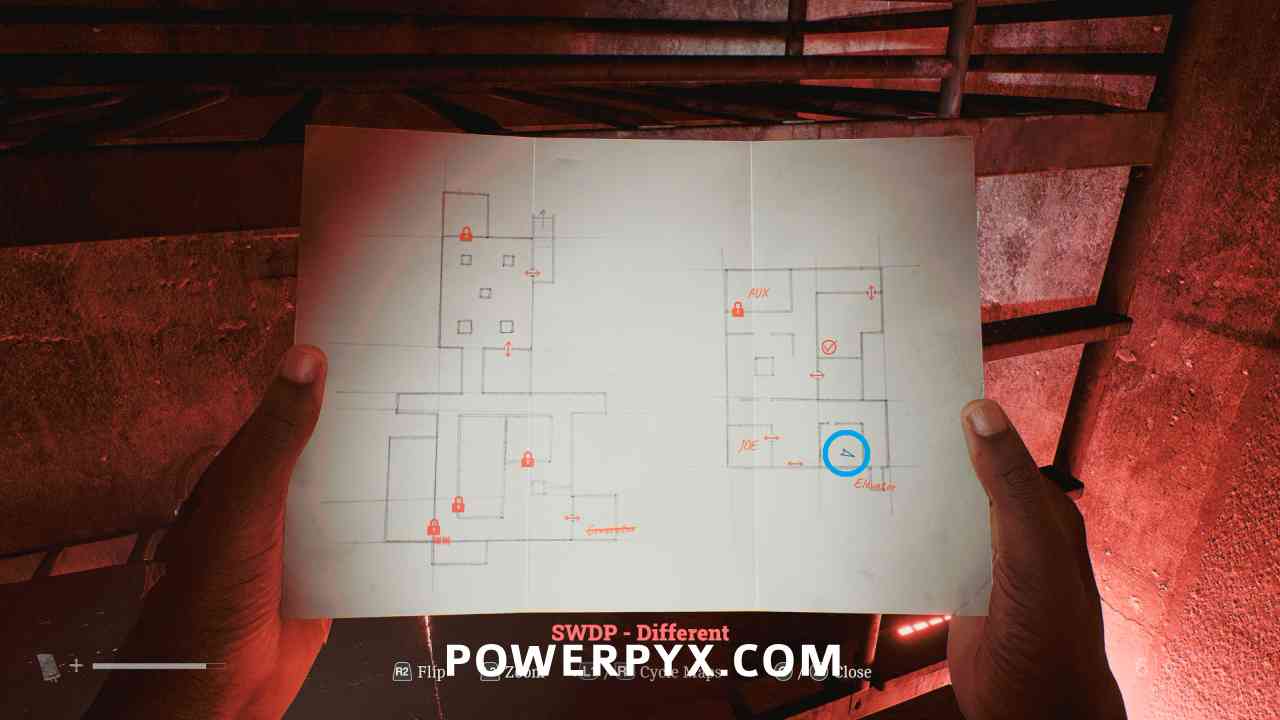
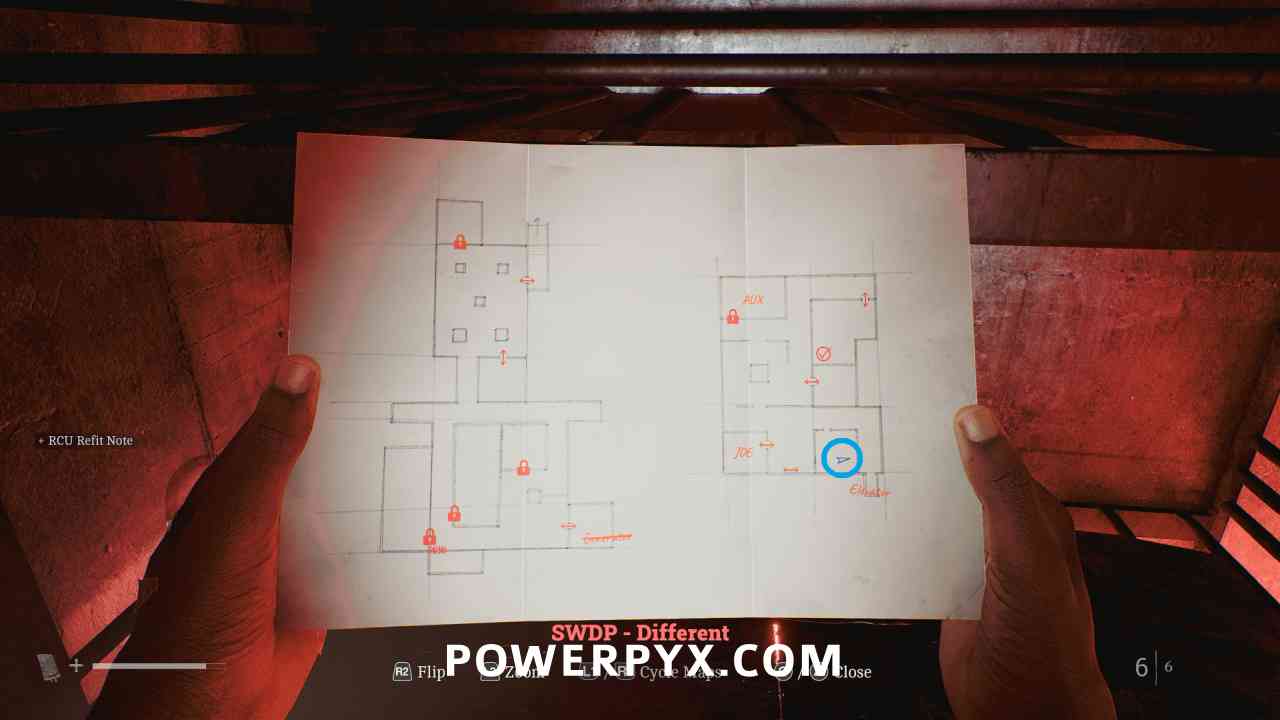
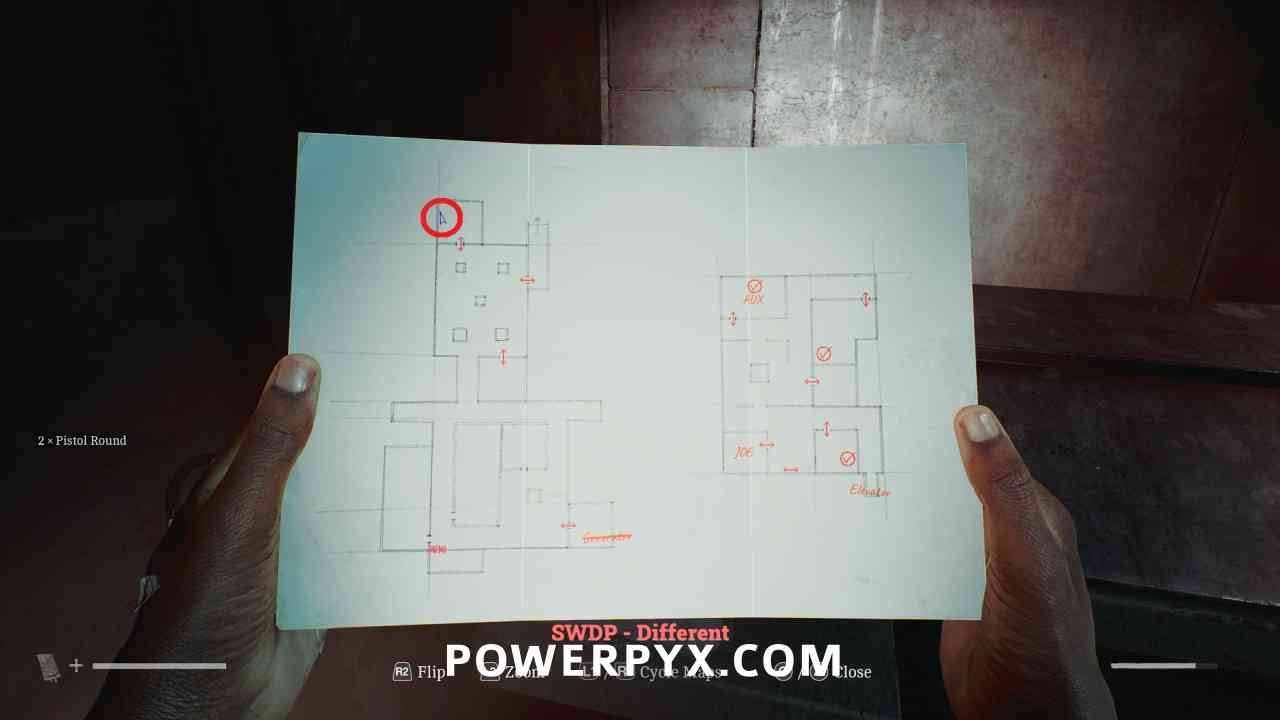
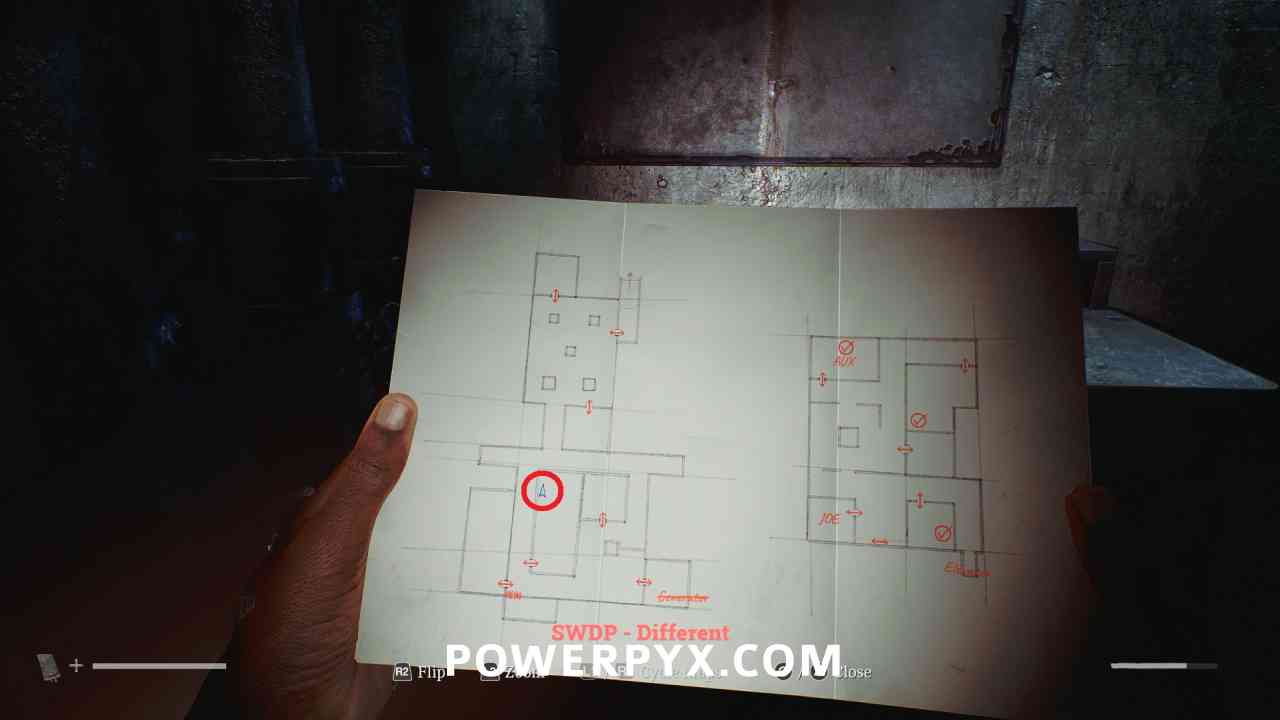
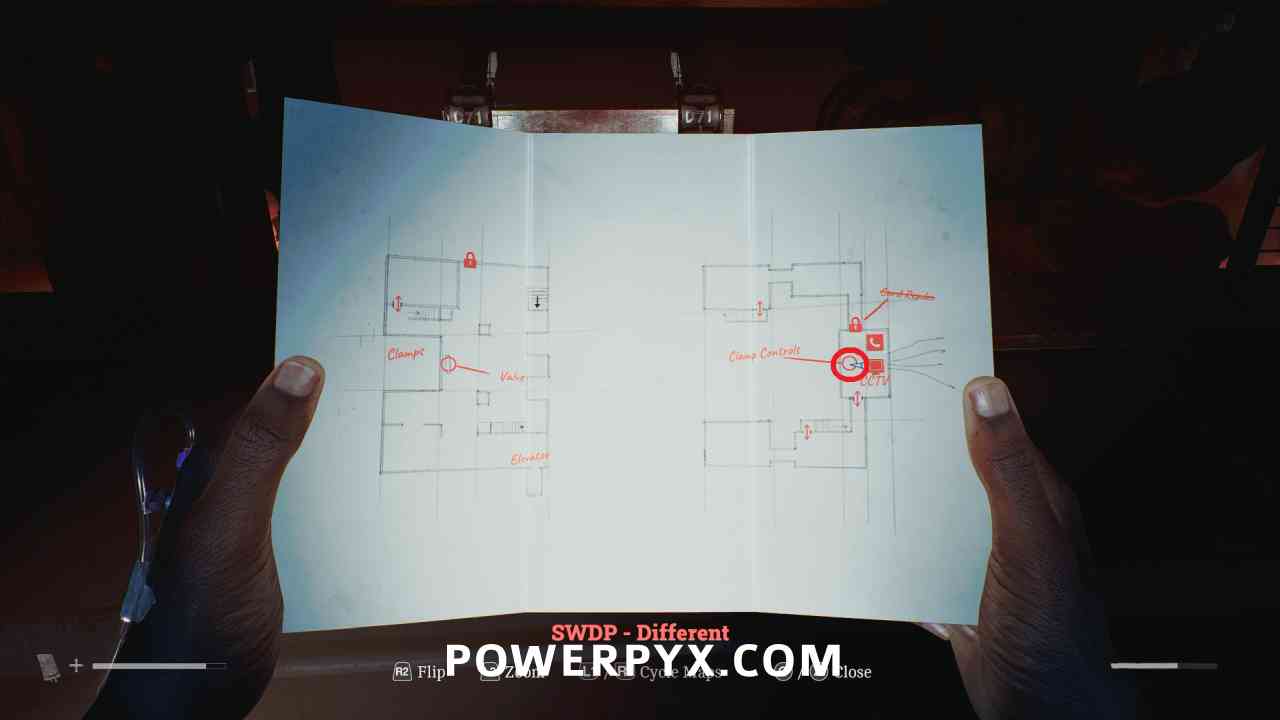
SWDP – Different Map
Area: SWDP – Different
Automatically obtained when you enter the SWDP – Different area.
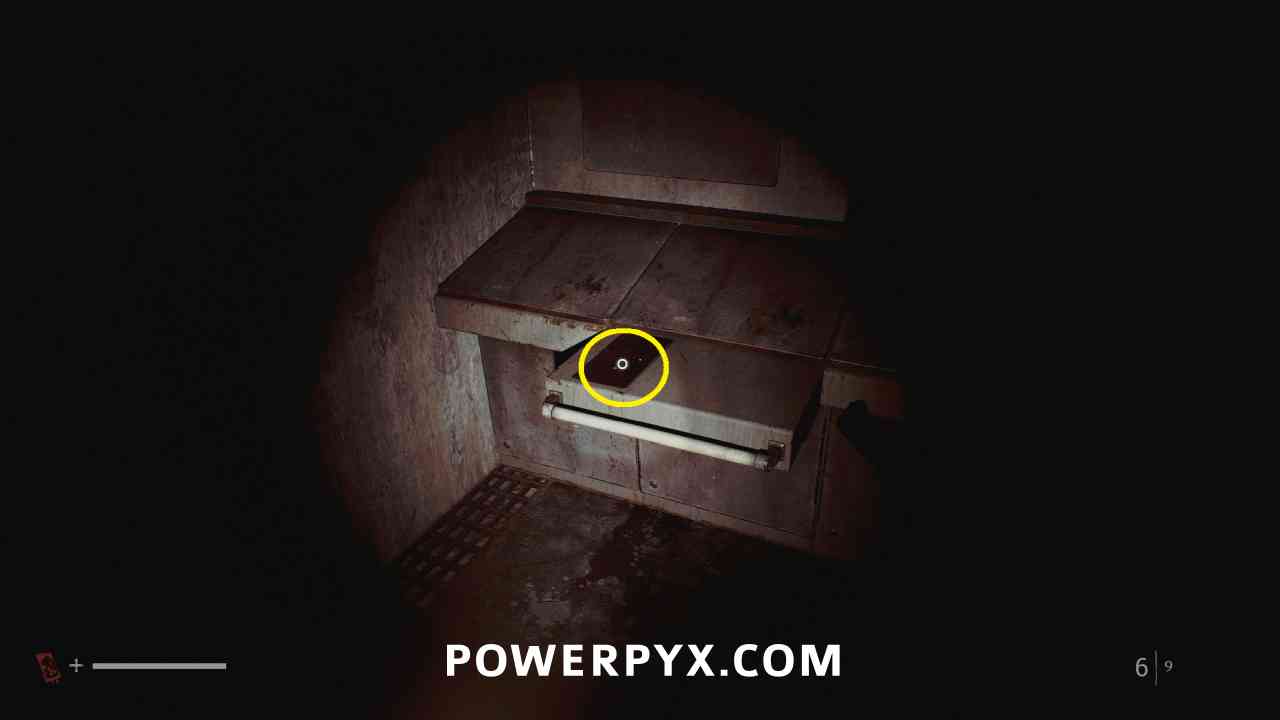
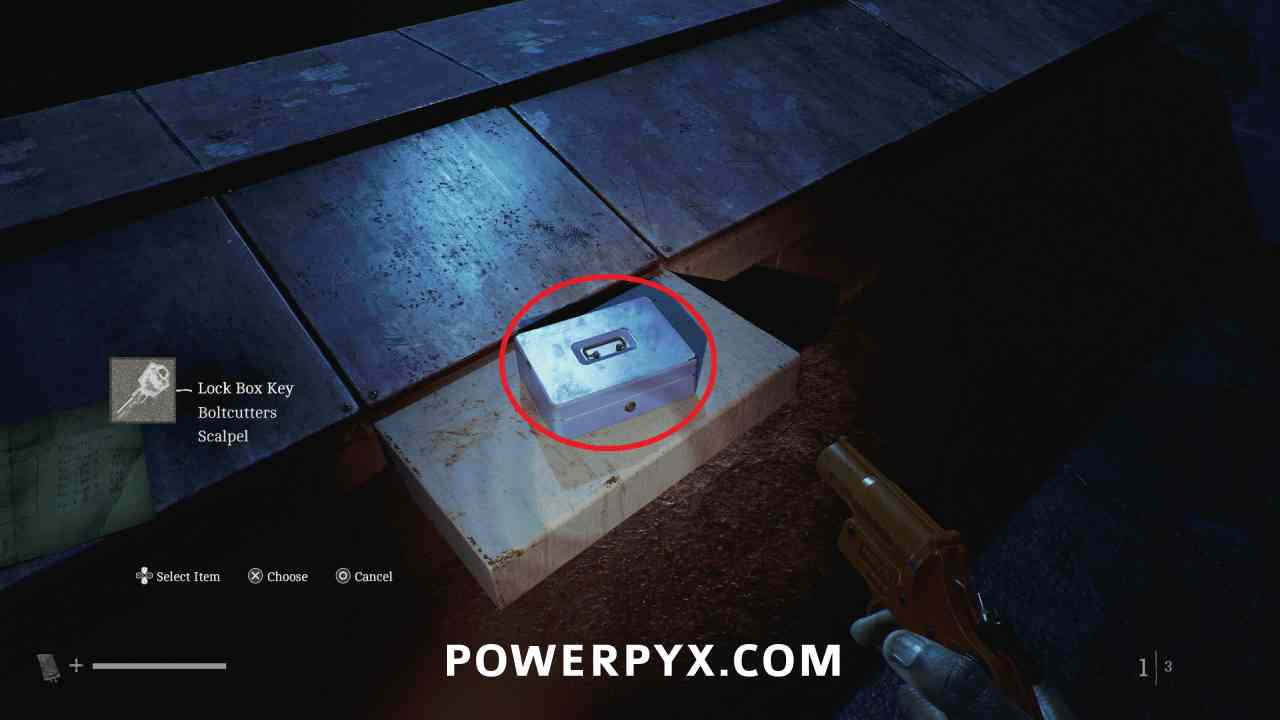
Key Item: Lockbox Key
Area: SWDP – Different
On the main floor go up the stairs to the south, then into the west room to find this on a counter.
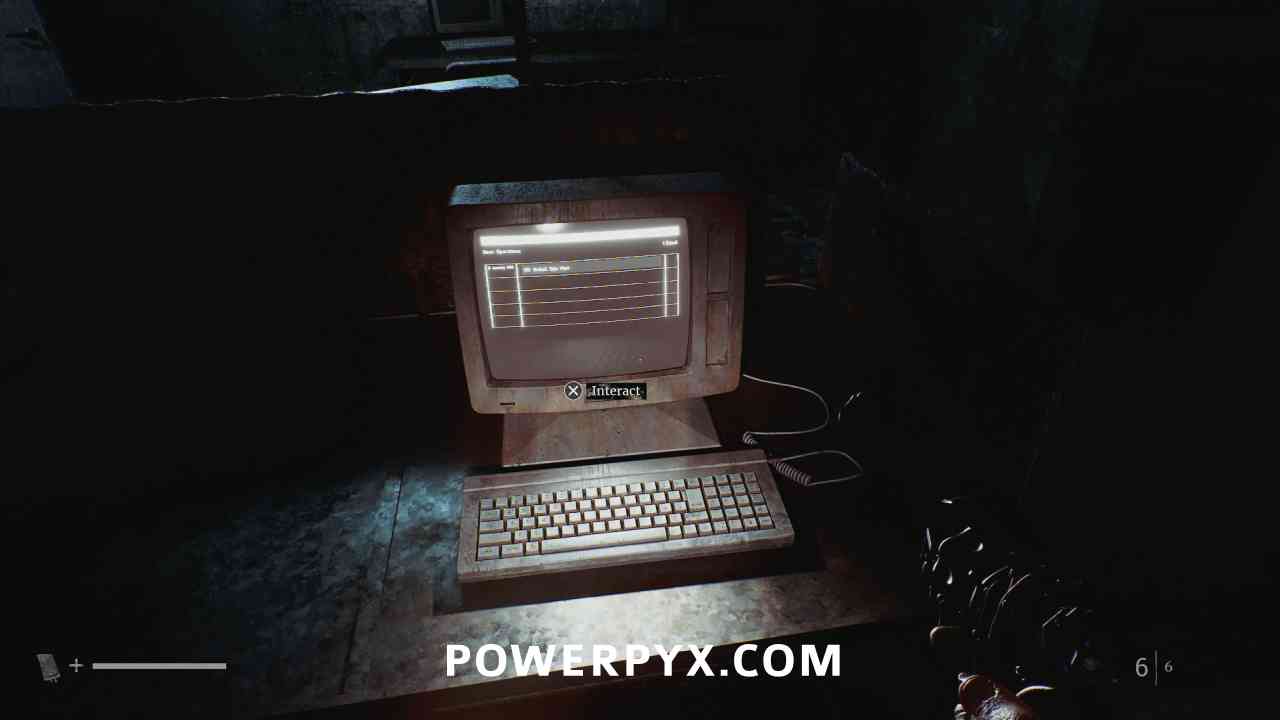
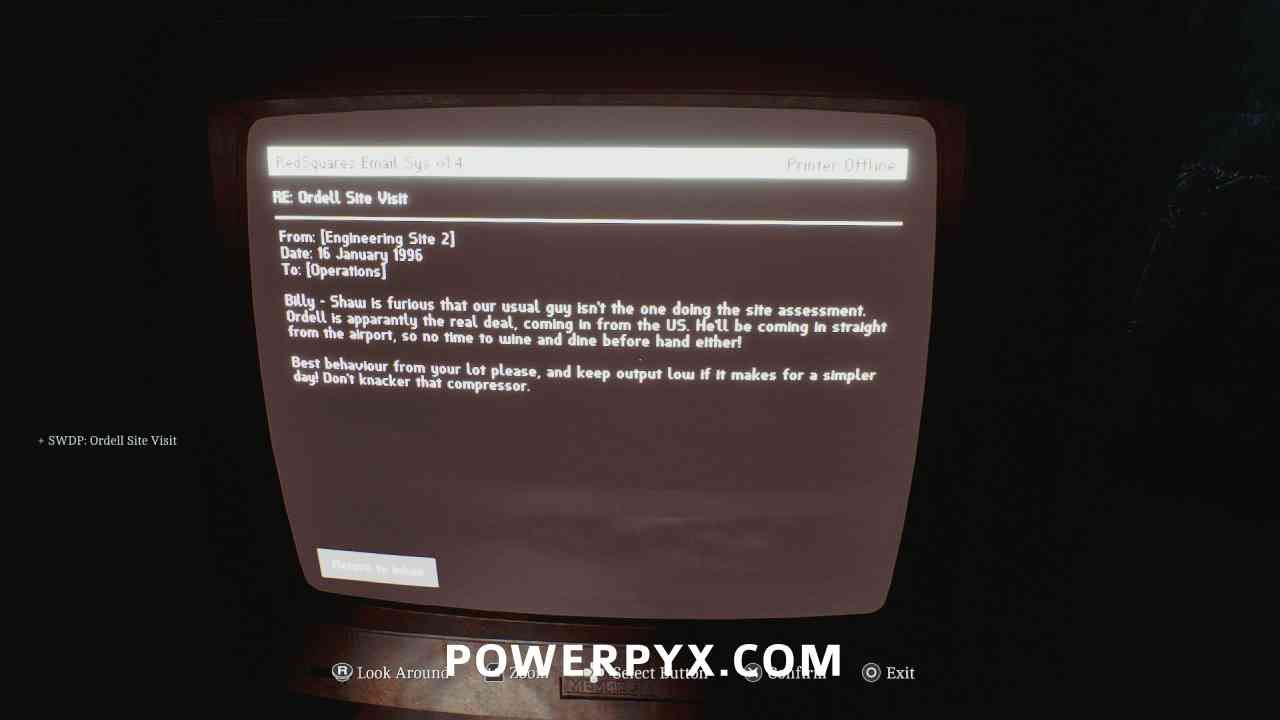
Document: SWDP: Ordell Site Visit
Area: SWDP – Different
In the northeast room in the area after the elevator, interact with the computer and read the single email.
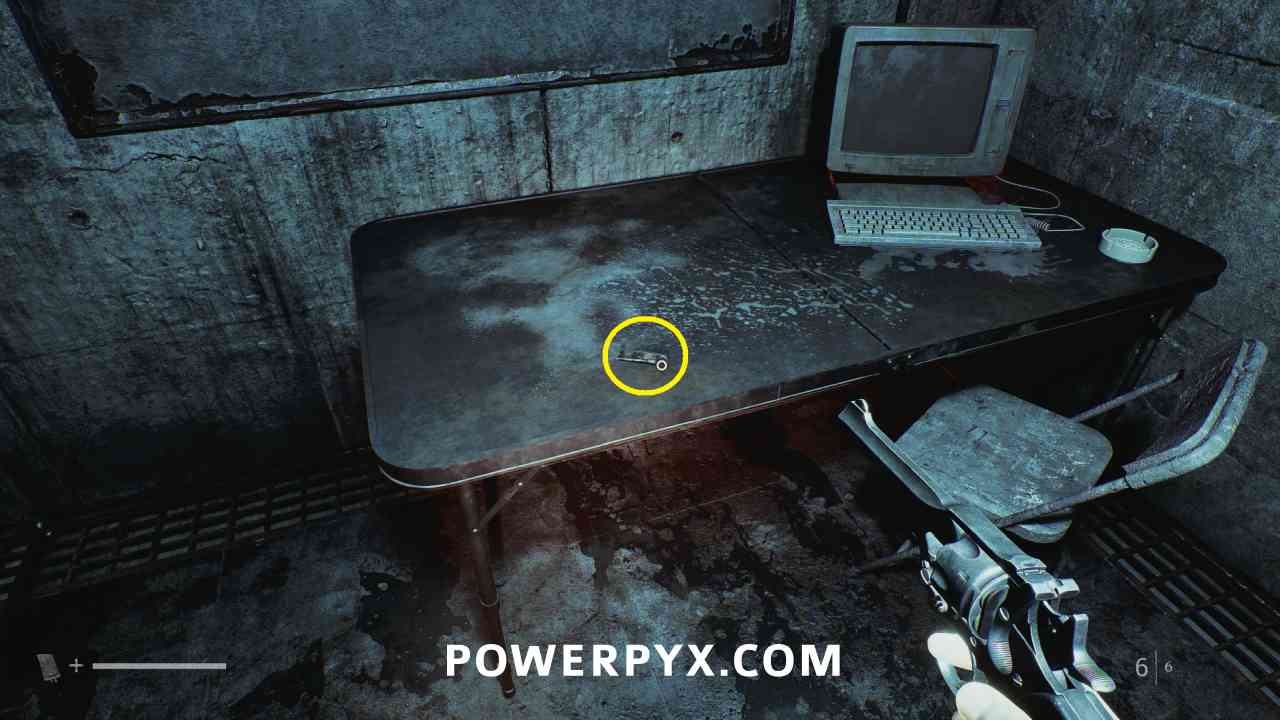
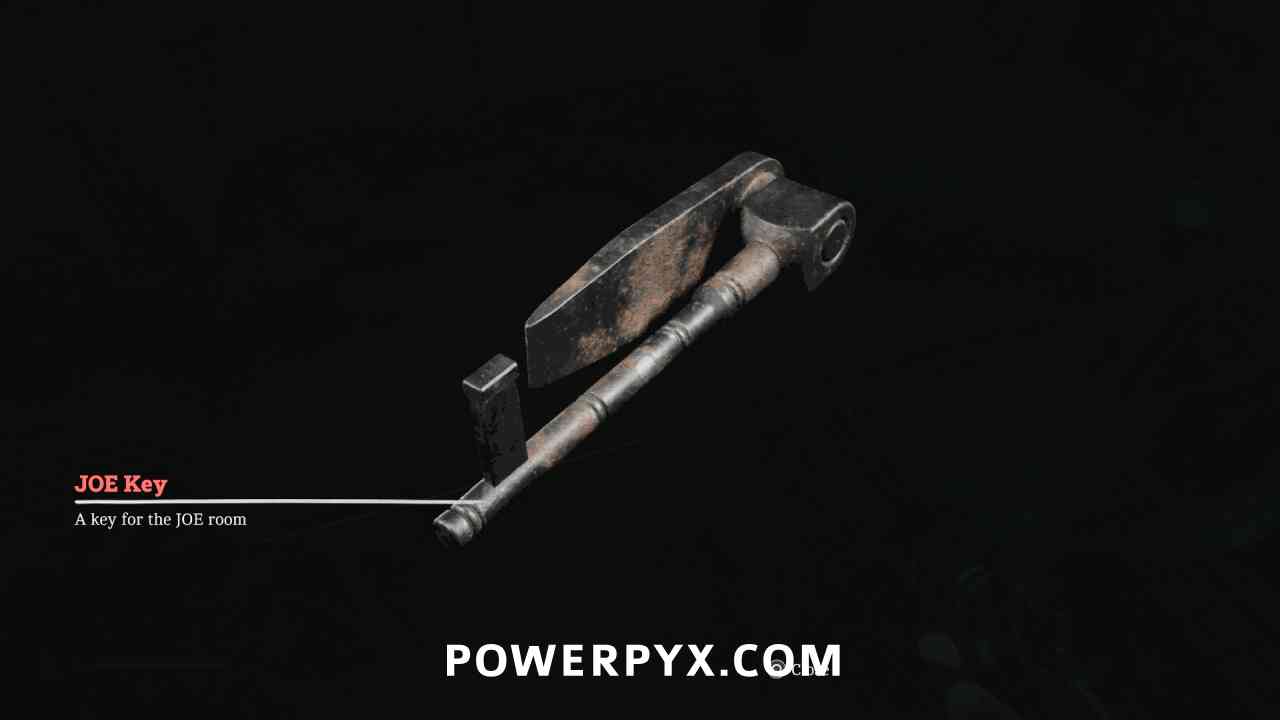
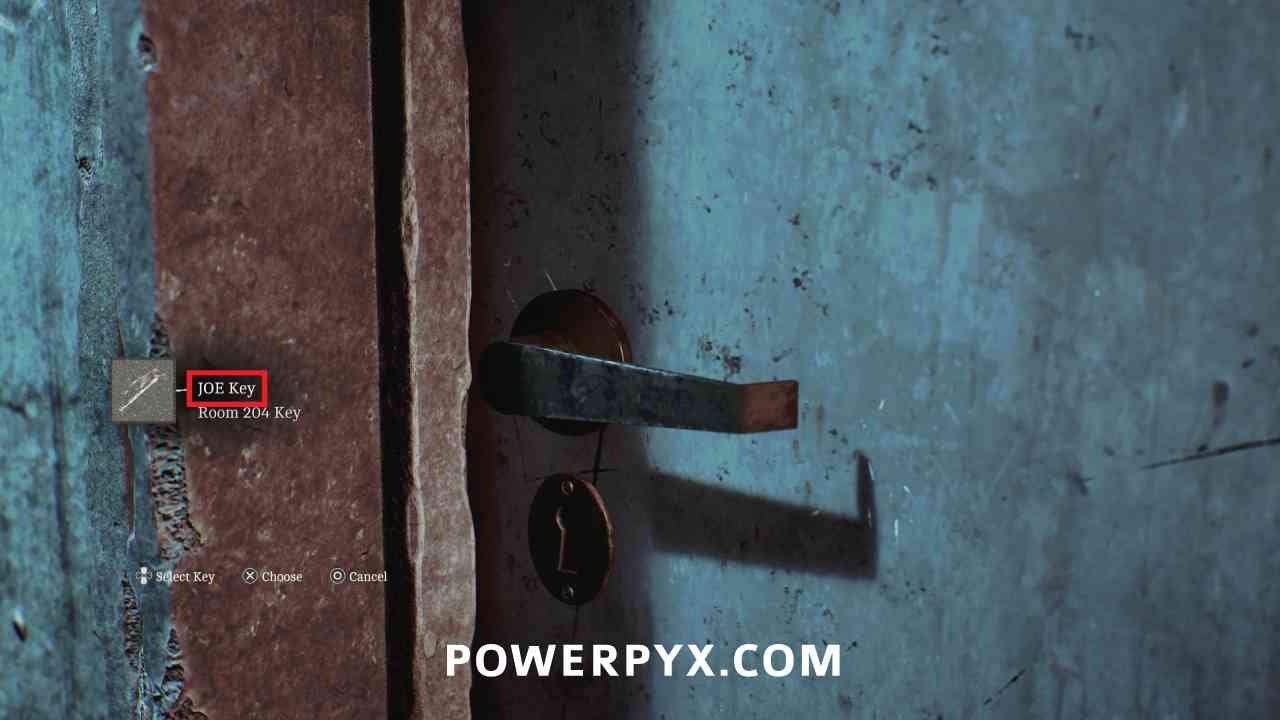
Key Item: JOE Key
Area: SWDP – Different
In the room with the computer, on a table in the corner.
Locked Door – JOE Door
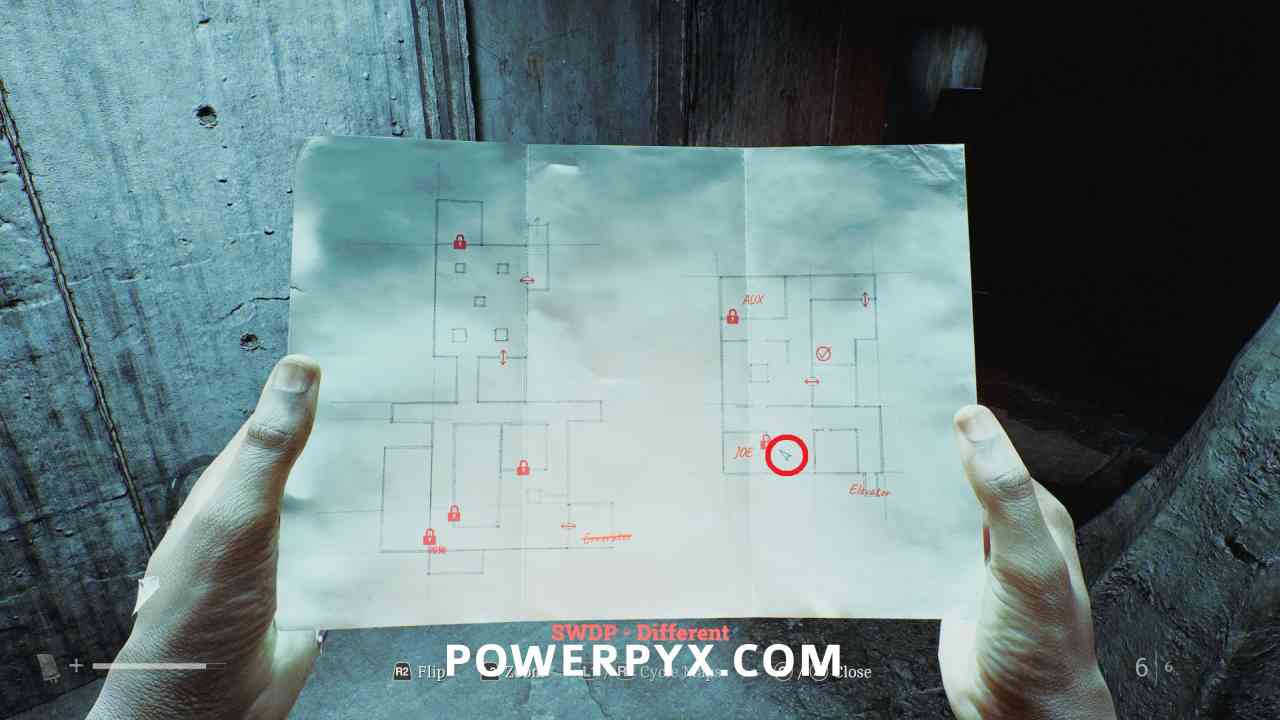
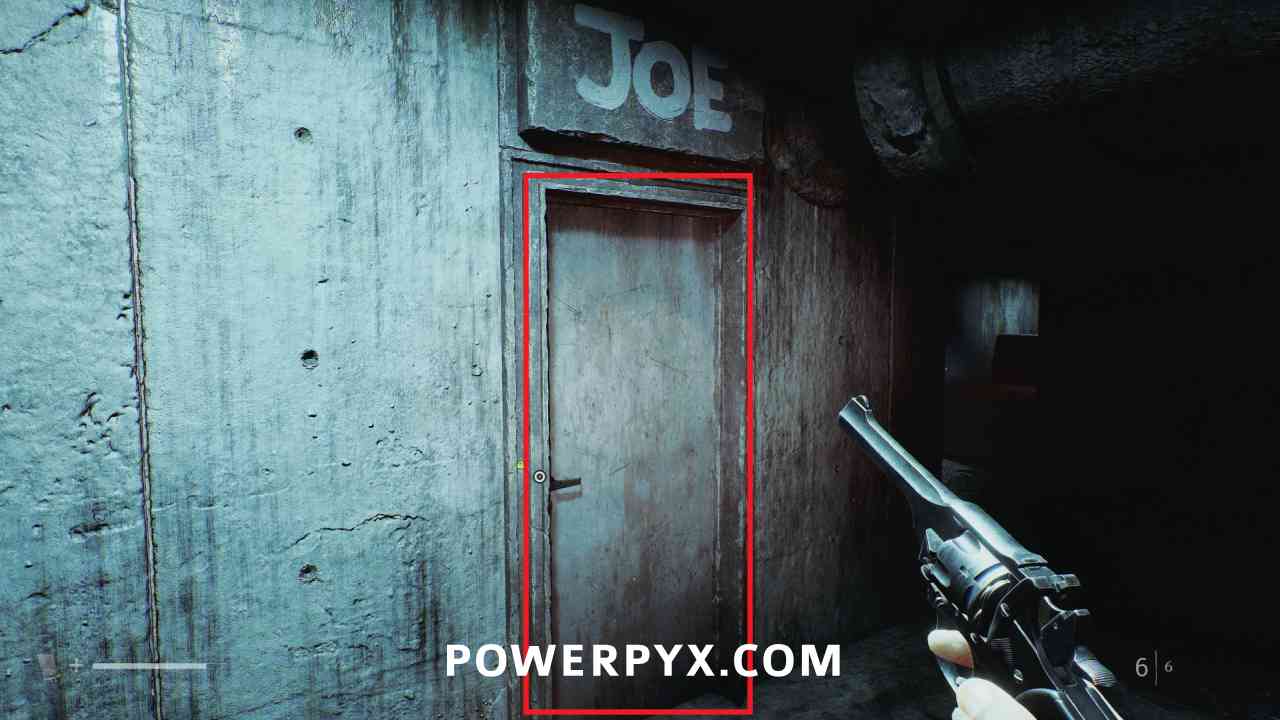
Area: SWDP – Different
Go to the room in the southwest corner with JOE above the door, and use the JOE Key.
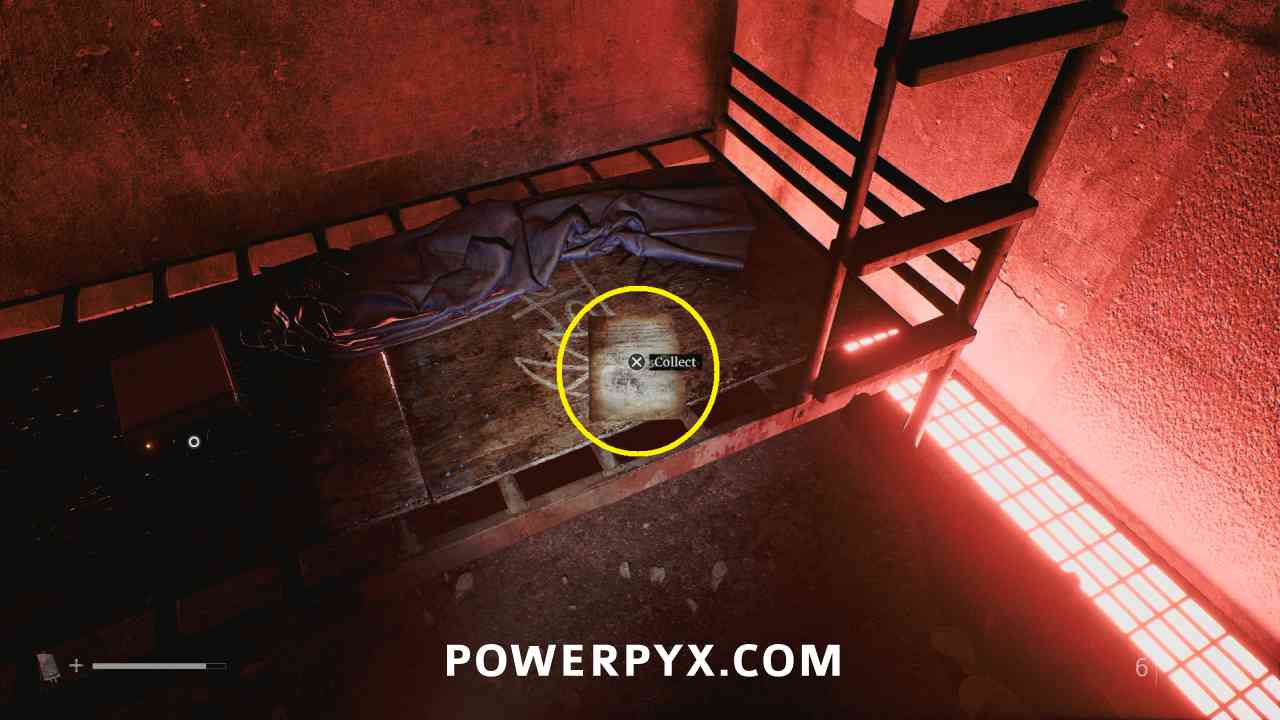
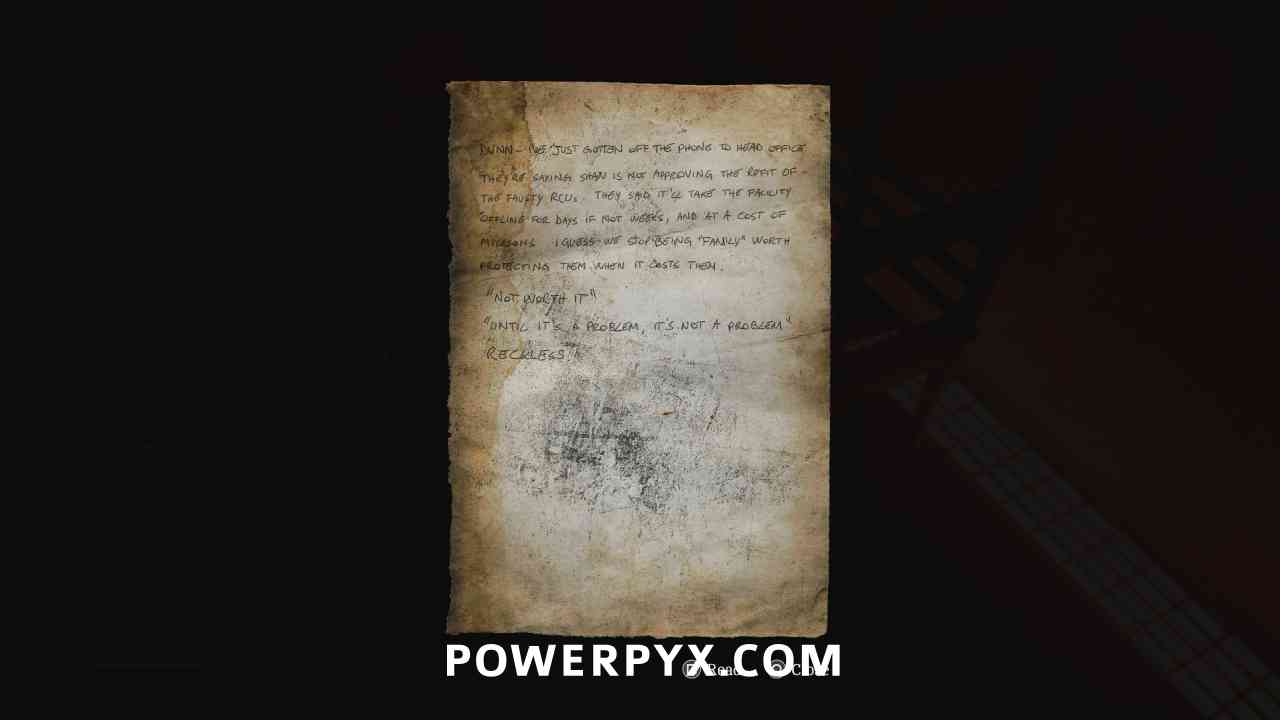
Document: RCU Refit Note
Area: SWDP – Different
After squeezing through the gap in the wall, on the bed.
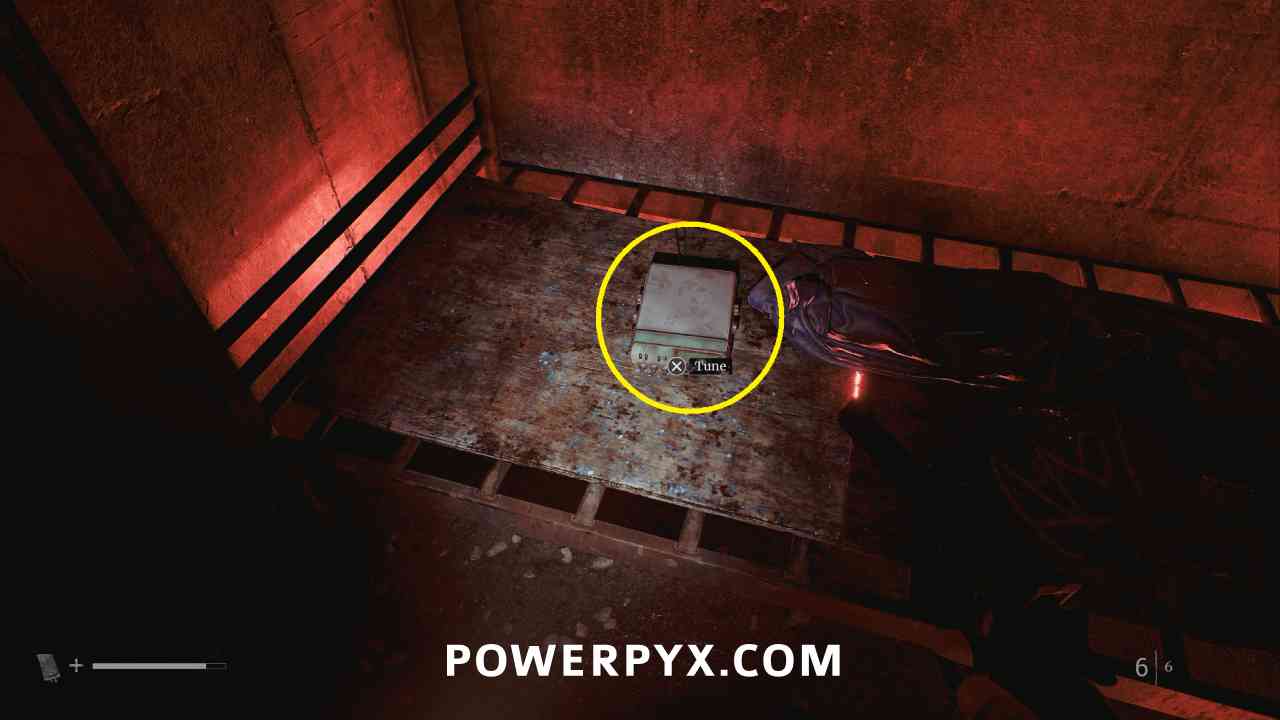
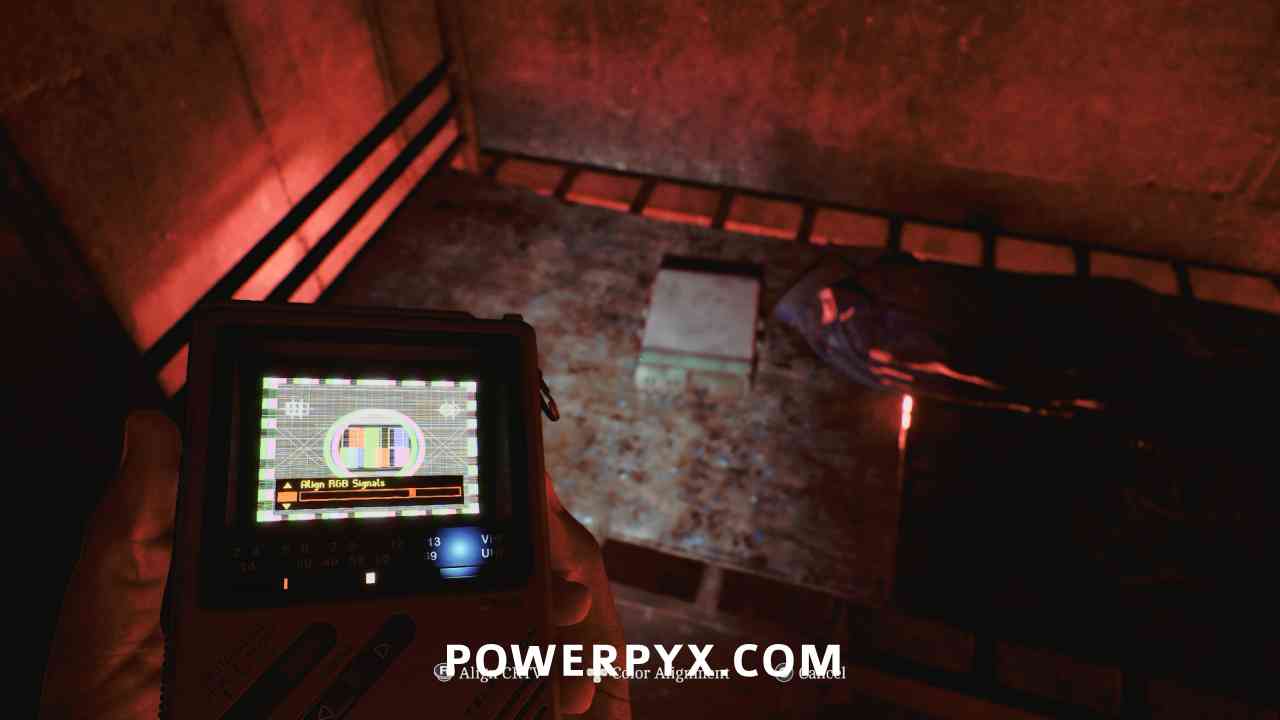
CRTV Channel – 55~
Area: SWDP – Different
After squeezing through the gap in the wall, on the bed. Interact with the radio left of where the document was. Align the CRTV tilt so that the colors stop moving using the right stick, then adjust colours so they fit in all boxes using the DPAD.
Sweeping Signals
Tune into all signals on the CRTV.
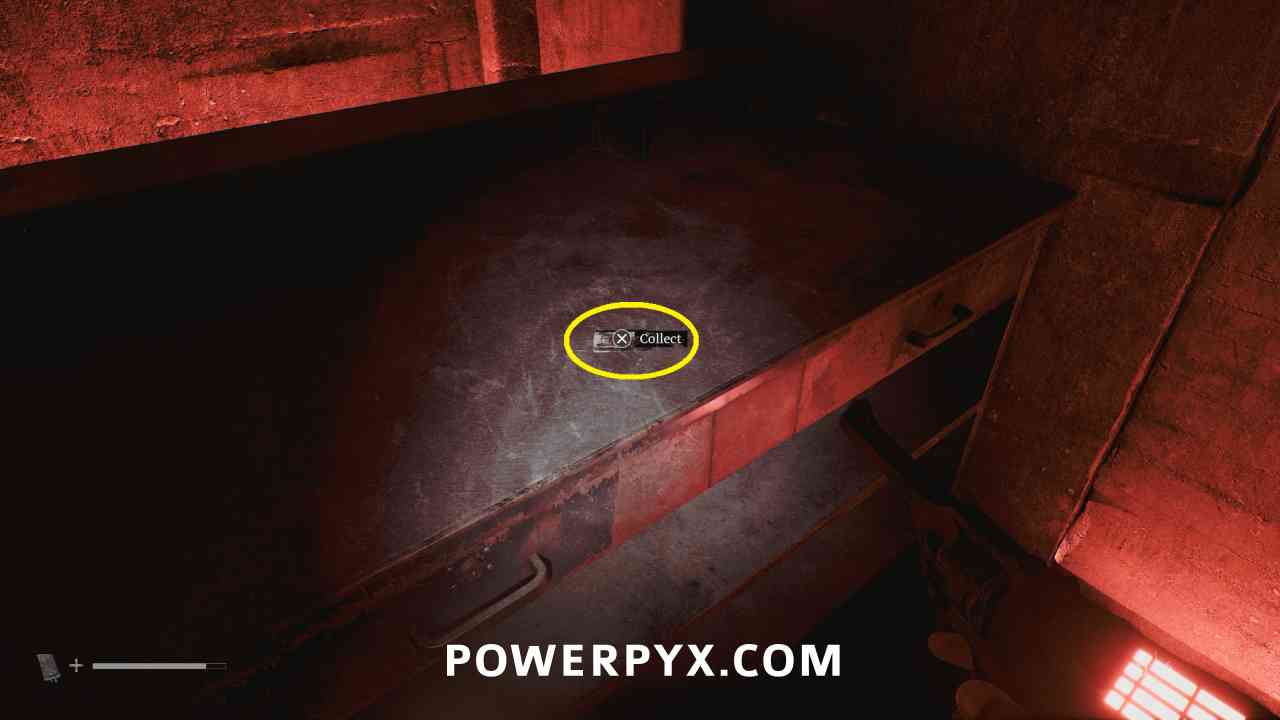
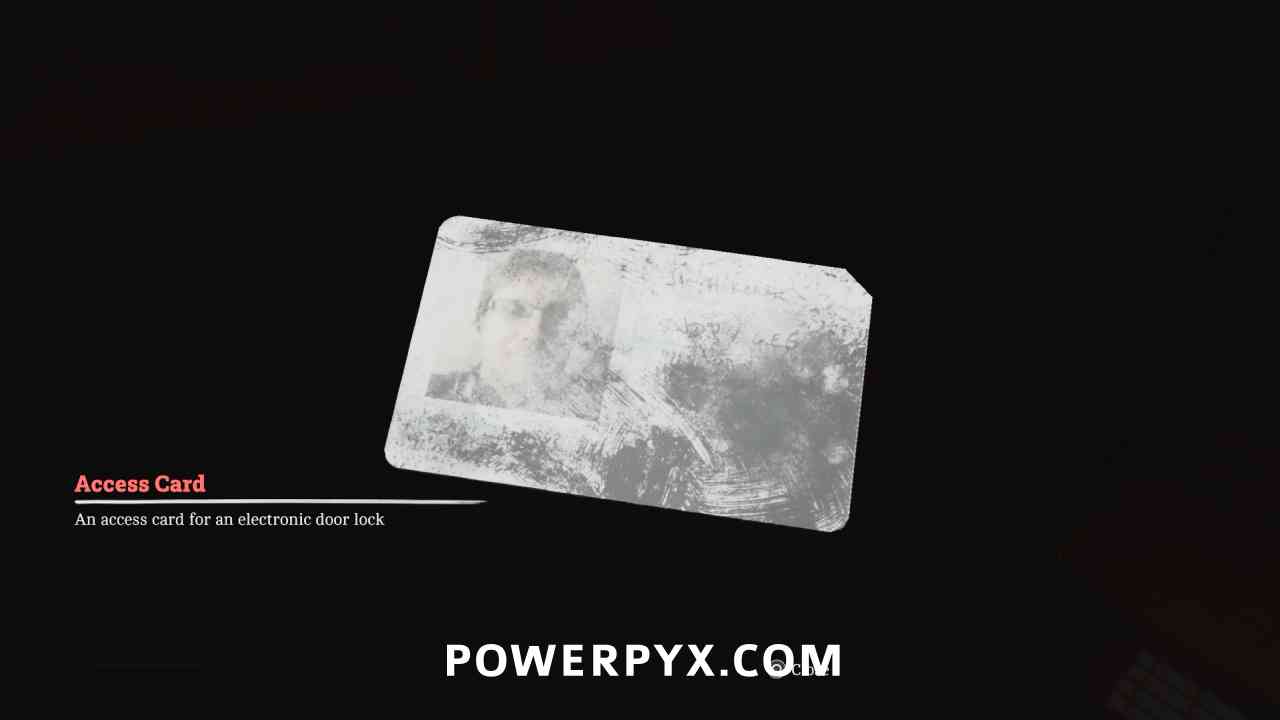
Key Item: Access Card
Area: SWDP – Different
After squeezing through the gap in the wall, on the counter beside the bed.
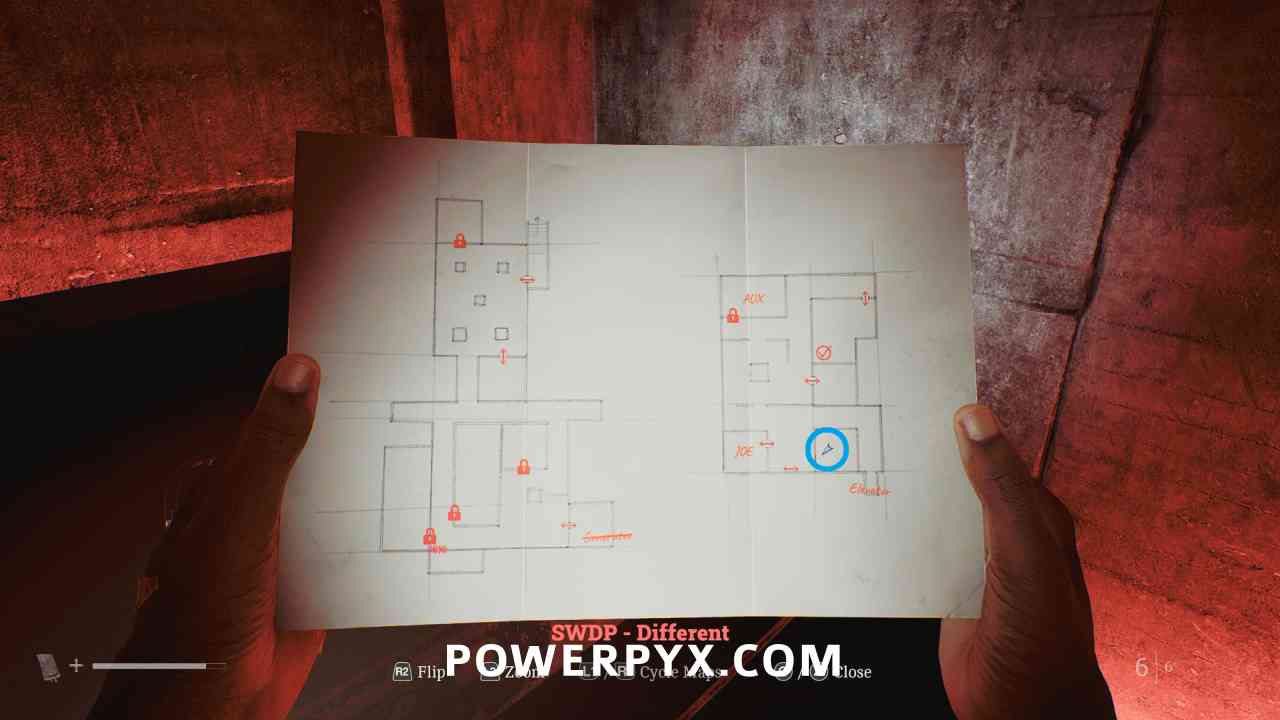
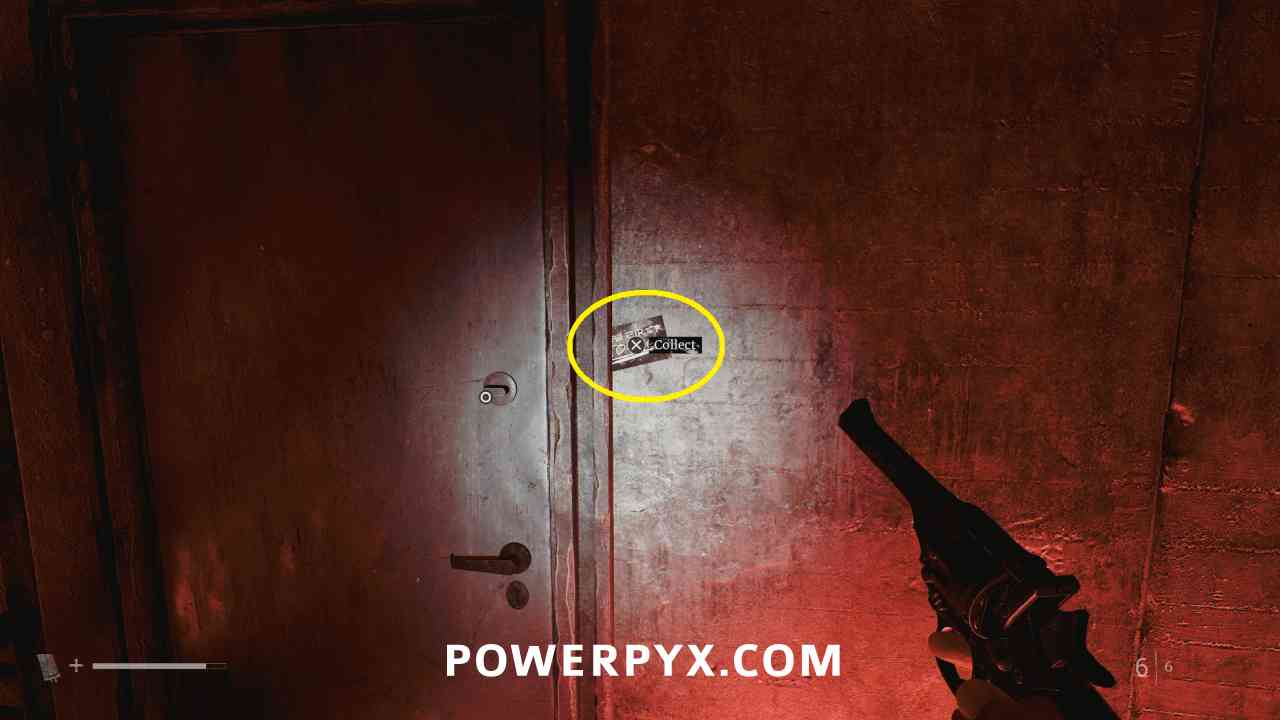
Document: Photo of Joe McKenzie
Area: SWDP – Different
After squeezing through the gap in the wall, in the door frame of the door.

Locked Door – Control Room
Area: SWDP – Different
Go back up to the main area and up to the upper floor where you can use the Access Card to open the door on the east side of the area.
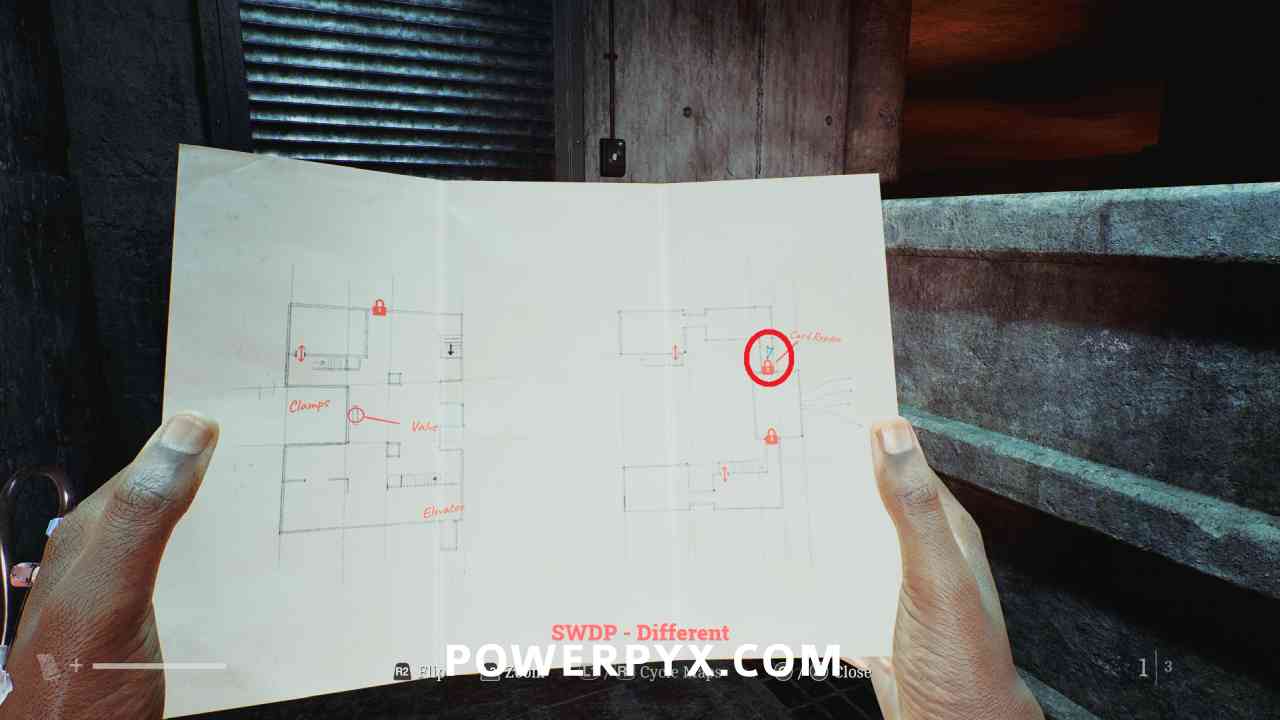
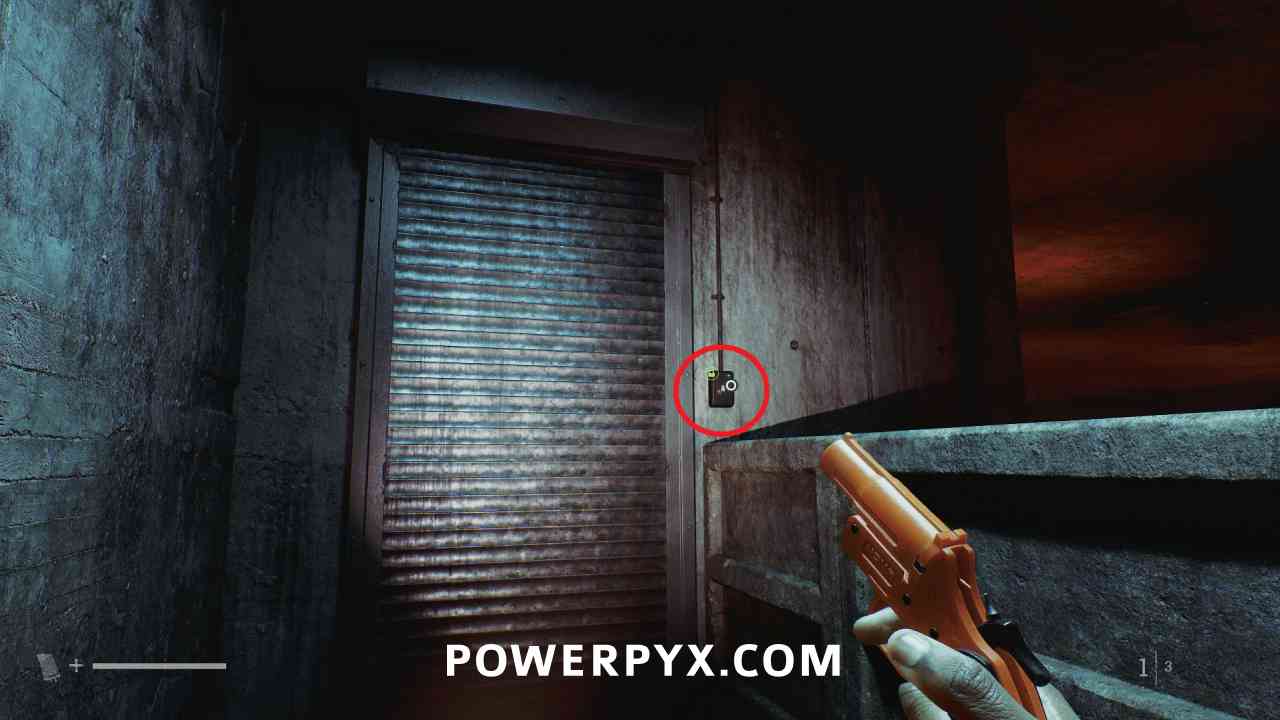
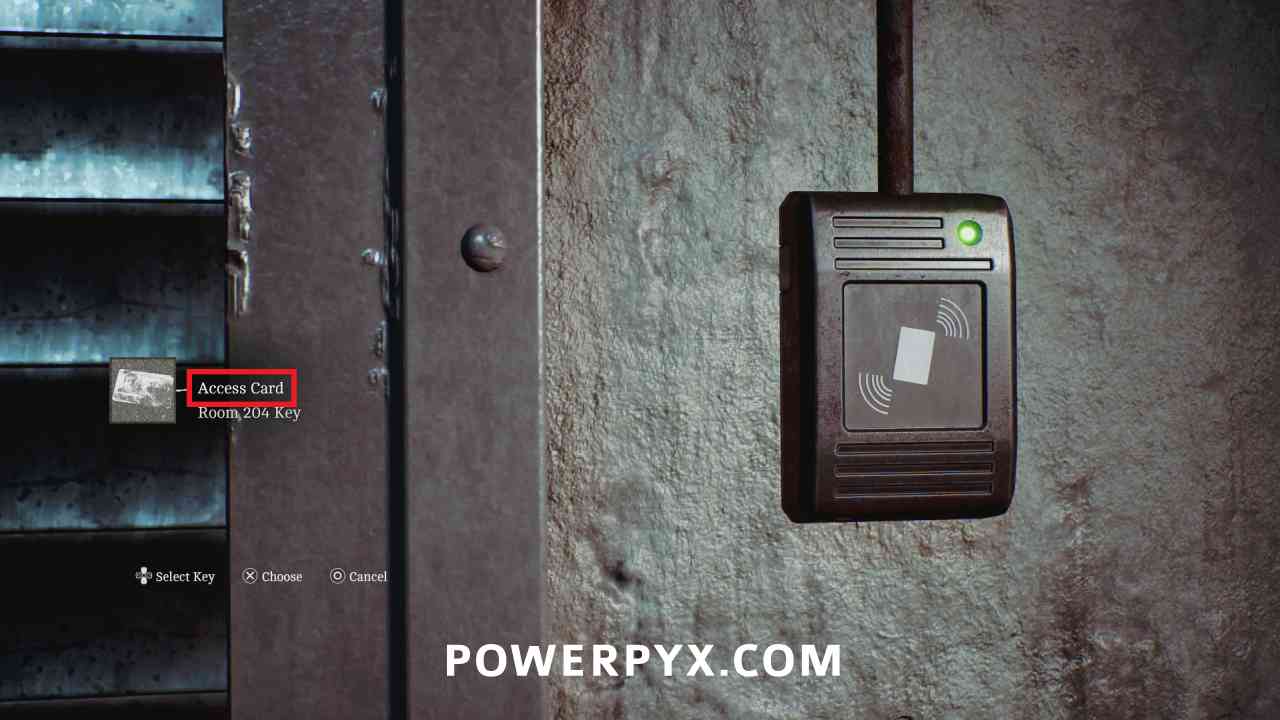
Resource Container
Area: SWDP – Different
In the control room, to the right of the panel. Interact and use the Lockbox Key.
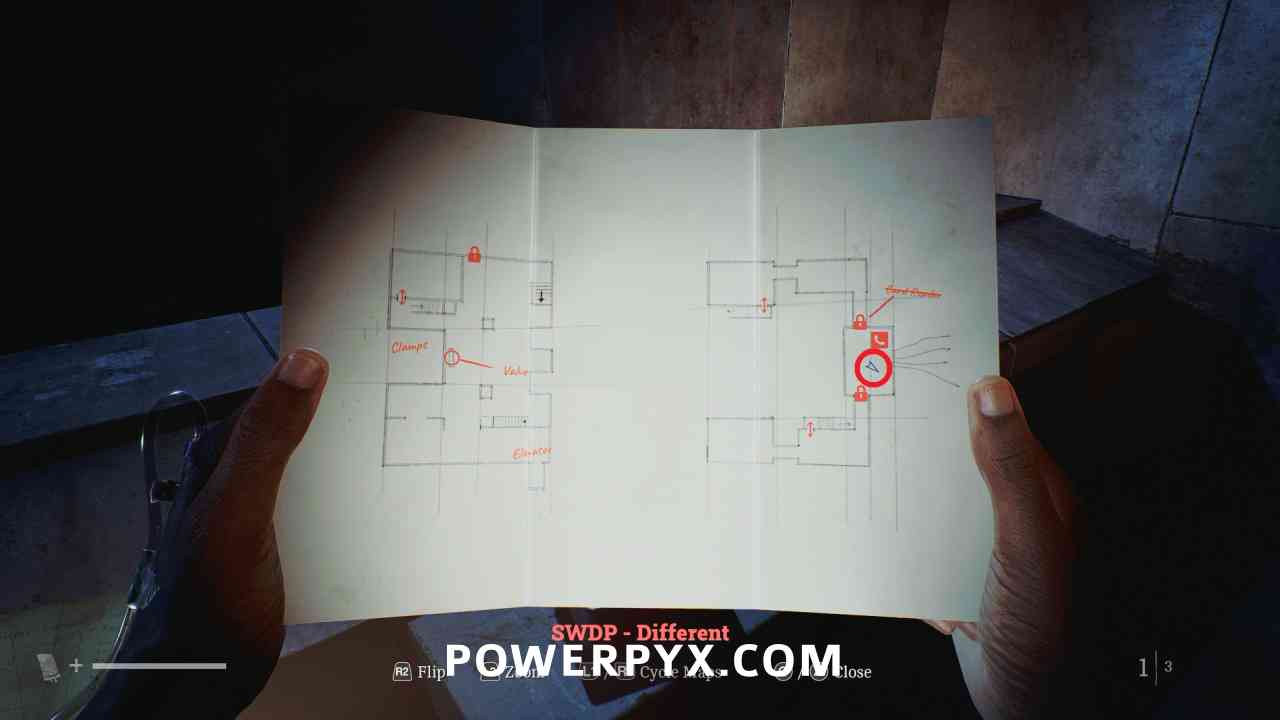
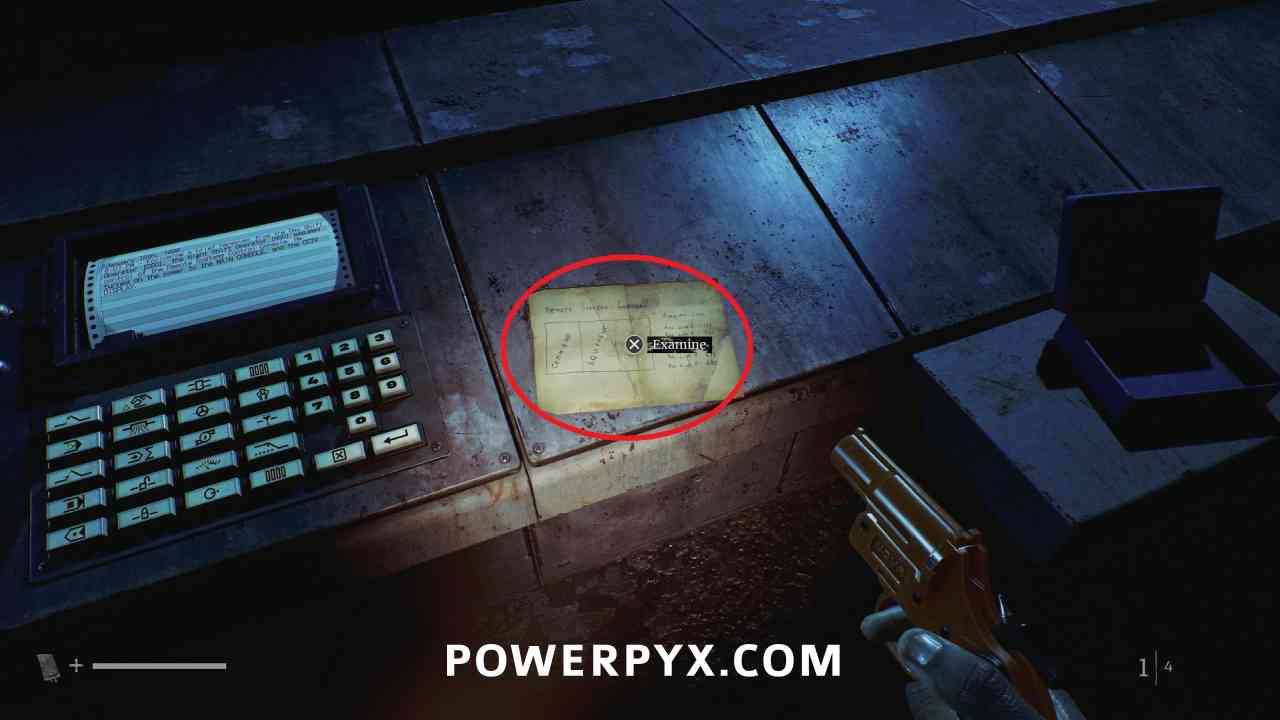
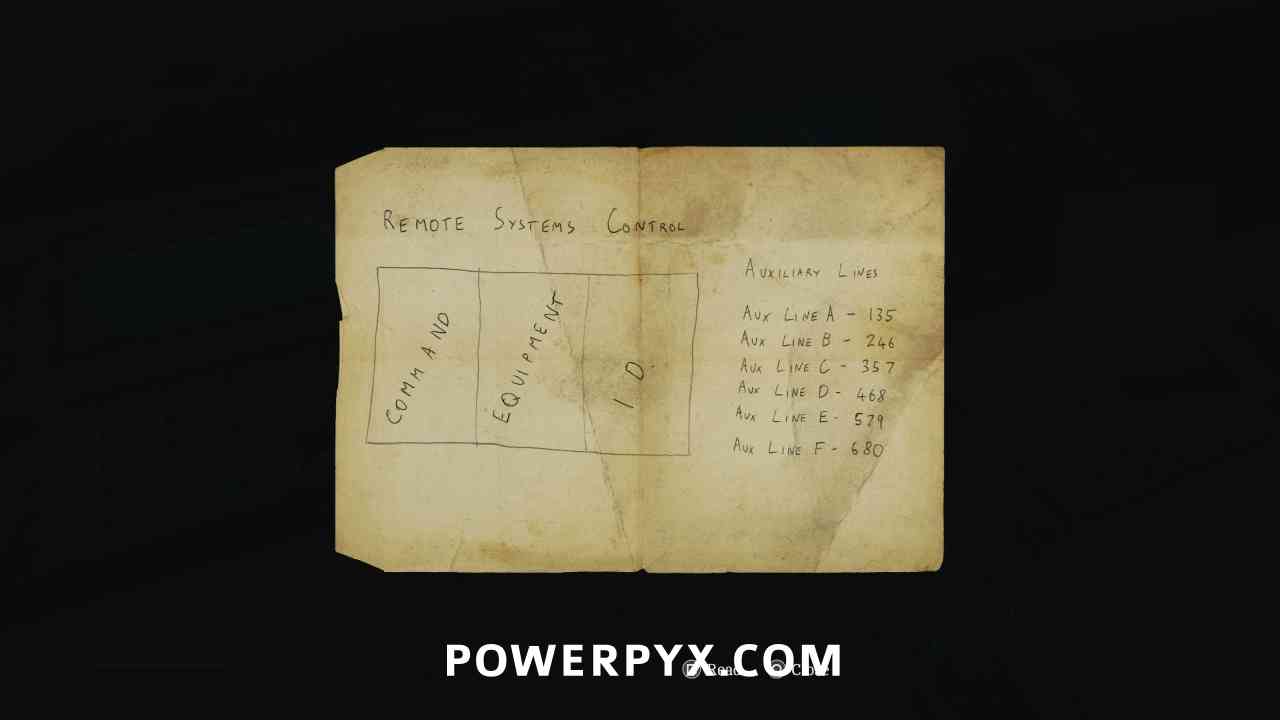
Clue: Remote Systems Control
Area: SWDP – Different
In the control room, to the right of the panel.
Puzzle #31
Area: SWDP – Different
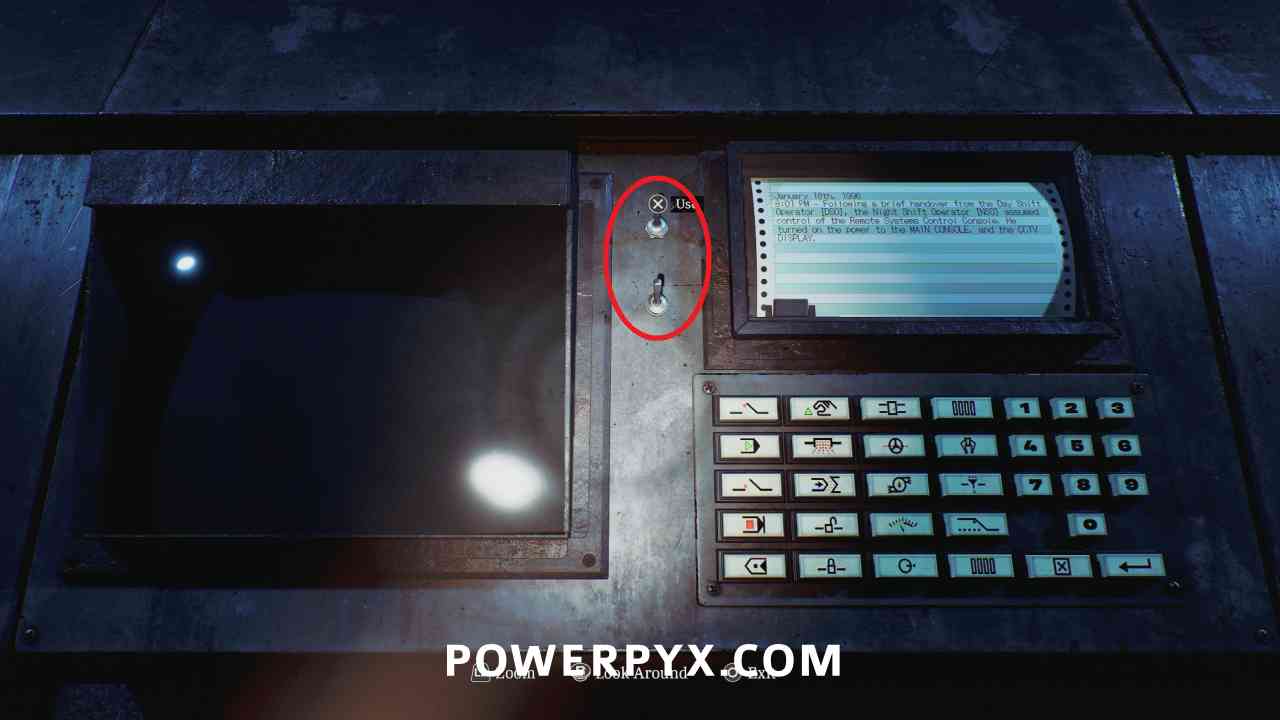
First, interact with the panel with the printer above it, and use the two switches to turn it on.
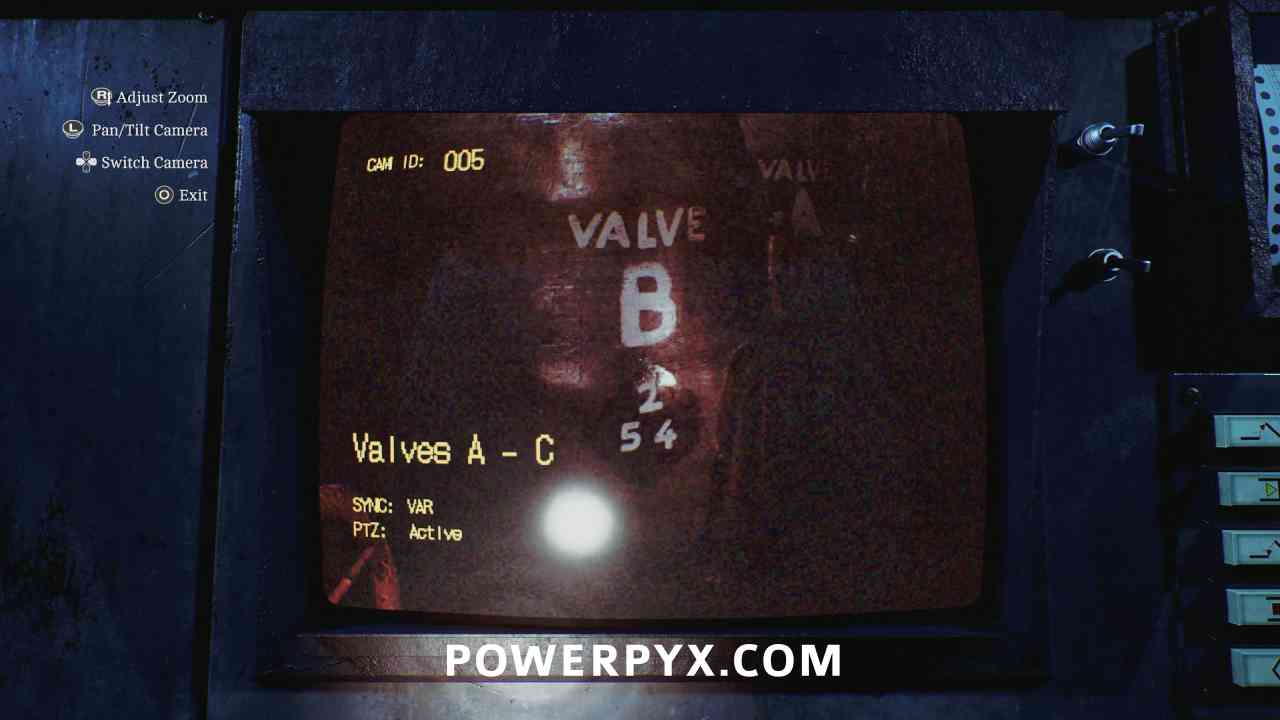
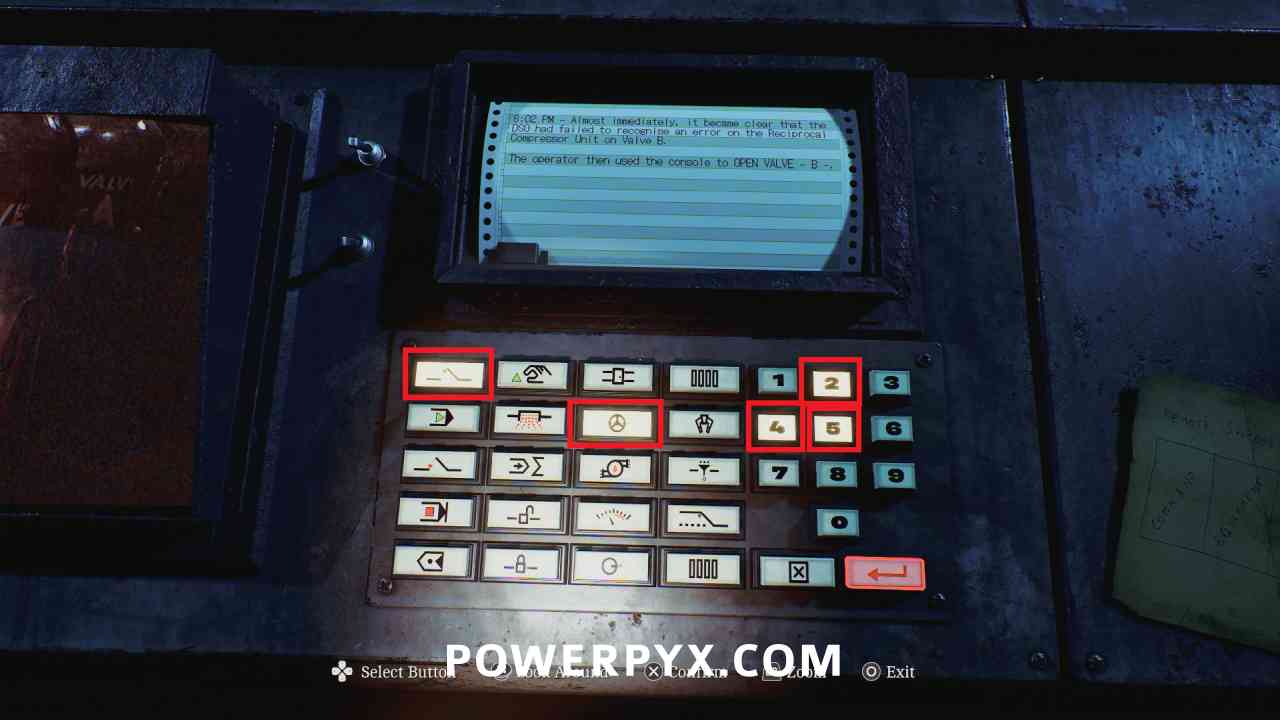
Next, interact with the buttons and select the open switch (top left corner), the valve switch (circle with a red line through it) and the numbers 245 (the numbers visible on VALVE B when using the camera) and then ENTER button on the bottom right.
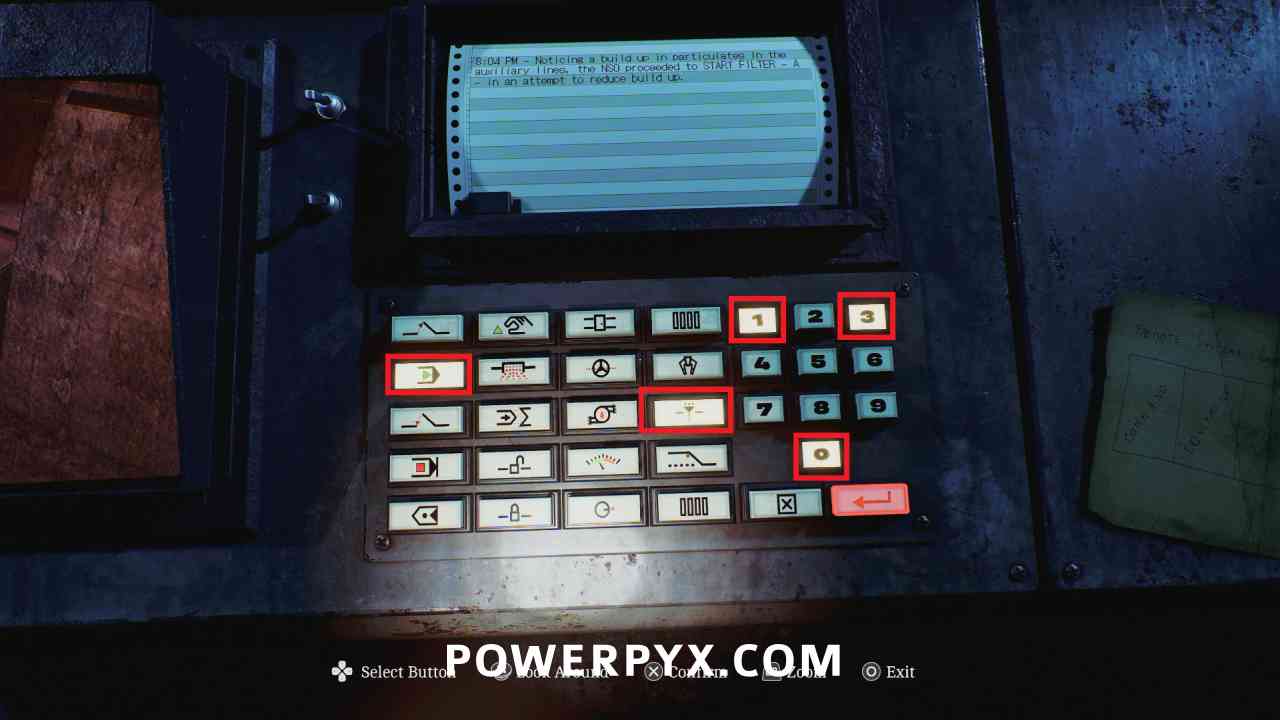
Then select the start switch (green arrow first column) the filter switch (middle button right column) and the numbers 130 (visible in the filter unit camera).
Key Item: AUX Key
Area: SWDP – Different
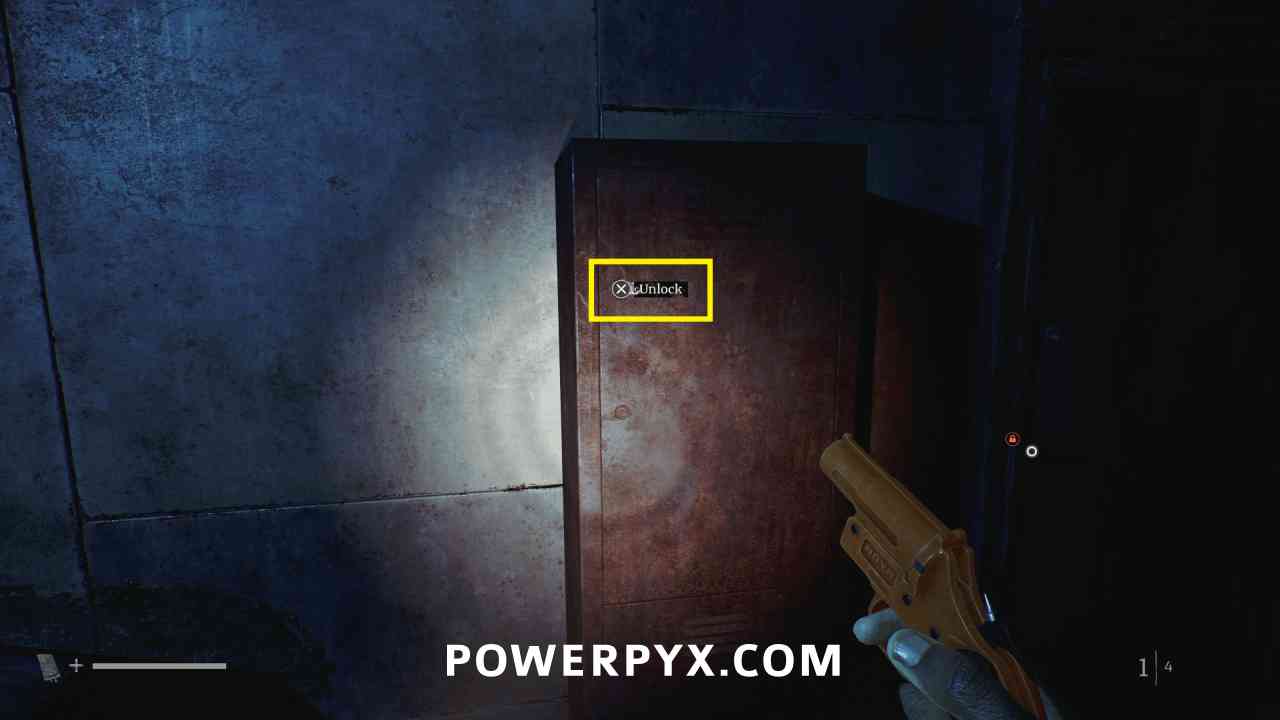
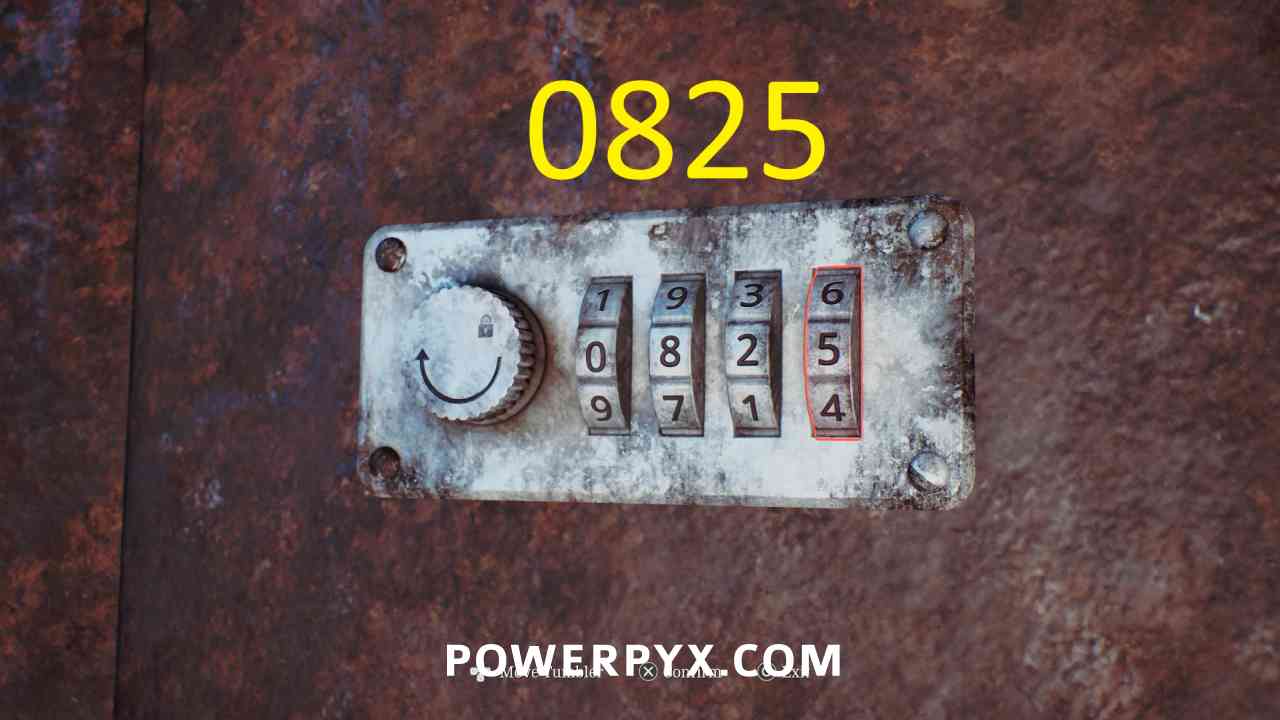
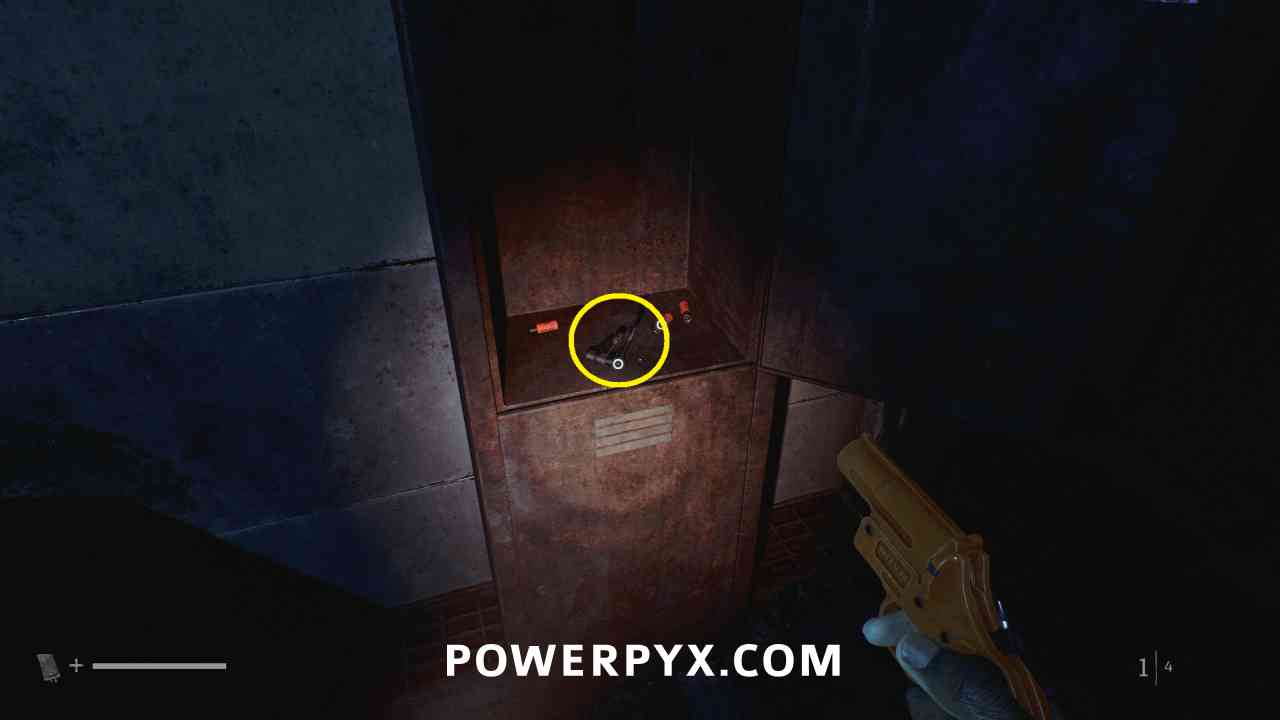
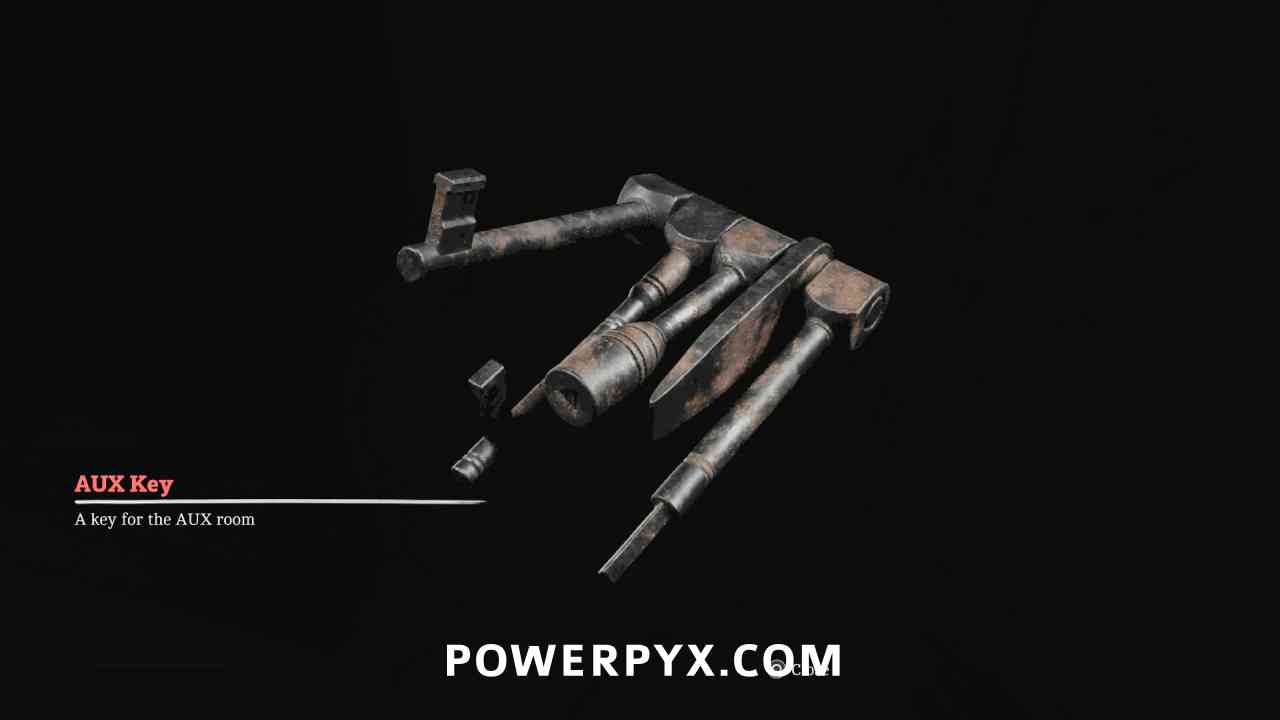
Use the code provided by the panel (0825) to open the locker to the right and pick up this key.
Locked Door – AUX Door
Area: SWDP – Different
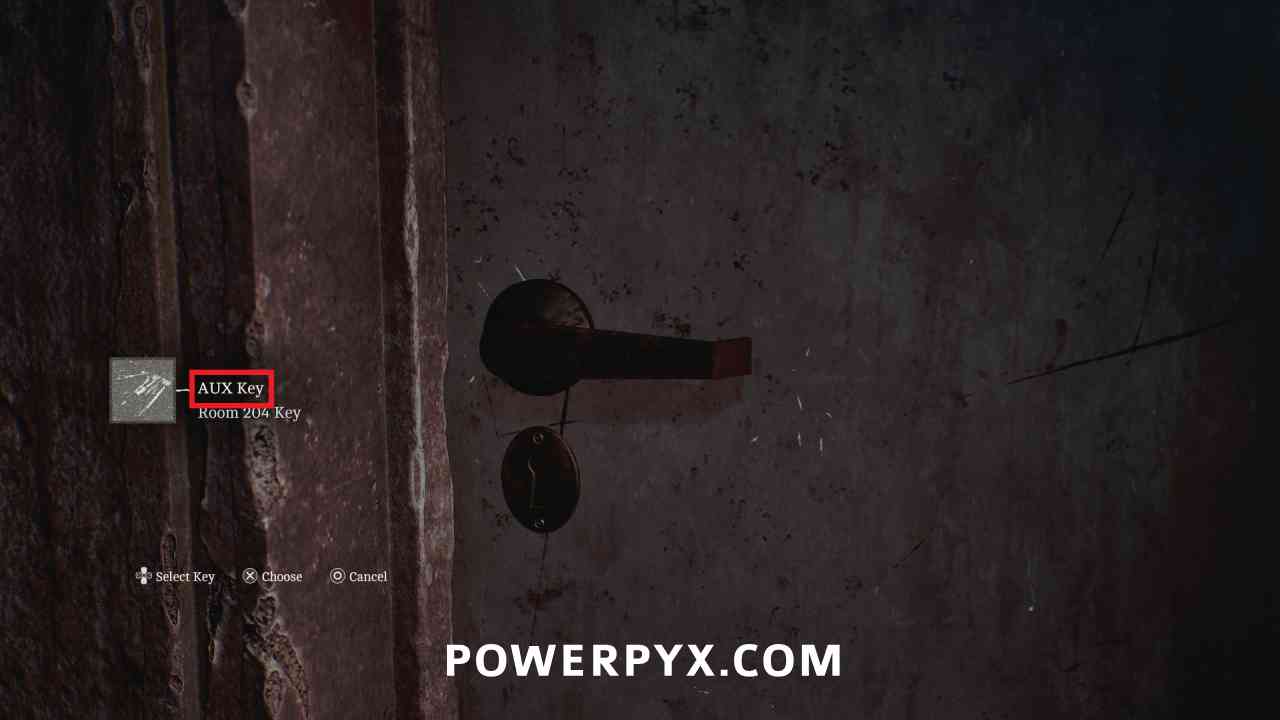
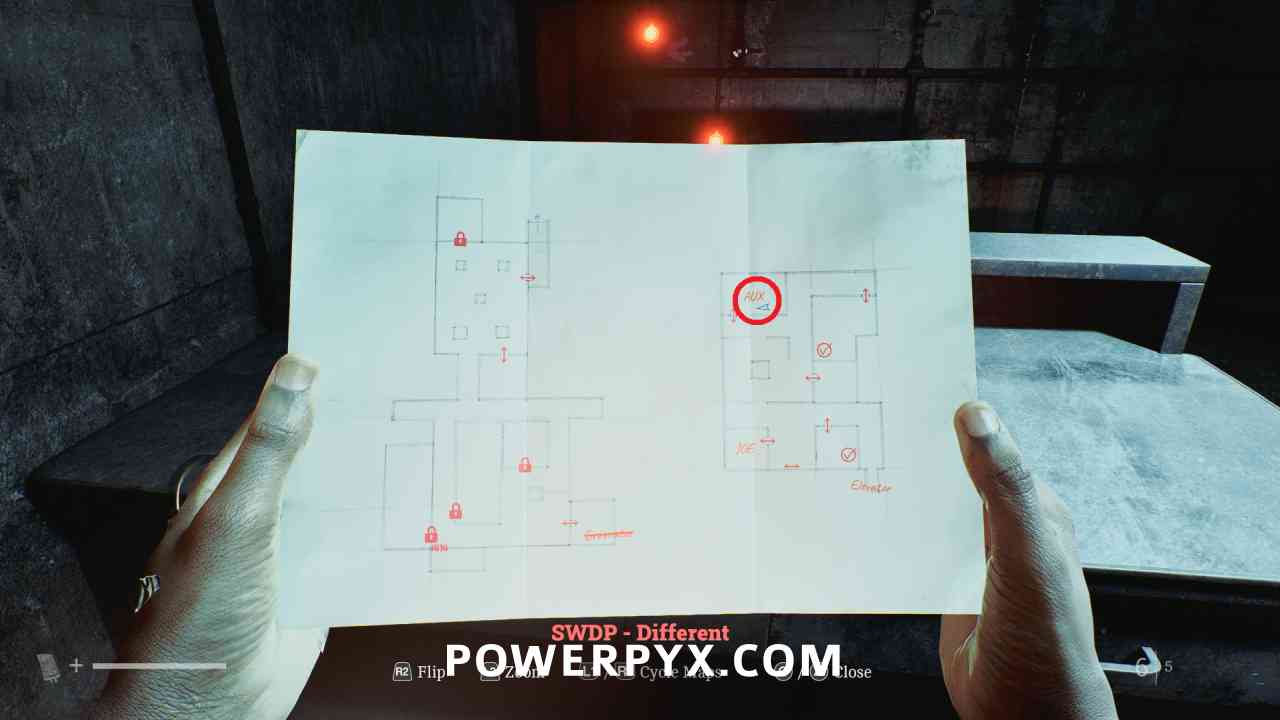
Go back down the elevator, and you can now use the AUX Key to enter the room on the northwest corner of that floor.
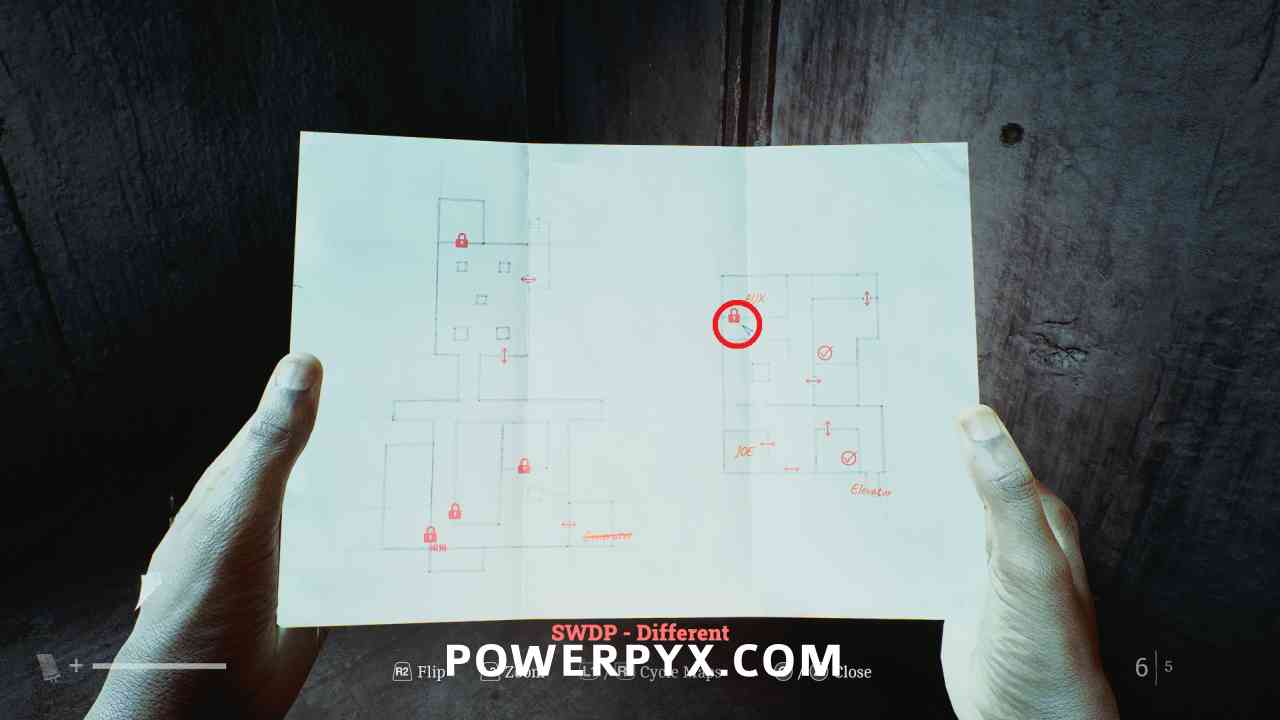
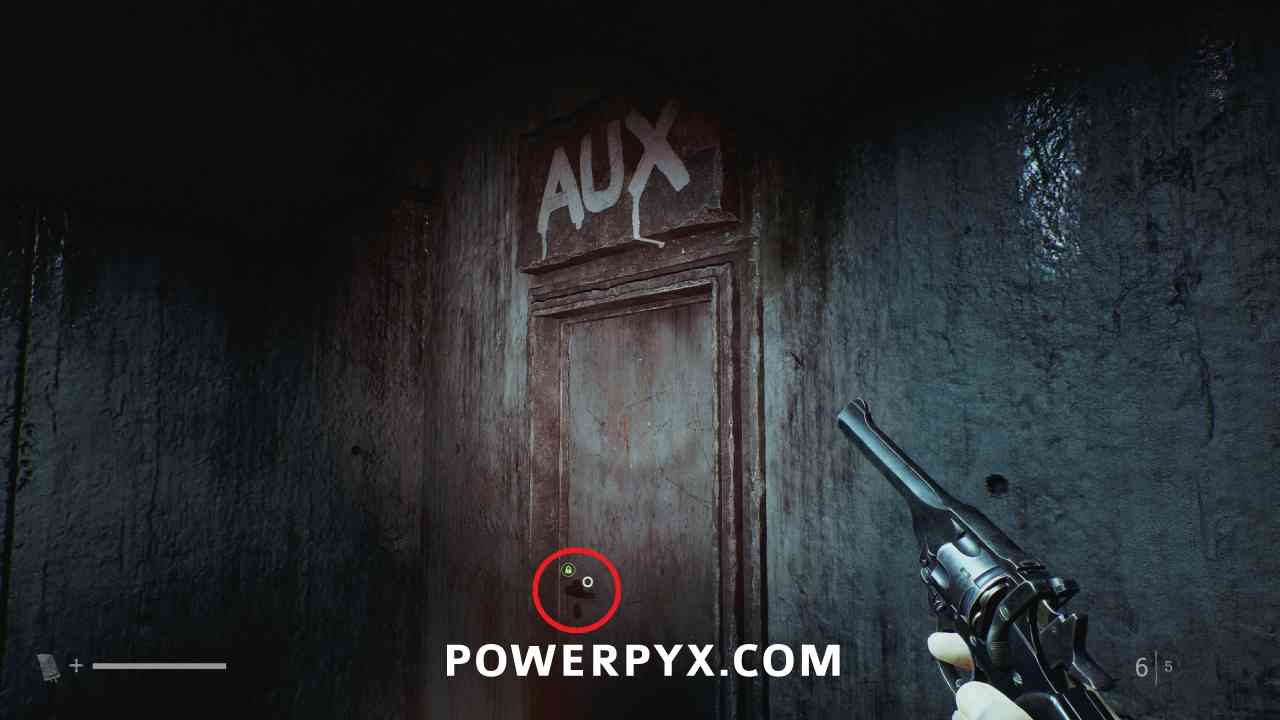
Key Item: AUX Disk
Area: SWDP – Different
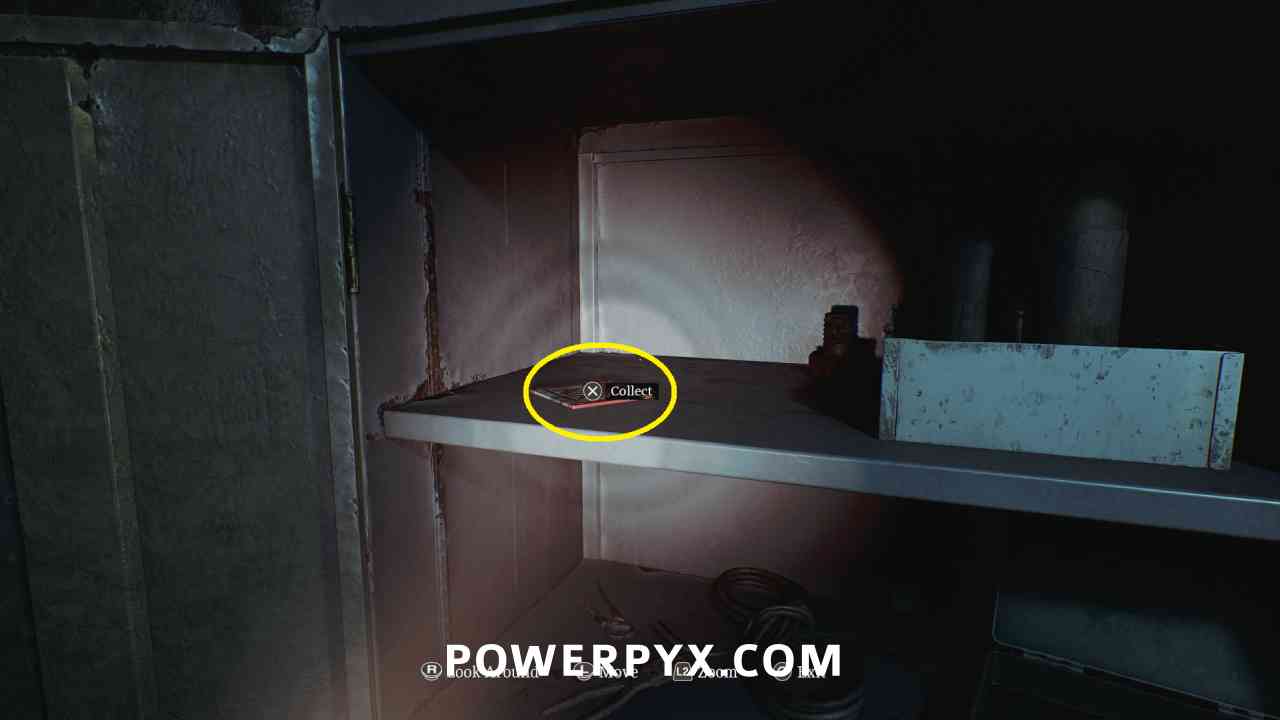
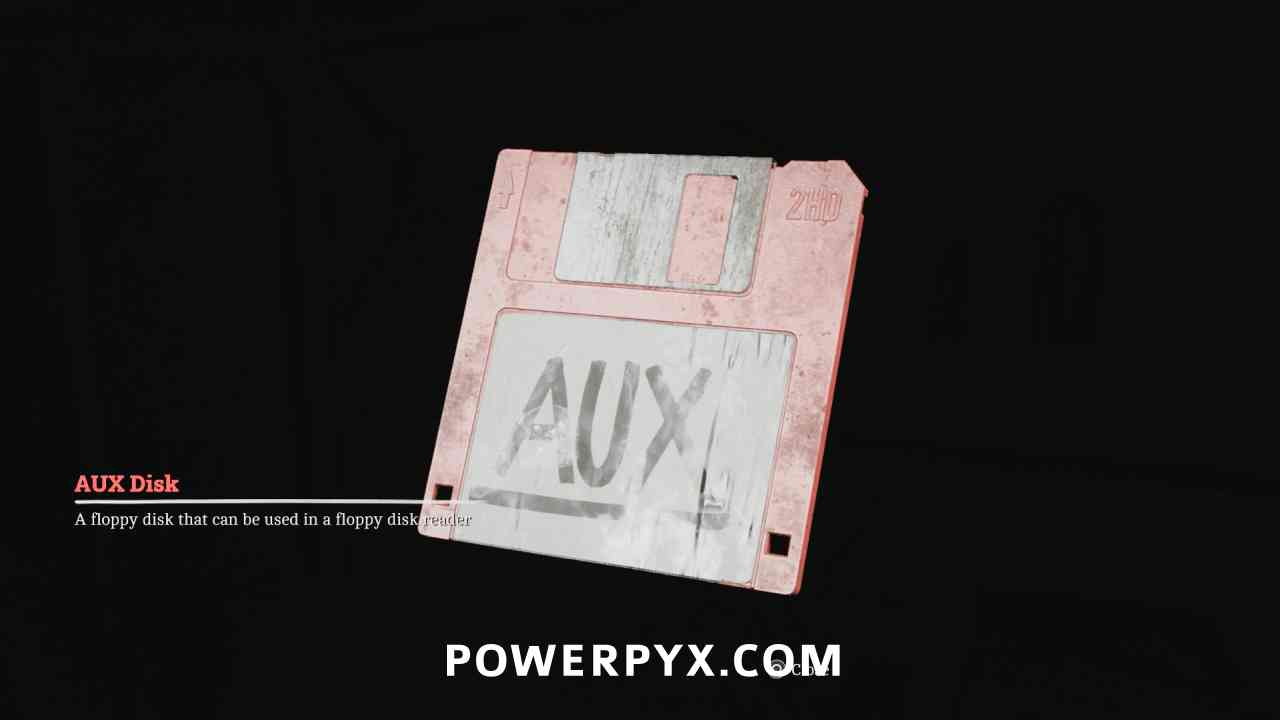
In the AUX Room, open the cabinet and pick up the disk on the top left shelf.
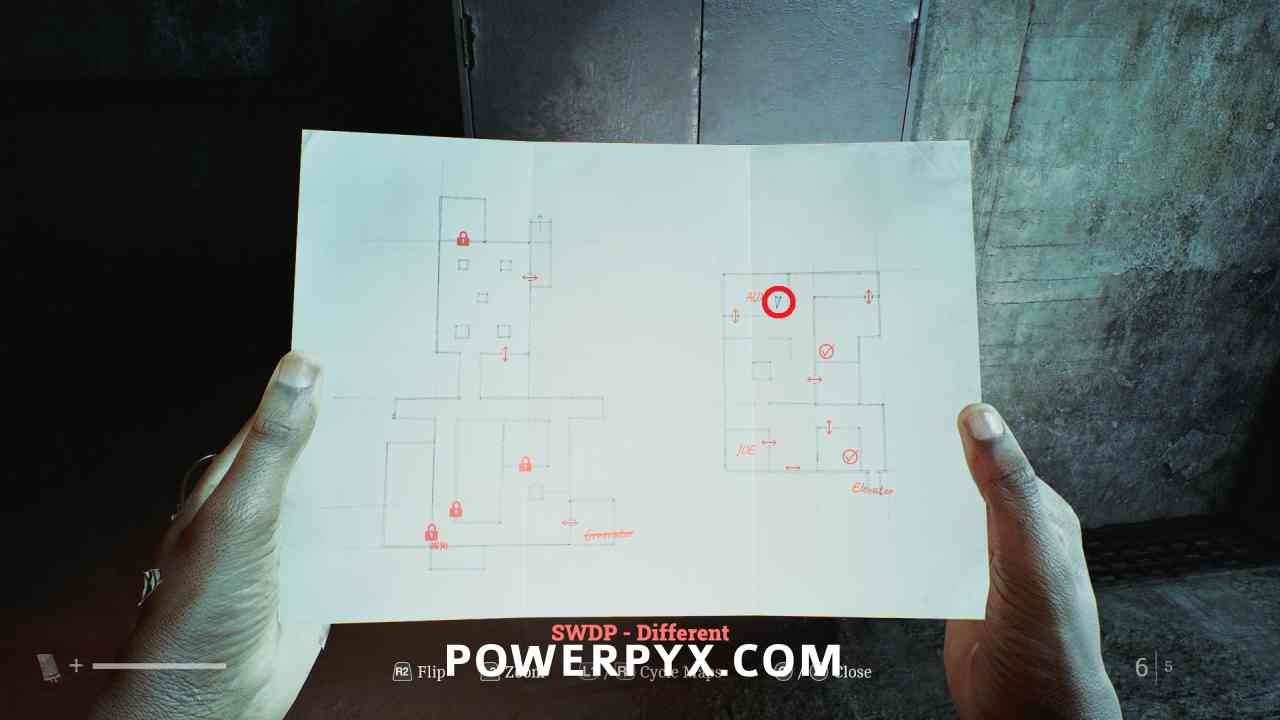
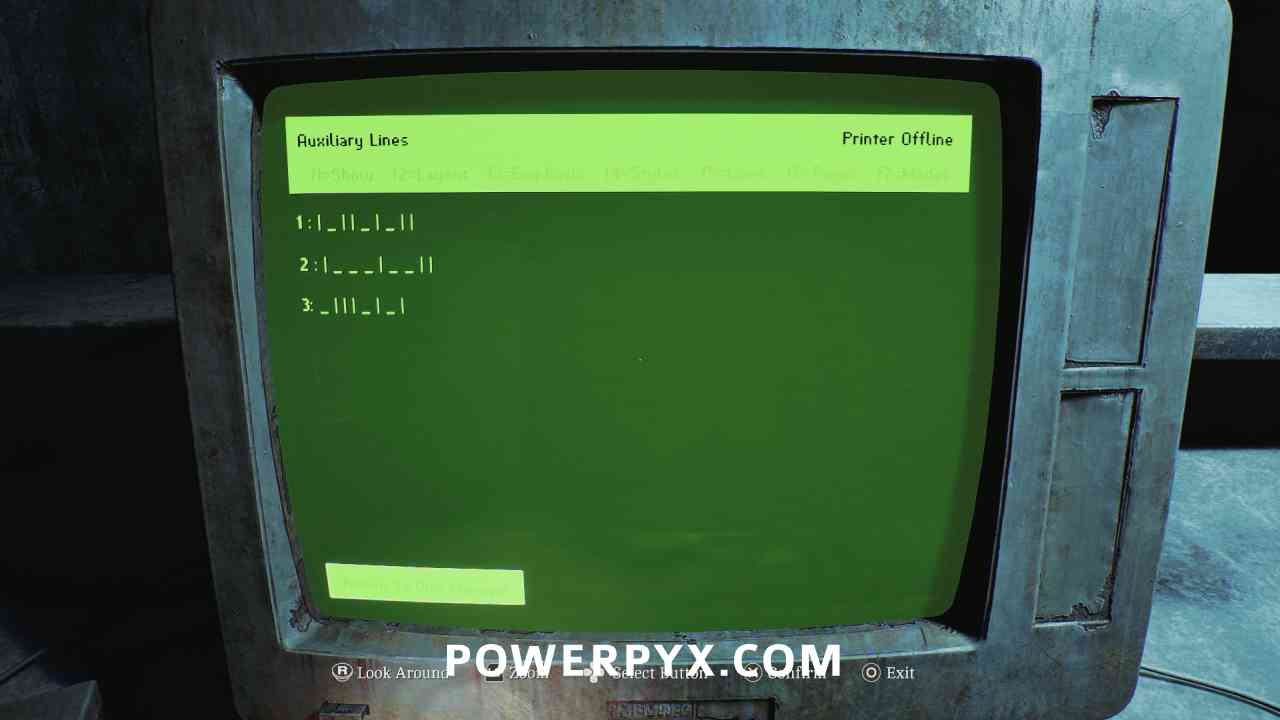
Clue: Auxiliary Lines
Area: SWDP – Different
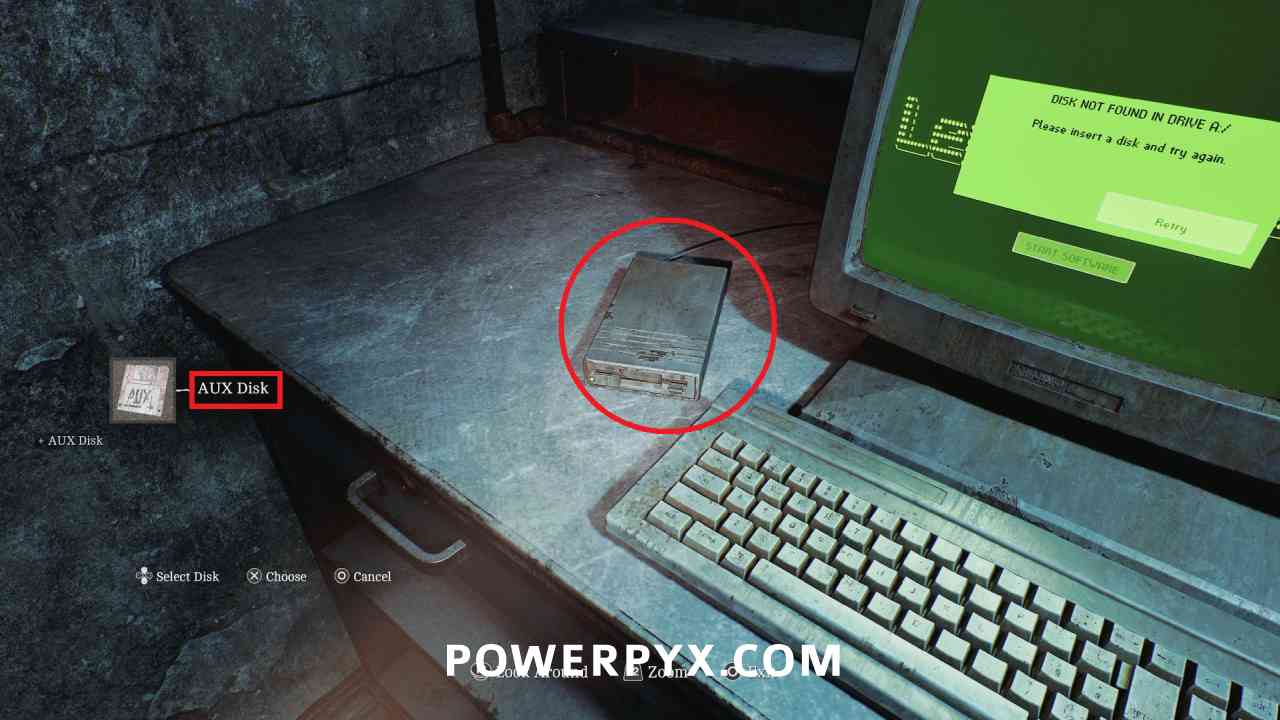
Interact with the computer and insert the AUX Disk on the left, then read the text file.
Puzzle #32
Area: SWDP – Different
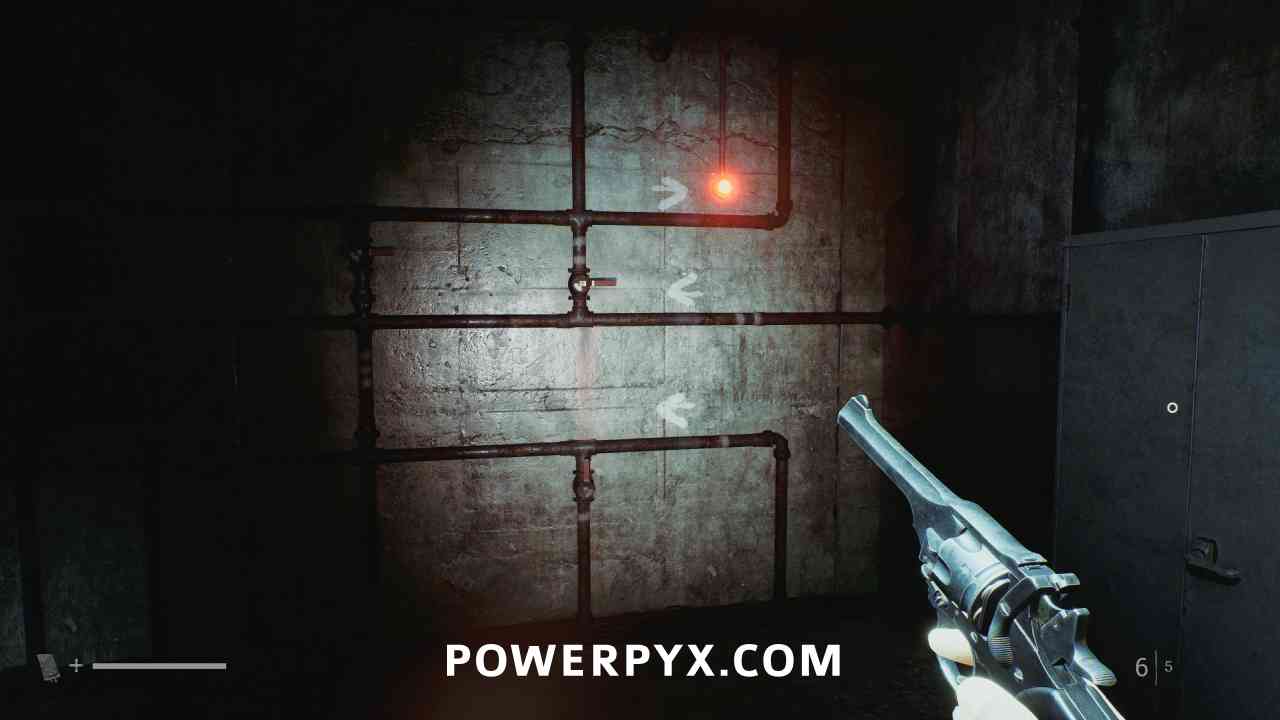
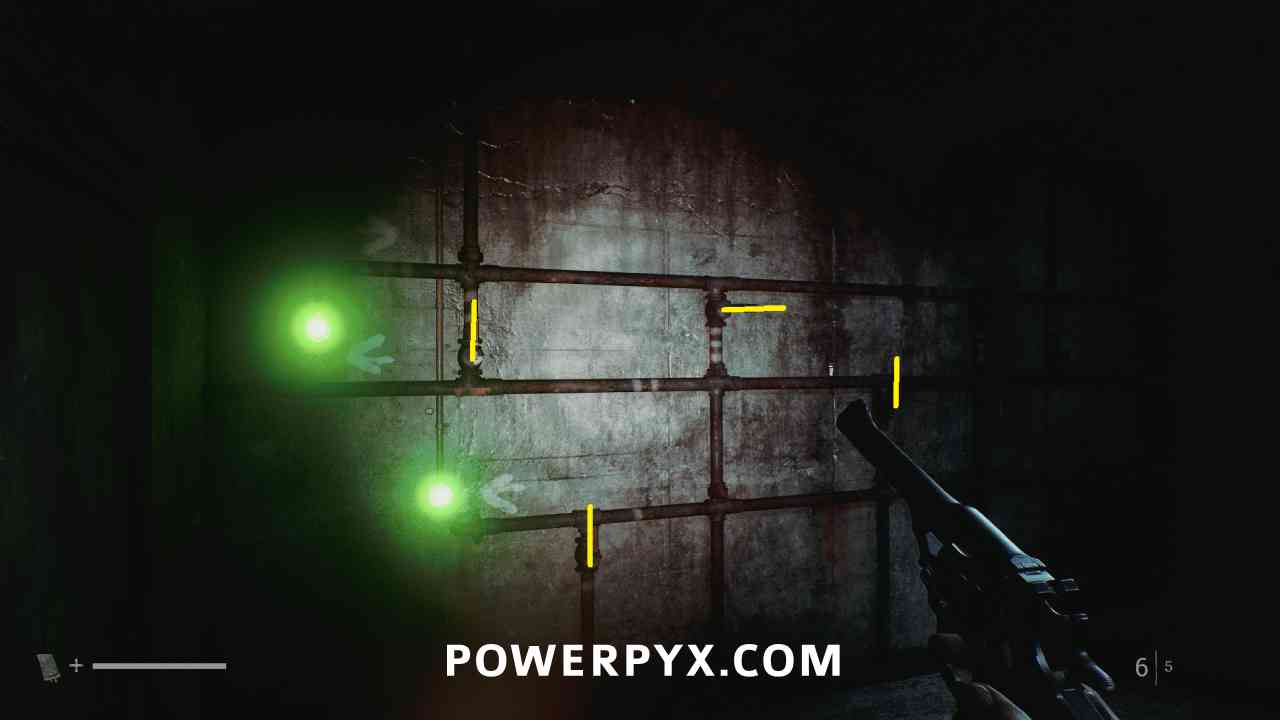
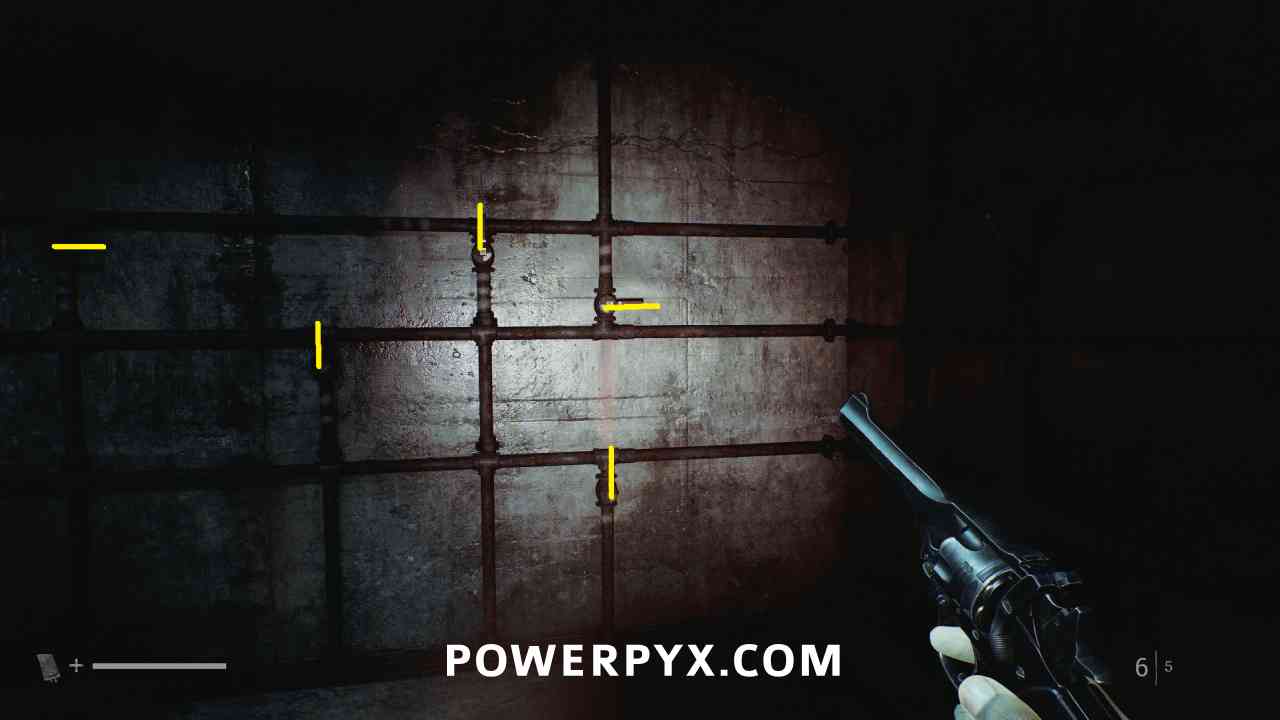
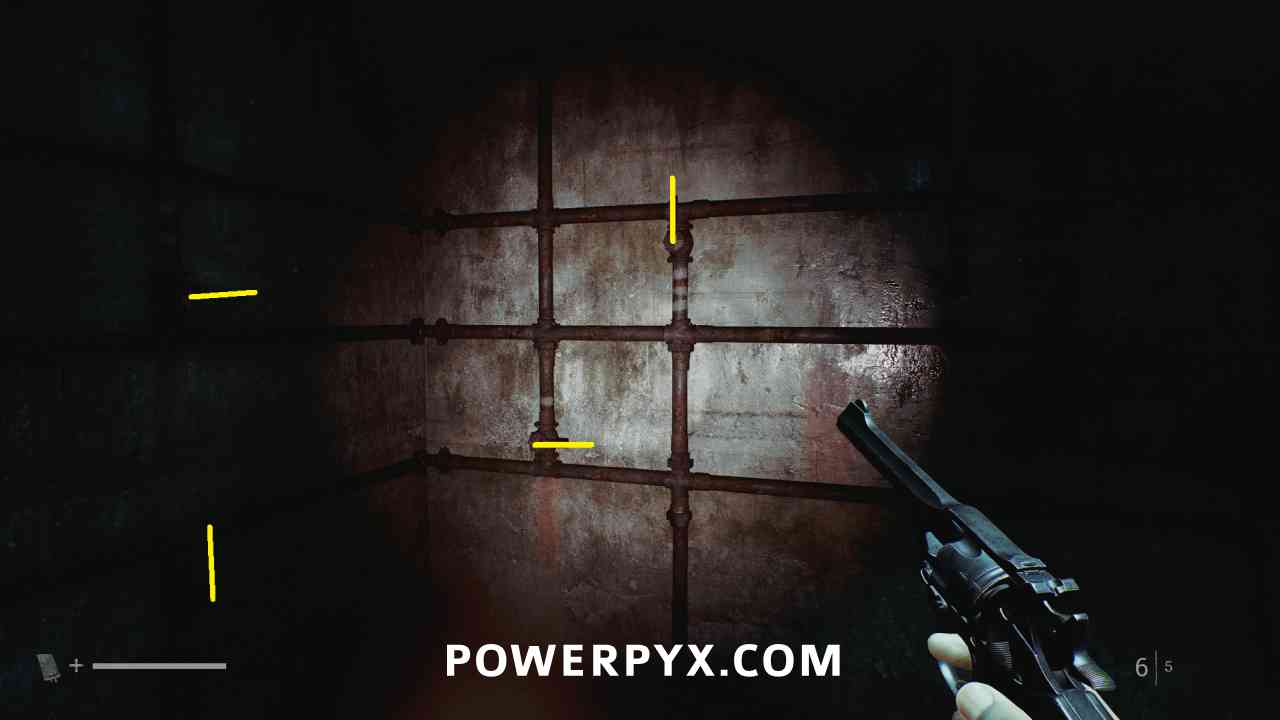
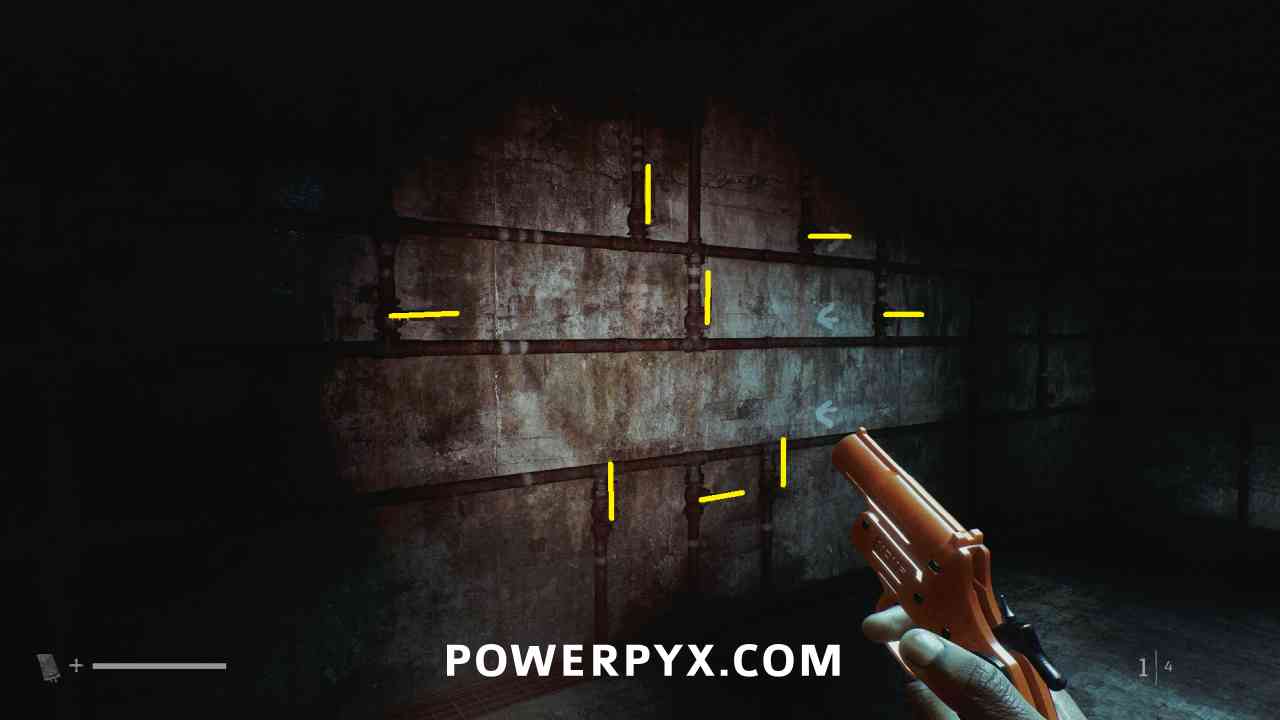
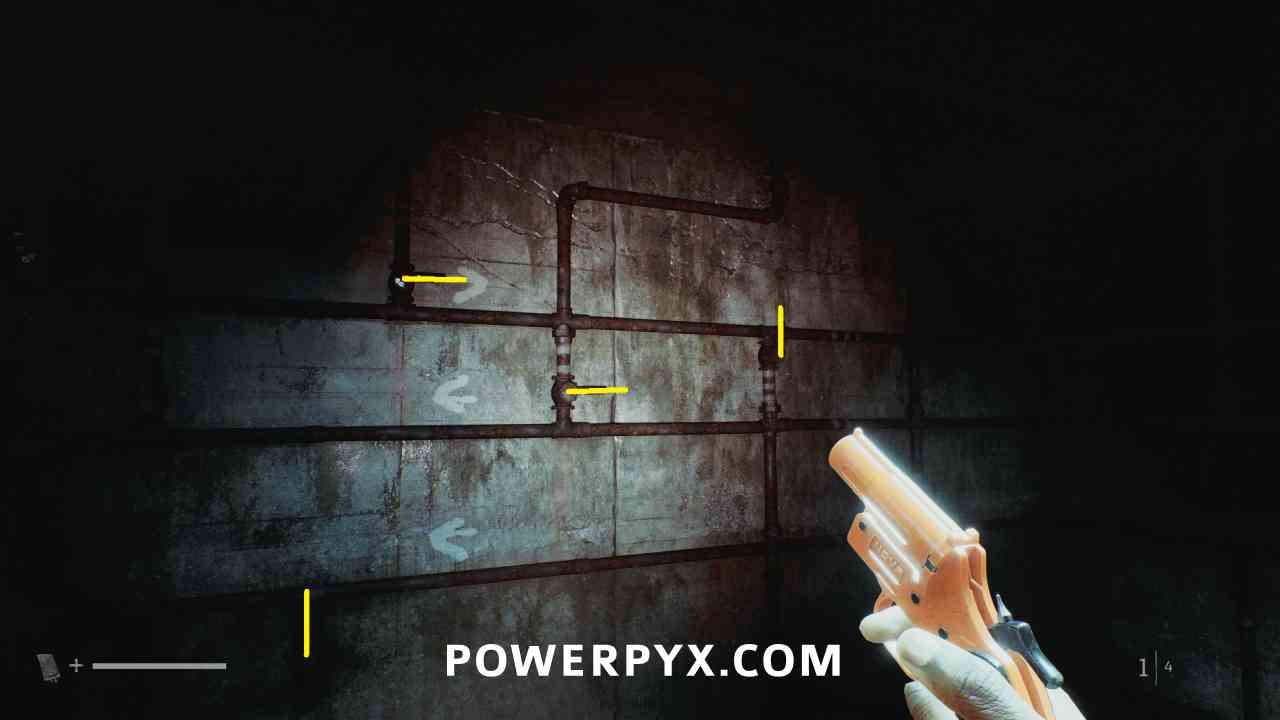
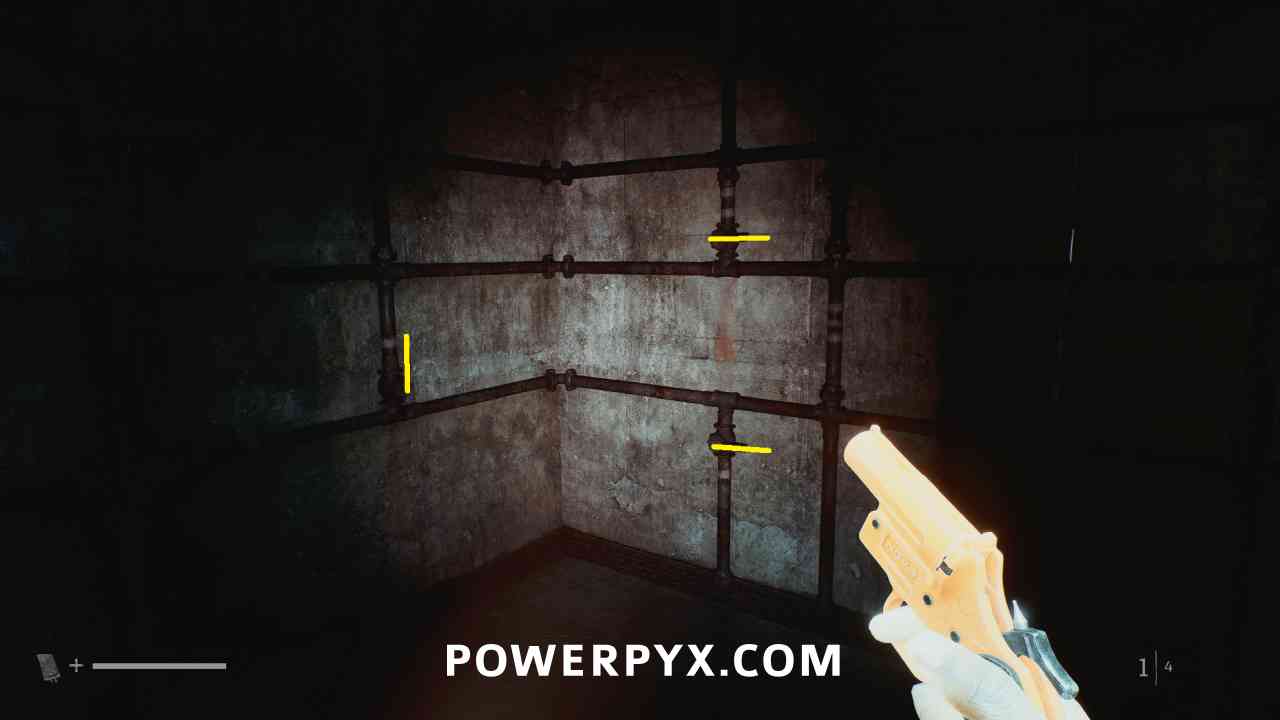
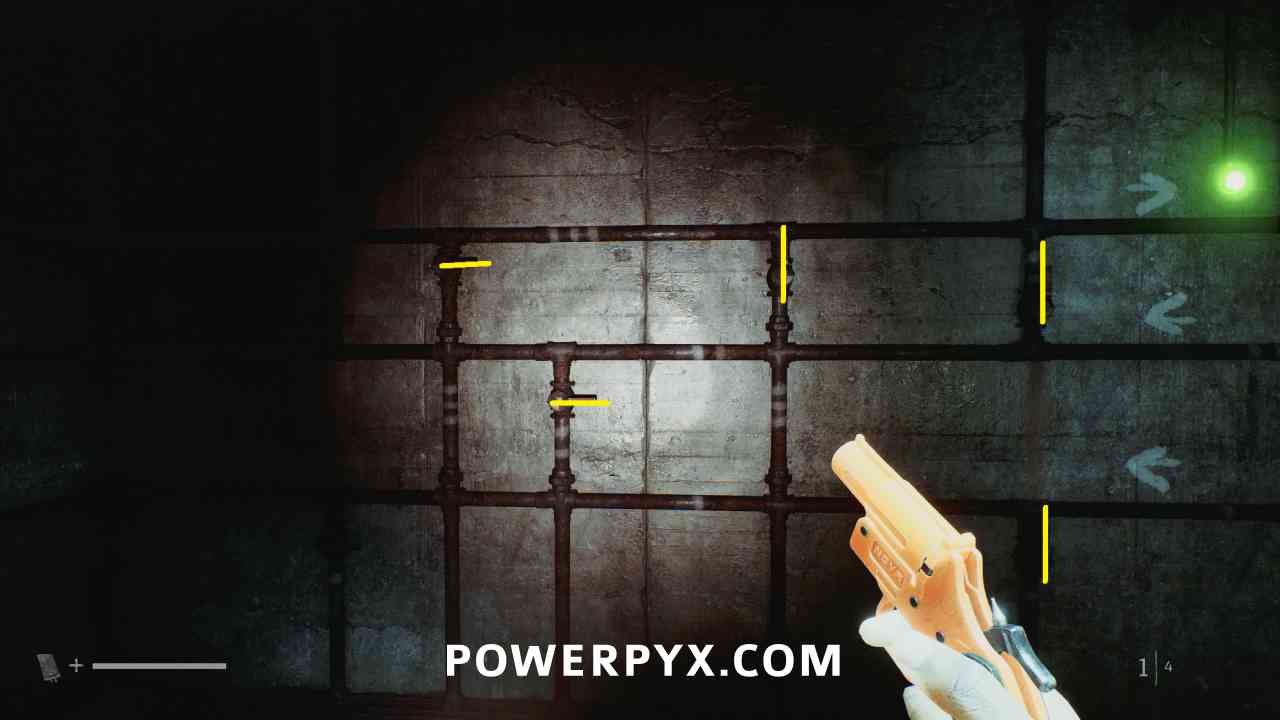
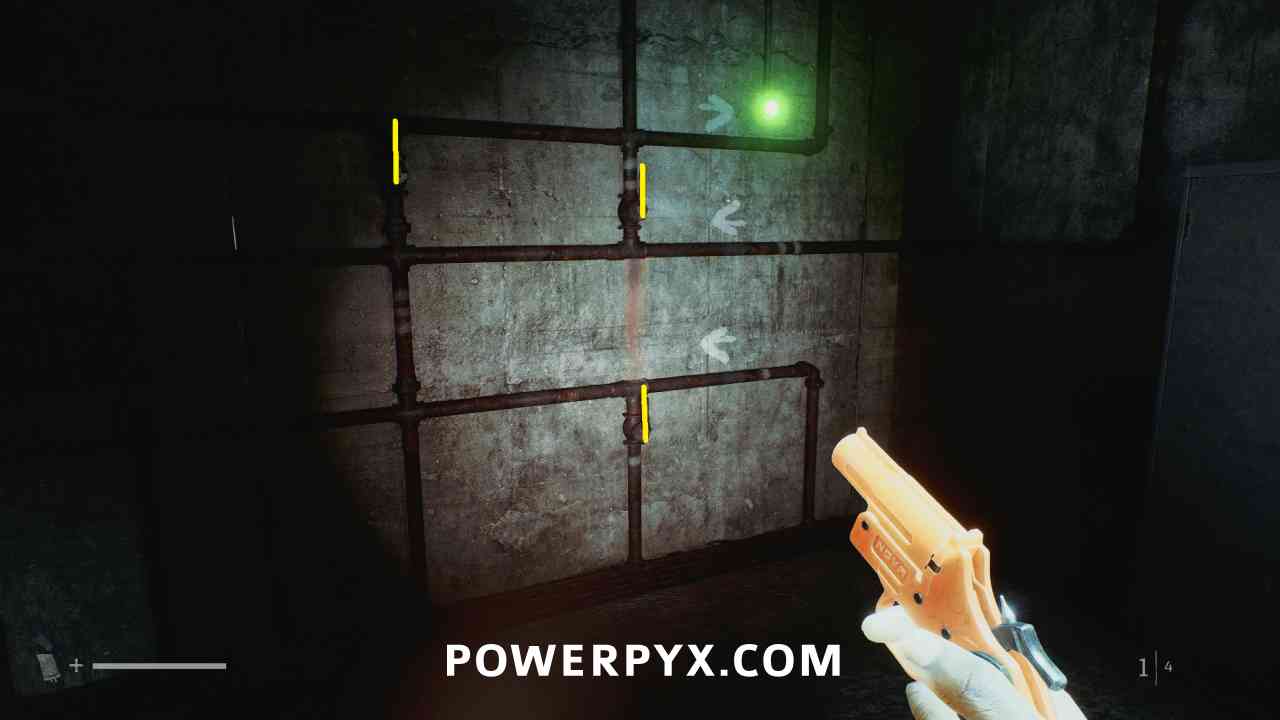
You need to interact with the switches on the wall, so that they match the same directions as shown in the Auxiliary Lines clue for each line. Note that line 1 and 2 start from the wall facing away from the computer, and you look at the switches based on how many lines are painted beside them go in the direction that the arrow points. When you have the switches correct, the light for that line turns green.
Puzzle #33
Area: SWDP – Different
Go back upstairs to the control room, and interact with the panel again.
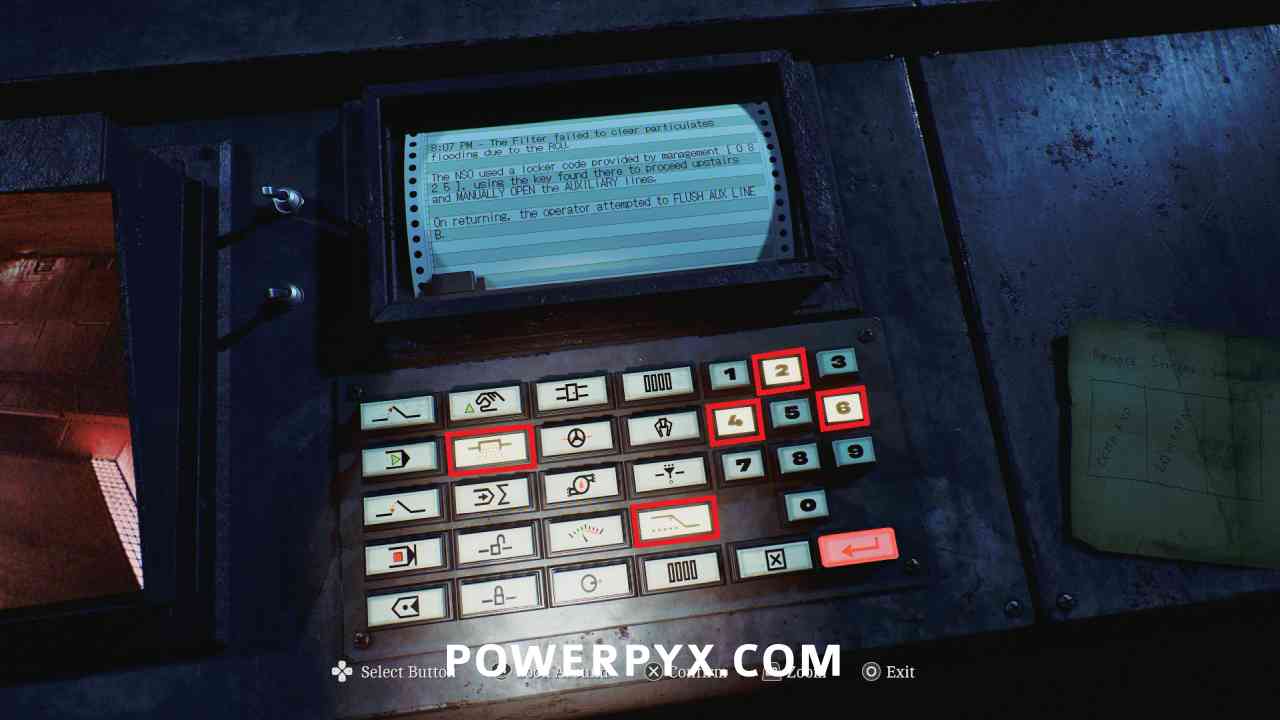
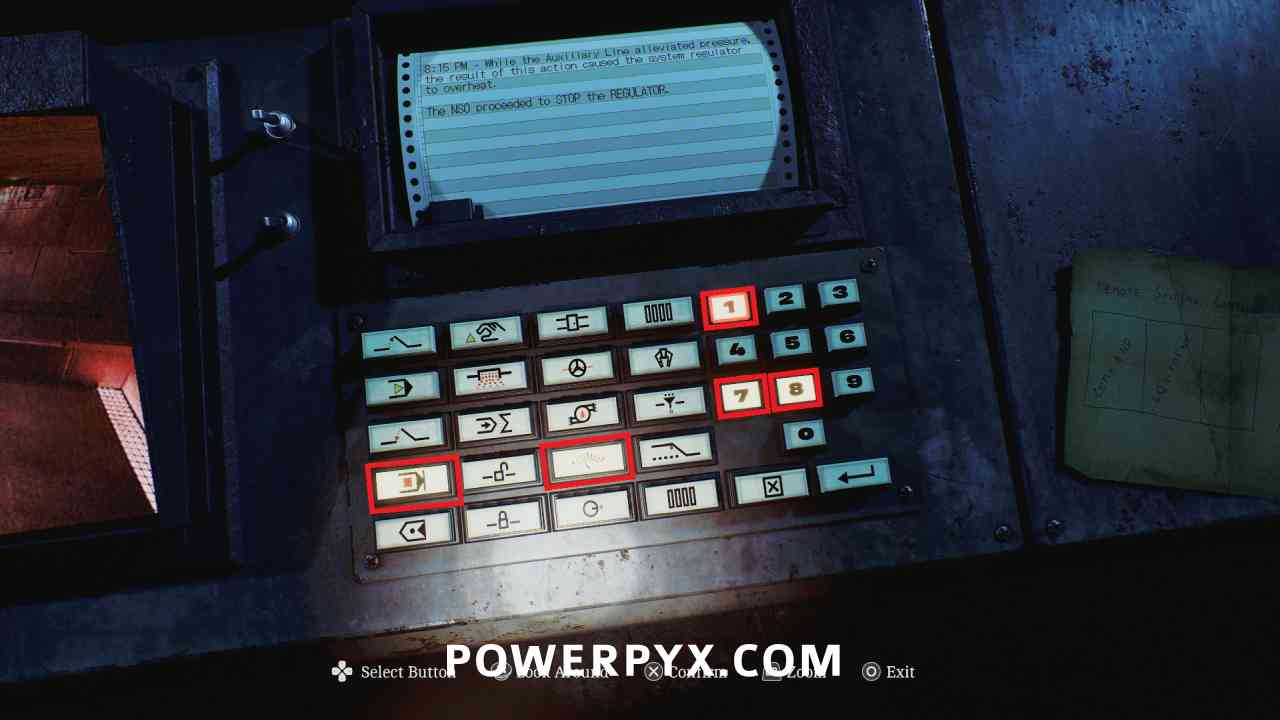
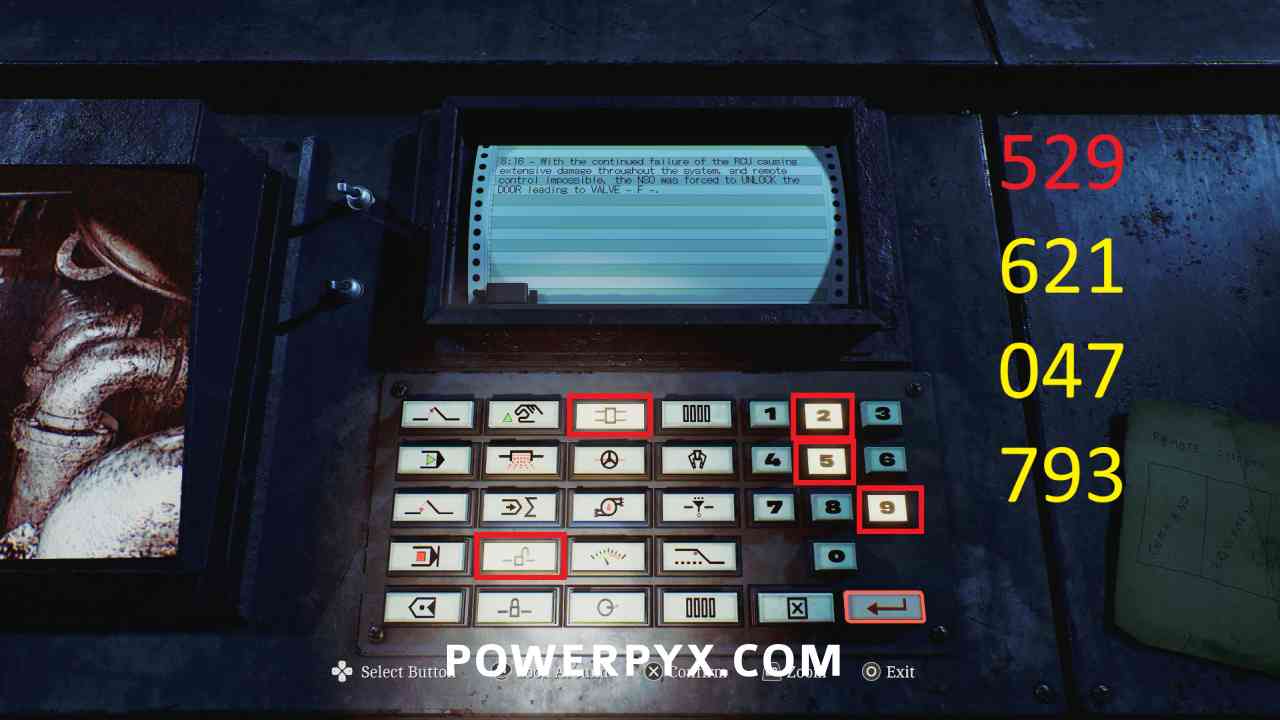
Select the flush switch (second row second column) the auxiliary switch (one up from bottom right) and the numbers 246 (from the paper to the right).
Then select the stop switch (red square) the regulator switch (green and red dial) and the numbers 781 (visible in the Regulator Systems camera).
Then select the unlock switch (open padlock) the door switch (top row has a door on it) and the numbers 592 (visible in the Valves D-F camera).
Locked Doors
Area: SWDP – Different
Before leaving, repeat the same steps to unlock the other doors in the below area.
Select the unlock switch (open padlock) the door switch (top row has a door on it) and the numbers 621, 047, 793.
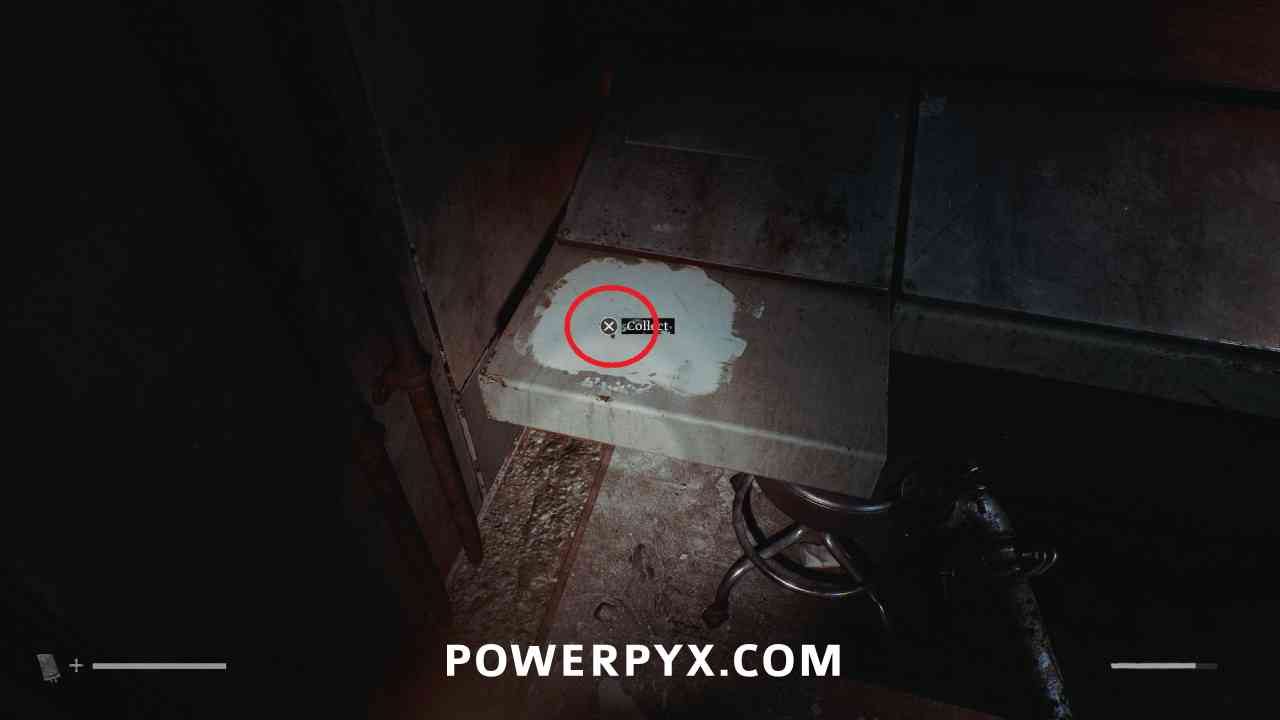
Key Item: Lockbox Key
Area: SWDP – Different
On the lower floor, go into the room in the northwest corner where this is on the counter.
Resource Container
Area: SWDP – Different
Go into the eastern long room with the valves, and this is on a table at the box, open it with the Lockbox Key.
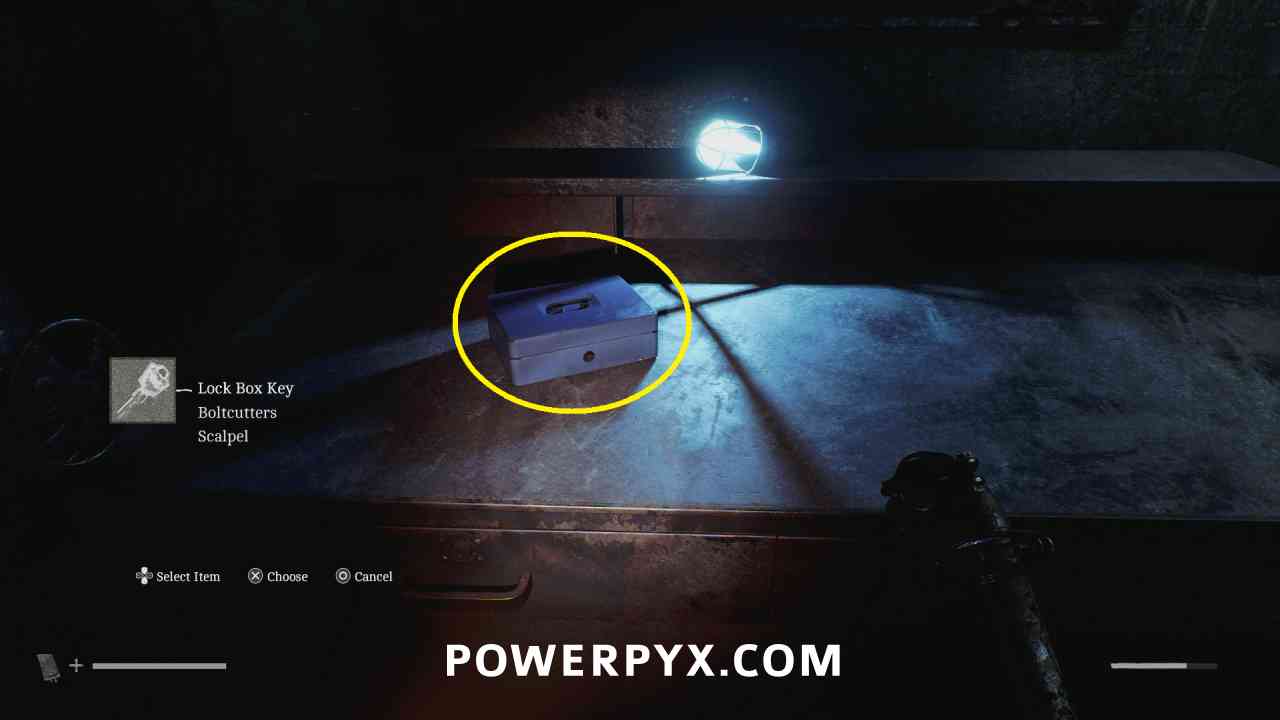
Resourceful 
Unlock all resource containers.
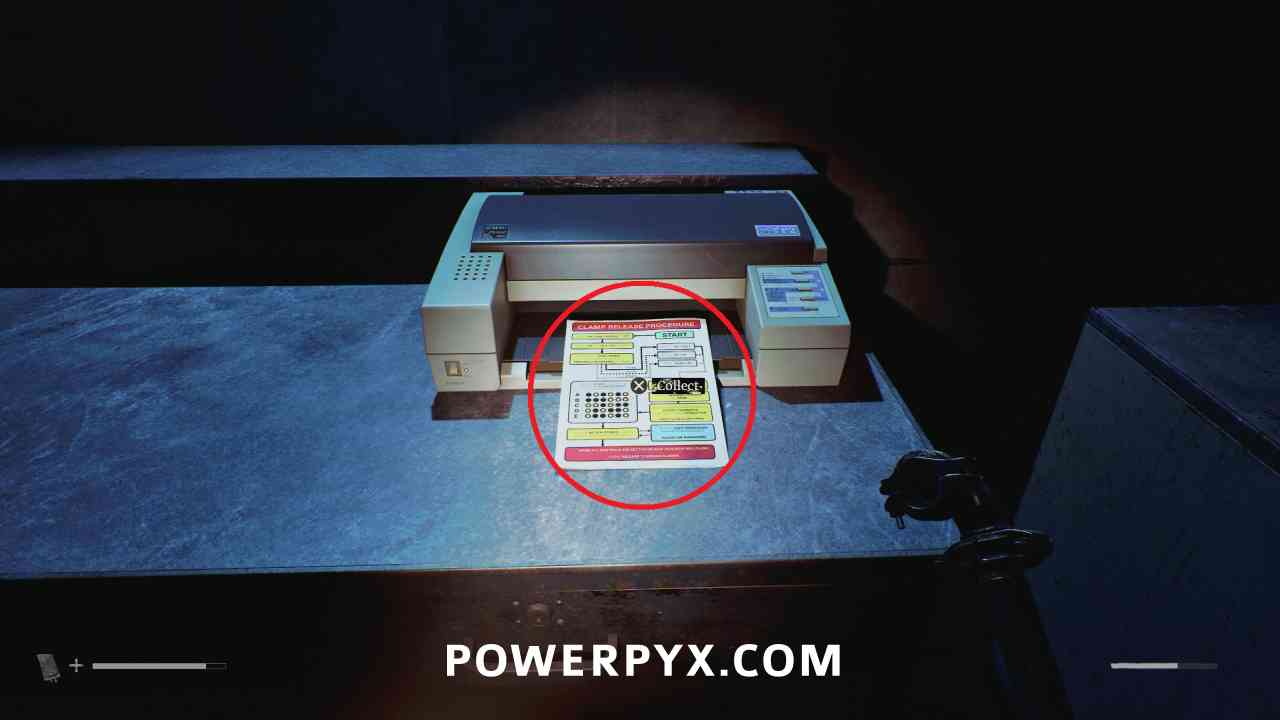
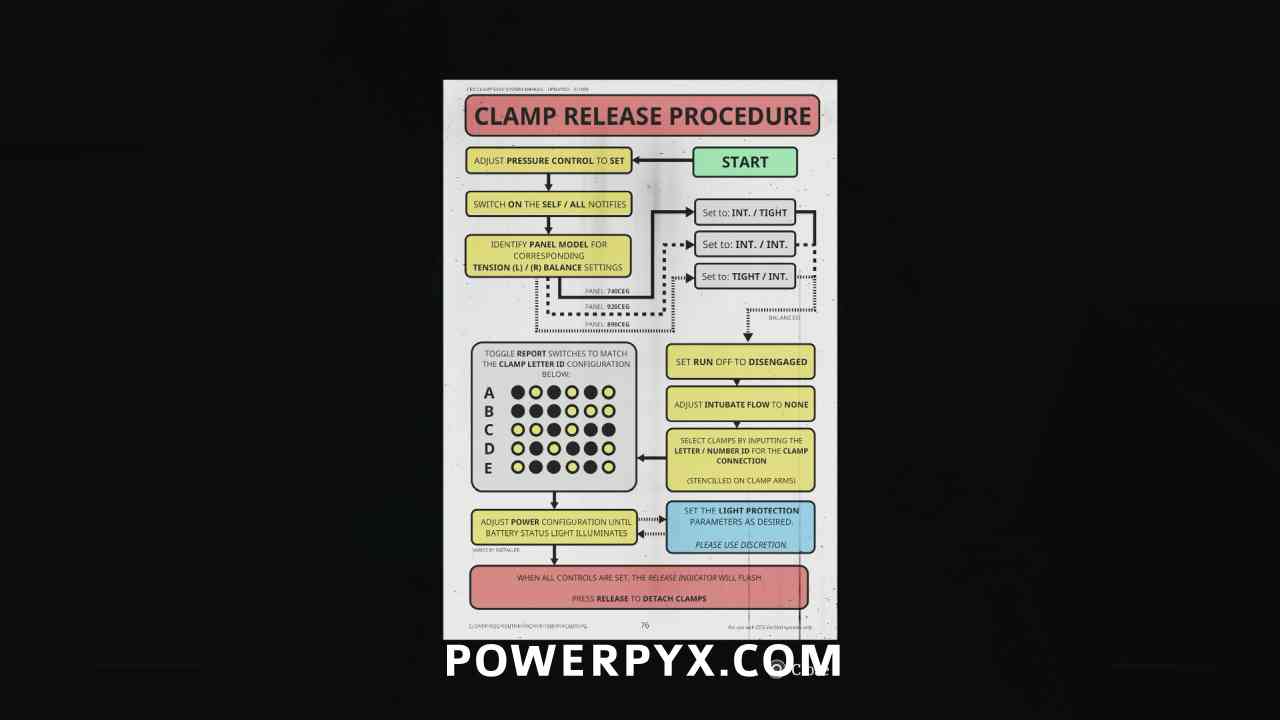
Clue: Clamp Release Procedure
Area: SWDP – Different
After turning Valve F, go back upstairs to the control room, then pick this up from the printer on the left.
Puzzle #34
Area: SWDP – Different
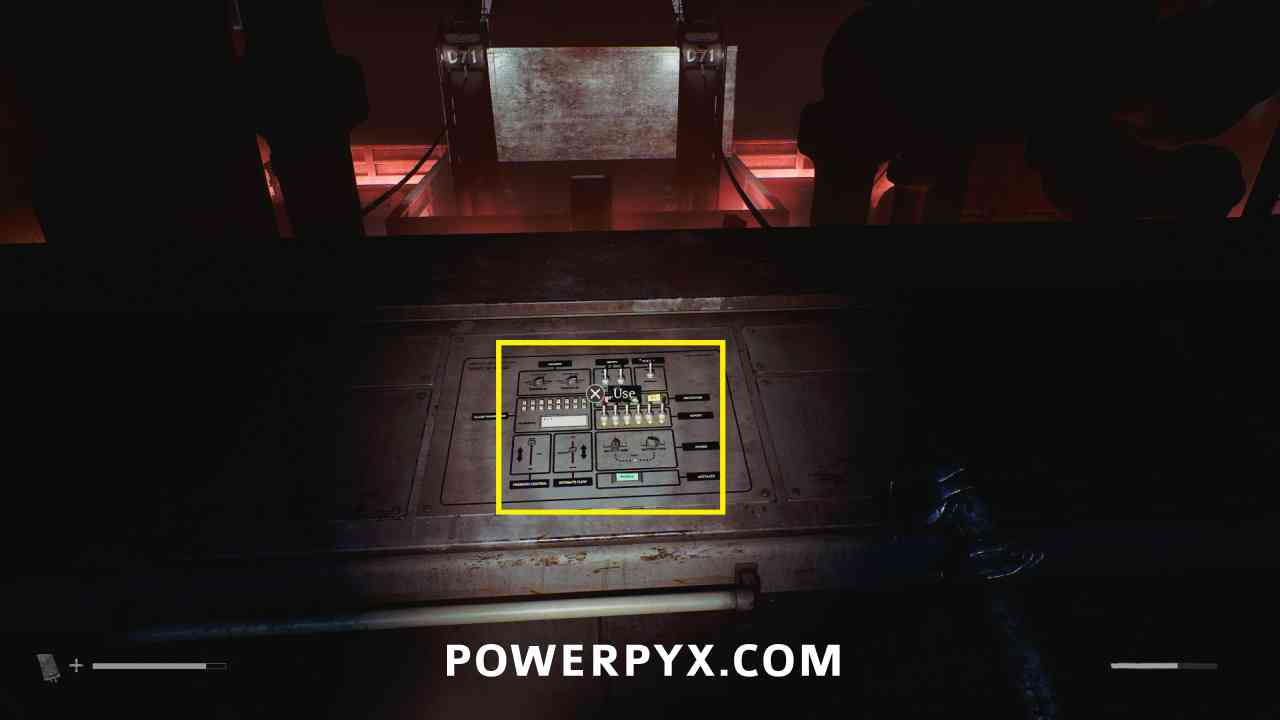
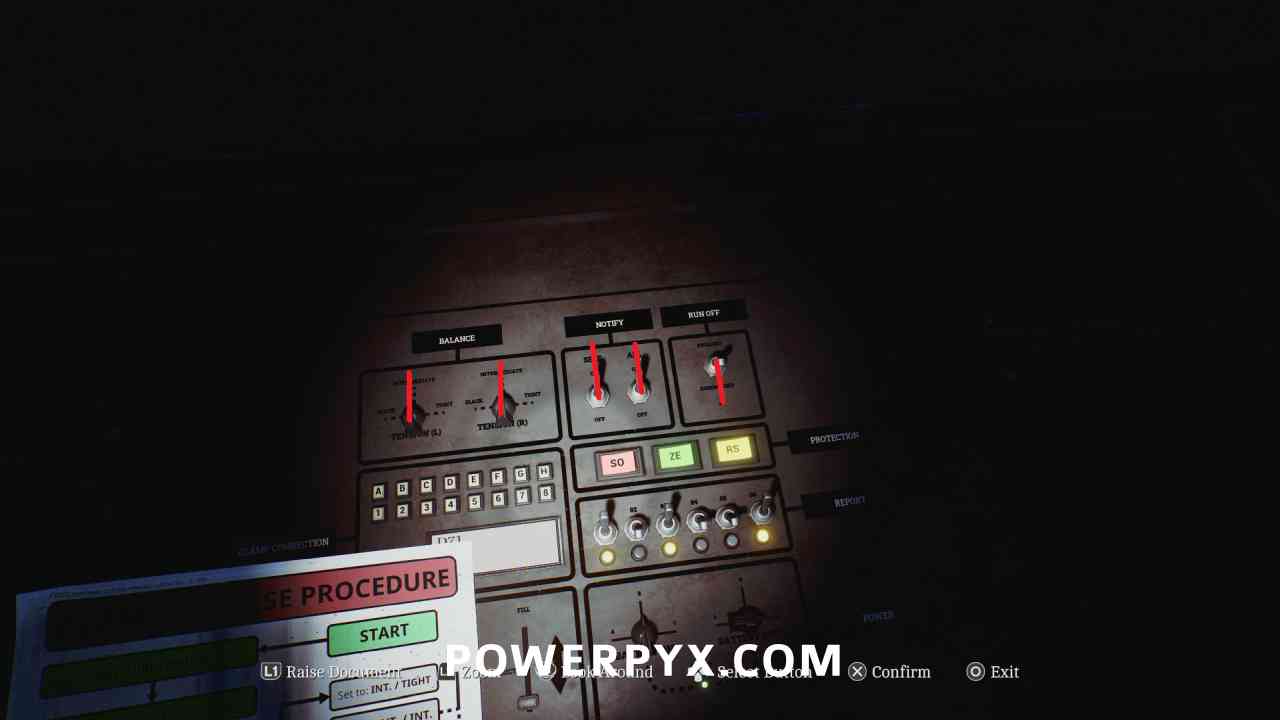
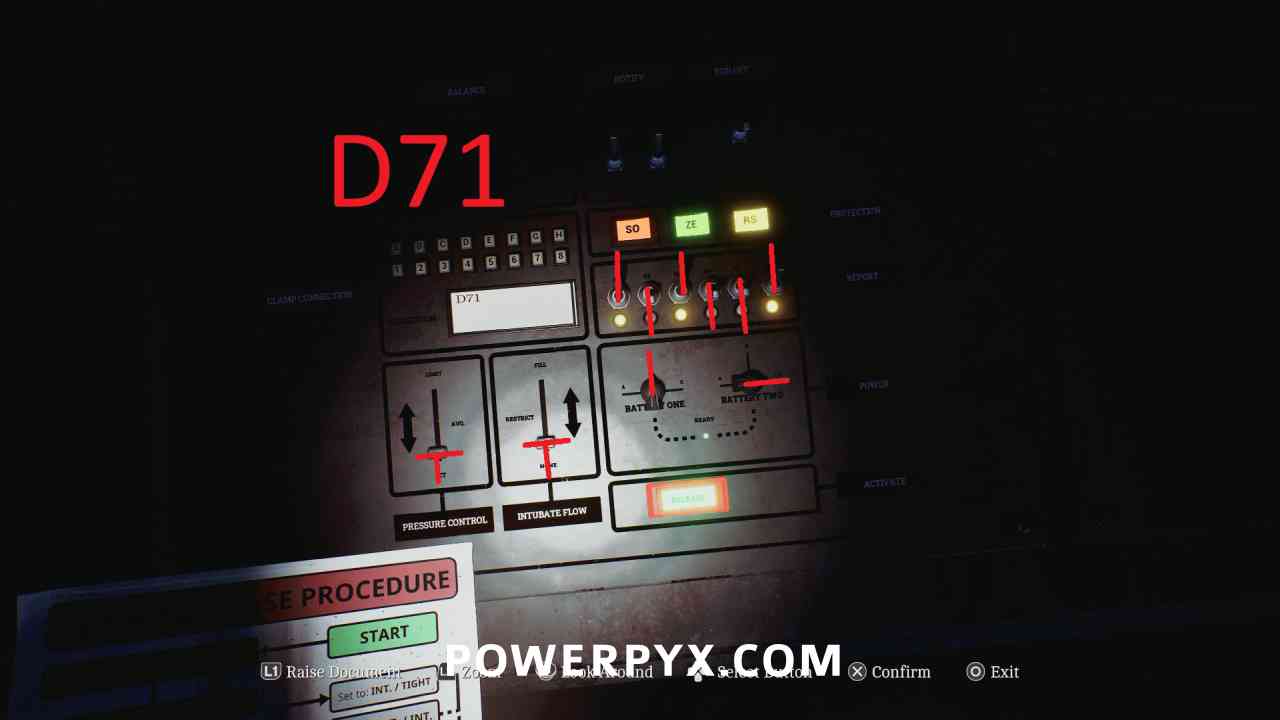
Interact with the panel opposite the previous one, you have to set the controls as is specified in the Clamp Release Procedure document. The actual order you complete everything doesn’t matter, just that you set everything the correct way.
- Set BALANCE to Intermediate on both.
- Turn On both NOTIFY switches.
- Set RUN OFF to Disengaged.
- Enter D71 on the Clamp Connection pad (the number visible in front of you).
- Set REPORT switches so that the 1st, 3rd, and 6th are on (yellow light).
- Set PRESSURE CONTROL to SET (bottom).
- Set INTUBATE FLOW to NONE (bottom).
- Turn the BATTERY ONE switch to B (up) and the BATTERY TWO switch to C (right).
- When everything is set correctly the green RELEASE button will flash and you can press it.
- You can then go down and turn the red crank to complete the puzzle.
Trophy: Can’t Change Things
Chapter 16: Eraser
Clara Woods (Different)
Trophy: Eraser – for defeating final boss
Chapter 17: Returning
St. Amelia Shorefront
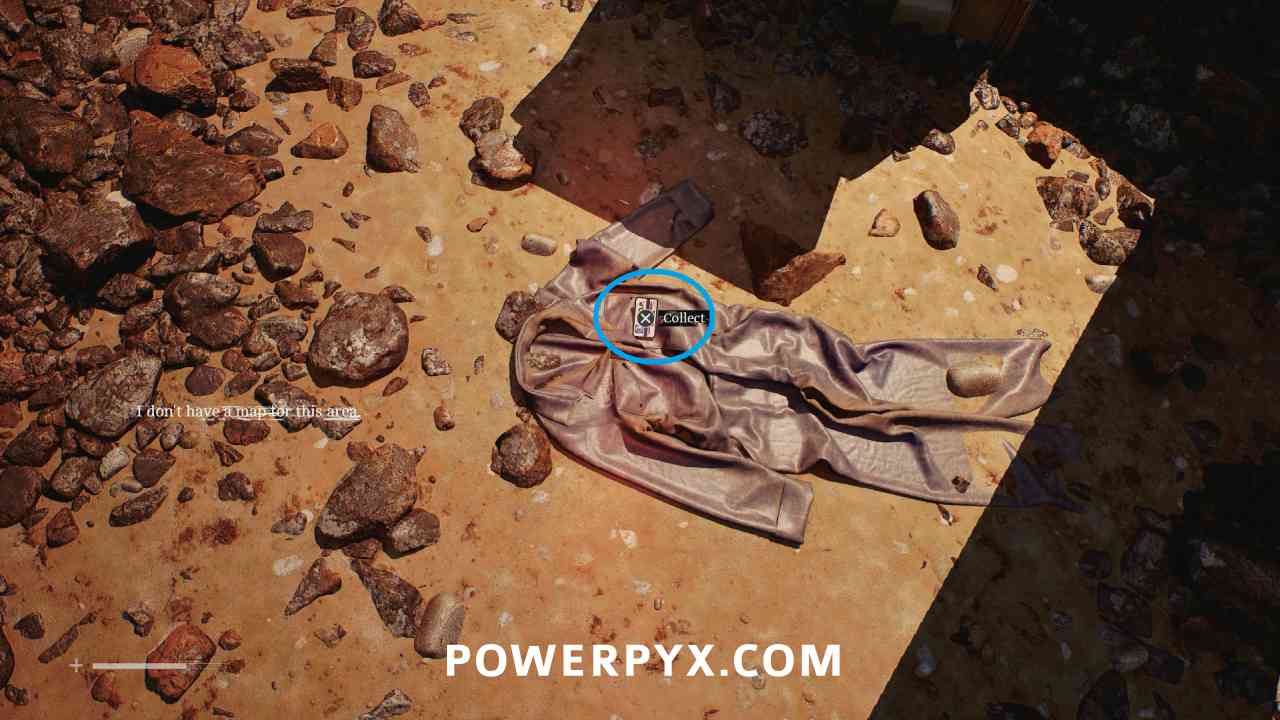
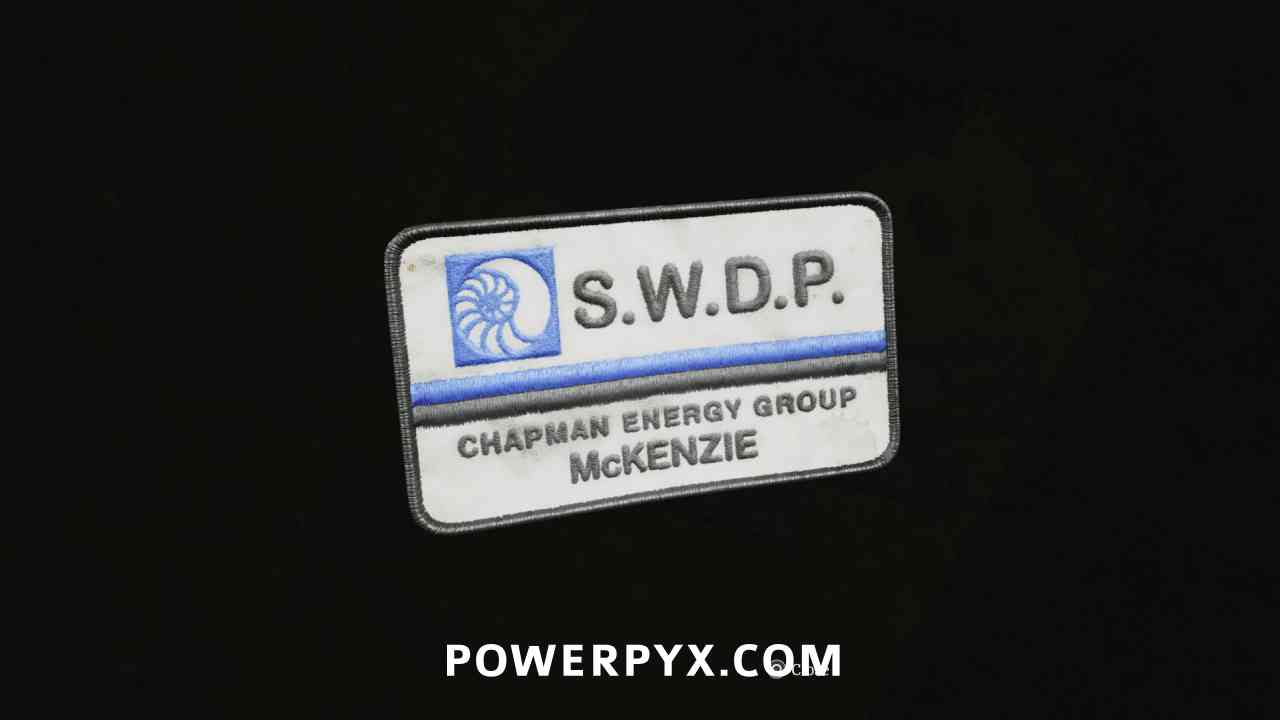
Document: Crew Patch
Area: St. Amelia Shorefront
Walk down the beach and instead of going up the stairs, go past it where this is on a pair of overalls.
NEXT: New Game+
For an overview of all other chapters and by-type collectibles also see Silent Hill Townfall Collectible Guide.
Leave a Reply