
Part 5: Richard is the fifth section of Silent Hill Townfall and covers Chapters 12-13. This walkthrough will guide you through all collectibles and puzzles in the Richard section. Everything that’s needed for trophies and 100% completion is included. Most items are missable if you don’t pick them up during this section, as you cannot replay sections of the game without reloading a prior save or starting a new playthrough.
Collectibles Walkthrough:
Documents and Clues that contribute toward the “Discoveries” statistic which determine the main endings are highlighted in RED.
Part 5: Richard
Chapter 12: Richard: Getting Inside
CEG HQ > Exterior
Locked Door – CEG HQ Exterior
Area: CEG HQ > Exterior
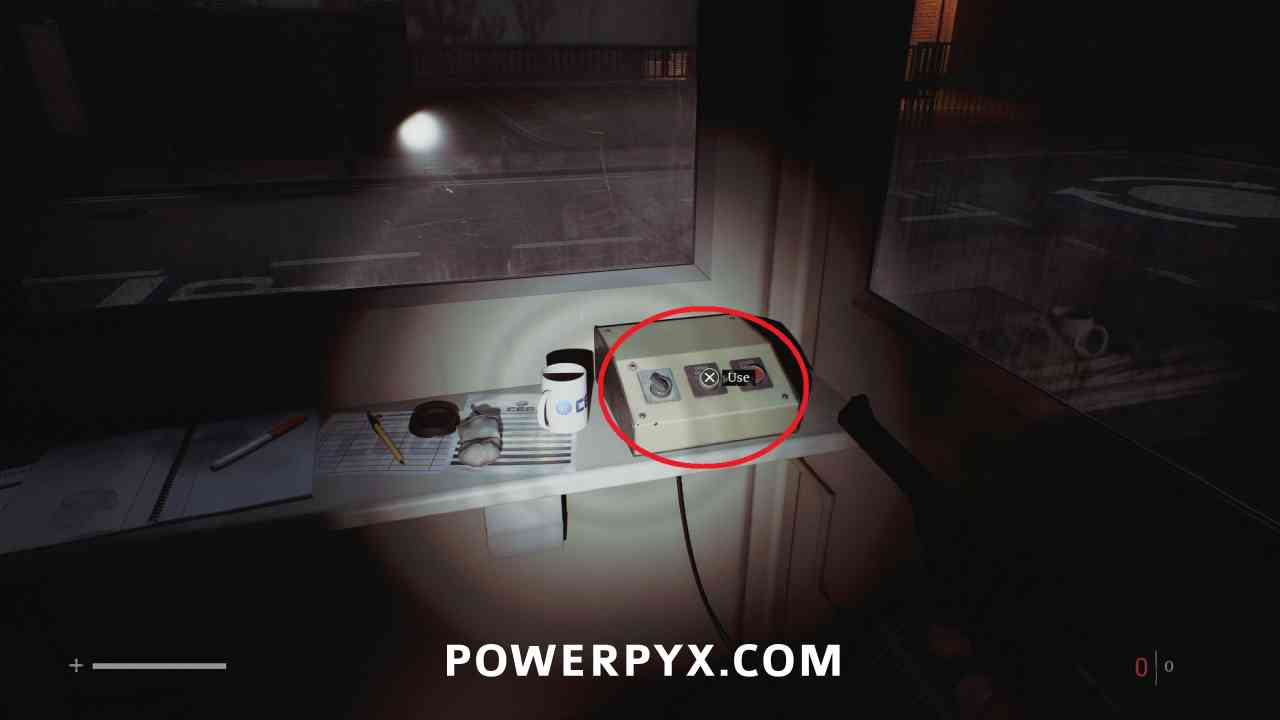
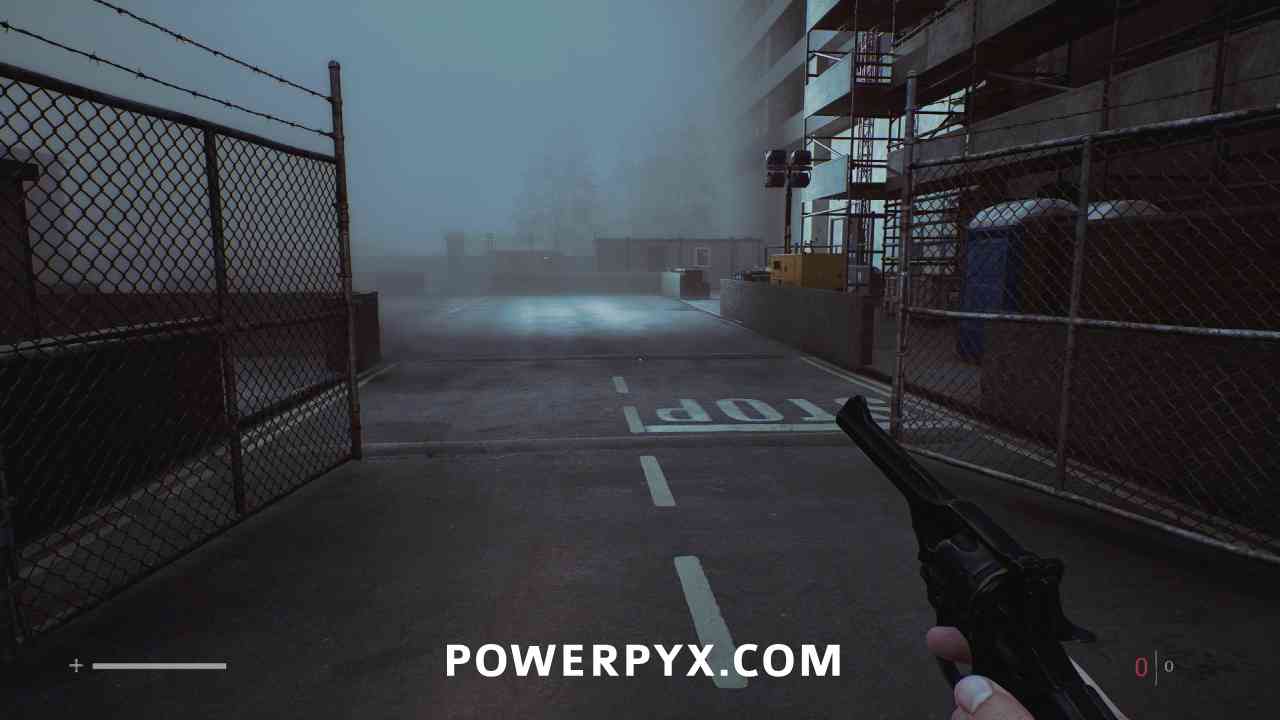
Go left of the front entrance and enter the small security booth, interact with the button to open the gate.
Document: Construction Halted Notice
Area: CEG HQ > Exterior
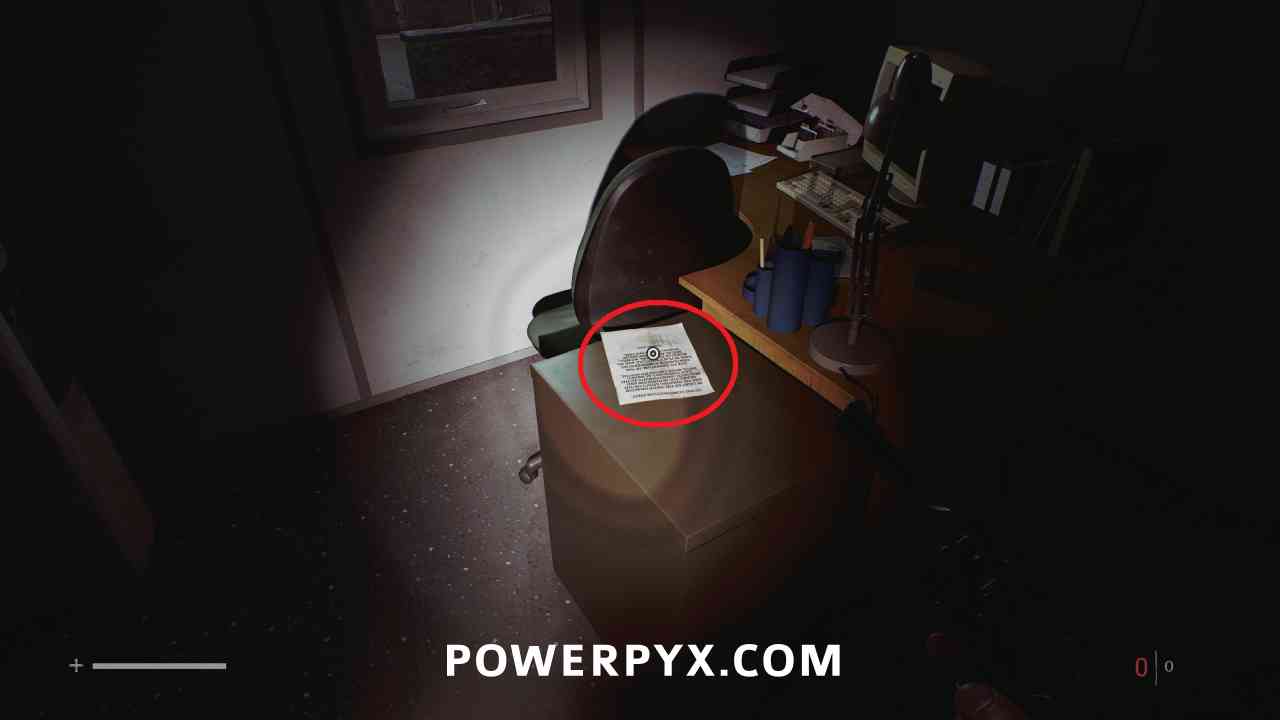
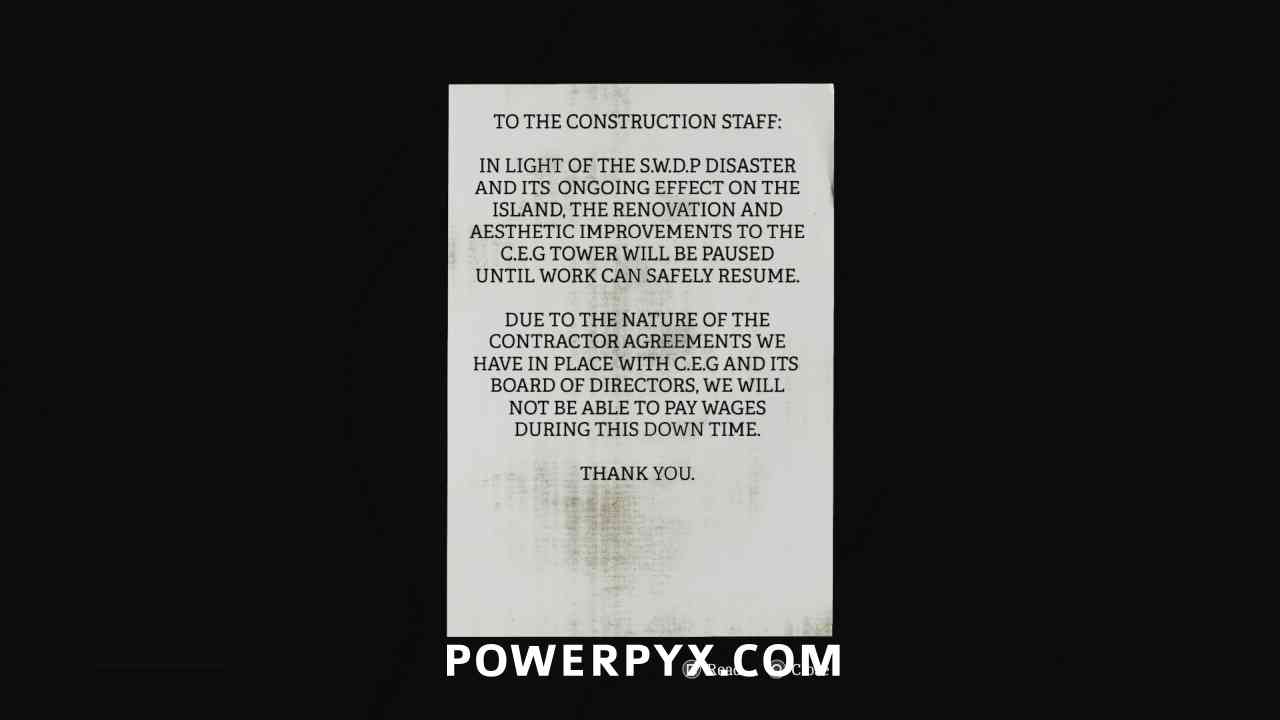
Go into the first building on the parking lot, in the second room on the left this is on a table in the back corner.
Document: CEG Kiosk Note
Area: CEG HQ > Exterior
Go through the garage door on the second building on the left, and this is on a table immediately to the right when you enter.
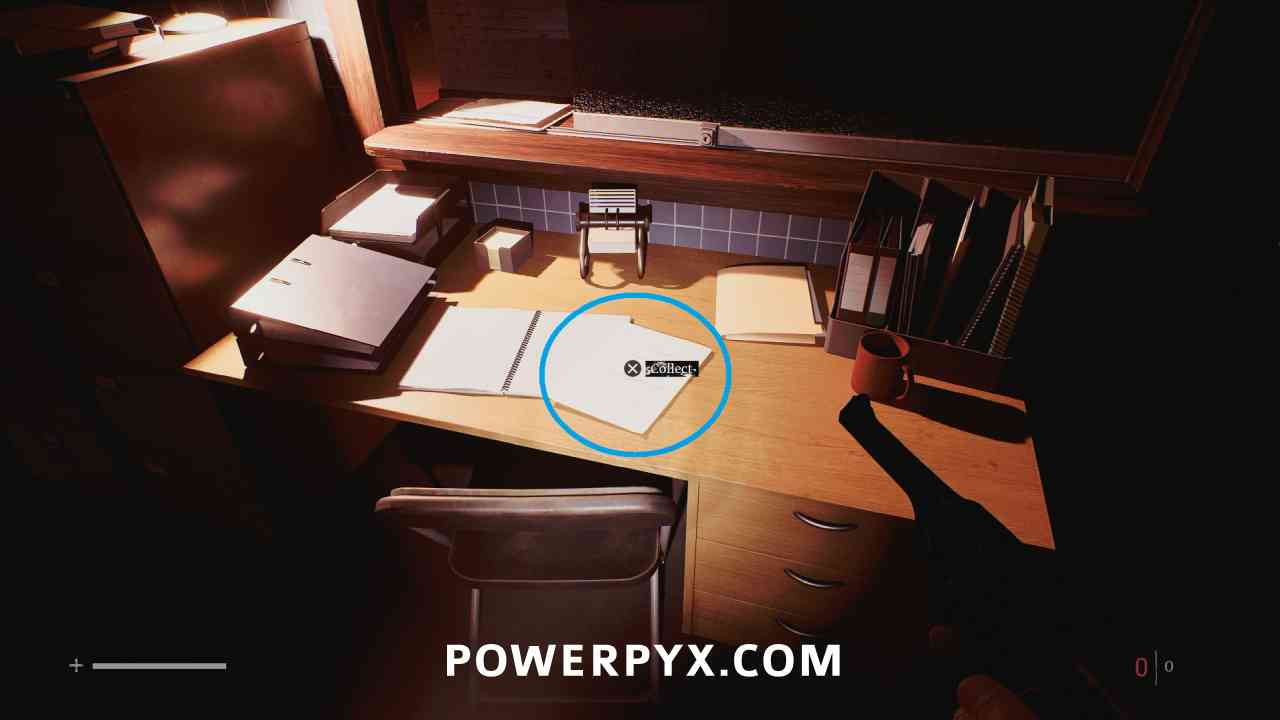
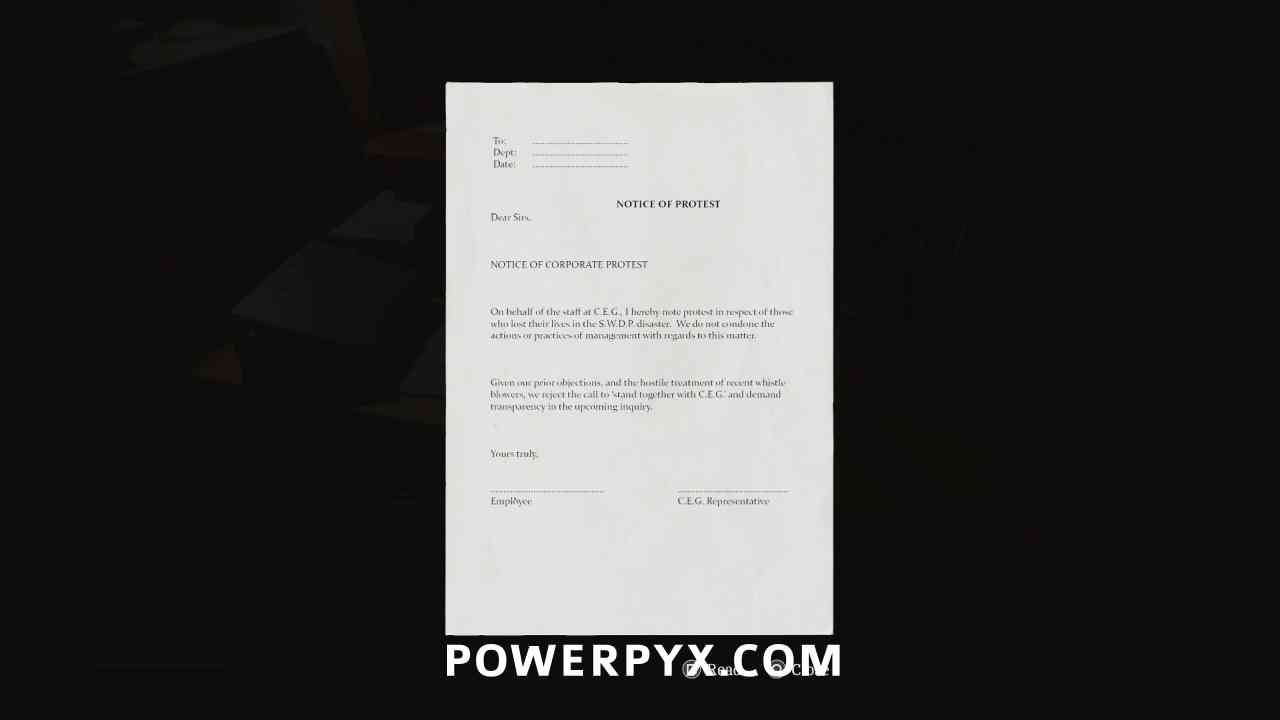
Document: CEG Memo
Area: CEG HQ > Exterior
Go upstairs and then left, entering the Manager’s Office. This is on a desk to the left.
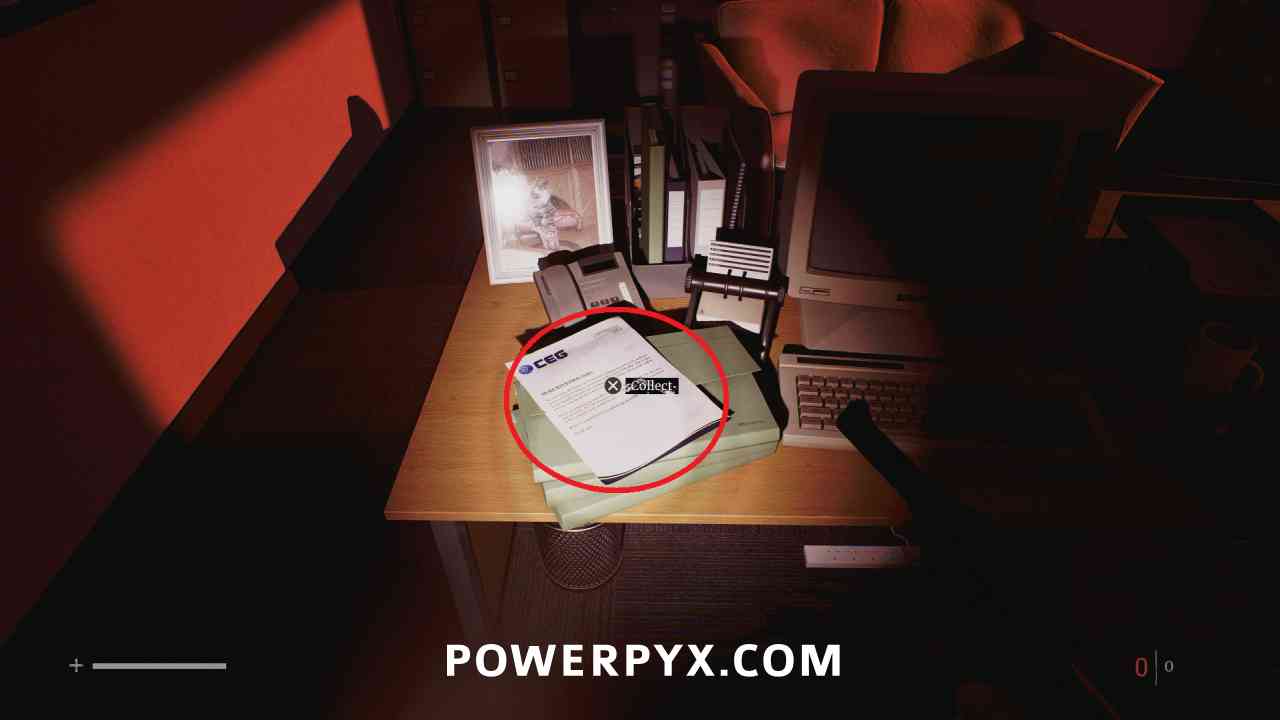
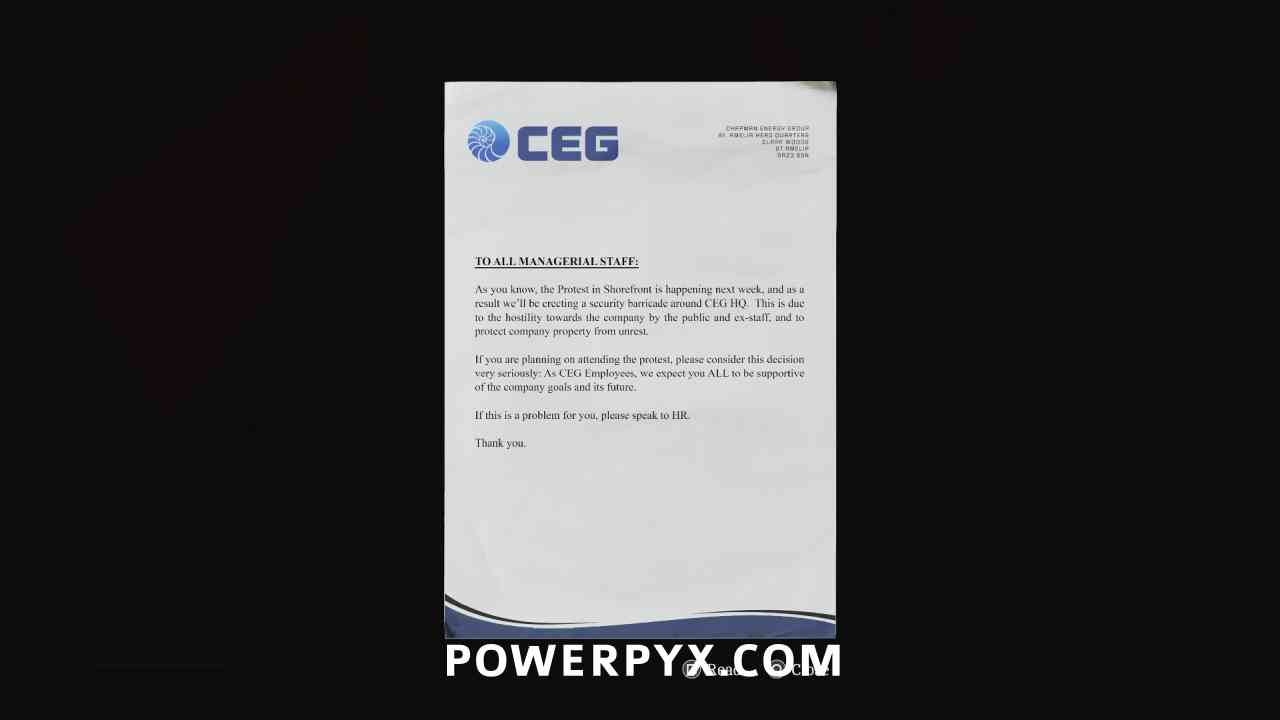
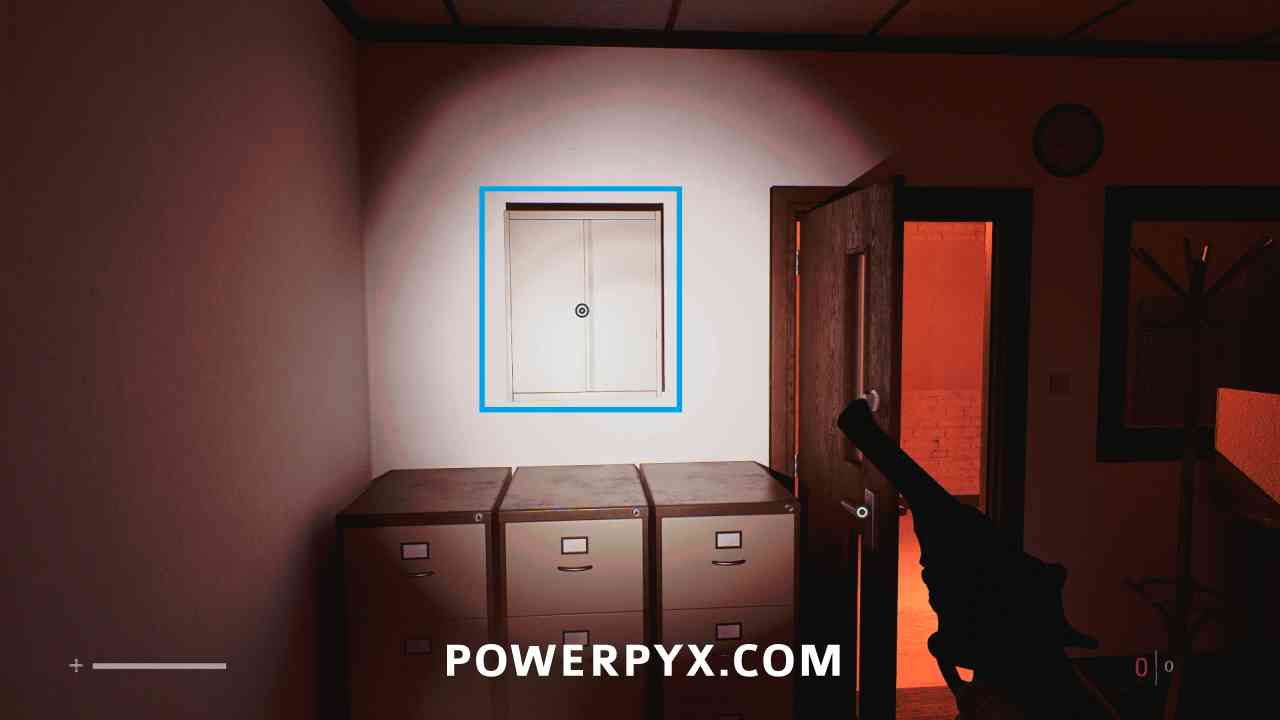
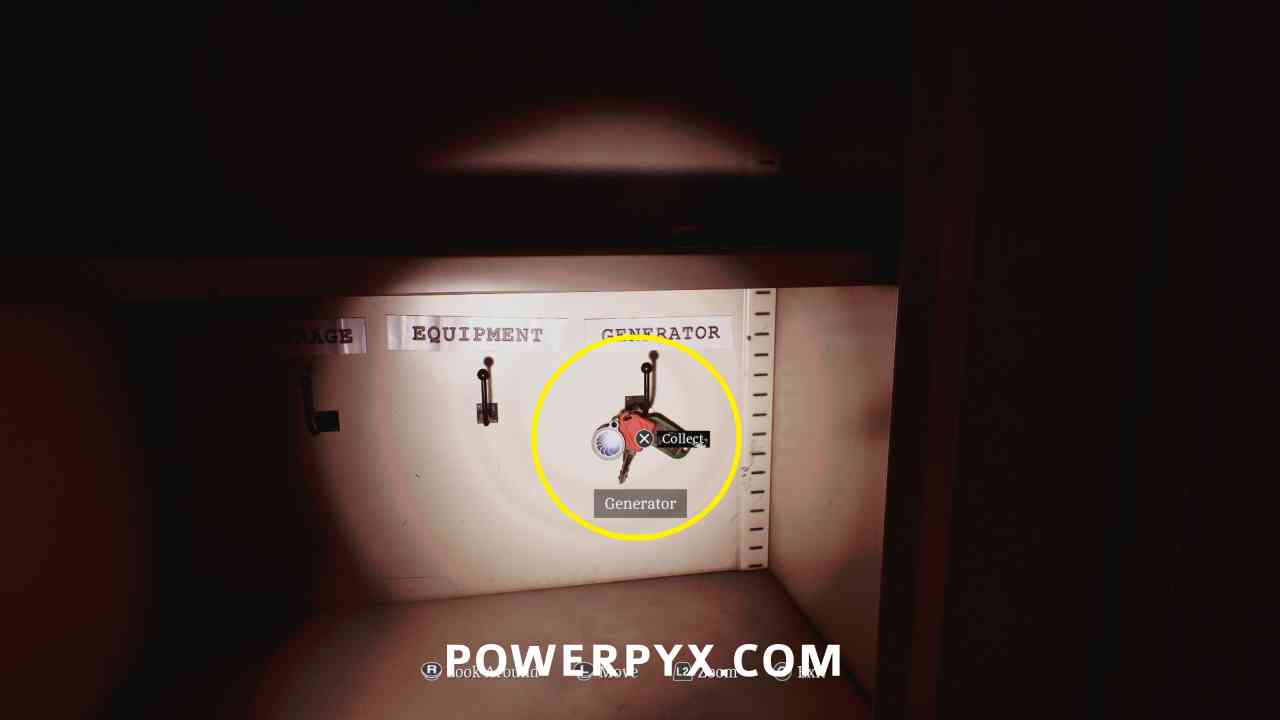
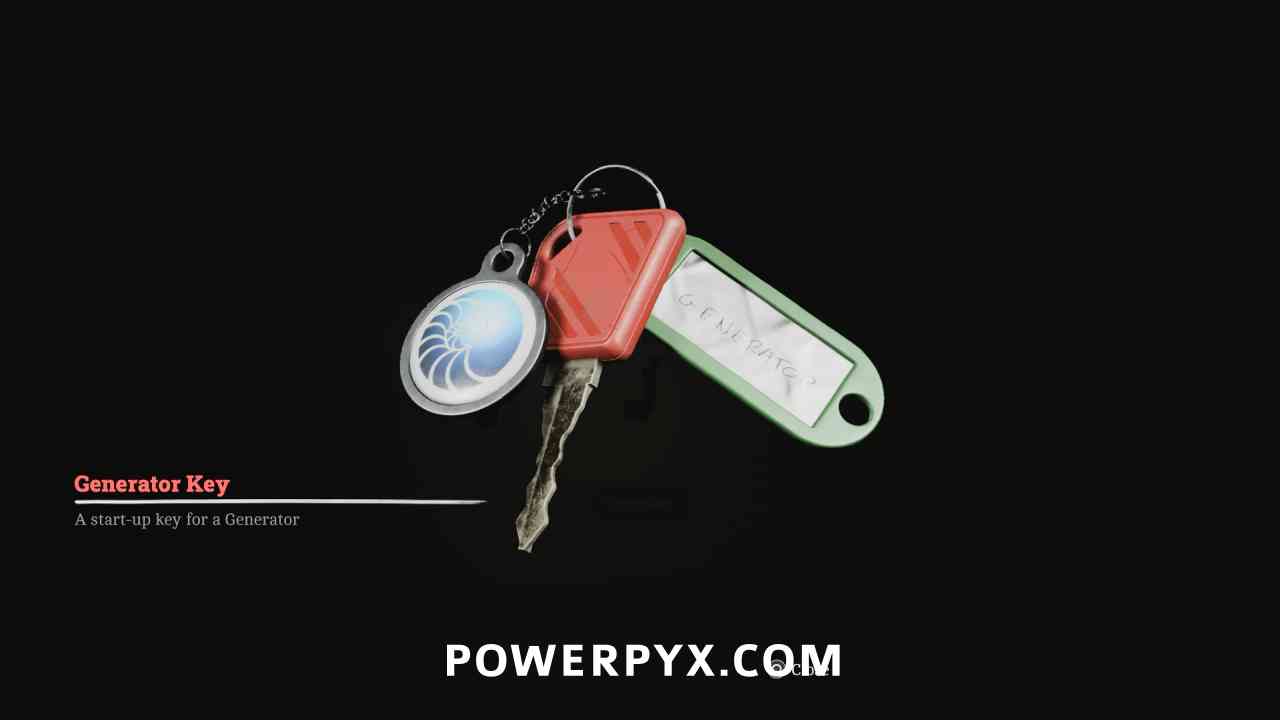
Key Item: Generator Key
Area: CEG HQ > Exterior
In the Manager’s Office behind the door, in a cabinet.
Puzzle #27
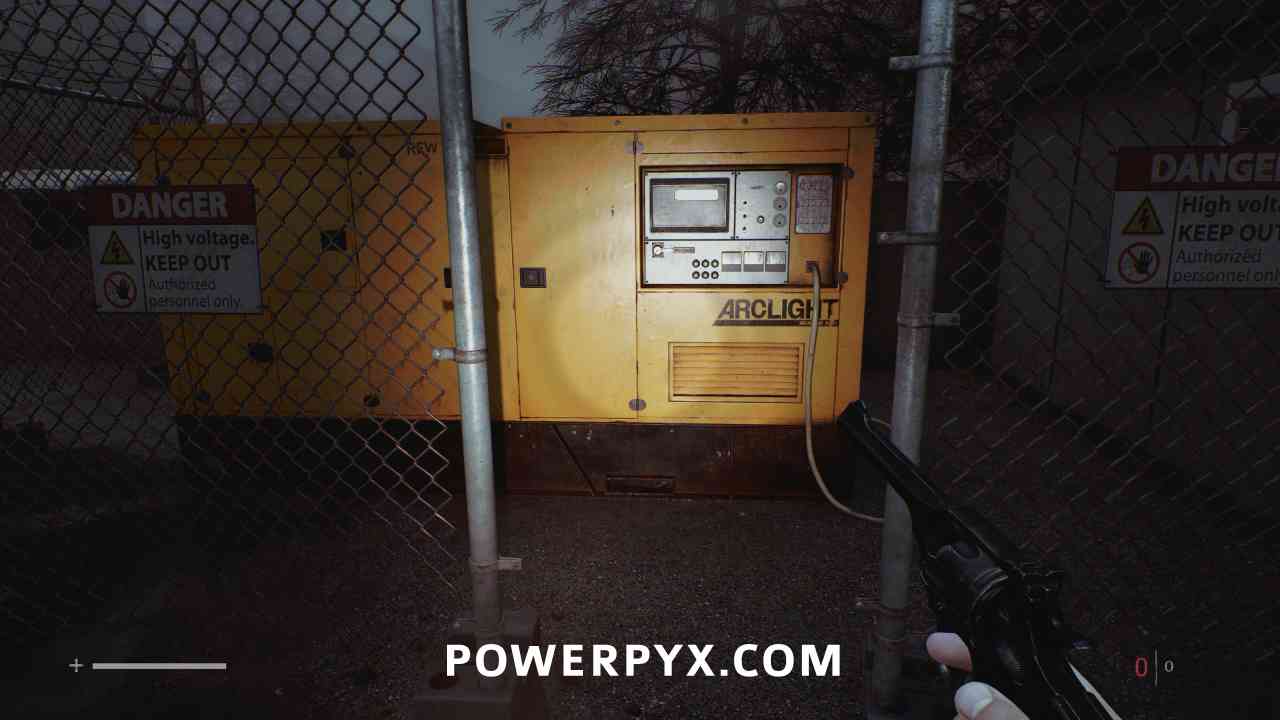
Area: CEG HQ > Exterior
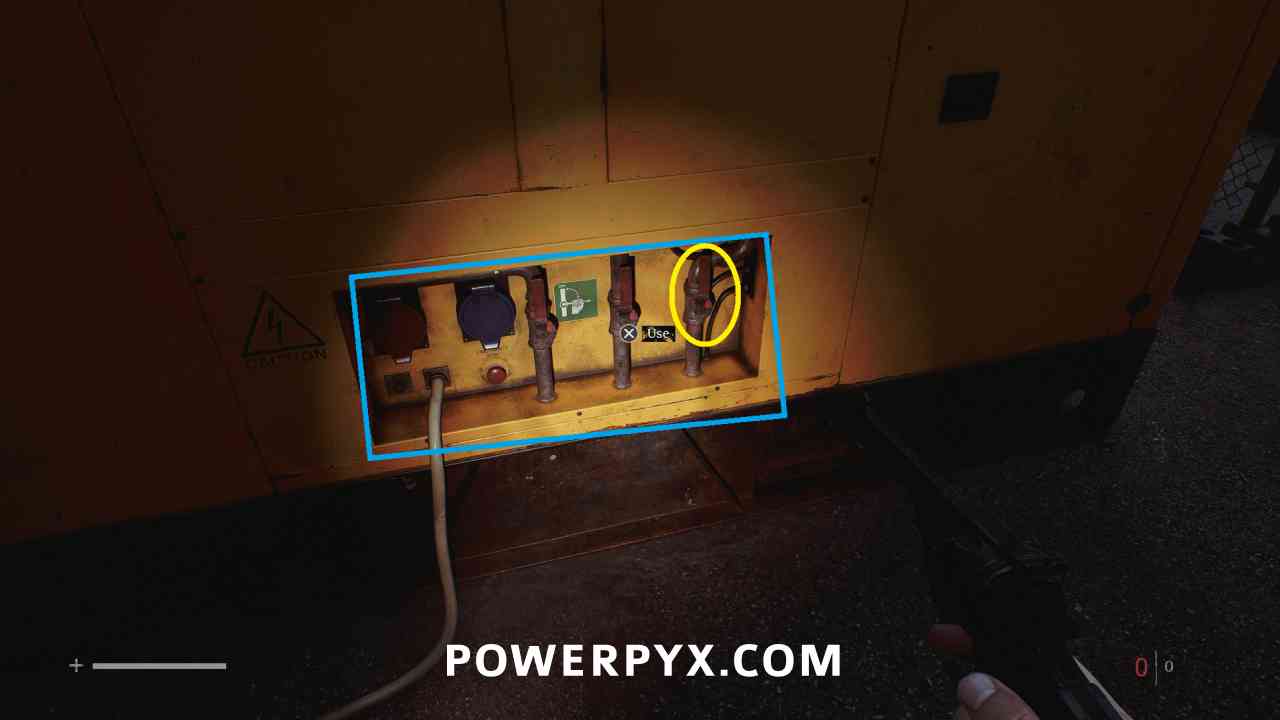
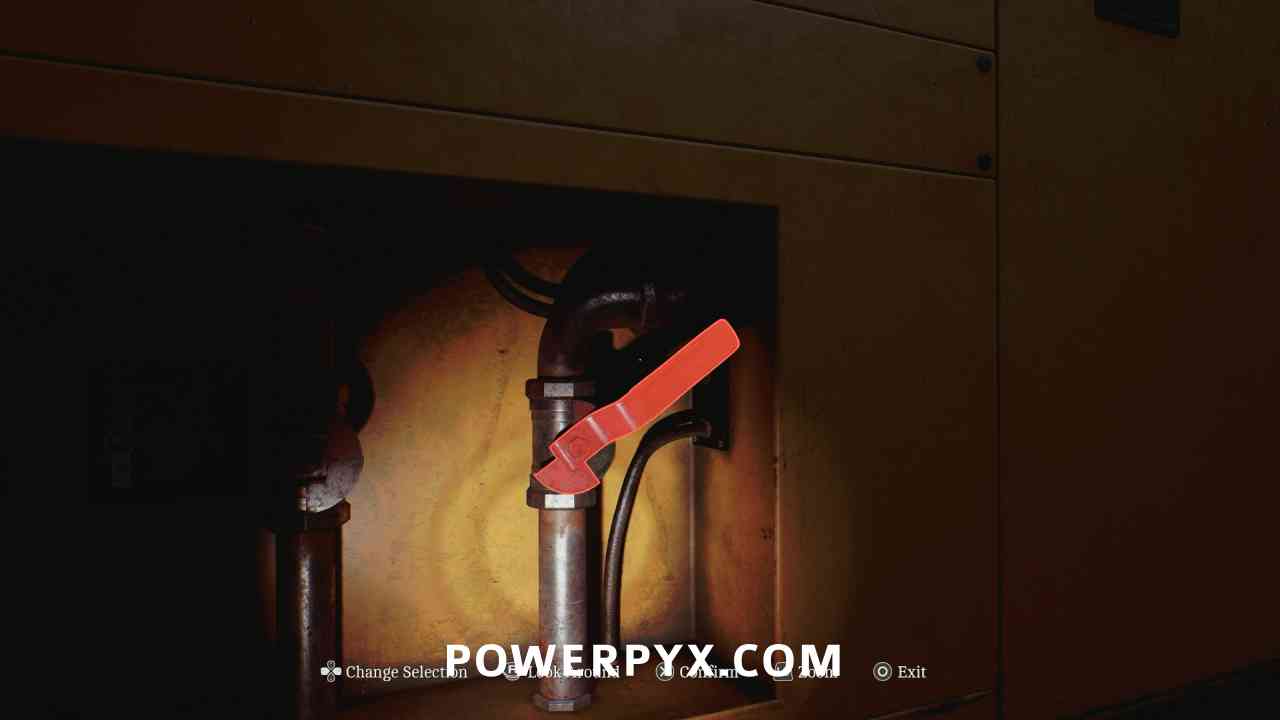
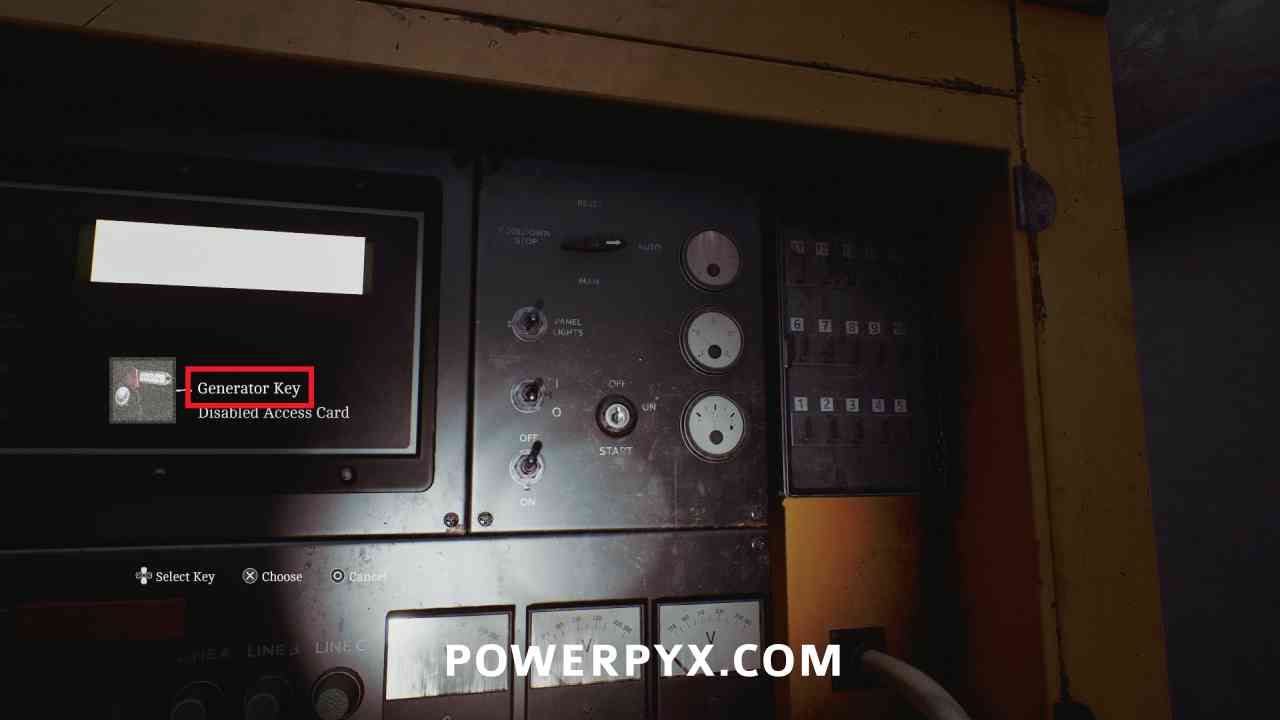
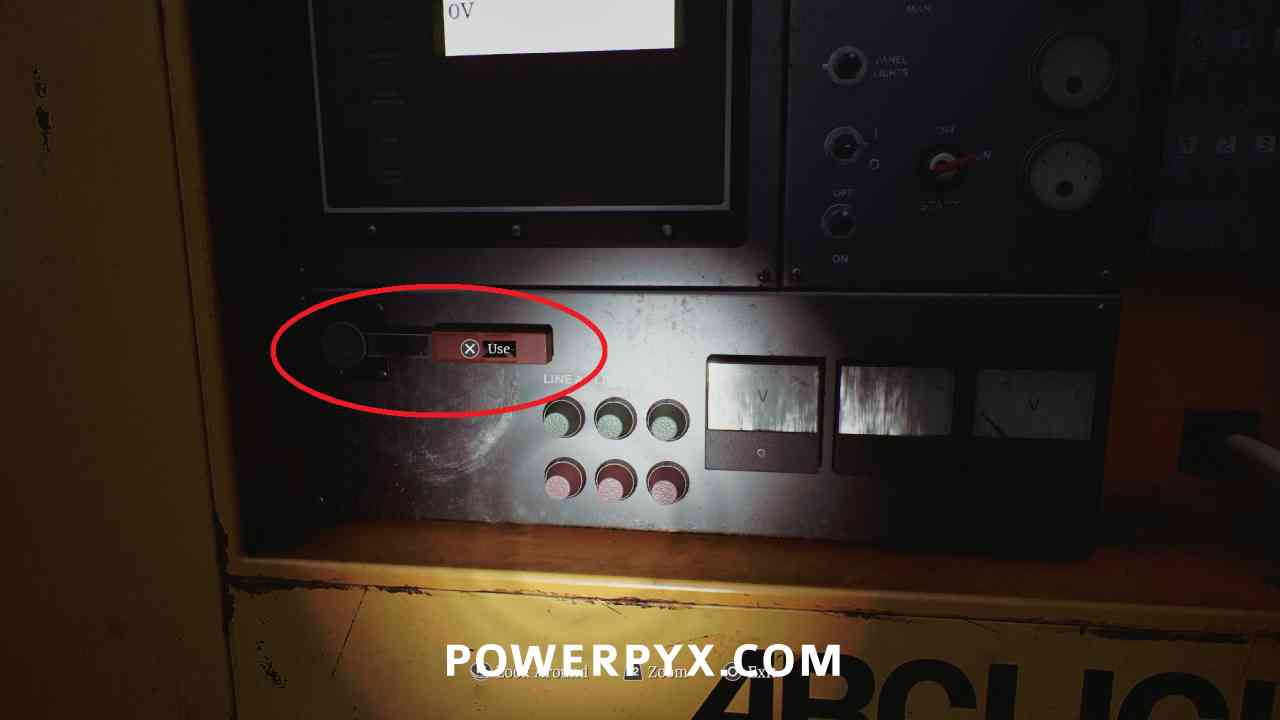
Go over to the generator outside. Walk around the back and turn the right lever so that it is diagonal, leave the left and middle vertical (off). Go to the front and interact with the panel, placing the key on the right. Then pull the red lever on the left. This turns on the generator and allows you to use the elevator to enter the building.
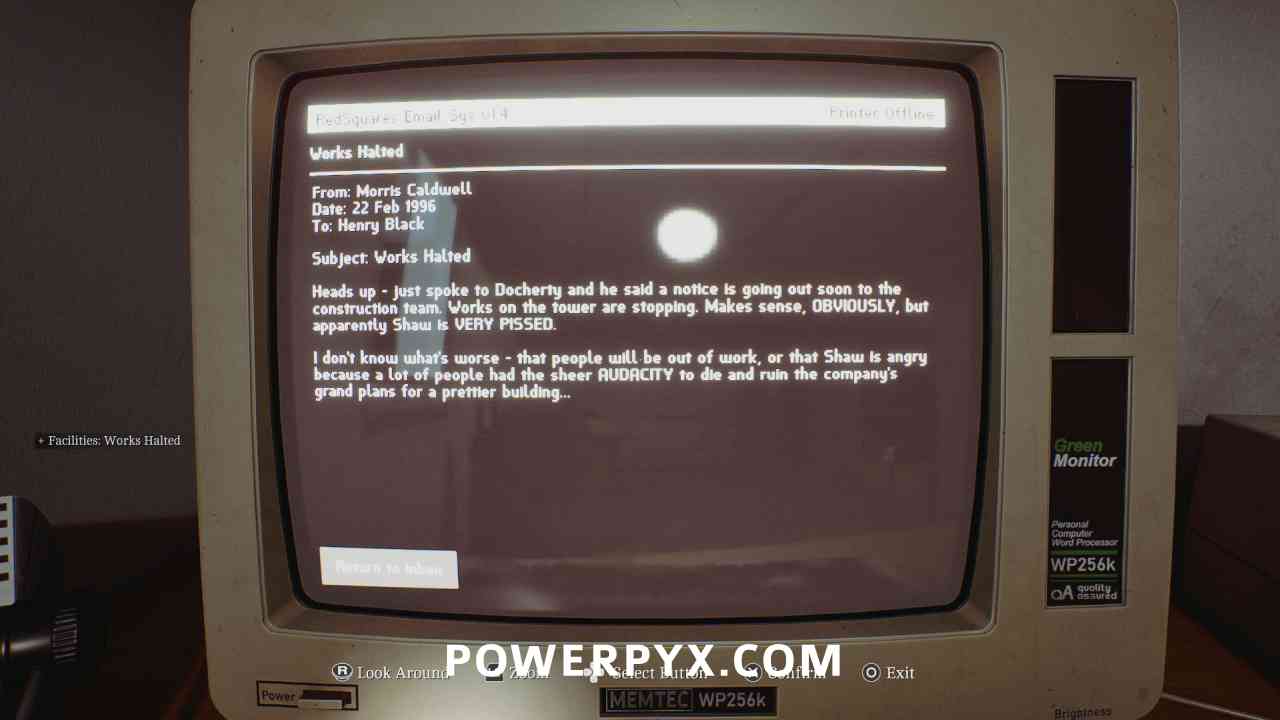
Document: Facilities: Works Halted
Area: CEG HQ > Exterior
Now that the power is on, go back in the first building you went into. In the room on the right you can access the computer, read the top email.
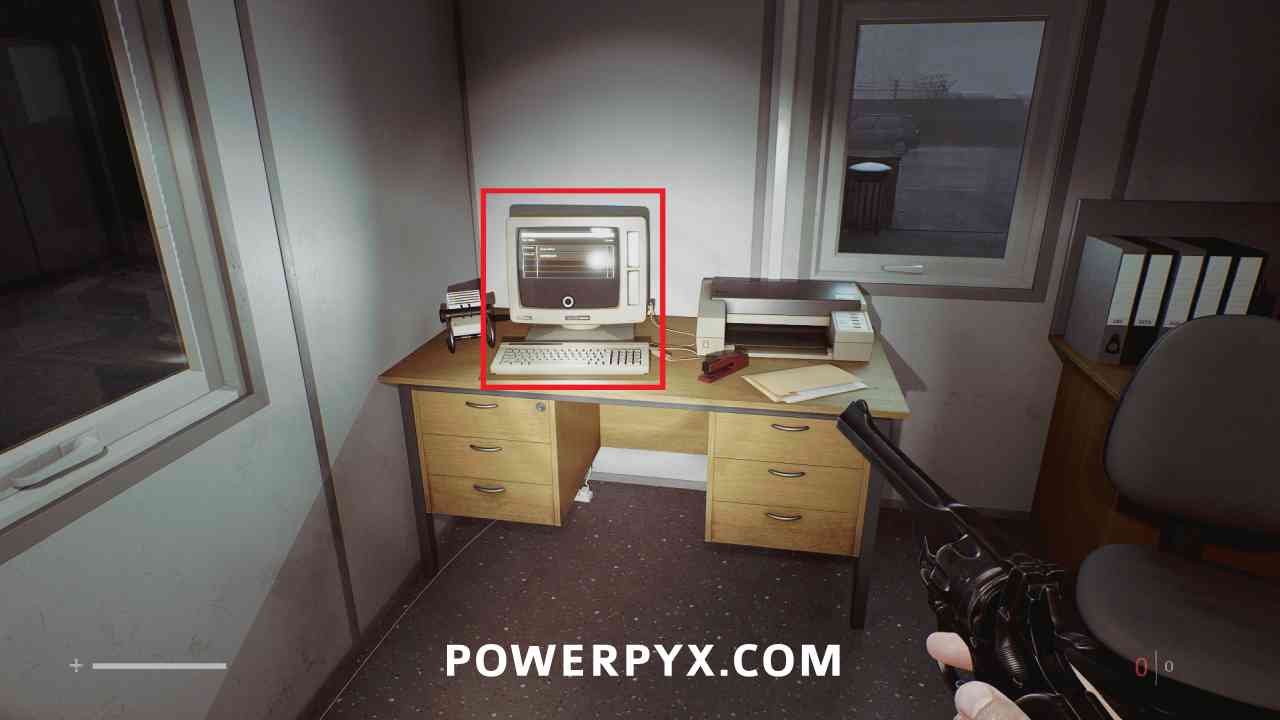
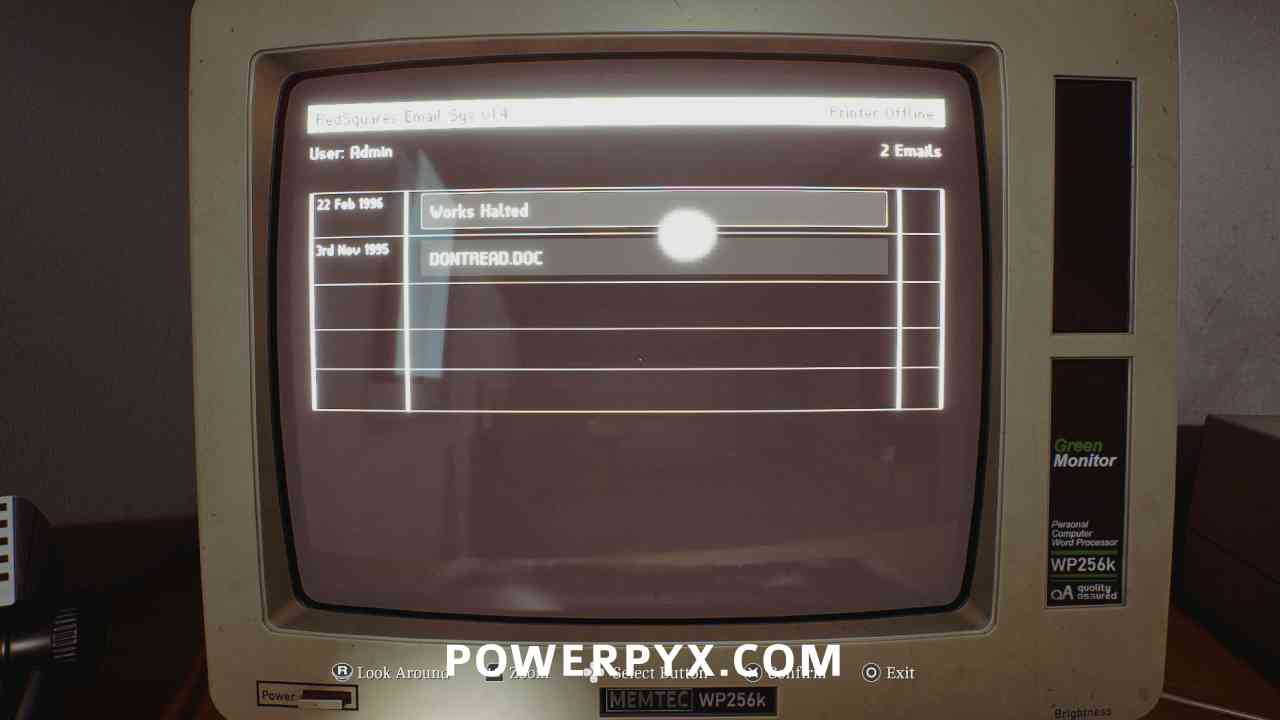
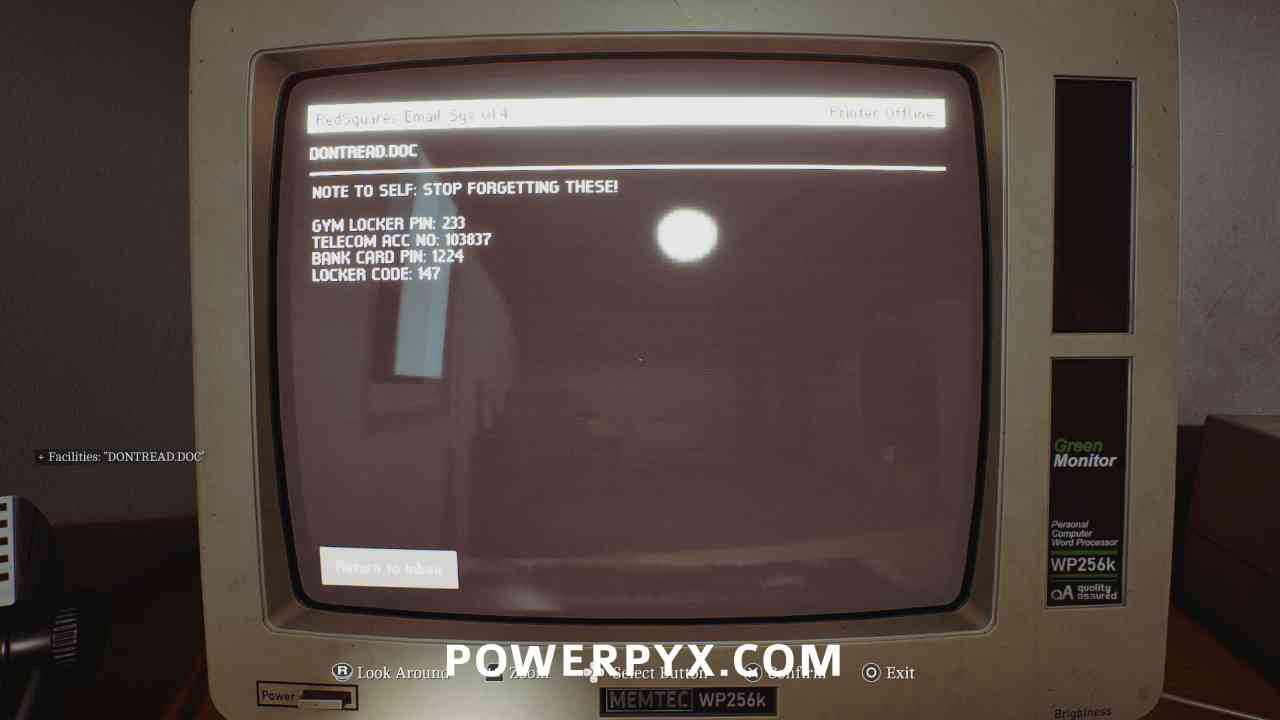
Clue: “DONTREAD.DOC”
Area: CEG HQ > Exterior
Same as above, read the bottom email.
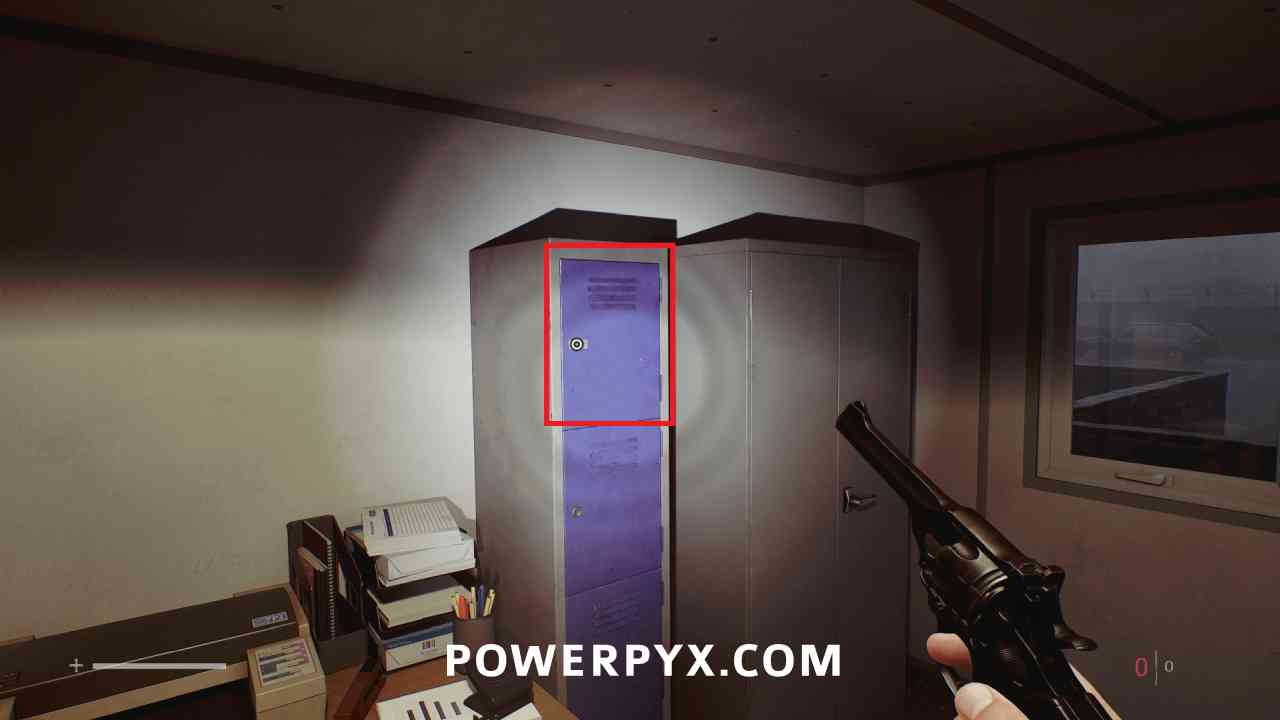
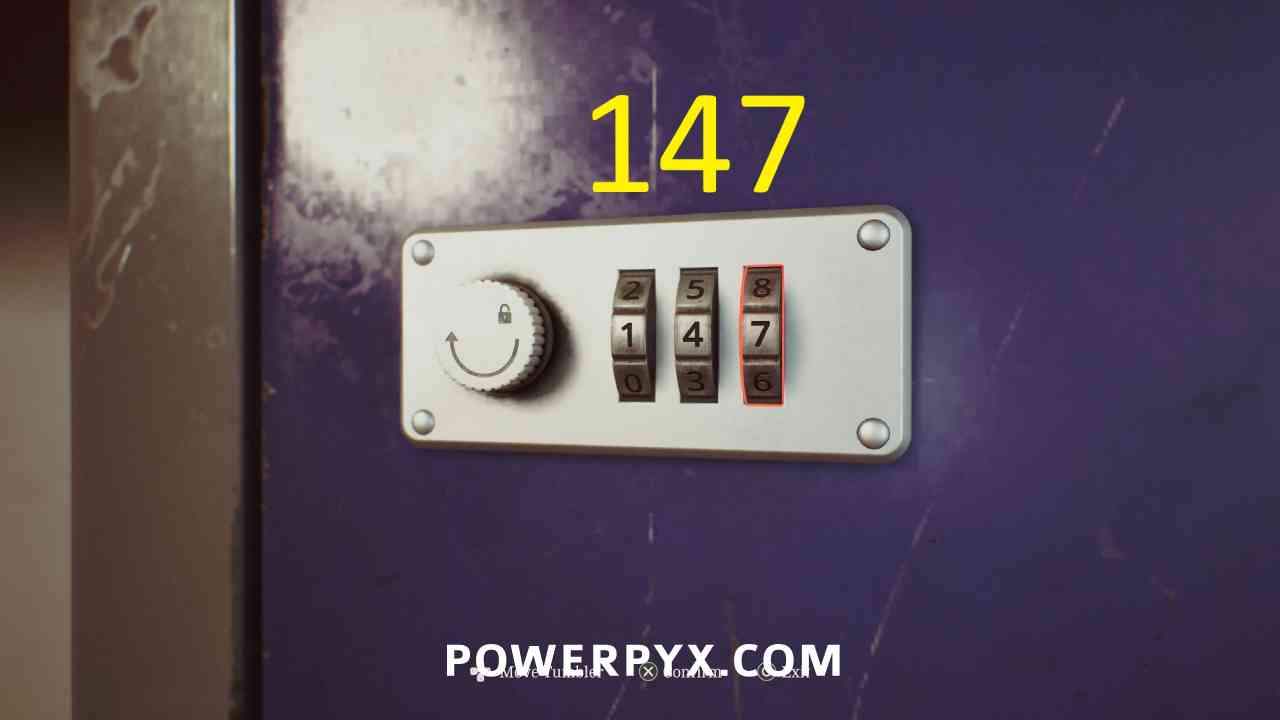
Locked Door
Area: CEG HQ > Exterior
Go to the opposite end of the room to where you picked up the Document before, use the code 147 to open the locker.
Chapter 13: Richard: Another Attempt
CEG HQ > 2nd Floor
Weapon: Shotgun
Area: CEG HQ > 2nd Floor
Automatically obtained after entering the building and moving out into the 2nd floor.
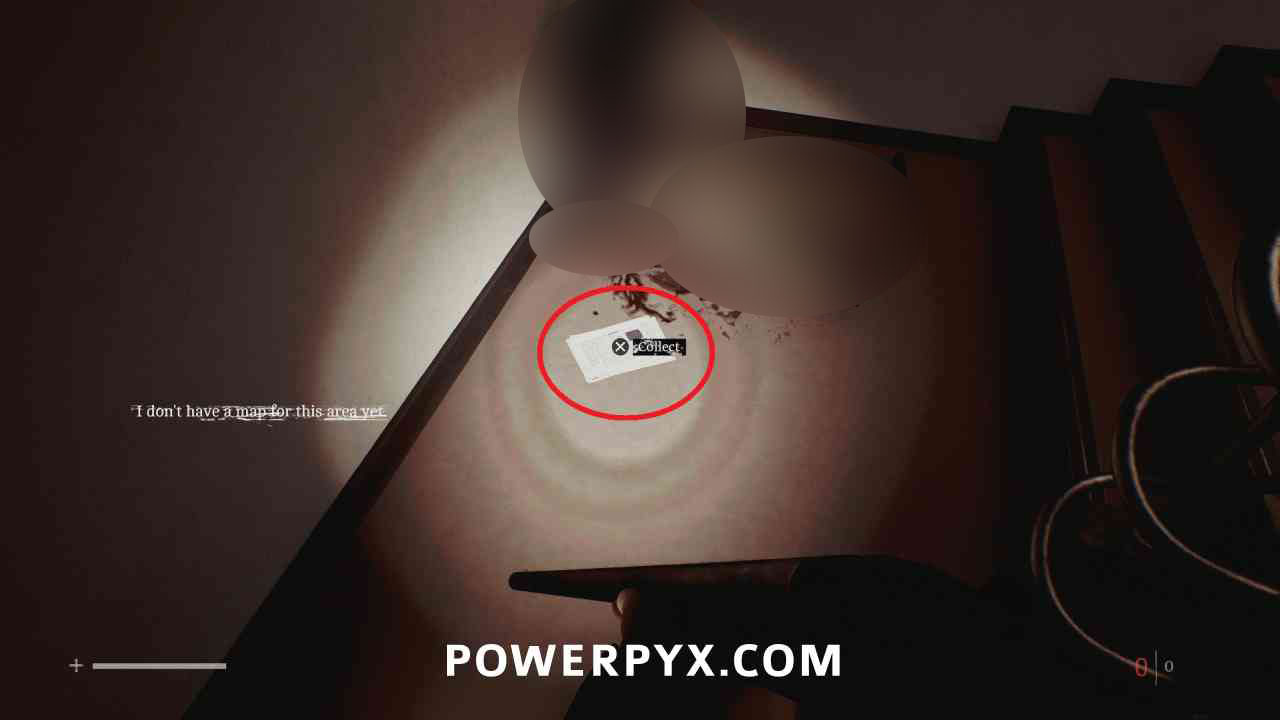
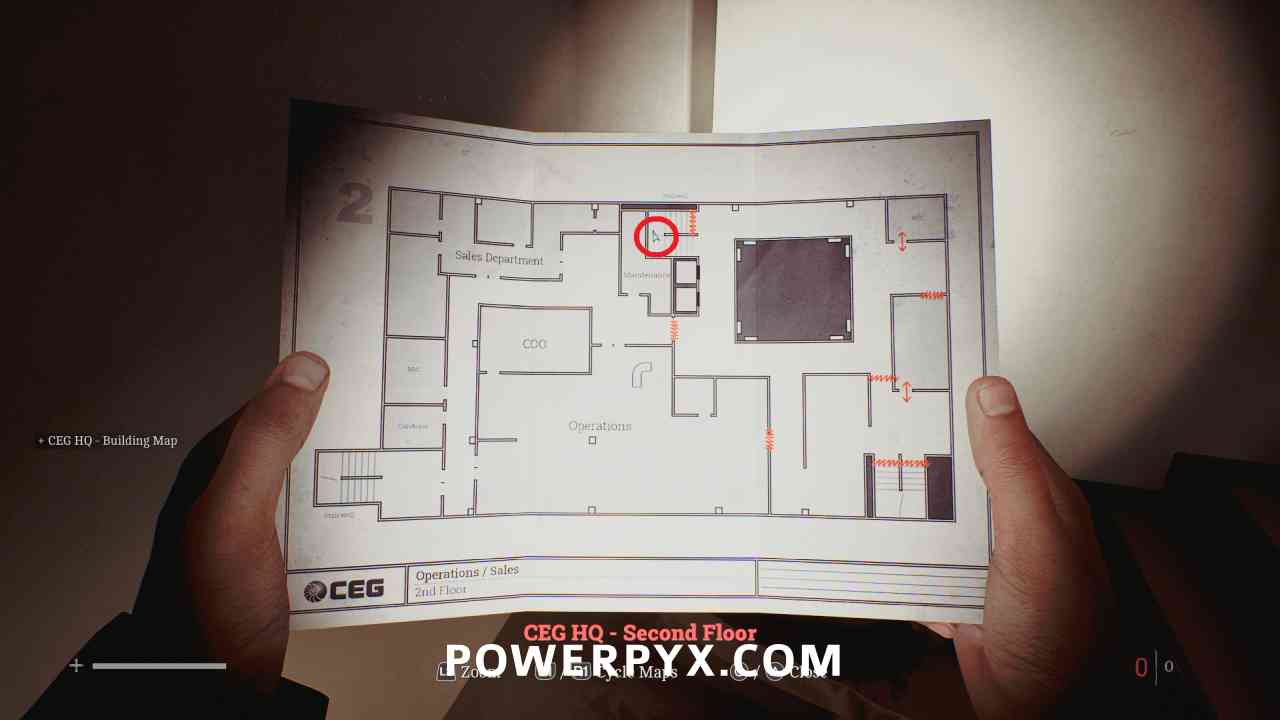
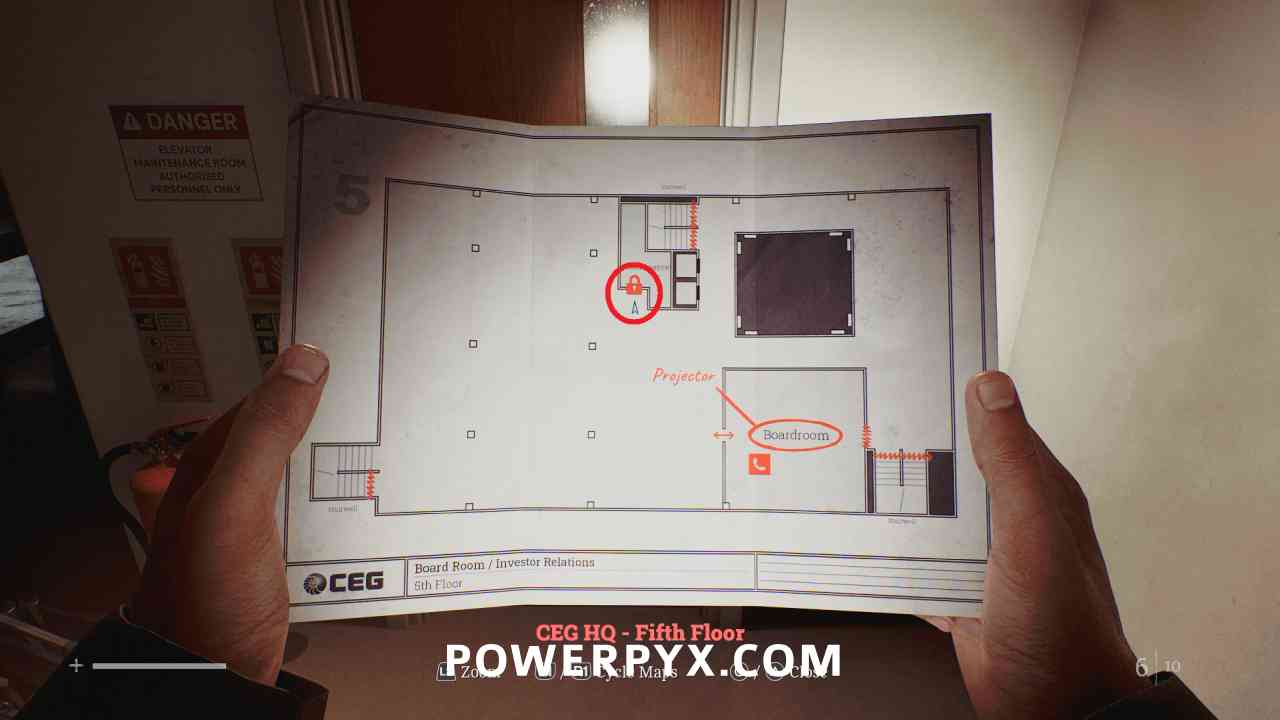
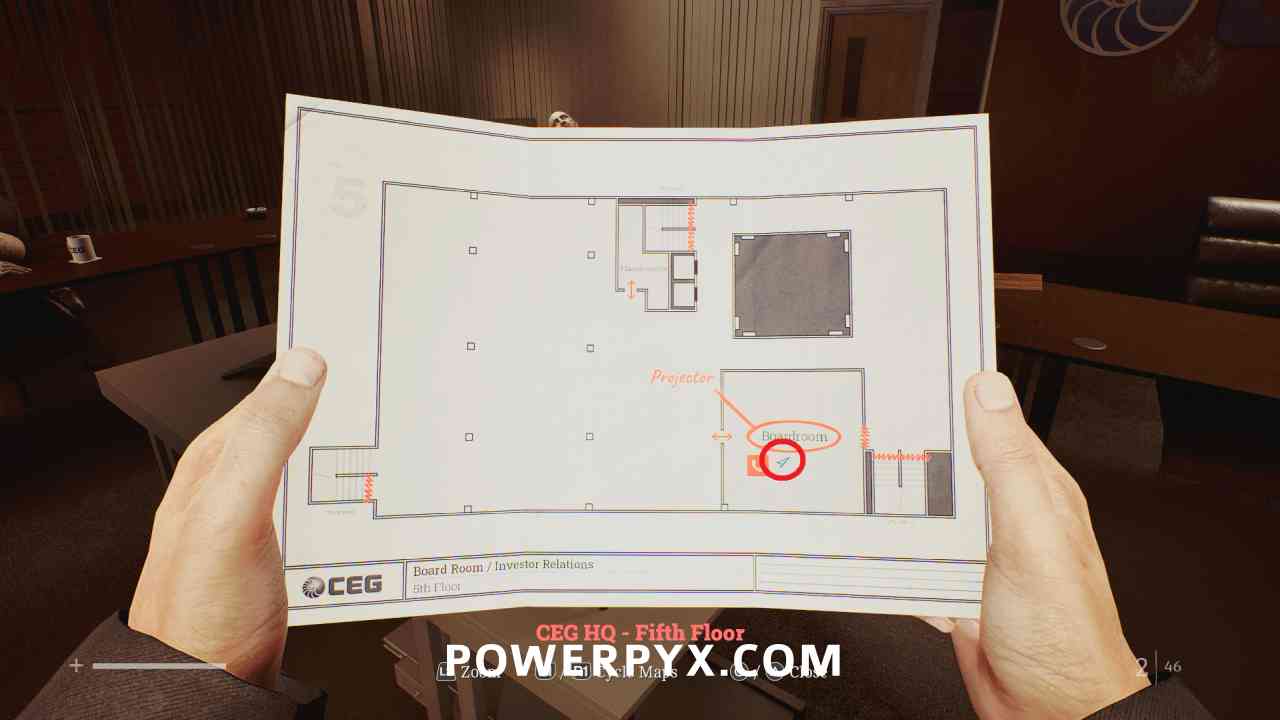
CEG HQ – Mezzanine > Fifth Floor Map
Area: CEG HQ > 2nd Floor
On the stairs going from the 2nd Floor to the 3rd floor, beside a body.
CEG HQ > 3rd Floor
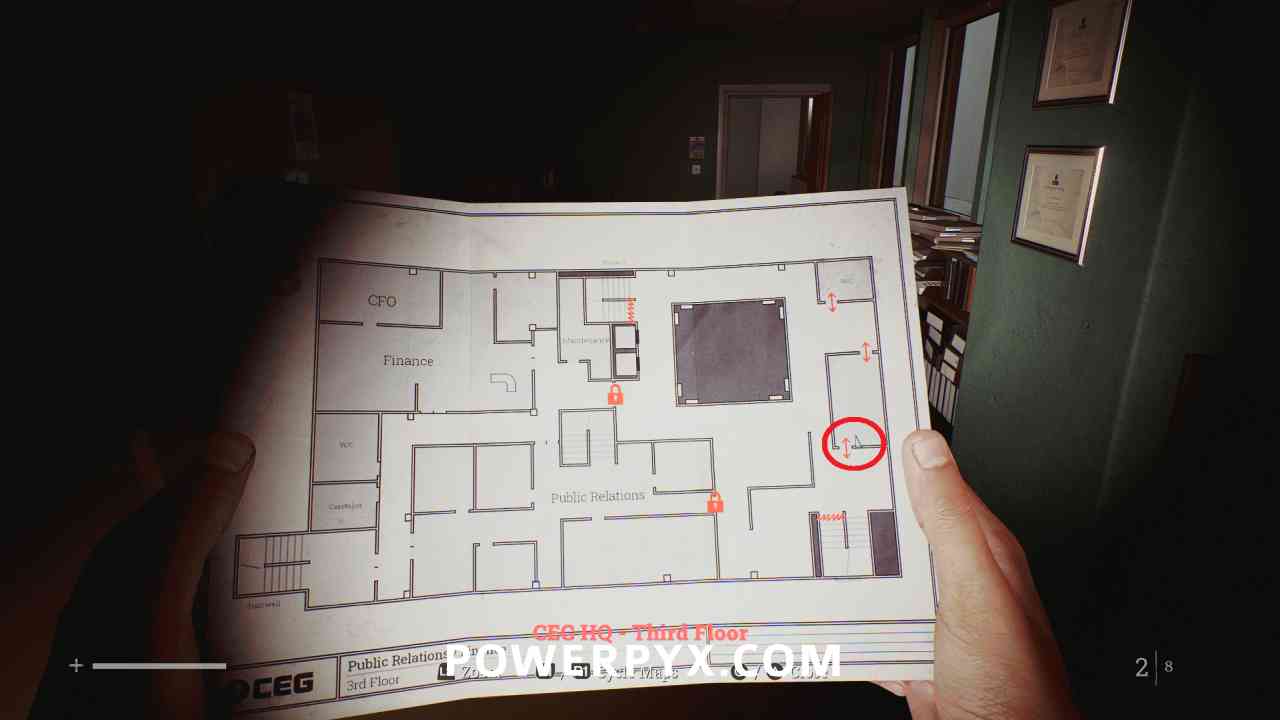
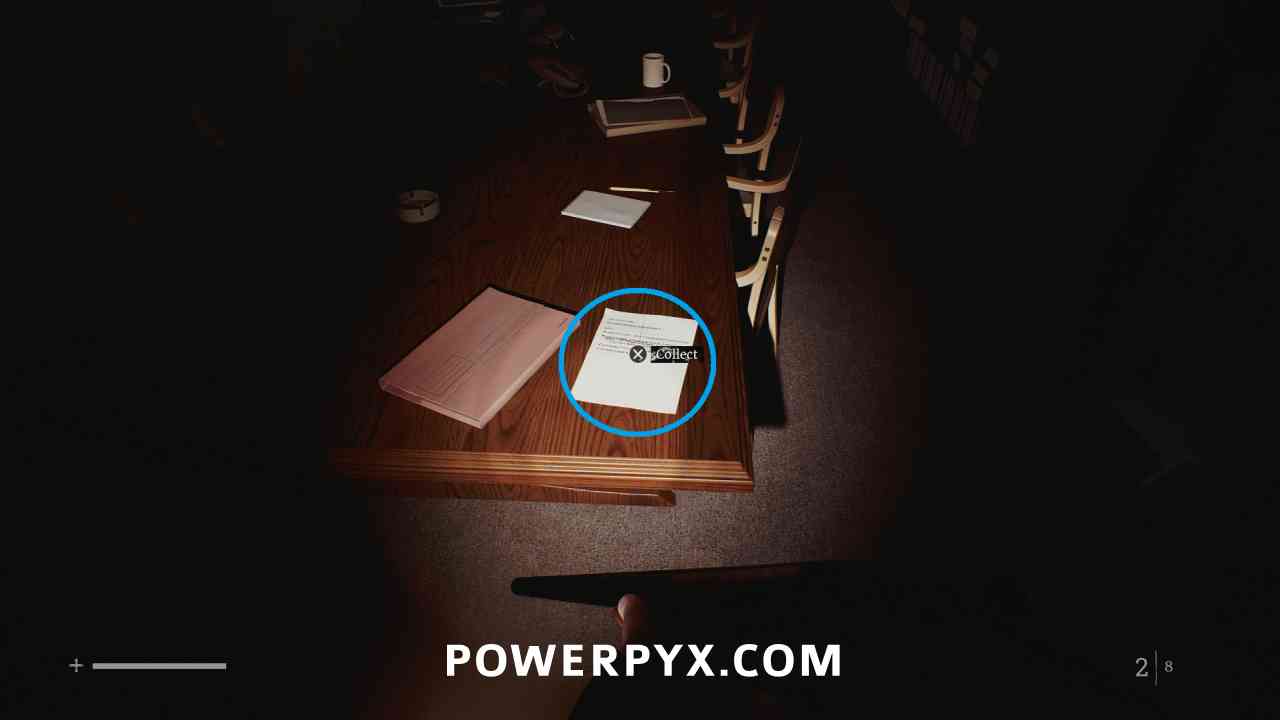
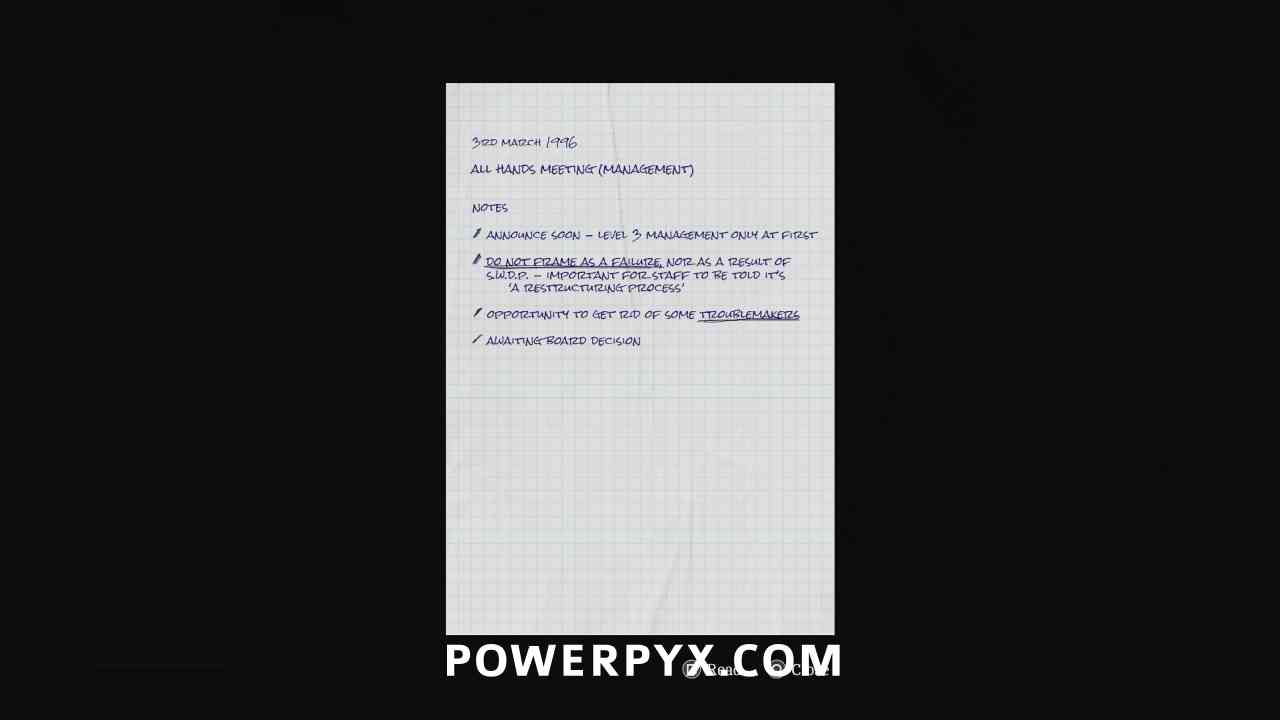
Document: CEG Tower Meeting Minutes
Area: CEG HQ > 3rd Floor
In the unlabeled room on the east side of the 3rd Floor (meeting room) on the table in the southeast corner.
CEG HQ > 4th Floor
Creative Process 
Kill at least one enemy with Plank, Pipe, Pistol, Shotgun, Flare Gun, Bottle and Brick in a single playthrough.
You can now earn the trophy in this area, the first time you kill an enemy with the Shotgun.
Missing The Point Entirely
Silence 30 Widows.
Widows are the name of the enemies specifically in this section of the game while playing as Richard. If you kill everything single possible one there aren’t a total of 30 available in one playthrough, so you will be able to unlock this during NG+ when you reach this point of the game again.
CEG HQ > 5th Floor
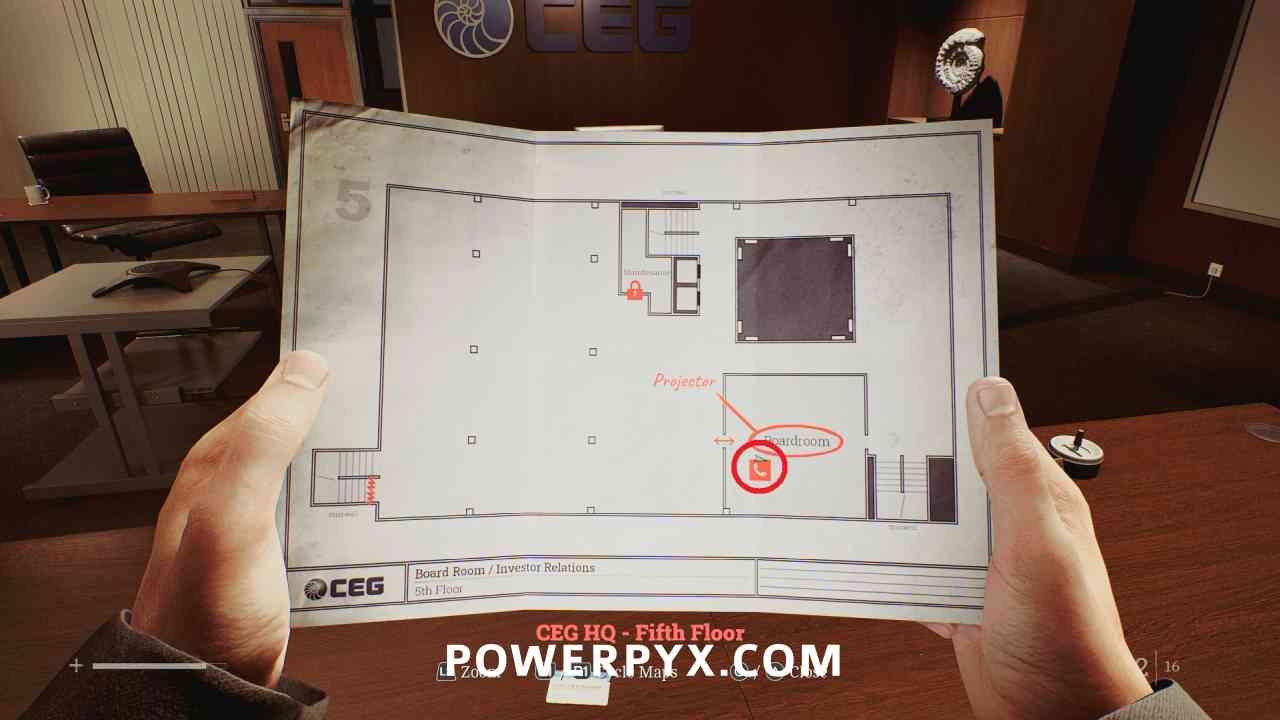
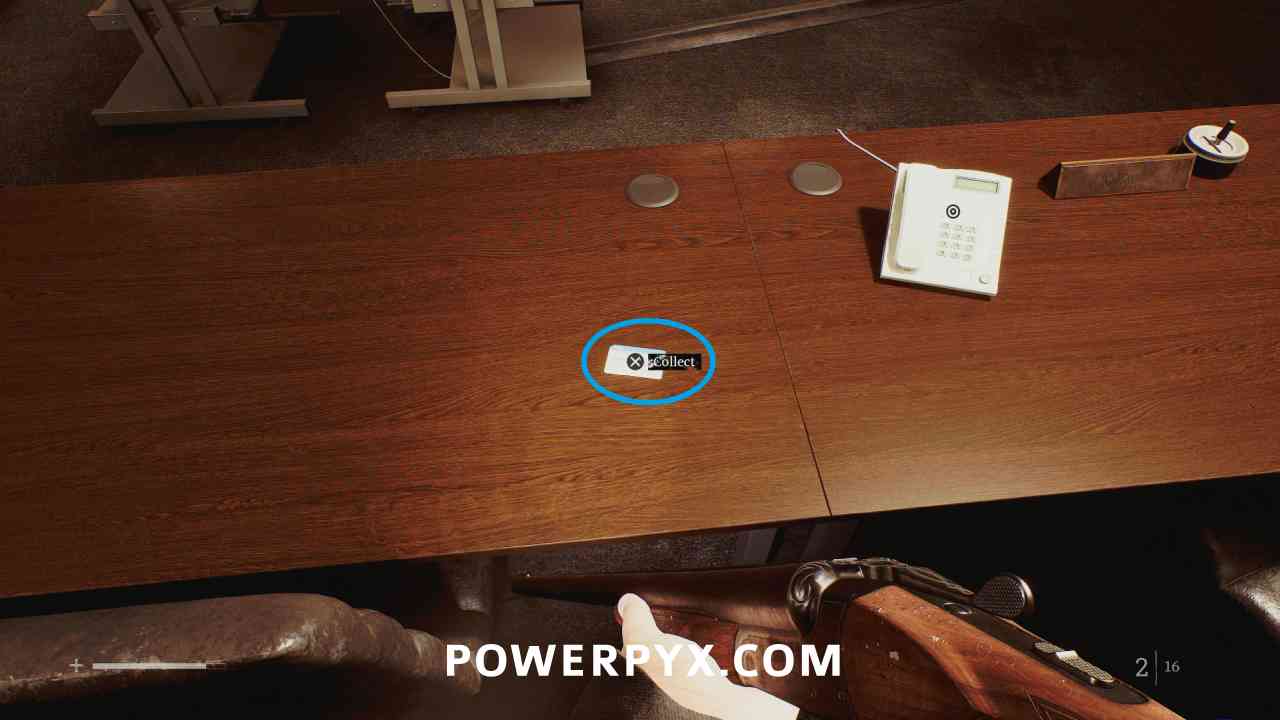
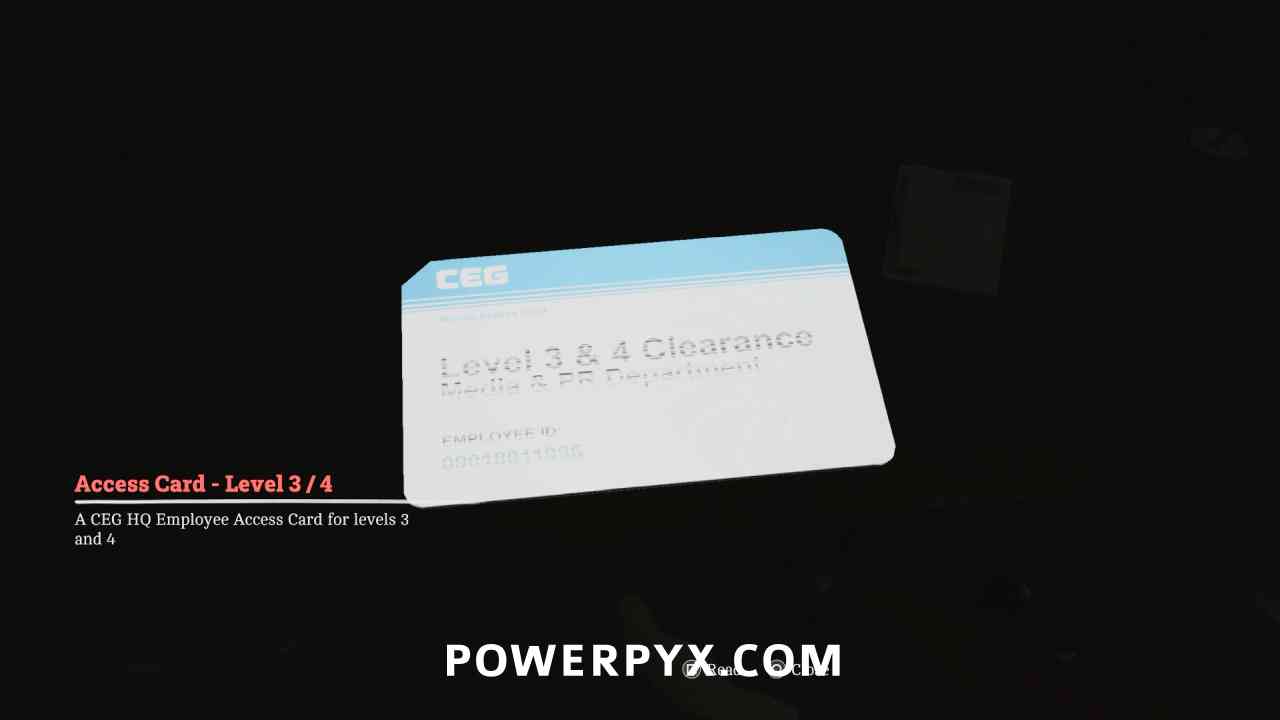
Key Item: Access Card – Level 3/4
Area: CEG HQ > 5th Floor
In the Boardroom after the cutscene, on the table. Allows you to use door pads on the 3rd and 4th floors.
CEG HQ > 4th Floor
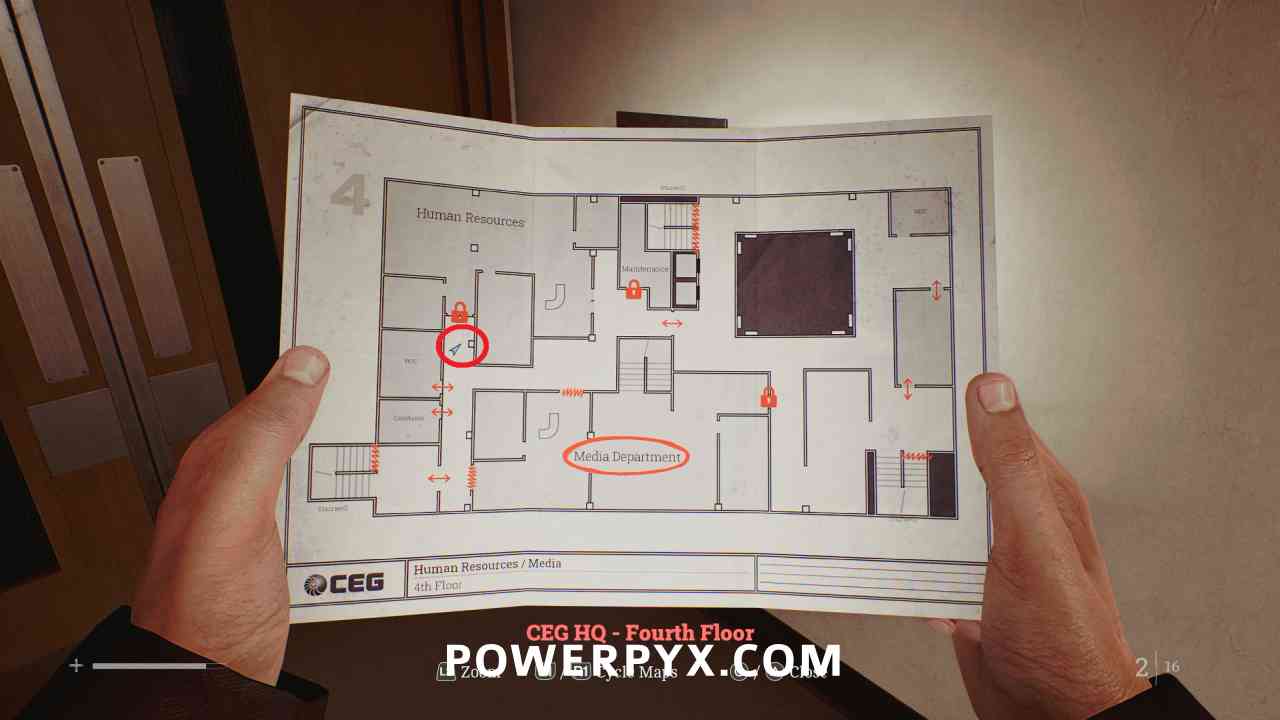
Locked Door: Human Resources
Area: CEG HQ > 4th Floor
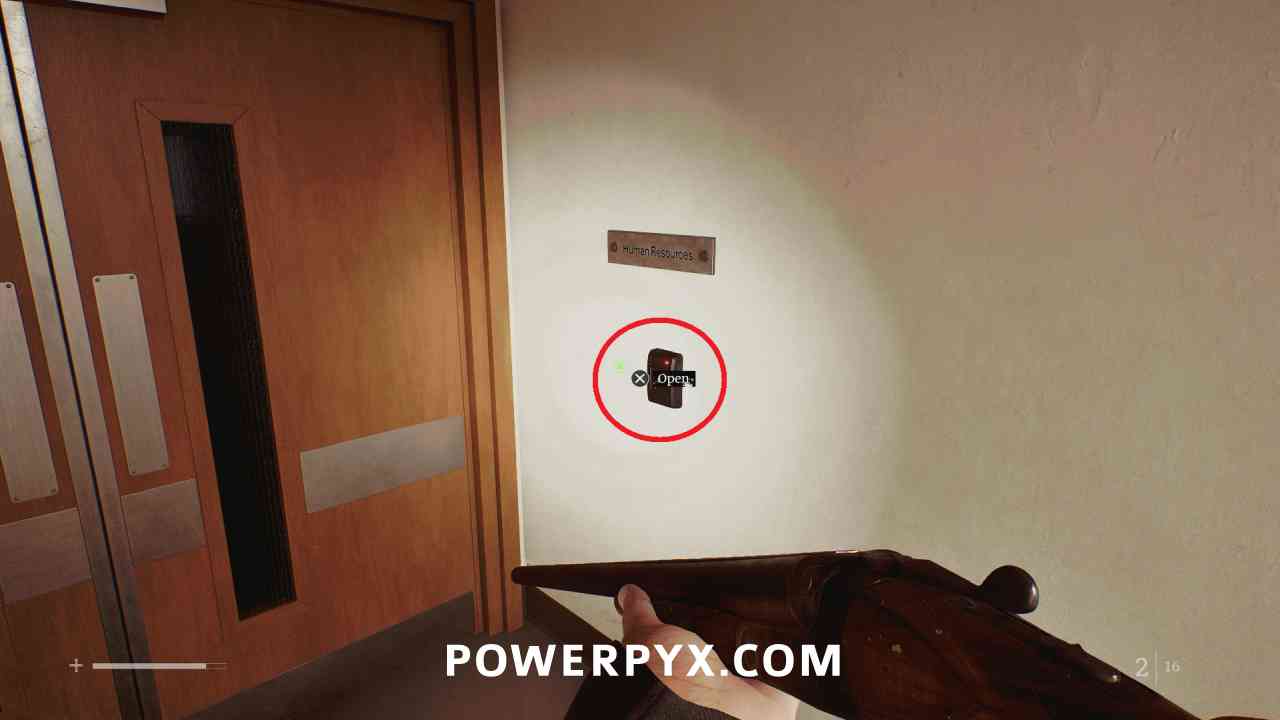
Go back down to the 4th floor and you can use the Access Card – Level 3/4 to enter the Human Resources room.
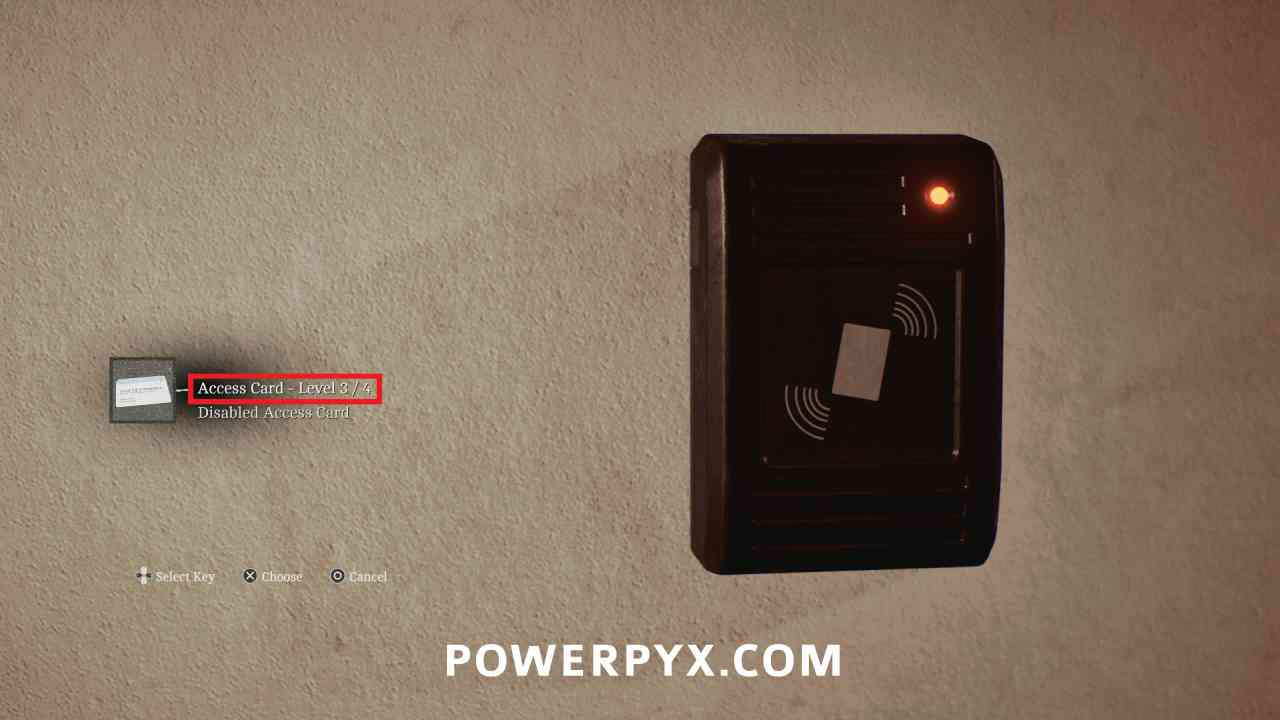
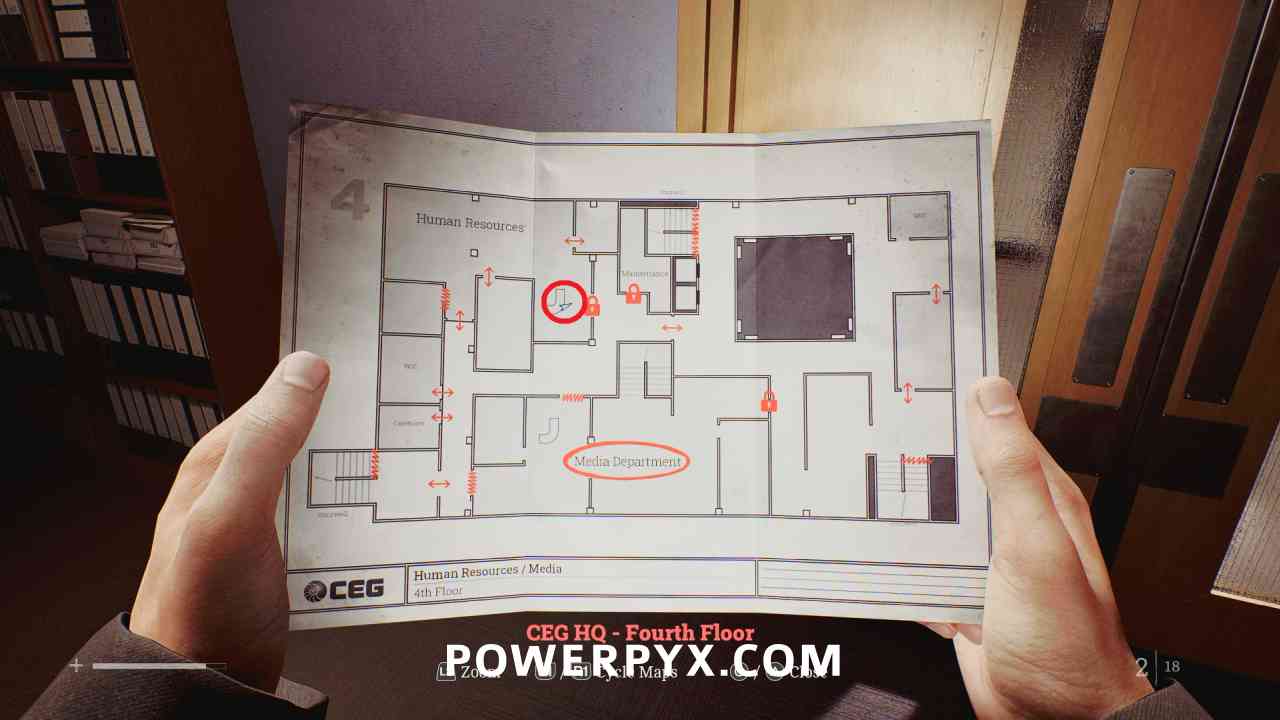
Locked Door: Human Resources
Area: CEG HQ > 4th Floor
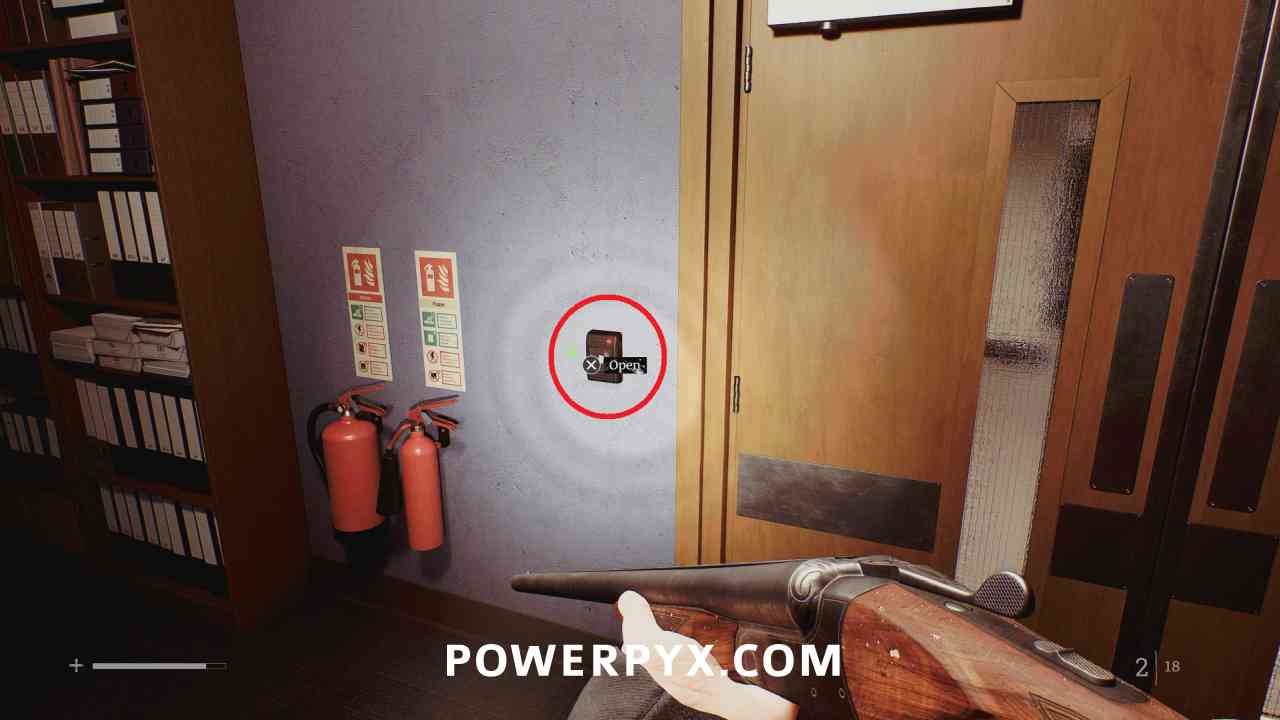
On the opposite end of the Human Resources area, use the Access Card to open the other door.
CEG HQ > 3rd Floor
Locked Door
Area: CEG HQ > 3rd Floor
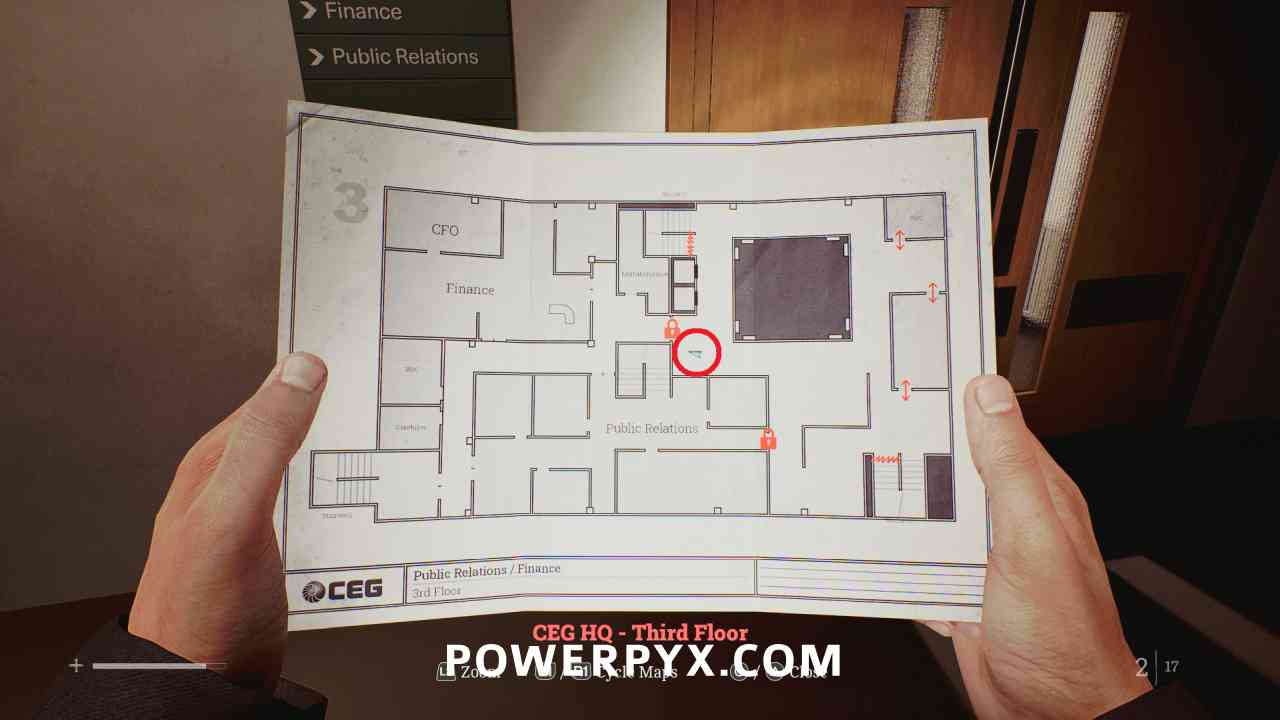
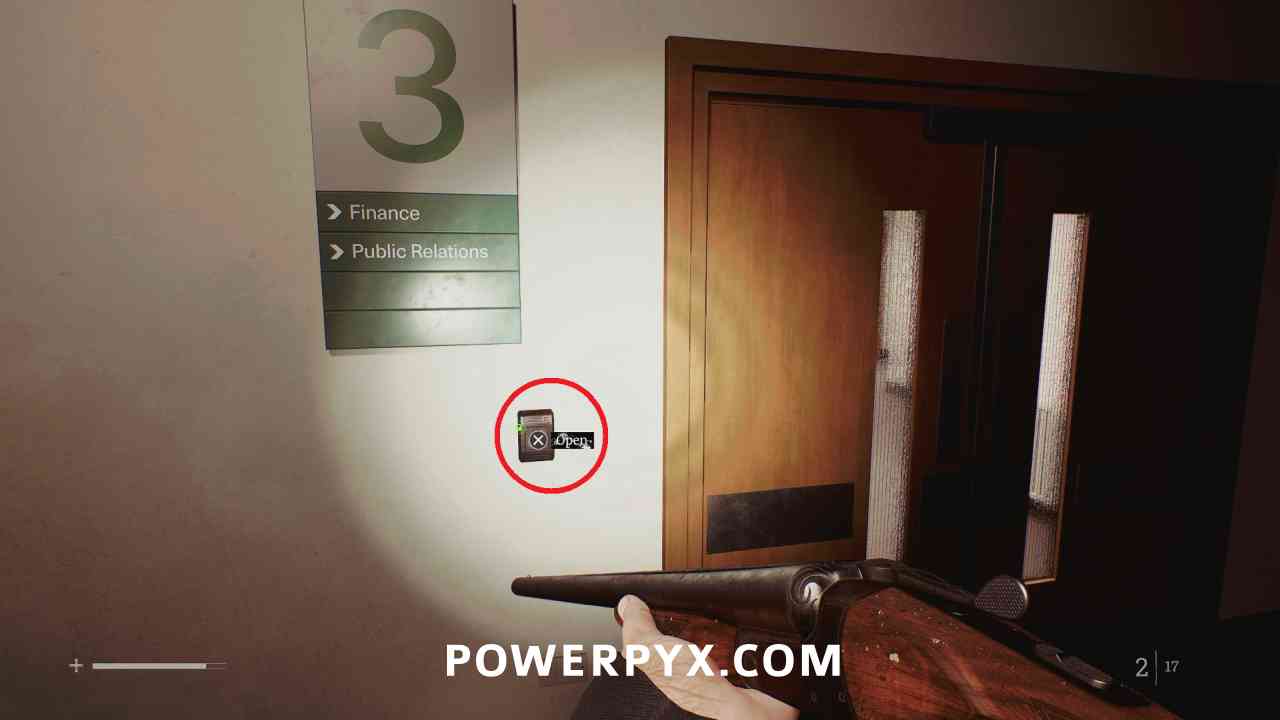
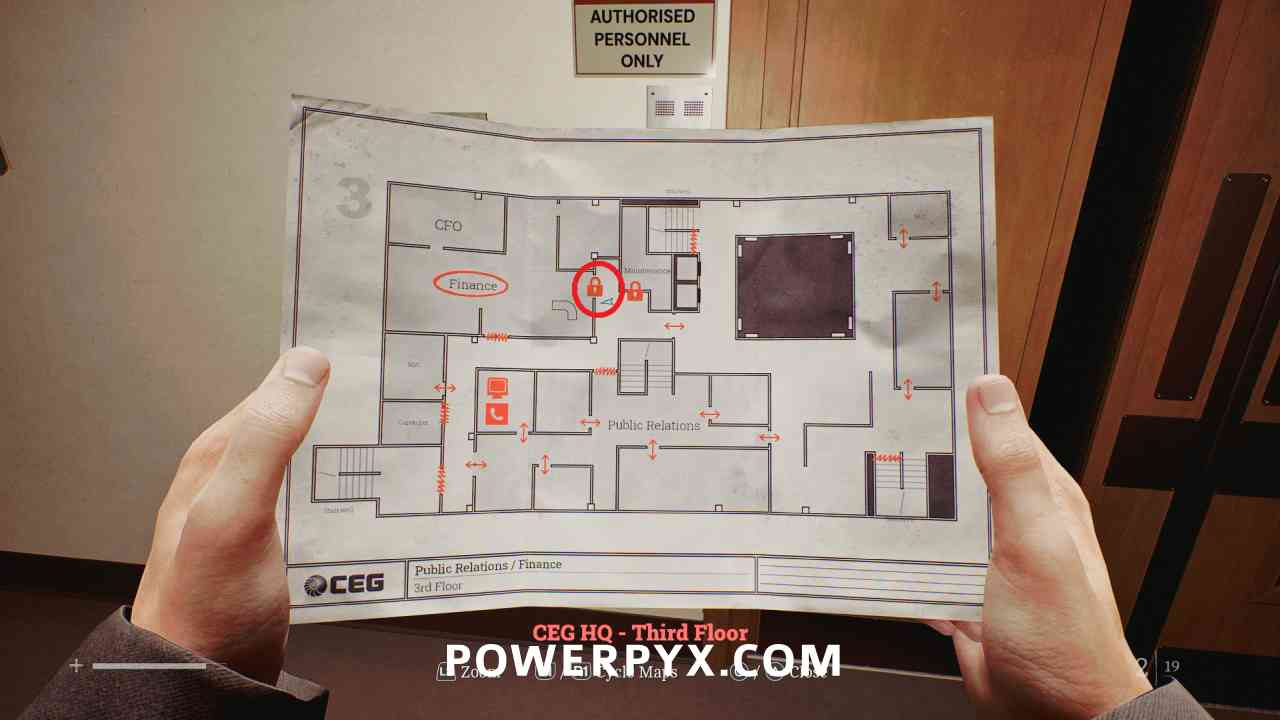
On the third floor, use the Access Card to open the door leading to the west side of the area (Finance and Public Relations).
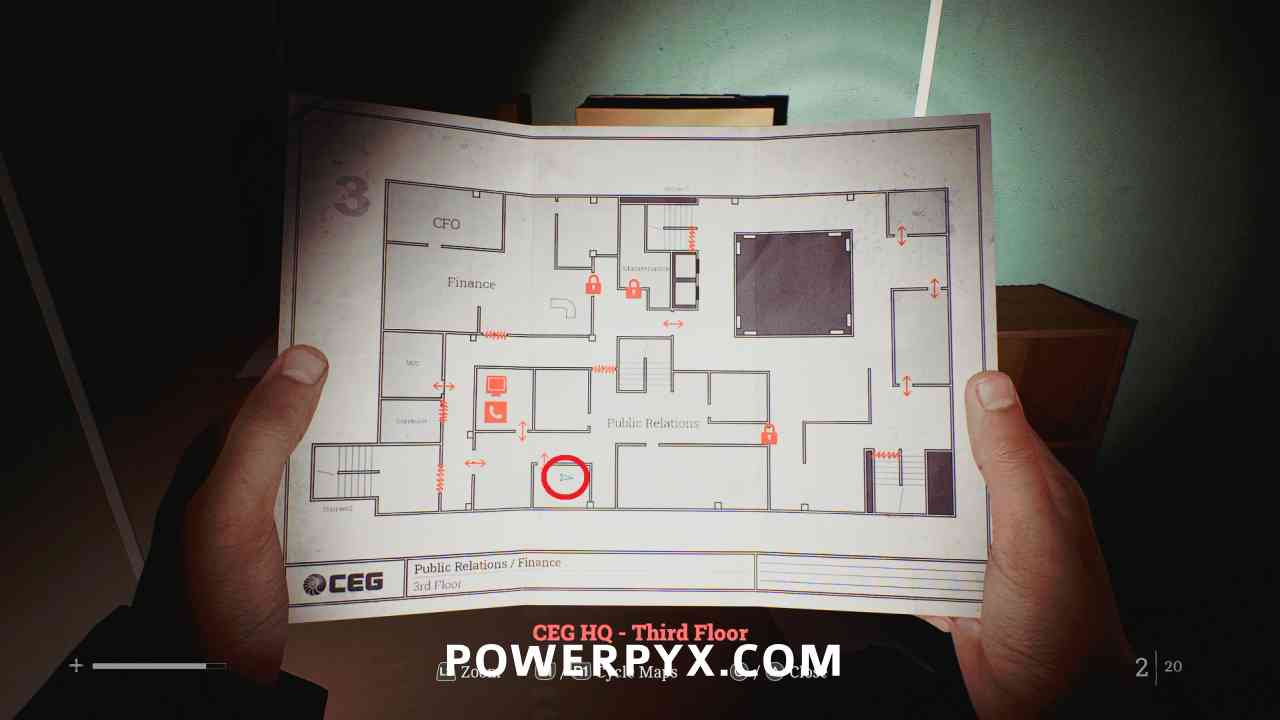
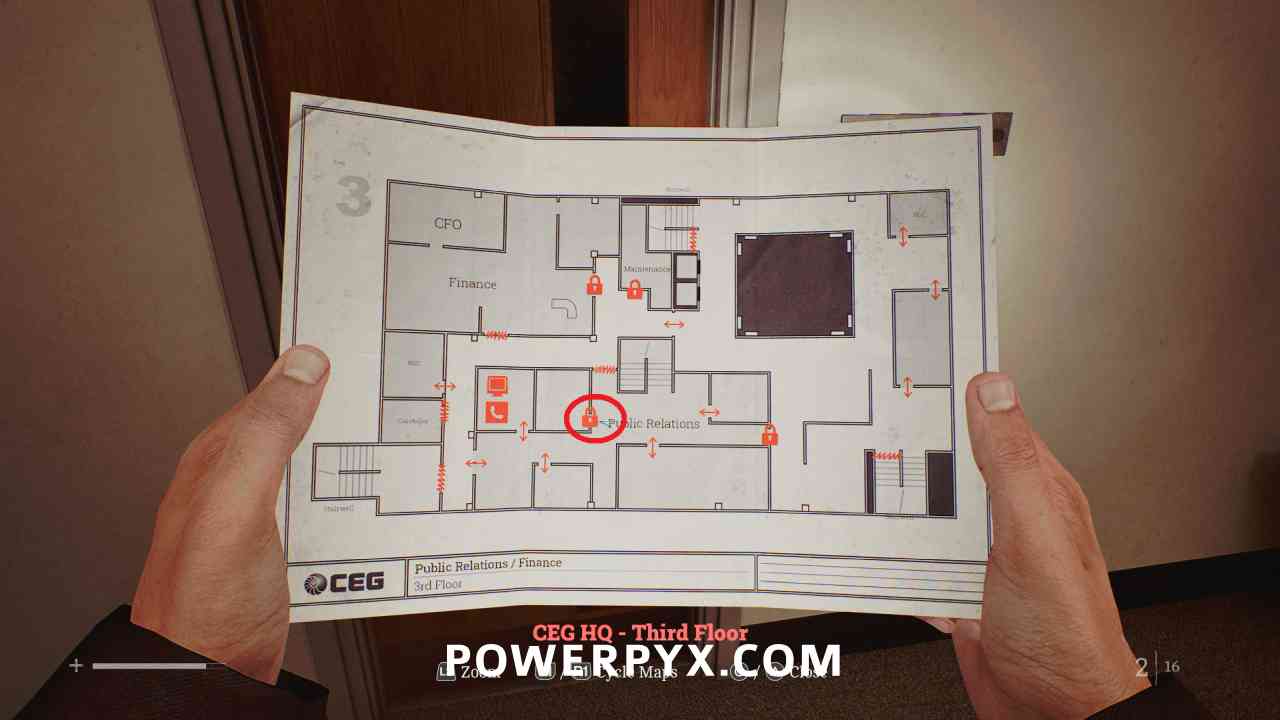
Locked Door: Public Relations
Area: CEG HQ > 3rd Floor
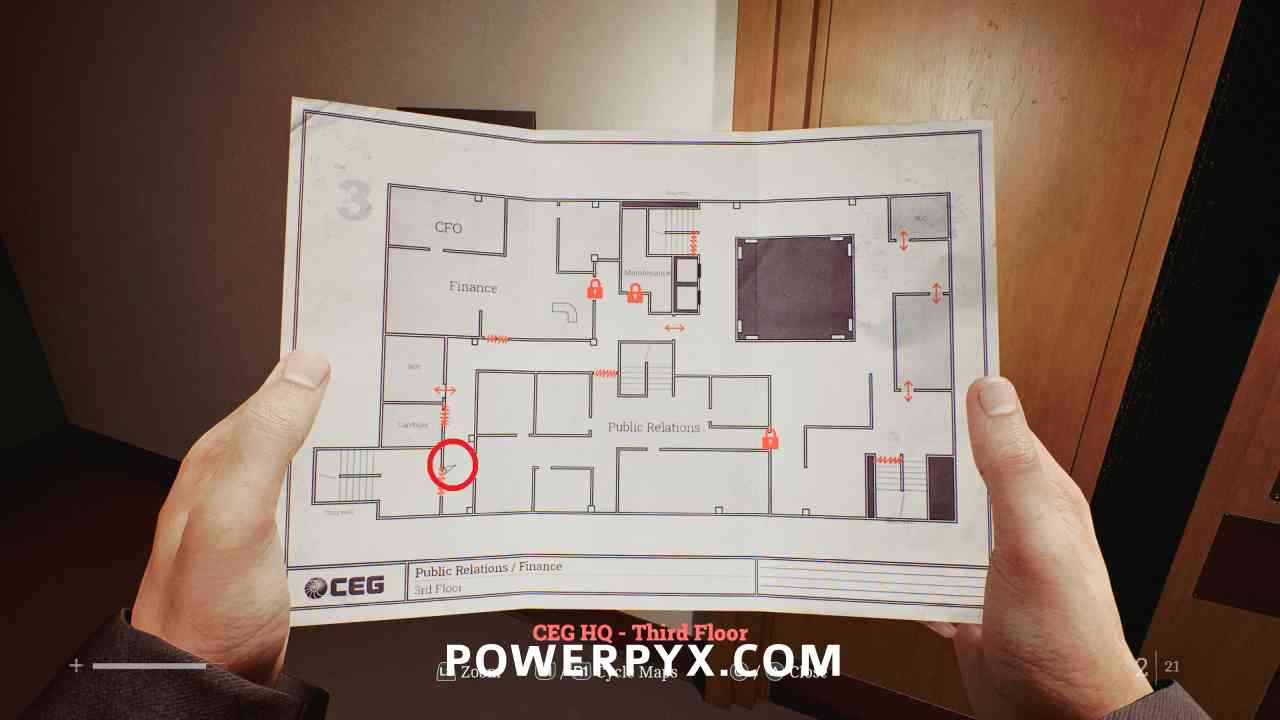
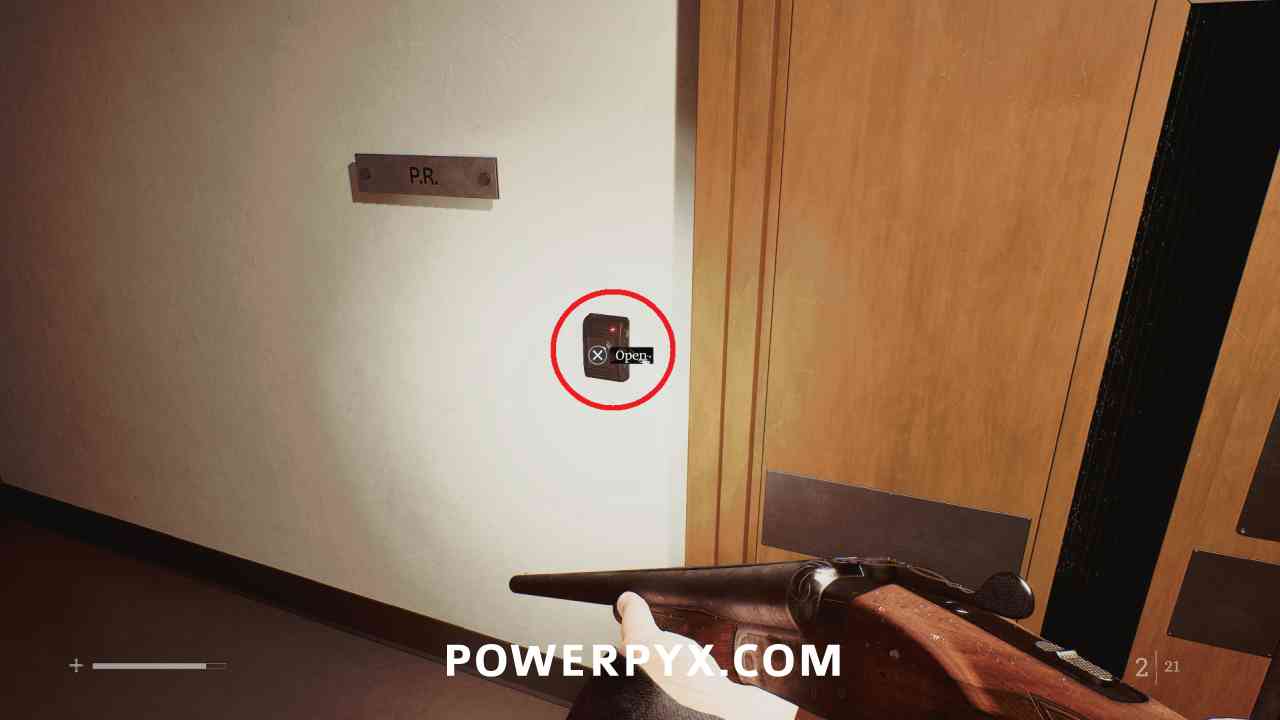
Go to the southwest corner and use the Access Card to enter the Public Relations area.
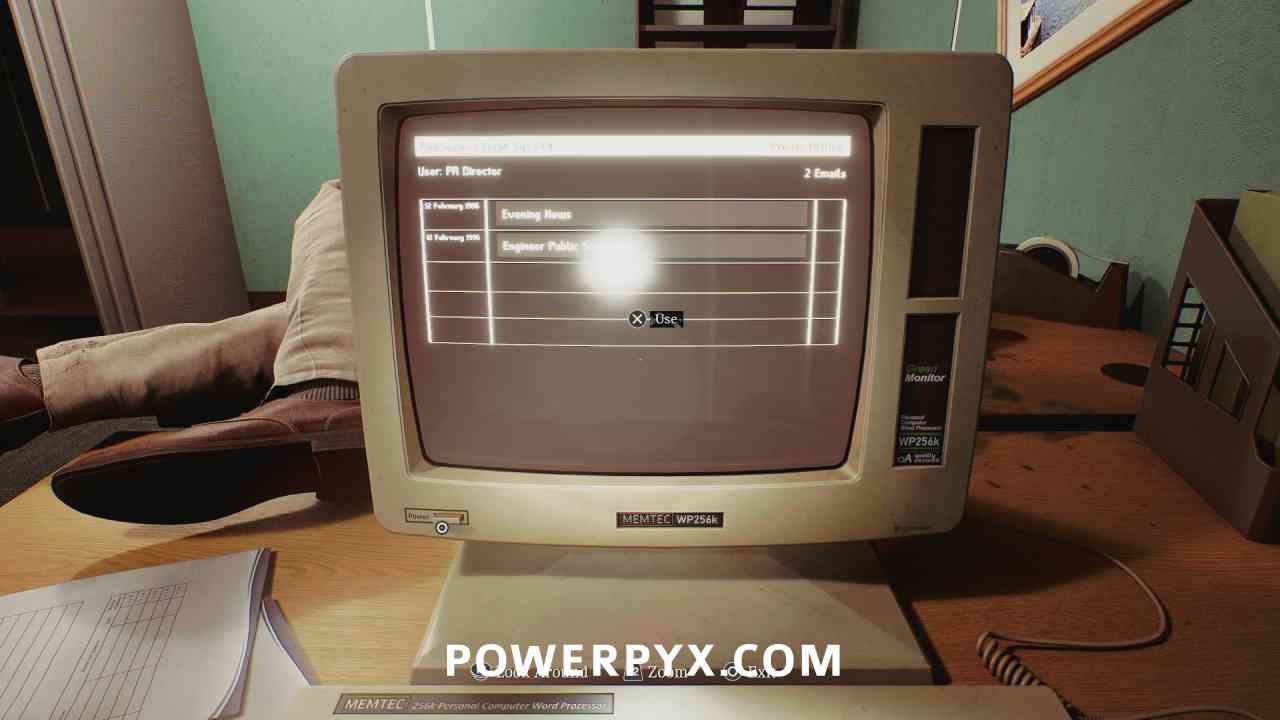
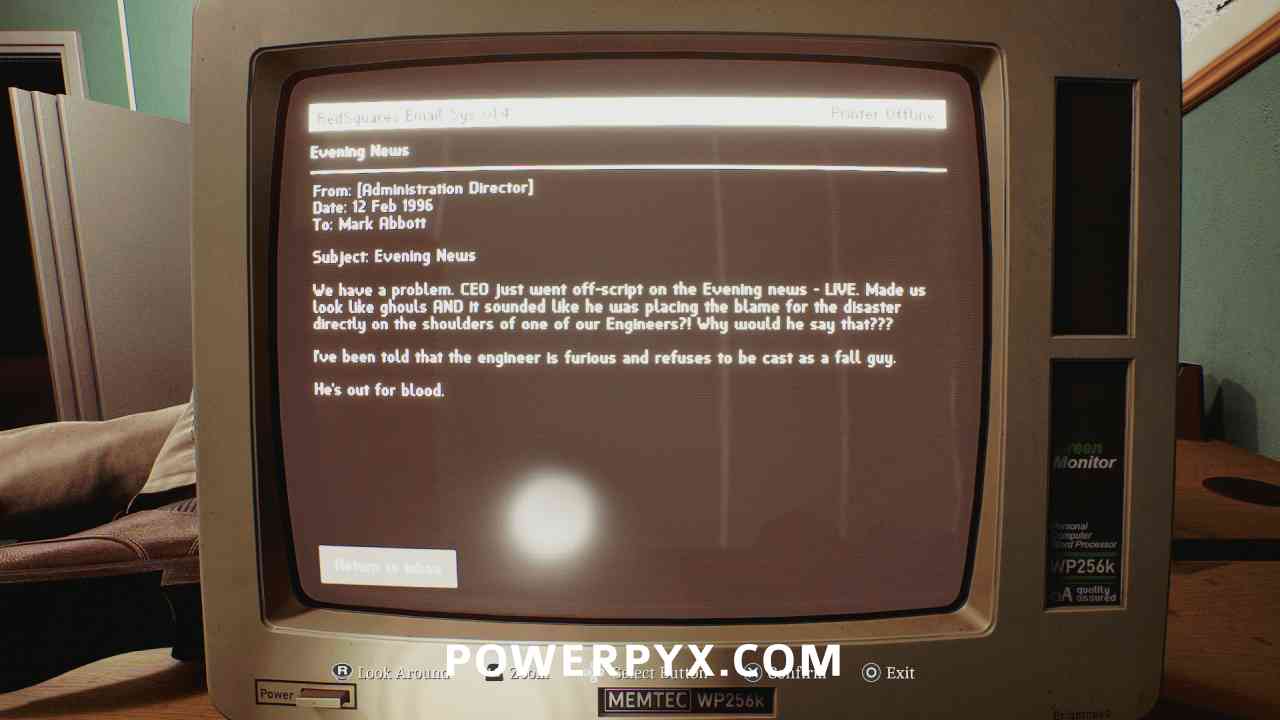
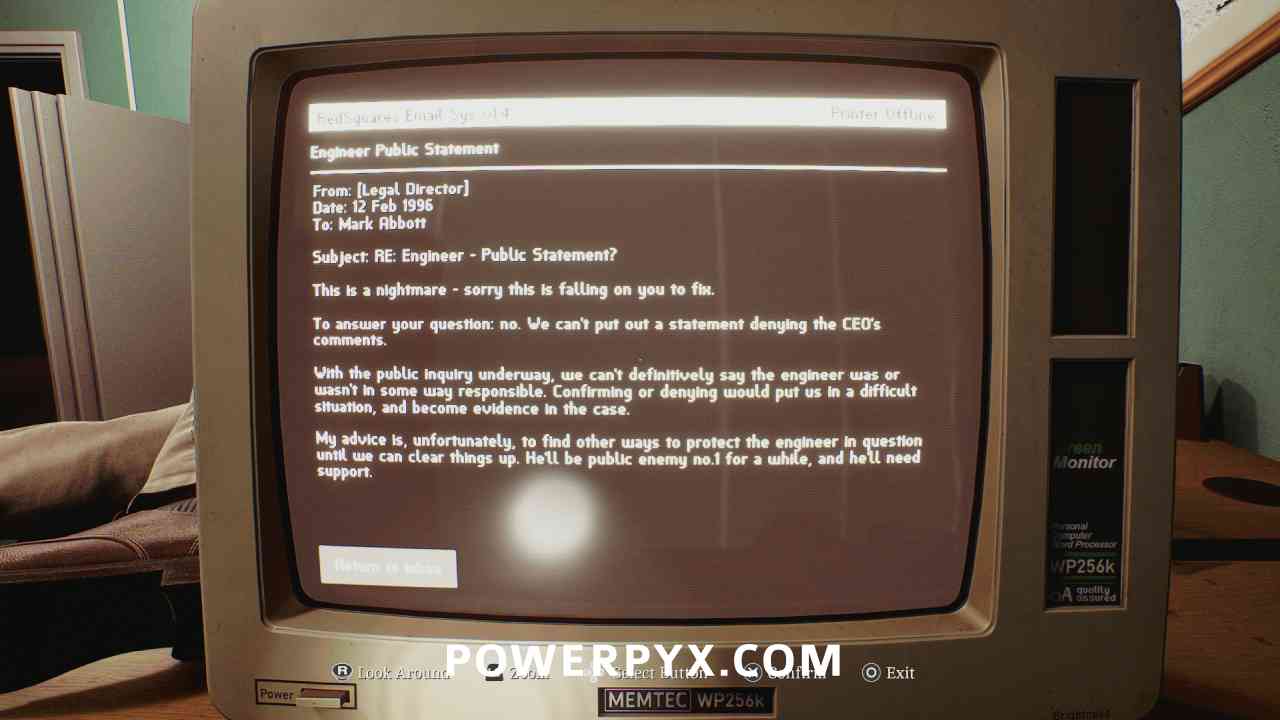
Documents: CEG Tower: Evening News, CEG Tower: Engineer Public Statement
Area: CEG HQ > 3rd Floor
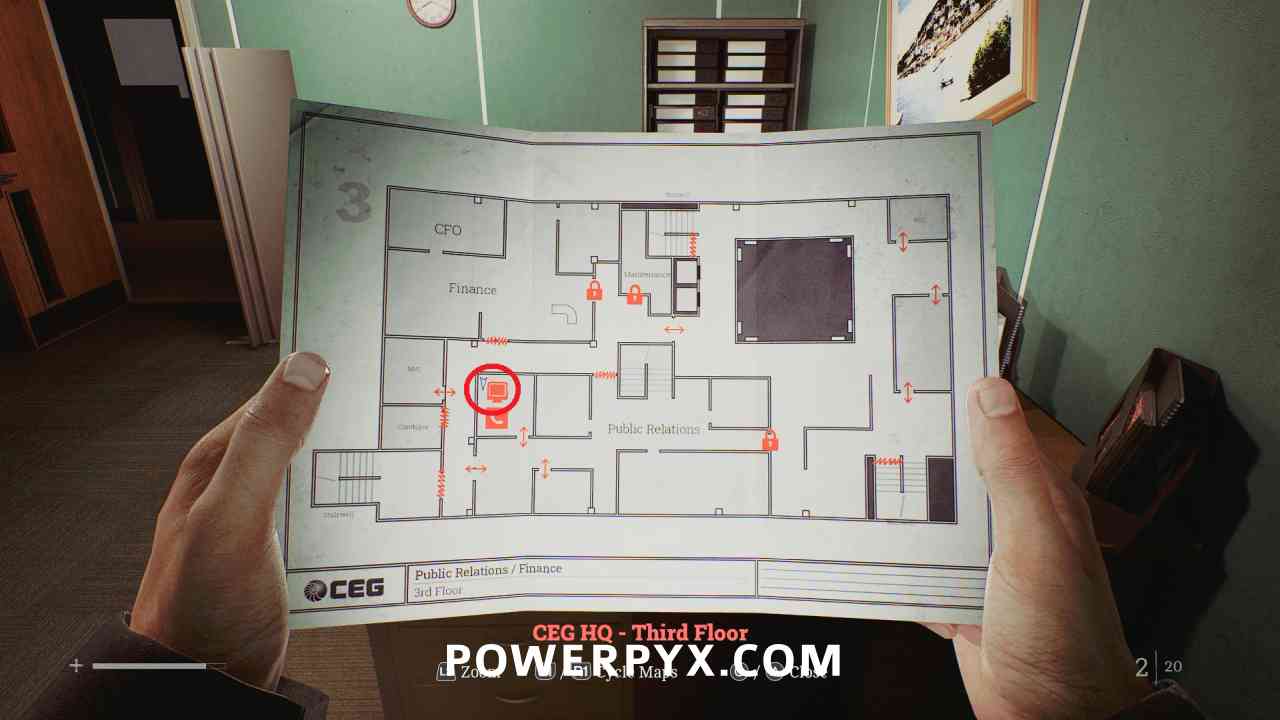
In the northwest room in the Public Relations area where the phone is, interact with the computer and read the two emails.
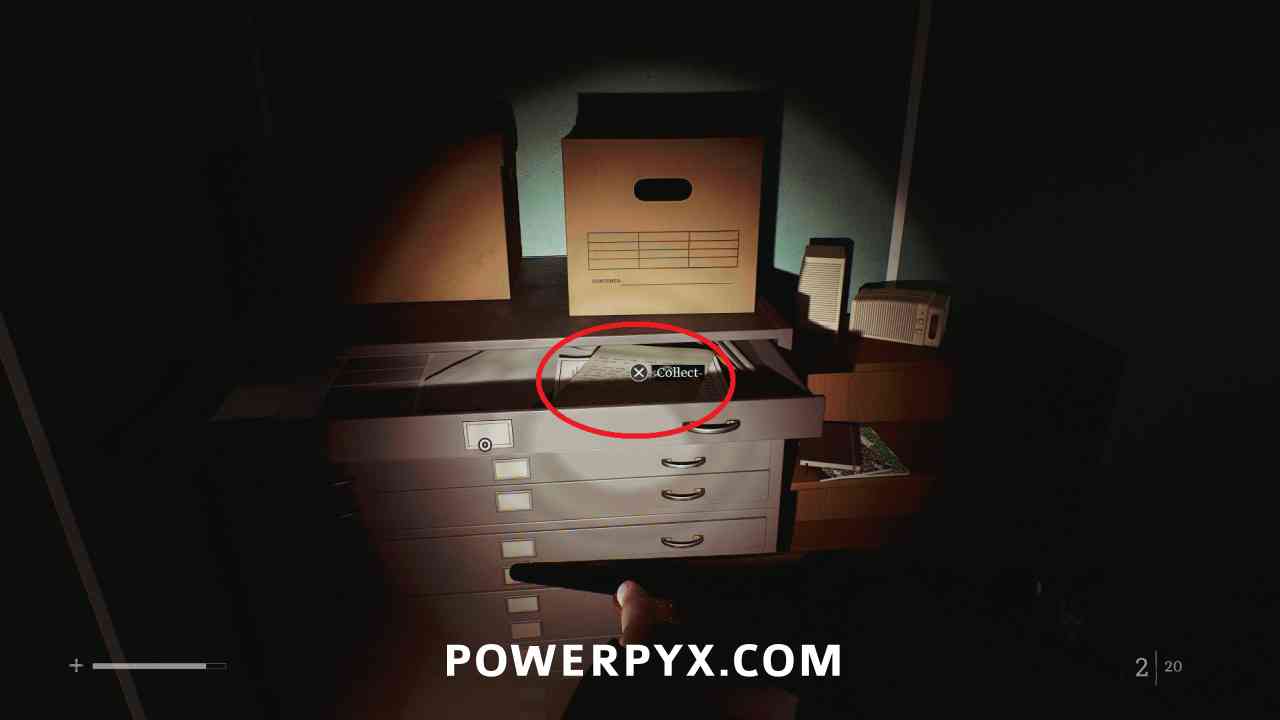
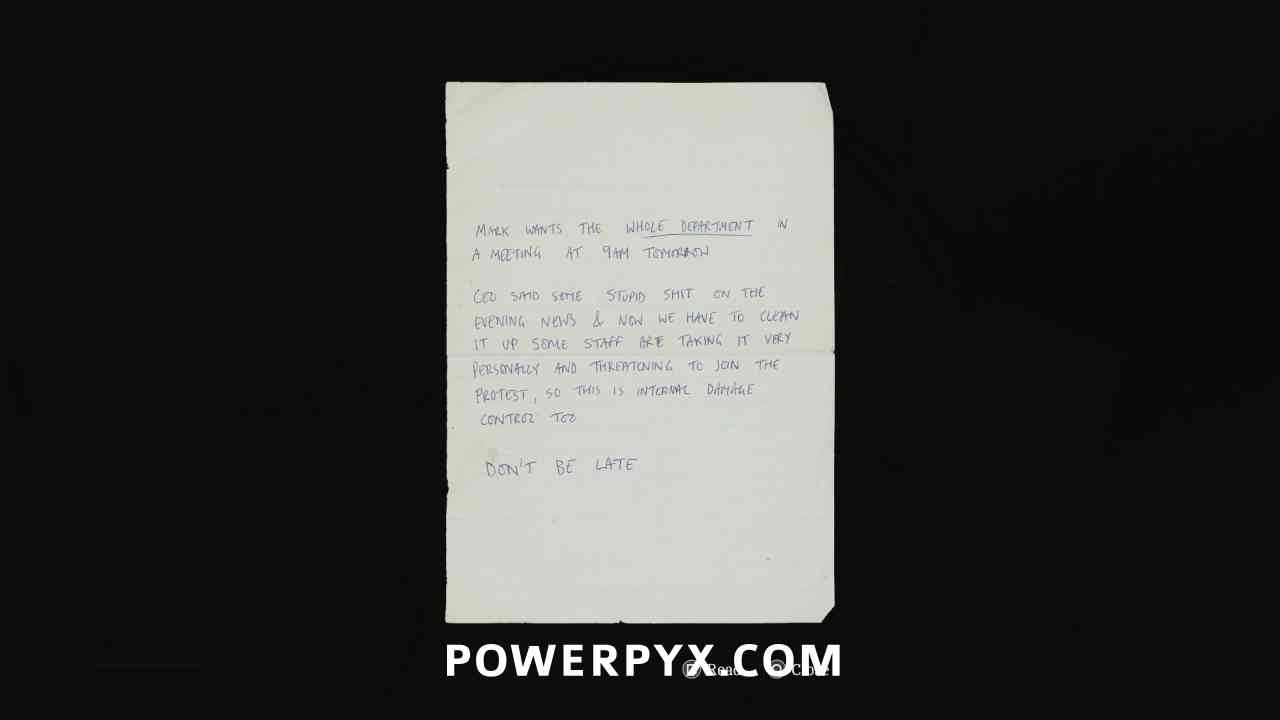
Document: PR Meeting Note
Area: CEG HQ > 3rd Floor
In the small southern room in the Public Relations area, open the filing cabinet to pick up this document.
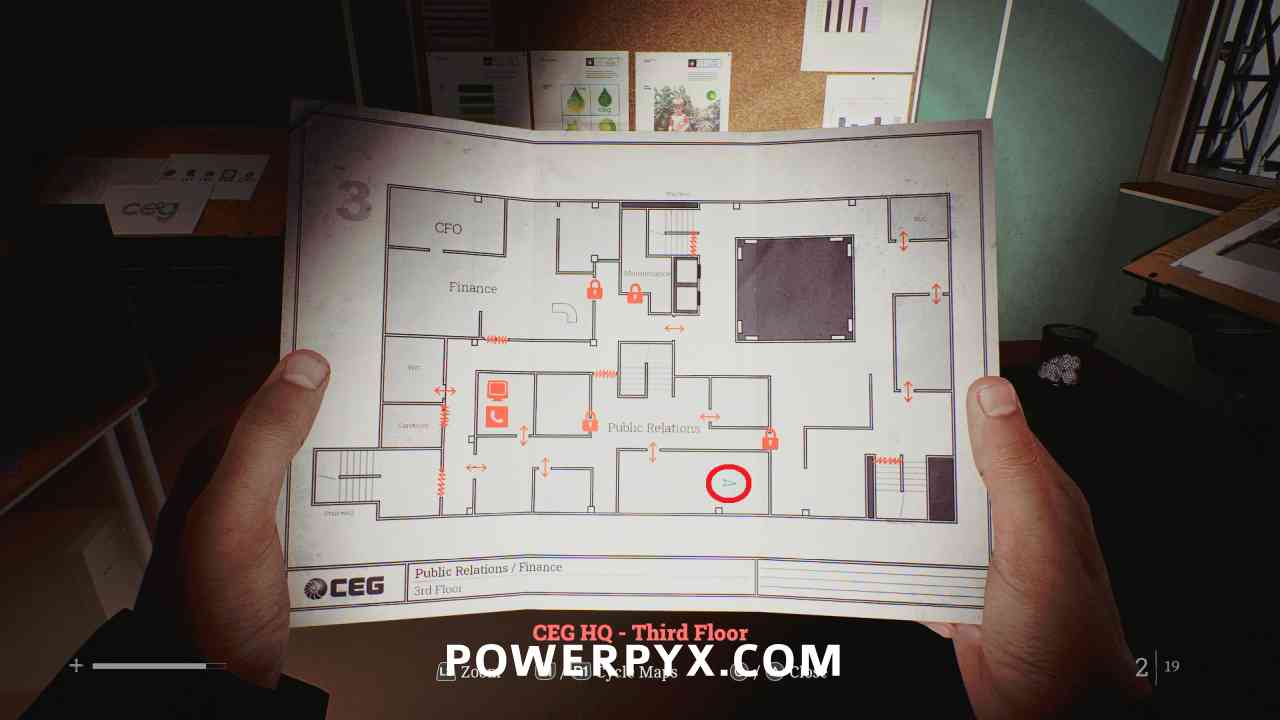
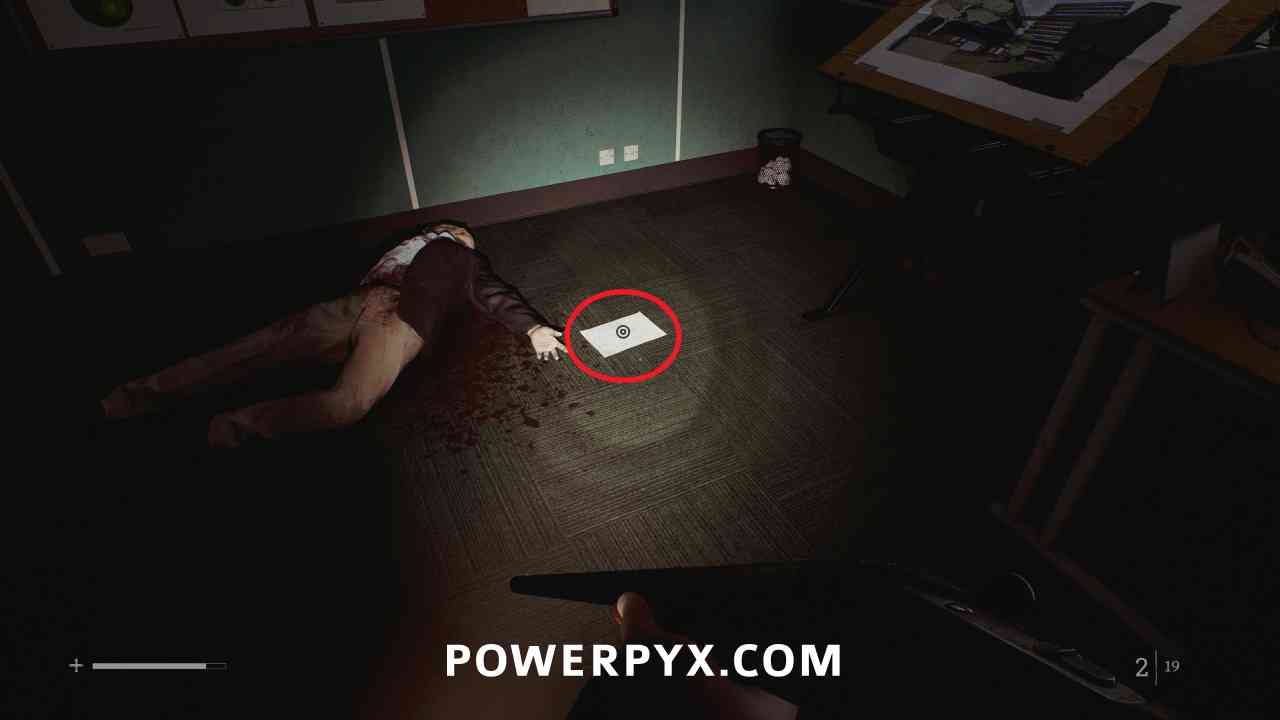
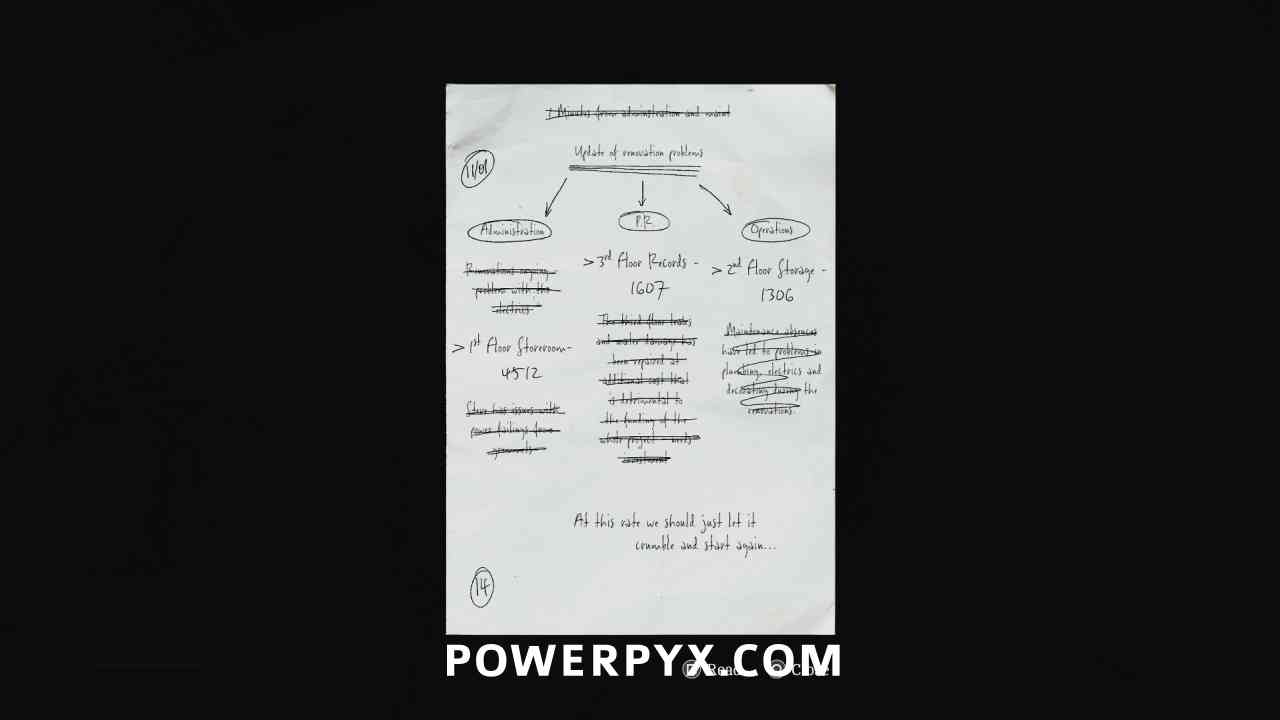
Clue: Richard’s Note
Area: CEG HQ > 3rd Floor
In the southeastern room in the Public Relations area, on the ground beside a body.
Locked Door: Public Relations Records
Area: CEG HQ > 3rd Floor
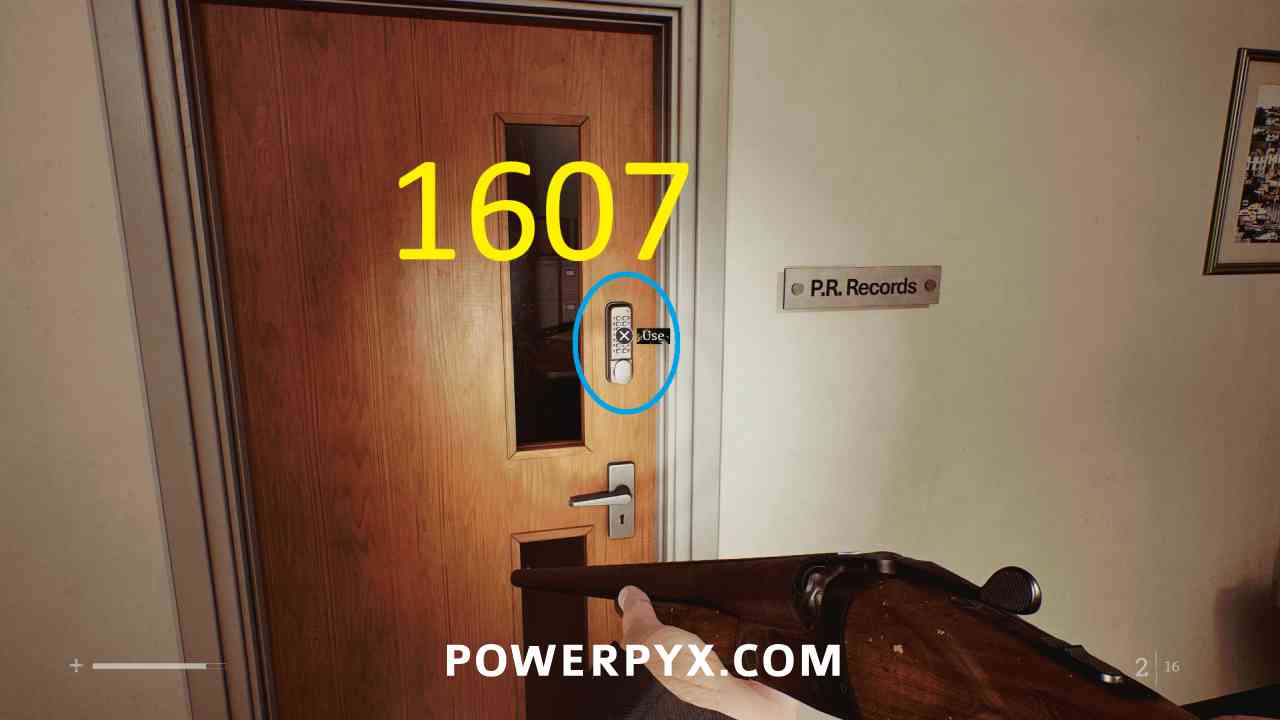
In the center of the Public Relations area, interact with the keypad door and enter 1607 (from Richard’s Note). The room only contains supplies.
CEG HQ > 4th Floor
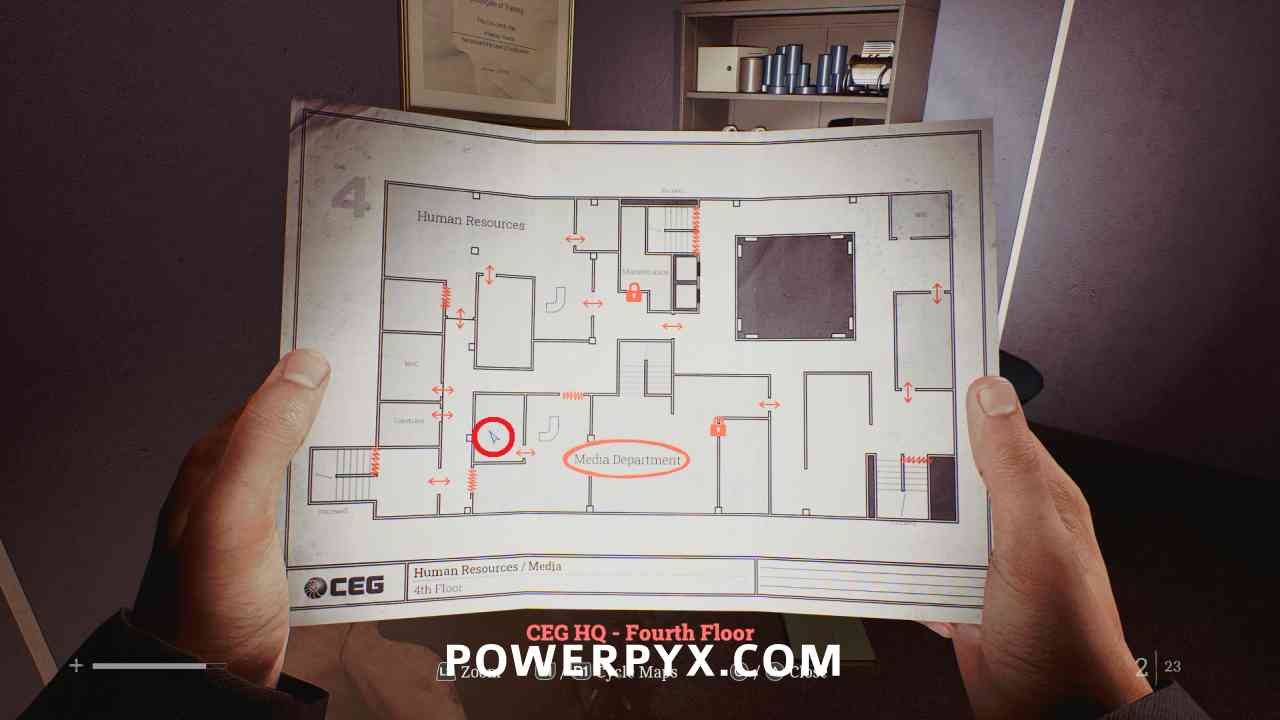
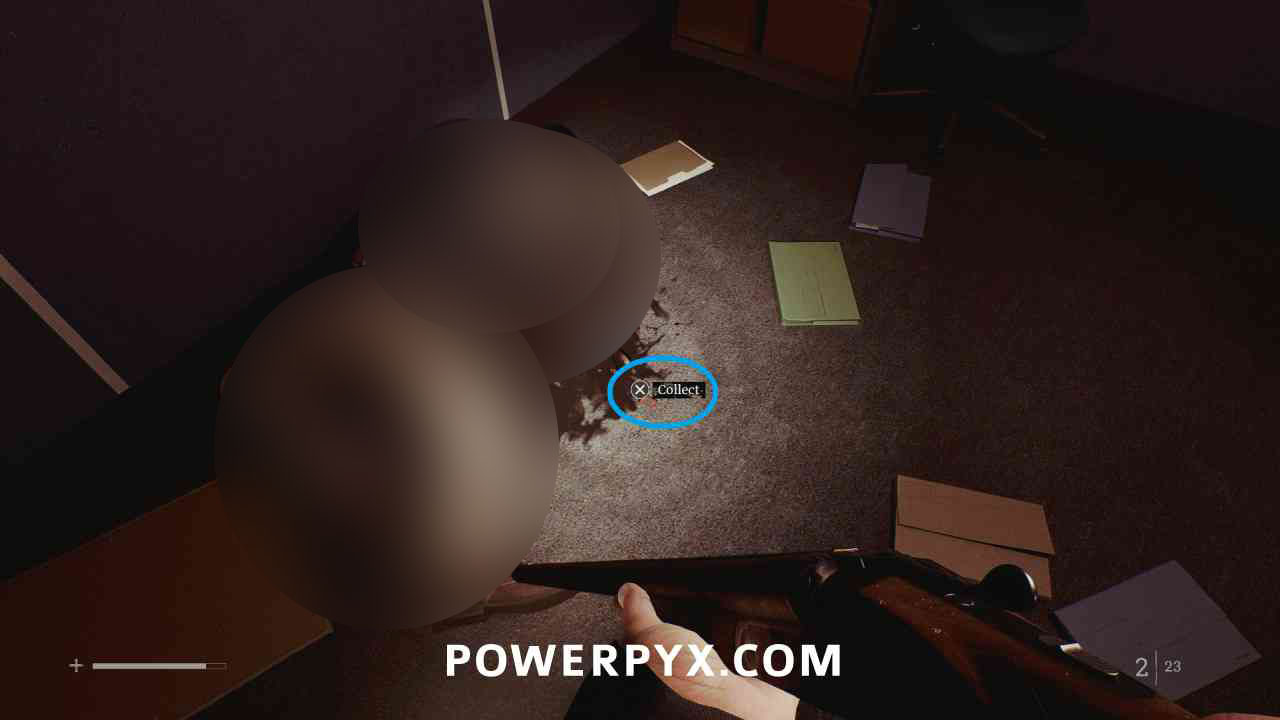
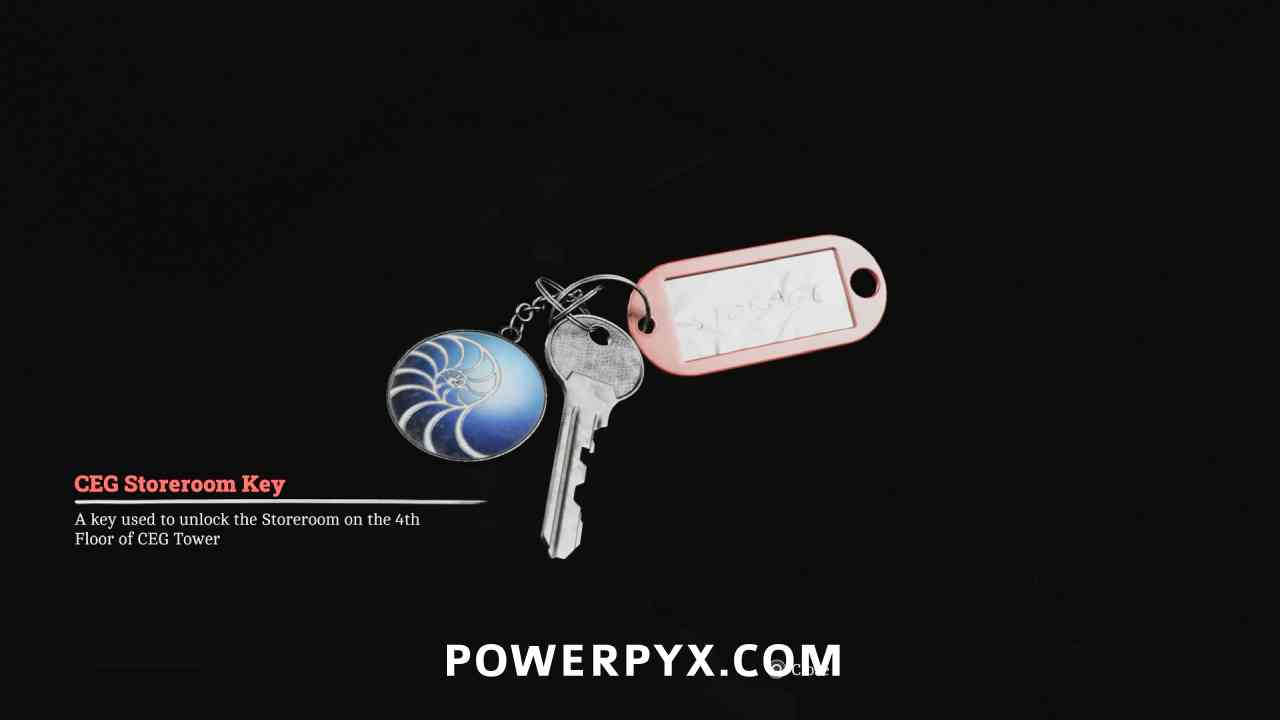
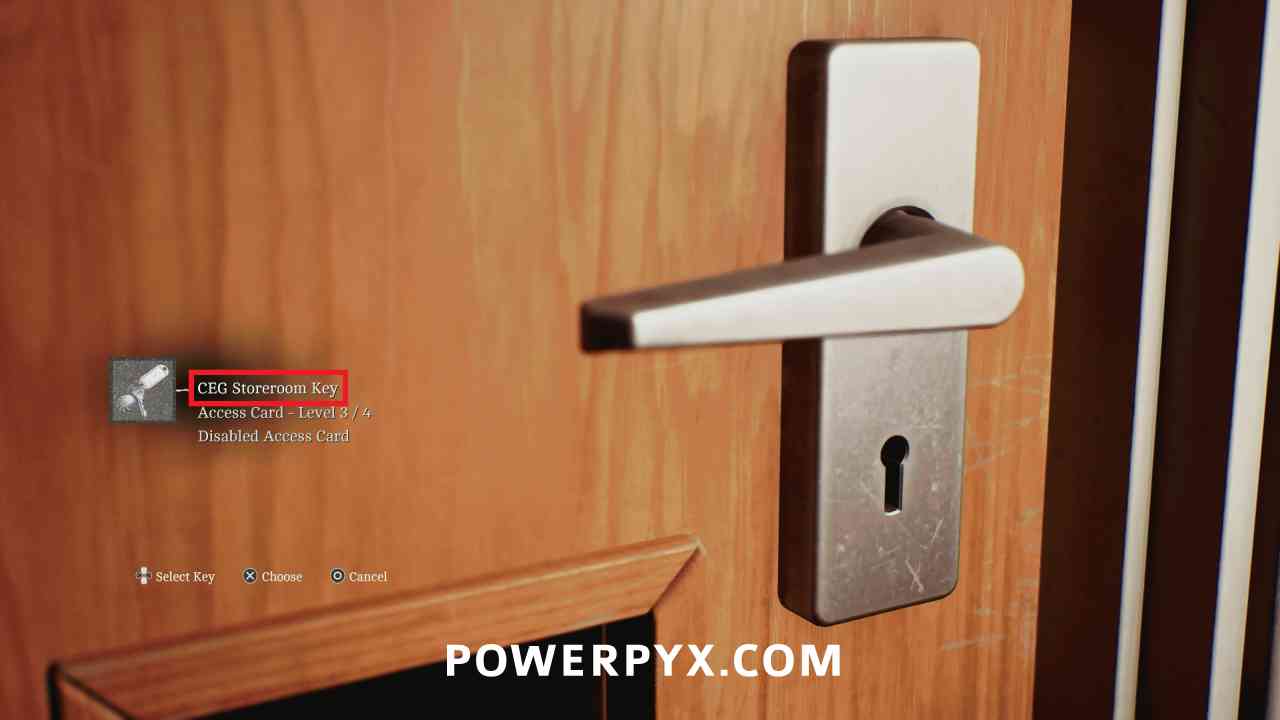
Key Item: CEG Storeroom Key
Area: CEG HQ > 4th Floor
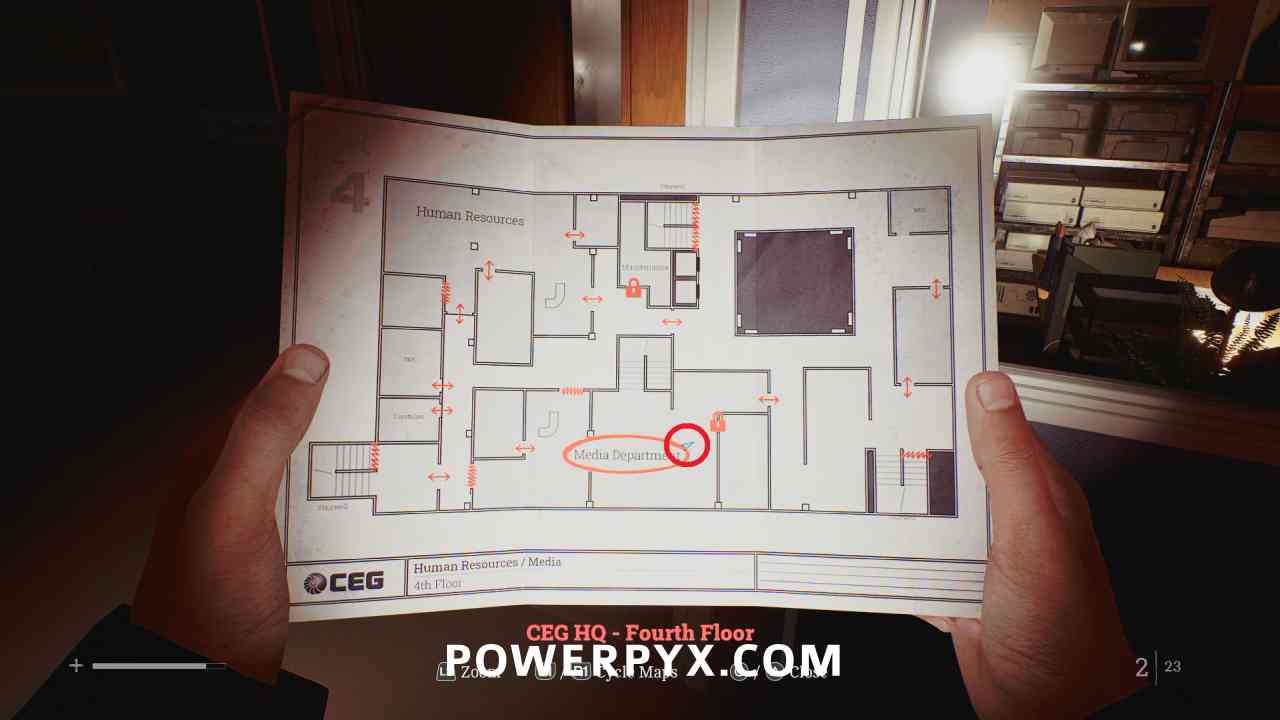
Go up the stairs in PR to the Media Department, then into the room on the west side where this is on the ground by a body.
Locked Door: Media Department Storeroom
Area: CEG HQ > 4th Floor
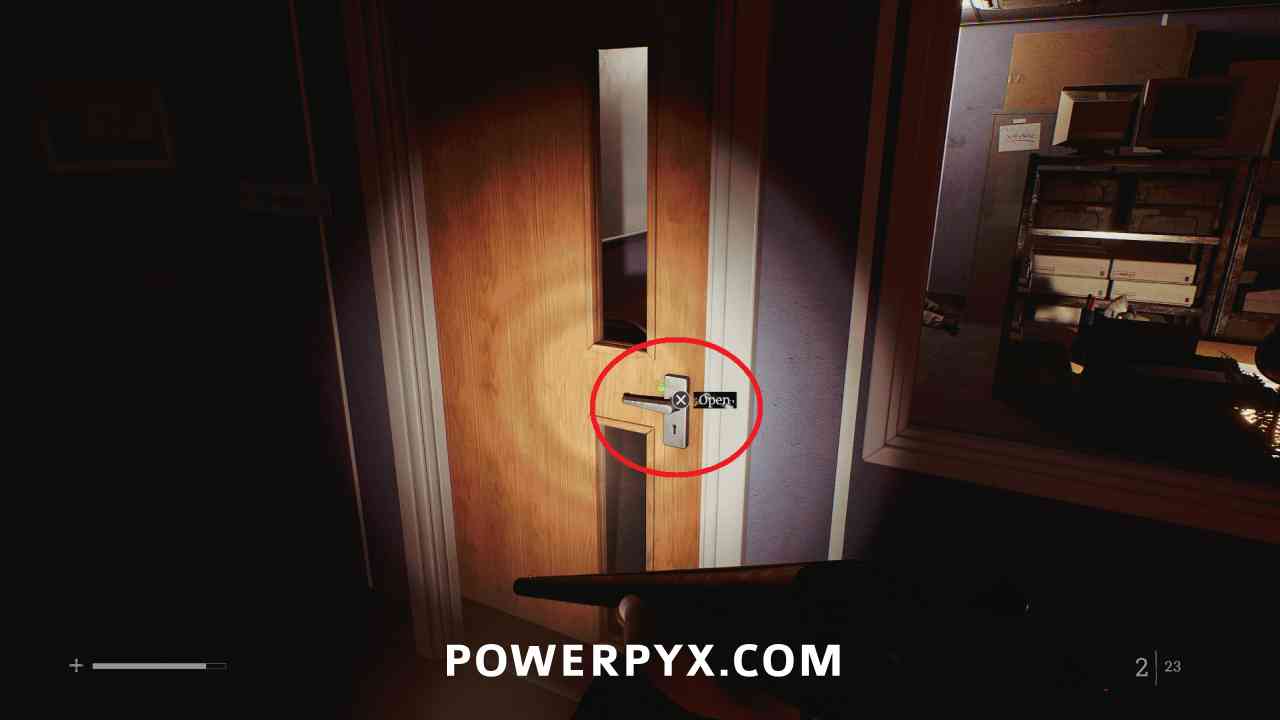
Go to the other side of the Media Department and use the CEG Storeroom Key to open the door.
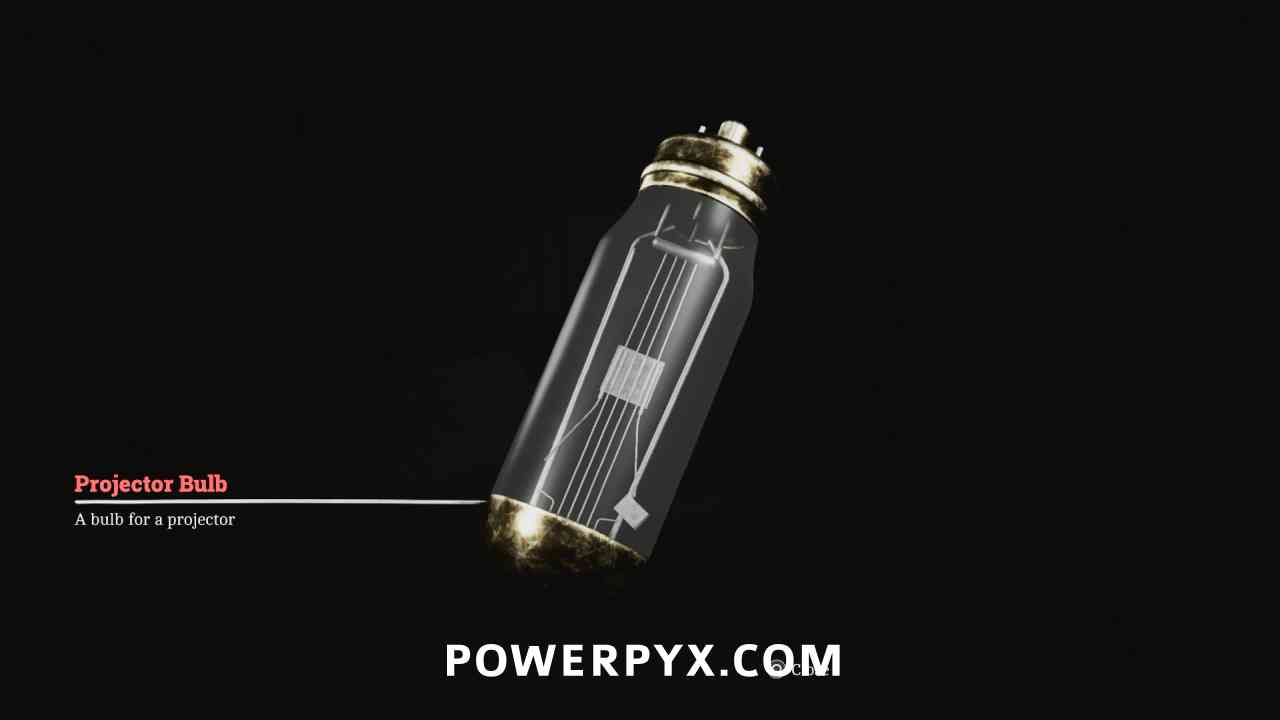
Key Item: Projector Bulb
Area: CEG HQ > 4th Floor
In the storeroom, in the GENERAL STORAGE cabinet.
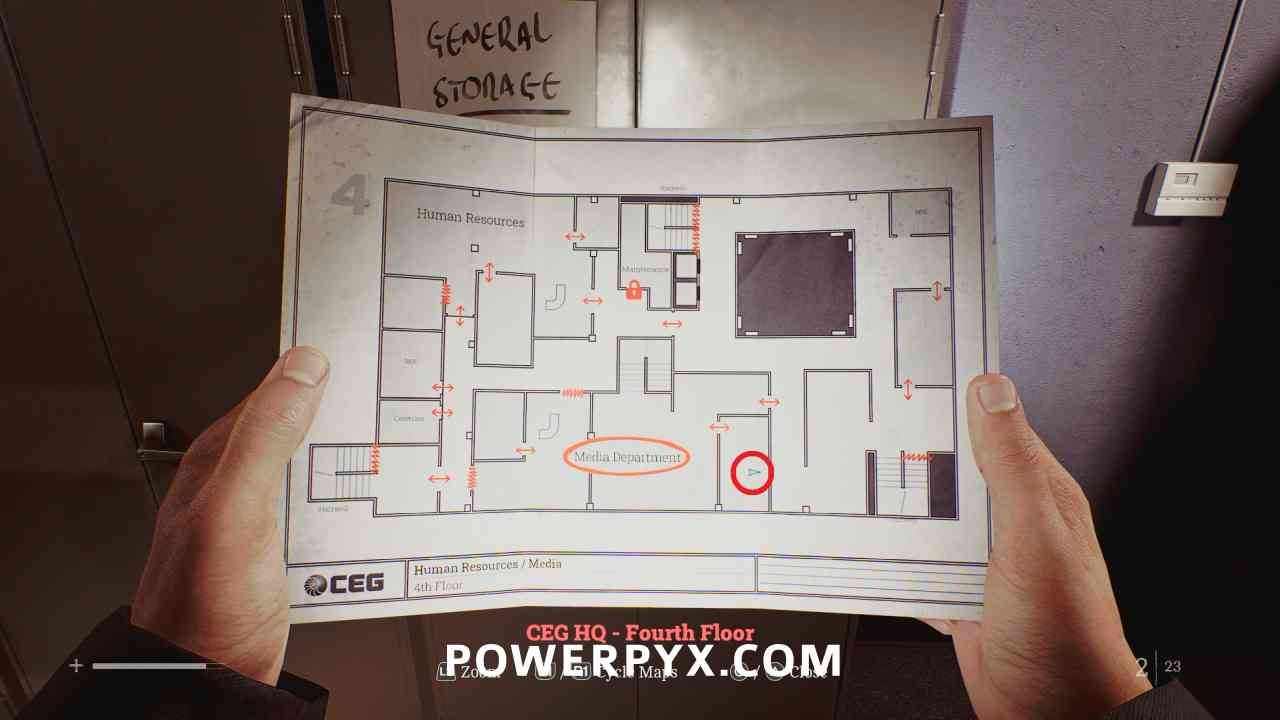
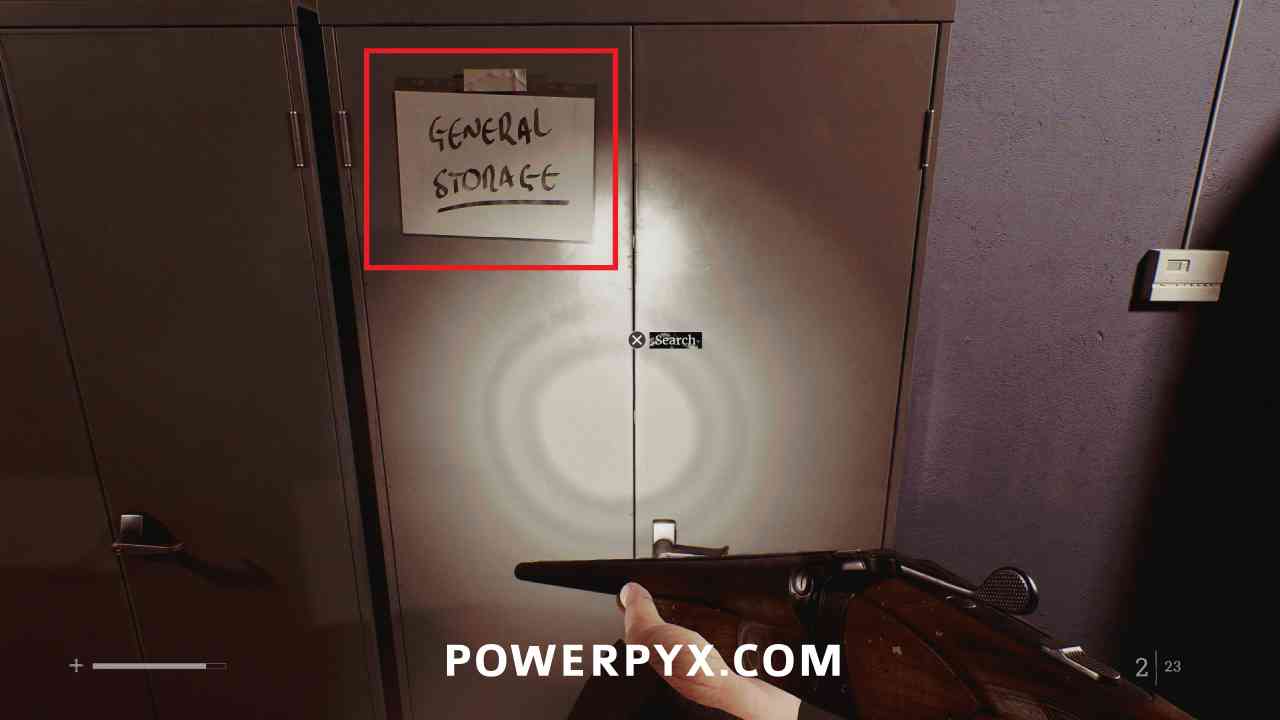
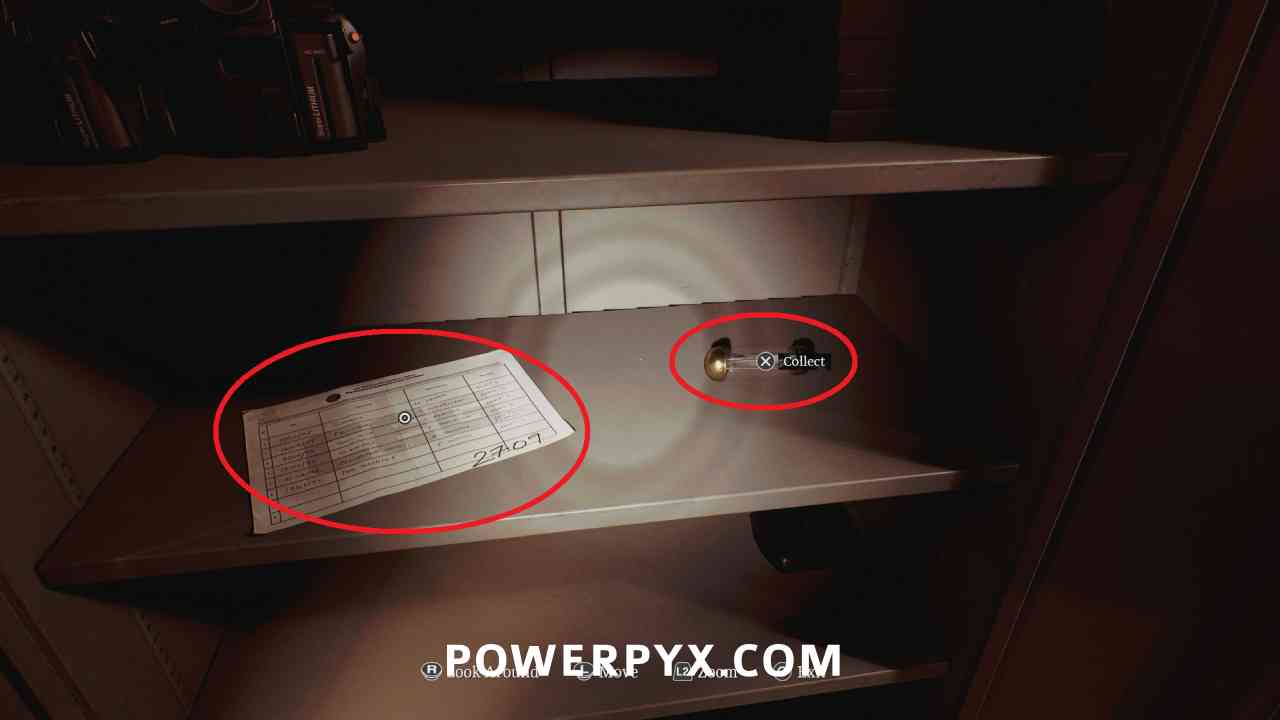
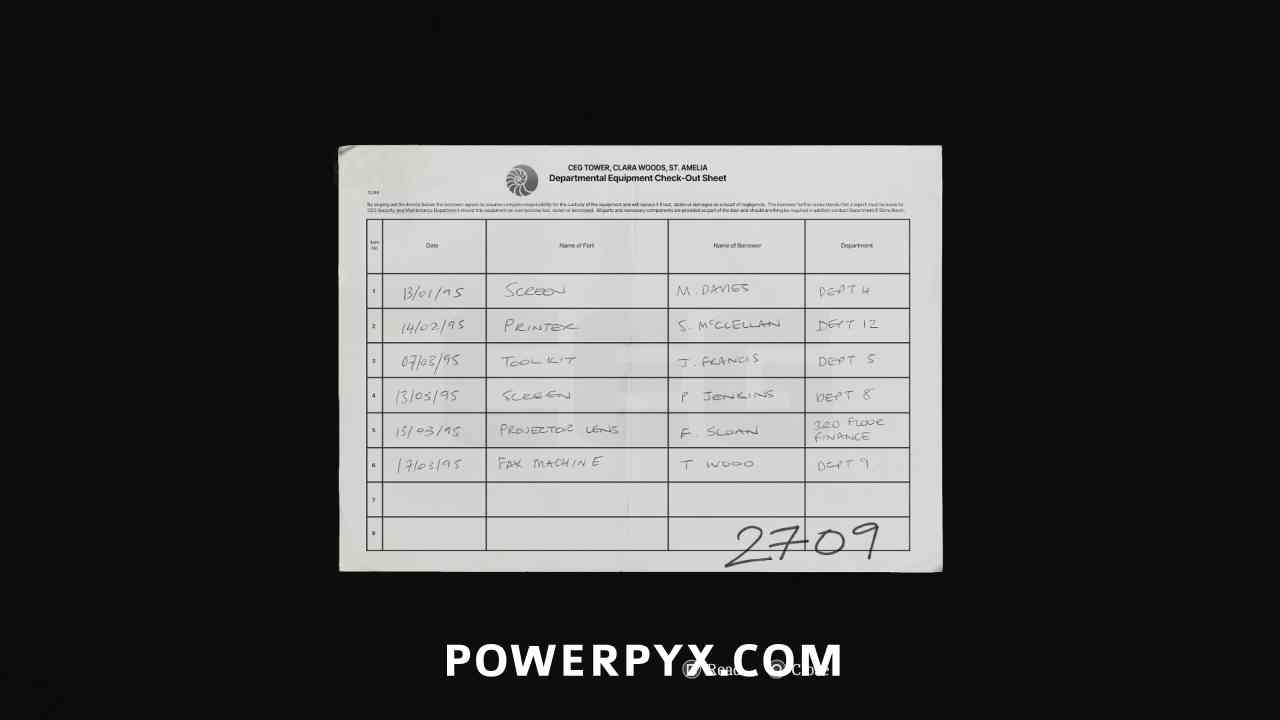
Clue: CEG Checkout Sheet
Area: CEG HQ > 4th Floor
In the storeroom, in the GENERAL STORAGE cabinet.
CEG HQ > 3rd Floor
Locked Door: Finance
Area: CEG HQ > 3rd Floor
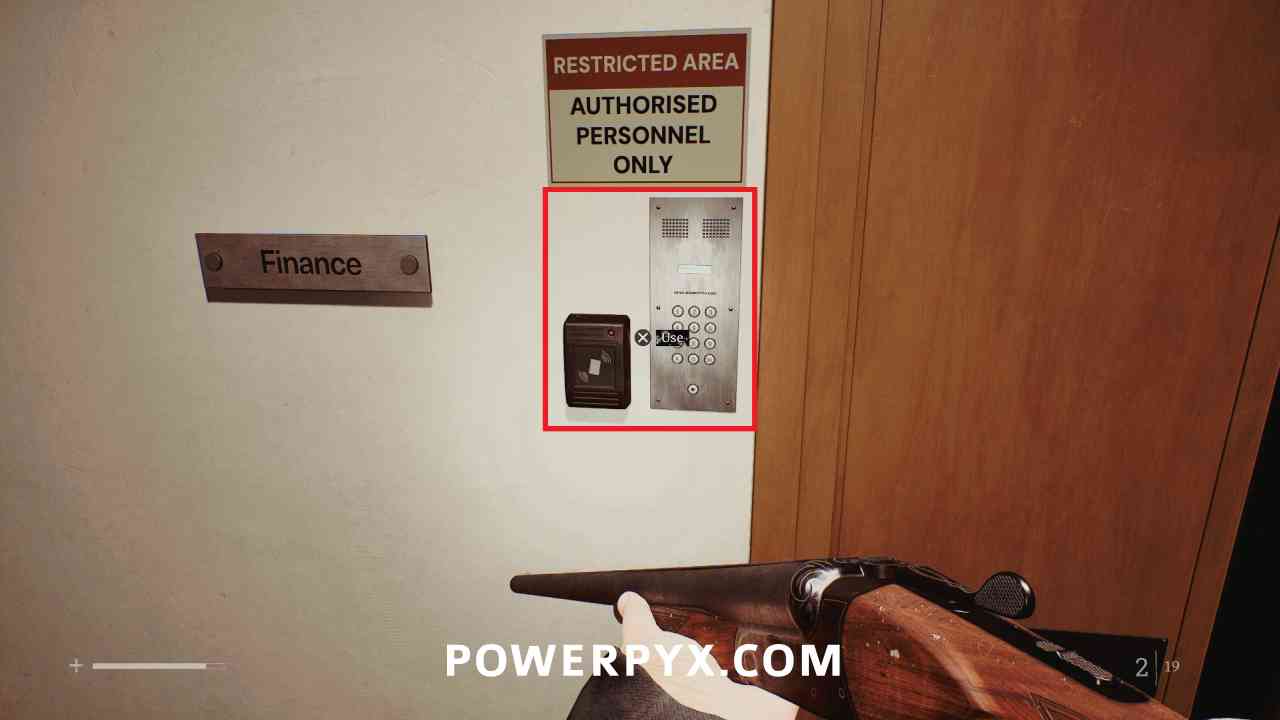
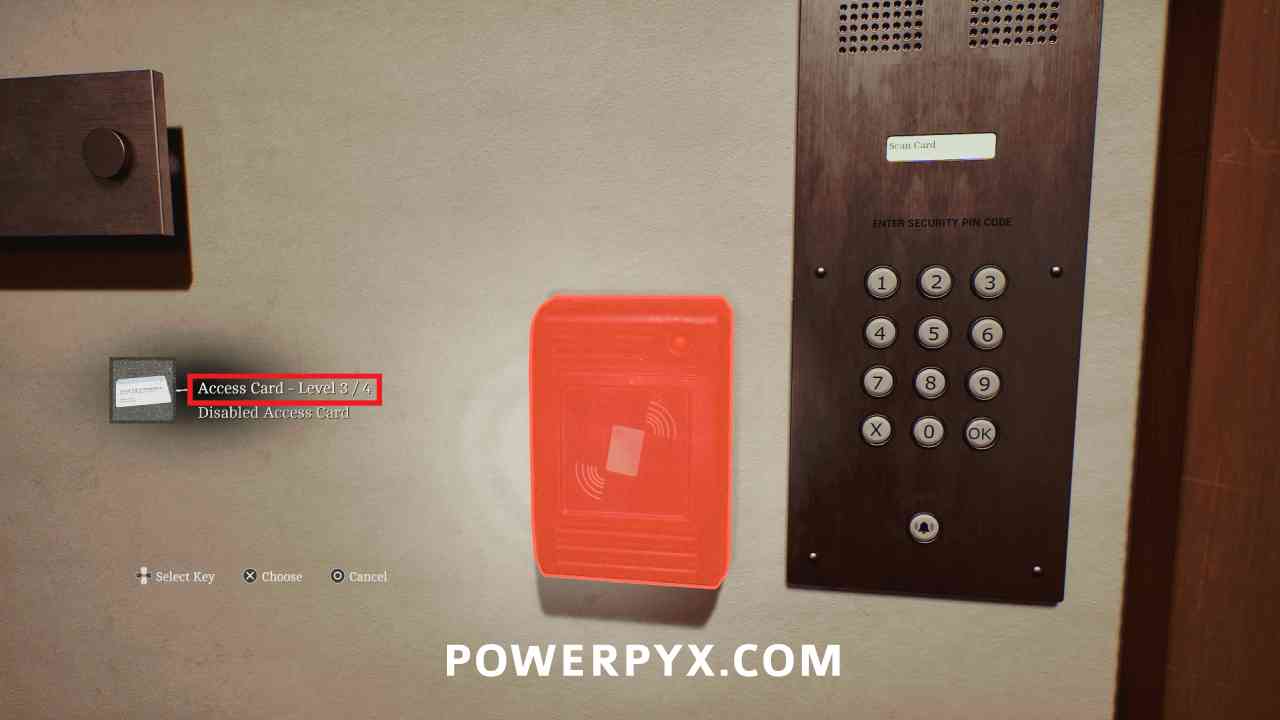
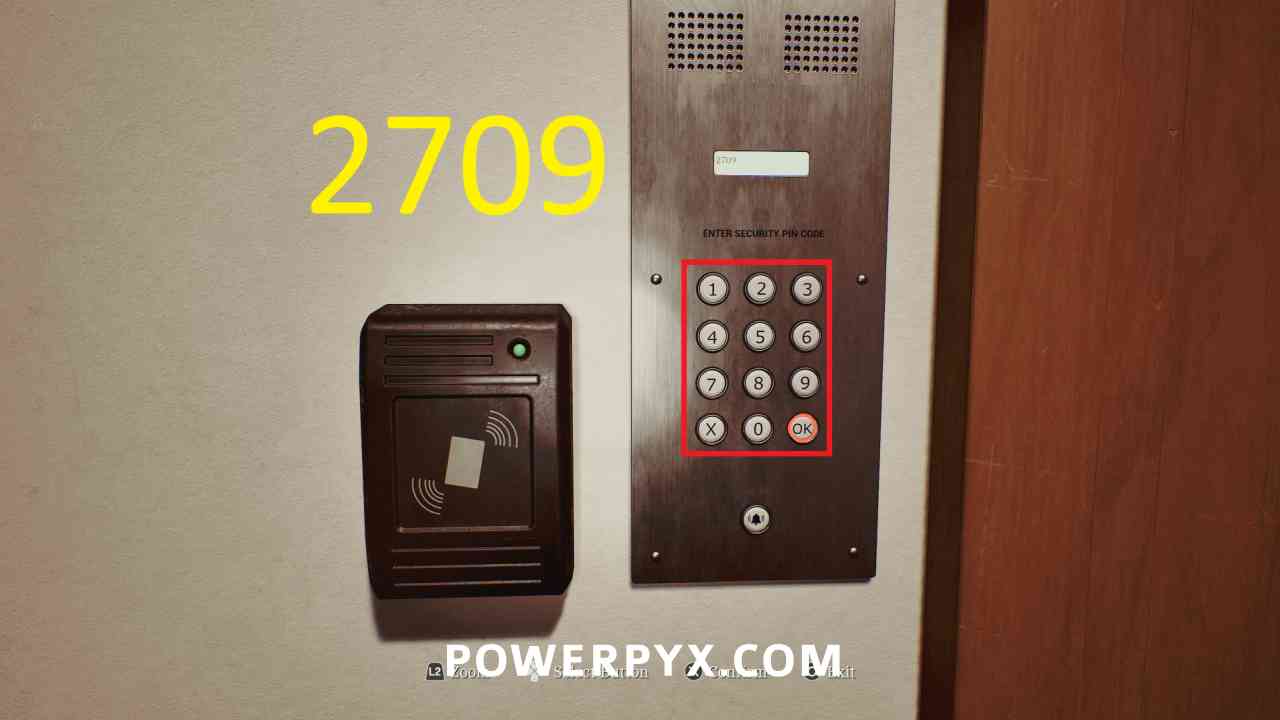
Go back to the 3rd Floor and to the locked door to the Finance area. Use the Access Card on the scanner, then enter 2709 (from the CEG Checkout Sheet) to open the door.
Key Item: Projector Lens
Area: CEG HQ > 3rd Floor
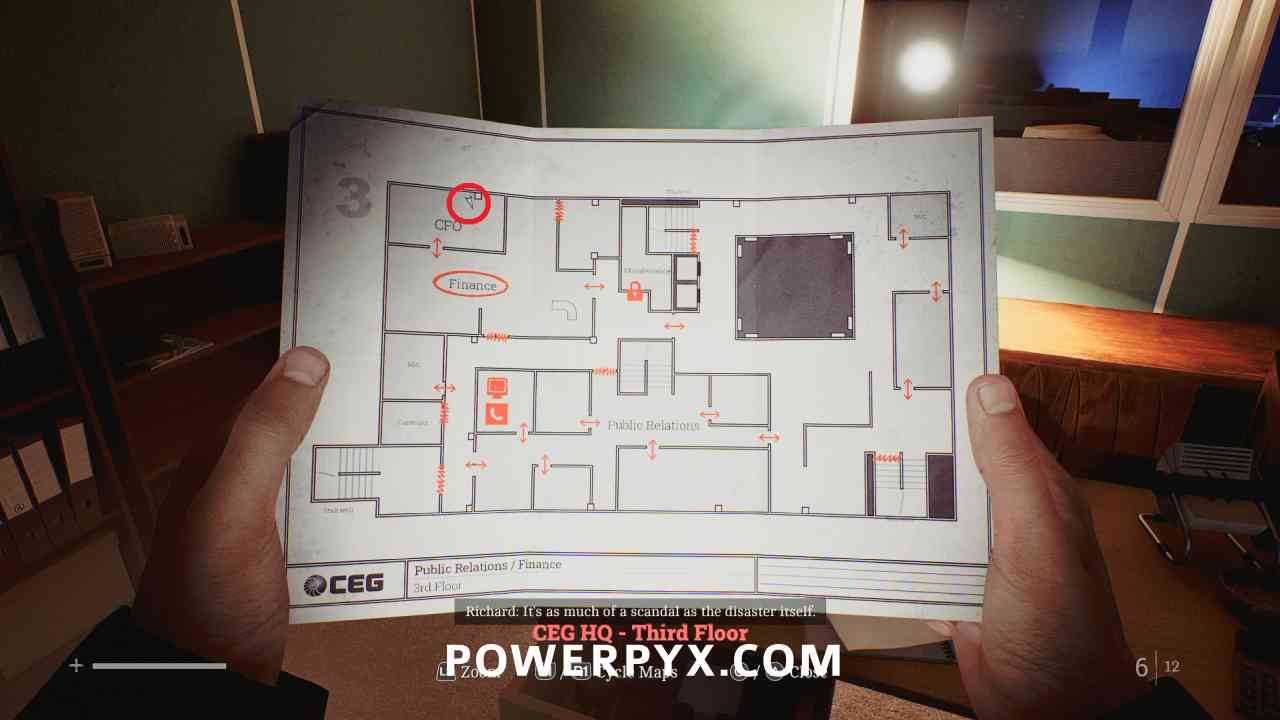
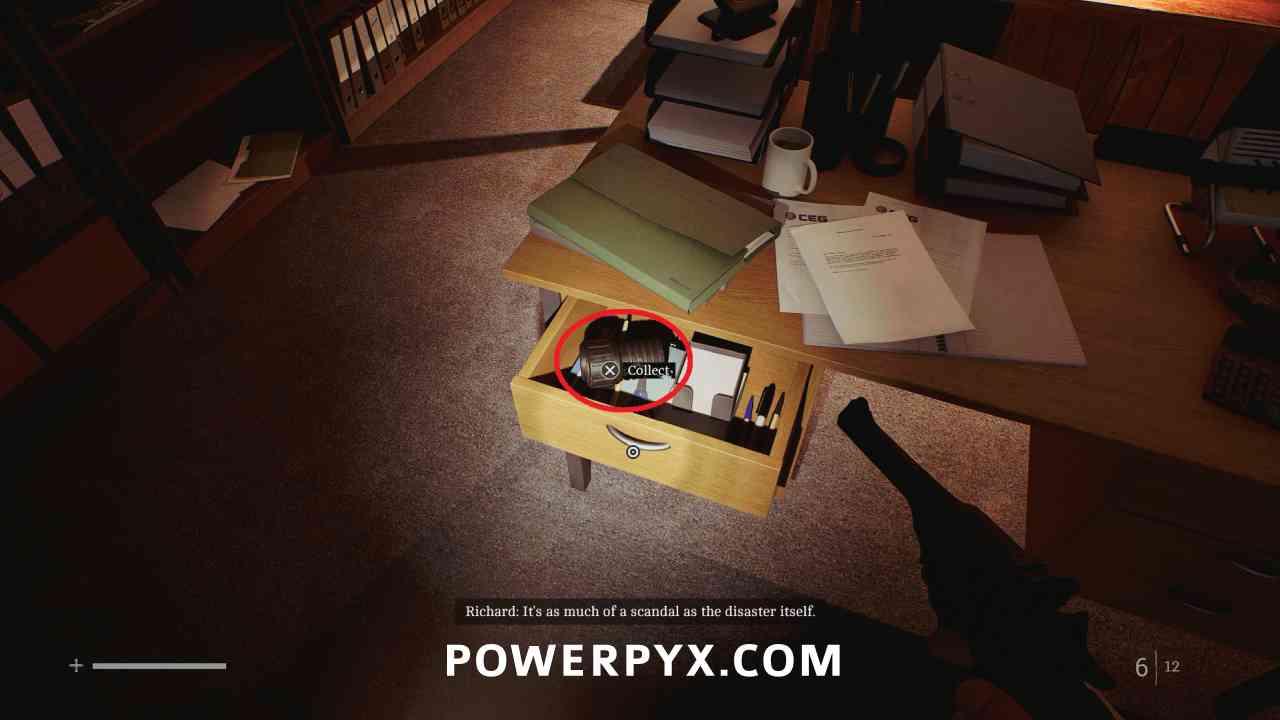
In the Finance area, go to the CFO room and this is in a desk drawer.

CEG HQ > 5th Floor
Puzzle #28
Area: CEG HQ > 5th Floor
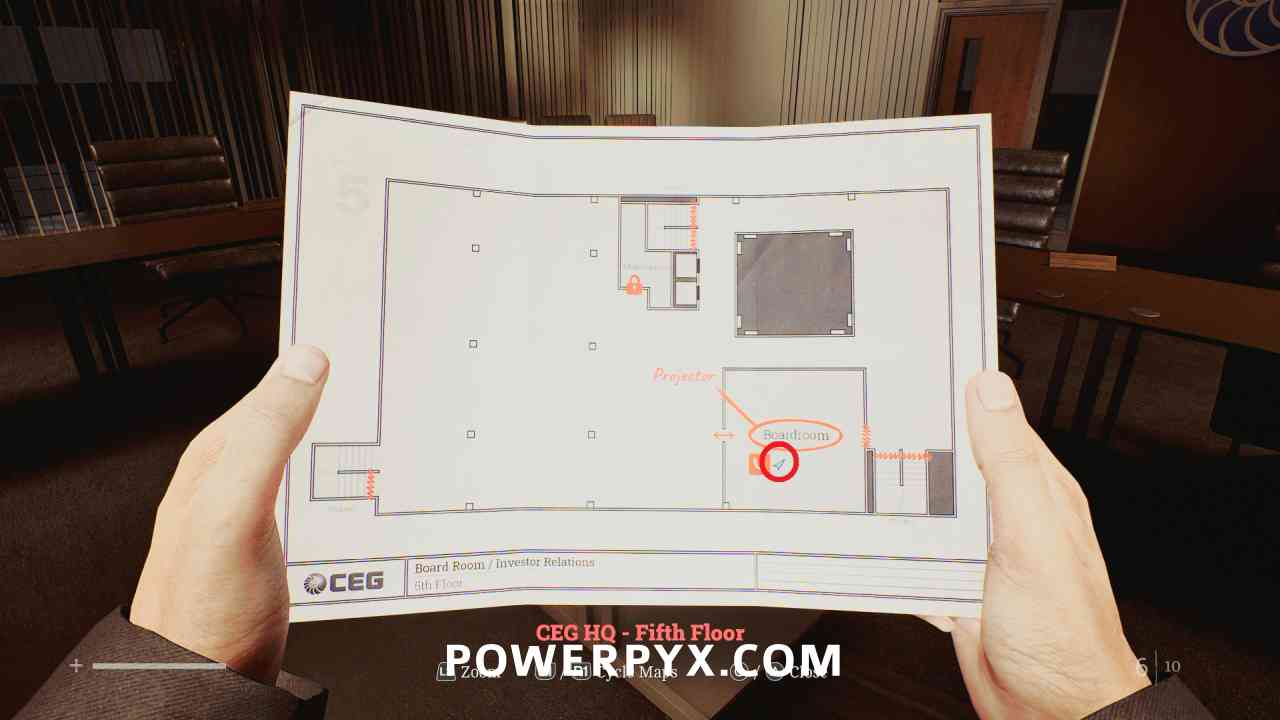
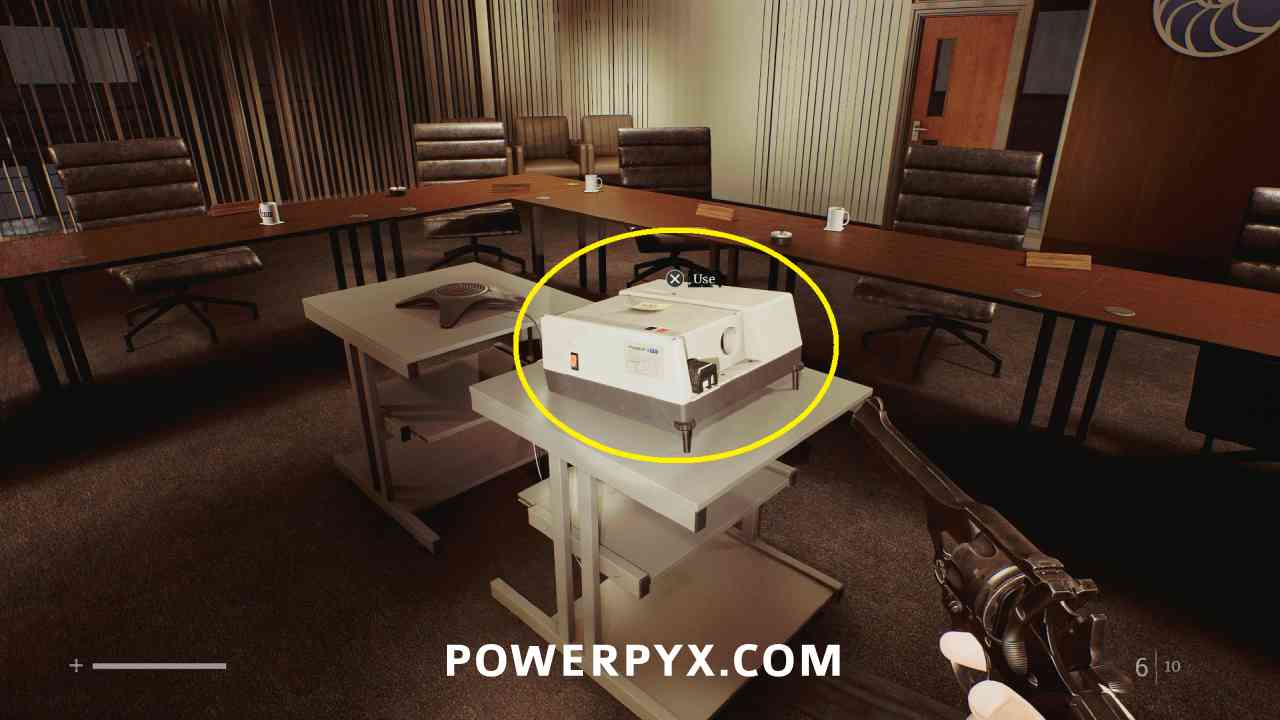
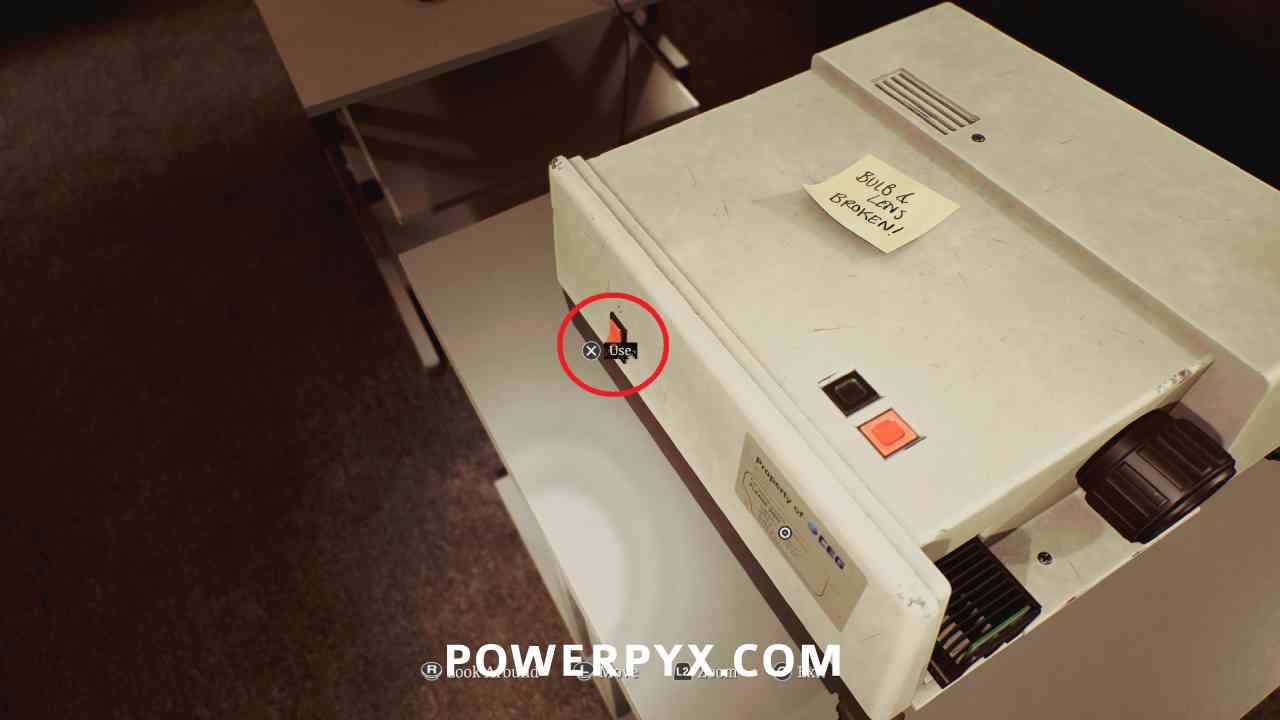
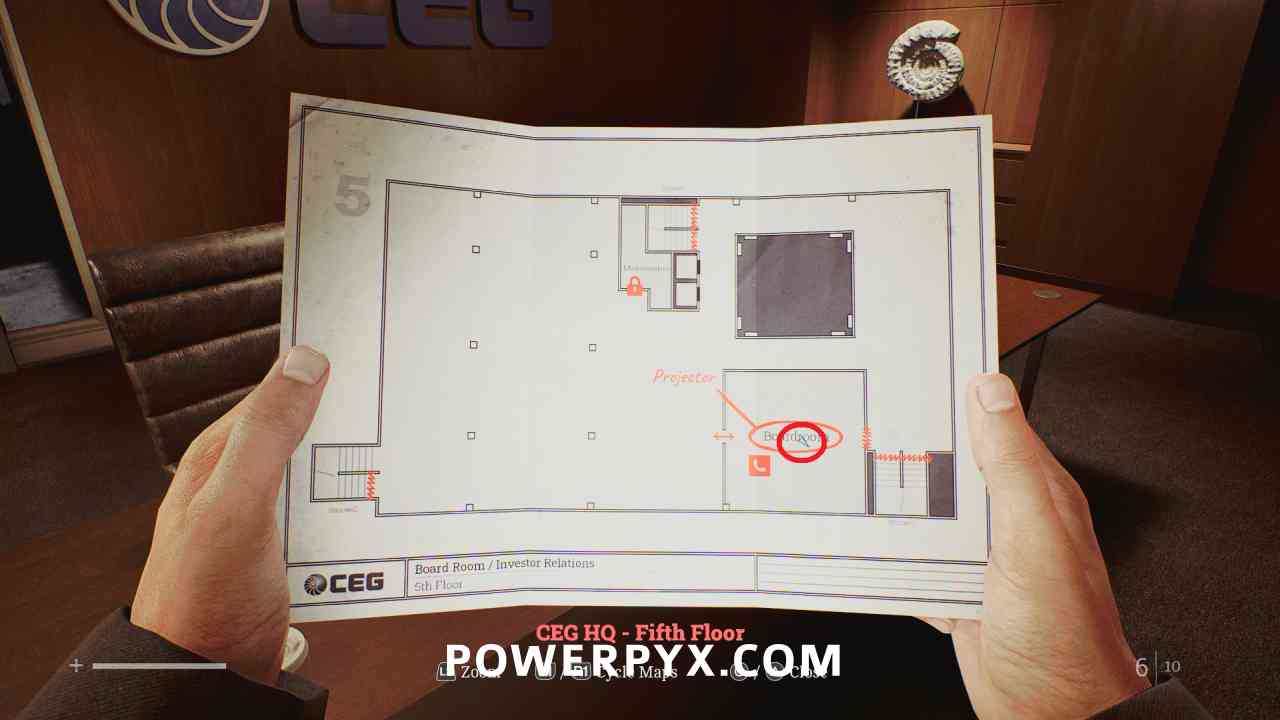
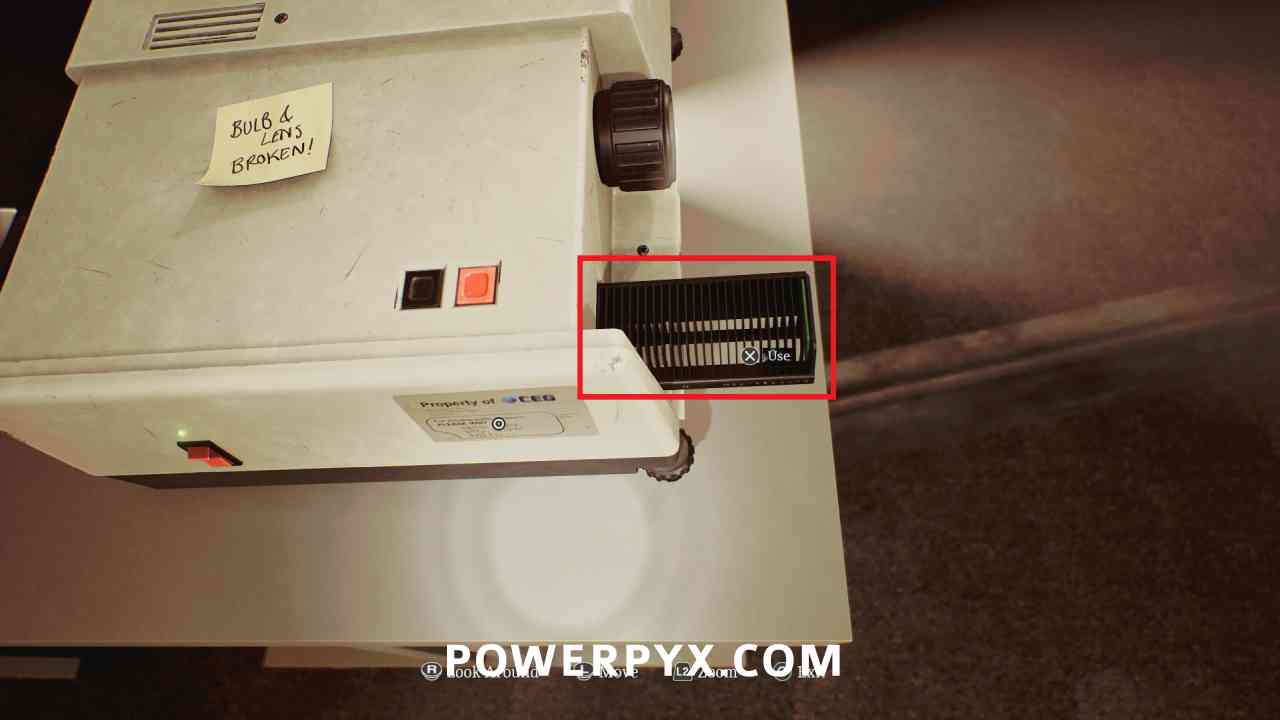
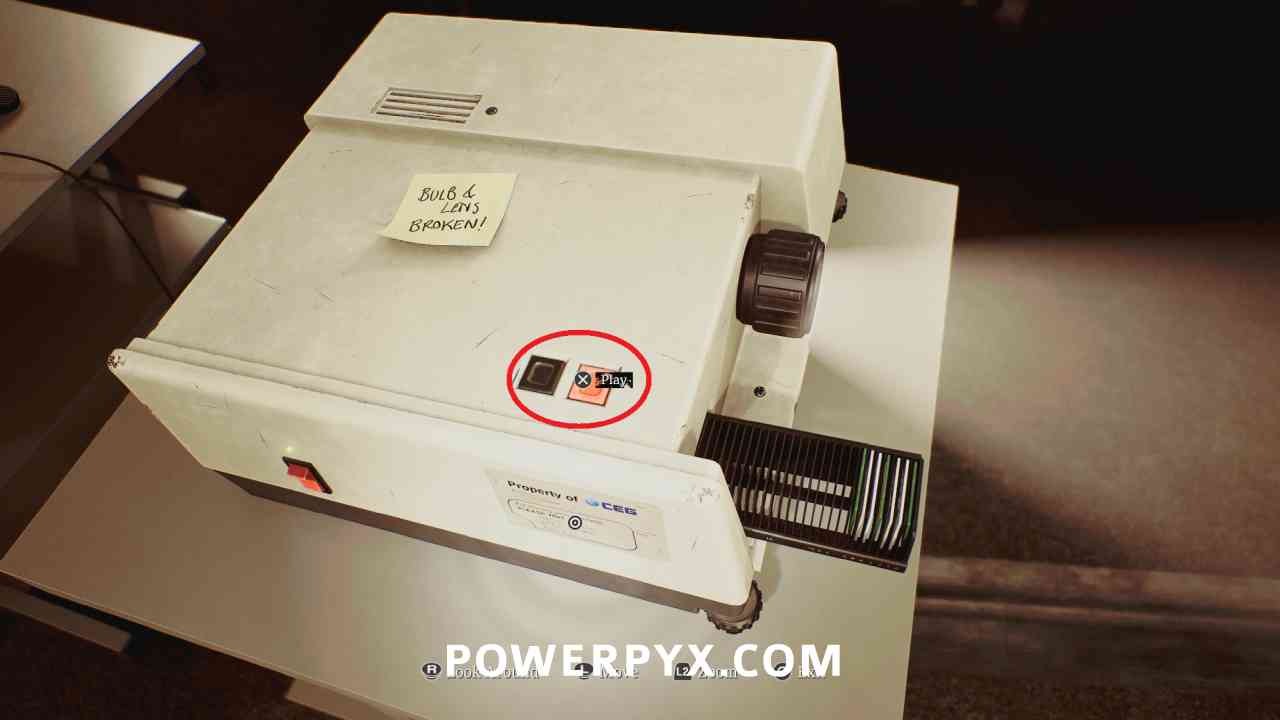
Go back up to the Boardroom on the 5th floor. Interact with the projector in the middle of the room.
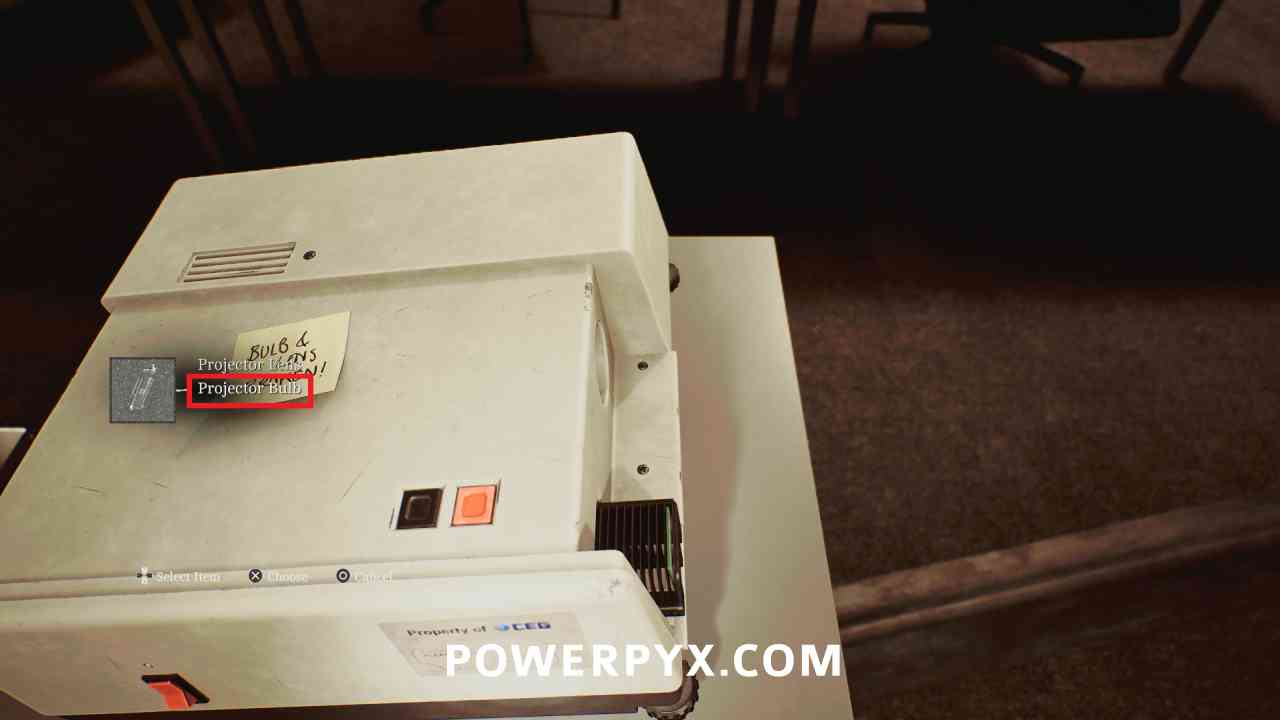
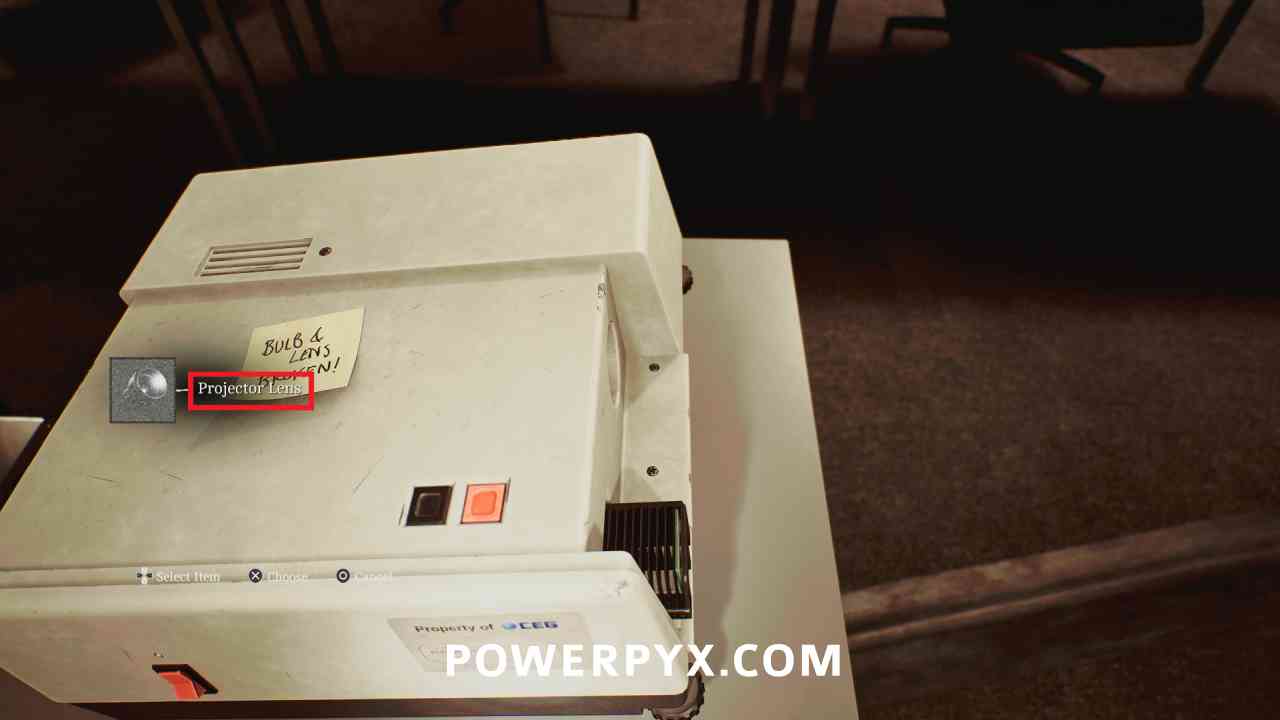
Interact with the front and place the Projector Bulb, then the Projector Lens.
Then press the red switch on the left side.
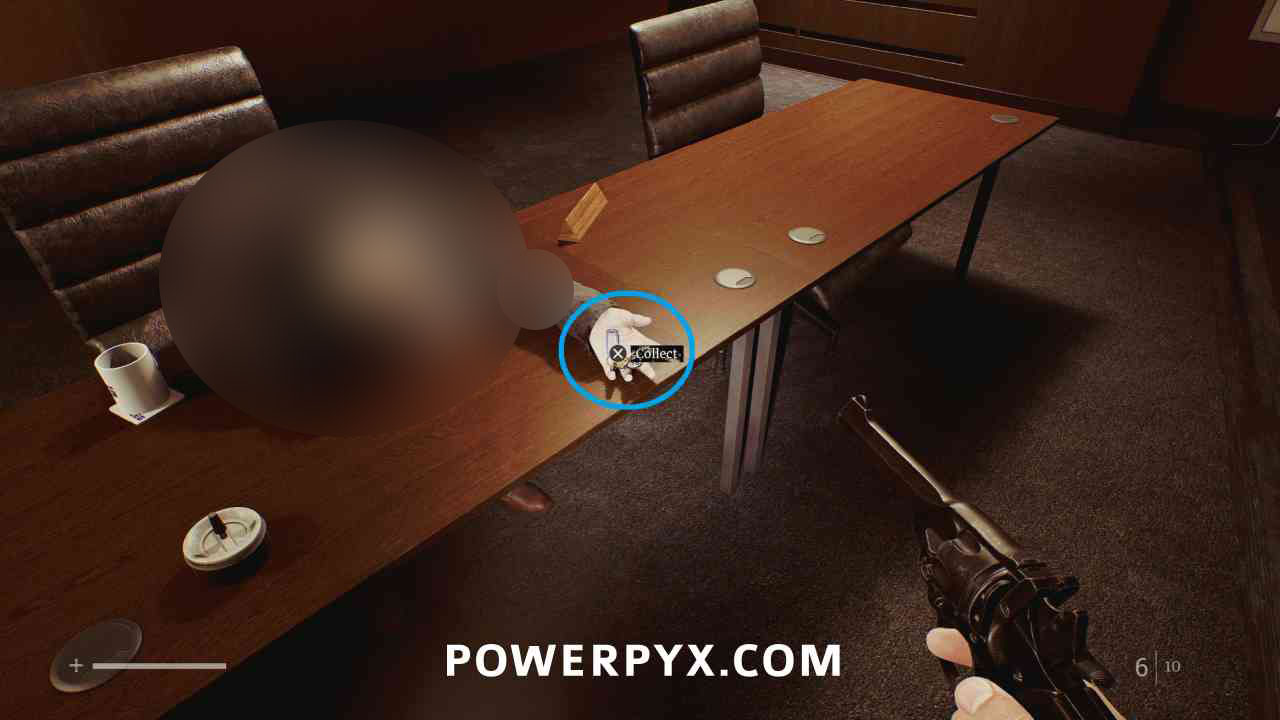
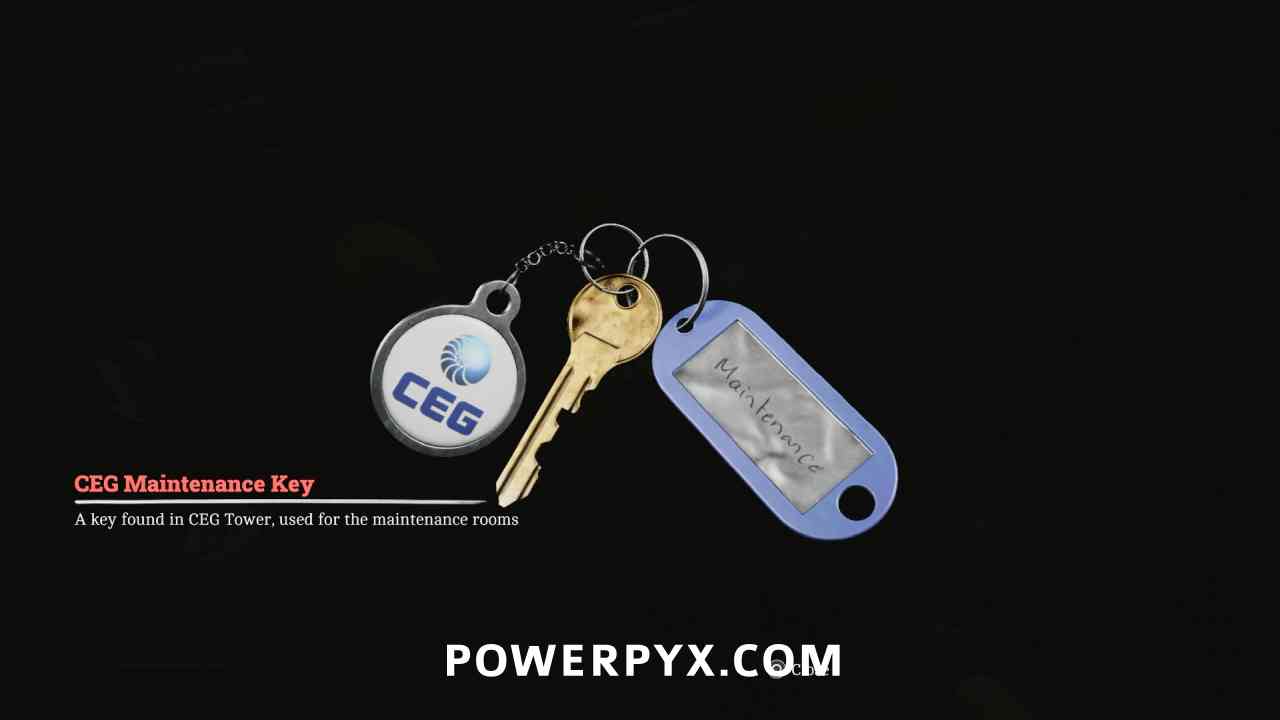
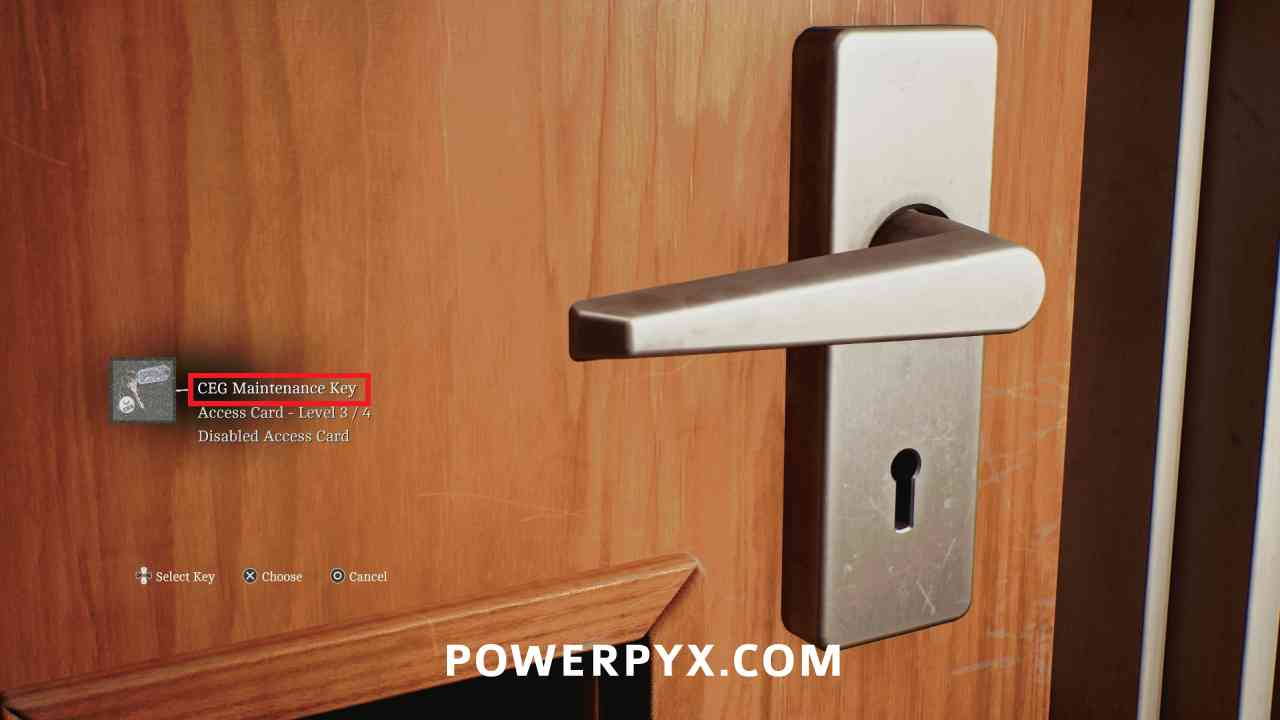
Key Item: CEG Maintenance Key
Area: CEG HQ > 5th Floor
After turning on the projector, can be picked up from the hand of a body at the table.
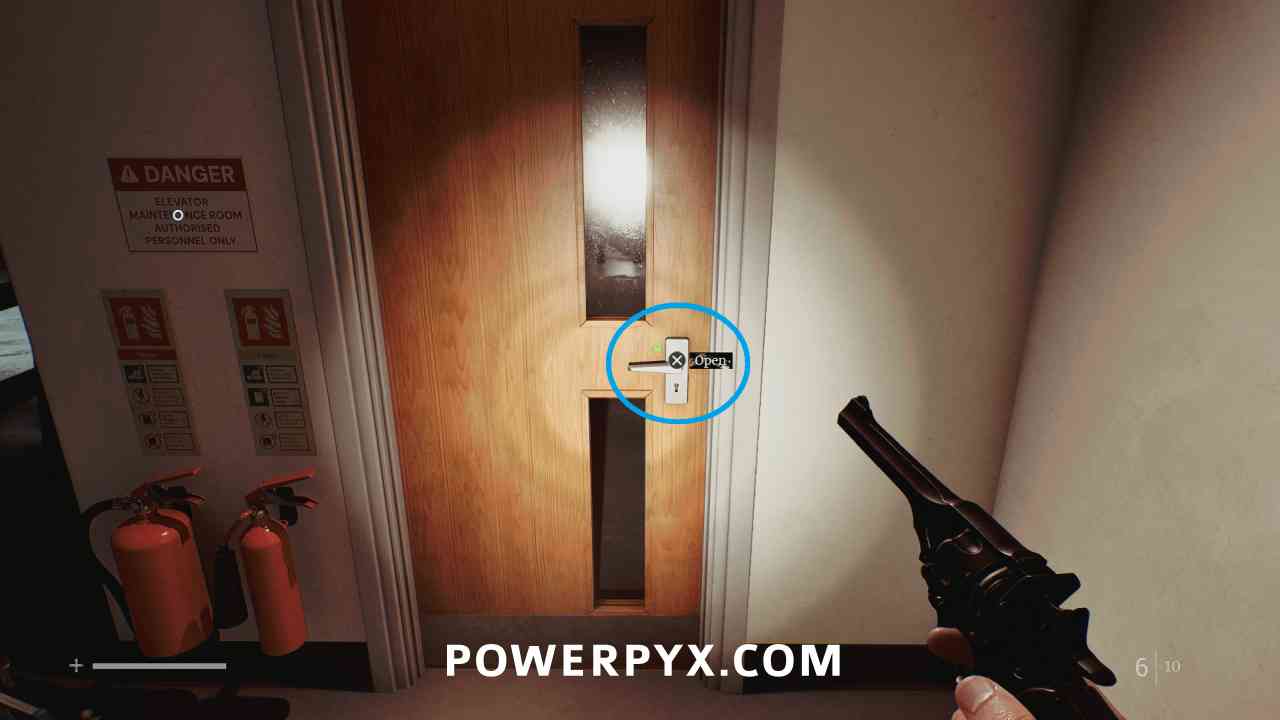
Locked Door: Maintenance
Area: CEG HQ > 5th Floor
You can now go to the Maintenance room on the floor and open it with the CEG Maintenance Key. This opens the Maintenance door on all floors.
CEG HQ > 2nd Floor
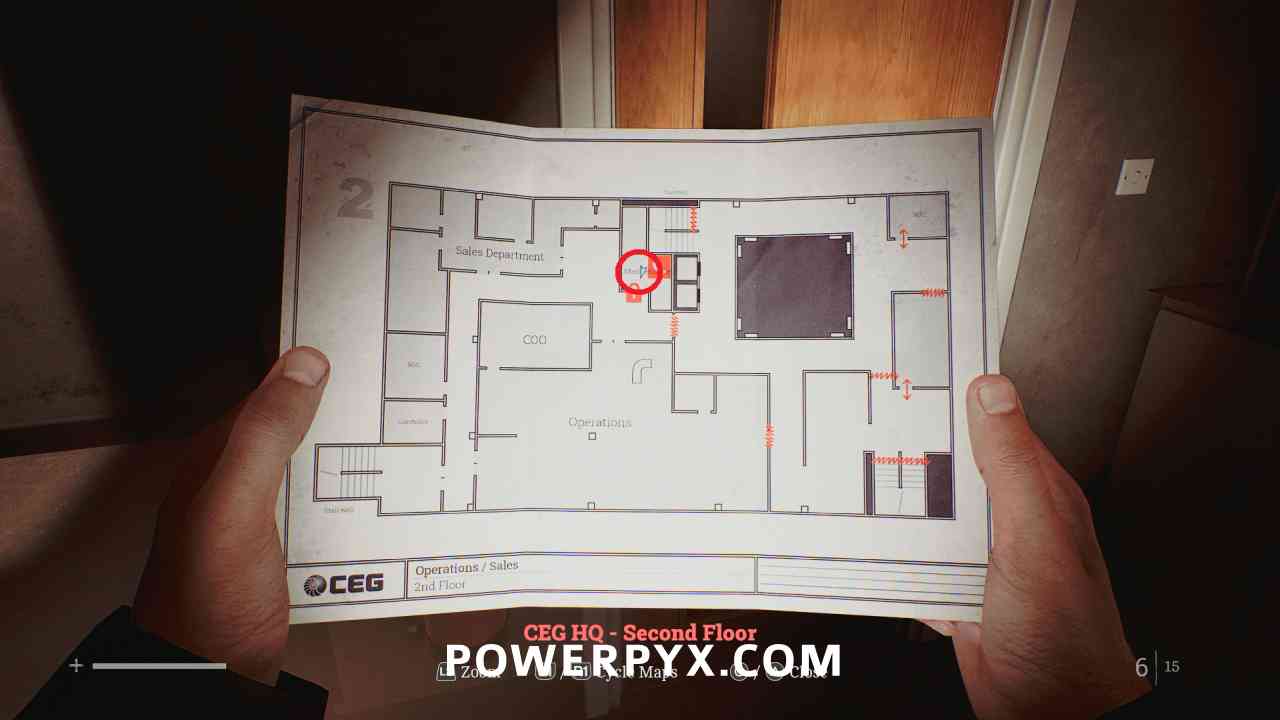
Locked Door: Maintenance
Area: CEG HQ > 2nd Floor
Go down all the stairs in the Maintenance rooms to reach the second floor, and go out to the Operations area.
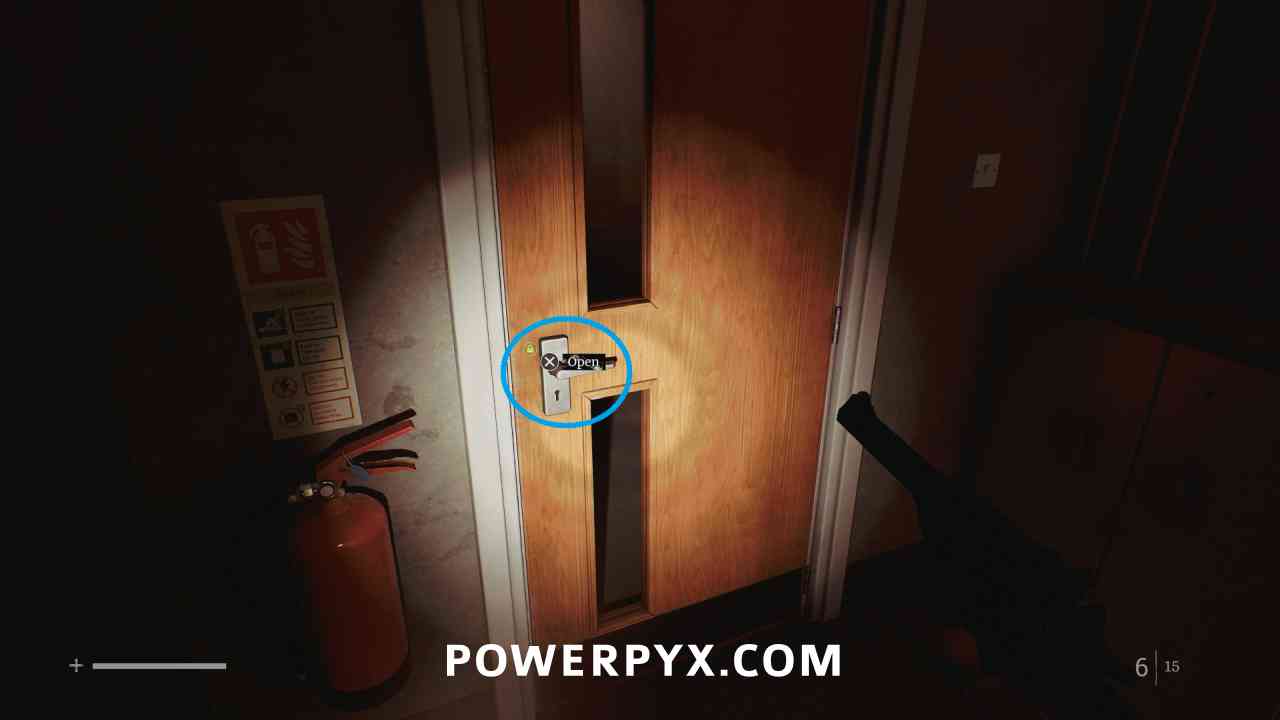
Locked Door: Operations Storage
Area: CEG HQ > 2nd Floor
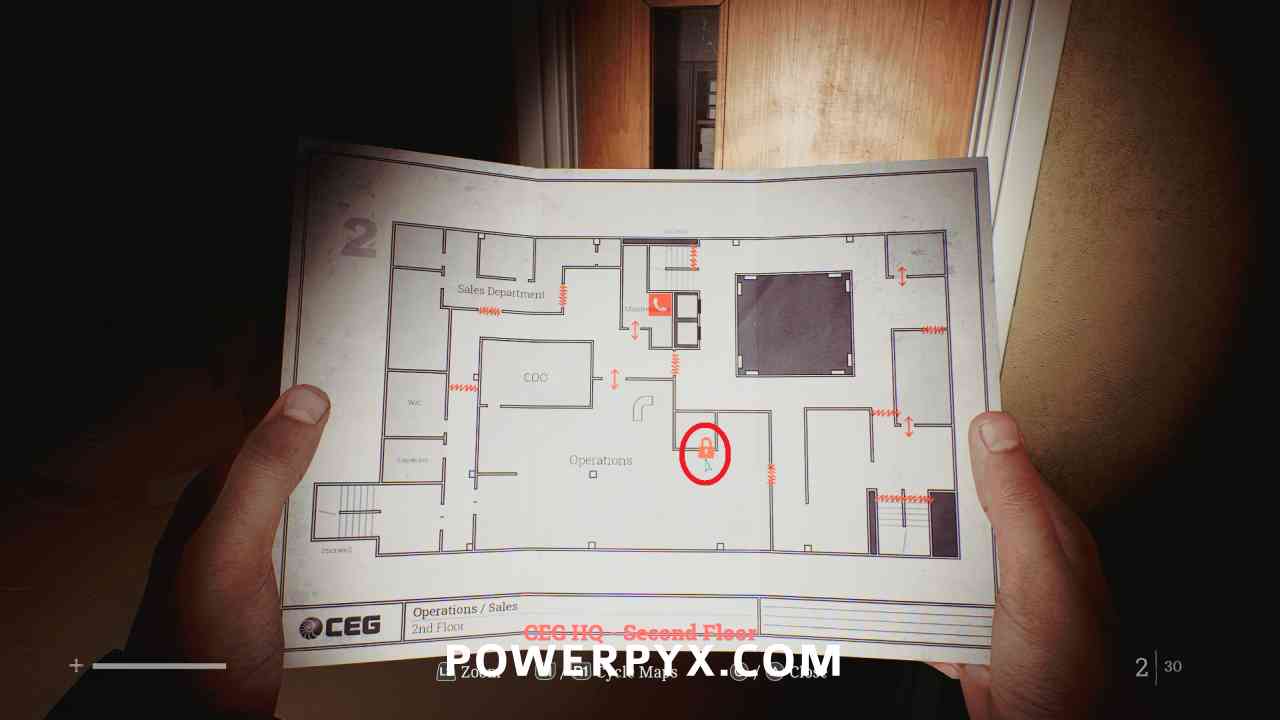
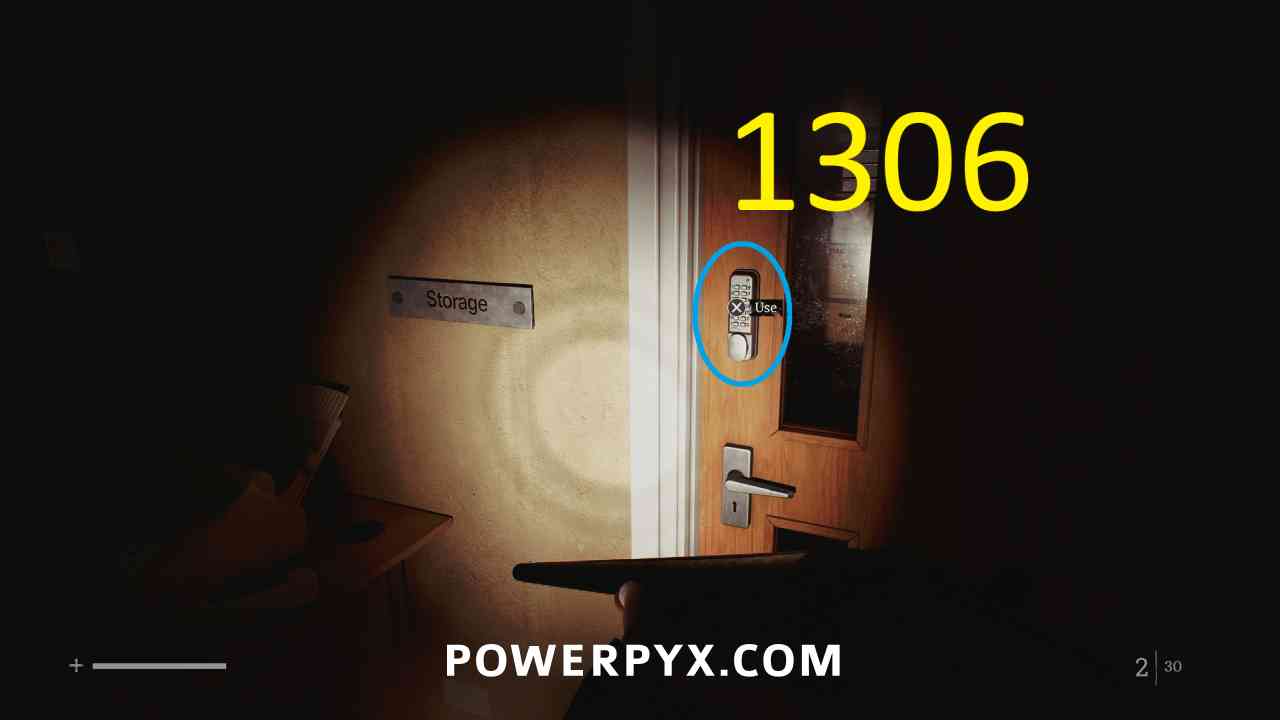
In the Operations room, the small room in the northeast corner, use the code 1306 to unlock it (from Richard’s Note). Room only contains resources.
CEG HQ > 1st Floor
Locked Door: Administration Storage
Area: CEG HQ > 1st Floor
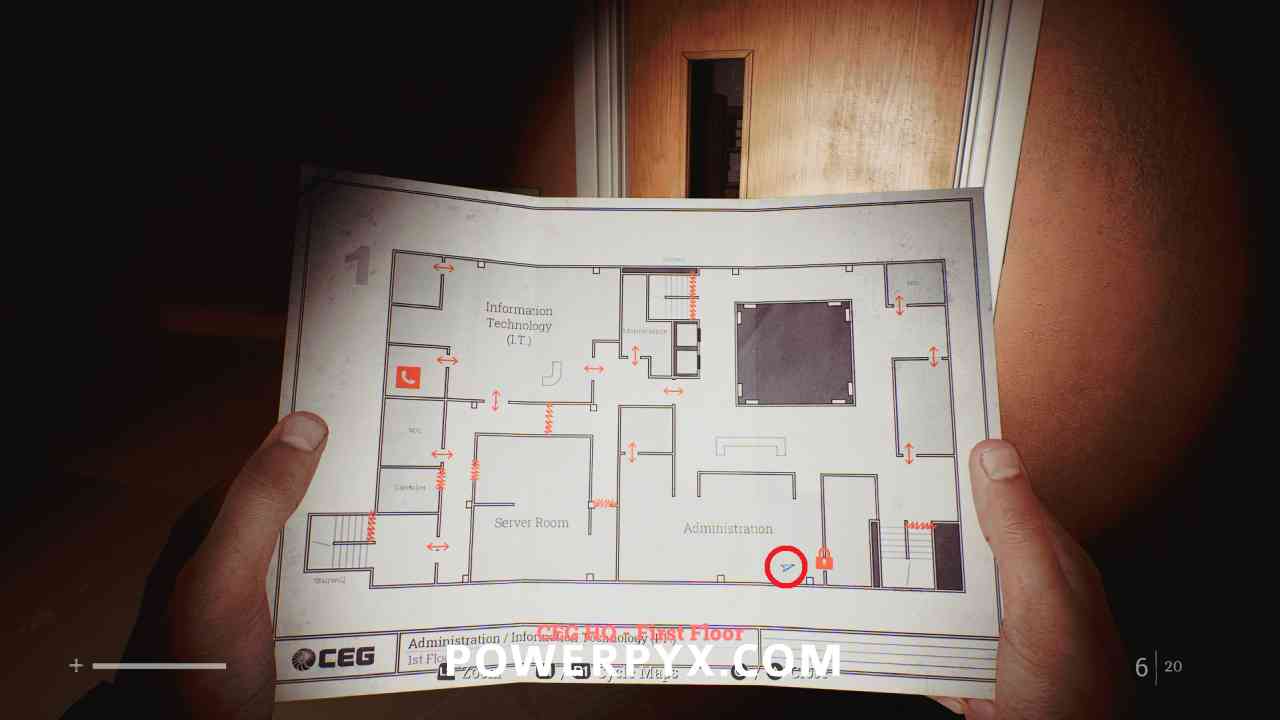
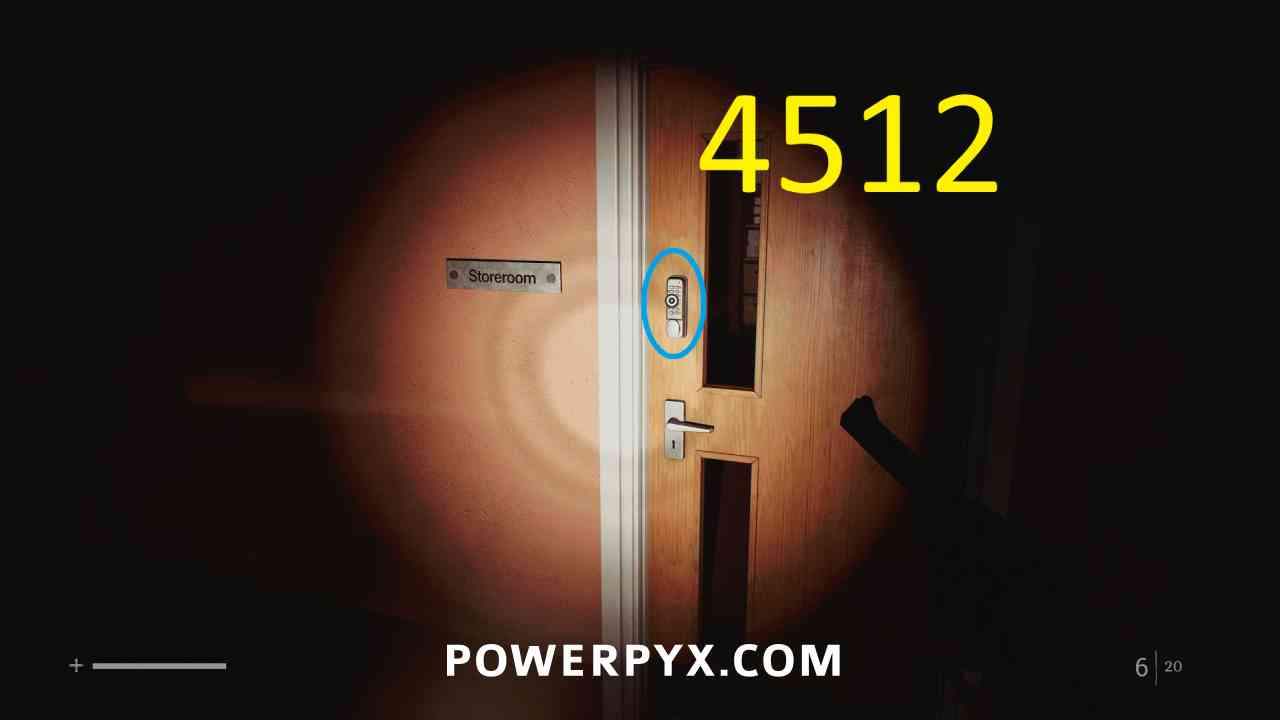
In the Administration room in the southeast corner, use the code 4512 to unlock it (from Richard’s Note). Room only contains resources.
CEG HQ > Mezzanine
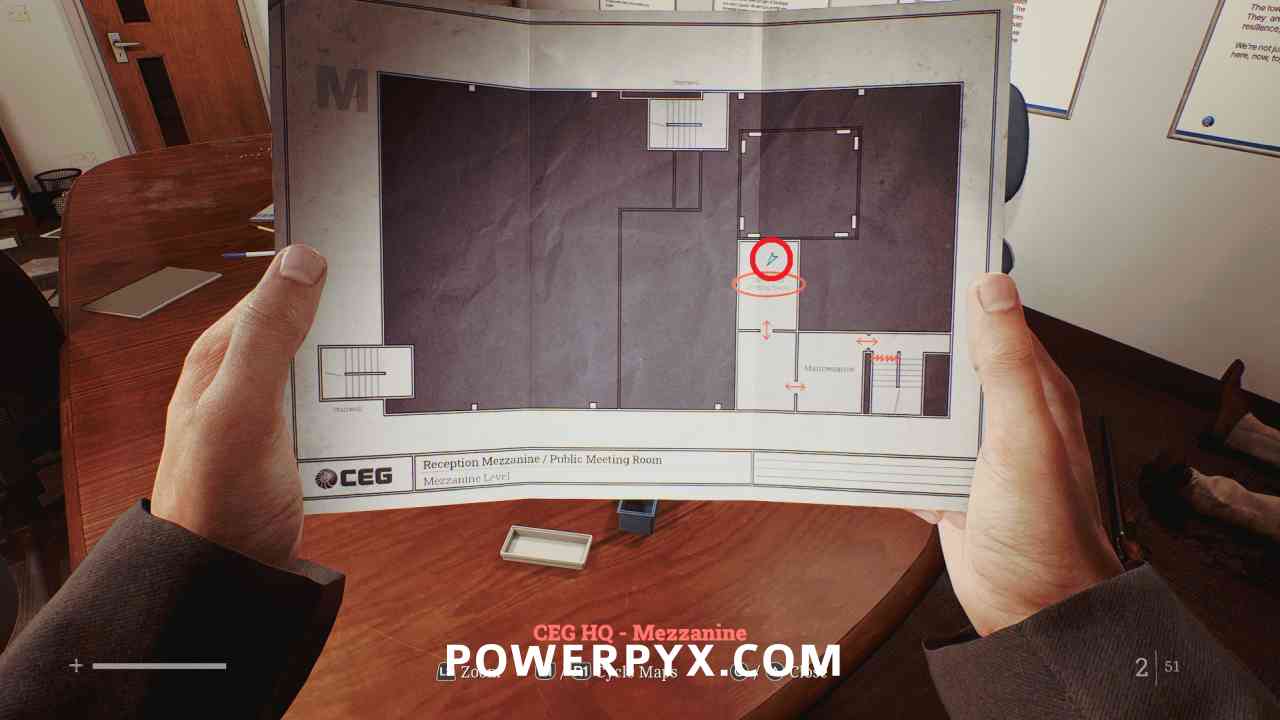
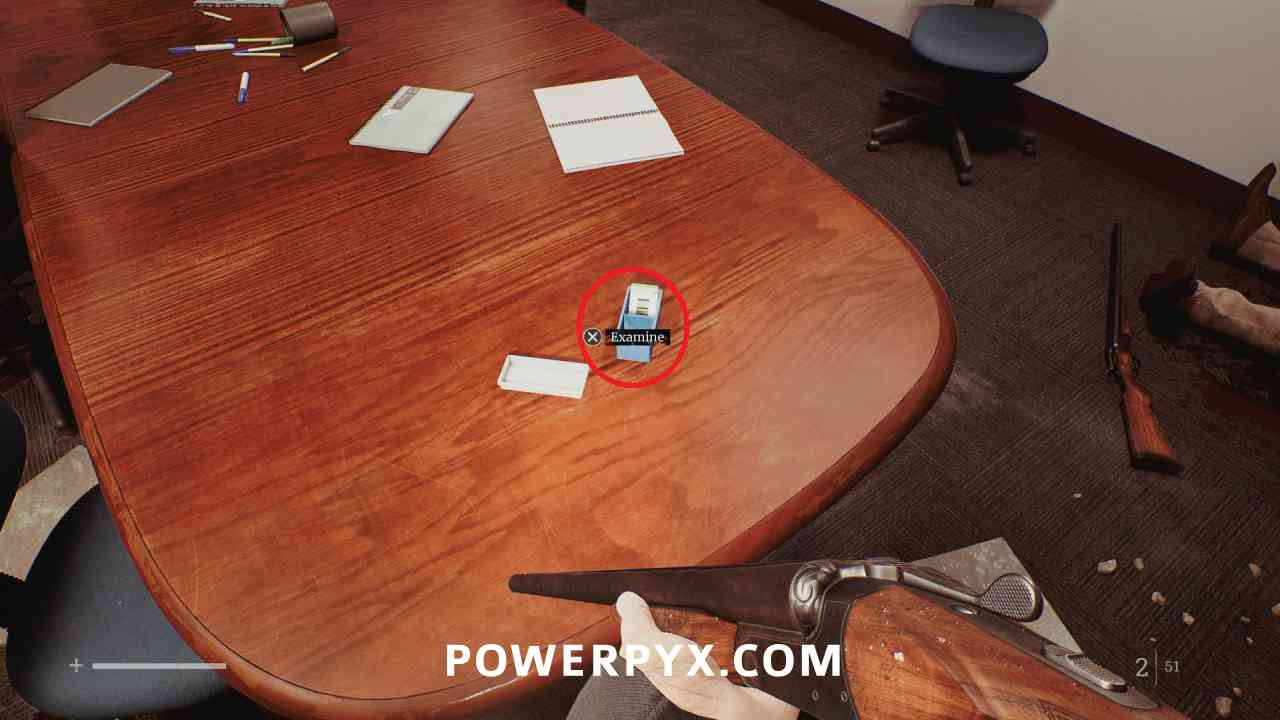
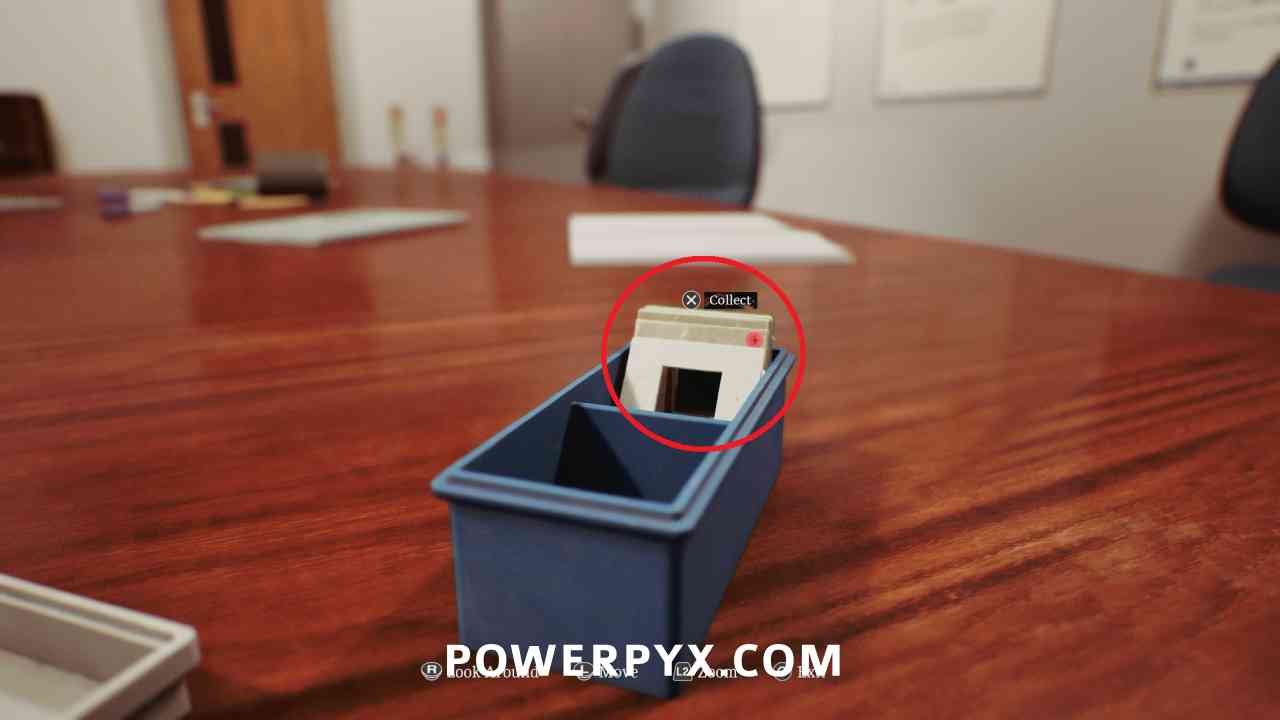
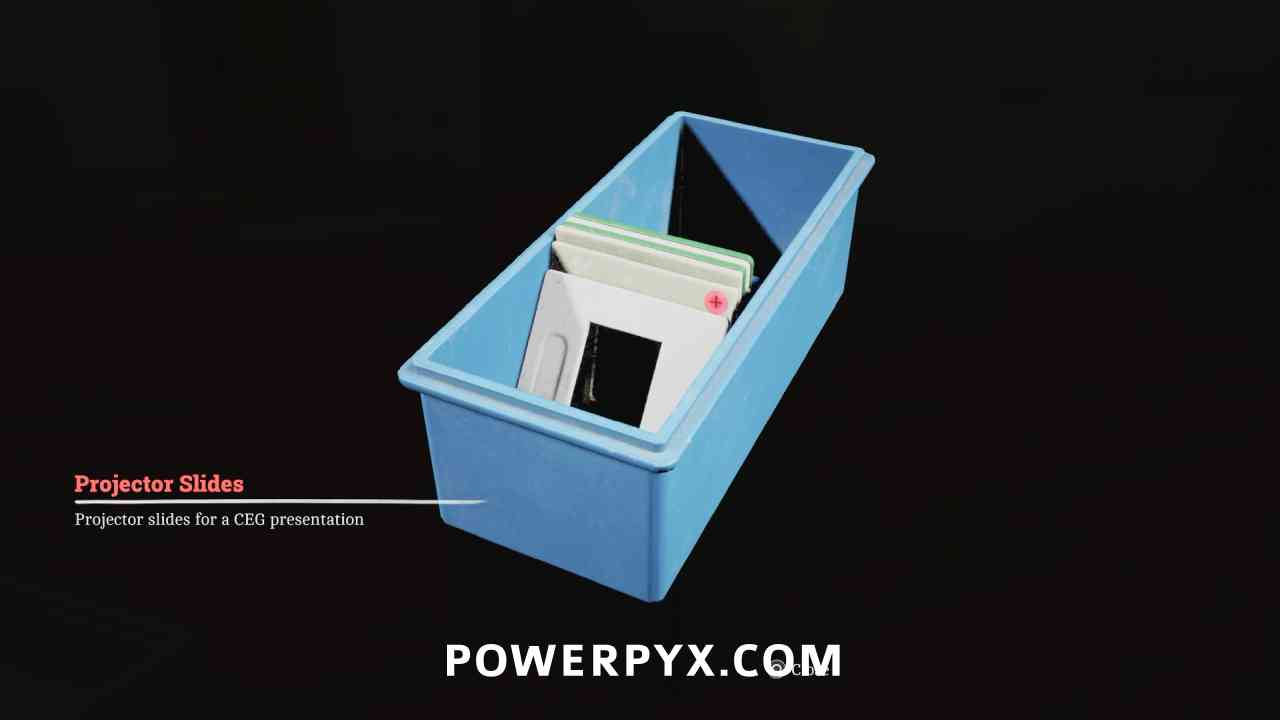
Key Item: Projector Sliders
Area: CEG HQ > Mezzanine
In the Mezzanine Meeting Room, on the table.
CEG HQ > 5th Floor
Puzzle #29
Area: CEG HQ > 5th Floor
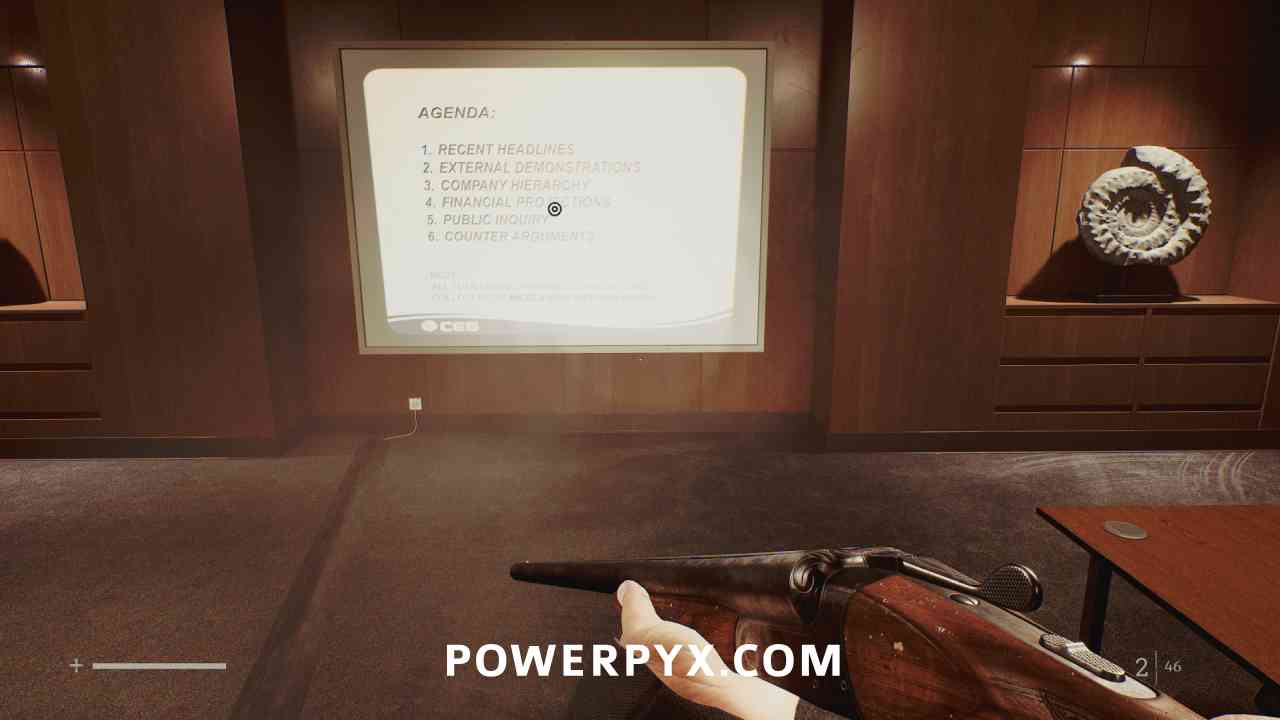
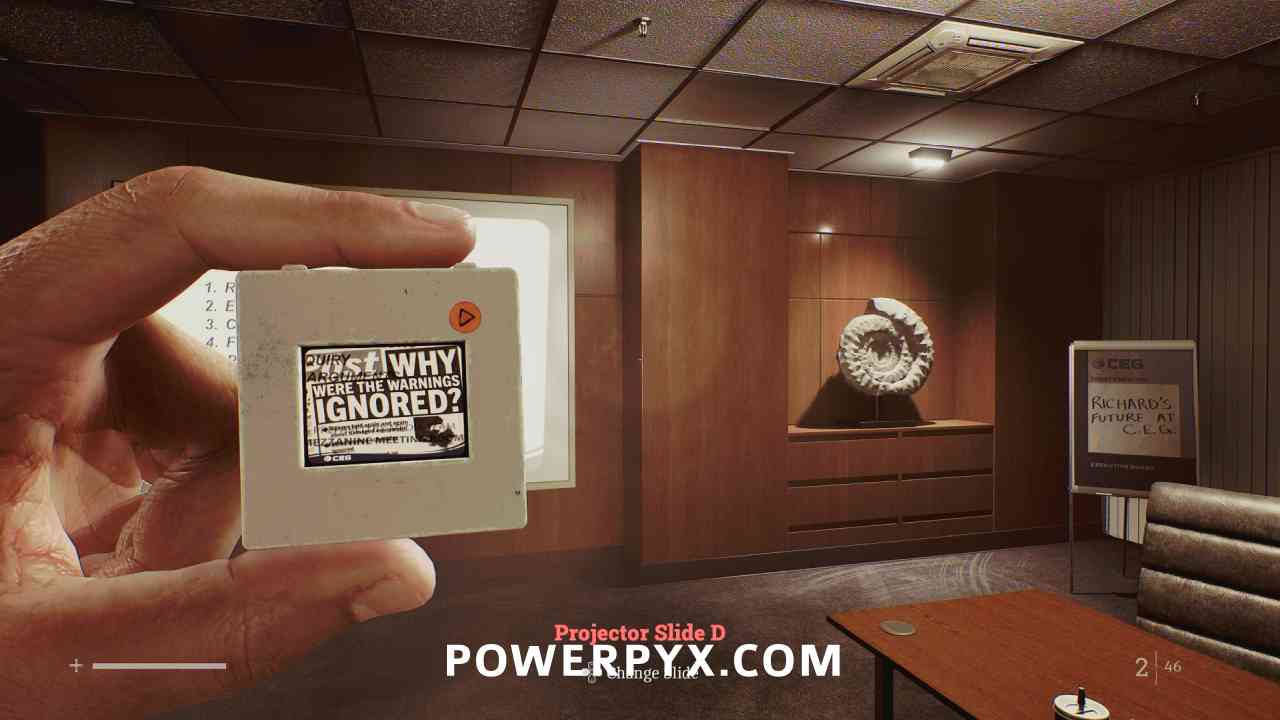
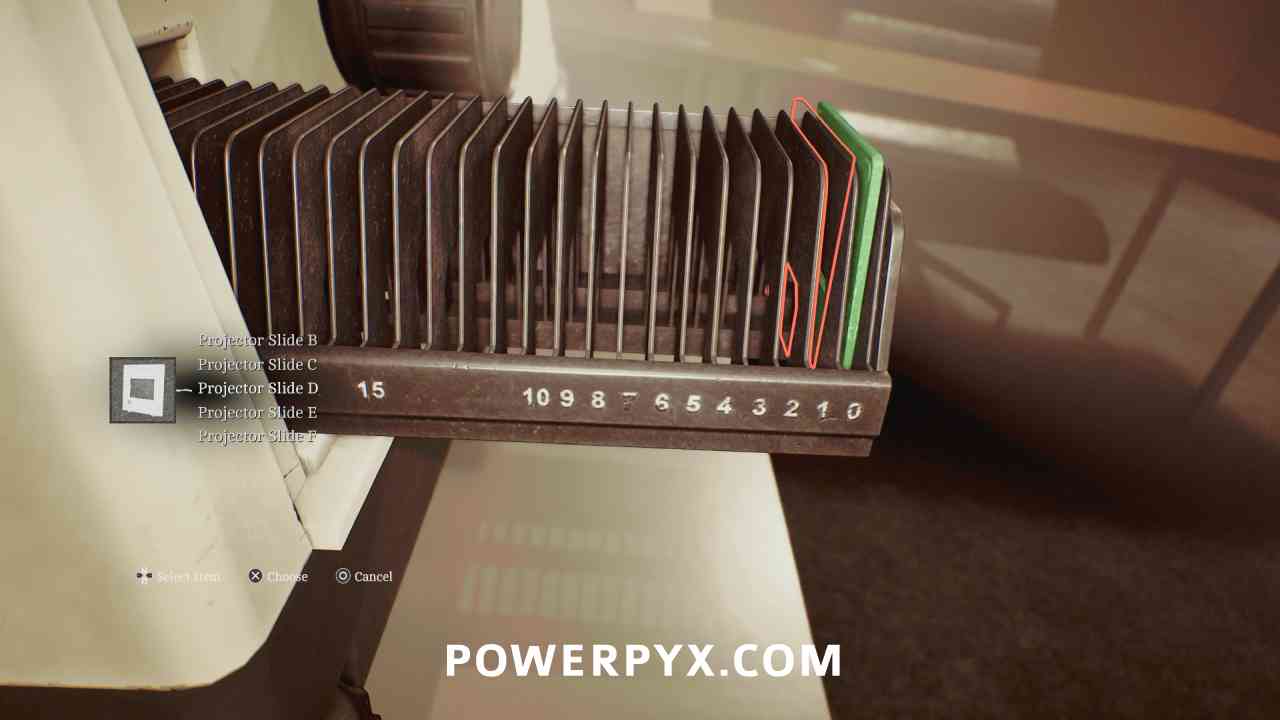
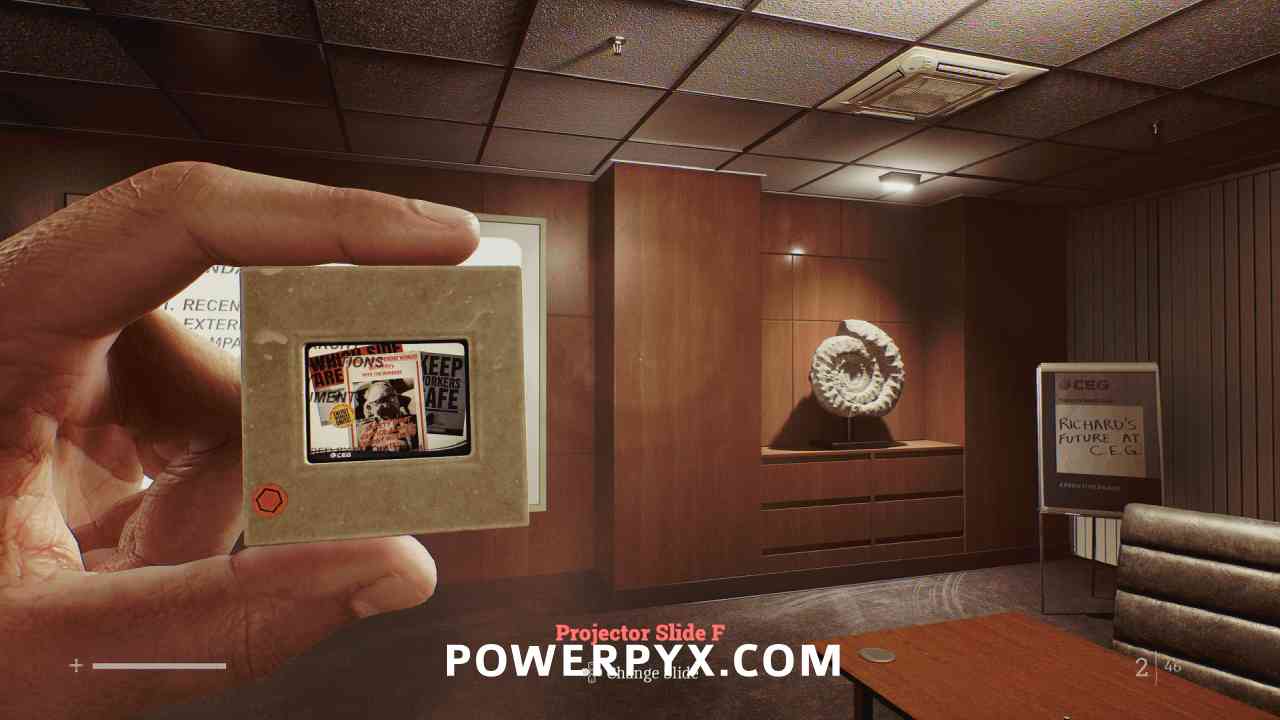
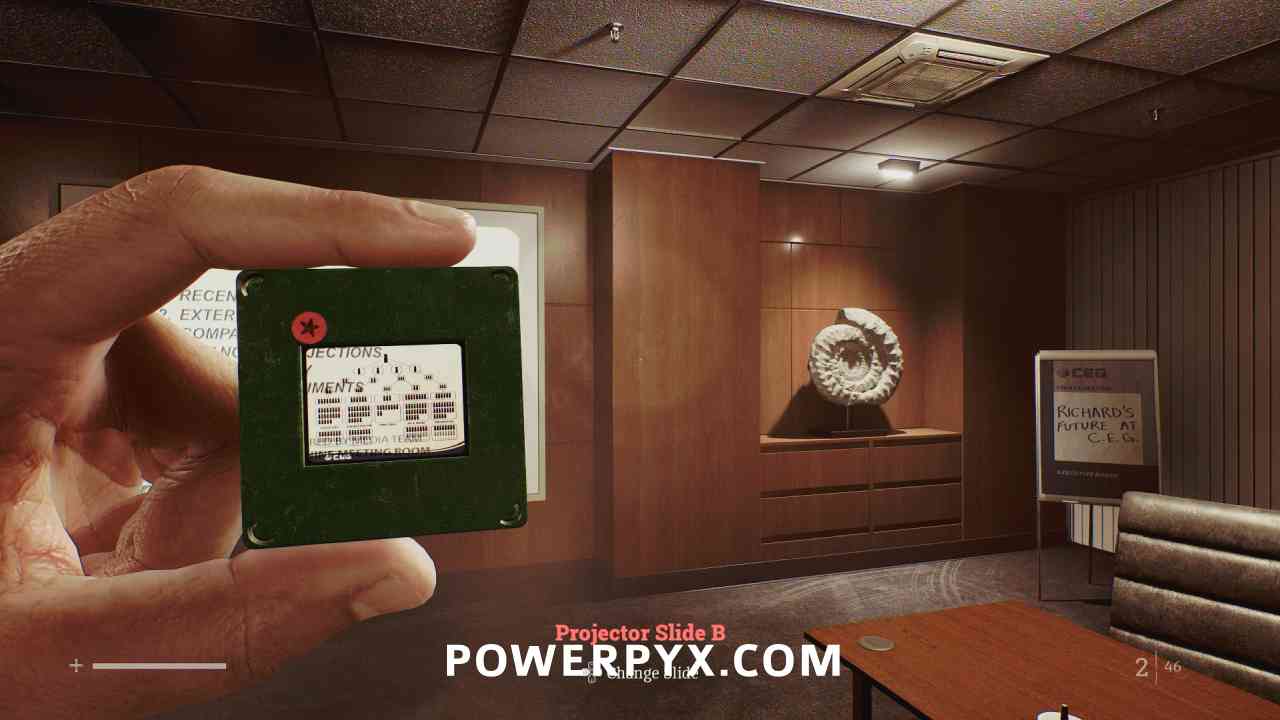
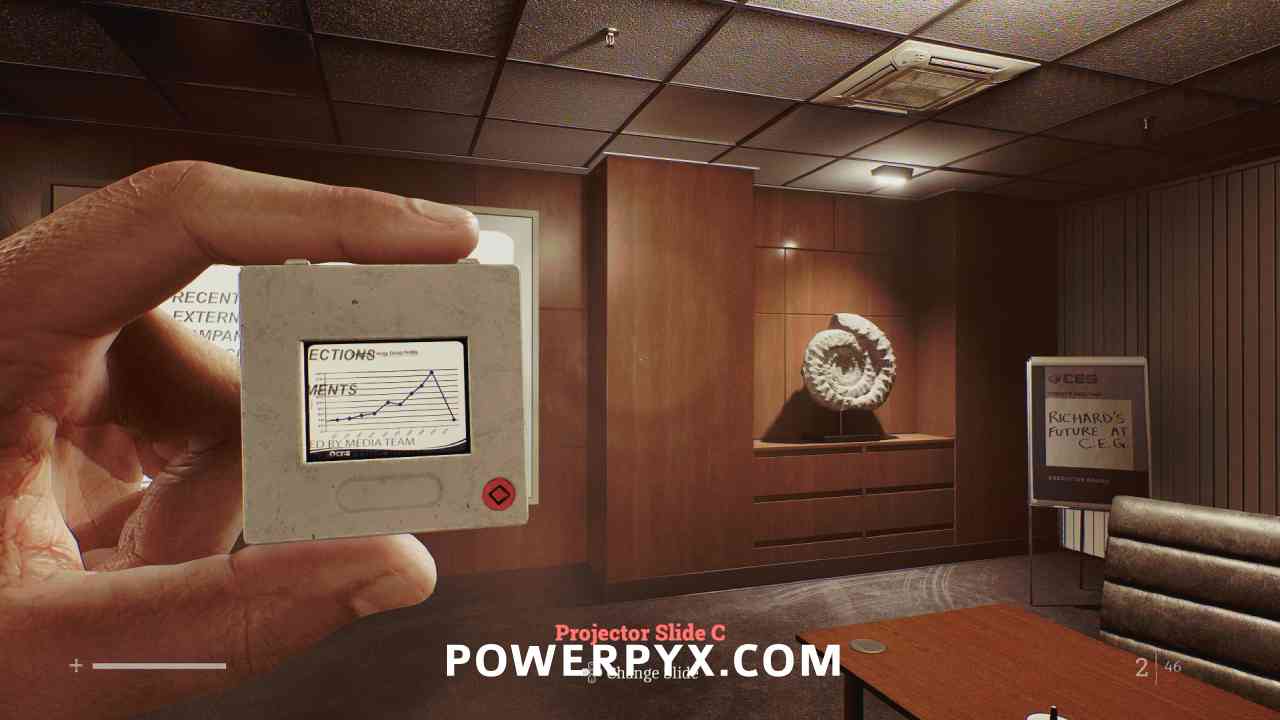
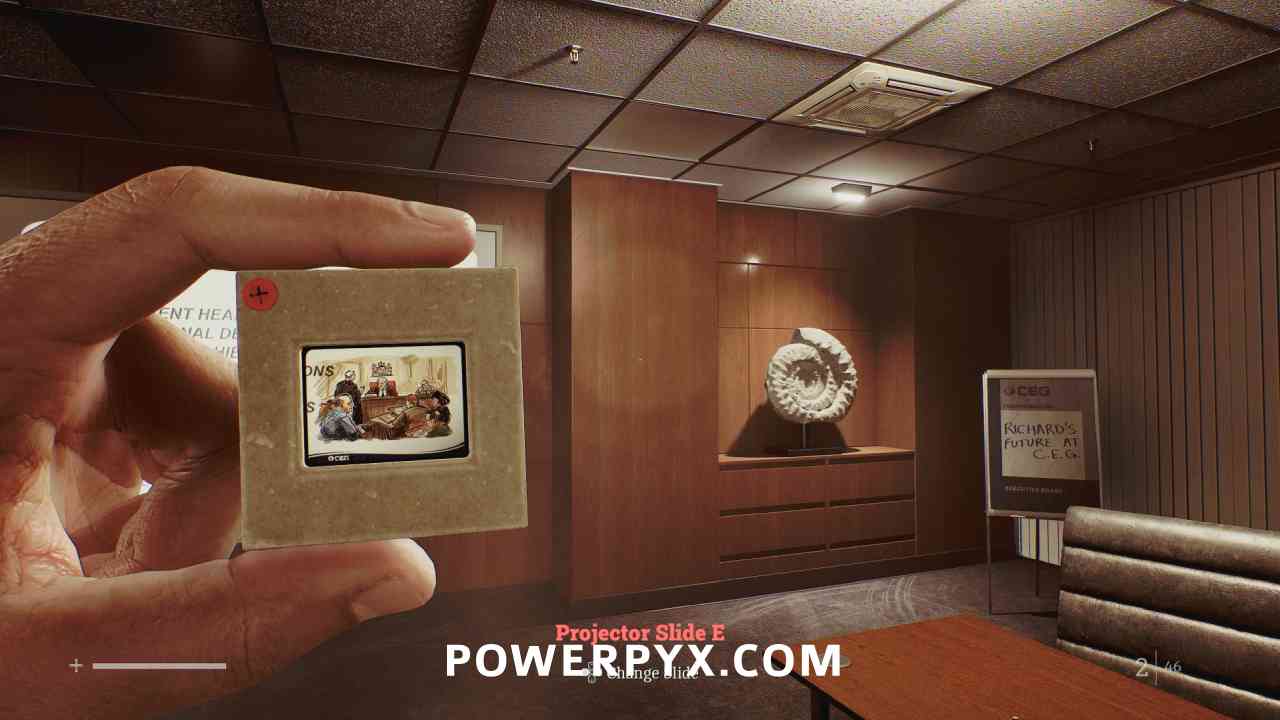
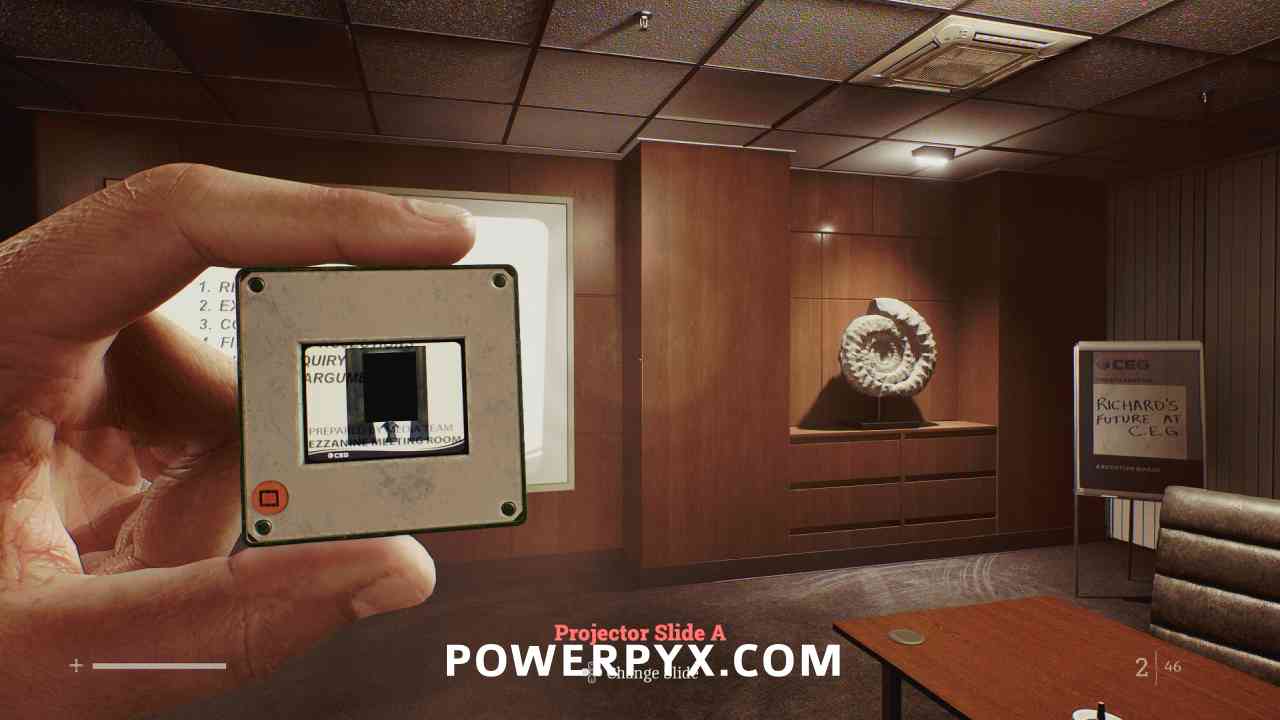
Go back up to the Boardroom on the 5th floor. You can now view the Projector Slides by holding L1/LB. You need to place them in the projector in the correct order, as shown by the Agenda being displayed by the projector. After you have placed all slides in the projector, press the red Play button on top.
The order is:
- Recent Headlines > Slide D – Triangle / Newspaper
- External Demonstrations > Slide F – Hexagon / Protest Signs
- Company Hierarchy > Slide B – Star / Hierarchy Chart
- Financial Projects > Slide C – Diamond / Profits Chart
- Public Inquiry > Slide E – Plus / Courtroom Sketch
- Counter Arguments > Slide A – Square / Censored Photograph
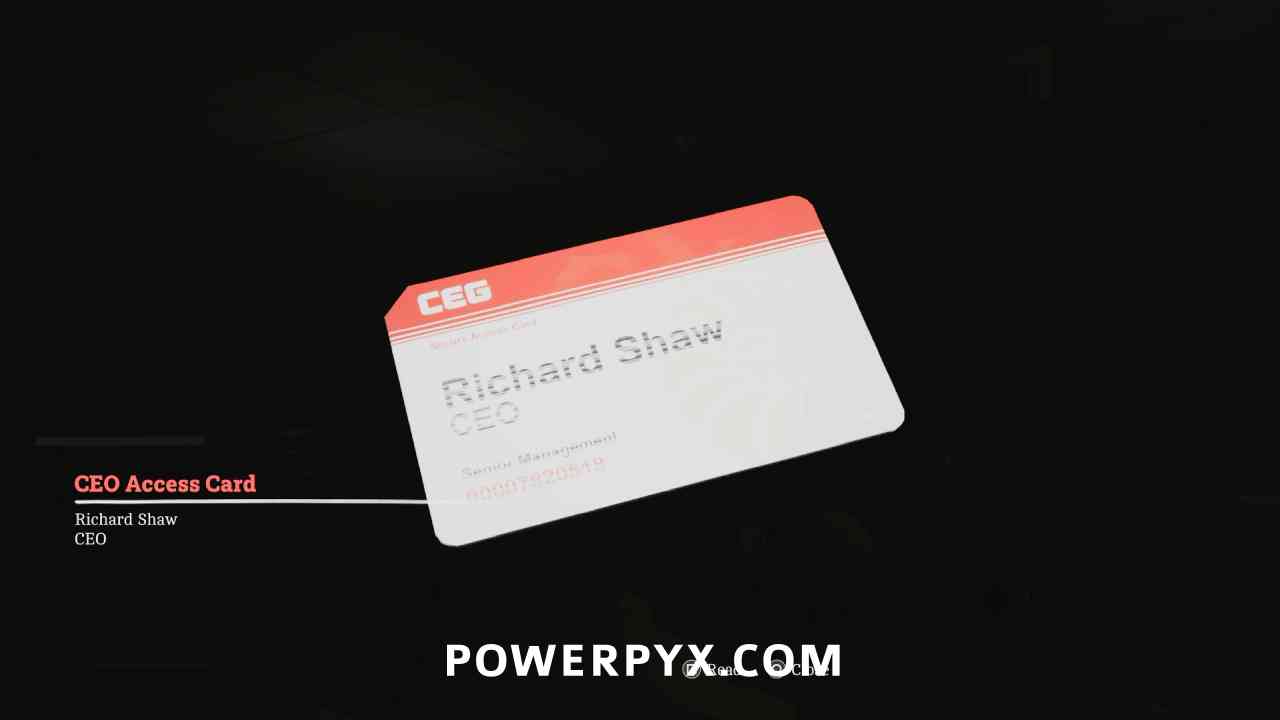
Key Item: CEO Access Card
Area: CEG HQ > 5th Floor
Automatically obtained after the cutscene following the slide puzzle.
Trophy: Find Yourself
CEG HQ > 10th Floor
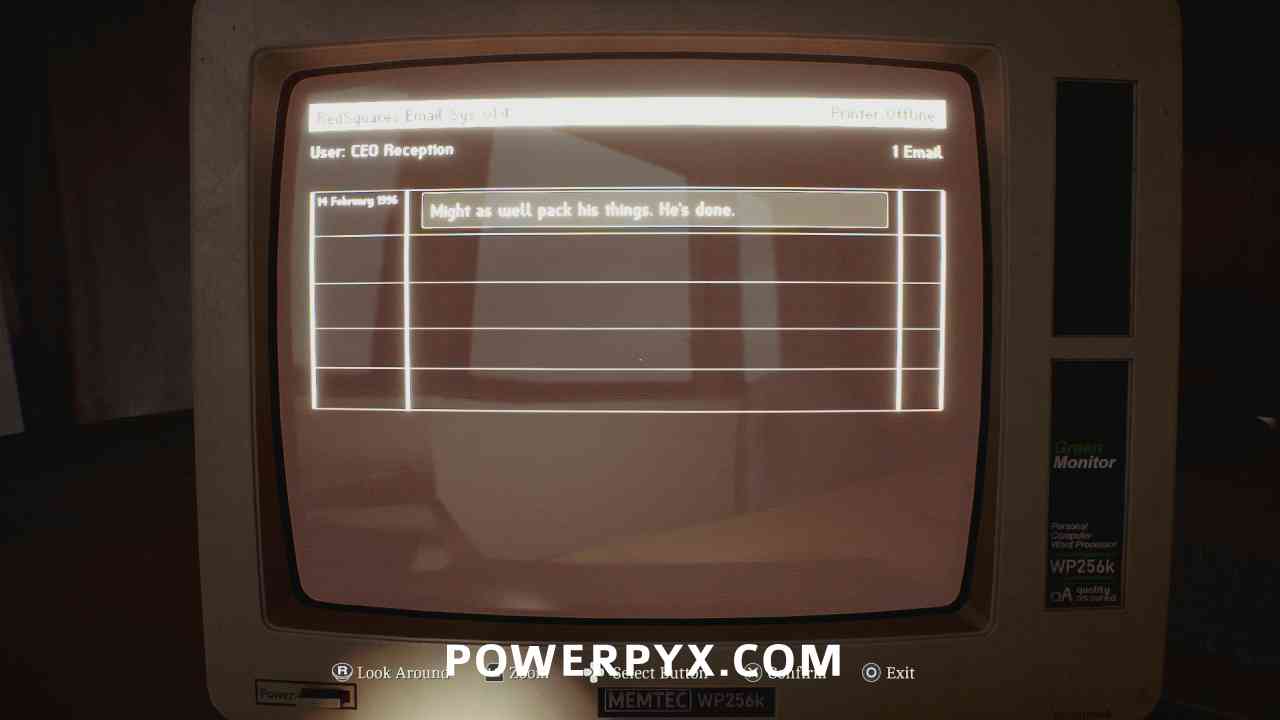
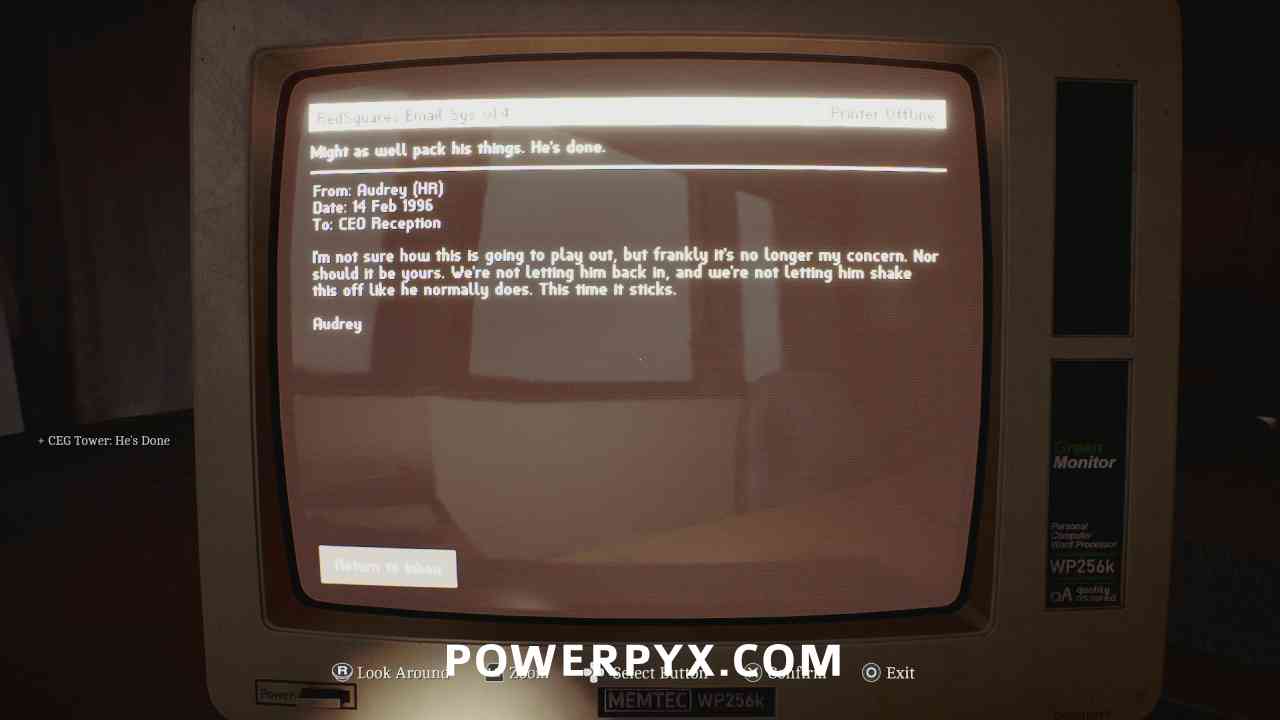
Document: CEG Tower: He’s Done
Area: CEG HQ > 10th Floor
Use the CEO Access Card to open the elevator and go to the 10th floor. On the computer outside the office, read the single email.

NEXT: Part 6: Simon
For an overview of all other chapters and by-type collectibles also see Silent Hill Townfall Collectible Guide.
Leave a Reply