
Evacuation Procedures is the 2nd main mission in the Contain the Crisis questline in Control Resonant. This walkthrough will guide you through all objectives of the Evacuation Procedures main quest.
- Main Story: Contain the Crisis
- Starting Location: Central > Watchtower
- Requirement: Automatically started when speaking with Zoe at the Watchtower during Welcome to Manhattan
- Reward: 1 x Living Shard, Agent Uniform, Level 2 Keycard (Level 2 Security Clearance),
 Rescue Mission trophy/achievement
 - Quest Description: After the Evac Site was overrun, Hiss tremors began emanating from the building. I need to find out what’s going on so we can put a stop to it.
Objectives:
- Get a Security Keycard
- Reach the Evacuation Zone
- Find the Source of the Tremors
- Locate the Survivor
- Get Arish Out Alive
- Escape the Building
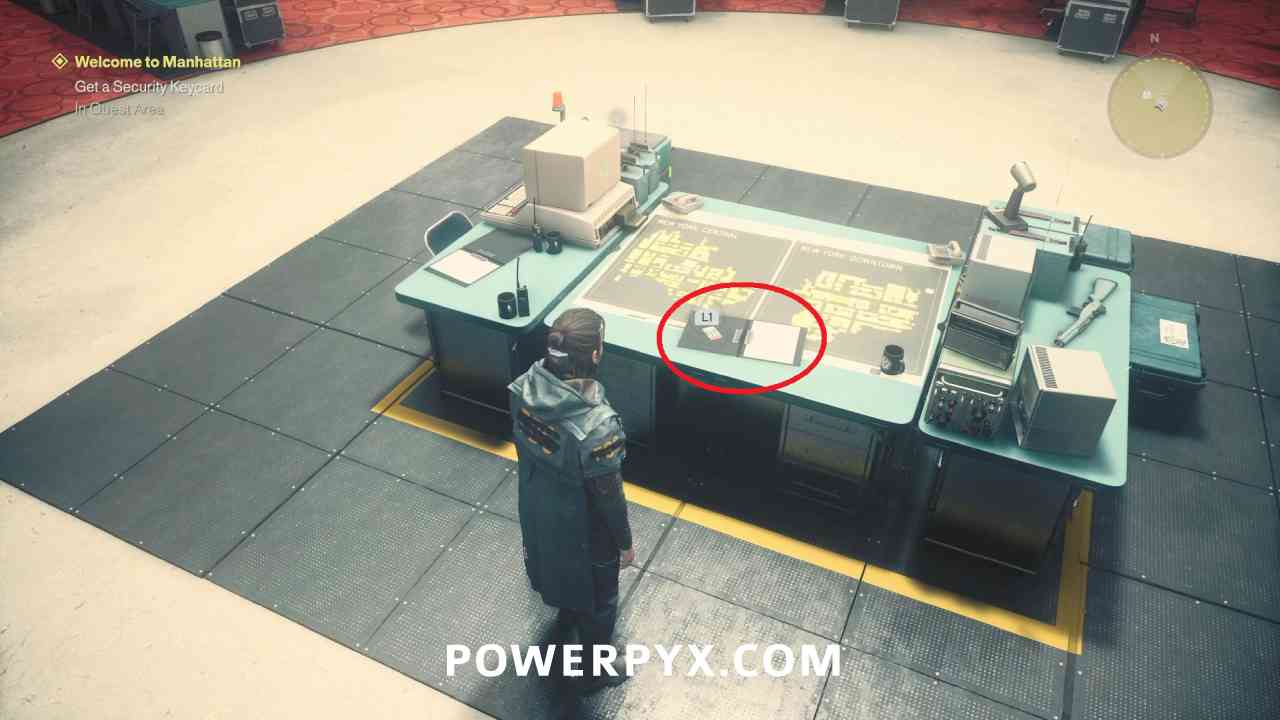
Get a Security Keycard
This is the same step as required in the previous mission Welcome to Manhattan, completing at the same time as you pick up the Level 1 Keycard in the Field Office building.
Reach the Evacuation Zone
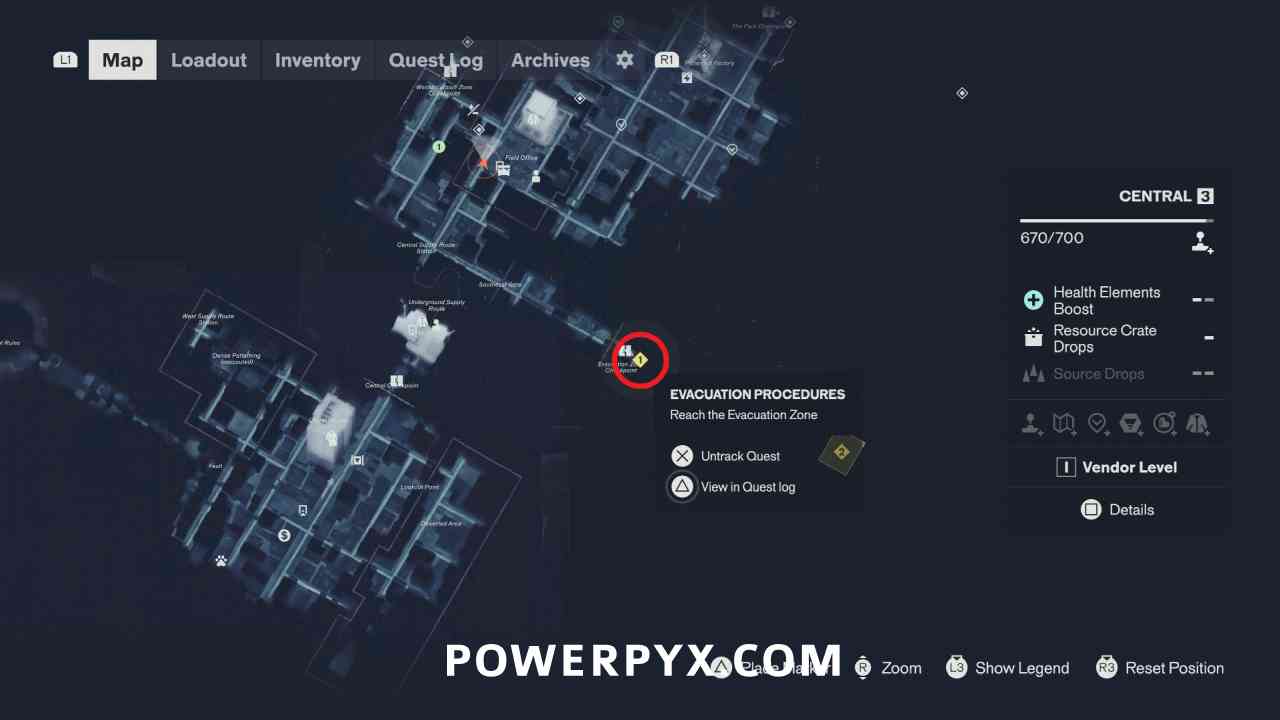
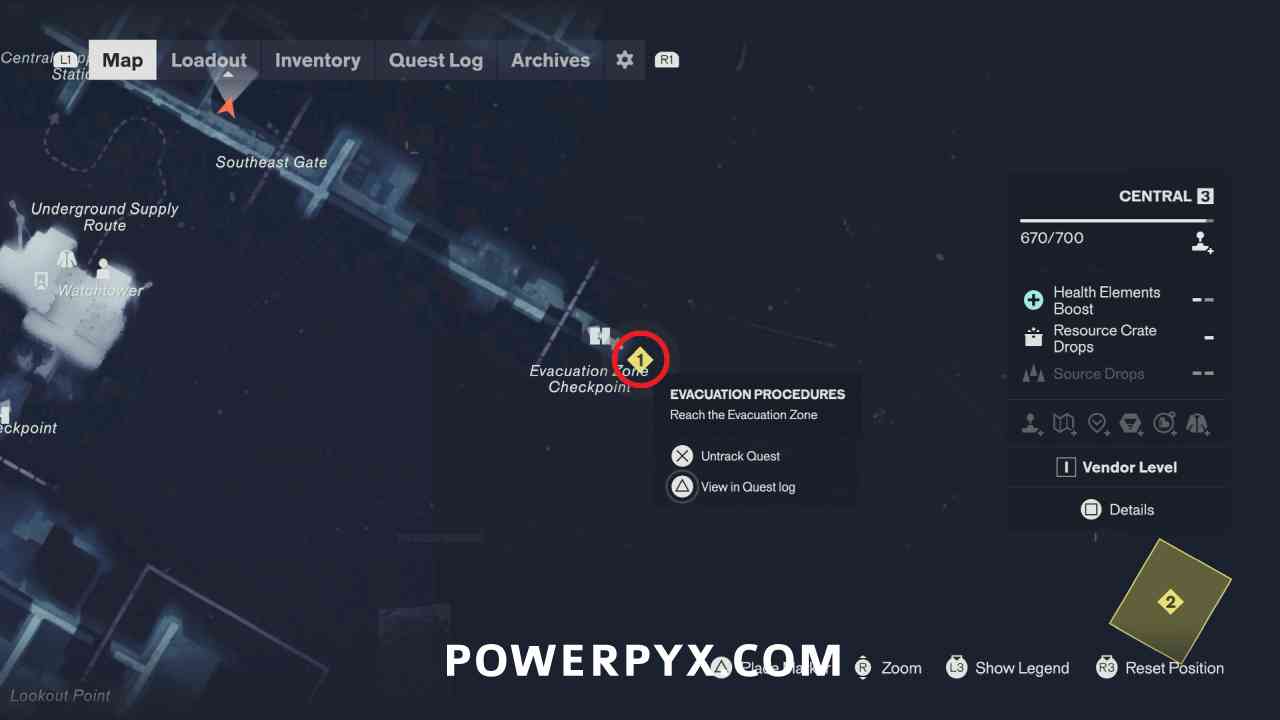
You can then head to the Evacuation Zone, reached by talking the road leading southeast from the Central Supply Route Station where you entered Central.
Find the Source of the Tremors
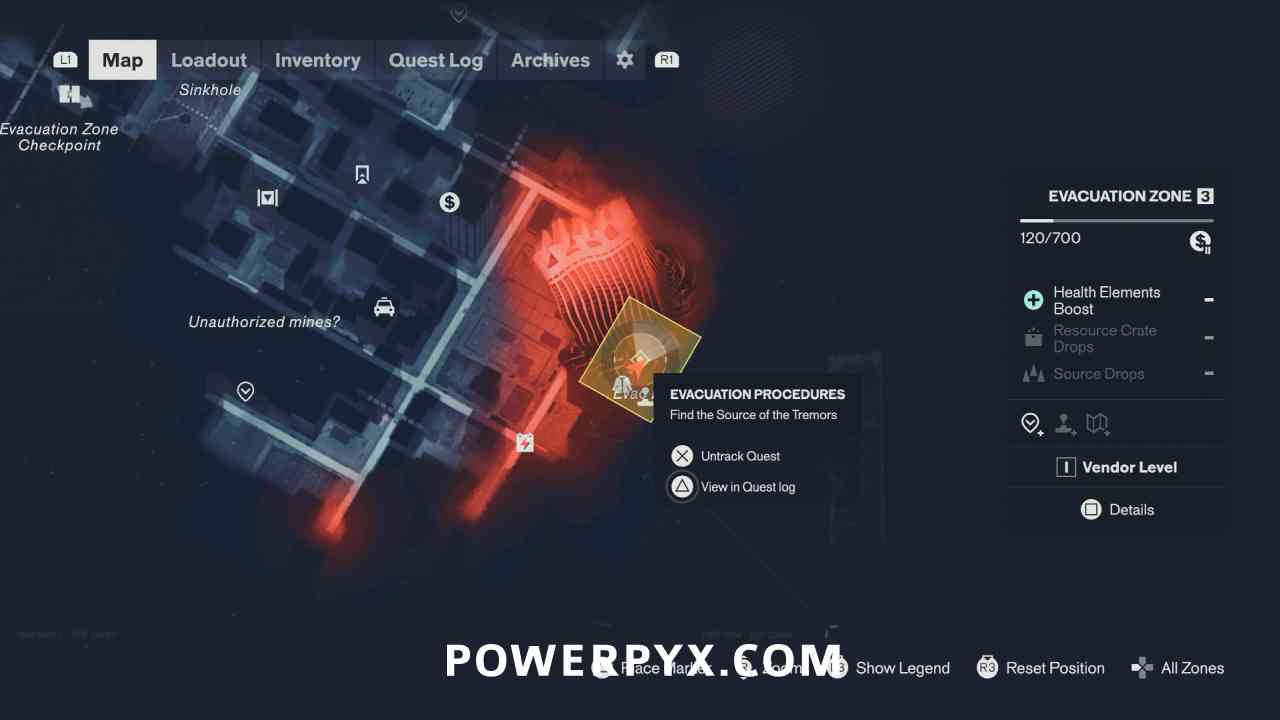
After entering the area, make your way to the southeast, toward the building with the large red Hiss cone coming out the top of it.
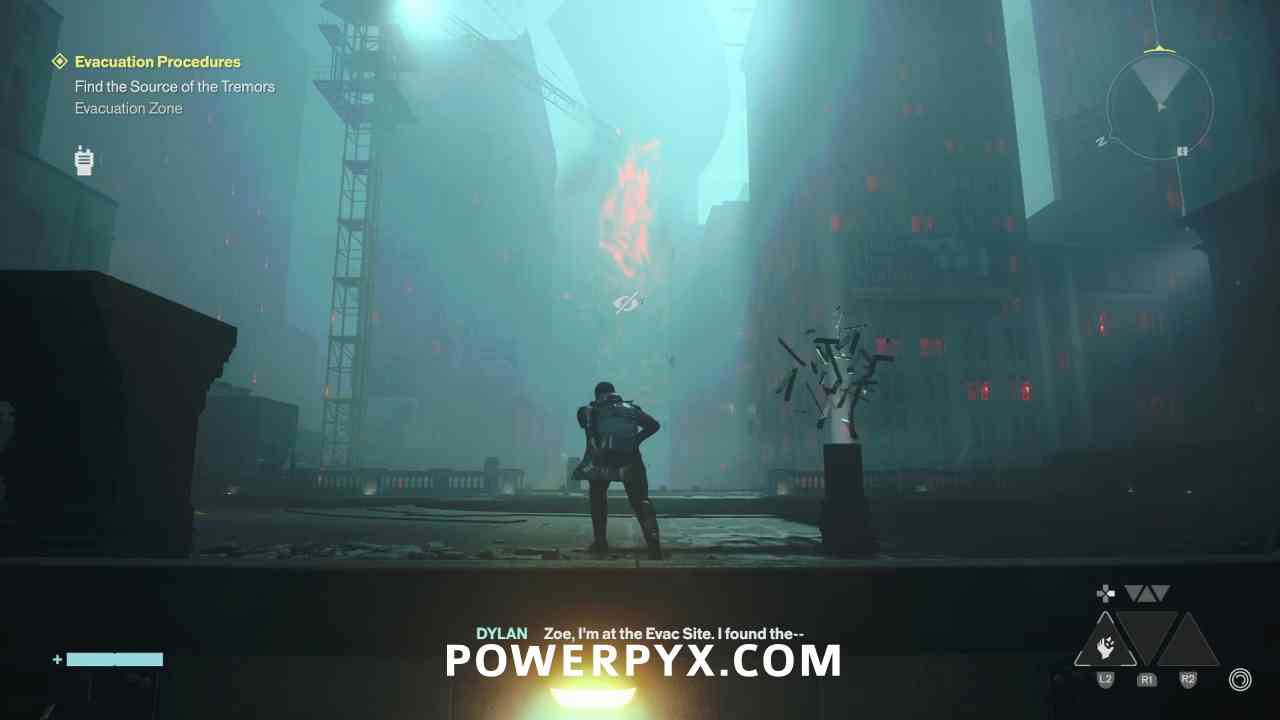

To get into the Evac Building, you first need to destroy 3 Hiss orbs that are spread around the area. You can spot the location they are by following objects floating along the red trail that is moving toward the entrance to the building. The first one is directly in the center of the area in front of the building.
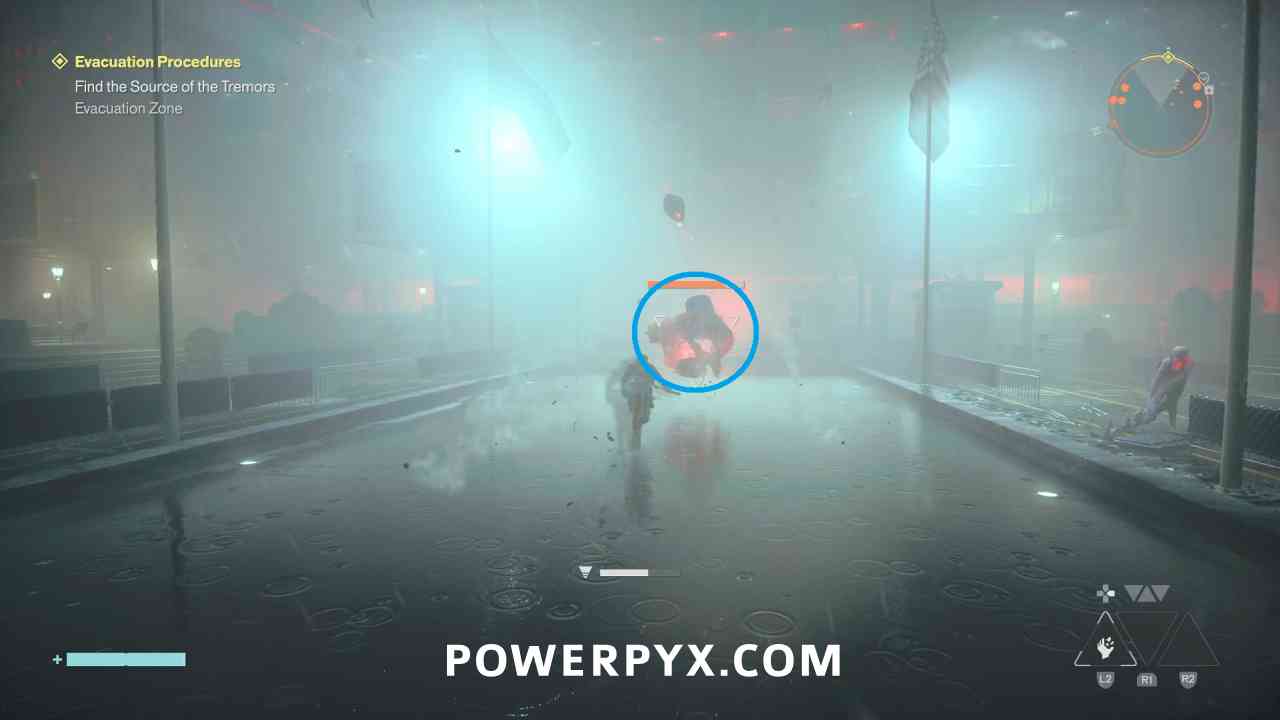
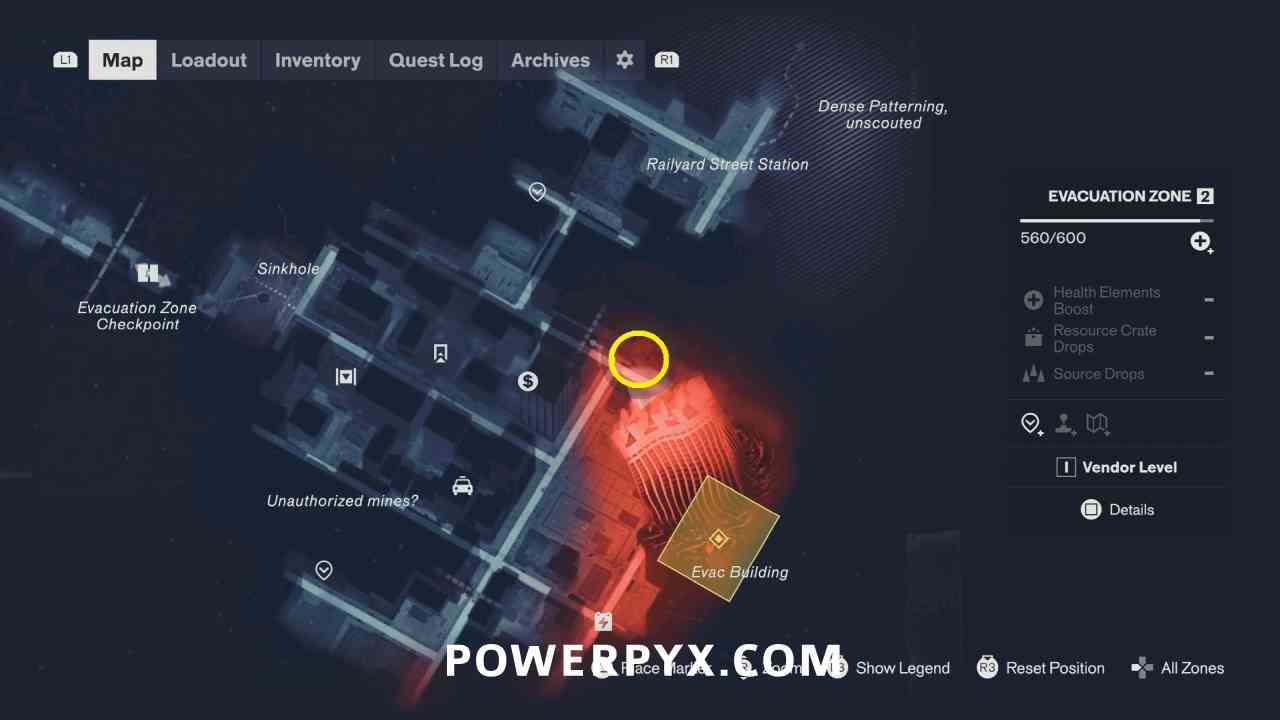
The second is to the southwest of the Evac Building. In the alley area south of the street corner there is a large group of enemies you will need to deal with first, including two healing orbs that should be dealt with before anything else.
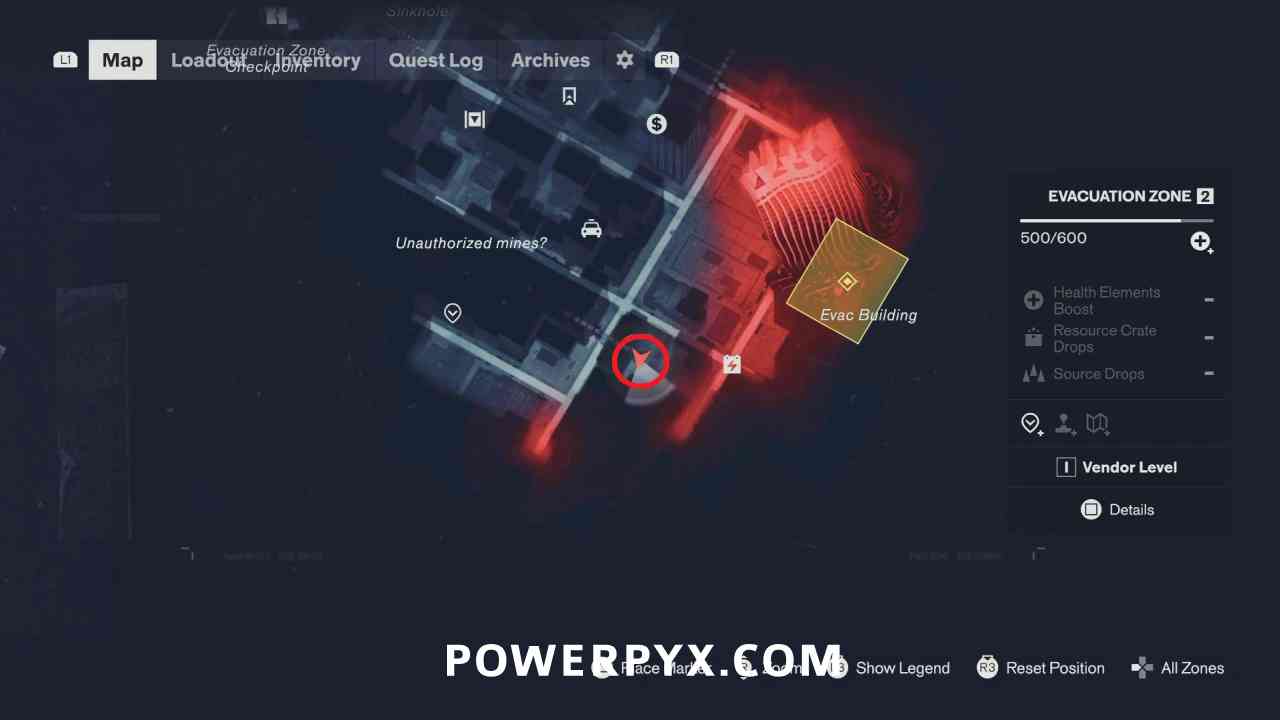
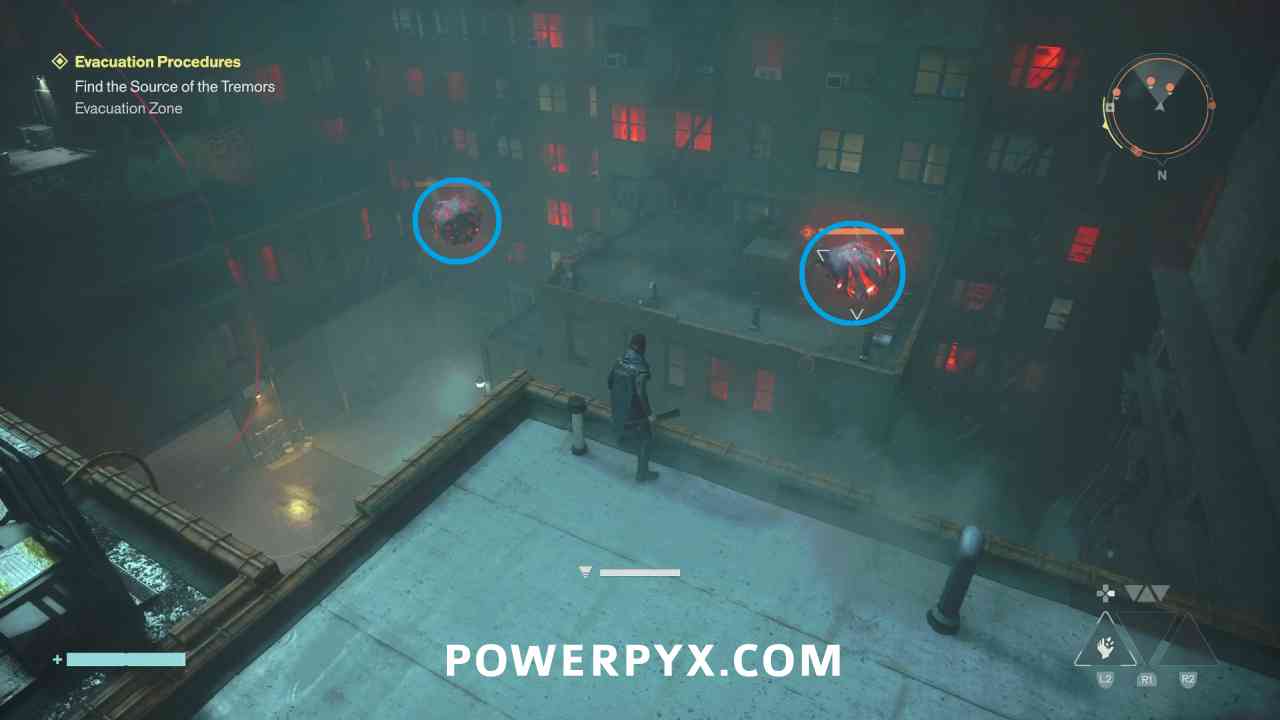
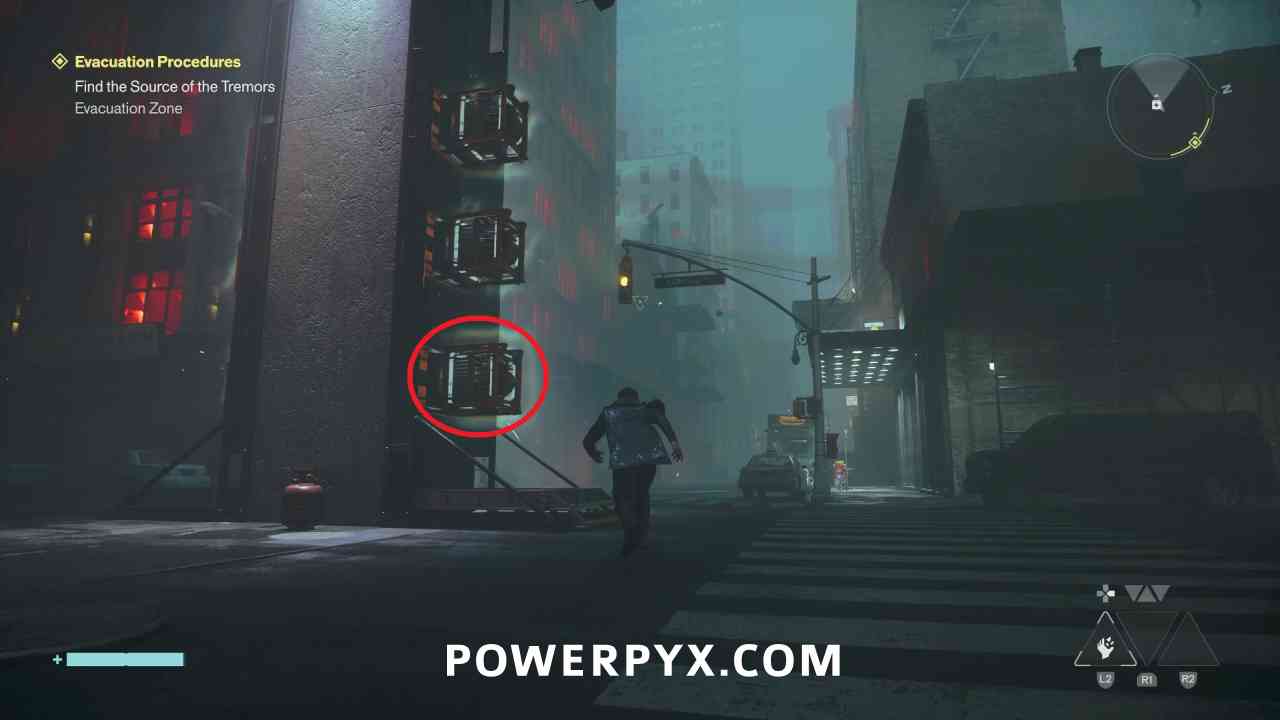
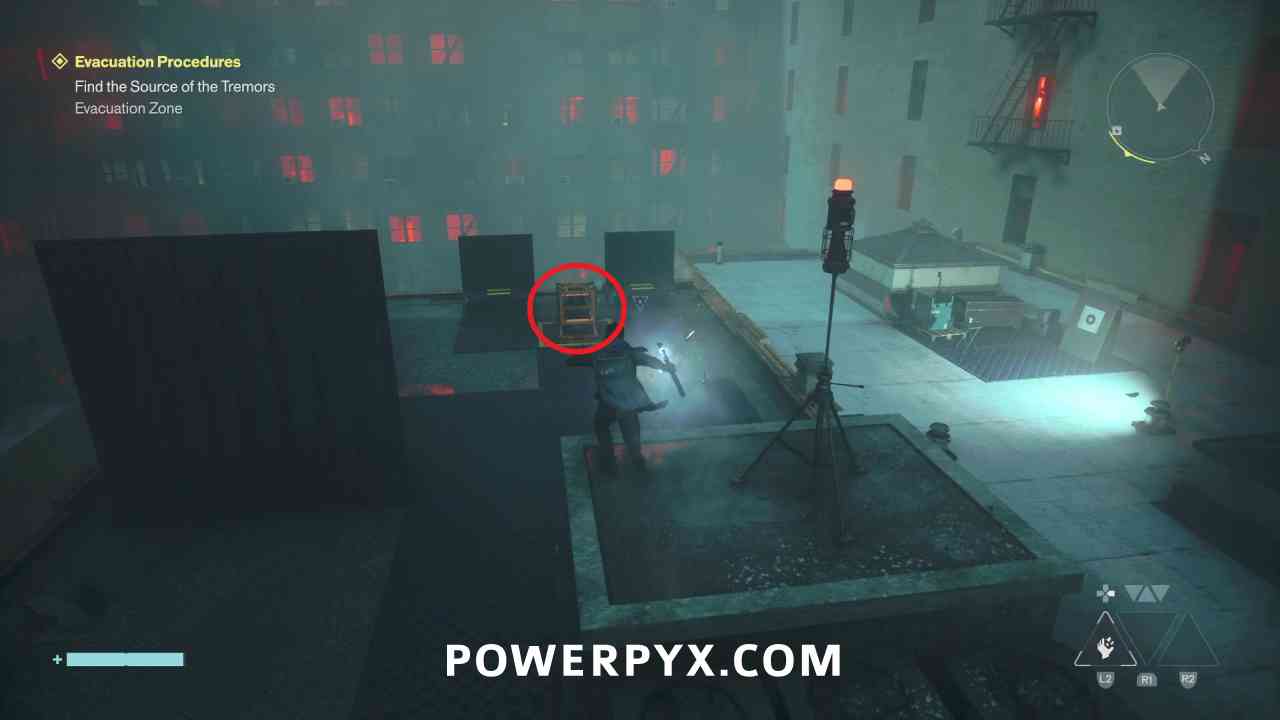
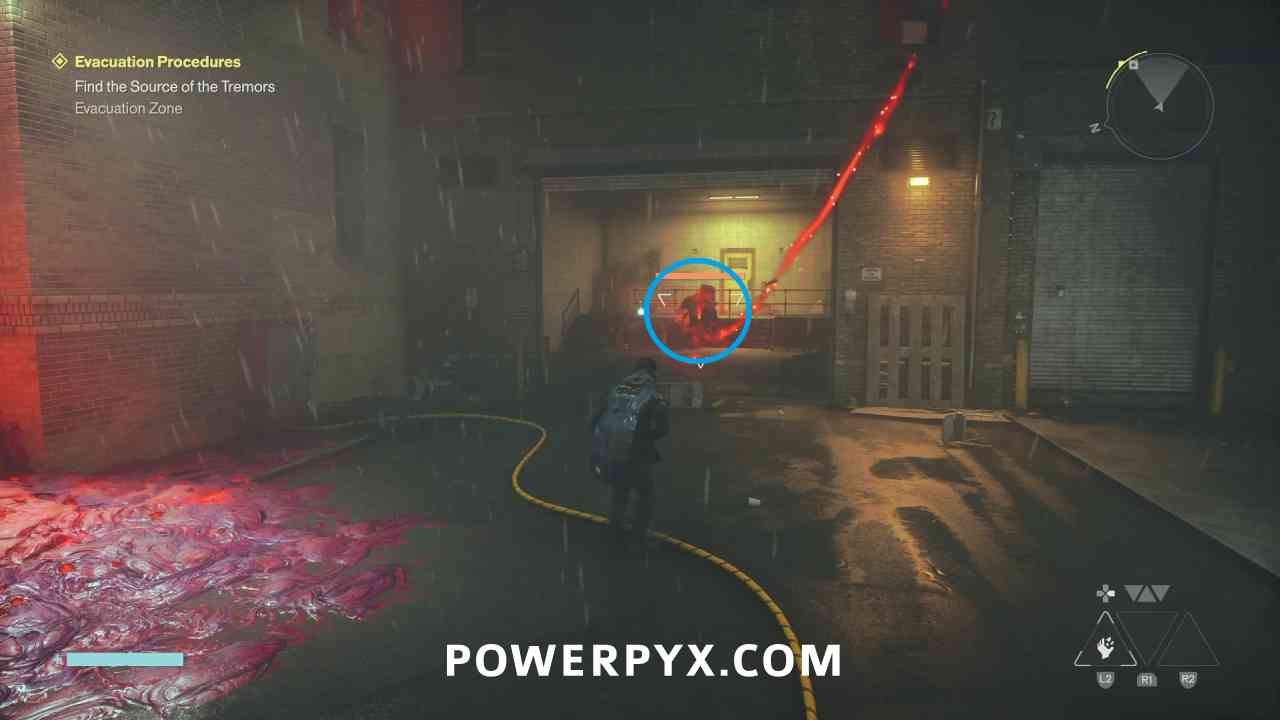
After dealing with all the enemies you can see that the red line leads into a closed door. You need to pick up a charge from the Power Core Station marked on the map, then use it on the box on the rooftop which will allow you to enter the garage and destroy the orb.
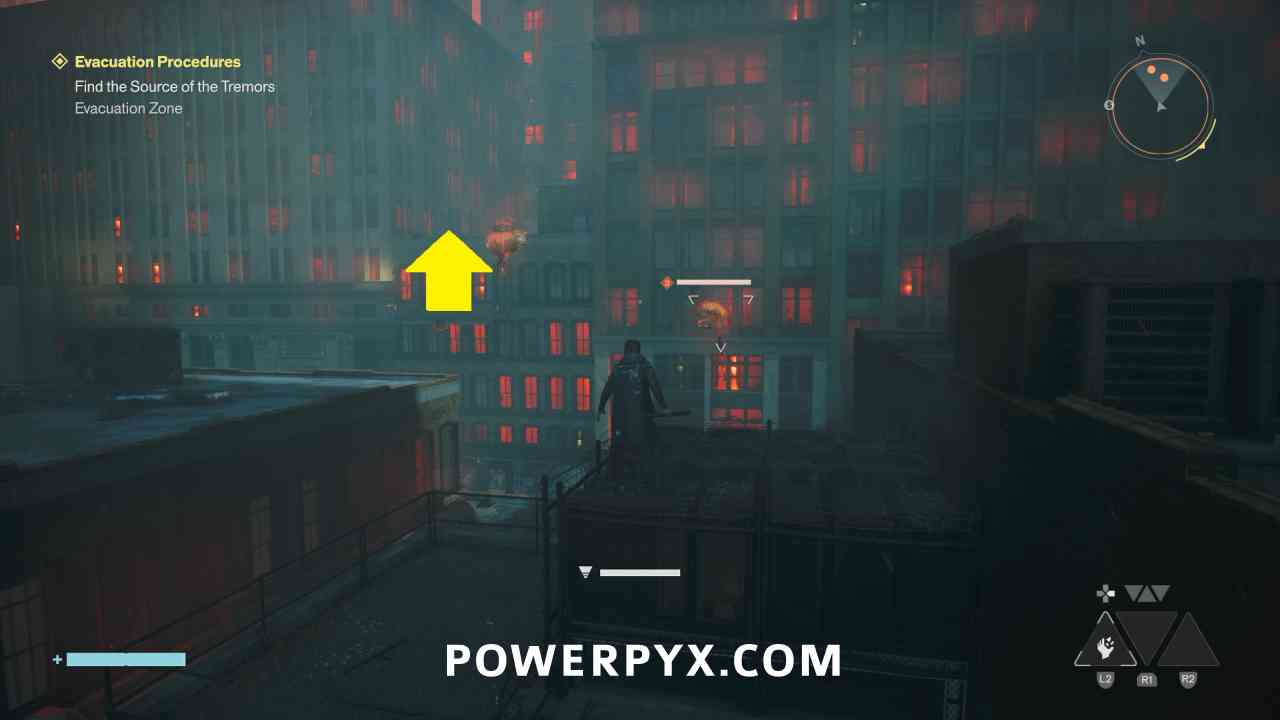
The third is to the north of the Evac Building, near a group of shielded floating enemies. Defeat them, then jump up from the nearby rooftop to reach it.
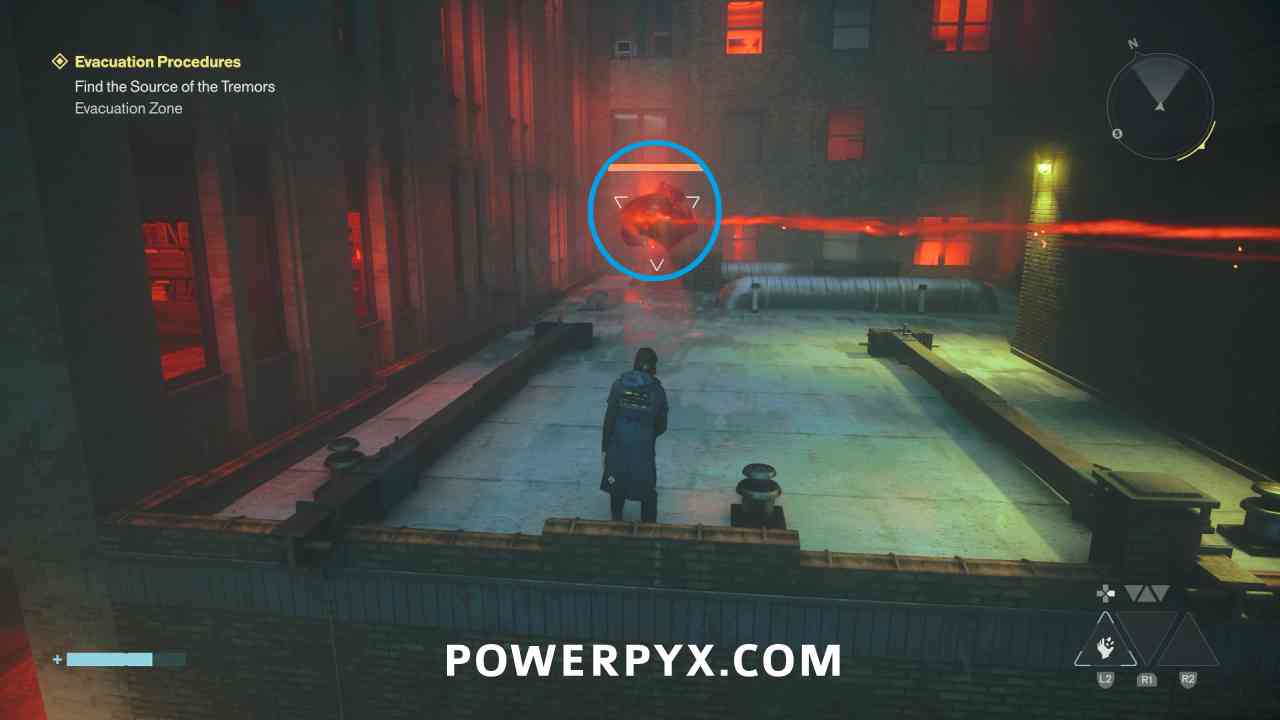
After all three orbs are destroyed, you can return to the Evac Building and can now enter the front door.
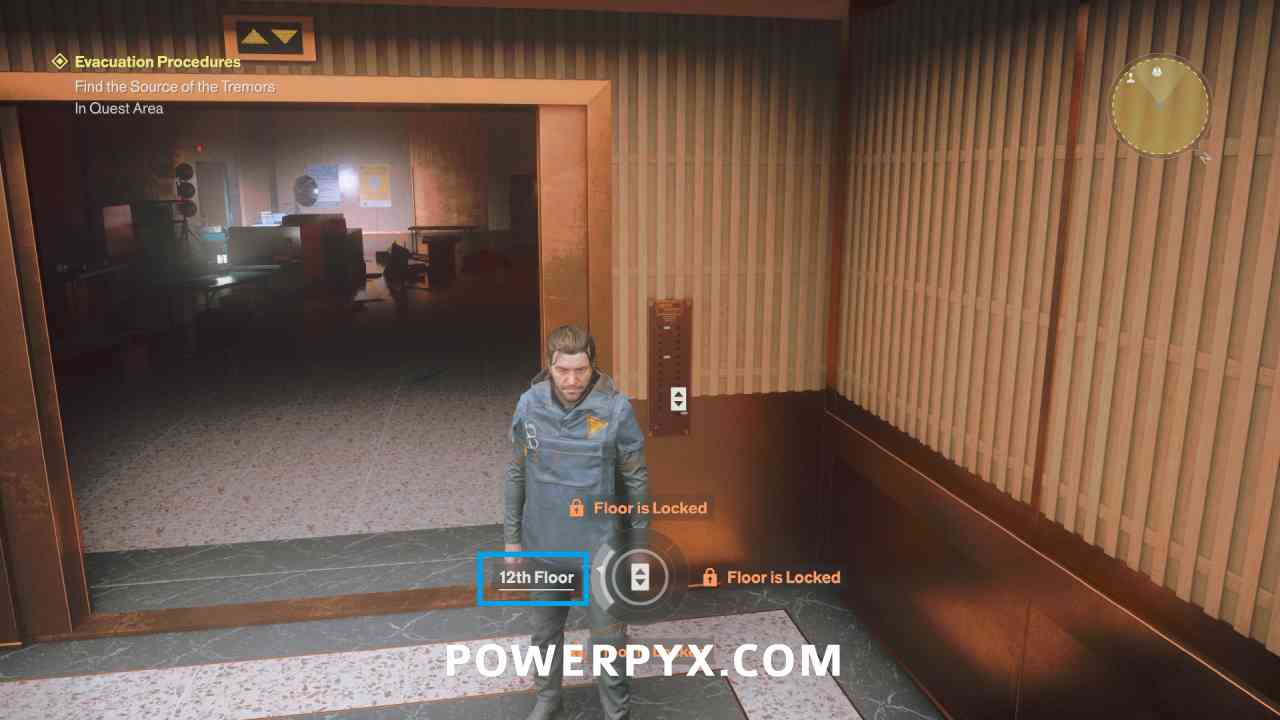
Inside the building, go to the elevator on the left and go to the 12th floor.
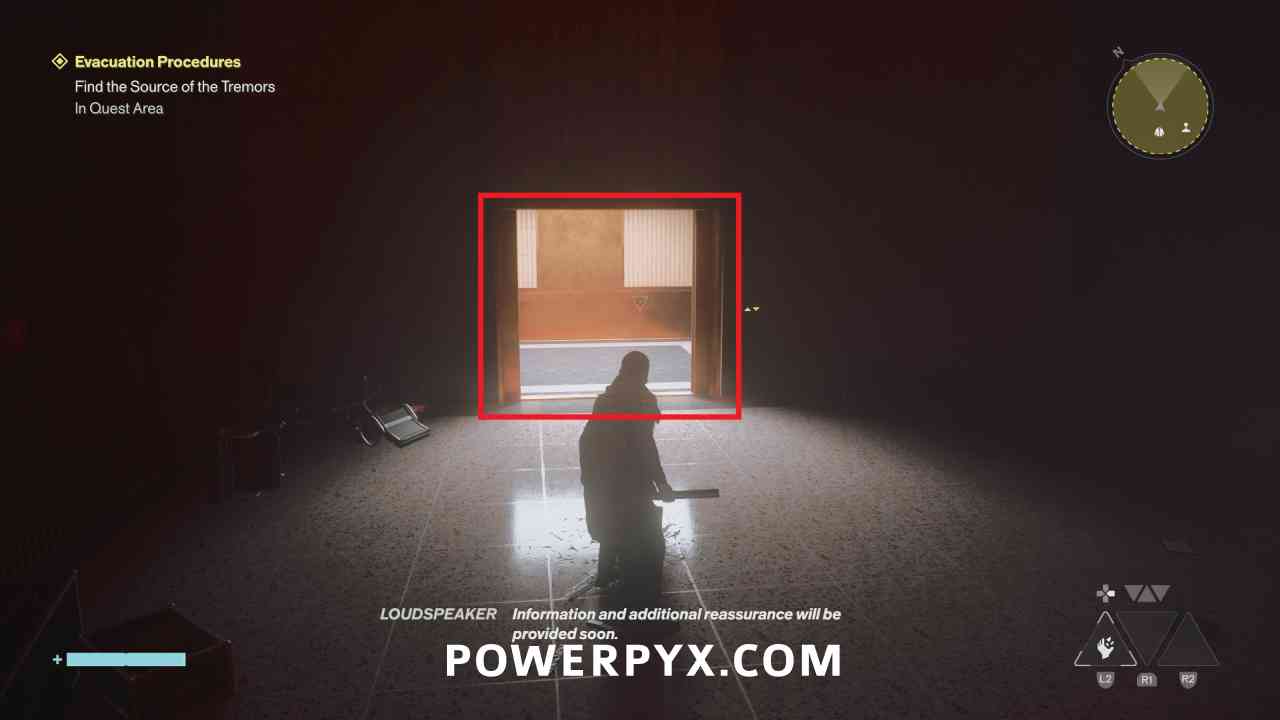
Follow the only available path into a large open room and defeat the enemies.
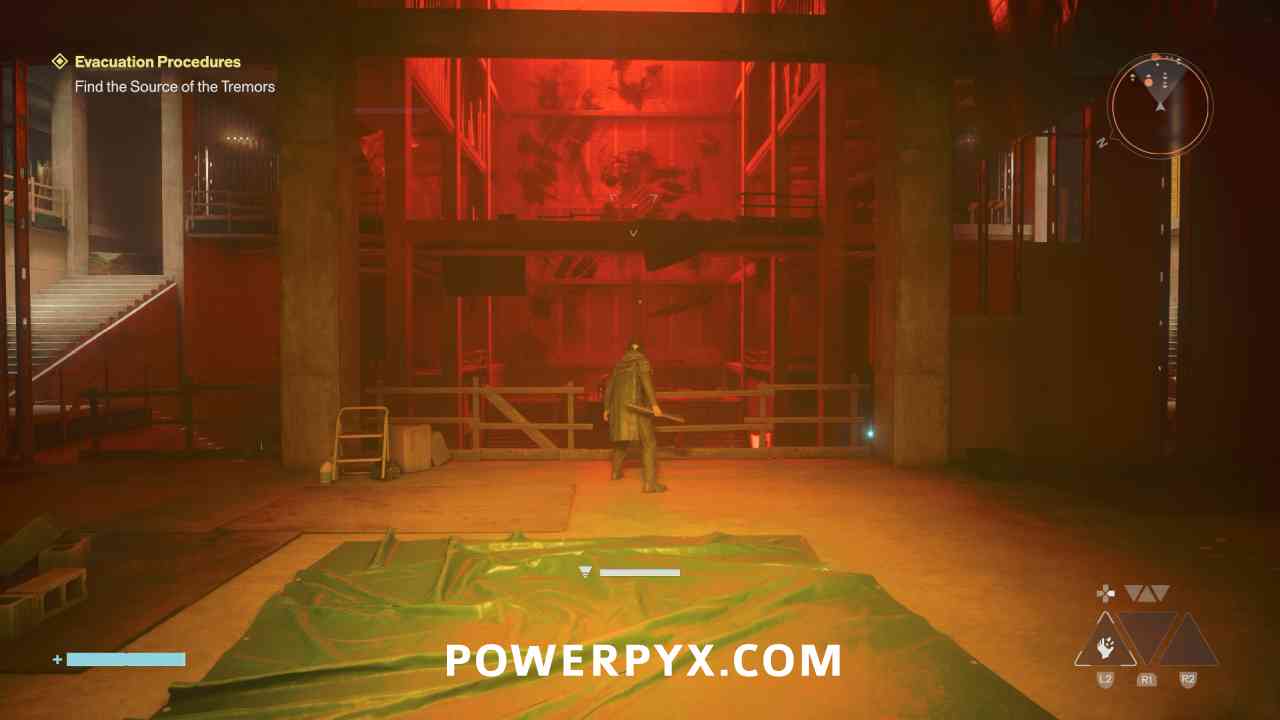
Once all the enemies are defeated, go to the south side of the room where there is a hallway with a blue light above it you can progress through.
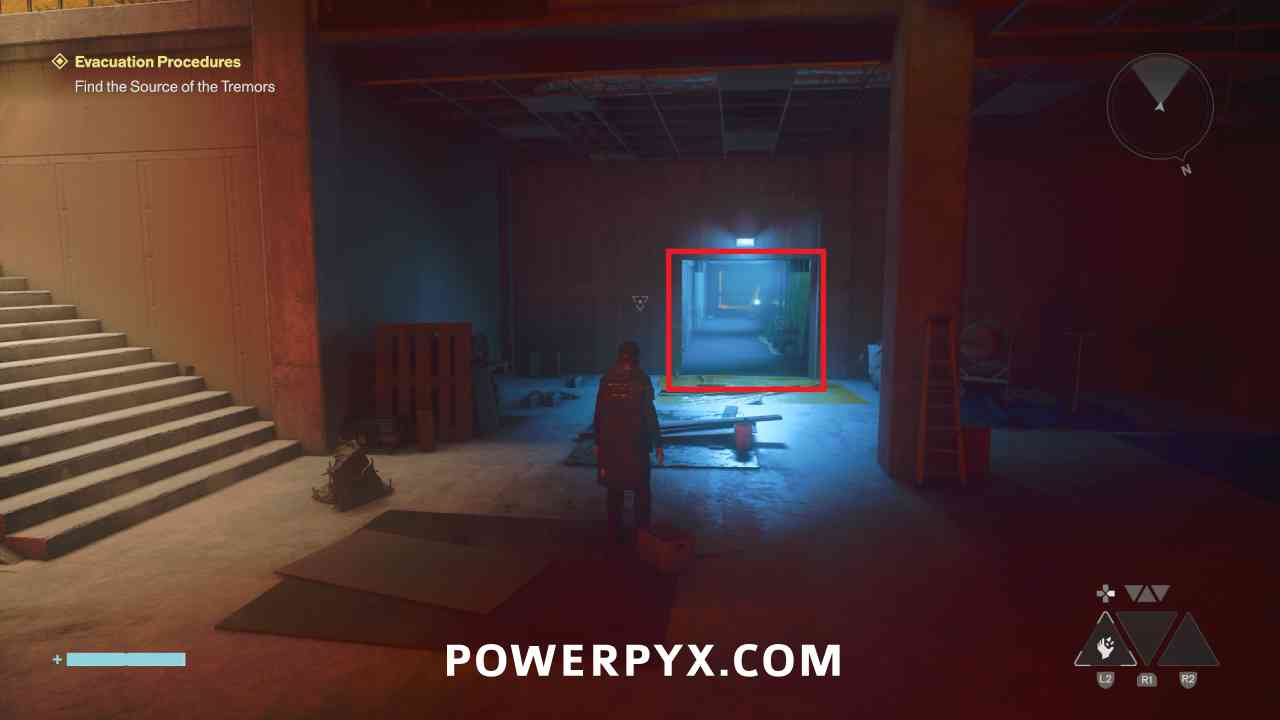
Follow the path through the scaffolding, then when you enter the building again there will be a Health Point Crate on the left before you continue.
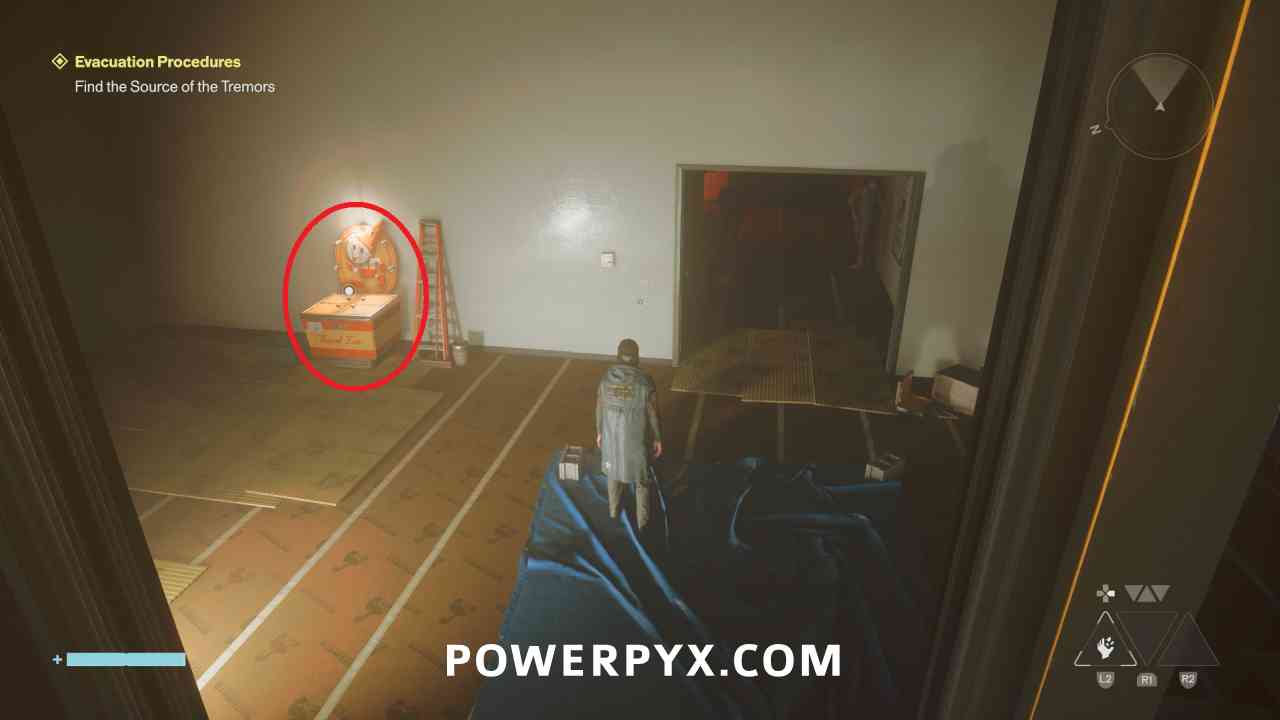
After a short flashback sequence, continue on the path to a room with a Hiss orb, destroy it to give access to another elevator.
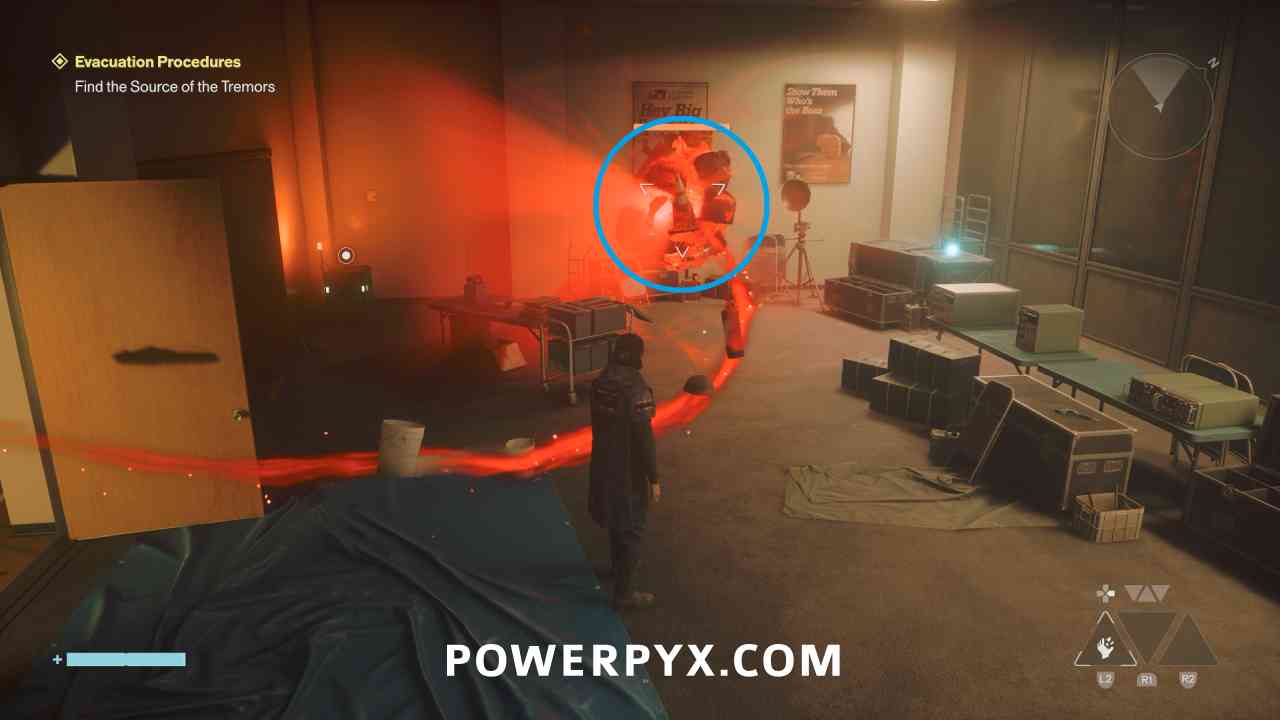
In this elevator choose to go to the 15th floor, then follow the path into the next area.
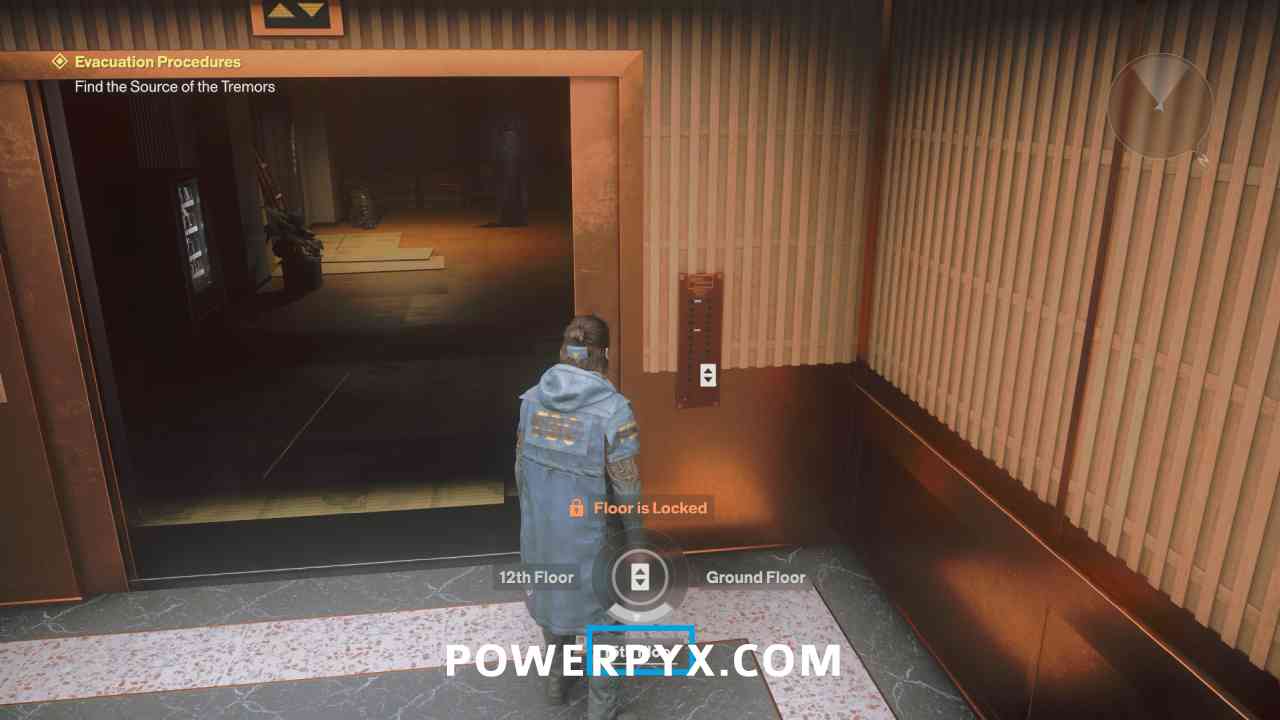
Locate the Survivor
Run forward through the long red room, then you will be put in another flashback sequence. Follow it to the end and speak with Arish, then run back out of the room.
Get Arish Out Alive
Go back alone the path you entered with, and interact with the elevator button after Arish opens it. You’ll be stopped, and need to destroy another Hiss orb to progress.
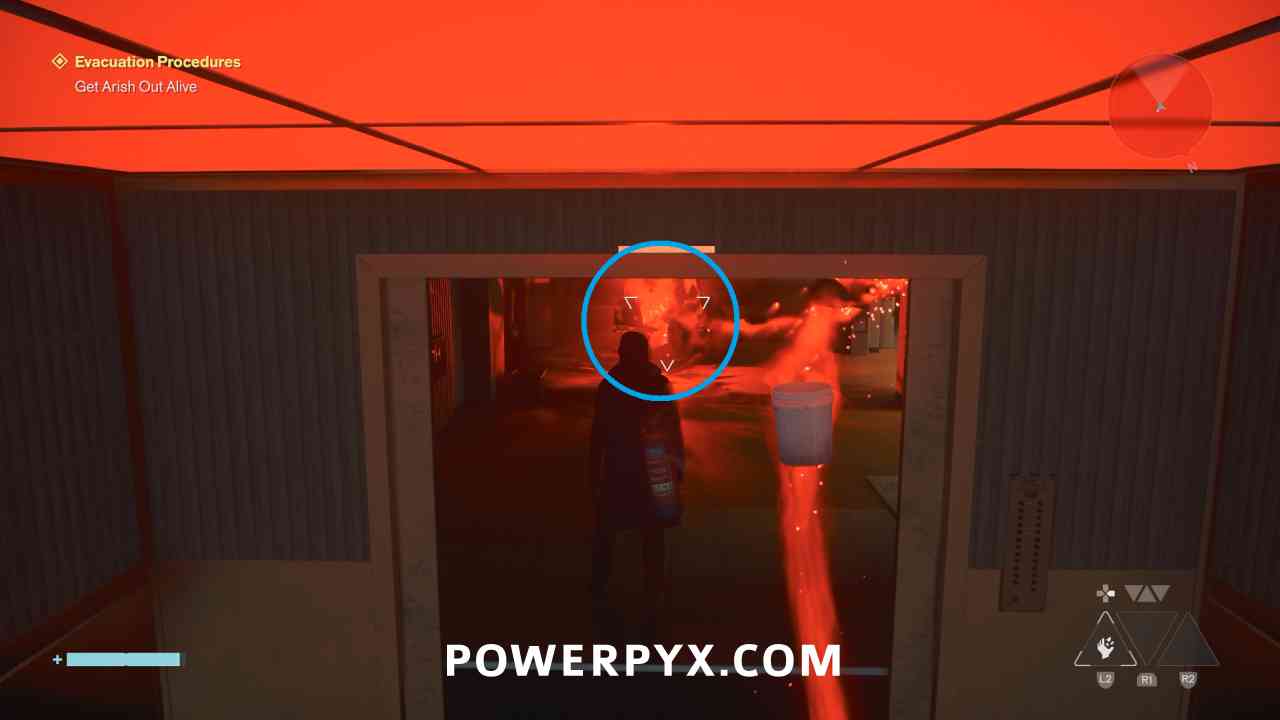
After destroying the first orb interact with Arish to be given the Level 2 Keycard. This gives you Clearance Level 2, and allows you to open the nearby door.
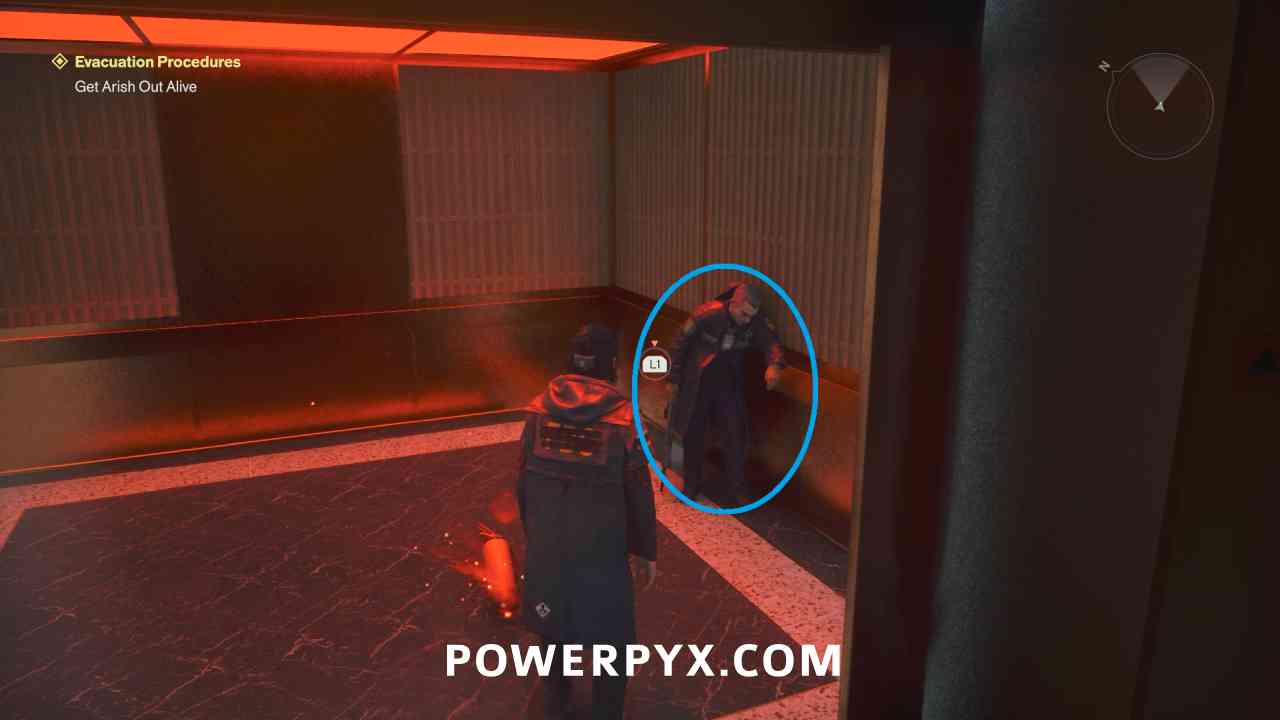
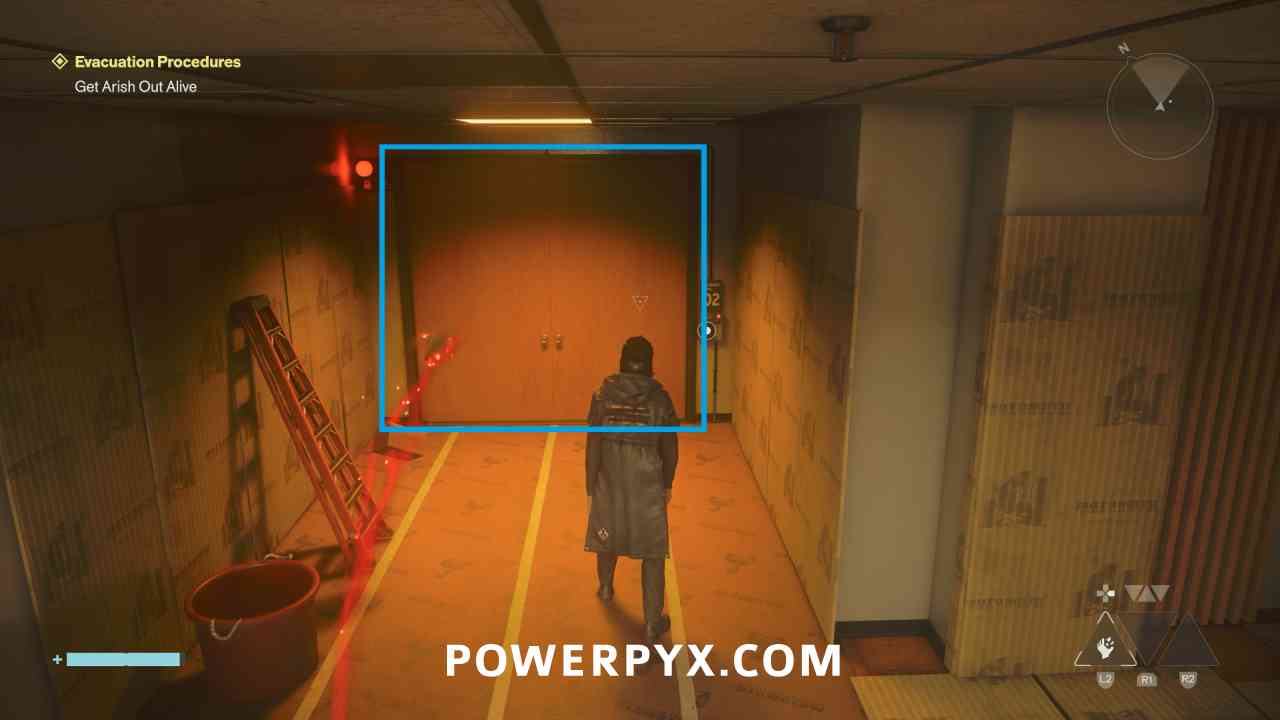
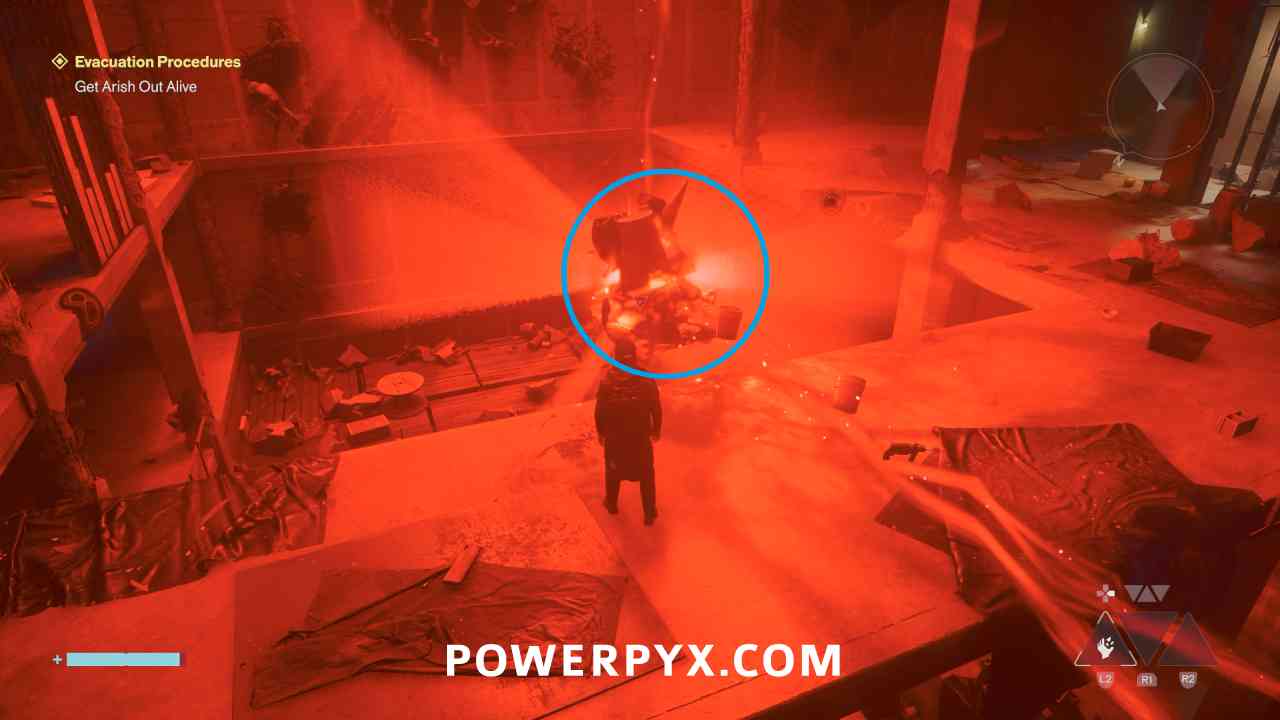
Go into the room you previously fought the Hiss and destroy the orb.
Escape the Building
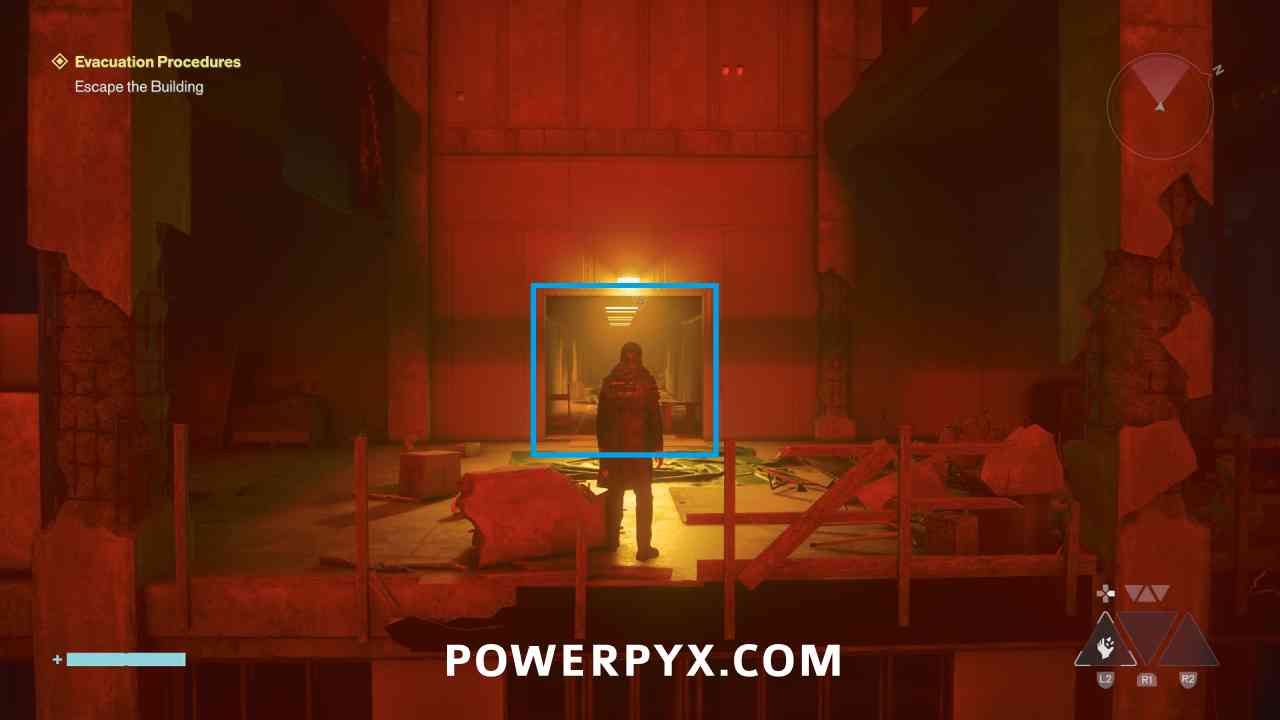
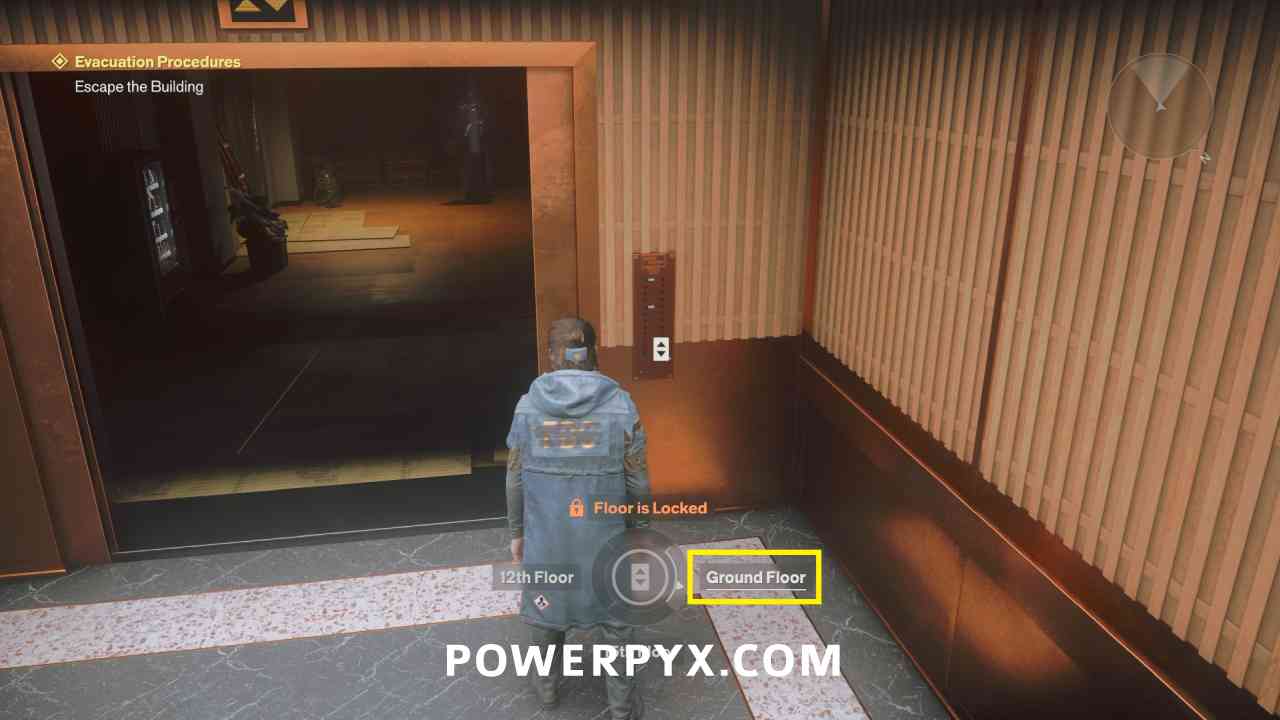
This will spawn a bunch more Hiss in the current room that you need to defeat to progress. After you do this there are a few Clearance Level 2 doors around the room you can open that contain material crates. When you’re ready to leave, go back out the hallway with the yellow light above it, then call the elevator and use it to return to the Ground Floor.
In the lobby before leaving the building, you can now go into the door opposite the Customization closet. The SHUM Arcade machine for the area is located here.
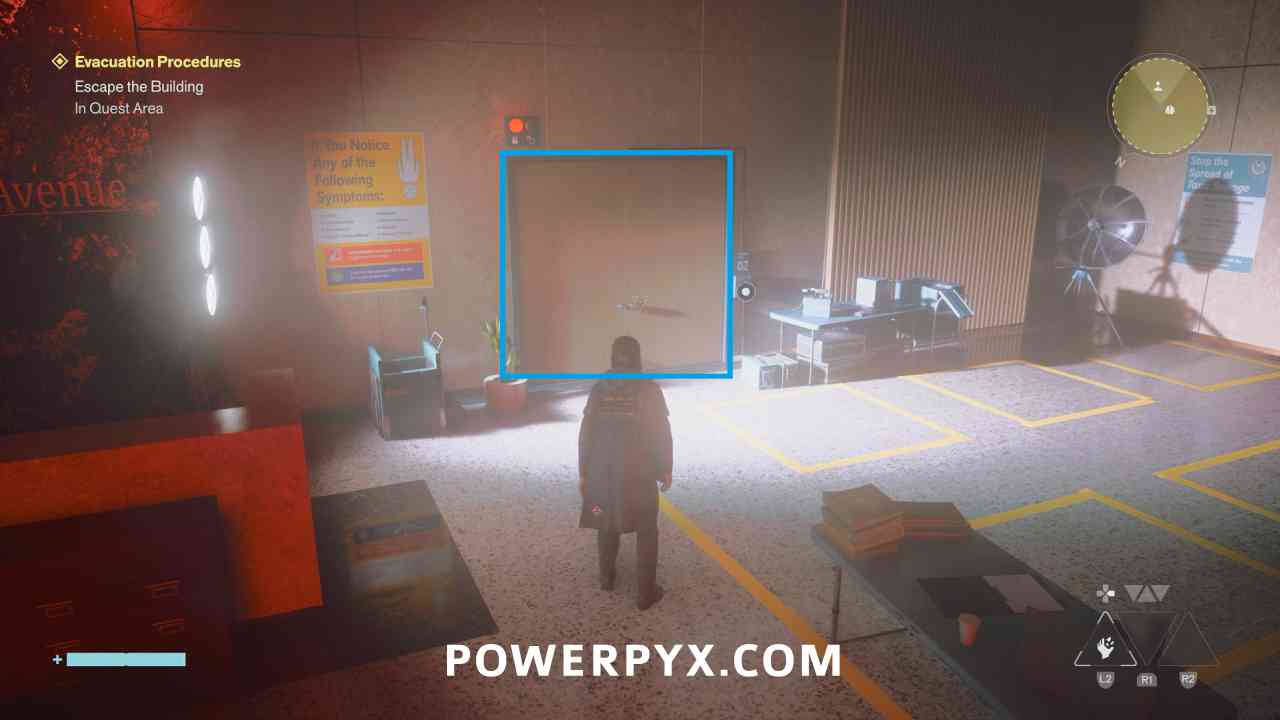
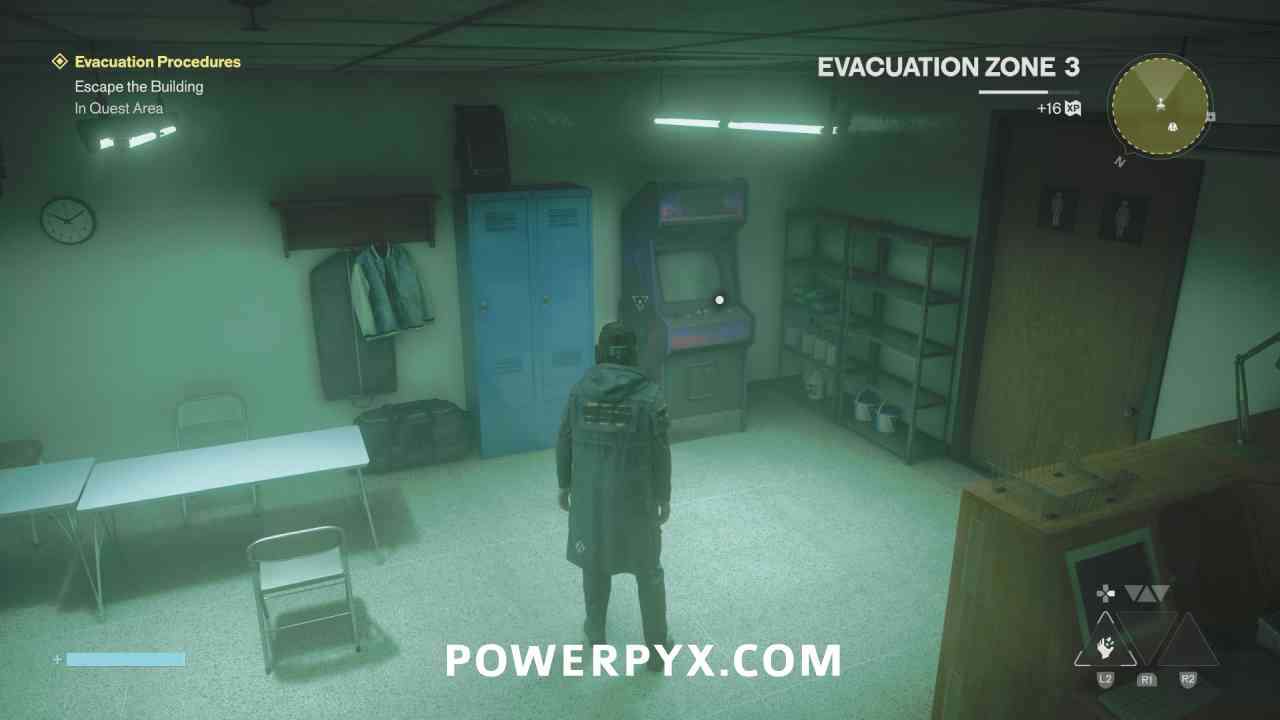
When you are ready go to leave, go through the lobby of the building to finish the mission, immediately starting the next one.
This finishes Evacuation Procedures in Control Resonant.
For all other Quests refer to Control Resonant Walkthrough.
Leave a Reply