
Welcome to Manhattan is the 1st main mission in the Contain the Crisis questline in Control Resonant. This walkthrough will guide you through all objectives of the Welcome to Manhattan main quest.
- Main Story: Contain the Crisis
- Starting Location: Downtown > Oldest House
- Requirement: Complete Orientation
- Reward: 1 x Living Shard, Level 1 Keycard (Level 1 Security Clearance)
- Quest Description: I’ve made a deal with the FBC. They let me out temporarily, and I help them fight. They never would have agreed if the situation wasn’t desperate. Zoe will be my handler. She’ll give me my first assignment.
Objectives:
- Leave the Oldest House
- Help with the Mapping Pylon
- Find the Maintenance Worker
- Find a Way to Fix the Power
- Move the Charge to Central Checkpoint
- Power Up the Central Checkpoint
- Defeat the Hiss
- Meet Zoe at the Watchtower
- Clear the Supply Route
- Get a Security Keycard
Leave the Oldest House
After the scenes where you speak with Zoe and Pope, you will need to leave The Oldest House.
Help with the Mapping Pylon
When you first exit you’ll need to deal with the Mapping Pylon. These are what cause the actual map to be displayed, instead of the blank space that is first visible. Jump on the rooftops to the south and you can interact with the small radio toward to activate it. You can look at the angle of the dishes on the large tower for where the smaller ones are, as the large tower dishes will be pointed toward the three smaller ones.

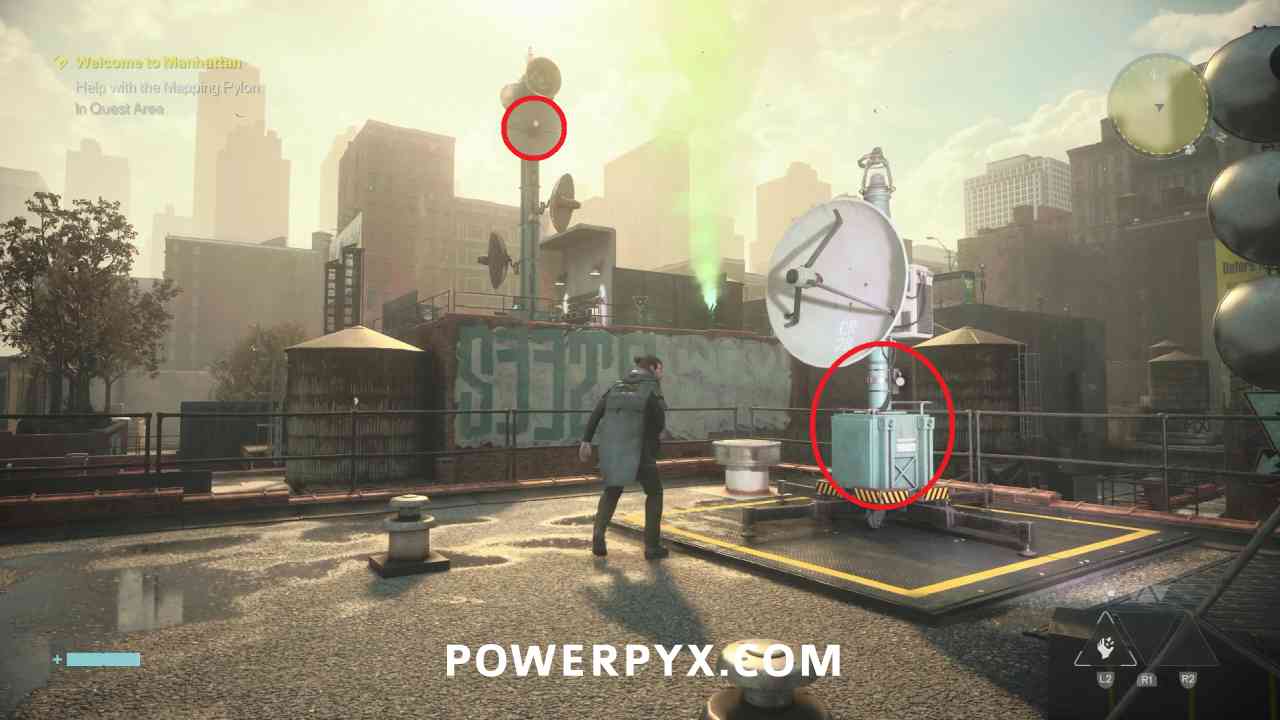
After you activate all three small towards you can activate the large one in the middle to reveal the map of the current region. This also activates the side quest Notes: Mapping the New New York which is related to dealing with all Mapping Pylons in the open world map.
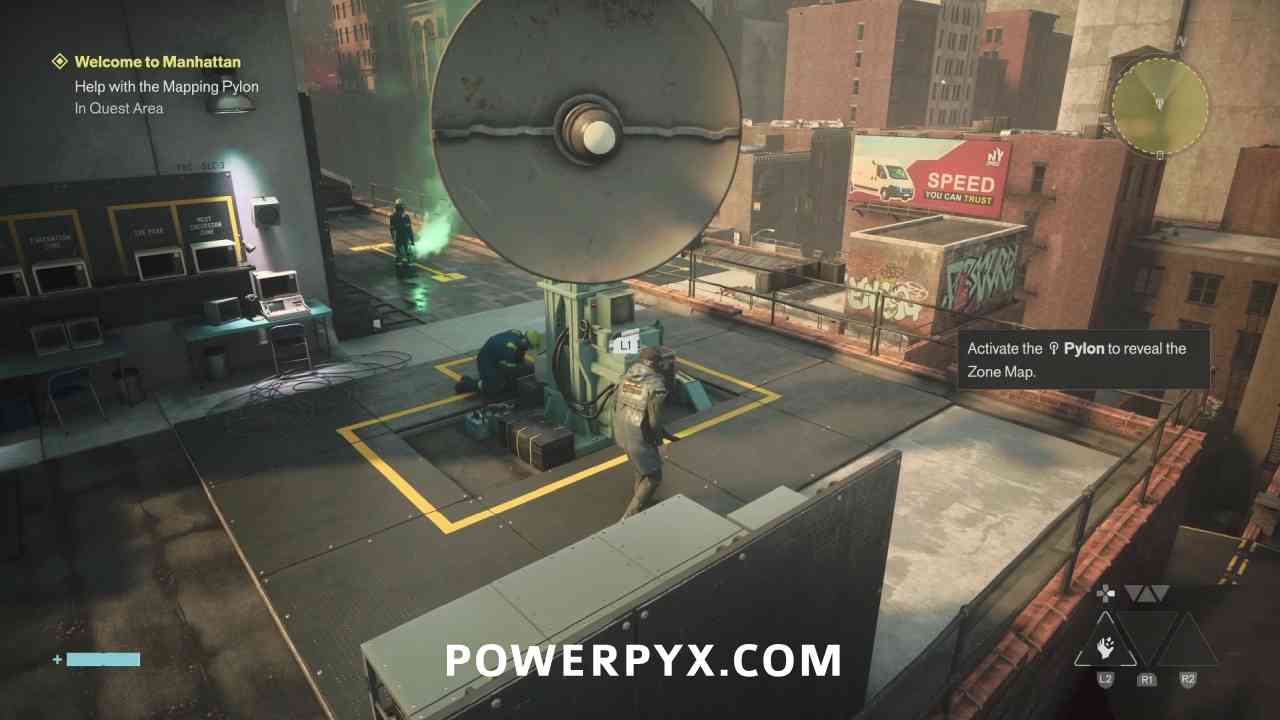
Find the Maintenance Worker
Next go to the marked area to the southeast to look for the Maintenance Worker.
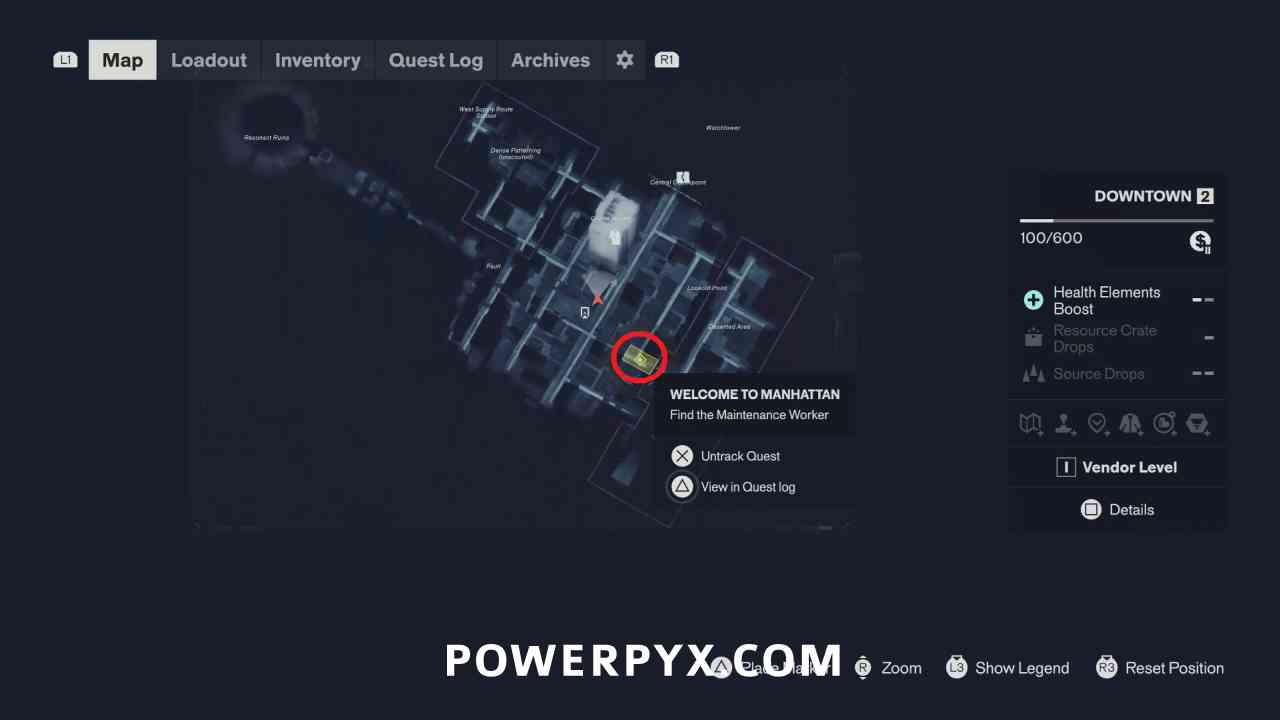
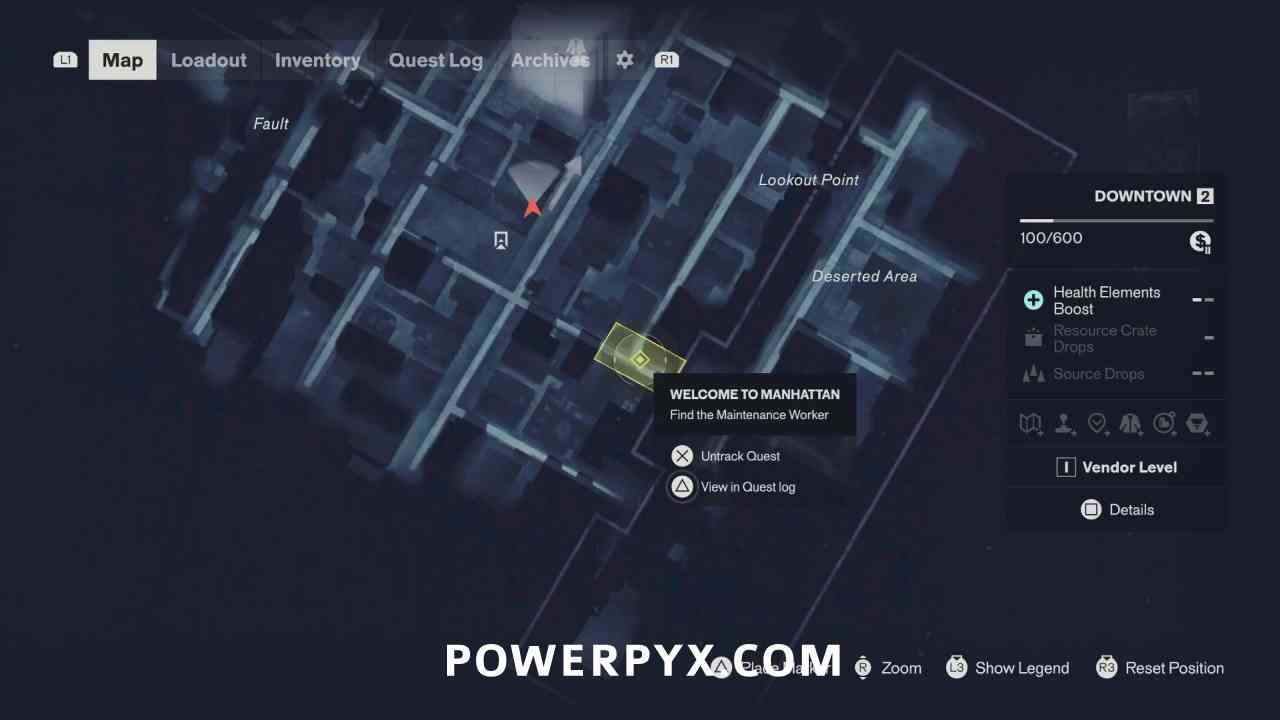
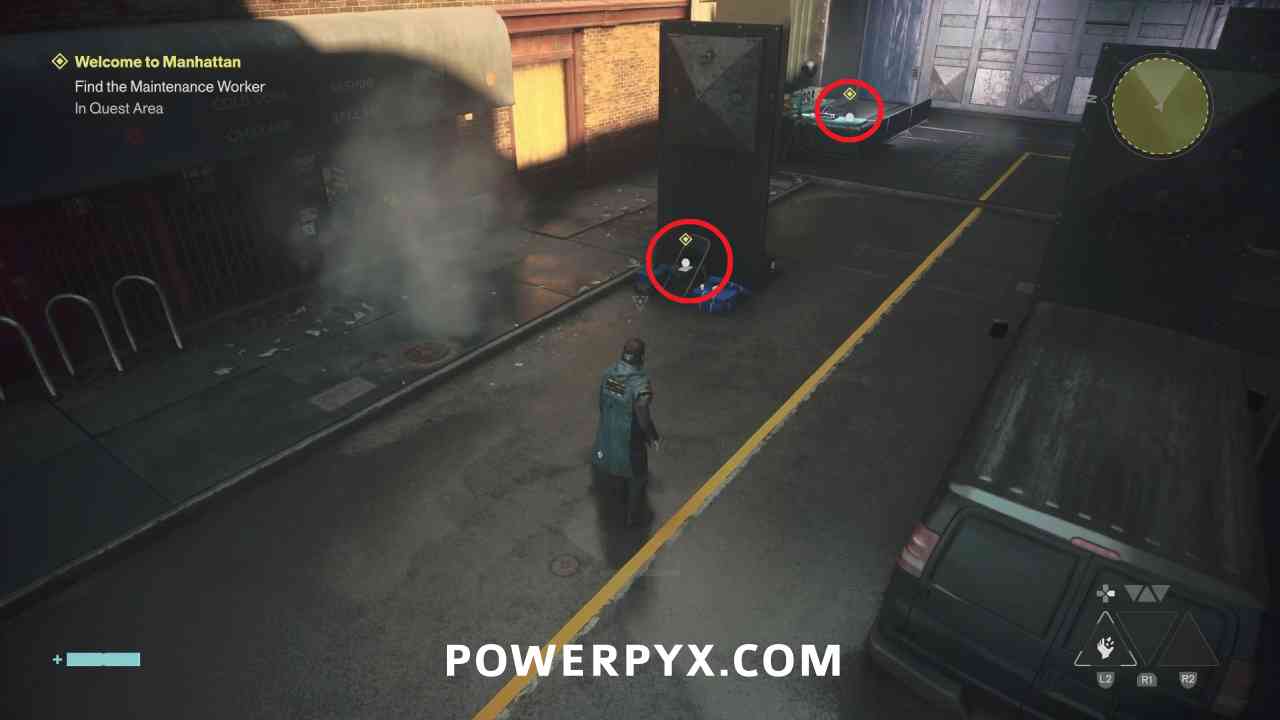
Defeat the nearby Hiss, then there are two collectibles that will be marked in the area that you need to pick up.
Find a Way to Fix the Power
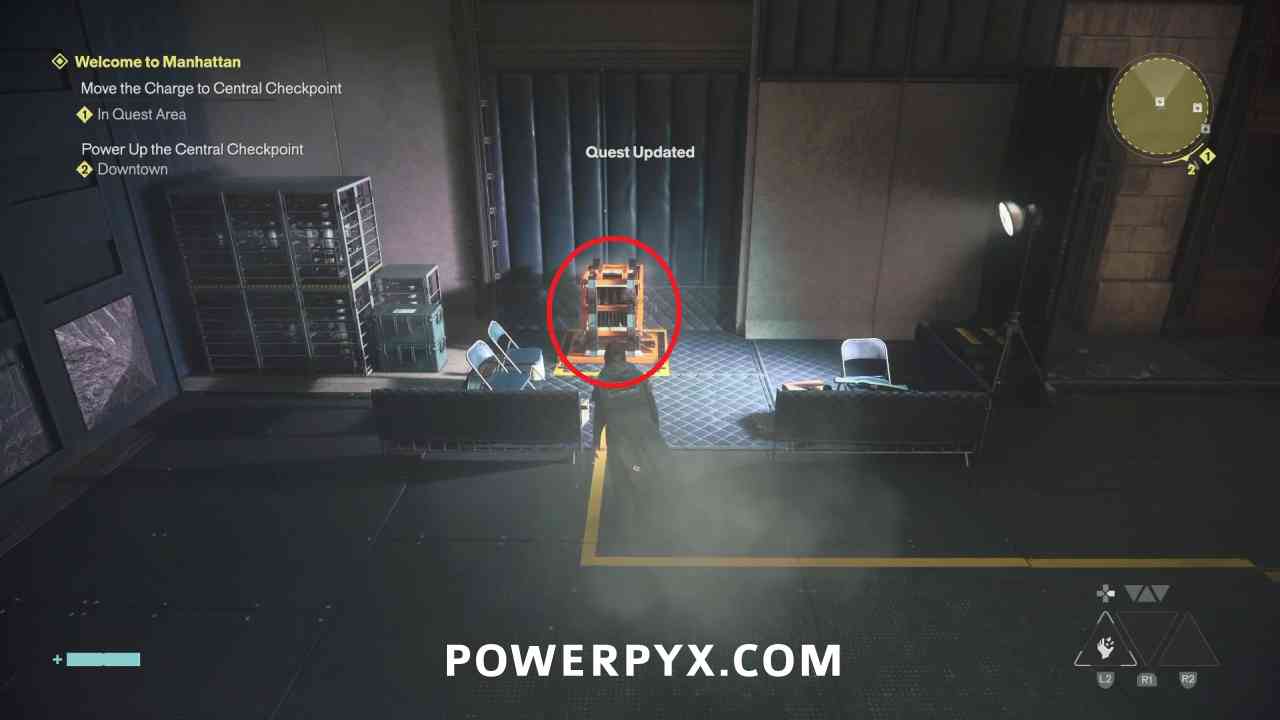
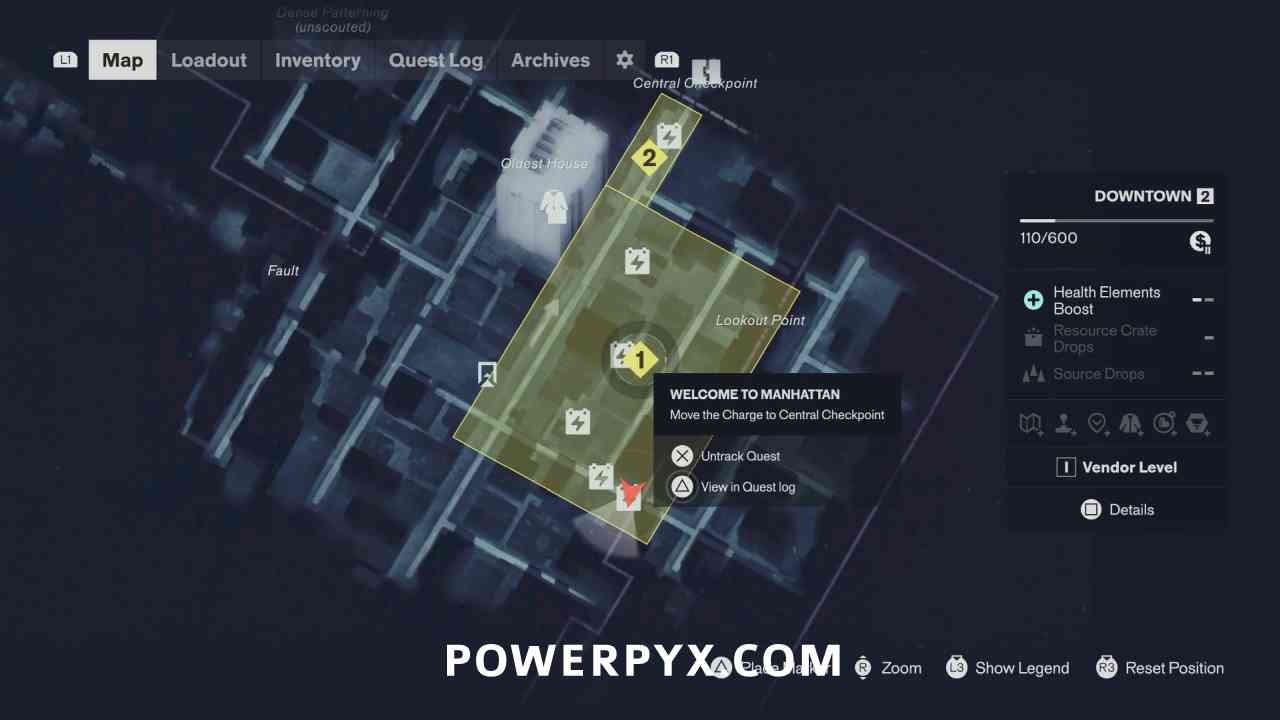
You need to fix the power by moving charges from the nearby spot to the Central Checkpoint. To grab the power, hit the charged power box with melee. You can see the location of the boxes you need to run between on the map. The charge doesn’t stay on Dylan’s weapon forever, so you need to quickly move between the boxes.
Move the Charge to Central Checkpoint
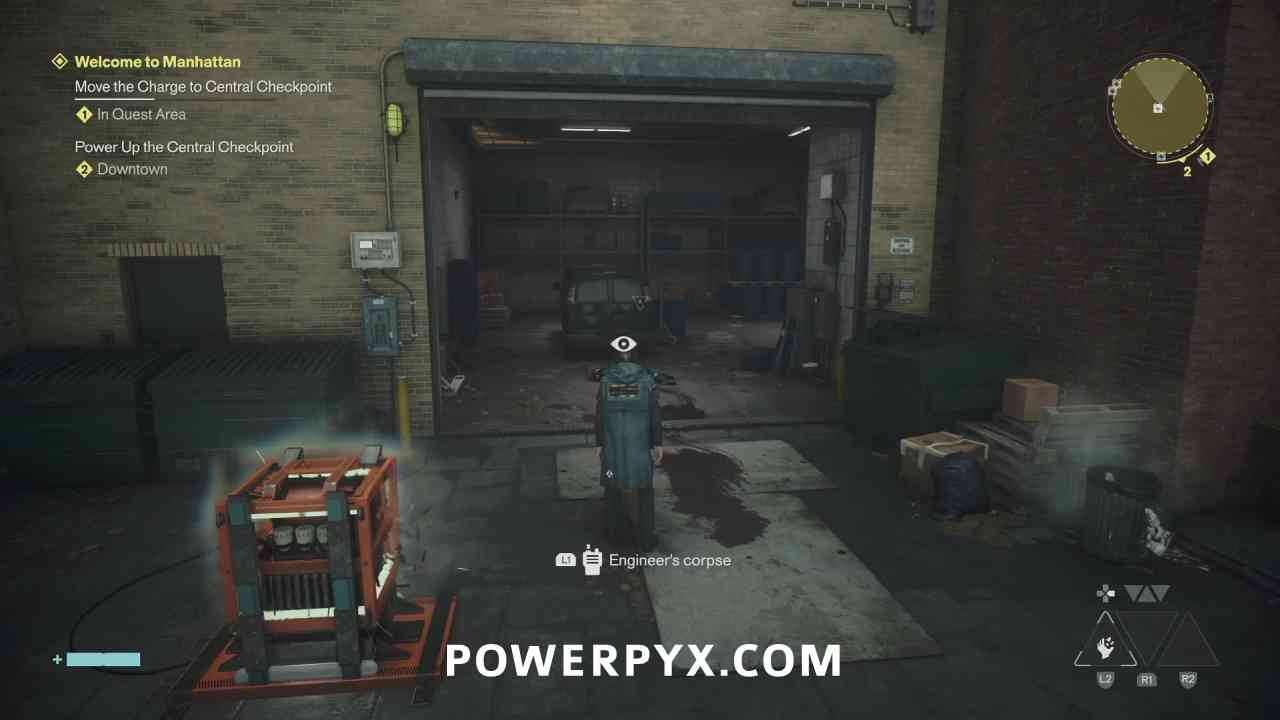
When you reach the second box it will open a nearby garage door, you can inspect the body inside to report the dead Maintenance Worker to Zoe. There is also a crate inside you can collect before moving on.
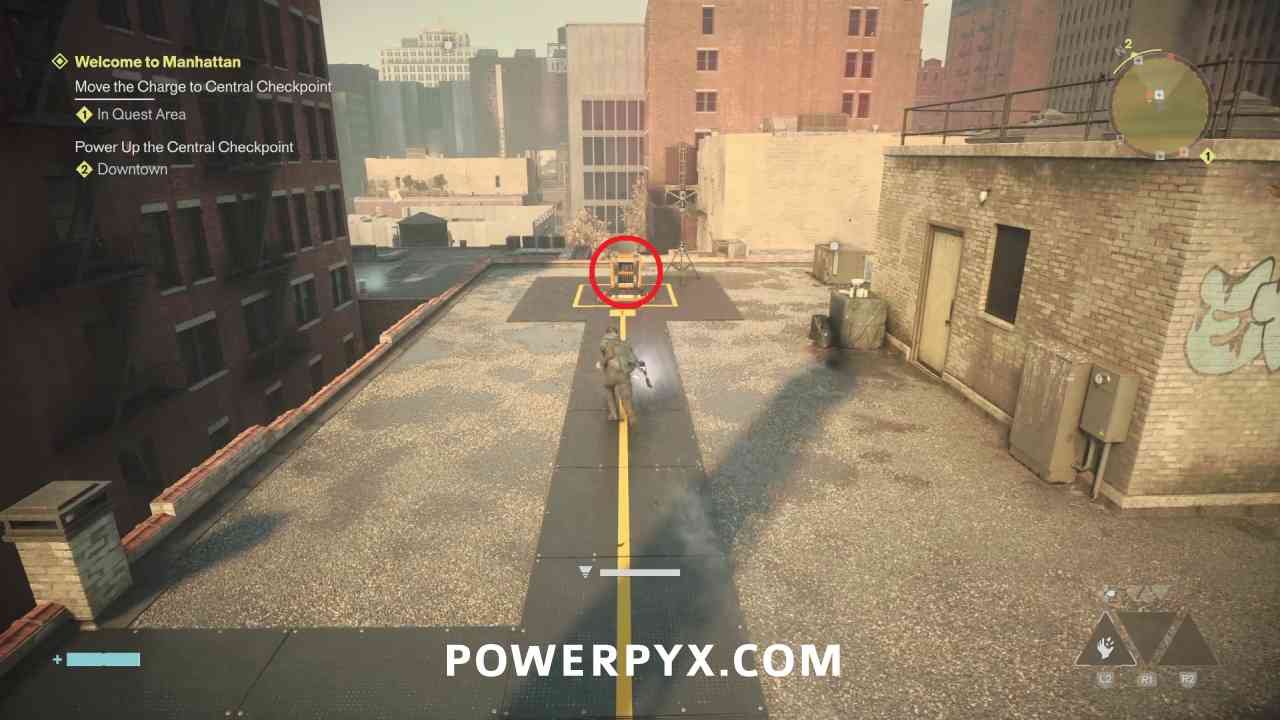
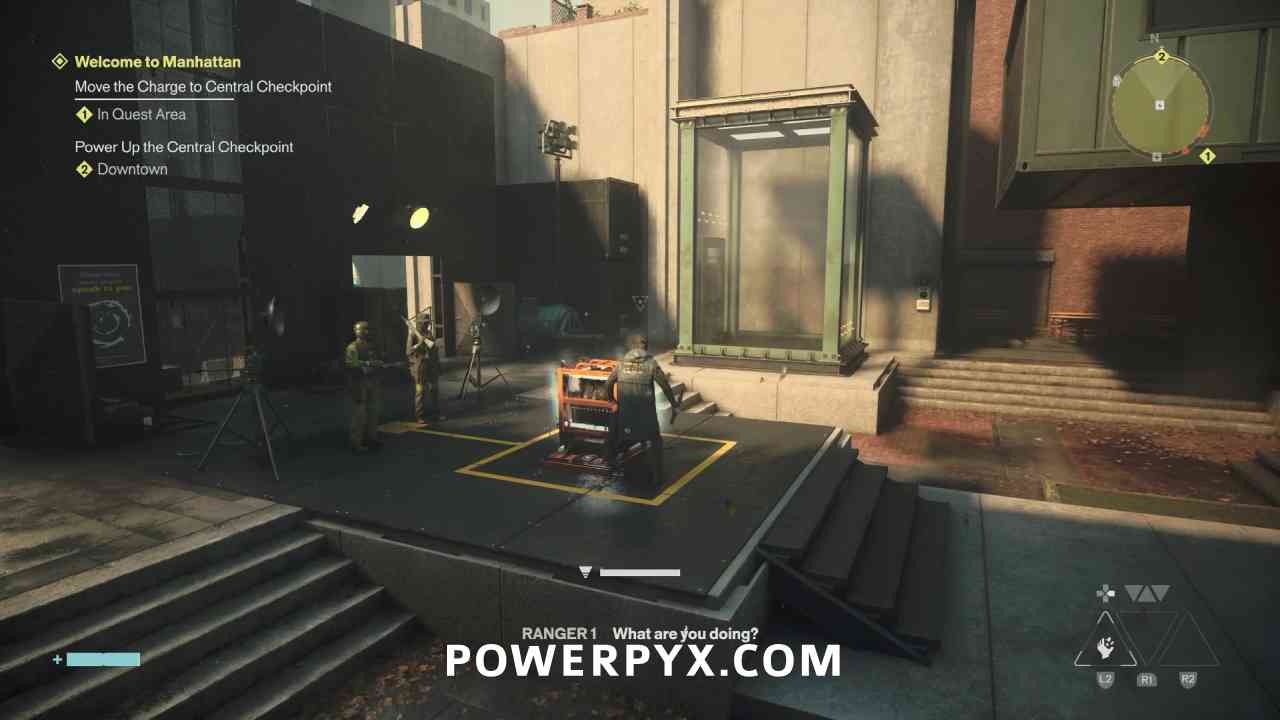
For the next box you’ll need to jump up to the rooftop, then continue to the concrete structure with the green containers inside.
Power Up the Central Checkpoint
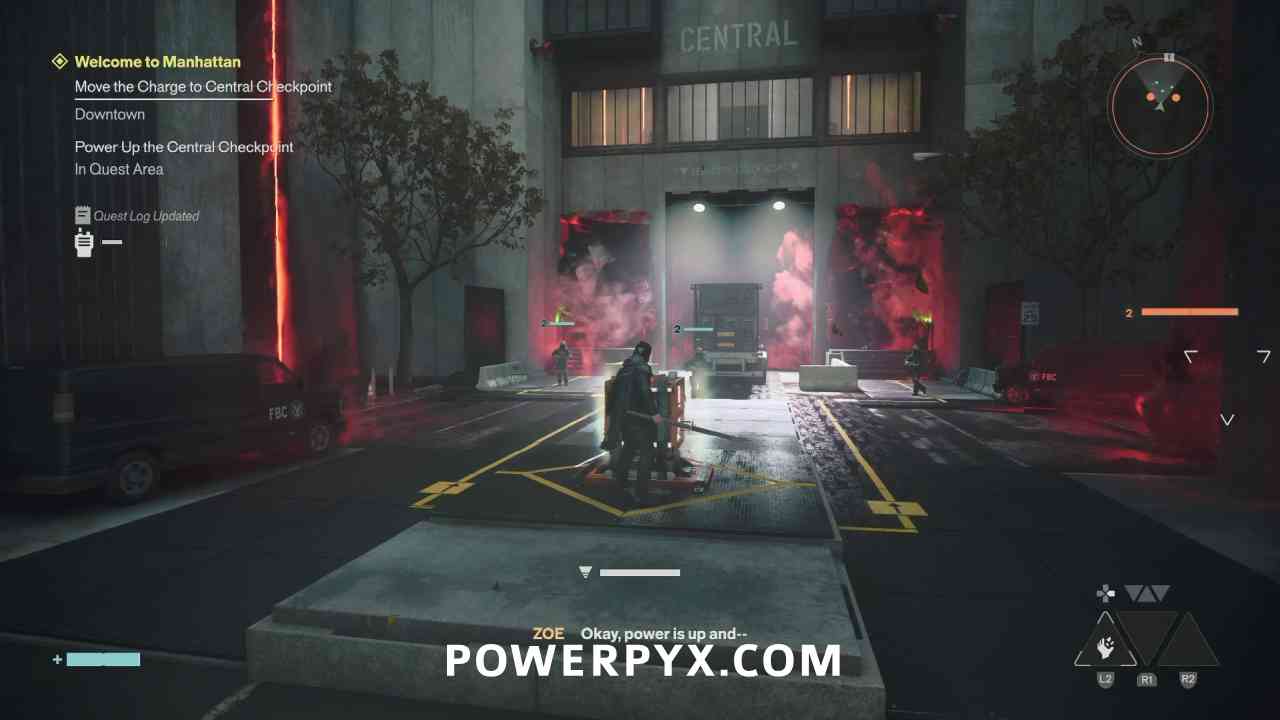
Finally run the charge over to the box in front of the Checkpoint area.
Defeat the Hiss
Placing the charge at the checkpoint will cause a bunch of Hiss to appear in the area, defeat them all to continue.
Meet Zoe at the Watchtower
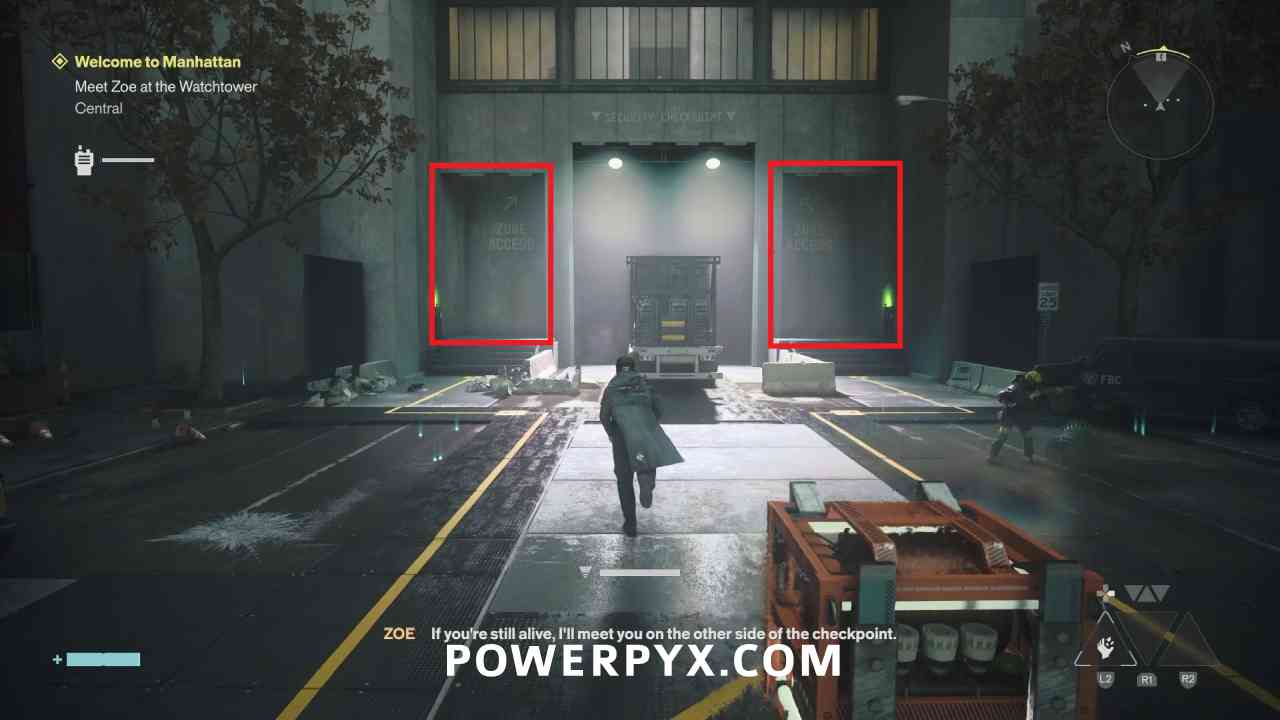
After all the enemies are defeated you can ride the nearby elevators up into the Checkpoint area itself, then walk along the path through the area until you reach Zoe within the Watchtower.

Zoe will explain some of what is going on, and you can ask her some questions about the areas visible from the Watcher. This will trigger the Defeating Resonants questline related to defeating each of the Resonant bosses, along with the next mission in the current questline Evacuation Procedures, which has the same first objective as the last objective of the current mission.
Clear the Supply Route
Make sure to activate the Fast Travel door nearby, then go down a floor in the Watchtower where there is an elevator to ride underground.
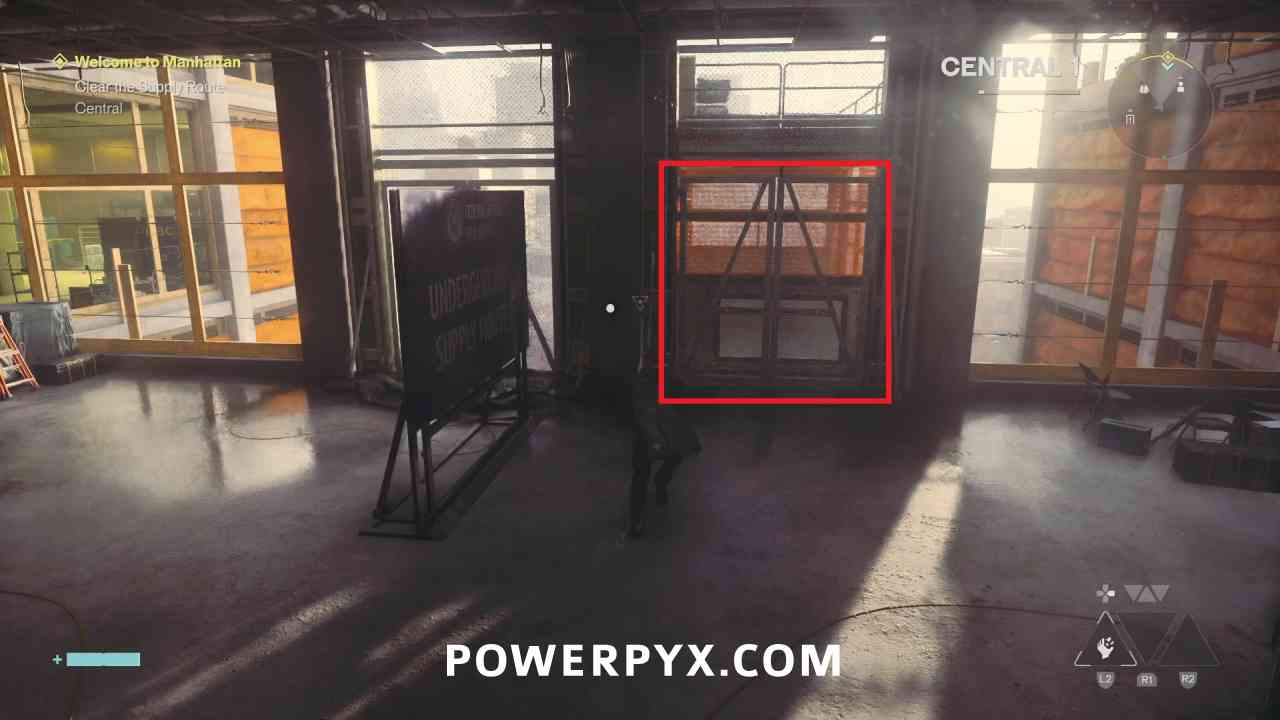
Follow the path until you reach an open room with a few power boxes. On the lowest level grab the power, then move it to the box one level up. In this side room you can find a crate that gives a Power Upgrade Point.
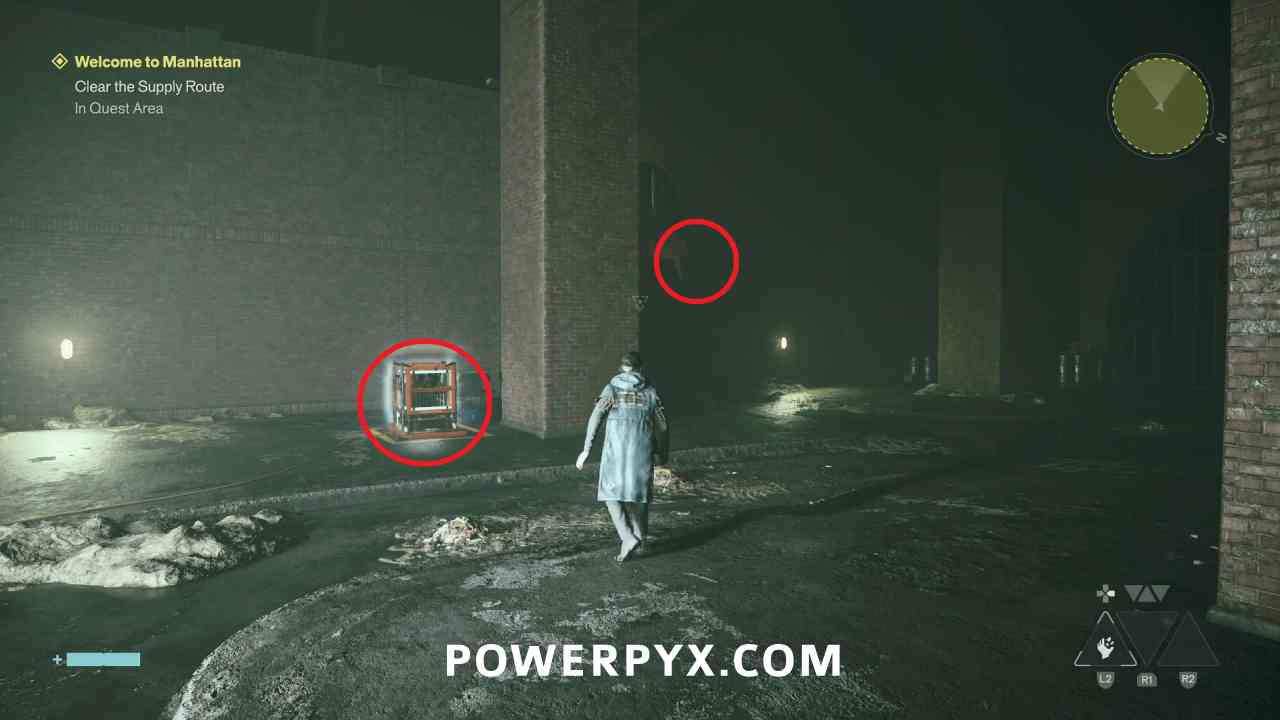
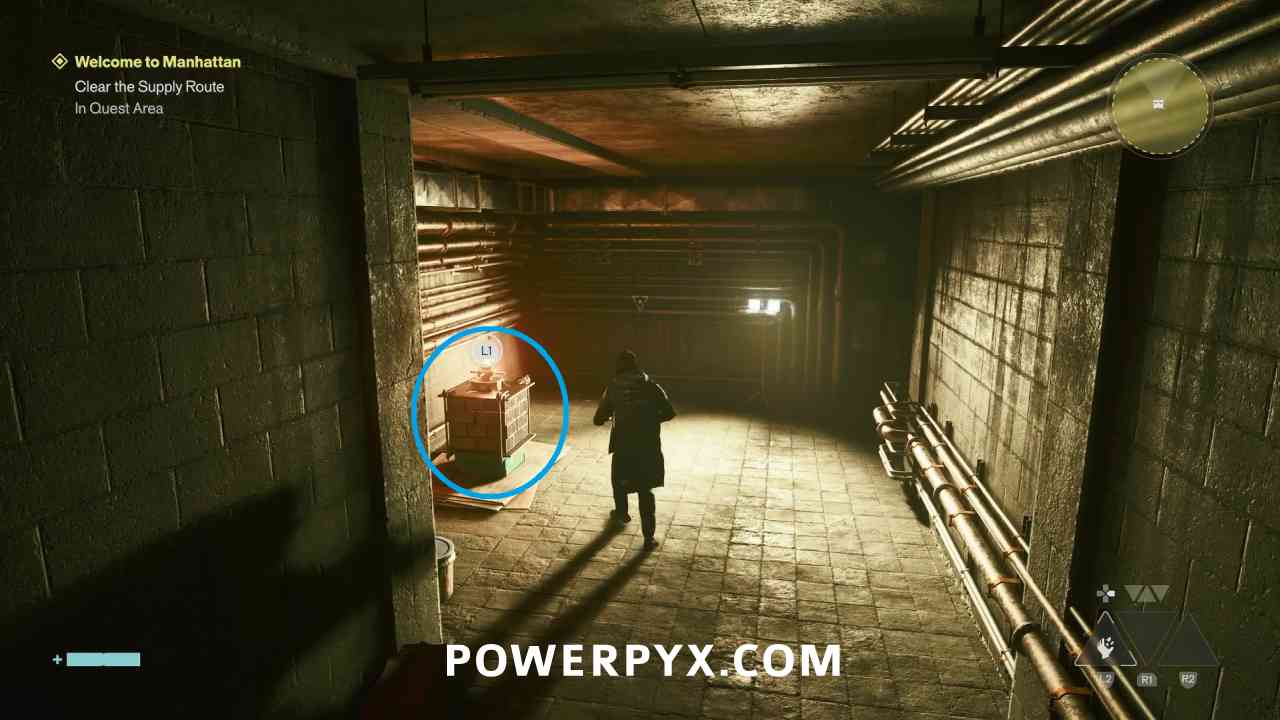
Then grab the power again and move it to the box across the room to allow you to continue progressing through the area.
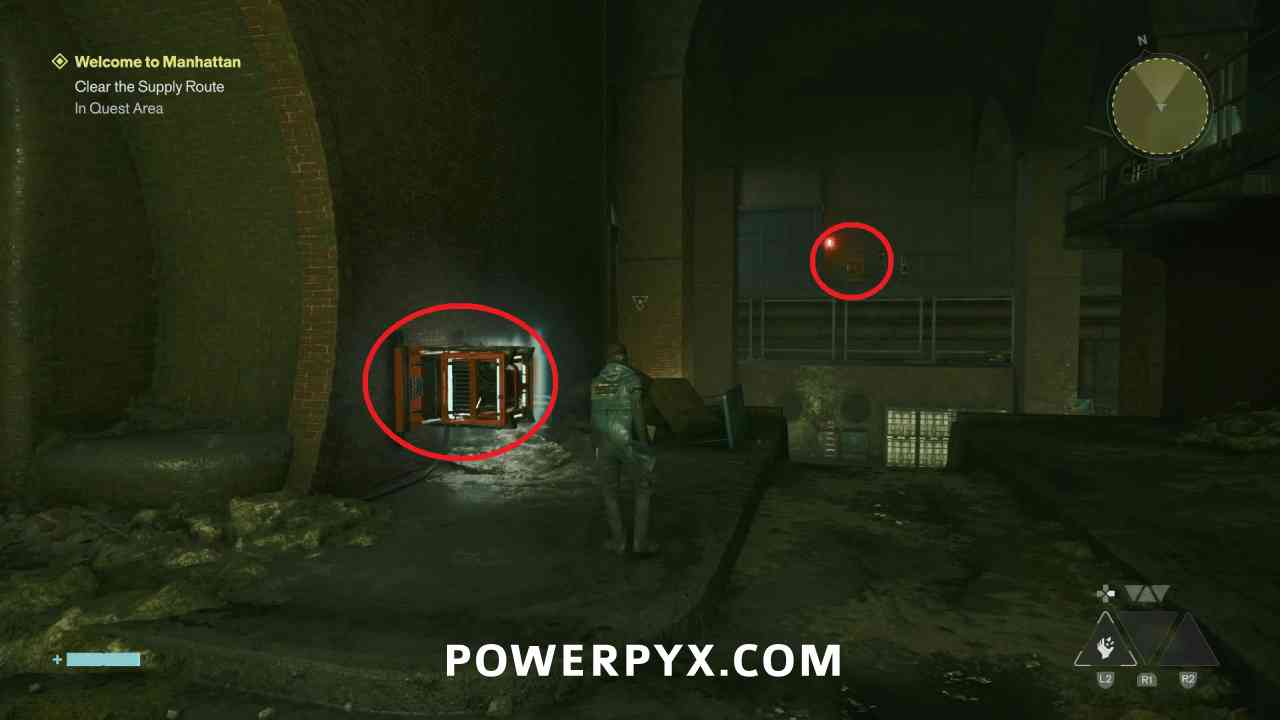
Follow the path through the area until you reach the large room filled with Hiss, including a named enemy. Named ones that appear like this throughout the game are miniboss which are harder versions of normal enemies, having more health and some slightly changed attacks.
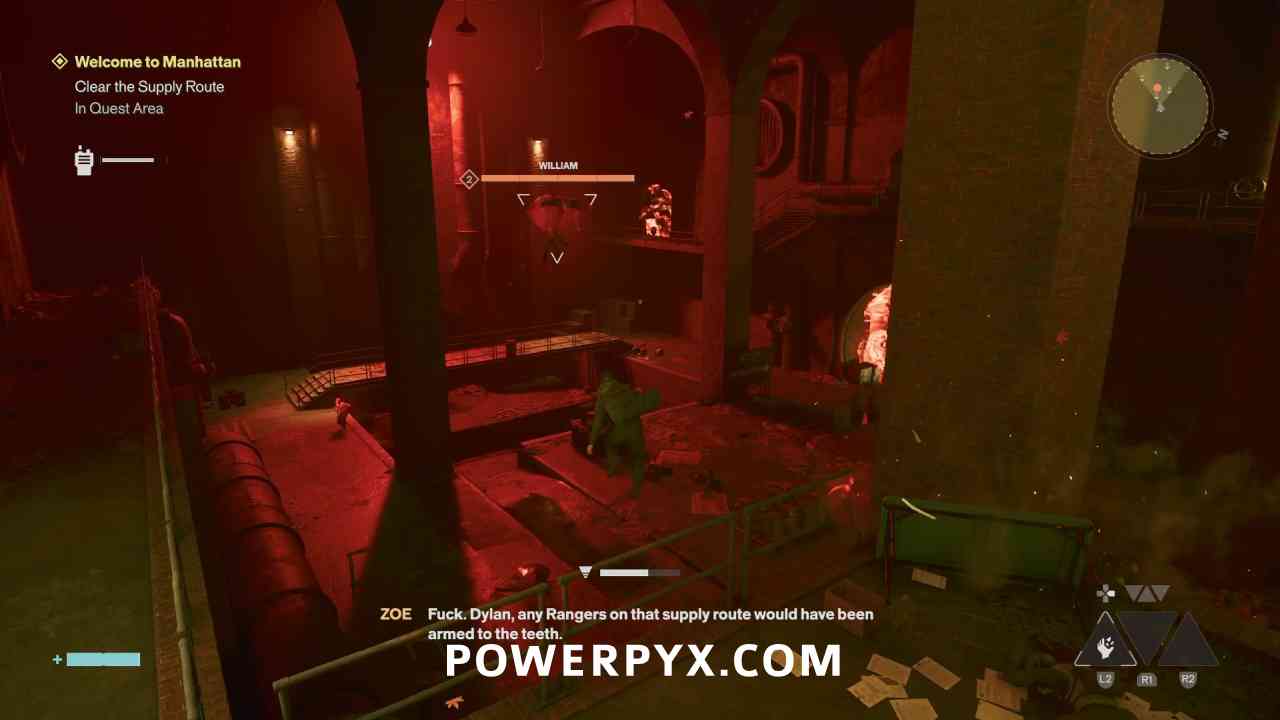
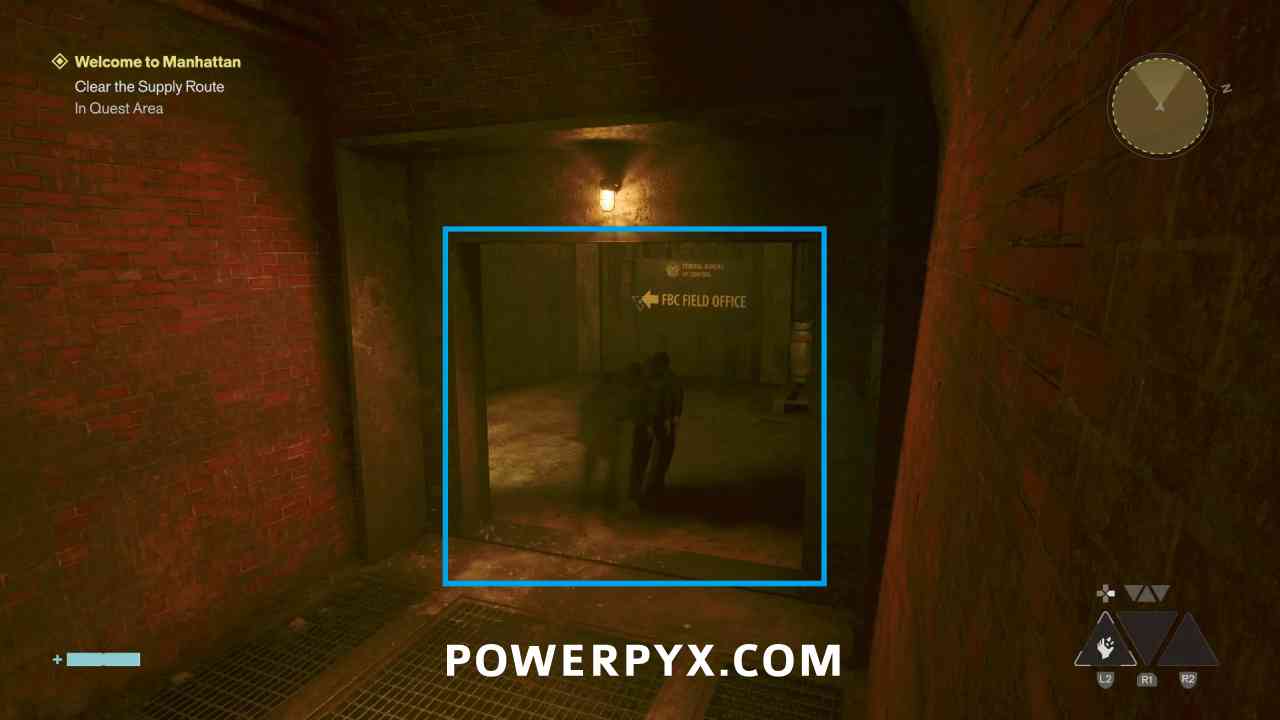
Defeat all the enemies, then go through the door with the sign pointing to FBC FIELD OFFICE. In the previous room there is a power box that allows you to go down a previous hallway, but this just leads back to the prior area and doesn’t include any items.
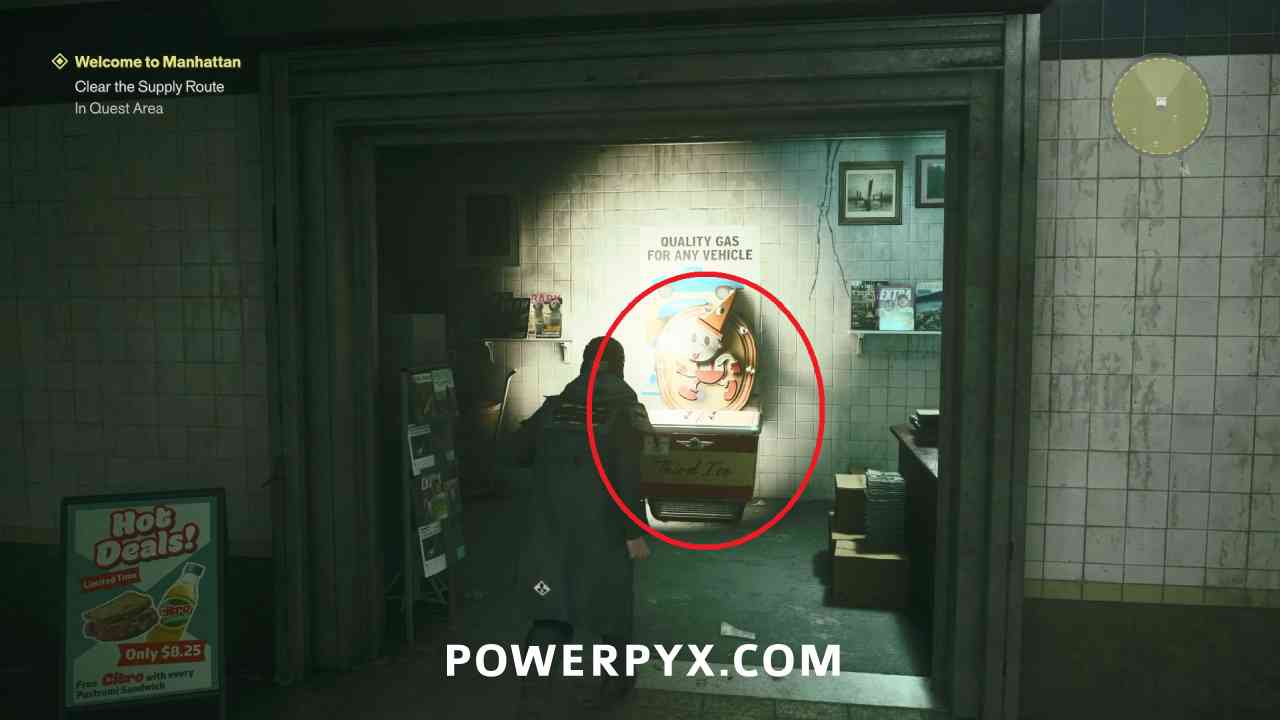
After going up the stairs in the subway area, make sure to check the room on the left before reaching the outside as there is a crate with a Health Upgrade Point.
Get a Security Keycard
Outside, you need to continue northeast to the field office, at the VERCONN building that you can inspect.

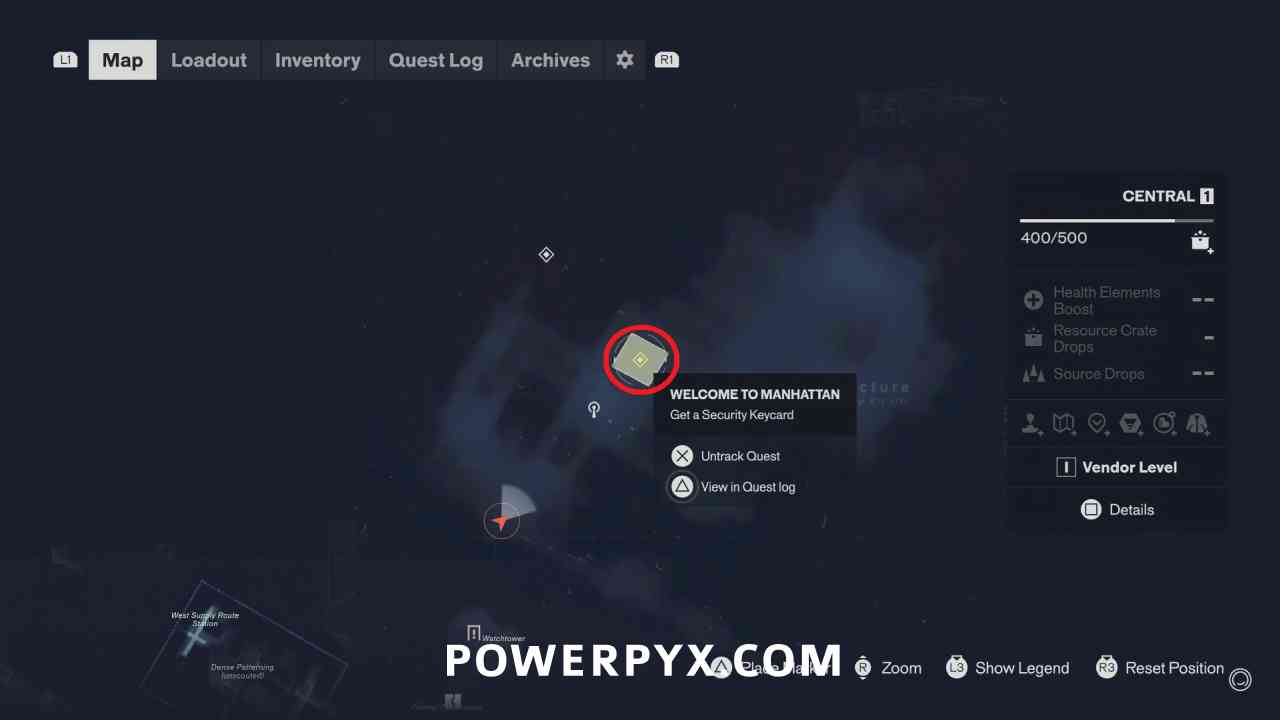
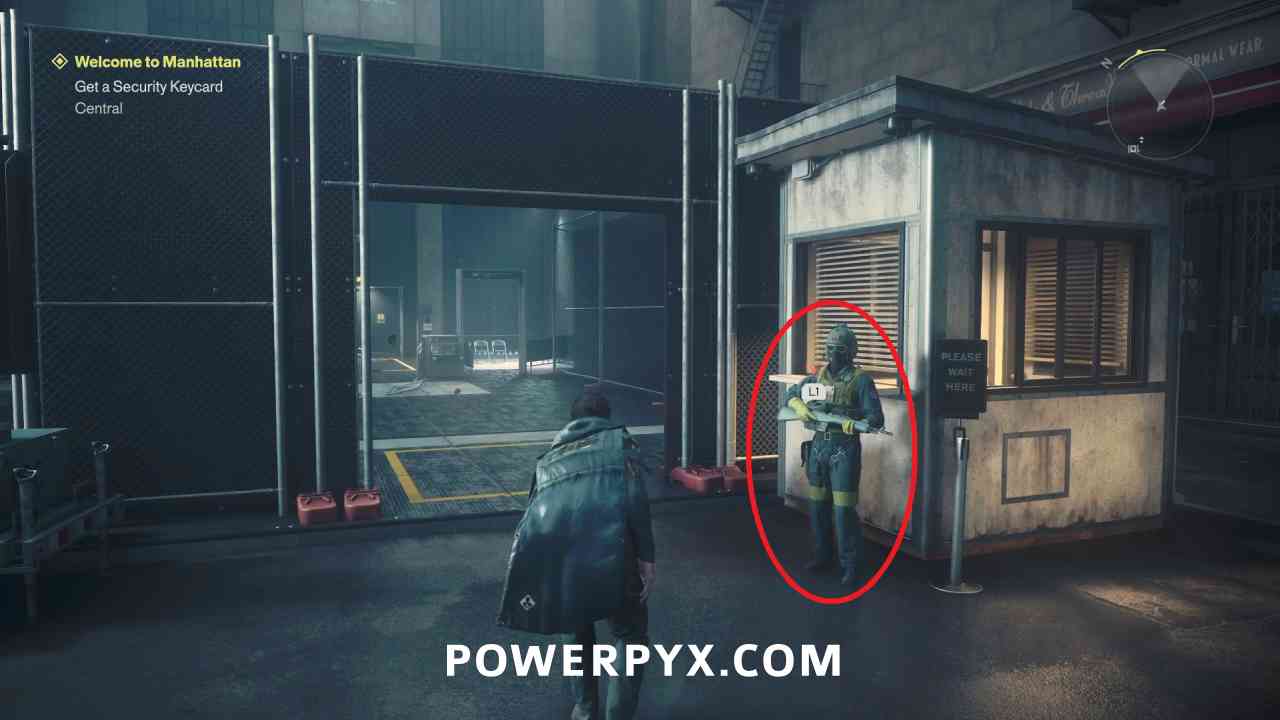
On the way you will need to stop and respond to the soldier at the security booth, how you respond doesn’t matter as Zoe will talk them into letting you through.
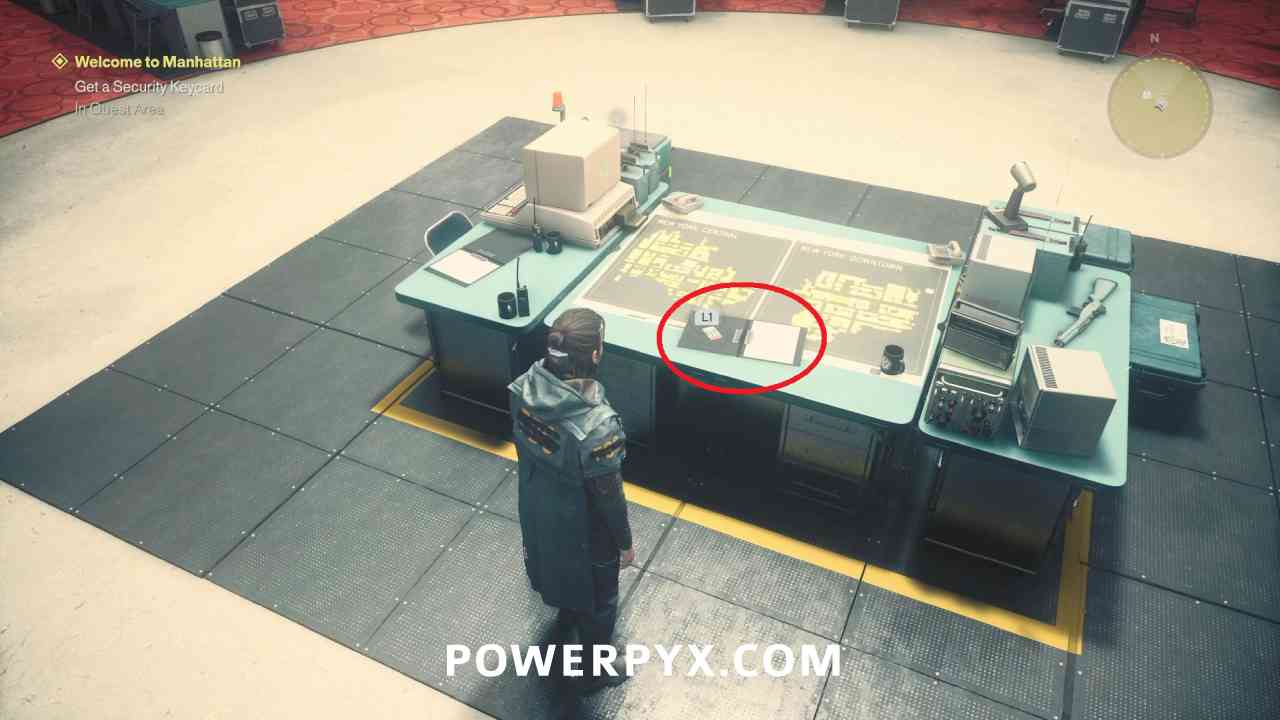
Go up the steps in the Field Office area and inside you can pick up the Security Keycard off the desk, completing the mission. The Level 1 Keycard will allow you to open any doors you see that have a level 1 clearance plate beside them.
This finishes Welcome to Manhattan in Control Resonant.
For all other Quests refer to Control Resonant Walkthrough.
Leave a Reply