
Central is the 2nd zone in Control Resonant and contains 9 collectible locations. This guide covers all trophy and achievement related collectibles to collect everything efficiently with minimal fast travel required (FBC Taskboards, Dylan’s Sketchbooks, Dogs, Secret Hideouts, Testing Facilities, Taxis, Cameras).
- FBC Taskboards: 1
- Dylan’s Sketchbooks: 2
- Dogs: 1
- Secret Hideouts: 1
- Testing Facilities: 1
- Taxis: 1
- Freeze Frame Cameras: 2
Collectibles Overview:
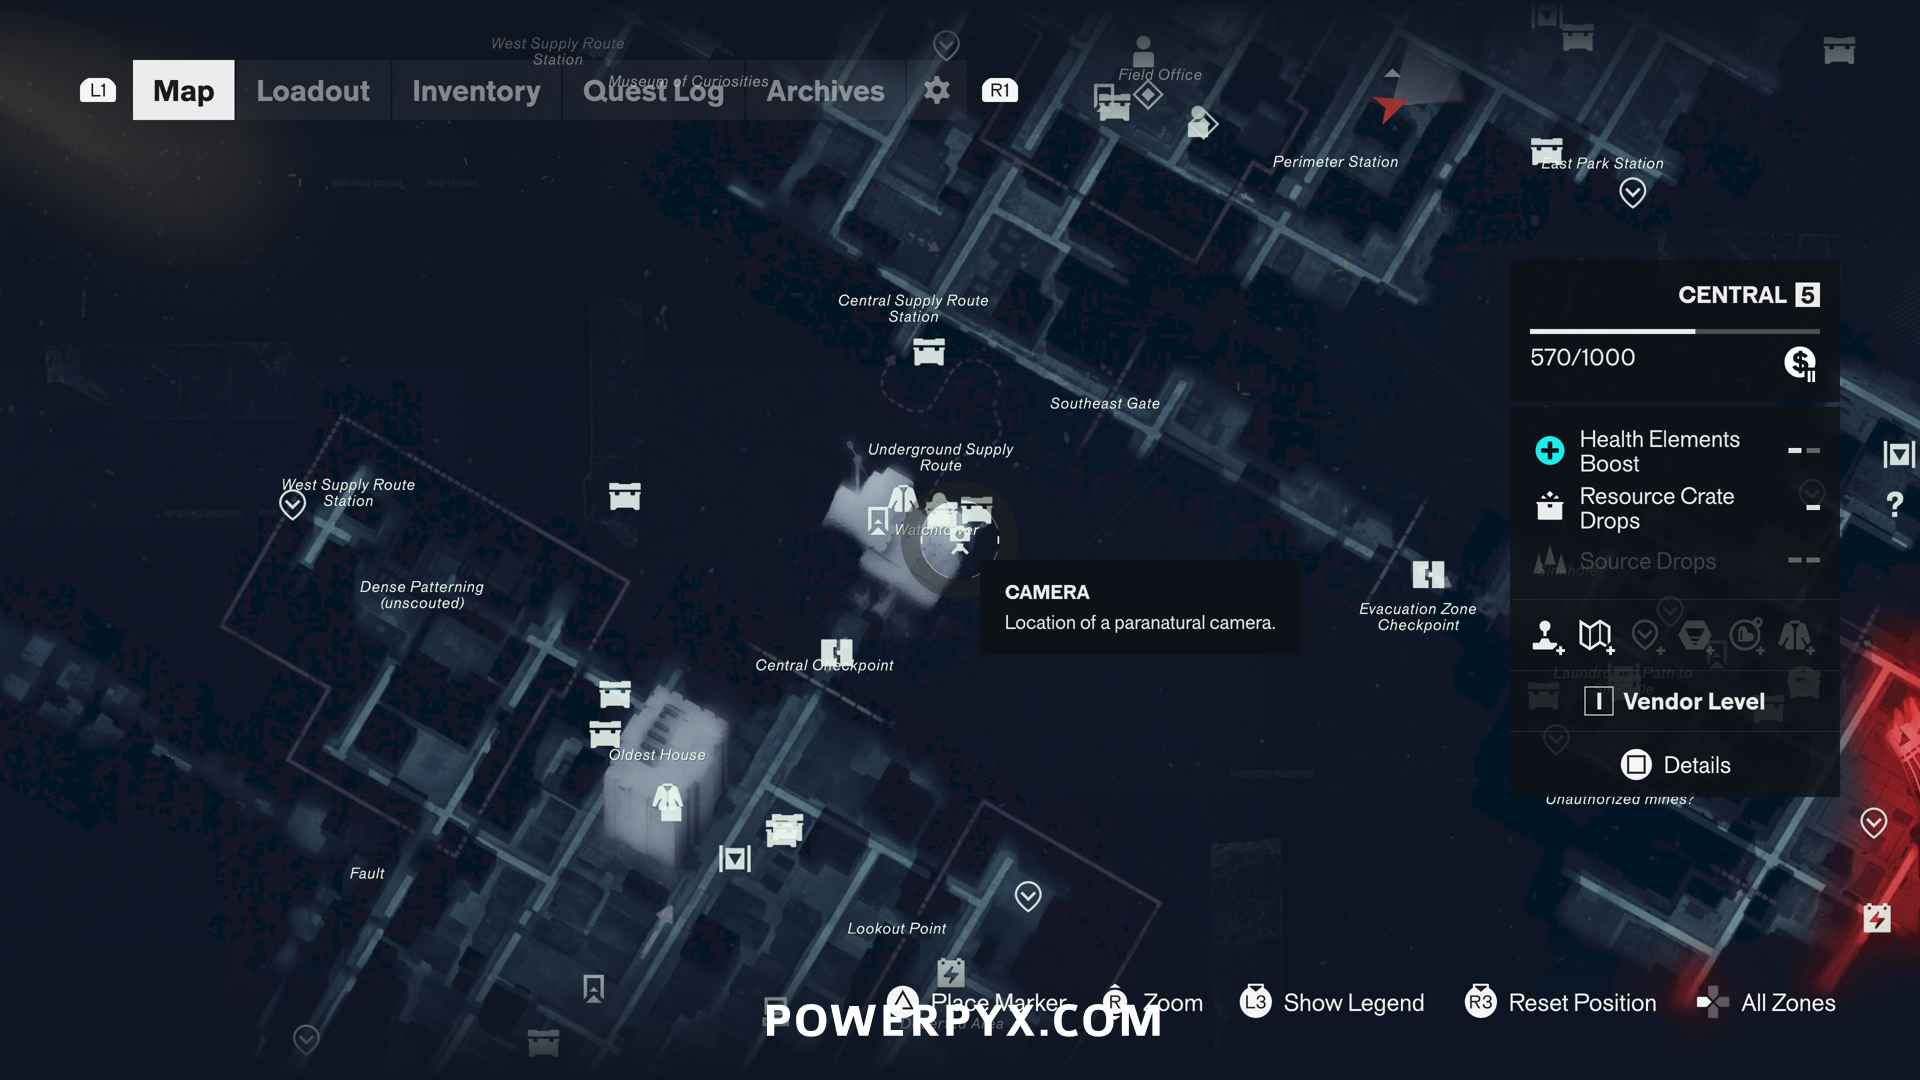
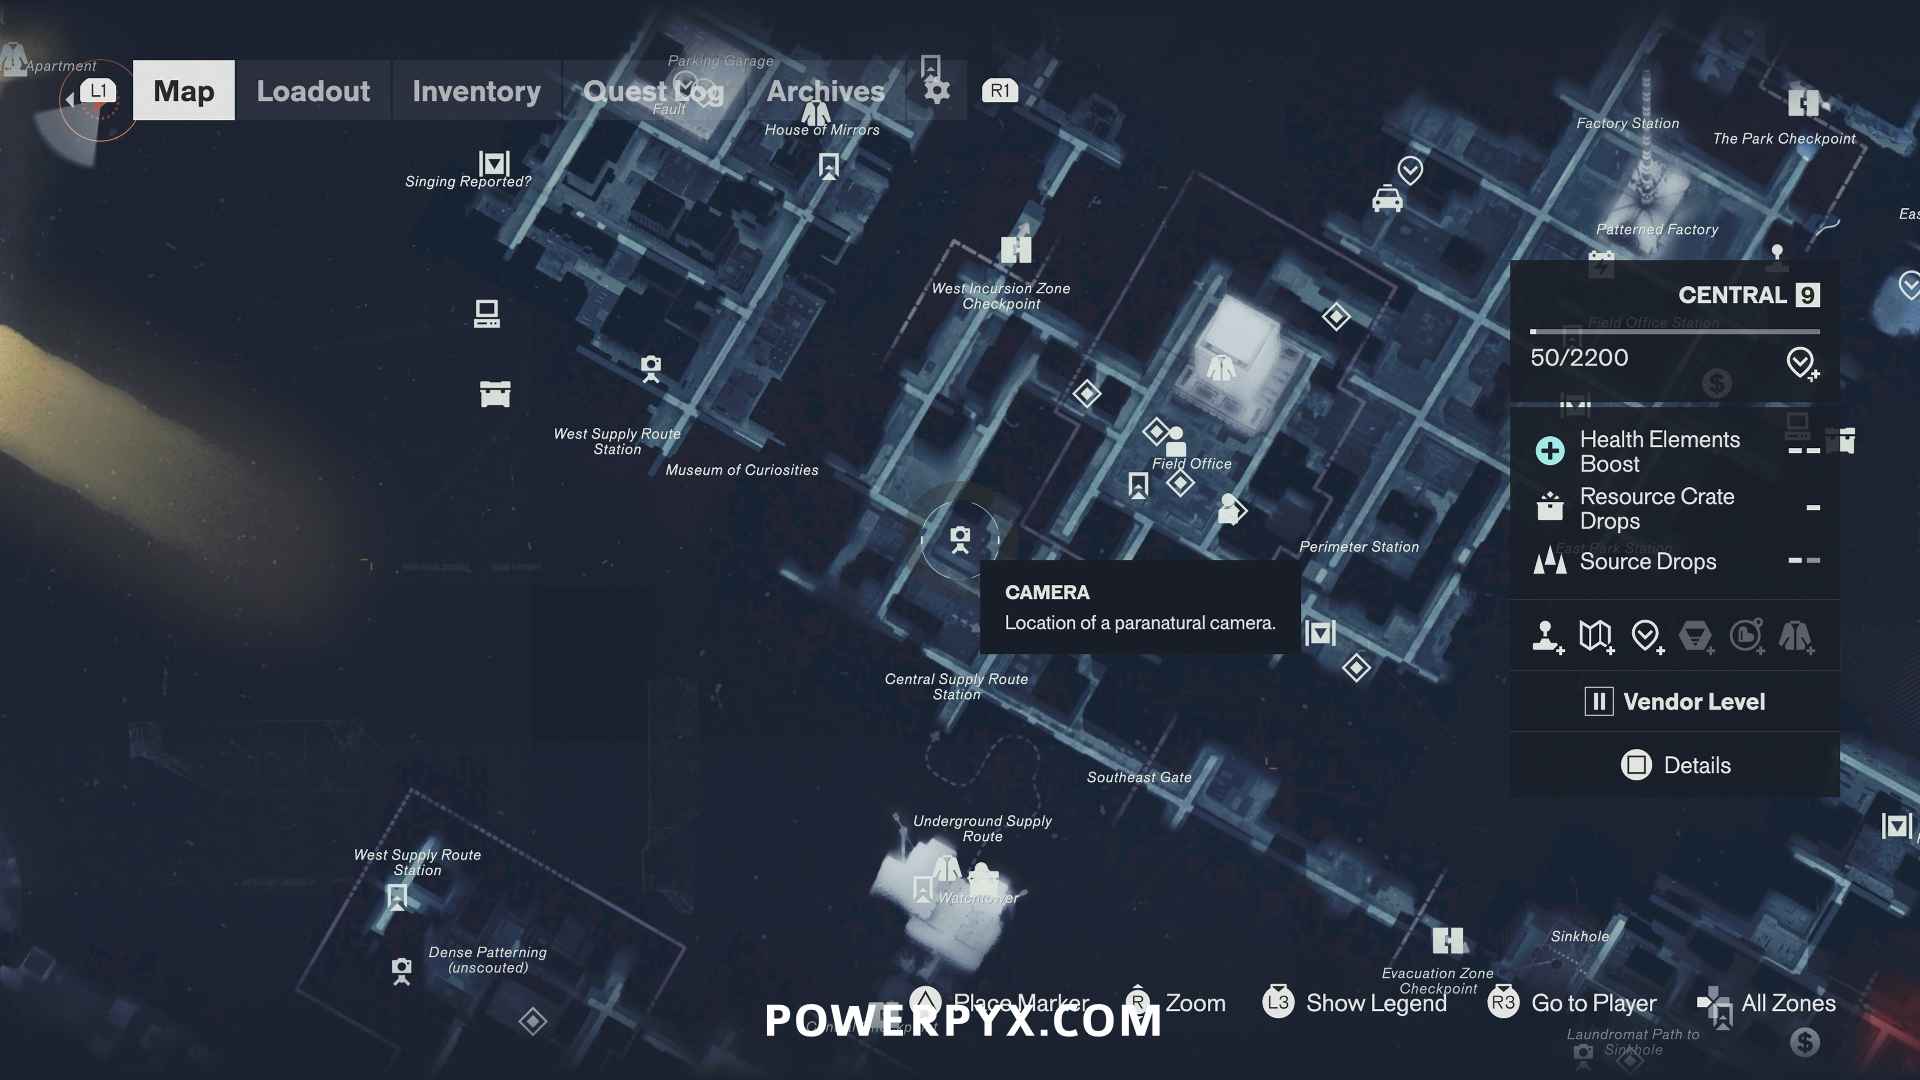
#1 – Camera
From the Watchtower fast travel door, go all the way downstairs, then enter the open storage room on the side. There you find some scaffolds you can jump up. Where you climb up, there is another hole in the ceiling (just before the camera where you pull yourself up the ledge). Climb through the open ceiling to drop down behind the camera.
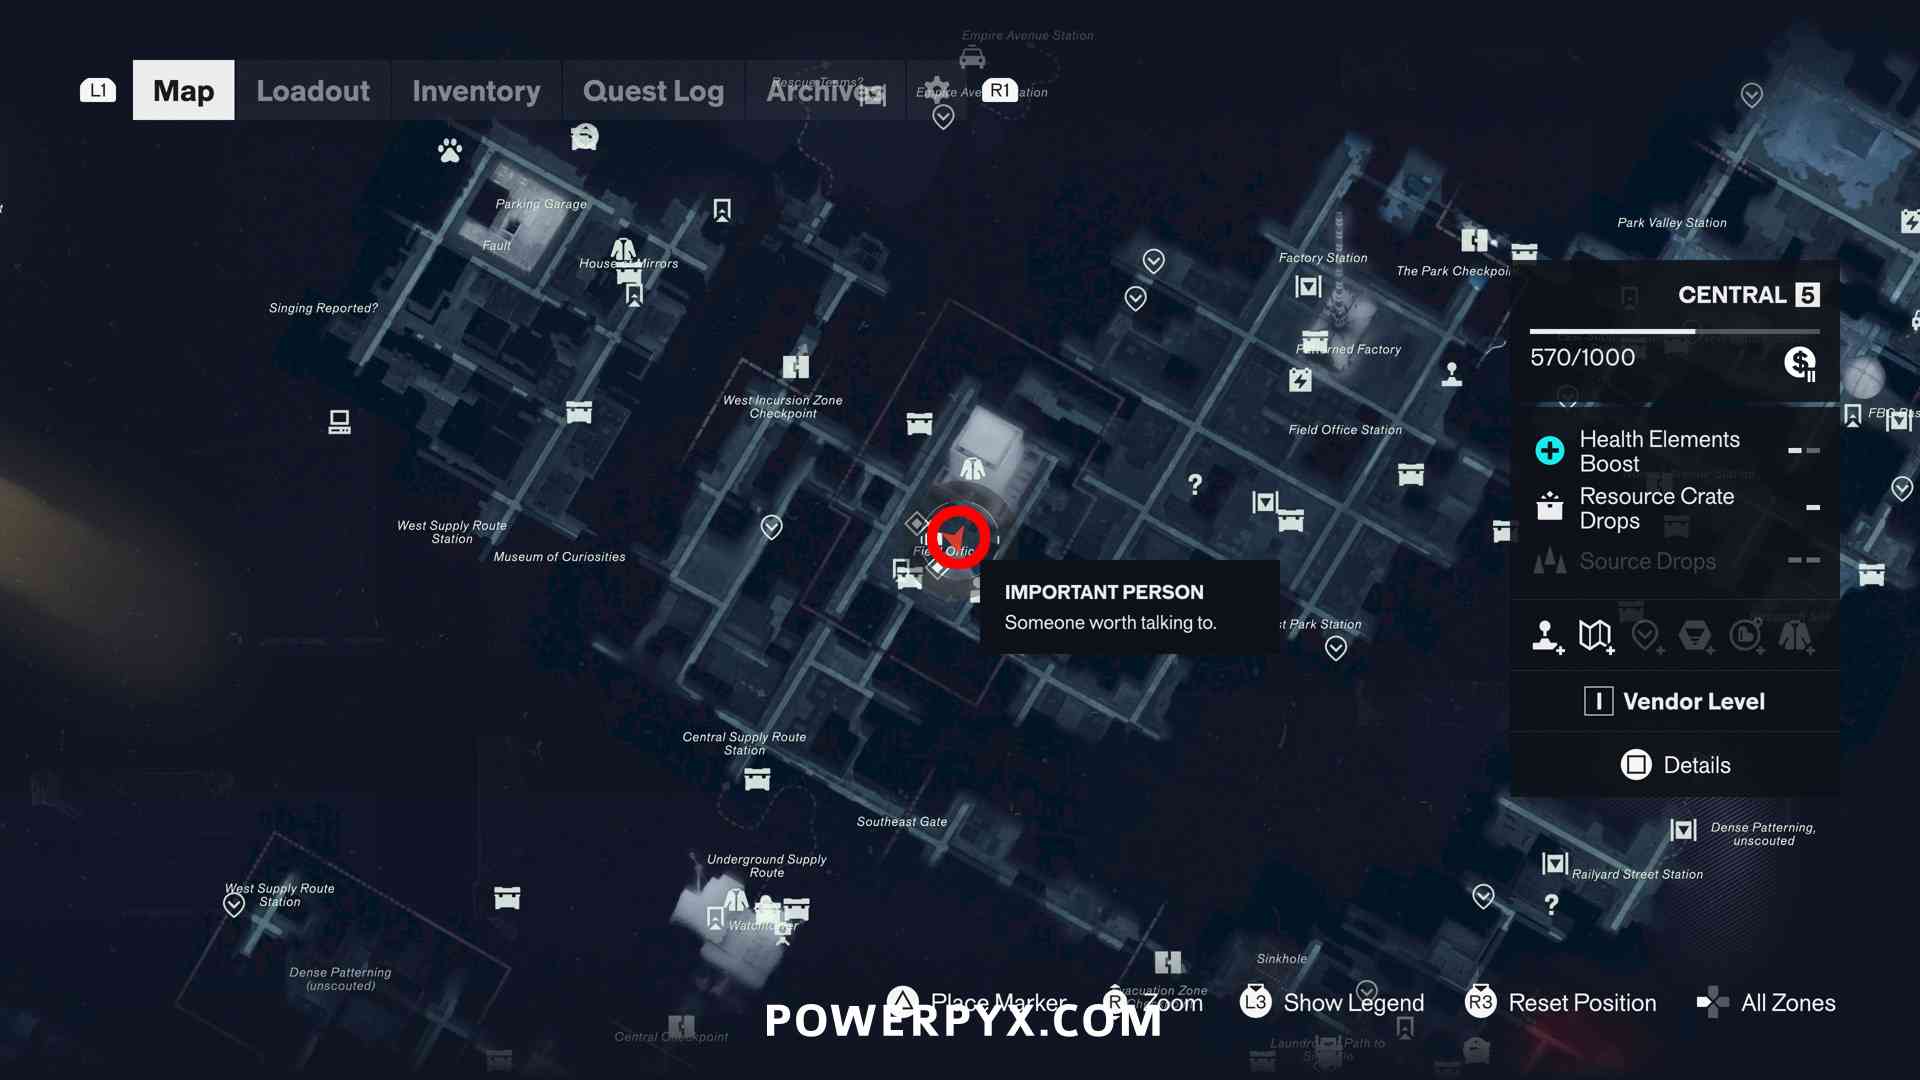
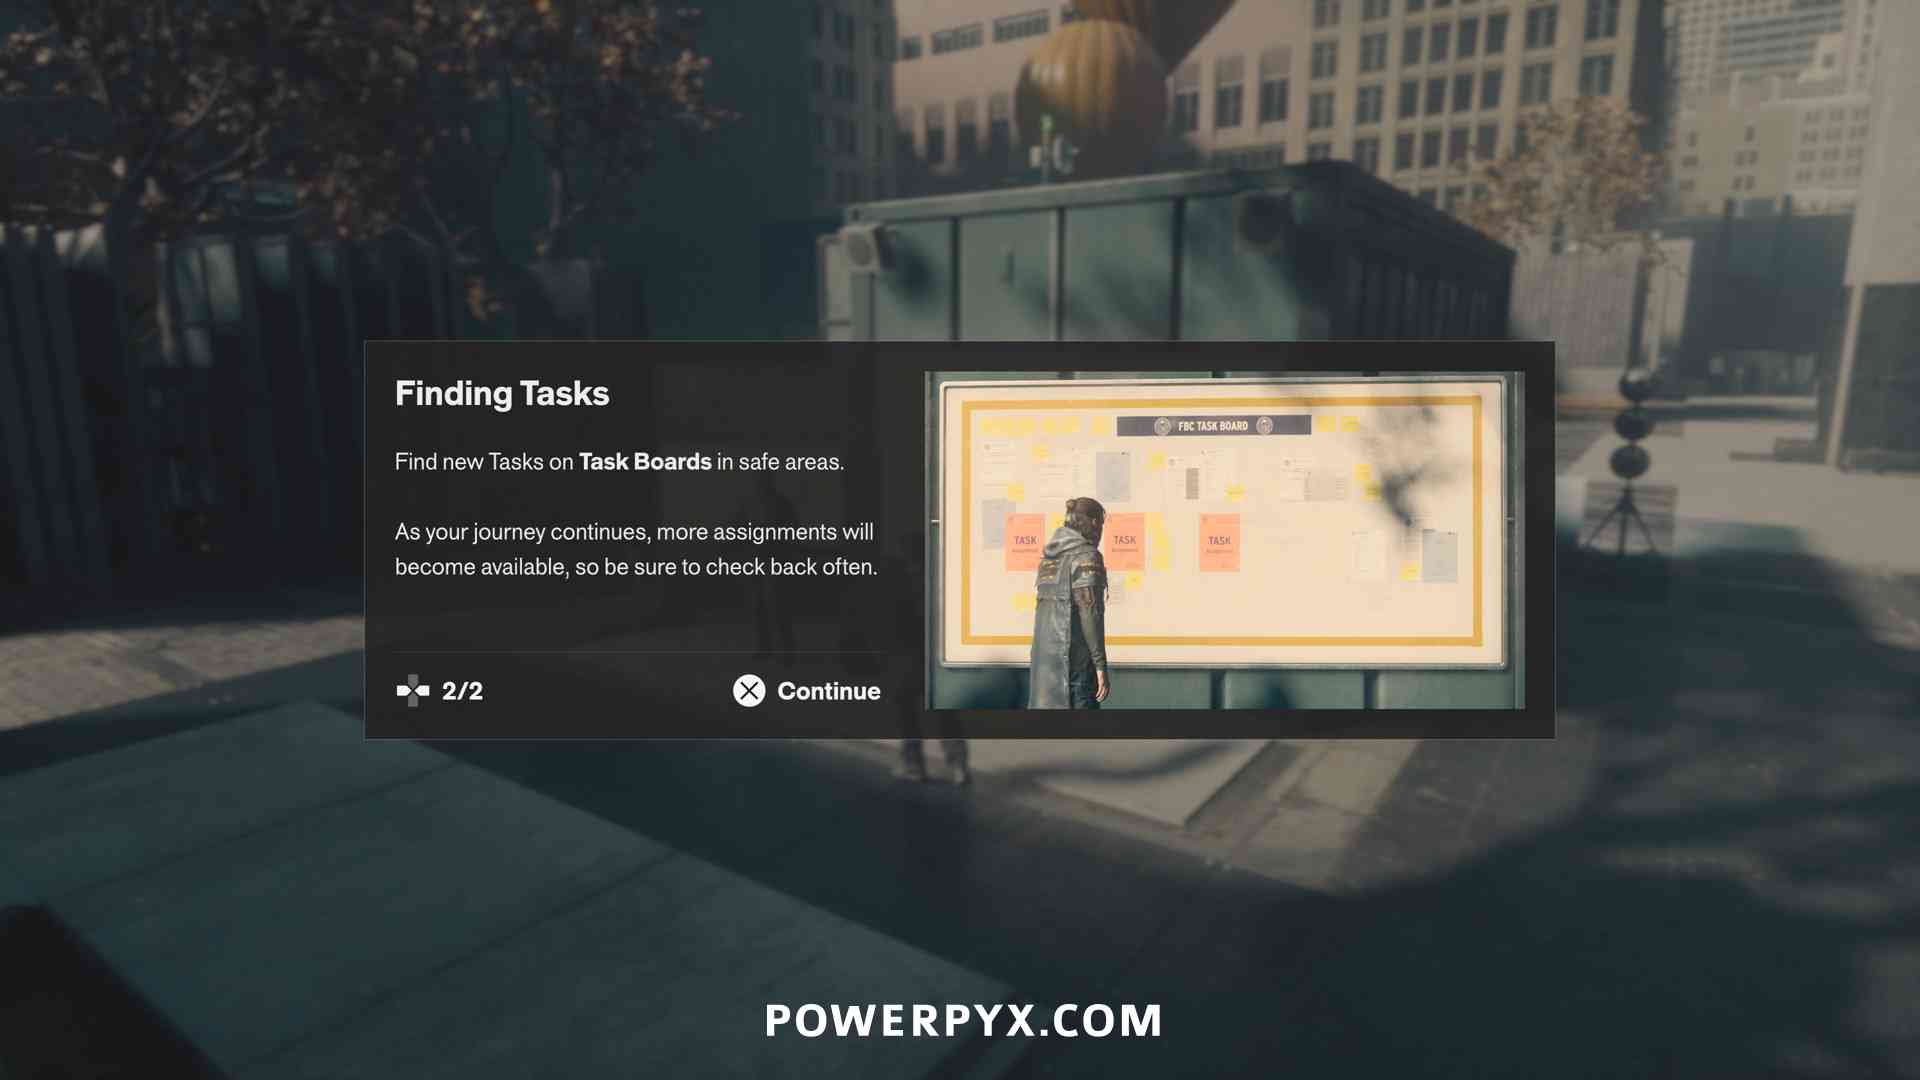
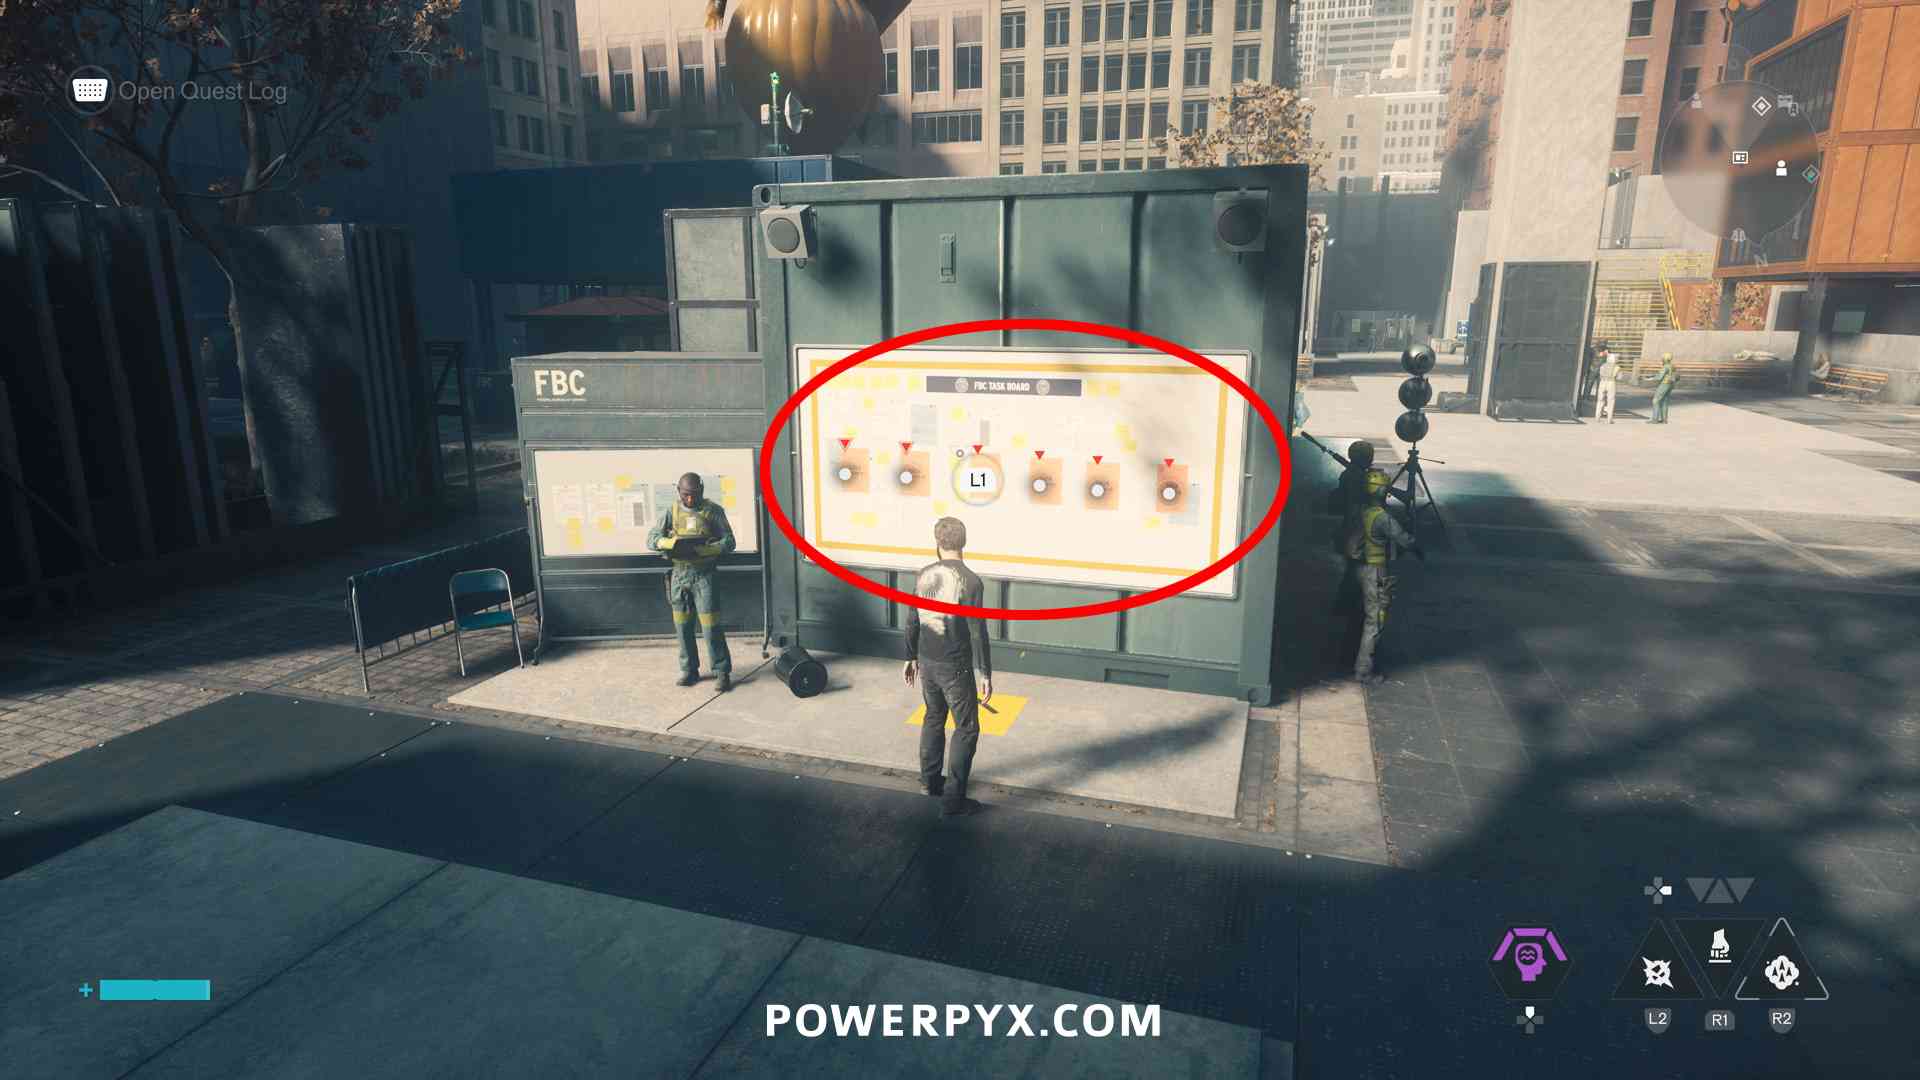
#2 – FBC Taskboard – this spawns the other Taskboards
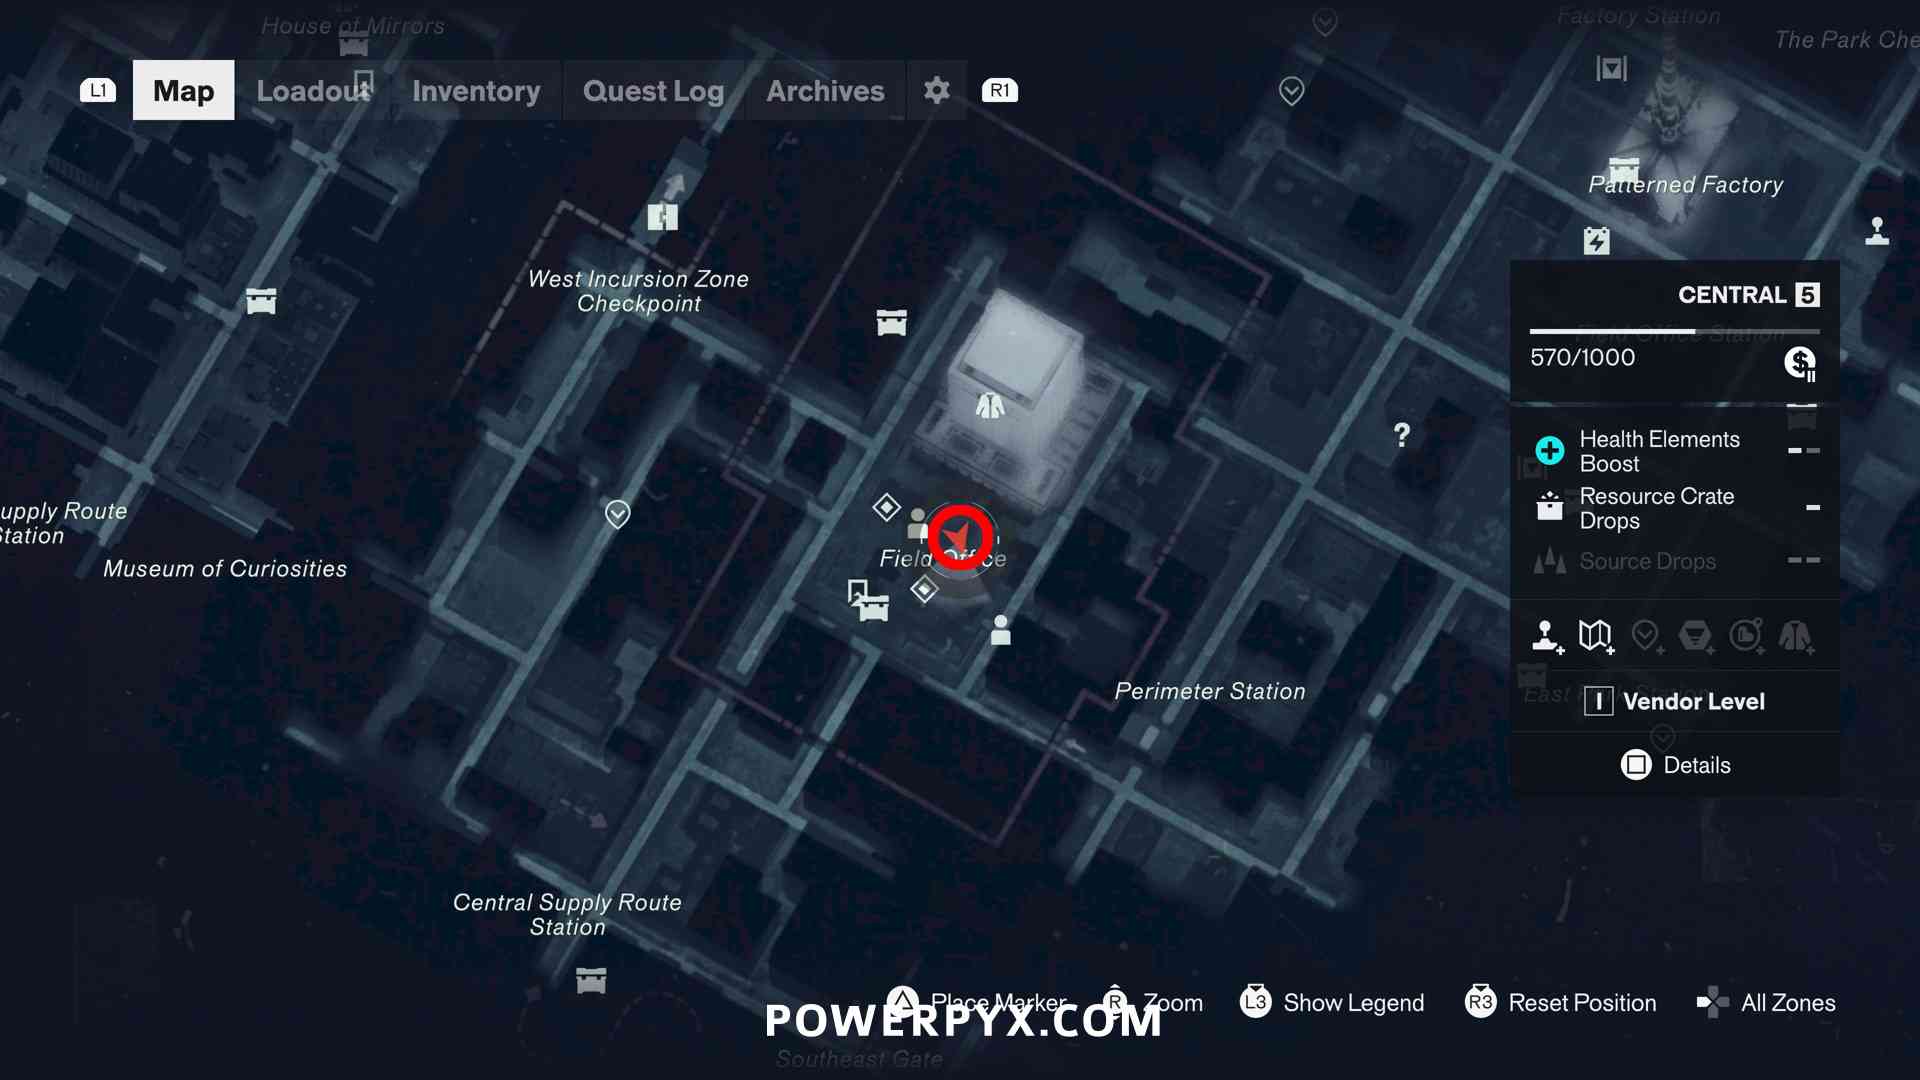
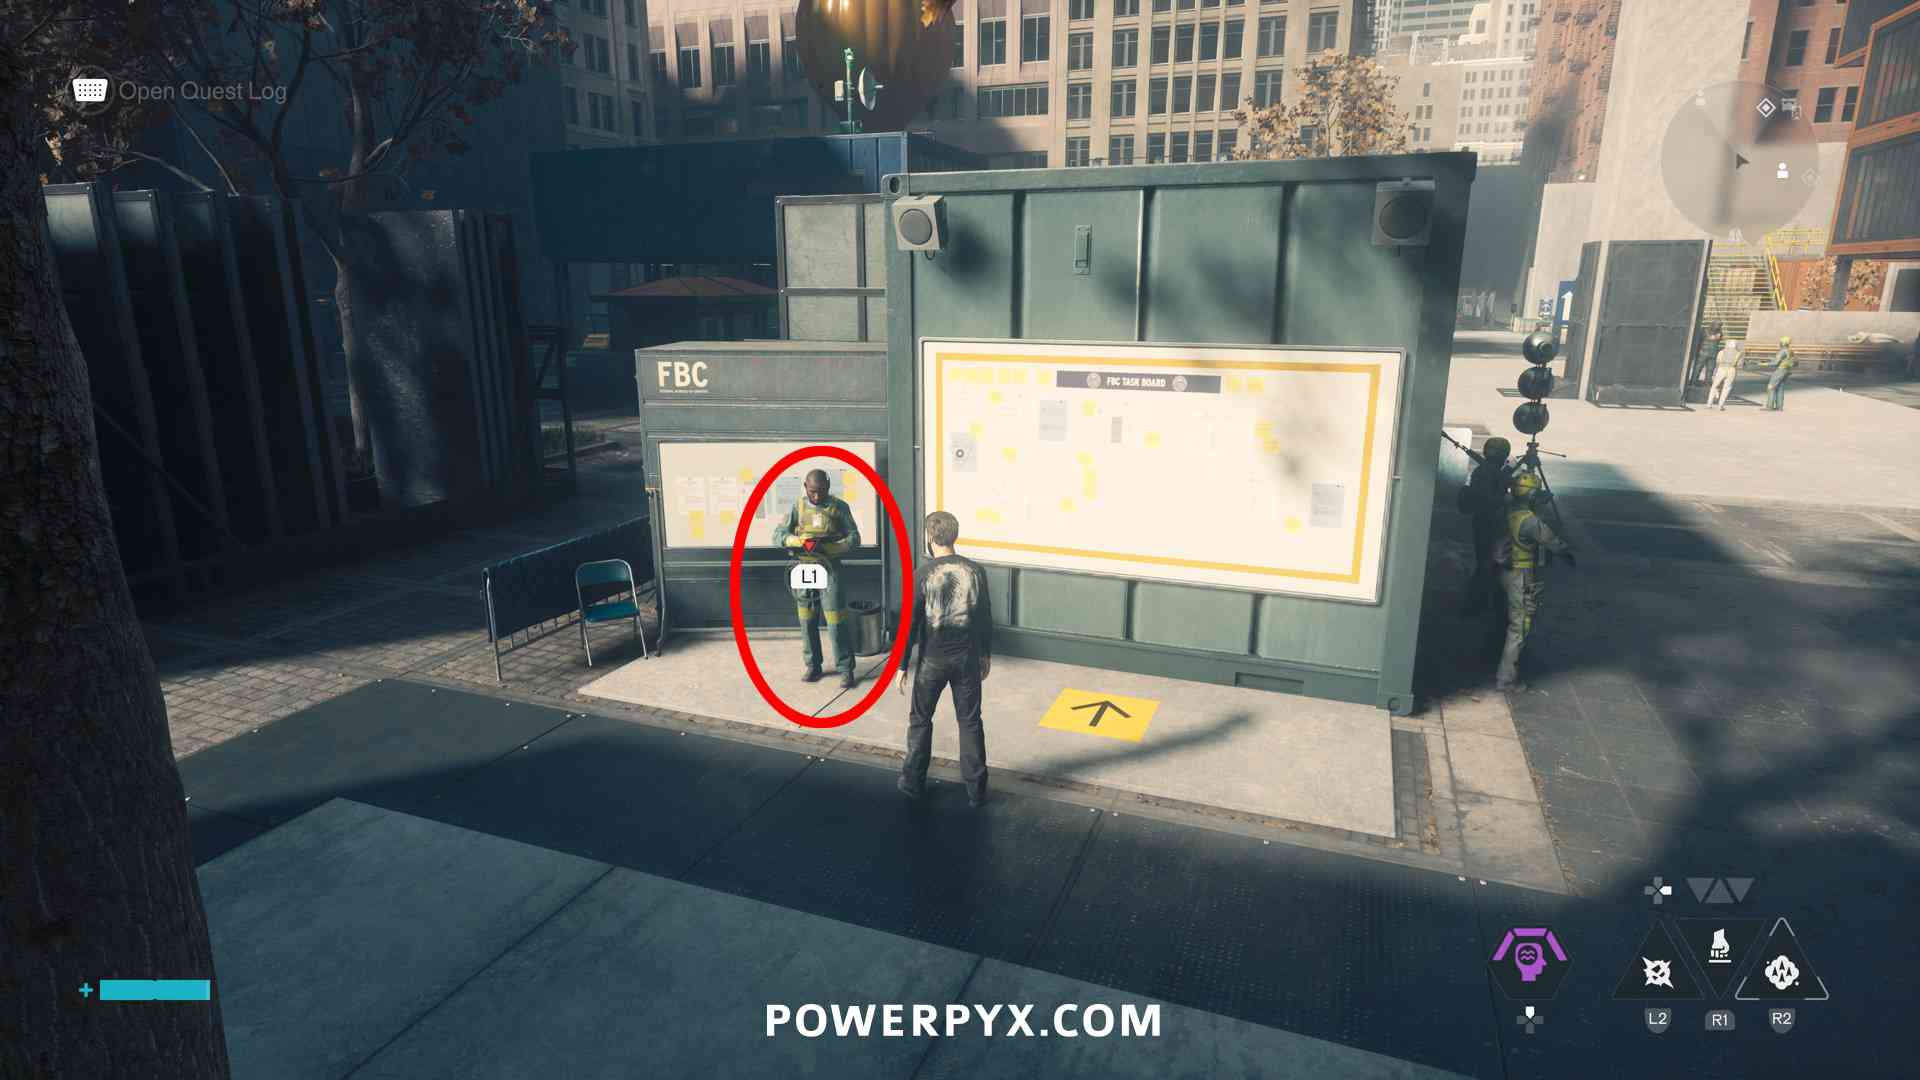
First, interact with the NPC in Central > Field Office. Just outside the Field Office entrance, where the “O” of “Office” is on the map. He isn’t marked, but when approaching he will say “hey, got a minute?” and has a red interact prompt on him (if he’s not there or you can’t talk to him, advance the story further). He will introduce you to FBC Tasks.
#3 – Camera
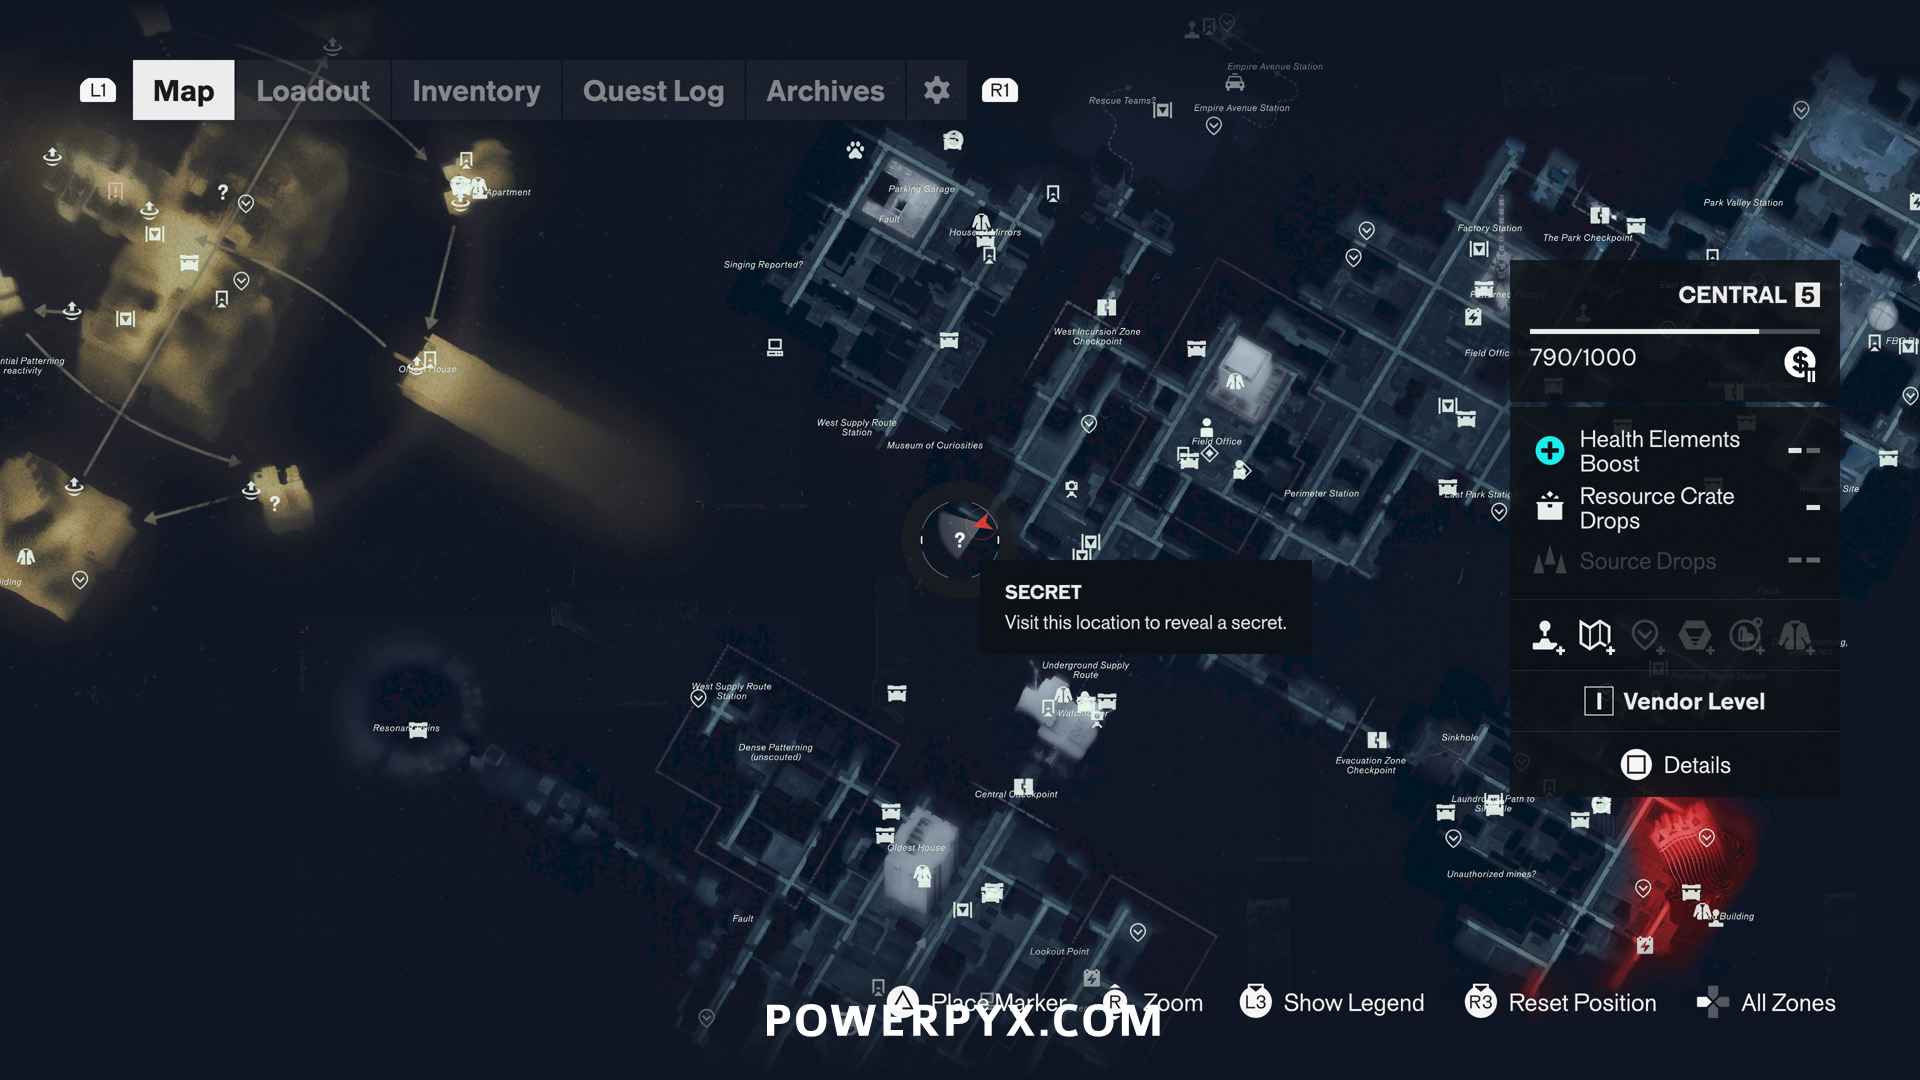
Found on a rooftop behind an open door. To reach it you must first have unlocked the Reach ability from Jesse Sightings: The Subway Fault. Go through the door where the camera is, let it spot you. Then go down inside the building and open the door on the bottom floor. Step outside to the street until you hear the “click” sound that indicates the camera has respawned. Then backtrack through the door you just opened and walk upstairs in the building to get behind the camera.
#4 – Dylan’s Sketchbook – Live on Stage
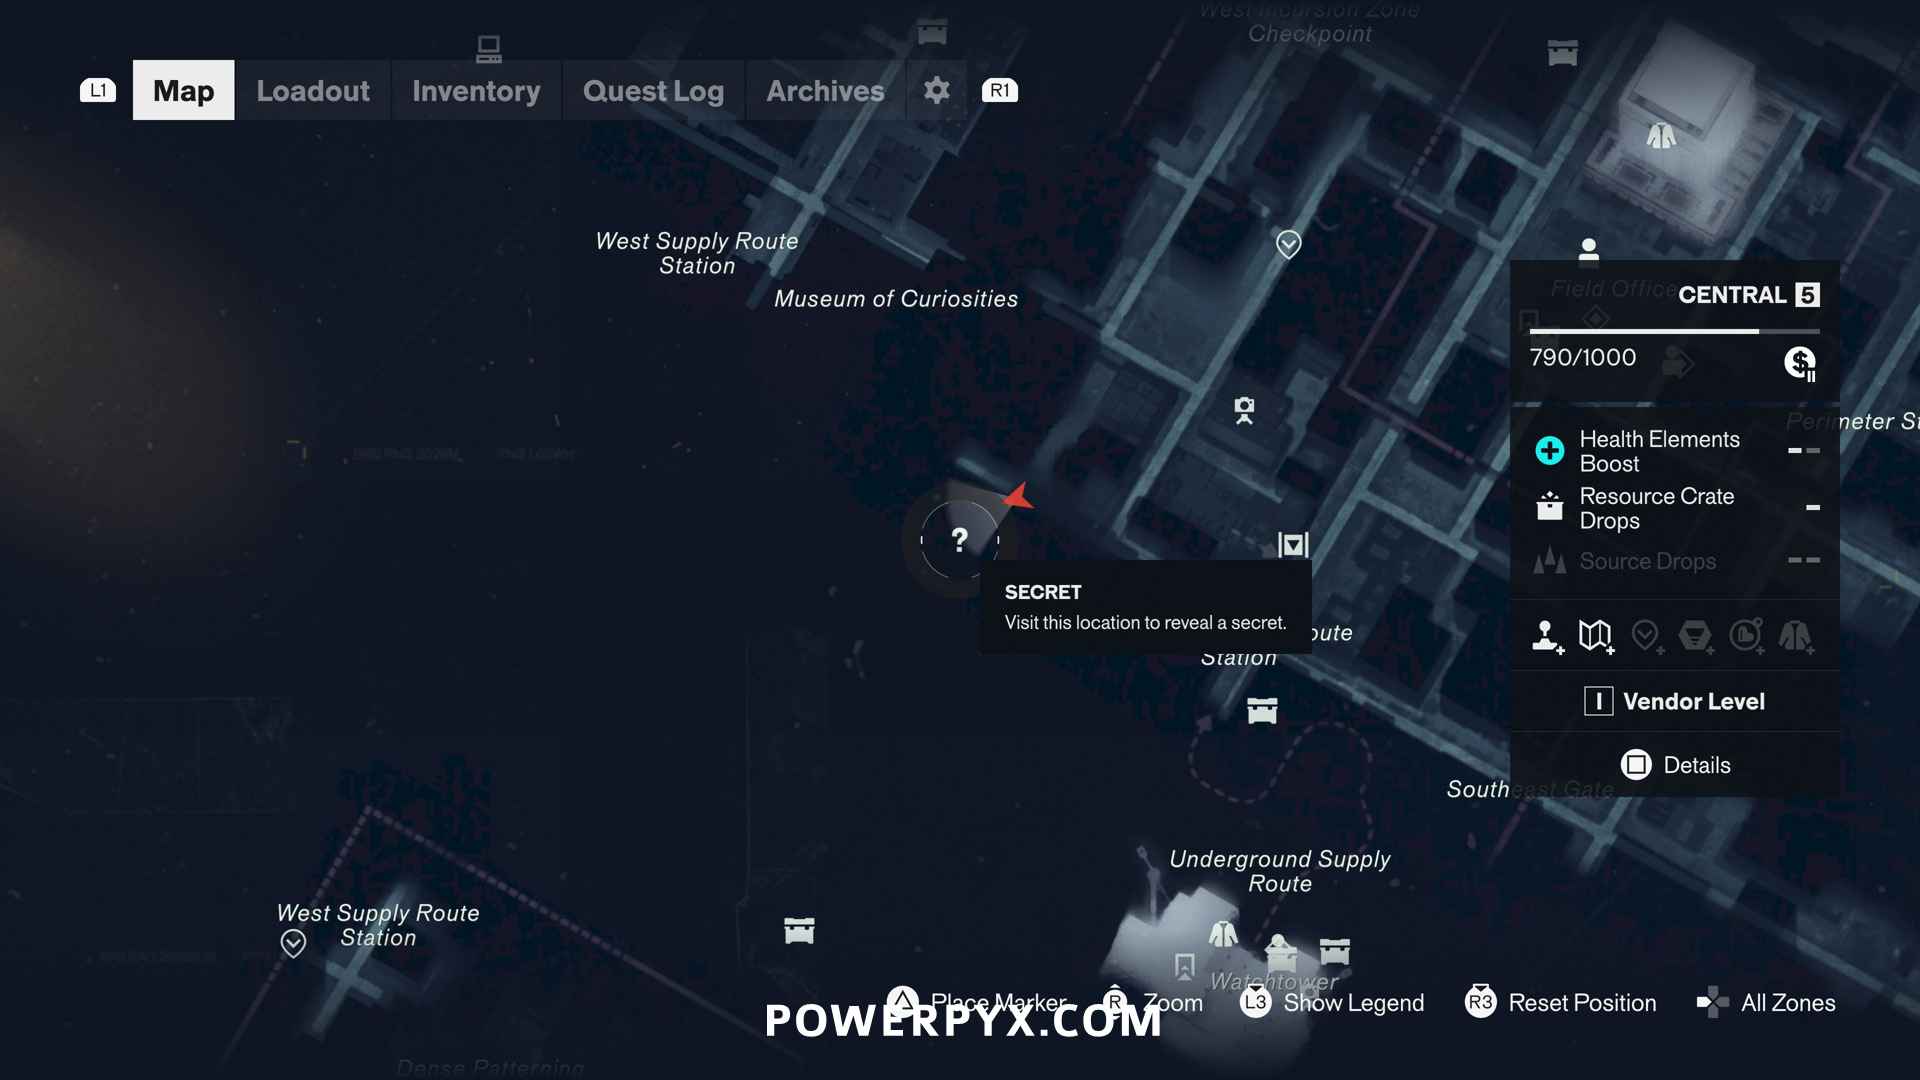
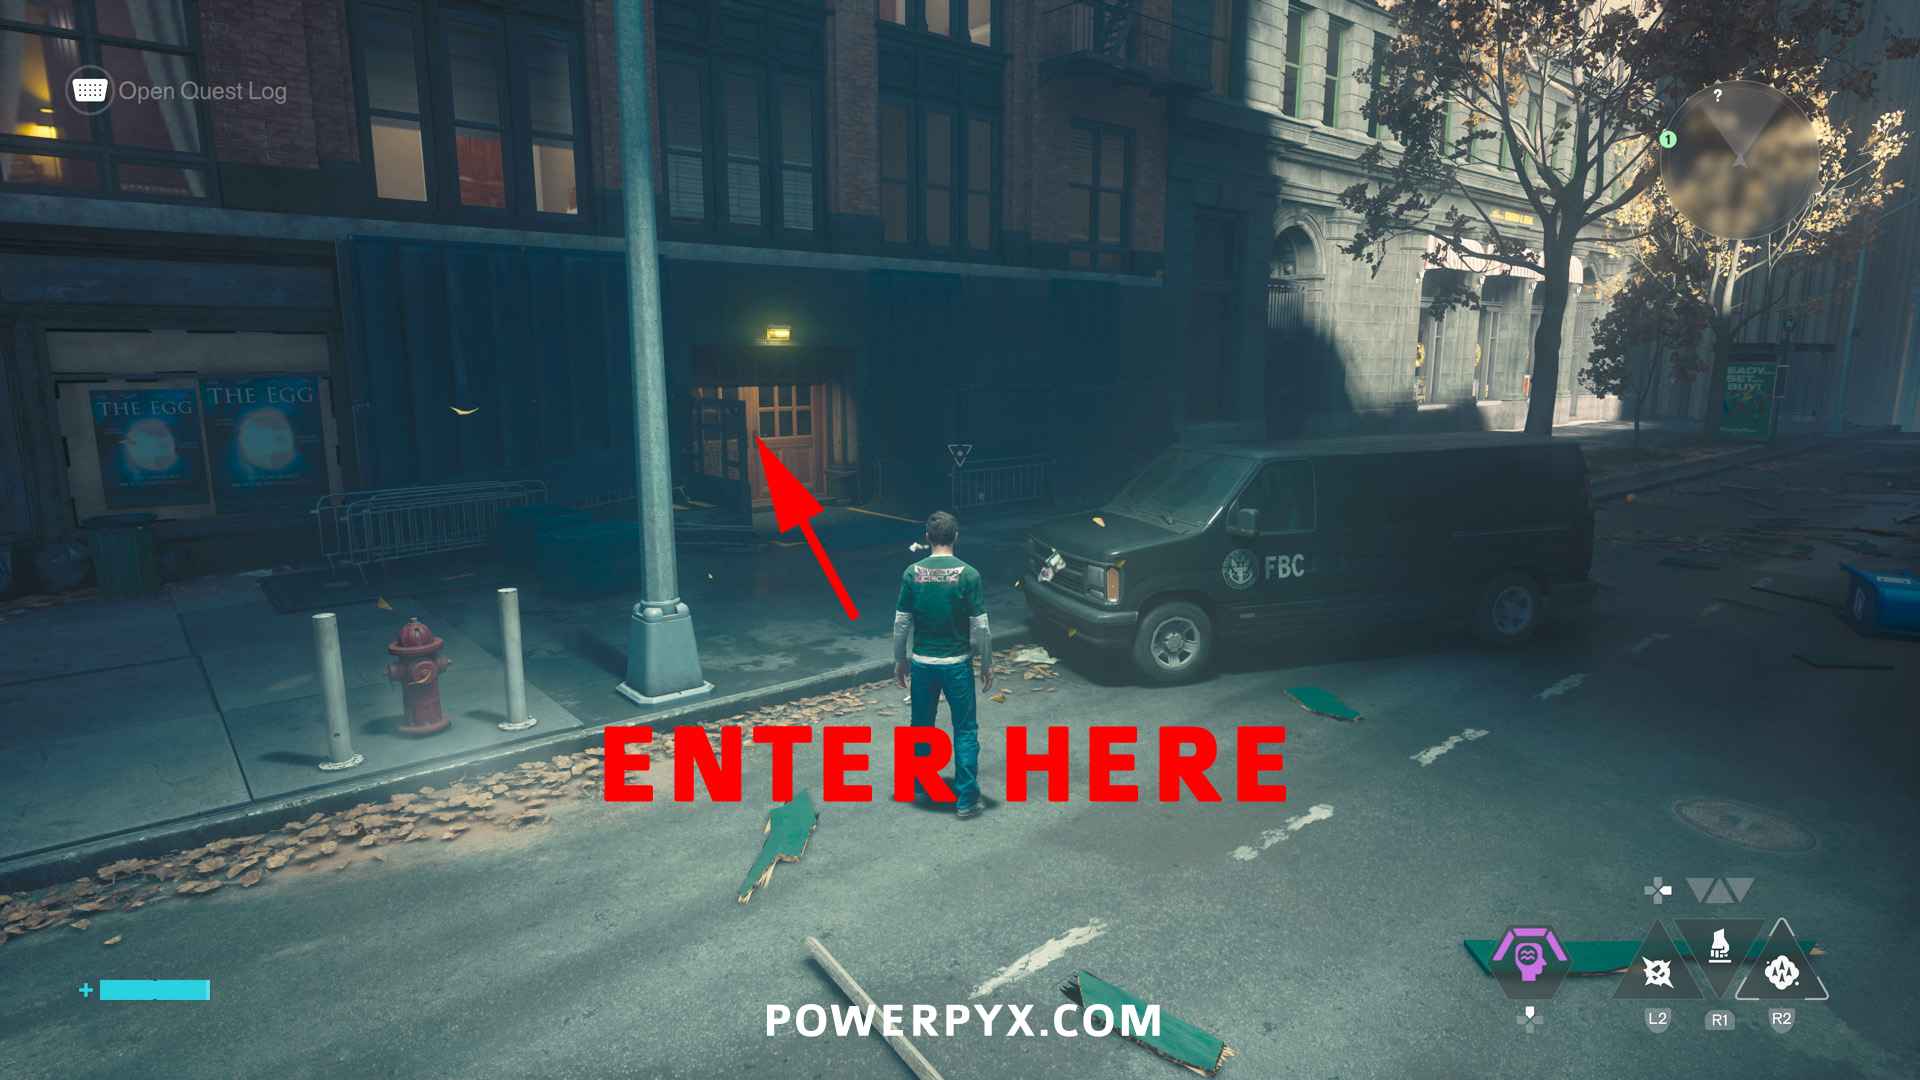
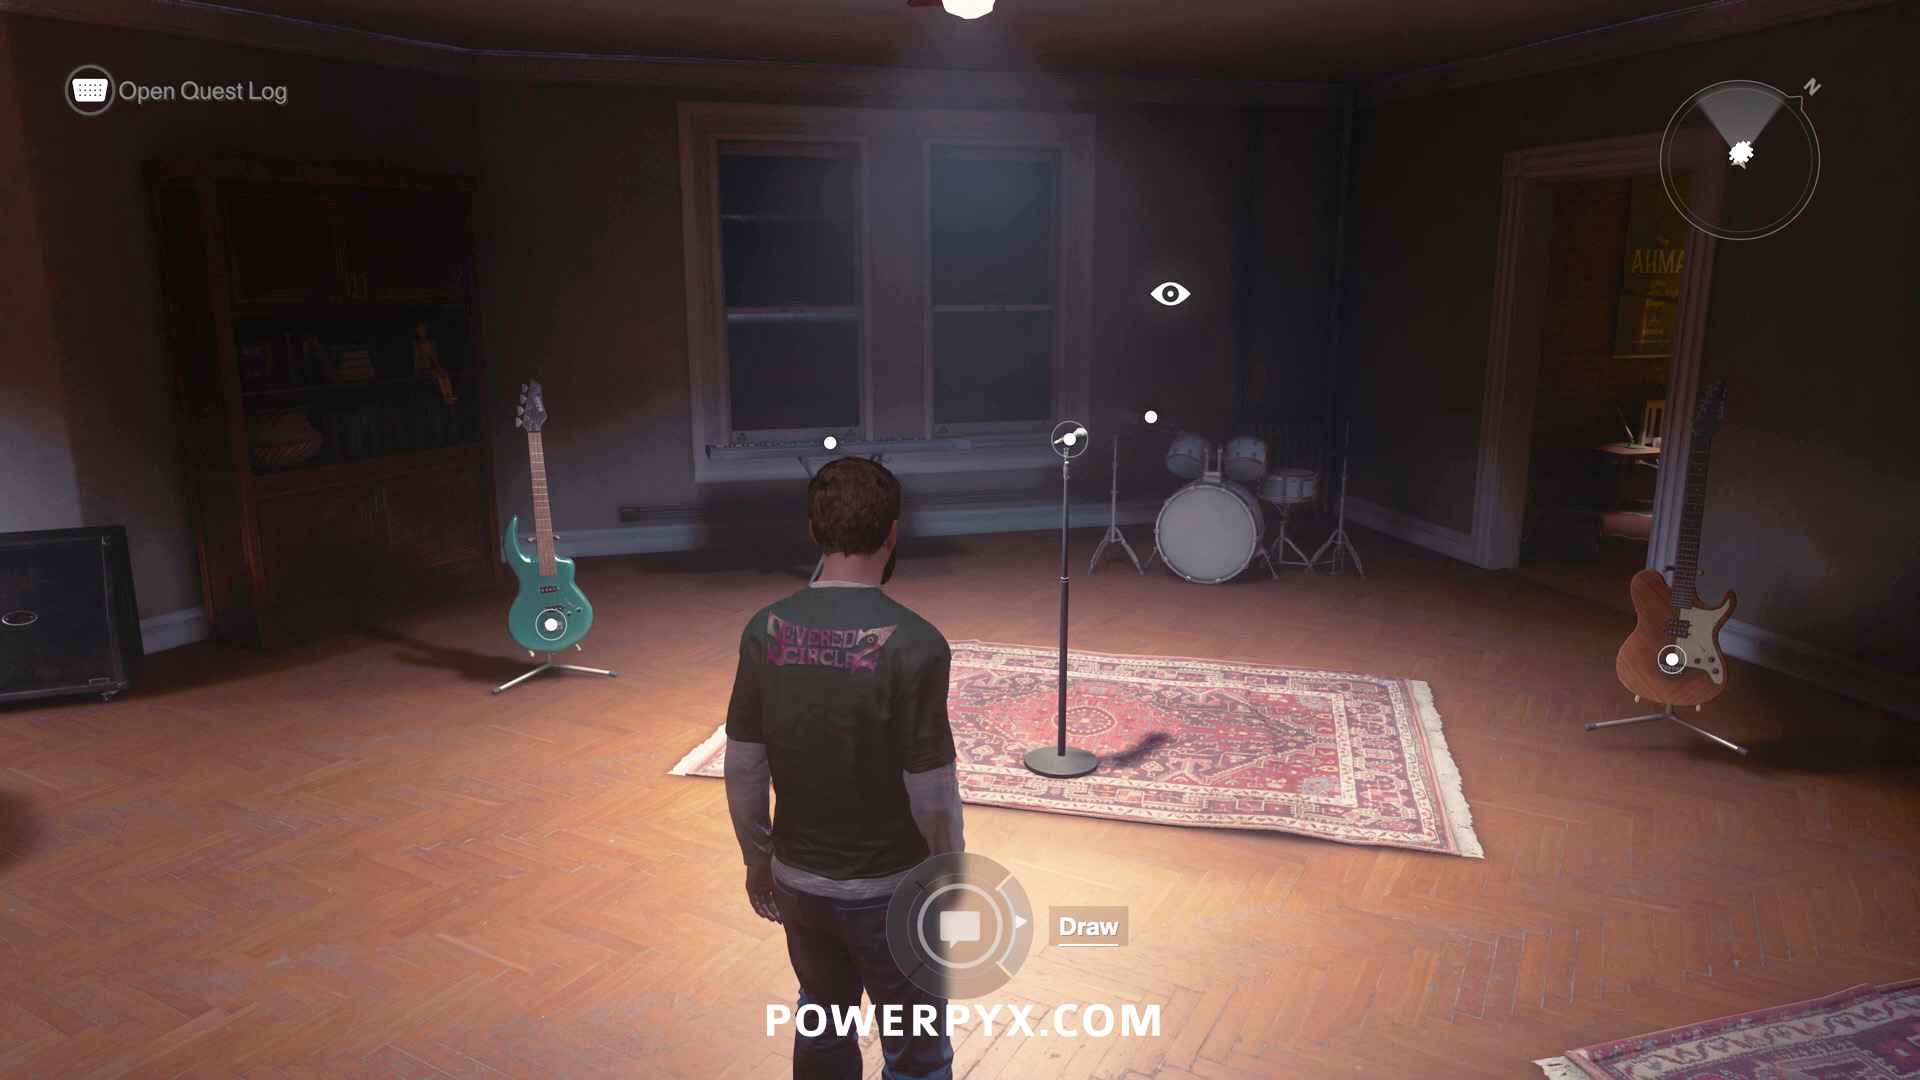
In the south-west corner of Central, from the street level you can enter the door to an apartment building (behind a black FBC vehicle). Inside the apartment building go up the first staircase and enter the first door on the left. In this apartment inspect the music instruments. Then 5 items get marked with puzzle icons in the apartment, place them as shown below (blue guitar left, keyboard middle, drum in right corner, brown guitar on right side, microphone on mic stand).
#5 – Secret Hideout
From the street enter the “Wear’Em & Wash’Em” laundromat. If the door is blocked by a red barrier, look in the air to see red lines, then follow those lines to find destructible objects connected to the door. Once they are destroyed the door opens.
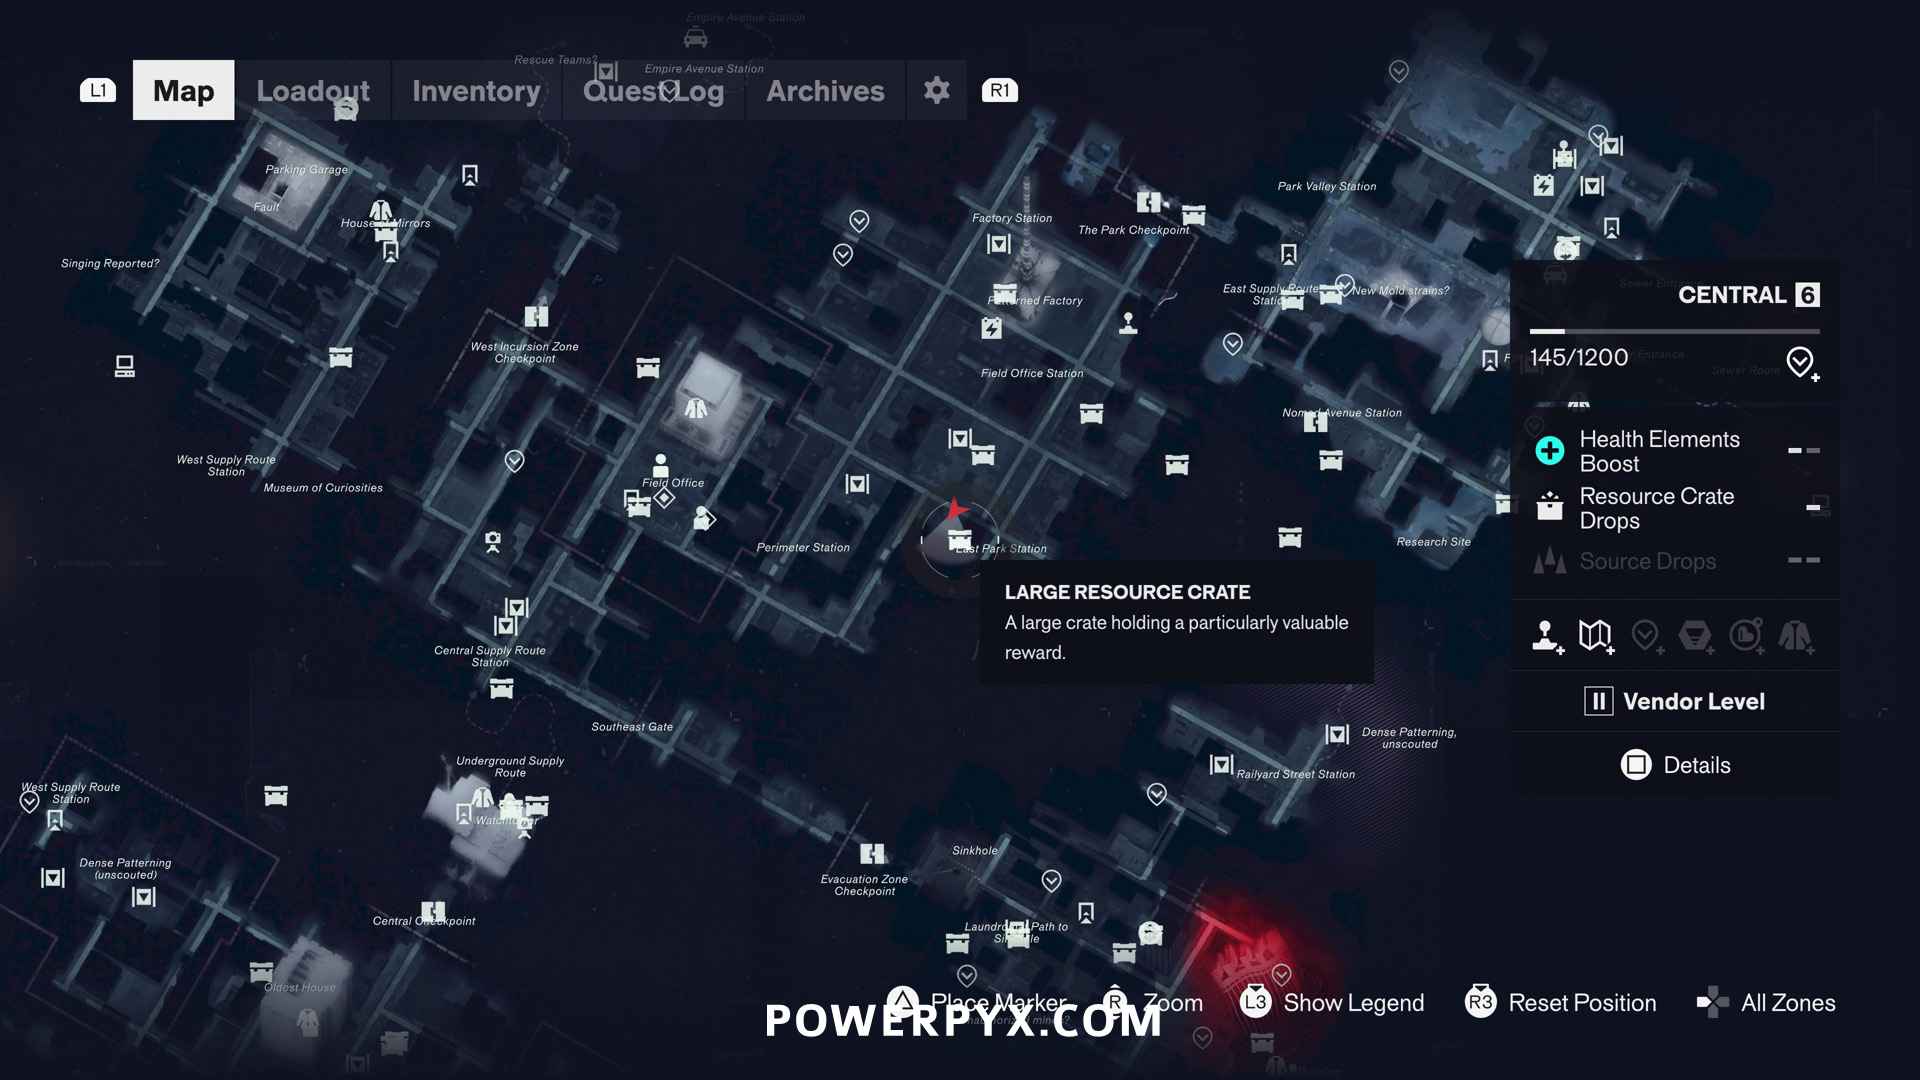
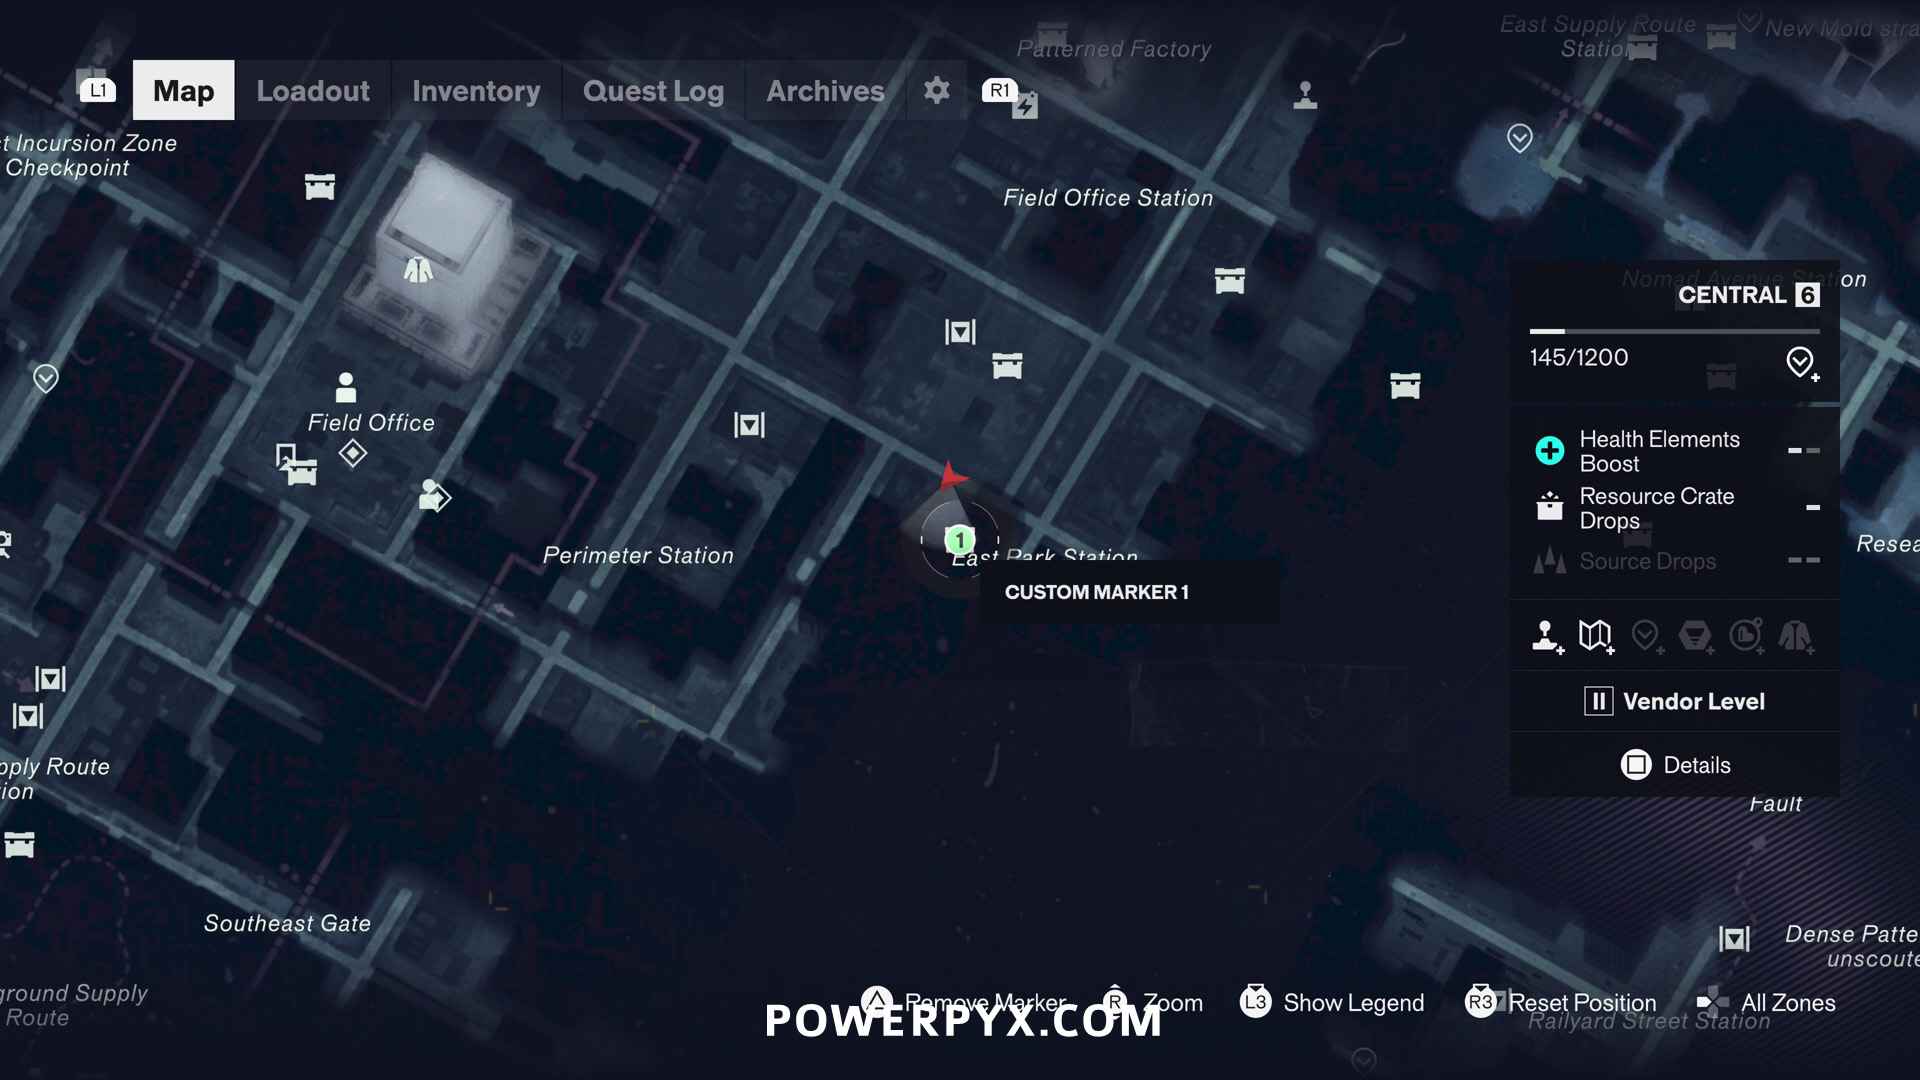
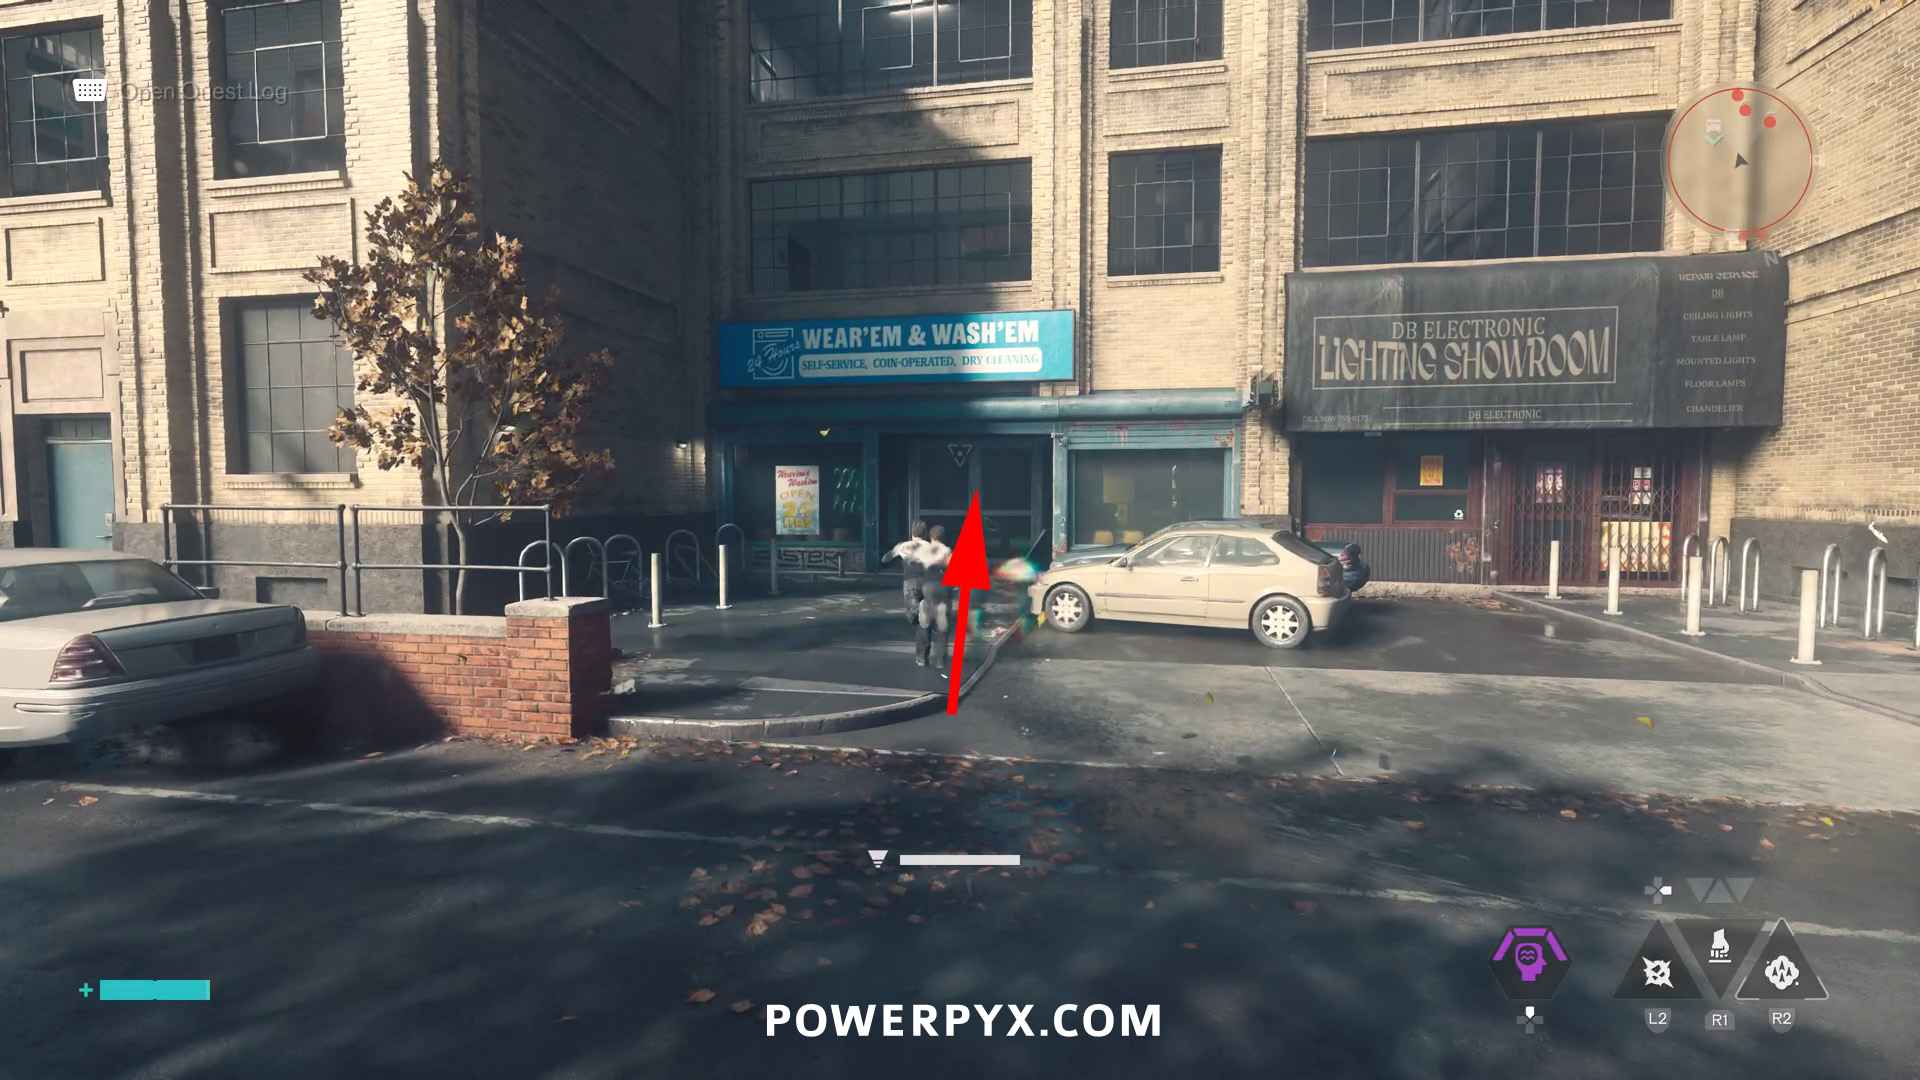
Inside the laundromat read the notes on the wall, then you must turn on/off the correct washing machines.
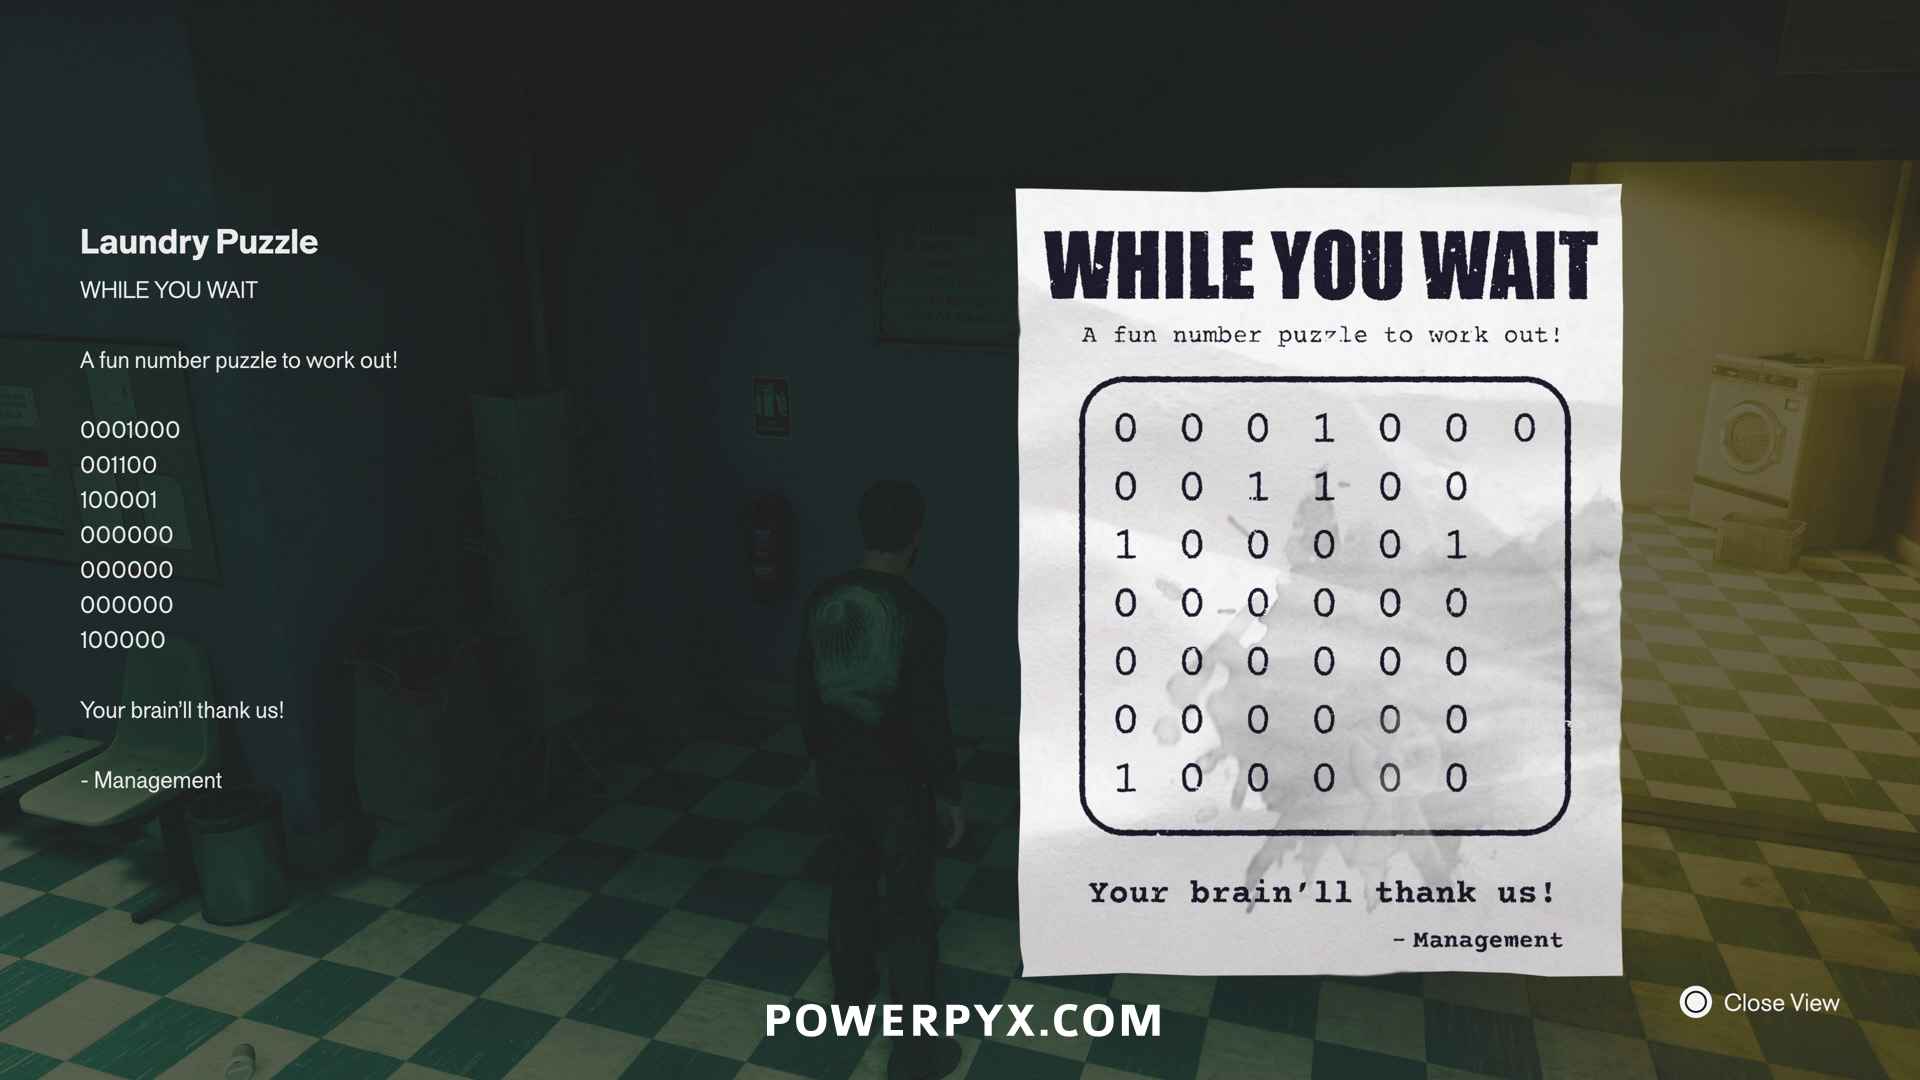
There are 6 Columns of washing machines, we’ll label them 1 through 6 with 1 being the leftmost and 6 being the rightmost.
- Column 1 (Left Side) = turn ON the 1 interactable machine
- Column 2 = turn ON the 2 interactable machines
- Column 3 = turn ON the 2 interactable machines
- Column 4 = turn OFF all machines (one is on when you enter and must be turned off)
- Column 5 = turn OFF all machines (they are off by default)
- Column 6 = turn ON the machine closest to the door, keep the other 2 machines turned off
Then the door opens and you can collect the health upgrade inside.
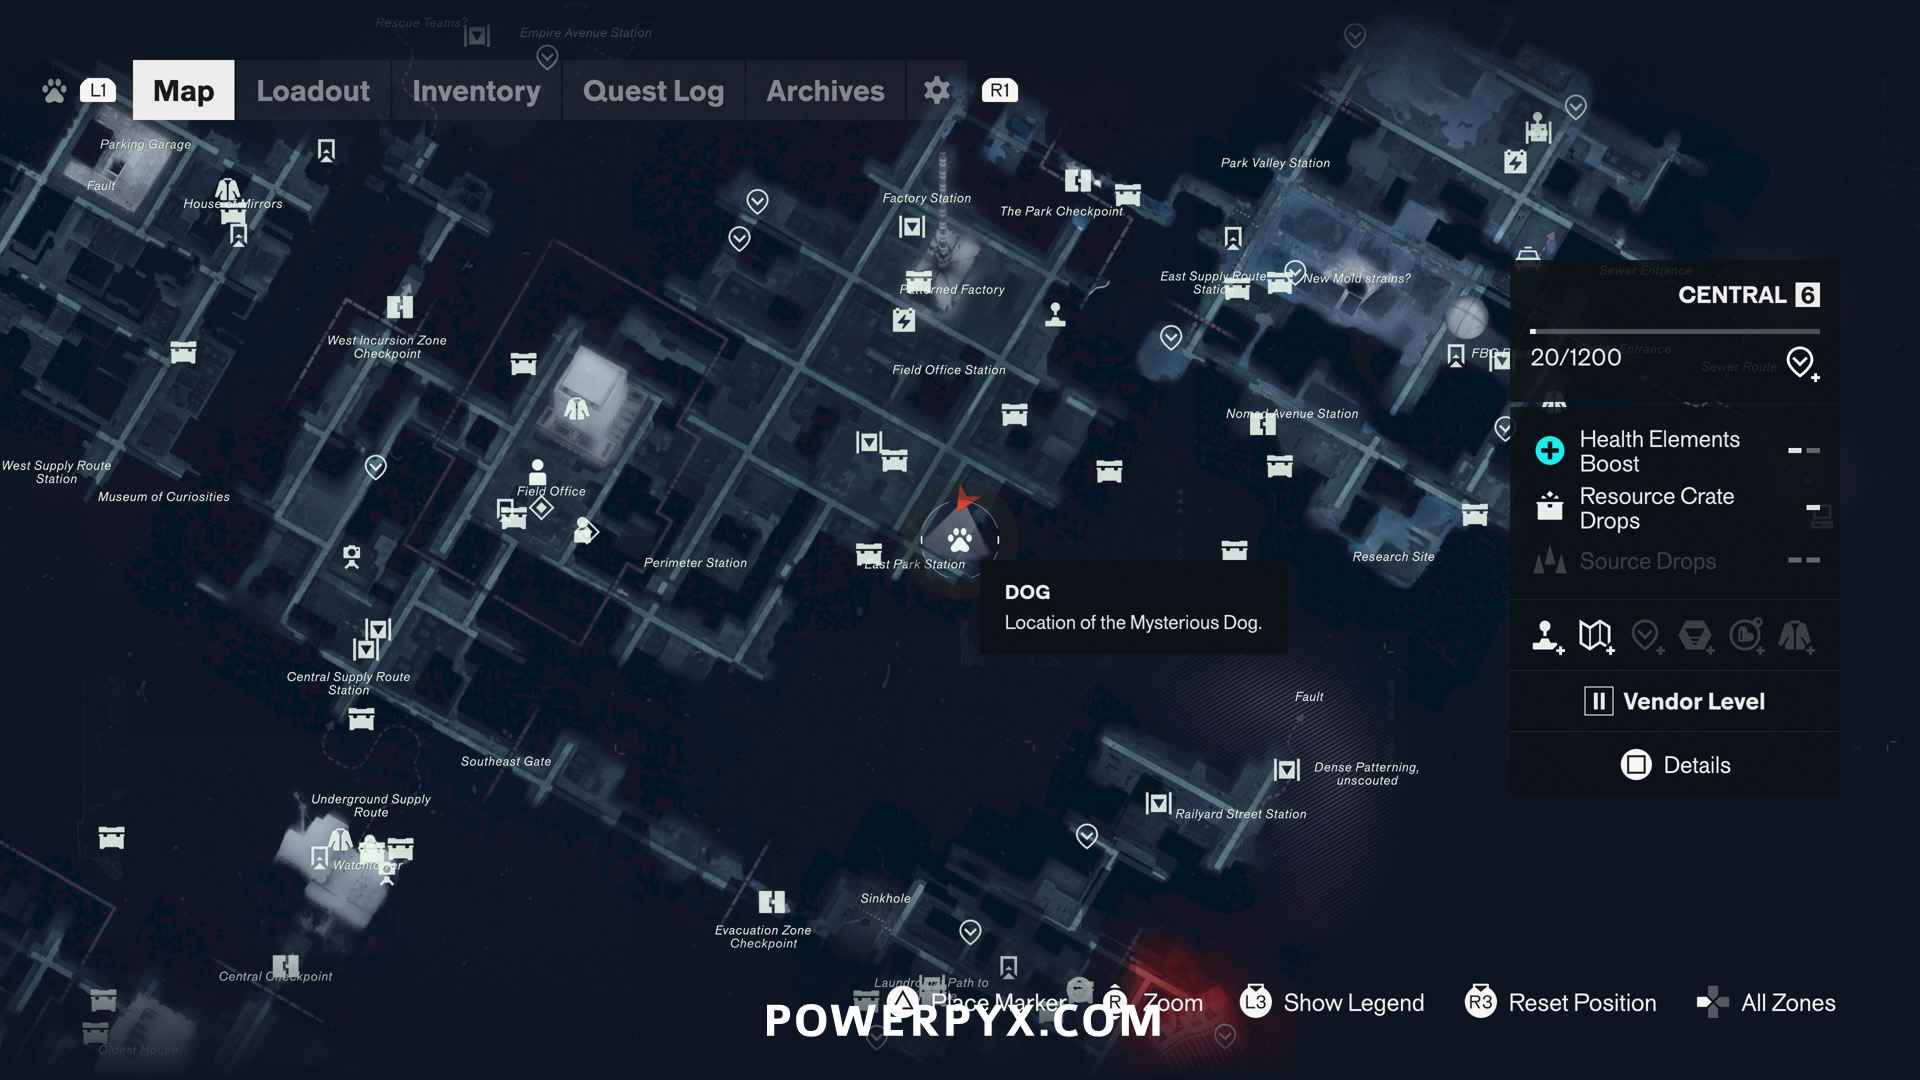
#6 – Dog
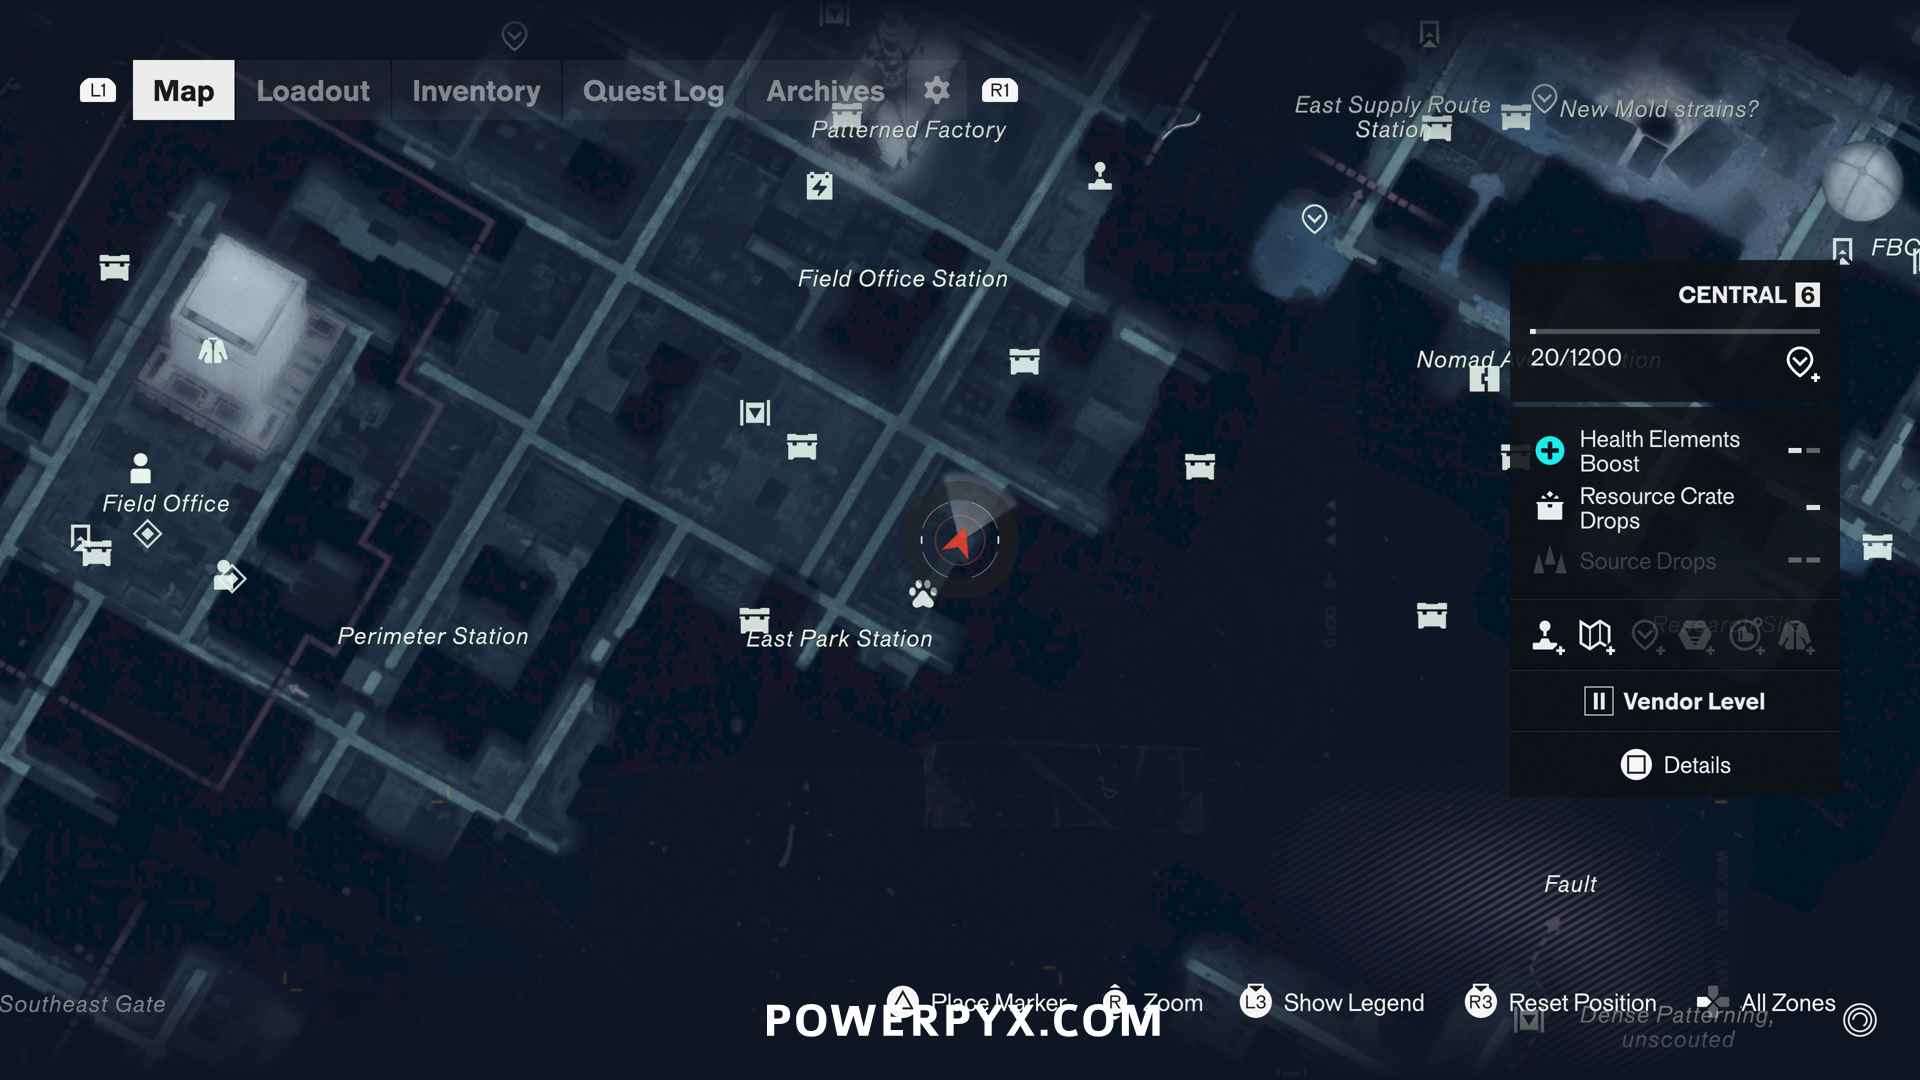
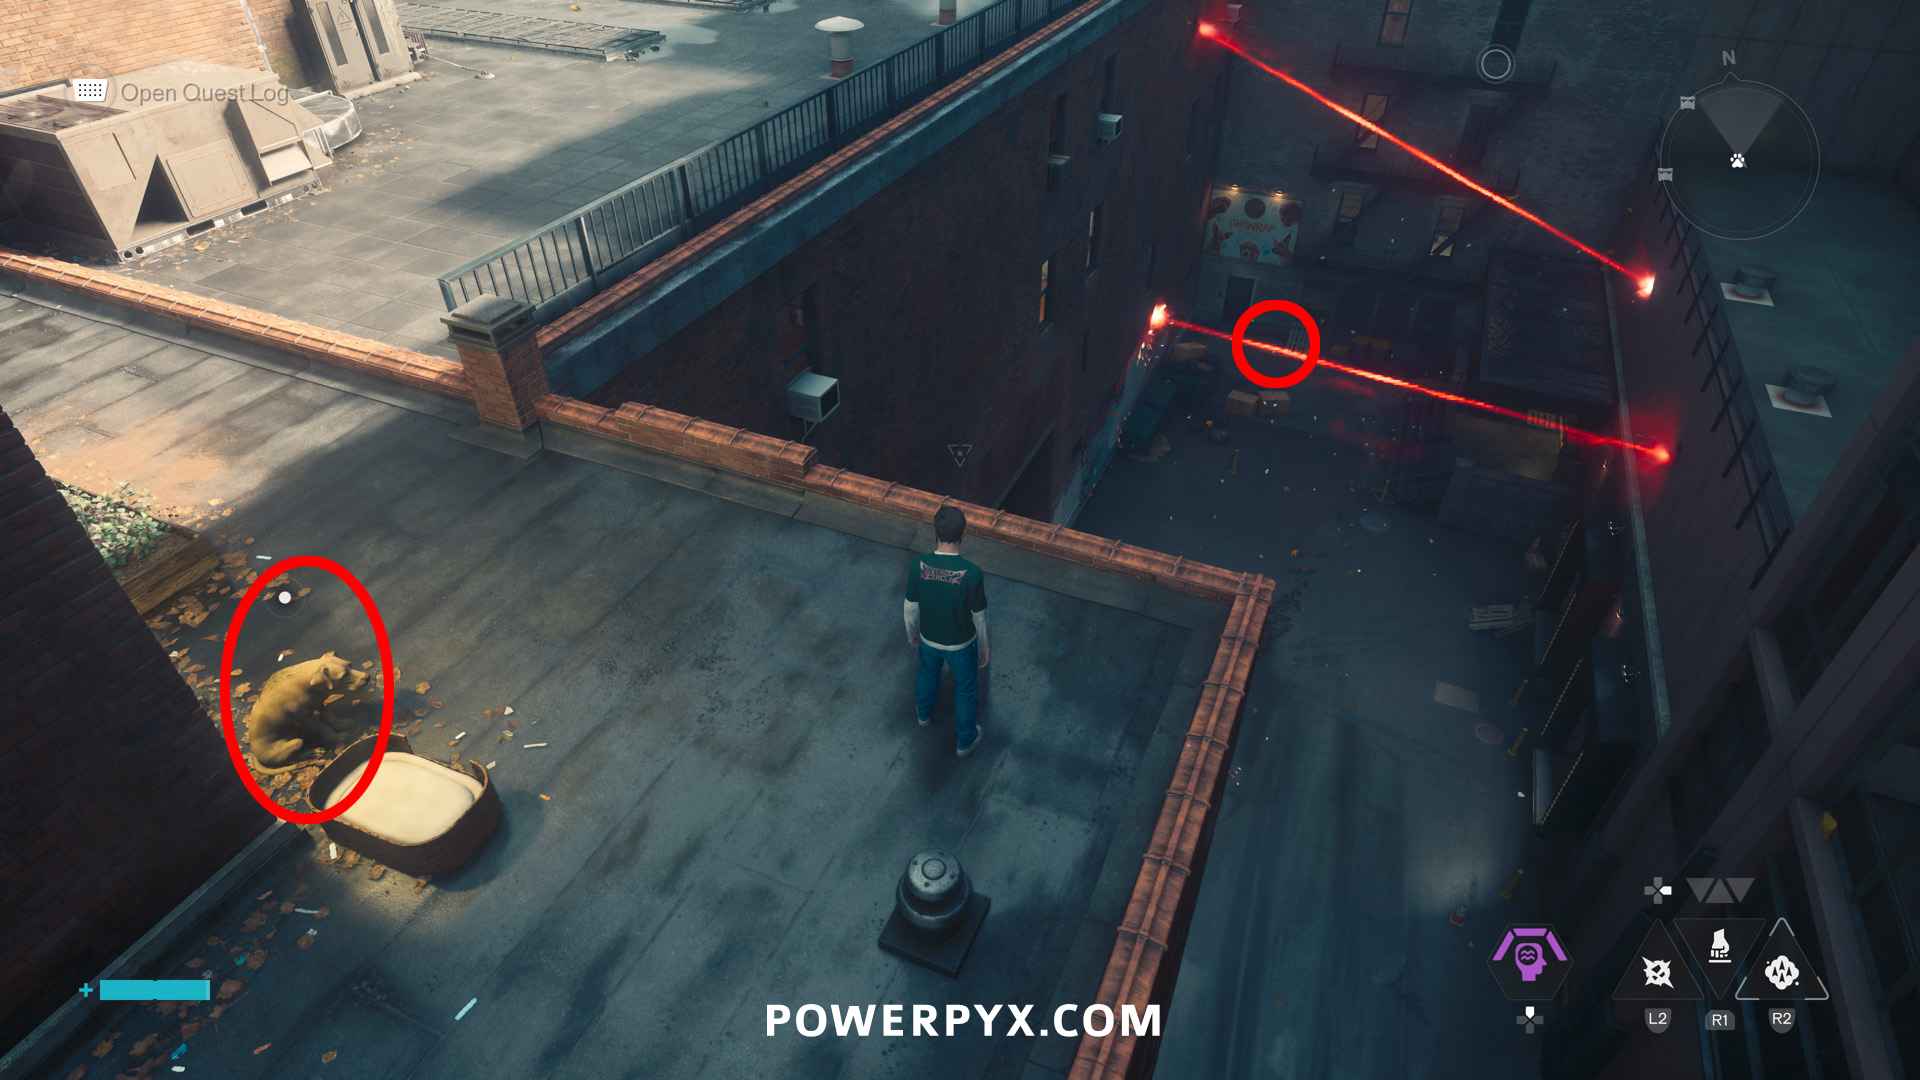
On a rooftop in the east of Central. The toy is at the end of the alley below the dog, in the direction the dog is facing.
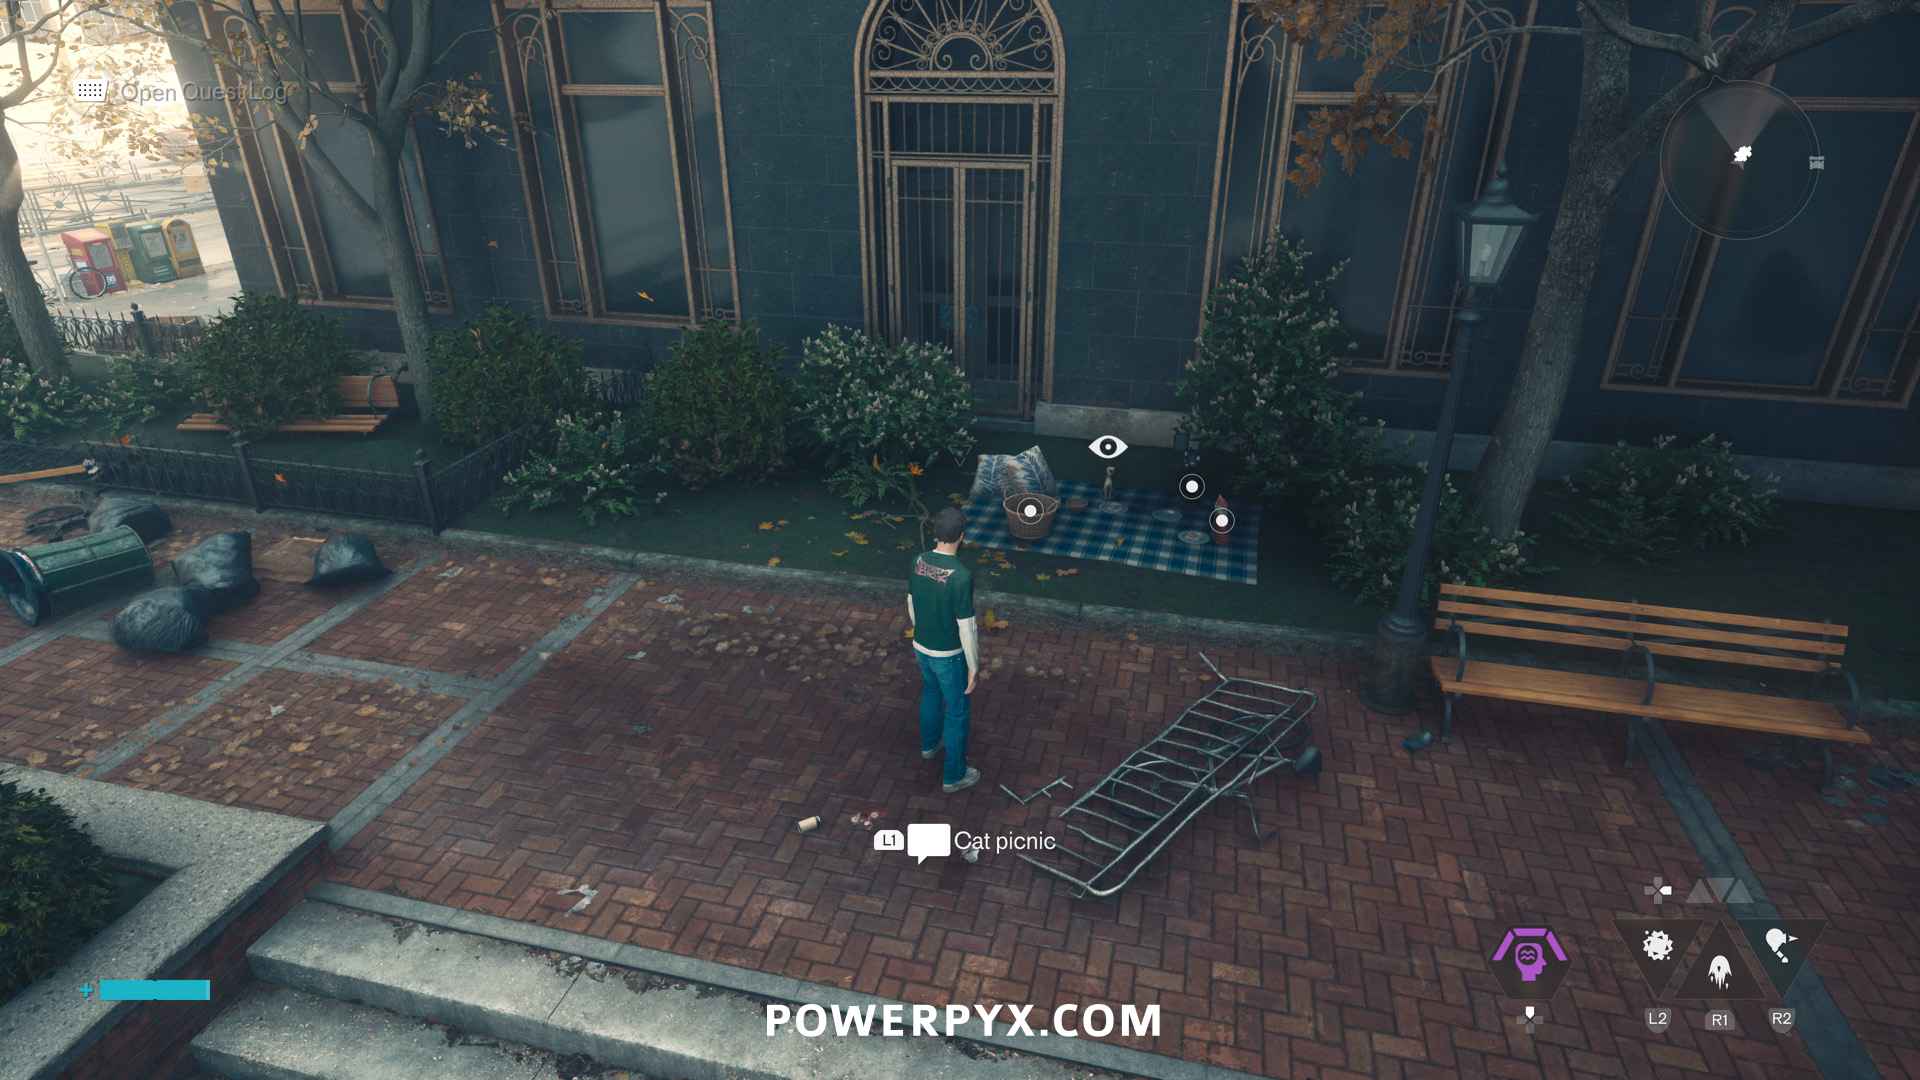
#7 – Dylan’s Sketchbook – The Cat Picnic
In the eastern half of Central zone, inspect the Cat Picnic tarp in the corner of a yard at a blue house. After inspecting it, 3 items will be marked with puzzle pieces on the minimap. Place them as shown below (basket from left, black cat back right, ginger cat back middle).
#8 – Testing Facility
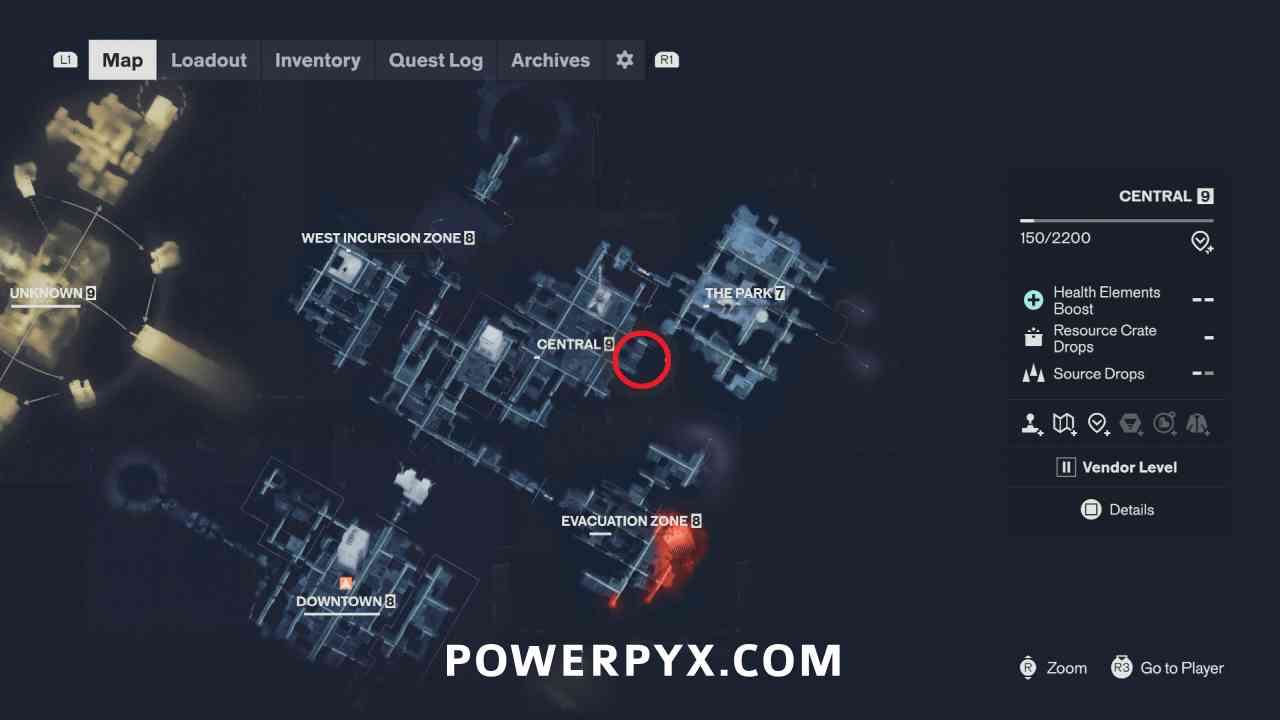
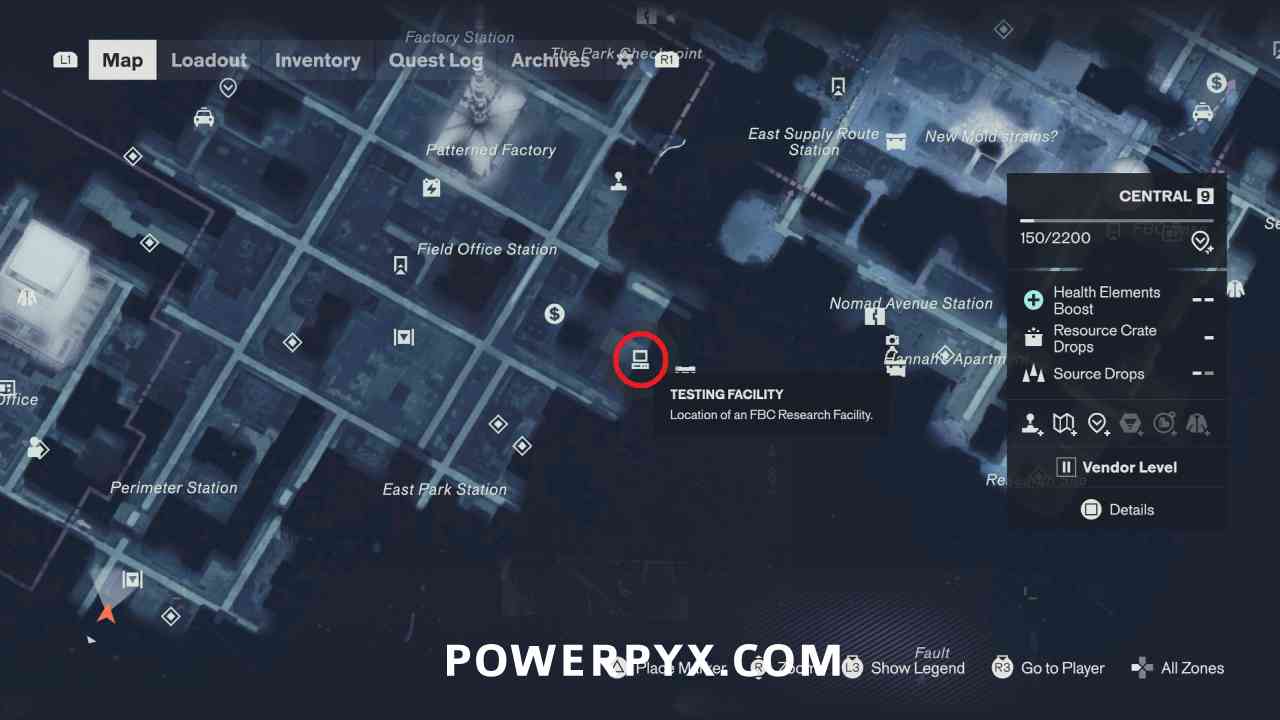
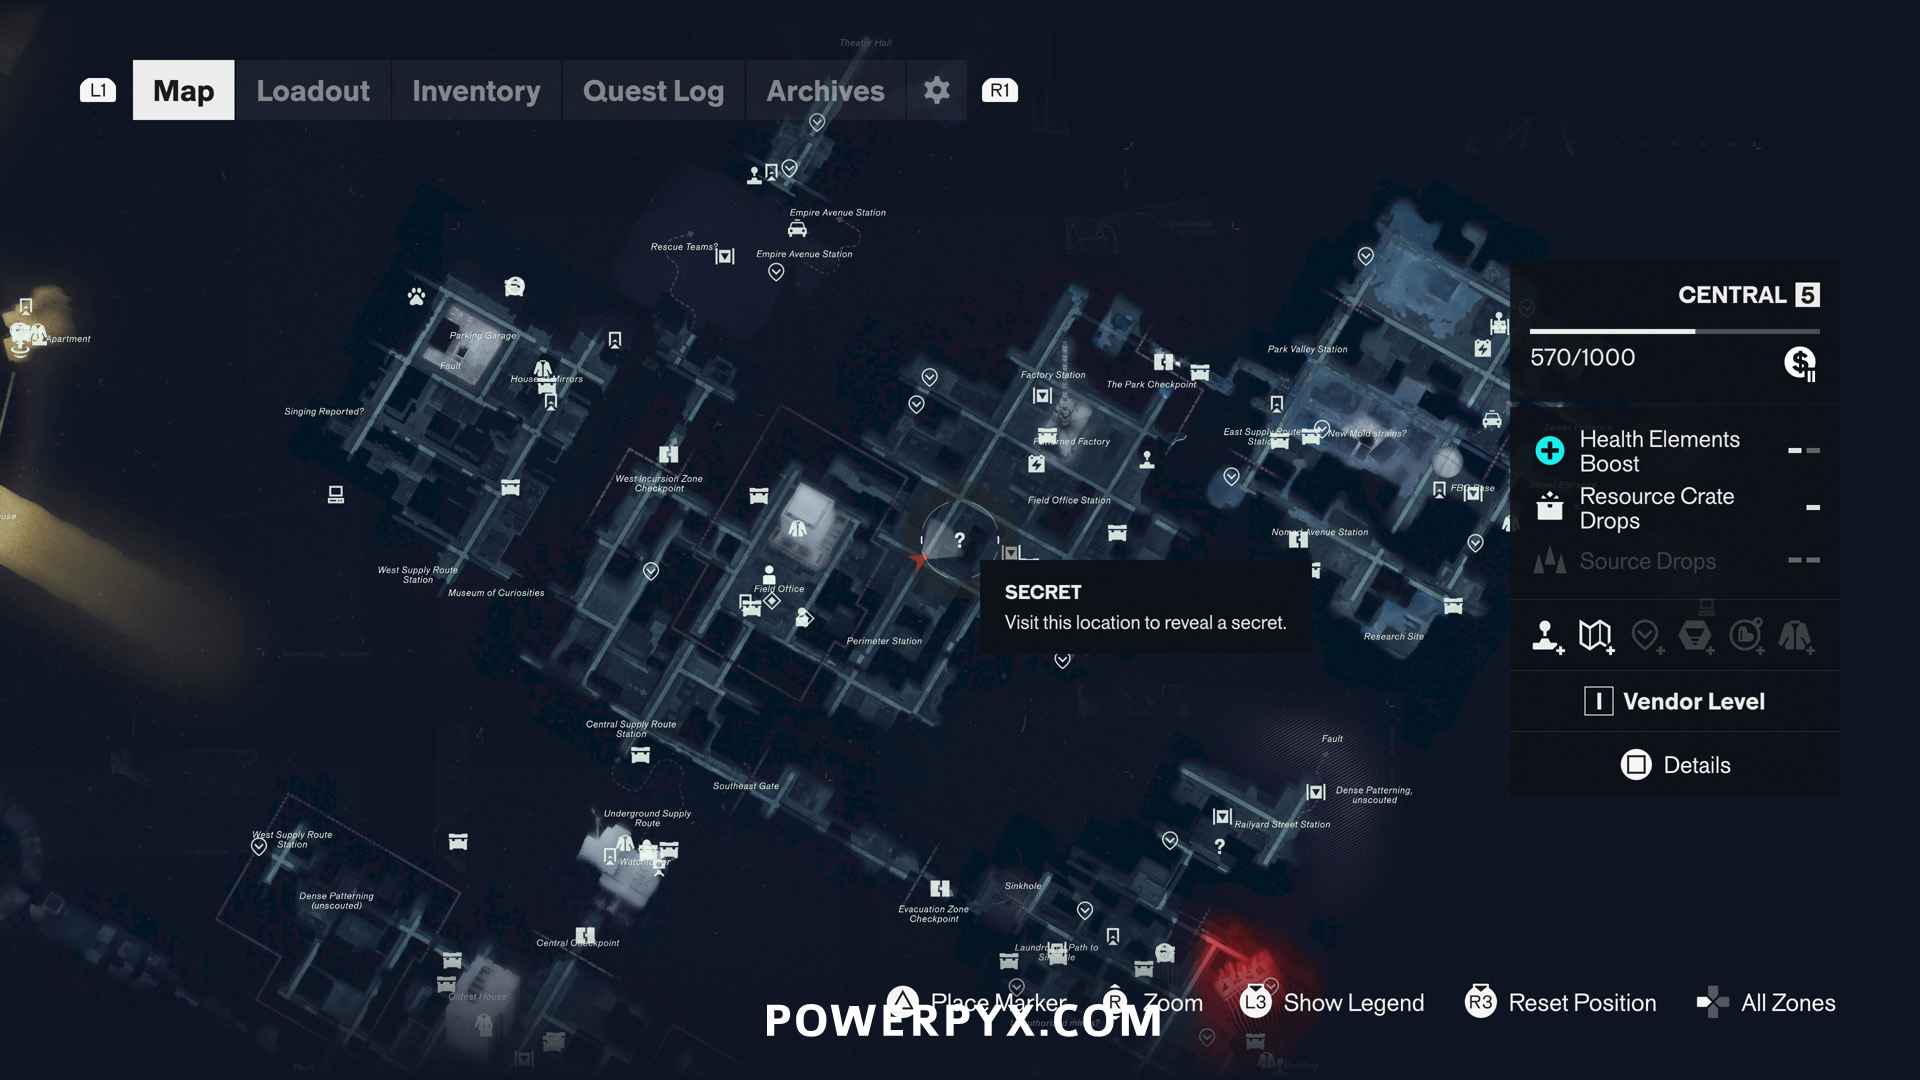
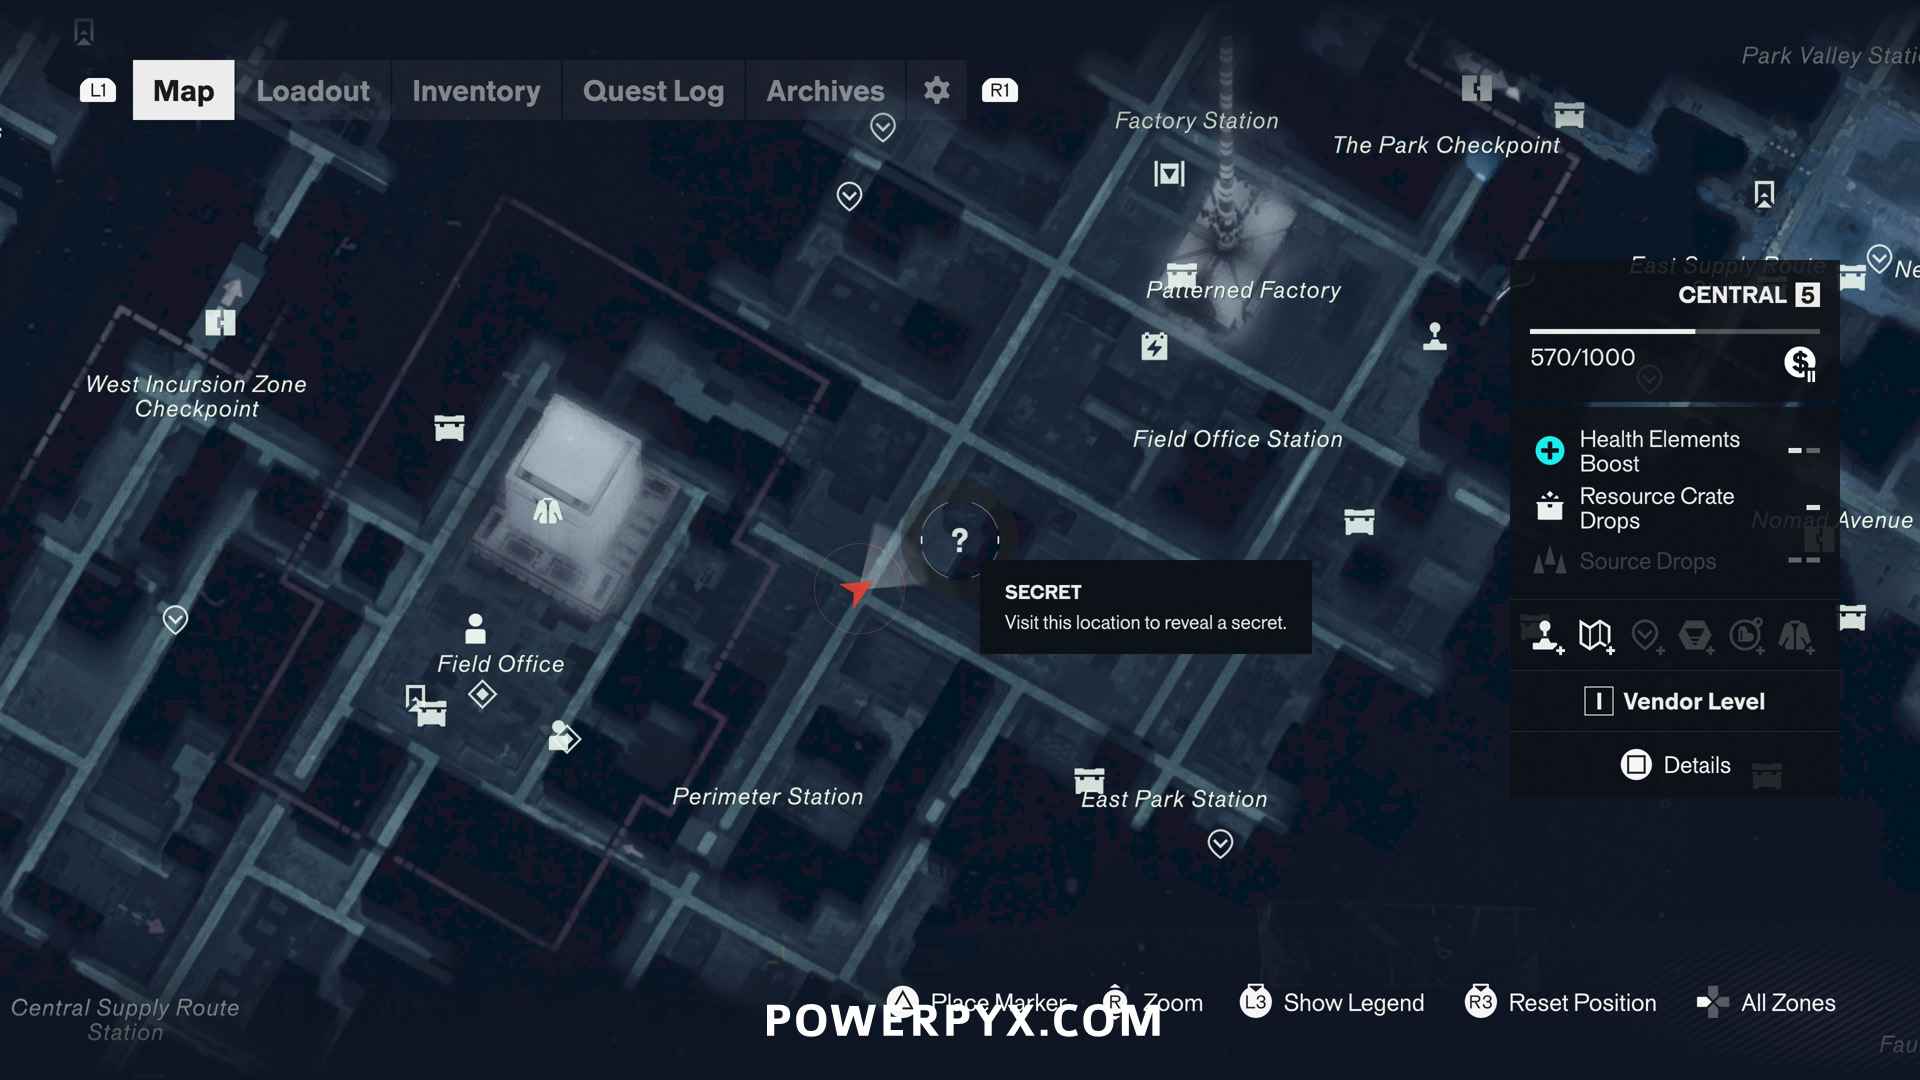
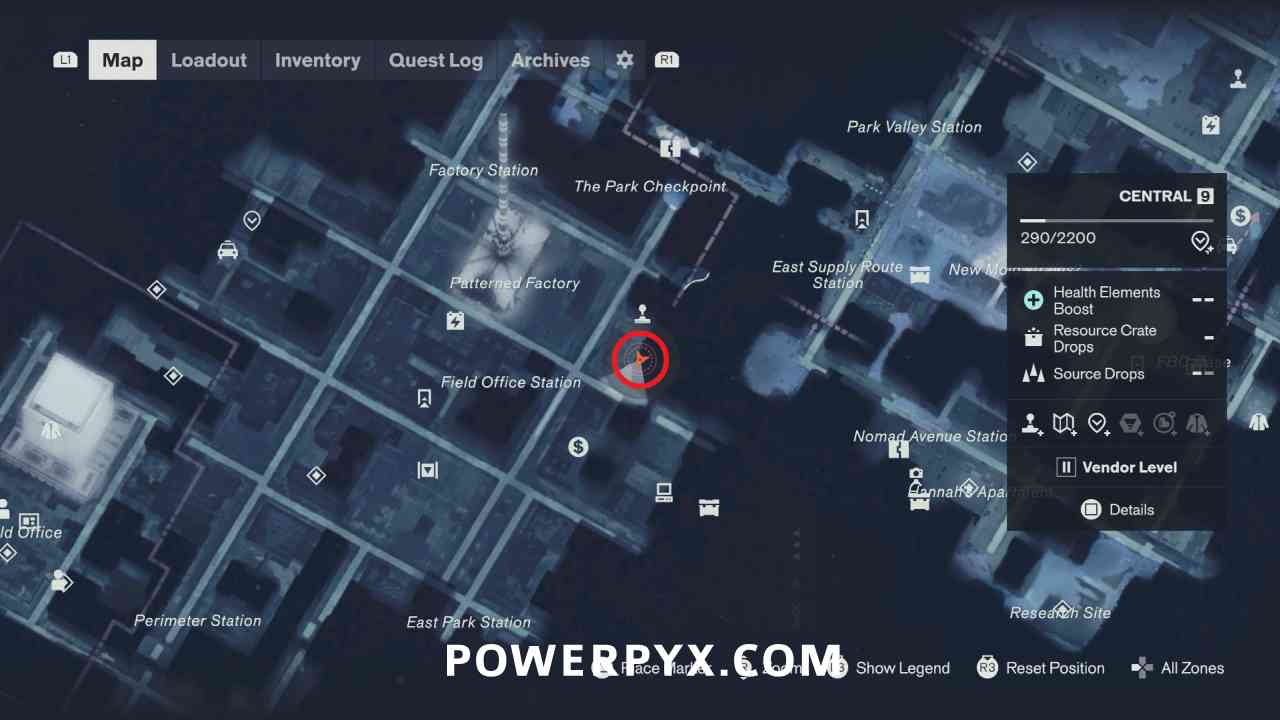
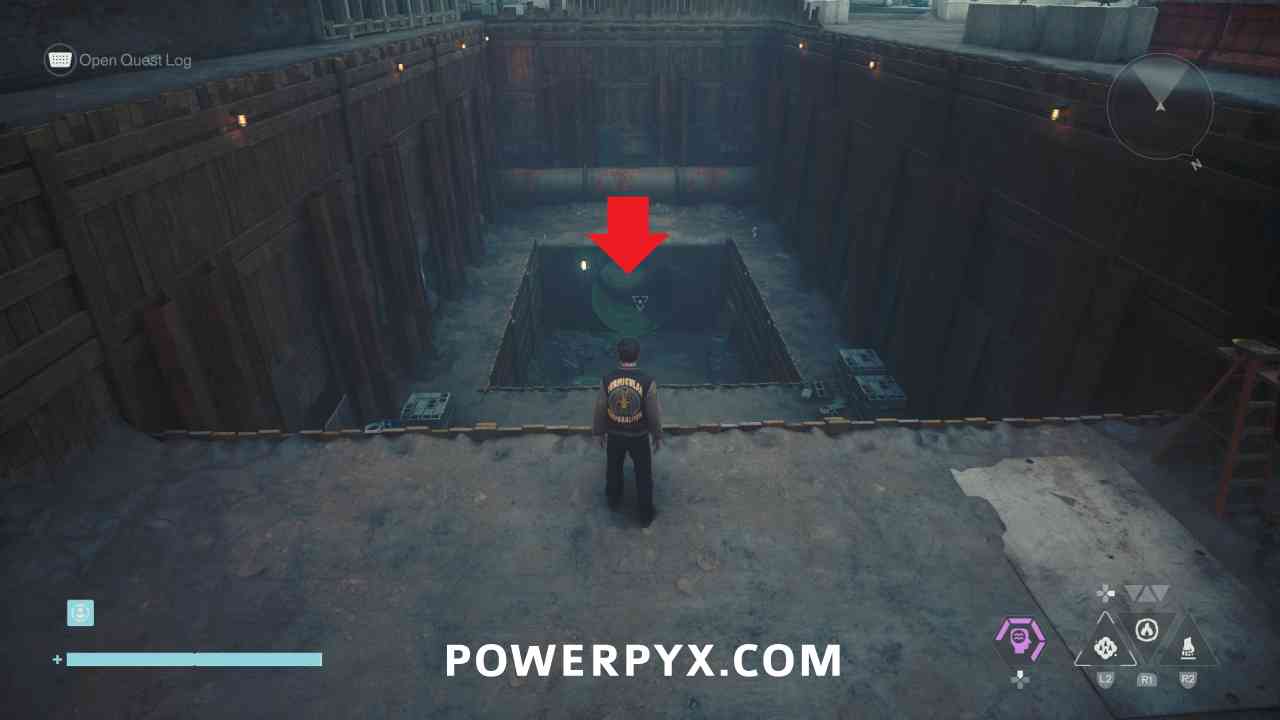
The Testing Facility in Central is reached through a pipe in an open pit southeast of the Patterned Factory.
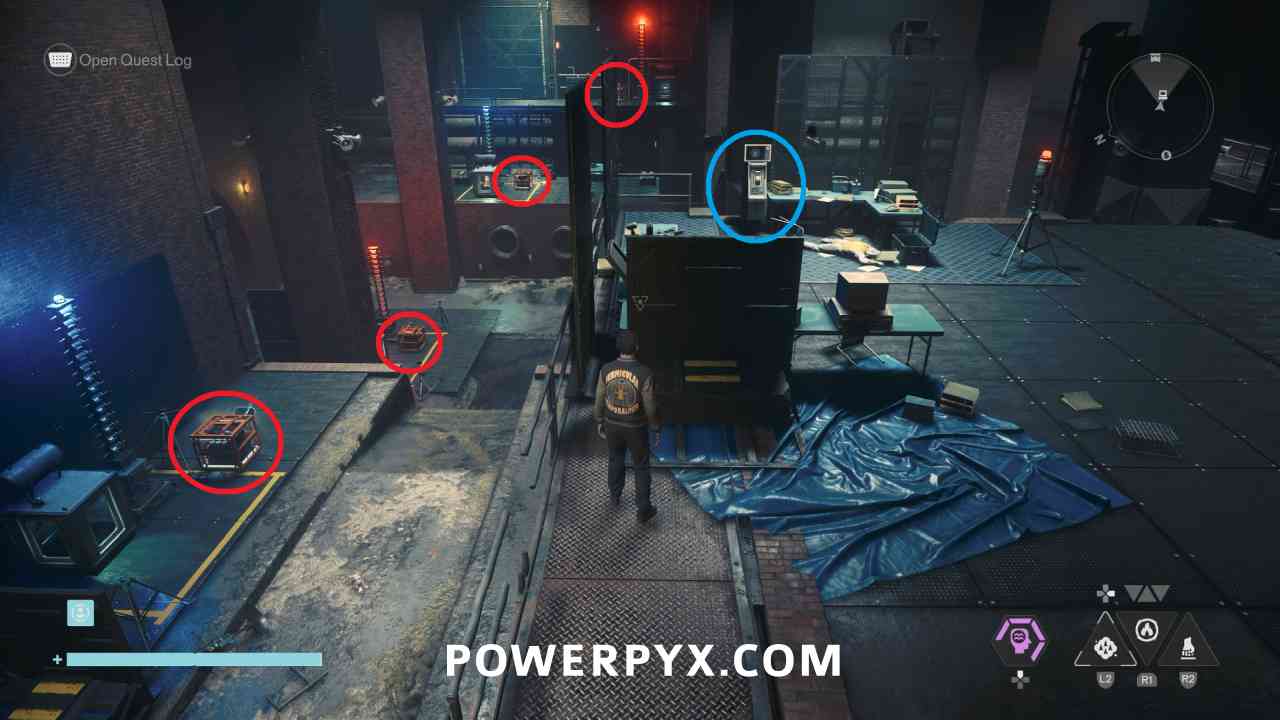
This area has 4 Charge cores, with 2 charges present. You need to interact with the switch (blue circle) which starts a 60 second timer. During this time you need to keep moving the charges back and forth between the cores so that they don’t overload. The spot that currently has a charge is blue, and one that doesn’t have a charge is red. You need to keep moving the charges back and forth between the spots, grabbing them from a blue spot when it is blinking and putting it on a red spot when it is blinking. This seems a bit random, but you have around 15 seconds of total time on each spot before it forces you to restart, so you can keep grabbing from the blue spot that you placed second last and move it to a red spot, and you should be able to get through even though it seems like all spots are blinking quite fast.
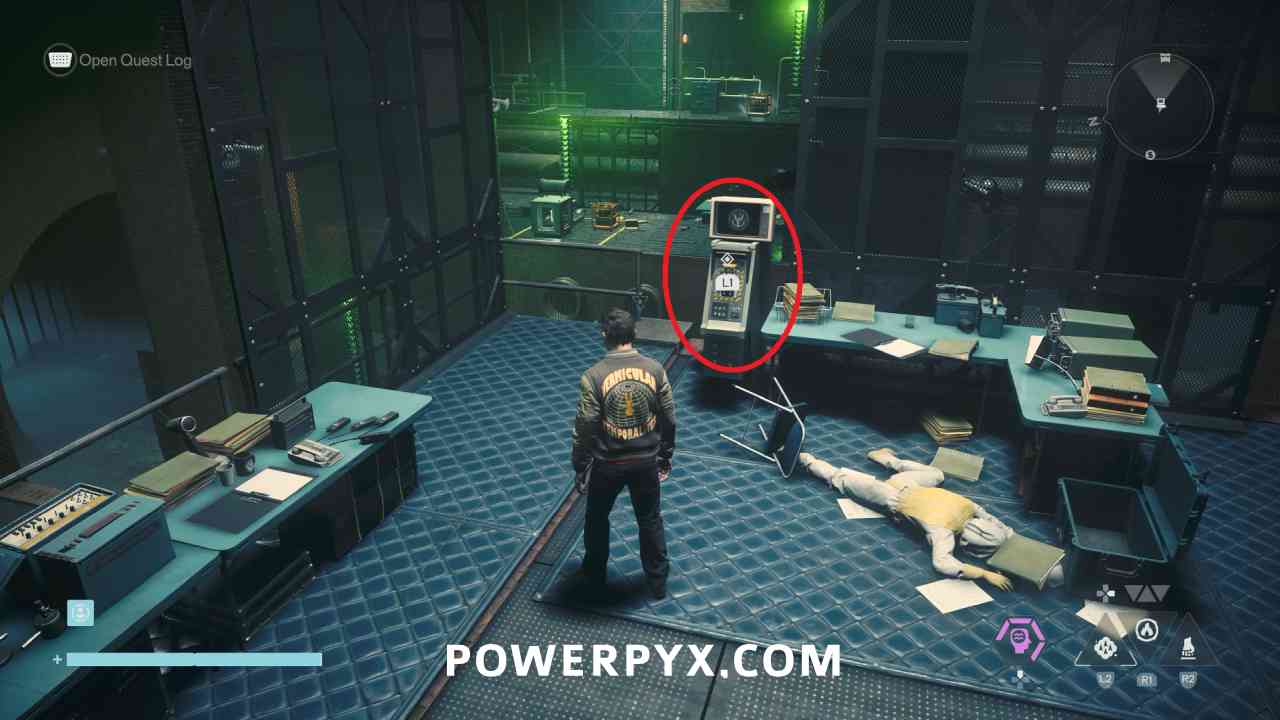
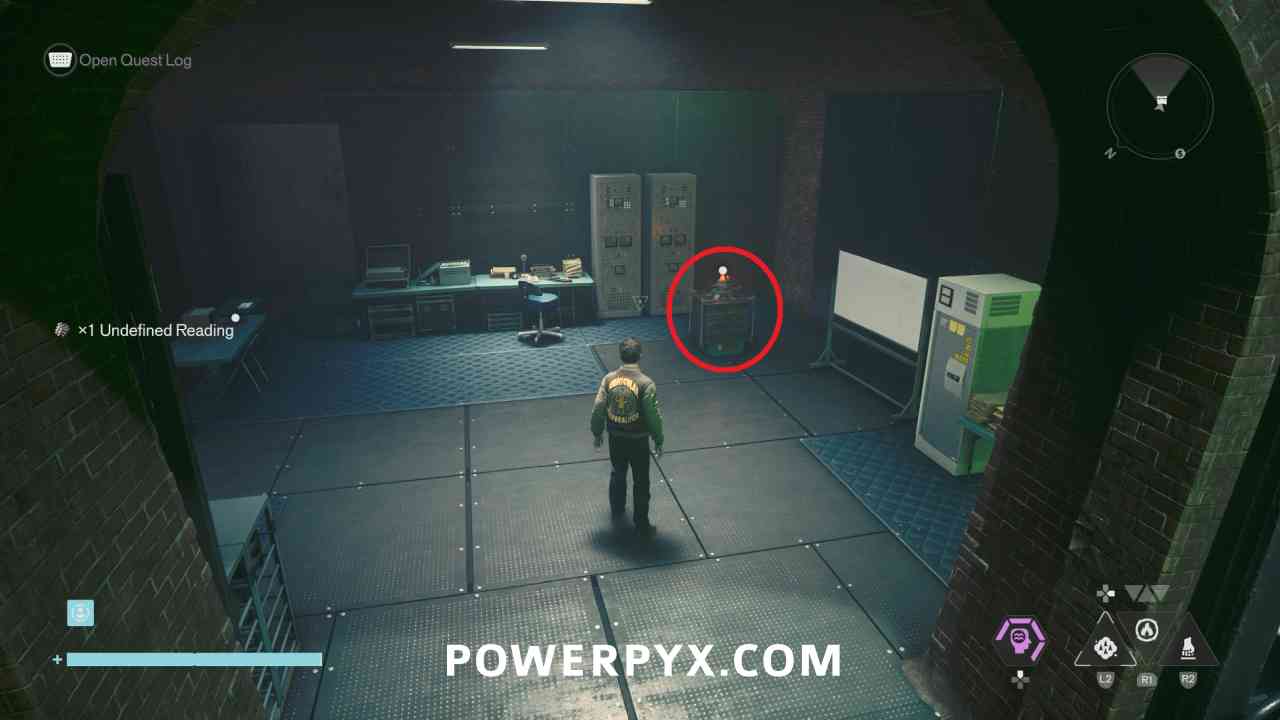
When you have correctly lasted for 60 seconds all the stations will turn green. Then go back up near the computer icon and interact with the switch. You can go to the unlocked door in the corner to collect a Power Upgrade crate.
#9 – Taxi
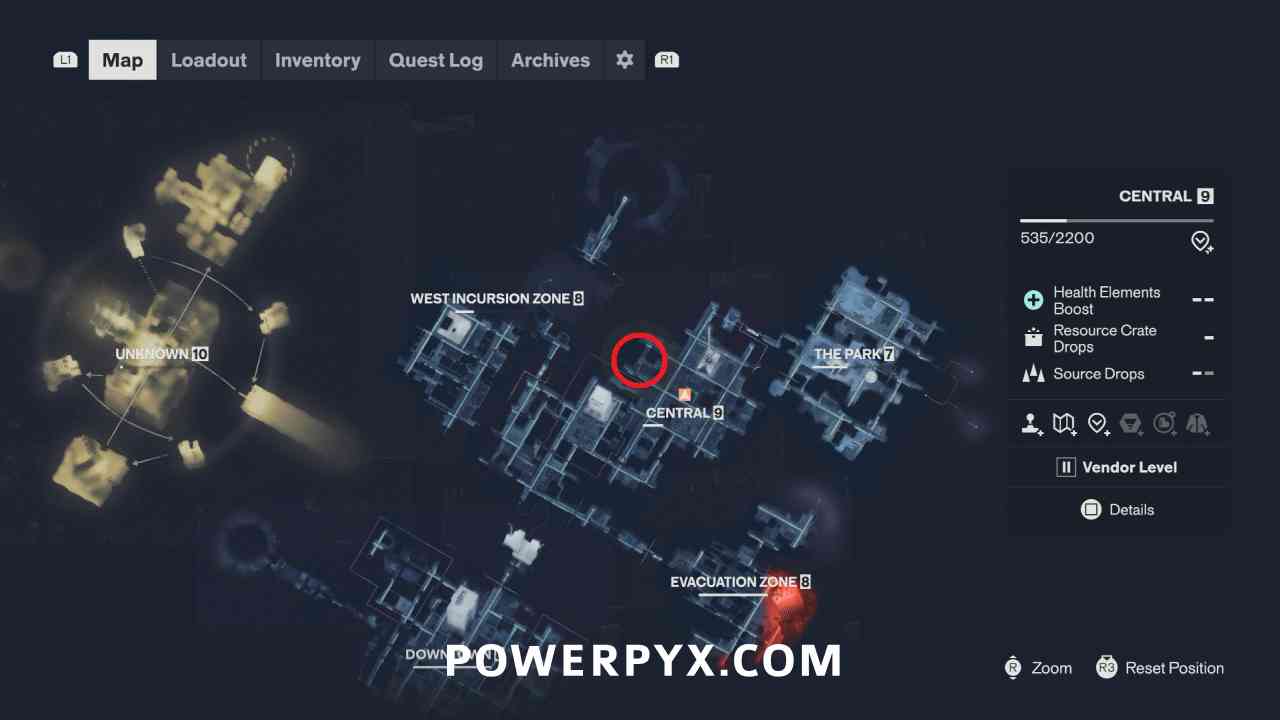
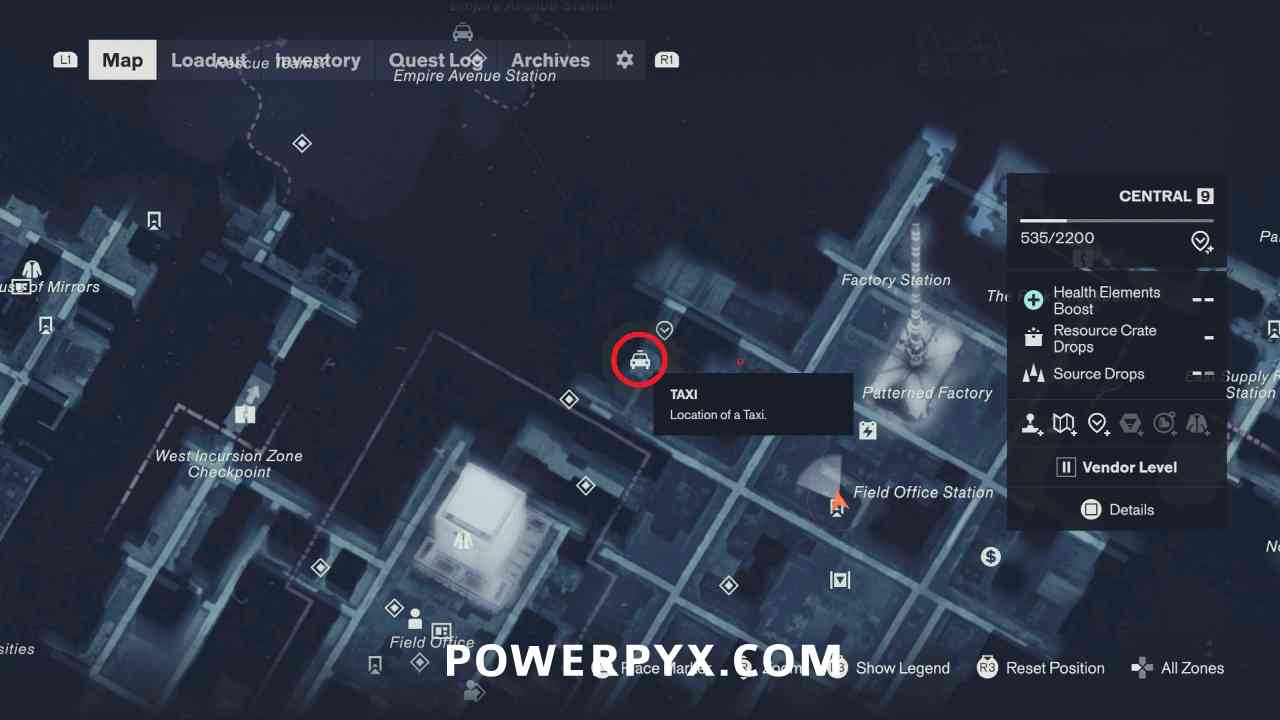
The taxi in Central is north of the deserted road checkpoint on the main road.
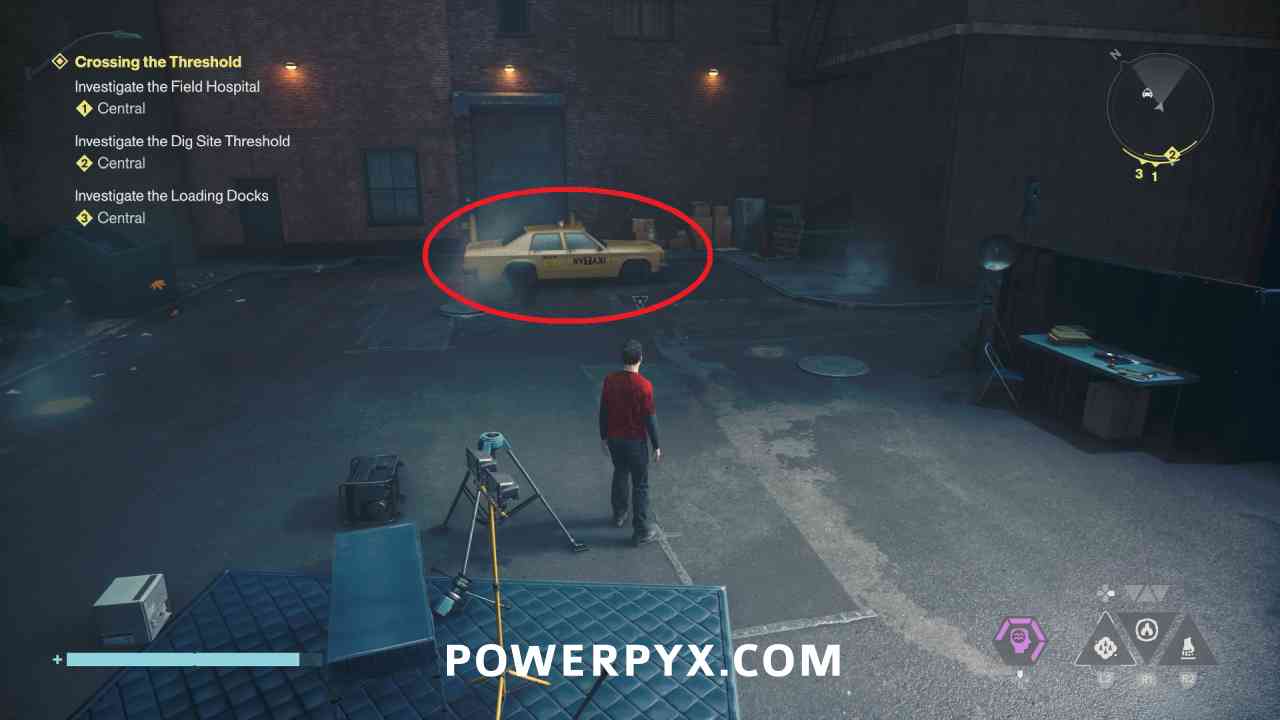
For the taxi puzzle, interact with the taxi that has light on its roof lit up. On the second cycle, interact with the taxi that has the headlight, taillight, and top light lit up.
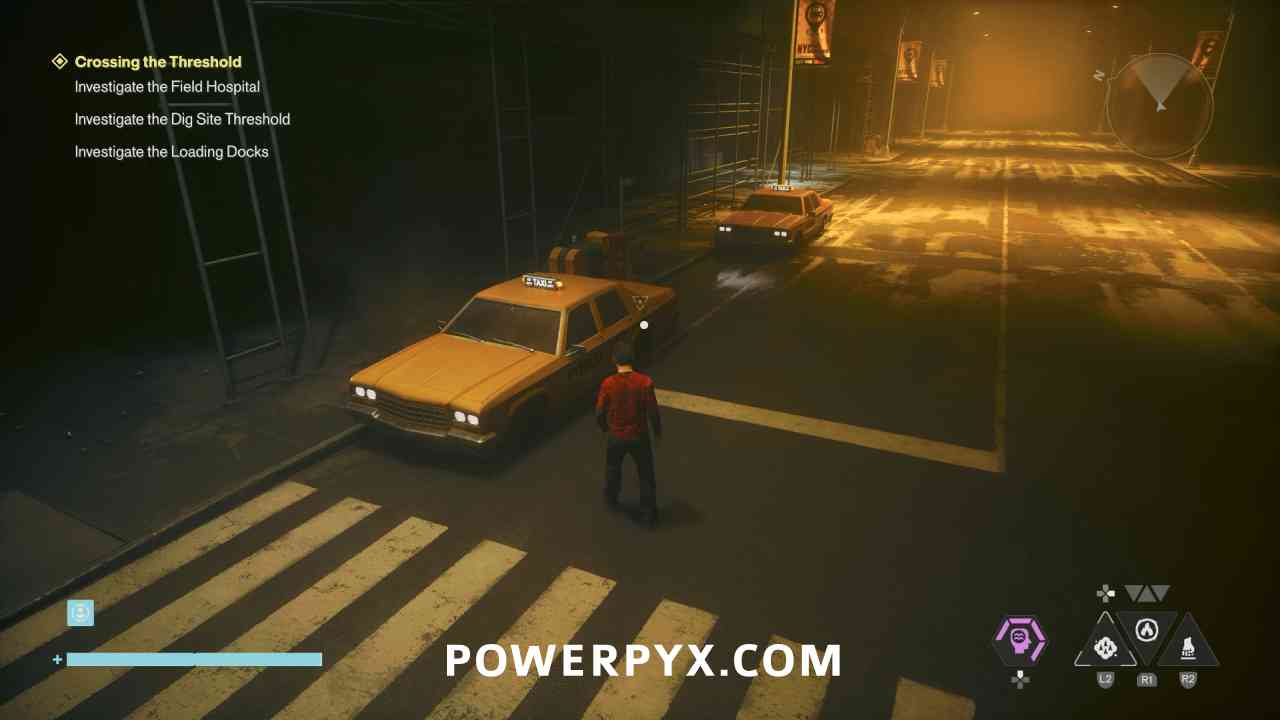
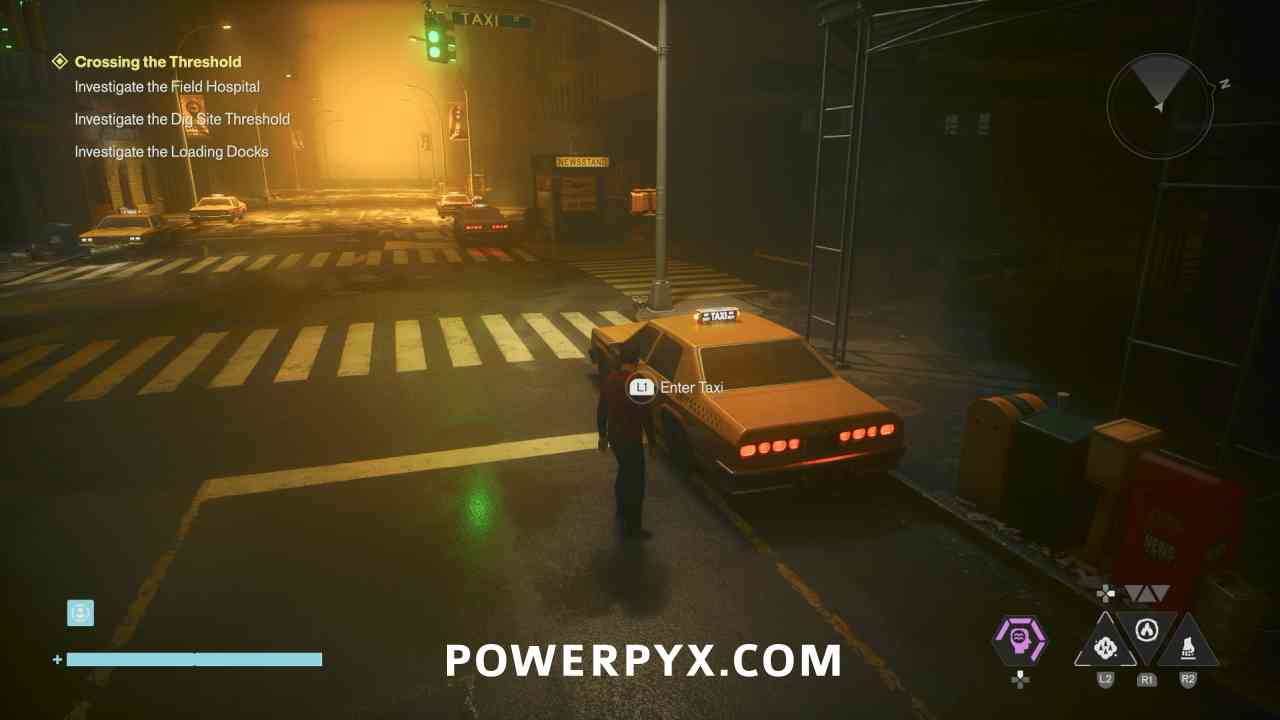
Then repeat these two steps, interact with the taxi that only has the top light lit up, then the taxi that has headlight / taillight / top light lit up to exit the Threshold.
NEXT: West Incursion Zone
For all other zones, check out the Control Resonant Collectible Guide.
Leave a Reply