
Chapter 3: Rendezvous is the third section of Valor Mortis and occurs in the Fallen Village region. This walkthrough will guide you through all collectibles available in the Rendezvous section. Everything that’s needed for trophies and 100% completion is included, nothing is missable and you can return to all areas at any time.
Collectibles Walkthrough:
Chapter 3: Rendezvous
The Battlefield
Quest: The Oathbound – Step #2
Lantern: The Battlefield > Onslaught Arch
Now that you have access to fast travel, return to the very first lantern. Turn around and go back up the cliff like you did before, but continue past the camp to the split in the path with the enemies. Go left where there is a weak point to shoot on a wall. In this area defeat the Eternal Guardian enemy, it gives the key items Mysterious Stone Pyramid and Valen Duroc’s Emblem.
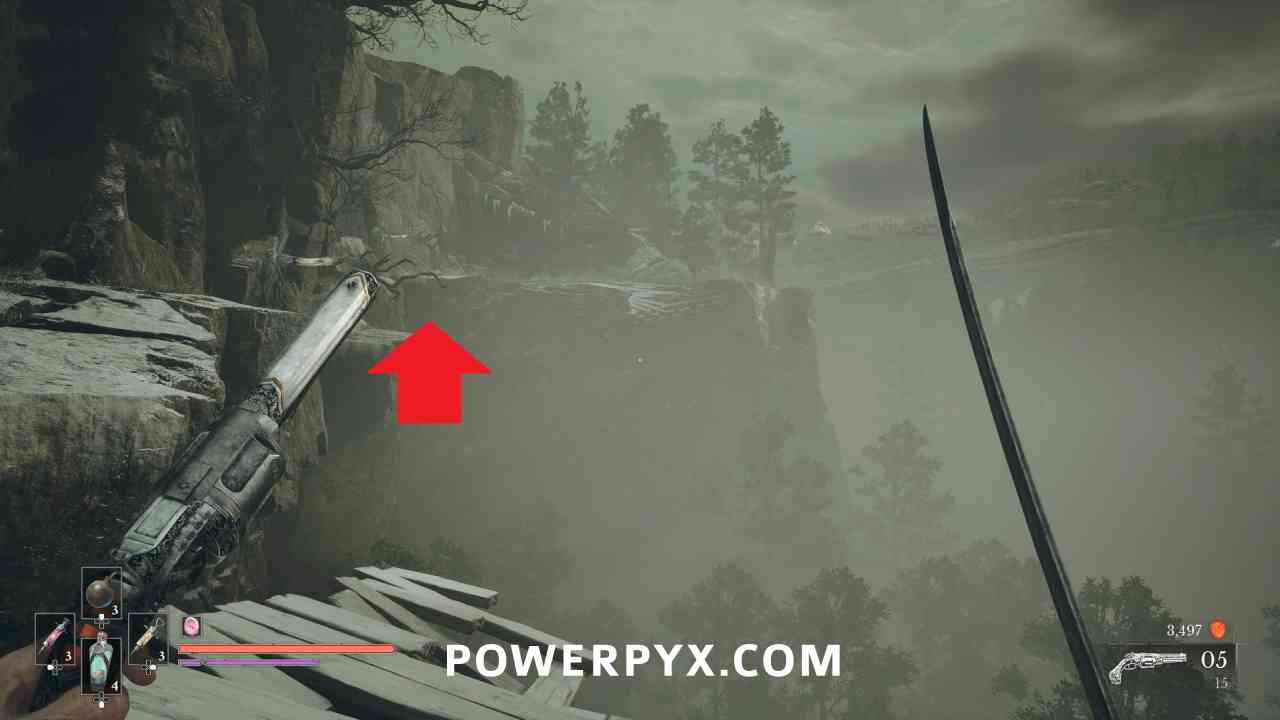
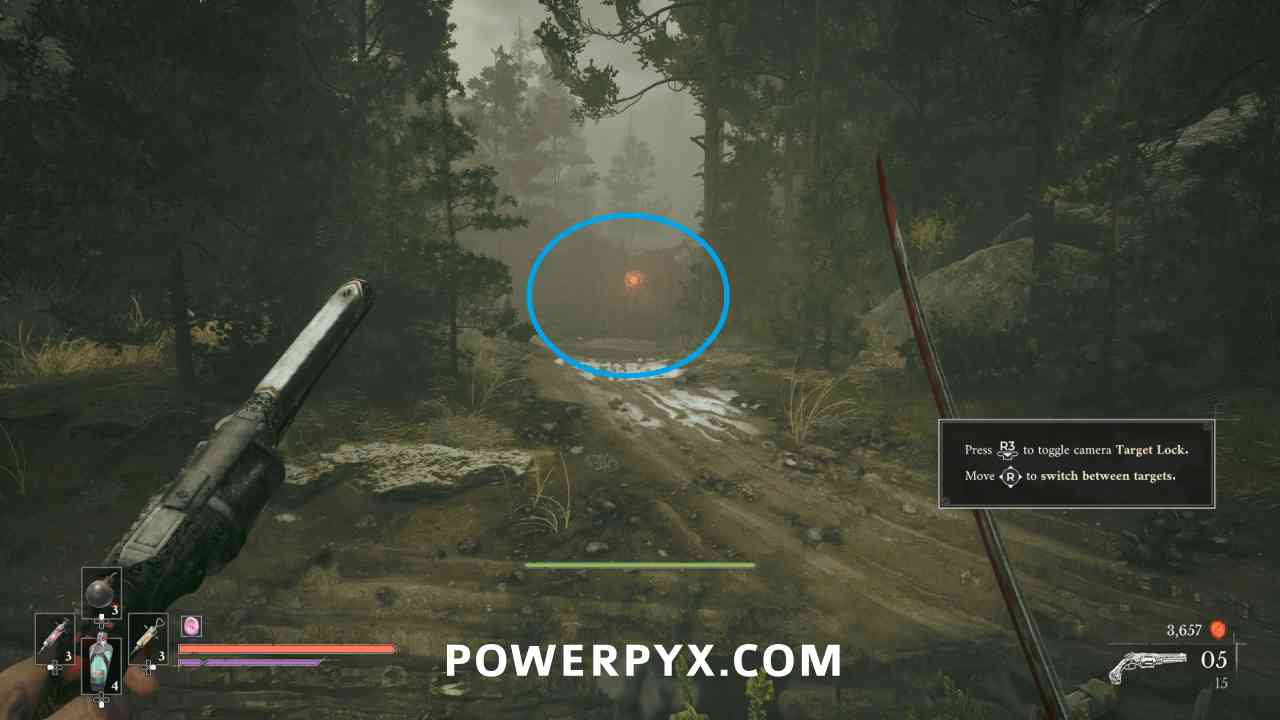
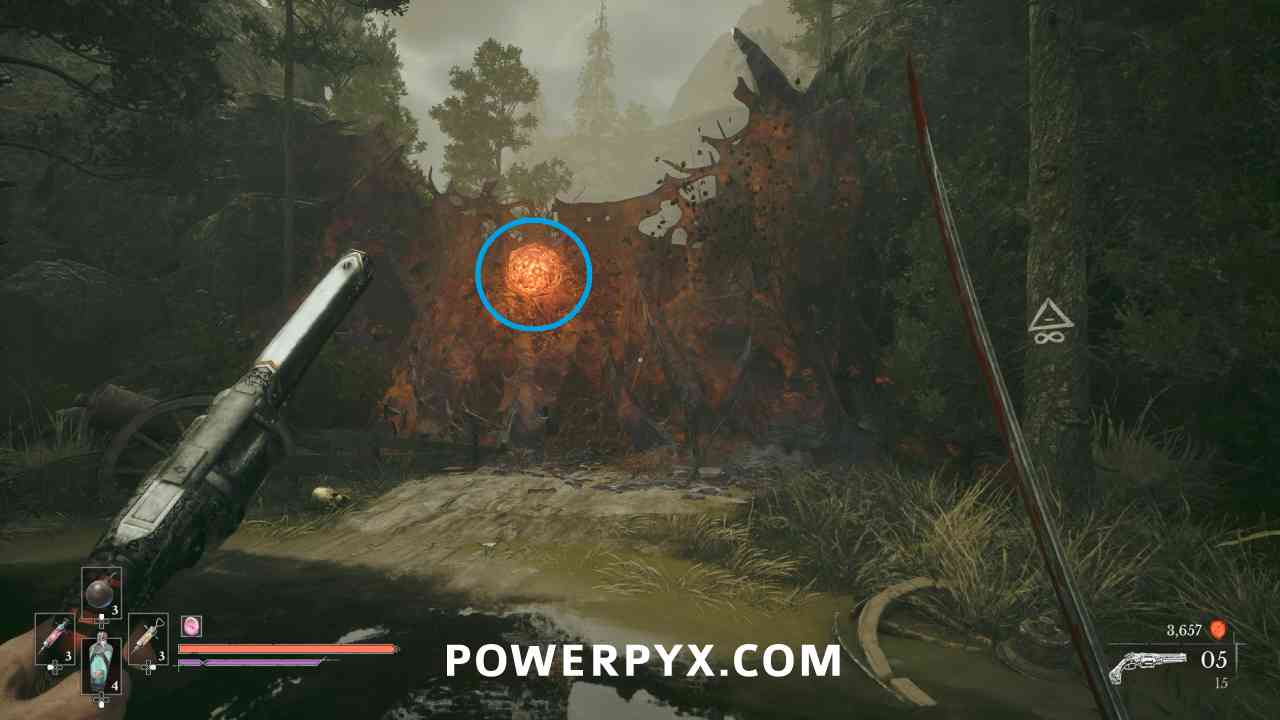
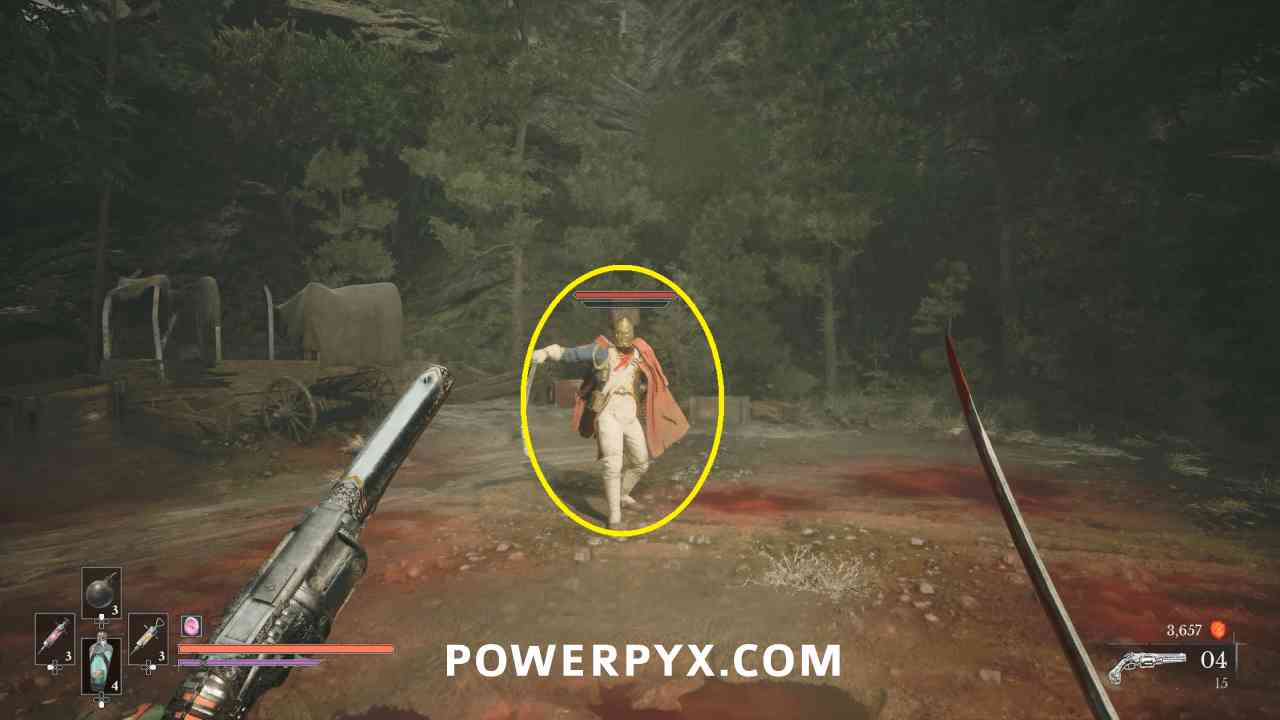
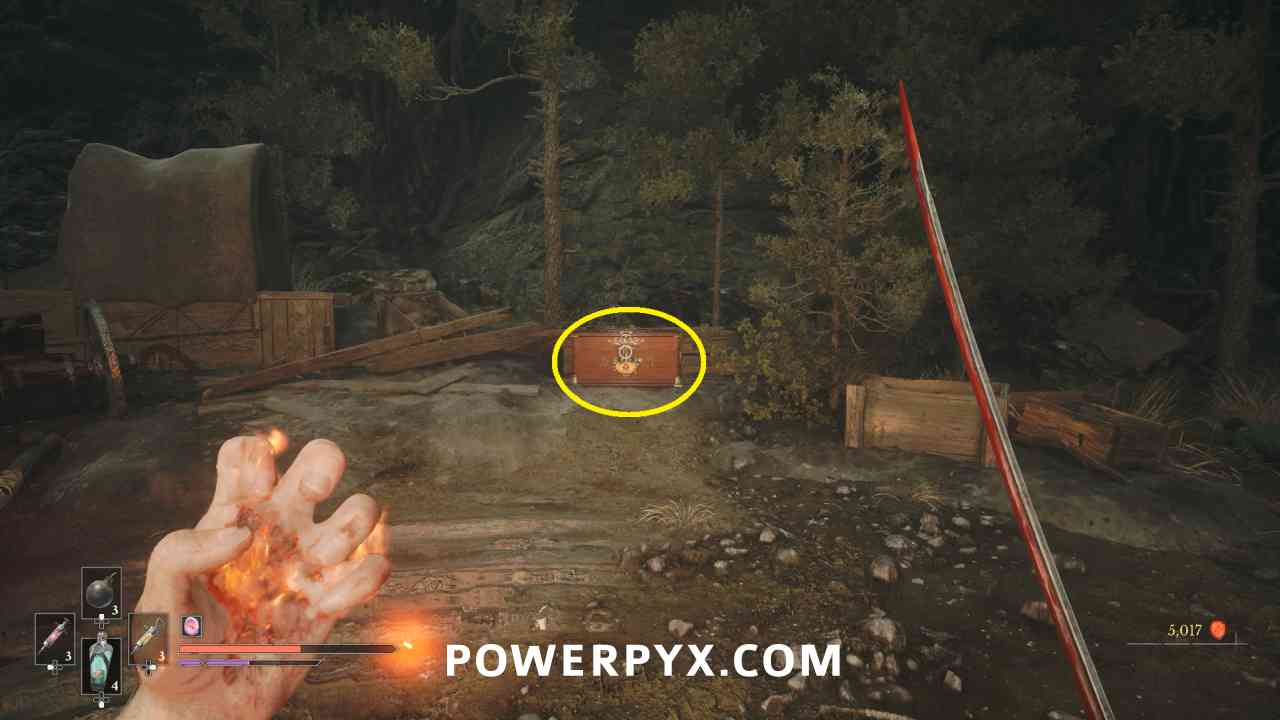
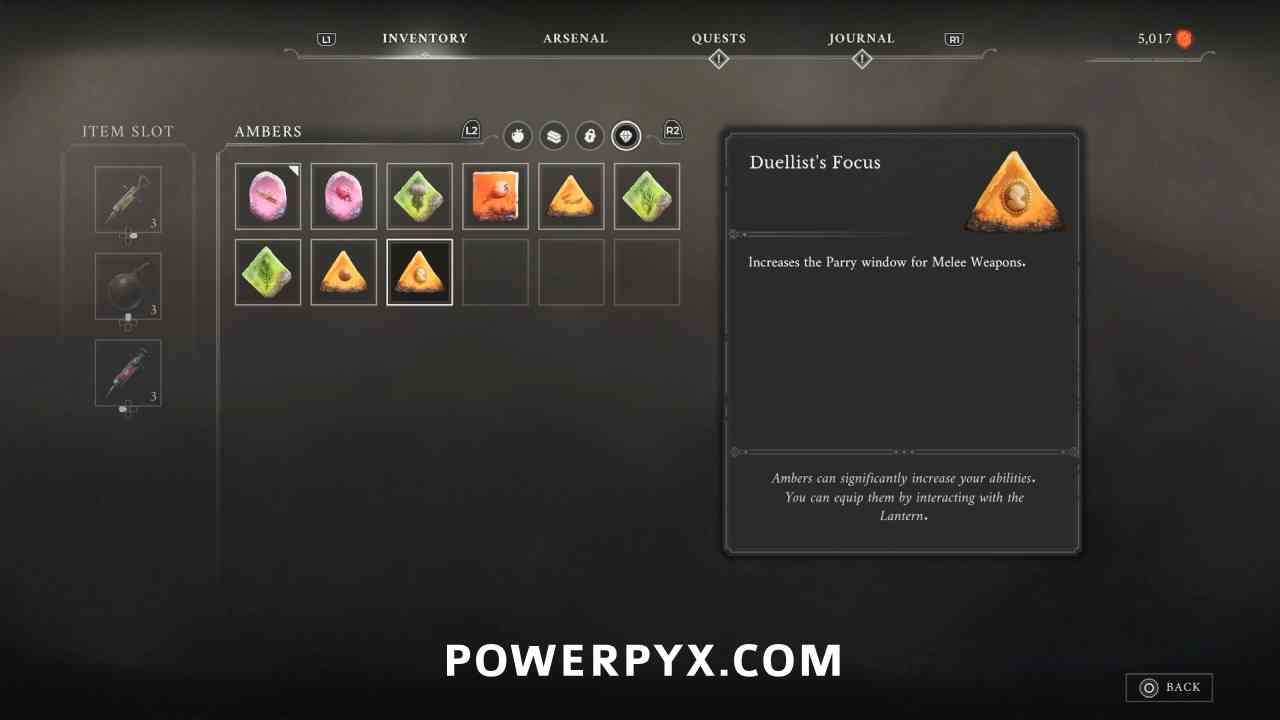
Amber #10: Duellist’s Focus
Lantern: The Battlefield > Onslaught Arch
In a chest behind where the Eternal Guardian was standing.
Abandoned Church
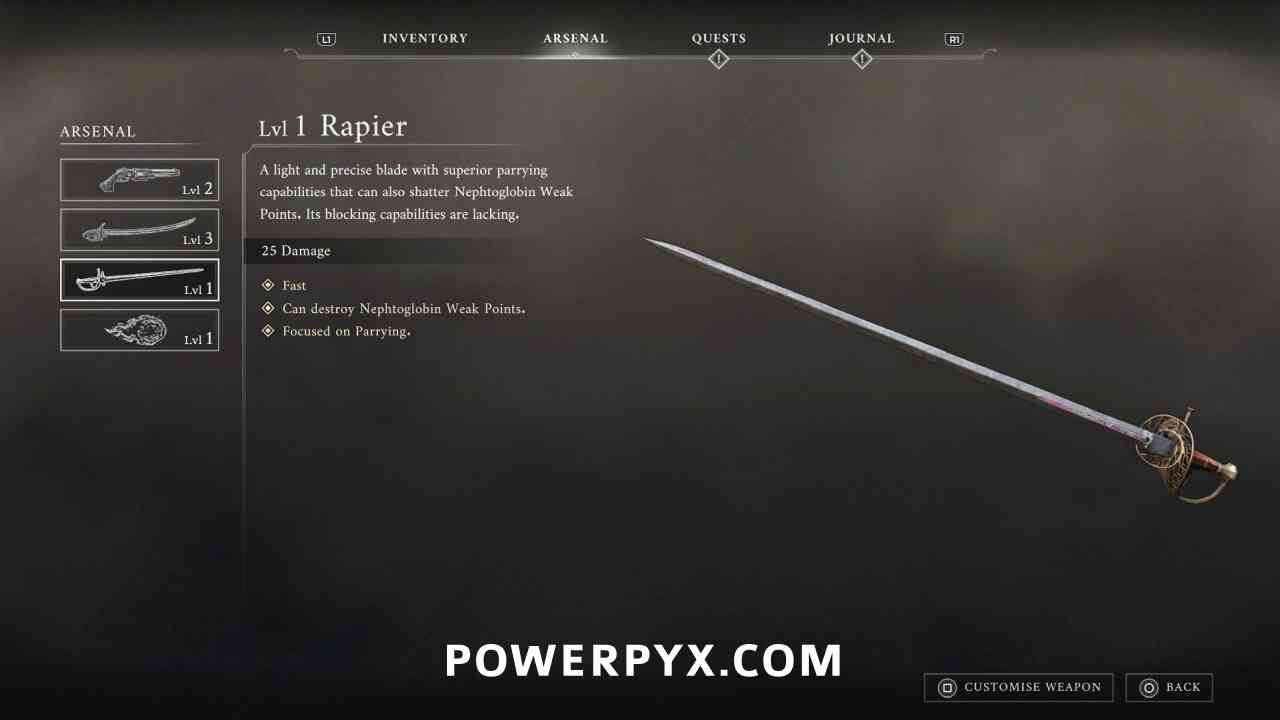
Weapon #3: Rapier
Lantern: Abandoned Church
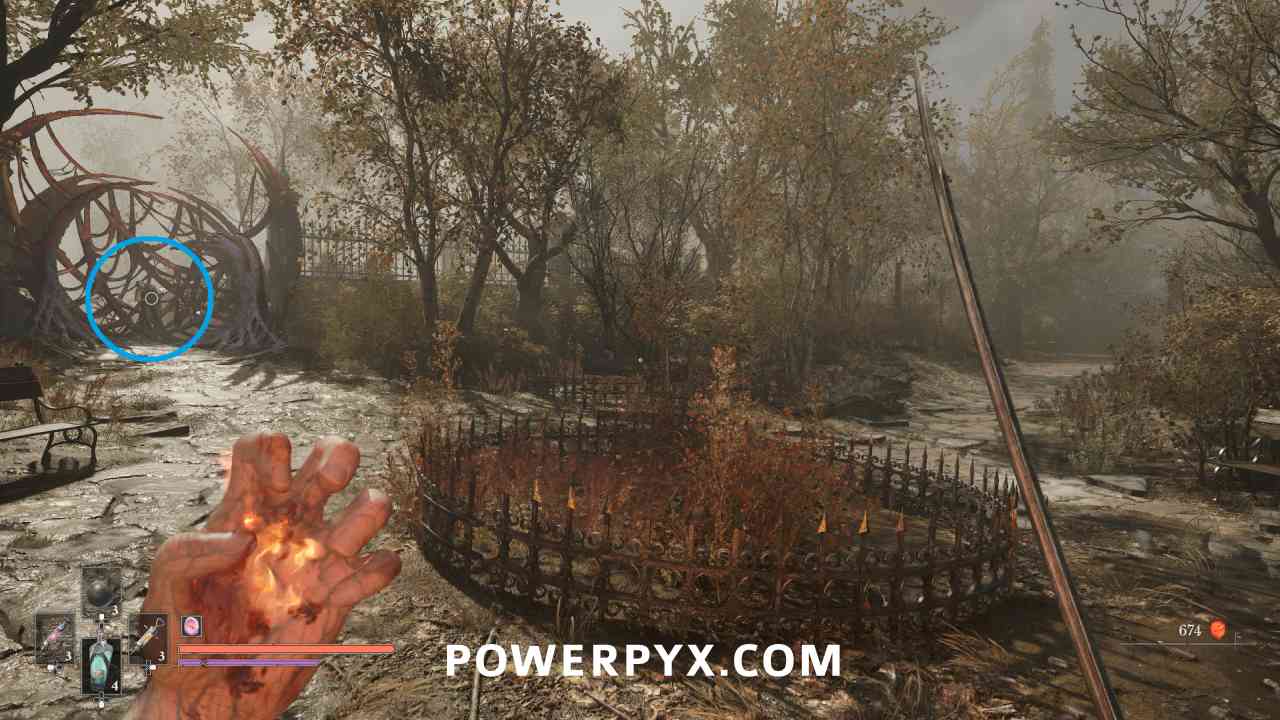
Required to progress. While going to the Village from the Abandoned Church, stuck in a body blocking the path toward the Village. The path to the right leads to the area Fortress, which is one of the final areas of the story and can’t be progressed into yet.
Fallen Village
Quest: The Scarecrow – Step #1
Lantern: Fallen Village > Fields
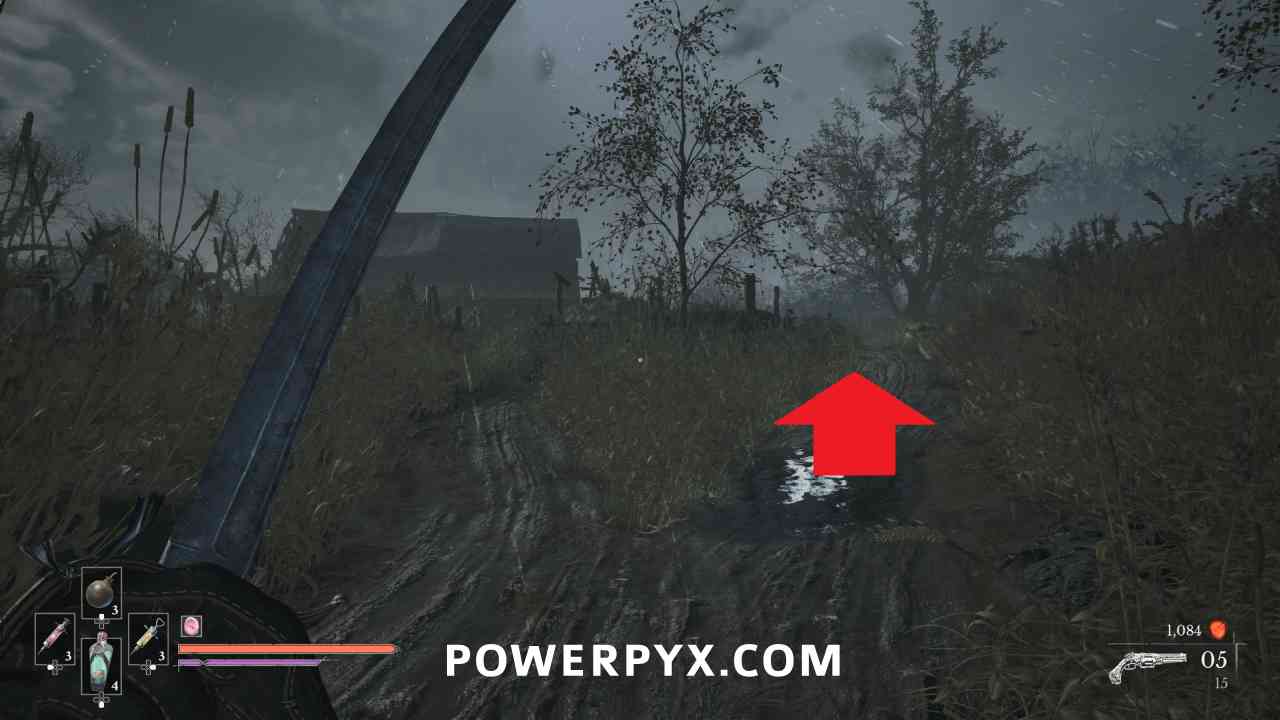
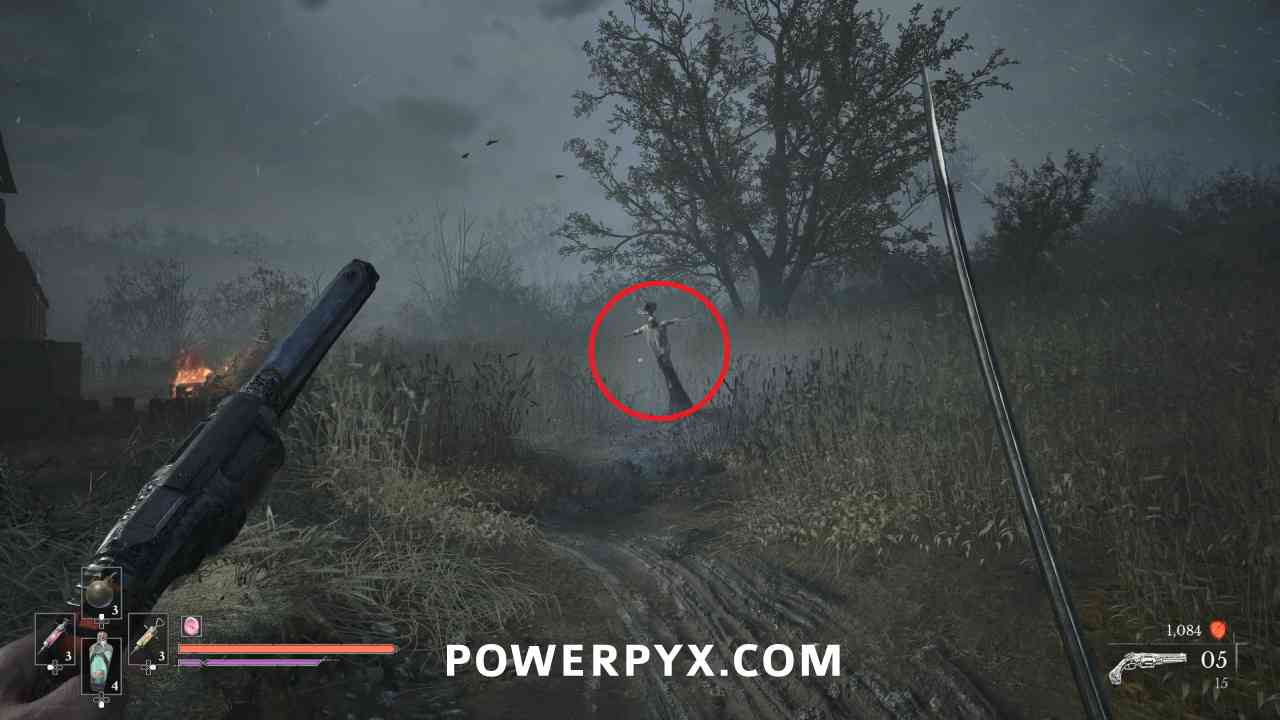
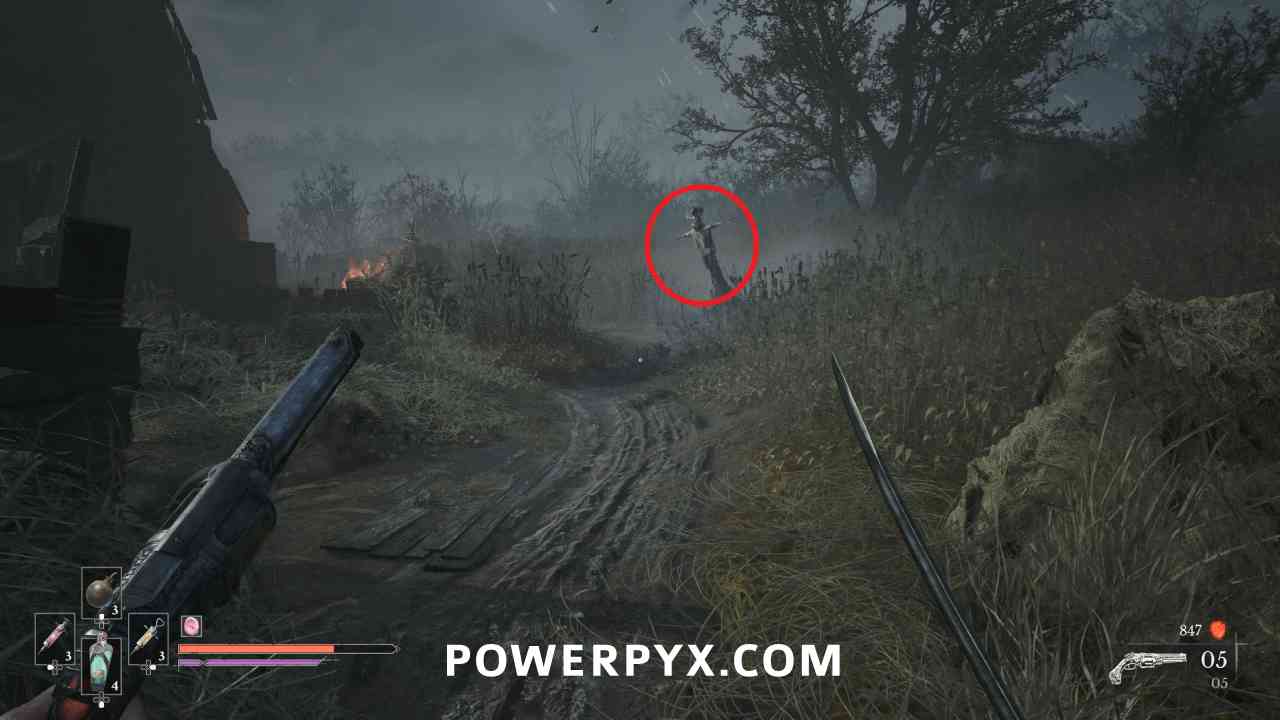
From the lantern, follow the paths toward the field and follow the road leading right. Interact with the body that is strapped to the scarecrow post. You can interact with them multiple times to find out about the items you’re looking for.
Quest: The Scarecrow – Step #2
Lantern: Fallen Village > Fields
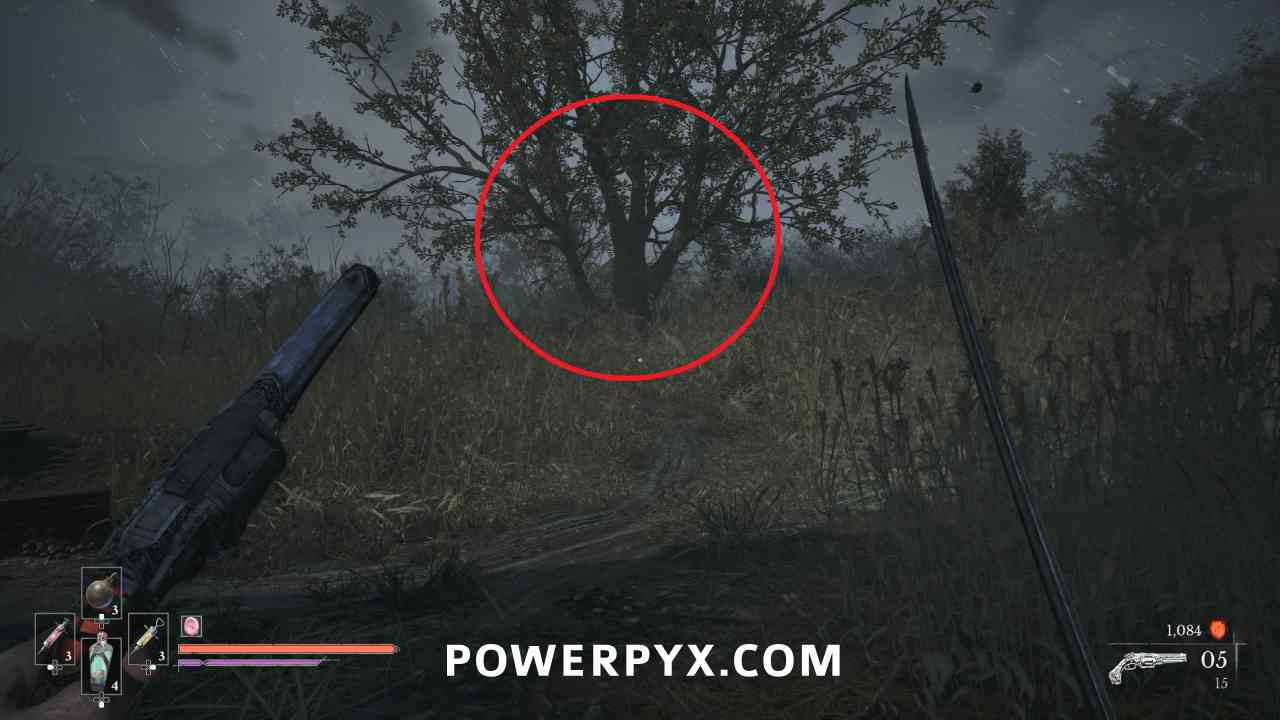
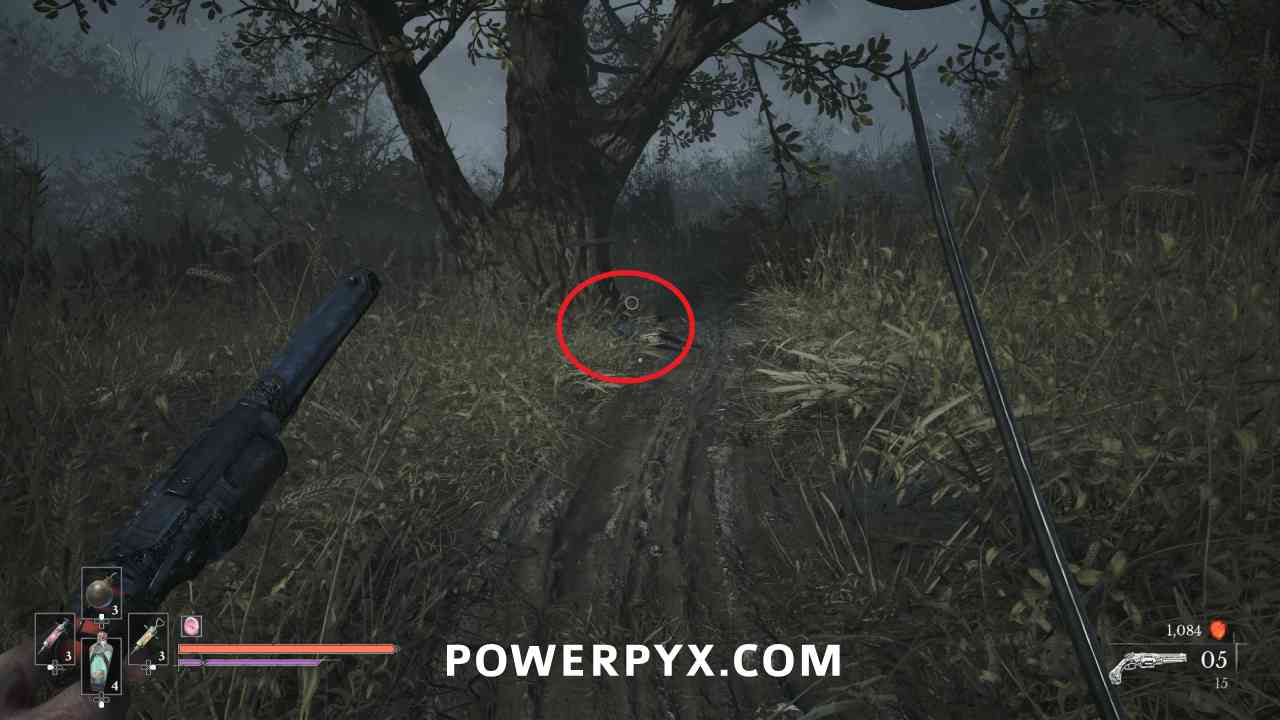
Walk forward toward the barn, then go down the right path towards the big tree. At the base of the tree there is a body on the ground, where you can pick up the Lover’s Pendant.
Ferrofluid Flask Power Upgrade #3
Lantern: Fallen Village > Fields
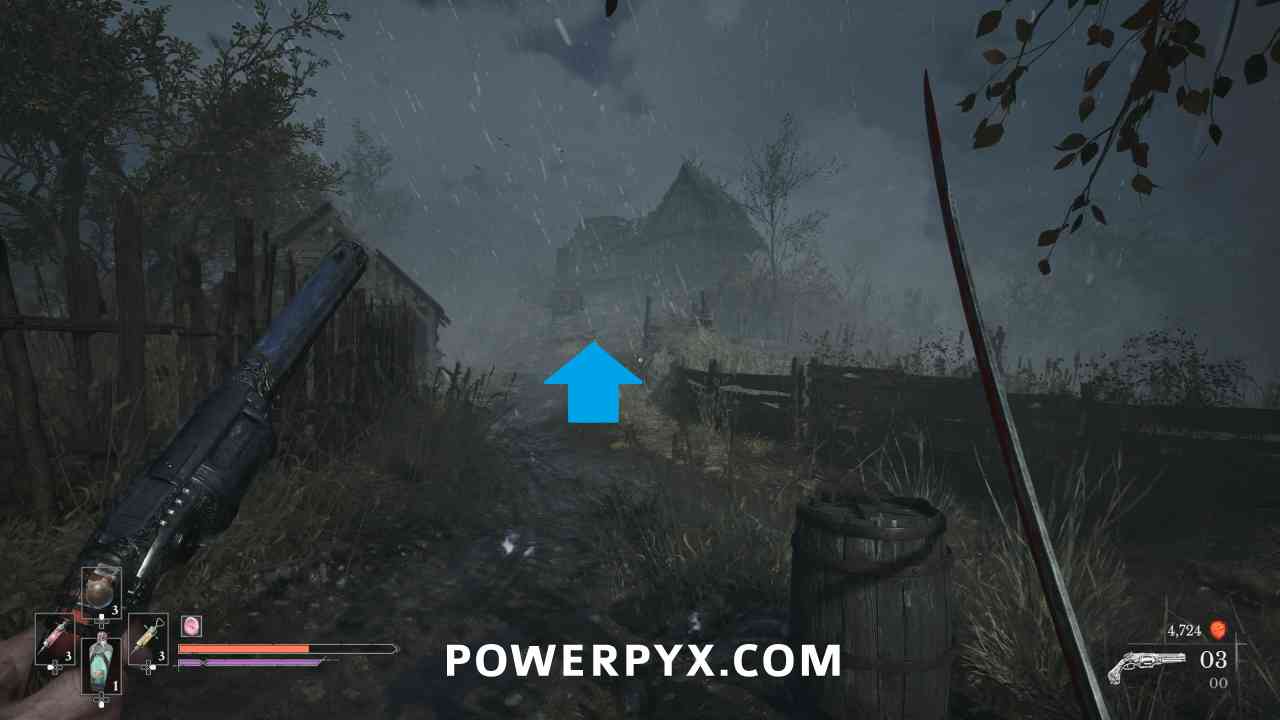
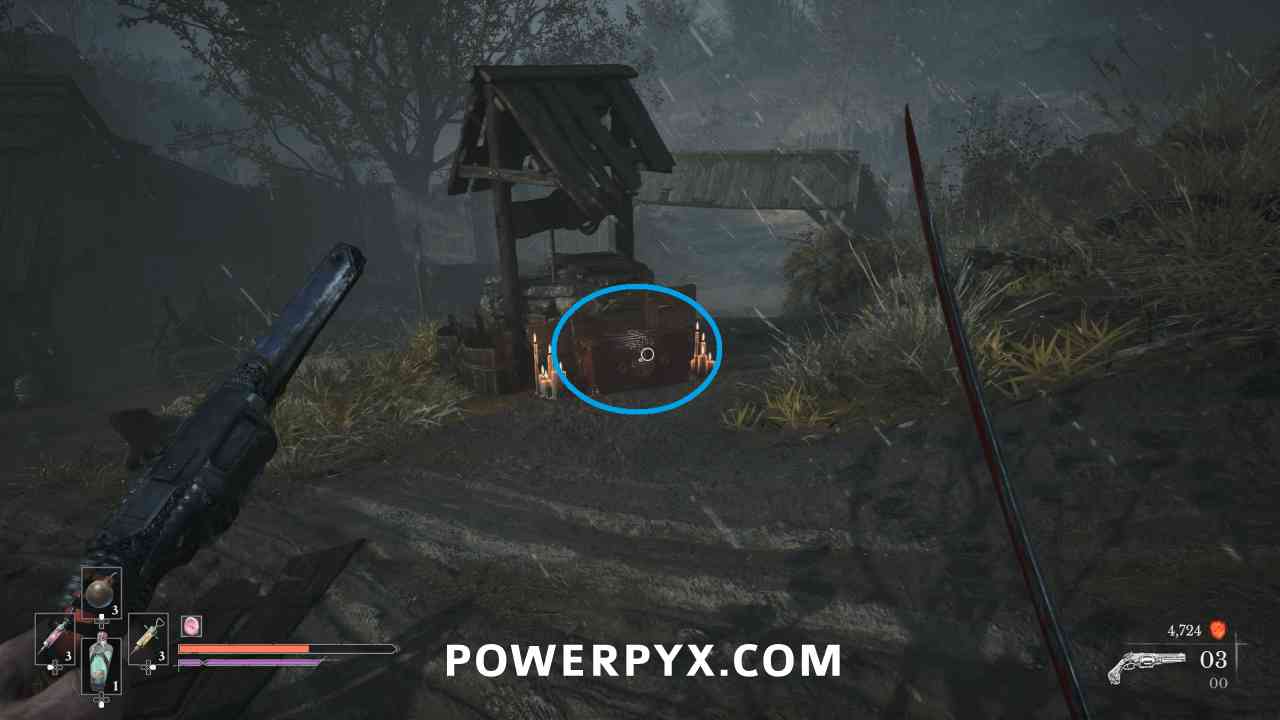
When progressing through the next area, when the path splits and there is a wooden gate with a Grenadier on the right, instead go the opposite direction to the large house, where this is in a chest beside the nearby well. This is also the shortcut back to the prior Lantern.
Quest: The Scarecrow – Step #3
Lantern: Fallen Village > Fields
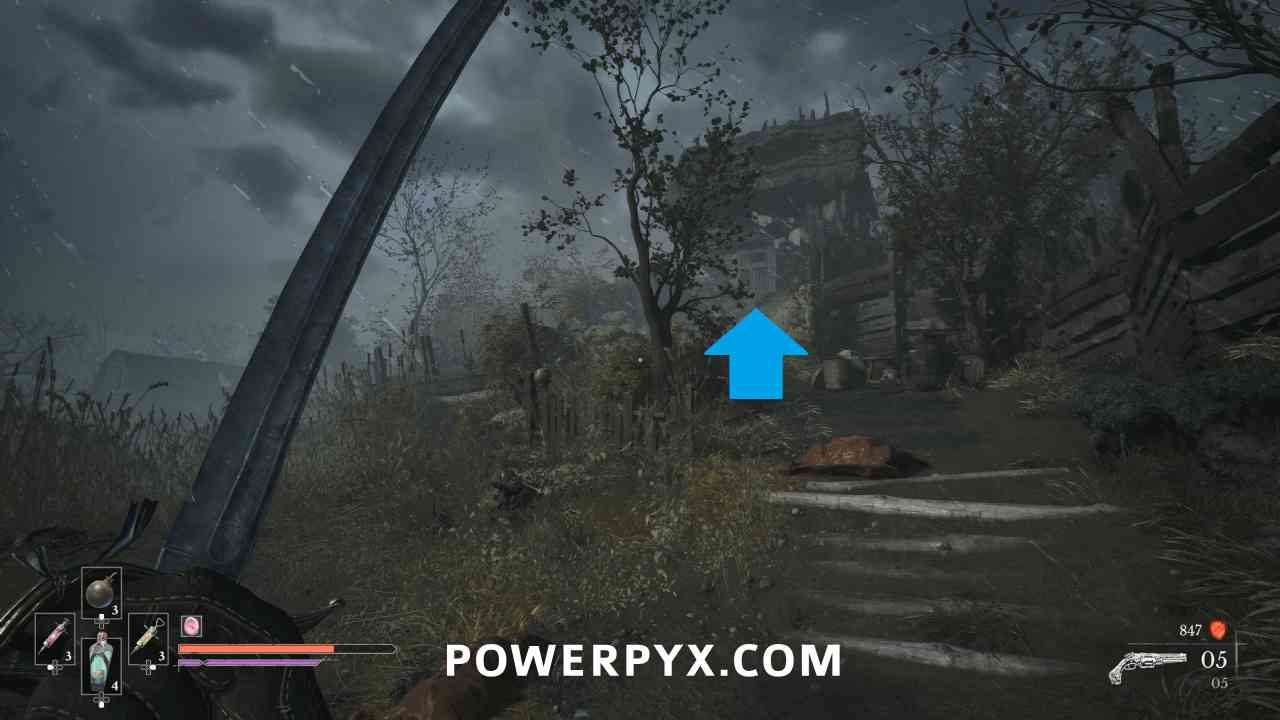
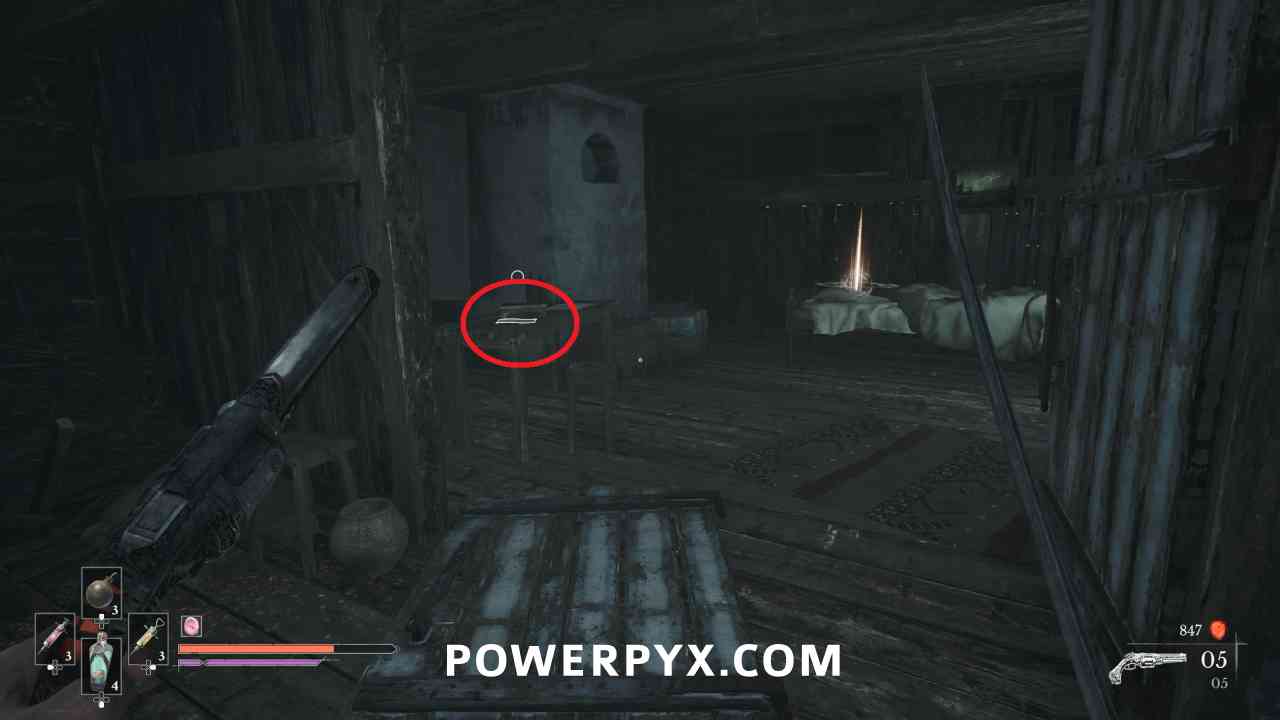
Continue on the path until you reach the area with the tall haystacks and the group of 4 human enemies that attack you. Just past them you can go up the hill to the left to enter a house. On the top floor pick up the note “Letter with a Drawing” on the table. You can go out the door downstairs to be back near the prior chest.

Quest: The Scarecrow – Step #4
Lantern: Fallen Village > Fields
Go back to the scarecrow in the field and interact with it to give it the two items.
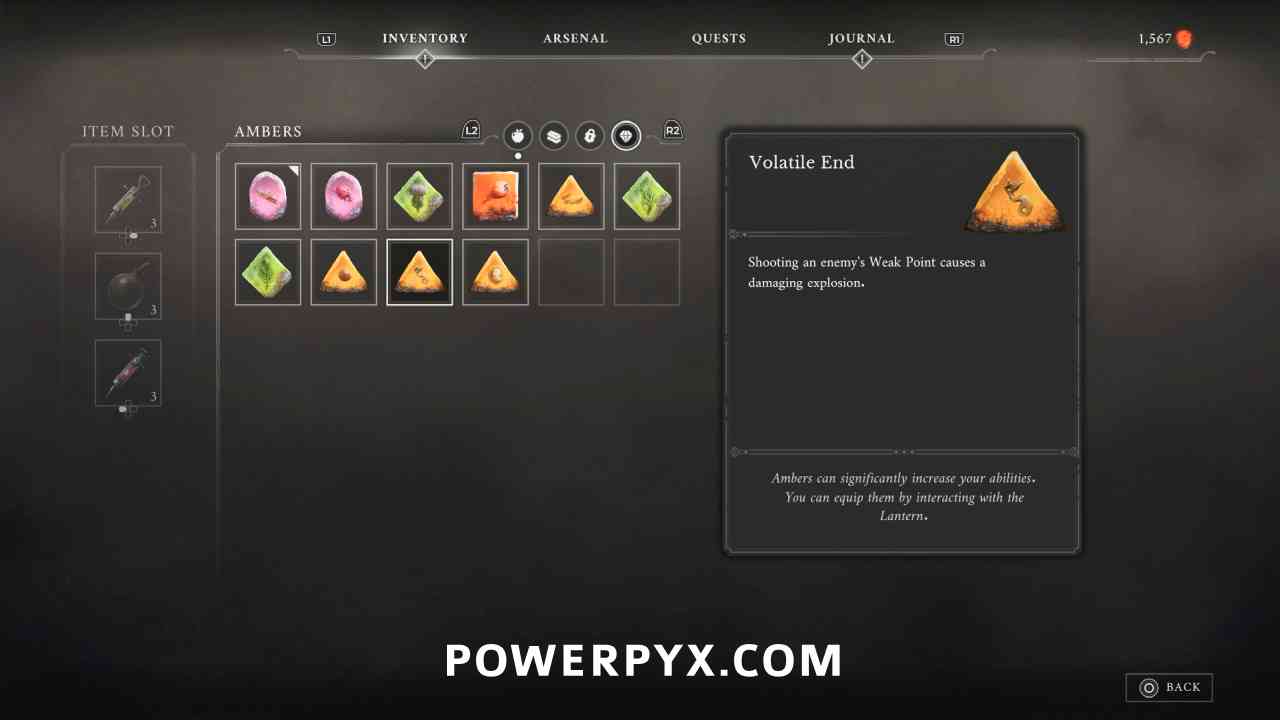
Amber #11: Volatile End
Lantern: Fallen Village > Fields
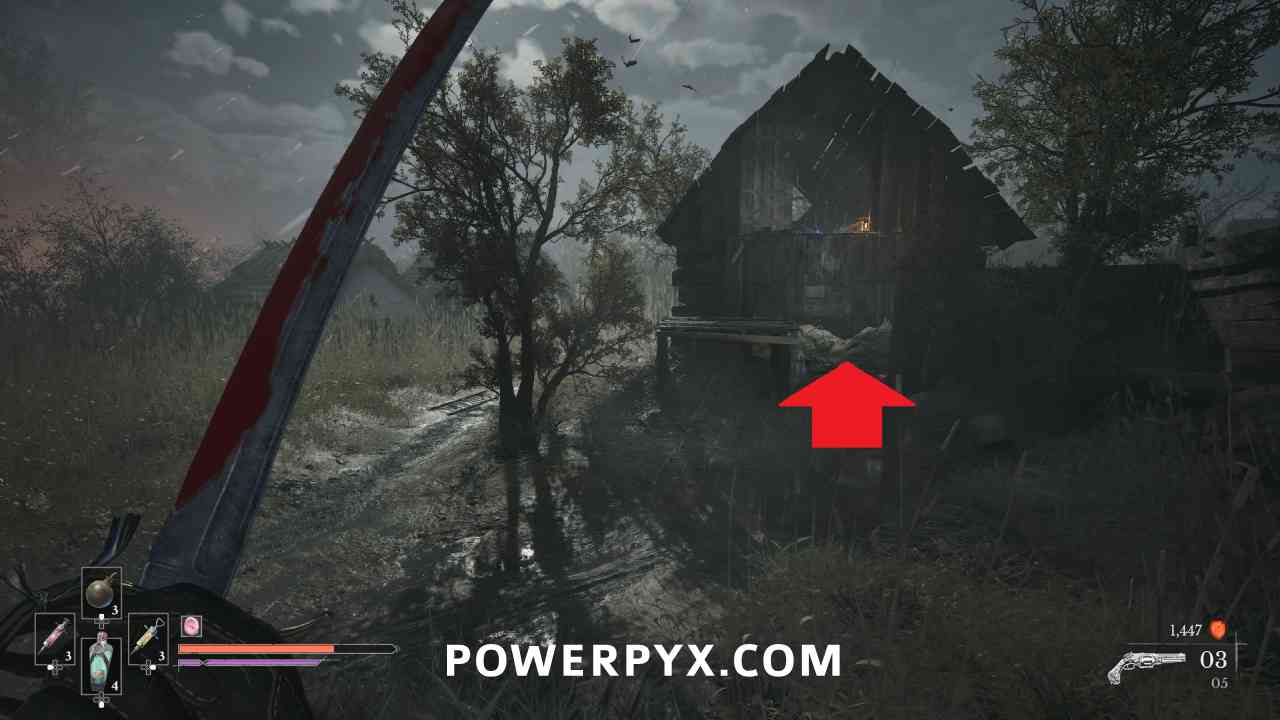
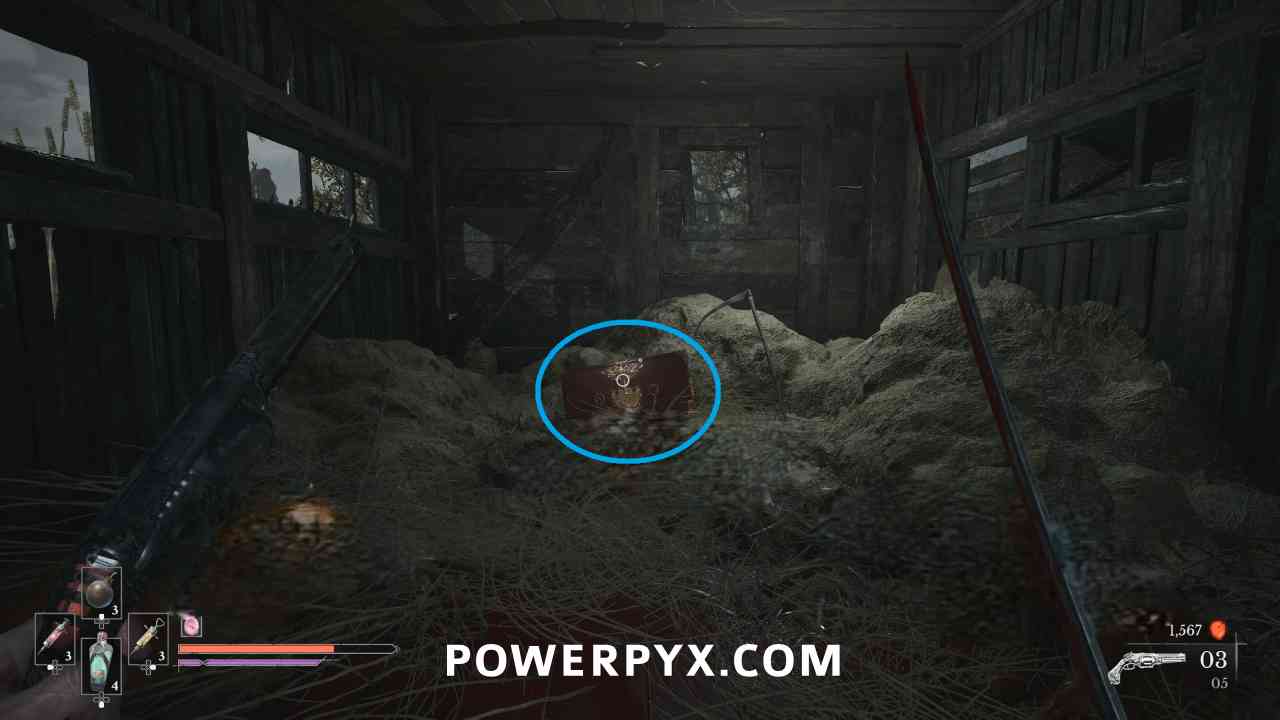
Continue into the next field area, and on the right there is a barn full of exploding bodies. Behind them at the back is a chest with this Amber.
Quest: The Scarecrow – Step #5 (Complete)
Lantern: Fallen Village > Fields
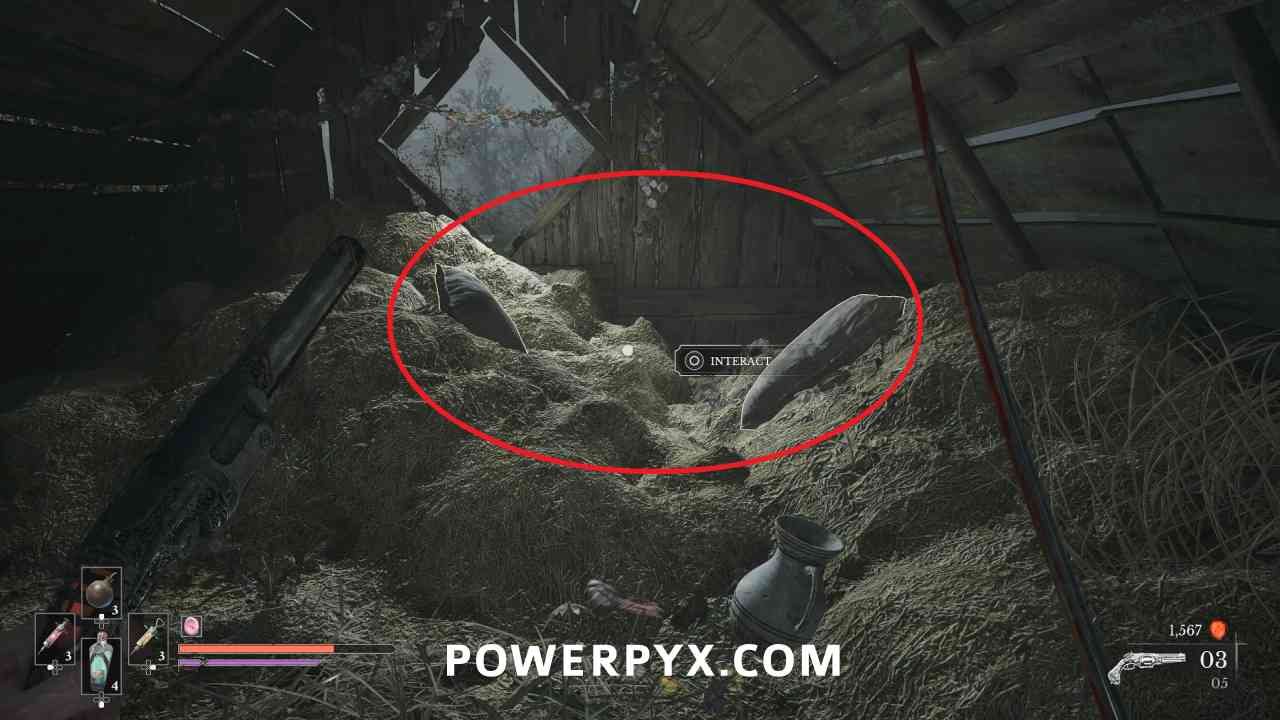
Climb up to the top level of the barn and interact with the two pillows to complete the quest.
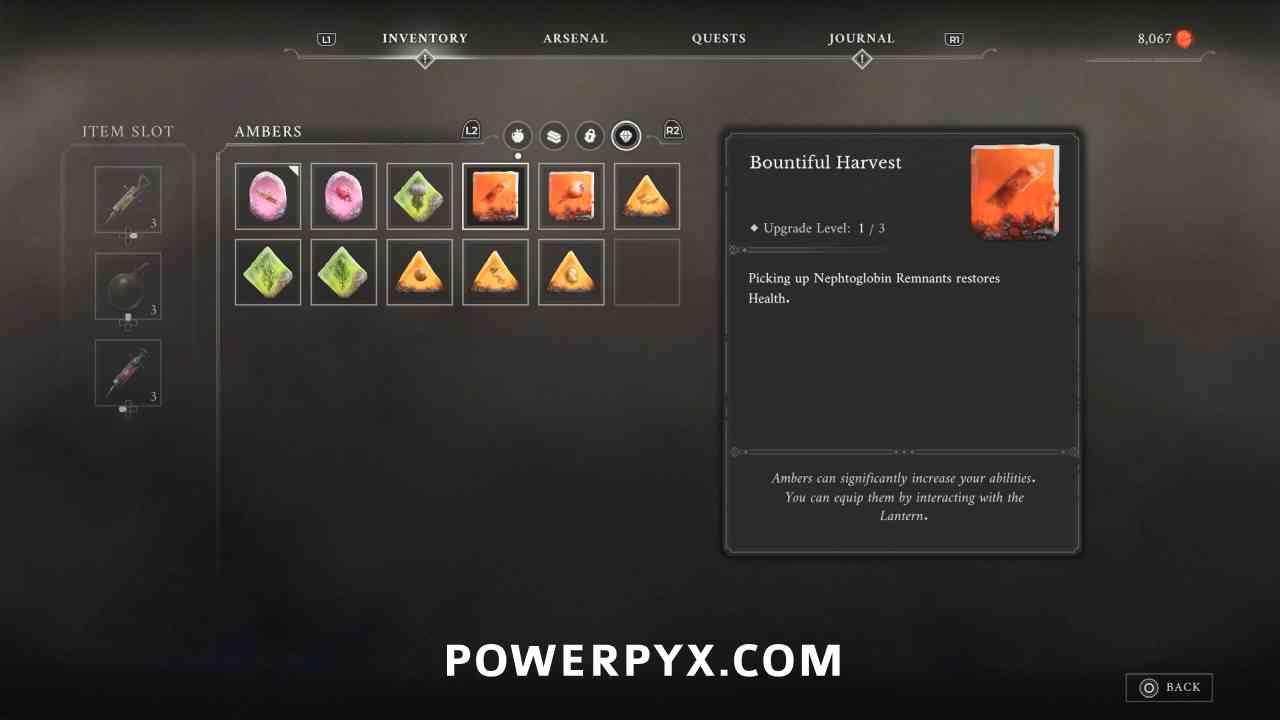
Amber #12: Bountiful Harvest
Lantern: Fallen Village > Fields
Reward for completing side quest “The Scarecrow”.
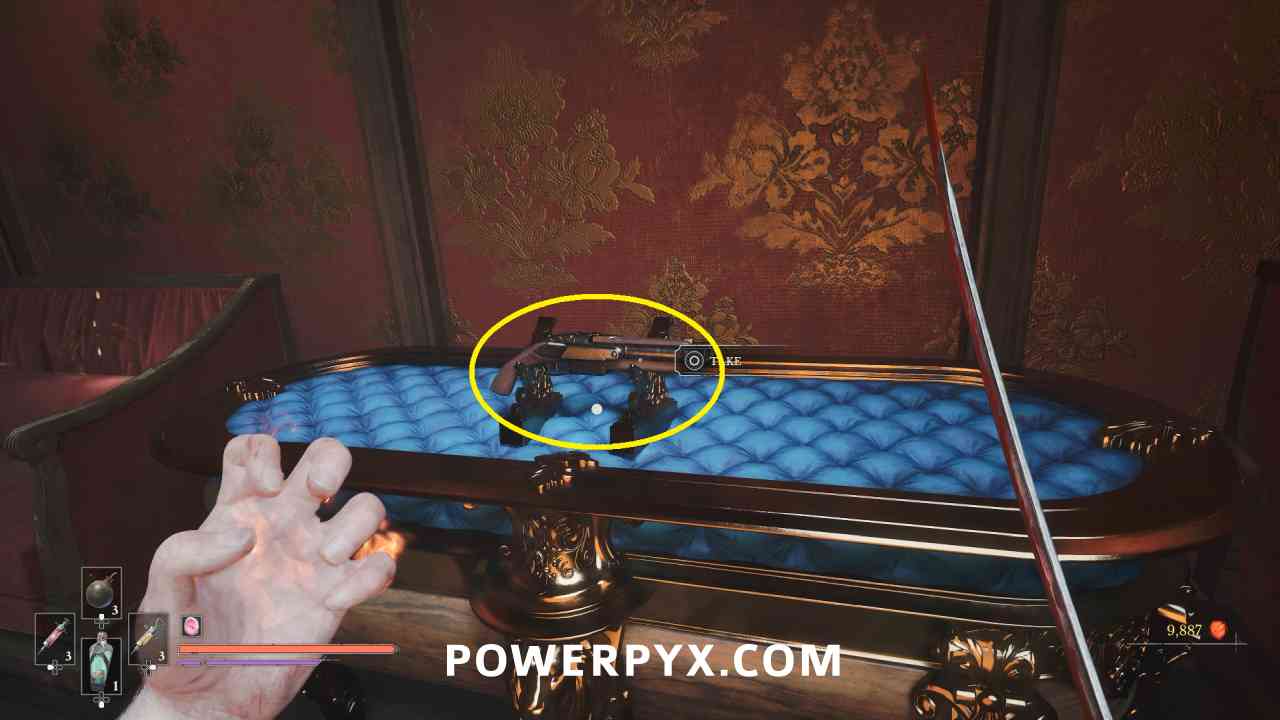
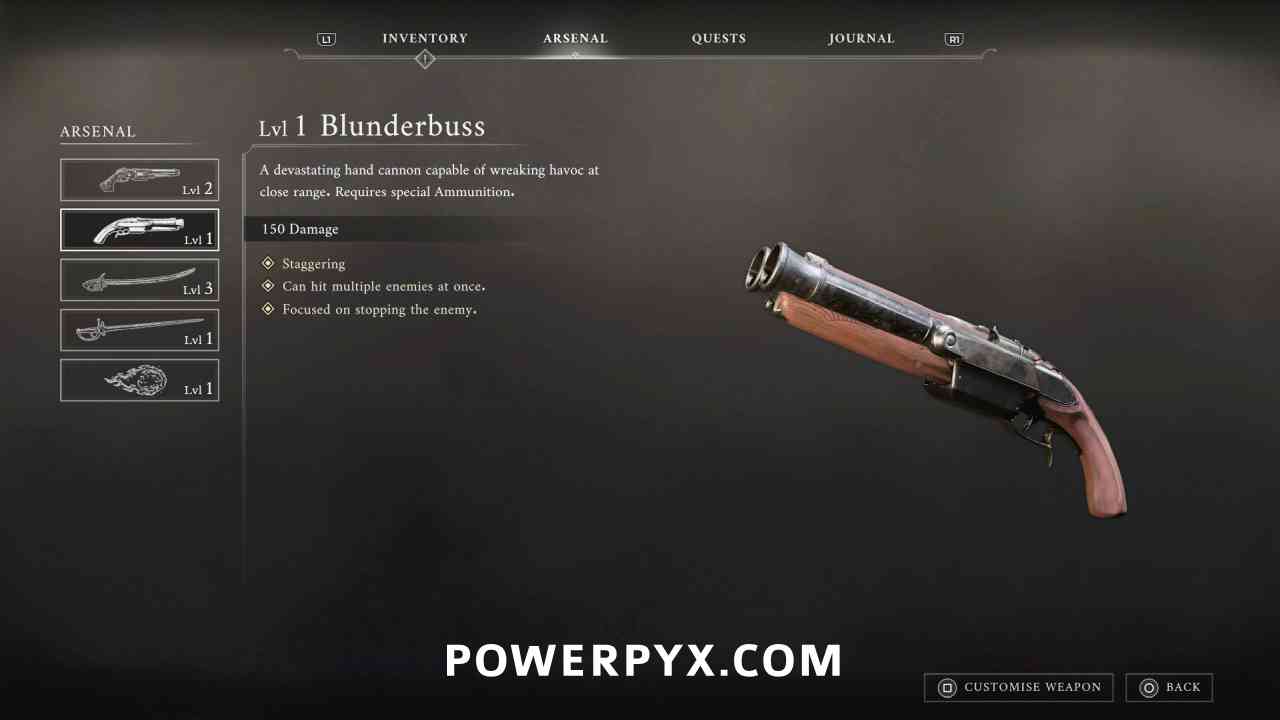
Weapon #4: Blunderbuss
Lantern: Fallen Village > Fields
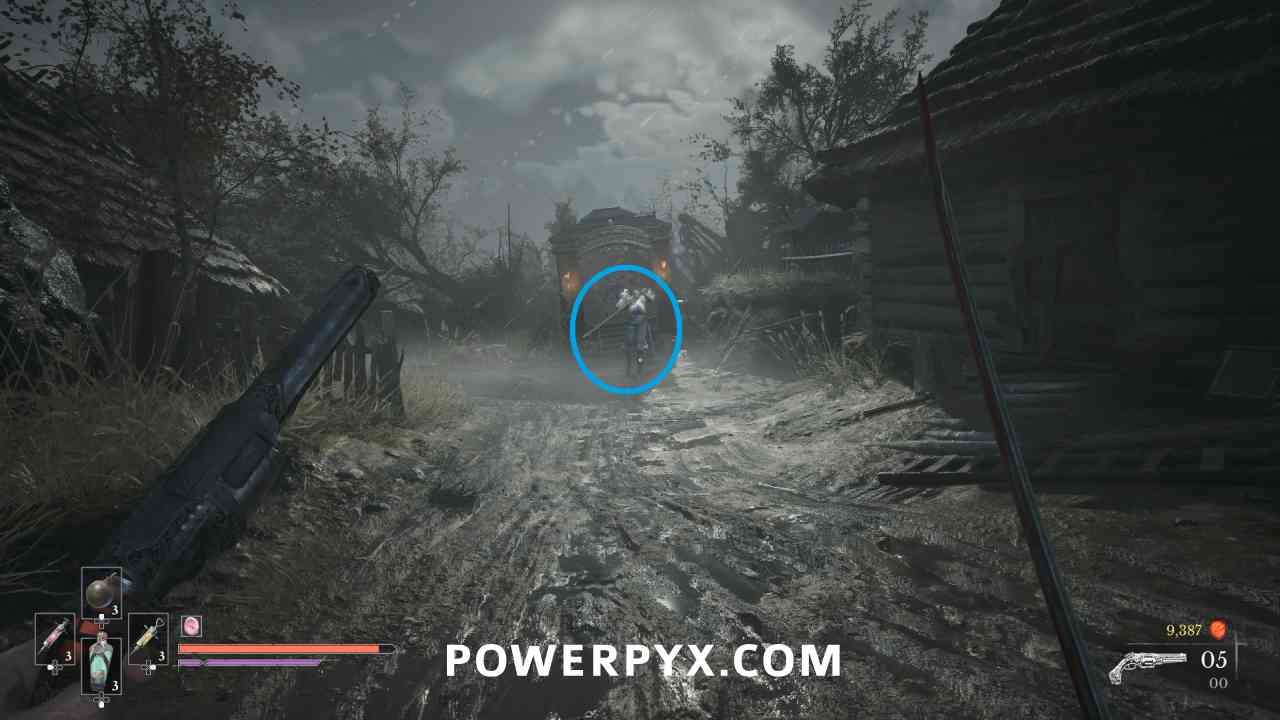
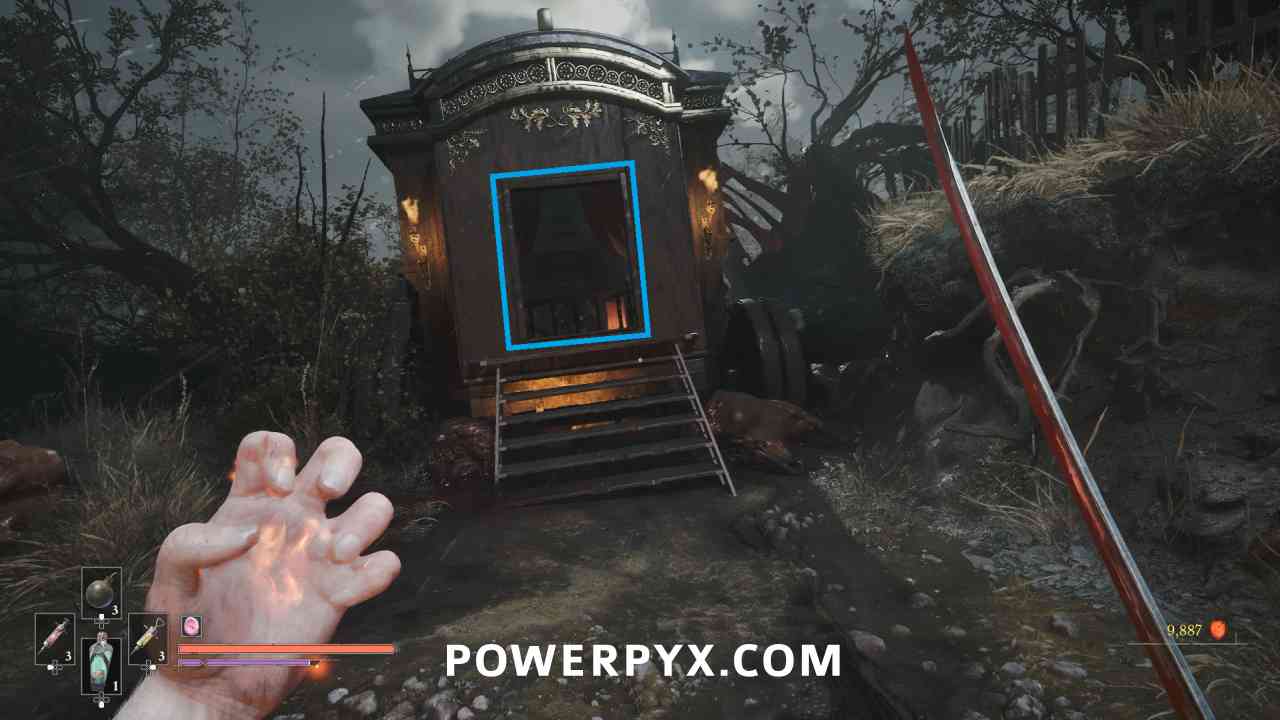
Required to progress. When you reach the spot with the enemy with the large sword (enemy type Volunteer) defeat them, then in the carriage behind them you can pick this up from the table, which opens the path through the other side of the carriage.
Quest: Lullaby – Step #1
Lantern: Fallen Village > Marketplace
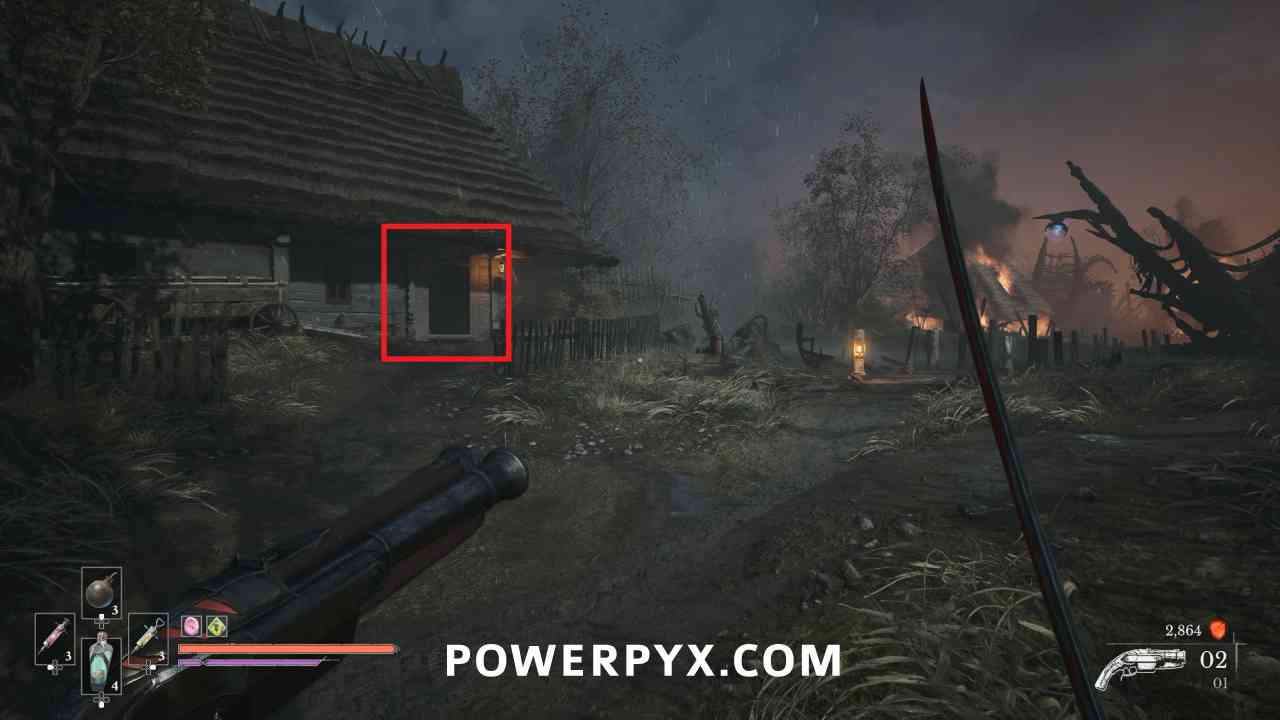
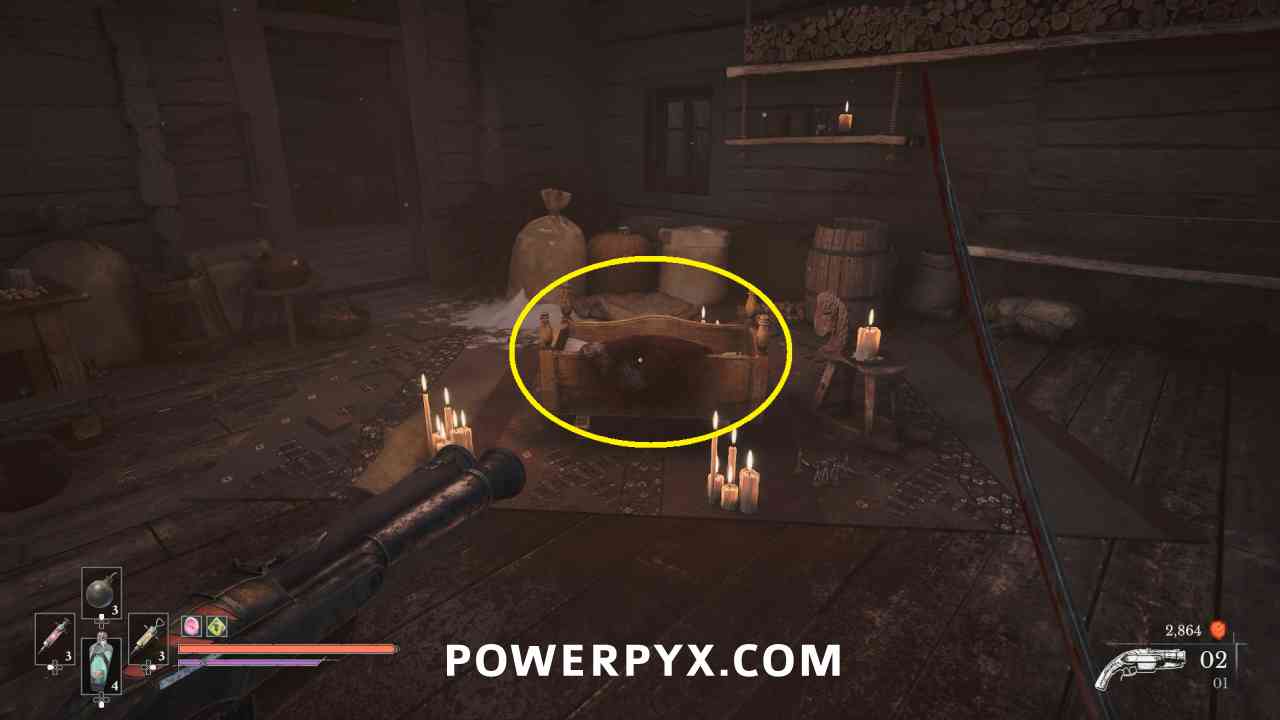
From the Lantern go toward the water area with the flames in the distance, then go into the house. When you approach the empty crib the quest automatically starts.
Quest: Lullaby – Step #2
Lantern: Fallen Village > Marketplace
Go out the back door of the house and pick up the key item Weathered Key off the ground near the enemies.
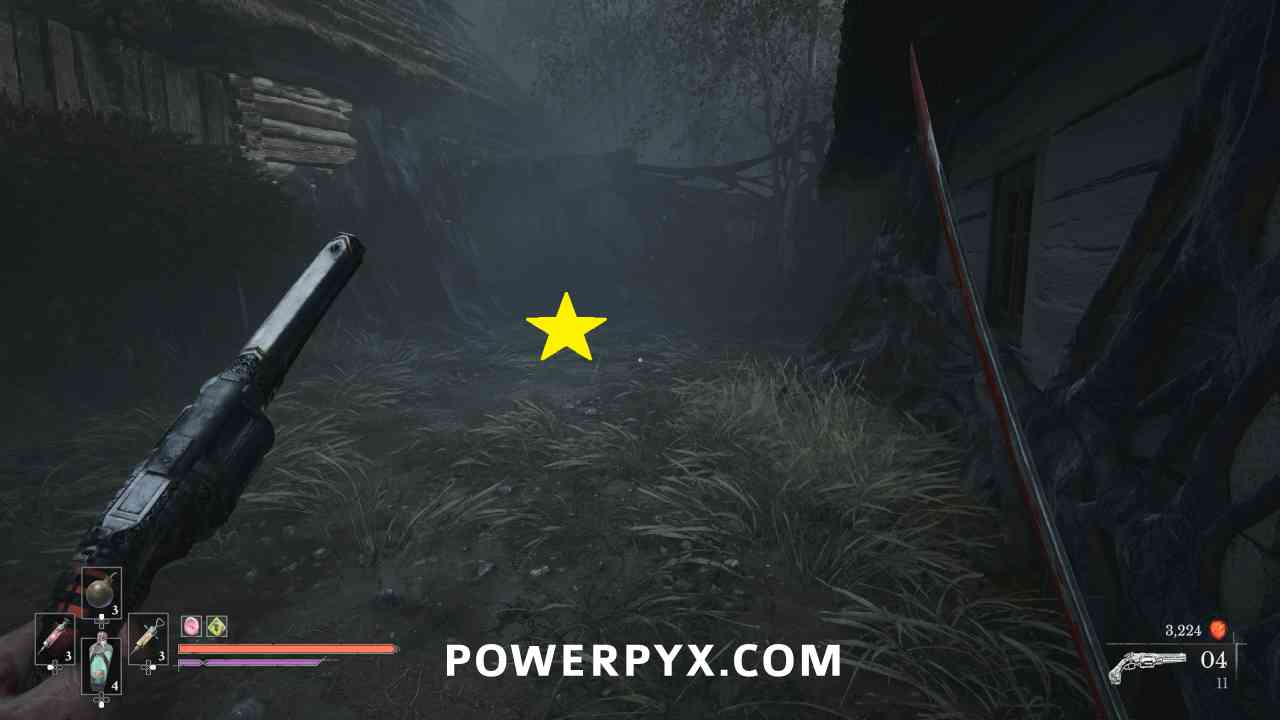
Quest: Lullaby – Step #3
Lantern: Fallen Village > Marketplace
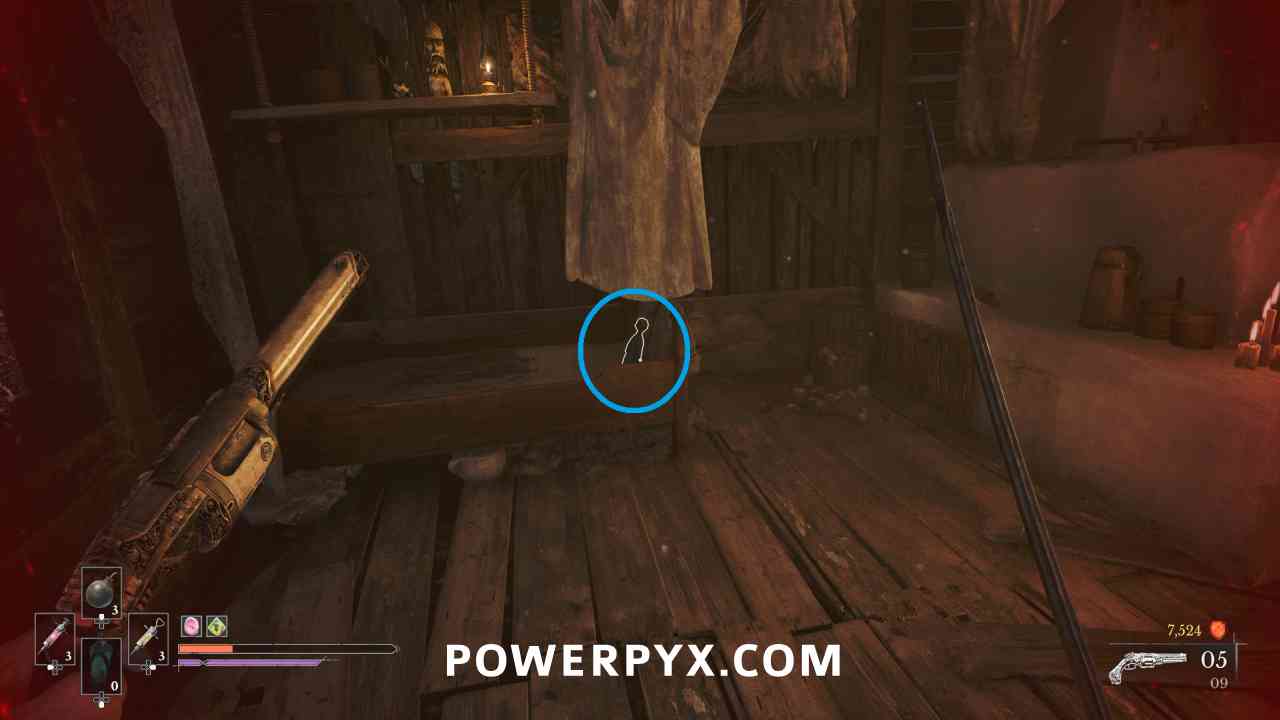
Go back to the lantern and follow the path back to the previous area. After the Volunteer turn right and go to the end of the path where there is a house you can jump across the river to reach. Interact with the door to use the Weathered Key to open it. Pick up the Toy from the bed inside.
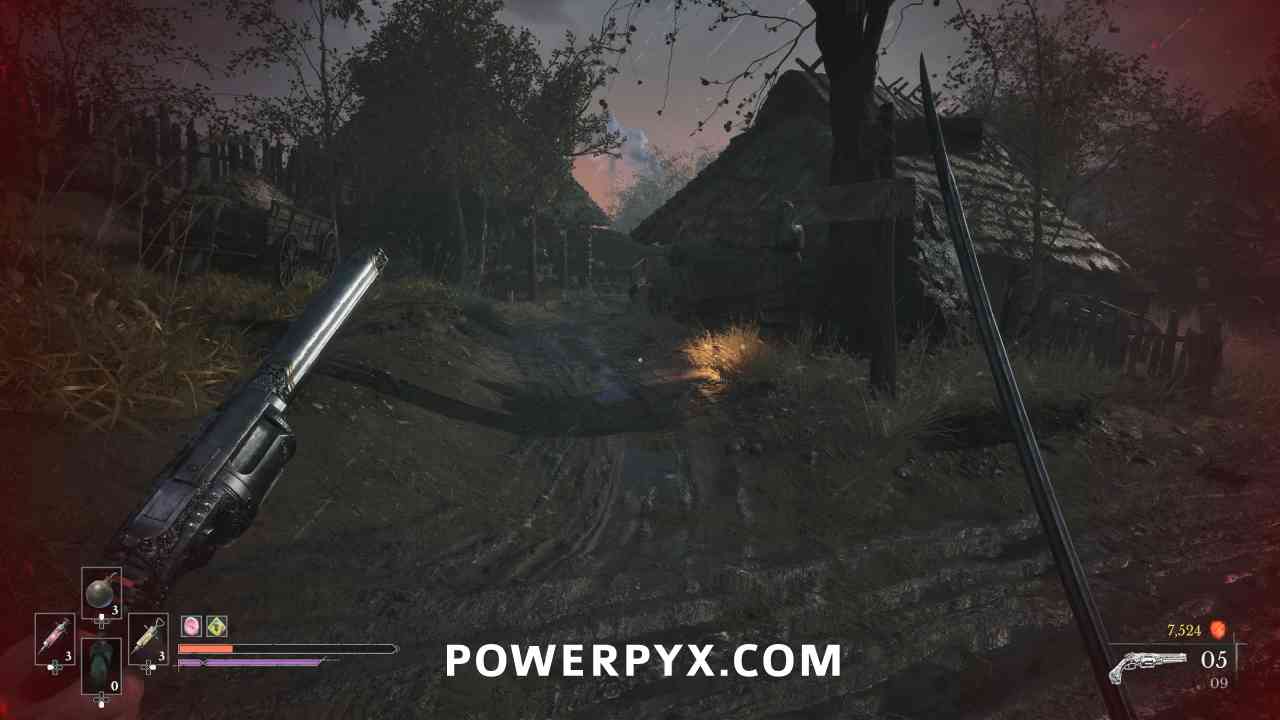
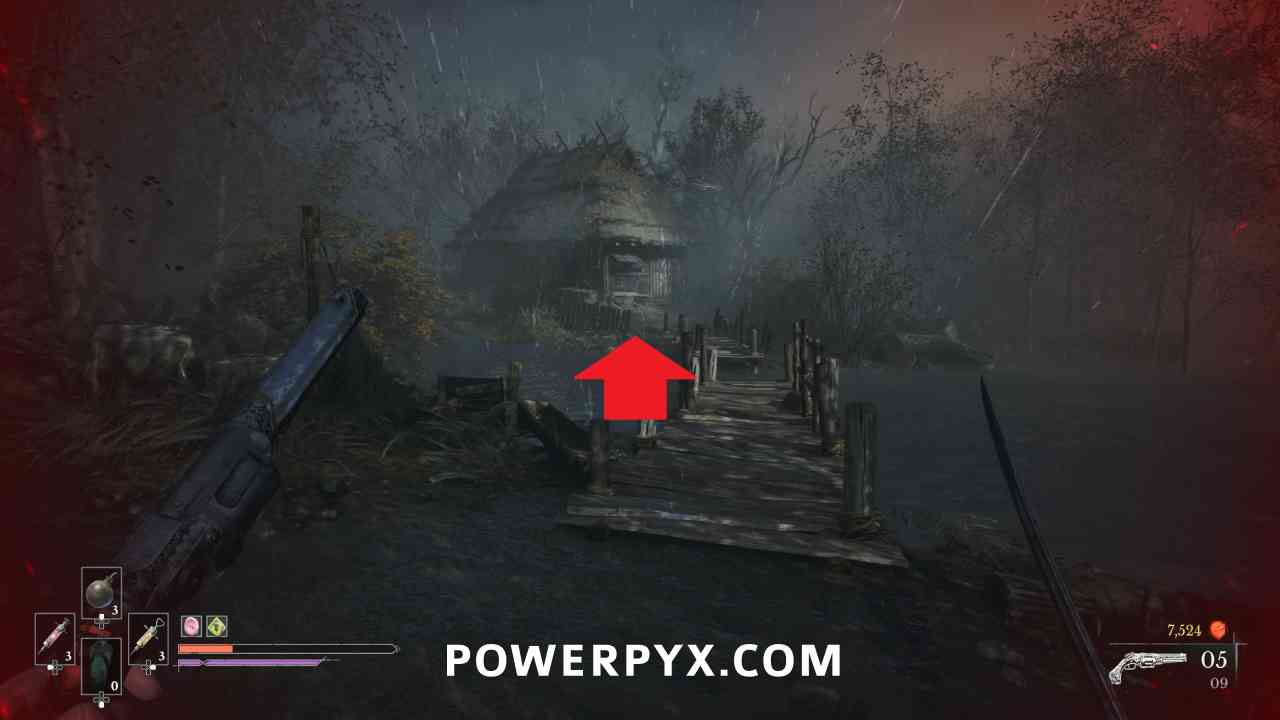
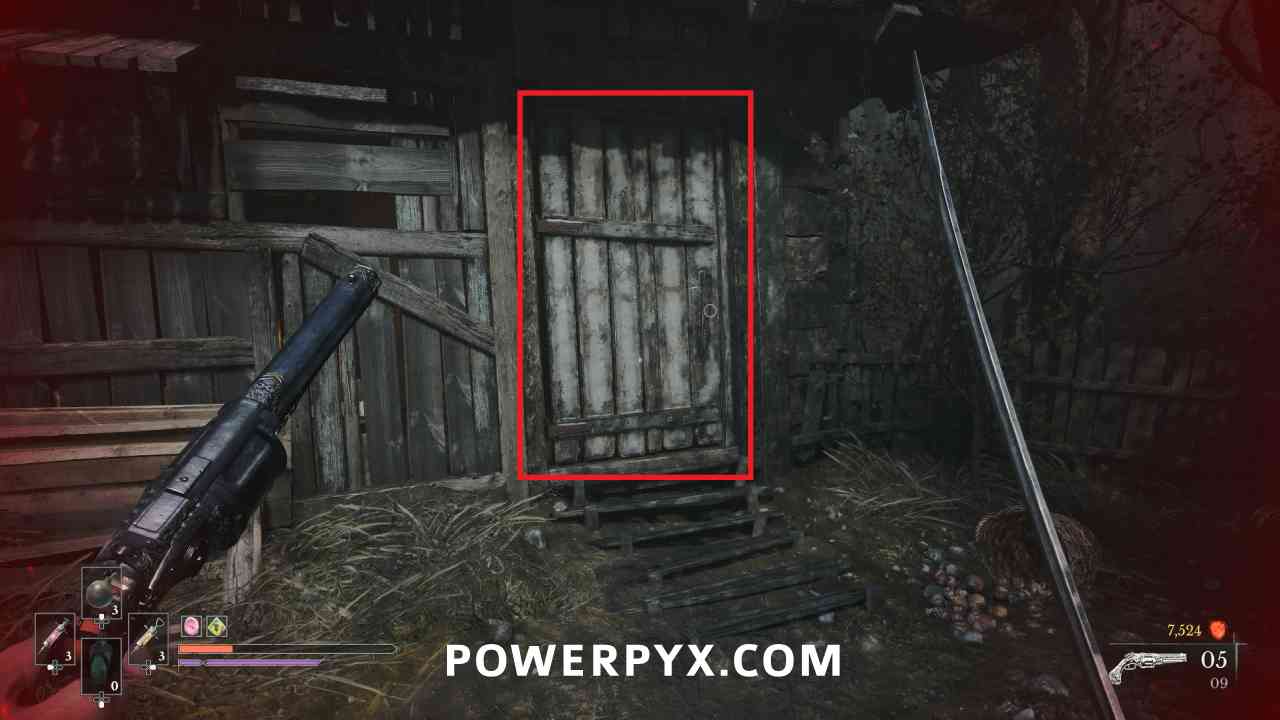
Quest: Lullaby – Step #4 (Complete)
Lantern: Fallen Village > Marketplace
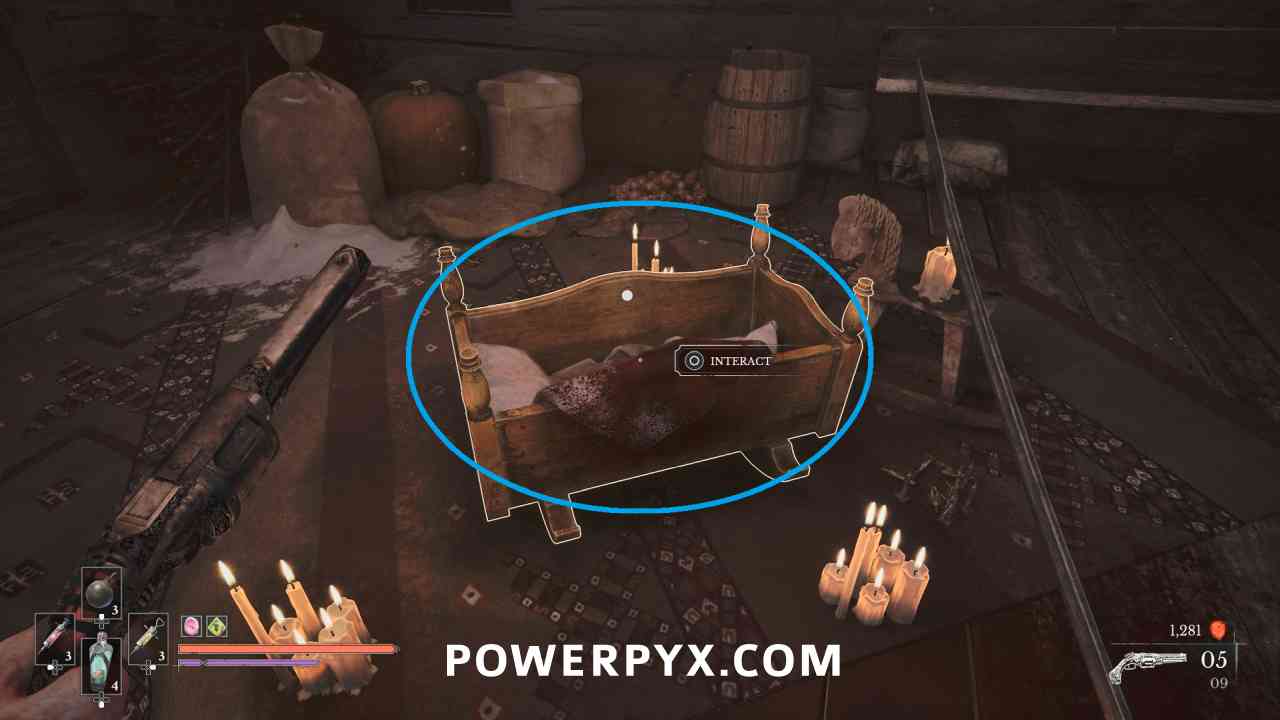
Go back to the house with the crib, interact with it to place the Toy and complete the quest.
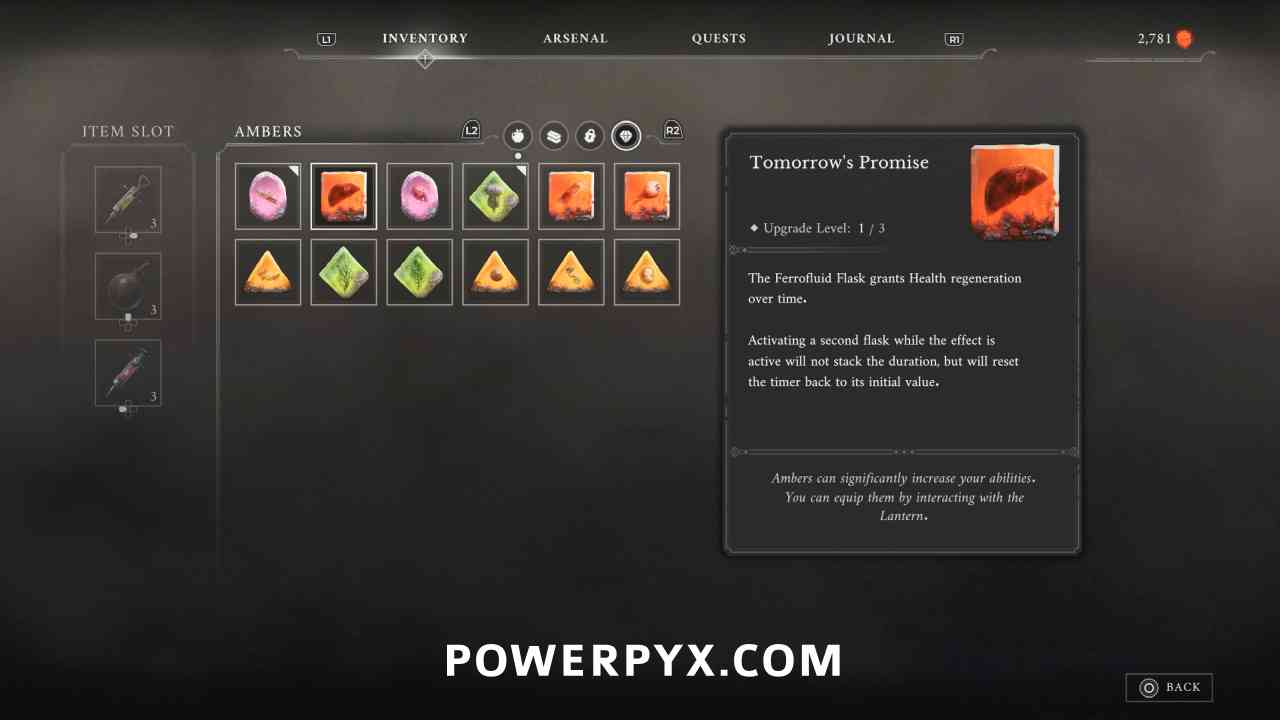
Amber #13: Tomorrow’s Promise
Lantern: Fallen Village > Marketplace
Reward for completing side quest “Lullaby”.
Ferrofluid Flask Power Upgrade #4
Lantern: Fallen Village > Marketplace
When you reach the open village area with the groups of enemies patrolling around, take the first left path, and this is in a chest inside the house on the corner.
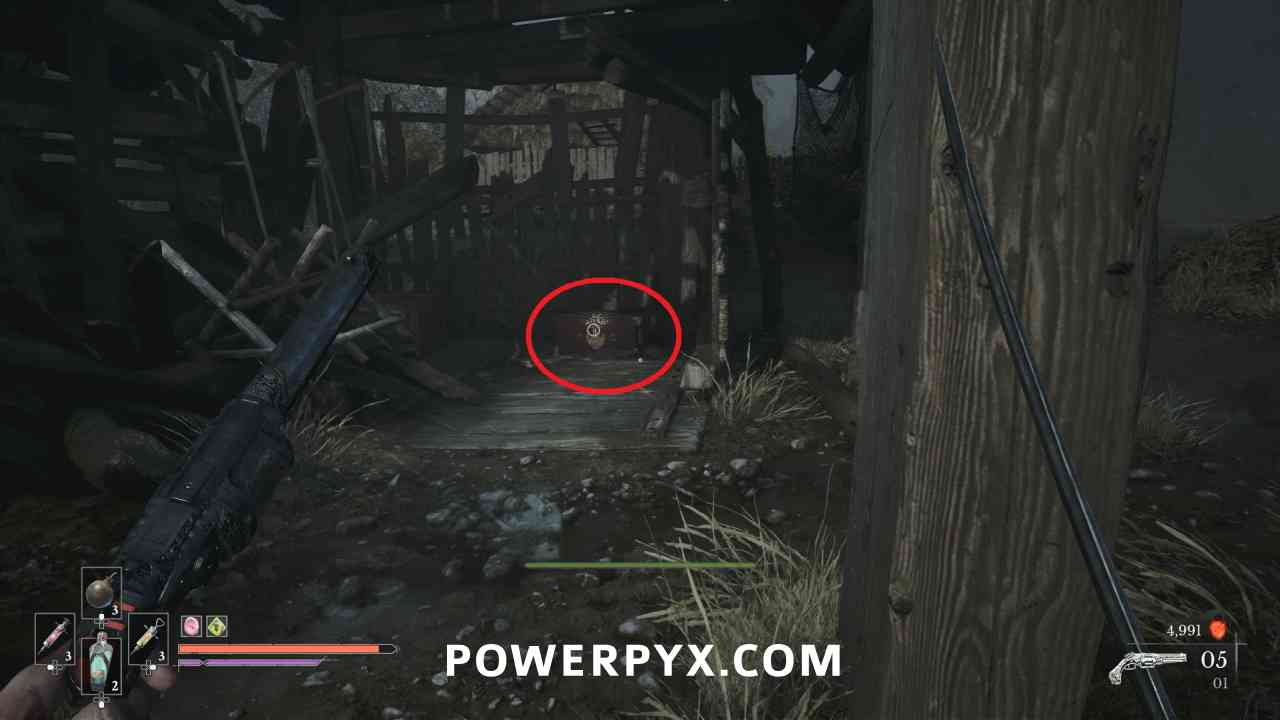
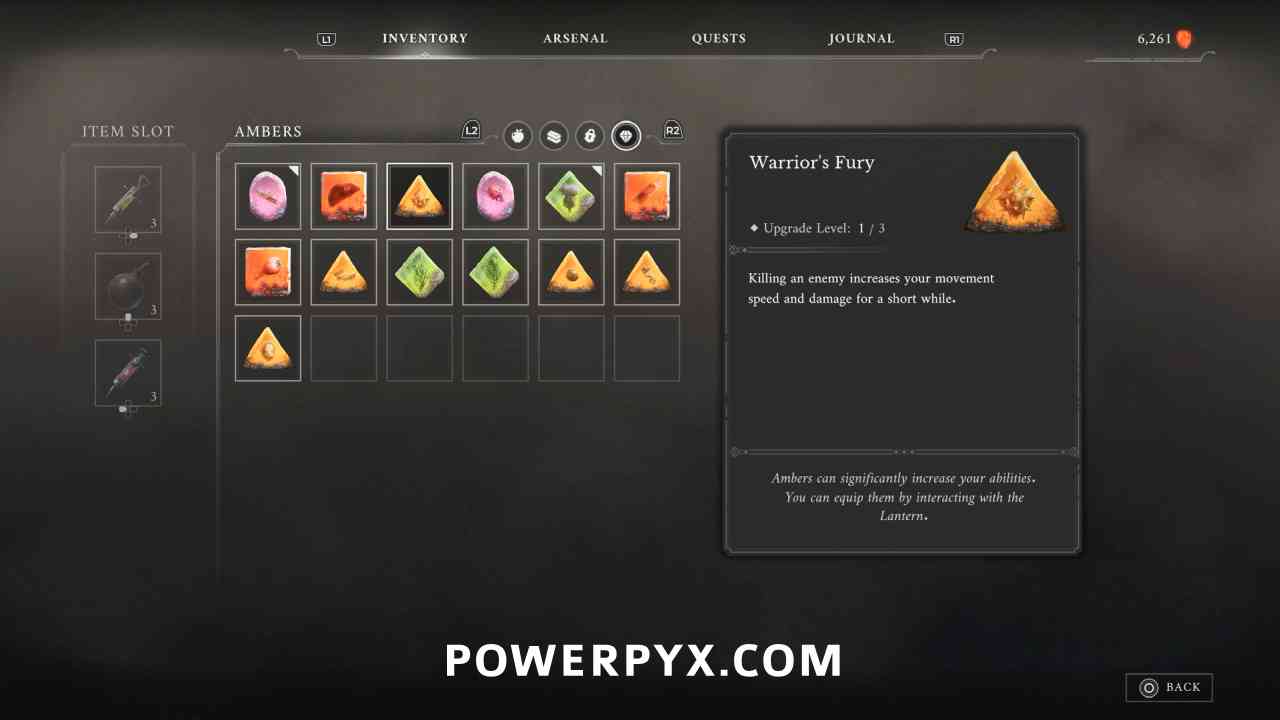
Amber #14: Warrior’s Fury
Lantern: Fallen Village > Marketplace
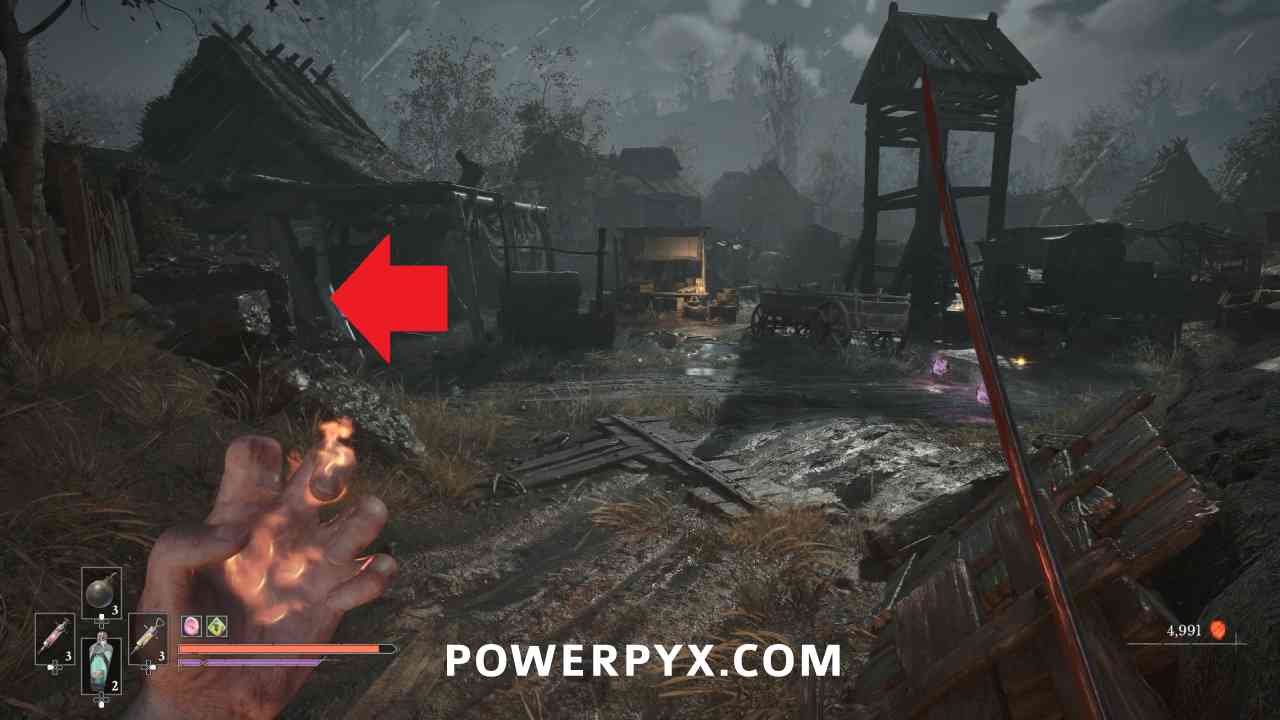
In the village area, enter the house that the group of enemies is shooting at. On the top floor you can go onto the balcony and jump across to the chest that contains this Amber.
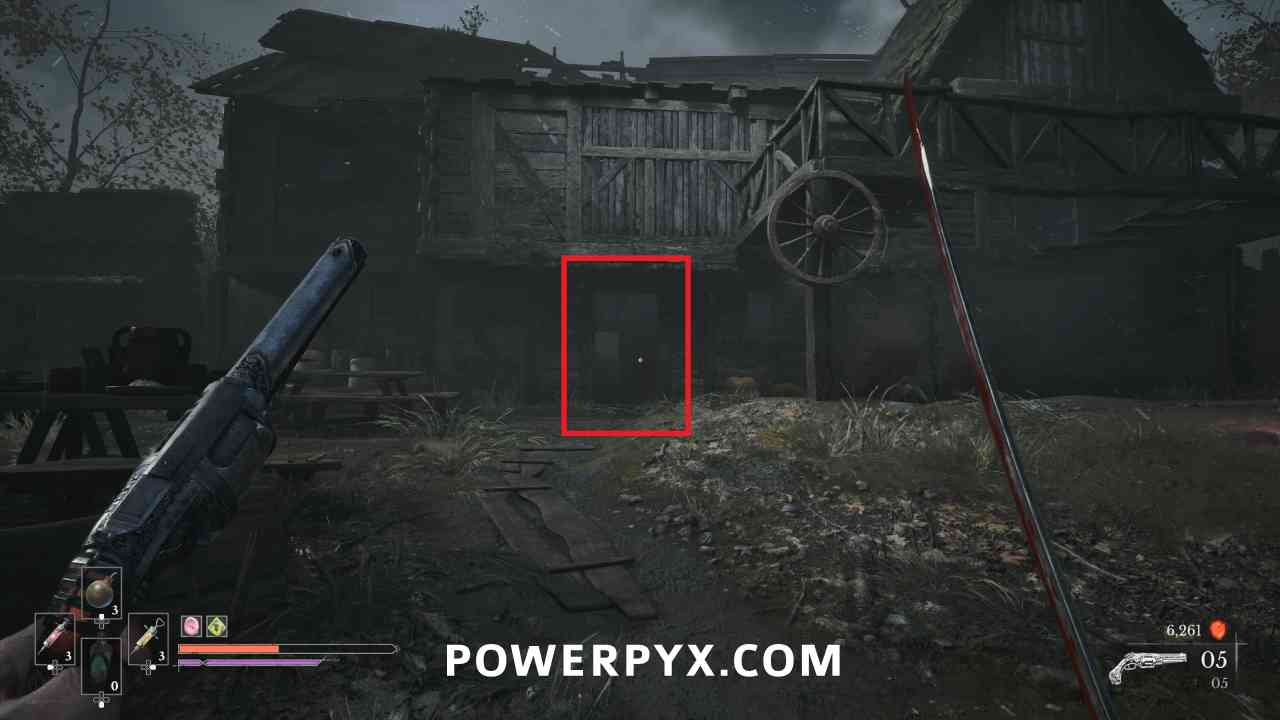
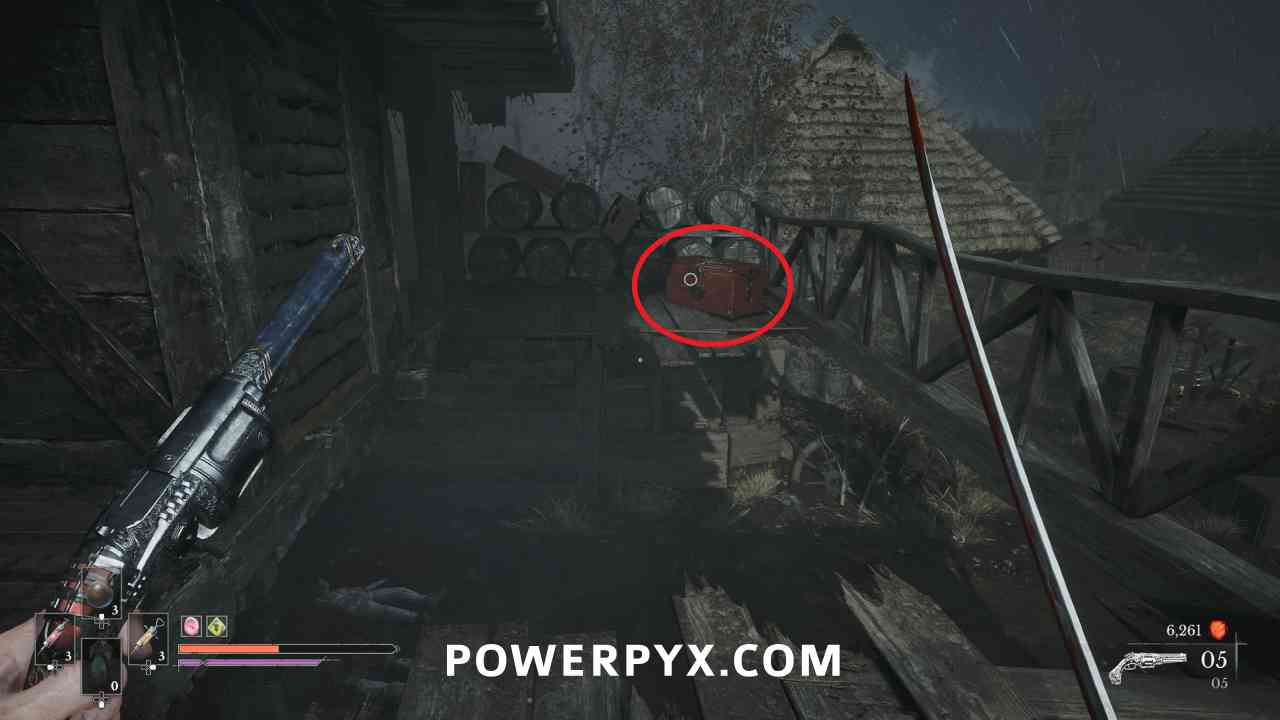
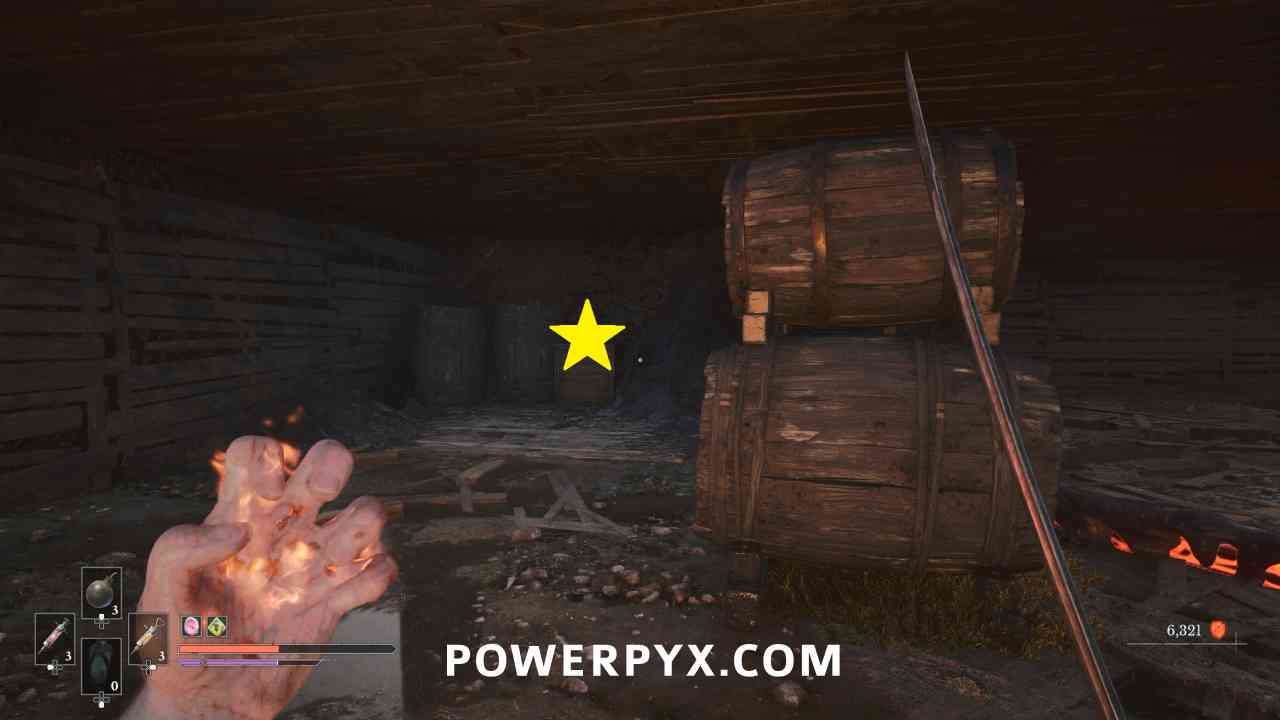
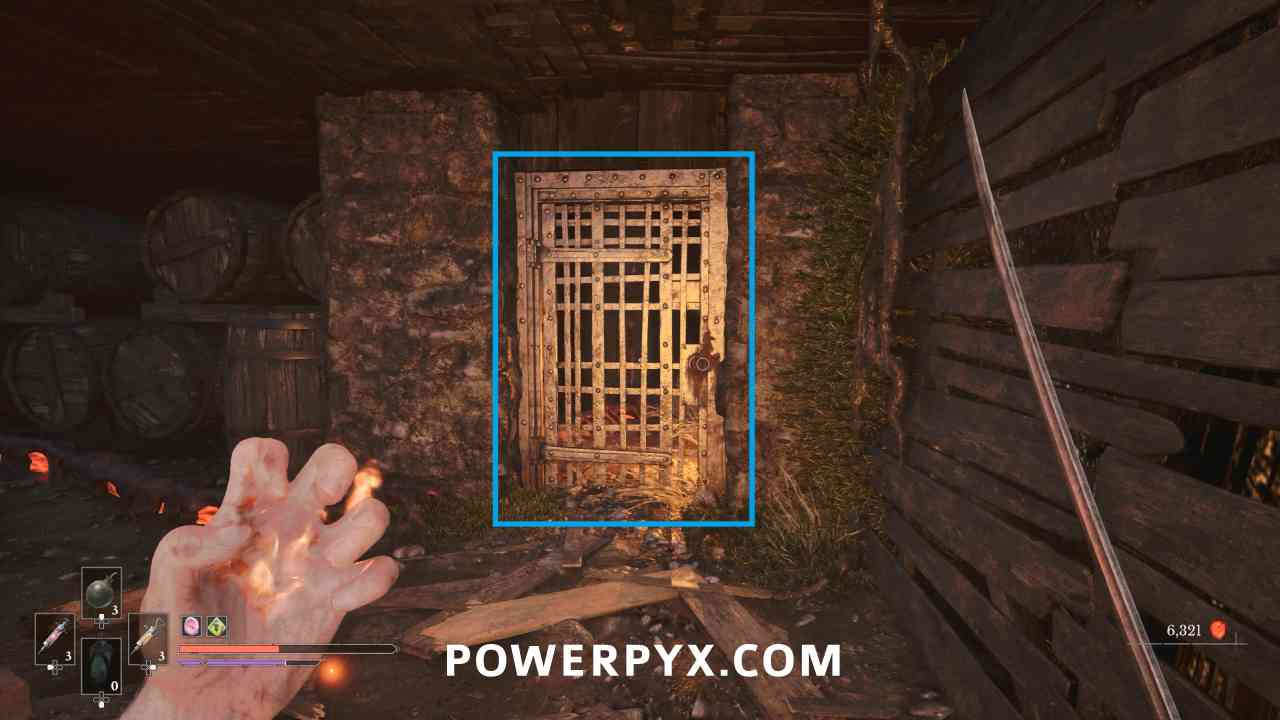
Key Item: Storage Key
Lantern: Fallen Village > Marketplace
Go out the back of the house and take the ladder down to the underground area. Around the corner near two enemies this is on a box. This is used on the nearby door to allow you to reach the weakpoint to clear the plague wall.
Boss: The Iron Marshall
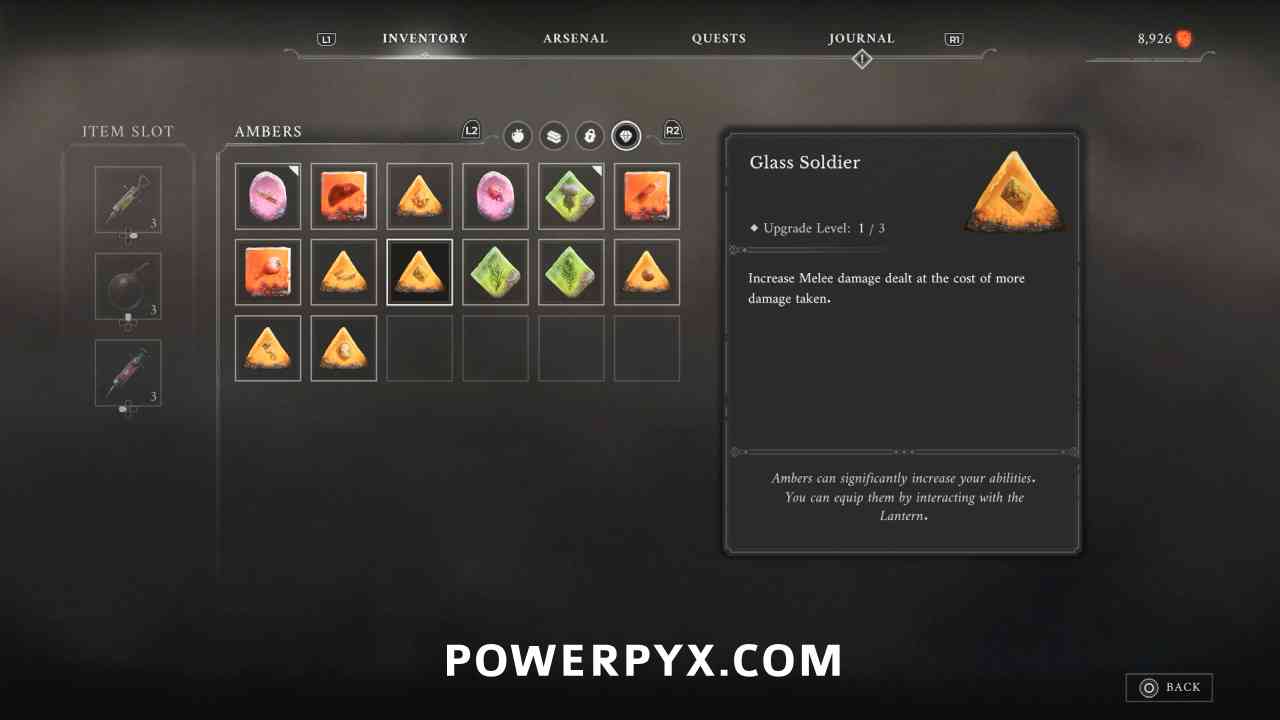
Amber #15: Glass Soldier
Lantern: Fallen Village > Orchard
After defeating the boss, climb up into the building to the right of the area (from where you entered). Break the boxes and then drop out the back of the building to find a chest that contains this Amber.
Empty Ferrofluid Flask #2
Lantern: Fallen Village > Marketplace
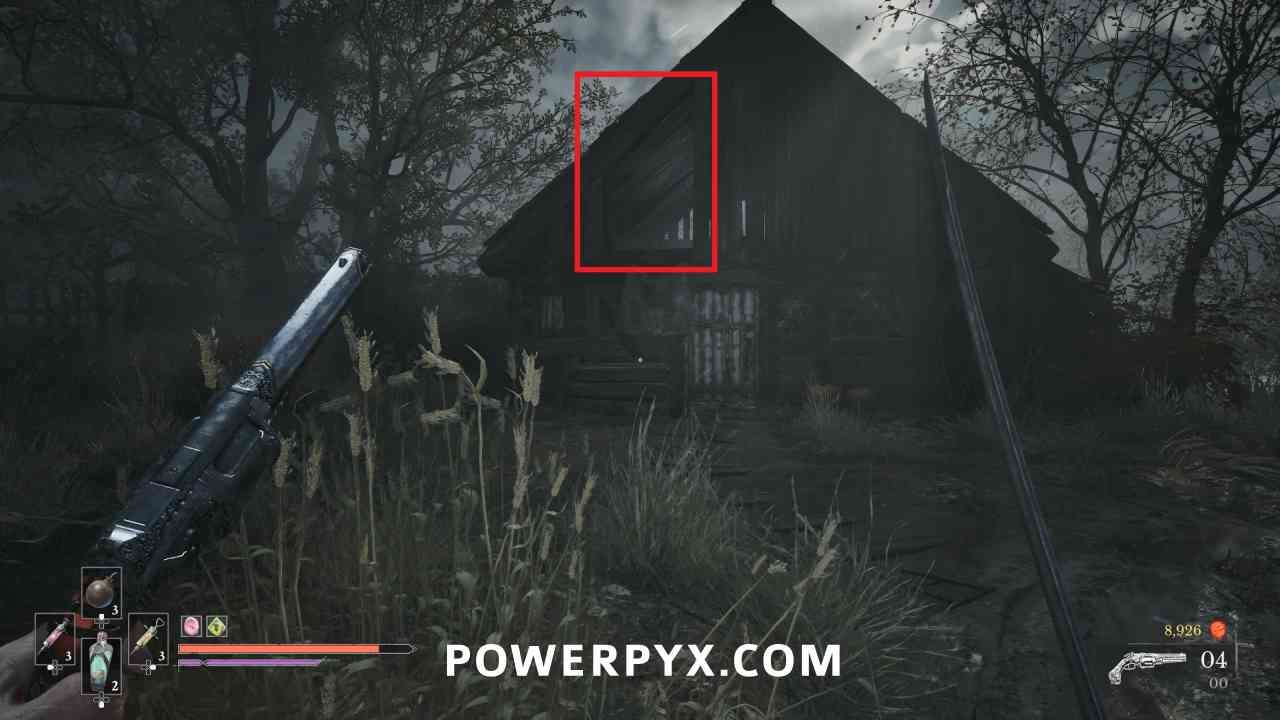
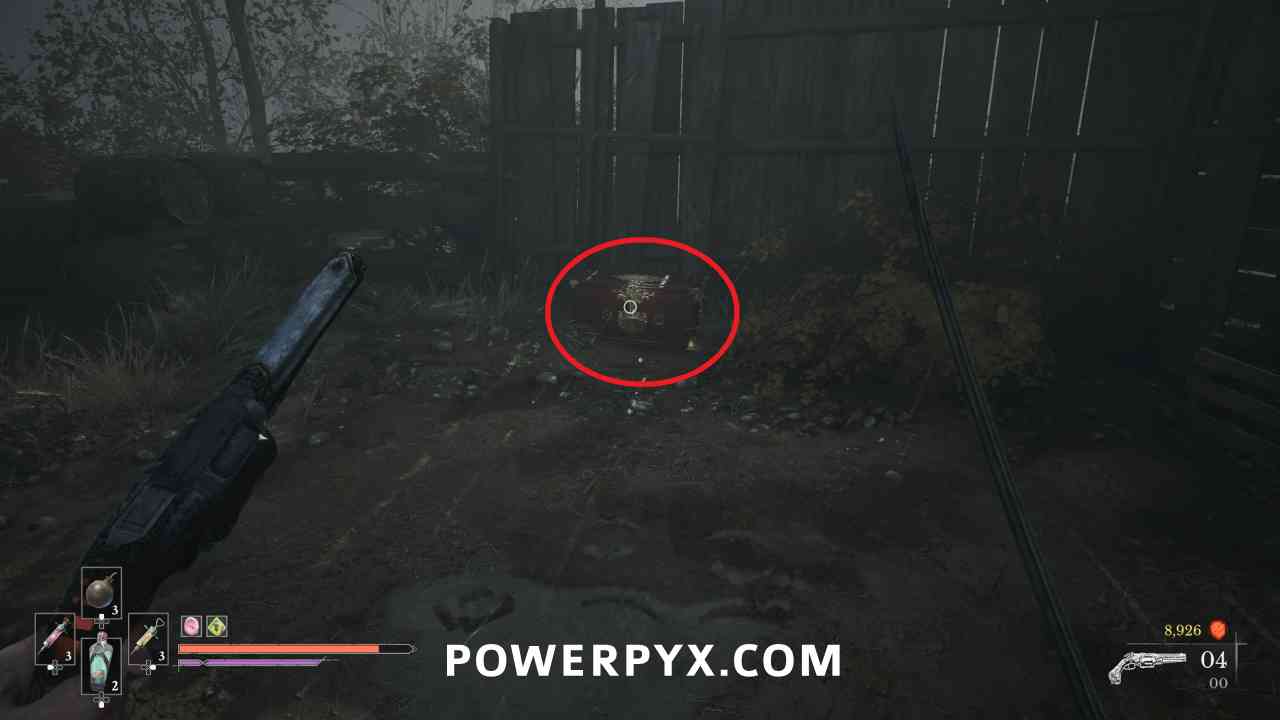
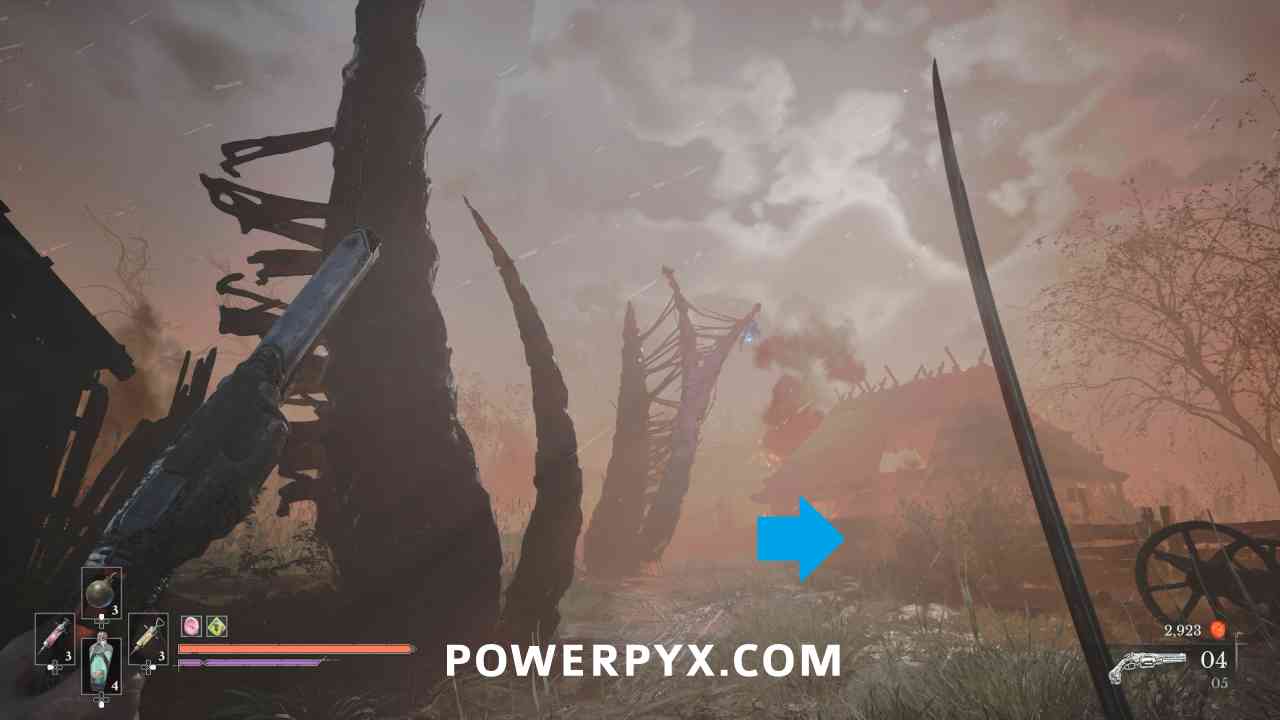
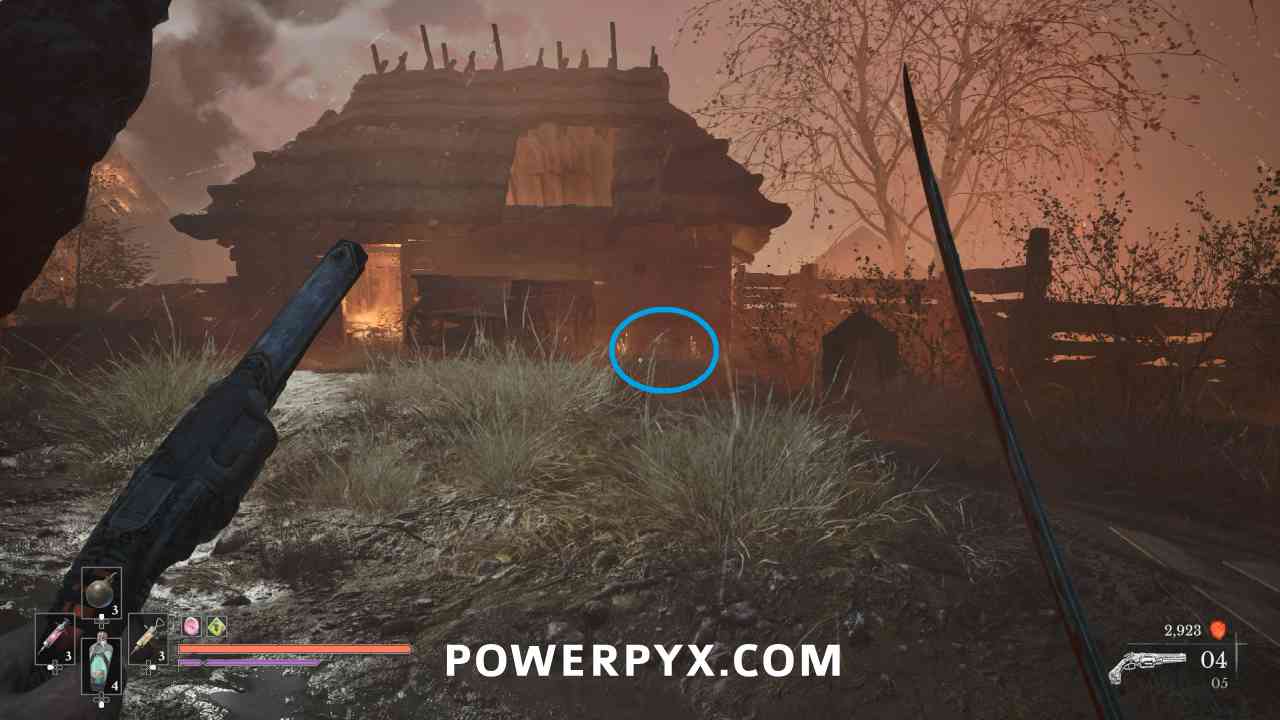
Grapple across the water near the Marketplace Lantern to progress. When you reach the location with the two plague pillars with grapple points on them, this is in a chest to the right after the second one.
NEXT: Chapter 4: Dark Descent
For all other Chapters and by-type collectibles, check out the complete Valor Mortis Collectible Guide.
Leave a Reply