
The “Unknown” is the 7th and final zone in Control Resonant and contains 9 collectible locations. This guide covers all trophy and achievement related collectibles to collect everything efficiently with minimal fast travel required (FBC Taskboards, Dylan’s Sketchbooks, Dogs, Secret Hideouts, Testing Facilities, Taxis, Cameras).
- FBC Taskboards: 1
- Dylan’s Sketchbooks: 2
- Dogs: 1
- Secret Hideouts: 1
- Testing Facilities: 1
- Taxis: 1
- Freeze Frame Cameras: 2
Collectibles Overview:
To travel through this zone you must first finish Side Quest: Pope’s Research. This involves finding research balloons, cutting them down, and picking up relays from them. Then place the relays in the red circles (which will be marked on the minimap). This spawns a Gravity Well on each island that lets you travel to the next island.
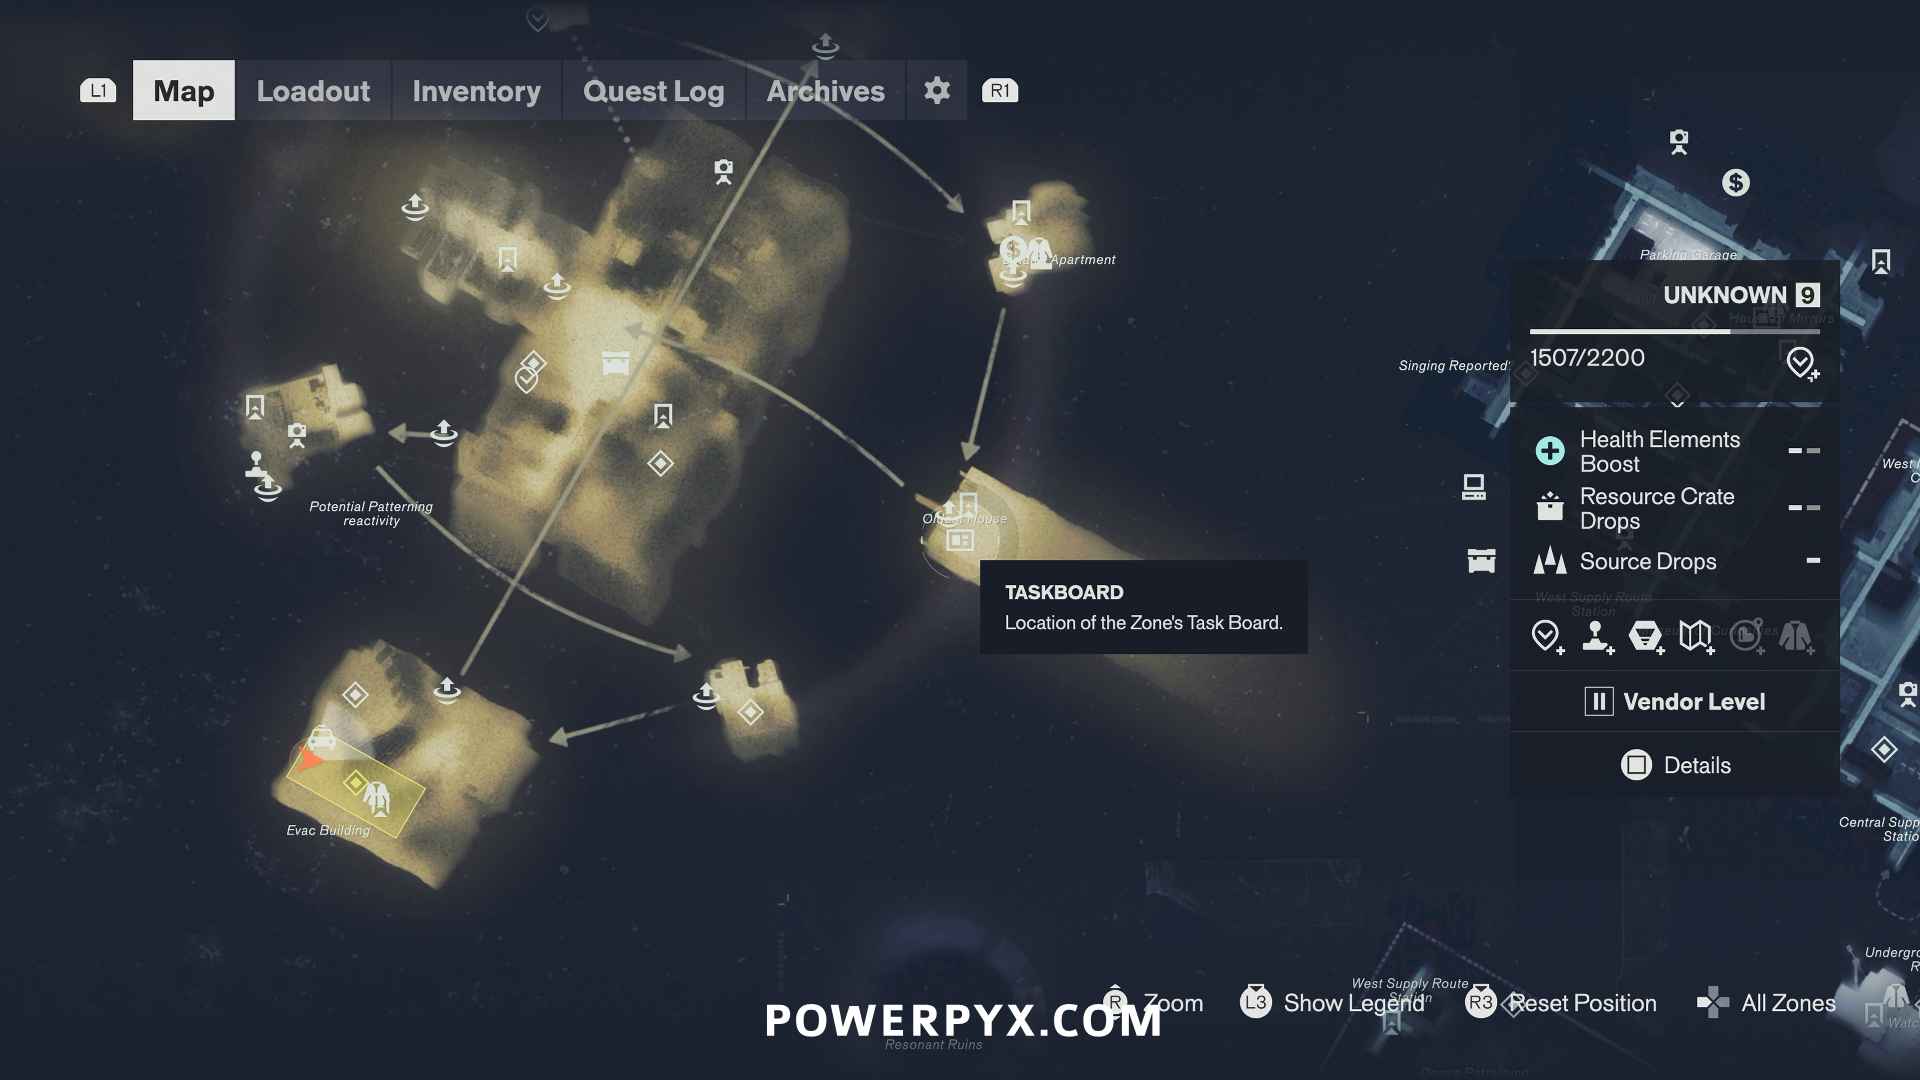
#1 – FBC Taskboard
Near the Oldest House fast travel point in the Unknown (you will also need to do Side Quest: Pope’s Research to fully explore The Unknown zone). Only spawns after unlocking the Central Zone Taskboard.
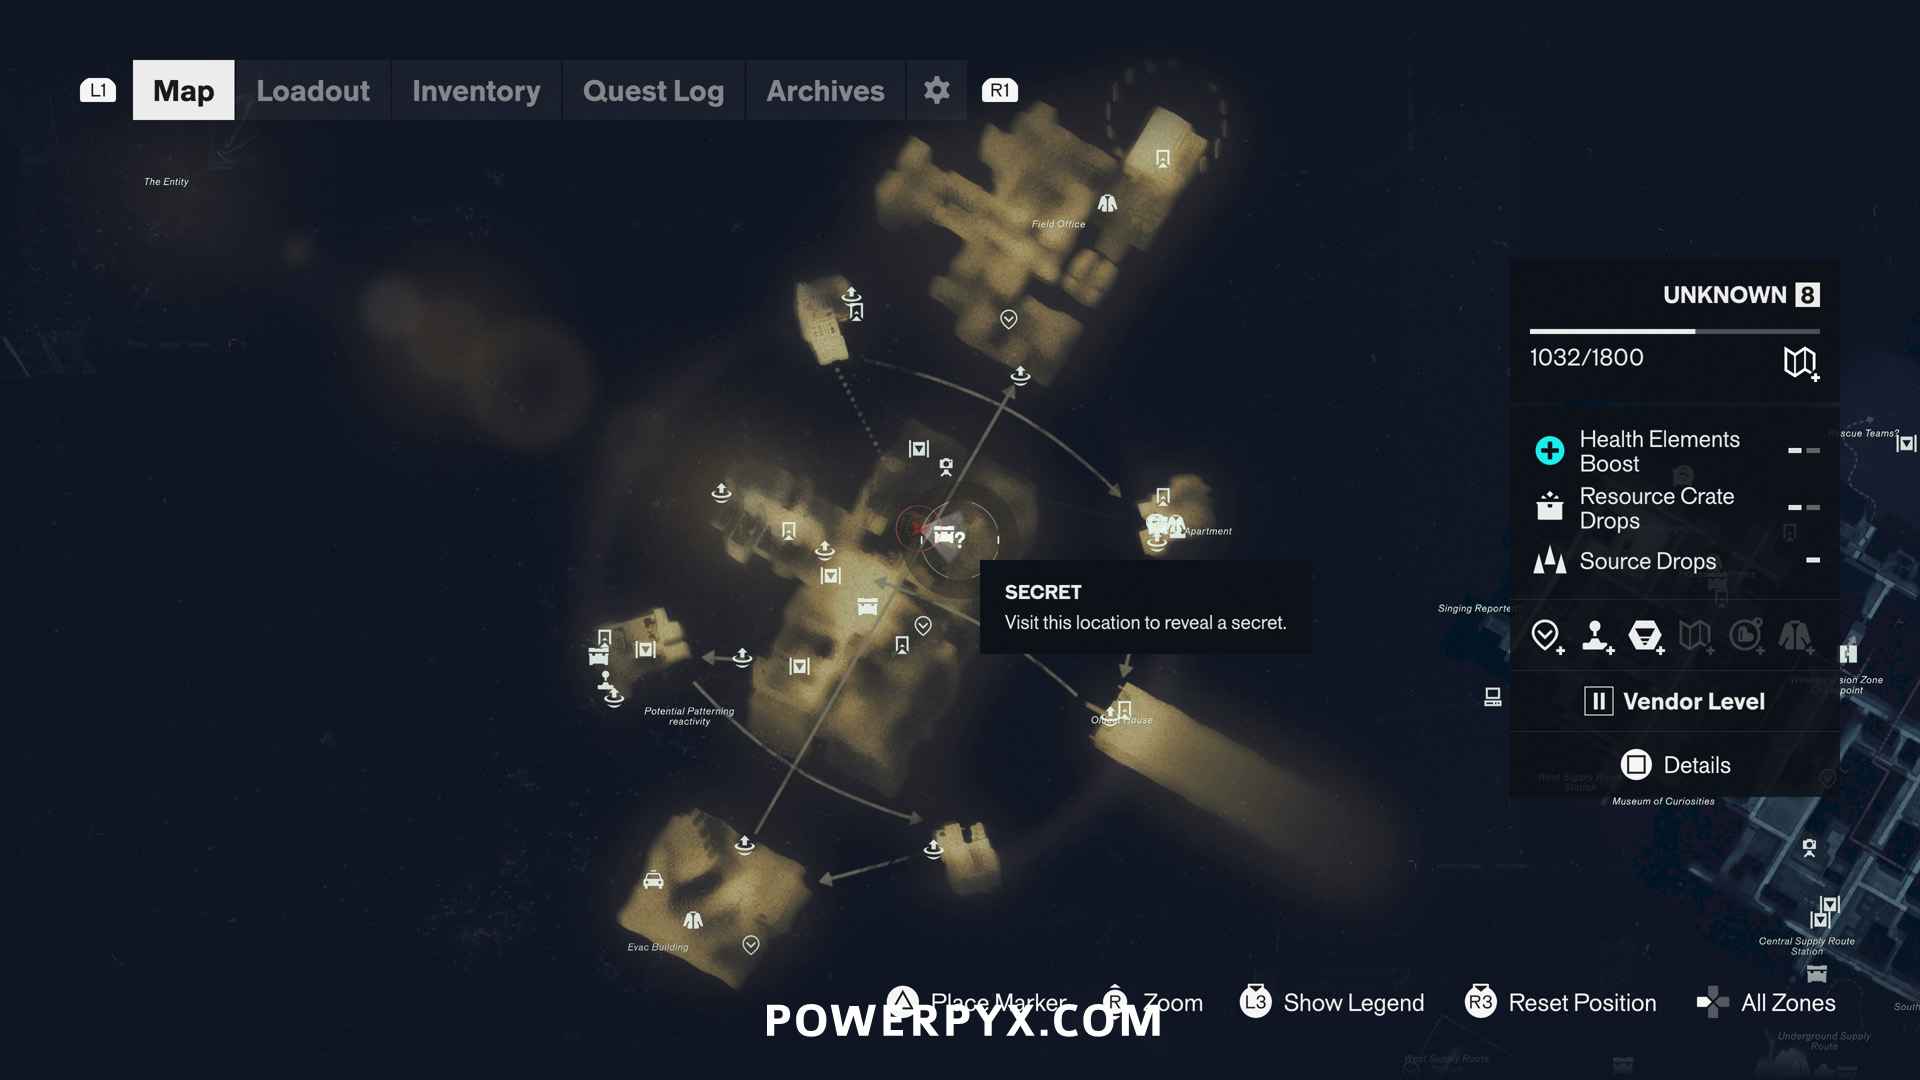
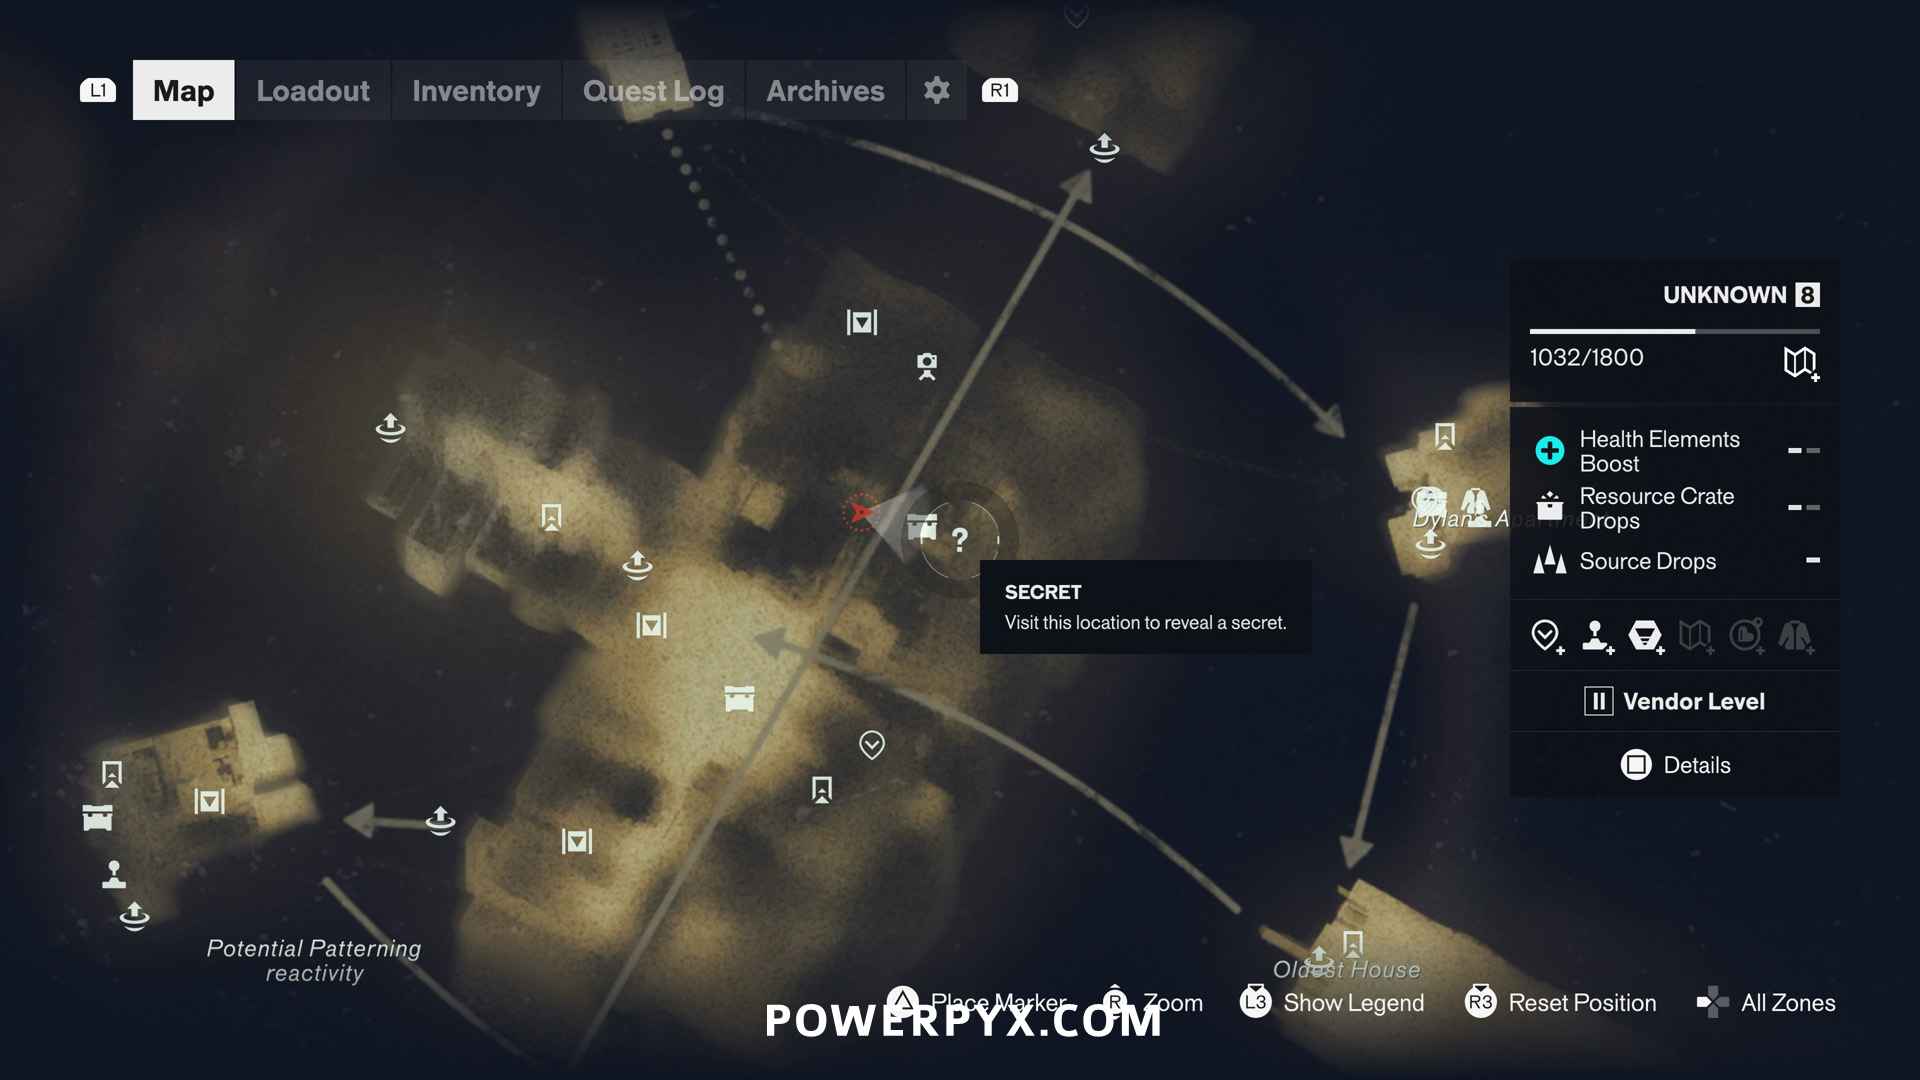
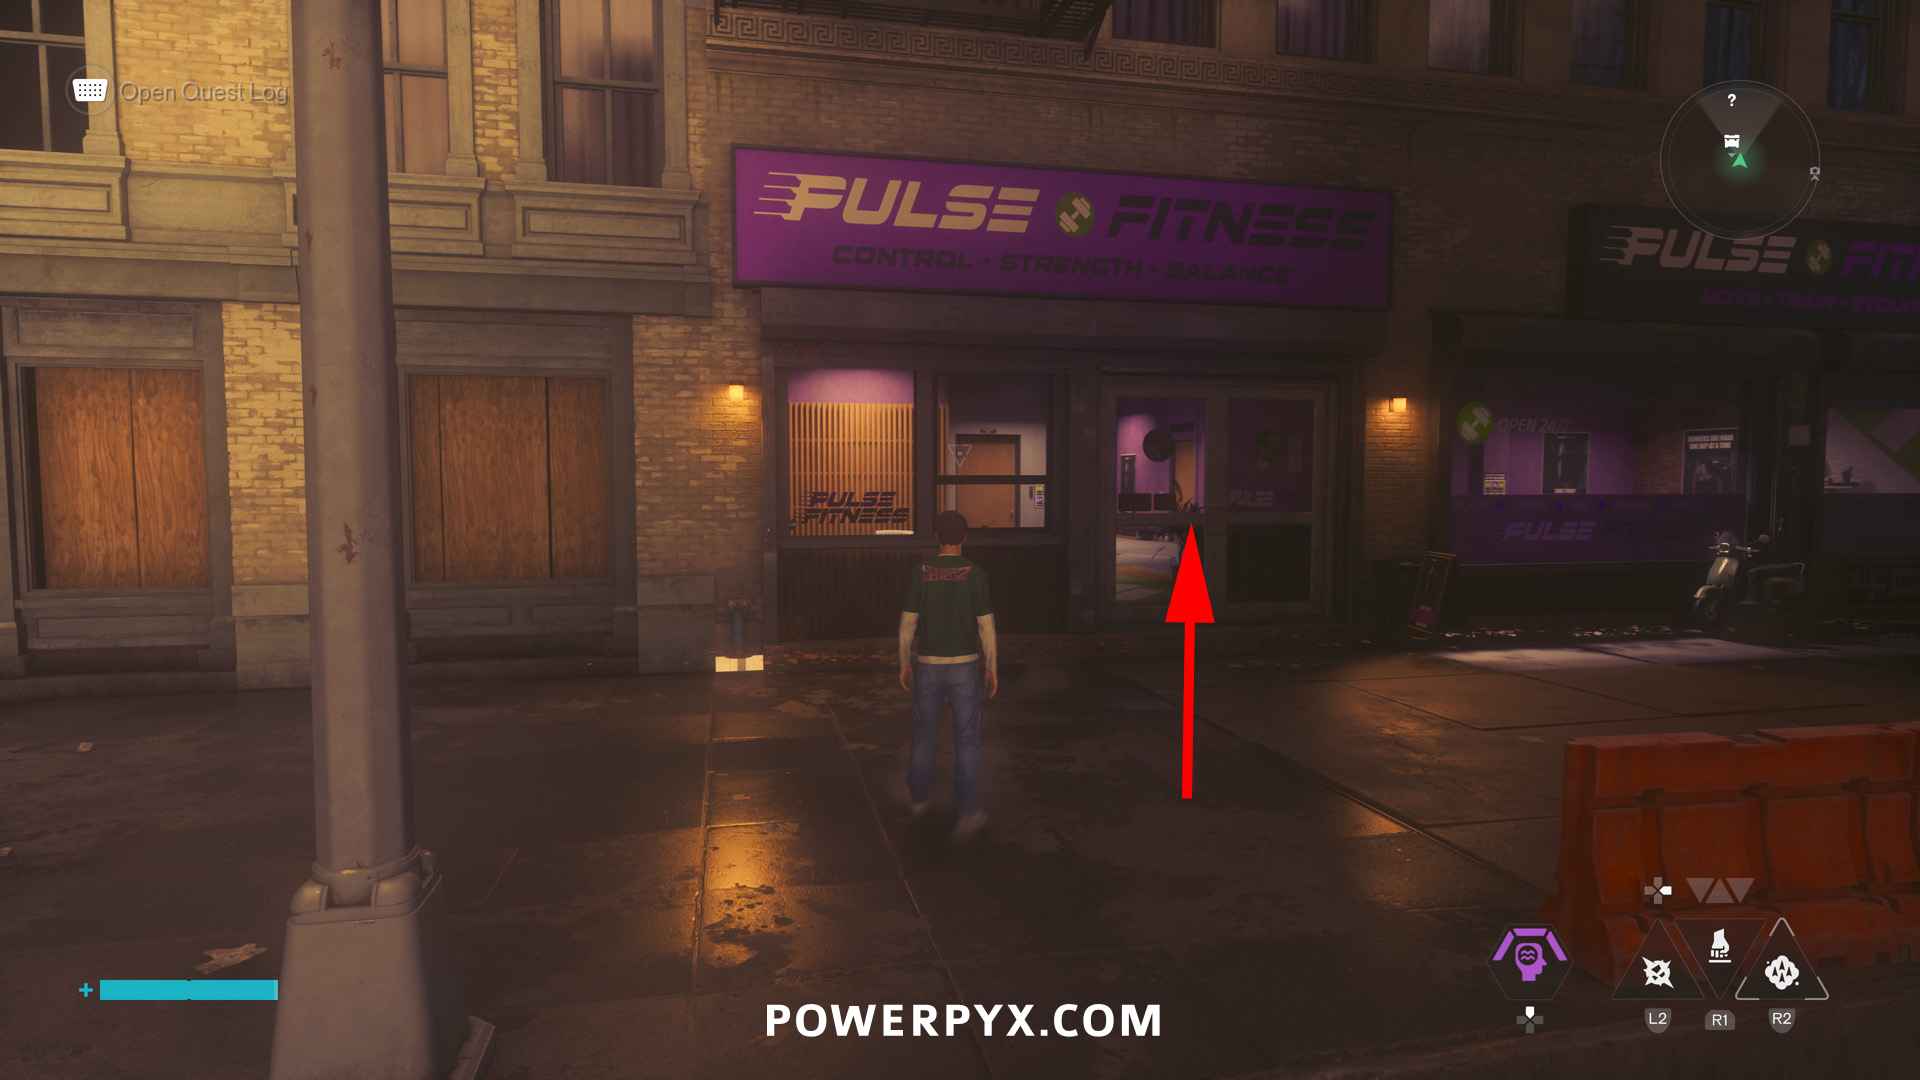
#2 – Secret Hideout
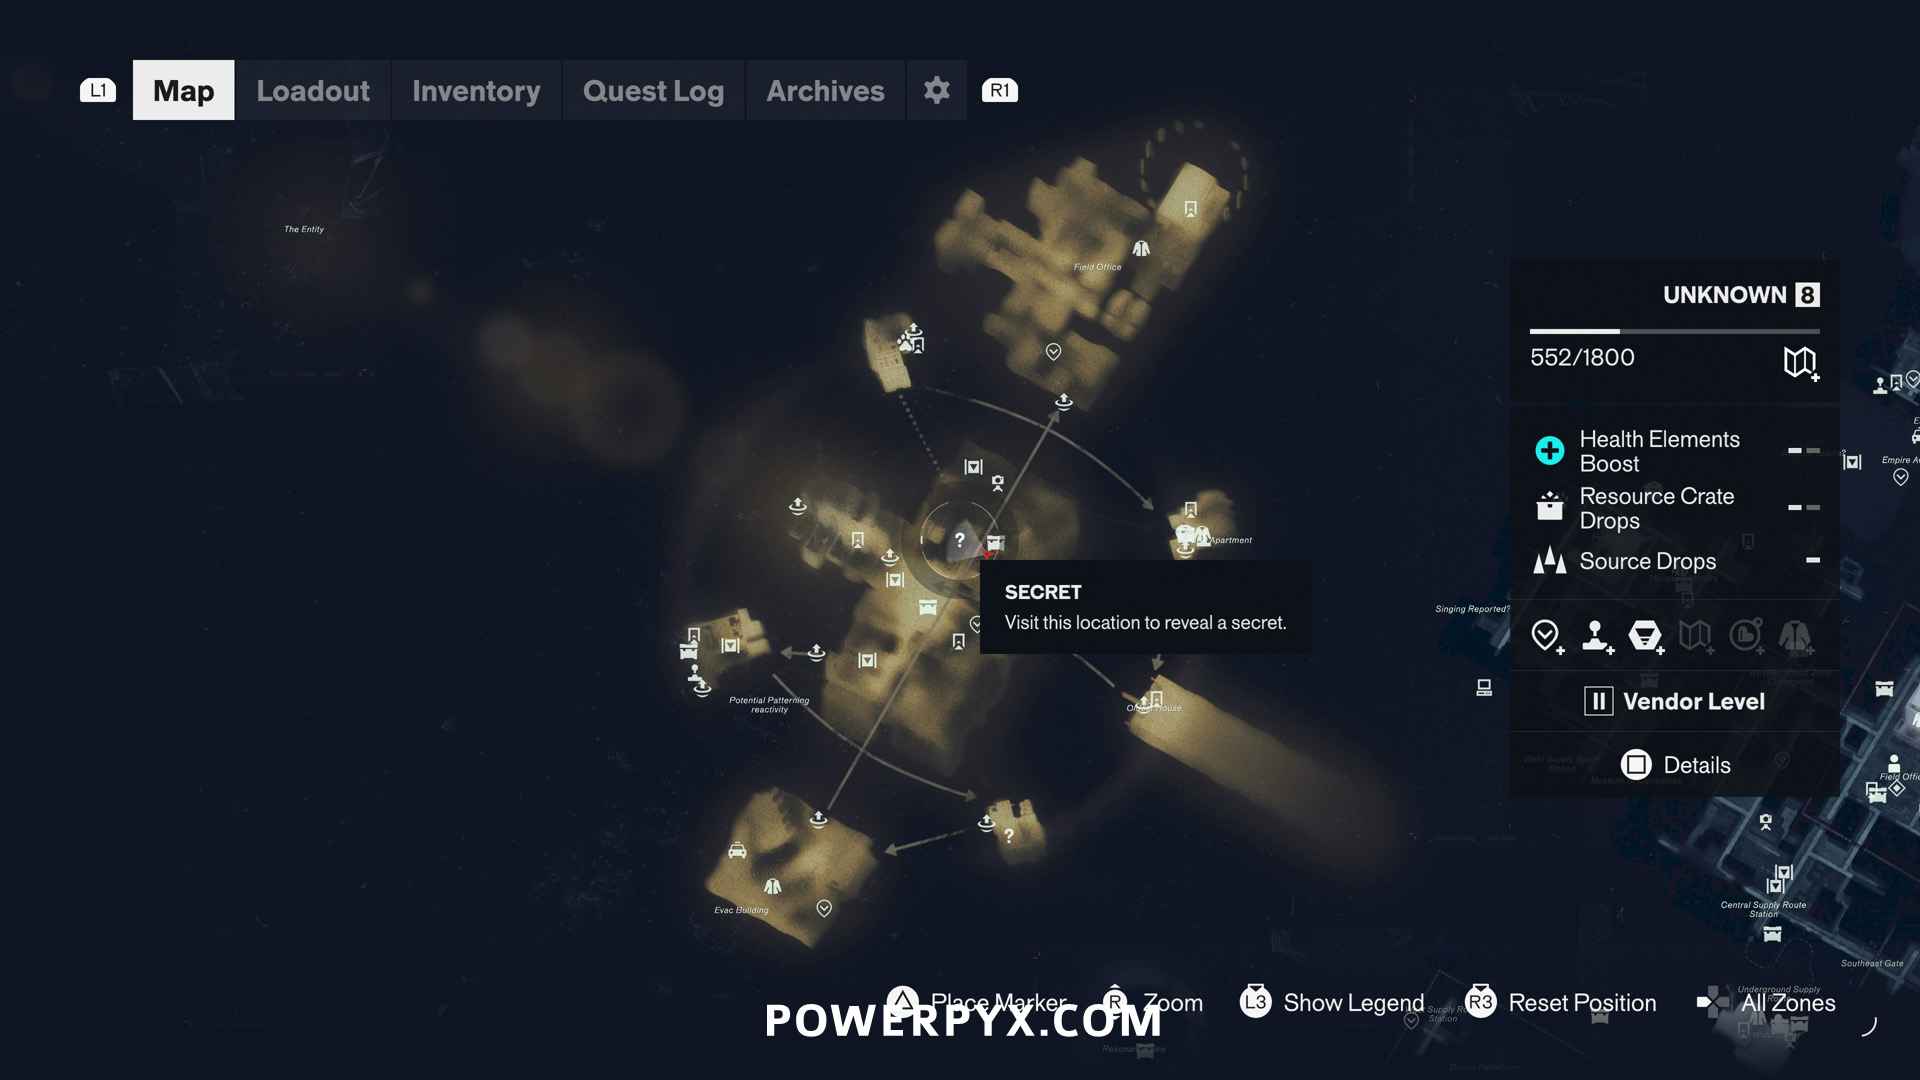
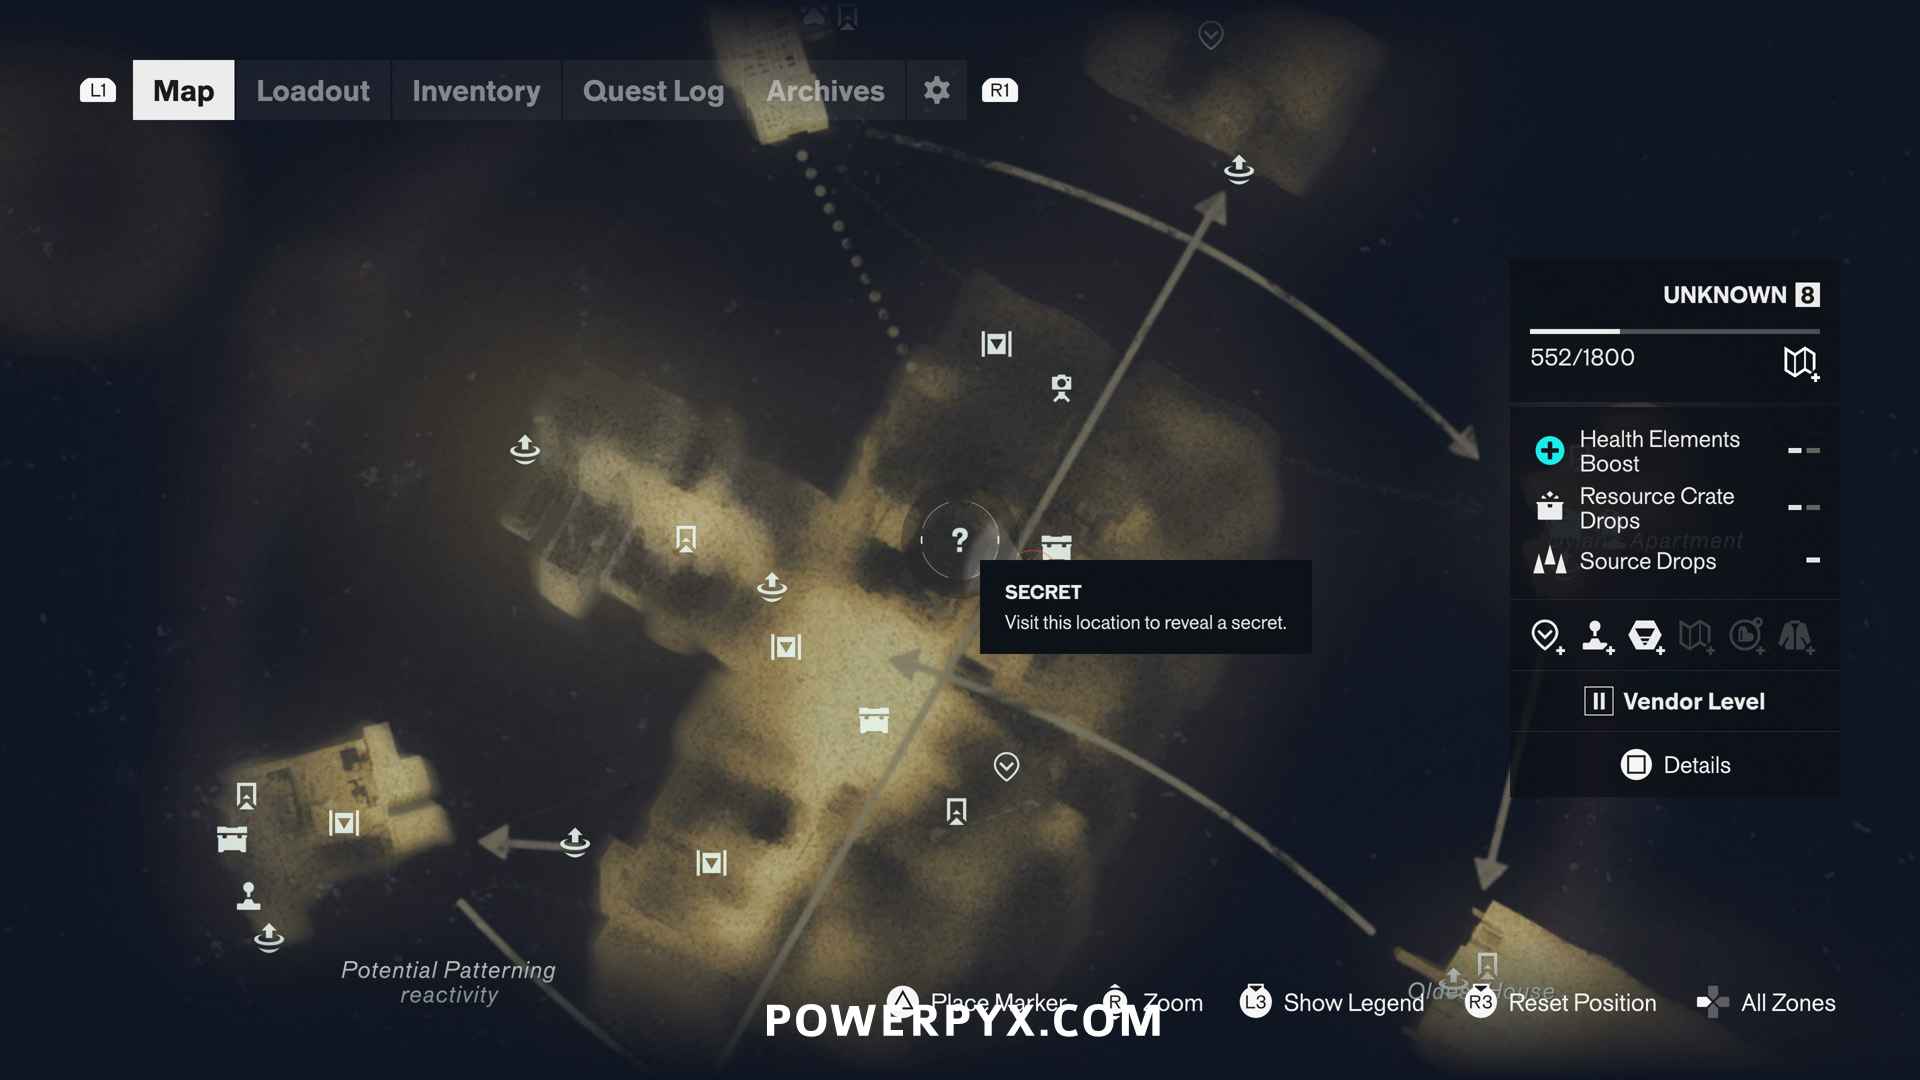
From the street enter the “Pulse Fitness” (shop with purple sign above door). Note that this area has two opposite gravity versions (an upside down version). If you’re at the location marker and instead find an art gallery you’re on the wrong end of the gravity and must flip the gravity by 180° to reach the street with the Pulse Fitness shop.
#3 – Dylan’s Sketchbook – Art Exhibition
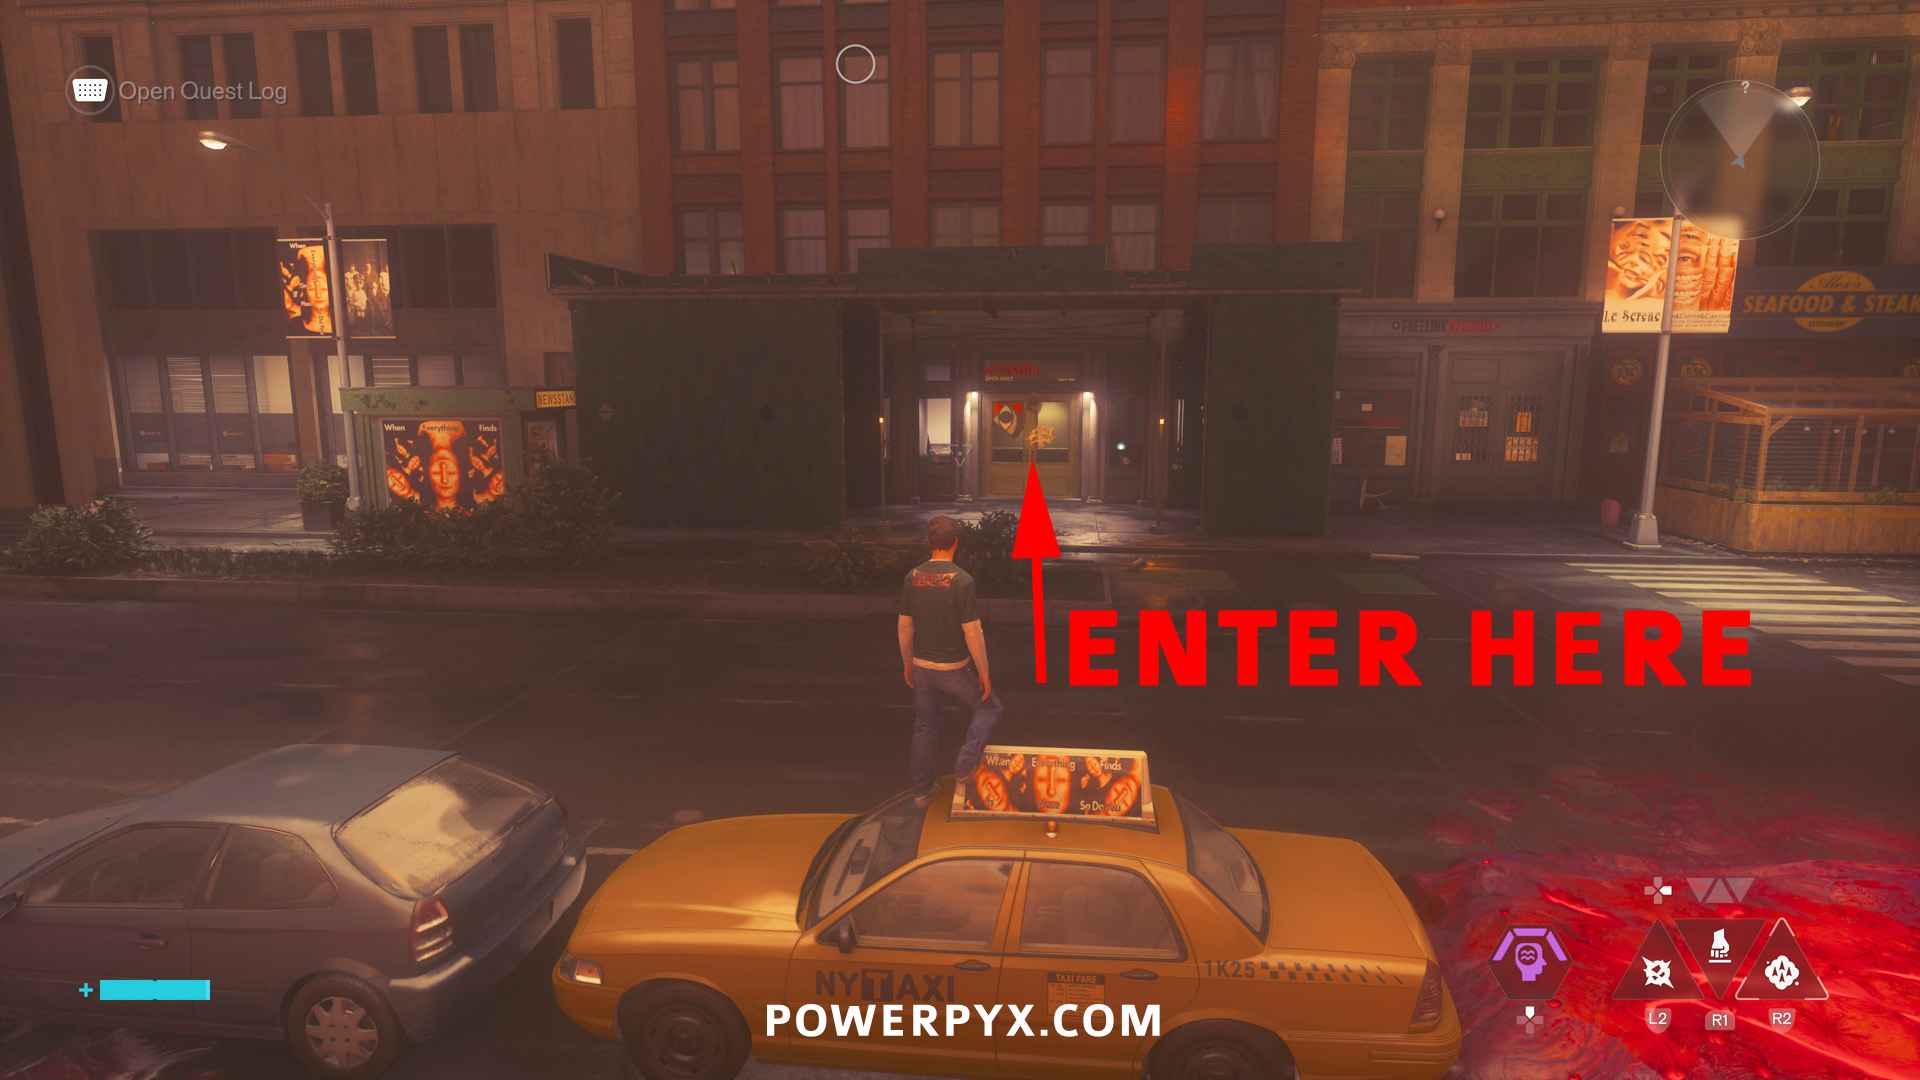
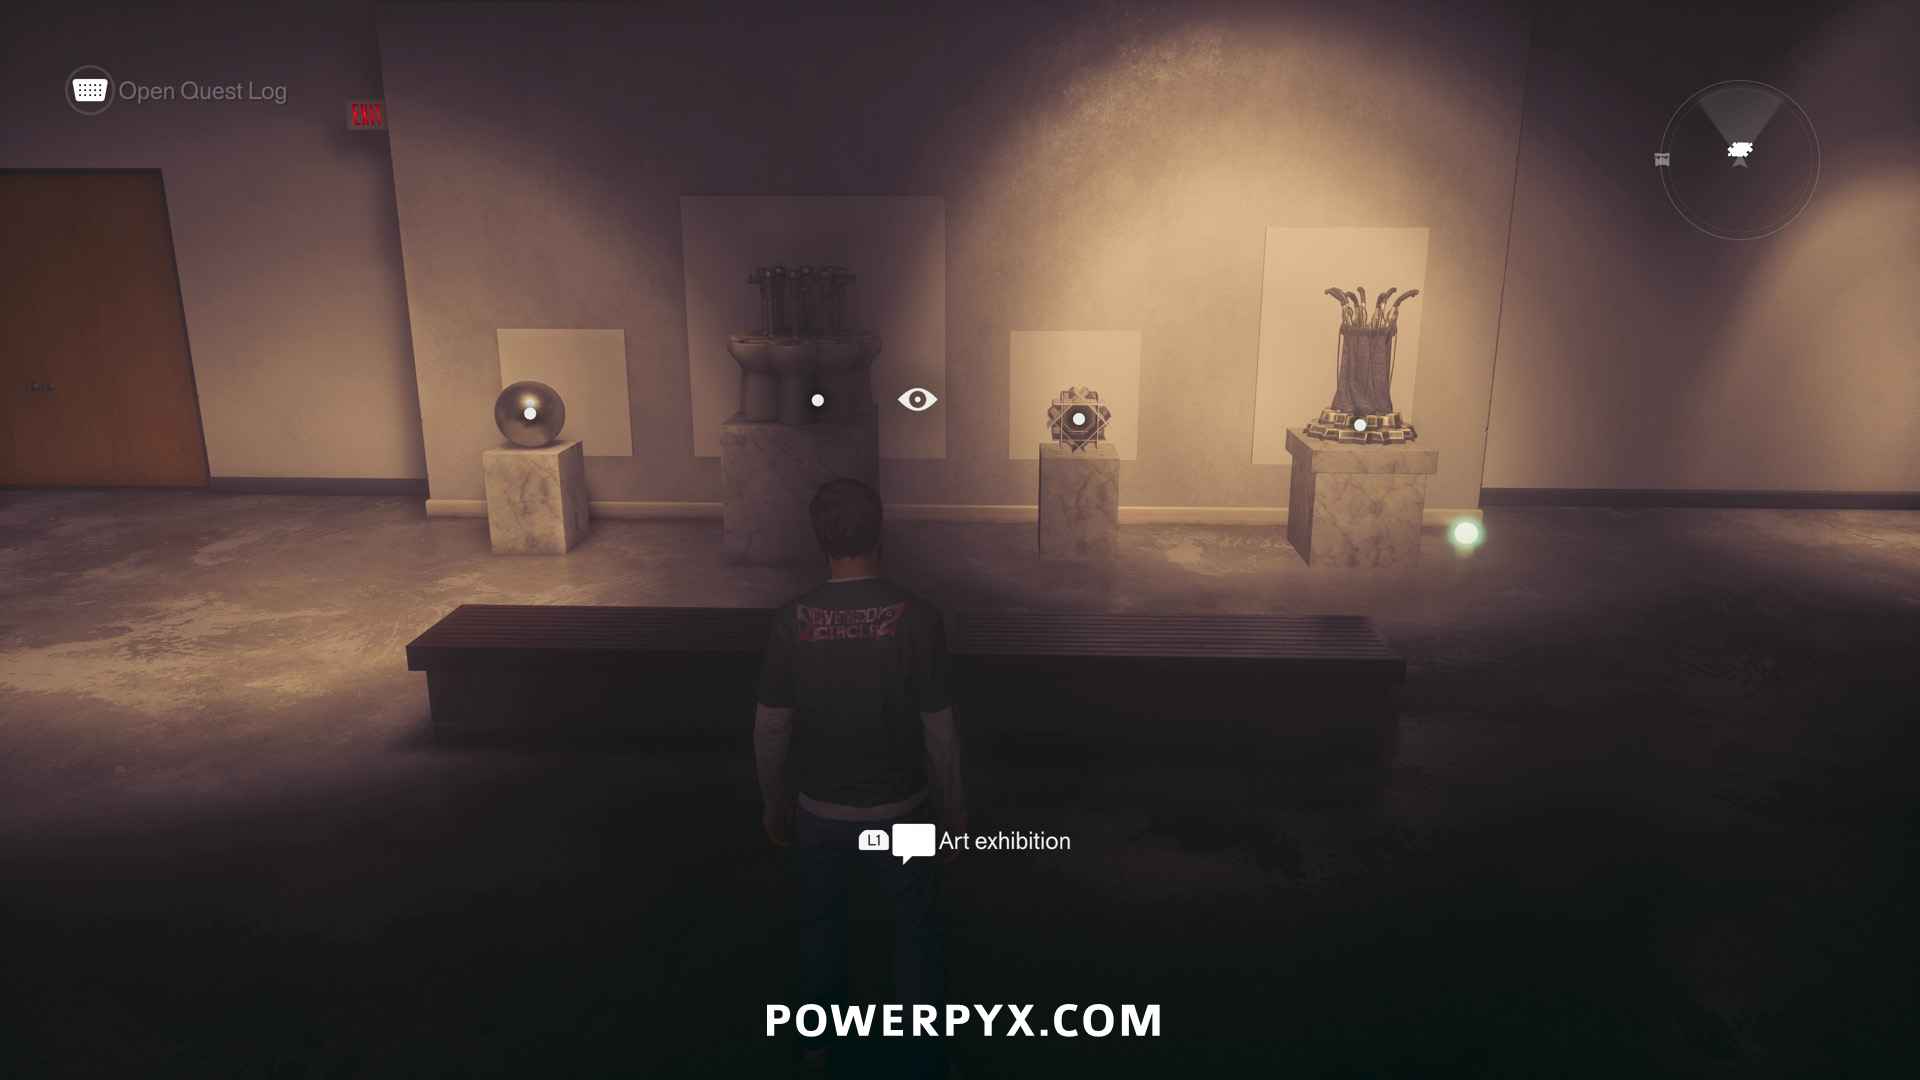
From the street enter the door to the art gallery (if enemies are present, you must defeat them to unblock the door). Do note that this area has an “upper” and “lower” gravity version, if you are at the sketch marker and it’s not the entrance to the art gallery, you must use shift and drop down 180° to the opposite level of the map. Once inside the gallery, inspect the empty pedestals and 4 objects will appear on the minimap. The bowl goes on the left, the toilet 2nd from left, the laptop 3rd from left (turns into a star once placed), the vaccuum on the right (turns into golf set when placed).
#4 – Testing Facility
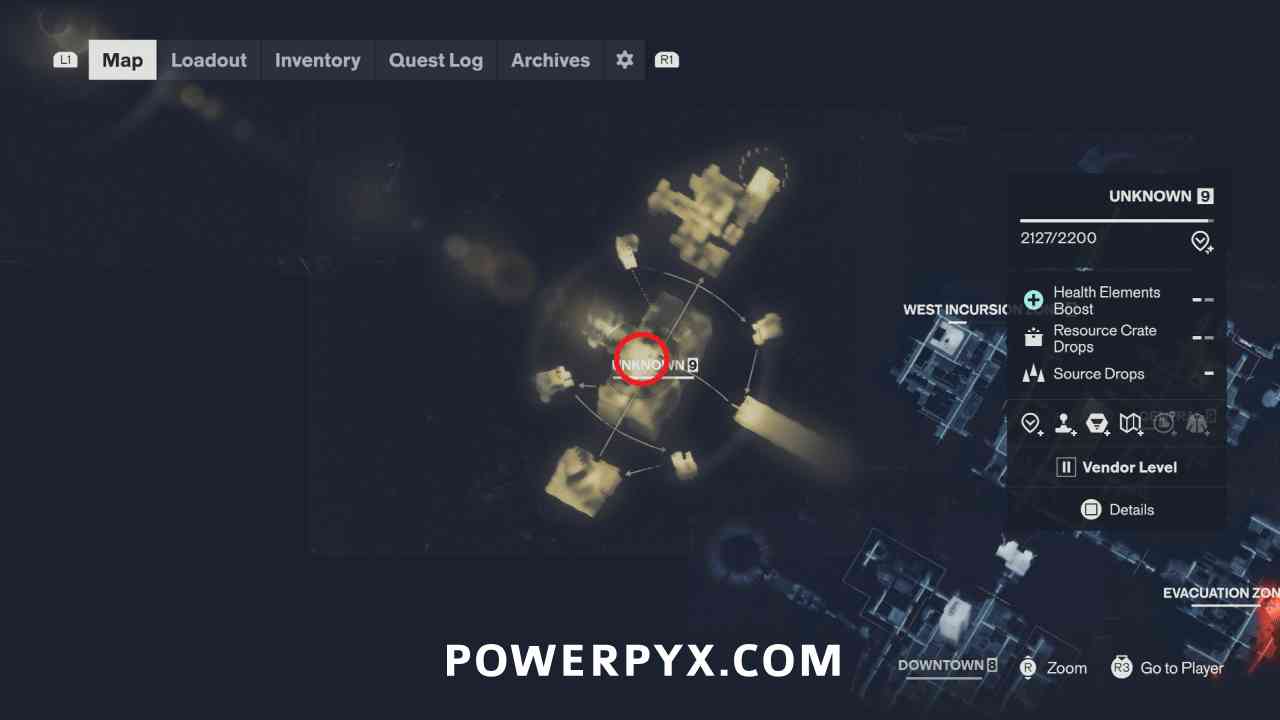
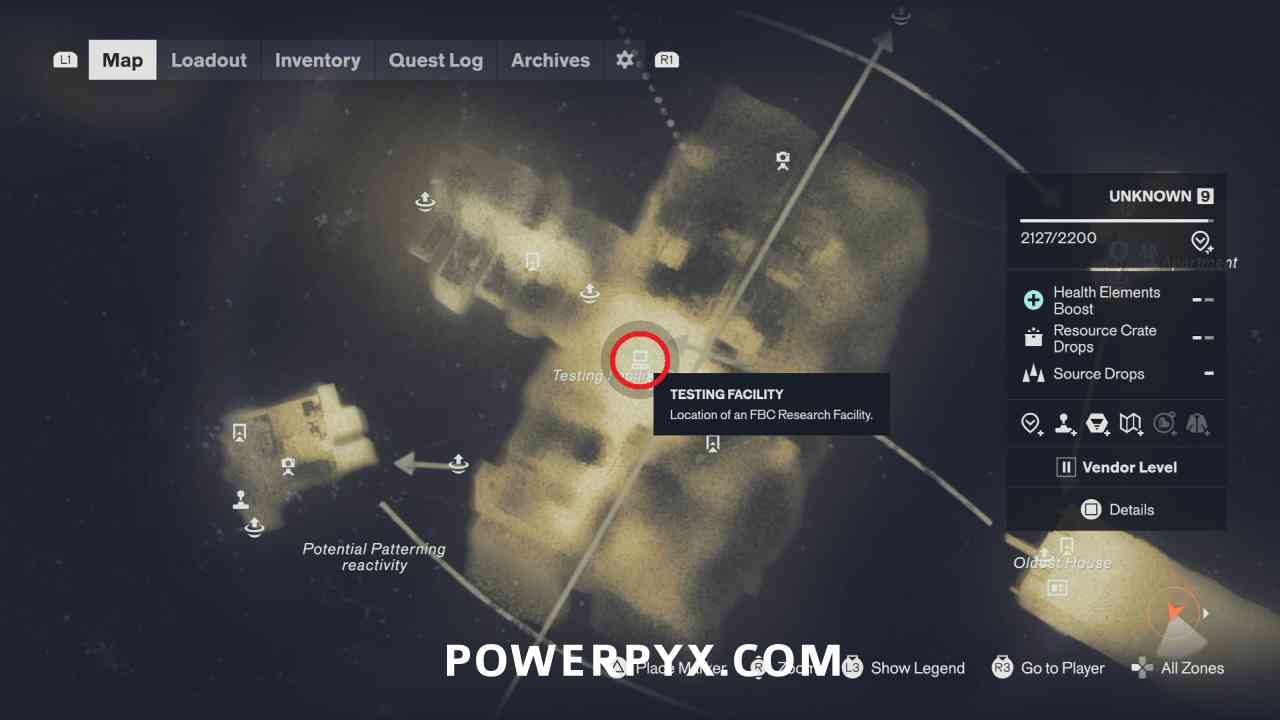
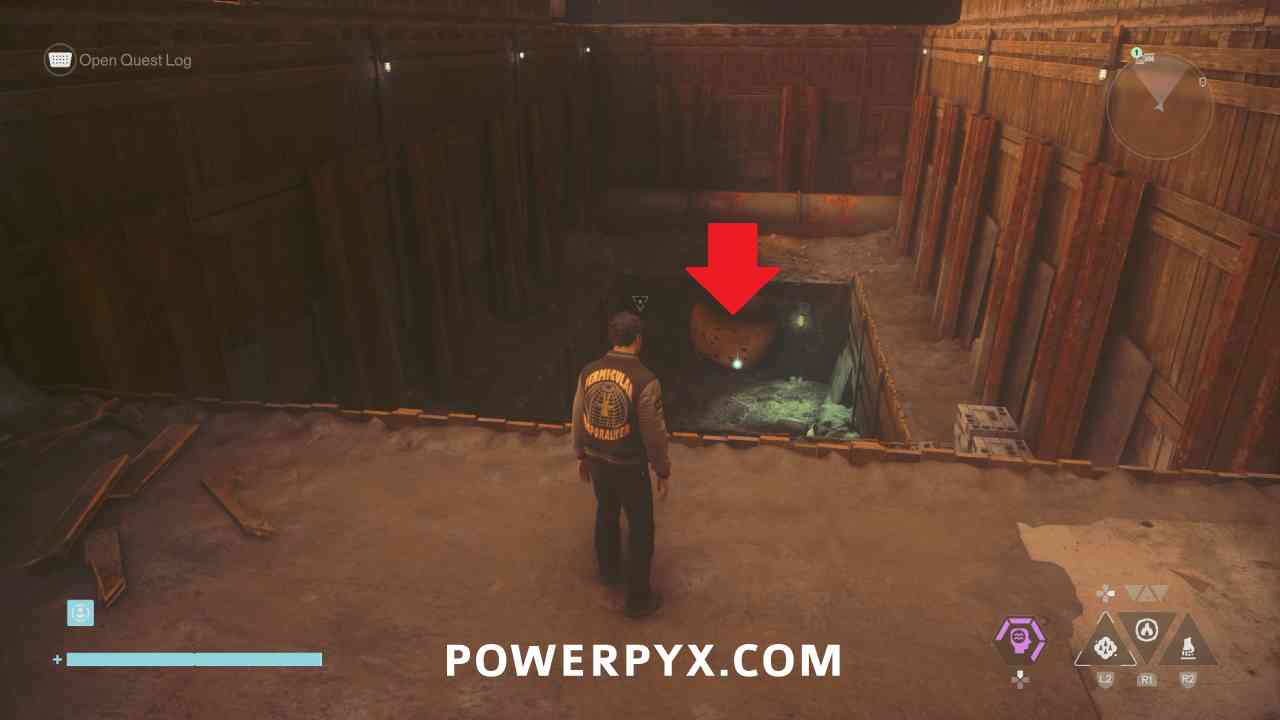
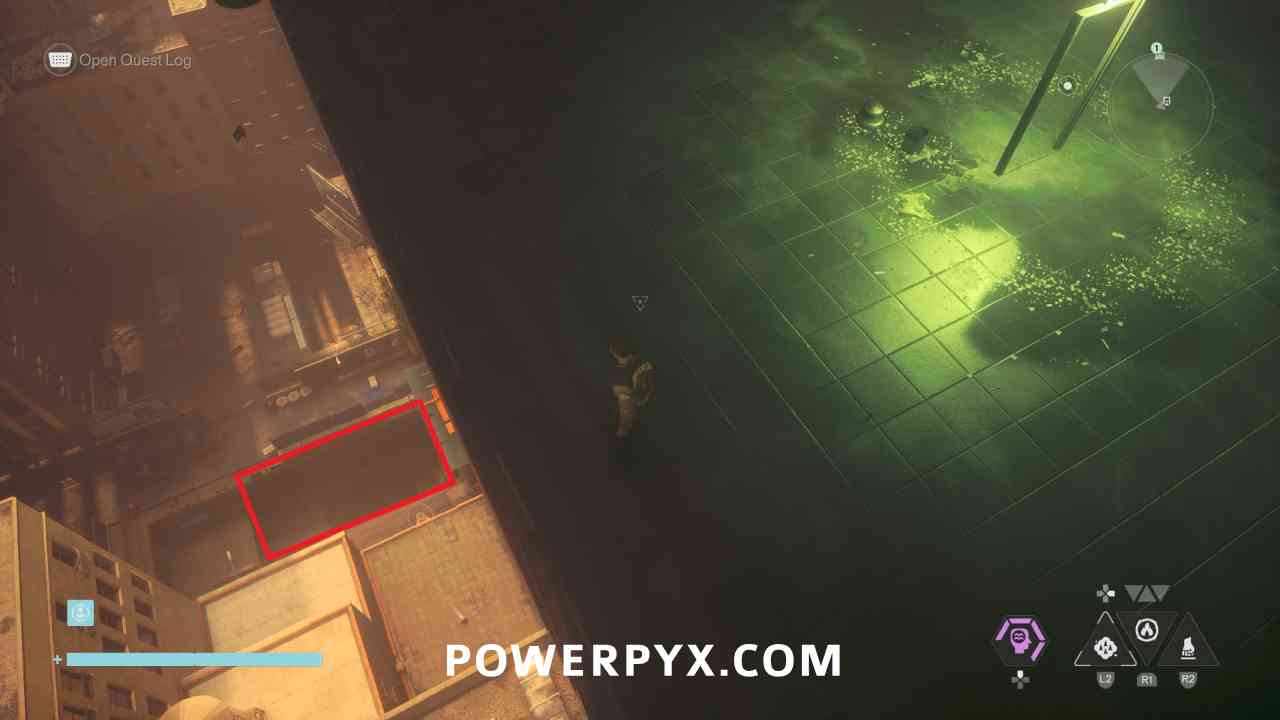
The Testing Facility in Unknown is reached through a pipe in a construction pit on the “ground” part of Unknown, west of the Twisted Rooftops fast travel door.
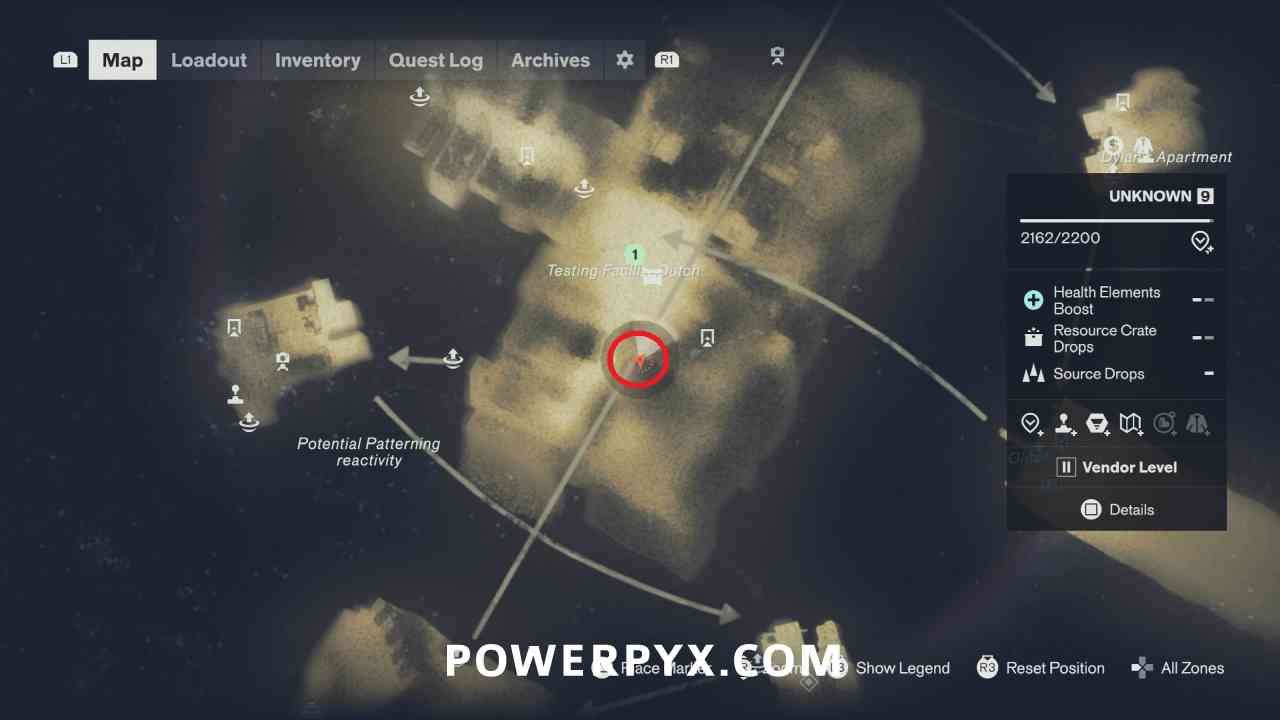
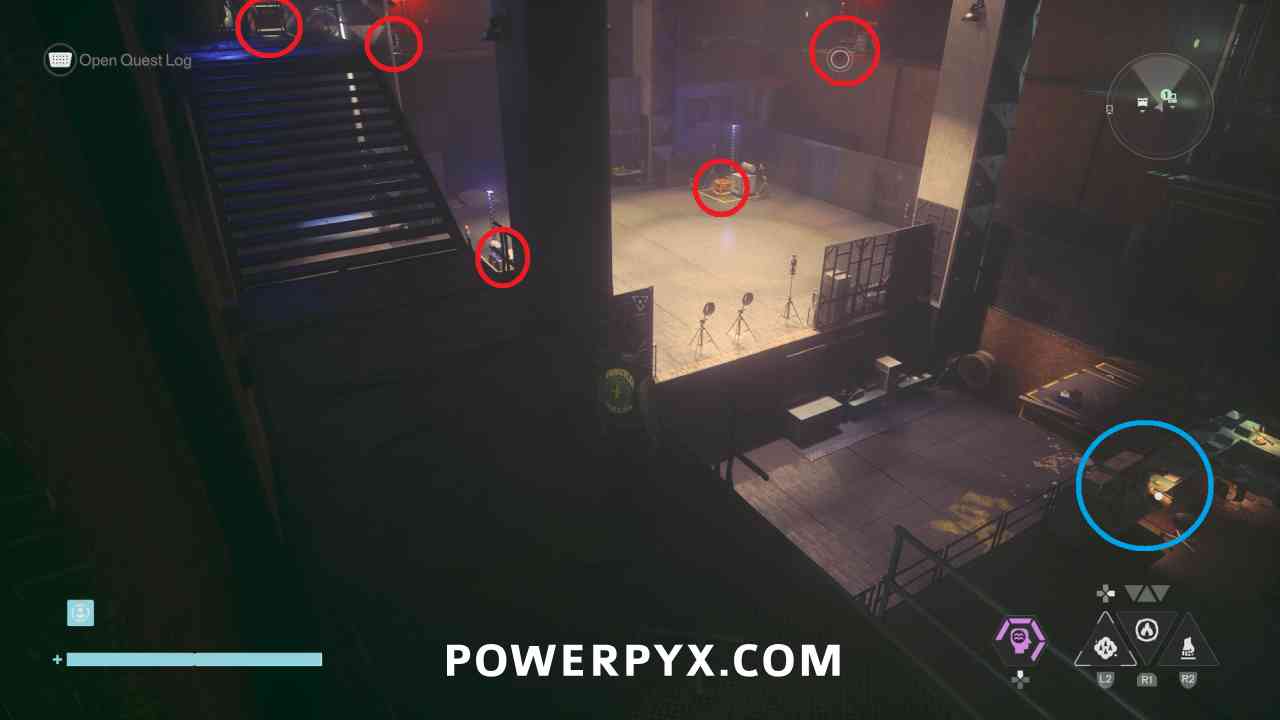
This is also a charge puzzle, with 5 cores like the one in The Park. The way to solve the puzzle is the same. You need to interact with the switch (blue circle) which starts a 60 second timer. During this time you need to keep moving the charges back and forth between the cores so that they don’t overload. The spot that currently has a charge is blue, and one that doesn’t have a charge is red. You need to keep moving the charges back and forth between the spots, grabbing them from a blue spot when it is blinking and putting them on a red spot when it is blinking. This seems a bit random, but you have around 15 seconds of total time on each spot before it forces you to restart, so you can keep grabbing from the blue spot that you placed second last and move it to a red spot, and you should be able to get through even though it seems like all spots are blinking quite fast.
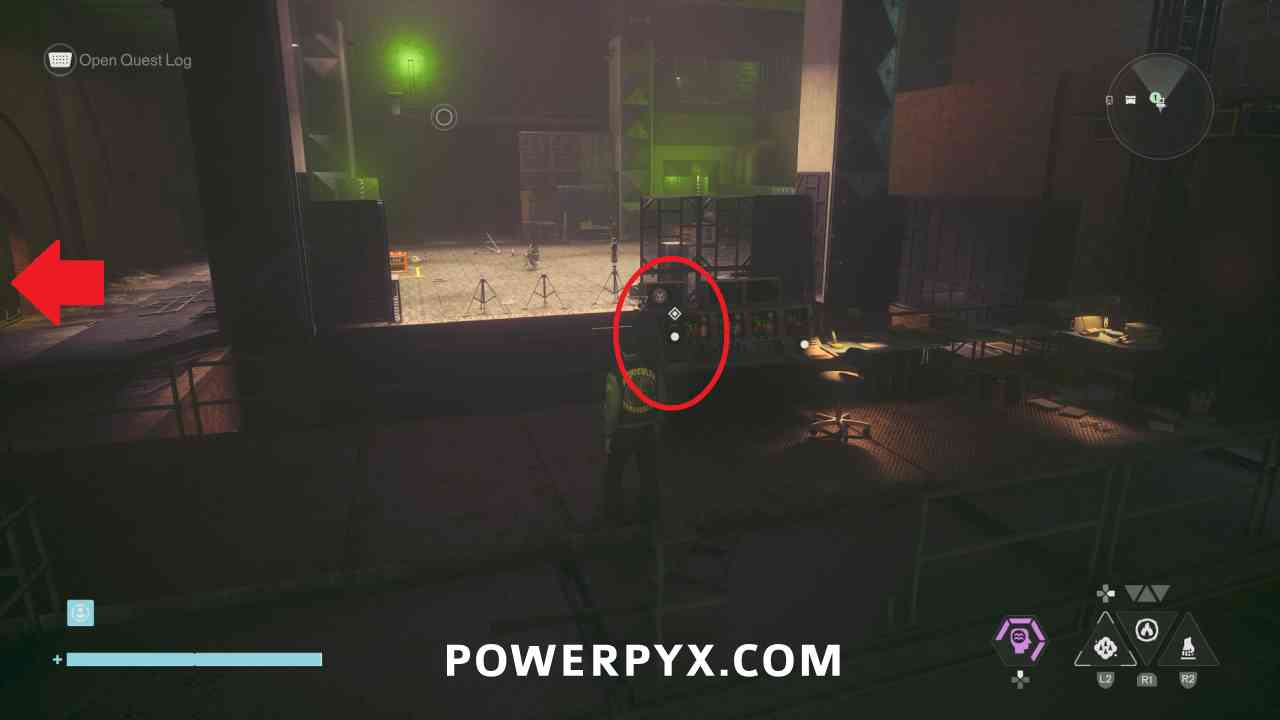
Then you have correctly lasted for 60 seconds all the stations will turn green. Then go back up near the computer icon and interact with the switch. You can go to the unlocked door to the left of the switch to collect a Power Upgrade crate.
#5 – Camera
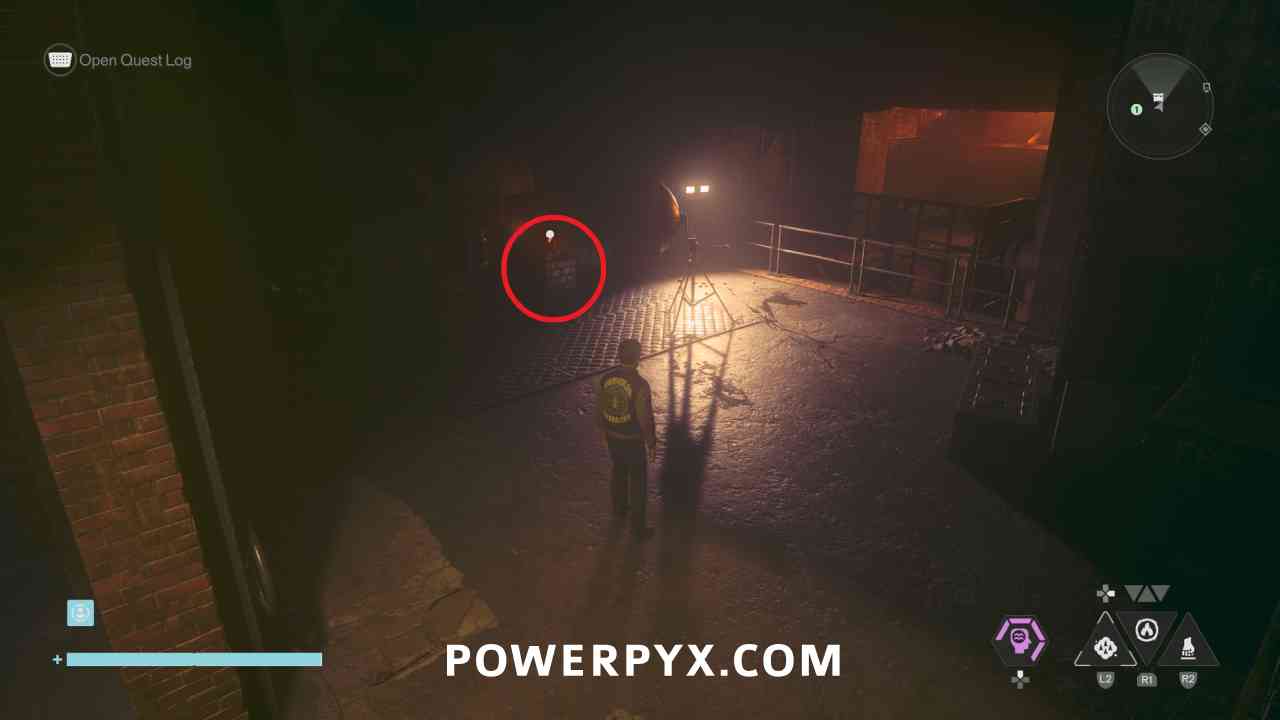
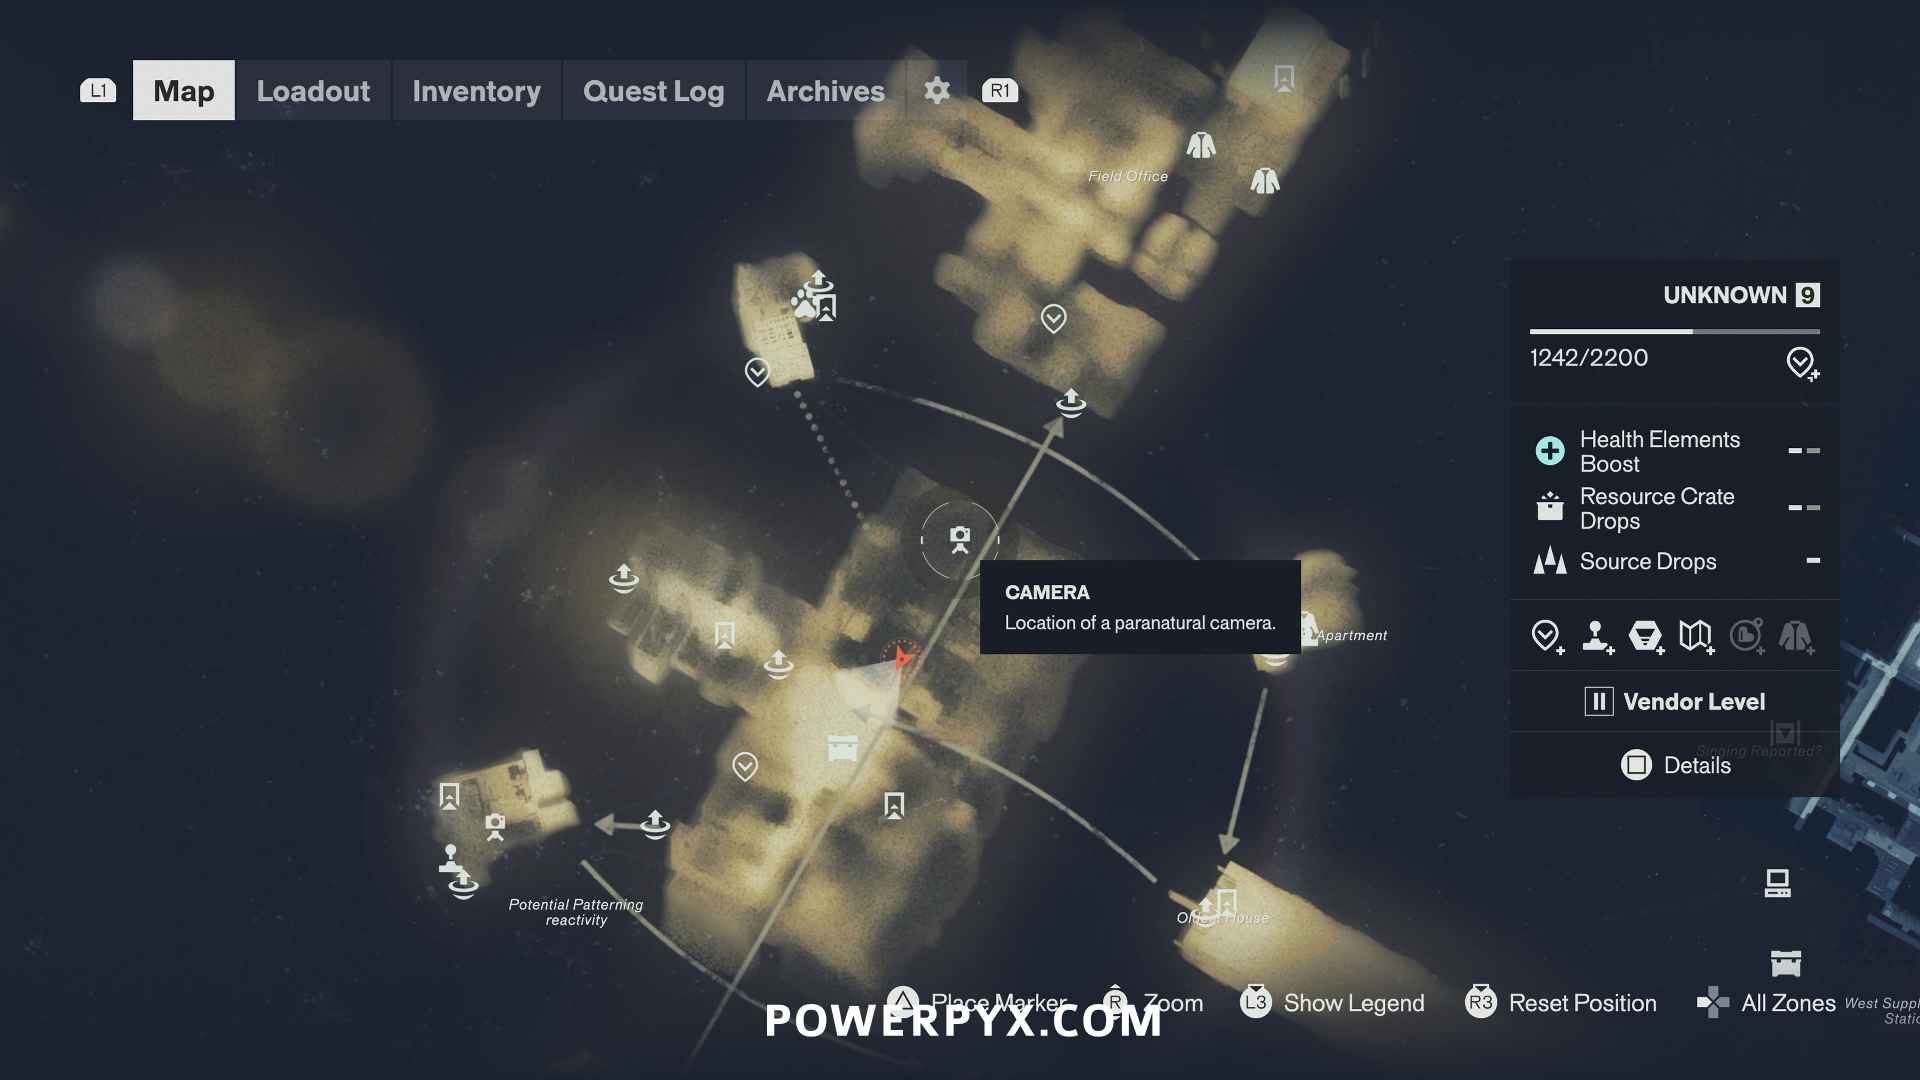
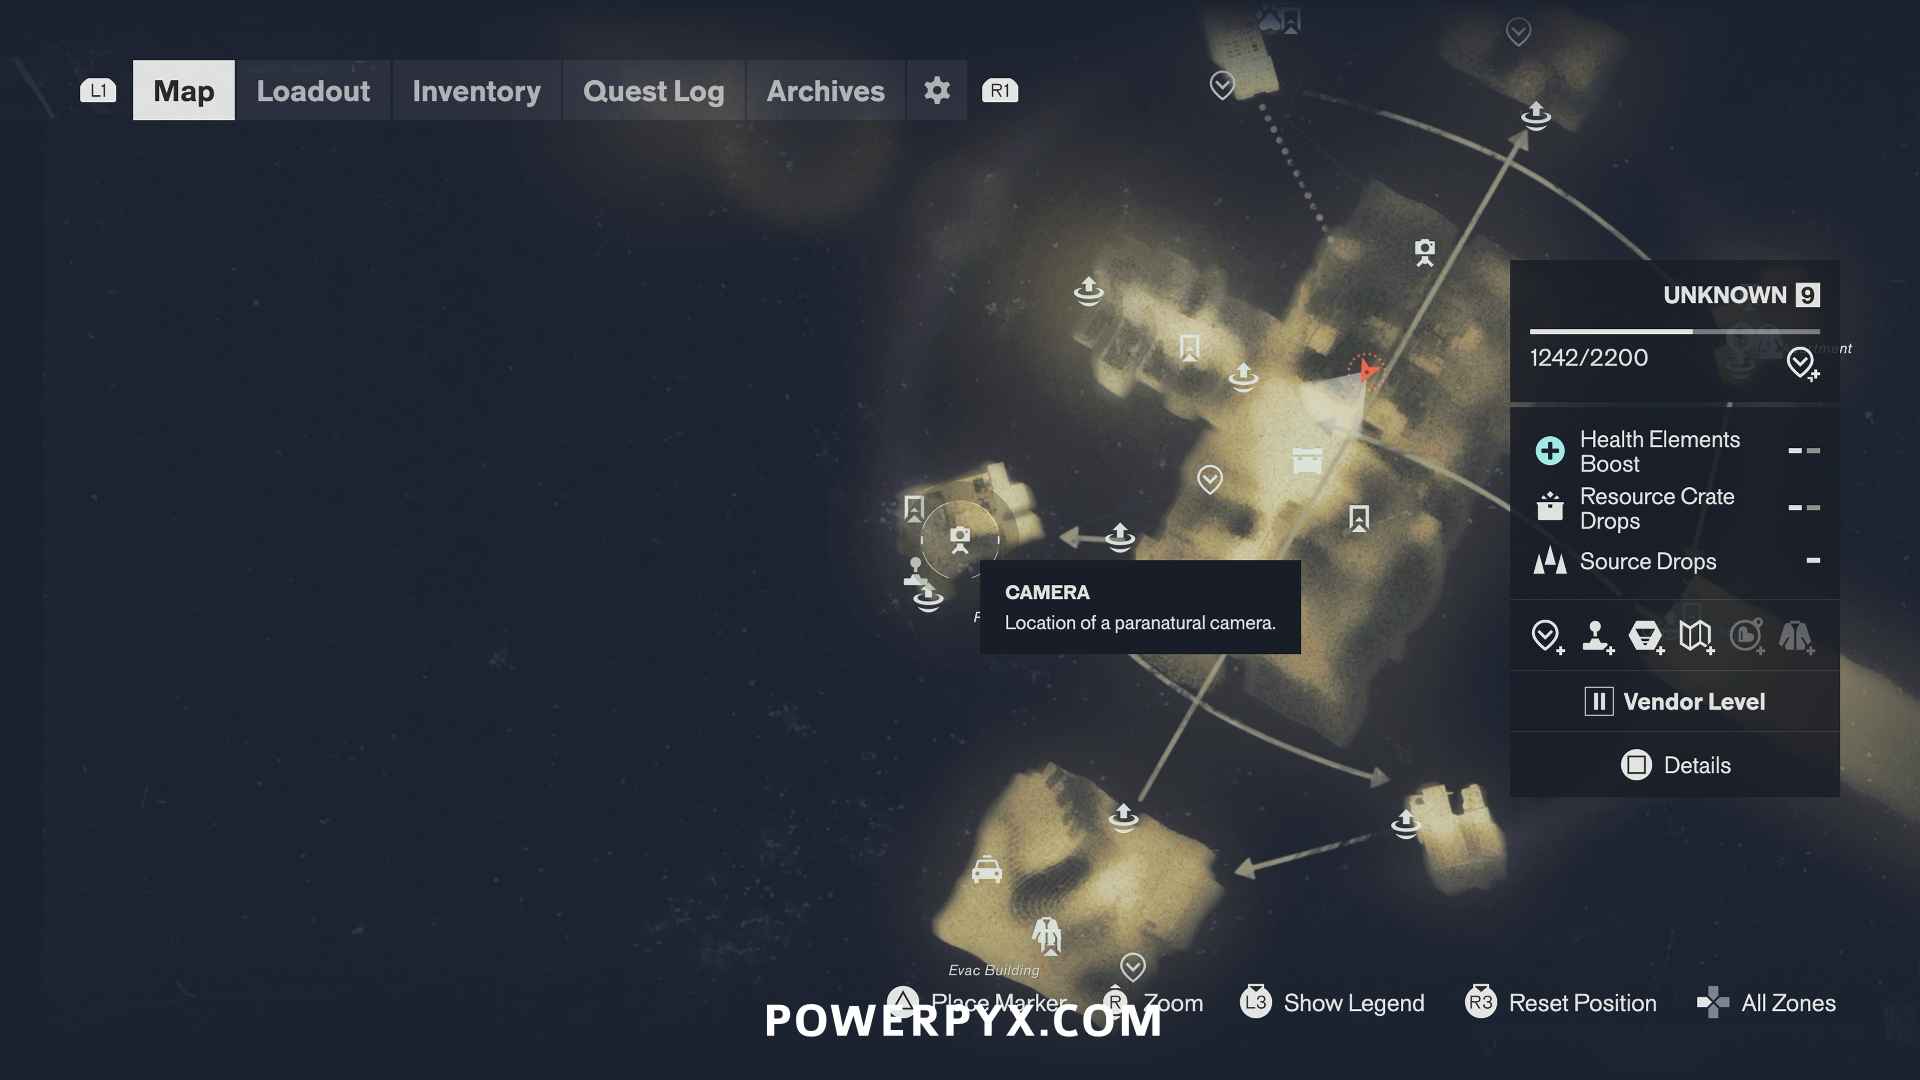
This camera is found at a construction site, behind a little hole in the blue mold. To reach it, enter the main construction site building and go down the stairs inside. On the lower floor you will get ambushed by mold enemies, defeat them and in the same room as the ambush you can access the camera from behind. The Unknown has an upside down gravity version, so if you go to the camera location and there’s no construction site, you must flip gravity 180° to reach the opposite level of the map where the construction site is.
#6 – Dog
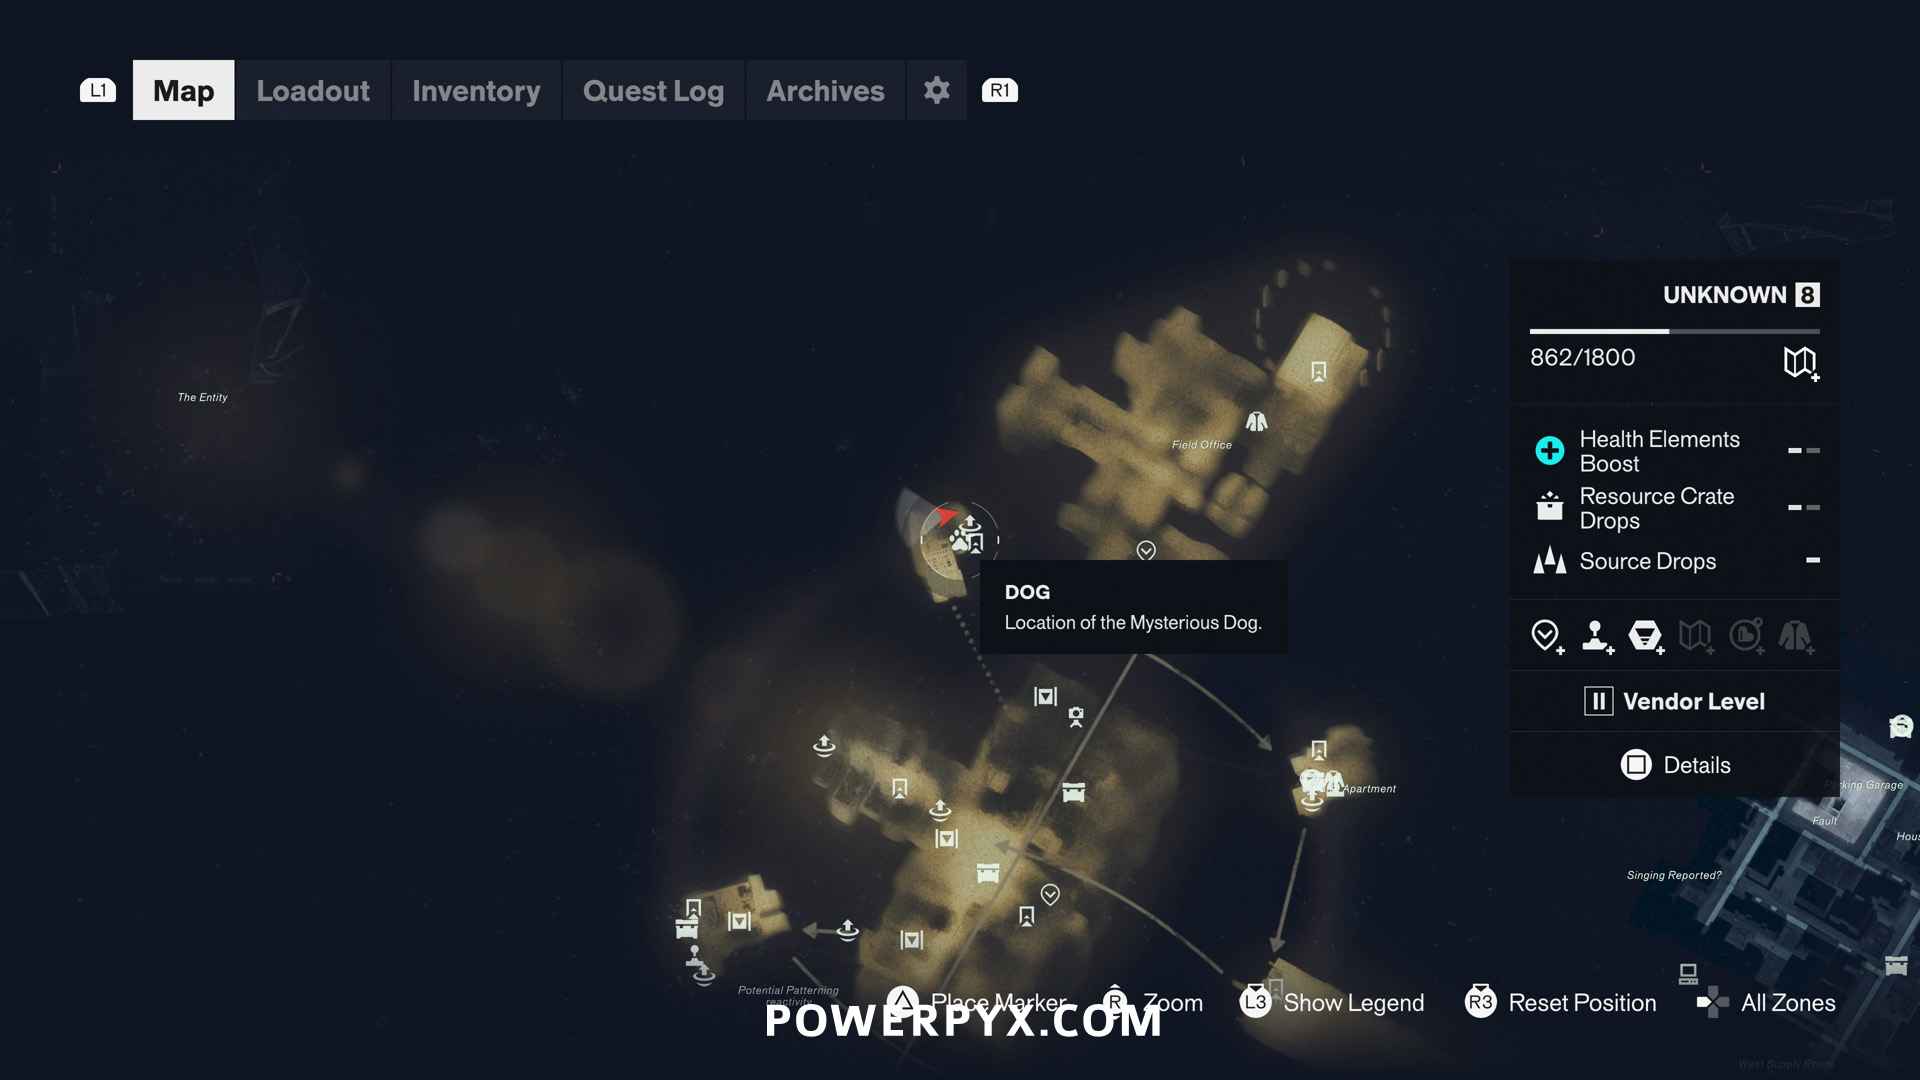
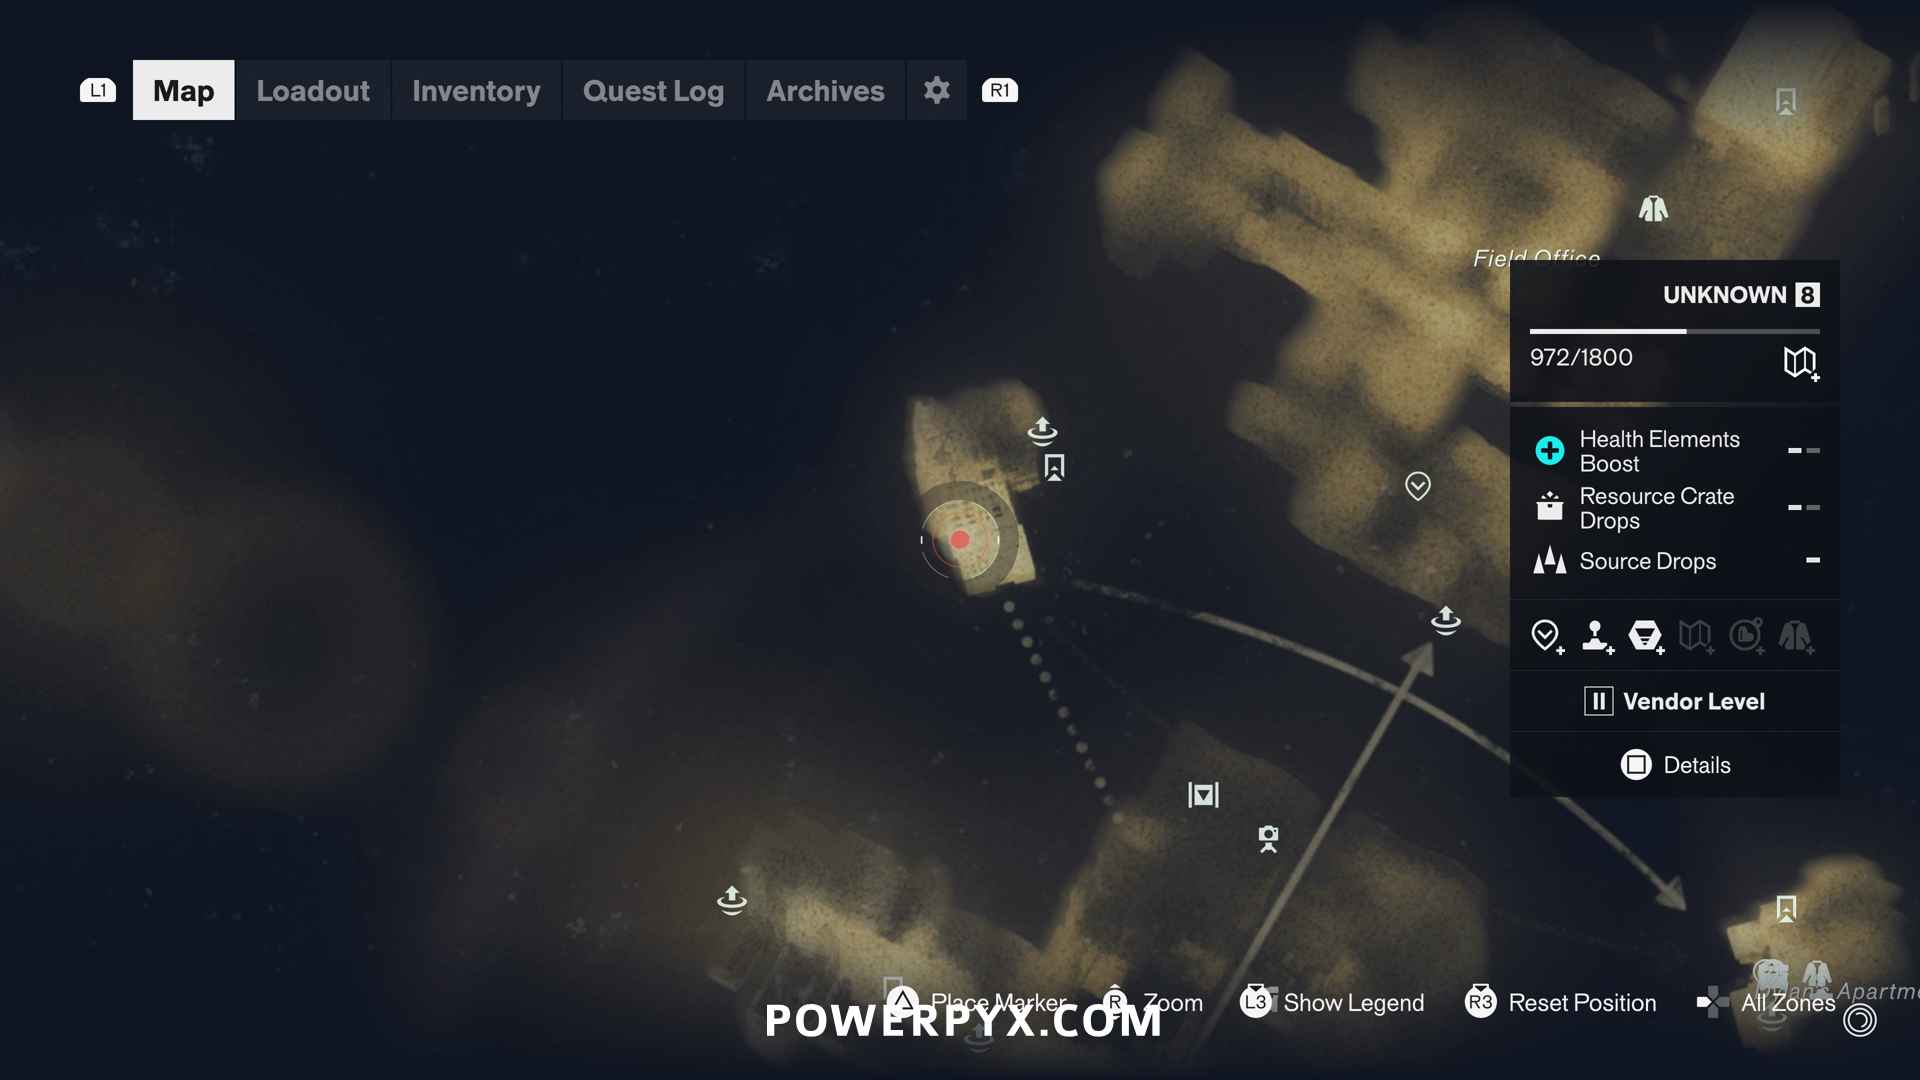
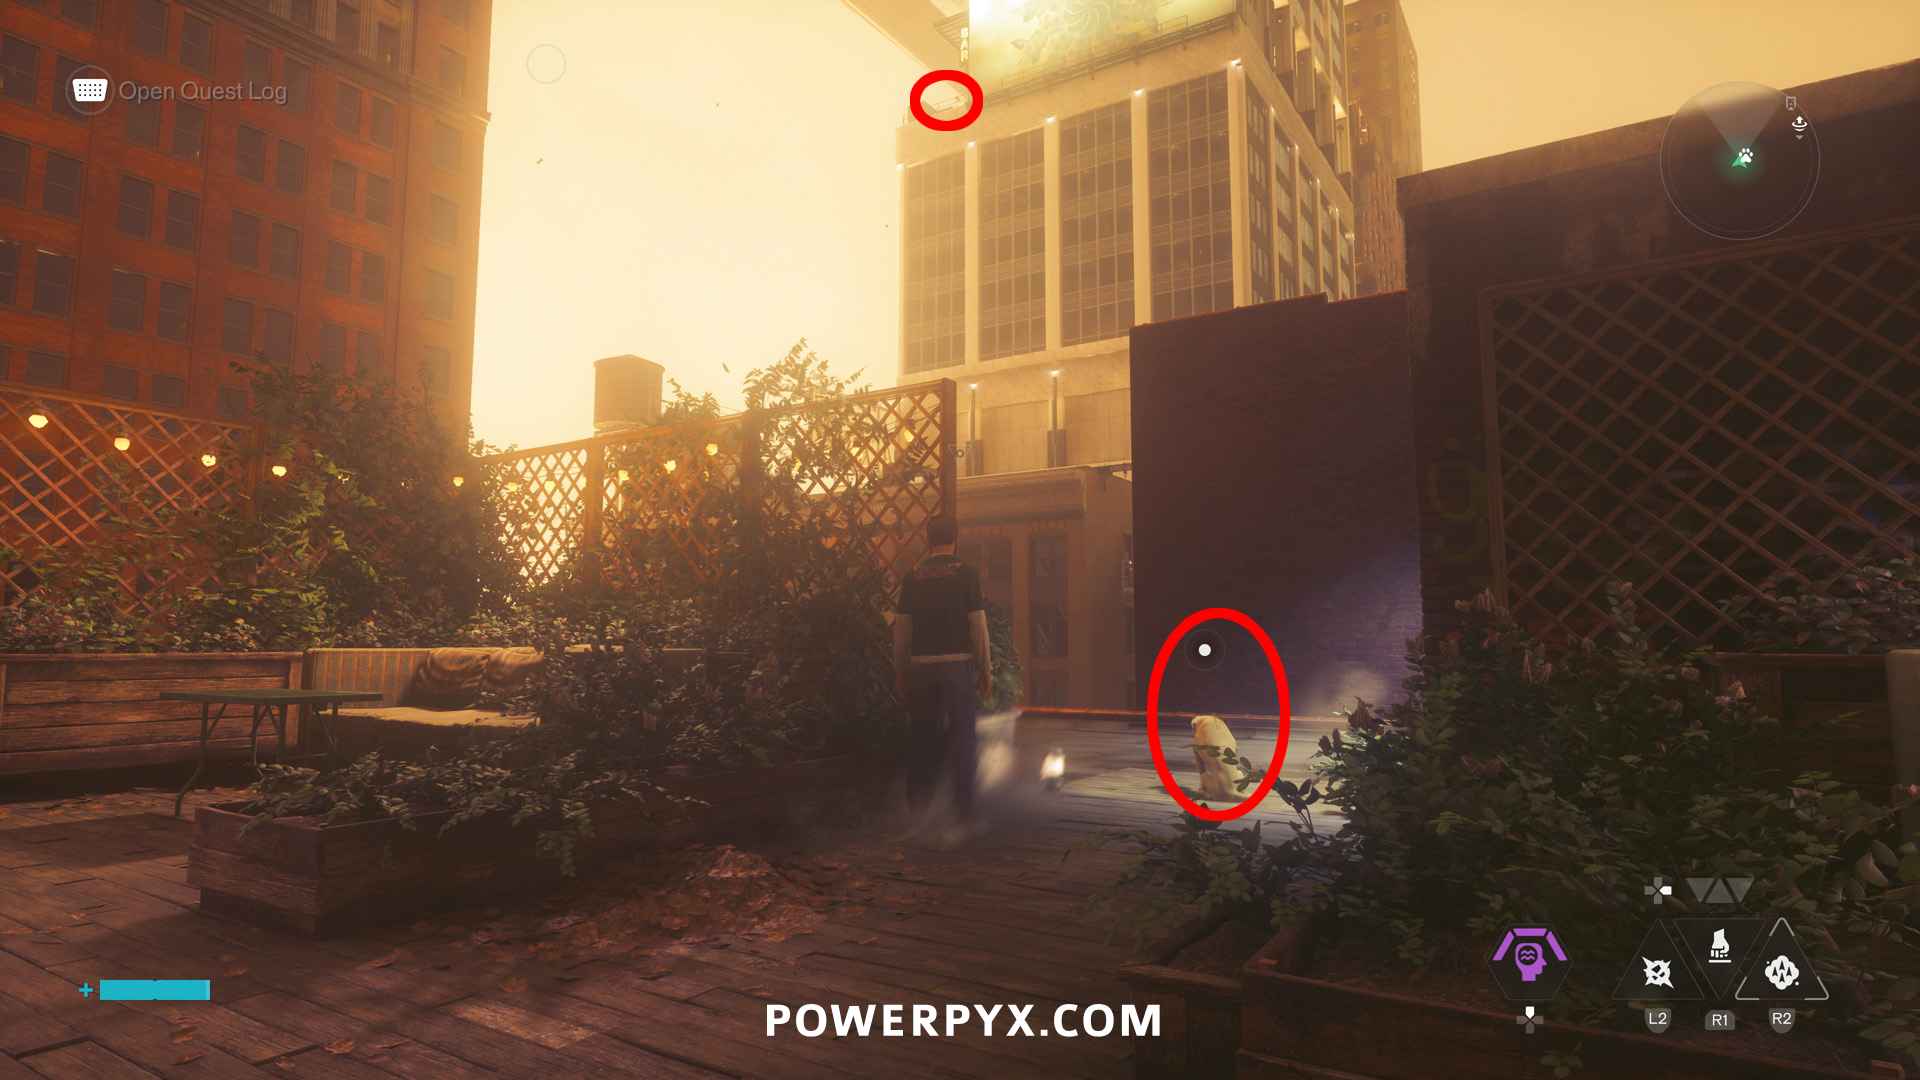
The dog is on the north-west island of The Unknown zone. You must do Side Quest: Pope’s Research to travel to this area. This toy is much further away from the dog than any of the other ones. It’s on the skyscraper the dog is looking at it, near the top. To get there you must use Gravity Shift ability on the building next to it, walk up and jump over to the skyscraper, near the top. If you’ve found all 7 dogs, the final 8th dog will spawn in The Gap (hold  to teleport there).
#7 – Camera
This camera is inside one of the shops. Let the camera spot you and enter the shop behind it. Go through the door to the garage and hit the red garage door button on the wall. Now walk away to make the camera respawn and enter back through the garage you just opened to get behind the camera.
#8 – Dylan’s Sketchbook – Game Night
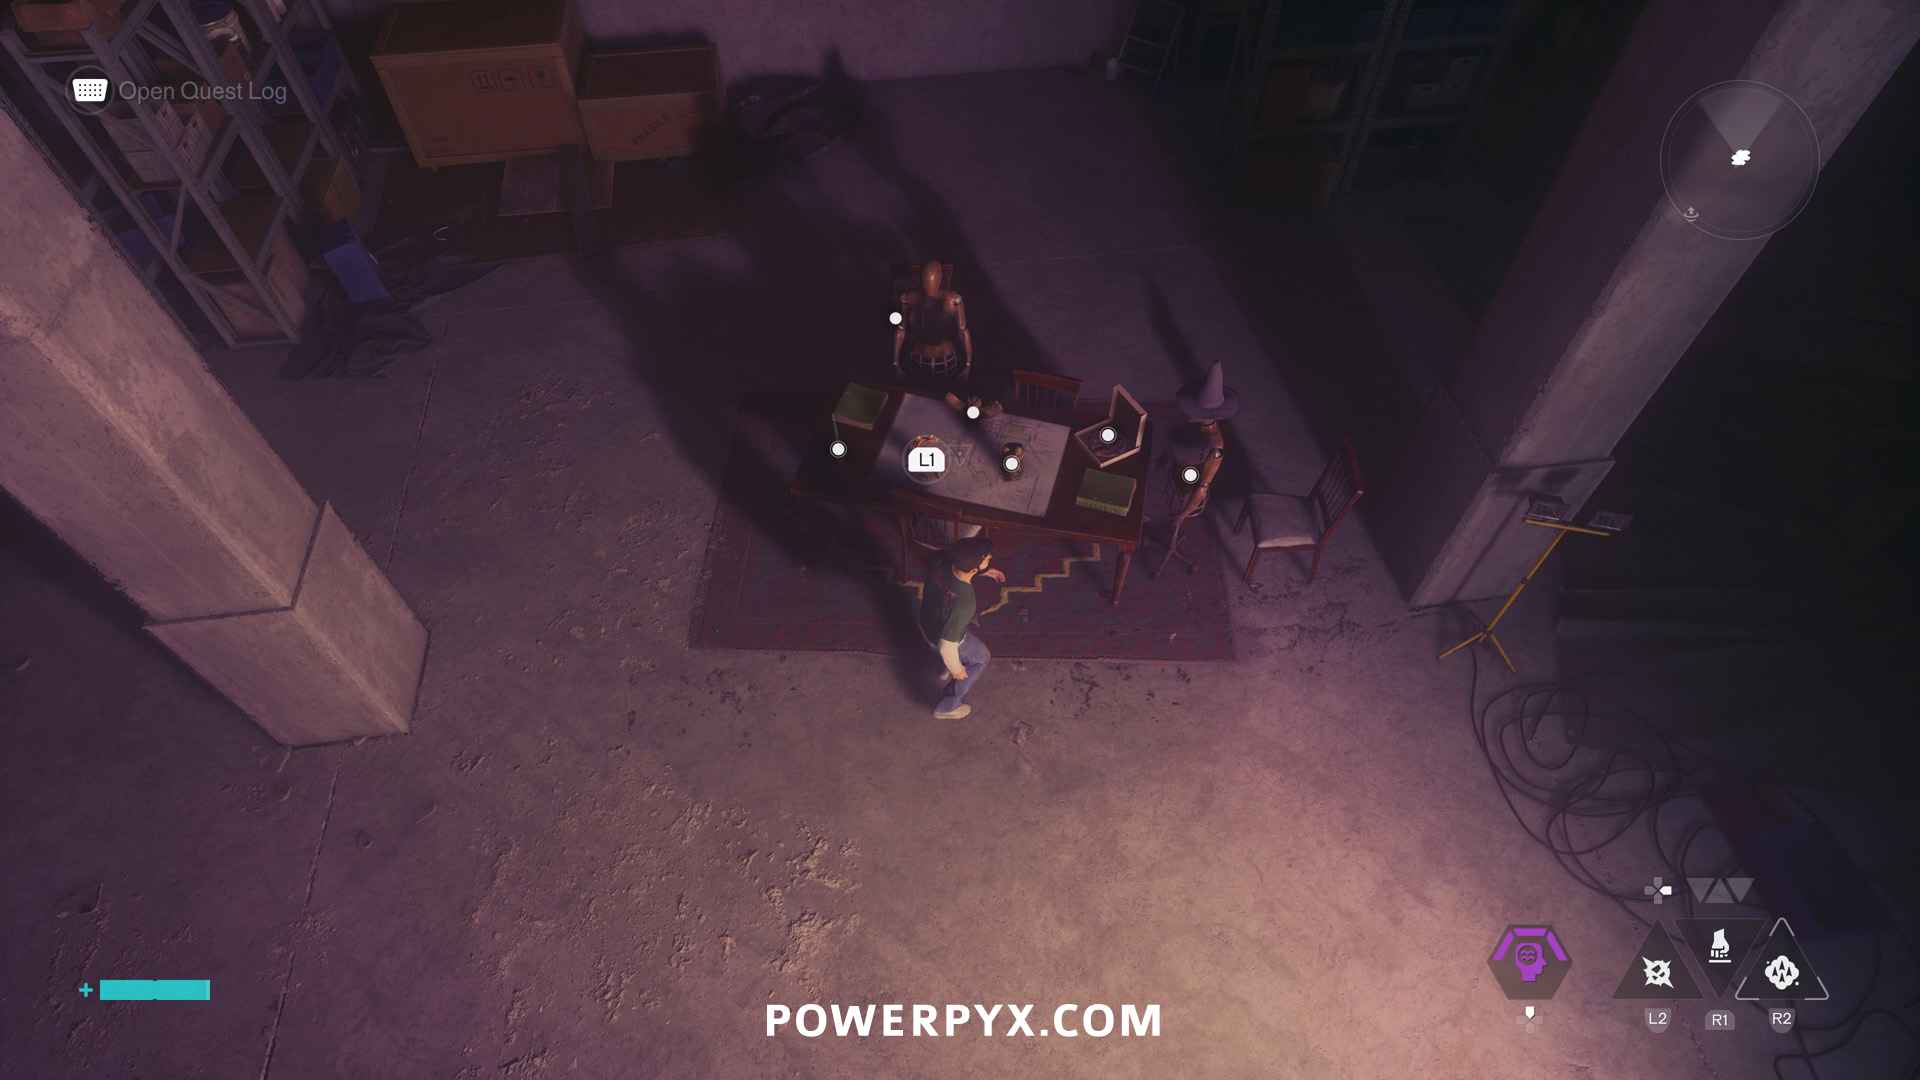
On the south-east island of The Unknown region, inside a building under construction, on the bottom floor. To reach this island you must do Side Quest: Pope’s Research, it creates Gravity Wells that let you travel through the area. Inspect the board game table, then 6 objects get marked on the minimap. 3 figurines are in the same room where the puzzle starts, place them on the middle of the table in any order. The other 3 objects are outside: 1 candle in the supermarket across the street (left shelf from where you enter), 1 pizza in the pizzeria across the street, 1 mannequin in the laundromat (must use shift ability on the road). The candle goes on the left of the table, the pizza on the right corner, the mannequin on the right.
#9 – Taxi
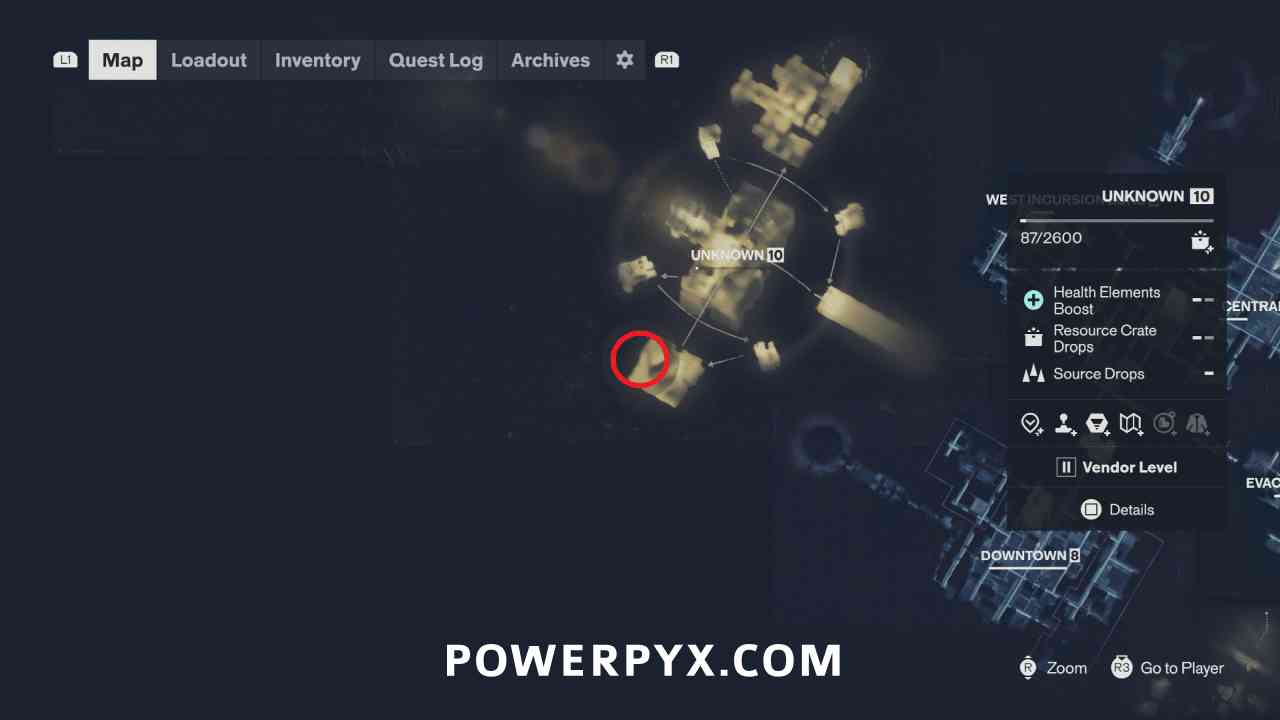
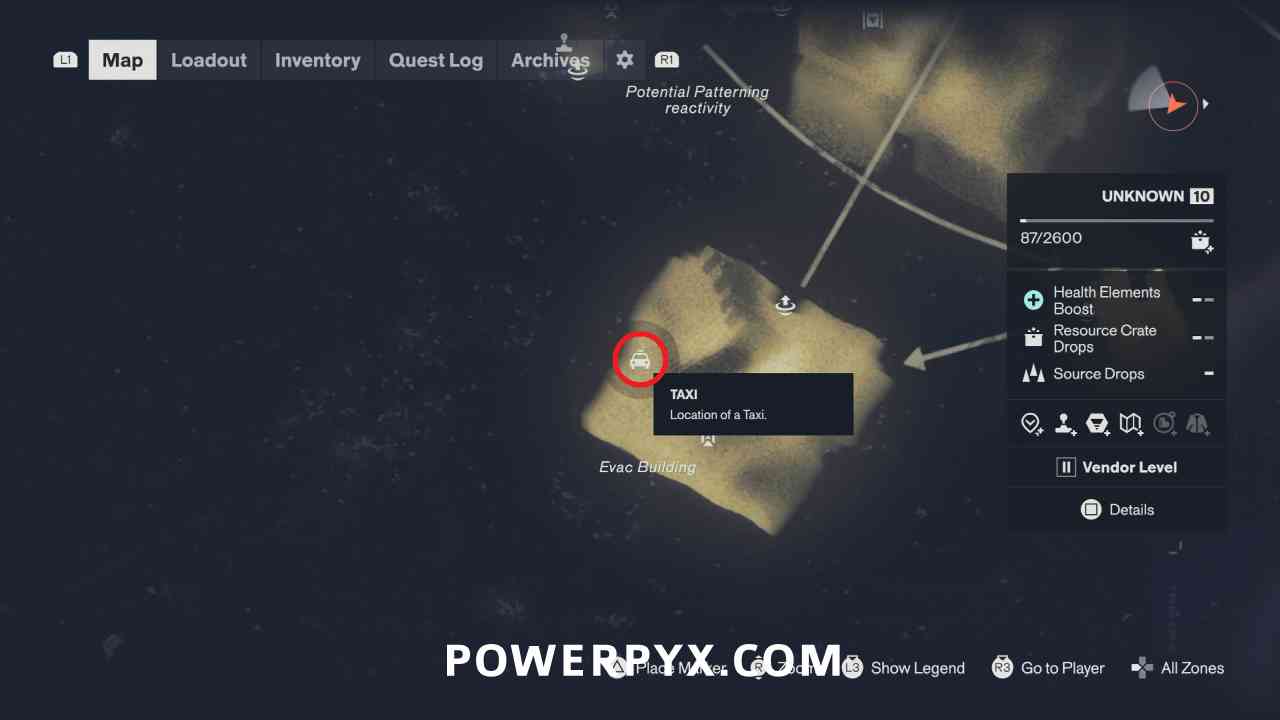
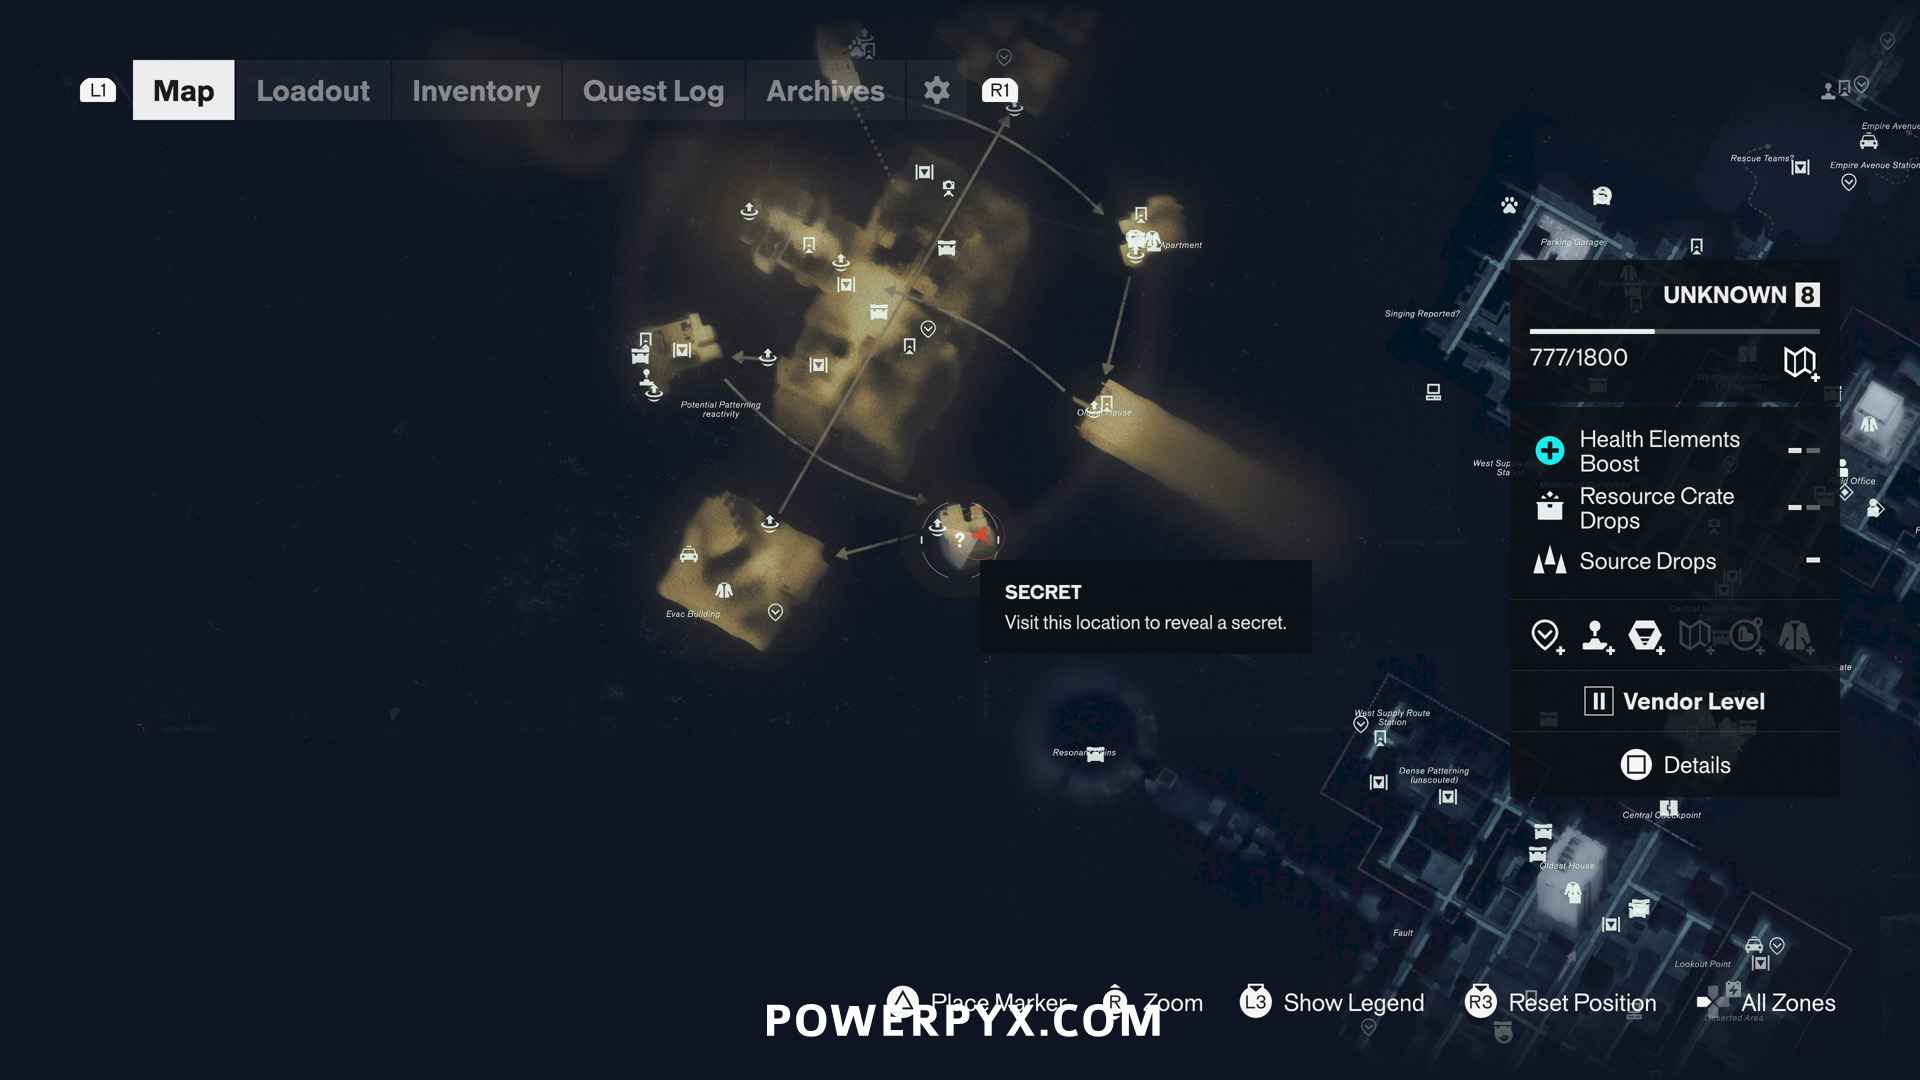
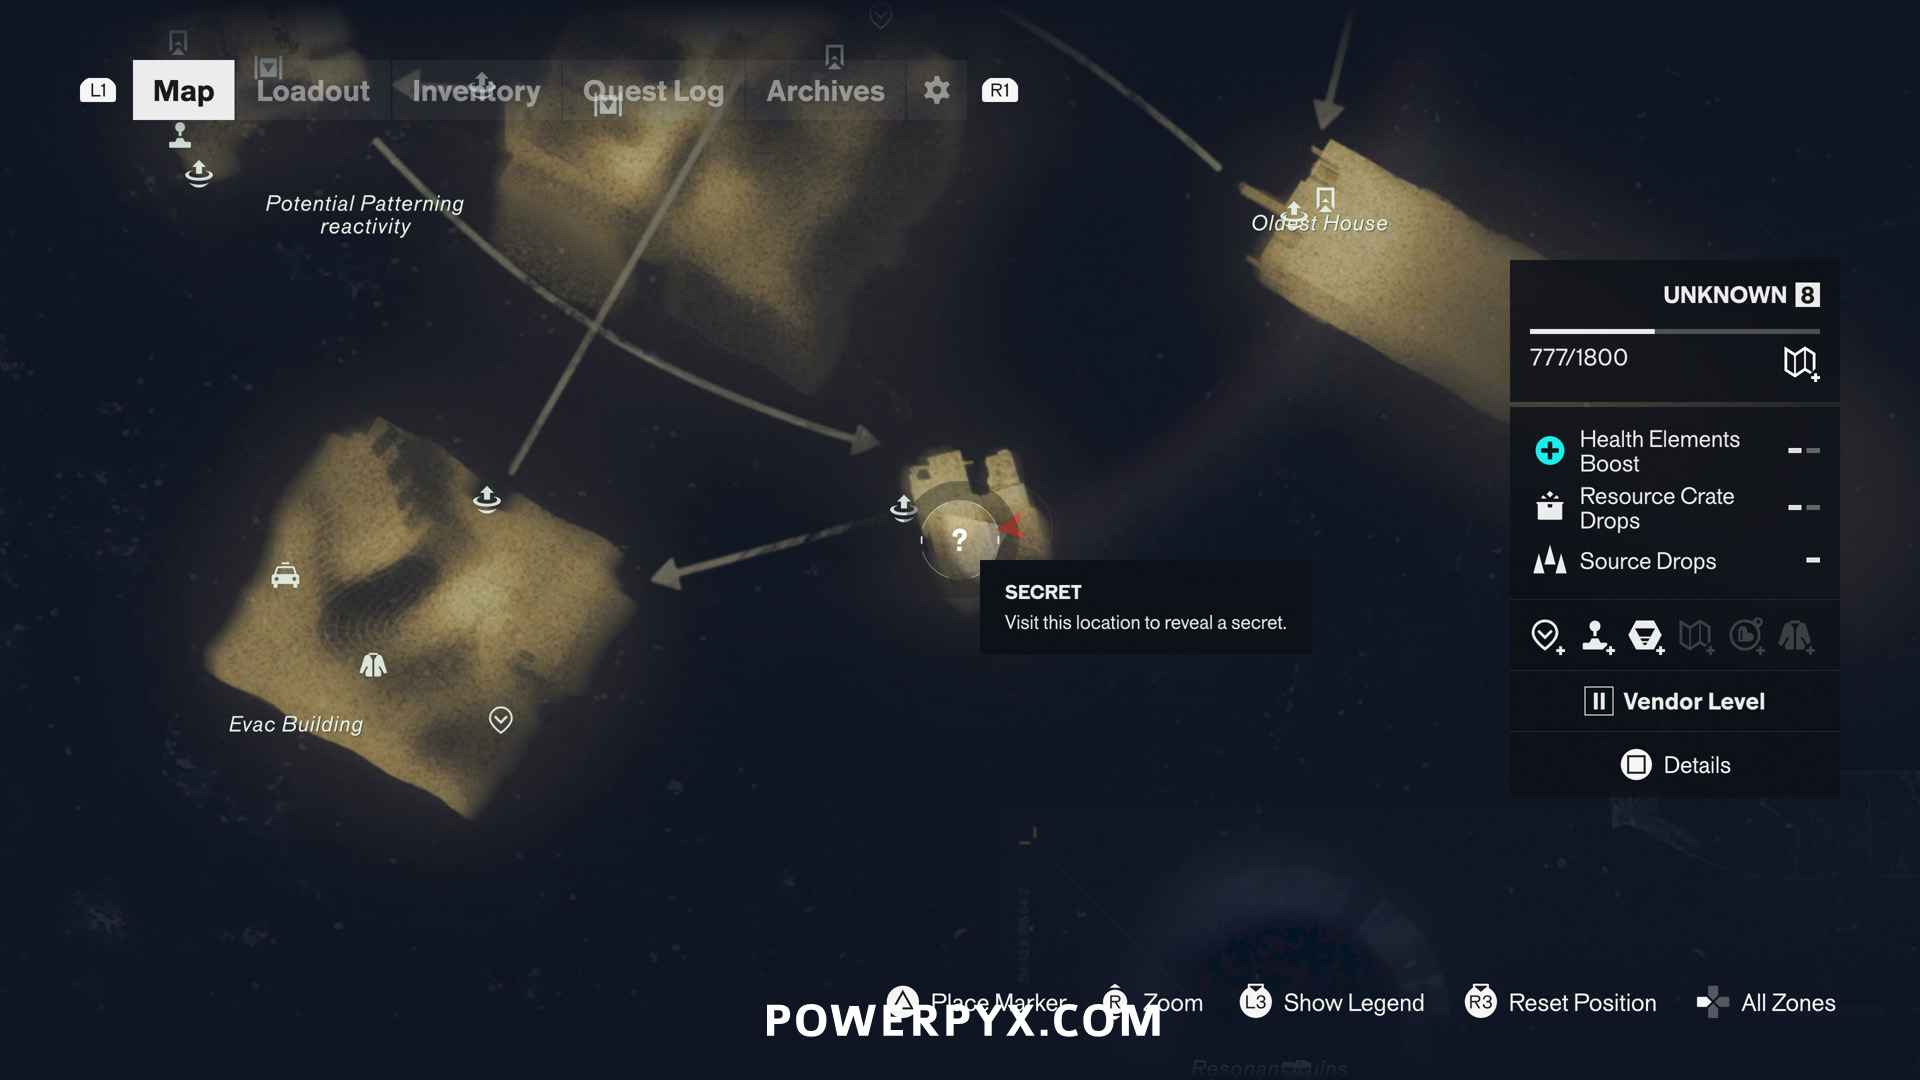
The taxi in Unknown is on the Evac Building island, to the north of the building.
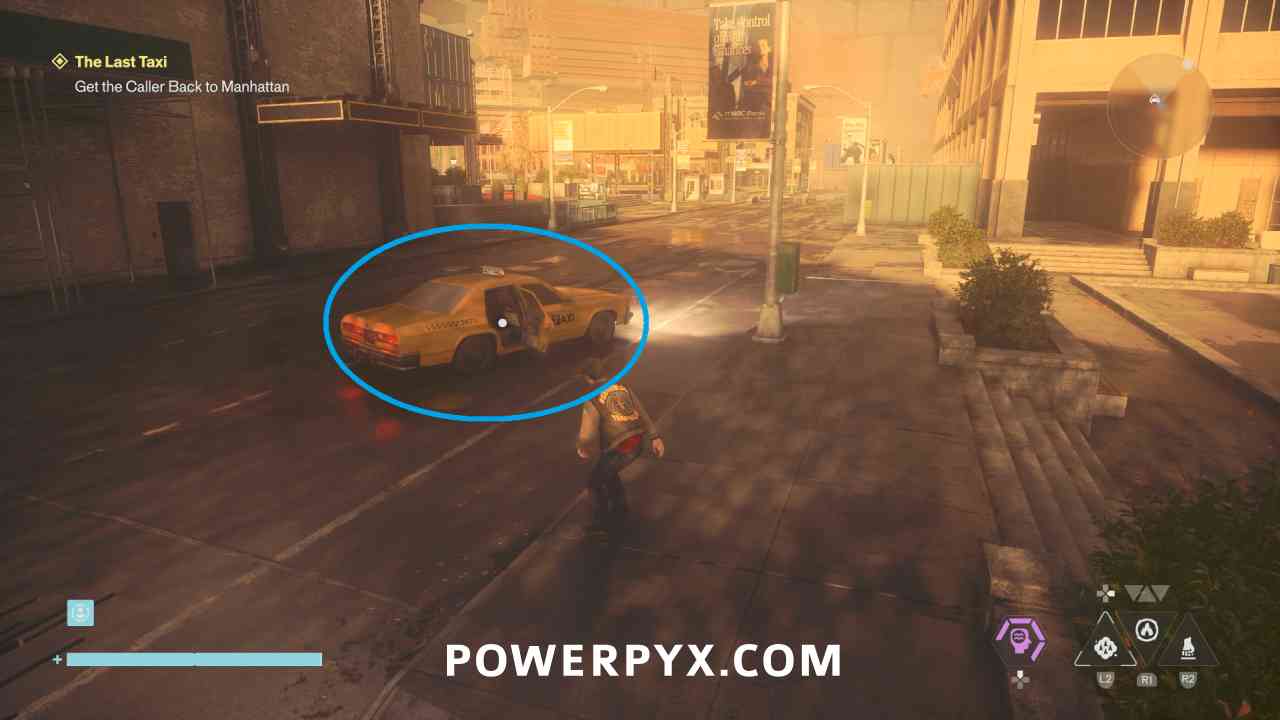
Go answer the phone in the alley, then in the first cycle you need to pick up the light and shine it at the cars to see their shadow on the wall. Enter the one that has the correct shadow instead of one for a different vehicle. Note that this seems to be random, so the correct vehicle may not be the same as shown in the below screenshots. Look for the correct shadow.
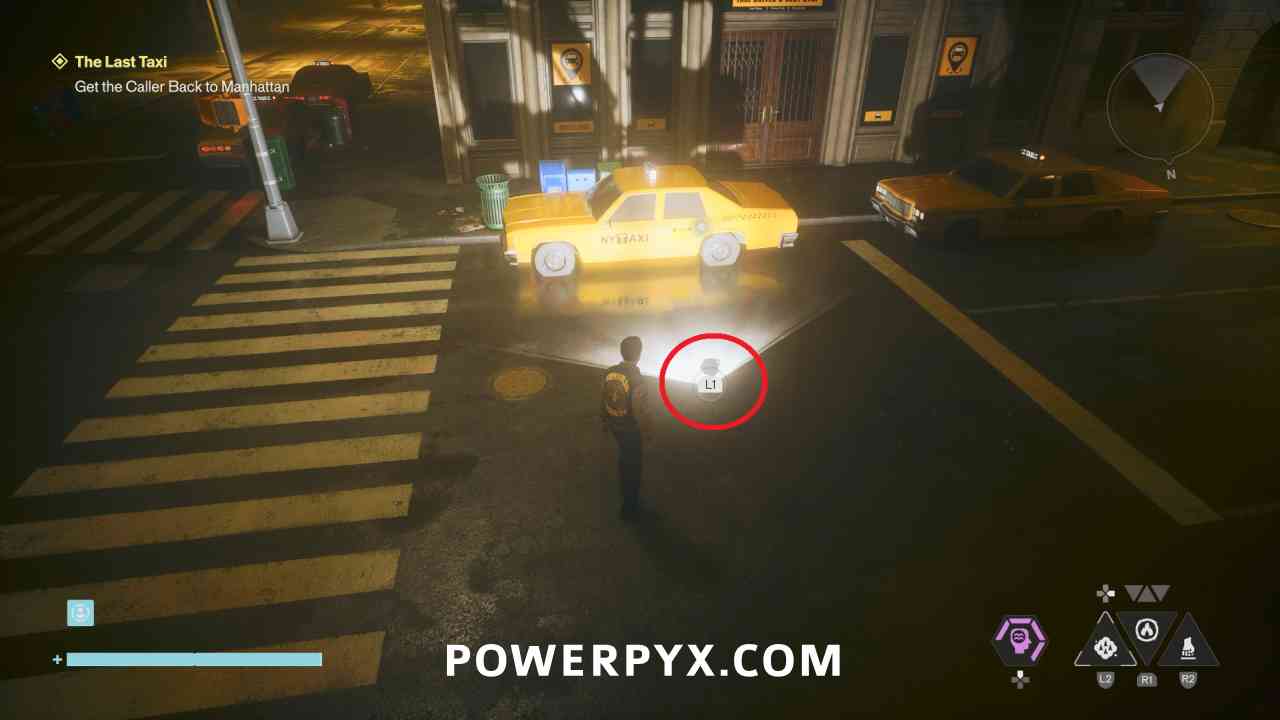
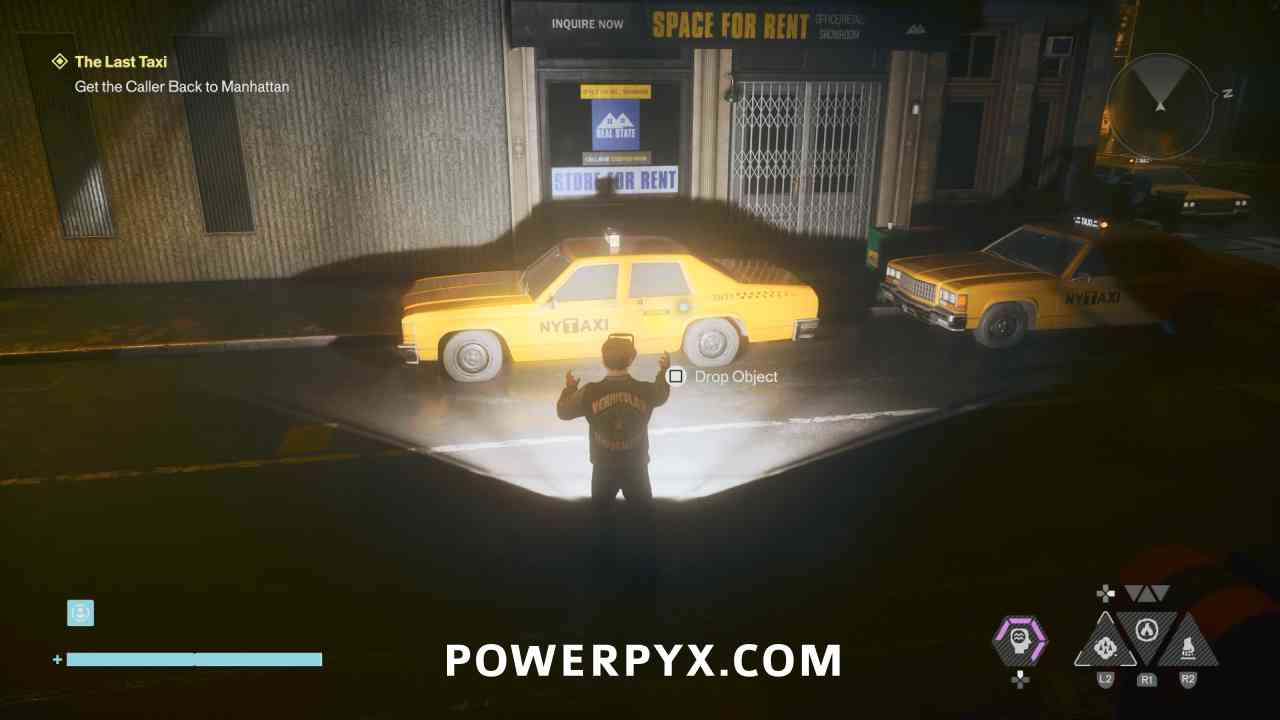
In the second cycle, repeat the same thing and enter the one that has the correct shadow.
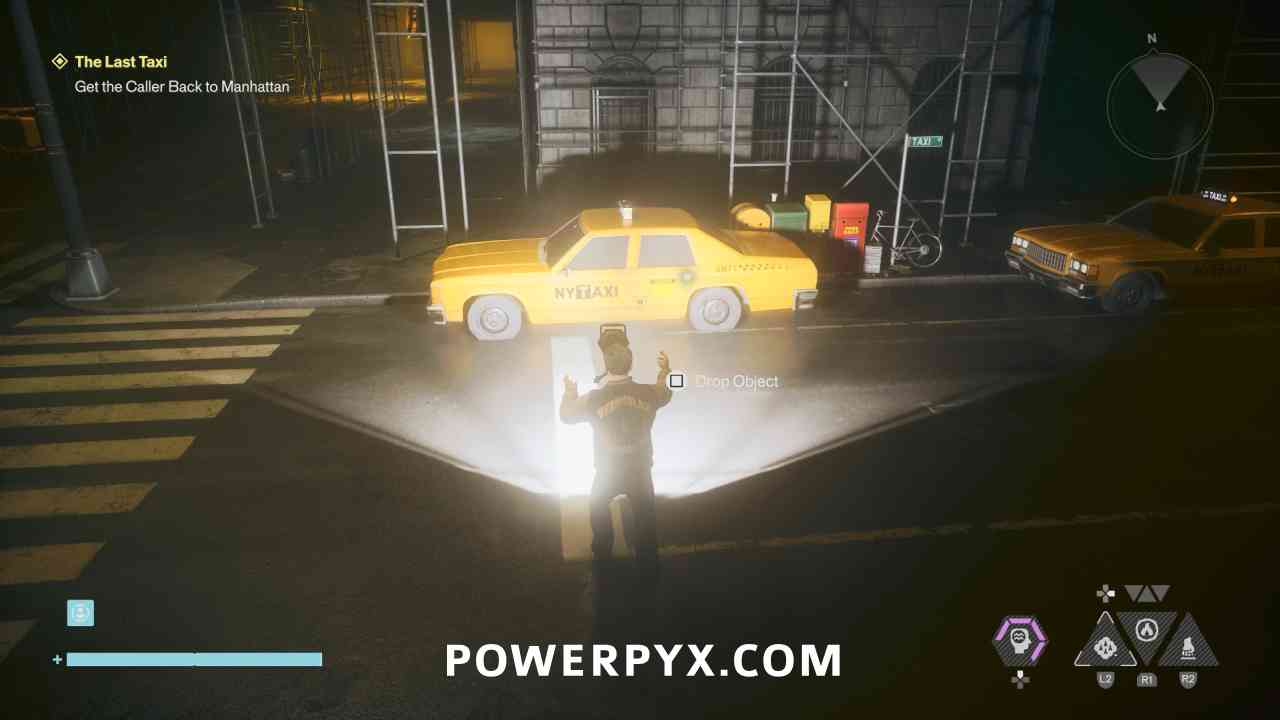
In the third cycle, repeat once more and enter the taxi that has the correct shadow.
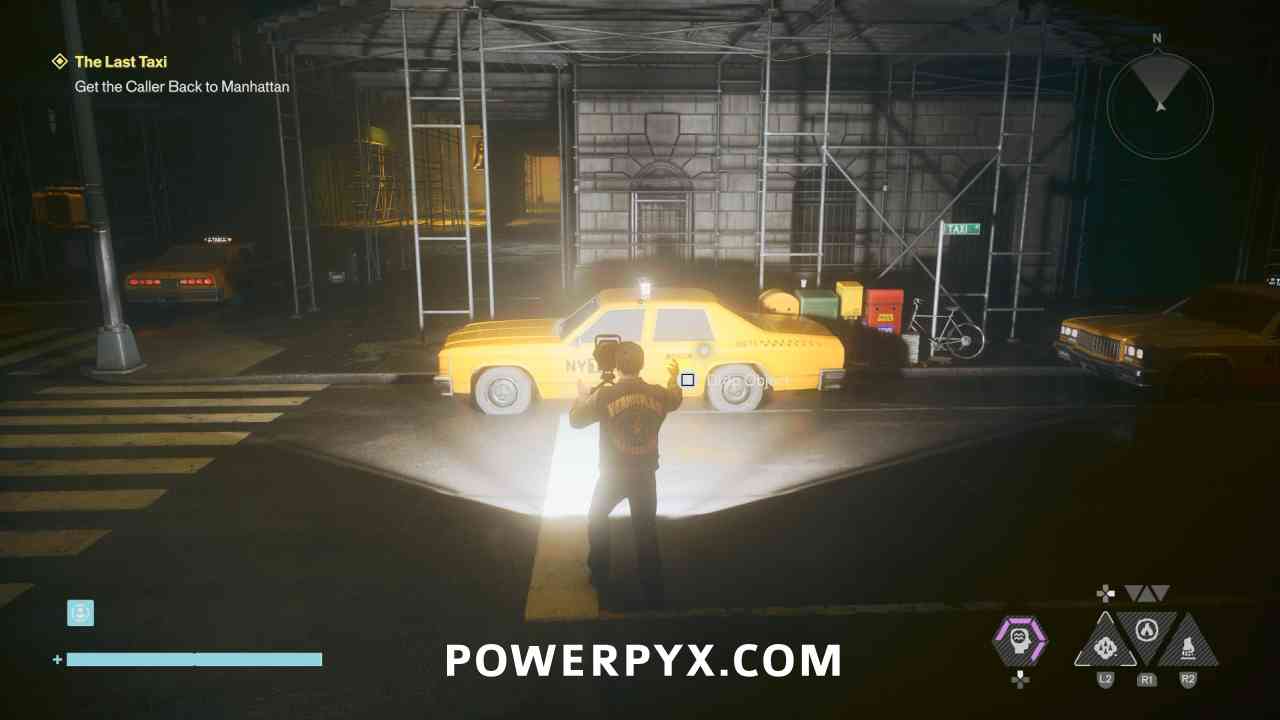
For all other zones, check out the Control Resonant Collectible Guide.
Leave a Reply