
The Kitsune is the 7th main tale in Ghost of Yotei. This walkthrough will guide you through all objectives of the The Kitsune main quest.
- Chapter: 1 – The Lone Wolf
- Region: Yotei Grasslands
- Quest Giver: From interrogating random bounty hunters
- Requirement: As part of Main Tale 5: The Yotei Six, interrogate random enemies and ask them for info on The Kitsune.
- Reward: New region: Teshio Ridge, Nine Tail Armor, Nine Tail Acolyte Mask, Nine Tail Acolyte Headband, Smoke Bomb, Kitsune’s Mask, Onryo Armor IV
- Quest Info: The most elusive member of the Yotei Six is in Teshio Ridge.
Starting Location: The Kitsune
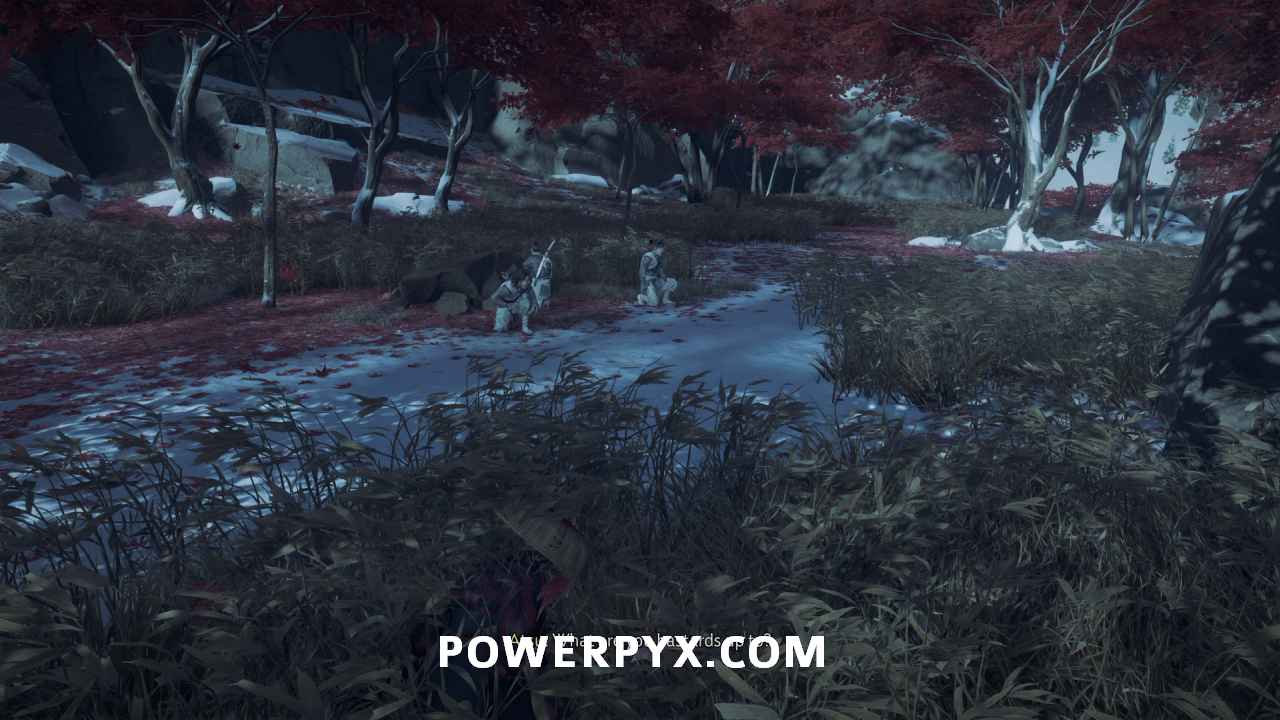
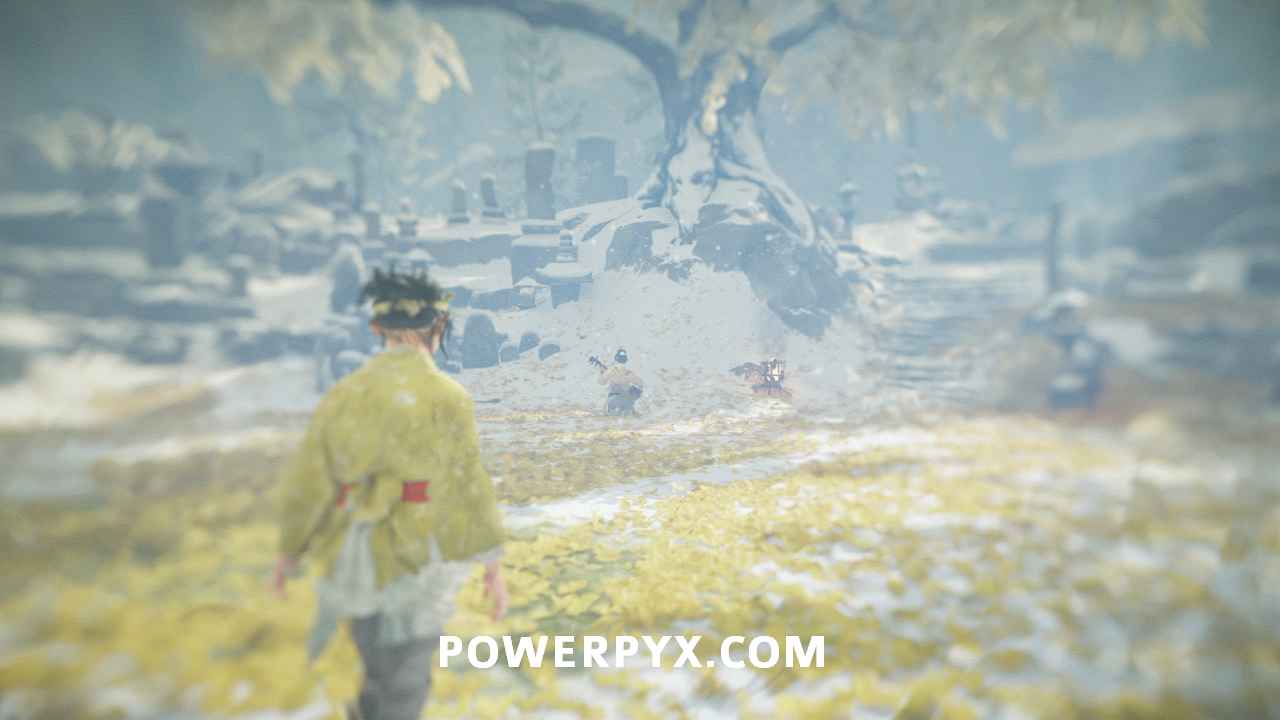
This tale is triggered during Main Tale: The Yotei Six. You have to ride around Yotei Grasslands and kill any random groups of enemies (the ones riding on horses, the groups who interrogate civilians, or bounty hunters who ambush you along rivers). These will spawn very frequently while The Yotei Six is active, practically every few hundred meters/yards. The last man standing of any enemy group will automatically be interrogated, then you can pick what main tale you want info on, choose “The Kitsune“. The yellow objective marker will appear on the map in the north of Tokachi Range region.
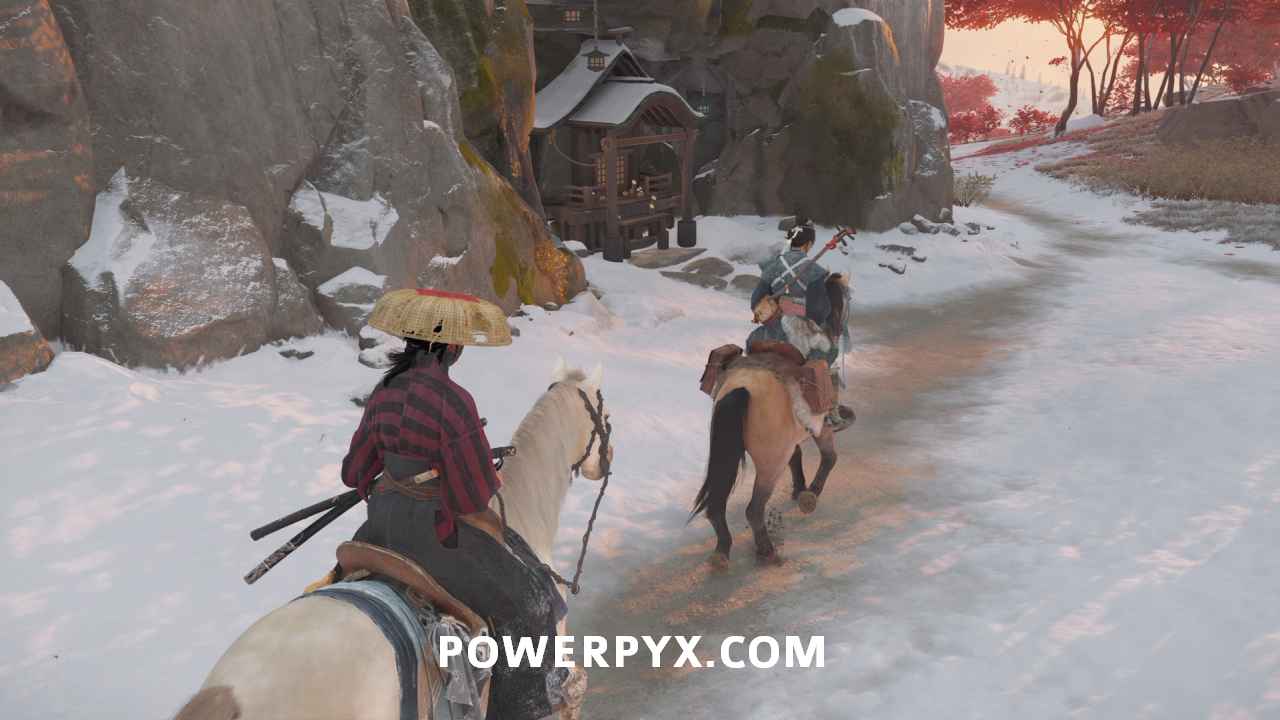
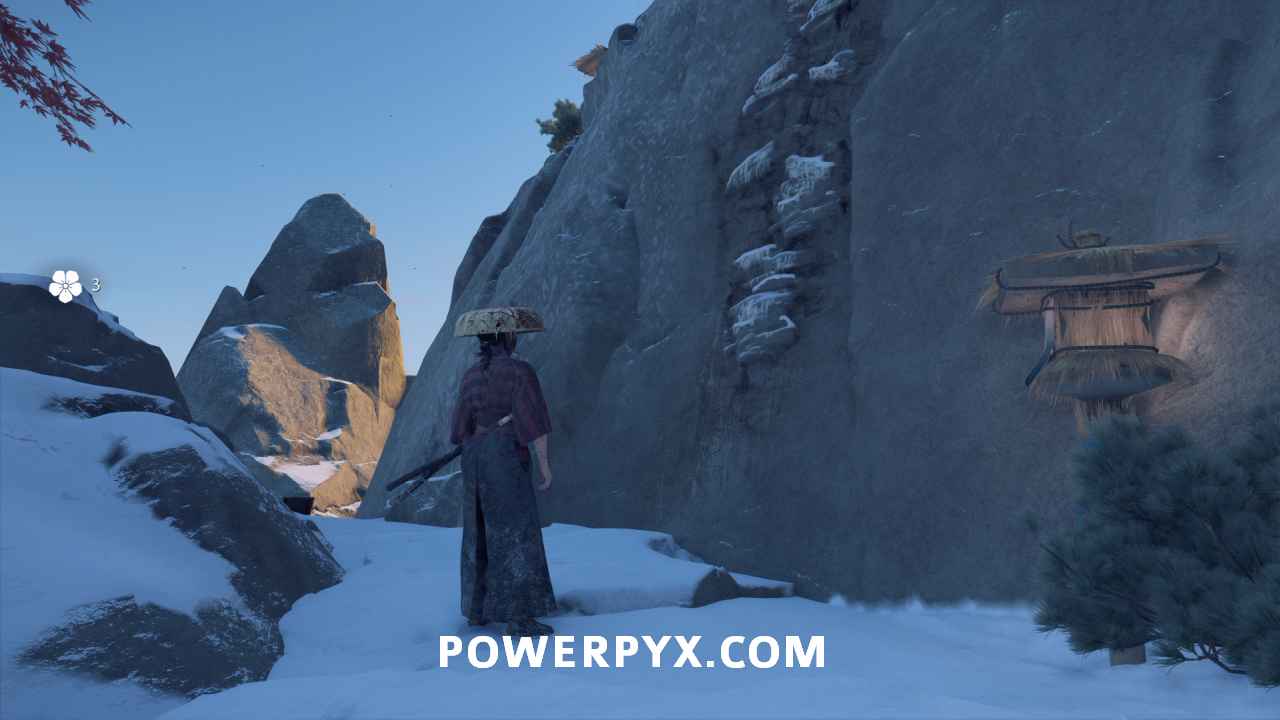
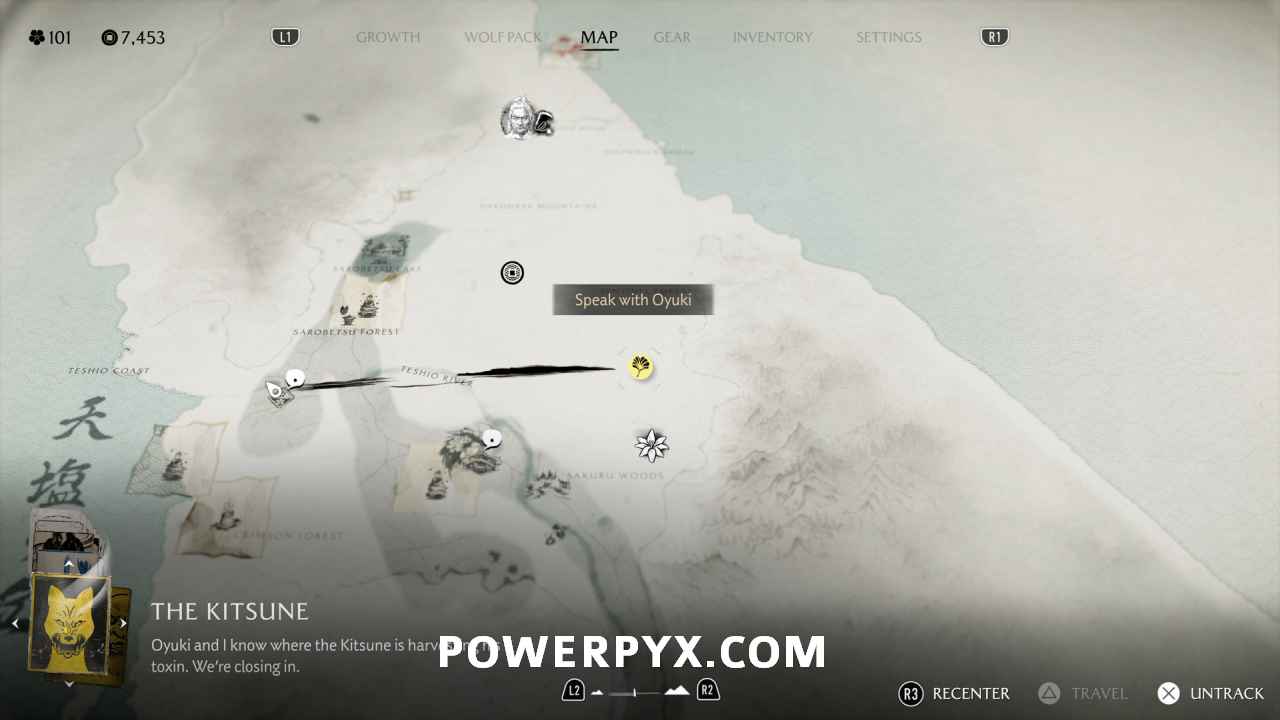
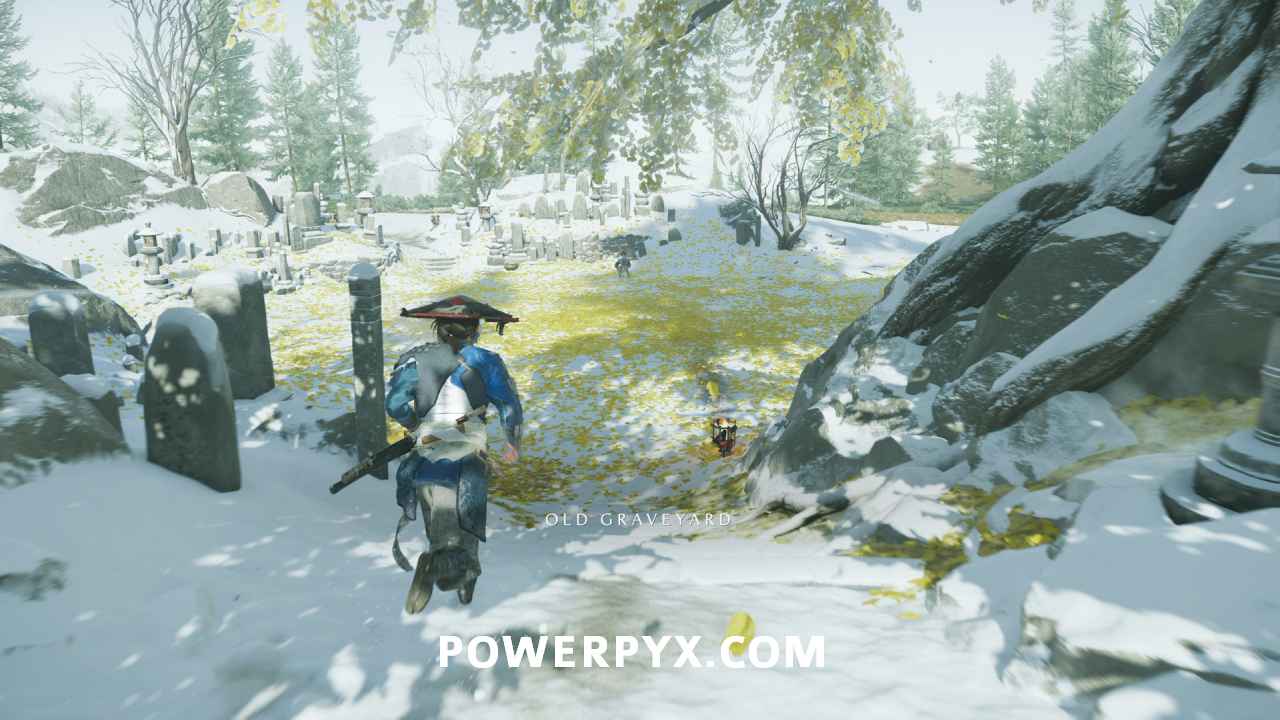
Follow Nupur River to Teshio Ridge
From Yotei Grasslands follow the river to the north-east all the way to the north of Tokachi Range region.


When you arrive at the quest marker, speak to the two women by the campfire at the Great Lake. Say “Travel North to the Nayoro Wilds”. Then you take the ferry to another region “Teshio Ridge”. This will also activate the Side Tale “The Heart of An Ainu”, but it takes you much further north up the Nupur River.

Once there, ride north along the river.

Speak with the merchants
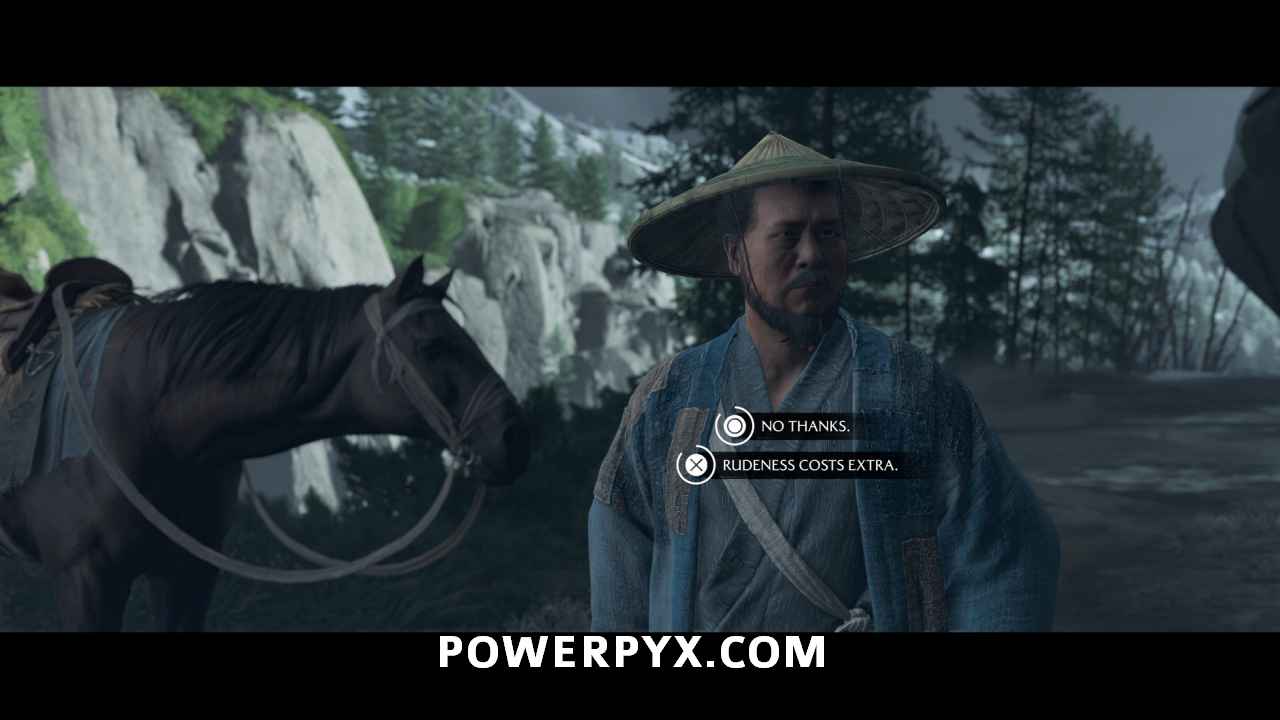
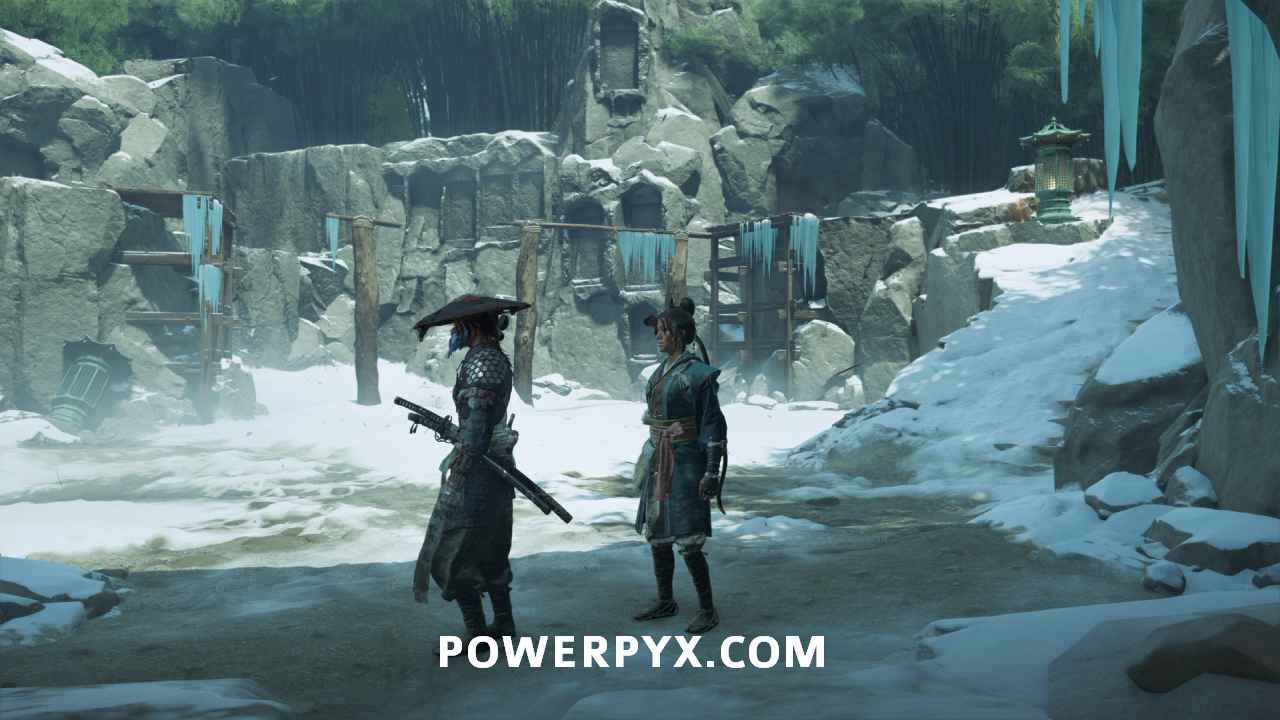
When you find three merchants struggling with their horses, interact with them.

You get paid at the end of this cutscene. However, you must choose “Rudeness costs extra“. Otherwise, choosing “No thanks” delays the quest.
This starts Sub-Chapter: Spirits of Teshio Ridge.
Sub-Chapter: Spirits of Teshio Ridge
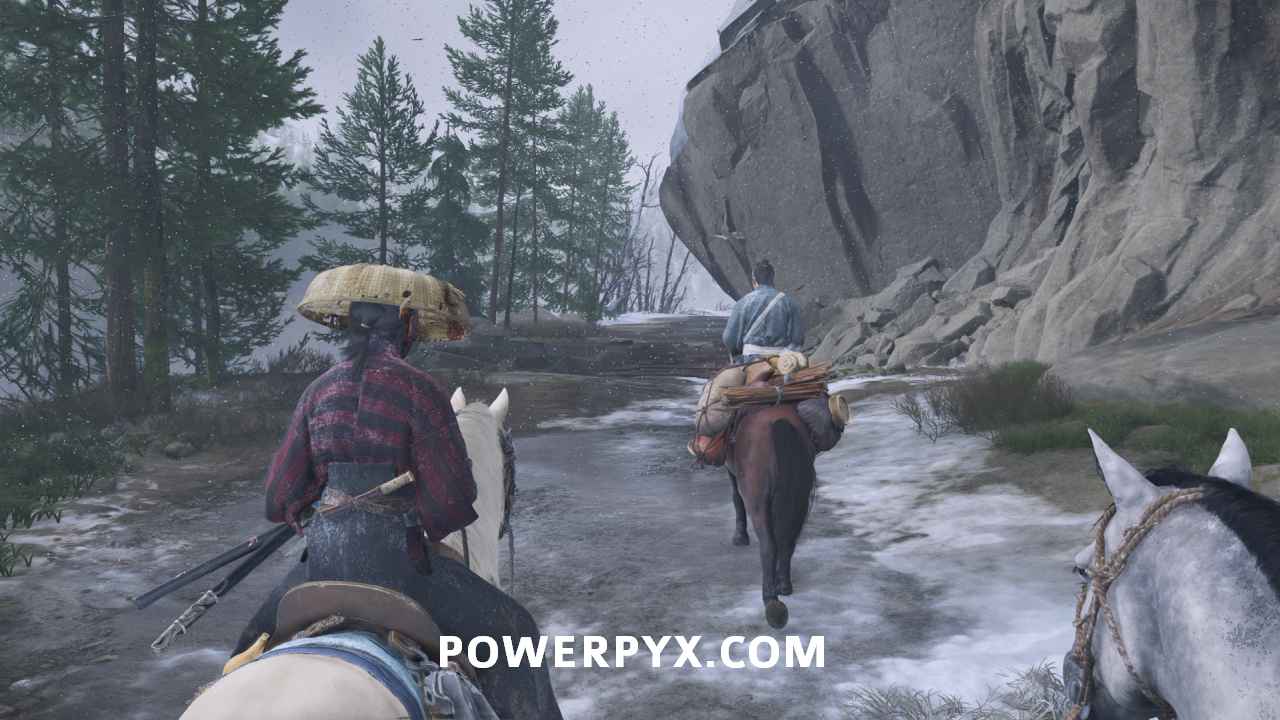
Escort the merchants
Follow the merchants along the cliffside and then along the road. Eventually, they lead you into a snowstorm.
Protect the merchants
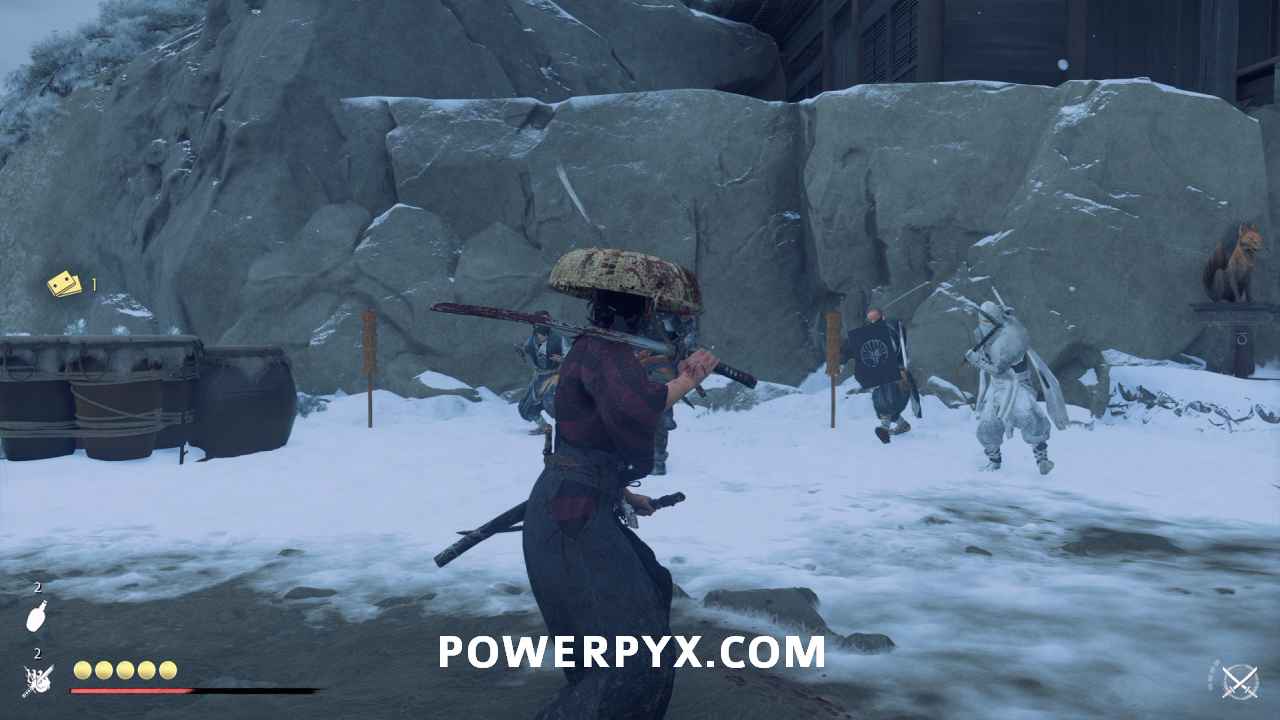
In the storm, you get ambushed by four Nine Tails members. Take them out.
Follow your horse
When you regain control, follow your horse through the snow.

Start a fire
Your horse leads you into a cave. Inside, start a fire.
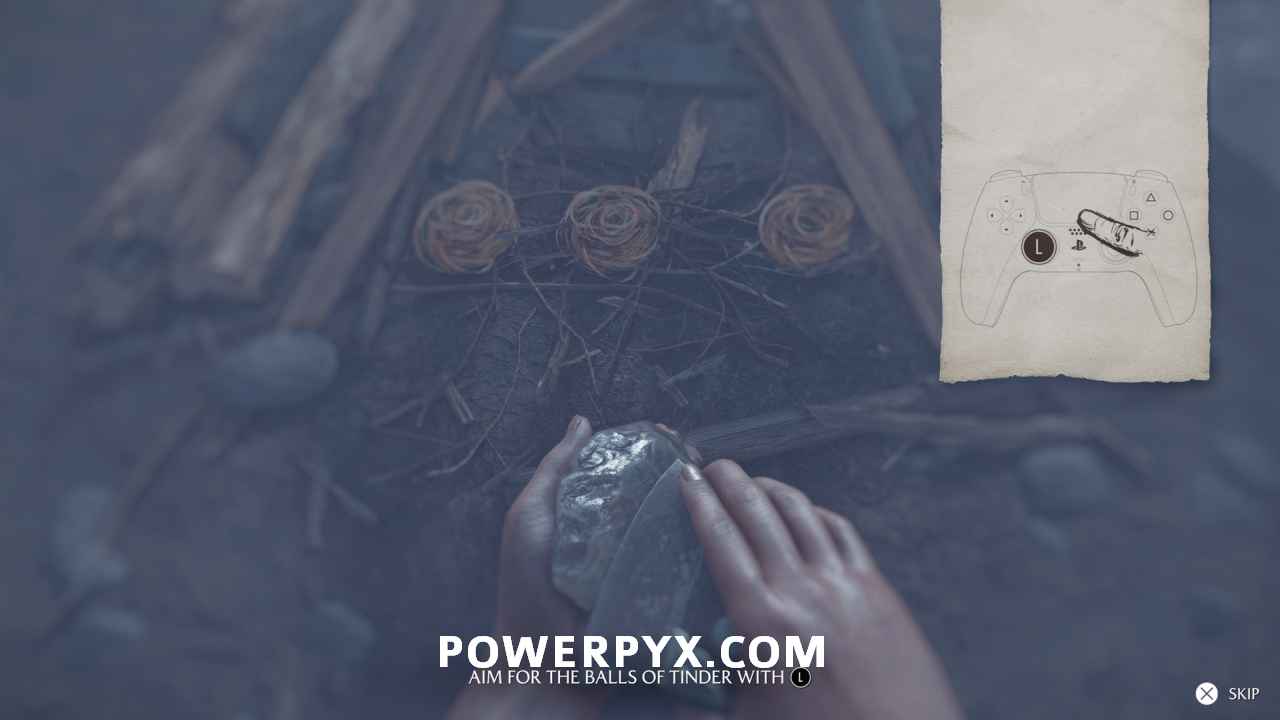
Aim the stone with the left stick, strike the sparks by swiping up on the Touchpad, and use R2 to breathe life into the tinders. Get all three tinders lit with big flames. This starts Sub-Chapter: Blood on the Snow.
Sub-Chapter: Blood on the Snow
Scout out the region
Use your spyglass and interact with the two spots in front of you using R2. To save some time later, interact with the mountain spot on the right to make available the Sensei Tale “The Way of the Kusarigama“.

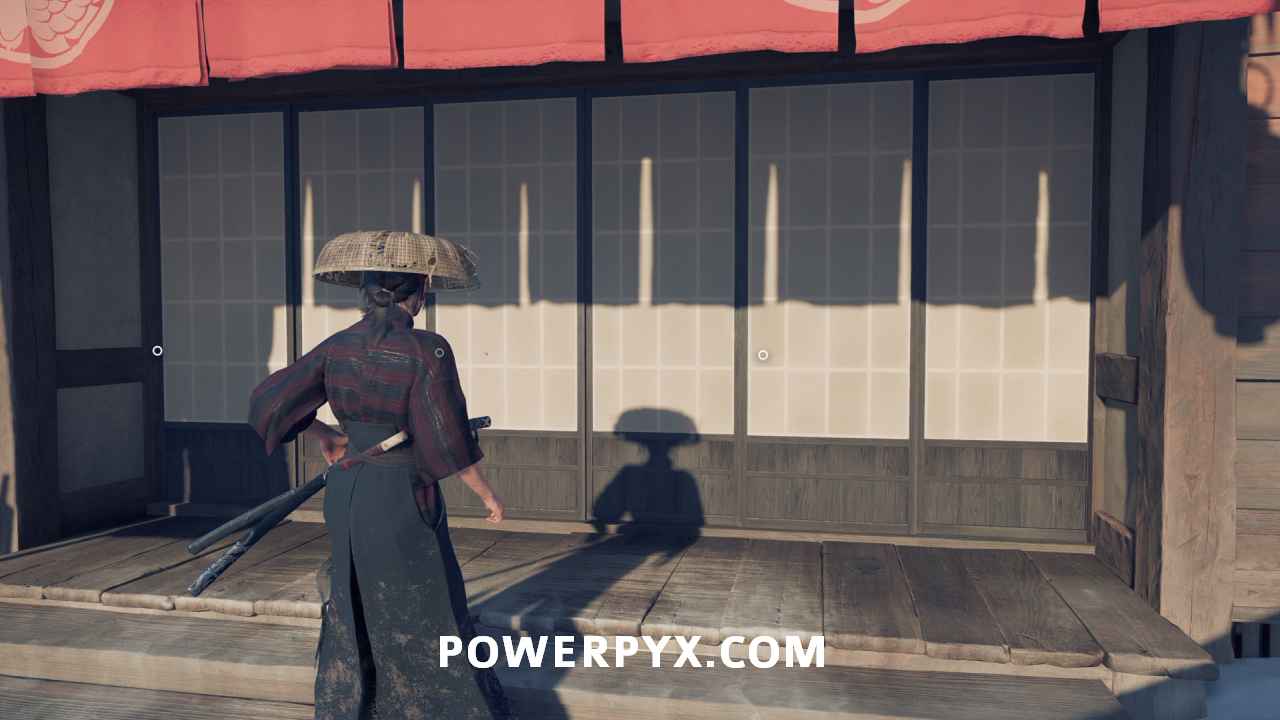
Travel to the Red Crane Inn
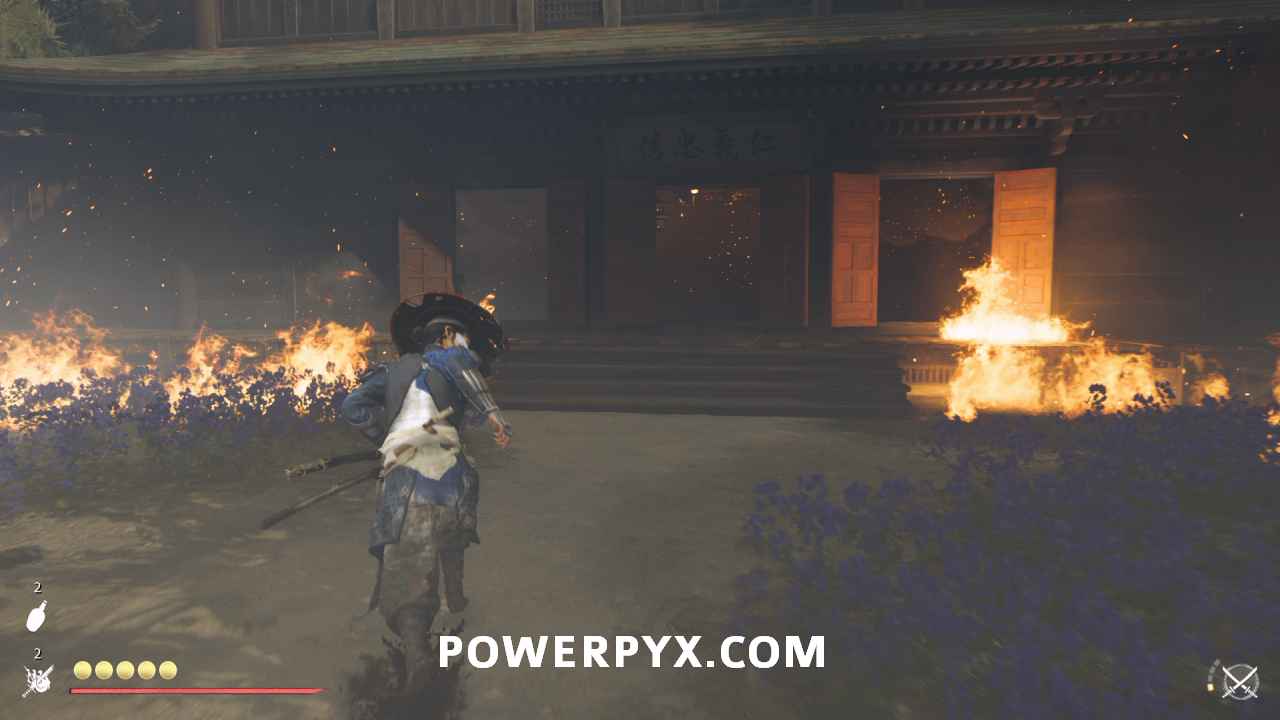
Make your way to the yellow quest marker at Red Crane Inn. When you arrive, interact with the front door to progress.
Find a lead on the Kitsune
You can sit and have some sake while you listen to gossip. However, you end up gambling with Zeni Hajiki with the two Matsumae right in front of you when you get control.

To play Zeni Hajiki, you need to put up some coins (the amount will vary as a percentage of your total available coins).
A flashback takes place here as your tutorial. Use the left stick to choose which coin you want to flick. Then, use the right stick to aim. Finally, push in R2 to flick the coin. If you pull too hard, you can knock a coin off the table. The point of Zeni Hajiki is to hit only one coin at a time. You keep any coin you hit and you get another shot. This works like billiards in a lot of ways, just using coins instead of billiard balls. Hit six coins to win the match.

Your opponent doesn’t play particularly well, but you do need to win the match to progress the story.
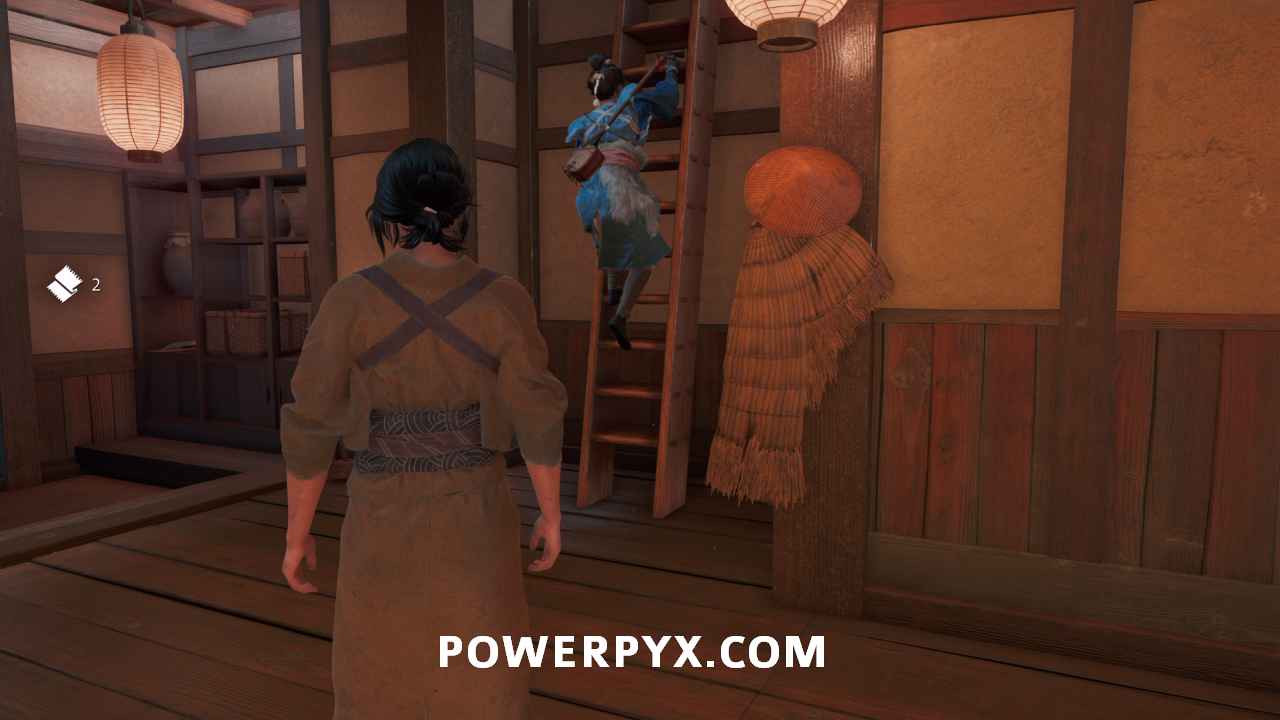
Meet the samurai upstairs
Go up the stairs and follow the railing on your right until you reach the last door. Behind the other doors you can find some textiles.

Return downstairs
Head to the floor below to trigger a cutscene.
Beat up the Matsumae
You get into a bar fight with the Matsumae. Beat them down. You cannot use your weapons in this fight.
After you defeat any 4-5 of them you get another cutscene.
Speak to Oyuki outside
The shamisan player asks to speak to you outside. Leave the Red Crane Inn.
Find her standing with her horse to your right.

Survey the village
Aim your camera with the right stick and press R2 to interact with the three points below.

The next cutscene gives you a dialogue choice. Choose whichever option you prefer.

Follow Oyuki
Get on your horse and ride with Oyuki. You can sprint in this section to speed things along.
Speak with Oyuki
When you reach a shrine situated in a rock face, speak with Oyuki.
During this cutscene, you get a dialogue choice. If you choose “I’m not paying,” then Oyuki will leave the donation so you won’t have to.
Stake out the shrine from the ridge
Turn to your right and climb up the ridge with red trees on it. Oyuki leads you to a spot just behind a fallen tree.
Watch the Nine Tails with the spyglass
Use your spyglass (  ) to see what the Nine Tails are doing at the base of the rock in front of you.
Follow the Nine Tails
Head back down the ridge and follow the Nine Tails straight ahead. Stay crouched in the tall grass to avoid being seen.
Find the Nine Tail
The three Nine Tails split up. Follow the one that goes left through a gap in the rock.

Interrogate the Nine Tail
Right after you pass through the gap in the rock, four Nine Tail members attack you. Defeat them to interrogate the last remaining enemy. Though he doesn’t feel like talking.
Travel to the location on the Nine Tail’s map
Head south-east to find the location on the map.

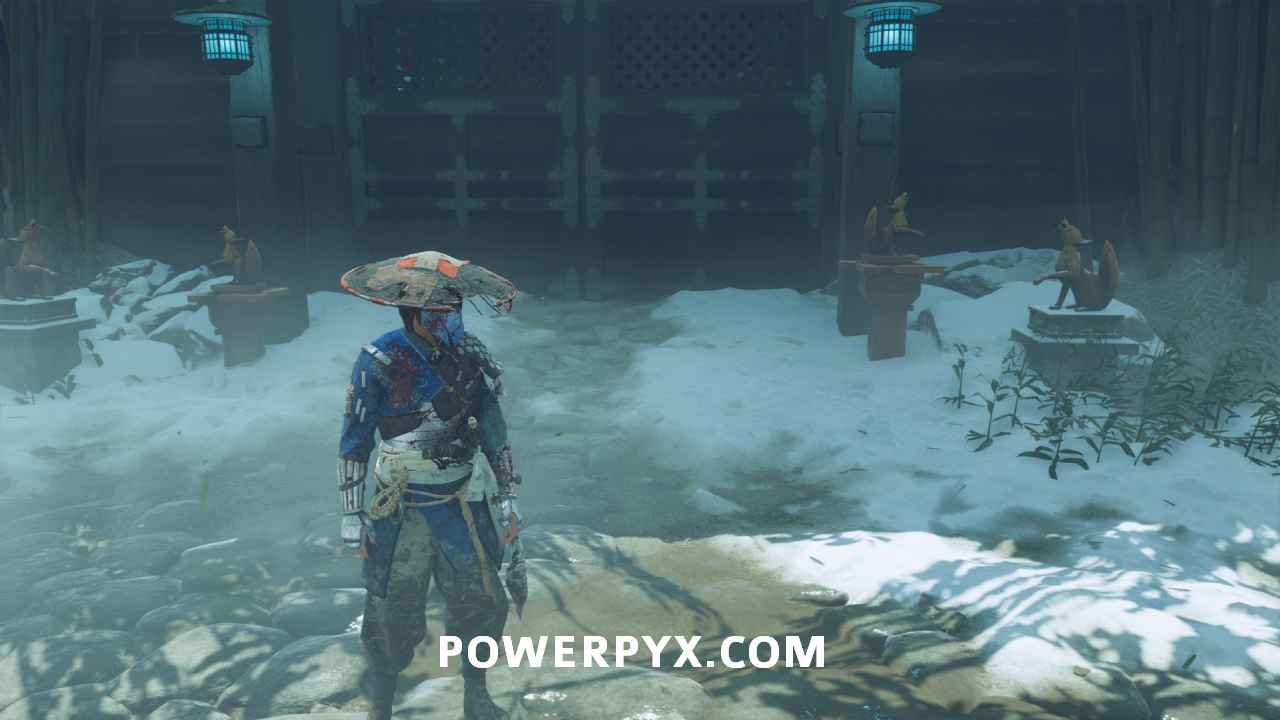
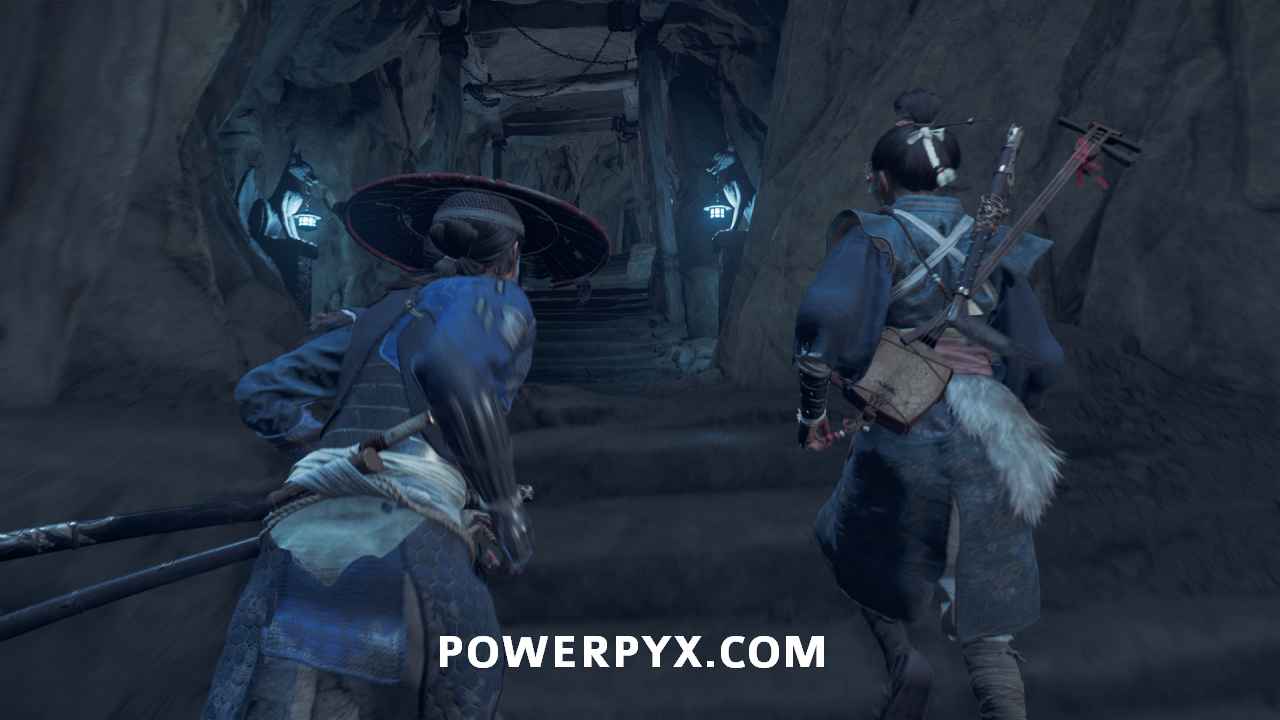
You’re in the right place when you find a path up into the mountain that starts with a gate. Follow the path up.

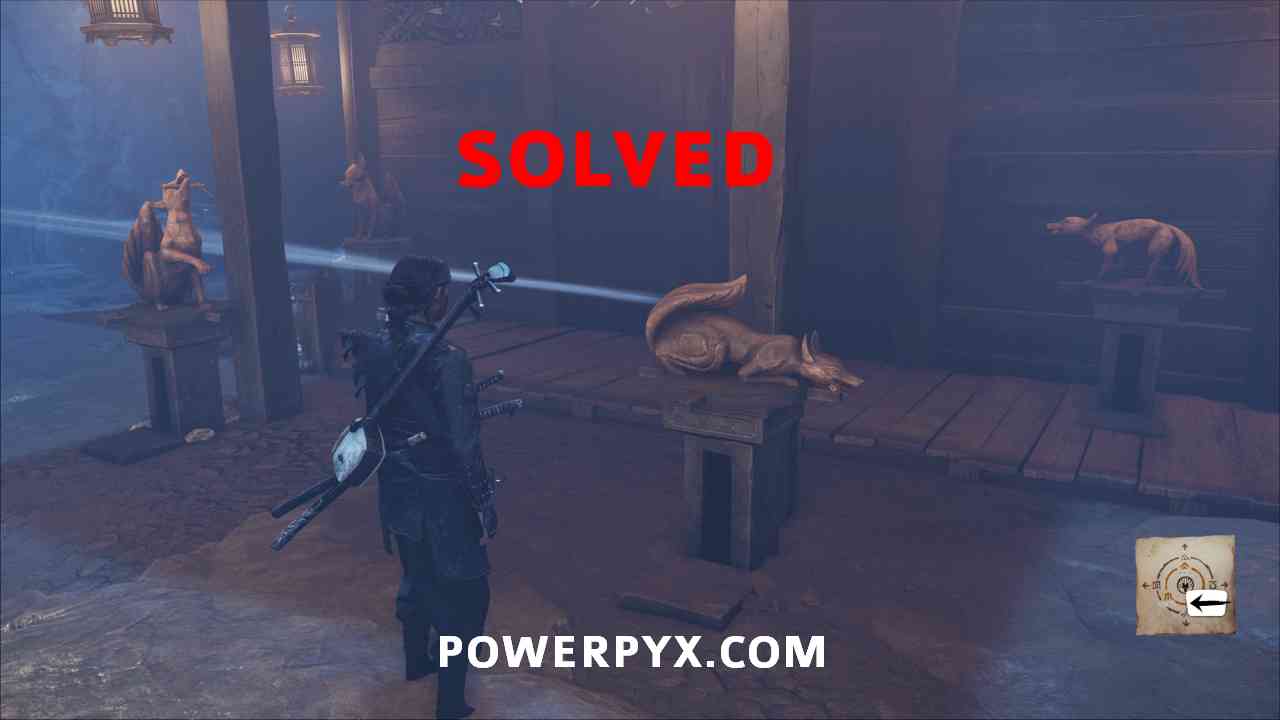
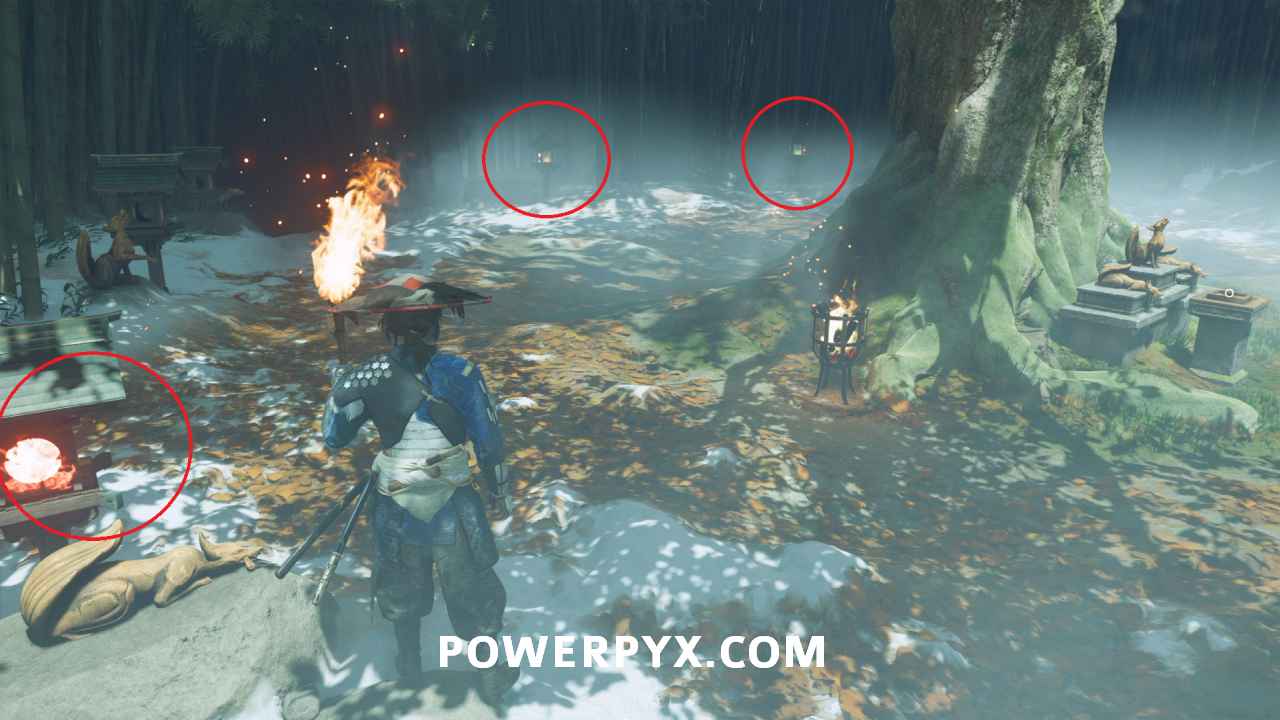
Solve how to enter the Nine Tails hideout
Grab a torch from one of the lit flames. The solution is lighting the two lanterns that have the fox statutes on them.

Investigate the Nine Tails hideout
Crawl under the short opening that appears below the altar.

On the other side of the tunnel, jump to the wooden planks and then jump to the rocks to move forward.

At the top of the rocks, swing across the fallen bridge using the grappling point.

Defeat the Nine Tails
Six enemies attack you after you cross the fallen bridge. Take them all out.
Find a way forward
By the gate, there are spots for four fox statues, but only two statues are present.

Grab the two statues in this area and mount them onto the empty spaces. You must place them so the foxes are facing towards the gate (not away from the gate). Meaning, the fox that faces right goes on the left pedestal, and the one that faces left goes on the right pedestal.

Then, interact with the symbol on the door to pass through the doorway.

Investigate the Nine Tails hideout
Follow to the right and climb up the rocks. Then, head forward and use the rocks on your left to reach the next area.
Turn left, then jump across the gap. Walk over the chain and then jump between the wooden planks.
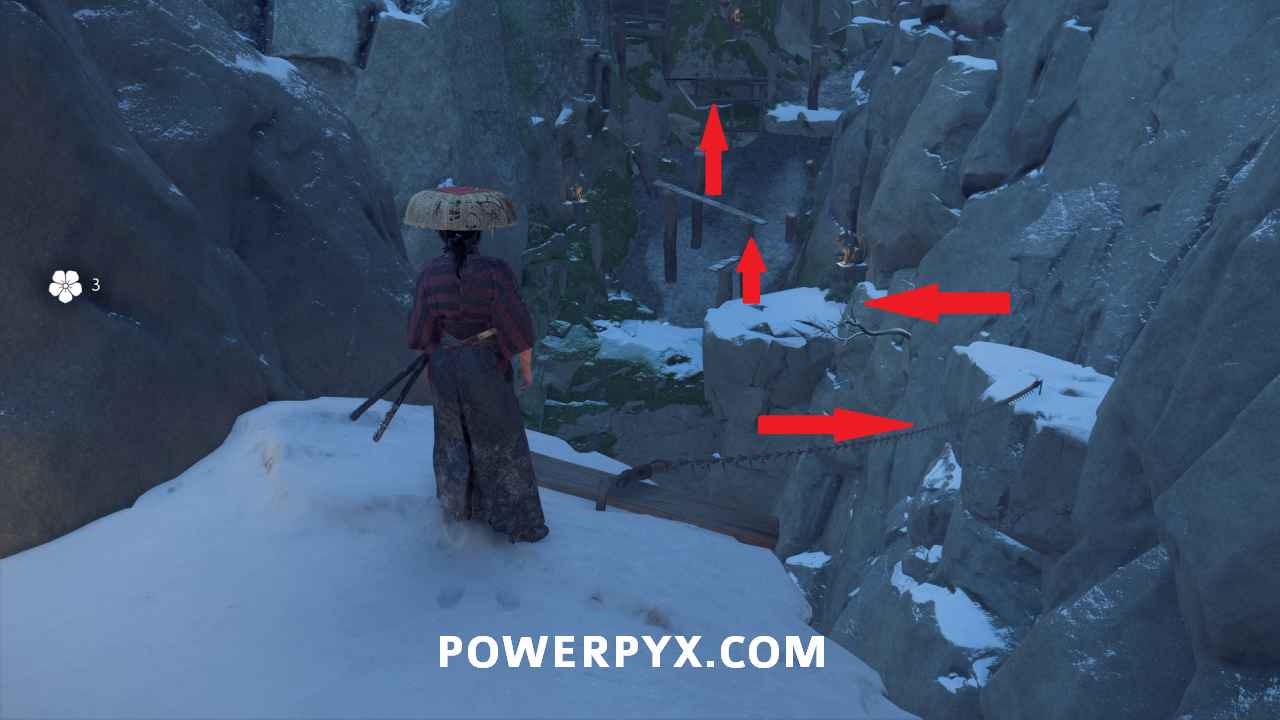
At the end of the planks, you can jump to the rocks on the right. From there use the last three wooden planks to reach the grappling point. Swing across into the hideout.

Head inside the hideout and interact with the scroll on the opposite side from the entrance.

Several Nine Tails ambush you. Take them out.
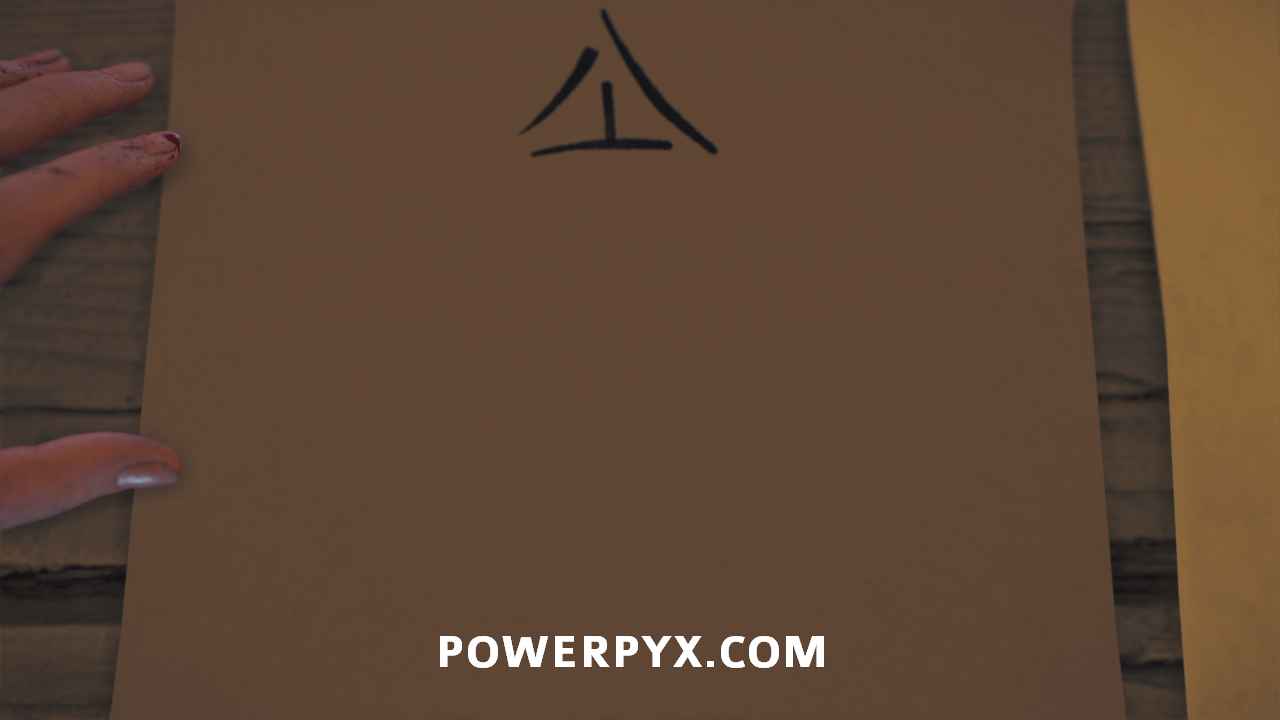
Investigate the cipher
Go back to and hold R2 on the scroll on the back wall of the hideout. You must then use the touchpad to draw the cipher, which will be outlined for you.
Leave the building
Interact with the pull cord on the fox statue by the door to open the exit.

Defeat the Nine Tails
In the courtyard, four members of Nine Tails attack you.
After you defeat them, another four members come after you.
Find a way to the upper building
On the east side of the camp is an altar with five different fox statues. Each one has a symbol. You need to turn the outside four statues to match the direction the symbol indicates.

To show which symbol is which, swipe left on the Touchpad to bring up this hint.
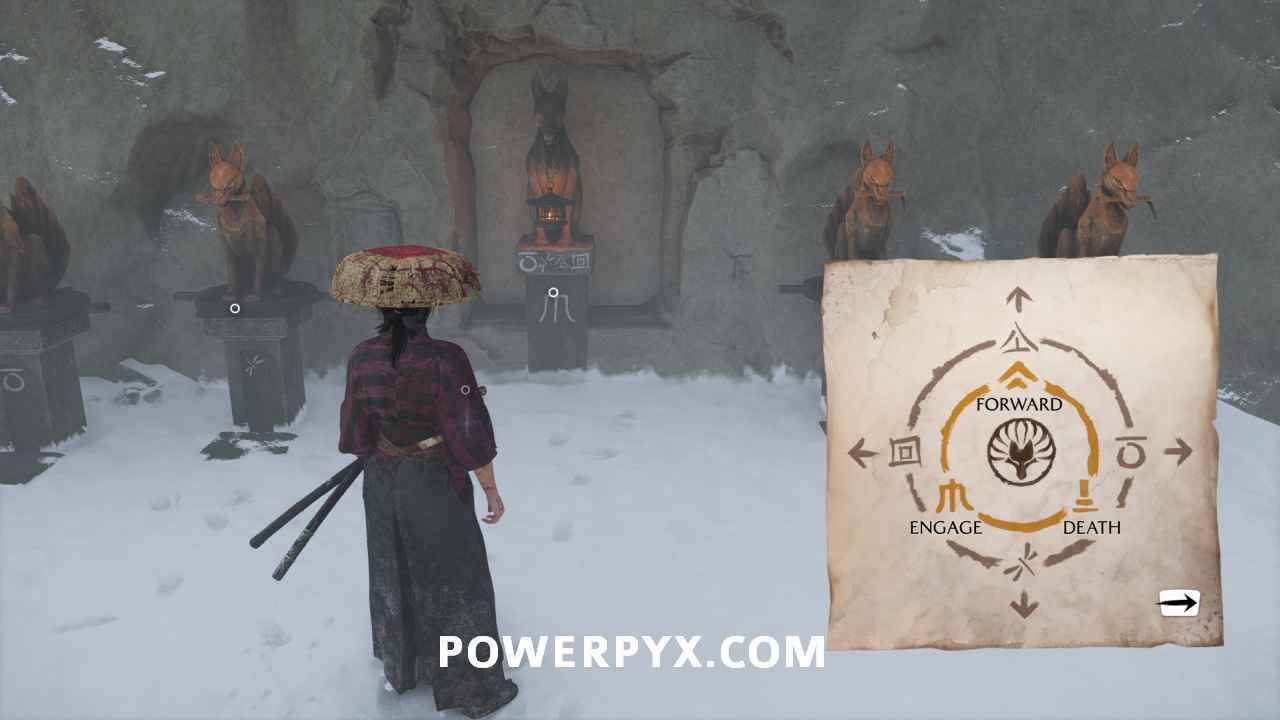
From left to right, have the statues facing right, forward, backward, and left.
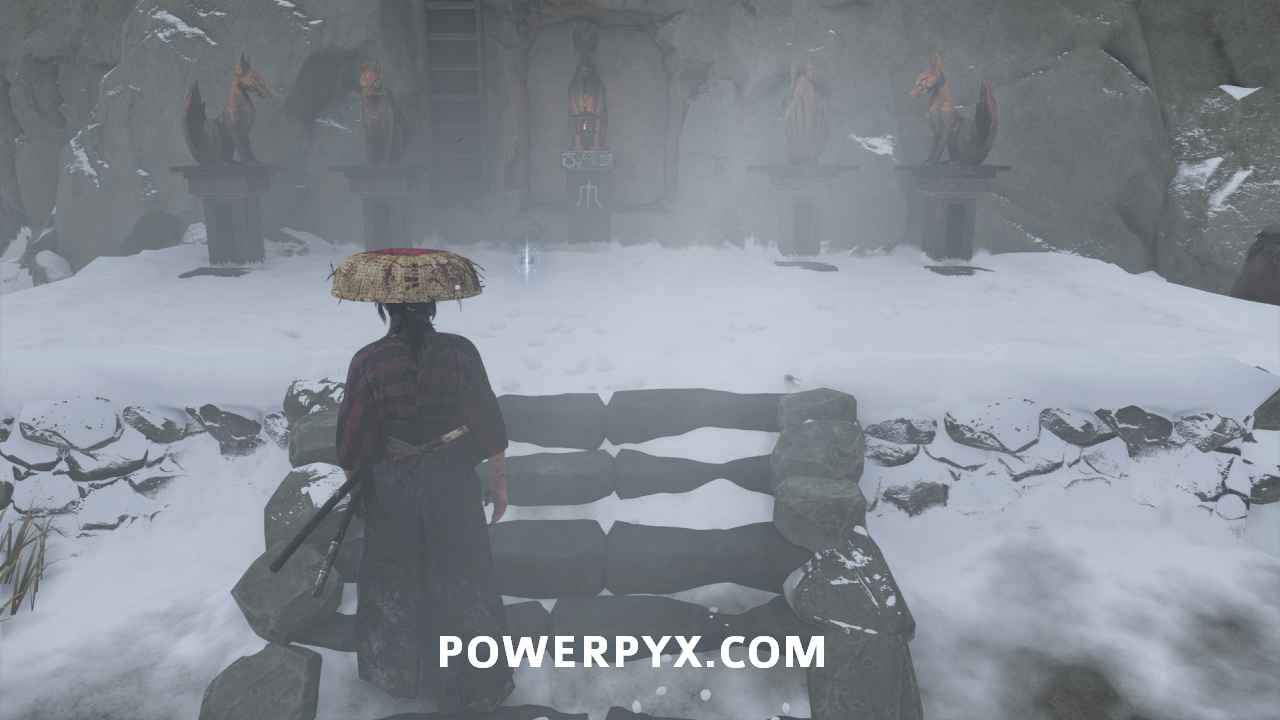
Then a ladder will drop down from above, climb it.
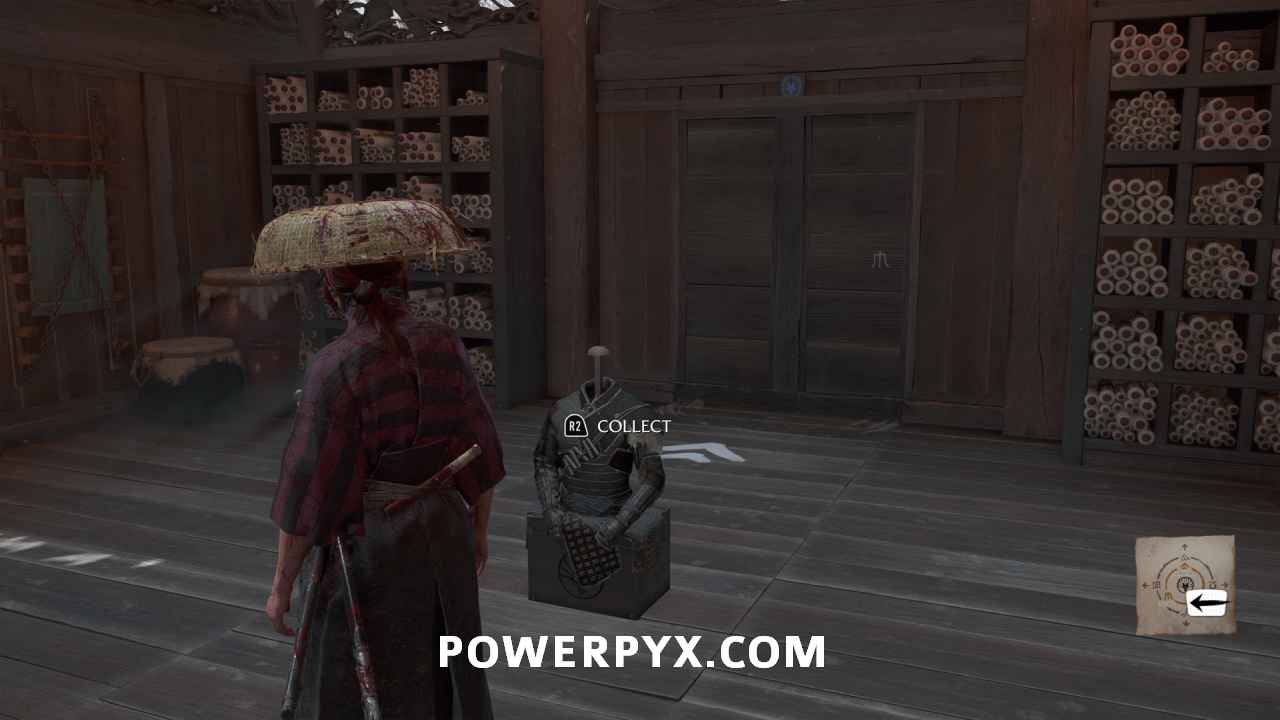
Investigate the upper building
In the middle of the upper building is a set of gear, the Nine Tail Armor, Nine Tail Acolyte Mask, and Nine Tail Acolyte Headband. Interact with the armor display to equip them automatically.
Exit the Nine Tail Hideout
Approach the rotating door behind the armor display and interact with the symbol to leave the building.

Move forward to the end of the snowy path, then you get a short scene where you overlook the valley and you get the next objective.
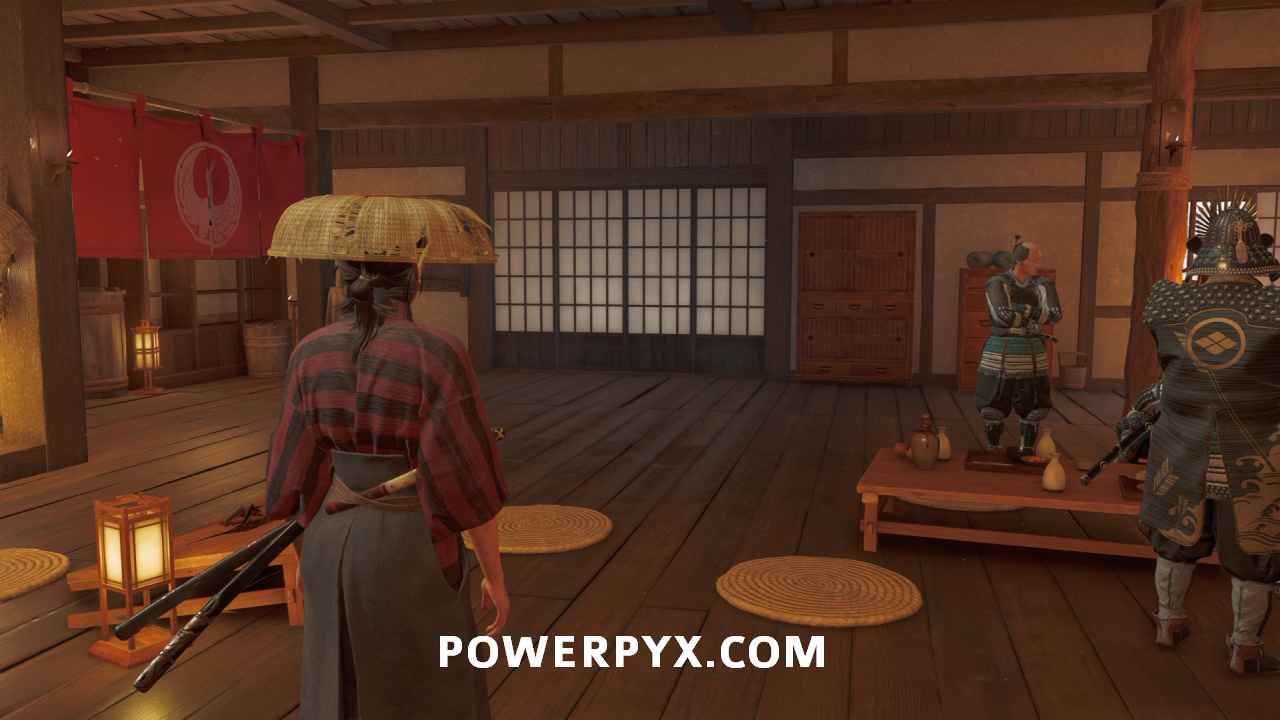
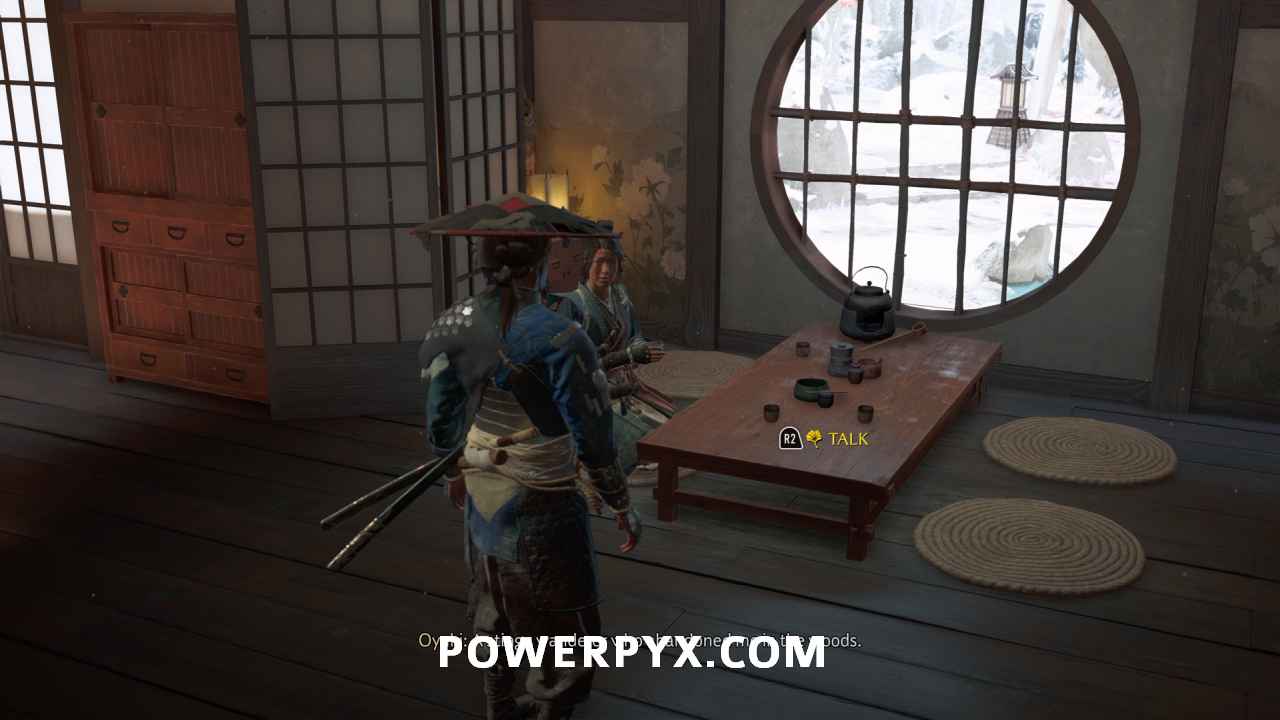
Find Oyuki at the Red Crane Inn
Fast travel to the Red Crane Inn.
Speak with Oyuki in the back of the Red Crane Inn. She’s the woman in blue/white clothing, sits on the floor and drinks from a bowl. This starts Sub-Chapter: The Way of the Shamisen.
Sub-Chapter: The Way of the Shamisen
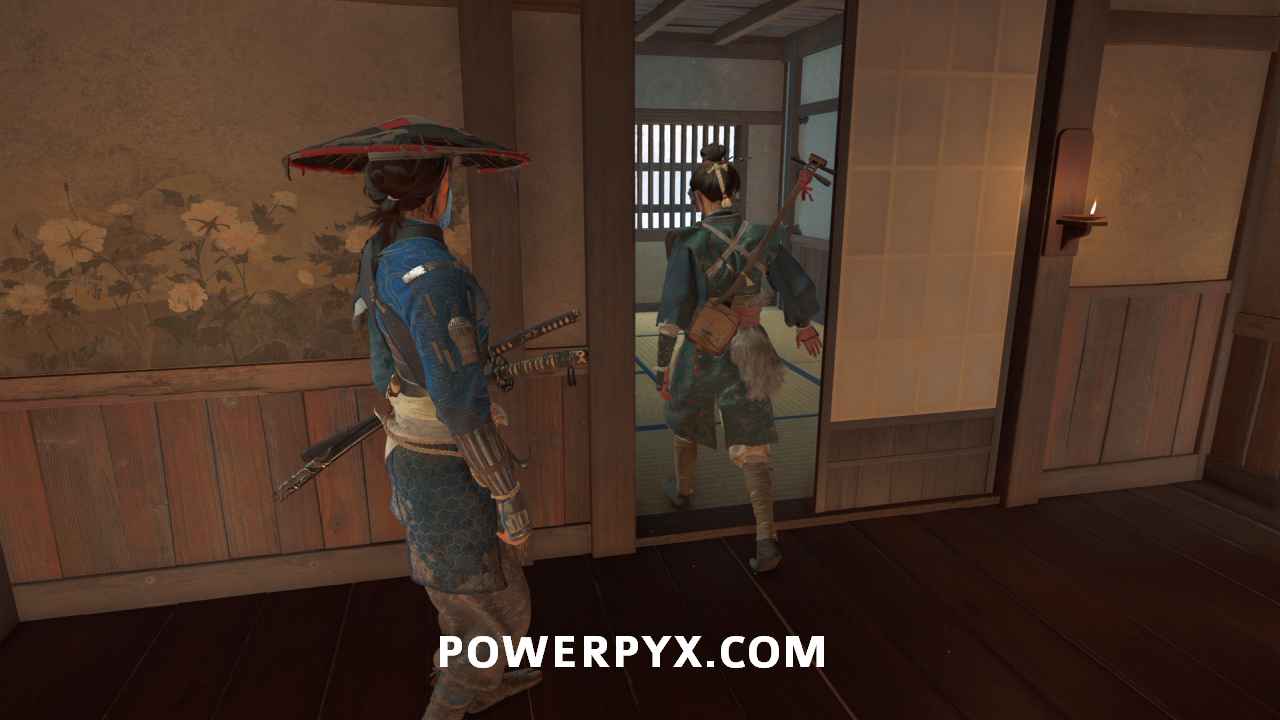
Follow Oyuki
Oyuki leads you upstairs to the second door on the left.
She presents you with a dialogue option. Choose whichever you like. After the cutscene, interact with the rotating door in front of you.

Crouch and follow along in the rafters.

This leads to a cutscene.
Wait for Oyuki
Oyuki leaves to distract the Matsumae so you can sneak in. Wait until you regain control. You can move the camera right now, but you cannot move Atsu.
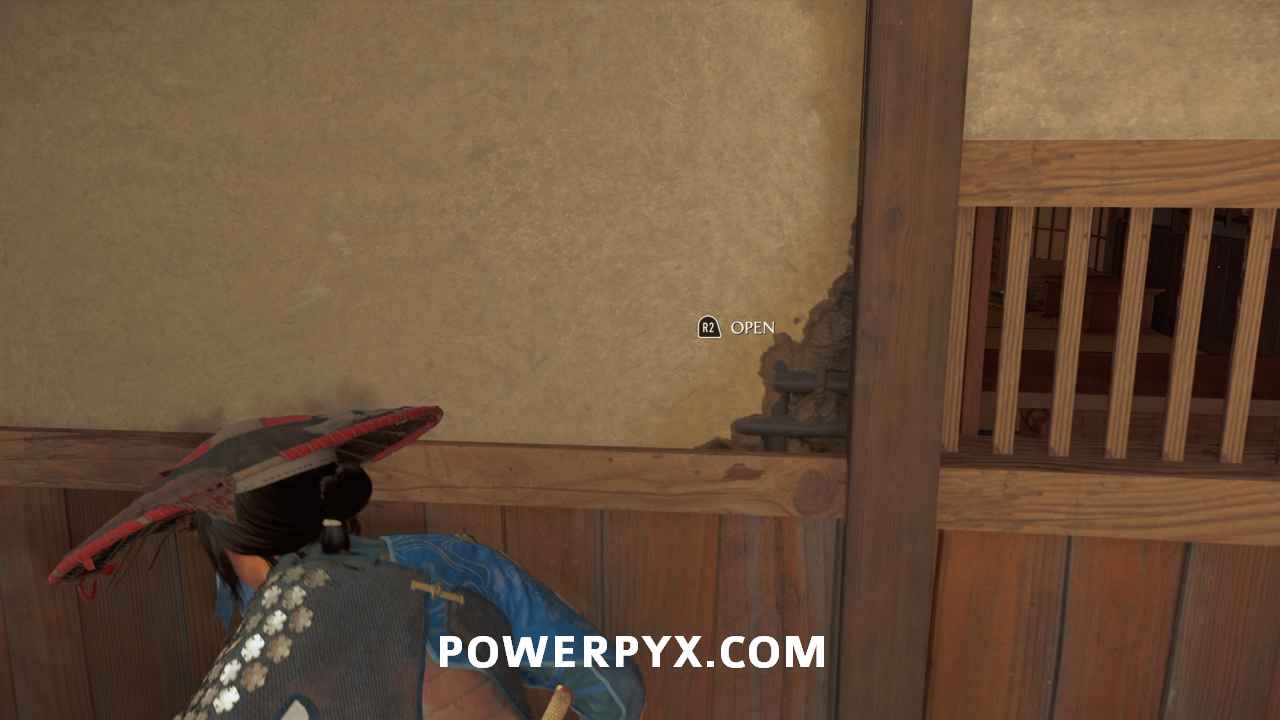
Search for clues on the Matsumae informant
After you can move again, interact with the rotating door to your left. Then examine the two notes at the table to your immediate left.
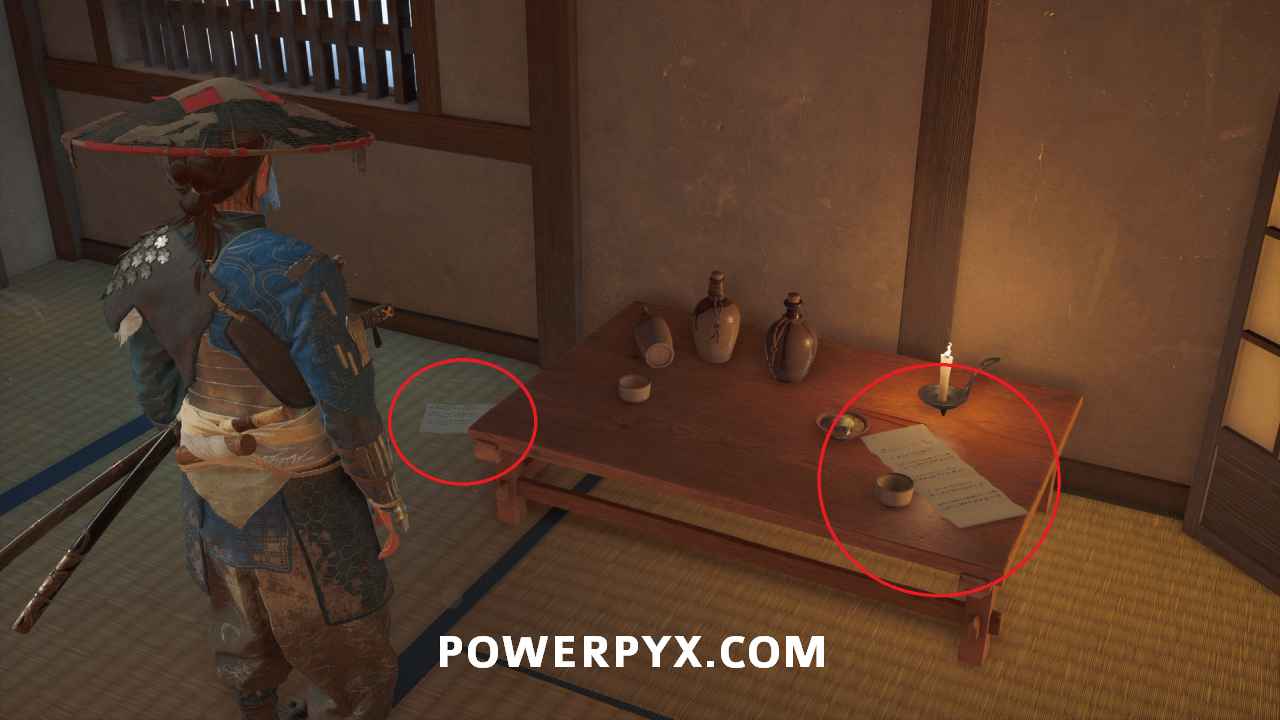
Further in are three more notes. The important one is the one at the end of the room.

Follow Oyuki
Leave the room with Oyuki and follow her outside to your horse.

Travel west with Oyuki along the path on horseback. Along the way you can make a dialogue choice but it doesn’t matter what you say. A cutscene triggers when you arrive at the destination, and you automatically change into a kimono.
Follow Oyuki into the sake house. Enter the main room and you will automatically sit down to play the shamisen for the patrons.

Perform with Oyuki
When performing, slide along the Touchpad to find the point on the neck of the shamisen that glows the brightest.

After playing for about a minute, you will eavesdrop on the three tables in front of you just by looking at them.
Follow Oyuki
Leave the first floor patron room and climb the ladder to the second floor.
Find Chosuke
Interact with the man in the back corner, sitting on his own on a green pillow.

Select correct sake
There are three different drinks you can choose from on the wall. Atsu will choose the correct one when she drinks from it. To save time, drink from the leftmost bottle of sake.

Follow Oyuki
After the cutscene, head outside with Oyuki to find Chosuke outside by your horses.
Then head south with Oyuki. Ride with her until you reach the Black Dye House.

Search around the dye house
Head to the southwest corner of the property and head inside the smaller building behind the dye house.

Fox Statue Puzzle:
There are two fox statues on the left of the building. Put the one that’s facing right on the right pedestal, and the one facing left on the left pedestal. So the foxes are facing away from the blue symbol in the middle, facing towards the corners of the room.


Now turn the lids in the middle of the room so that the arrows on them point the same way that the foxes in front of them are facing. So the left lid has the arrow pointing left, and the right lid is pointing to the right.

Finally, interact with the lid in the middle to get underground.

Follow the path until a cutscene triggers.
Rescue the hostages
Take out the two enemies in front of you. You can assassinate one from above.

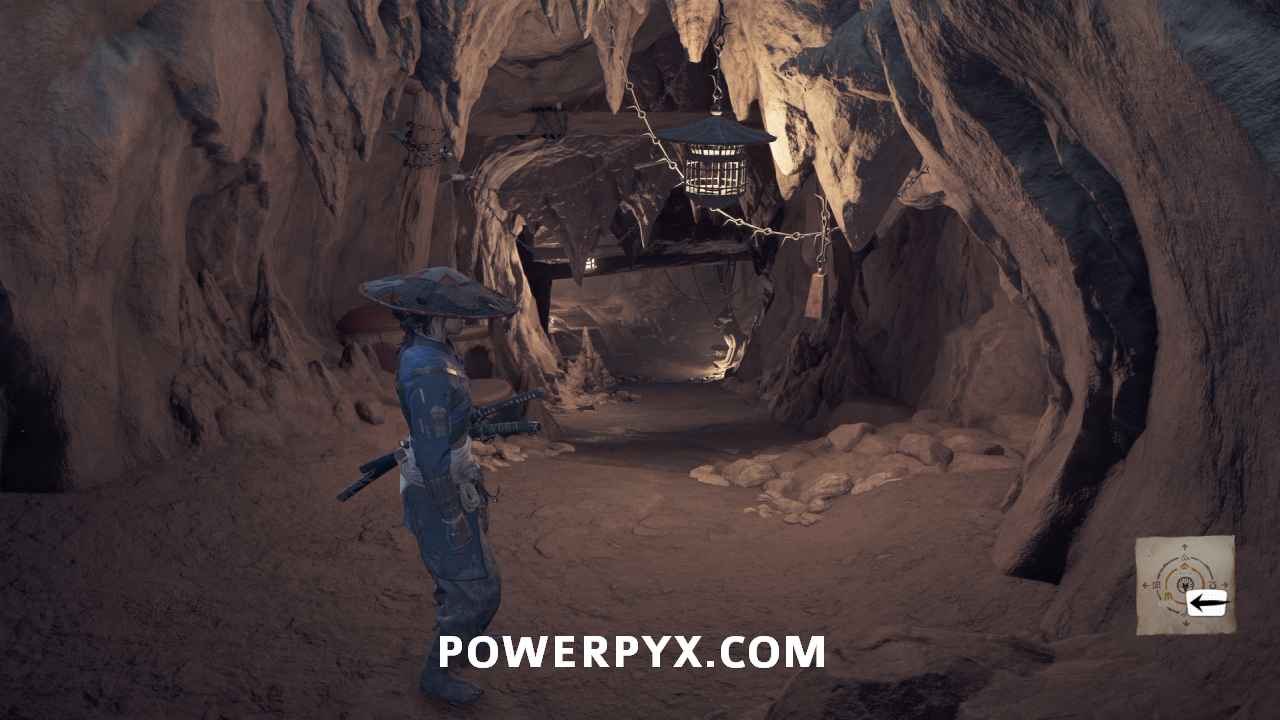
Find a way deeper into the Nine Tails hideout
To the right of the two jails is another fox statue. Interact with this statue to extend a rope you can cross.
Find the other hostages
Use the wires and wooden planks to get past the next area.
You come out to a split in the path. Go left in the crawlspace to continue (before tunnel entrance). The tunnel is only a trap and would force you to retrace your steps.

After the crawlspace, pull down the weak plank blocking your path and squeeze through the gap.

Continue straight ahead. Cross the wooden plank ahead of you to the next rock. Then swing across the gap using the grappling point.

Jump up the wooden boards to go into the next cave section.
Search the holding cells
There are three ways you can go, but there’s no wrong way to go either. It all leads you to a building on the opposite side of the holding cells. The only difference is how many enemies you fight along the way.
Proceed until you reach a temple building with 4 fox statues you can interact with. Solve the puzzle by turning the statues to look like the picture below: Left statue = don’t interact / 2nd from left = interact once to face right / 3rd from left = interact once to face right / 4th from left = interact thrice to face left.
DO NOT touch the far left statue, or a Nine Tail assassin will come and attack you. On harder difficulties, this will kill you.
Enter the building
Approach the entrance to the building and interact with it. This rewards you with the first of 12 Kitsune Puzzle Boxes (you need all 12 for the  Trickster Fox trophy). The remaining 11 are found in the open world later.

Return to Oyuki at the dye house
A path is open on the opposite side of the building when you regain control. Pull open the destructible wall at the end, then you will exit back out to the dye house.
Enter the large building at the Black Dye House. This triggers a cutscene.

Speak with Oyuki
Oyuki roosts on a cliff just southeast of Sentinel Forest Camp.
Survey the Matsumae camp
Interact with the points in this order:

Viewing the first two unlocks the third, and the third unlocks the fourth. This starts Sub-Chapter: Poison and Lies.
Sub-Chapter: Poison and Lies
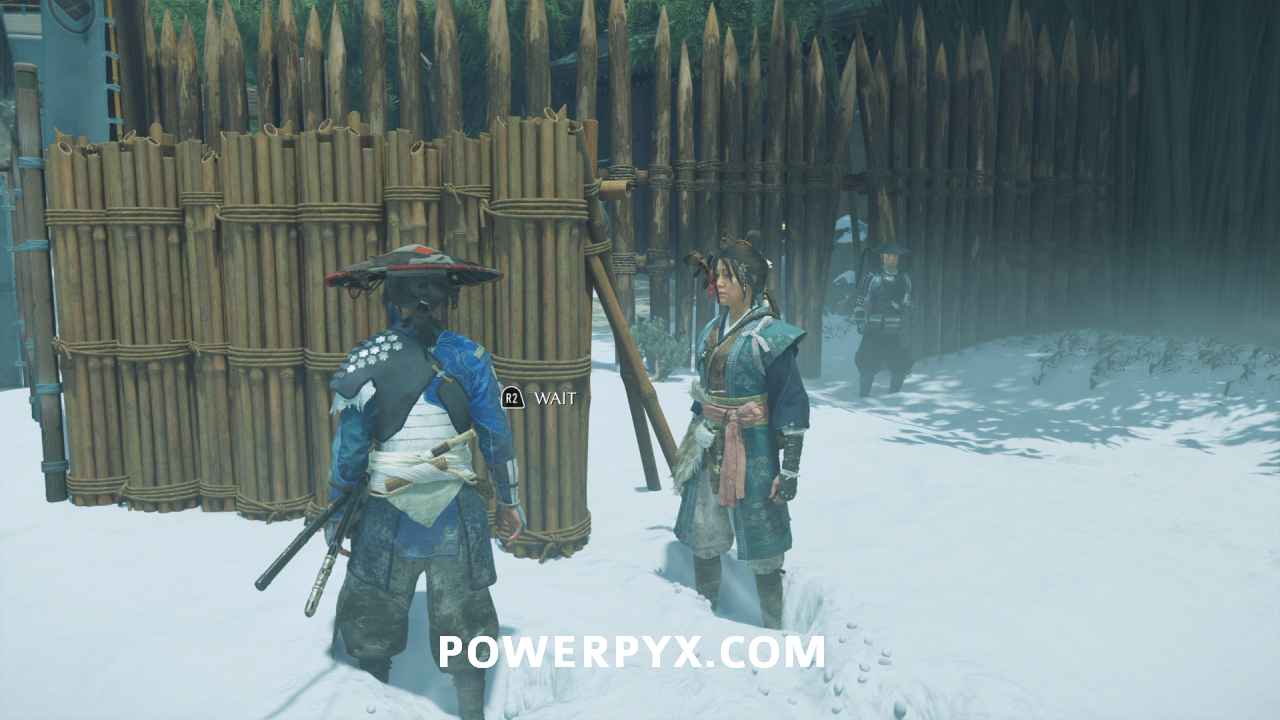
Reach the fence in the Matsumae camp
Head into the camp when you regain control. Keep going straight and then slightly left until you come across the gap in the fence that you surveyed. Press R2 at the fence to wait.
Wait for Oyuki
Oyuki now goes to distract the guard. Just wait while she talks to him.
Slip through the gap in the fence
With the guard gone, you can now squeeze through the gap in the fence and go through the gate.

Enter the forest
Follow the path, keeping away from the open pitfalls along the way.

Examine the pedestal under the tree
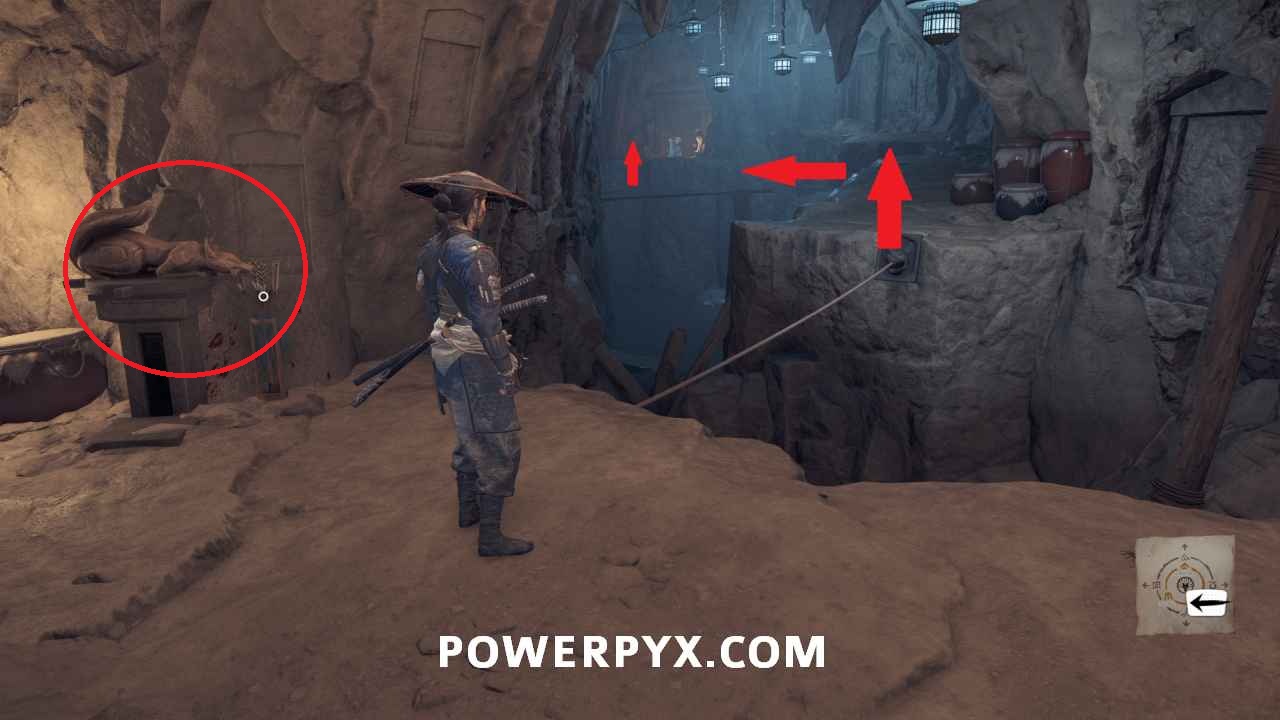
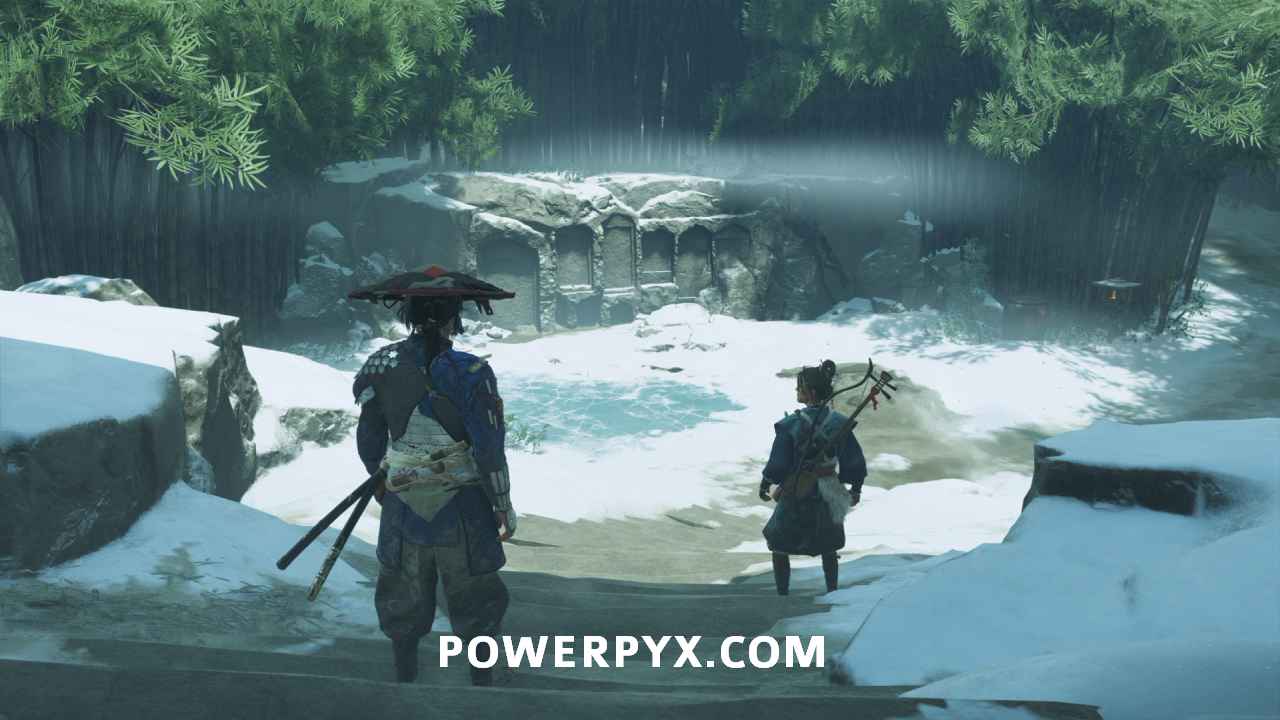
You will reach a tree with fox statues. Examine with the middle pedestal in front of the tree.

Find a way into the forest
Interact with the brazier to the left of the tree to get a torch. You need to light the lanterns with the same foxes as the ones under the tree.

Then, light the lantern on the immediate left of the tree. Then, light the two lanterns just to the right of the locked door behind the tree. Don’t light the other lanterns (if you did, you can blow them out).
Examine the pedestal under the tree
After lighting the 3 correct lanterns, go back to the pedestal and interact with the new button. This unlocks the locked door. The button won’t appear if you lit the wrong lanterns.

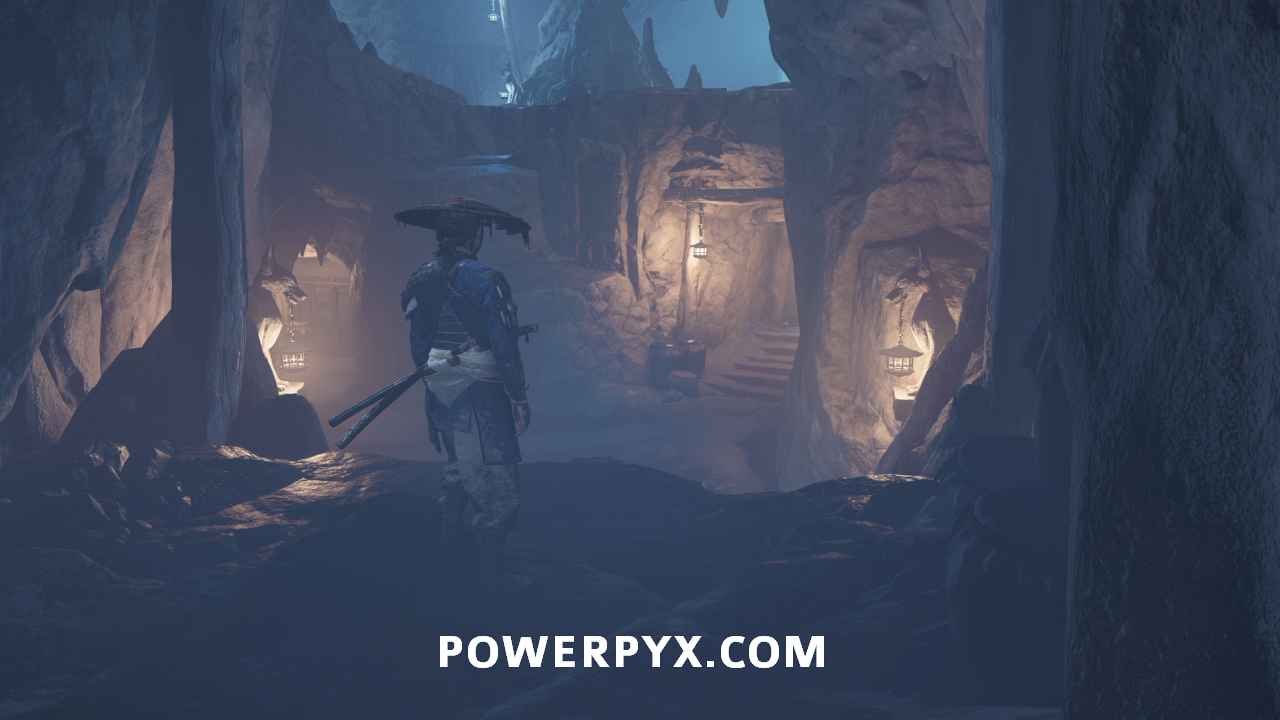
Venture further into the forest
Go through the newly-opened door behind the tree. Follow the new path.

Defeat the Nine Tails
Five Nine Tails ambush you at the top of the hill to the left. Take them out.

Find a way into the forest
There are three fox statues at the top of the hill where you were ambushed. Turn them like this: Left fox = facing right / 2nd from left = facing back / right fox = facing left.

Venture further into the forest
Follow down the newly-opened path.

In the next section, watch out for traps. Oyuki leads you through here, but stay to the right of the first stone. Then stay to the left of the second stone.
Continue down the path. You reach a spot with a stairway on both sides of a large rock. They lead to the same place, so take whichever you want. Just like the stairways, choose whichever dialogue option you prefer when it pops up.

At the top is another locked door with a fox puzzle.
The two inner fox statues can be moved. Swap them to unlock the door.

Defeat the Nine Tails
In the next clearing, five more Nine Tails ambush you. Take them out.
Venture further into the forest
Continue along the path. Another batch of Nine Tails ambushes you at the next door. Take them out.
This one’s simple. Just pull on the chain in the fox’s mouth.

Lead Oyuki through the traps
This time, you lead the way through the traps.
Stay to the left of the first stone and then to the right of the second stone.
Venture further into the forest
In the next clearing, go up the path to the right. Then cross the wooden planks and interact with the locked door.
Give Oyuki a boost
Turn right and approach the rock wall. Help Oyuki up the rocks.
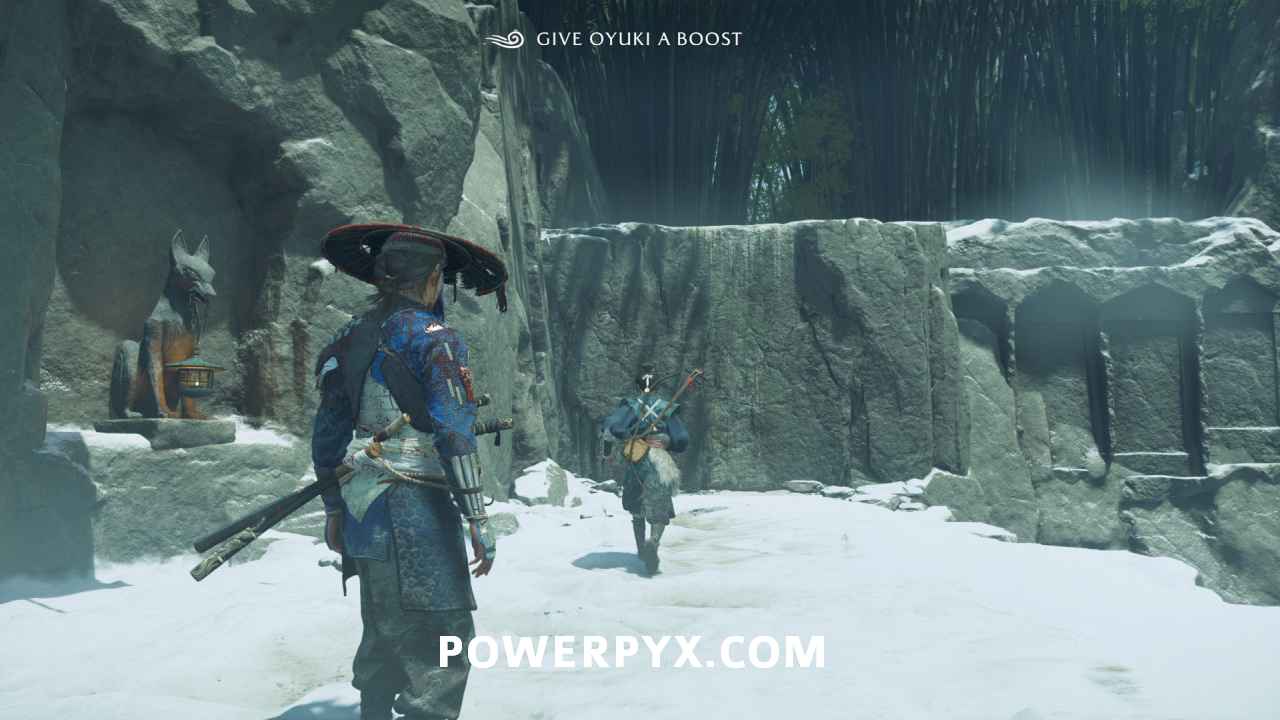
At the top, chop through the bamboo shoots and then squeeze through the gap behind them.
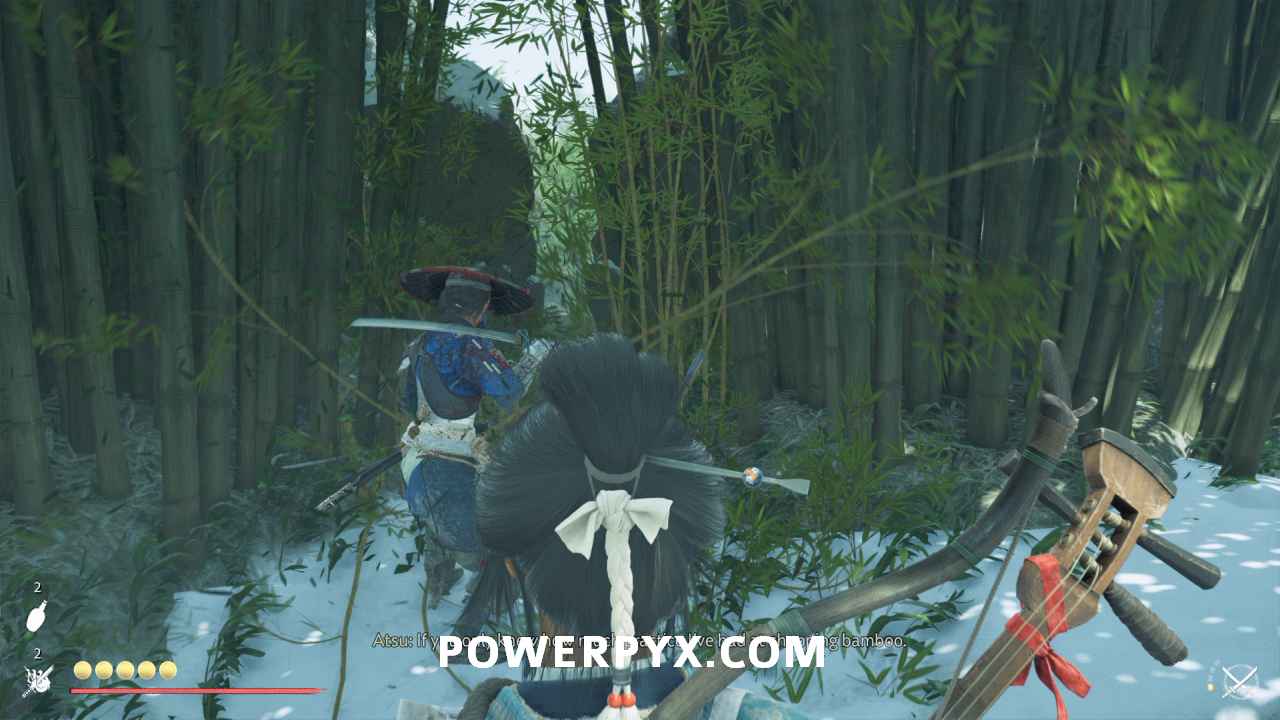
Venture further into the forest
Slide down the loose gravel. Then cut your way through the bamboo.

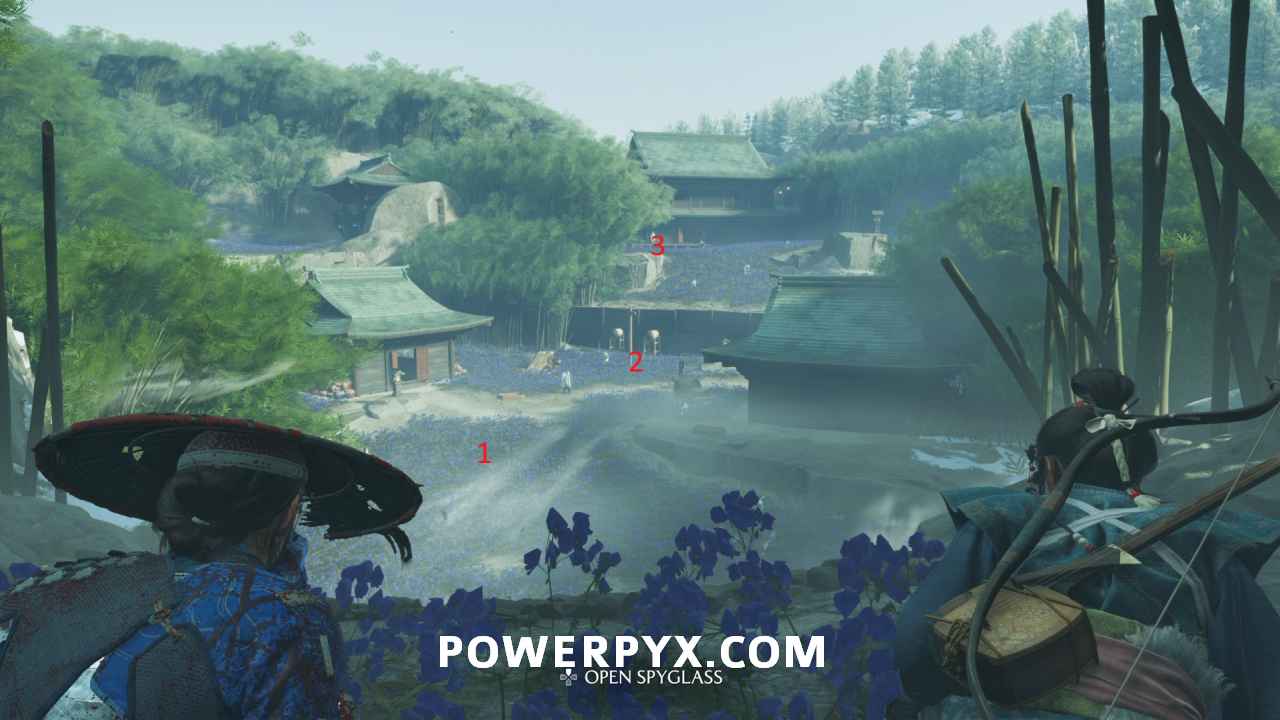
Survey the Nine Tails operation
Use your spyglass and interact with these three spots in the order below.
Find the Kitsune
Slide down the loose gravel in front of you. If you wish, feel free to fight your way through this area to the top of the hill. Otherwise, you can also just run by everyone as they fight.
Defeat the Kitsune
Use dual katanas to fight the Kitsune. During the second phase of the fight, the Kitsune hits you with a cloud of poison. This soon causes a cutscene.
When you regain control, stagger down the path while Oyuki protects you.

Hug your mother
When you reach a clearing, you hallucinate your mother. Approach her.
Find Oyuki
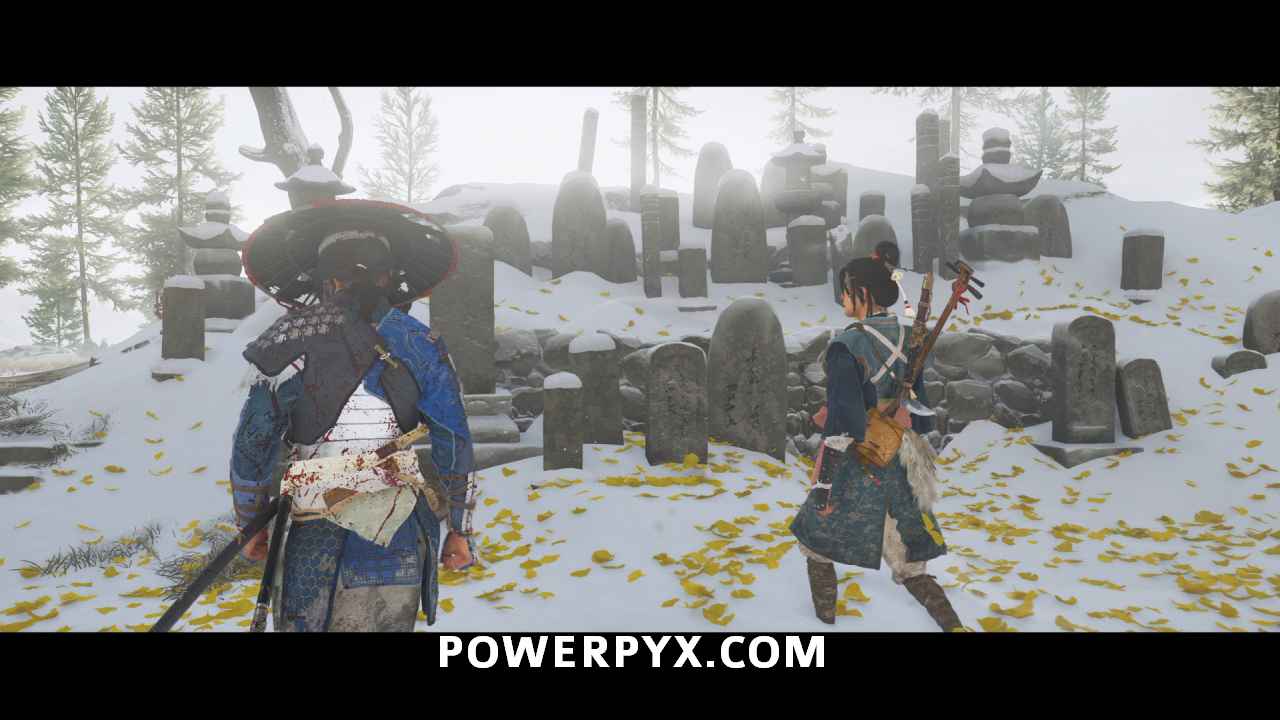
Fast travel to the Sentinel Forest Camp. Then head southeast to find Oyuki.

She’s sitting in the middle of a graveyard.

Kill the Kitsune
Fight her until she reaches half health.
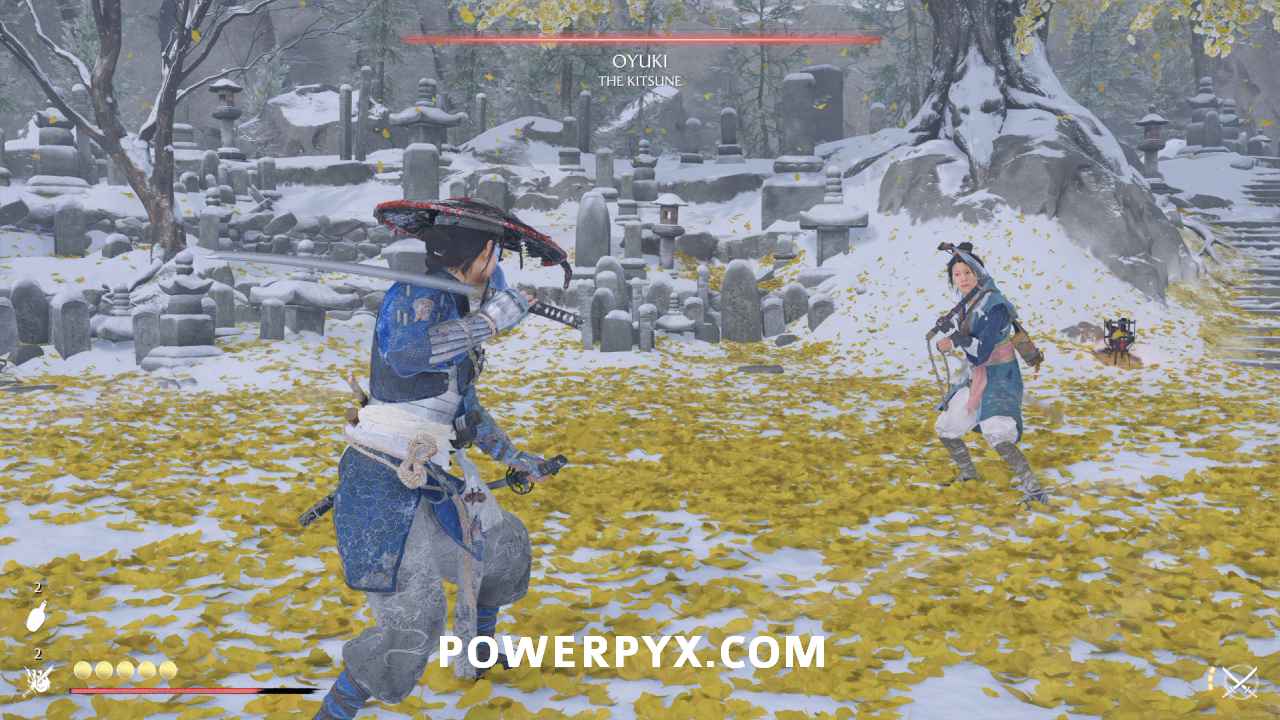
This starts Sub-Chapter: The Tale of the Kitsune.
Sub-Chapter: The Tale of the Kitsune
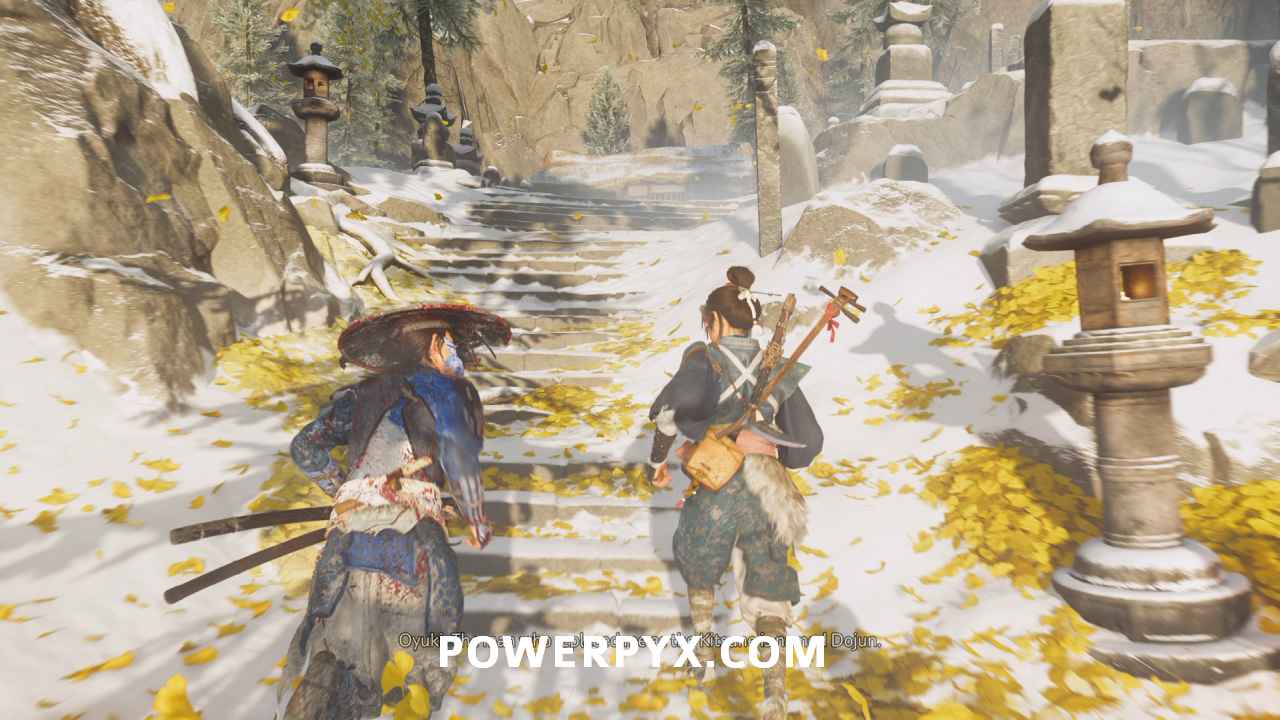
Follow Oyuki
She leads you up a small hill. This triggers a cutscene.
Listen for the animals
When you regain control, hold R3 to focus on the world around you. There’s a deer to your right and a fox to your left.
Find Oyuki using the Listen Technique
When you regain control. Hold R3 and look straight out. Oyuki is crouched behind a rock on the other side of the frozen pond.

Follow Oyuki
Oyuki leads you back to the hut you passed by before learning the Listen Technique.

Find incense
From the entrance, turn right and find the incense on the shelf on the far wall.

Follow Oyuki
Oyuki heads back outside. Follow her down to where you dueled her.
Tend the graves with Oyuki
Light the incense burner to your immediate left.

Then turn around and light the incense burner on the other side of the clearing, Oyuki leads you there.
This triggers a cutscene. At the end of the cutscene is a dialogue choice. Choose whichever one you like better.
Follow Oyuki
Head outside with Oyuki and get on your horse. This prompts a dialogue choice. Choose whichever one you like.

When Oyuki gets off her horse, follow her up the short hill to your left.
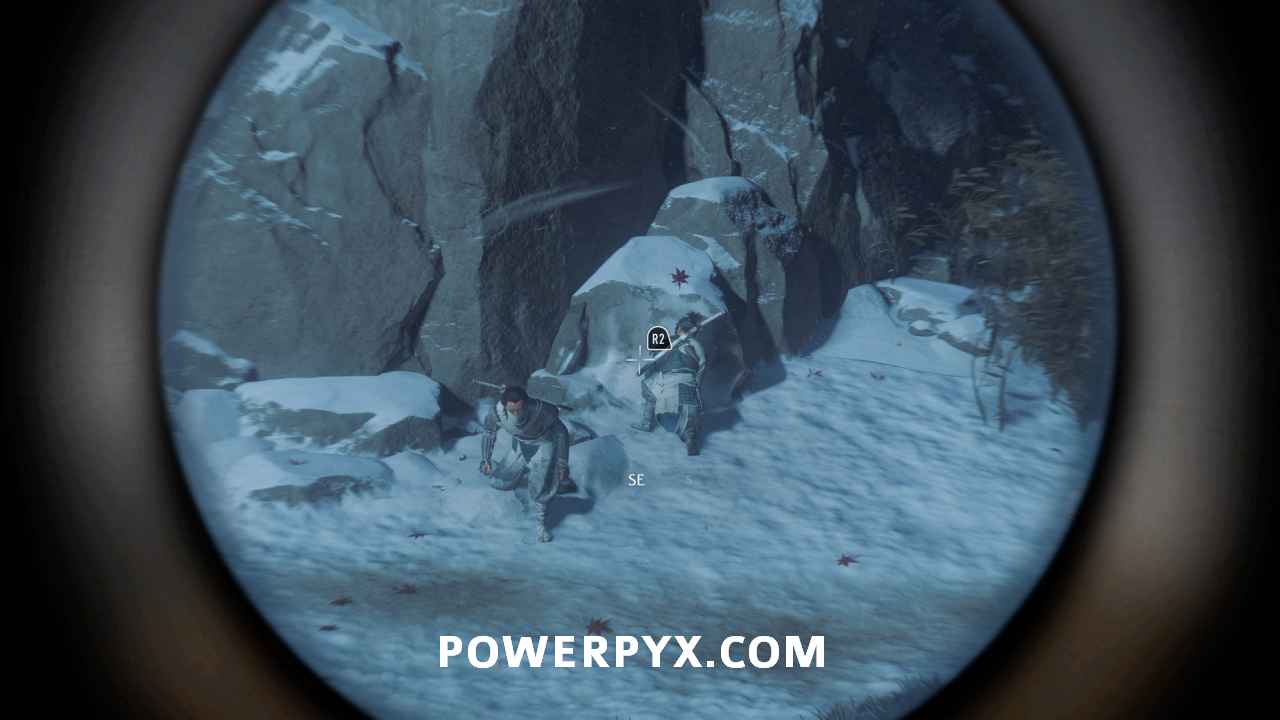
Listen for the Nine Tails
Hold R3. There are four Nine Tails waiting in the bushes along the road. Choose whichever dialogue option you want here.

Oyuki gives you Smoke Bombs. Switch to them by holding R2 and pressing  . Assassinate the Nine Tail just below you. From here, you can use a Smoke Bomb if you want, but it’s not required. Either way, defeat the other three Nine Tails.
Search the bodies of the Nine Tails for clues
Interact with the fallen Nine Tails. Though they have nothing useful on them.

Follow Oyuki
Call your horse and follow Oyuki just southwest to the Abandoned Village.
Follow her up the hill to the left of the entrance. Here you get another dialogue choice. Choose whichever you like.

Defeat the Nine Tails
There are Nine Tails hiding all over the place in this village. You can try to sneak around and assassinate as many as possible, but many of them are in barrels. You cannot take them out quietly anyway. So, feel free to just run in and fight them the old fashioned way.

Follow Oyuki
She leads you to a campfire. Interact with it to light it.
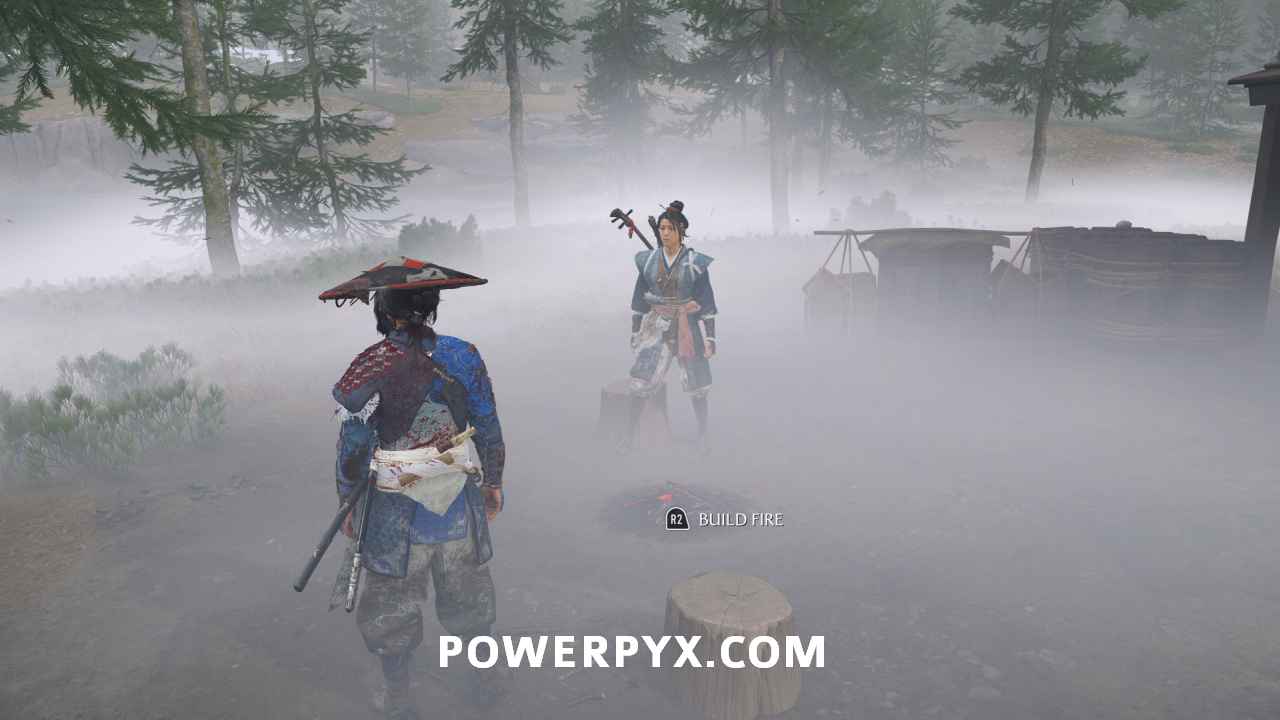
After that, cook the fish and then leave camp to trigger a cutscene.
Afterward, Oyuki leads you back to the graveyard.
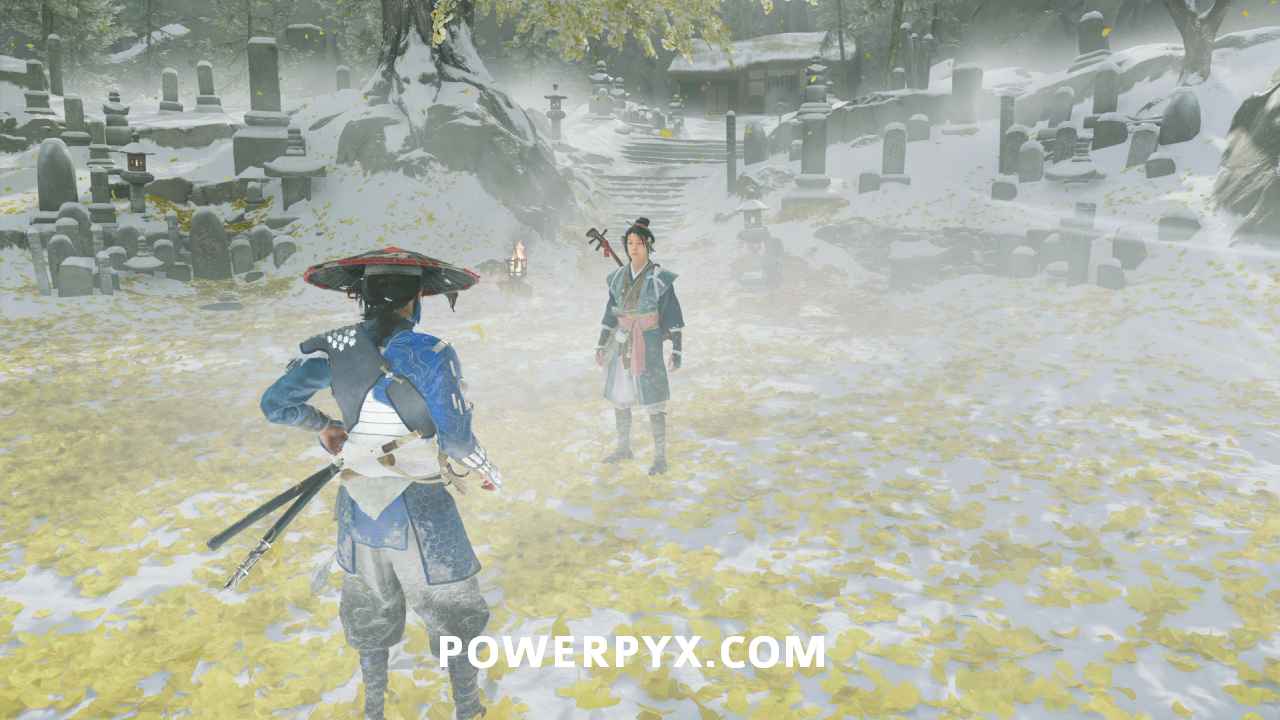
Light the braziers
Grab the torch in the brazier behind Oyuki. Then, go around the clearing and light the four extinguished braziers. There’s a dialogue choice during this, but choose whichever option you like.
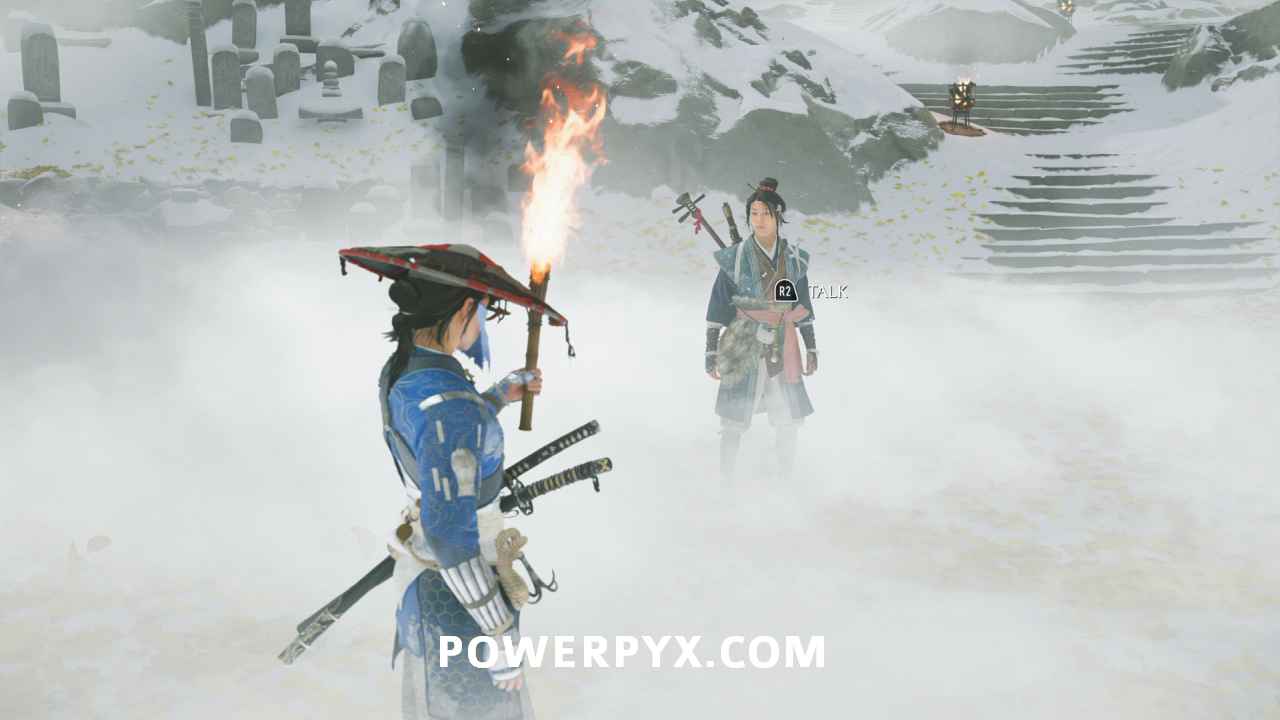
Afterward, speak with Oyuki. Choose whatever dialogue choice you wish here as well.
Overcome Dojun’s toxin
Fight Oyuki again. This is a rather straightforward fight. However, reality shifts between you fighting Oyuki and you fighting the original Kitsune.
Once Oyuki reaches half health, then a vision appears. Walk toward your mother.
After that, continue the fight. The fight ends when Oyuki is at about a quarter health.
Find Oyuki
When you regain control, get up and head outside to find Oyuki in the graveyard clearing.
Compose a song
You get three images, each with three different dialogue options to choose from. Use the right stick to select whichever ones you like better. Regardless of what you pick, you will unlock the story-related trophy The Woman Behind the Mask after you are done composing the song.

Travel to the Red Crane Inn
When you regain control, fast travel to the Red Crane Inn.
Head inside to find Oyuki sitting in front of a horrific scene.
There’s a dialogue choice. Choose whichever you like.
Search for clues
There are three clues in front of you. Interact with all of them: the yellow vomit on the floor, the hanged woman, the red symbol on the wall behind the hanged people.
Then, Oyuki leads you to a blood streak by the stairs which you can examine.
Listen to find the stable boy
Hold R3. Then look to the second room upstairs where you found the secret passage.
Speak to the stable boy
Head upstairs and into the second room on the left. This triggers a cutscene. There’s a dialogue choice, but the outcome is the same no matter which option you choose. This starts Sub-Chapter: The Kitsune’s Fate.

Sub-Chapter: The Kitsune’s Fate
Follow Oyuki
Head outside with Oyuki and get on your horse. Then continue down the road with her. Choose whichever dialogue option you like when the choices appear. Eventually, she leads you to a frozen waterfall.

Open the path forward
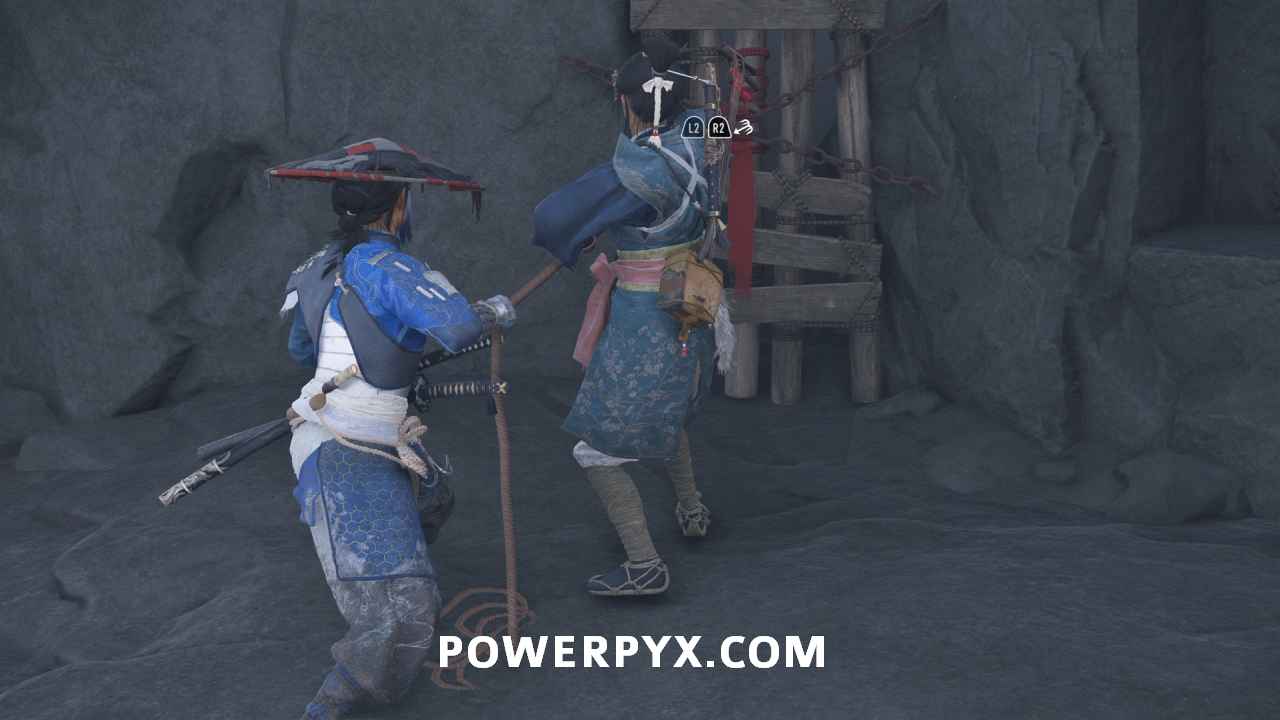
Interact with the bamboo wall. Then, yank it down with Oyuki’s help. Head inside.
Follow Oyuki
She leads you to a locked door, get close to it until Oyuki talks to you and the cipher appears in the bottom right corner.
Search for clues
First, light the two lanterns to the left and right of the locked door by pressing R2 on them.
Then, turn them into position. The right one needs to face right. The left one needs to face left. The first time you try, the statues will keep spinning and don’t stay put. Oyuki will come to assist so you are turning the statues together. After you turn the left statue to face left, the door opens.
Find the Kitsune
Head up the path until Oyuki stops you.
If you want to ambush the Nine Tails in stealth, go behind the statue on your left and pass through the rotating door.

This path leads you up to a ledge looking over an ambush. Use  to see all of the waiting Nine Tails.
Alternatively, you can skip going through the rotating door and rush into the room to fight them head-on. Either way, you will need to kill all Nine Tail enemies here.
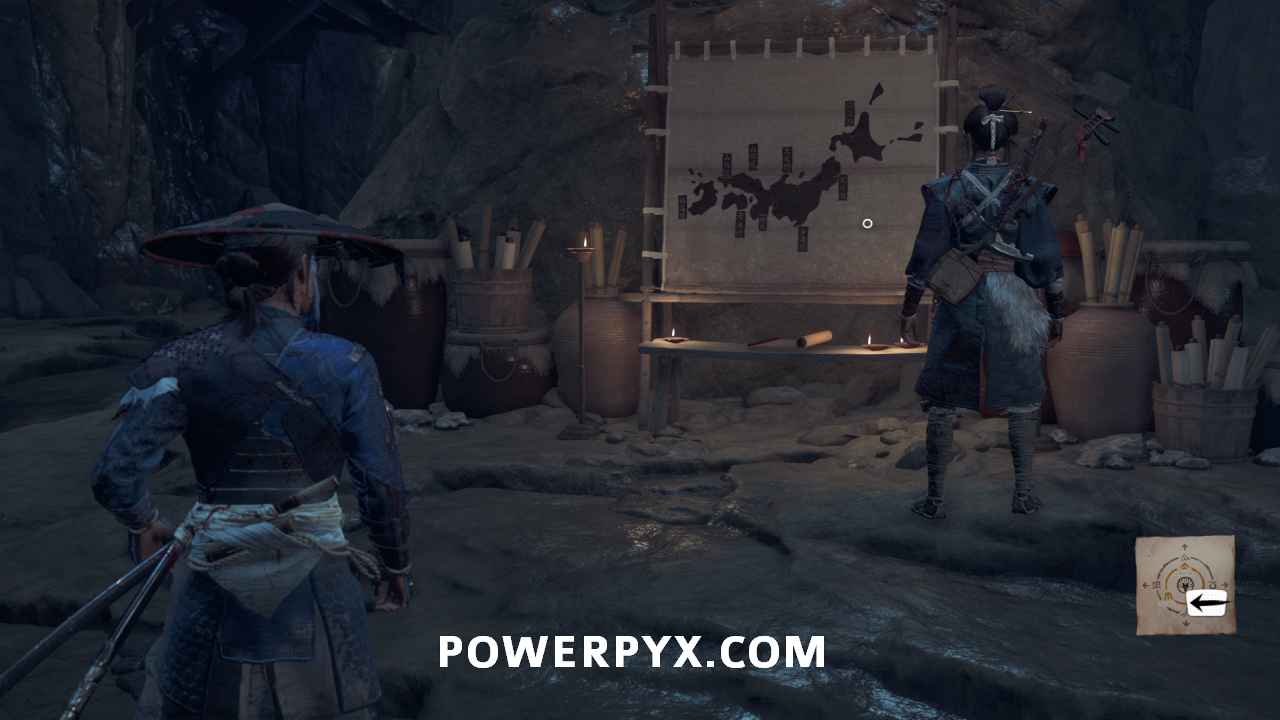
Speak with Oyuki
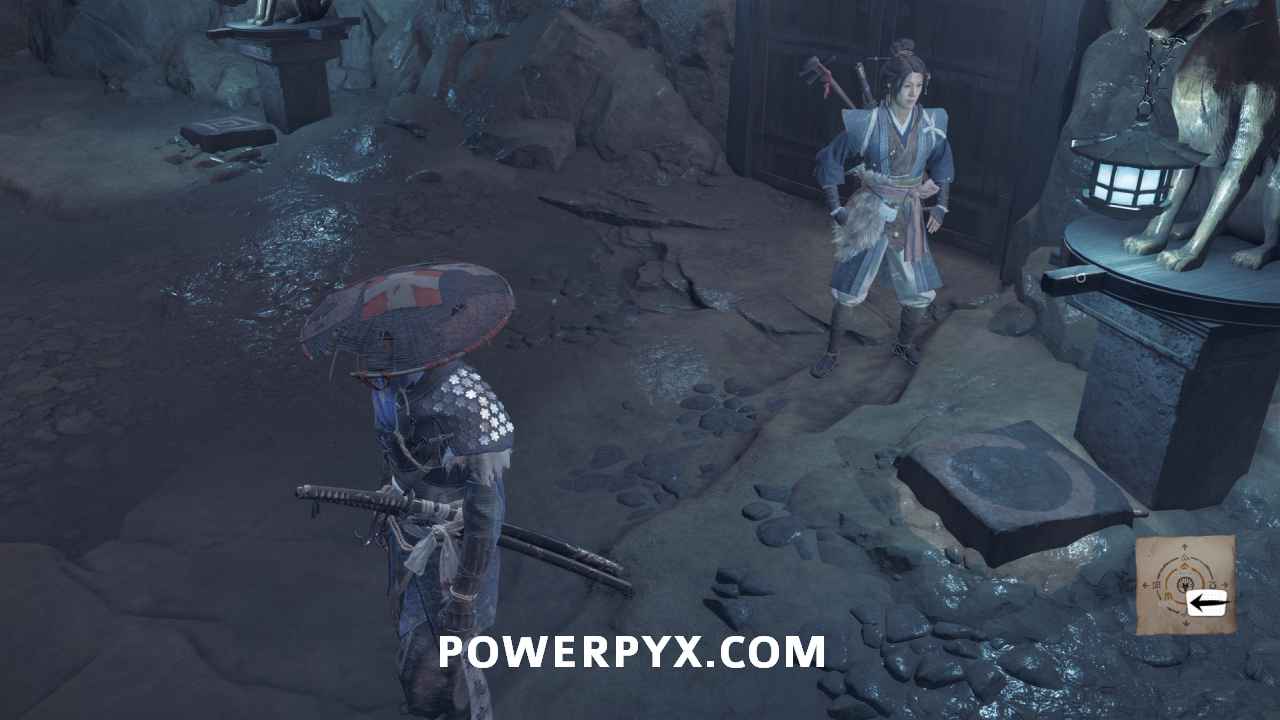
After the room is cleared out, go find Oyuki in the middle of the room, she looks at a map of Japan.
Open the path forward
Go to your right and find the symbol on the wall for “Forward”. Boost Oyuki up that wall.

She lowers a ladder to your immediate left. Climb it.
Find the Kitsune
Follow the ledge around the wall and interact with the rotating door.
Continue down this path until you reach a squeeze through point to get back outside.

In the open area, you get ambushed by Nine Tails.
You can fight through them if you wish. Otherwise, you can just run forward until you find the door to the next area.

Pass through the door to get a dialogue option. Choose whichever one you like. This triggers a standoff. This enemy will stagger his attack. Wait for him to advance before letting go of  .
.
There are well over ten Nine Tails in here to defeat. Unlike the last area, you need to defeat them all to progress. Some of them are on upper levels, throwing fire bombs. Eventually, they all come down to fight you directly. So, you don’t need to shoot them down if you don’t want to. Just stay out of the way of their fire bombs.
Go through the door on the other end of the hall. Then, proceed to the clearing ahead of you.
Kill the Kitsune
During the first phase, Kitsune uses a kusarigama. Right away, he uses an unblockable attack. Dodge right away. After that, use dual katanas to chip away at his health, using to stagger him and then  to attack.
The second phase starts when the Kitsune throws a smoke bomb. Use R3 to identify where he comes from. Now, he uses a sword and shield. Break the shield with . He eventually switches back to the kusarigama until he throws another smoke bomb. He does this several times. Rinse and repeat until he flees again.
Find the Kitsune
Go straight ahead to the gate in front of you. Squeeze through.

Kill the Kitsune
This second fight is more straightforward. He doesn’t throw smoke bombs or anything. Defeat him any way you like.
Finishing this yields the Kitsune’s Mask and Onryo Armor IV.
This finishes The Kitsune in Ghost of Yotei.
NEXT: The Yotei Six / The Oni / The Saito Brothers -or- Call of the Hunt (if you defeated the Yotei Six)
For all other Quests refer to Ghost of Yotei Walkthrough.
Leave a Reply