
The Saito Brothers is the 8th main tale in Ghost of Yotei. This walkthrough will guide you through all objectives of The Saito Brothers main quest.
- Chapter: 1 – The Lone Wolf / 2 – The Onryo
- Region: Teshio Ridge
- Quest Giver: From interrogating random bounty hunters
- Requirement: As part of Main Tale 5: The Yotei Six, interrogate random enemies and ask them for info on The Saito Brothers.
- Reward: Odachi + Ghost Stance
- Quest Info: There’s an odachi master who faced the Saito brothers in Horosaru Falls. He might know where I can find the Spider and the Dragon
Starting Location: The Saito Brothers
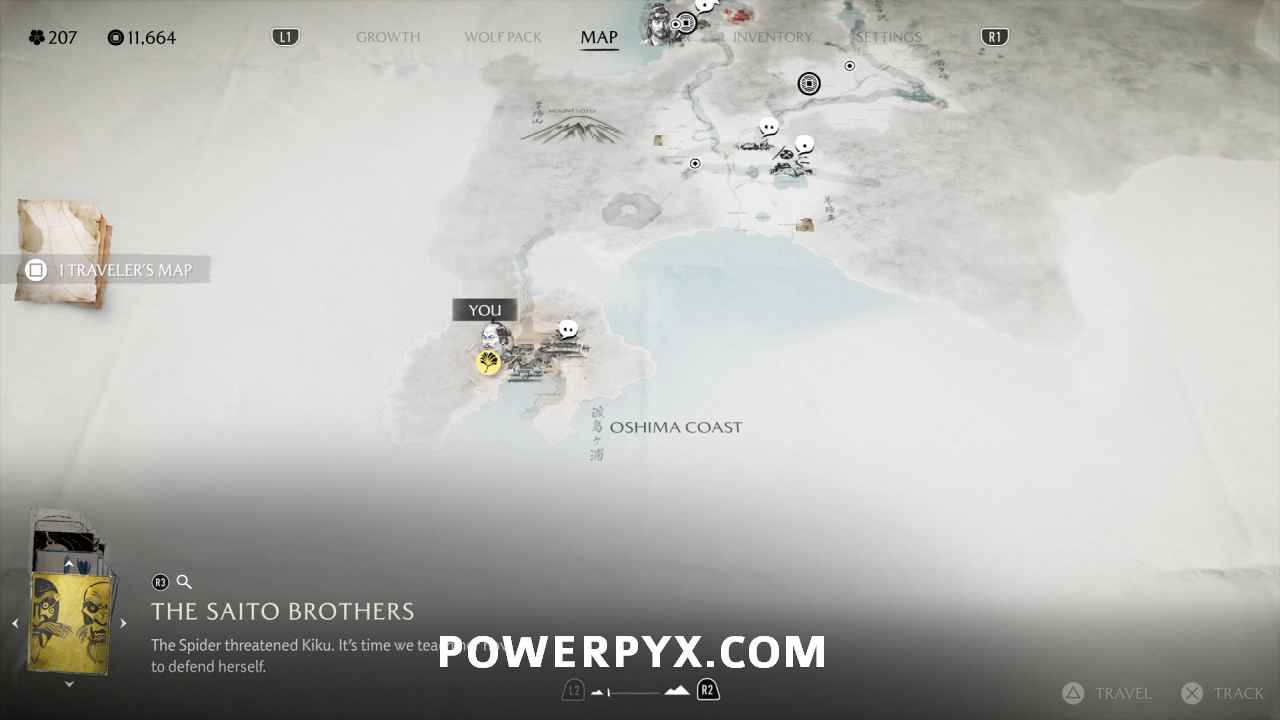
This tale is triggered during Main Tale: The Yotei Six. You have to ride around Yotei Grasslands and kill any random groups of enemies (the ones riding on horses, the groups who interrogate civilians, or bounty hunters who ambush you along rivers). These will spawn very frequently while The Yotei Six is active, practically every few hundred meters/yards. The last man standing of any enemy group will automatically be interrogated, then you can pick what main tale you want info on, choose “The Saito Brothers“. The yellow objective marker will appear on the map in the north of Tokachi Range region.

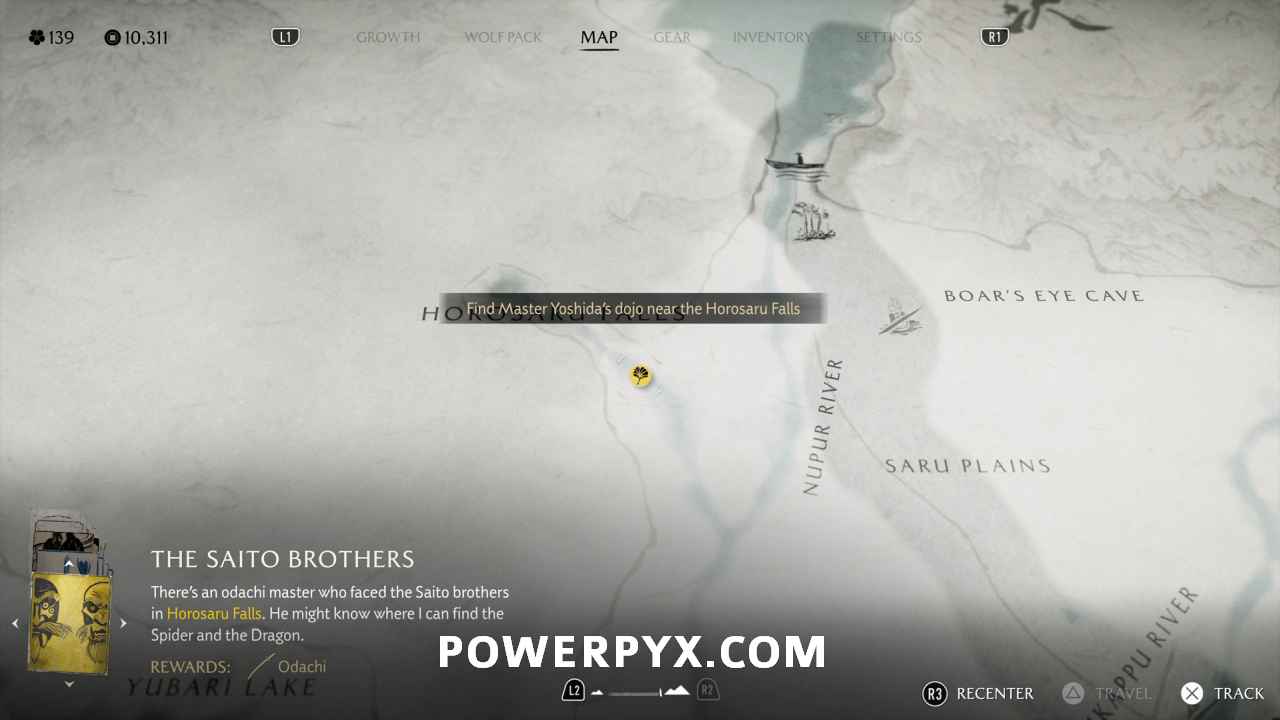
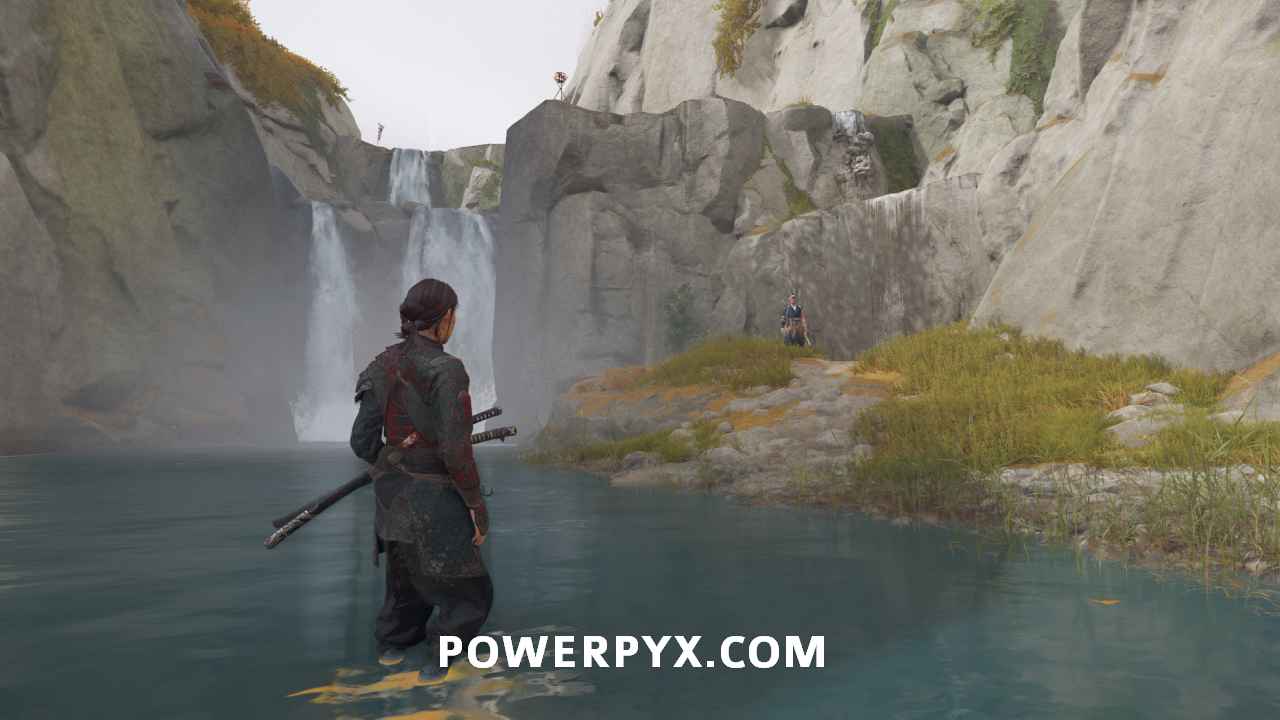
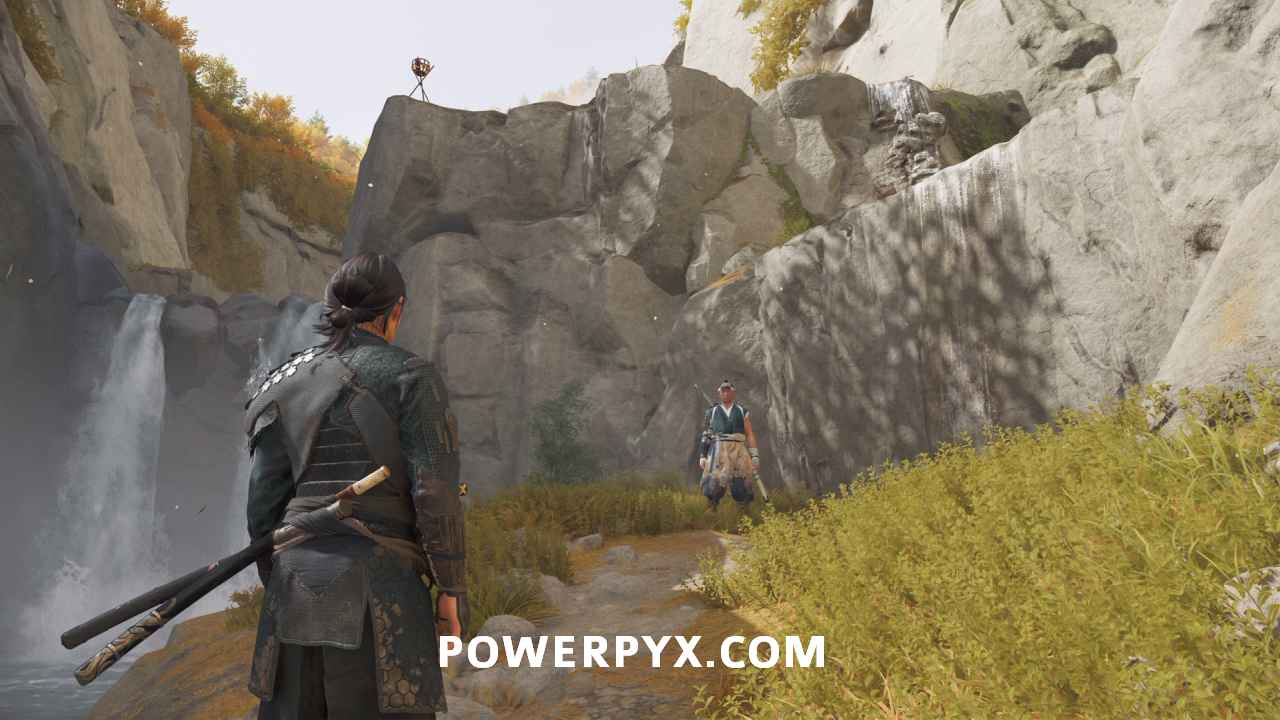
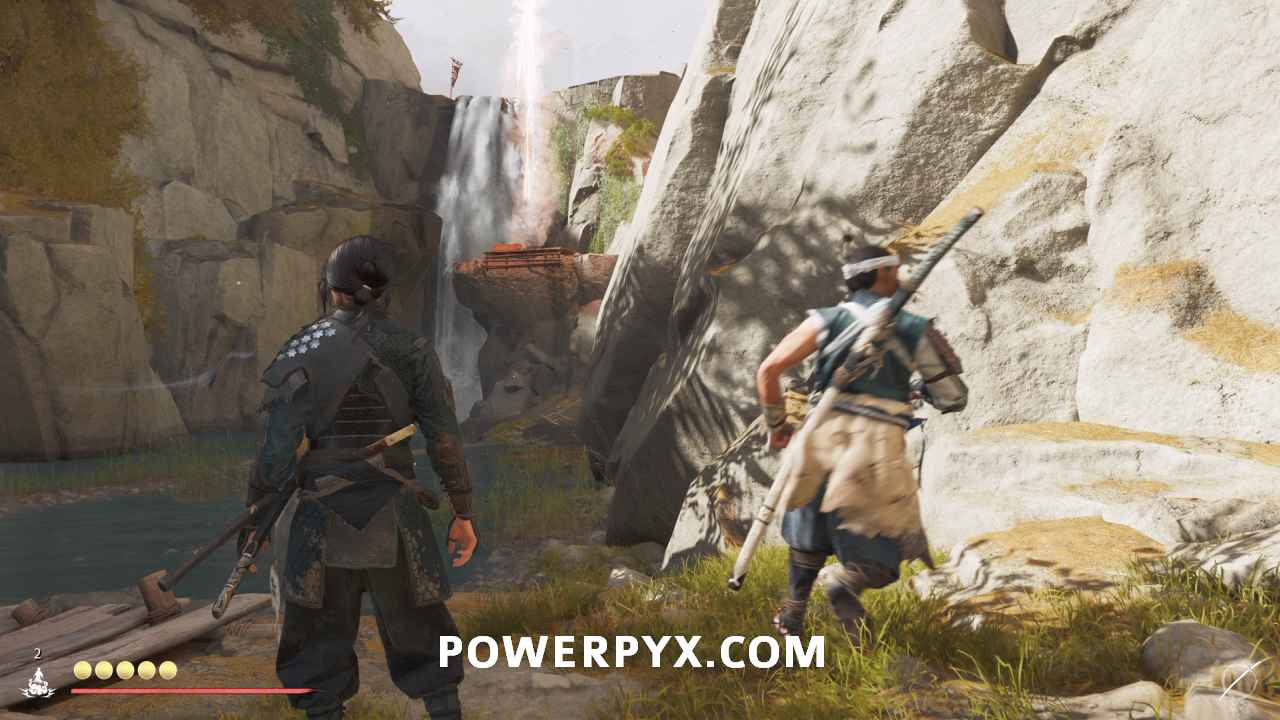
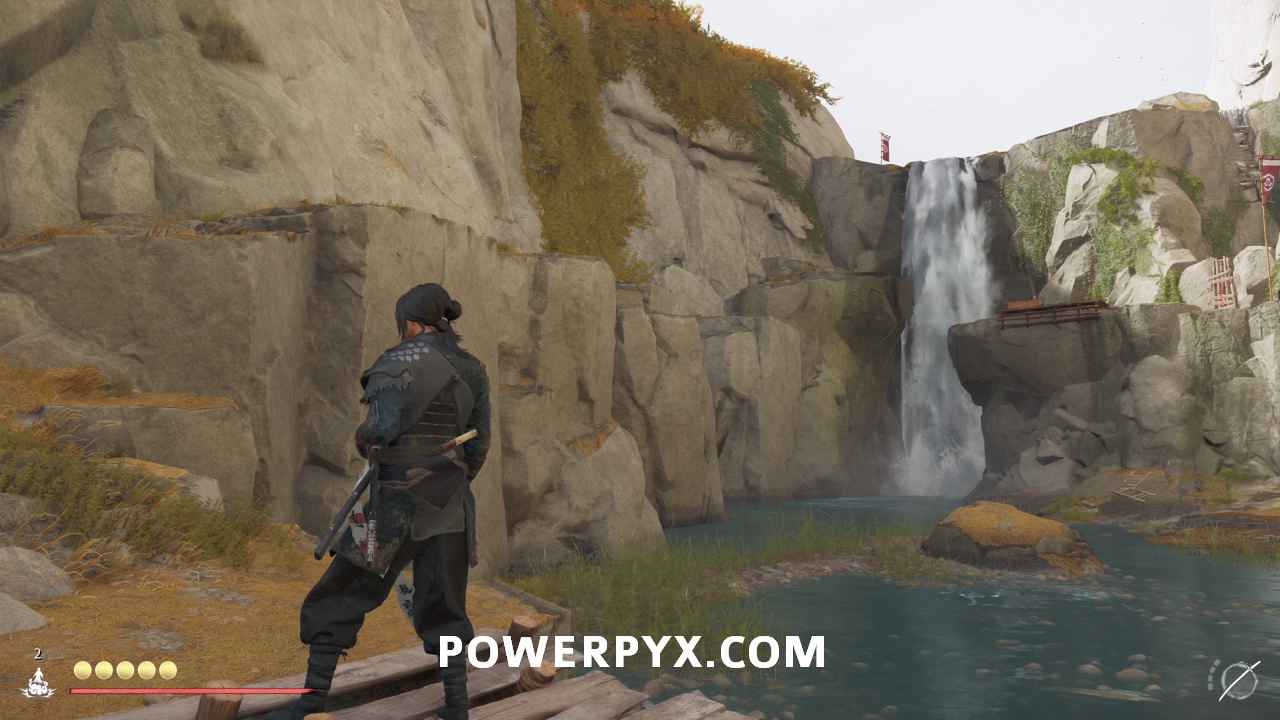
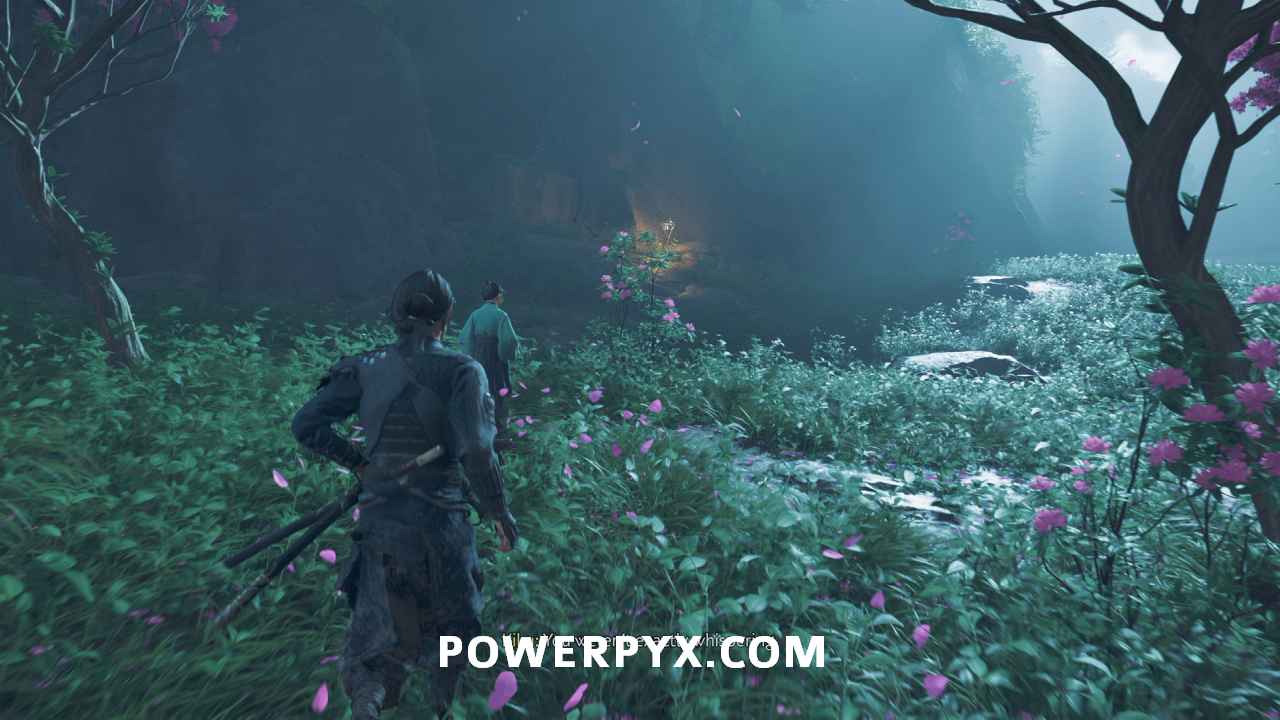
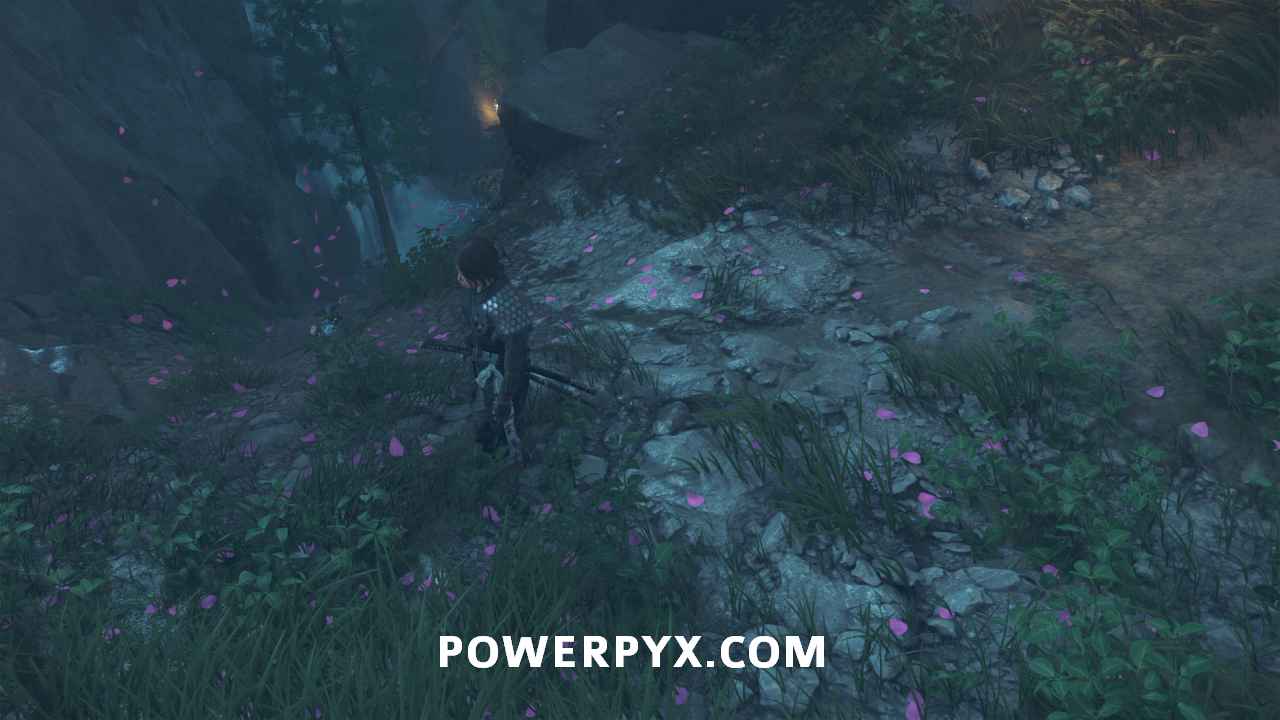
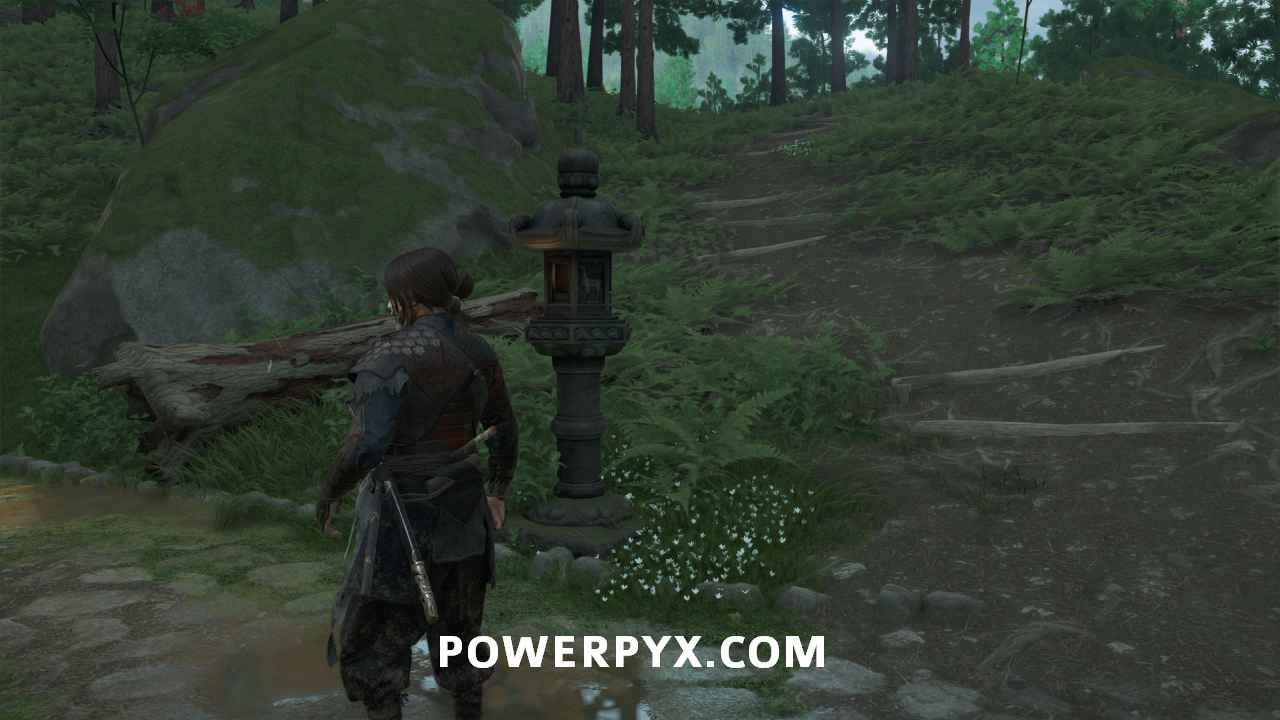
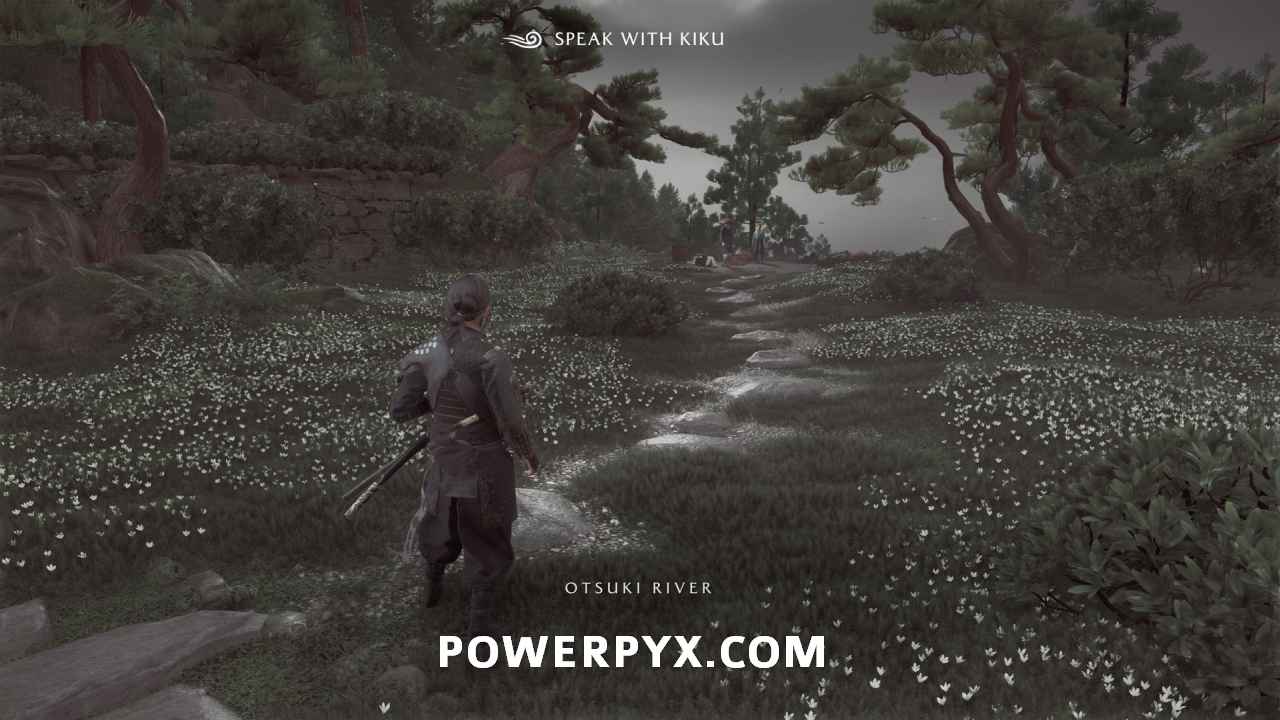
Find Master Yoshida’s dojo near the Horosaru Falls
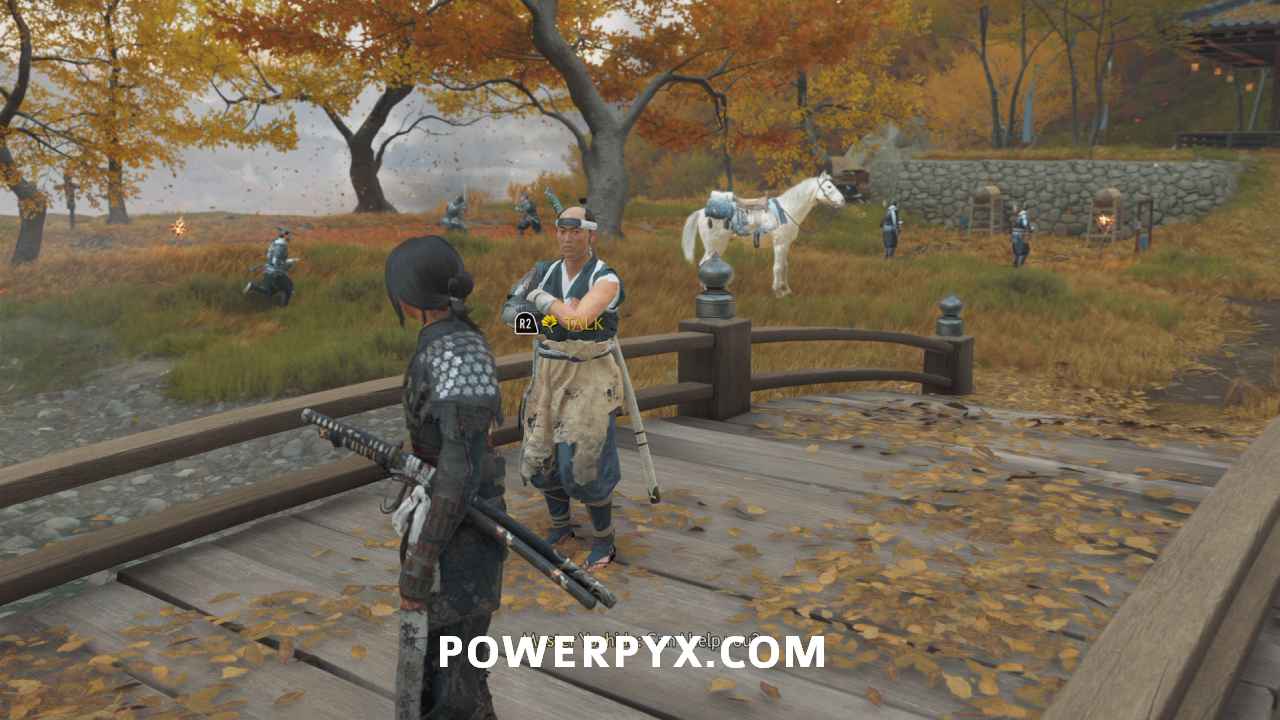
The fastest way to reach Master Yoshida is to fast travel to Central Ferry and travel southwest. Master Yoshida stands on the bridge just north of Master Yoshida’s Dojo.

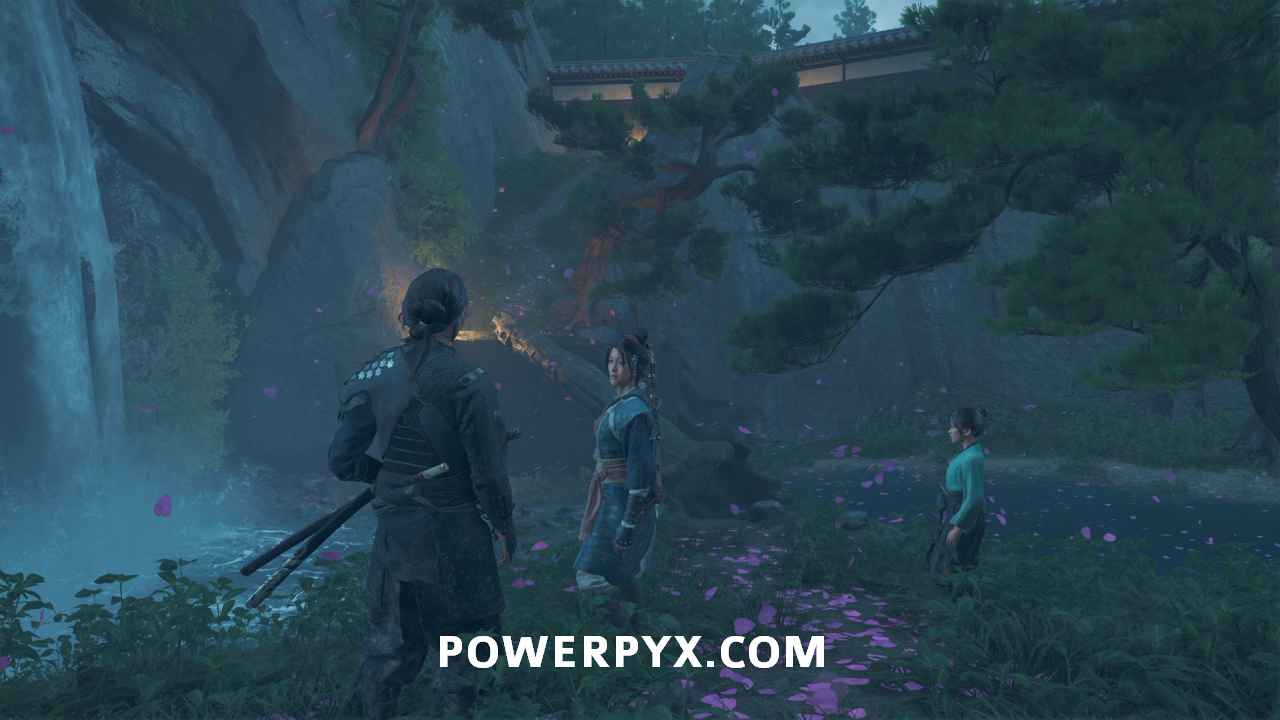
Follow Master Yoshida
He leads you to a weapons rack. Pick up the odachi.
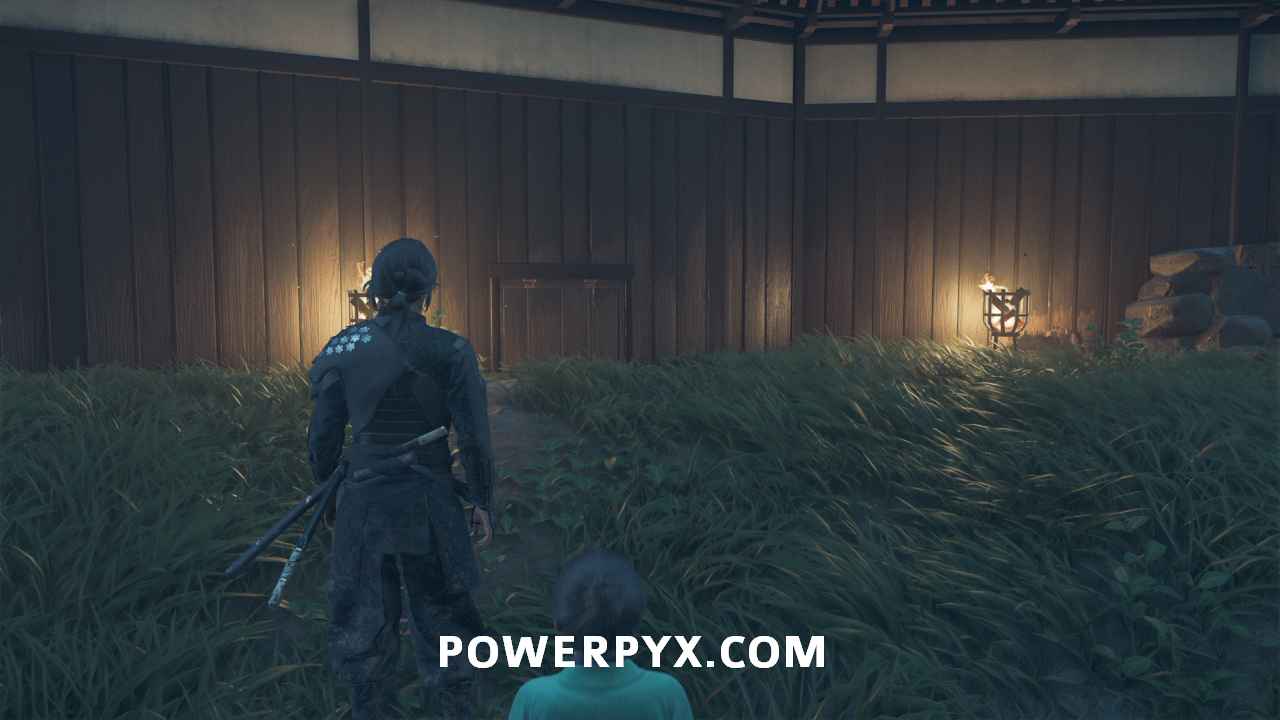
Follow Yoshida again. He leads you to a dueling ground.
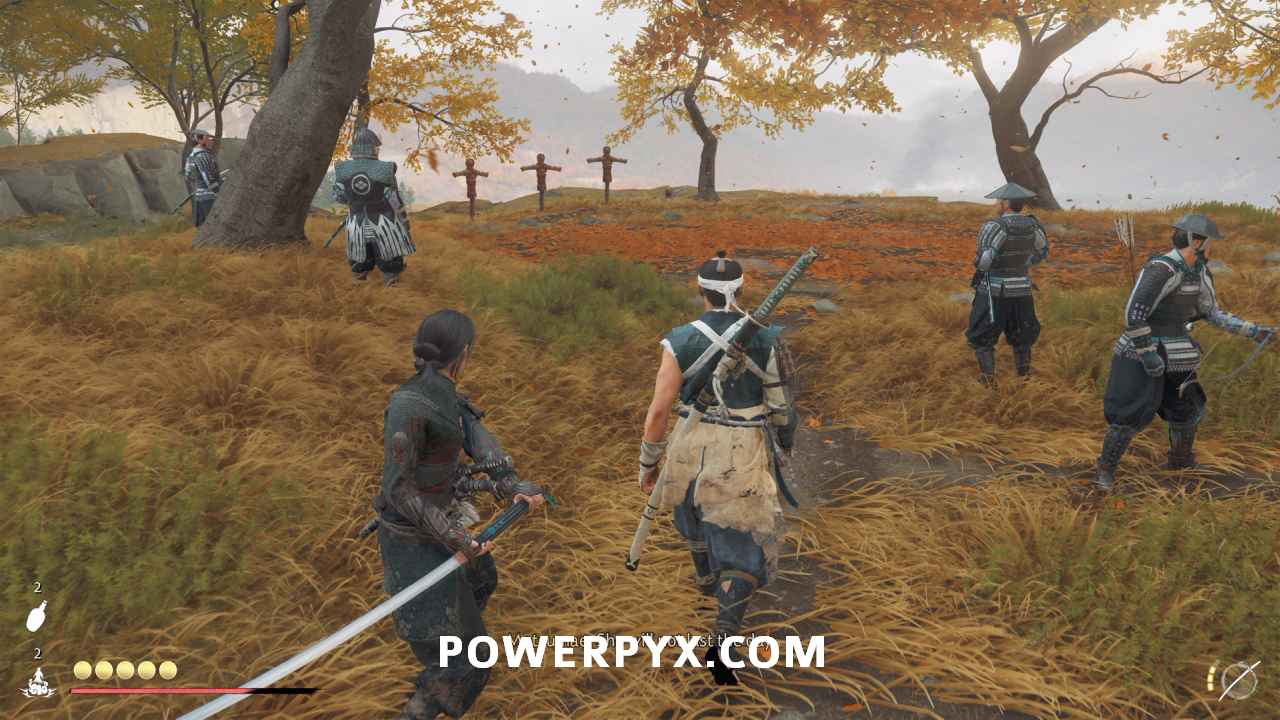
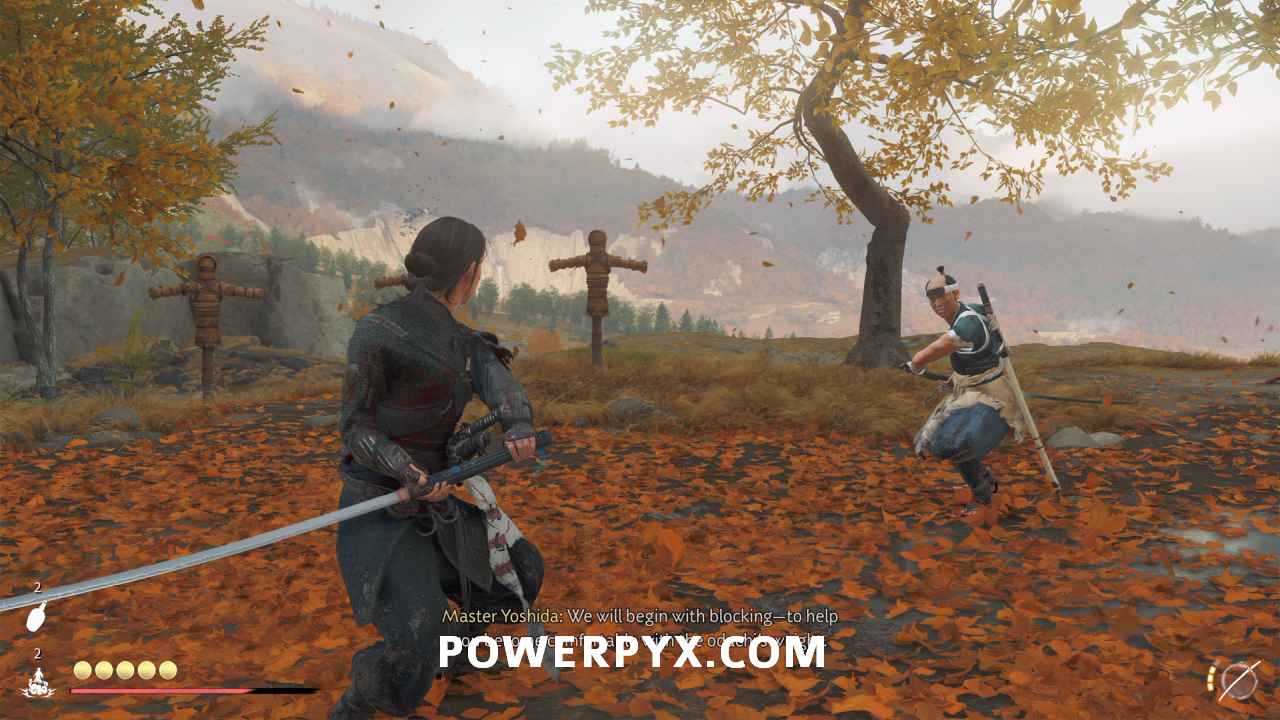
Train with Master Yoshida
Train with the odachi. First, use  to block,
  to attack, and
  to heavy attack.
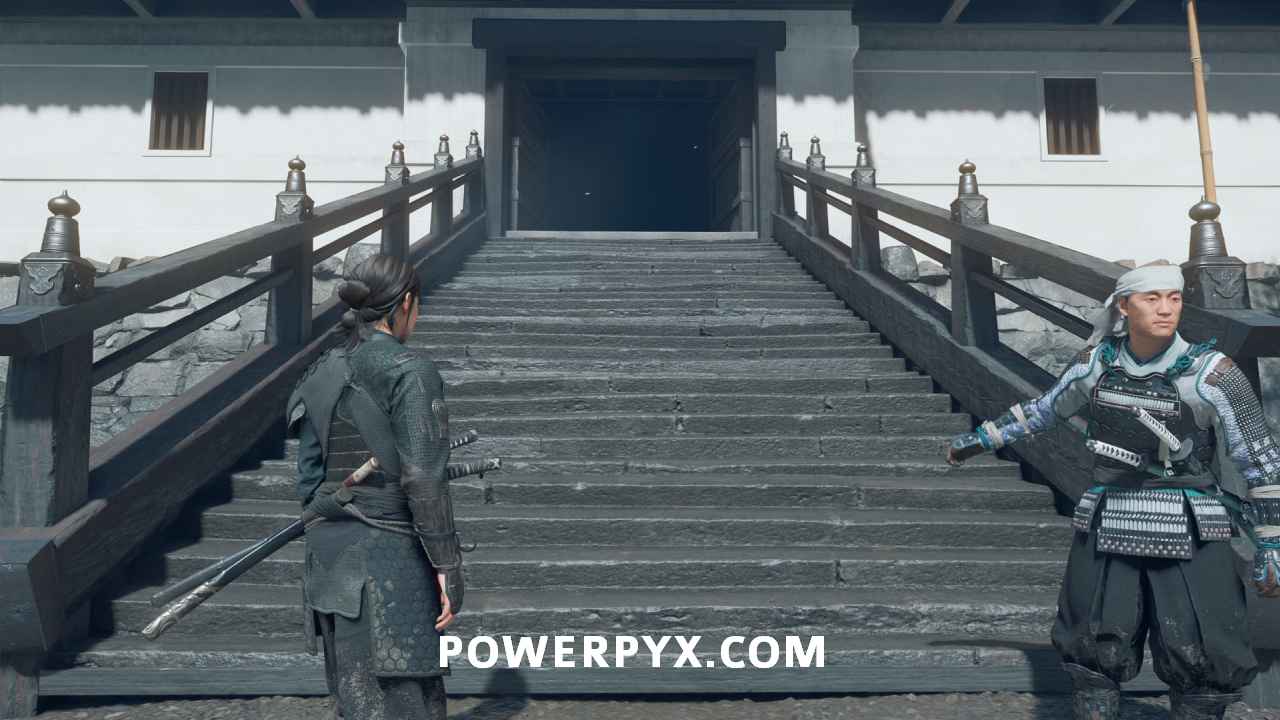
Follow Master Yoshida
After training, Yoshida walks back to the path and wants to talk to you.
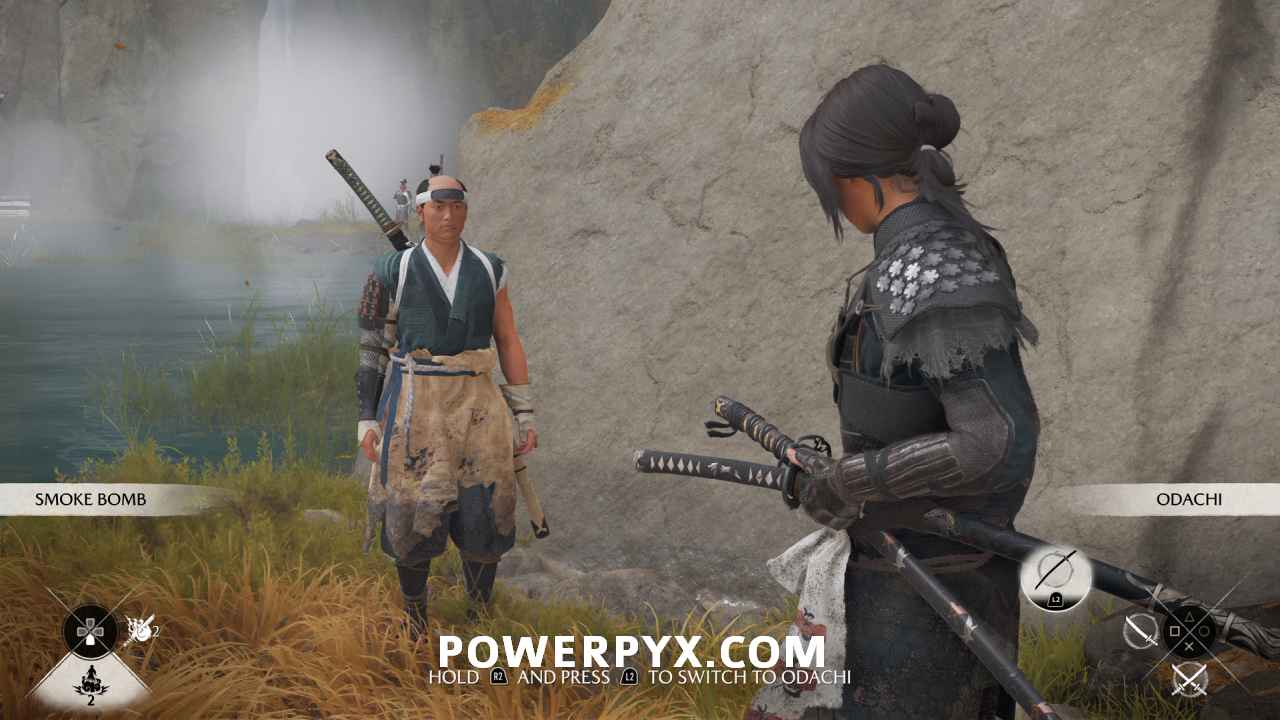
Speak Master Yoshida
Interact with Master Yoshida, hold  and then press to switch to katana. Then, hold then press
  to switch to odachi.
Defeat Saito’s forces
A batch of enemies attack from the bridge. Take them out.
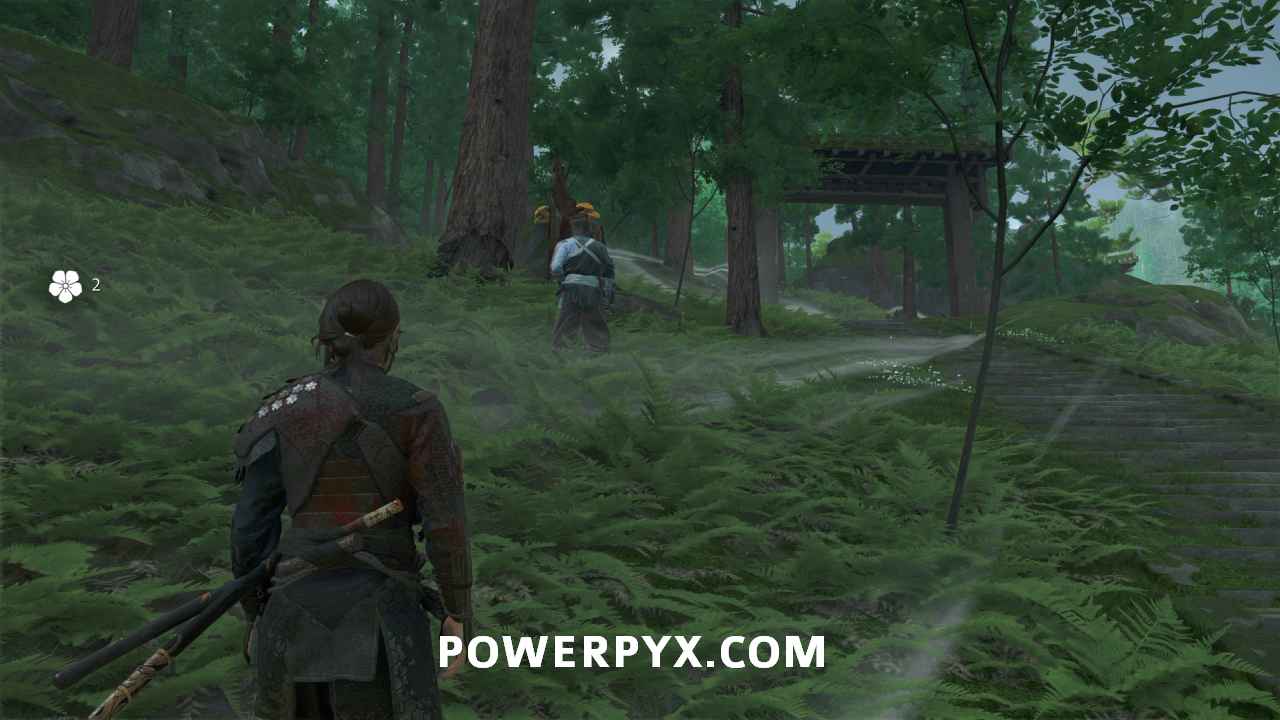
Follow Master Yoshida
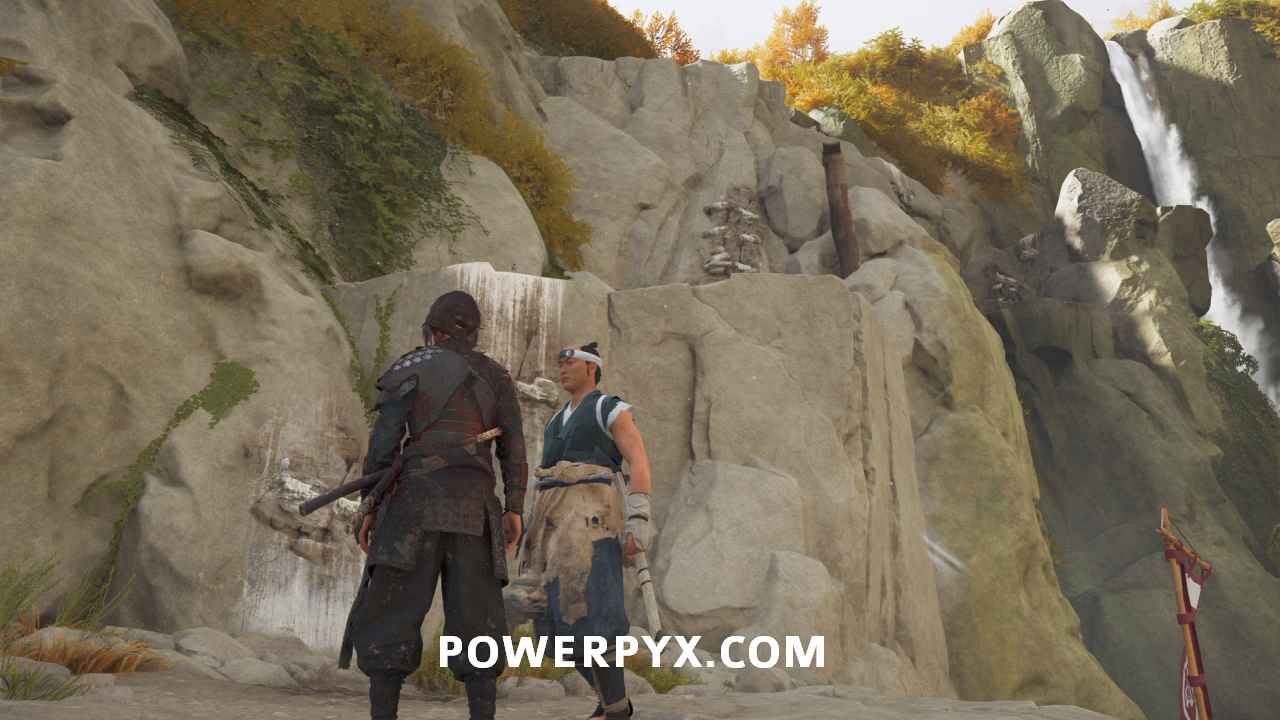
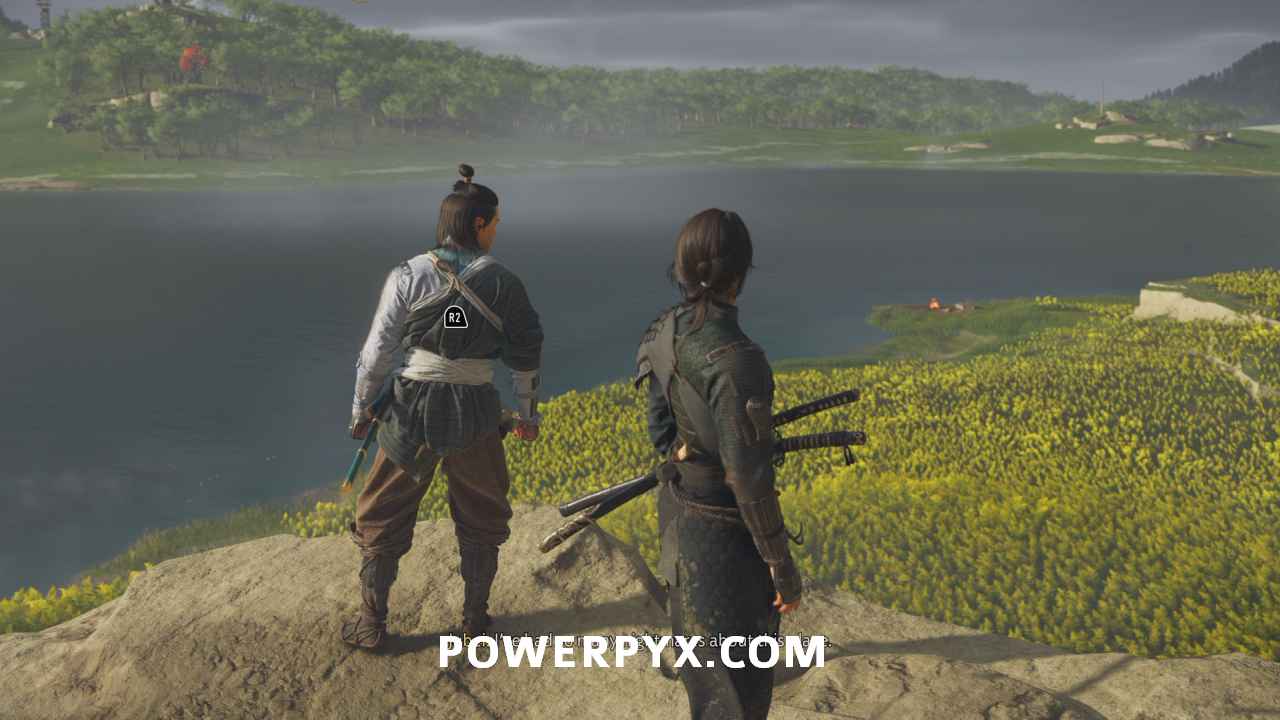
Yoshida leads you out of town and toward the cliff face to the west.
Climb to the top
Use the rocks and tree limbs to climb the wall.
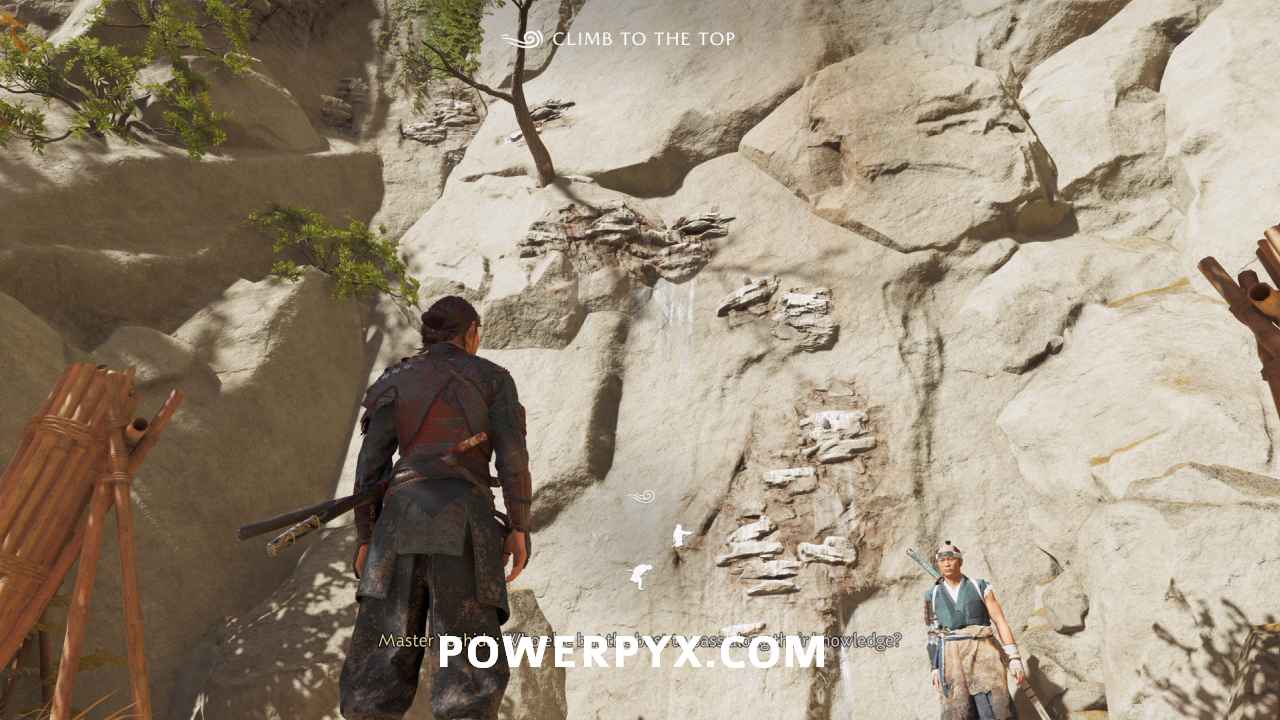
At the top, run along the rock face and cross the bamboo bridge.

Then, climb up the next rock face using the handholds and tree limbs.

Defeat Saito’s forces
When you reach the top, you look directly at a camp of Saito’s forces. Head in and take them out.
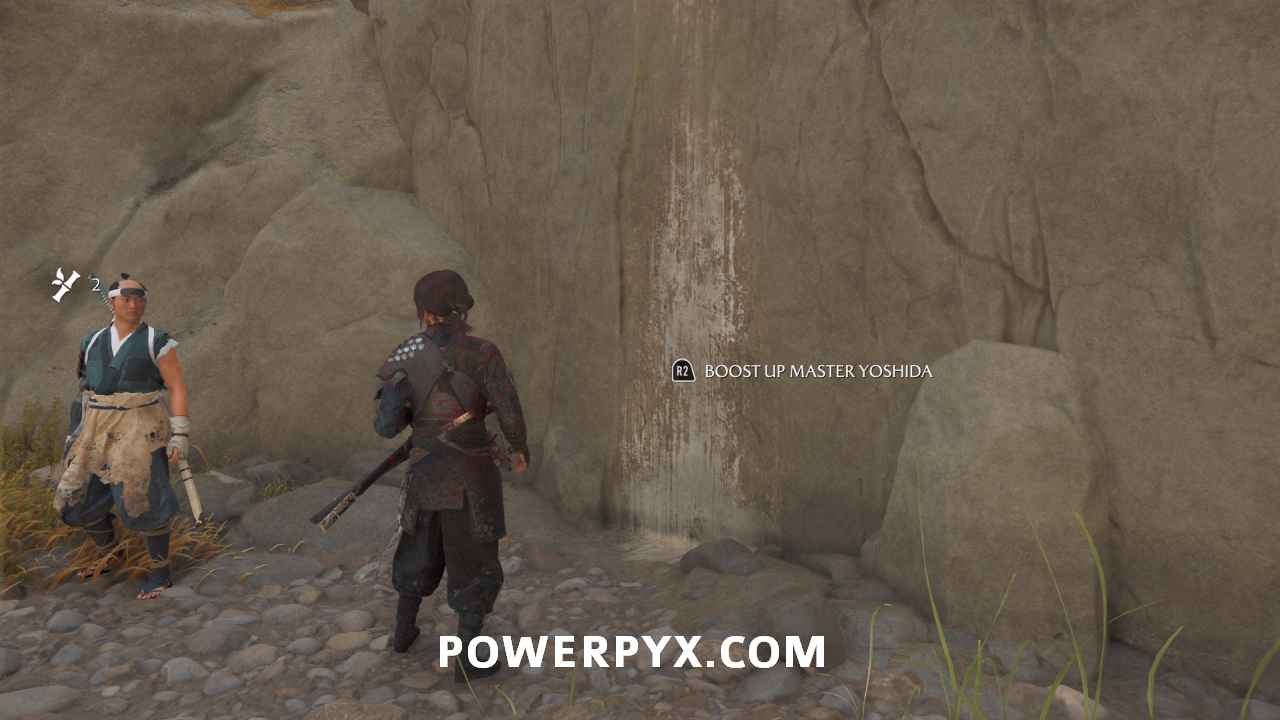
Climb to the top
After defeating the enemies, boost Yoshida up the tall wall opposite where you entered the area.
Then, climb up the stone handholds.
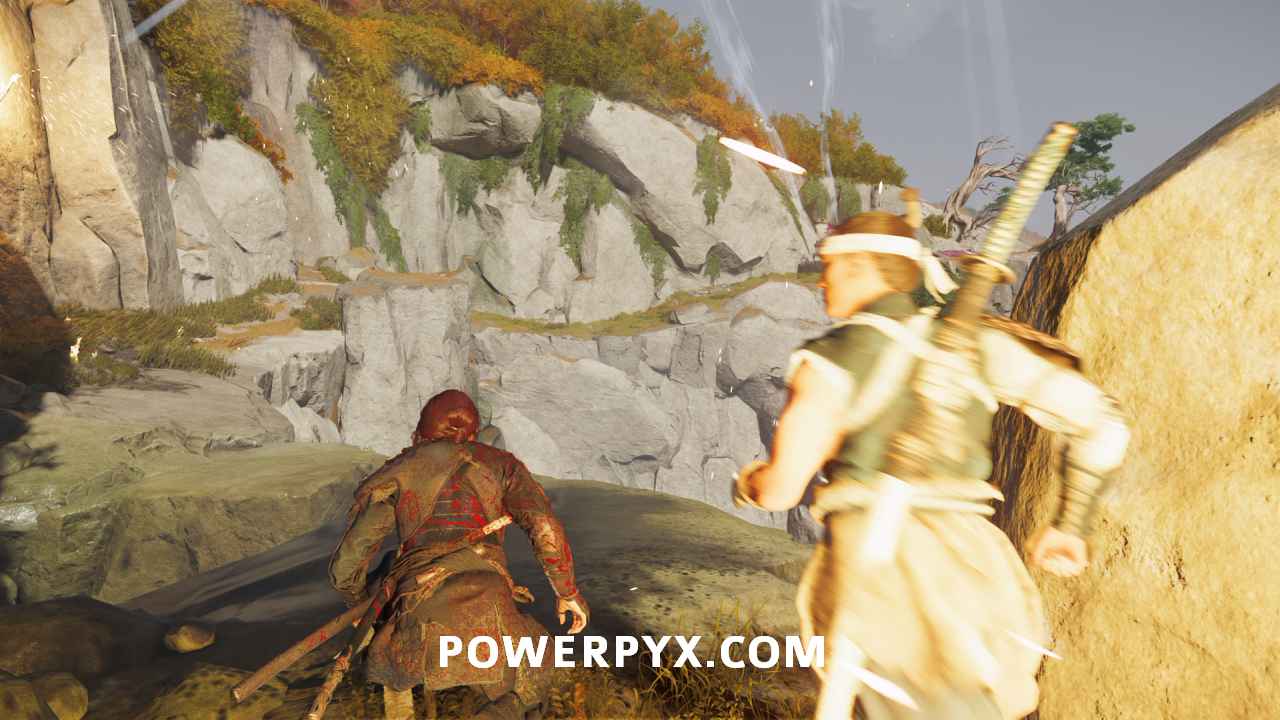
Defeat the bo-hiya gunner
At the top, you get bombarded by fire bombs.
Run along the rocks on the left side.
At the top, jump across the gap and take out the gunner.

Get through blockage
A bamboo block keeps you from progressing. Interact with it to tear it down.
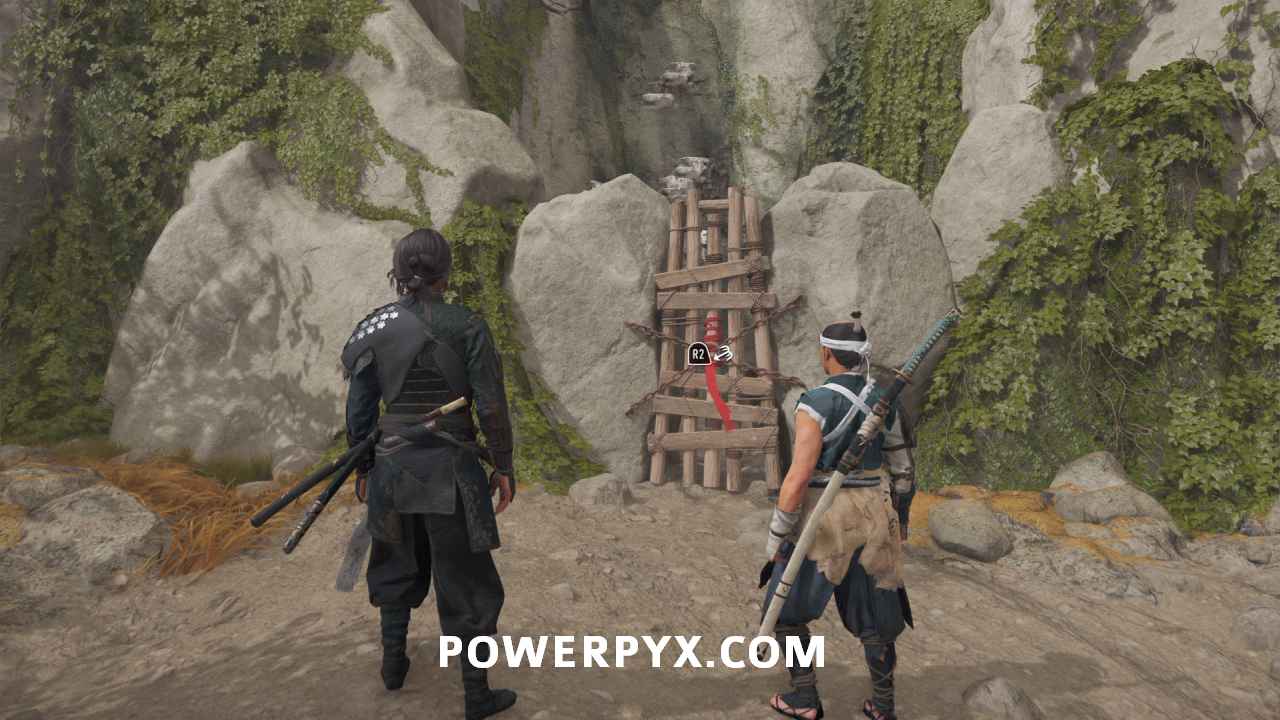
Climb to the top
Squeeze through the new gap and then climb up the stone handholds. A cutscene triggers at the top.
Here, you learn a new technique. Switch to the odachi by holding and pressing .
Hold to block with the odachi. After blocking attacks, let go of to release an attack on the opponent.
Defeat Saito’s forces
Two waves of enemies attack you here. In particular, watch out for the large enemies with axes and odachi. If they use a gold-charged attack, they can disarm you of your odachi. When this happens, you need to pick up your odachi again.
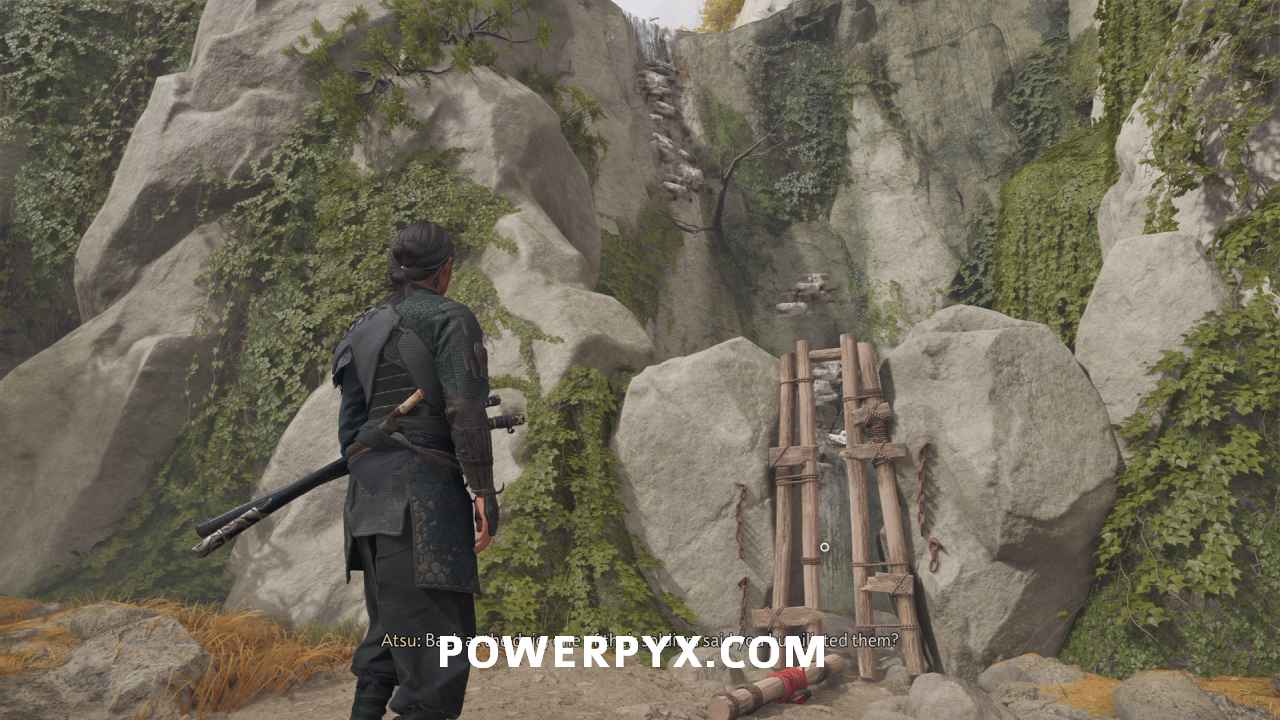
Climb to the top
From the camp, head southwest to another tall cliff. Boost up Yoshida to progress.
Climb up the first set of handholds.
Then, jump across a large gap and up another set of handholds.

Close the distance
Another gunner bombards you. Between attacks, traverse the cliffside.
There are two gaps you need to jump.

Climb to the top
Continue up the cliffside after the gunners.

Defeat Saito’s forces
Six enemies wait to meet you at the top of the ramp. Take them out, avoiding their fire bombs. Beating them triggers a cutscene. After the cutscene, you unlock the odachi permanently.
Follow Master Yoshida
When you regain control, follow Yoshida to his dojo. This triggers another cutscene. After the cutscene, you unlock the bounty “Inokichi the Hungry“.


Return to your home in the Yotei Grasslands
Fast travel back to your home. Enter the fenceline to trigger a cutscene. This starts Sub-Chapter: Ghosts of the Past.

Sub-Chapter: Ghosts of the Past
Follow Jubei
Jubei takes you to the forge. There, interact with it using .

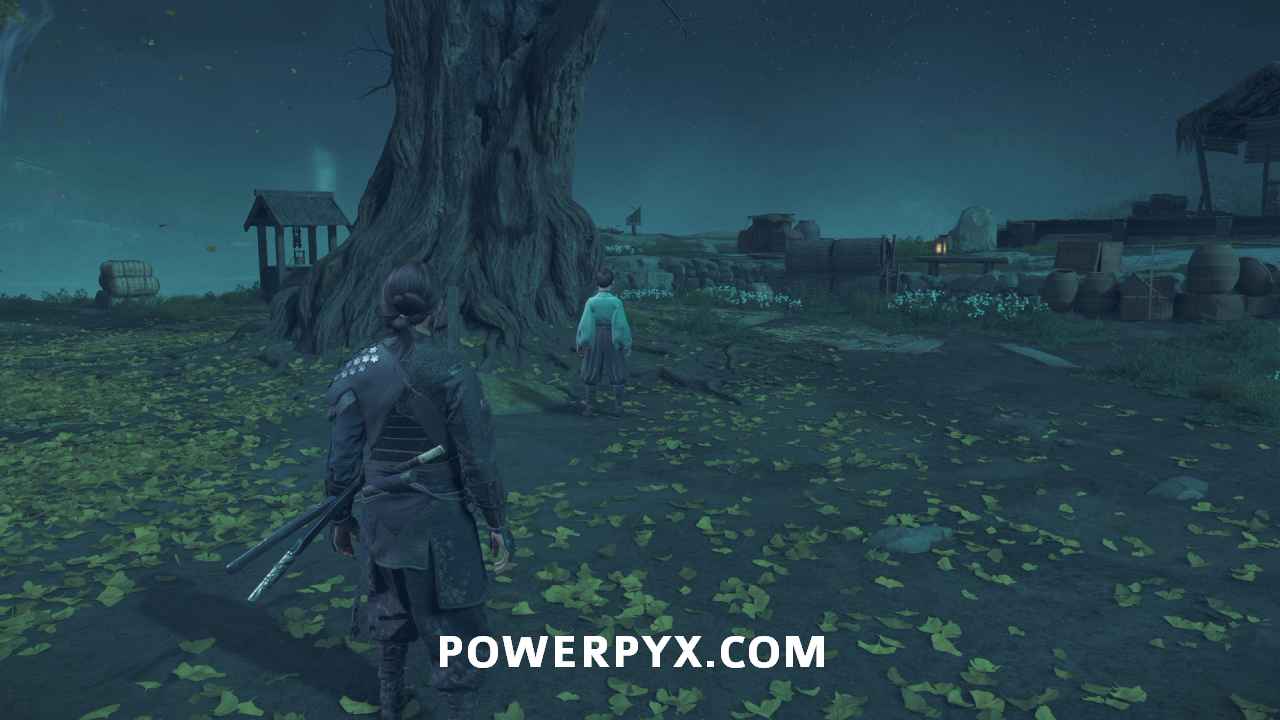
Show Jubei the gingko tree branch
Jubei takes you to the gingko tree. There, interact with it using .

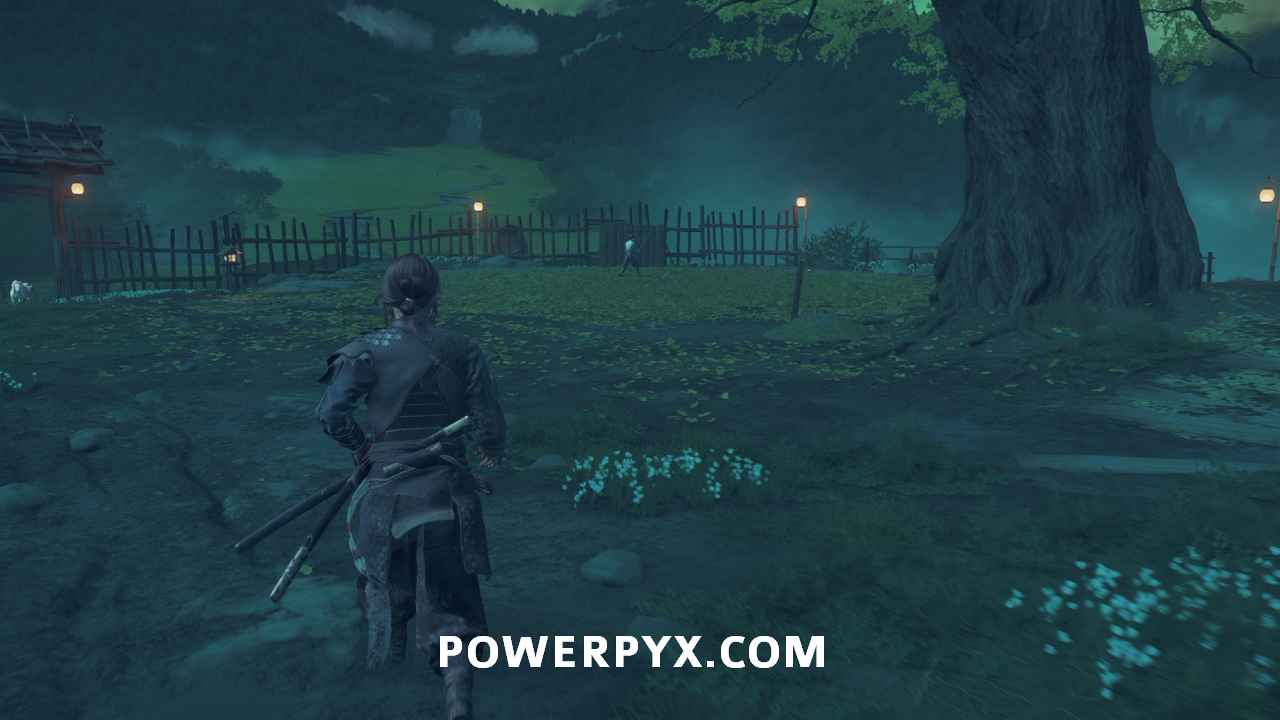
Follow Jubei
Jubei leads you to the ledge by your home.
Speak with Jubei
When he stops, interact with him using .
Follow Jubei
He now leads you into the house. He comes across a zeni hajiki table. Interact with it.
Play zeni hajiki with Jubei
Winning or losing doesn’t change the outcome here. This triggers a cutscene. Here begins Chapter 2 – The Onyro.
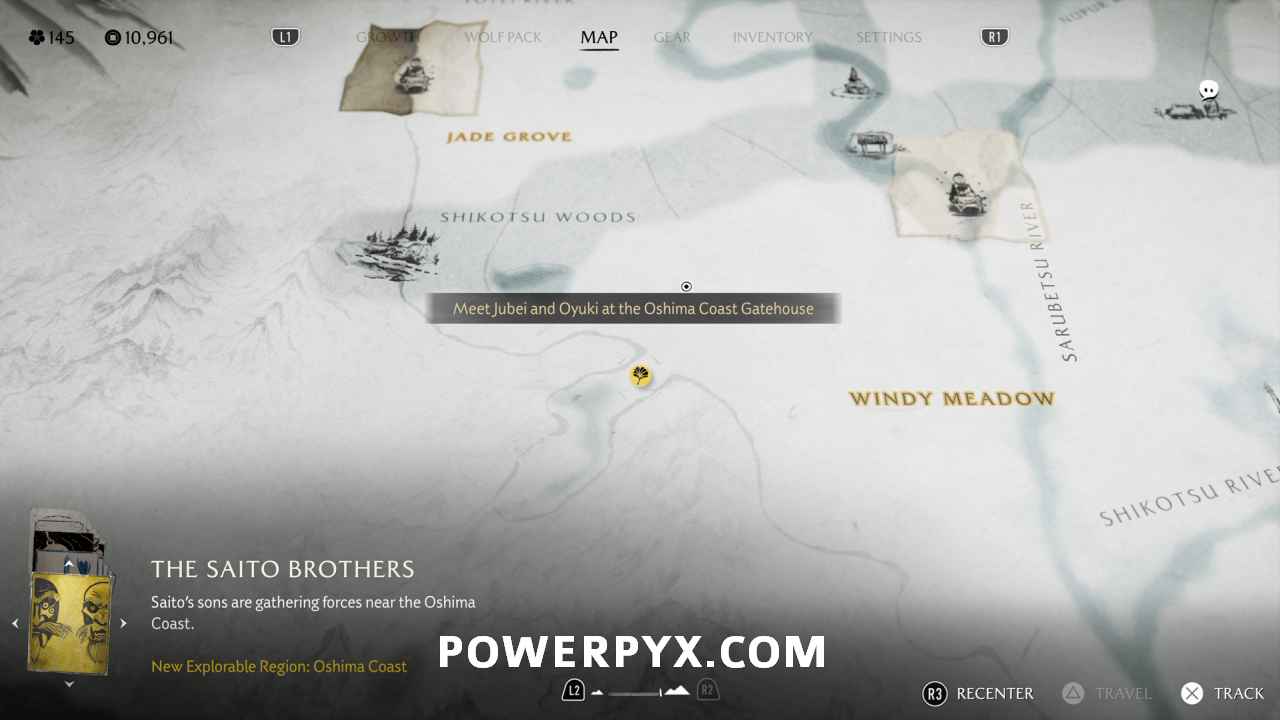
Meet Jubei and Oyuki at the Oshima Coast Gatehouse
Ride straight west from Home to the Oshima Coast Gatehouse.

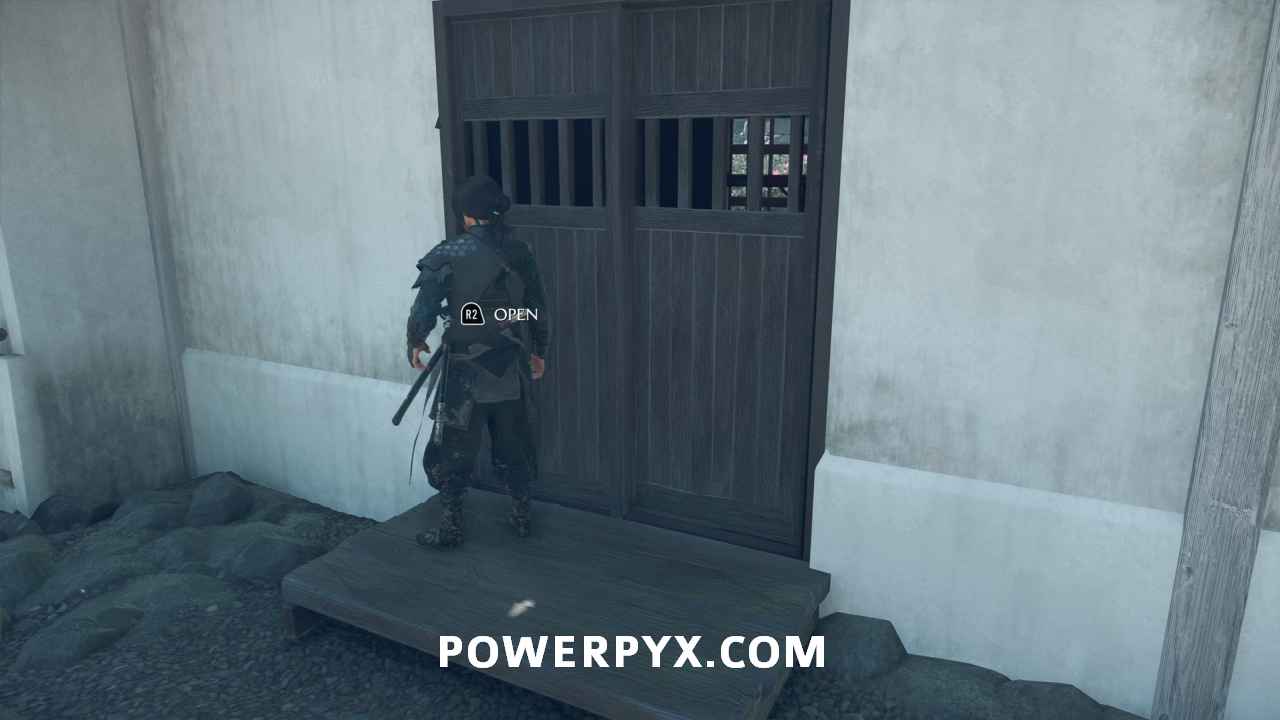
Enter the Oshima Coast Gatehouse
Help Oyuki open the front gate of the gatehouse. This starts Sub-Chapter: The Storm Breaks.

Sub-Chapter: The Storm Breaks
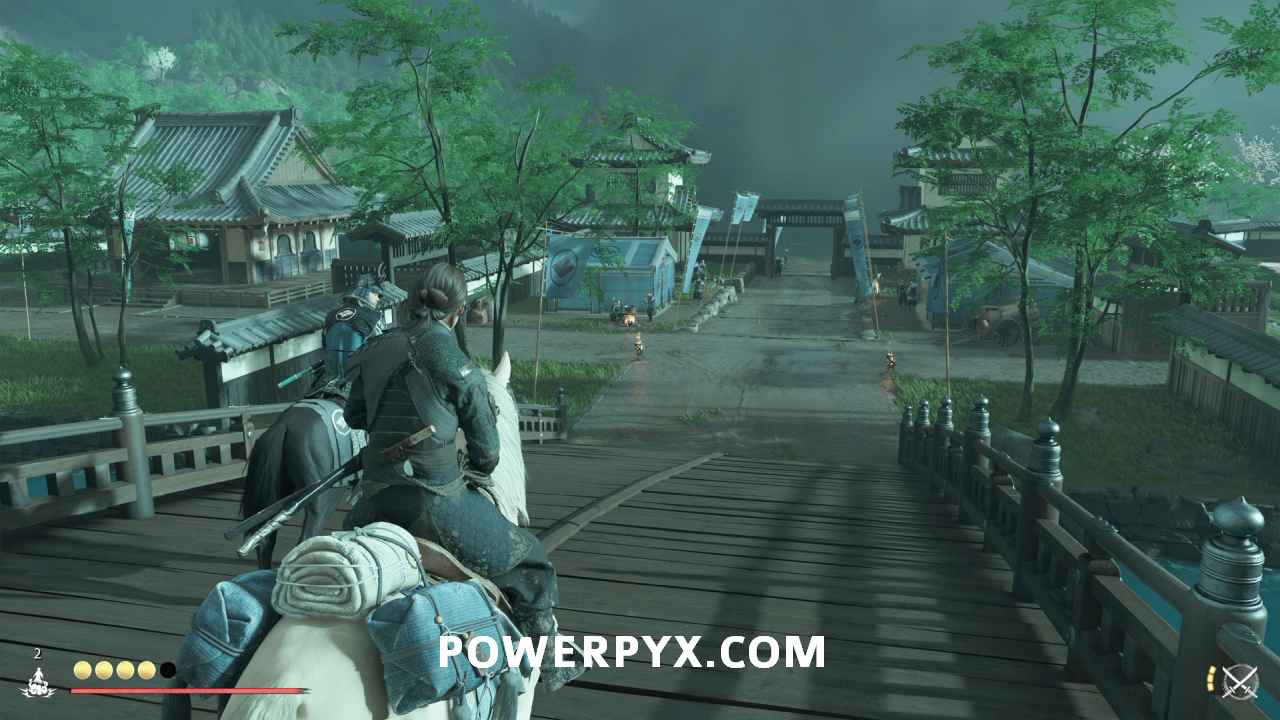
Find Jubei
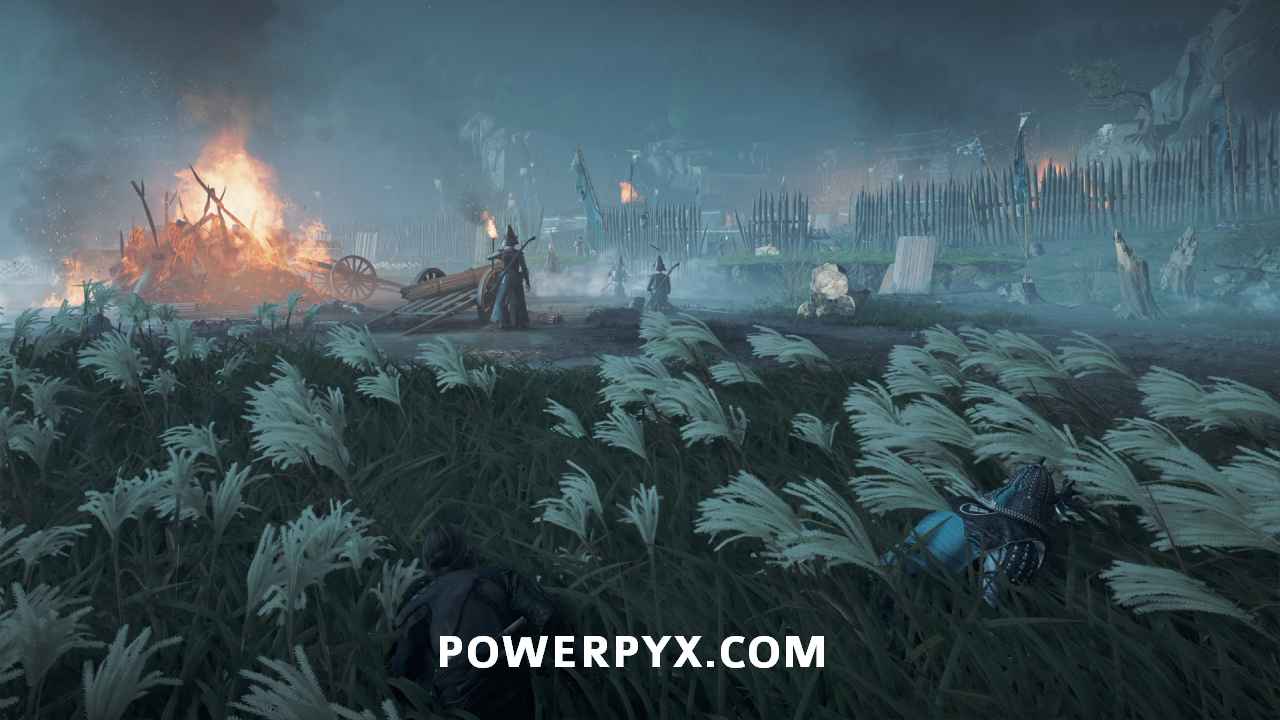
When you regain control, you will ride into a burned village. You can let the game control your horse for this part if you wish. On the other side of the town, you find Jubei.
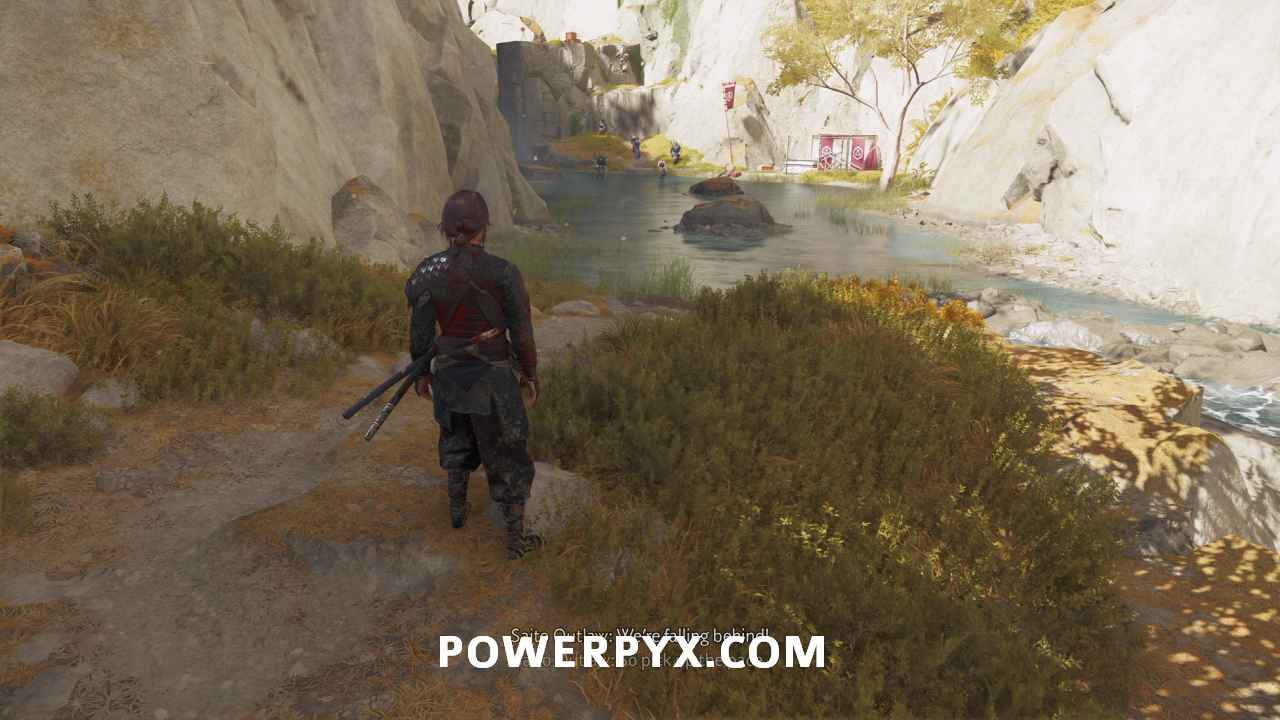
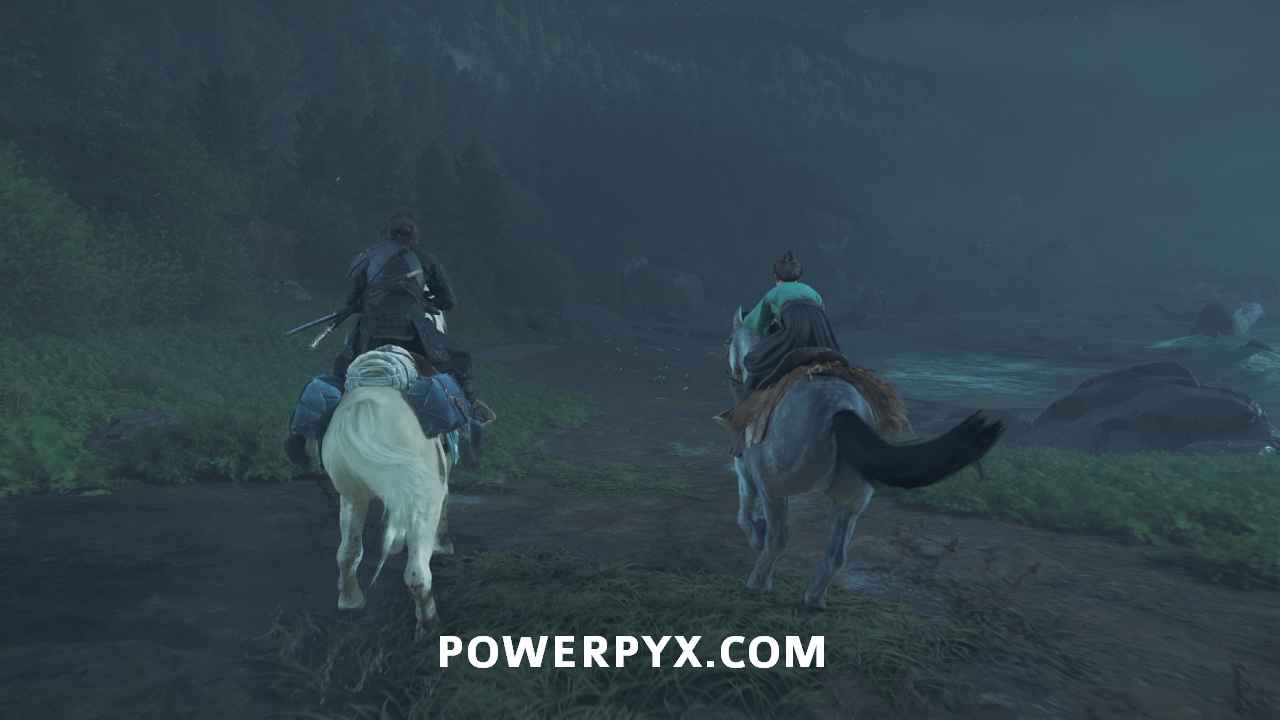
Ride to Oshima Coast
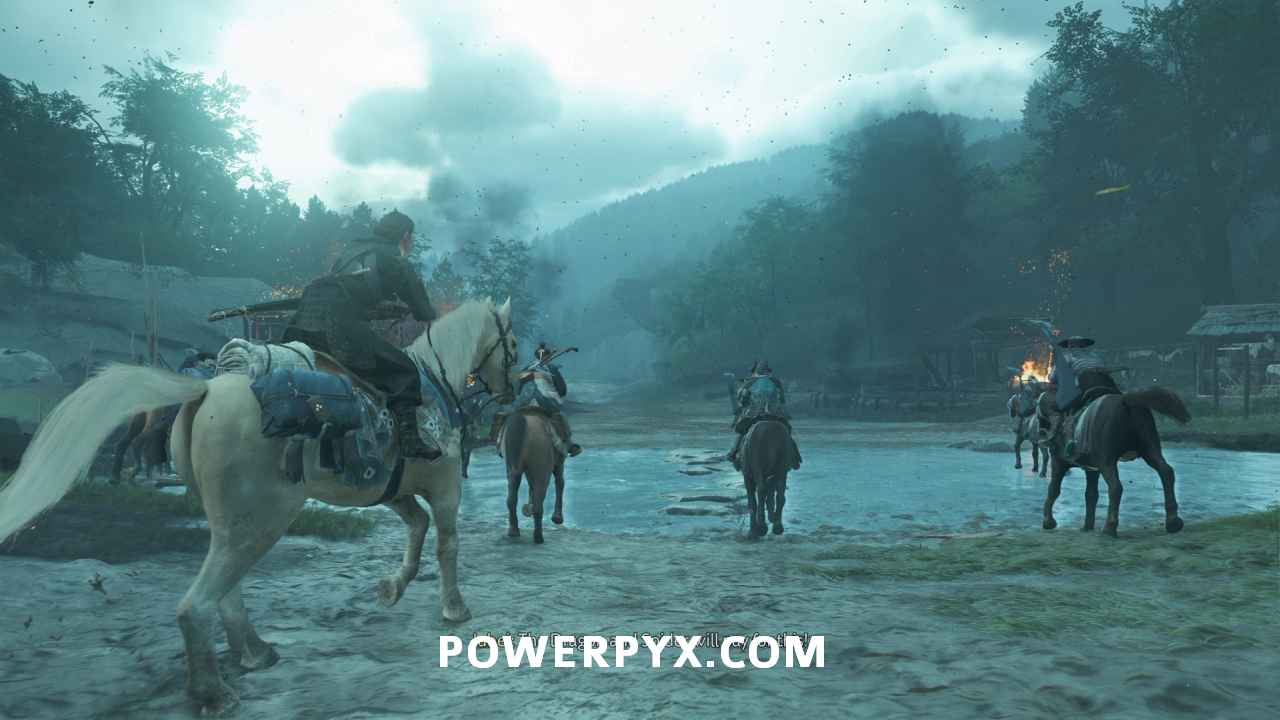
You continue riding, this time behind Jubei. If you wish, you can let the game control your horse while they ride.

After picking up some allies at a river, you get a dialogue choice. The choice doesn’t affect anything, so pick whichever you like.
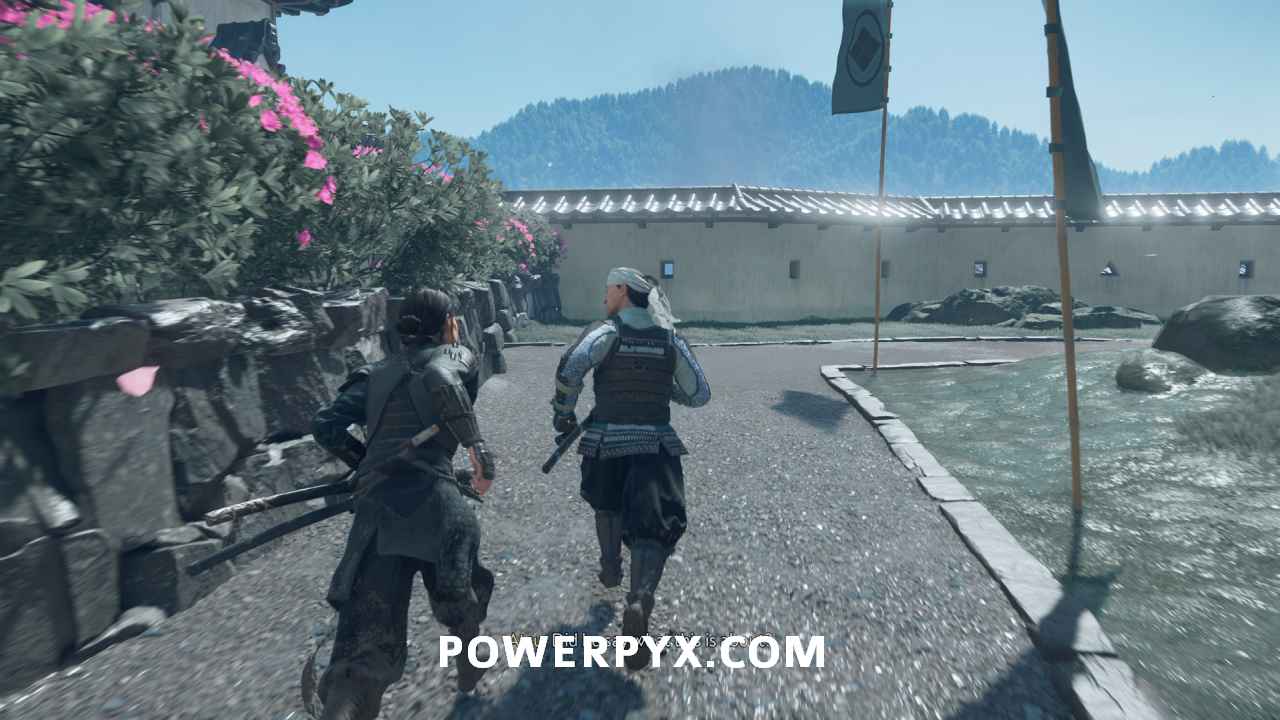
Defeat Saito’s forces
Your allies charge the enemy line. When you get close, you get prompted to do a Horse Charge. Hold +  to plow through the enemy line.
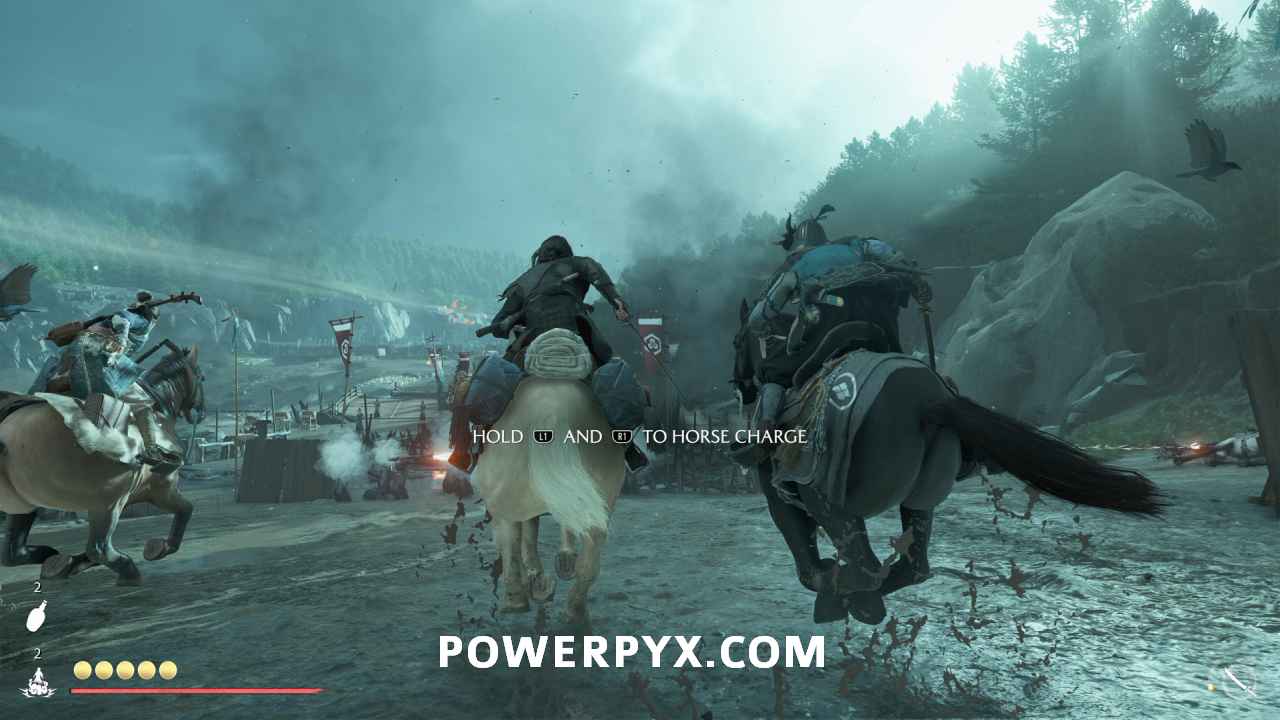
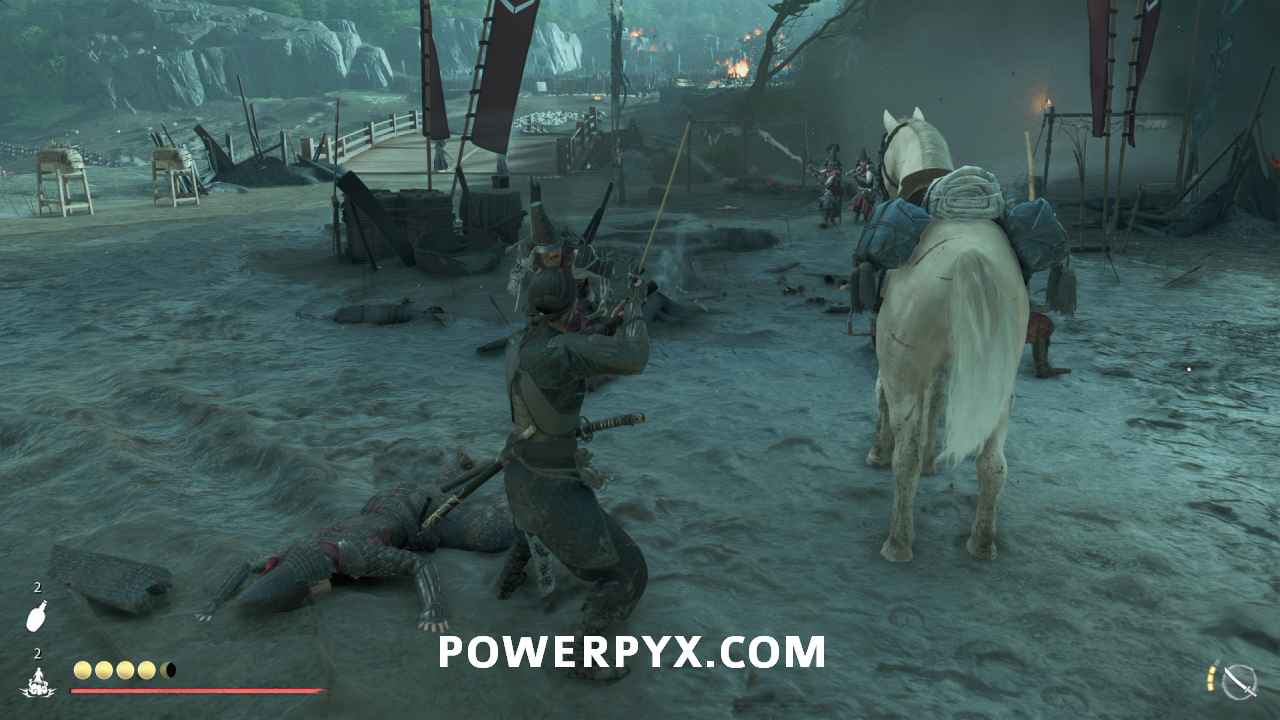
Past the front line, take out the enemies waiting for you.
Regroup with your allies
To the right of the burned bridge is a path that leads into the cliff face. Follow your allies into that gate.

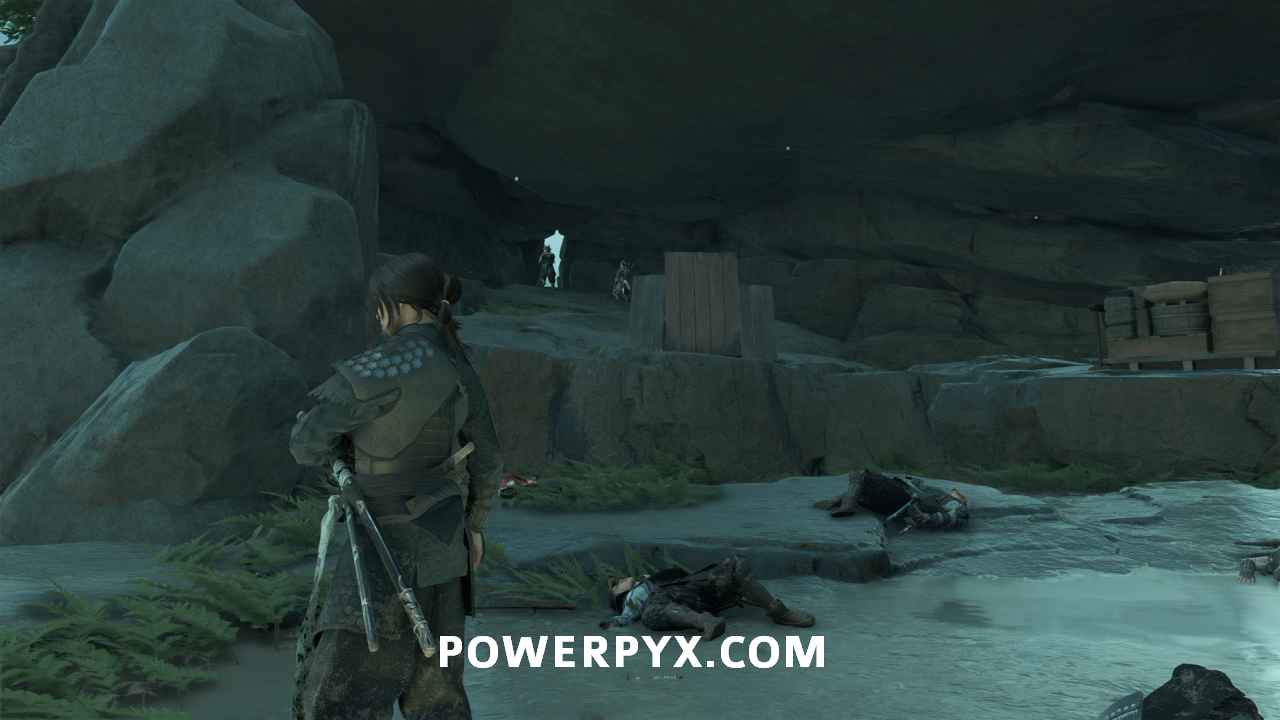
Defeat Saito’s forces
Four gunners wait for you ahead. Reach them by using cover to avoid their attacks.

If you try to rush them and they shoot you, they will kill you, even on easy difficulty.
They take a very long time to reload. So, wait until they fire and then rush them.
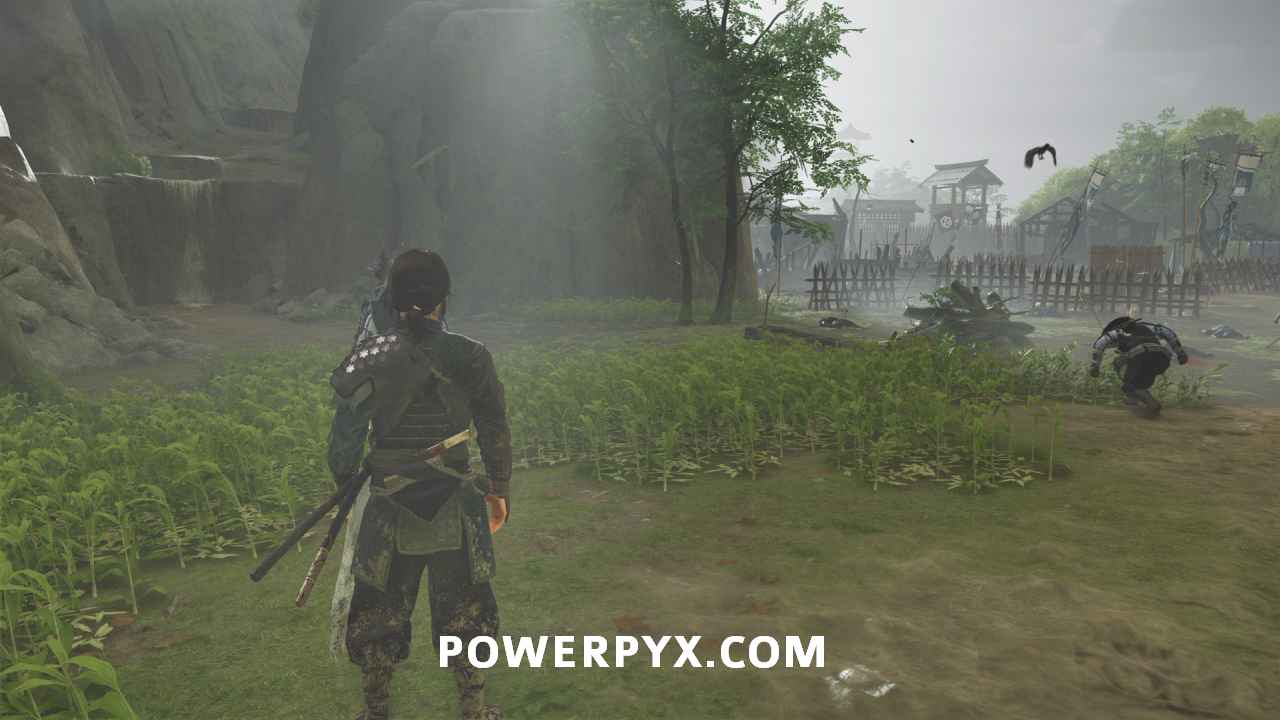
Survey the battle
Further south from where the gunners were is a gap in the path. Squeeze through to continue.
Investigate these three points in this order. The second two appear after investigating the first point.
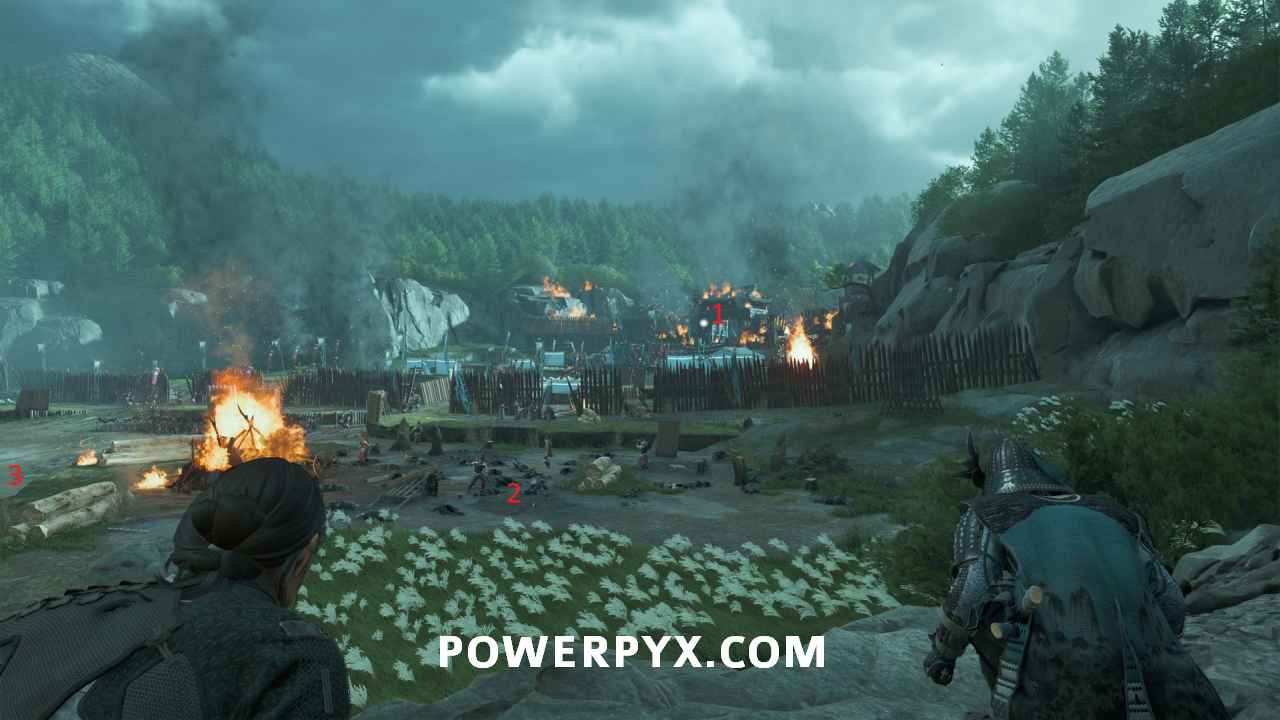
There’s a dialogue choice here, but the choice doesn’t affect the quest.
Enter the gatehouse
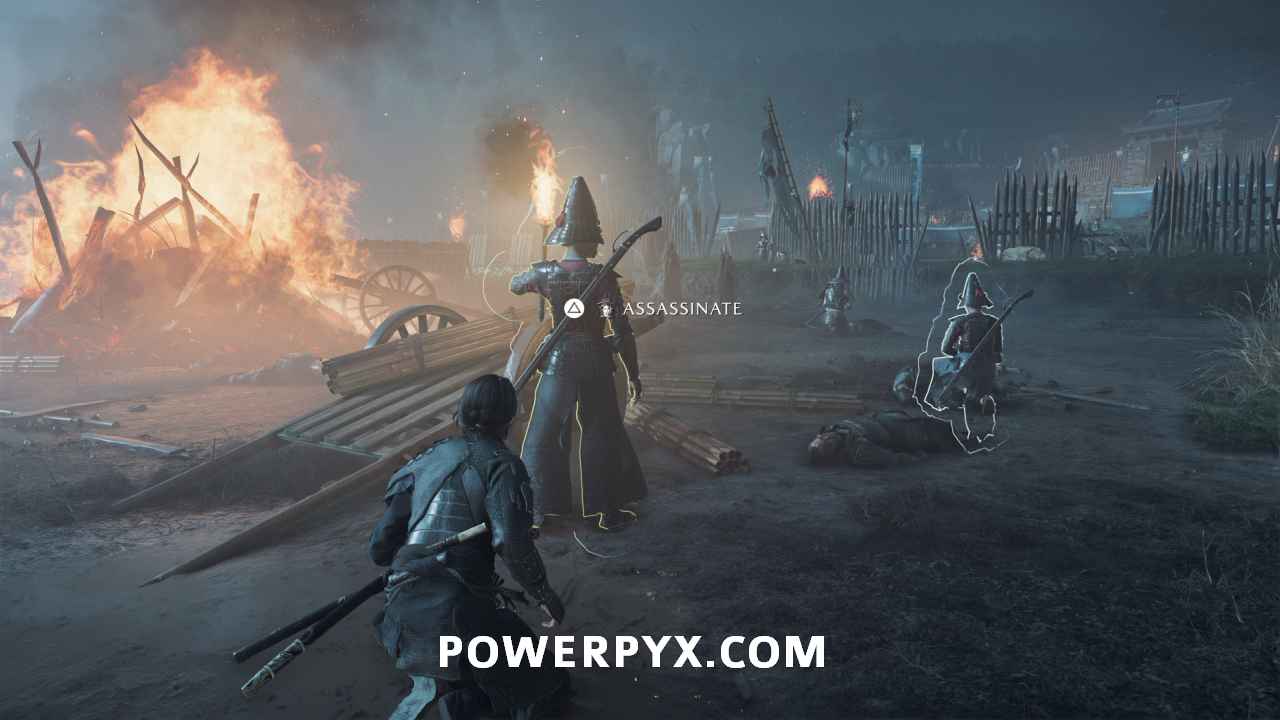
Using help from Oyuki, assassinate your way up the beach.
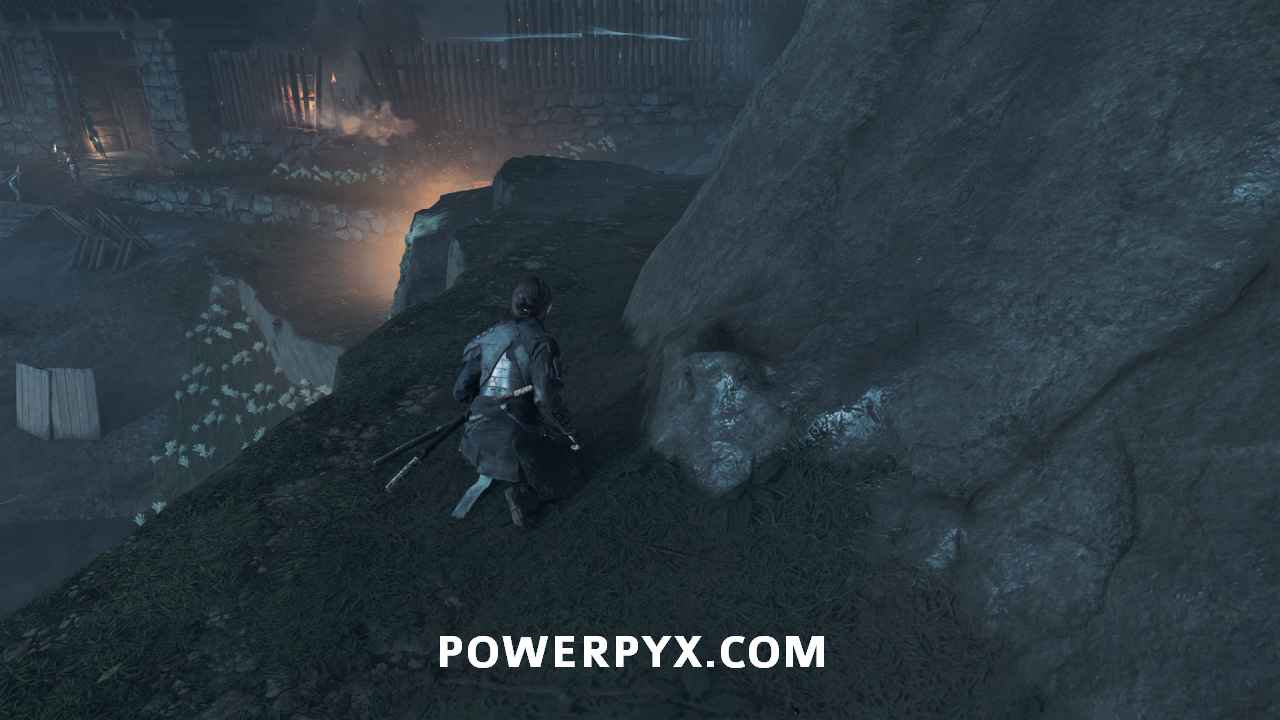
Inside, the easiest path is to go to cliff face on the right and climb up the stone handholds. You can go around the entire area and take out enemies if you wish. Otherwise, take this path.
On the other side of the cliff, assassinate the two enemies below you.
From there, head south through the break in the broken wall. Just inside the break in the broken wall, turn right and climb the short wall.
Follow the wall to the right. Take out the enemies along the way.

Here, you unlock the Ranged Weapon “Tanegashima” (Rifle).

Survey these three points. If you survey the gunpowder barrels first, then you cannot survey the other two.

Shoot the gunpowder
Switch to the Tanegashima by holding and pressing  .
.
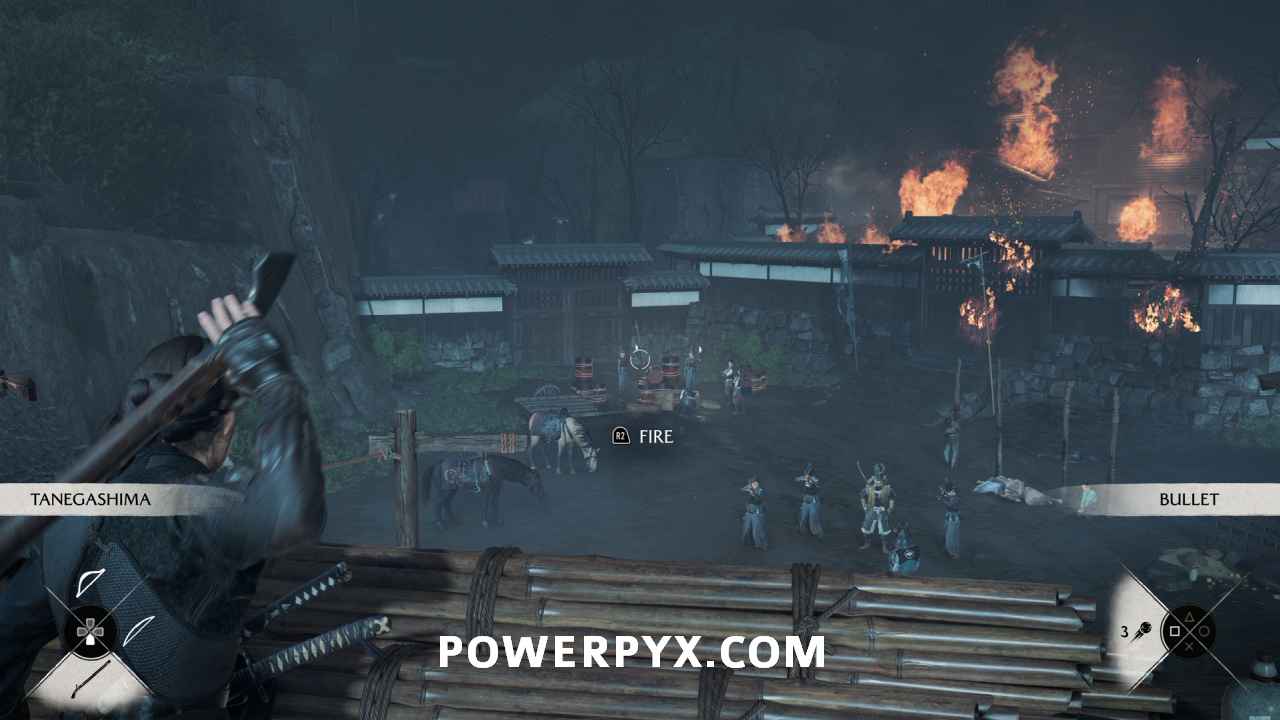
Aim with and fire at the gunpowder using .

Defeat Saito’s forces
Jump down and help Jubei take out the remaining forces.
Escape the fort
Follow Jubei to the gate ahead. Then, follow along with him up the hill to see the coast.

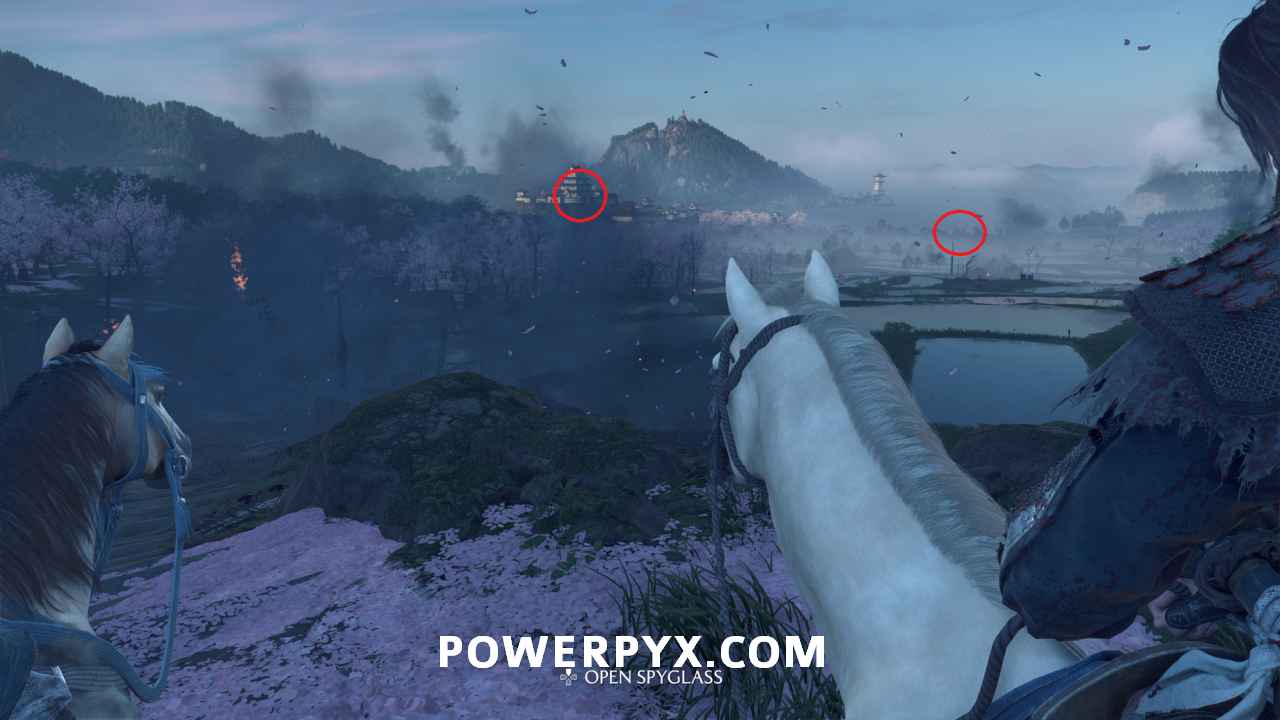
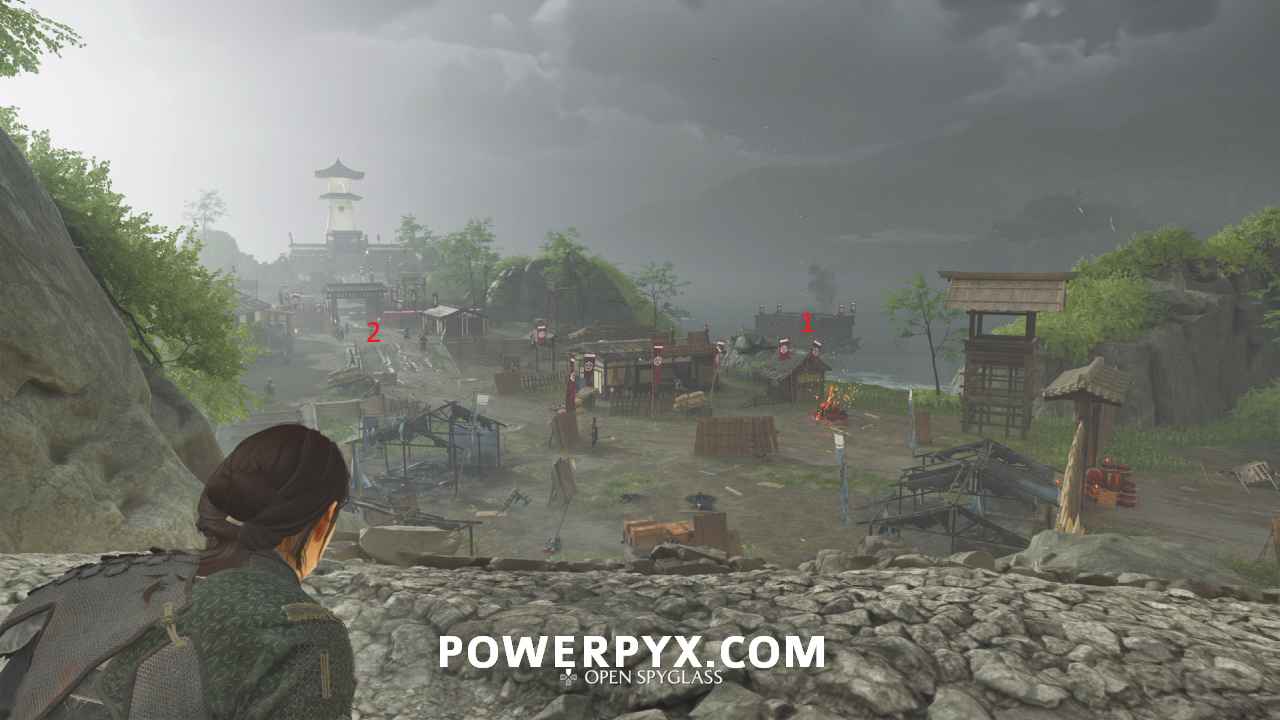
Survey the coast
Pull out your spyglass with  and interact with these two points:
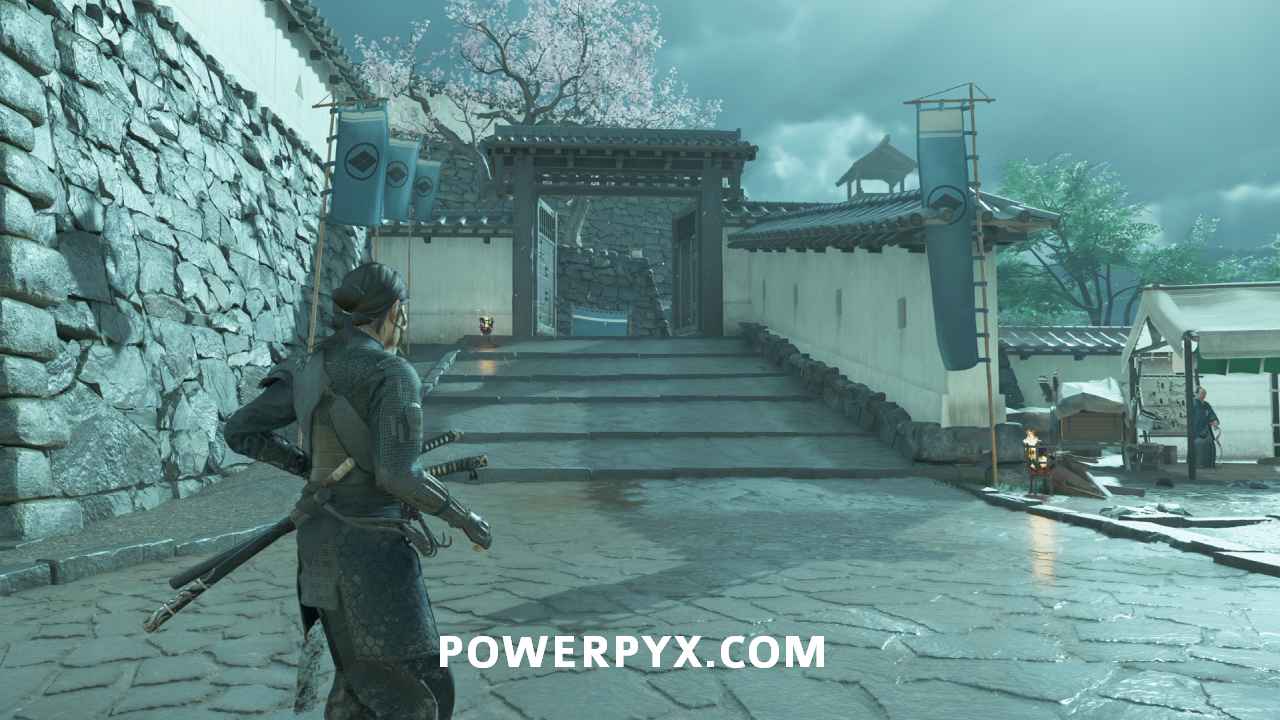
Meet the Matsumae soldier at the gate in Benten Port
Ride south to reach the gate in Benten Port.
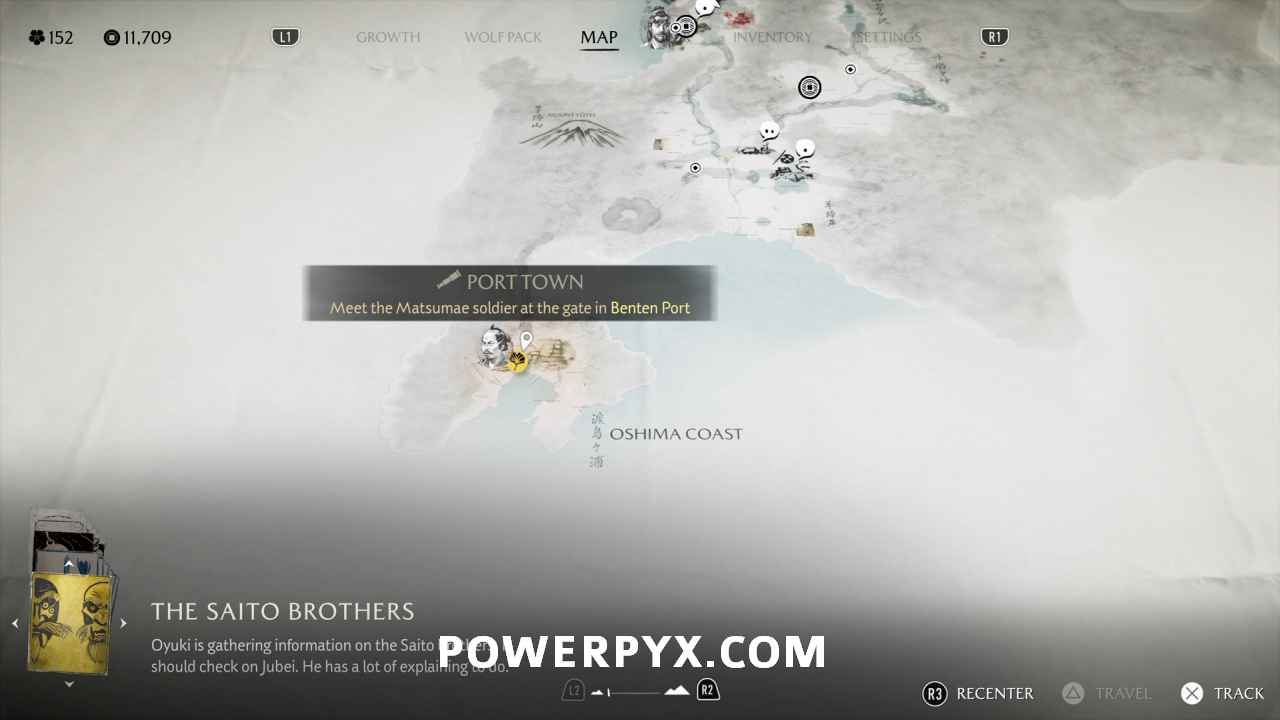

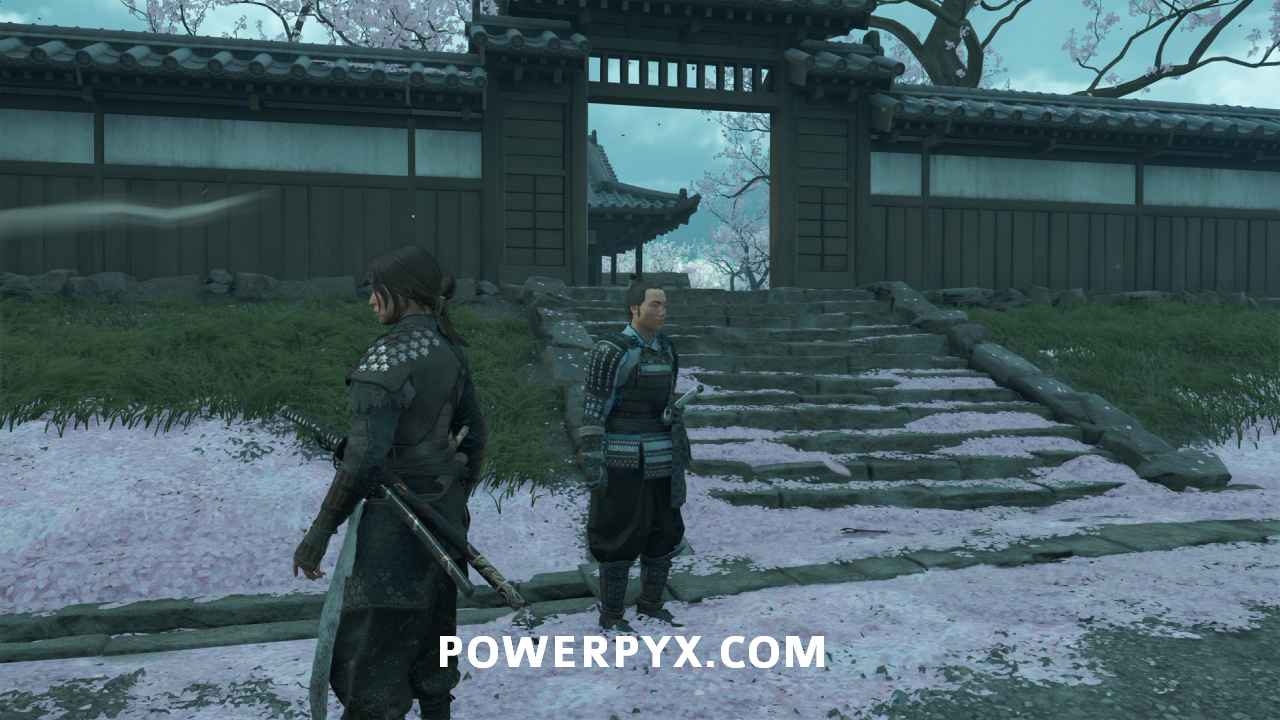
Interact with the Matsumae soldier on his horse. This starts Sub-Chapter: Echoes of the Storm.

Sub-Chapter: Echoes of the Storm
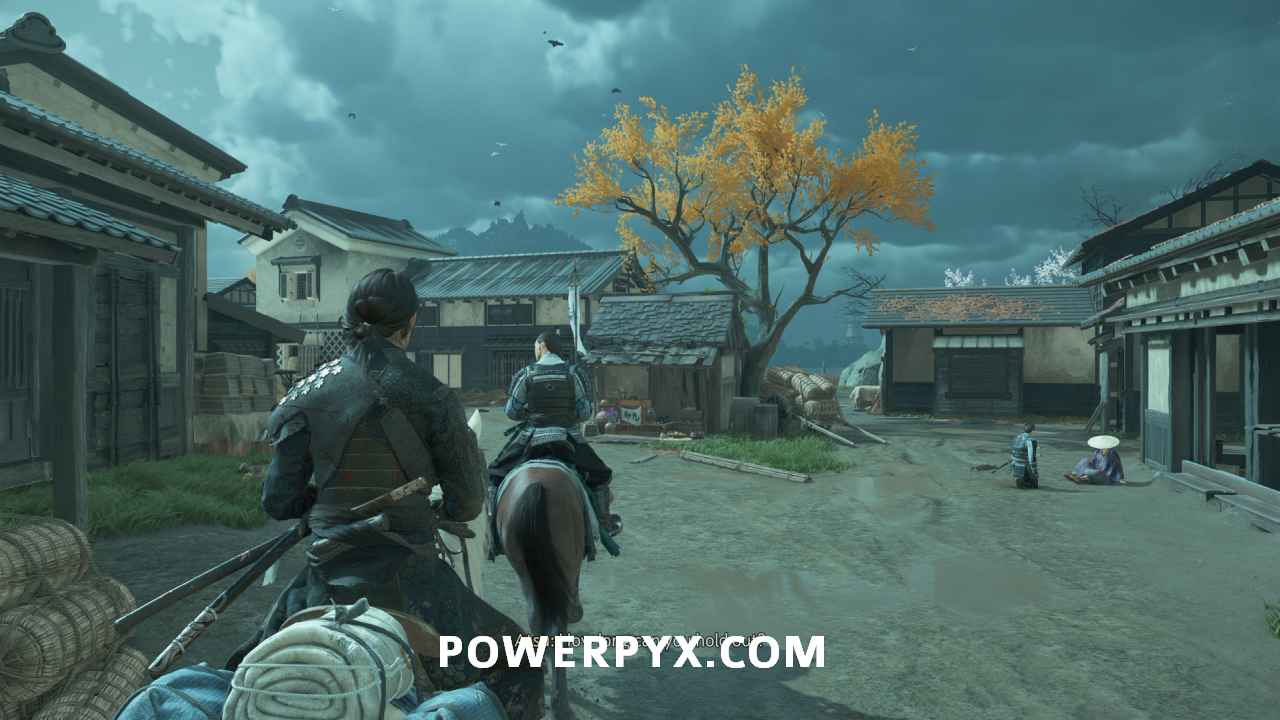
Follow the Matsumae soldier
Ride along with the Matsumae soldier. He leads you into Matsumae Castle.
Speak with Jubei
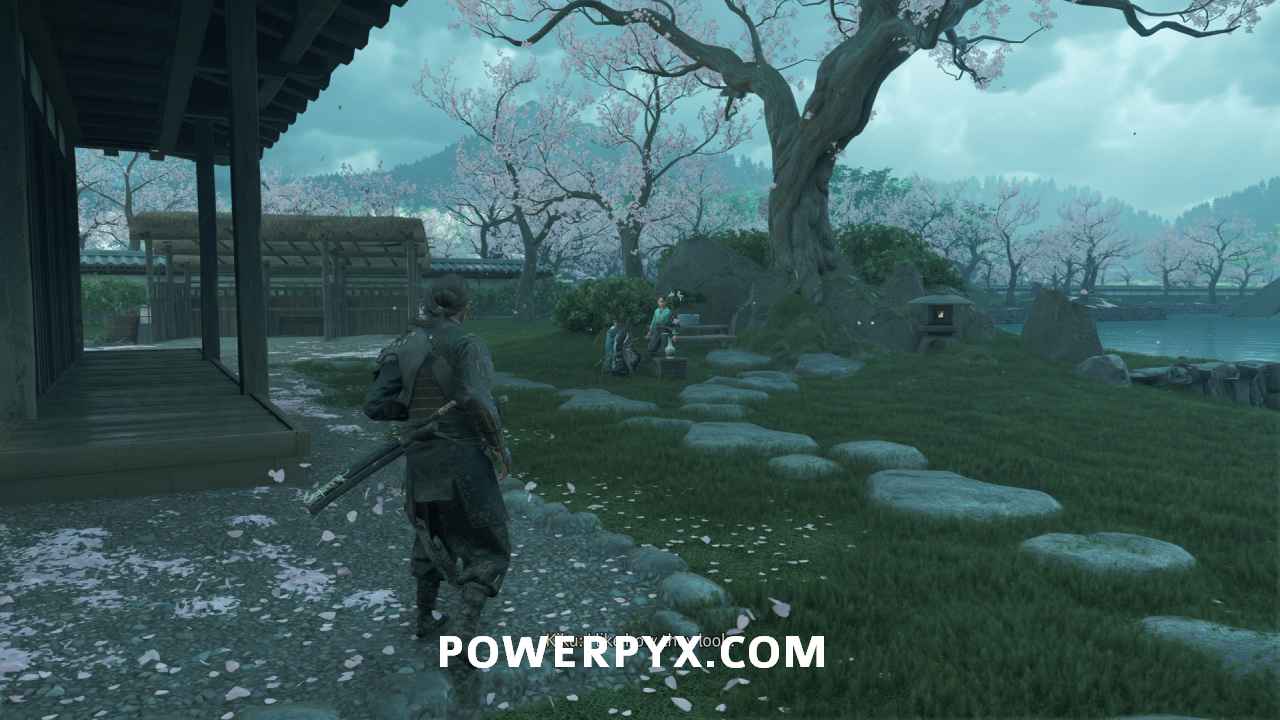
Once off your horse, turn left and head up the stairs into the next area.
Approach Jubei and Kiku just to the right of the building in front of you.
Examine the flowers
Follow Kiku over to the flower patch in the corner of the compound.

Examine both of the flower types there. Afterwards, pick whichever one you like better.
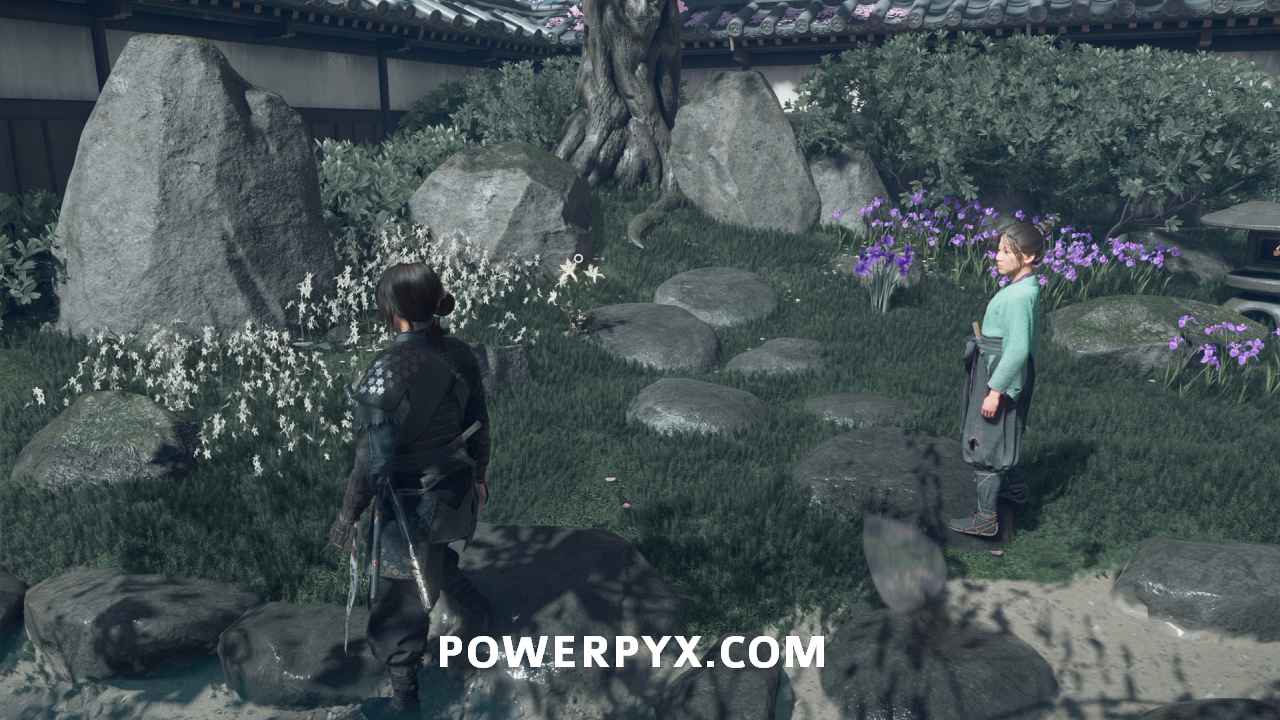
The only differences that come from this are different dialogue lines in the cutscene when you put the flower arrangement together. Apart from that, these flower choices do not change the flow of the quest itself.
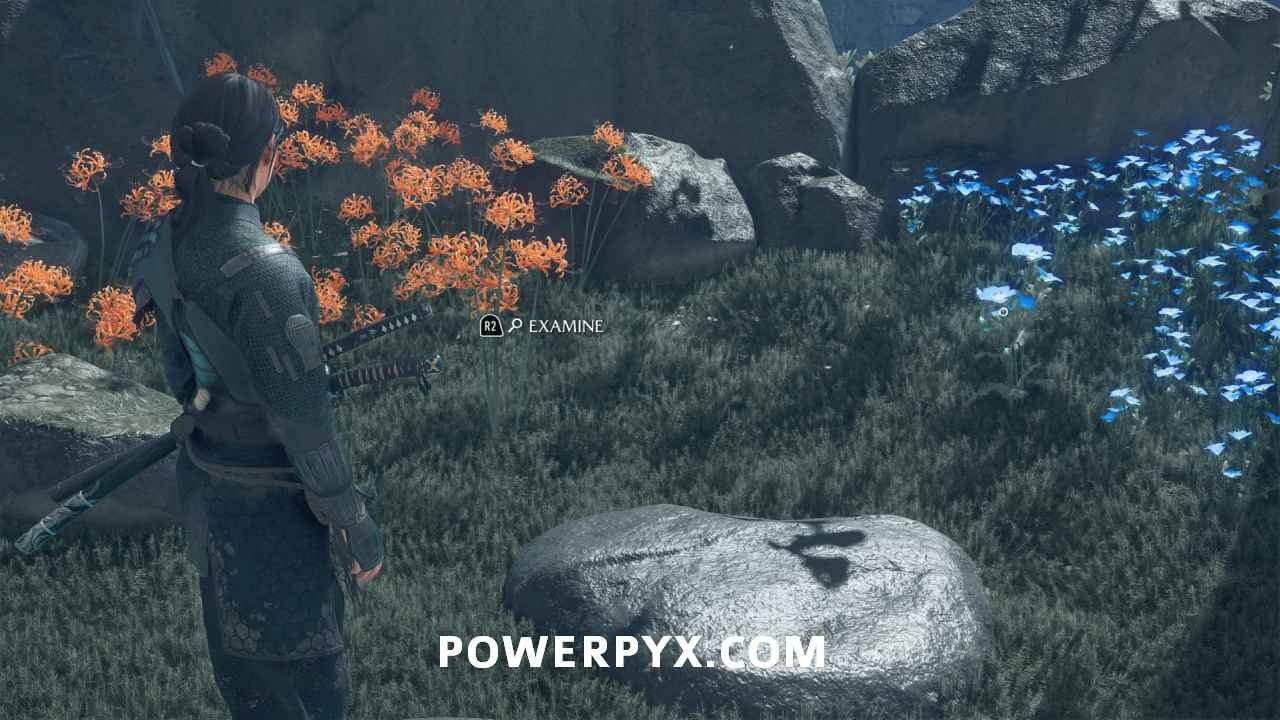
Follow Kiku again to the other corner of the compound. Examine the two types of flowers here as well.
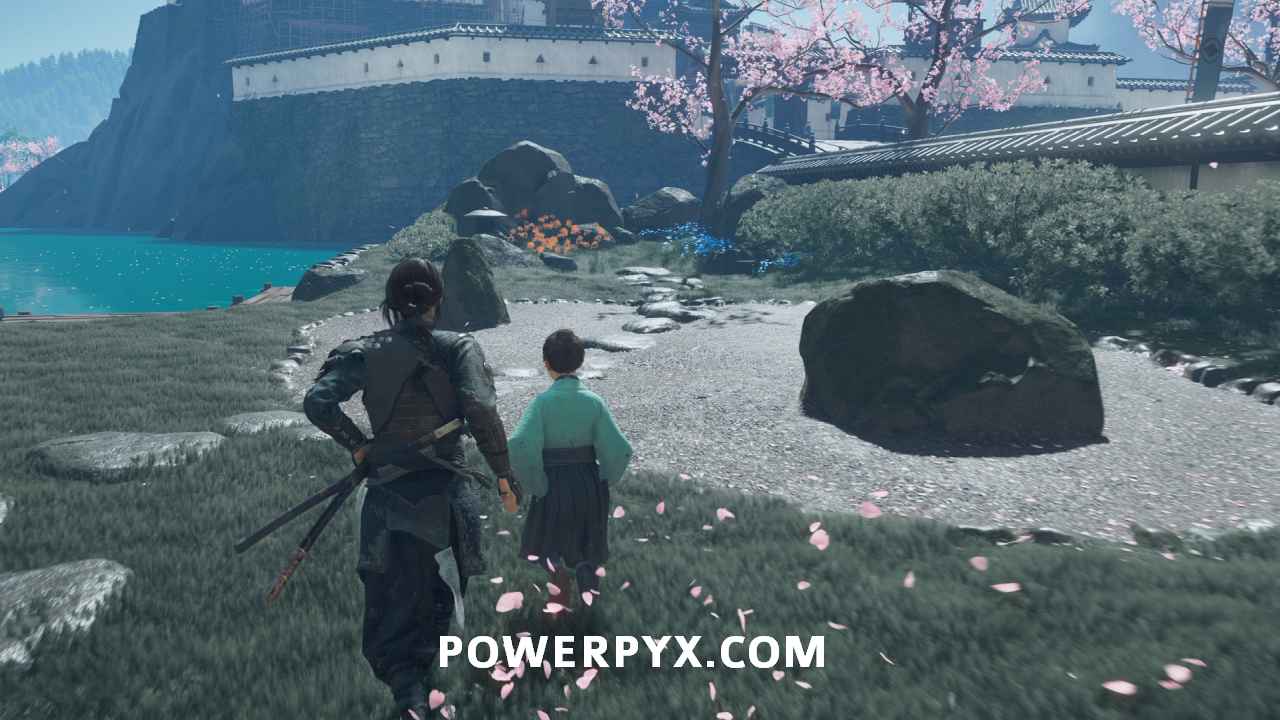
Pick whichever one you like.
Place flowers in the vase with Kiku
Head back to the vase. You won’t be able to place the flowers until Kiku is in place.

Follow Kiku
Kiku leads you into Matsumae Castle. She stops along the way to introduce you to her horse.

Then, she takes you further in, where you ultimately come across an exchange between villagers and the Matsumae.

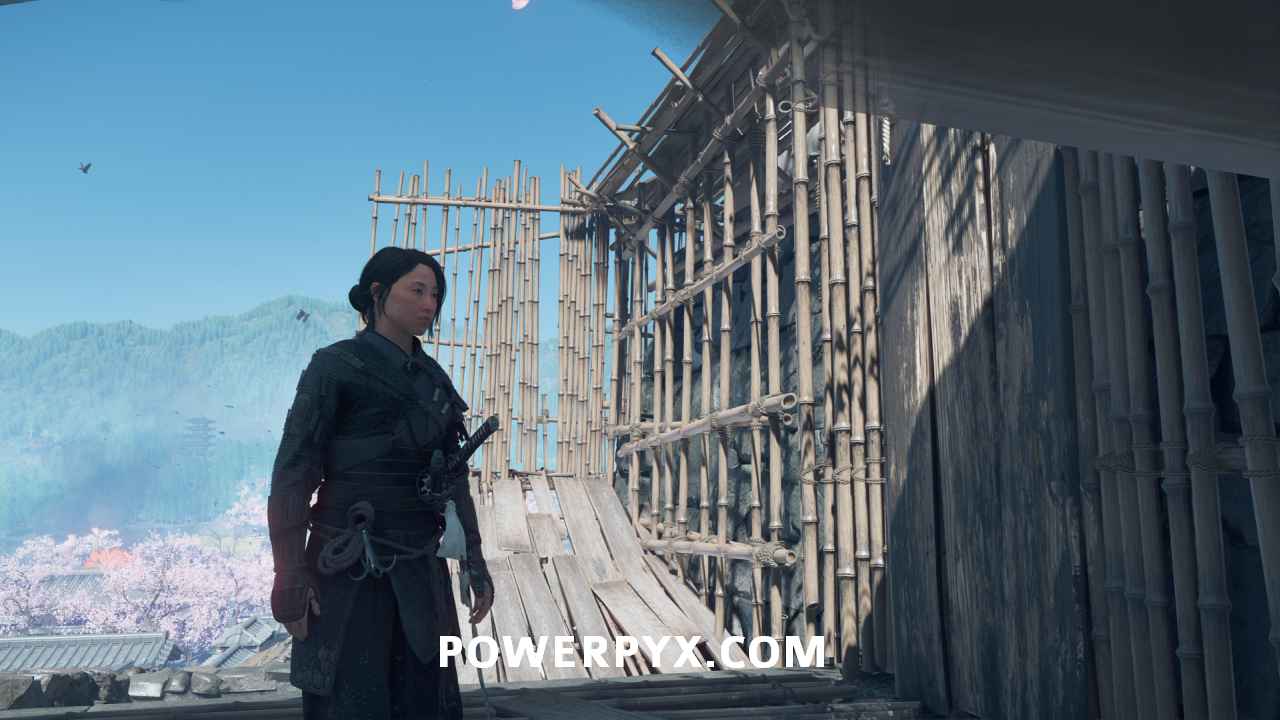
After the cutscene, continue to follow Kiku. Head down the stairs behind you and then immediately up the ladder to your right.
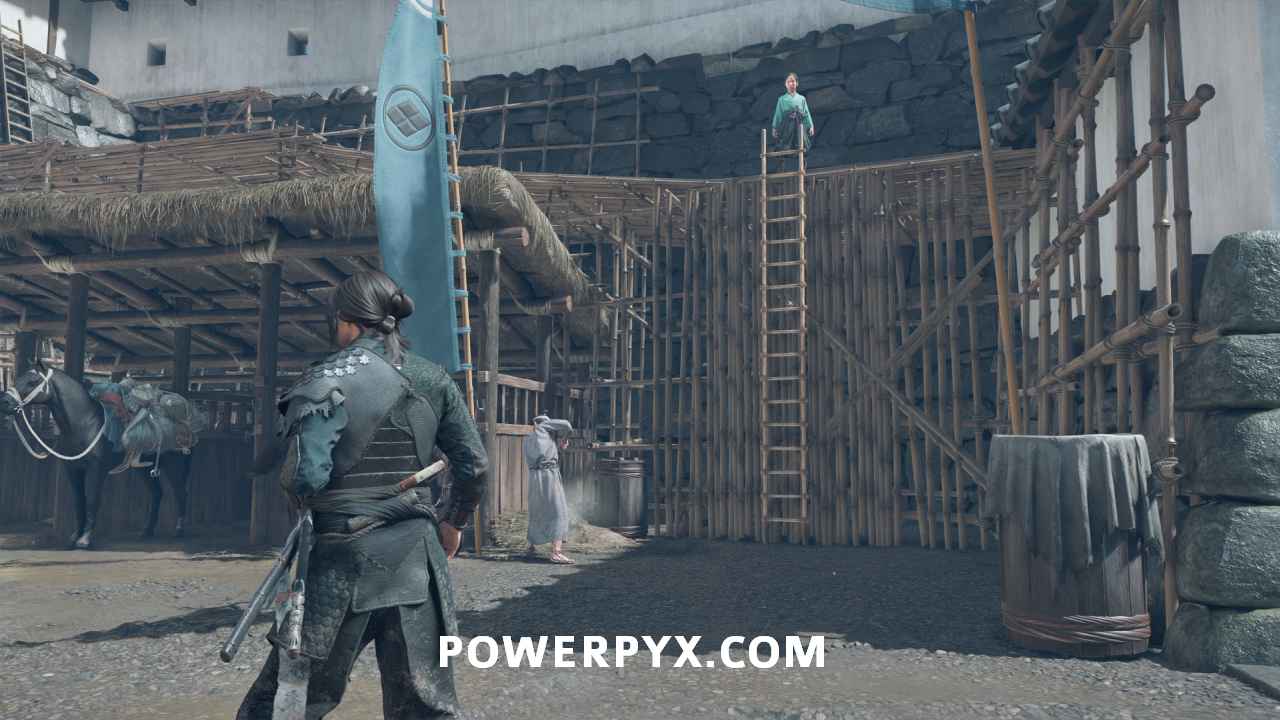
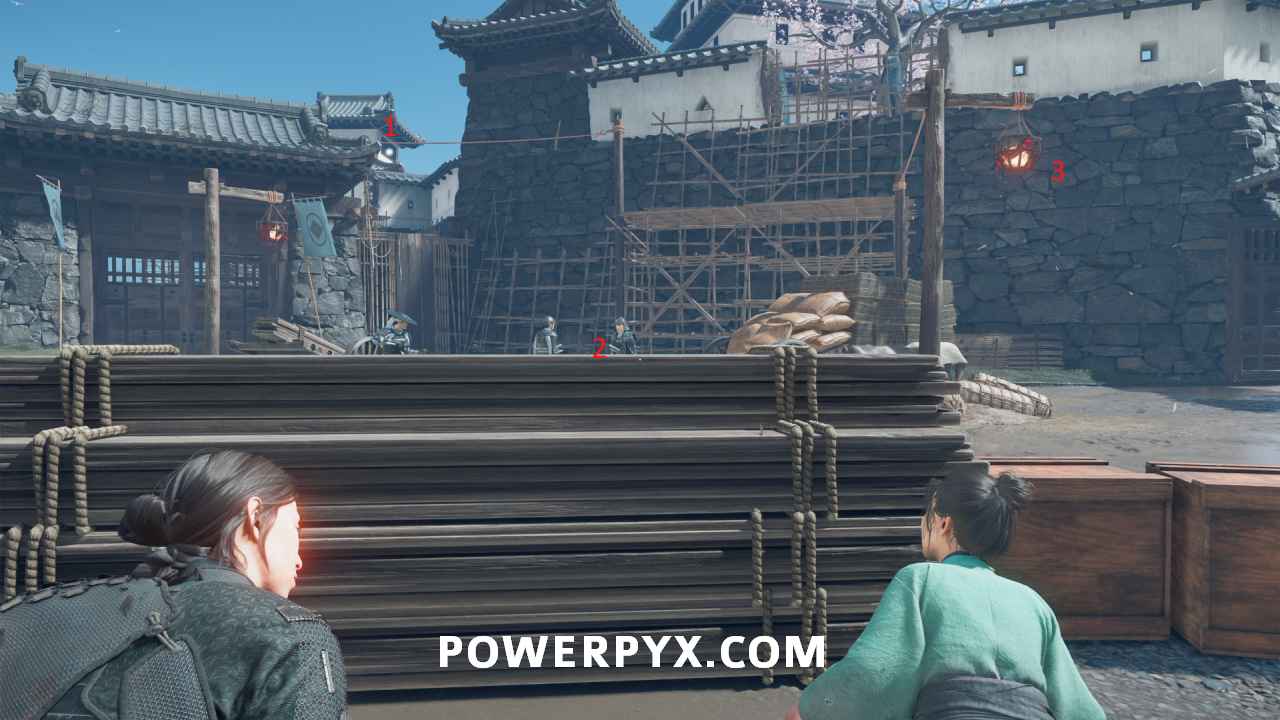
Follow her up the scaffolding and into the building. She leads you to a hiding spot behind a stack of lumber.
Interact with the three points to put together a plan:
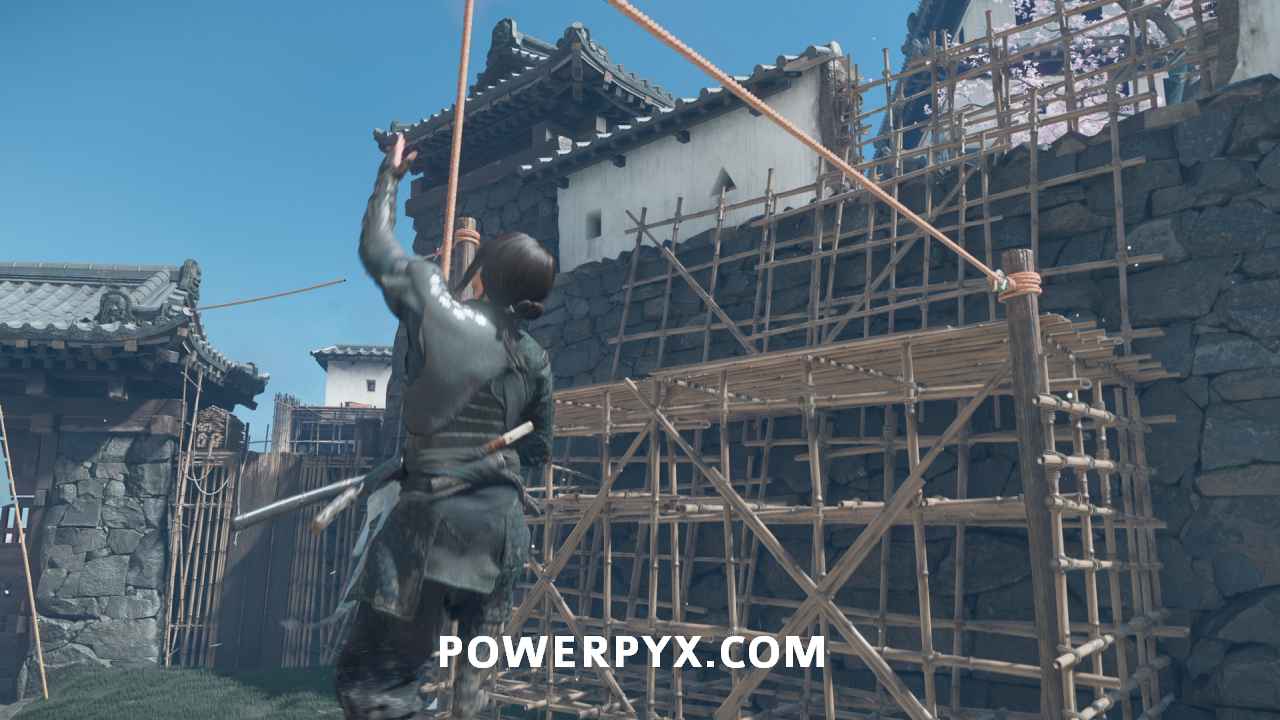
Find a way over the gate
Go under the ropes strung between the poles and the scaffolding. Jump and use to grapple your way up.

Then, grapple the other rope to reach the roof.
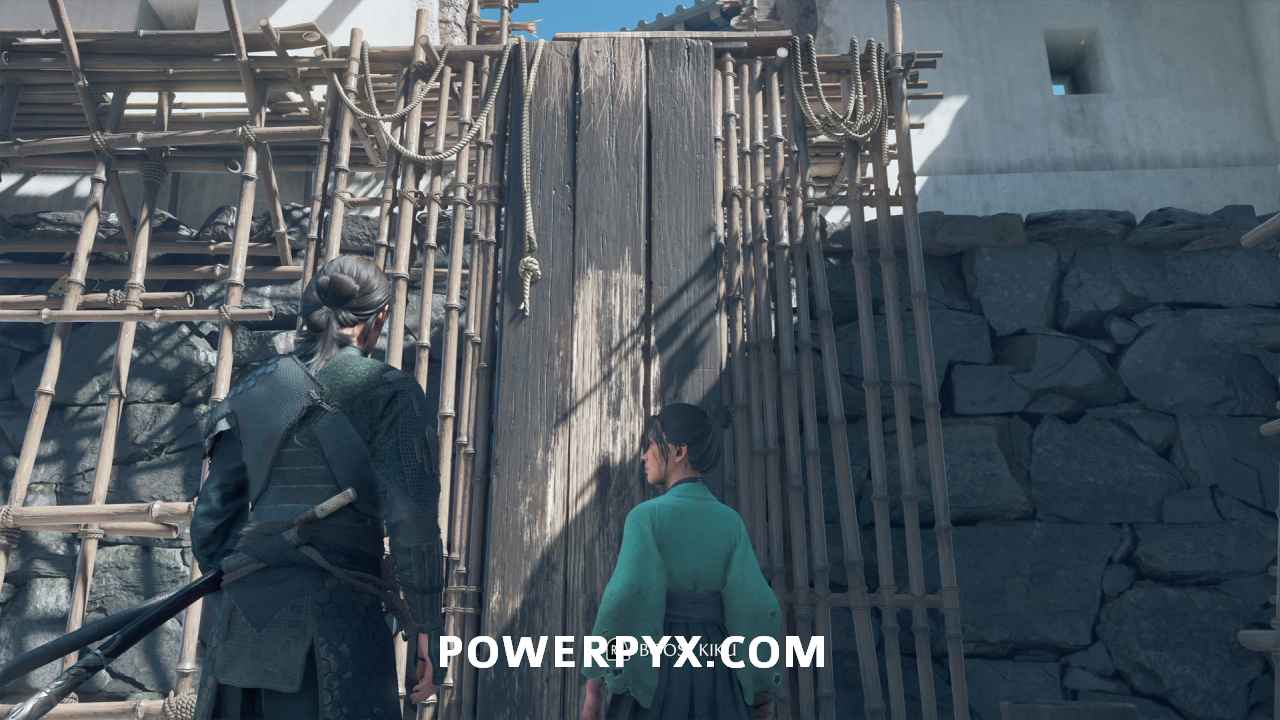
Jump off the roof to the right. Then turn right to pull up Kuki.
Head forward again and boost Kuki up to the next area.
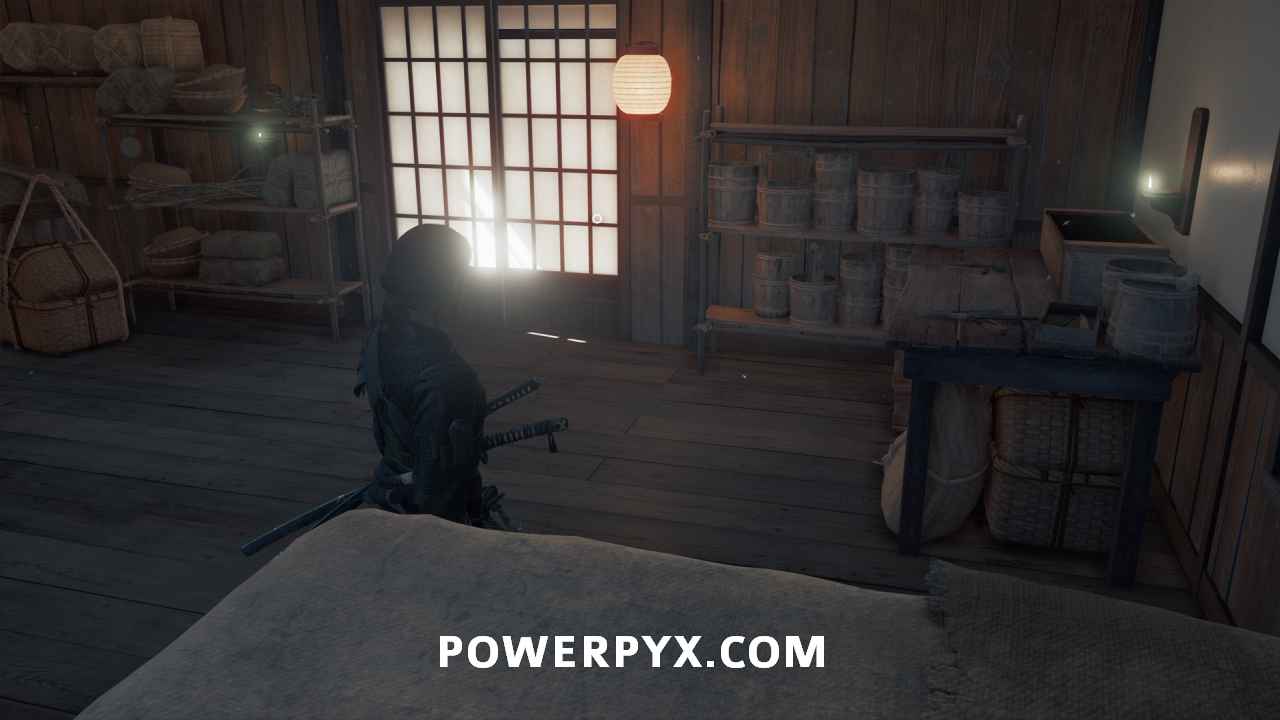
Find a way to the armory
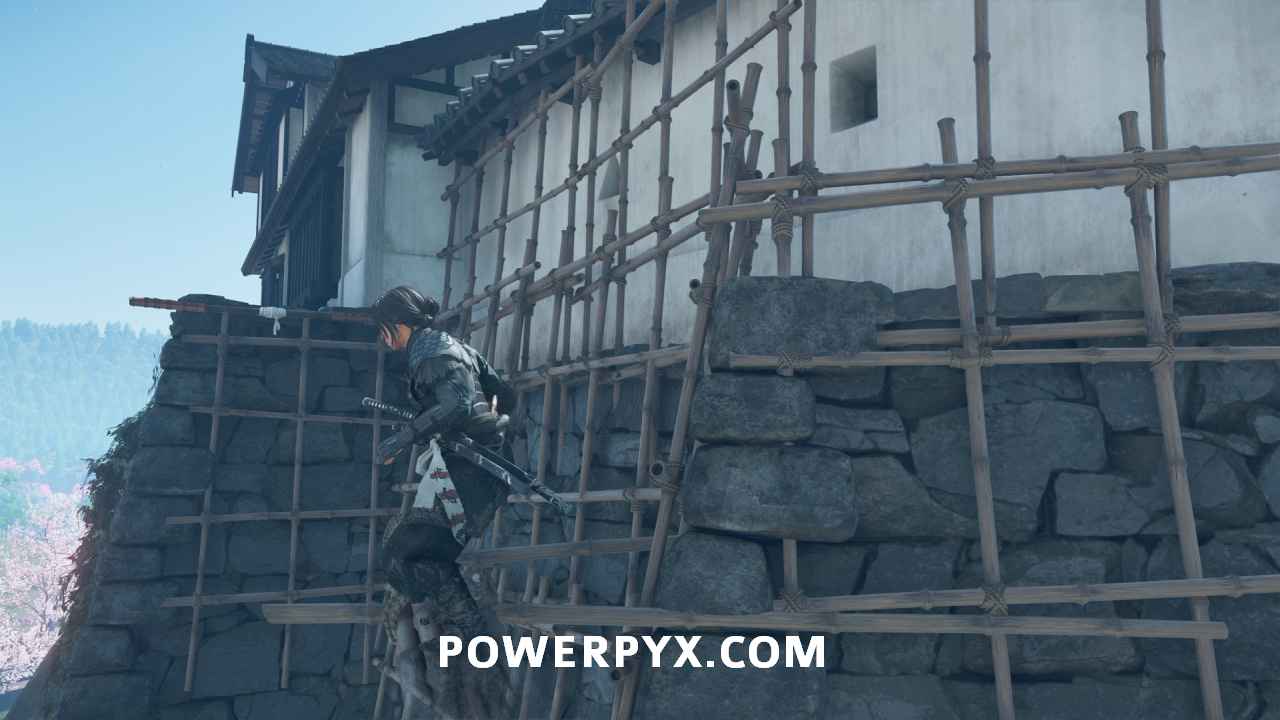
Head left and squeeze through the gap in the bamboo.
Turn right and swing across the grapple point. Then walk out to the wooden plank.

Turn right and jump to the grapple point. Climb up to the ledge.
Follow the wall and go right around the corner.
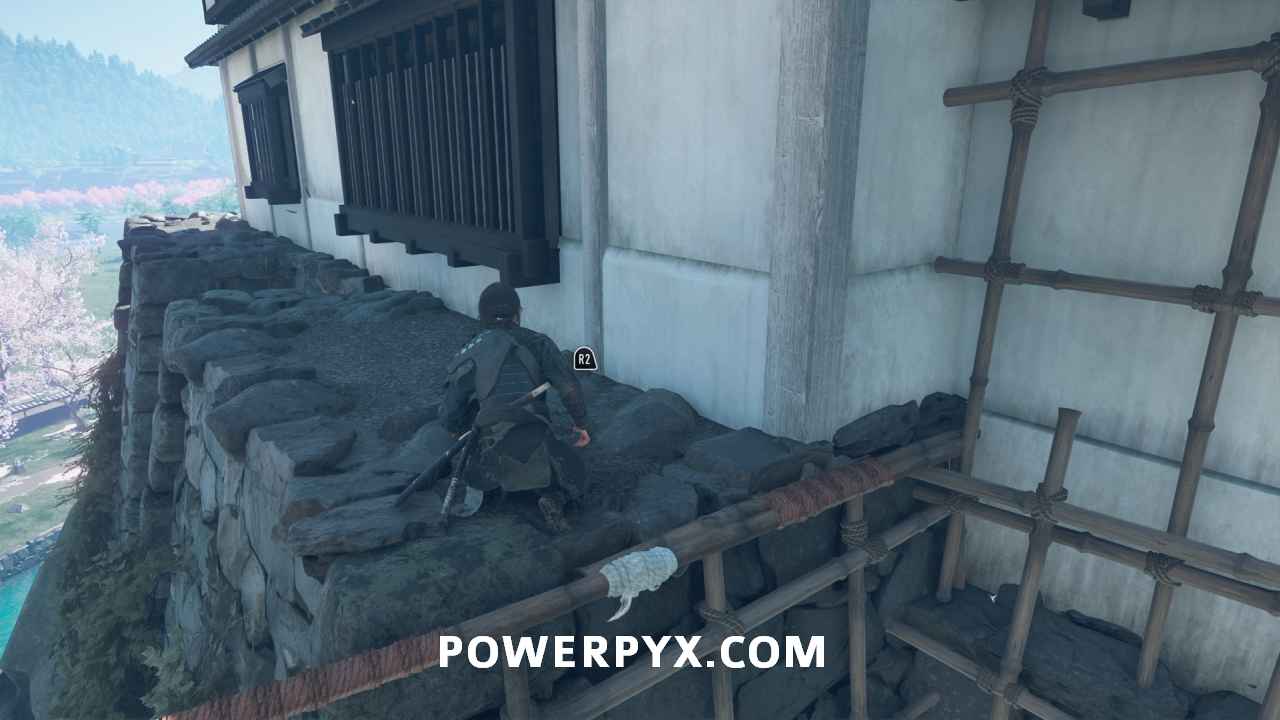
Climb down the side and use the stone handholds to reach the next ledge.

Interact with the window to your immediate right to get Kiku to unlock the nearby door.
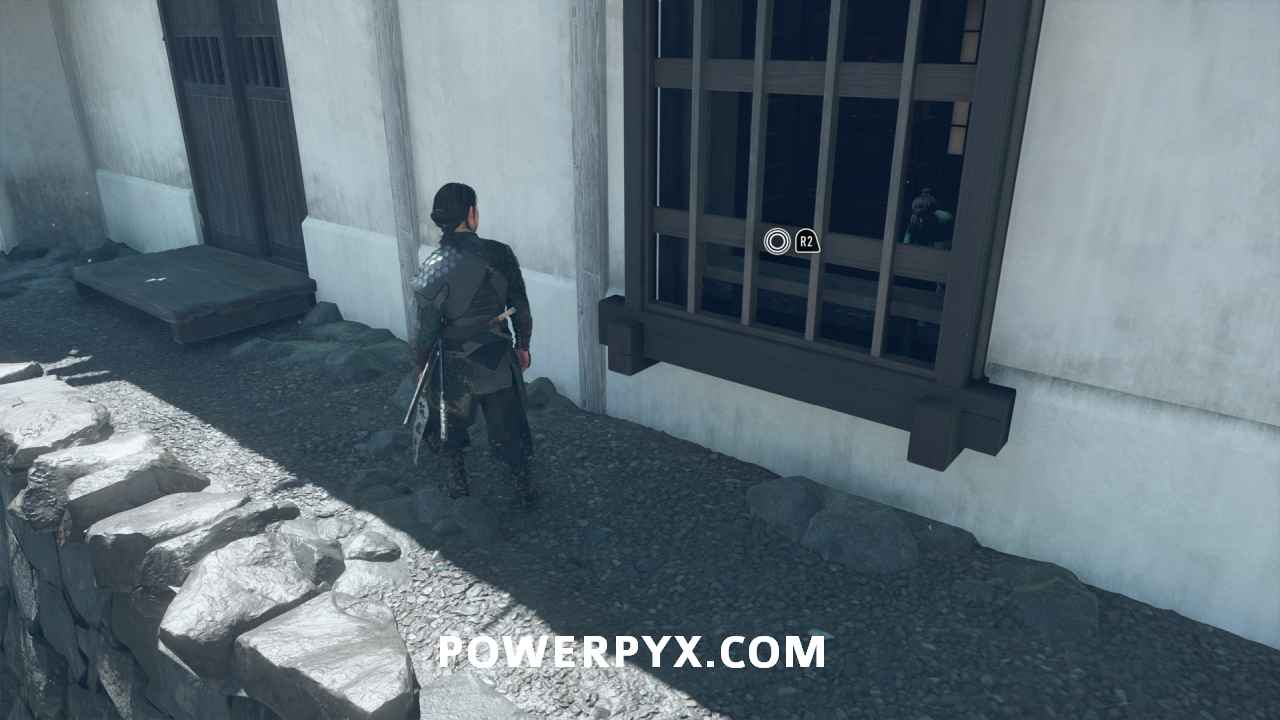
Interact with the door to enter the armory.
Find the medicine
Go around the wall to the right and climb up the ladder.
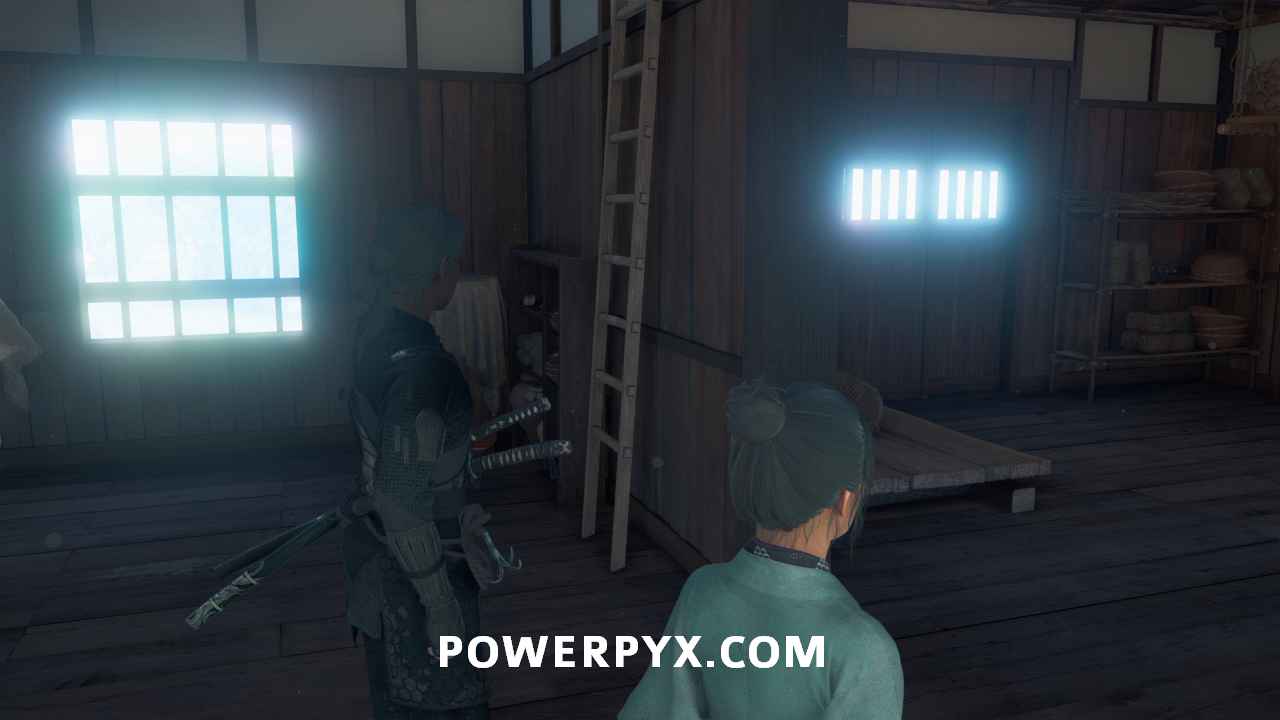
Interact with the table directly in front of you.

Leave the armory
Head back down the ladder. Then, go out the door to your left.
Follow the Matsumae soldier
The Matsumae soldier leads you to the entrance to the war room.
Speak to Jubei
Head up the ramp and enter the war room to trigger a cutscene.
Follow Jubei to the lighthouse
Jubei leads you out of the castle and takes you to a small camp on the periphery of the lighthouse.
Follow Jubei
Jubei leads you to a boost point to the left of the lighthouse.
Boost him up. Follow the path and squeeze through the gap at the end of the path.

Survey the occupied lighthouse
Use your spyglass to survey the two points in this order:
Defeat Saito’s soldiers
You need to defeat all of the enemies in this area to progress the story. Don’t forget about the soldiers on the roof shooting at you.
In the second fight, there are three layers of enemies with guns. They declare when they shoot, and it takes several seconds between shots to reload. Use these prompts to push forward and break their lines.
Just like the first fight, defeat everyone in this area to progress.
After the cutscene, head to the gate and open it.
Pursue the Dragon in the lighthouse
The Dragon shoots at you immediately. Dash with the left stick and  .
.

Climb up the ladders to trigger a cutscene.
Meet Oyuki and Jubei at his house
Fast travel to the Matsumae Residences.
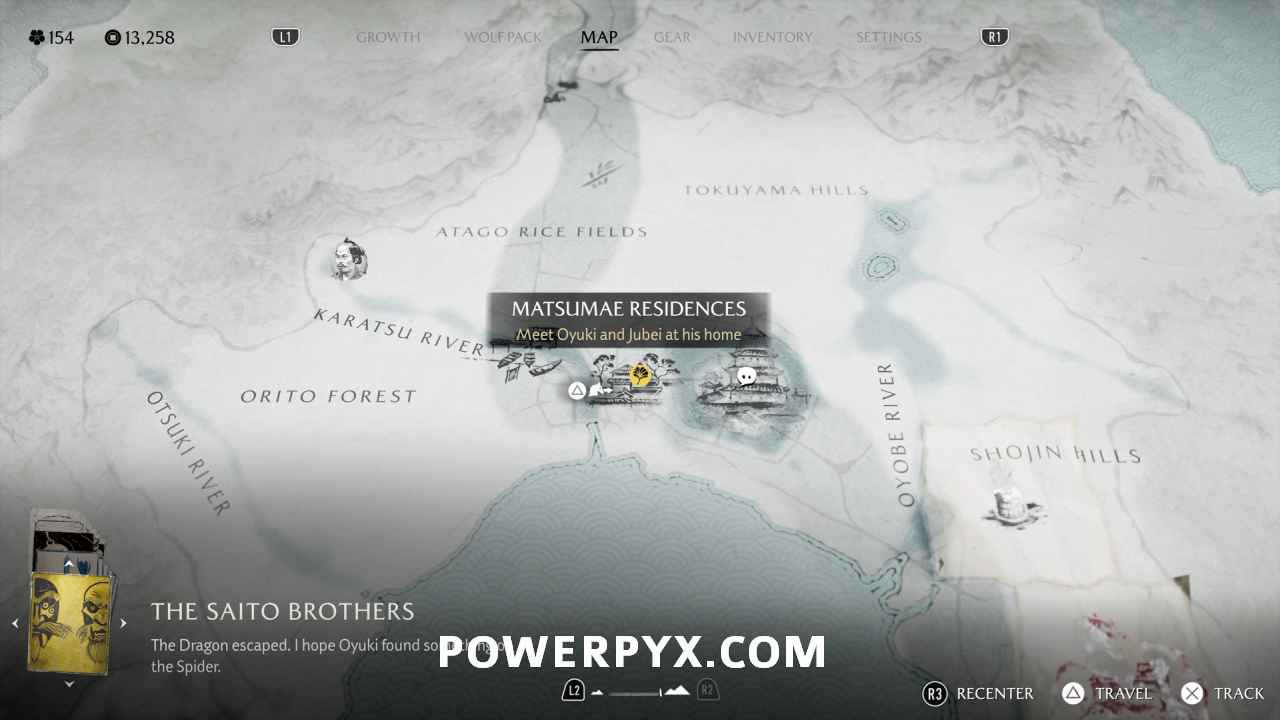

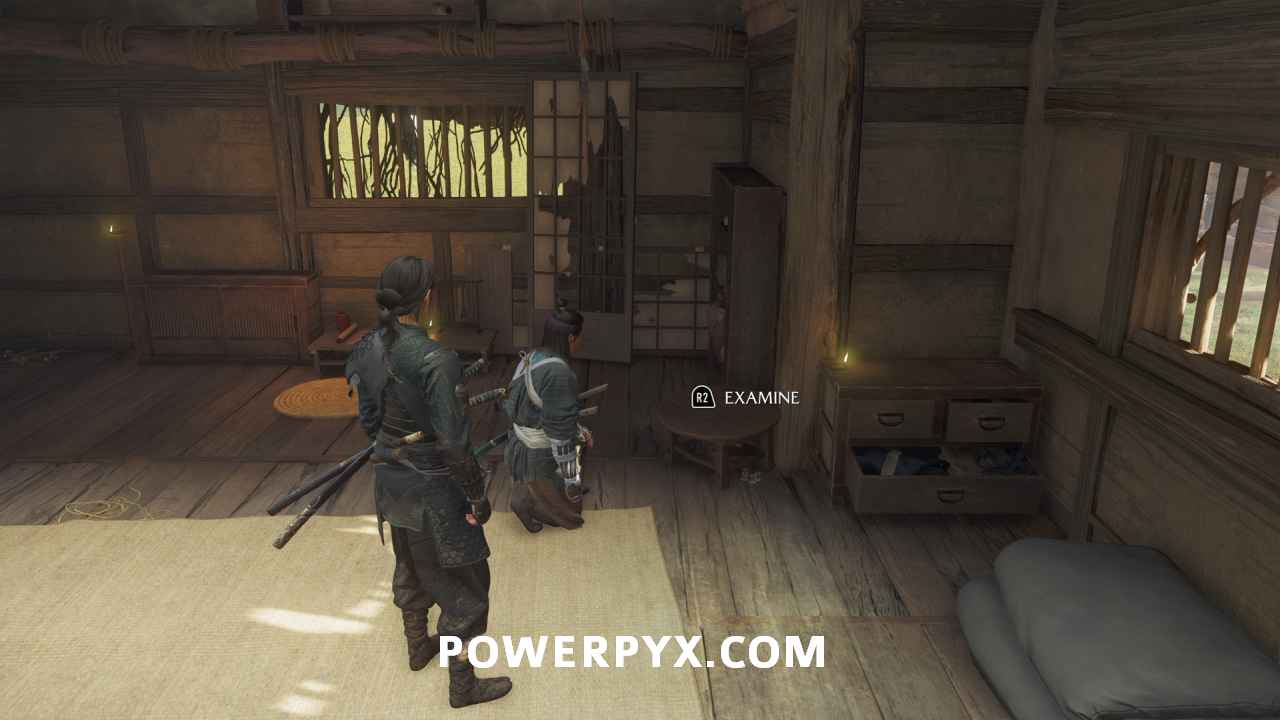
From the main gate, go through the first open gate on the left.


Head straight ahead and enter the house in front of you.
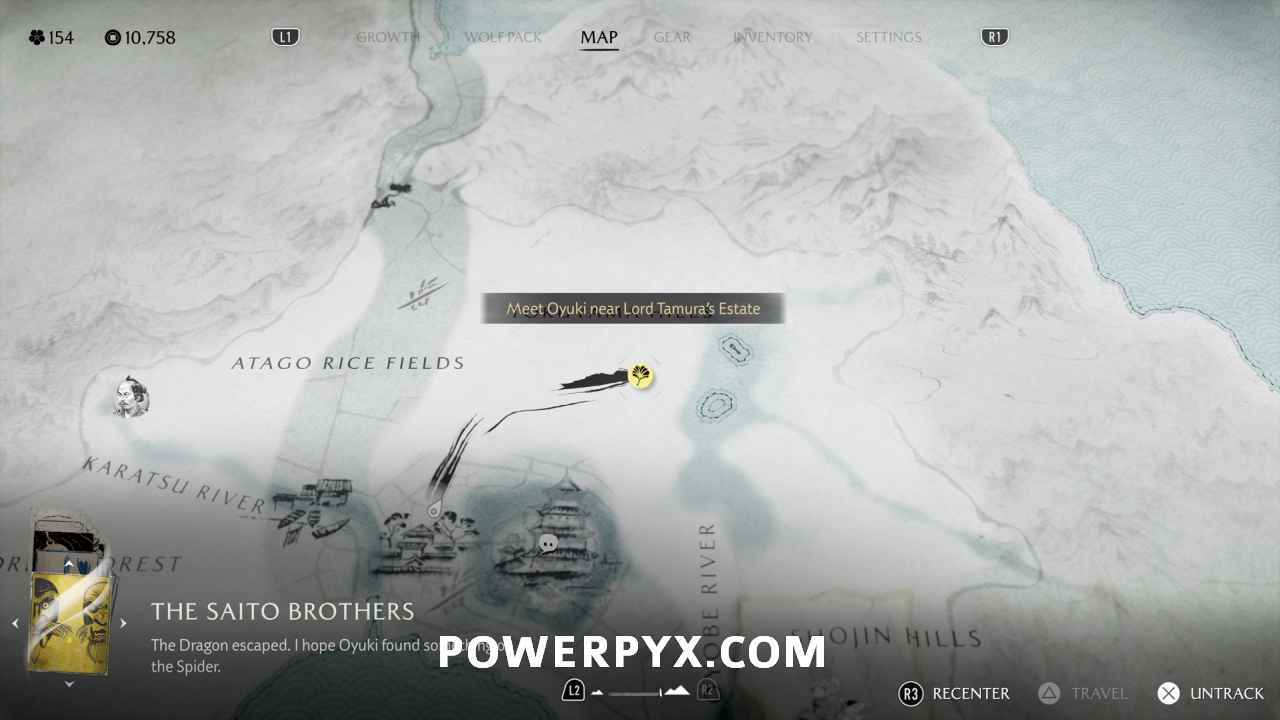
Meet Oyuki near Lord Tamura’s Estate
Leave Matsumae Castle and head northeast.
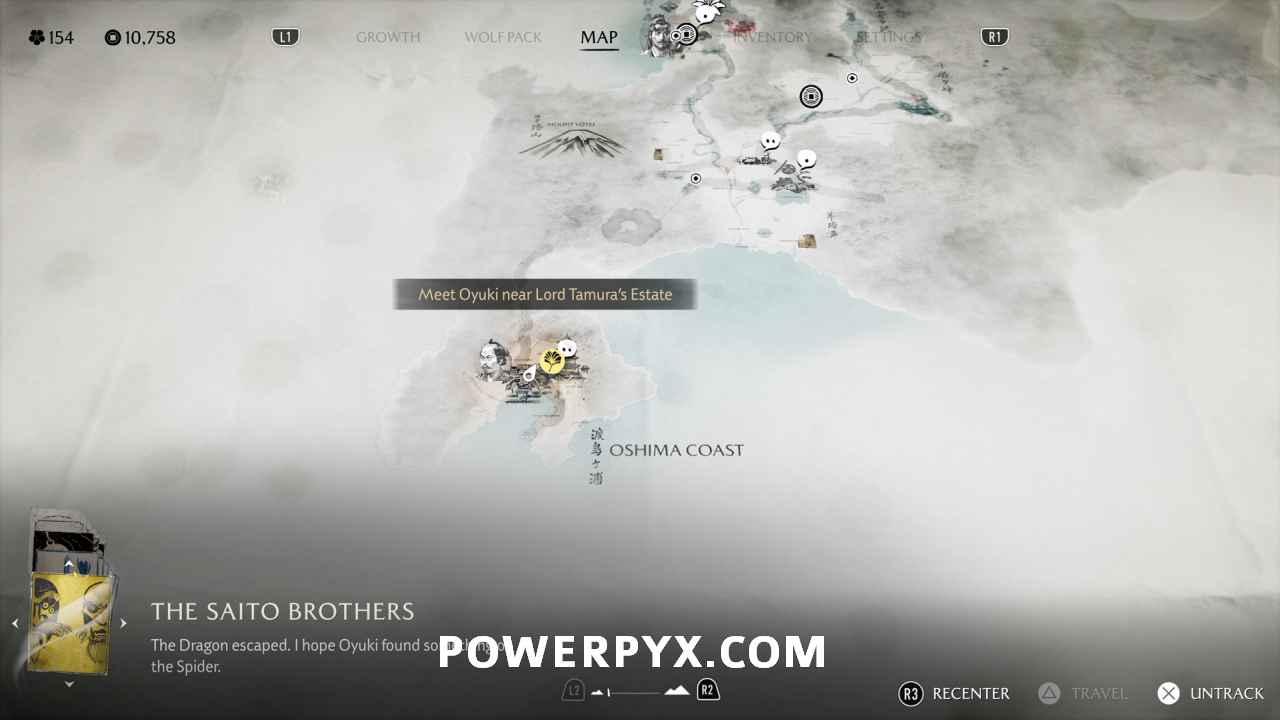
Speak to Oyuki
Find her on a hill just off the road.

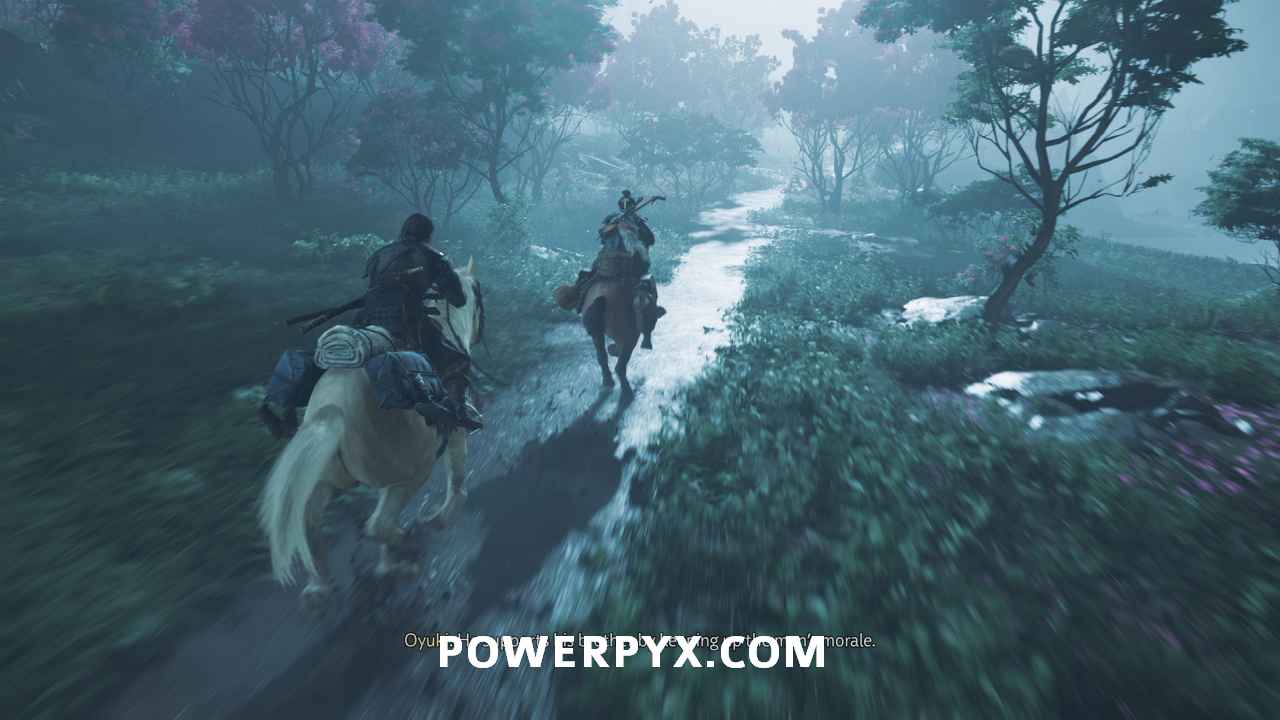
Follow Oyuki
Get on your horse and follow Oyuki northeast along the path. You dismount automatically when you arrive at your destination. This starts Sub-Chapter: To Catch A Spider.
Sub-Chapter: To Catch A Spider
Follow Kiku
Kuki leads you up a secret path in the rock face.
Survey Lord Tamura’s Estate
Use your spyglass and interact with the three circled locations. After that, the fourth spot pops up. Interact with that spot to continue.

Follow Kiku
Kiku leads you down a loose gravel slide and then across a fallen tree to reach the outer wall of the Estate.
At the top of the hill, interact with the short door in front of you.
After Kiku unlocks the short door, you get a dialogue option. Choose whichever one you like better.
Enter Lord Tamura’s Estate
Enter the short door.

Reach the garden
It’s worth saying that there is very low risk when going through this infiltration section. Even if you get discovered, enemies don’t really aggro other enemies unless they are very close together. Even then, they don’t call for reinforcements or anything. So don’t worry about getting caught. In fact, you can just fight your way through if you want.
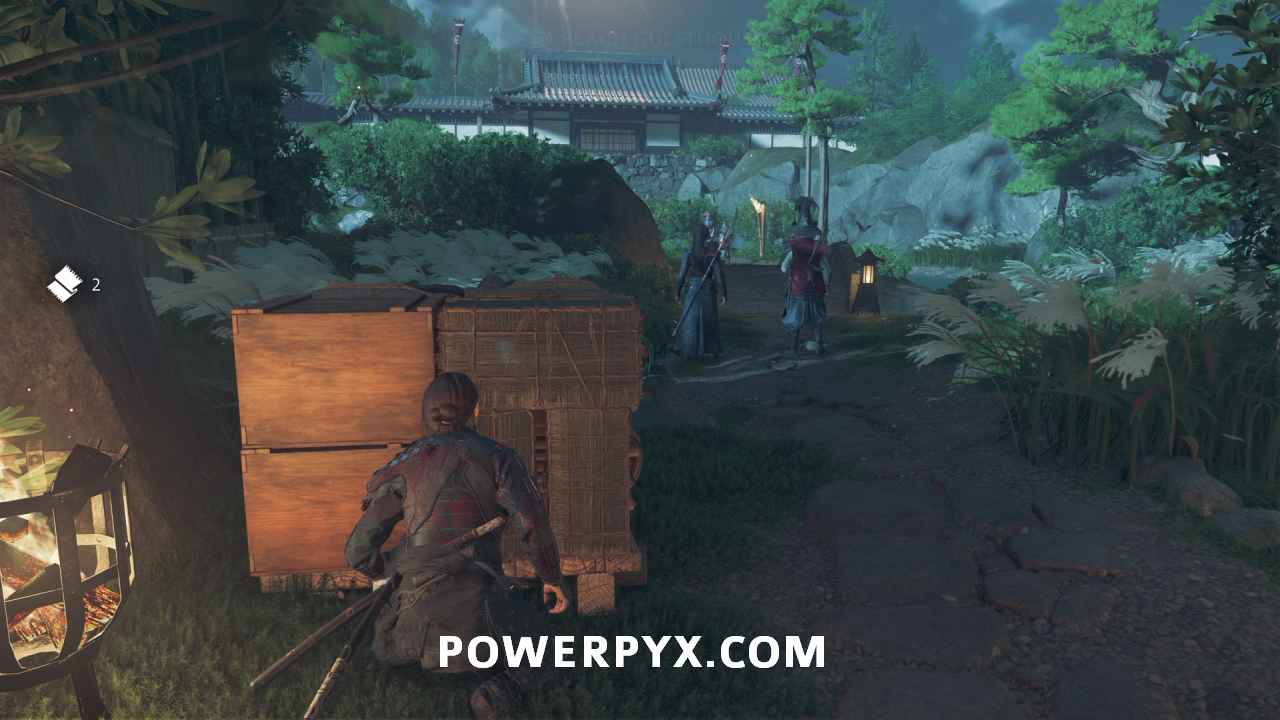
While crouched, go forward and take out the guard in front of you.
Head around the building to the right and take out the patrolling guard.
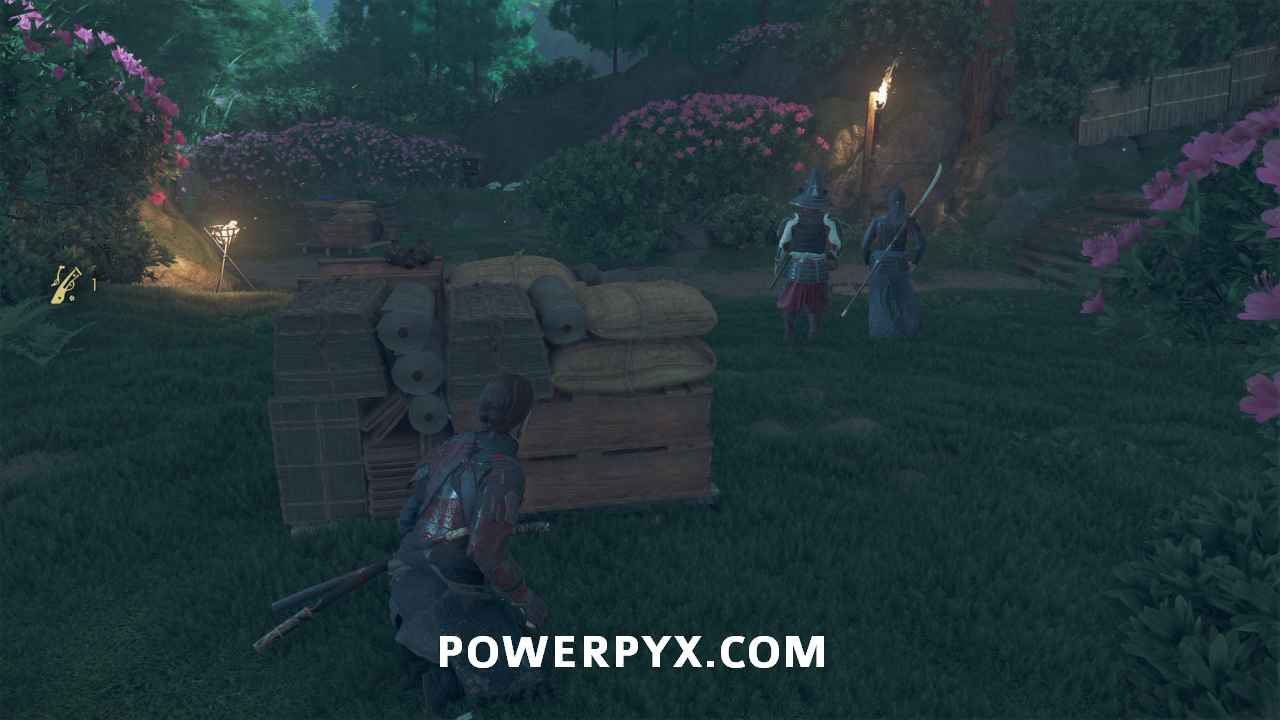
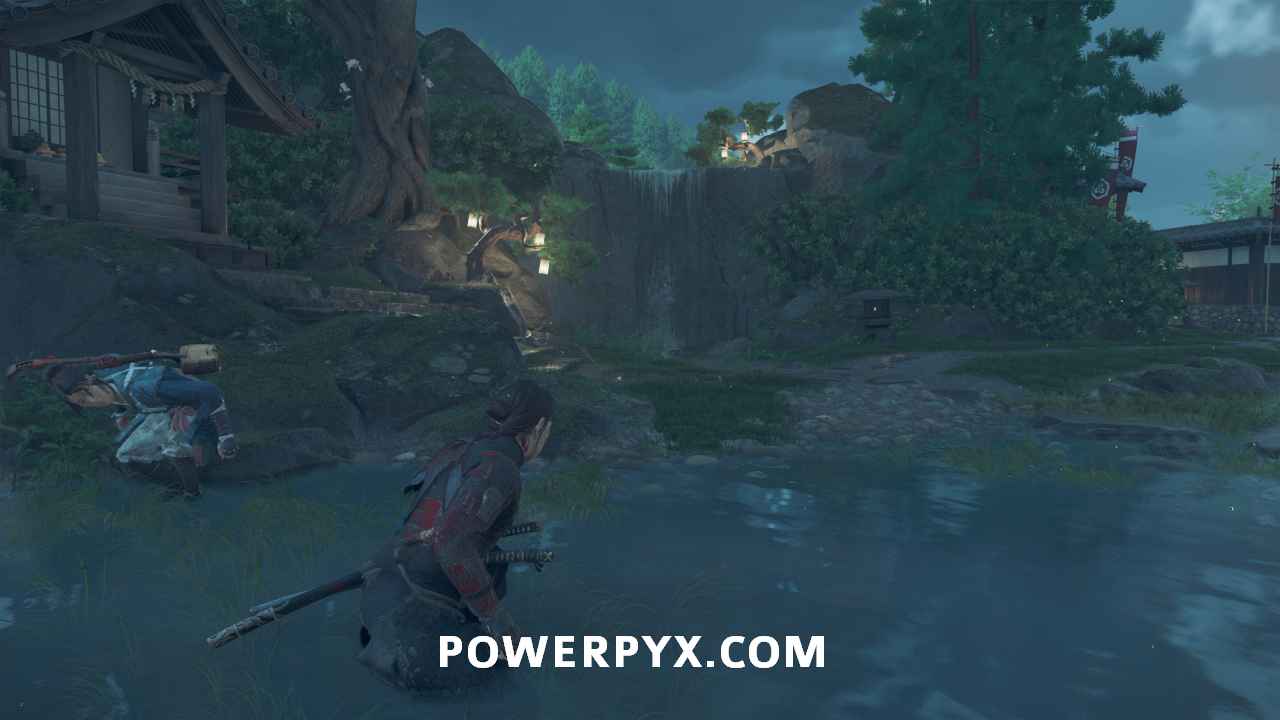
Approach the two guards at the campfire. Take them out when they both get highlighted. Oyuki will help you take out the second guard.
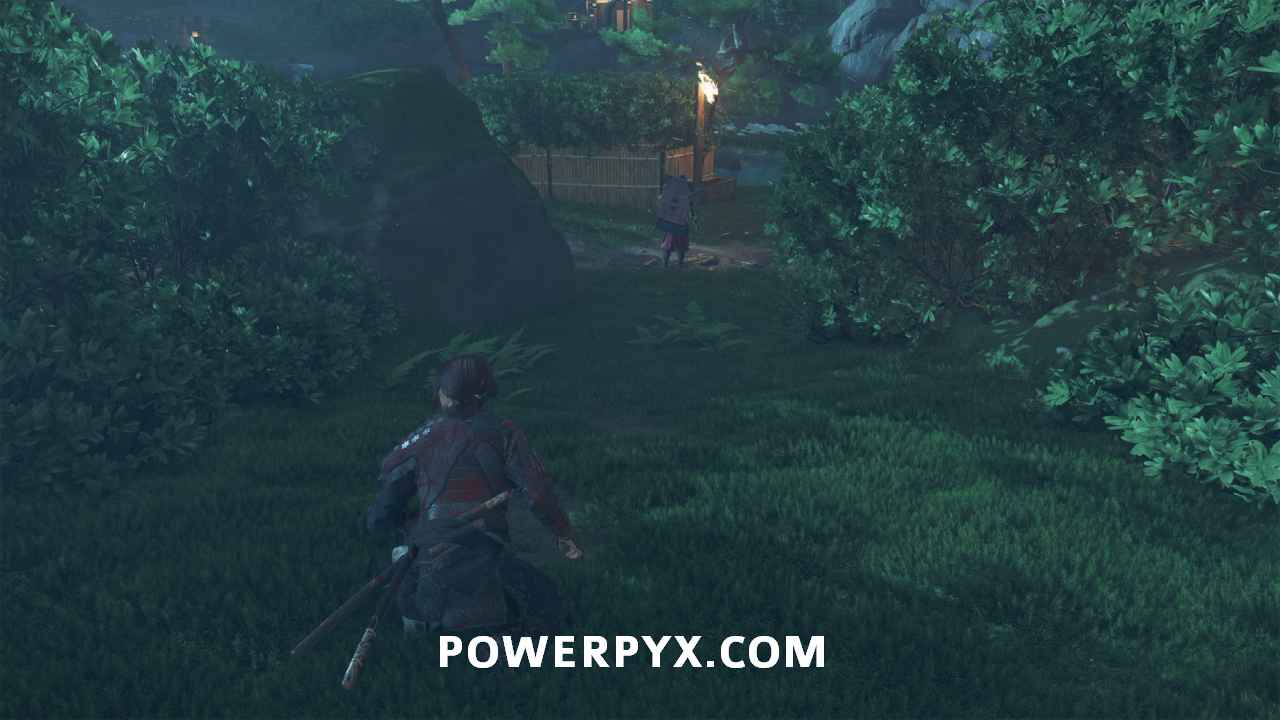
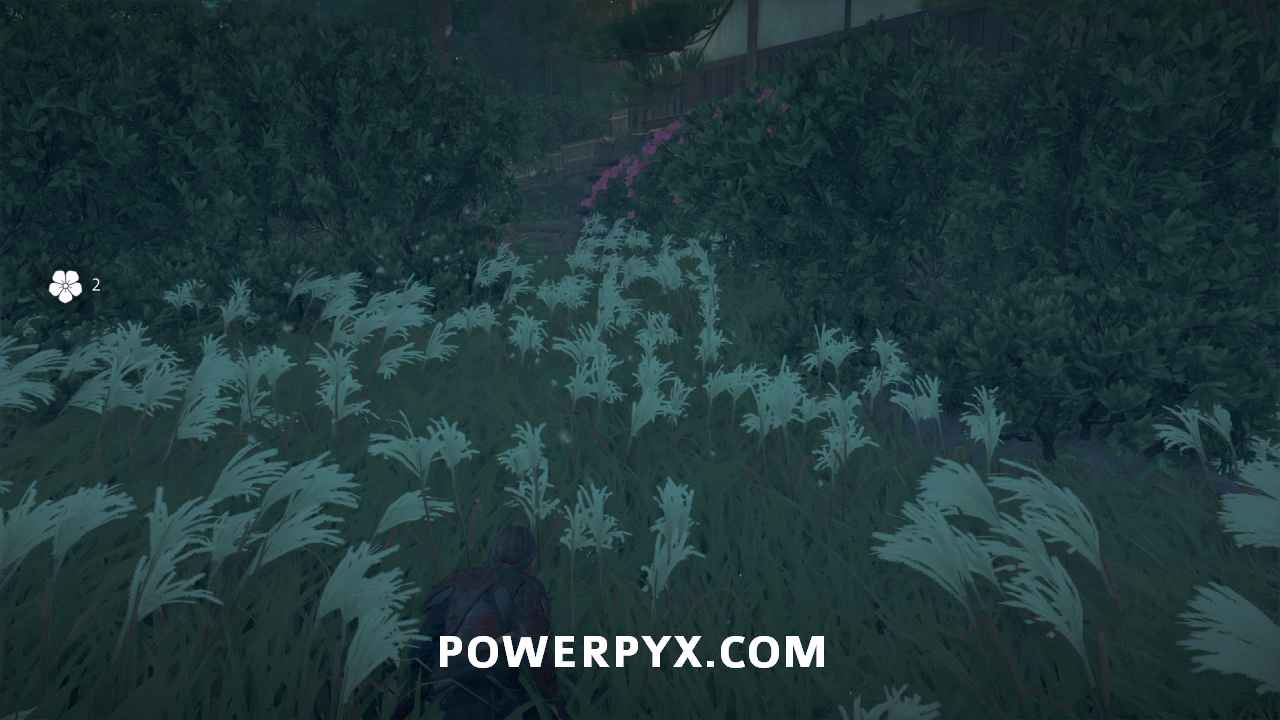
Go through the tall grass to the left of the supply building.
The solitary soldier on the left patrols past you to the left. Wait for her to go by before taking her out.
The path the previous soldier takes leads you down a road lined with bamboo fences. Follow that path.
Reach guesthouses
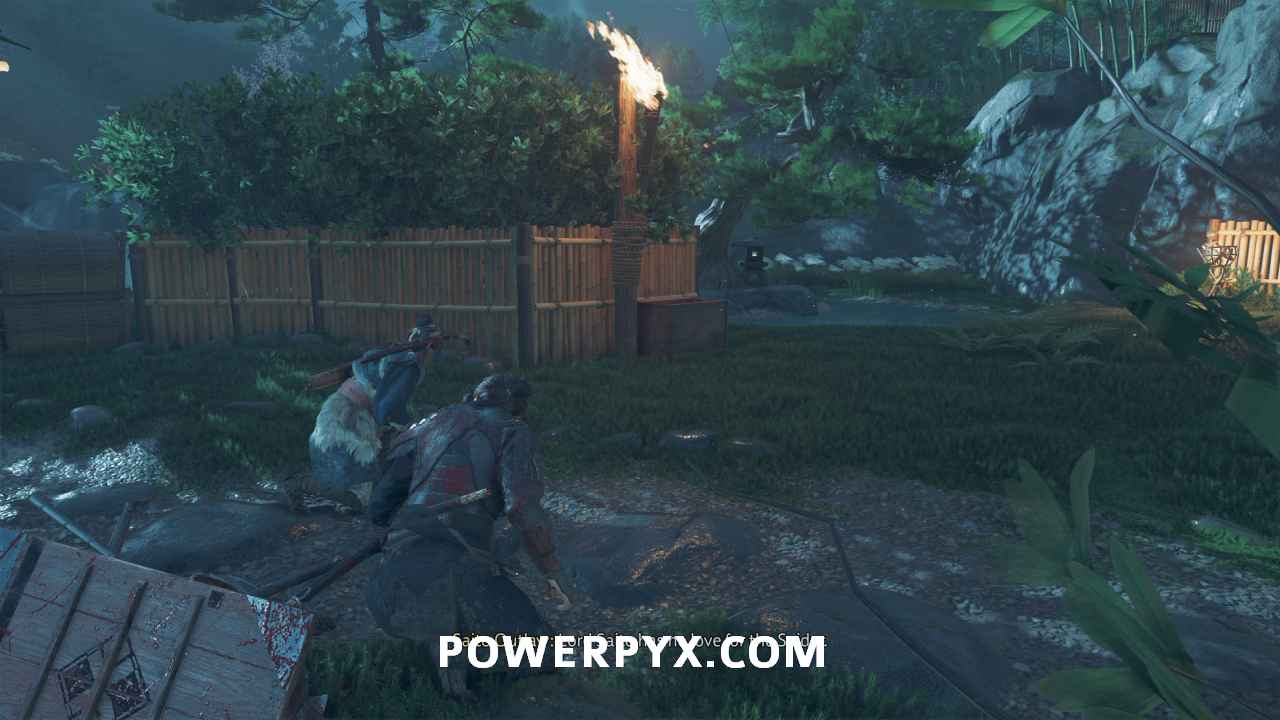
Two guards wait at the entrance to the garden. Take them out.
Follow the path to the left between the rocks and bushes. Take out the guard waiting at the paved path.
Cross the paved path to the right of the bamboo fence in front of you. This avoids a large group of enemies just around the corner to the left.
Then head left along the stream.

At the waterfall, go left between large bushes.
Two guards wait there. Take them out as well.
Then climb the stairs to your right.
Continue to guesthouses
Go left, utilizing the tall grass to avoid the patrolling guards.
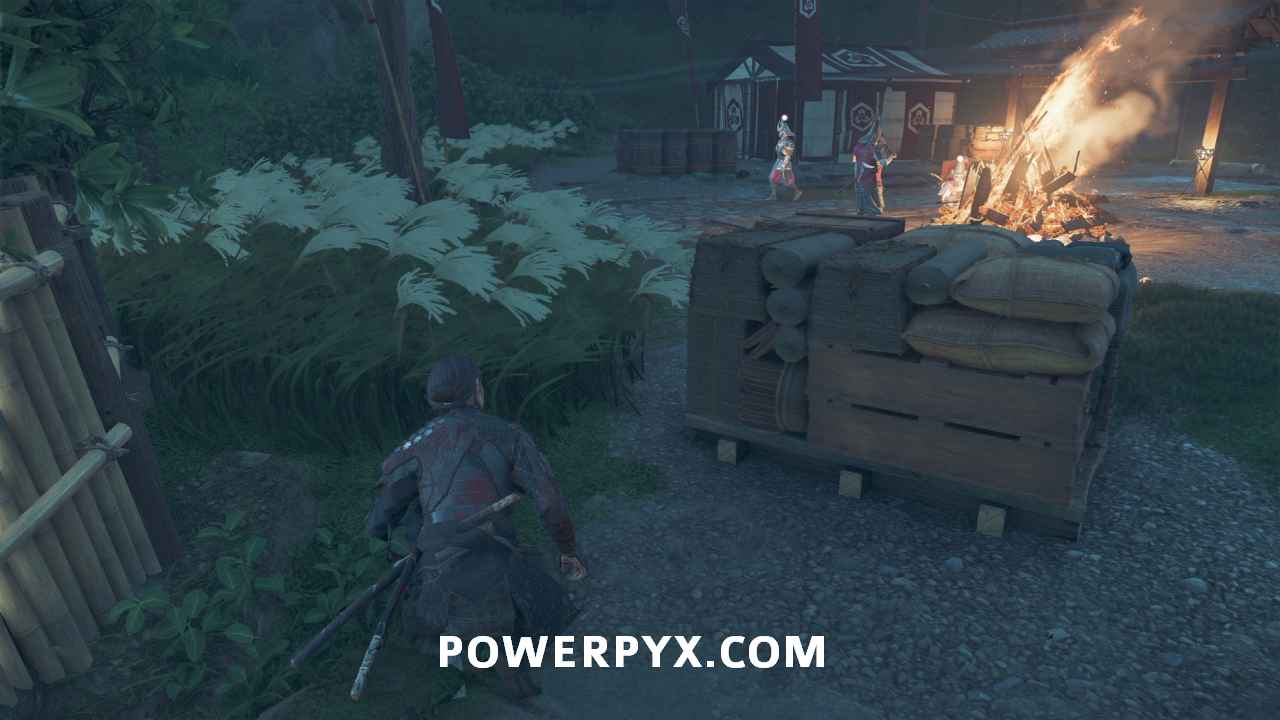
Go around the tent, sticking to the left of it.

This is where you are likely to be spotted. You can use sake bottles to distract guards while you assassinate them. However, getting seen has no negative consequence. Just take out the enemies if you are detected.
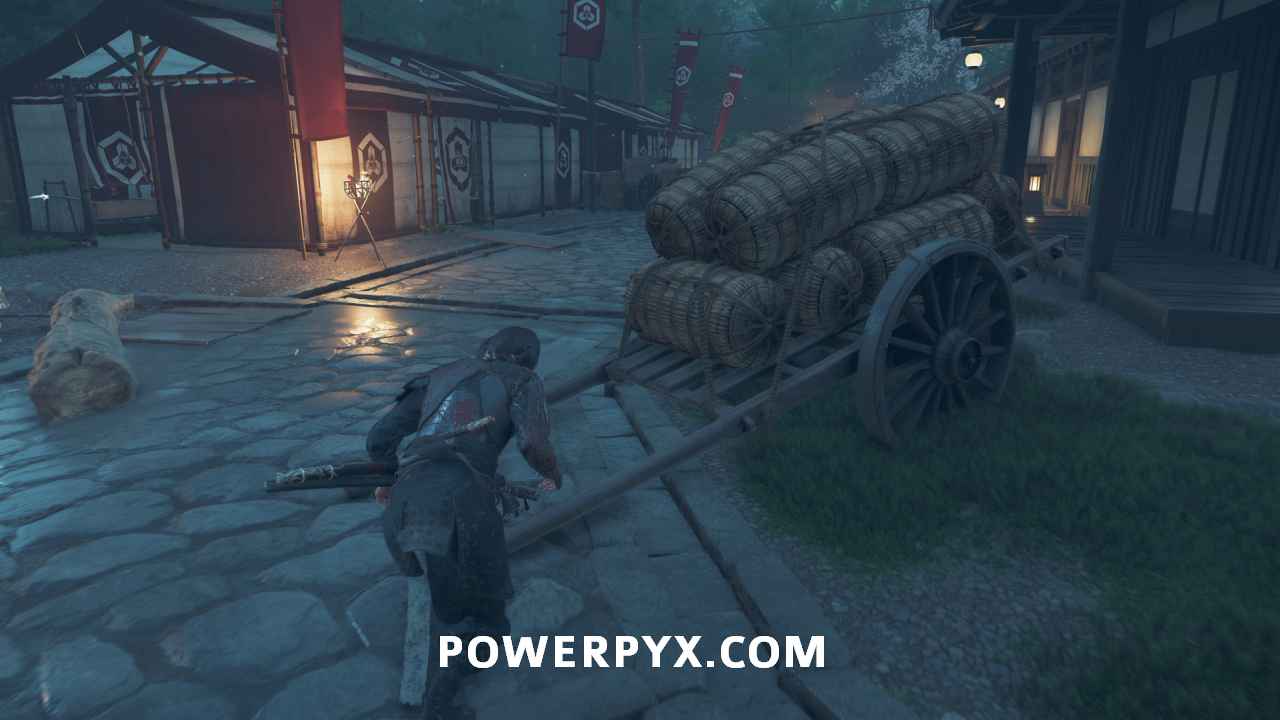
Follow along the left side, navigate through the tents until you reach a stream.

Boost Oyuki
Help Oyuki get up the short cliff right next to the shrine.
No enemies are in this area. So, head right into the building in front of you. This triggers a cutscene.

Follow Oyuki
Oyuki leads you to a gate. You cannot run during this scene.
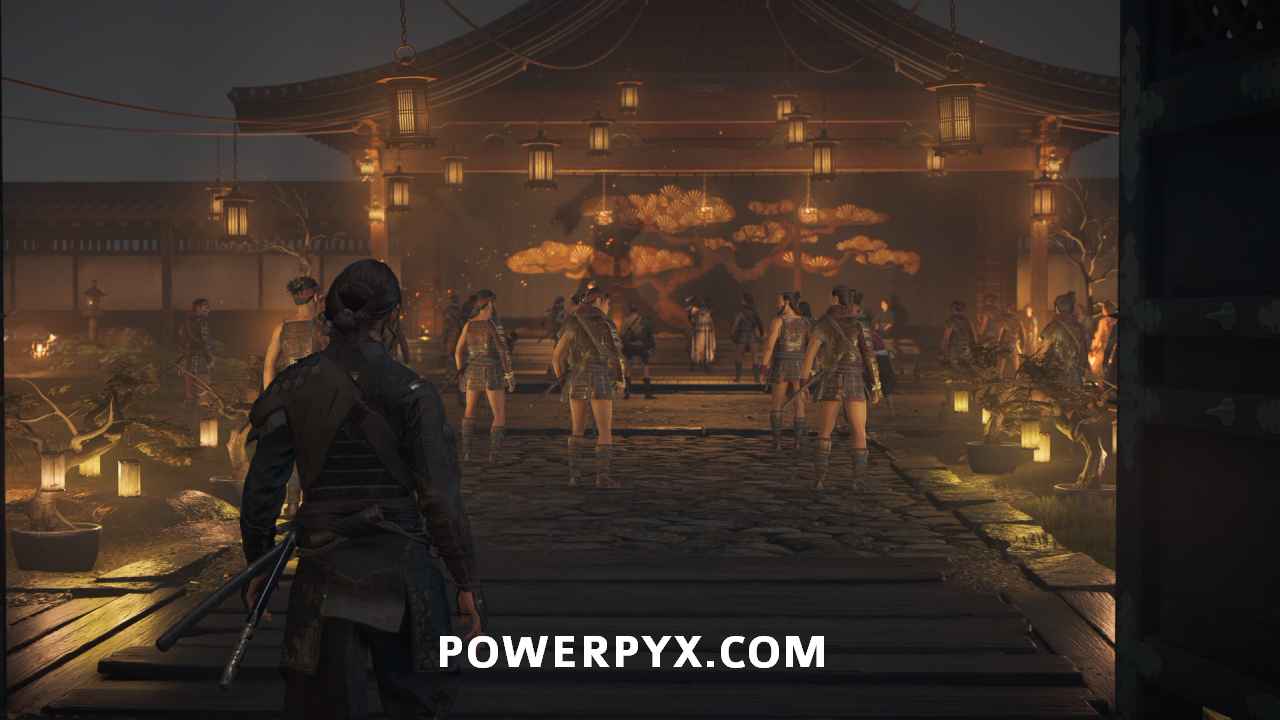
Confront the Spider
With the gate open, continue walking forward while the performance takes place. This triggers a cutscene.
Here, you unlock Ghost Stance. Press  +
+  to activate it. This gives you several lethal attacks in a row. With a boss, each attack delivers chunks of health damage but do not kill the boss on their own.
Defeat the guards and capture the Spider
Build up your Ghost Stance by chaining kill streaks. Hit seven consecutive kills to activate Ghost Stance again. It’s worth knowing that taking damage resets the kill streak.
In this case, the only way to deal damage to the Spider is to attack while in Ghost Stance. With that said, enemies keep spawning, allowing you to chain kills as much as you need.
In order to capture the Spider, you need to diminish his health to zero. This does not kill him. Once he hits zero, a cutscene triggers.
This yields the Onryo Armor V.
Meet with Jubei and Oyuki
Fast travel to the Matsumae Residences.
Pass through the first gate to your left. Then speak to Jubei and Oyuki.
A dialogue option appears during this cutscene. Choose whichever you like.
Follow Jubei
Jubei leads you into the castle. The jail is to the left. This triggers a cutscene.
Again, follow Jubei to the stables.
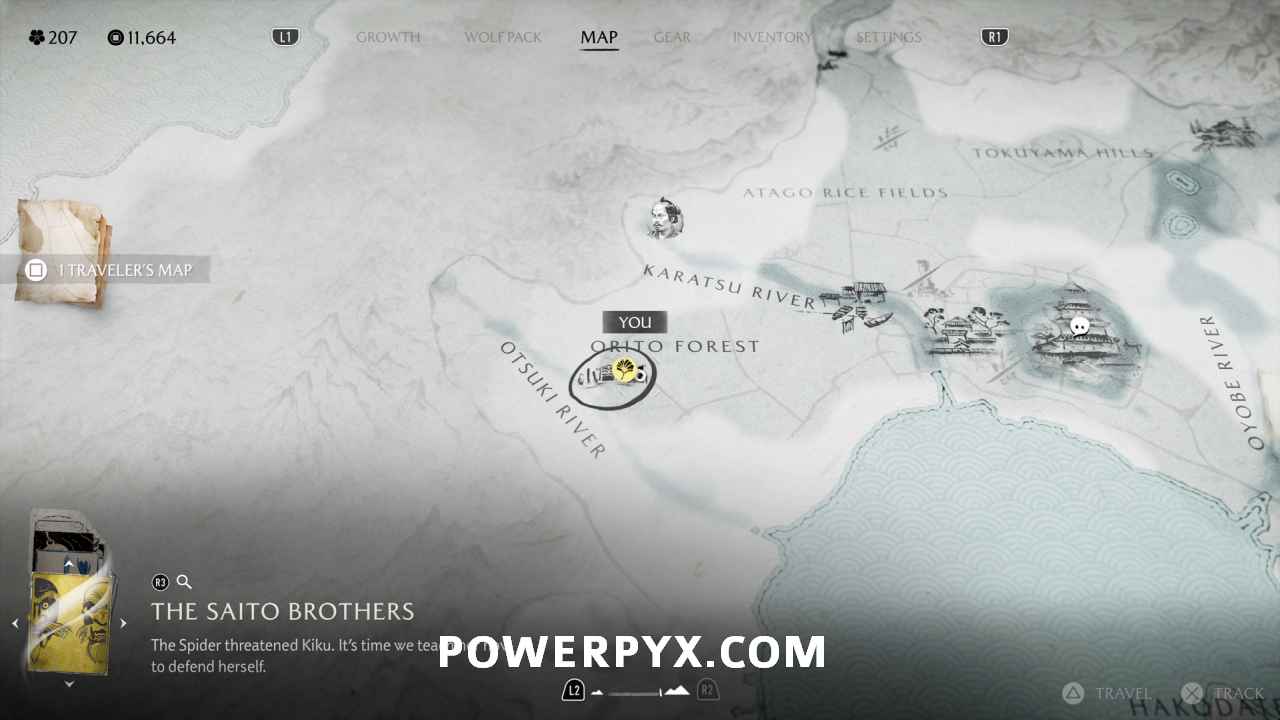
Meet Jubei and Kiku in Orito Forest
Head west to the Weeping Sakura Graveyard.
Interact with Jubei. This triggers a cutscene with a dialogue option. Choose whichever one you like. This starts Sub-Chapter: A Wolf’s Pack.

Sub-Chapter: A Wolf’s Pack
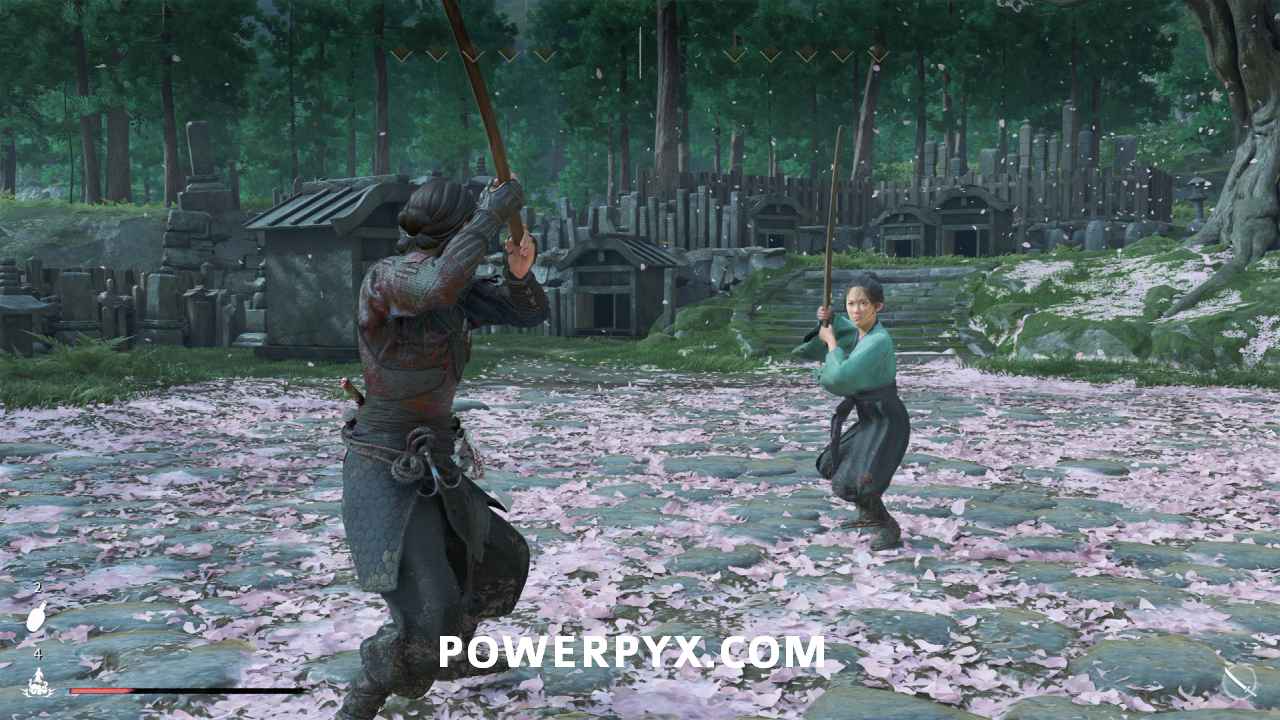
Train with Kiku
The first to get five hits wins. You can let Kiku win and just let the scene play out, if you wish. The results of this fight do not change anything in the quest.
Follow Jubei
Jubei heads west out of the graveyard. Follow him for a good while until you reach Oyuki.

Follow Oyuki
Oyuki leads you to a cliff nearby.
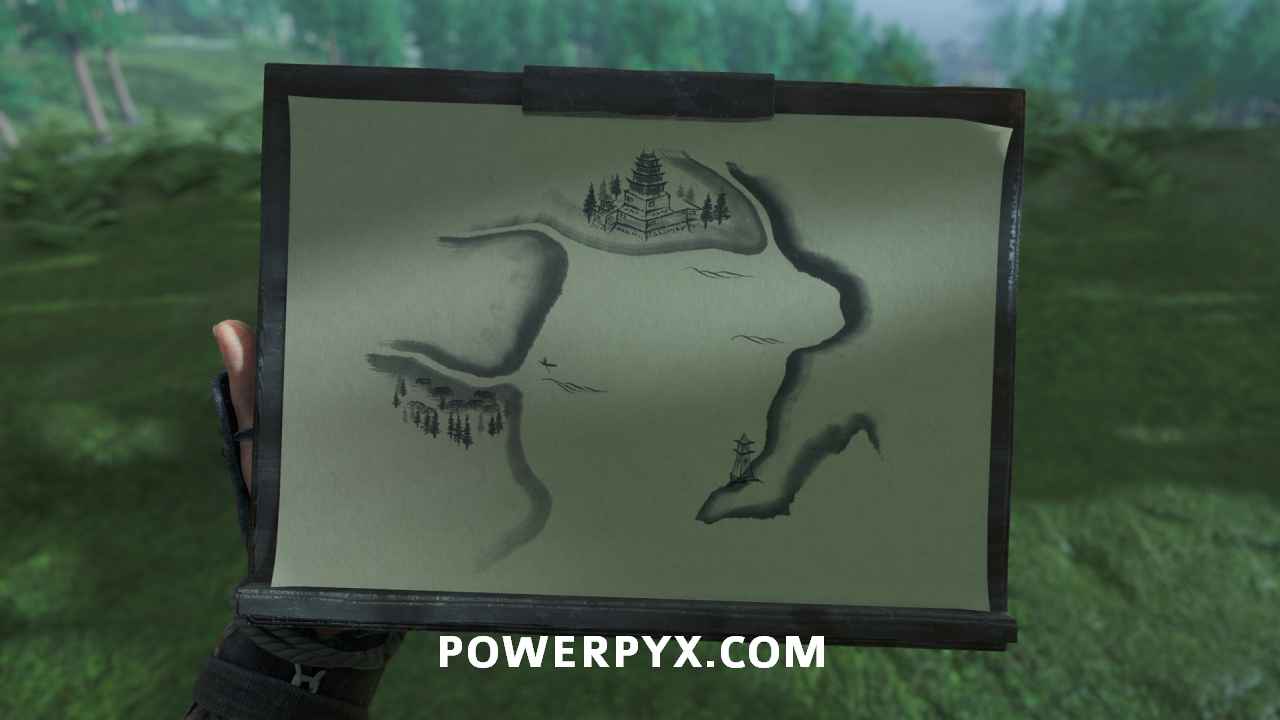
Survey the area
Pull up your spyglass and interact with these three locations:

Use the Touchpad to follow the drawing lines to create the map.

Search the forest for mushrooms
When you regain control, follow the path straight ahead. Grab a mushroom on the fallen log you come across.
Follow the janky path to the right of the fallen log. Find a mushroom a little ways up.

Look left to see two more plots of mushrooms in a line. Pick them both up.

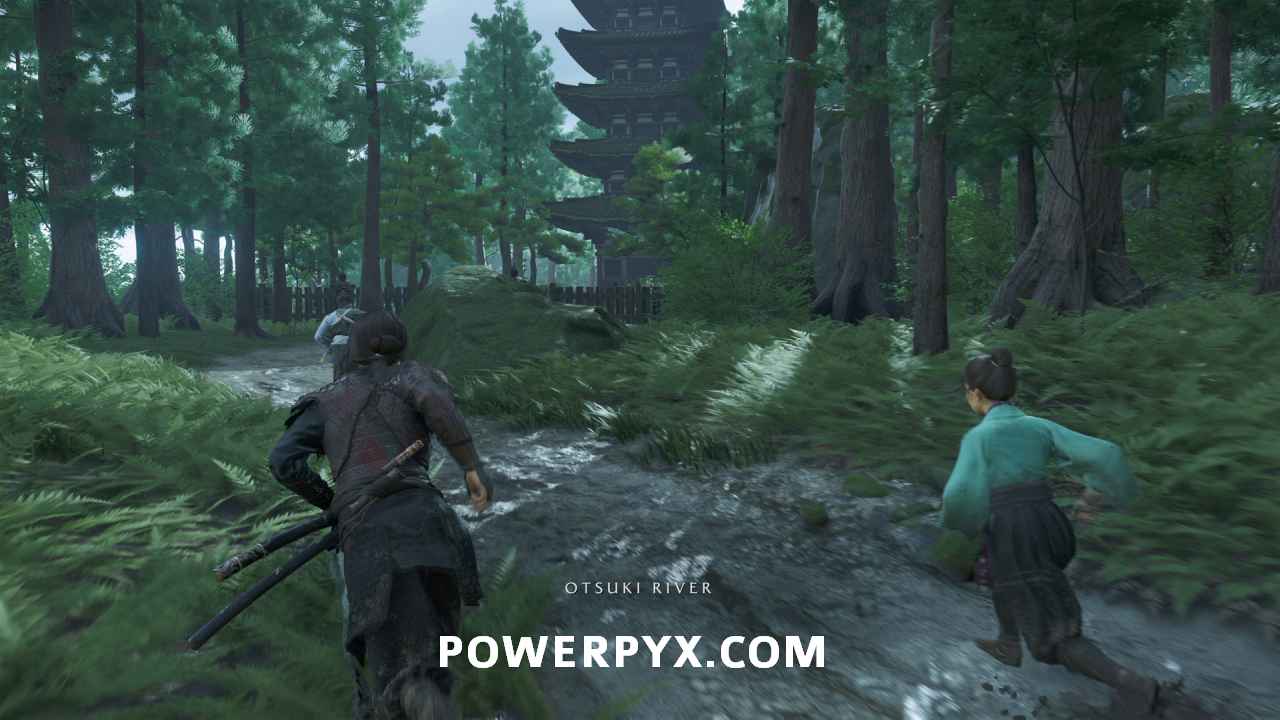
Reach the temple
Follow the stairs a little bit to trigger a cutscene.
Follow the wolf
The wolf leads you down a path and across a river.
Follow it further to find a cave with a bamboo gate on it. Pull down the gate.

There’s a dialogue choice in this cutscene. Choose whichever you like.
Return to Jubei and Oyuki
Go straight ahead and cross the fallen tree.

Choose whichever dialogue option you like.
Follow Jubei
You meet Jubei and Oyuki on the other side of the fallen tree. Follow Jubei up the mountain.
Soon, he leads you to the temple and then to a campsite.

Build a fire
Interact with the campfire. If you want, you can skip building the fire and cooking the mushrooms by holding Cross during each event.
Then use the left stick to aim the flint and swipe up on the Touchpad to send out sparks to the tinder.
Then cook the mushrooms, flipping them with when they start to shrivel.
After eating, you play a song. Choose a dialogue option in each of the three scenes you see.

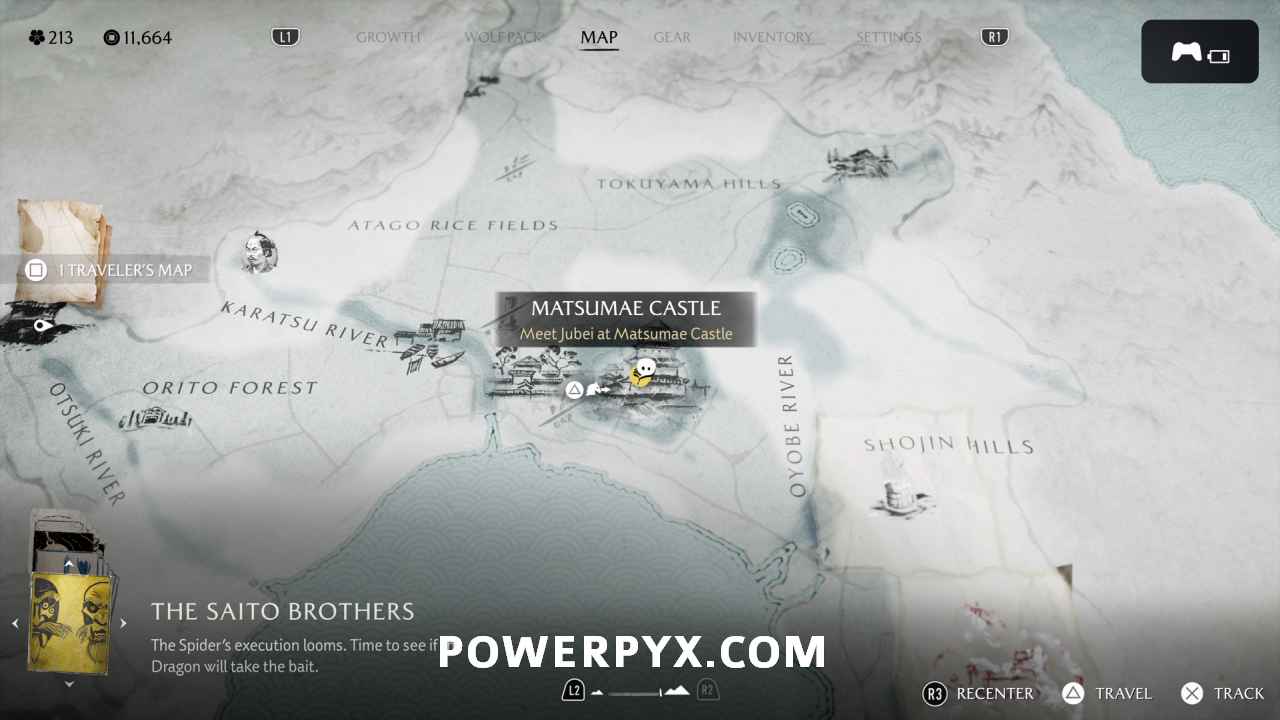
Meet Jubei at Matsumae Castle
Fast travel to Matsumae Castle.

Head inside, then head right until you find the ramp that goes up into the castle.
Follow the ramp up and to the right.

At the top, turn left and head into the war room ahead of you.

Choose a dialogue option during the cutscene. The choice does not affect anything. This starts Sub-Chapter: The Reckoning.
Sub-Chapter: The Reckoning
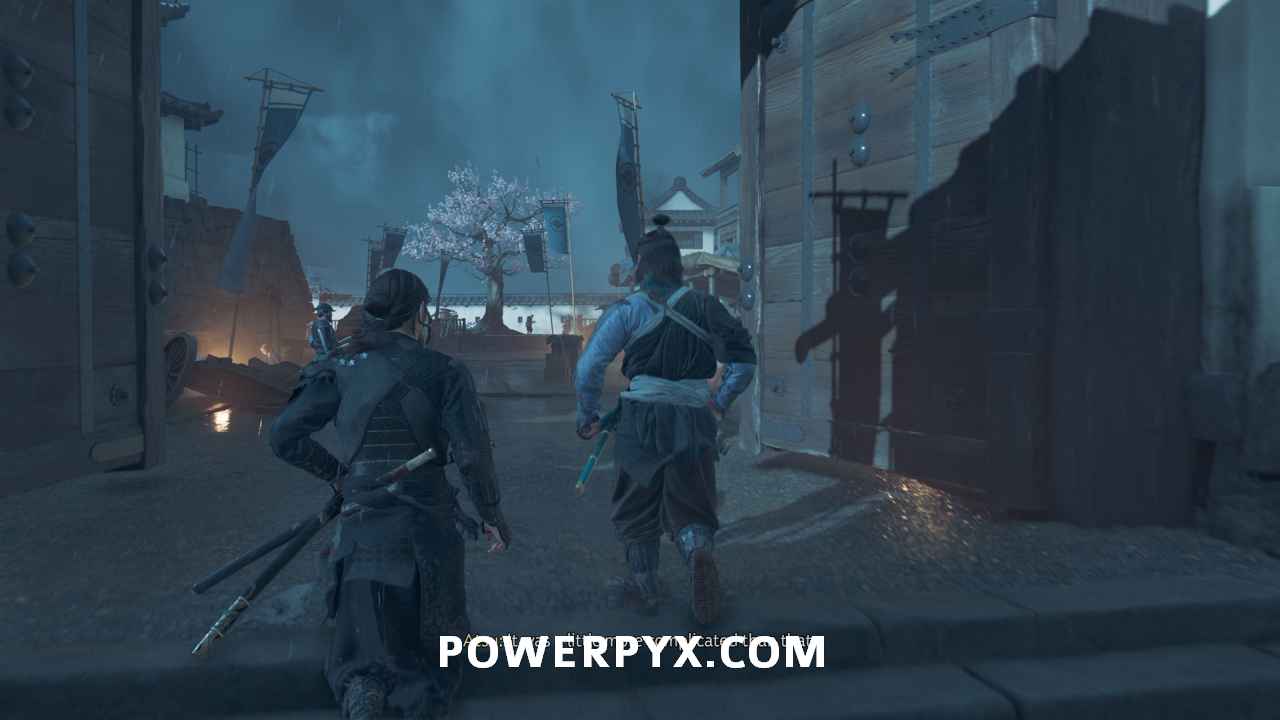
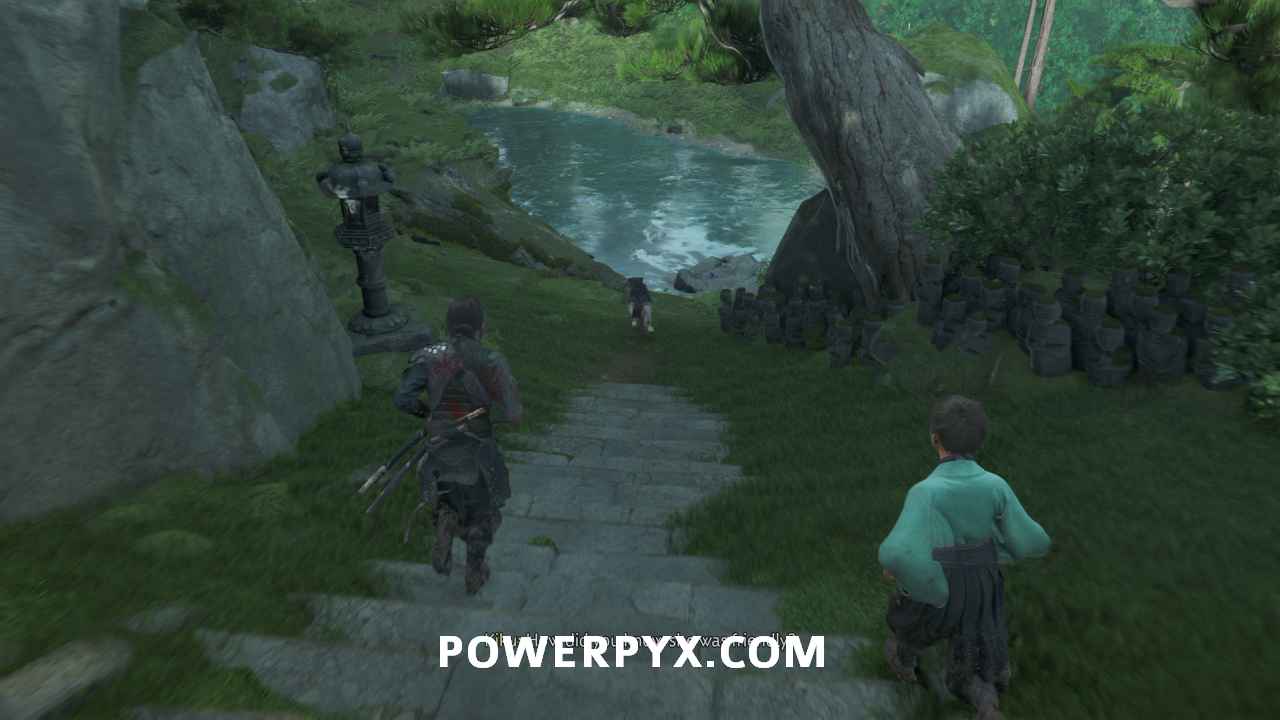
Escort the Spider to the beach
Follow Jubei as you lead the Spider out of the castle. Once outside the castle walls, you meet up with Oyuki.
Together, all of you make the trek to the beach.
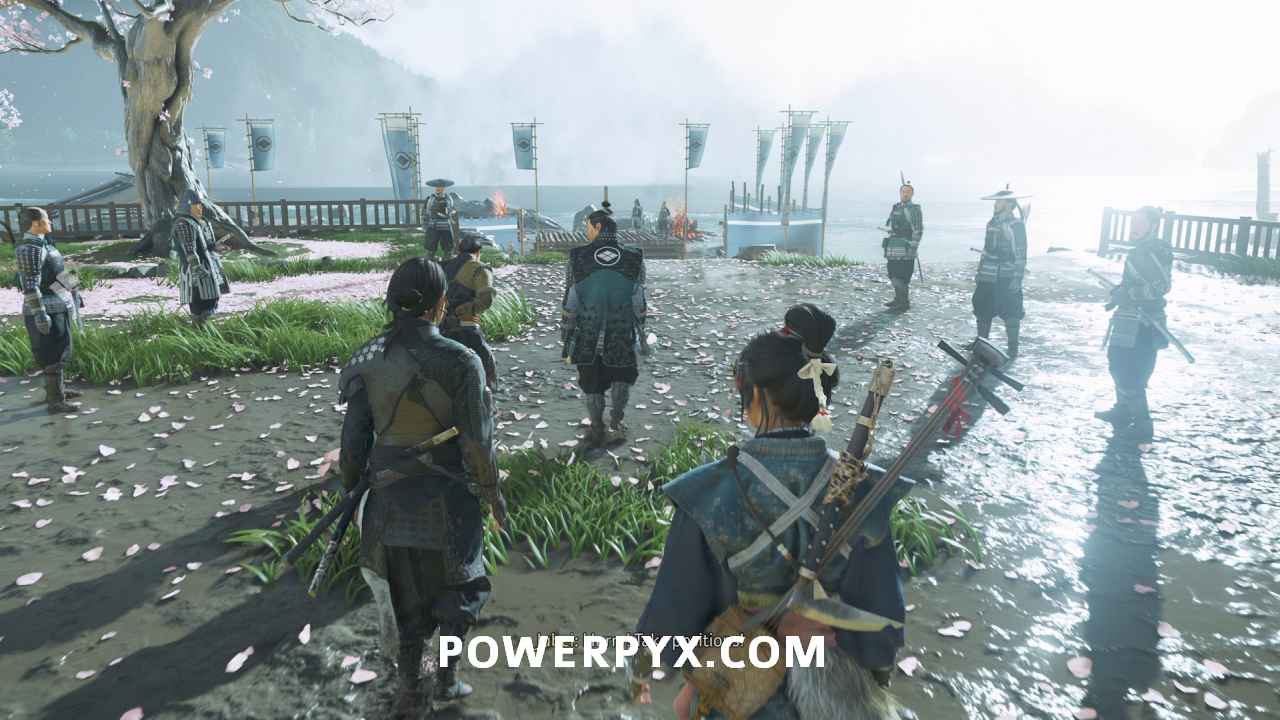
When he gets tied up, step out onto the beach.
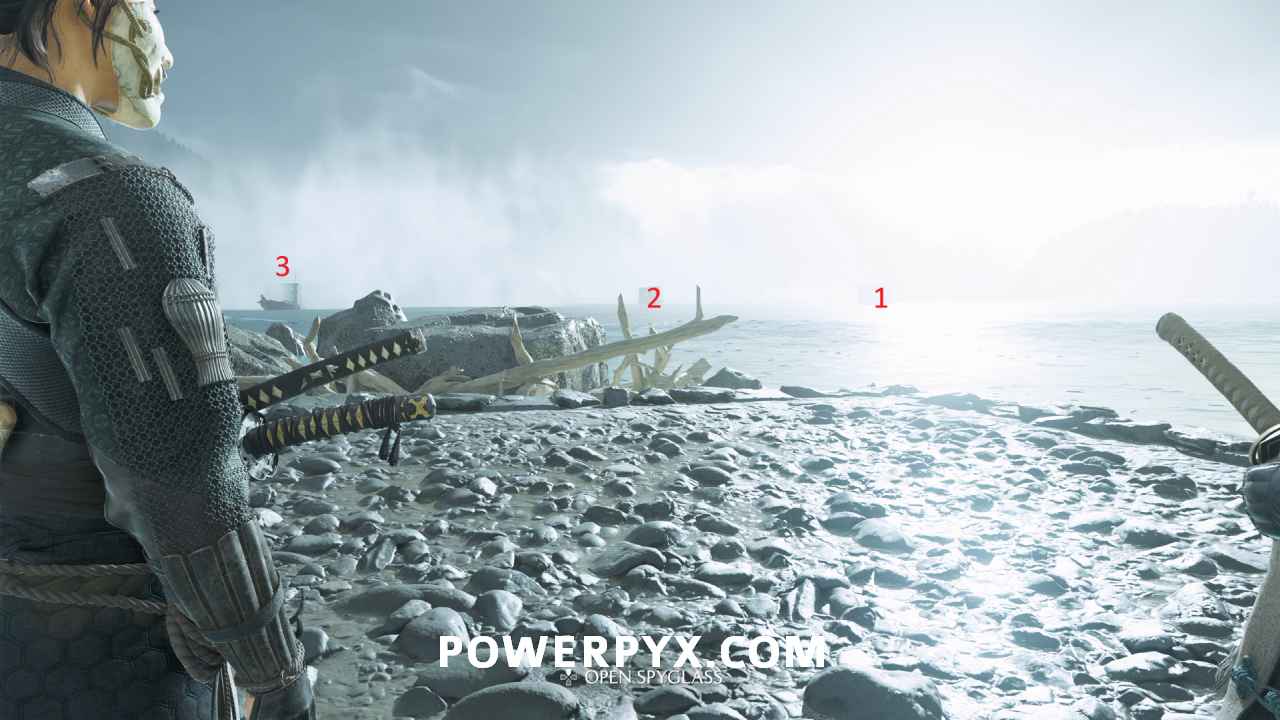
Survey the Dragon’s ships
Interact with the three spots in this order.
Kill the Dragon
After the cutscene, take down the Dragon.
During this fight, the Spider takes shots at you from afar. Keep him in the background so you know when he fires at you. This is shown with a red warning highlight over his weapon.

Other than that, just watch out for quick shots that the Dragon takes. He also shows a red warning highlight over his weapon when he goes to shoot at you.
Pursue and kill the Spider
Feel free to fight your way back up the path and into the castle. Otherwise, you can just run back in and reach the courtyard.
Defeat Saito’s forces in the courtyard
You eventually reach the courtyard where the gate is closed. Defeat all of Saito’s men in this area to progress.
Open the courtyard gate
Approach the gate, and incoming fire blows it up.
Fight to the castle to save your family
Take out enemies as you climb up the path.
Defeat Saito’s forces in the courtyard
Clear out the enemies in the courtyard.
Open the fortress gate
Interact with this gate to open it. This triggers a cutscene.
Find your family
You regain control on the path to the temple. Follow it.
Along the way, you get dialogue options to call for Oyuki, Jubei, or Kiku. Choose whomever you wish.
Speak with Kiku
You finally find Kiku where you camped out the night before.
Escape Oshima Coast
Ride north along the path.
Kiku prompts a couple dialogue options. Respond to them however you like.
Return home
You come out of a cutscene just outside of your home. Ride to it.

Accompany Kiku to the graves
Kiku runs up to the tree. Approach her.
Follow Kiku
Go with Kuki into the house.
When you wake up, head outside to find Kiku by the tree.
This finishes The Saito Brothers in Ghost of Yotei. This also completes Chapter 2 – The Onryo.
NEXT: Call of the Hunt (if you defeated the Yotei Six) -or- The Yotei Six / The Oni / The Kinsune / The Saito Brothers
For all other Quests refer to Ghost of Yotei Walkthrough.
Leave a Reply