
Marvel’s Wolverine contains 68 Material Crate Locations. Finding all Material Crates unlocks the Crate Collector trophy.
You can also equip the Adaptations “Crate Finder” and “Whisky Finder” to mark collectibles from a great distance and through walls. To make it even easier use the visual accessibility setting that marks collectibles under Settings > Visuals > Collectibles and Interact Shader.
Nothing is missable, you can still get everything through chapter select after the story by interacting with the bed in the Nightmare Cabin. The Collectible Tracker in the pause menu and Nightmare Cabin will show how much you’ve found.
Collectibles Overview:
Homecoming
Material Crate #1-2
Objective: Bring the supply crates to Walter
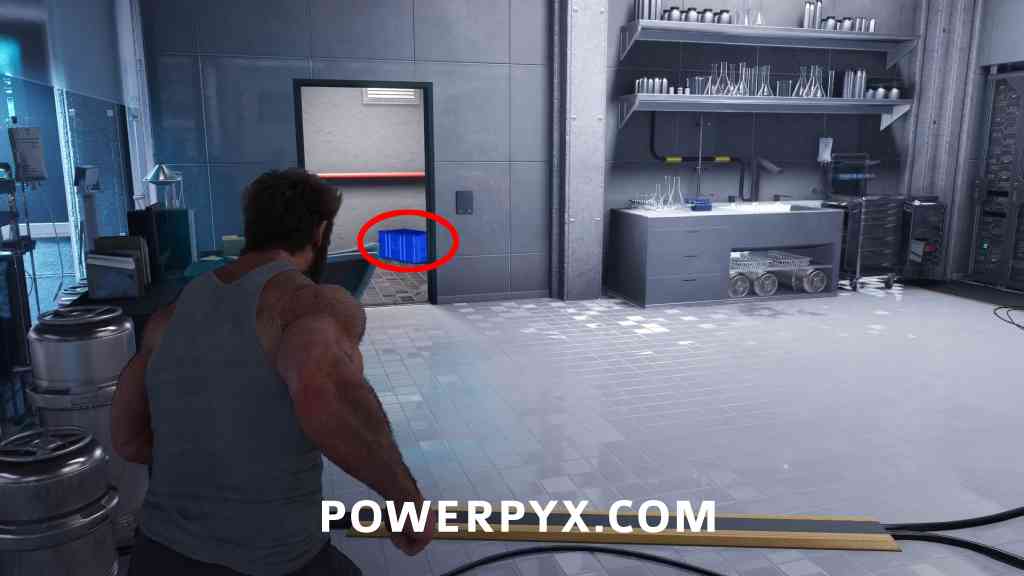
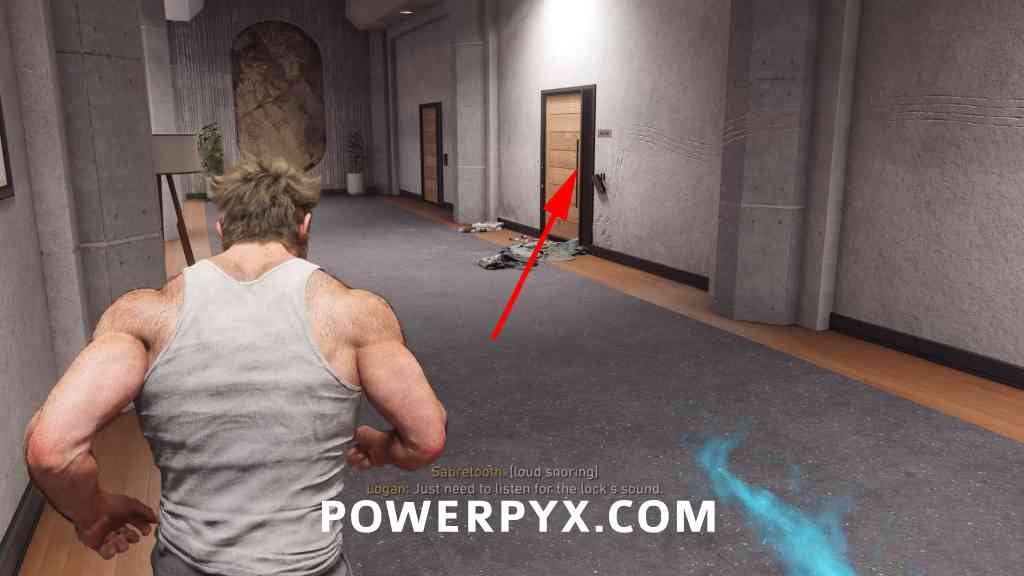
Unmissable and required for story progression. You will be tasked with bringing the supply crates to Walter. The first one is behind him, in a storage room in the lab. Give it to Walter, then you find the second one in Victor’s room upstairs by following the scent.
The One That Got Away
Material Crate #3
Objective: Track the red-haired mutant
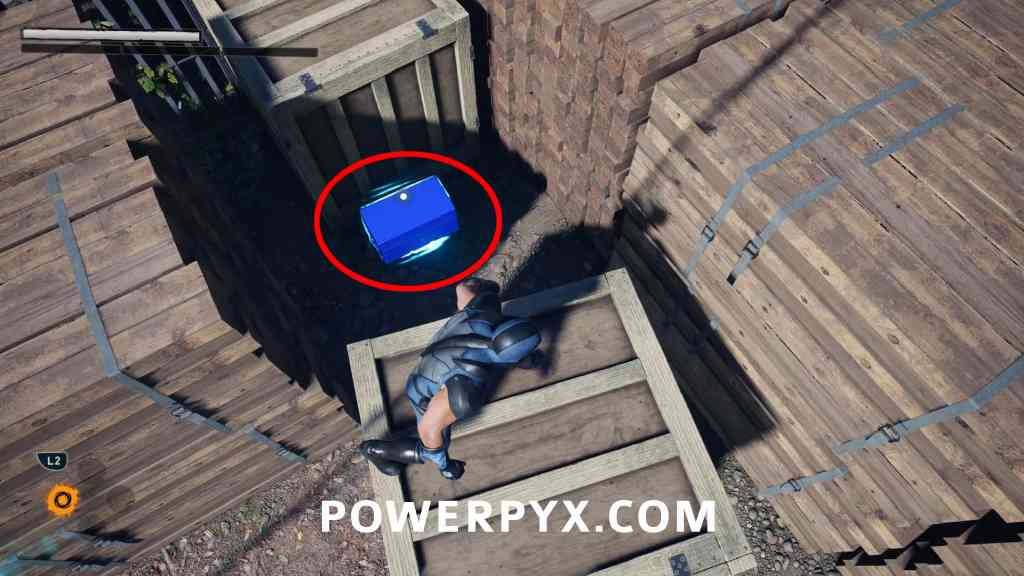
After riding the zipline and fighting 2 reavers, turn around and go back to the fence you ziplinned over, next to the gate you’ll see some stacks of wood, the crate is hidden between them.
Material Crate #4
Objective: Track the red-haired mutant
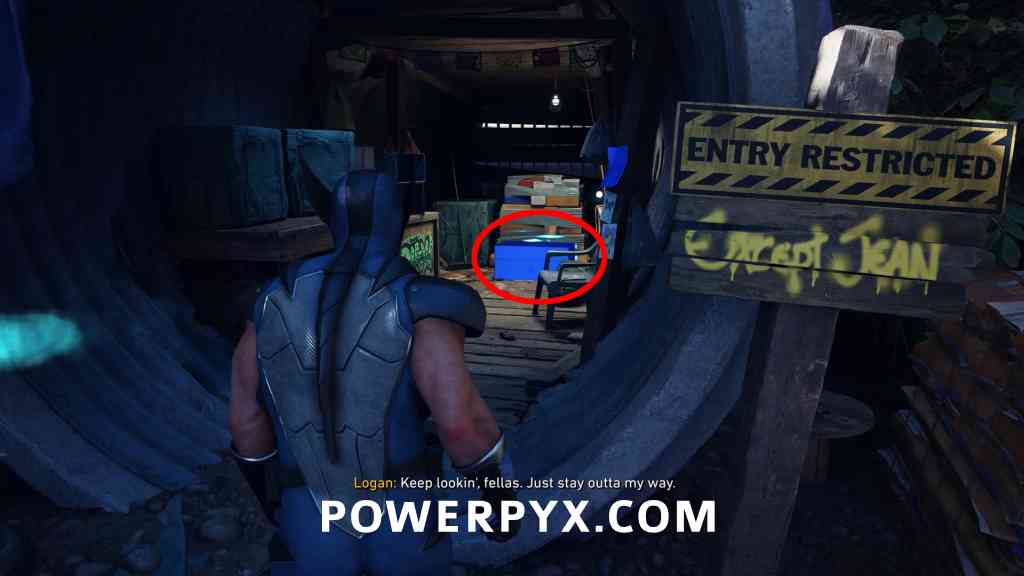
Shortly after the previous crate, keep going until you climb to another building with a lone reaver below. Smash through the glass, drop down to ground level to see a small boat, next to the boat you will find this crate in a short tunnel.
Material Crate #5
Objective: Track the red-haired mutant
You will reach a river where purple roots appear to a nightmare door. Follow the river to the right side, you will see it pulsing in the distance.
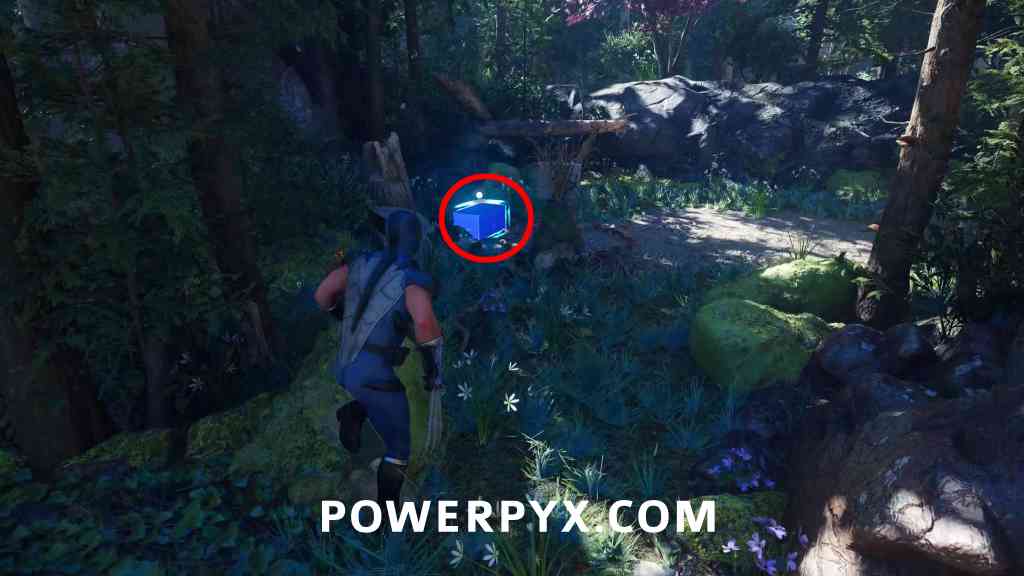
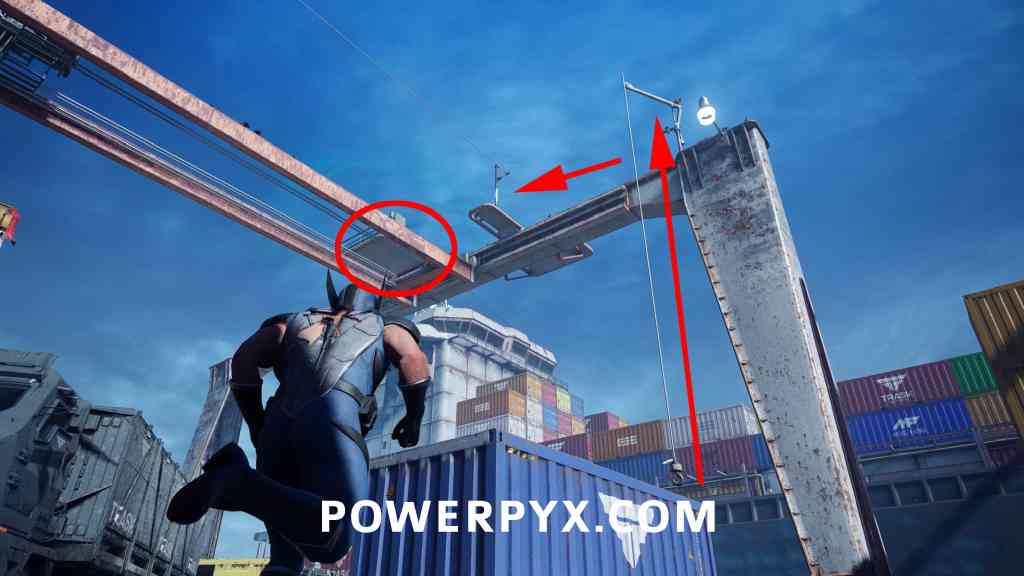
Material Crate #6
Objective: Search the trucks for mutants
Before opening the 2nd container in the docks area, next to it is a blue container and a hook you can ride up to find the crate.
Raise Some Hell
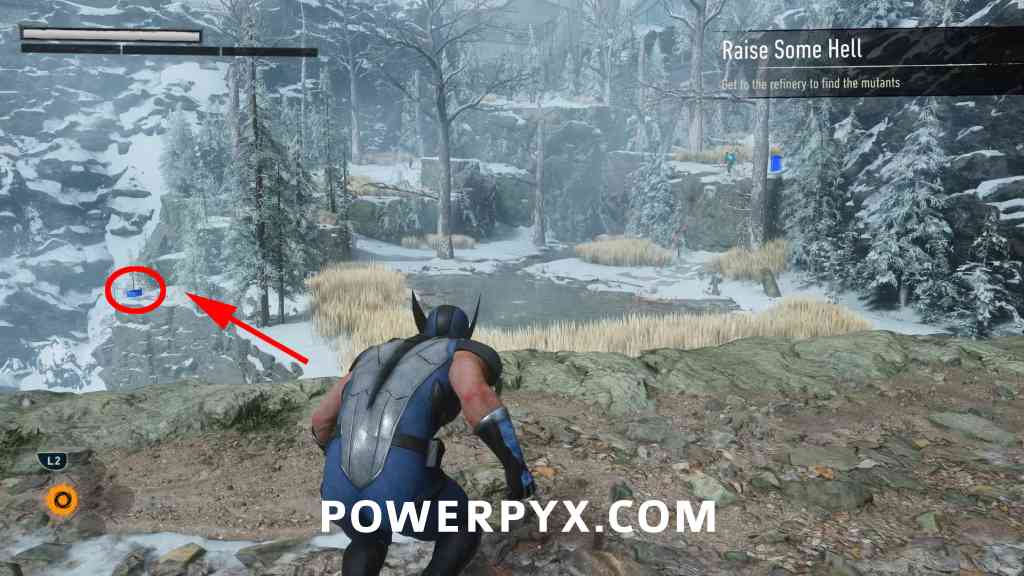
Material Crate #7
Objective: Get to the refinery to find the mutants
Early in the level, with the section with 3 snipers, this is on the left after jumping down.
Material Crate #8
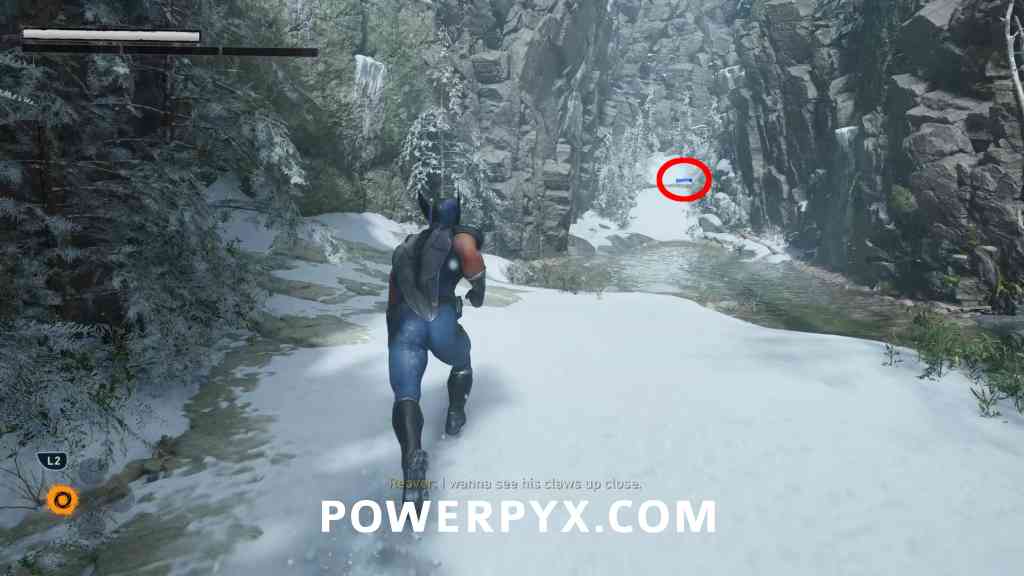
Objective: Get to the refinery to find the mutants
In the same area, close by to the crate you just found, go up the stream to find this at the end.
Material Crate #9
Objective: Get to the refinery to find the mutants
In the next area with reavers (construction yard), it’s in the back left corner from where you entered the area, next to some huts.
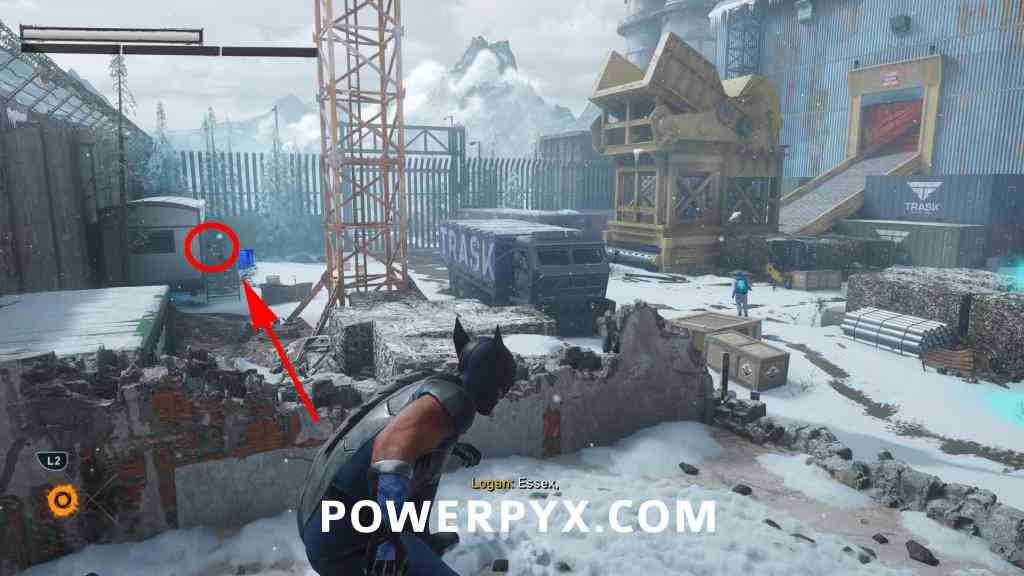
Material Crate #10
Objective: Track the captured mutants
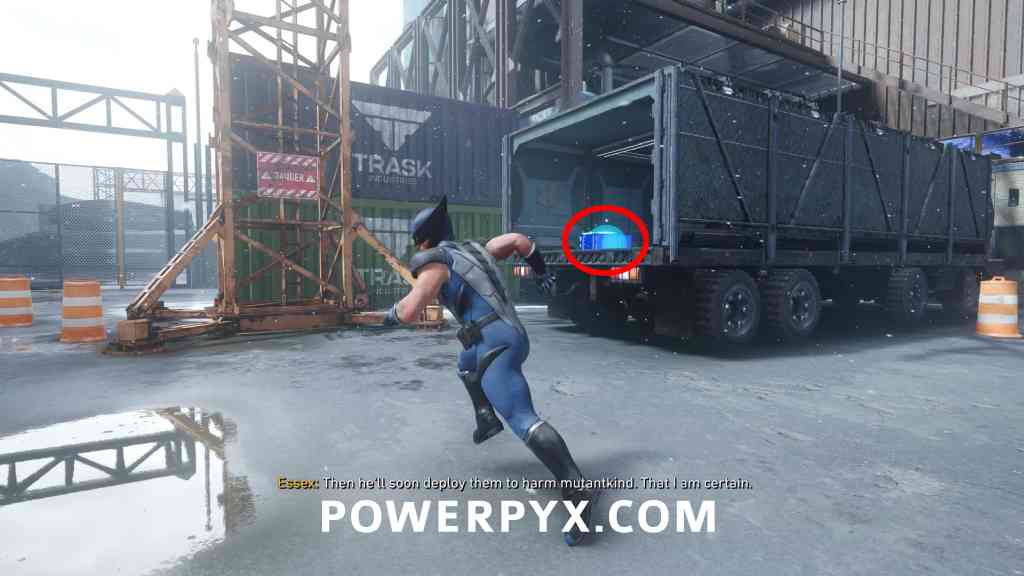
After going through the refinery building, you will go outside to an area with many containers and a Nightmare Door. In the back of a truck just ahead, you will see it pulsing.
Strays
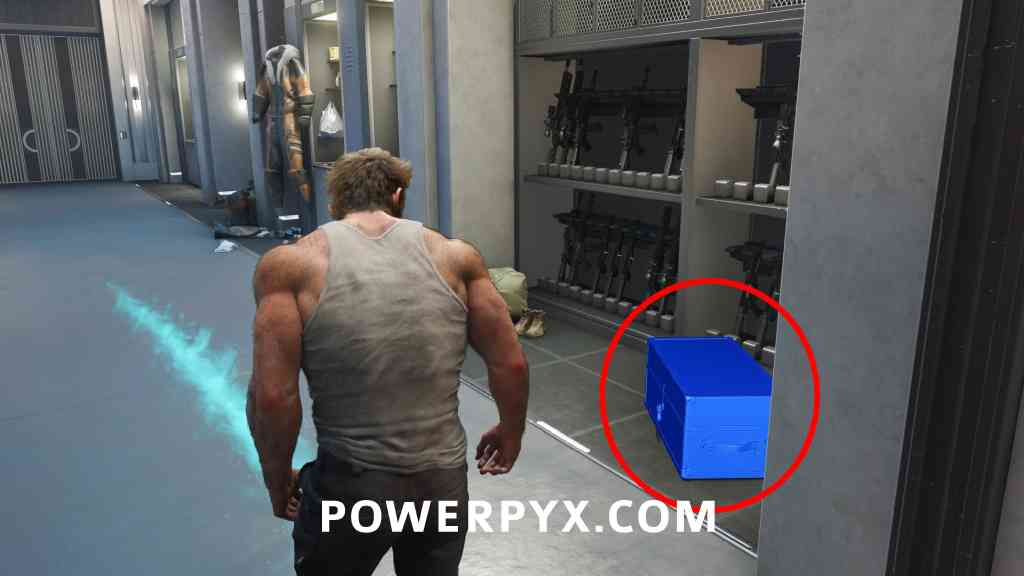
Material Crate #11
Objective: Follow Leech’s scent to find his drawings.
Leave the lab and go into the armoury (room at end of hallway), it’s right next to the door.
Something Much Stronger
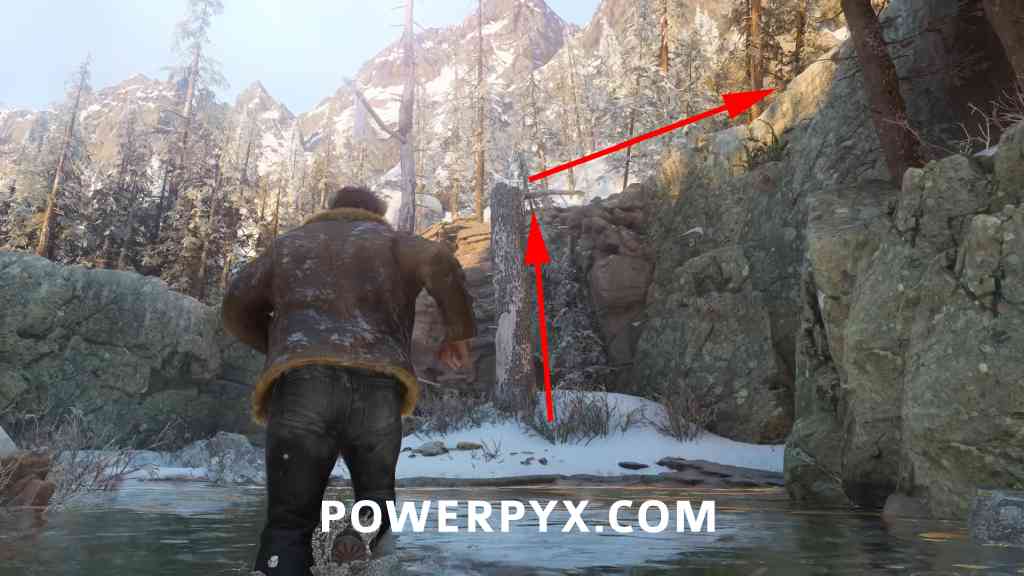
Material Crate #12
Objective: Get to the cabin
Moving down the area at the start, when you come to a stream look to your right for a tree to climb, then jump up the wall next to it to find a crate here.
Material Crate #13
Objective: Get to the cabin
After rescuing the wolf, follow the main path and you will see this on the left, before running up a fallen tree, almost impossible to miss.
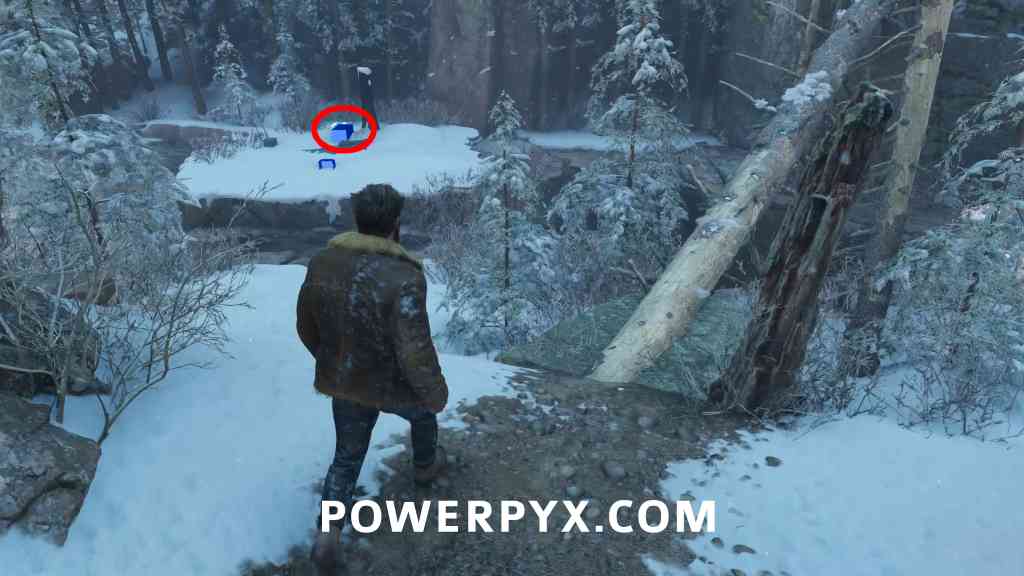
Material Crate #14
Objective: Get to the cabin
Shortly after the previous crate you will come to a split path, take the right path and you will see this in front of a fishing hut.
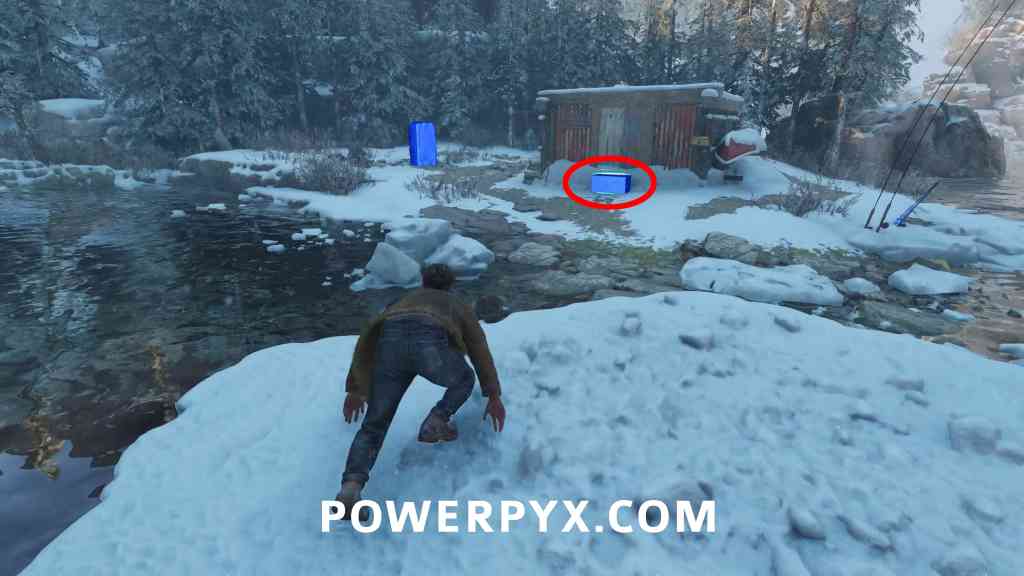
Material Crate #15
Objective: Enter the cabin
Once you climb up a cliff and the cabin is in front of you, the crate is to your right.
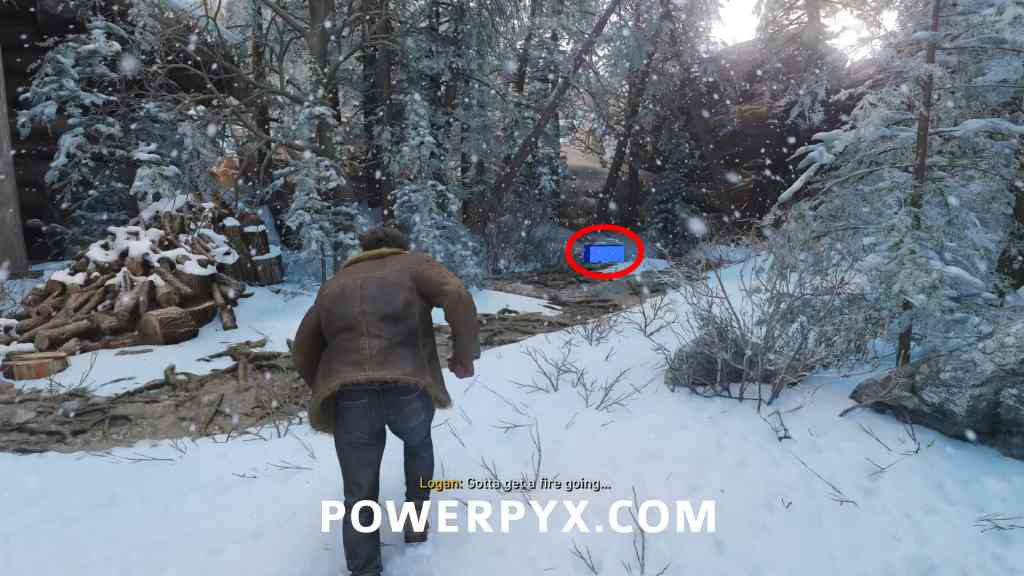
Knock Knock
Material Crate #16
Objective: Destroy the power station core
After destroying the vehicle with the laser turret and entering the power station, it’s right in front of you behind a counter.
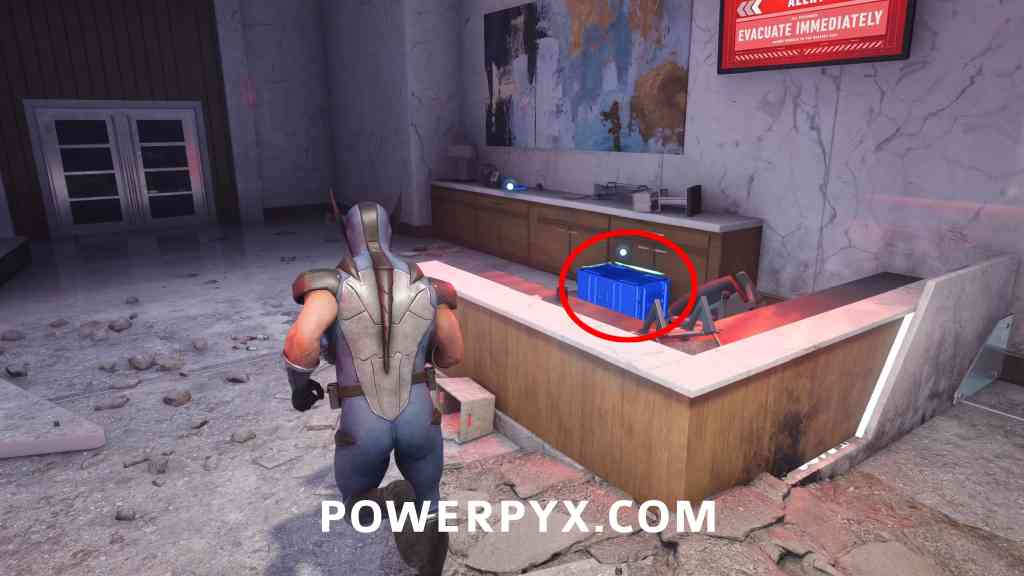
Material Crate #17
Objective: Destroy the power station core
You’ll come to a server room where you fight a bunch of reavers, after the fight climb up to the next level and you’ll see a vent grate right in front of you, the crate is through here.
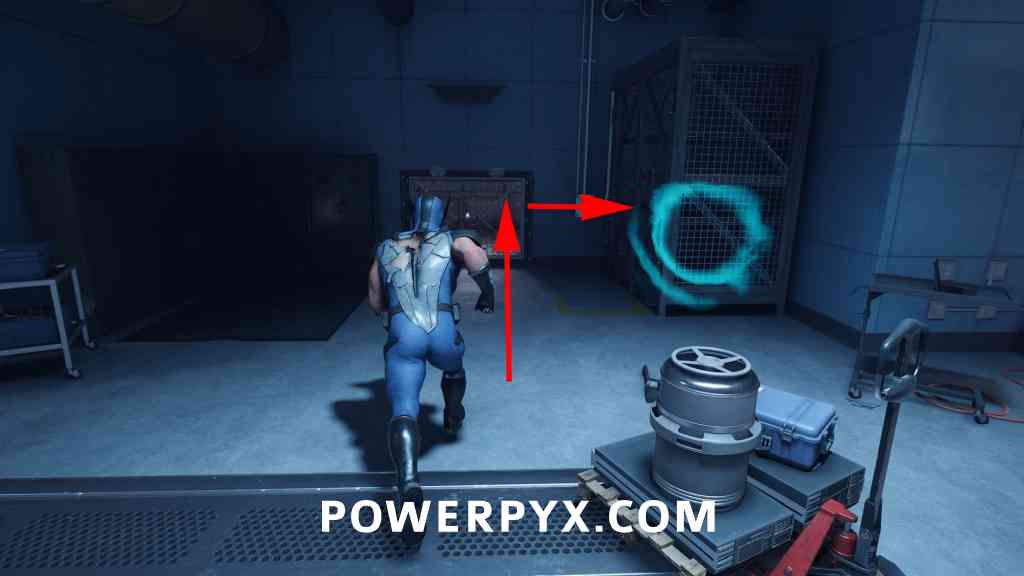
Mutant Detected
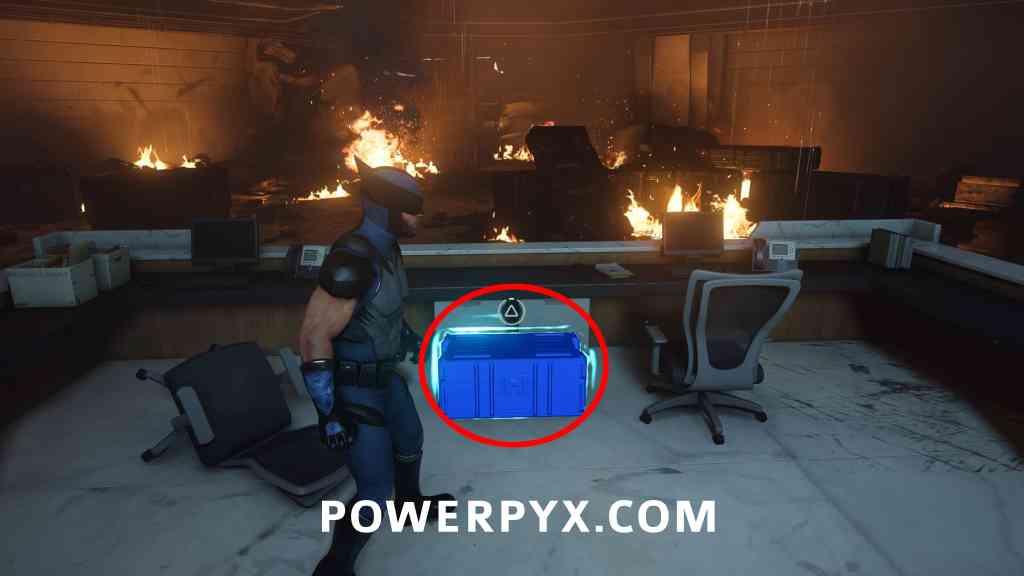
Material Crate #18
Objective: Find Trask’s secret facility
Immediately ahead of you at the start of the level, there’s a crate behind the reception desk.
Note: the door code is 0514, the fingerprints will glow blue on the keypad.
Material Crate #19
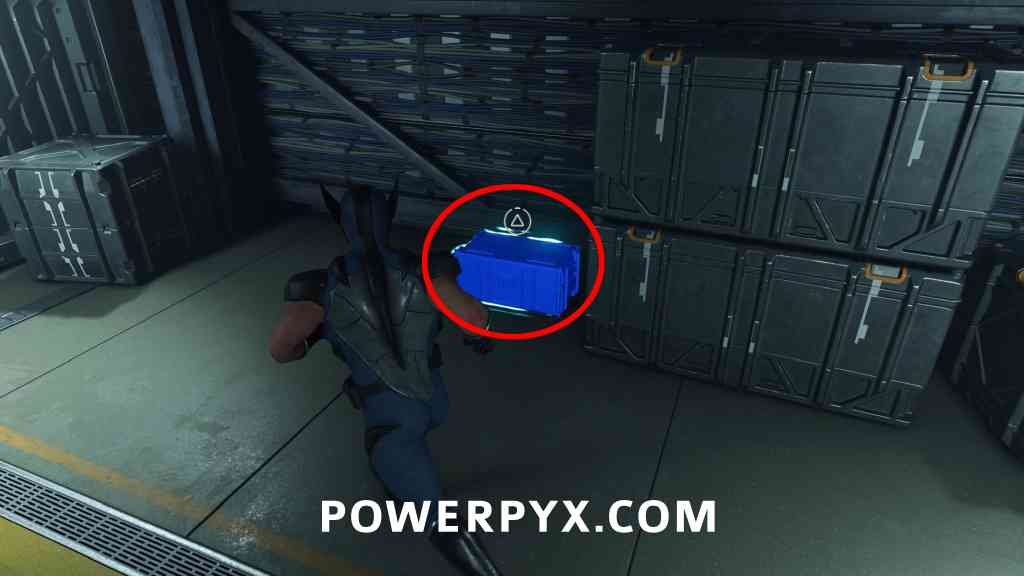
Objective: Get to the bottom floor to find Bay 7
After a cutscene with Trask, Mystique will open a door for you, go through here and you’ll find this crate on the right.
Material Crate #20
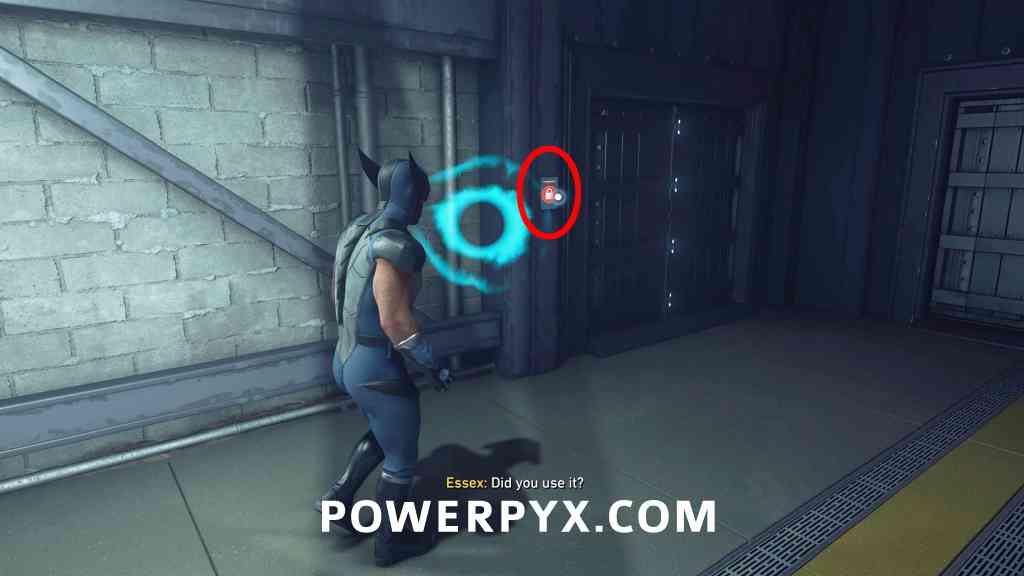
Objective: Find and kill Trask
Much later in the chapter, after exploring Bay 7, Mystique will transform into Wolverine and break a door open. Go through here and go left at your first opportunity to find a locked door, the code is 0291 and the crate is inside.
Material Crate #21
Objective: Track and kill Trask
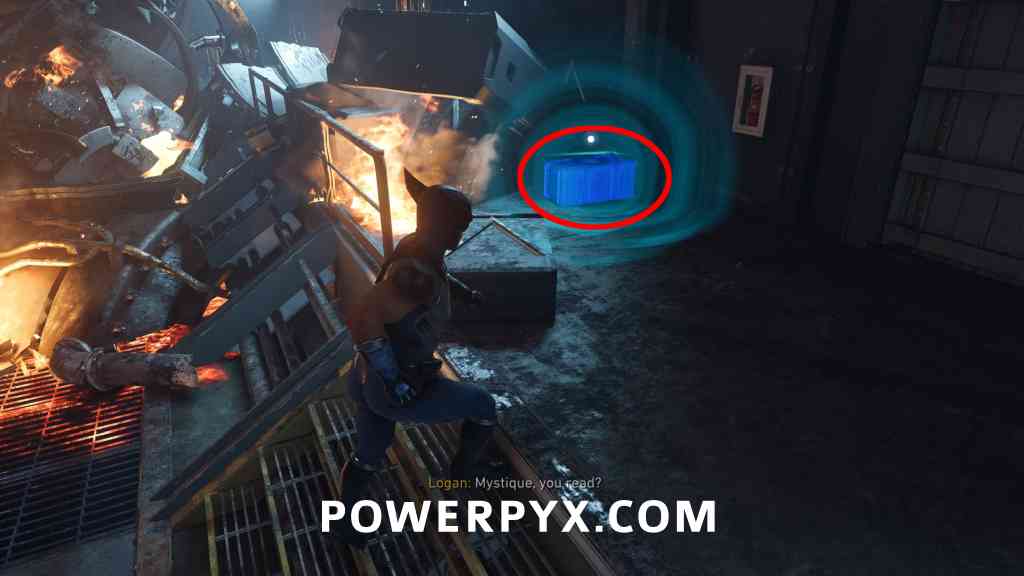
After going through the portal and the sequence in the jet engine, walk forward and past the fire, this is just to your left.
One Last Mission
Material Crate #22
Objective: Talk to Raven, Talk to Victor, Talk to Walter
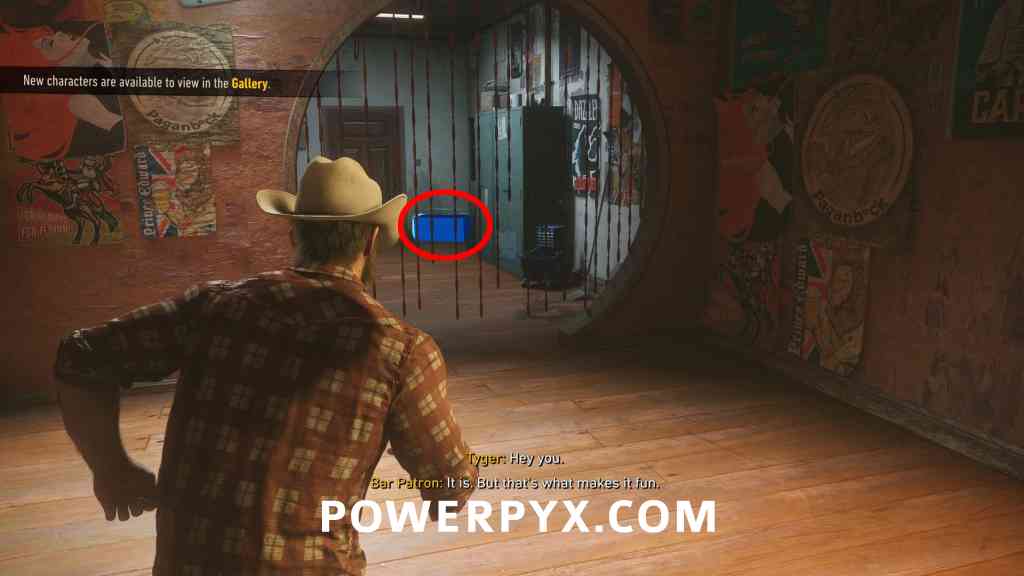
At the start of the mission, this crate is through a doorway behind the bar.
Material Crate #23
Objective: Track down Jean
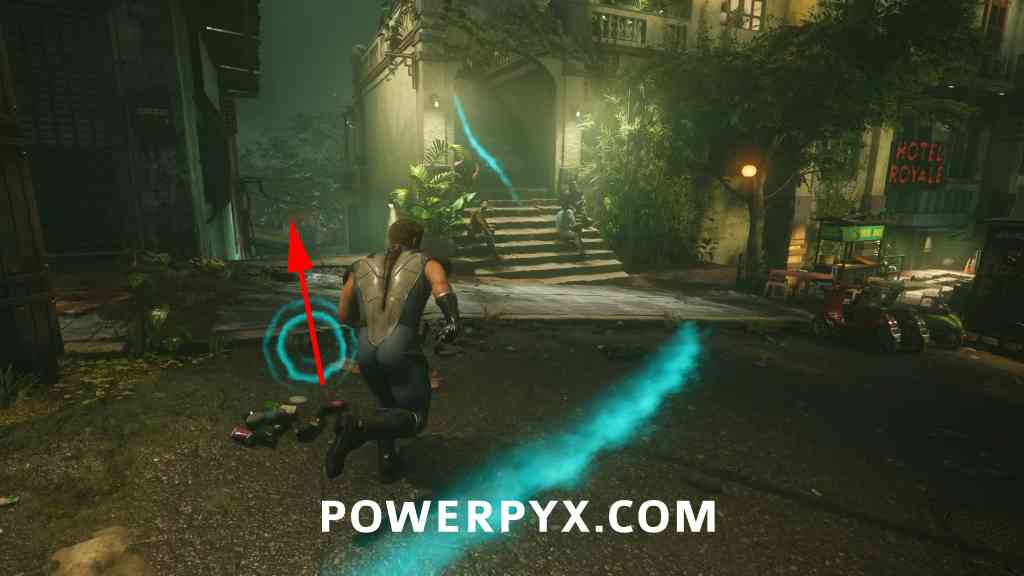
After exiting the bar, follow the main path until you reach stars lead up, instead take the left side stairs heading down to find the crate.
Material Crate #24
Objective: Pick up Walter’s trail
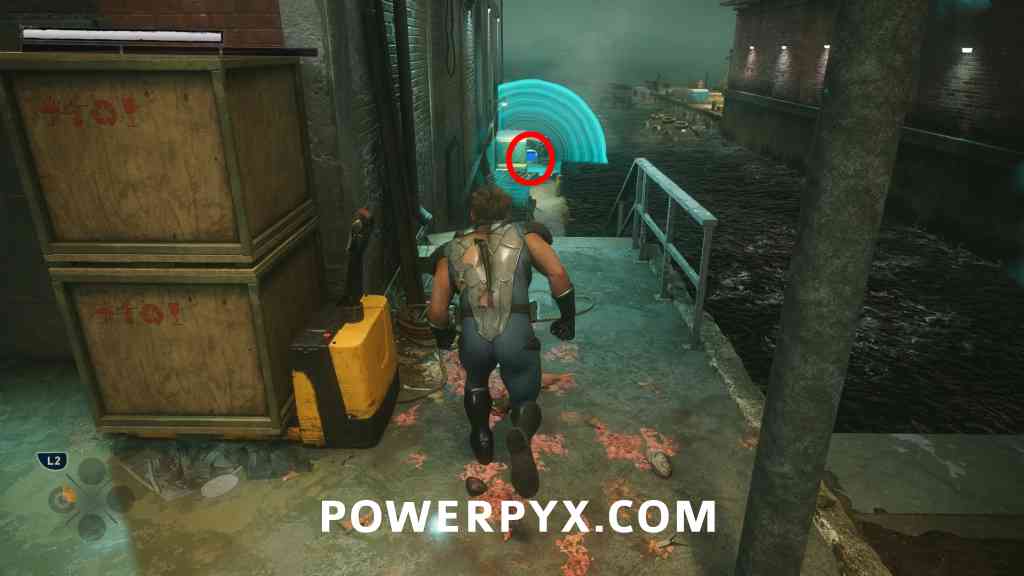
After the rooftop chase, you will get a tutorial about being impaled by weapons while fighting a group of The Hand ninjas (one impales you with a sword). After the fight, go down the pier on the left side to find the crate at the end.
Get Angry
Material Crate #25
Objective: Locate the arcade where Jean previously was
When you have to go to 3 arcades to find Jean, to the right of this one is an alleyway, you’ll find the crate here.
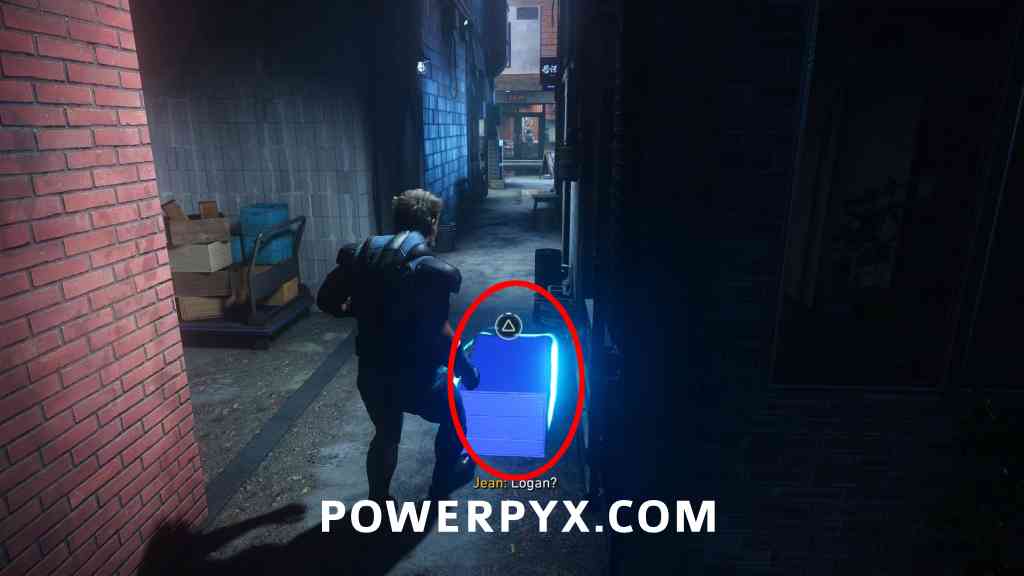
Material Crate #26
Objective: Explore deeper
You’ll go down an elevator in the bar, at the bottom look right to see this crate.
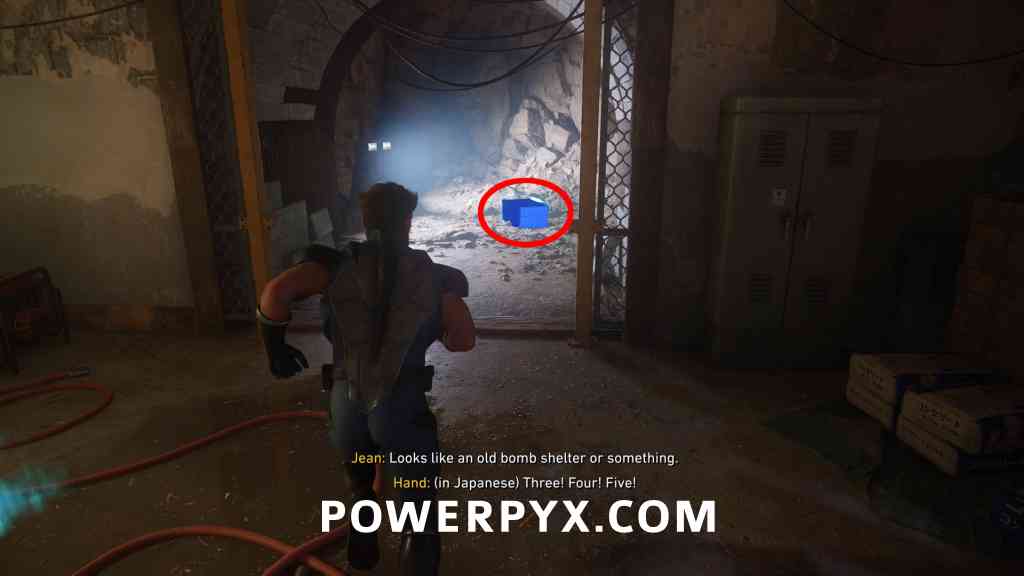
Material Crate #27
Objective: Find way forward
Once you break the first three incense burners, exit the room and this will be down a short corridor on your right, hidden by other crates.
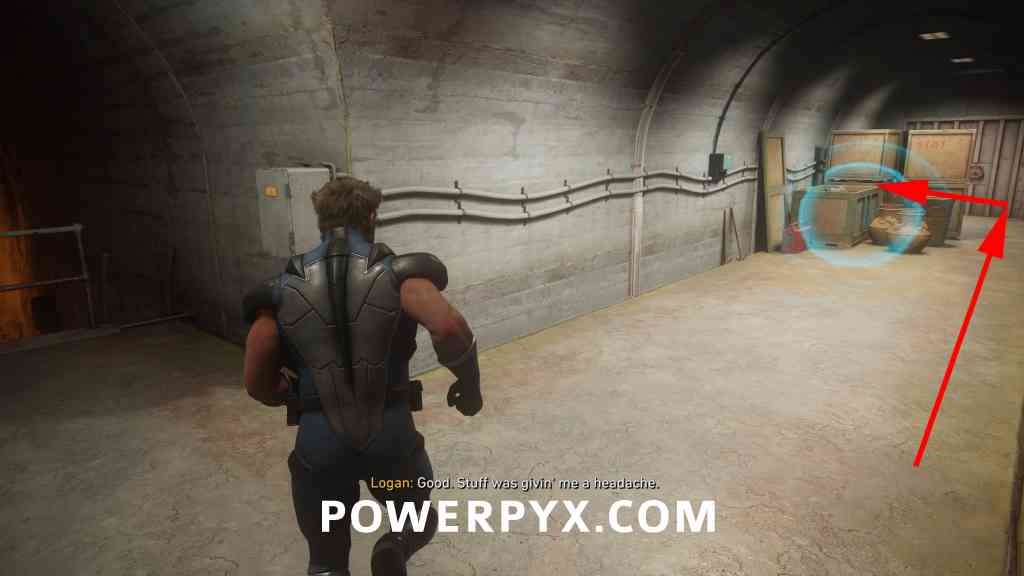
Material Crate #28
Objective: Find where The Hand is keeping Walter
After a cutscene in a cave, you’ll swing across multiple poles in a row, once you climb up to the top turn around to find the material crate at the other end.
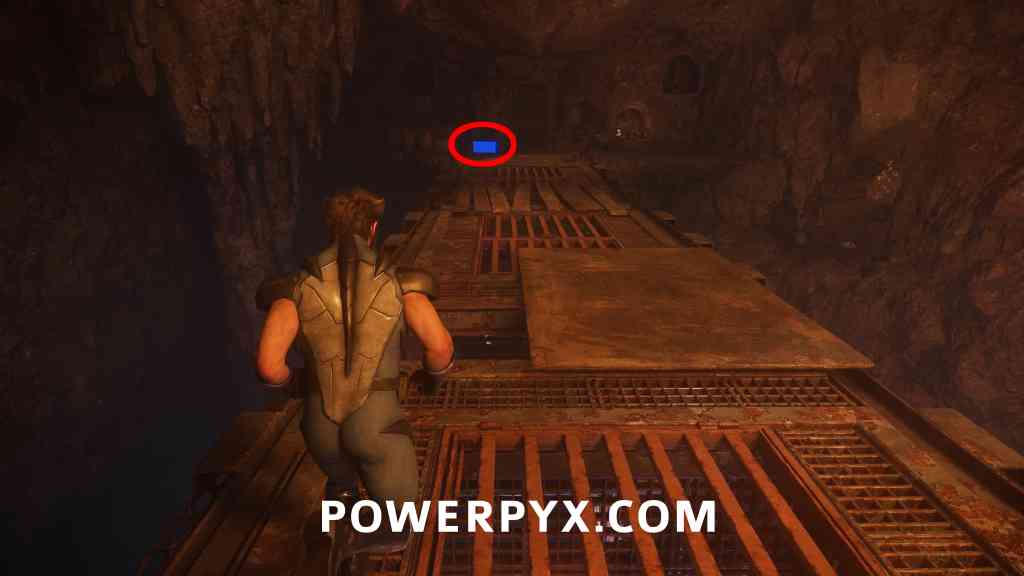
Material Crate #29
Objective: Look for signs of Walter
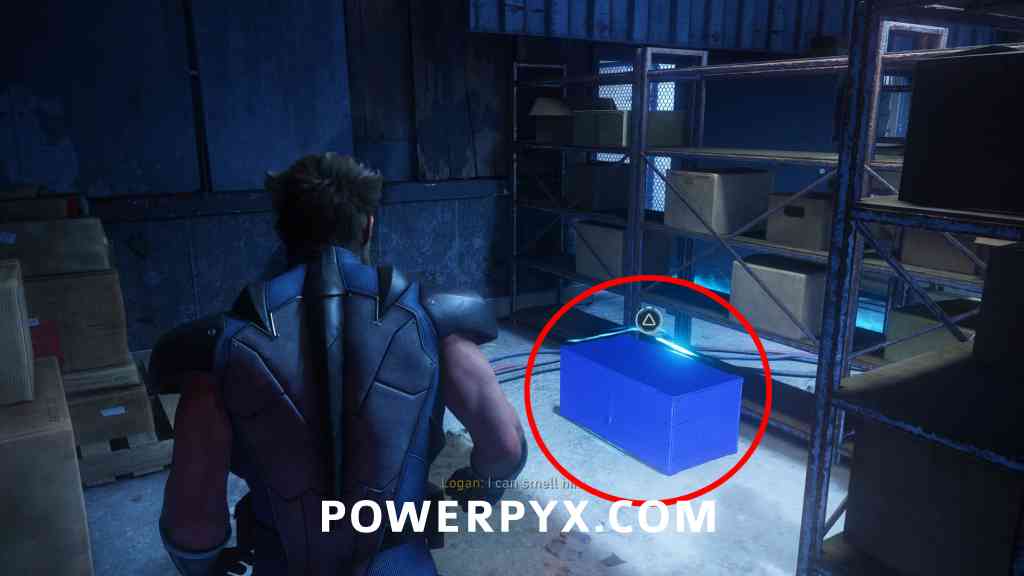
After using an elevator you reach a storage room, this will be on the right side.
Bad Blood
Material Crate #30
Objective: Head to Shiro’s
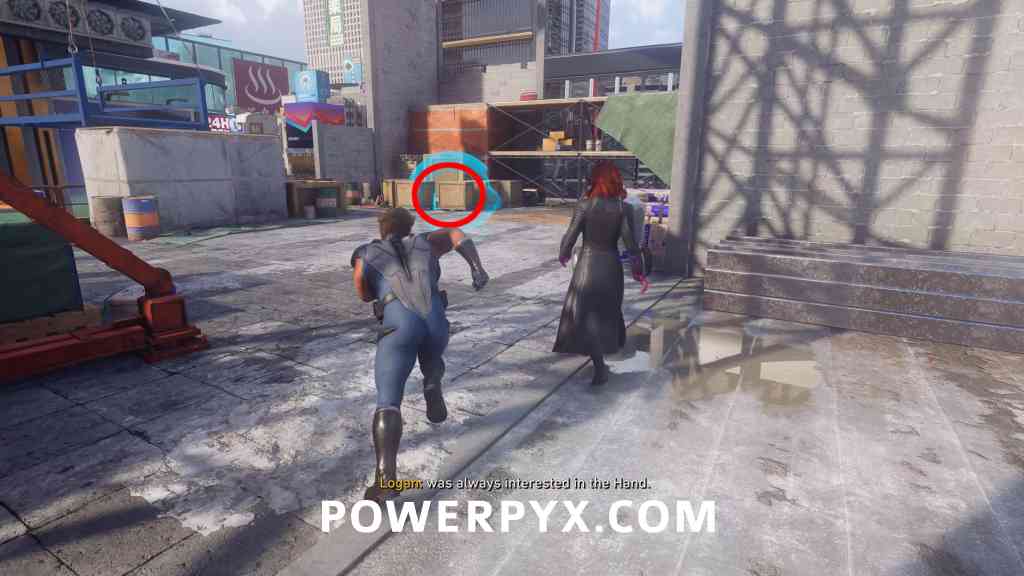
Shortly after the start, you use a rope lift to go up a building. Afterward use the zipline and the chest will be on the next building behind breakable boxes.
Material Crate #31
Objective: Climb to Shiro’s penthouse
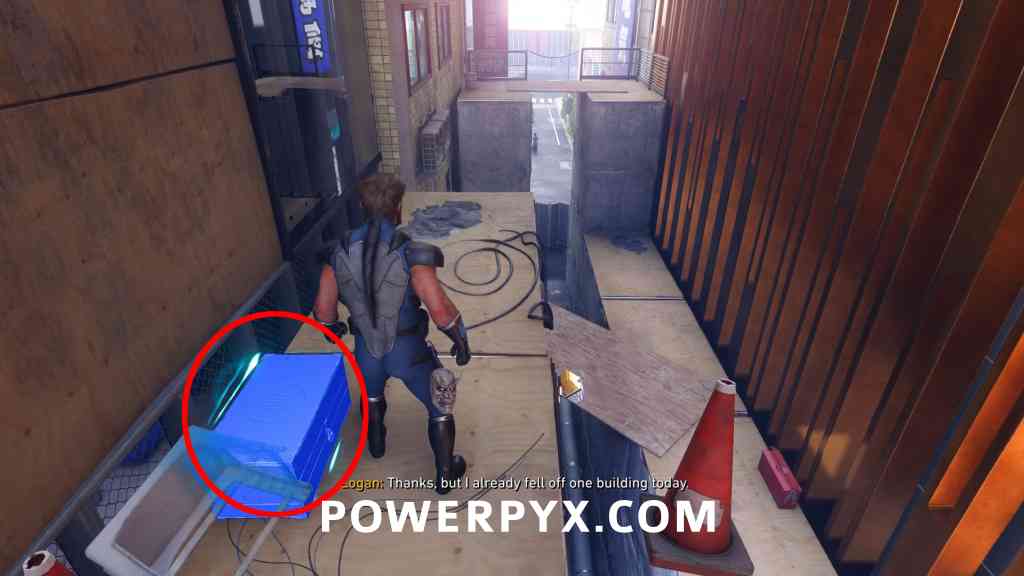
Once you meet Jean outside Shiro’s building, this crate is at the top of the scaffolding you need to climb.
Material Crate #32
Objective: Climb to Shiro’s penthouse
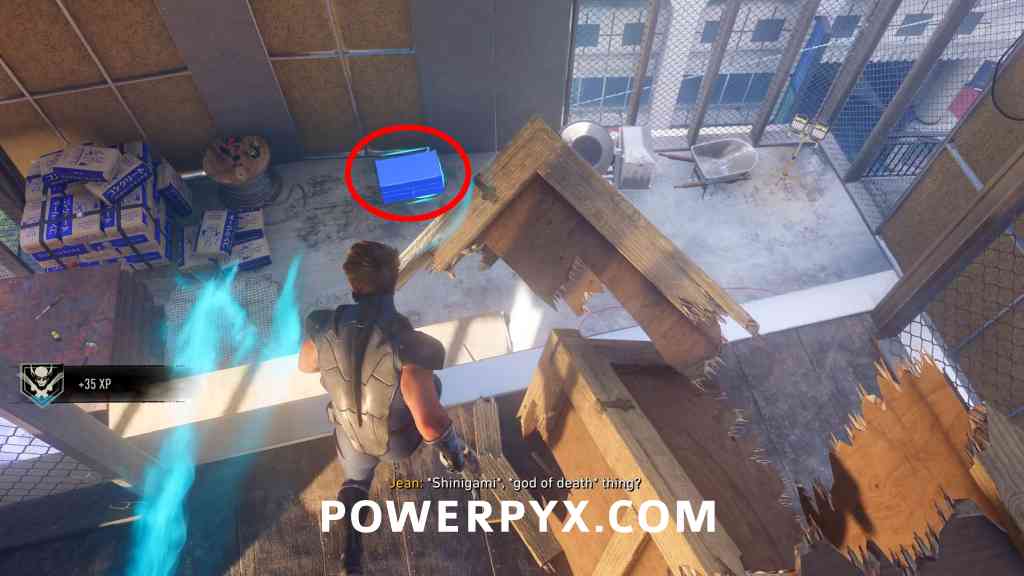
Shortly after the previous crate, climb through the next building, you can go left where Jean is hovering above a blue lift, or drop down to the right, drop down to find the crate.
Material Crate #33
Objective: Climb to Shiro’s penthouse
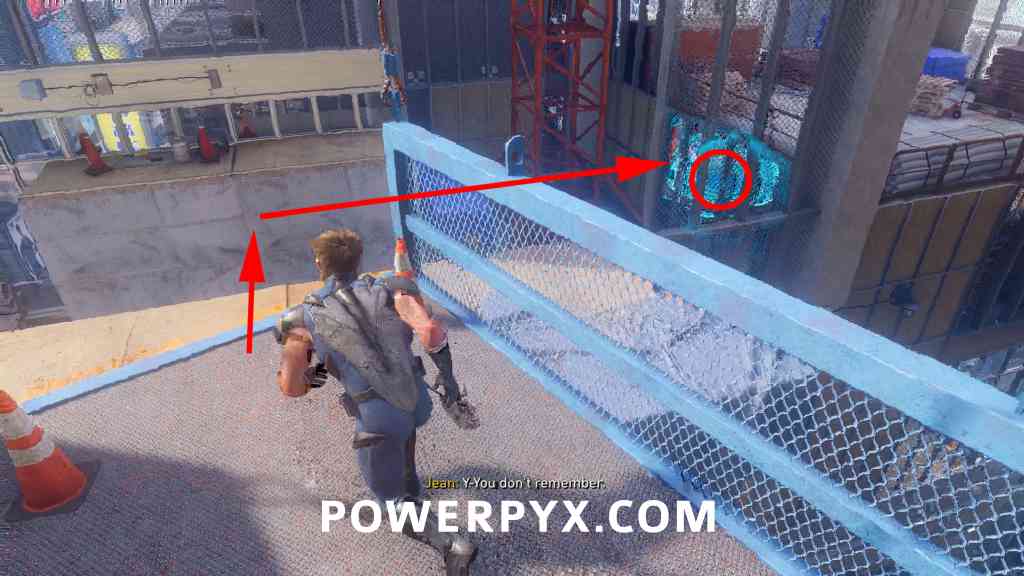
Just after the previous crate, jump on the lift and Jean will move it to another building. Instead of climbing up ahead, turn around and jump down to a different building. Turn right to find this crate through a doorway.
In the Shadows
Material Crate #34
Objective: Investigate the arcade
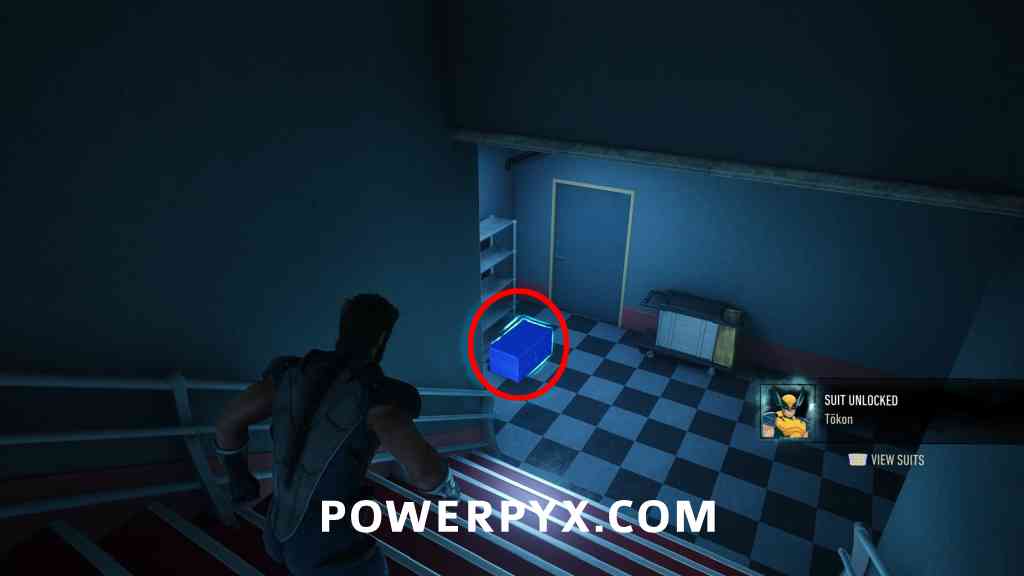
Once you enter the arcade, don’t go through the main doors yet, instead turn around and go down the stairs to find a crate.
Material Crate #35
Objective: Destroy more detectors
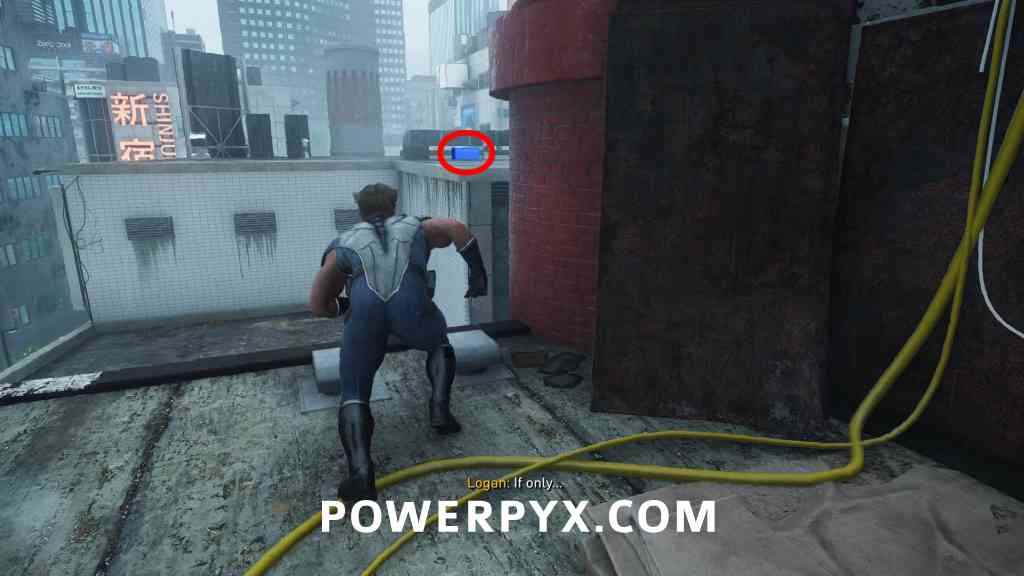
When you run around the streets to destroy 3 detectors (power boxes on walls), proceed until you reach the third detector on a rooftop. When standing in front of the third detector and looking at it, turn left and go to the next roof to find this crate.
Material Crate #36
Objective: Destroy more detectors
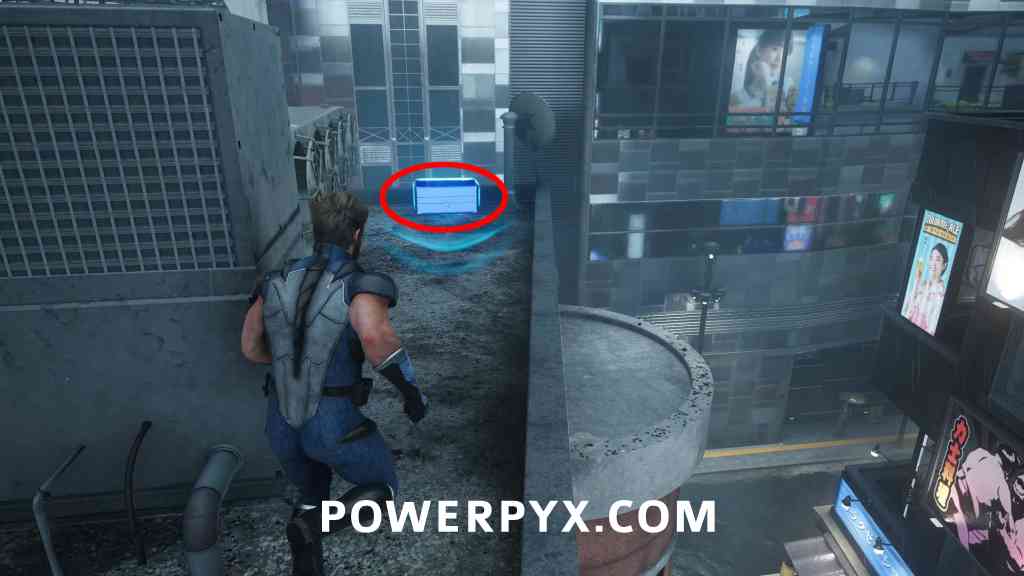
On you way to the 4th detector you will reach a zipline (story path, you’re supposed to go over the zipline). Before using the zipline, you find this on the building below the zipline, on the corner of the roof.
Material Crate #37
Objective: Destroy more detectors
On the same roof, climb the big pipe to the top, use the zipline to the next roof to find this crate. Right next to the 4th detector.
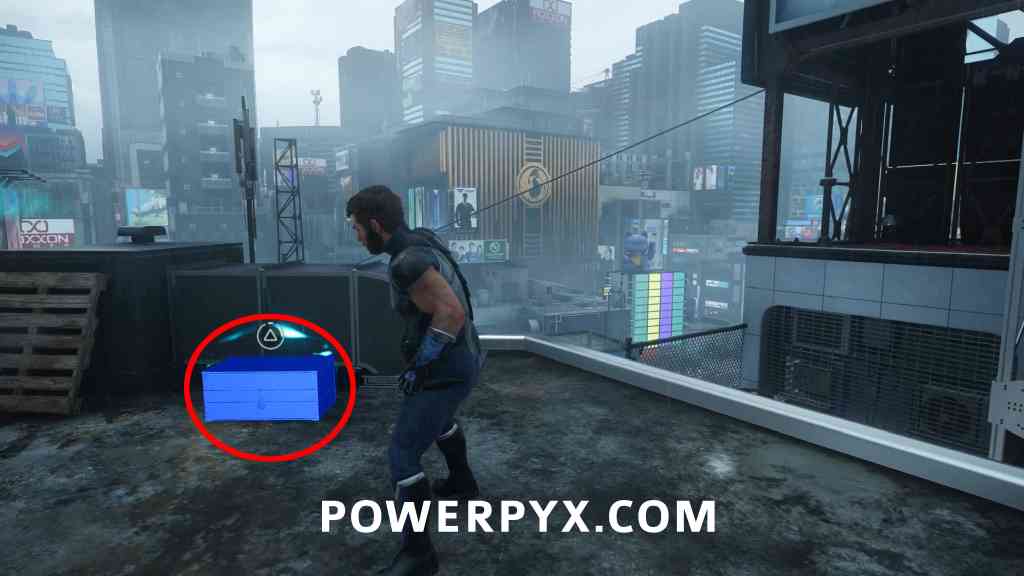
Material Crate #38
Objective: Eliminate the Hand defending the hideout
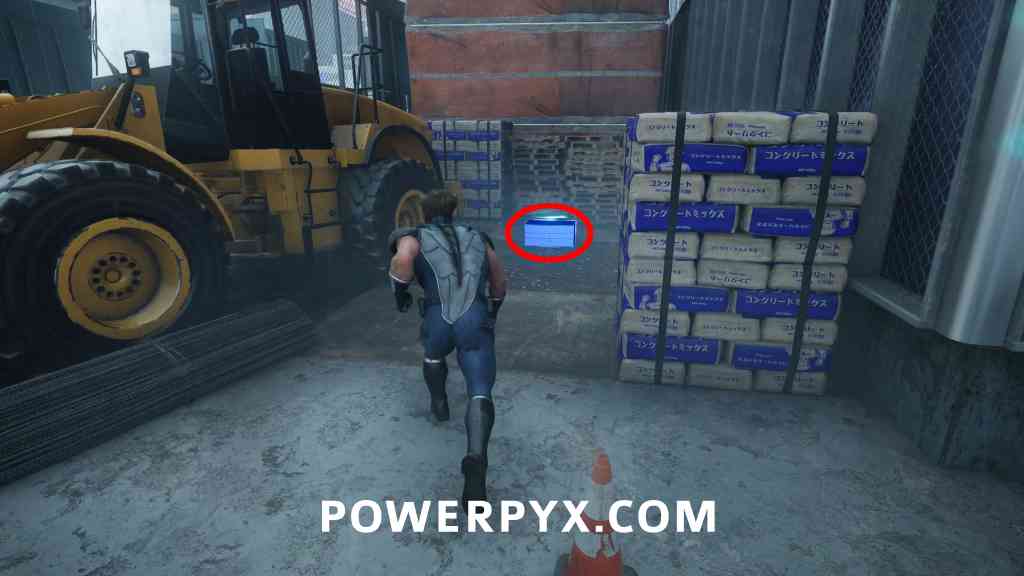
After the noodle truck drives you to the construction site, go left and around the corner to find this crate next to a digger.
Material Crate #39
Objective: Catch up to Walter
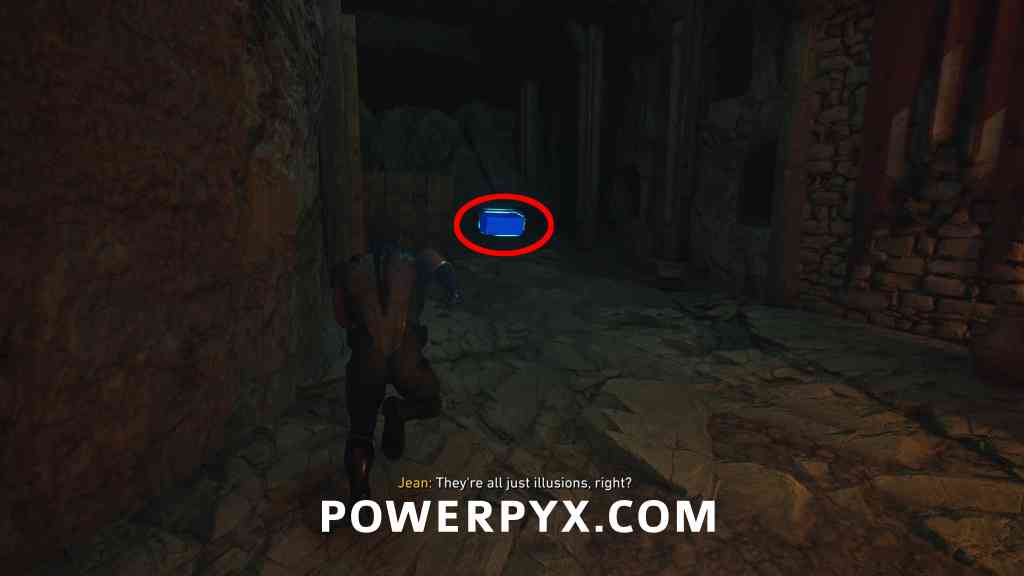
After you’ve spoken with the chosen and go through a secret door, go down the corridor and then left to find a crate in the corner.
Material Crate #40
Objective: Return to Shiro’s apartment
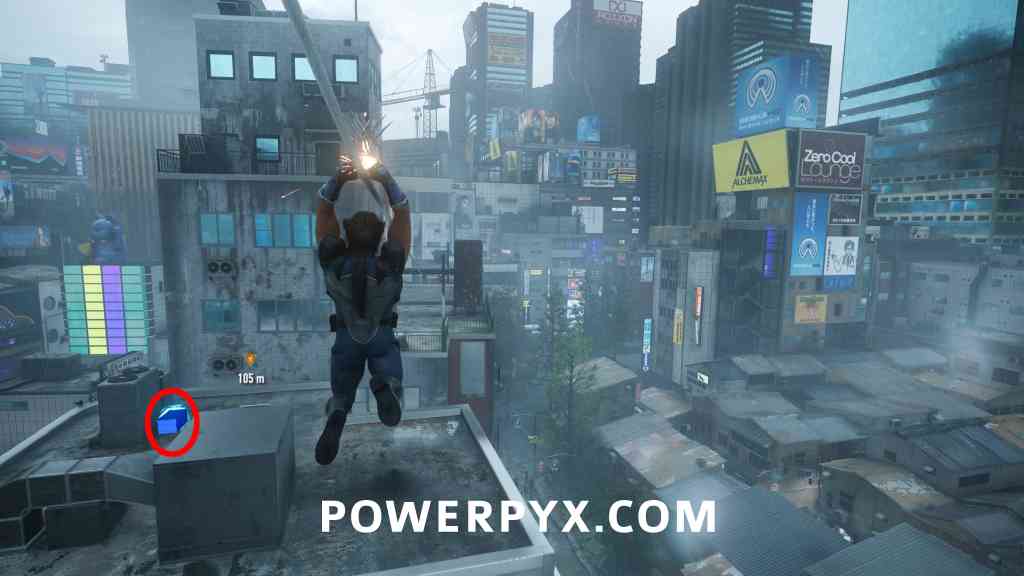
After the big fight against the “Fist” (new enemy with purple magic) you’ll end up on a rooftop, ride the zipline right in front of you and jump off half way to see a crate on your left.
Death Comes to Death
Material Crate #41
Objective: Get to Harada Garden Tower
At the very start of the mission, before jumping down, go left to find this behind some metal vents.
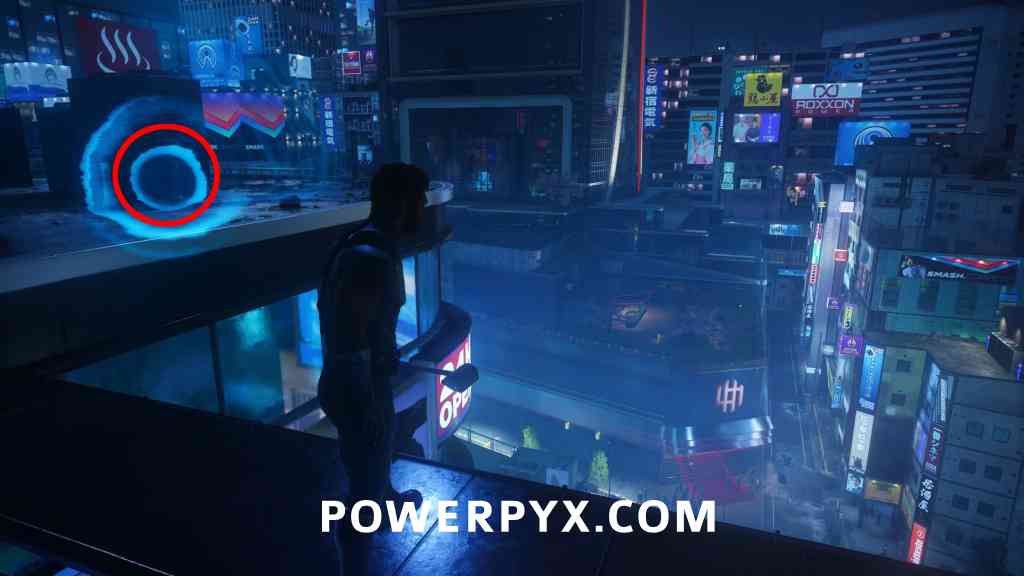
Material Crate #42
Objective: Locate the Helix Engine
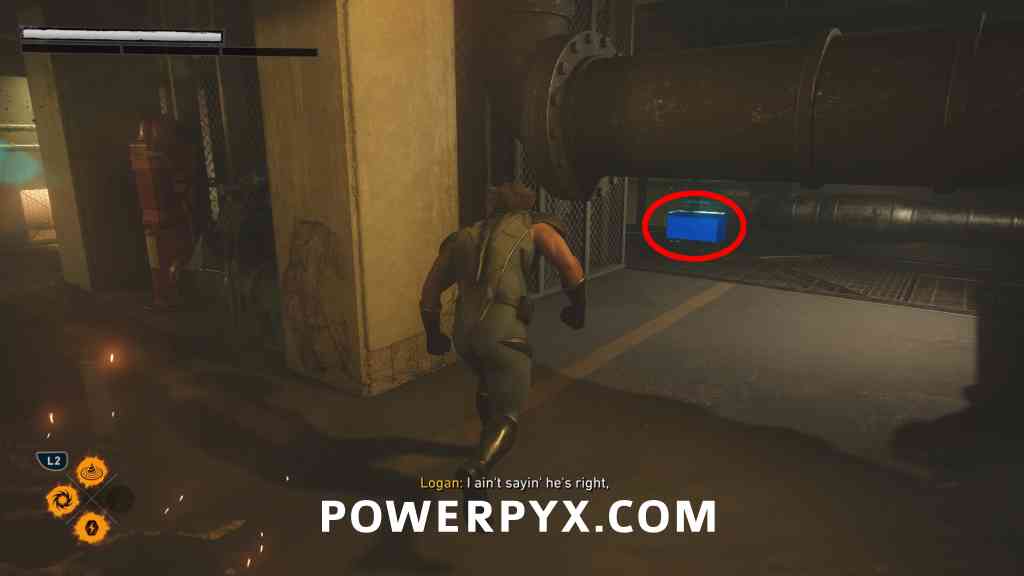
After checking the security footage (short cutscene), you will come to a room with pipes, as soon as you enter go right and under a pipe to find the crate.
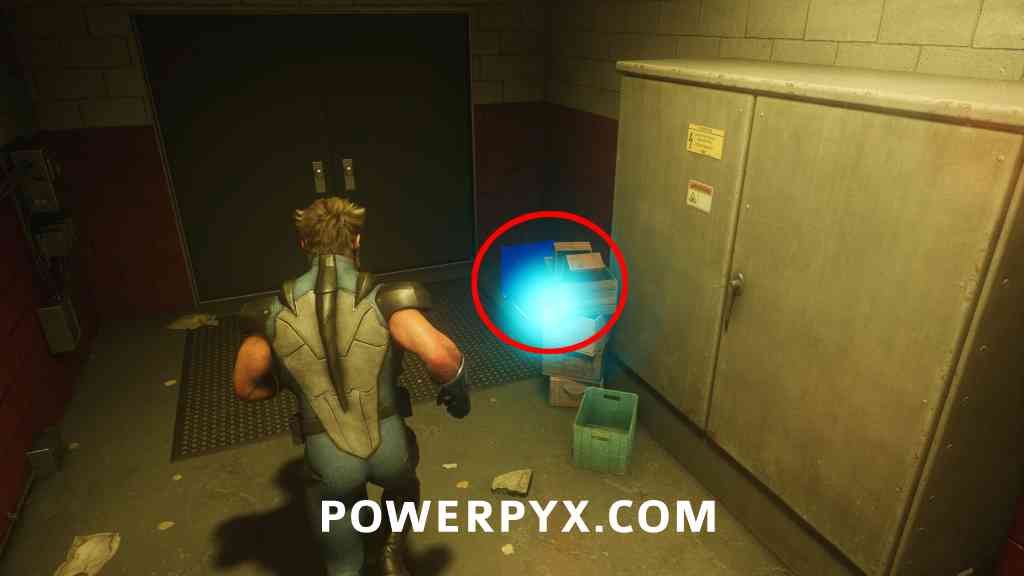
Material Crate #43
Objective: Track down the Helix Engine
You’ll come to an elevator after following some drag marks, it’s just to the right before the elevator.
We Were Wrong
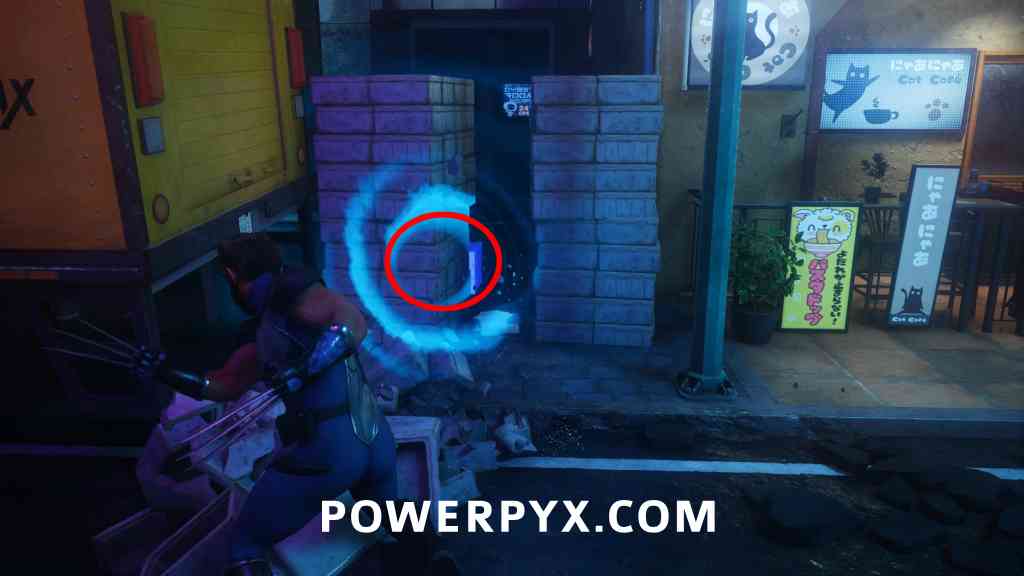
Material Crate #44
Objective: Track the Helix Engine
While following the drag marks at the start of the level, you’ll come to a truck that says “Alchemax” on it, it’s behind the truck hidden among some boxes.
Material Crate #45
Objective: Investigate the restaurant
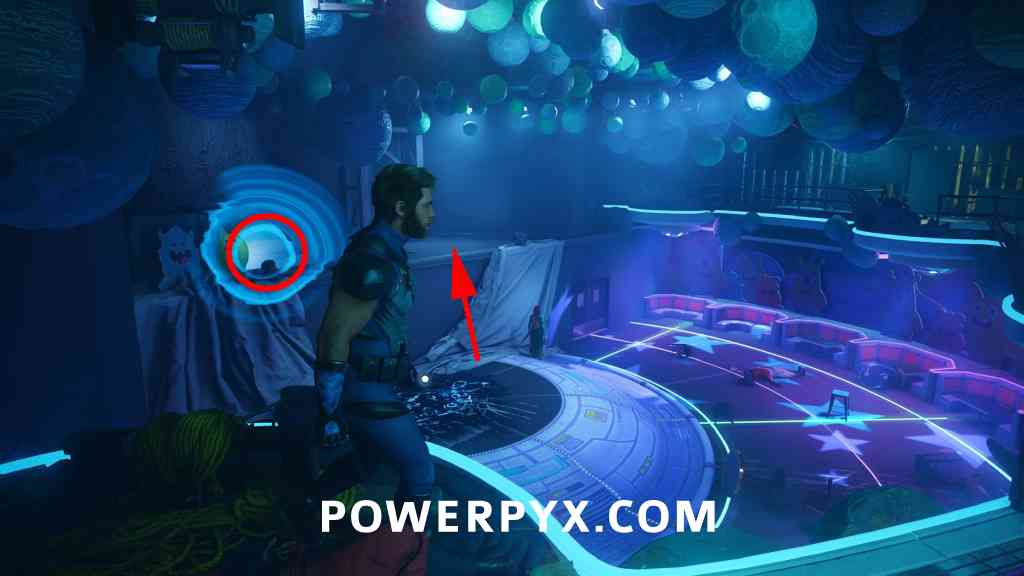
You will climb into a building with planets on the ceiling , after defeating the enemies climb up where the archers were.
Material Crate #46
Objective: Track the Hand mutant who took the Helix Engine
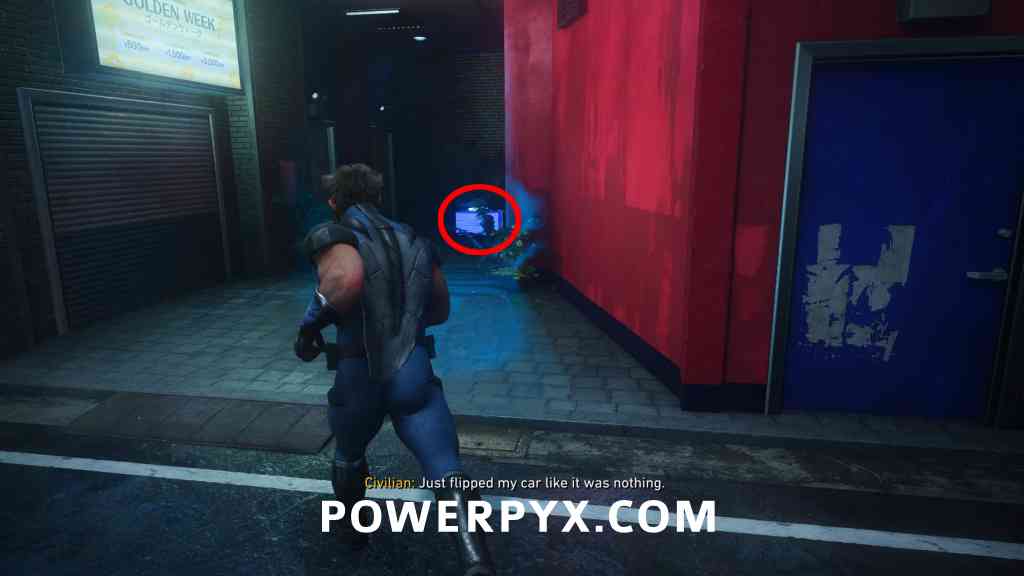
A little further on from the above bottle, you’ll fight a group of enemies. Then you come to an overturned car, go left of the car to the end of the road and look right to see the crate.
Material Crate #47
Objective: Track the Hand mutant who took the Helix Engine
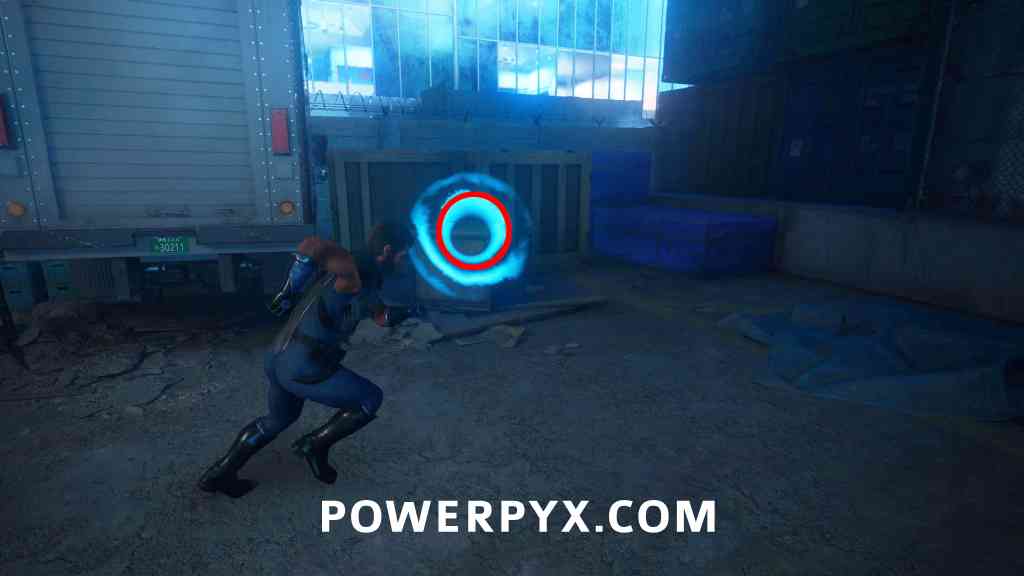
Continue tracking the footprints, after the next fight, you’ll go through a broken wall to a new area with some shipping containers, look left to see a truck, the crate is behind it.
Material Crate #48
Objective: Recover the Helix Engine
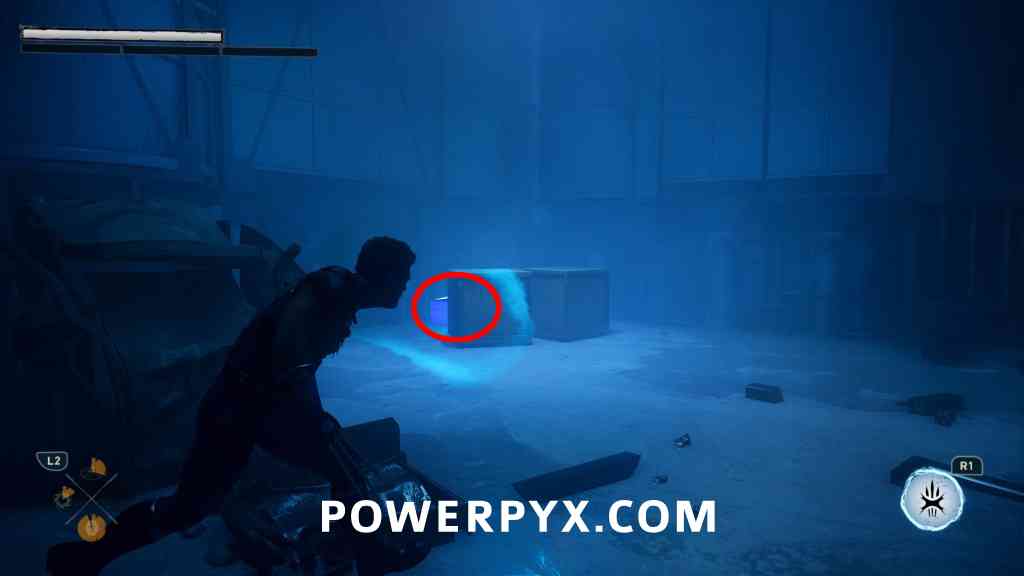
After the big fight in the warehouse, you will tear open a gate and go downstairs. At the bottom of the stairs turn left to find the crate.
Hell Followed With Him
Material Crate #49
Objective: It’s empty; look around
Right at the start of the level, go forward and Jean will be looking at a weapons rack, go left and around the corner to find the crate.
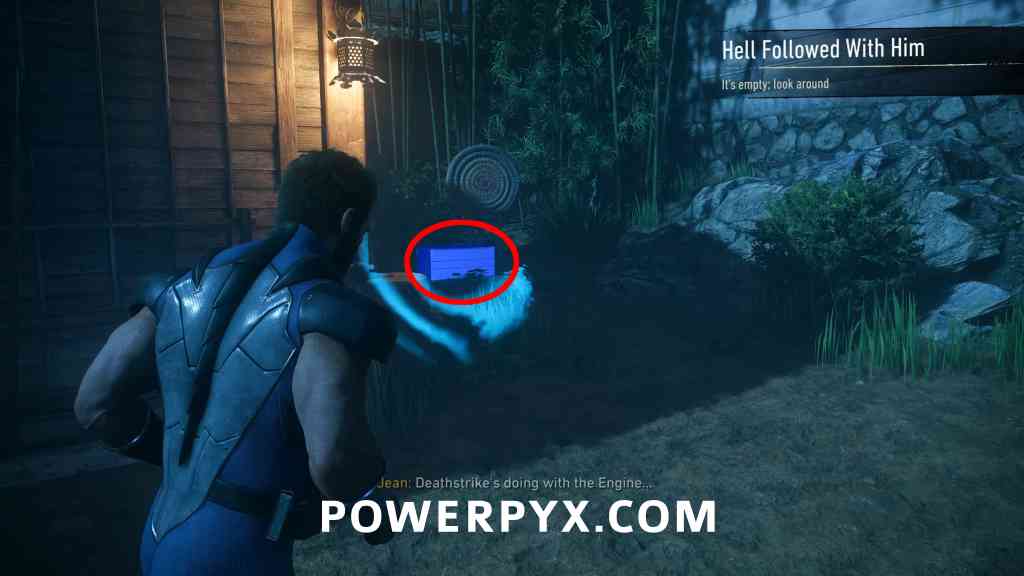
Material Crate #50
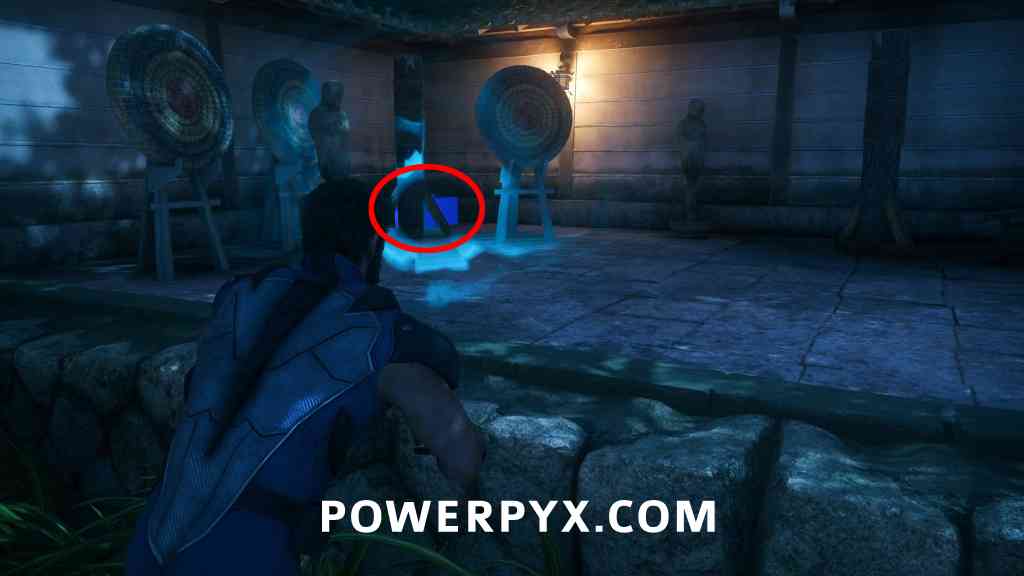
Objective: It’s empty; look around
Same area, in the back right of this area are some stairs leading to a training area, the crate is in the left corner.
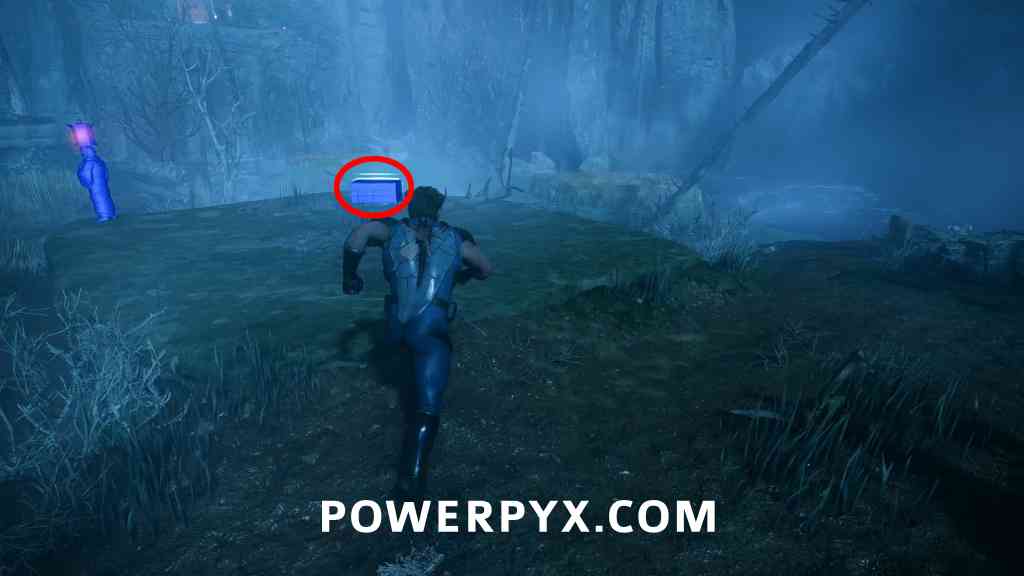
Material Crate #51
Objective: Take out the Hand guarding the stronghold
In the forest area with many enemies, stick to the right side of the area and you will come across the crate as you move further up.
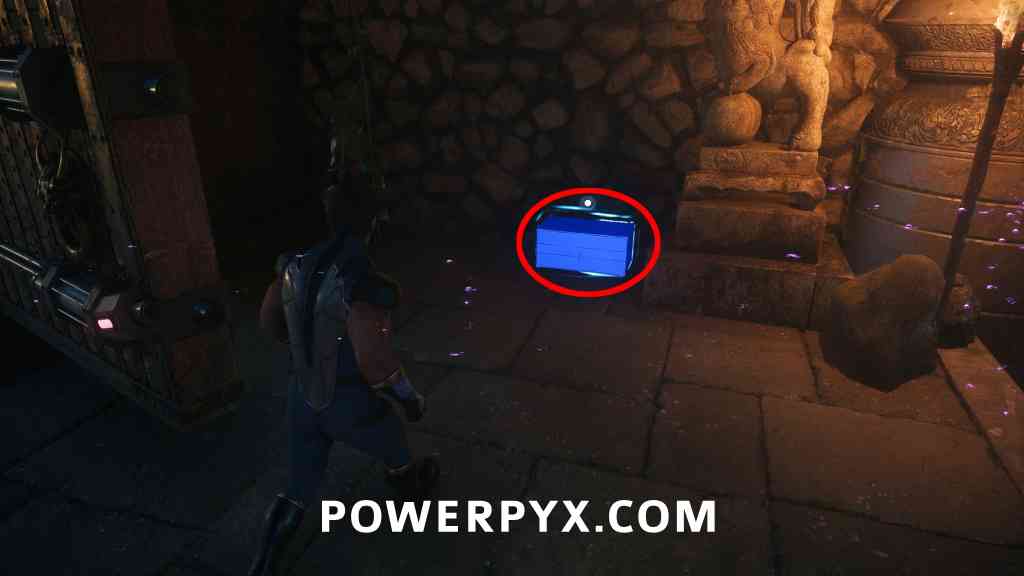
Material Crate #52
Objective: Tail Deathstrike / Investigate the shrine
After opening the huge doors to the shrine, find this immediately to your left.
Sinister Tidings
Material Crate #53
Objective: Maybe there’s something in the kitchen…
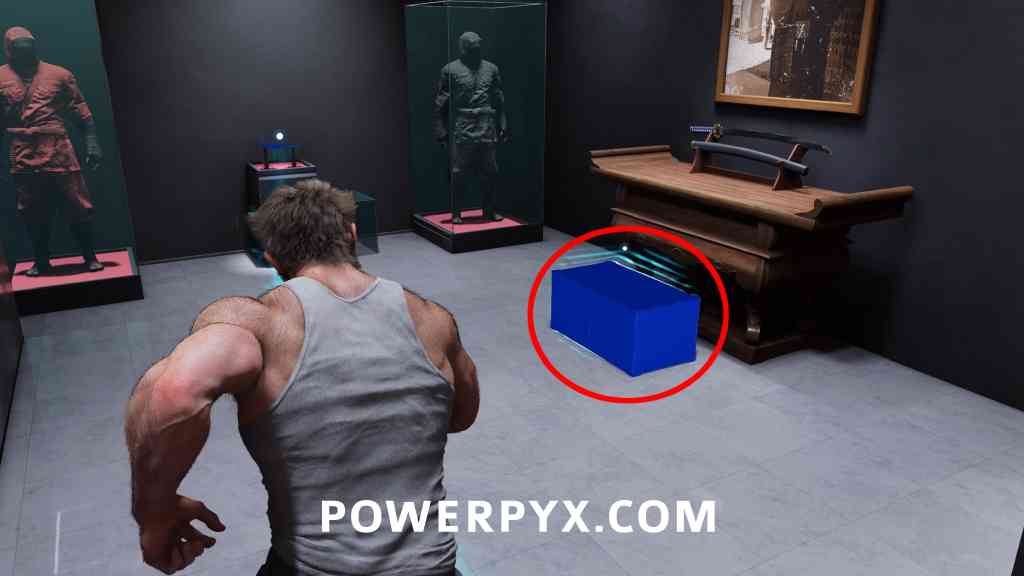
After interacting with the sink in the bathroom, you find this in Shiro’s hidden room upstairs, the same room you accessed as part of the story in “Bad Blood”.
Way Down Low
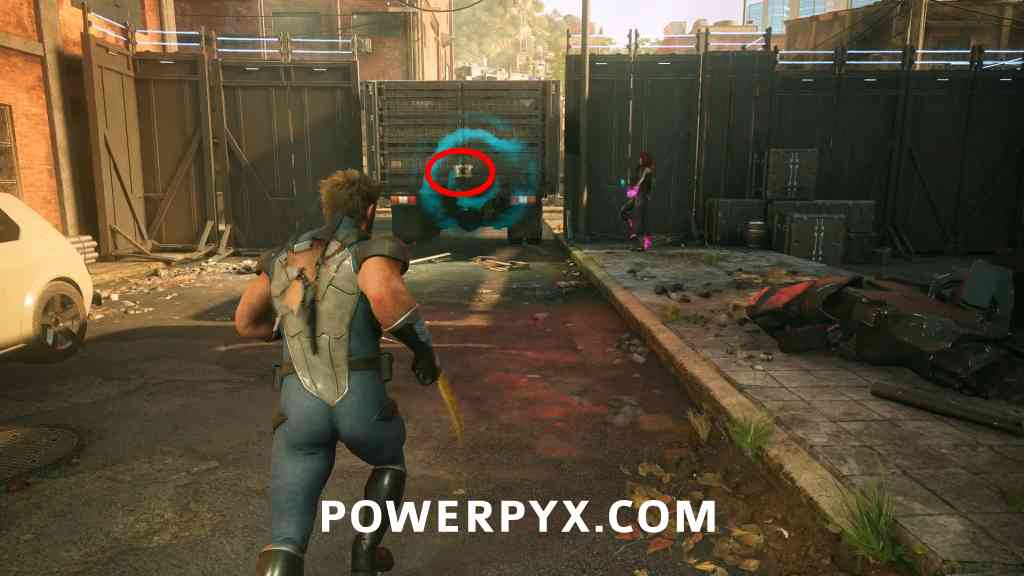
Material Crate #54
Objective: Regroup with Jean
After freeing the civilians from the truck at the checkpoint, it’s in the back of the same truck.
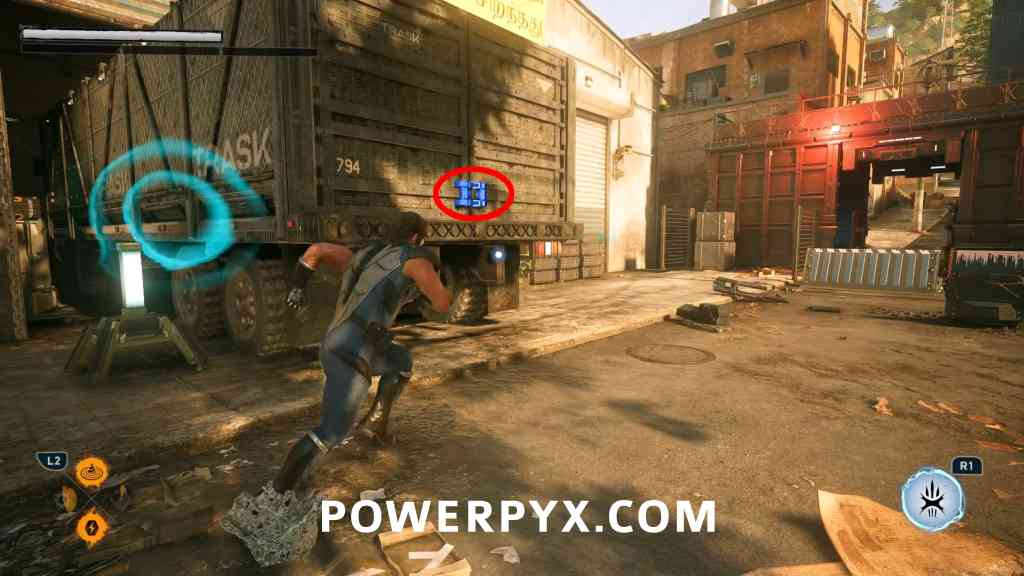
Material Crate #55
Objective: Meet Jean at the clocktower
Just ahead at the next checkpoint, there is another truck with civilians to free with a crate inside.
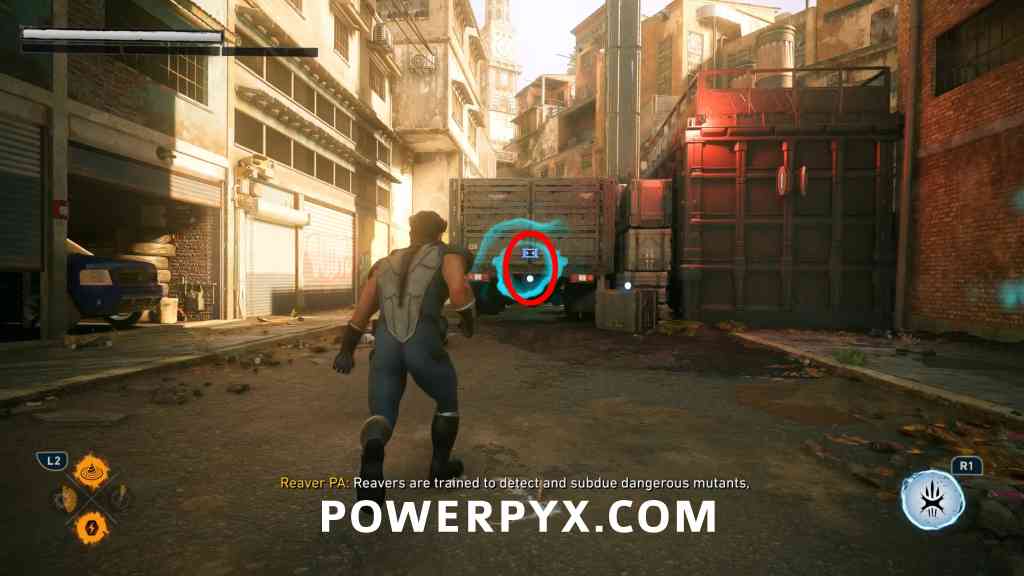
Material Crate #56
Objective: Meet Jean at the clocktower
Backtrack slightly and you can see another road going to the side. Go to the end of this road to find another checkpoint and truck with civilians, there is a crate inside.
Material Crate #57
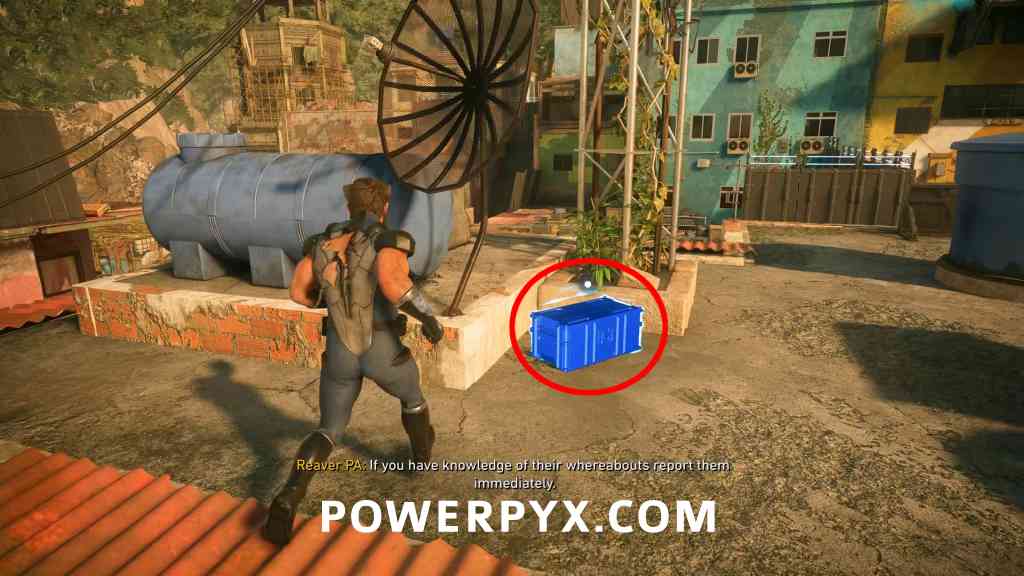
Objective: Follow Jean
After the section finding the reaver key, climb up the next building where a sniper is shooting at you. When you see the radio tower, look right to see a rooftop with some satellite dishes, there is a crate here.
Roll The Dice
Material Crate #58
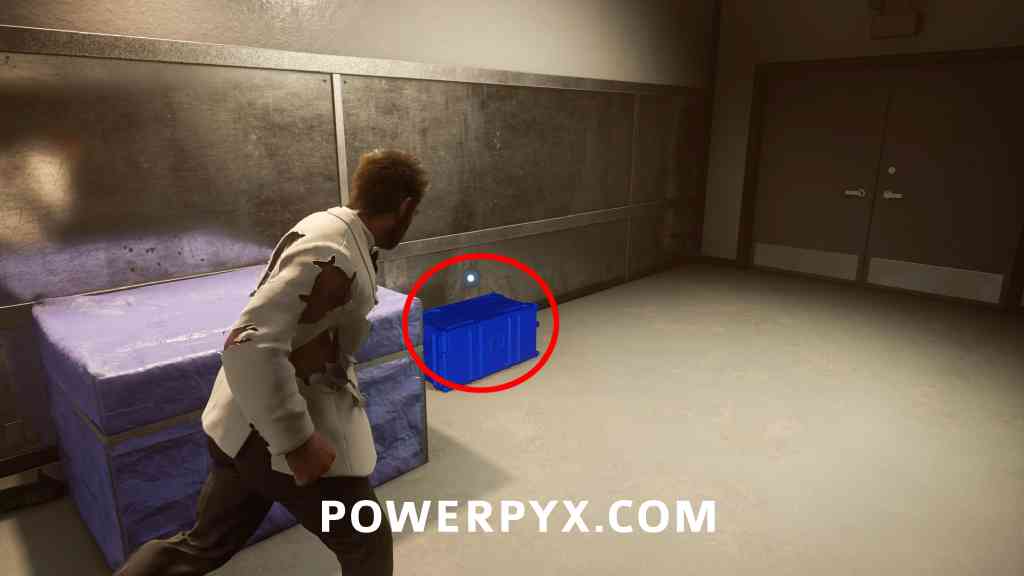
Objective: Service elevator, going up
After fighting all the reavers in the casino backroom, before using the elevator look right to see the crate.
Field Test
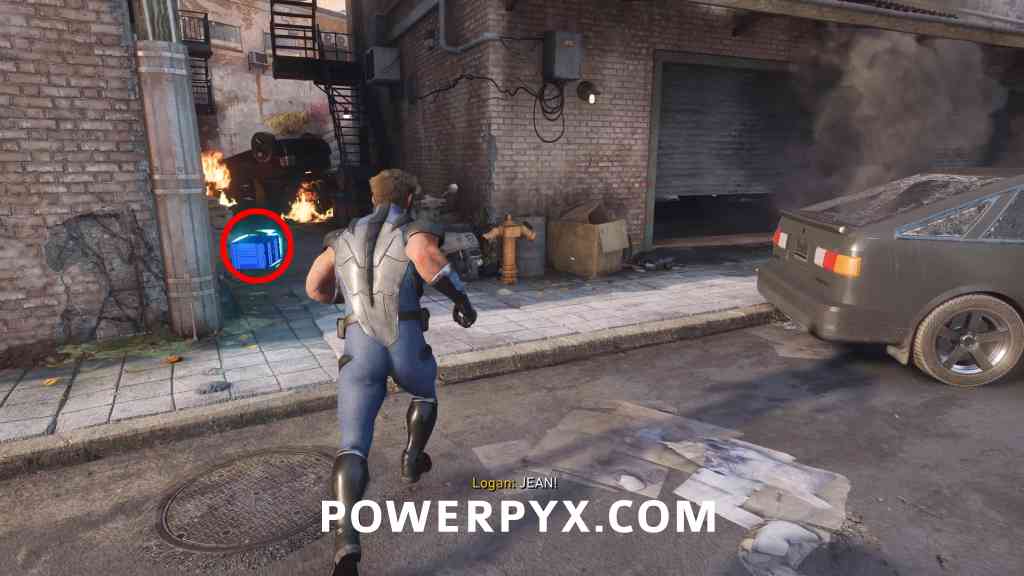
Material Crate #59
Objective: Meet Jean at the Dream Street Theater
Once you’ve freed the civilians, proceed down the street following the main path, when you see a red car in the road go left to see the crate.
Material Crate #60
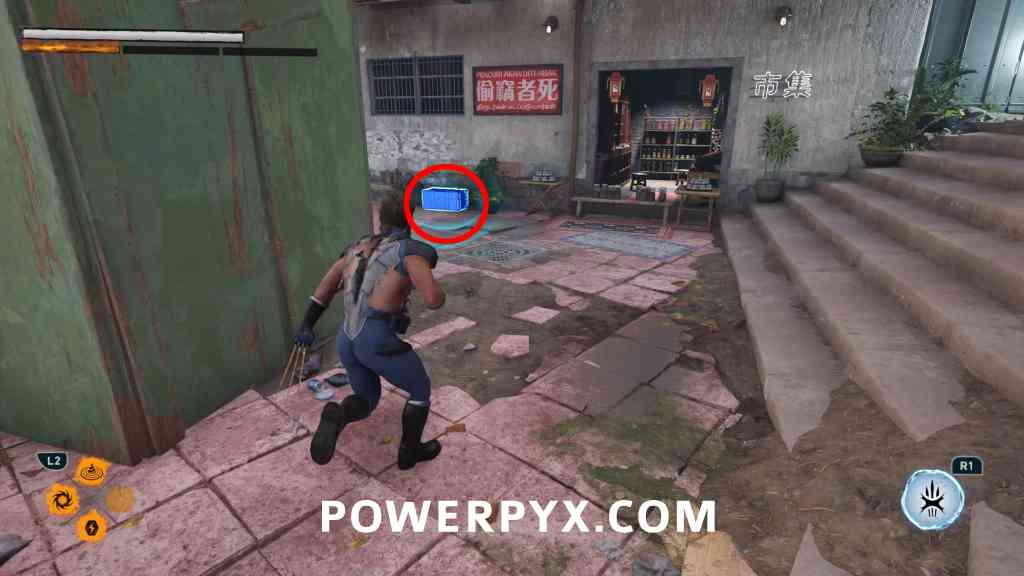
Objective: Objective: Meet Jean at the Dream Street Theatre
After fighting a few enemies and destroying a turret vehicle, just ahead you’ll be attacked by a lone sentinel, the crate will be on the left side of the area, near some market stalls.
I’m Still Here
Material Crate #61
Objective: Learn what happened to Jean
After beating the big purple sentinel (robot), you will slash away some debris. Then you can go left or right, go right and follow the path to the end, the crate is in a building here.
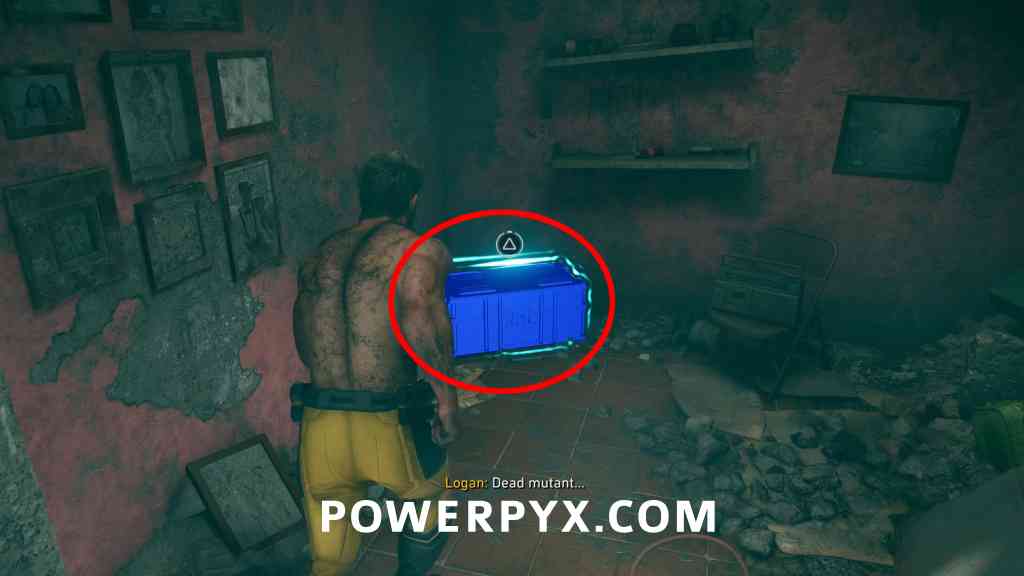
Material Crate #62
Objective: Learn what happened to Jean
From the previous crate, this time take the path on the left (story path). Defeat the next 2 sentinels then you find this on the right path. (if you reach the noodle bar you went too far)
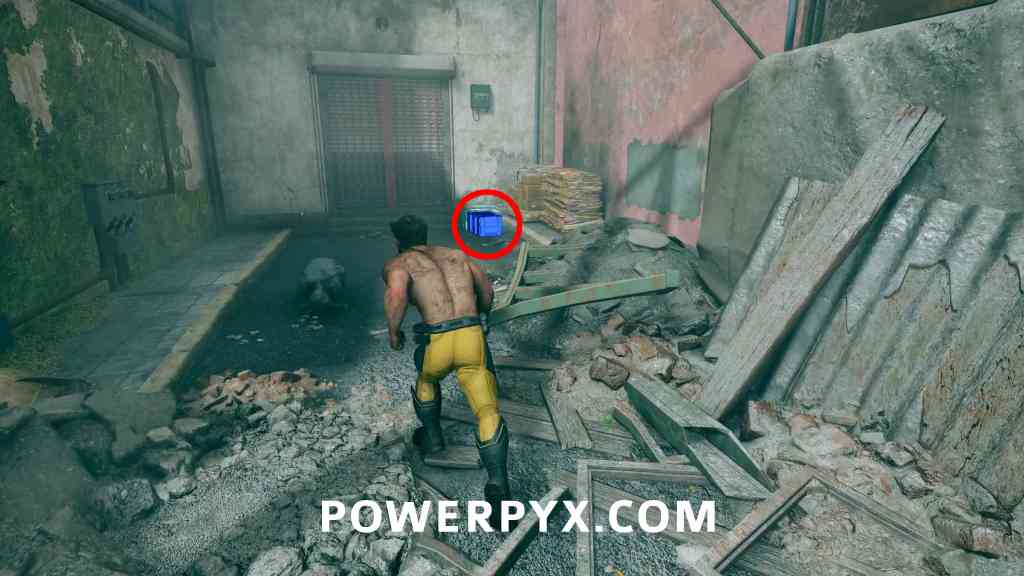
Material Crate #63
Objective: Look for clues in the noodle bar
Before going through the door on the bottom floor of the noodle bar, turn around and climb up to another room with the crate.
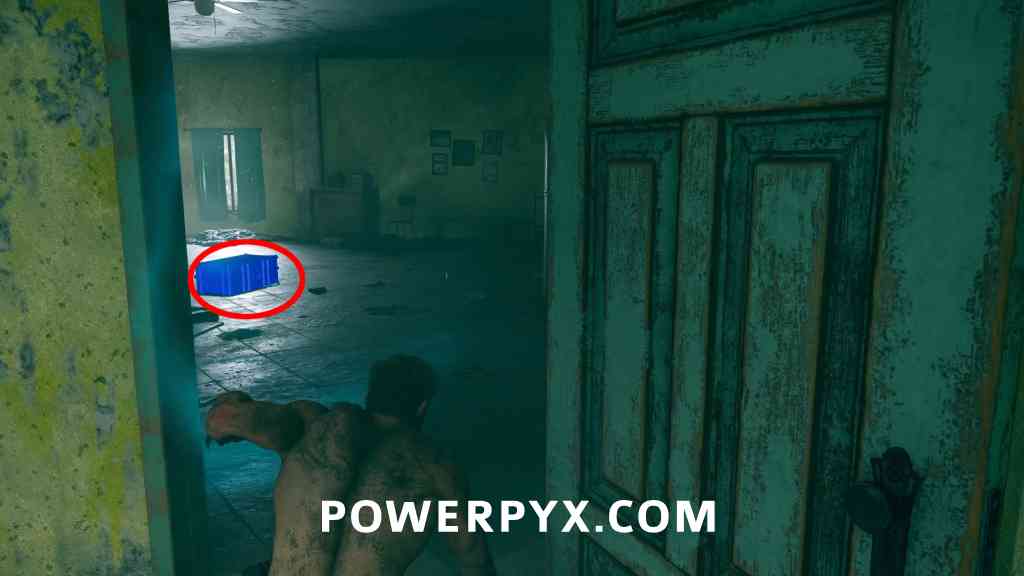
Material Crate #64
Objective: Take out all of the Sentinels
After leaving the noodle bar you will be in an area with several sentinels patrolling, the crate is in a destroyed building, below from where you enter the area.
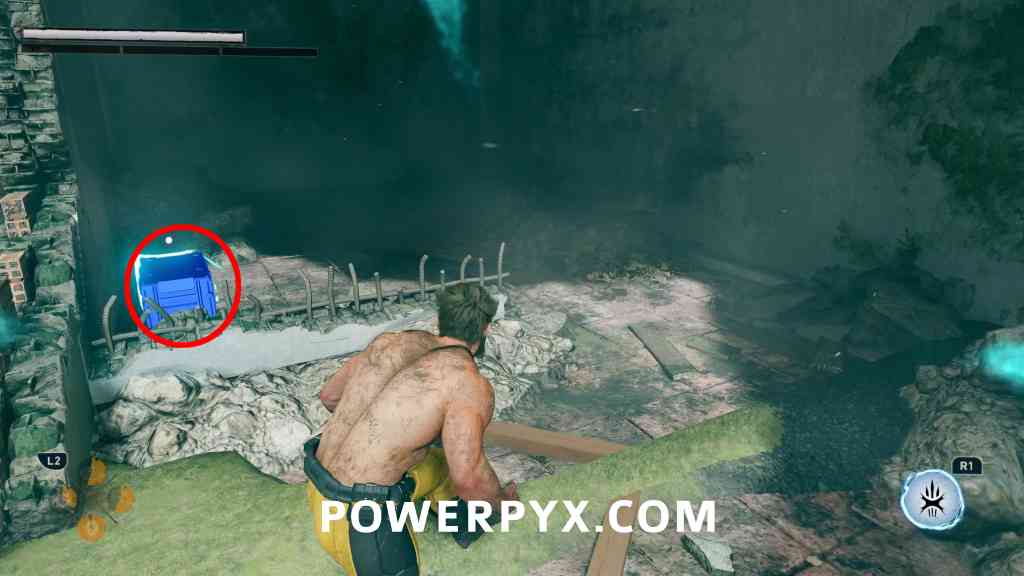
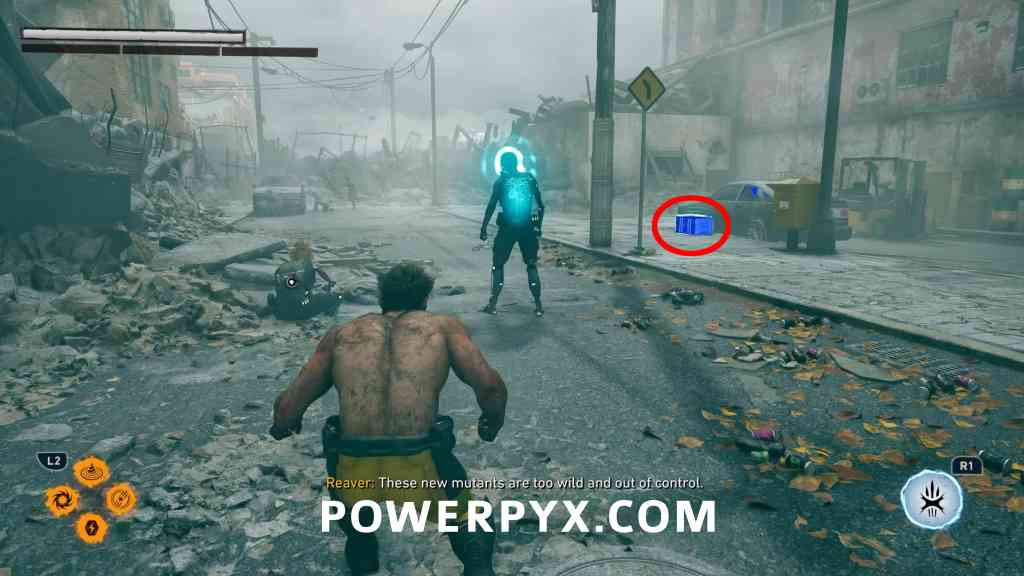
Material Crate #65
Objective: Follow Jean into the power plant
After a cutscene where you see Jean in the distance, jump down and you will see 2 reavers ahead, the crate is close to them, next to a car.
This Was The Dream
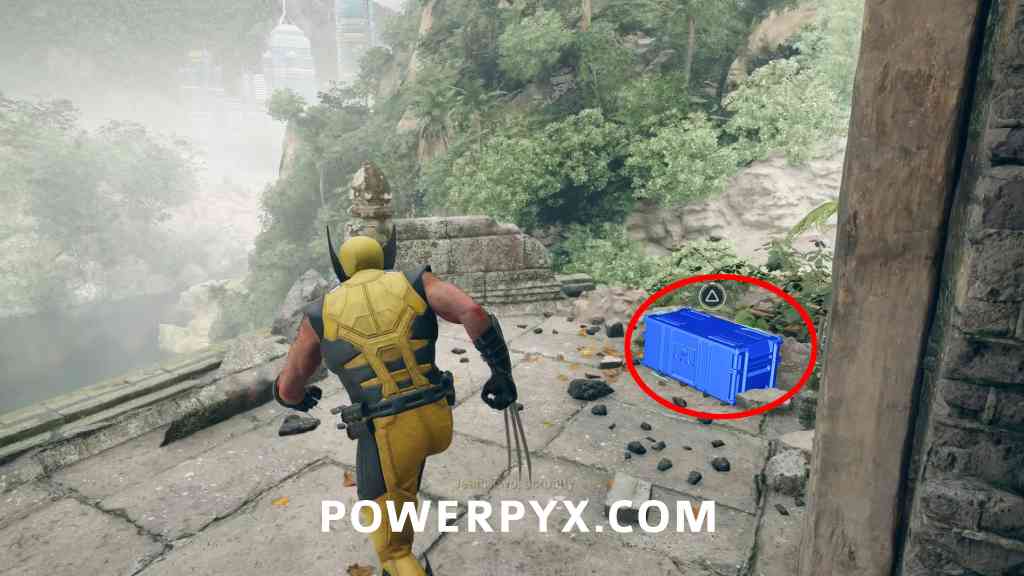
Material Crate #66
Objective: Get to the top
When you ride the bell up the tower and Jean kills 2 reavers, it’s just to the right of the doorway when you go outside.
Material Crate #67
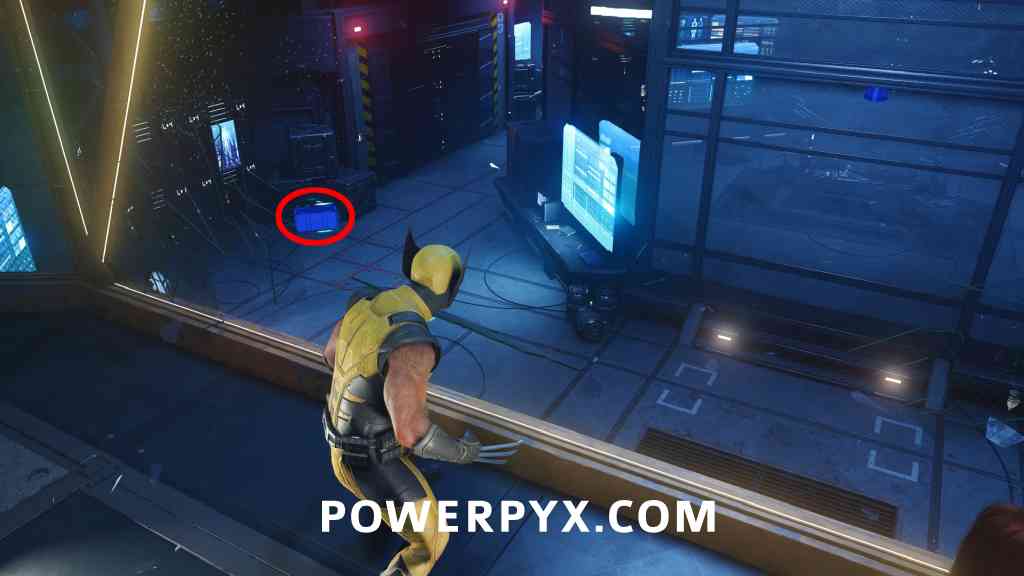
Objective: Essex, what did you do?
You will have a sequence back in Tyger’s bar involving Essex, then you get teleported to a facility. After smashing the window, the crate is down here to your left.
Material Crate #68
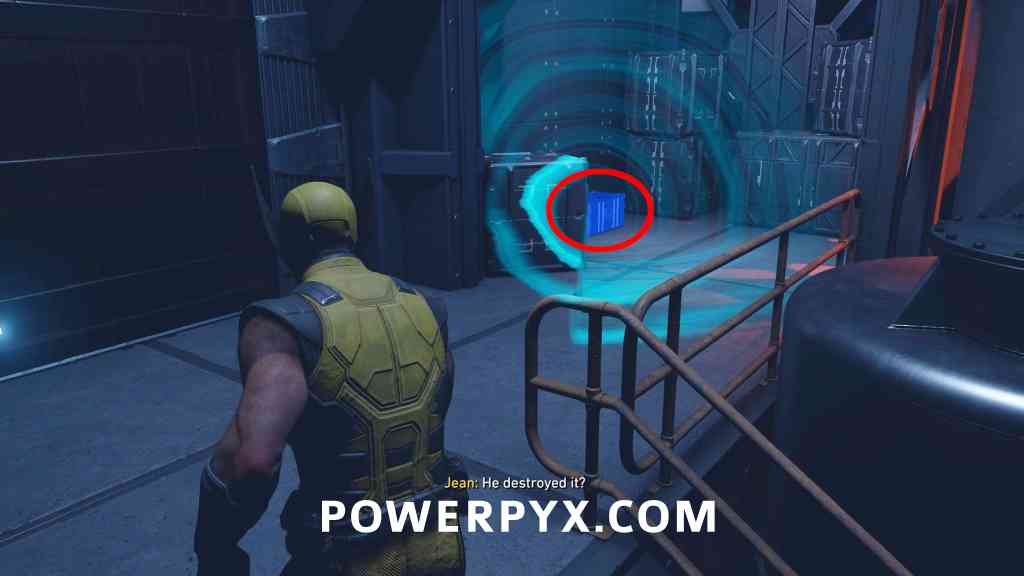
Objective: Essex, what did you do?
Following another sequence with Essex, this time back in the Team X hideout, you will end up in a new room, the crate is up the stairs to your left as you enter.
For all other Collectibles, check out the complete Marvel’s Wolverine Collectibles Guide.
Leave a Reply