
Here you can find a full 100% walkthrough for Reanimal DLC #1 The Prisoner, including all Collectibles and Trophies / Achievements. By following this, you will earn all 10 DLC Trophies / Achievements in a single playthrough.
The Prisoner DLC has 3 Chapters total. A thorough playthrough following this guide will take 1 hour.
The following collectibles are required for trophies/achievements, all are included here:
- 6 Posters –
 Super Fly Poster
 - 2 Exploding Suitcase Traps – Definition of Insanity
- 6 Suitcases – The Blood Hound
- 6 Stalking Shadows – Frame Fatale
- 6 Petrified Spider Kids – Dust Buster
You can still find all collectibles via Chapter Select. Click on New Game, pick an empty save slot, then select from which chapter to replay. As a precaution, you can back up your save game at the start of each chapter. If you miss something, copy back your save and replay from there. You can keep track of all collectible progress through the percentage tracker in the trophy list.
Chapters Overview:
Chapter 1: The Slow Descent
When the game starts, you will see people jumping out of the airplane. After that, just interact with the body, and you will automatically jump out of the airplane.
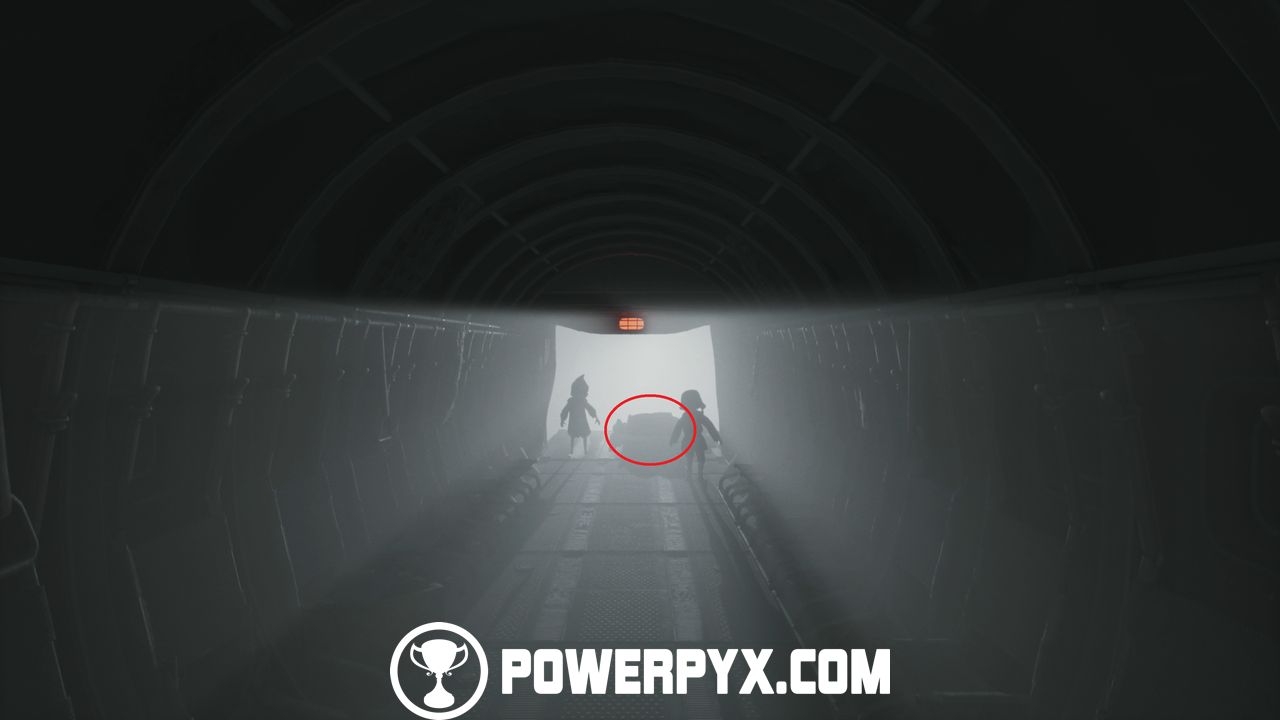
- Poster 1:
After dropping out of the airplane and landing on the ground, just move forward until you reach a wall you have to squeeze through. You can not miss that. Before doing that, interact with the poster on the right.
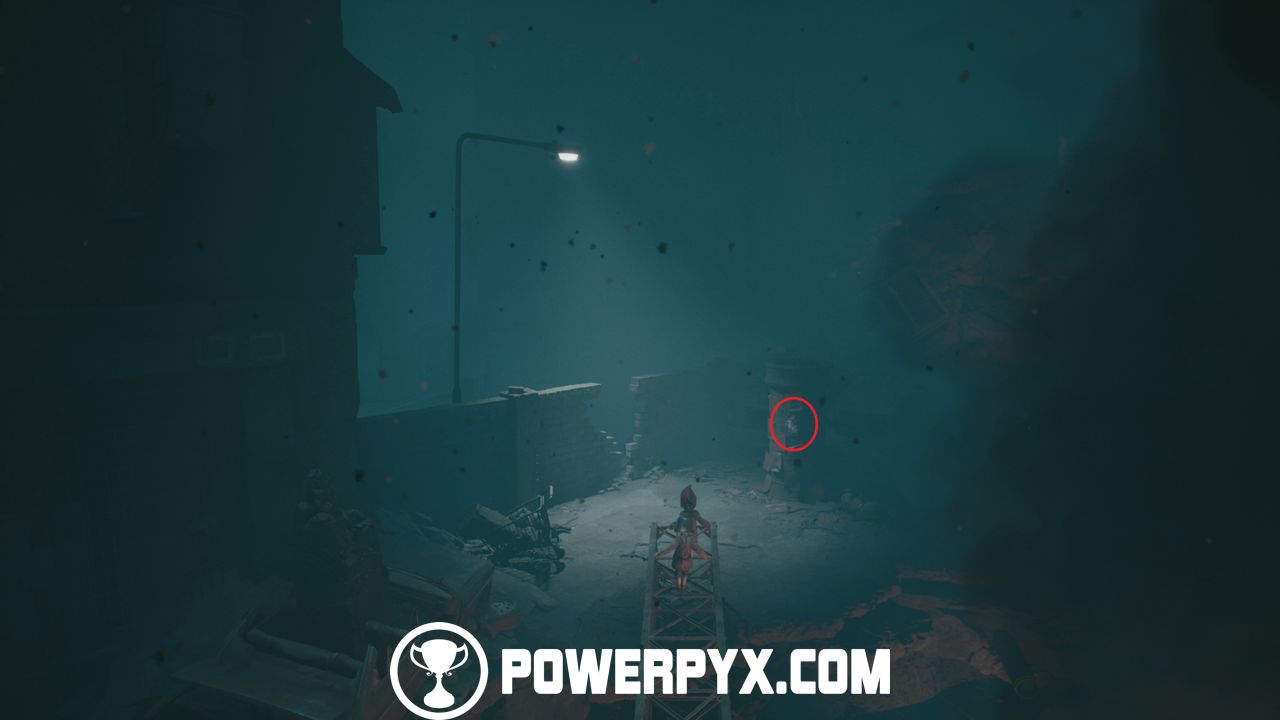
Now squeeze through the wall, and you will see a path blocked by tripmines. Enter the window on the left, then exit through the window immediately on the right. Now crouch and walk under the remaining tripmines. You will see a big enemy with a flamethrower after the tripmines, just walk past this enemy.
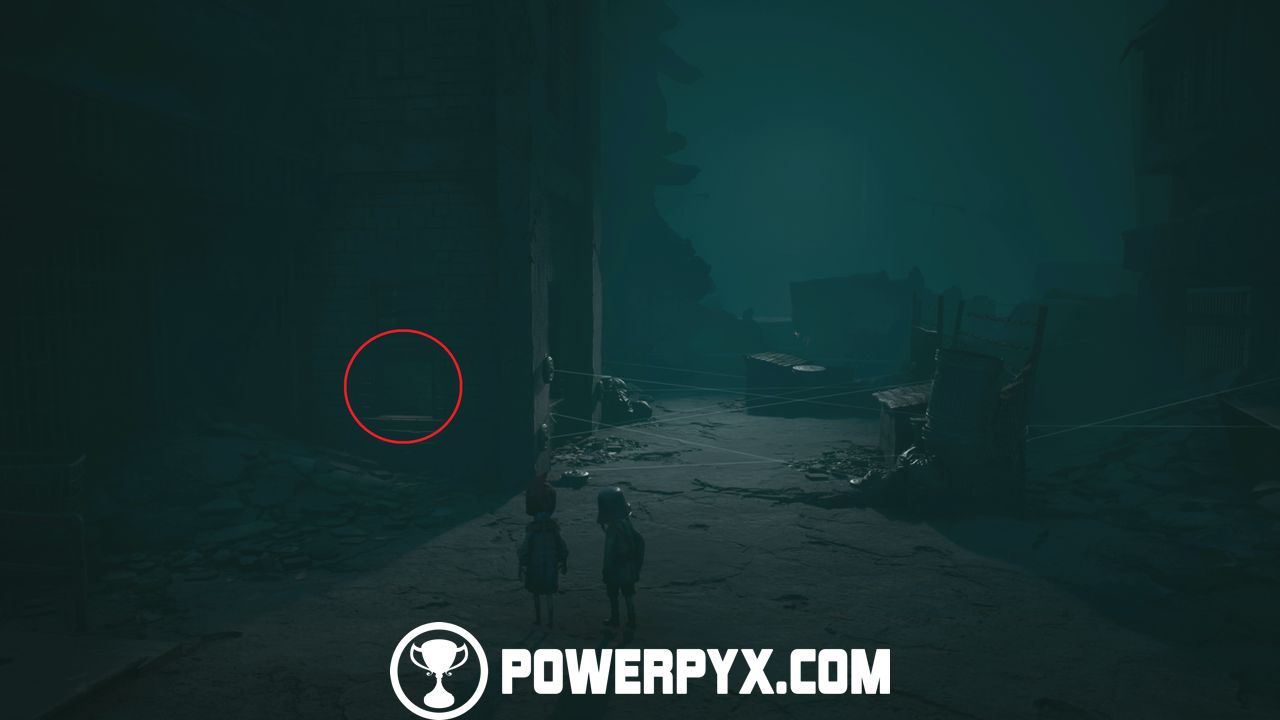
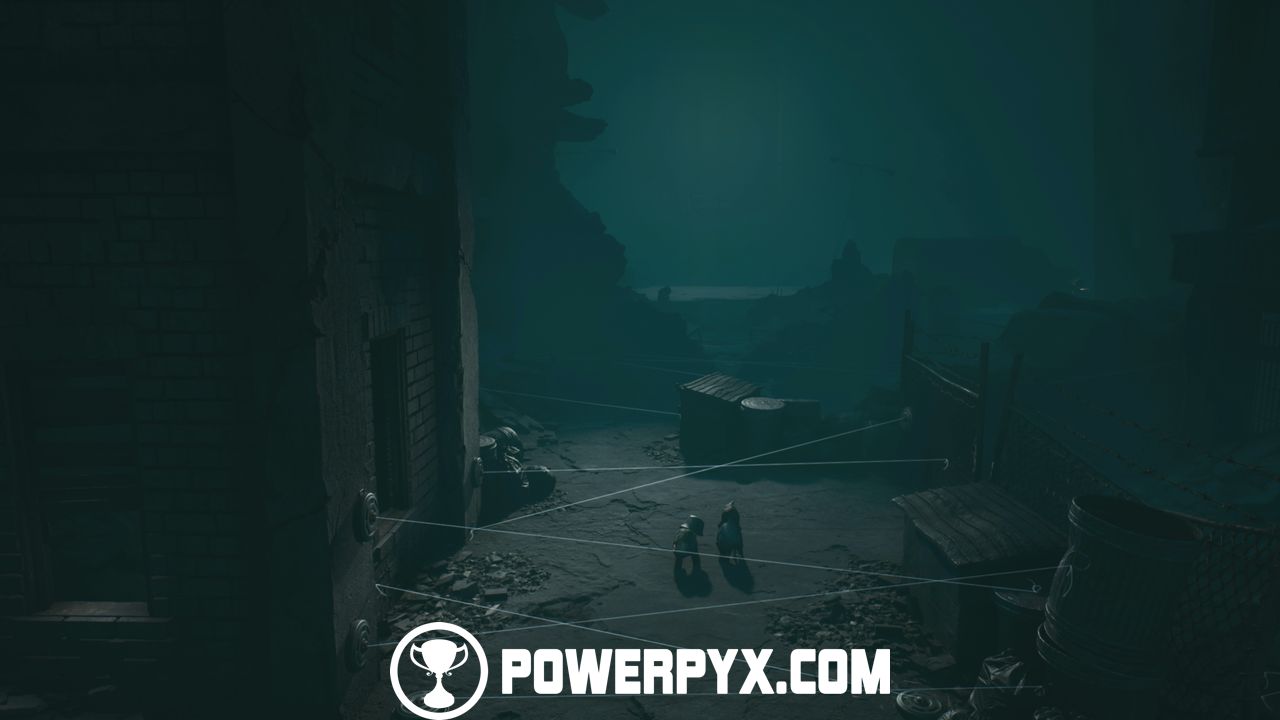
- Poster 2:
After the tripmine section, you will be in front of a building. Before entering the building, go to the upper left side of the area. Here, cross the metal beams.


Move forward, and you will see the poster on the upper side of the area.
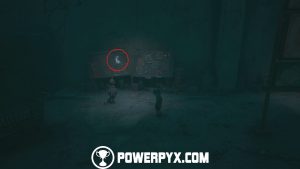
- Poster 3:
Now go back over the metal beams, enter the building. Before going upstairs, you can pick up a mask to the right of the stairs in a pile of trash. There is no trophy for it, though.
Go straight upstairs. You will find a shop that you have to enter.
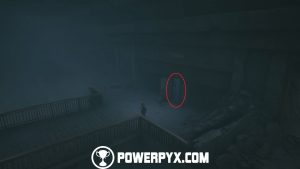
Inside the shop, go to the lower right side, you will see a tiny little bit of light. Just crouch and go right here to find a secret room with the poster.
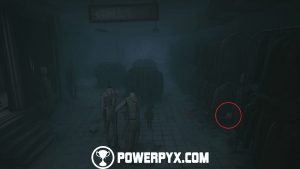
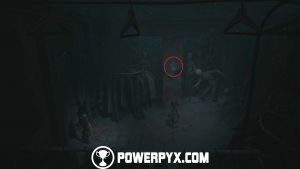
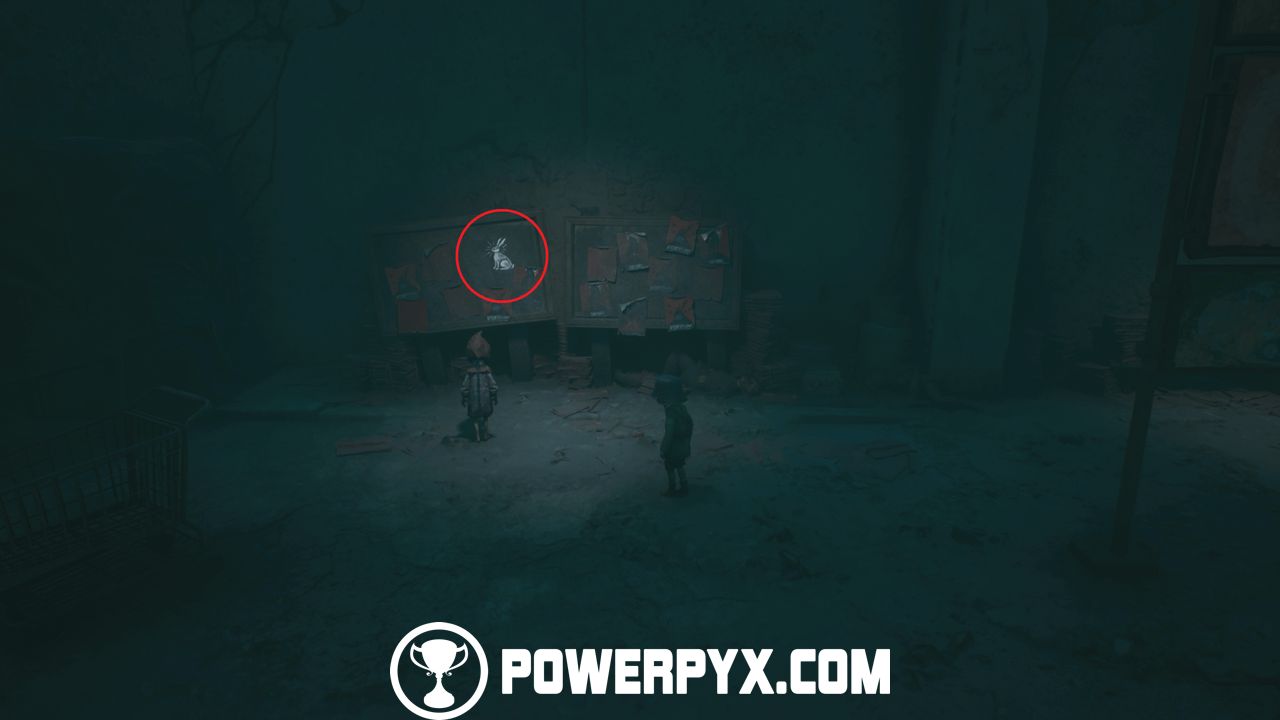
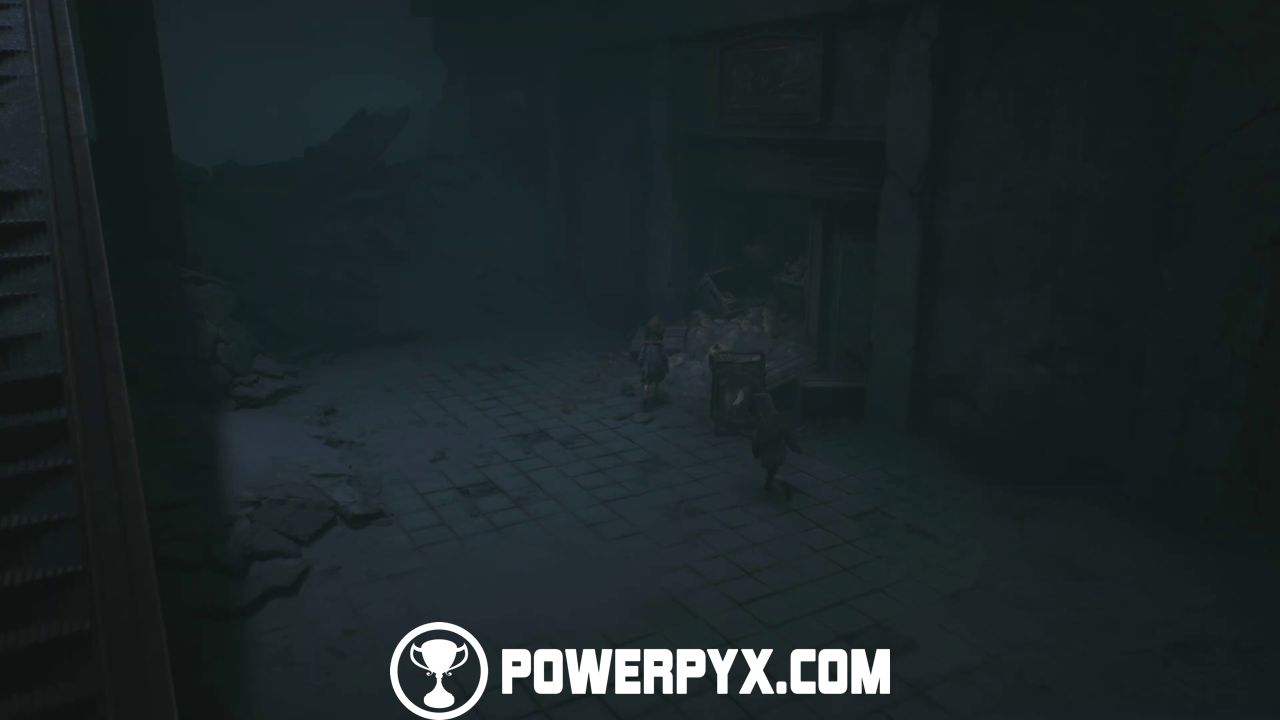
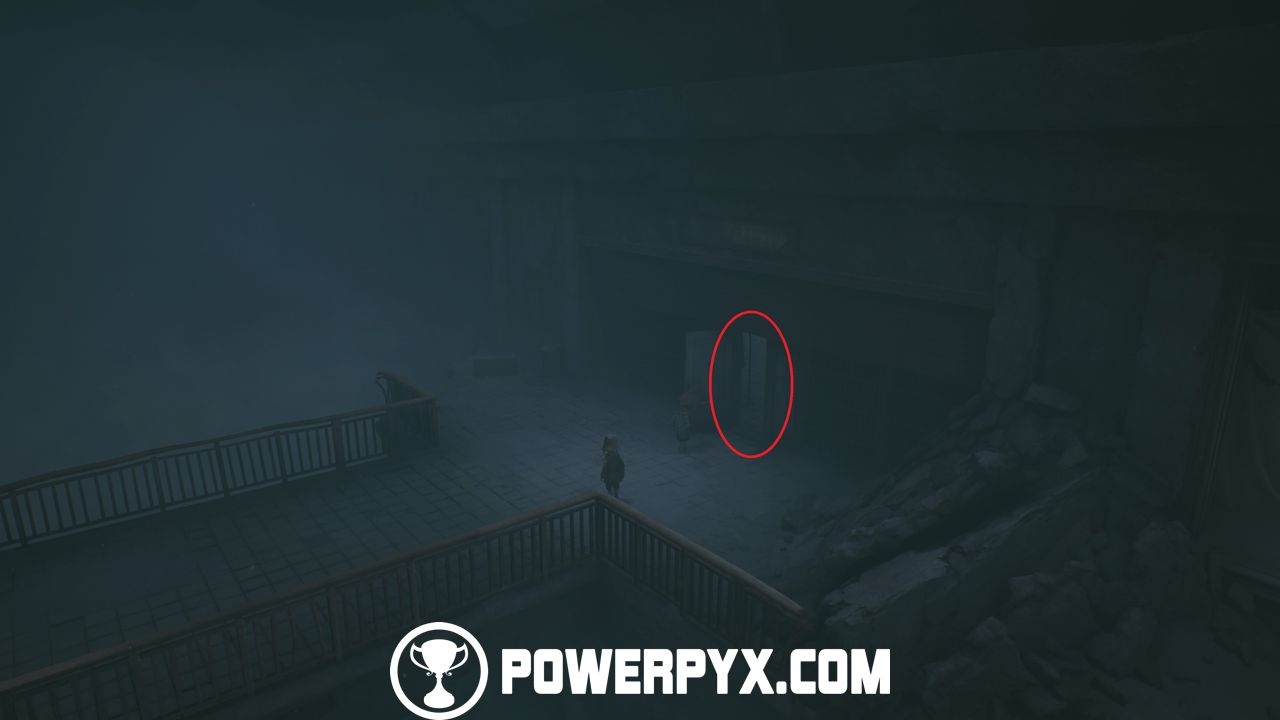
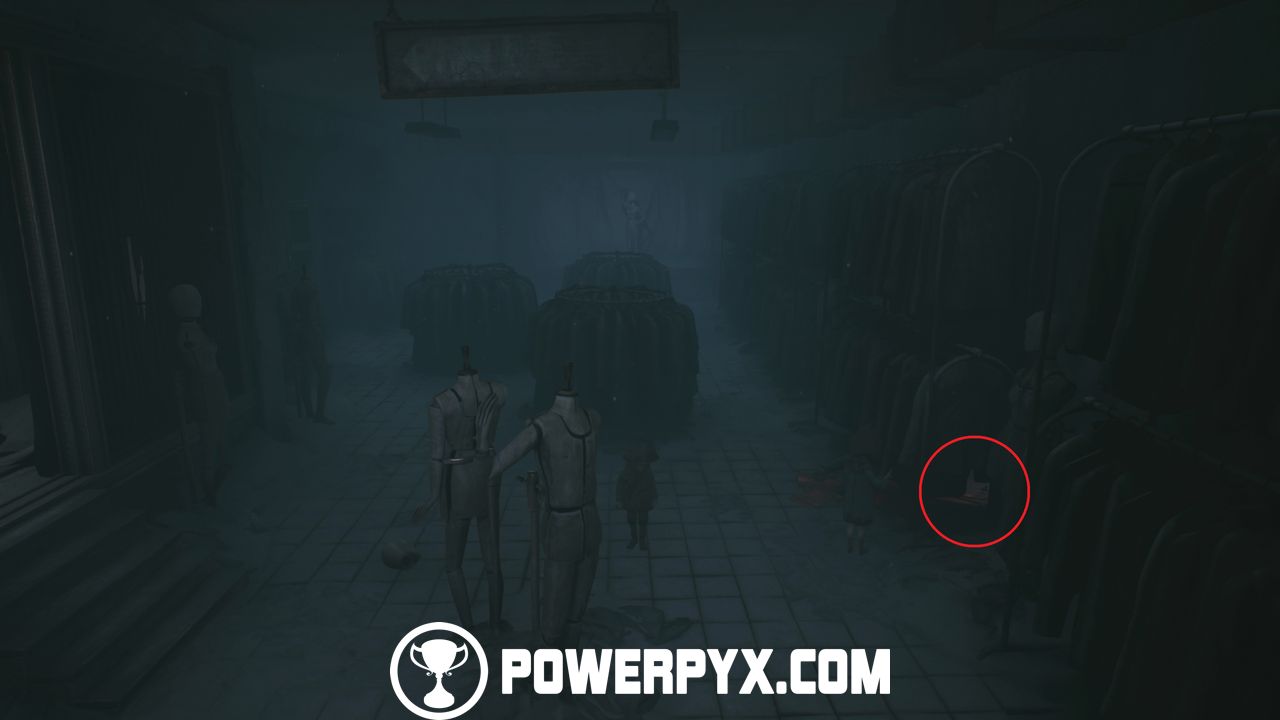
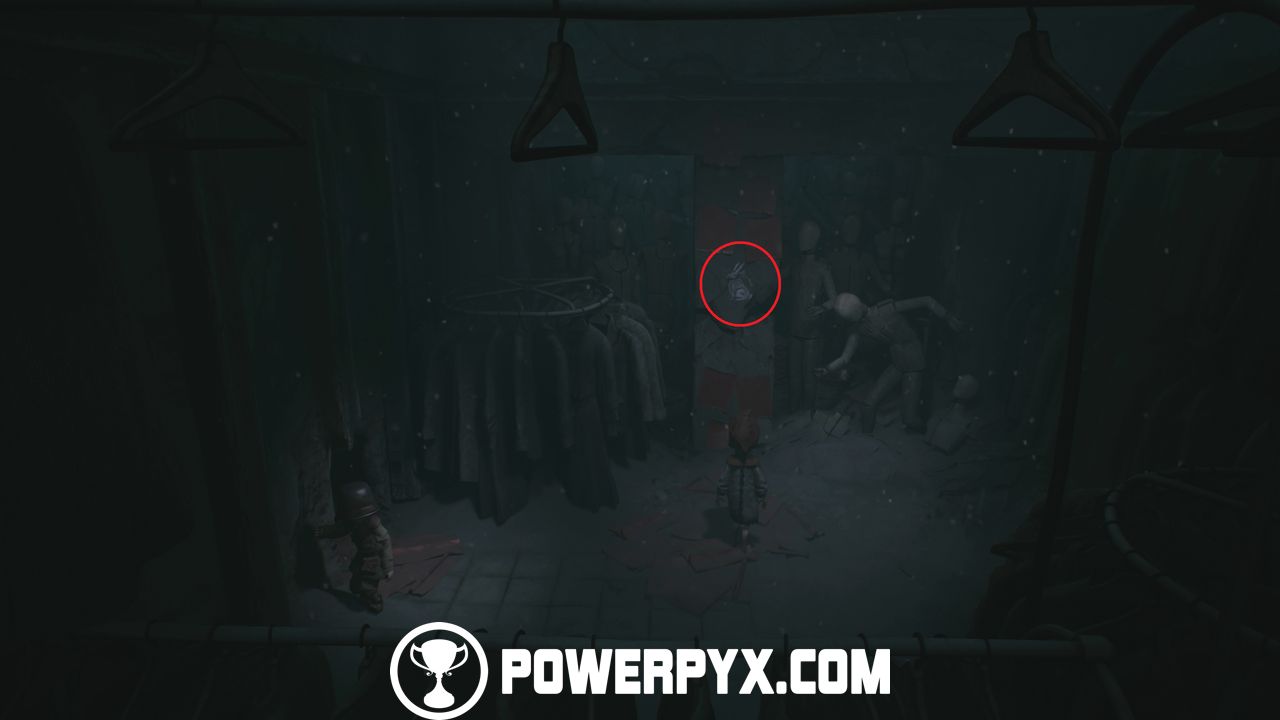
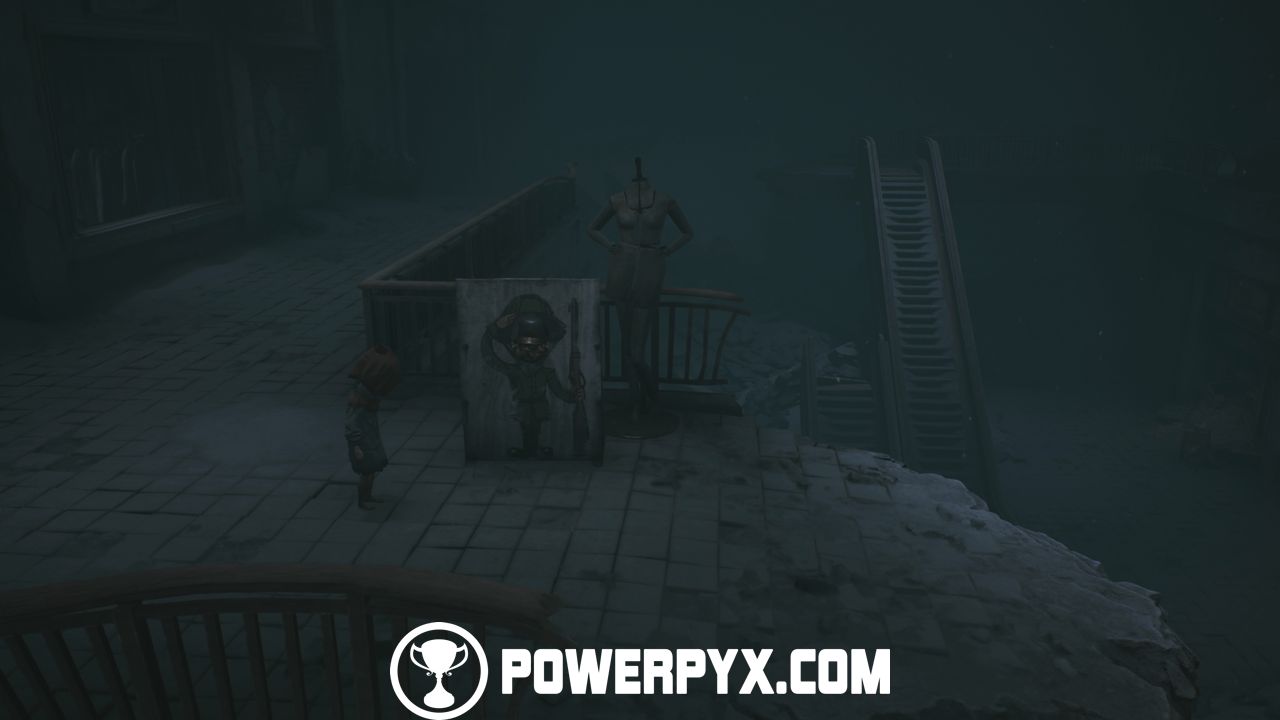
Now leave the secret room with Poster 3, and leave the shop through the exit on the left side (opposite from the entrance to the secret room). Follow the path and jump over to the other side of the shopping mall. You will see a photo stand-in which you will use for Smile for the Camera soon. Pass the stand-in and enter the next shop through the open window.
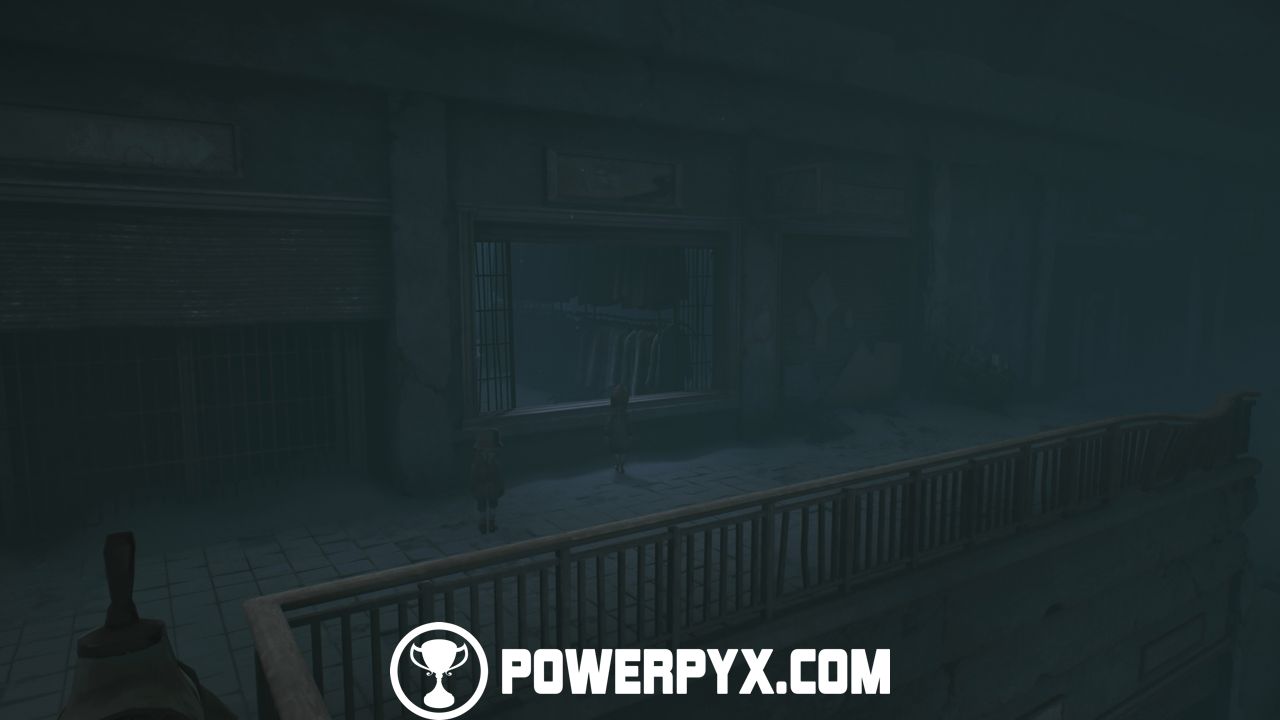
Here, interact with the camera to open up the body near the camera. Now go through the now-open body.
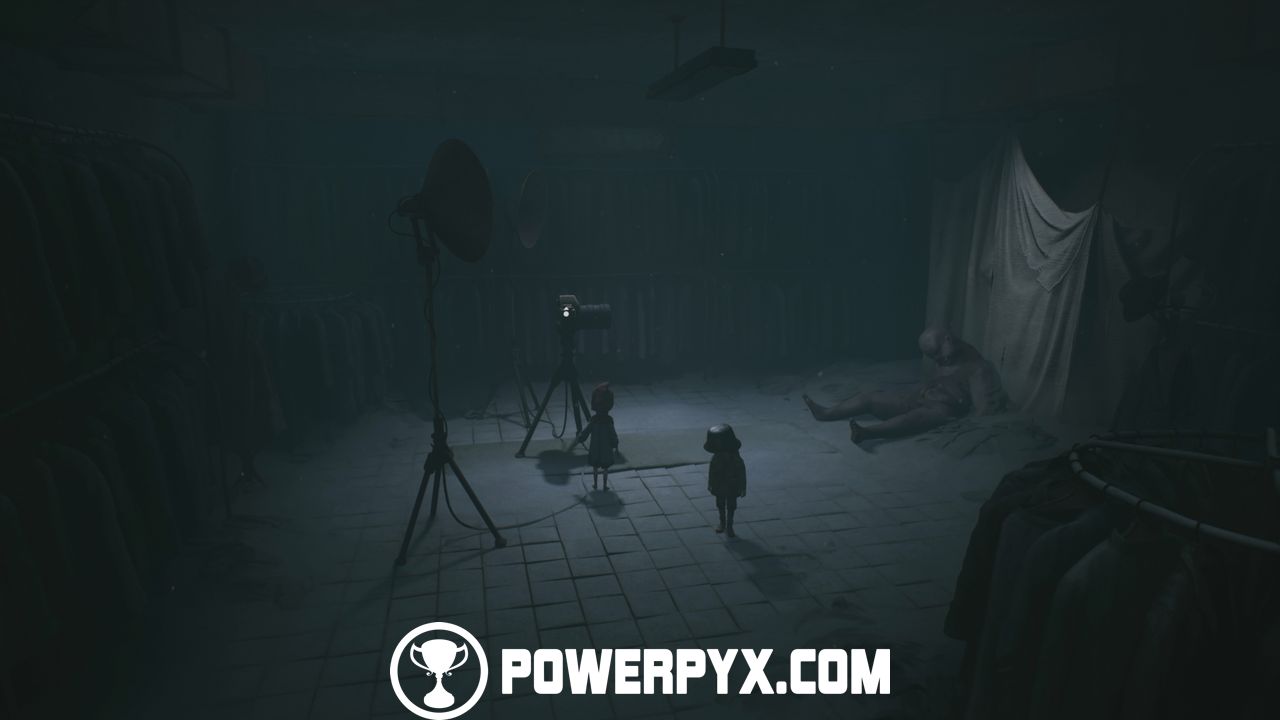
In this room, go behind the counter and through the crack in the wall. Here you will find the camera. Interact with the boxes below the camera to climb up and get it.
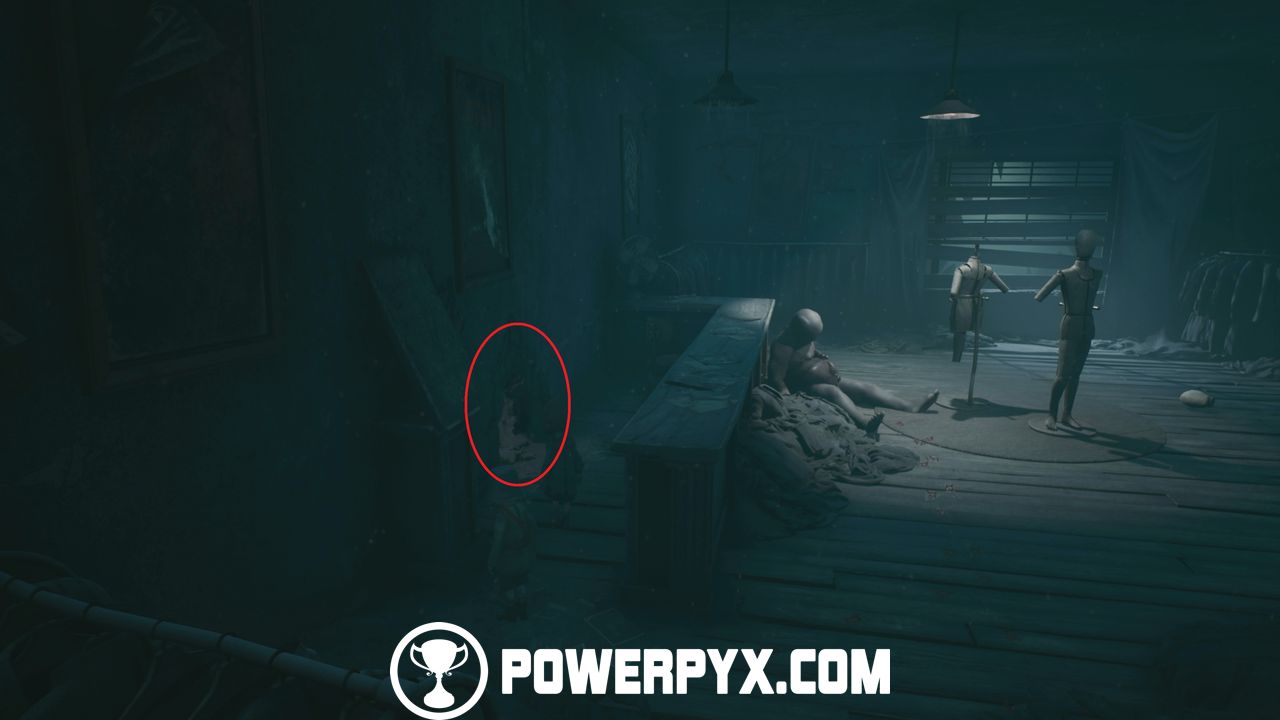
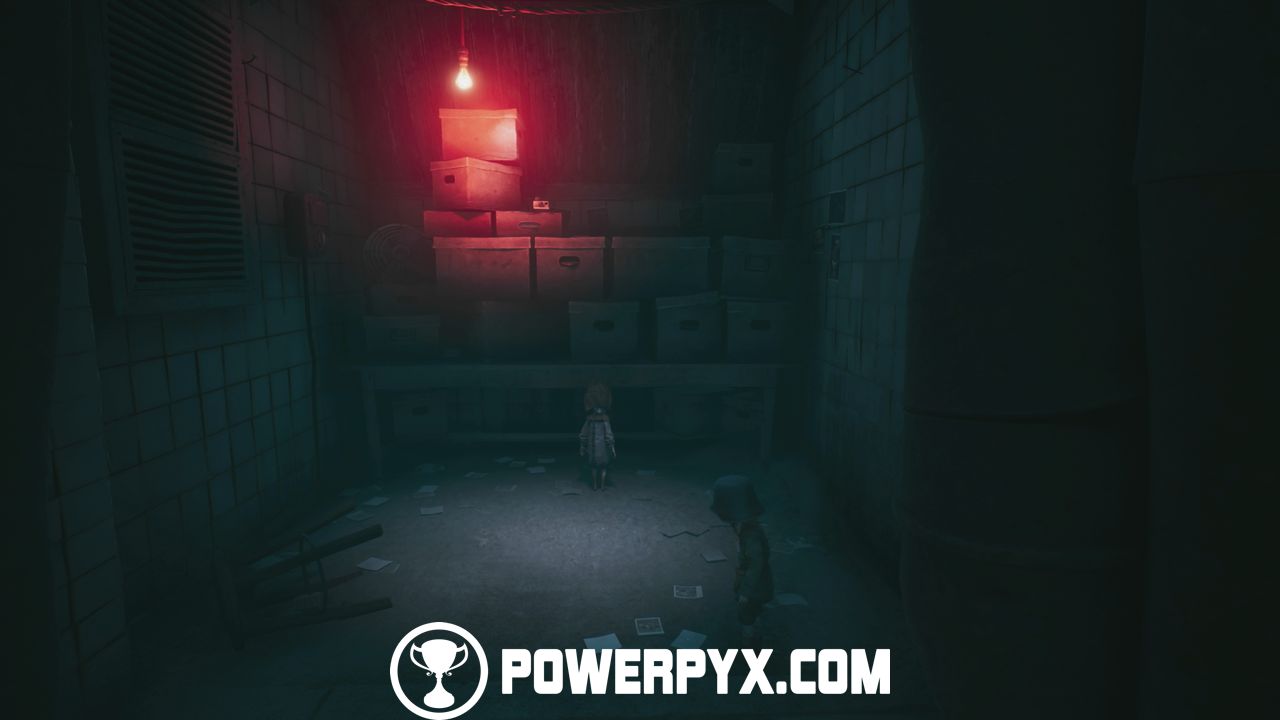
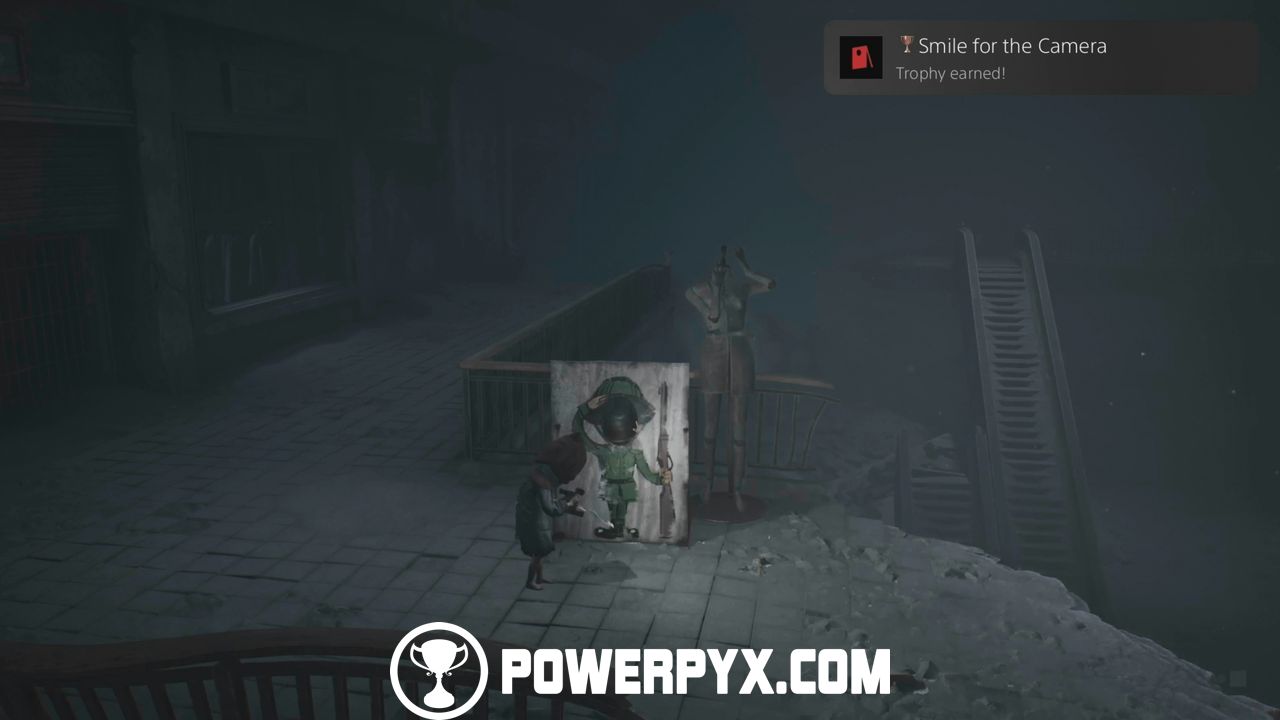
- Trophy “Smile for the Camera”
After picking up the camera, backtrack to the photo stand-in. Press /
/  to make your partner use the stand-in, then just press
  /
/  to make a photo and to unlock the trophy.

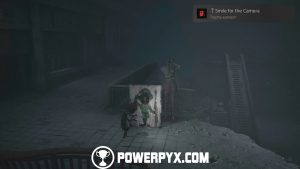
- Suitcase 1:
Now backtrack to the entrance of the store where you found Poster 3. In front of the entrance, you have to open the suitcase and take a photo of it. You know you did it correctly if you see a glowing red symbol.
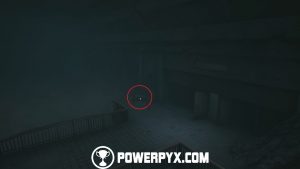
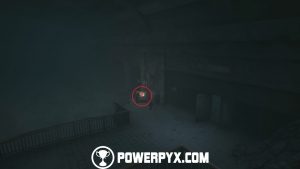
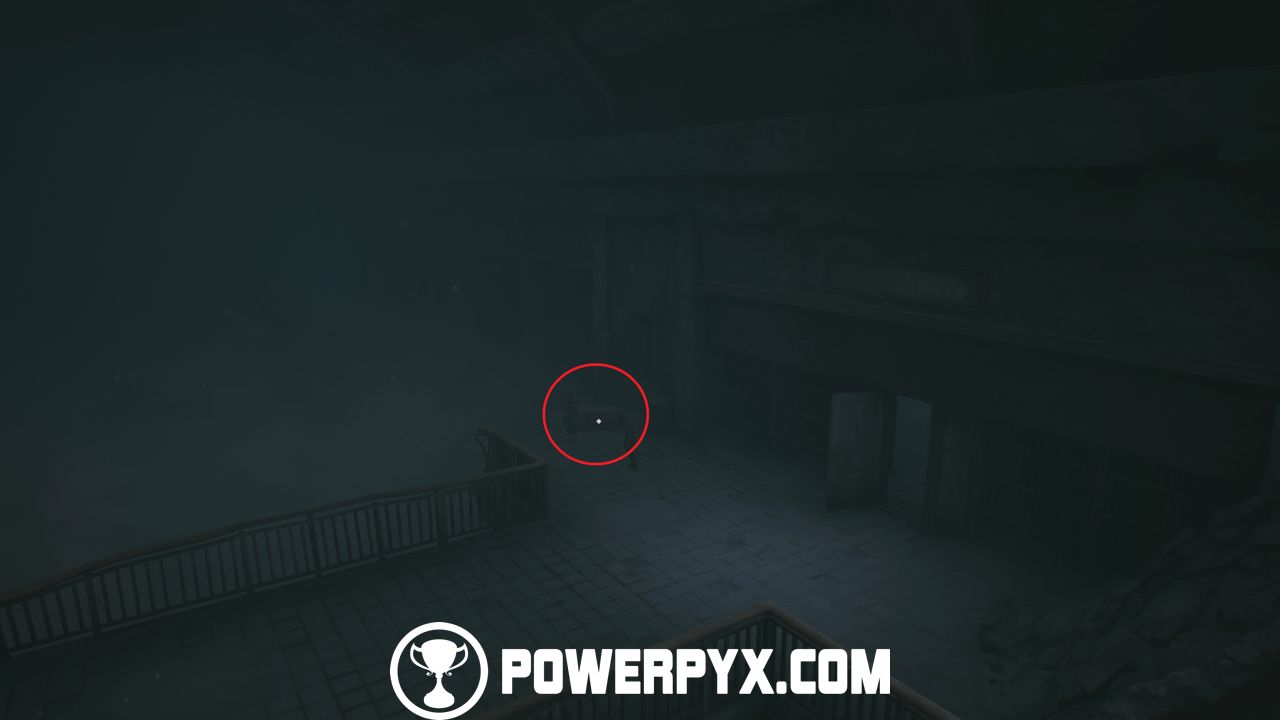
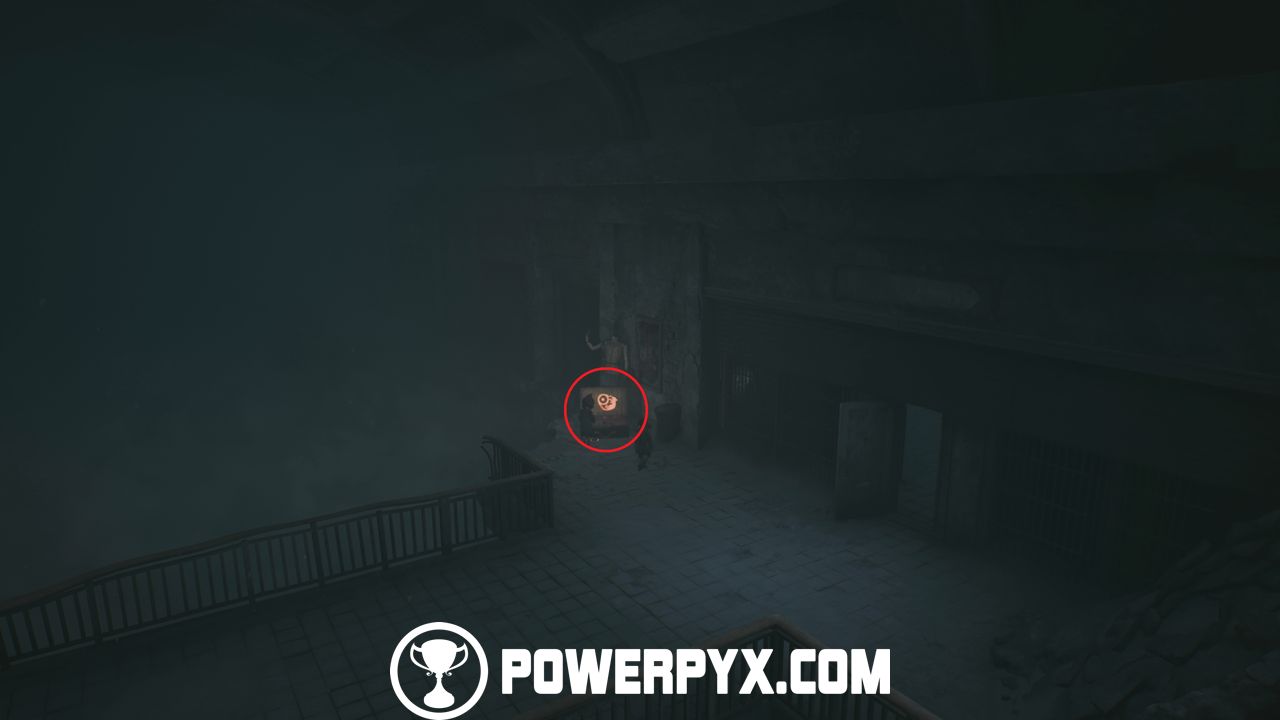
Now go back inside the shop and go to the upper area of the shop, you will see a mannequin holding a key. Take two photos of the mannequin, and you can pick up the key.
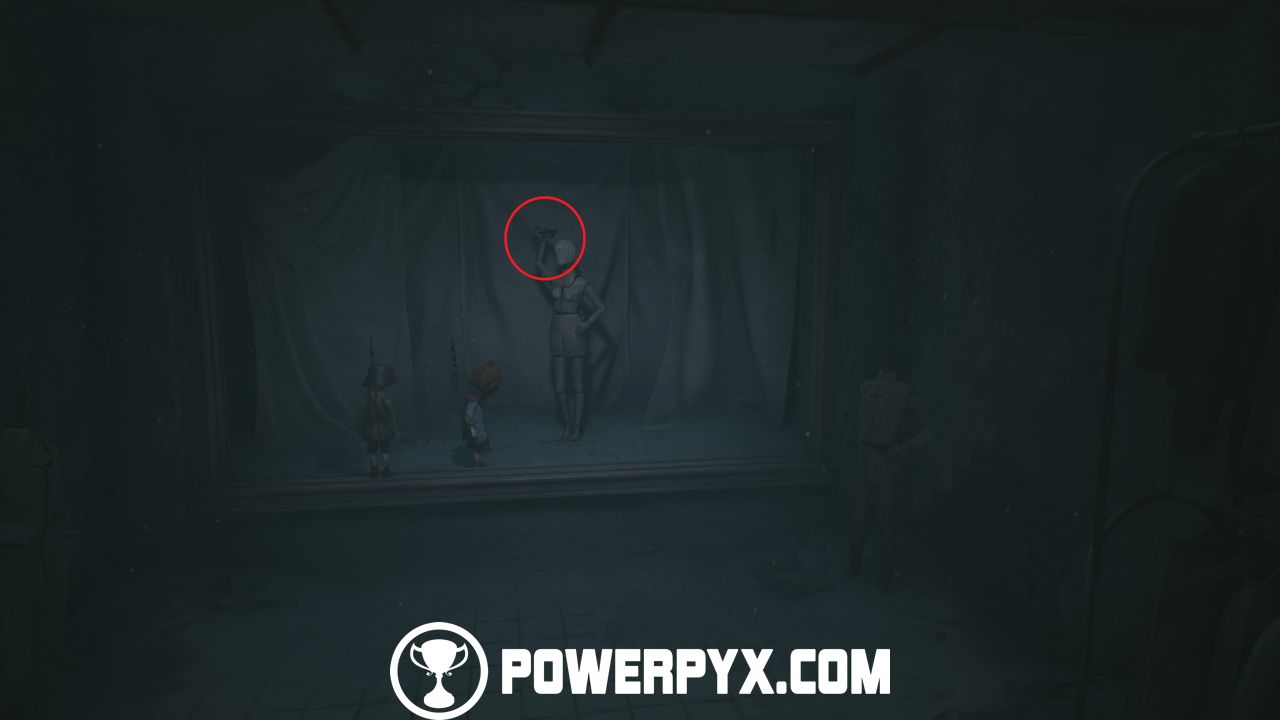
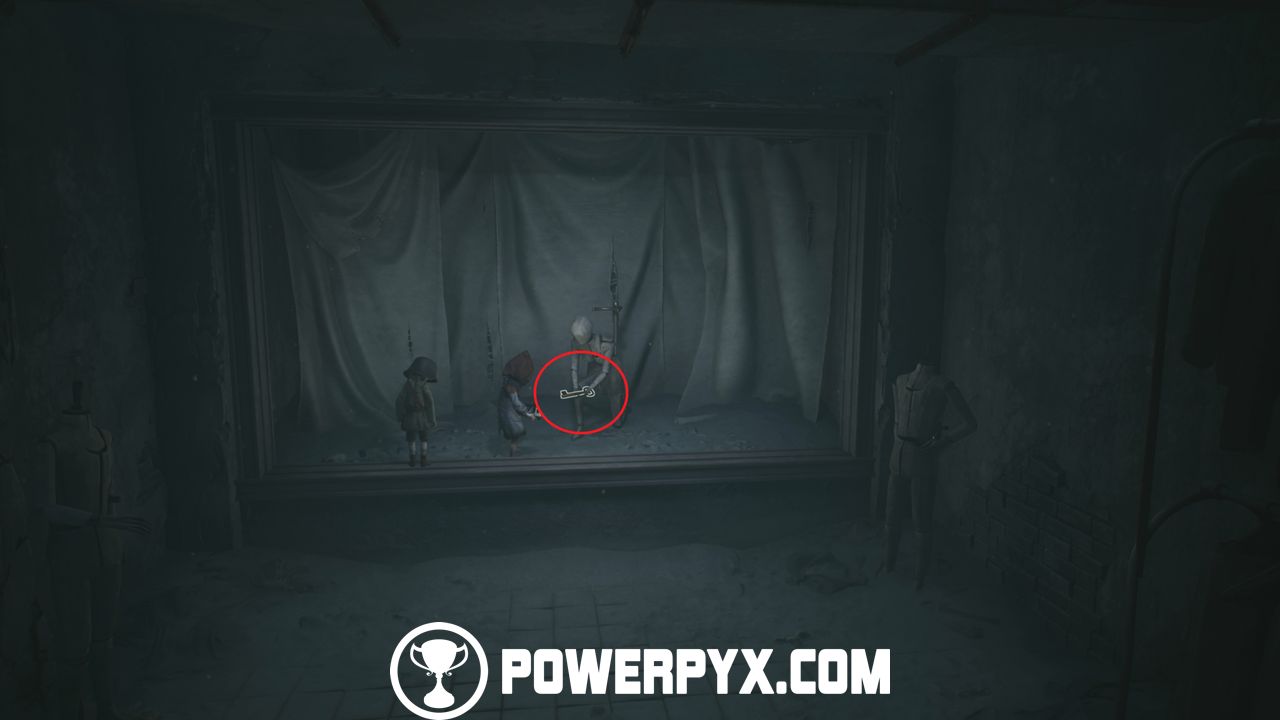
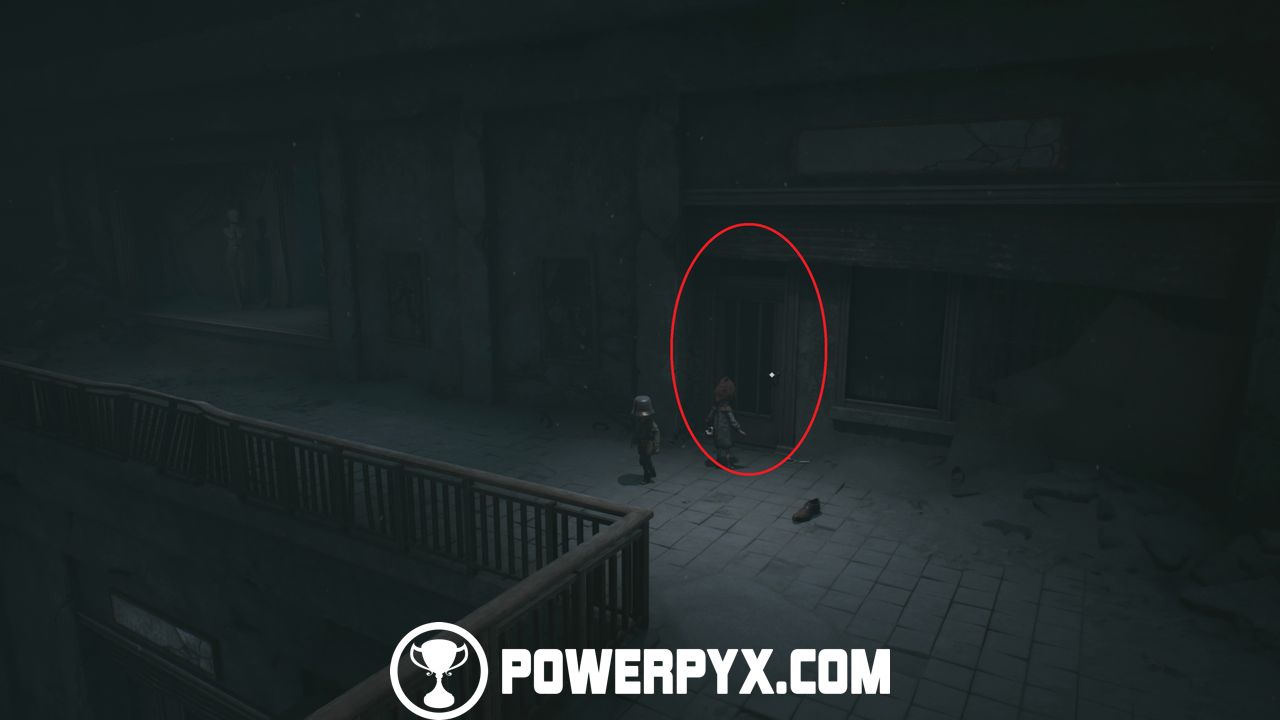
Now leave through the exit on the lower left side of the shop (opposite from the secret room where Poster 3 was) and open the next door with the key. Here, open the hatch and drop down.
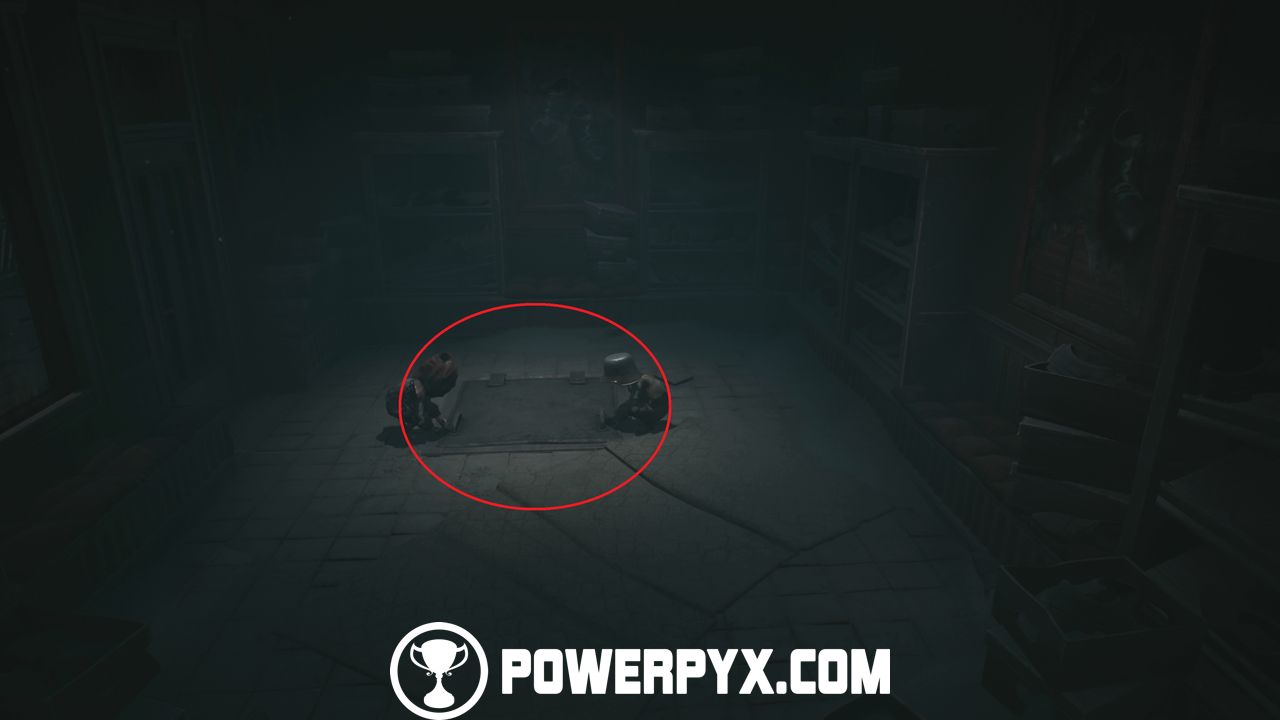
Hide behind the counter and wait for the enemy with the flamethrower to leave the room, then quickly go right and push the box on the right side all the way to the right wall. Then climb up it and exit through the little window.
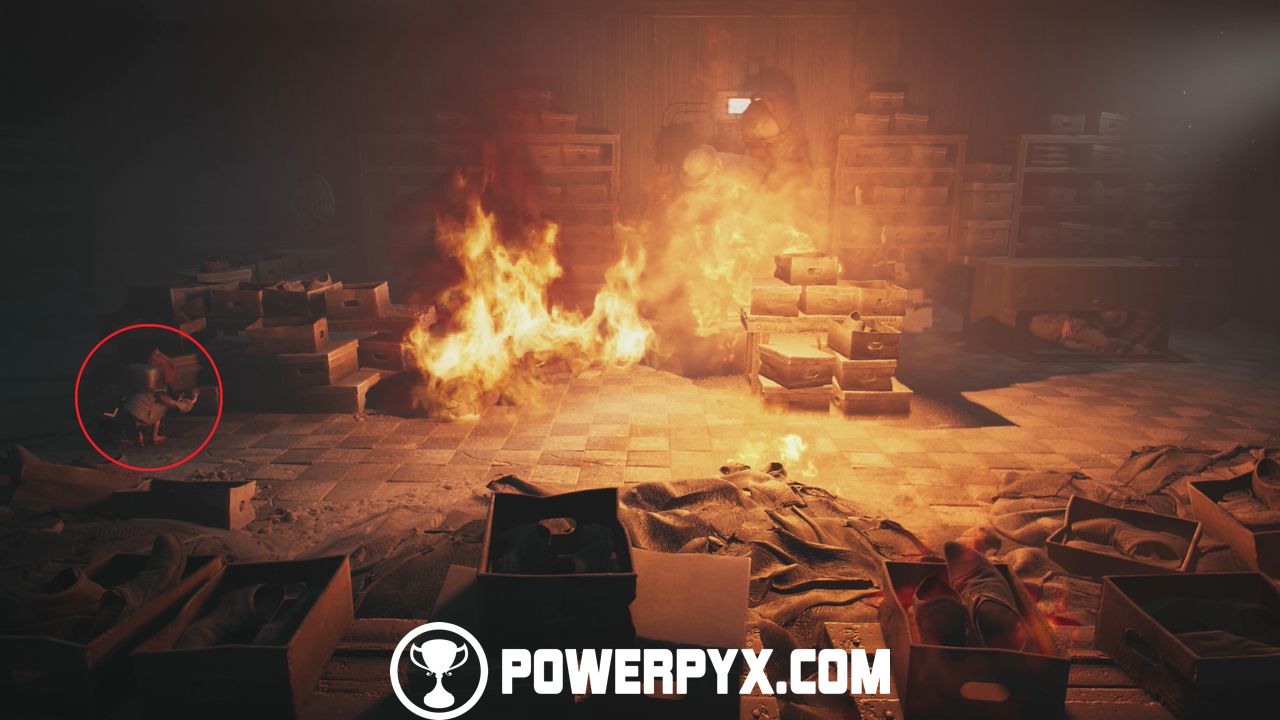
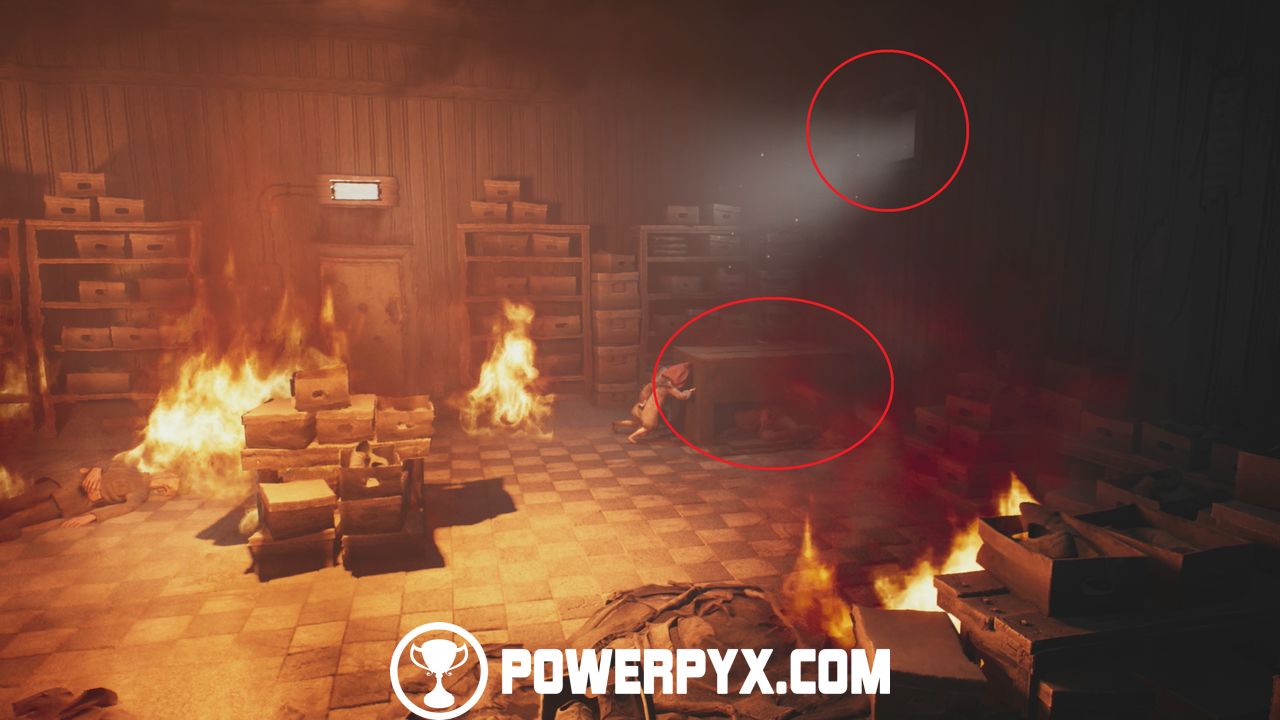
Now enter the next room and jump over the barricade down to the burning area. Here, go right and go over the truck.
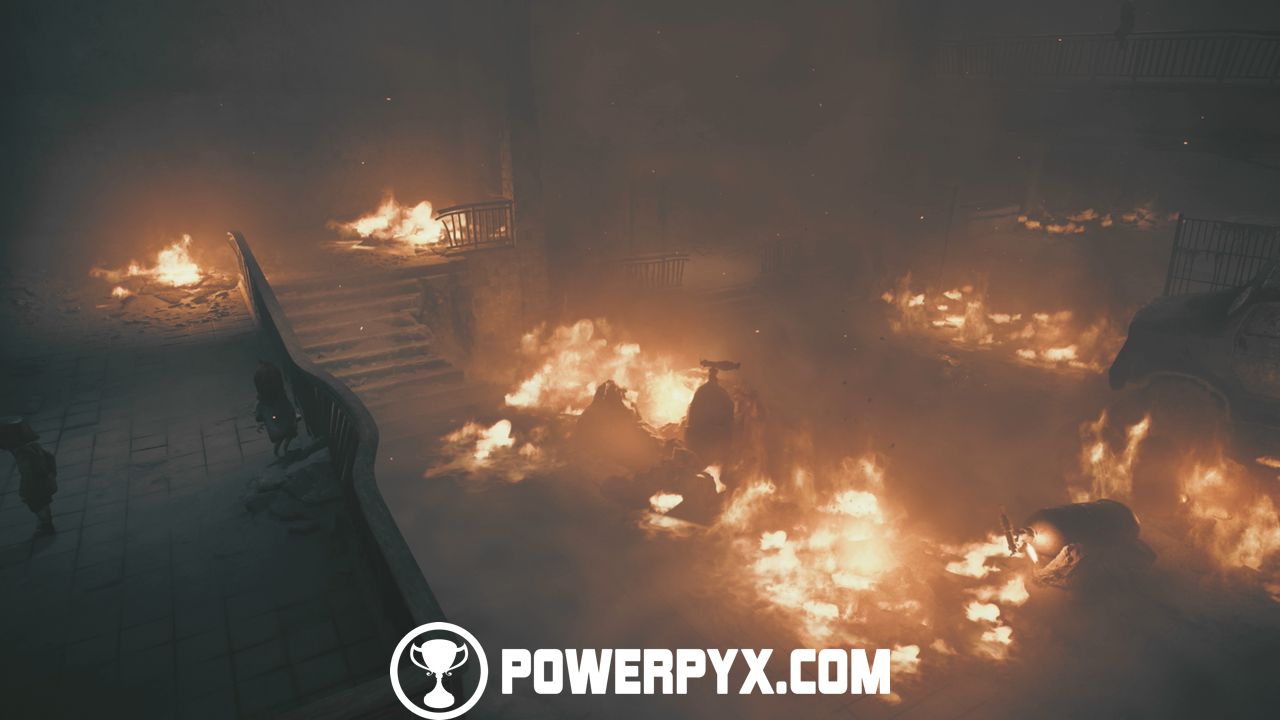
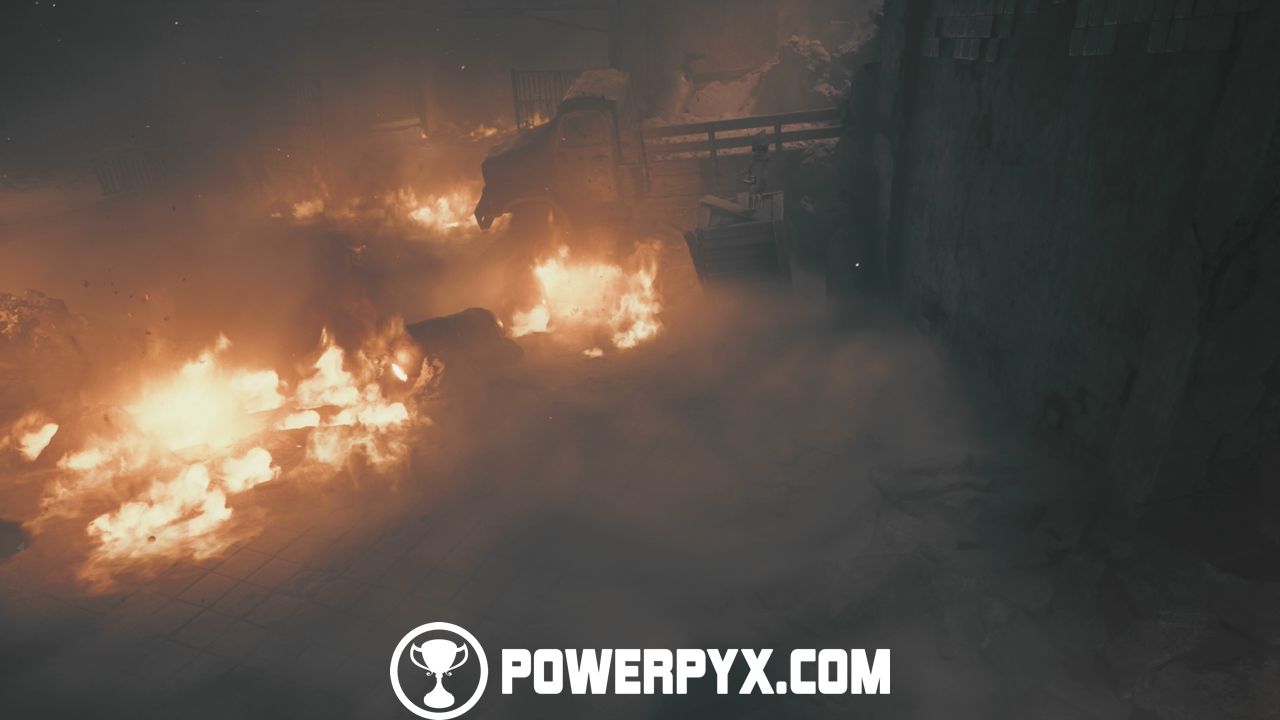
Then go left and through the door on the left side. Here, go down and jump over the barricade, go left, and climb up the ladder.
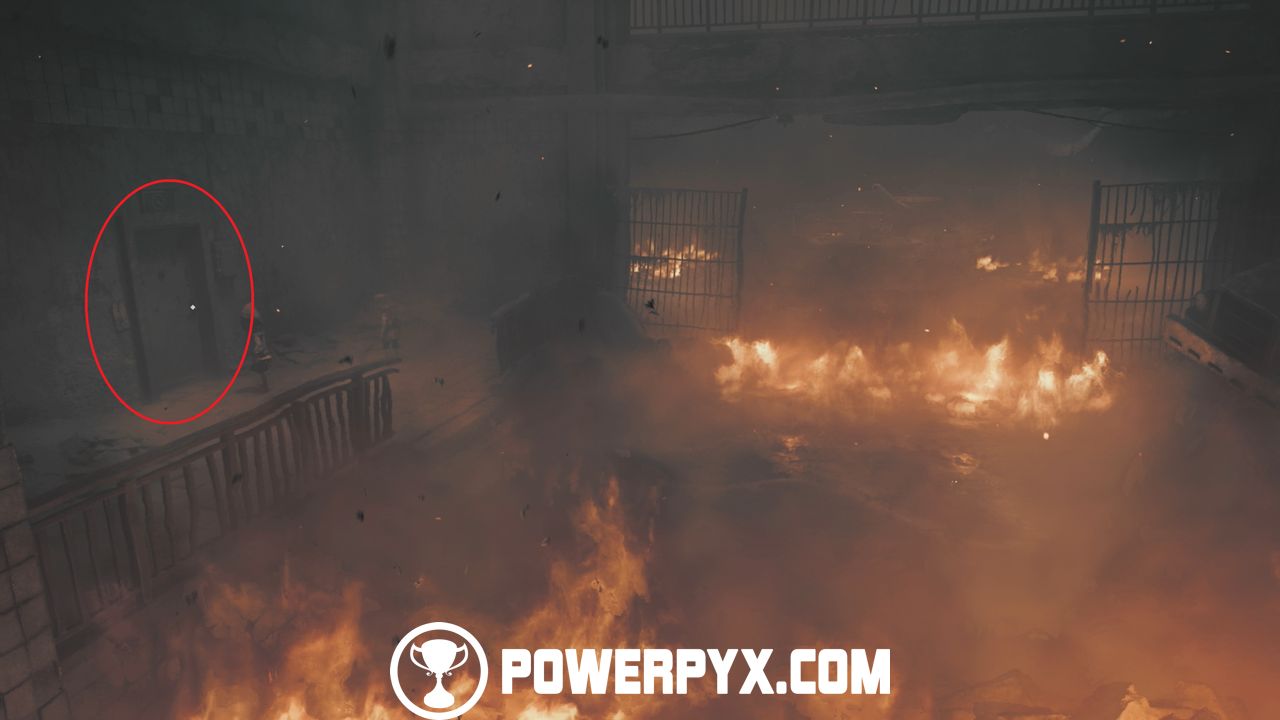
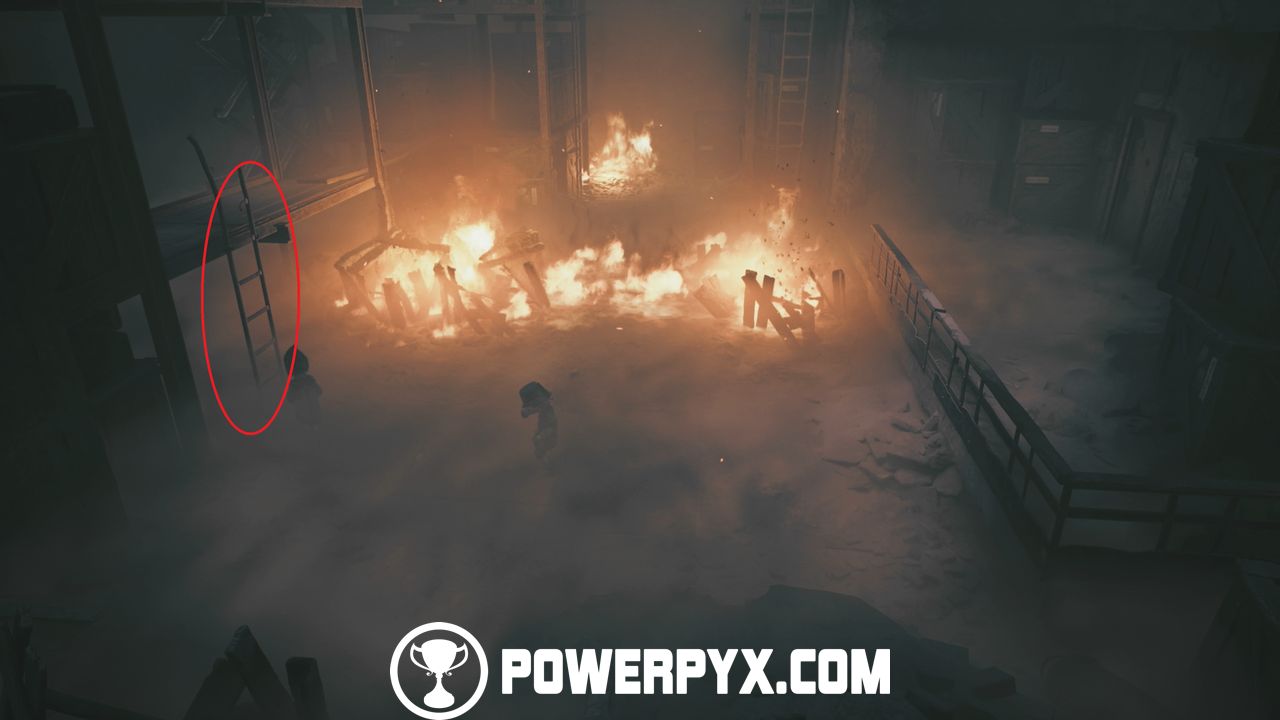
Follow the path and drop down at the end, then climb up the big ladder.
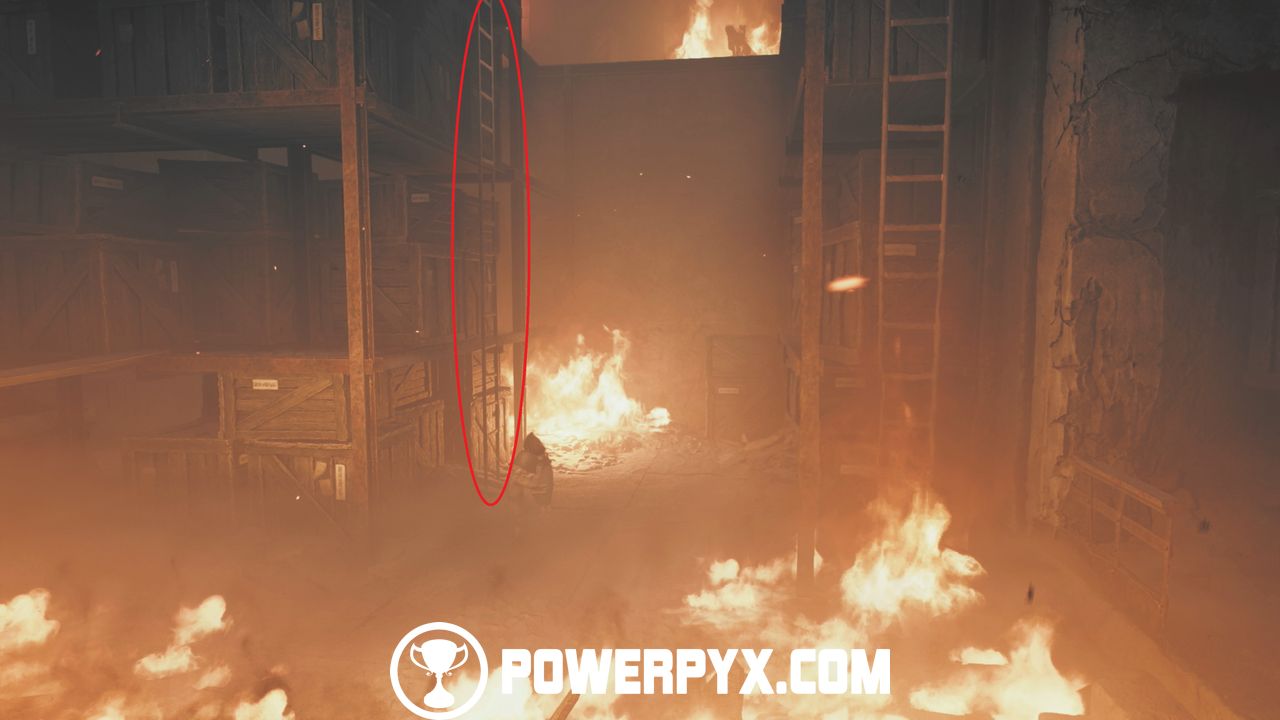
Now get into the lifting platform and move it all the way to the left.
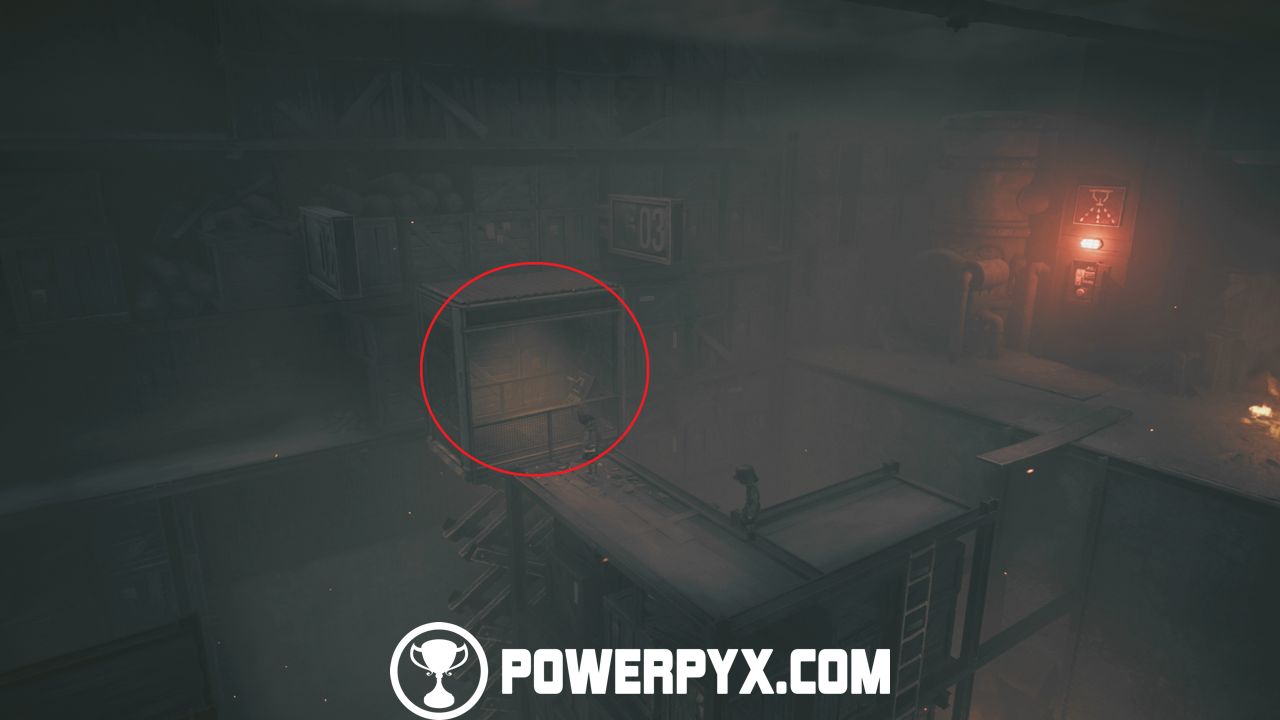
Climb up above the platform, then drop down on top of the platform, your partner will move it all the way to the right. You need to be quick and climb over the two obstacles while the platform is moving.
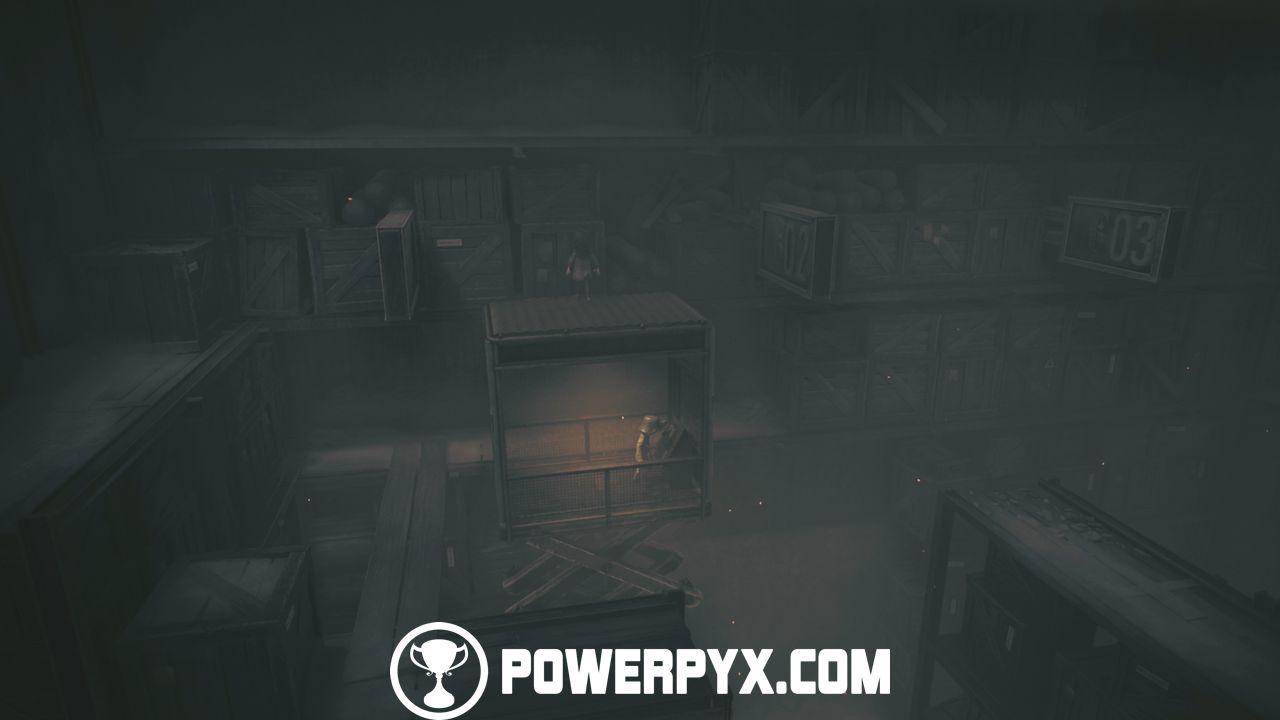
Jump off the platform and stand on the wooden plank so your partner can jump on it to reach you.
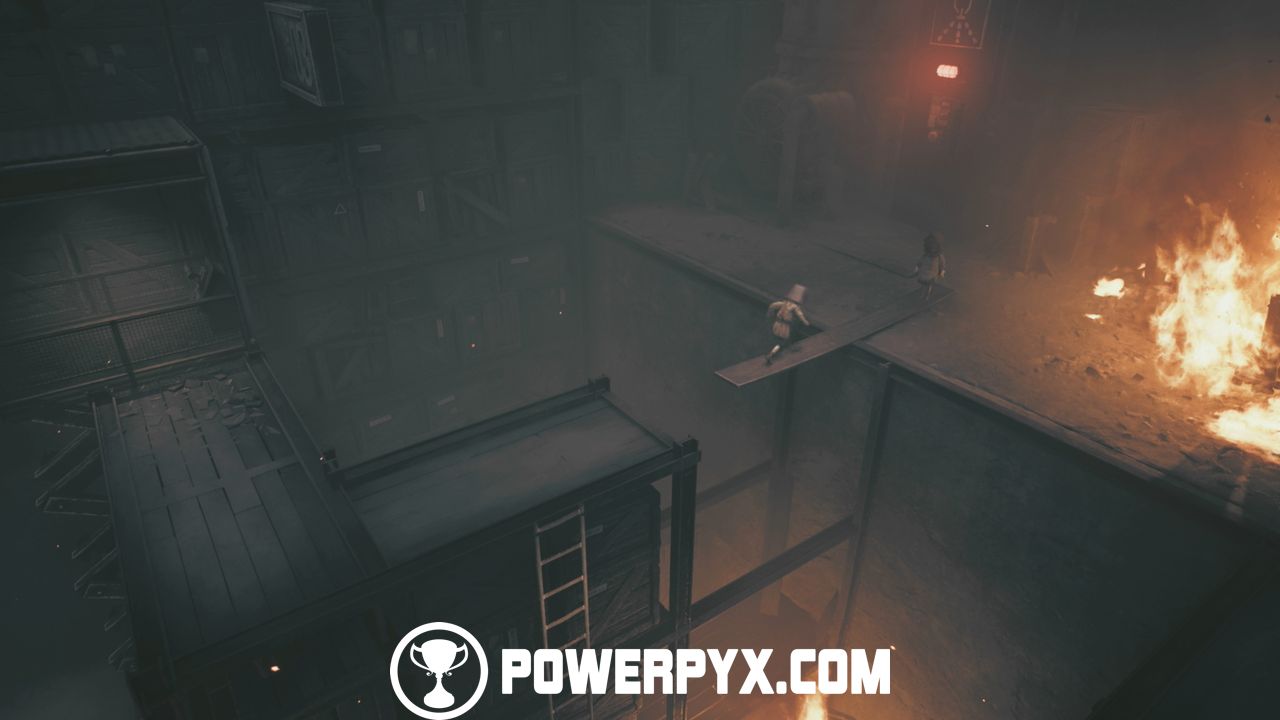
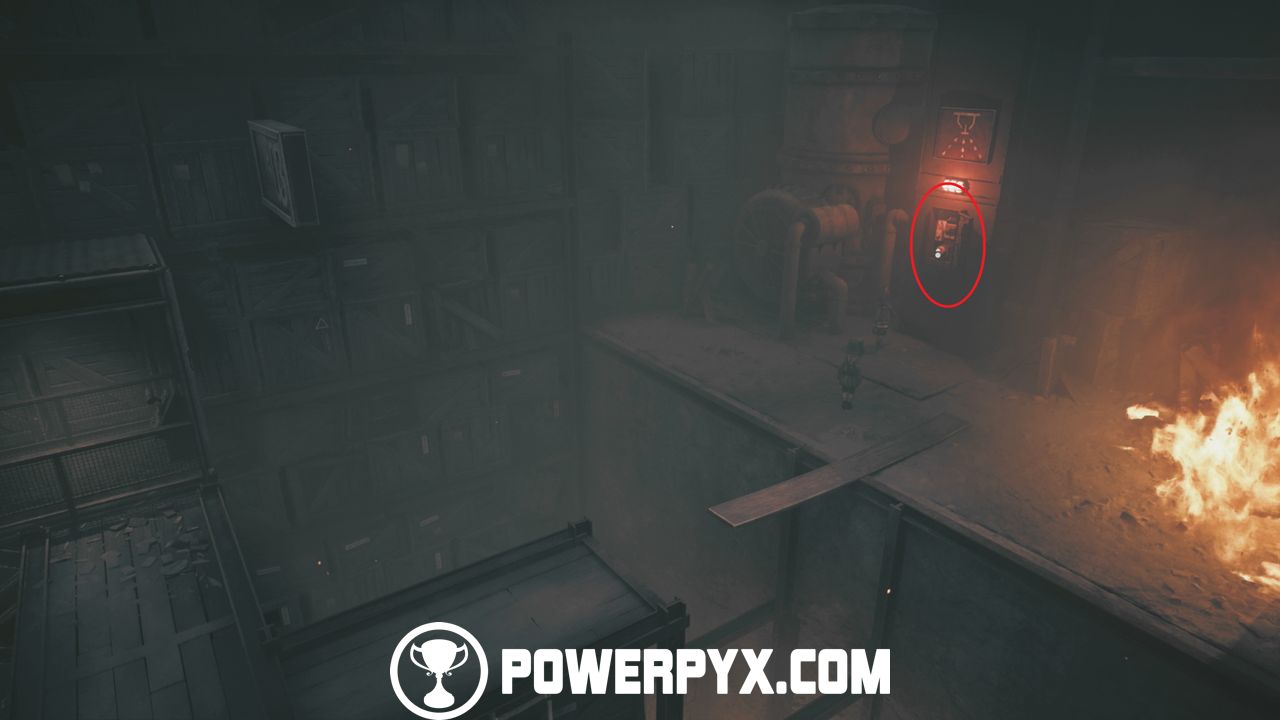
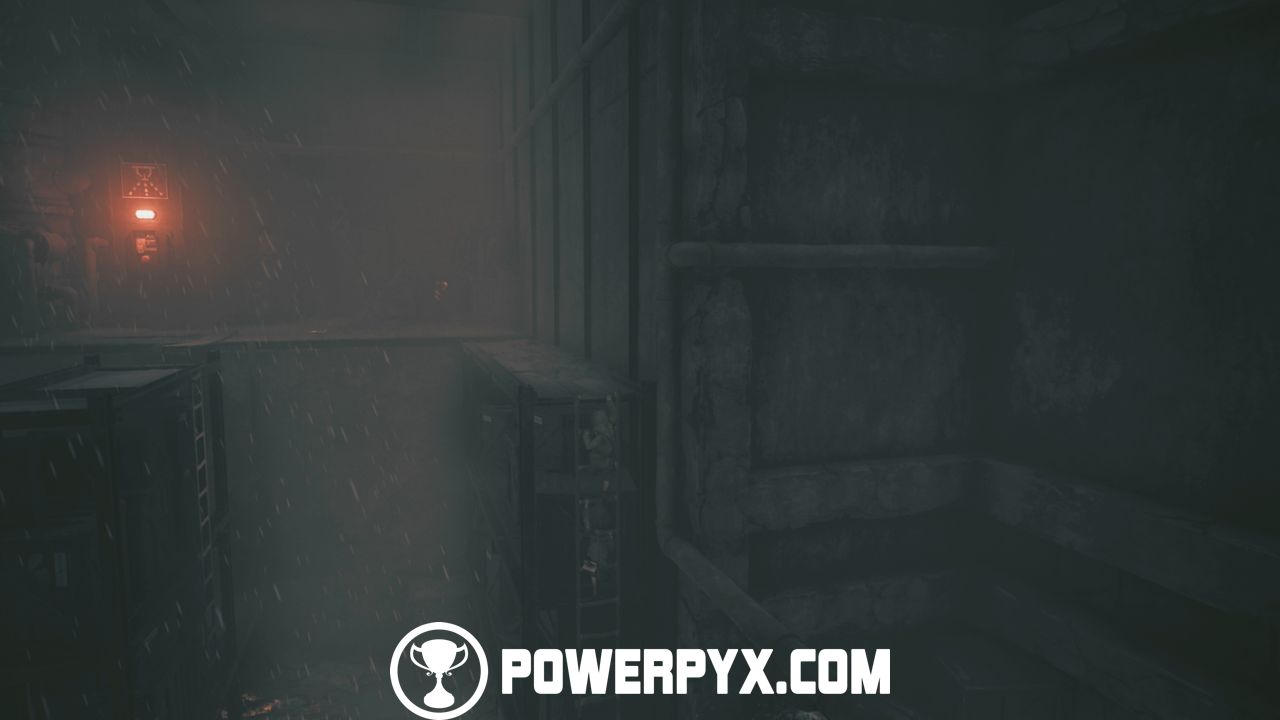
Now press the button to extinguish the fire and to open a path. Follow that path and climb down the ladder.
- Stalking Shadow 1:
After climbing down the ladder, go through the door on the right side. In the next area, go up, and you will see a tank next to a fountain. Turn the barrel of the tank north so you can reach the upper platform.
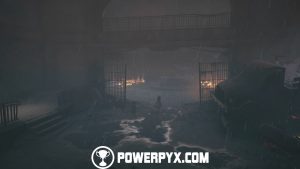
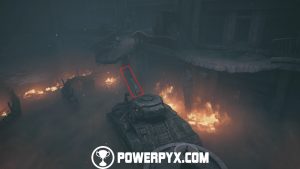
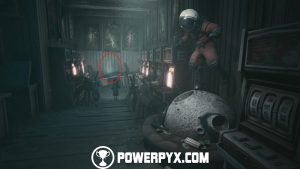
Now open the shop and enter it. Go to the back side of the shop and take a photo of the shadow. While you are here, you can get a mask (which is not related to any trophy) by taking a photo of the astronaut in this room, he will drop his helmet, which you can pick up.
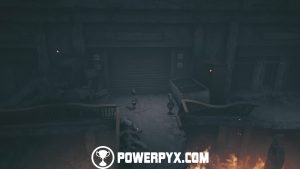
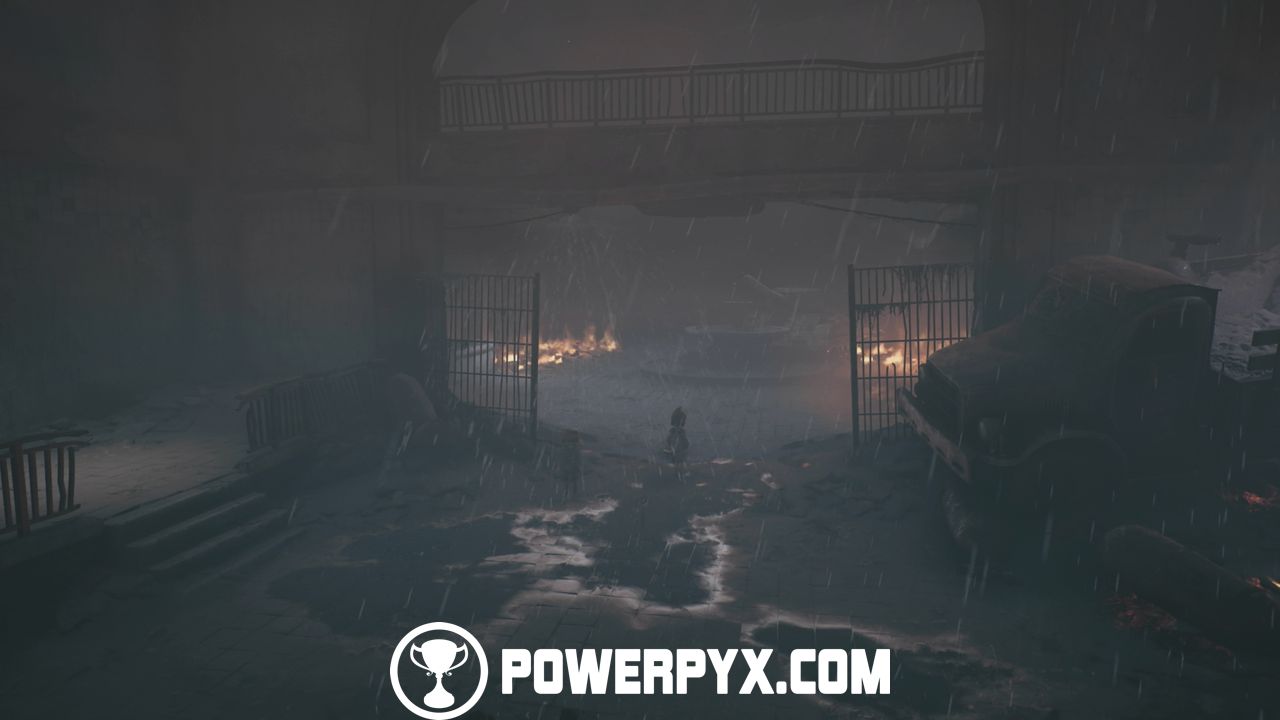
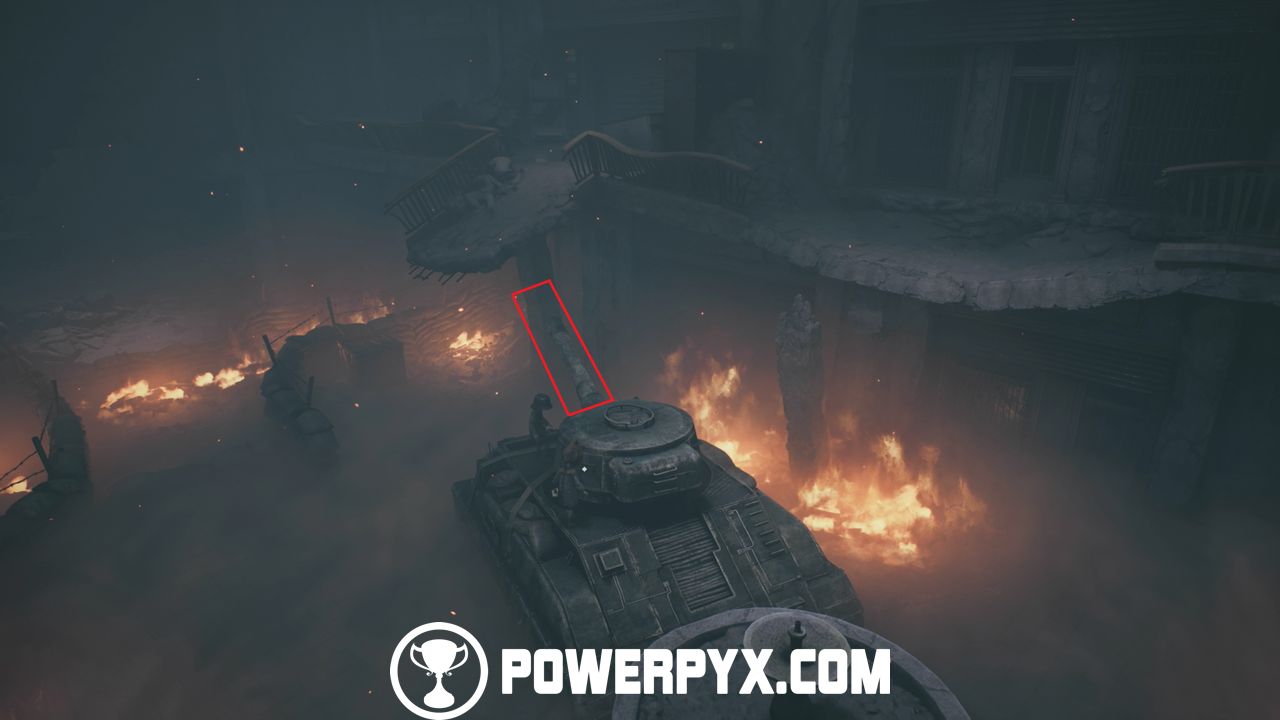
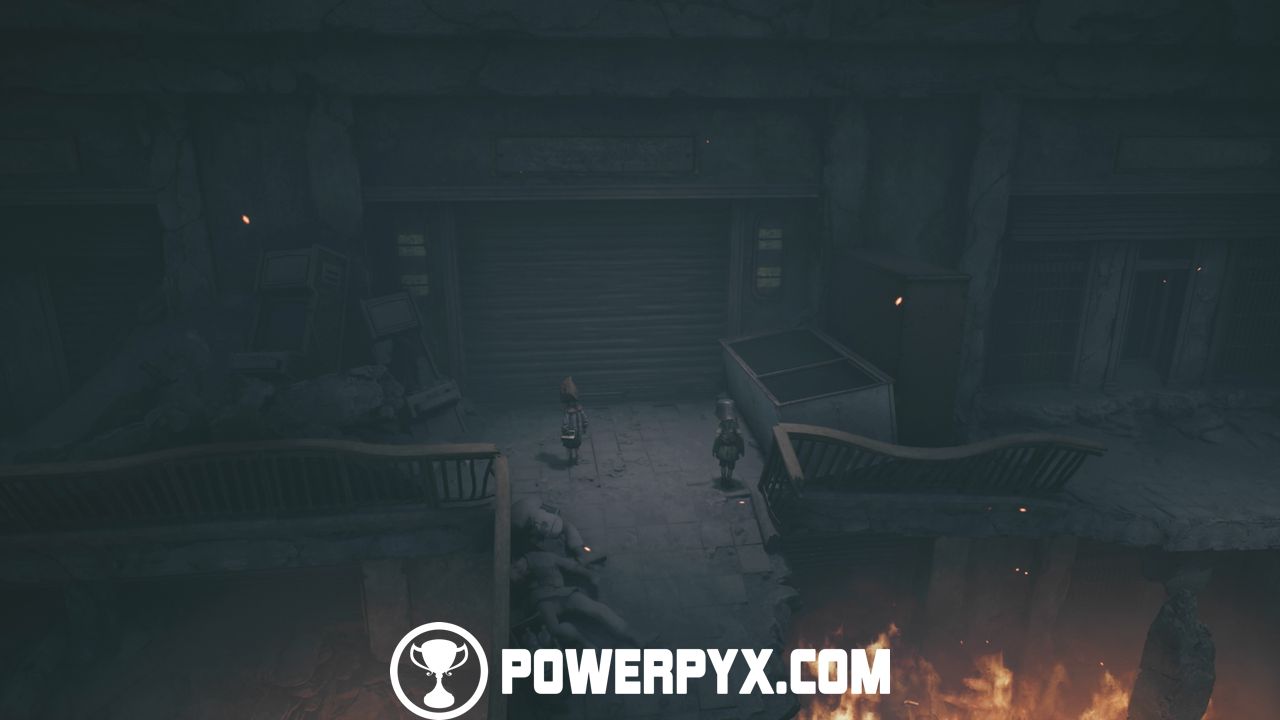
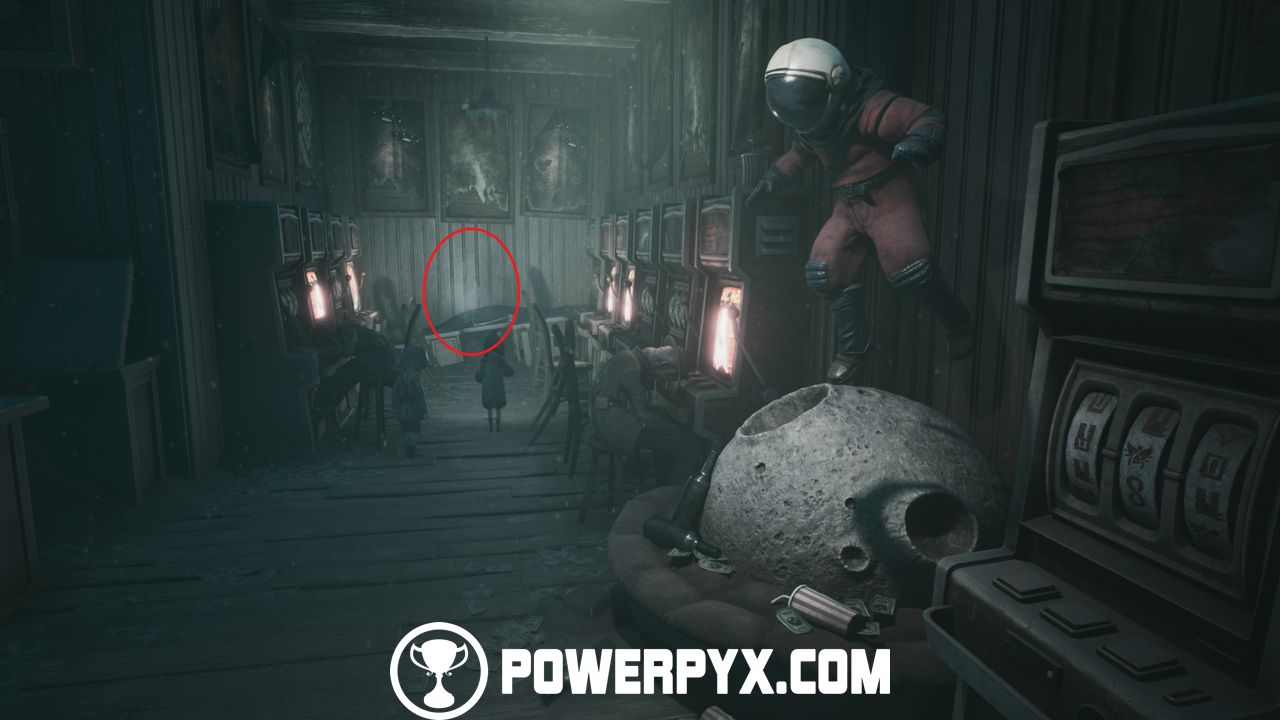
Now leave the shop and climb over the barricade in front of the shop to the right side. Follow the path to the end, and you will find a body. Take a photo of it to reveal a path through the body.
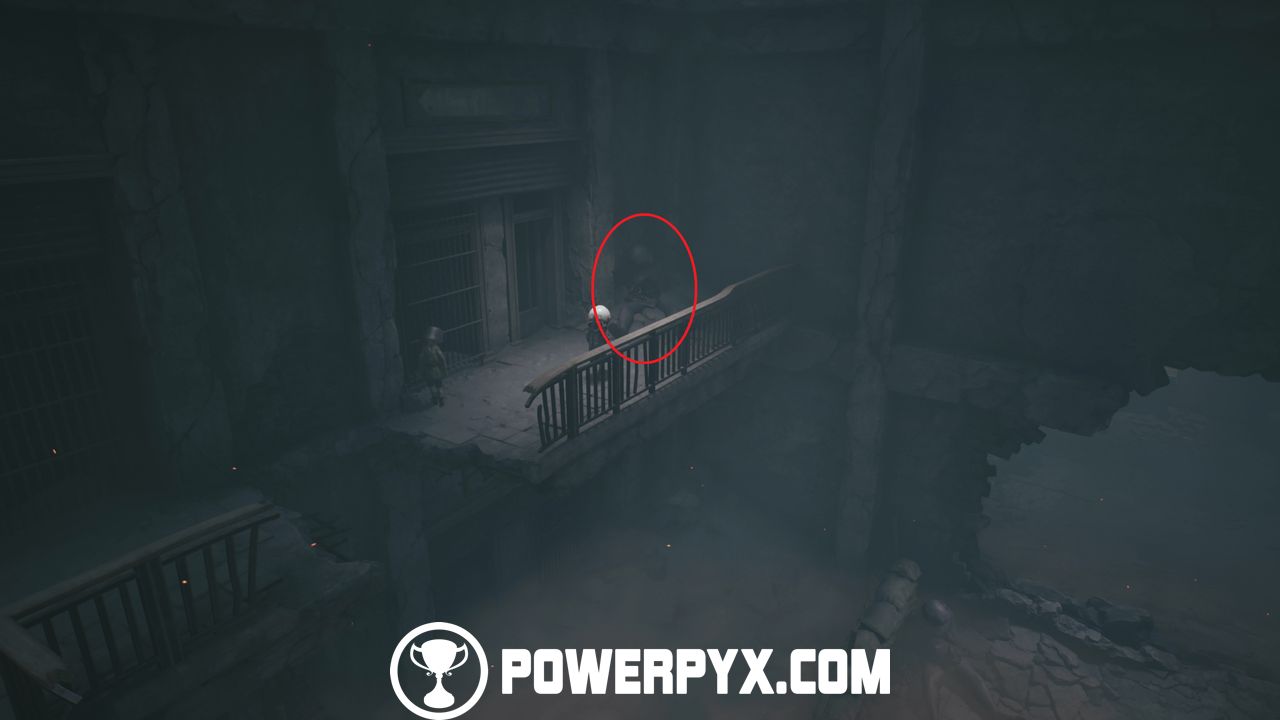
Head outside through the big hole in the wall and climb up the ladder on the right side, then enter the door.
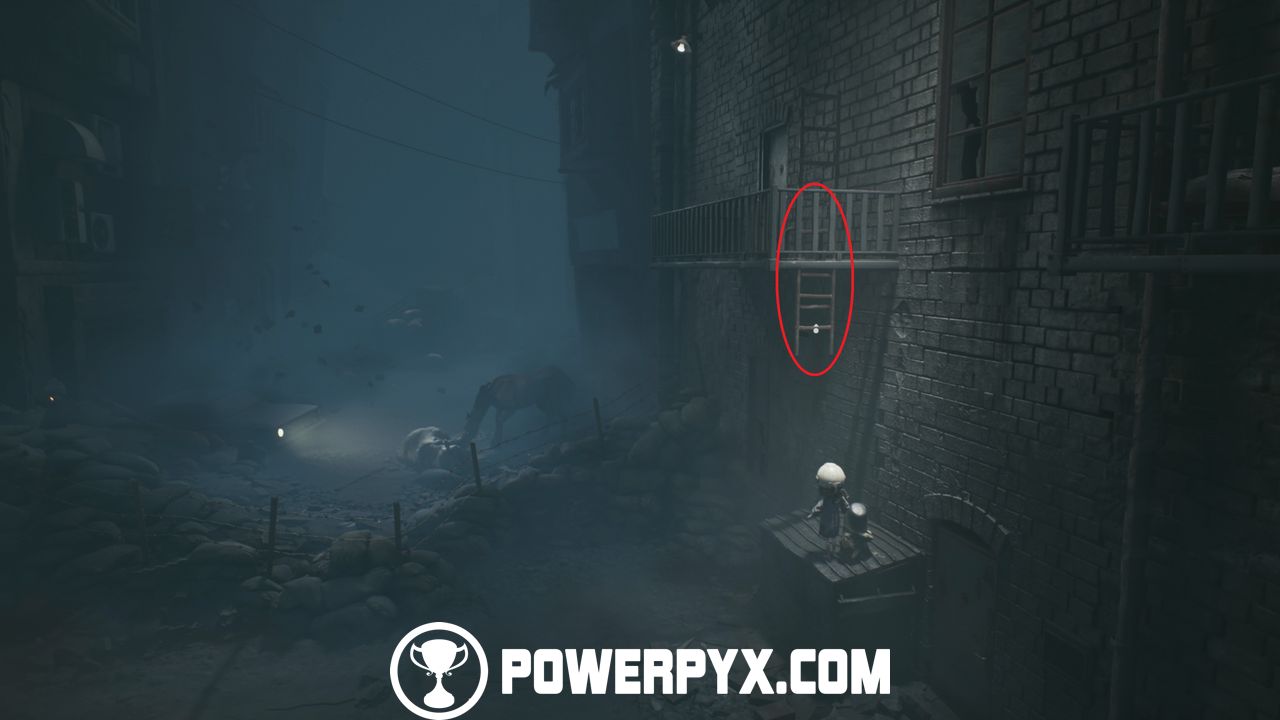
Chapter 2: Scorched Earth
The beginning of the chapter is a little chase sequence between you and the flamethrower enemy. Run into the first room and knock the dresser over to get into the second room. Here, just go through the door on the right into the third room. Now go downstairs. Then go left into the next room. Here, climb through the wall into the next room, get the key from the wall on the left side, then go right and open the door with the key for your partner.
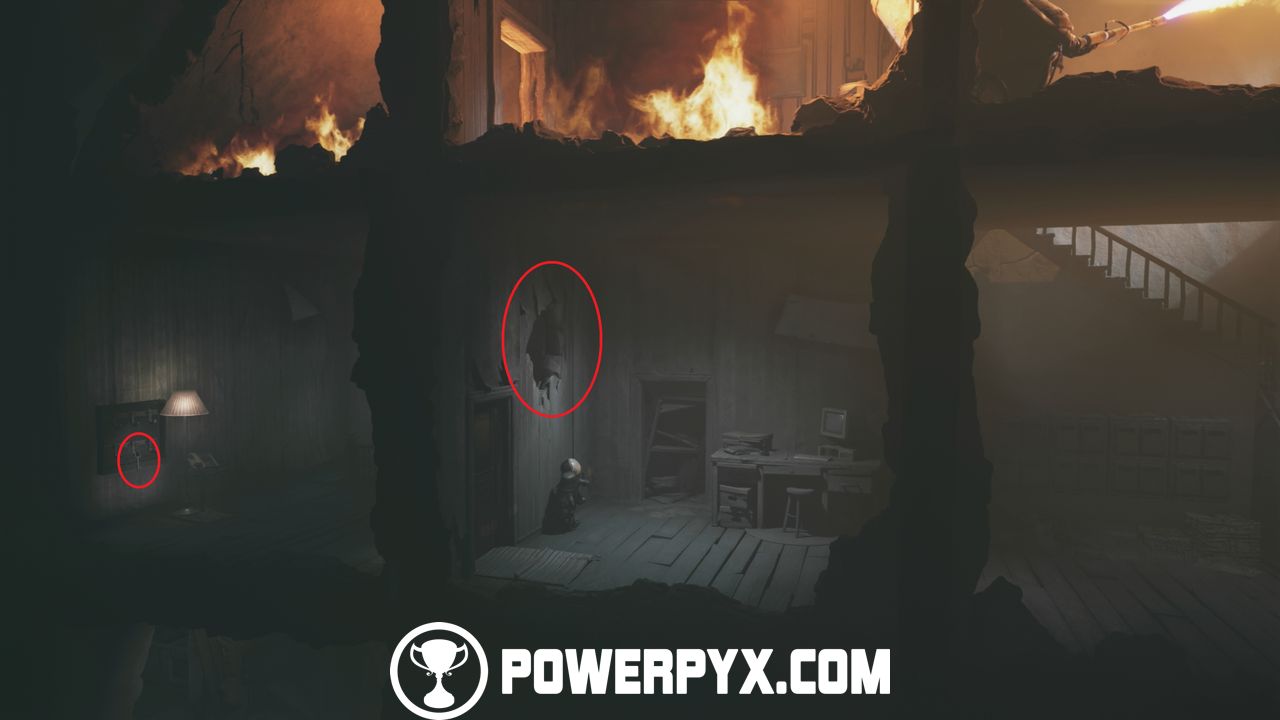
Now head downstairs and go into the room on the left. Here, hide either in the oven or the fridge, your partner has to take whatever is left. Now wait for the enemy to leave the room.
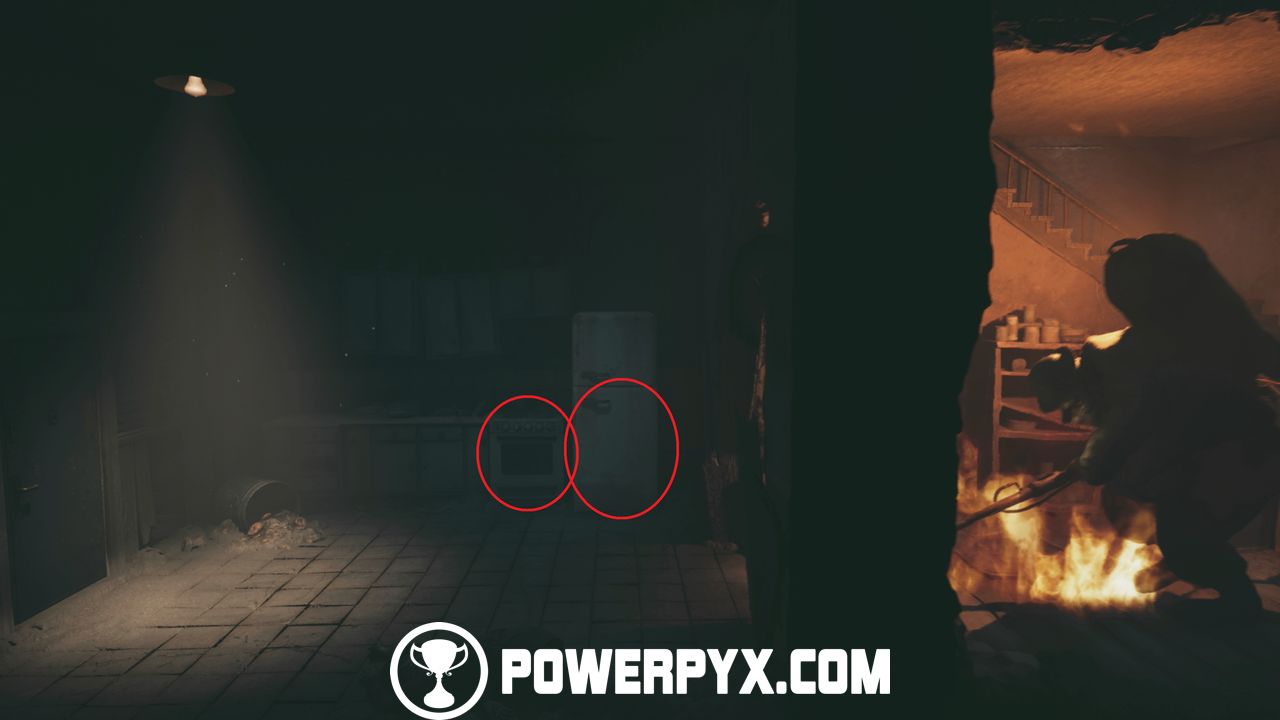
Get out of your hiding spot and follow the enemy into the next room. Here, drop down. Then wait for the enemy to move around. Once the path is clear, grab the key from the plate on the ground on the left side. Then run to the right side and get through the door.
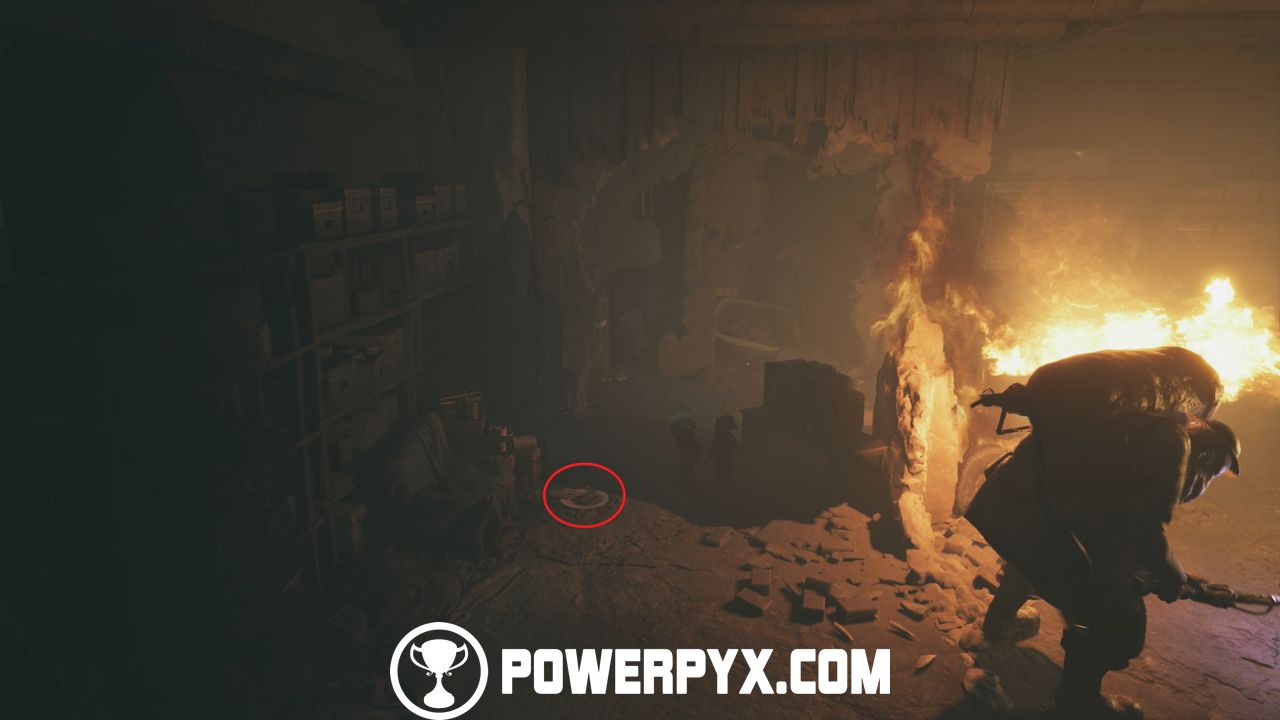
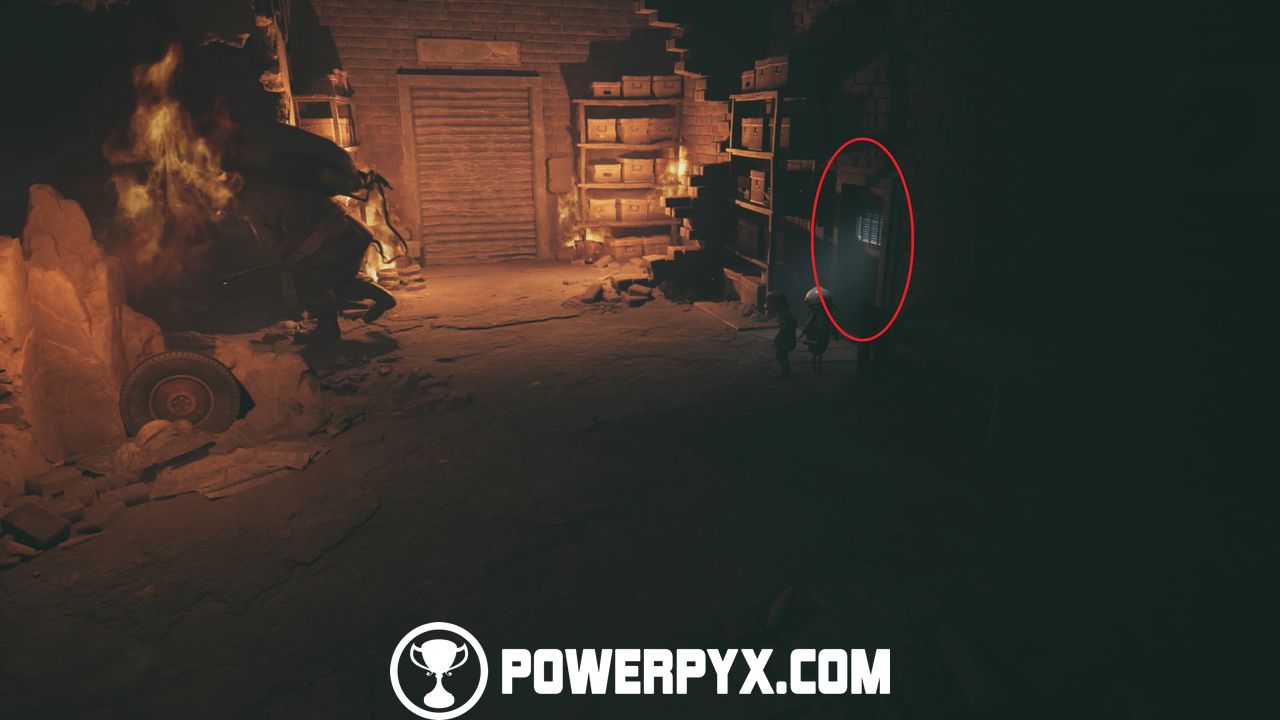
Now head towards the screen, and you will see a dead soldier near the middle. Right next to the soldier is a pistol, pick it up. Now, the player with the pistol goes to one side of the area, and the other one goes to the exact opposite side. The player without the pistol needs to distract the boss. If playing with AI it will happen automatically, a human player needs to press / to distract the boss. Once he is distracted, the player with the pistol needs to shoot the tank on the back by pressing / . After each hit, hide as he will shoot the player with the pistol.
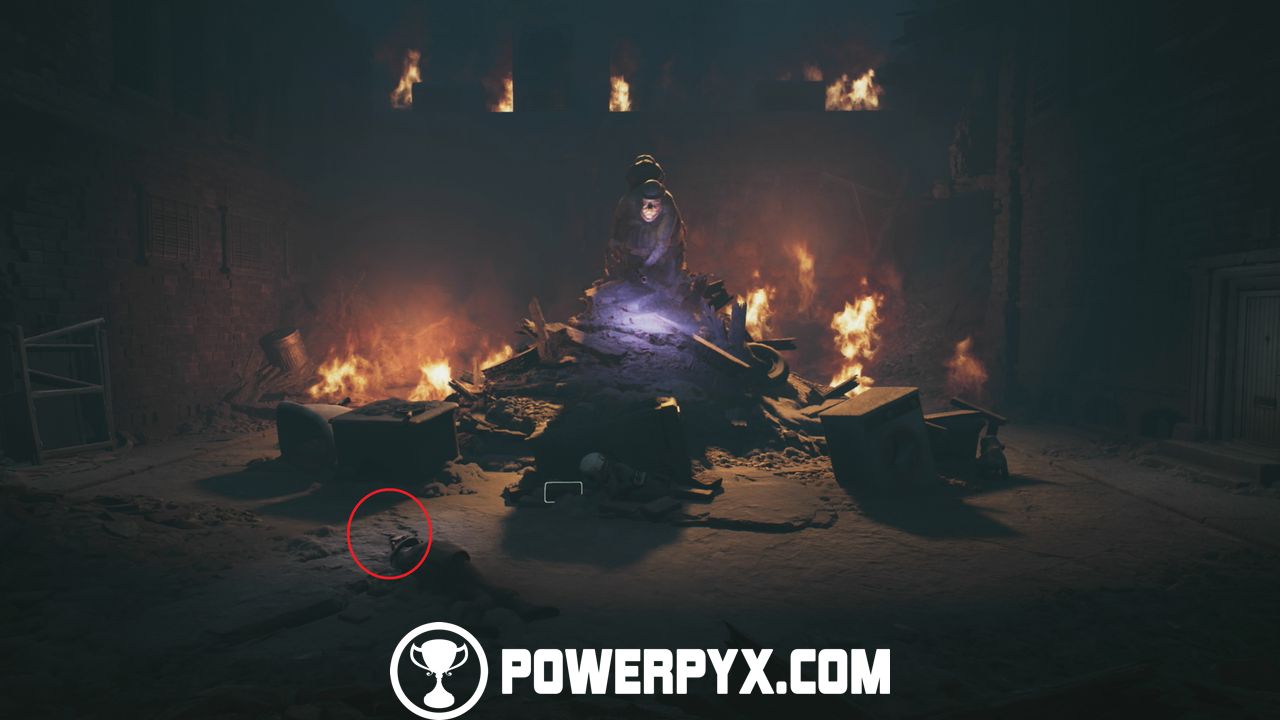
- Poster 4:
After defeating the boss, pick up a grenade from the middle where the boss was, then go left and throw it against the wall to reveal a crack in the wall, leading to the poster.


- Explosive Suitcase 1:
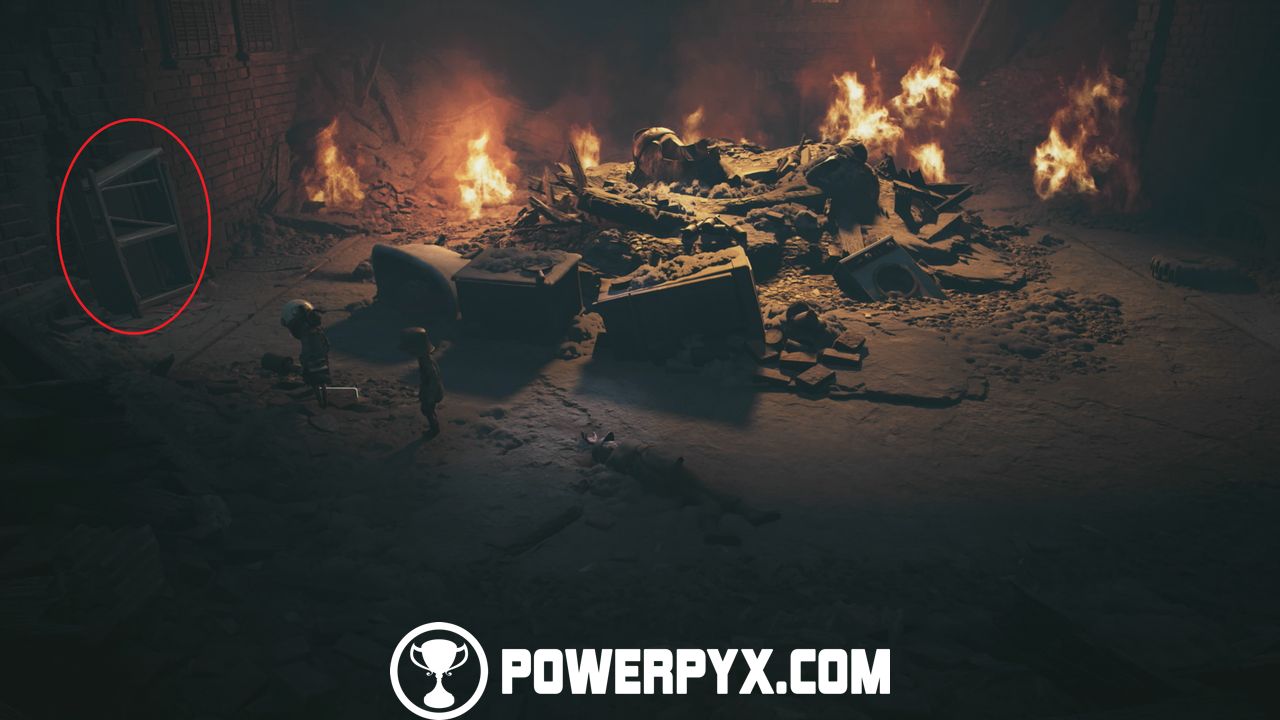
After getting the poster, go out of the room to where you defeated the boss. Grab another grenade, and this time open the door on the right side. Inside the next room move to the right, and you will see a red glowing suitcase. Open it, this will kill you, but it is needed for the trophy Definition of Insanity.

- Suitcase 2:
Next to the exploding suitcase is a toppled shelf. Take a photo of the suitcase, if done correctly, you will see a glowing red symbol.
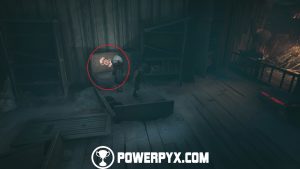
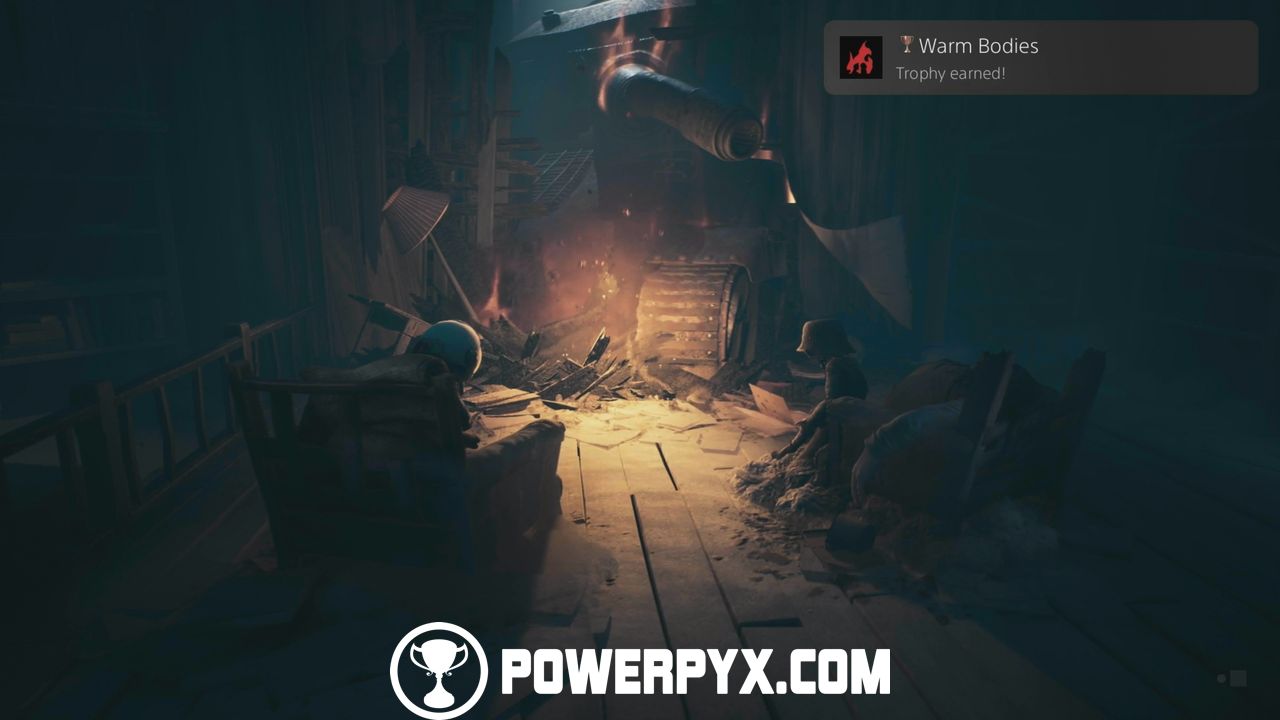
- Trophy “Warm Bodies”
Now sit on the armchair near the suitcases. It’s in front of a fire. It will unlock the trophy.

- Stalking Shadow 2:
Once you open the hidden bookshelf door, go through and move forward. When you go downstairs, immediately take a photo of the shadow in the corner.
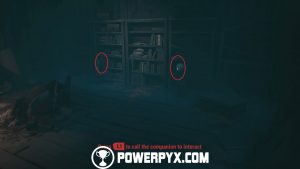
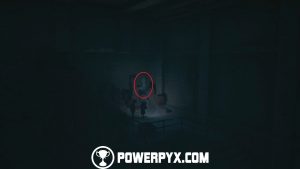
- Suitcase 3:
From the second stalking shadow, go further downstairs and follow the path. You will reach a corridor with trip mines. Do a photo if you need light. Either crawl under the first mine on the left or jump over the one on the right. Then just jump over the next two trip mines, and for the last one, jump over the box on the right.
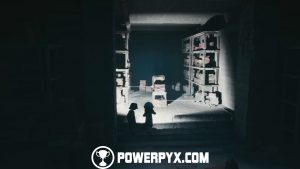
You will now be in front of a ladder. Before climbing up, open the suitcase on the right, then take a photo. You know you’ve done it correctly if you see a red glowing symbol.
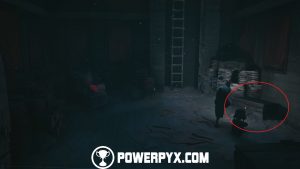
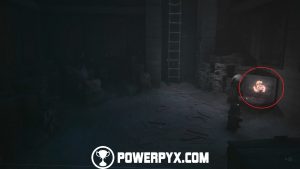
- Stalking Shadow 3:
Now climb up the ladder, and on top, look outside the window to trigger a small cutscene. After the cutscene press /
/  to get out of the bathtub. The shadow is on the car closest to the crater.
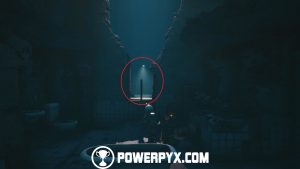

- Trophy “Remains of the Day”
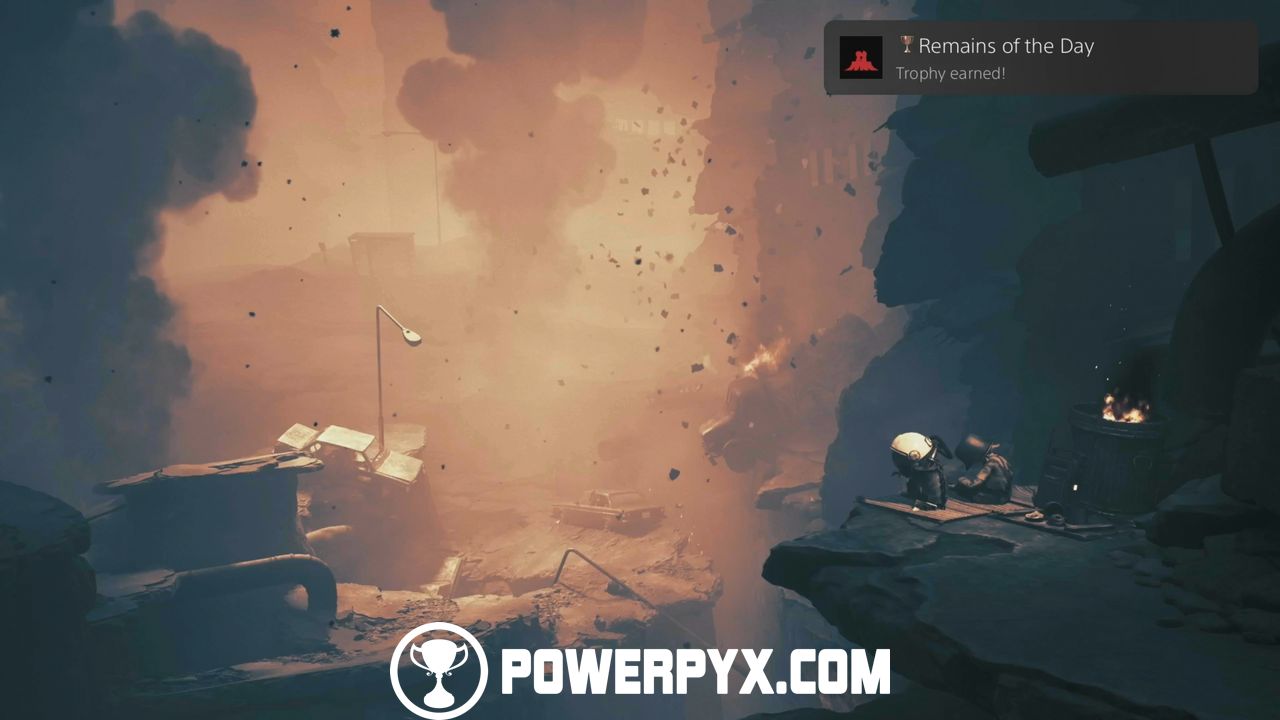
Before you make your way down the crater, go right and sit down near the edge to unlock the trophy.

- Stalking Shadow 4:
Now make your way down the crater. Once you drop down to the subway, go to the bottom right of the screen to find the shadow on some suitcases.

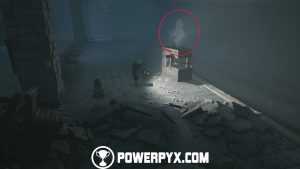
- Exploding Suitcase 2:
From the stalking shadow, go up, and you will soon see a red glowing suitcase to your left, open it. If you followed this guide, you will unlock Definition of Insanity.
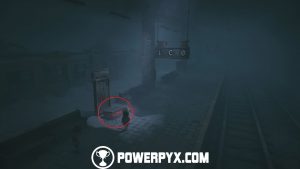

- Suitcase 4:
Now go all the way up in this area until you reach some broken staircases. Here, open the suitcase and take a photo. You know you’ve done it correctly if you see a red glowing symbol.
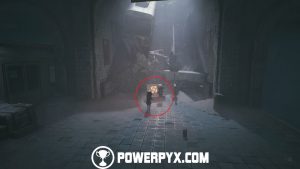
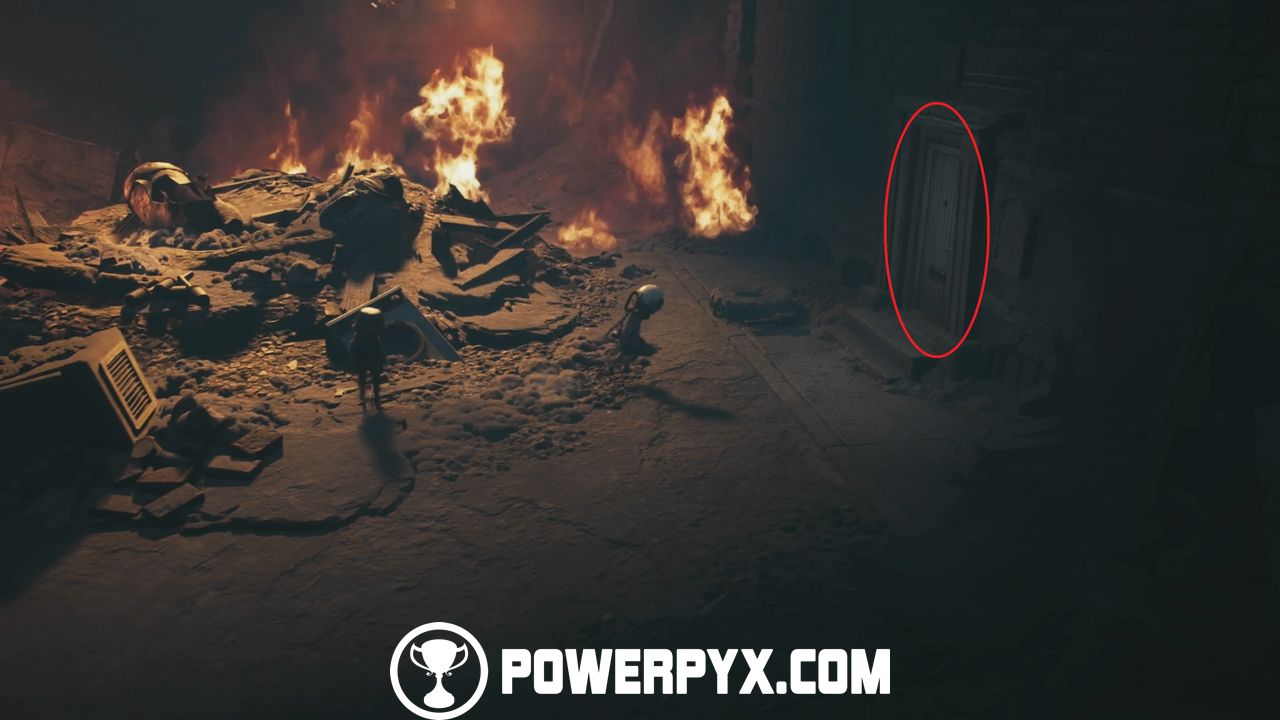
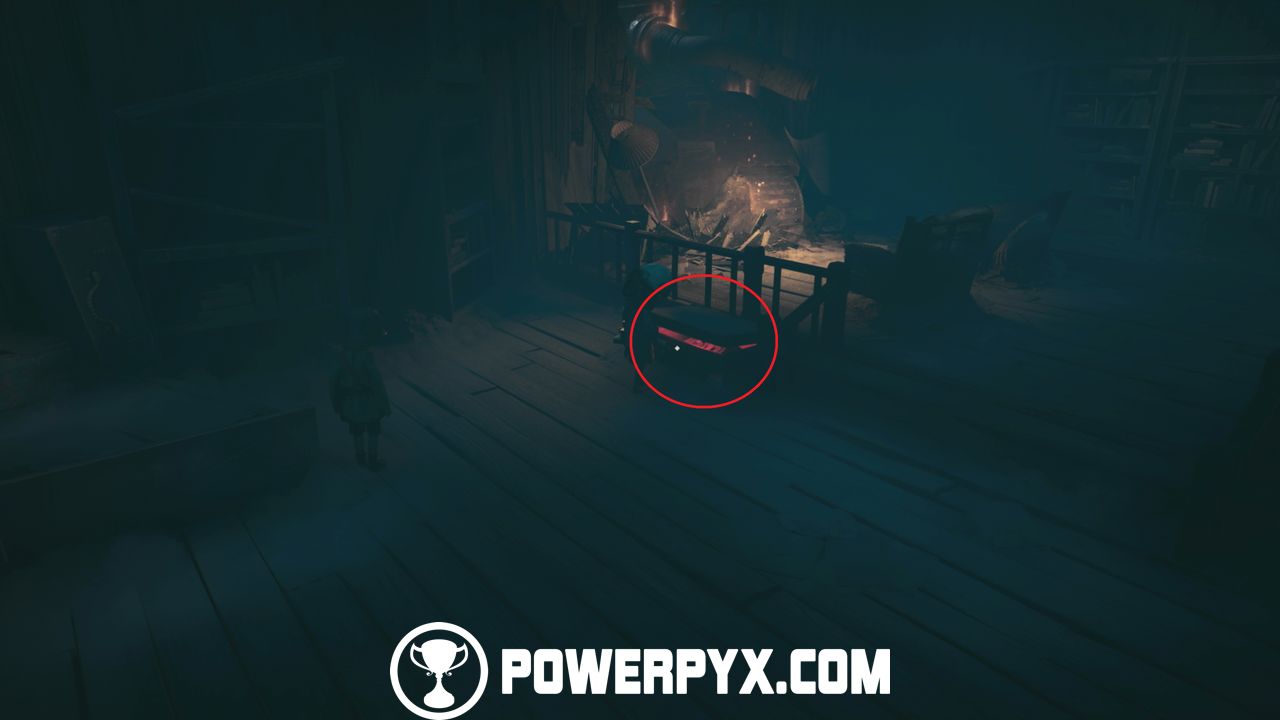
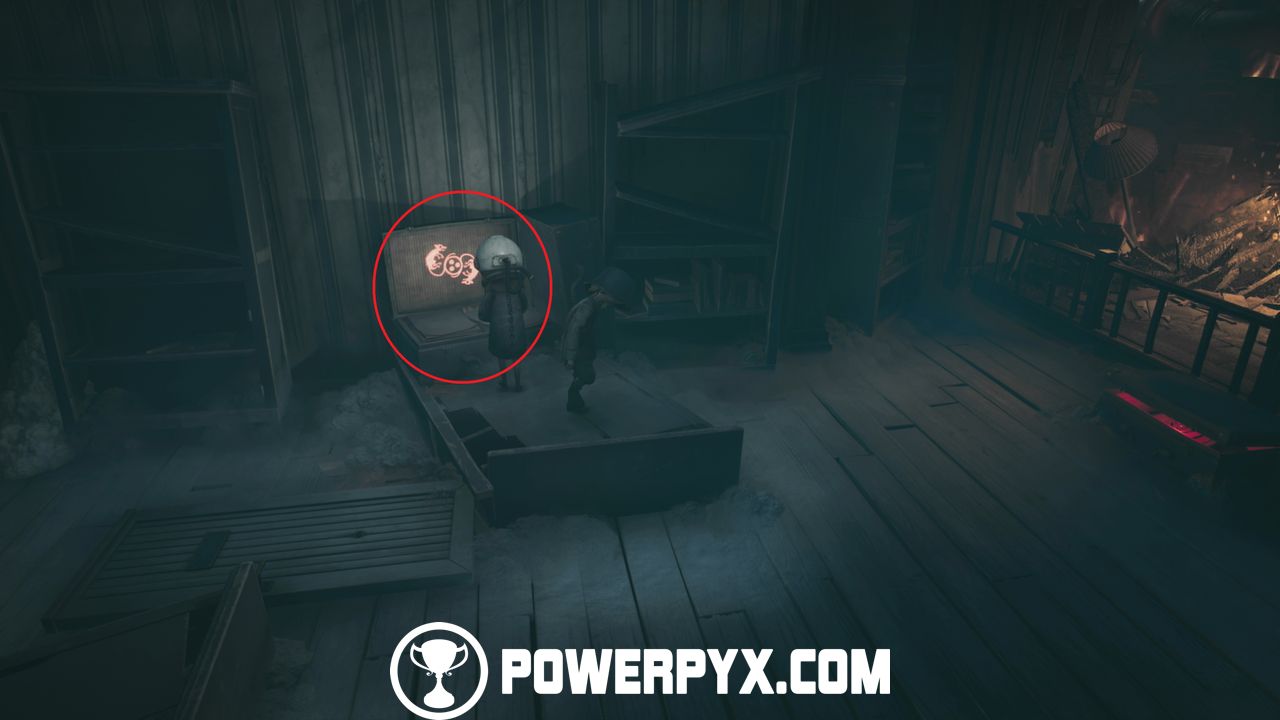
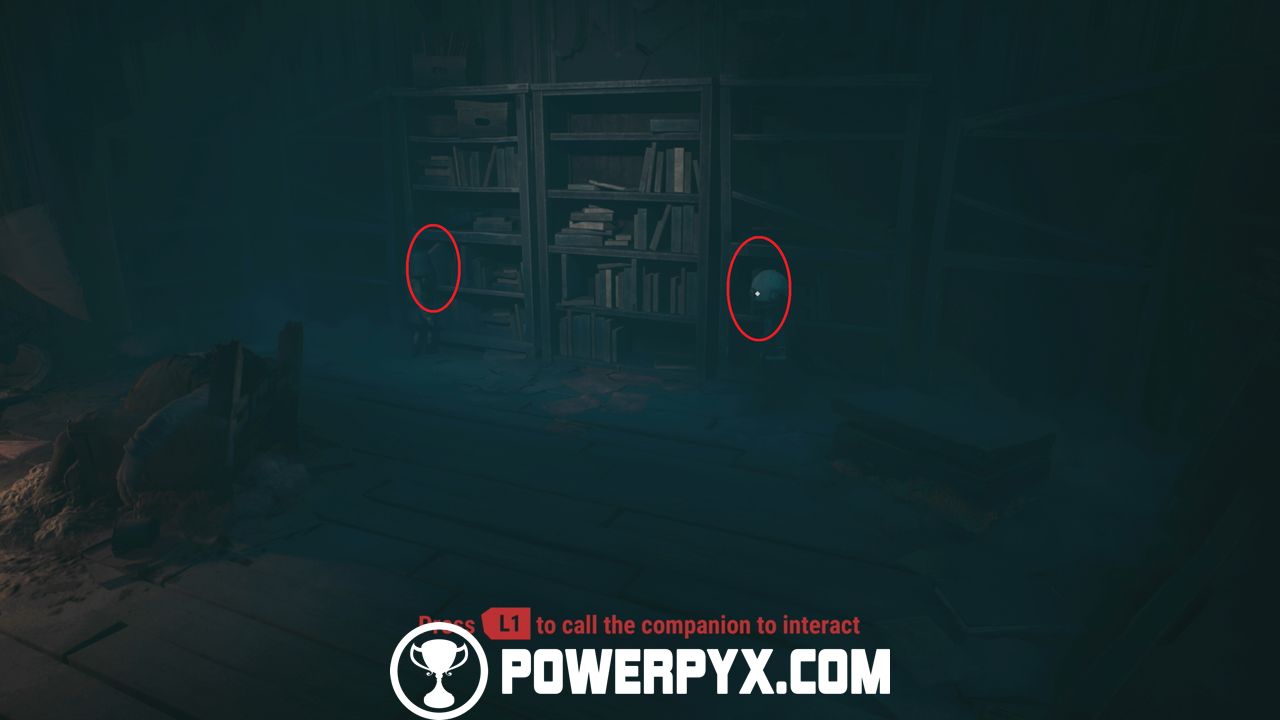
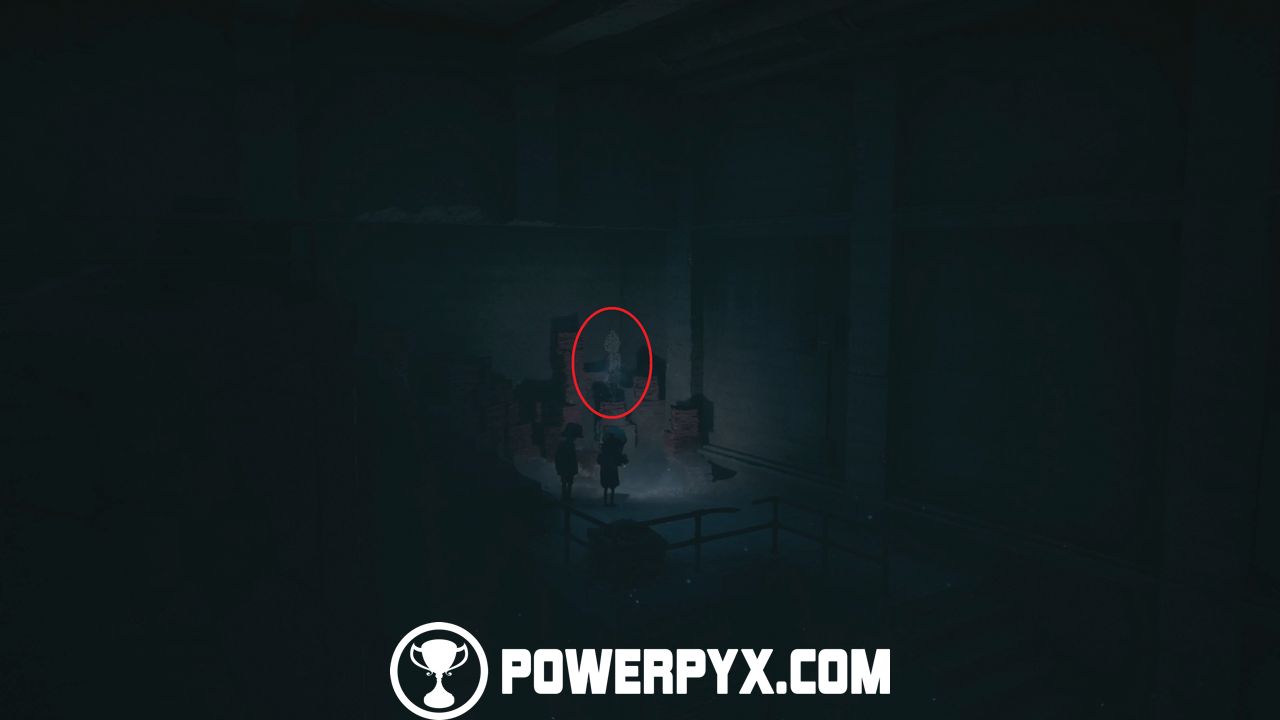
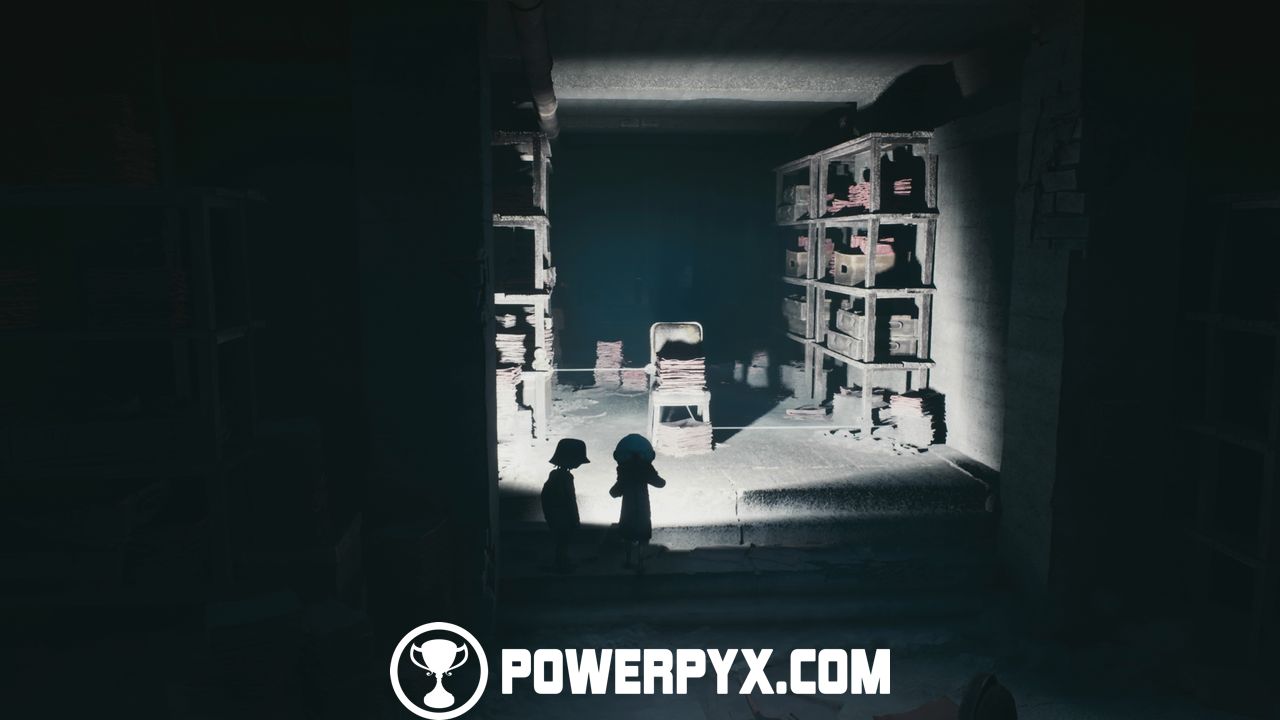
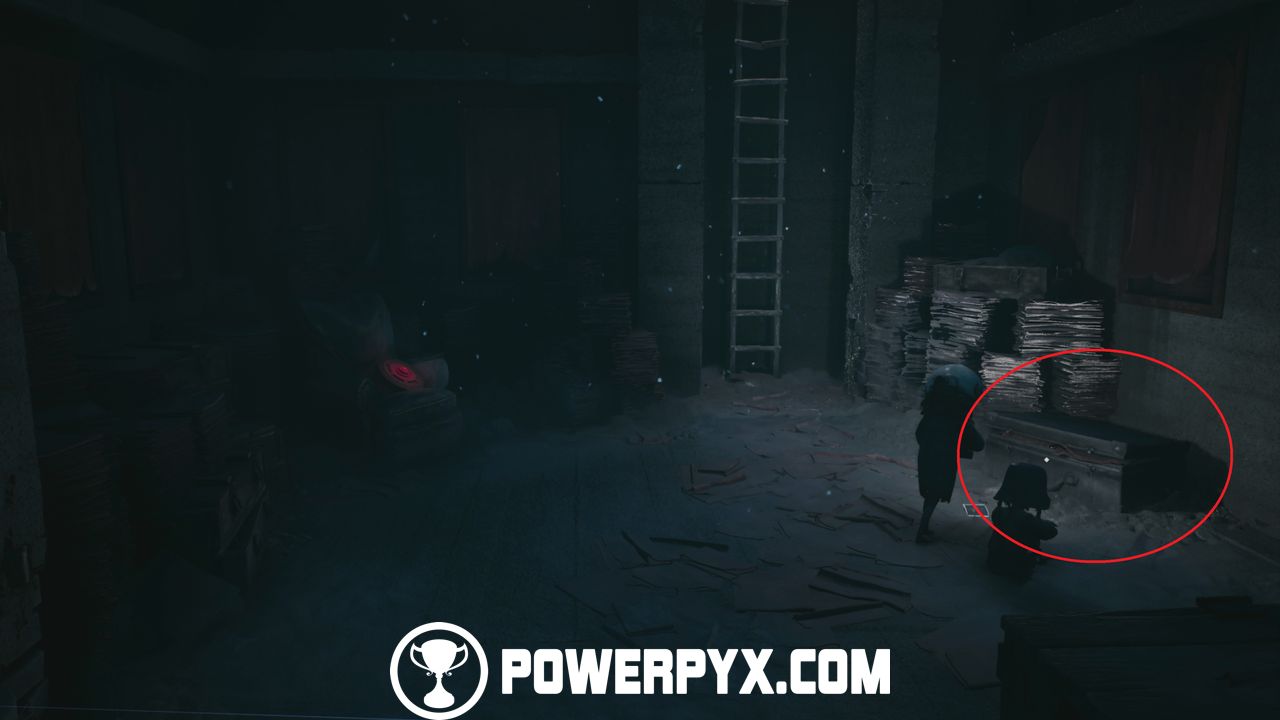
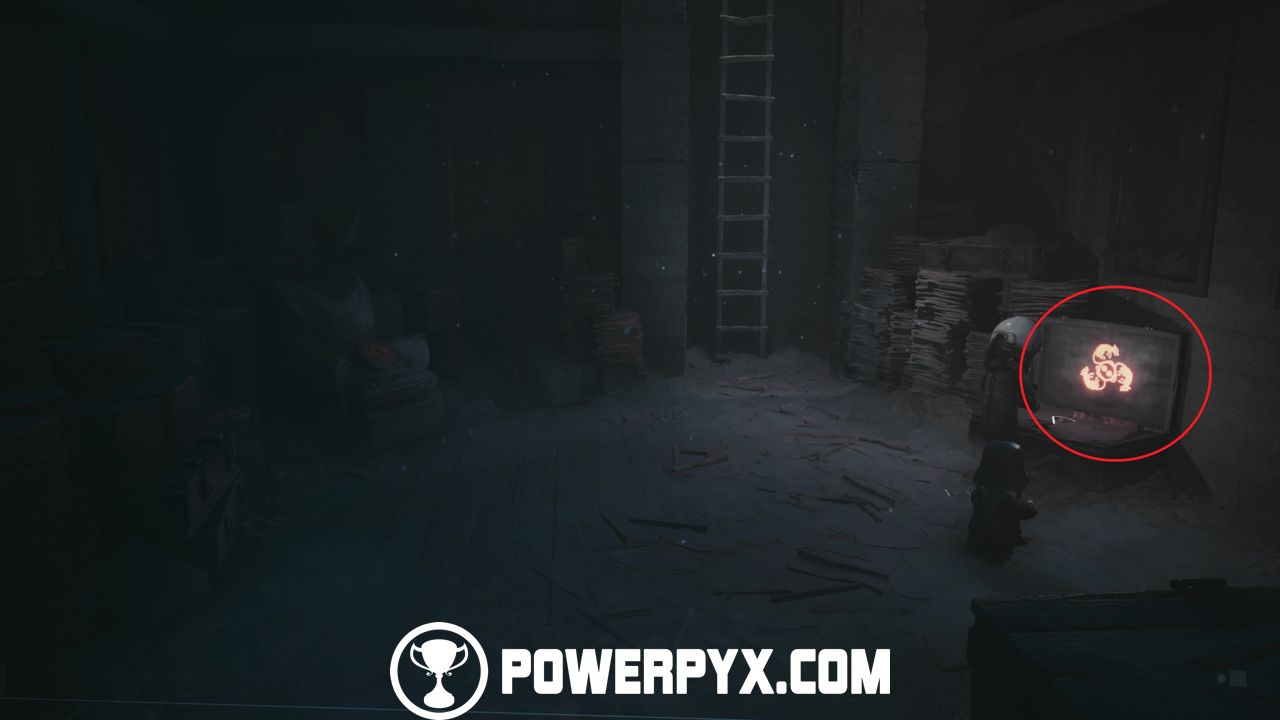
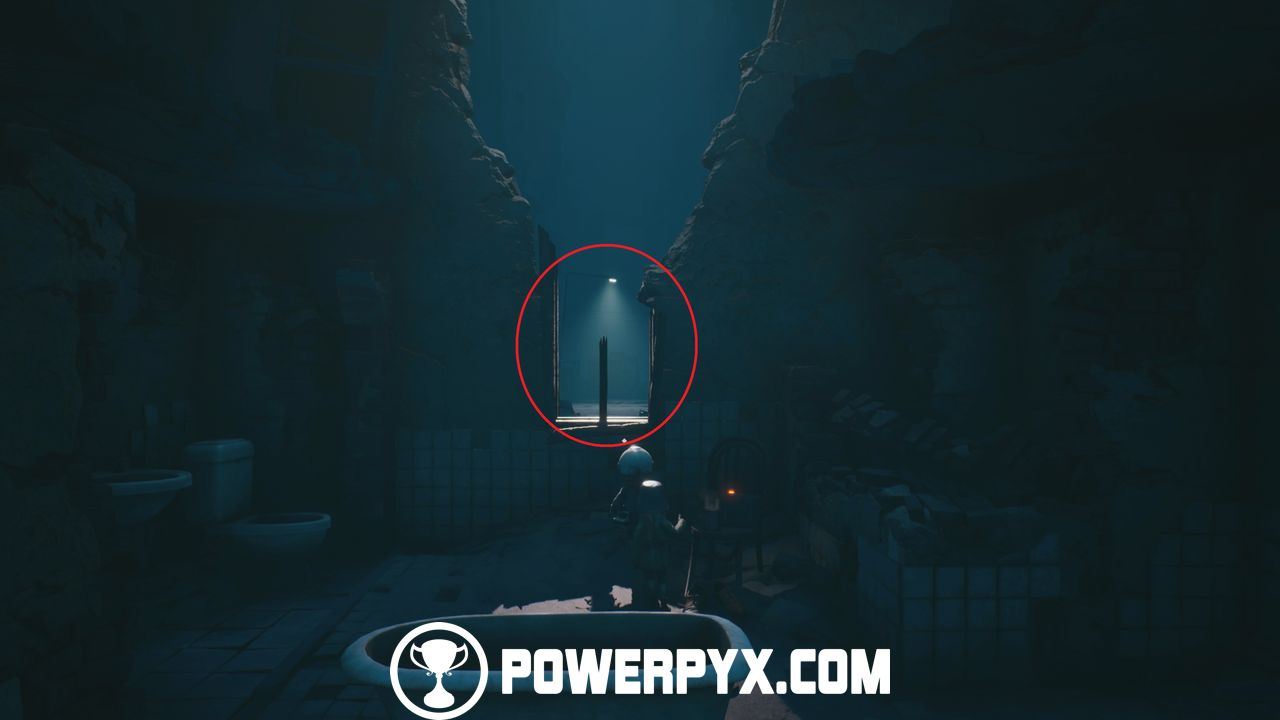
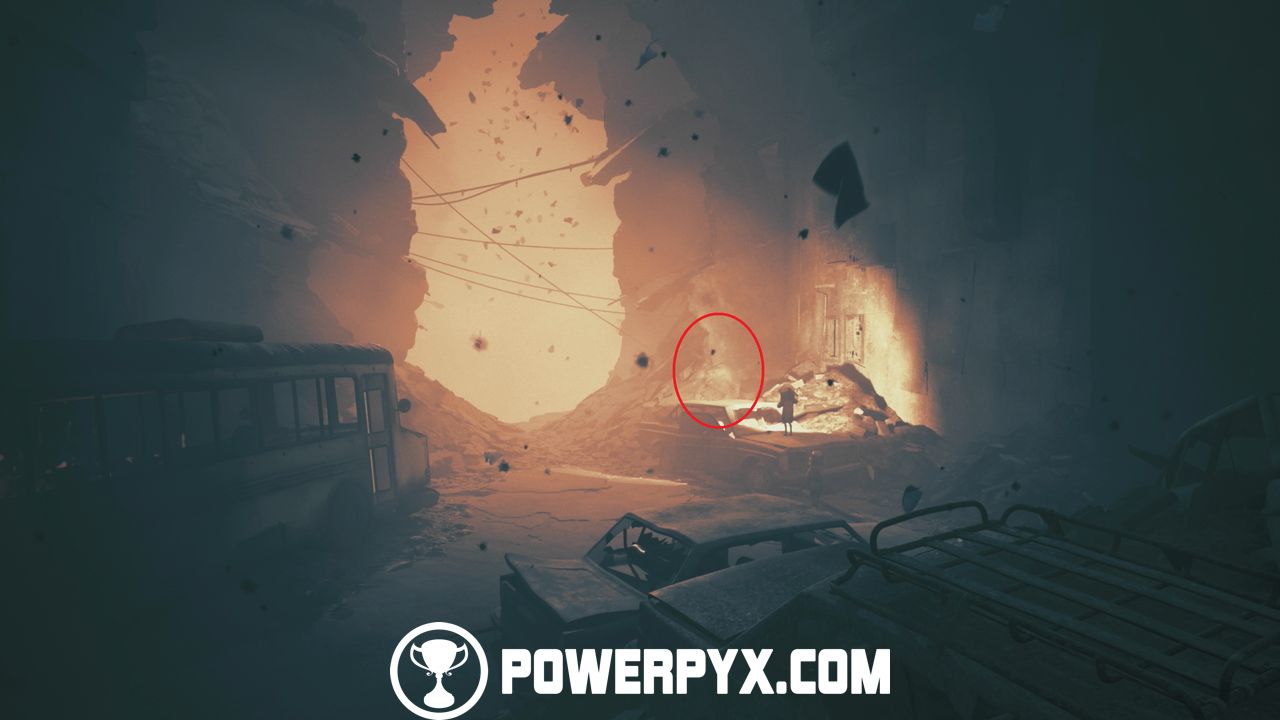

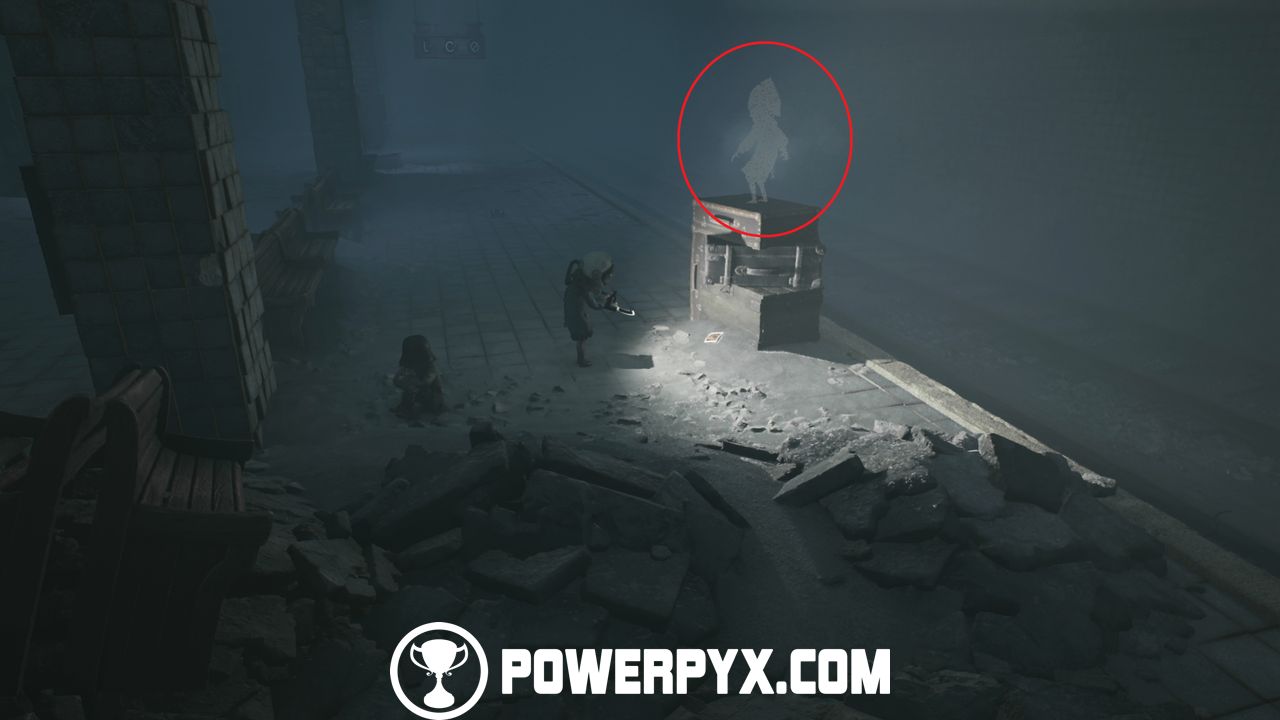
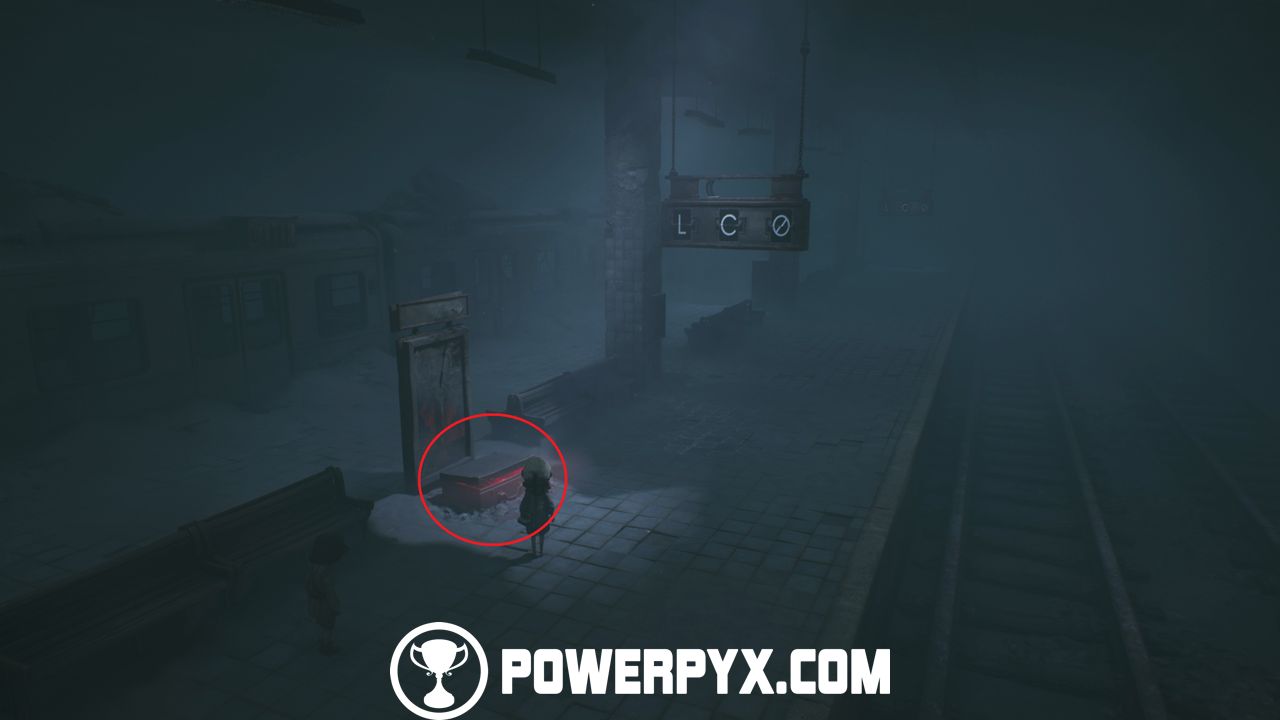

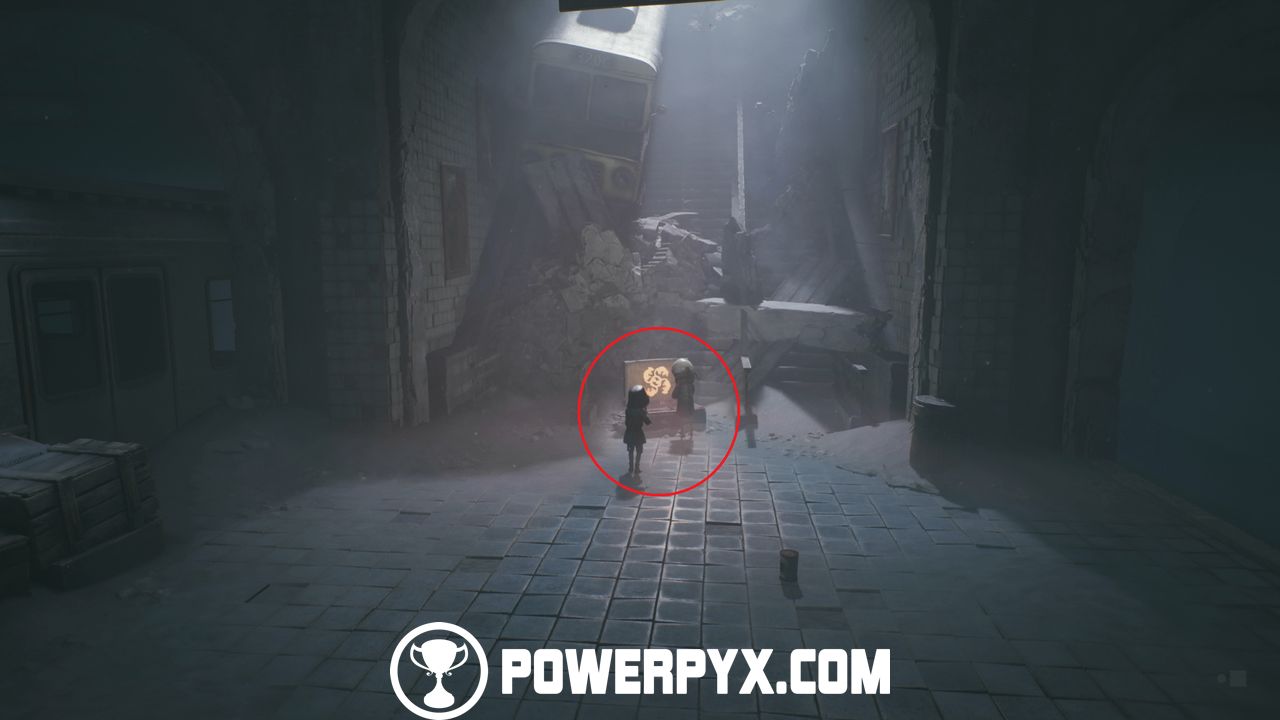
Now climb up the train on the left side of suitcase 4. Then head all the way to the left and open the hatch on the train to enter it.
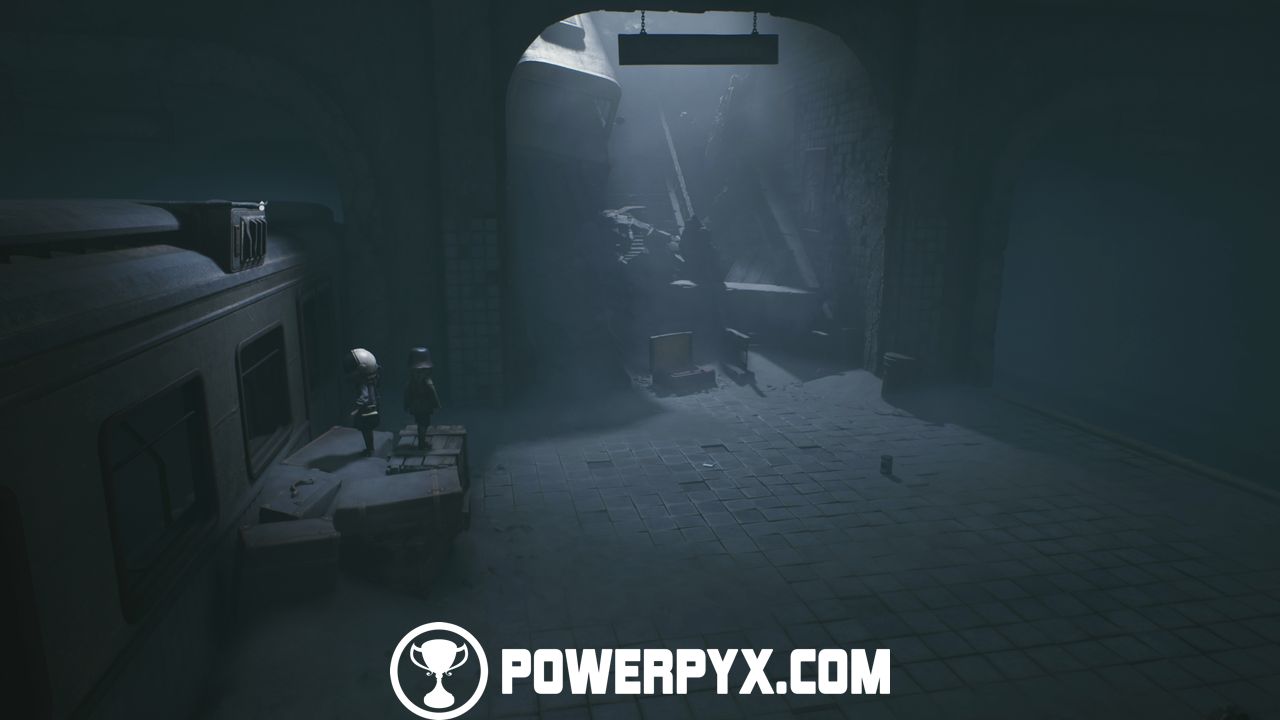
Inside the train, move up and climb up at the end to get the axe.
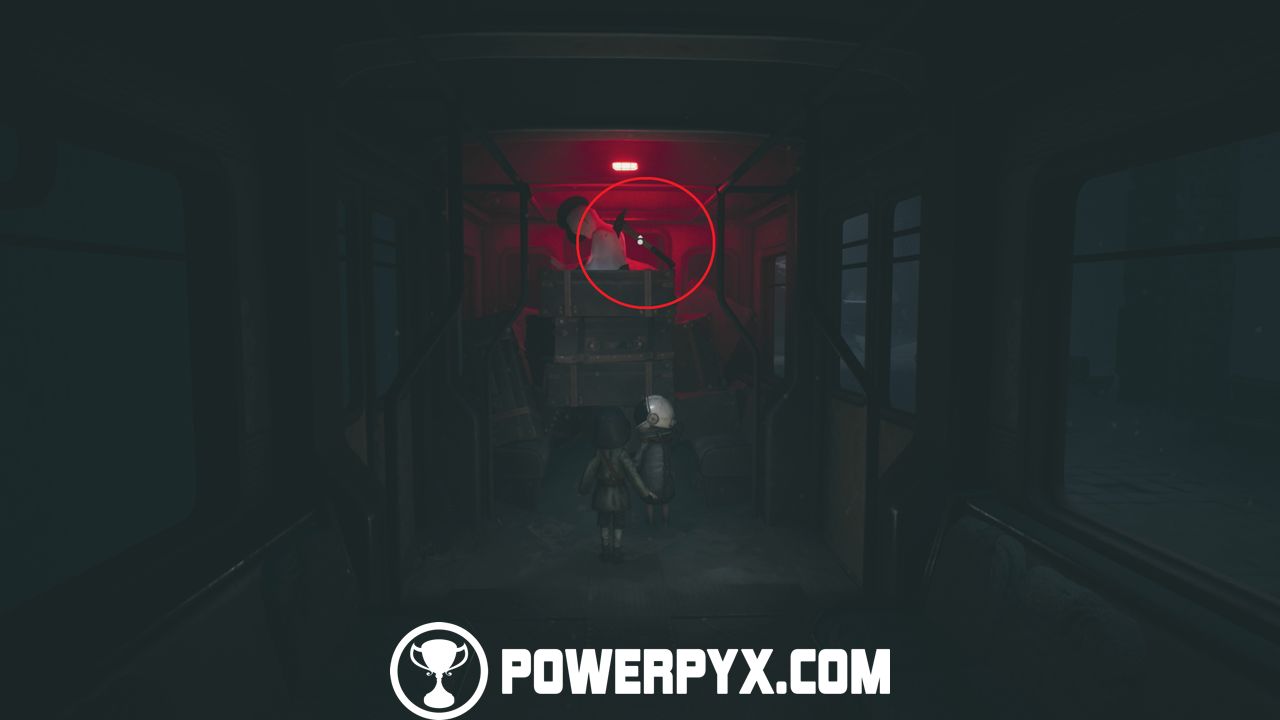
Now head towards the screen and press the button to exit the train.
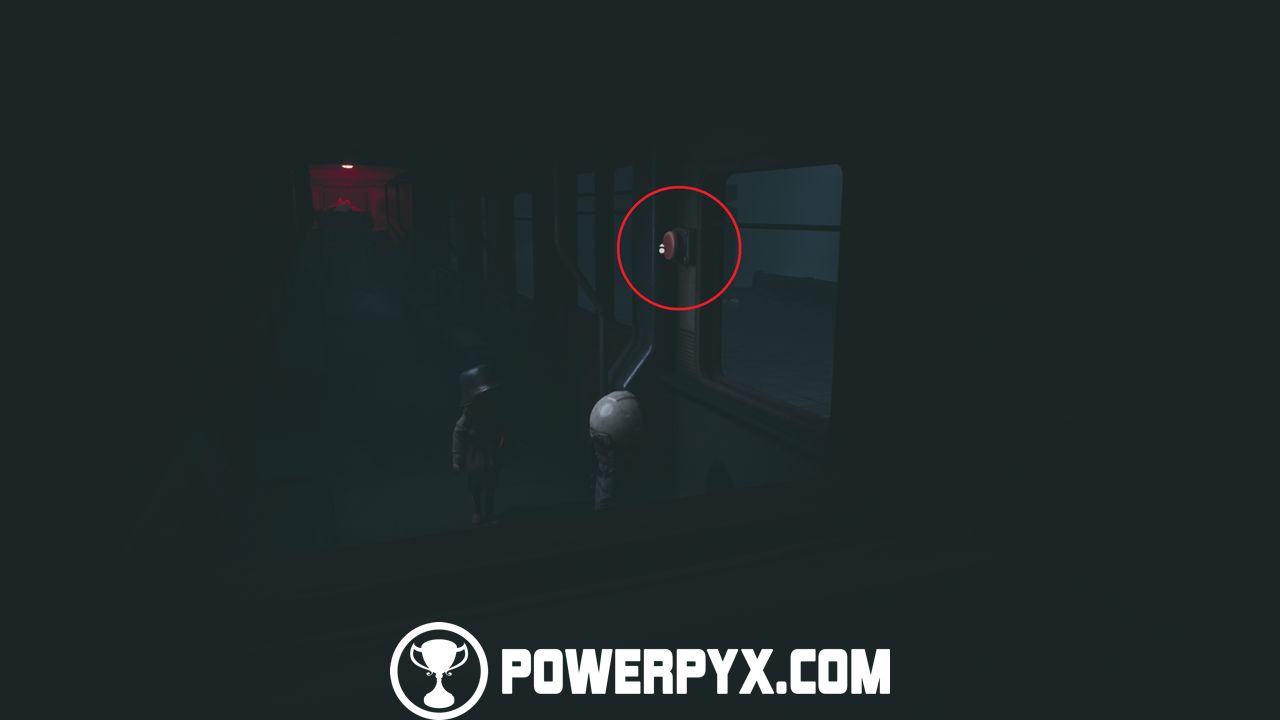
- Petrified Spider Kid 1 and 2:
After you exit the train, head towards the screen and squeeze through the second door on the left side. Inside the train, move up to find the first petrified kid. If you play solo, press / to make your partner destroy the kid.
Now exit the train and get back on top of the train. The second petrified kid in this area is behind the hatch that you used to enter the train for the first time.
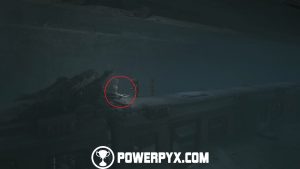
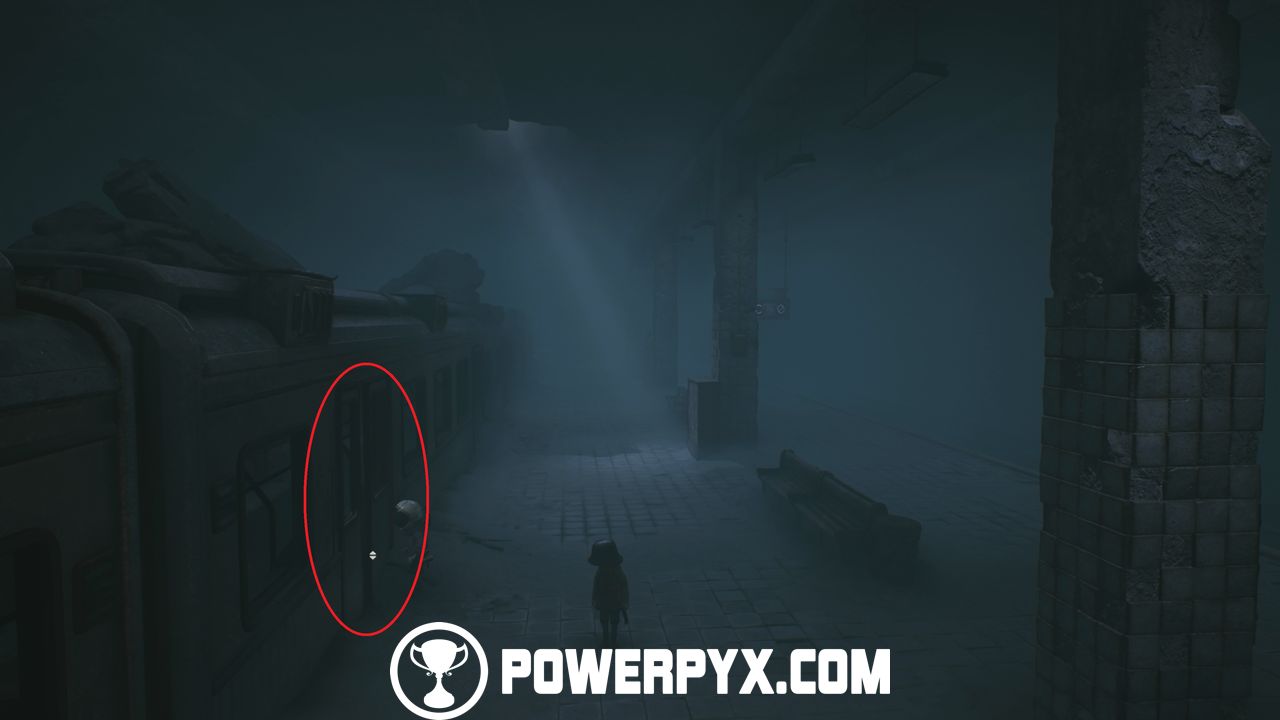
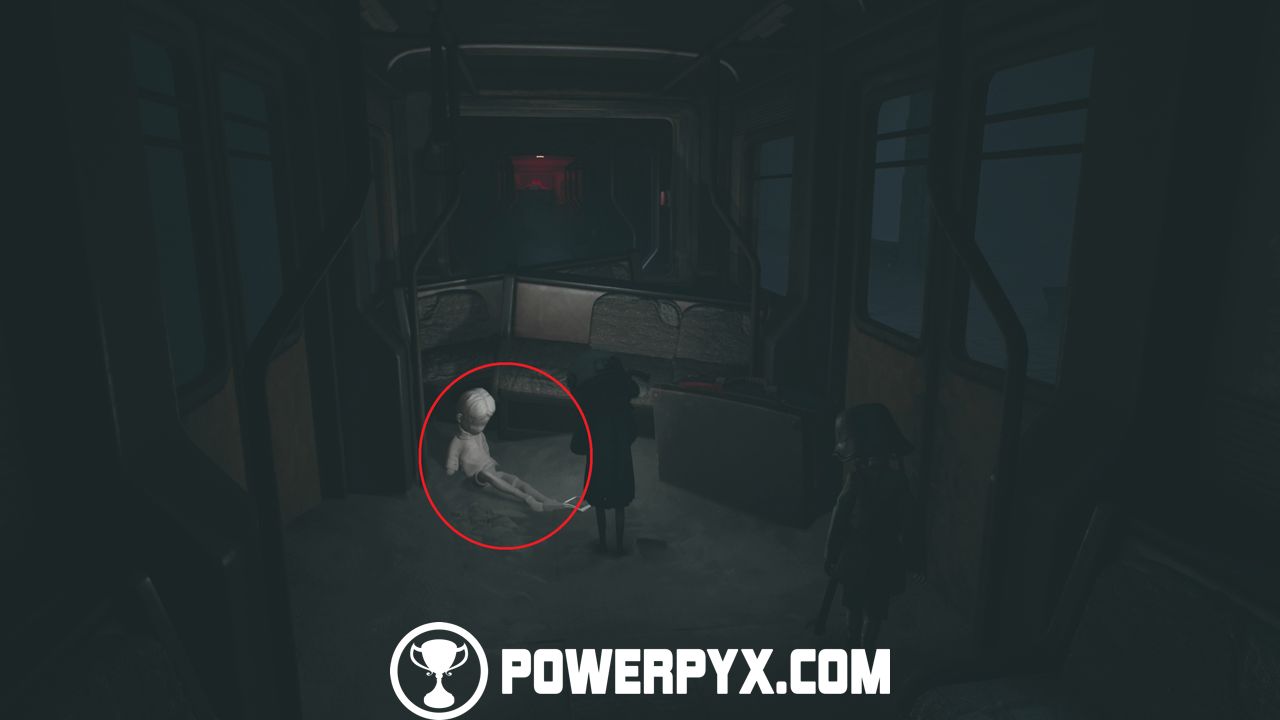
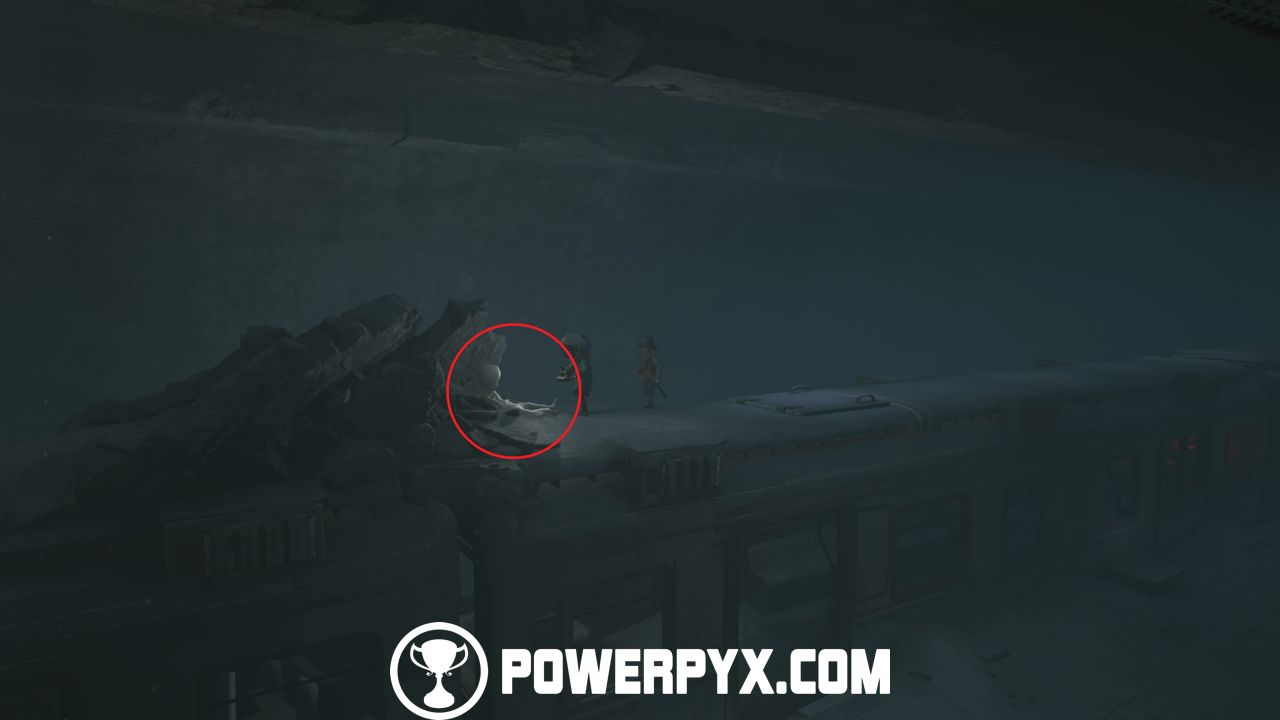
Now jump off the train next to the petrified kid, head towards the screen, and you see a vending machine with three levers to your right side. Use the levers to spell ØDE on the sign above you. After that, a train arrives.
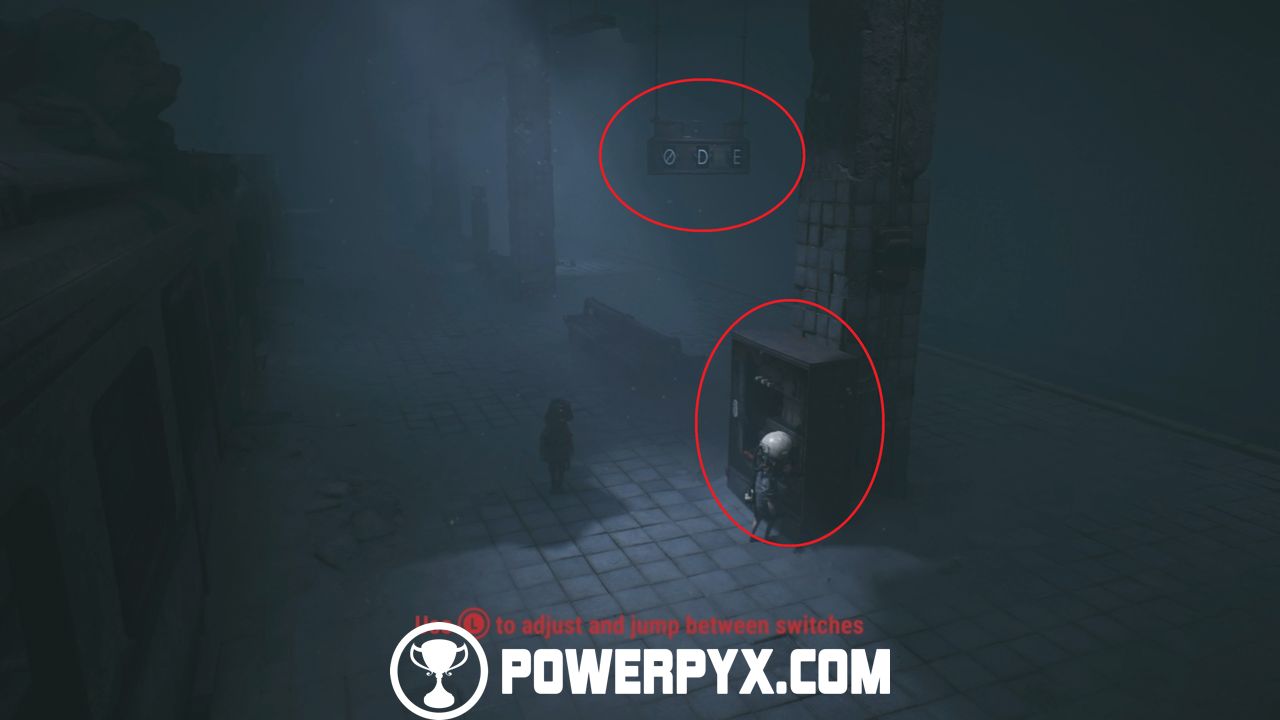
Enter the train and sit on the little wooden bench to trigger a small cutscene.
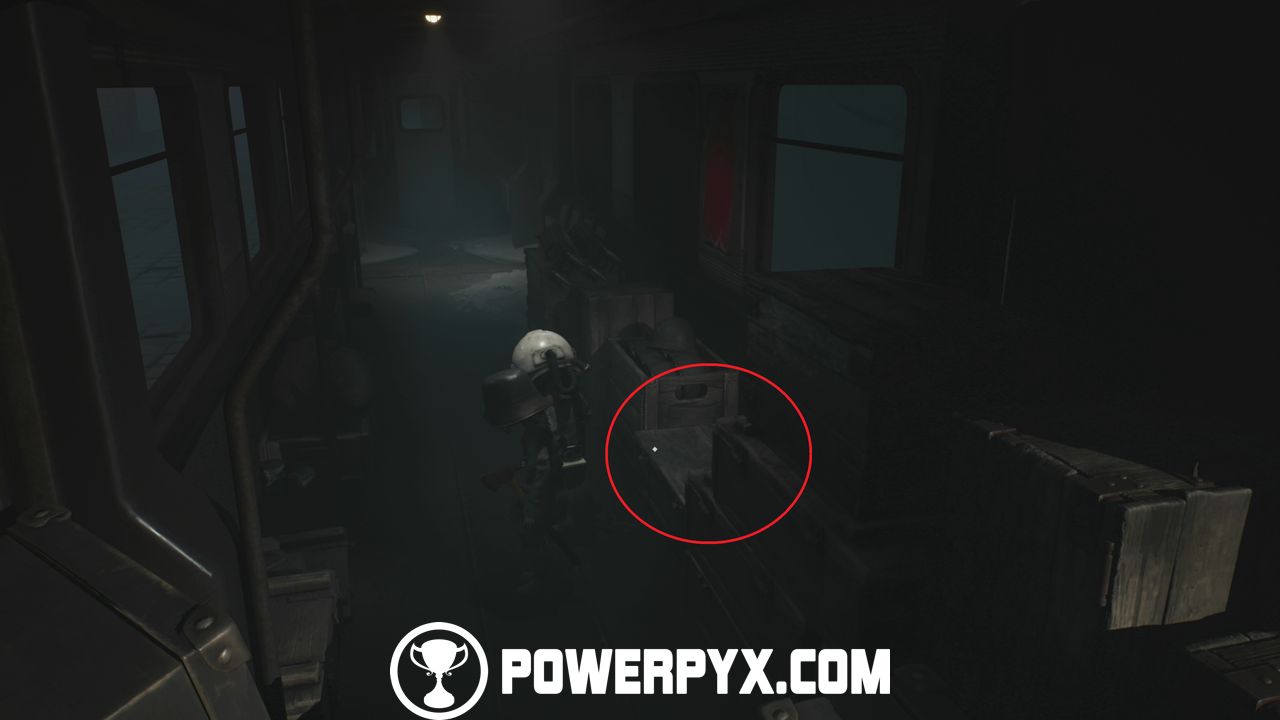
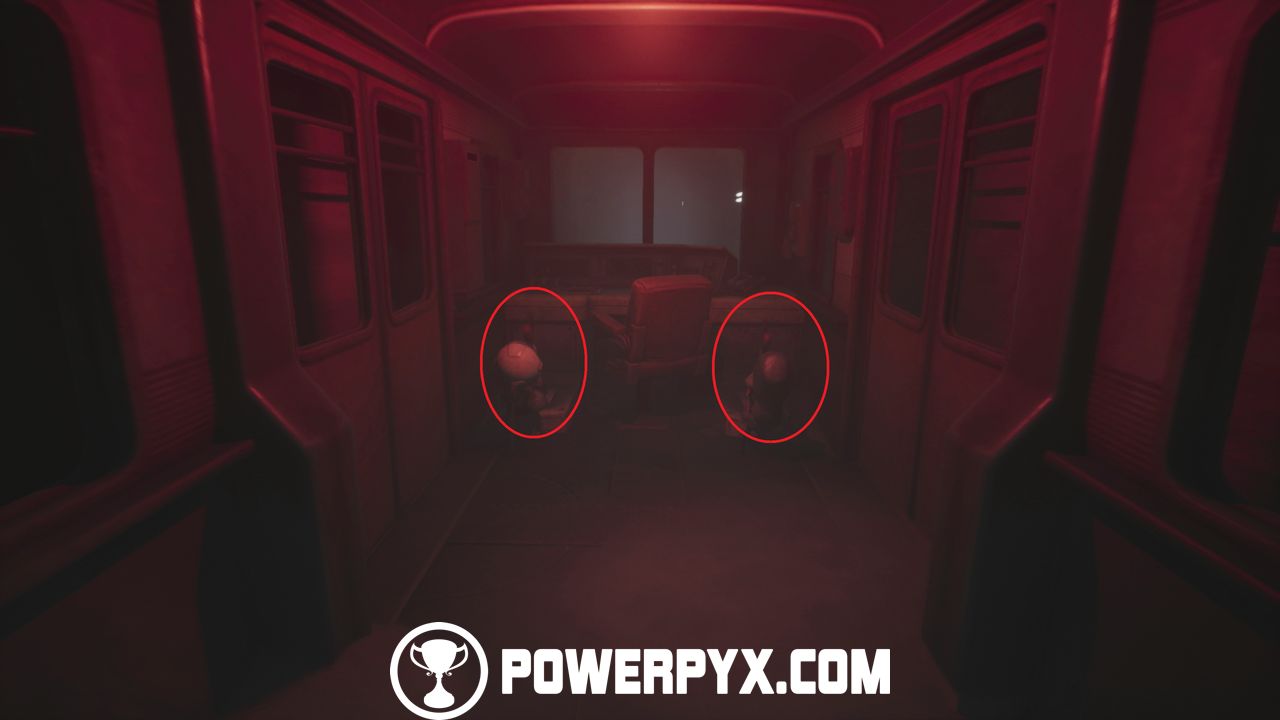
After the cutscene, move up inside the train and you will get attacked by some enemies. Use your photo ability with / to stun the enemies. Your partner needs to kill them with the axe. After killing all enemies, move up further inside the train, you have to stop the train by using both levers in the cockpit.
Chapter 3: By Your Side
- Petrified Spider Kid 3:
After stopping the train, do not use the exit to the left of the levers, head towards the screen and use the next exit on the left side. You will see the petrified kid below you right when you exit the train. Go around the corner to reach it.
- Poster 5:
From the petrified kid, go all the way to the left, the poster is behind a billboard.
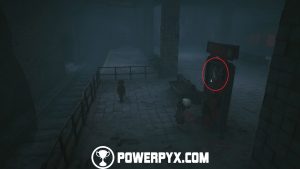
- Stalking Shadow 5:
After getting Poster 5, head all the way up in the area and go up the stairs, you will end up in front of a fence. Before squeezing through the fence, take a photo of the shadow on the boxes on the left side.
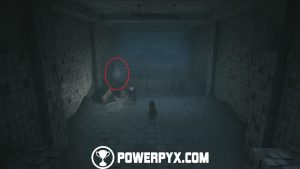
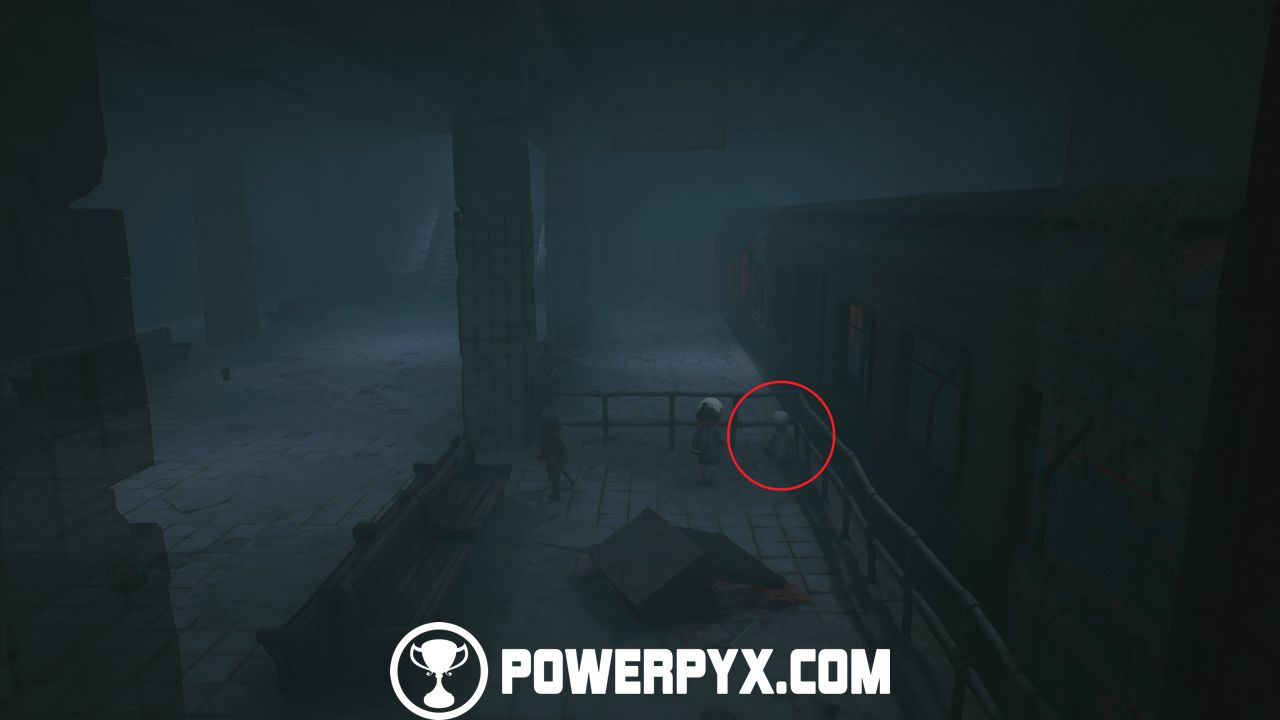
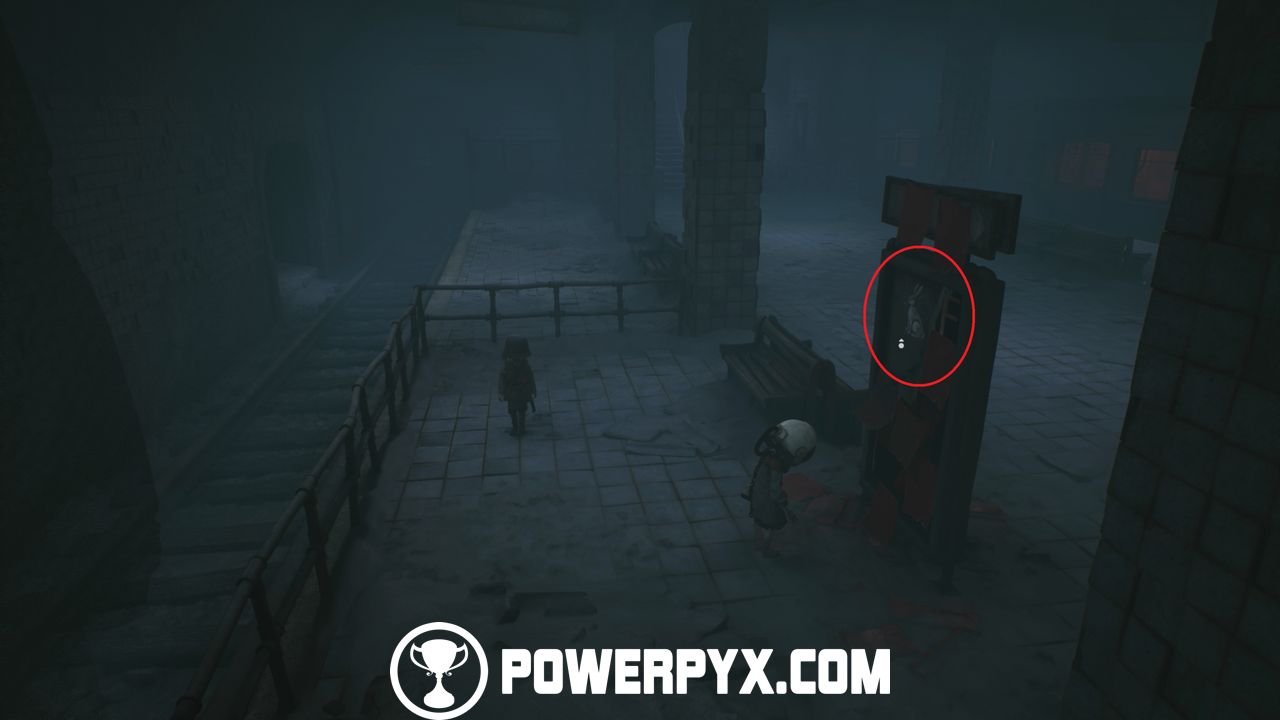
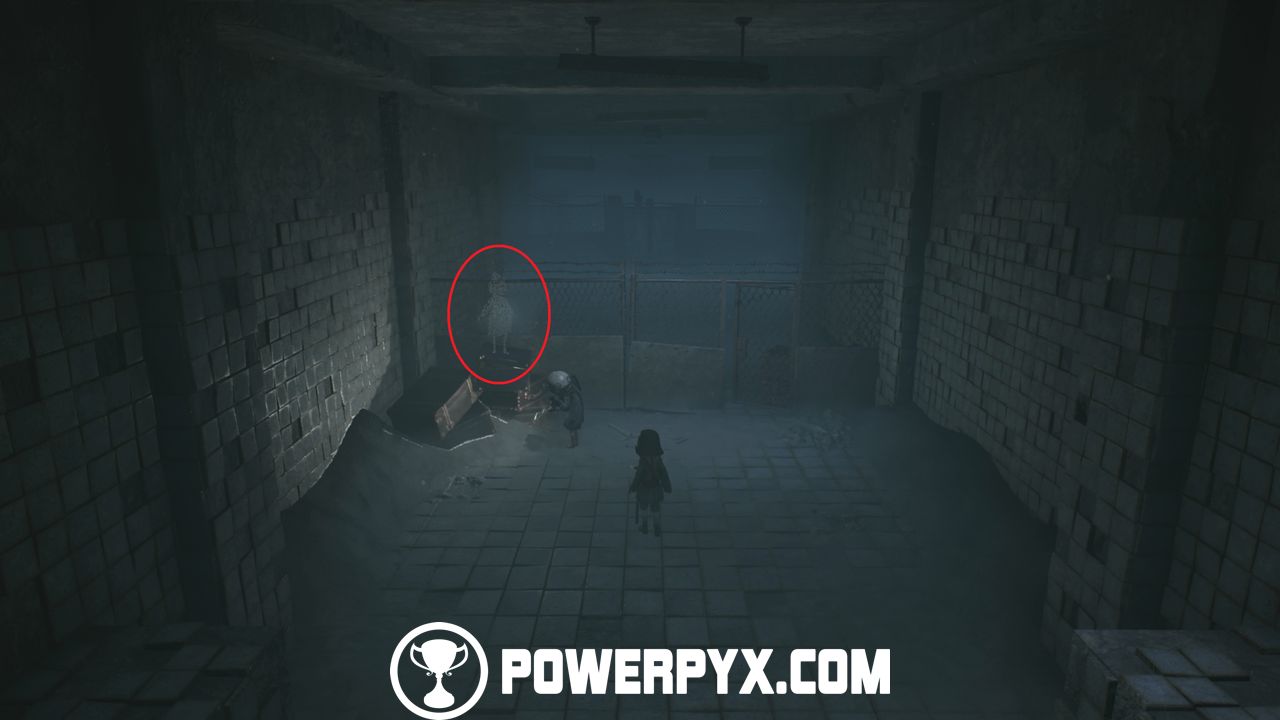
Now squeeze through the fence, you will get attacked by some spider kids. Stun them with your camera, and your partner needs to kill them with the axe. Same way as you did in the train before. After killing all enemies, climb through the window on the right side.
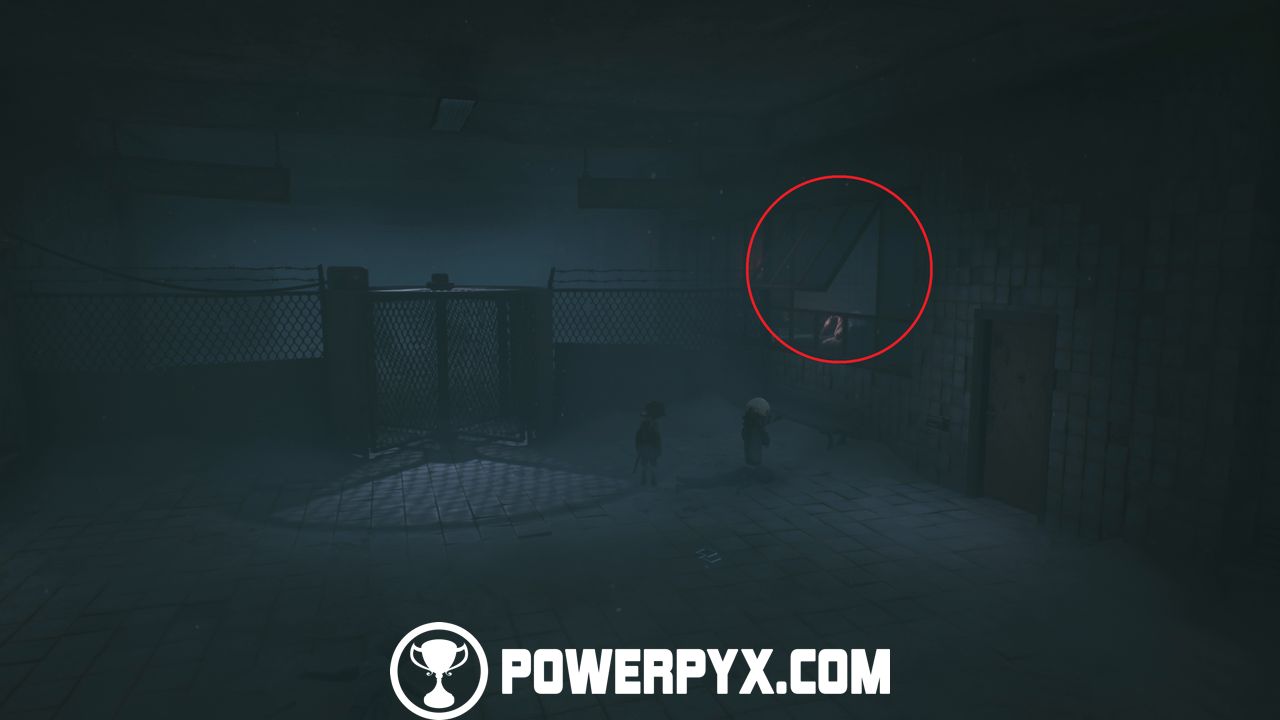
Inside that room, move the chair with the body on it to reveal a keycard. Then pick up that keycard.
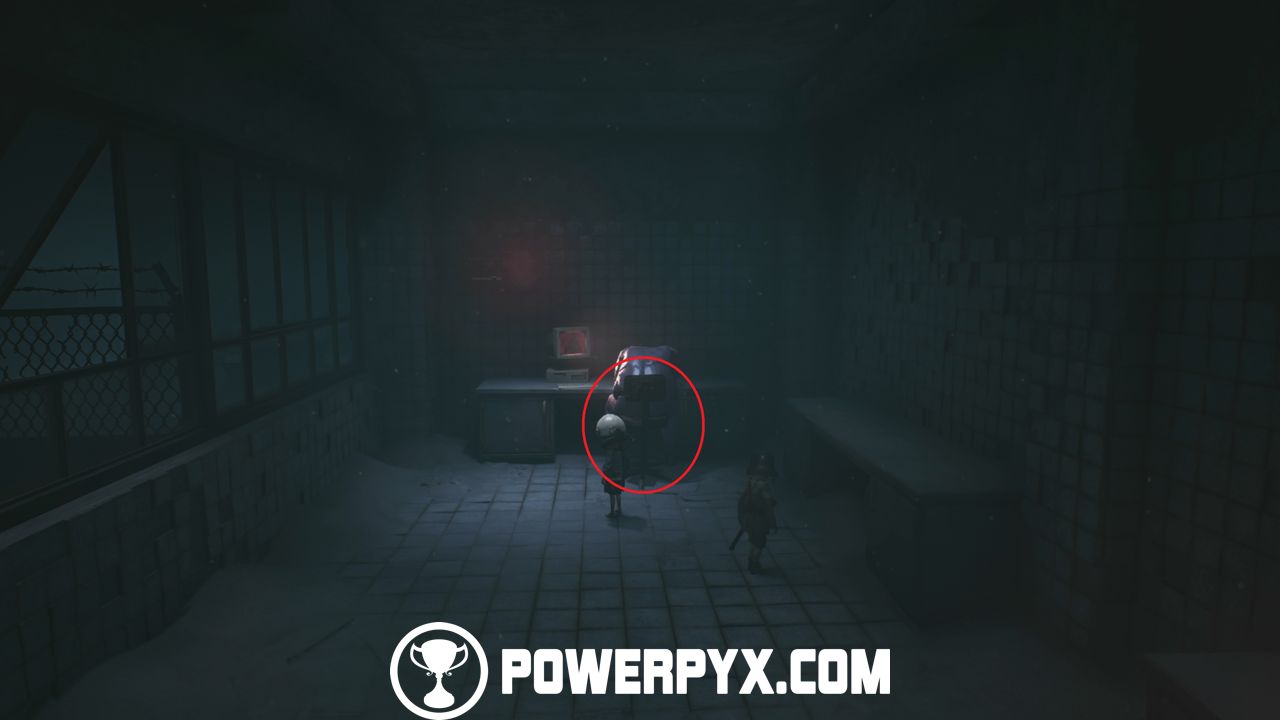
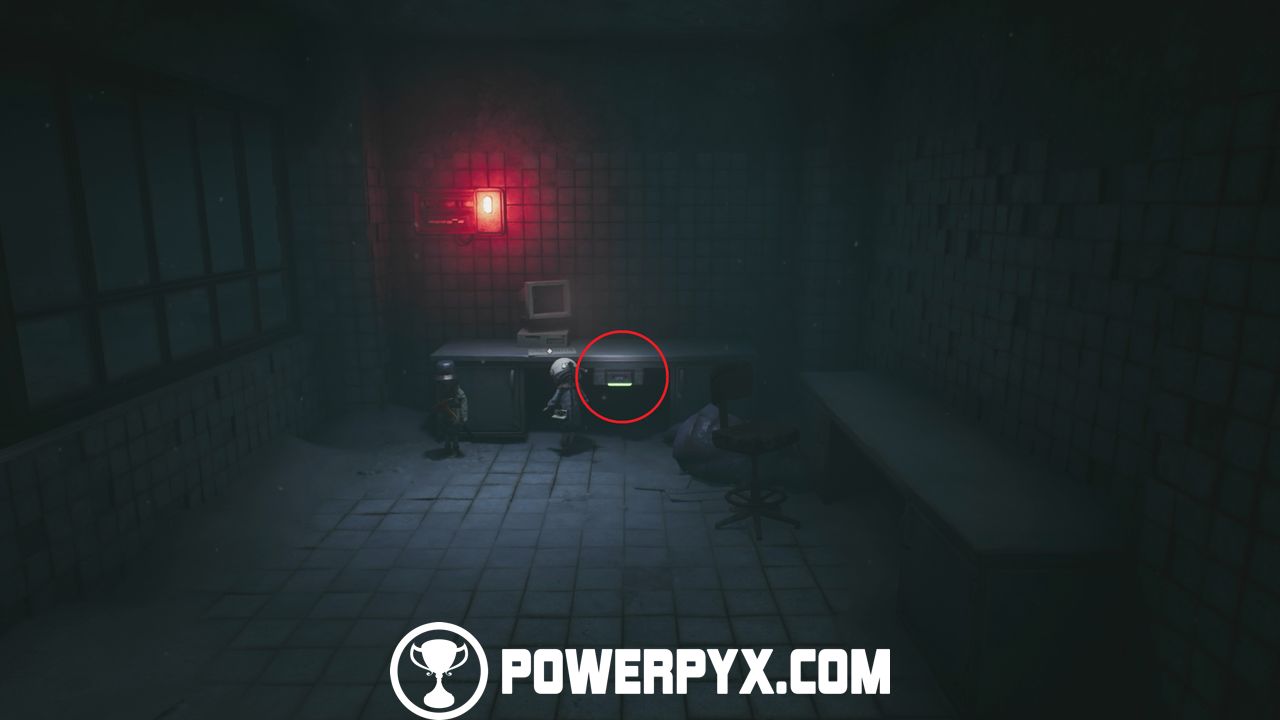
- Suitcase 5:
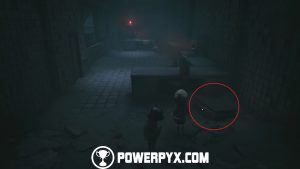
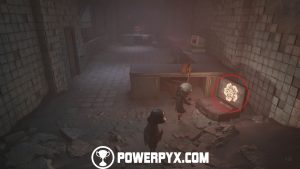
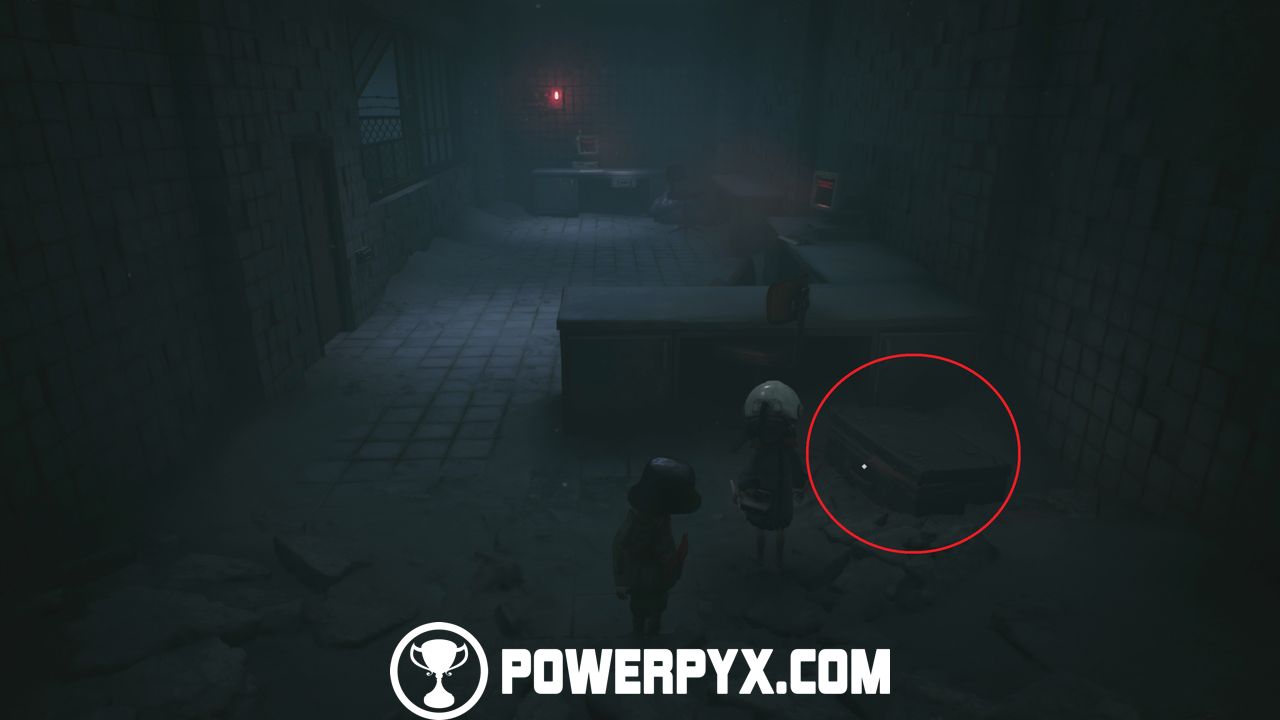
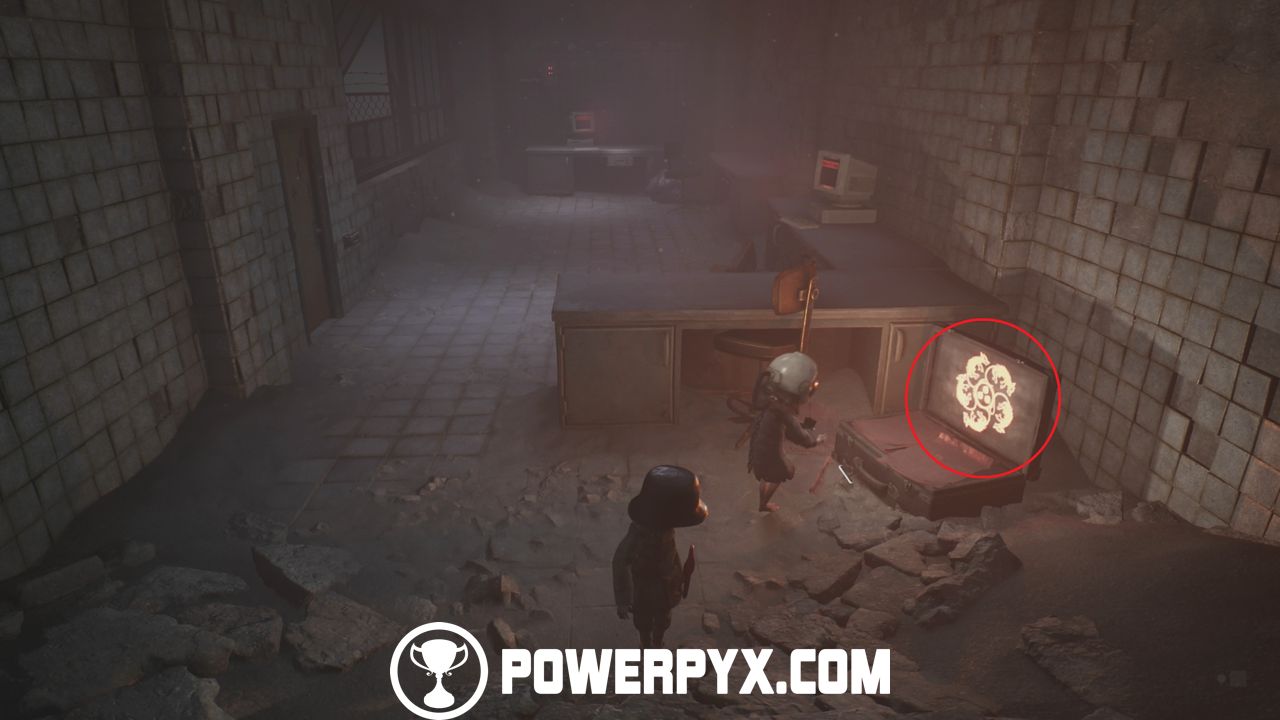
After picking up the keycard, head towards the screen and you see the suitcase on the right side. Open the suitcase and take a photo. You know you’ve done it correctly if you see a red glowing symbol.
Now leave the room through the door near the suitcase with the keycard. Then head directly opposite and go through another door with the keycard. Here, turn on the power by pressing the lever on the left side, and putting in the keycard on the right at the same time.
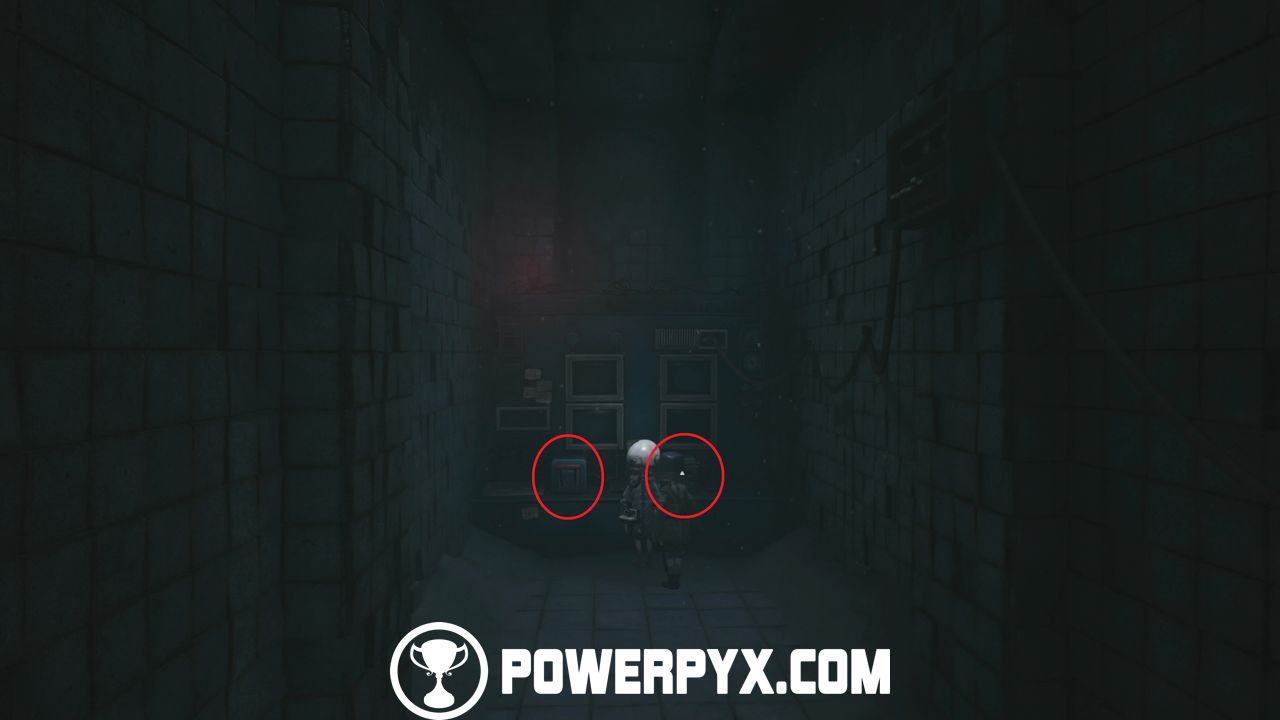
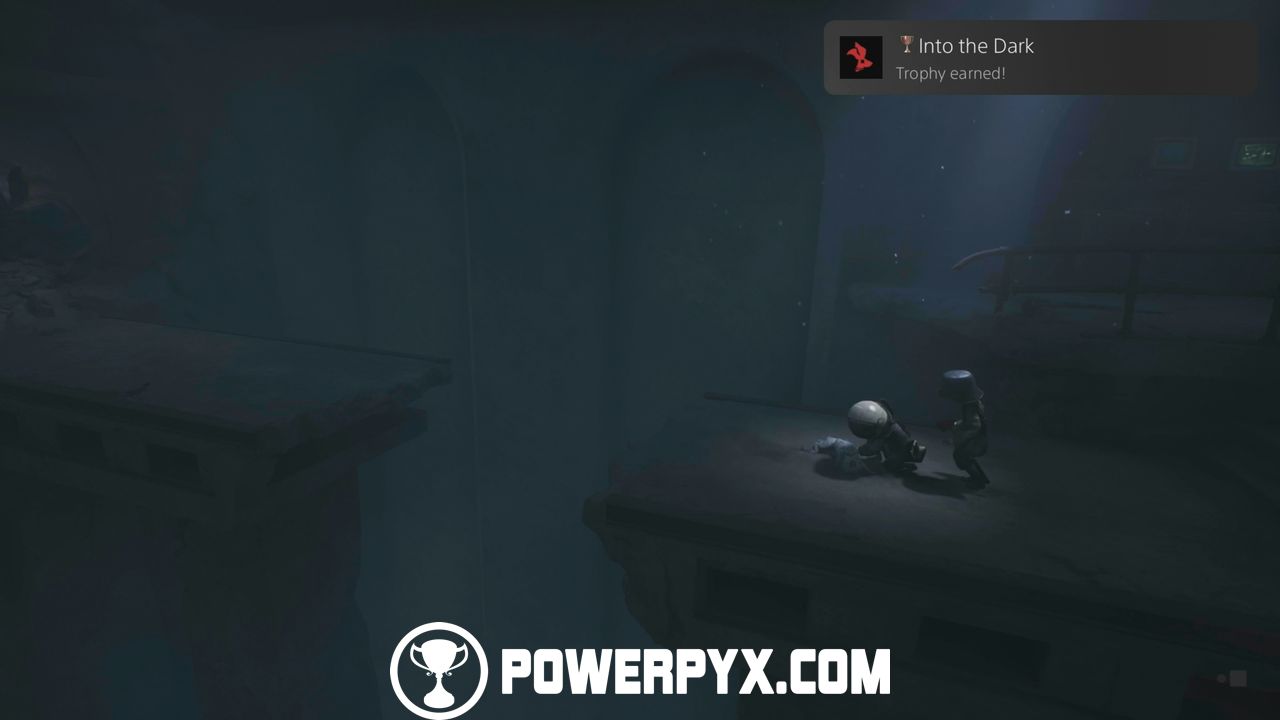
- Trophy “Into the Dark”
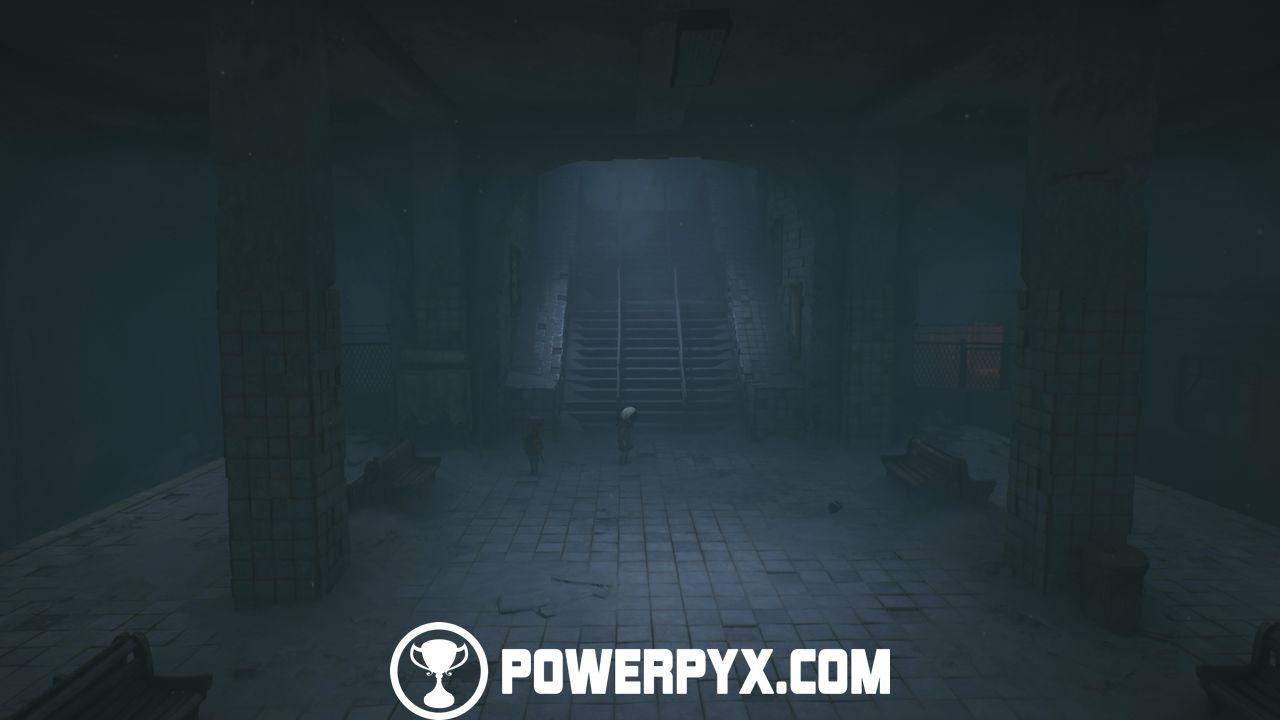
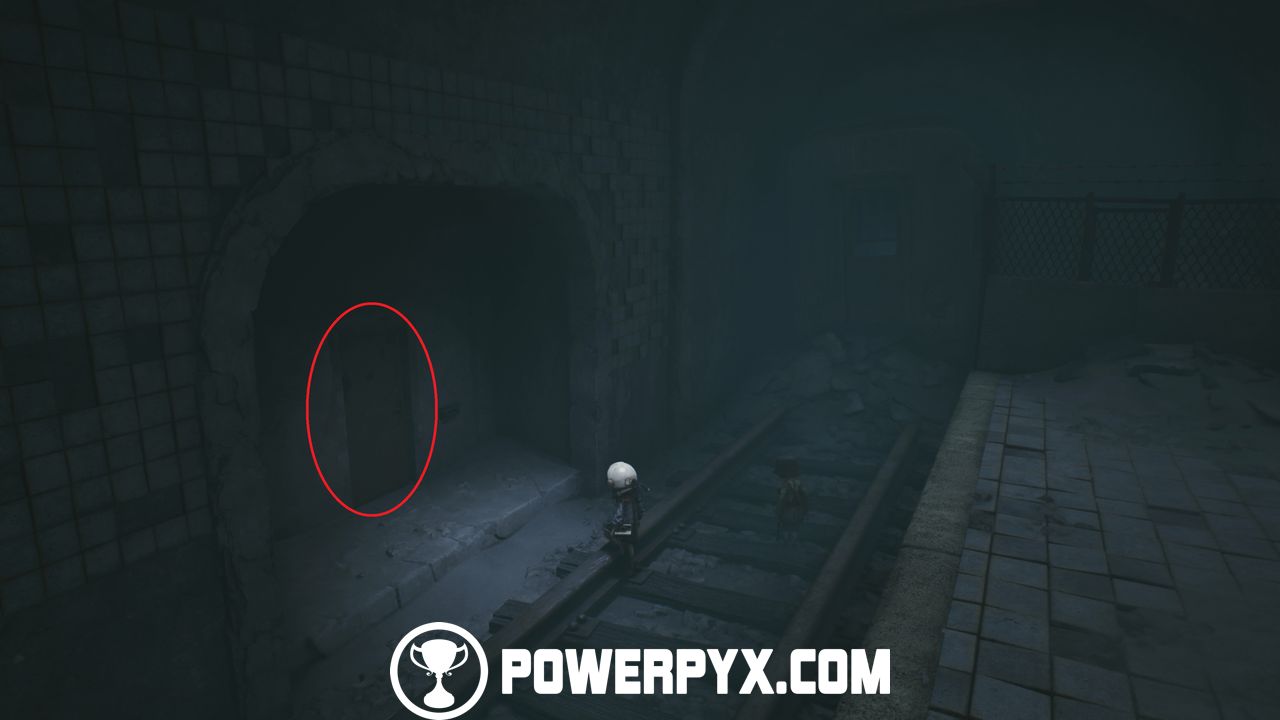
After turning on the power, leave the room. Before moving up, backtrack all the way back to the area where you found Poster 5 and Petrified Spider Kid 3. Once you reach the area, head left and go through the door with the keycard.
Inside this room, interact with the rabbit to unlock the trophy.
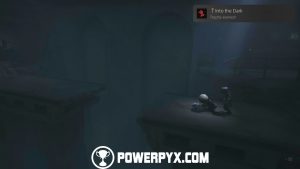
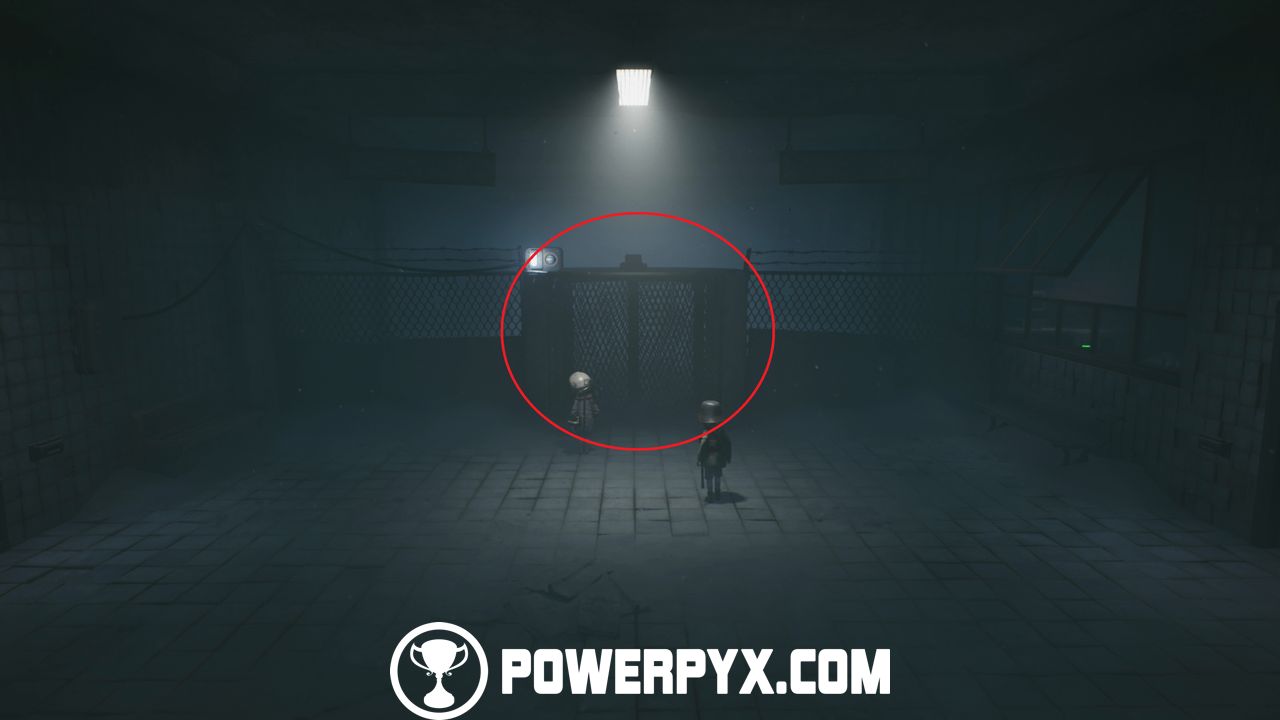
Now head back upstairs and go through the big metal revolving gate.
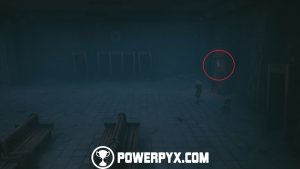
- Poster 6:
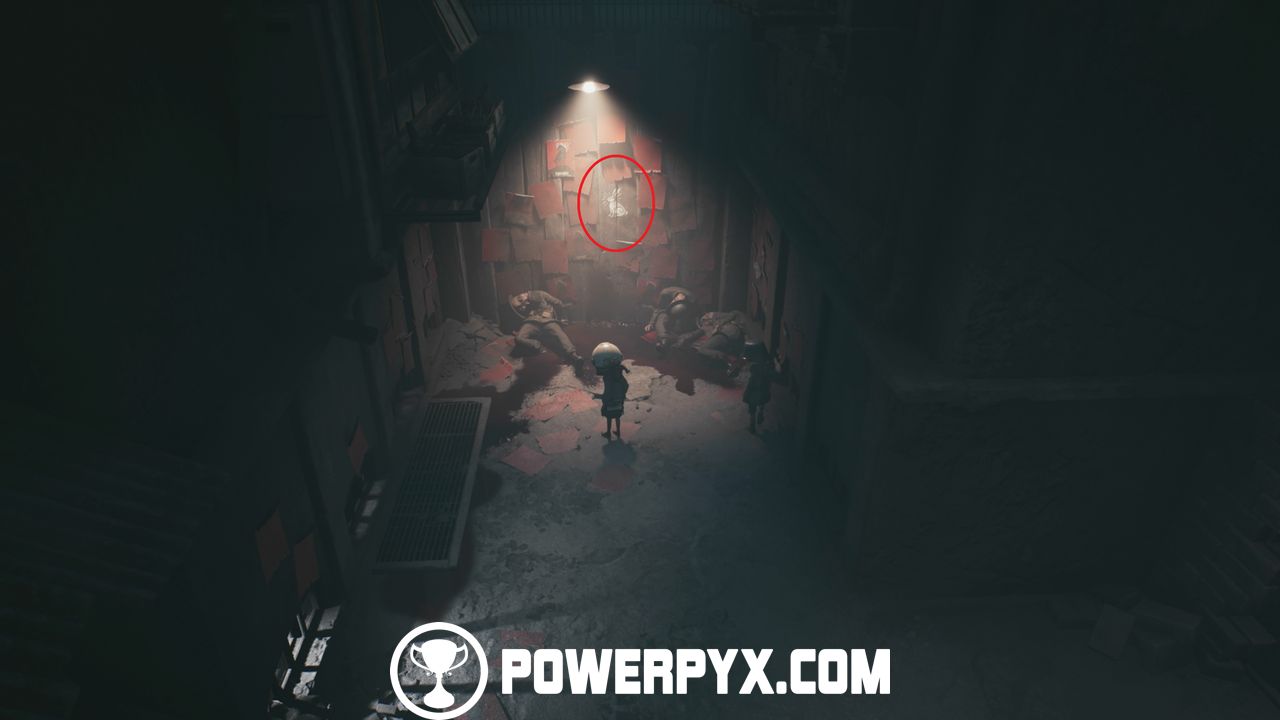
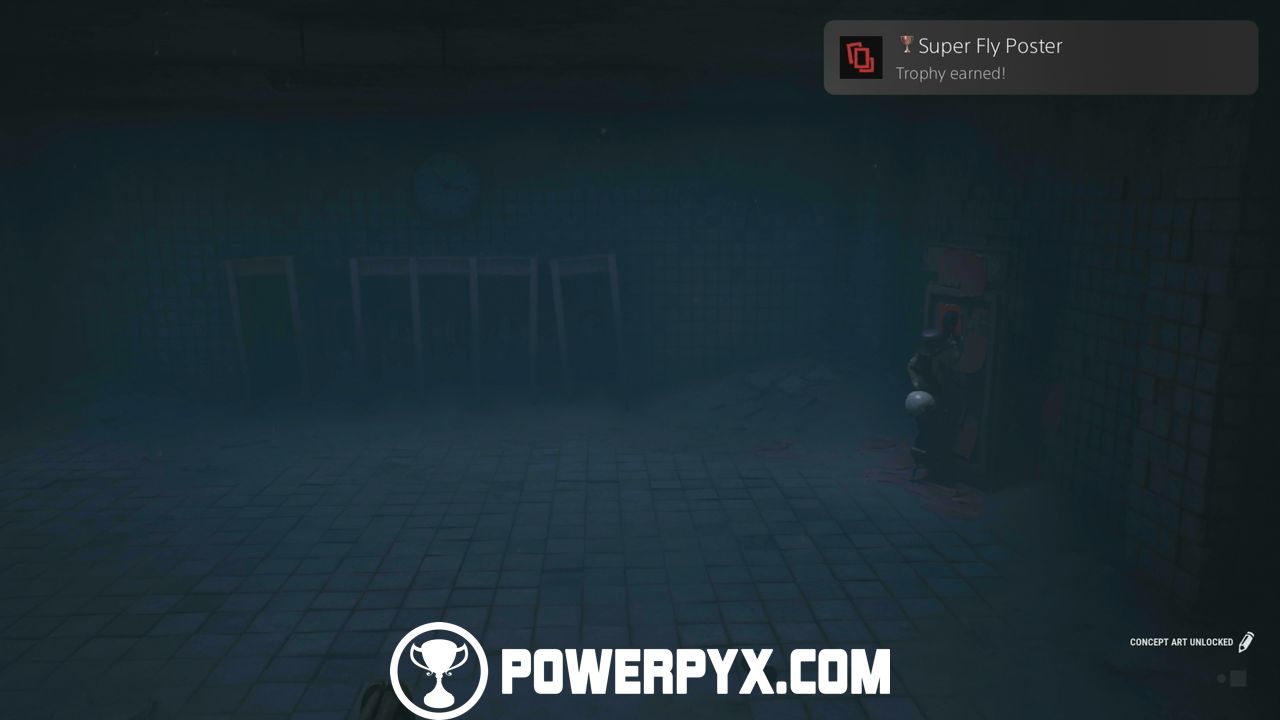
After going through the revolving gate, you can find the poster on the upper right side of the area. If you followed this guide, you will unlock Super Fly Poster.
- Petrified Spider Kid 4:
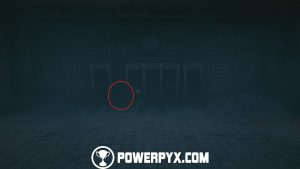
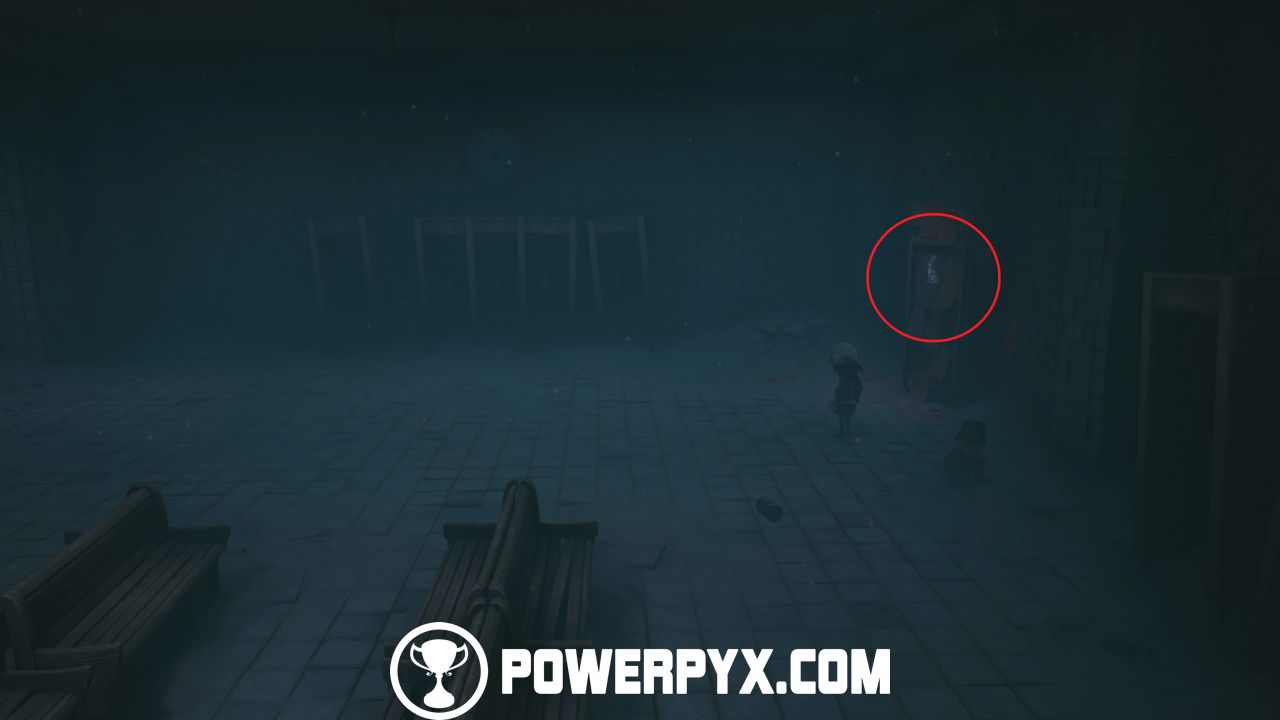
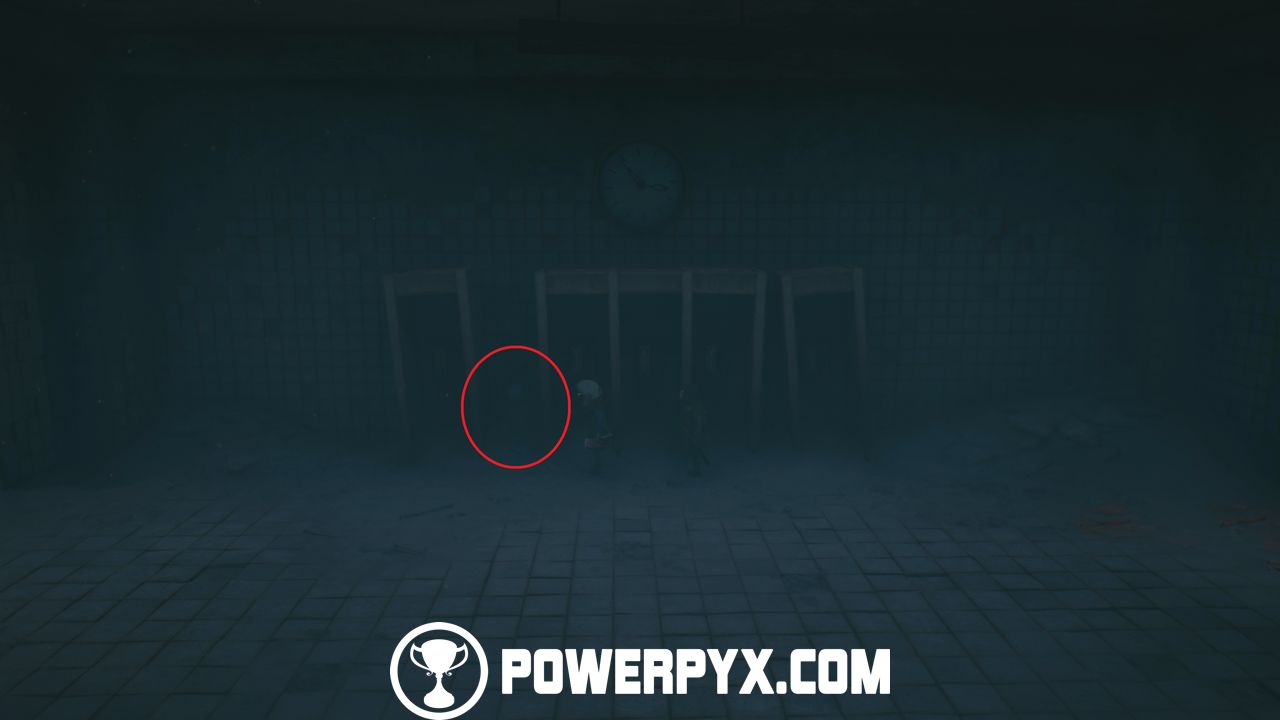
Right next to the poster, you find some phone booths. The kid is between these phone booths.
- Stalking Shadow 6:
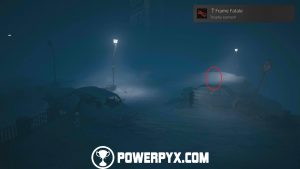
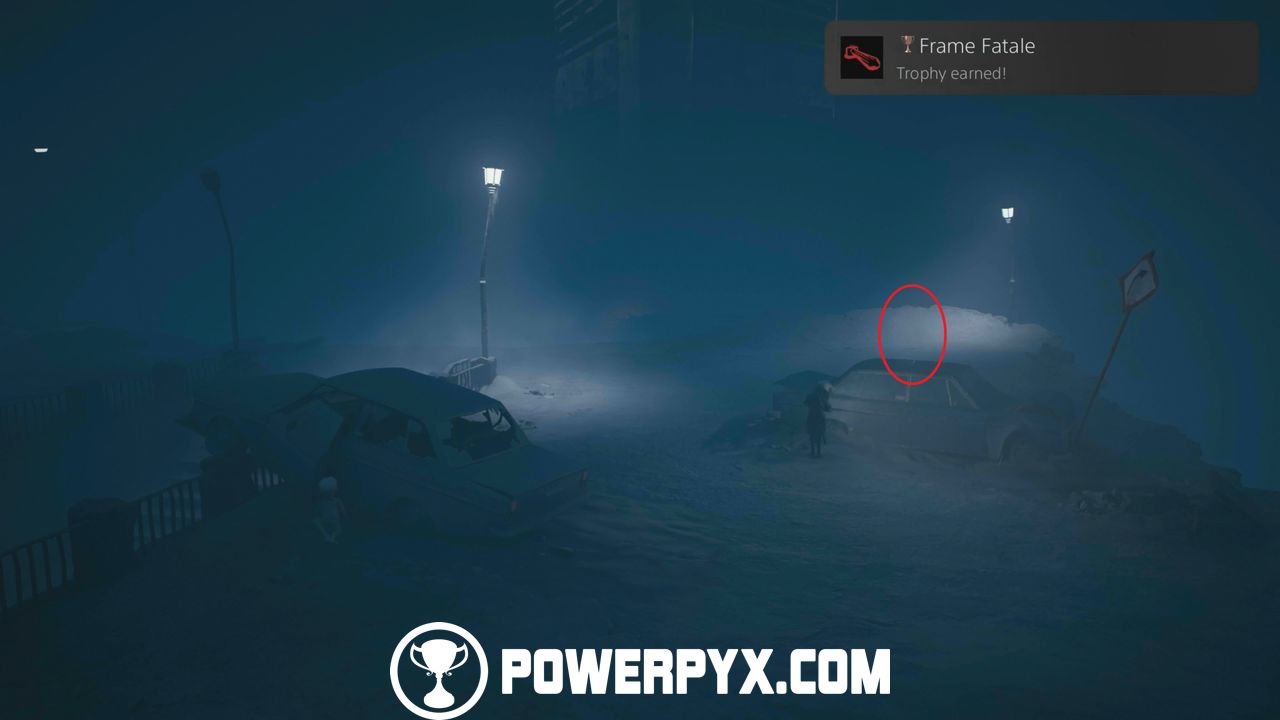
Now go upstairs next to the petrified kid, here turn right to find the shadow on the first car you see. If you followed the guide, you will unlock Frame Fatale.
- Petrified Spider Kid 5:
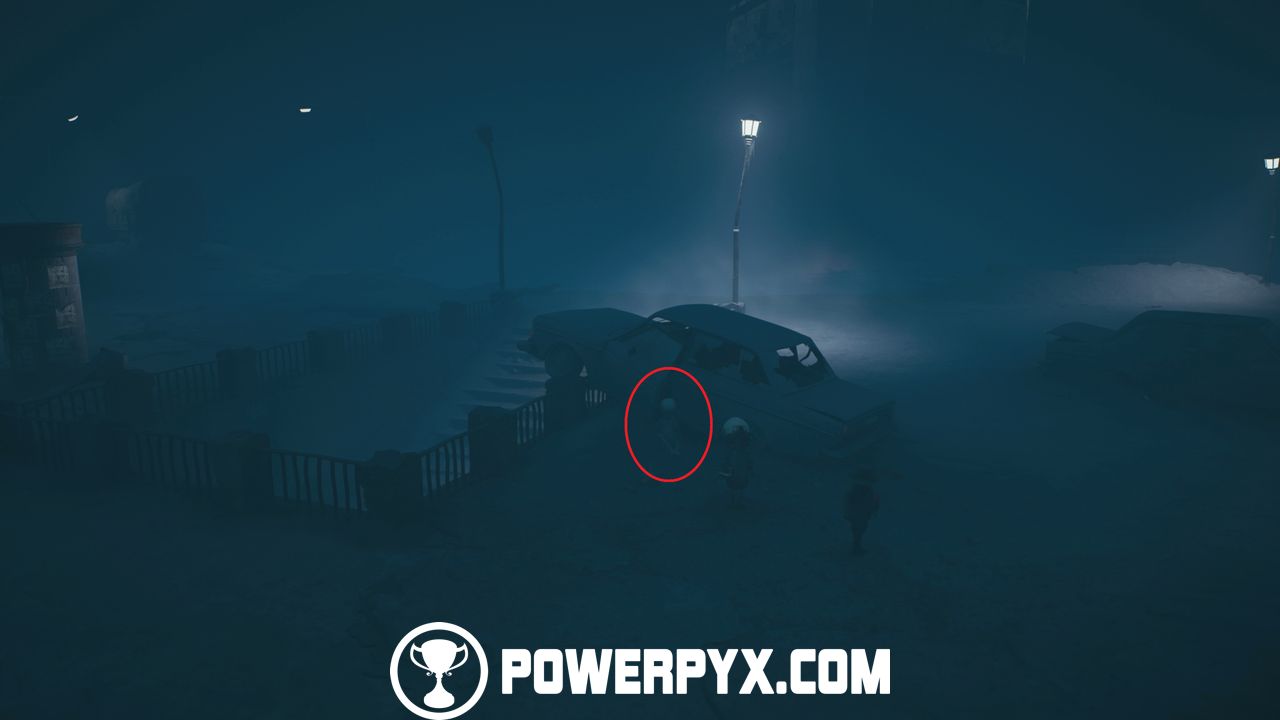
You can find the kid on the car next to where you found stalking shadow 6.
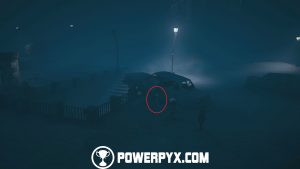
- Suitcase 6:
From the petrified kid 5, go left and pass the advertising pillar. You will see two cars to your left. The suitcase is between those two cars. Open the suitcase and take a photo. You know you’ve done it correctly if you see a red glowing symbol. If you followed this guide, you will unlock The Blood Hound.
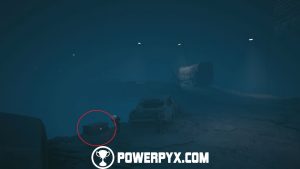
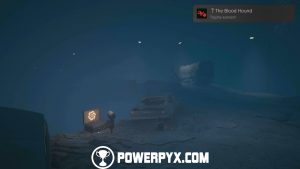
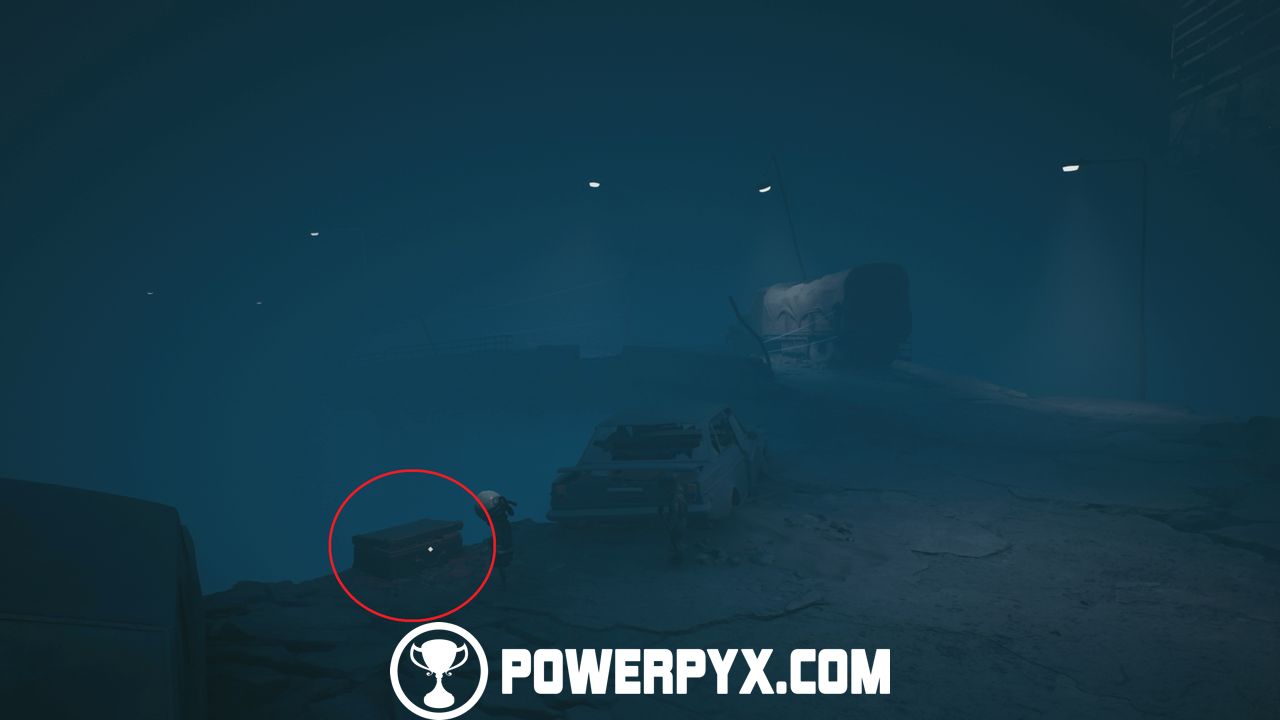
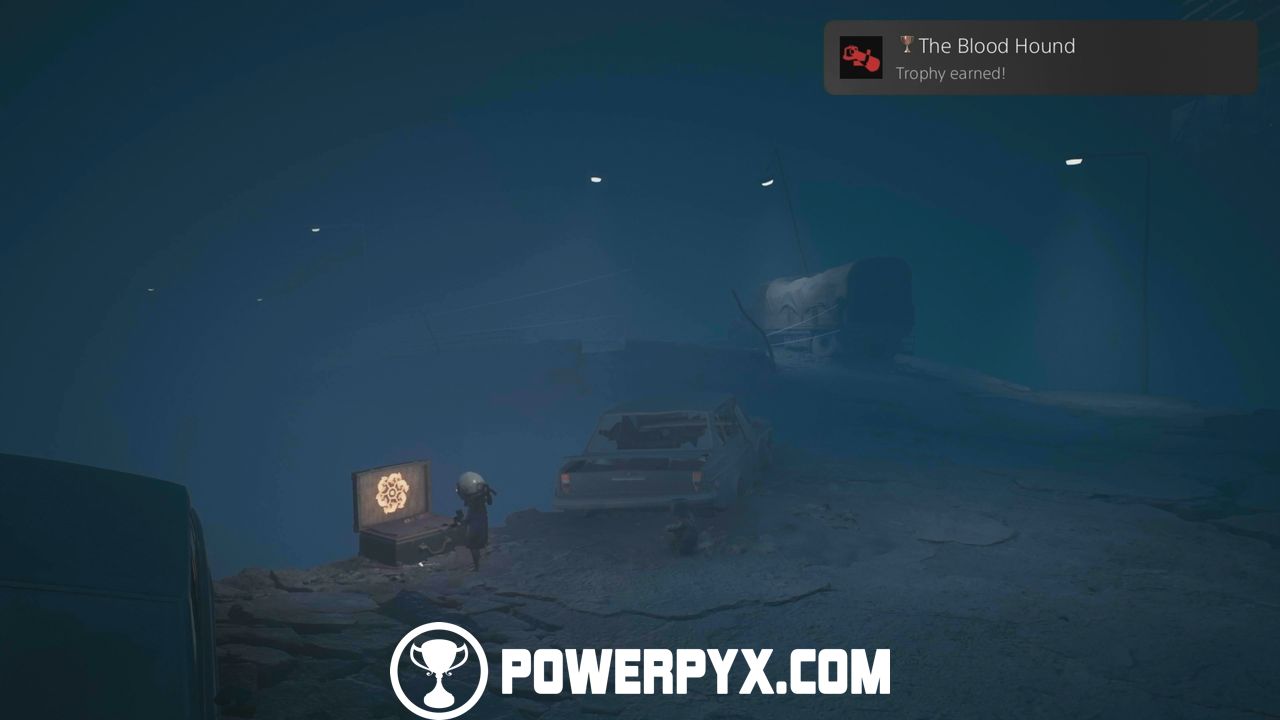
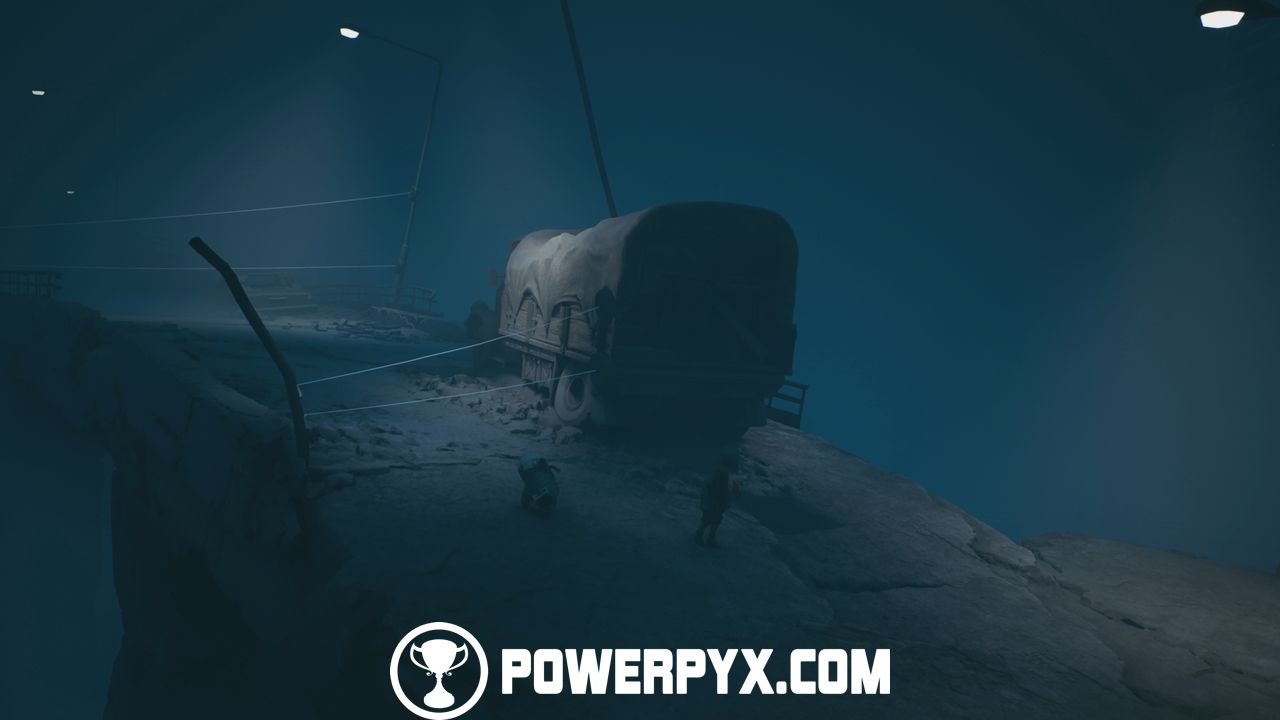
Now follow the street, and you come across two tripmines. You can crawl under them to pass them. After that, drop down, then quickly jump to the left to be safe from the falling street.
- Petrified Spider Kid 6:
Right after you climbed up from the broken street, you can see the last petrified kid next to a car. If you followed this guide, you will unlock Dust Buster.
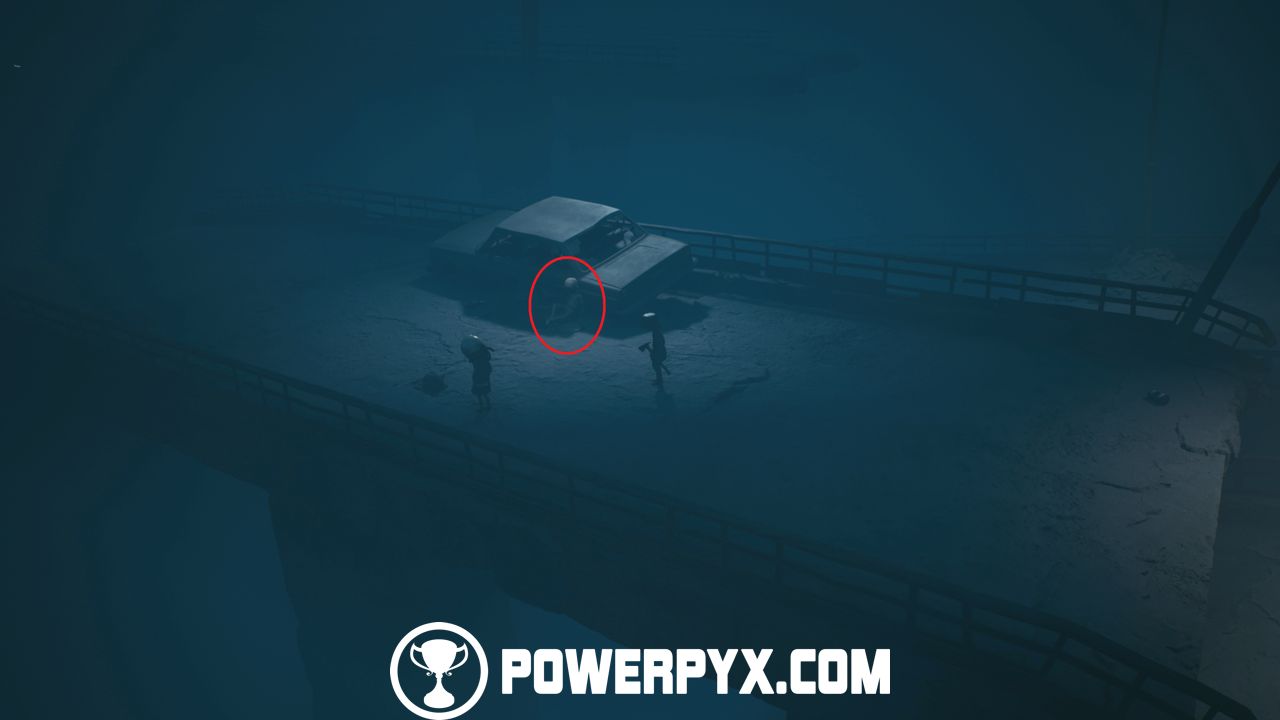
Now follow the path further and drop down to the next area. You will see a motorcycle. Here you will get attacked by some enemies.
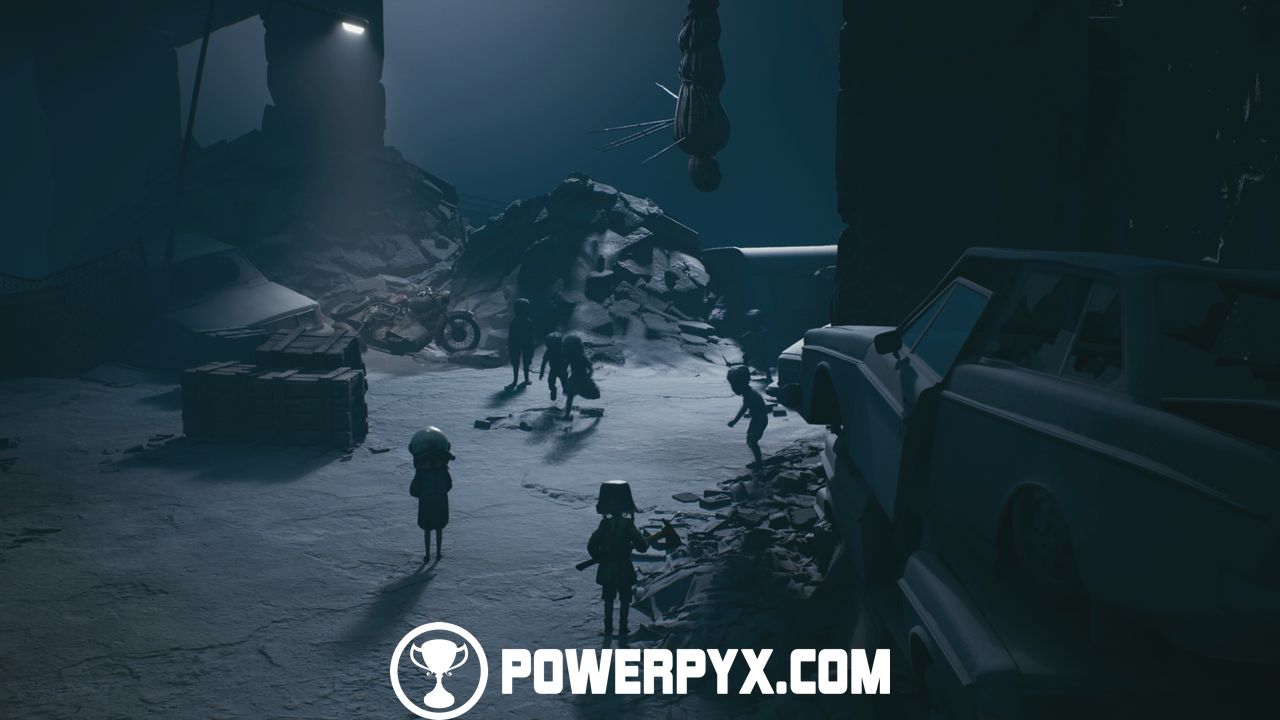
After the first wave of enemies, more will appear. Two of them will shoot at you. When they shoot, crouch by pressing  /
/  . While the enemies shoot at you, you will also get attacked by normal enemies. After a while, the hanging body with spears in it will drop down. Whenever the enemies stop shooting, pick up a spear and kill one of the shooting enemies. The remaining enemy will still shoot, so crouch again and throw a second spear when he reloads.
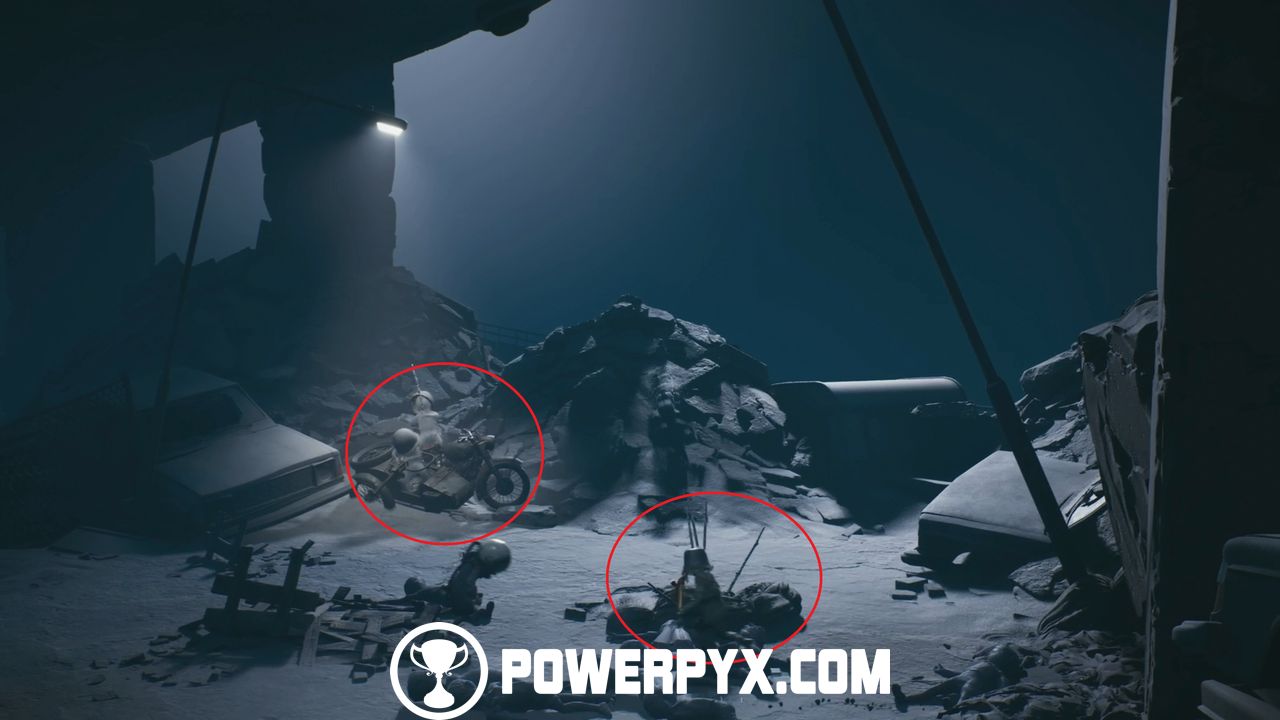
After killing all enemies, interact with the motorcycle and follow the path. After a while, you will get stuck in the sand, from that point on, you will get chased by a monster. You need to shoot it until it stops for a second. When that happens, release the shoot button so you don’t overheat your gun. Once it chases you again, shoot it again until it stops. Rinse and repeat. After a while, a cutscene starts that will end the DLC.

For all main game chapters refer to Reanimal 100% Walkthrough.
Jeff says
Thank you once again.