
Chapter IV: From Hell It Rose is the 4th chapter in Resonance: A Plague Tale Legacy and contains 23 collectible locations. This walkthrough will guide you to all the Chapter 4 collectibles in Resonance: A Plague Tale Legacy. If you missed anything you can get it via chapter select, except Resonance Points which don’t carry over. Everything needed for 100% completion is included.
- Blades: 1
- Artefacts: 3
- Charms: 2
- Resonance Points: 17
Collectibles Overview:
Chapter 4: From Hell It rose
Sub-Chapter 1 – A familiar threat
1 Resonance Point
Sub-Chapter: 1 – A familiar threat
Objective: Reach the Trial’s Entrance
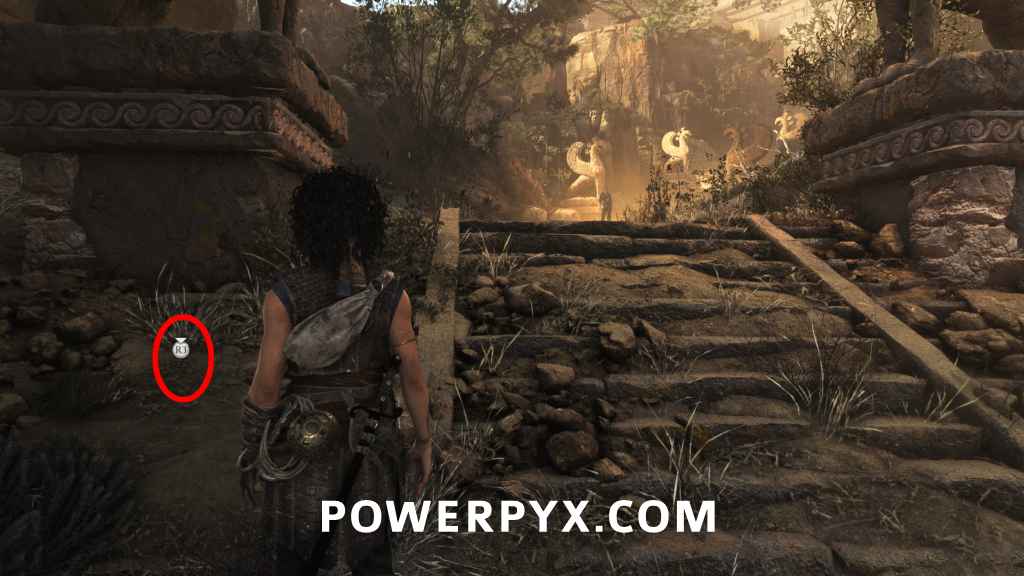
From the start of the chapter turn around to find this on the stairs beneath the nearest statue.
2 Resonance Points
Sub-Chapter: 1 – A familiar threat
Objective: Reach the Trial’s Entrance
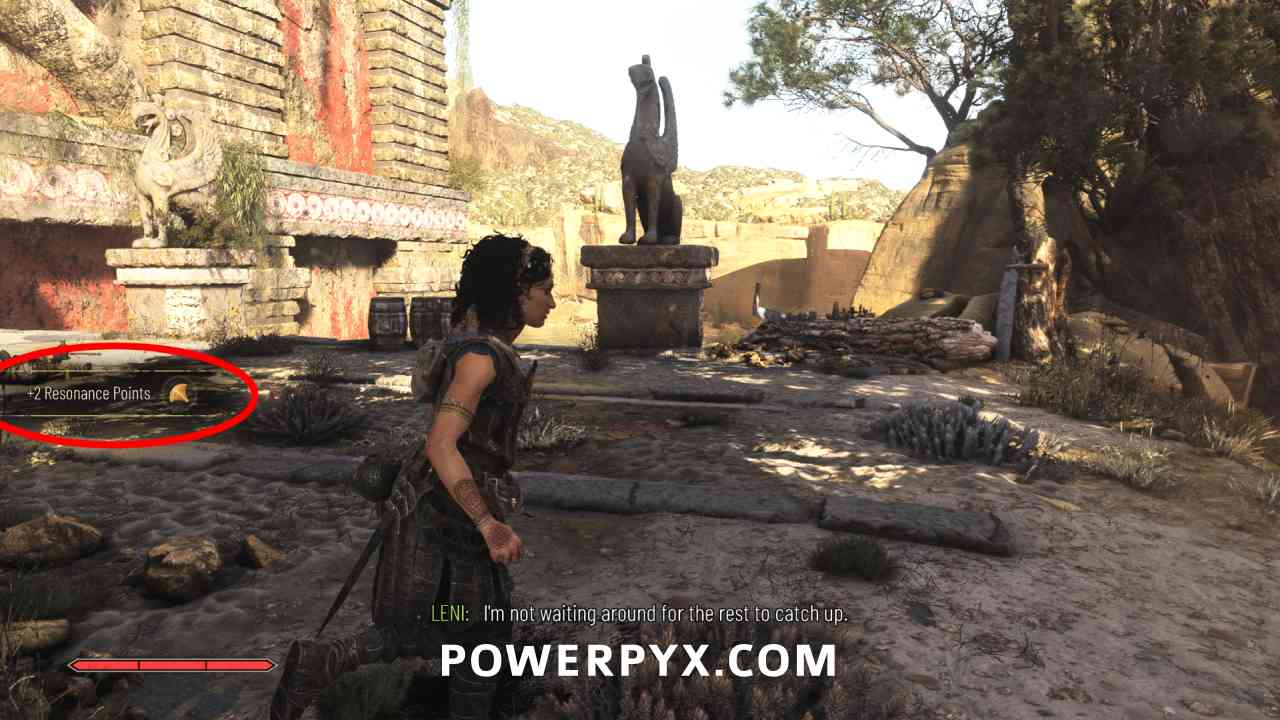
Automatic combat reward for defeating the first group of enemies (after swinging to bridge).
1 Resonance Point
Sub-Chapter: 1 – A familiar threat
Objective: Explore the Trial’s Entrance
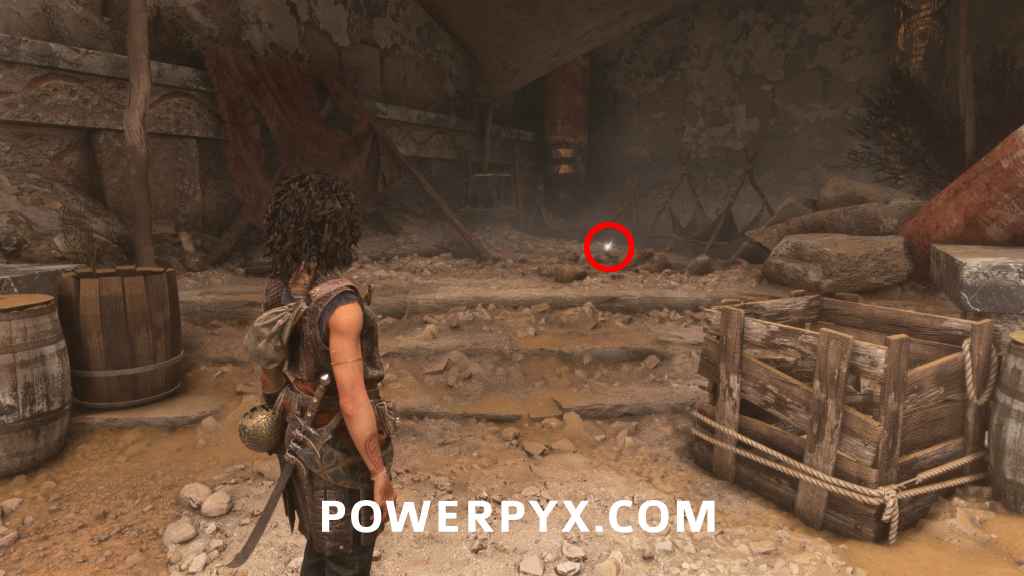
After defeating the first group of enemies, you will enter a building. When you are in front of the pedestal you have to use, turn right to find it in the corner of the room.
How to progress (3 Symbols Puzzle): Use  /
/  to shine the sphere at the pedestals and you’ll see blue lines on the floor, follow these to see the symbols on the walls that are connected to each pedestal. Rotate the 3 pedestals to show the matching symbol. Solution (left to right): Y-C-↑.
Sub-Chapter 2 – Down the abyss
Charm: Arm Band #2
Sub-Chapter: 2 – Down the abyss
Objective: Progress through the Trial
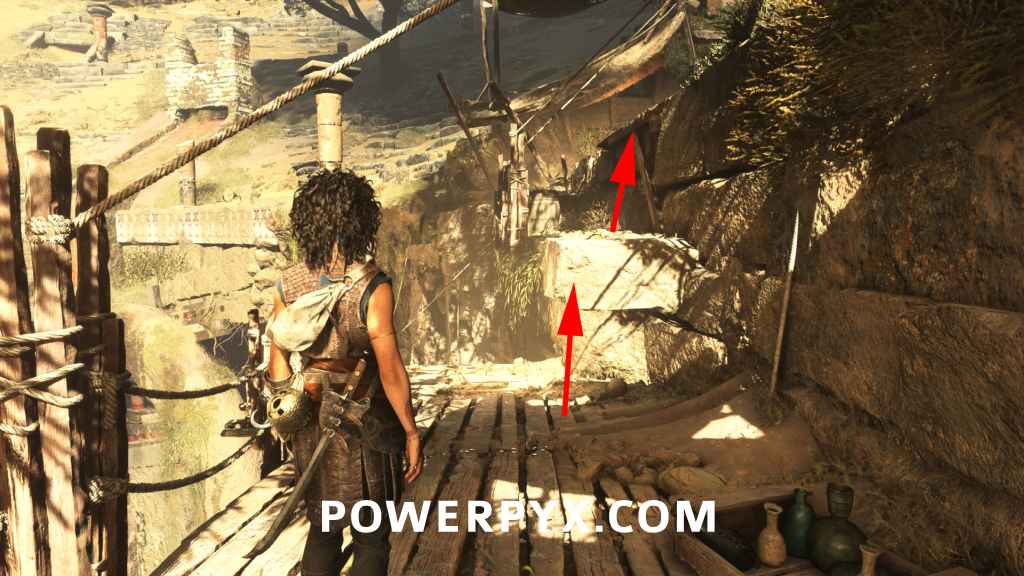
After the puzzle, you will reach an open area with a big statue. Go right, and click up the first rock on the right BEFORE dropping down the ledge. This leads to a hidden camp with a small chest.
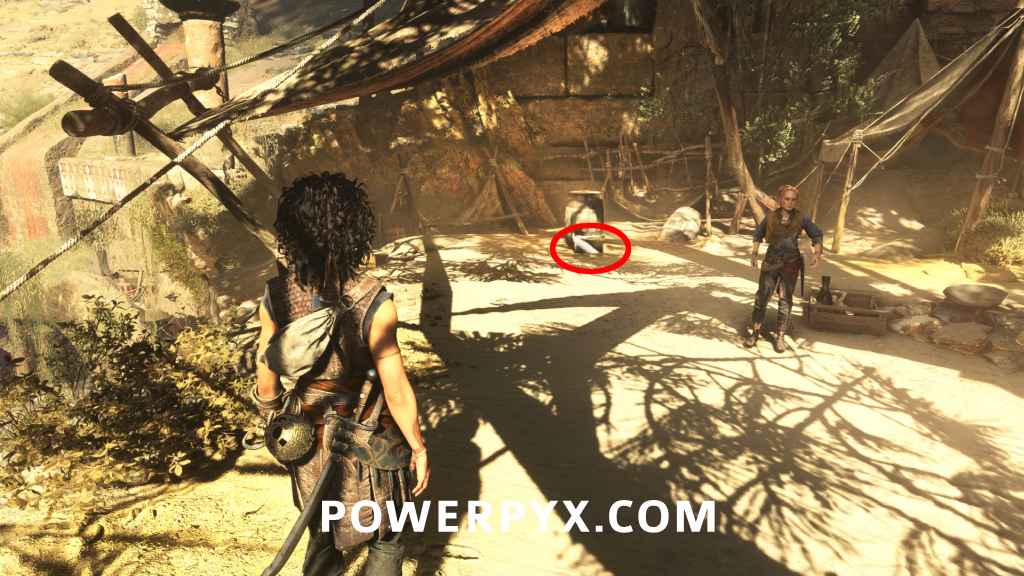
1 Resonance Point
Sub-Chapter: 2 – Down the abyss
Objective: Progress through the Trial
Same place as the Charm, in the right corner of the camp.
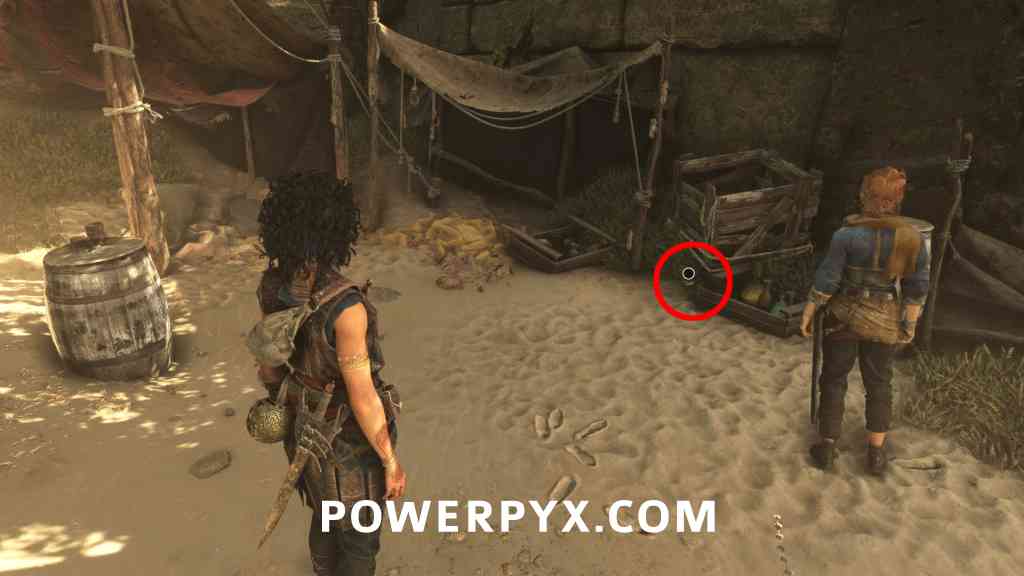
Artefact – Relic of the Present: Polished Cornicello
Sub-Chapter: 2 – Down the abyss
Objective: Progress through the Trial
Climb back down the rock and drop down the next ledge, immediately turn around and climb down the ladder.
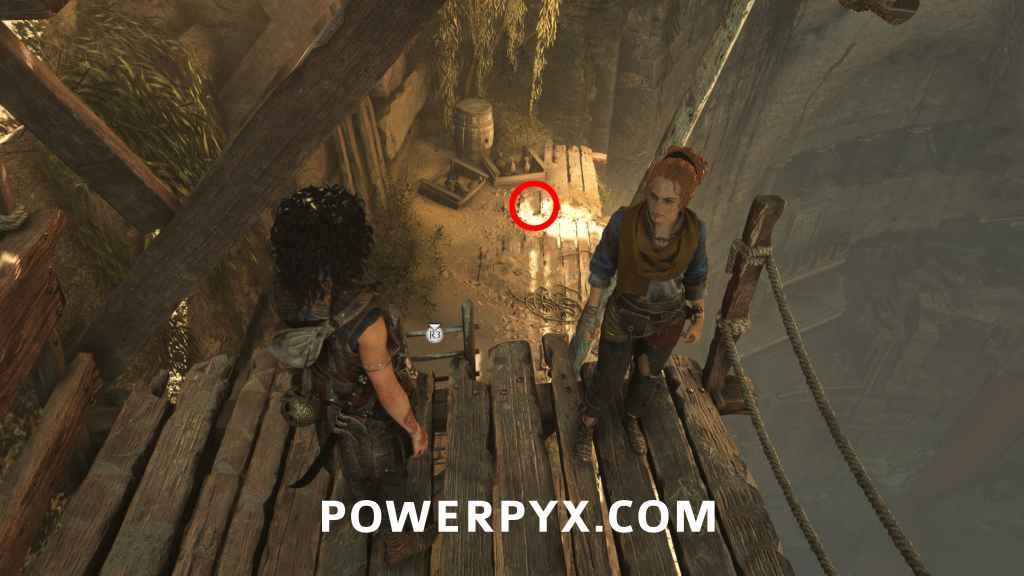
1 Resonance Point
Sub-Chapter: 2 – Down the abyss
Objective: Progress through the Trial
Continue on the story path until you crawl through a hole and enter the next room with another puzzle. In the puzzle room it’s on the upper left side.
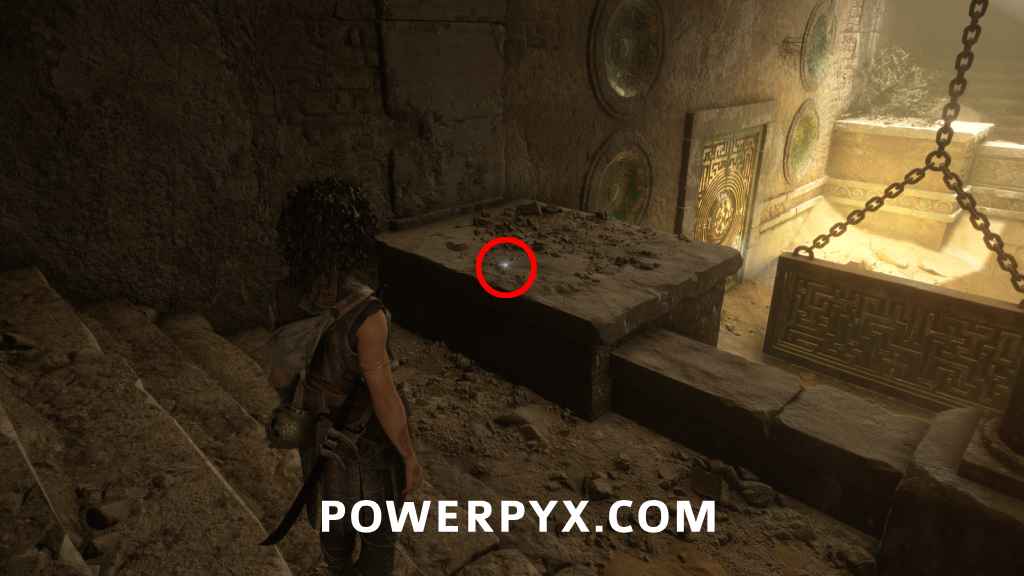
Reflector Puzzle Solution: Above the door where you entered the room is a floor plate, go upstairs and stand on it to make a light appear. Then you must shine the light from one reflector to the next so the light hits the symbol on the door. Left reflector > right reflector > front left reflector > front right reflector > door symbol.
Maze Puzzle Solution: In the next puzzle room, shine the light at the floor (R1/RB) and follow the blue lines from the pedestals to the symbols connected to them. Left = “O” / Right = “I”.
2 Resonance Points
Sub-Chapter: 2 – Down the abyss
Objective: Progress through the Trial
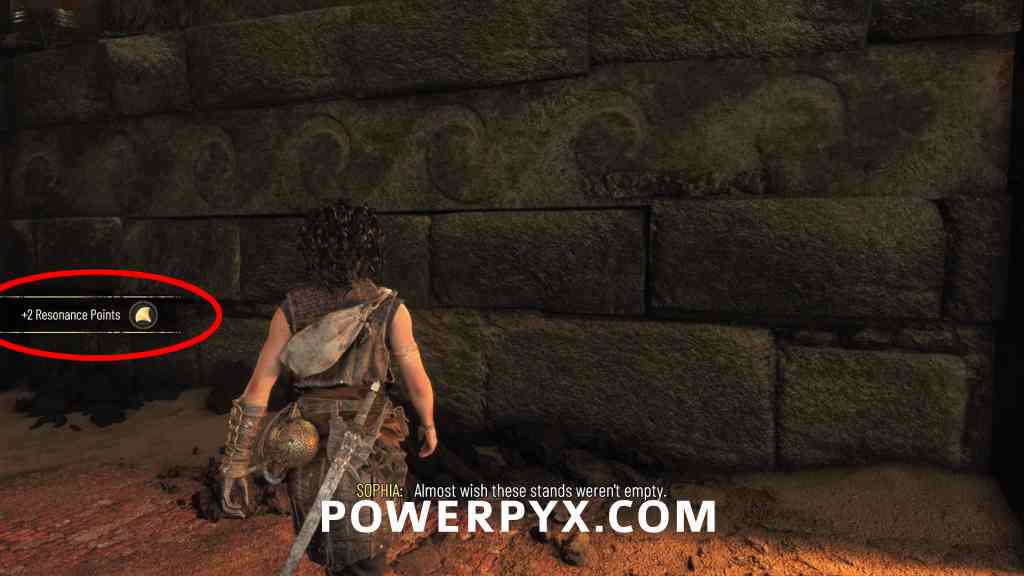
Automatic combat reward, from defeating next group of enemies after solving the maze puzzle.
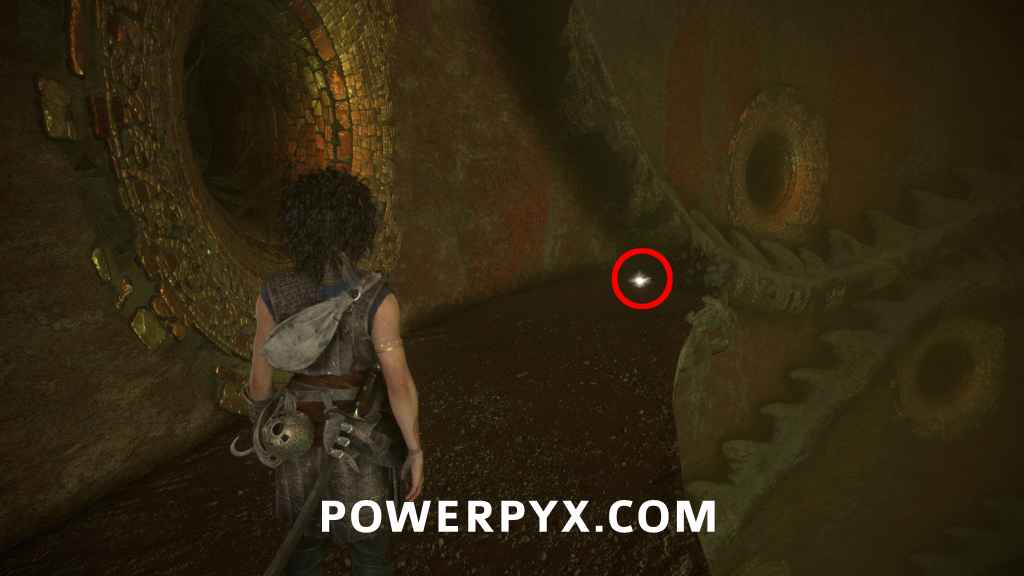
1 Resonance Point
Sub-Chapter: 2 – Down the abyss
Objective: Progress through the Trial
After Leni saves you from a hallucination, follow her and she will squeeze through a wall. BEFORE squeezing through the wall, follow the path to a dead end to find the point.
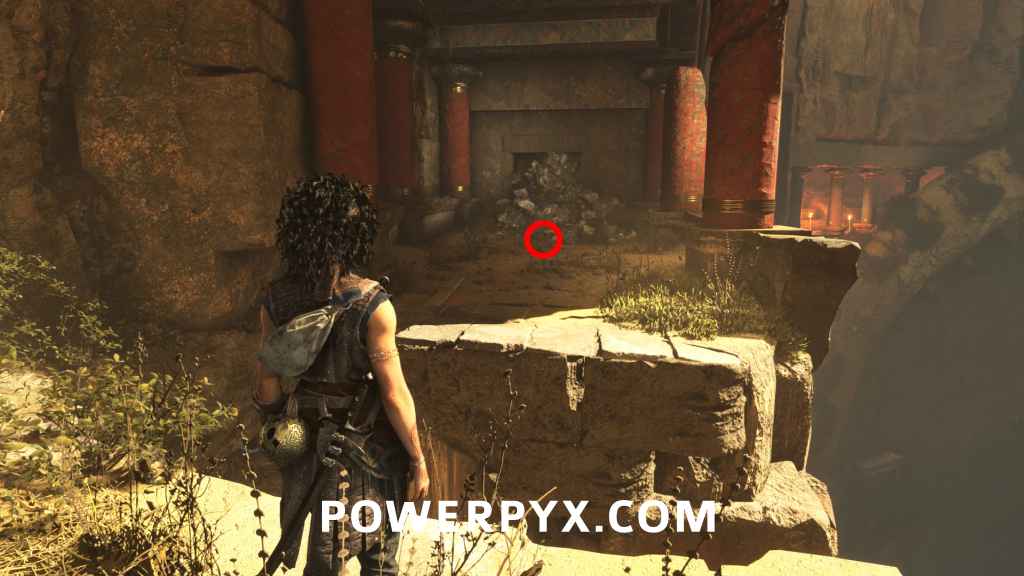
1 Resonance Point
Sub-Chapter: 2 – Down the abyss
Objective: Progress through the Trial
Squeeze through the wall now, then turn left and jump over the gap.
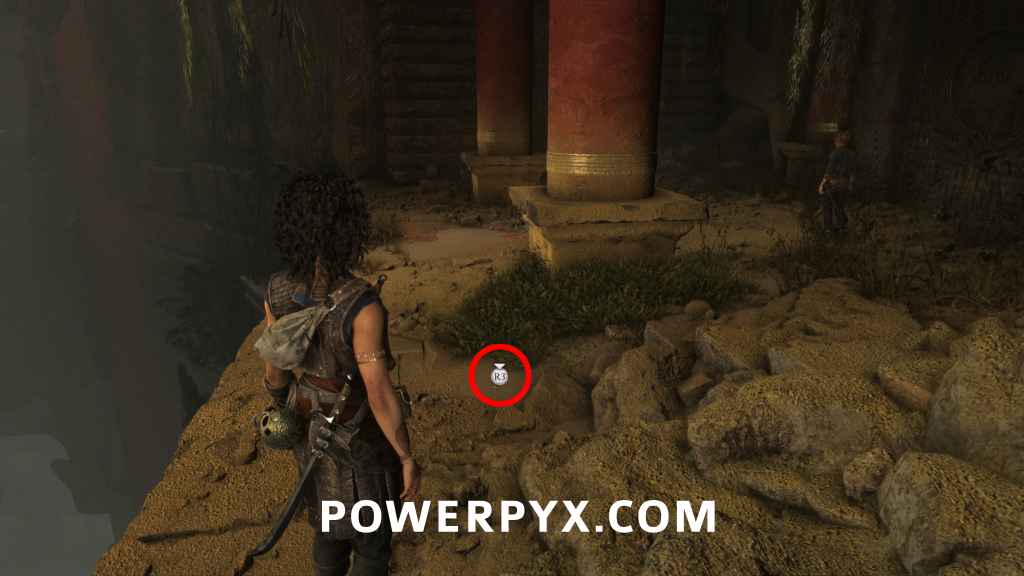
1 Resonance Point
Sub-Chapter: 2 – Down the abyss
Objective: Progress through the Trial
Jump back over the gap and follow the path, at the end of the path it’s on the left side. BEFORE interacting with a big door.
Sub-Chapter 3 – Puzzles and Traps
Spike Trap Puzzle: When you shine the sphere you will see the symbols on the walls that indicate which symbols are safe to interact with. Platform 1 = Left – Left – Left / Platform 2 = Right – Middle (Jump to it) – Middle / Spike Wall = interact with third wall slot on the left.
Artefact – Relic of the Past: Horned Rhyton
Sub-Chapter: 3 – Puzzles and traps
Objective: Progress through the Trial
After passing the traps, you will reach another puzzle room. Immediately turn left and go around the corner to find it.
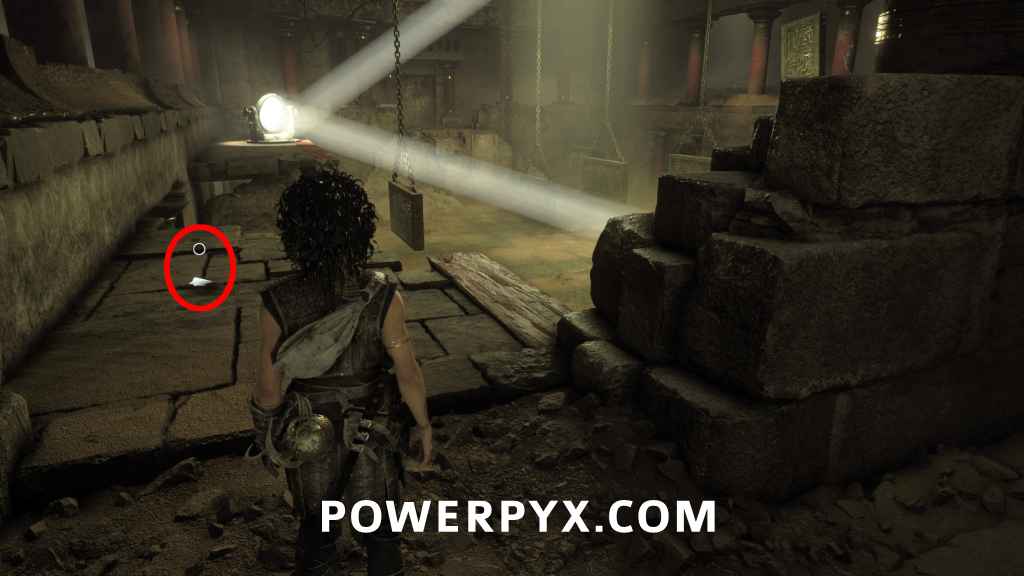
Spike Trap Puzzle Solution: boost Leni up the left side, she will shine the reflector at you. Then hold / to see a blue line on the ground that shows the safe path. There will be walls blocking the light throughout, but you can see the pathing from afar and memorize it.
1 Resonance Point
Sub-Chapter: 3 – Puzzles and traps
Objective: Progress through the Trial
After the puzzle, once you go upstairs, immediately go around the right corner to find it.
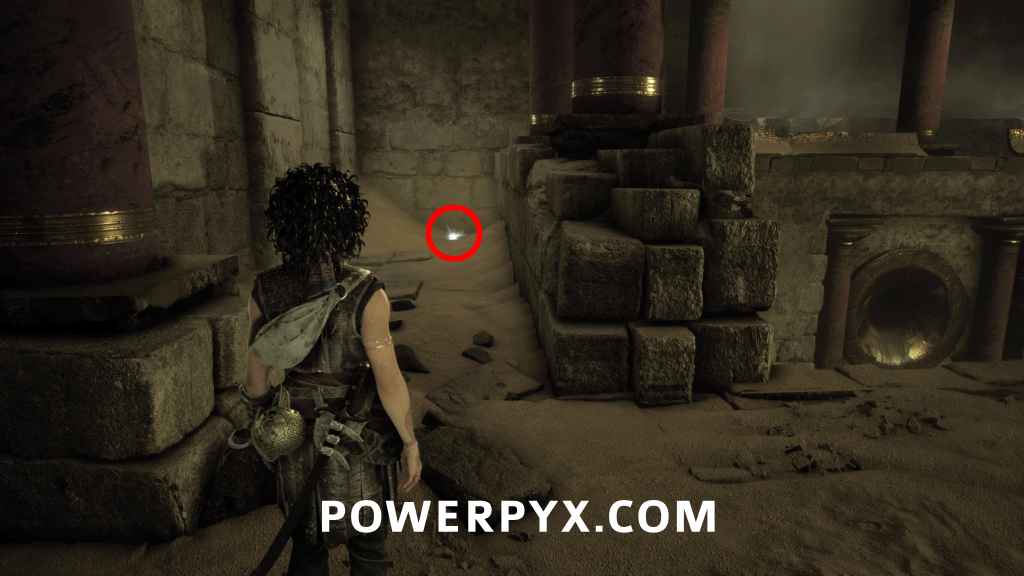
Blade: Kopis [Blades from the Heroes’ Graves #1]
Sub-Chapter: 3 – Puzzles and traps
Objective: Progress through the Trial
After you interact with a pedestal to open a tomb, go down and open the big chest. This is directly on the story path, basically unmissable.
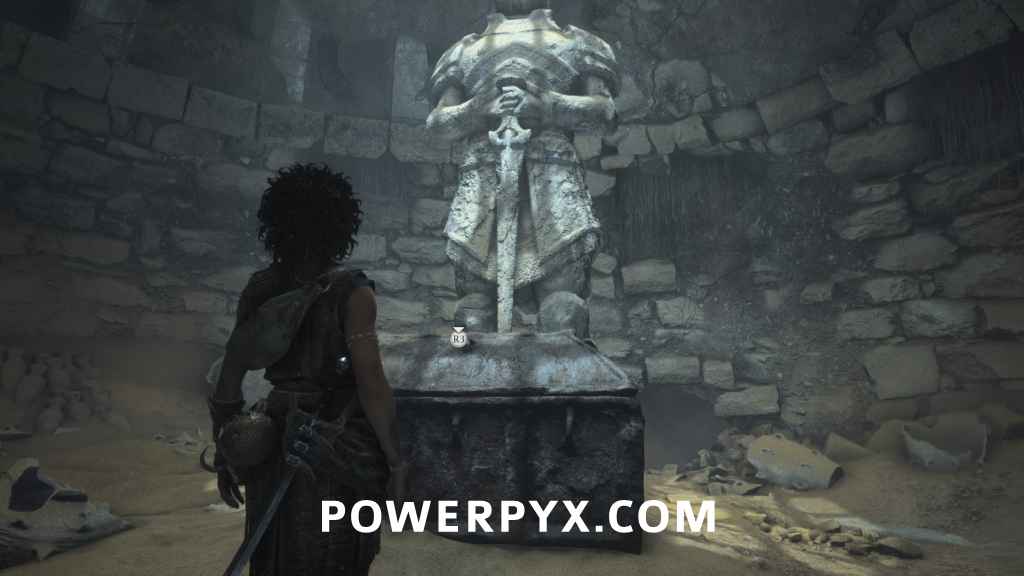
Sub-Chapter 4 – At the bottom
Artefact – Relic of the Past: Grand Mosaic
Sub-Chapter: 4 – At the bottom
Objective: Progress through the Trial
After sliding down a long zipline, immediately turn left and jump over the gap. (Opposite the story path).
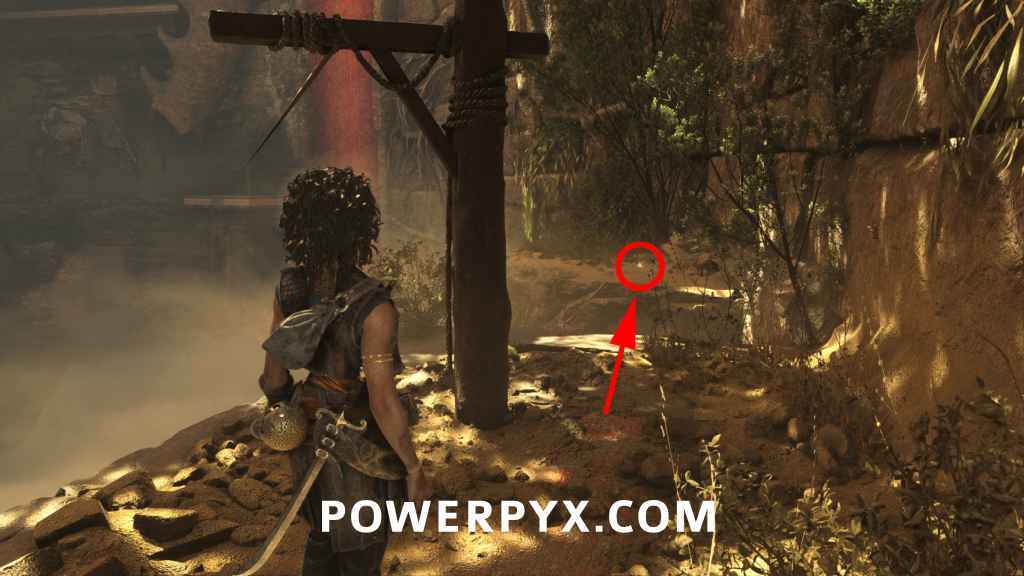
Trophy/Achievement: Returning the Favor
Sub-Chapter: 4 – At the bottom
Objective: Progress through the Trial
When you reach a room where you must pull a big lever, you will get ambushed by archers. There will be a knife sticking out of the ground in front of the lever, throw it at one of the archers.
2 Resonance Points
Sub-Chapter: 4 – At the bottom
Objective: Progress through the Trial
Automatic combat reward after the encounter in the room with the lever.
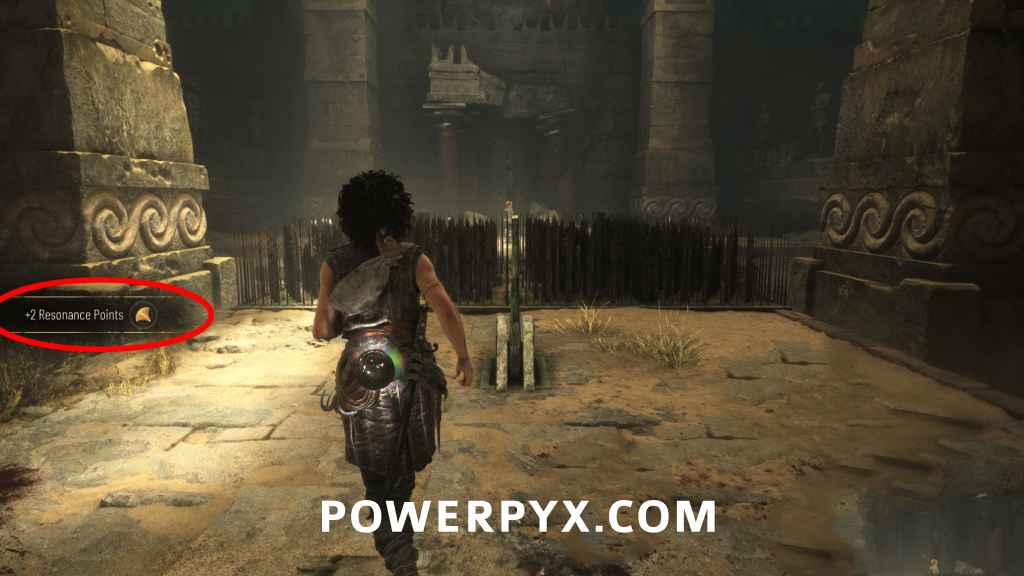
Charm: Trinket #1
Sub-Chapter: 4 – At the bottom
Objective: Progress through the Trial
Squeeze through the gap into the next room and drop down. There’s a chest under the ledge where you drop down.
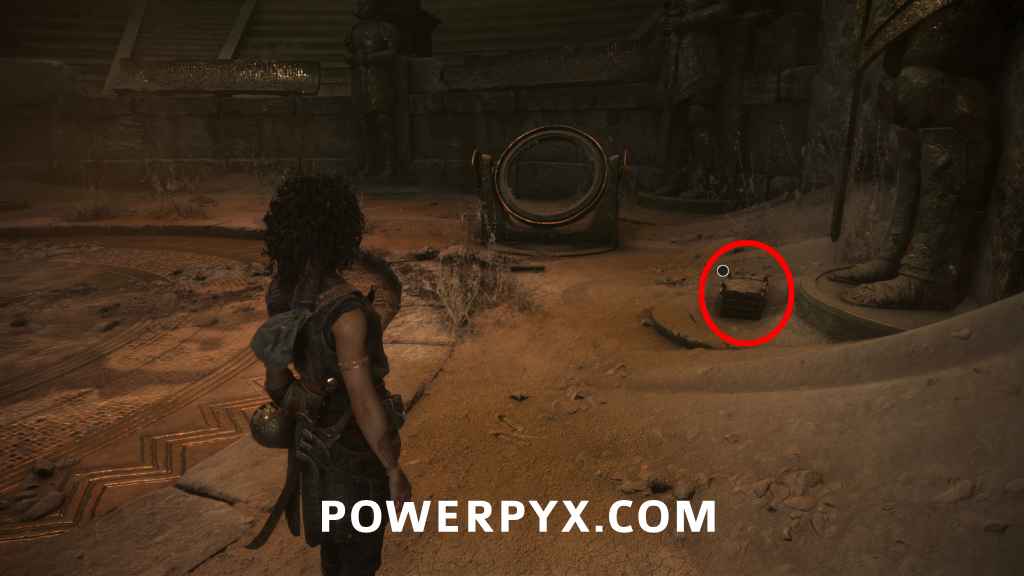
Sub-Chapter 5 – Theseus
Bull Mirror Puzzle: Look at the ground between the mirrors, there are white symbols on red background, and some have a blue outline that is linked. On each wall you will find a copy of the ground symbols. You must shine the mirrors at both blue linked icons on the walls simultaneously. There are 2 pairs total, you do these separately. A few icons on the walls are missing but they will be the same order as shown on the ground.
Pair 1 (“Bell” icon & “T” icon): Shine right mirror at front left wall (1st icon from left) & left mirror at back right wall (3rd icon from left).
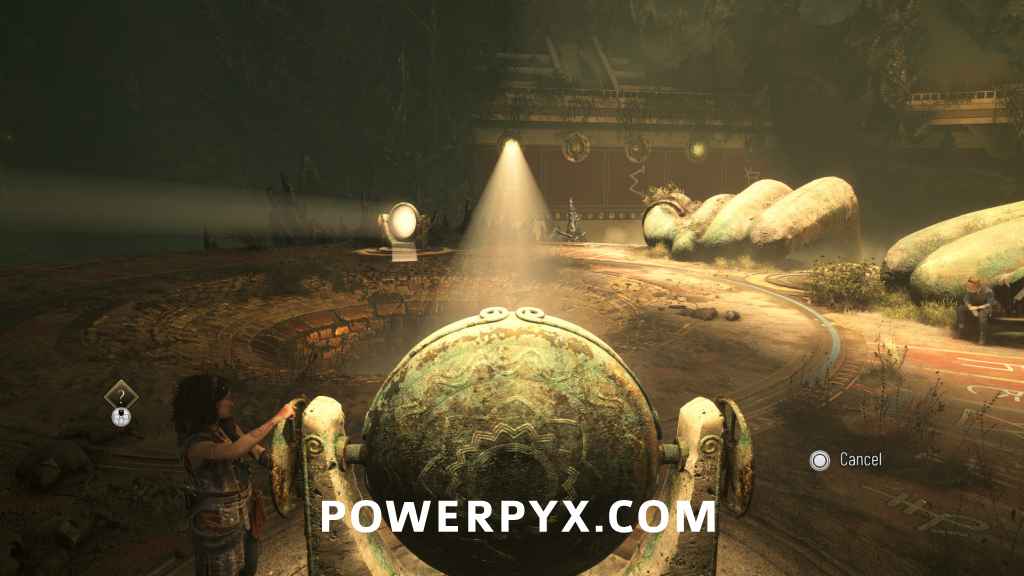
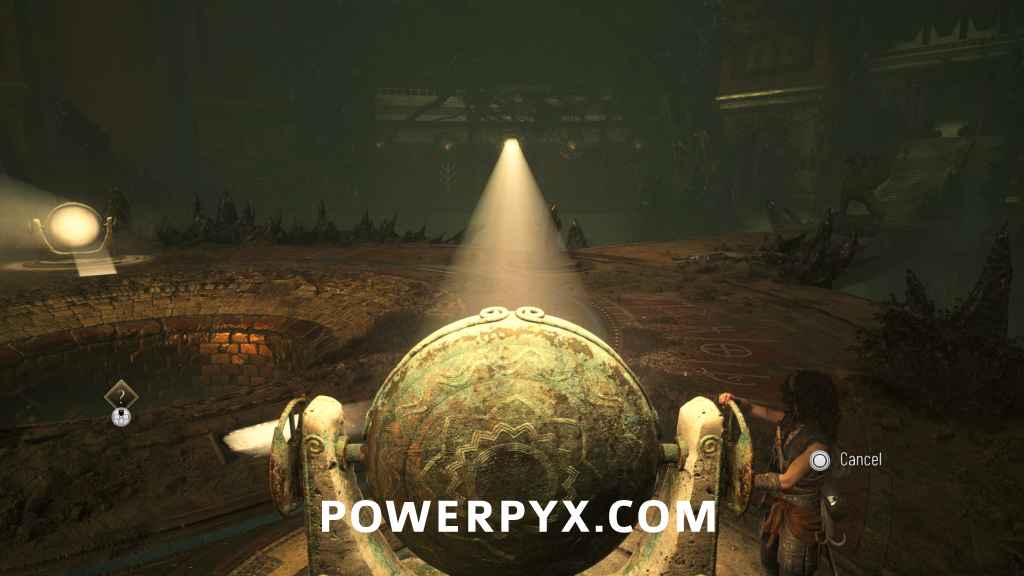
Pair 2 (“Inverse S” icon & “Triangle” icon): Shine left mirror at front right wall (3rd icon from left) & right mirror at front left wall (4th icon from left).
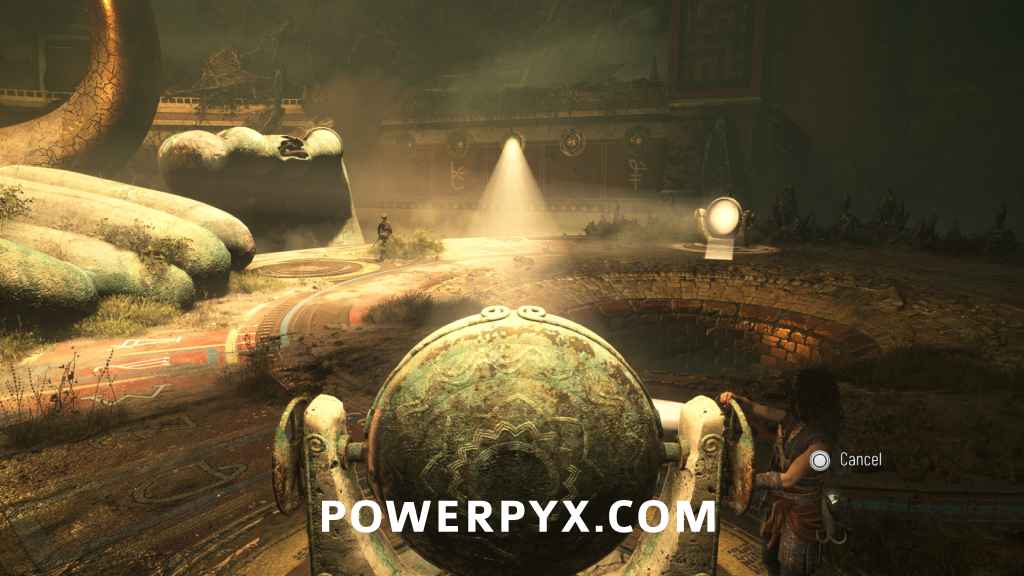
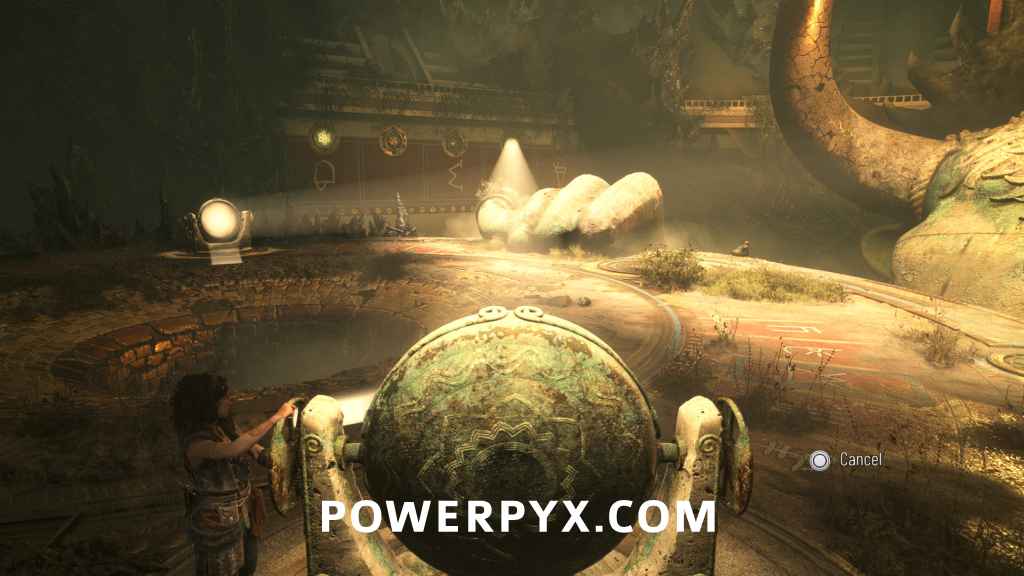
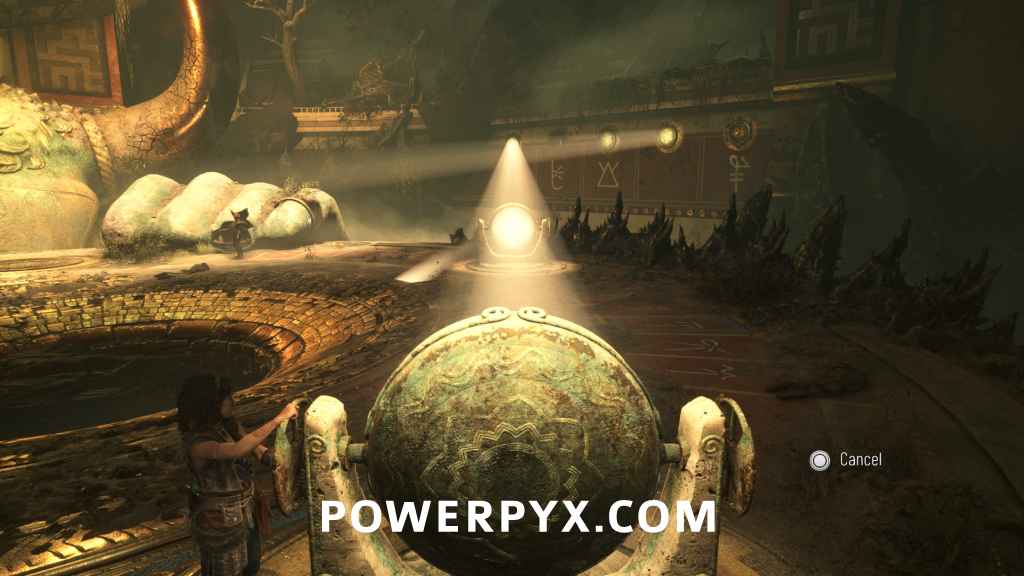
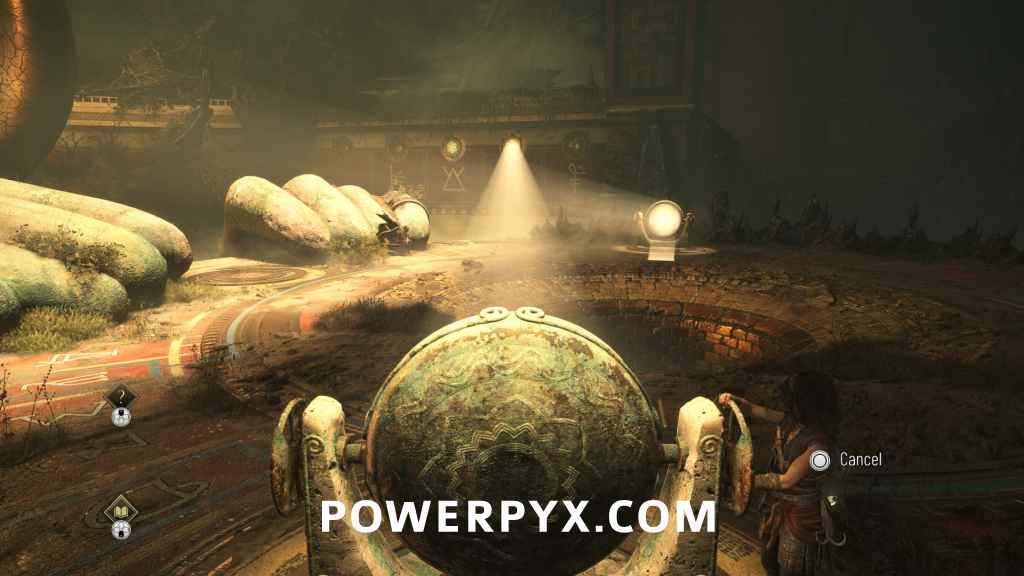
The bull will lower its hands, use the sphere on the rings on his hand ( / ) to reveal 2 new symbols “h & w”. Shine the left mirror at the front right wall (4th icon from left) & the middle mirror also at front right wall (1st icon from left). Then use the pedestal that appears.
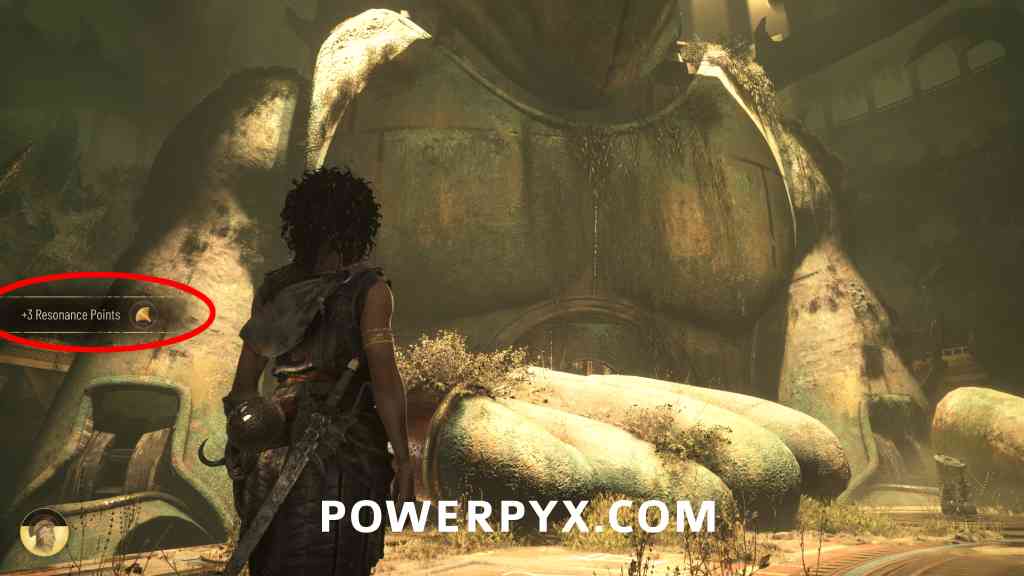
3 Resonance Points
Sub-Chapter: 5 – Theseus
Objective: Progress through the Trial
Automatic combat reward from the enemy encounter after mirror puzzle.
That’s 100% of the collectibles you can find in Chapter IV: From Hell It Rose of Resonance: A Plague Tale Legacy.
NEXT: Chapter 5
For all other Chapters, check out the complete Resonance: A Plague Tale Legacy Collectibles Guide.
Gediminas says
There was no Resonance before the Hole, before the Pedestal and after ledge jump down.
Final fight gave 3 Resonance points.
Ended up with 31 Resonance points after 4th chapter.
Day 1 patch must have changed the locations of some of the Resonances.
PowerPyx says
What platform are you playing on (PS5, PC, XB)?
Gediminas says
PS5
PowerPyx says
Thanks, I’ll recheck it shortly. If you notice any other differences after Day One patch please leave comments on the respective chapter pages. Always fun when they move collectibles with a patch…
Marcello says
Yeah, those 3 are missing and the final fight now gives 3 points, but the other fights that gave 1 point before now also give 2 points. In the end we have 1 more point in the chapter.
PowerPyx says
I rechecked it now with Patch 1.02 and updated the guide with the changes they made.
Blackwulf says
I can confirm that, no Resonance points before the Hole, before the Pedestral (where you get the sword shortly after) and after jumping down the ledge on Xbox Series X.
But the fight after the Hole gave 2 Resonance points instead of one and the final fight in the chapter 3 instead of 1, so in end the Resonance points add up to the right amount.
Dan says
1 Resonance Point
Sub-Chapter: 1 – A familiar threat
Objective: Reach the Trial’s Entrance
Automatic combat reward for defeating the first group of enemies (after swinging to bridge).
I got 2 points here and then…
2 Resonance Points
Sub-Chapter: 2 – Down the abyss
Objective: Progress through the Trial
Same place as the Charm, in the right corner of the camp.
Only 1 point here? Plus there was no point before interacting with the hole shortly after this?
Psudowoodo says
Seems like they removed a few of the Resonance points on the ground and moved them to fights. So far only happened on Chapter 4 will update if its also on ch5.
Faisal says
same here… ps5
Marcello says
Yeah, I just reached the hole and there’s no resonance point there. The first fight in the chapter gave me 2 points instead of 1.
Bwah says
I confirm Gediminas comment, also playing on ps5
PowerPyx says
I rechecked everything in this chapter now with Patch 1.02 (PS5) and updated the guide.
They did indeed remove some resonance points and instead they increased the amount you get from some combat encounters automatically. Overall there is now 1 less Resonance Point in Chapter 4 than there was on Patch 1.01.
What makes this even more annoying is that there is no chapter tracker for the Resonance Points, so there’s no way to tell where they made changes without replaying the whole game. We’ll recheck the other chapters over the coming days.
If you notice any changes in other chapters please leave a comment specifying which collectible is no longer there or where they added one or increased points from combat. It’ll help us get these updated faster.
Mitsoi says
I started the game and collected how many one. I don’t know if I missed something. I have reached the fourth chapter. Can I complete and collect it or do I need to repeat the game? I hope to reply to me.
PowerPyx says
If what you mean is that you missed an item, then no you don’t need to restart. There are 35 more resonance points than required, and everything else can be gotten via chapter select later. So if you missed something it doesn’t matter. Just don’t miss too many Resonance Points (missing a few is fine).
Mitsoi says
Yes, I mean the runn, not the effects. I found 15 runons with me and I’m in the fourth chapter. Is my situation okay to complete the game or do I need to repeat?
Gackt68 says
When we arrive in a room with a boat at the end of the chapter, nothing happens, Leni is no longer here and the boat isn’t moving.
Is this a bug ?
Someone else had this ?
Gackt68 says
Nevermind, I played the sub-chapter again, it was a bug, Leni was here the 2nd time and the boat moved.