
Chapter V: Desolation it Wrought is the 5th chapter in Resonance: A Plague Tale Legacy and contains 40 collectible locations. This walkthrough will guide you to all the Chapter 5 collectibles in Resonance: A Plague Tale Legacy. If you missed anything you can get it via chapter select, except Resonance Points which don’t carry over. Everything needed for 100% completion is included.
- Blades: 1
- Artefacts: 5
- Charms: 5
- Resonance Points: 29
Collectibles Overview:
Chapter 5: Desolation it wrought
Sub-Chapter 1 – Row as one
1 Resonance Point
Sub-Chapter: 1 – Row as one
Objective: Explore the Trial’s entrance
Before entering the building, you can find it on the left side of the door.
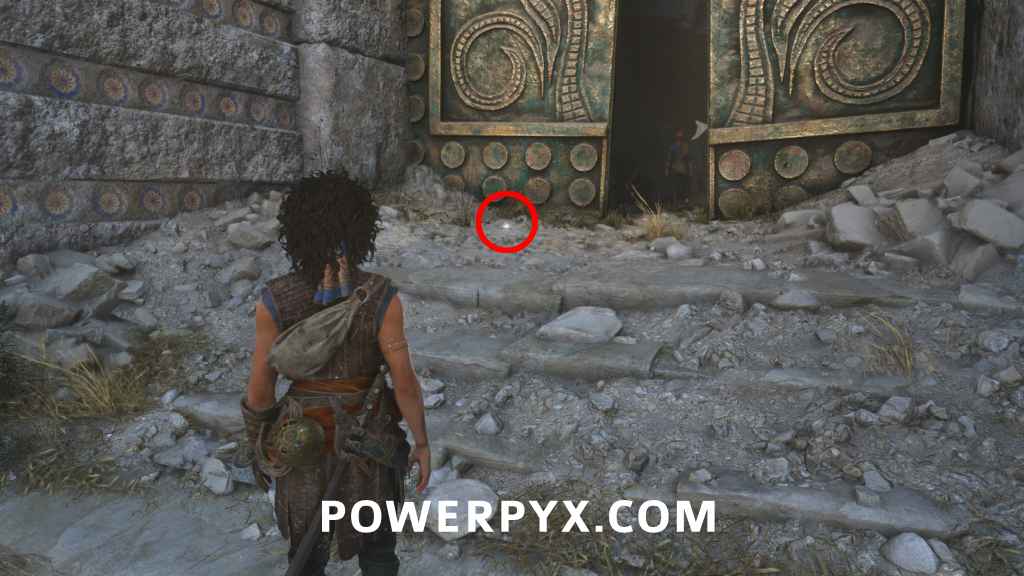
1 Resonance Point
Sub-Chapter: 1 – Row as one
Objective: Explore the Trial’s entrance
When you enter the first building, it’s on the left (room with sphere puzzle).
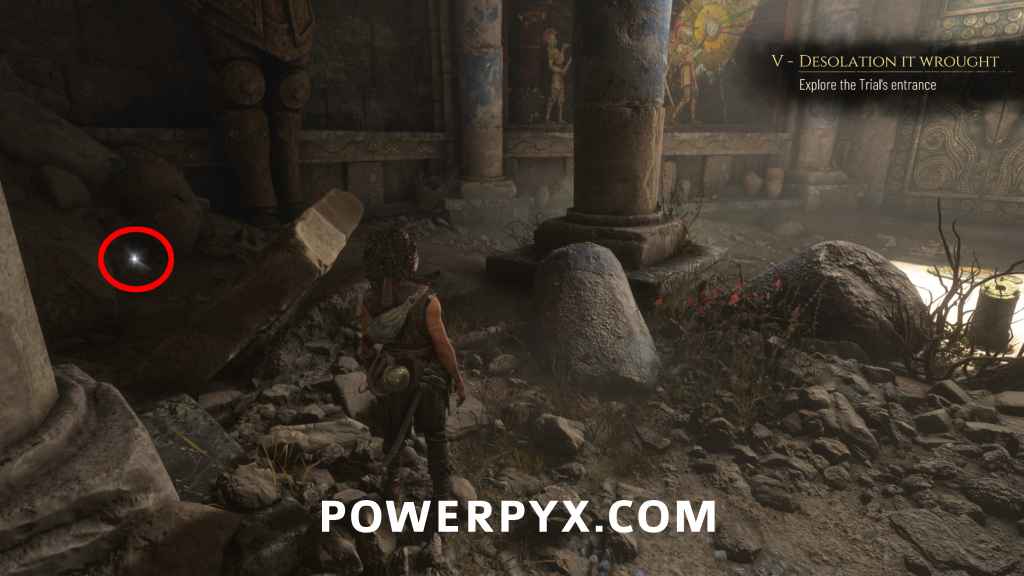
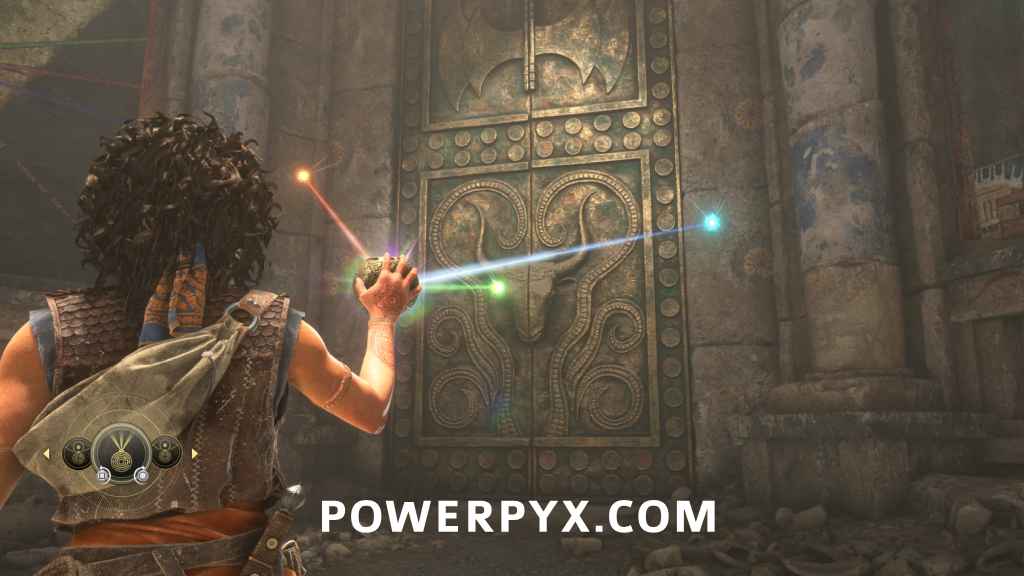
Door Puzzle: Interact with the pedestal in the middle of the room, then stand on the right floor pad, press  /
/  to shine the sphere and
  /
/  (
(  /
/  ) to rotate the colored lights until they align with the gems on the door.
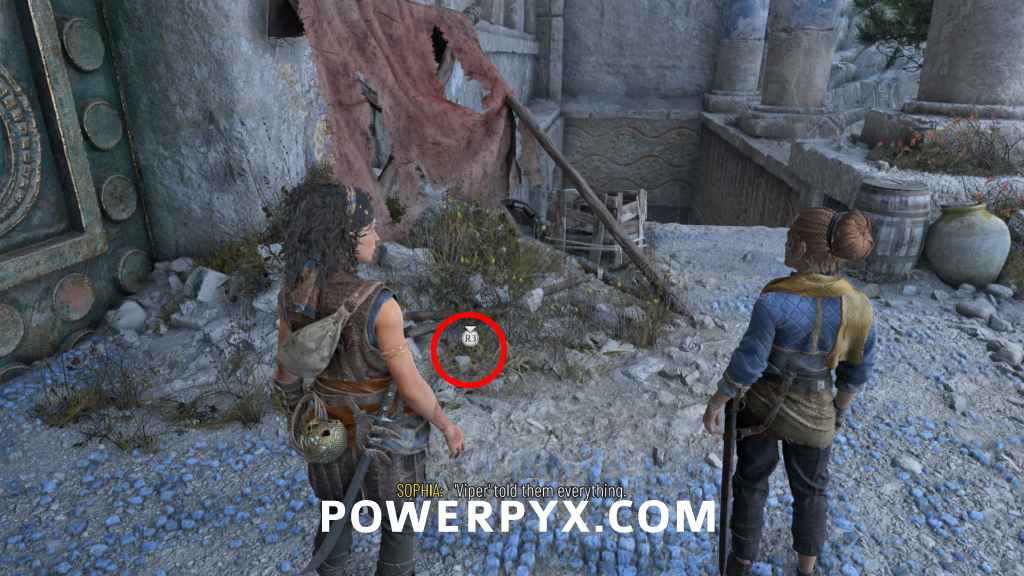
Sub-Chapter 2 – Battle grounds
1 Resonance Point
Sub-Chapter: 2 – Battle grounds
Objective: Reach the central temple
Immediately after solving the puzzle you get a cutscene and spawn outside. Turn left to find it next to the door.
1 Resonance Point
Sub-Chapter: 2 – Battle grounds
Objective: Reach the central temple
After using a zipline, you will find it directly on the right side of the stairs, before you drop down to the enemies.
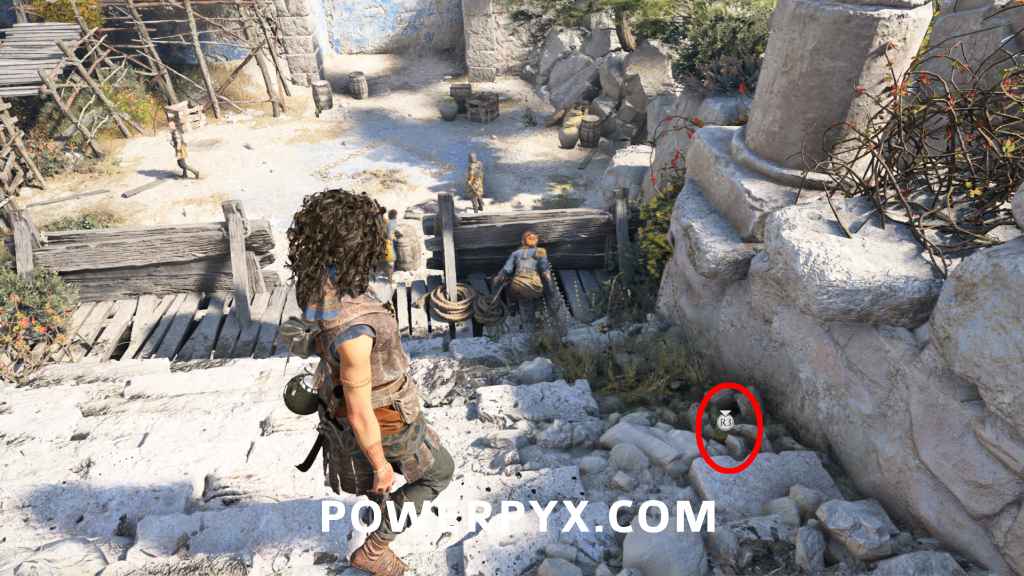
1 Resonance Point
Sub-Chapter: 2 – Battle grounds
Objective: Reach the central temple
Automatic combat reward after defeating the next group of enemies.
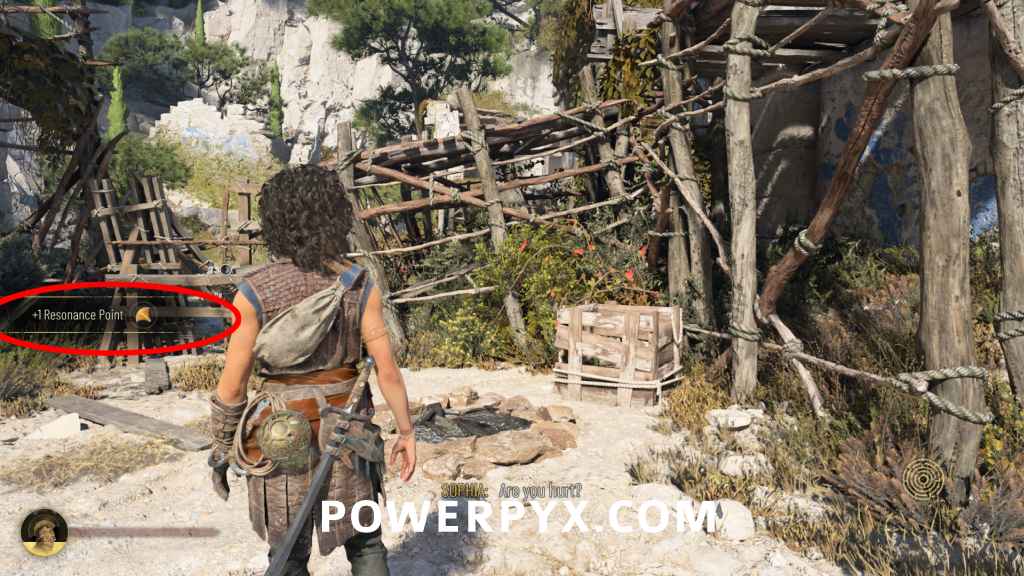
1 Resonance Point
Sub-Chapter: 2 – Battle grounds
Objective: Reach the central temple
After you killed the enemies, pull down the barricade on the left side. After that, don’t climb up the ledge in front of you, instead turn right and enter the bottom floor of the house, you find it inside next to a tent.
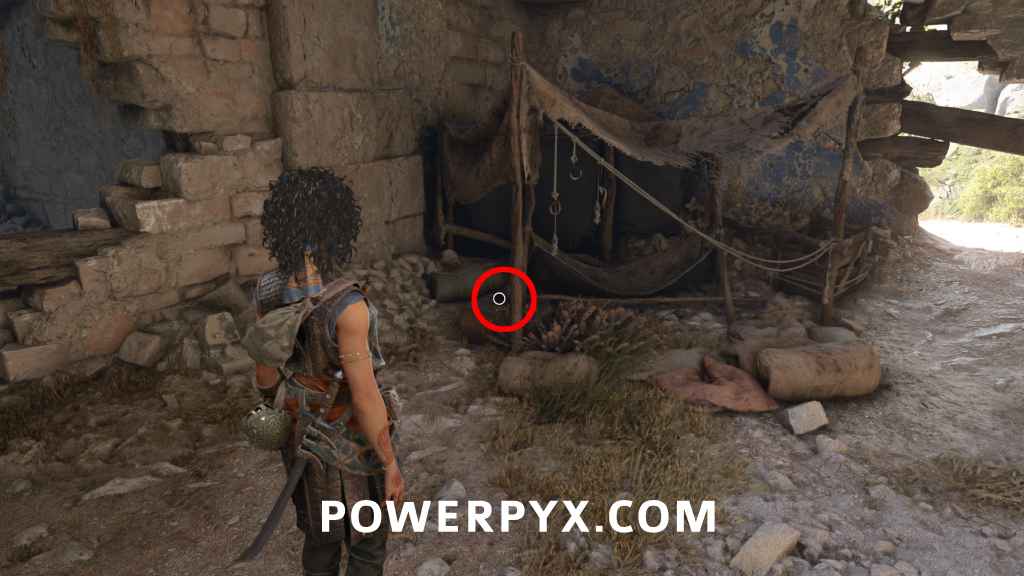
Charm: Trinket #2
Sub-Chapter: 2 – Battle grounds
Objective: Reach the central temple
From the previous resonance point, leave the room through the open side door and you’ll reach an abandoned enemy camp with some tents. Climb the rocks on the left to find this at the upper tent.
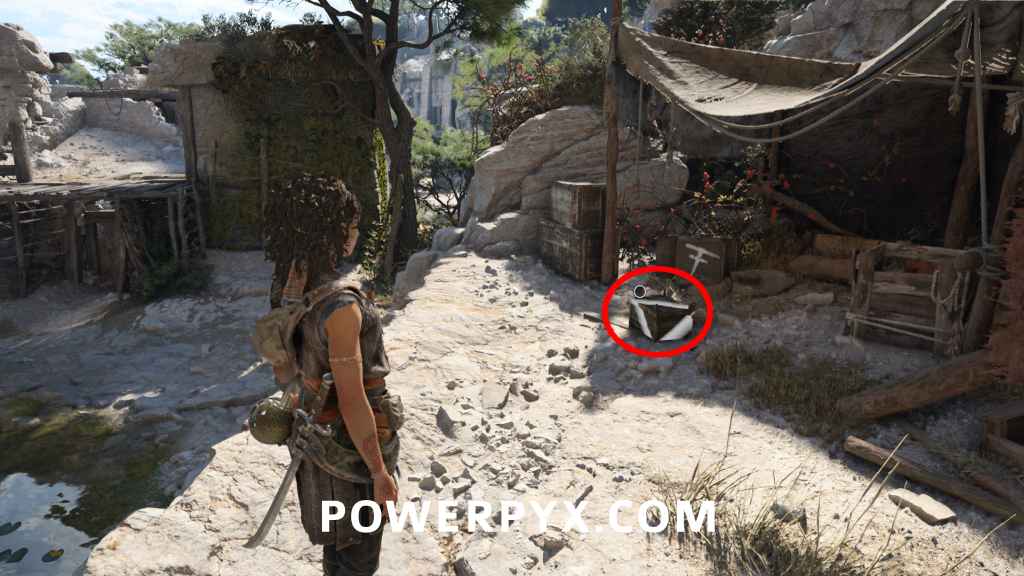
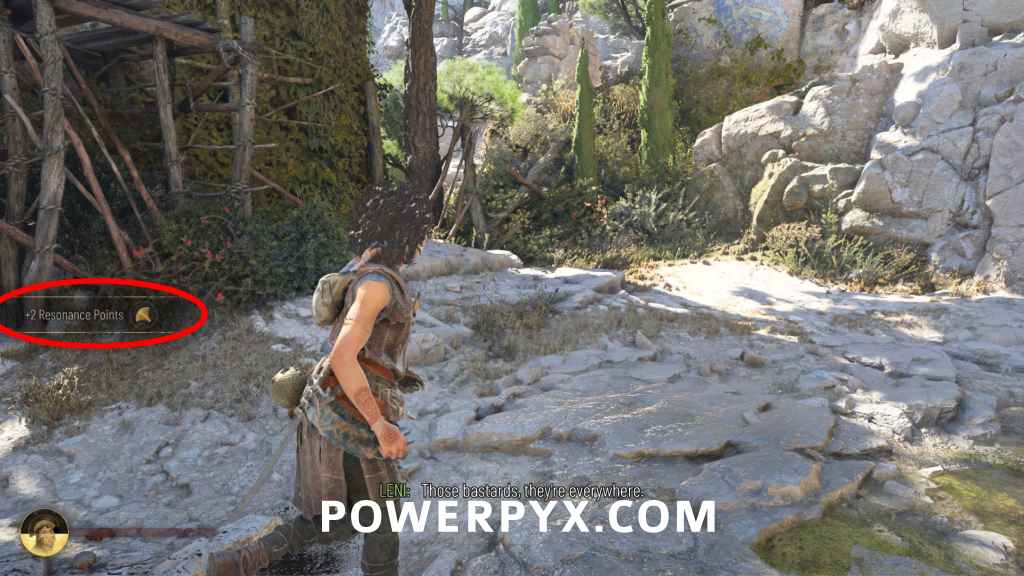
2 Resonance Points
Sub-Chapter: 2 – Battle grounds
Objective: Reach the central temple
After opening the chest with the Trinket Charm, a group of enemies will spawn. Defeat them to get 2 points as a reward.
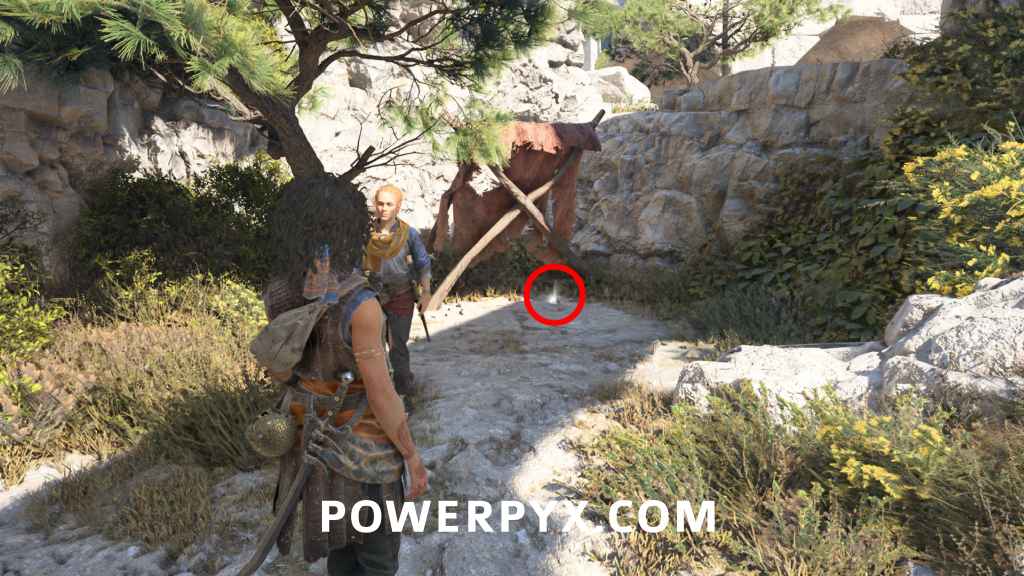
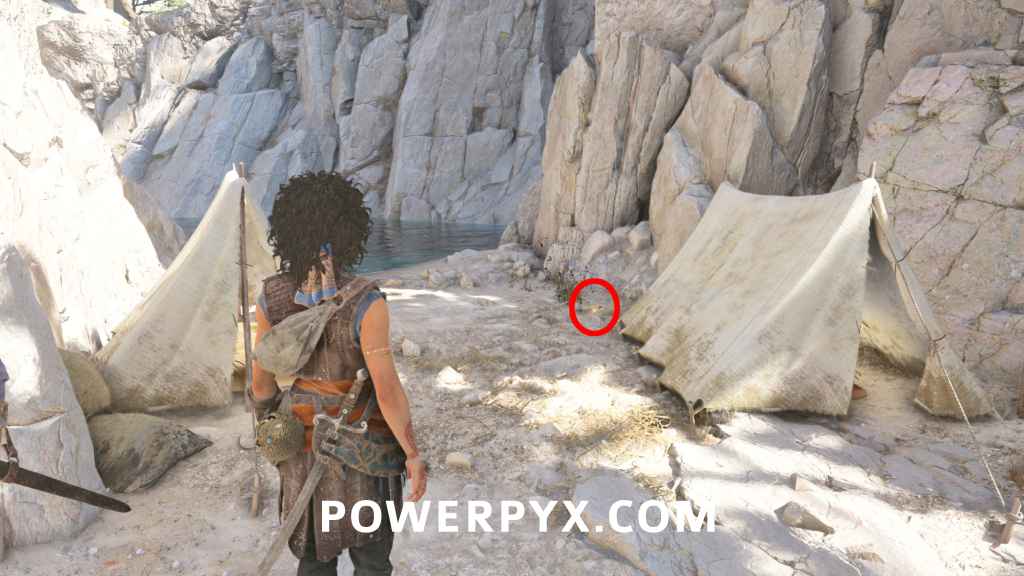
1 Resonance Point
Sub-Chapter: 2 – Battle grounds
Objective: Reach the central temple
Same enemy camp as the Trinket Charm, in right corner in front of the red tent.
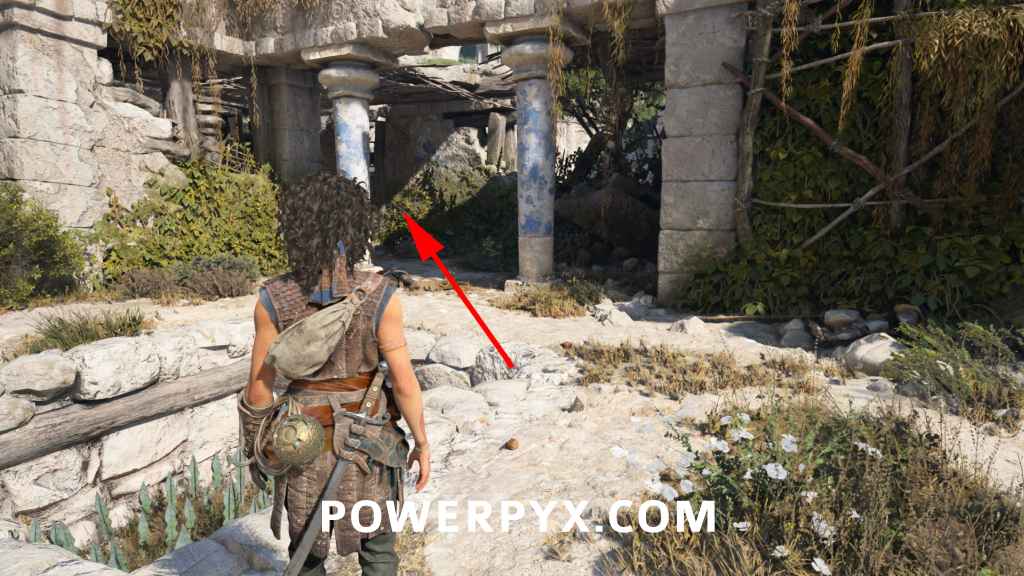
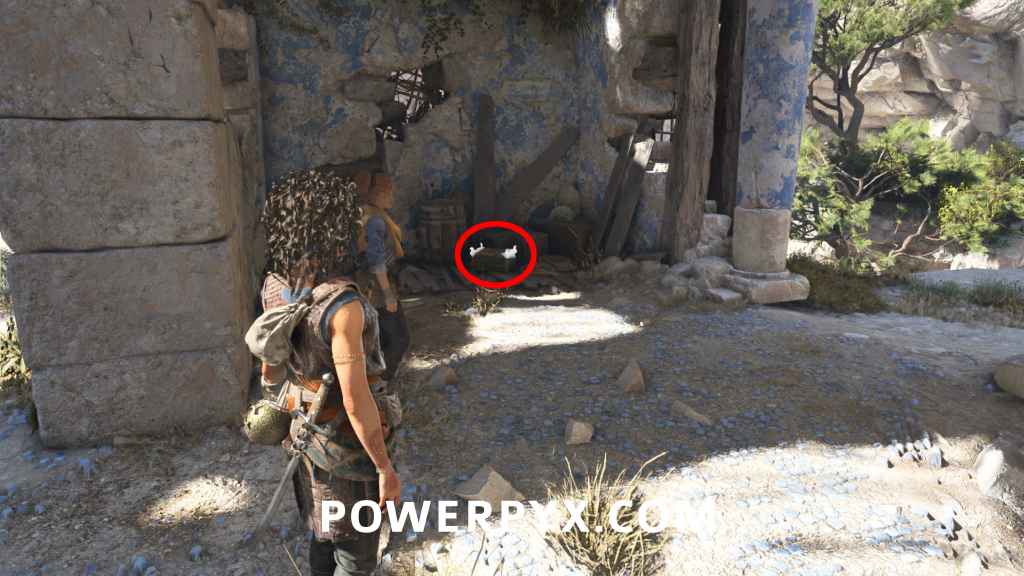
Charm: Seal #2
Sub-Chapter: 2 – Battle grounds
Objective: Reach the central temple
From the previous resonance point, go upstairs. Defeat the archer, turn left and go around the corner to find it in the ruins.
Artefact – Relics of the Past: Griffin Figurine
Sub-Chapter: 2 – Battle grounds
Objective: Reach the central temple
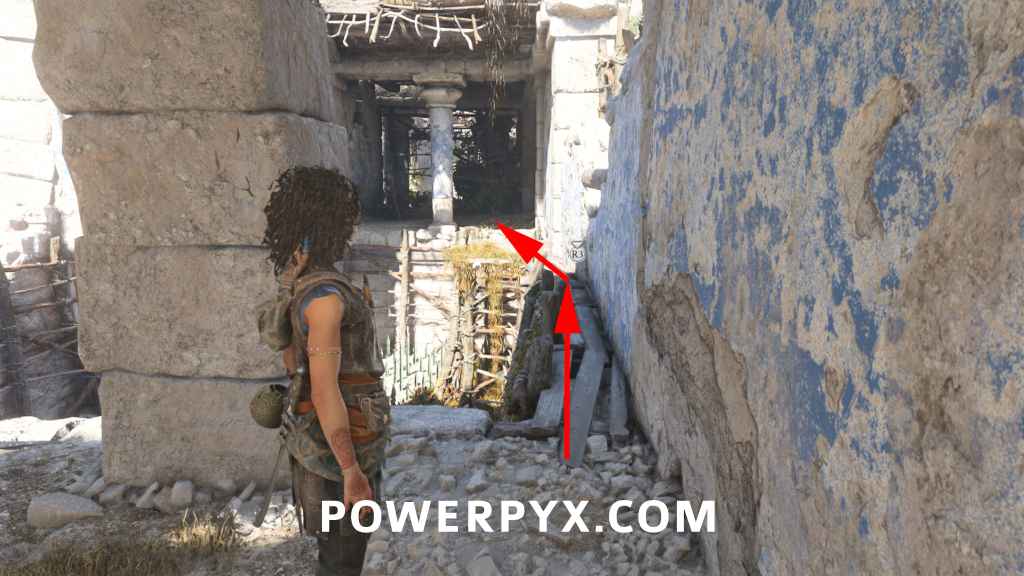
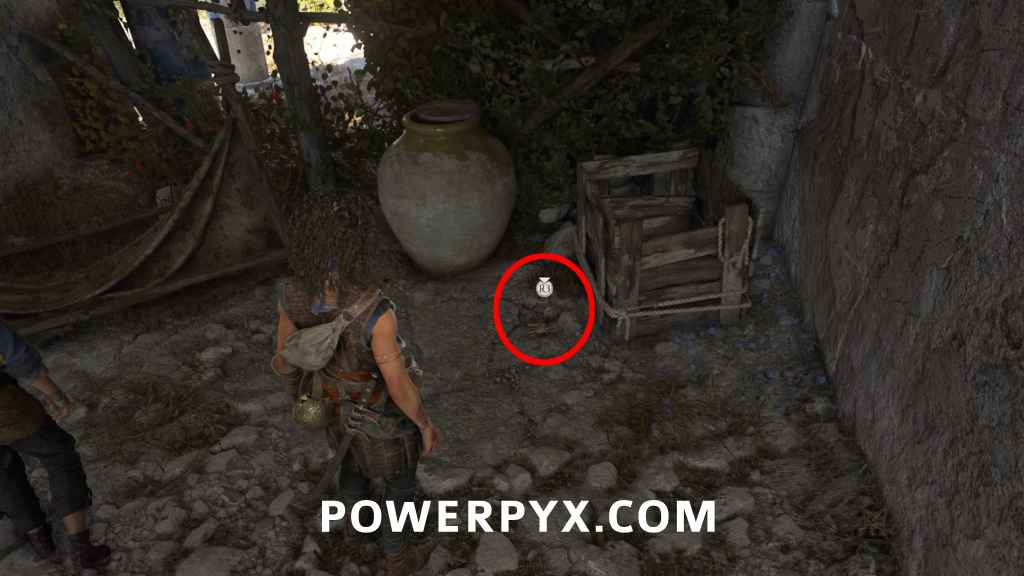
From the charm, backtrack to the previous area where the archer was. Enter the ruins on the left with more enemies and spikes in the floor. In the corner are wooden boards you can shimmy across to reach the relic.
1 Resonance Point
Sub-Chapter: 2 – Battle grounds
Objective: Reach the central temple
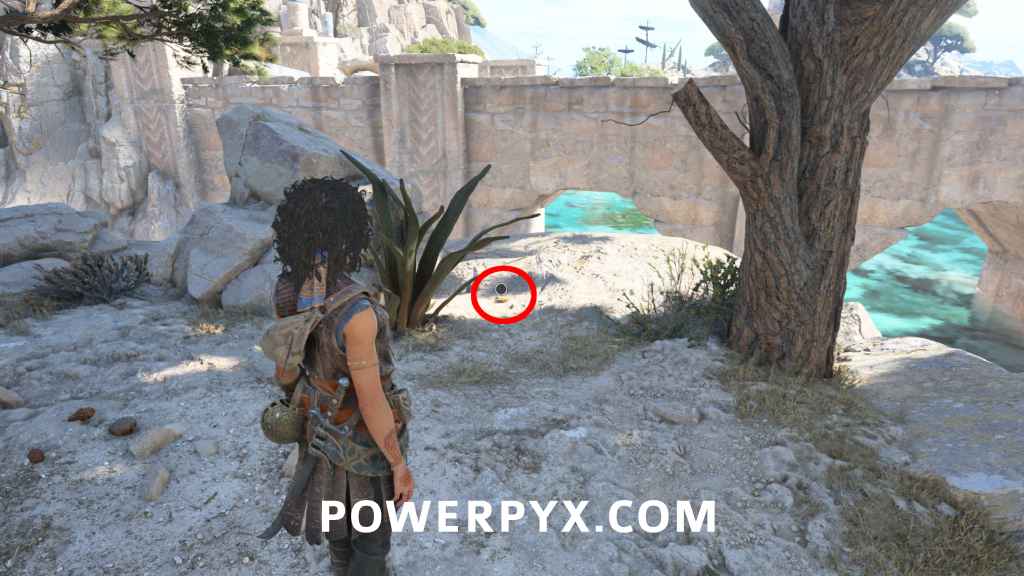
From the relic, shimmy back over the gap, then go straight to find this below a tree, overlooking the beach.
1 Resonance Point
Sub-Chapter: 2 – Battle grounds
Objective: Reach the central temple
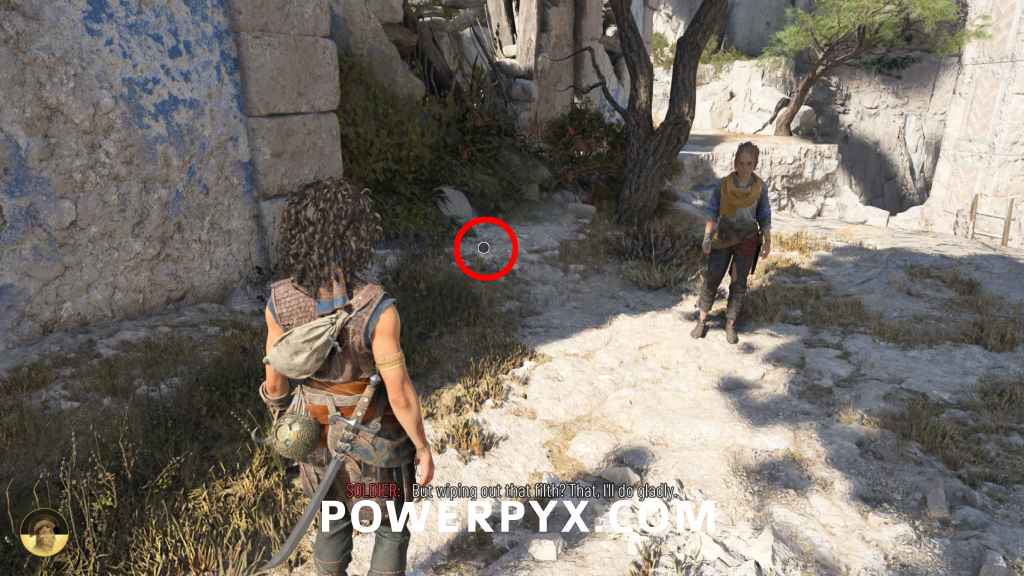
To the left of the last Resonance Point is another smaller tree that leads to a tunnel you can crouch under. Afterward, keep heading straight (DON’T take the right path to the door), you will reach a ladder with barrels to the left. Destroy the barrels to find it hidden inside them.
Artefact – Relic of the Present: Dante’s Inferno – Canto XII
Sub-Chapter: 2 – Battle grounds
Objective: Reach the central temple
Next to the resonance point, go down the ladder to reach an enemy camp. Defeat them, then find this between the 2 white tents in the back.
How to proceed: climb back up the ladder and this time go through the big green door in the middle. Defeat the enemy, interact with Leni, use the Pedestal. 4 Sockets will appear, you must finish a trial for each and can do them in any order. They are identified by the symbol above the door between the statues. It’s highly recommended you follow the order outlined here as you can’t free-roam back through the trials afterward.
Sub-Chapter 3 – The four symbols
BACK LEFT PATH (AXE ICON / DEAD-END)
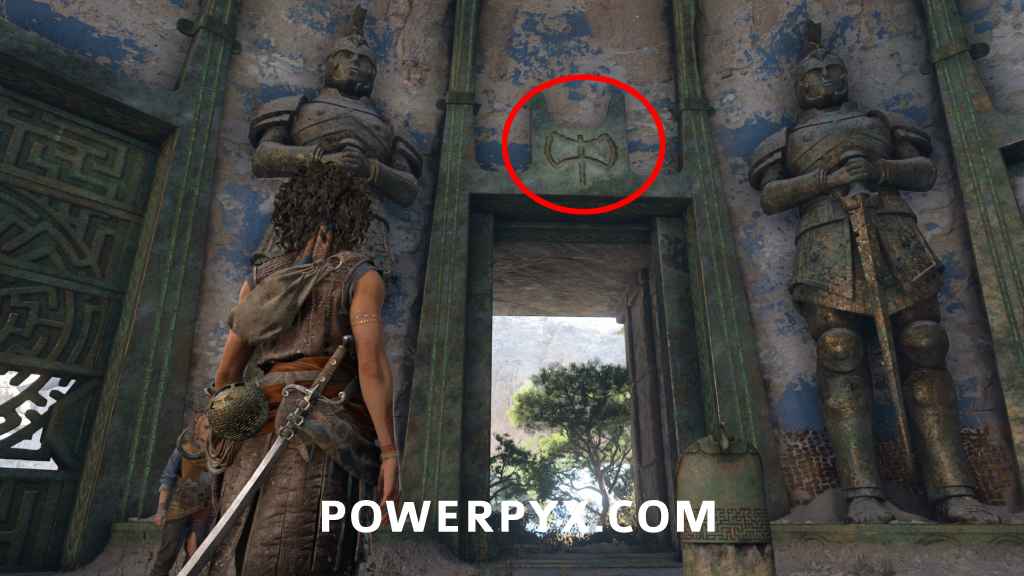
1 Resonance Point
Sub-Chapter: 3 – The four symbols
Objective: Find the first symbol
After you interacted with the pedestal, turn left to find this on the dead-end path.
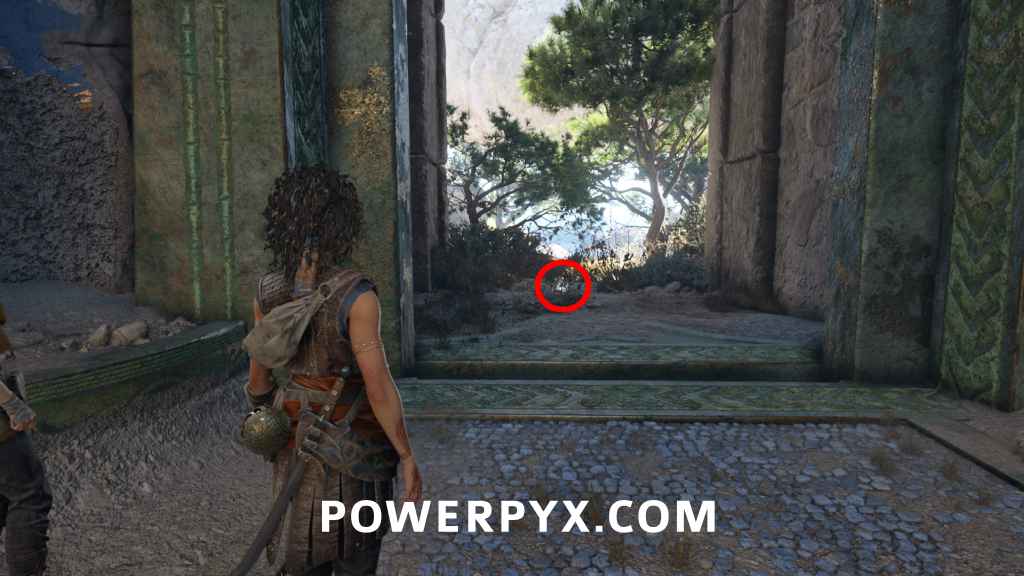
FRONT LEFT PATH (DICE ICON)
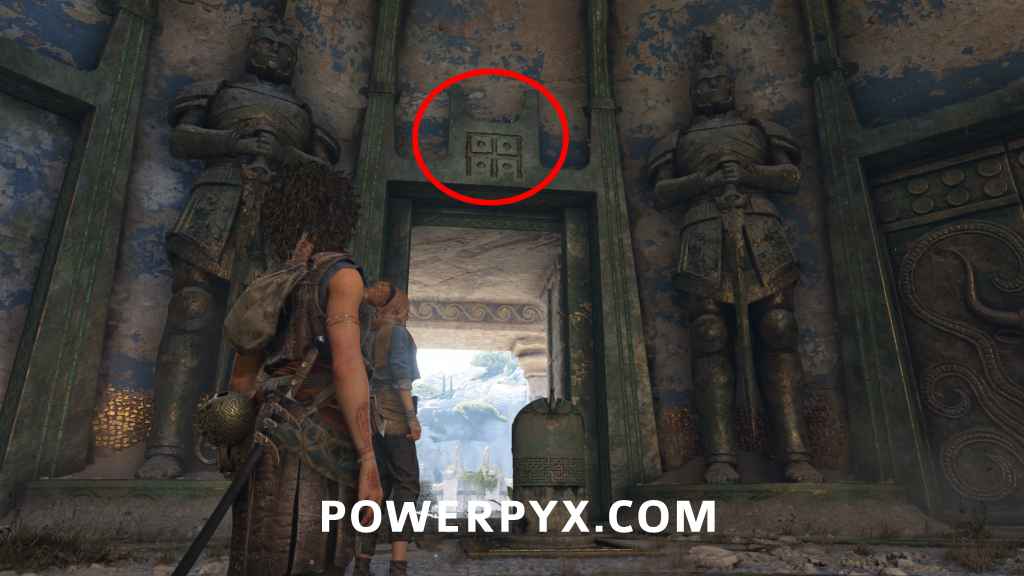
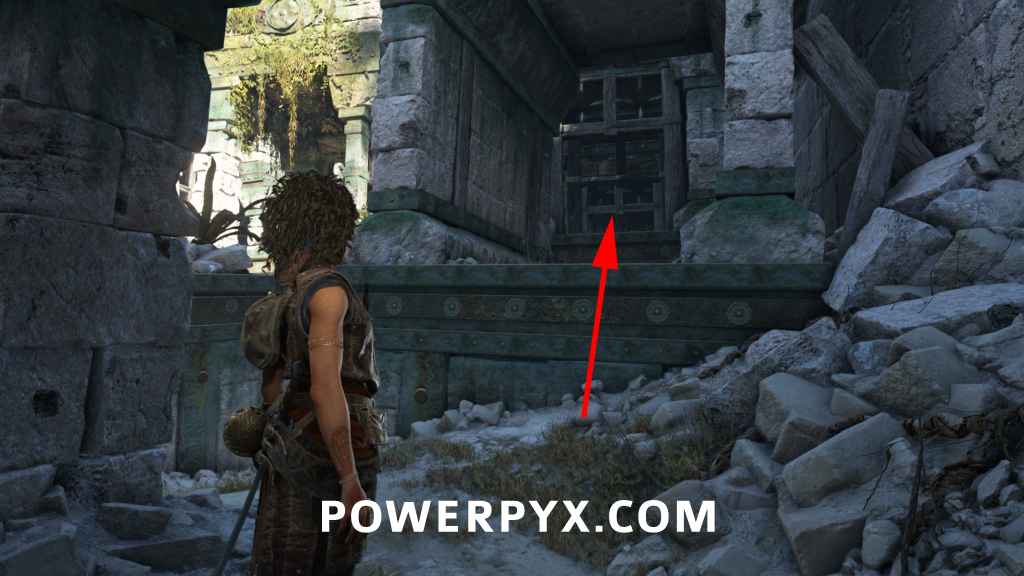
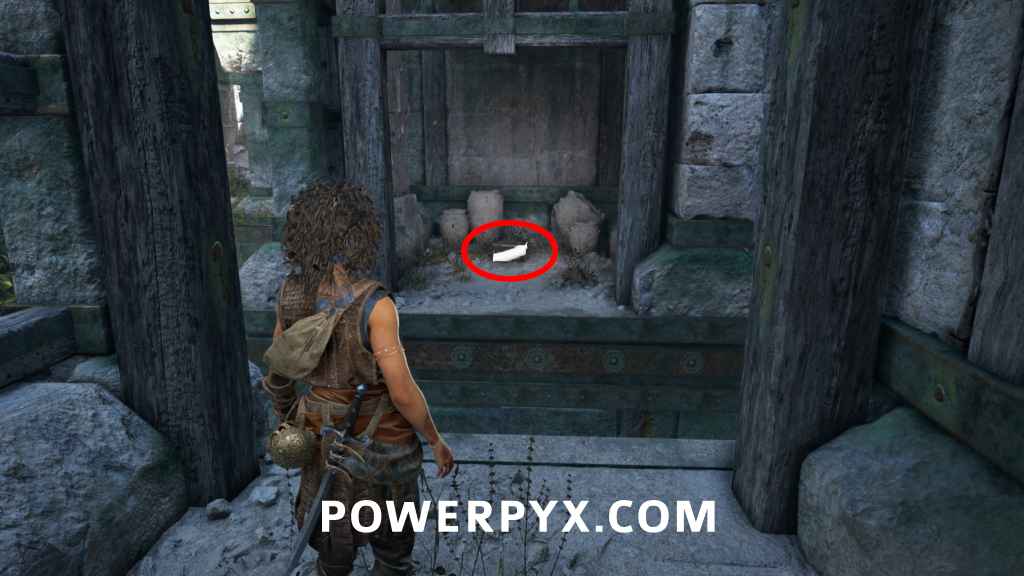
Charm: Bracelet #3
Sub-Chapter: 3 – The four symbols
Objective: Find the first symbol
After you get separated from Leni, proceed jumping down the platforms (one has spike trap, jump over it), when you reach the bottom of the area immediately turn left to climb up a ruin that has a chest at the end of the path.
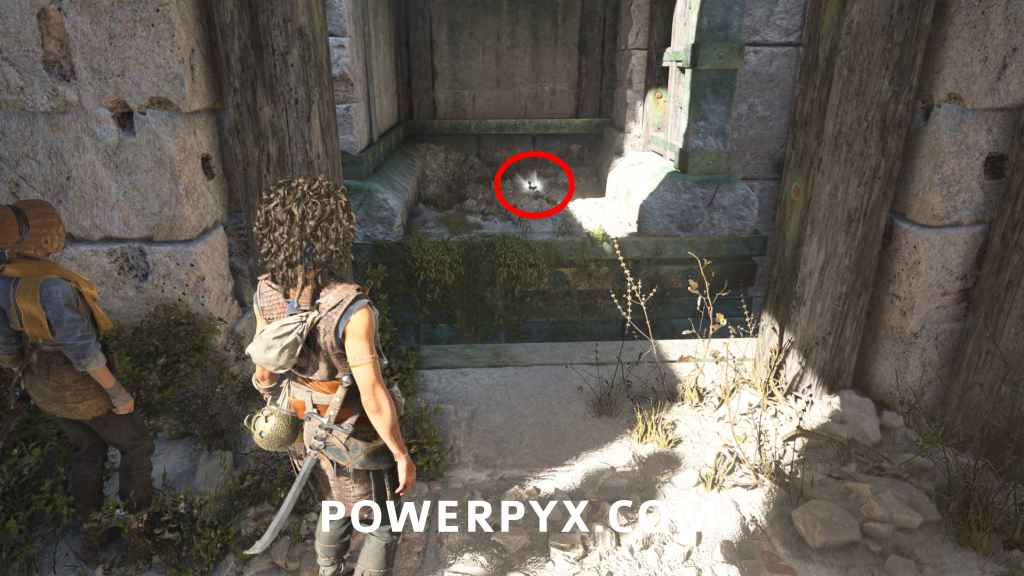
2 Resonance Points
Sub-Chapter: 3 – The four symbols
Objective: Find the first symbol
After you reunite with Leni, DON’T squeeze through the left. Instead, go back on Leni’s path and you will find this on the first platform on the left.
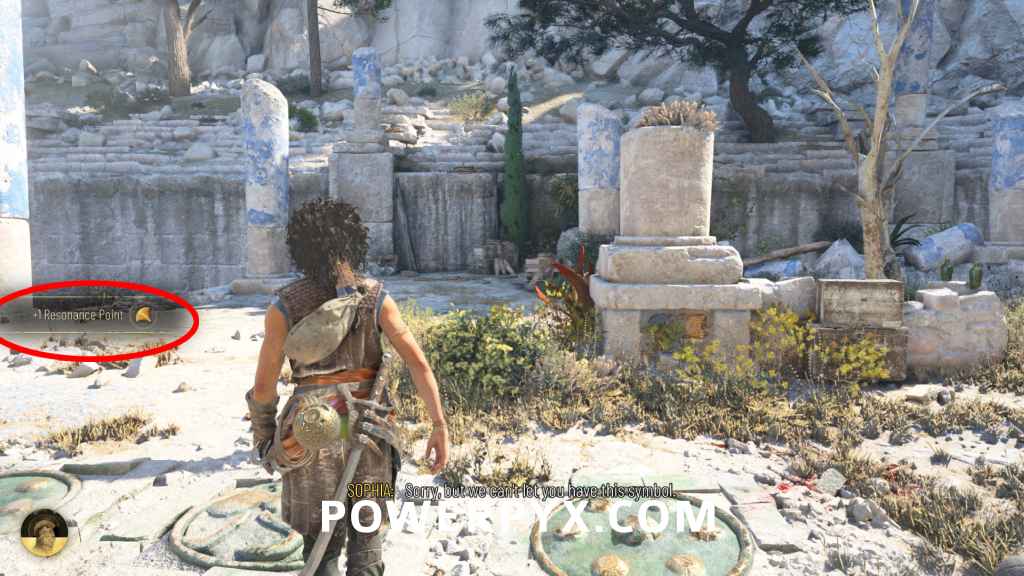
1 Resonance Point
Sub-Chapter: 3 – The four symbols
Objective: Find the first symbol
Automatic combat reward. Backtrack to where you reunited with Leni and now squeeze through the gap (story path). Go upstairs and defeat the enemies to get this as a reward.
Artefact – Relic of the Past: Scarab Amulet + Floor Symbols Puzzle
Sub-Chapter: 3 – The four symbols
Objective: Find the first symbol
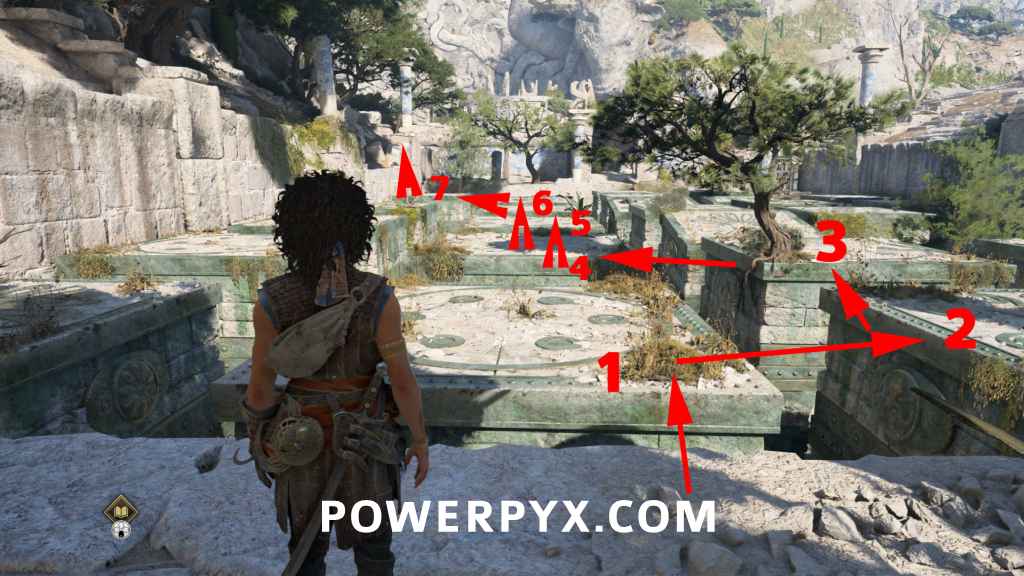
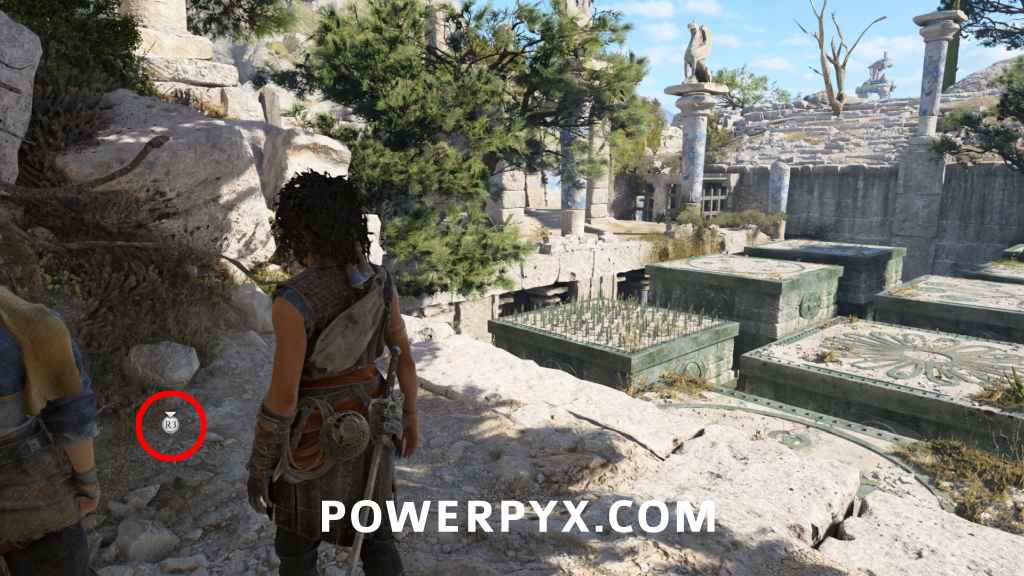
On the floor in front of the middle platform you see 5 symbols. This shows the order of symbols you need to jump to stay safe (Dots – Kraken – Dots – Flower – Kraken). There are 4 columns of platforms, if you jump on a wrong one you die. We’ll label these as columns 1, 2, 3, 4: 1 being the leftmost, 2 being left, 3 being right, 4 being rightmost. The artefact is in the back left corner of the spike platforms you jump across. Jump in this order: Dots (2) – Kraken (3) – Dots (3) – Flower (2) – Kraken (2) – Dots (2) – Kraken (1 *jump left). Then climb up the rocks on the left side and shimmy over the gap.
2 Resonance Points
Sub-Chapter: 3 – The four symbols
Objective: Find the first symbol
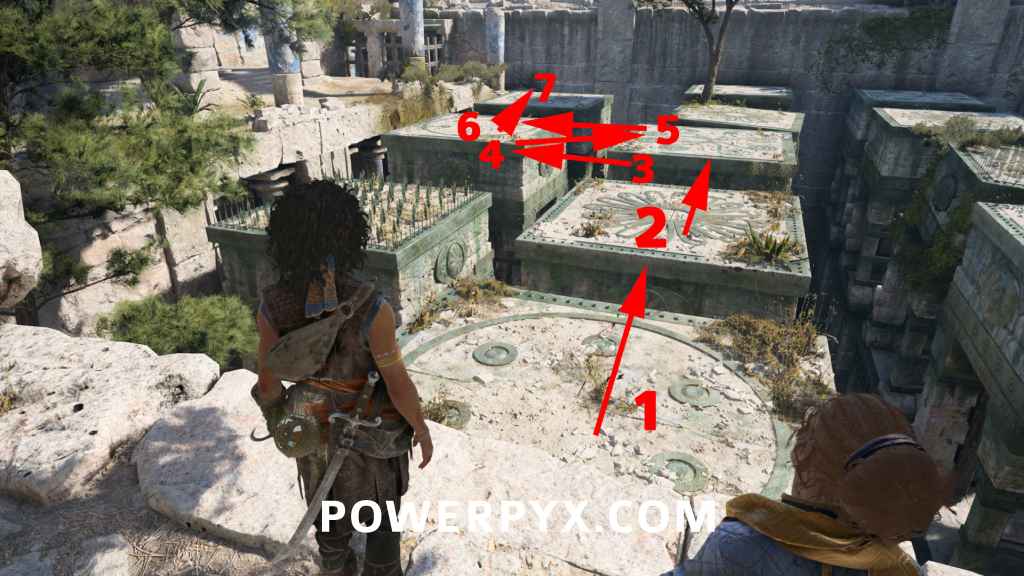
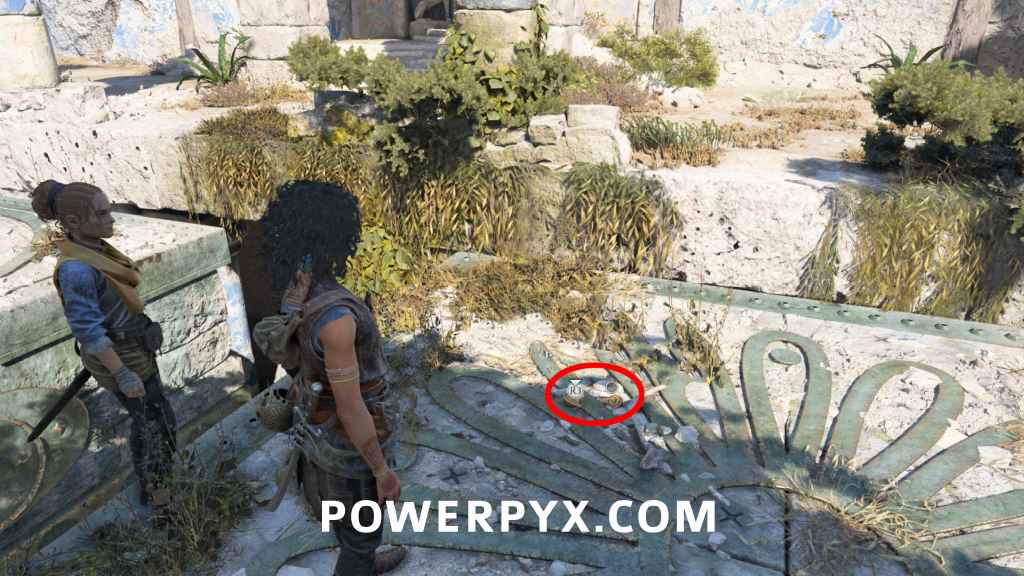
In the same area, you’ll find it on the last flower platform on the right. From the artefact jump on these: Dots (1) – Flower (2) – Kraken (3) – Dots (3) – Kraken (3 *jump backwards to the previous symbol) – Dots (3 *jump forward again to last platform) – Flower (3 *jump to the right).
1 Resonance Point
Sub-Chapter: 3 – The four symbols
Objective: Find the first symbol
After the previous two points, jump over the gap to the end to finish the puzzle. Here turn left to find it in the corner.
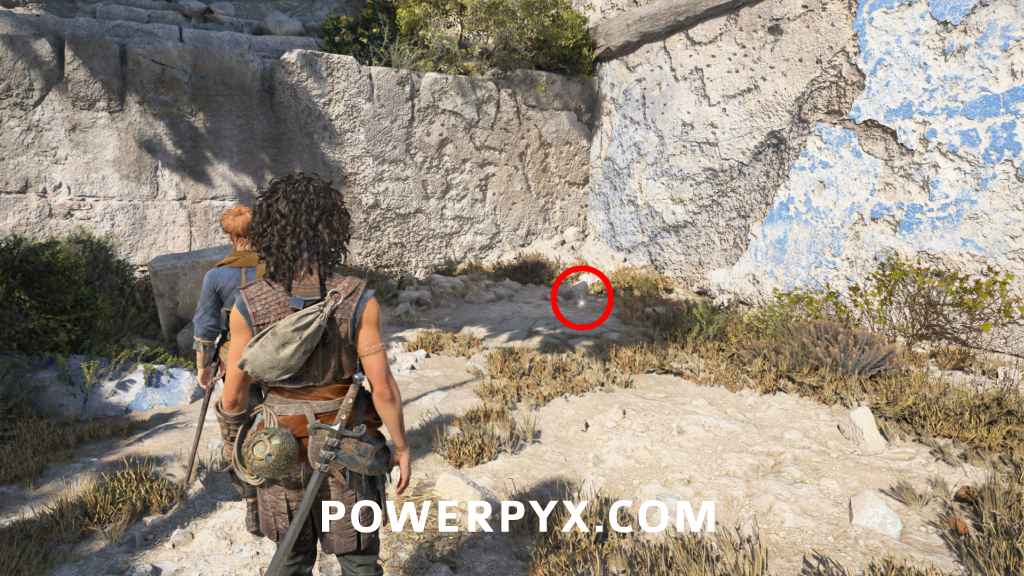
1 Resonance Point
Sub-Chapter: 3 – The four symbols
Objective: Find the second symbol
After you get the first symbol, you have to use a zipline to get back. Kill the enemies, then this is on the left edge of the beach.
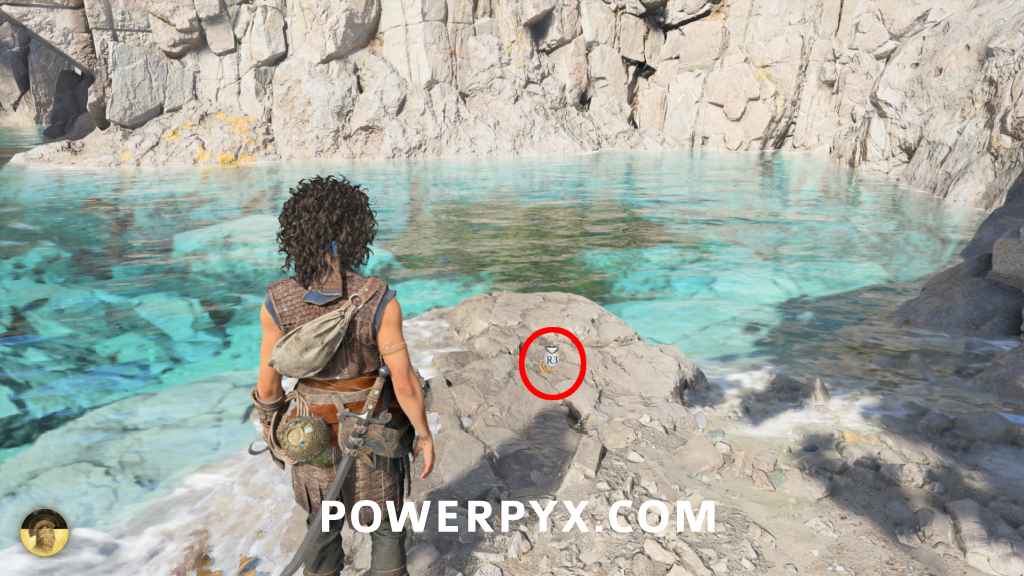
Charm: Armband #3
Sub-Chapter: 3 – The four symbols
Objective: Find the second symbol
From the last Resonance Point, go to the right corner of the beach to find it near the water and a boat.
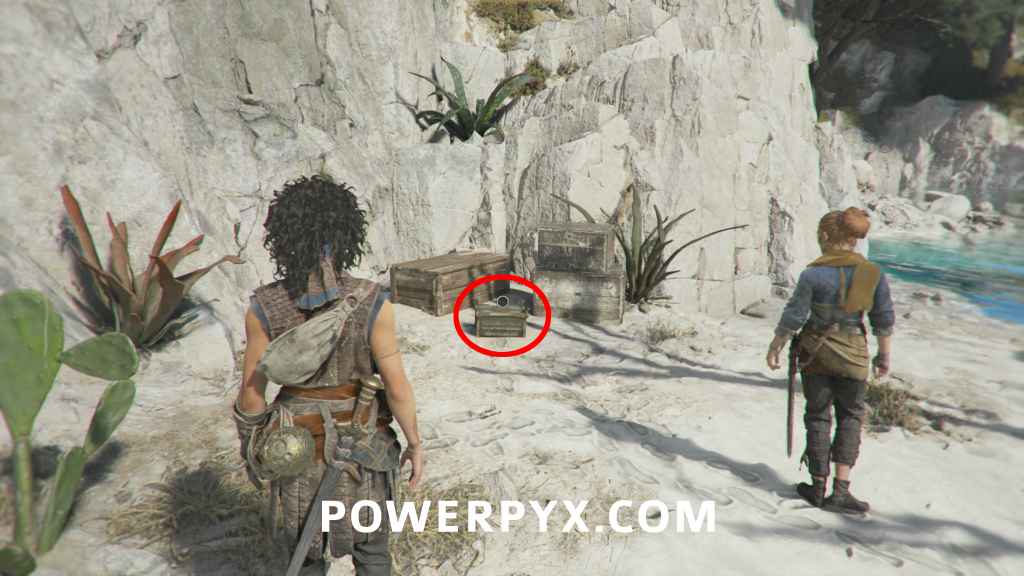
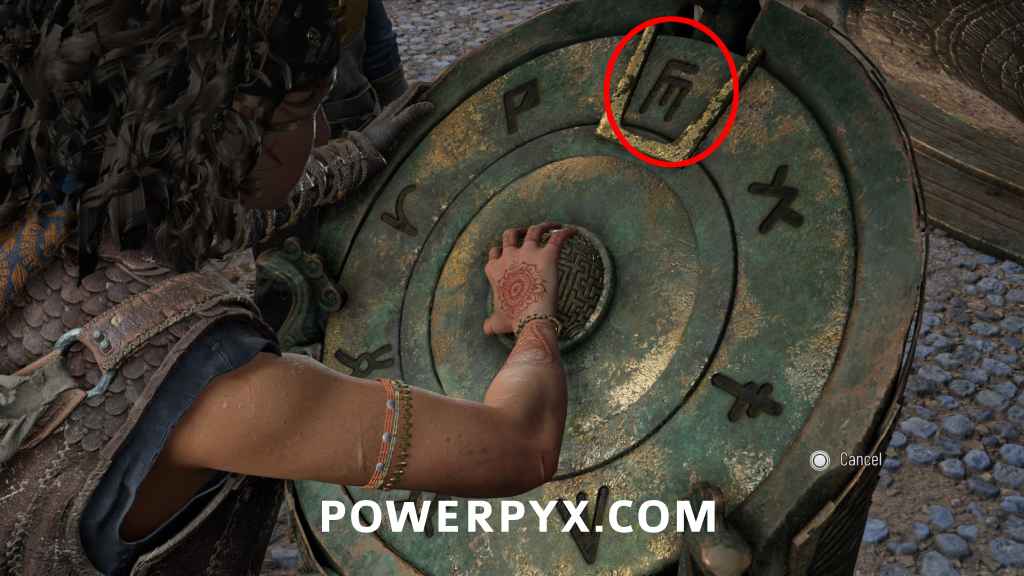
Go back into the main puzzle room and insert the “inverted P” symbol in front of the Dice Icon path you took.
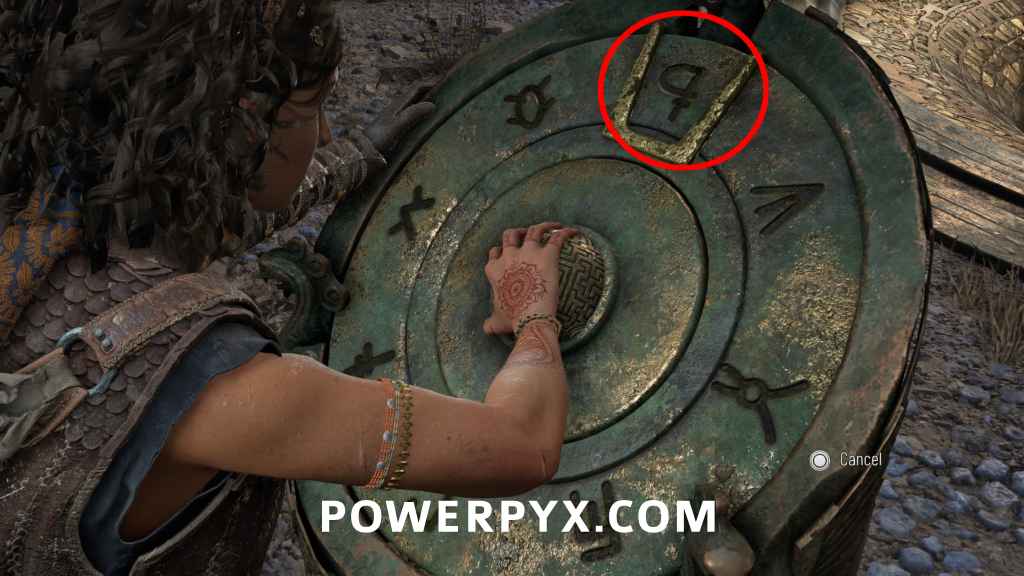
FRONT RIGHT PATH (“O” WITH 3 LINES ICON)
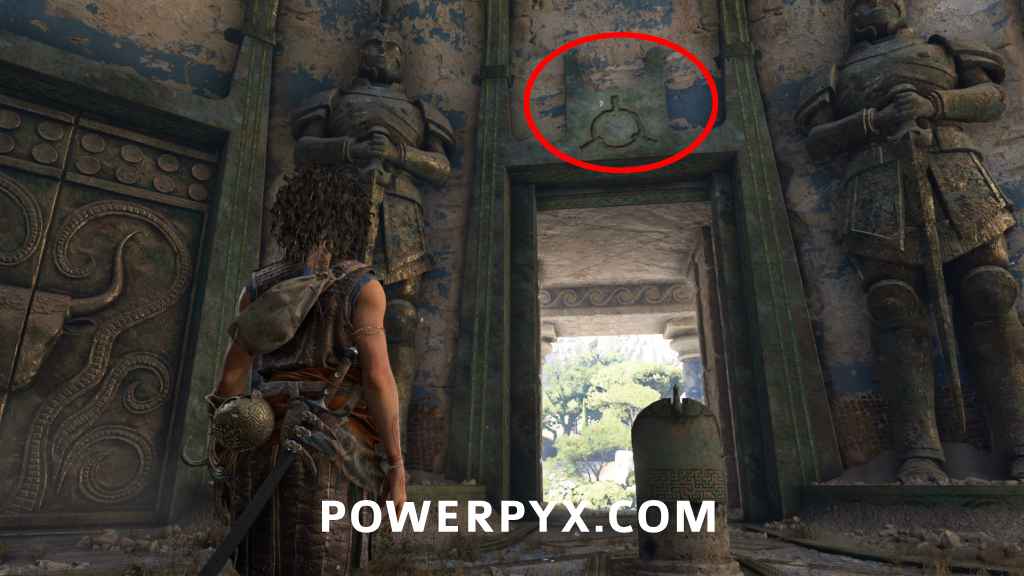
1 Resonance Point
Sub-Chapter: 3 – The four symbols
Objective: Find the second symbol
From the room with the 4 pedestals, cross the bridge and take the leftmost path climb over the rock and this will be on the floor at a big puddle of water.
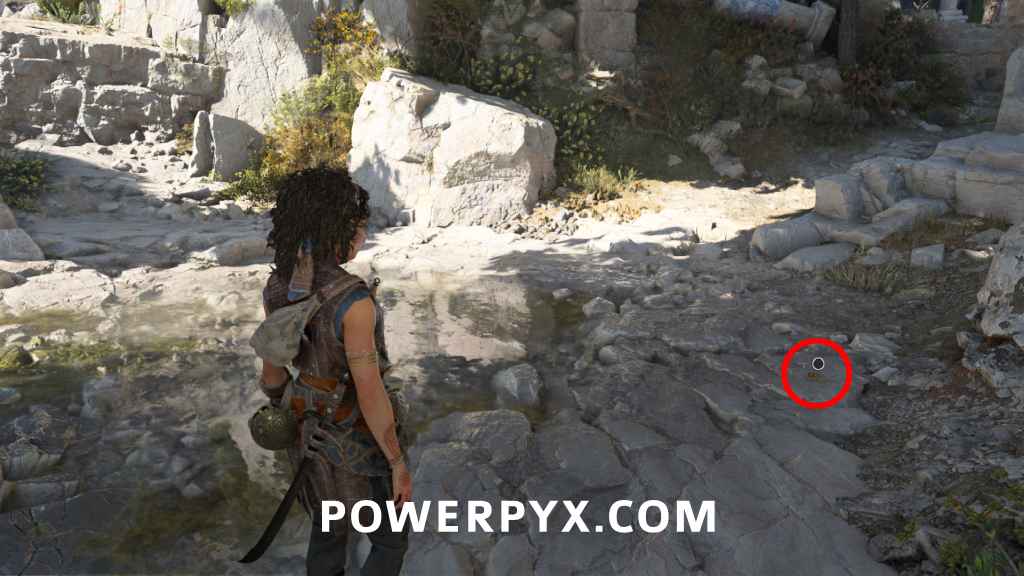
Charm: Pierced Coin #1
Sub-Chapter: 3 – The four symbols
Objective: Find the second symbol
Keep following the leftmost path until you climb a ladder to the top of the area. Defeat the enemies, then interact with the Axe.
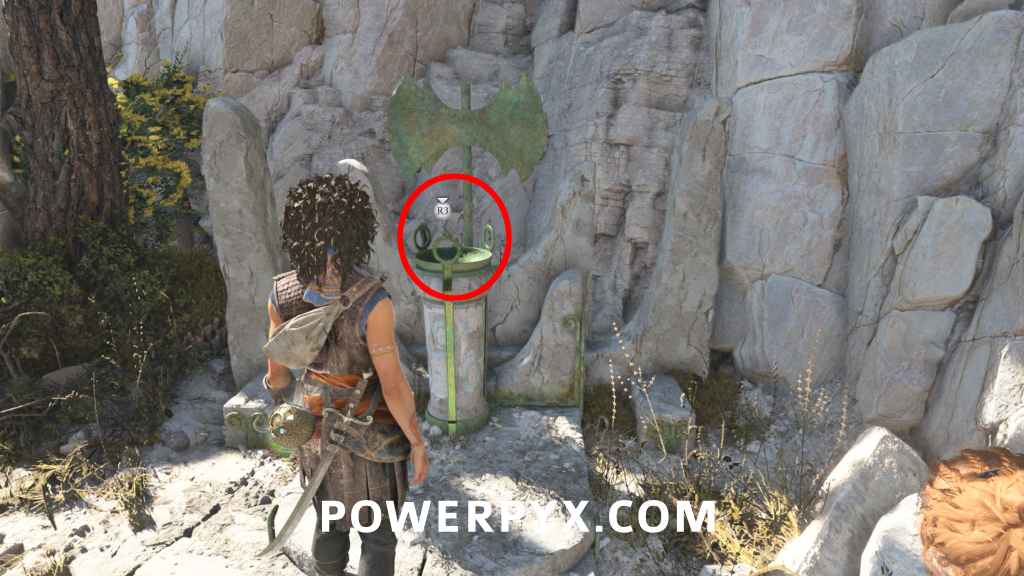
1 Resonance Point
Sub-Chapter: 3 – The four symbols
Objective: Find the second symbol
In the same area go downhill and drop down to the next group of enemies. After defeating them, DON’T go through the big green door. Instead, take the opposite path to find a campsite. Interact with the green gem on the bull pillar.
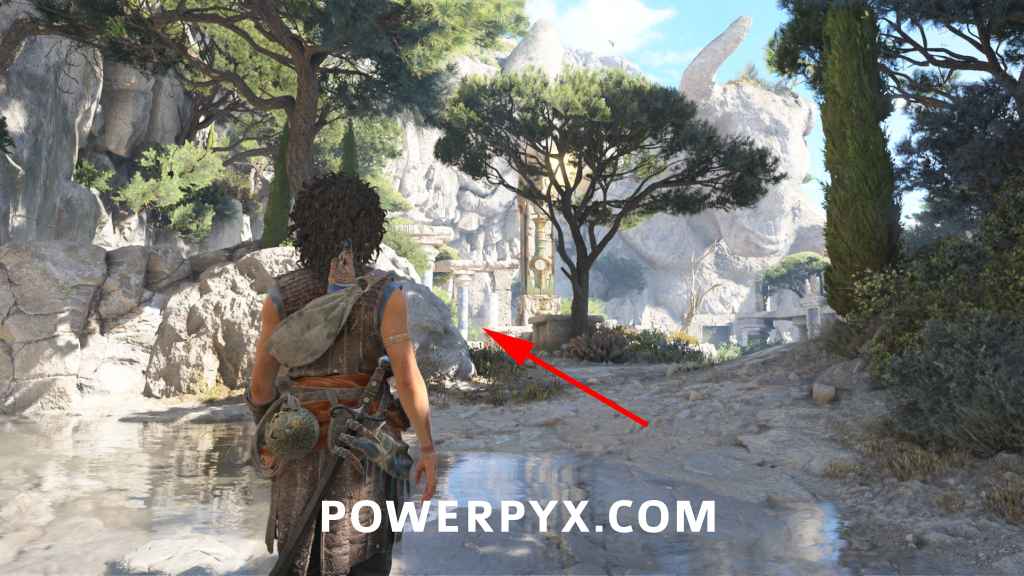
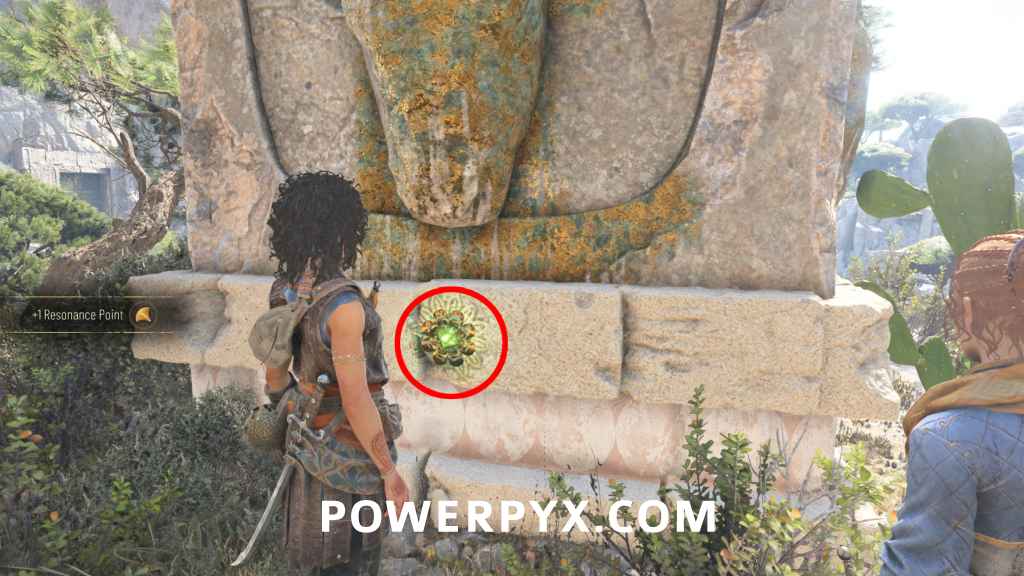
1 Resonance Point
Sub-Chapter: 3 – The four symbols
Objective: Find the second symbol
From the last Resonance Point, turn around and you will see some tents. When facing the tents, to the left you can climb up the rocks to climb on top of the ruins. This will be on the left side in a bird’s nest.
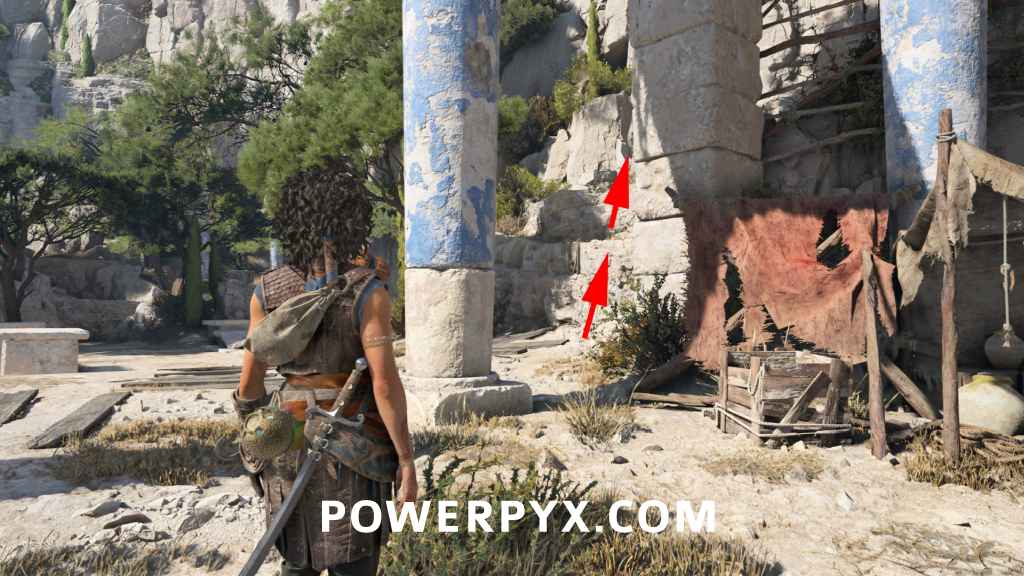
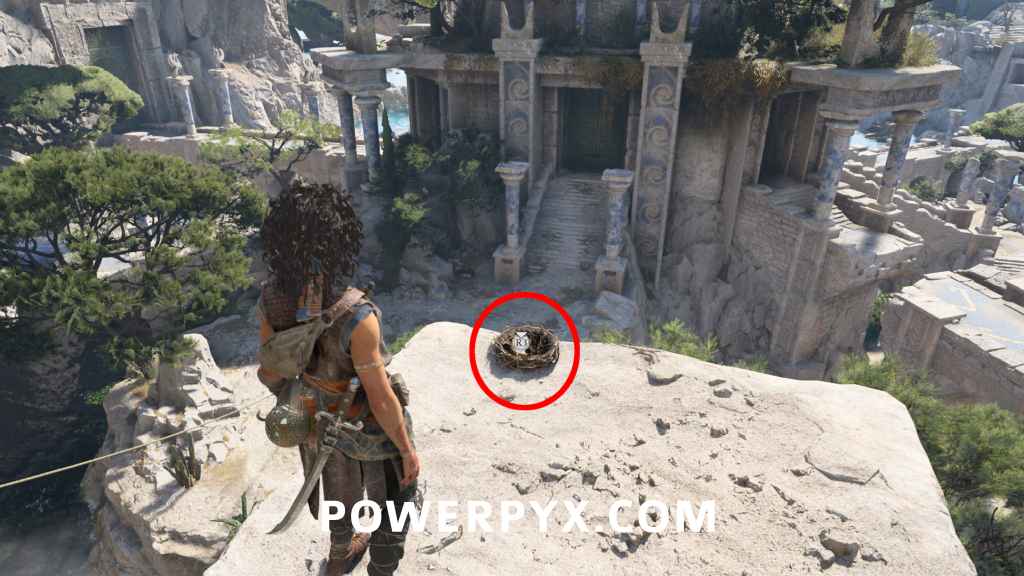
Blade: Greek Sword (Pillar Puzzle) [Blades from the Heroes’ Graves #2]
Sub-Chapter: 3 – The four symbols
Objective: Find the second symbol
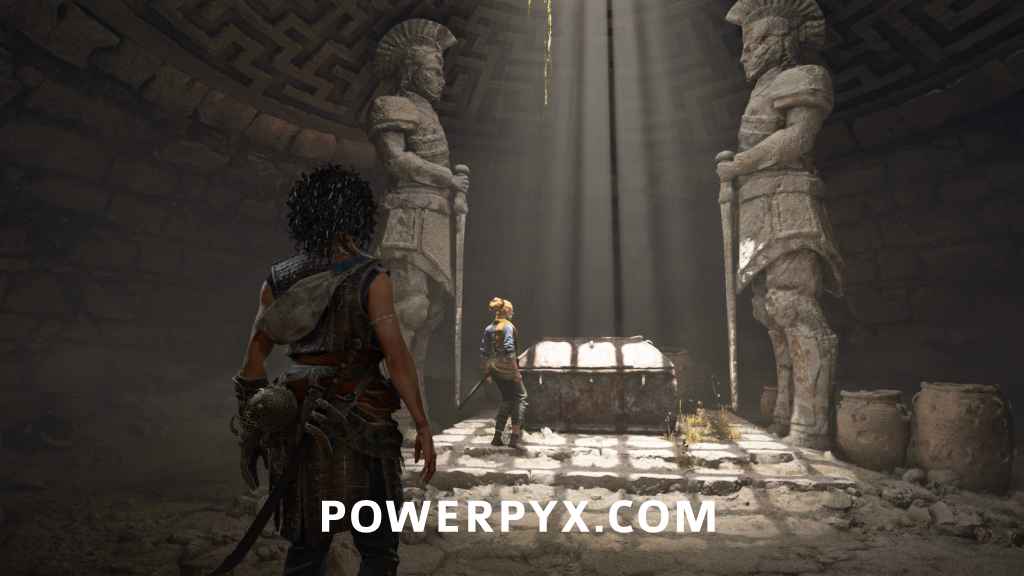
Same spot as the last Resonance Point, look at the ground on top the ruins and you will see 4 greenish floor plates. Stand on the one closest to the Resonance Point (near end of the left pillar). Then you must shine the 3 colored lights from the sphere and align them with the bull pillar. Hold / > Dpad  /
/  to switch to the 3 lights > / to rotate. They must align with the colored gems on the pillar. Then the axe symbol on the floor opens up to reveal a staircase into a crypt, open the big chest in it.
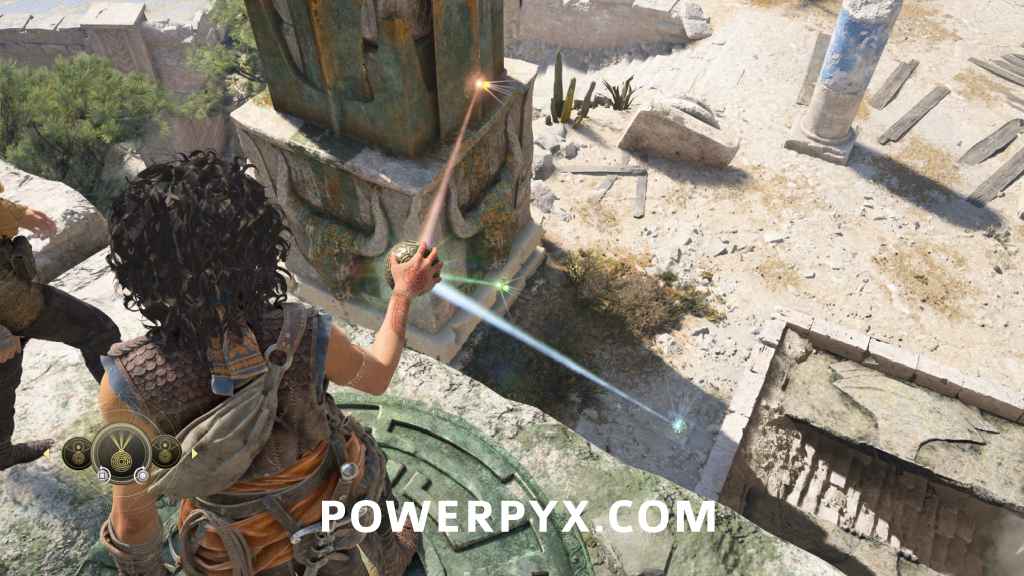
Artefact – Relic of the Present: Condottiero Stamp
Sub-Chapter: 3 – The four symbols
Objective: Find the second symbol
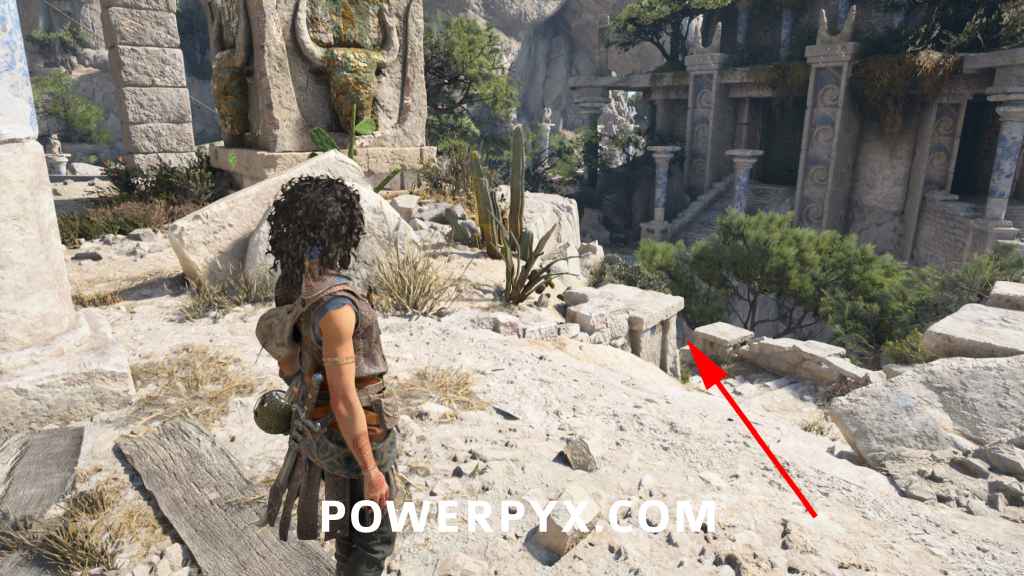
From the previous collectible, head back out the crypt and you’ll see the bull pillar again. To the right of the bull pillar go down the path to find this on the rock just before jumping over the gap.
1 Resonance Point
Sub-Chapter: 3 – The four symbols
Objective: Find the second symbol
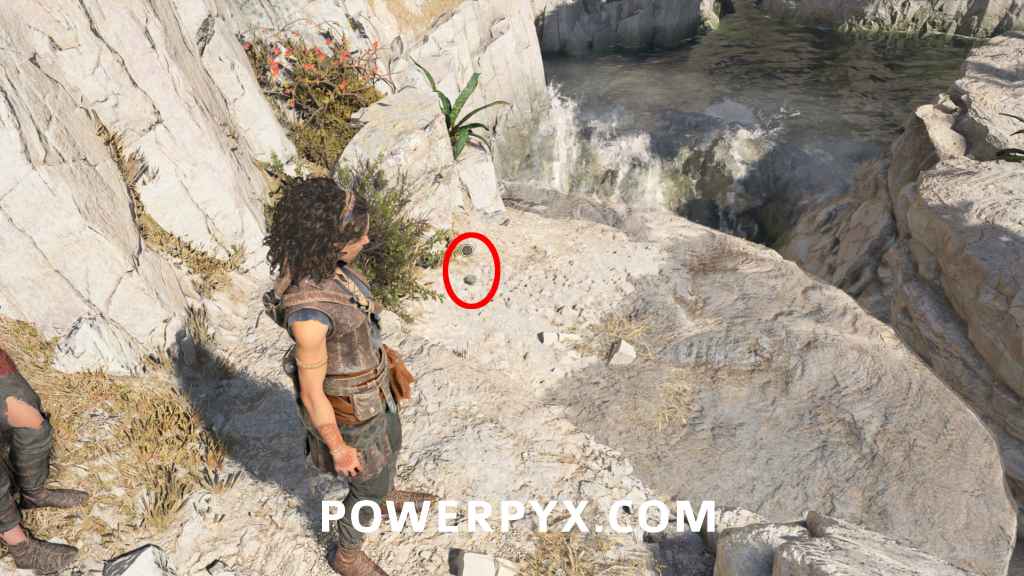
Next to the relic, jump over the gap and this will be on the left side (left of zipline).
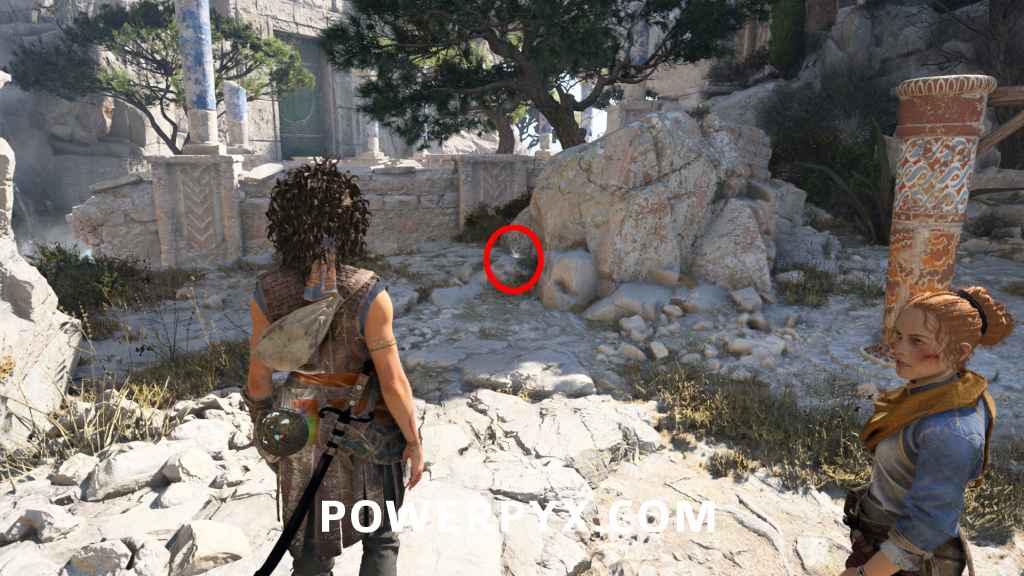
Artefact – Relic of the Past: Ceremonial Blade
Sub-Chapter: 3 – The four symbols
Objective: Find the second symbol
Backtrack upstairs to the bull pillar. This time, take the path left of the bull pillar through the camp. Jump the gap at a small waterfall and go down the path until you can go right. This path leads to the relic near the water.
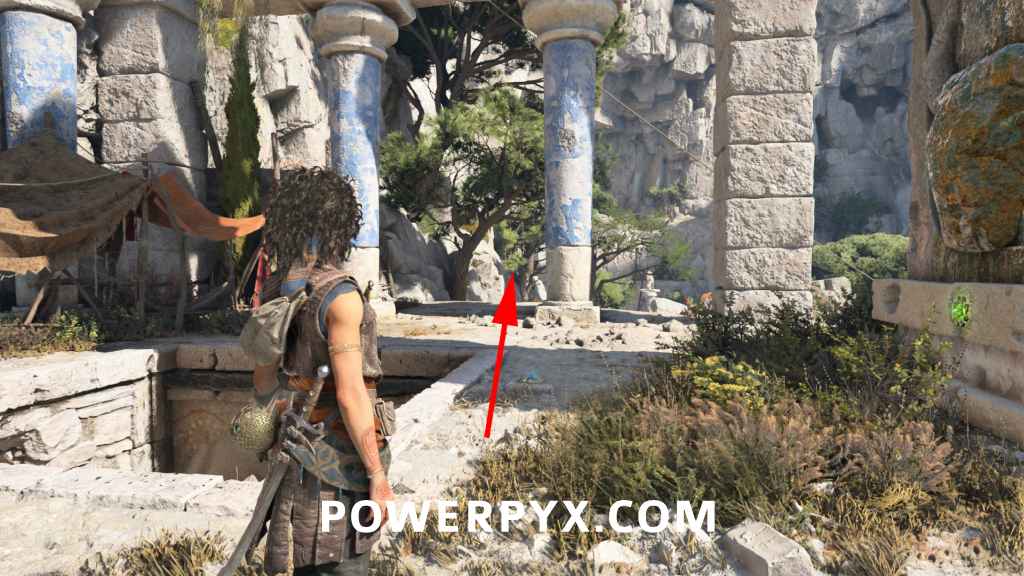
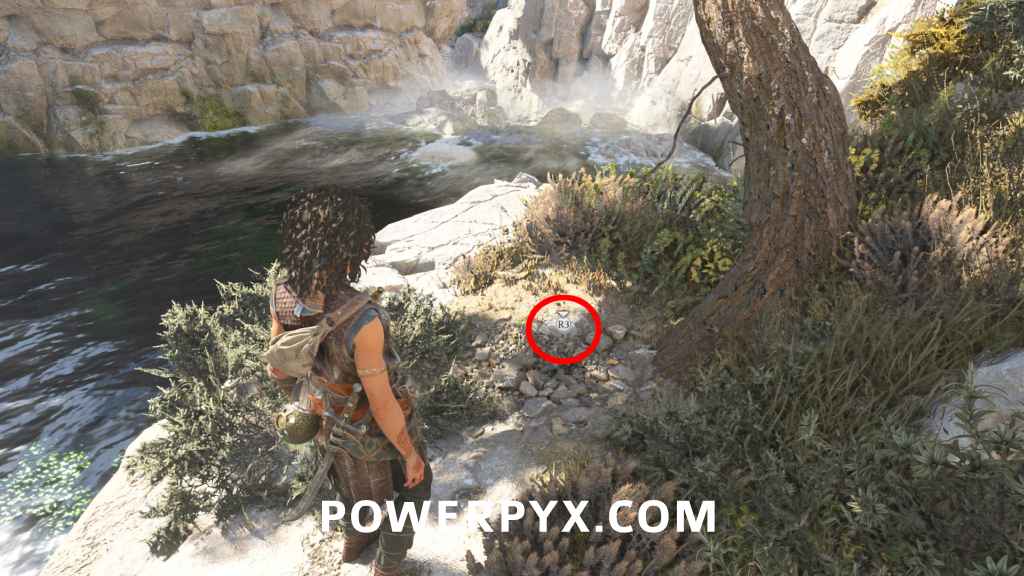
2 Resonance Points
Sub-Chapter: 3 – The four symbols
Objective: Find the second symbol
Left of the relic, jump over the gap and you will reach the bridge to the third trial. Check the cliff to the left of the bridge for 2 resonance pickups.
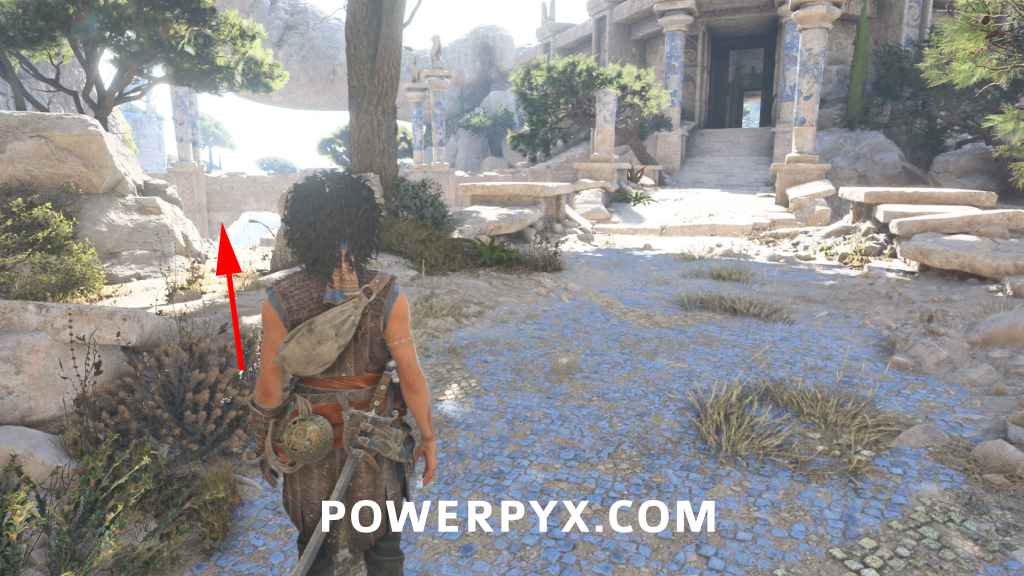
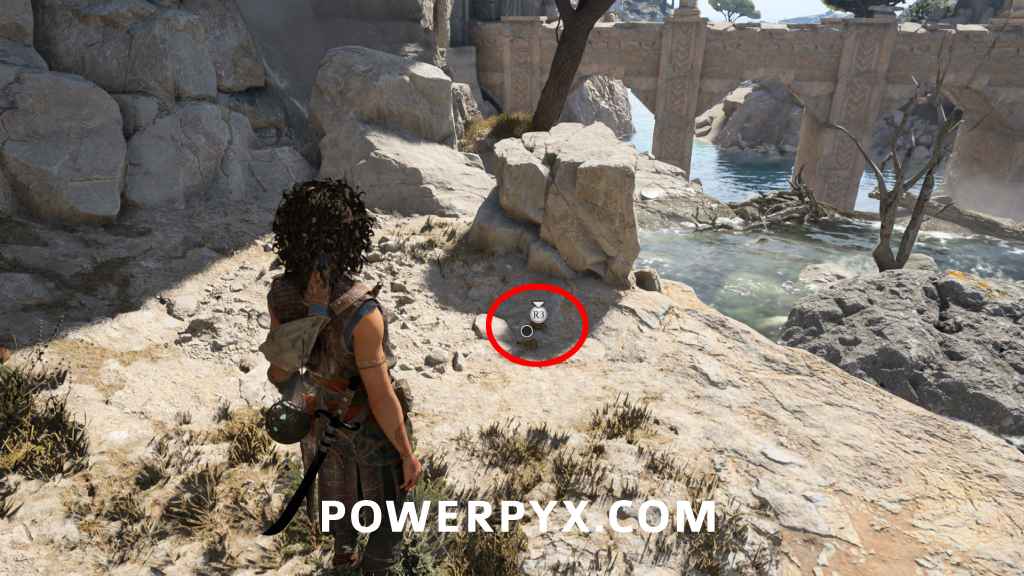
1 Resonance Point
Sub-Chapter: 3 – The four symbols
Objective: Find the second symbol
From the previous resonance point, turn around and you will see a big green bull door. To the right of the door, climb up the ladder and use the grappling hook to get to the top. Immediately turn right to find it on the cliff. DON’T crawl through the hole yet (starts third trial). We want to do the second trial first so must do some backtracking.
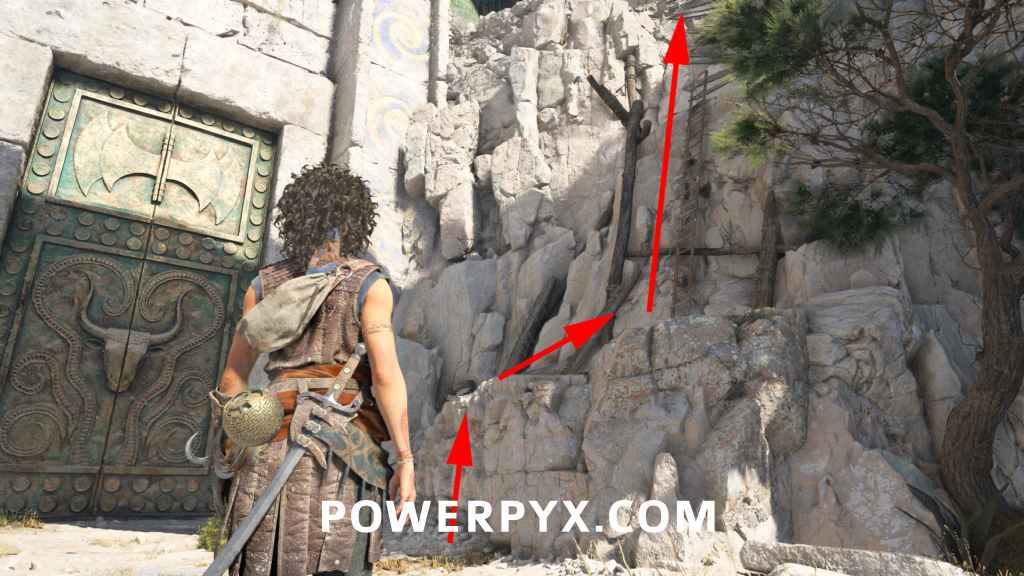
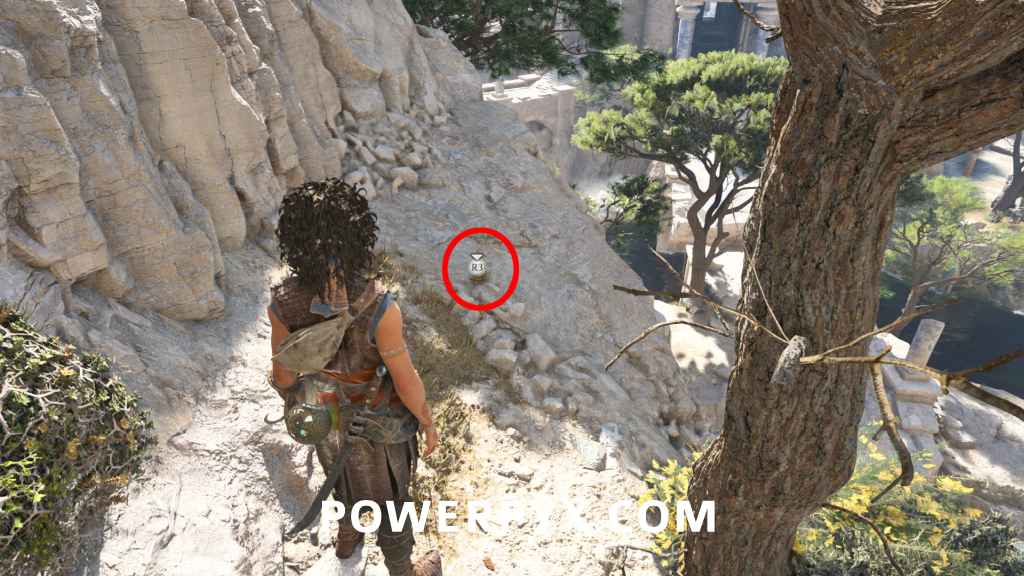
1 Resonance Point
Sub-Chapter: 3 – The four symbols
Objective: Find the second symbol
DON’T CRAWL THROUGH THE HOLE TO THE THIRD TRIAL. Backtrack all the way to where you fought the last enemies, to the green bull door near the bull pillar. In front of the green bull door this is on the floor behind a wooden barrel, easy to miss.
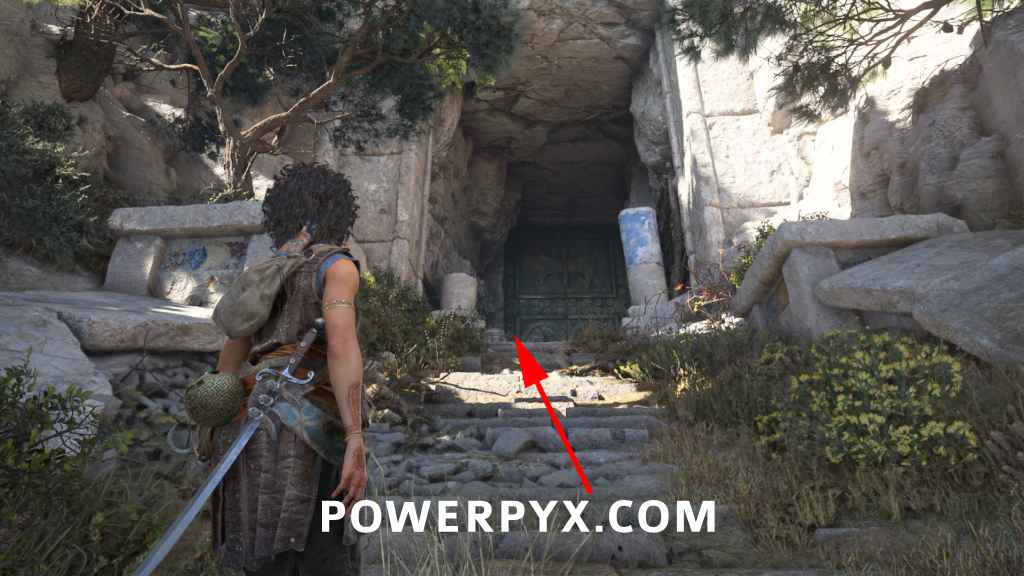
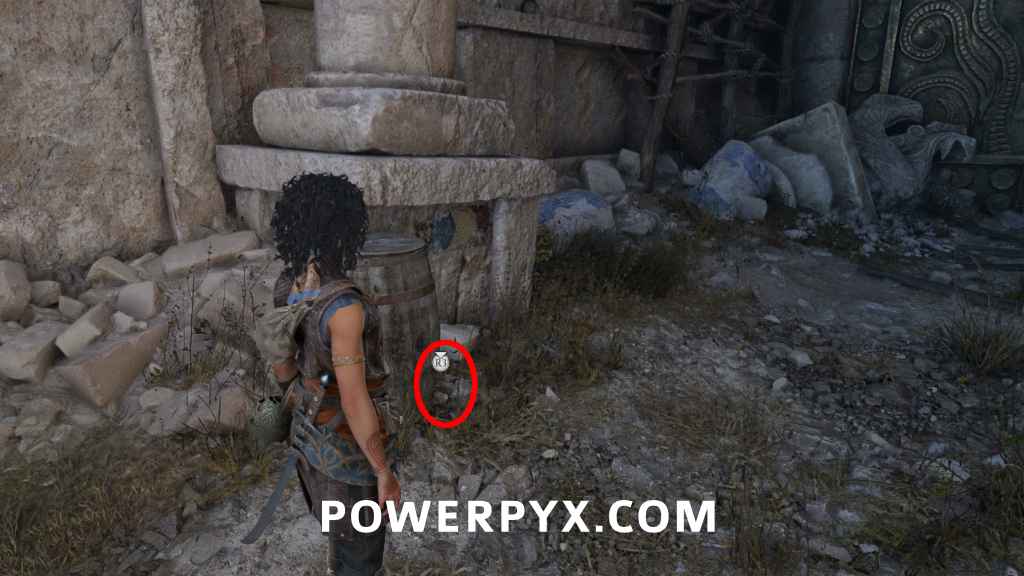
Now crawl through the hole to the 2nd trial, at the green bull door directly next to the last Resonance Point.
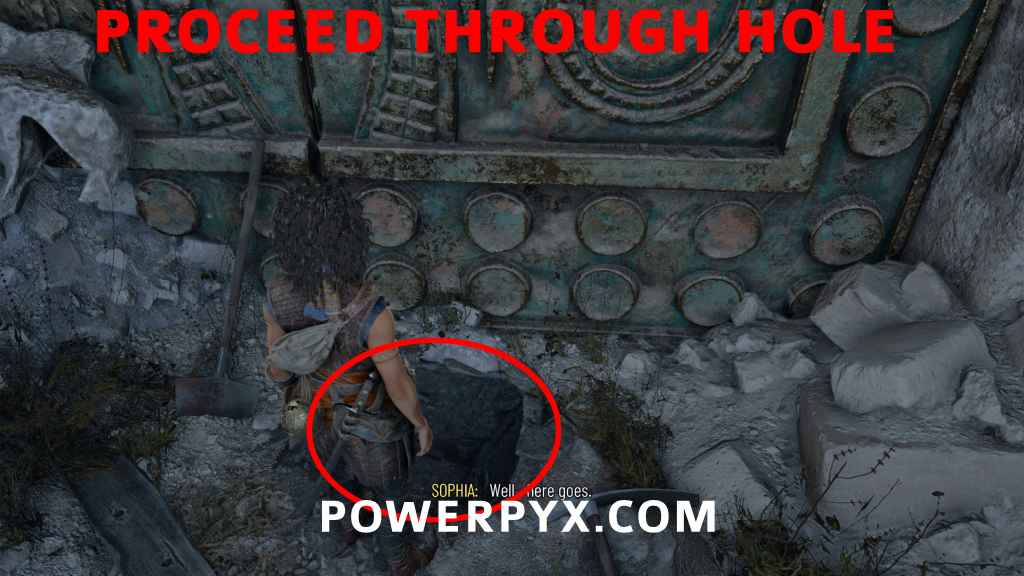
1st Statue Door Puzzle Solution: Inside the trial, stand on the floor plate where light is shining from the ceiling. You must align the 3 colored lights from the sphere with the gems around the door. Hold / > Dpad / to switch to the 3 lights > / to rotate. Red = left statue helmet / green = middle / blue = right statue hand. Then do a running jump over the spike trap (hold  /
/  to run before jumping off). Then shine the mirror at the black dust.
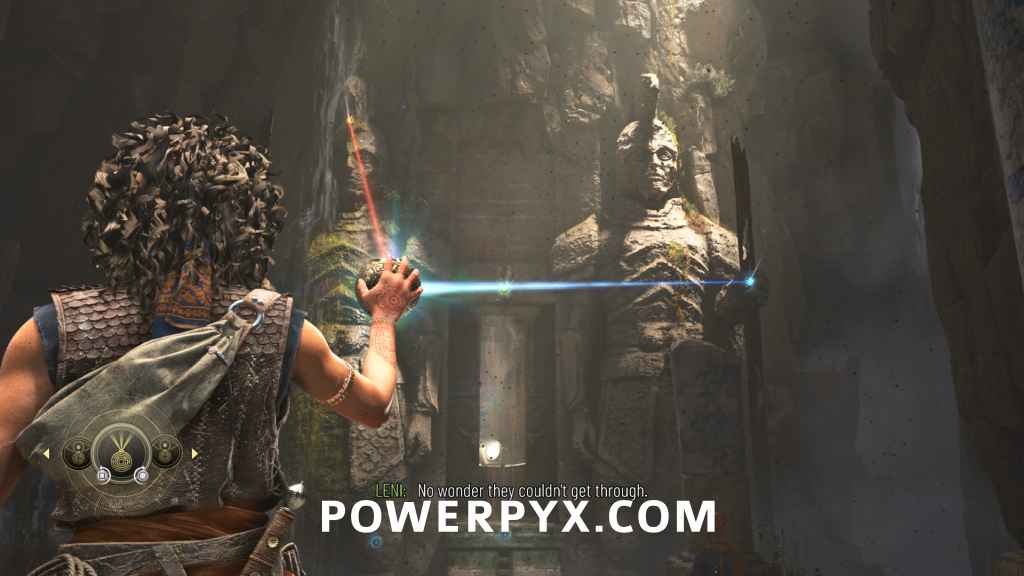
2nd Statue Door Puzzle Solution: Again stand on the lit floor plate and shine the sphere. Green = top / Blue = bottom / Red = right statue eye. Then run-jump over the spike traps.
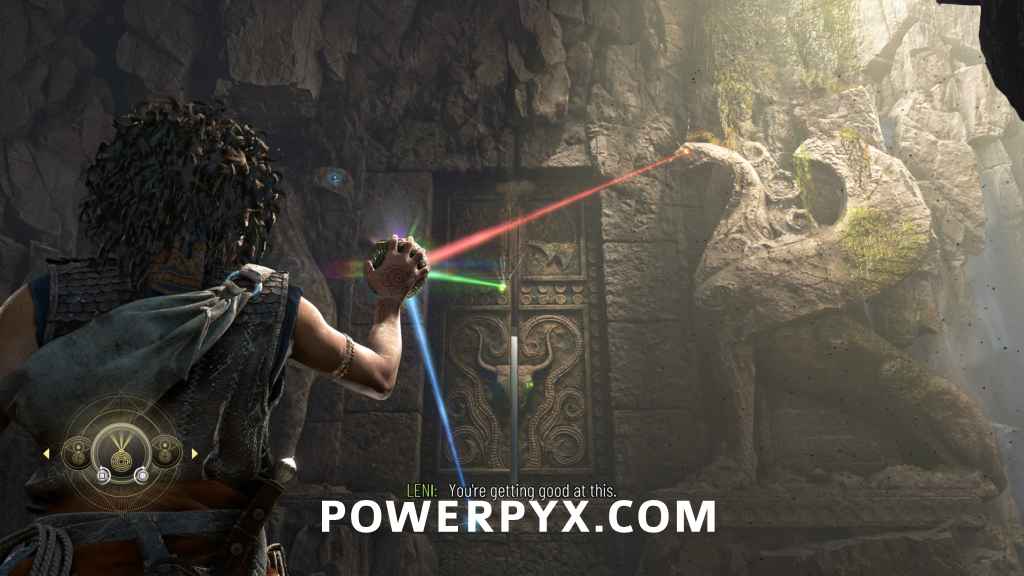
1 Resonance Point
Sub-Chapter: 3 – The four symbols
Objective: Find the second symbol
In the next room in the left corner.
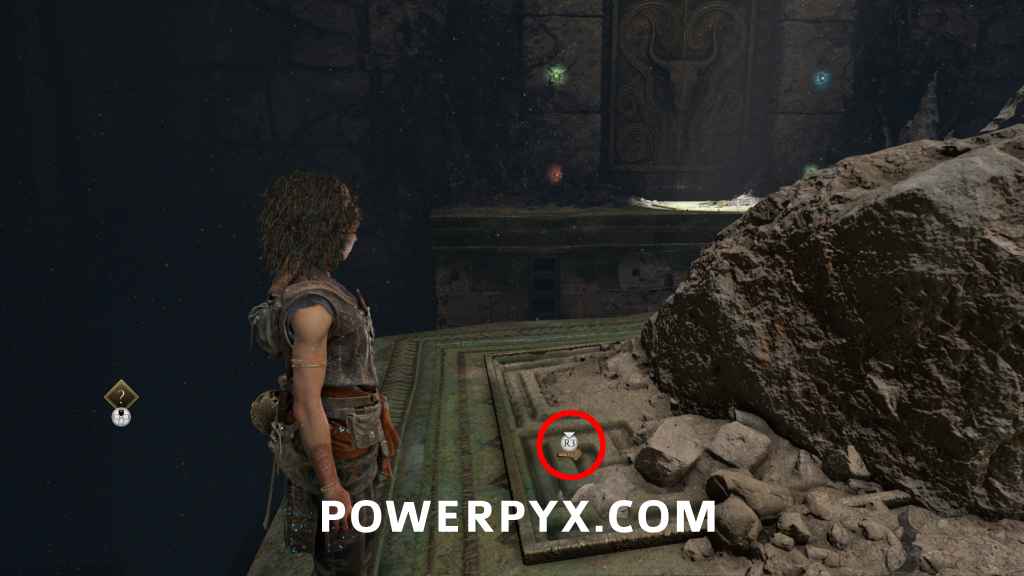
3rd Statue Door Puzzle Solution: Shine the mirror at the front right dust to reveal a cogwheel. Use the cog, let go, then Leni will hold it for you. Jump over the raised platform, then align the sphere lights with the right wall.
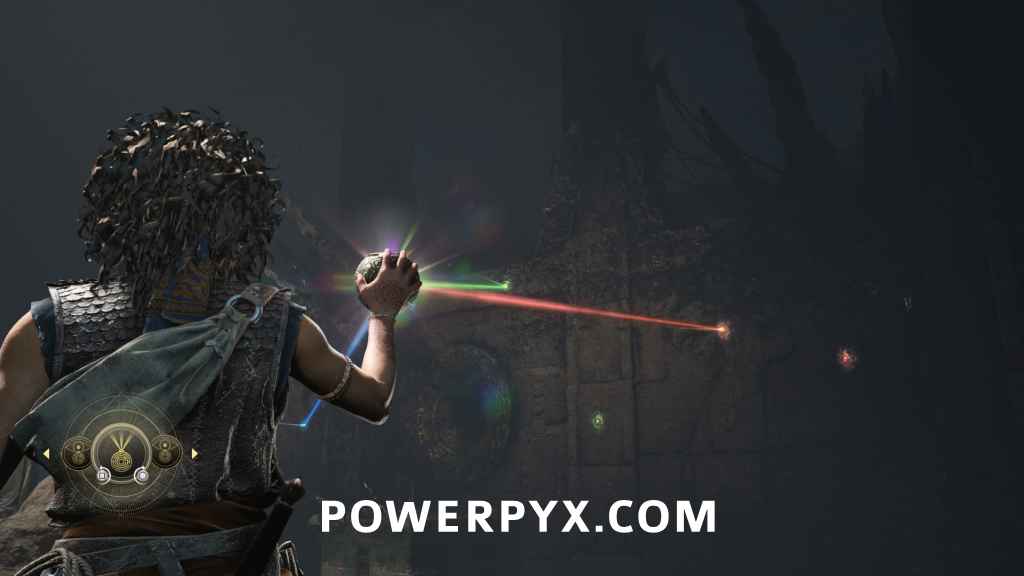
Run-jump over the spikes, stand in the light to align the sphere lights with the opposite wall.
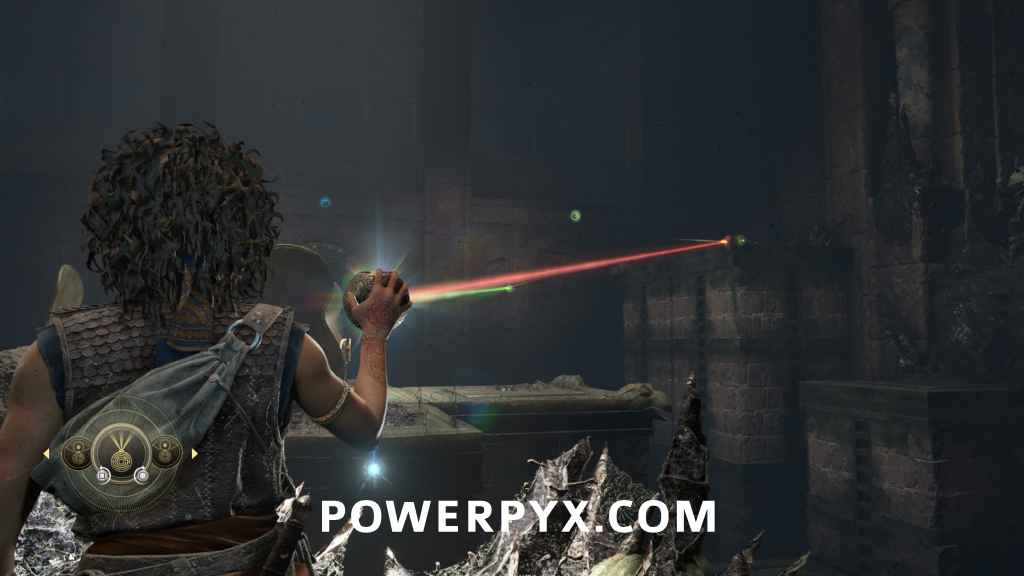
Jump over the next platforms, Leni will shine the mirror at you, switch to the other sphere mode with Dpad to see a blue line on the floor that shows the safe path through the spikes. Then shine the 3 lights at the door. Green = rightmost below door / red = rightmost below door / blue = righmost below door.
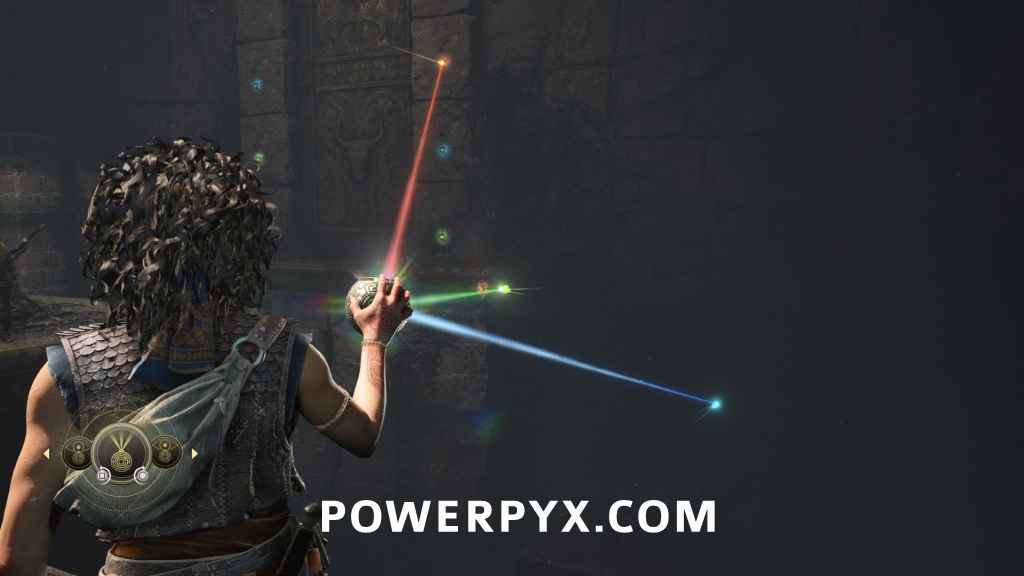
Go back into the main puzzle room and insert the “h” symbol in front of the “O with 3 lines” Icon path you took.
BACK RIGHT PATH (“O” OVER A LINE)
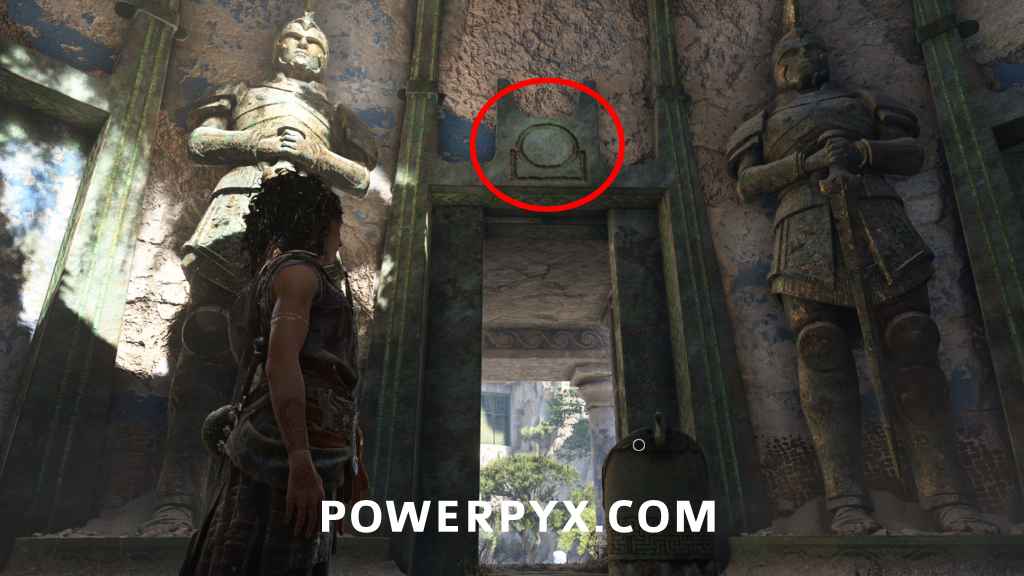
If you’ve been following the guide you’ll already have the collectibles on the path leading to the third trial. Go over the bridge, go up the ladder to the right of the bull door, use the grappling hook to get to the top, crawl through the hole to enter the third trial.
1 Resonance Point
Sub-Chapter: 3 – The four symbols
Objective: Find the last symbol
As soon as you enter the trial, on the right side. BEFORE dropping down to the mirrors.
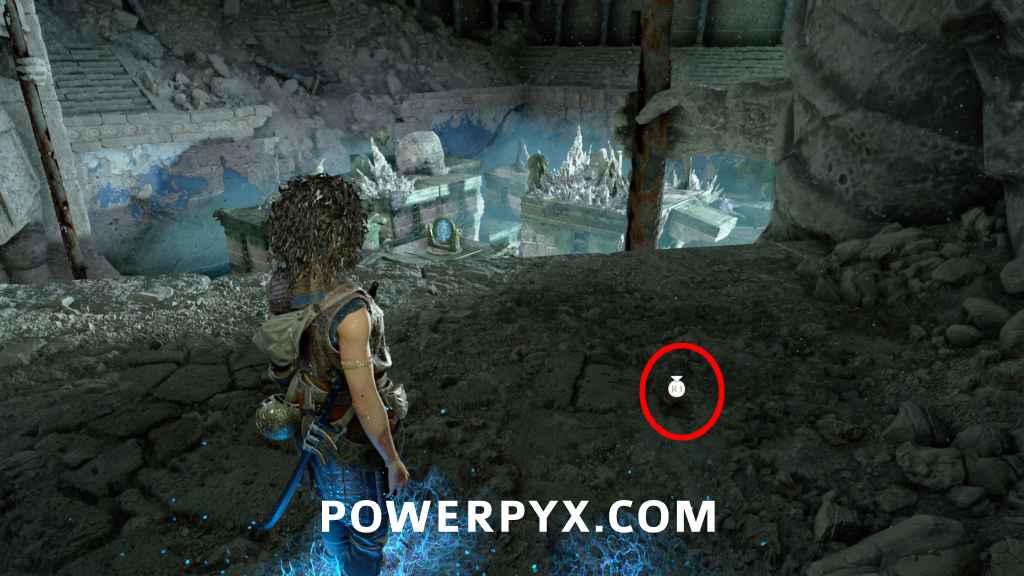
Mirror Room Puzzle: You need to align the 3 colored mirrors so the light hits the colored dots on the central pillar.
Red = 1) shine at rightmost mirror, 2) shine at right side of pillar
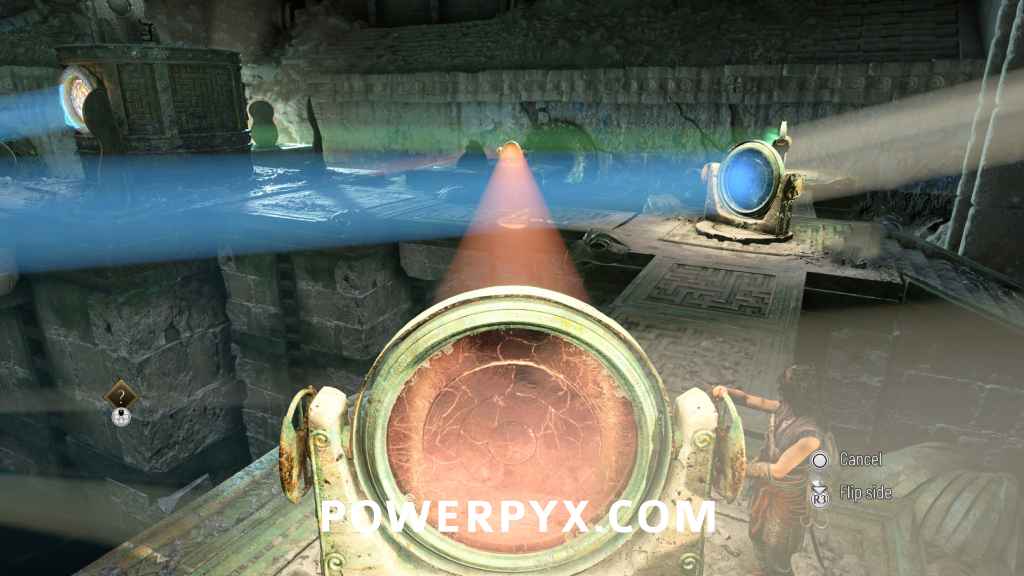
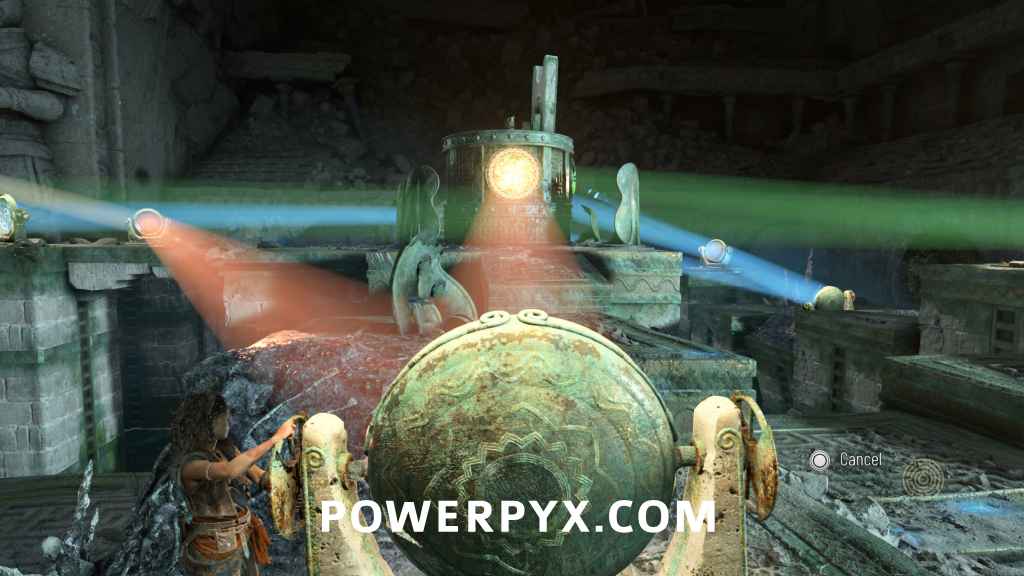
Blue = 1) shine at left mirror, 2) shine at mirror in the back on lower level, 3) shine at mirror between the last two, 4) shine at left side of pillar
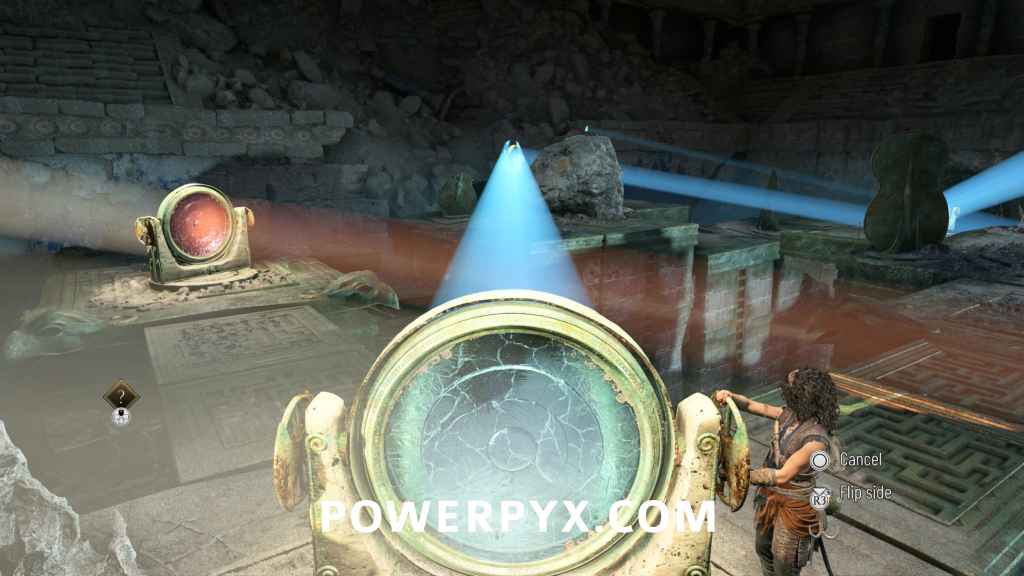
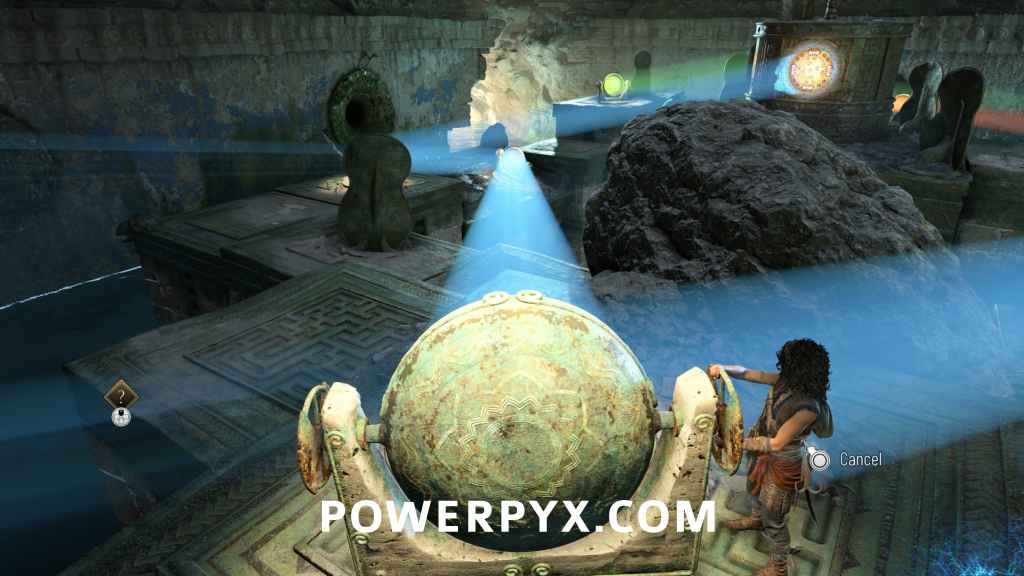
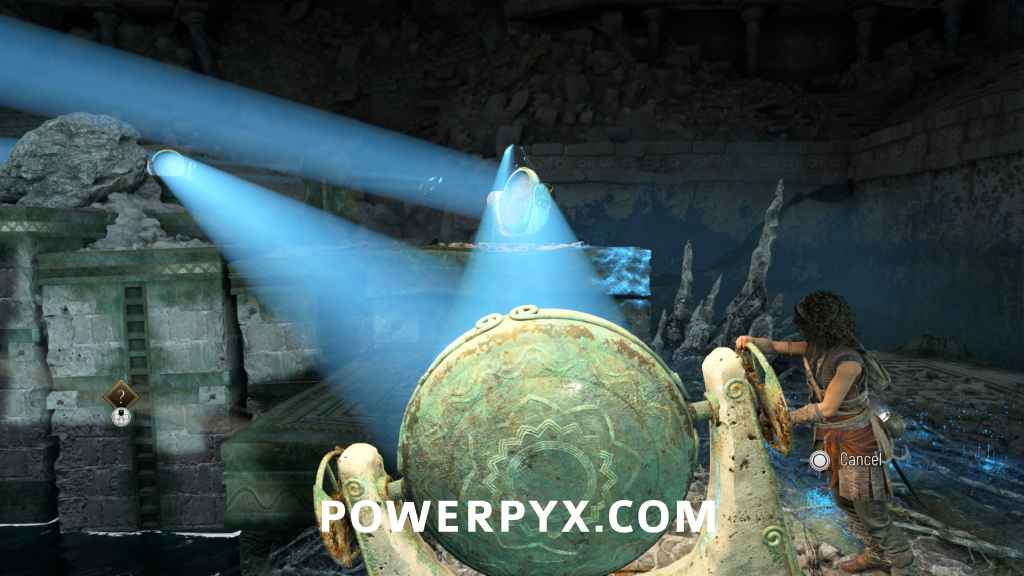
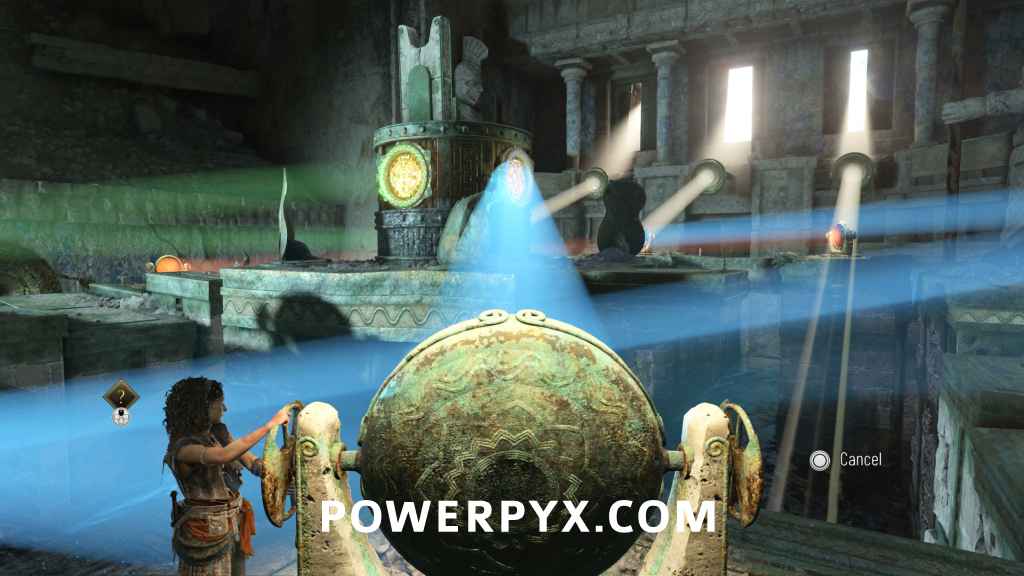
Green = 1) shine at back right mirror, 2) shine at back of pillar
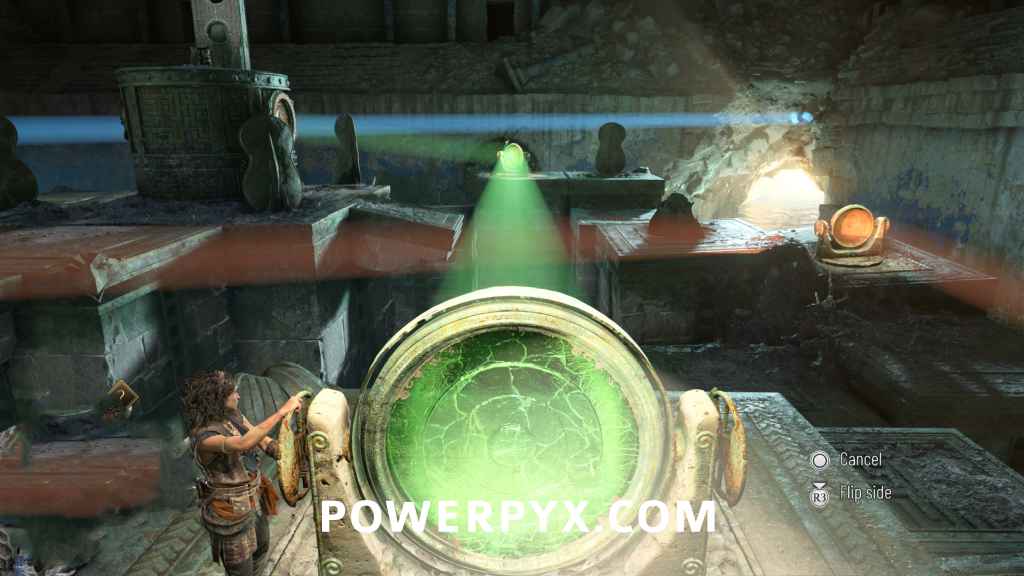
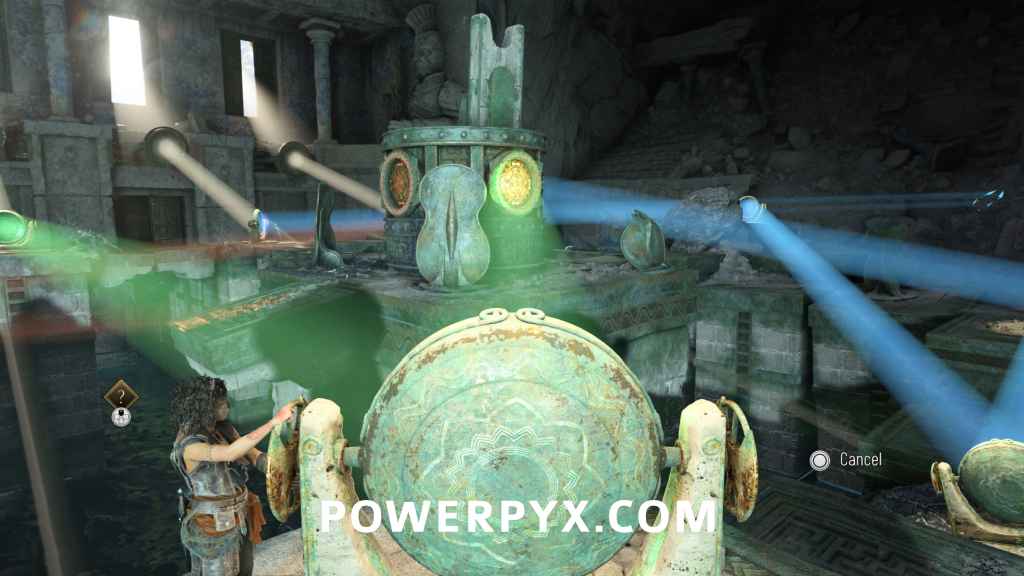
After the pillar lowers, interact with the pedestal that appears. Then leave the room through the big bull gate where you came from.
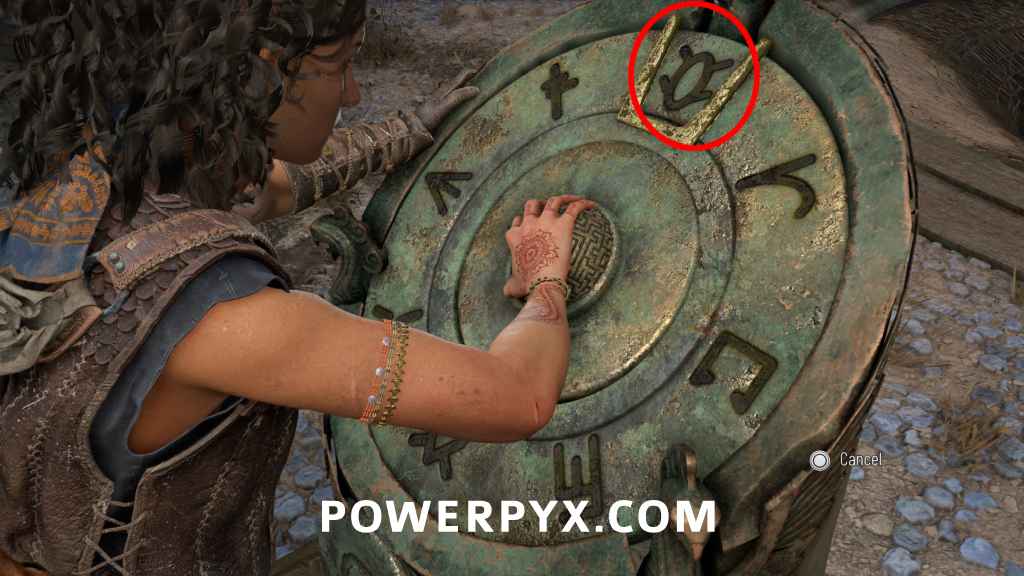
Go back into the main puzzle room and insert the “O” symbol in front of the ‘“O” Over a Line”’ Icon path you took.
Sub-Chapter 4 – Live up to his name
No Collectibles in this Sub-Chapter.
That’s 100% of the collectibles you can find in Chapter V: Desolation it Wrought of Resonance: A Plague Tale Legacy.
NEXT: Chapter 6
For all other Chapters, check out the complete Resonance: A Plague Tale Legacy Collectibles Guide.
Gediminas says
tried to replay this 3rd sub area for 2 Resonance points on the Flower. still didn’t spawn.
end up with 27 points. 58 total after 5th chapter.
checked other guides, they also ended up with 27 points, despite getting those 2 points on the Flower. maybe they did pre-patched!?
interesting.
Baz says
Up to thos part now and all I see on the flower is a dead body and no pickup. Is this needed?
Gediminas says
so they removed Flower ones but still, there are 28 in the chapter.
1 is in second area. if you take Griffin Figurine, come back, go through two columns, then a bit straight and then you see a yellow flower, go in that room, there is 1 Resonance near the edge.
ph4nt0mgh0st says
The section:
2 Resonance Points
Sub-Chapter: 3 – The four symbols
Objective: Find the first symbol
After you reunite with Leni, DON’T squeeze through the left. Instead, go back on Leni’s path and you will find this on the first platform on the left.
should have 1 Resonance Point
and the section:
1 Resonance Point
Sub-Chapter: 3 – The four symbols
Objective: Find the first symbol
Automatic combat reward. Backtrack to where you reunited with Leni and now squeeze through the gap (story path). Go upstairs and defeat the enemies to get this as a reward.
should have 2 Resonance Points
horizon says
2 Resonance Points
Sub-Chapter: 3 – The four symbols
Objective: Find the first symbol
it dont spawn
Matt Willis says
These no longer exist in the game as at patch 1.02:
2 Resonance Points
Sub-Chapter: 3 – The four symbols
Objective: Find the first symbol
In the same area, you’ll find it on the last flower platform on the right. From the artefact jump on these: Dots (1) – Flower (2) – Kraken (3) – Dots (3) – Kraken (3 *jump backwards to the previous symbol) – Dots (3 *jump forward again to last platform) – Flower (3 *jump to the right).
Andy says
These do exist but they are in the beginning of the platforms to the right! But I haven’t figured out how to get them..
These no longer exist in the game as at patch 1.02:
2 Resonance Points
Sub-Chapter: 3 – The four symbols
Objective: Find the first symbol
In the same area, you’ll find it on the last flower platform on the right. From the artefact jump on these: Dots (1) – Flower (2) – Kraken (3) – Dots (3) – Kraken (3 *jump backwards to the previous symbol) – Dots (3 *jump forward again to last platform) – Flower (3 *jump to the right).
pRophecY says
Thanks for the tip. Here is how you reach them from the start of the area:
Dots (2) – Kraken (3) – Dots (3) – diagonal jump to Flower (4)
Ideally get there in one go before Leni does because she pushed me off the Flower block on my first try. Which caused the spikes to go off since it counted as second contact.
After that you can jump back to the beginning to continue with the game / guide.