
Valor Mortis contains a total of 27 Ferrofluid upgrade items: 20 Power Upgrades and 7 Quantity Upgrades. Collecting these is not required to earn any trophies & achievements, but upgrading Ferrofluid is extremely useful for progressing through the game as it is your primary healing source.
Power Upgrades increase the amount of healing awarded per Ferrofluid usage. As you perform more upgrades they will require more of the upgrade material each time, taking upwards of 4 at maximum level. Quantity Upgrades increase the number of Ferrofluid usages you have every rest, with each upgrade increasing the quantity by 1 up to a maximum of 11 usages.
No Ferrofluid upgrades are missable, all can still be collected after the story along with other collectibles.
Collectibles Overview:
Upgrades are listed in the order that they are available by region. Certain upgrades may require traversal upgrades that are available later and must be backtracked to.
Ferrofluid Power Upgrades
Ferrofluid Flask Power Upgrade #1
Lantern: Valley of Ashes > Guidepost
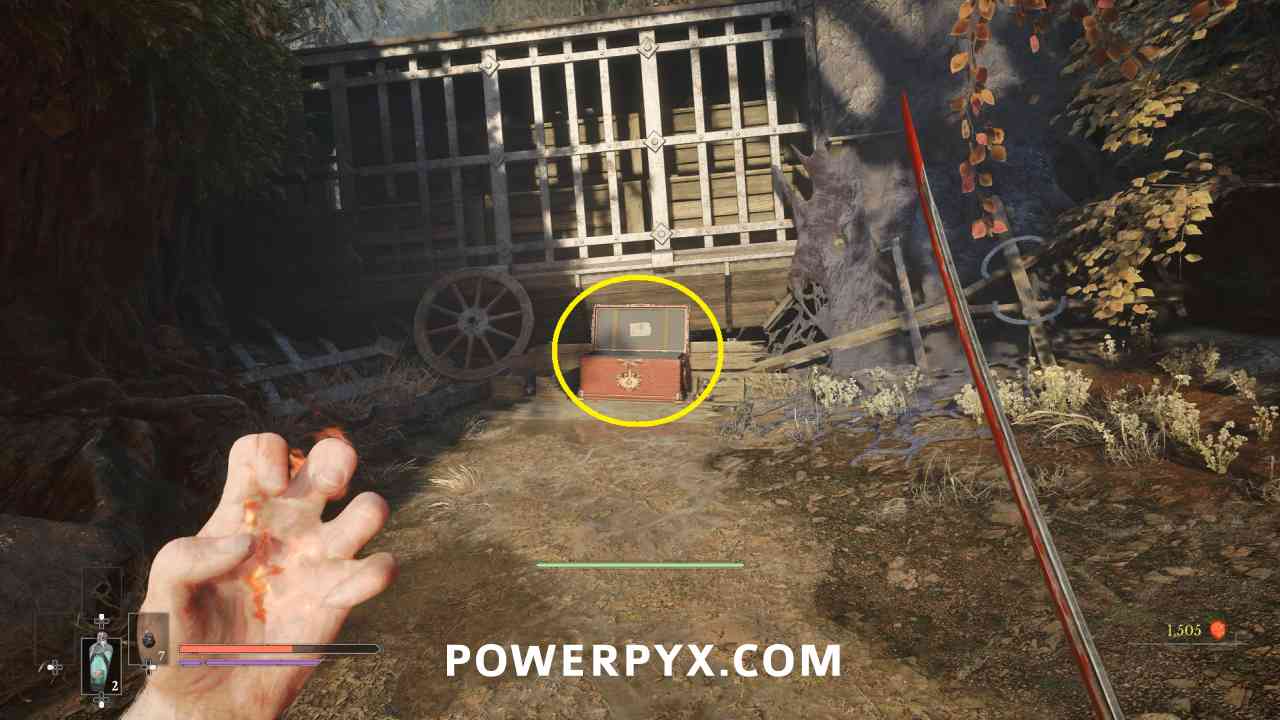
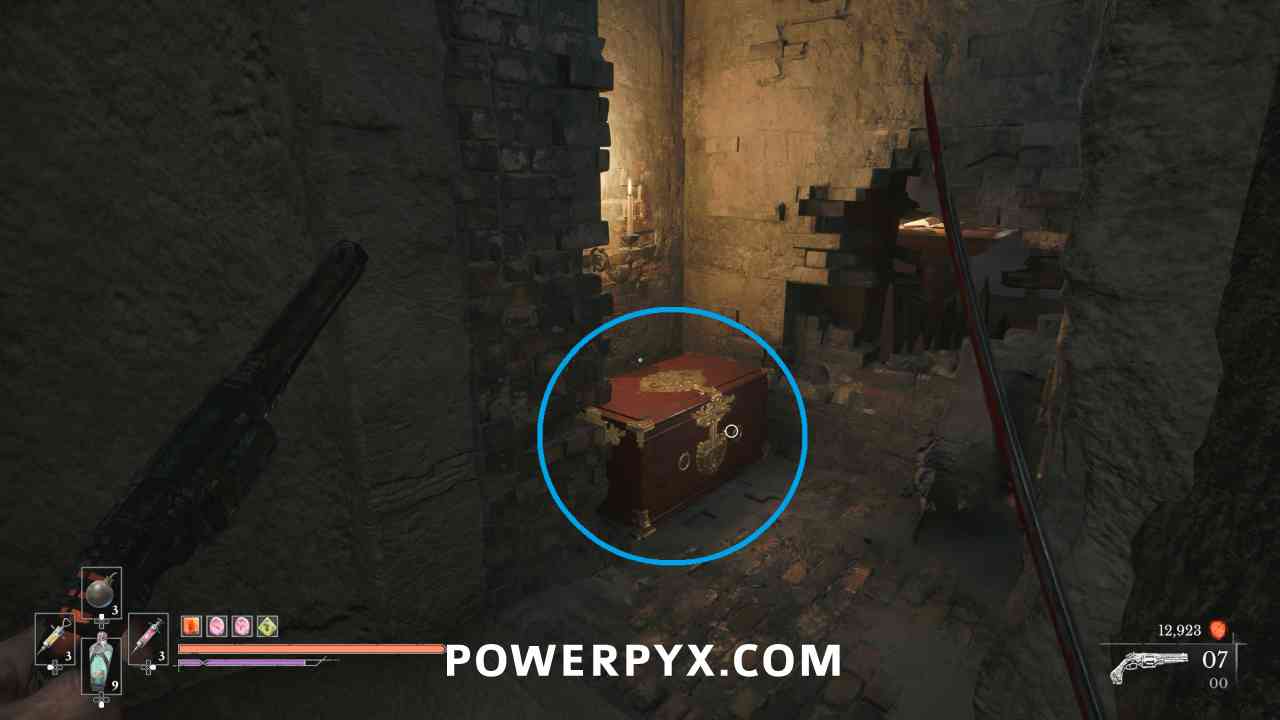
Follow the main path until you pass a large wagon tipped on its side to the left. In the next area take the path to the right that leads to a wooden platform off the cliff edge where you then swing on a pole to progress. Before doing that, break the boxes to the left and this is in a chest in the dead end behind an enemy.


Ferrofluid Flask Power Upgrade #2
Lantern: Valley of Ashes > Quarry
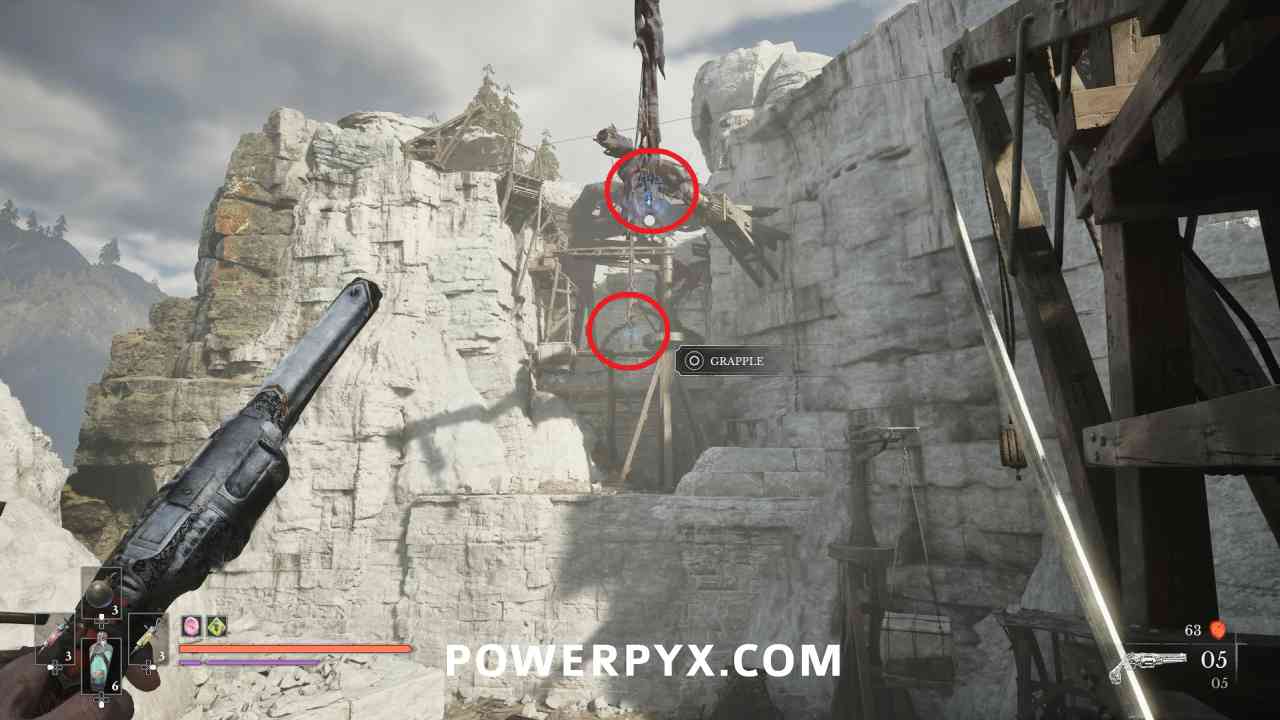
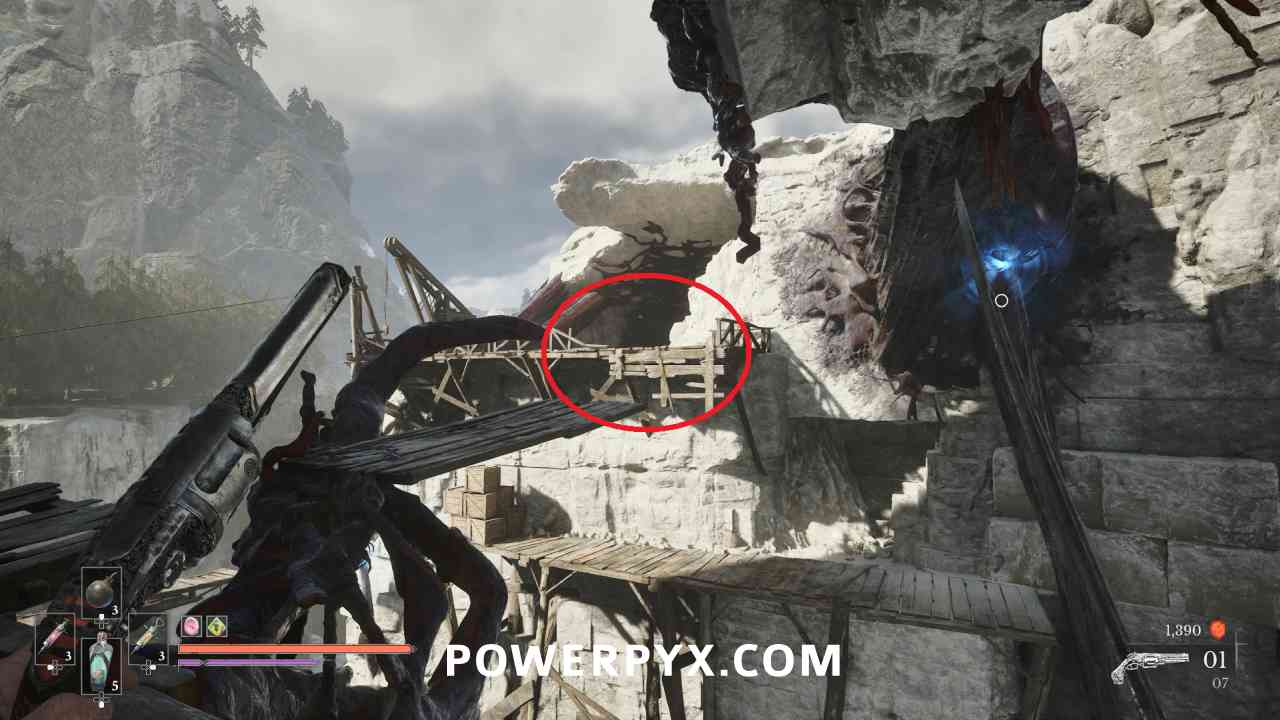
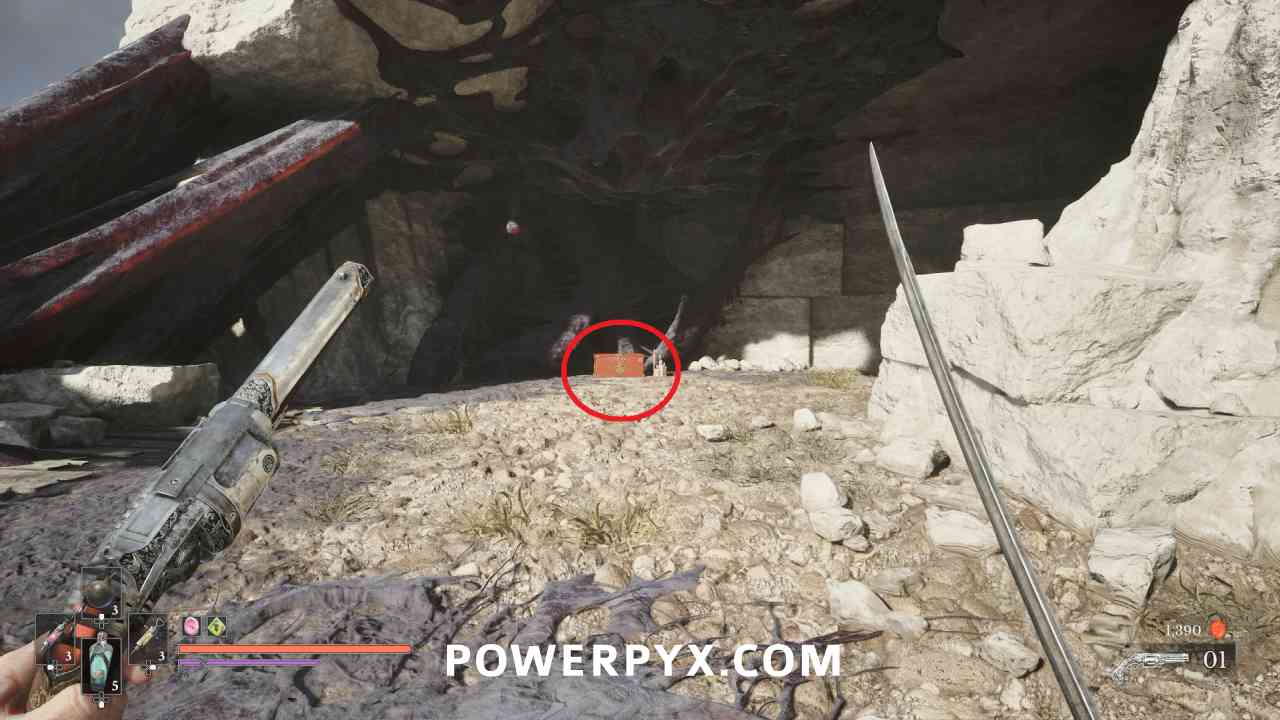
After obtaining the grapple ability, ride the elevator near the Lantern up to the upper level. There are grapple points across the area you can now use. Pull the crate on the other side to be taken up to an area with a bunch of enemies. Deal with them while making your way to the top of the area, where this is in a chest near the zipline back down.
Ferrofluid Flask Power Upgrade #3
Lantern: Fallen Village > Fields
When progressing along the main path, when the path splits and there is a wooden gate with a Grenadier on the right, instead go the opposite direction to the large house, where this is in a chest beside the nearby well. This is also the shortcut back to the prior Lantern.
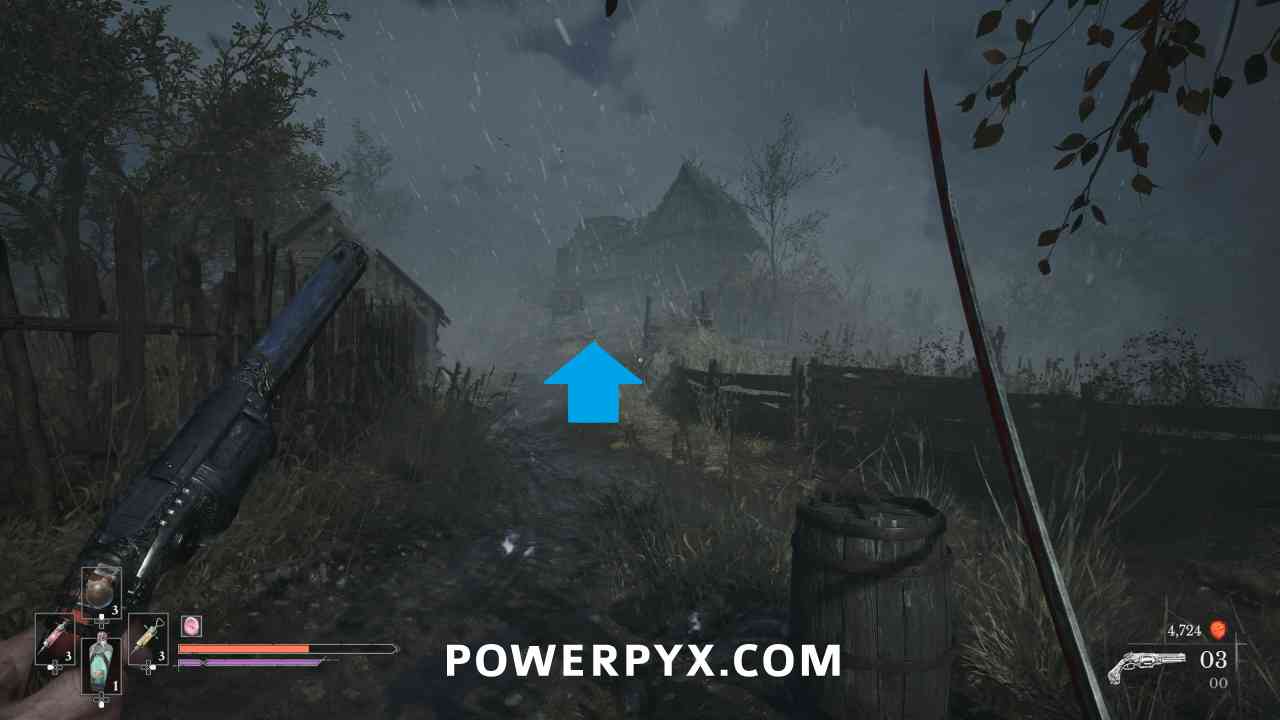
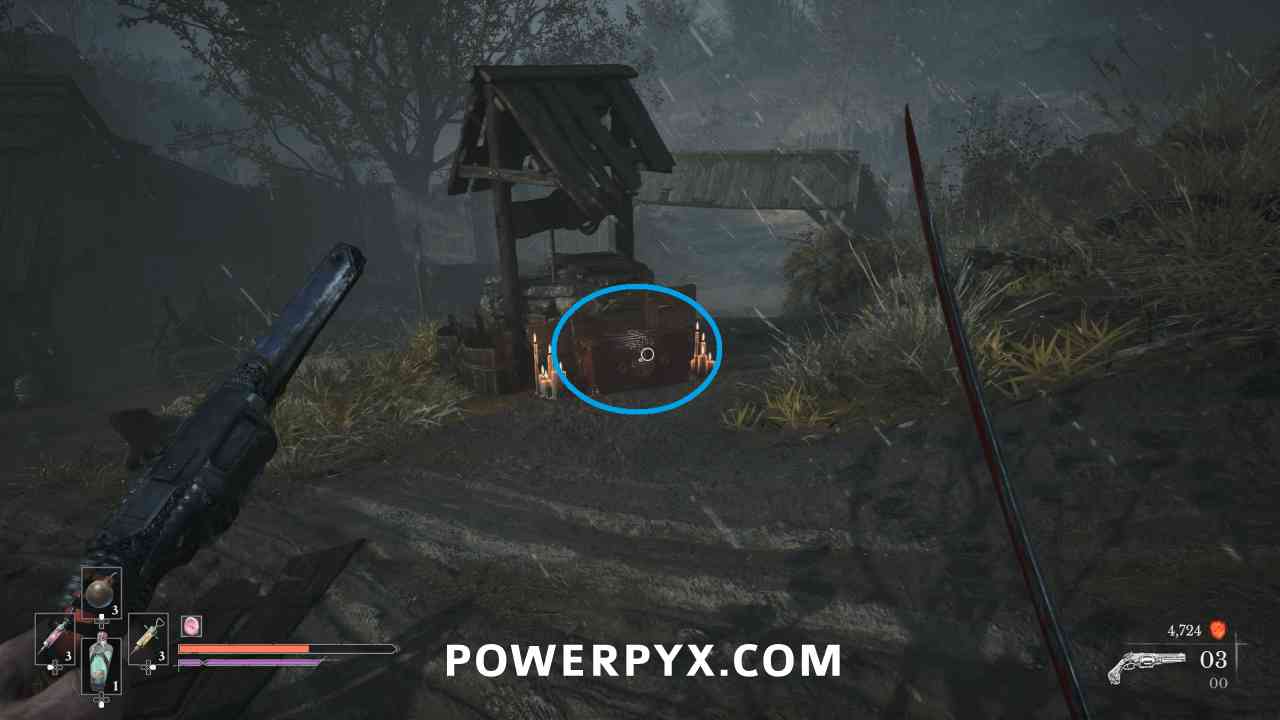
Ferrofluid Flask Power Upgrade #4
Lantern: Fallen Village > Marketplace
When you reach the open village area with the groups of enemies patrolling around, take the first left path, and this is in a chest inside the house on the corner.
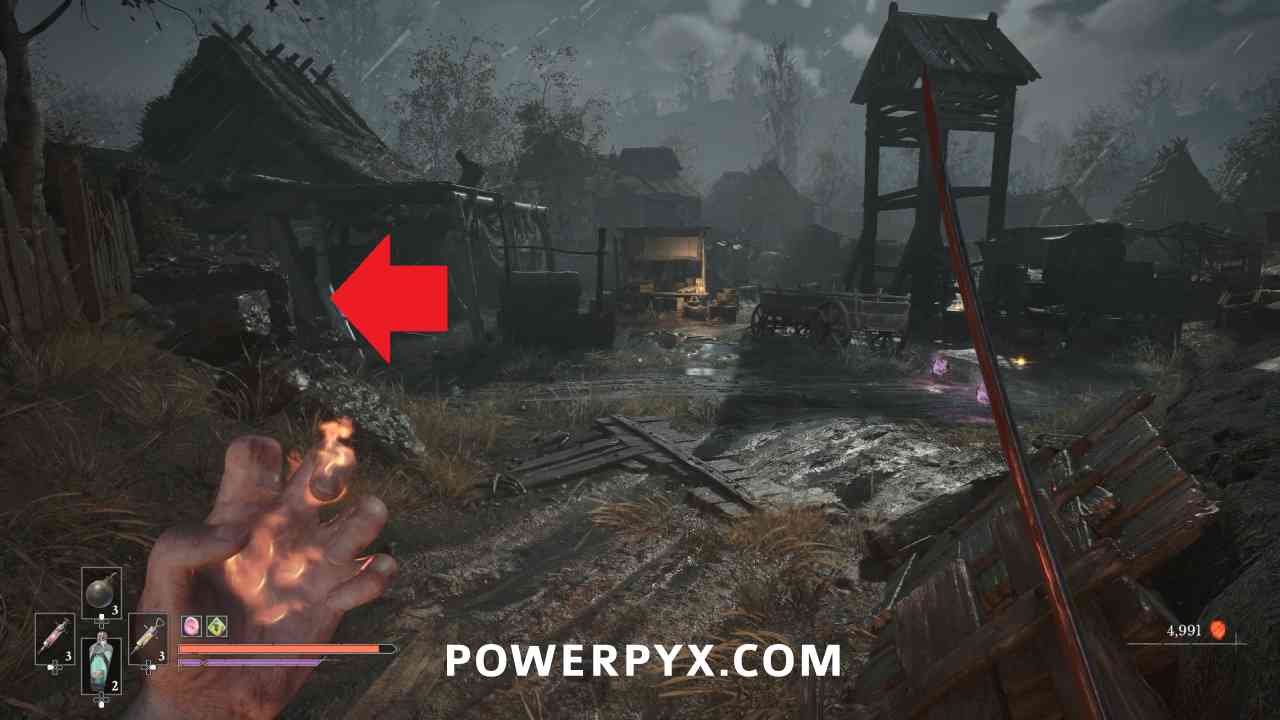
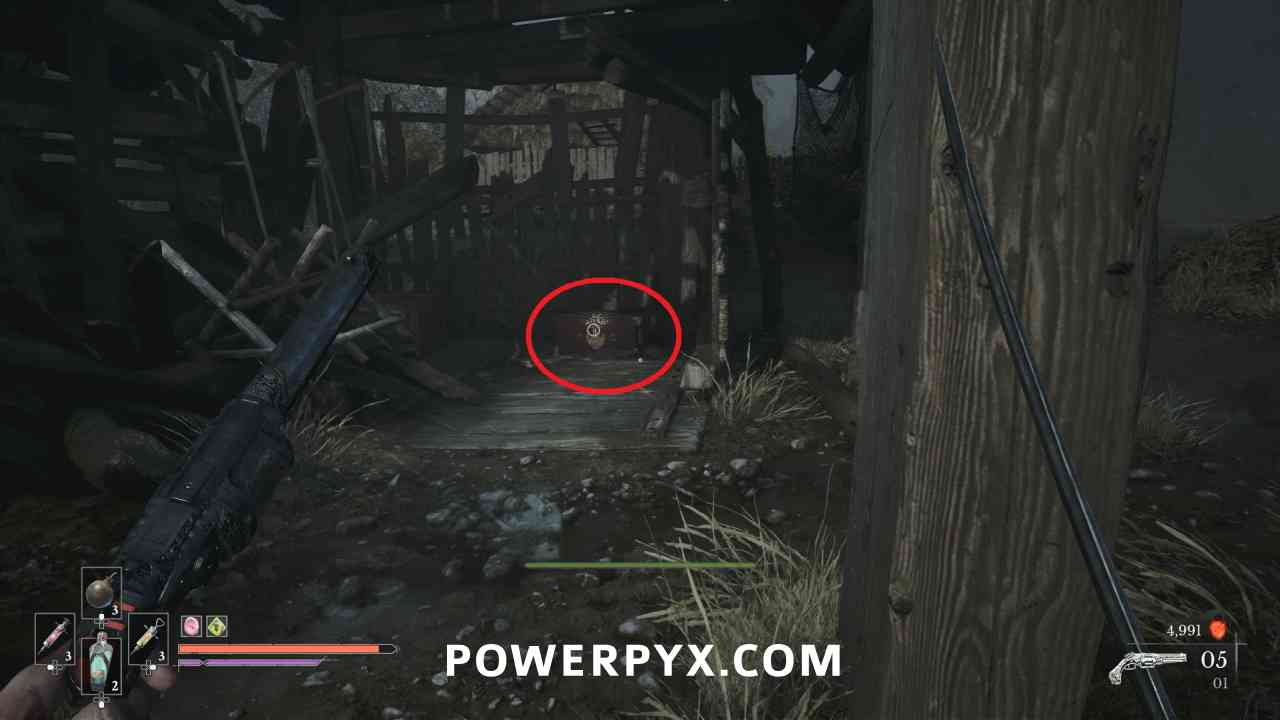
Ferrofluid Flask Power Upgrade #5
Lantern: Abandoned Church
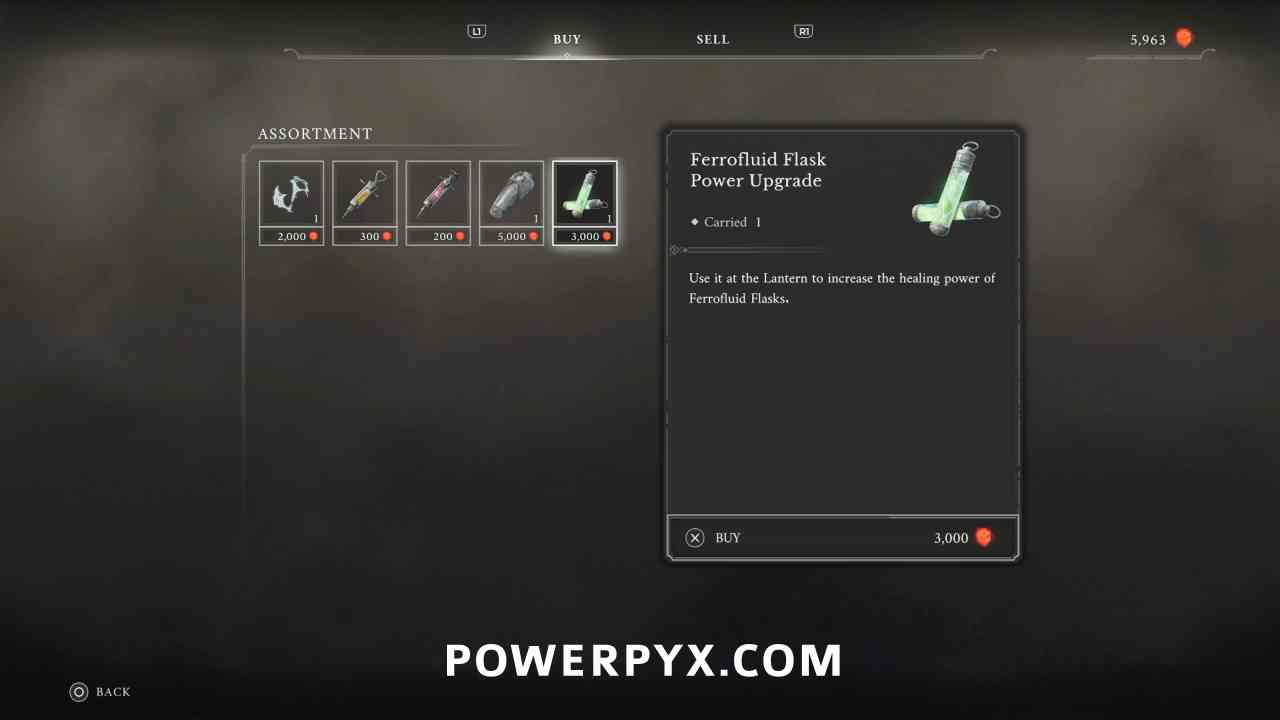
Starting in Chapter 4: Descent, 1 can be purchased from Louis’ station at the Abandoned Church for 3000 currency.
Ferrofluid Flask Power Upgrade #6
Lantern: Caverns > Old Mine
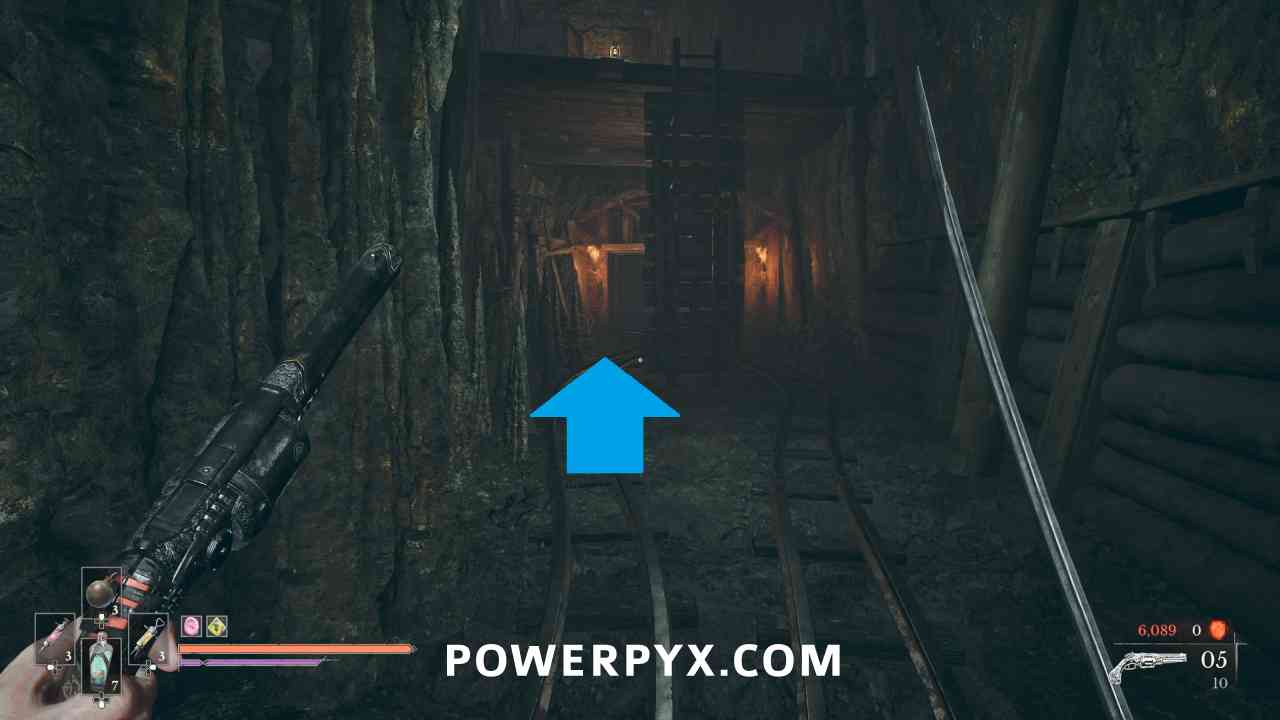
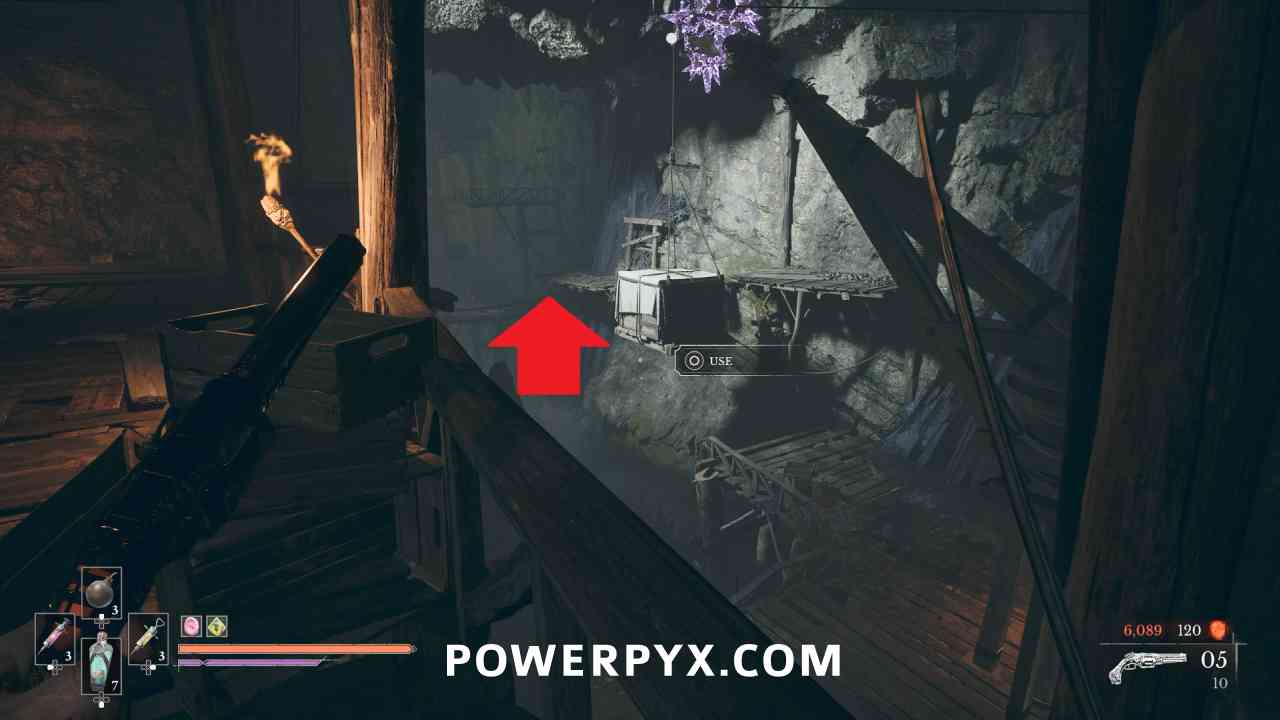
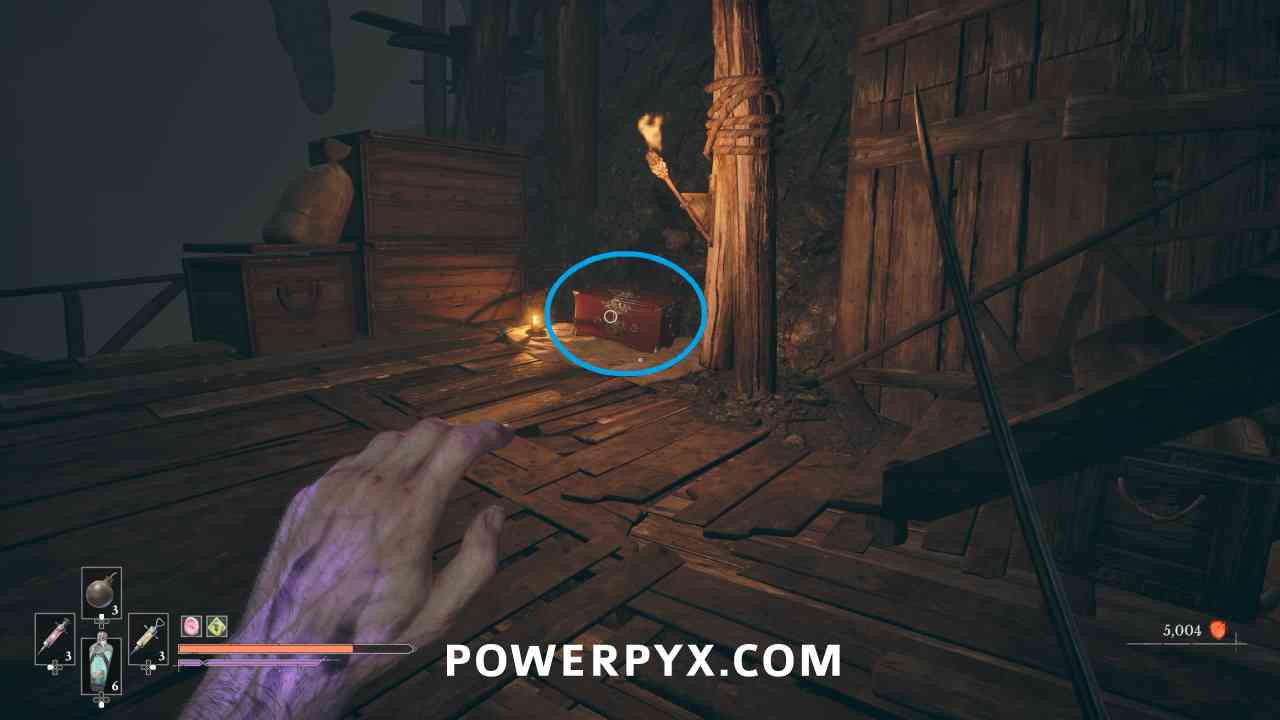
Progress through the area until you reach the tunnels with the mine carts going through them. In the first tunnel where you drop down a ladder between two tracks that is by a shortcut back to the Lantern, walk back past the ladder and there is a path leading to a new area. Make your way through this area until you reach a spot with a lever that moves a box up and down that you can freeze. Jump across the stopped platform and this is in a chest in the corner of the platform.
Ferrofluid Flask Power Upgrade #7
Lantern: Vale of Wrath > Under the Bridge
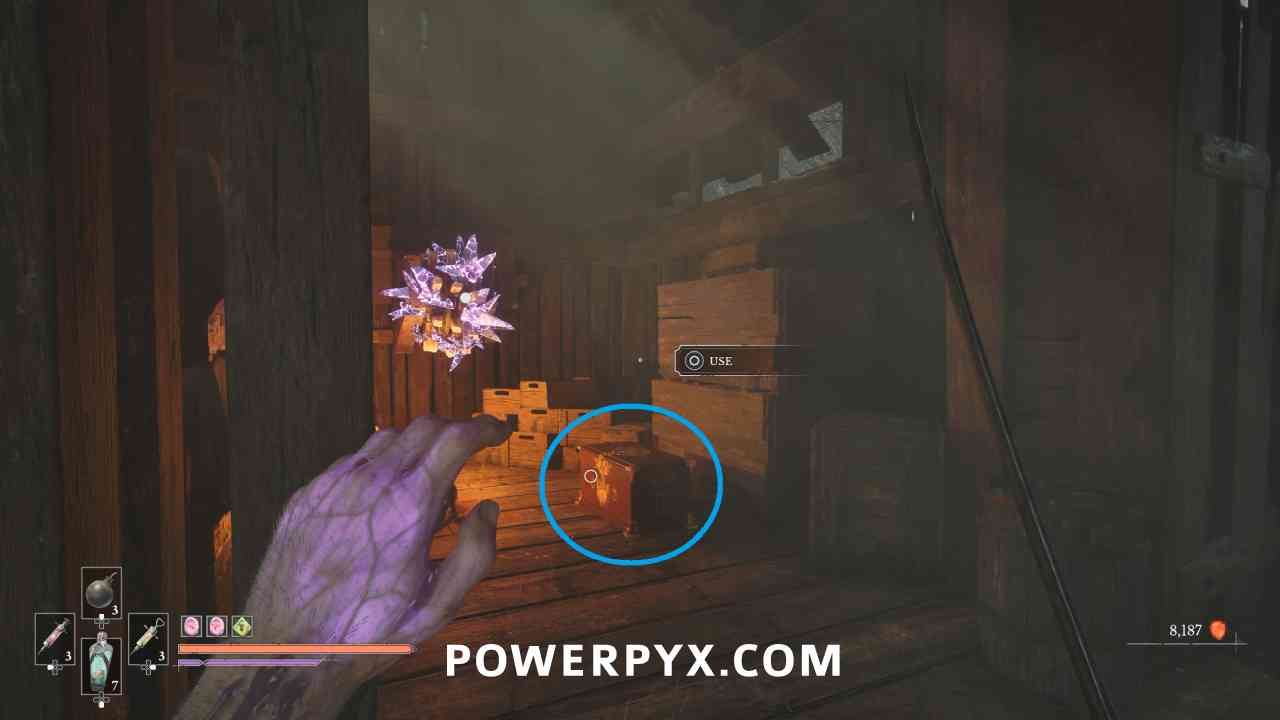
At the spot on top of the bridge where you jump across and into the roof of the building to open the gate, this is inside. Beside the gears that you freeze with Stasis to keep the gate open.
Ferrofluid Flask Power Upgrade #8
Lantern: Vale of Wrath > Ship Graveyard
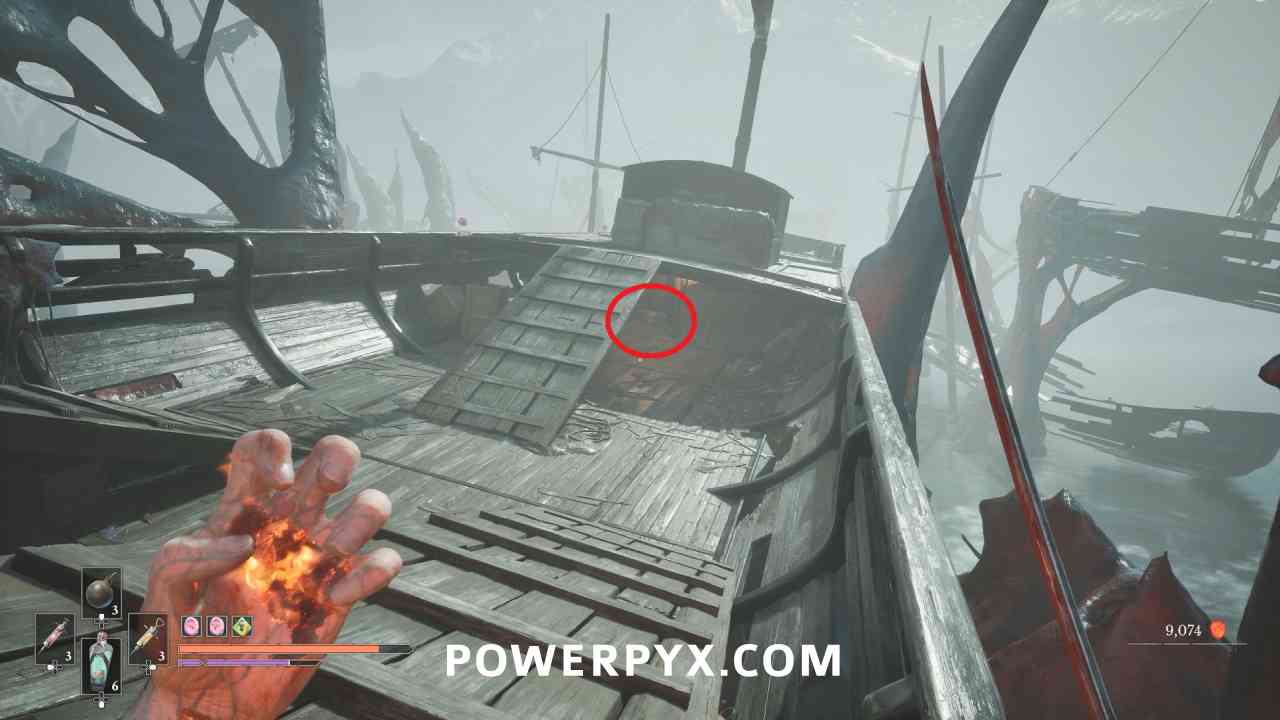
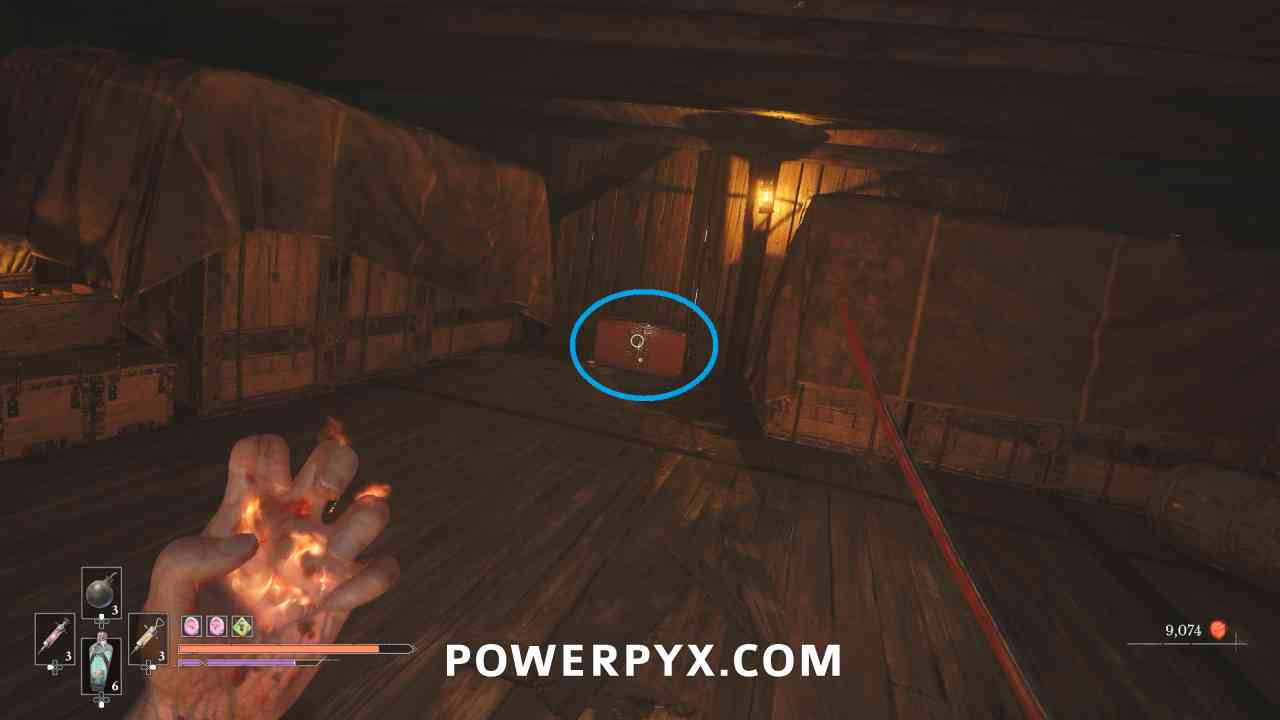
Progress until you reach the ship with the two ramps in the middle (this is where you were being shot from earlier where you had the two walls you could switch for cover). Turn around and under the part of the deck where you start on the ship there is a chest near a group of 3 enemies with this inside.
Ferrofluid Flask Power Upgrade #9
Lantern: Cursed Hollow > Silent Cannons
Reward for completing The Curious Case of Seamus Diggory side quest.
Ferrofluid Flask Power Upgrade #10
Lantern: The Outskirts > Breach
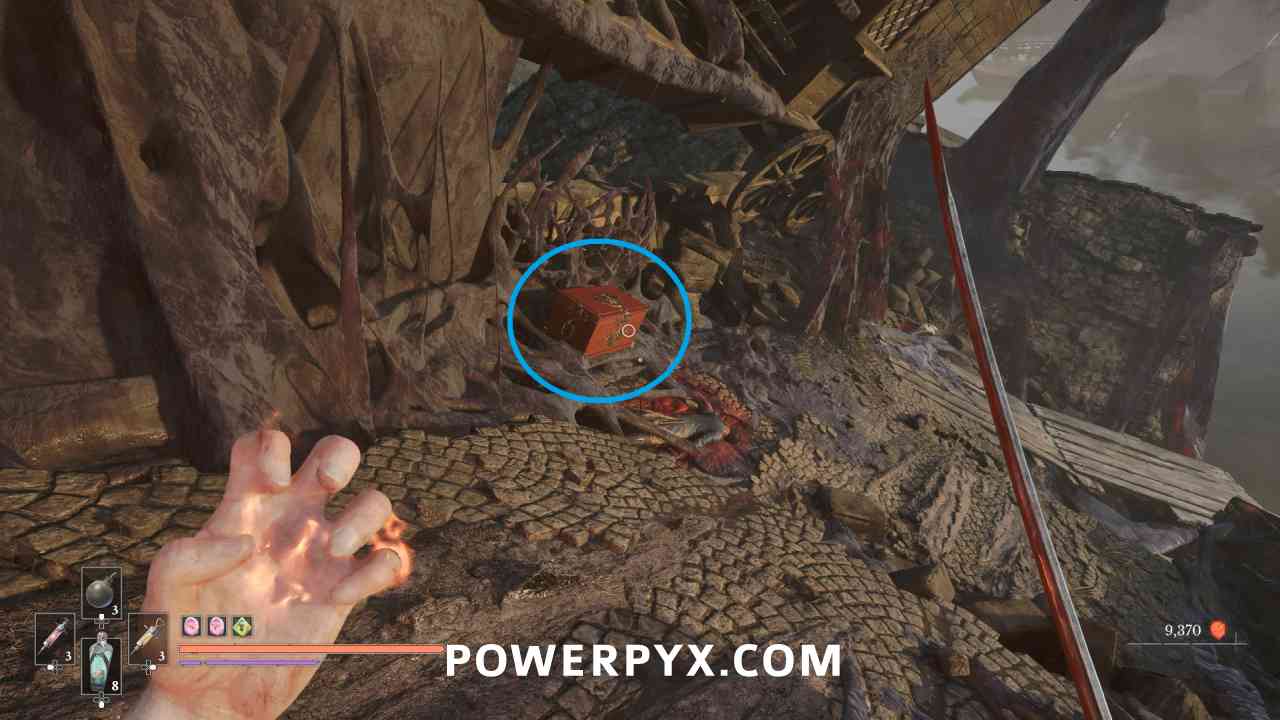
Immediately after the Justicar Aurelius boss area, in a chest on the slope down to the next area.
Ferrofluid Flask Power Upgrade #11
Lantern: City of Orphans > Tribunal Square
Progress until you go up to the top floor of a house, then can shoot weak points out of one of the windows. Go the opposite direction and follow the path around the building to a courtyard, where a miniboss is near a chest. This is in the chest accessible after you defeat the miniboss.
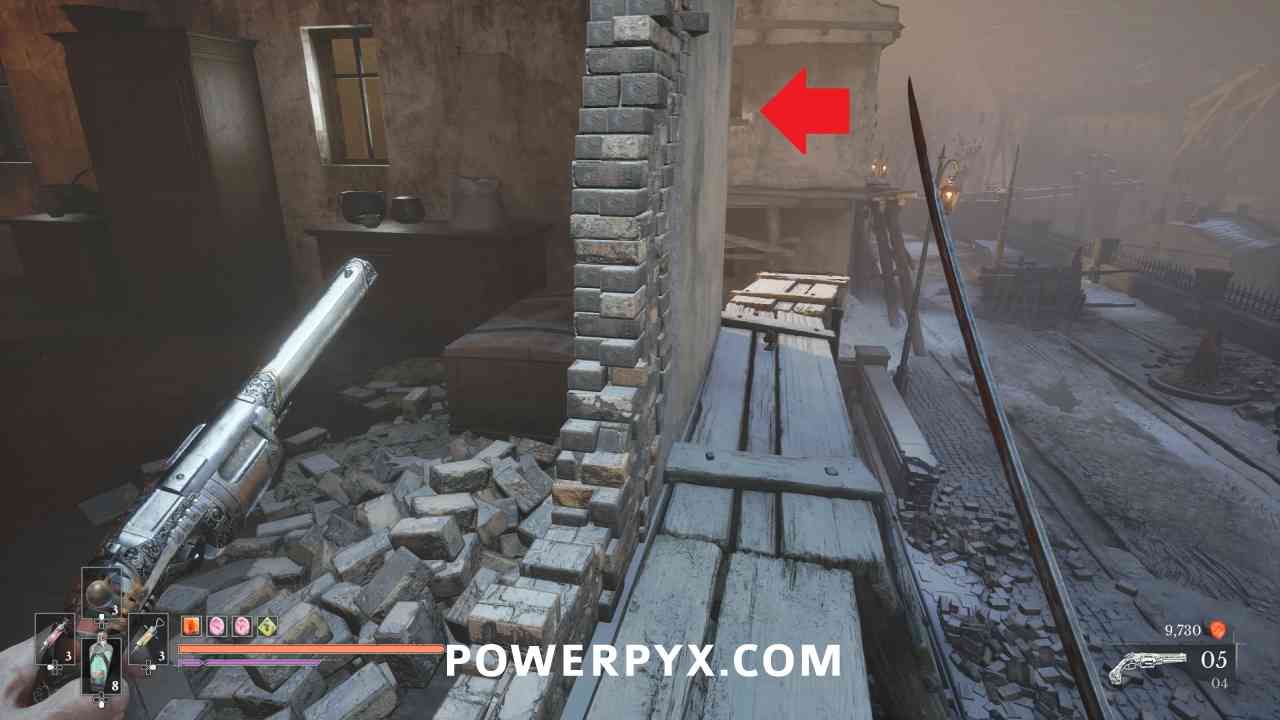
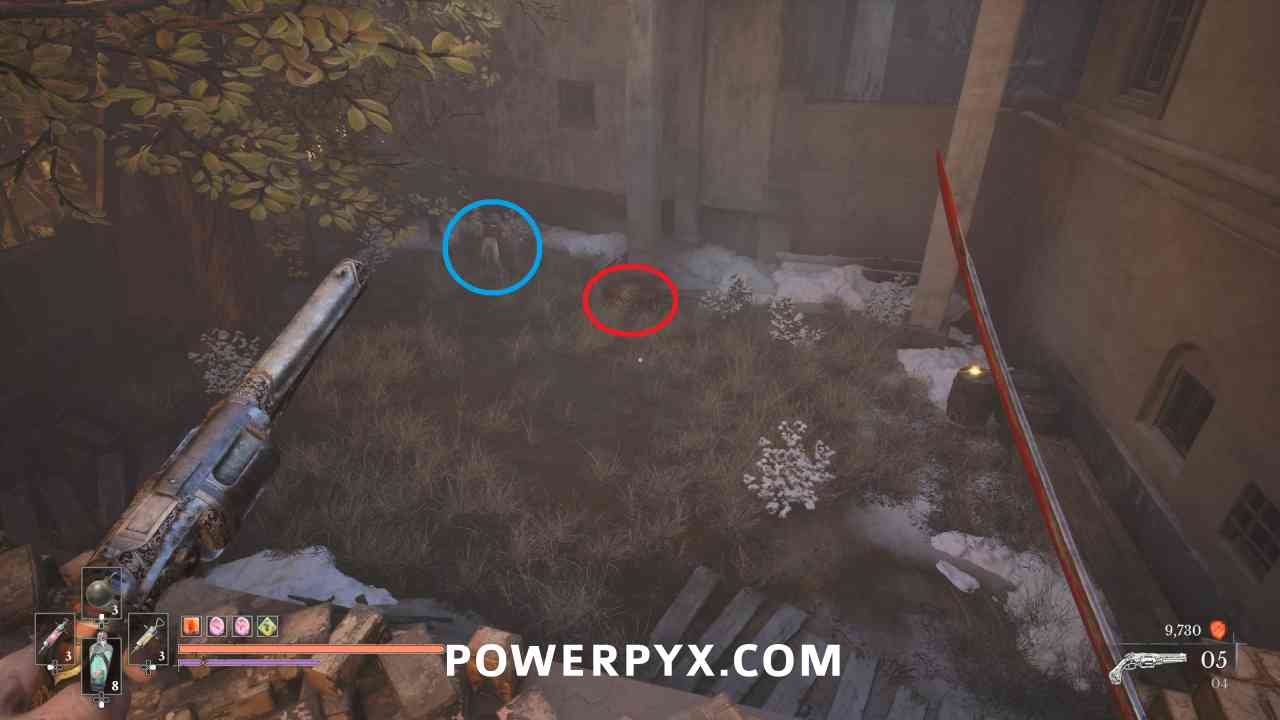
Ferrofluid Flask Power Upgrade #12
Lantern: City of Orphans > Tribunal Square
In the large open area before the tower, in a chest right in the middle where the cannon enemy walks.
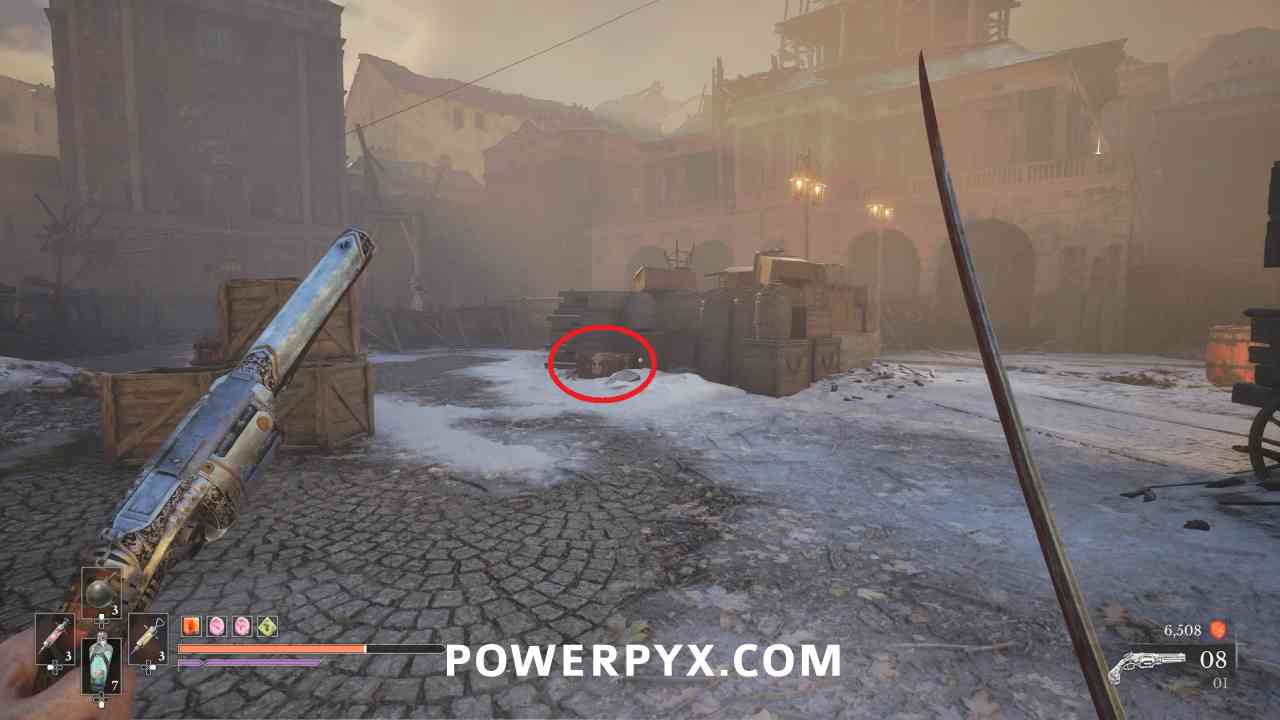
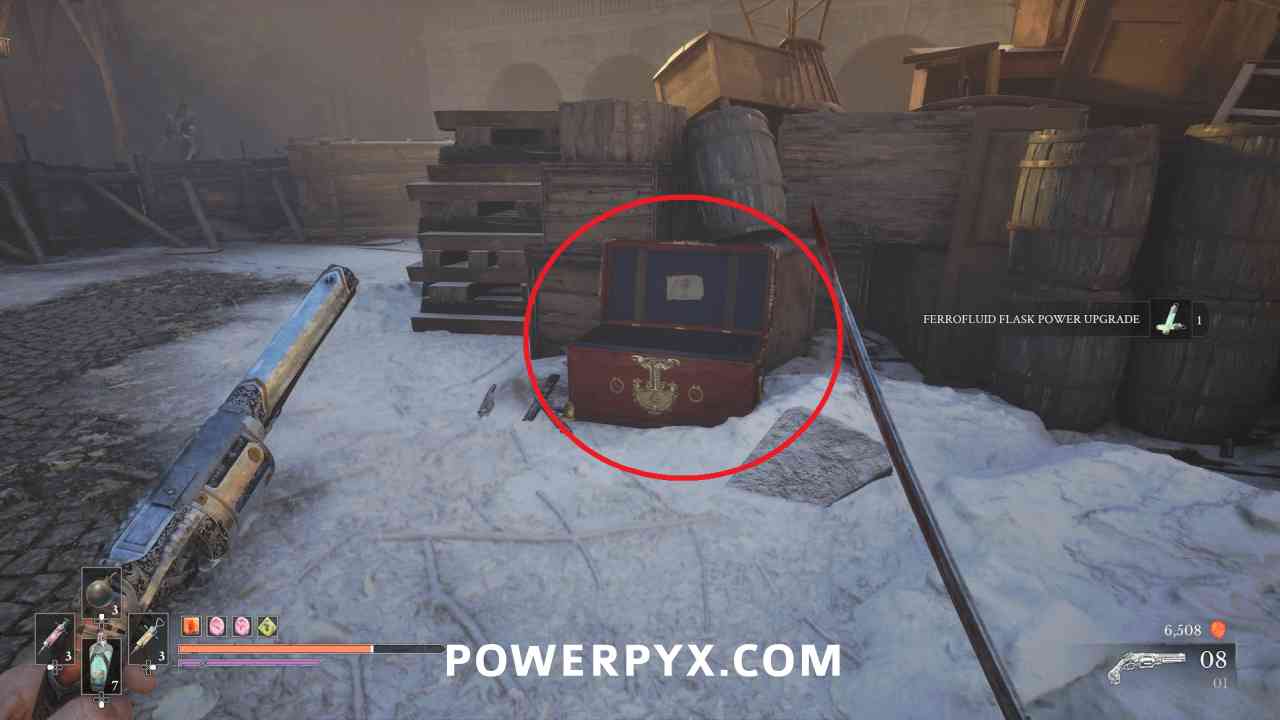
Ferrofluid Flask Power Upgrade #13
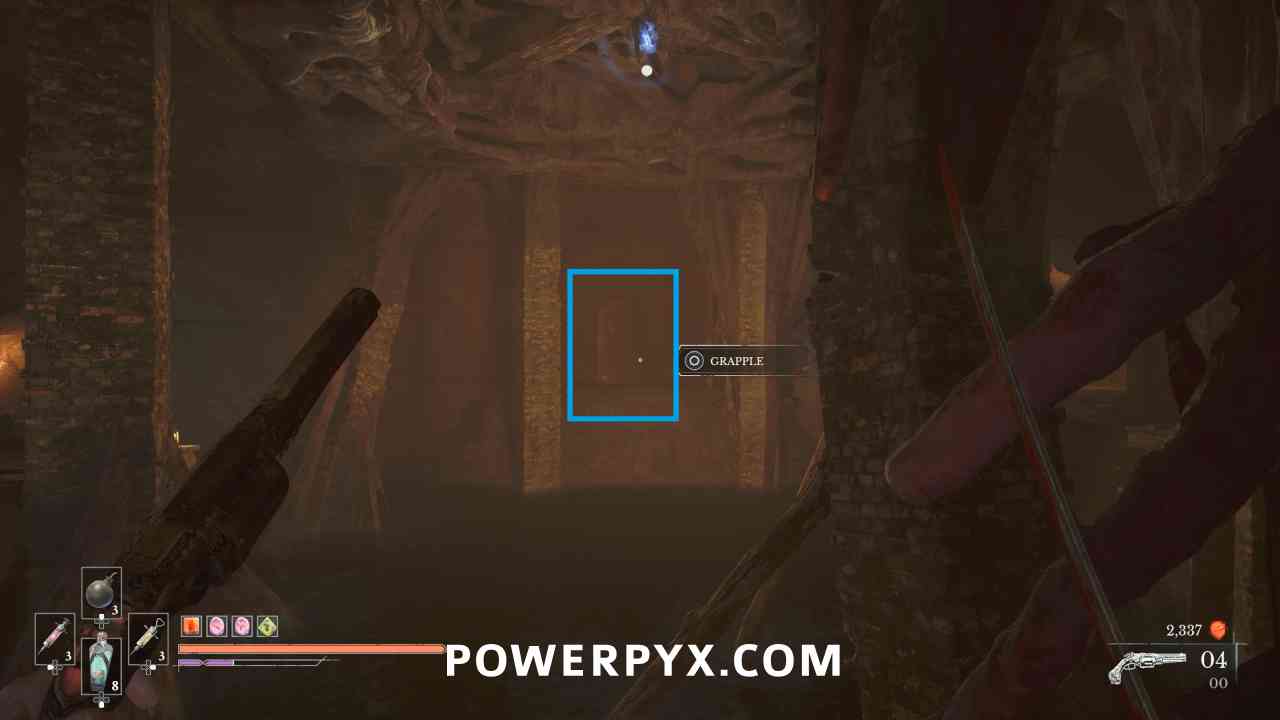
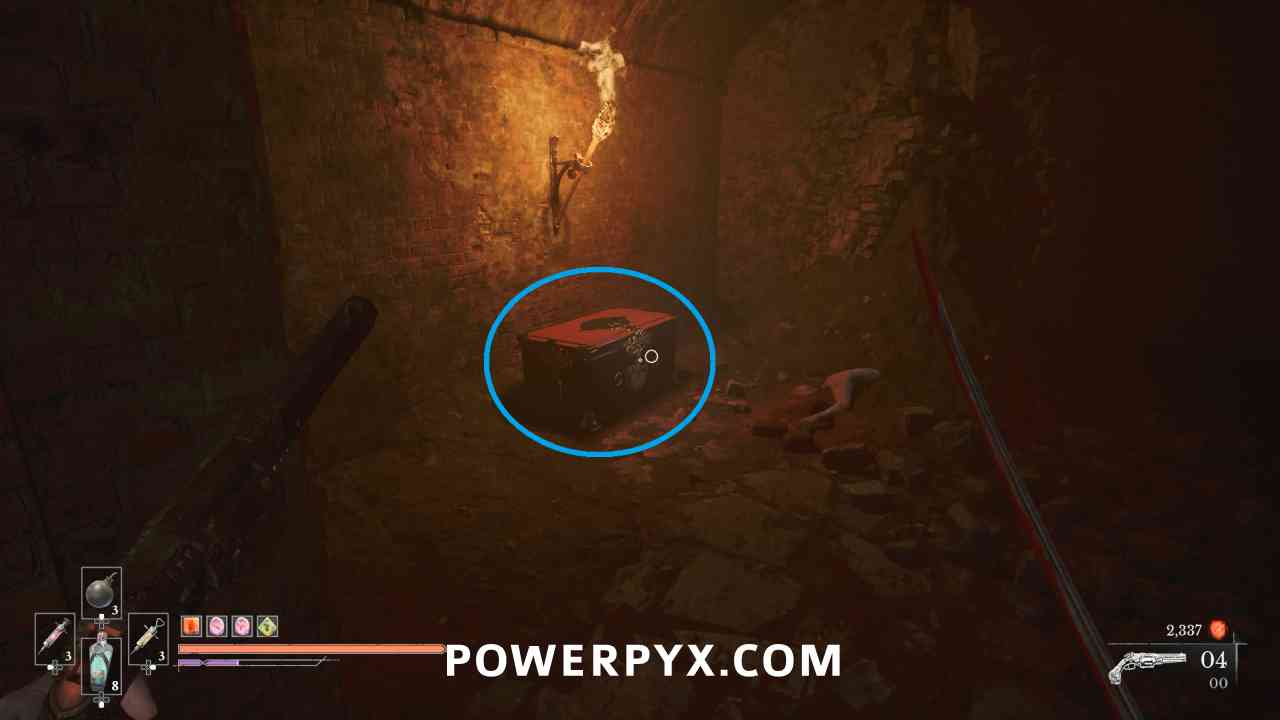
Lantern: City of Orphans > Sewers
Progress to the circular room with a grapple point in the middle. Grapple to the other side, then look left where there is an exploding enemy lying on the ground. Go to where they are, and you can grapple across to a room with a chest inside that contains this upgrade.
Ferrofluid Flask Power Upgrade #14
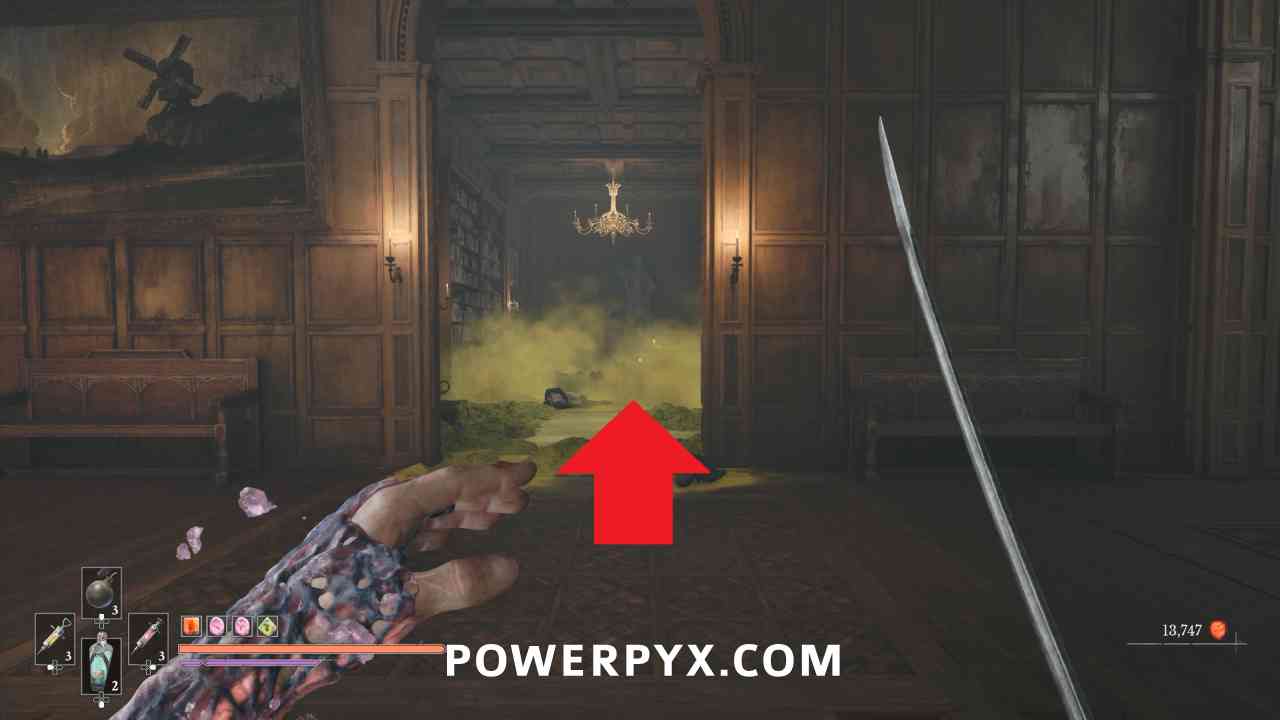
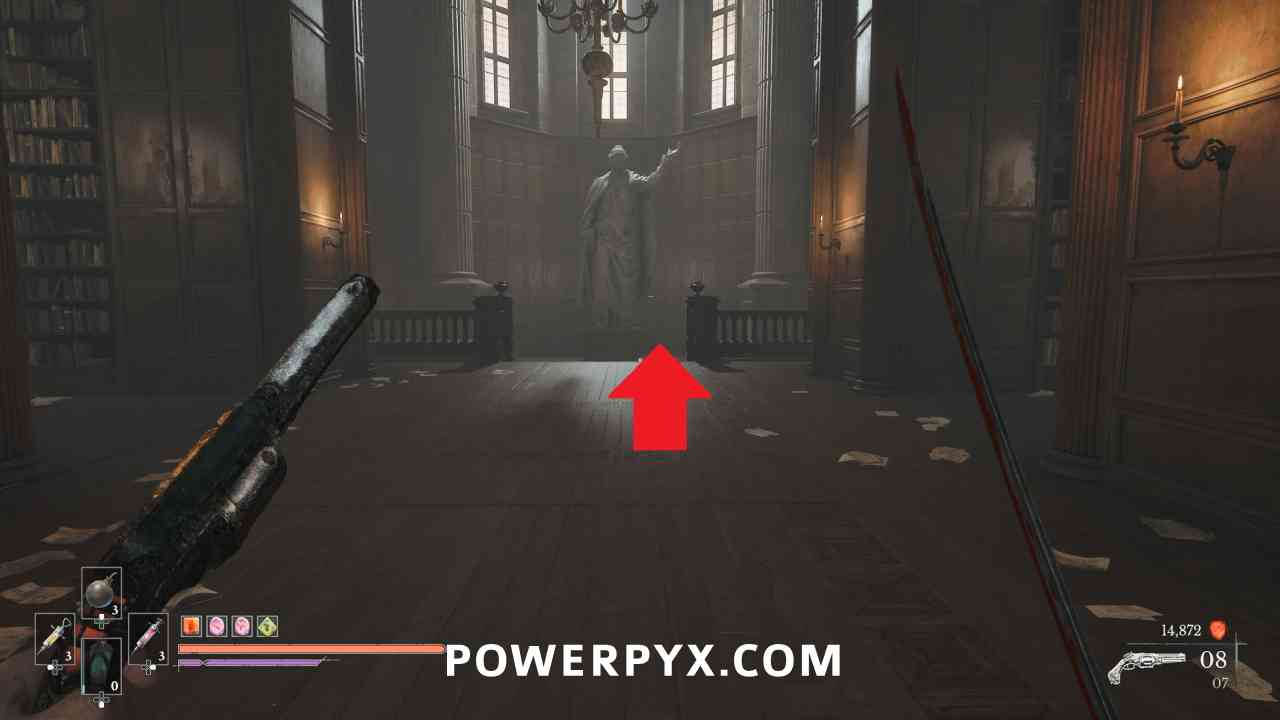
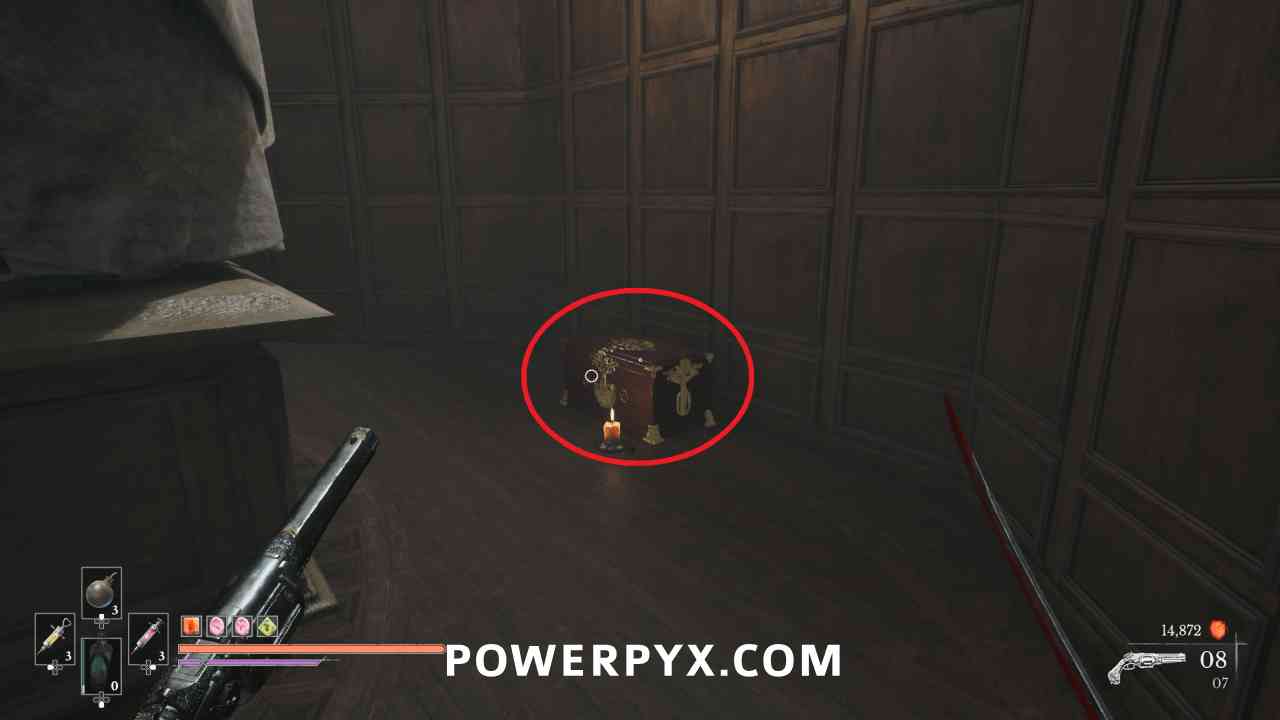
Lantern: University > Main Hall
Go to the area where you jumped across the chandelier before reaching the Shield Transmutation, and go the opposite direction through the poison hallway. Continue down the next elevator, then in the lower level library go to the right where there is the big room with the statue. Pick up the item in front of the statue to remove the vines, then this is in a chest behind the statue.
Ferrofluid Flask Power Upgrade #15
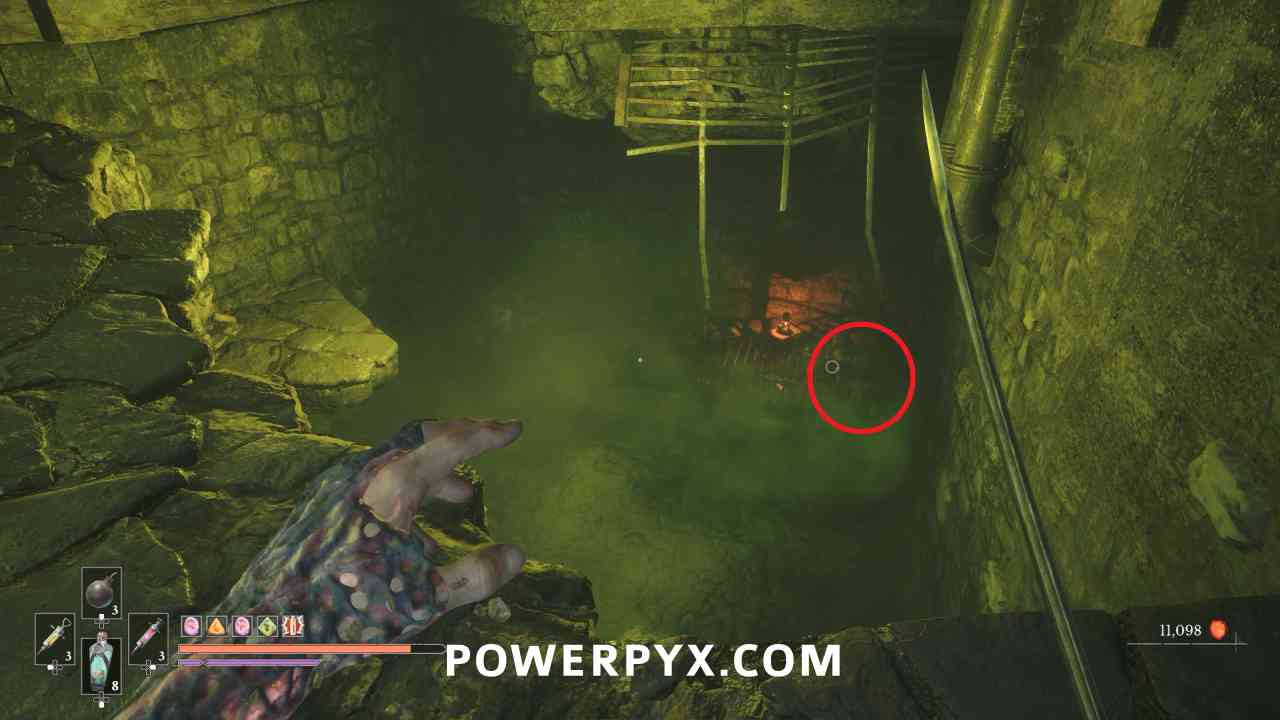
Lantern: University > Lift Shaft
Progress along the main path until you reach a long hallway where there is poison on the lower level and you are meant to jump across the platforms. At the end on the lower area are two explosive chests. The right chest contains this upgrade.
Ferrofluid Flask Power Upgrade #16
Lantern: Abandoned Church
Starting in Chapter 9: In Ruins, 1 can be purchased from Louis’ station at the Abandoned Church for 3000 currency.
Ferrofluid Flask Power Upgrade #17
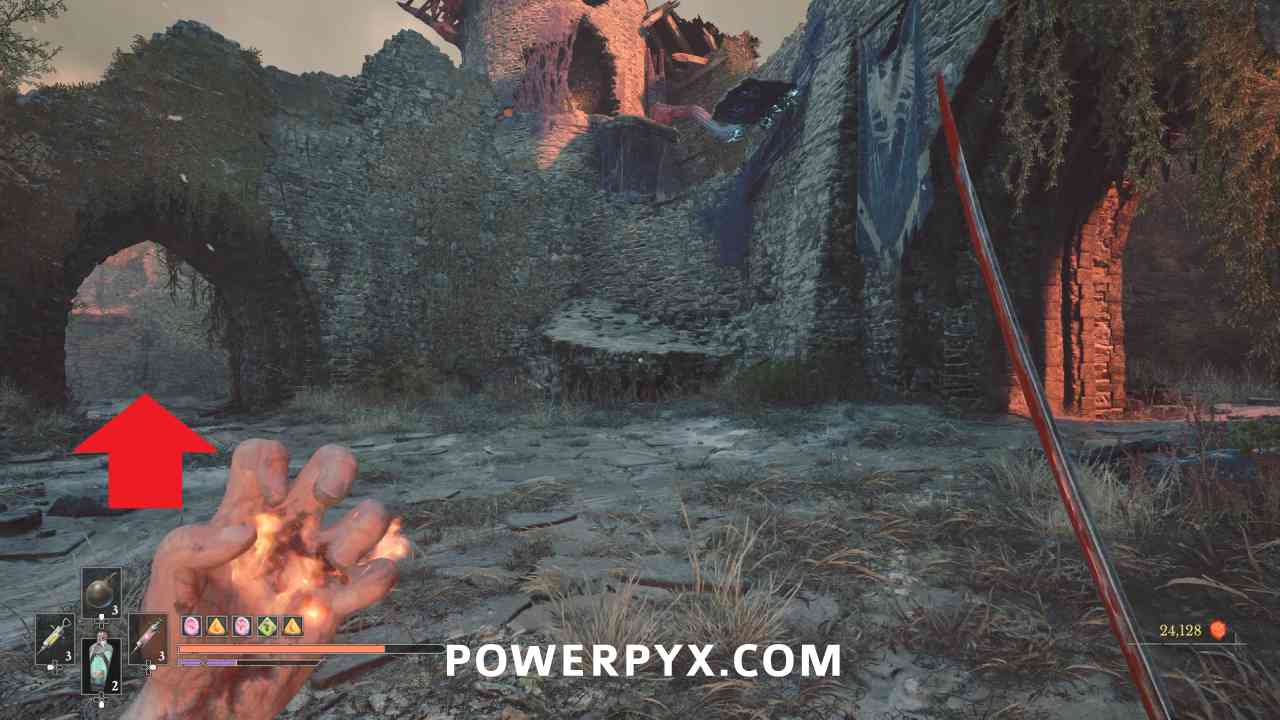
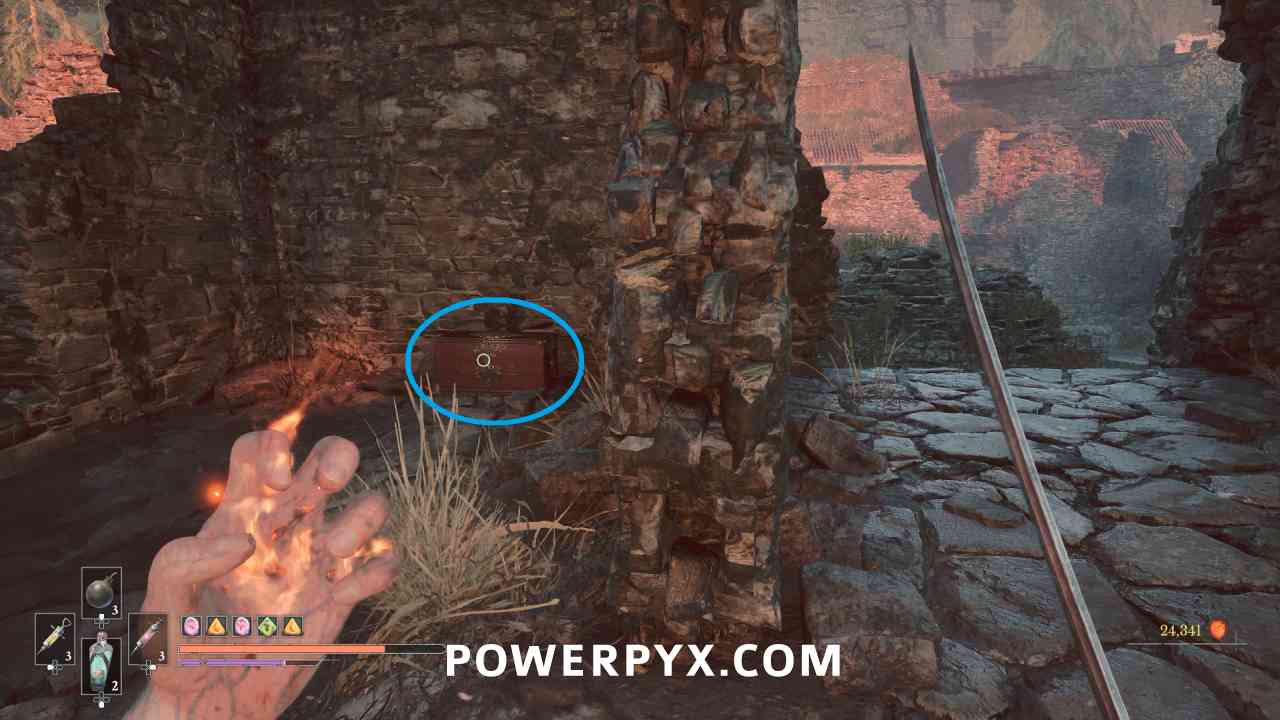
Lantern: Fortress > Traverse
Progress until you reach the Traverse Lantern in the second courtyard. Turn around from it and go through the path to the area to the left past the enemies. Keep turning left and go up the stairs in this area then turn immediately right and the chest is behind some boxes.
Ferrofluid Flask Power Upgrade #18
Lantern: Fortress > Chapel
Progress into the underground area until you reach a sewer room with a door on the left side after a pole jump. Go into that area, to the bottom of the flight of stairs. Go into the tunnels to the left of the room with the large gates and then on the other side go into the room with the lever door and defeat the enemies. Climb the ladder in this room and on the platform at the top you can find the Fortress Armoury Key.
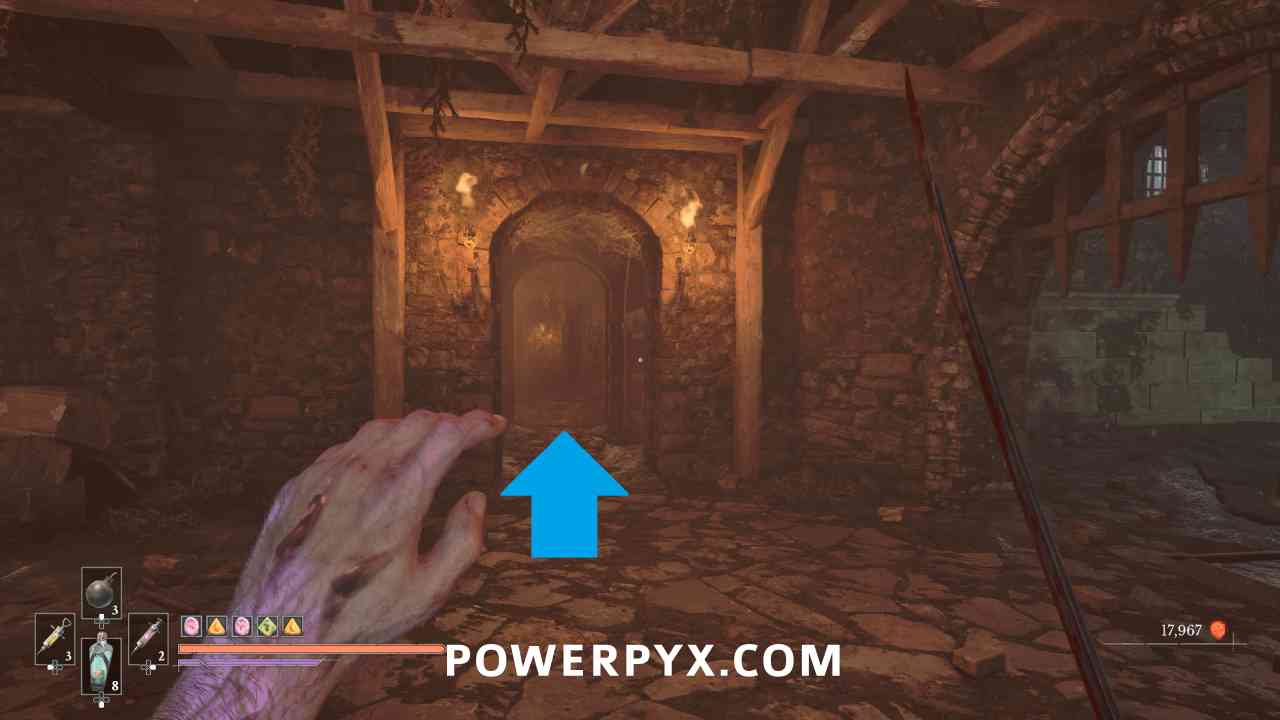

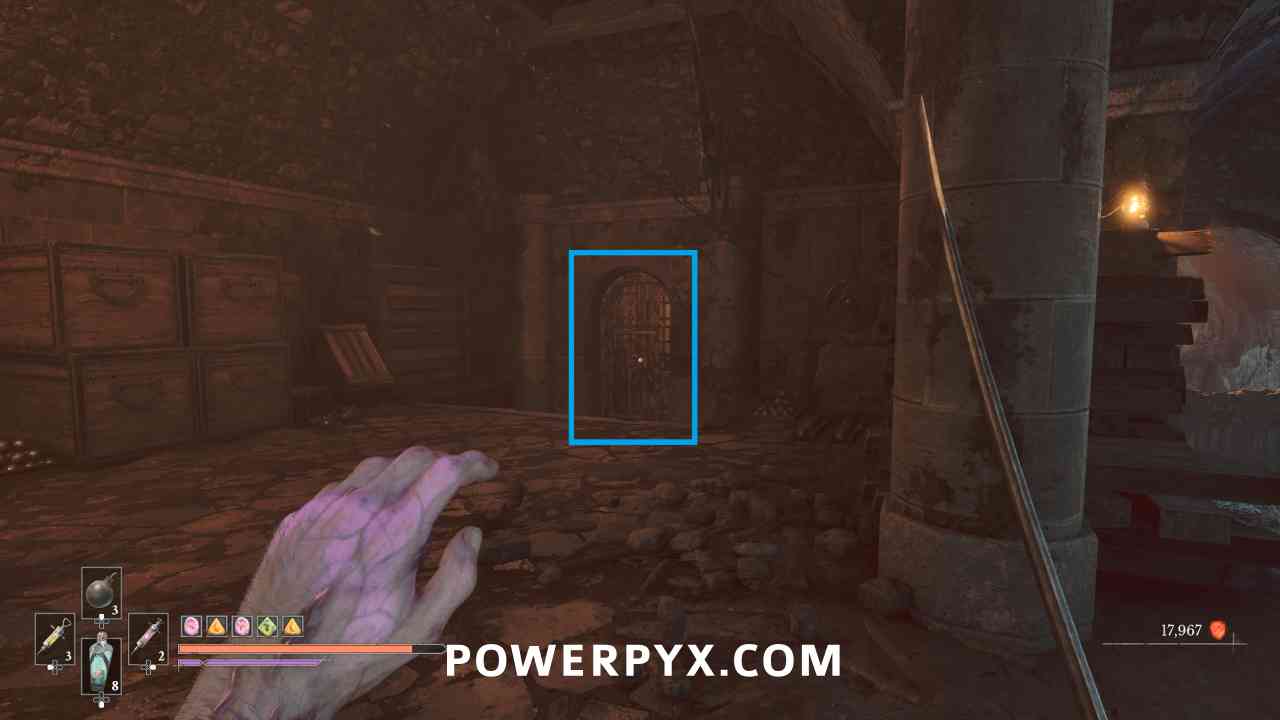
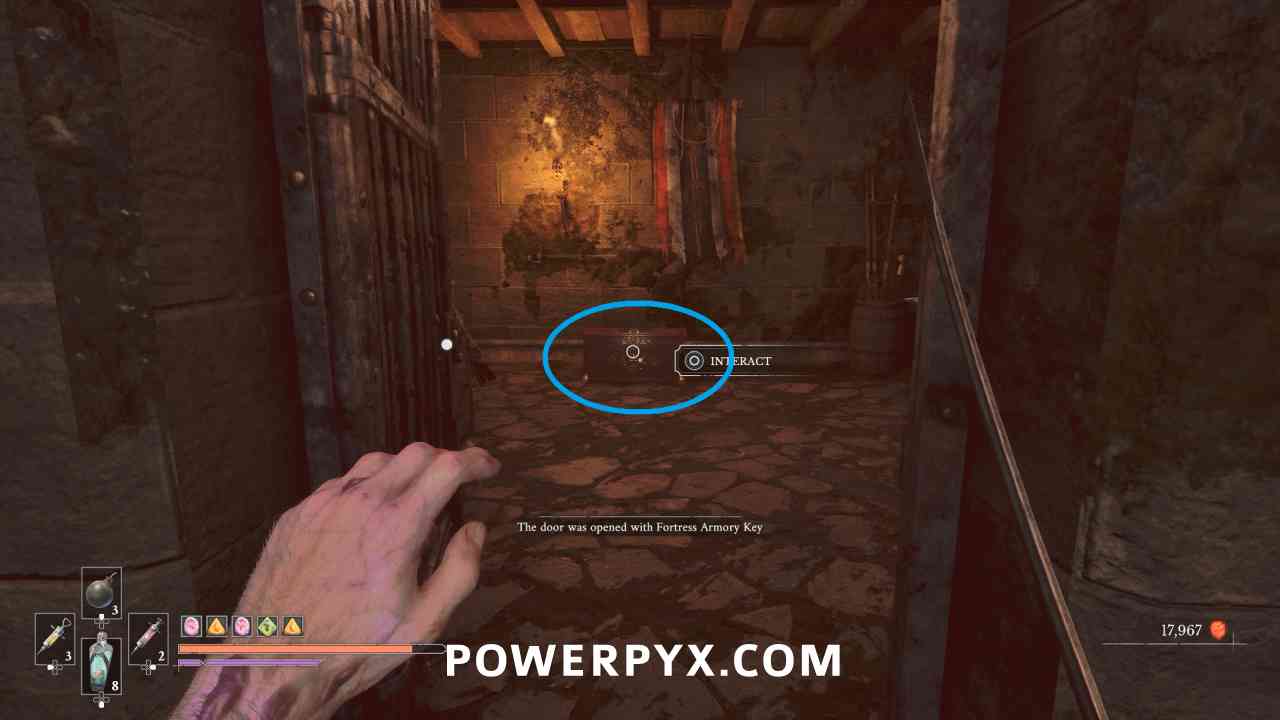
Jump across the hanging platforms to get back to the prior area. To the left in this room is the door you use the Fortress Armoury Key on, and in that room is a chest with this upgrade.
Ferrofluid Flask Power Upgrade #19
Lantern: Fortress > Ramparts
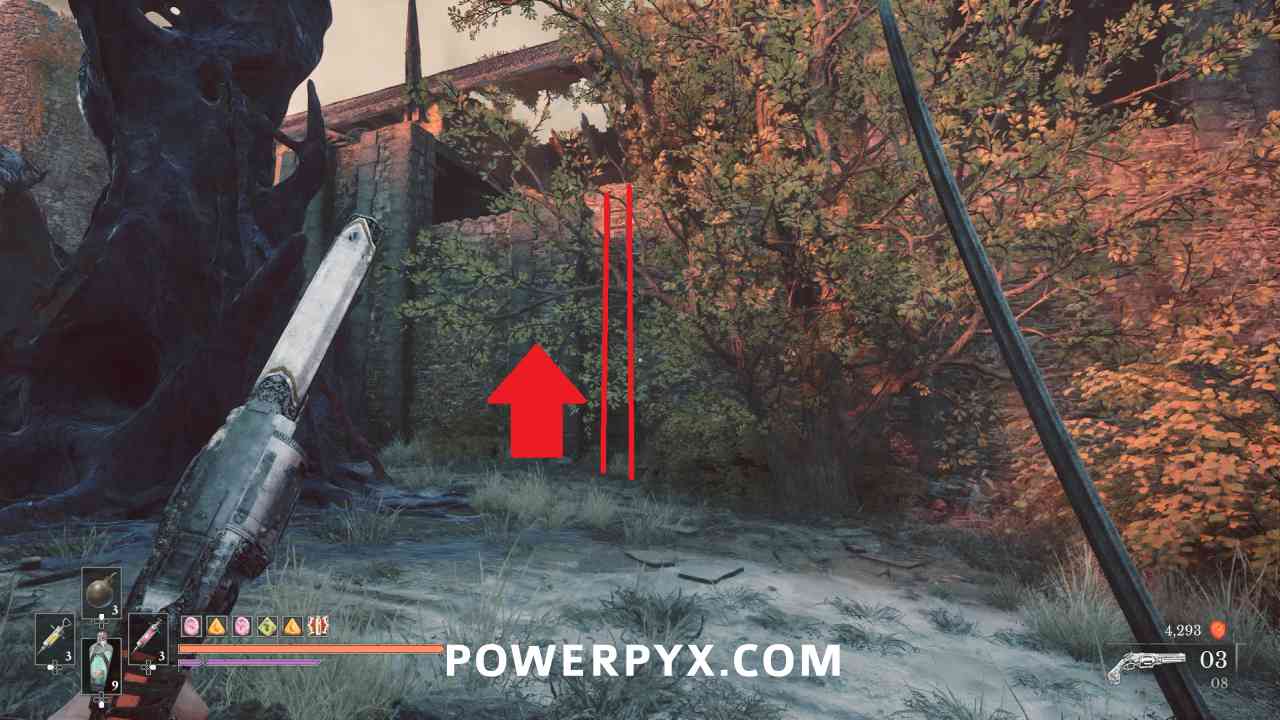
From the Lantern go up the stairs to the upper area where the two cannon enemies are. To the right there is a ladder you can climb which leads to the enemies shooting the cannons. To the right near the dead end is a chest with this upgrade.
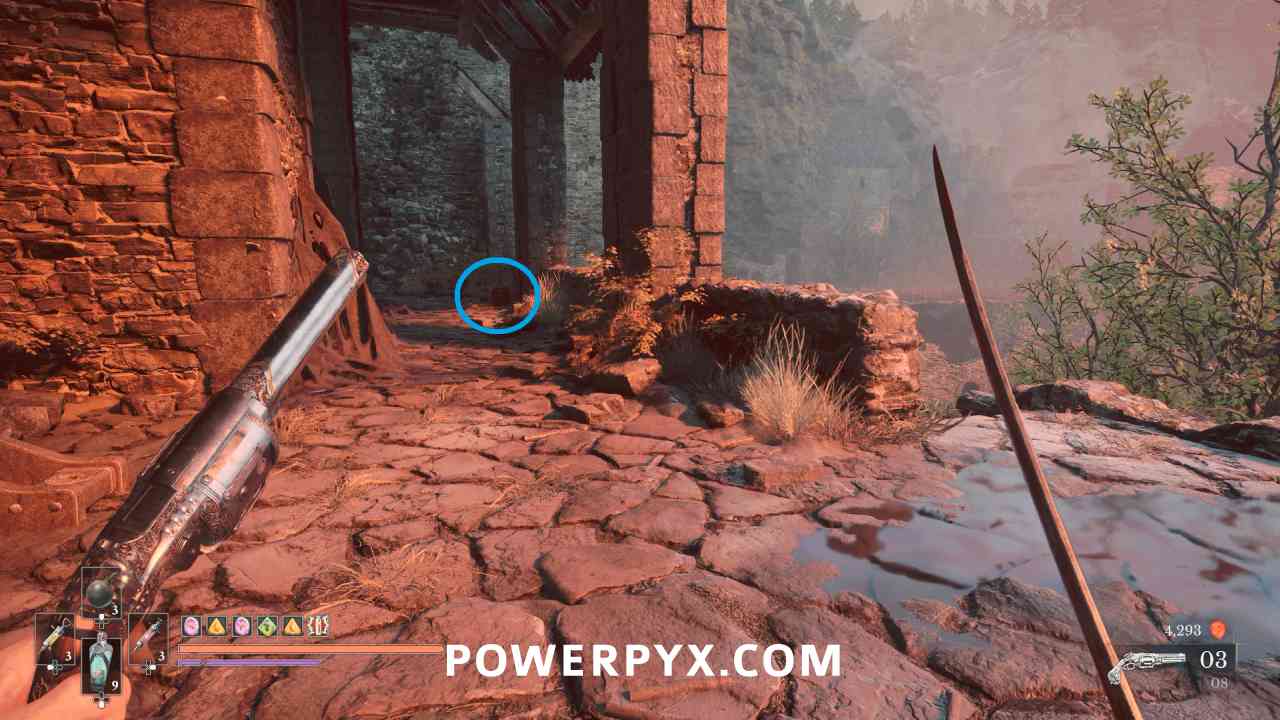
Ferrofluid Flask Power Upgrade #20
Lantern: Fortress > Traverse
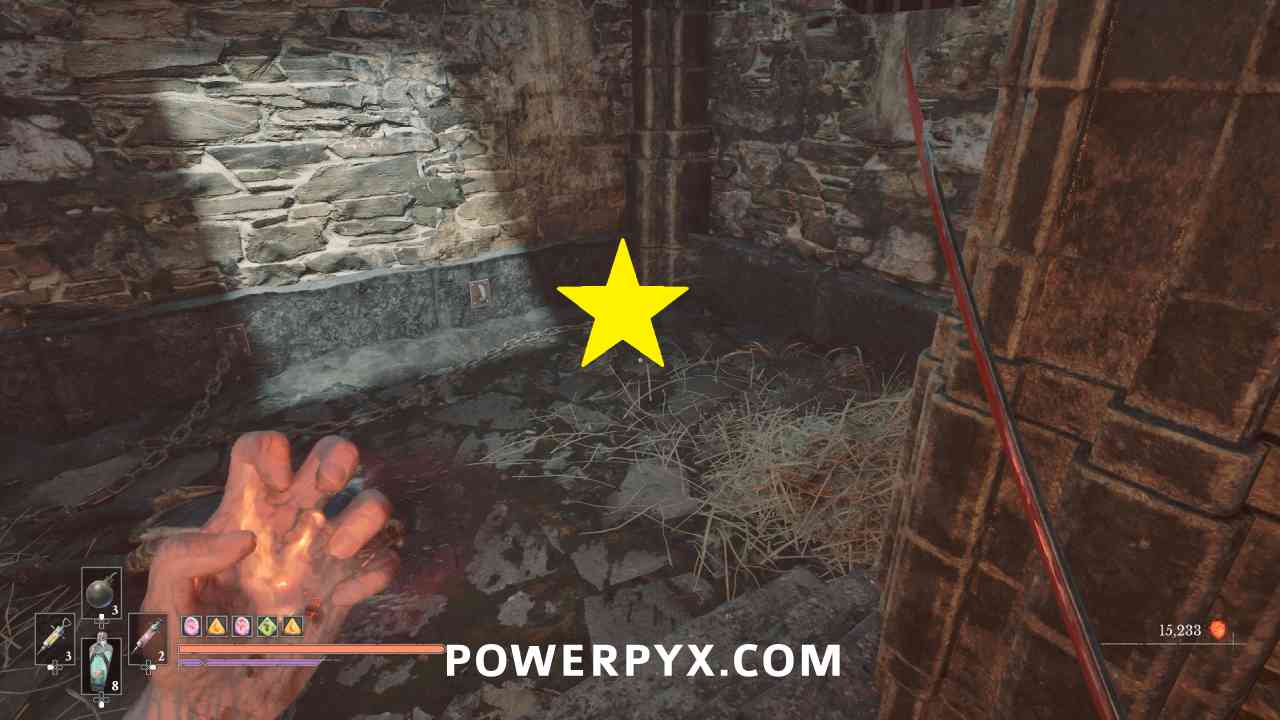
Progress into the underground area until you reach a sewer room with a door on the left side after a pole jump. Go into that area, to the bottom of the flight of stairs. Opposite the room with the large gate go down the flight of stairs, then to the room at the end where the Captain’s Key is on the ground in the right corner of the room.
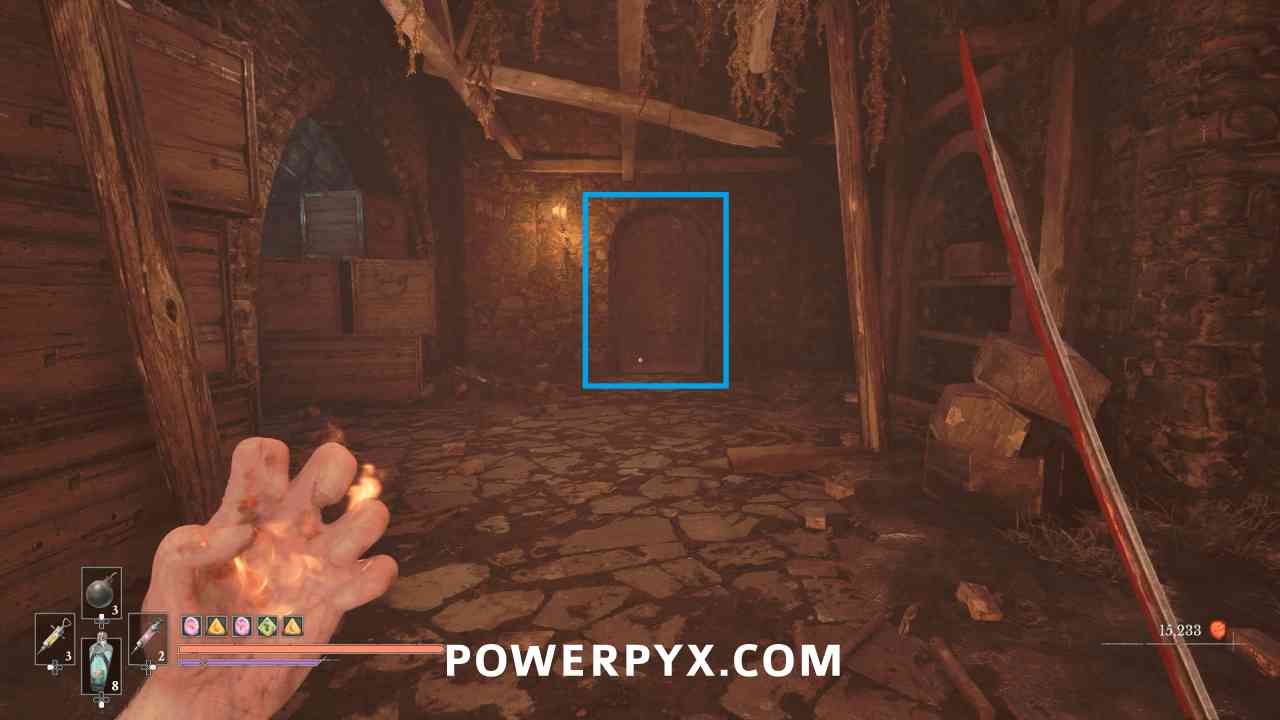
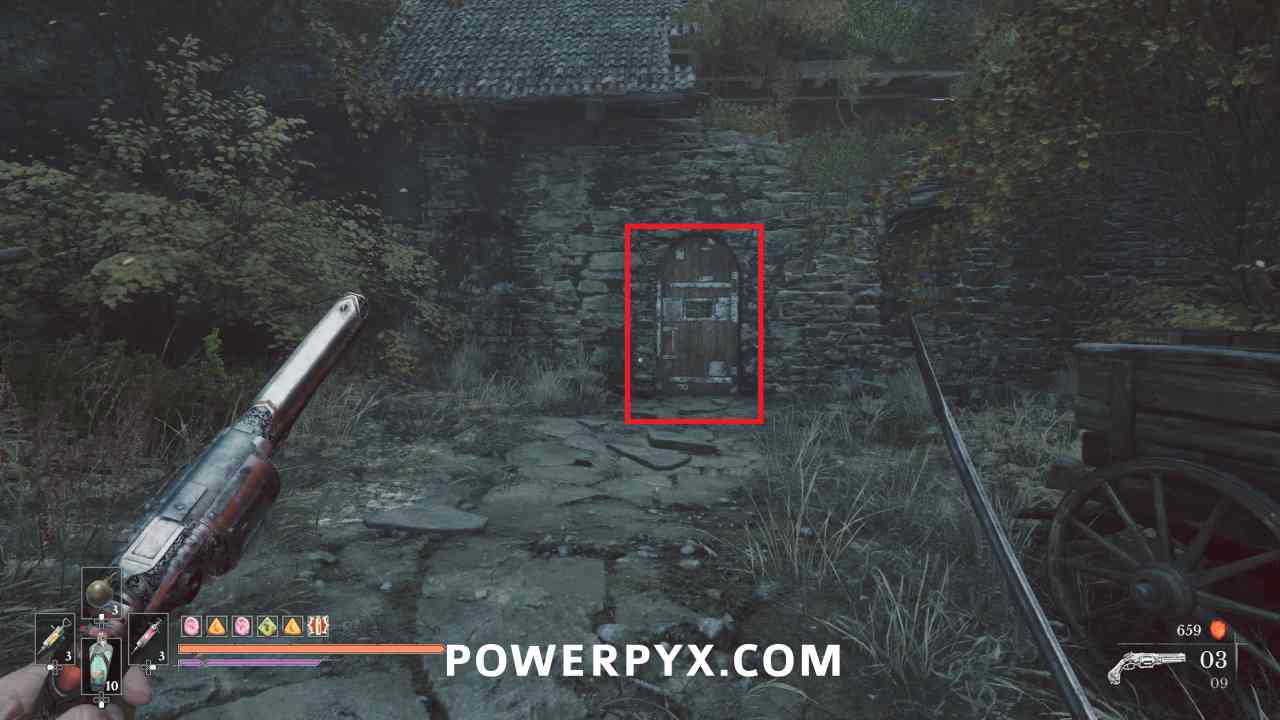
From the Traverse Lantern face opposite the area with the cannons and you can use the Captain’s Key to open the building, where inside is a chest with this upgrade.
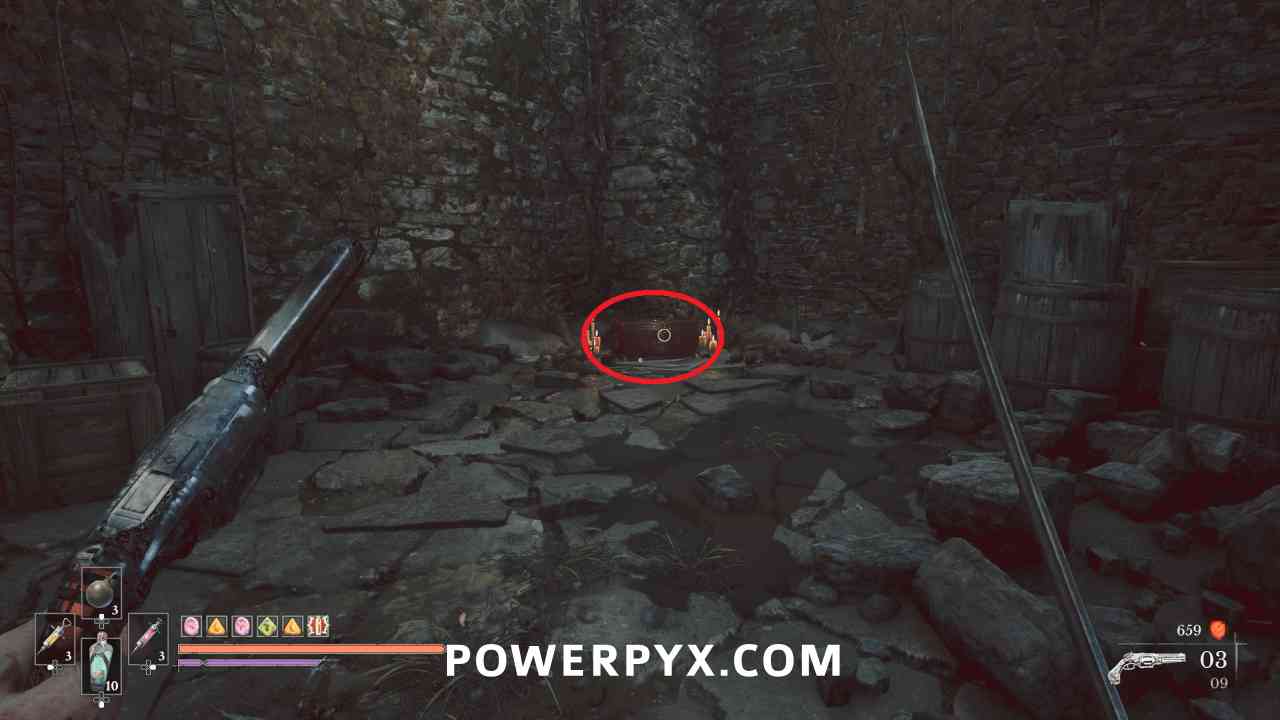
Ferrofluid Quantity Upgrades
Empty Ferrofluid Flask #1
Lantern: Valley of Ashes > The Climb
After the bridge platforming section, to the left of the next lantern in the chest.
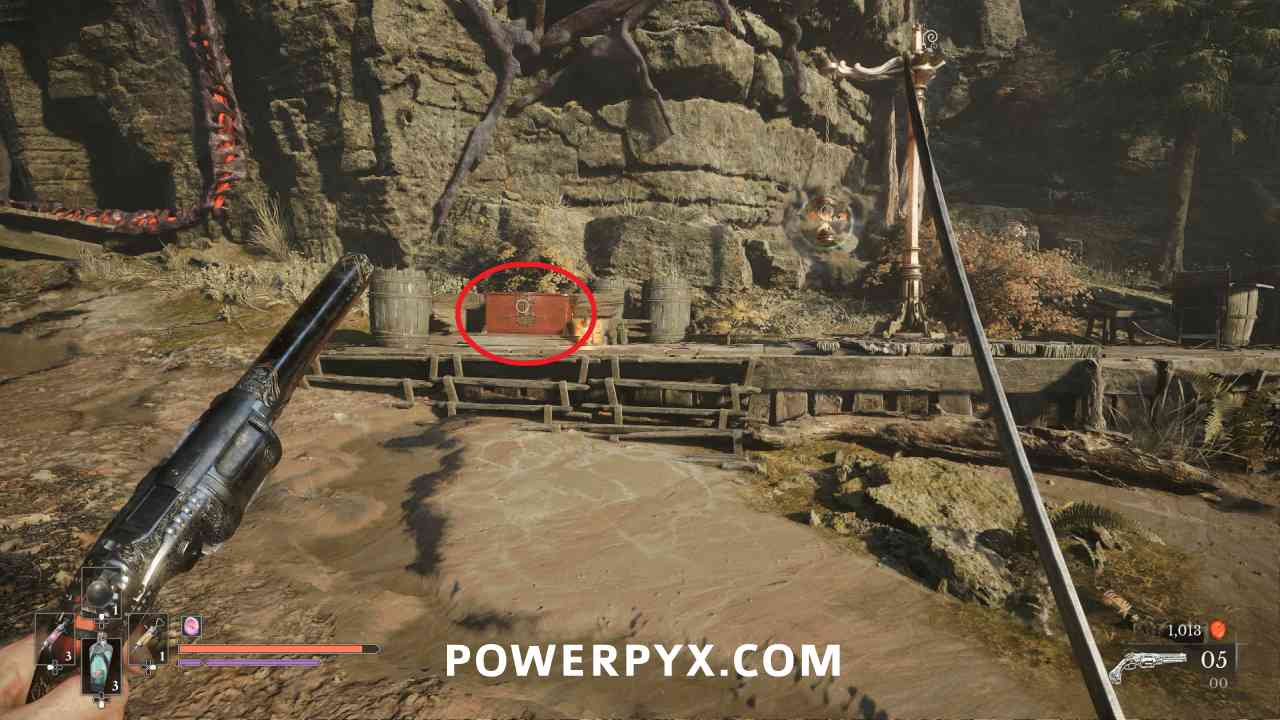
Empty Ferrofluid Flask #2
Lantern: Fallen Village > Marketplace
Grapple across the water near the Marketplace Lantern. When you reach the location with the two plague pillars with grapple points on them, this is in a chest to the right after the second one.
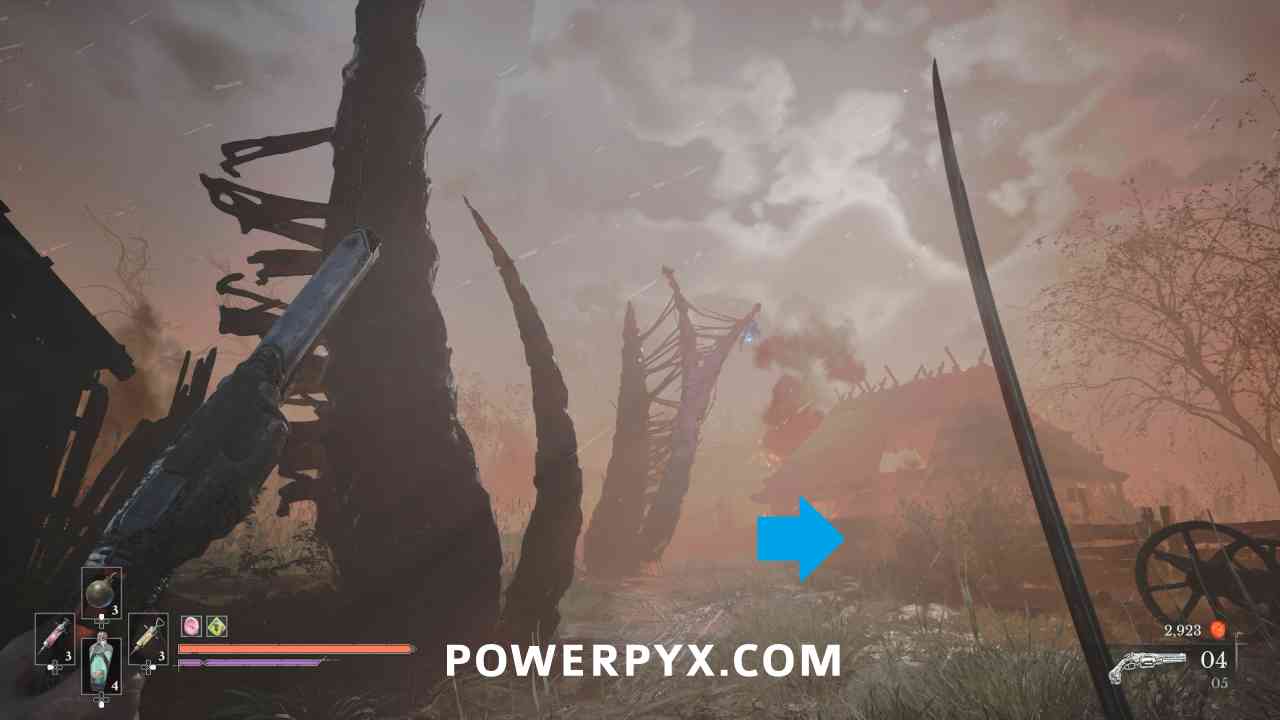
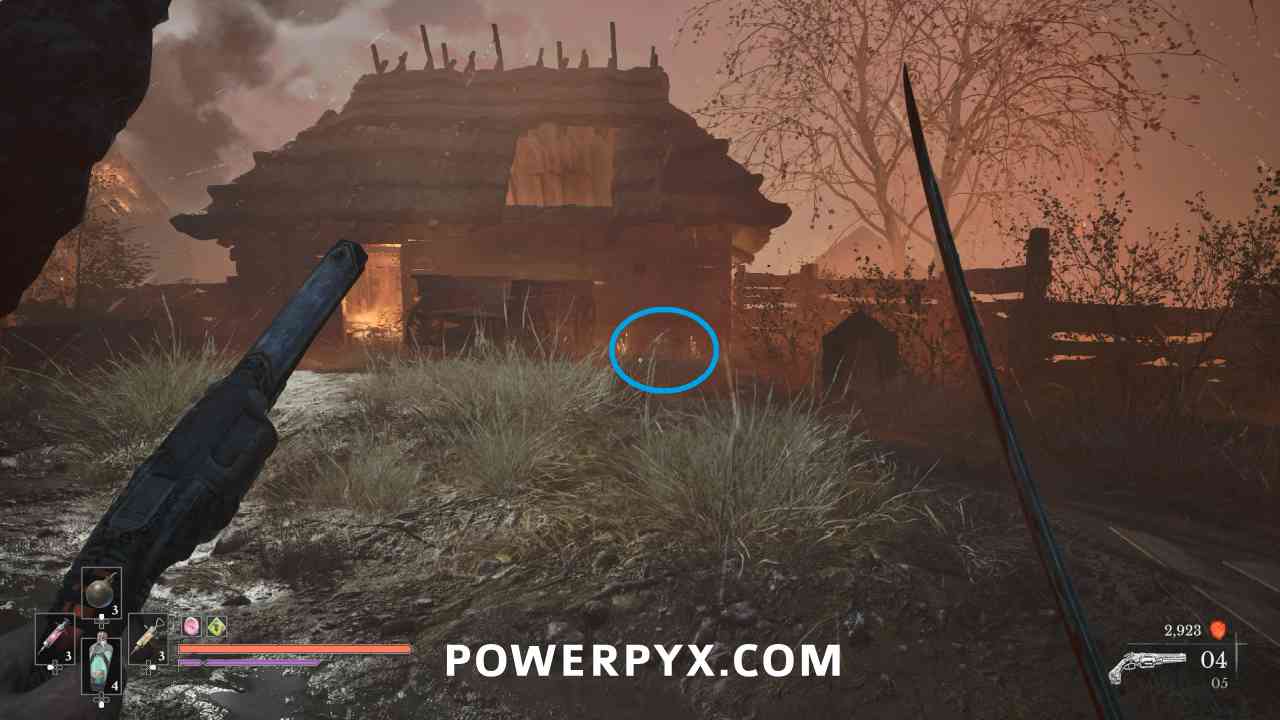
Empty Ferrofluid Flask #3
Lantern: Abandoned Church
Starting in Chapter 4: Descent, 1 can be purchased from Louis’ station at the Abandoned Church for 5000 currency.
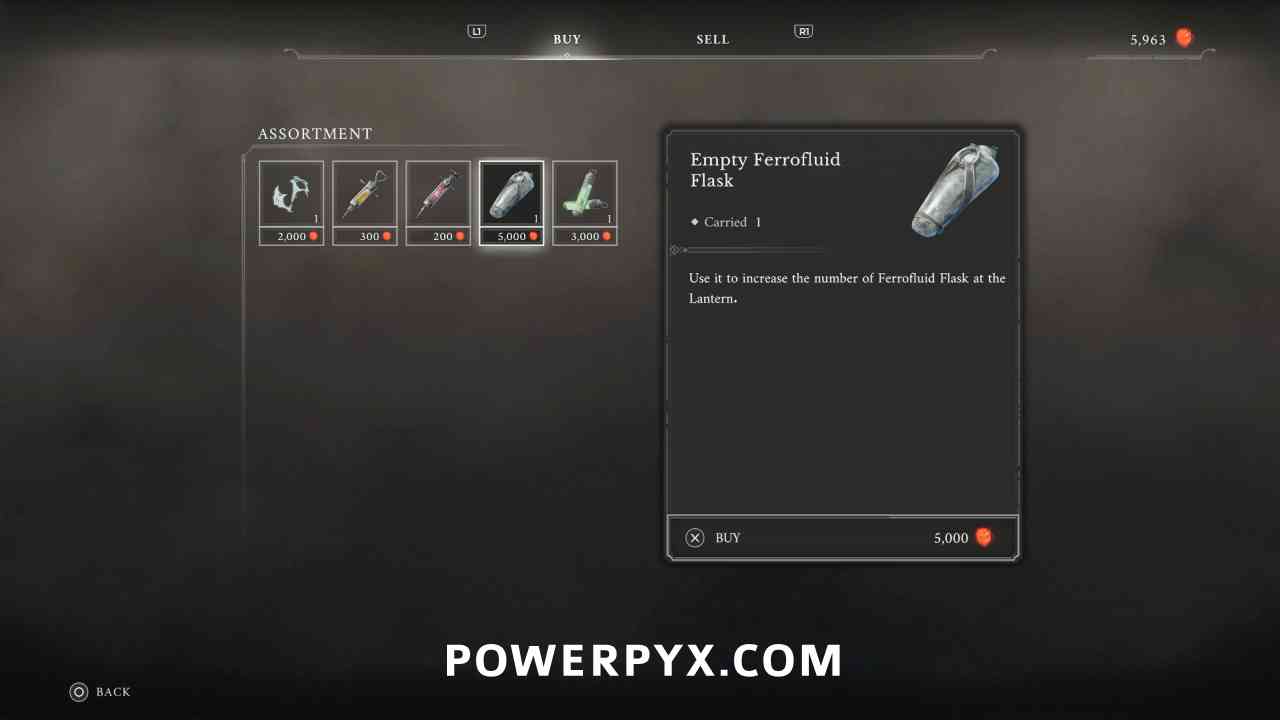
Empty Ferrofluid Flask #4
Lantern: Caverns > Old Mine
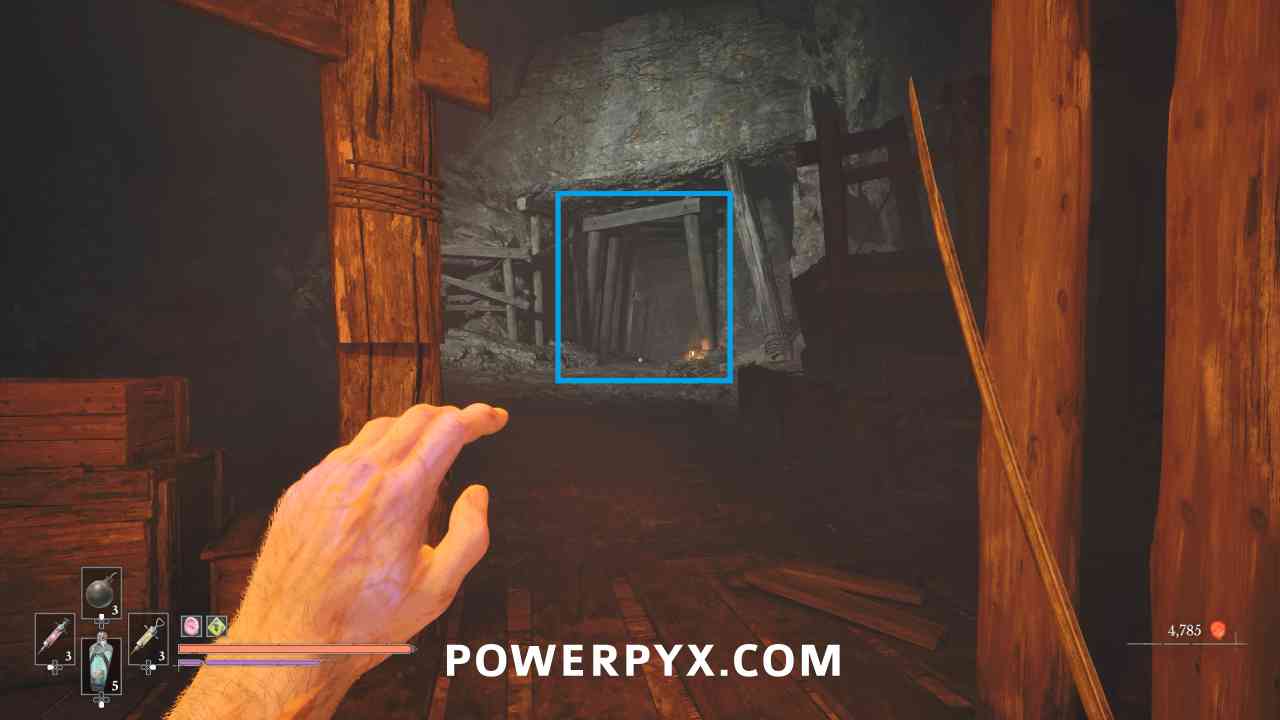
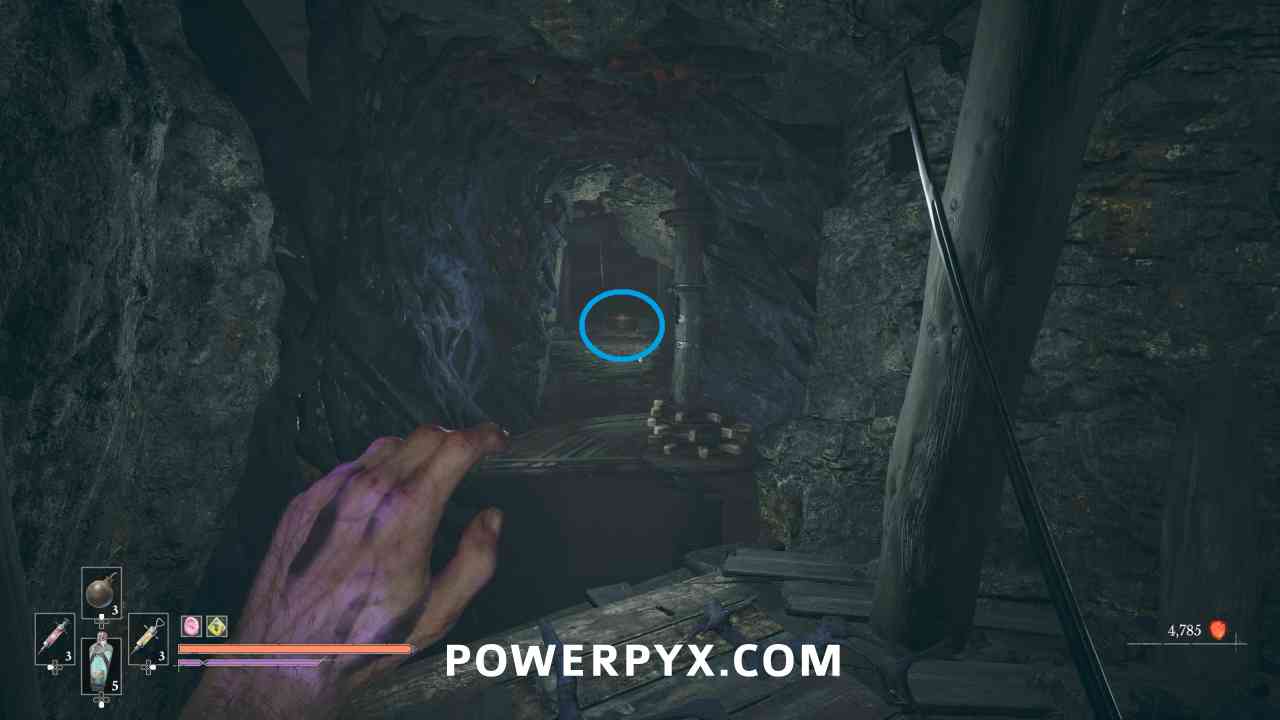
From the Lantern progress on the main path and use the box on the crane to jump across to the other side of the platforms. On the other side go in the tunnel to the left. On the first left turn there is a spinning platform you can stop, with a Chest on the other side with this upgrade.
Empty Ferrofluid Flask #5
Lantern: Vale of Wrath > Under the Bridge
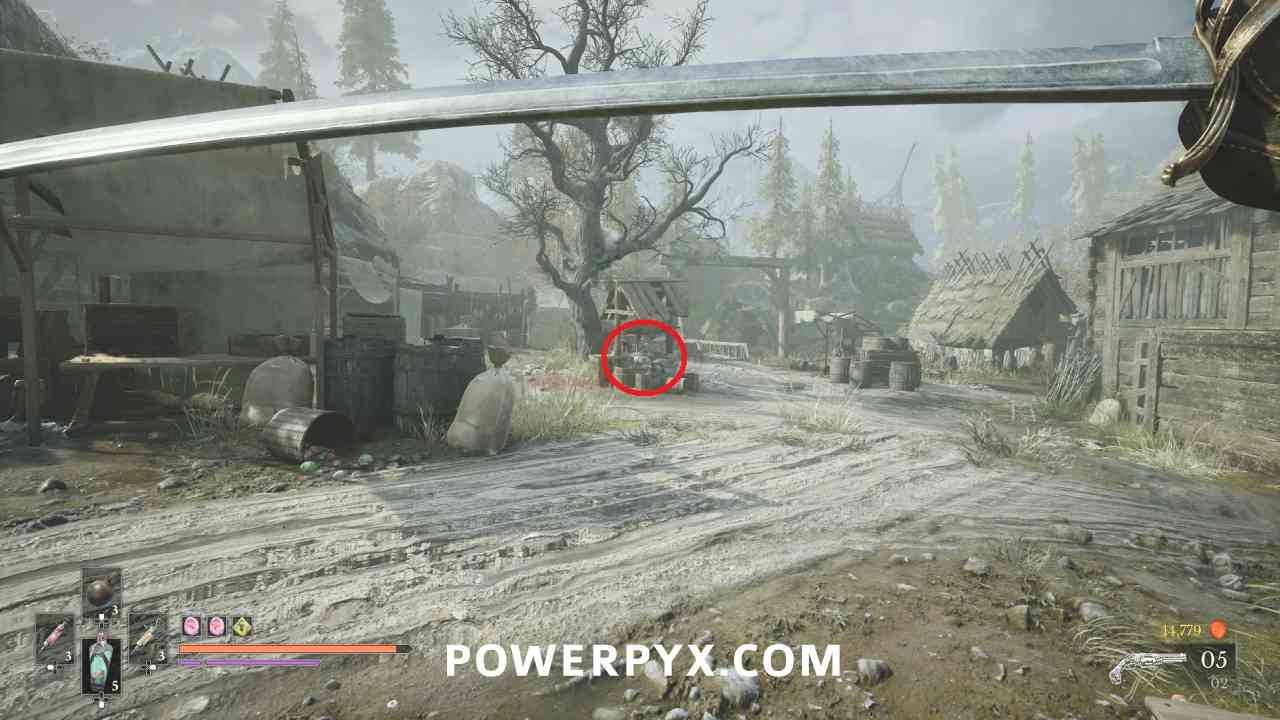
In the center of the fishing village area, in a chest beside the tree with the bodies hanging from it.
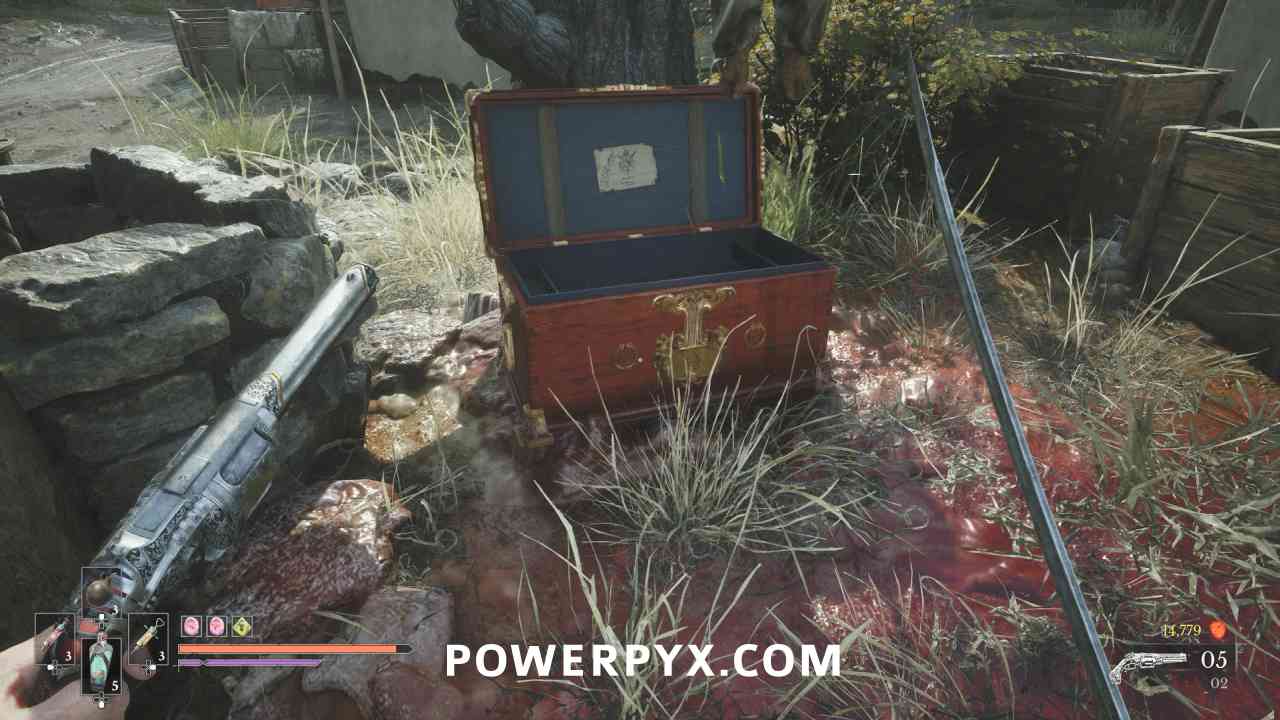
Empty Ferrofluid Flask #6
Lantern: The Outskirts > Market Square
Progress to the point where you go through a barn and have a grapple point ahead of you. Turn around and go around the barn to a side area where you can get into the larger house. To get into the building shoot the explosive barrels through the window, which allows you to enter the building through a hole in the wall. On the top floor you can find this in a chest. The other chest has a Distilled Transmutation Material.
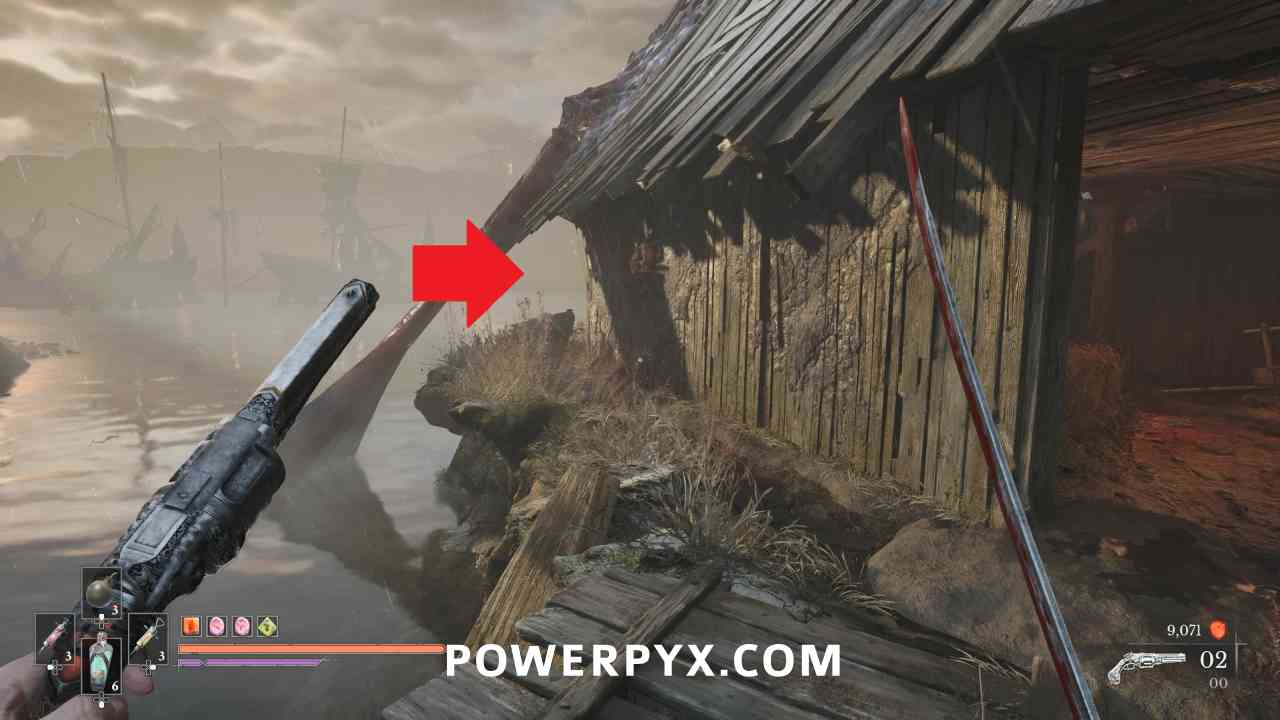
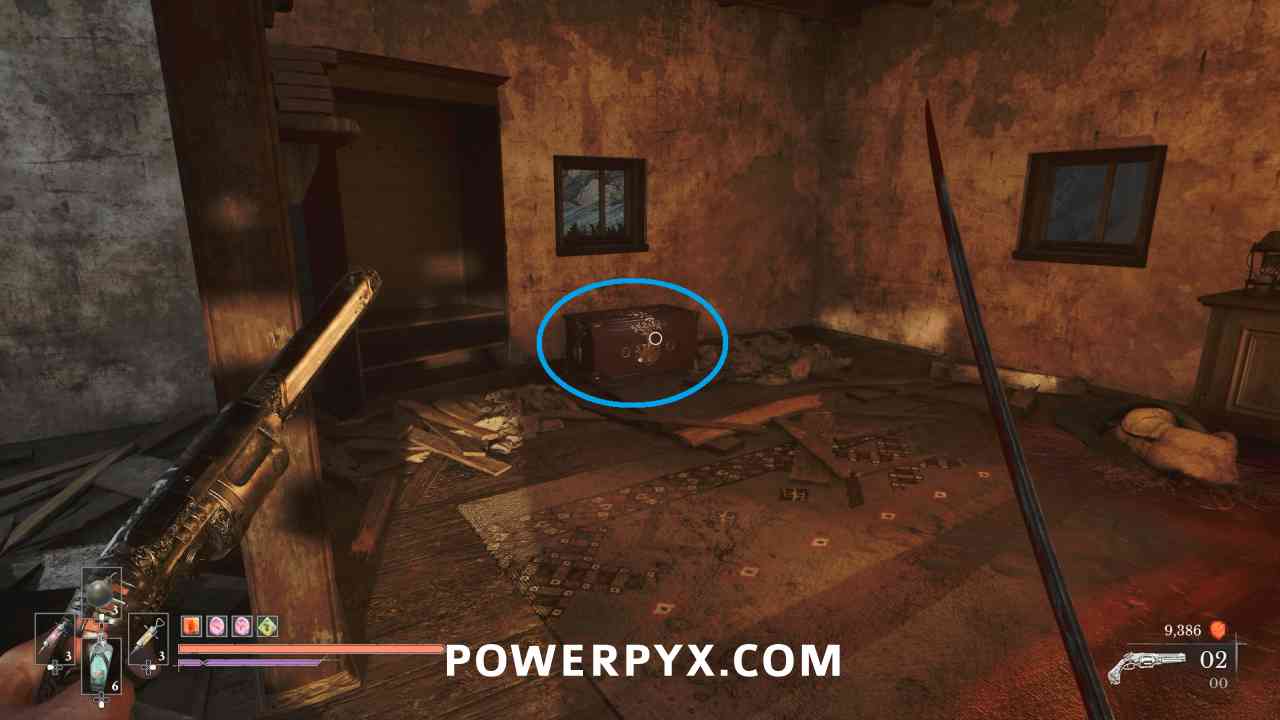
Empty Ferrofluid Flask #7
Lantern: University > Main Hall
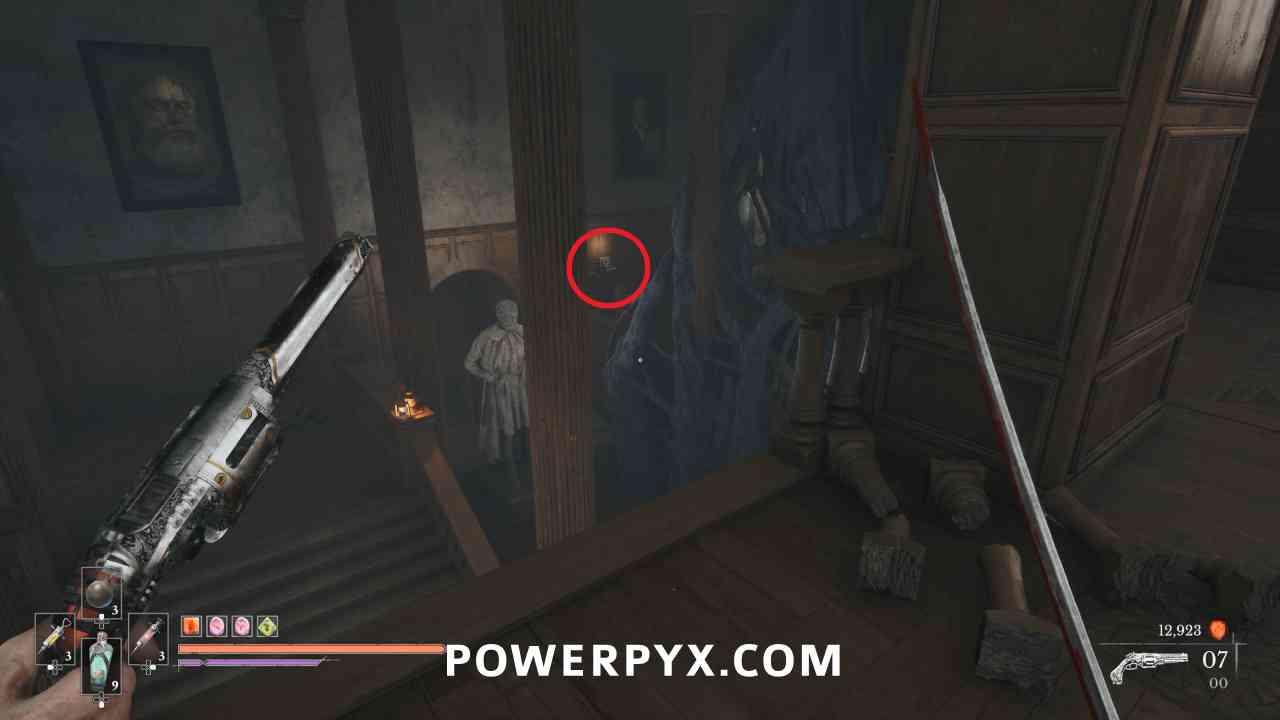
Progress through the only available path until you reach the room with the staircases and the statue in the middle. Go up the stairs to reach the back of the stairs to the right of the statue where there is a weak point you can shoot, revealing a switch. Pull the switch to move the statue, where a chest containing this is behind it.
For everything else needed for 100% Completion, refer to the Valor Mortis Collectible Guide.
Leave a Reply