
Sacred River is the 6th chapter in Sword of the Sea. This guide contains all collectible locations and everything you need for trophies/achievements.
Collectibles Overview:
Sacred River Collectibles
Water Point #1 – Hanging lanterns in the first area where you are introduced to the water rail mechanic, required to progress.
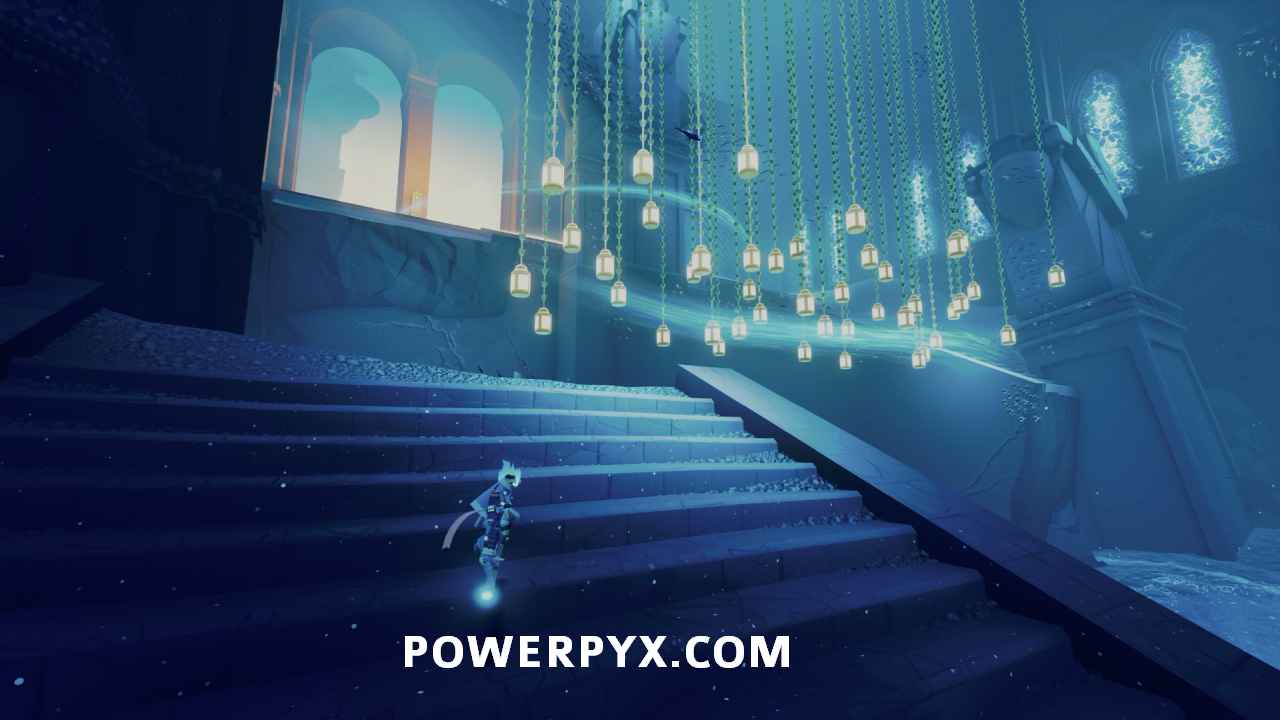
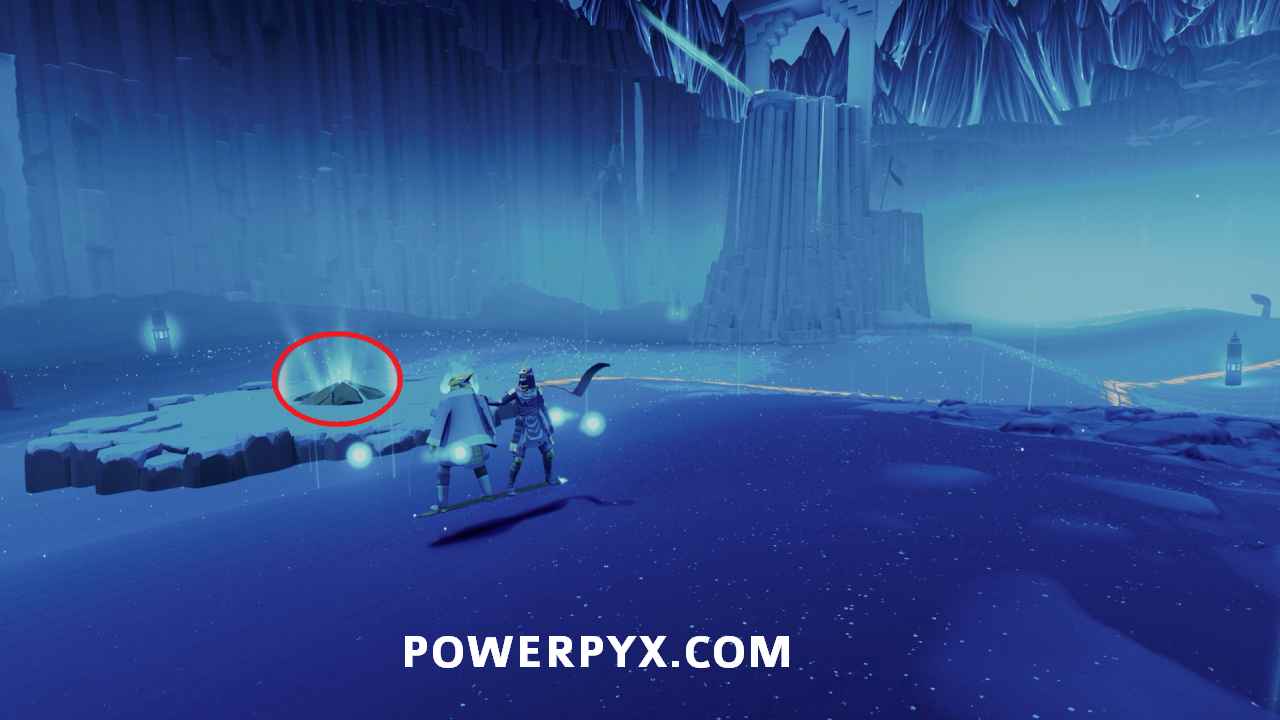
Secret Shell #34 – From the stairs after the lanterns, turn around and jump up to the statue with the broken head. Jump across to the back of the room where the shell is on the right side of the large statue.


Stele #17: The Minder’s Wisdom – After the intro about water rails, the stele is located in the large room before going up the ramp.

Secret Shell #35 – On the ramp leading up, jump backward into the break in the wall to find the shell in a side room.


Water Point #2 – Hanging lanterns at the top of the ramp between the two statues.

Water Point #3 – In the room that is opened after activating the lanterns.
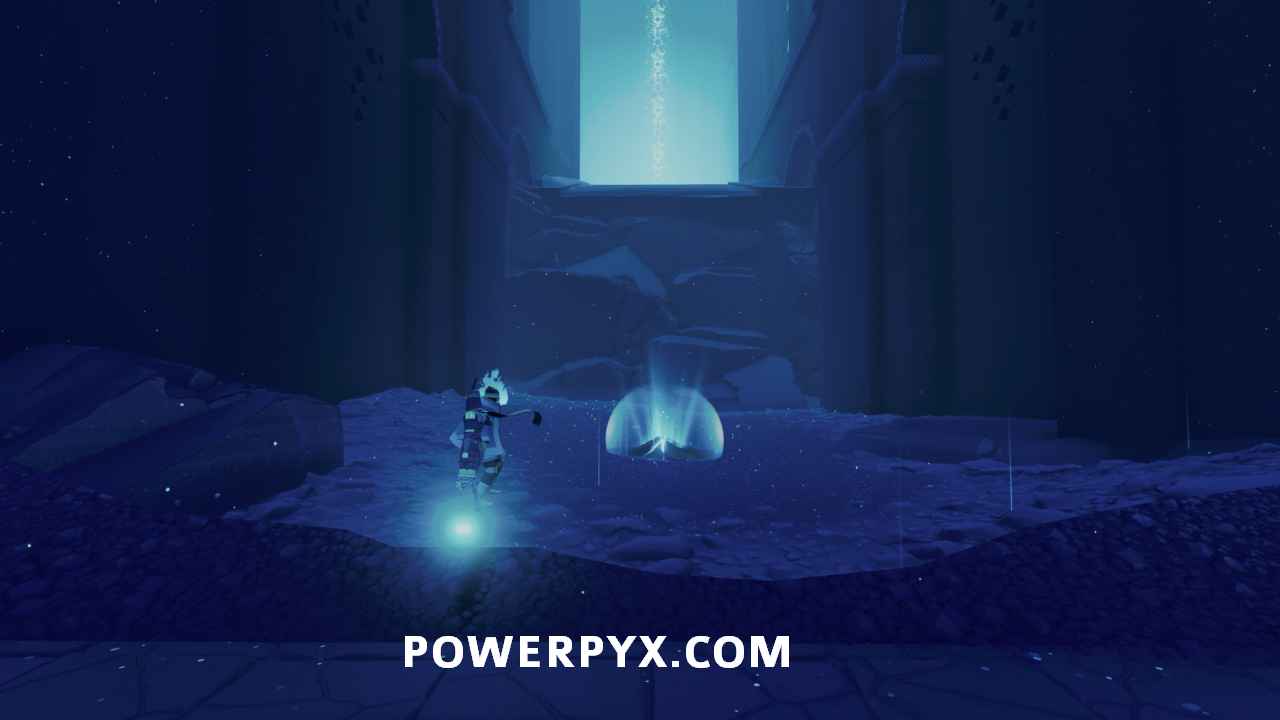
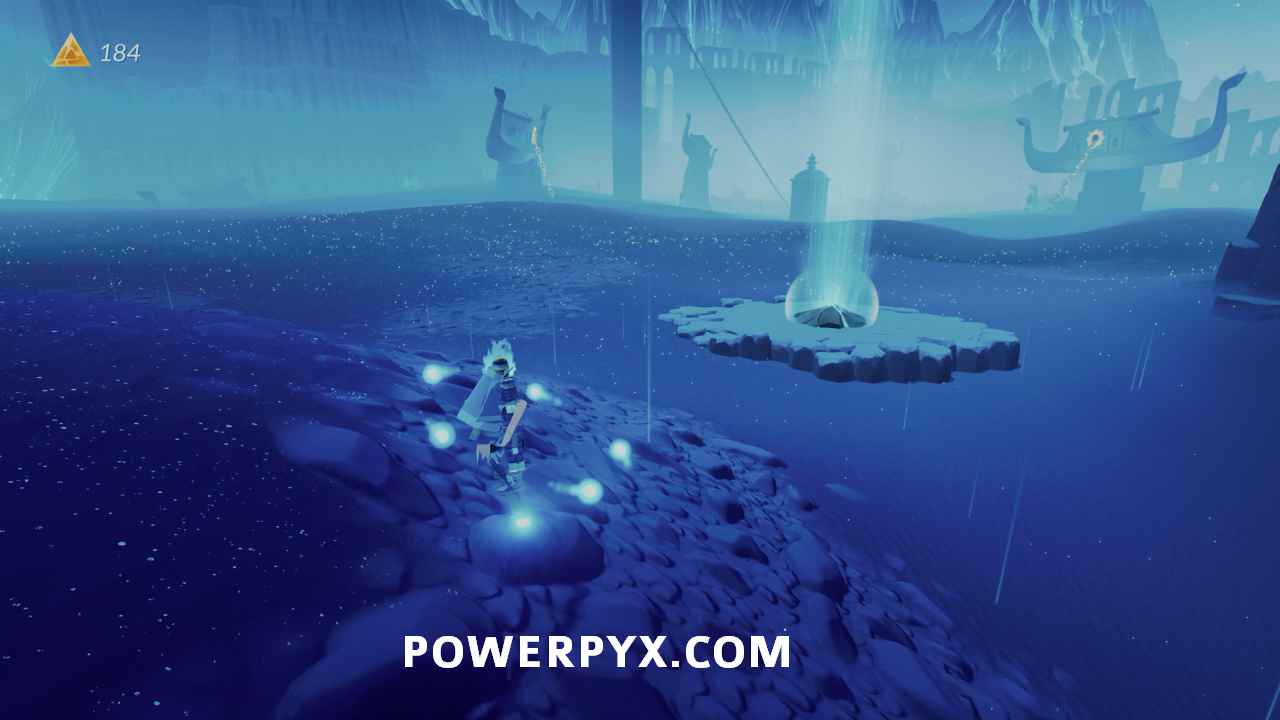
Water Point #4 – Use a water rail to reach the room with the water bubble and return it to the turtle mouth.

Water Point #5 – In the center of the large room, use a water rail from either side to reach it.
Rideable Animal: Sperm Whale – After restoring the water by activating the point in the middle of the room, a bunch of fish will appear in the area. A few of them are Sperm Whales. Jump on one using the kelp that has appeared in the area to receive the trophy/achievement Sperm Whale Rider  after you jump off.

Secret Shell #36 – Ride one of the sperm whales up to the top of the room where shell is located on the ledge around the room above where you entered.

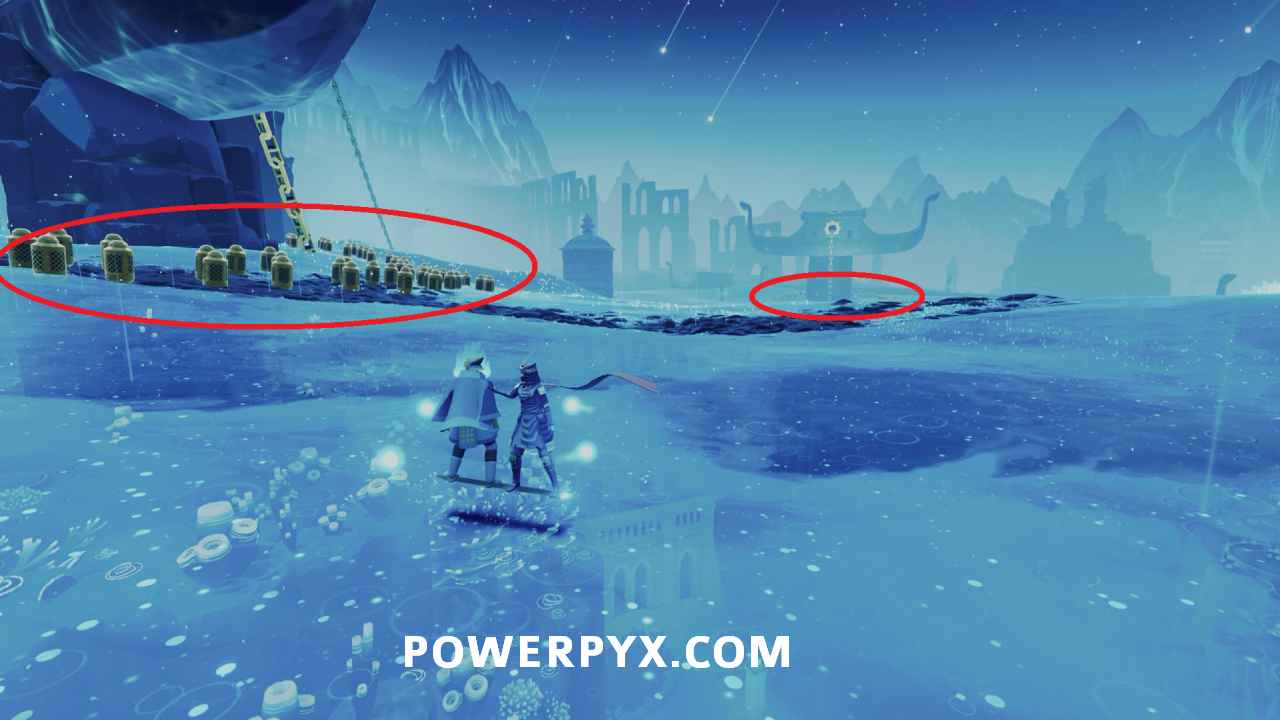
Stele #18: The Tower – After entering the next area, this is down on the left near the boats stuck on pillars.

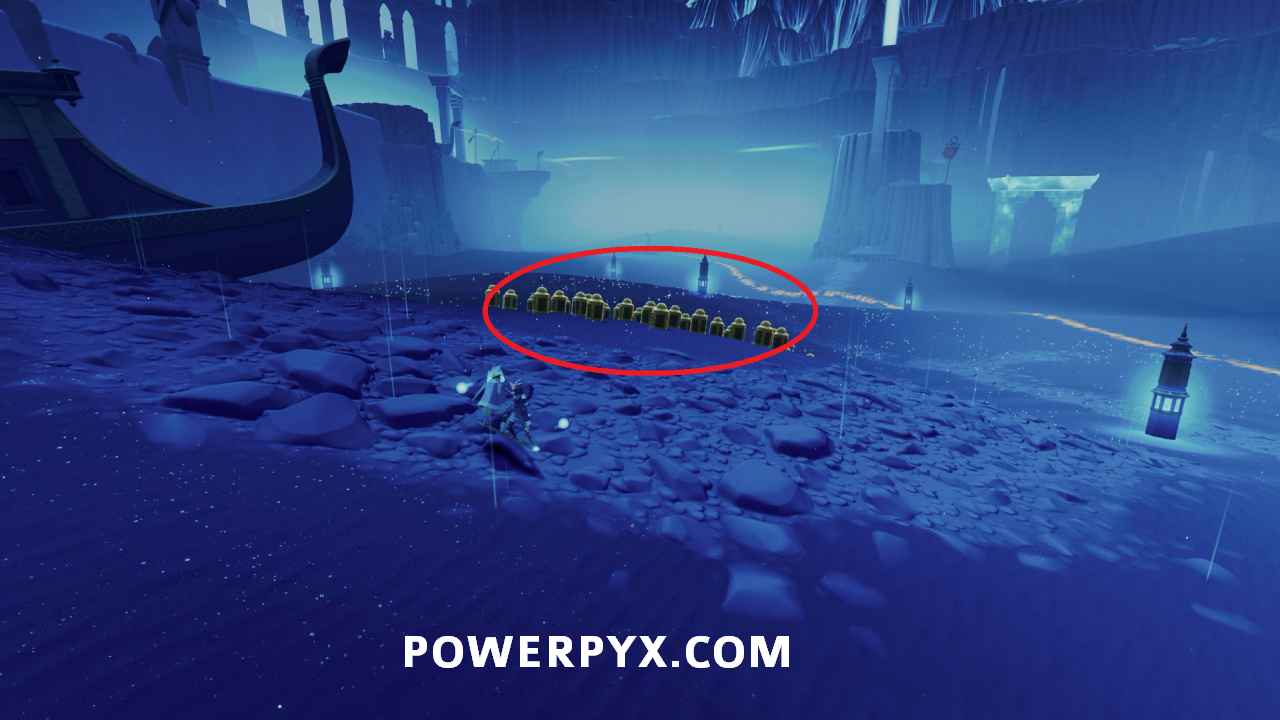
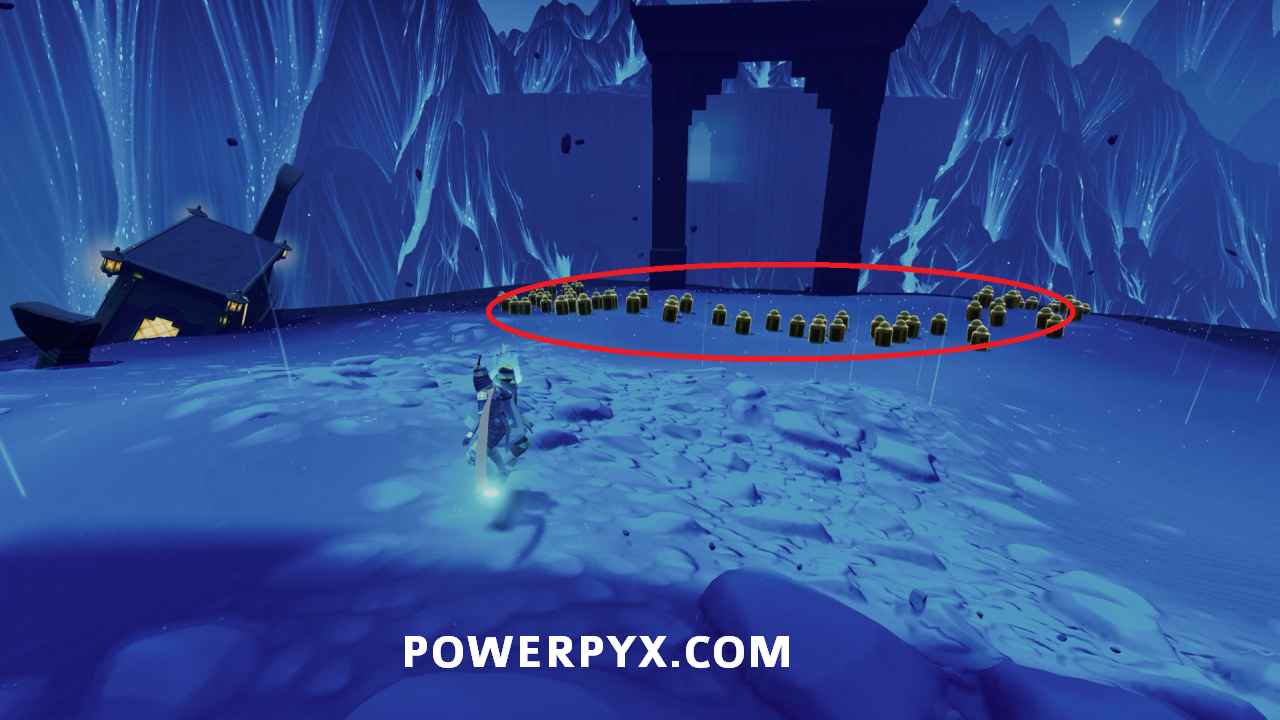
Water Point #6 – On the lower area past the stele is a group of lanterns.

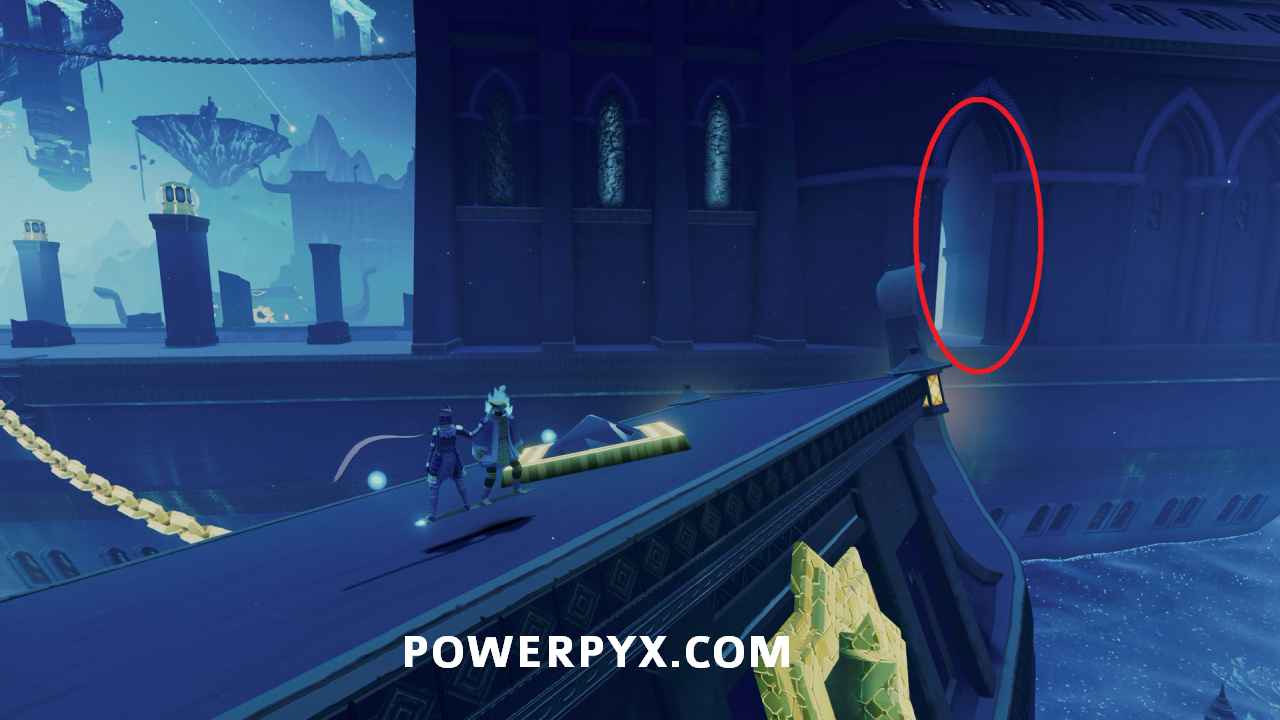
Water Point #7 – On the path to the left of the ghostly arches.
Water Point #8 – On the path to the right of the ghostly arches.

Water Point #9 – Past the arches and the pillar, required to progress.
Secret Shell #37 – After jumping up the jellyfish to the pillar, use water rails to jump across the boats to the third one where there is a small cave with the shell.


Water Point #10 – Near the start of the chains, jump up the jellyfish and across to the platform with the sphere.

Water Point #11 – Follow the path up following the chain to the point on the ground.
Water Point #12/13 – Two groups of lanterns that appear around the base of the two ships that appear after the prior water point. These allow you to reach the buttons on top.
Secret Shell #38 – Toward the back of the area near the walls you can spot a boat with a rail hint near it. Boost off the boat and grind the raid toward the tower, landing on the last section of the wall. You can boost and jump again and grind to reach the shell on the raised area.

Secret Shell #39 – From the same spot with the walls look on the left side for a section of ground wrapping back toward the entrance to the area. Jump to this level and follow it back toward the entrance to find the shell at the end. You can also get back to the prior area this way if needed by jumping toward the place you dropped into the area from.


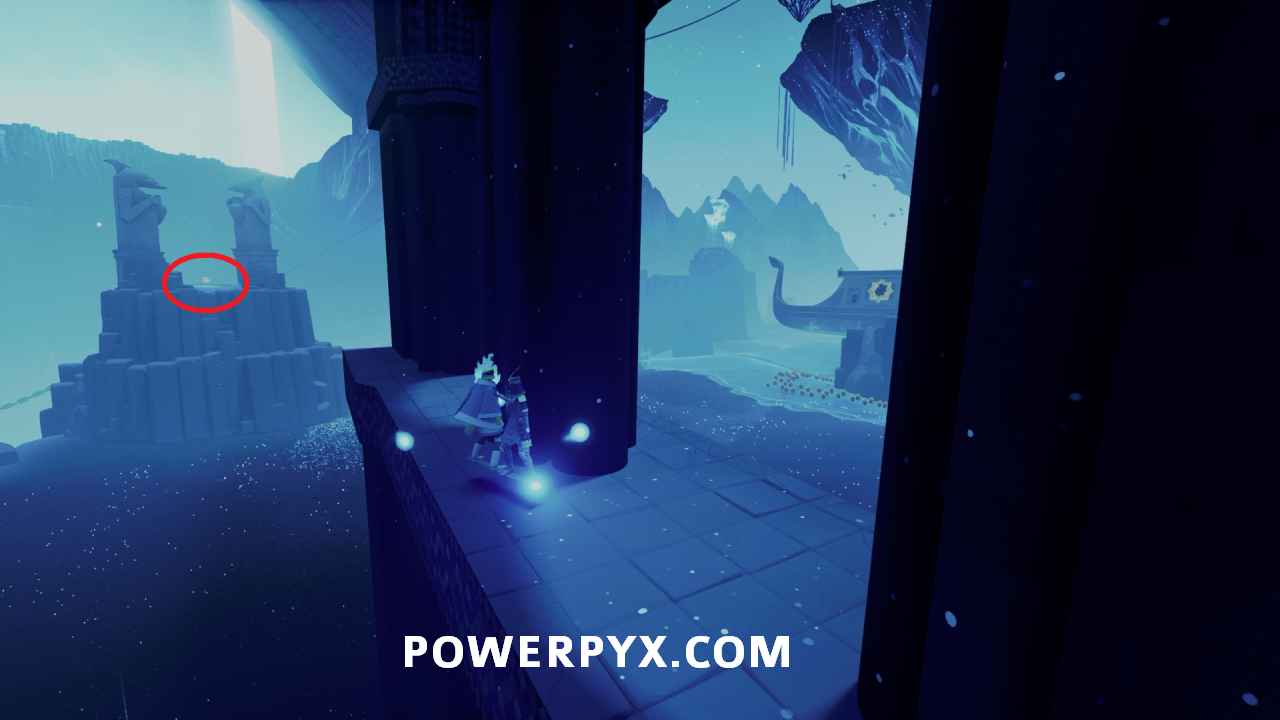
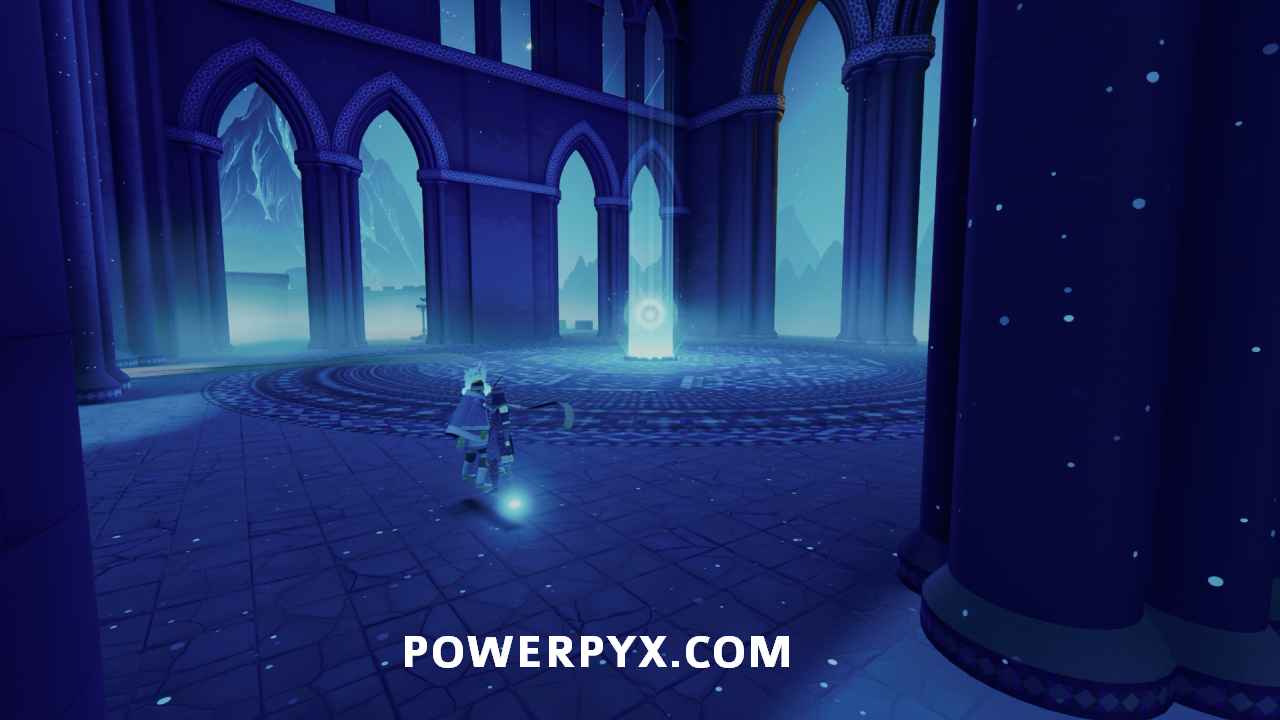
Stele #19: The Sacred River – After raising the giant boat, jump into the back where there is an opening to find the stele in one of the rooms.

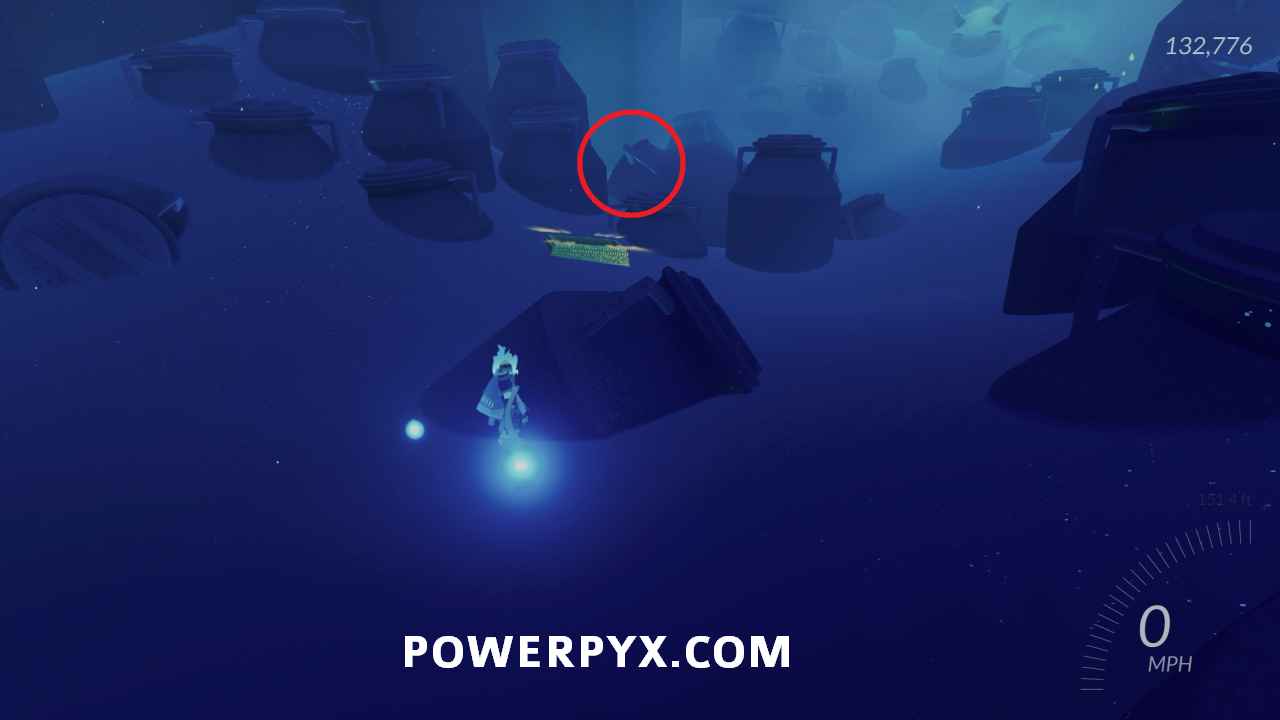
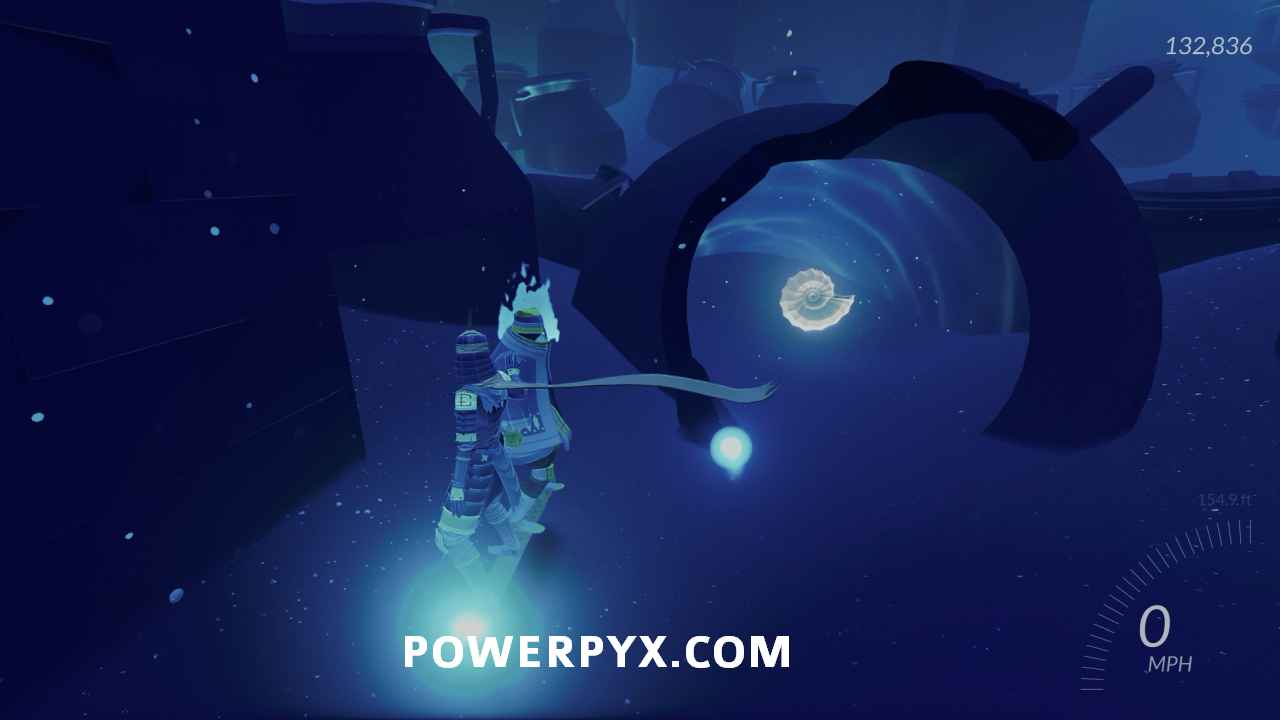
Secret Shell #40 – In the opposite room from the stele, you can find the shell in a broken pot on the left side near the wall.
Water Point #14 – After activating the two buttons around the halfpipe, use the jellyfish to reach the top of the boat structure.
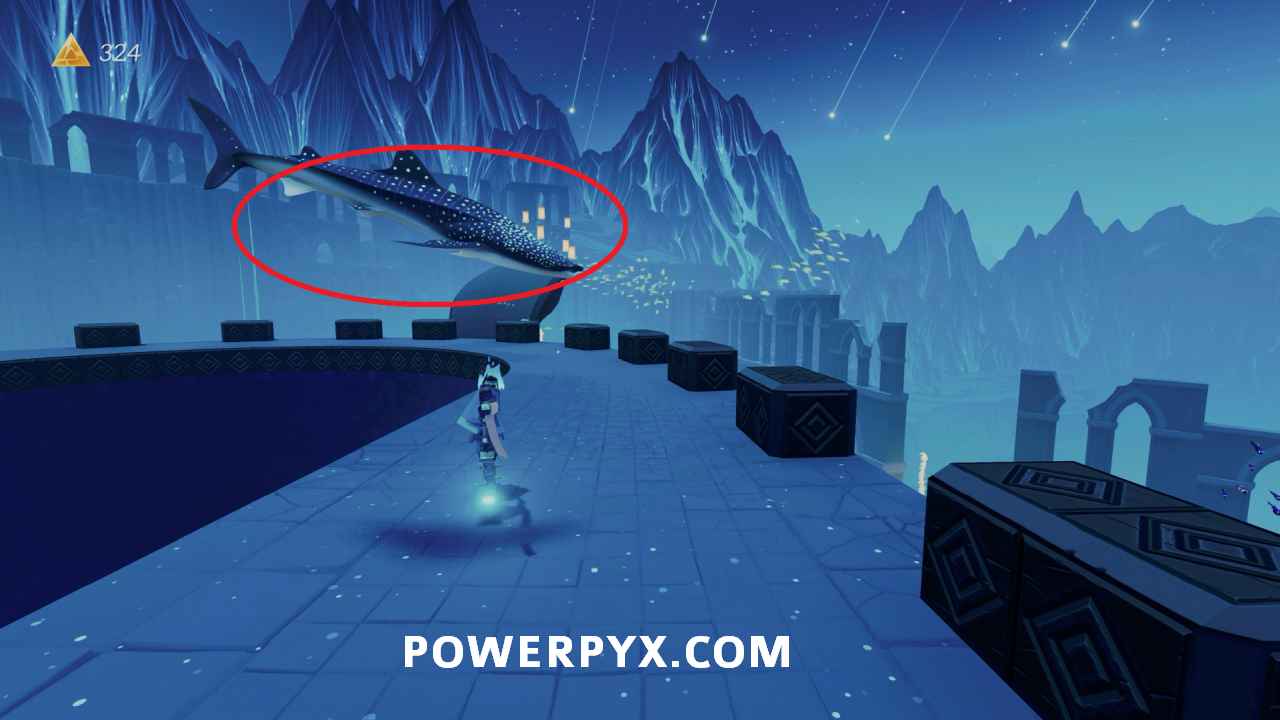
Rideable Animal: Whale Shark – After restoring the water by activating the point on top of the large ship, a bunch of fish will appear in the area. A few of them are Whale Sharks. Jump on one around the sides of the building in the area to receive the trophy/achievement Whale Shark Rider after you jump off.
Secret Shell #41 – Use the half pipe at the back of the boat to jump high into the air, then use a water rail to jump on top of the building where you can find the shell.

Poison Dart Frog – Use the kelp or grind the chain to reach the first pillar that the chain goes through. Jump and water grind to the cliff with a boat on it in the direction the chains are going to find the frog on top on a stack of rocks, awarding the trophy/achievement Poison Dart Frog .


Water Point #15 – After riding the chain toward the underside of the floating island, bounce across the two jellyfish leading to the right to a smaller island where there is a group of lanterns which will spawn paper lanterns, allowing you to water grind to the far wall.

Trick Attack Area #4 – Through the doorway reachable with the paper lanterns you can find the time attack area. Beat the high score of 10,000. If you found all prior areas you will receive Trick Attack Seeker after interacting with the stone, and Trick Attack Expert  if you beat all scores.

Secret Shell #42 – Back under the giant island, look down to the left where you can see some lanterns in front of an opening. Use the lower boat to jump down to this opening to find the shell.


Water Point #16 – Follow the main path to the large inveted tower where there is a bowl ramp with lanterns in the bottom.

Water Point #17 – On top of the island, go into the large building and use the half pipe to reach the upper room, then drop to the lower area where the water point is.
Water Point #18 – Use the floating lanterns to water grind across to the other building, where there are lanterns on the floor that spawn kelp.

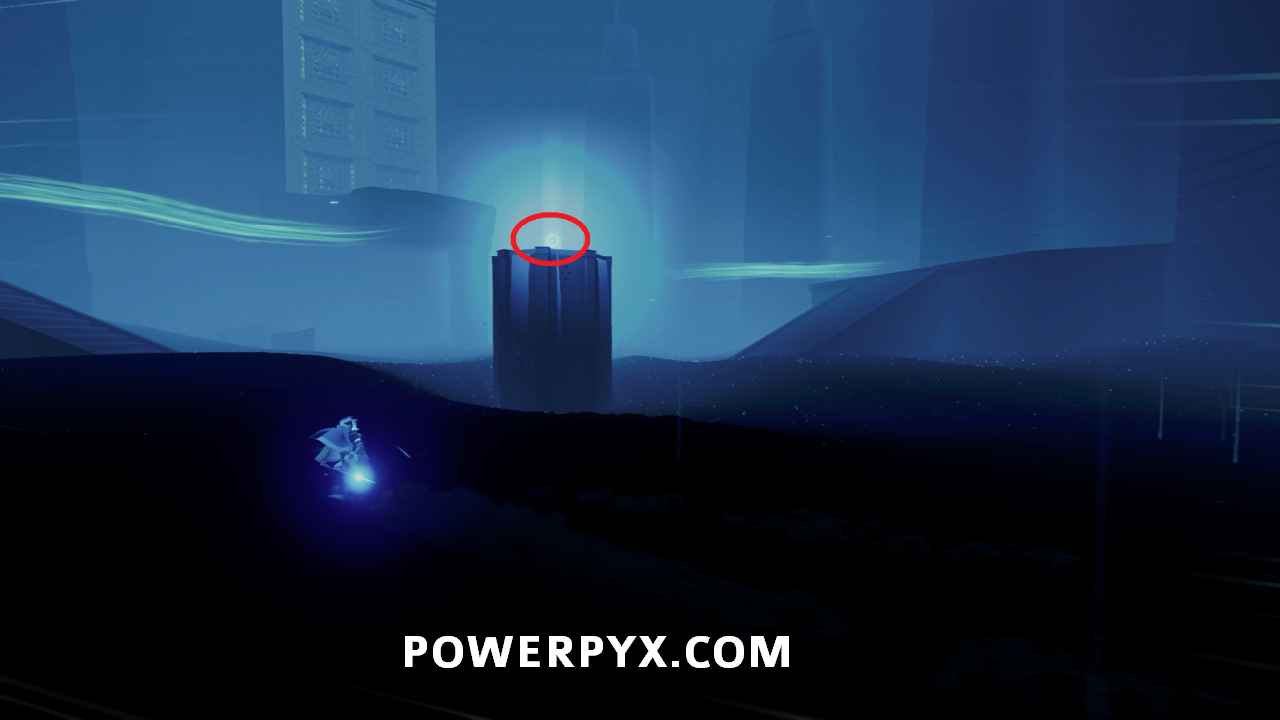
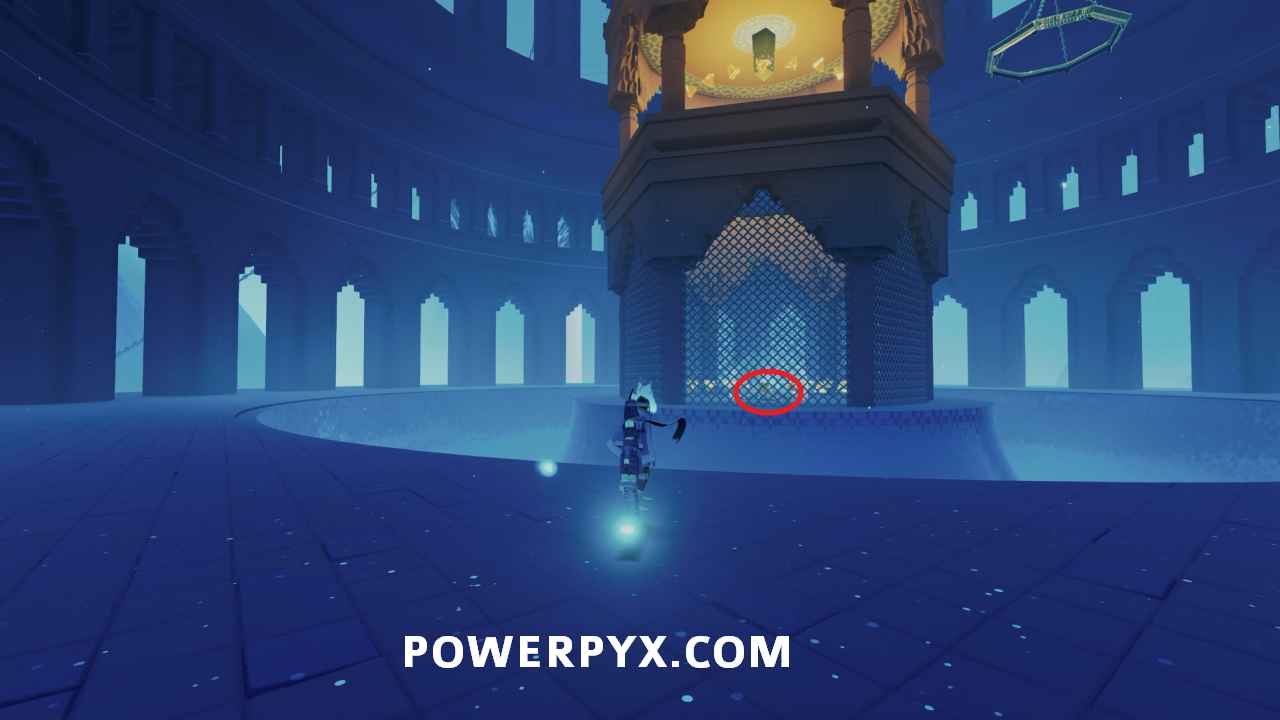
Water Point #19 – At the top of the building on the chandelier, awarding Cleanse the Sacred River .

Rideable Animal: Blue Whale – After restoring the water by activating the point on top of the chandelier, a bunch of fish will appear in the area. A few of them are Blue Whales. Jump on one around the area to receive the trophy/achievement Blue Whale Rider after you jump off.

Stele #20: The Value of Legend – From the middle level of this central building (reachable with kelp if you drop down) use jellyfish to bounce up to one of the smaller islands where you can find the stele at the top.


Secret Shell #43 – From the central tall platform you can see one to the right where the vendor will be location, and then another small floating island to the left. You’ll likely need to jump on one of the Blue Whales to then grind to the floating lanterns to reach the floating island, where you can find shell in the top room.


Secret Shell #44 – Follow the bridge that has now appeared leading toward the exit of the level, but instead of going all the way up look off the right side where there is a boat on a pillar where you can spot a shell on top. Jump and water grind over to reach it.

NEXT: Boiling Cavern
Oscar says
Stele #20: The Value of Legend looks different in the latest version of the game. I was looking for ages for it only to notice the stele isn’t in a building anymore and instead is next to a statute
Helen says
Is there anything that happens if I light up every single boat in the Sacred River – and caldera? I’m wondering if i missed something.
Shuya82 says
Also wondering this. I feel like I found them all but nothing happened.
Gage says
I don’t think so. I’m pretty sure I lit them all when I was looking for the final collectible, even the ones that are somewhat outside the area you’re not really supposed to be able to get to and nothing noticeable happened.
grace says
when i landed on the final one and lit it up, it gave me i think 200 currency
LuckyLeza says
Yup, more currency once final one found and lit. Make sure to check all edges of each platform…as final one for me was way back where small asteroids were crashing into the sand and speed boosters introduced. Doh! Agree with grace – about 200.