
Central Port is the 5th and final sector in Pragmata and contains 38 Collectible Locations. This walkthrough will guide you to all the collectibles in Central Port region. Everything that’s needed for trophies and 100% completion is included. Nothing is missable, everything can be collected after the story in Unknown Signal Mode.
- Mini Cabins: 3
- Escape Hatches: 6
- Safe Boxes: 13
- Pure Lunum: 6
- REM: 3
- Mods: 4
- Storage Expander: 1
- Training Data: 2
On the first visit to some areas, you are still missing the story-related skills needed to reach collectibles. If you can’t reach something, grab it after the story in Unknown Signal (Cleanup Mode).
Collectibles Overview:
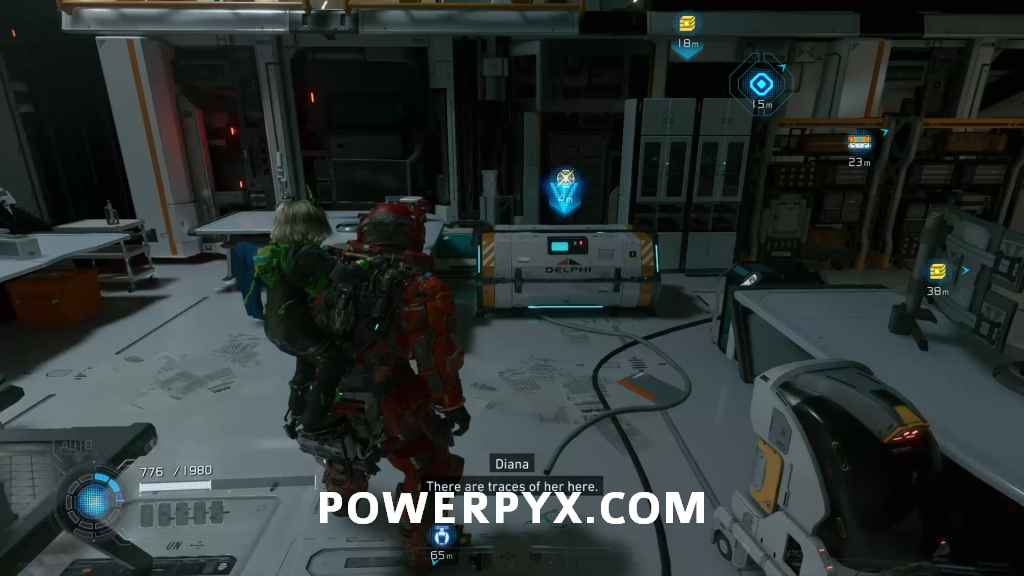
Central Port 01 – Port Entrance
Cleansing Ability – You’ll unlock this skill after fixing Diana. This enables you to get the previously unobtainable collectibles that require backtracking:
- Mass Production Array 04 – Business District – Safe Box 11
- Terra Dome 02 – Eco Modeling Lab – Safe Box 8 + Safe Box 9
- Terra Dome 02 – Pure Lunum 3
- Lunum Mines 01 – Mine Entrance – Storage Expander 1 + Safe Box 2 + Safe Box 3
- Lunum Mines 04 – Main Excavation Site – Safe Box 13
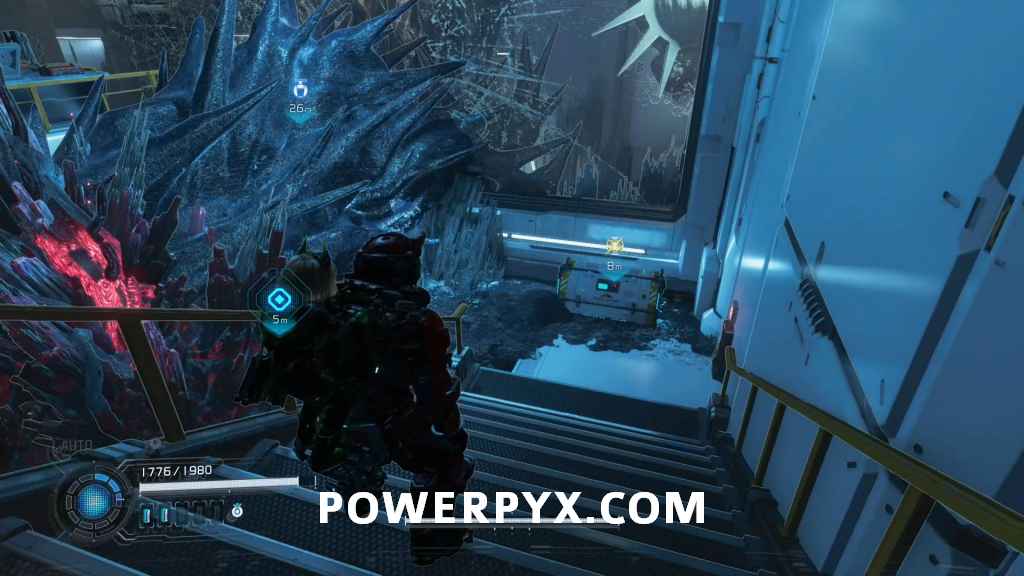
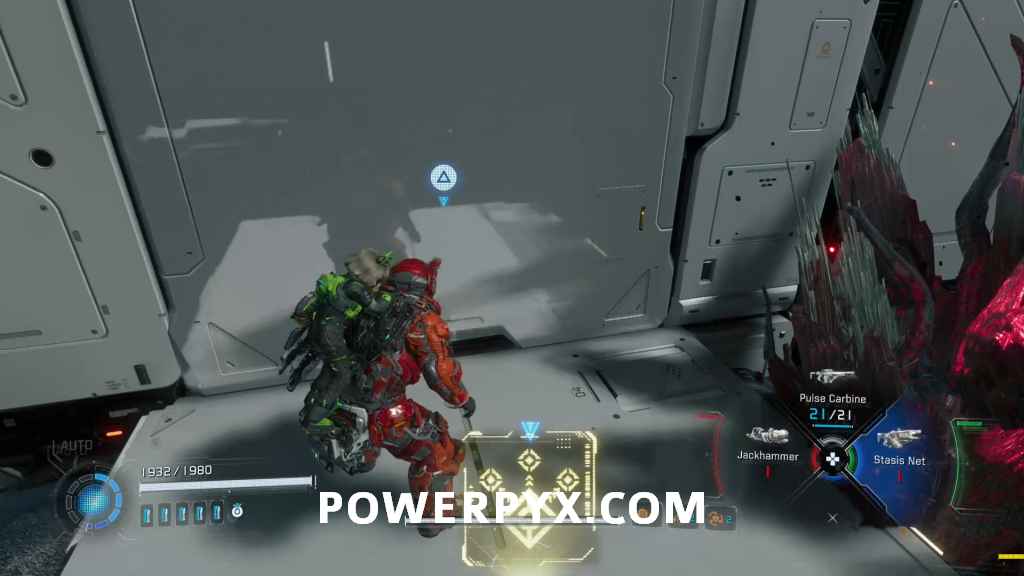
Escape Hatch 1 – Found right after the train ride.
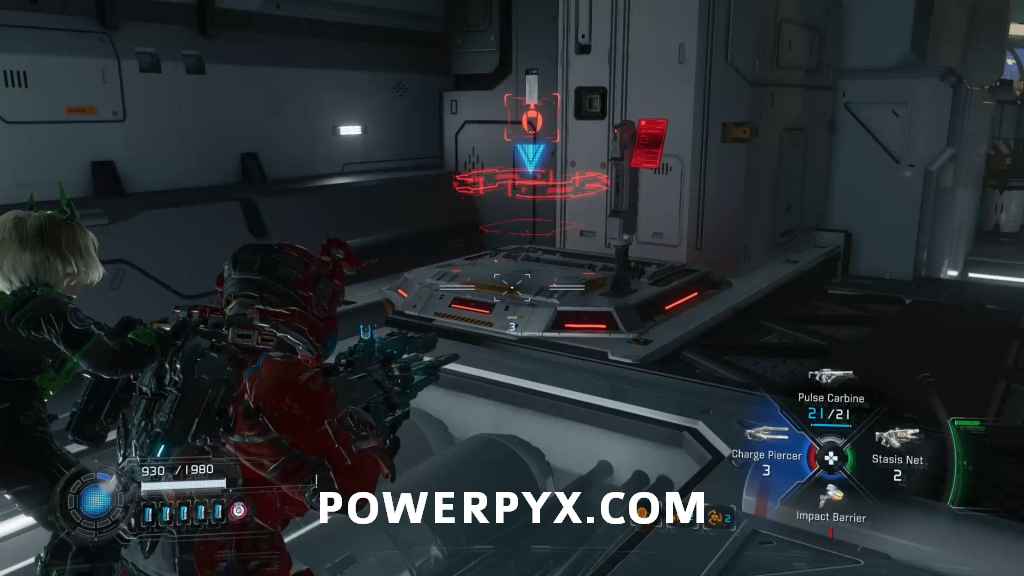
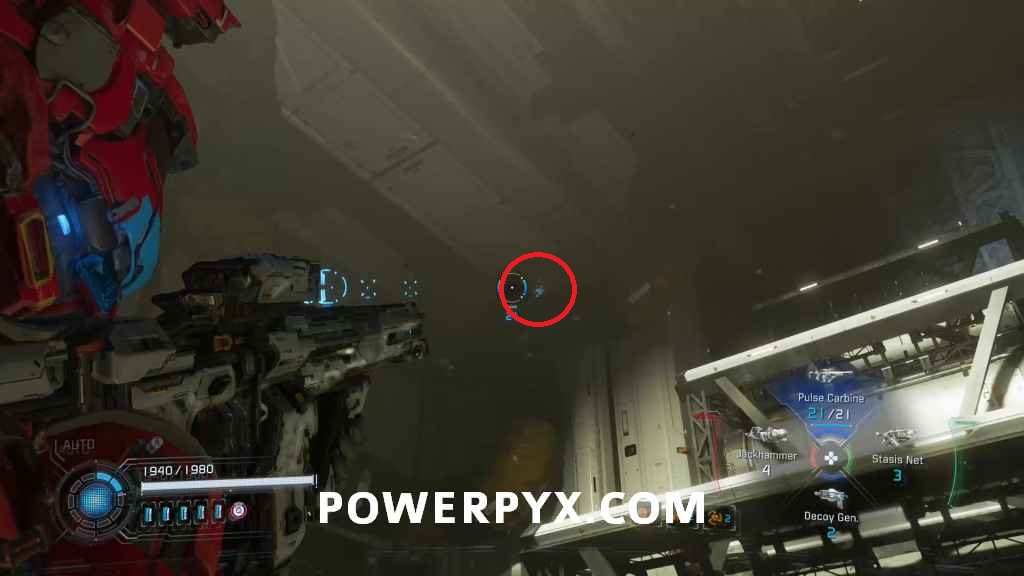
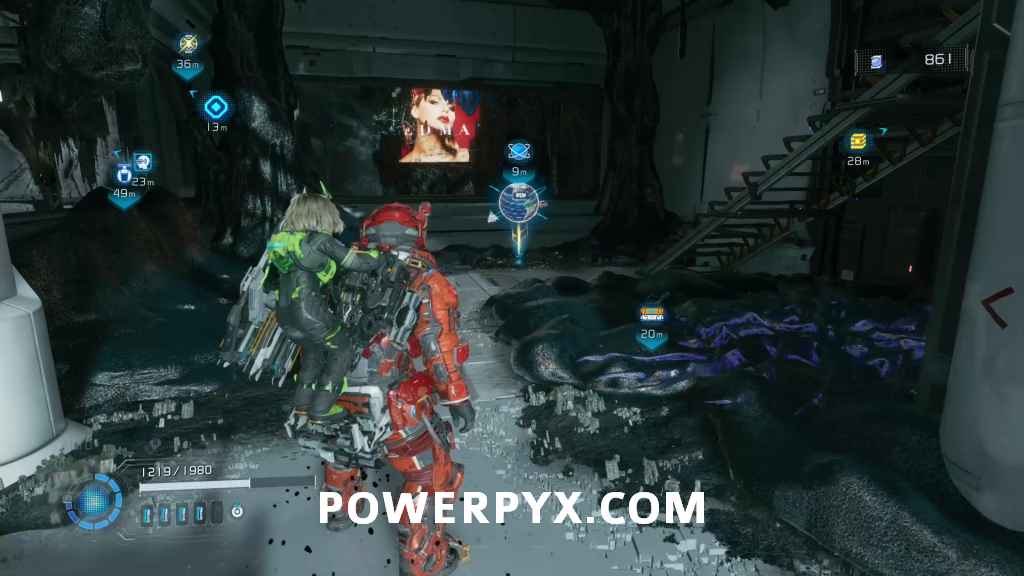
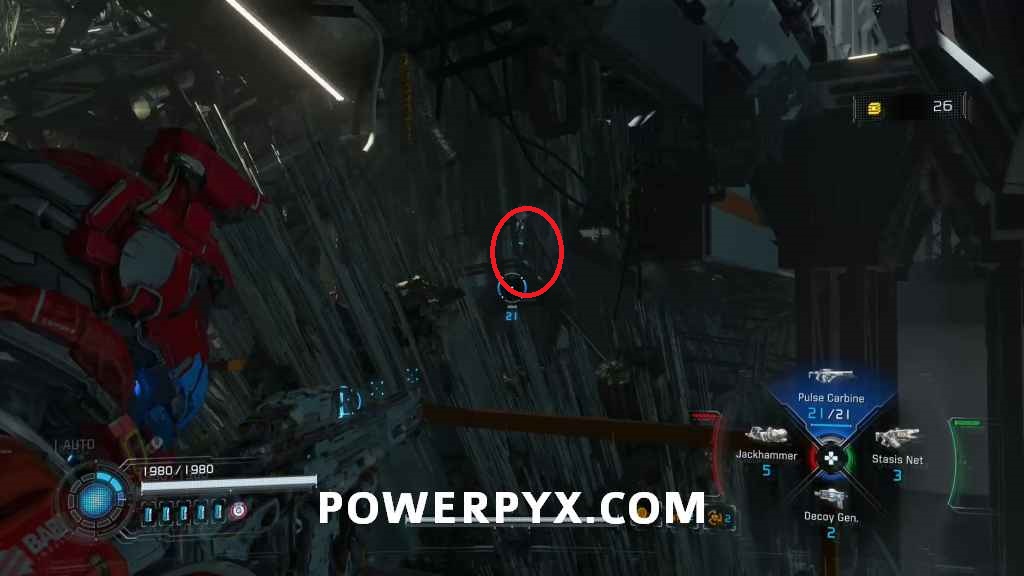
REM 1 (Parasol) – Before going down the stairs you can jump on the cargo boxes on top of the stairs and from there thrust to the left so you can reach the REM you saw behind the window from the back.
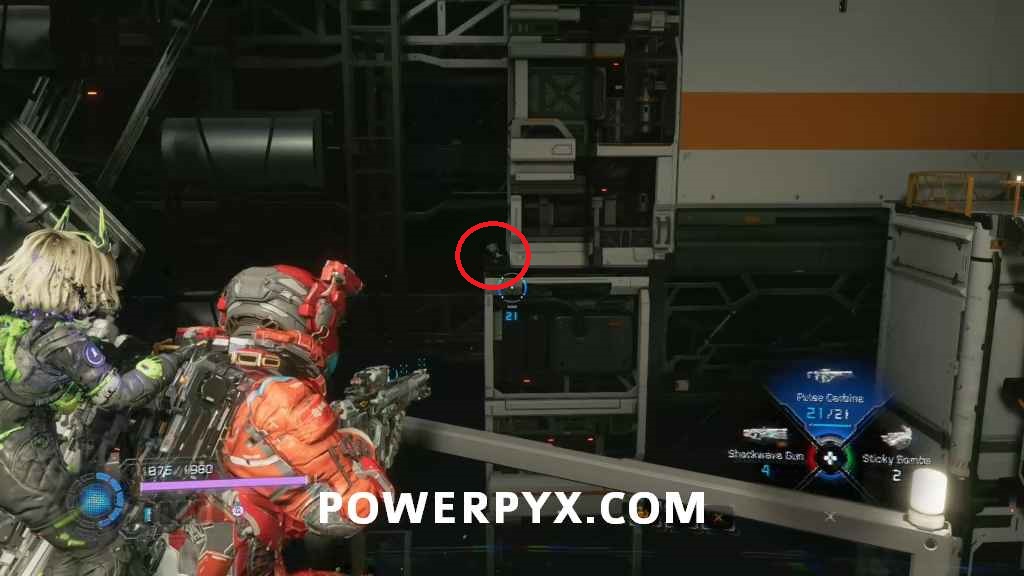
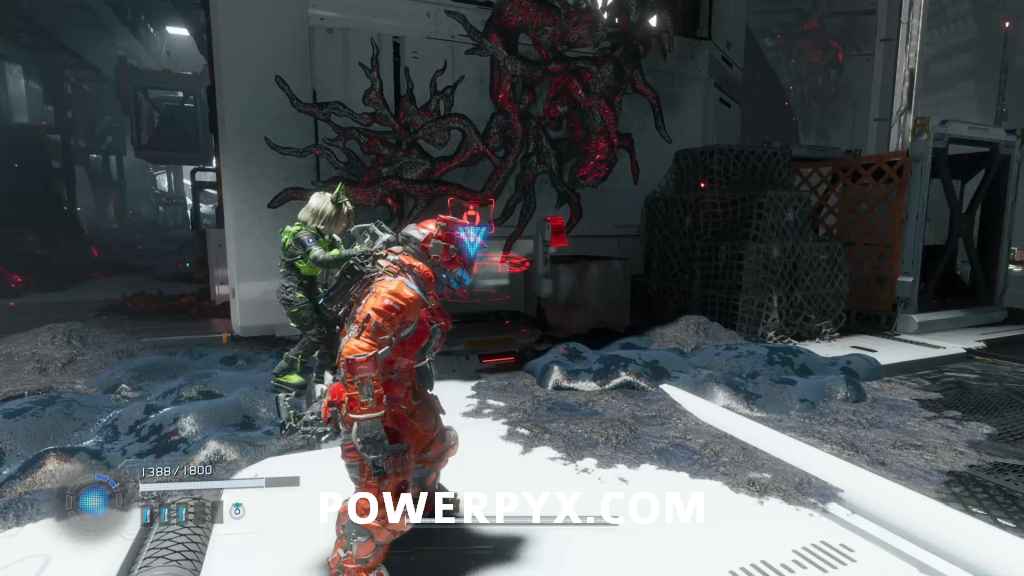
Mod 1 (Untapped Potential) – In the bigger room where you first have to cleanse enemies you can find it behind the shutter door, it is being protected by an invisible enemy.
Clean up on Aisle Three Trophy/Achievement – Next area is perfect for the trophy. You will need to cleanse 3 enemies at the same time and you will get an opportunity here. Get them close together and hold  to cleanse them at the same time.
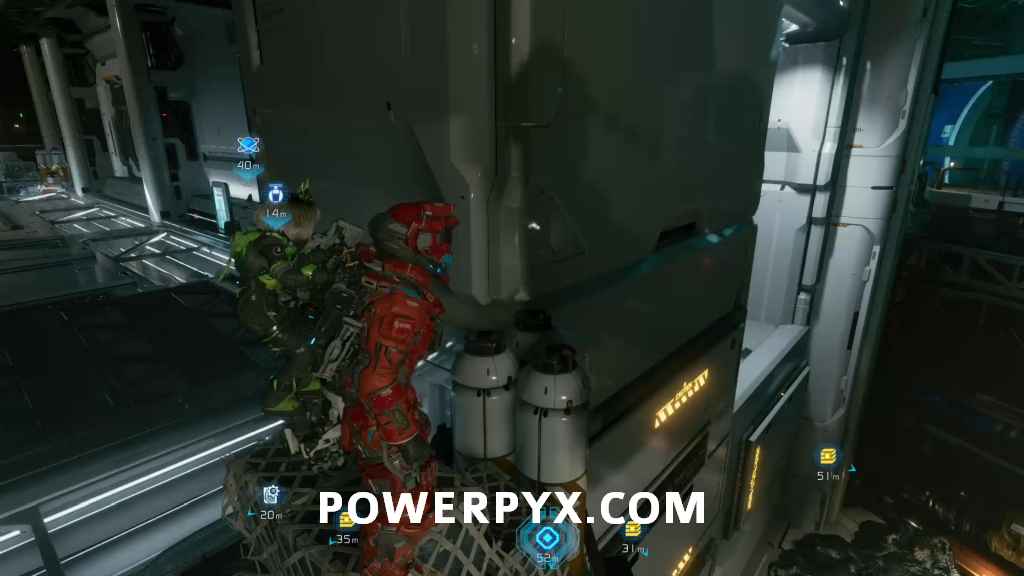
Mini Cabin 1 – Before going through the next door, turn around and there you will see the Mini Cabin in the distance.
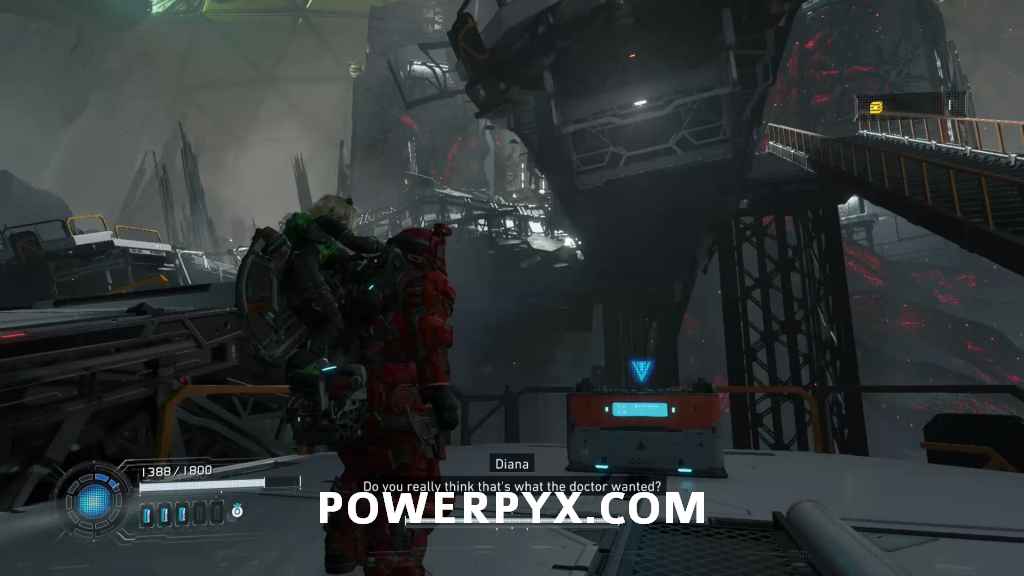
Central Port 02 – Research Sector
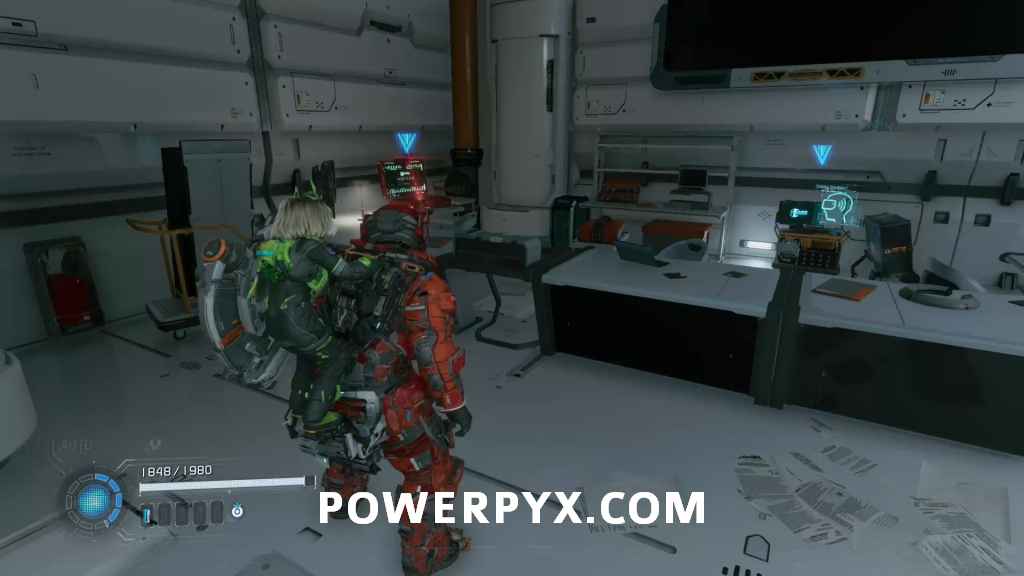
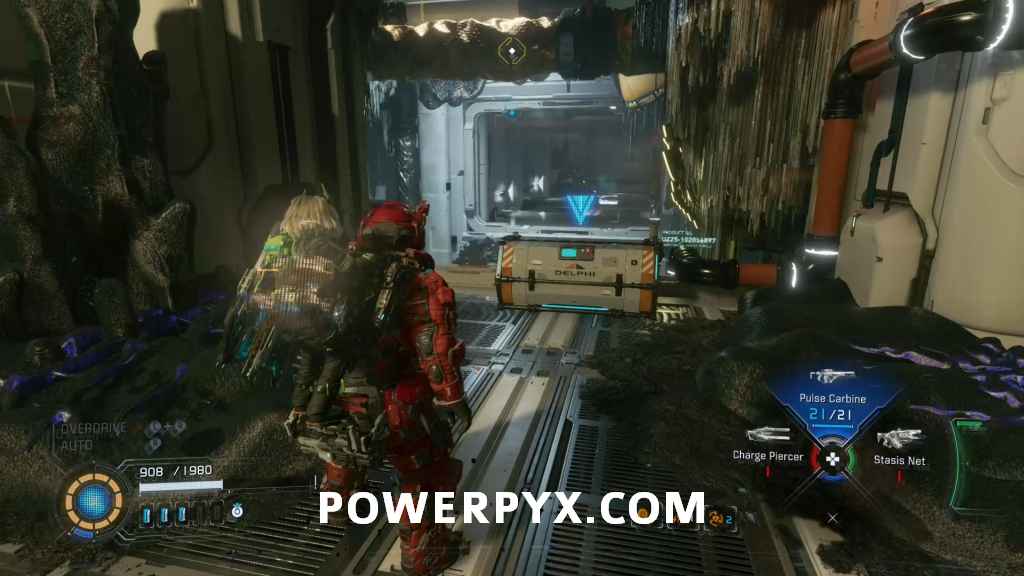
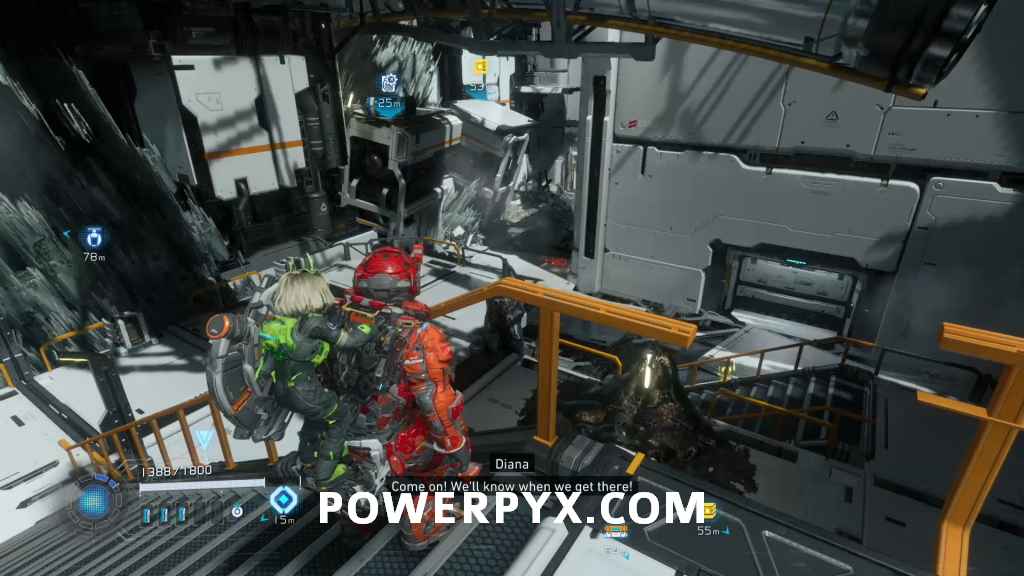
Escape Hatch 2 + Red Zone Key + Training Data 1 – After the ride with the elevator and looking at the Orbital Elevator, when you enter the room you can find all of these.
Safe Box 1 – Can be found in the next outdoor area after Diana says she can’t cleanse that.
Safe Box 2 – You can take down a set of broken stairs to this Safe Box. Scan the area to see where it is.

Central Port 03 – Regolith Lab
Escape Hatch 3 – After fighting the new enemy with the stretchy arms you will find it in the next room, on the left side.
Mod 2 (Heat Transfer) + Safe Box 3 – Both can be found when taking the stairs to the left of the Escape Hatch.

Mini Cabin 2 – From where you found the Safe Box turn 180 degrees and look to your upper right to find it on some yellow pipes.
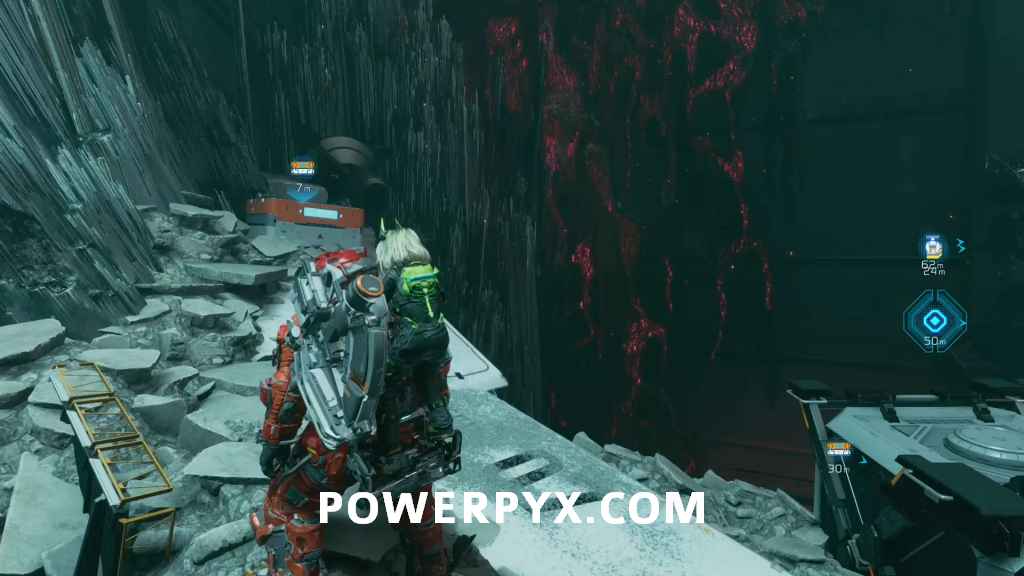
Red Zone + Pure Lunum 1 + Pure Lunum 2 – Going upstairs on the right side will lead you to a door for the Red Zone.

REM 2 (Water Gun) – Next room after the Red Zone will have some enemies and a Holo-Wall that hides this REM.
Mod 3 (Cursed) – Same area has a crystal you can cleanse which will lead you through a dark stairwell into a room with some enemies and the mod.
Safe Box 4 – You will run straight into it shortly after.
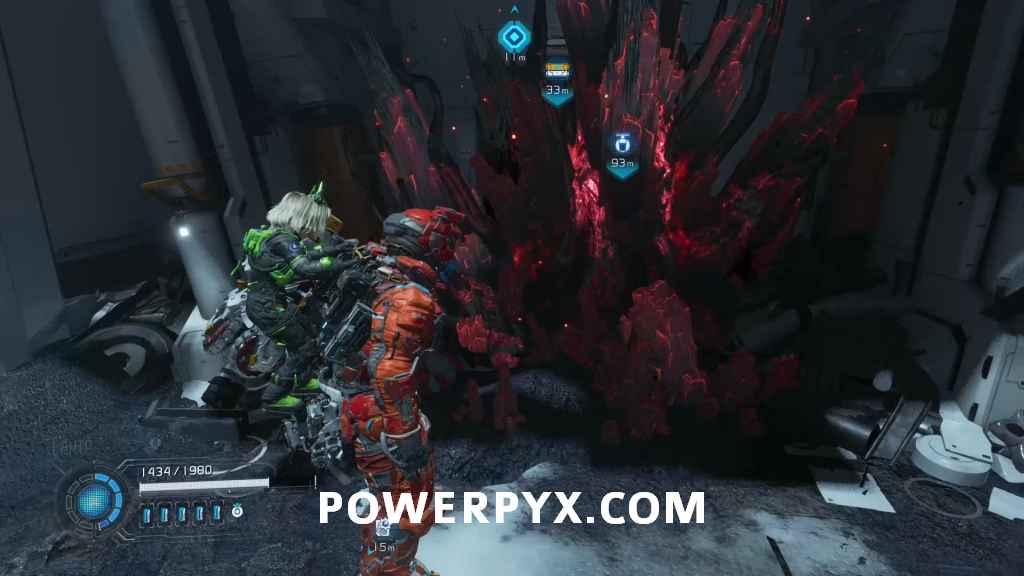
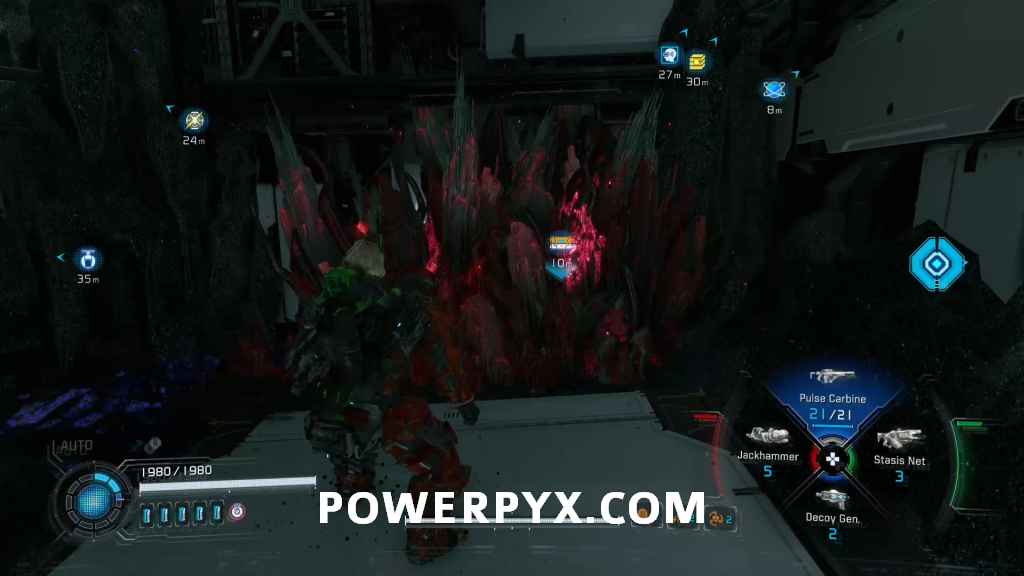
Pure Lunum 3 – After the next bigger fight you will find it downstairs next to a big crystal.
Central Port 04 – Lunafilement Lab
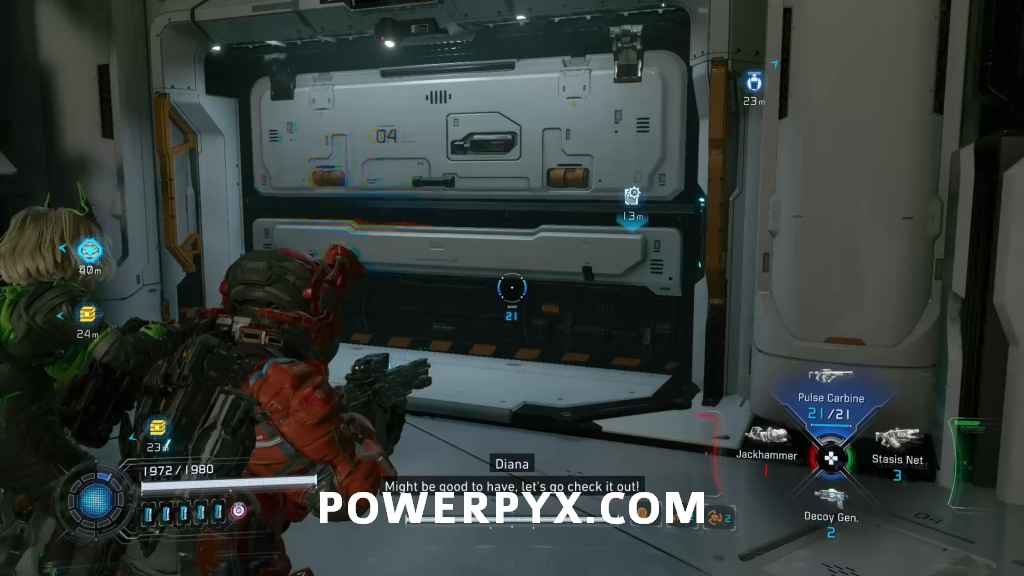
Escape Hatch 4 – You can find it in the room with taxis sticking out of the wall.
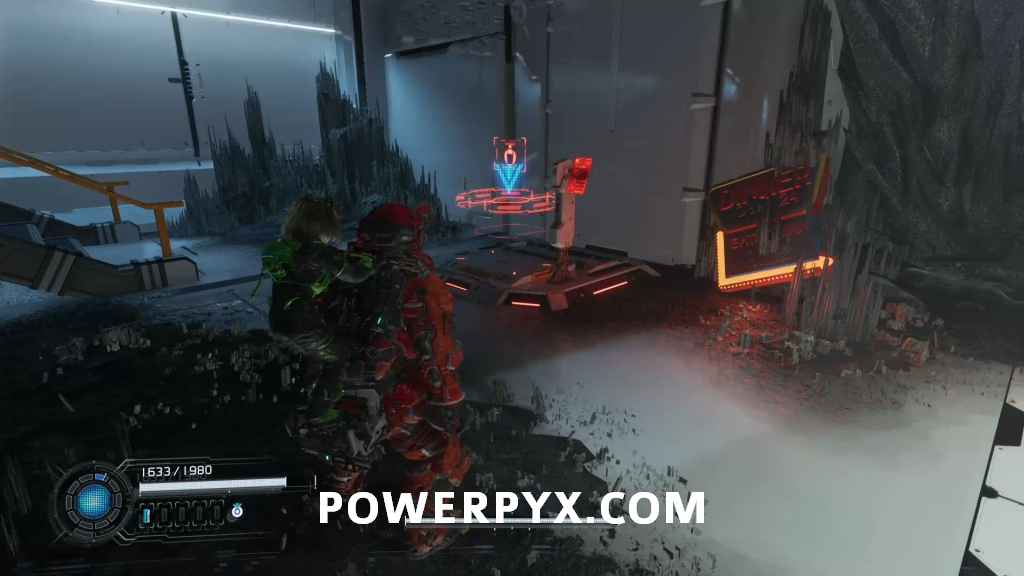
Red Zone + Storage Expander 1 + Pure Lunum 4 – Just turn around from the hatch and walk through the door to find it.
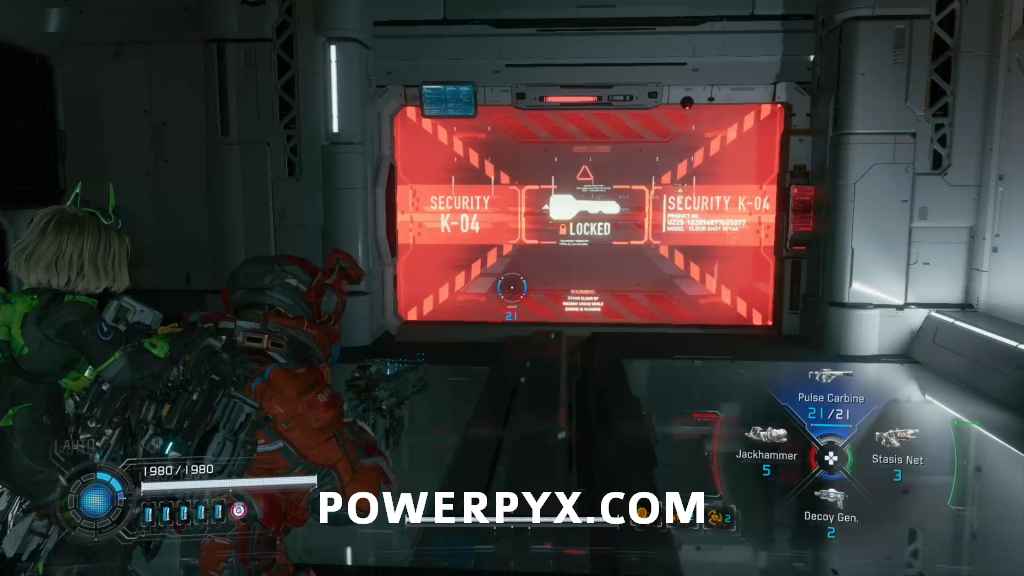
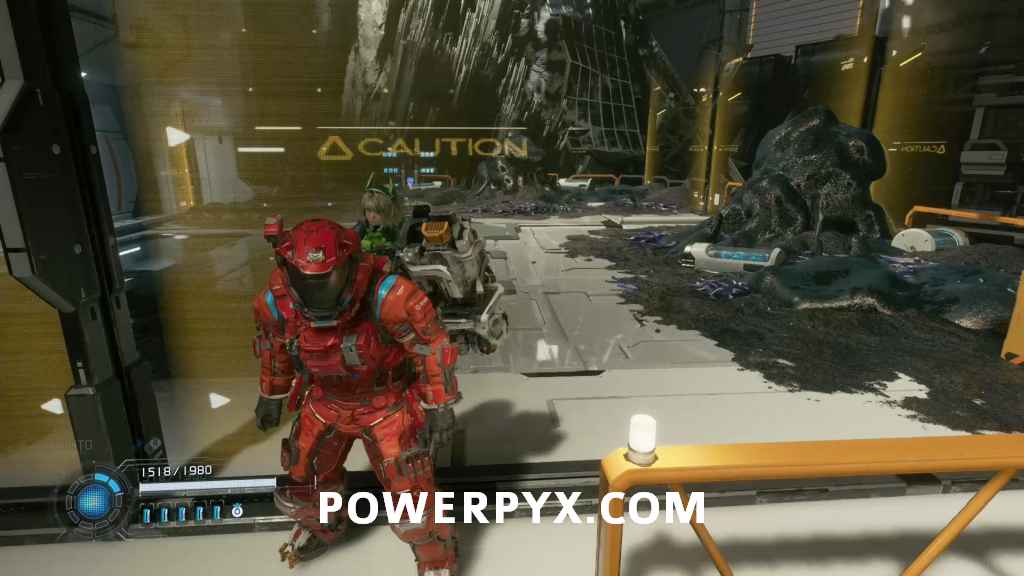
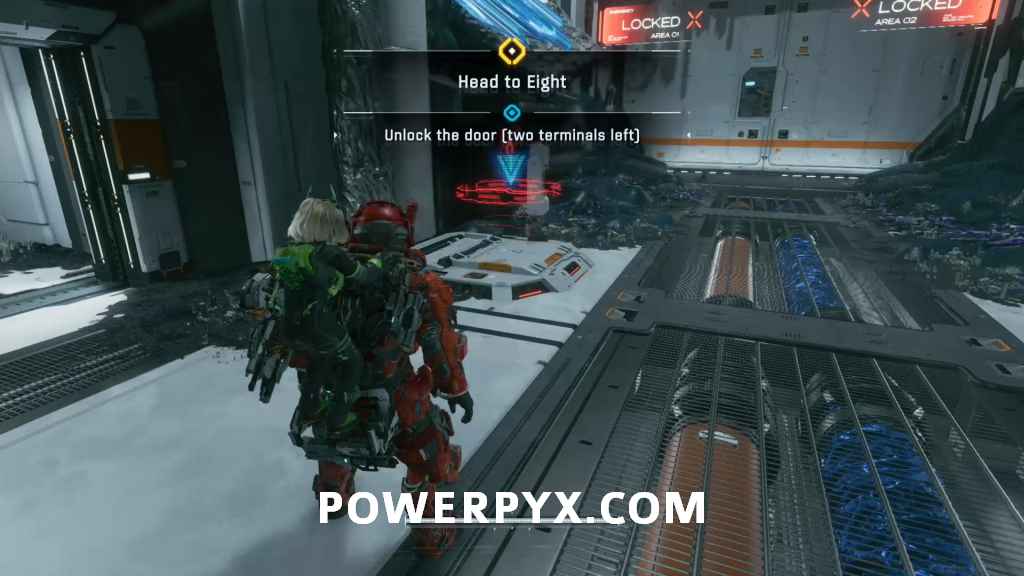
Safe Box 5 – Go through the door to the right of the hatch. There you have to unlock 5 locks to open the door. On the ground level you can also cleanse Dead Lunafilement to find the Safe Box.
REM 3 (Sandcastle) – Can be found in the room you get into after opening the 5 locks.
Pure Lunum 5 – Found in the room with the next bigger fight where you unlock the Lock number 2.
Training Data 2 – Exit the room through the other door to find it next to the railing.
Safe Box 6 + Safe Box 7 – Now on the left side of the hatch. After Hugh asked Diana if she could cleanse people, head upstairs. In the next room cleanse the Dead Lunafilement and go down there to find 2 Safe Boxes.
Pure Lunum 6 – In the room after defeating Sentinel.
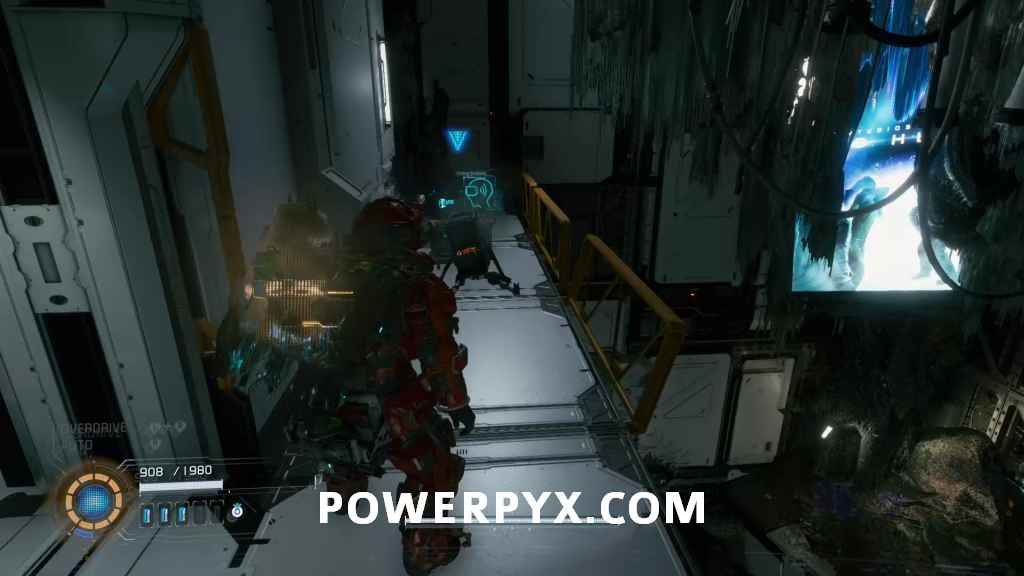
Safe Box 8 – After seeing the hologram of Higgins dying, check the room on the left.
Central Port 05 – Orbital Elevator
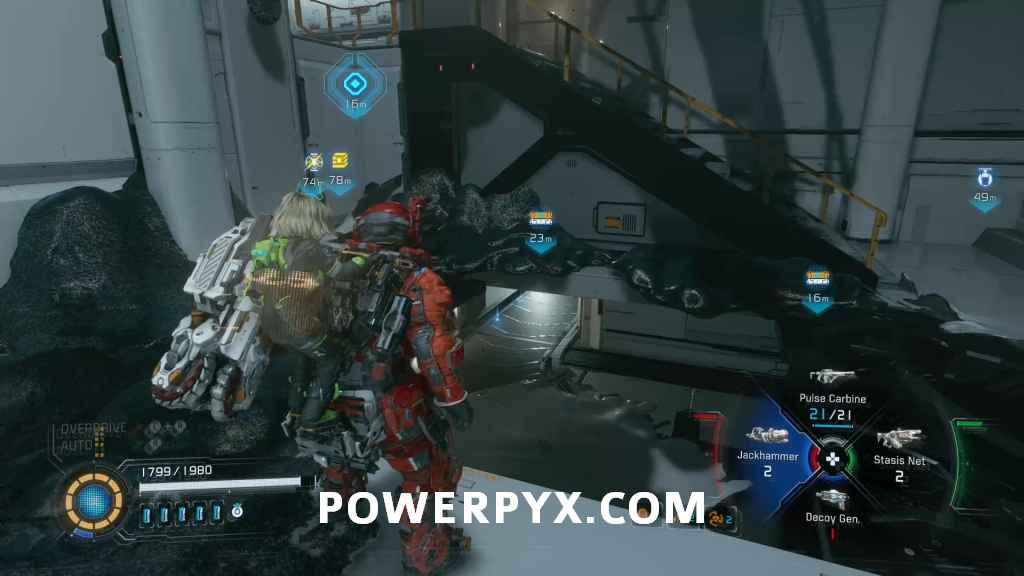
Escape Hatch 5 – You will run straight into it, hard to miss.

Safe Box 9 – Go through the right door and you will find it.
Mini Cabin 3 – In the same area go downstairs until the way ends and you will see it straight in front of you a few meters above you.
Safe Box 10 + Safe Box 11 – In the area where missiles will shoot at you, the platform with the Multihack pickup has a Holo-Wall which will lead you to those boxes.
Mod 4 (Adrenaline Flood) – After the next fight in the caution zone take the lower door first and follow the path until you reach the Mod on the ledge you saw from below.
Safe Box 12 – Will be on your direct path.
Escape Hatch 6 – Just in front of the tower.
Safe Box 13 – Turn around from the hatch and you will see it in front of you.
This covers all the collectibles in Central Port, which is the last area containing collectibles. After this you should have everything found. If you’re missing anything you can grab it in The Unknown Signal mode after the story, basically an Epilogue Cleanup mode where you can revisit all areas. The collectibles carry over to Unknown Signal mode.
Jeff says
I appreciate the time and effort that goes into putting these detailed walkthrough guides together. Have a blessed one.