
Mass Production Array (MPA) is the 2nd sector in Pragmata and contains 39 Collectible Locations. This walkthrough will guide you to all the collectibles in Mass Production Array (MPA) region. Everything that’s needed for trophies and 100% completion is included. Nothing is missable, everything can be collected after the story in Unknown Signal Mode.
- Mini Cabins: 3
- Escape Hatches: 5
- Safe Boxes: 17
- Pure Lunum: 4
- REM: 4
- Mods: 5
- Cartridge Holder: 1
On the first visit to some areas, you are still missing the story-related skills needed to reach collectibles. If you can’t reach something, grab it after the story in Unknown Signal (Cleanup Mode).
Collectibles Overview:
Mass Production Array 01 – Test Site Entrance
Safe Box 1 [REQUIRES BACKTRACKING – Lim Eraser] – Inside the diner on the left, requires the Lim Eraser (automatic story unlock in Mass Production Array 05).
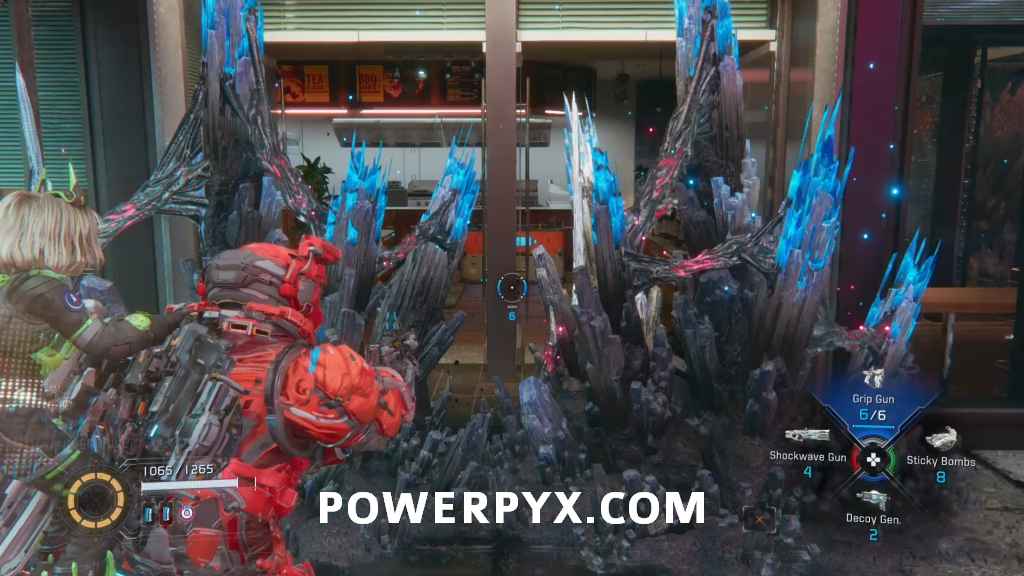
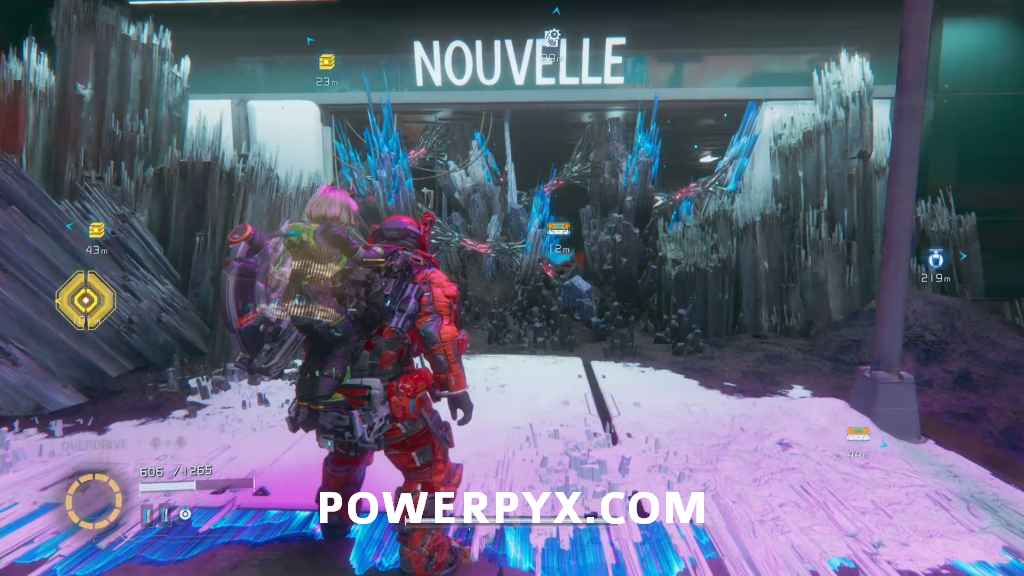
Safe Box 2 [REQUIRES BACKTRACKING – Lim Eraser] – Inside the Nouvelle Shop on the right, also requires the Lim Eraser.
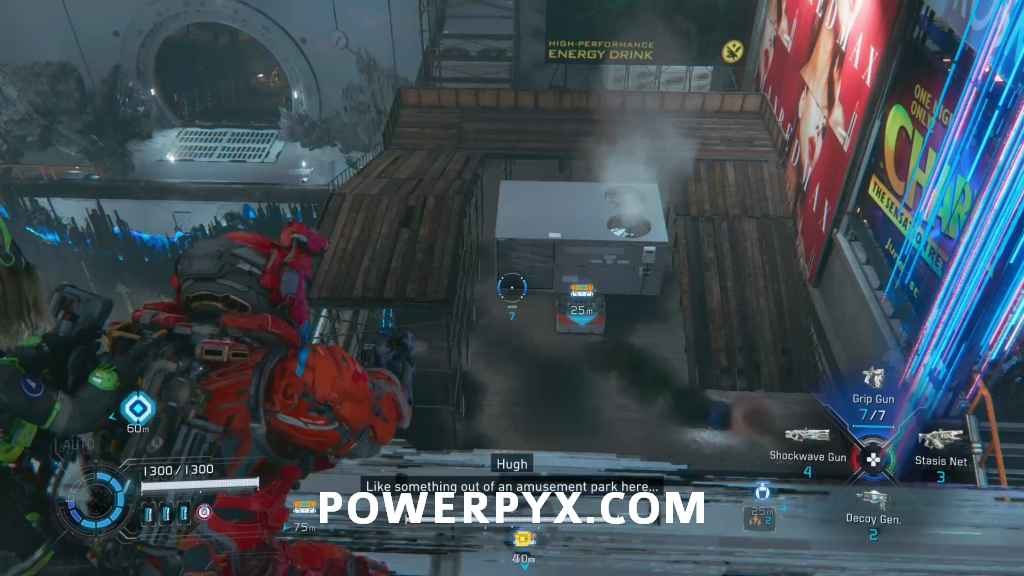
Safe Box 3 – After printing the second bridge later in the level, you can jump and dash across to the right to find it on a roof here.
Mass Production Array 02 – Shopping District
Escape Hatch 1 – You will run straight into it after Diana closes the door to save you from the bots.

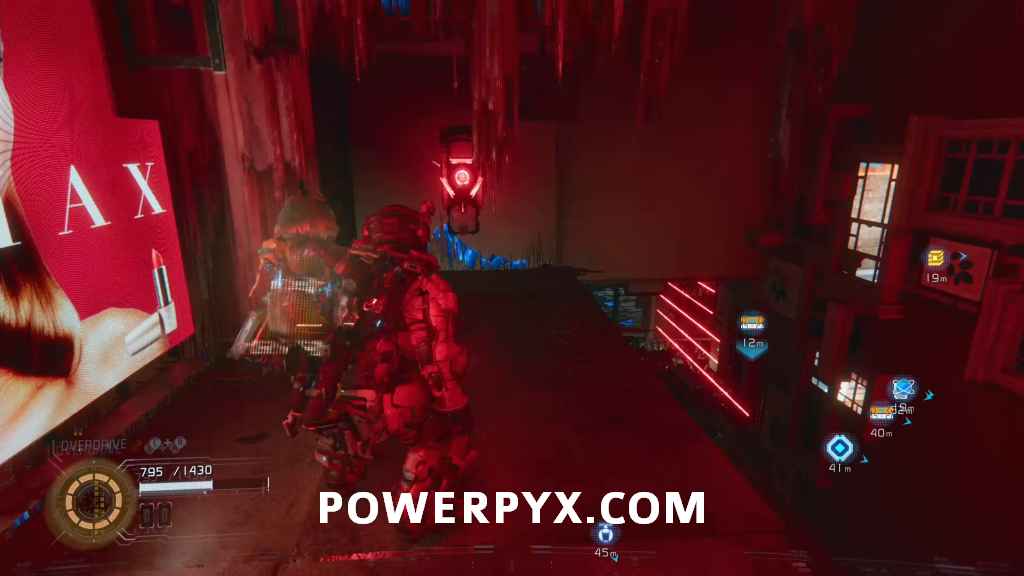
Red Zone + Pure Lunum 1 – You will run straight into it. Keys for Red Zone can be either found in the wild or be received from the Stamp Cards in the Shelter. Those that can be found in the wild will be mentioned in the guide as well. Finishing the Red Zone will reward you a Pure Lunum.
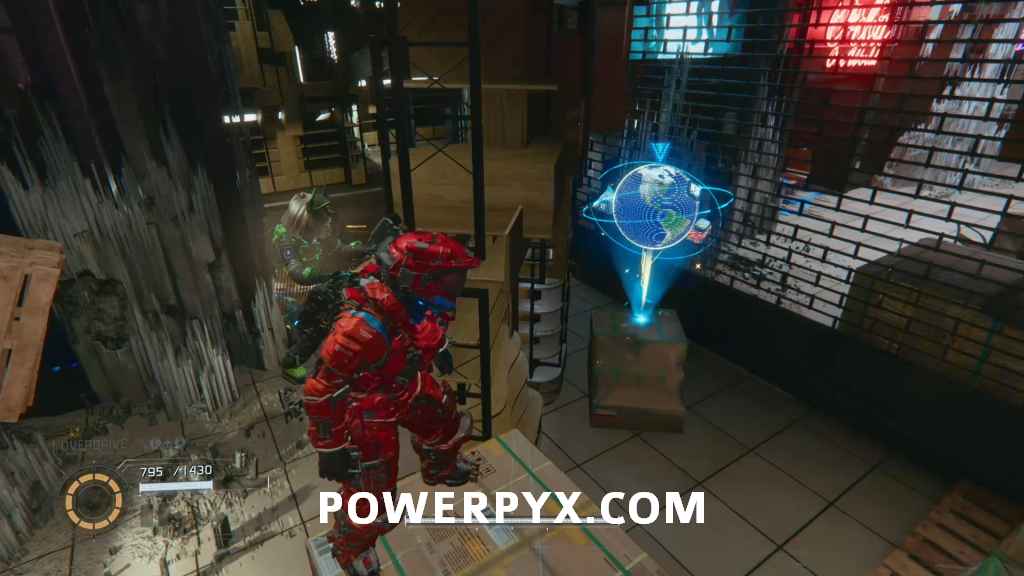
Red Gate Key – Can be found inside the “Orbit Our World” shop shortly after the Red Zone itself.
Mod 1 (Extended Breach) – In the room where you watch some mannequins, you can climb a ledge that leads to a laser corridor. There you can see it behind a glass window. Take the zipline up and drop to it from above.
Mini Cabin 1 – After taking the main story zipline up, turn around and check the roof next to the “Dead Hunter” movie poster.
Safe Box 4 – After obtaining the first Multihack follow the path behind it, deal with the enemies and grab the box at the end of this path.
Safe Box 5 [REQUIRES BACKTRACKING – Lim Eraser] – After taking the zipline up to the roofs you can thrust towards a ledge on the left side where you can use the eraser to find the safe box. You will need to come back here later since you don’t have the Lim Eraser yet.
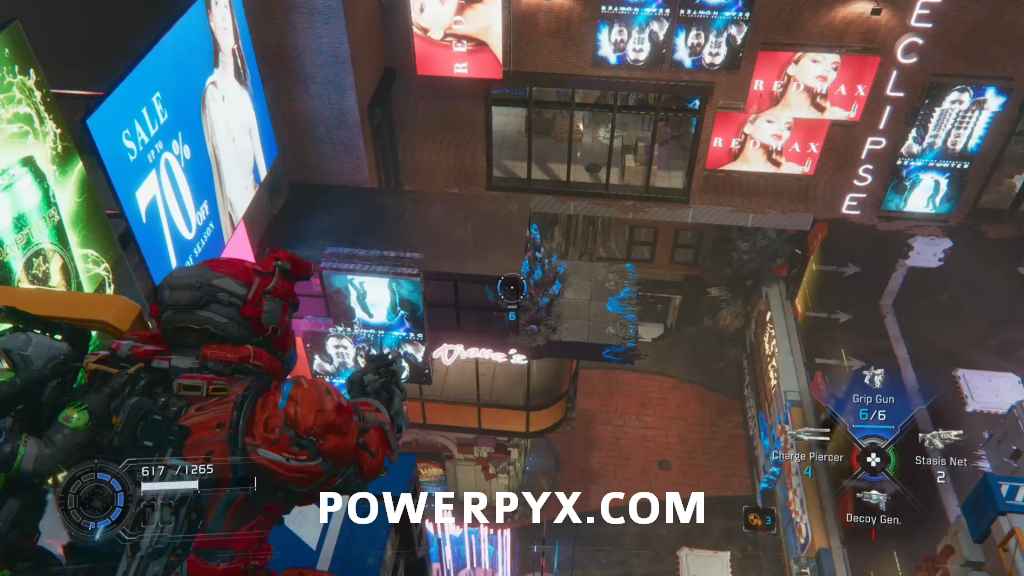
Pure Lunum 2 + Safe Box 6 – Both are in the shop called “Diana’s” you will enter after activating the second beacon.
Safe Box 7 – Found at the end of the path behind the Holo-Wall which you can find on a ledge close to the next locked door you have to open, but watch out for enemies who will ambush you there.
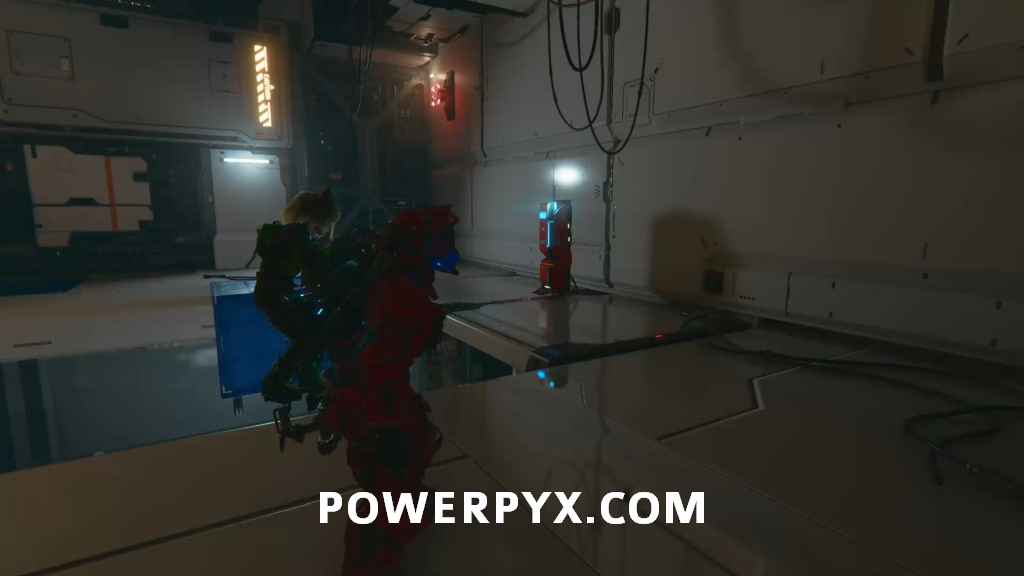
Safe Box 8 – In the short maze you can see it behind some lasers. After the next enemy you can climb up the ledge on your right to hack the lasers so you can reach the box.
REM 1 (Basketball) – Shortly after you will see it behind some crates. You saw it from the other side of the gate while coming here.
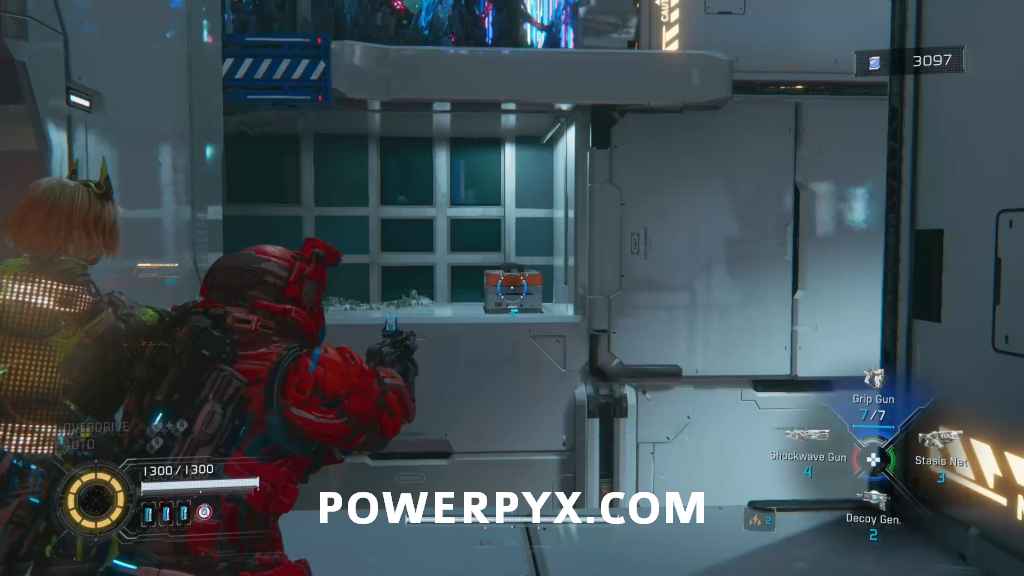
Mod 2 (Close Quarters) – In the room after the next enemy in the blue chest on the left side of the room.

Mass Production Array 03 – Side Alley
Escape Hatch 2 – After crossing the printed bridge it will be on your right.
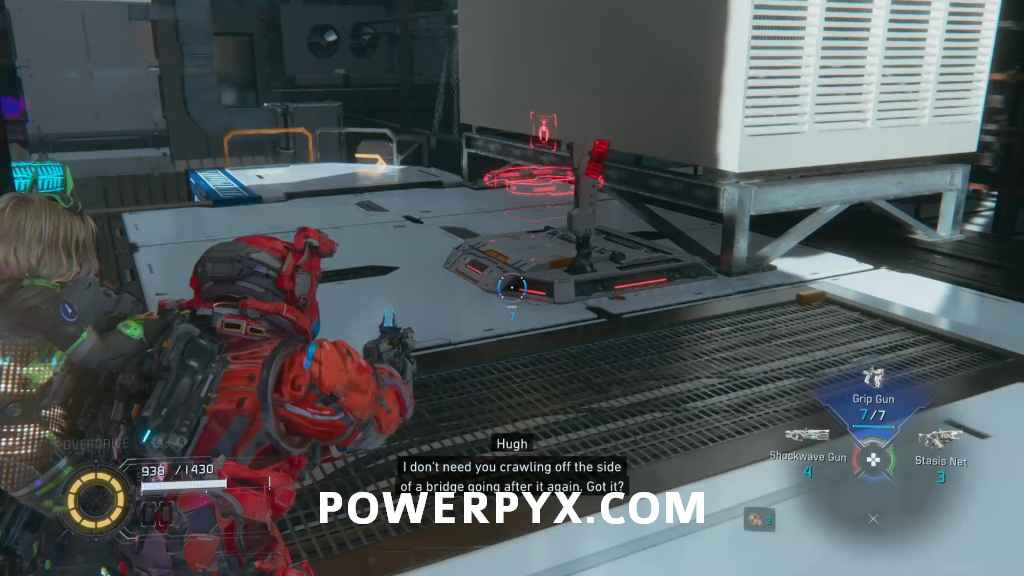
Mod 3 (Relay Amplifier) – While jumping up some blue platforms you will see the chest in front of a chain link fence.
Mod 4 (Long-range Targeting) – Before going up and activating the Beacon, drop down instead where you will find some enemies and the chest with the mod.
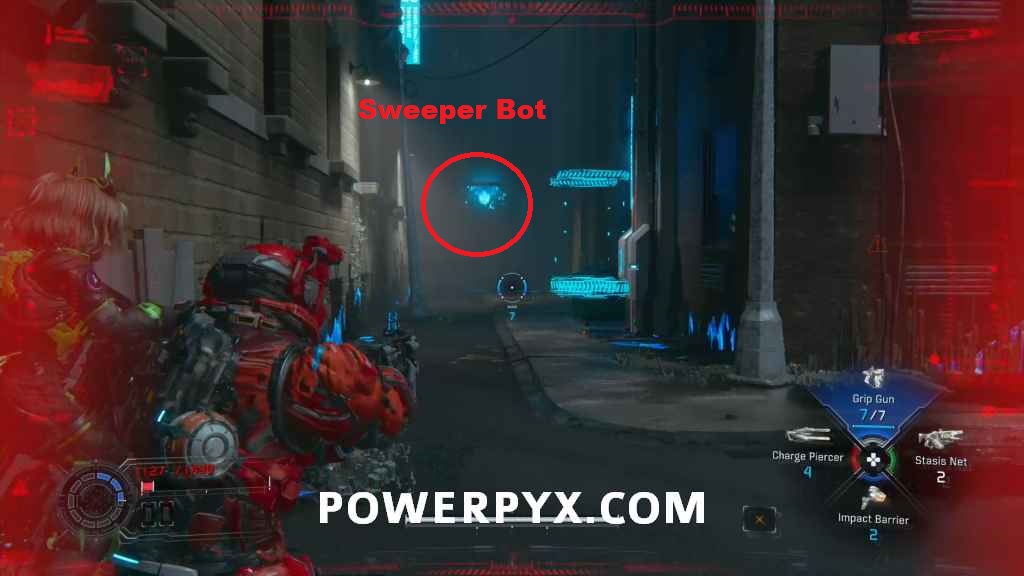
You’re Not Getting Away That Easy Trophy/Achievement (Potential Location) – Around the corner where a zipline would take you to the next collectible you can potentially find a Sweeper Bot needed for a trophy. In order to get the trophy you need to hack it before it gets away. Aim at it and solve the puzzle before it runs away. This is one of many possible spawn locations but it is unclear what causes them to respawn.
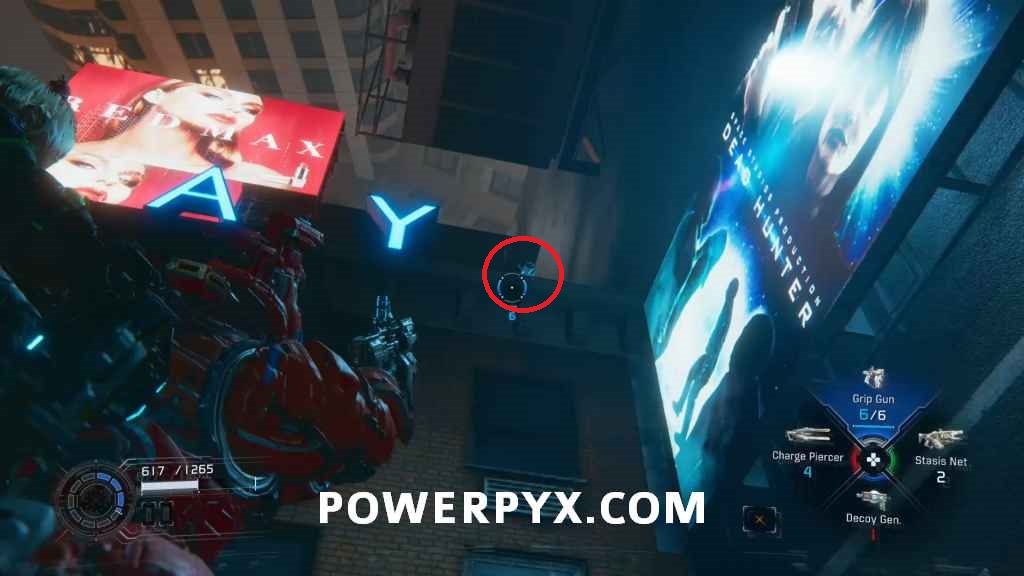
REM 2 (Slide) – Around the corner in the same area you can find a zipline that takes you up to the place behind the chain link fence where you could see the REM a bit earlier.

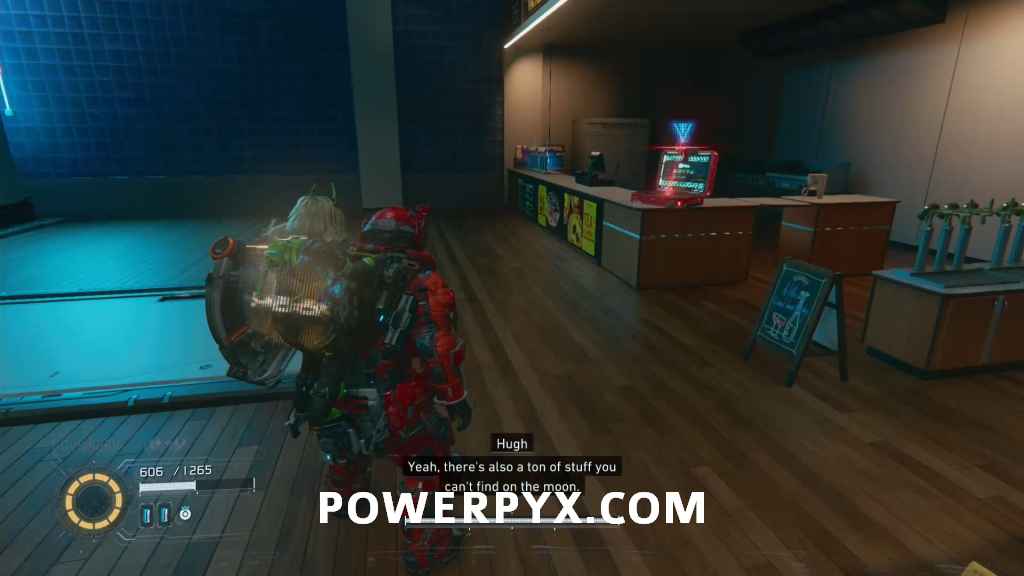
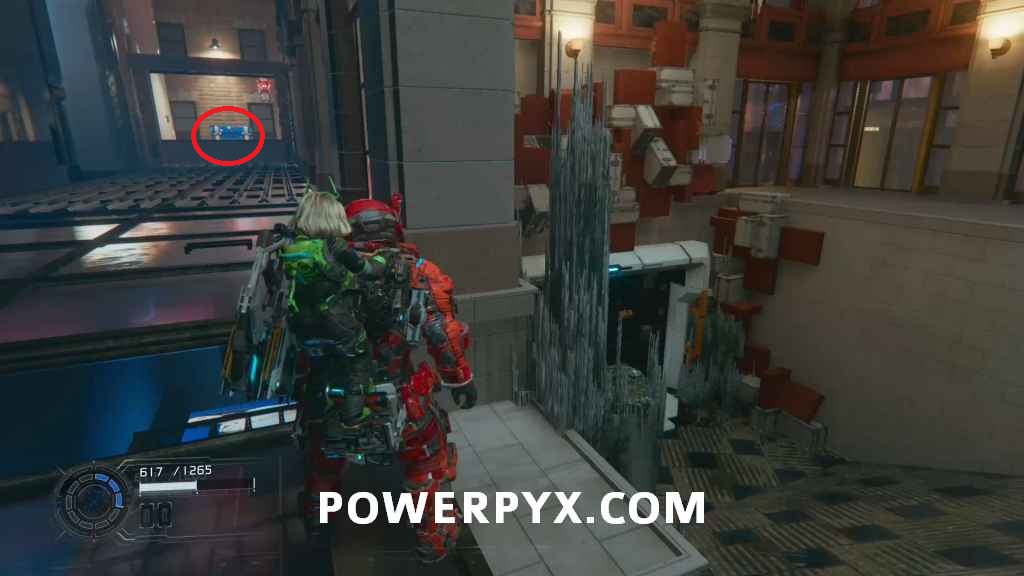
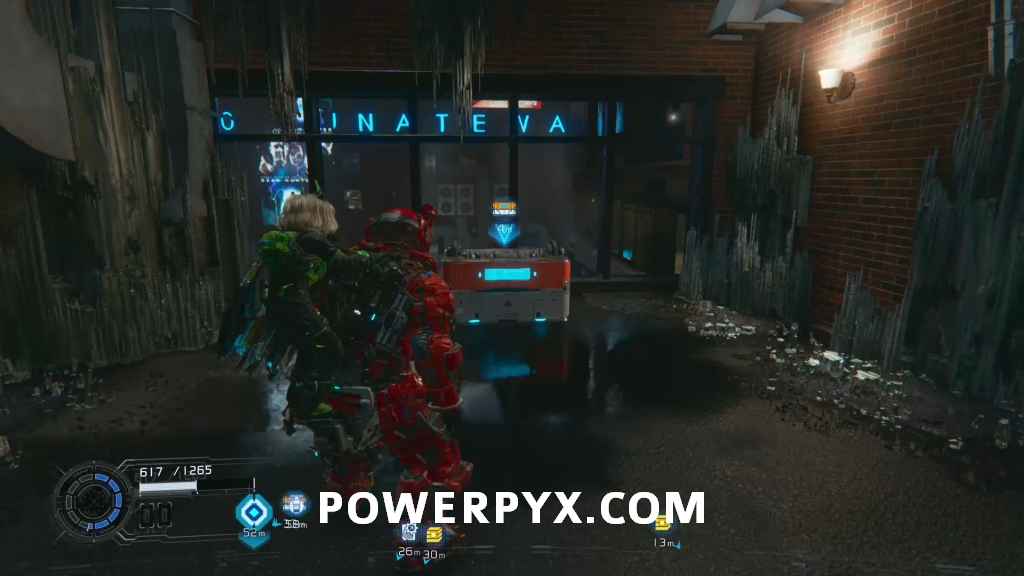
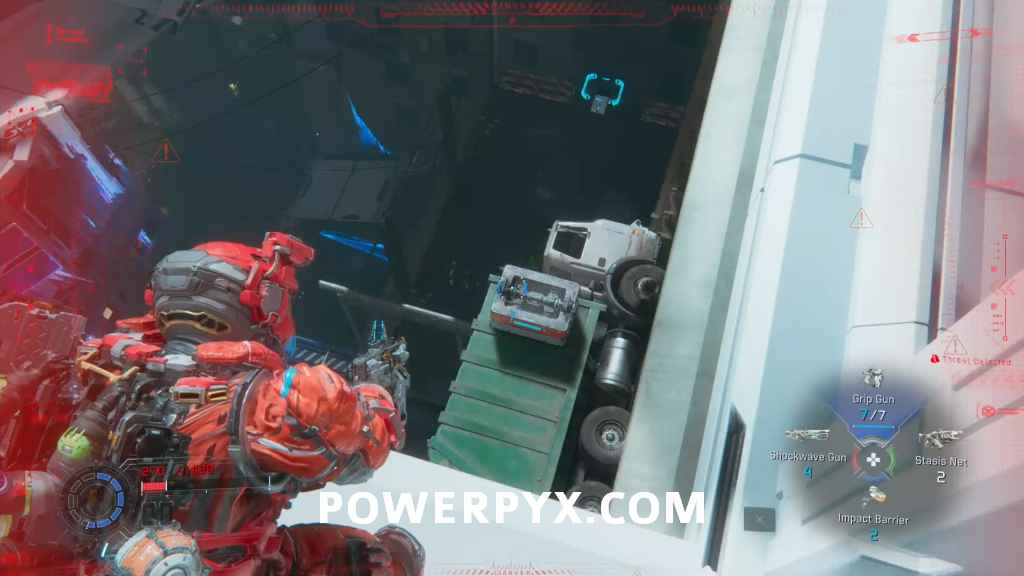
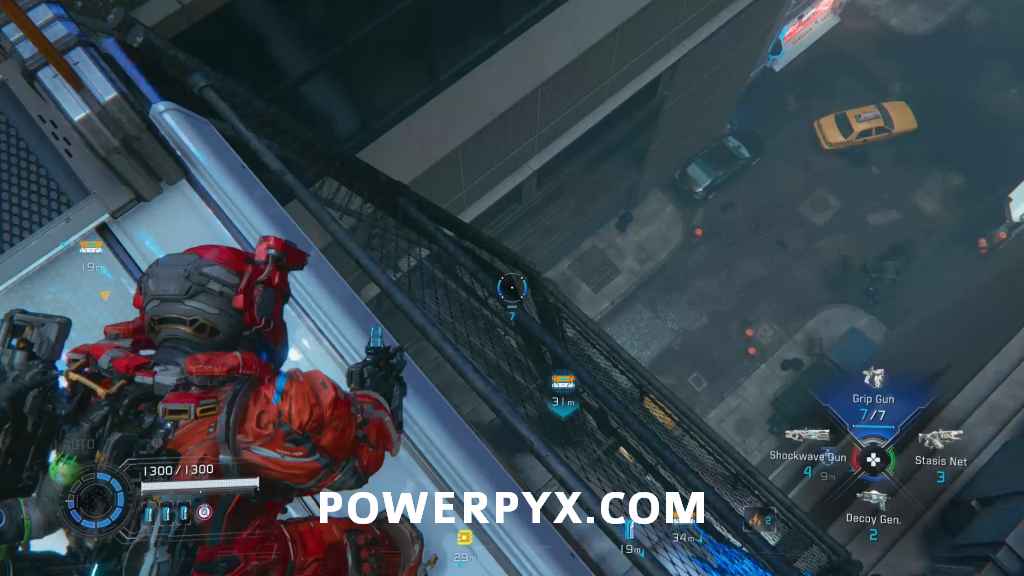
Mini Cabin 2 – After using the next zipline and before entering the room with the food conversation you can see a Mini Cabin on a vehicle sticking out of the building’s side.

Safe Box 9 – You can drop directly below the Mini Cabin to find a Safe Box there.
Mass Production Array 04 – Business District
Escape Hatch 3 – After the next Beacon you will find it in the next room, hard to miss.
Pure Lunum 3 – In a chest right next to it.
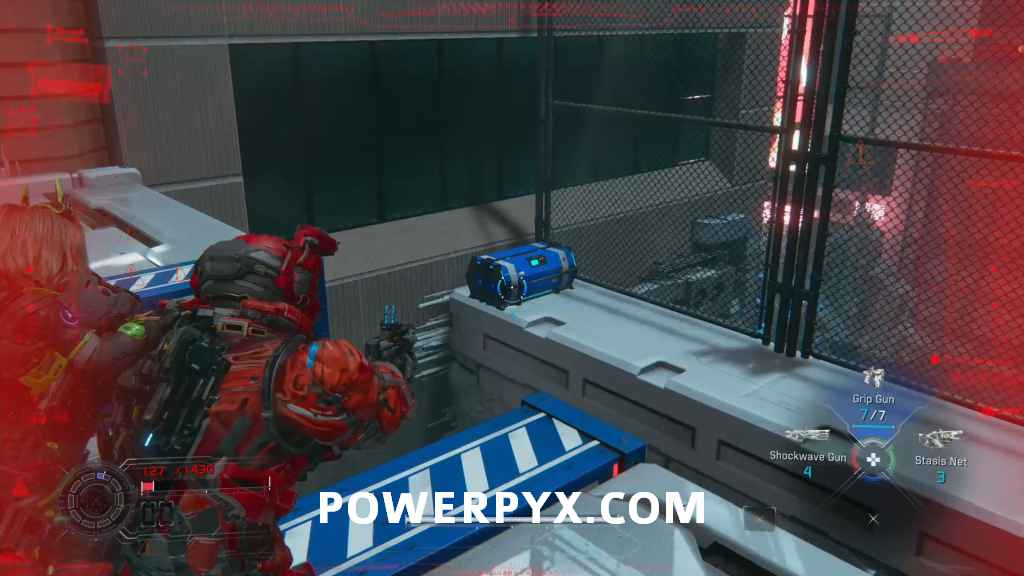
Safe Box 10 – Before using the zipline to go up, go right and you can drop down to the street level to find a Safe Box there.
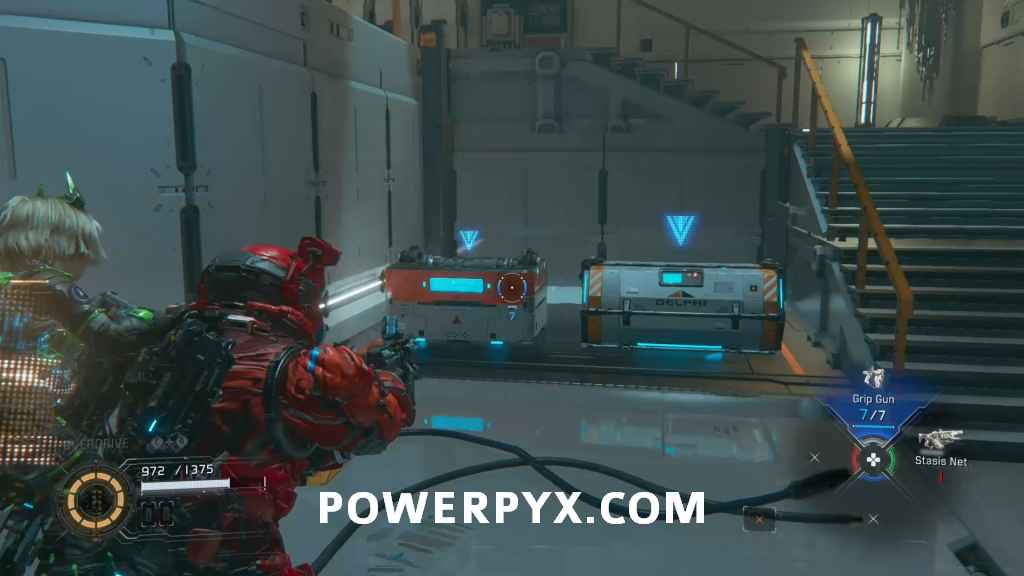
Red Zone + Mod 5 (Pocket Refinery) + Pure Lunum 4 – In the same area. You will obtain 2 reward boxes for it, which will contain a Mod and a Pure Lunum.
Safe Box 11 & Safe Box 12 [REQUIRES BACKTRACKING – Cleansing] – You can use a zipline in the same area to reach an area with 2 boxes, you need to return here once you learn how to cleanse (automatic story unlock from Central Port 01 – Port Entrance).
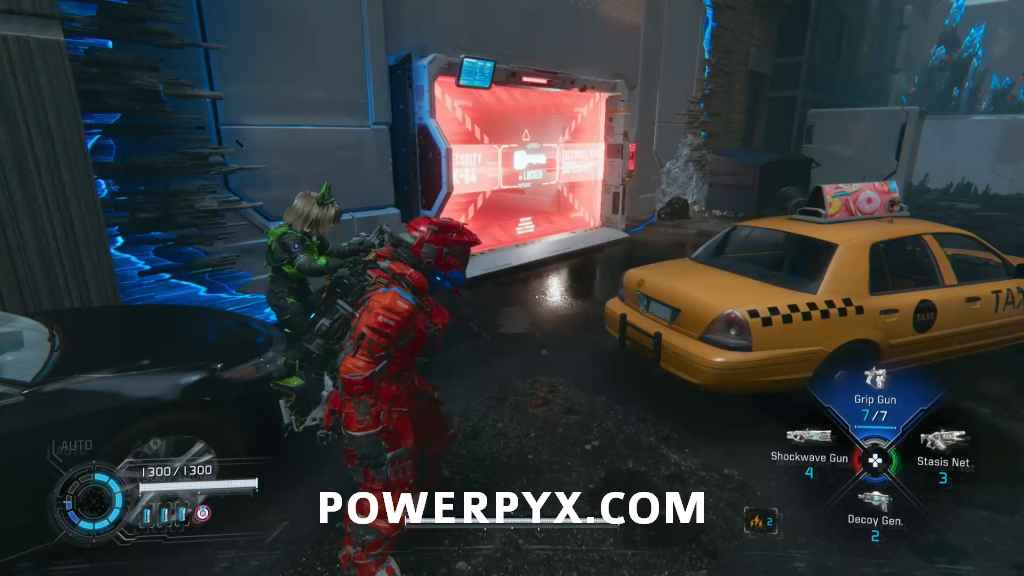
Safe Box 13 – The door opposite the Red Zone leads to a room with a taxi on spikes, behind that is the Safe Box.
Cartridge Holder 1 – You will run past it.
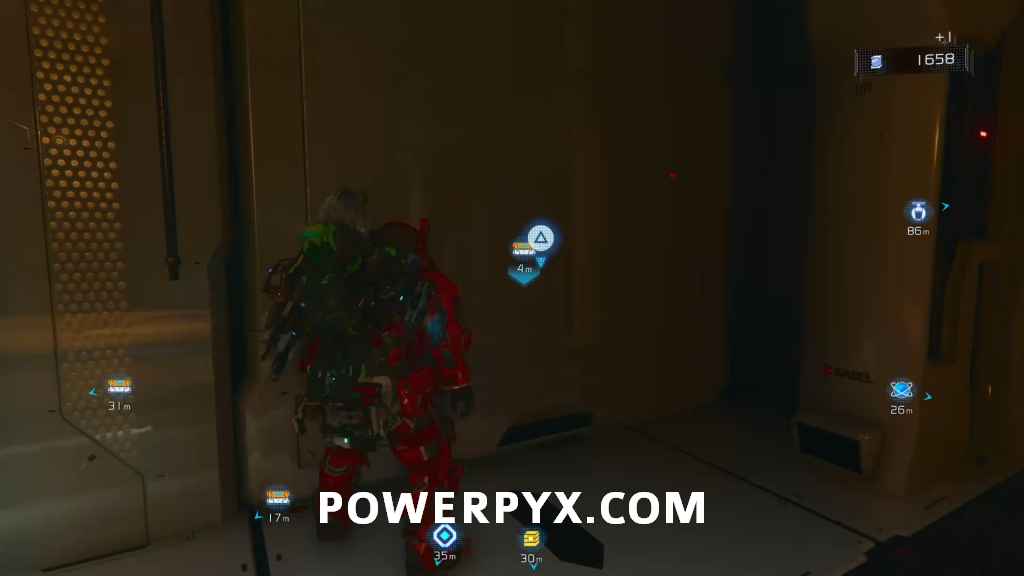
Safe Box 14 [REQUIRES BACKTRACKING – Lim Eraser] – You will end up in the Escape Hatch room again. Once outside, head right again and remove the blockade with the Lim Eraser. Take the elevator down and then proceed upwards from one platform to another until you see the box on a side platform.
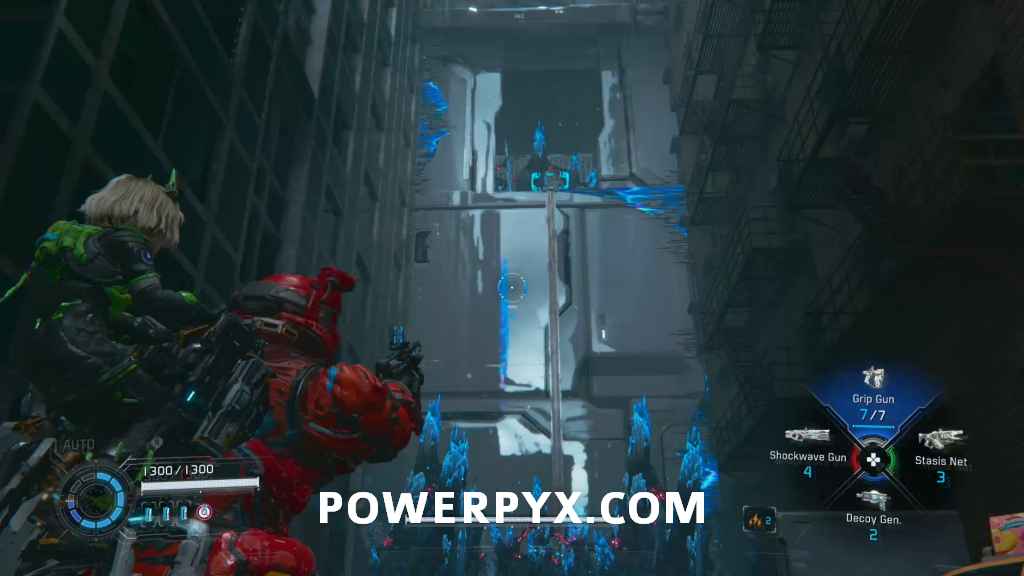
REM 3 (Skateboard) – At the top of this area you can see an REM which looks just out of reach, but you can just stand on the platform on the left of it and look down to reach the wall panel again which will move some blocks so you can reach the REM.
Mass Production Array 05 – Lim Recycling Facility
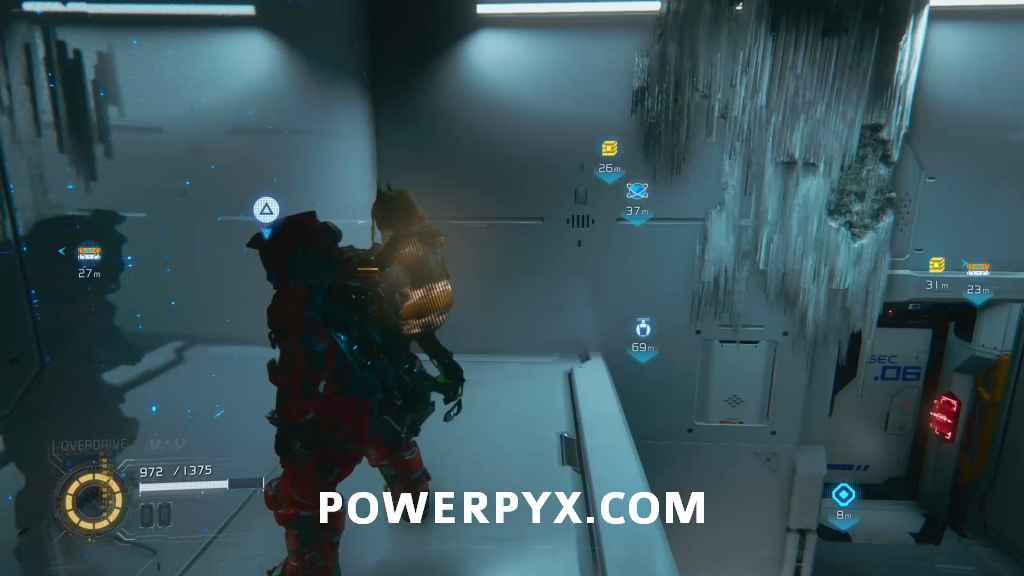
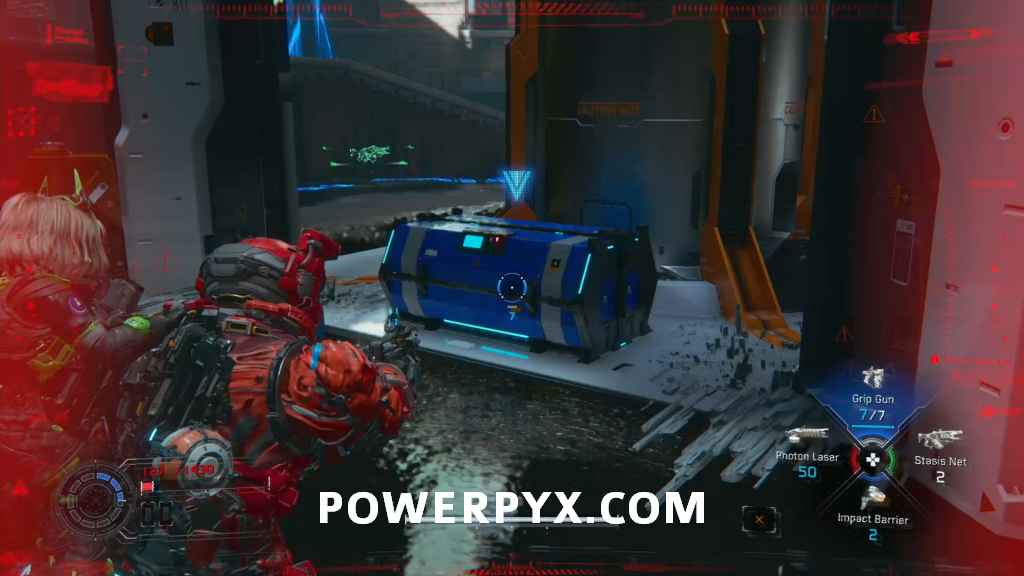
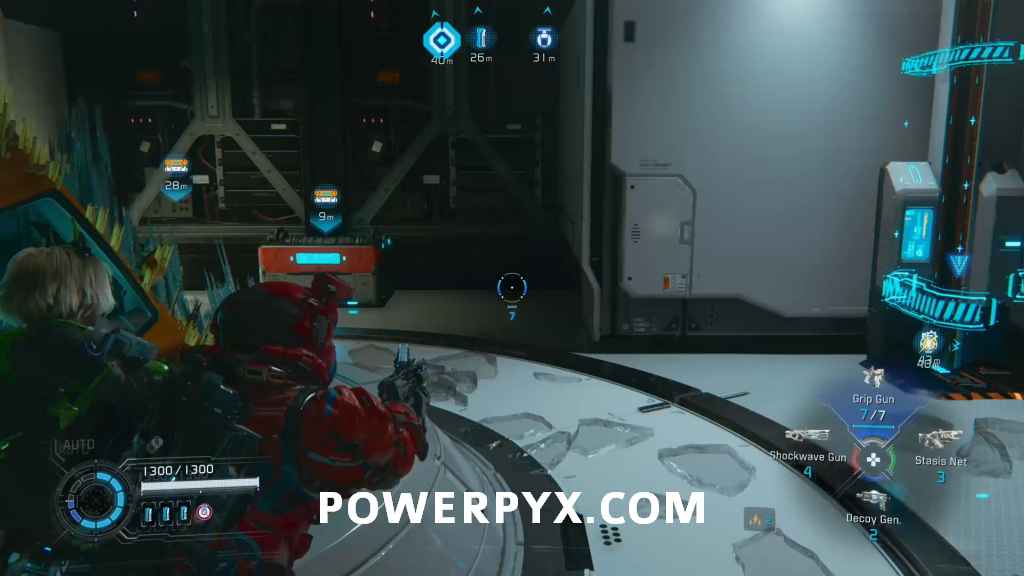
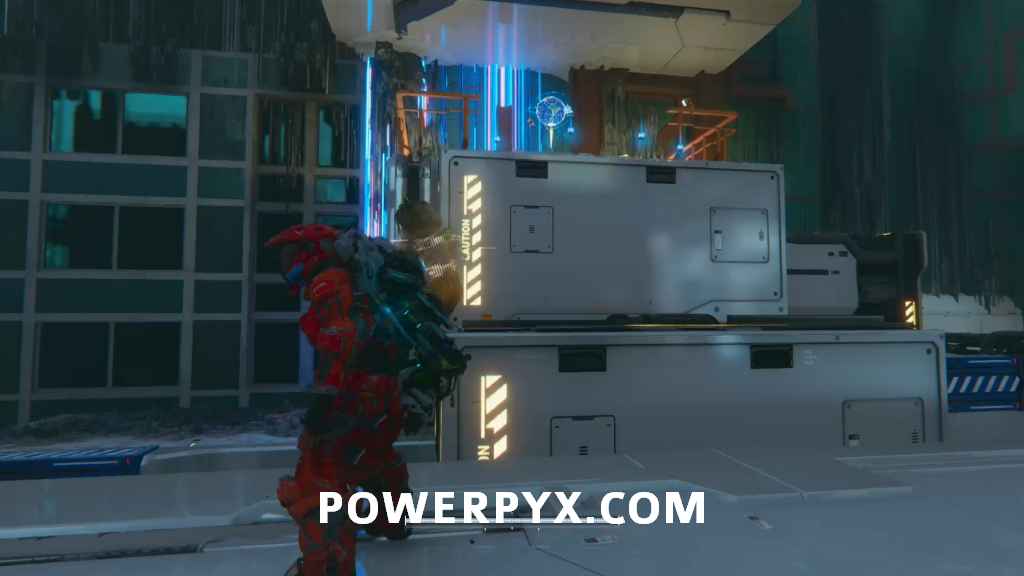
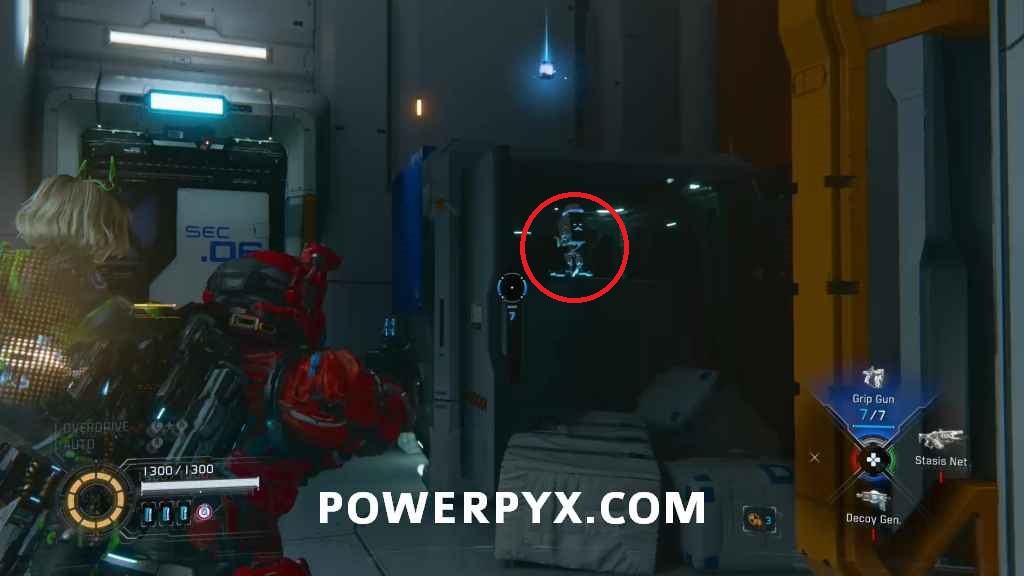
Safe Box 15 – You can reach this area by crossing the second printed bridge. After a room with an incinerator you will end up in front of a circular room with lasers. Before going inside, head to the end of the hallway and find the box behind a Holo-Wall.
REM 4 (CRT TV) – Now grab the REM in the circular room with lasers.
Escape Hatch 4 – After dropping down and defeating the big puppet-like enemy you can find it in the next room.
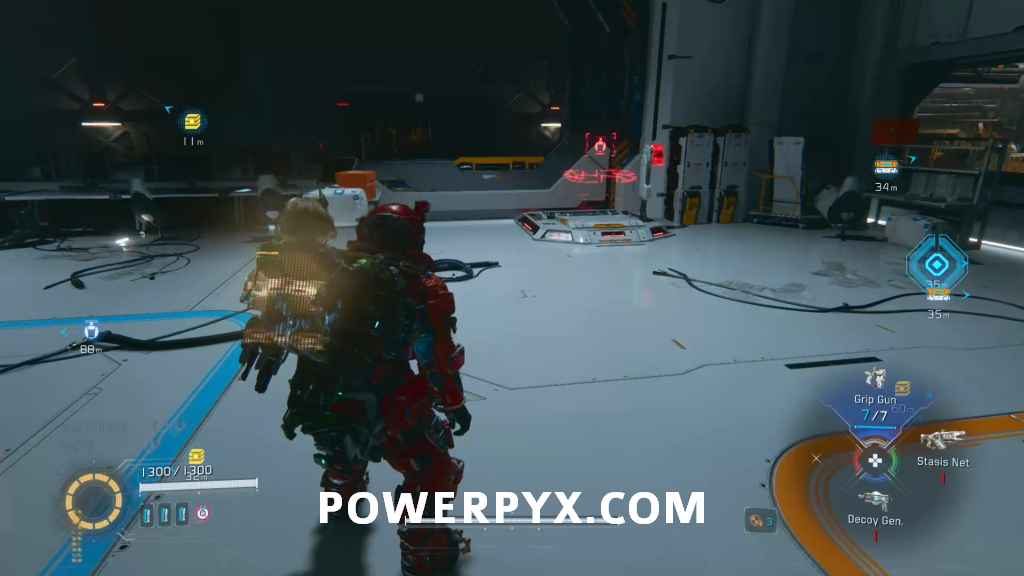
Mini Cabin 3 – In the same room, in an open container.
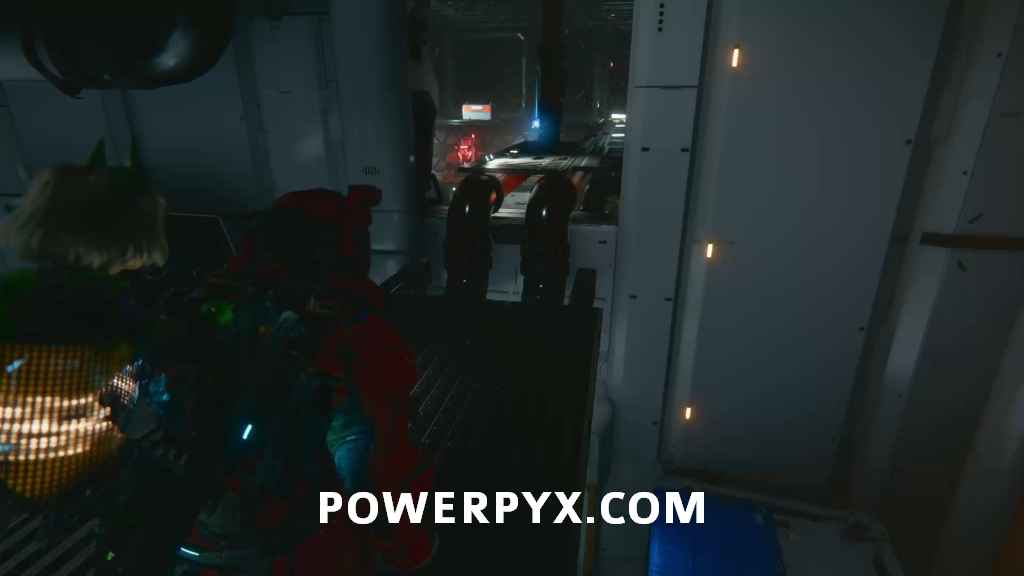
Safe Box 16 – You can climb up the crate with the Mini Cabin to reach the pipes which will lead you to this box above the incinerator.
Safe Box 17 – On a ledge on the right above the slope with the lasers. You can deactivate the lasers at the bottom of the slope.
Lim Eraser Ability – You will unlock the Lim Eraser skill immediately after in a side room. This enables you to get the previously unobtainable collectibles that require backtracking:
- Solar Power Plant – Generator Entrance – Storage Expander 1
- Solar Power Plant – Power Distribution Center – Pure Lunum 1 + Safe Box 2
- Mass Production Array 01 – Test Site Entrance – Safe Box 1
- Mass Production Array 01 – Test Site Entrance – Safe Box 2
- Mass Production Array 02 – Shopping District – Safe Box 5
- Mass Production Array 04 – Business District – Safe Box 14
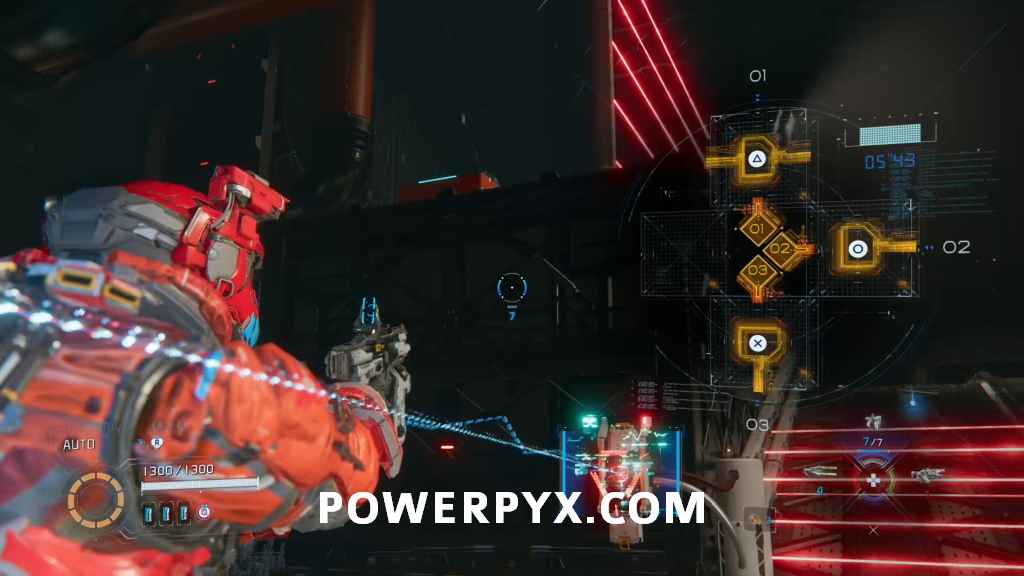
Round ‘Em Up Trophy/Achievement – You will enter a room with 6 yellow plates on the ground and then a group of enemies will enter the room as well. When more than 3 of them are on the yellow plates, hack the device on the left to burn them all at once. You can also use the Decoy to lure some of them there.

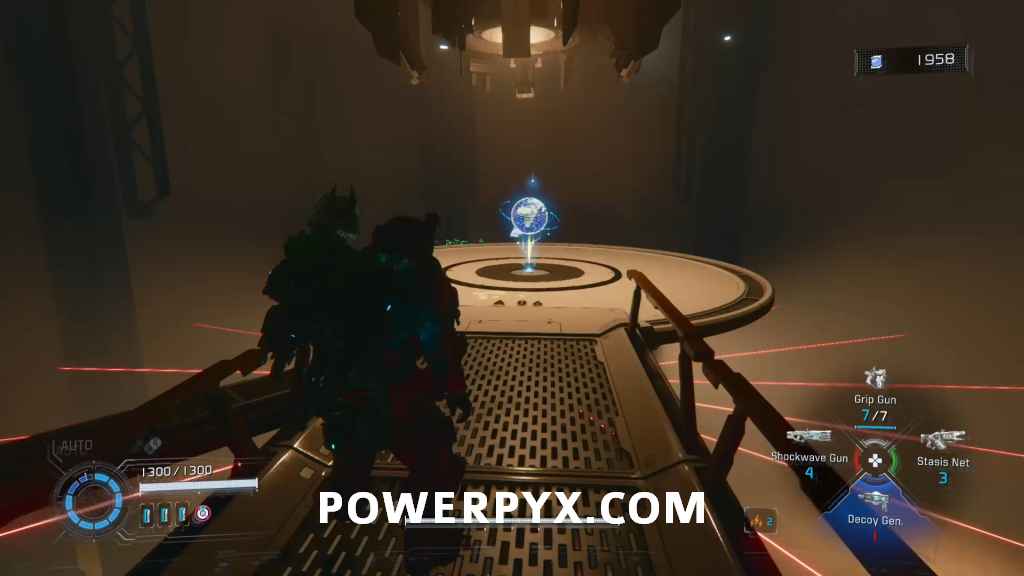
Escape Hatch 5 – Comms Tower – behind the gate you open with the 6 Beacons
This covers all the collectibles in Mass Production Array (MPA).
NEXT: Terra Dome
Leave a Reply