
Terra Dome is the 3rd sector in Pragmata and contains 47 Collectible Locations. This walkthrough will guide you to all the collectibles in Terra Dome region. Everything that’s needed for trophies and 100% completion is included. Nothing is missable, everything can be collected after the story in Unknown Signal Mode.
- Mini Cabins: 3
- Escape Hatches: 6
- Safe Boxes: 20
- Pure Lunum: 6
- REM: 4
- Mods: 5
- Storage Expander: 1
- Training Data: 2
On the first visit to some areas, you are still missing the story-related skills needed to reach collectibles. If you can’t reach something, grab it after the story in Unknown Signal (Cleanup Mode).
Collectibles Overview:
Terra Dome 01 – Terra Dome Entrance
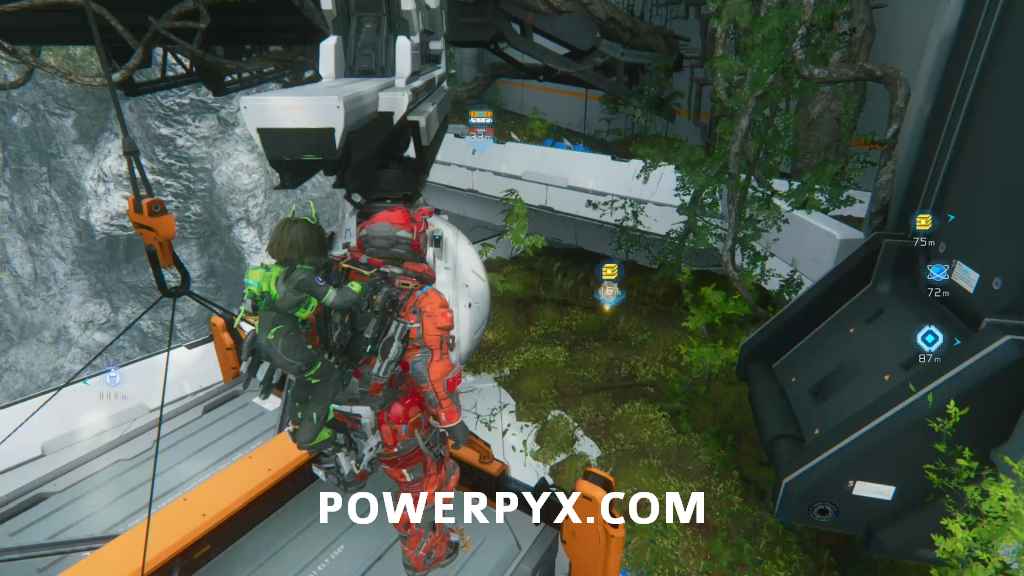
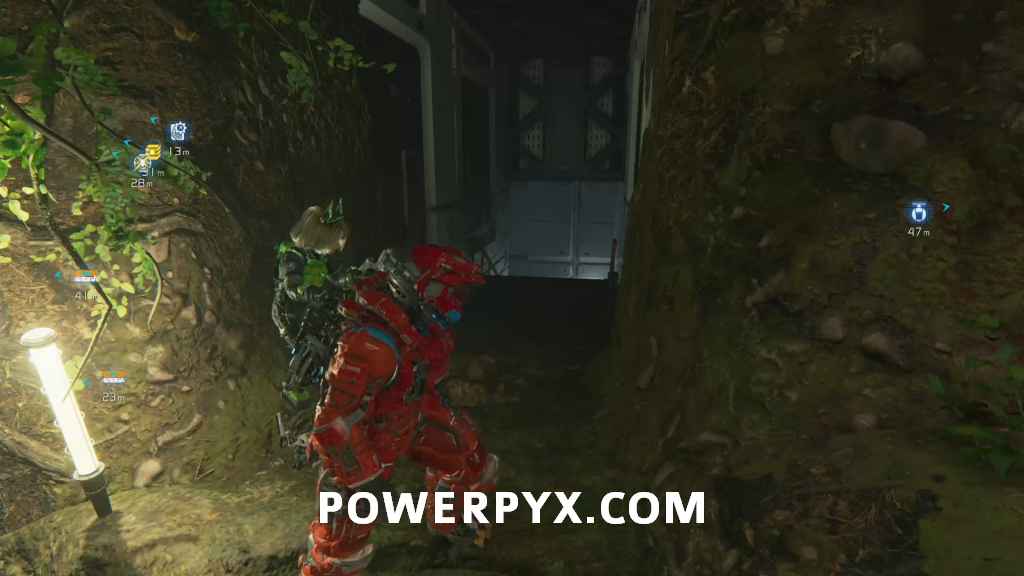
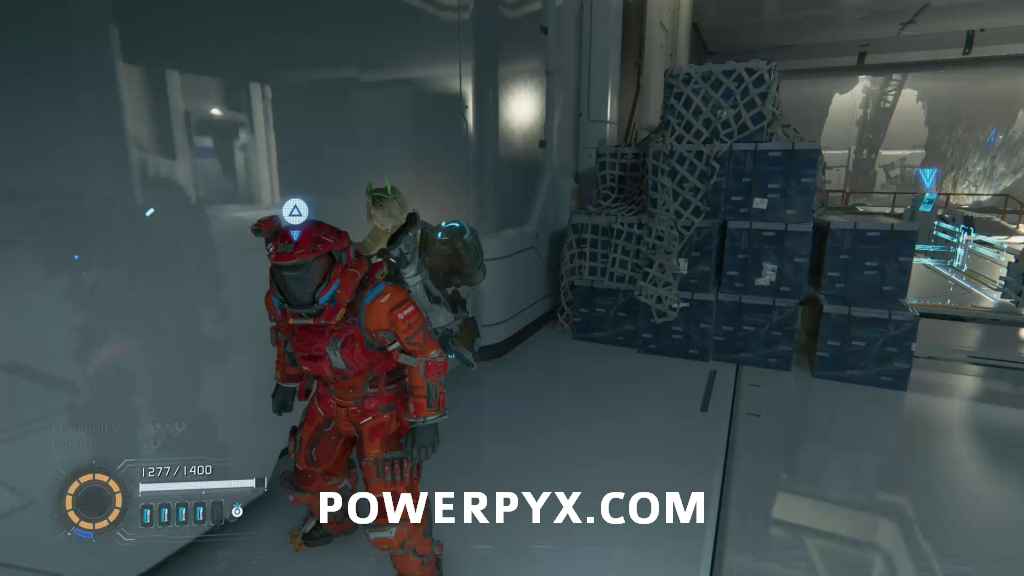
Safe Box 1 – Before entering the main building you can jump to a hanging crate in front of the entrance to reach a grassy ledge with the box.
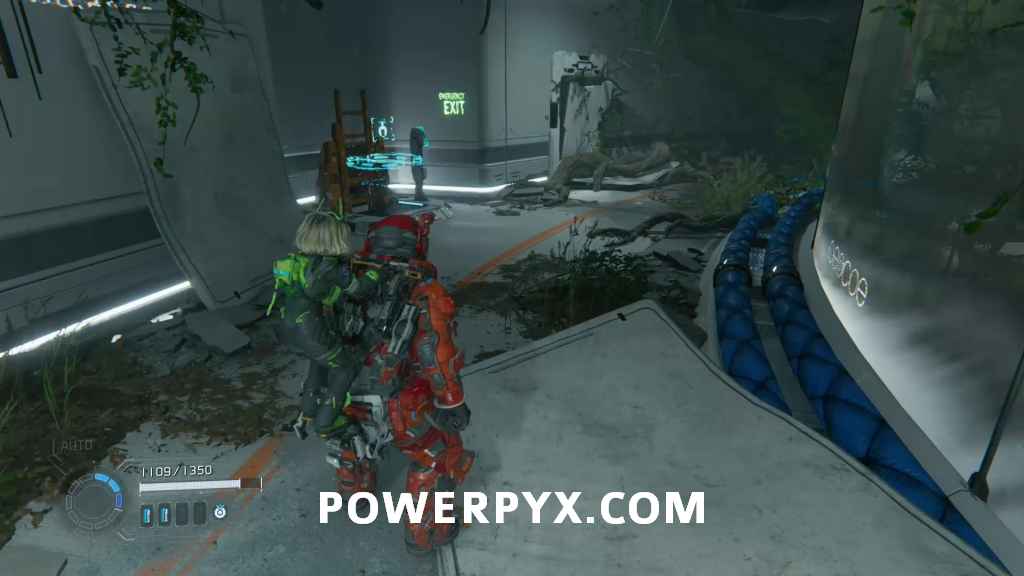
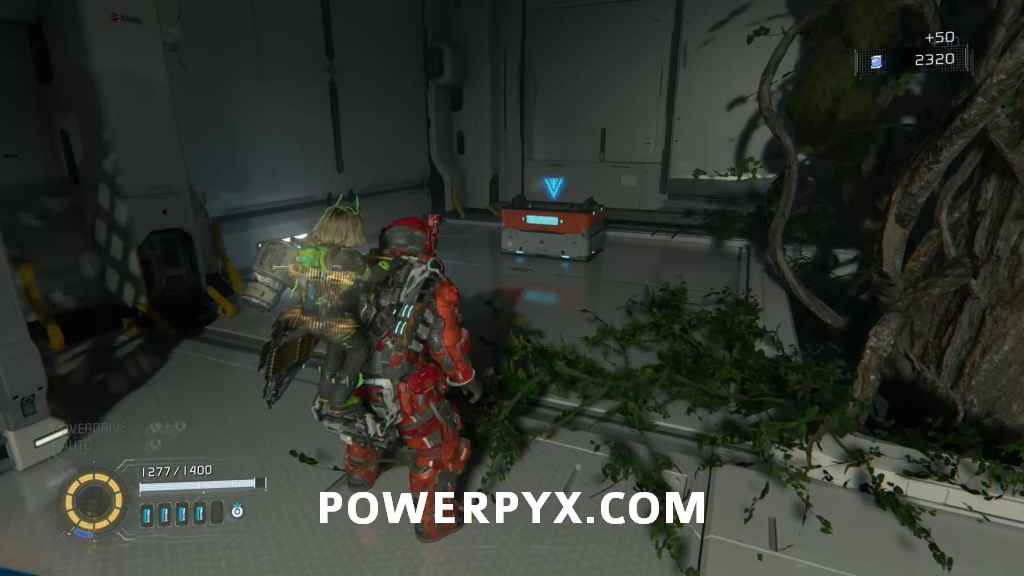
Escape Hatch 1 – Found in the same room where you activate the cutscene with branches getting smaller before IDUS interrupts.
From the main elevator you will have the choice of 2 routes, take the left one first.
Safe Box 2 + Safe Box 3 + Safe Box 4 – You have 2 choices of a path A and B, once done you will have to once again choose path A or B. At the end of both paths you can find a Safe Box, so you need to finish the area twice. The third box is between the exits so you can get it regardless of which path you chose.
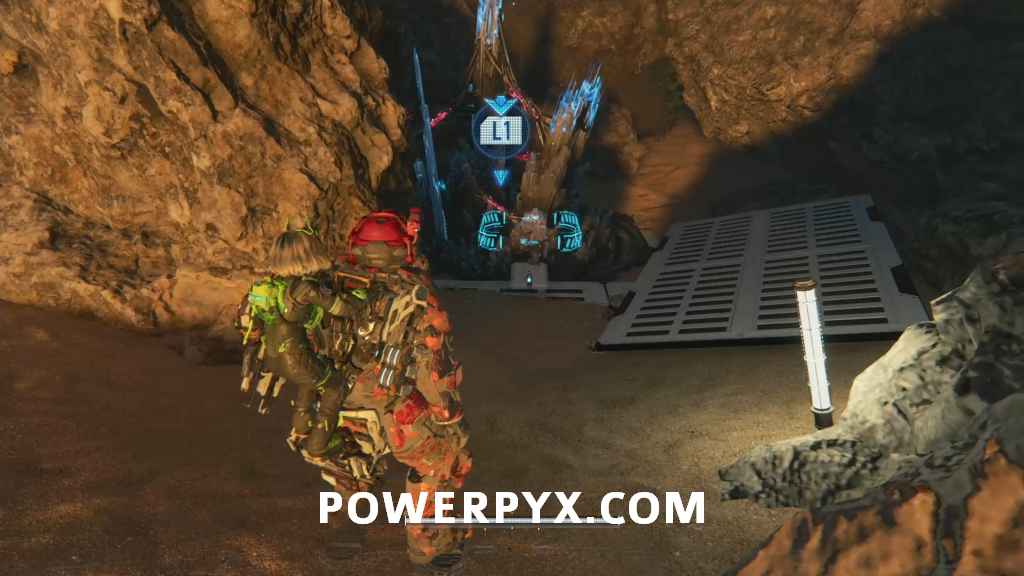
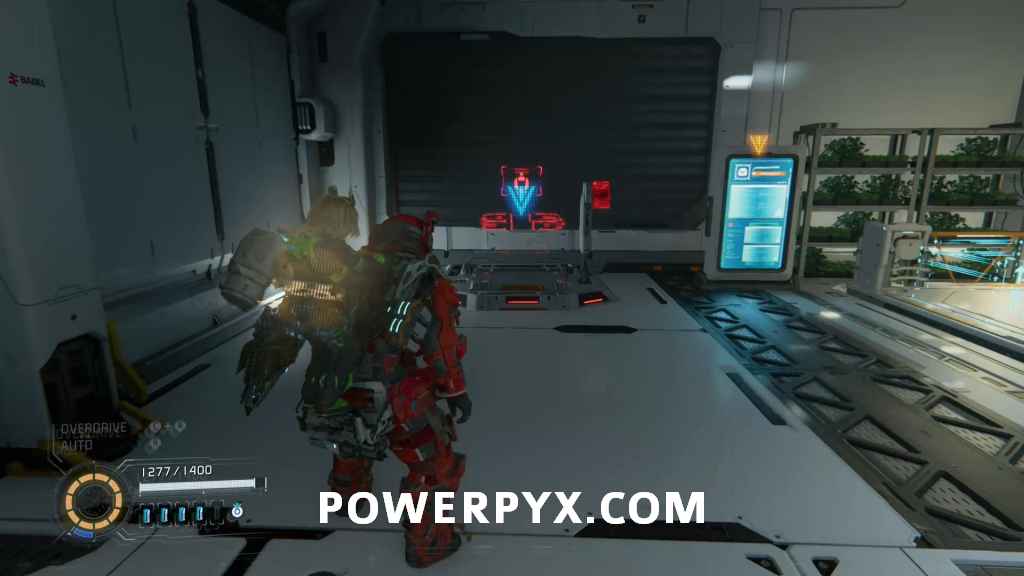
Red Zone + Pure Lunum 1 – After exiting the A and B paths you can once again choose which path to take next, one of them is the Red Zone which will reward you the Pure Lunum.
Mod 1 (Cheap Shot) + Training Data 1 – Shortly after, you will find a small room on the left with a broken Cabin inside. In that room you can find a chest with a Mod (Cheap Shot) as well as an item which will unlock additional Training missions.
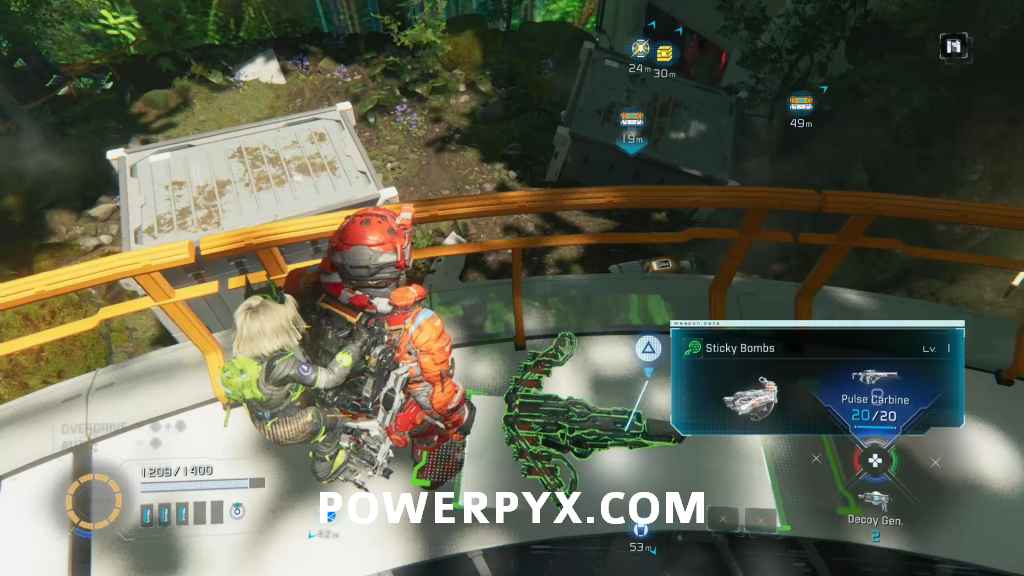
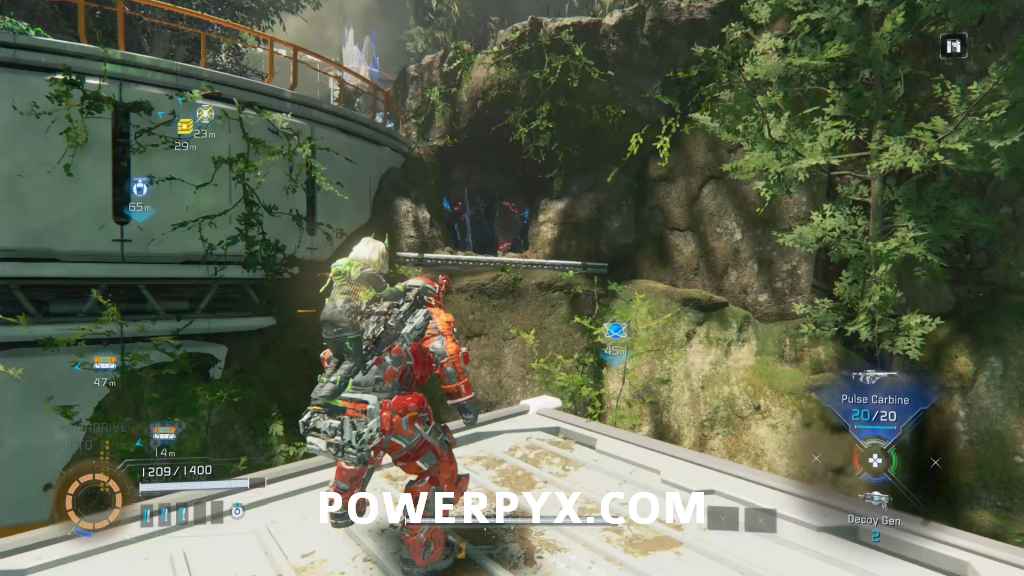
Mod 2 (Precision Shot) – On a ledge after taking up the elevator. You will move on to Area 2 before using the elevator for this and the remaining collectibles in Area 1 so do not get confused with the order.
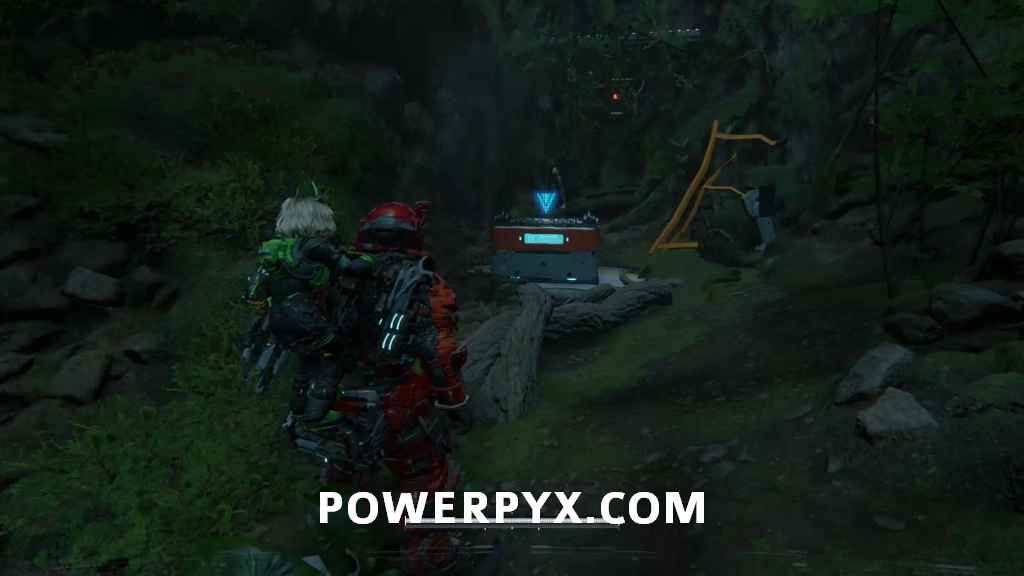
REM 1 (Flowers) – While going up with the elevator you can see a REM on your way up, simply drop down there from the top floor. It is located straight under the Mod.

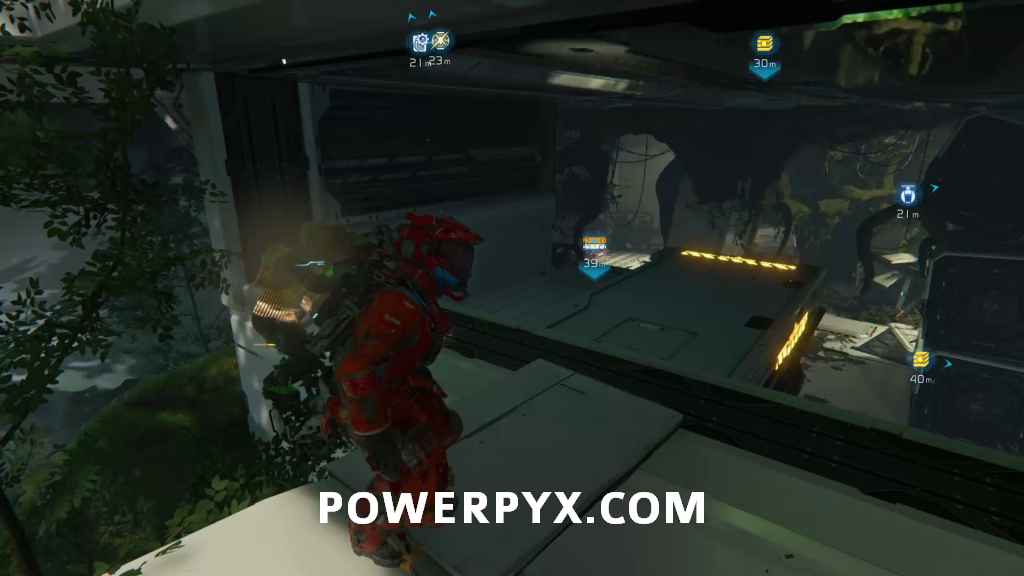
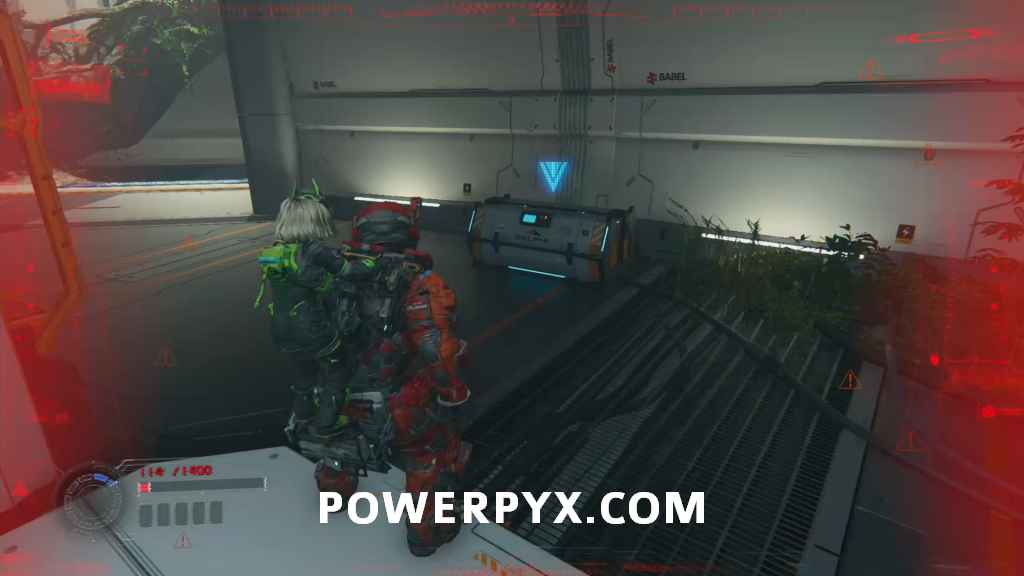
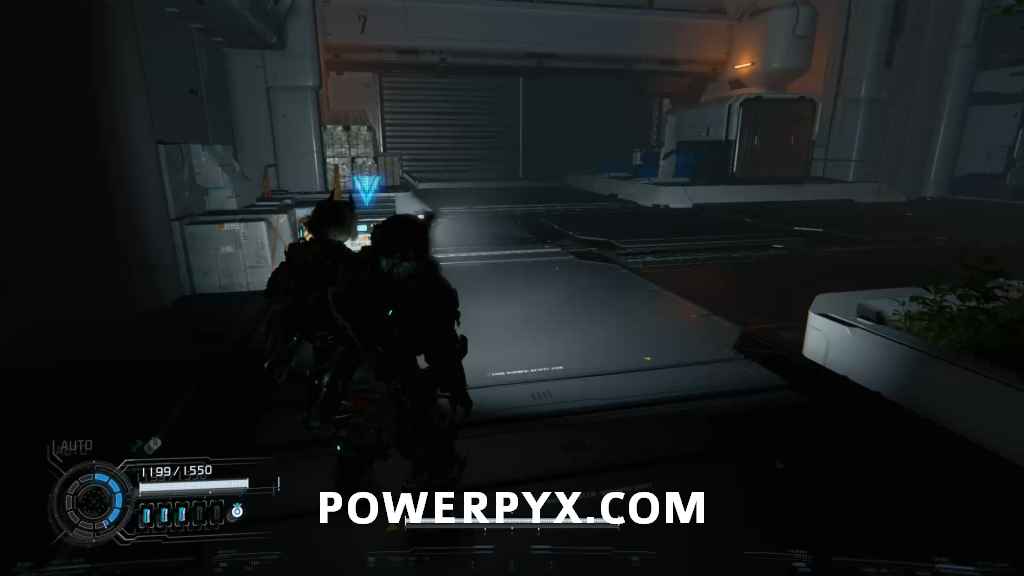
Safe Box 5 – Once again can be obtained by taking the elevator up and then dropping down. Drop to the left of the entrance to Soil Research to reach it.
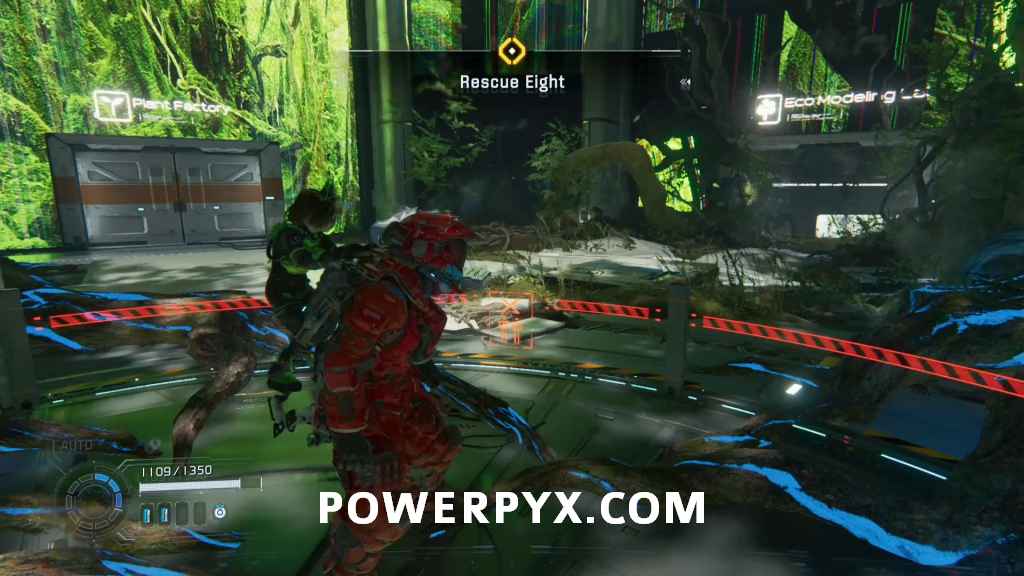
Terra Dome 02 – Eco Modeling Lab
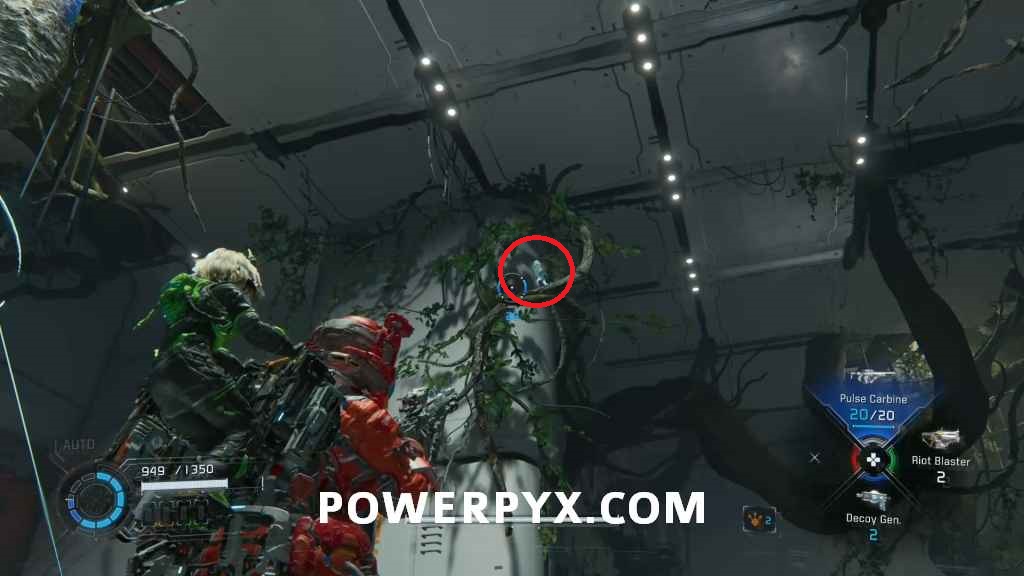
Mini Cabin 1 – On the right side now. In the room with the terminal which will grow the tree for you to use as a platform, you can find it on a tree branch above the mentioned terminal.
Safe Box 6 – After creating the platform instead of going left through the door go right instead. There you can find a Holo-Wall with the Safe Box behind it.
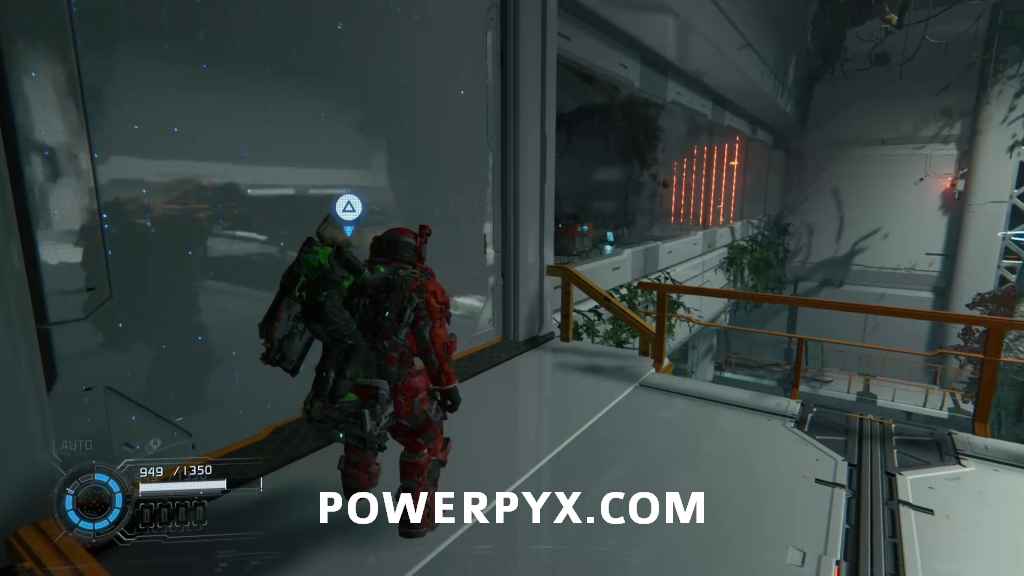
Escape Hatch 2 – In the room where you have to grow multiple branches to cross.
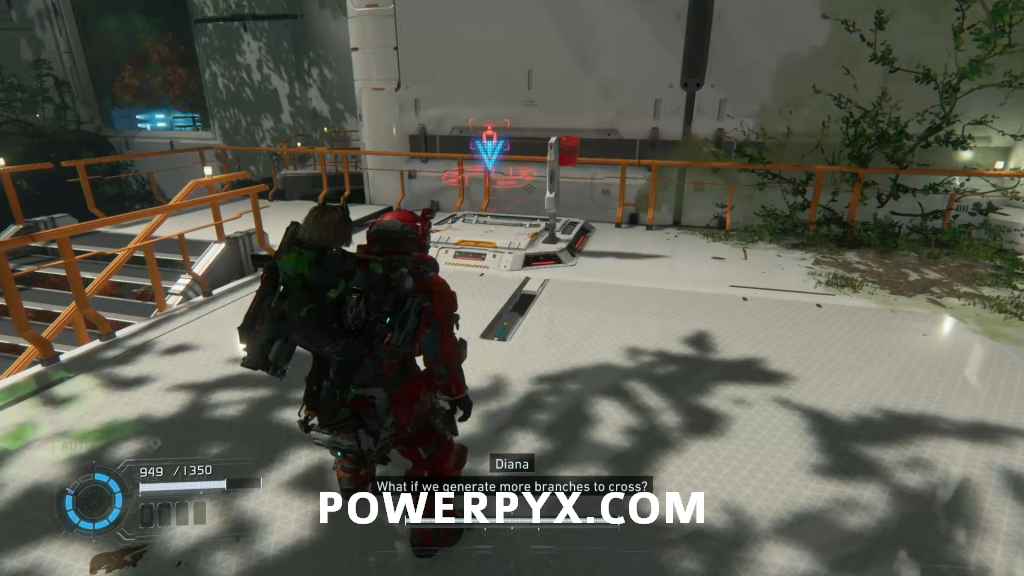
Red Zone + Mod 3 (Collateral Damage) + Pure Lunum 2 – Entrance to the Red Zone is directly next to the Escape Hatch. You will receive Mod (Collateral Damage) + Pure Lunum as your rewards.
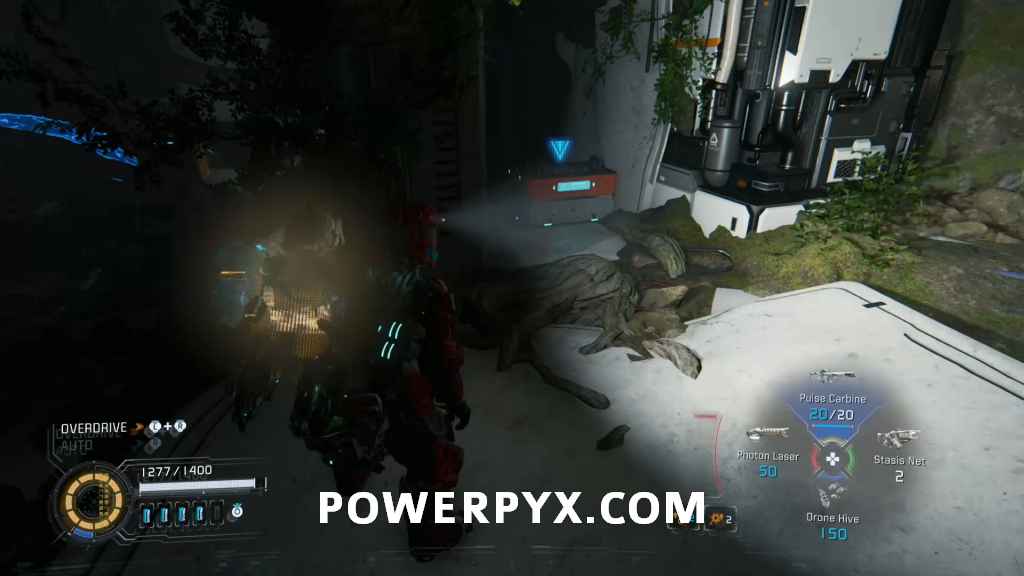
REM 2 (Ballons) – from the Hatch head downstairs into the forest area and you can find it on the right side in the corner.

Mod 4 (Recursive Learning) – Stay on the right side of the area and you will reach a small tunnel that splits into two directions. In the tunnel on the right find a ledge that leads to some stairs. There downstairs you can find a Holo-Wall and behind it an enemy and the Mod.
Safe Box 7 – From the ledge before the stairs you can also climb to the right which will lead you to a white bridge and some Lims you have to erase, there you will find a box.
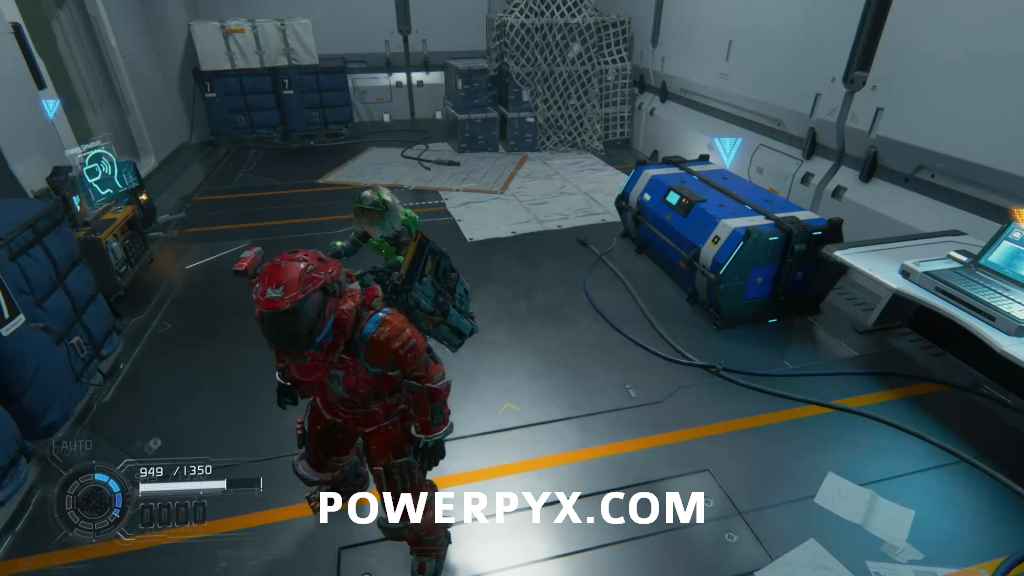
Safe Box 8 + Safe Box 9 [REQUIRES BACKTRACKING – Cleansing] – After defeating an orange bot jump down over the railing on your left towards a greenish area with a container which has the first box, the second one is in the pathway next to it which requires cleansing (automatic story unlock at Central Port 01 – Port Entrance).
Pure Lunum 3 [REQUIRES BACKTRACKING – Cleansing] – In the room with the second box you can lower a platform so you can reach a ladder which will lead you to Pure Lunum.
REM 3 (RC Car) – On your way back jump from the container towards the cave next to it. Take care of the enemy there and follow the path in the cave to find the REM. This is the REM Diana saw when going up the stairs earlier.
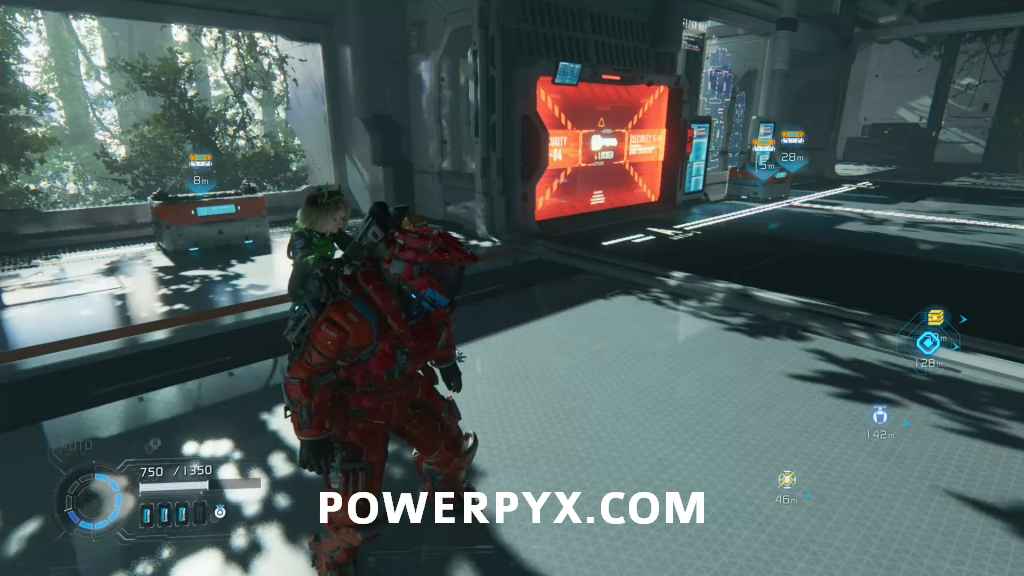
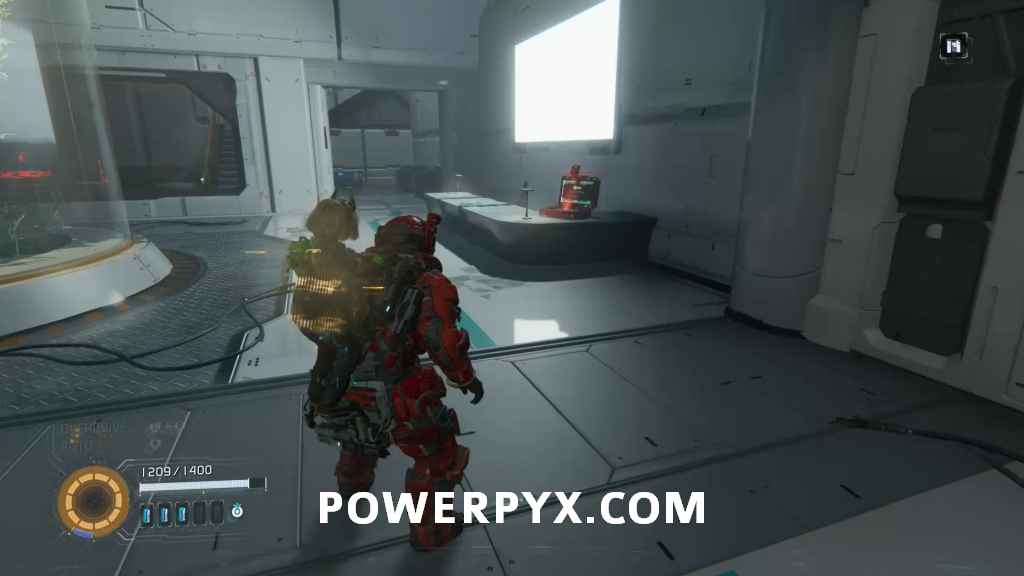
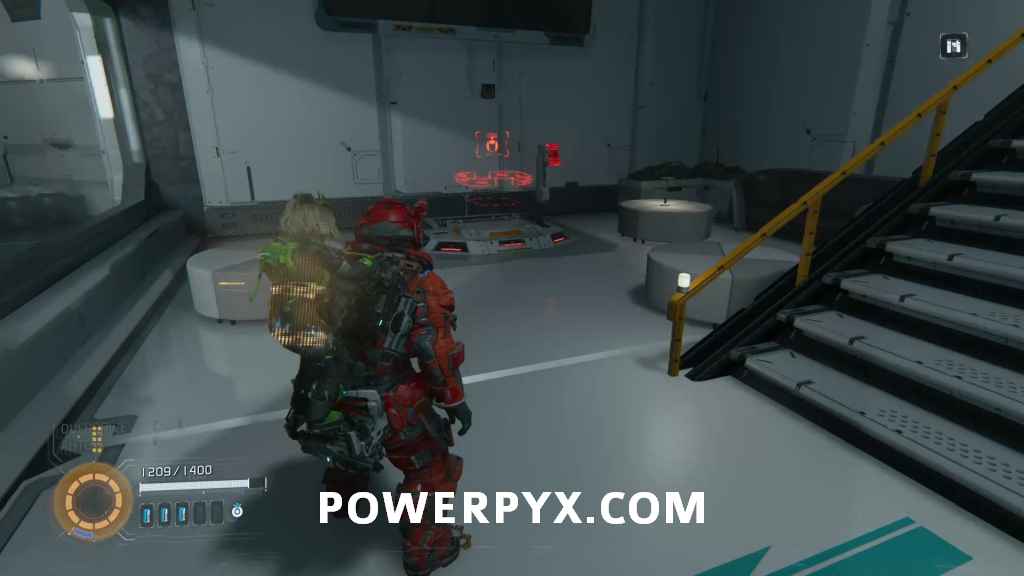
Red Zone Key – From the chip where you fought the orange bot, keep heading forward into the next building to find it on the desk on your right.
Escape Hatch 3 – The next room has the Hatch. Diana and Hugh will talk about the weather here.
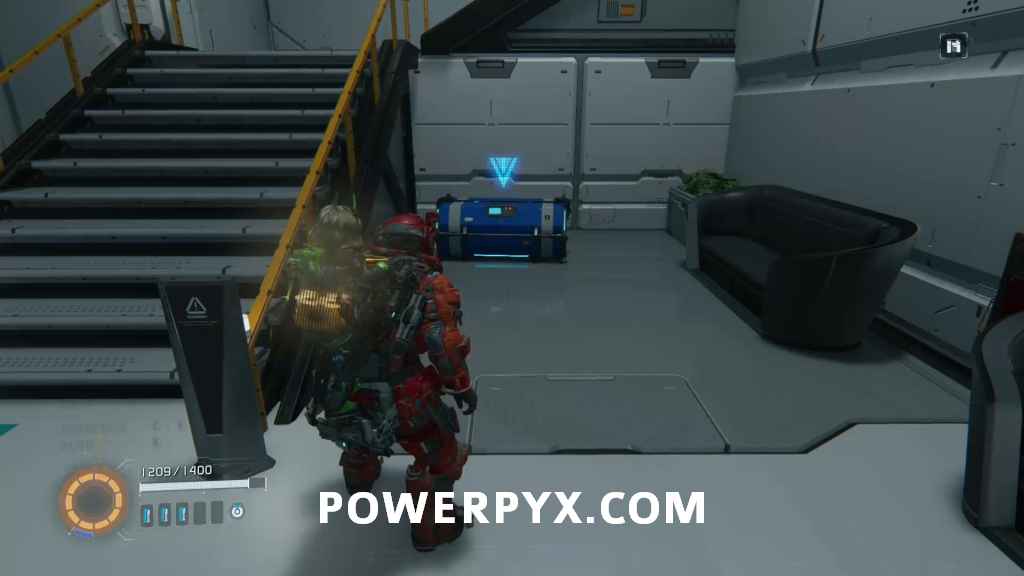
Mod 5 (Aggressive Defense) – In a crate in the same room as the hatch.
Pure Lunum 4 – Can be found in a crate right after the next mini boss.
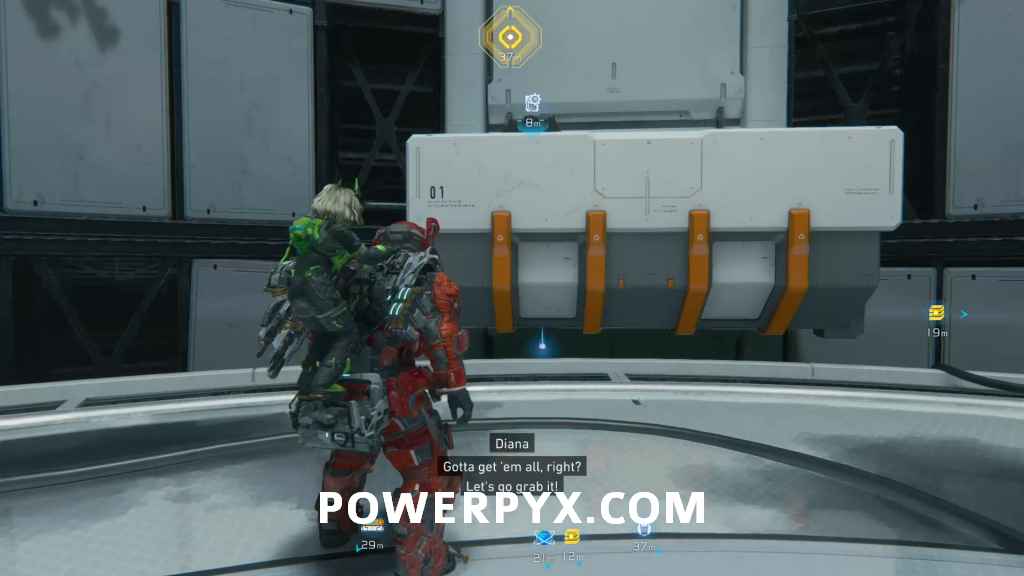
Safe Box 10 – From that crate head right and open the Holo-Wall at the end of the hallway for the final Safe Box.
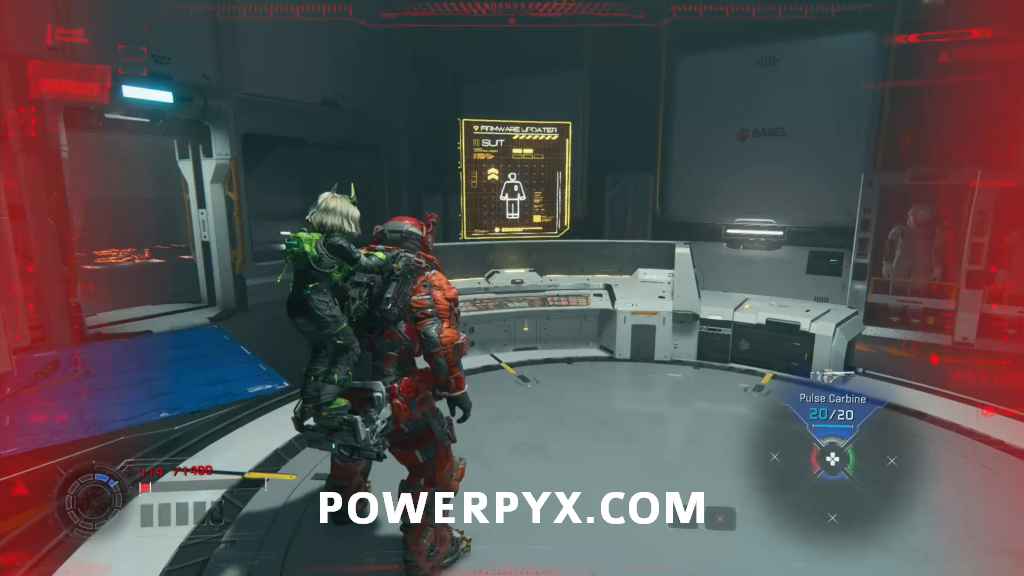
Suit Upgrade – While not a collectible you can interact with the computer here to upgrade your inventory so you carry both 2 of red and green weapons.
Terra Dome 03 – Center Hall Upper Floor
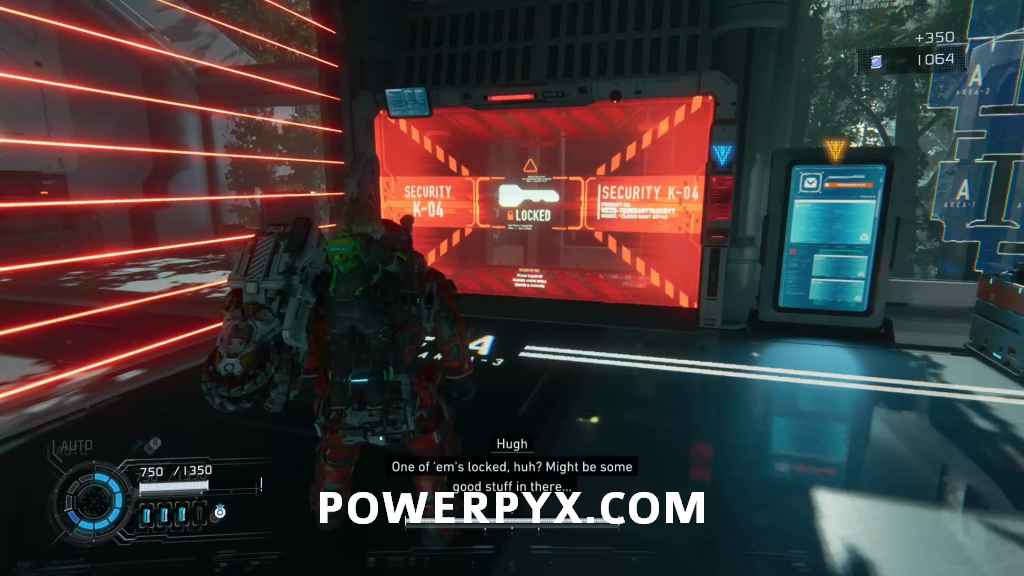
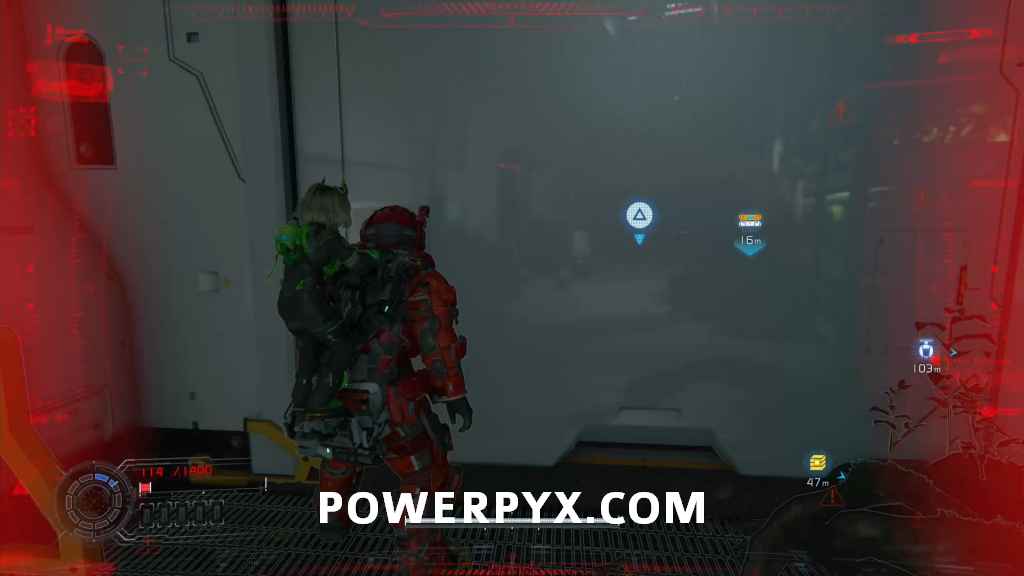
Escape Hatch 4 – After taking the elevator up, in front of the locked door.
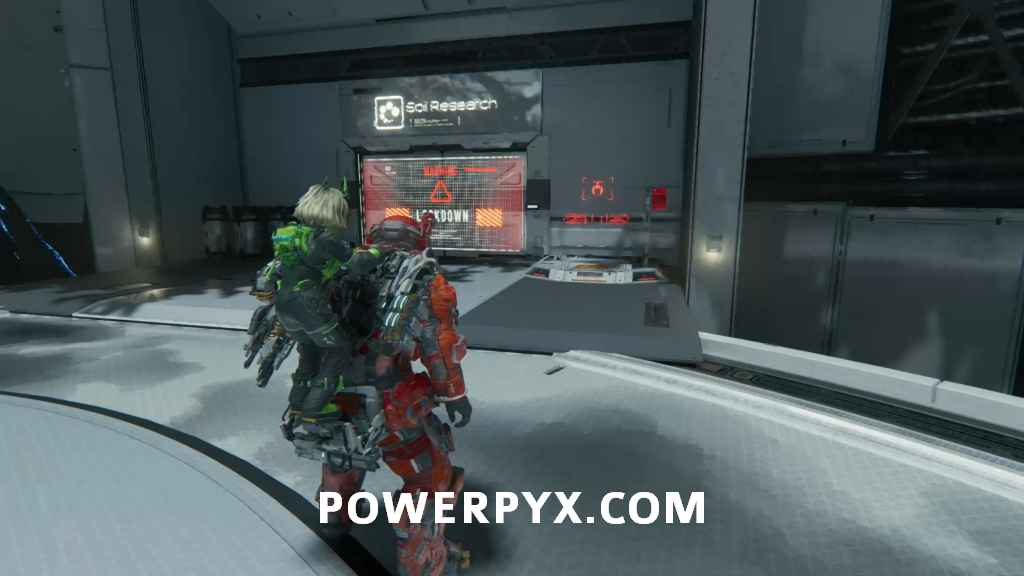
Terra Dome 04 – Soil Research
Safe Box 11 – Once inside Soil Research, the path will split. Take the right path to find the box at the end.
Training Data 2 – On the beach go right from where you are facing after the cutscene, use the eraser and head down the hatch there. Inside you can find training data on a broken Cabin.
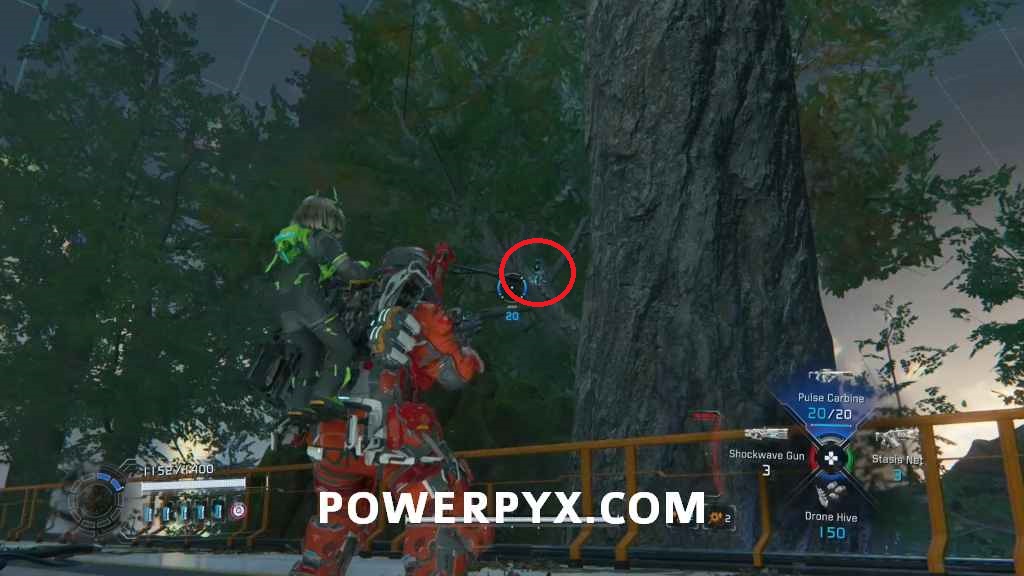
Mini Cabin 2 – After fighting the invisible enemy. Take the elevator up and once up there you will run on a balcony. Aim at the trees to your left to find it.
Safe Box 12 – Inside the next room go right to find it but watch out for the invisible enemy guarding it.
Safe Box 13 – From the high place with a great view you have to drop down on the other side towards the door you opened. On your way down you can find the box on a ledge.

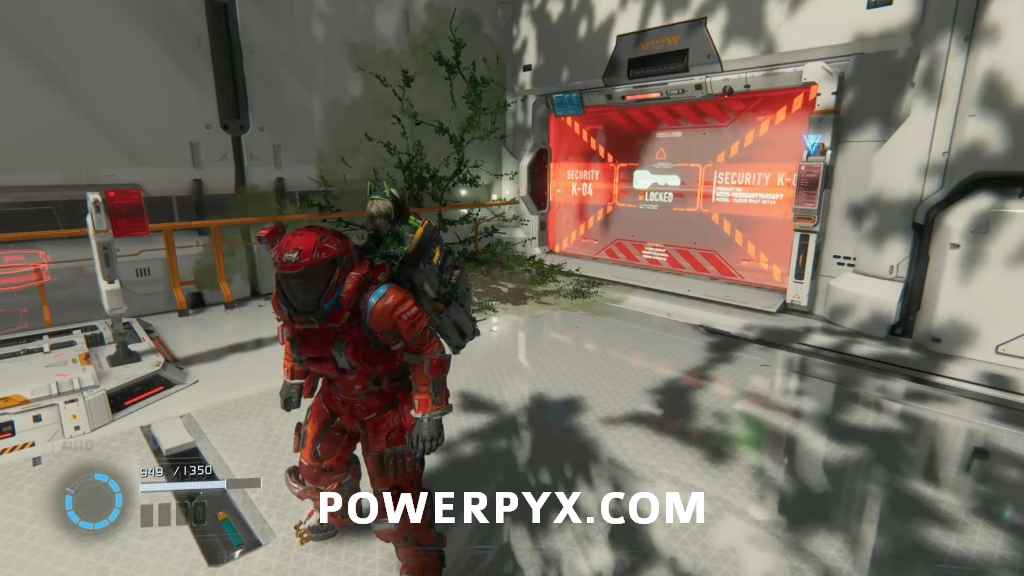
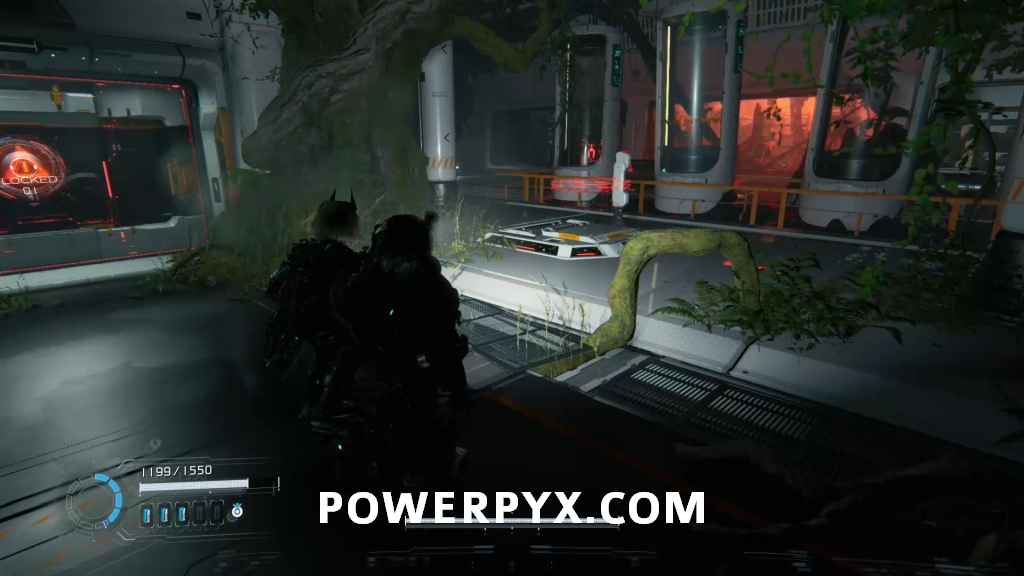
Escape Hatch 5 – Found behind the door with 4 locks you just opened.
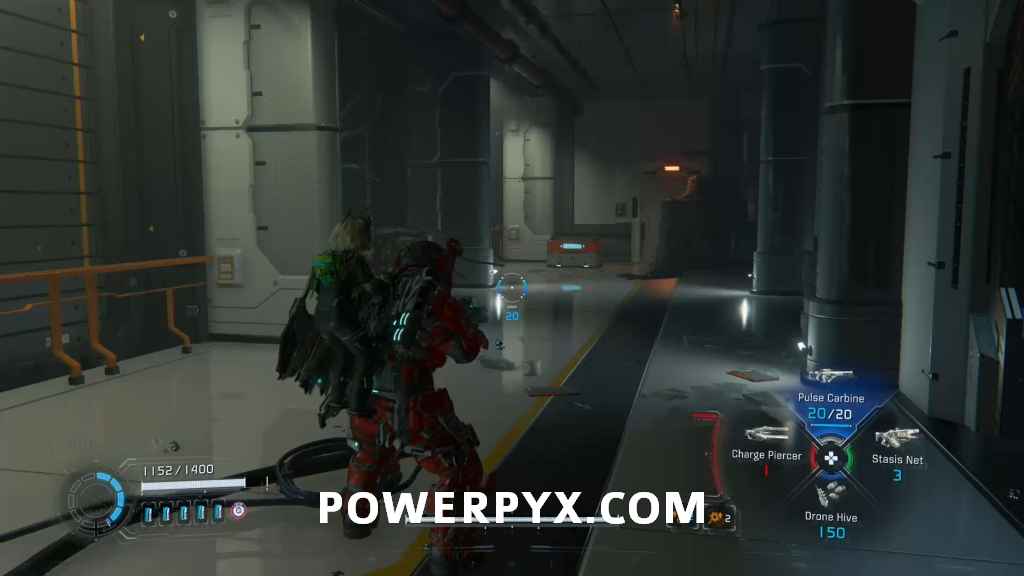
Safe Box 14 – After going down the elevator there will be a Holo-Wall with the box behind it.
Safe Box 15 – Deactivate the jammer. At the end in this room you can find it.
Safe Box 16 – There will be one directly on your path, very hard to miss.
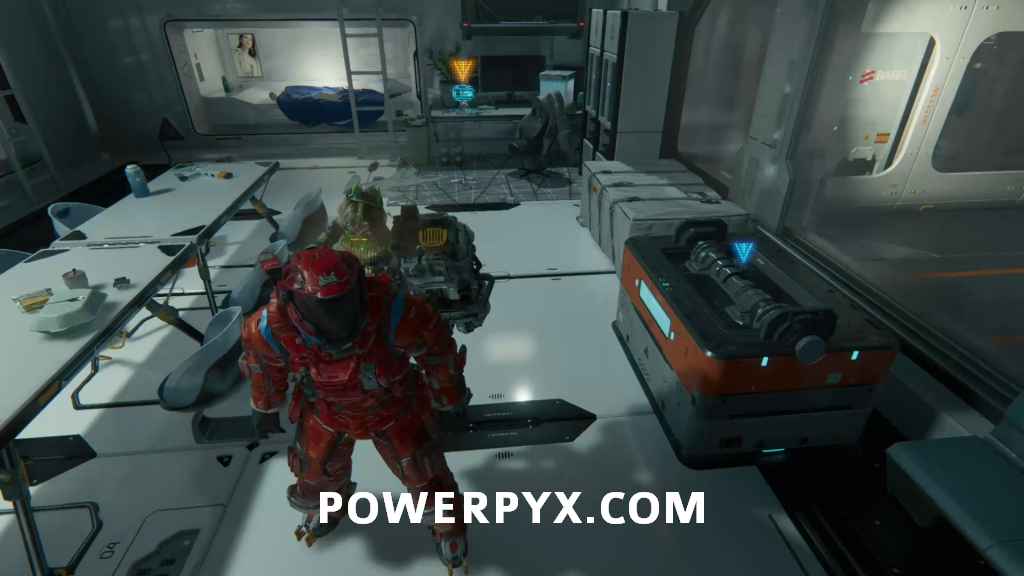
Safe Box 17 – Inside the bunk bedroom.
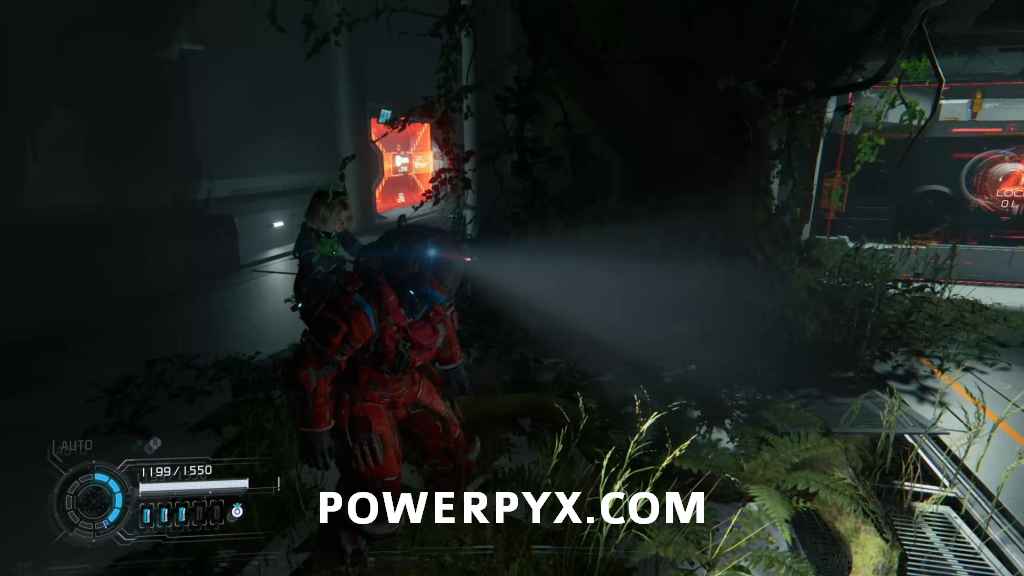
REM 4 (Swing) – Once you enter the door next to the weapon rack go around the left corner and use the eraser. There, climb up and you will be able to reach the locked room you saw just earlier with the REM inside.

Mini Cabin 3 – In the same room as the REM, inside a container.
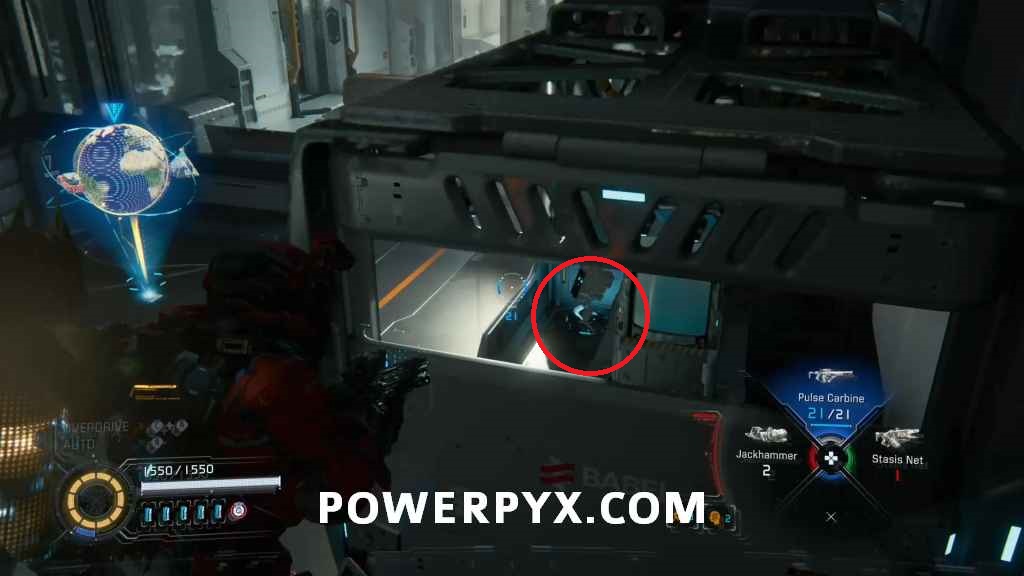
Safe Box 18 – After getting through the yellow holo gate, turn right and you will see it.
Safe Box 19 – After the next enemy encounter you can grab it from a ledge in that room. You can get up there by raising a platform.
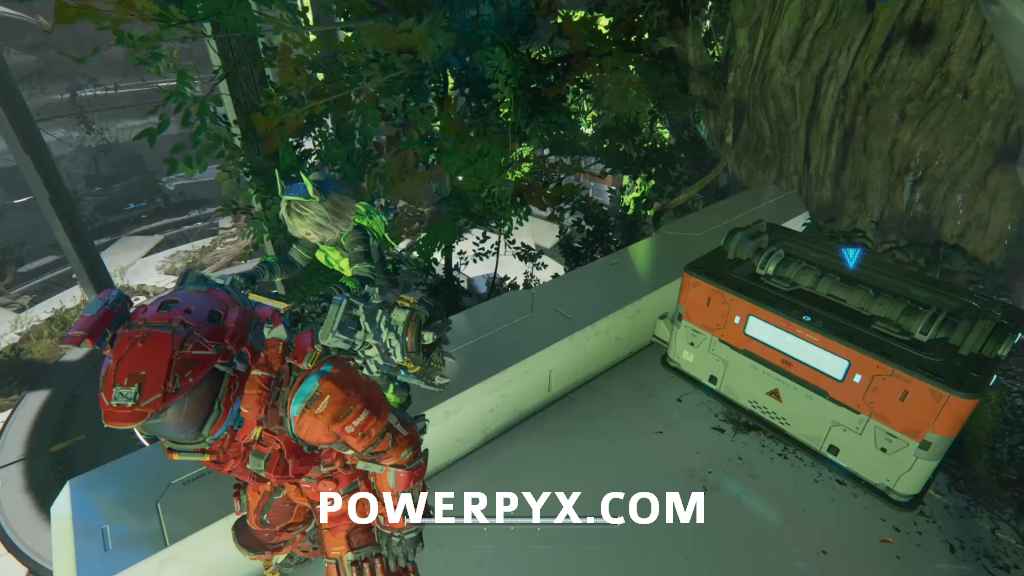
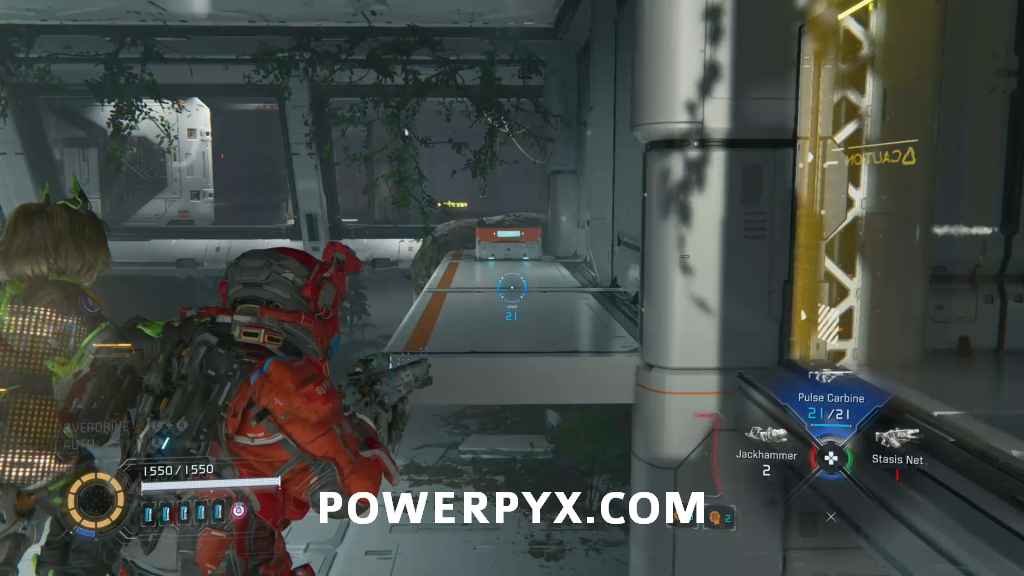
Pure Lunum 5 – You will see the crate right in front of you in the next dark room.
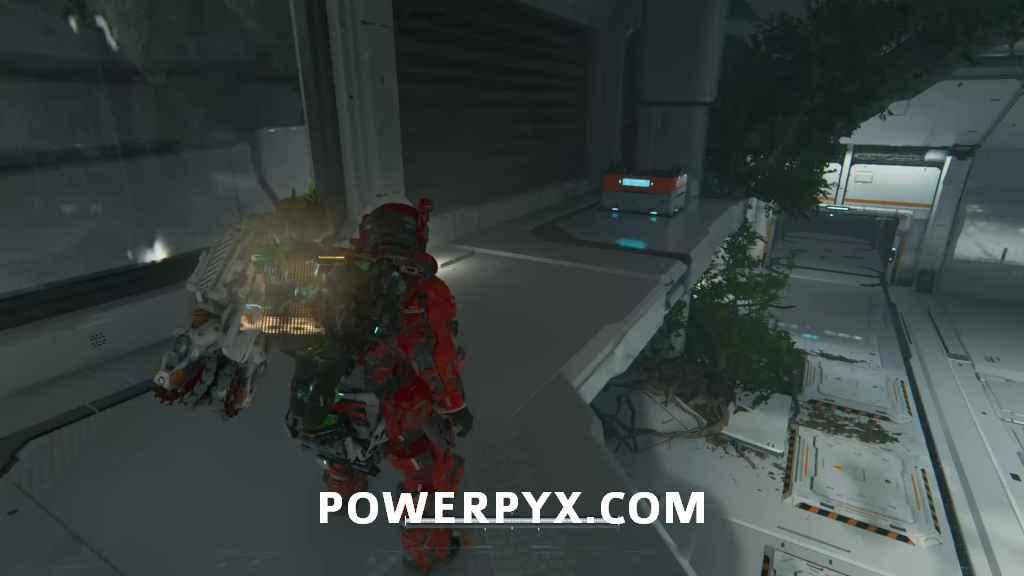
Safe Box 20 – In the dark room climb the container on the left side to reach the ledge that will lead you to the neighboring room with the box inside. You will have to use the eraser to reach it.
Terra Dome 05 – Terrarium
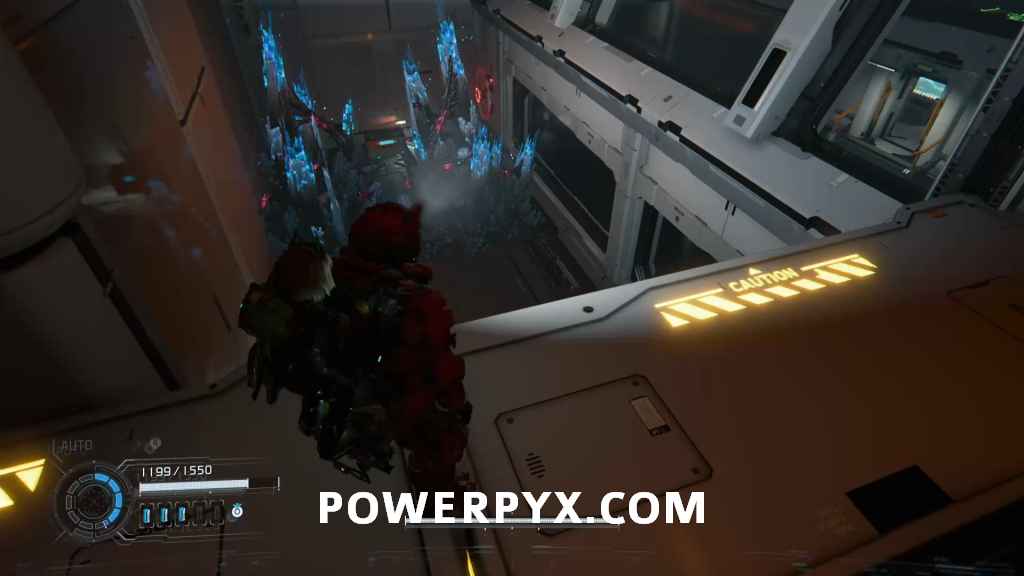
Escape Hatch 6 – You will find it in front of the WARNING door after taking the elevator down.
Red Zone + Pure Lunum 6 + Storage Expander 1 – To the left of the big WARNING door. You will receive Pure Lunum and Storage Expander as the rewards.
This covers all the collectibles in Terra Dome.
NEXT: Lunum Mines
Leave a Reply