
Lunum Mines is the 4th sector in Pragmata and contains 45 Collectible Locations. This walkthrough will guide you to all the collectibles in Lunum Mines region. Everything that’s needed for trophies and 100% completion is included. Nothing is missable, everything can be collected after the story in Unknown Signal Mode.
- Mini Cabins: 3
- Escape Hatches: 7
- Safe Boxes: 17
- Pure Lunum: 4
- REM: 3
- Mods: 7
- Storage Expander: 2
- Training Data: 2
On the first visit to some areas, you are still missing the story-related skills needed to reach collectibles. If you can’t reach something, grab it after the story in Unknown Signal (Cleanup Mode).
Collectibles Overview:
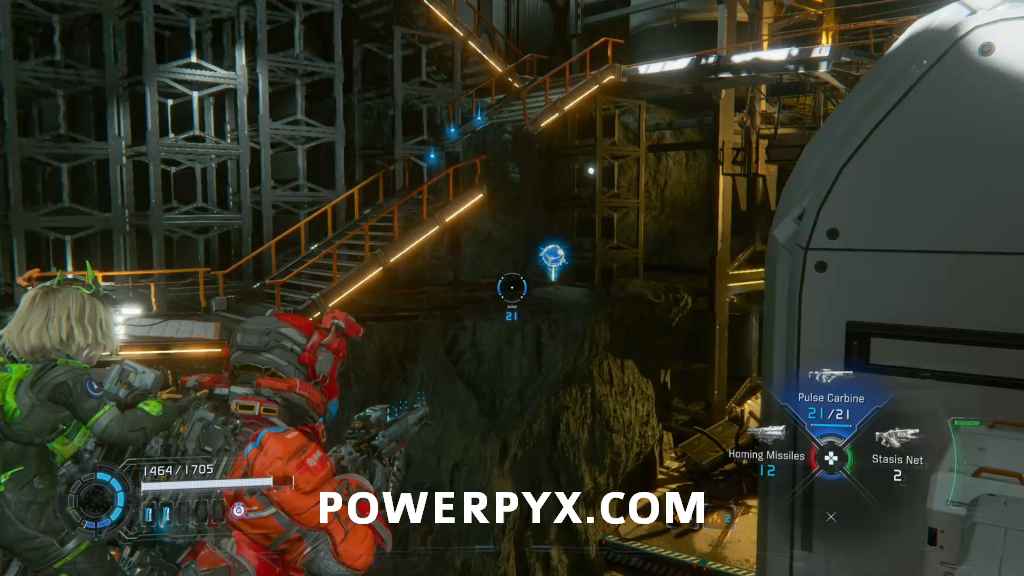
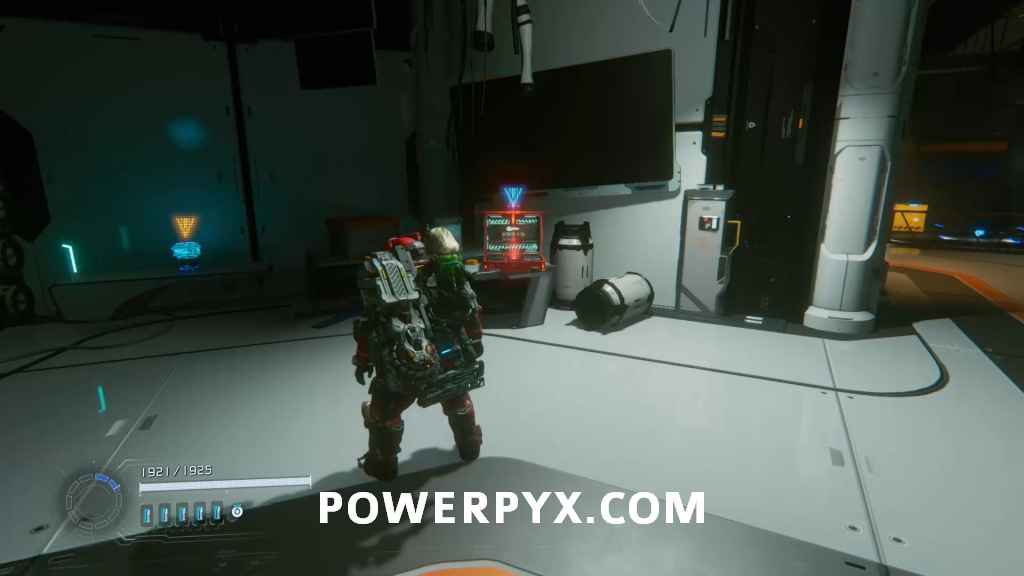
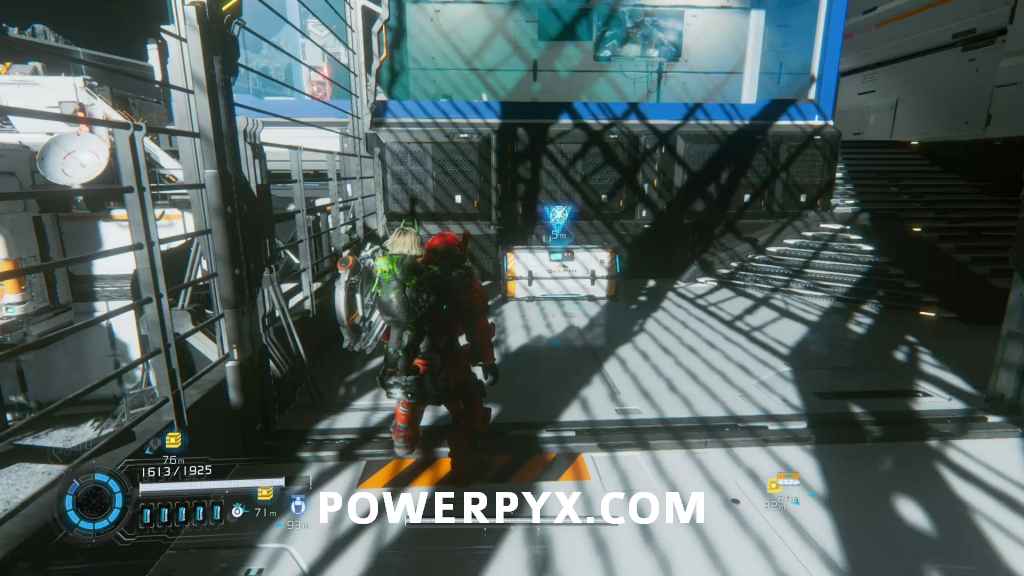
Lunum Mines 01 – Mine Entrance
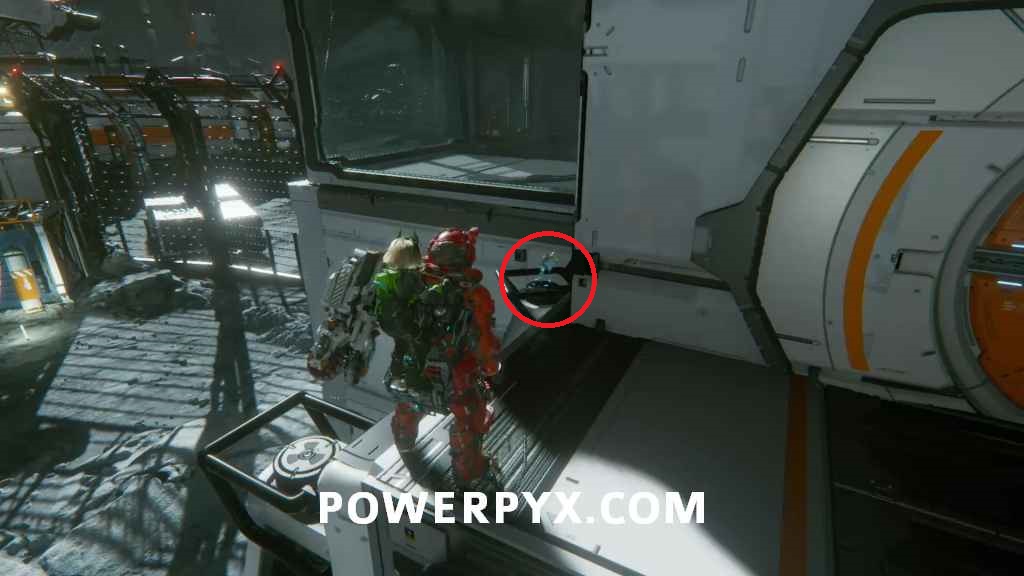
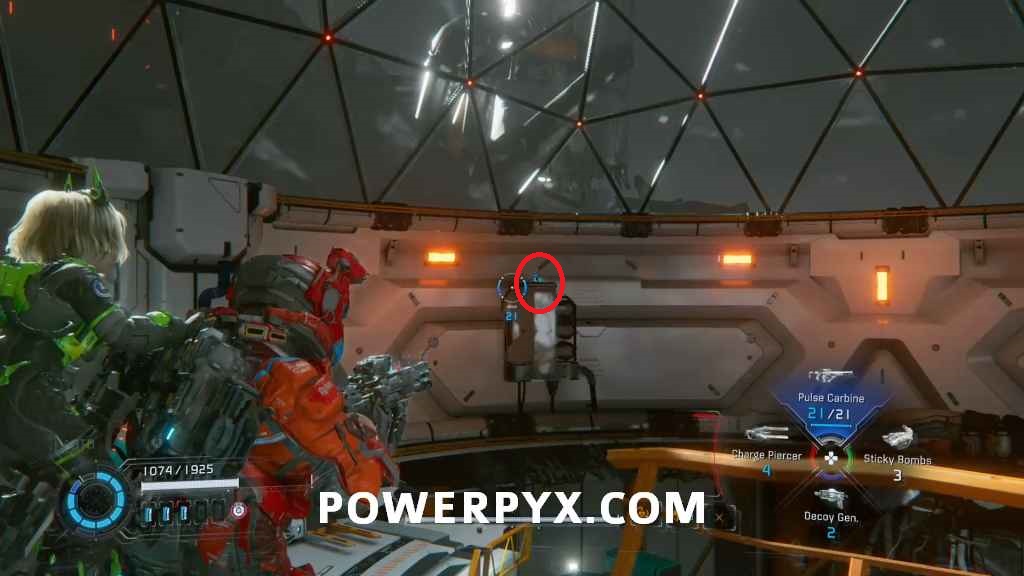
Mod 1 (Equilibrium) – Once you have to use your thrusters to jump between platforms, you can find it on the floor level there, on the right side behind some crystals you have to erase.
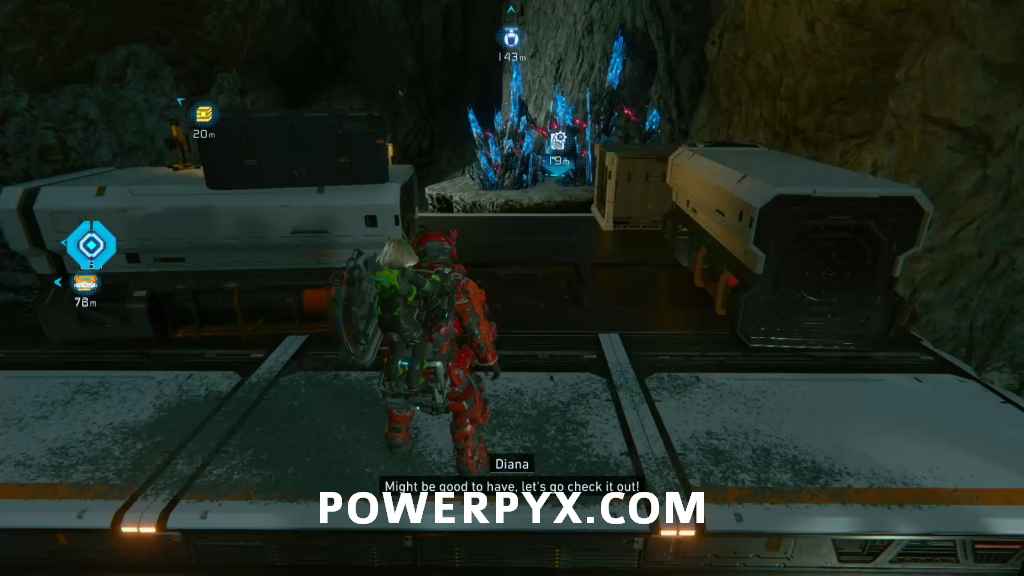
Safe Box 1 – in the area where you fight the first enemies of this location. In the back you can jump up some platforms to find it there.
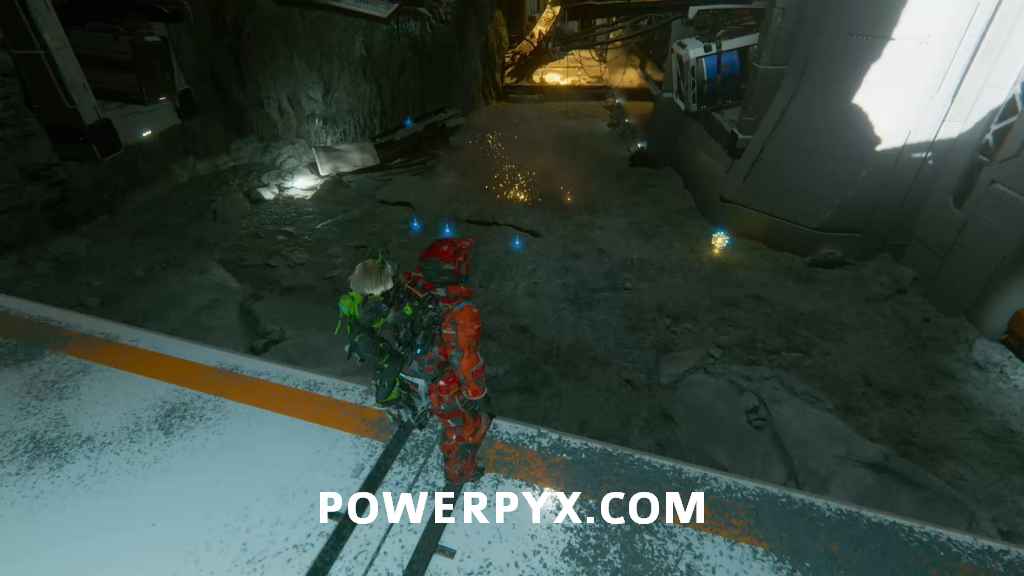
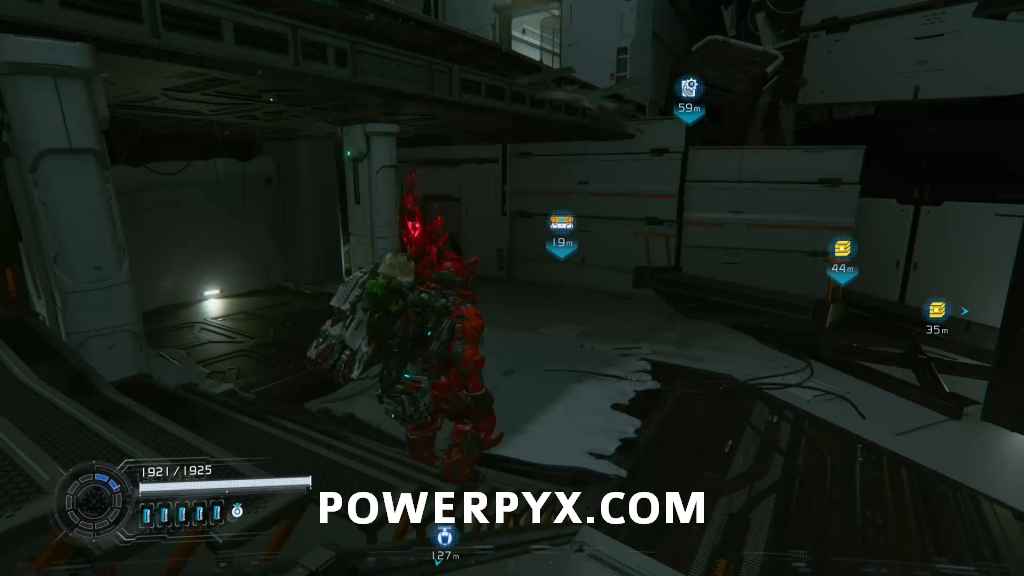
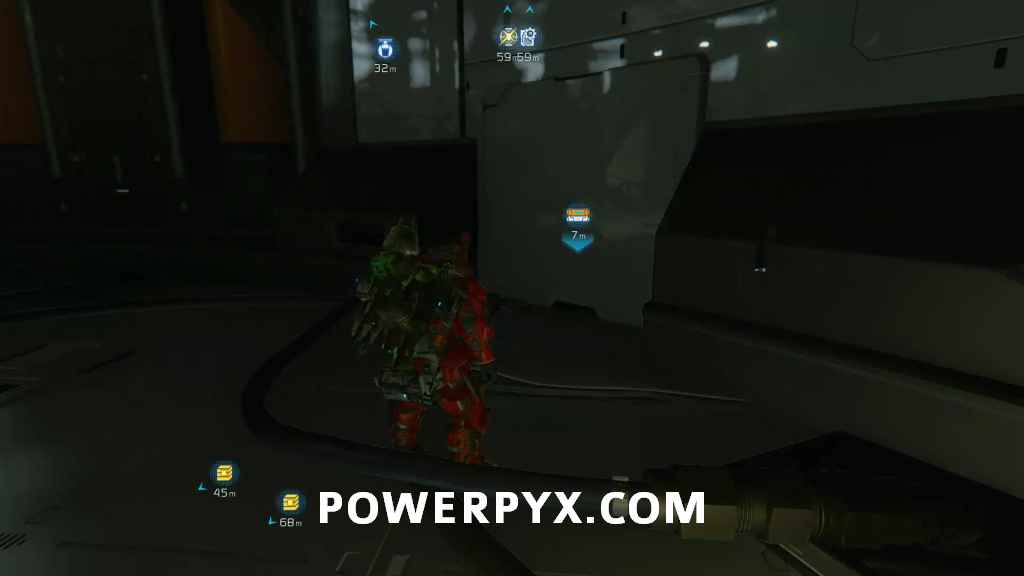
Courage in Desperation Trophy/Achievement – In the Lunum Mines you will encounter multiple areas with LunaDigger roaming the area. Simply drop down on the ground to lure him out and keep fighting it until it runs away. Just stay some distance away from the sparkles coming out of the ground so he does not hit you immediately.
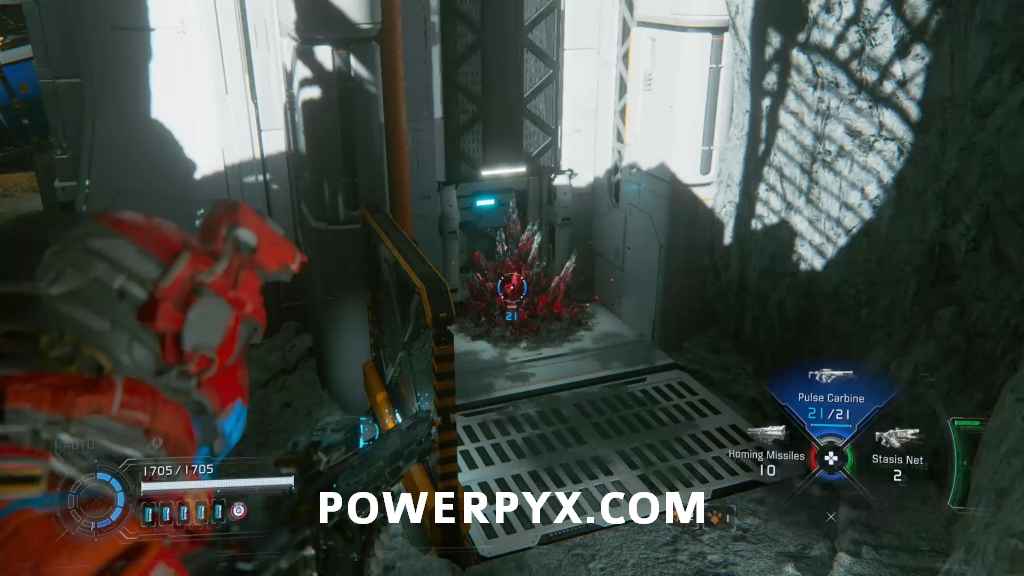
Storage Expander 1 + Safe Box 2 + Safe Box 3 [REQUIRES BACKTRACKING – Cleansing] – On the right side of the area where you can repel the LunaDigger you can cleanse to open a new path towards those collectibles. The first box will be at the bottom of the pit, the rest you can collect after activating a panel down there and climbing back up.
REM 1 (Campfire) – After meeting the LunaDigger you will enter a building. Once you get out again you will have to thrust to the other side. There you will go up a set of broken stairs and in the gap between the stairs you will see it. Hard to miss.
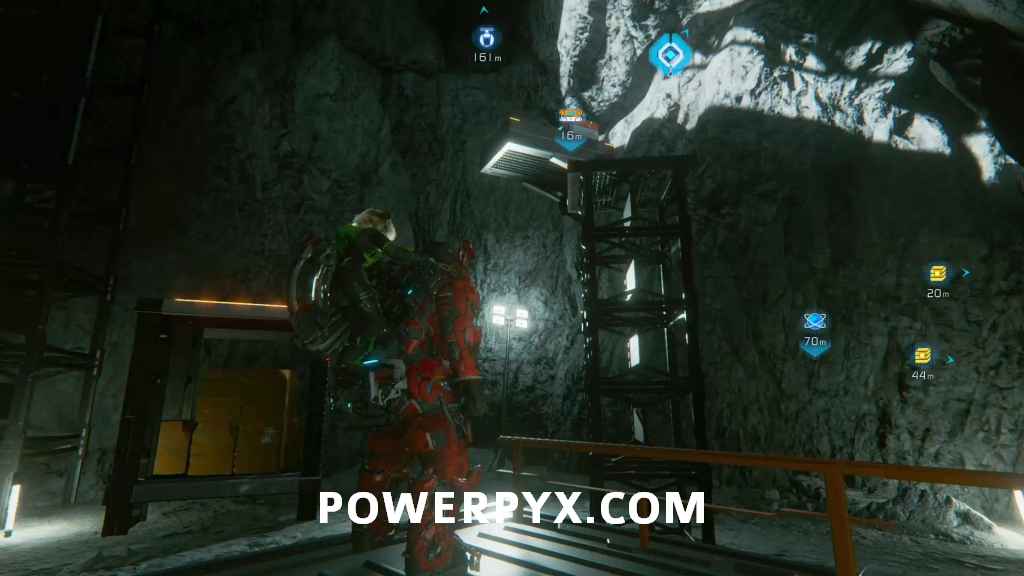
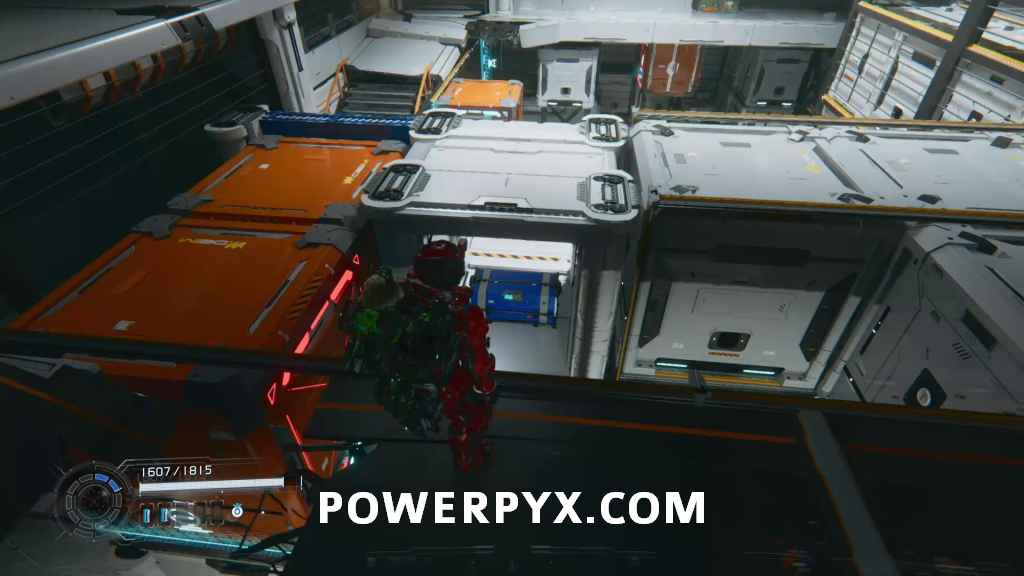
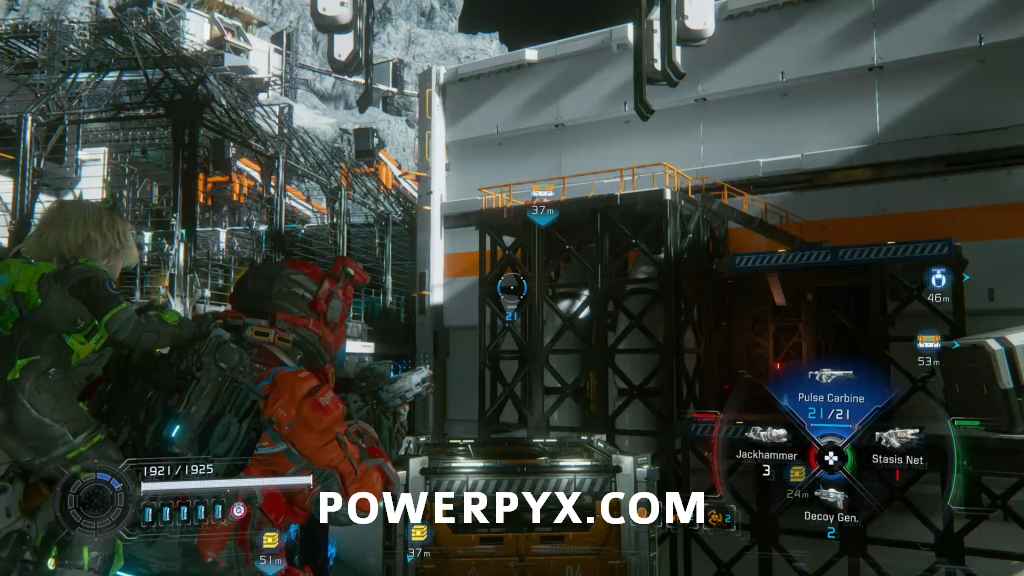
Lunum Mines 02 – Crane Operation Yard
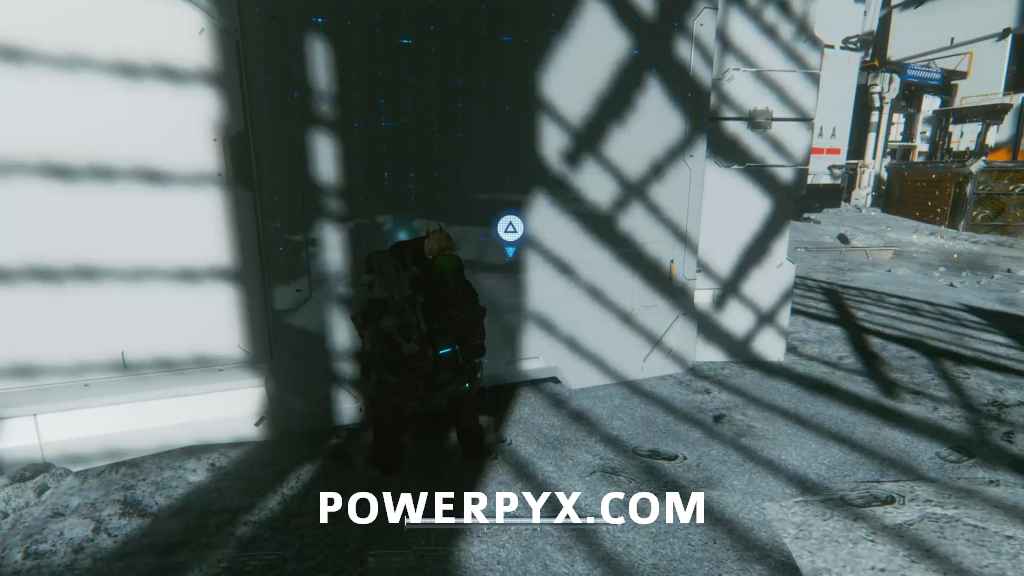
Escape Hatch 1 – In the next building you enter.
Mod 2 (Analog Aggression) – In the next outdoor area you will encounter the LunaDigger again. On the right side you will see a construction elevator going up and down. Jump on it and let it take you up to the mod.
Safe Box 4 – Keep hugging the right side fence until you reach the end of it by a building. Jump to the building’s door, defeat the enemies on the first floor and find the Safe Box on the second floor.
Mini Cabin 1 – Exit the building on the second floor and turn right. You can see a Mini Cabin around the corner.
Safe Box 5 – Exiting the building on the second floor will allow you to reach the crane control so you can drop a crate which will help you reach the second Safe Box outside.
Safe Box 6 – The third Box is in the same building you just came out of. You must, however, enter it using a Holo-Wall which you can find on the opposite side of the building, from where you initially entered.
Mod 3 (Digital Dominance) – On the left side of this area you can just go up some crates that will lead you to the top of a crane where the mod will be.
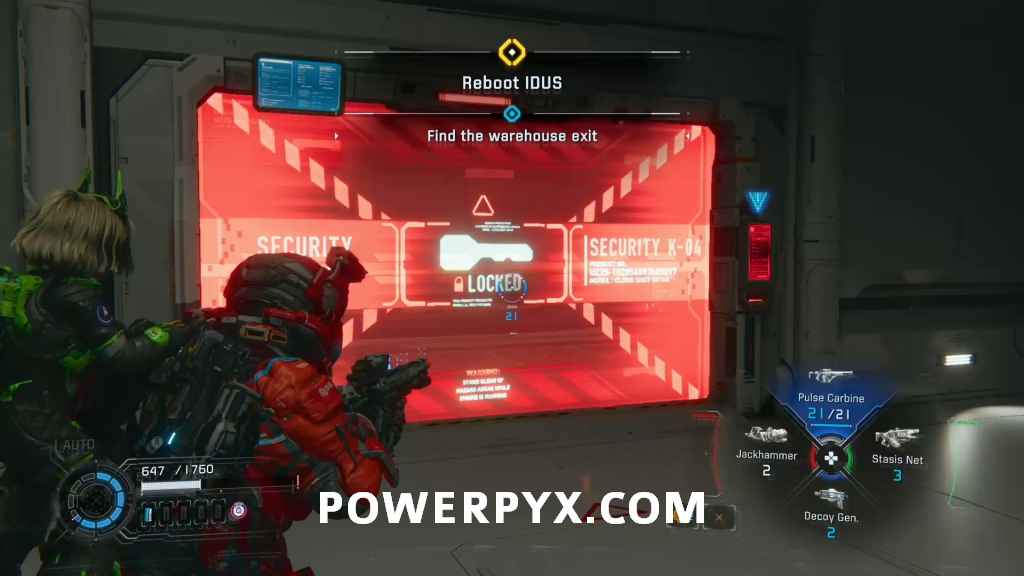
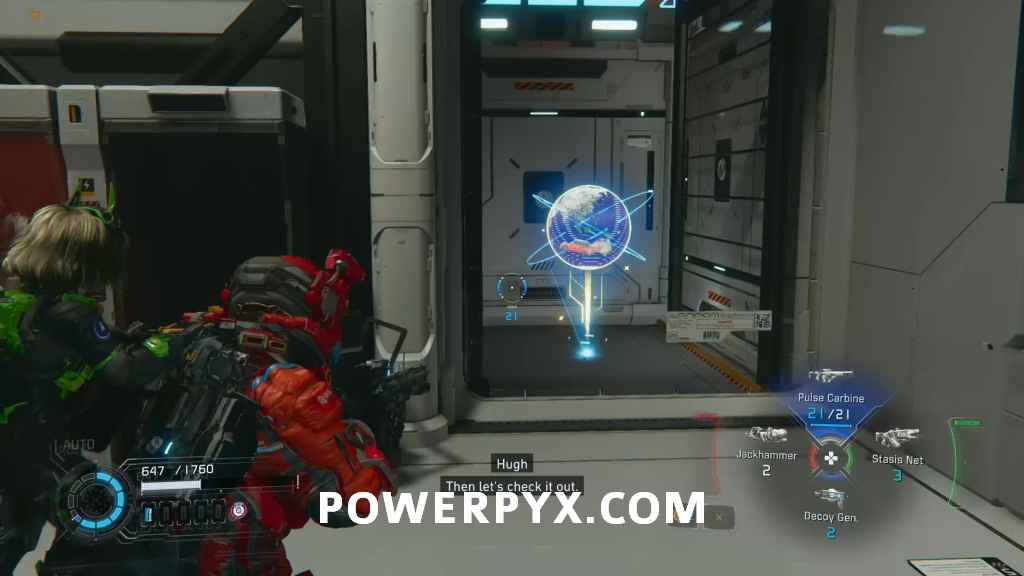
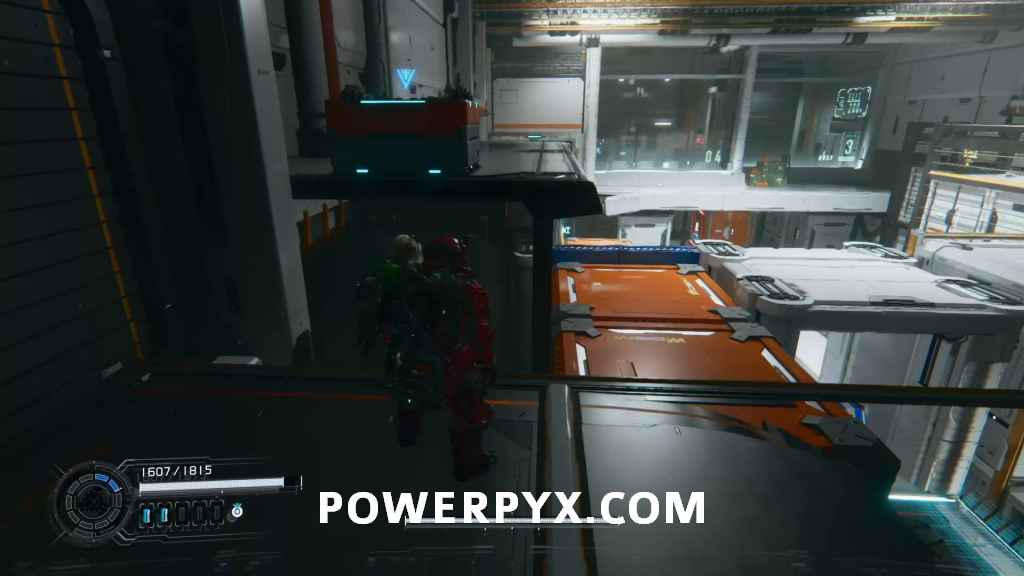
Lunum Mines 03 – Warehouse
Escape Hatch 2 – After entering the next building you will find it in front of you.

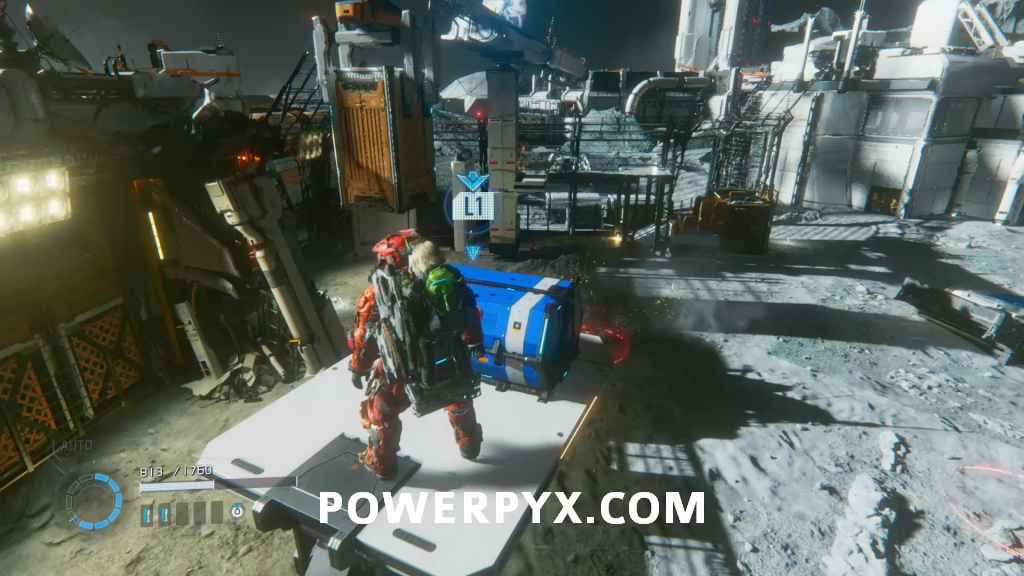
Red Zone + Storage Expander 2 + Pure Lunum 1 – You can find a red zone entrance in the same area.
REM 2 (Bug Net) – You can see it behind the window next to the hatch. You can reach it by pushing away the containers and navigating through the small container maze.
Safe Box 7 – There is also a Safe Box in the same maze but you will have to push the containers from the back which you can do in the next room.
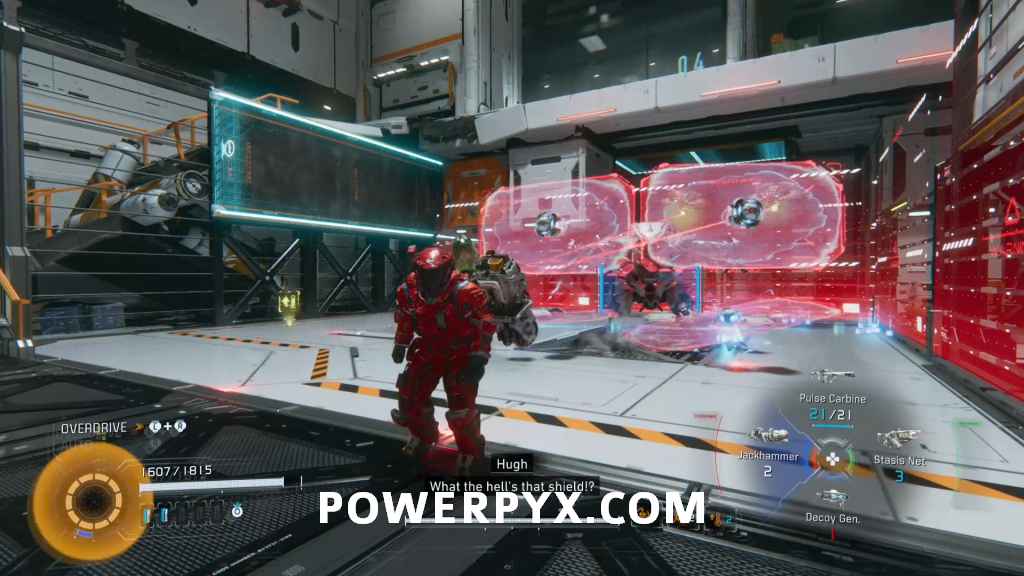
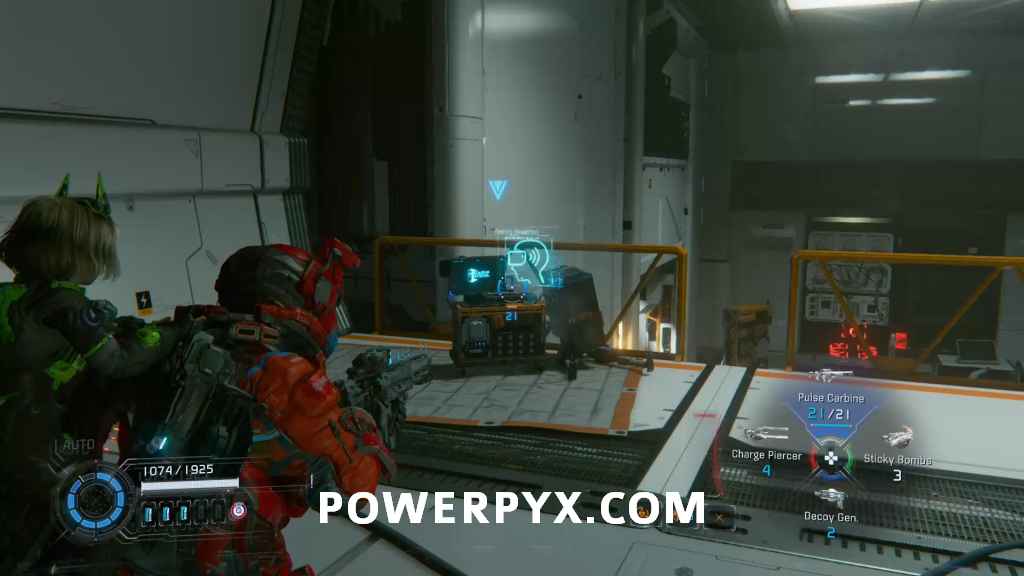
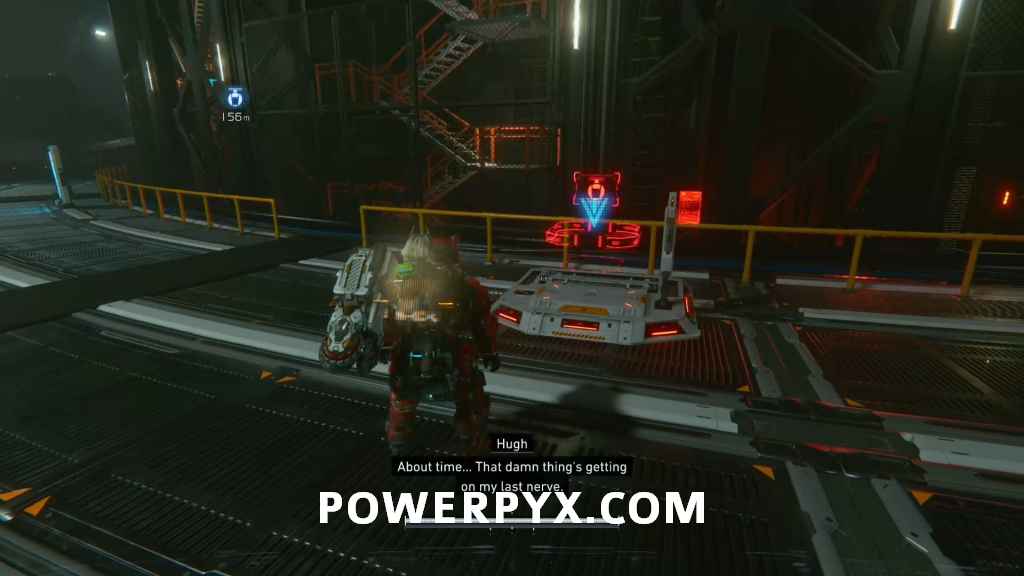
Can I Borrow That? Trophy/Achievement – Here you will encounter a Defender bot for the first time. It is a bigger bot with 4 shields in front of it. You will need to hack it and during the hack pass through a ‘Confuse’ node to steal its shield.
Mod 4 (Nice Nodes) – In the room where you fought the first shield enemy. You can reach it by moving the crates at the top.
Safe Box 8 – Just above the Mod.
Pure Lunum 2 – In a chest on your main path.
Safe Box 9 – The next room has it. Just move the movable crate so you can reach it on the higher ledge.
Safe Box 10 – Move the same crate to the other side so you can reach the higher containers in the next room.
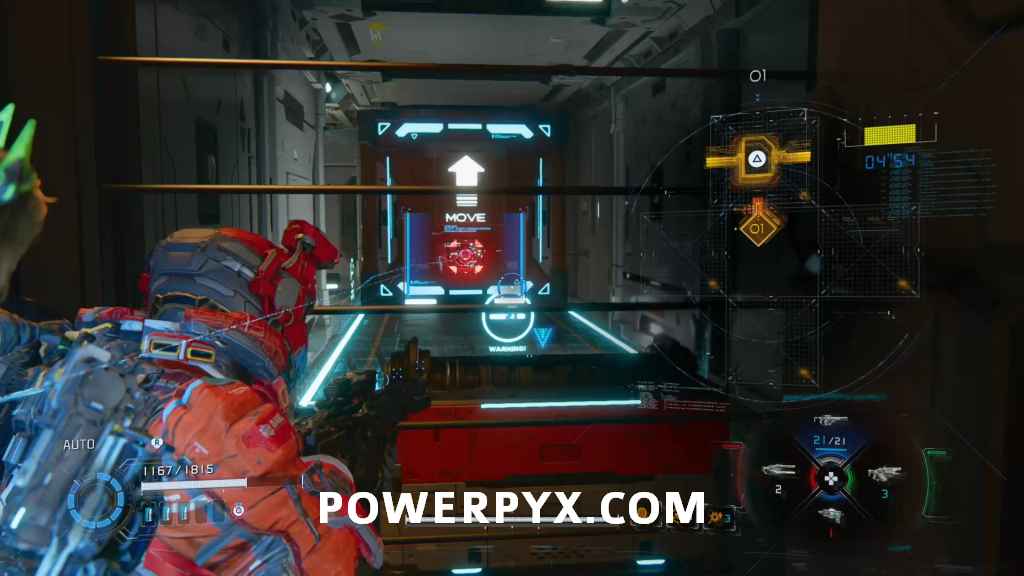
Safe Box 11 – Inside the room with the next panel boxes puzzle.
Mini Cabin 2 – In the same room on a pipe near the ceiling.

Training Data 1 – In the same room, to the right of the zipline.
Escape Hatch 3 – At the top of the zipline.
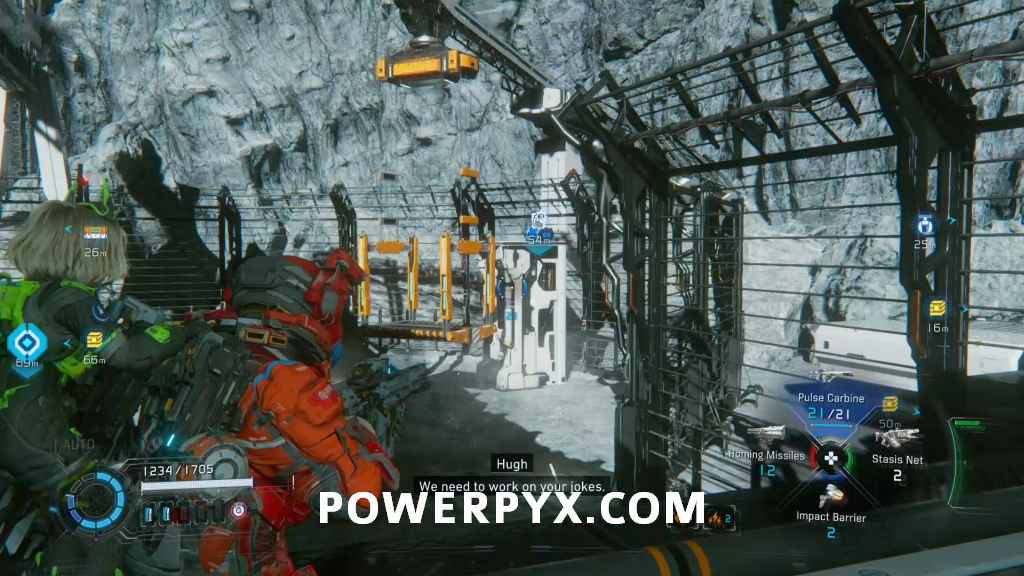
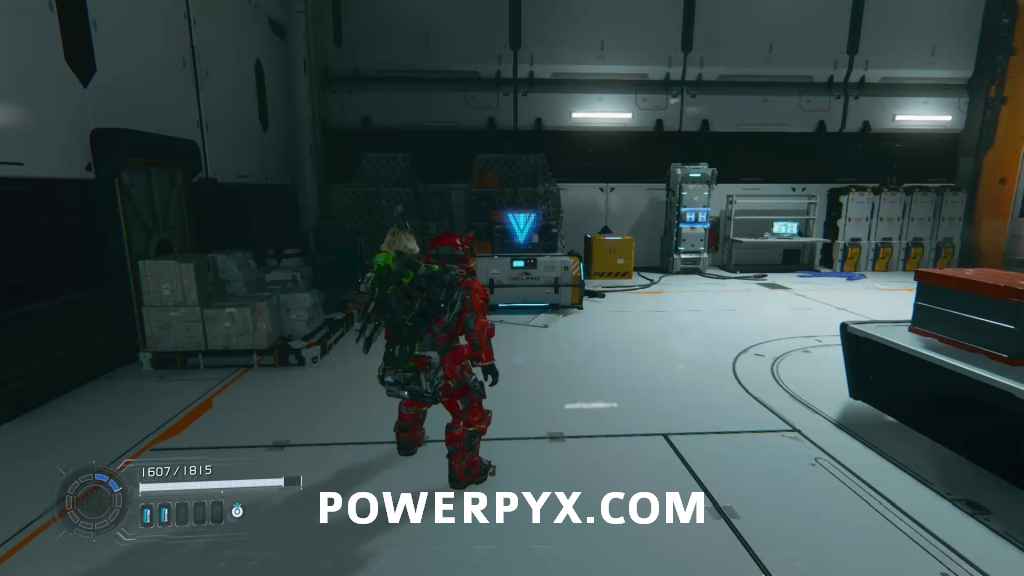
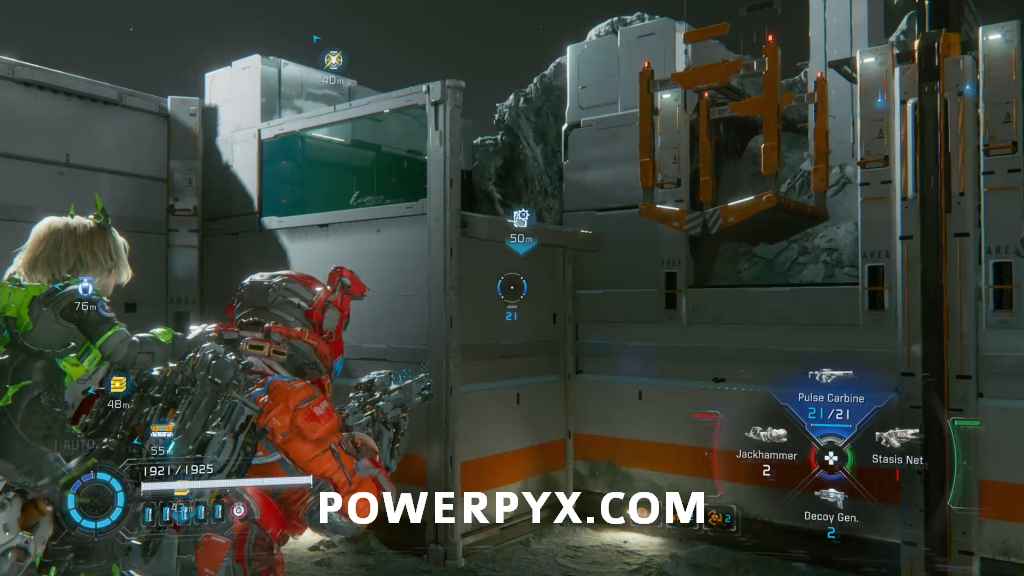
Lunum Mines 04 – Main Excavation Site
Escape Hatch 4 – You will run straight into it after the mining reg section.
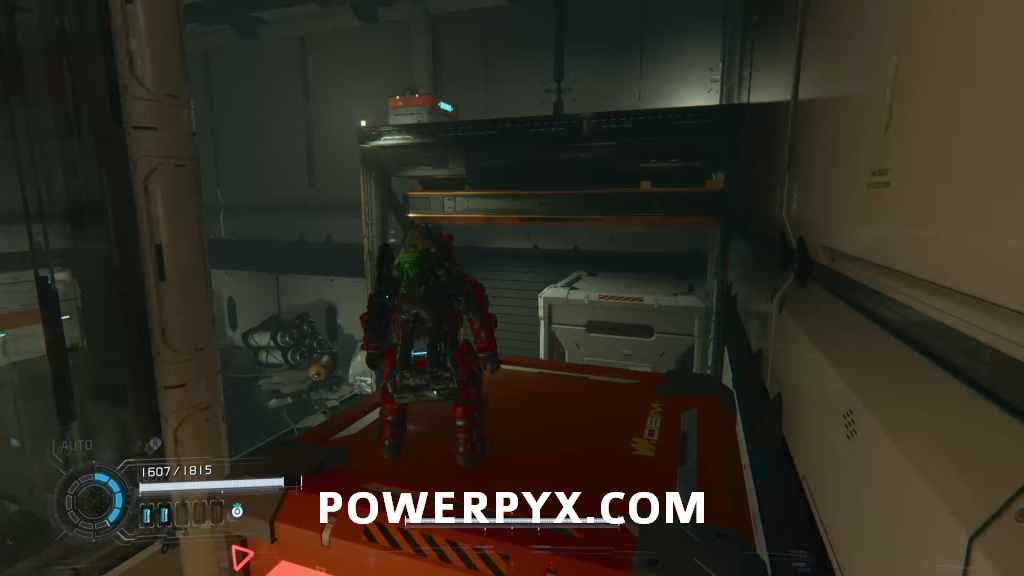
Mod 5 (Eagle Eye) + Safe Box 12 – Once outside again you can see it behind the glass. Jump up the container since you can only reach the room from above after moving the panel boxes.
REM 3 (Tent) – Before entering the next door you can jump up the orange fuel canister to get to the other side of the broken wall where you will find the REM.

Safe Box 13 [REQUIRES BACKTRACKING – Cleansing] – Before exiting to the next area with LunaDigger you can find the box behind crystals that require cleansing.
Escape Hatch 5 – You will run straight into it.
Red Zone Key – Found in the same room as the Escape Hatch.
Safe Box 14 – Outside again. Drop a container using the wall panel and jump across to the other side where you will find the box.
Safe Box 15 – On the ground level where the LunaDigger is once again causing mayhem you can find a spot with multiple crystals you can erase, behind one of them is the Safe Box.
Red Zone – Same area has a Red Zone. While the Red Zone is physically in Area 4, its rewards count towards Area 5 below.

Mod 6 (Synaptic Response) – Go up the cubes and then proceed over the moving platforms where the missile shooting bot is. There you will find the bot.
Pure Lunum 3 – After the next fight you can find it in a chest on your path.
Lunum Mines 05 – Nexus Tower
Pure Lunum 4 + Mod 7 (Economize) – The rewards from the previous Red Zone count towards this area, even though they are technically still in the previous one.

Training Data 2 – Once you enter the building right in front of you on the broken Cabin next to the railing.
Escape Hatch 6 – In the same room.
Safe Box 16 – Inside the tower you can see it across the gap still on the top floor.
Mini Cabin 3 – You can see it sitting on top of a wire box above one of the gaps.
Safe Box 17 – Drop down to the next floor and find it behind a Holo-Wall.
Escape Hatch 7 – You can find it in front of a chain link fence with orange railing stairs behind it.
This covers all the collectibles in Lunum Mines.
NEXT: Central Port (Advanced Pragmatics does not have any collectibles)
NoHeroes94 says
I’ve been attacking the LunarDigger for 15 minutes, nothing is happening.
Magall says
You need a weapon with high damage (I did with the max-level shotgun, but it works with more weapons of the red color)
JOAT says
It’s completely doable with the regular charge rifle. You need to give yourself enough room to hack it and back up (usually onto a platform so it stops for a bit) and shoot it in its mouth. It doesn’t really take any damage, hacked or not, anywhere else you shoot it. It can take quite a few cycles but definitely not 15 minutes. Even faster if you have an upgraded charge rifle, shockwave, or the photon laser. Definitely helps to have the code generator too. Stack all the crap you can during a hack.
Yuke says
Can use the stasis net to hold the lunadigger while shooting it in its mouth, ideally position yourself near ramp beside orange circular door at initial encounter and bait it over there.