
Luna Abyss Trophy Roadmap
- Estimated trophy difficulty: 3/10
- Approximate amount of time to platinum: 8-12 hours
- Offline Trophies: 46 (1
 , 4
, 4 , 5
, 5 , 36
, 36 )
) - Online Trophies: 0
- Number of missable trophies: 0 – nothing missable, all trophies can be cleaned up using Level Select
- Glitched trophies: 0 – However, some collectibles are tracked between areas incorrectly in-game, but this doesn’t affect earning any trophies
- Does difficulty affect trophies?: No, can play on any difficulty
- Hardest Trophy: I Am the Lore
- Minimum Playthroughs: 1
- PS4/PS5 Autopop, Save Transfer, Crossbuy: No PS4 version
- Free-Roam / Level Select after Story?: Level Select is unlocked for each sub-chapter as soon as you start them
- Supports Manual Saves?: No, game saves automatically at checkpoints
- Release Date: May 21, 2026
 , 4
, 4 , 5
, 5 , 36
, 36 )
)Introduction
Welcome to the Luna Abyss Trophy Guide! Luna Abyss is the first game from Kwalee Labs, the development studio of the previously primarily mobile game publisher Kwalee Games. The game takes place on a red moon that appeared over the earth and contains an internal mechanical structure called the Abyss. You play as Fawkes, who is taken to a prison on the moon and forced to explore the Abyss. The game requires you to complete first person platforming and puzzles to progress through the areas, in between combat encounters primarily designed around dodging bullets similar to Saros or Returnal.
Trophy wise the game is very straightforward, requiring a completion of the story, collecting all collectibles, and a handful of misc trophies. The game has a Level Select function that unlocks for each area as you progress, and tracks the majority of the collectibles per sub-chapter and overall total. If you missed anything on the first playthrough don’t worry, you can clean up everything through chapter select at any time.
Step 1: Story + Collectibles
The first step will be to play through the story. Follow the Luna Abyss Collectible Guide to earn all trophies in a single playthrough. Difficulty options don’t matter for trophies, so you can play on whichever settings you like. Dialogue choices during the story also don’t matter for progression, so during scenes where you speak with other characters you can pick whichever responses you like.
Most levels actively prevent backtracking and continually push you forward along the linear path. Because of this, if you miss collectibles you typically can’t go back for them, so you would need to replay the sub-chapter using Level Select.
Step 2: Cleanup with Level Select
If you missed any collectibles or played through without a guide first, you can now use Level Select to jump to each sub-chapter and clean up any remaining collectibles. If you need to do this the only thing to keep in mind is that you need to reach a checkpoint (diamond icon on the bottom right) for the game to save, then use the “Exit Level Select” option from the pause menu to make sure the collectibles are saved correctly.
Luna Abyss Trophy Guide
 |
Heart of the Abyss Collected all trophies |
 |
| Earn all other trophies in Luna Abyss to unlock Platinum (no DLC required). | ||
 |
Welcome to the Abyss Wake up as a Warden |
 |
| Story related, cannot be missed.
This is awarded at the start of Chapter 1 – Sorrows Canyon once you gain control of your character for the first time. |
||
 |
First Mission Find the Shieldbreaker |
|
| Story related, cannot be missed.
This is awarded near the end of Chapter 1 – Sorrows Canyon once you pick up the Shieldbreaker weapon. |
||
 |
It Chose You, Not Me Find the Signal |
|
| Story related, cannot be missed.
This is awarded near the beginning of Chapter 1 – Warden’s Regret after you encounter the Signal. |
||
 |
Who Watches the Watchers? Possess a Watcher for the First Time |
|
| Story related, cannot be missed.
This is awarded midway through Chapter 1 – Warden’s Regret after you obtain the Watcher Neural Pattern and are required to possess a Watcher to progress. |
||
 |
The Eye is Open Escape Warden’s Regret |
|
| Story related, cannot be missed.
This is awarded near the end of Chapter 1 – Warden’s Regret after you complete the Mother-Eyes encounter. |
||
 |
Boom Boom Possess a Goliath for the First Time |
|
| Story related, cannot be missed.
This is awarded near the end of Chapter 2 – Weeping Meadows after you possess a Goliath to progress for the first time. |
||
 |
Life’s True Purpose Release William and Collect the First Seal |
|
| Story related, cannot be missed.
This is awarded at the end of Chapter 2 – Tortured Adrift after the scene that occurs when you defeat the Tortured Adrift boss. |
||
 |
Ride the Rails Possess a Twins for the First Time |
|
| Story related, cannot be missed.
This is awarded near the end of Chapter 3 – The Drift Mines after you possess a Twins to progress for the first time. |
||
 |
Home Release Letitia and Collect the Second Seal |
|
| Story related, cannot be missed.
This is awarded at the end of Chapter 3 – Rotten Adrift after the scene that occurs when you defeat the Rotten Adrift boss. |
||
 |
The Crescent Mile Open the Door to Kings Reach Train Station |
|
| Story related, cannot be missed.
This is awarded at the start of Chapter 4 – The Crescent Mile after you open the door to Kings Reach Station. |
||
 |
This Sick City Travel to Greymont; the Forbidden City |
|
| Story related, cannot be missed.
This is awarded at the start of Chapter 4 – The City of Greymont when you reach the exterior area of Greymont. |
||
 |
The Ninth Life Cleanse Urien’s Soul |
|
| Story related, cannot be missed.
This is awarded near the end of Chapter 4 – The City of Greymont after the scene that occurs when interacting with the red orb after the Seraph boss fight. |
||
 |
The Sleeper Awakes Survive your encounter with Atticus |
|
| Story related, cannot be missed.
This is awarded at the end of Chapter 4 – The Catacombs after the scene that occurs at the end of the area. |
||
 |
Creepy Crawly Possess a Widow for the First Time |
|
| Story related, cannot be missed.
This is awarded midway through Chapter 5 – The Hanging Towers after you possess a Widow to progress for the first time. |
||
 |
Brotherly Love Defeat Mani; Aylin’s Twin. |
|
| Story related, cannot be missed.
This is awarded at the end of Chapter 5 – Mani the Betrayer after the scene that occurs at the end of the area. |
||
 |
Miles To Go Enter the Womb |
|
| Story related, cannot be missed.
This is awarded in Chapter 6 – The Womb of Silence once you reach the Womb. |
||
 |
The Fool’s Journey Defeat Atticus |
|
| Story related, cannot be missed.
This is awarded in Chapter 6 – The Womb of Silence after you defeat the Hands of the Abyss boss. |
||
 |
Mother Awaken The Silent One |
 |
| Story related, cannot be missed.
This is awarded once you complete the story at the start of the credits. |
||
 |
Requited Love Complete Everett and Orion’s Story |
|
| This trophy is awarded for completing all interactions with the Widow Wardens Everett and Orion.
Most of Everett and Orion’s interactions are required to progress, with the final one occurring in Chapter 6 – The Womb of Silence on the way to the final boss. For this and each of the other character interactions they are included in the Collectible Guide. |
||
 |
Unspoken Bond Complete Eli and Otis’ Story |
|
| This trophy is awarded for completing all interactions with the Twins Wardens Ellie and Otis.
All but one of the interactions with these two are required for story progression, with the final one occurring in Chapter 6 – The Womb of Silence on the way to the final boss. |
||
 |
Dreaming of Moonlight Speak to The Waif Three Times |
|
| This trophy is awarded for interacting with The Waif three times during the story.
The Waif is a character that shows up three times, once each near the start of Chapters 1, 2, and 3. The interactions in Chapter 1 and 3 are required to progress, only the one in Chapter 2 is optional but they are immediately in the story path in the first subchapter King’s Reach. |
||
 |
And Still They Persist Complete Min and the Villagers Story |
|
| This trophy is awarded for completing all interactions with Min and the Villager Wardens throughout the story.
Min and the villagers are a set of 3 different Wardens that start appearing from Chapter 2 – Weeping Meadows. Because there are 3 different Wardens and only Min’s interactions are story related this is the one that is most likely to be missed during normal progression, but is easy to complete as long as you make sure to interact with the other villagers every time you speak with Min. |
||
 |
Power in the Self Complete Lady Jonty’s Story |
|
| This trophy is awarded for completing both interactions with Lady Jonty during the story.
Lady Jonty is an Adrift that is first found during Chapter 4 – The City of Greymont and is required to be interacted with to progress. The second interaction is during Chapter 5 – One Last Job where she is located a bit out of the way on the upper area near where you found the first weapon upgrade. |
||
 |
Handy with a Rifle Destroy 50 Adrift with the Scout Rifle |
|
| This trophy is awarded for destroying a total of 50 Adrift with the Scout Rifle.
For this and the other 4 weapon kill trophies you can track progress toward them using the PS5’s trophy tracking. Note that you need to get the final blow on an enemy using the specific weapon for it to count, it does not count just using the weapon on 50 enemies. All weapons are obtained through the story and are required to progress. |
||
 |
Splintered Glass Destroy 50 Adrift with the Shieldbreaker |
|
| This trophy is awarded for destroying a total of 50 Adrift with the Shieldbreaker. | ||
 |
Timing is Key Destroy 50 Adrift with Sniper Rifle |
|
| This trophy is awarded for destroying a total of 50 Adrift with the Sniper Rifle. | ||
 |
Swarm Stopper Destroy 10 Adrift with Rocket Launcher |
|
| This trophy is awarded for destroying a total of 50 Adrift with the Rocket Launcher. | ||
 |
Weapon Master Use all four weapons in a Hard Combat |
|
| This trophy is awarded for using all 4 of the weapons on “Hard Combat”. This seems to mean using all 4 weapons using a Mother-Eyes encounter where you are locked in a room and have to defeat a large amount of enemies to progress. You don’t need to get a kill with each of the 4 weapons, just shoot each of the 4 at an enemy during one encounter.
The first place you can earn this is shortly after obtaining the Rocket Launcher in Chapter 5 – Pillar of Ash, as you encounter a Mother-Eyes encounter a bit after obtaining the Rocket Launcher. |
||
 |
Slide Attack Kill an enemy whilst sliding |
|
This trophy is awarded for killing any enemy while sliding. This can be fairly easily completed any time after obtaining the Shieldbreaker. To slide, sprint sprint  then crouch then crouch  which will cause you to slide a short distance forward. The basic Rawhead enemies you encounter throughout the game should be destroyed in one shot from the Shieldbreaker, so you can sprint and slide toward one and then shoot it to earn the trophy any time you encounter them. which will cause you to slide a short distance forward. The basic Rawhead enemies you encounter throughout the game should be destroyed in one shot from the Shieldbreaker, so you can sprint and slide toward one and then shoot it to earn the trophy any time you encounter them. |
||
 |
Swingin’ Around Stay in the air for 30 seconds using the Tether Hook |
|
This trophy is awarded for using the Tether Hook (grappling hook) to stay in the air for at least 30 seconds consecutively. You likely won’t unlock through normal platforming, but you can do it at any time on a single Tether point. Look straight up at it and keep mashing  to continually grapple to the same point. After doing this for 30 seconds the trophy will unlock. to continually grapple to the same point. After doing this for 30 seconds the trophy will unlock. |
||
 |
Super Window Jump Jump through the window in the City of Greymont |
|
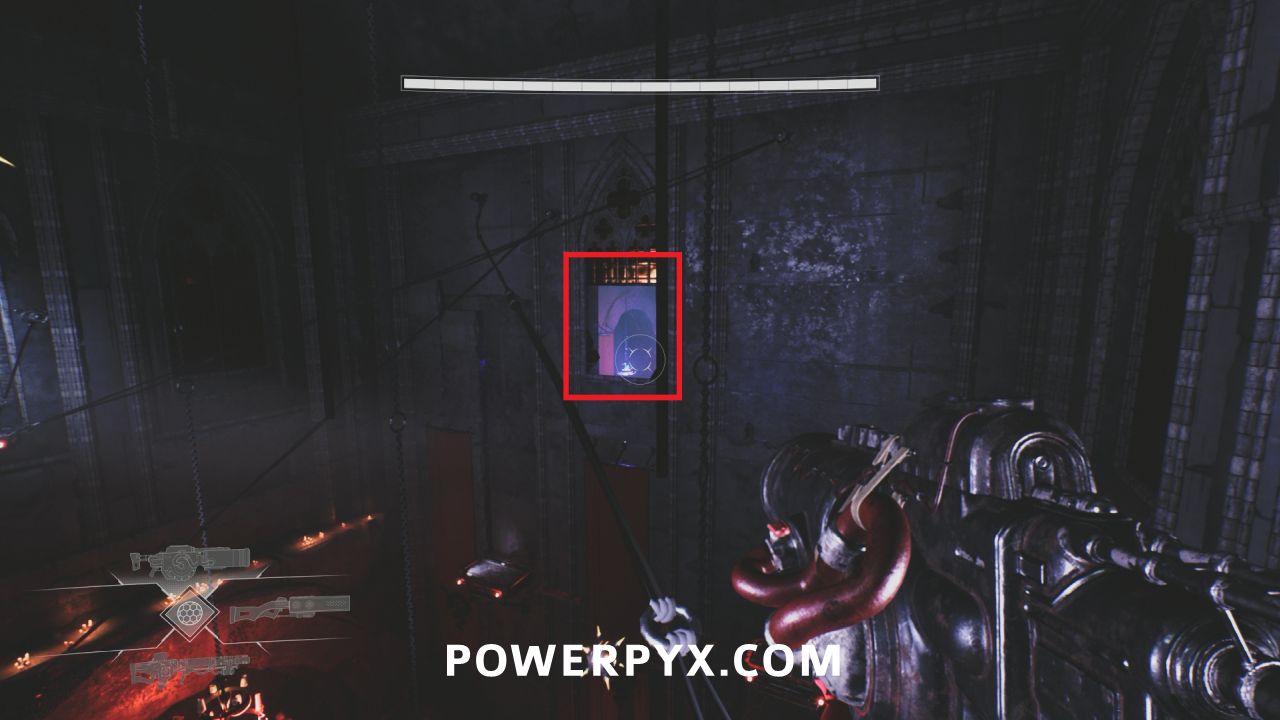
| This trophy is awarded for jumping through a specific window in Chapter 4 – The City of Greymont. After obtaining the Tether Hook you travel through the main interior of a building and complete a Mother-Eyes encounter. After that you progress and reach a room where you grapple upward to reach a window. In that room there are two windows. From the platform in the corner facing them, the left one is to progress, and the right one leads back to the Mother-Eyes room. You need to jump through the one on the right back to the Mother-Eyes room to unlock the trophy.
|
||
 |
Amateur Historian Find a Lore Entry in the World |
|
| This trophy is awarded for picking up any Lore Entry. | ||
 |
Competant Journaller Collect 50 Lore Entries |
|
| This trophy is awarded for picking up a total of 50 Lore Entries. | ||
 |
I am the Lore Collect All Lore Entries |
 |
| This trophy is awarded for picking up all 87 Lore Entries.
Collectible Lore Entries are white data pads that can be found throughout the game, typically on bodies or rubble. They make a humming noise when you are nearby, so can be located using this noise. They are typically along paths between areas, not in large combat rooms, and can be found fairly easily as long as you explore each area as you progress. You can follow the Collectible Guide for the location of each collectible lore entry as you progress through the game. If you miss any or are cleaning up after a blind playthrough, you can view each sub-chapter in the Level Select menu to see where you are missing lore items. The exception to this is Chapter 6 – The Womb of Silence where 2 of the collectibles counted toward it are actually in other levels, so if you are 2/4 on this level you will need to check the collectibles in Chapter 2 – King’s Reach and Chapter 5 – One Last Job which both include an extra collectible that is incorrectly counted toward the final sub-chapter. |
||
 |
Rifle Master Find the Scout Rifle Upgrade |
|
| This trophy is awarded for obtaining the Scout Rifle upgrade. This is found in Chapter 3 – The Second Seal along the main path in the King’s Reach area. | ||
 |
Breaker Master Find the Shieldbreaker Upgrade |
|
| This trophy is awarded for obtaining the Shieldbreaker upgrade. This is found in Chapter 4 – The Crescent Mile nearby to where the Scout Rifle upgrade was located in the King’s Reach area. | ||
 |
Marksman Master Find the Sniper Upgrade |
|
| This trophy is awarded for obtaining the Sniper Rifle upgrade. This is found in Chapter 5 – One Last Job in the upper area of King’s Reach, across some Tether points near where Lady Jonty is located. | ||
 |
Artillery Master Find the Rocket Launcher Upgrade |
|
| This trophy is awarded for obtaining the Rocket Launcher upgrade. This is found in Chapter 6 – The Womb of Silence at the end of the platform after you ride the train from King’s Reach. | ||
 |
That Feels Better Increase your Connection Health for the first time |
|
| This trophy is awarded for picking up a Health upgrade for the first time. | ||
 |
Max Power Increase your Connection Health to Max |
|
| This trophy is awarded for picking up all 10 health upgrades.
Health upgrades are found throughout the game in gold-lit chests, typically in hidden side rooms. The game will generally show you the location of the chest before you can encounter it, either through a gap or through a fence in a wall so they aren’t purposely trying to hide the upgrades from you within each sub-chapter. You can follow the Collectible Guide for the location of each health upgrade as you progress through the game. Each health upgrade is tracked correctly within the Level Select menu with the exception of Chapter 2 – Weeping Meadows, where there are two upgrades in that sub-chapter but only one is tracked. If you have each area showing you have collected each upgrade but are missing one from the overall count, you are missing one in this area. |
||
 |
Dark Crystal Destroy a Drift Crystal |
|
| This trophy is awarded for destroying any Drift Crystal for the first time. | ||
 |
Crystal Cleanser Destroy 5 Drift Crystals |
|
| This trophy is awarded for destroying a total of 5 Drift Crystals. | ||
 |
Crystal Purifier Destroy 10 Drift Crystals |
|
| This trophy is awarded for destroying a total of 10 Drift Crystals. | ||
 |
Crystal Eradicator Destroy All 15 Drift Crystals |
|
| This trophy is awarded for destroying all 15 Drift Crystals.
Drift Crystals are a large red crystal that can be found hidden throughout most of the game, typically with one per larger level. They are typically hinted at with a trail of smaller red crystals near them, and a loud chime noise that they make when you are nearby. You can follow the Collectible Guide for the location of each Drift Crystal as you progress through the game. |
||
 |
Angel of the Abyss Find all of Urien’s Gifts |
|
| Story related, cannot be missed.
This is awarded for finding all 10 of Urien’s Gifts throughout the game. These all function as upgrades with new progression abilities, and are all in the main path of the story as they are required to progress. You will find the last one midway through Chapter 5 – The Hanging Towers once you gain the Widow Neural Pattern. |
||
Leave a Reply