
This guide shows all Collectible Locations in Chapter 1 of Luna Abyss for 100% Completion (Lore Entries, Health Upgrades, Drift Crystals, Urien’s Gifts, Weapons, Upgrades, Interactions).
Collectibles Overview:
Chapter 1
Sorrows Canyon
Welcome to the Abyss – Wake up as a Warden 
Awarded automatically at the start of the chapter once you gain control of your character.
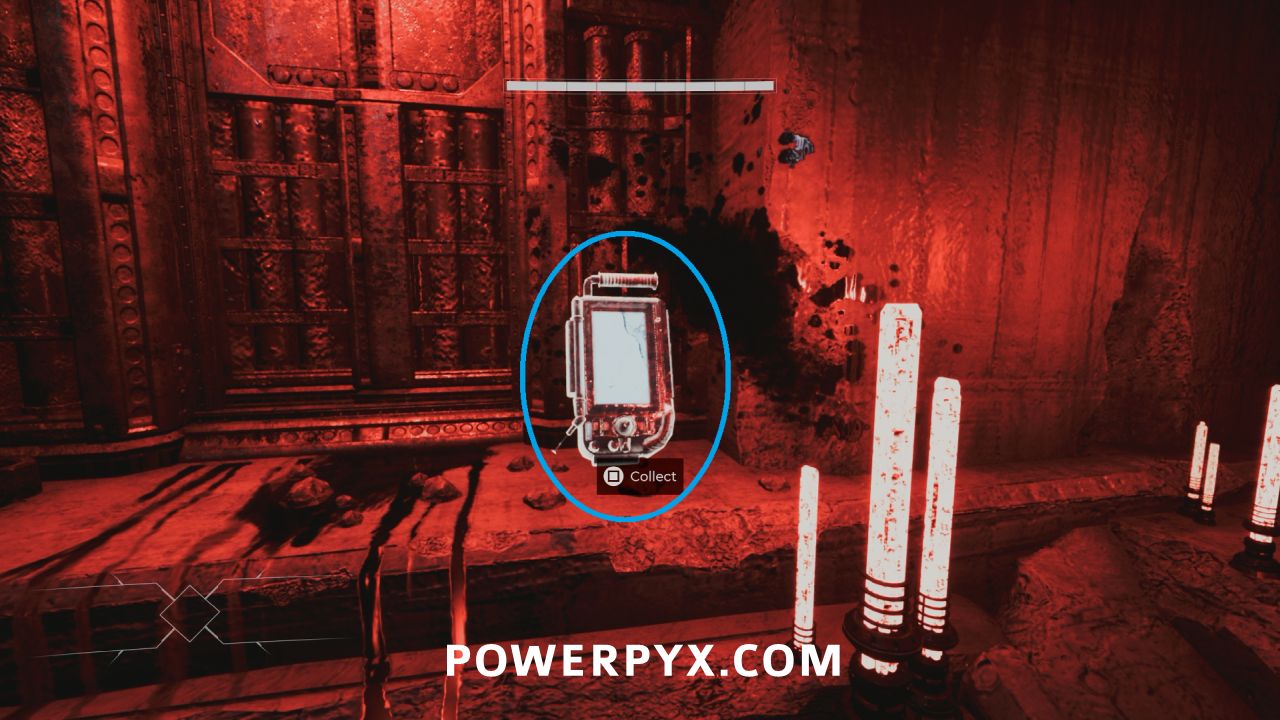
Lore #1 – Memories – Entry #543 – The Last Stand
In the room you start in, right beside the door you need to go through to progress. These pickups make a humming noise when you are near them.
Amateur Historian – Find a Lore Entry in the World
Awarded for picking up a lore entry for the first time.
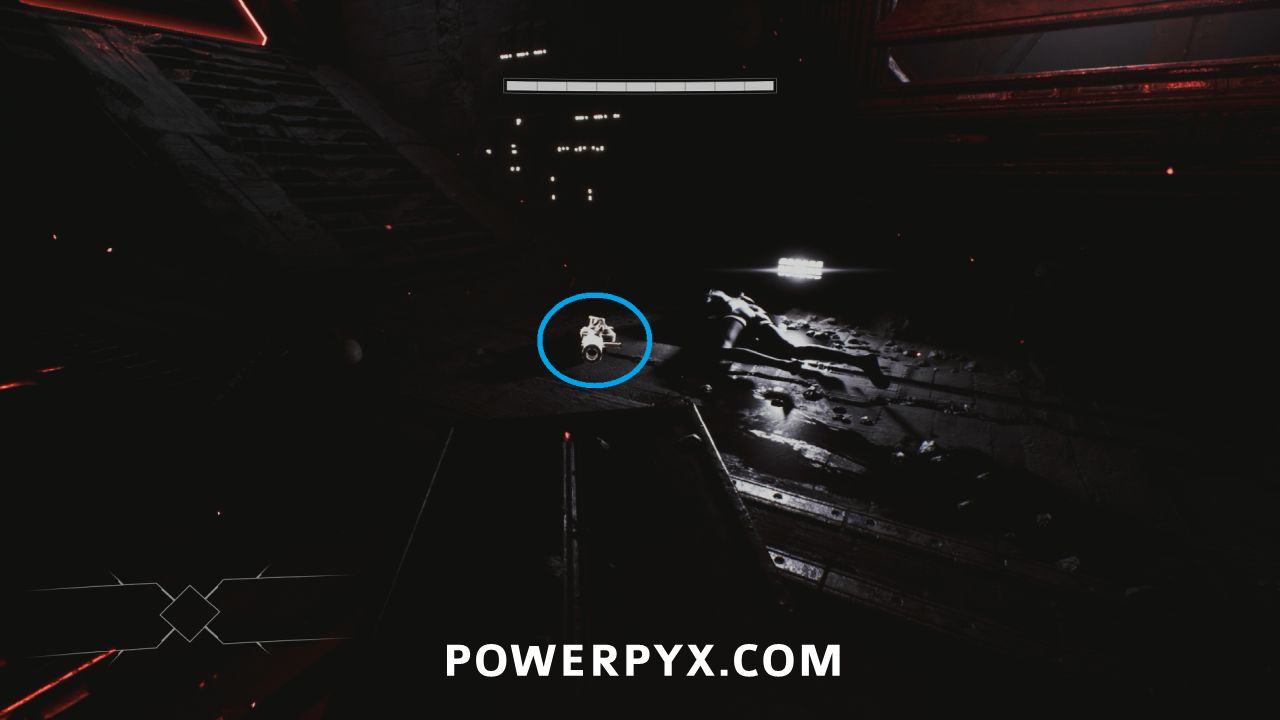
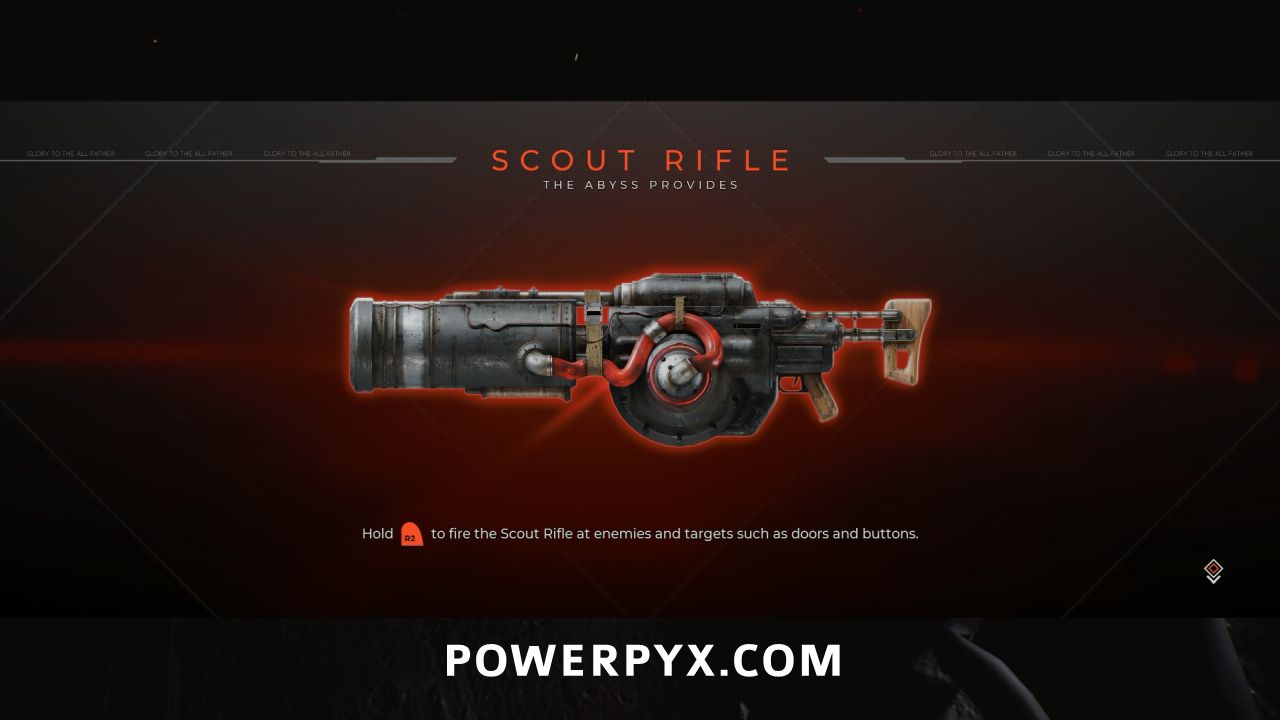
Weapon: Scout Rifle
On the ground in the next room, required to be picked up to progress.
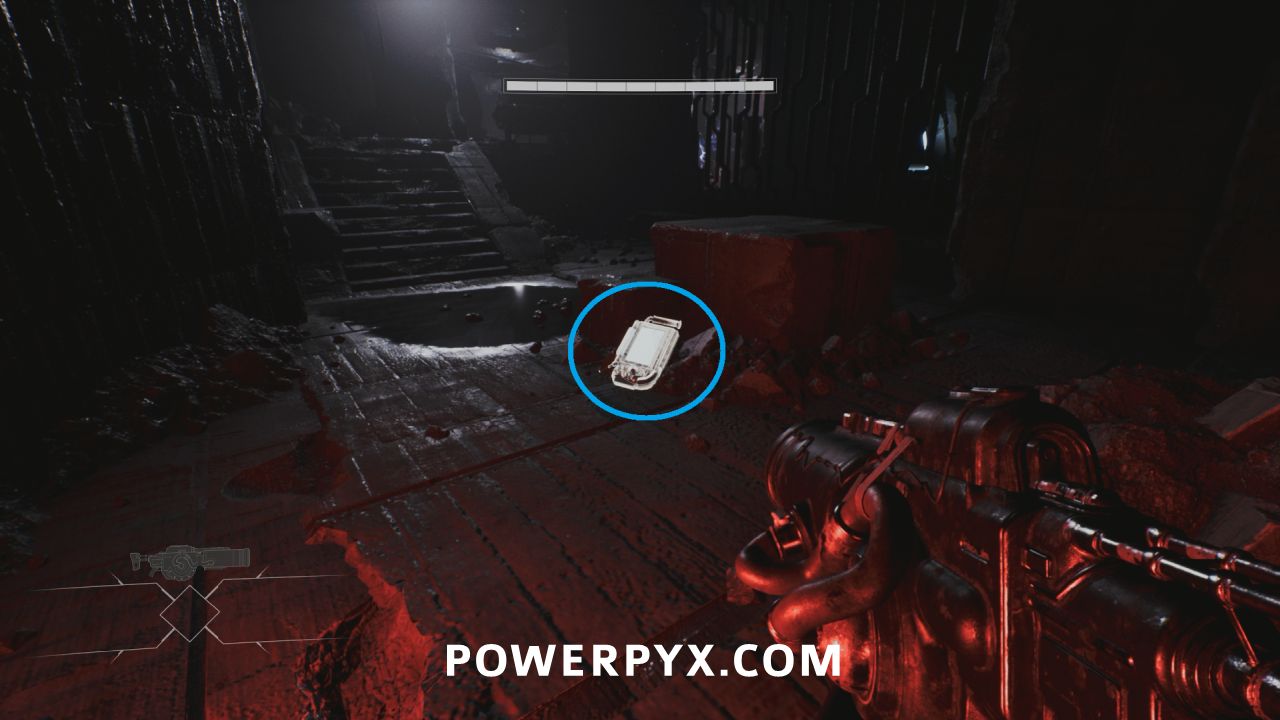
Lore #2 – Memories – Entry #2 – Help Us
After spotting the shadow and Aylin tells you about the Adrift, this is in the hallway before you encounter the first blue health restoring crystal.
The Waif Interaction #1
At the next blue health crystal, interact with the entity sitting by the fire. Required to progress here as they open the door nearby.
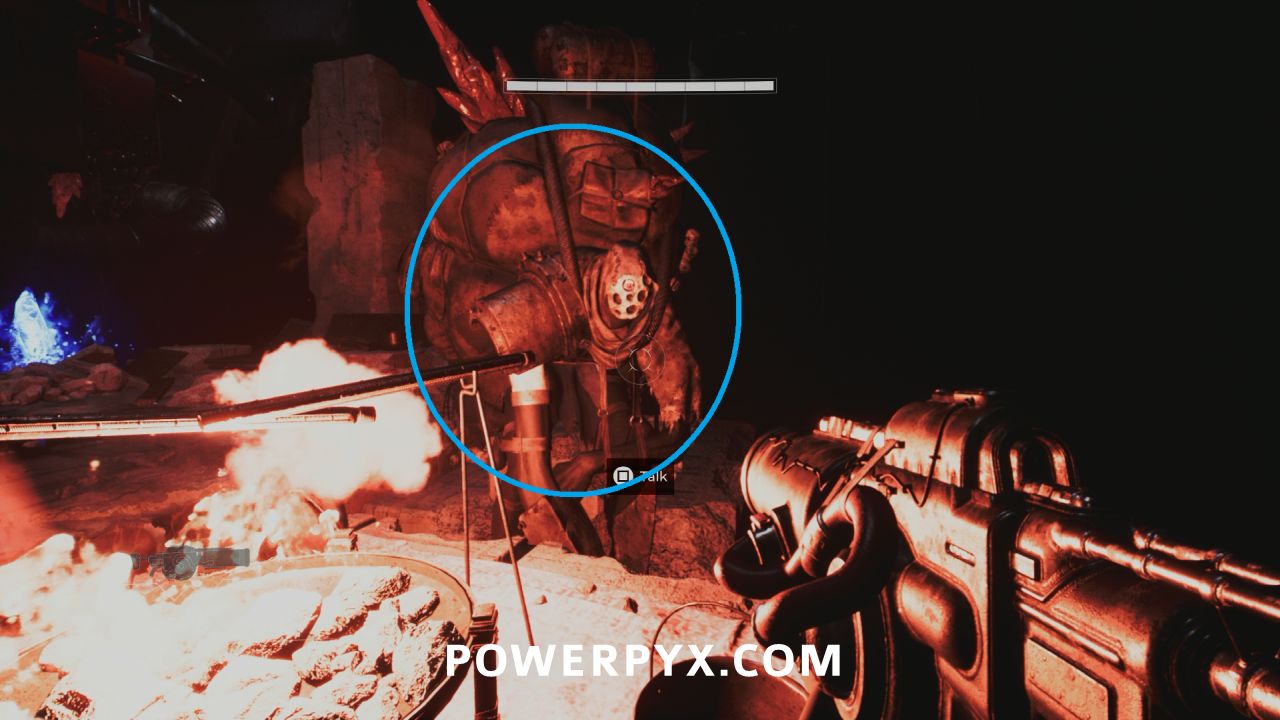
Lore #3 – Characters – The Waif
After speaking with The Waif so that he opens the door to progress, enter the tunnel and turn around before reaching the next door to spot a lower area near the pipes where this collectible is in the corner.
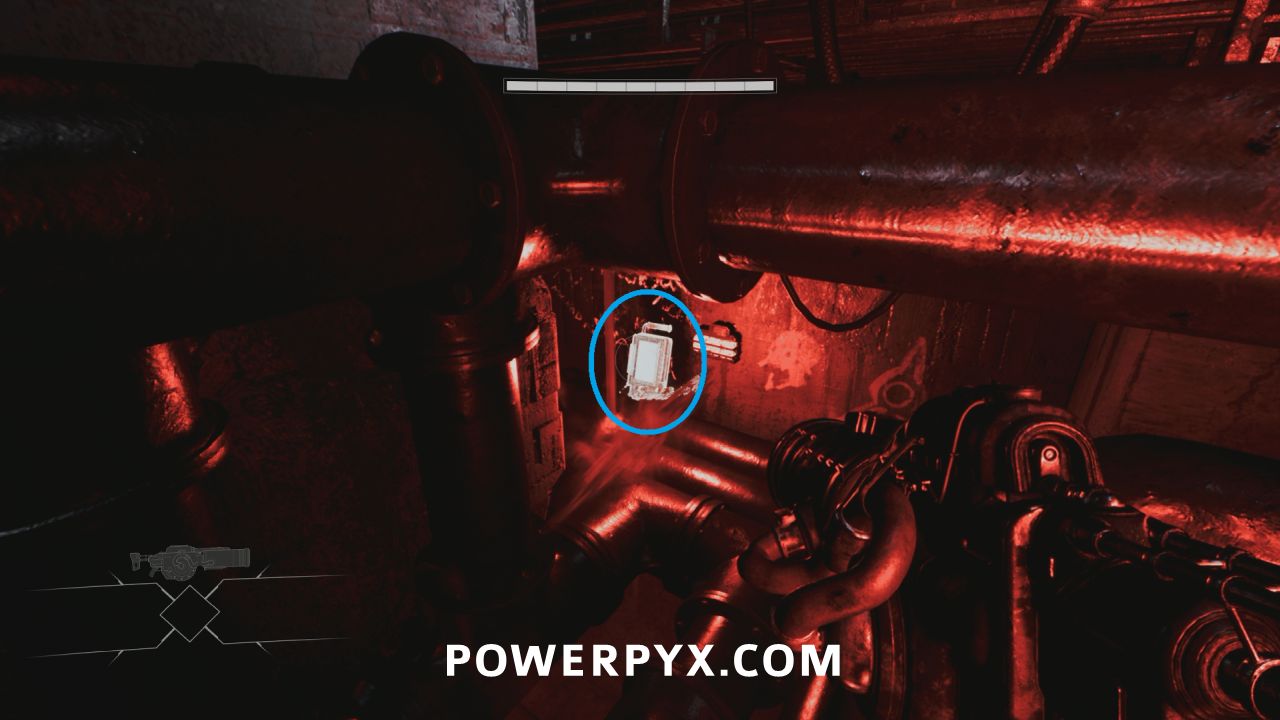
Drift Crystal #1
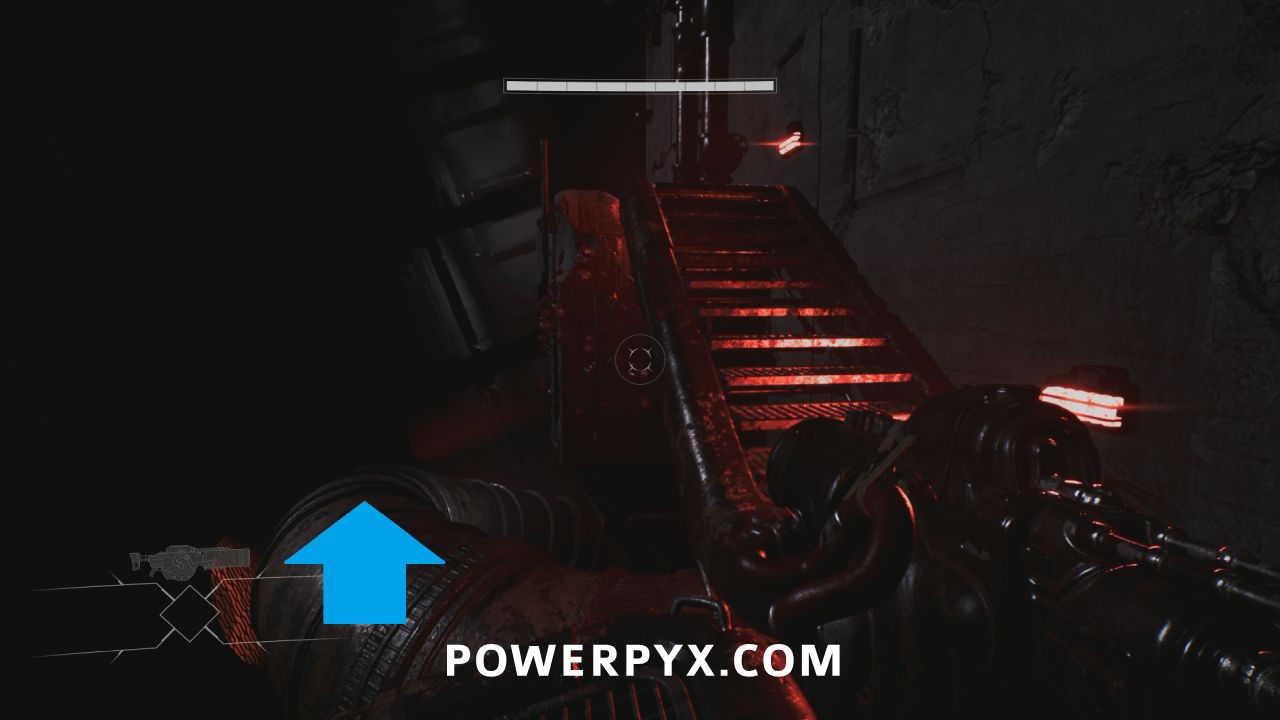
After following the path out of the tunnels, keep progressing past the next moving platform where there are stairs on the right and a pipe going down to the left. Walk along the pipe to find the red Drift Crystal stuck to the ceiling, shoot it to collect it. These make a loud chime noise when you are nearby them.
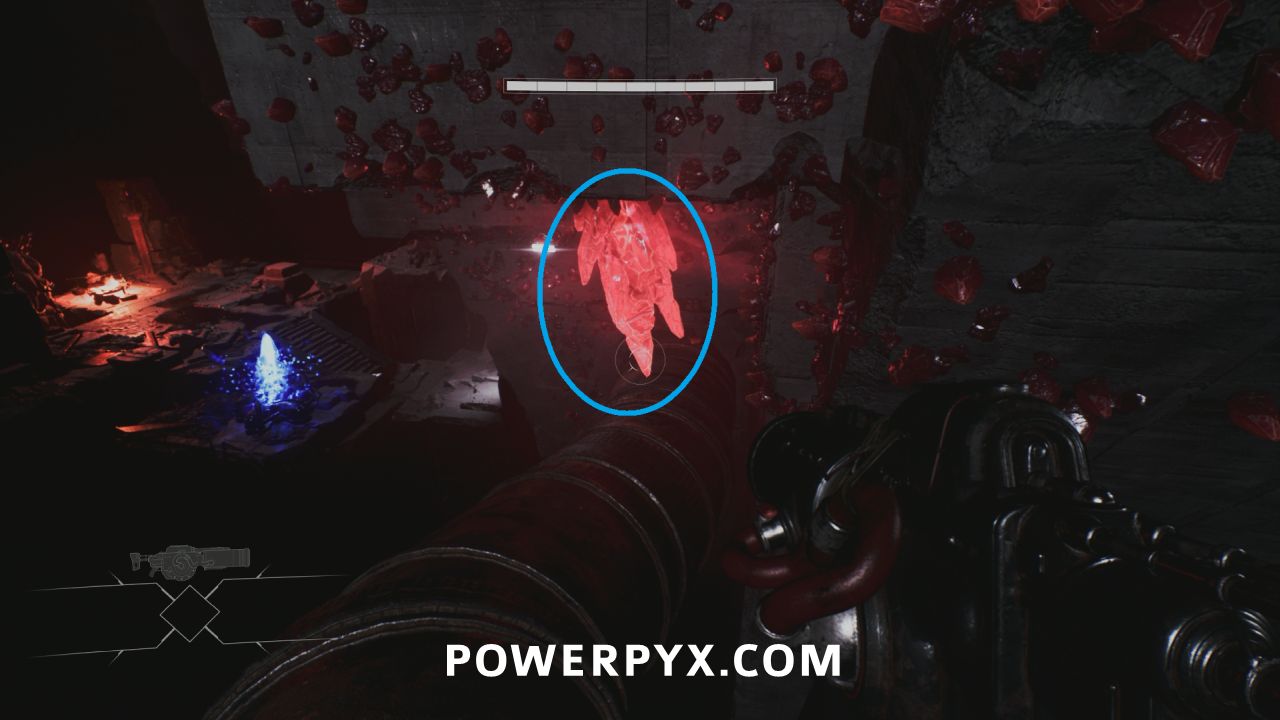
Dark Crystal – Destroy a Drift Crystal
Awarded for destroying a Drift Crystal for the first time.
Lore #4 – Monsters – Mother-Eyes
After the next combat area and then receiving the tutorial about sliding, Aylin will bring up Fawkes being from New London. On the section of pipes you walk over the pickup is on a section you will need to move forward and then backtrack back around to.
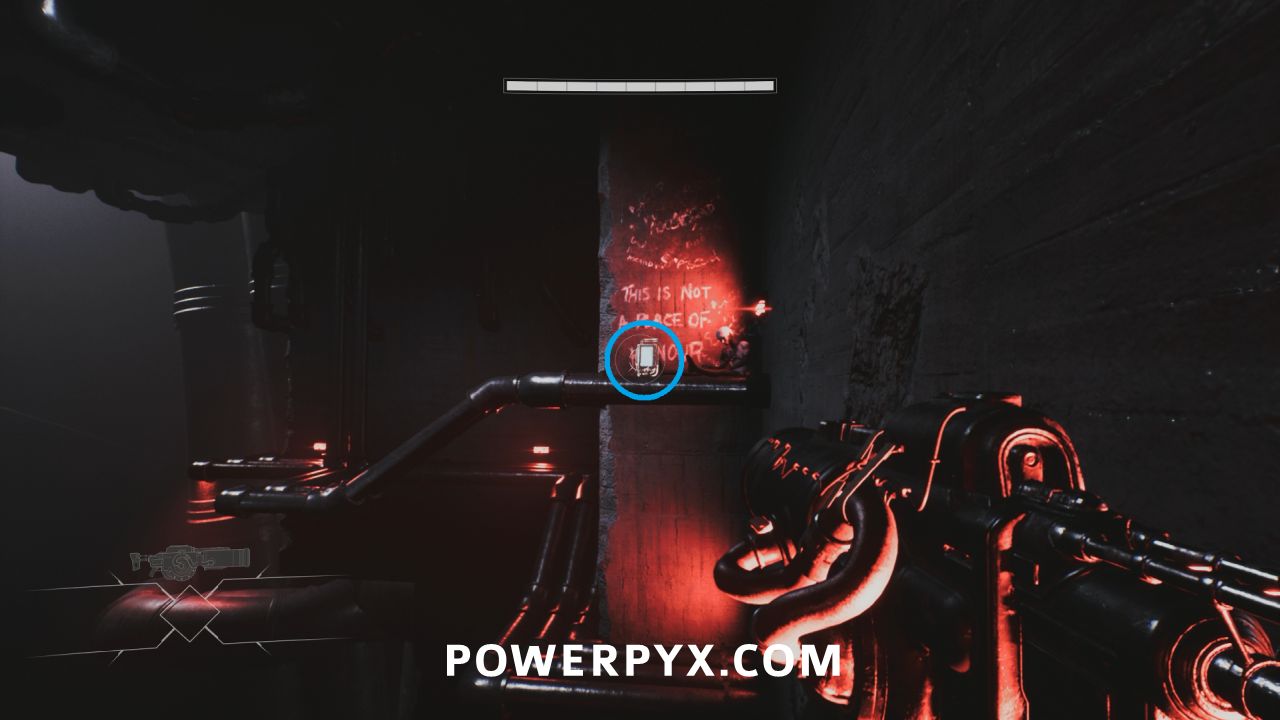
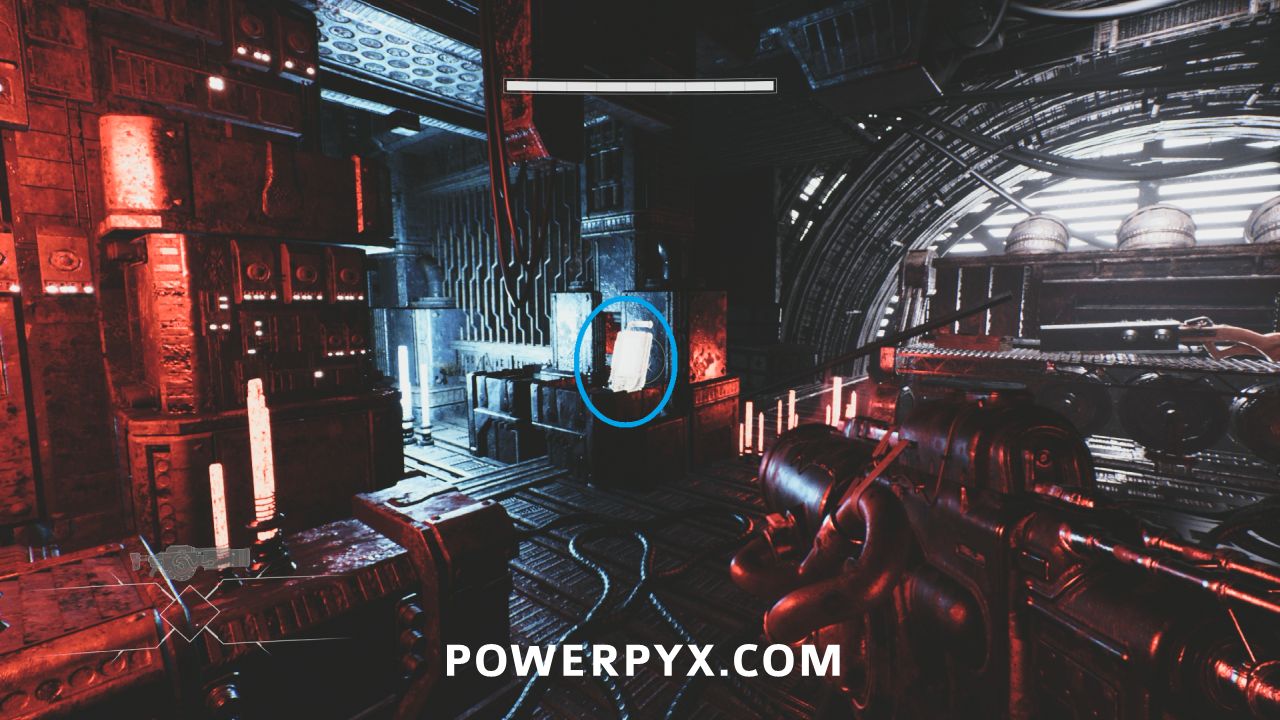
Lore #5 – Memories – Entry #56743 – Crystalisation
After the combat room with the two jump pads, this is in the room to the left of the Shieldbreaker.
Weapon: Shieldbreaker
On the ground in the next room, required to be picked up to progress.
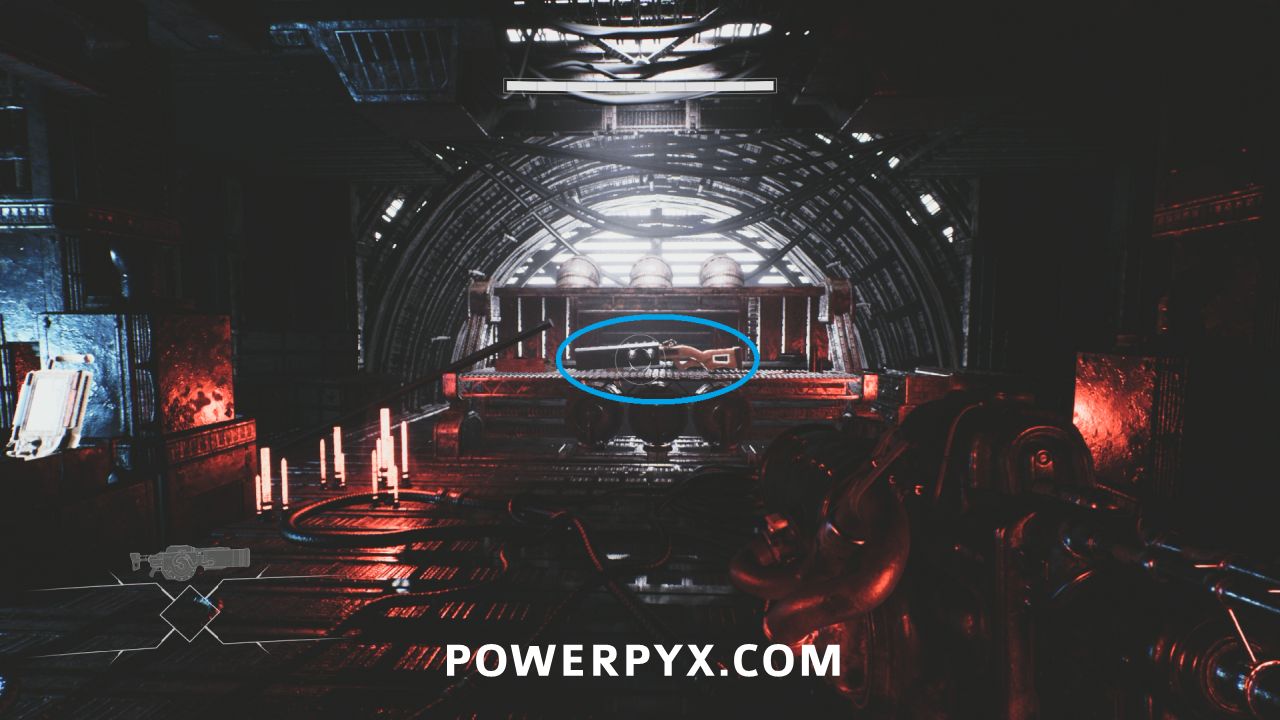
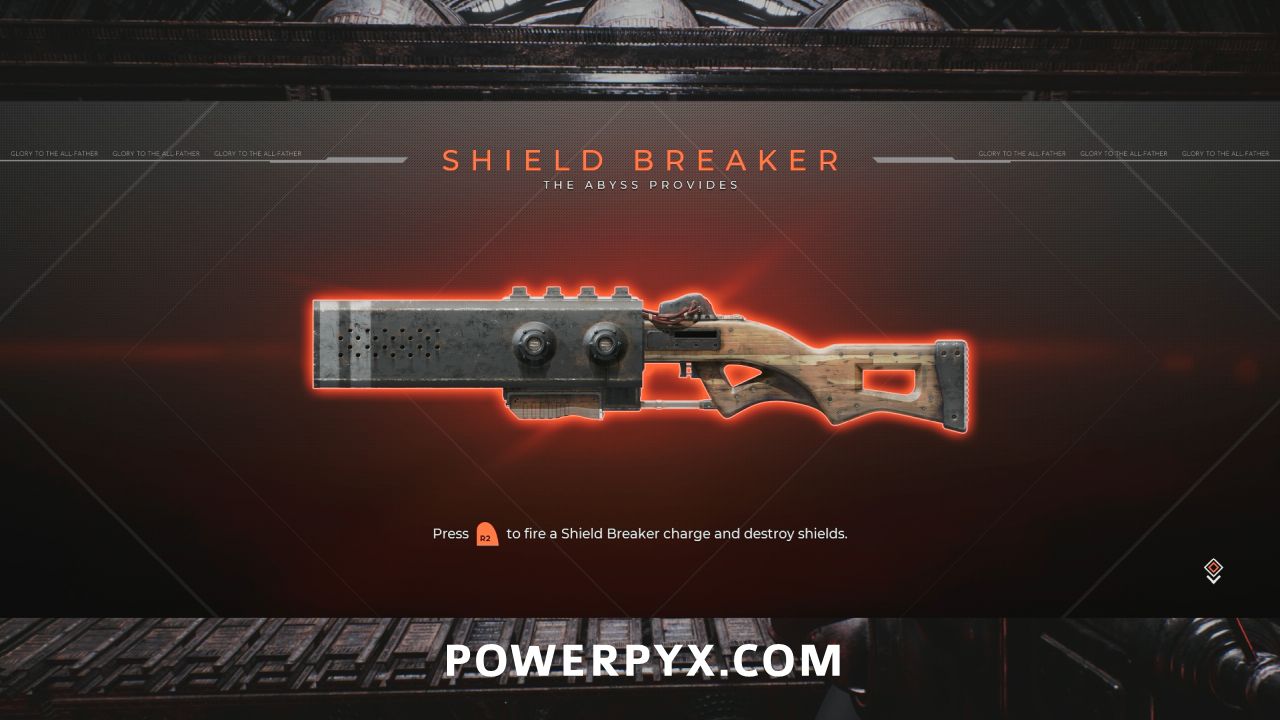
First Mission – Find the Shieldbreaker
Awarded for picking up the Shieldbreaker.
Slide Attack – Kill an enemy whilst sliding
After obtaining the Shieldbreaker, it is relatively easy to kill enemies while sliding (sprint R3 then crouch L3). The basic Rawheds should be destroyed in one shot from it, so you can sprint and slide toward one and then shoot it to earn the trophy any time you encounter them after this point.
Health Upgrade #1
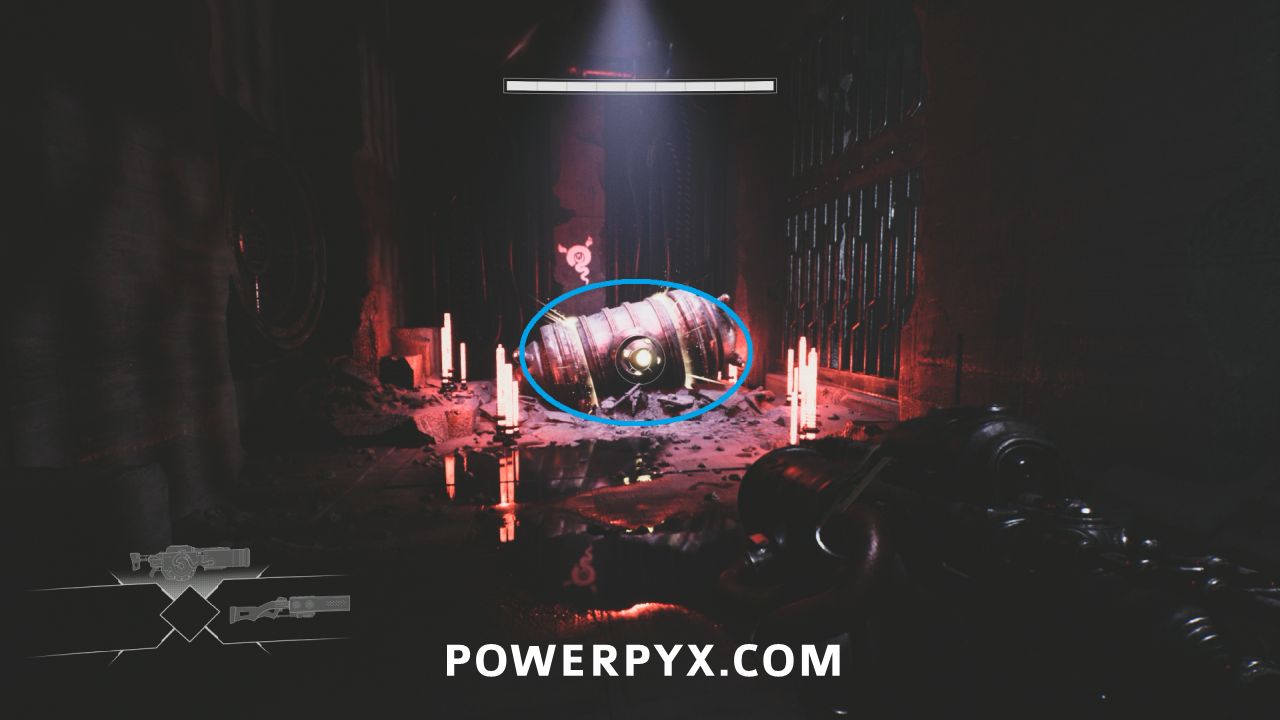
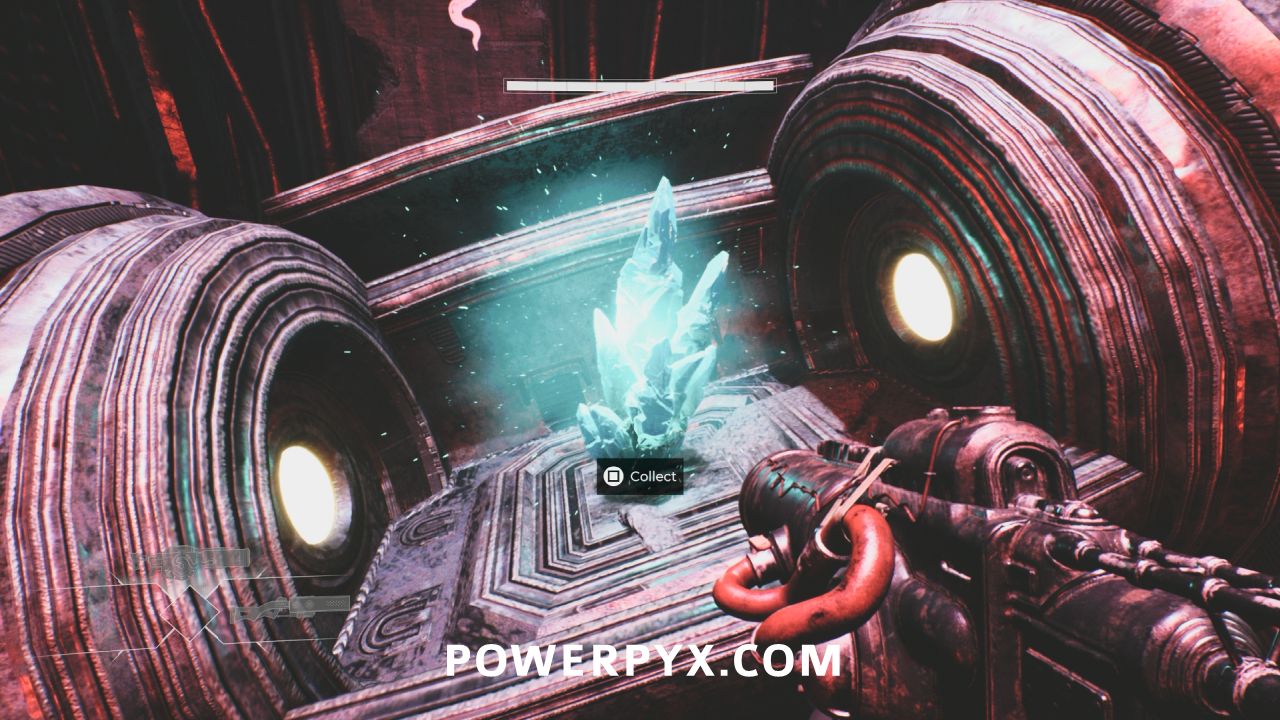
After encountering the first set of shielded enemies, keep following the path past the next health crystal where you encounter a glowing container. Shoot the ball on the front to open it, then collect the blue crystal inside to upgrade your health.
That Feels Better – Increase your Connection Health for the first time 
Awarded for upgrading your health for the first time.
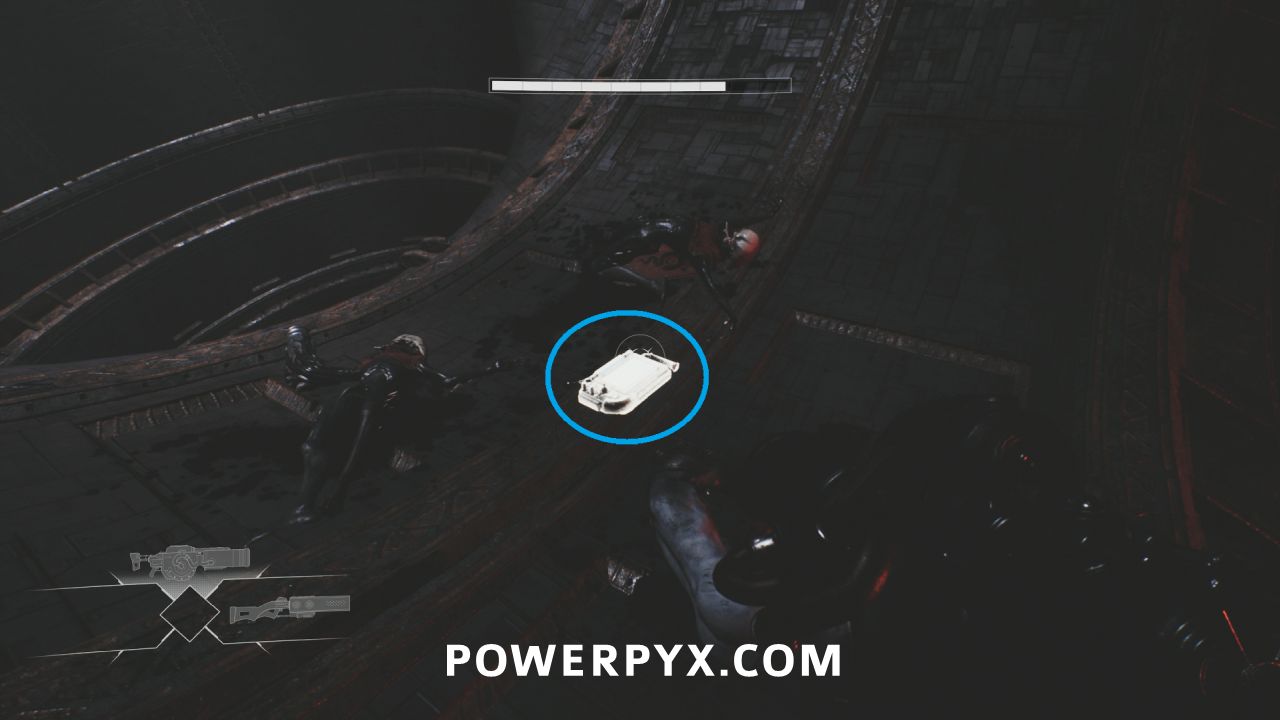
Lore #6 – Memories – Entry #1031 – The One Who Answers
After the boss encounter against the Celebrant, follow the path until you use the jump pad to go up the giant tube. The pickup is in the small spot in between the two tubes in the middle of a group of bodies.
Warden’s Regret
This sub-chapter starts when you drop down the large hole after moving the walls, the game doesn’t specifically call out that the sub-chapter has changed.
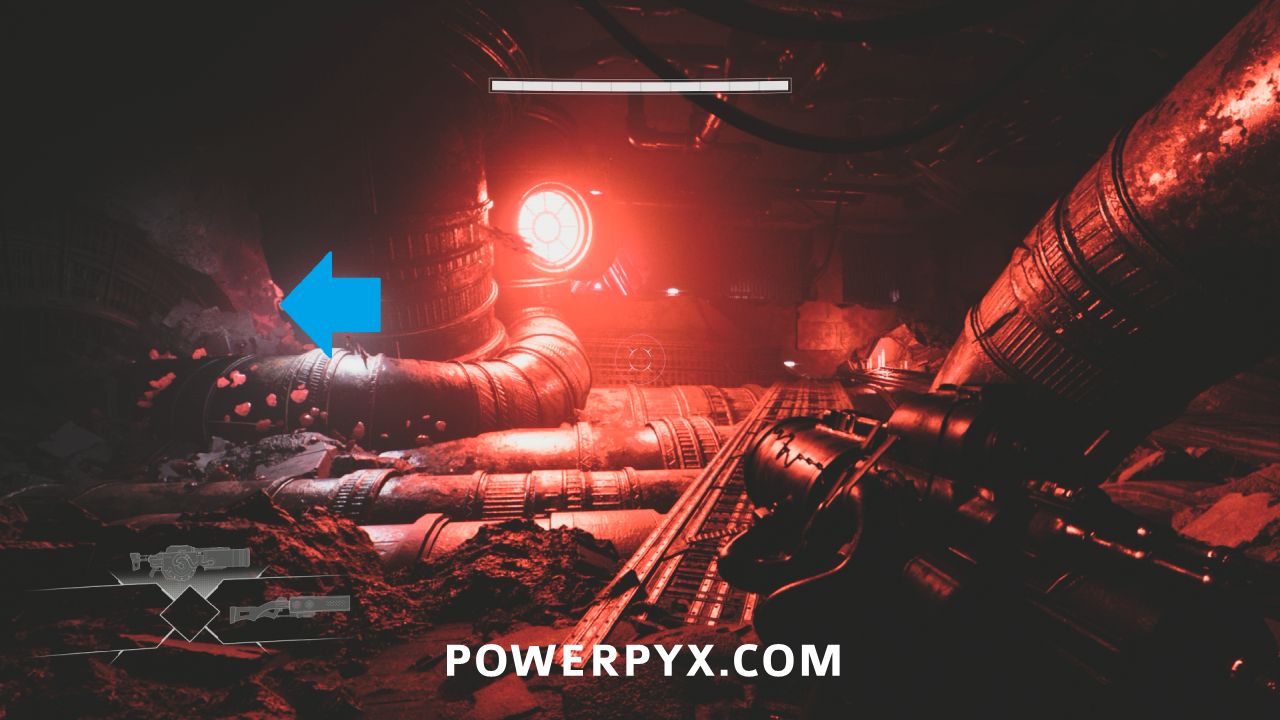
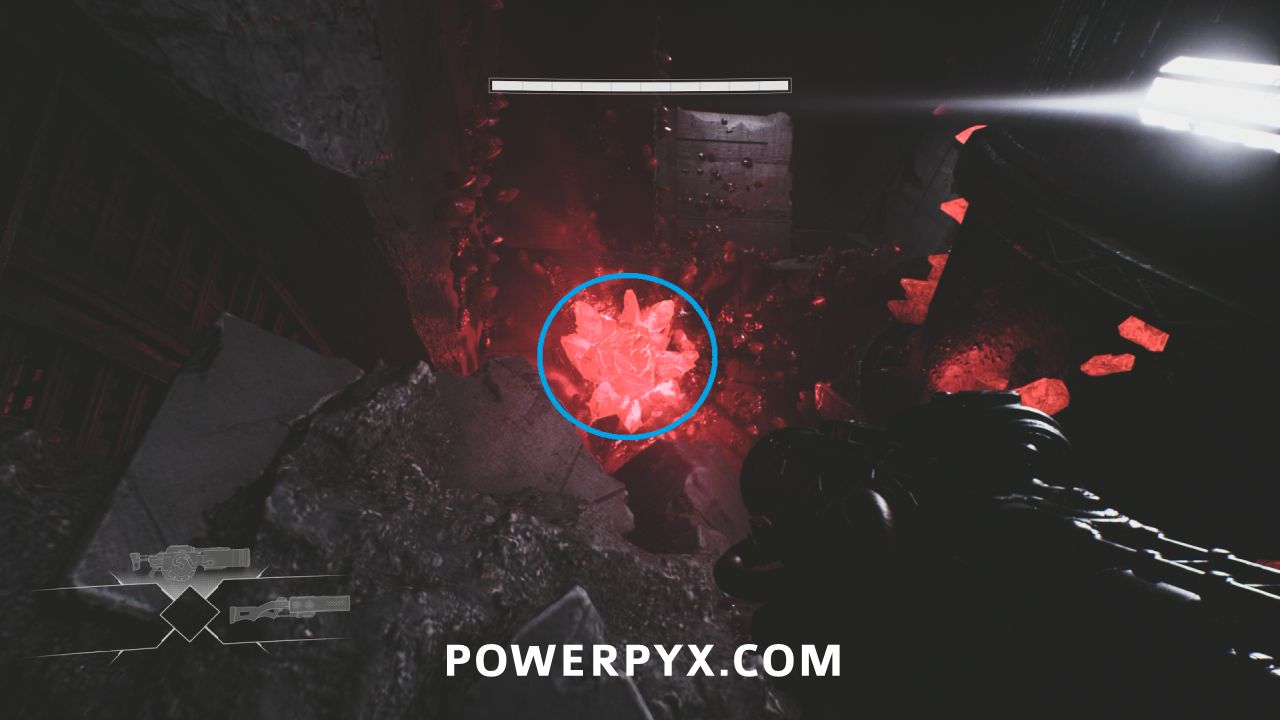
Drift Crystal #2
Immediately after the blue health crystal look to the left of the room where there are small red crystals on the walls. Behind the big pipe you can find the Drift Crystal.
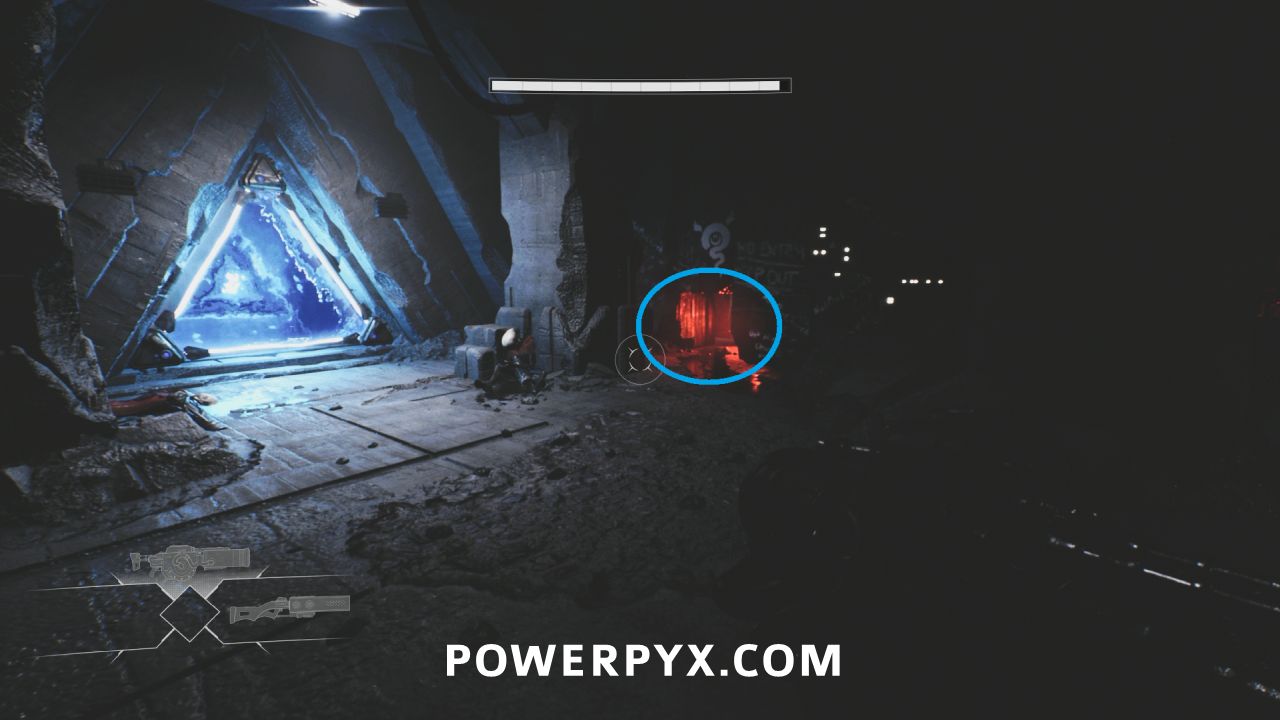
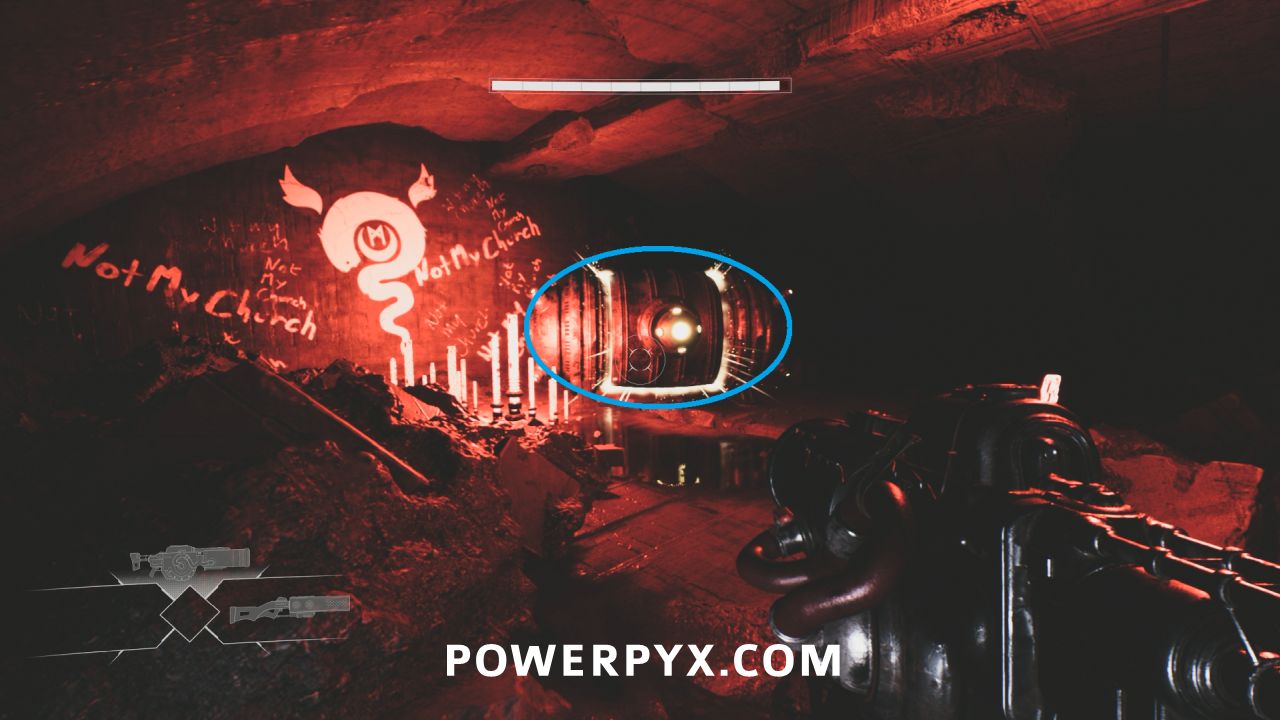
Health Upgrade #2
After the first group of enemies before going through the shielded door, look to the right where there is a small hole in the wall. Crouch through to find the container with the health upgrade.
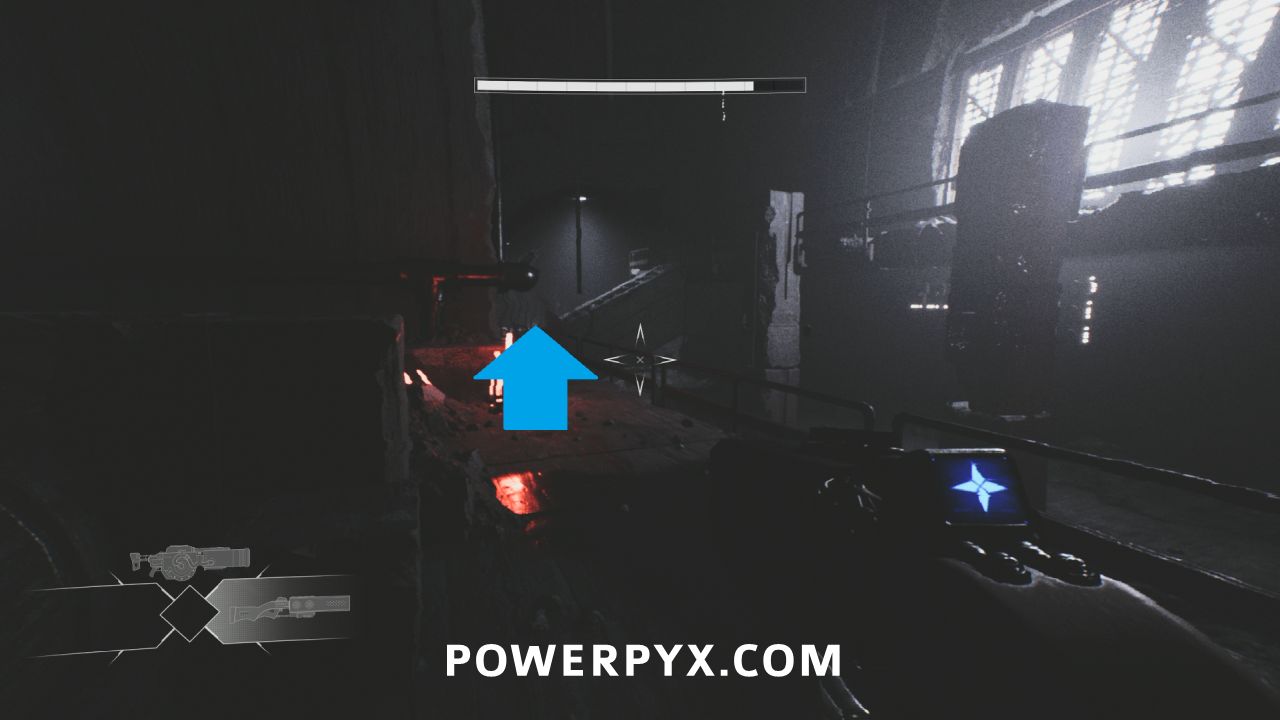
Lore #7 – Memories – Entry #092 – Hidden
After the above door where you then drop a large distance down to the lower level and fight a few enemies, go to the opposite side of the room from the lit up hole in the ground. The pickup is past the stairs to the left on the lowest level by some bodies.
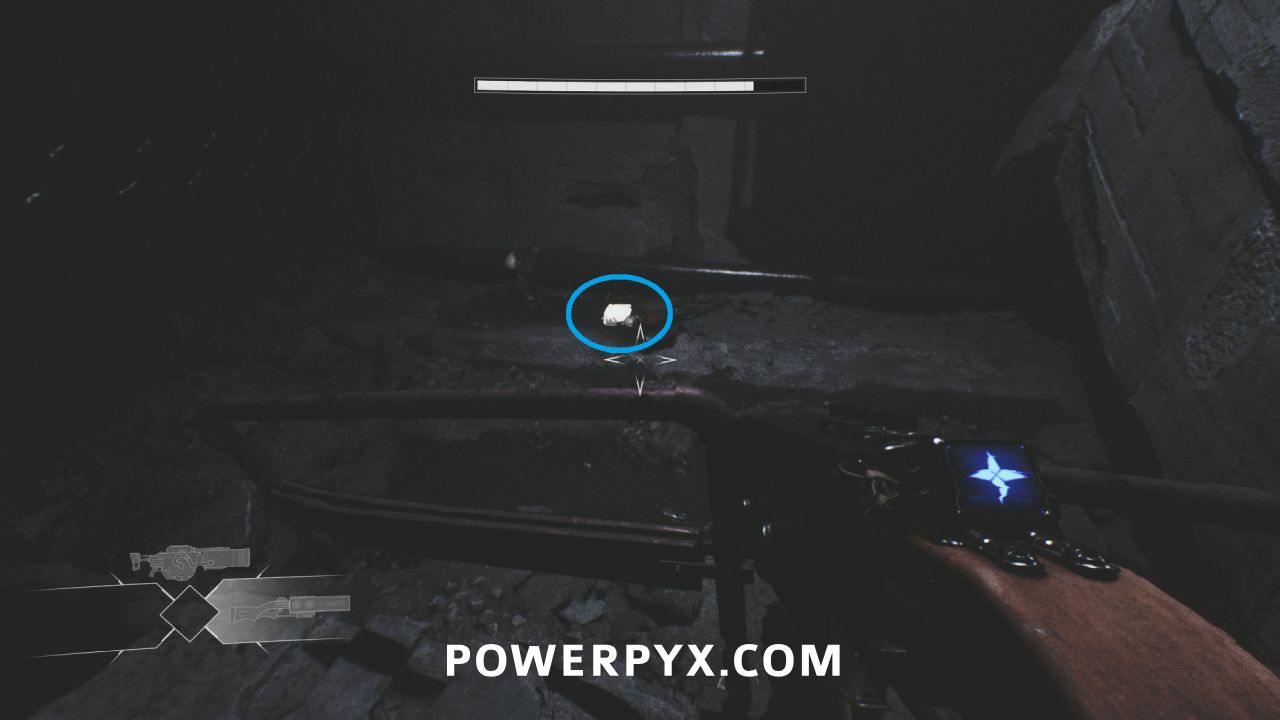
Lore #8 – Memories – Entry #60806 – The Calling
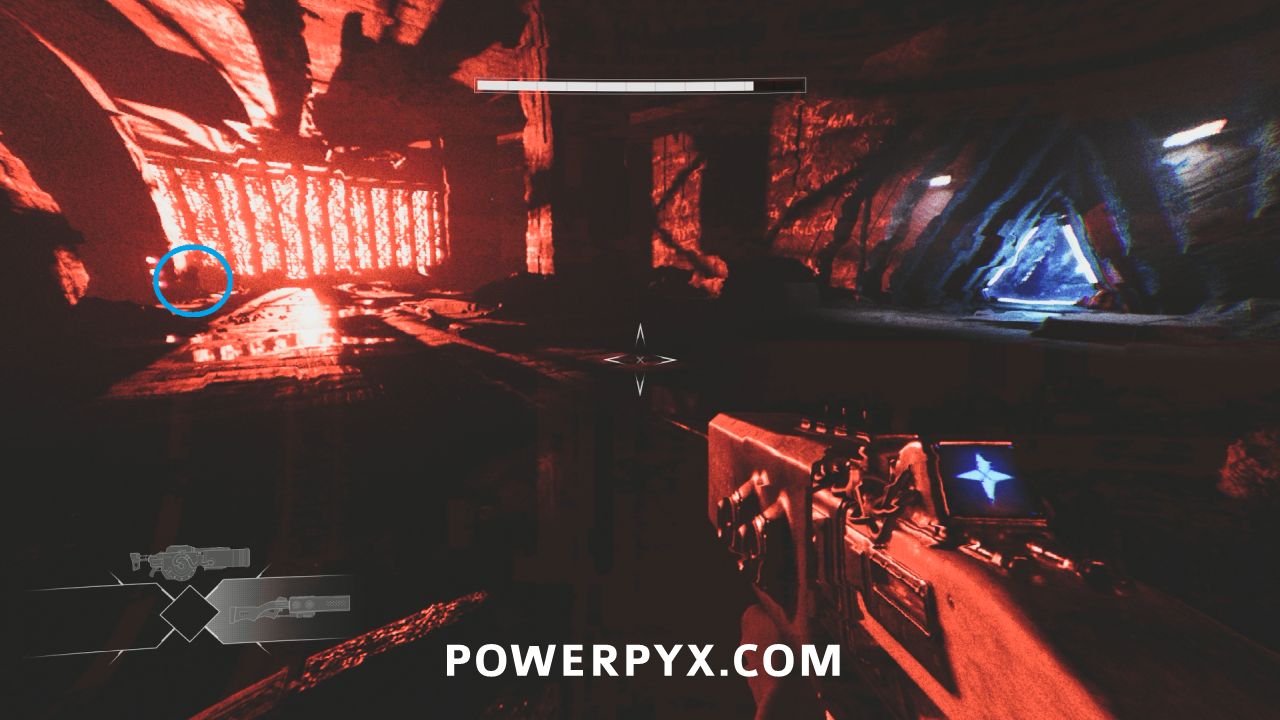
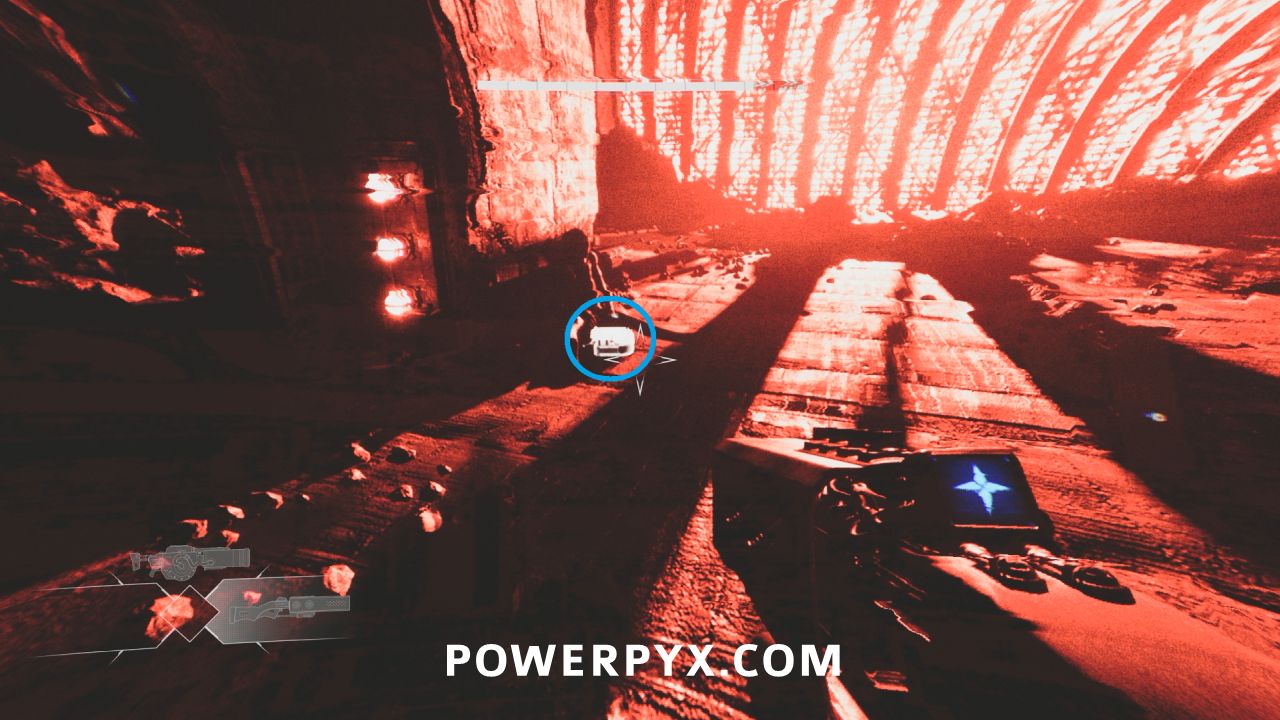
After losing contact with Aylin and dropping down the long tube into the large red lit room, face the shielded door and then look left. Near the pillar on the left is a body with this pickup beside it.
It Chose You, Not Me – Find the Signal
Awarded at the end of the cutscene that occurs in the next room.
Urien’s Gift #1 – Drift Kill
When you regain control after the cutscene, open the container in front of you to obtain the Drift Kill ability, required to progress.
Urien’s Gift #2 – Watcher Neural Pattern
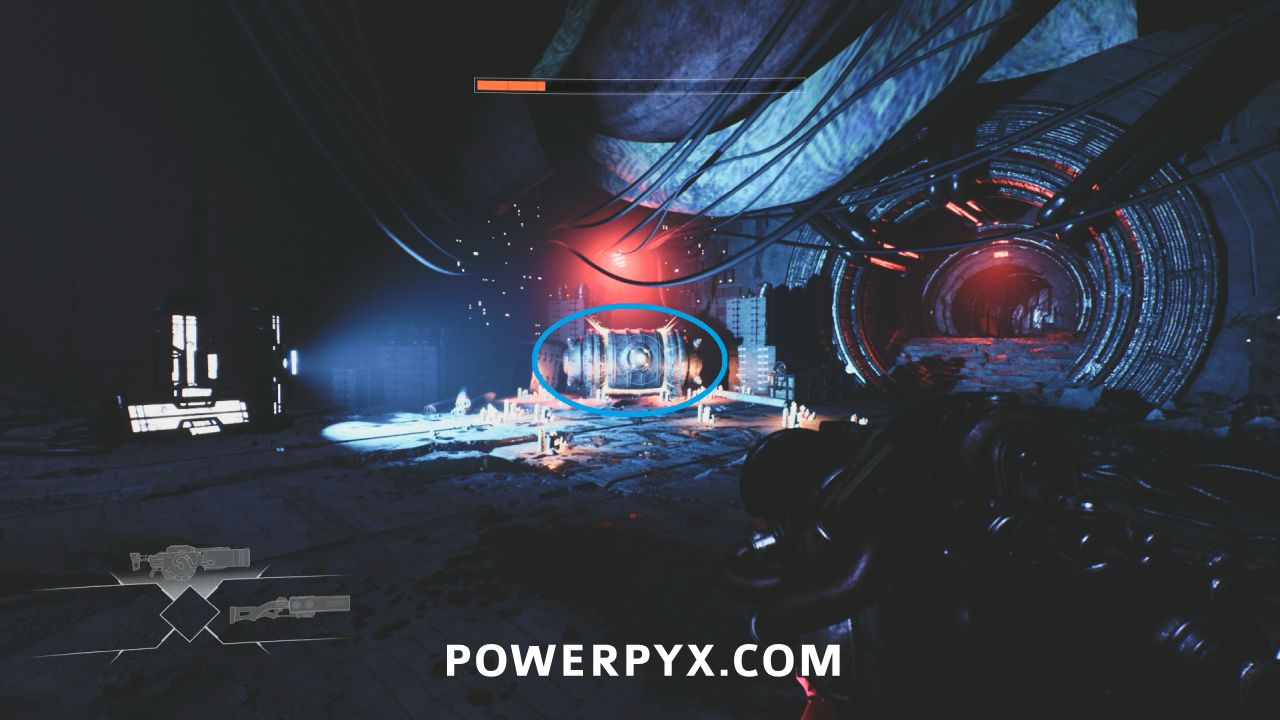
After defeating the group of enemies and dropping down a hole, open the container in front of you to obtain the Watcher Neural Pattern, which allows you to control Watcher Wardens, required to progress.
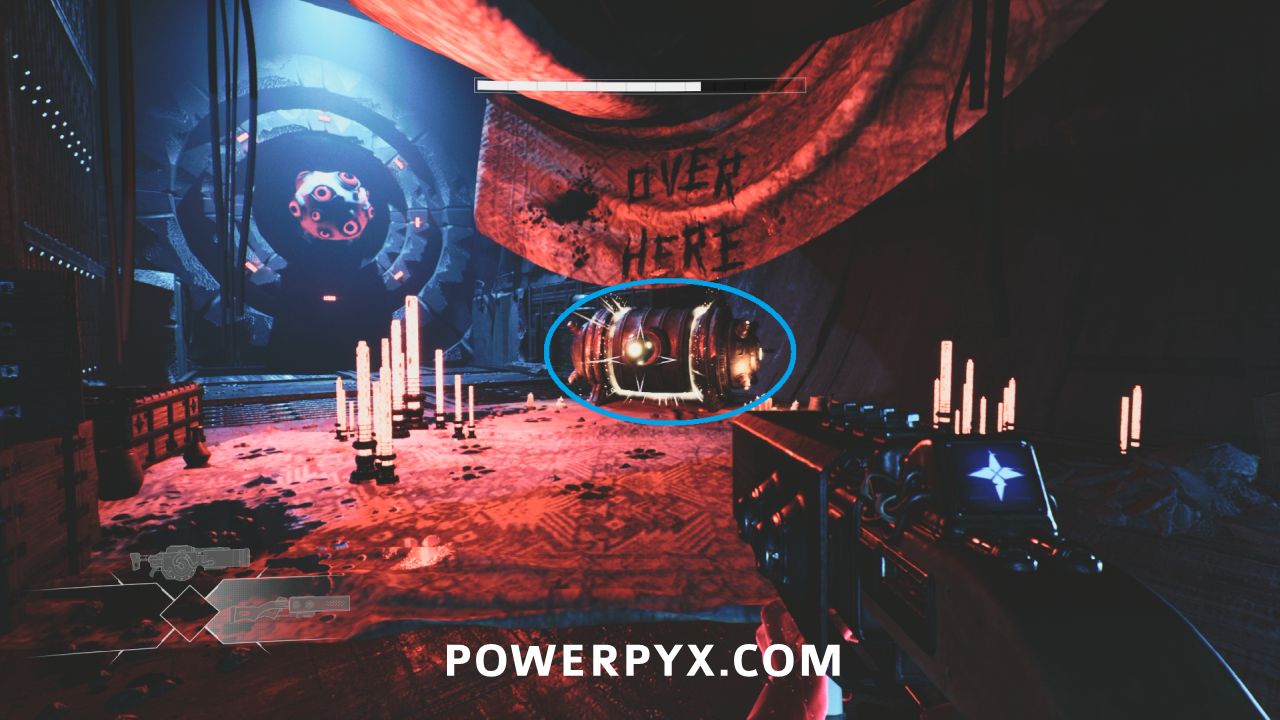
Who Watches the Watchers? – Possess a Watcher for the First Time
Awarded after you possess the Watcher after obtaining the Watcher Neural Pattern.
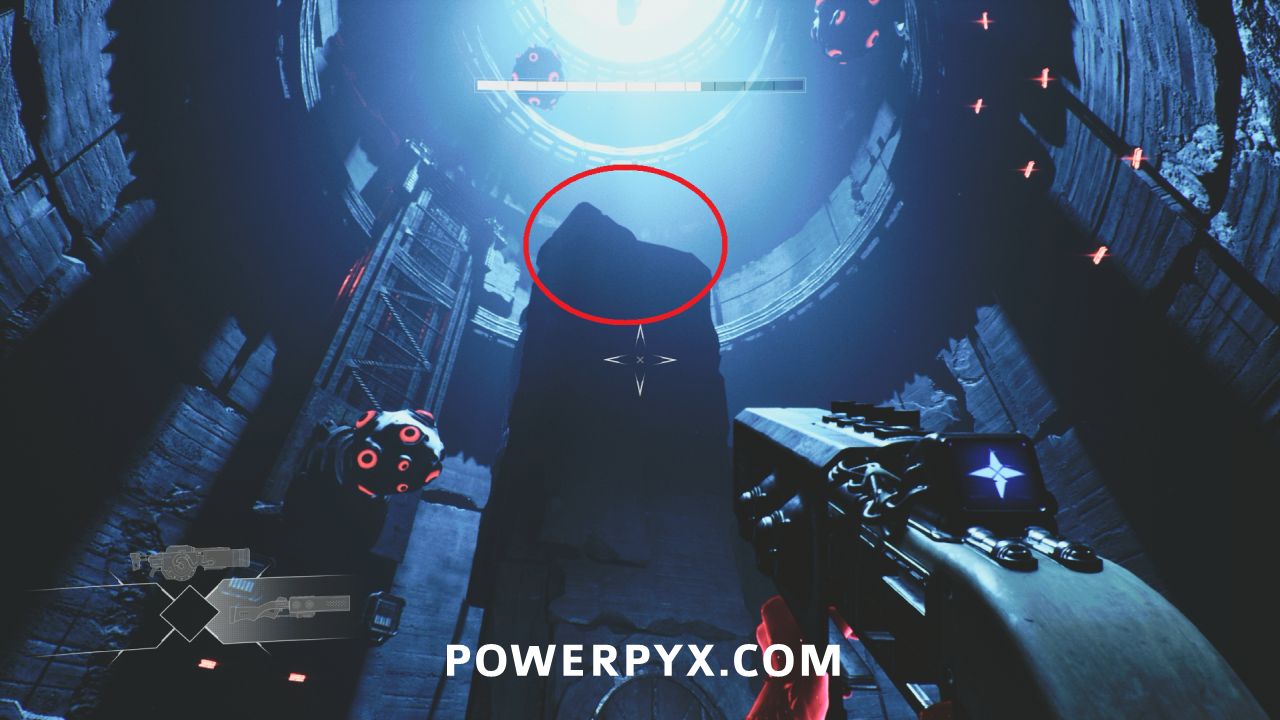
Lore #9 – Characters – Urien Caldecott
In the vertical tube where you jump between the Watchers to progress, this is on top of the central pillar where you shoot the button behind the opening and closing door.
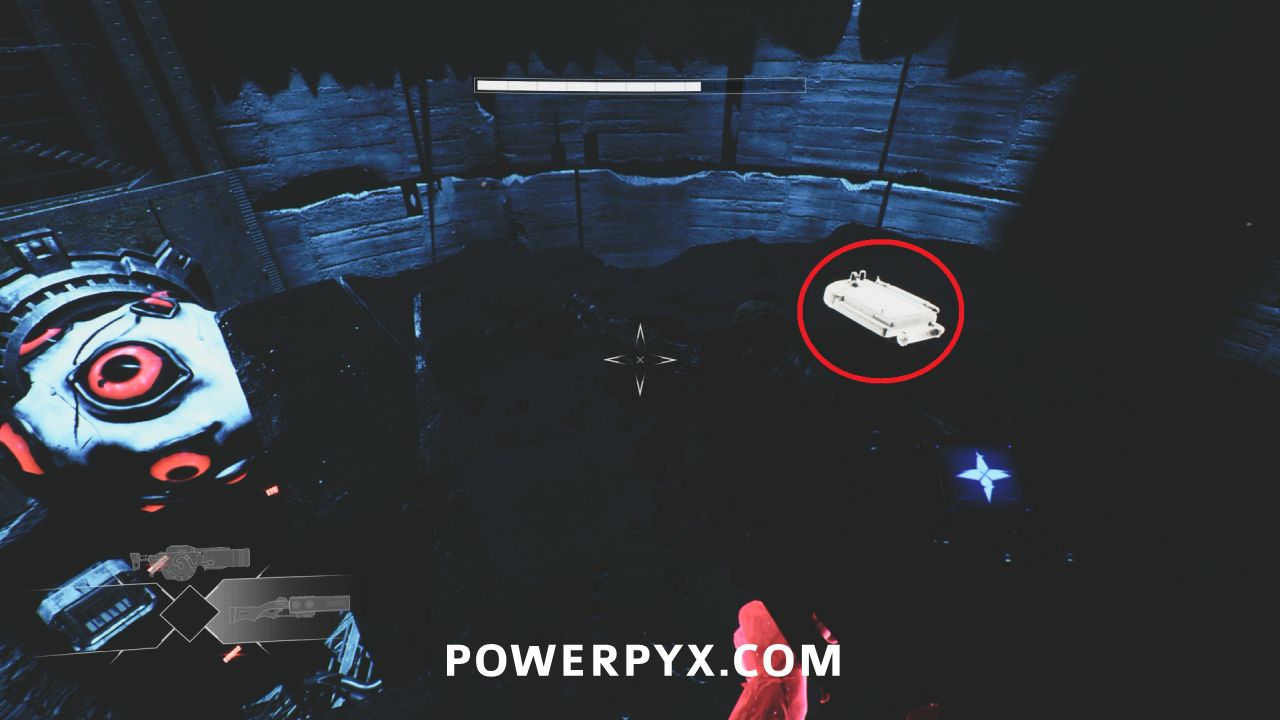
Lore #10 – Monsters – Watchers
After reconnecting with Aylin where you are told to progress upward, go through the room with the blue health crystal. In the next room where there are two Watchers, instead of going through the pipe after the second Watcher, jump to the small platforms on the left of it to find this pickup.
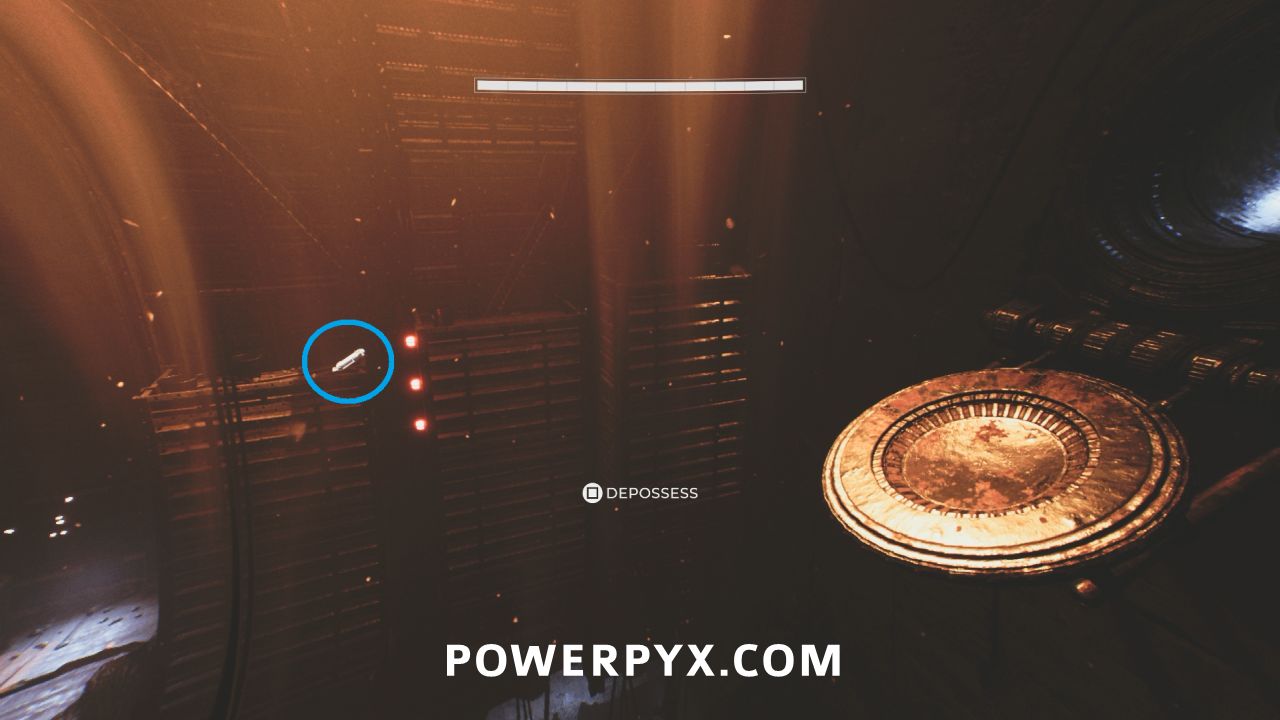
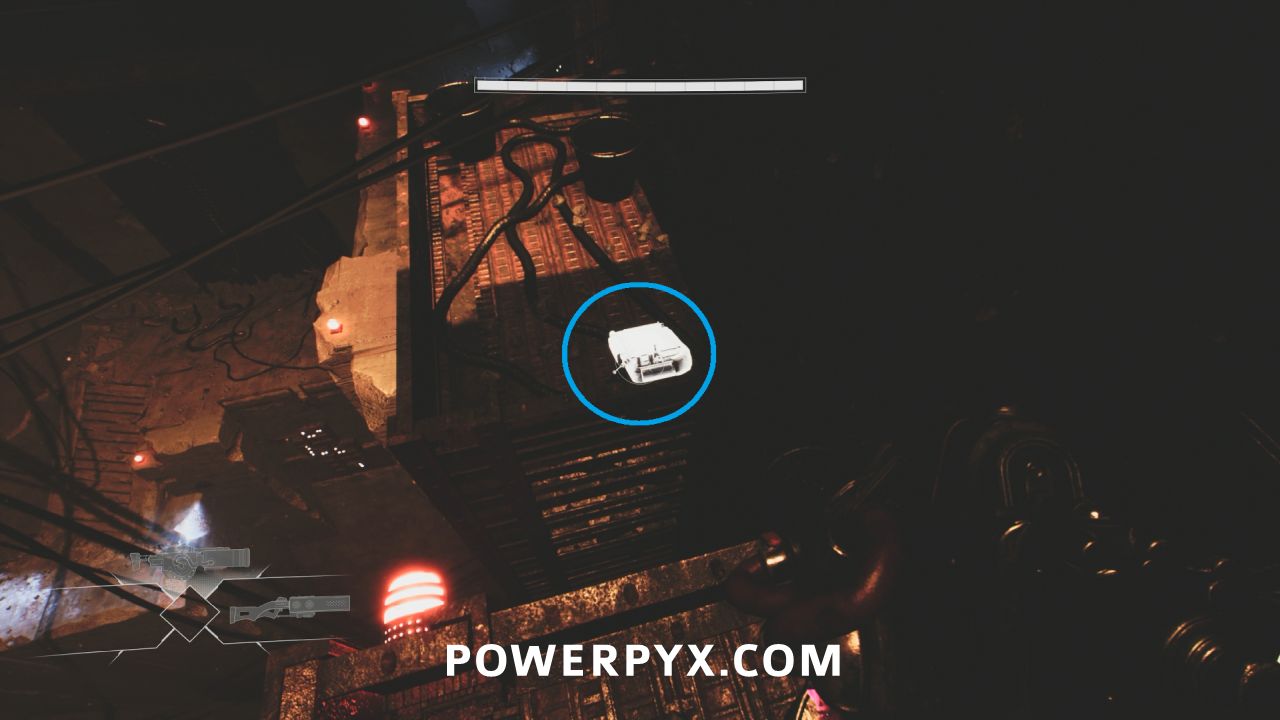
Lore #11 – Memories – Entry #877 – The Giant
After the room with the rotating purple laser you drop down into another area covered in red balls and are meant to possess a Watcher through a grate. Before doing that, turn around the opposite direction where you can see the symbol on the pipe. Destroy the balls to find the pickup on the ground.
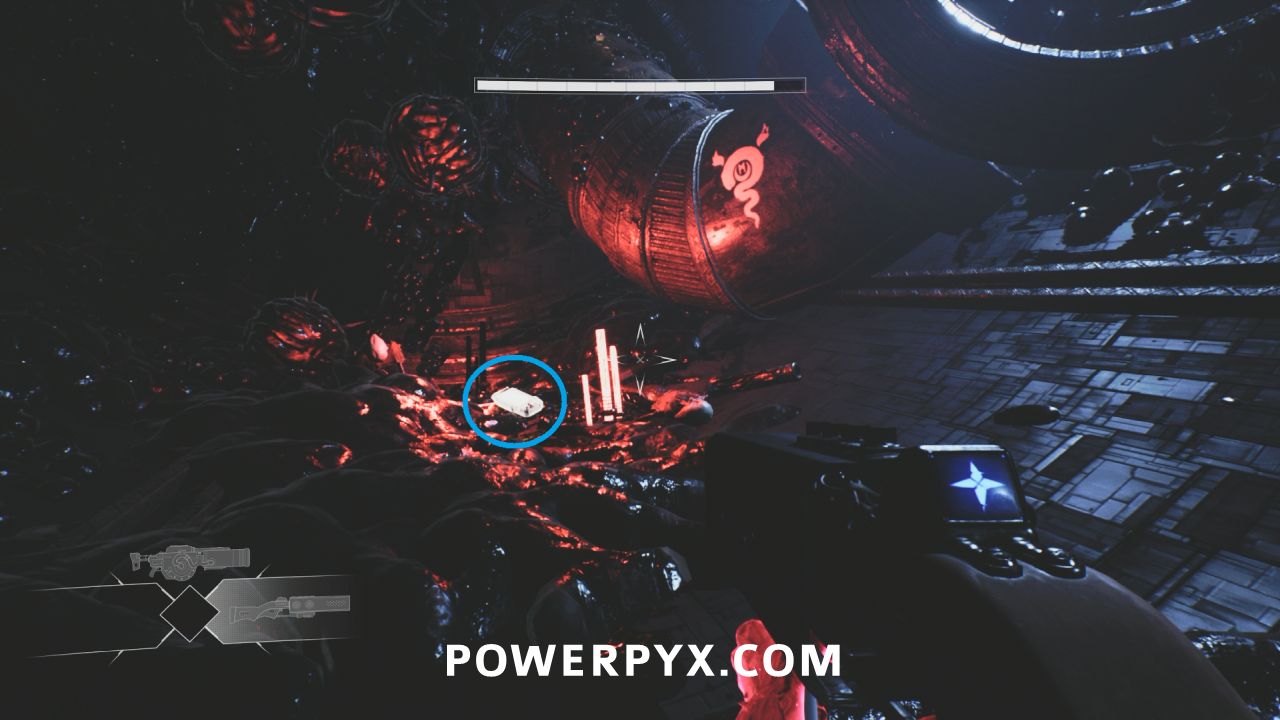
Health Upgrade #3
After going through the tubes with the rotating lasers and Aylin will start talking to you again, you are meant to possess a Warden and drop down to the left. Instead, use the Warden to jump to the open tube to the right where you can find the health container at the back of the tube.
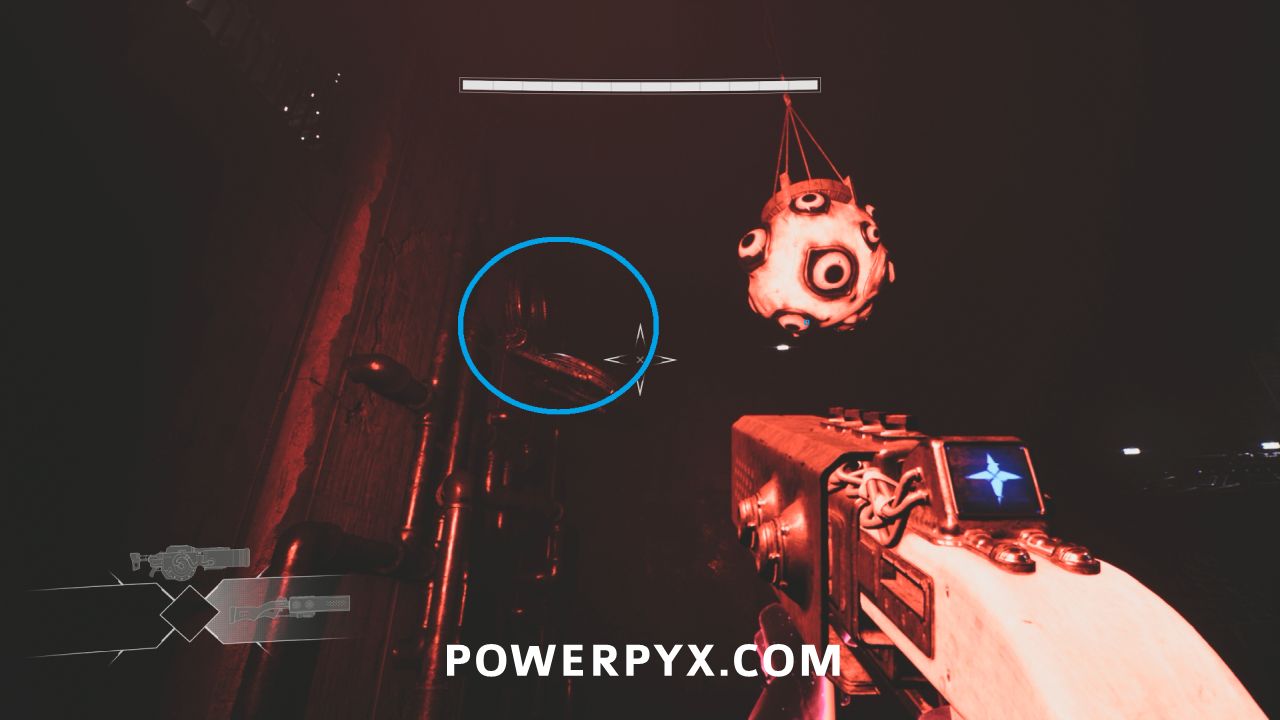
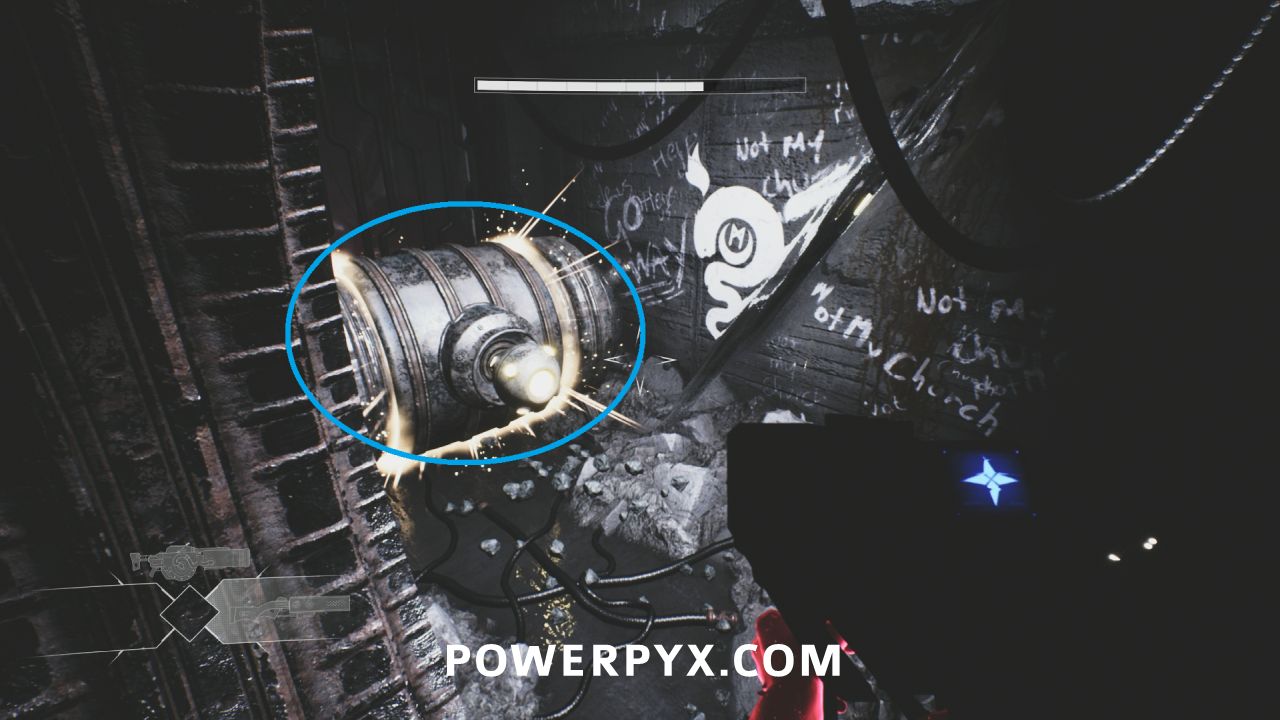
Lore #12 – Memories – Entry #4823 – F.A.T.E. Warden
Immediately after the next blue health crystal, on the ground just before the jump pad you use to progress.
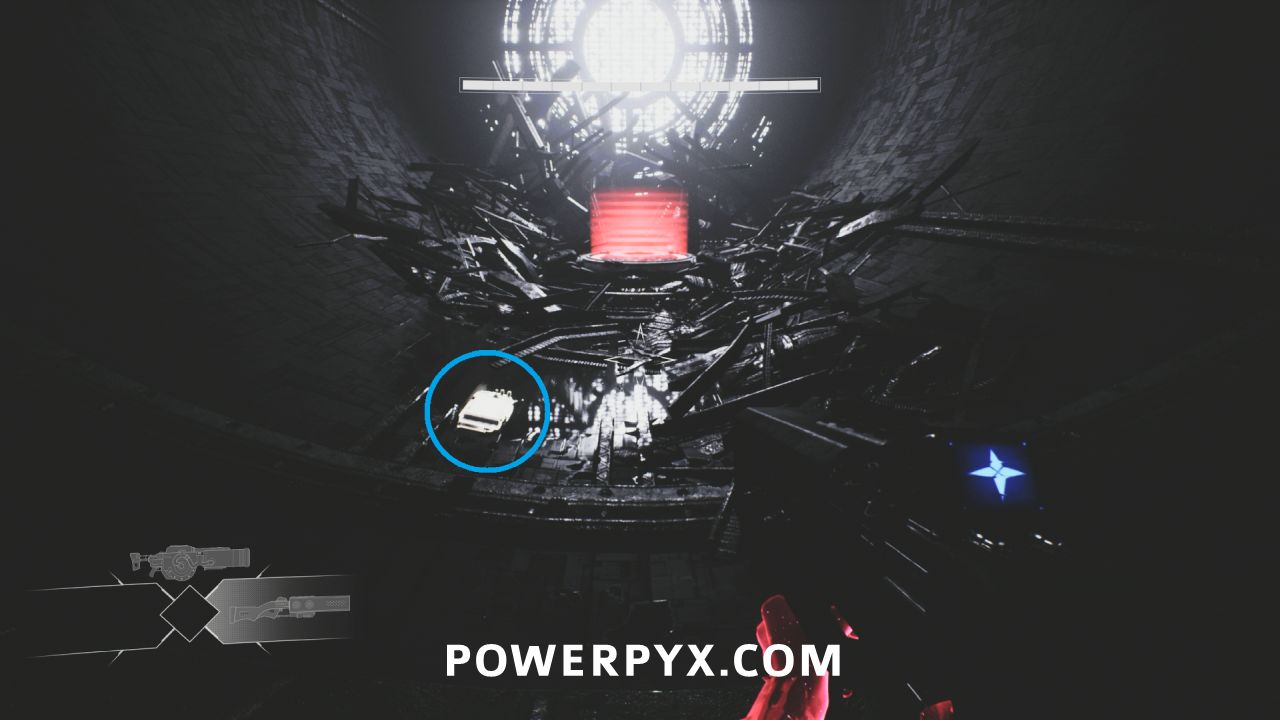
The Eye is Open – Escape Warden’s Regret
Awarded after you enter the next area after the next Mother-Eyes encounter.
Eli and Otis Interaction #1
After getting on the lift, interact with the ball in the middle. Required to progress.
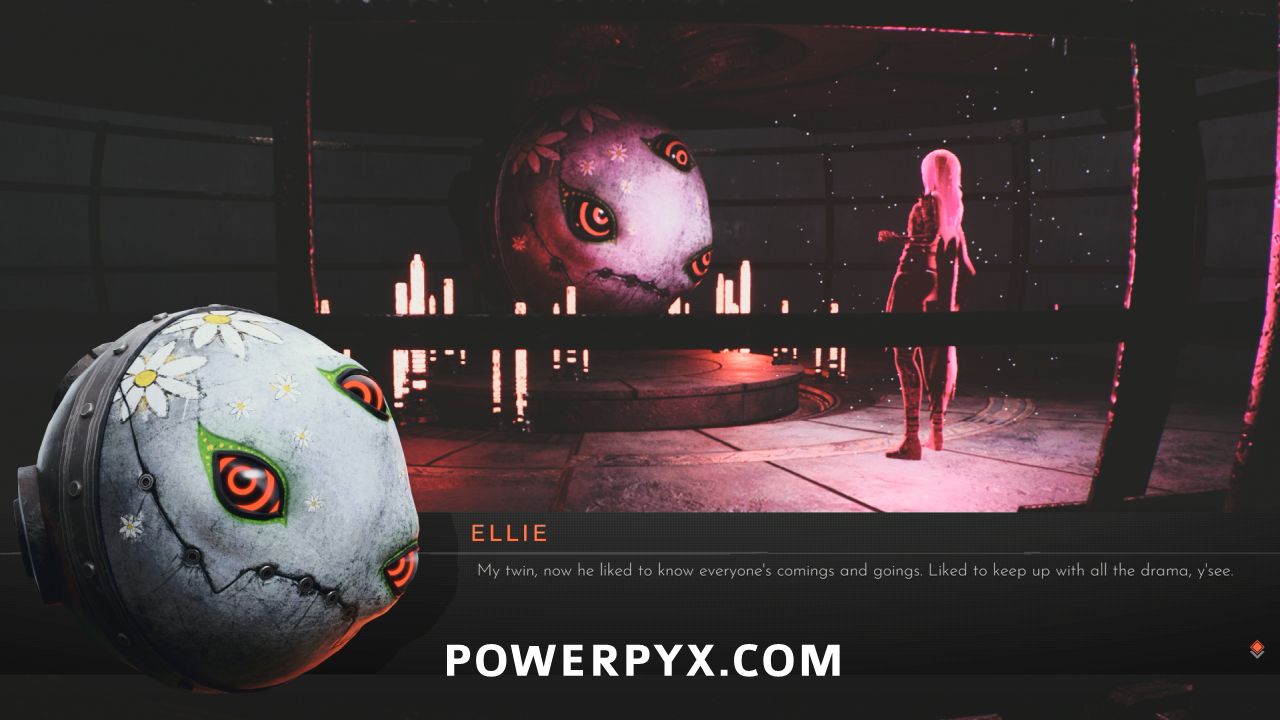
Lore #13 – Characters – Ellie
After riding the elevator, keep following the path dropping down until just before going through a round opening onto some pipes. The pickup is on the ground just to the right of this opening.
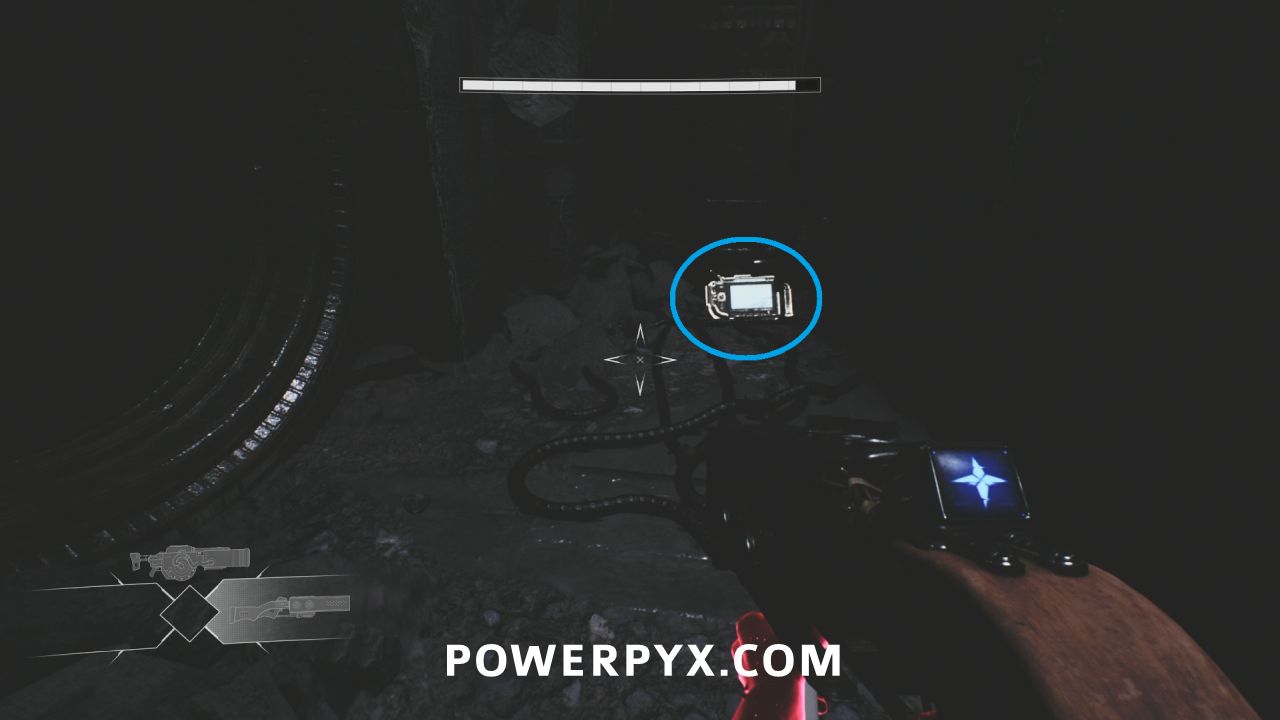
Lore #14 – Memories – Entry #606 – Burn
After dropping down a huge distance into the large room with the rotating wall, this is near the wall on the right by a body.
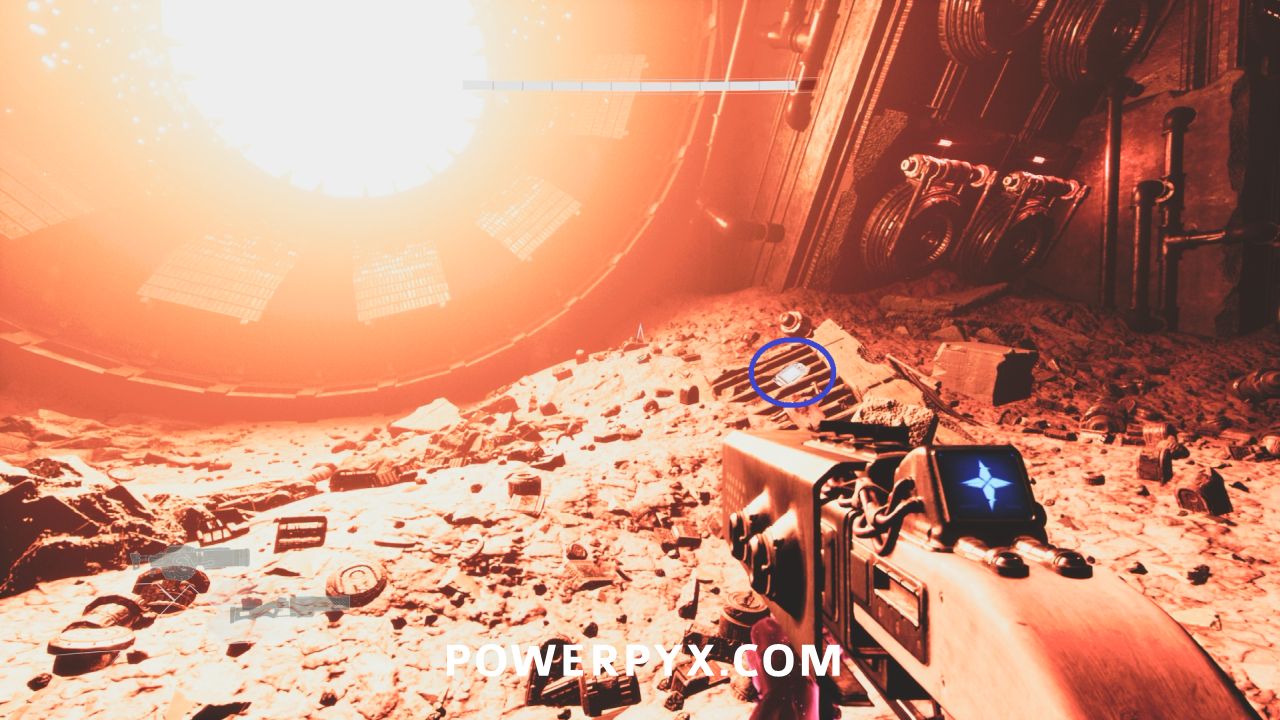
NEXT: Chapter 2
For all other Chapters check out the Luna Abyss Collectible Guide.
Leave a Reply