
Mortal Shell 2 contains 8 selectable Shells. Finding all shells is required for the Shell Seeker trophy & achievement, along with one trophy for each Shell individually.
None of the Shells are missable, you can find them all after the final boss in free-roam before choosing to enter New Game+.
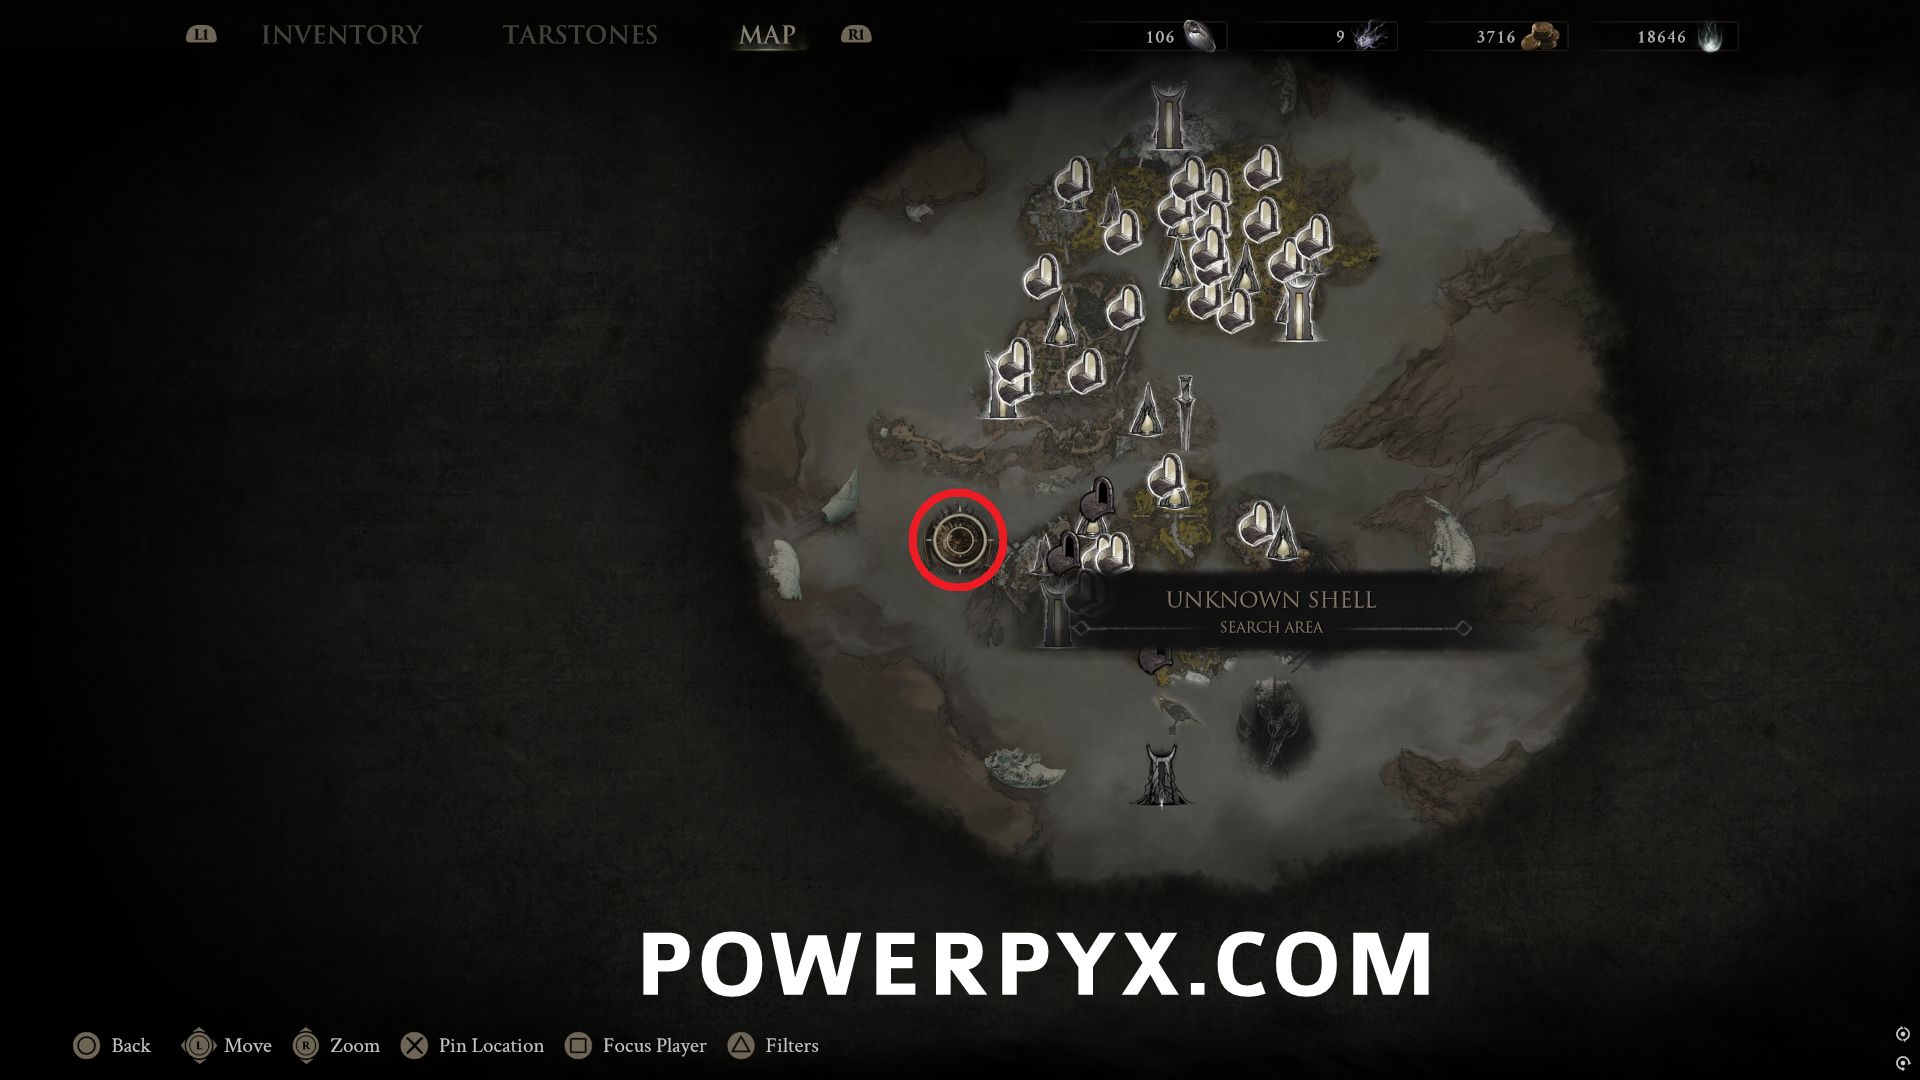
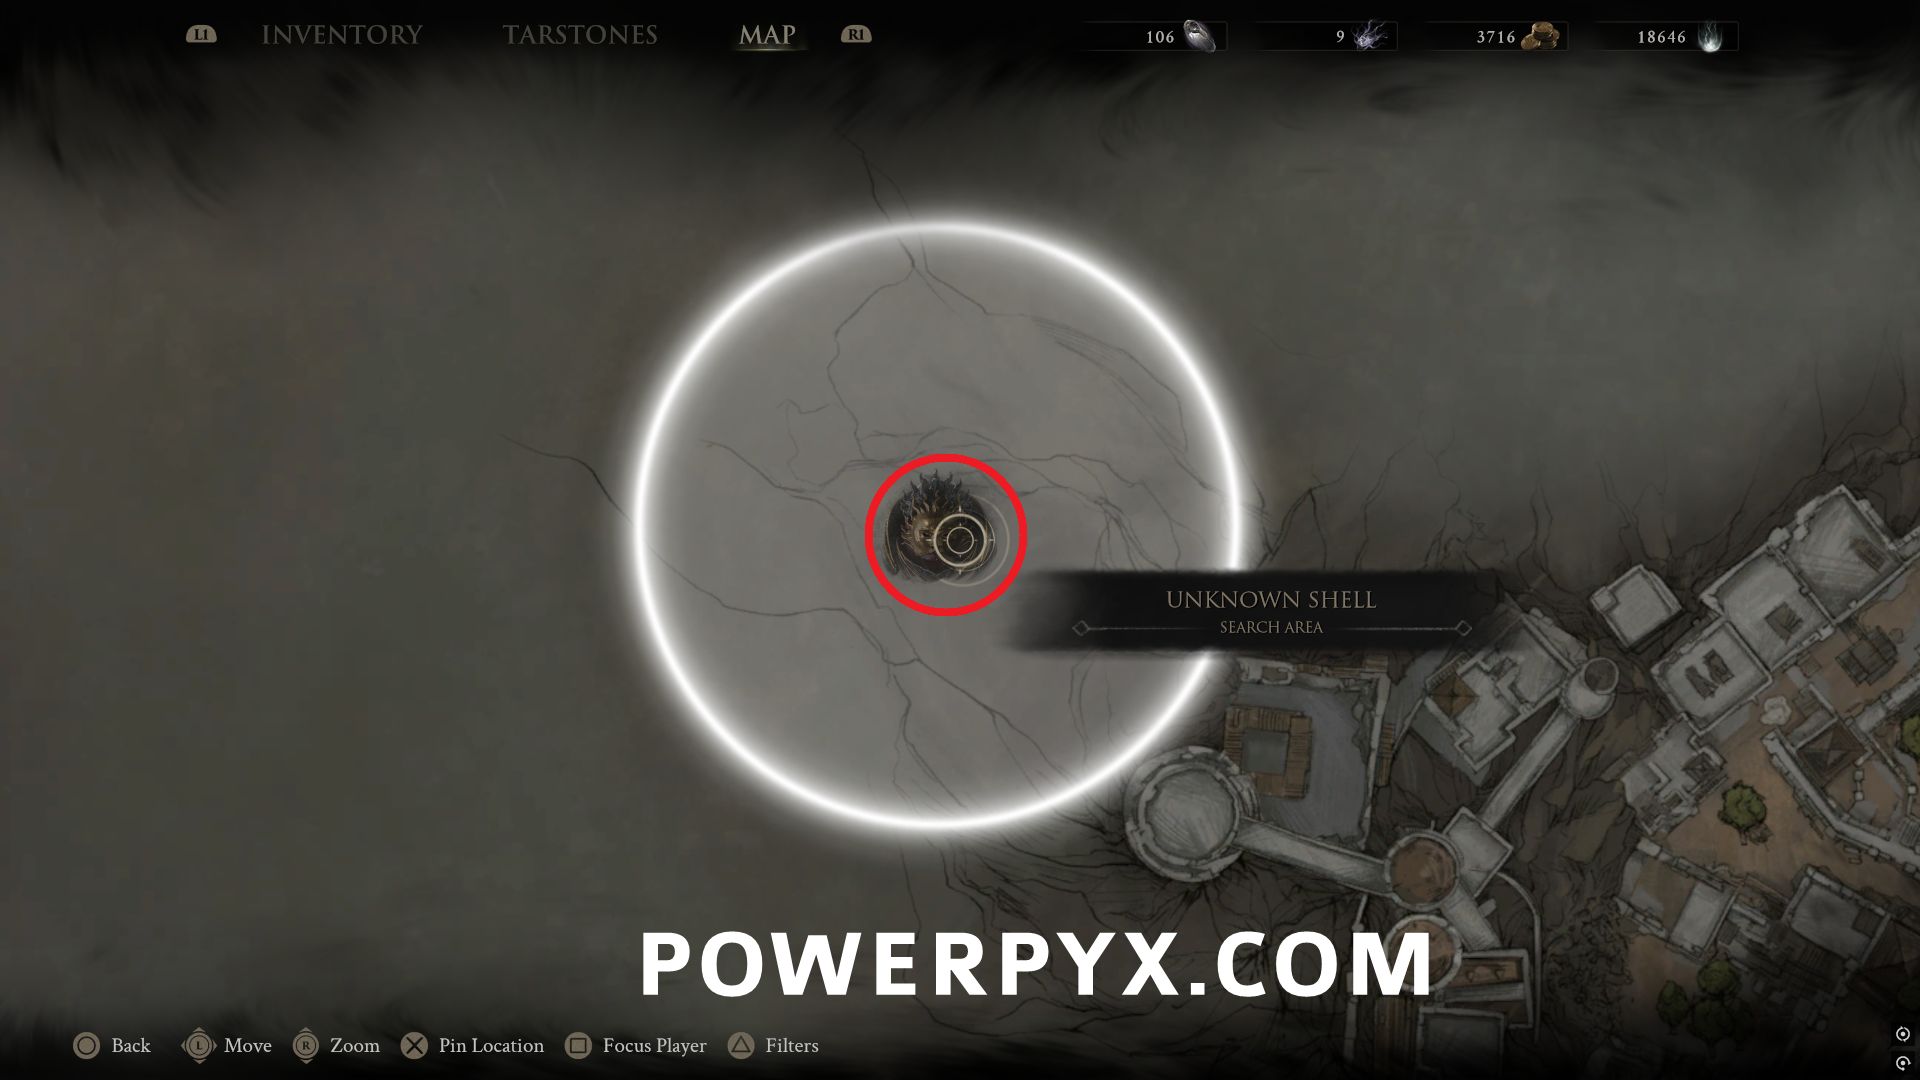
The first 2 shells are automatically marked on the map at the start of the game, showing the approximate area where they are located. You can pay Gloom in the room with the Shellkeeper to mark the location of the other Shells, but this isn’t required to find them, so you can save your Gloom if you prefer. You can obtain all Shells without having their location marked on the map first.
Shells are listed in the approximate order you will most likely unlock them during normal game progression.
#1 – Tiel
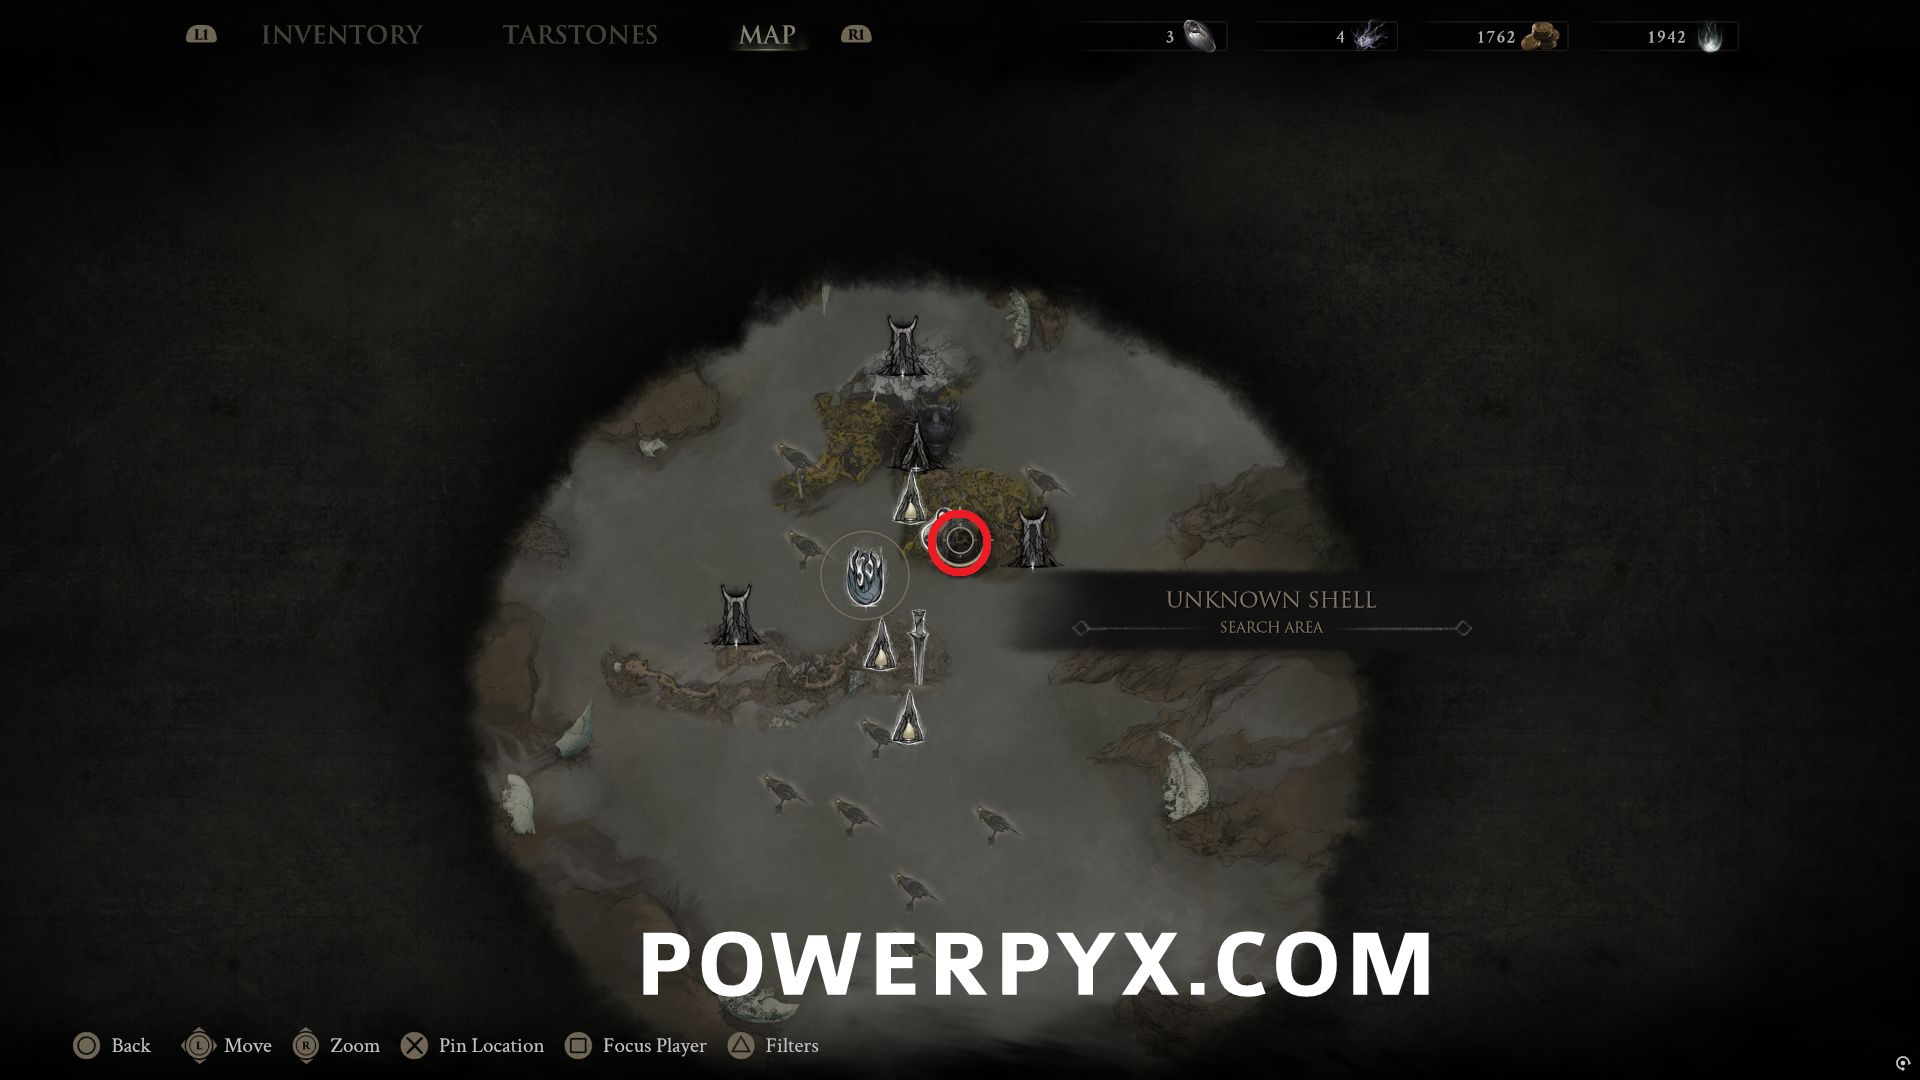
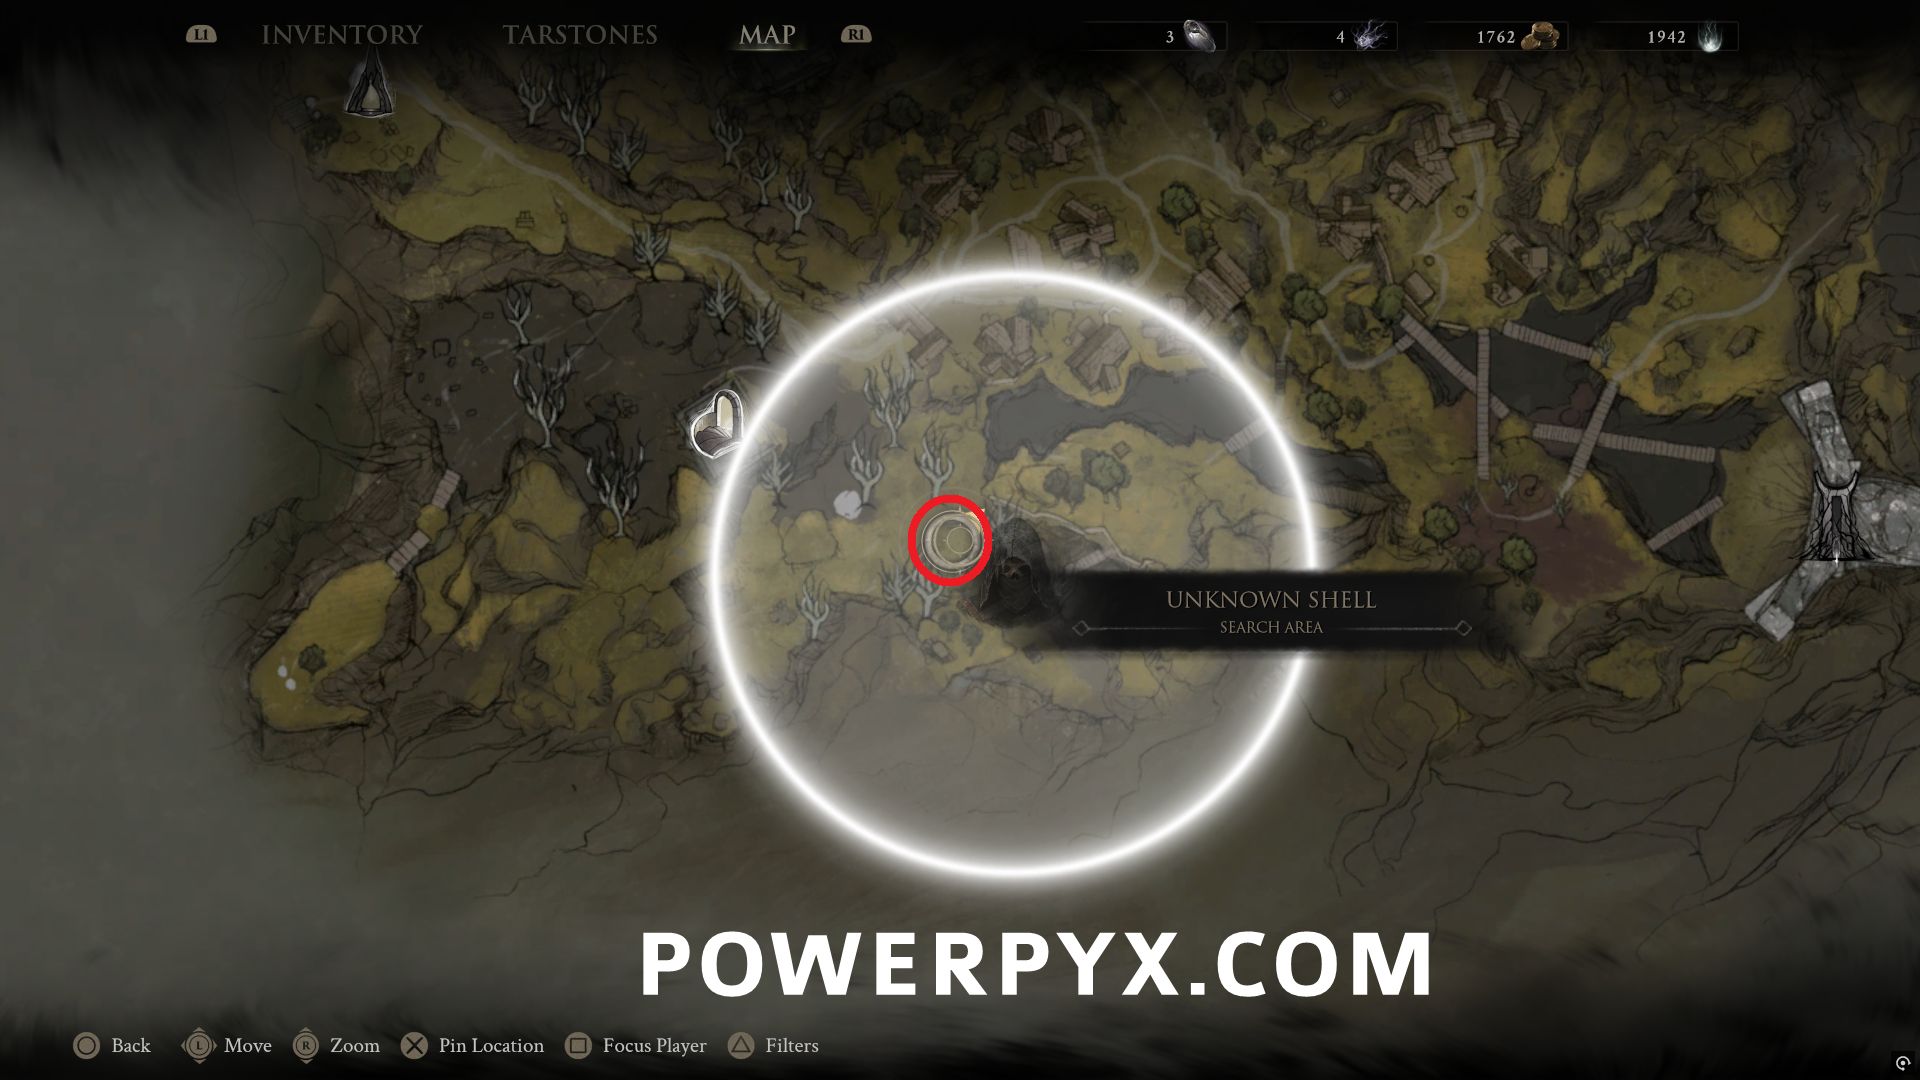
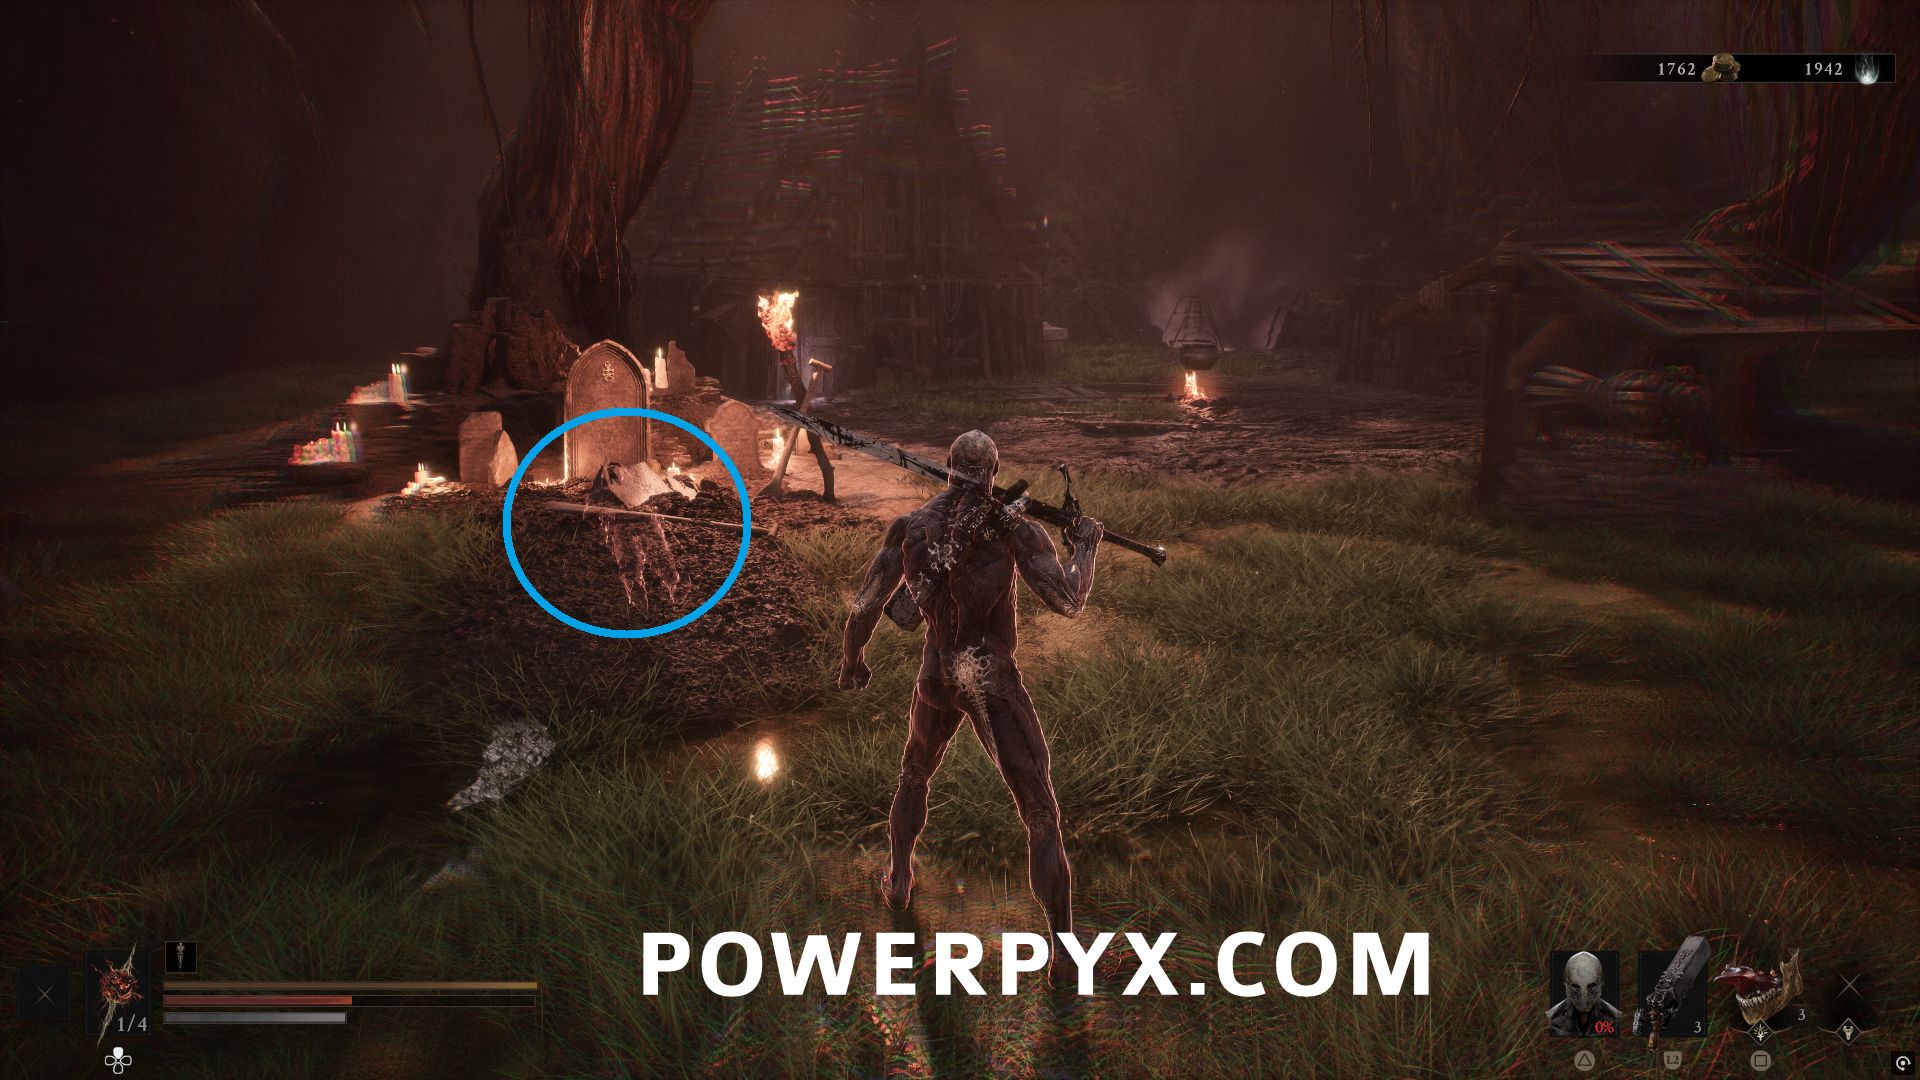
Southeast of Widow’s Overlook Beacon, in the marked search area interact with the grave where you can see the outline of the body.
#2 – Proxima
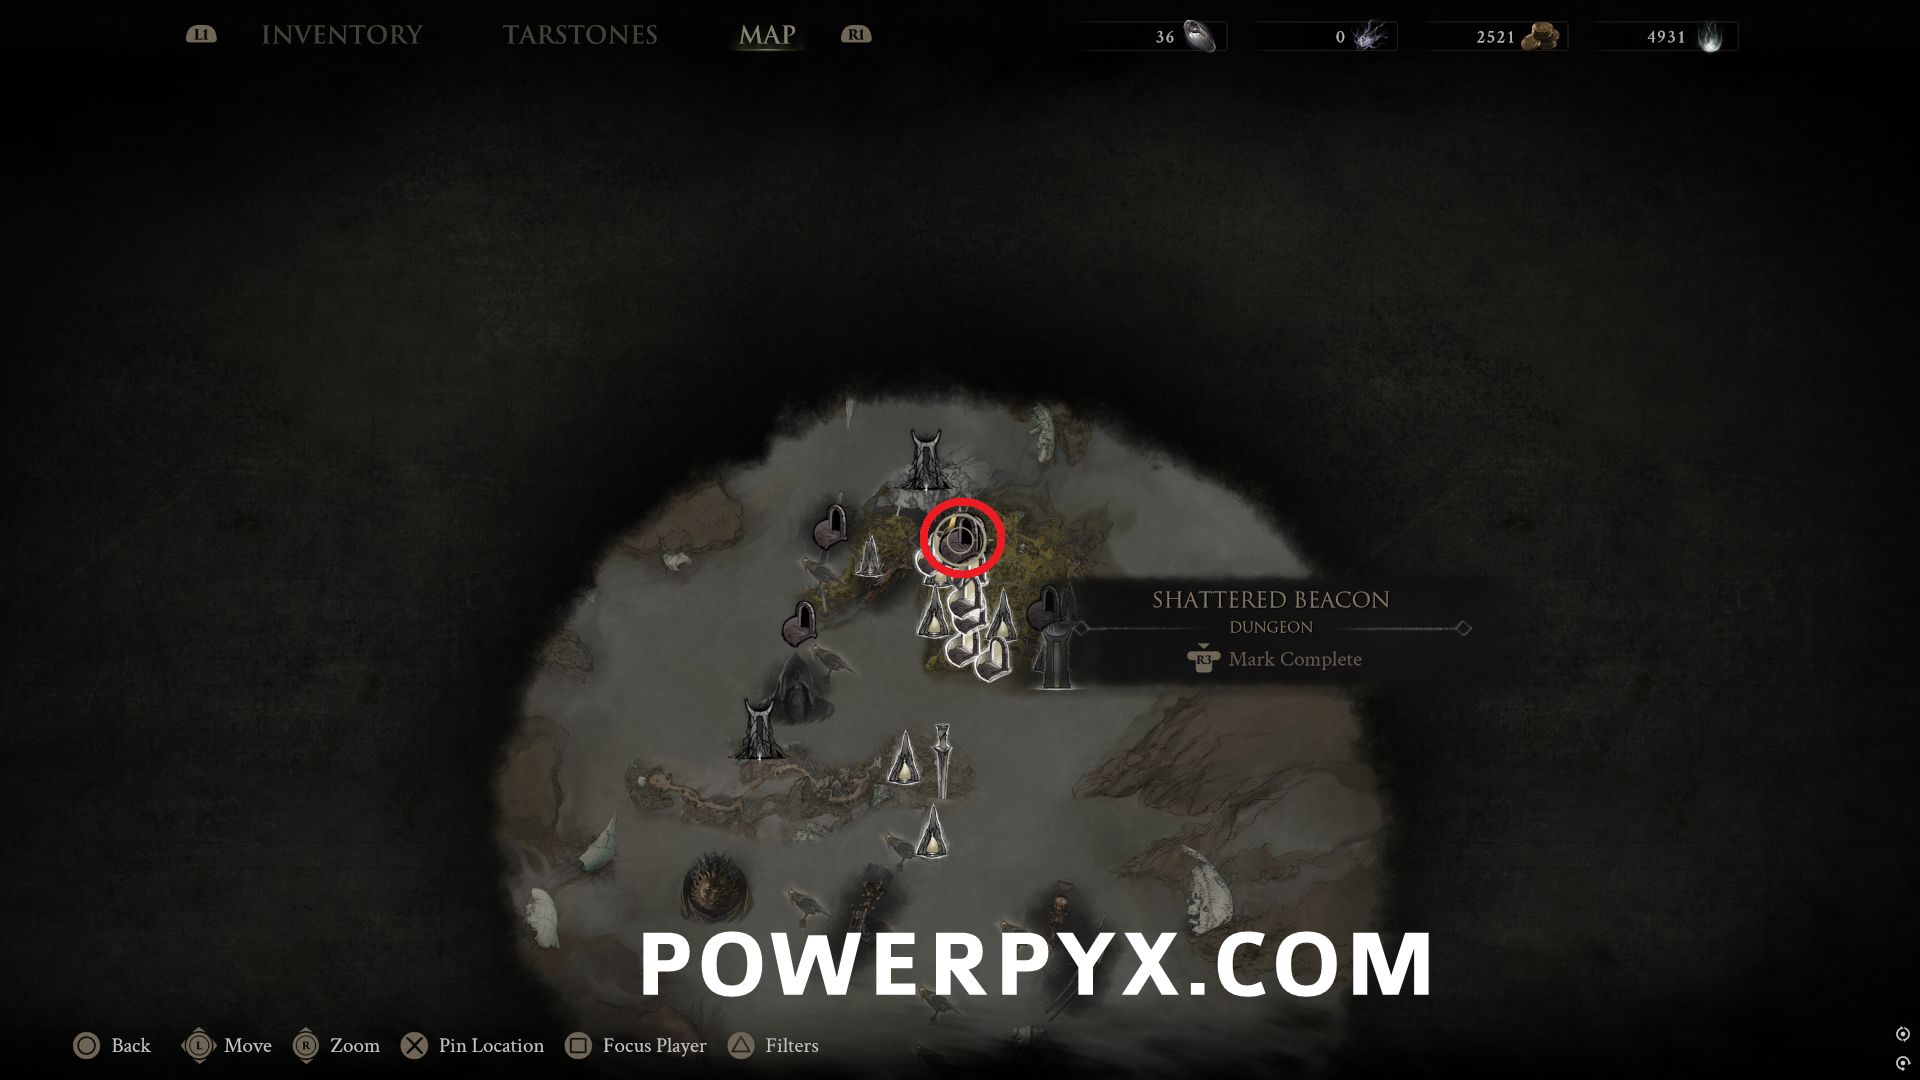
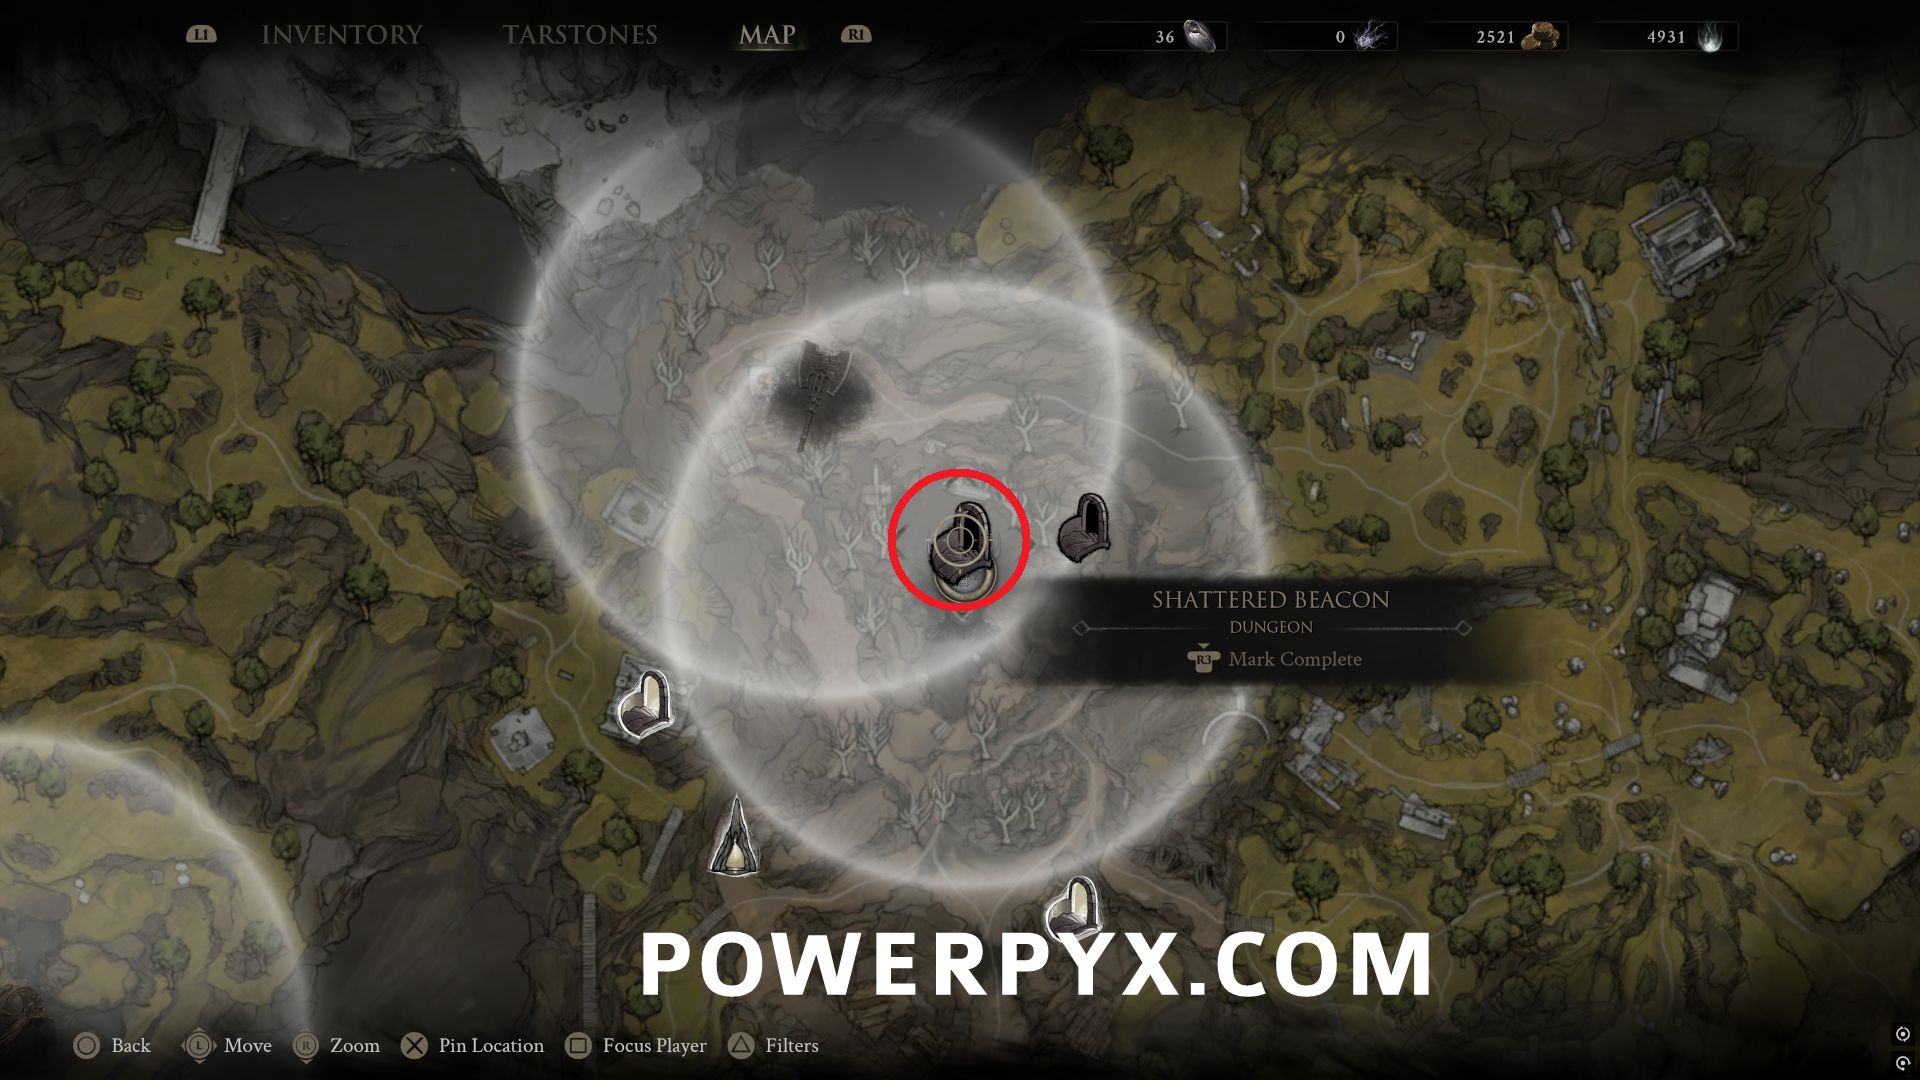
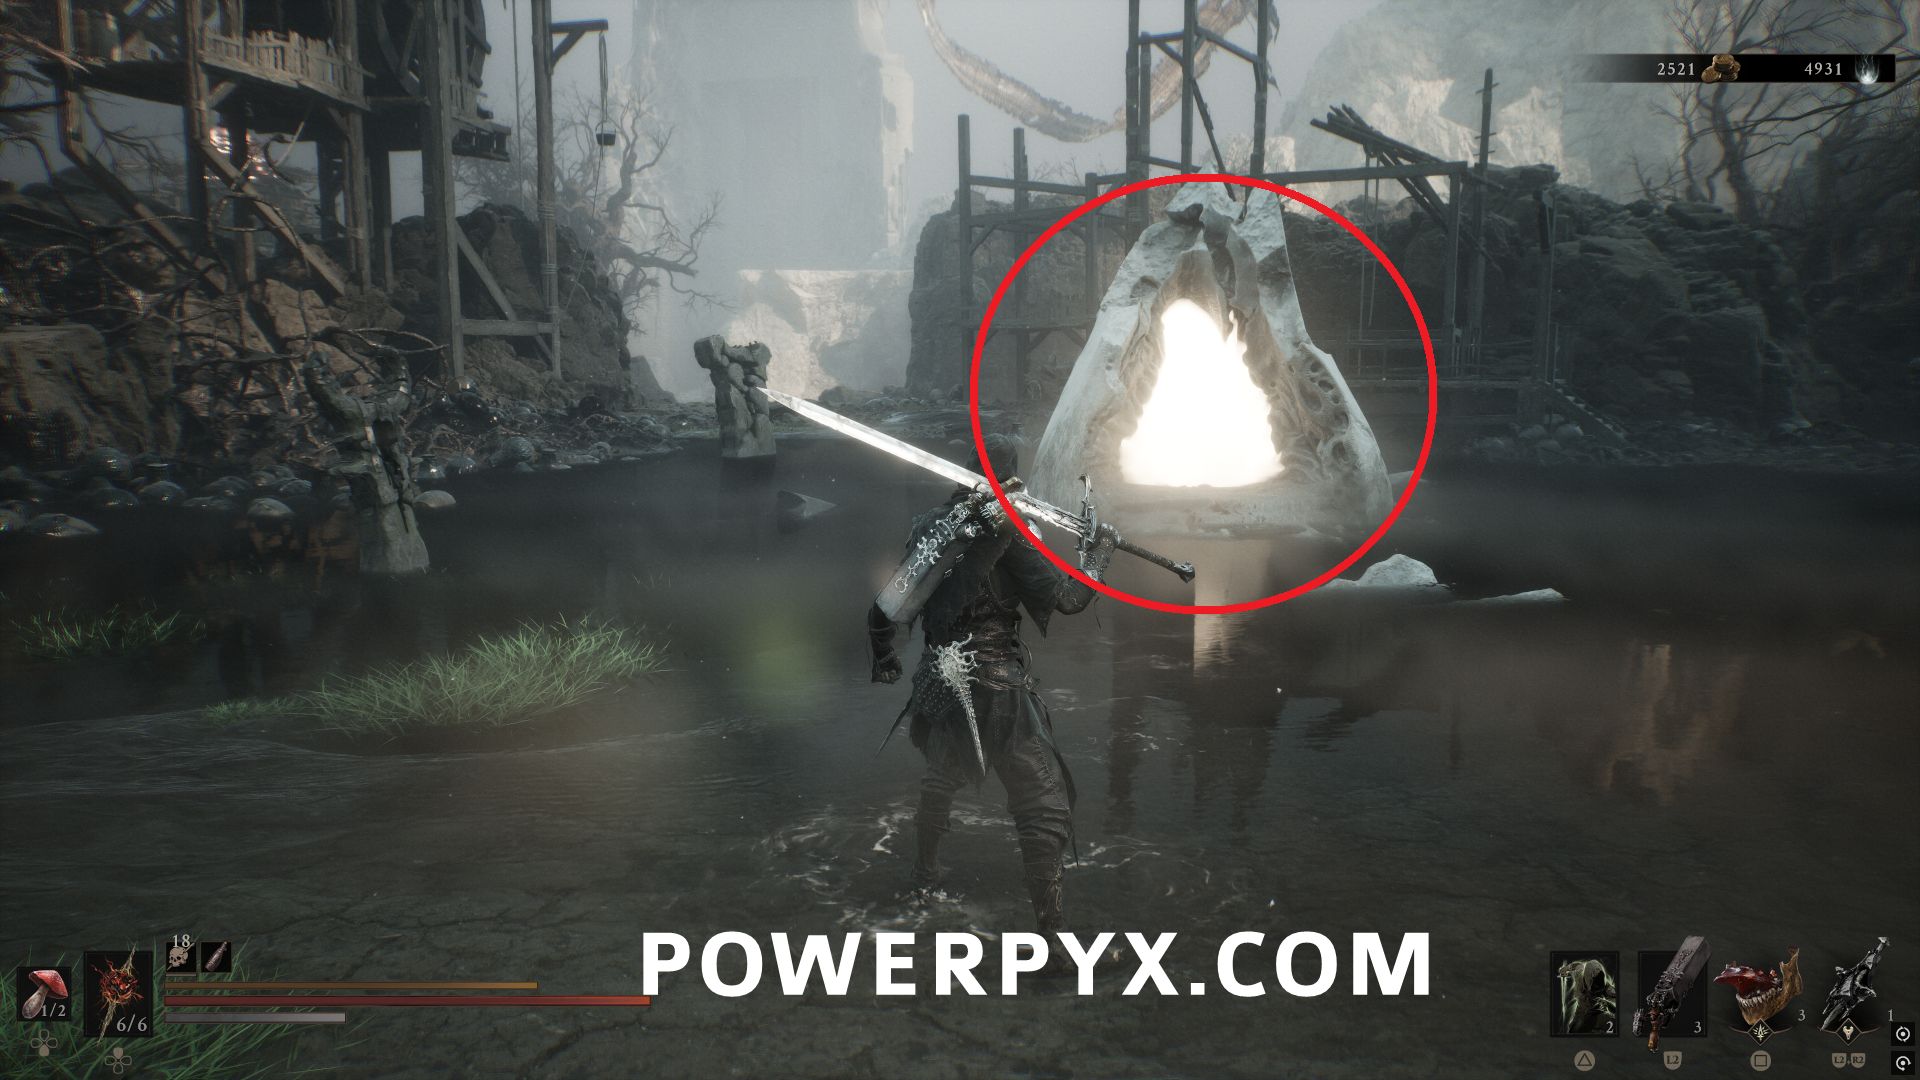
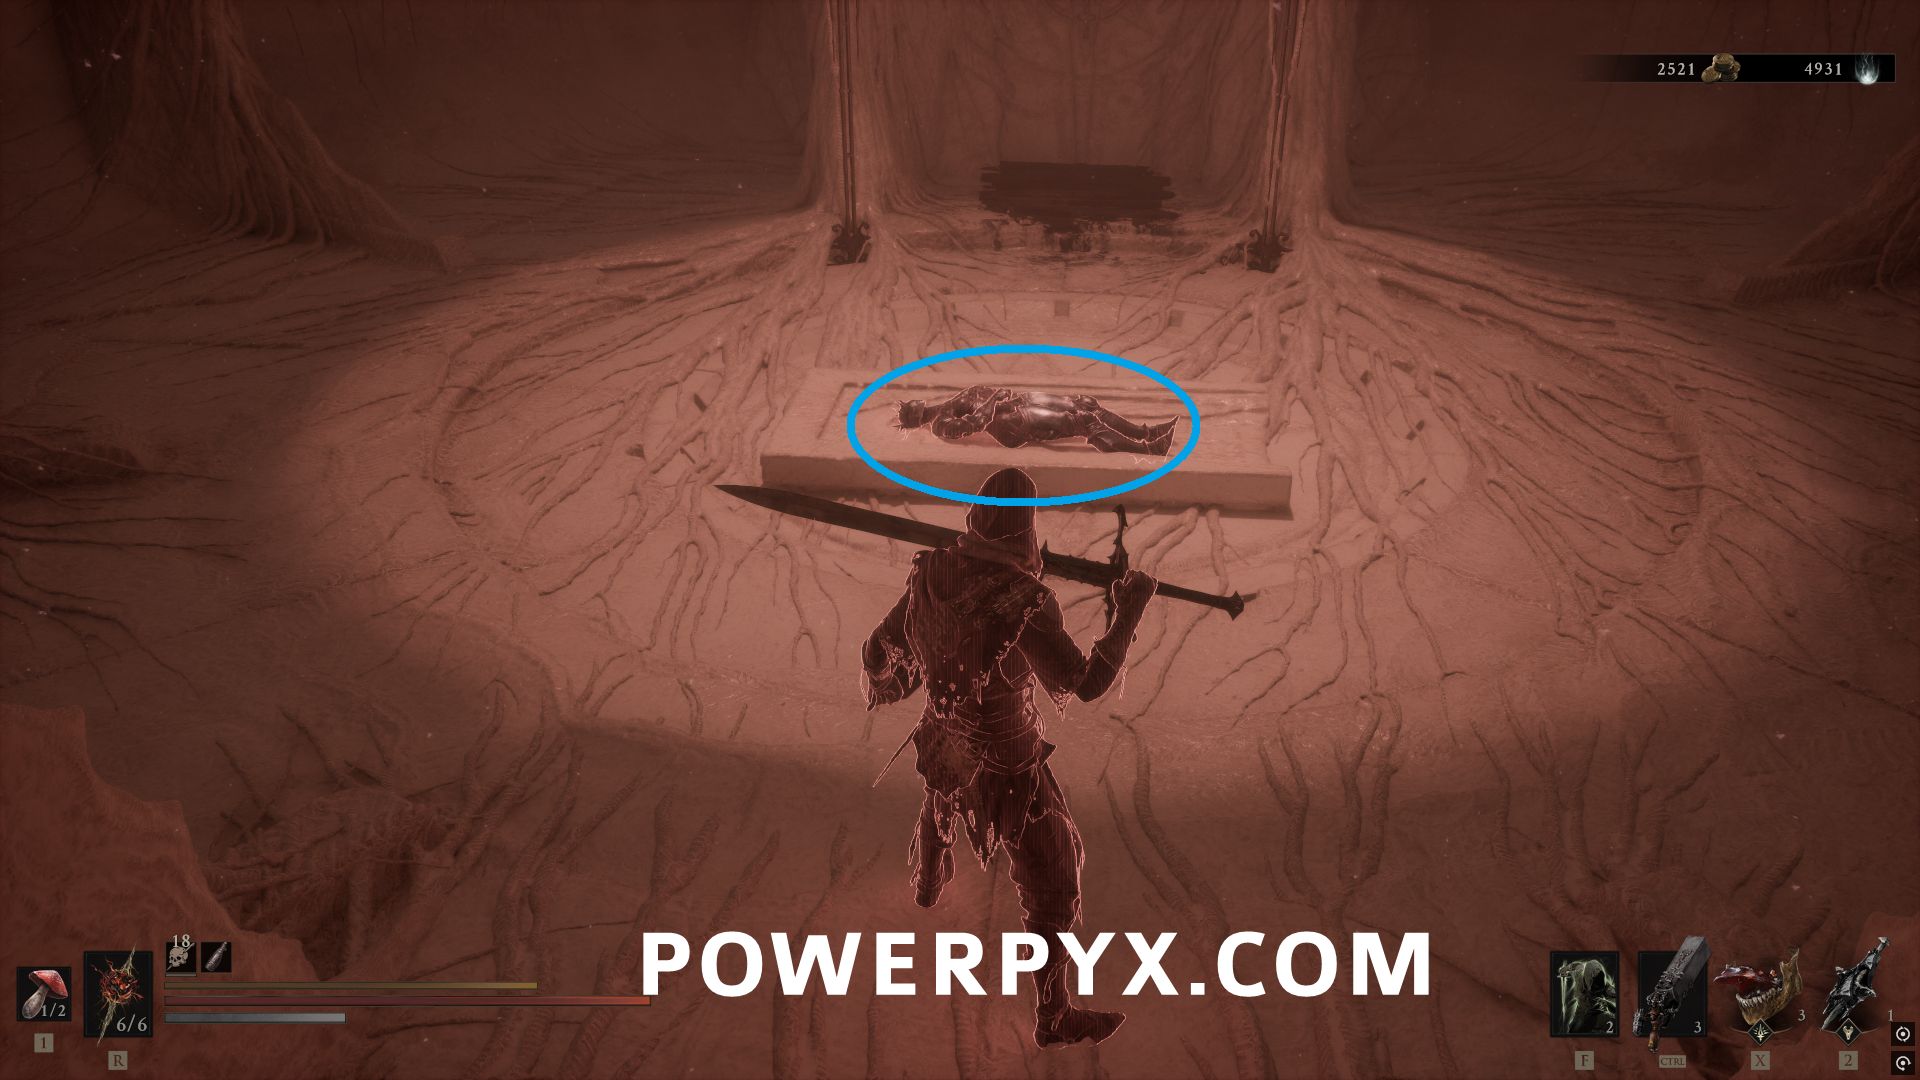
Northeast of Blackridge Pass Beacon, enter the structure that looks like a beacon, which is the Shattered Beacon Dungeon. Go to the back of the area and interact with the body on the ground.
#3 – Eredrim
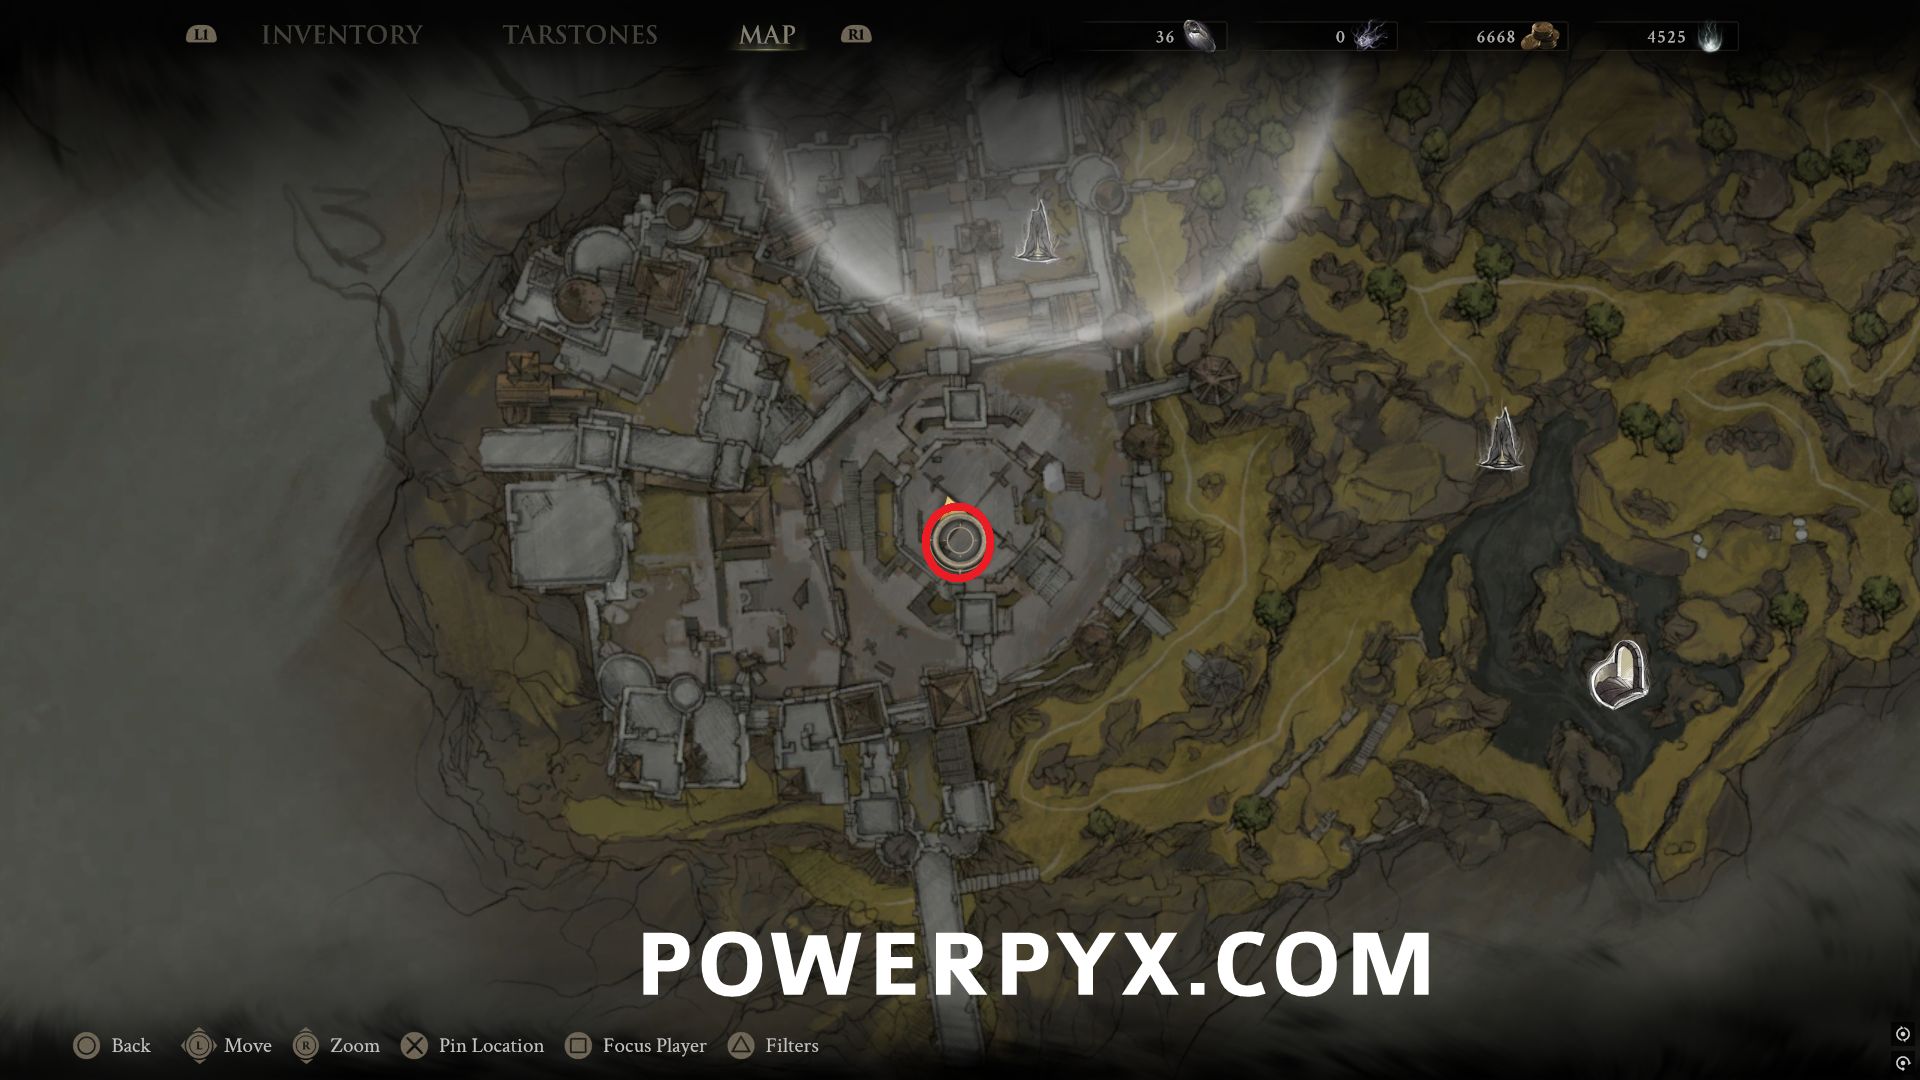
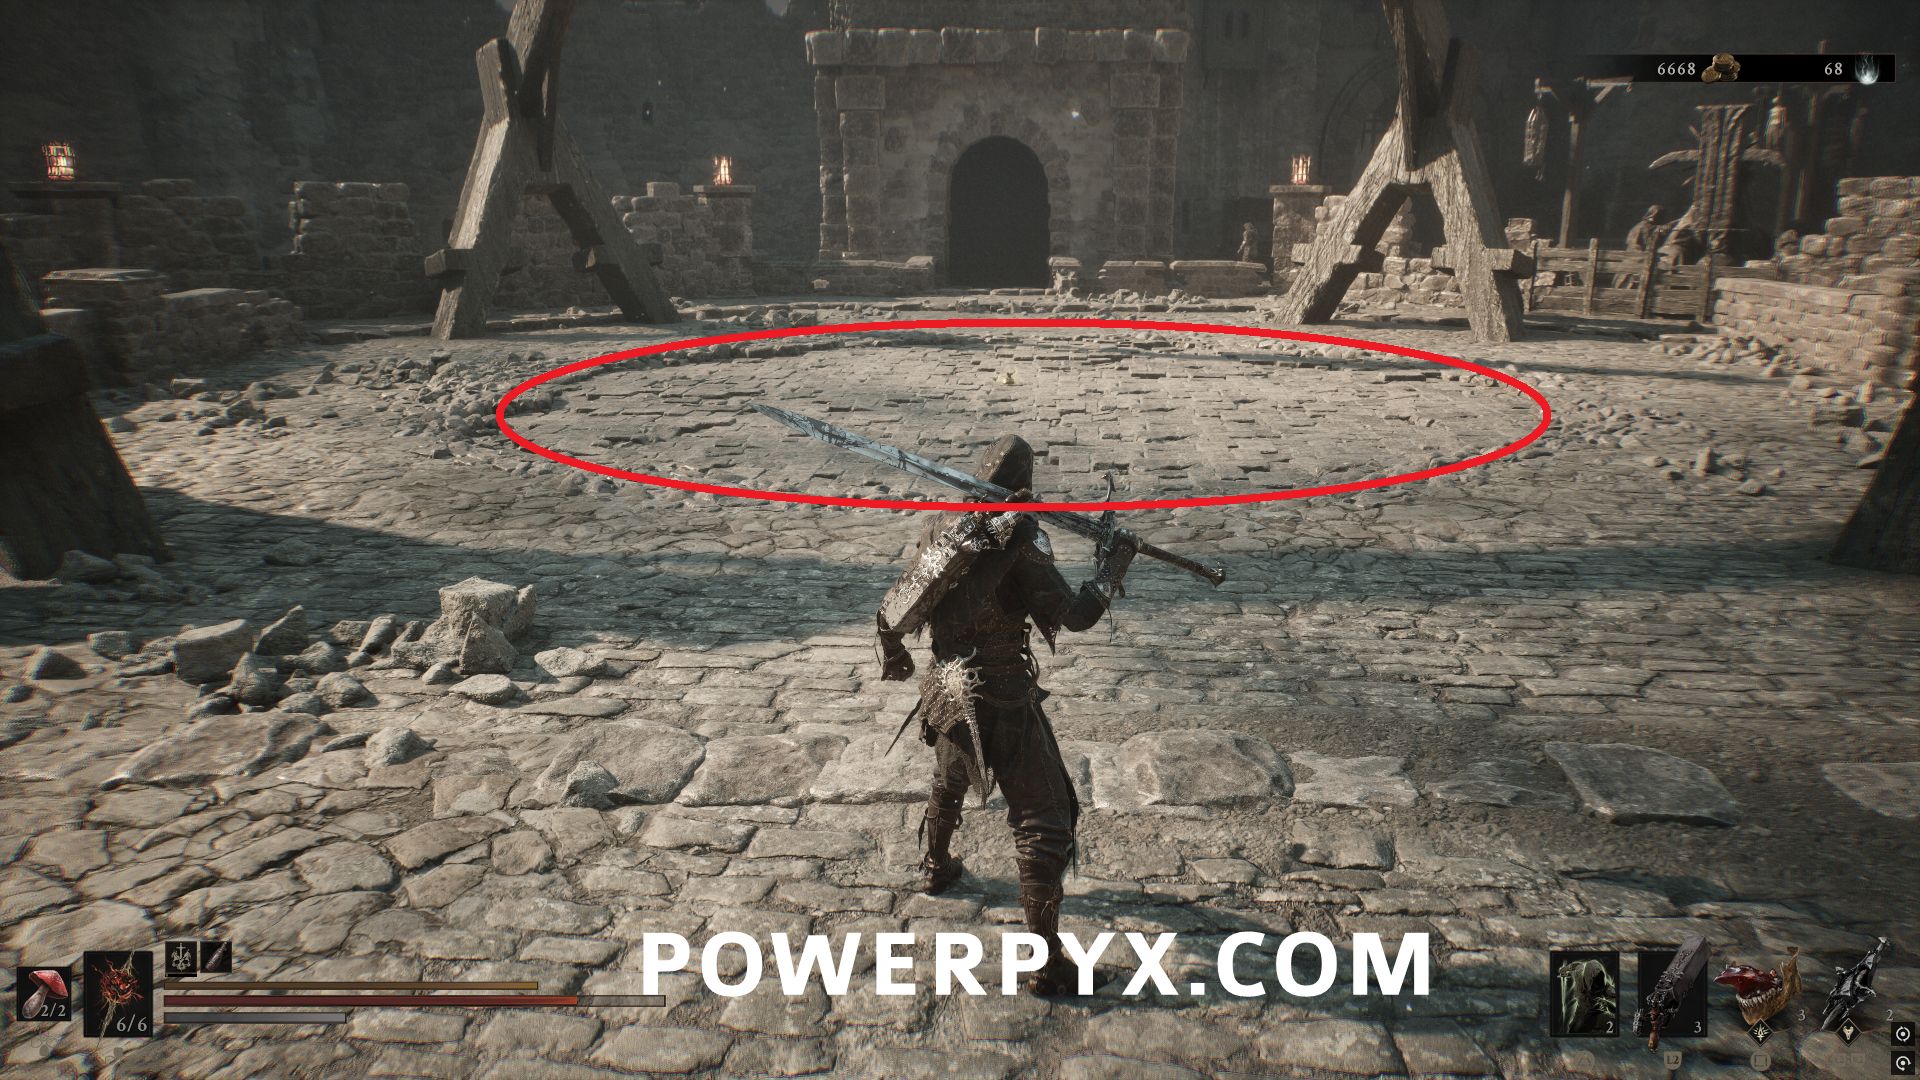
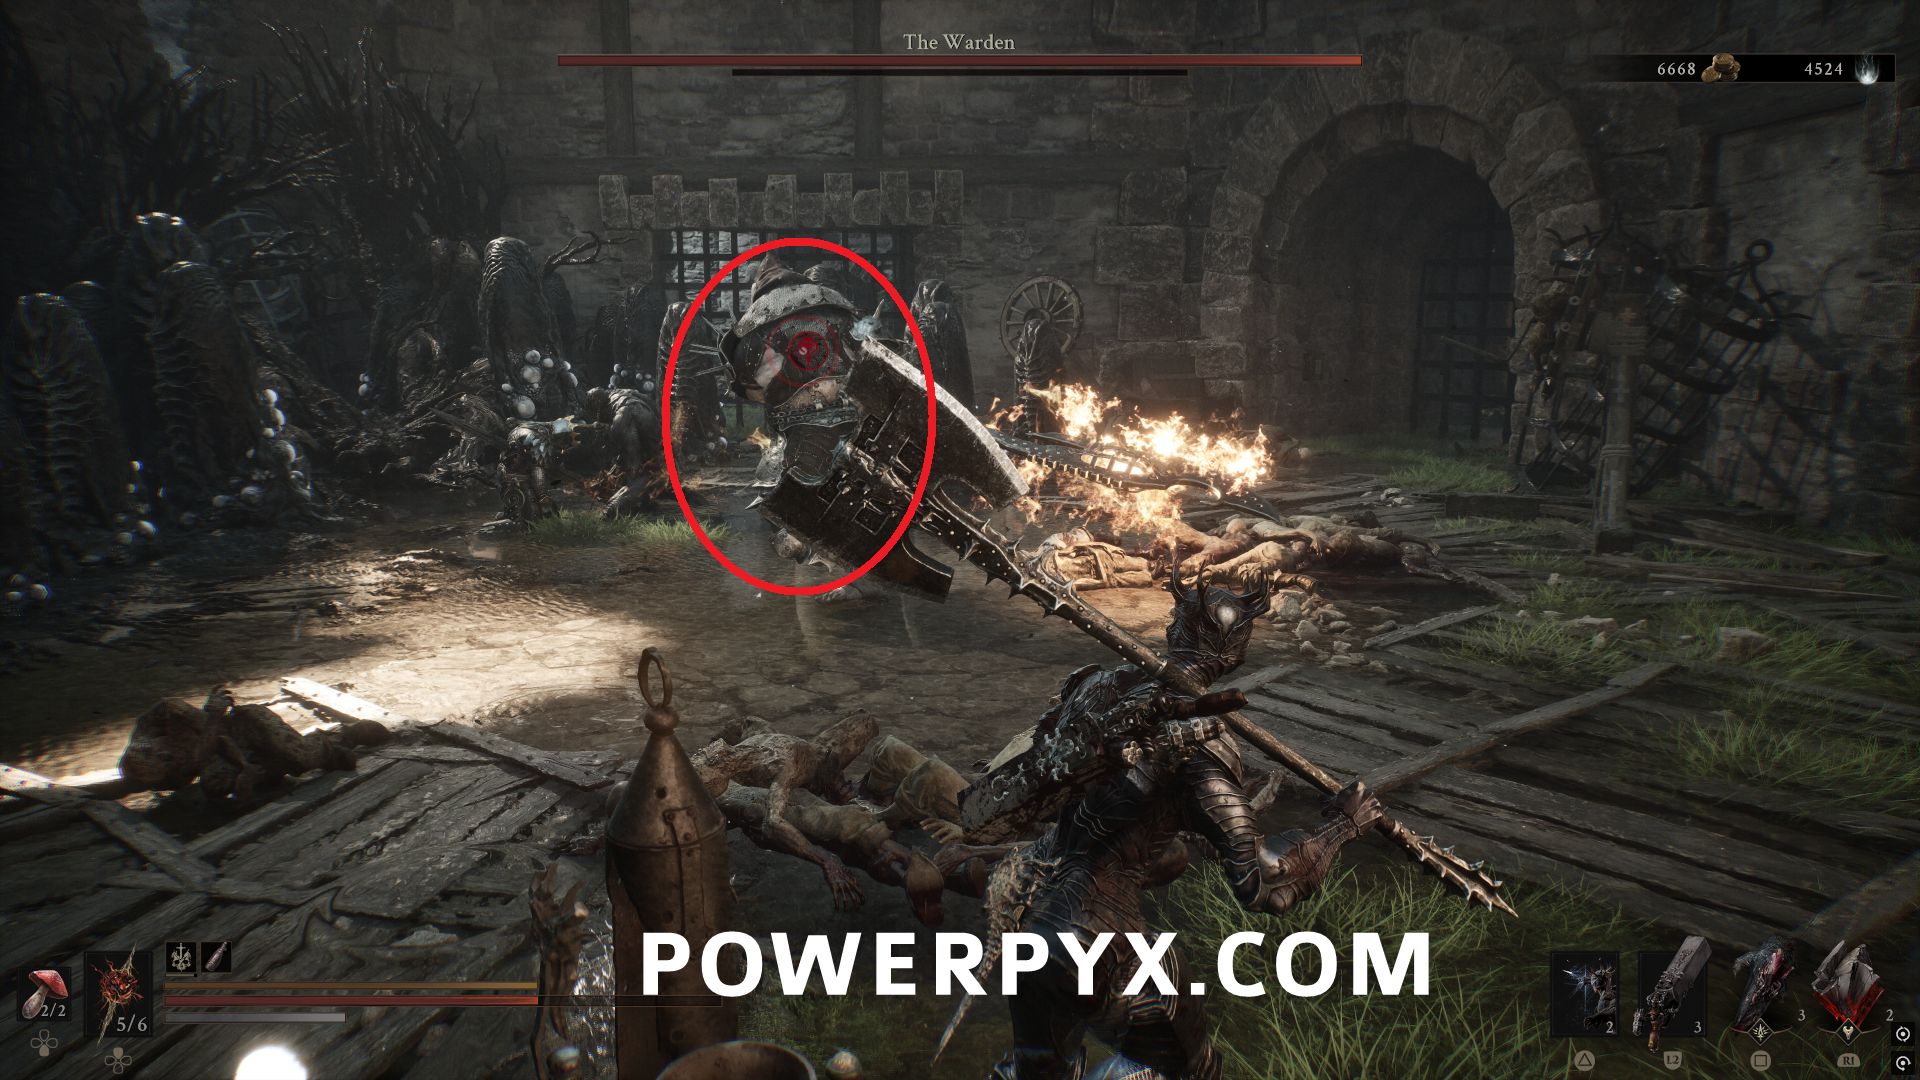
From Citadel of Penance Beacon, go to the center of the area and drop down the lowest level. There are two elevators, ride either one up to the top middle. When you step on it, a miniboss named The Warden will drop you down to the lower area. To make the fight easier switch to Tiel and increase abilities related to Shadow attacks, almost all of the bosses attacks are unblockable so you want to dodge everything, then hit it from behind while invisible after dodging.
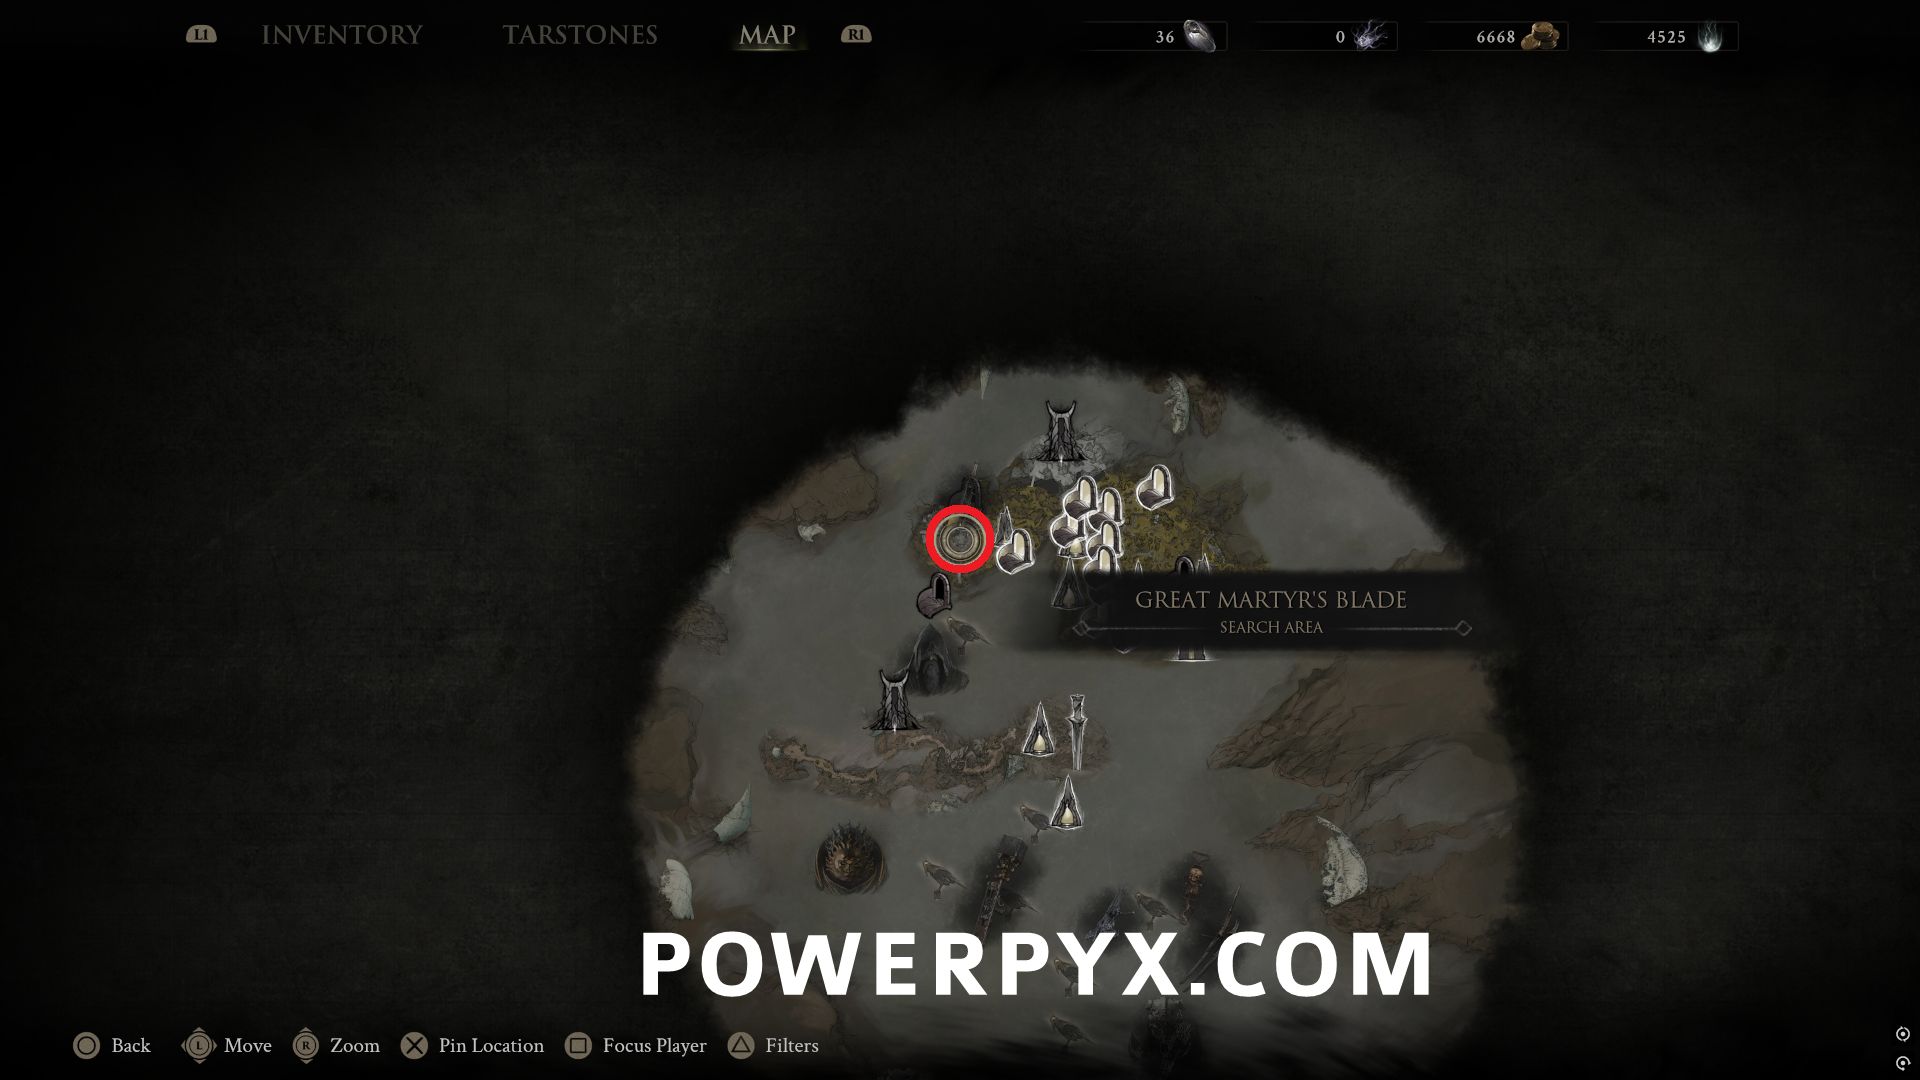
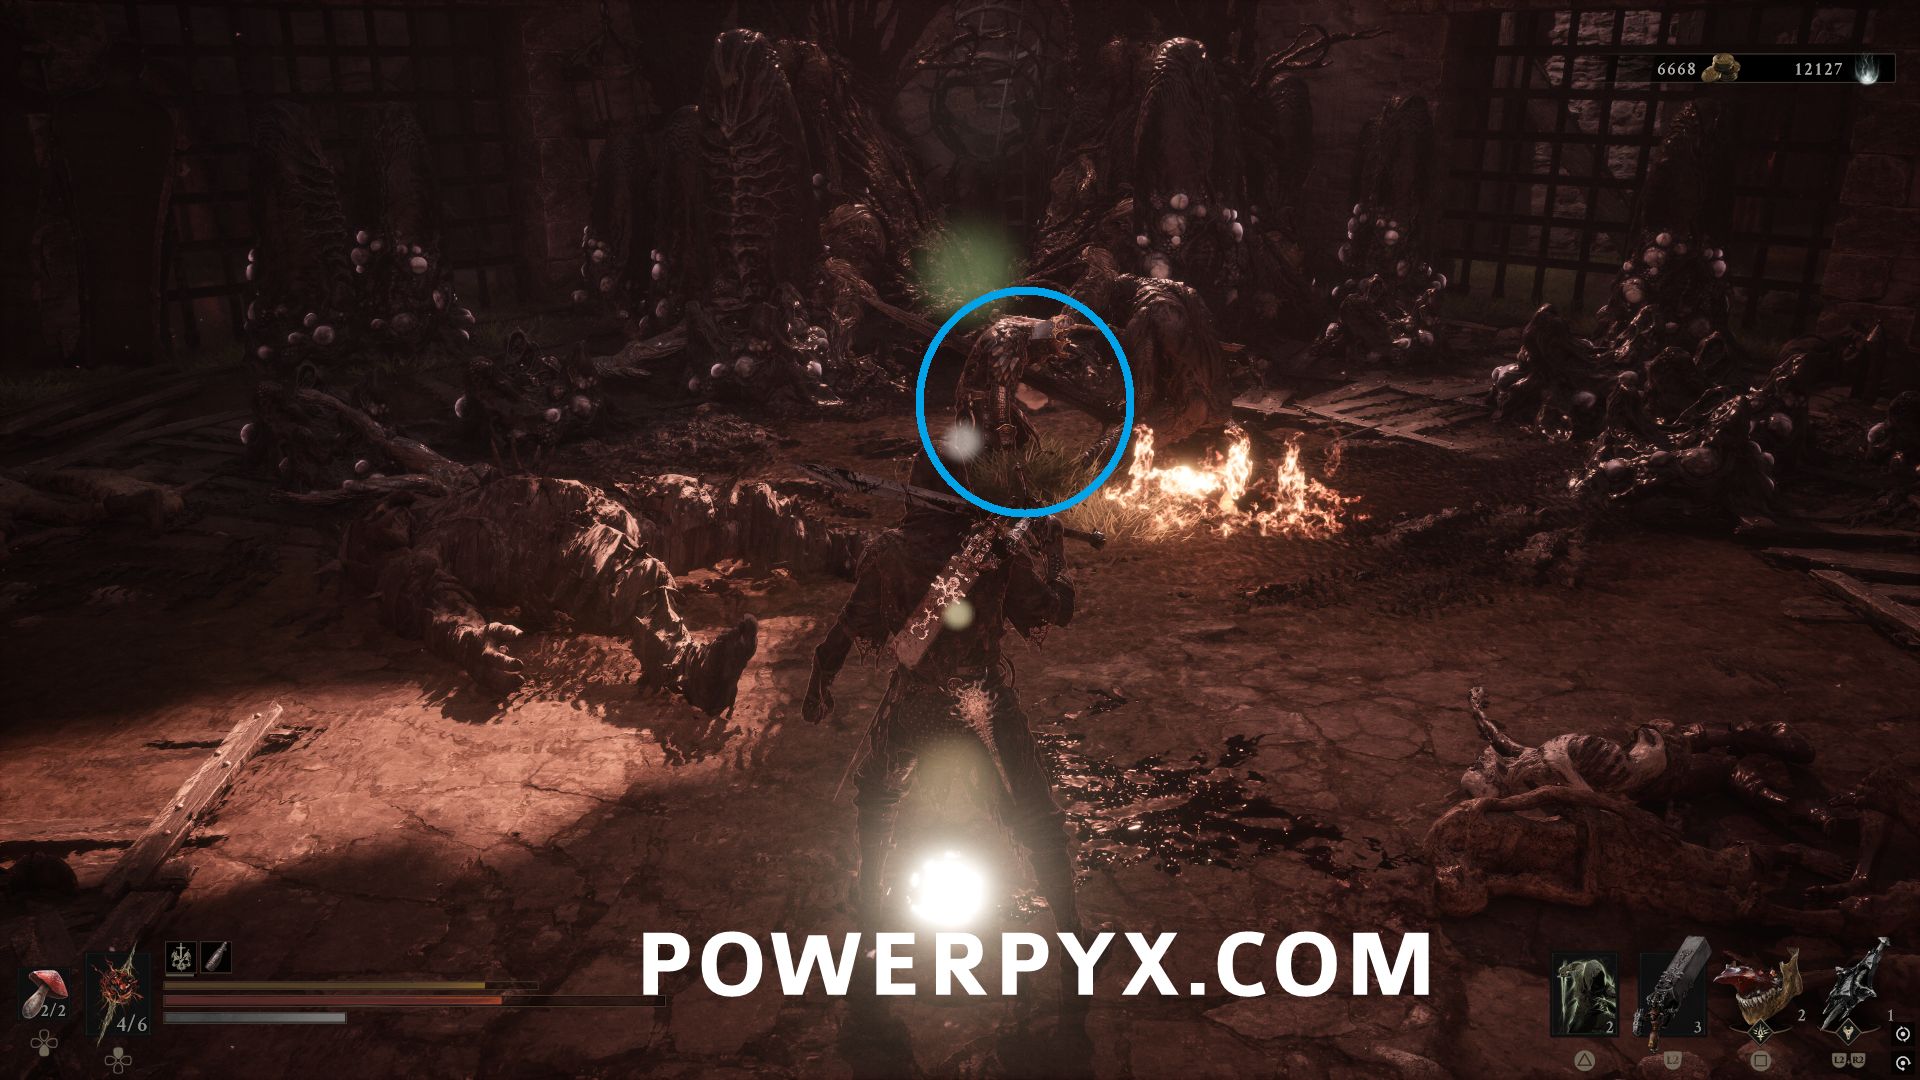
Once you defeat the boss, interact with the body on the ground.
#4 – Smert
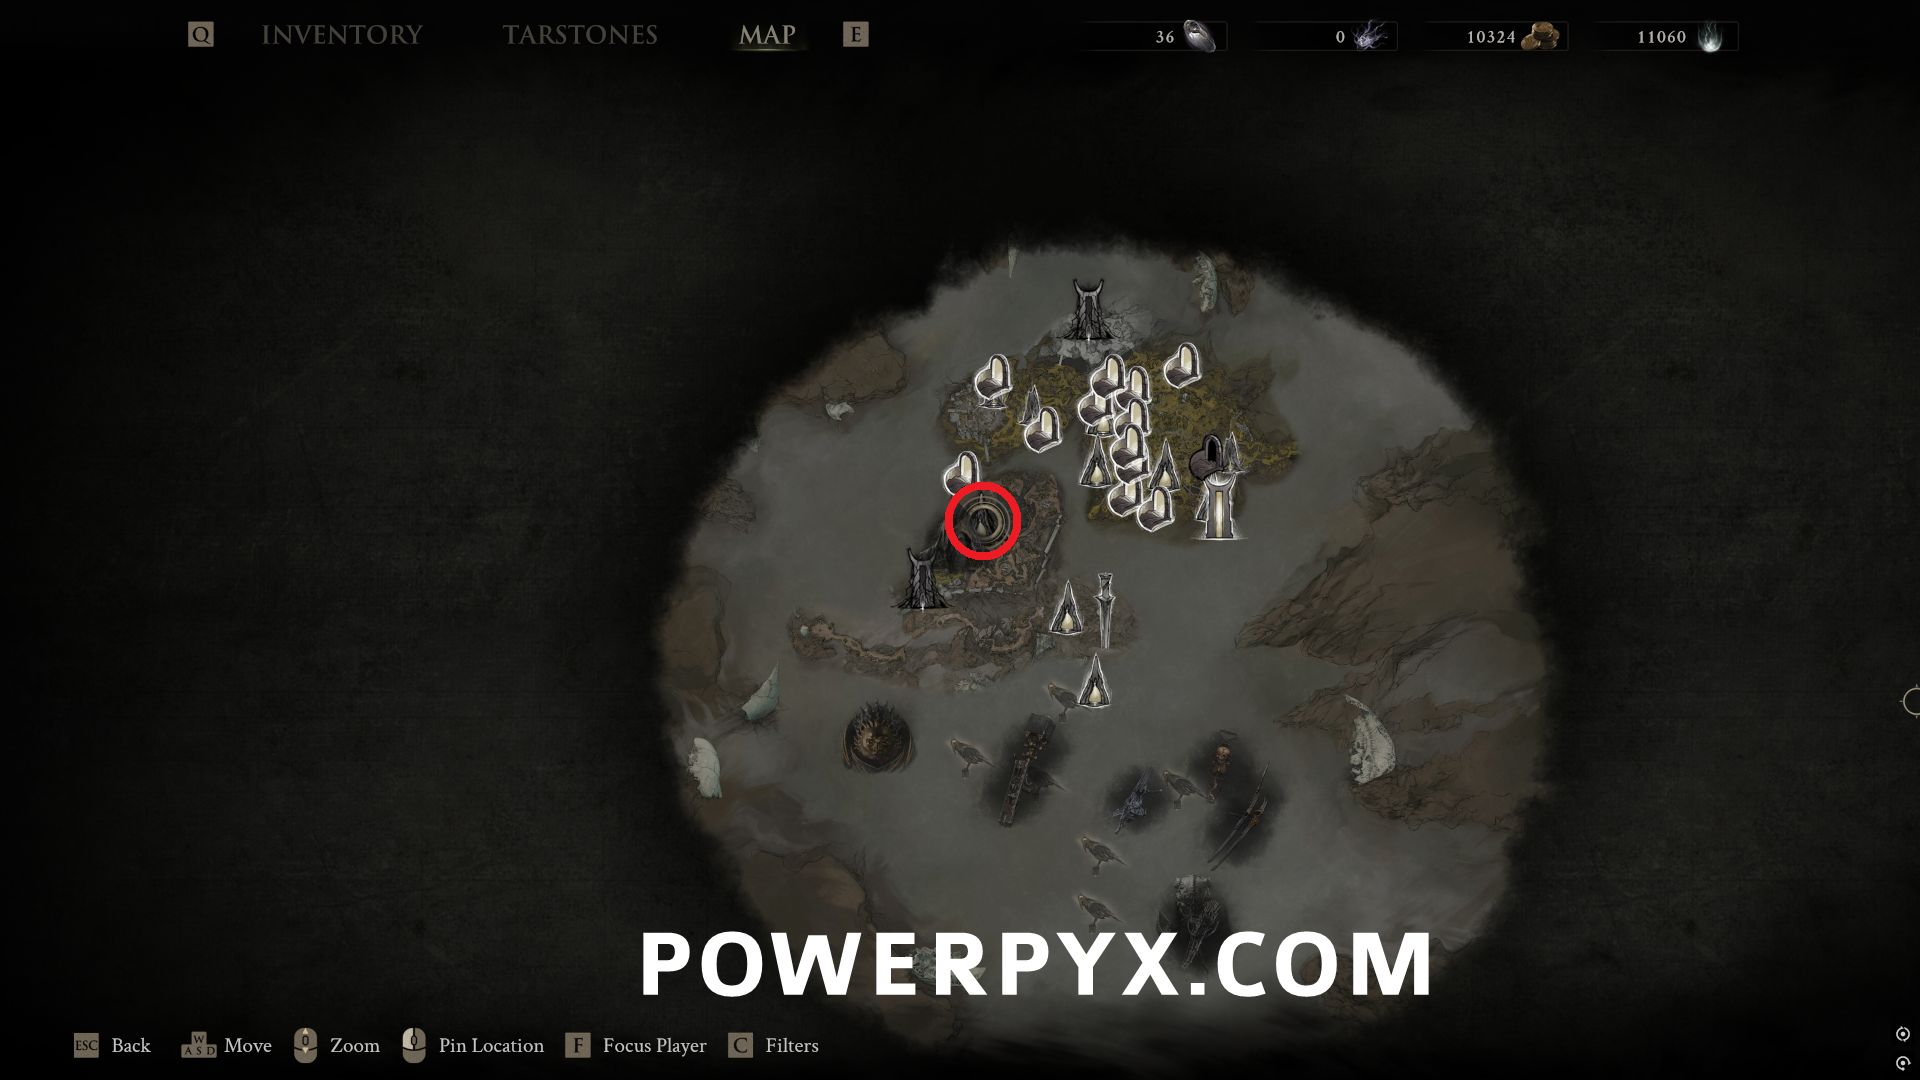
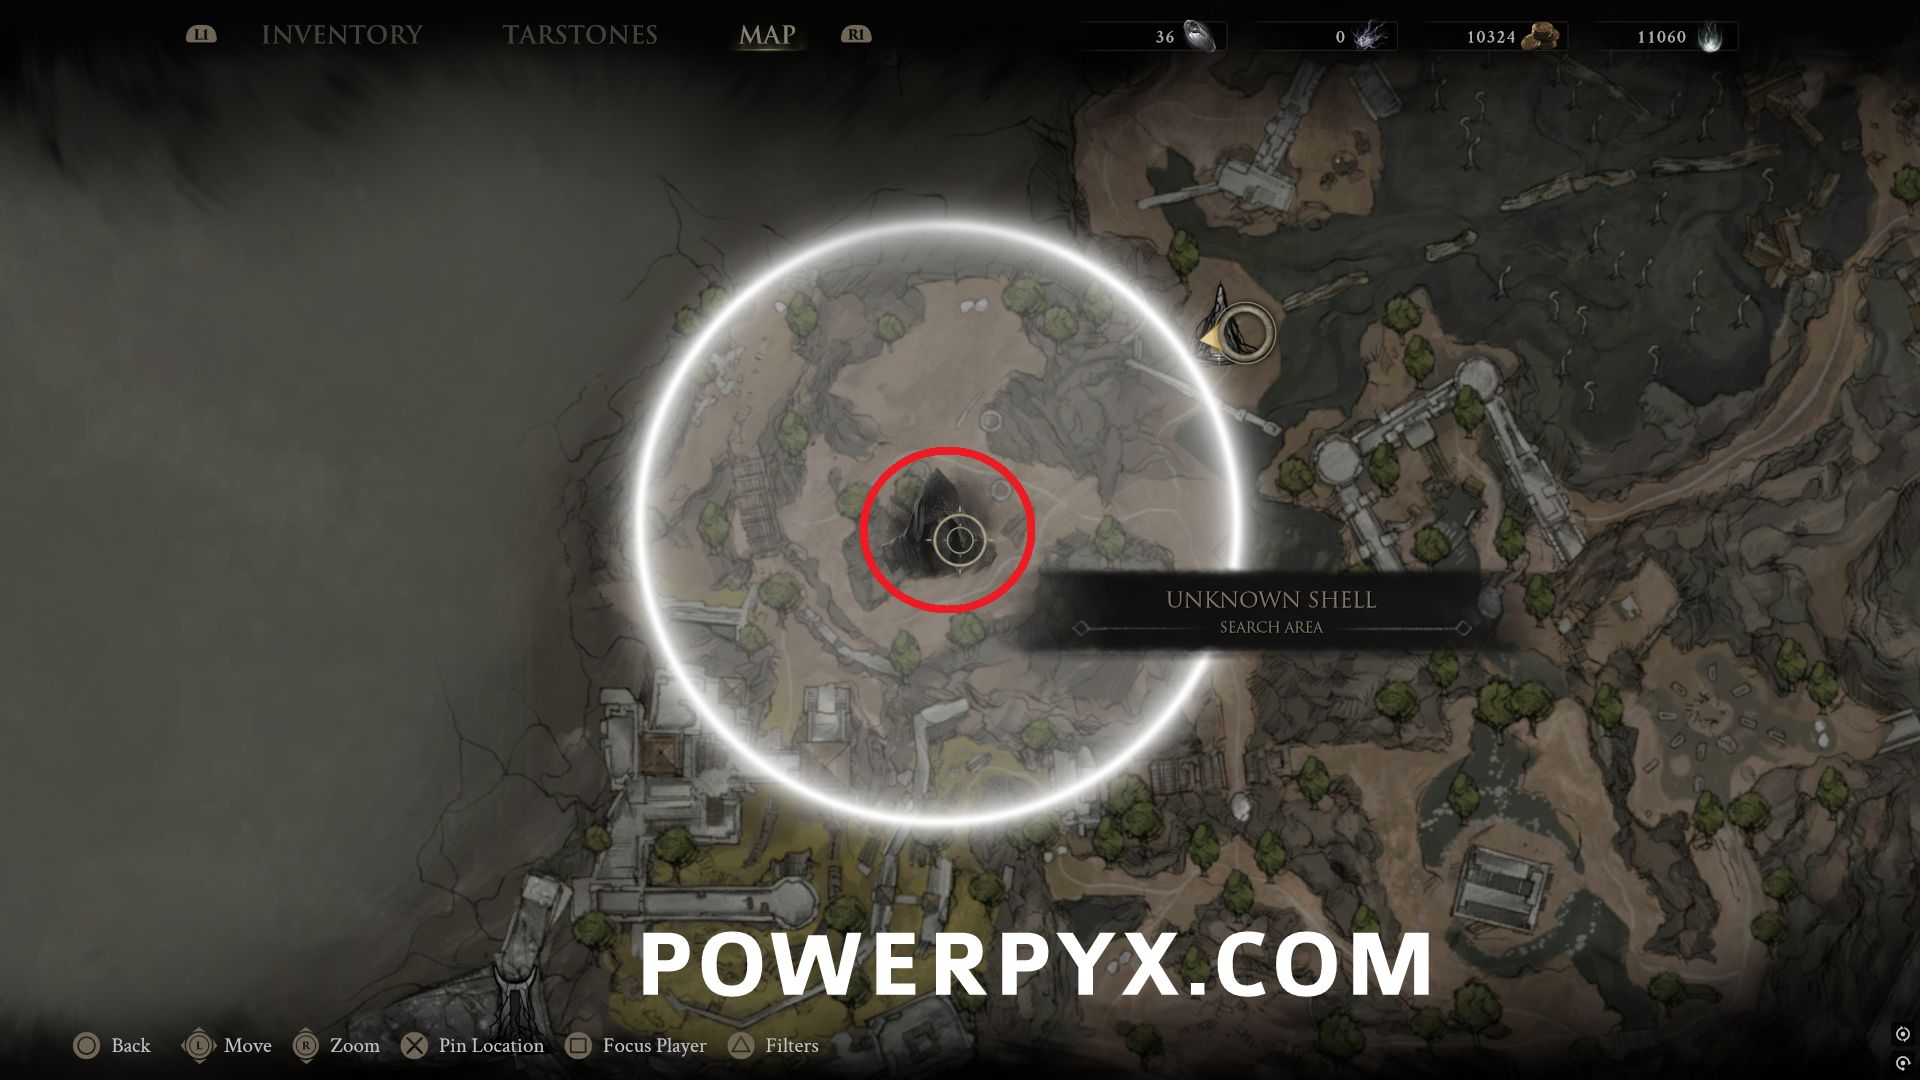
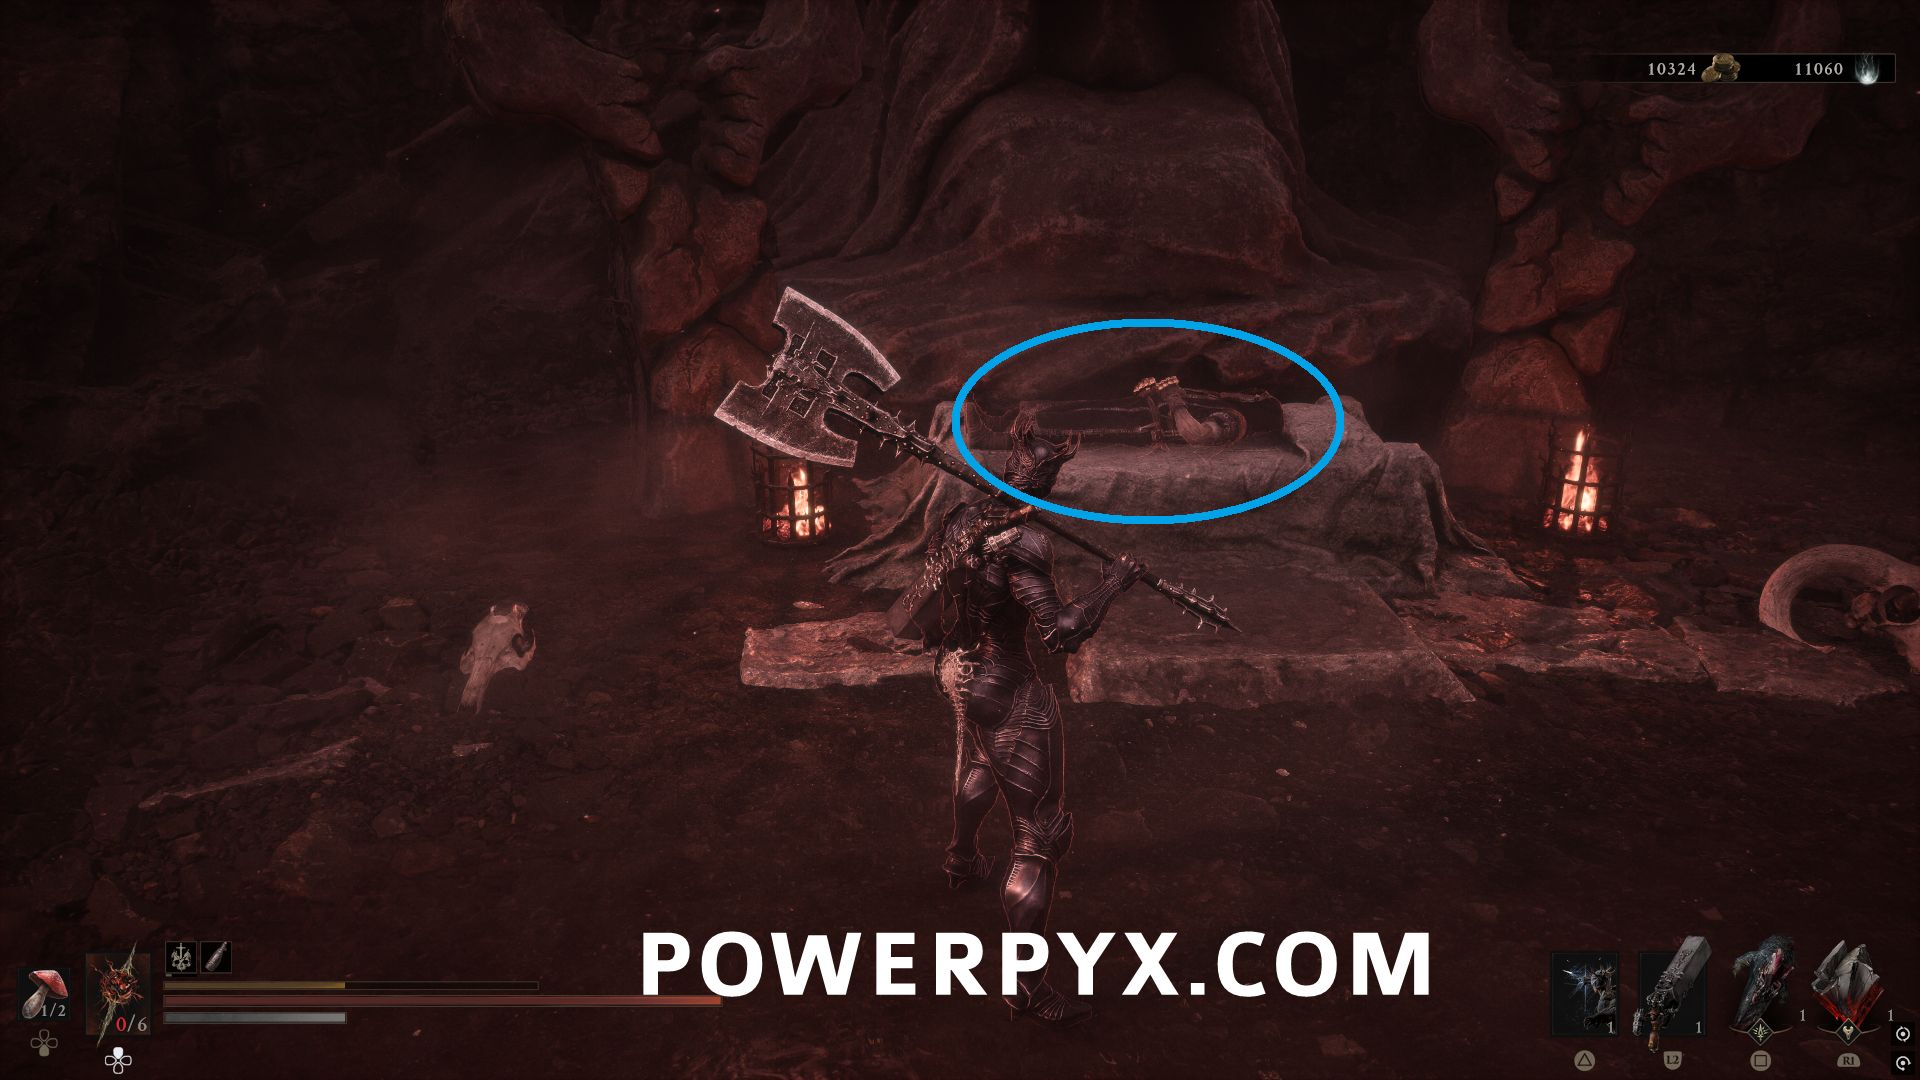
Southwest of Outskirts of Nochte Beacon, in the area with the enemies around the stone circle, make 3 blood offerings in the stone circles by killing enemies on top of them, then interact with the body on the ground at the back by the statue.
#5 – Gragu
East of One Legged Wolf Beacon, follow the path all the way east through the jump to reach the Temple of Vatra area.
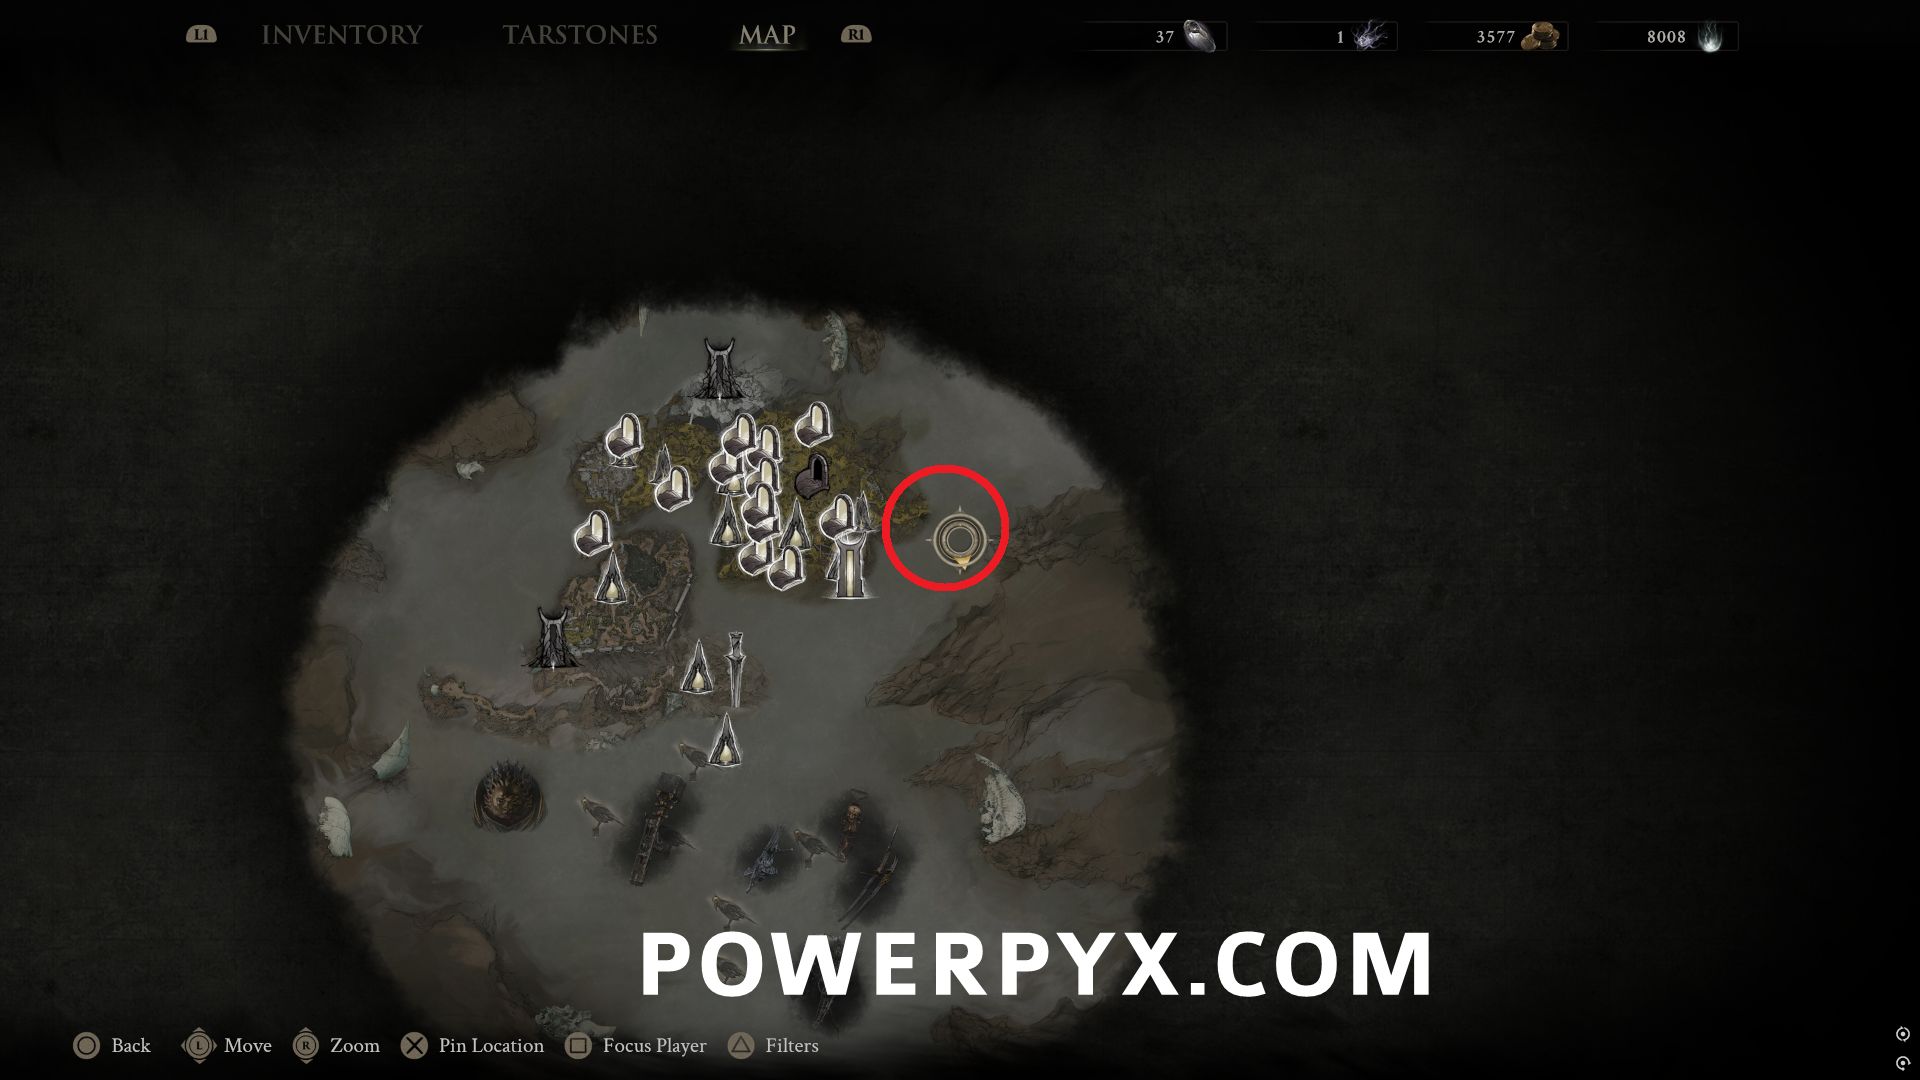
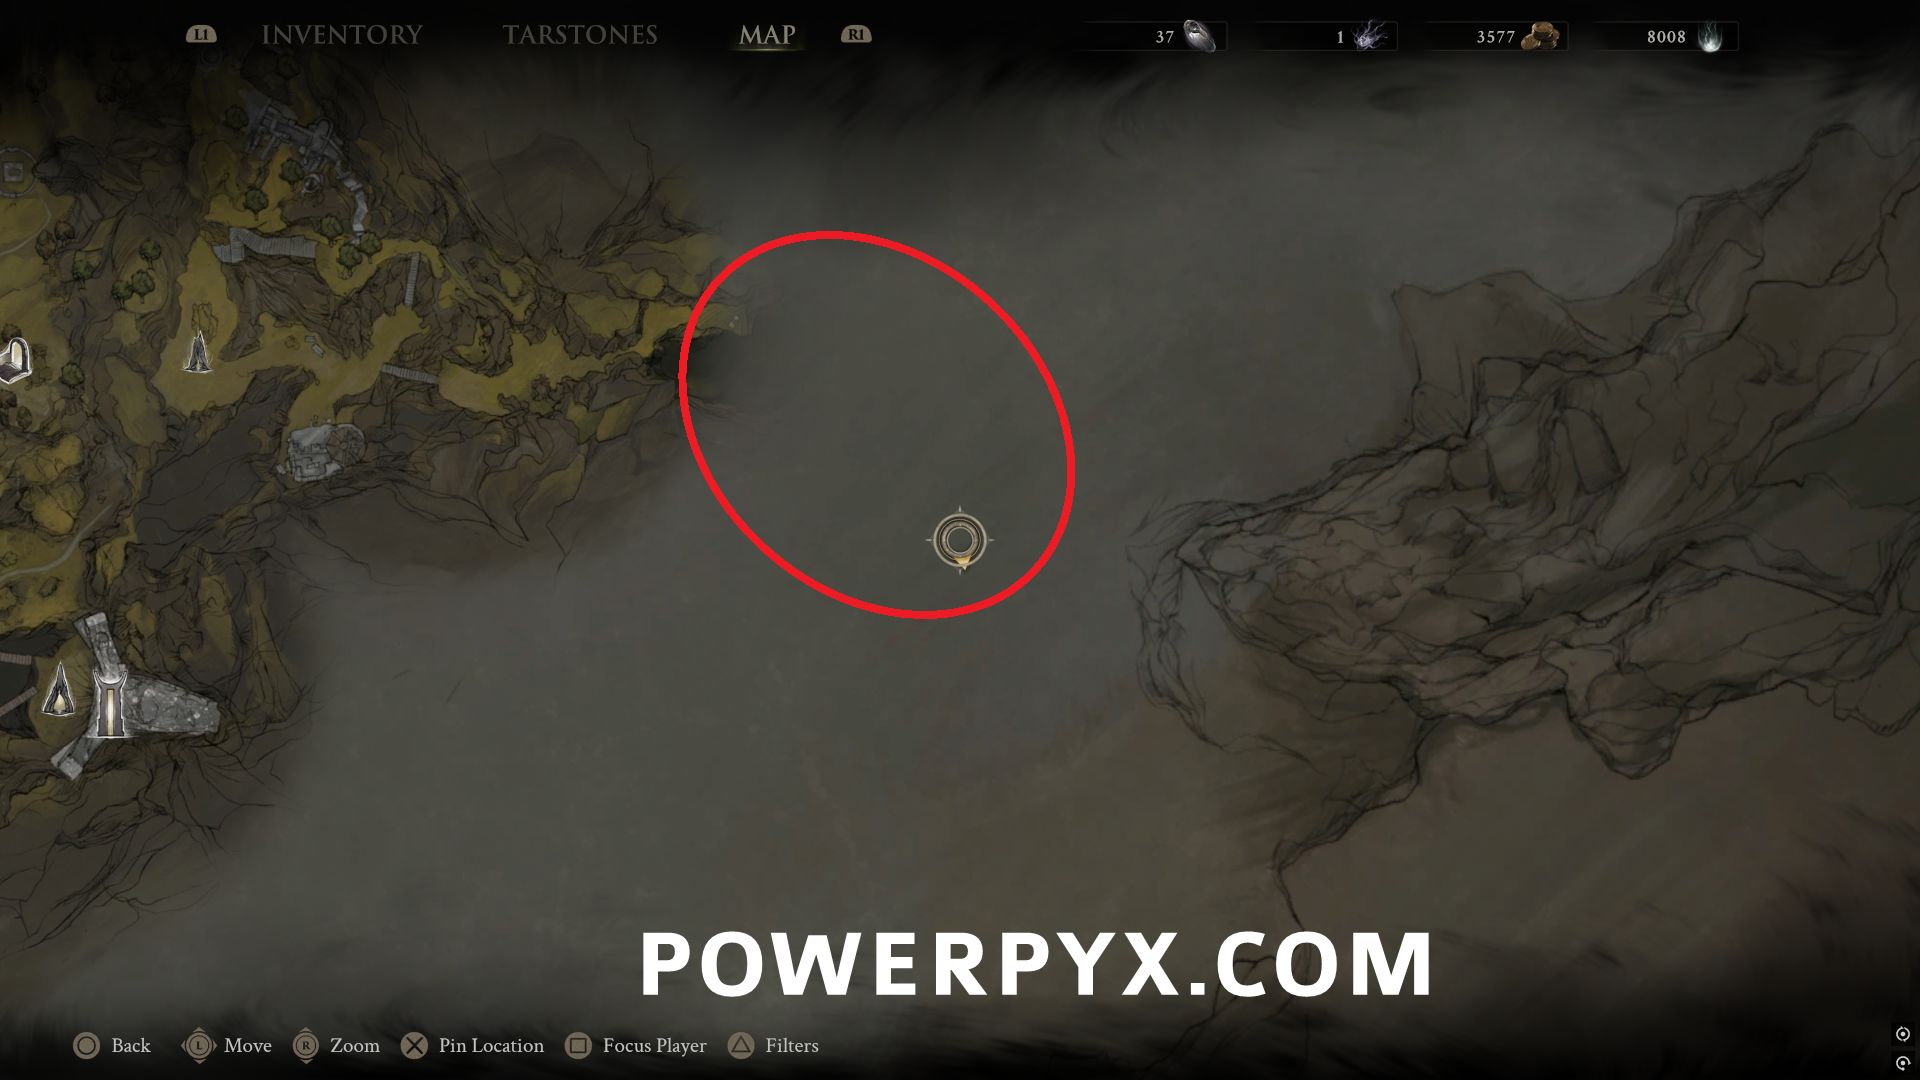
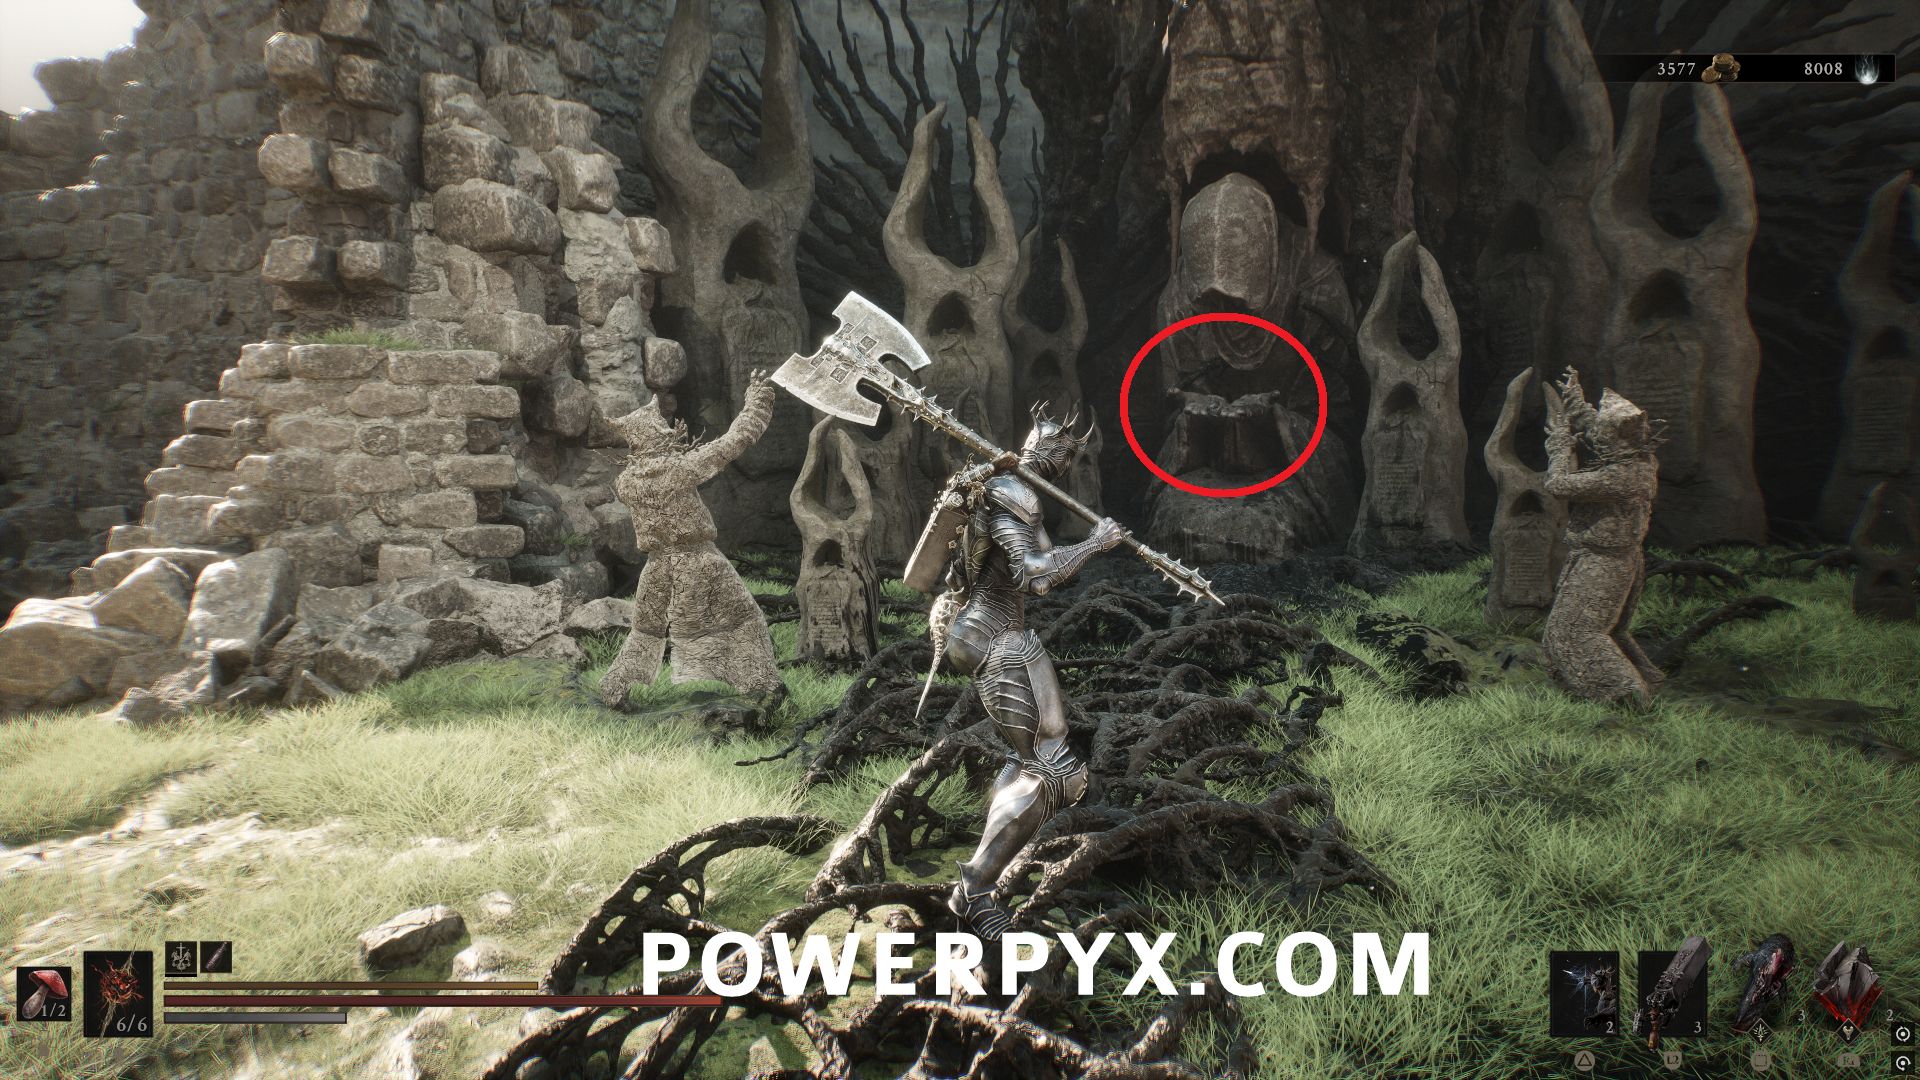
MAKE SURE TO PICK UP THE TARSTONE FROM THE CHEST NEARBY BEFORE BELOW ITEM OR YOU ARE LOCKED OUT OF THE AREA.
Go up to the top of the stairs at the back of the area where the statue is and pick up the Heart of Vatra from its hands.
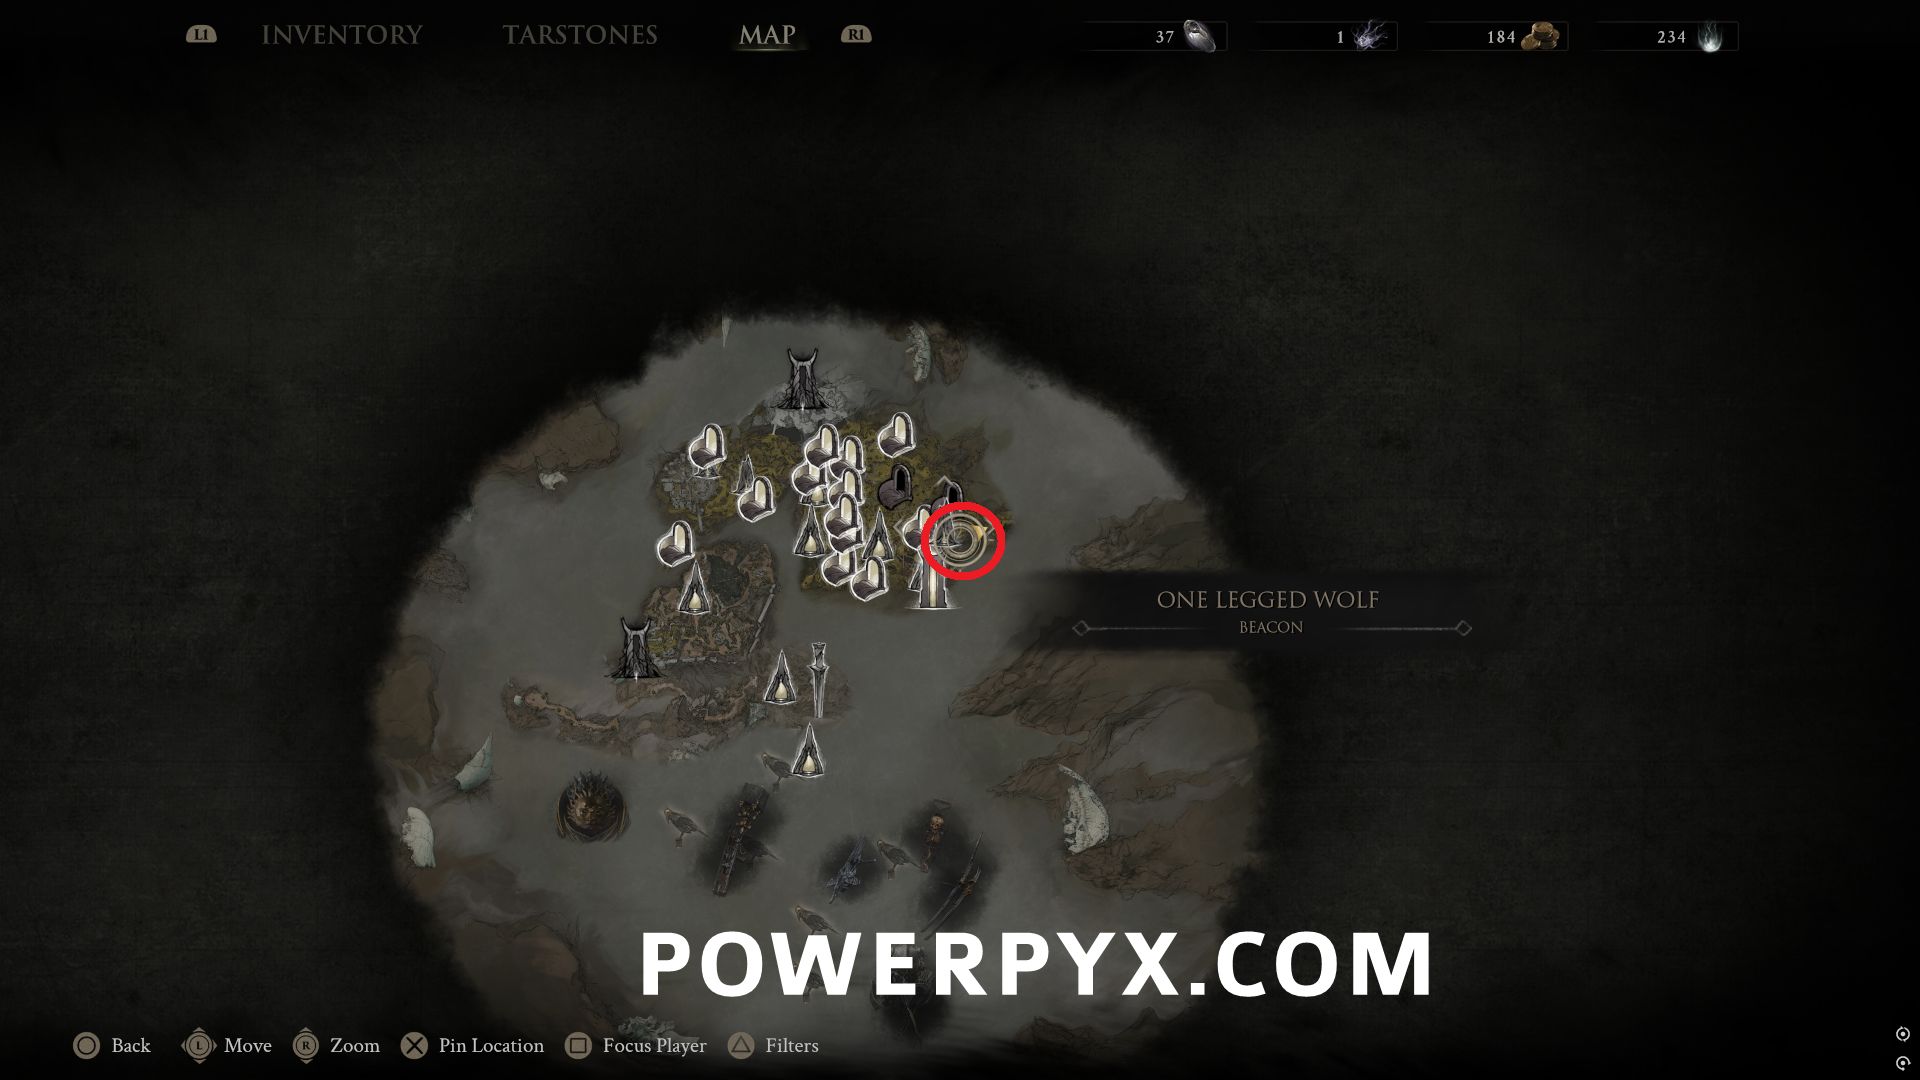
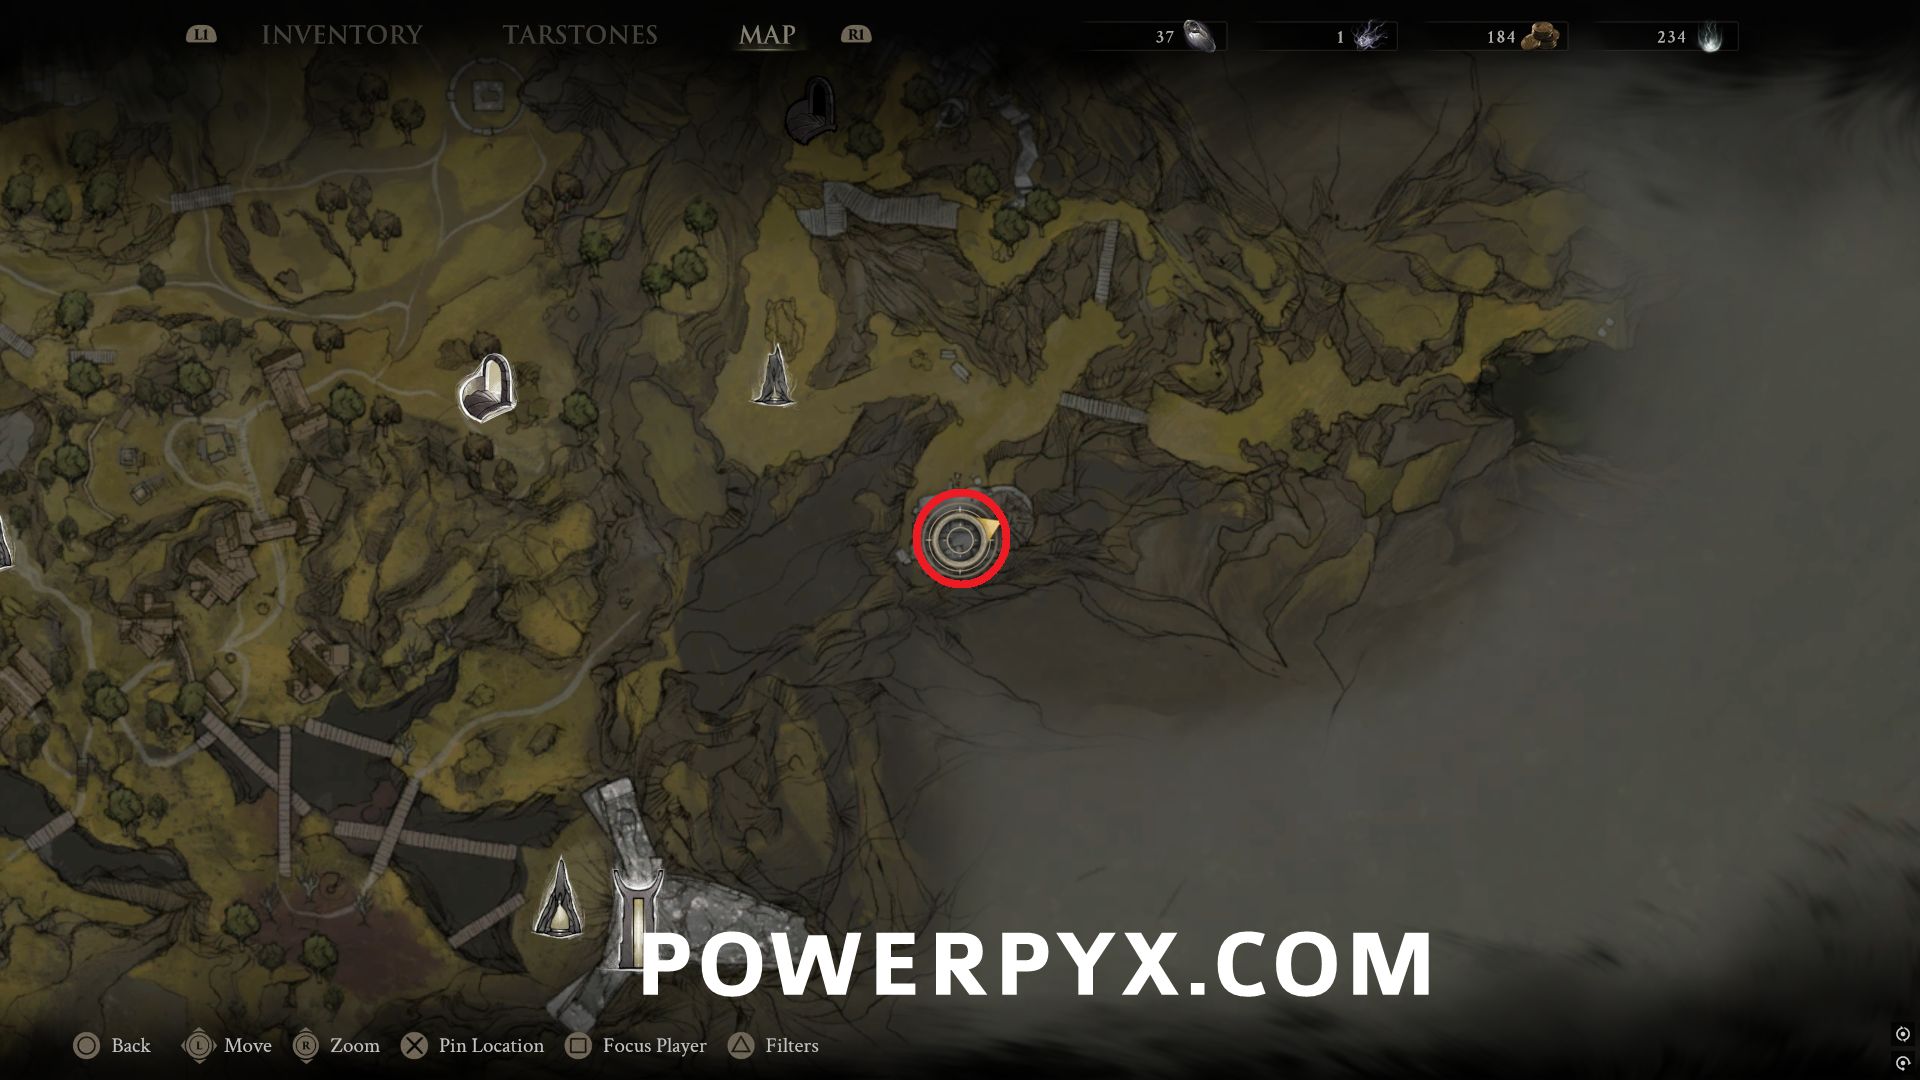
Southeast of One Legged Wolf Beacon, enter the One Legged Wolf Tavern and speak to Gragu who is sitting at the table left of the Tavern Keeper.
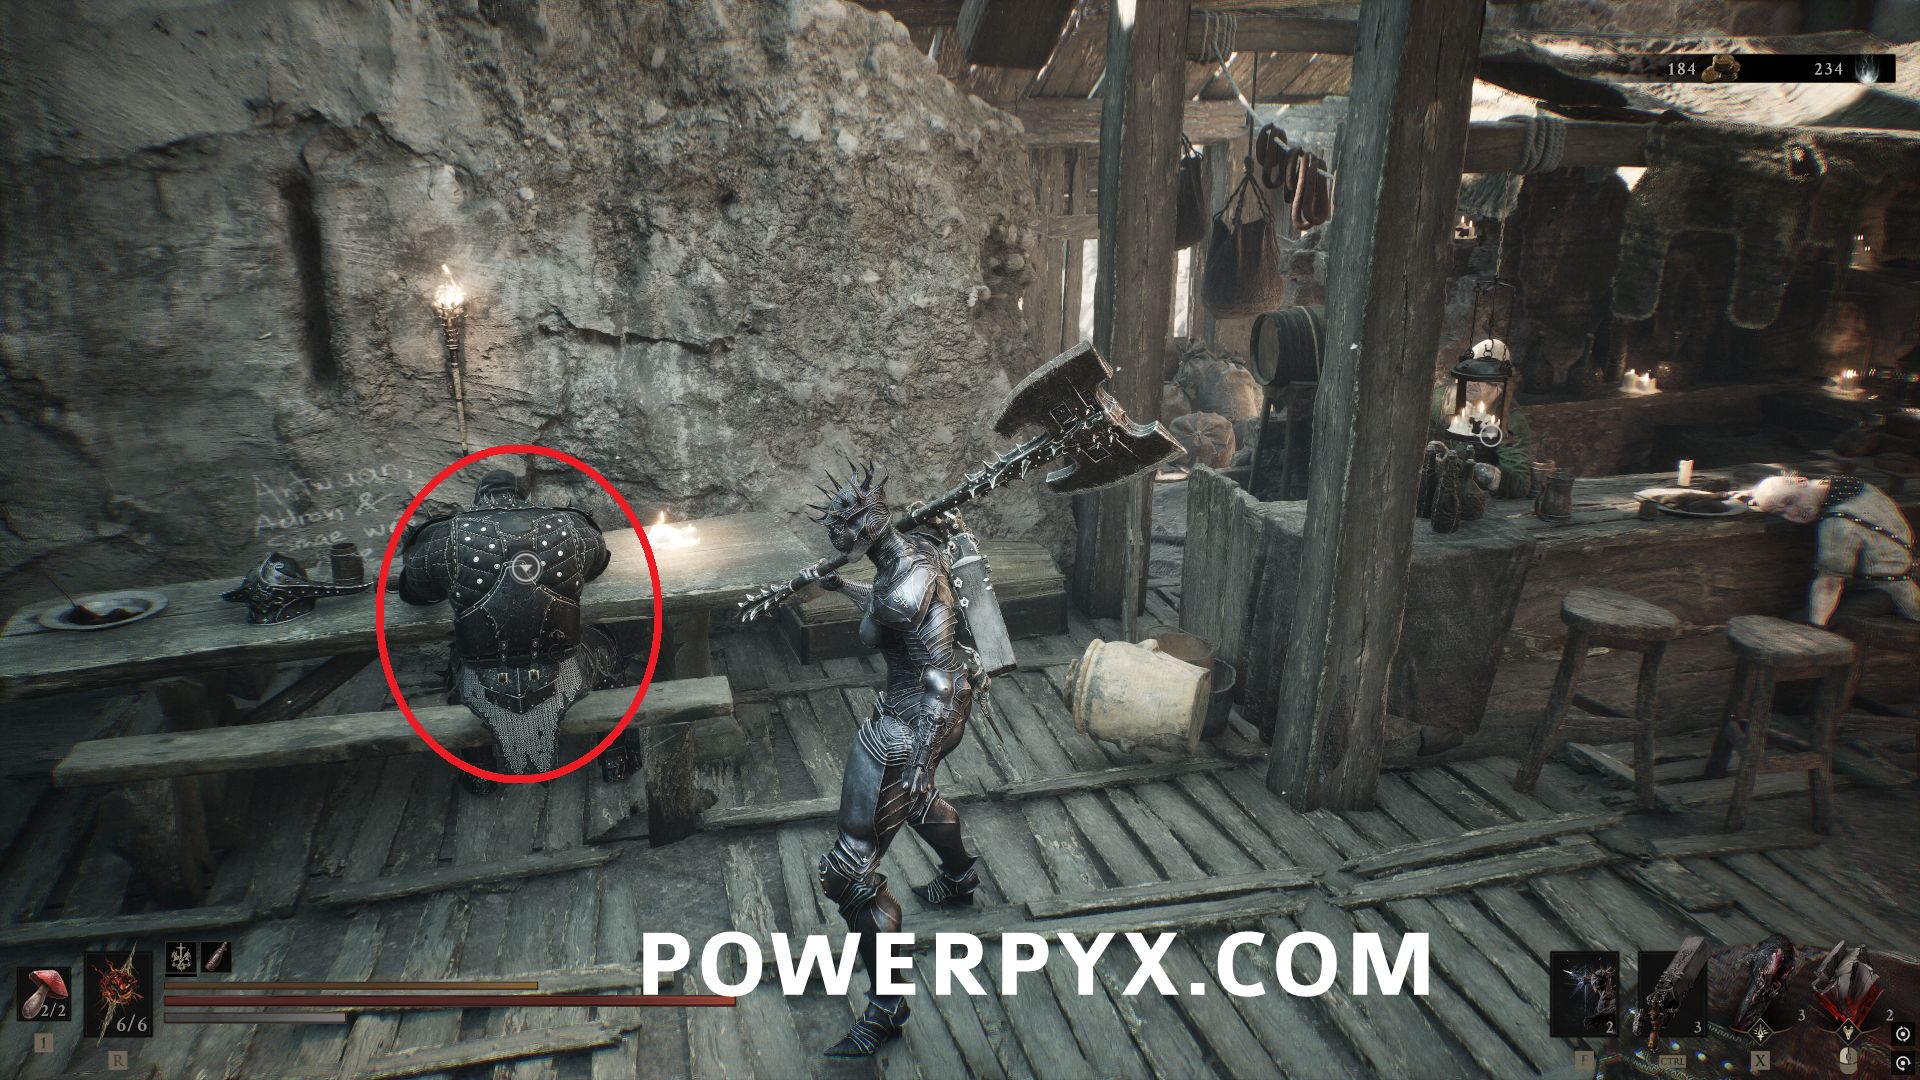
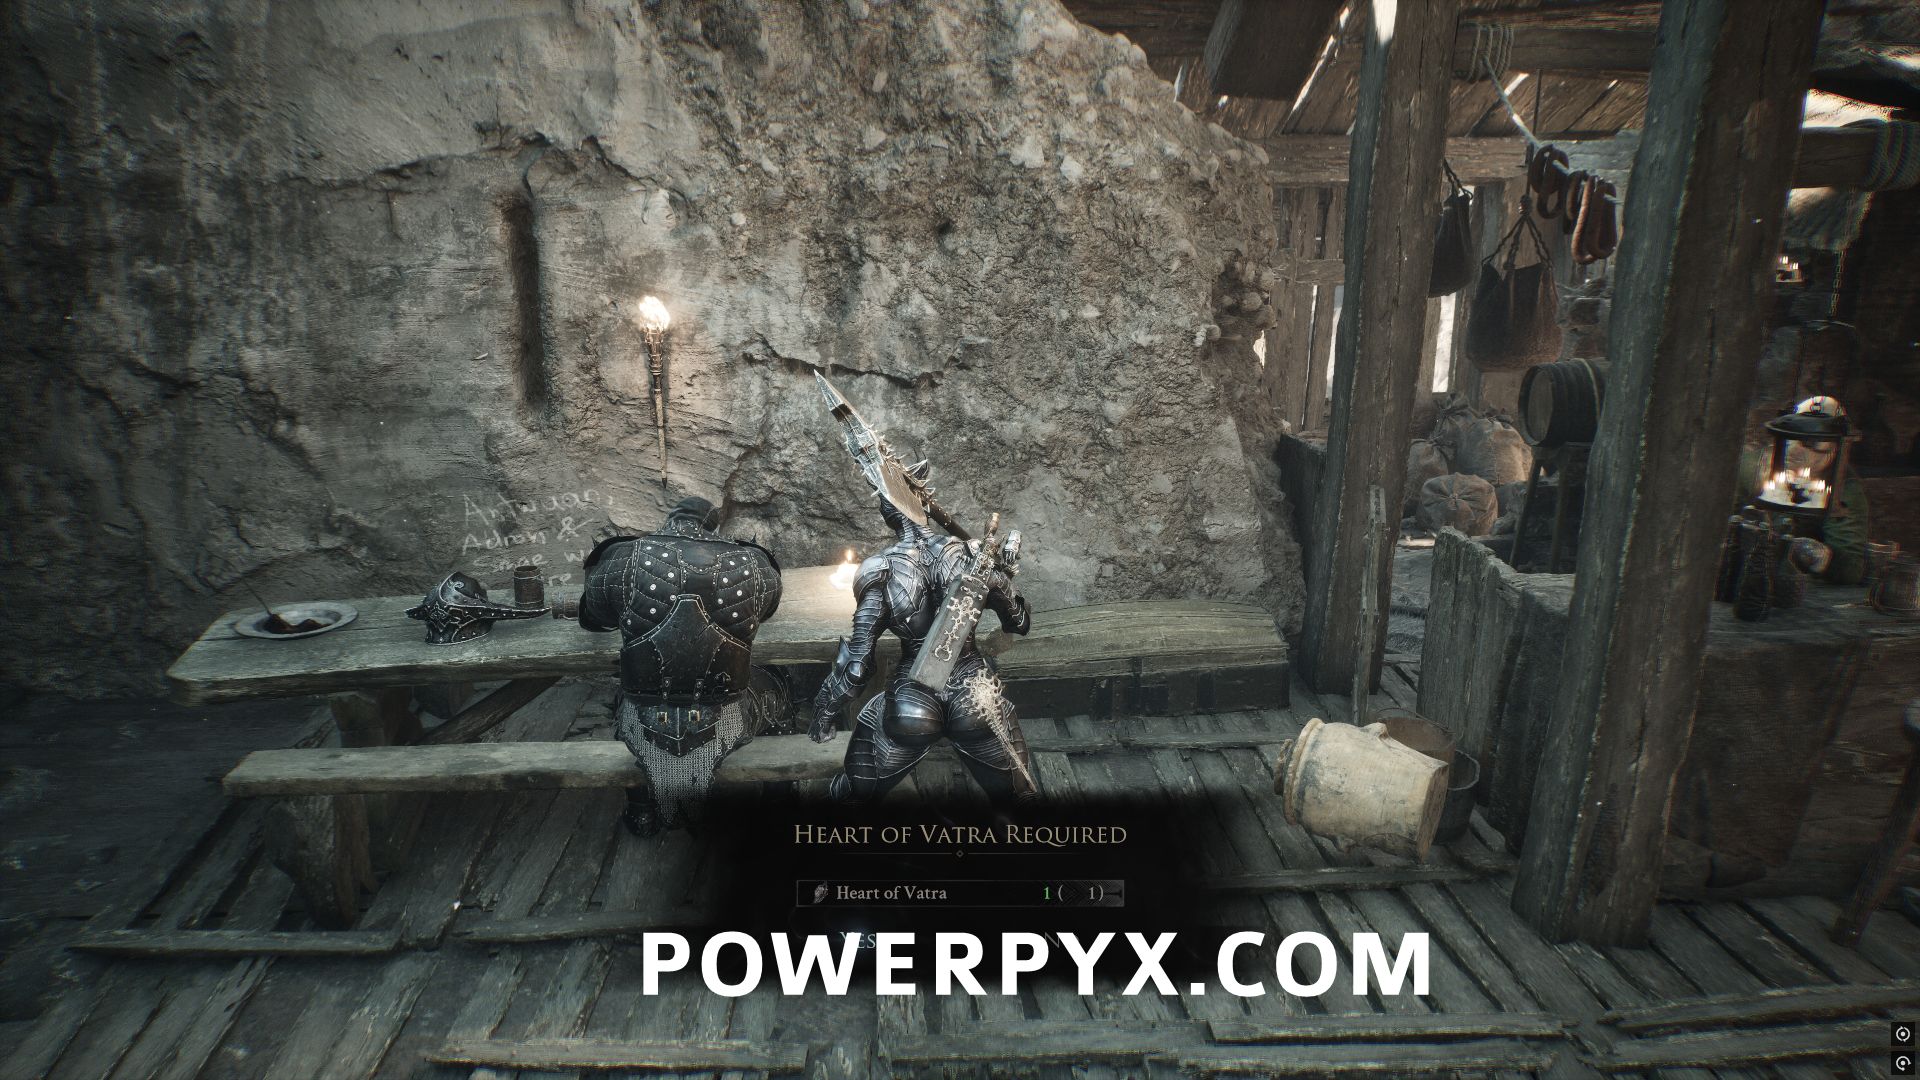
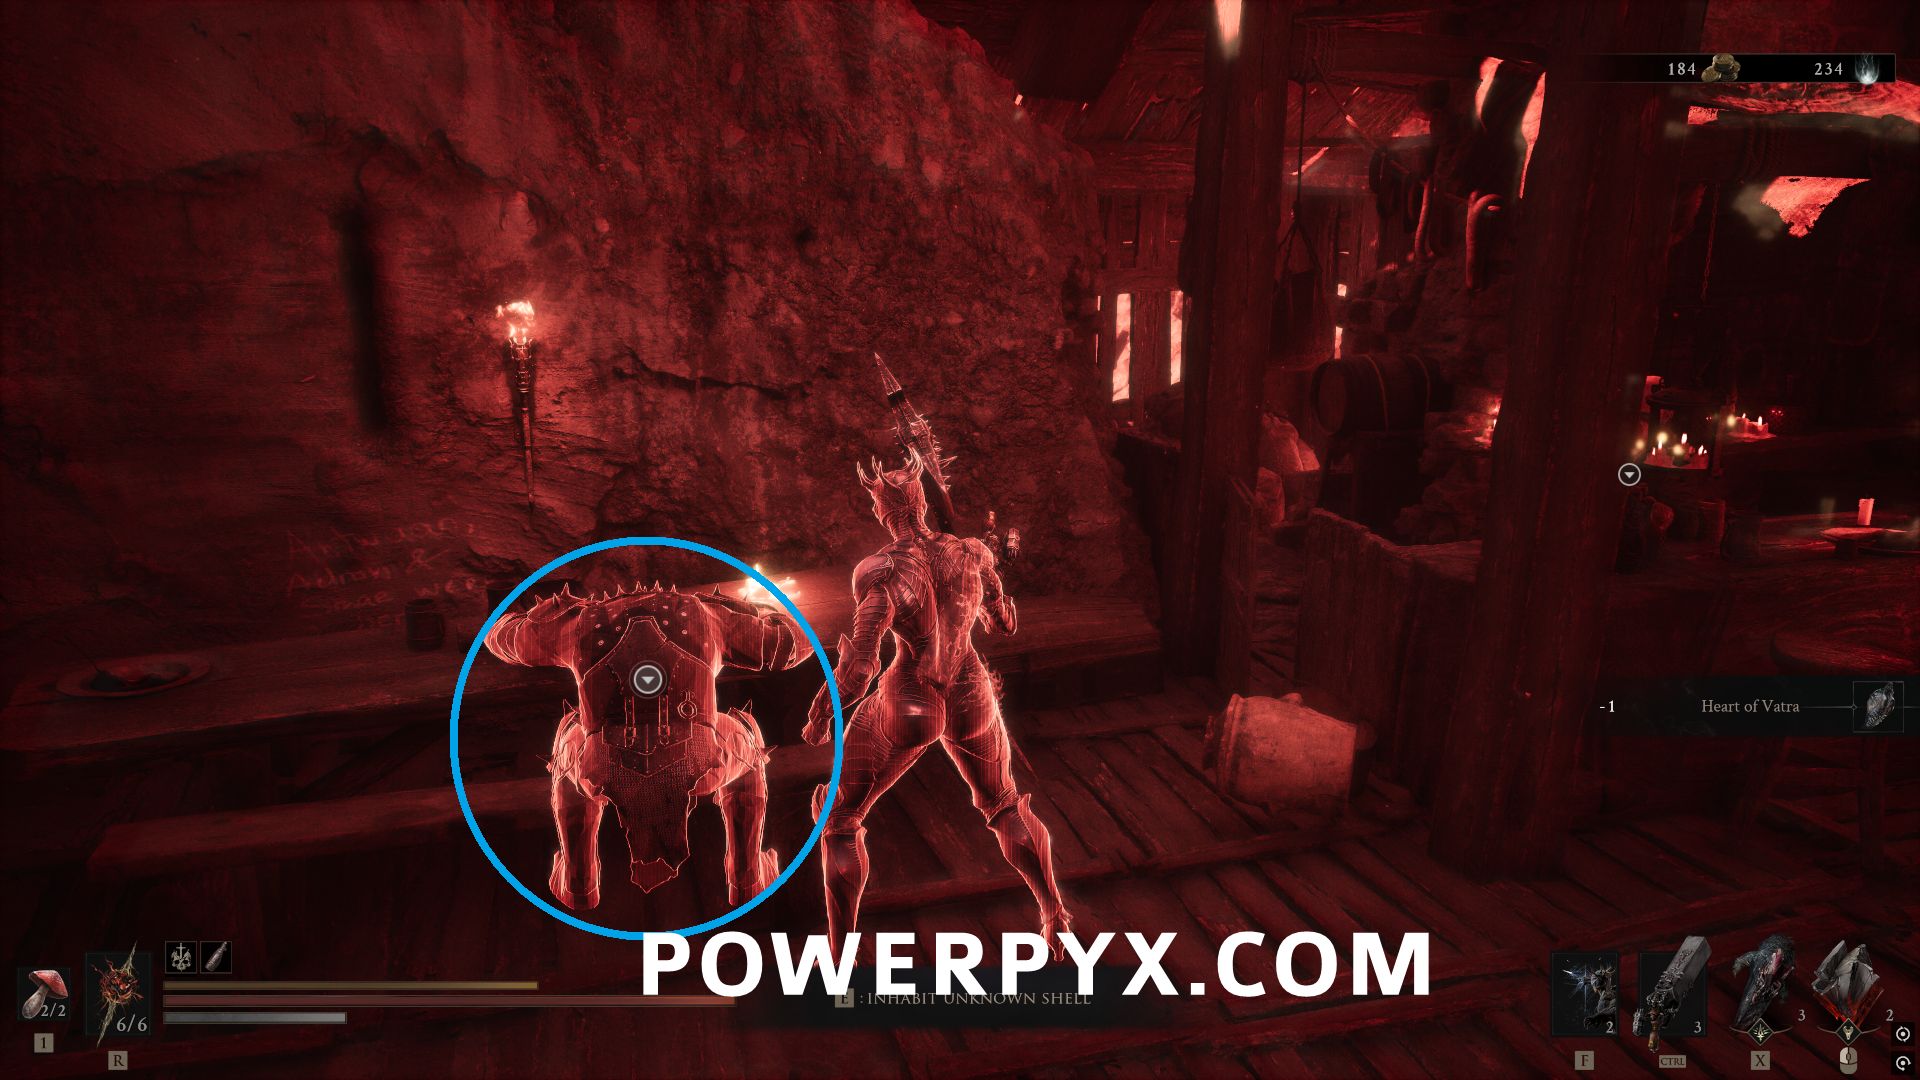
Keep talking to him until he gives the option to give an item, and give him the Heart of Vatra. After he dies, choose to inhabit him to gain him as a shell.
#6 – Genessa
Southeast of Outskirts of Mammon Beacon, use the southeastern jump point to reach the Revenant Graves area. In the open area, go to the north where there is a red glowing item where all of the Genessa illusions are facing.
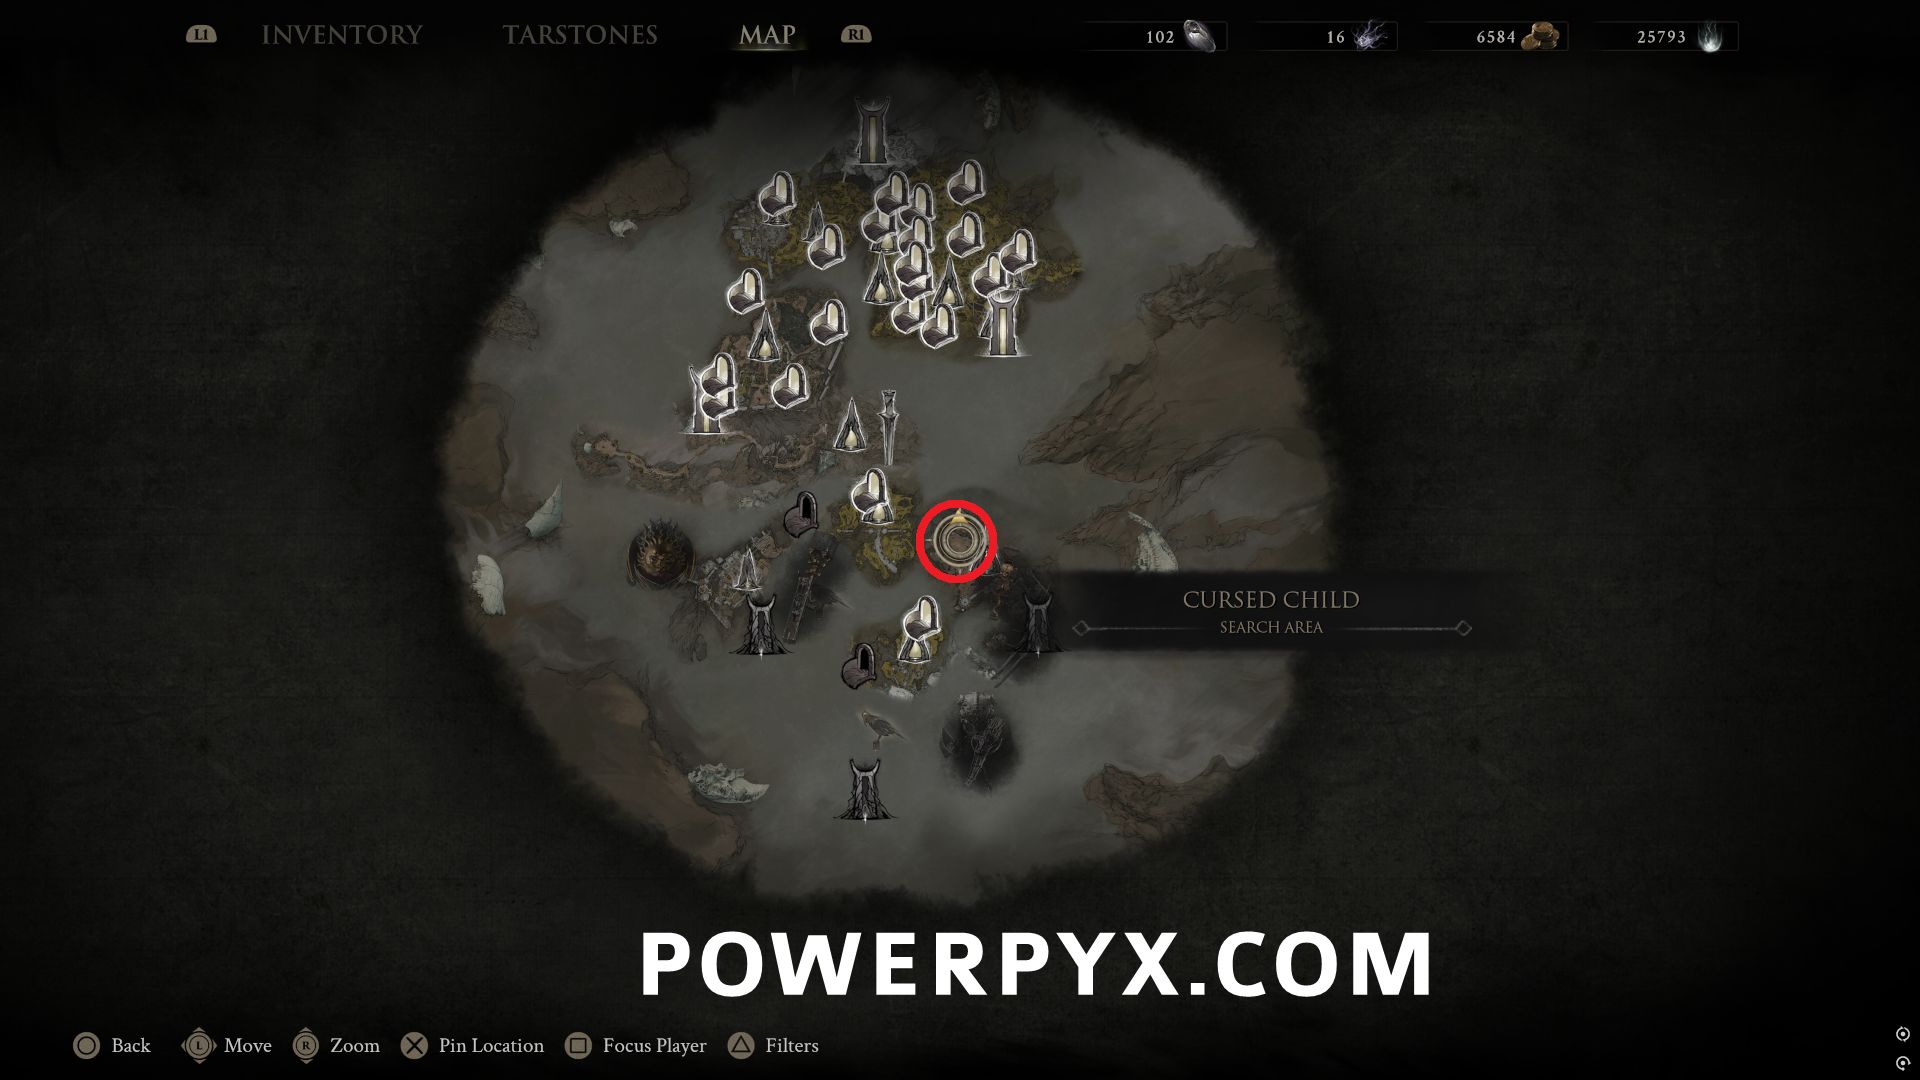
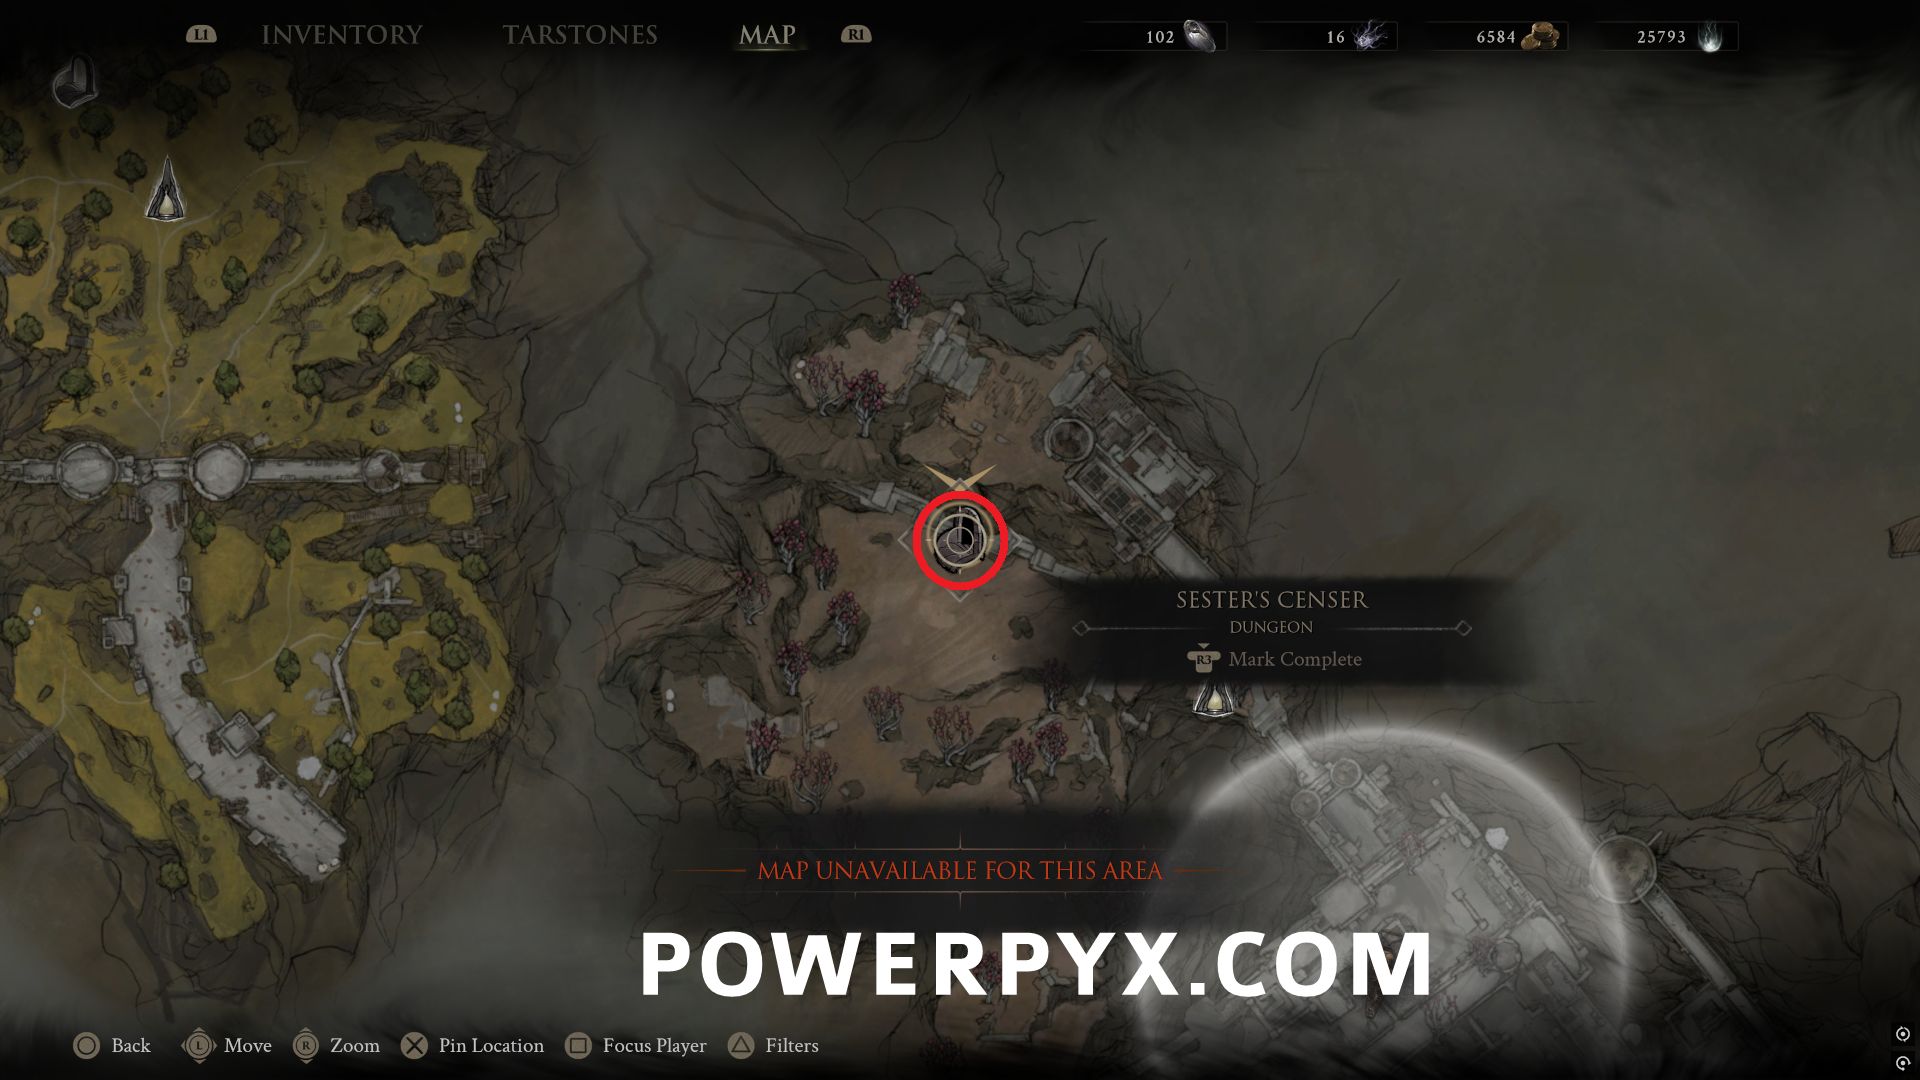
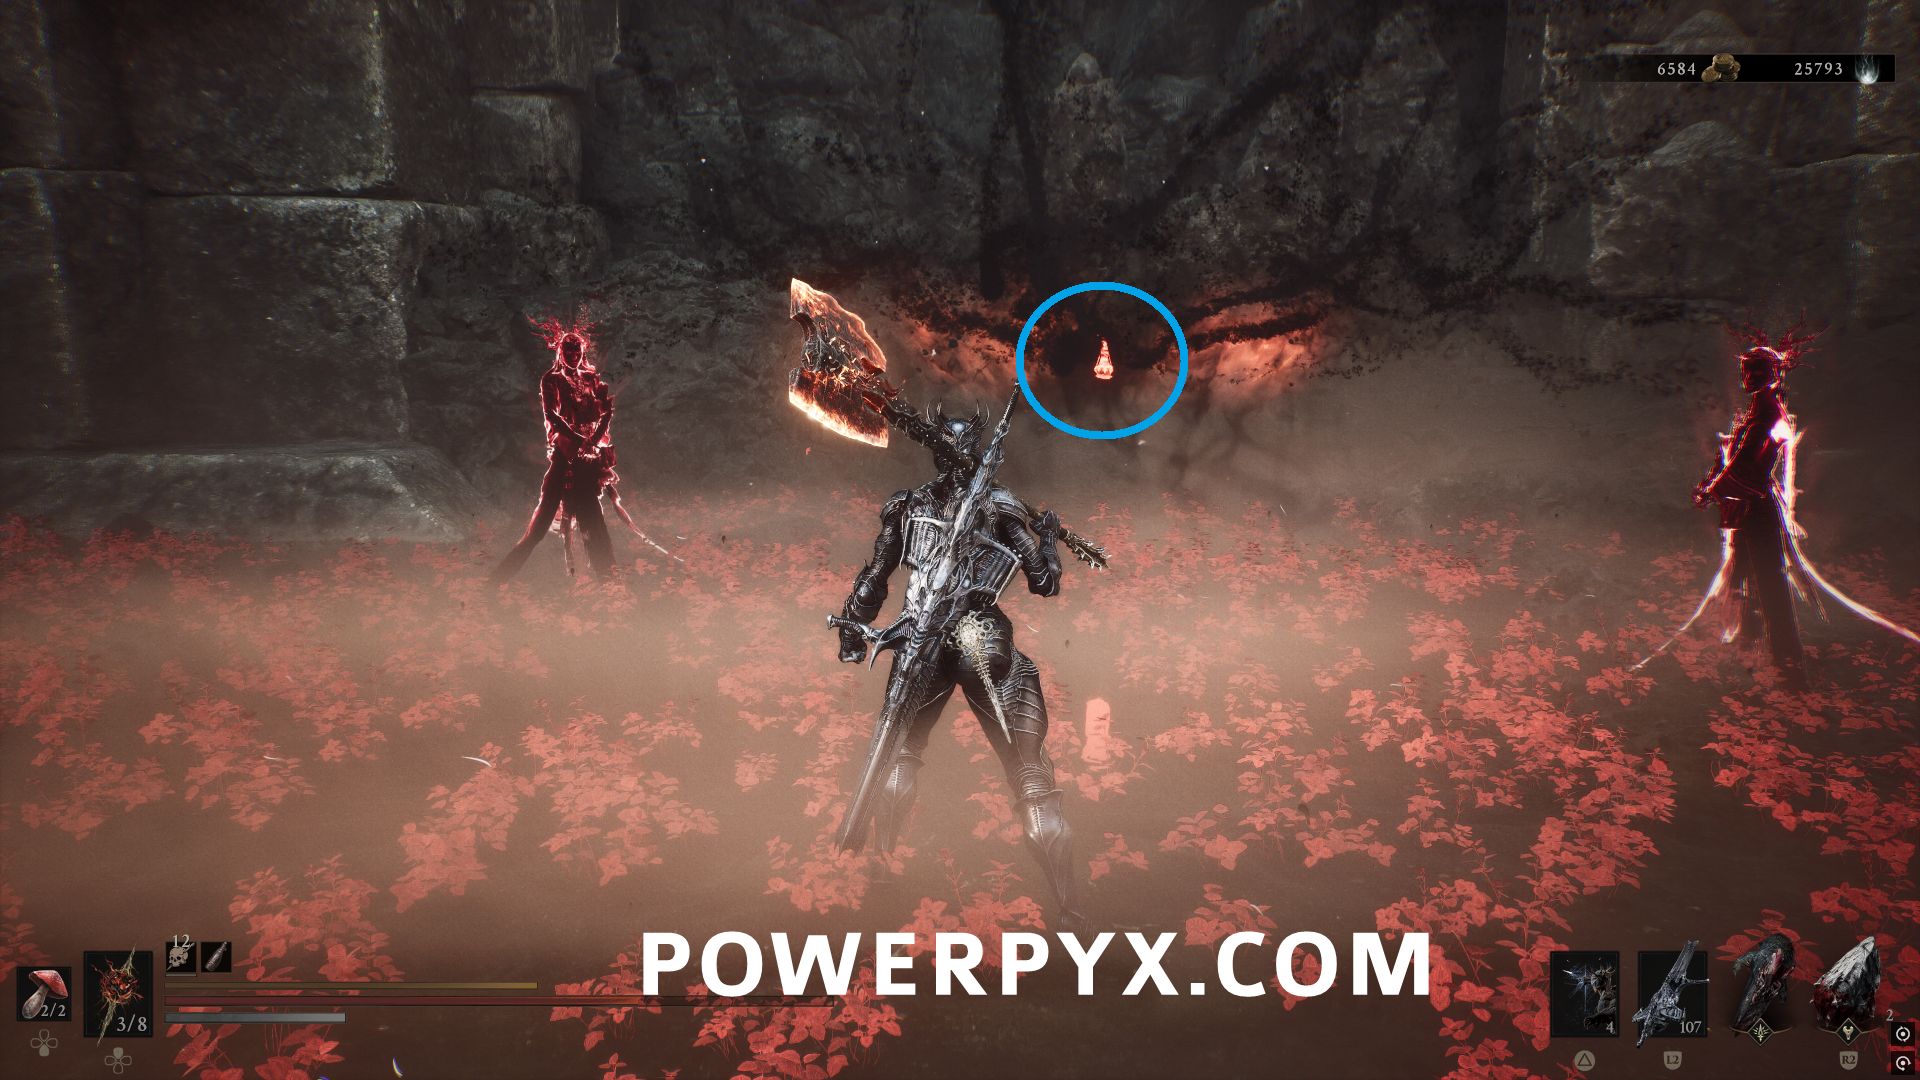
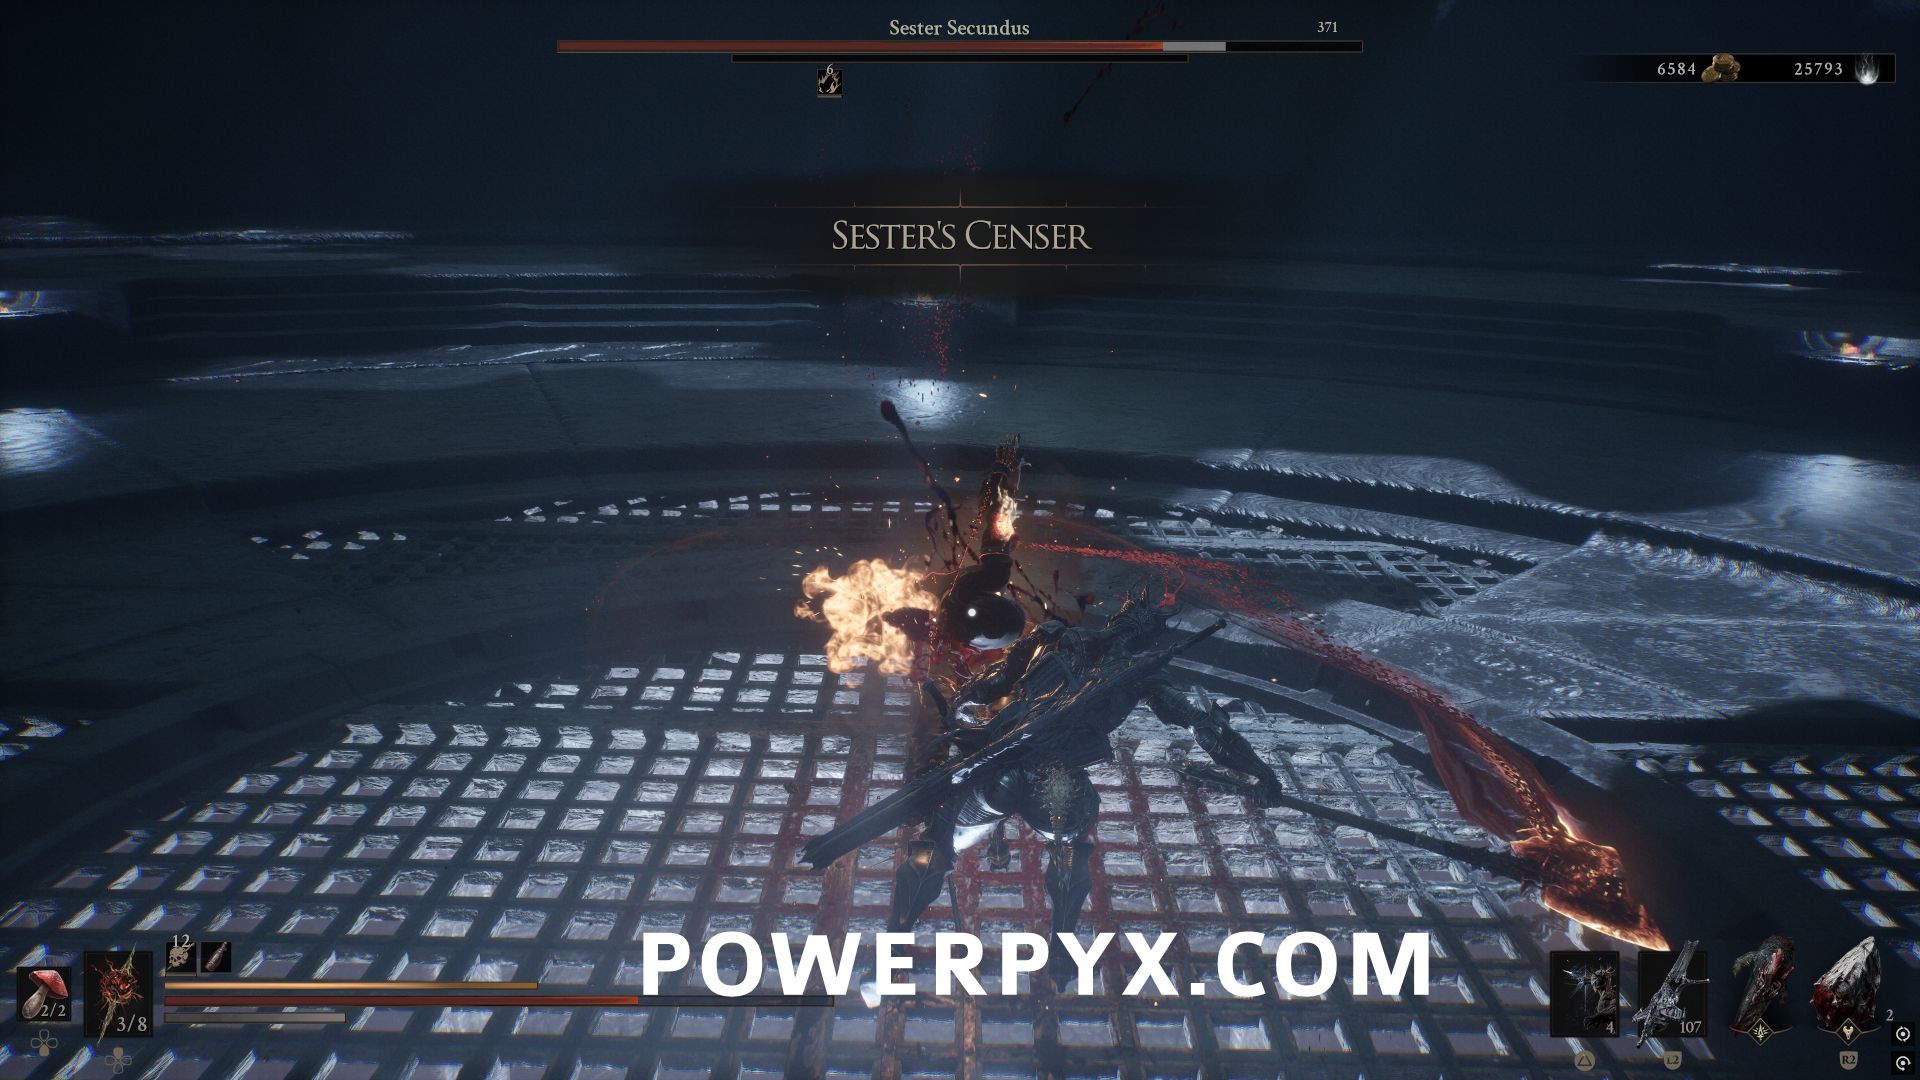
Touch it to be taken to a dungeon area where you must defeat the boss Sester Secundus. After defeating her you will automatically obtain the Sester’s Censer item.
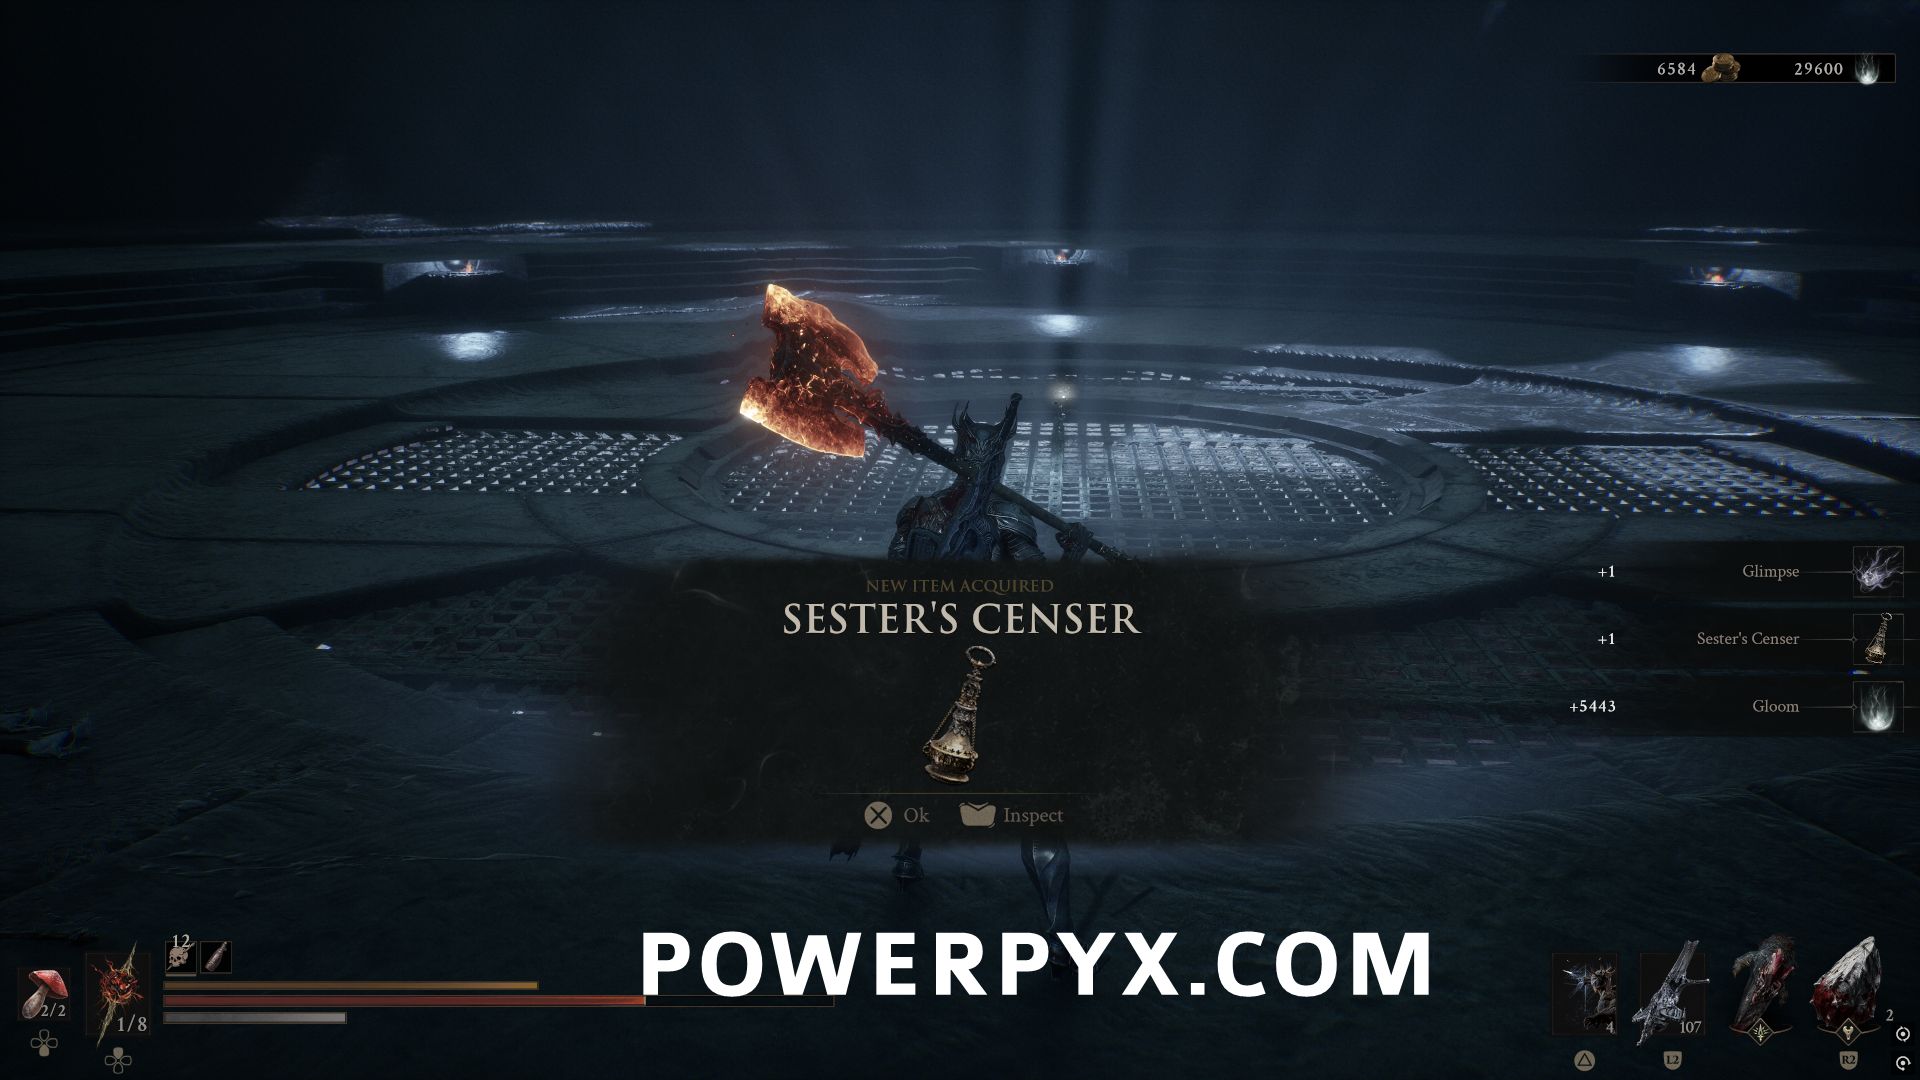
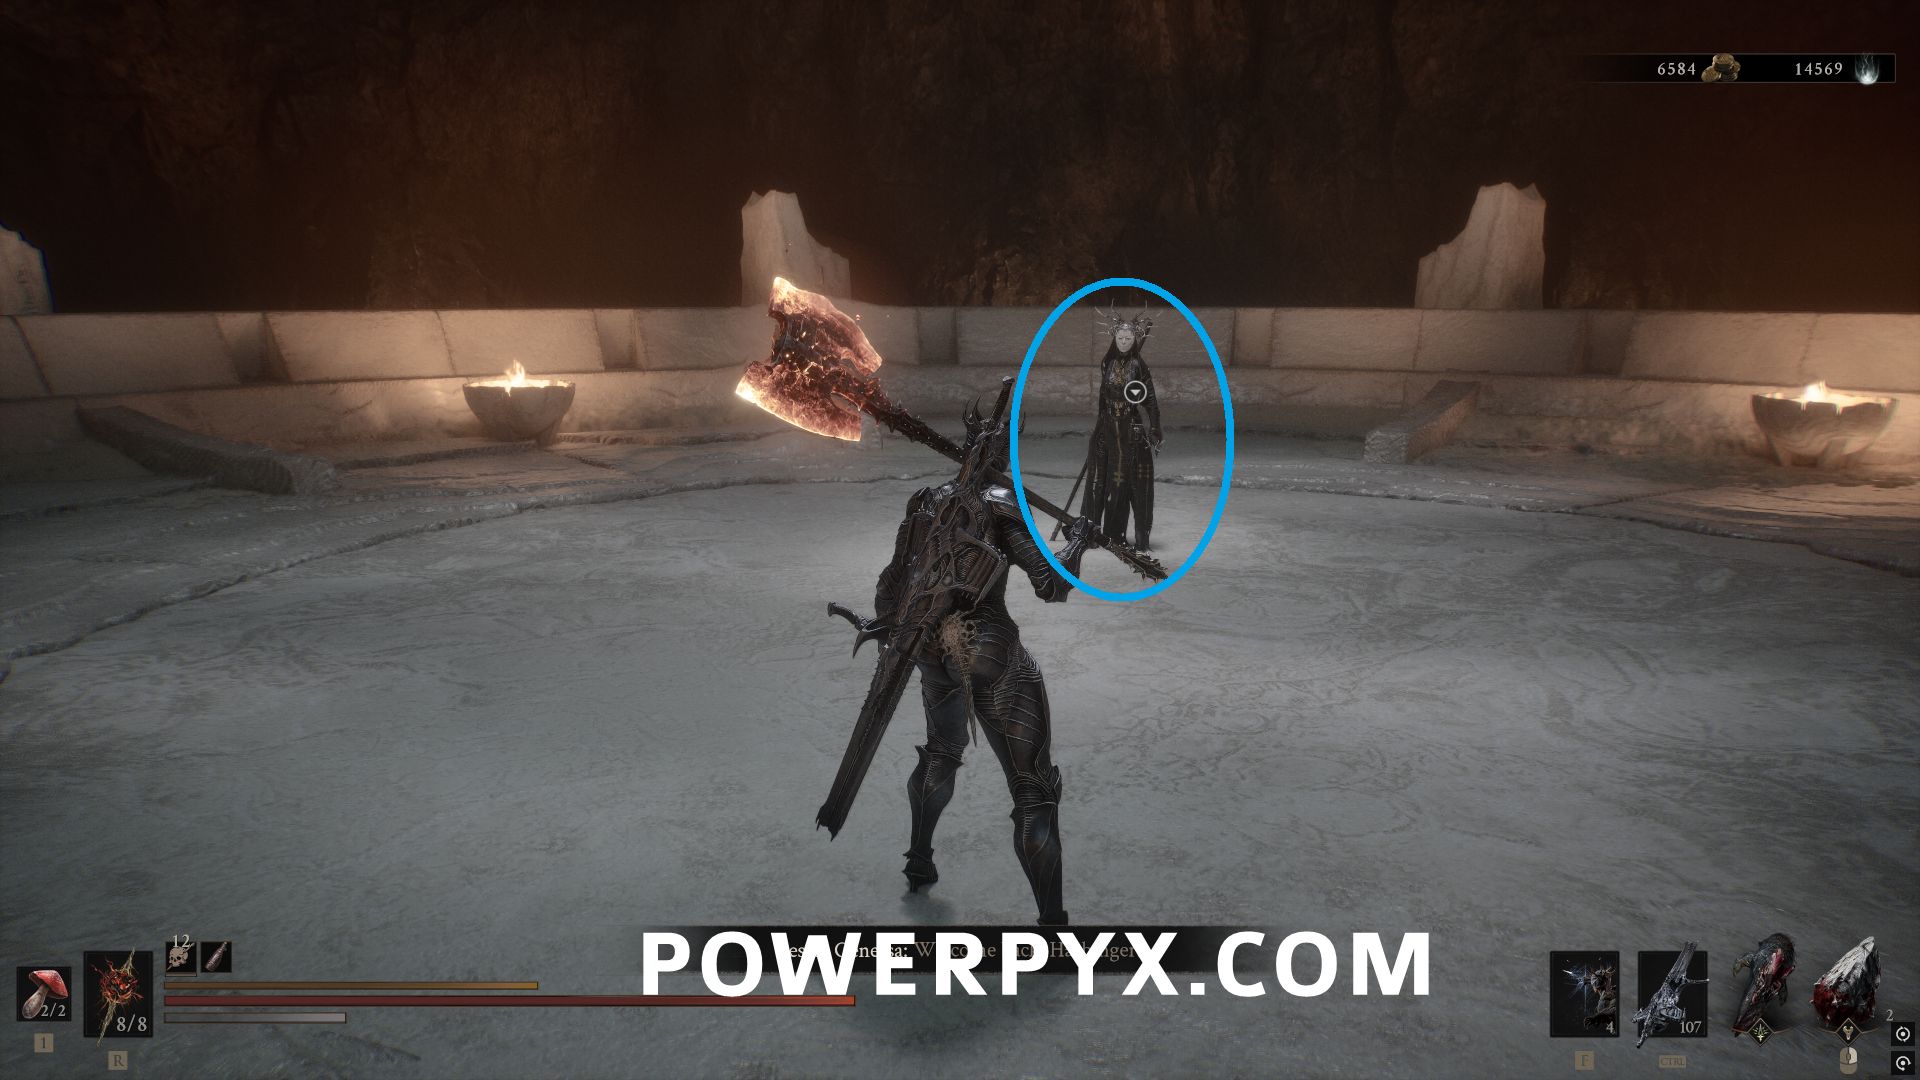
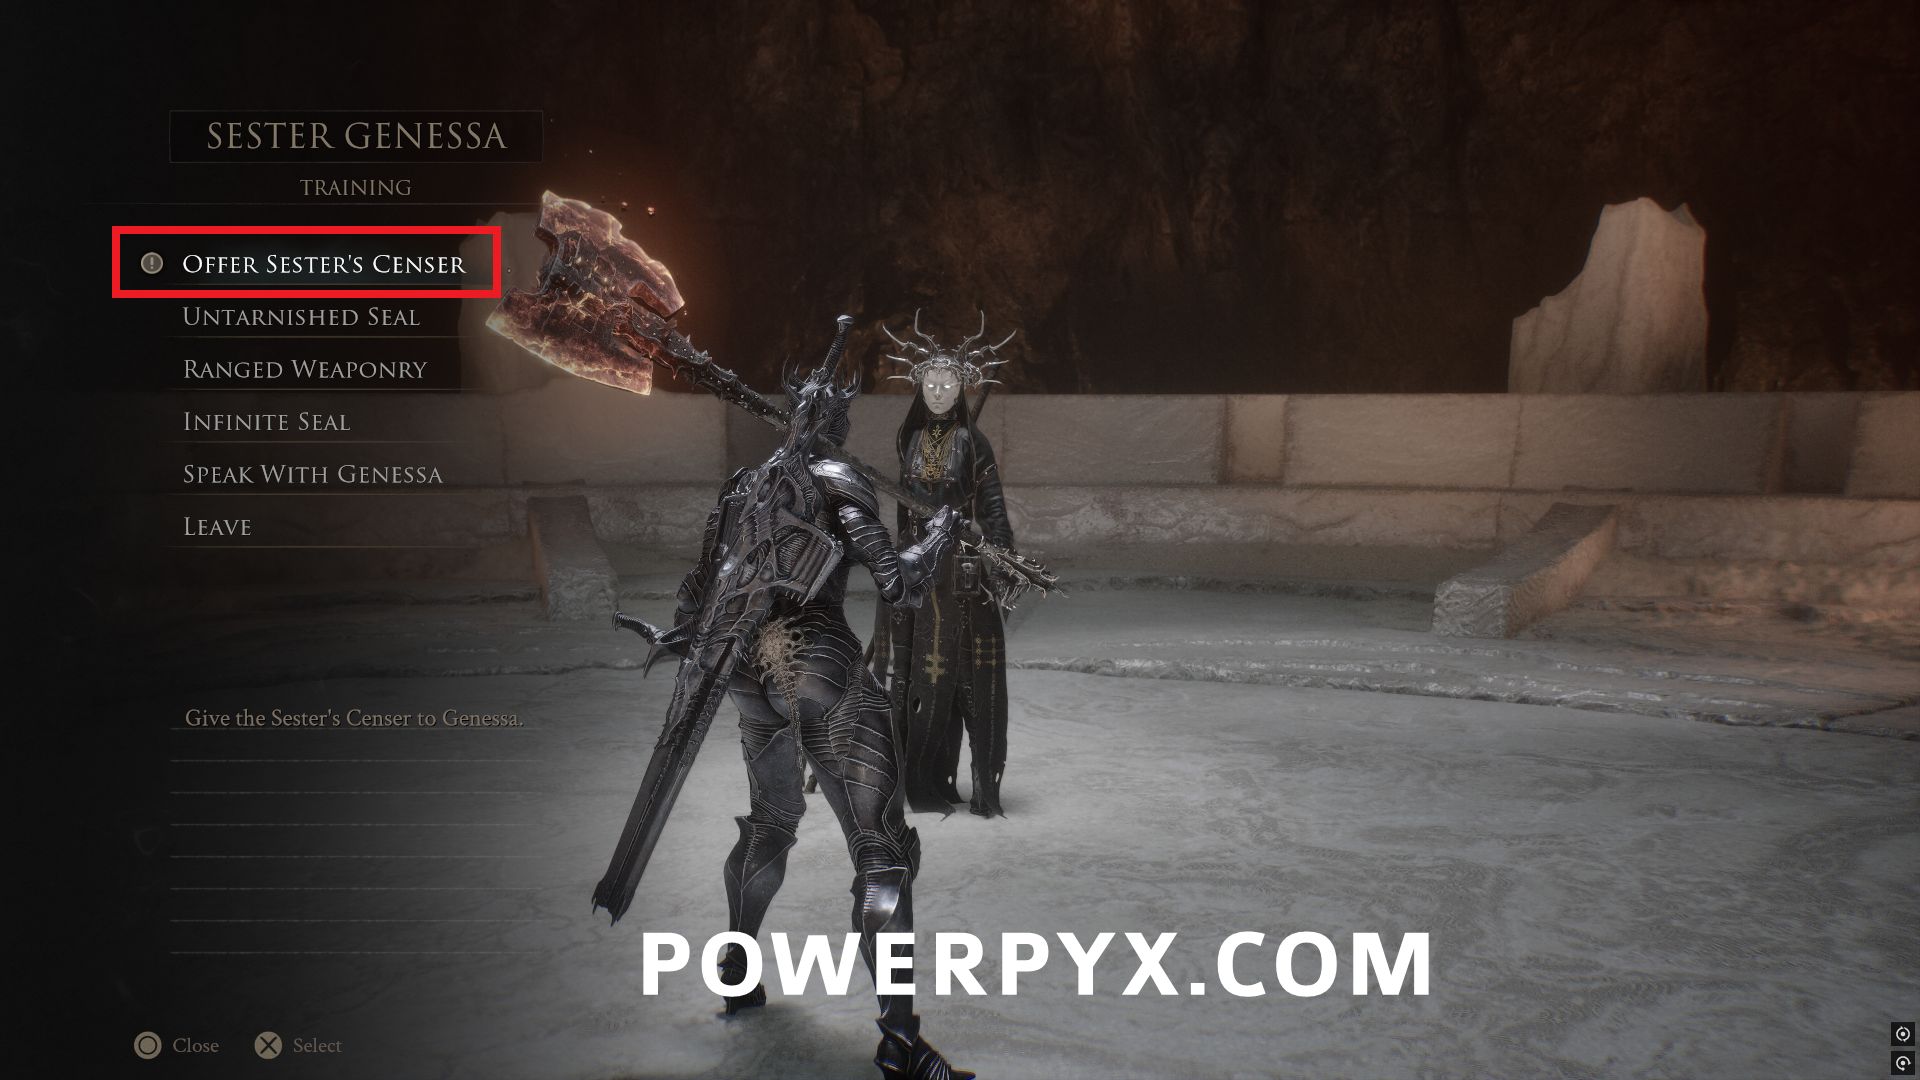
In Marrow Keep, return to Sester Genessa and choose to give her the Sester’s Censer to unlock her as a shell.
#7 – Lazlo
From High Lords Courtyard Beacon, go to the west where there is a large stairwell you can go down, leading to an underground area. Go to the end of the underground area and defeat the boss Vellen, High Lord of Mammon.
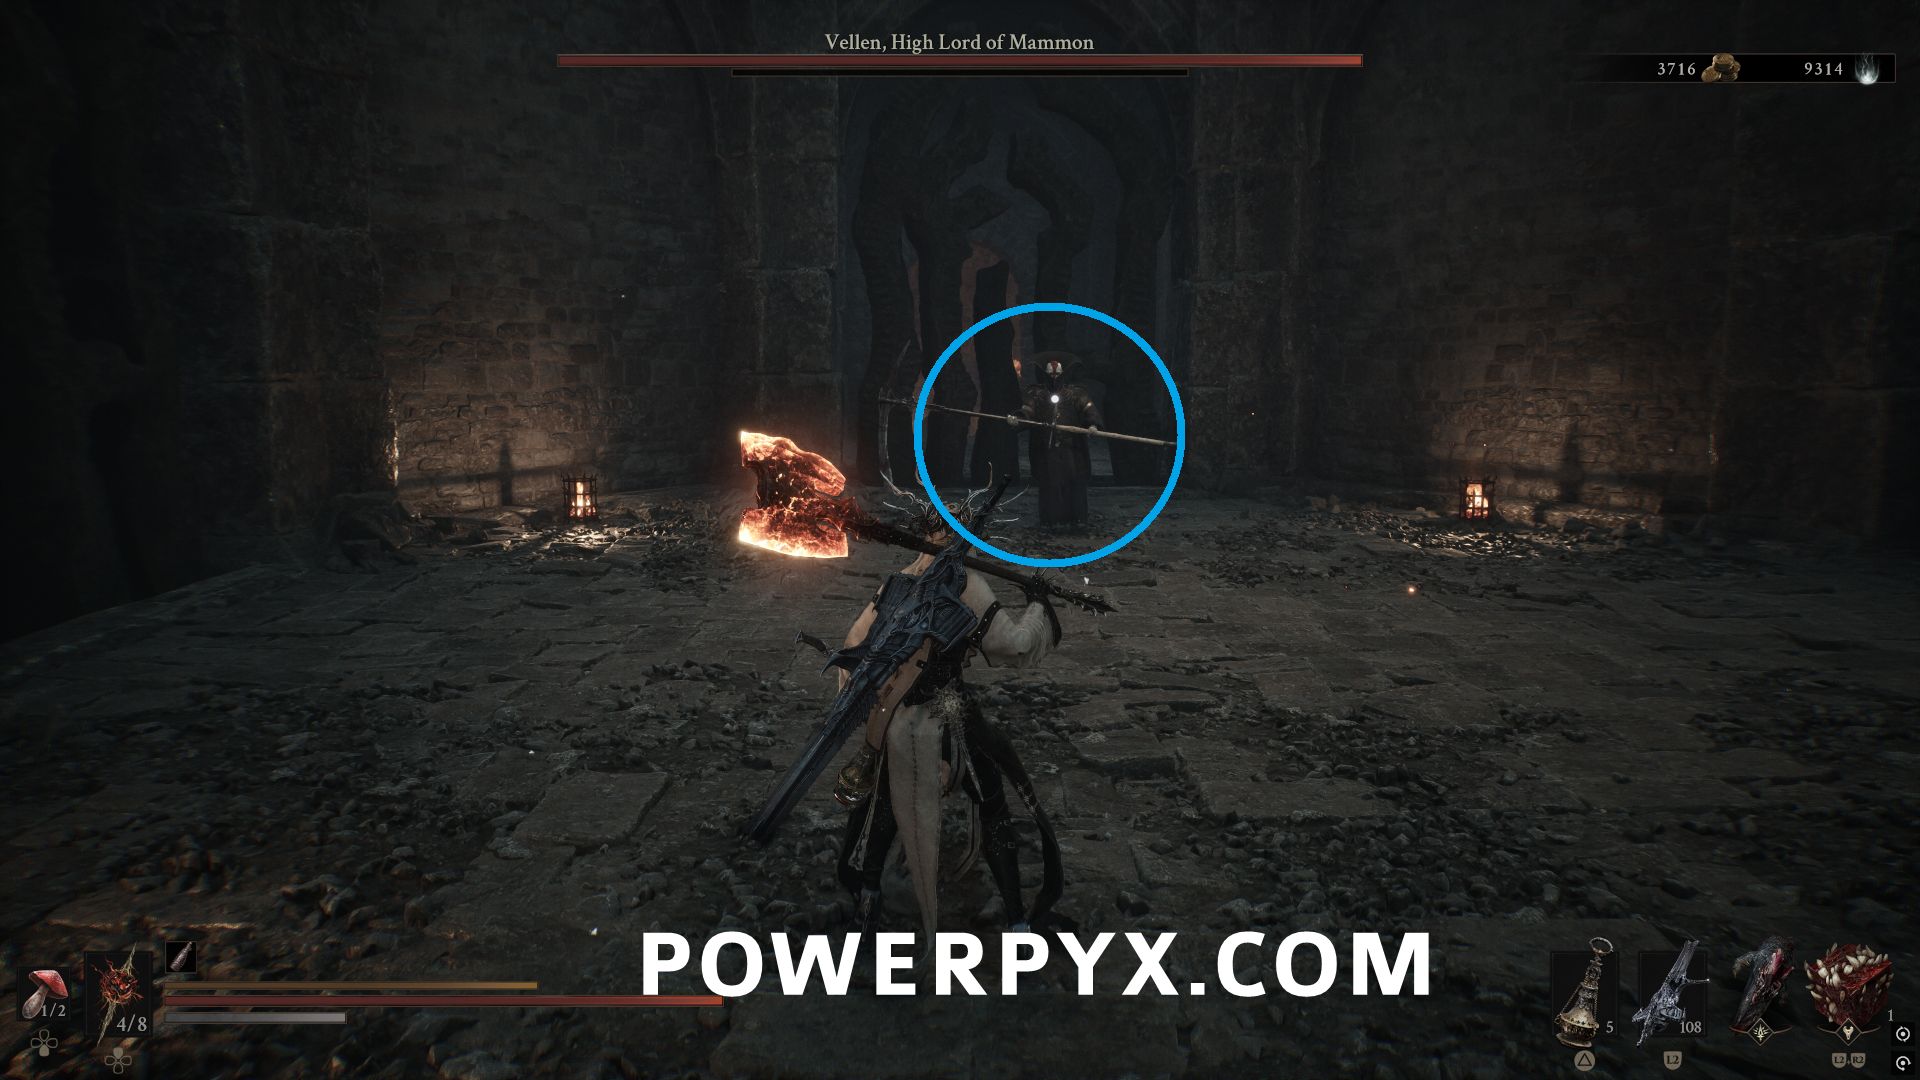
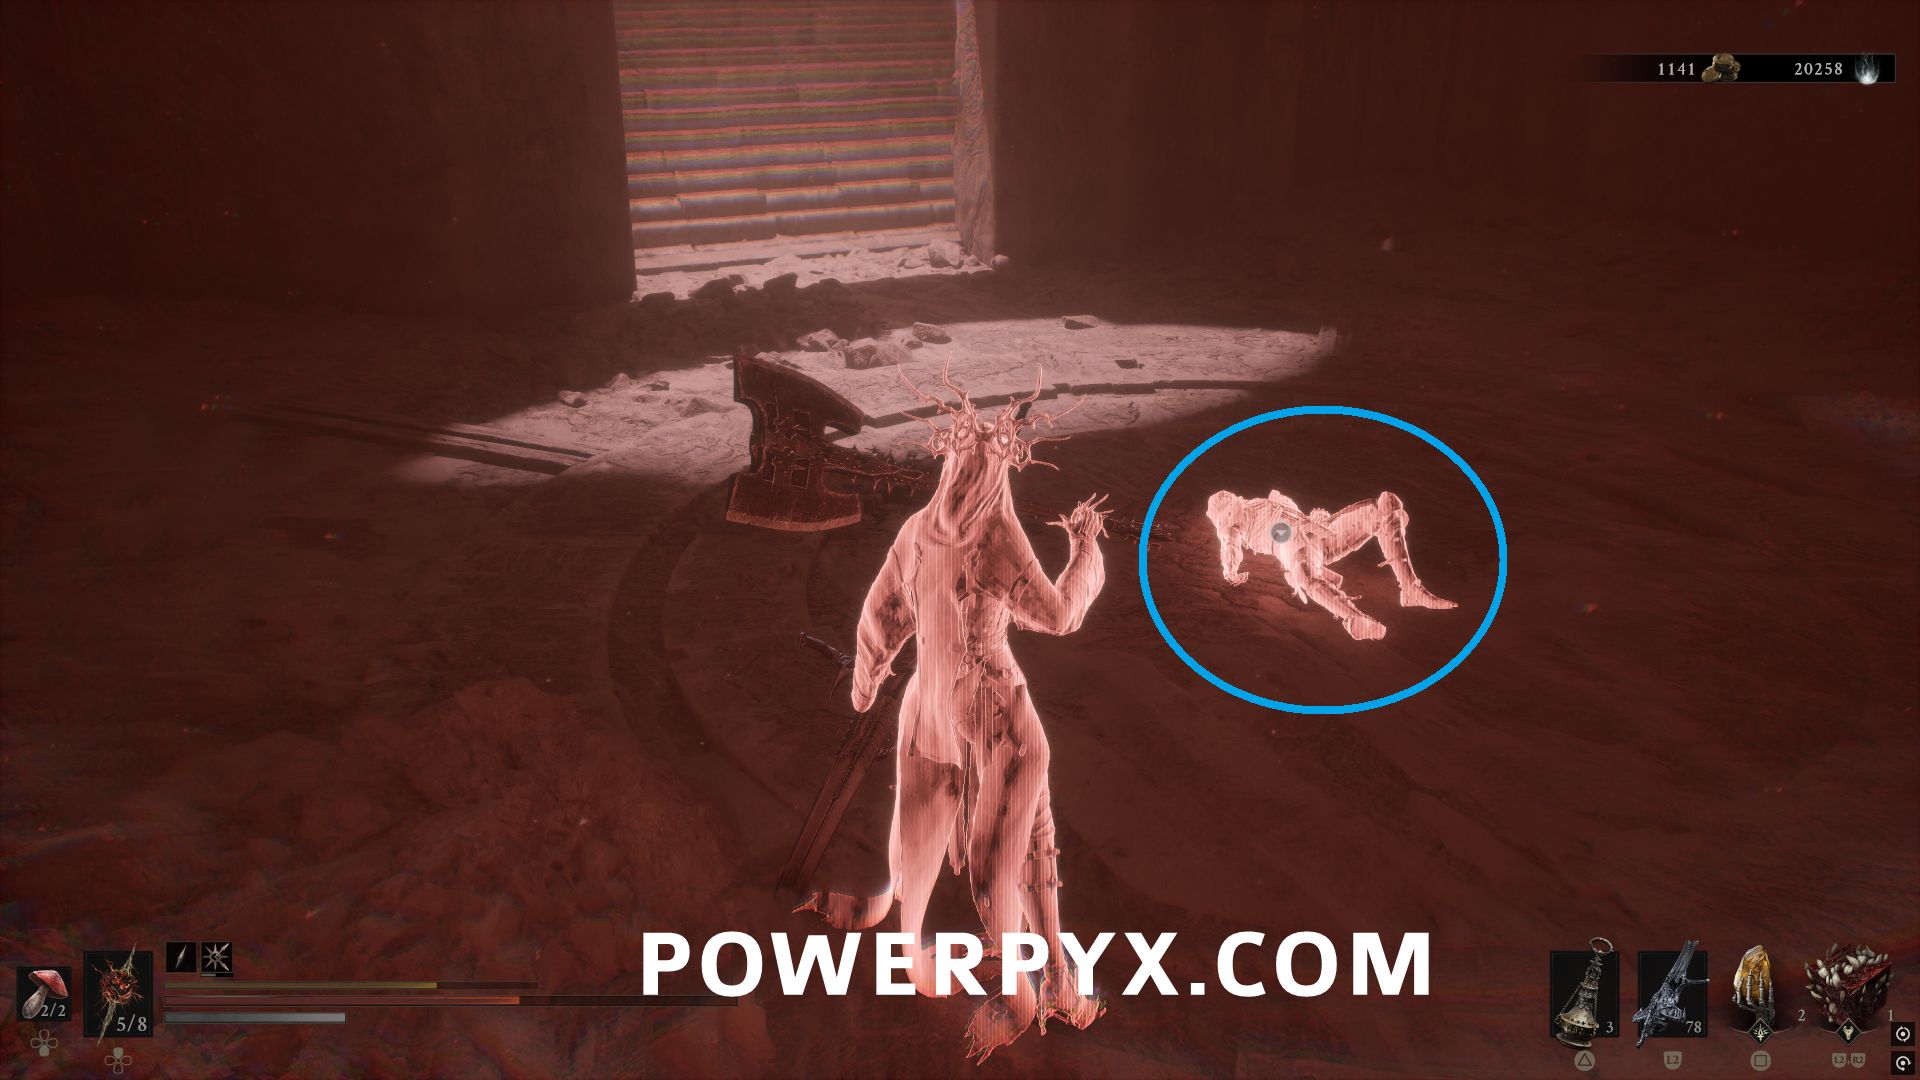
After they are defeated, go in the room behind them and interact with the body to obtain the Shell.
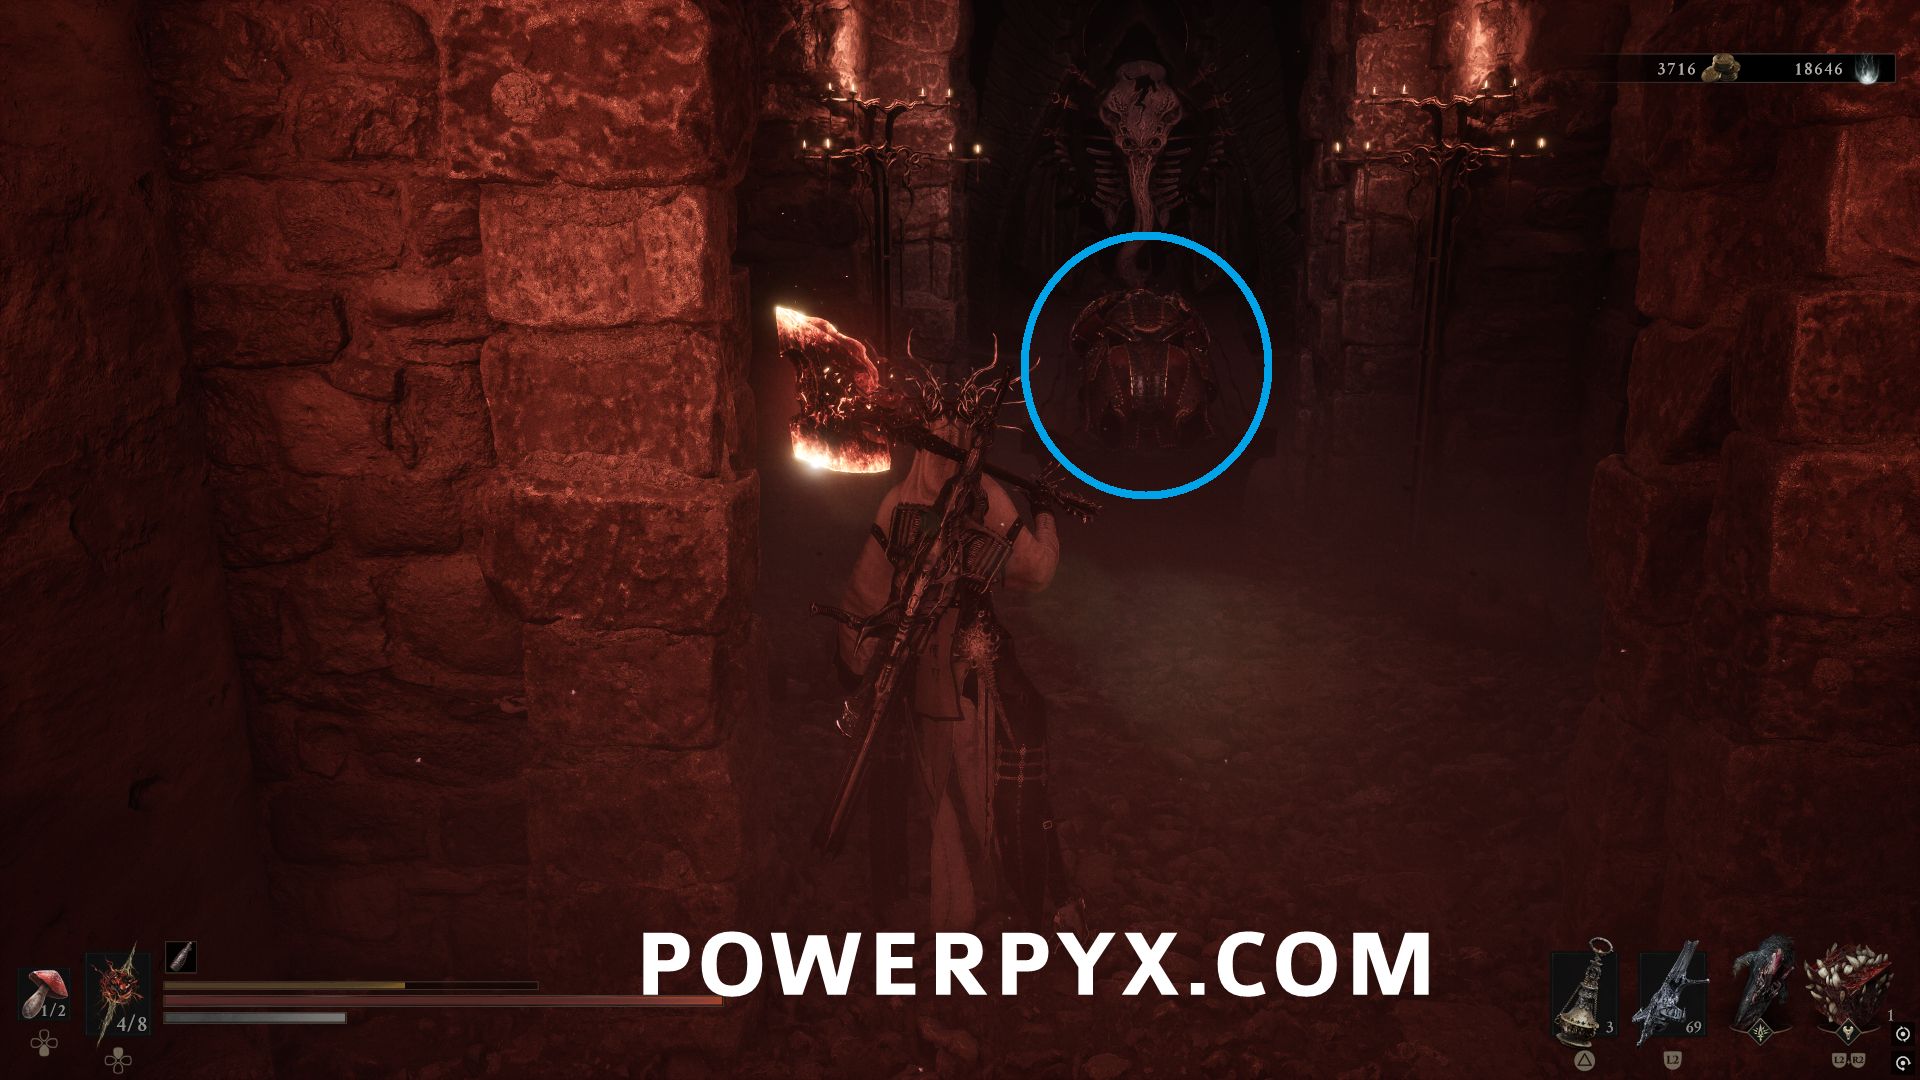
#8 – Sariel
Southeast of The Silent Steps Beacon, go to the large stone platform where you encounter the miniboss Sariel, the Endless.
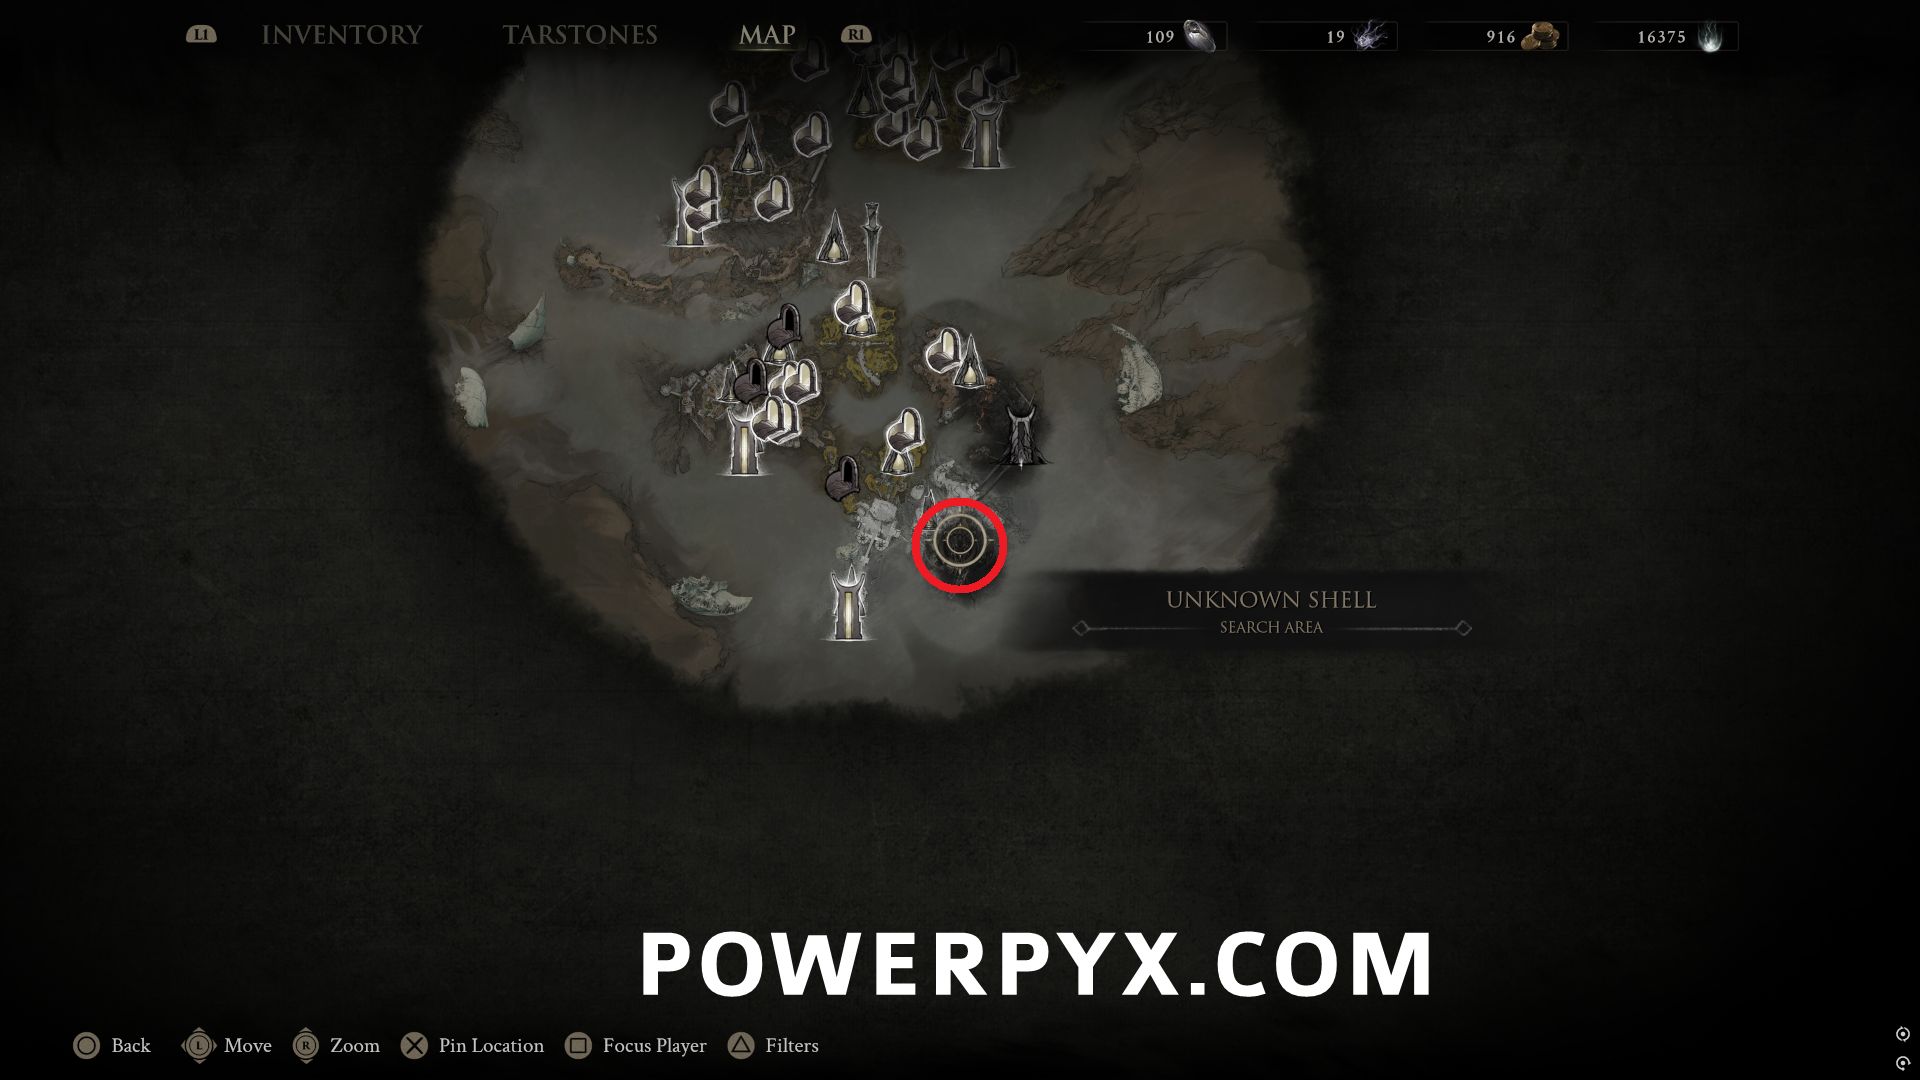
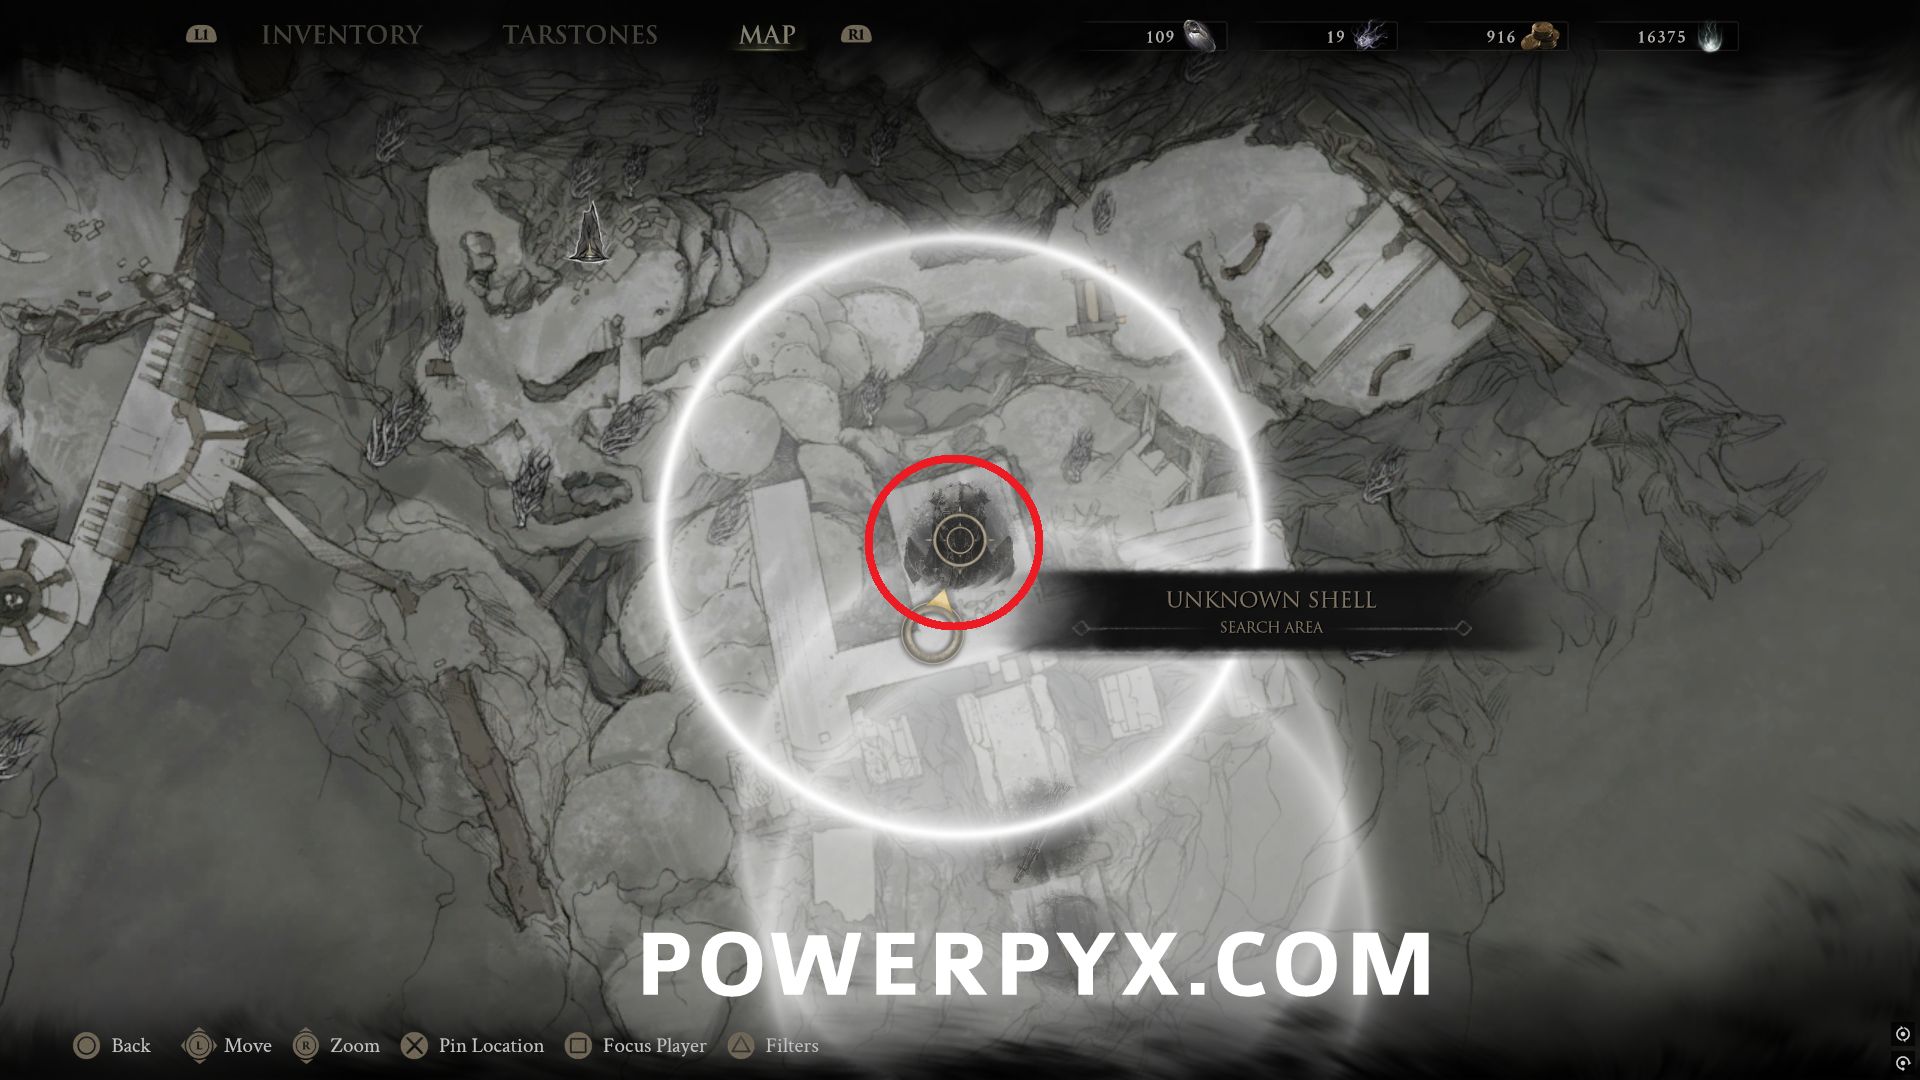
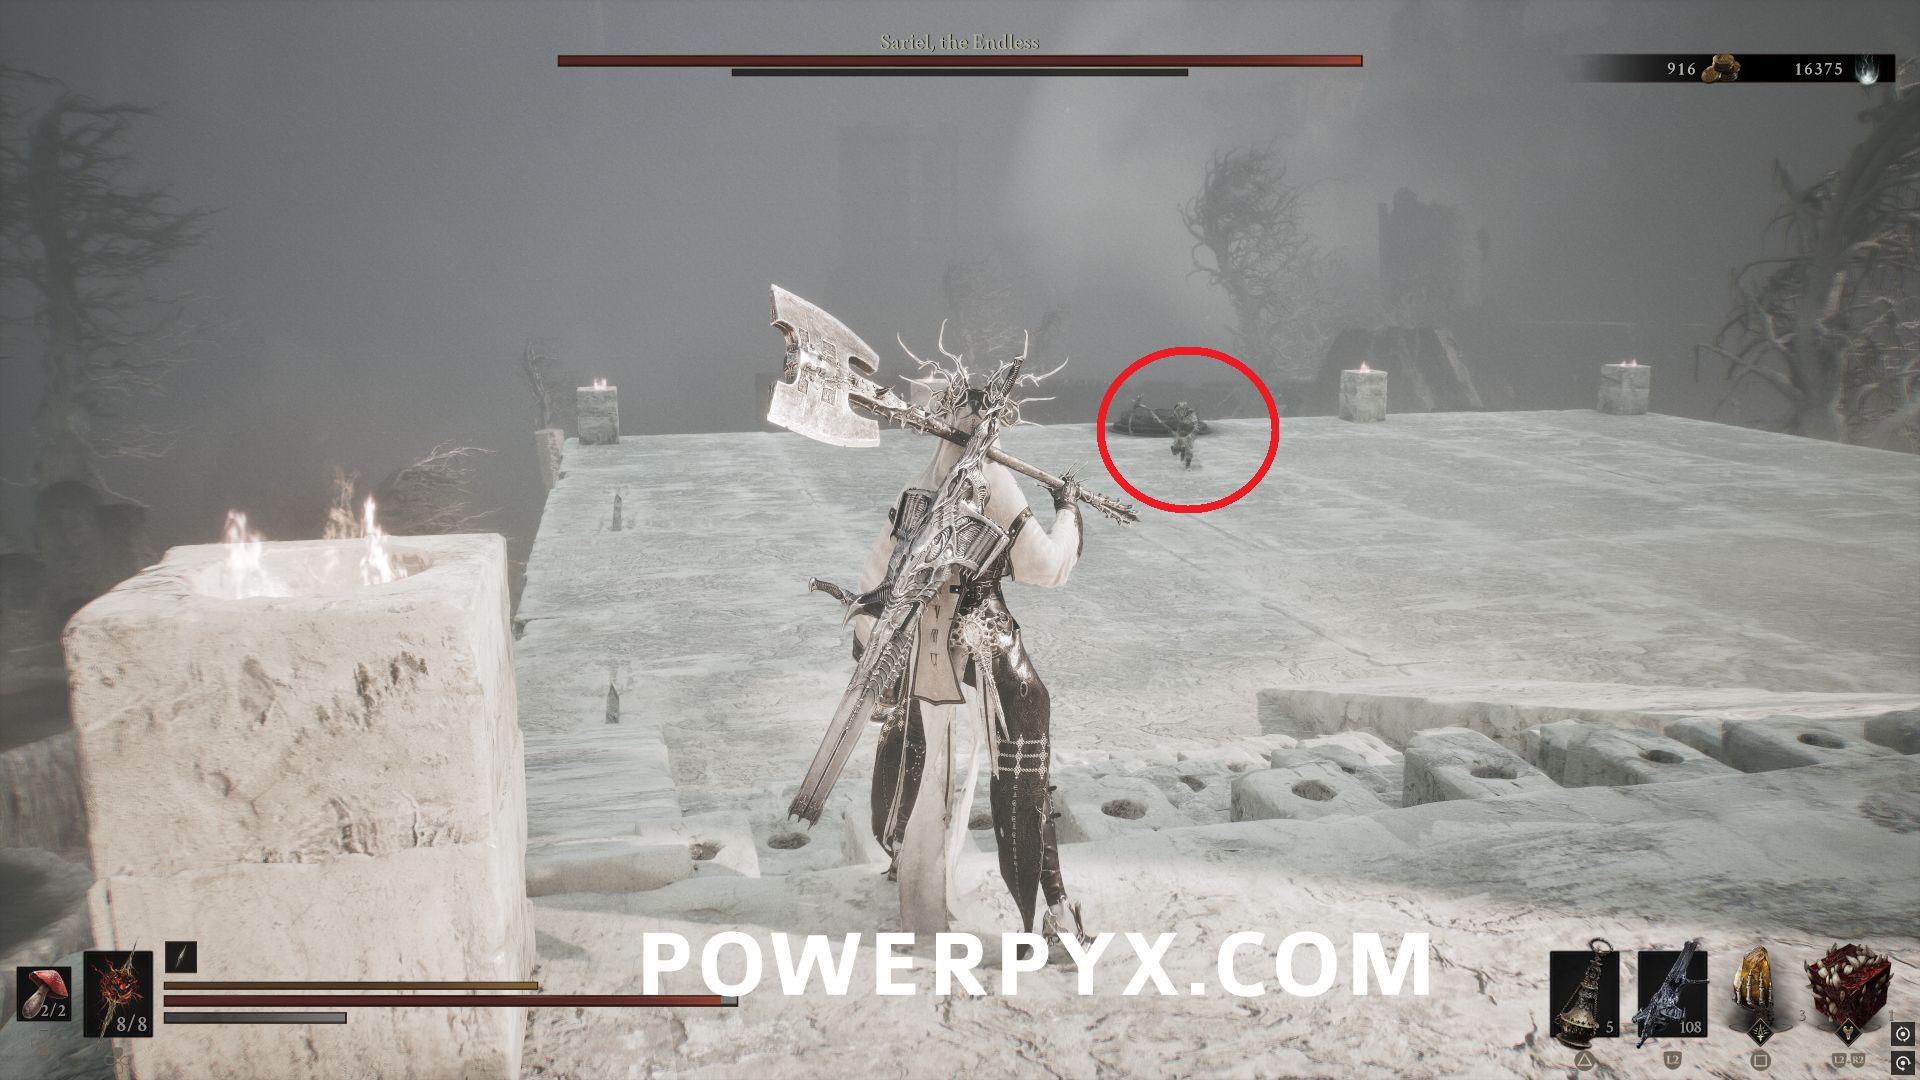
After you defeat him the first time he will move through the walls to the south, opening them so that you can enter the Chamber of Becoming Dungeon.
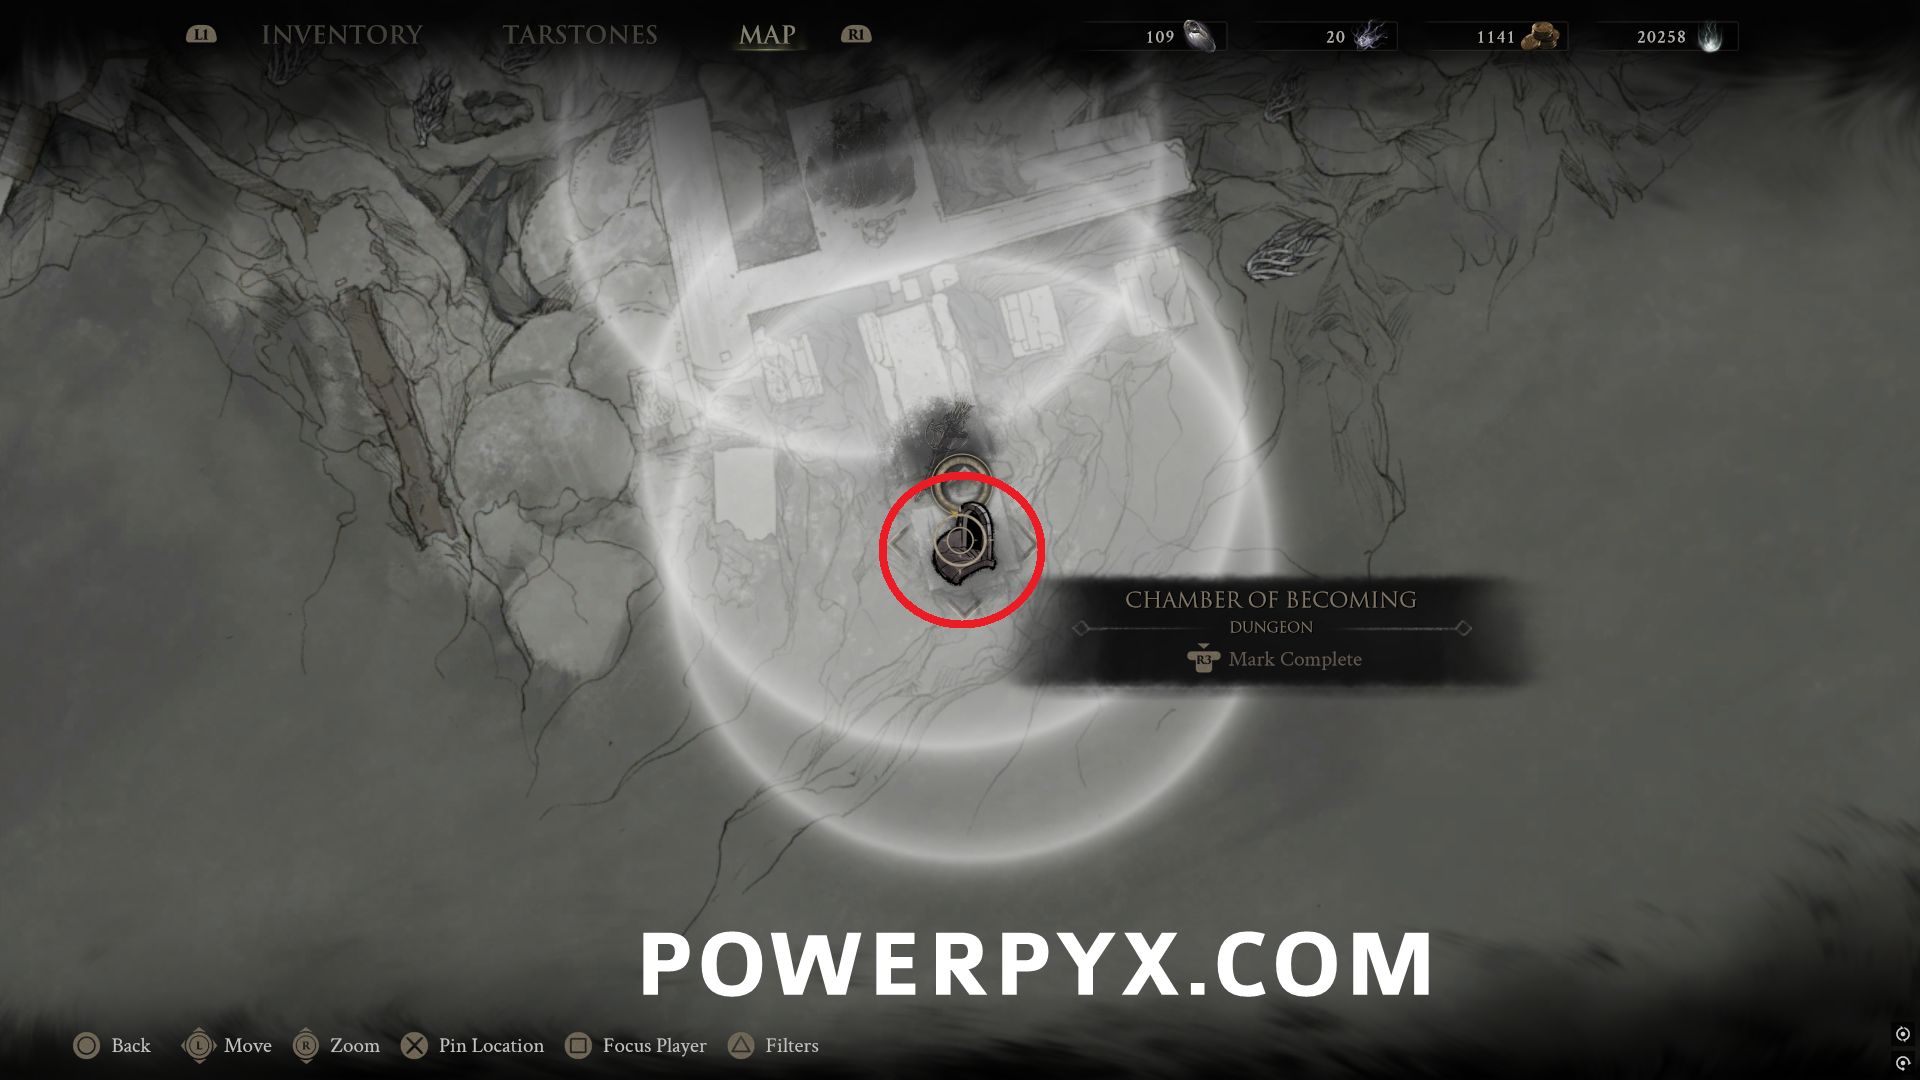
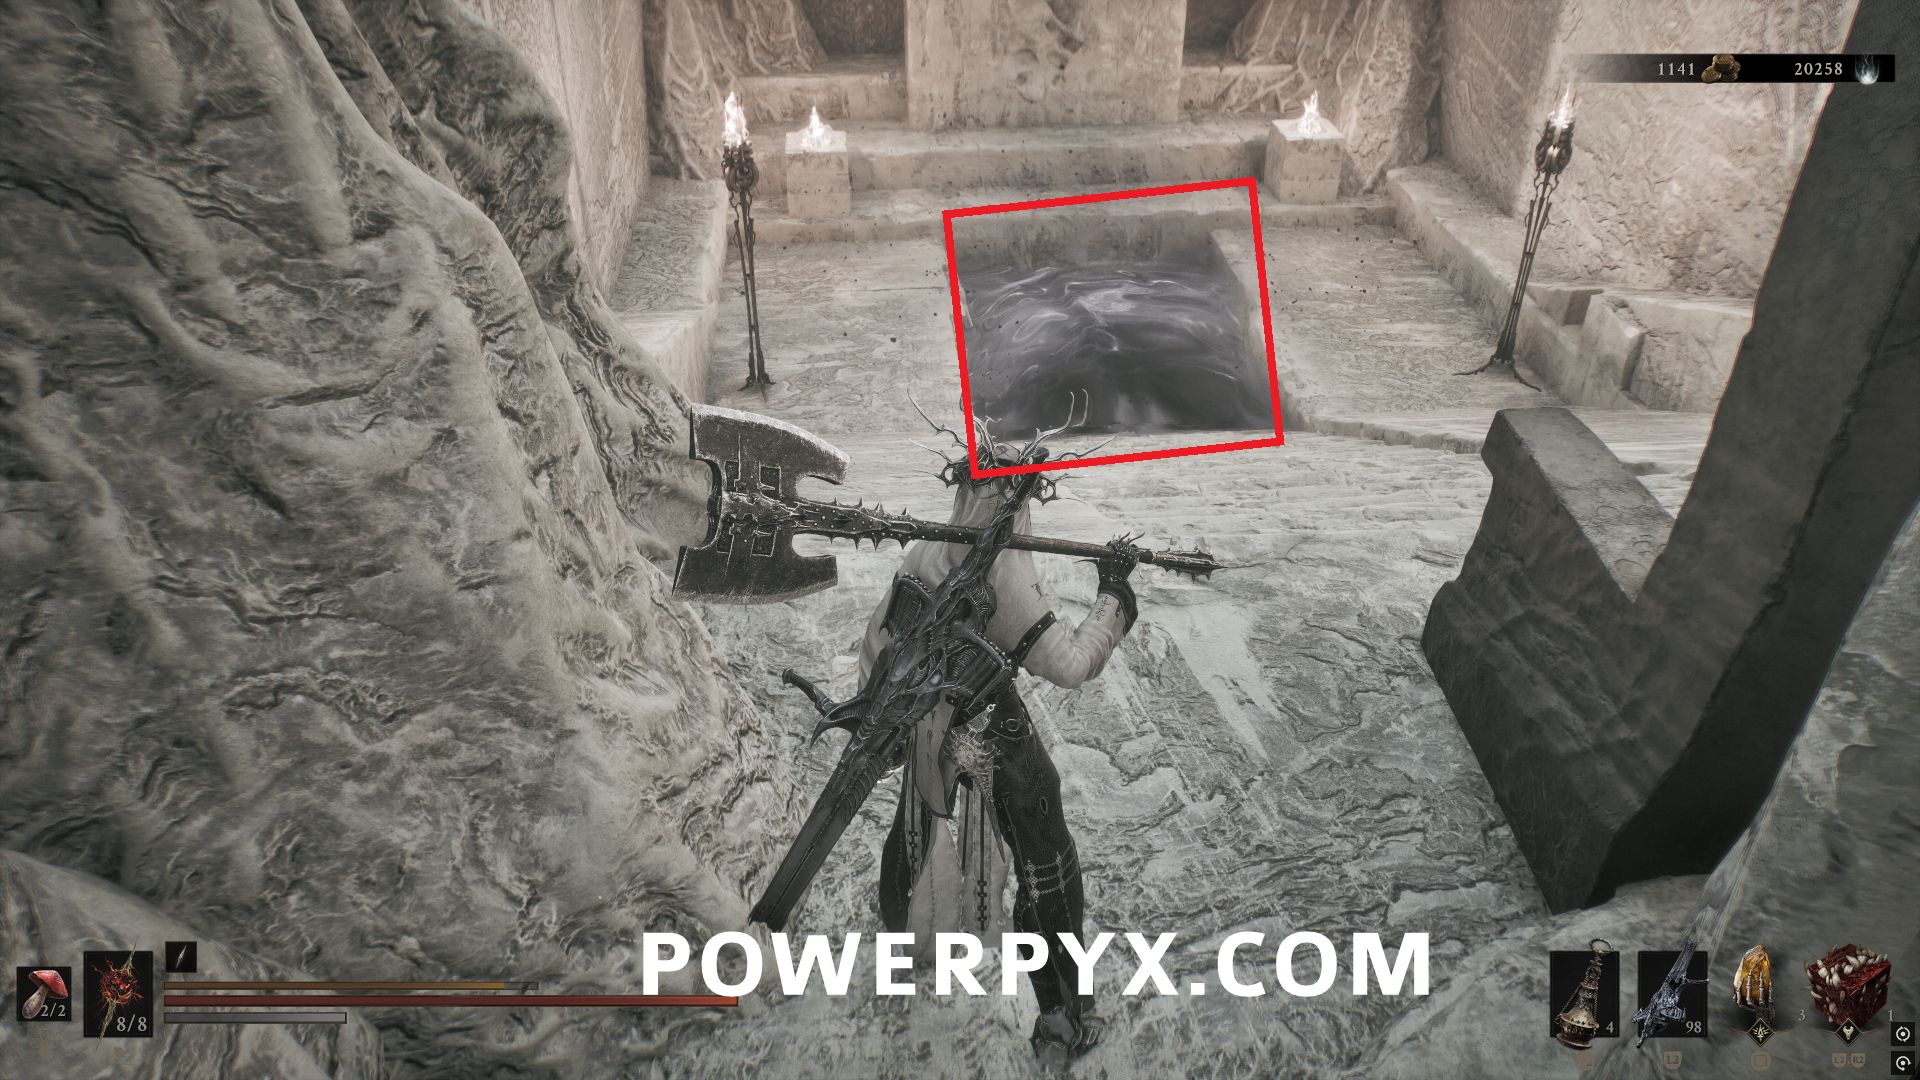
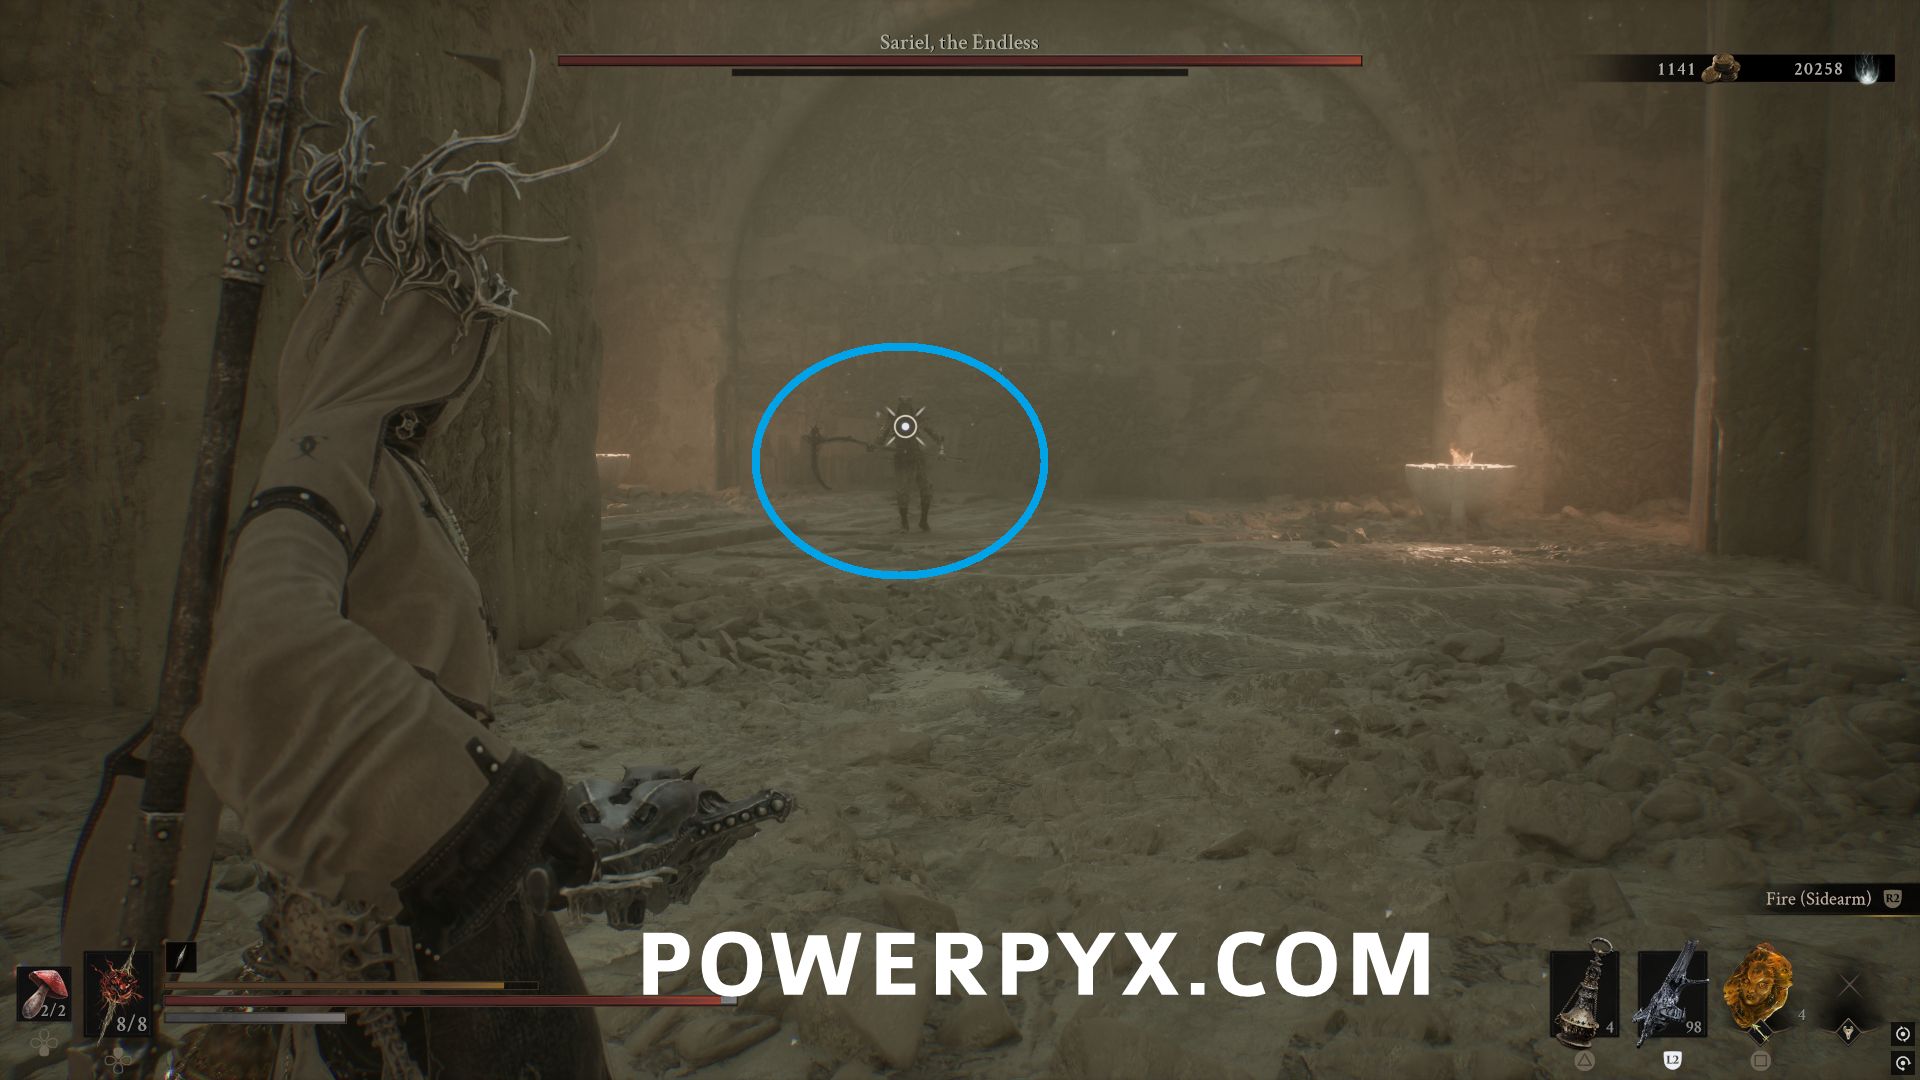
Follow him through the Dungeon and defeat him again. In the final room you need to attack the tombstones to break them to stop him from reviving. Once you have done this with all 4 and fully defeated him, you can interact with his body to unlock him as a Shell.
That’s all of the Shells in Mortal Shell II.
More Mortal Shell 2 Guides:
- Shell Locations
- Tarstone Locations
- Beacon Locations
- Weapon Locations
- Sidearm Locations
- Tarforge Upgrade Locations
- Dungeon Locations
- Healing Upgrade Locations
- How to Summon Night (Increase Difficulty)
Leave a Reply