
Mortal Shell 2 contains 8 obtainable Sidearms. Finding all Sidearms is required for the trophy/achievement Guns. Lots of Guns, along with ones for obtaining each Sidearm individually.
None of the Sidearms are missable, you can find them all after the final boss in free-roam before choosing to enter New Game+.
You can purchase maps from the merchant Merrick in Marrow Keep, which will mark the approximate location of each Sidearm on the overworld map. This is not required to find them though, so you can save your coin instead of purchasing the maps.
Sidearms are listed in the approximate order you will most likely unlock them by following normal game progression.
#1 – Nayleshotte
This is the first sidearm you obtain, acquired at the start of the game during the Prologue.
#2 – Forgotten Crossbow
Northwest of Blackridge Pass beacon, use the arc to open the doorway on the building to enter the Flooded Village dungeon.
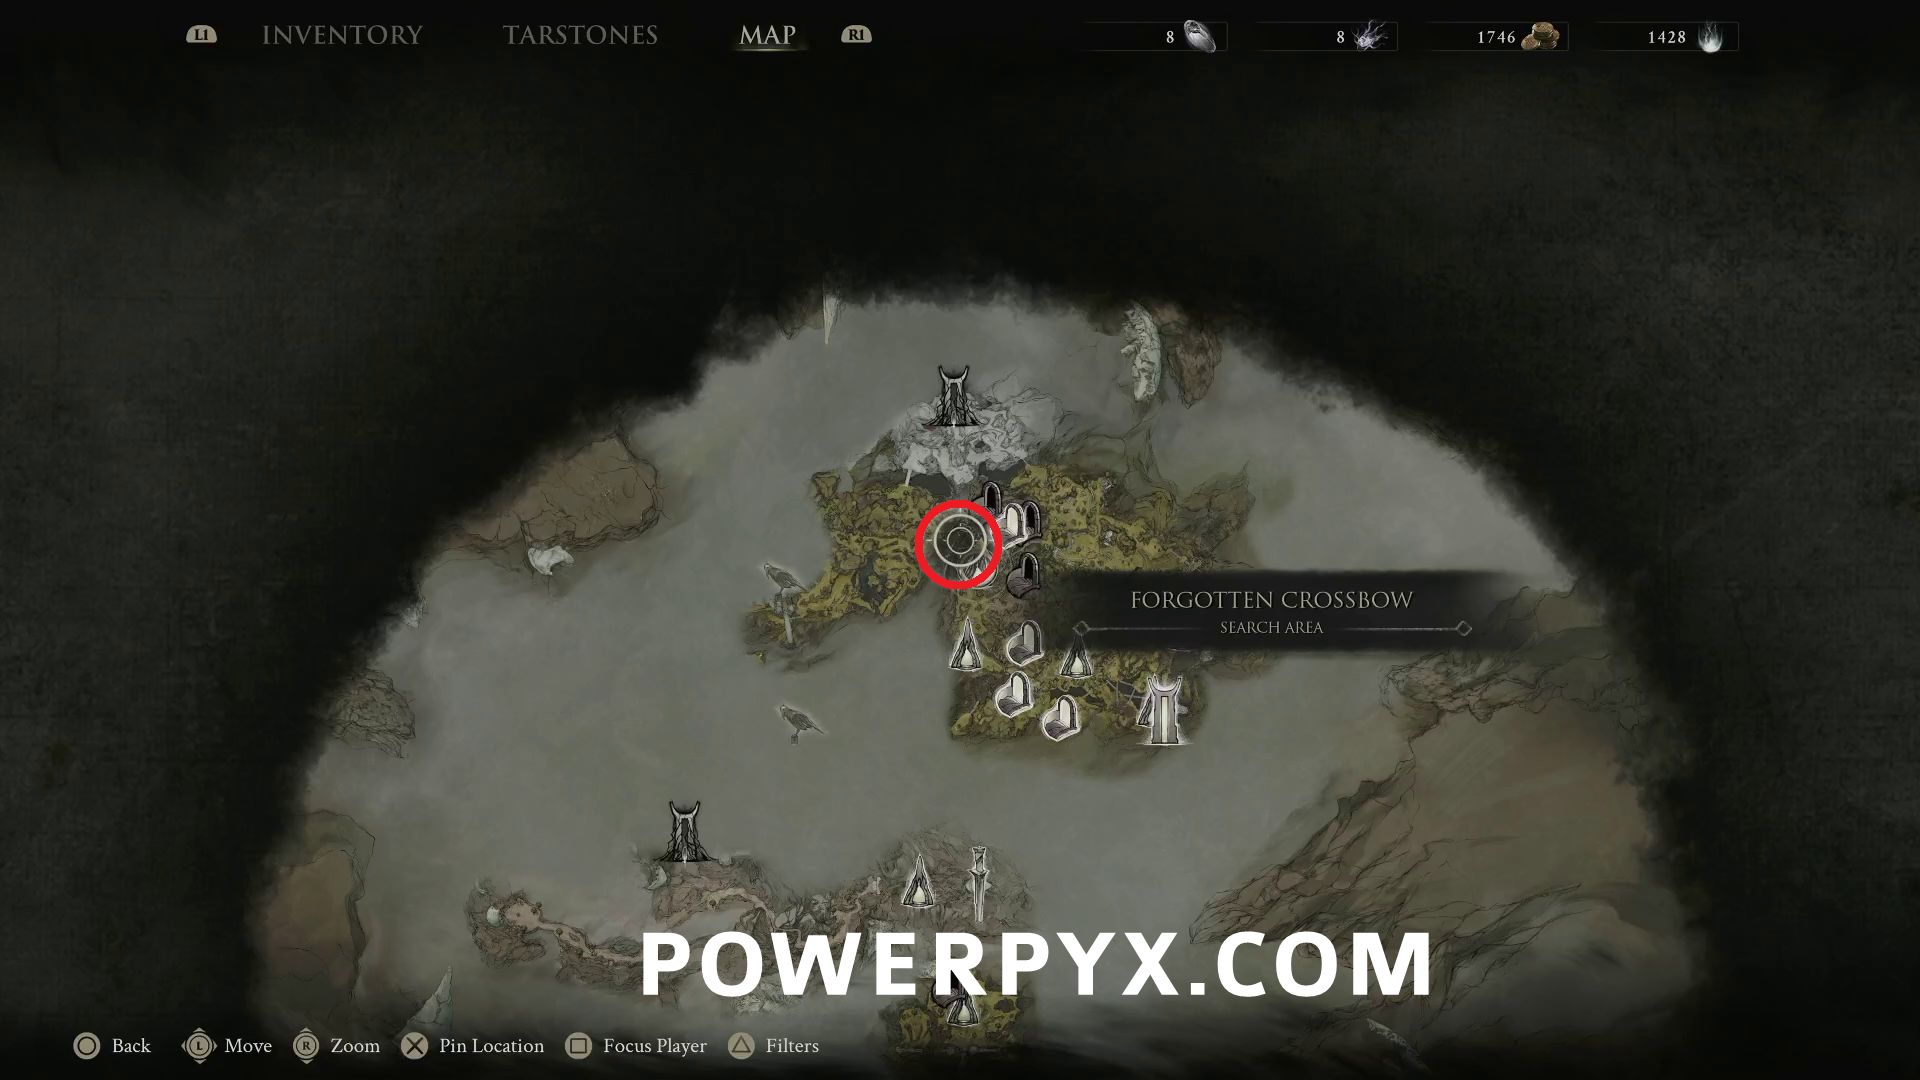
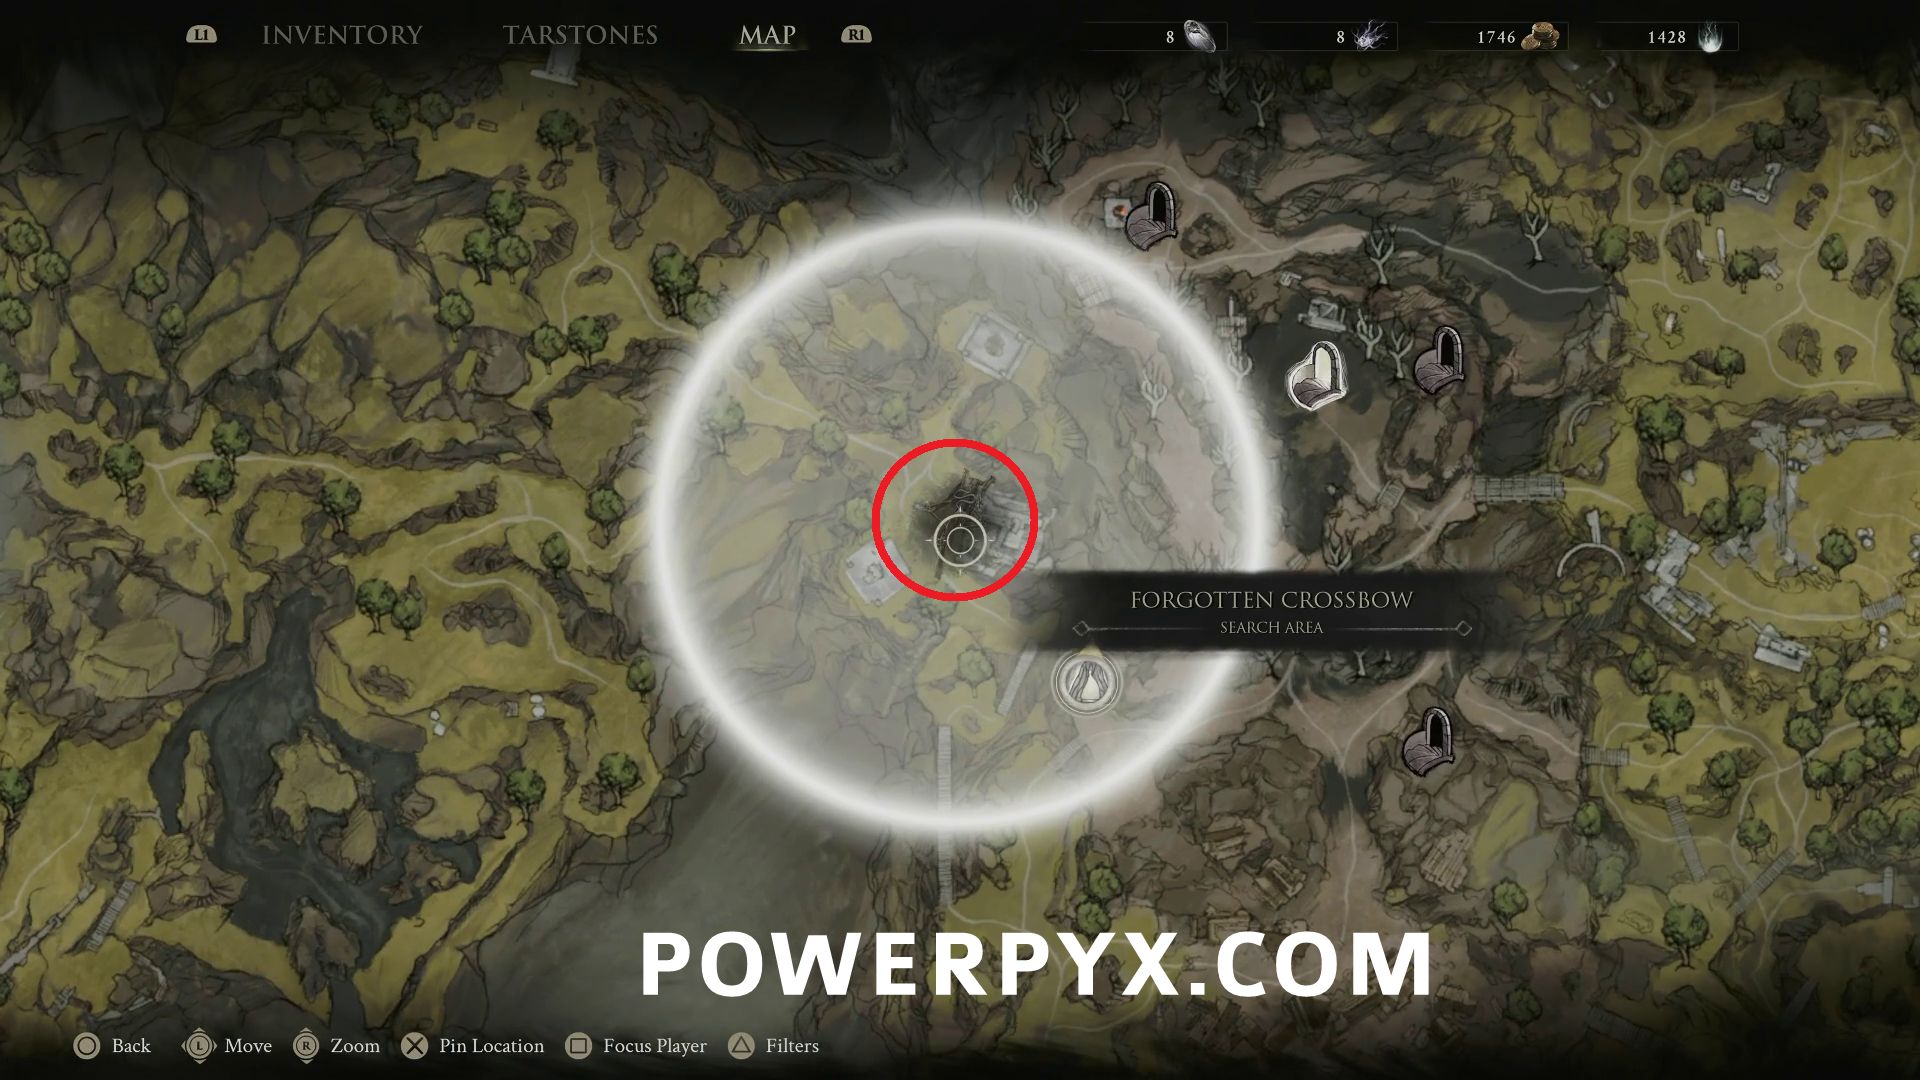
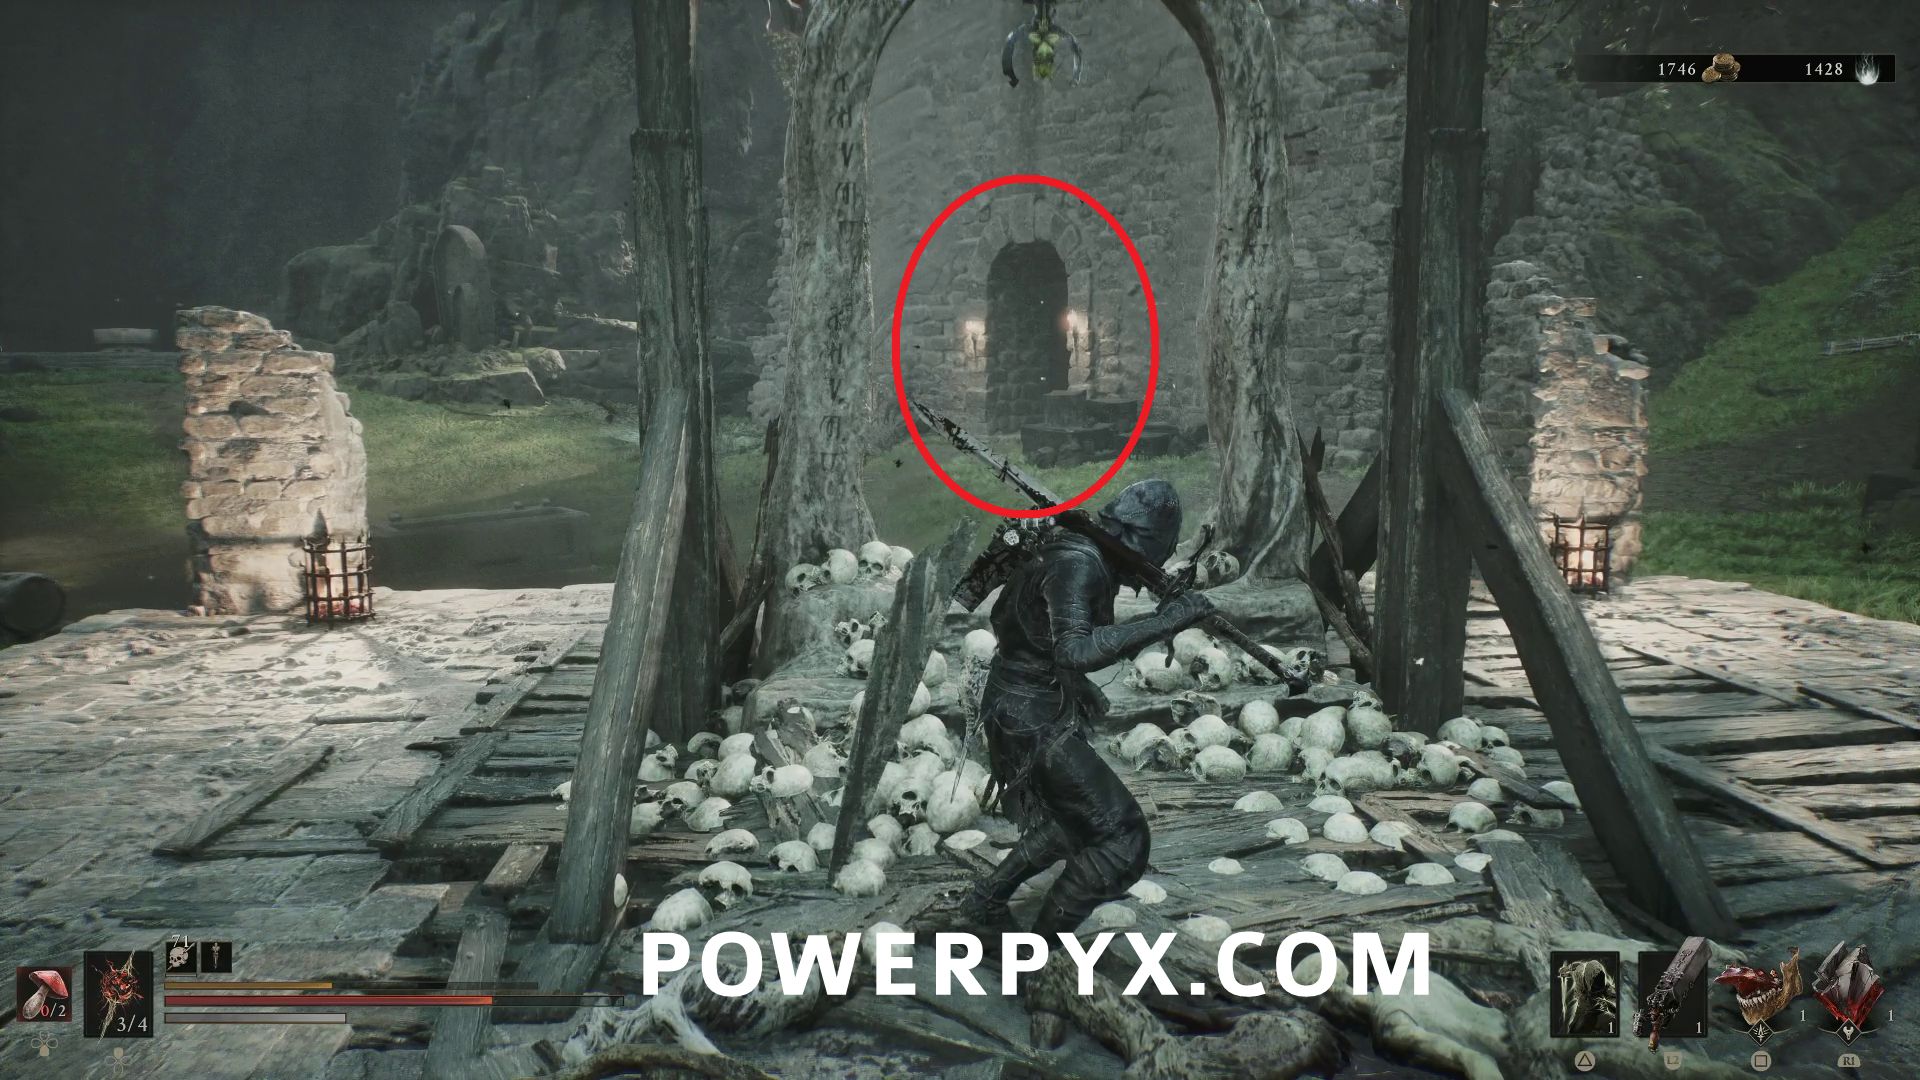
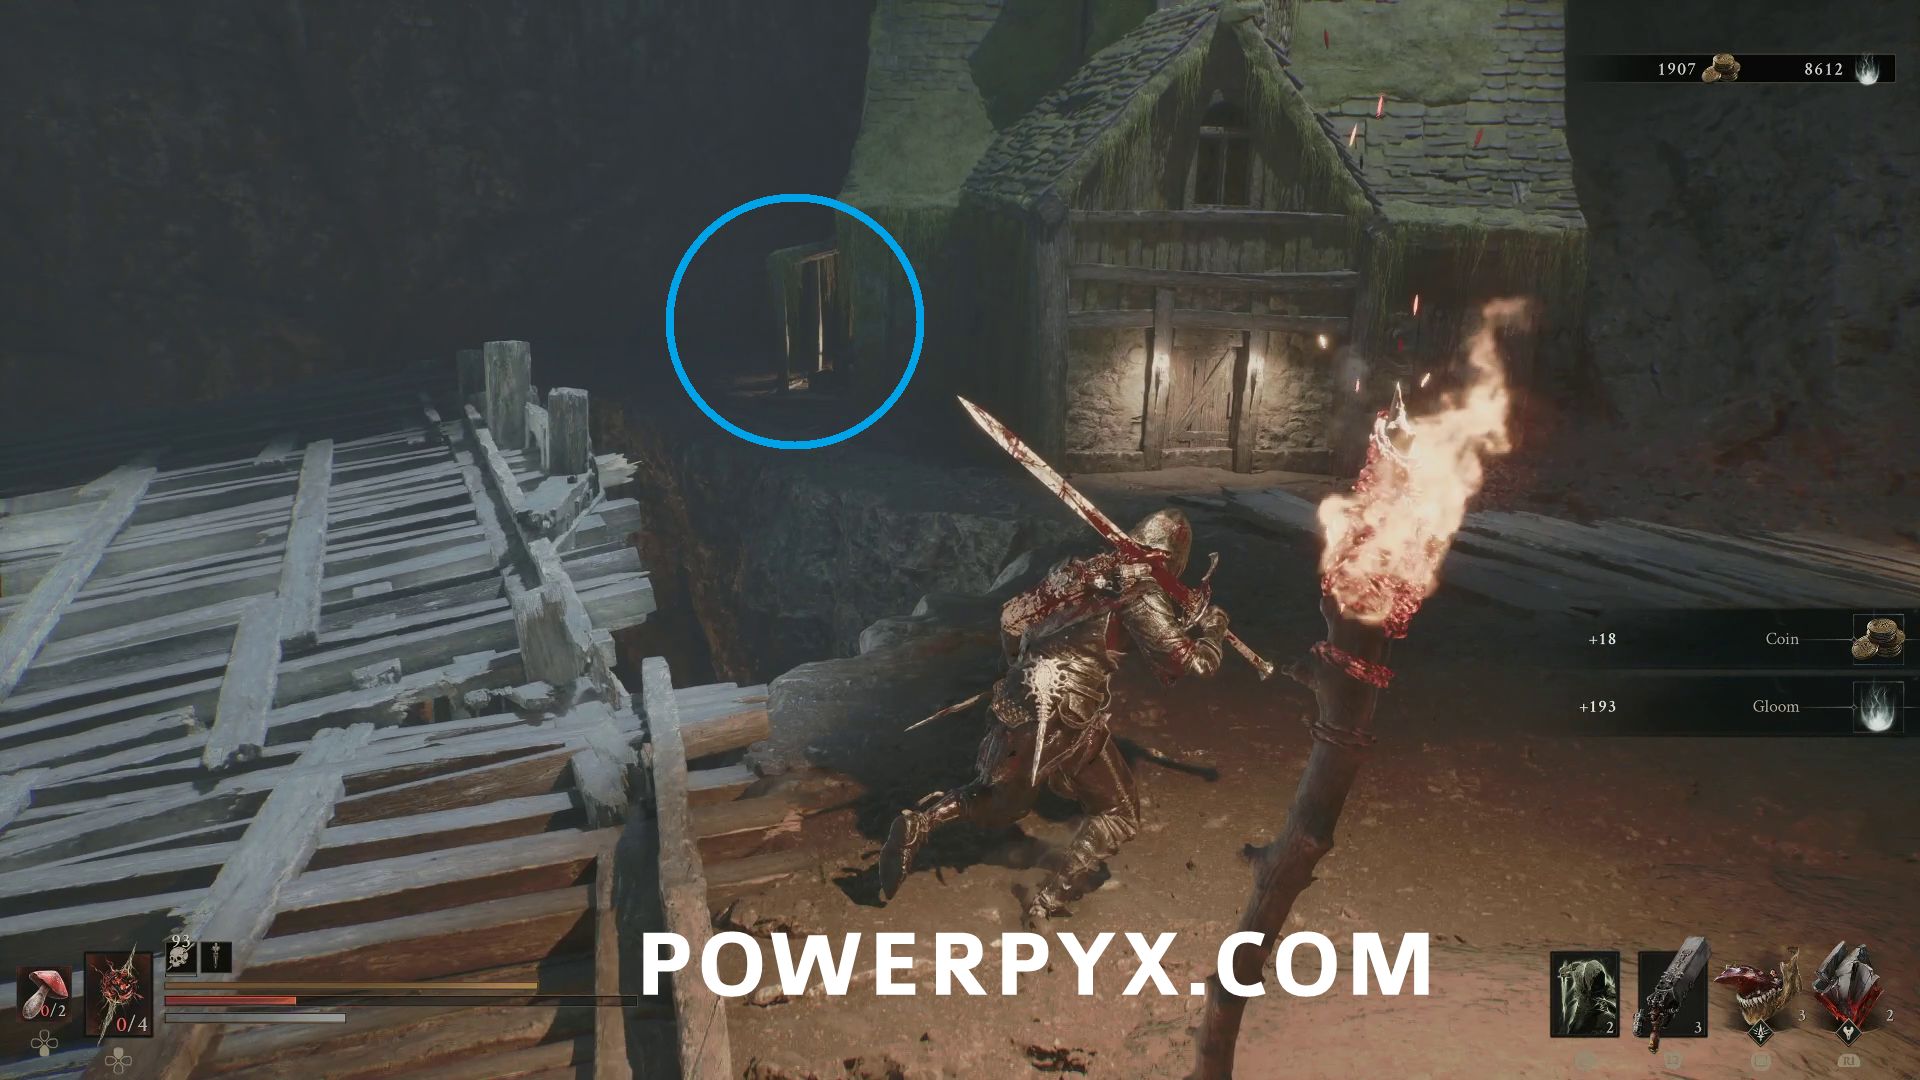
Follow the path to the underground village area after the second elevator, and go to the back left where you can pick up the Damp Key from a box by a house.
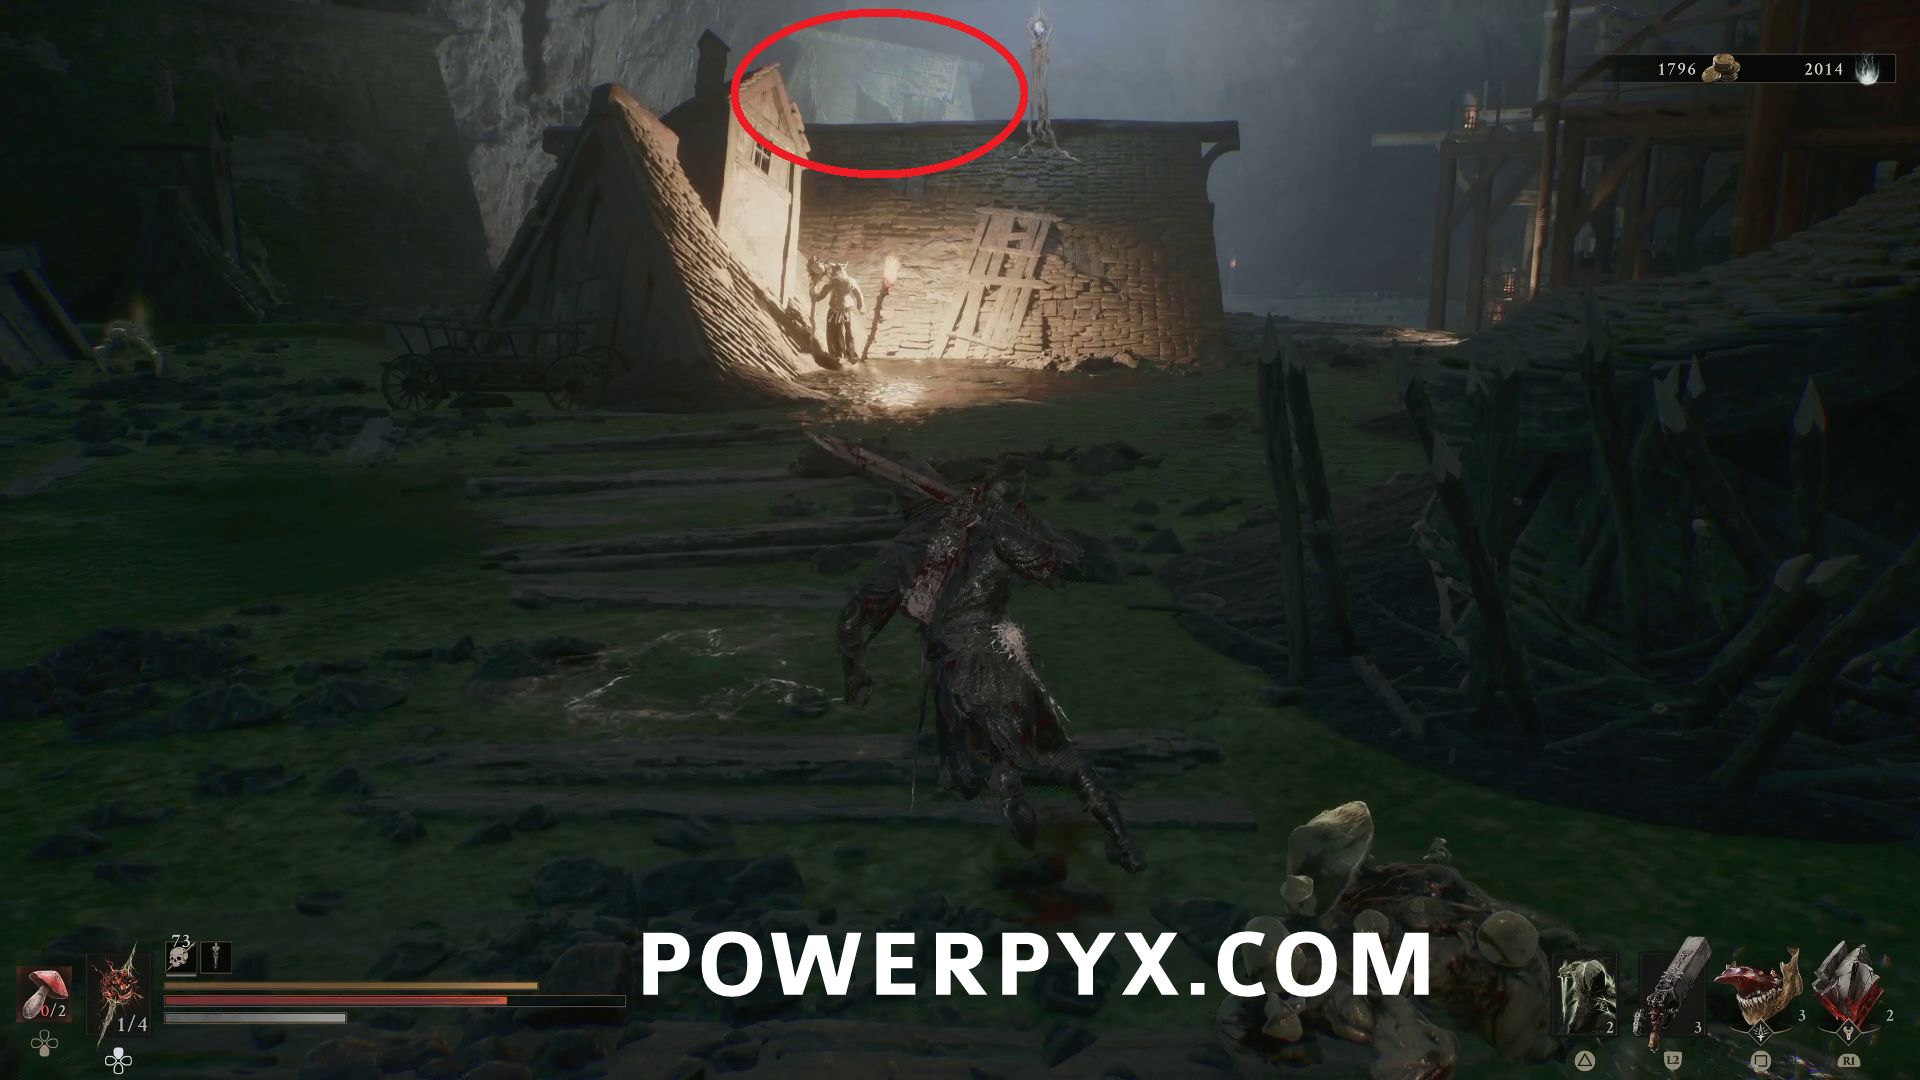
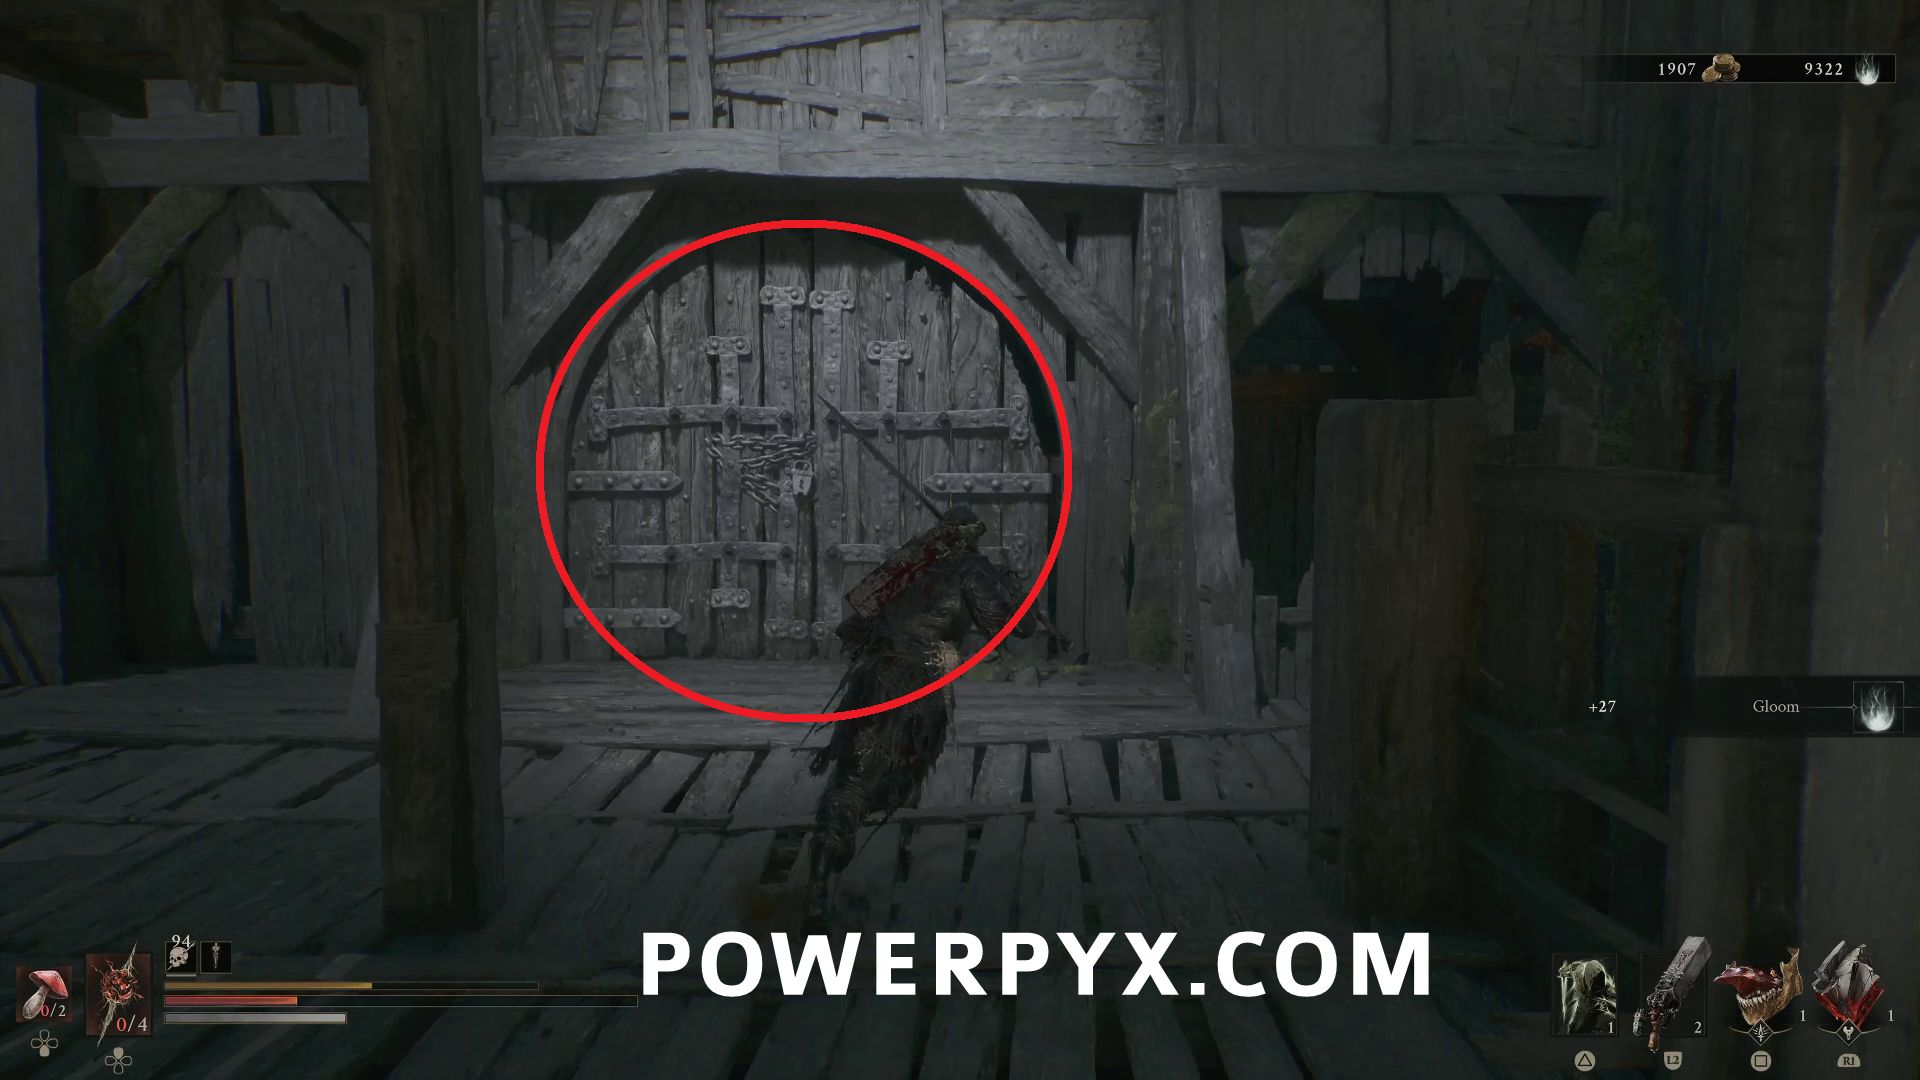
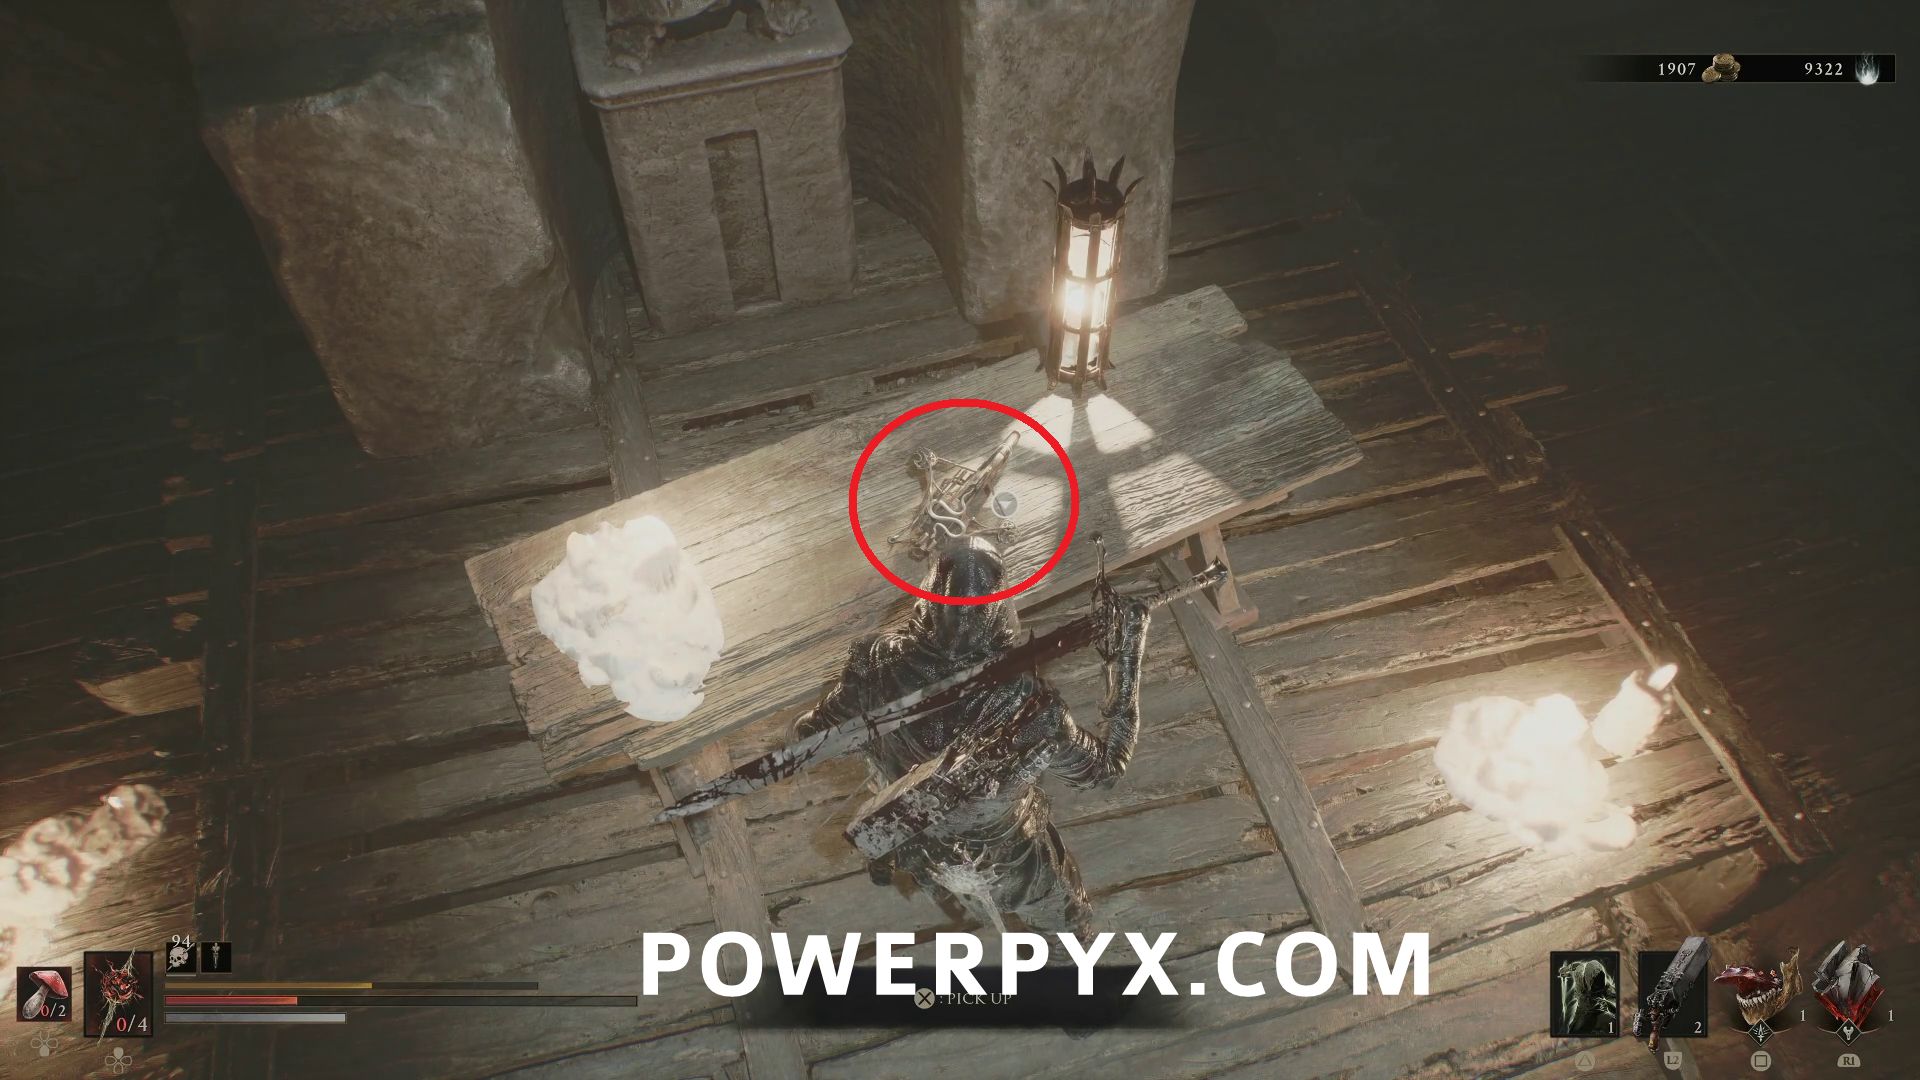
Use the Damp Key on the building in the center of the area to get inside, where this is on the table.
#3 – Salvaged Trebuchaxe
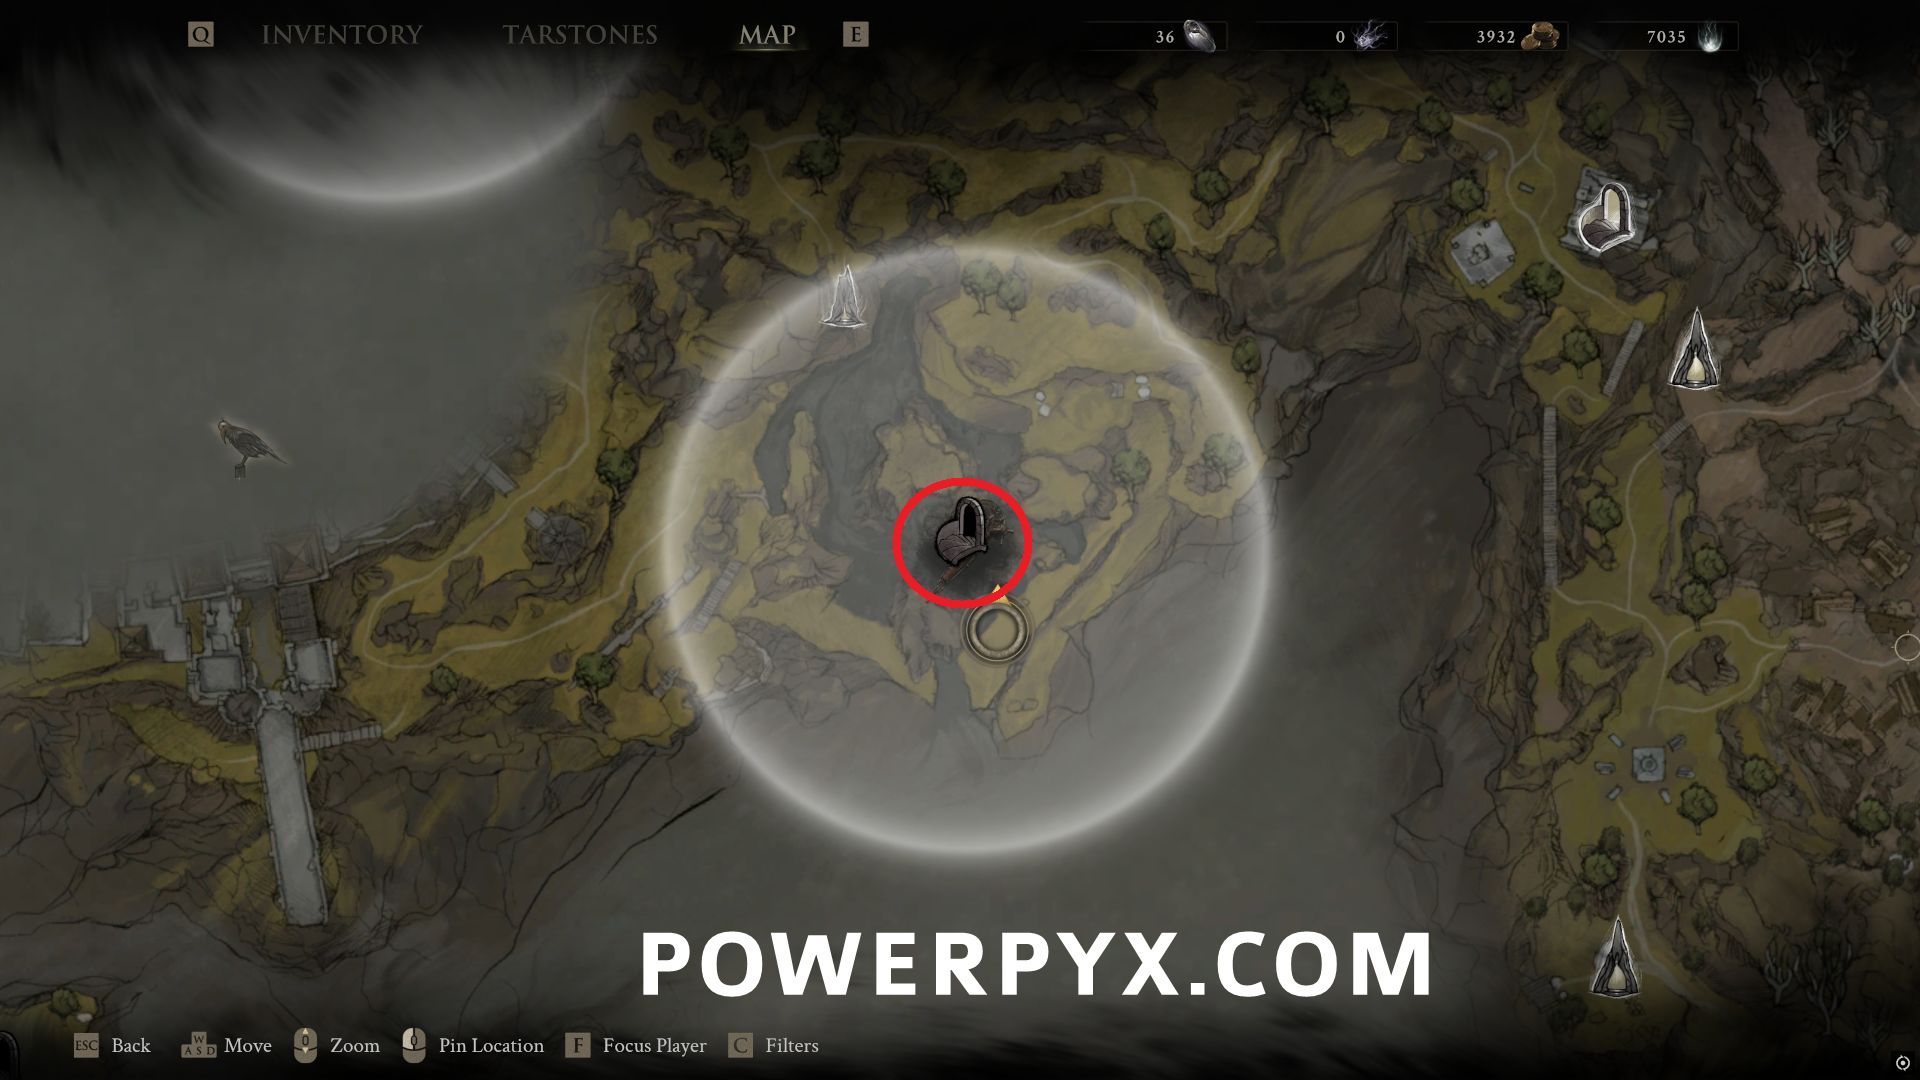
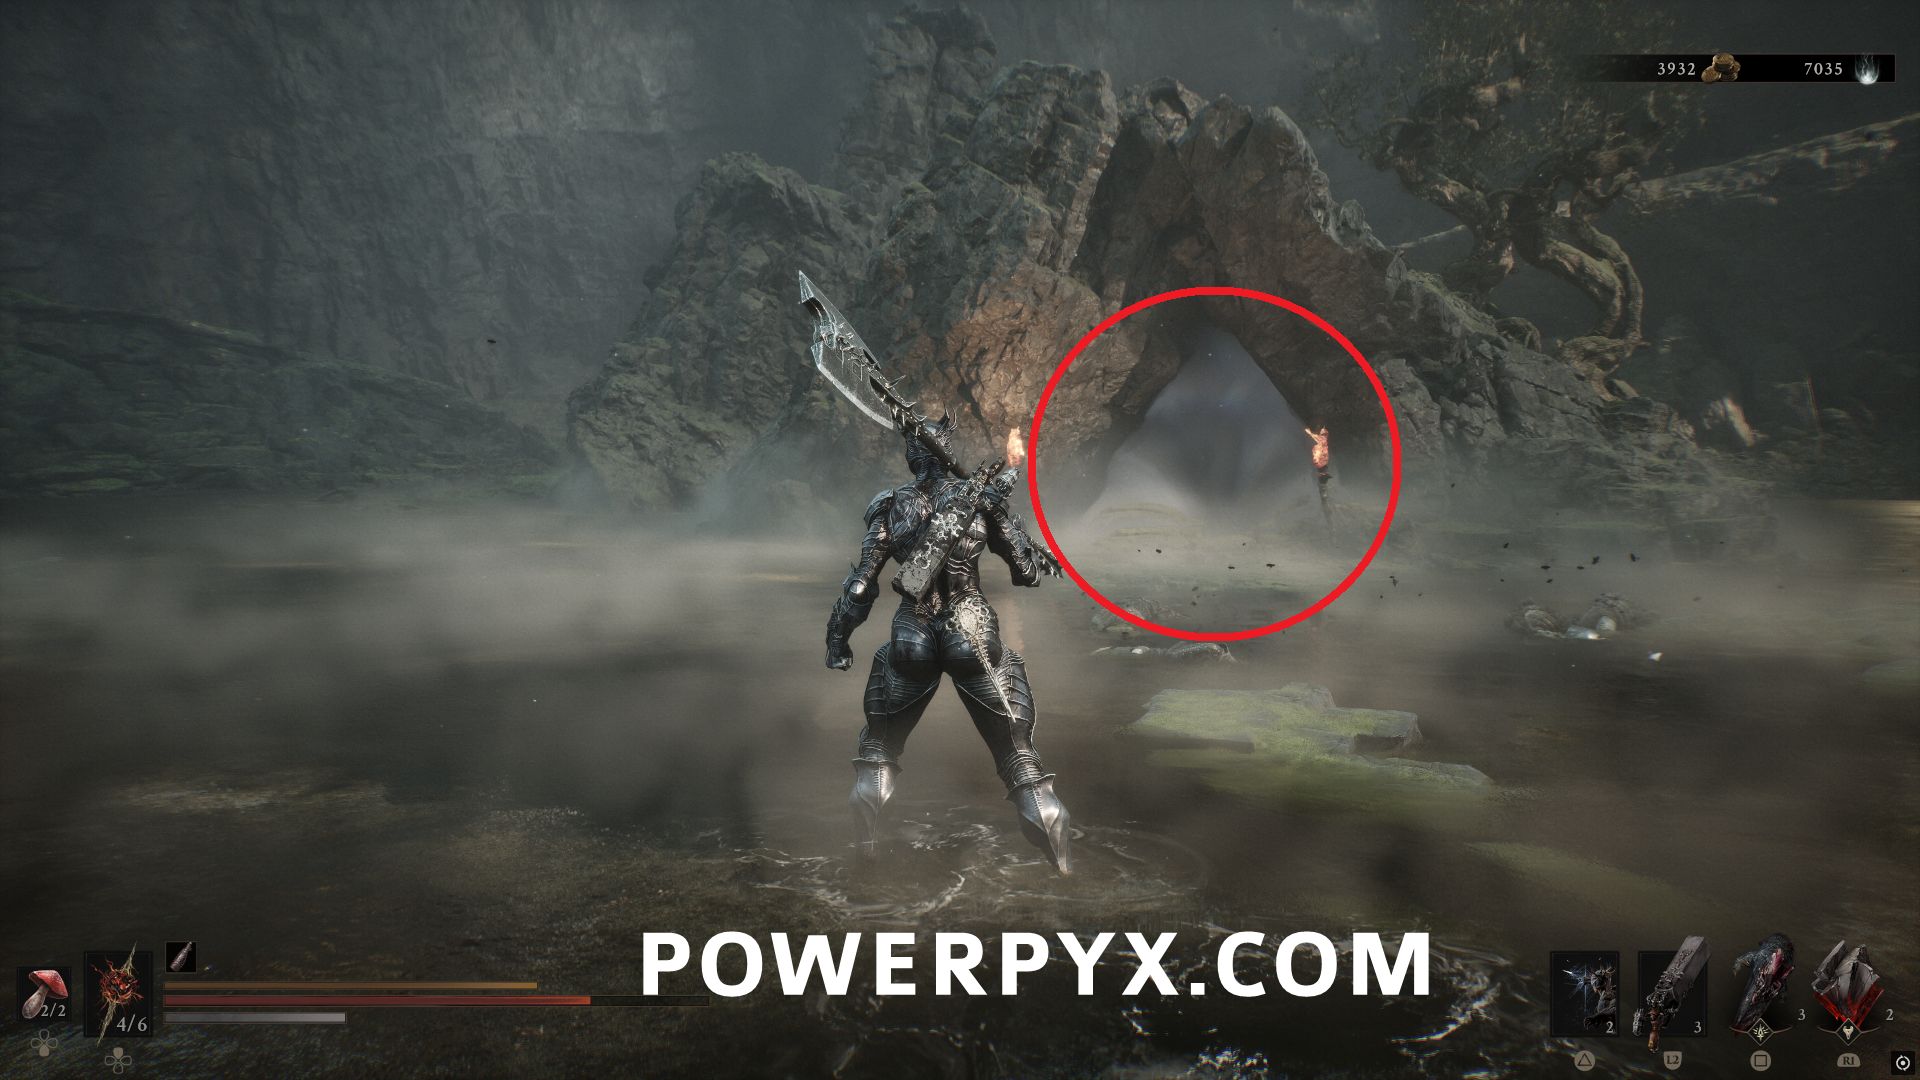
South of Gloomshade Grove Beacon, the Ravaged Hideout dungeon is accessible after defeating the Bloodcursed Lithopod boss which is nearby.
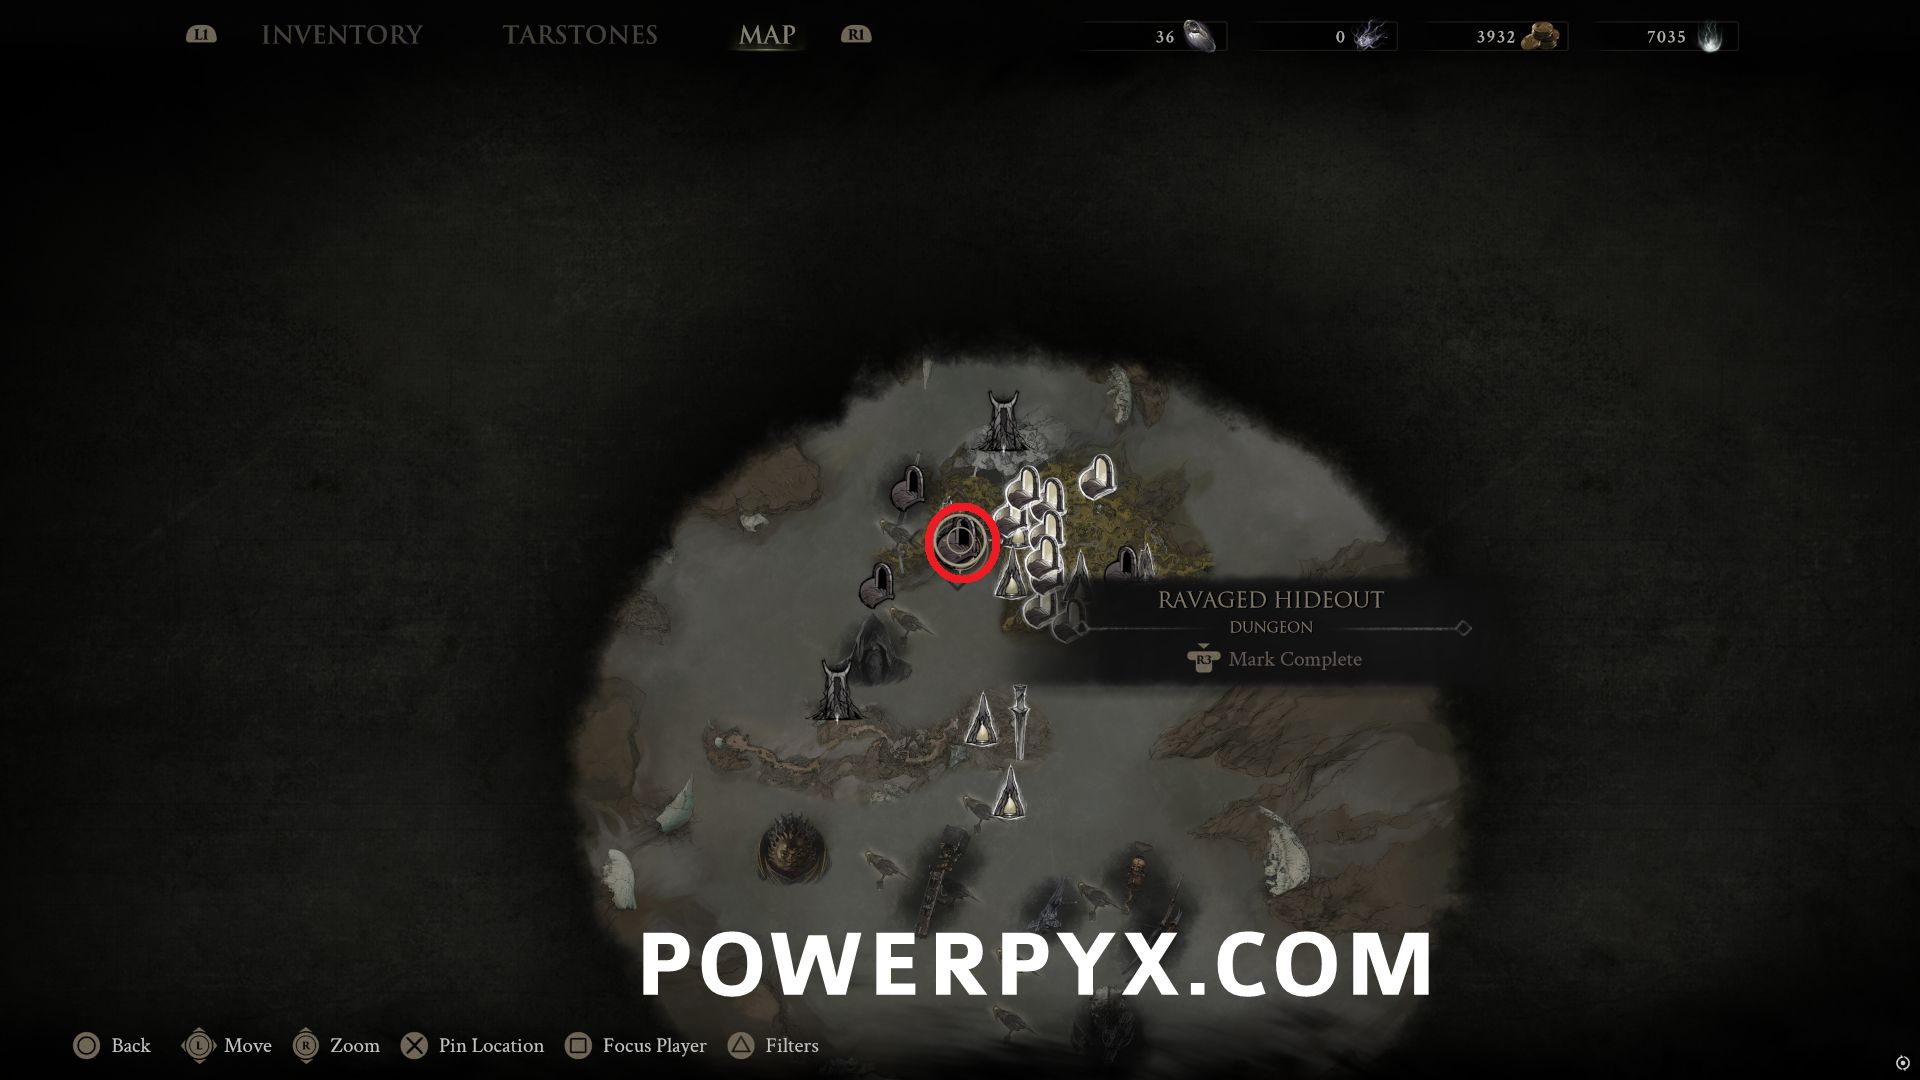
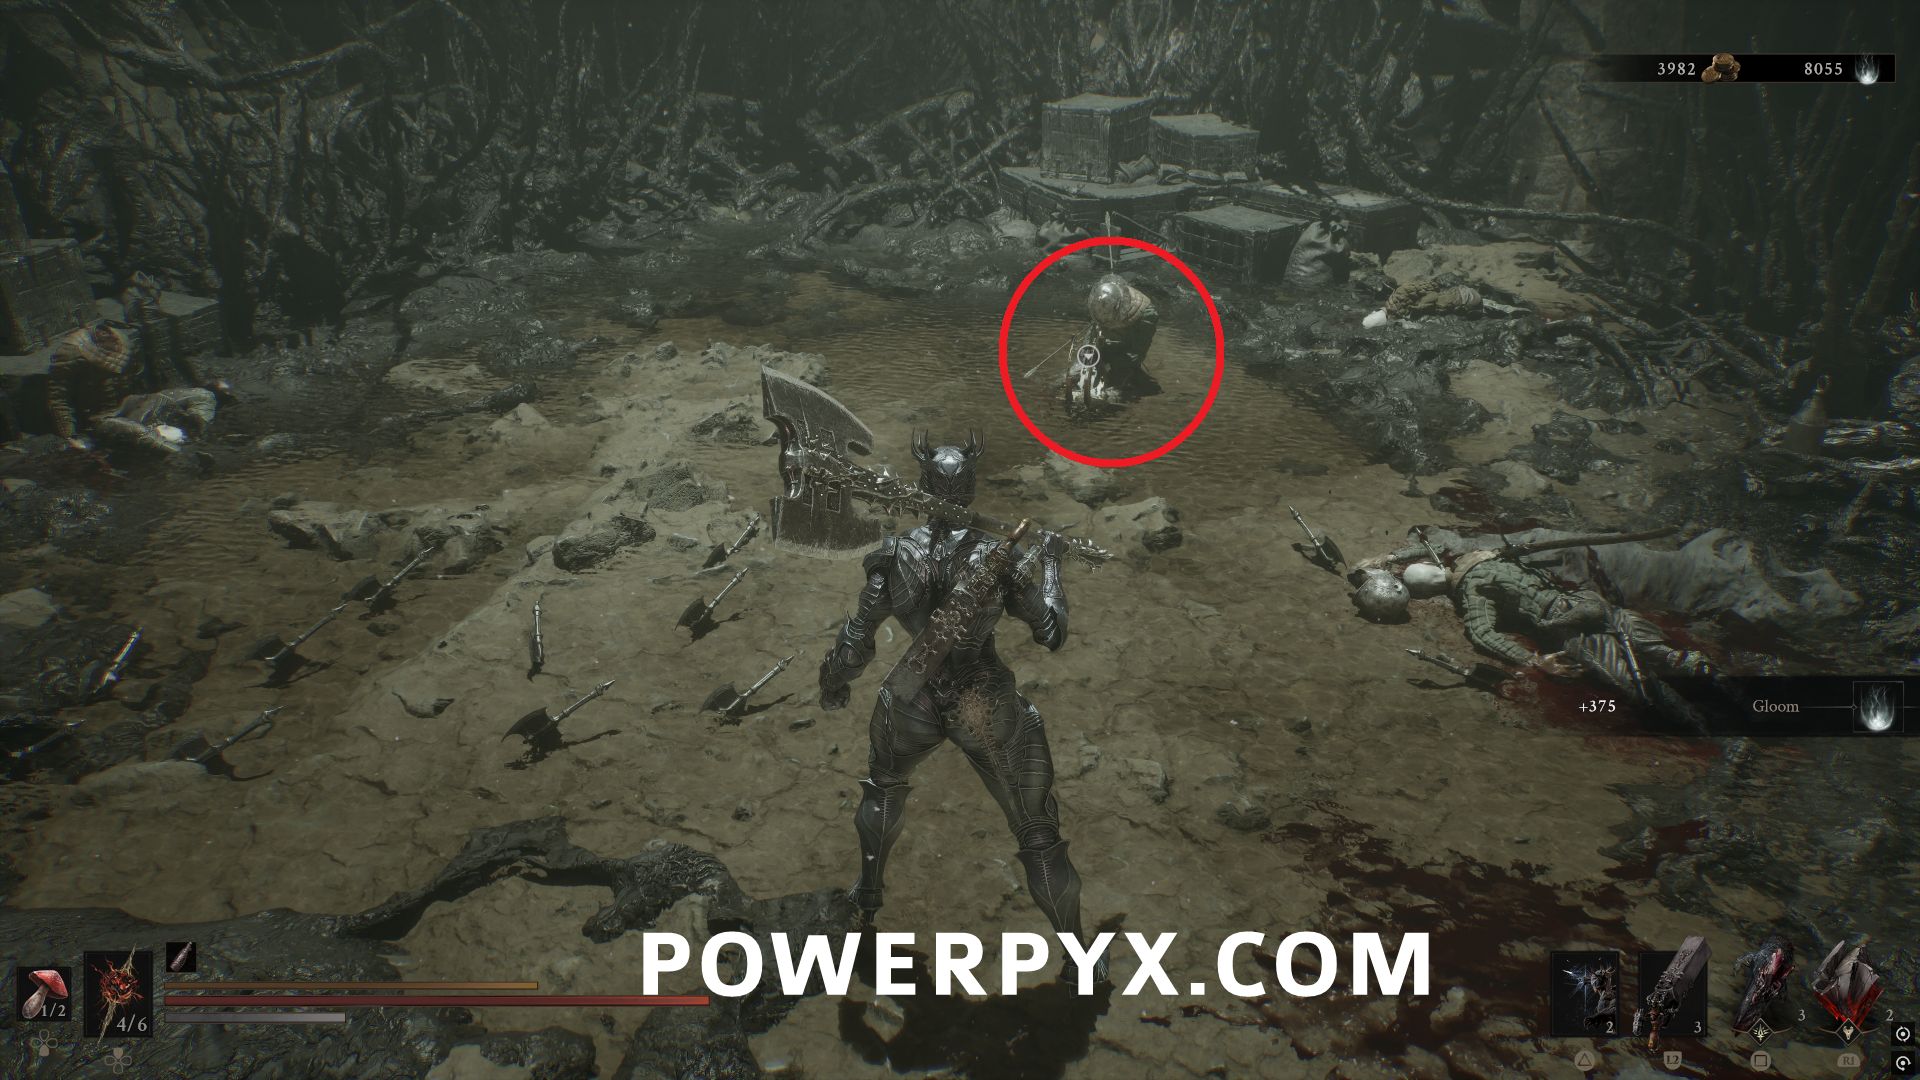
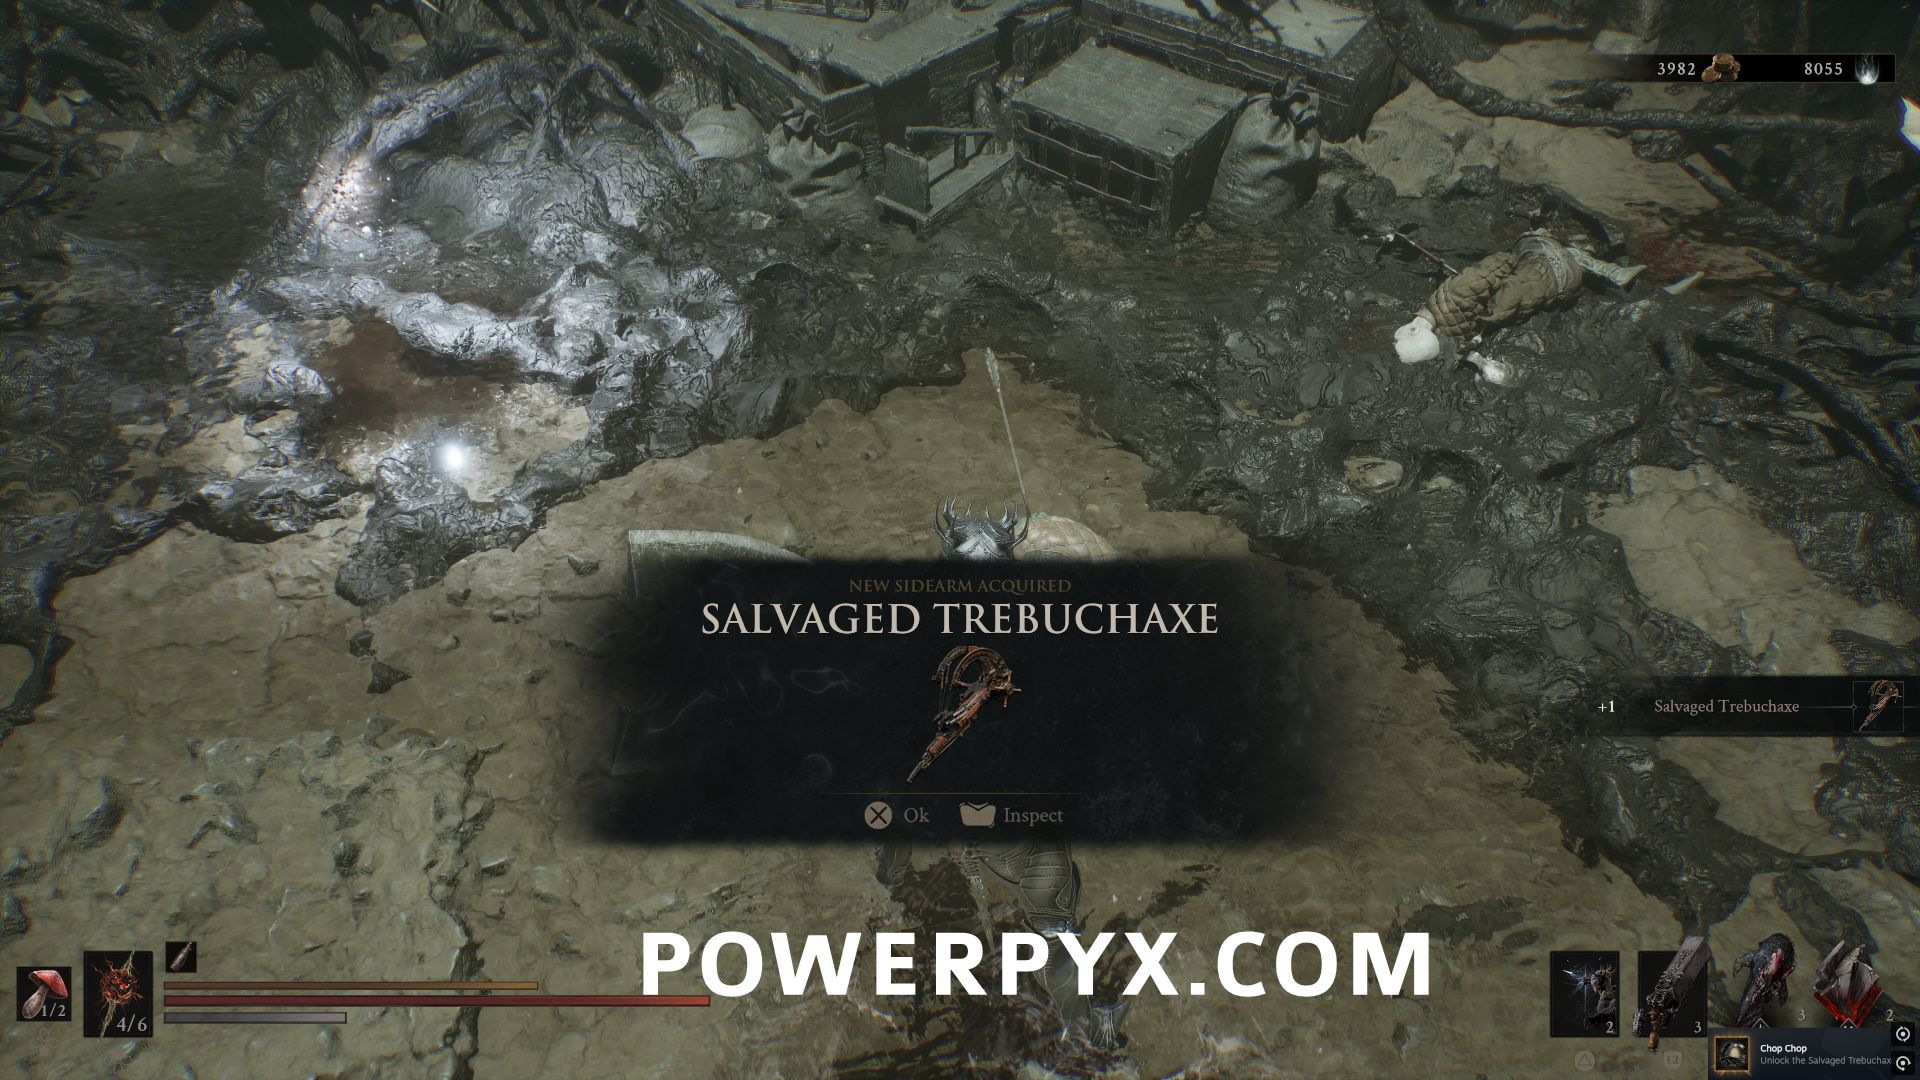
Enter the dungeon and follow the path to the final room where this is on a body.
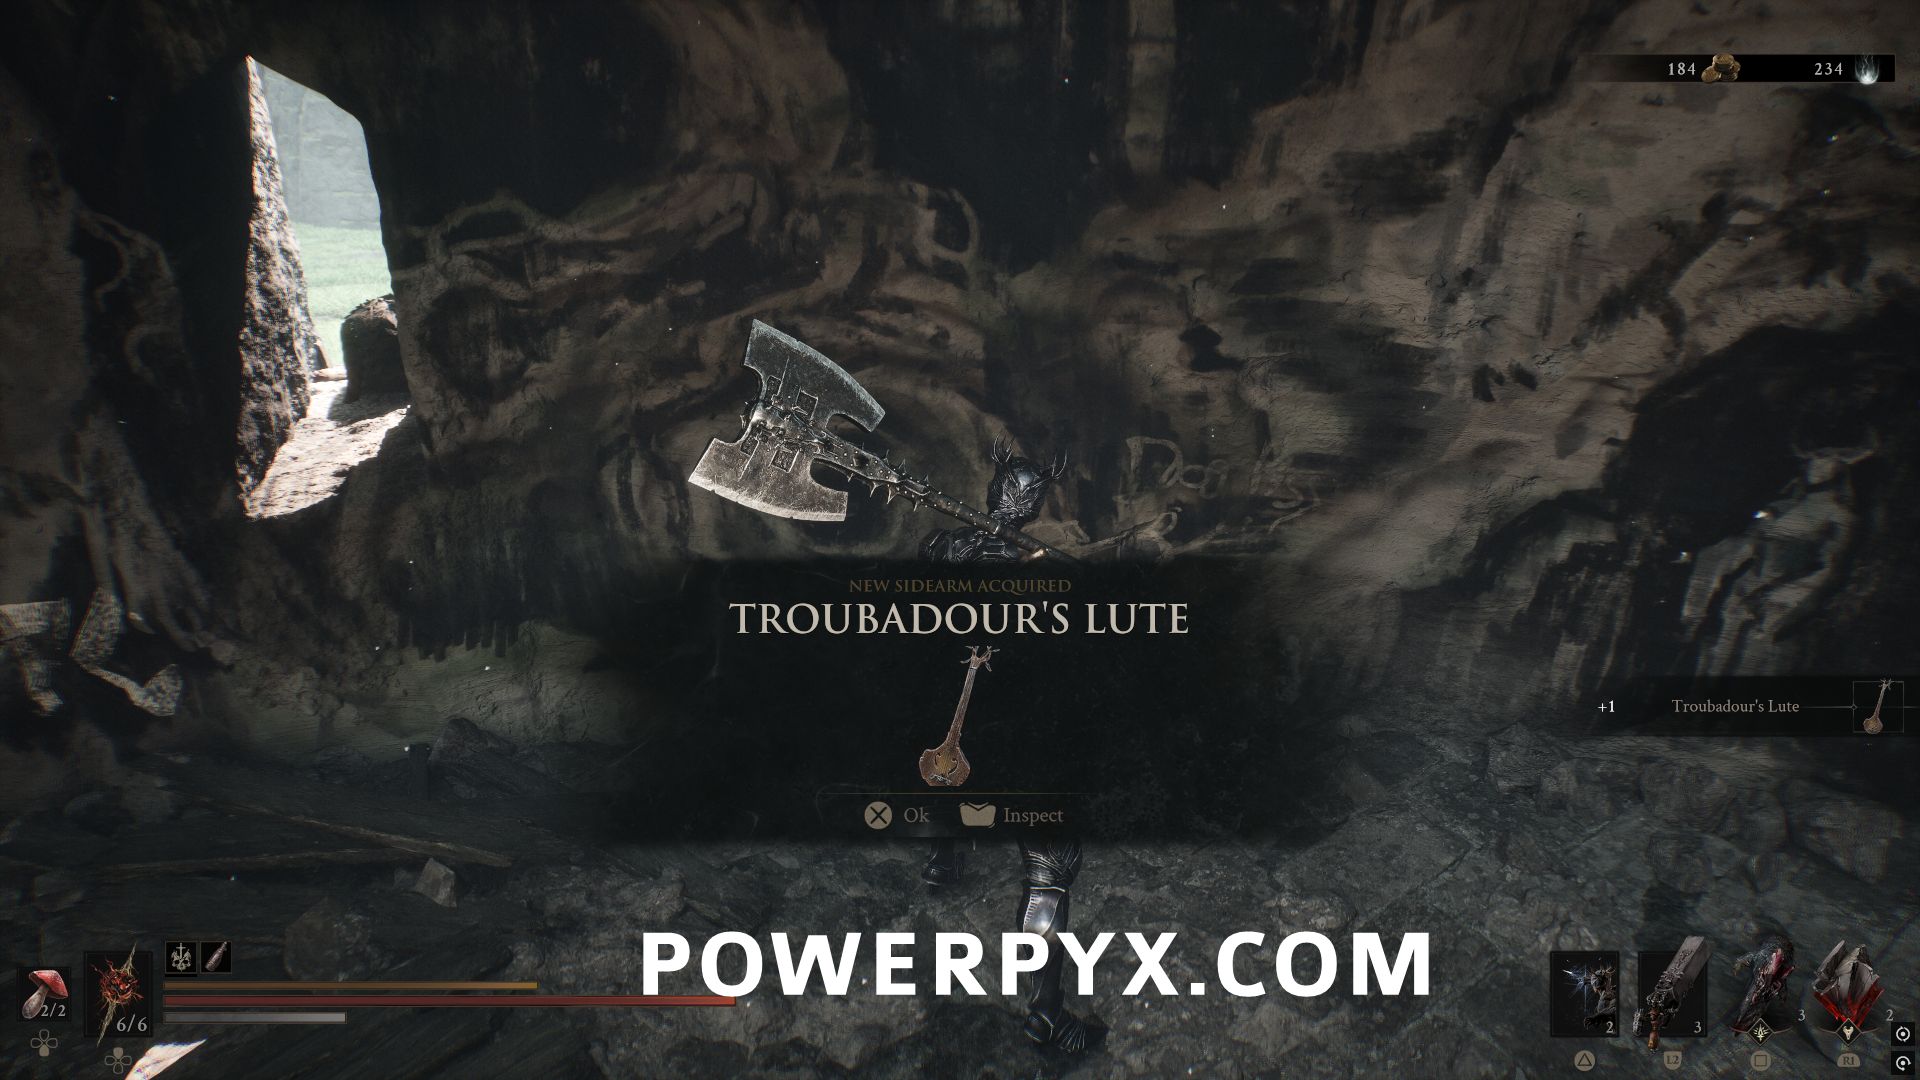
#4 – Troubadour’s Lute
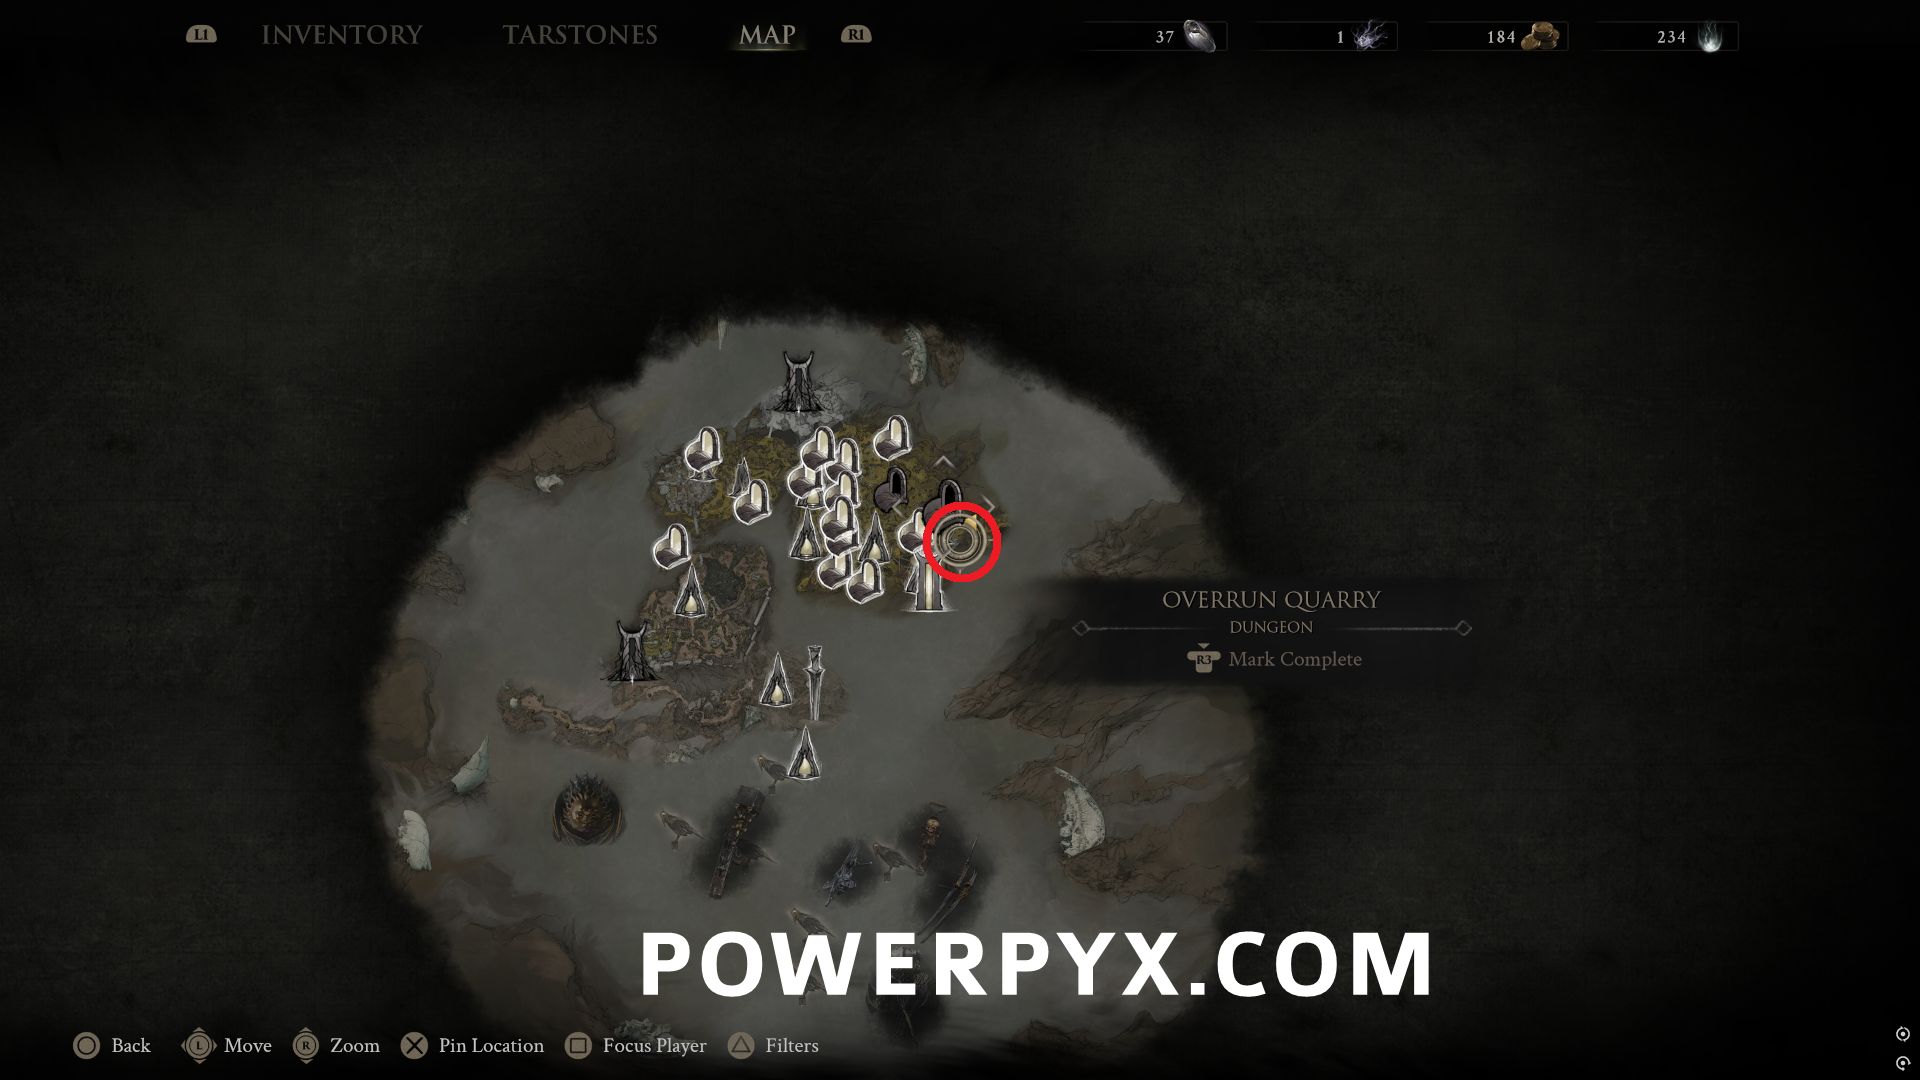
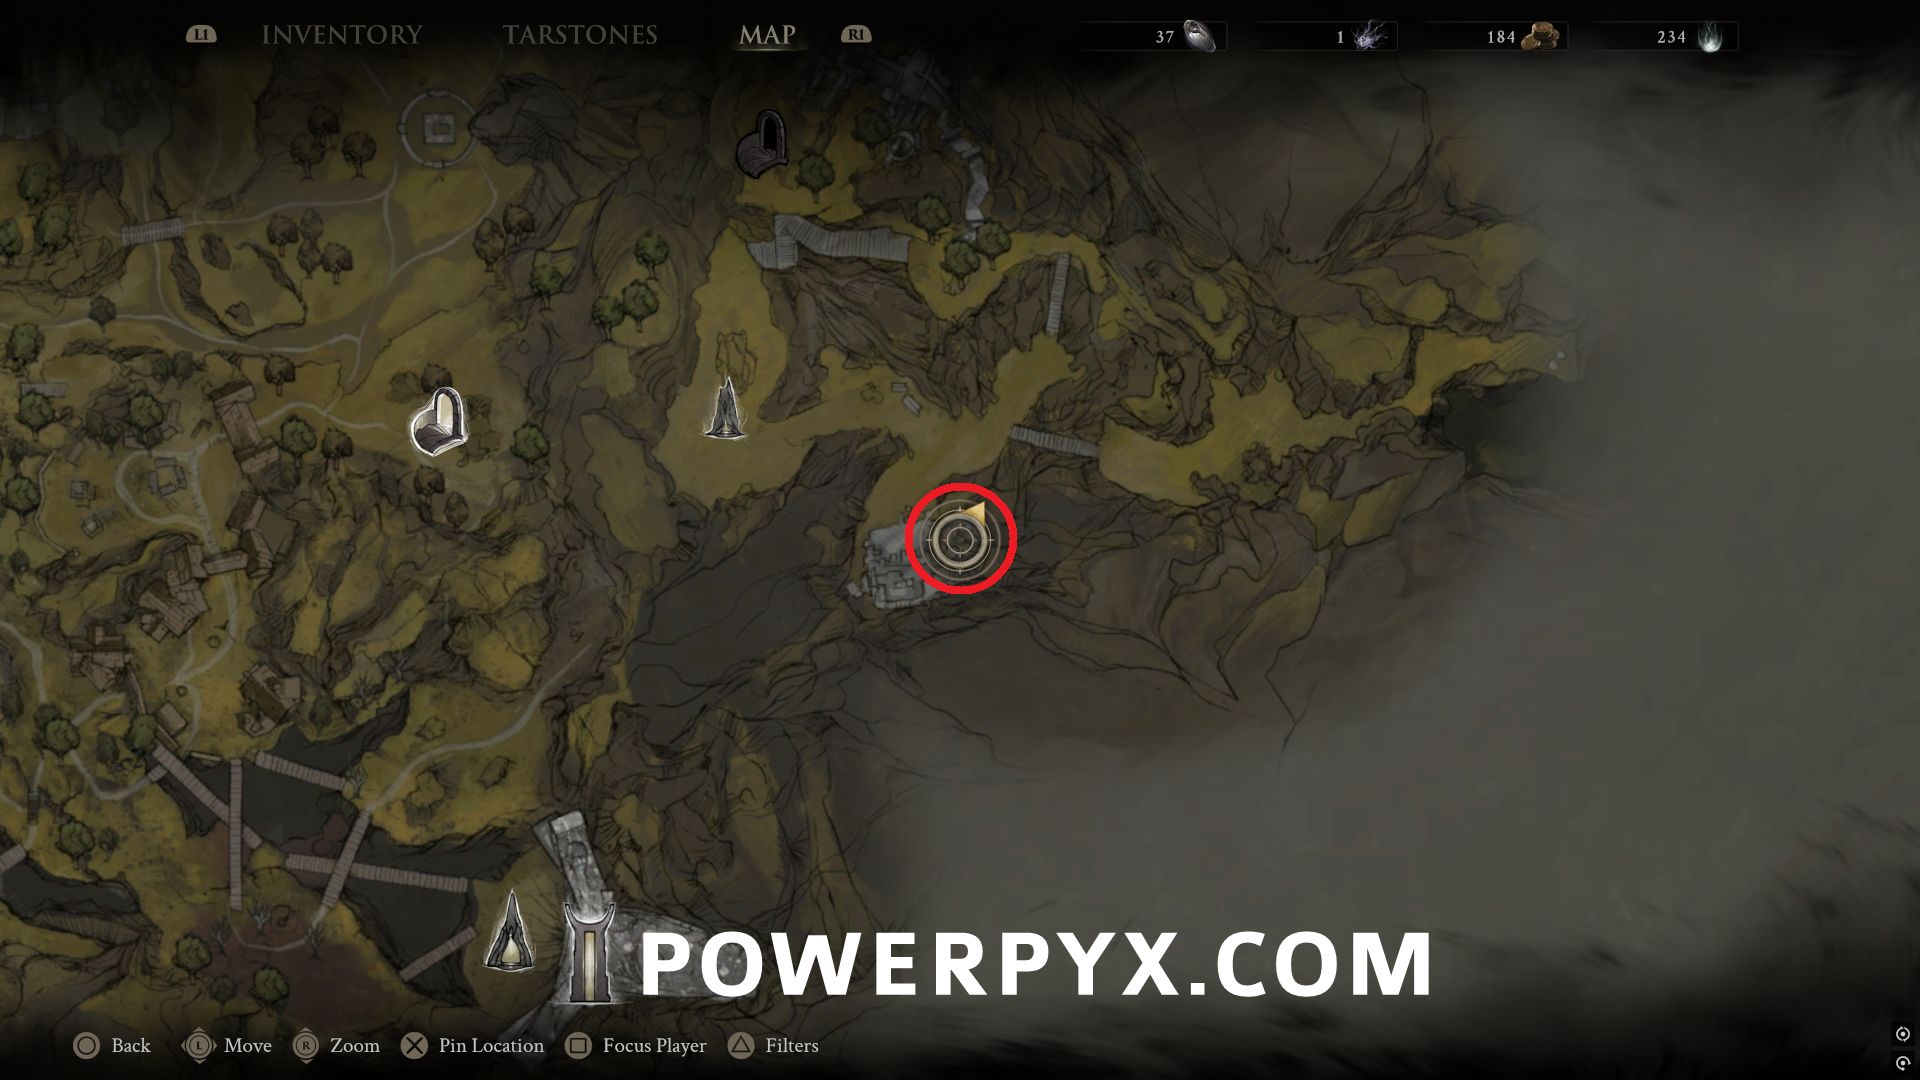
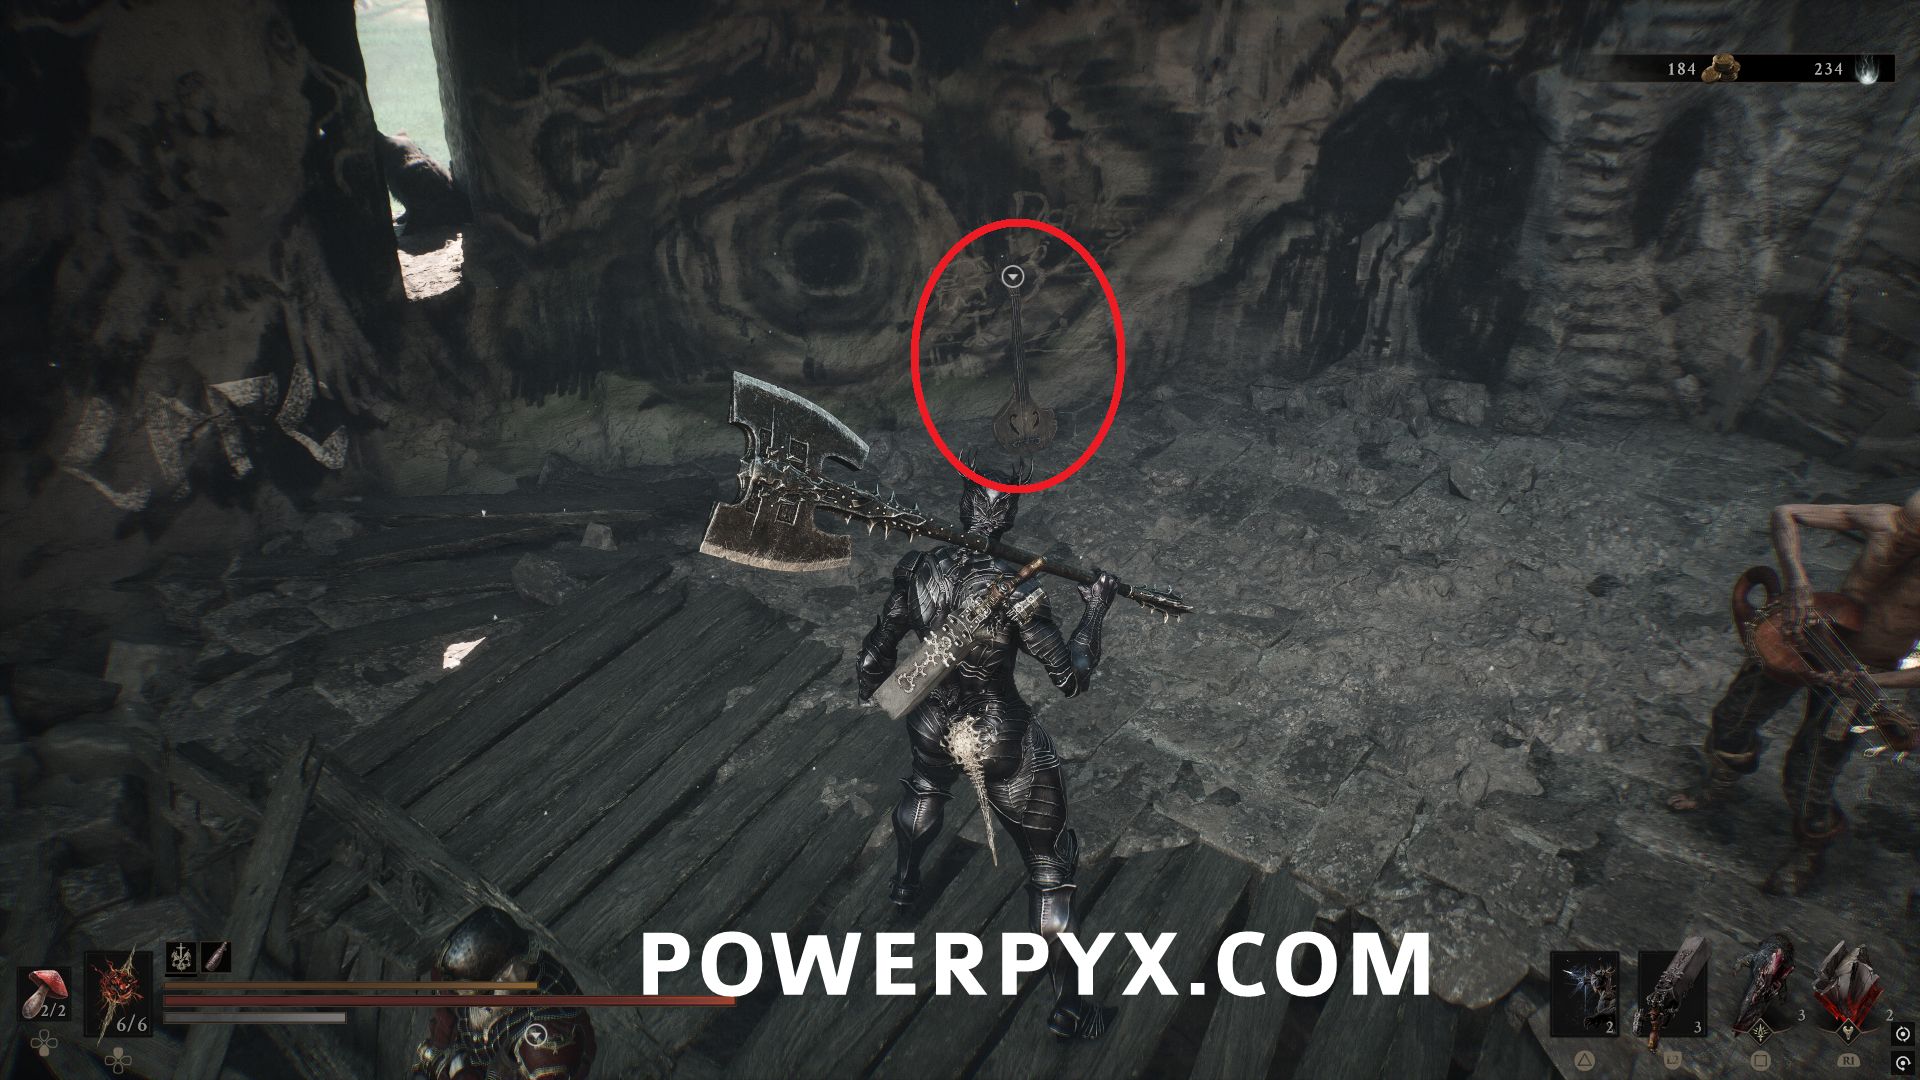
Southeast of One Legged Wolf Beacon, enter the One Legged Wolf Tavern and pick this up from the stage to the left of the man playing the lute.
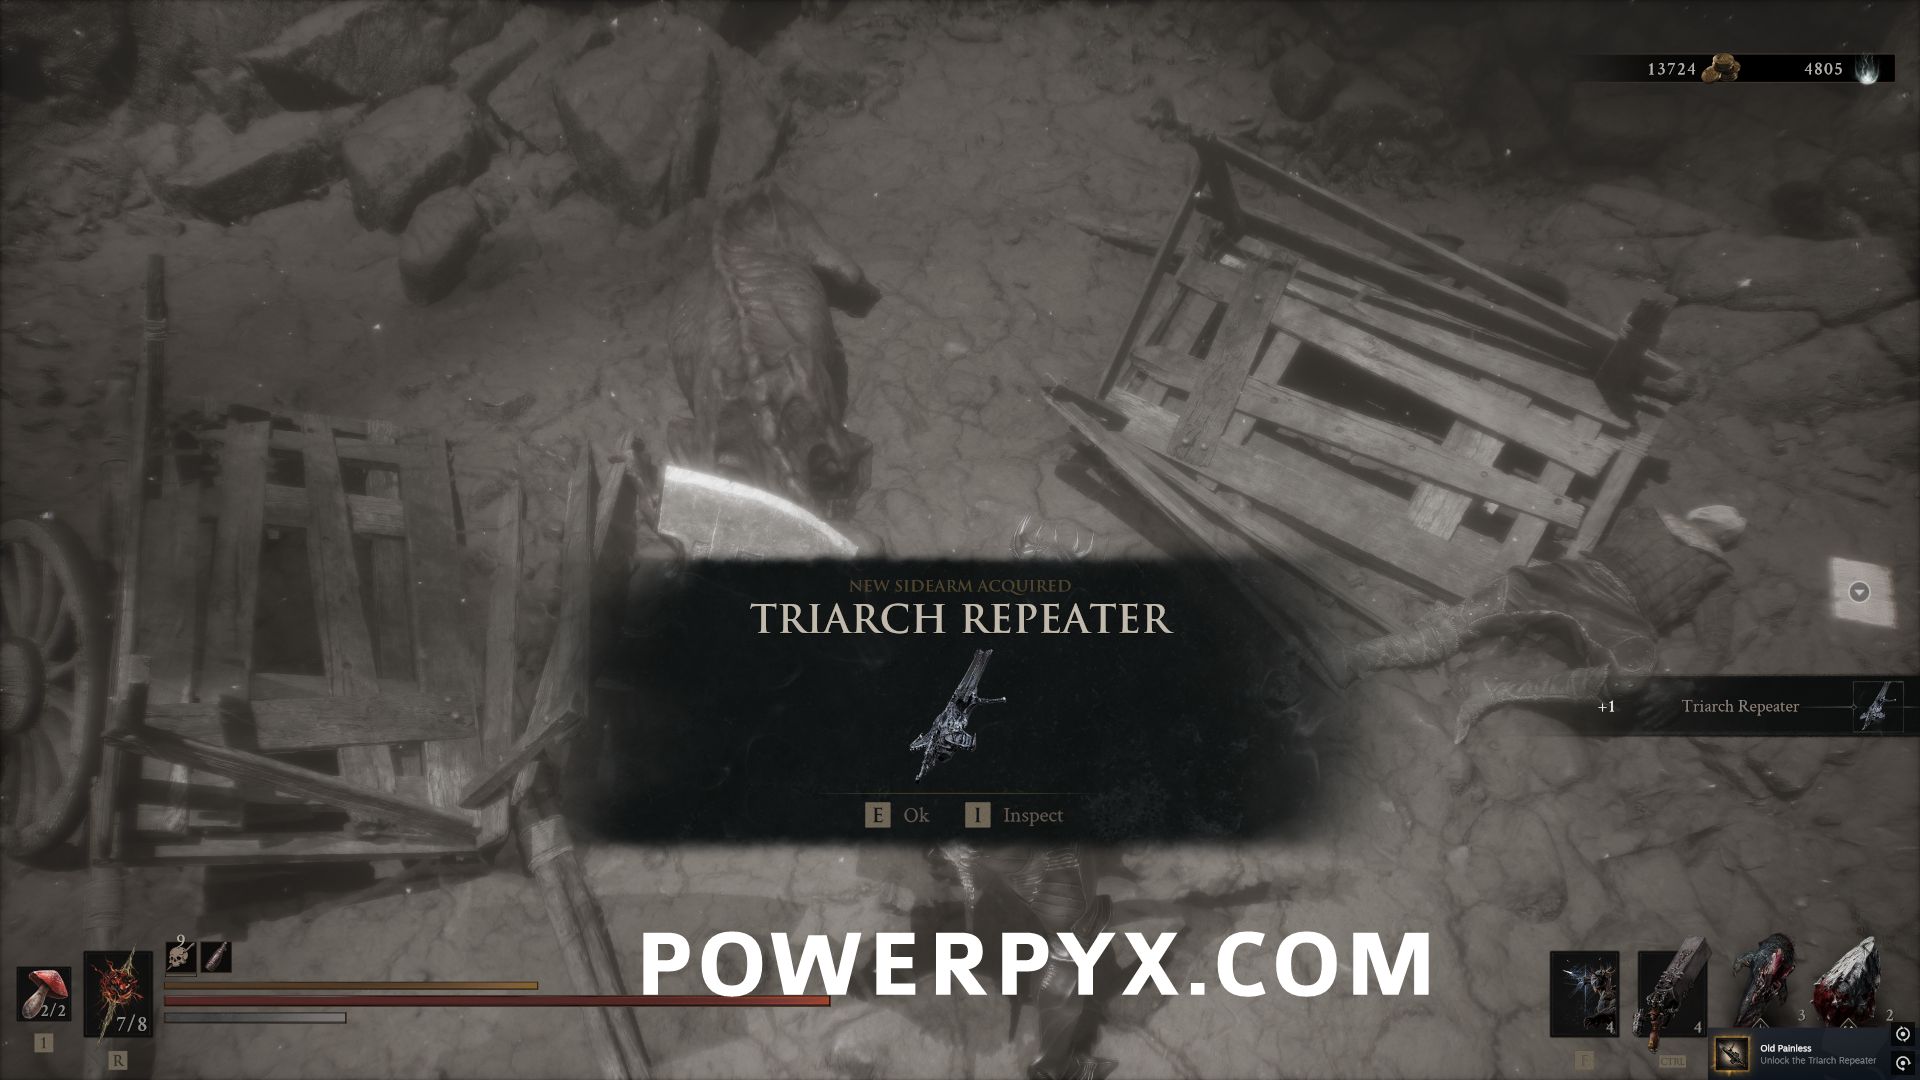
#5 – Triach Repeater
From the Castigator’s Keep Beacon, follow the paths or drop down behind it to reach the lower level of the area, follow the path to the north to find the Blackwell Cavern dungeon around the corner near the cliff edge.
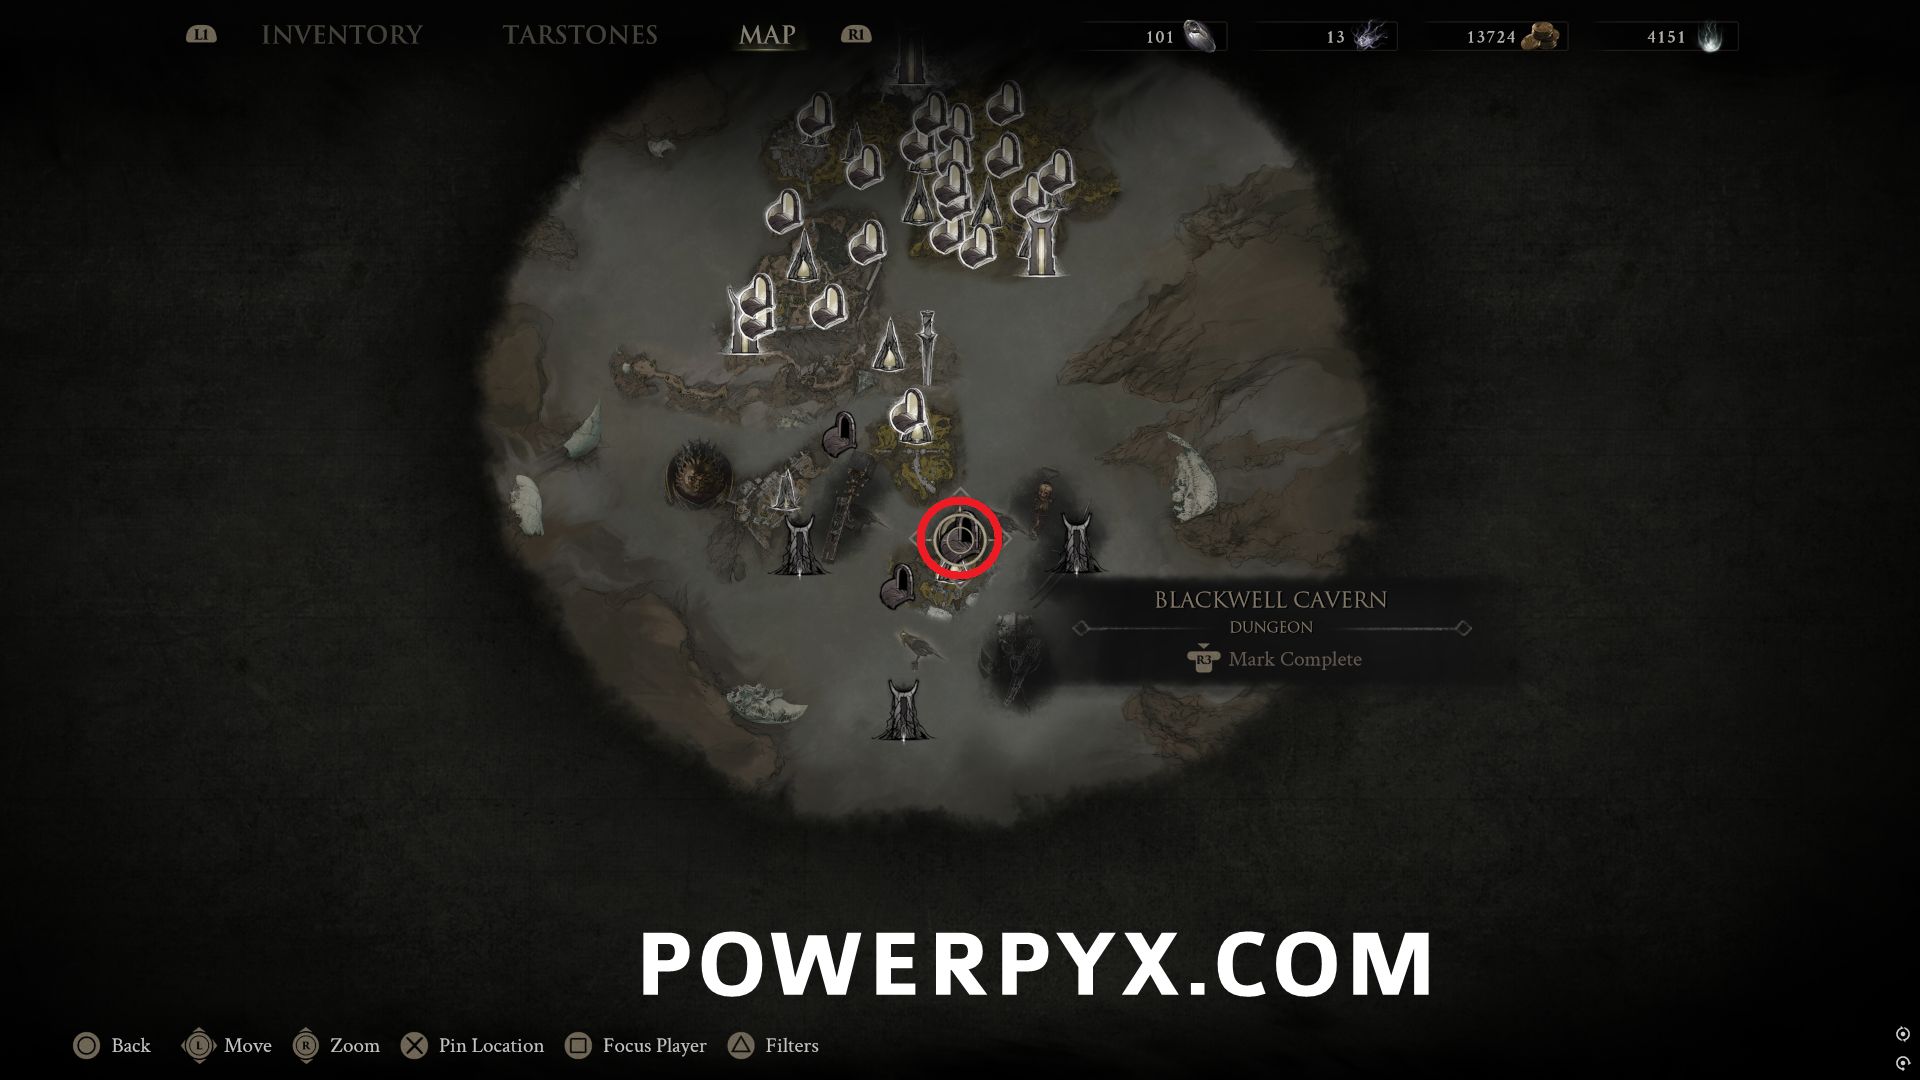
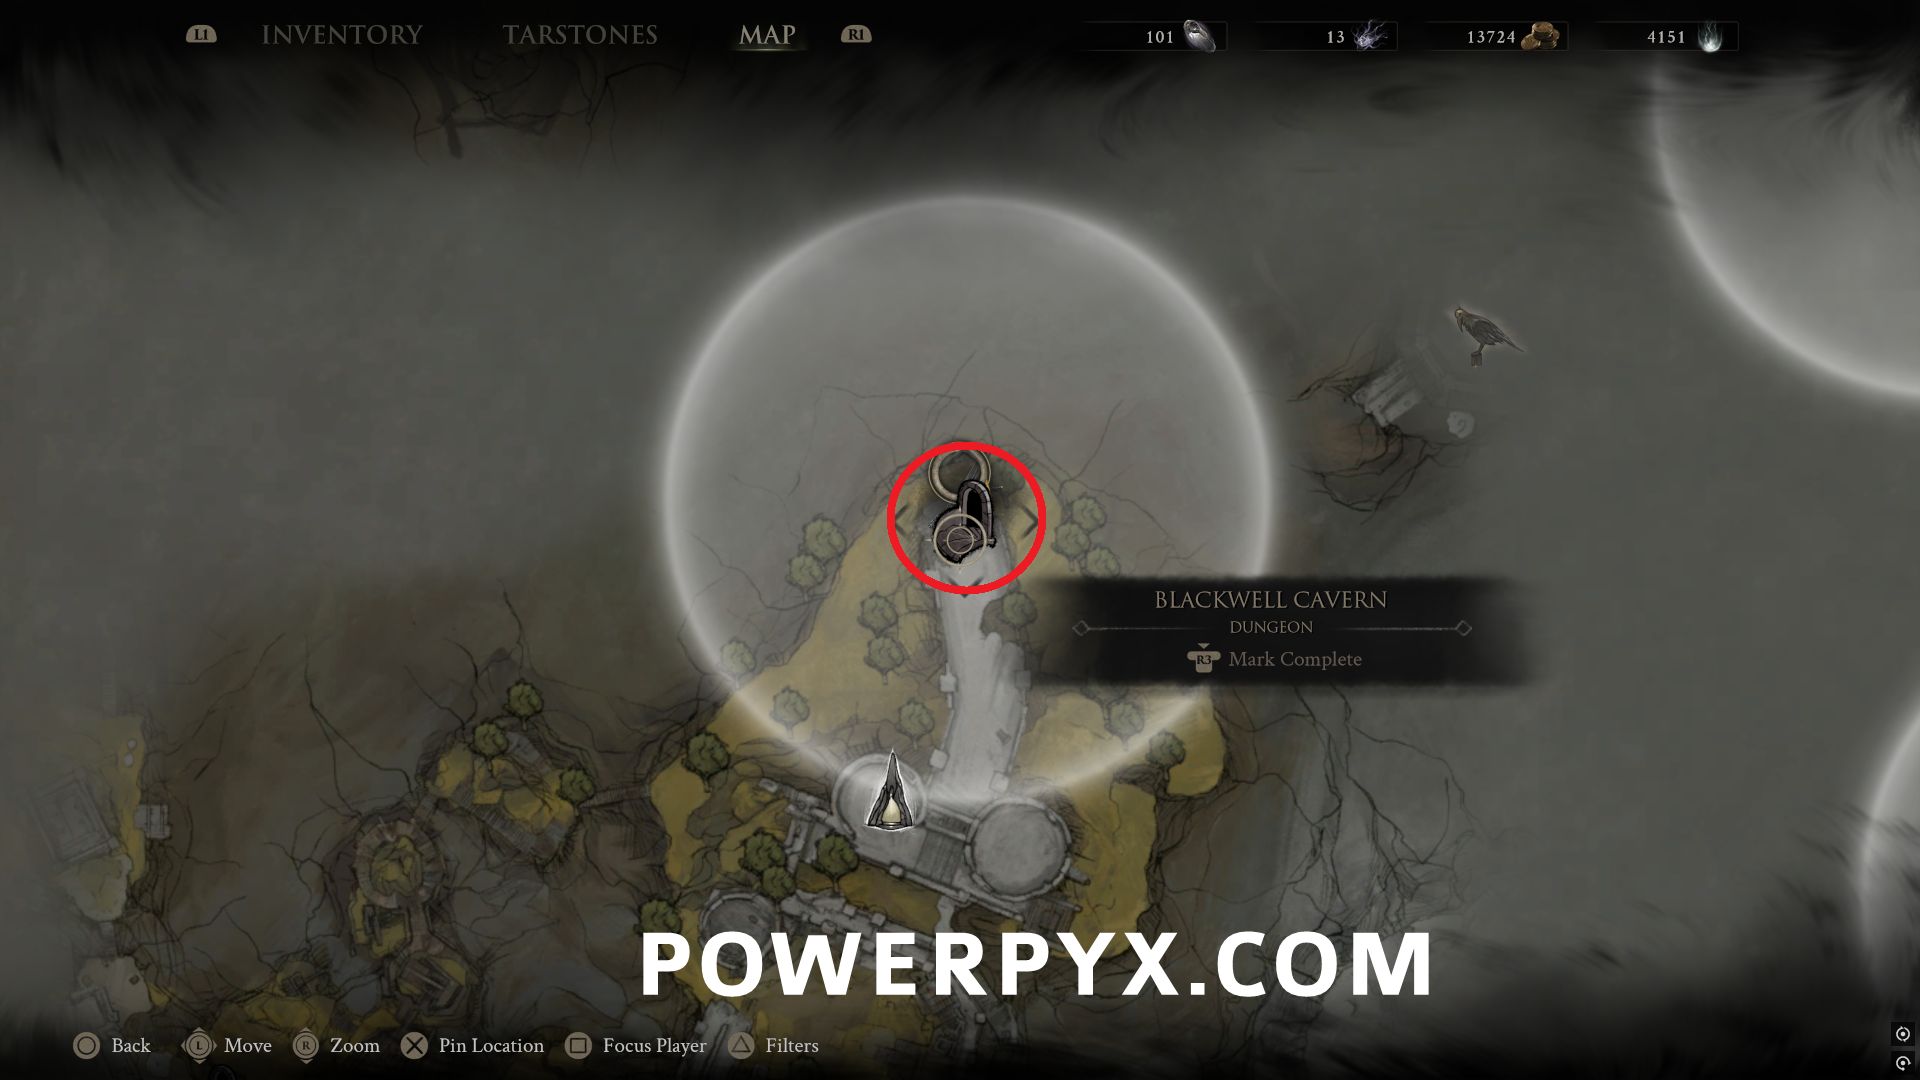
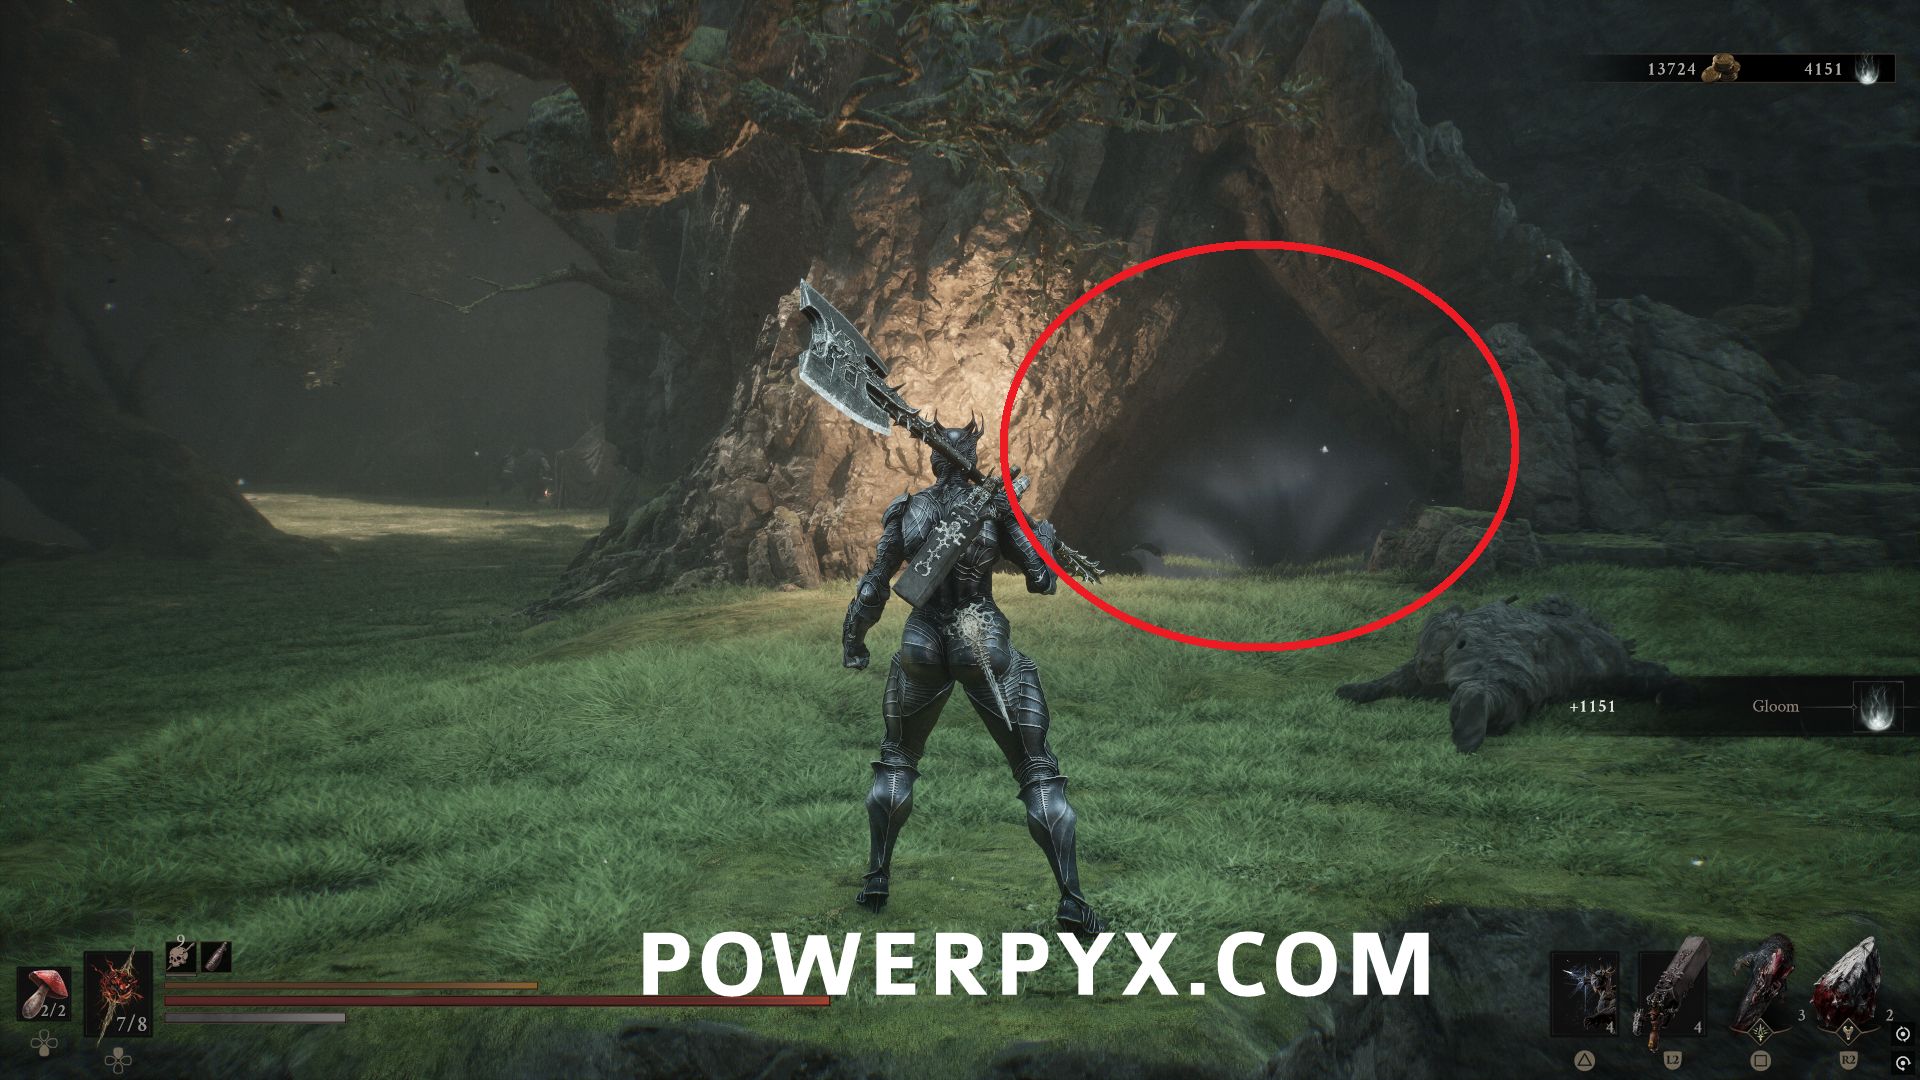
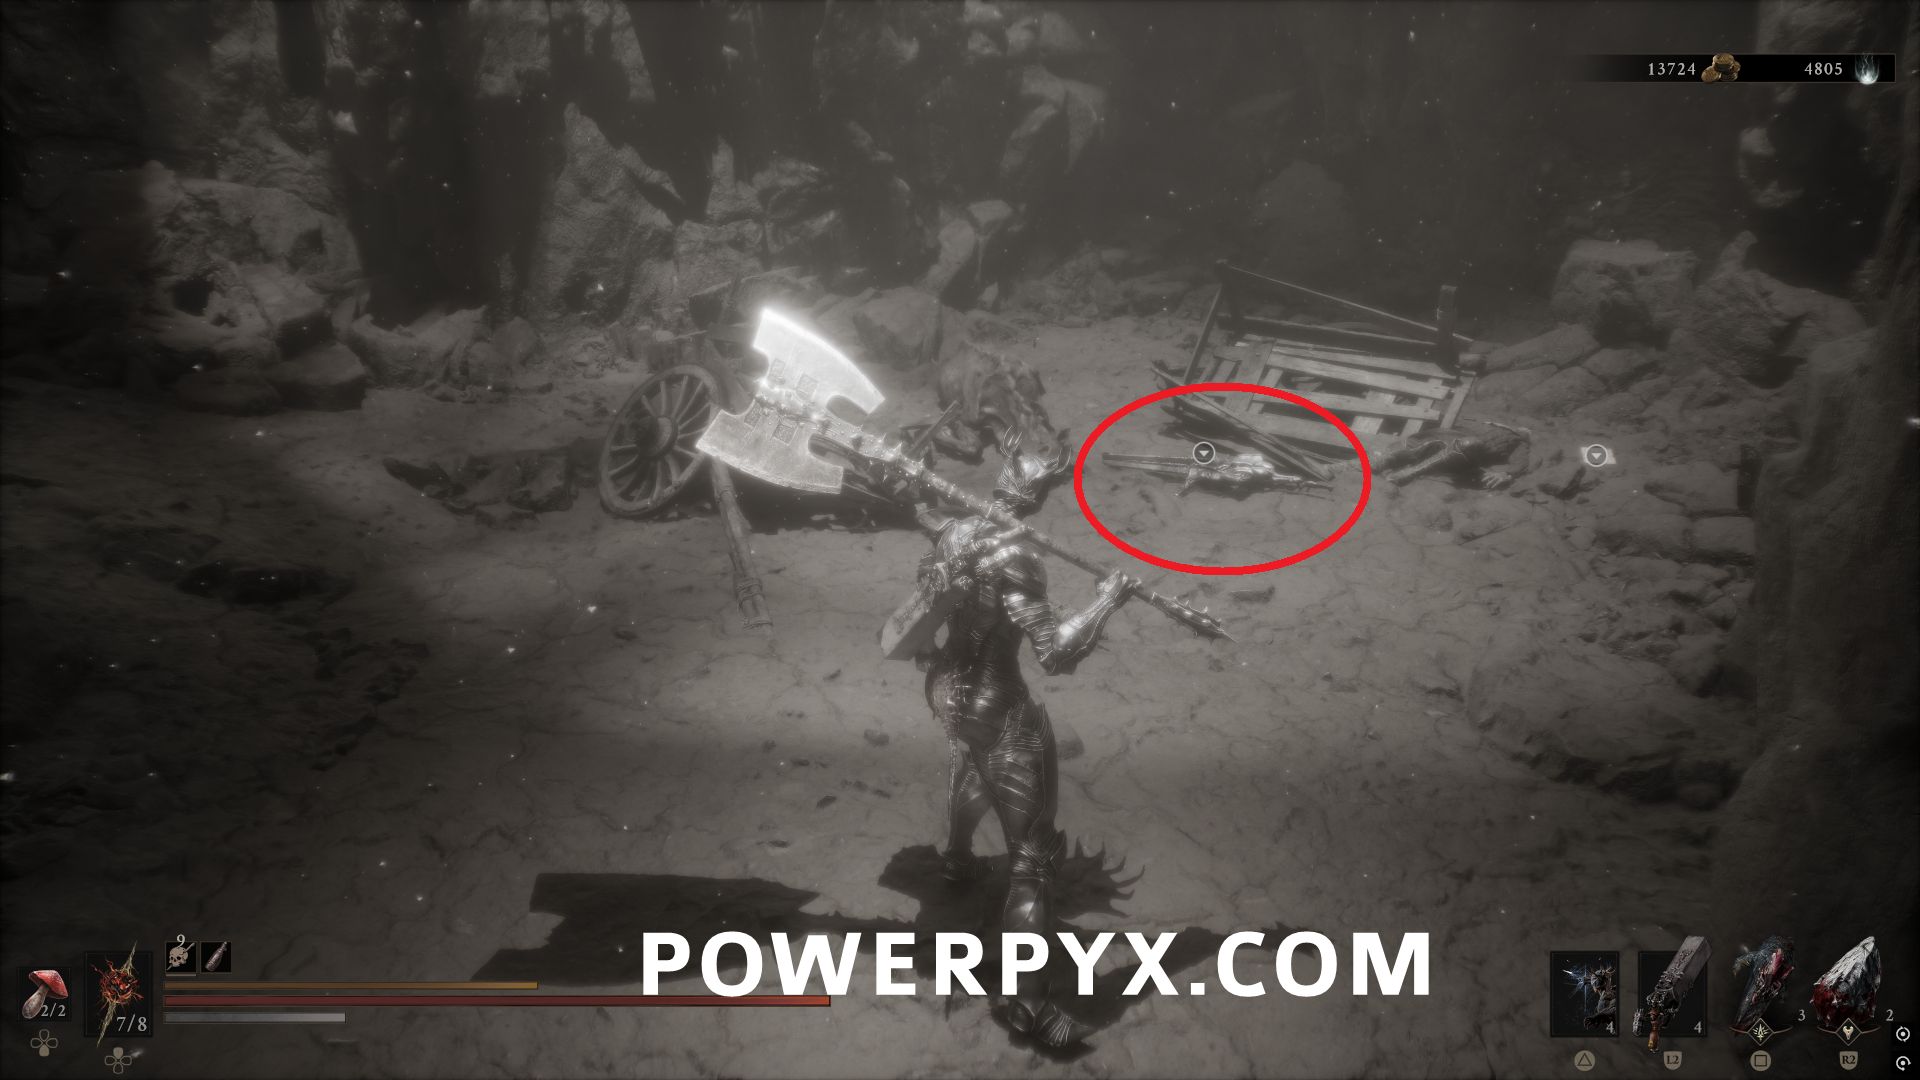
Follow the path through the dungeon, and the sidearm is on the ground in the first lit-up area partway through.
#6 – Ballistazooka
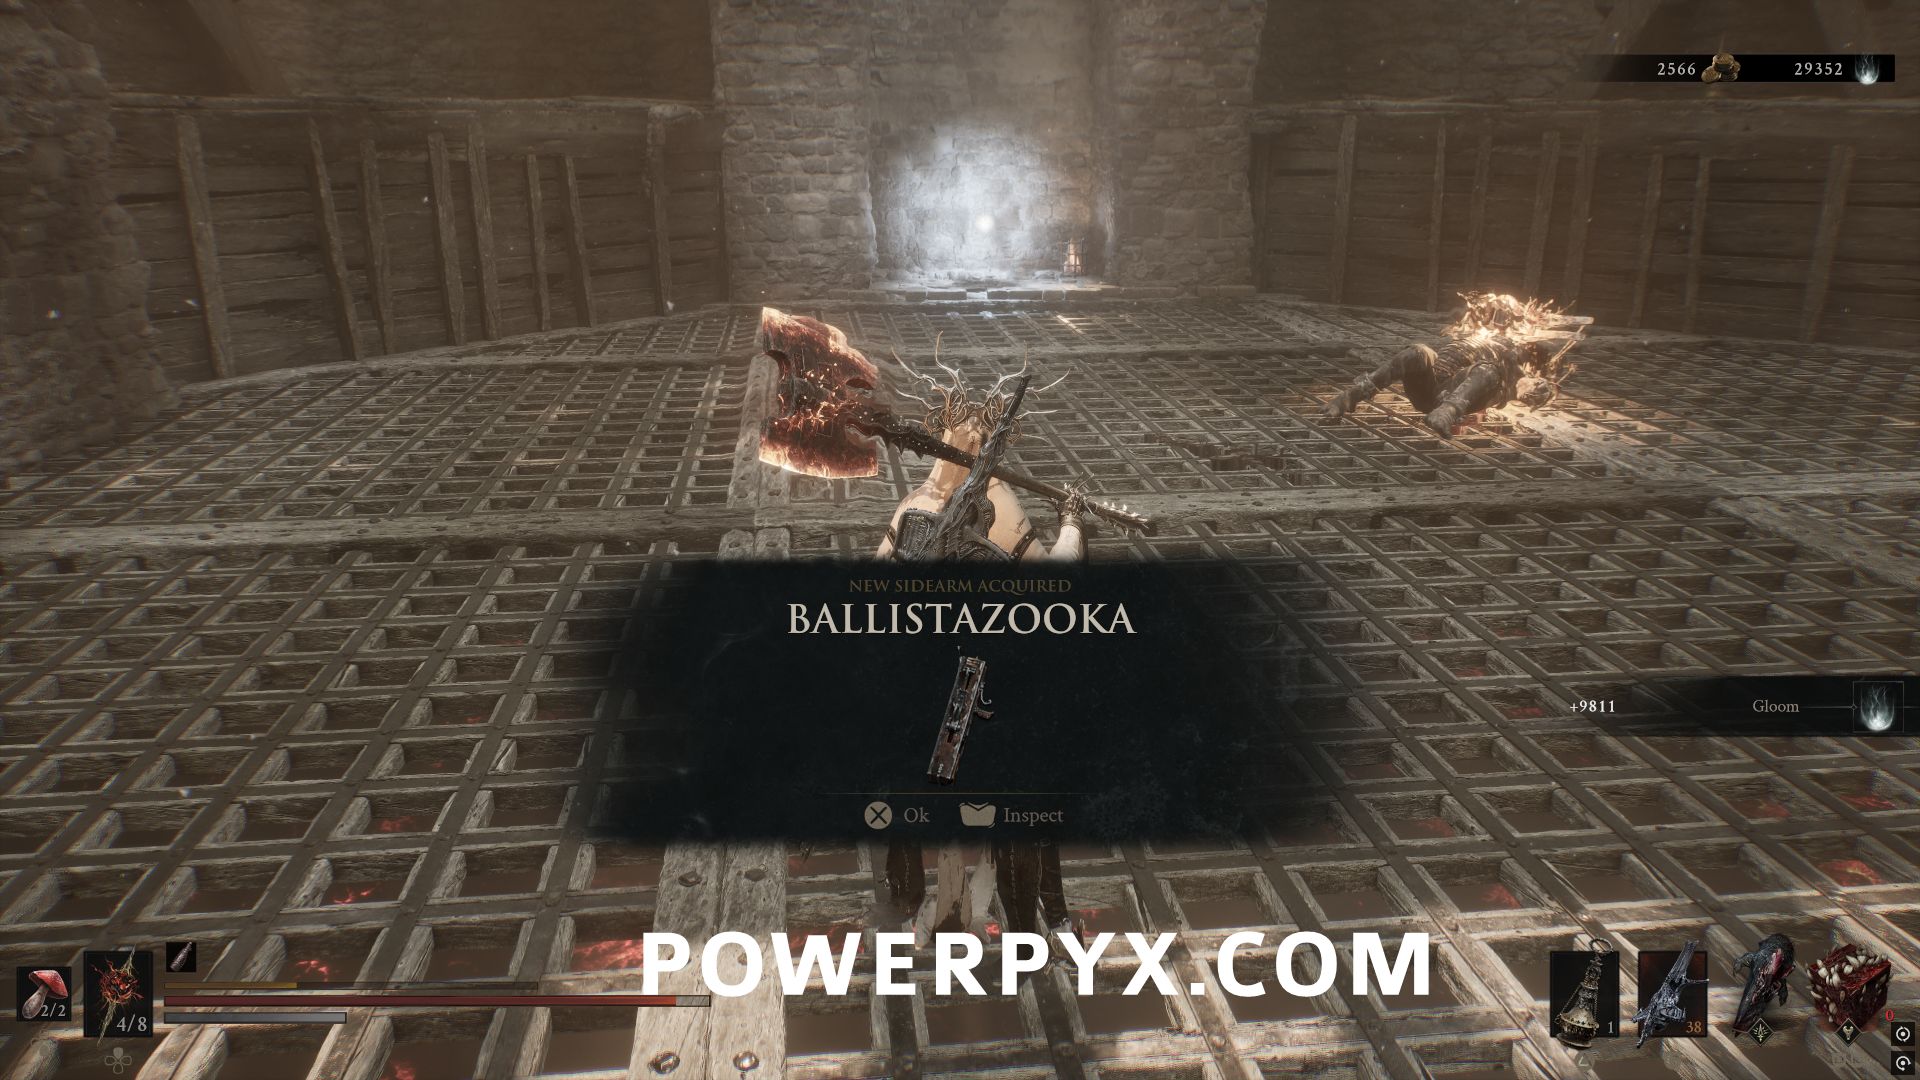
From Gate of Mammon Beacon, go northwest up the first stairs to the first level of the building, then follow it around clockwise to the indoor area where you can find the stairs leading into the Sentry’s Grave dungeon.
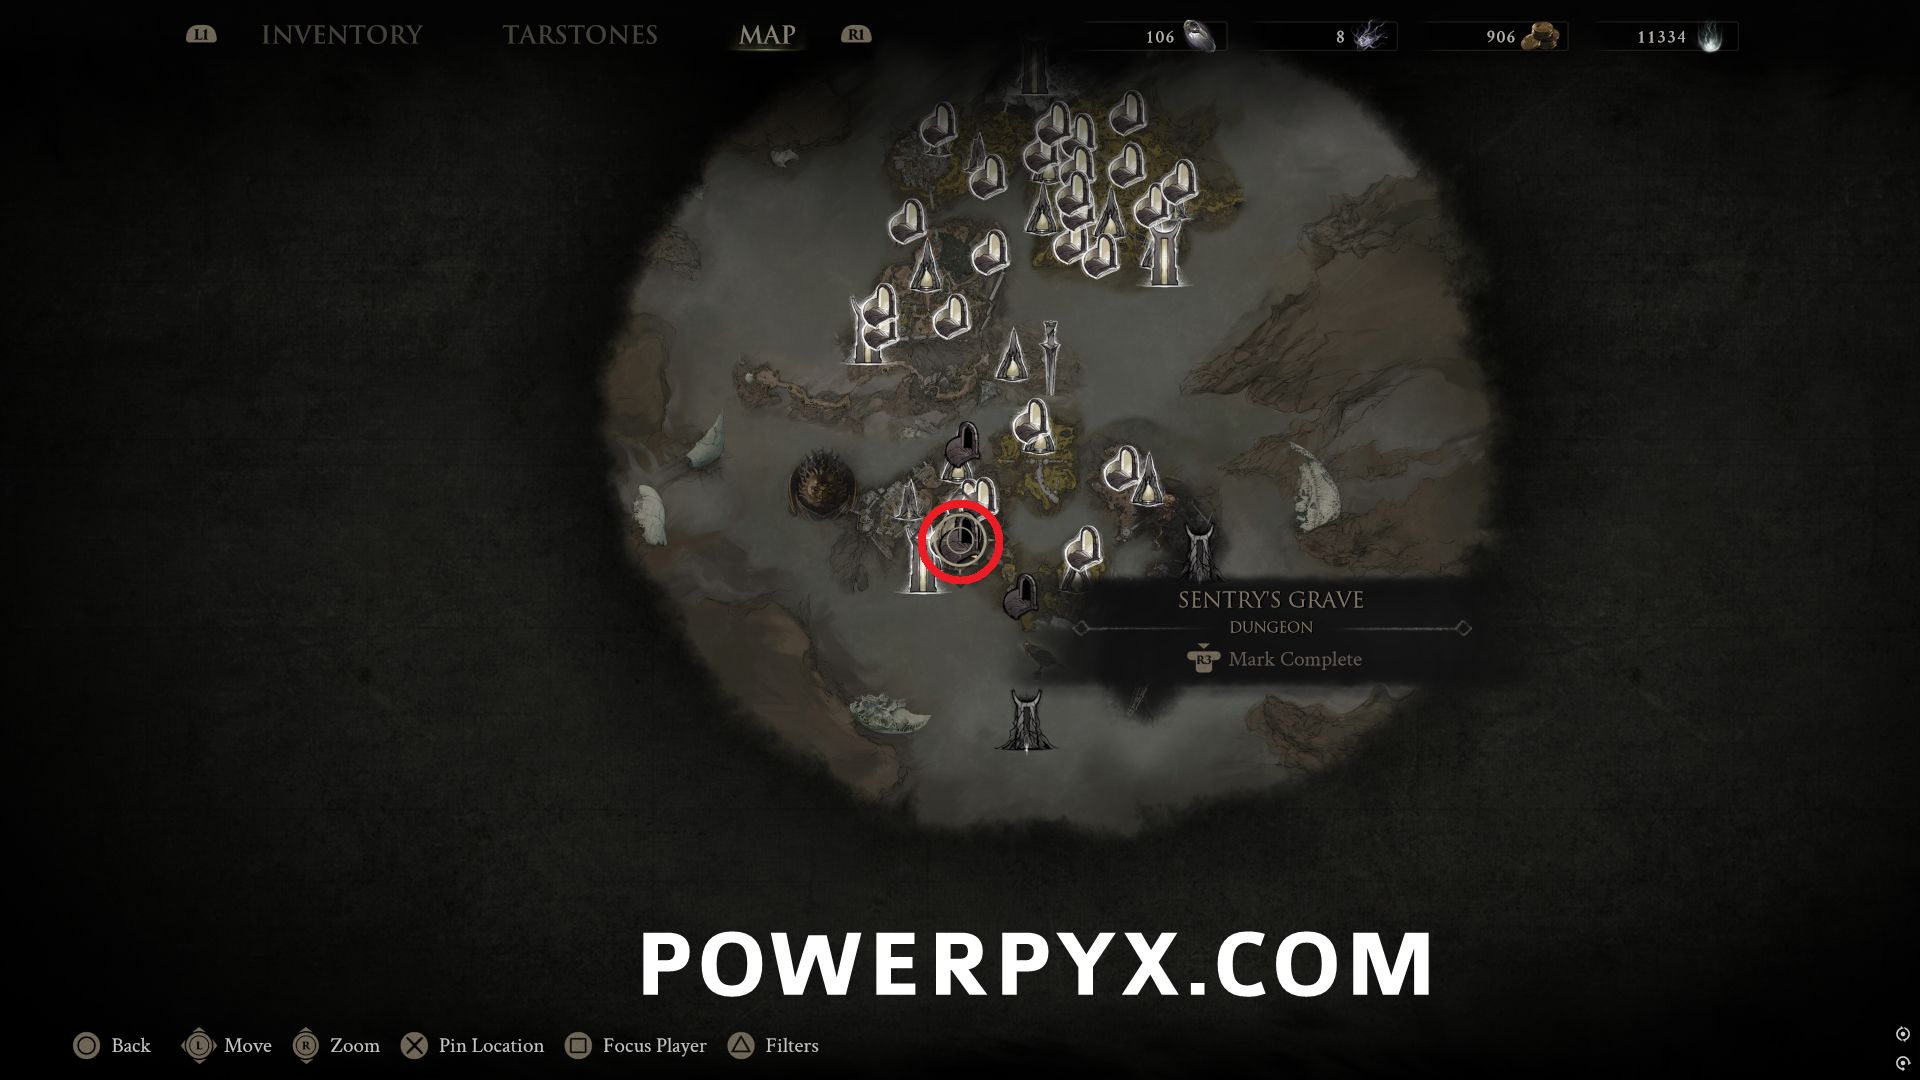
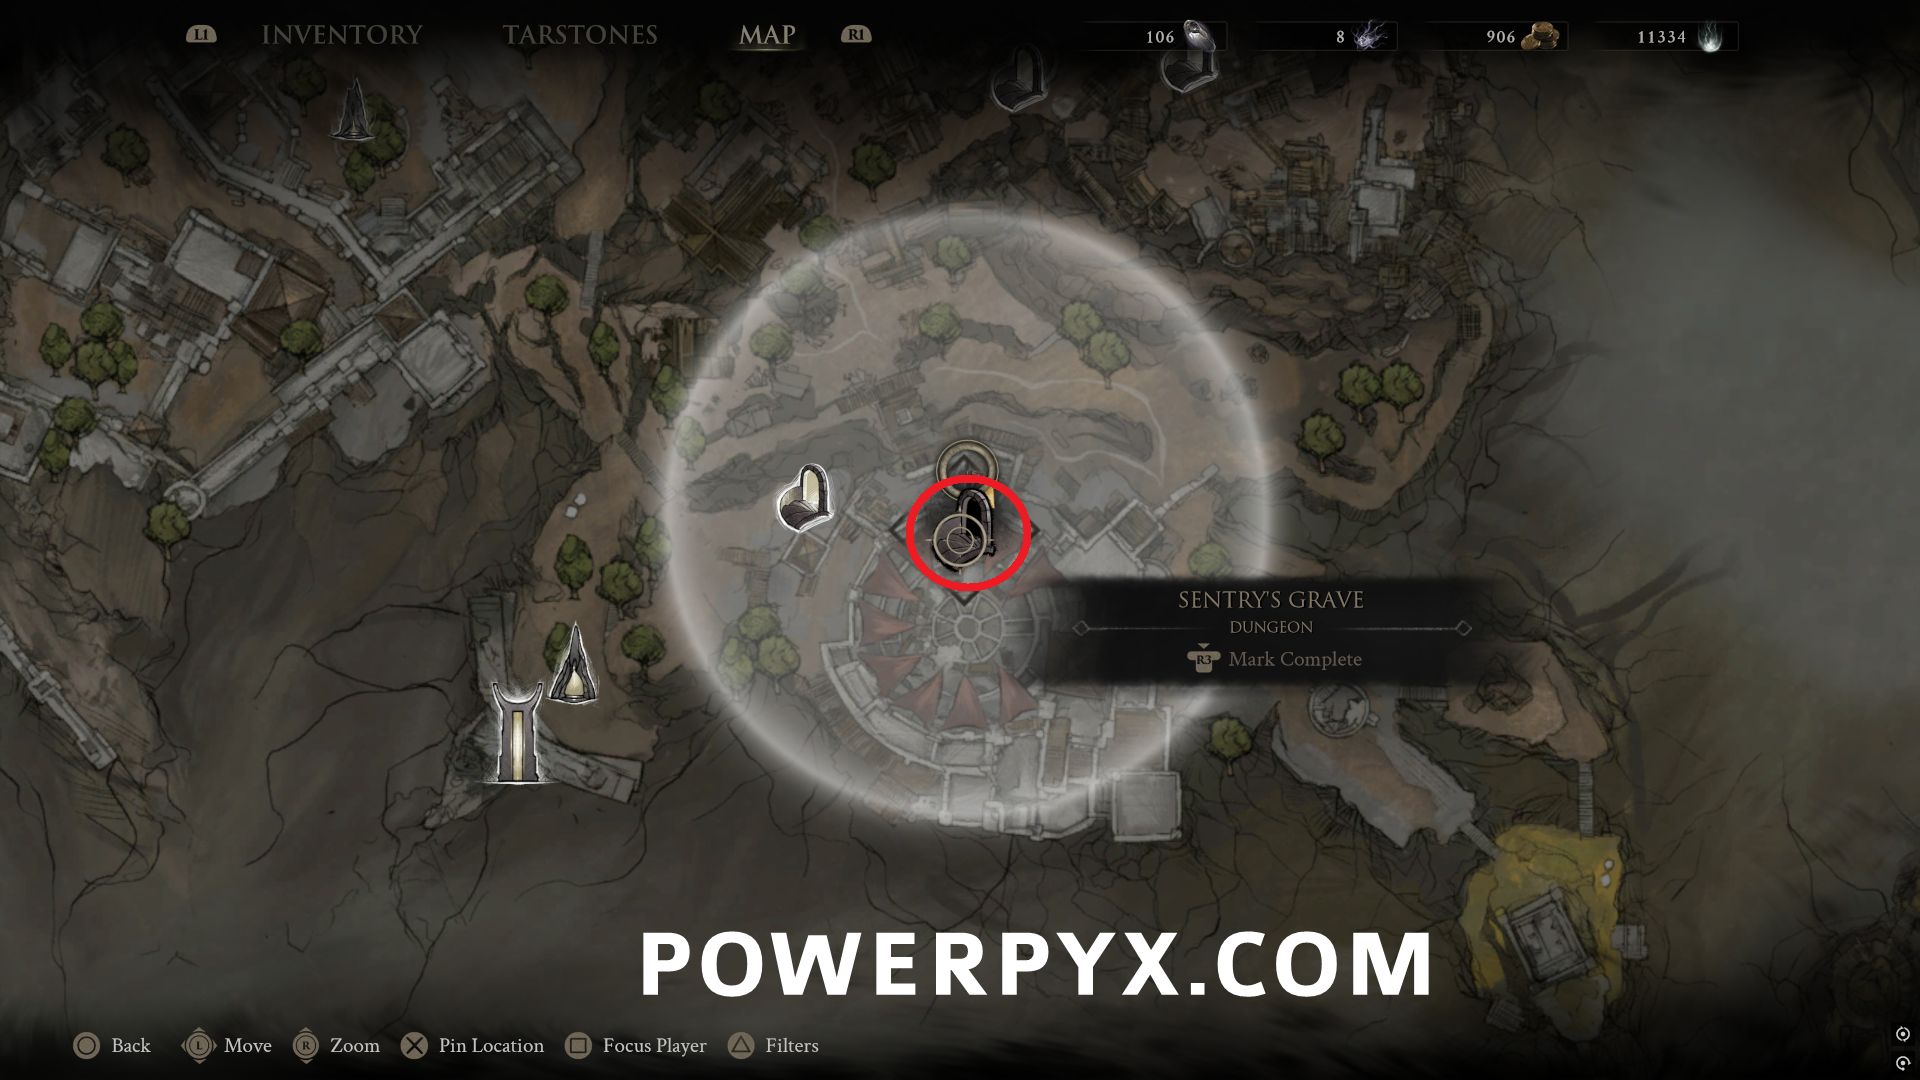
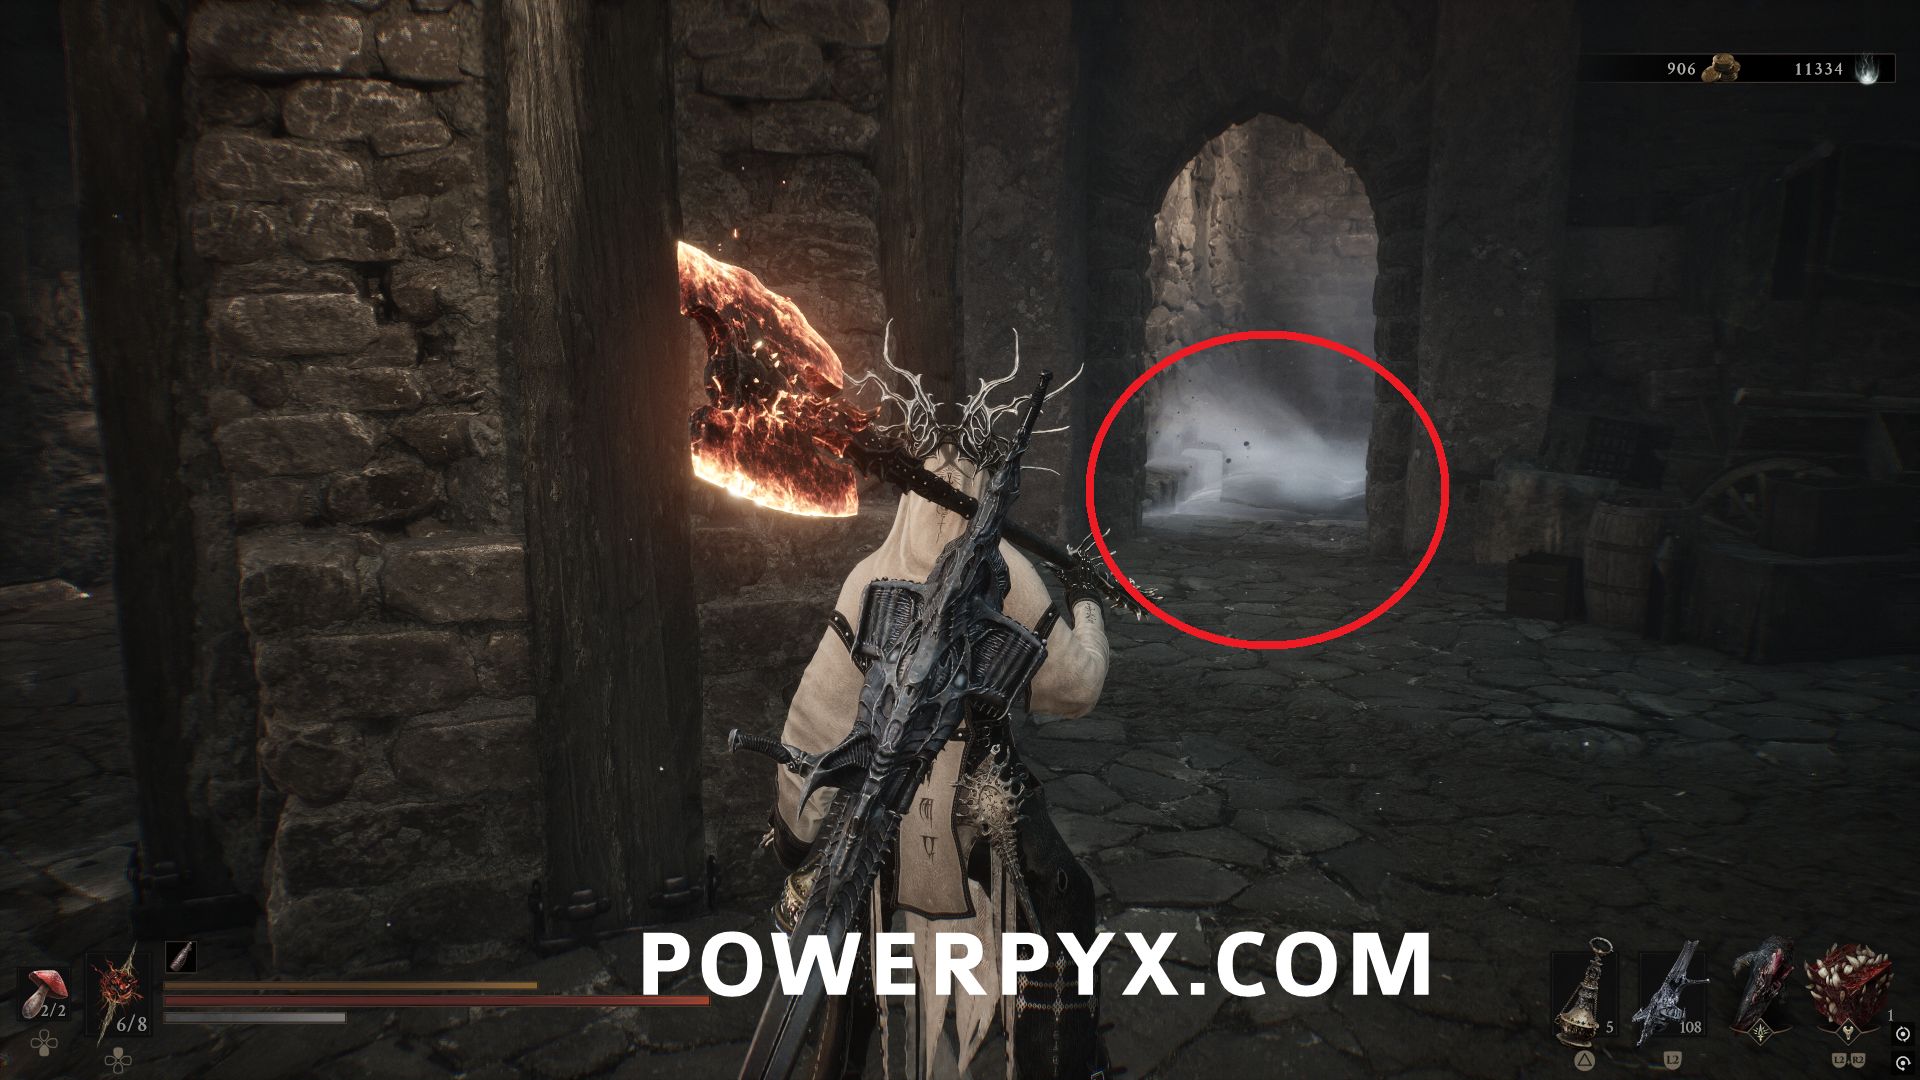
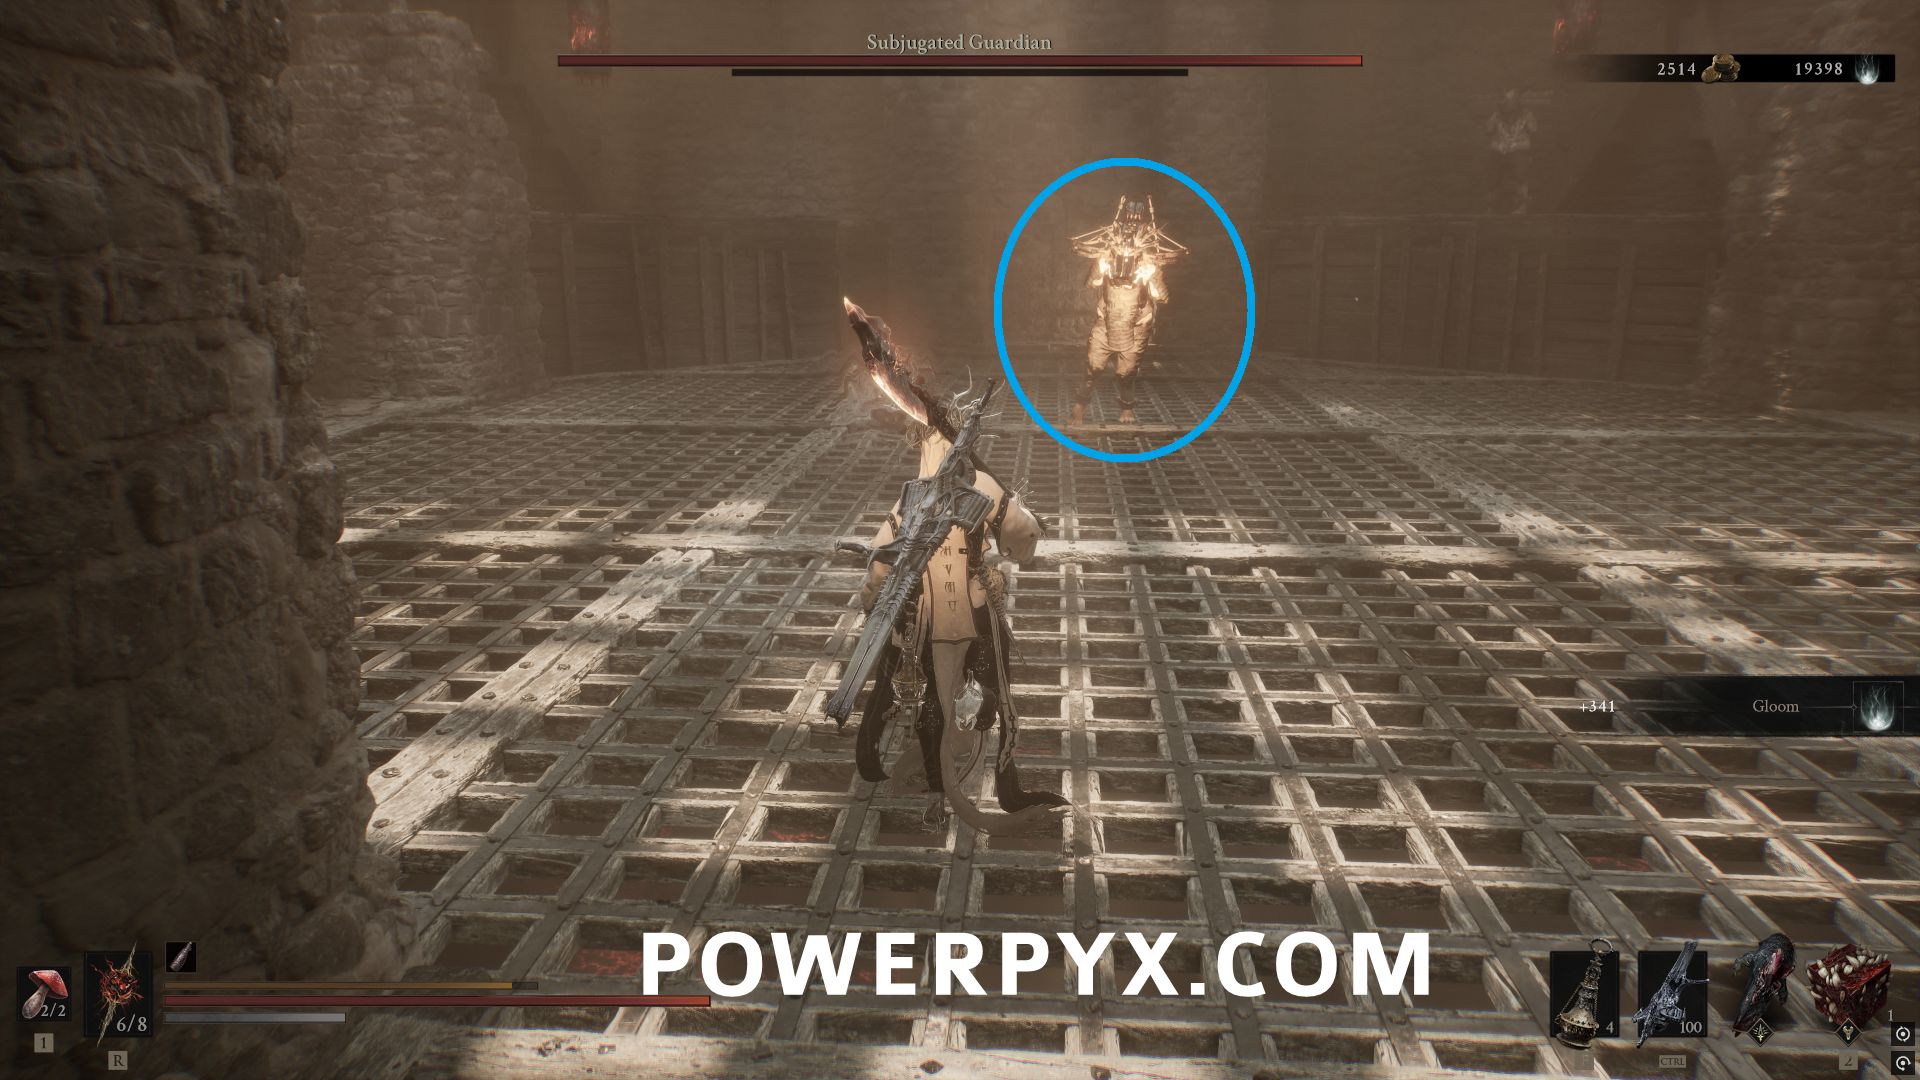
Follow the dungeon to the end and defeat the miniboss Subjugated Guardian to automatically obtain the sidearm.
#7 – Cursed Child
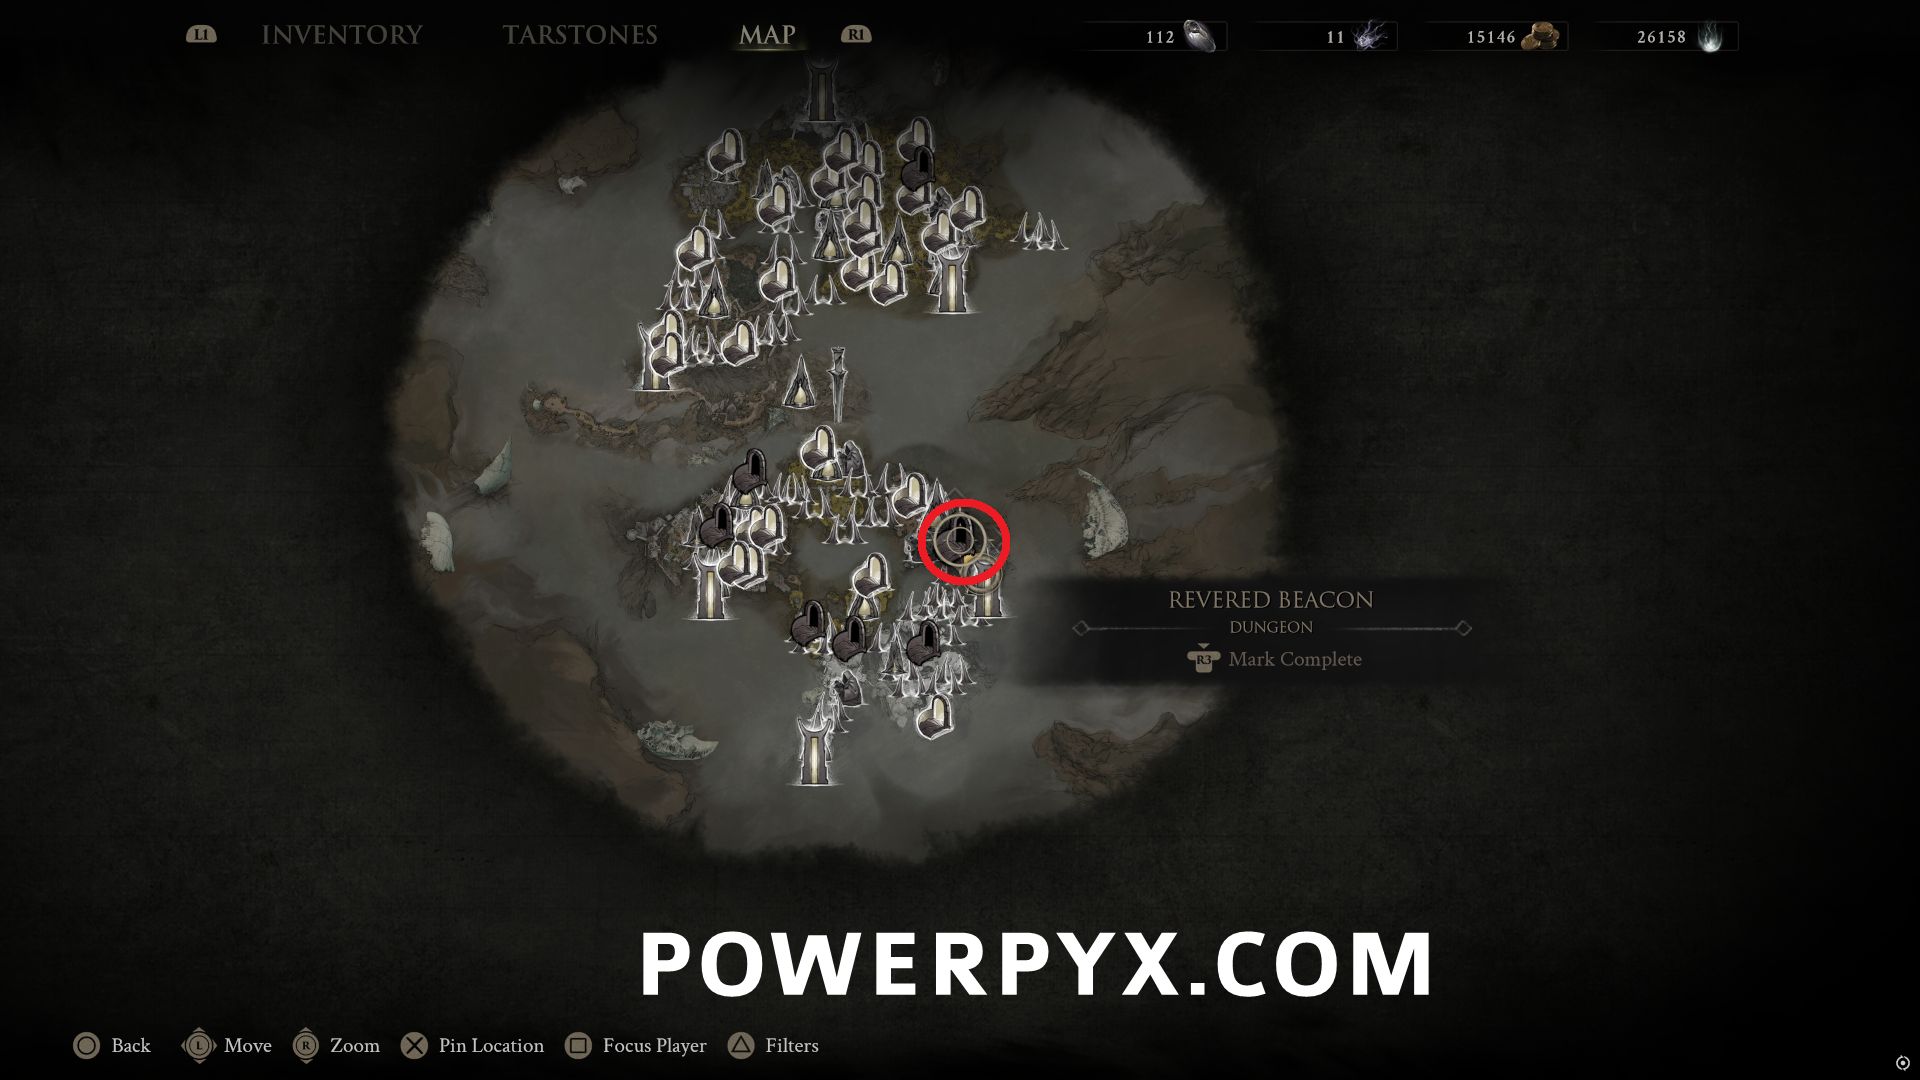
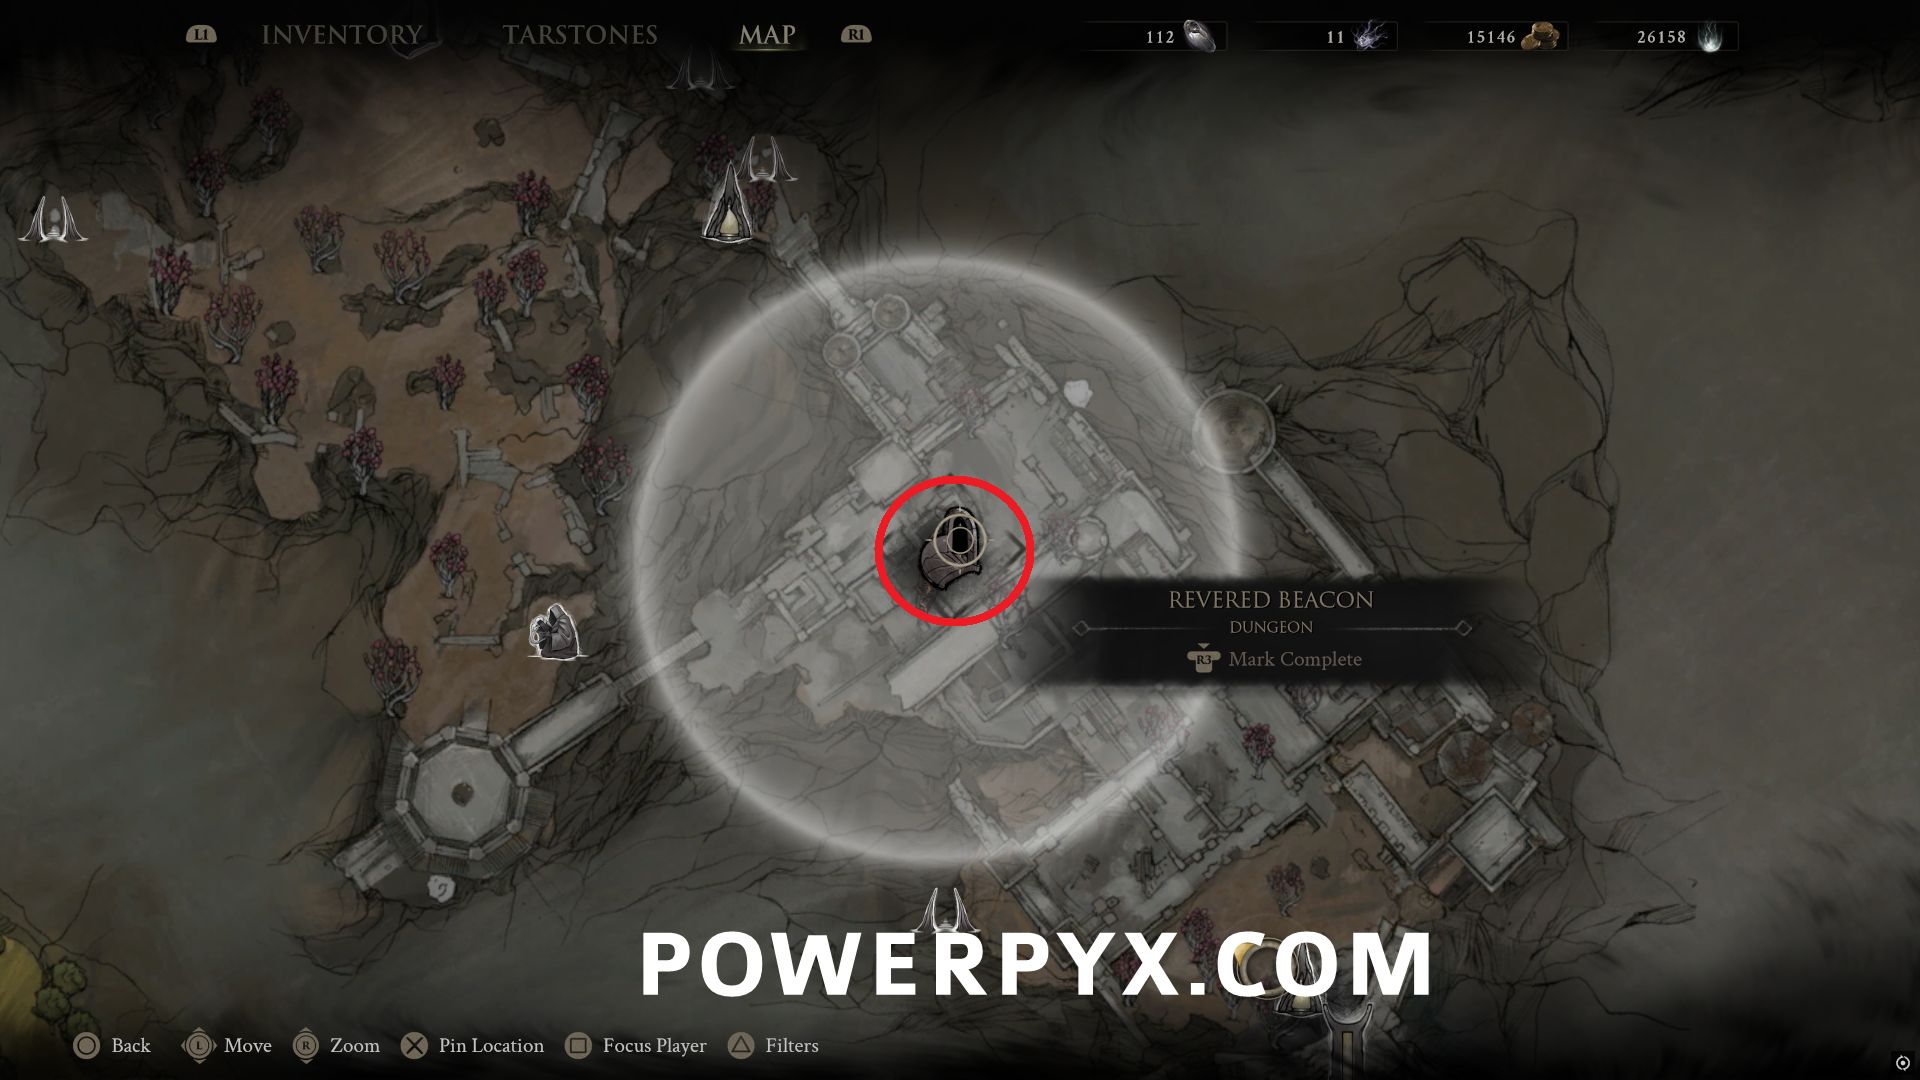
From the Sester’s Gate Beacon, go up the northwestern stairs to where the rolling enemy is, then out onto the western platform and drop to the ledge below with the Bone Gate. Follow the path north and past the hammer enemy and on the right is the Revered Beacon dungeon entrance.
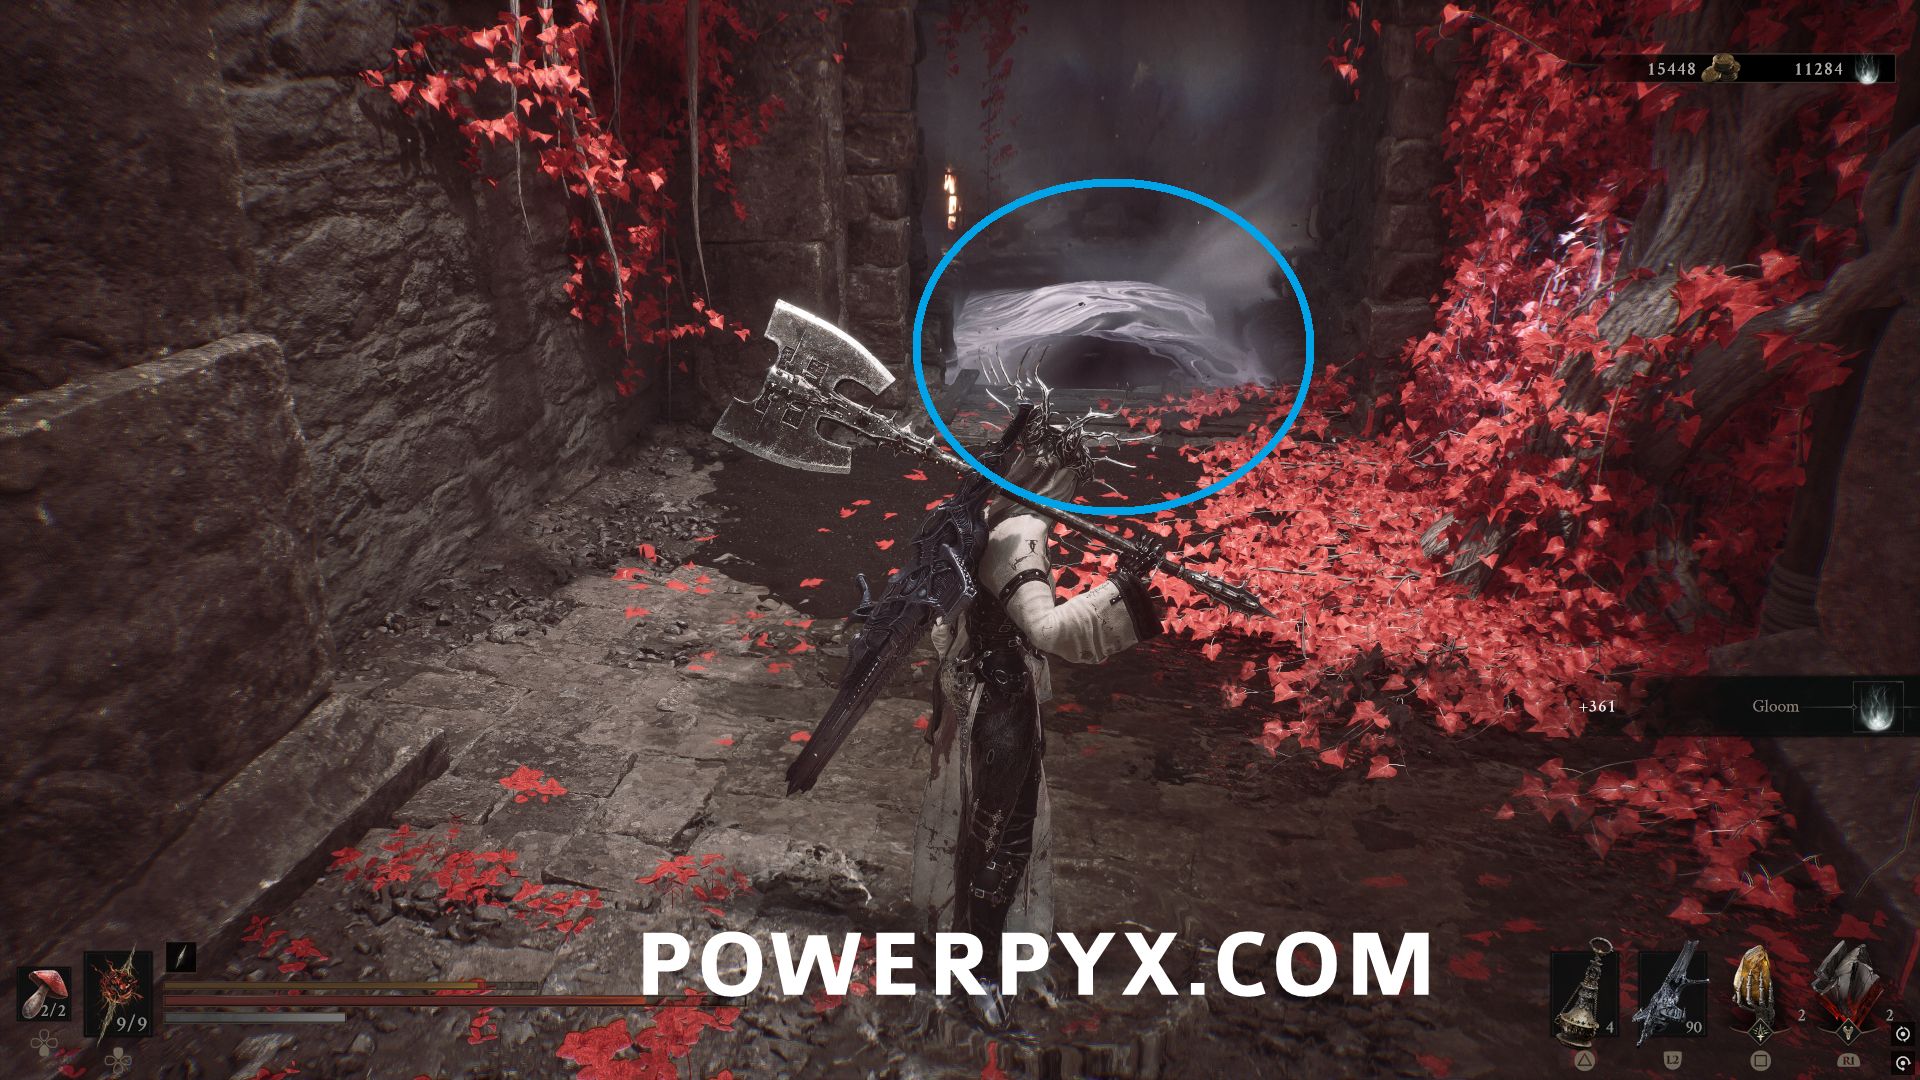
Inside the dungeon, stay out of the golden light from the tower in the center. If it spots you, it will follow you around and constantly damage you until you go behind a wall. It will also track on enemies and constantly damage them, but not very quickly. Make your way counterclockwise around the area, up the hill to the tower and attack the central pillar to stop the light, allowing you to pick up the Cursed Child.
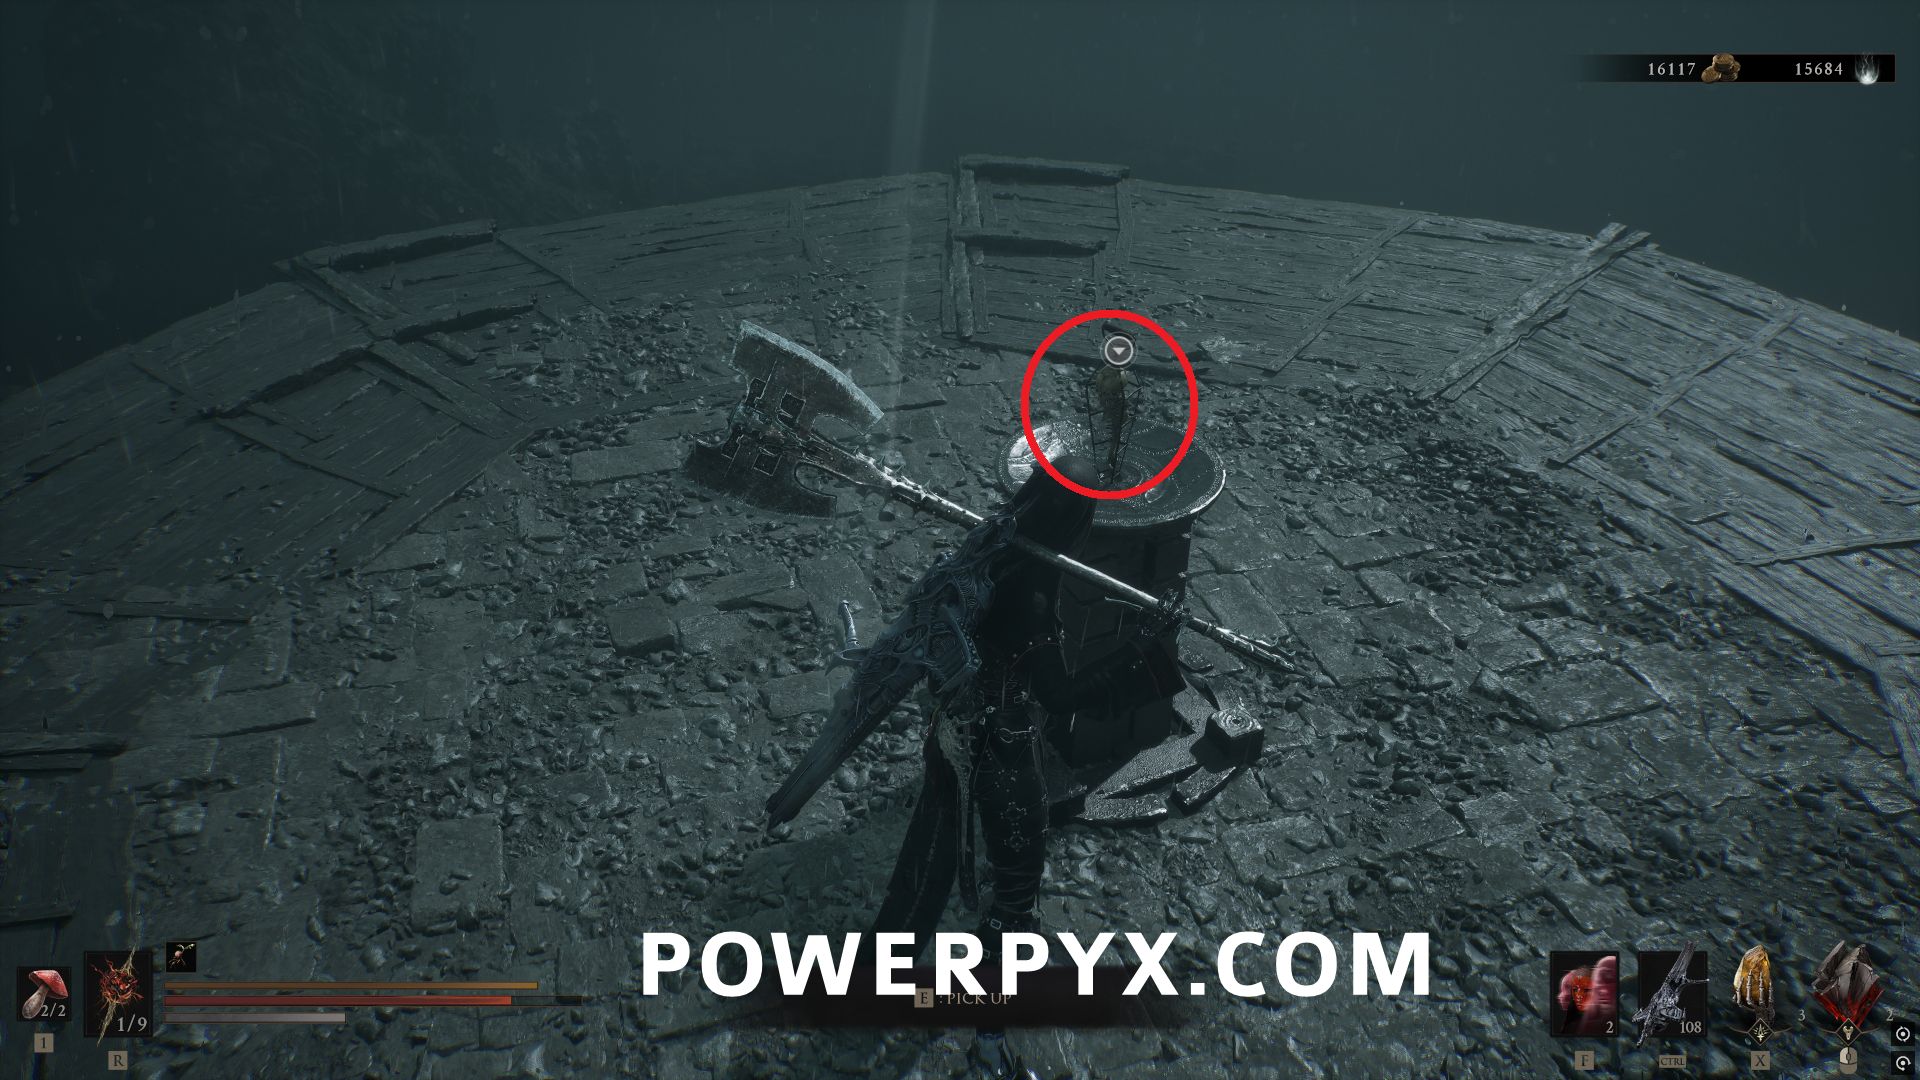
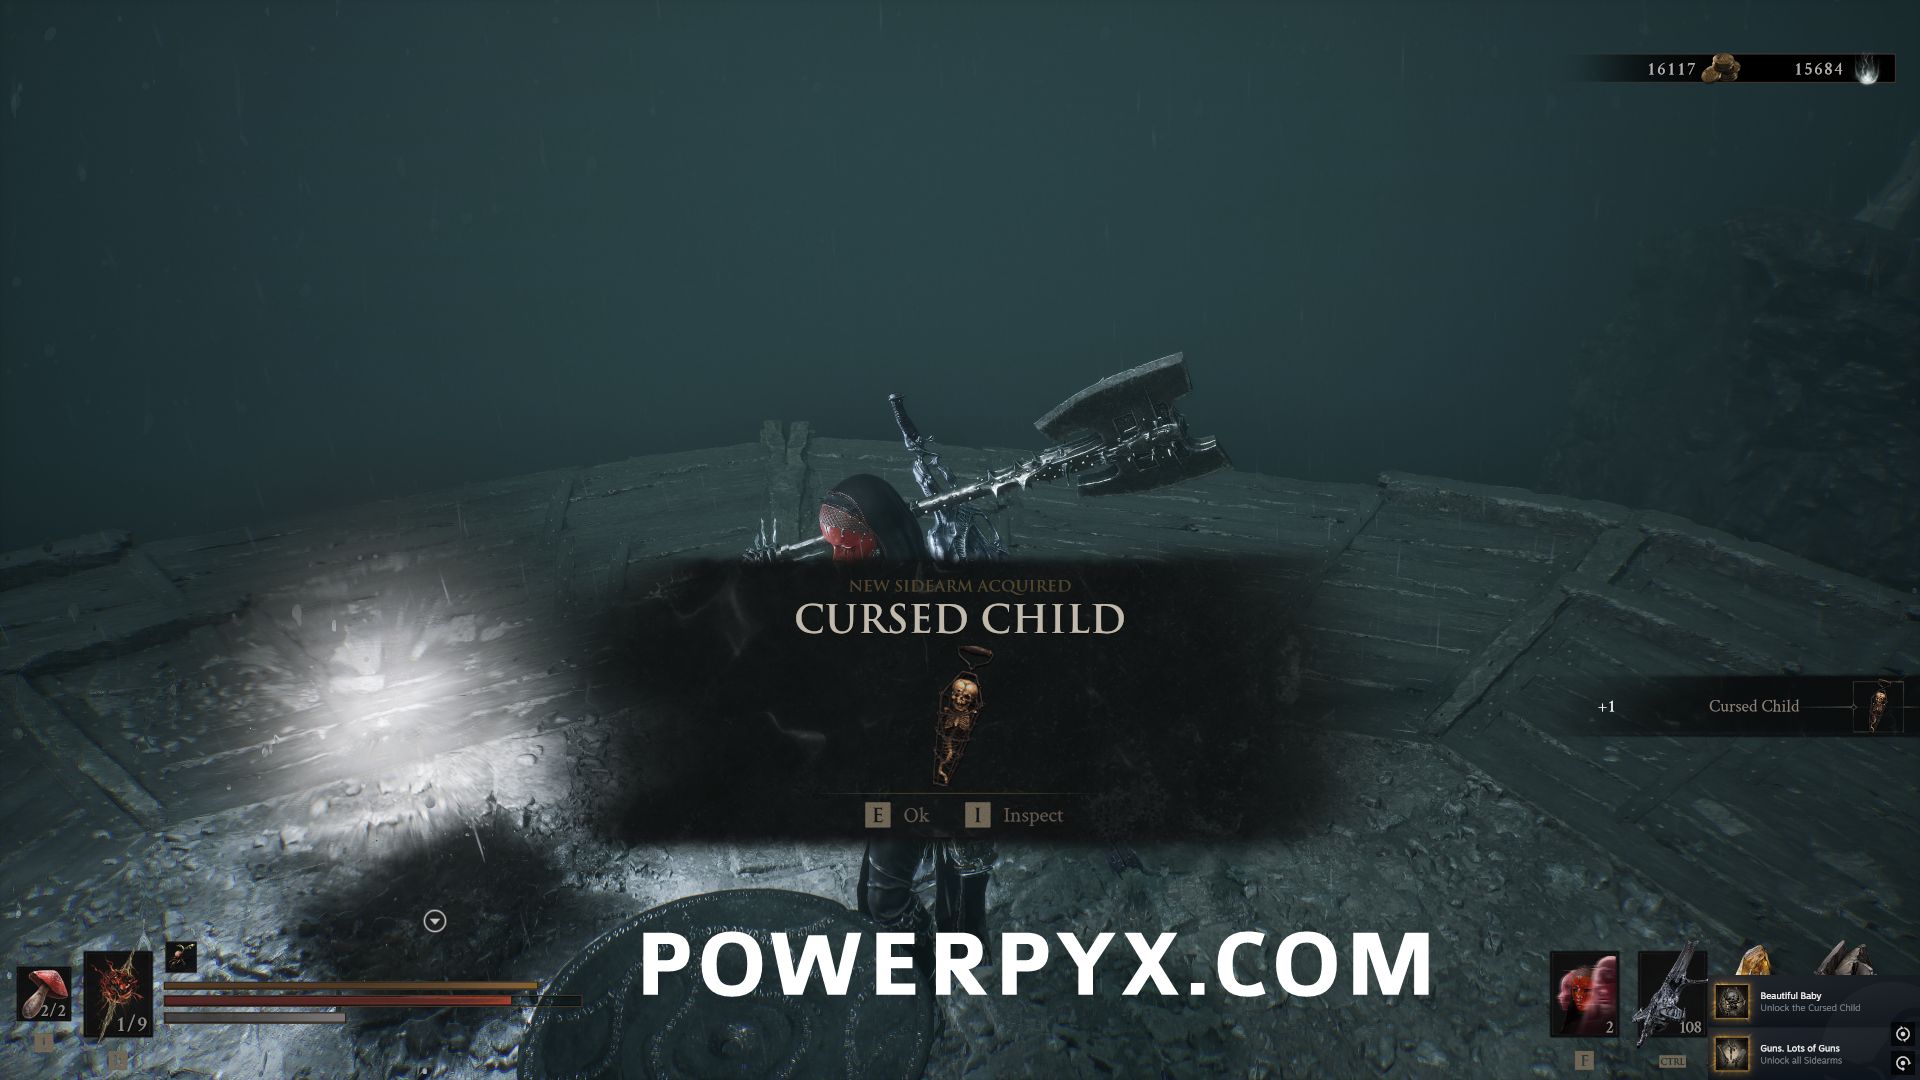
#8 – Caged Hystrix
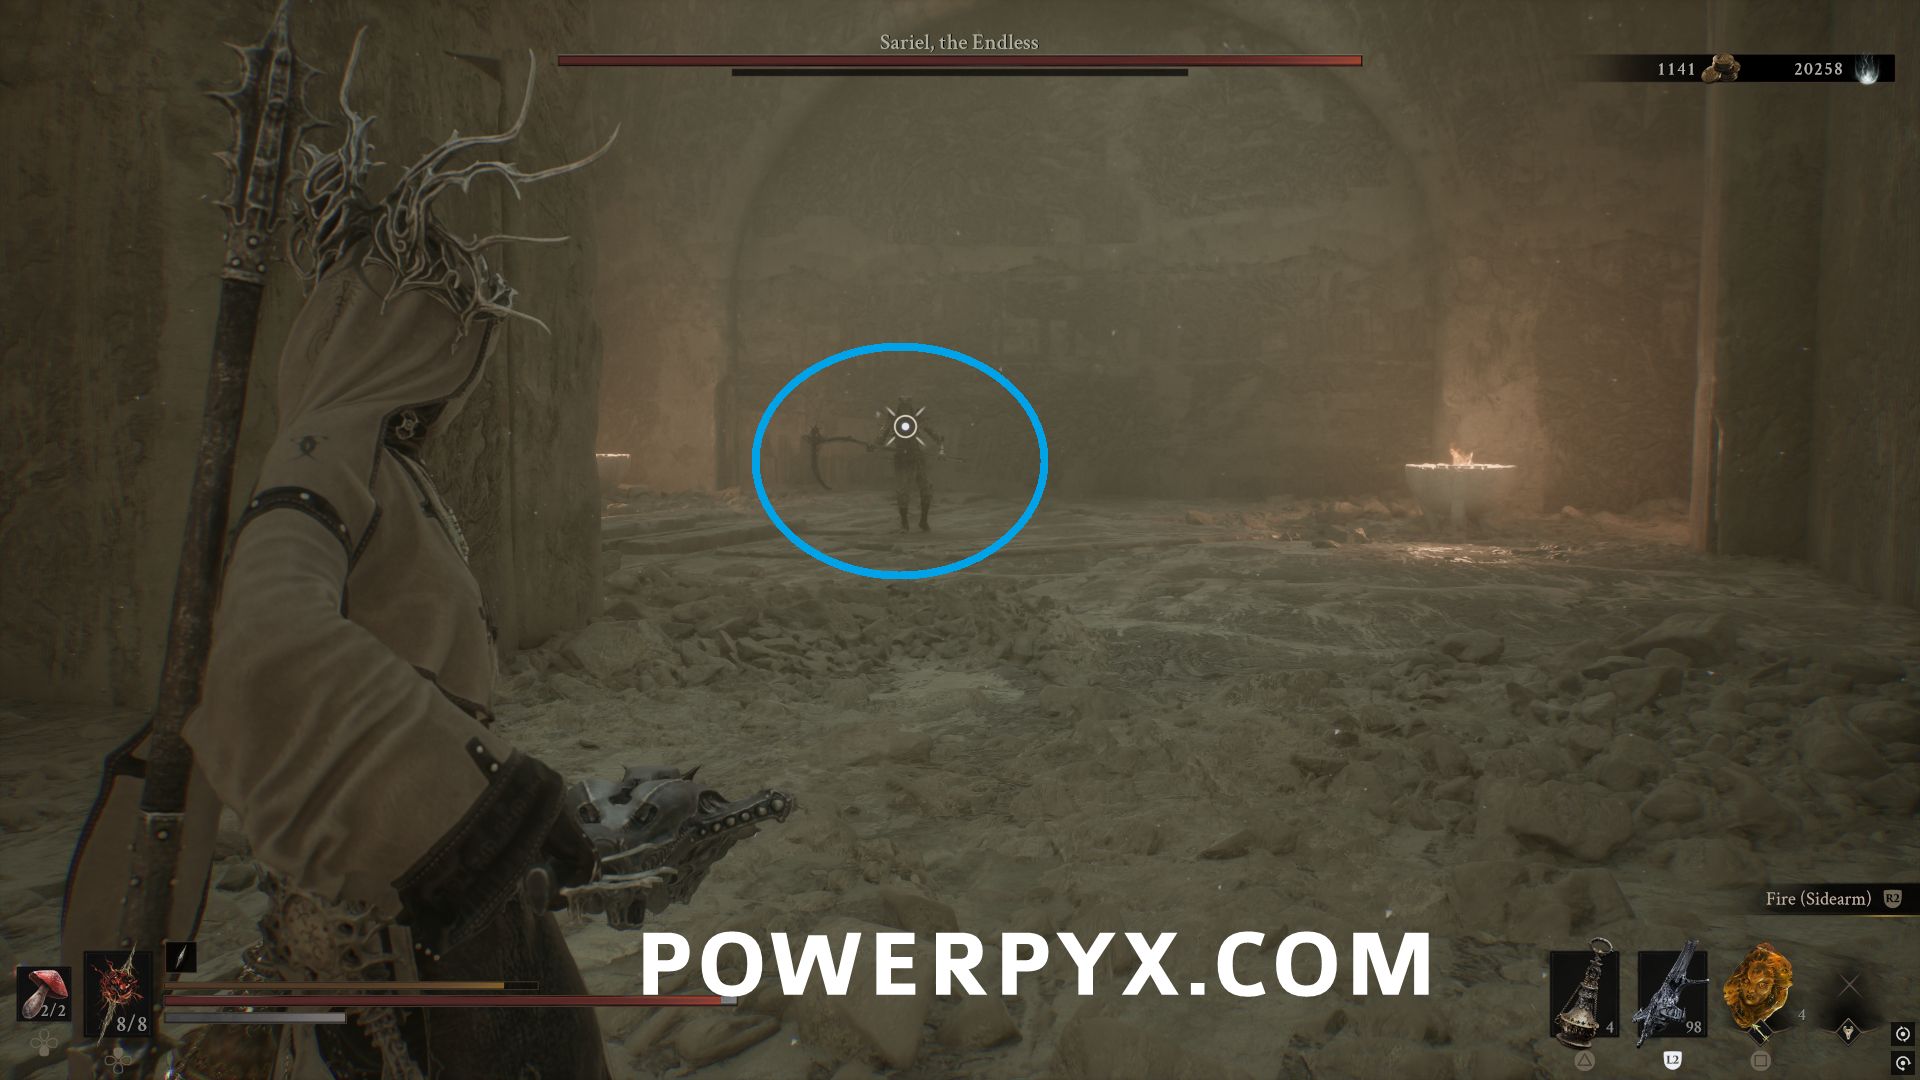
Southeast of The Silent Steps Beacon, go to the large stone platform where you encounter the miniboss Sariel, the Endless.
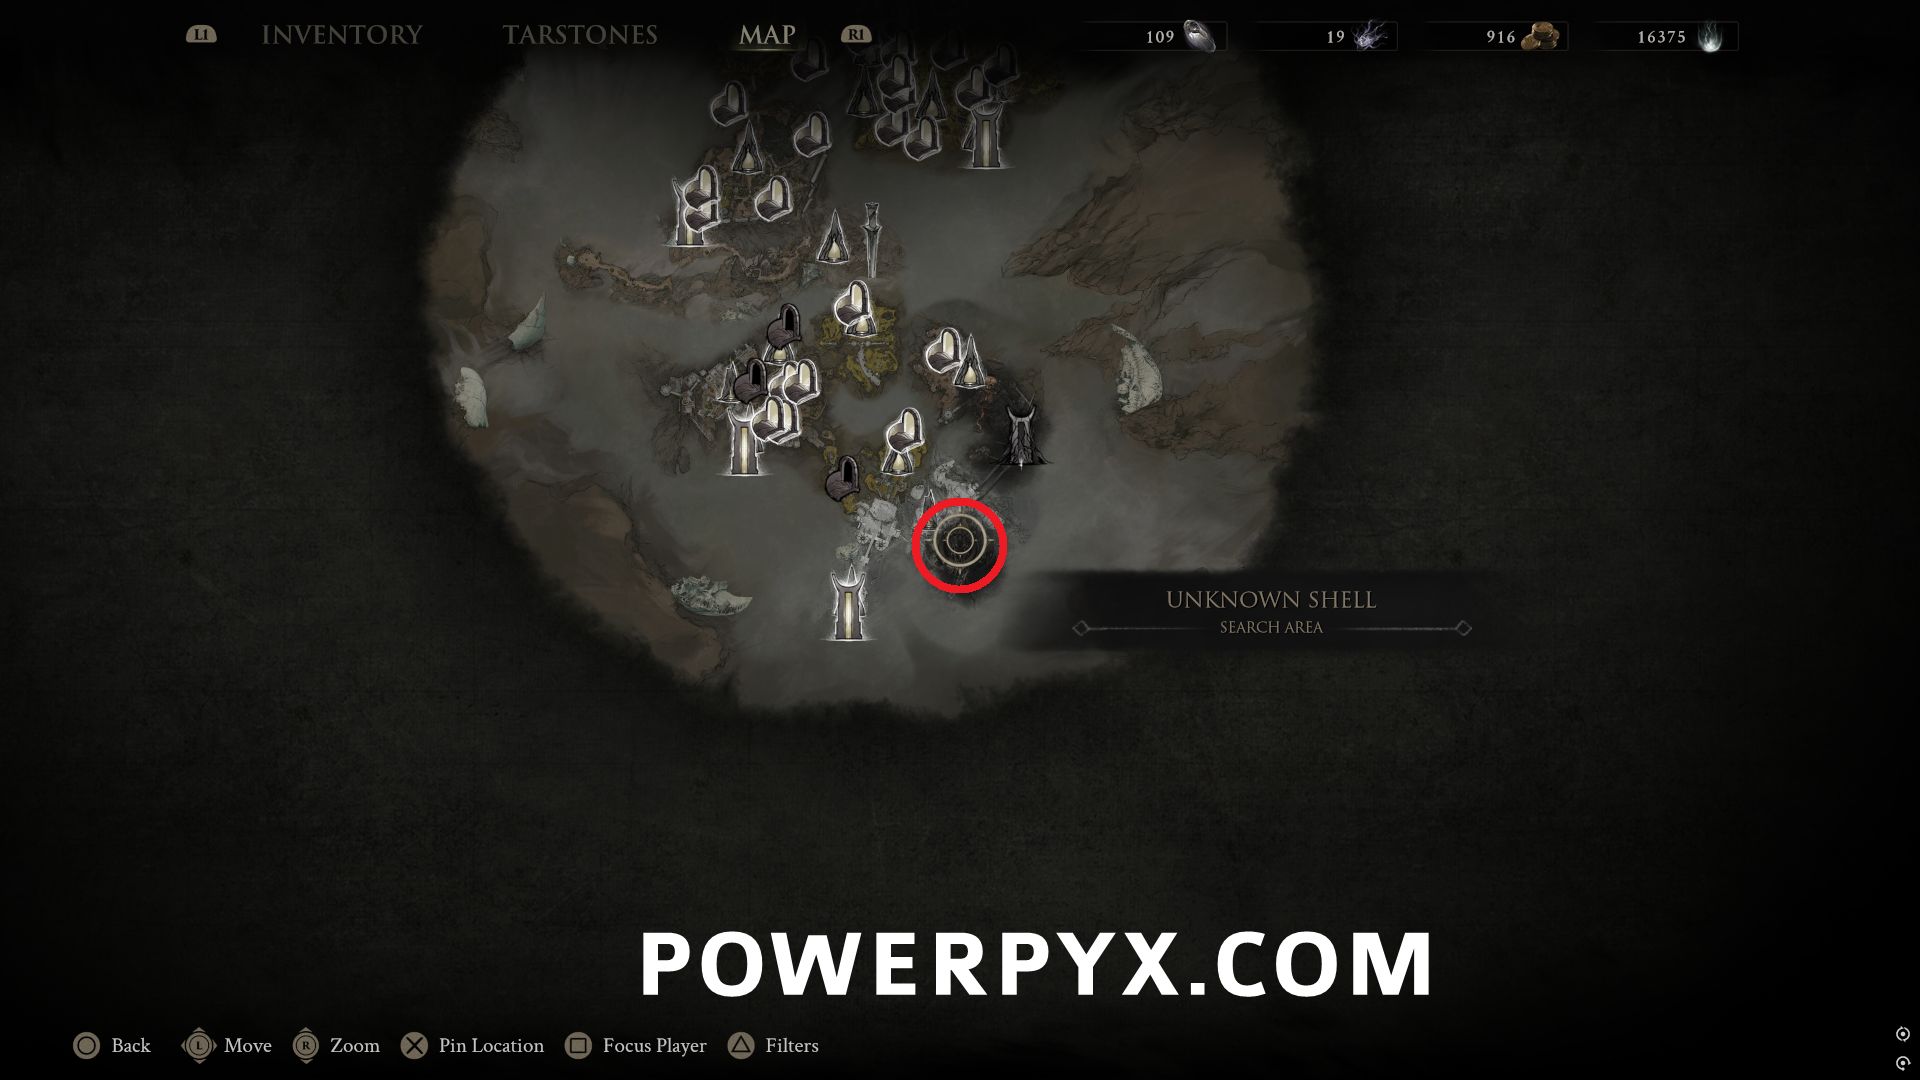
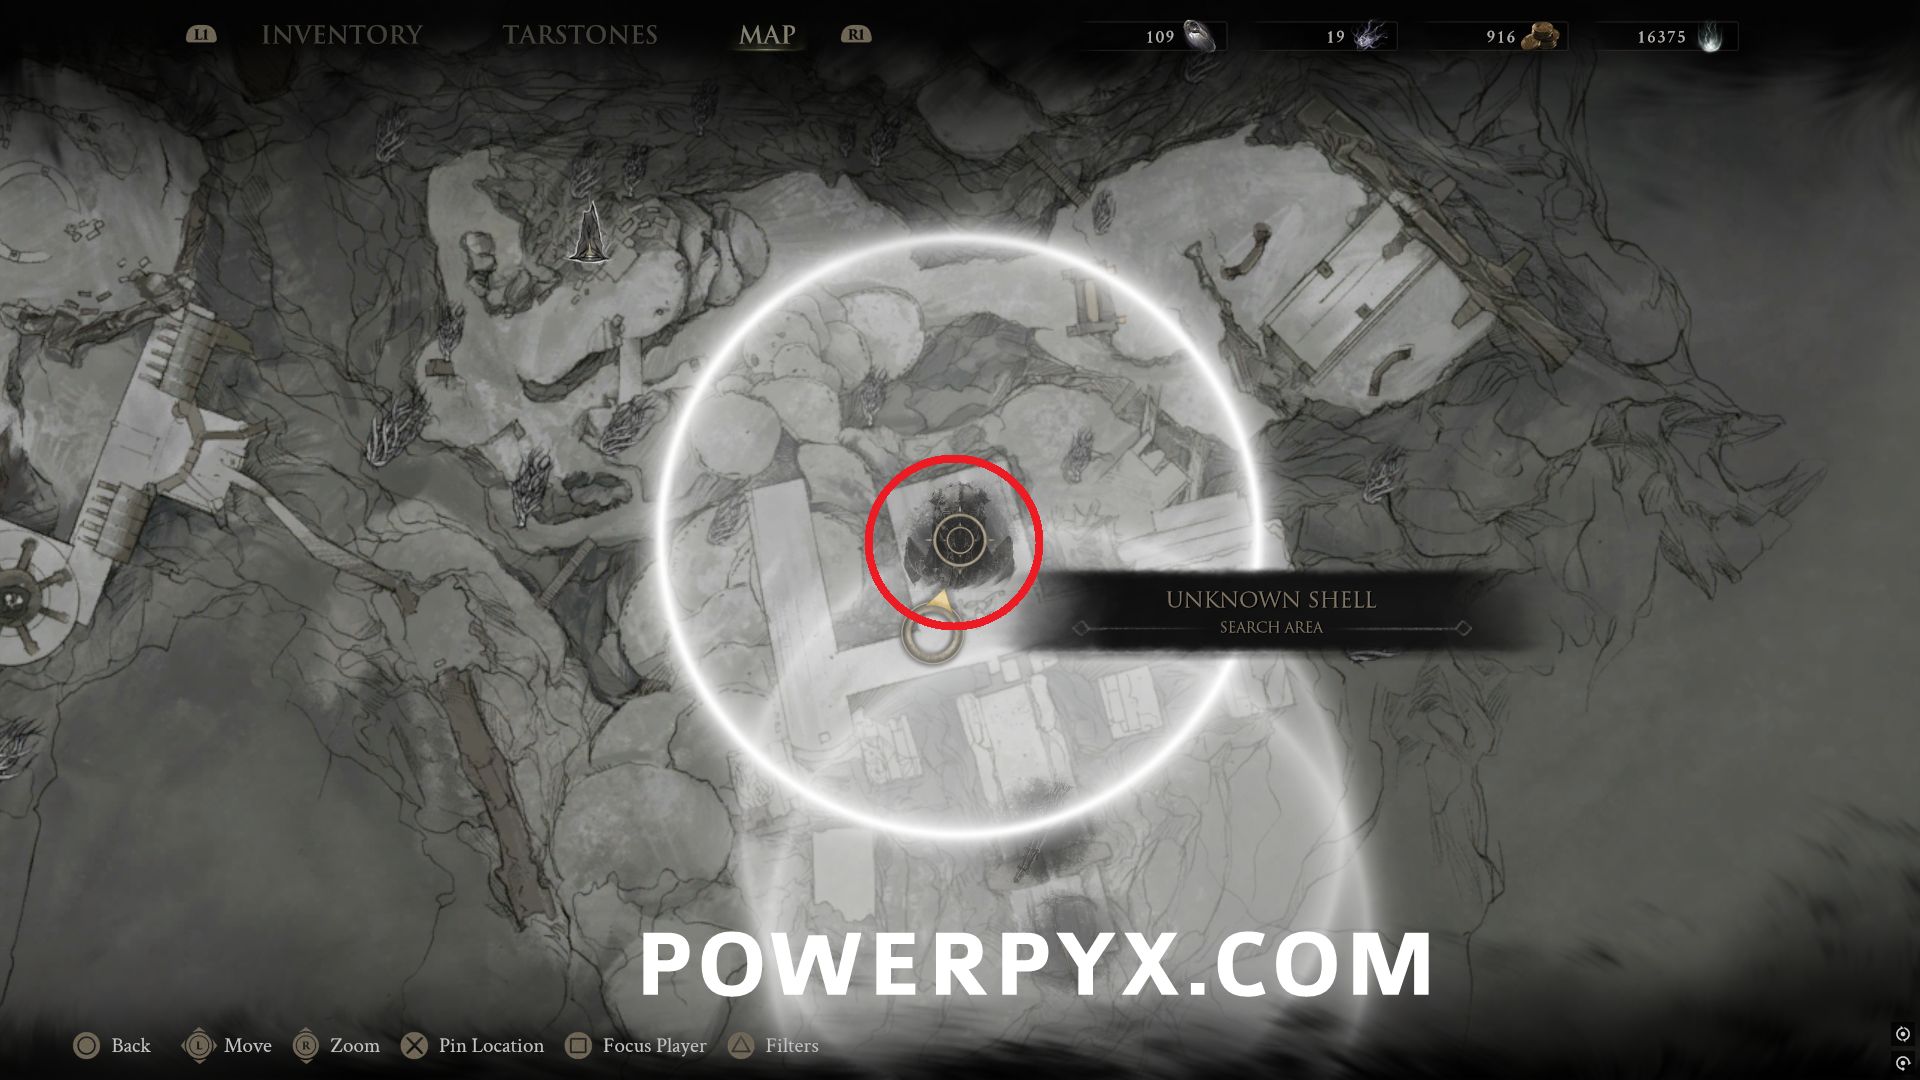
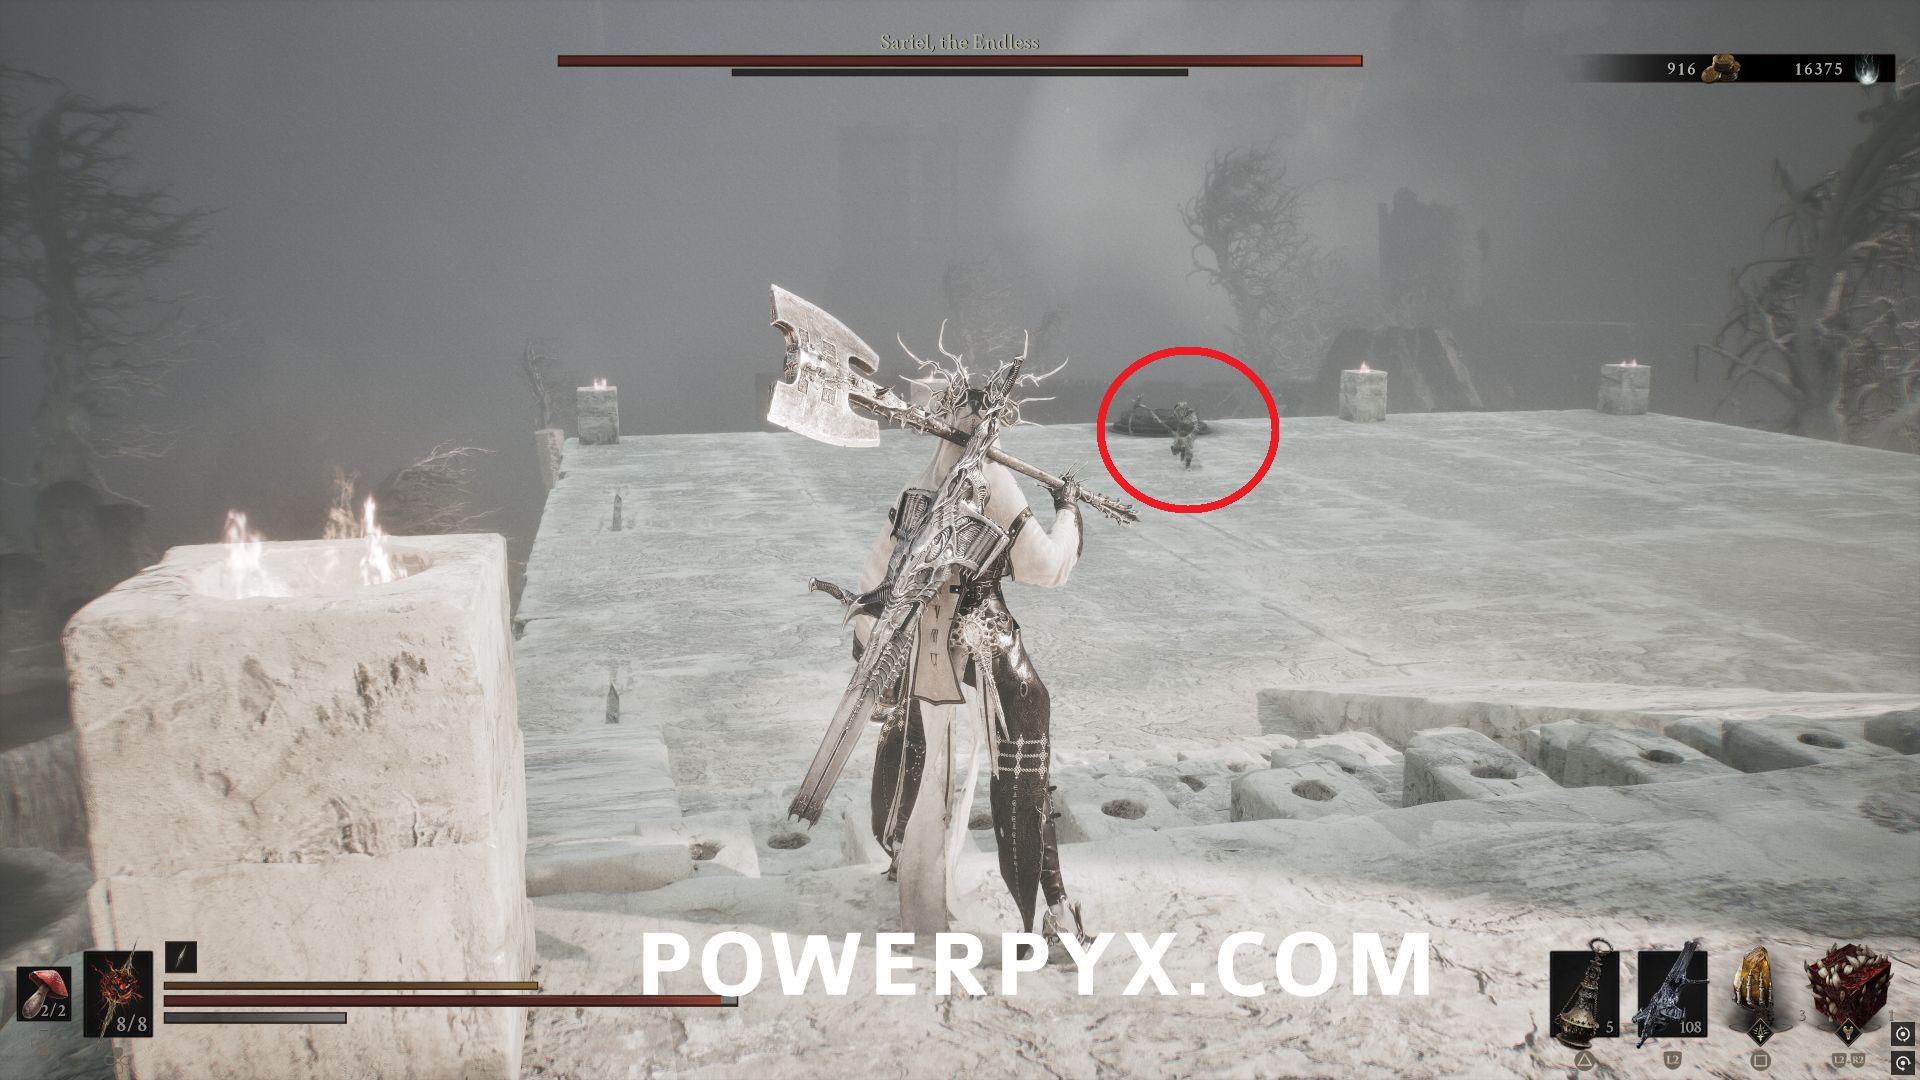
After you defeat him the first time, he will move through the walls to the south, opening them so that you can enter the Chamber of Becoming Dungeon.
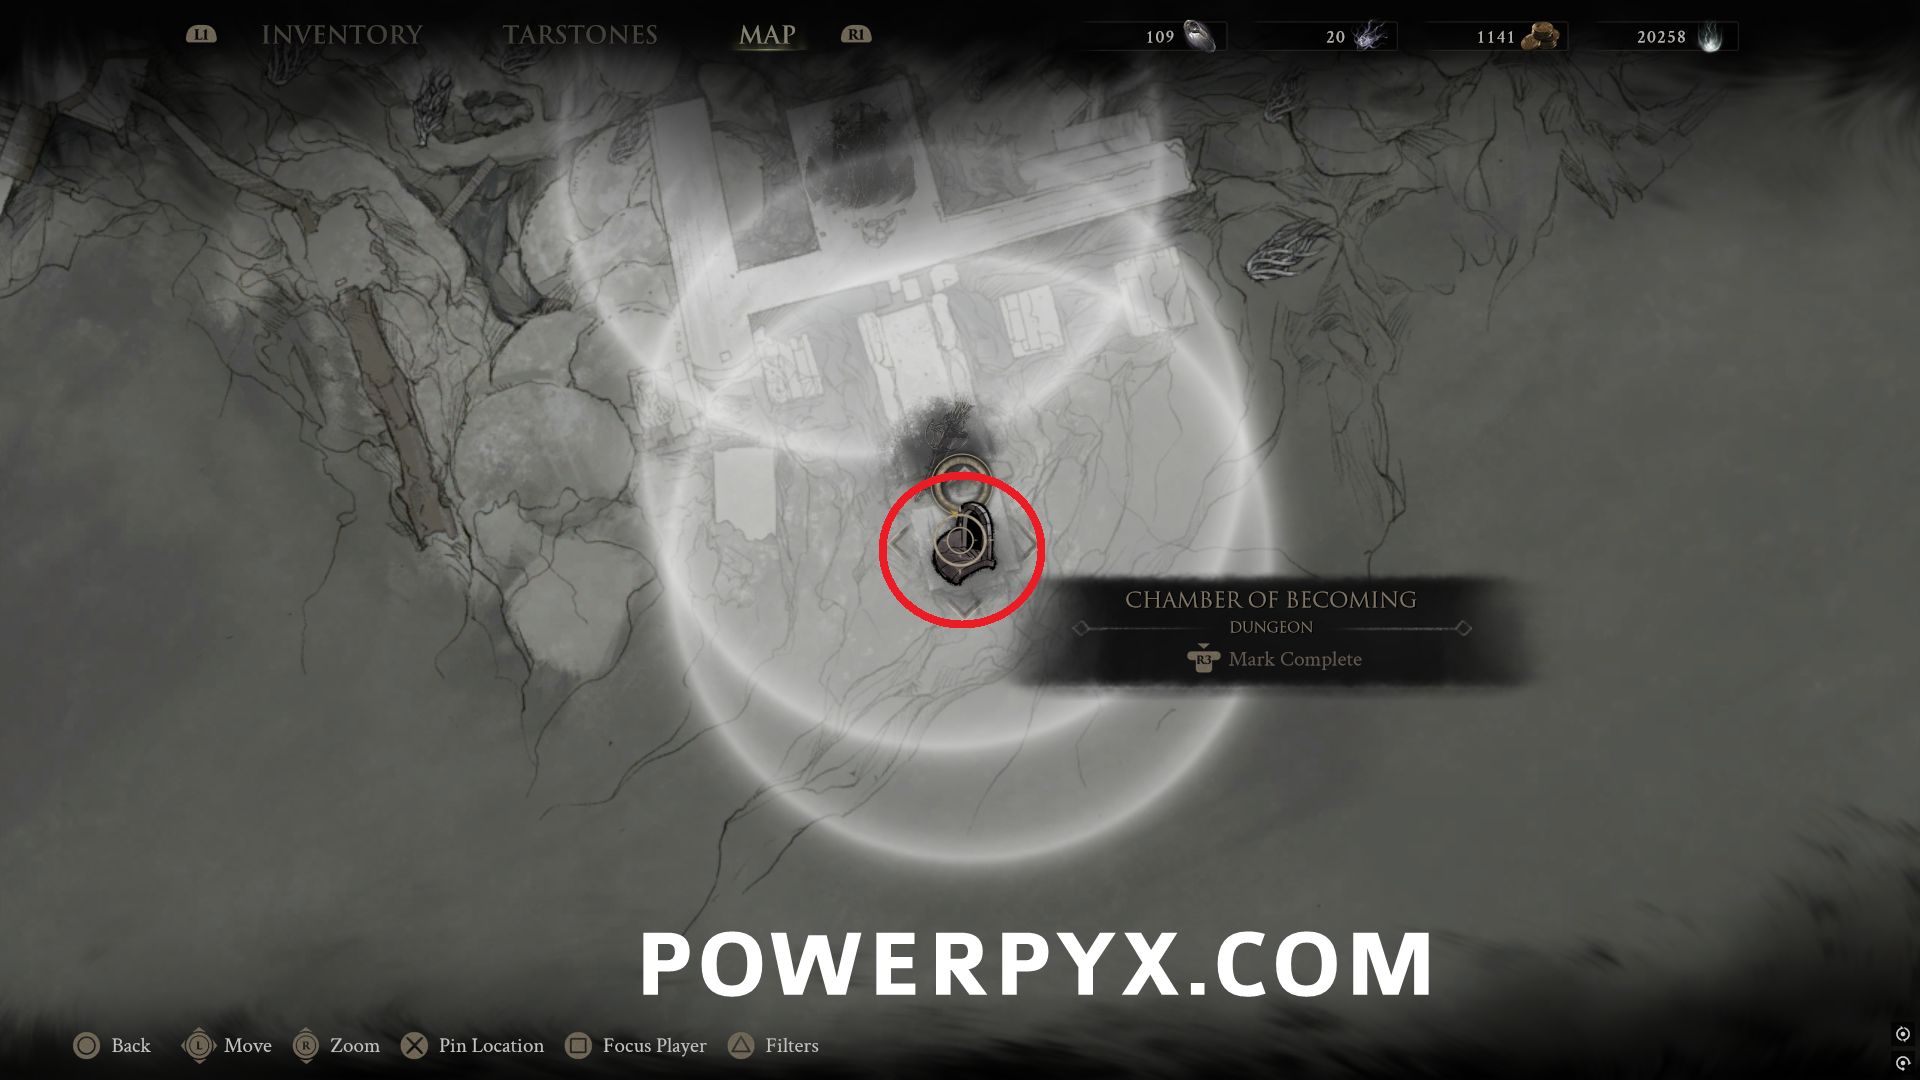
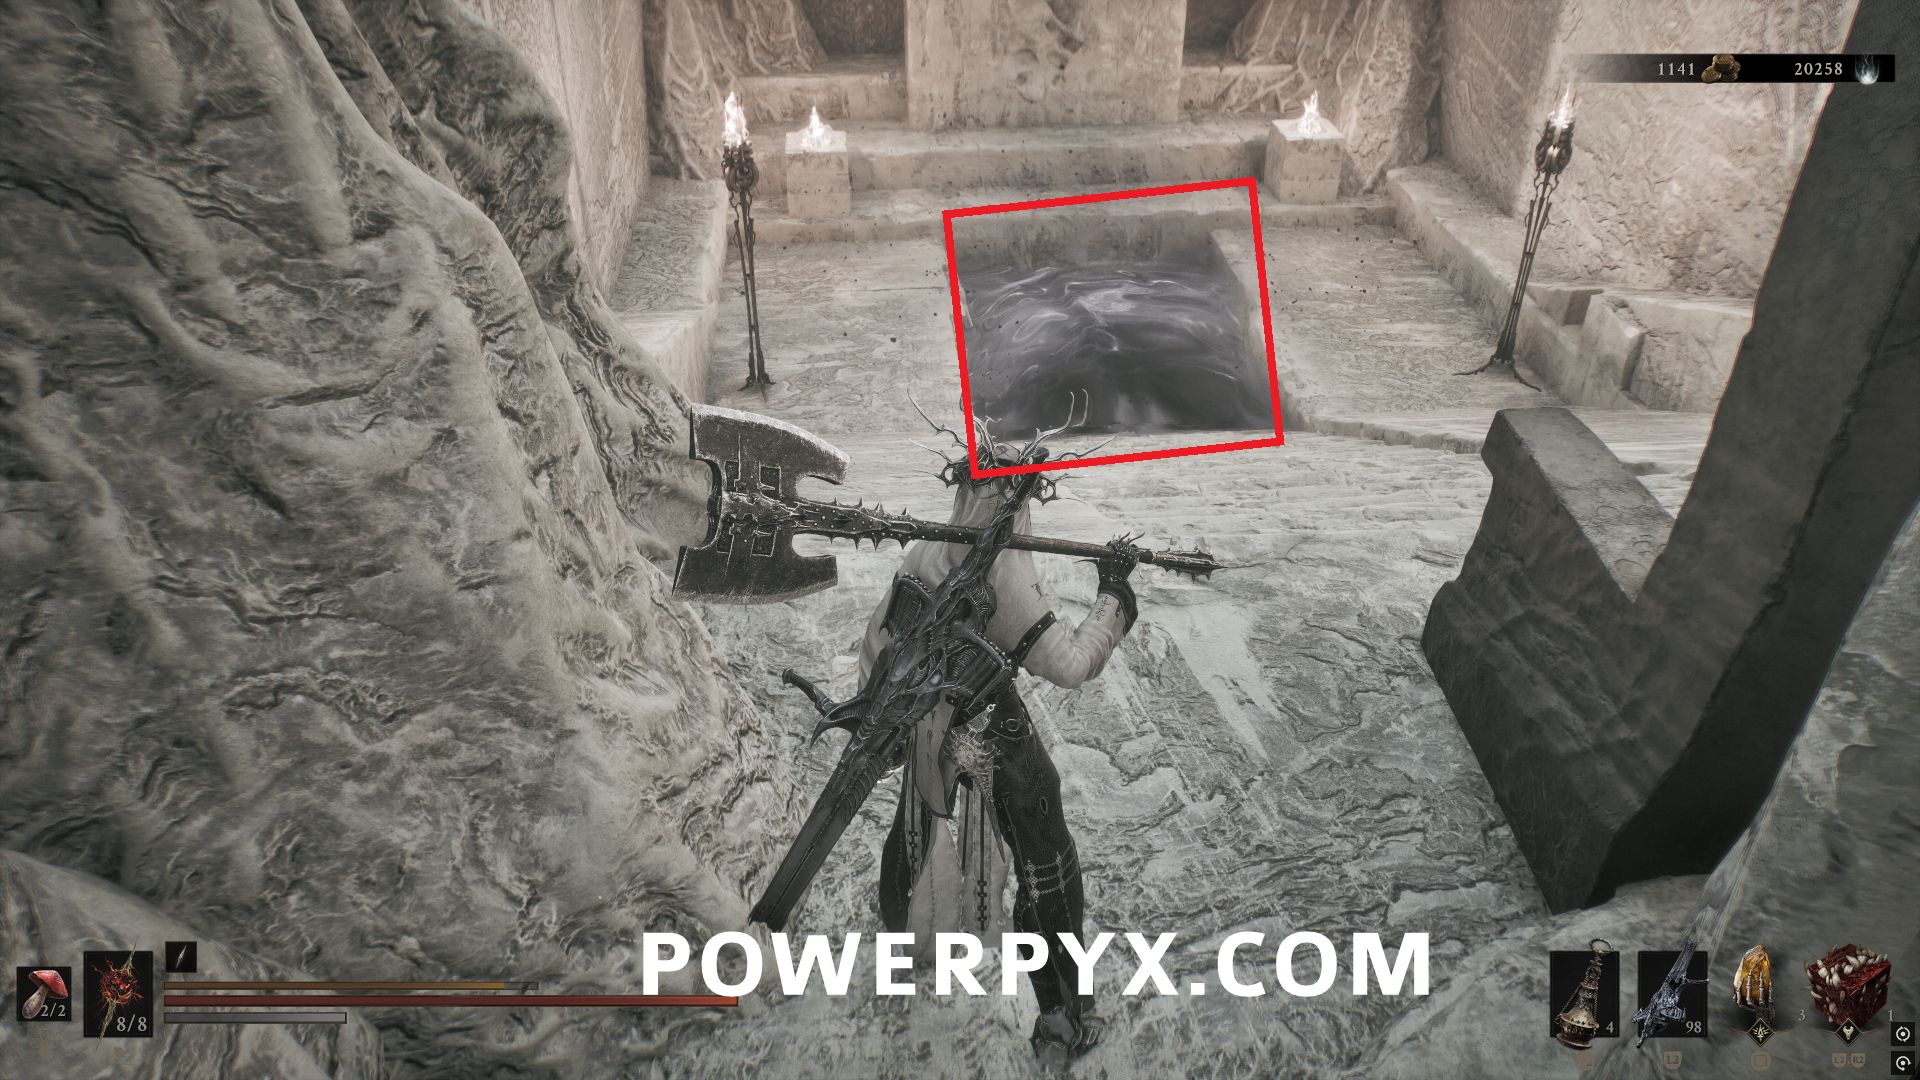
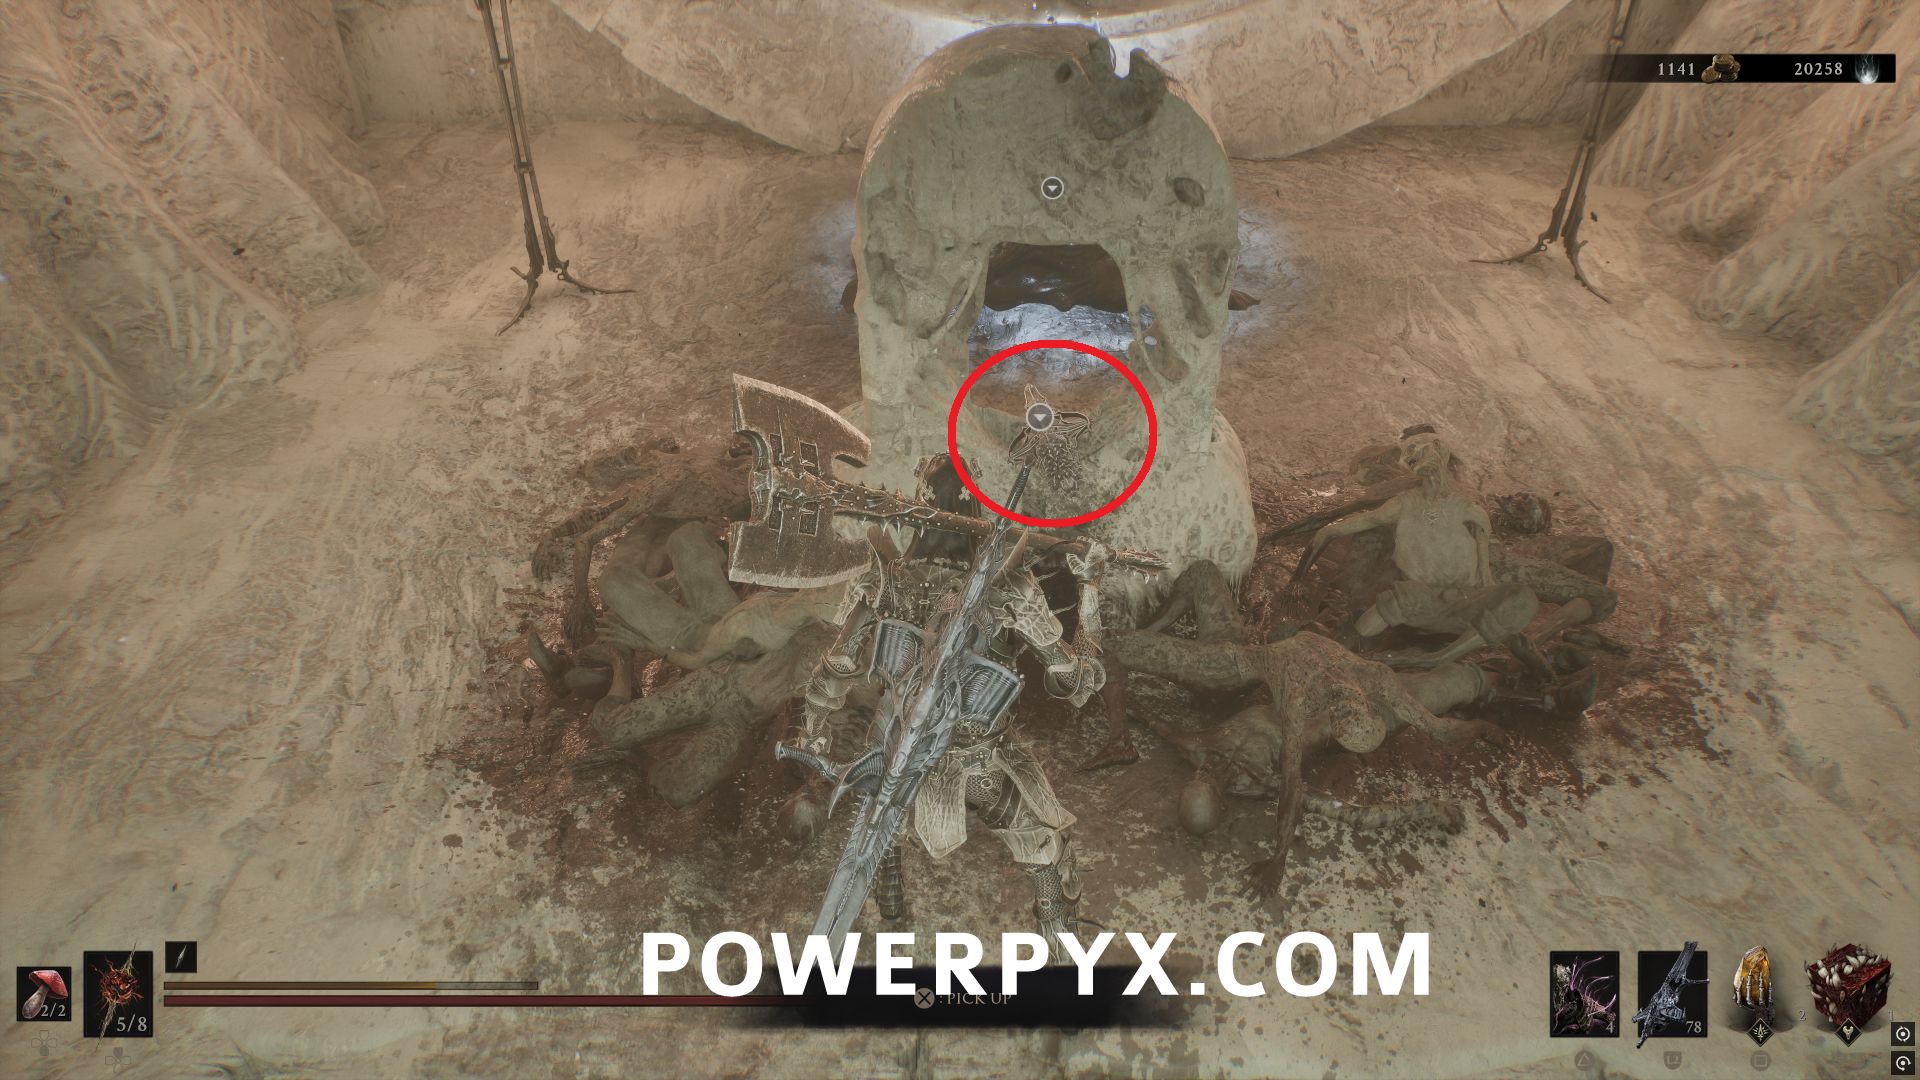
Follow him through the Dungeon and defeat him again. In the final room you need to attack the tombstones to break them to stop him from reviving. Once you have done this with all 4 and fully defeated him, go up the stairs to the back of the area and you can pick up the sidearm near the dungeon exit.
That’s all of the Sidearms in Mortal Shell II.
More Mortal Shell 2 Guides:
- Shell Locations
- Tarstone Locations
- Beacon Locations
- Weapon Locations
- Sidearm Locations
- Tarforge Upgrade Locations
- Dungeon Locations
- Healing Upgrade Locations
- How to Summon Night (Increase Difficulty)
Leave a Reply