
Mortal Shell 2 contains 75 obtainable Tarstones. Finding 73/75 Tarstones is required for the Stoned trophy & achievement.
Tarstones function as equipment that gives passive buffs, different effects to your weapons, or new attacks for specific weapons. Combat, Infusion, and Ability Tarstones can only be equipped on certain weapons or sidearms, you aren’t able to use any Tarstone with any weapon or sidearm. Tarstones can be upgraded twice which increases the effect that they give, but this isn’t required for the Stoned trophy/achievement.
Currently only the Berserker’s Stone is missable, you can find all other Tarstones after the final boss in free-roam before choosing to enter New Game+. Due to there being 2 extra Tarstones than required you can still earn Stoned even if you miss the Berserker’s Stone.
Tarstones are listed by type and in the order they appear in the Tarstones menu.
Support
#1 – Auspicious Stone
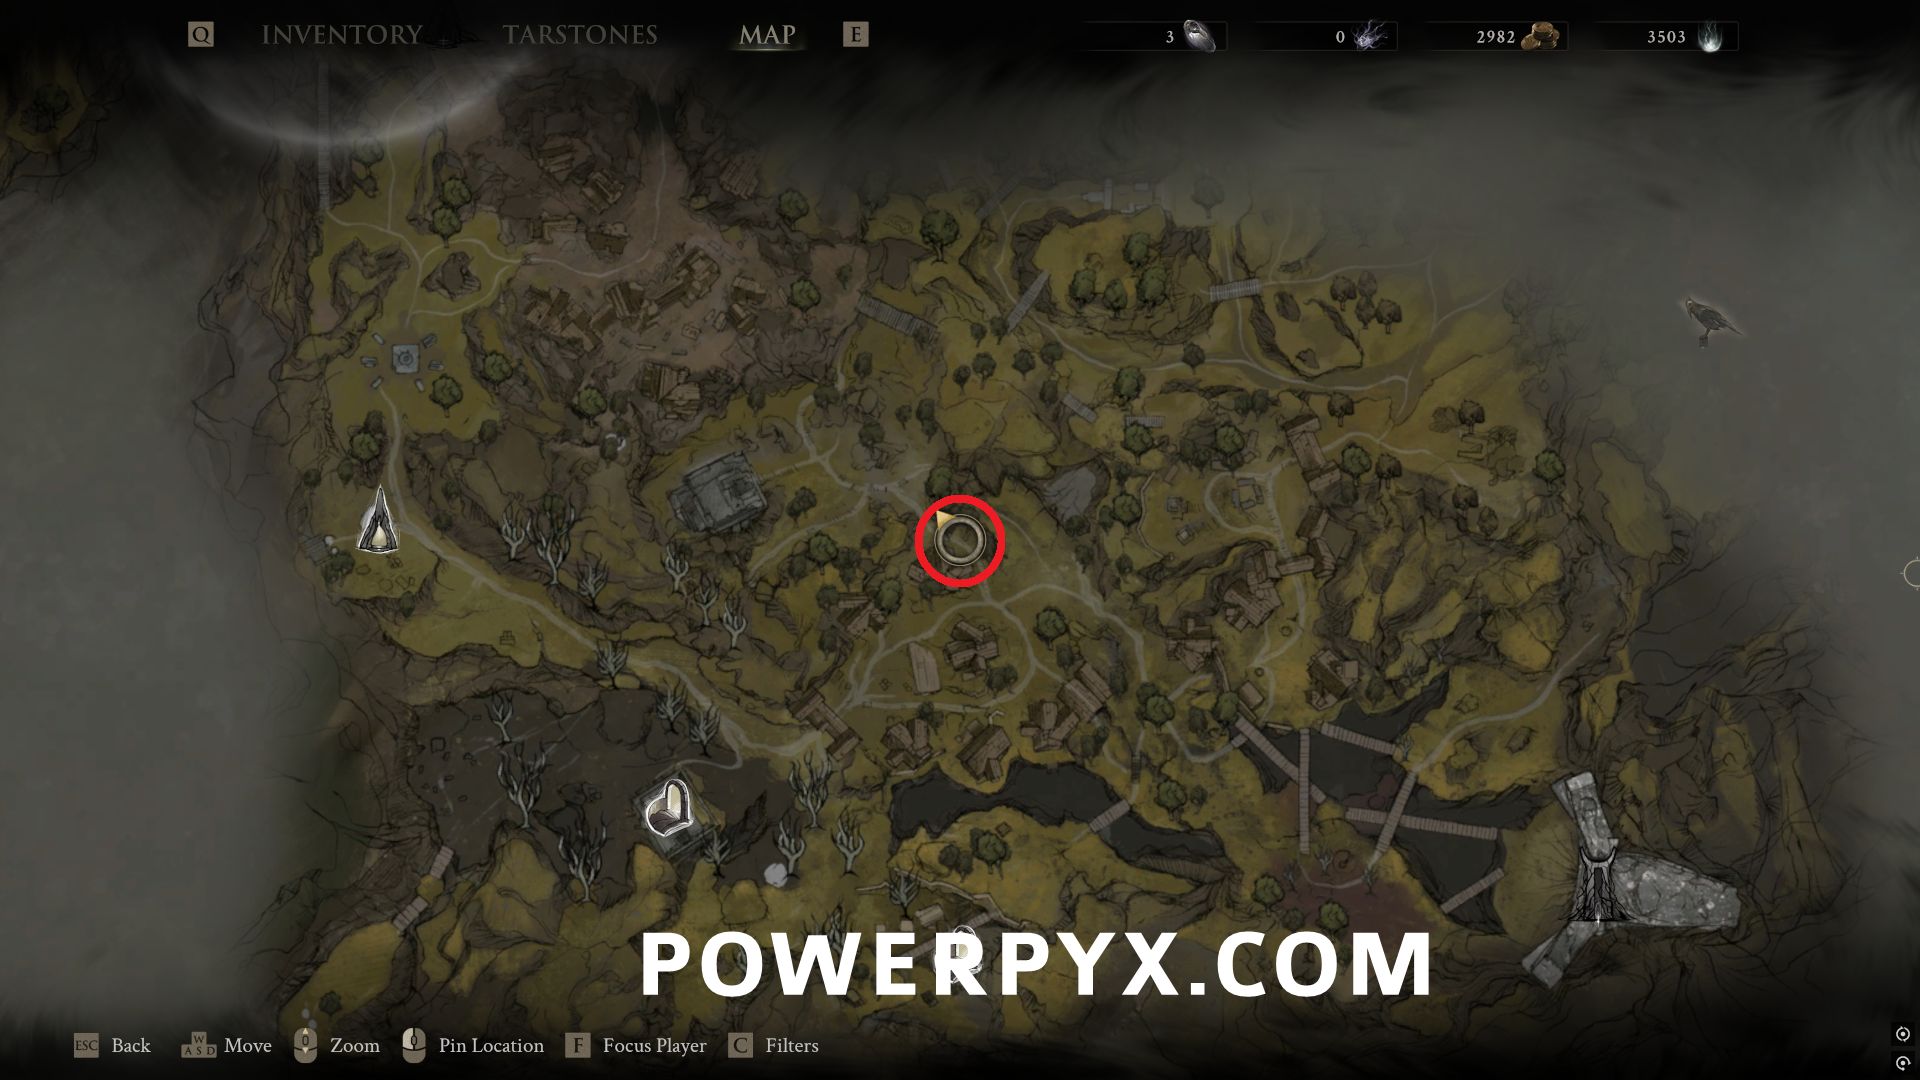
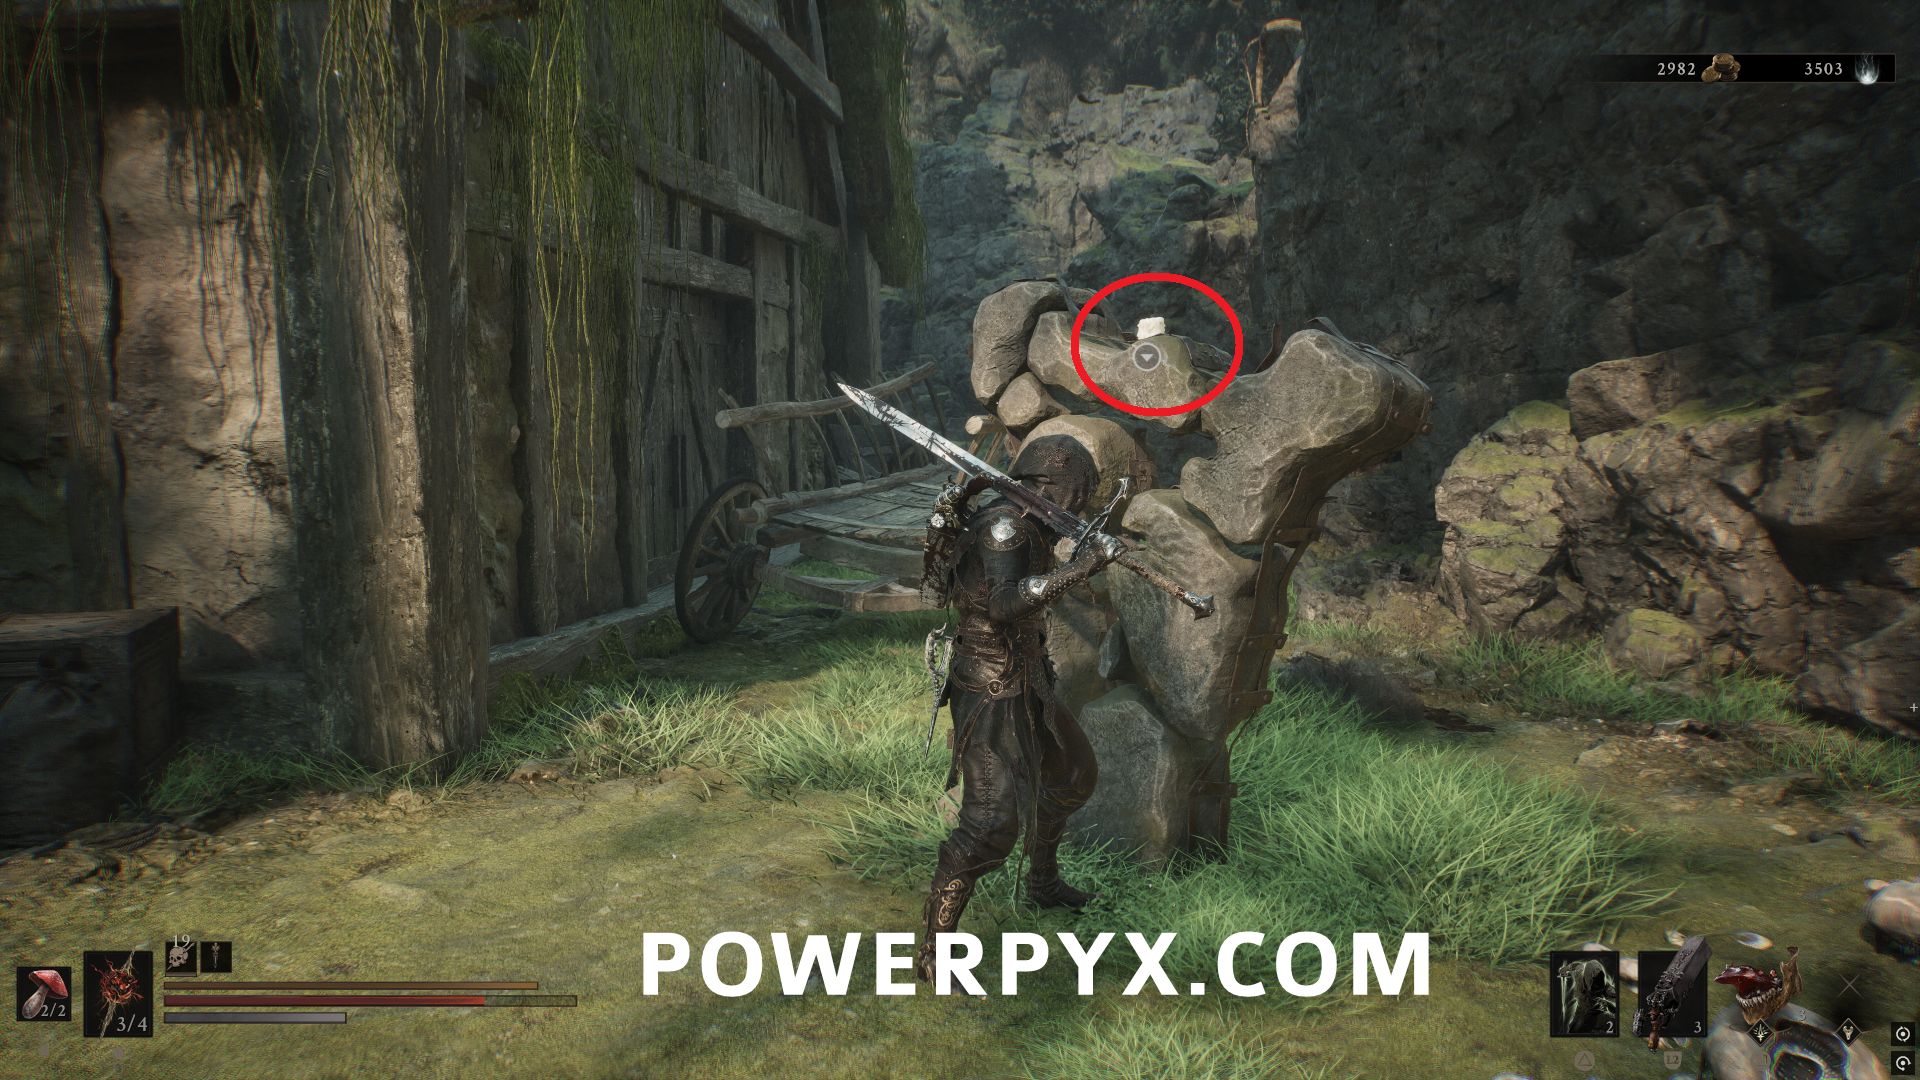
Southeast of Widow’s Overlook Beacon or west of Mushroom Village Beacon, in the center of the village activate the three candles on the stone pillars to allow you to open the chest.
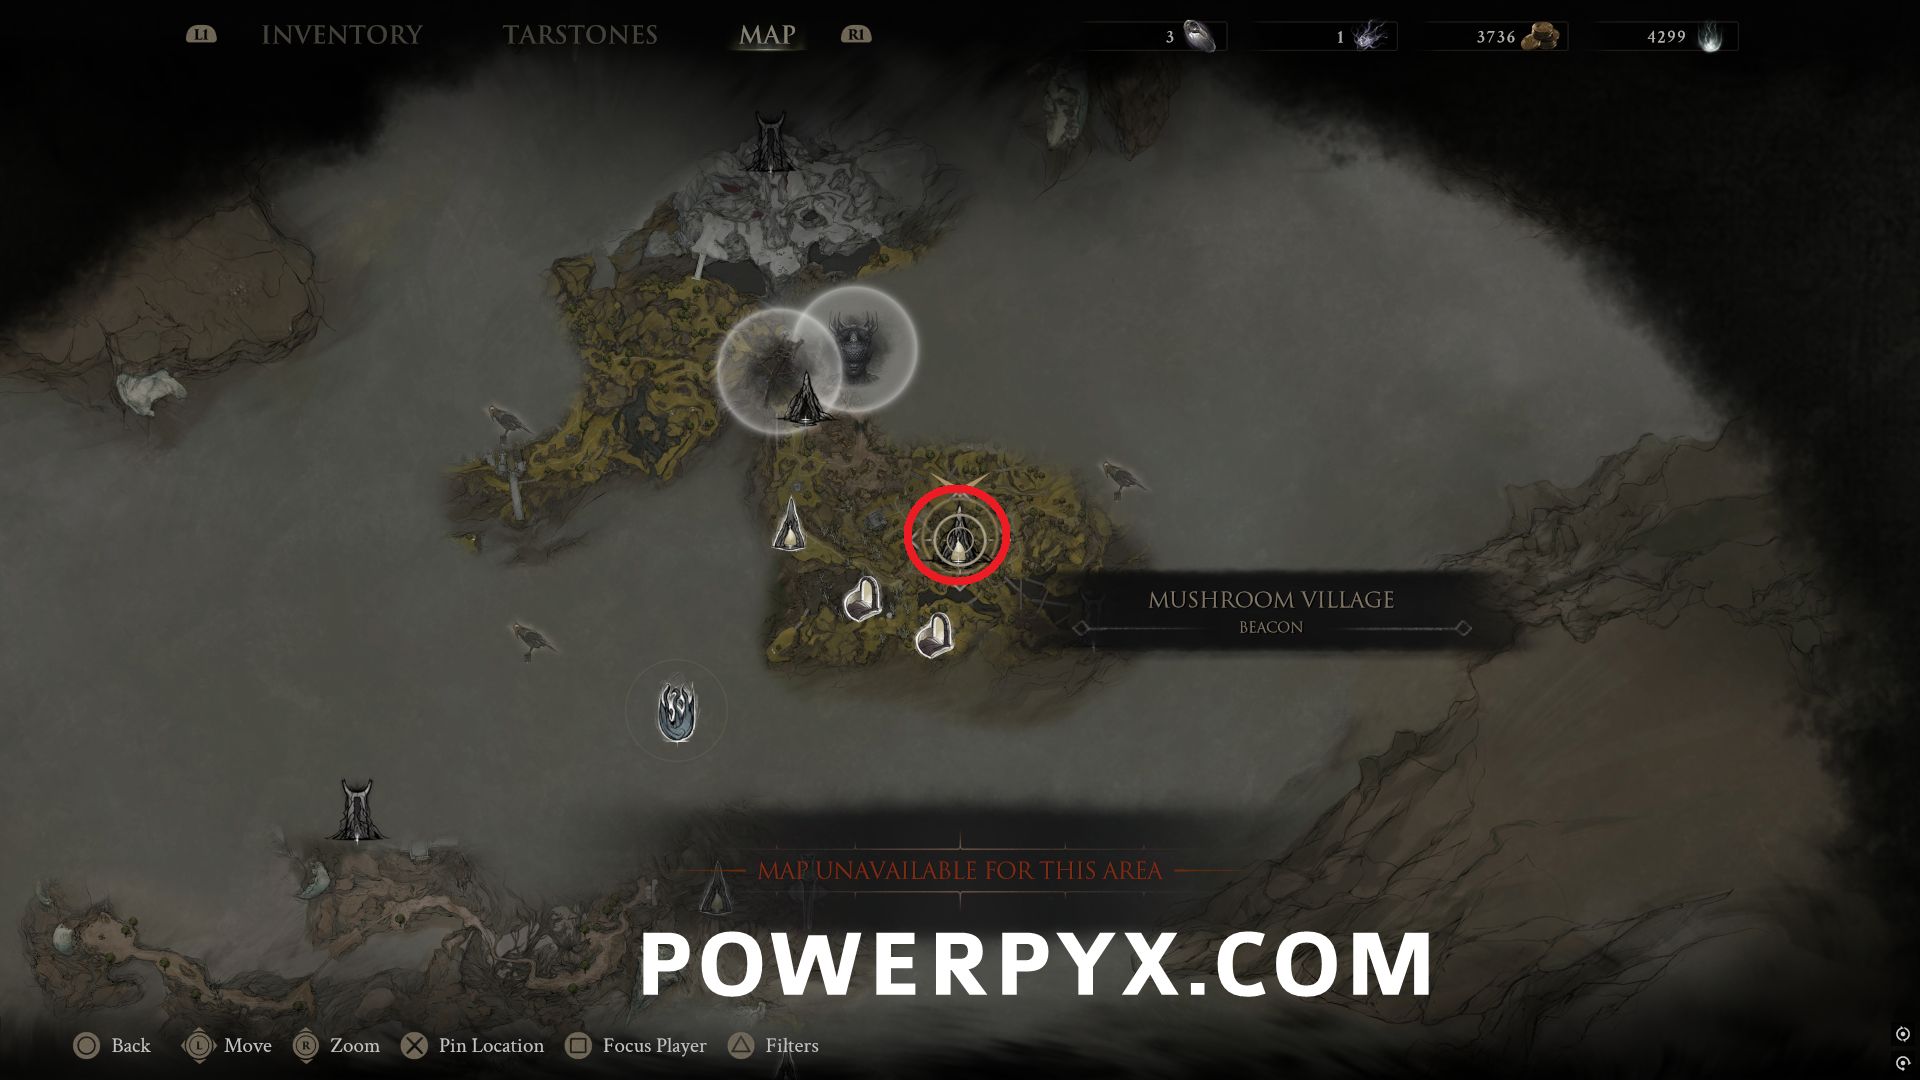
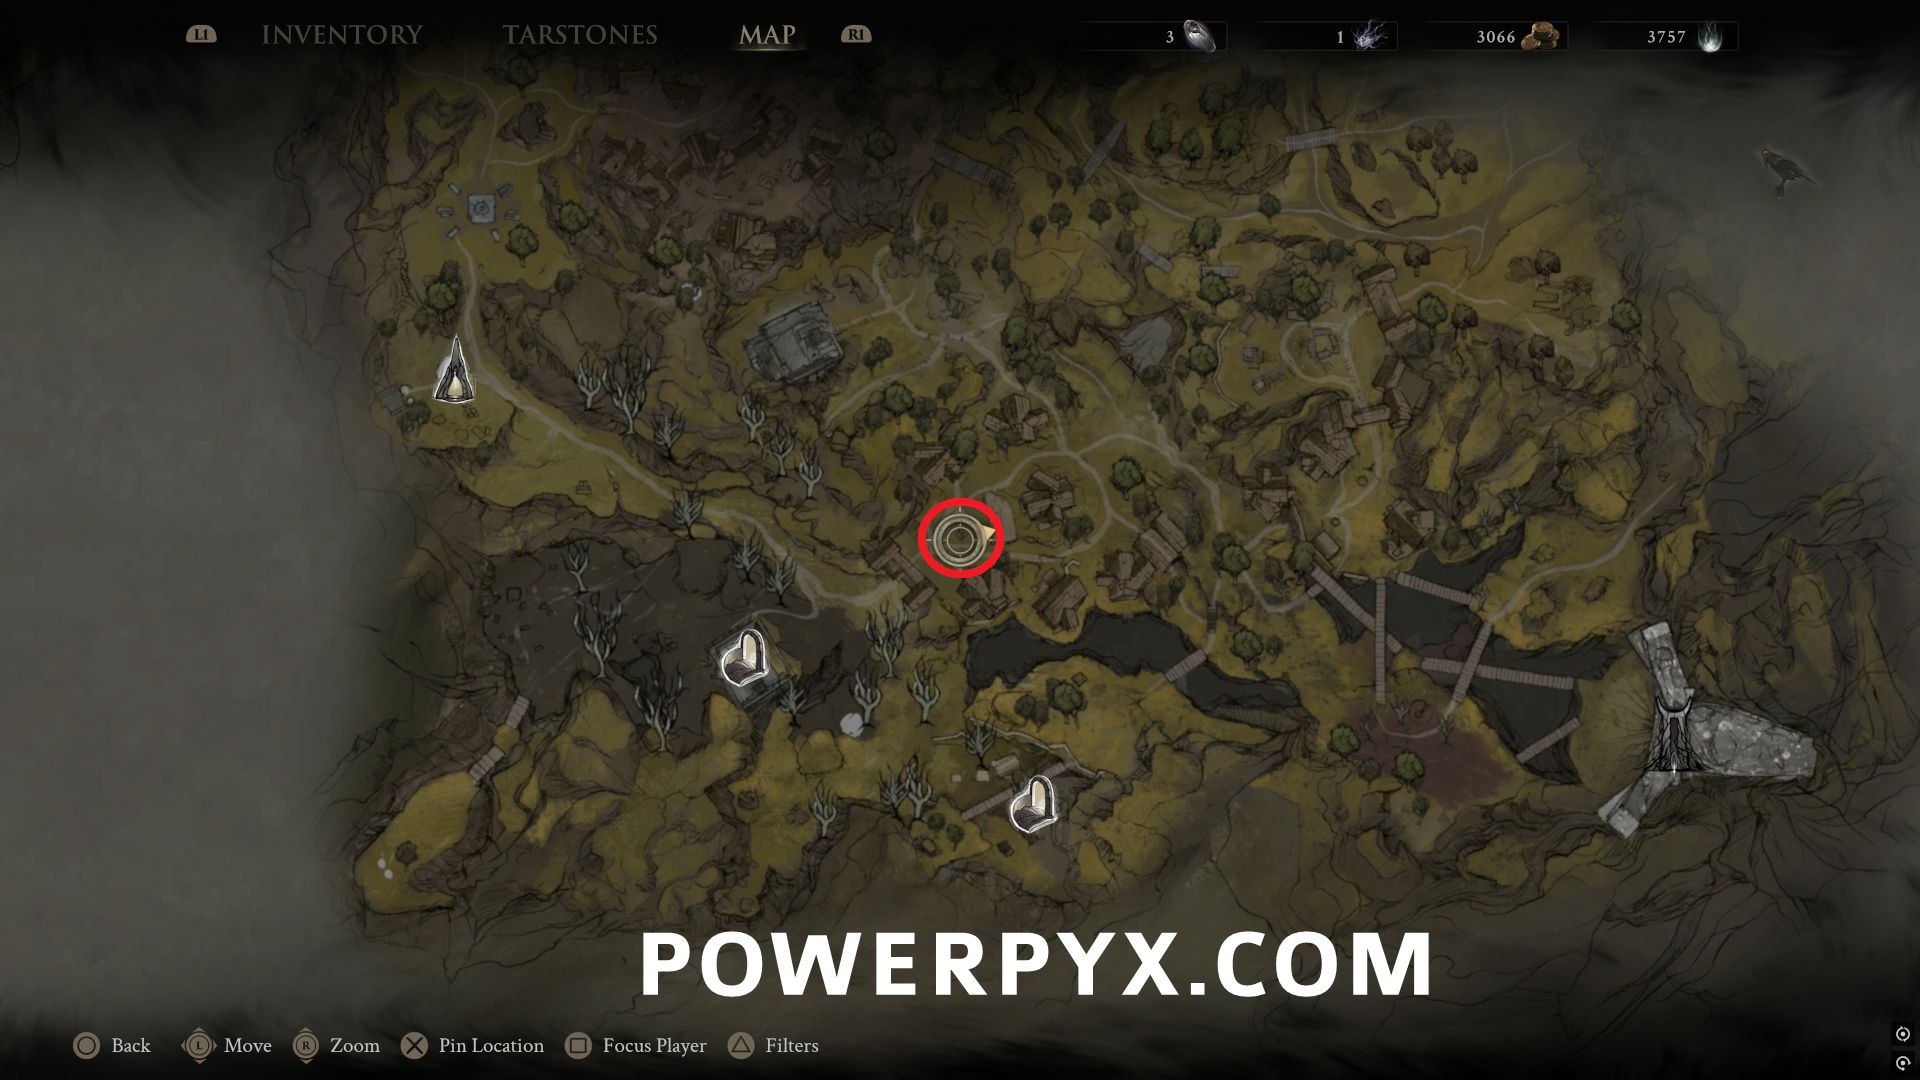
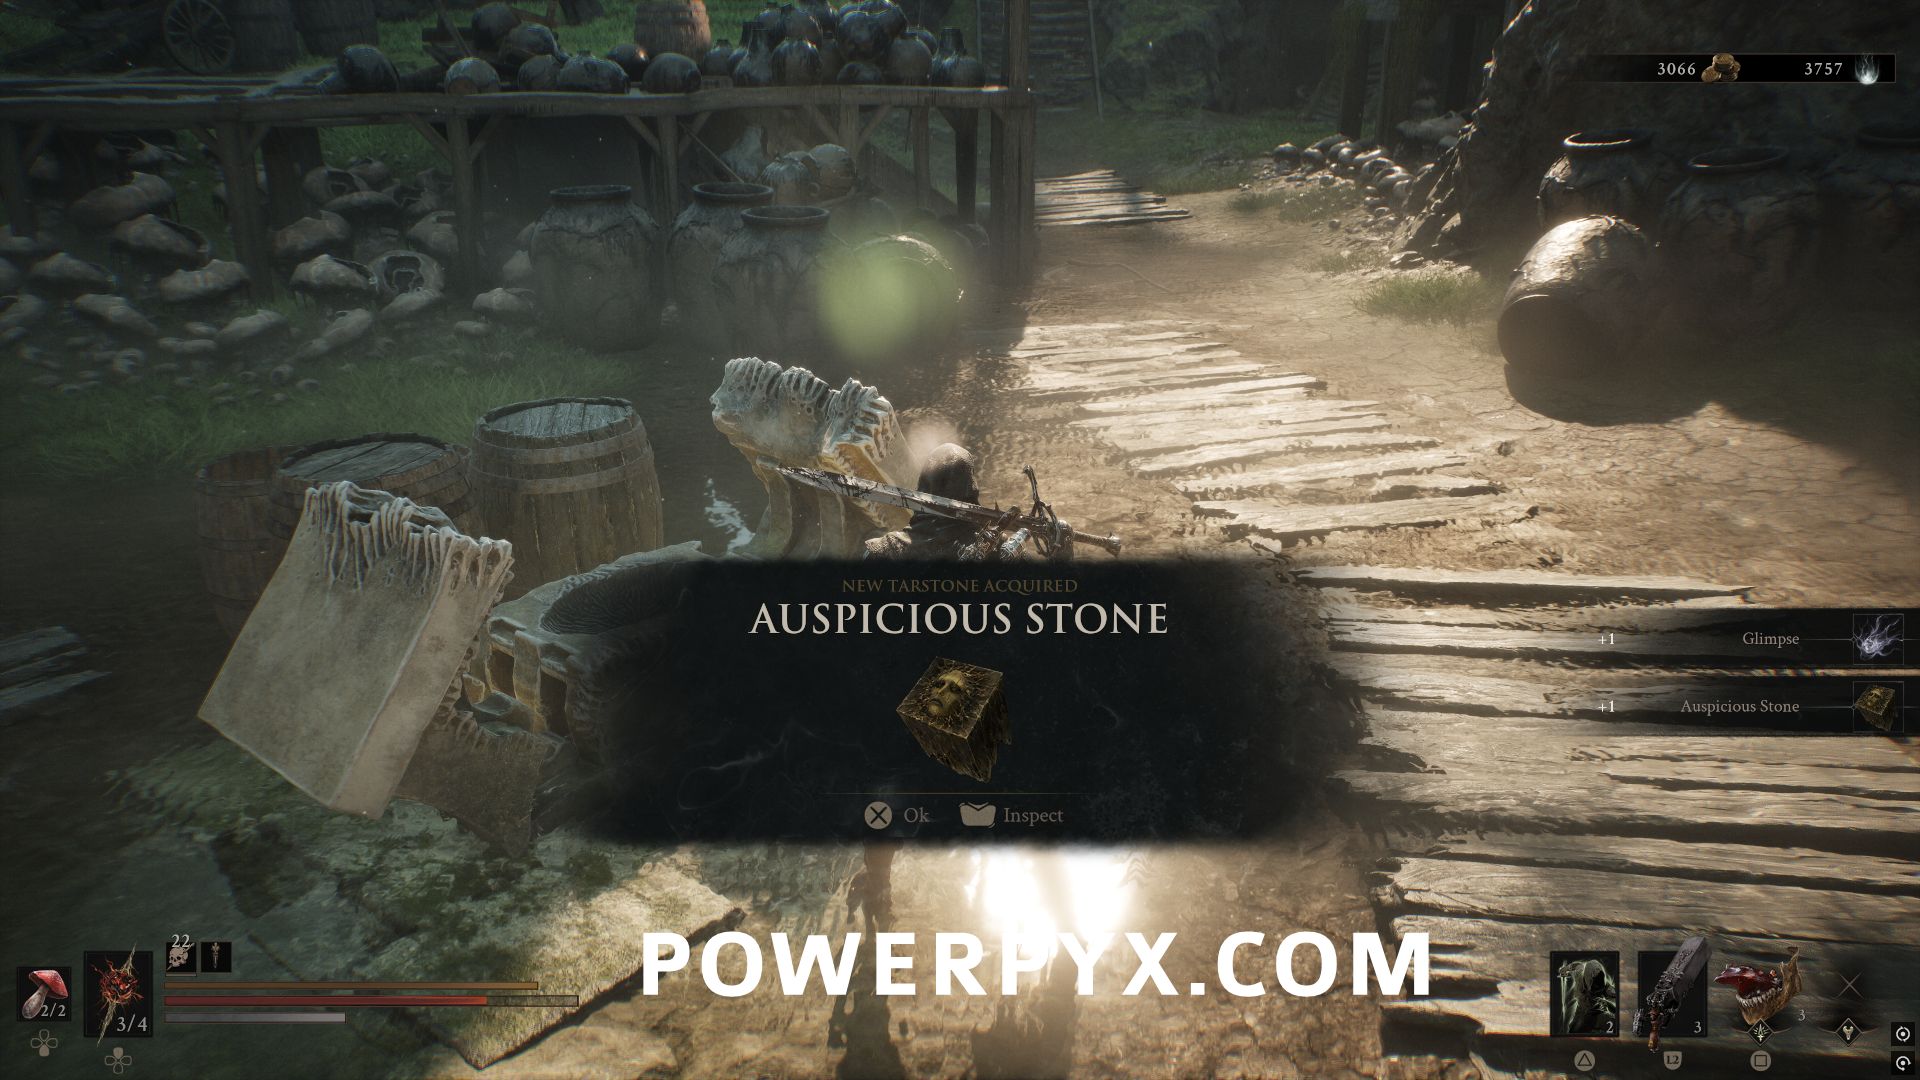
The first candle is on the platform behind the chest.
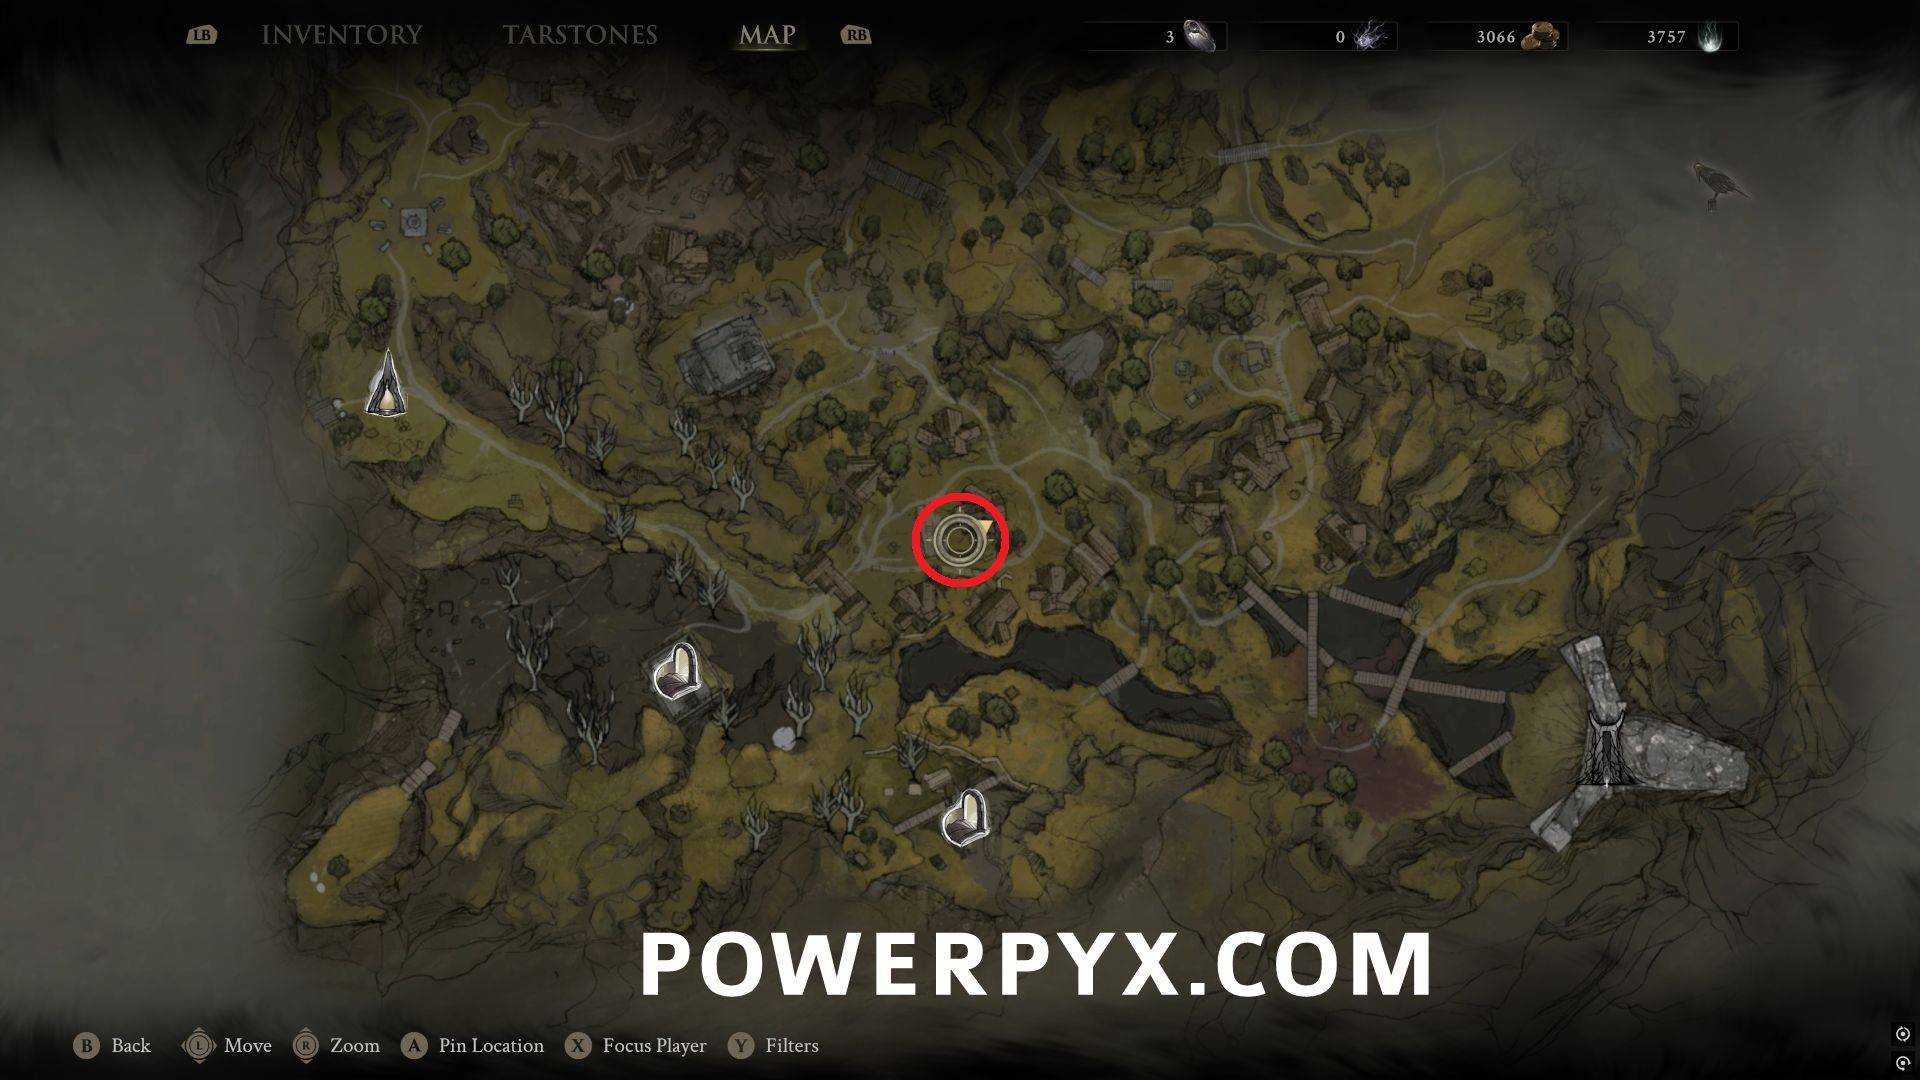
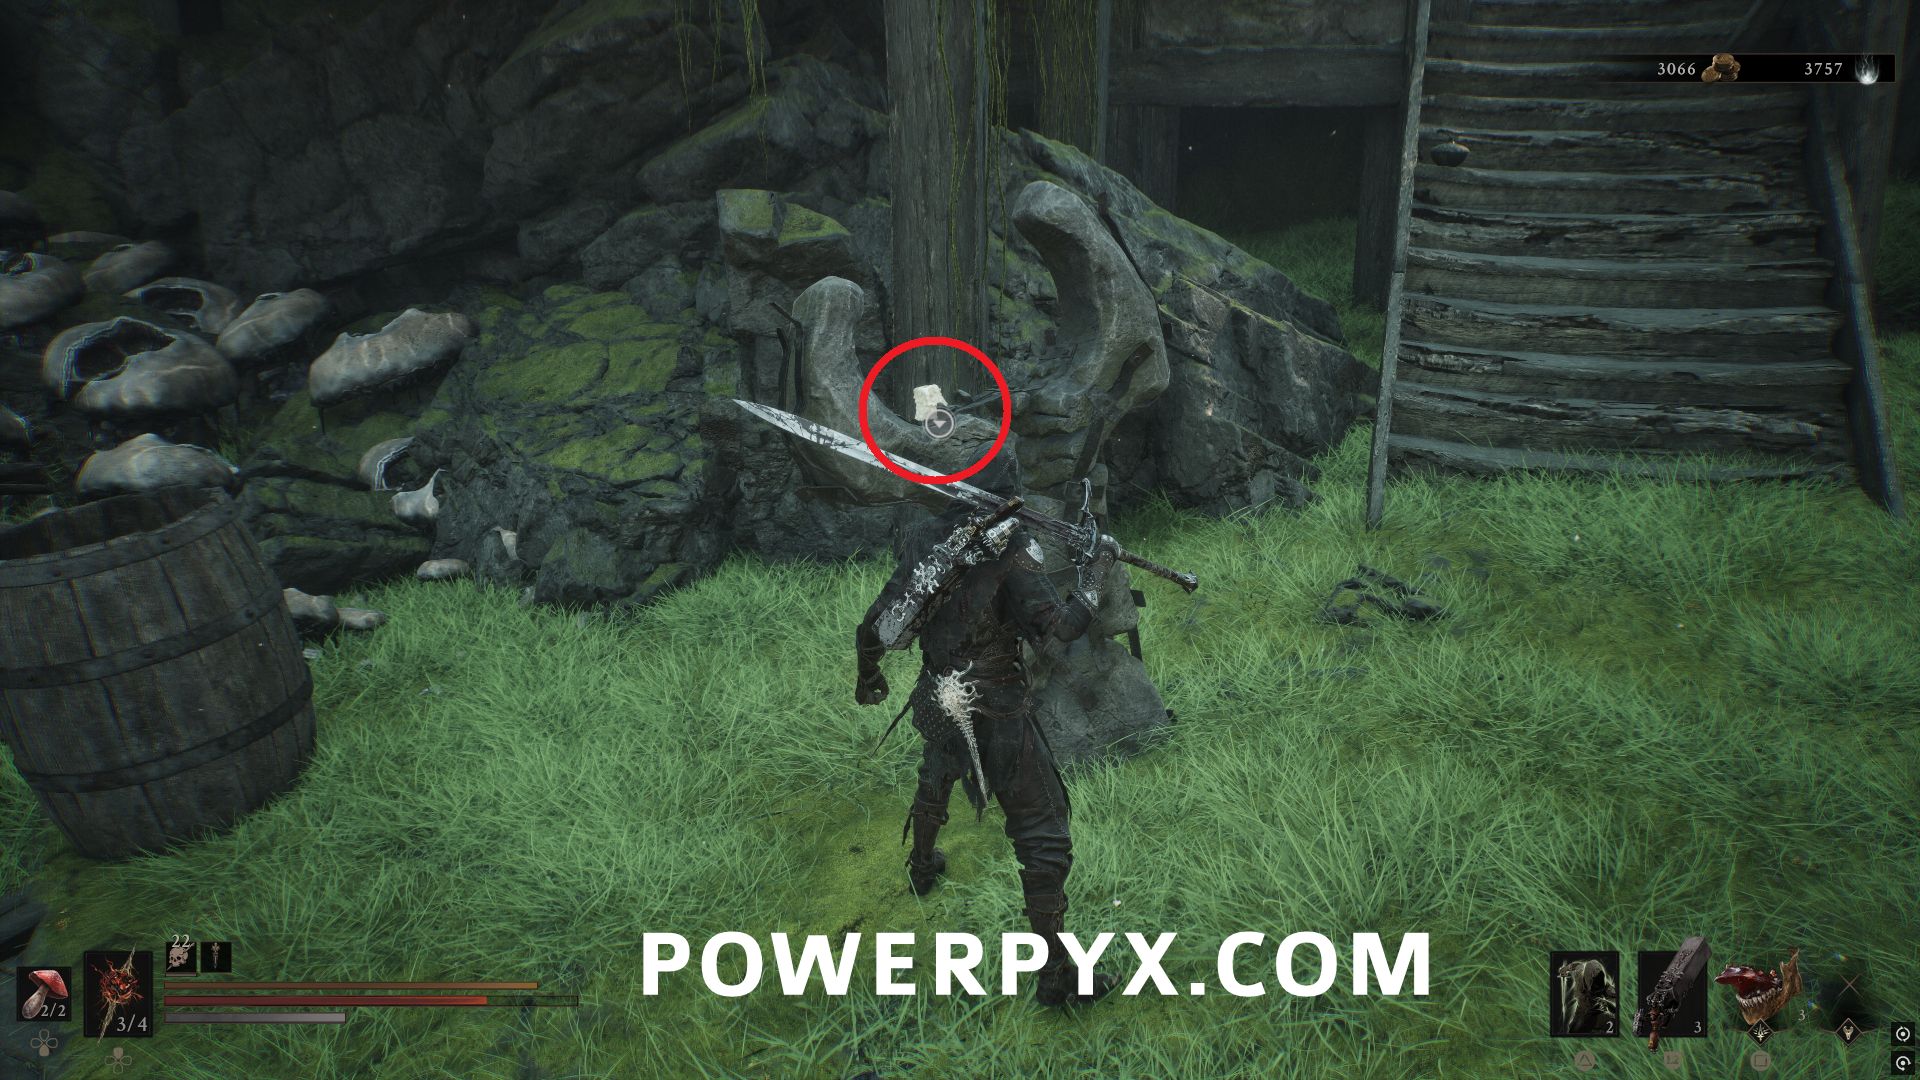
The second candle is up to the path to the right of the previous candle.
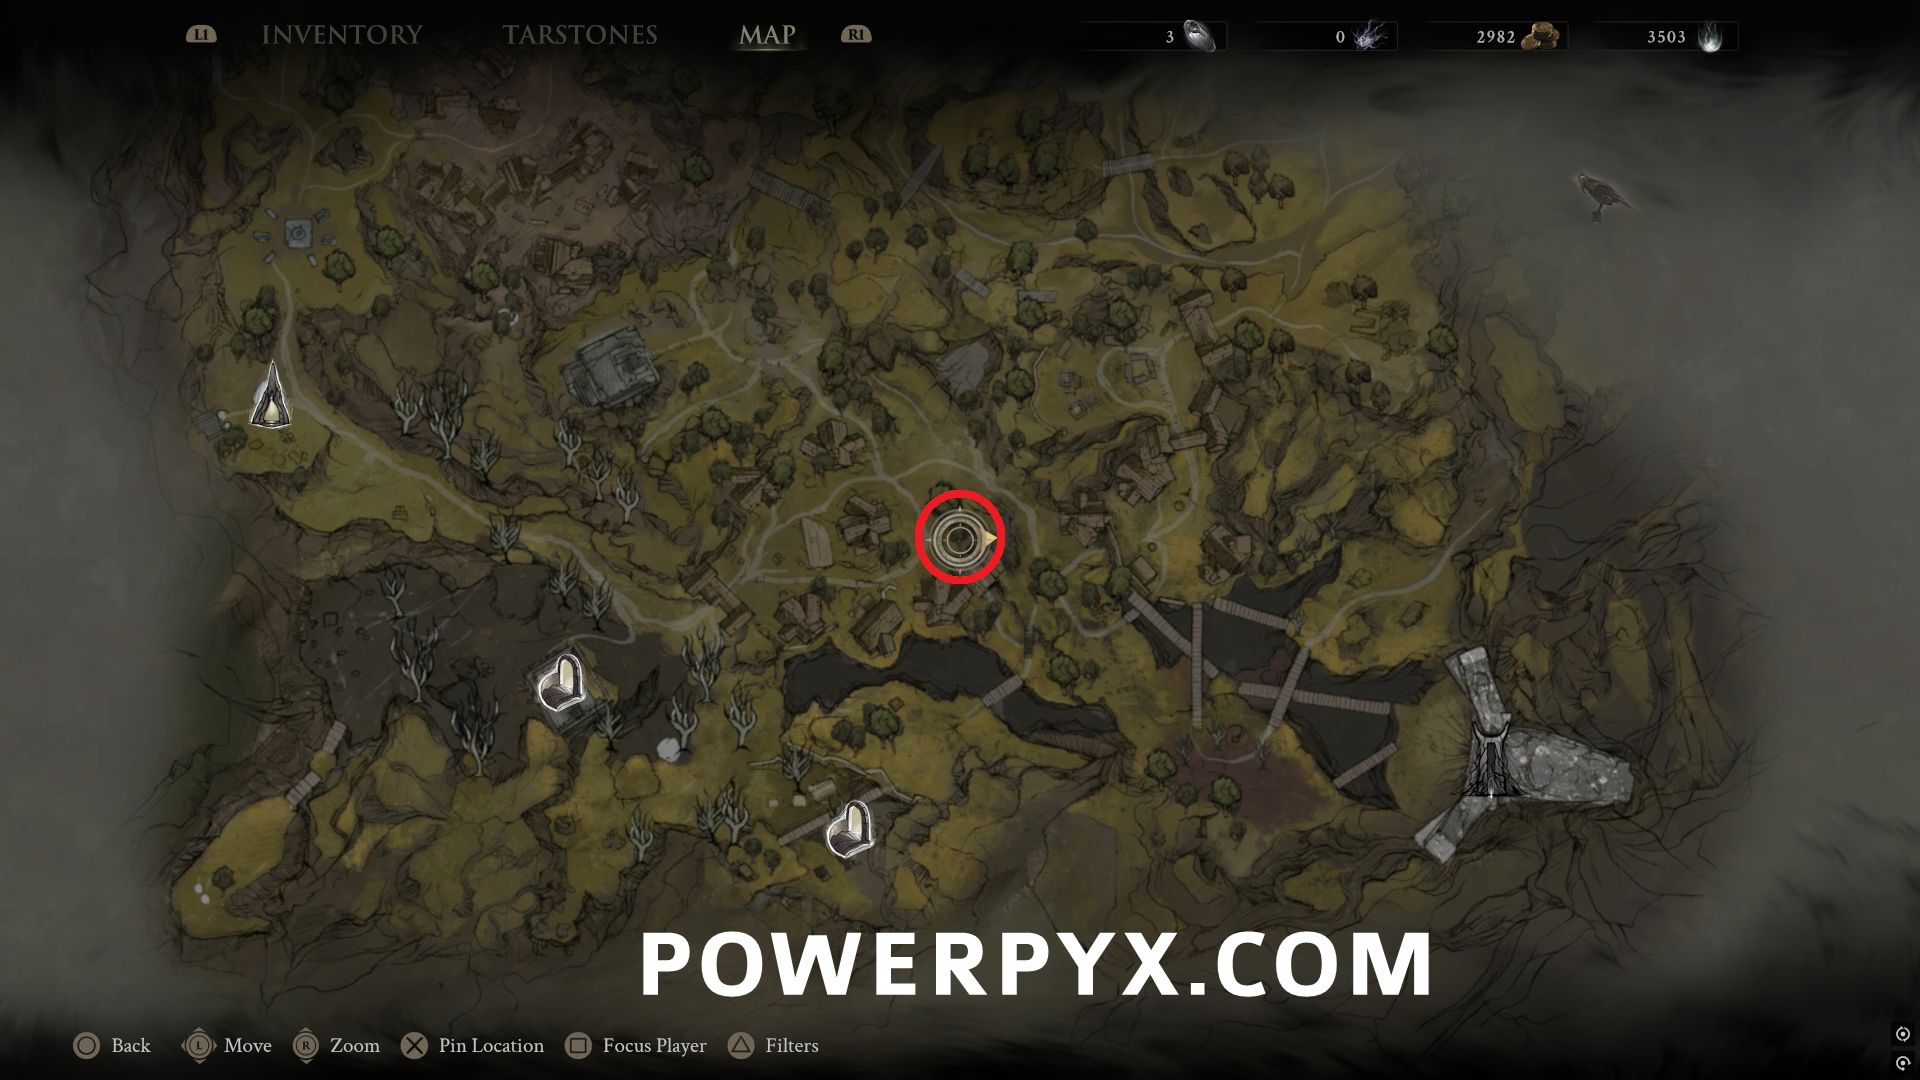
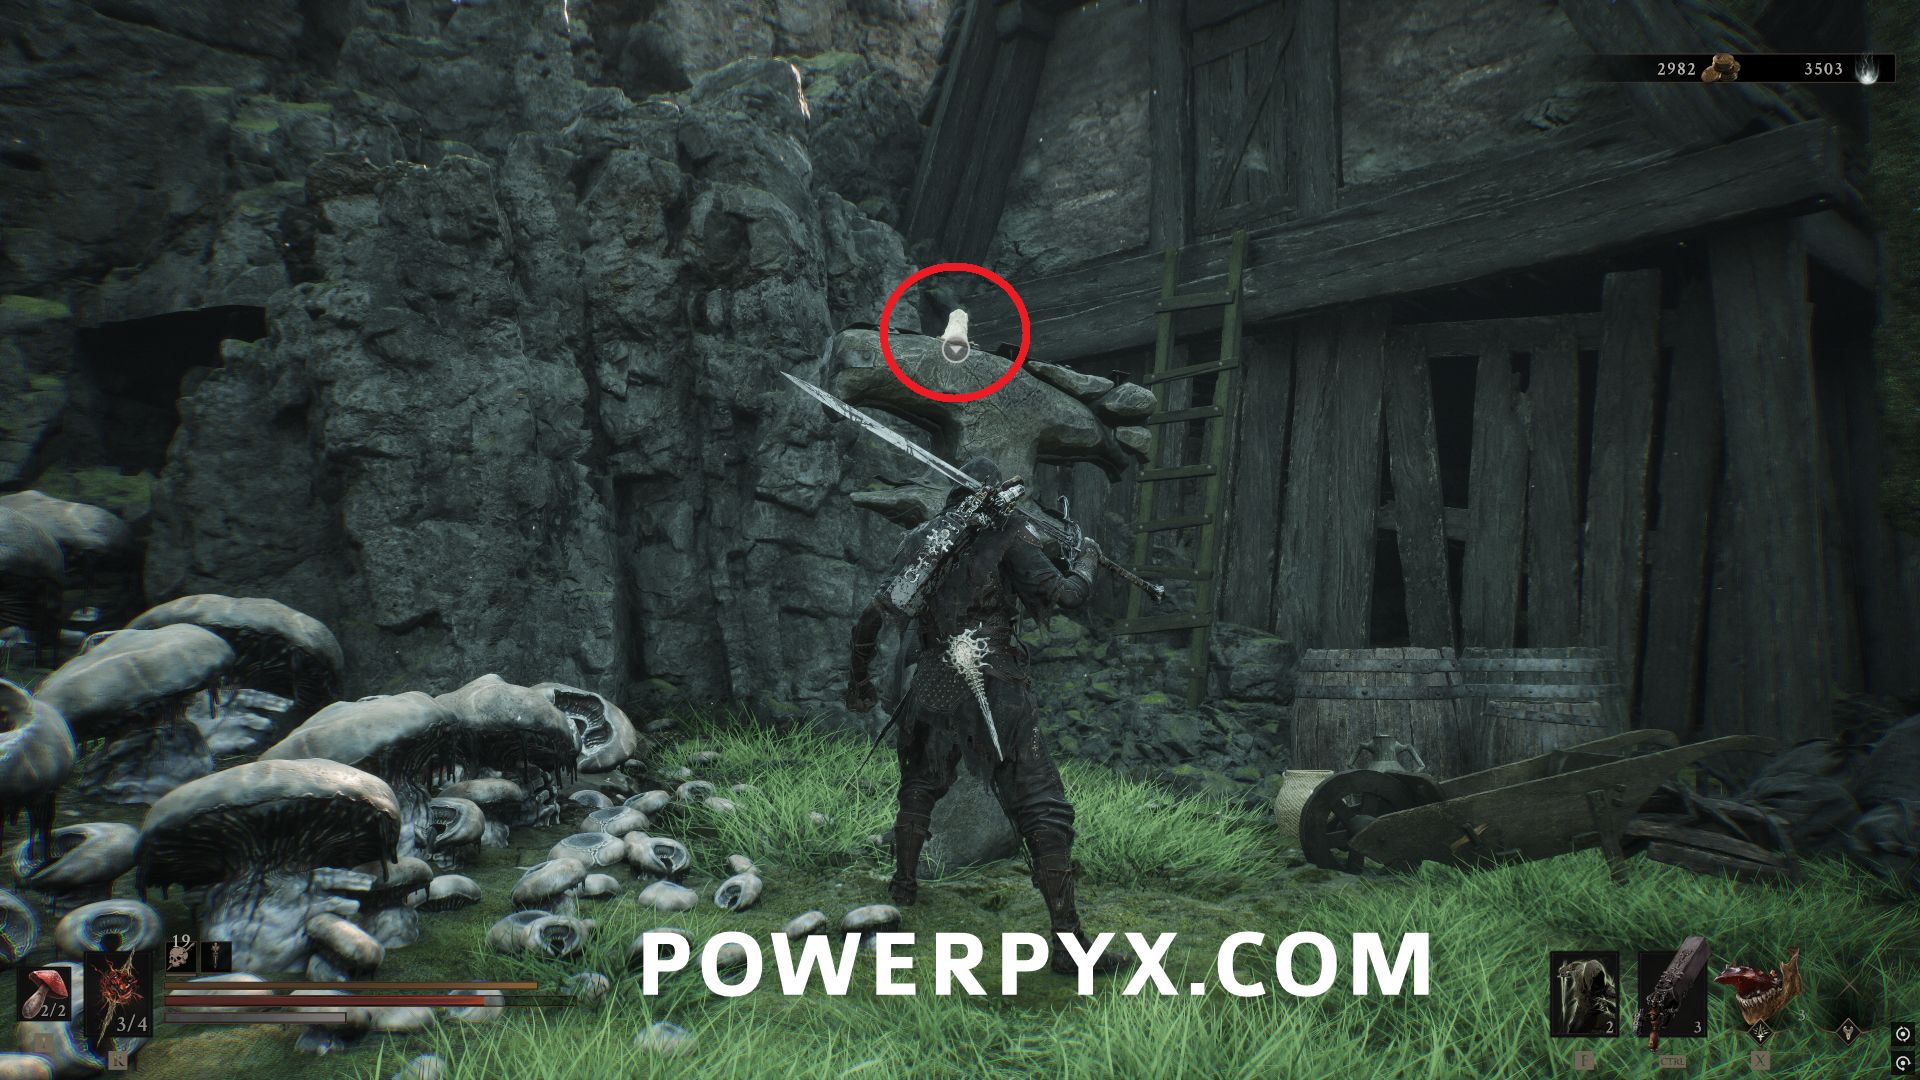
The third candle is on the left path from the chest, behind a house near two enemies.
#2 – Headman’s Stone
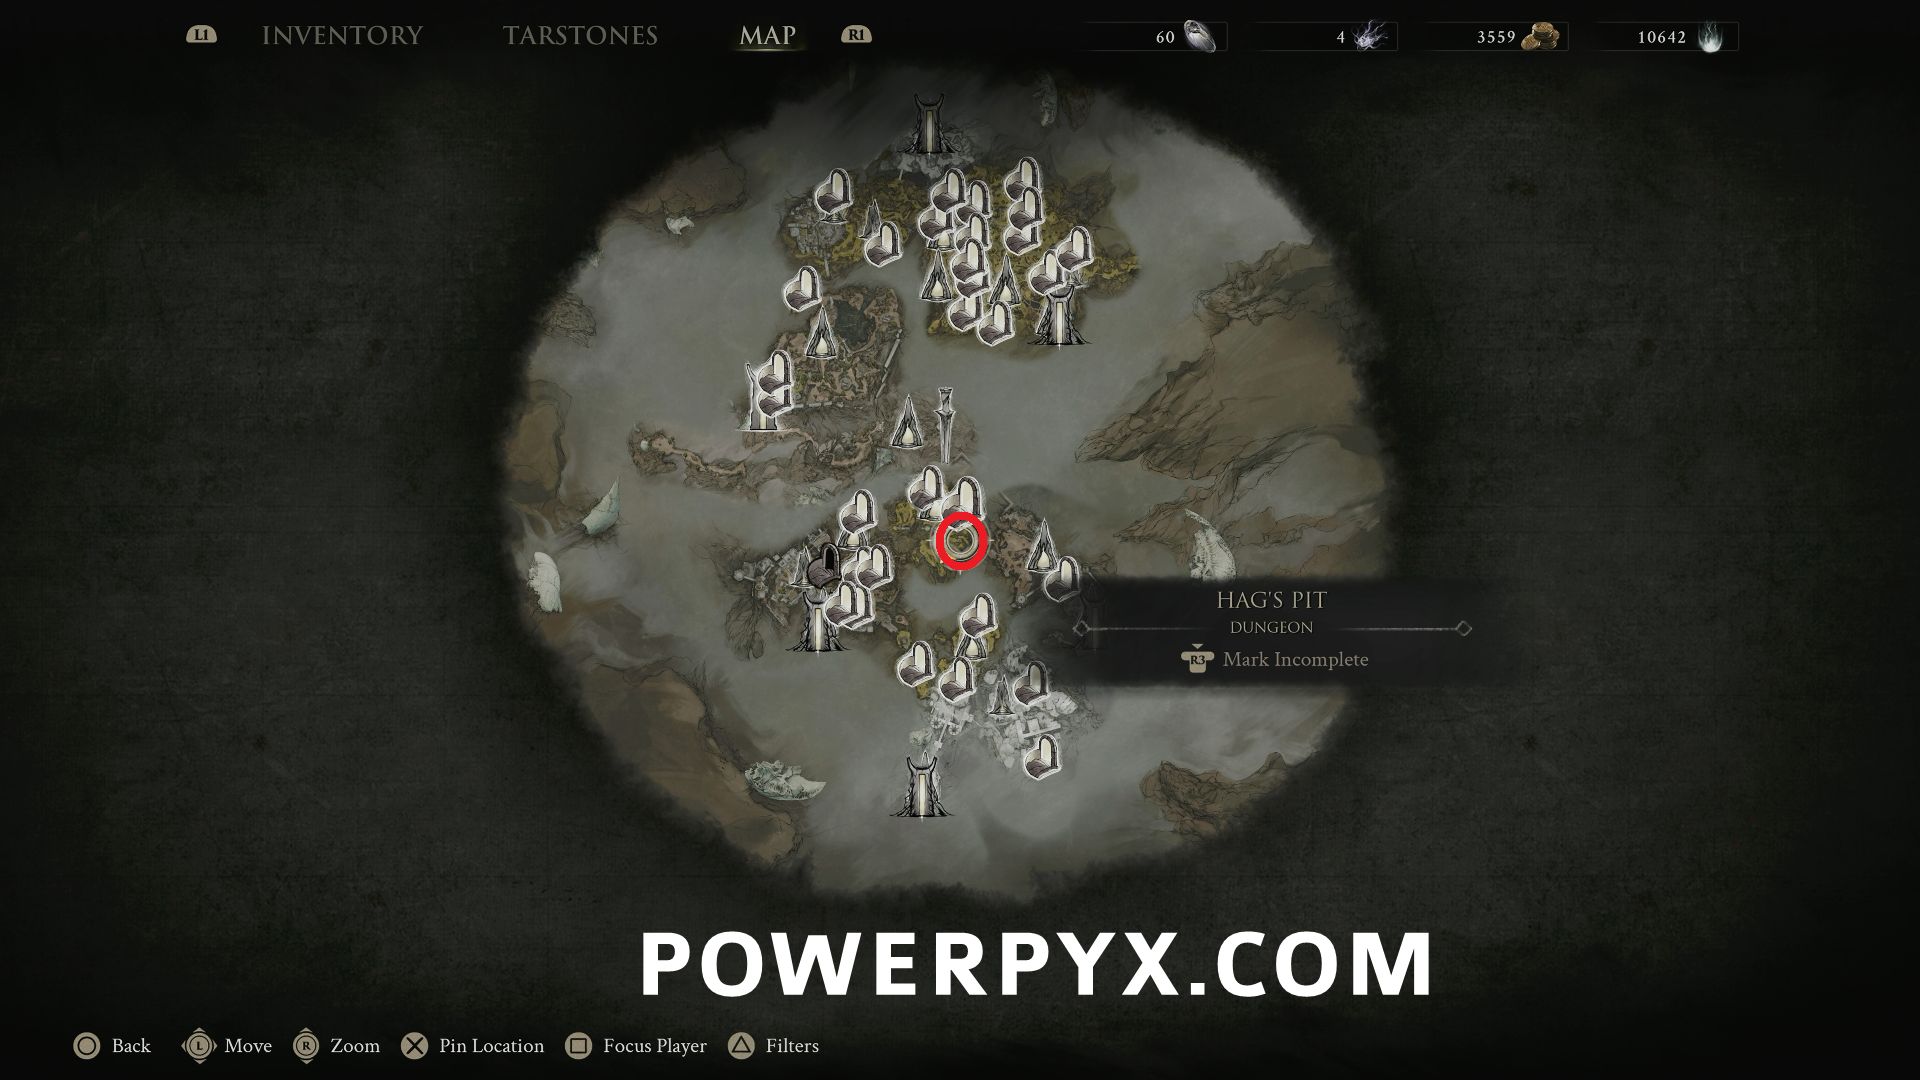
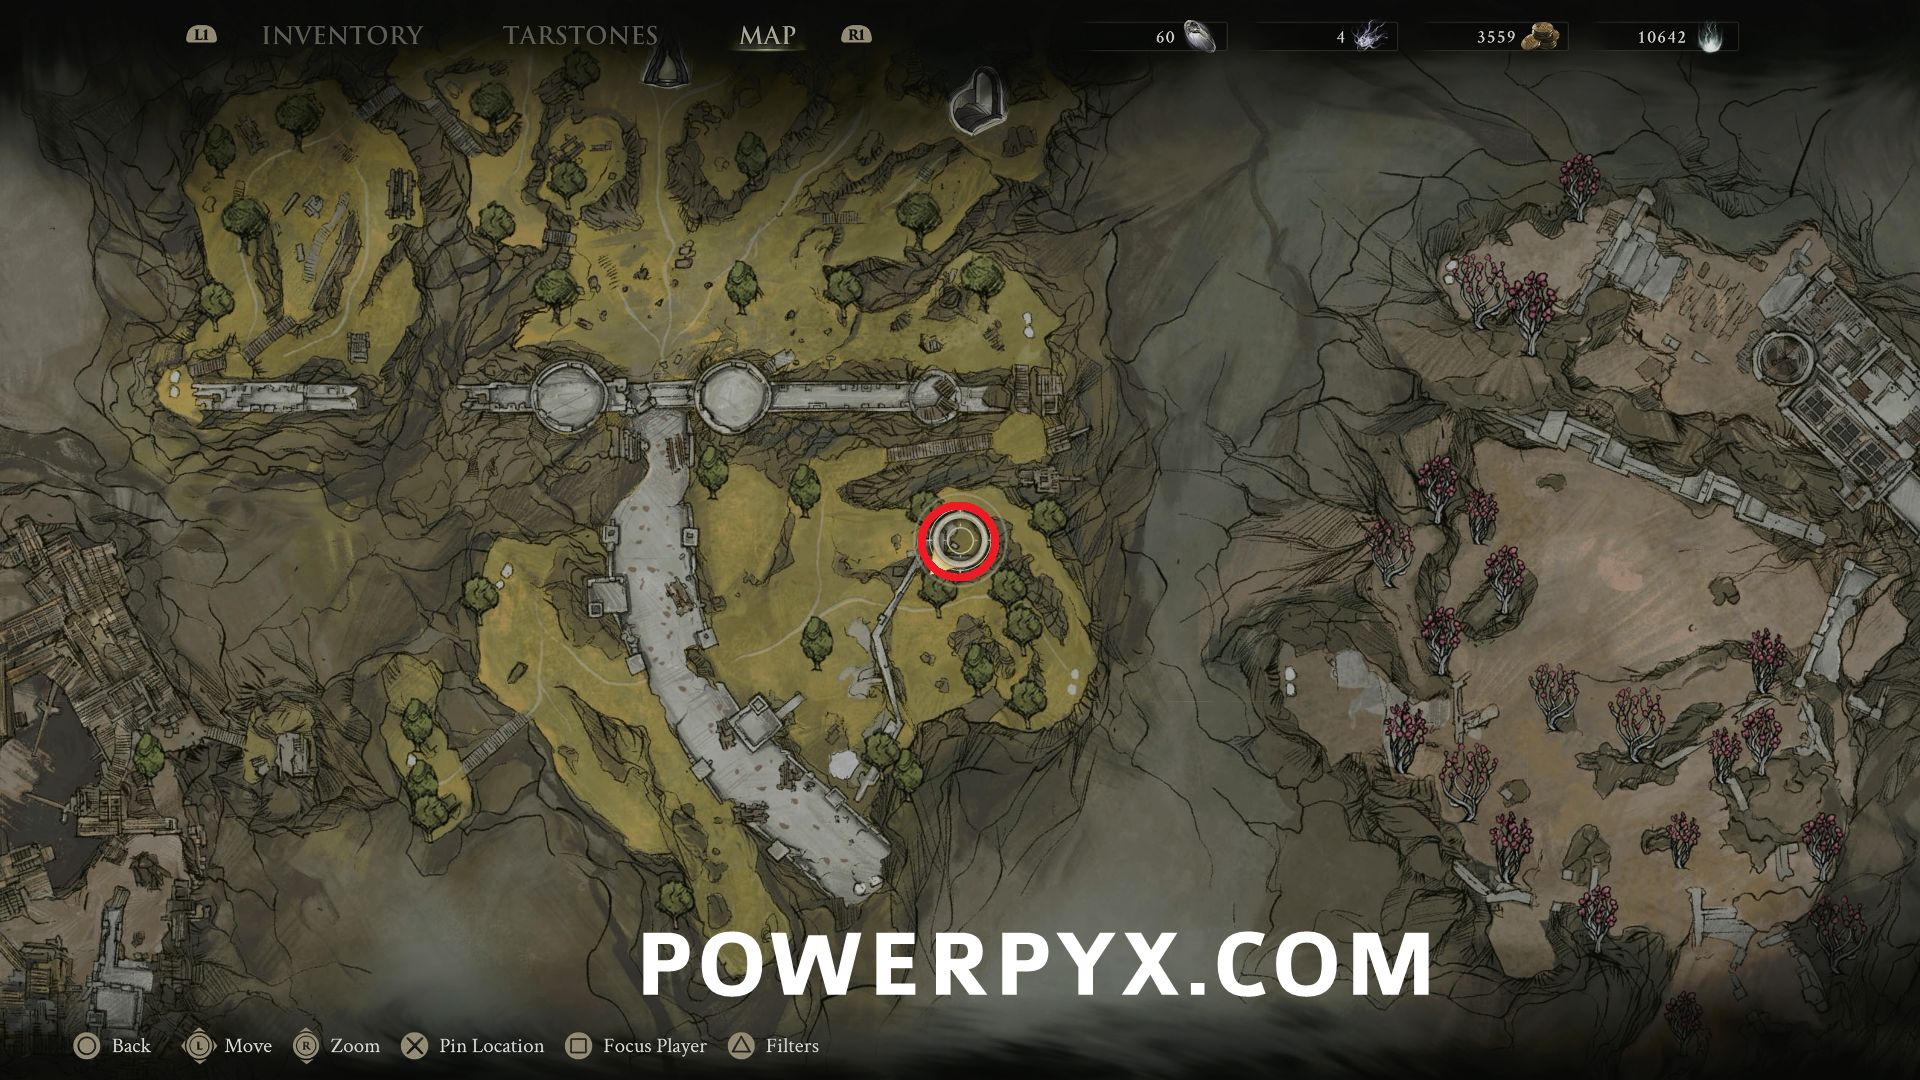
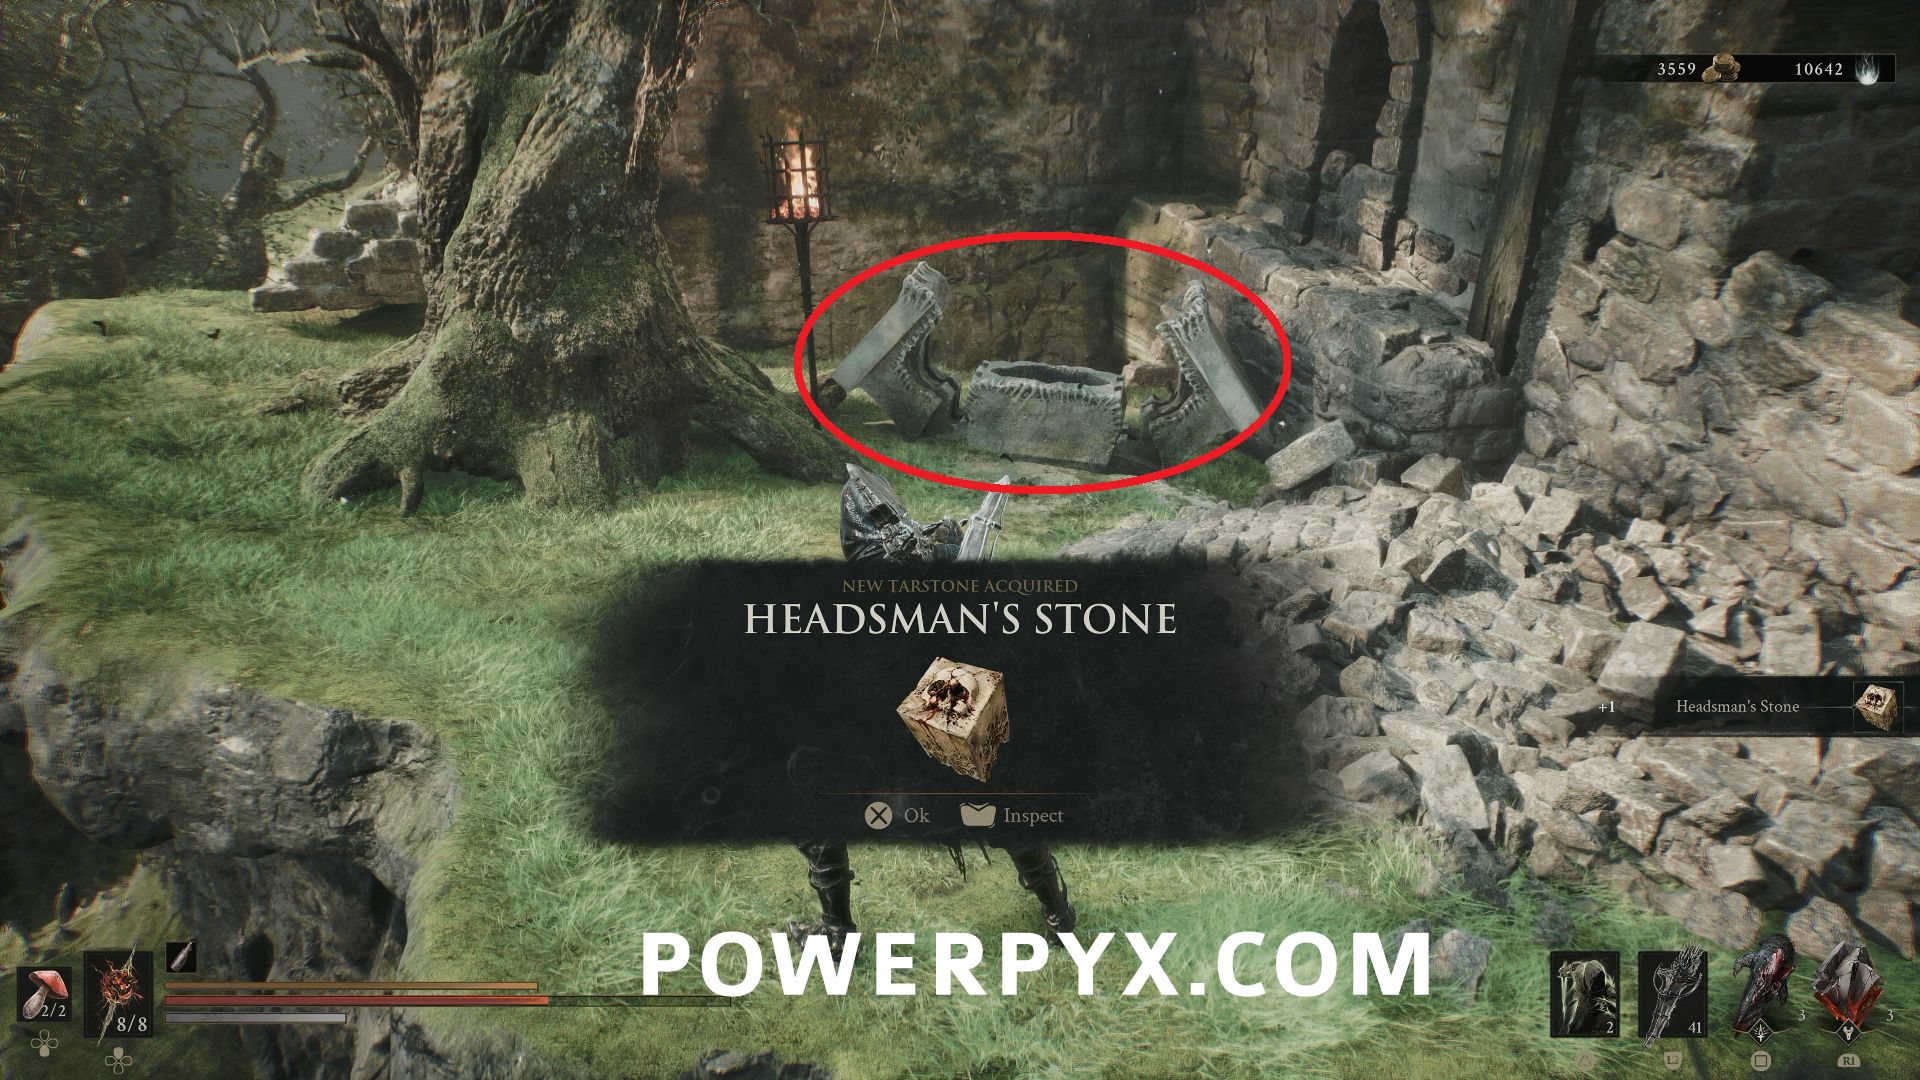
Southeast of Outskirts of Mammon Beacon, go near the ruins area with the Grisha Hunter enemies, and around the corner on the northeastern part of the ruins you can find a chest beside a tree that contains this Tarstone.
#3 – Devout Stone
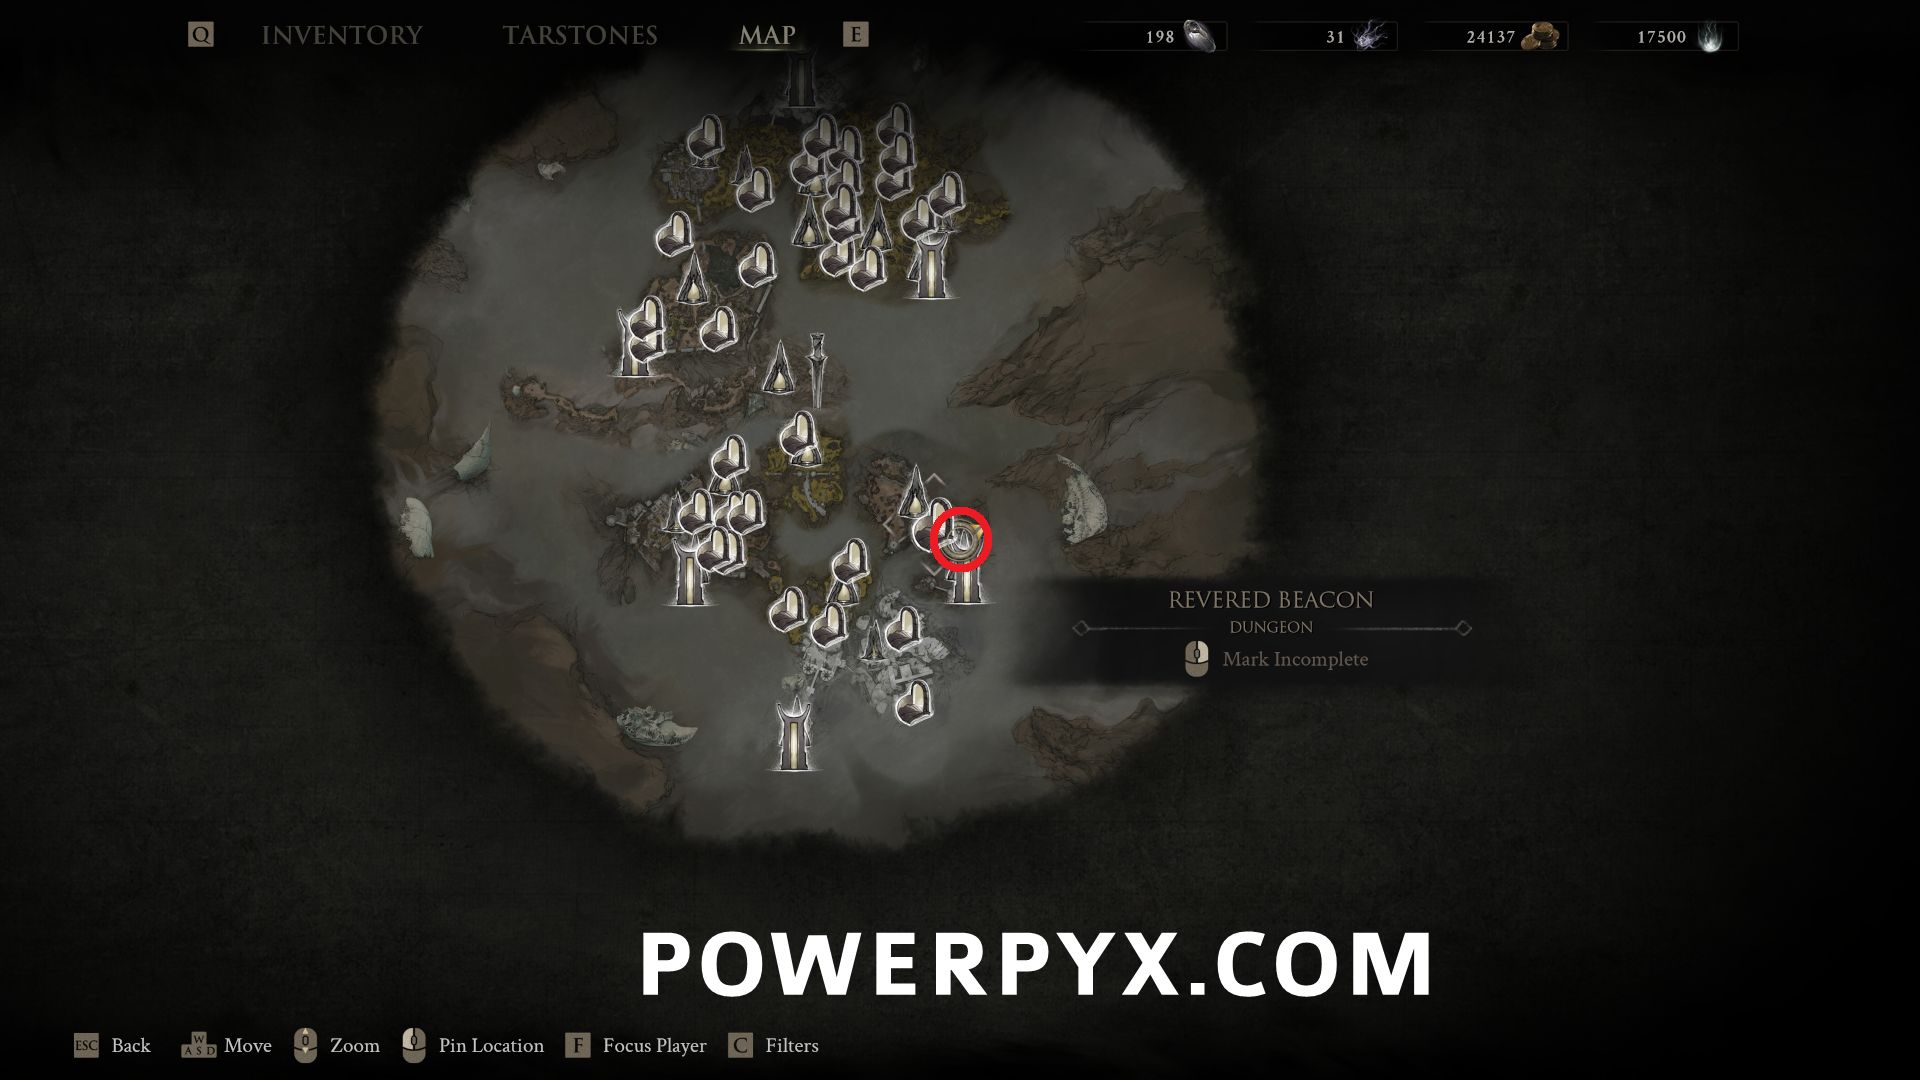
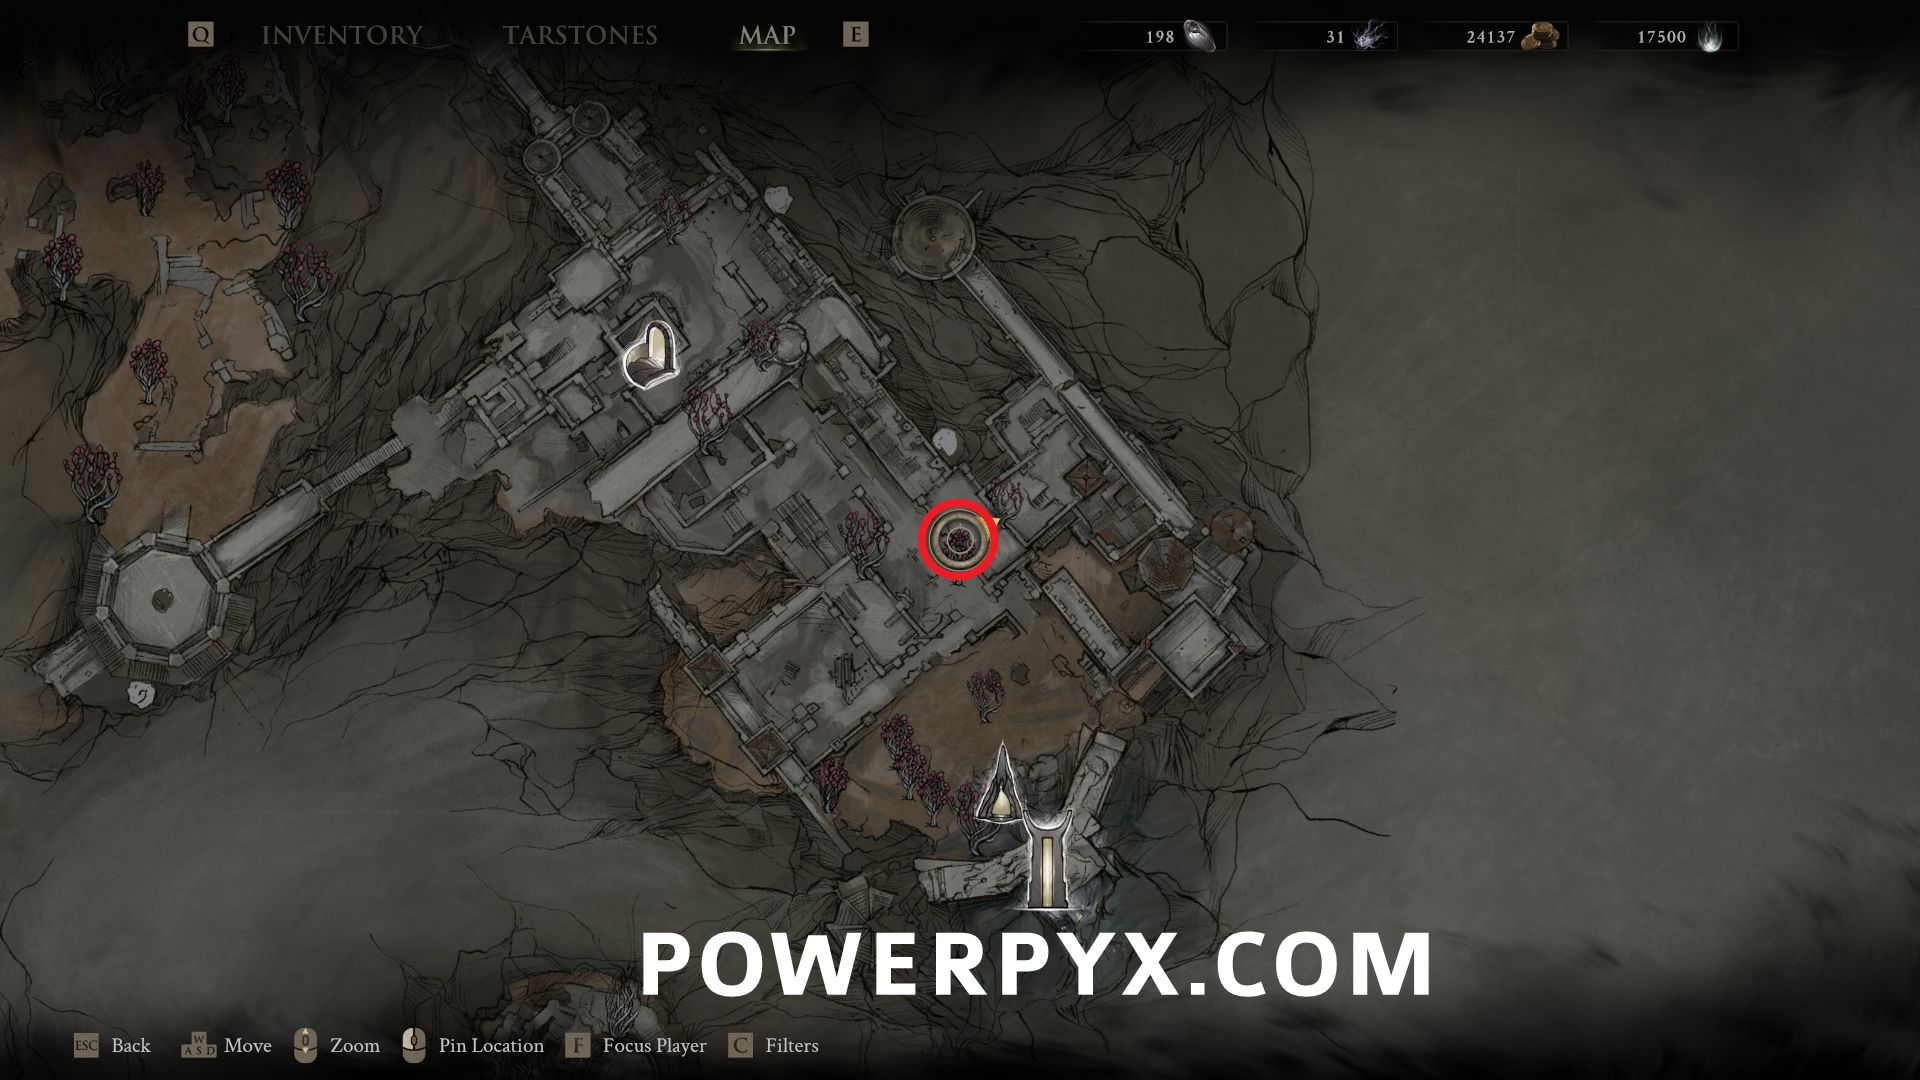
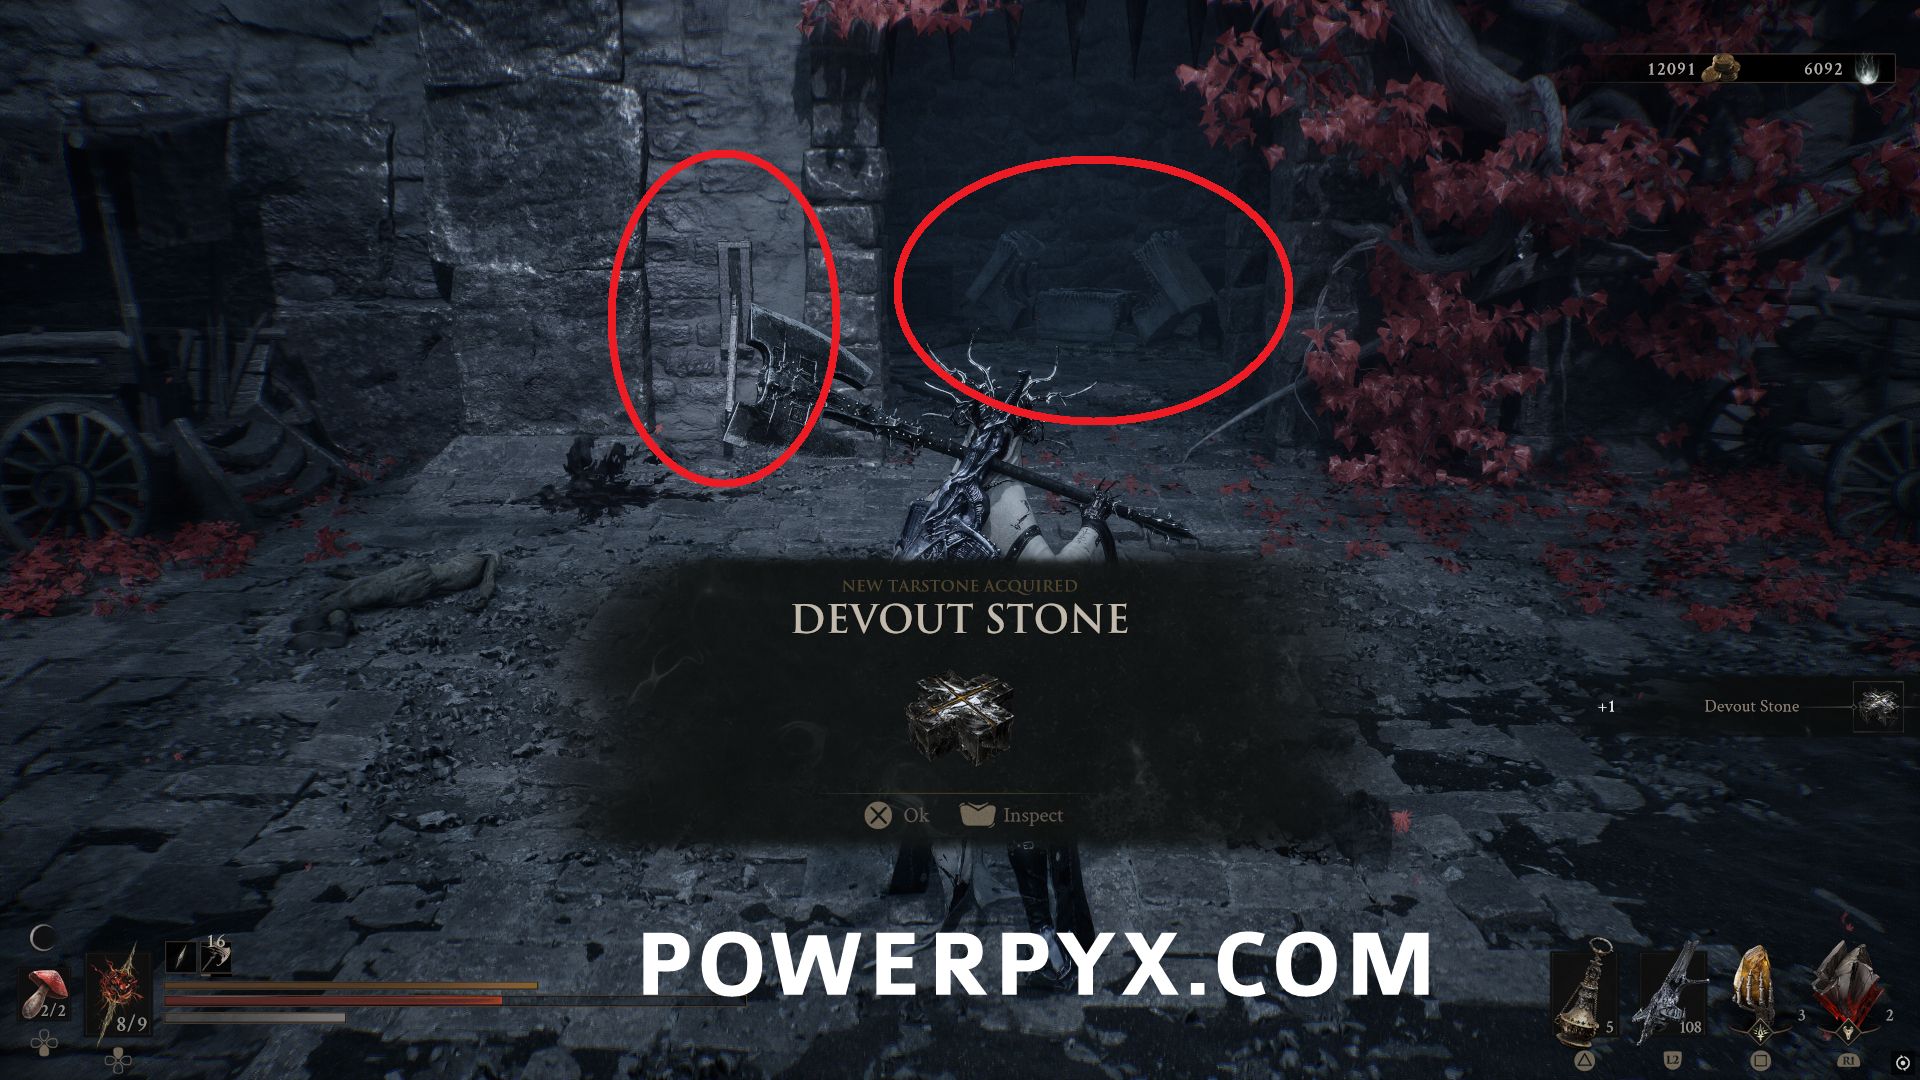
North of Sester’s Gate Beacon, go up the steps to where the pair of ranged enemies are located and there is a switch on the wall that opens the gate right beside it, with a chest inside that contains this Tarstone.
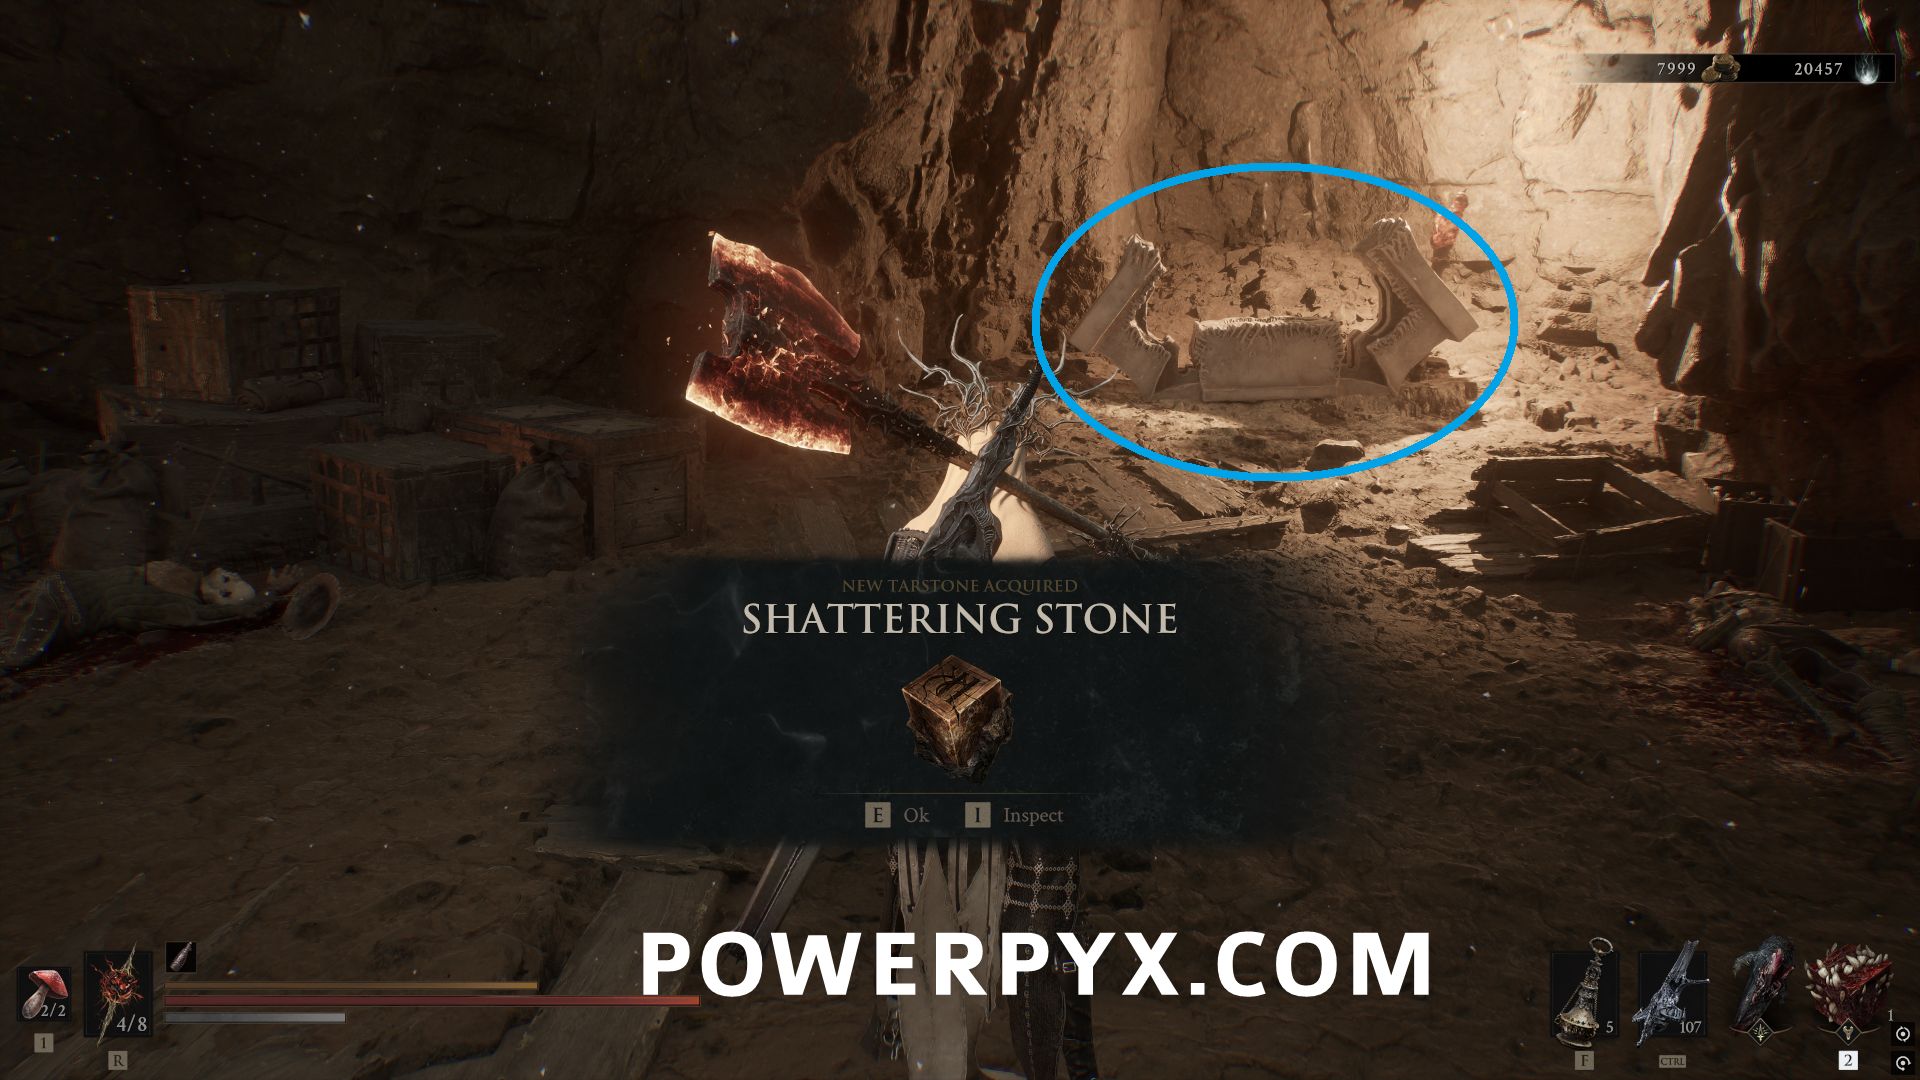
#4 – Shattering Stone
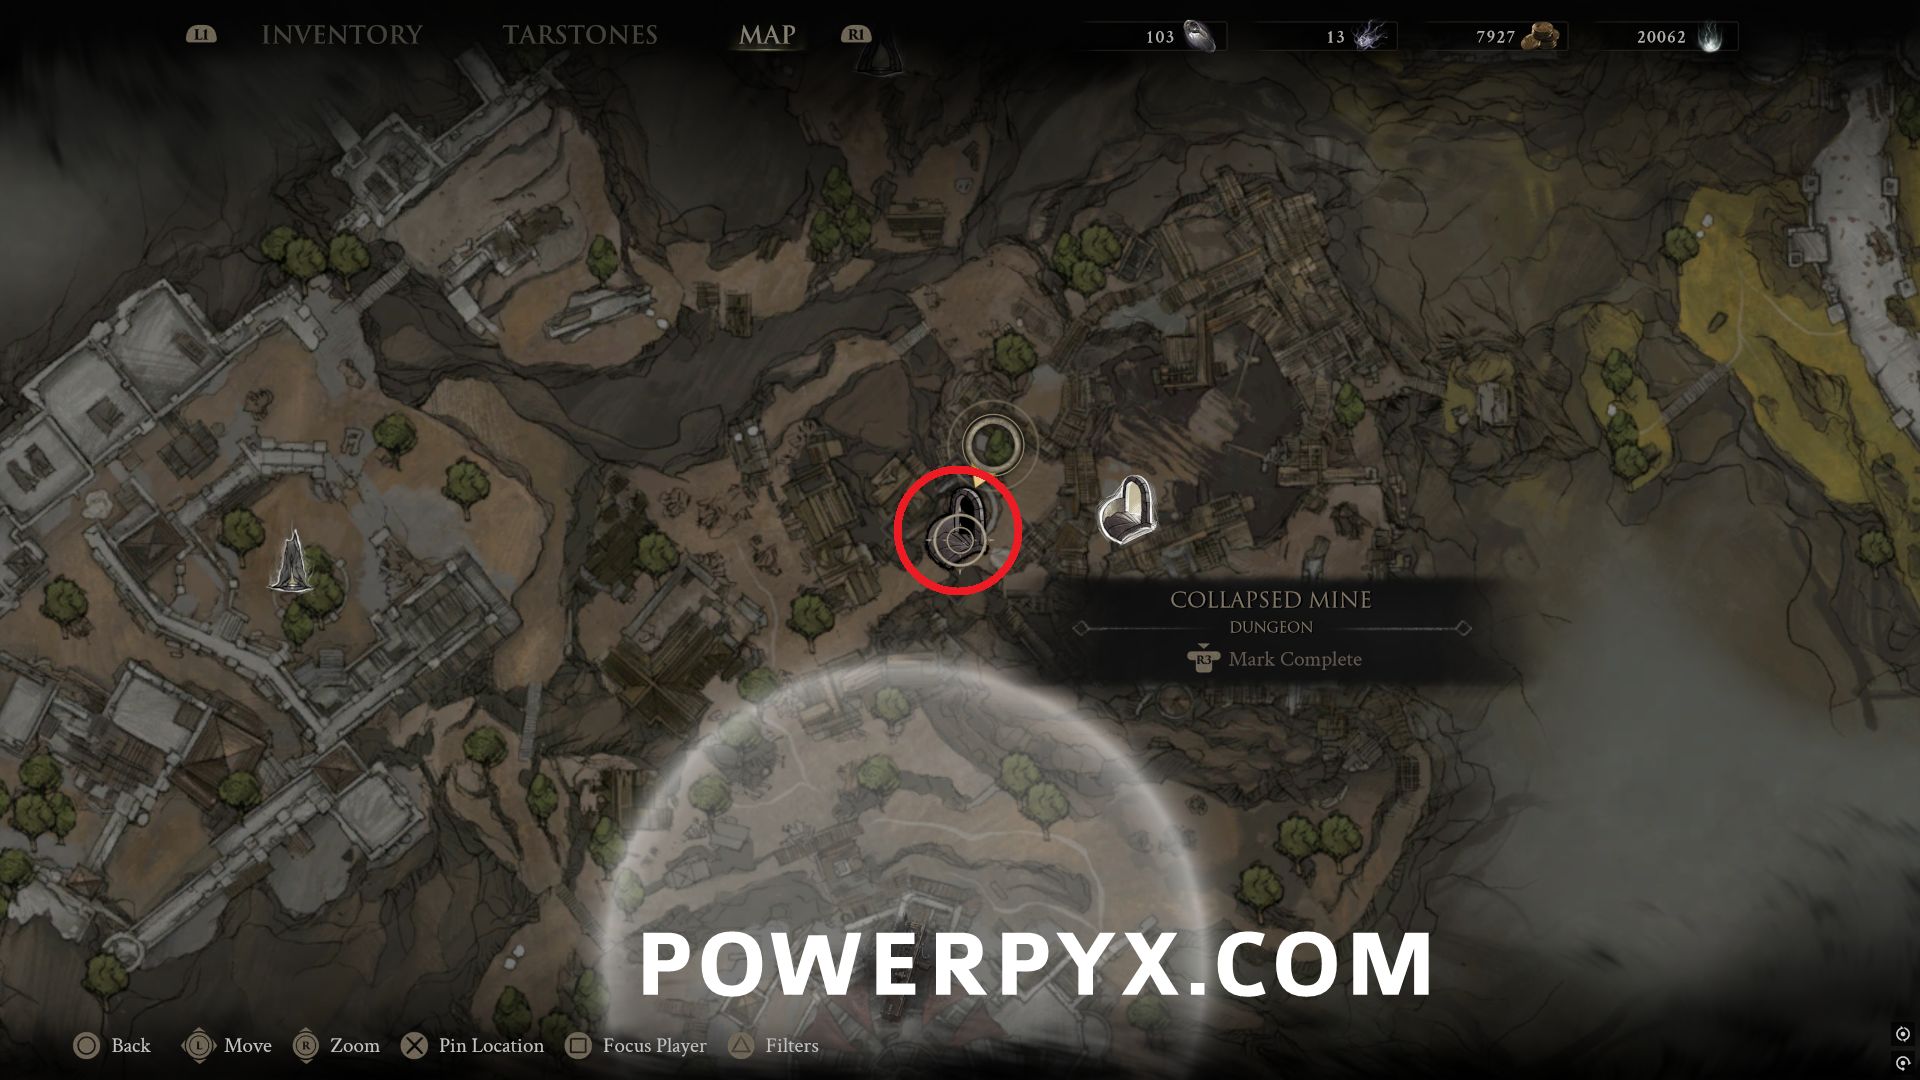
From the location of the Obsidianite Mines dungeon entrance, take the northern elevator back up and follow the path to the west where the Collapsed Mine dungeon is located.
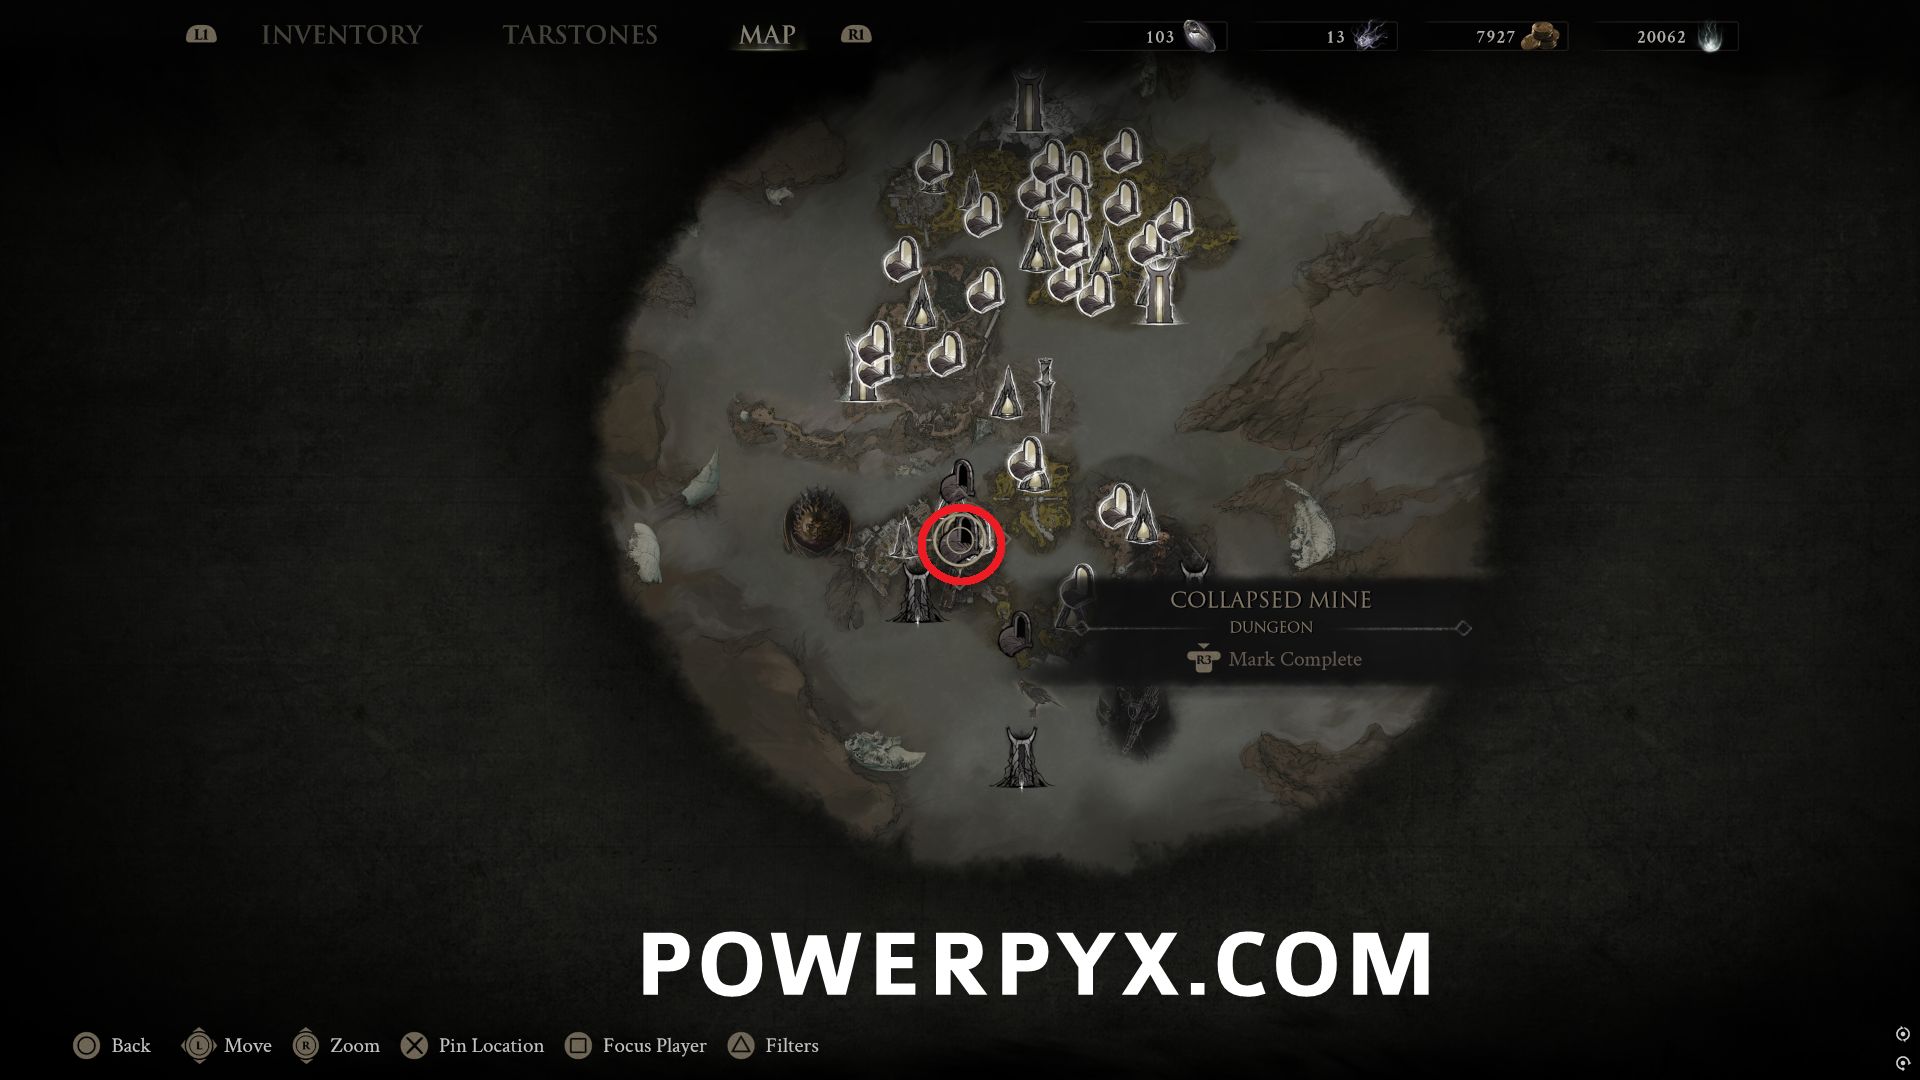
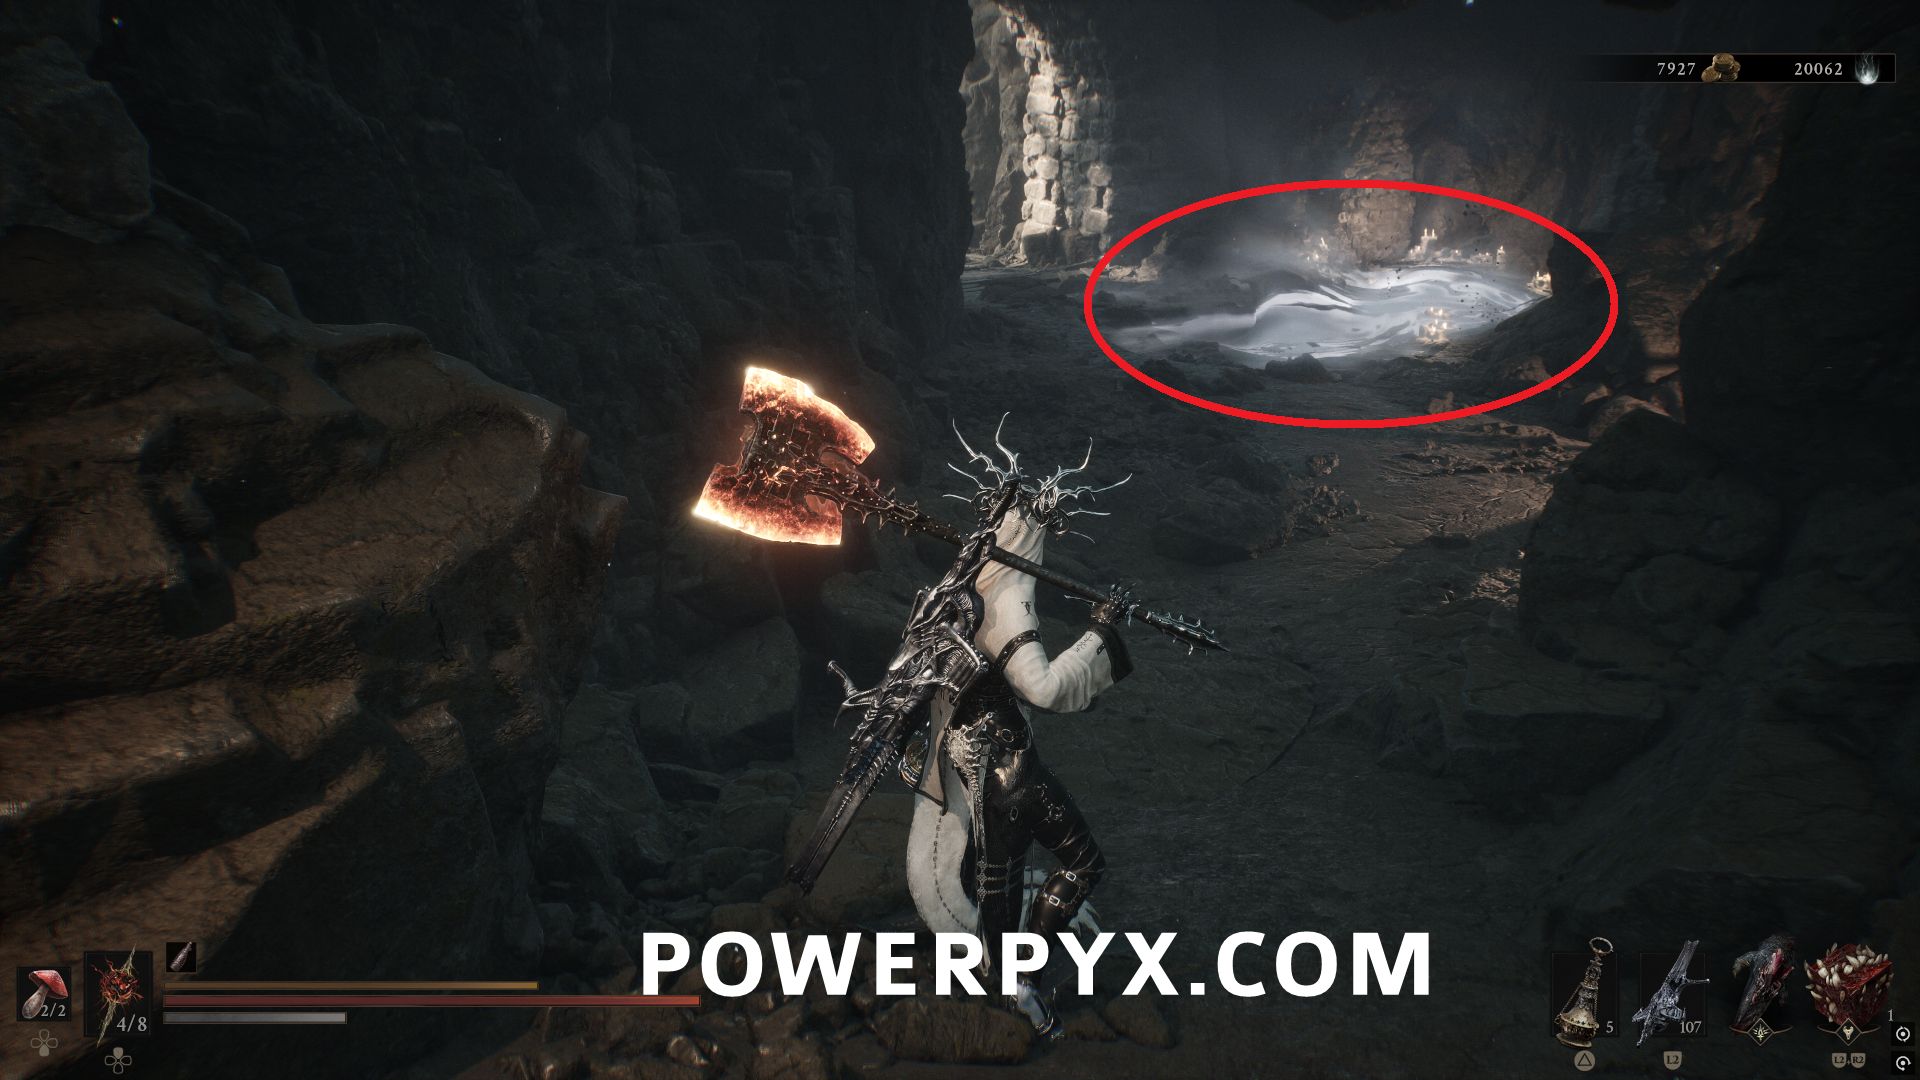
Follow the path through the dungeon until you reach a spot where the path splits left and right. On the left in a dead end is a chest with this Tarstone.
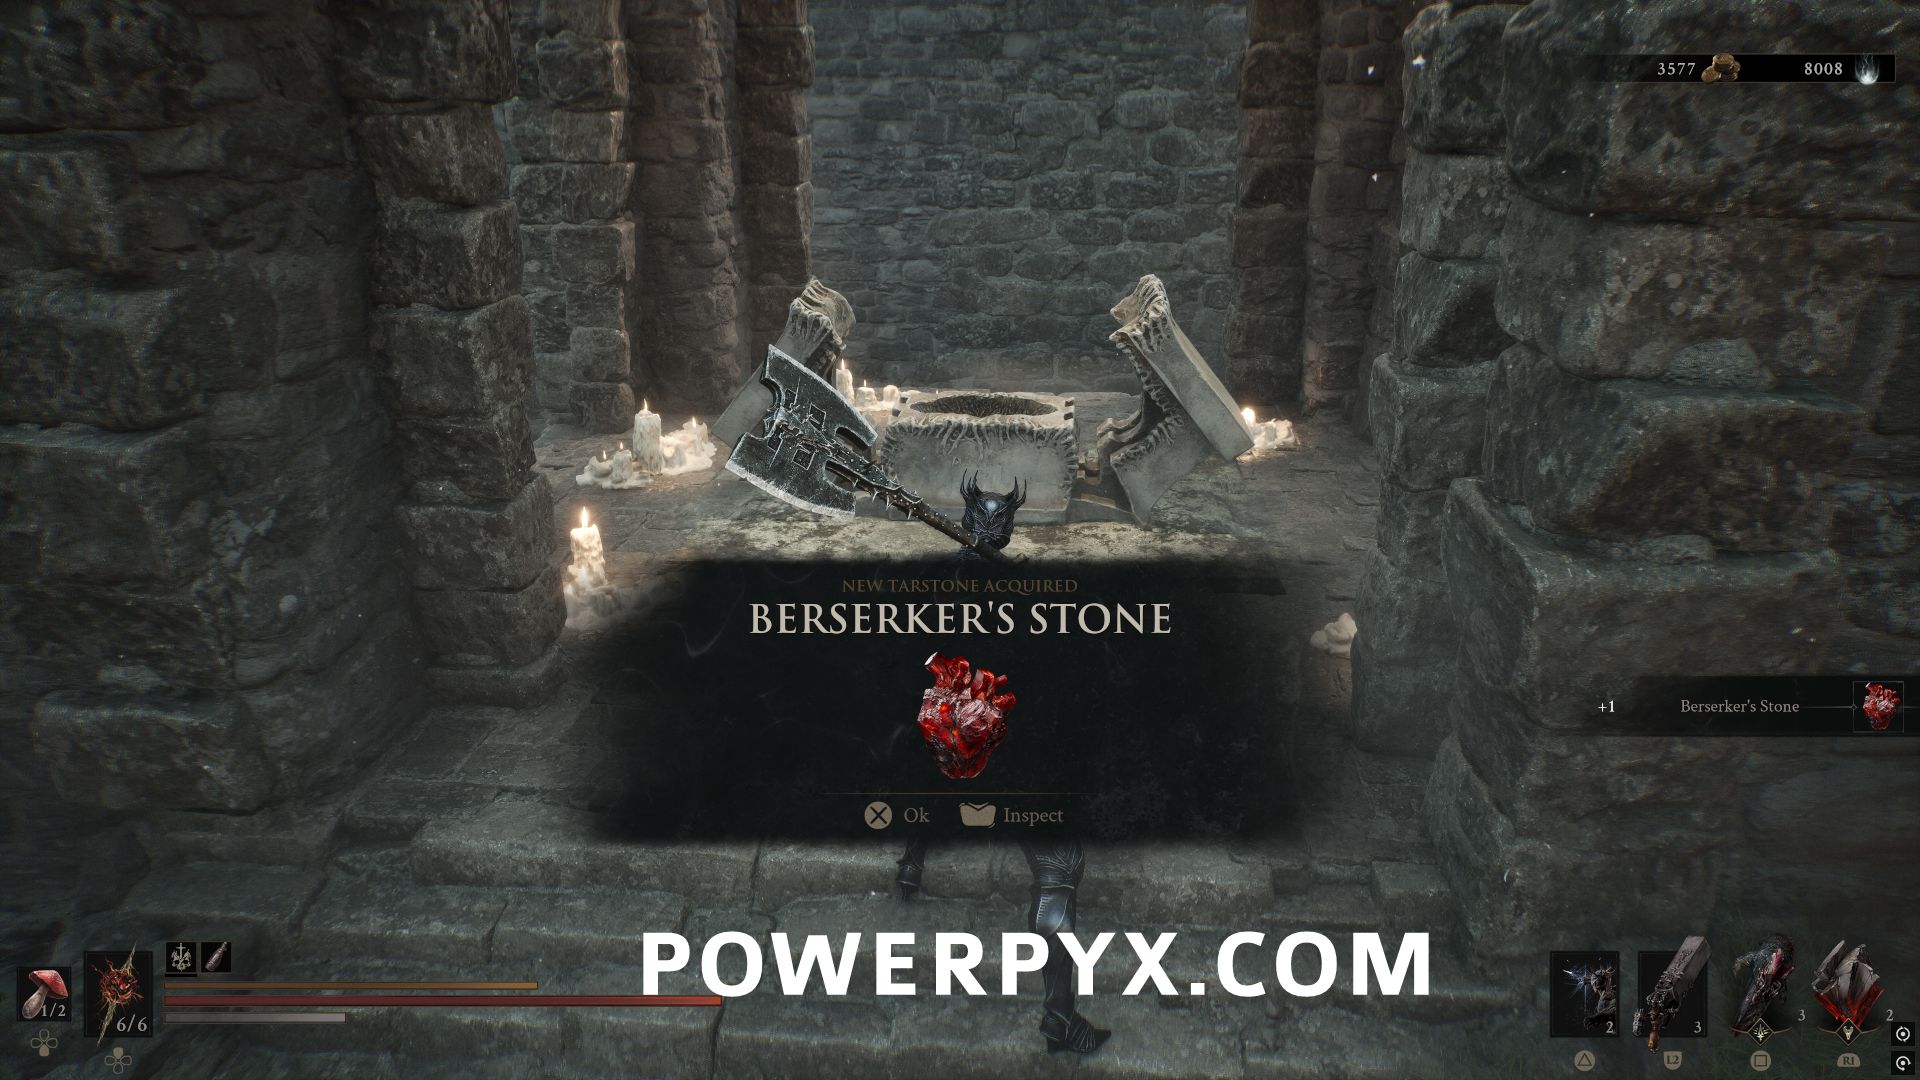
#5 – Berserker’s Stone
This Tarstone is currently missable due to a bug. If you don’t obtain it before collecting the Heart of Vatra and leaving you will be locked out of the area, even in NG+.
East of One Legged Wolf Beacon, follow the path all the way east through the Bone Gate to reach the Temple of Vatra area.
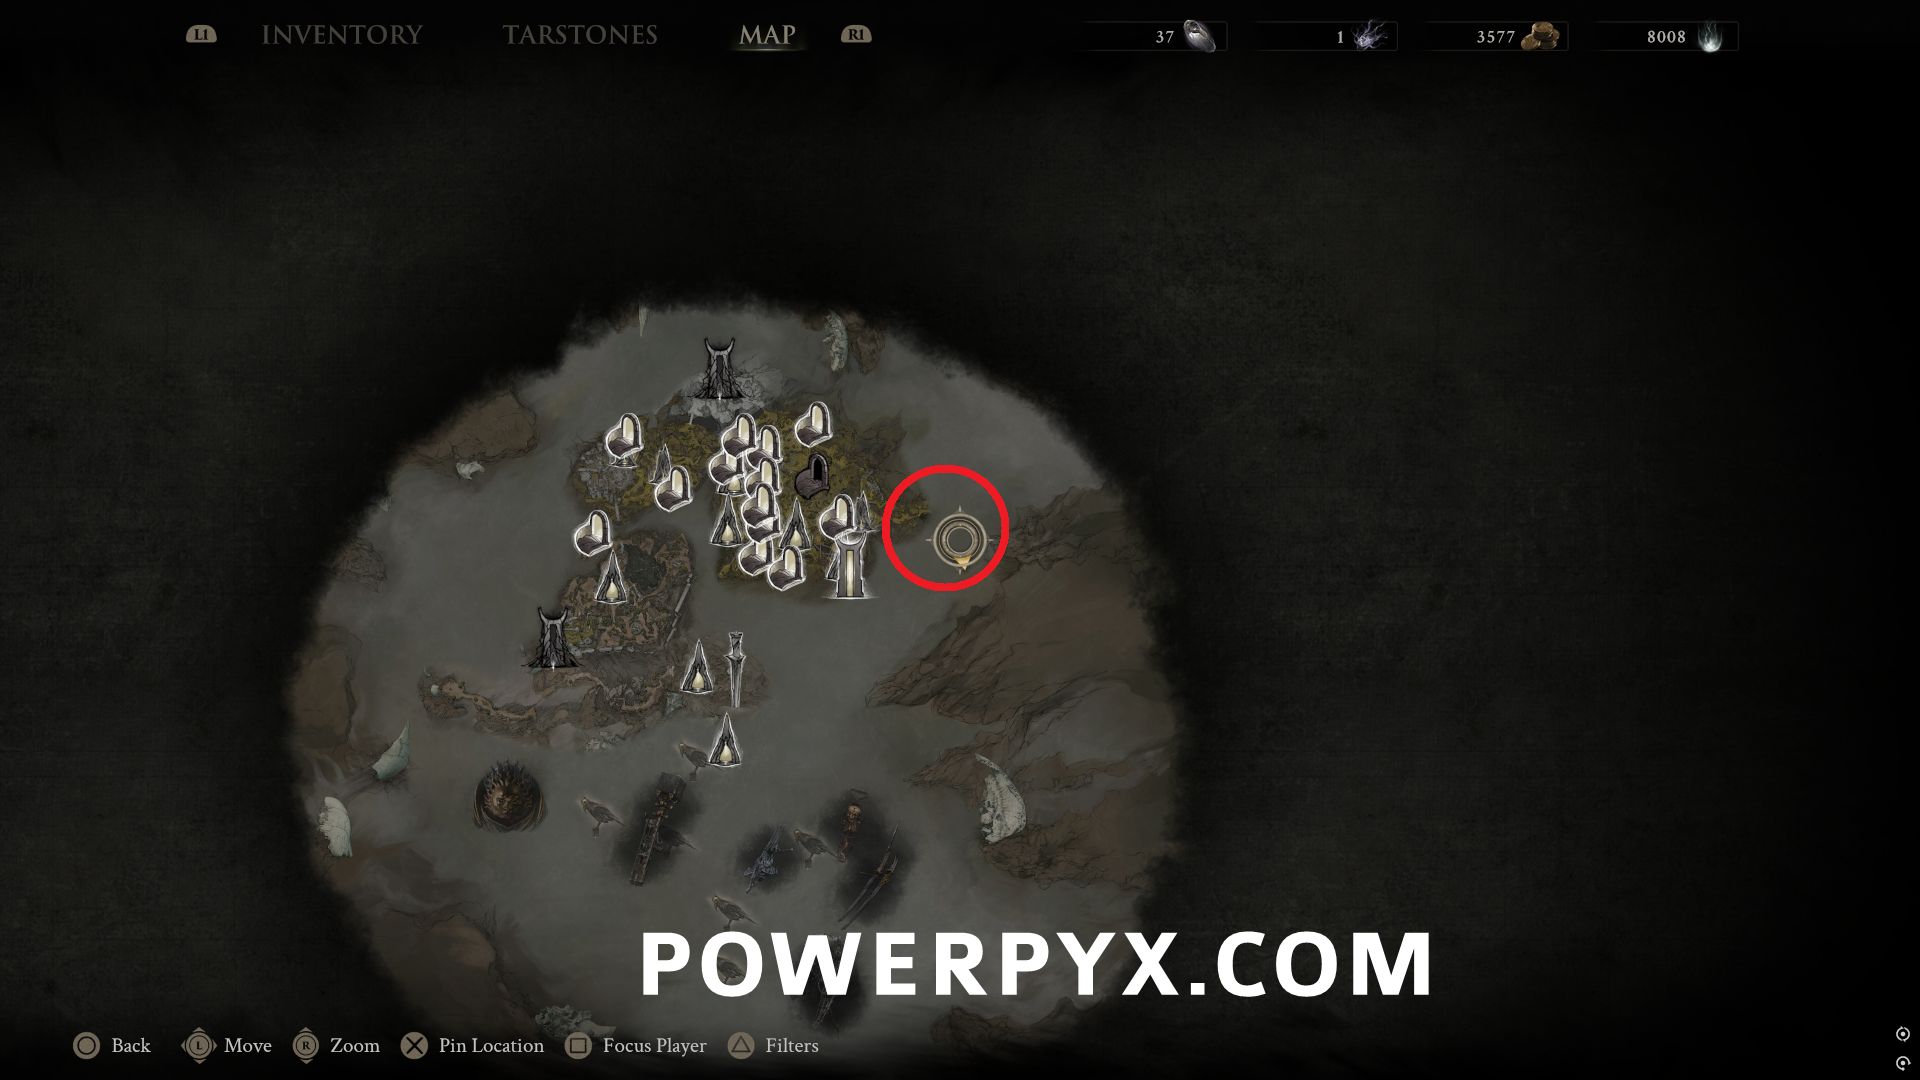
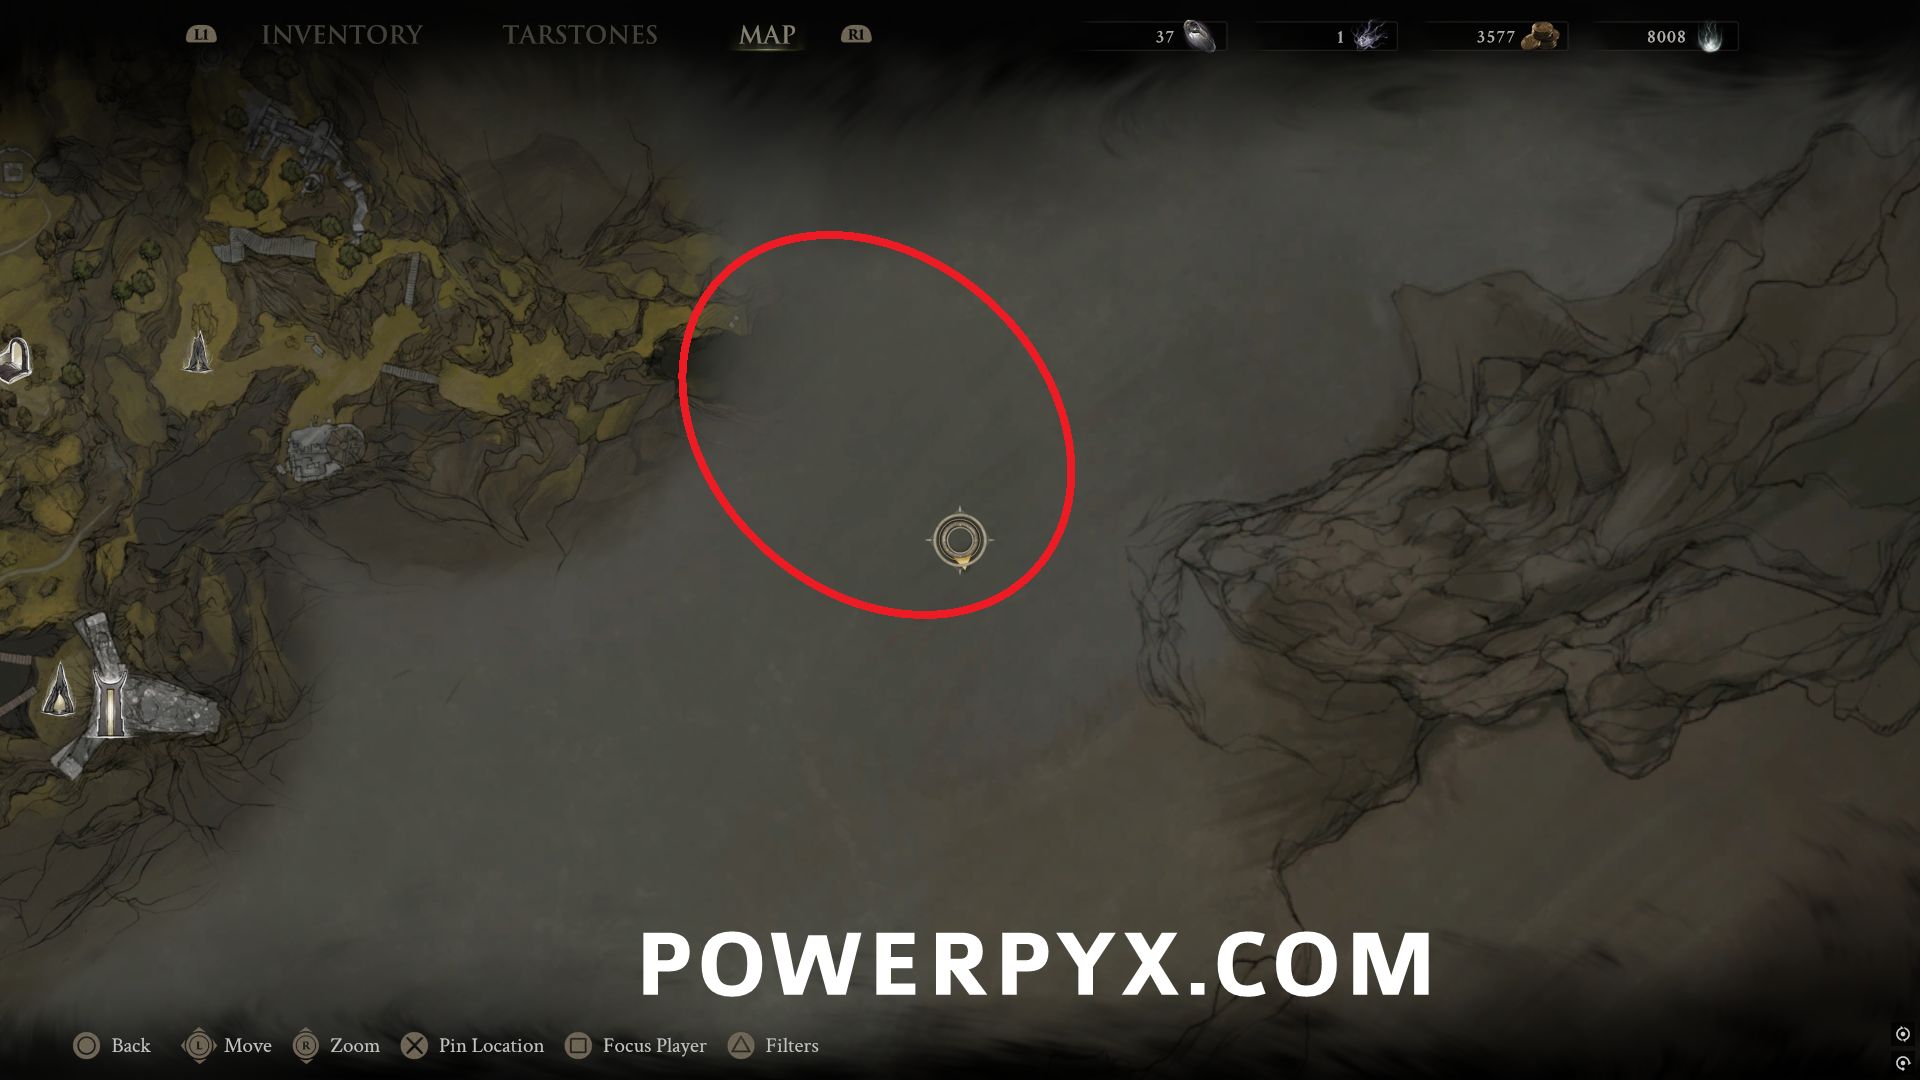
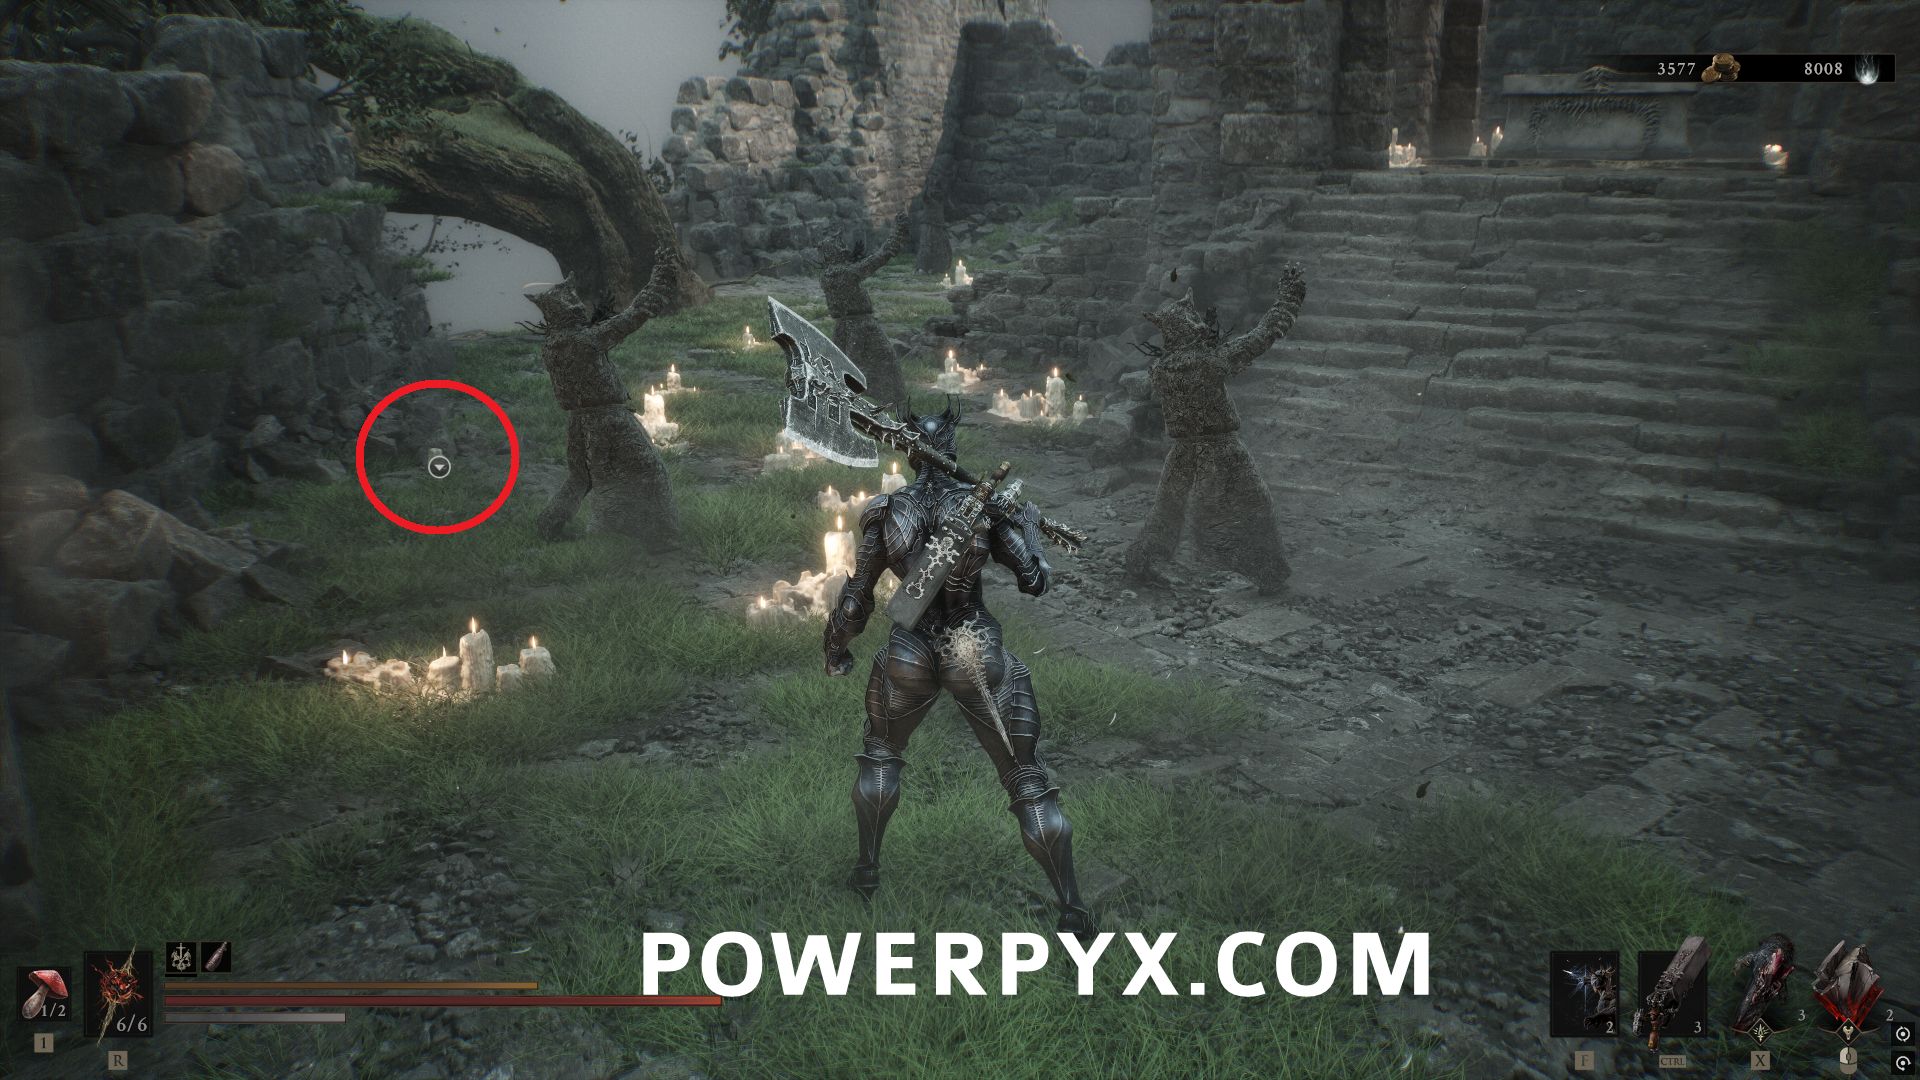
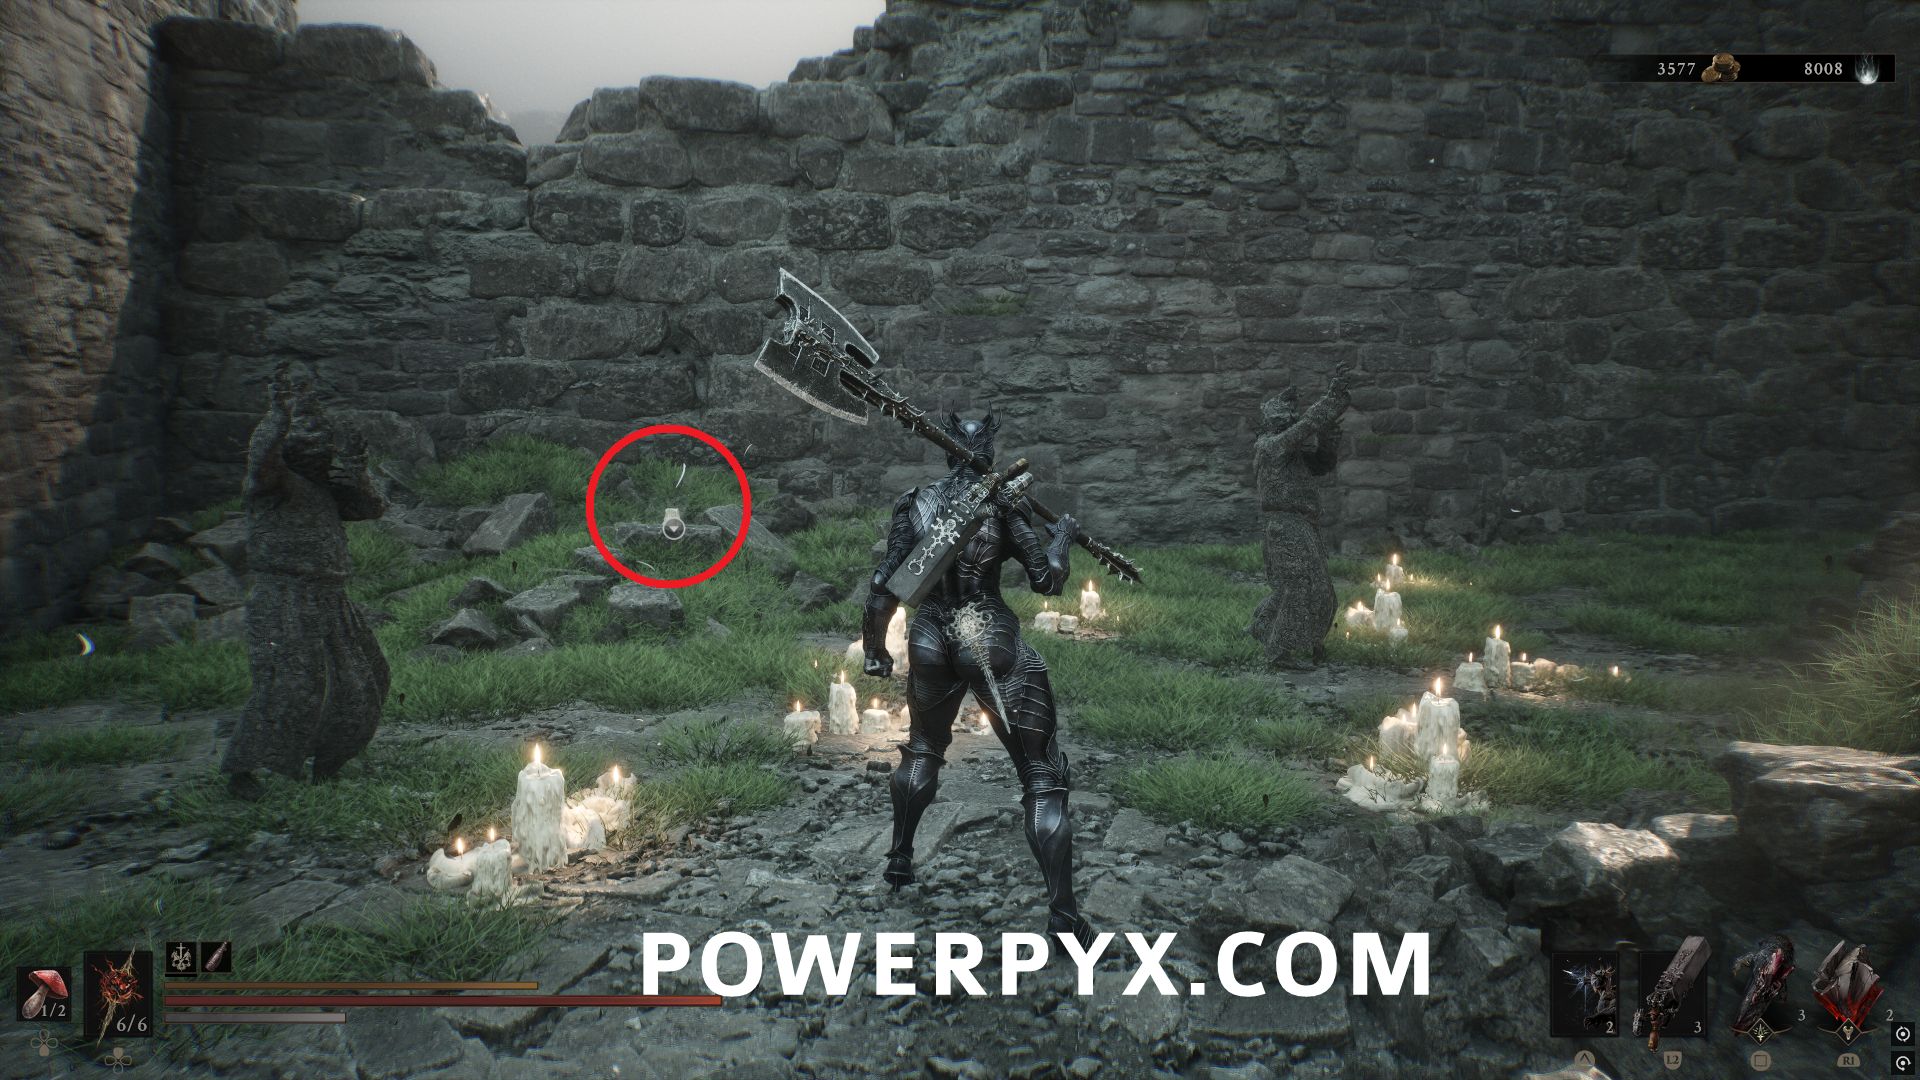
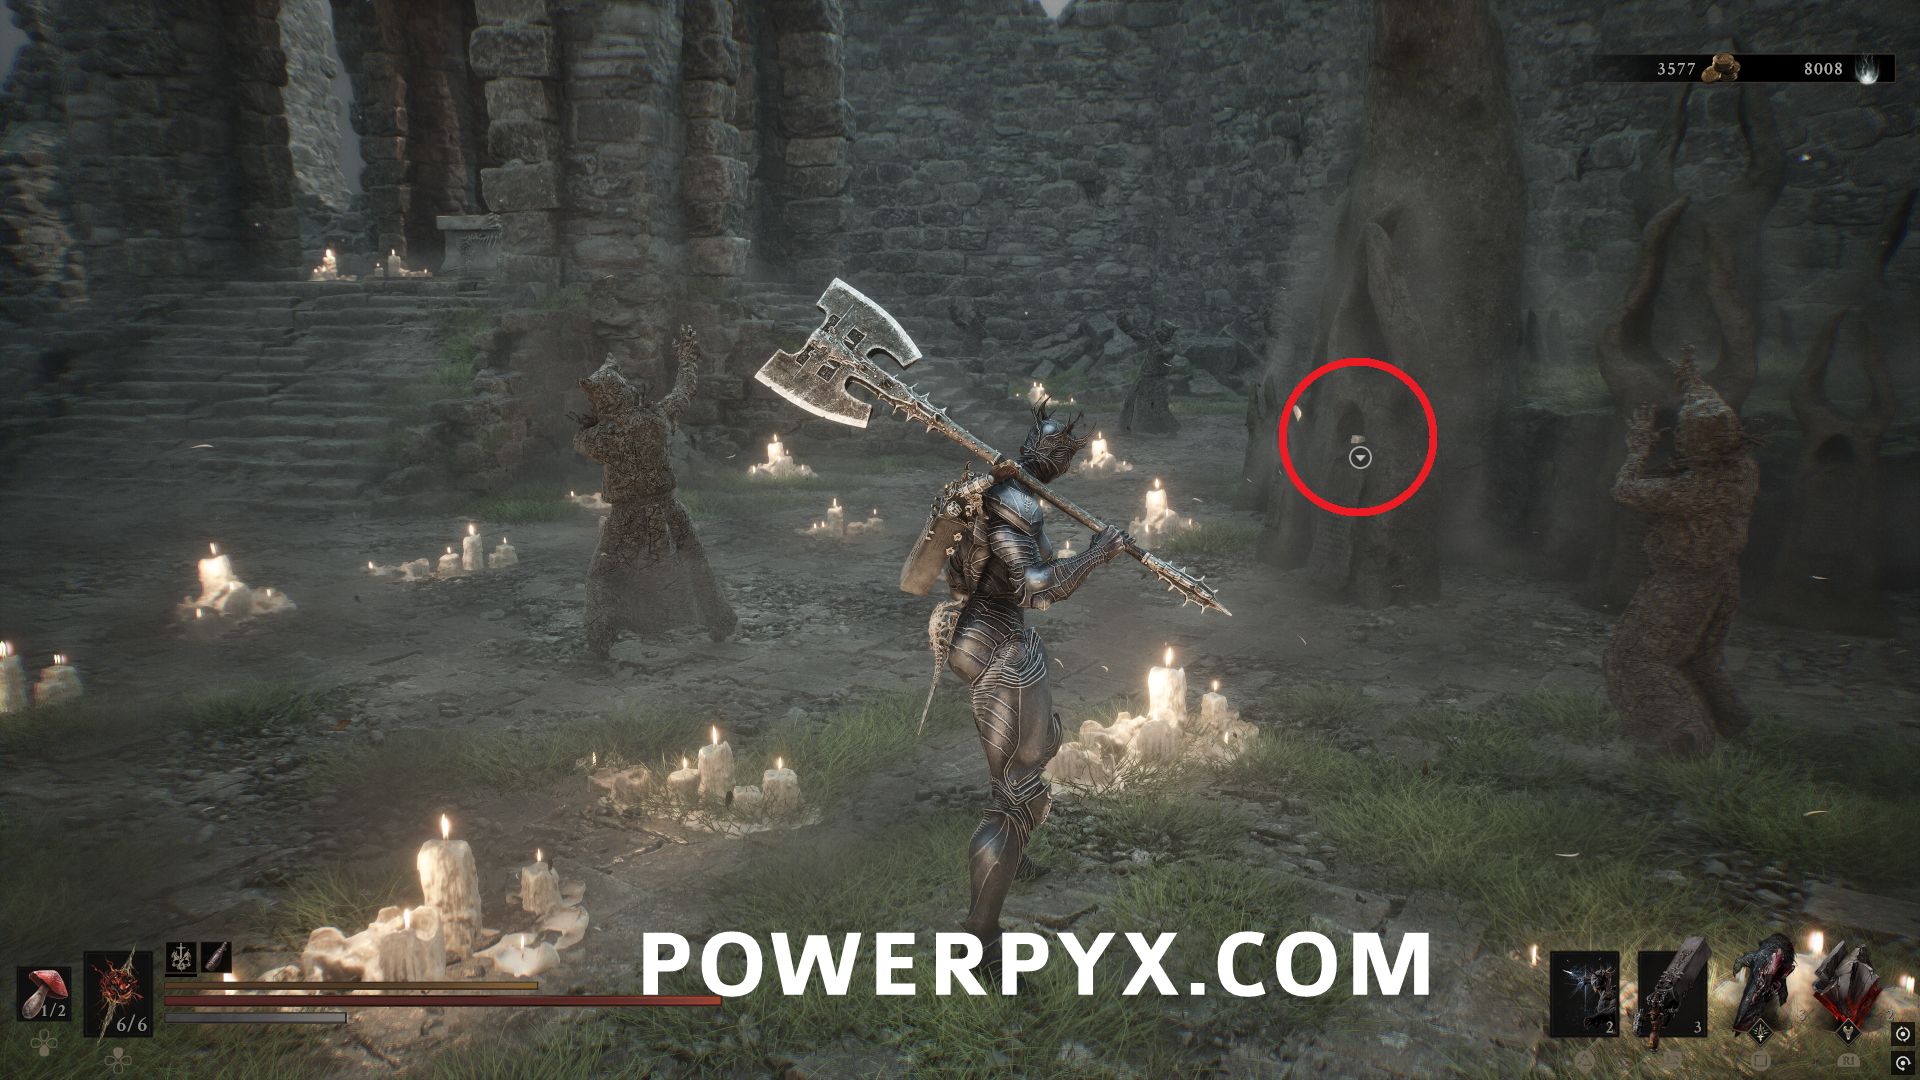
Go up the stairs and on the left is an area with an offering chest. Light the two candles on the left and one on the right in the statue to open the chest and obtain the Tarstone.
#6 – Marksman’s Stone
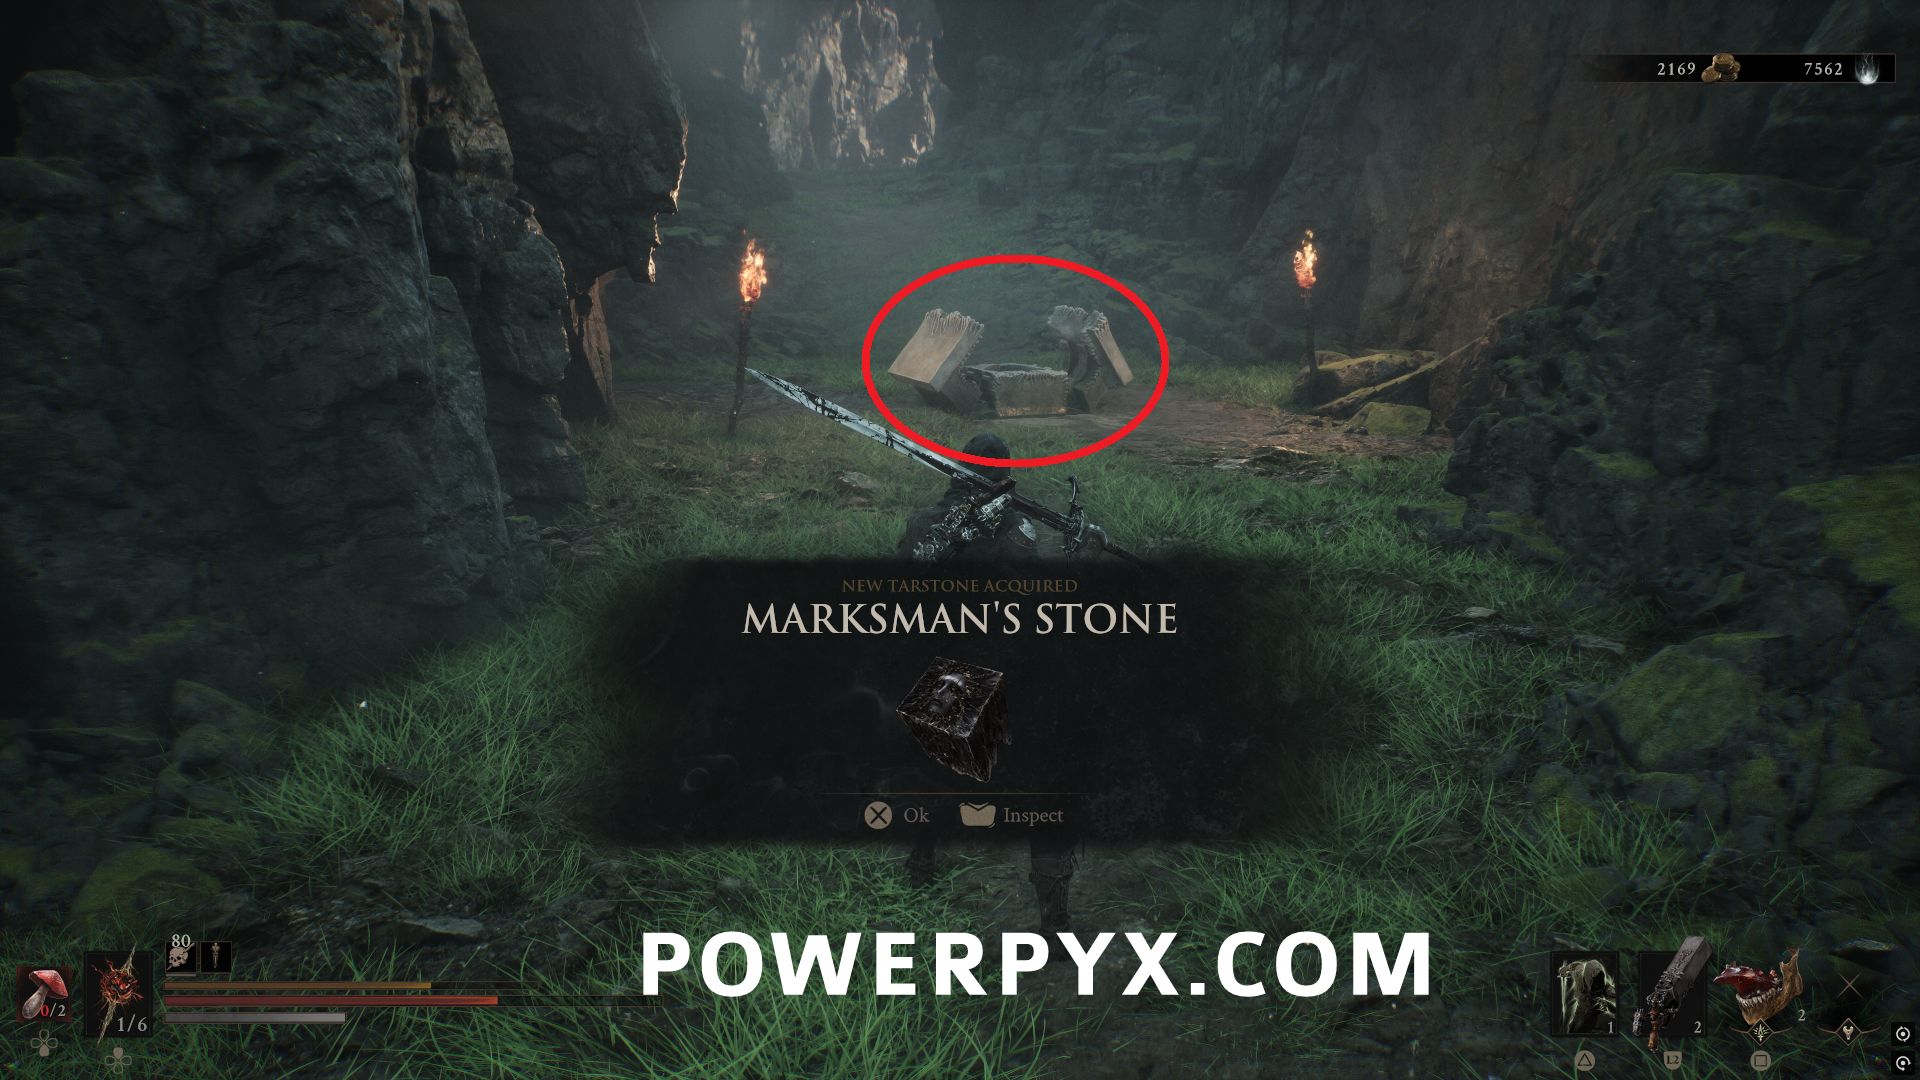
North of Mushroom Village Gate Beacon or east of Mushroom Village Beacon, follow the upper path to the northeast and this is in a chest in the middle of three enemies.
#7 – Deadeye Stone
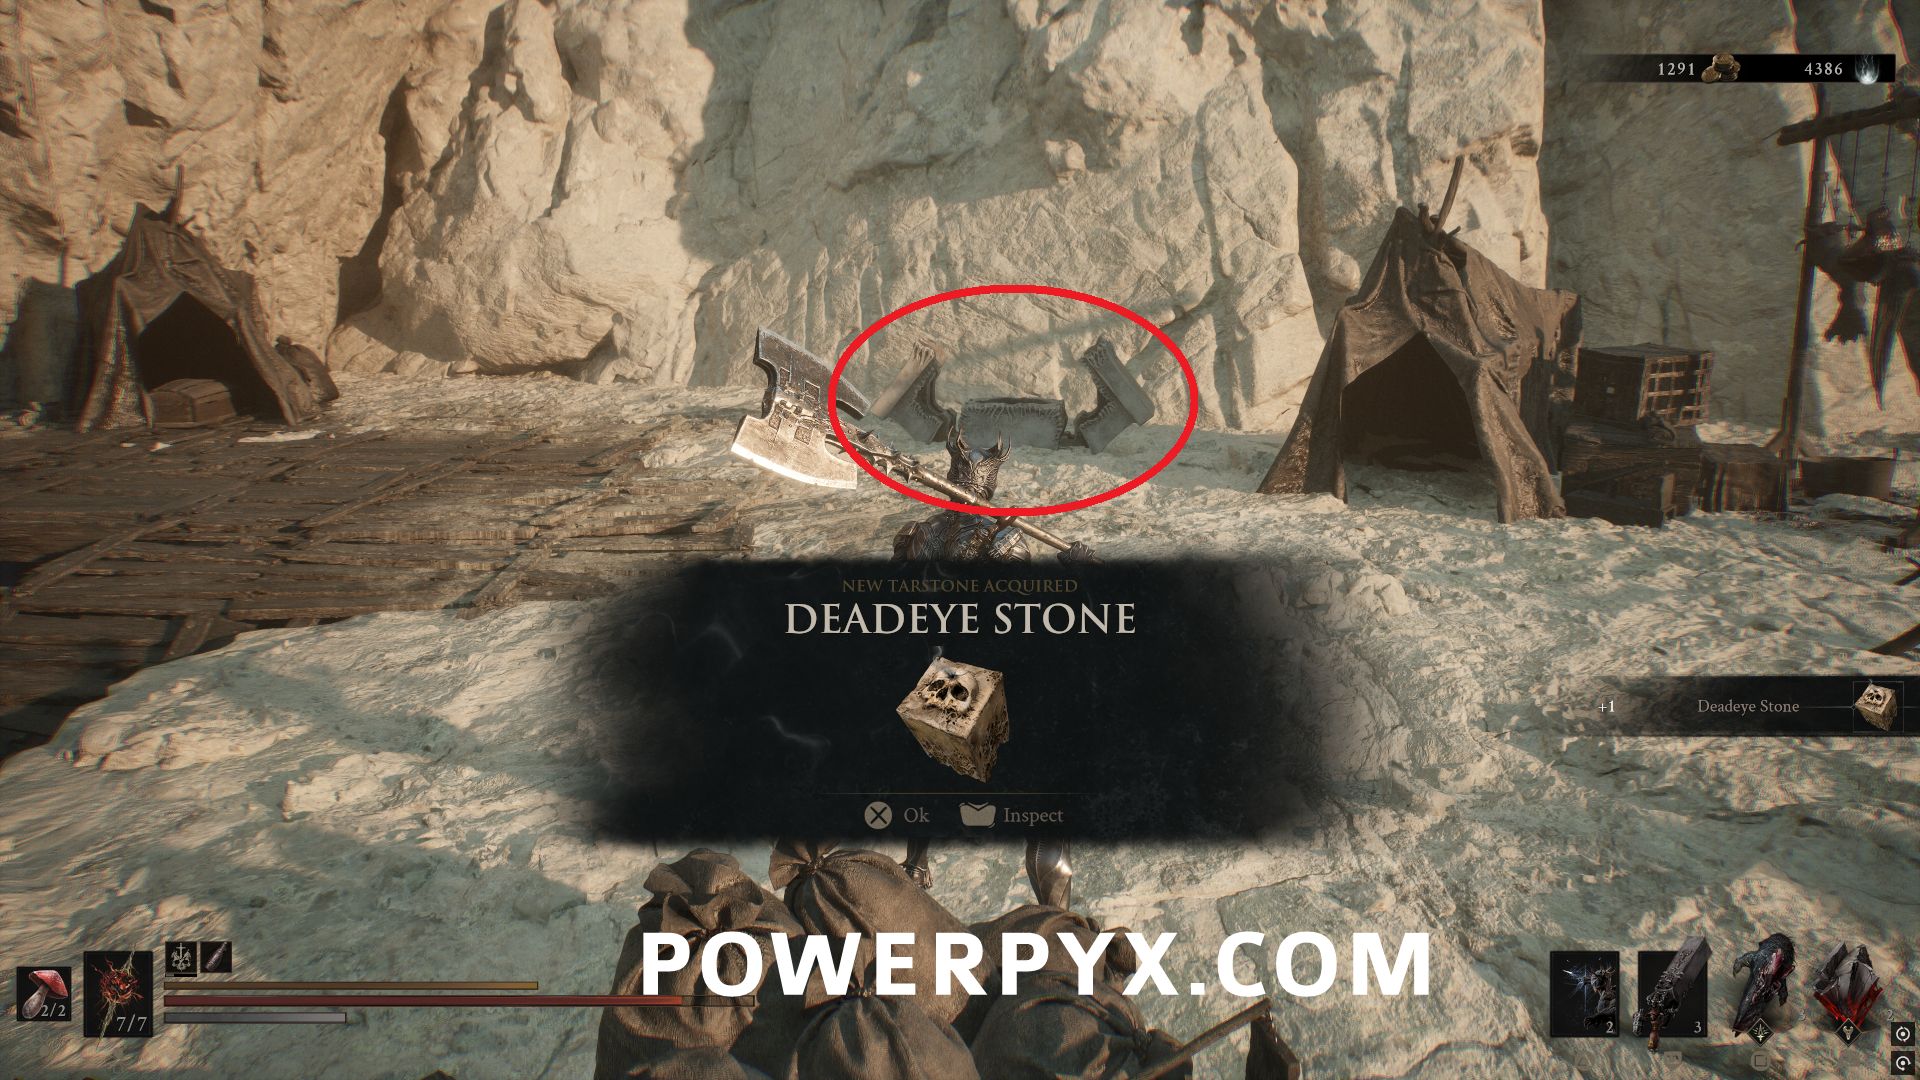
In the Sanguine Caverns area, from the entrance to the area follow the path and drop down to the first camp area on the left. Inside the chest you can find this Tarstone.
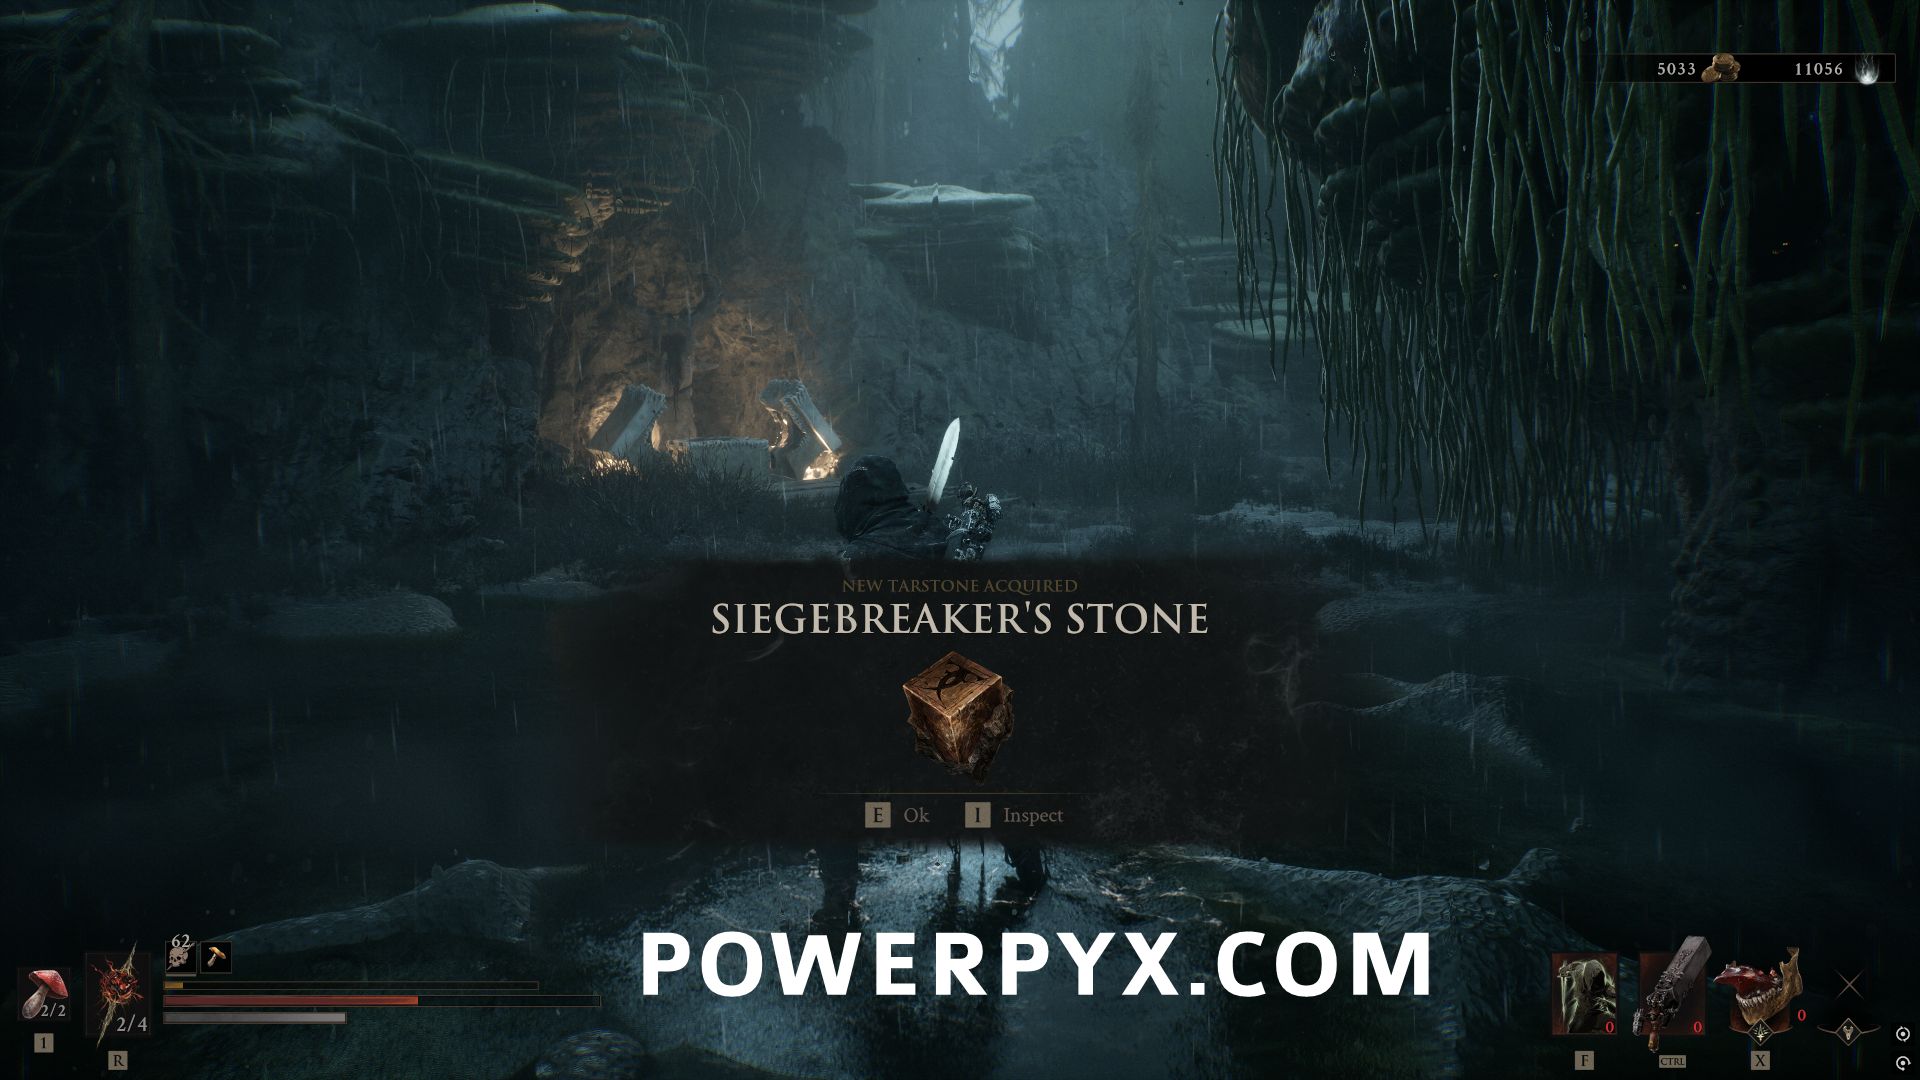
#8 – Siegebreaker’s Stone
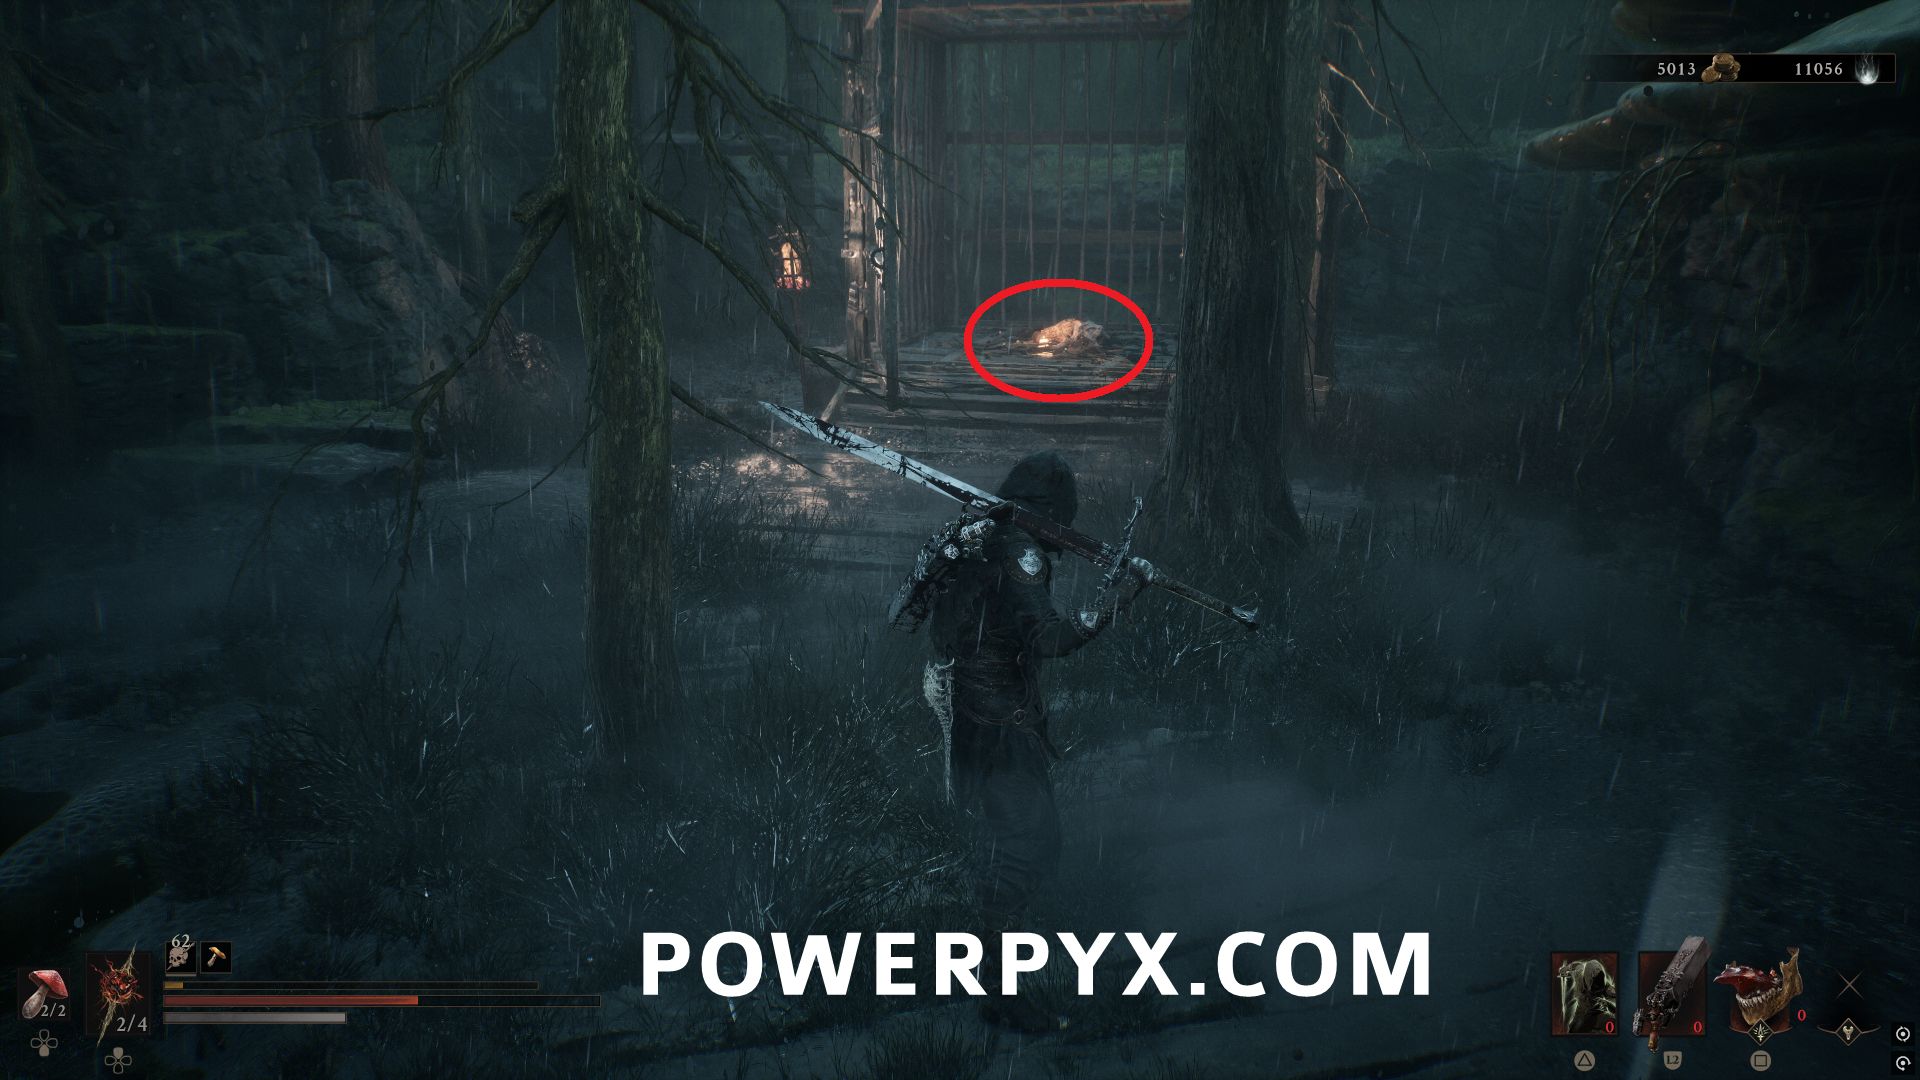
In the Glutted Mire area, in the first swamp part of the area there is an offering Chest. Activate the three candles around the area to unlock the chest.
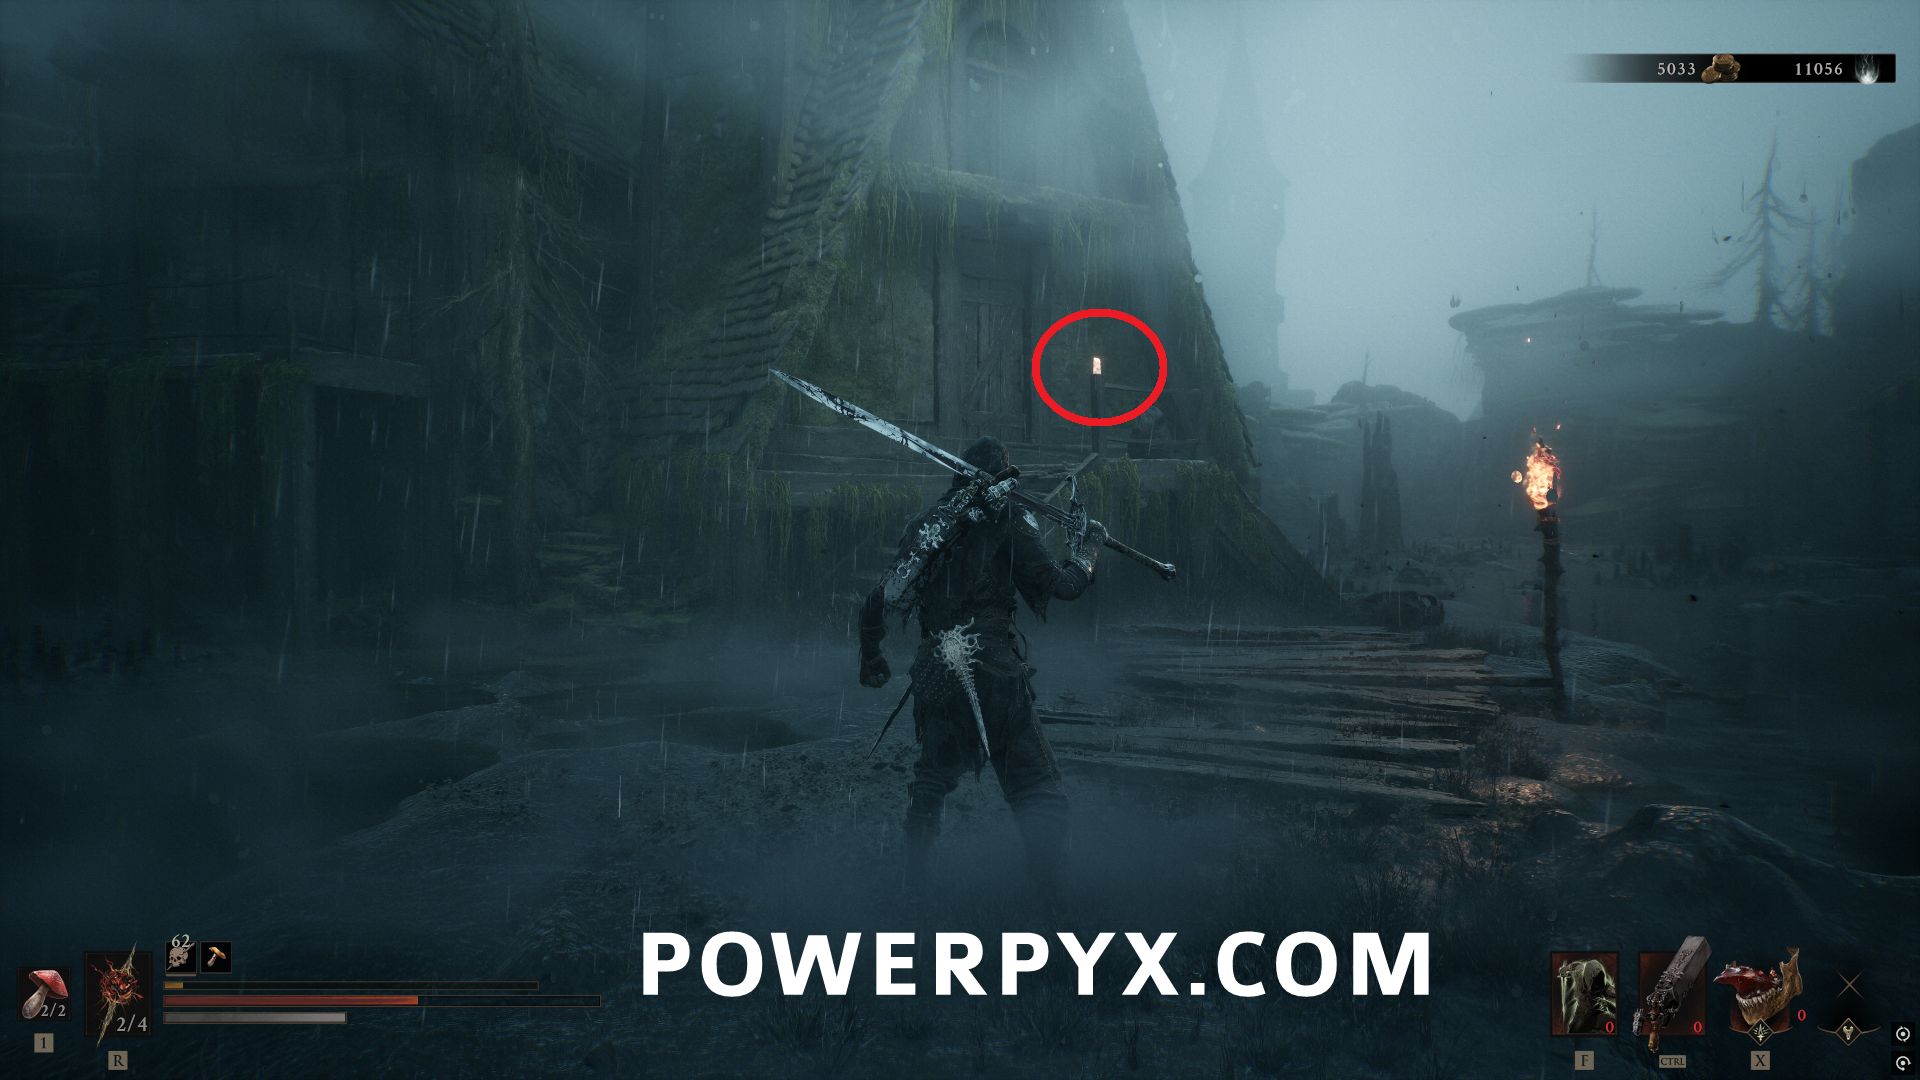
The first candle is up the stairs on the railing of the house opposite the chest.
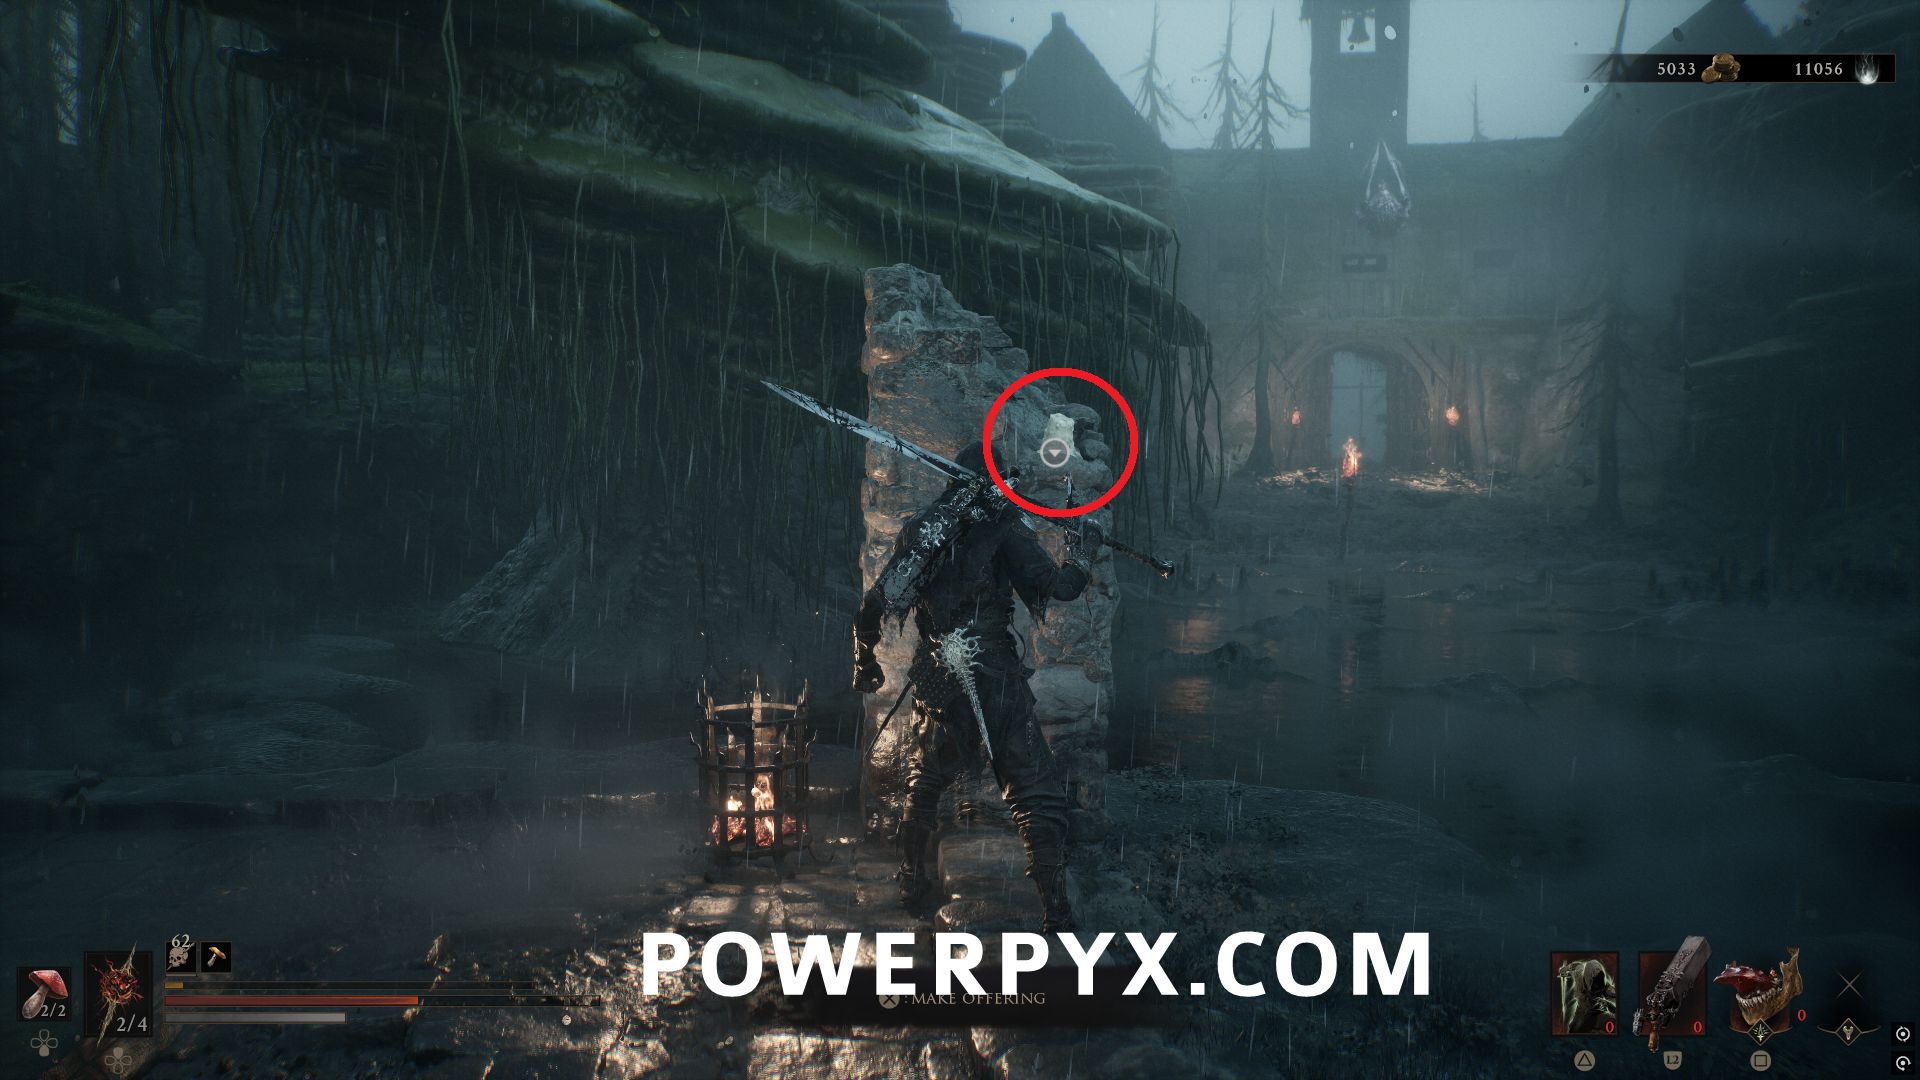
The second is on a stone pillar in the middle of the area.
The third is in the cage with the enemy behind the stone pillars.
#9 – Spite Stone
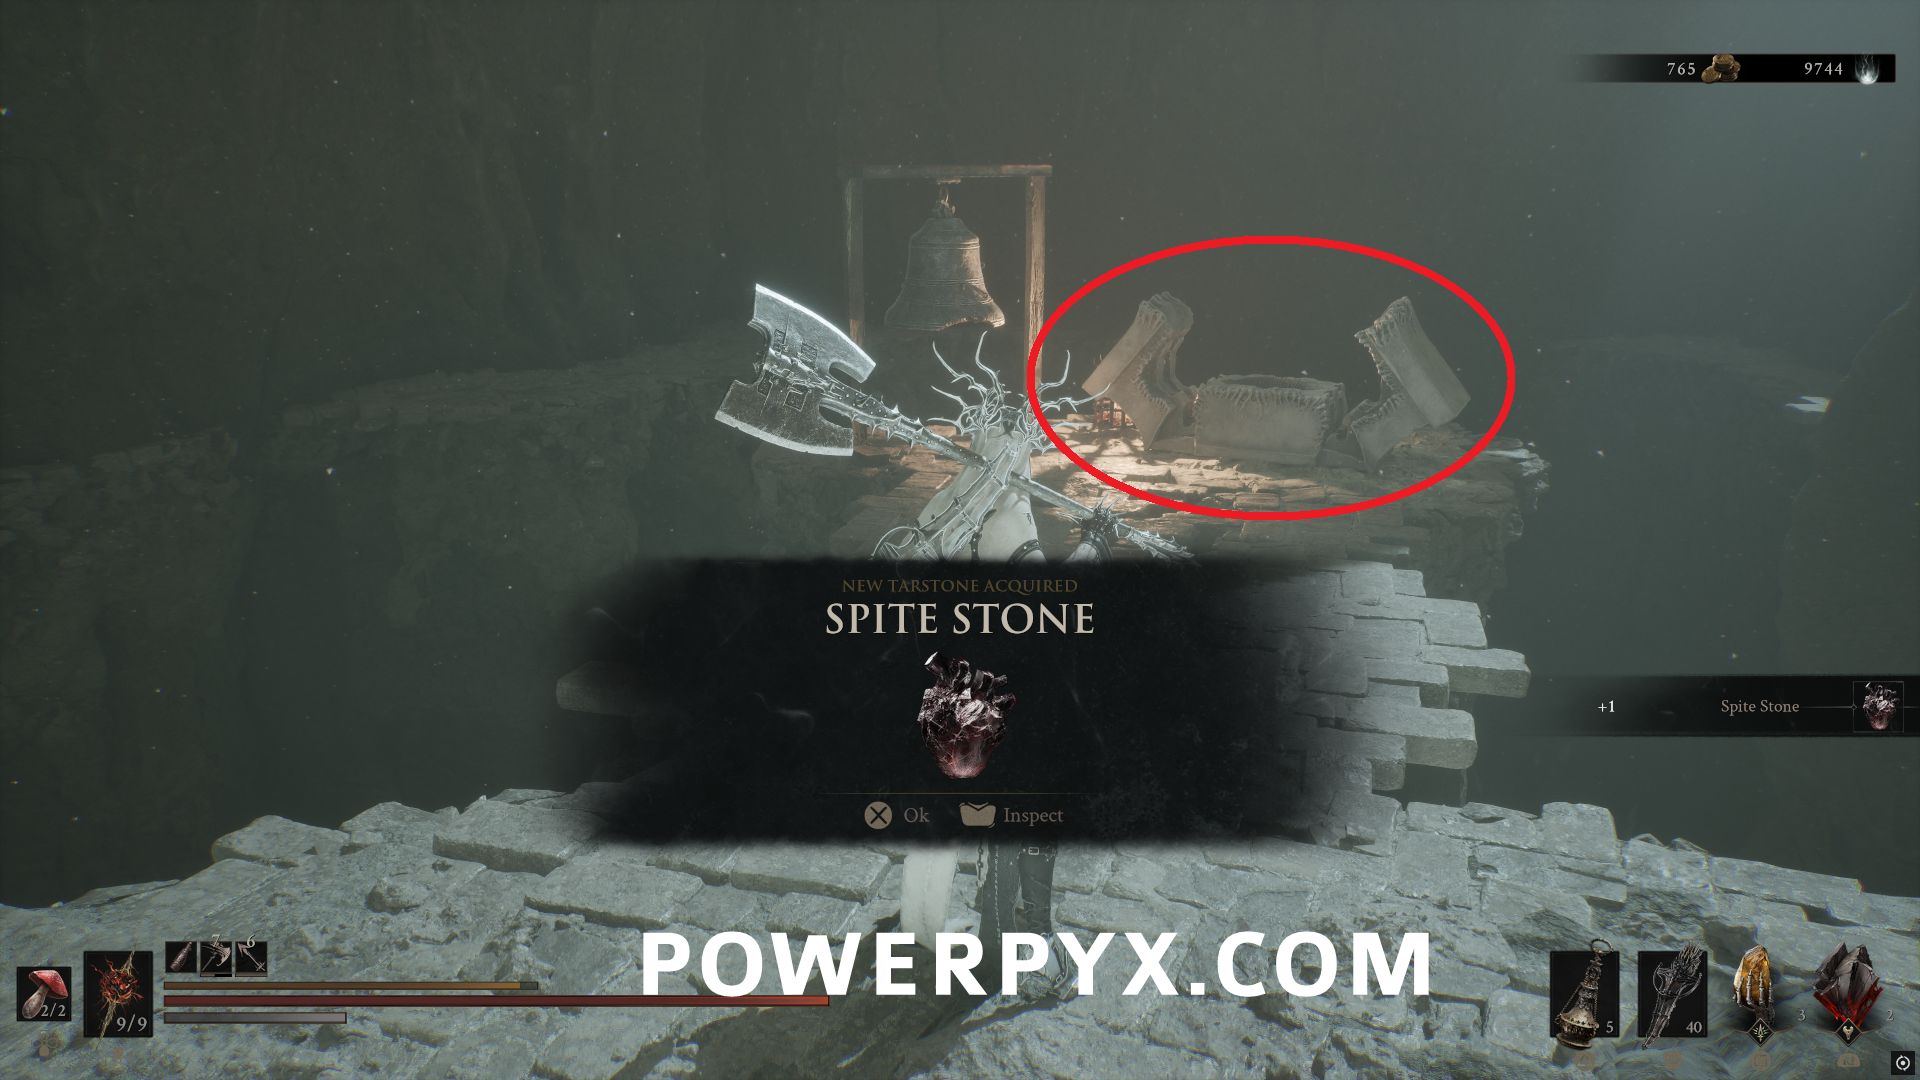
Directly north of Abandoned Outpost Beacon, ring the bell to make a path on the bridge leading to the Bellkeeper’s Corner dungeon entrance.
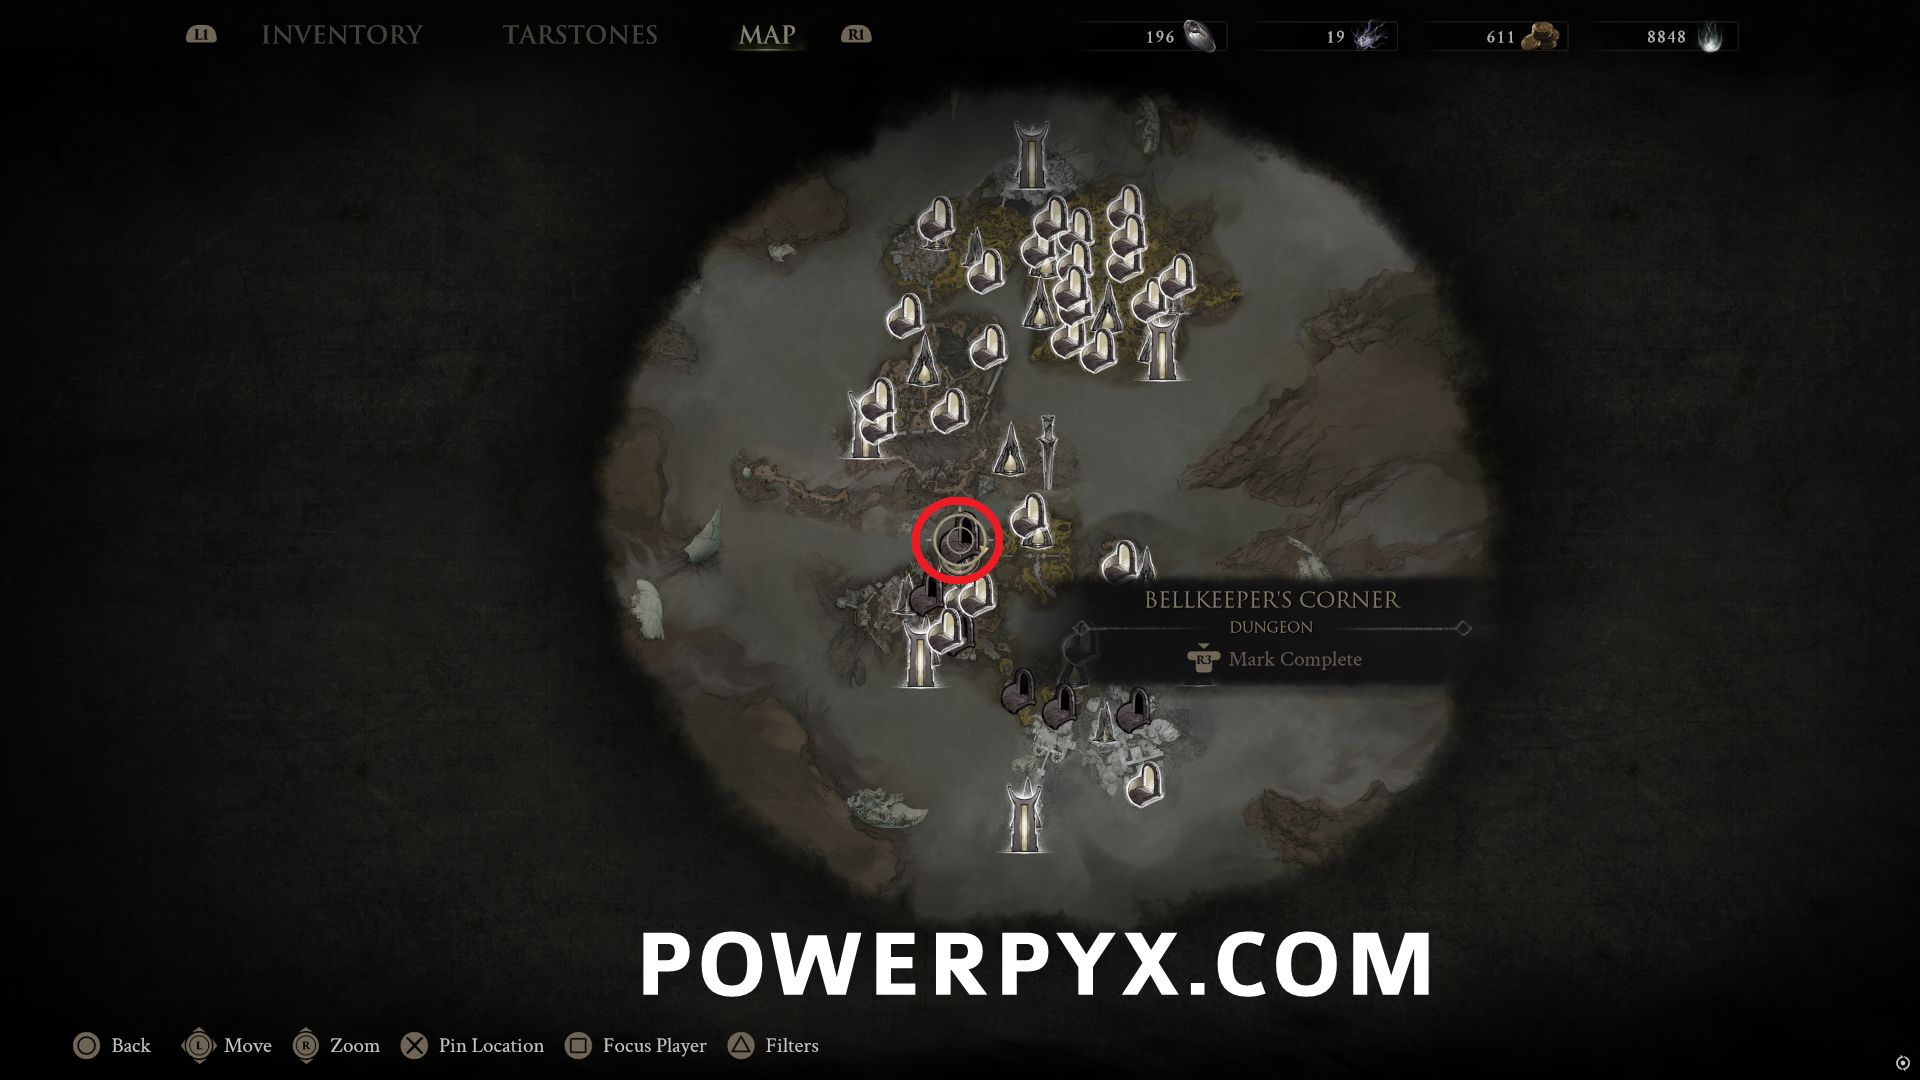
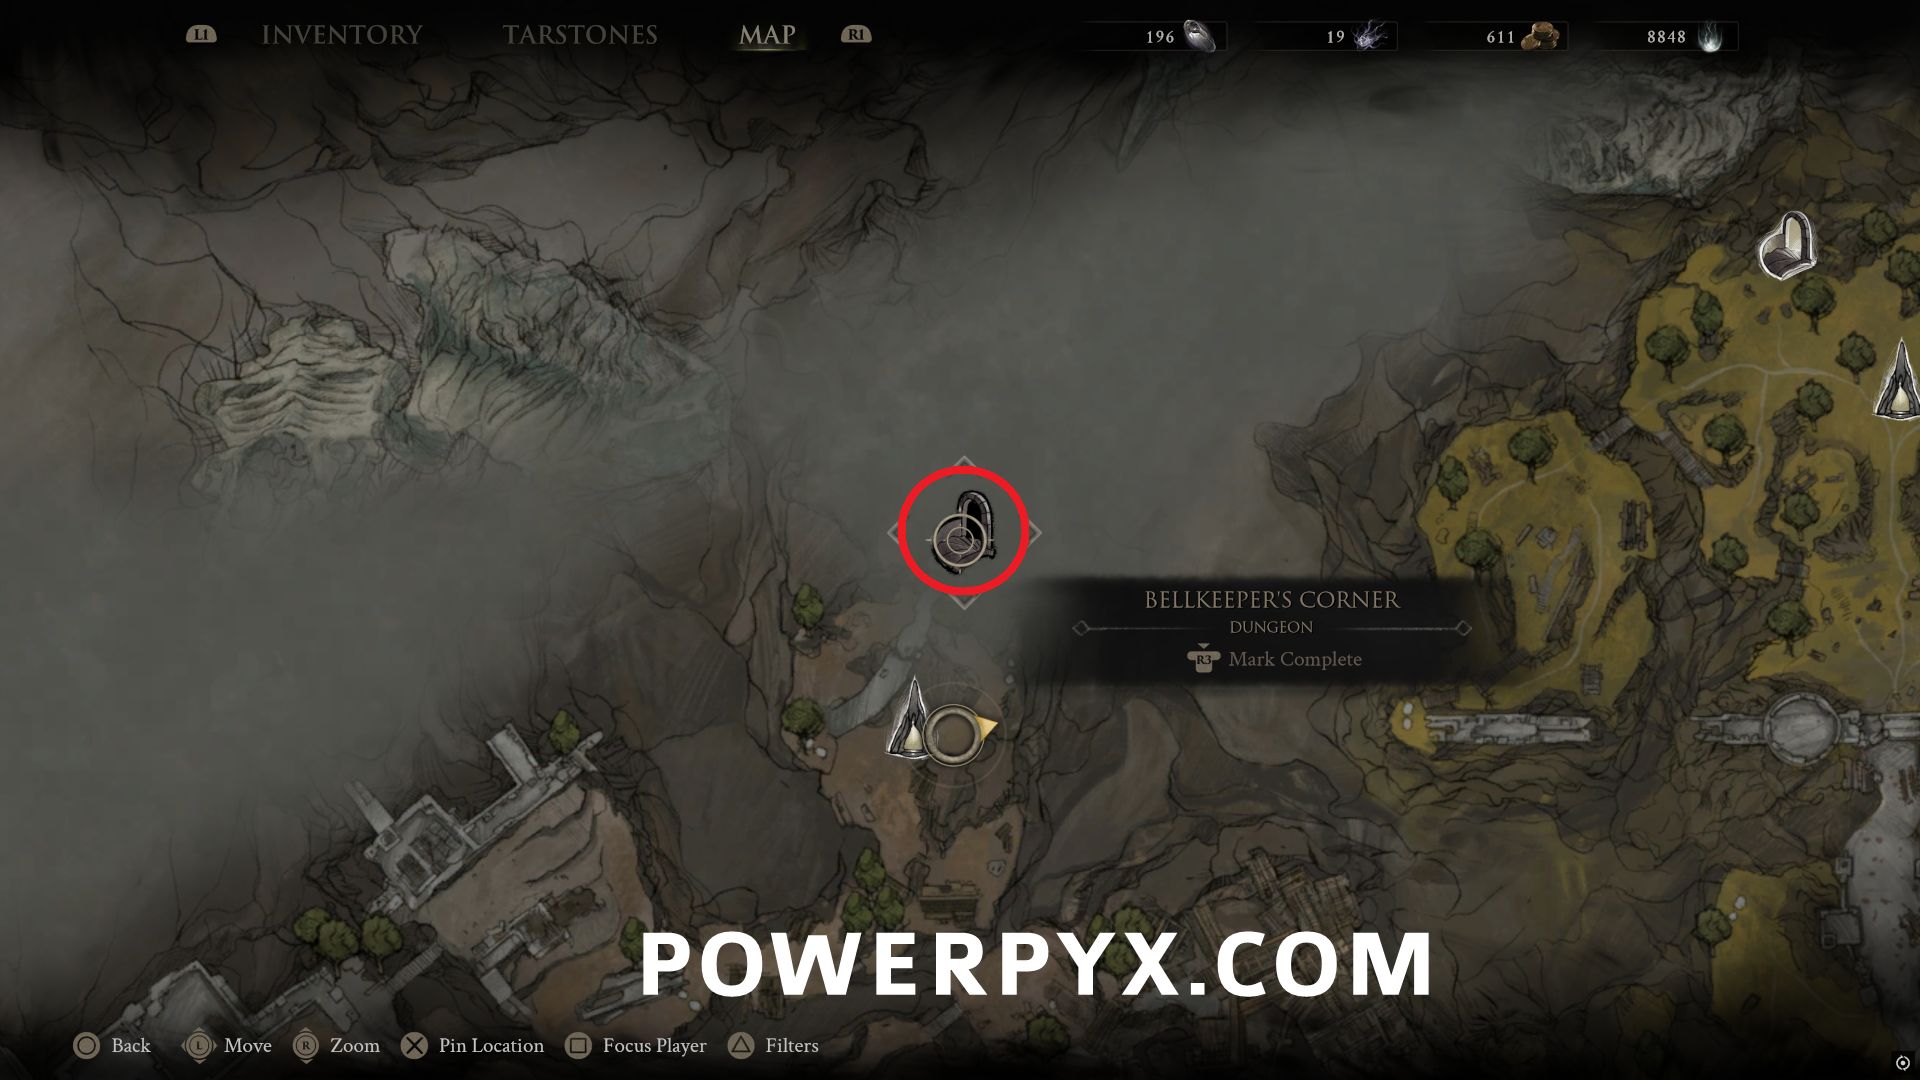
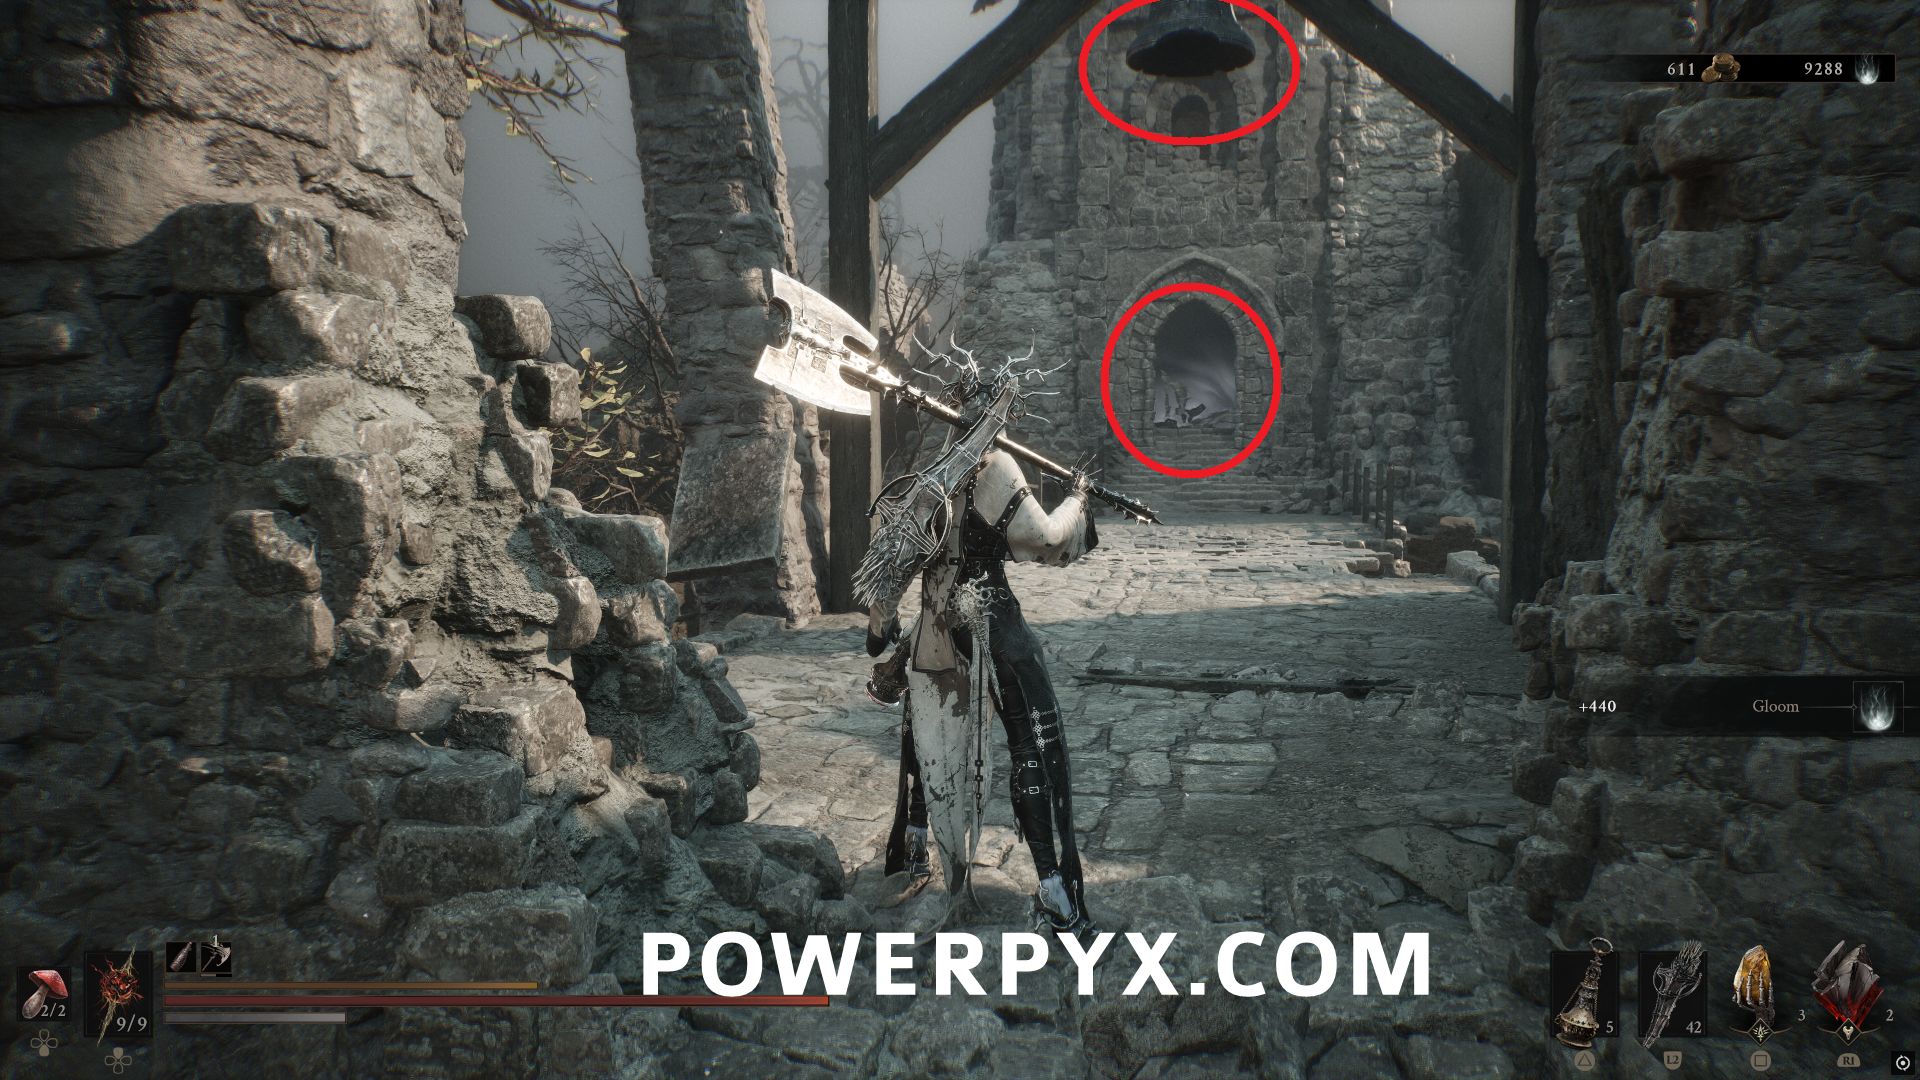
Progress into the dungeon and open the chest on the small platform by the bell to obtain this Tarstone.
#10 – Bulwark Stone
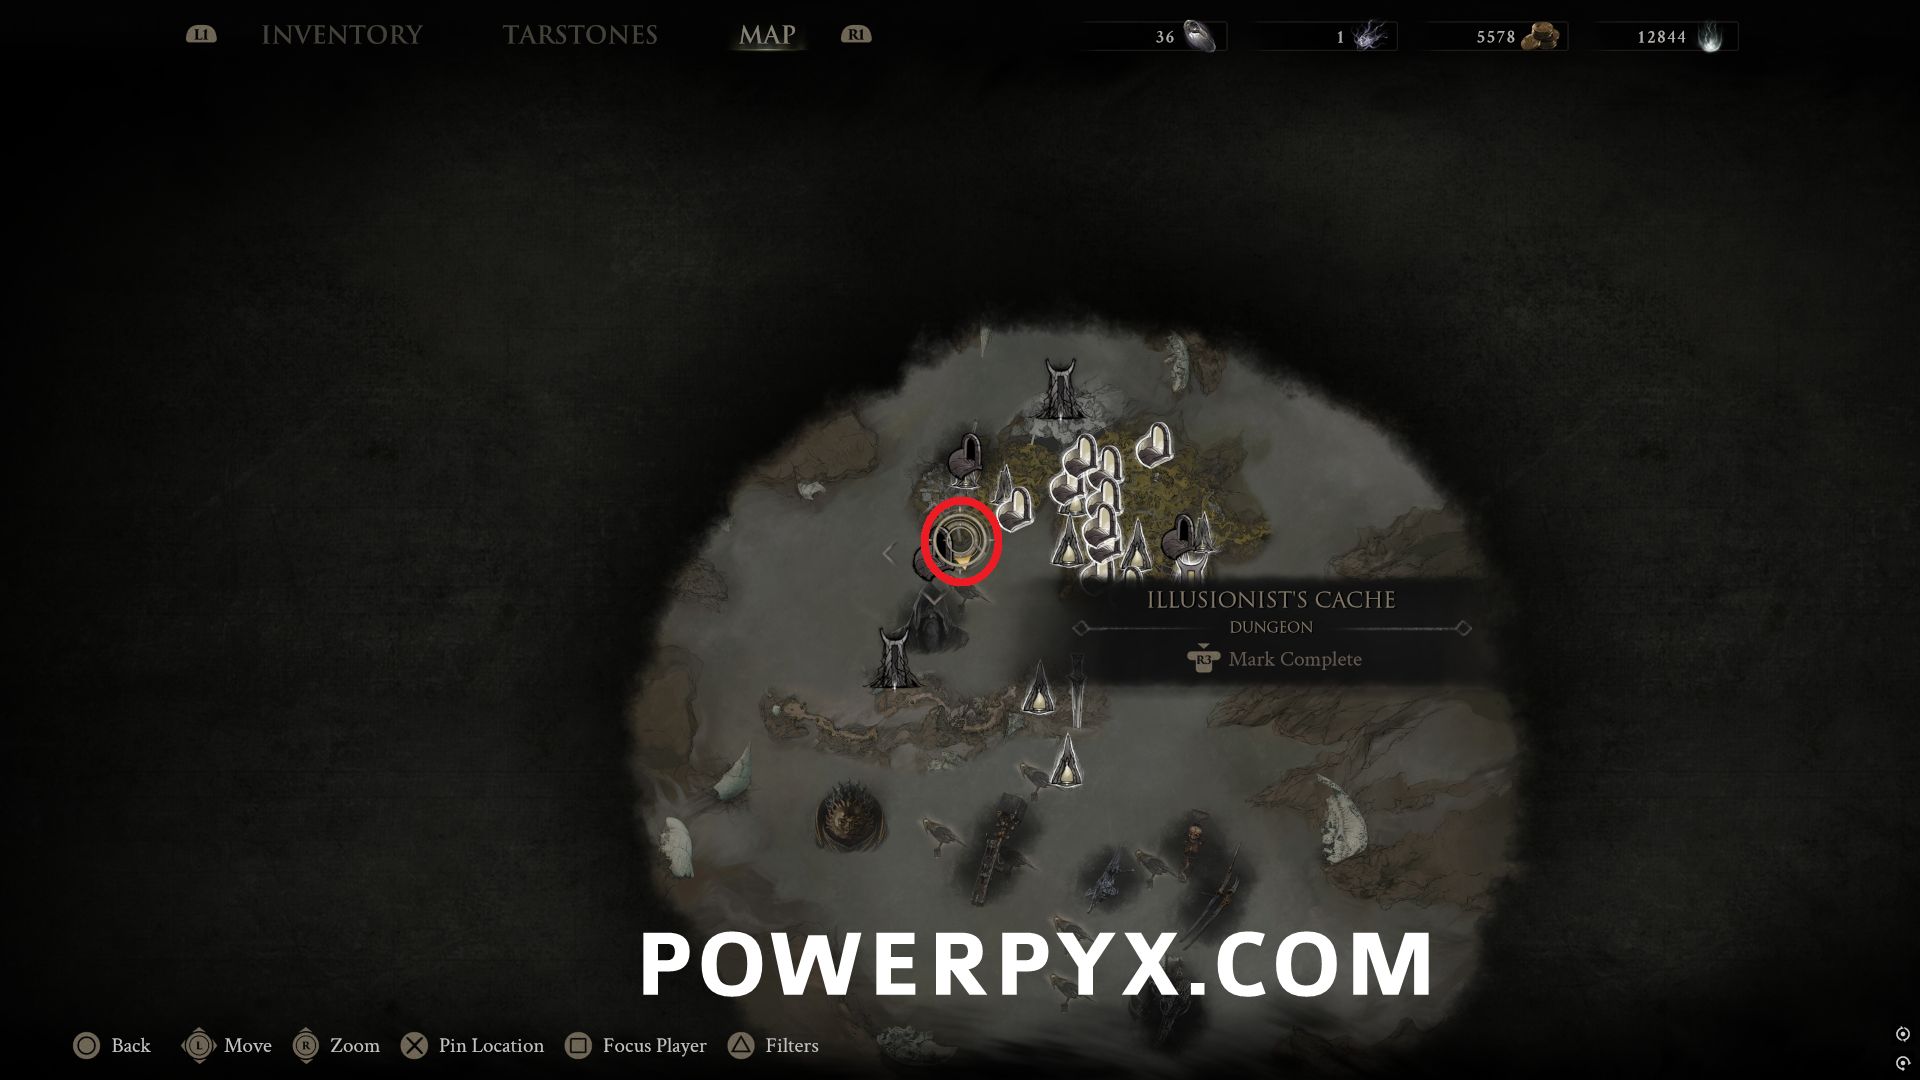
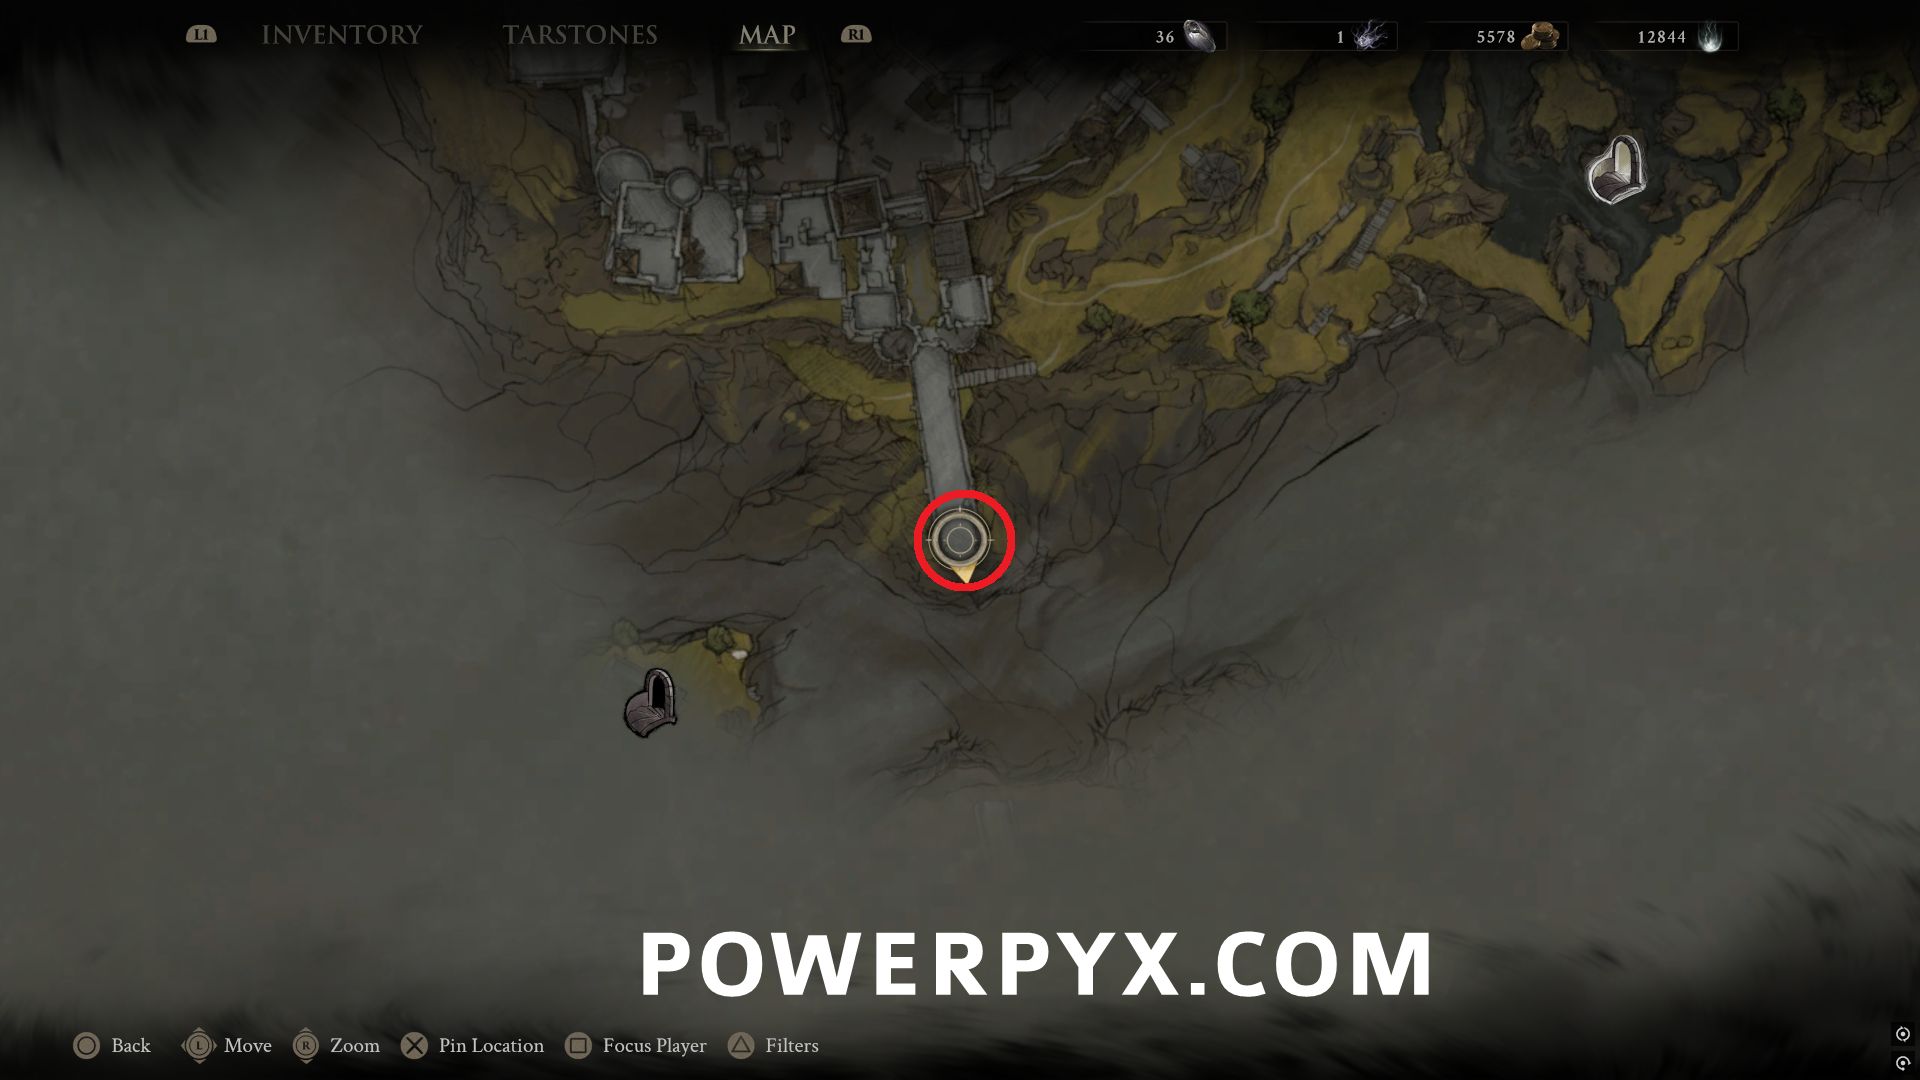
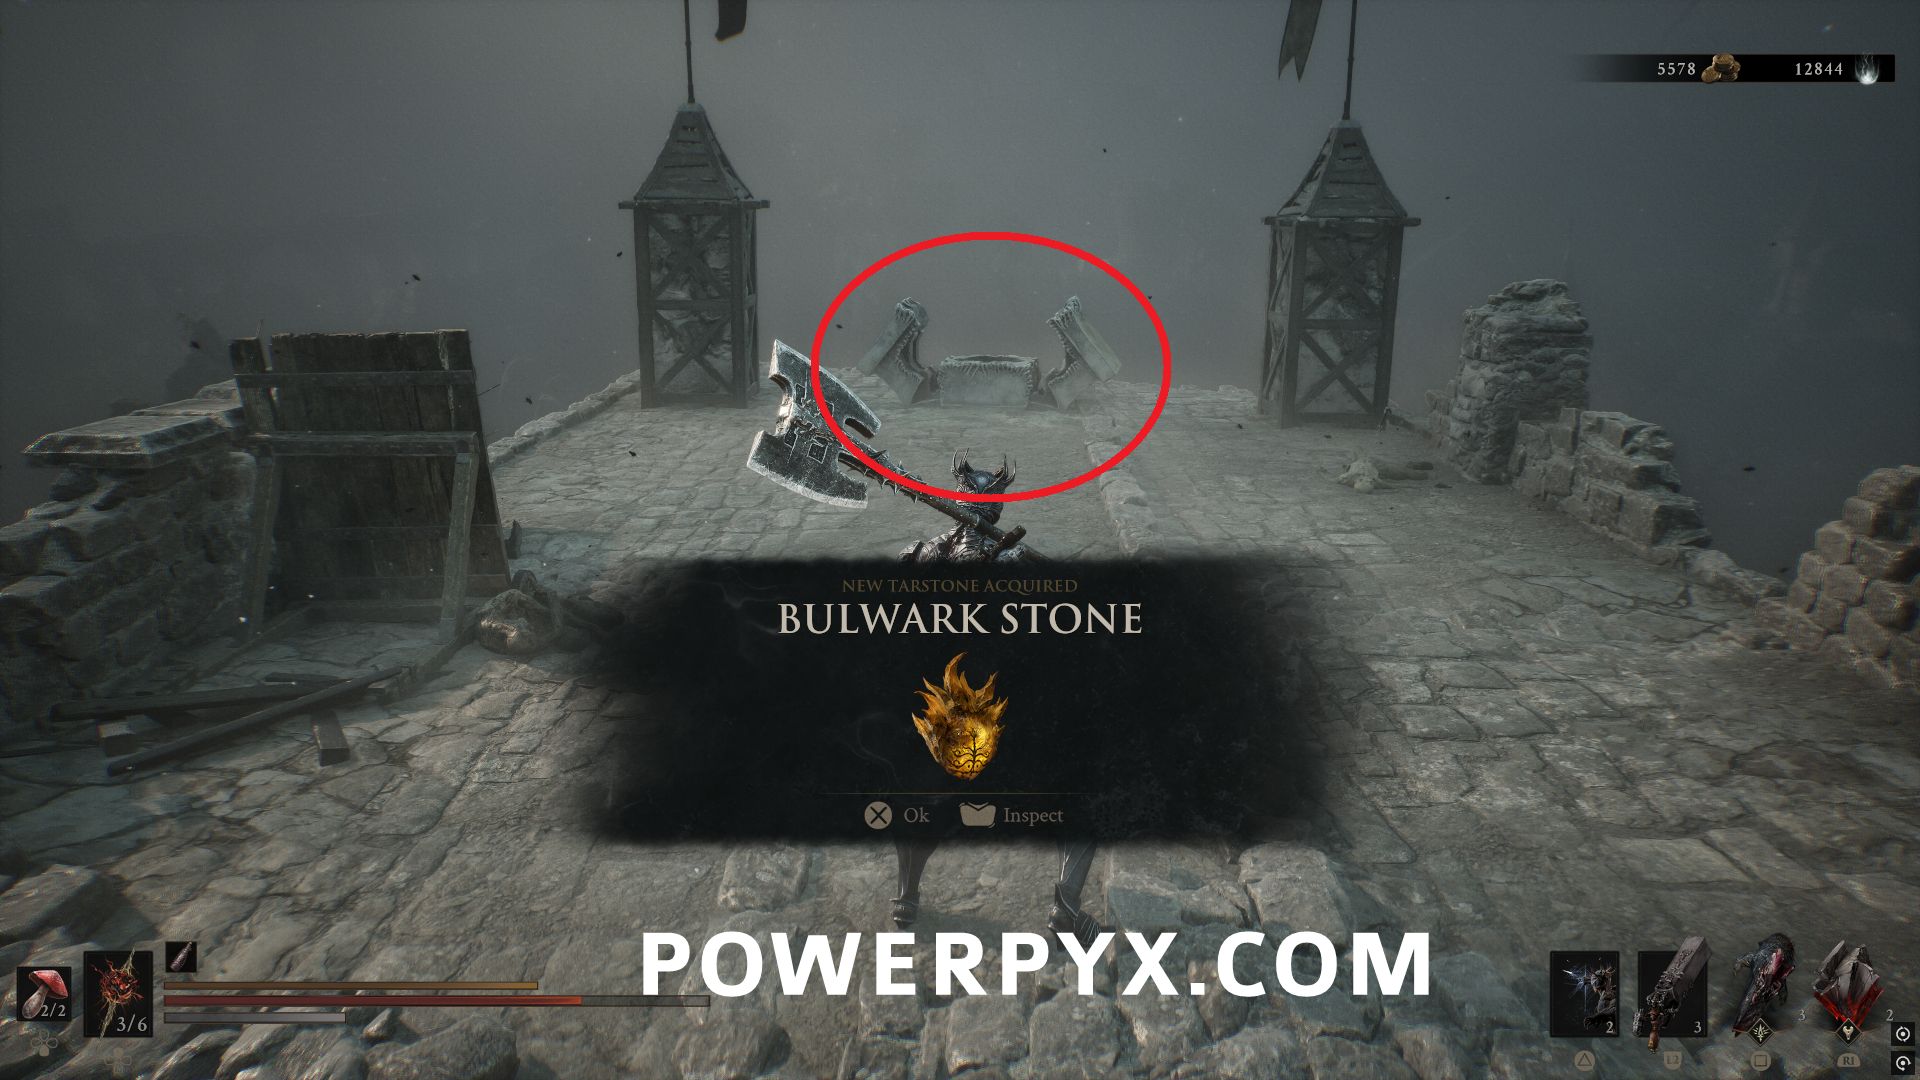
South of Citadel of Penance Beacon, go to the southwestern part of the wall where there is a gate you can open with a lever. Follow the path to the end past the 4 enemies and this is in a chest at the end of the broken bridge.
#11 – Retribution Stone
North of Widow’s Overlook Beacon, activate and complete the Trial to obtain the Tarstone.
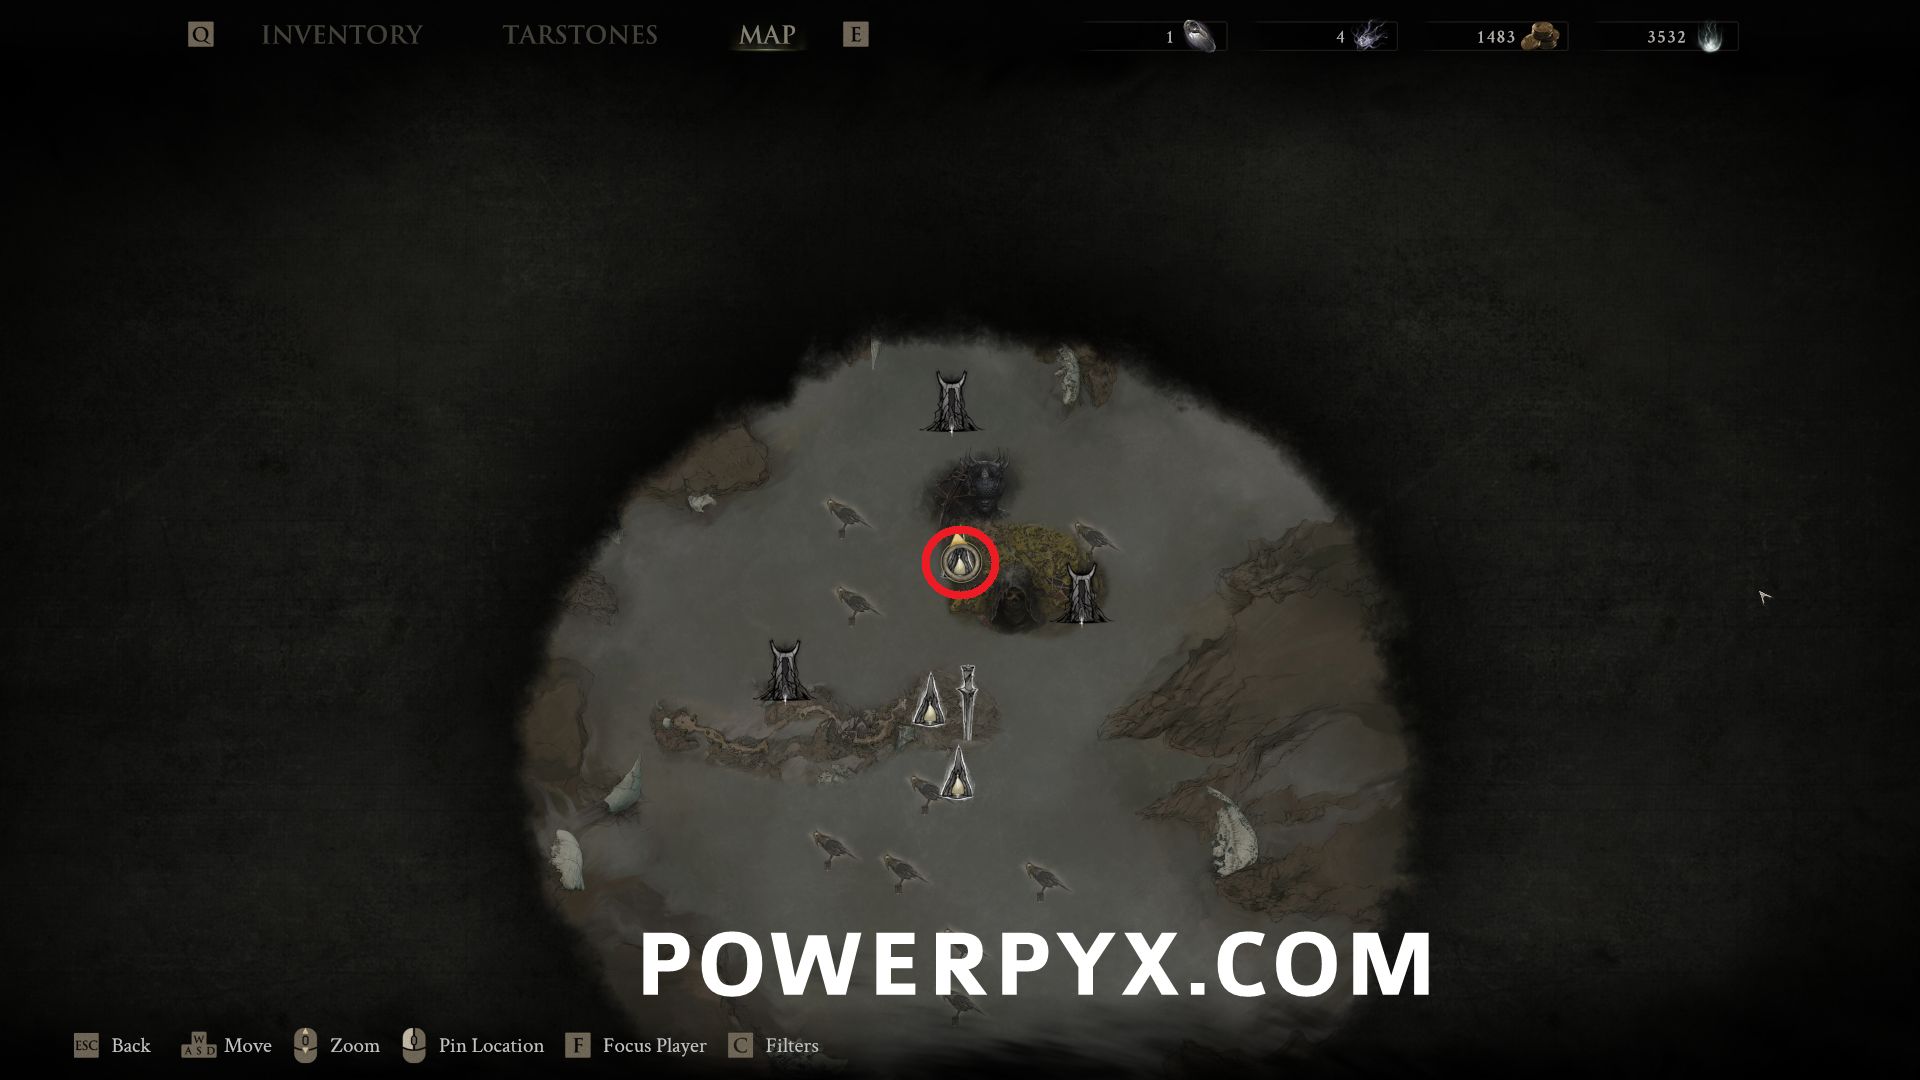
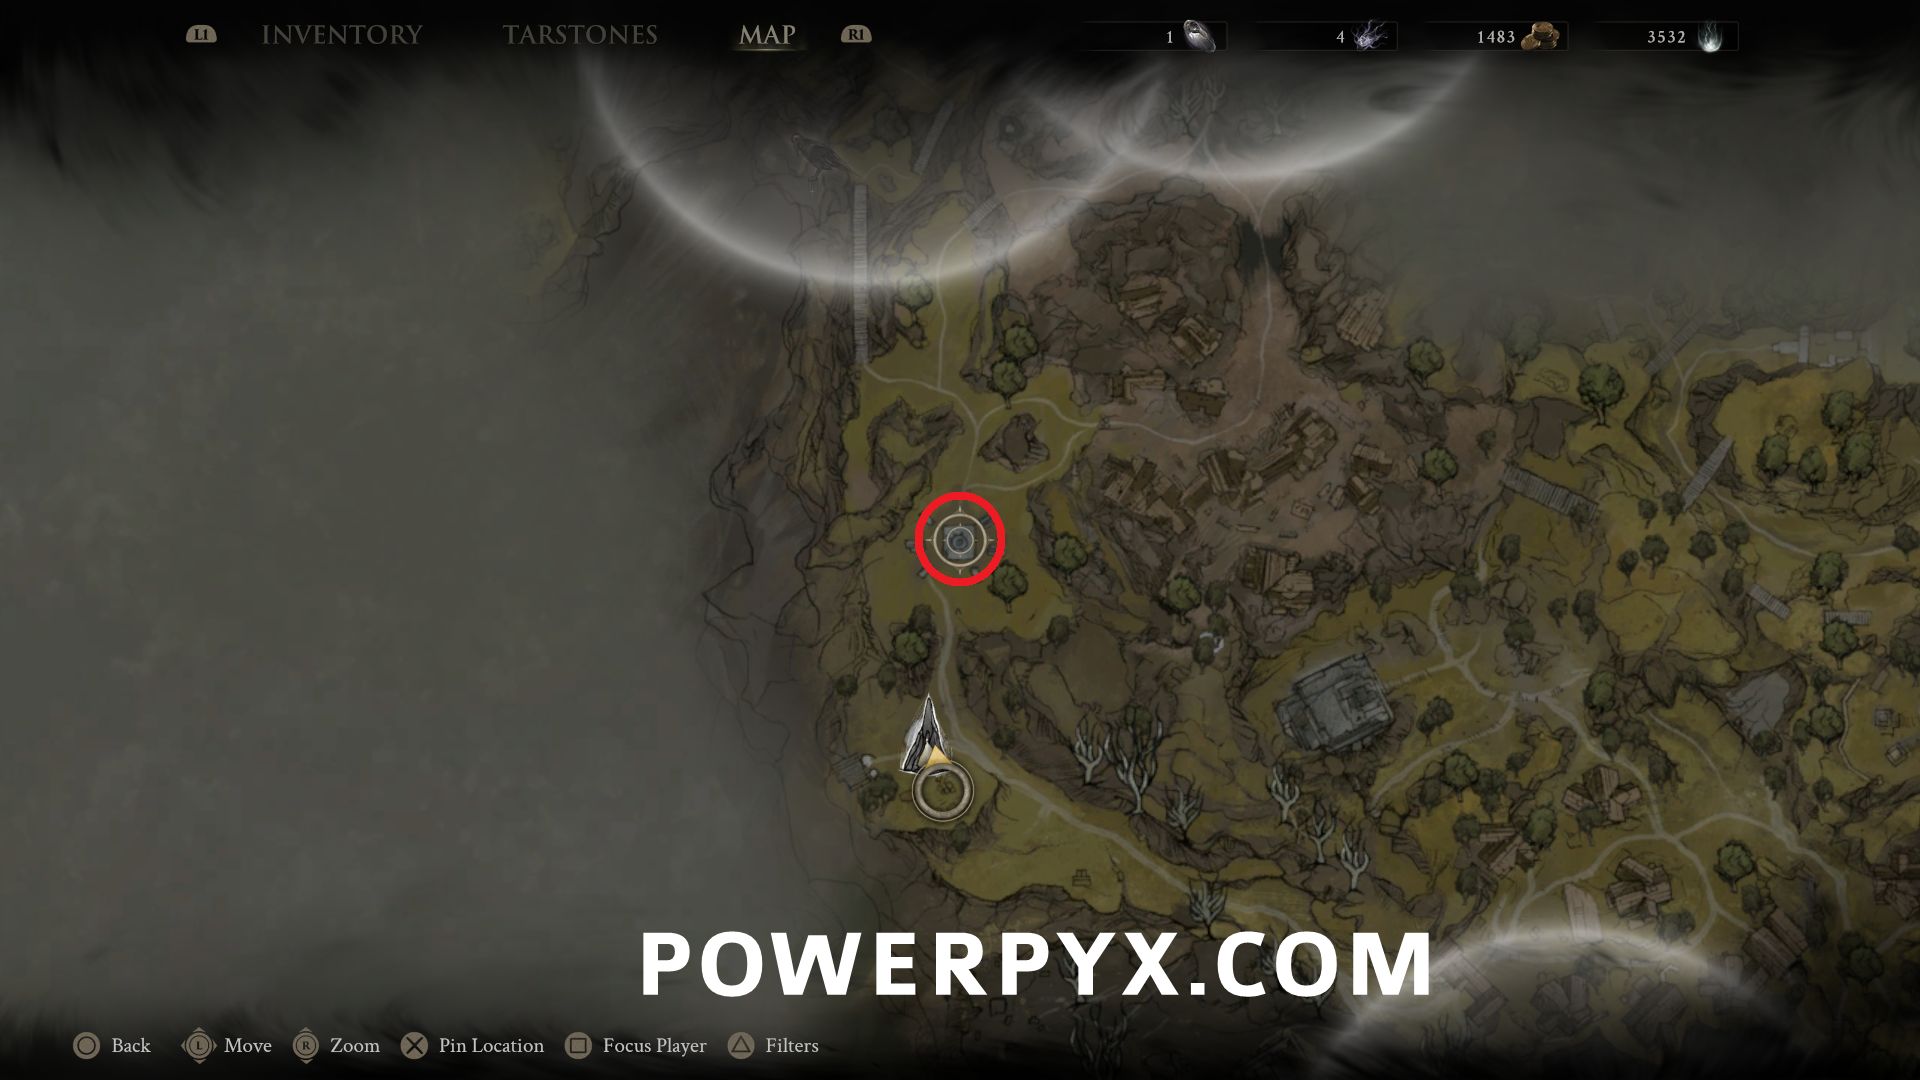
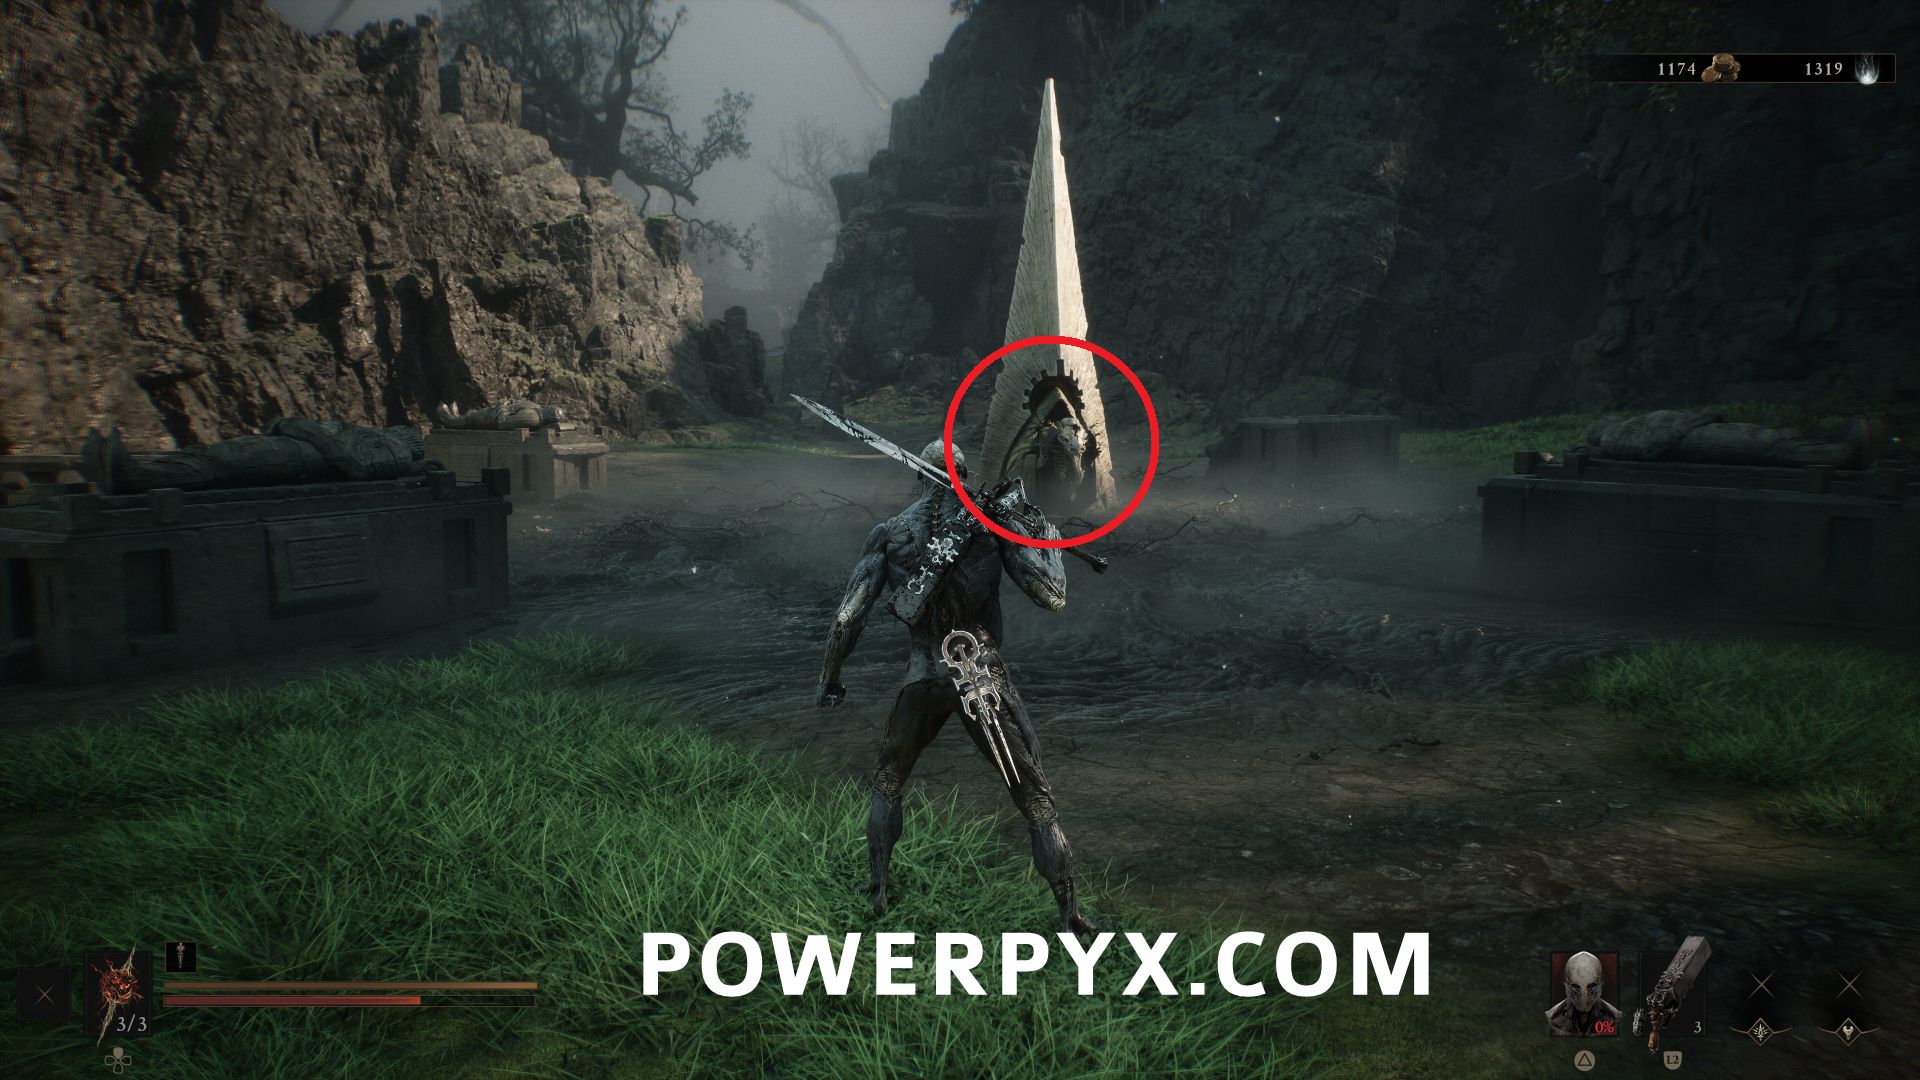
#12 – Gloombound Stone
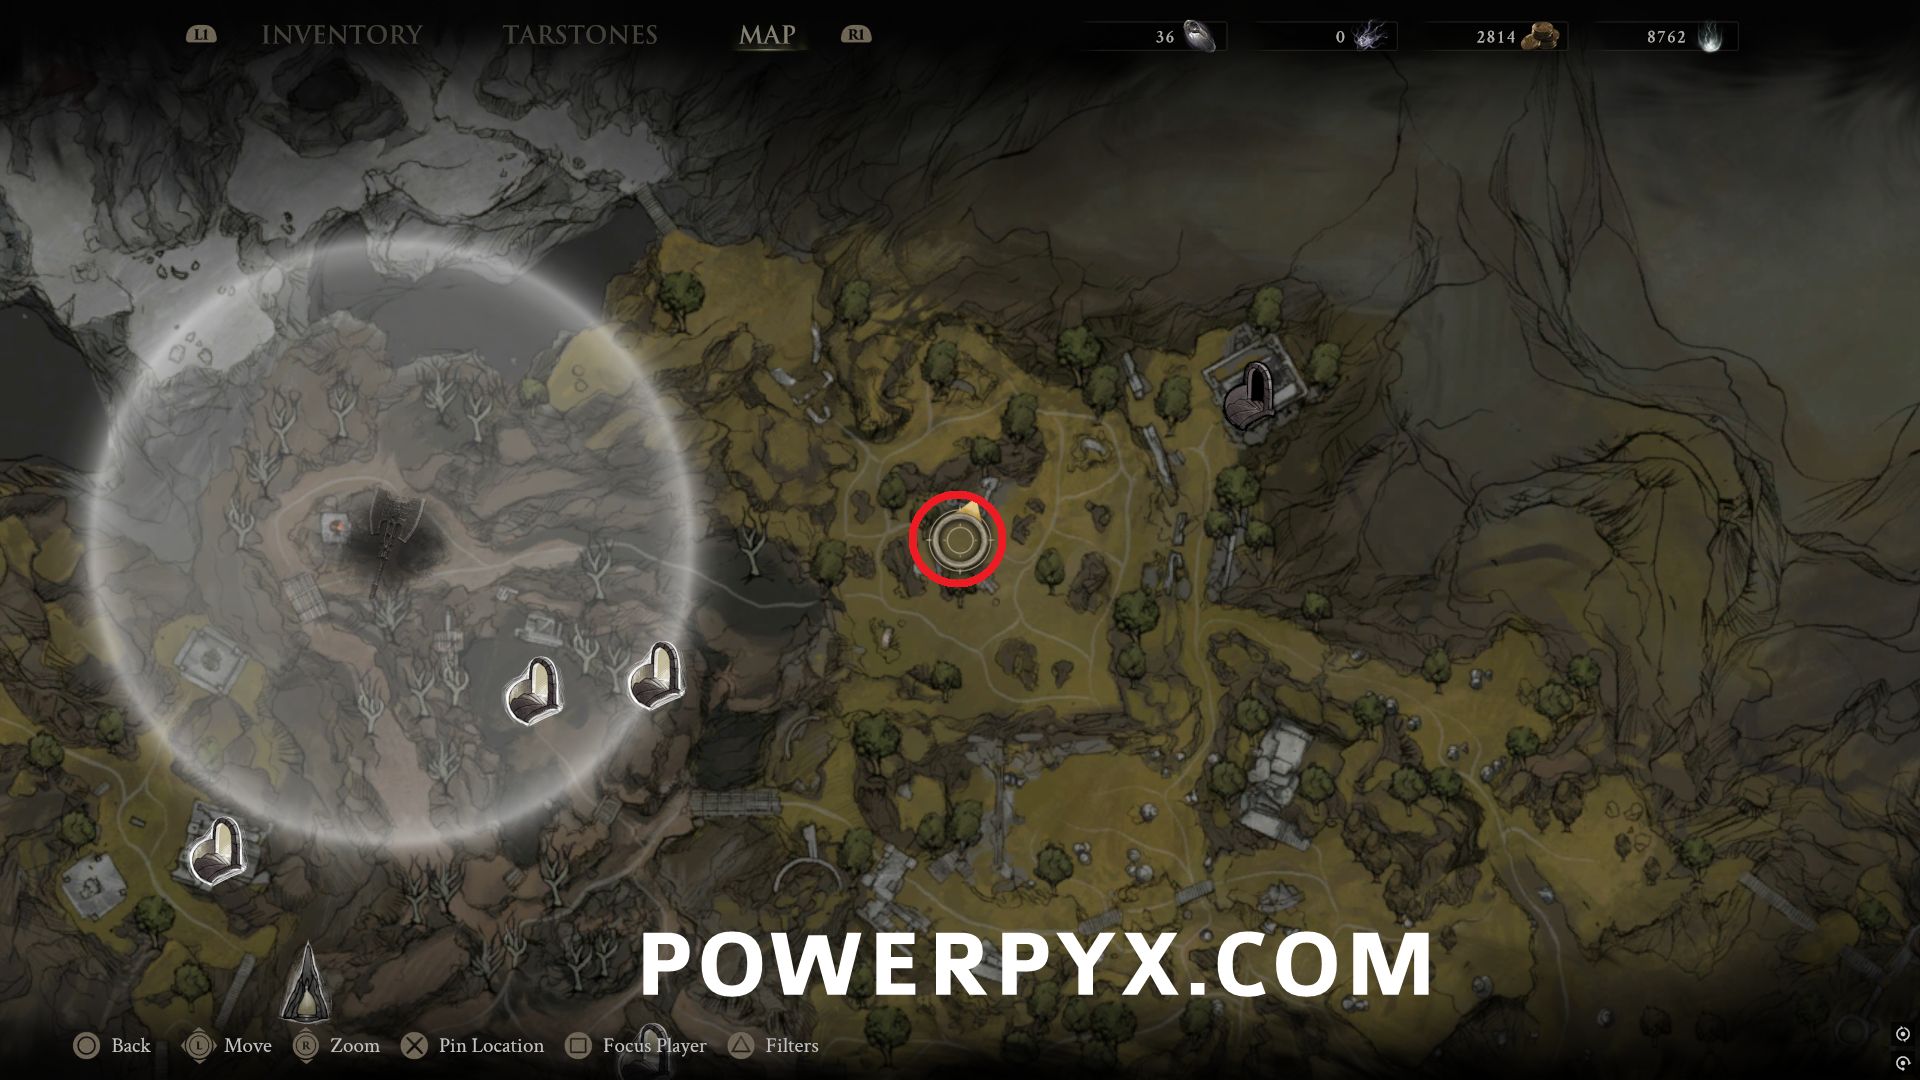
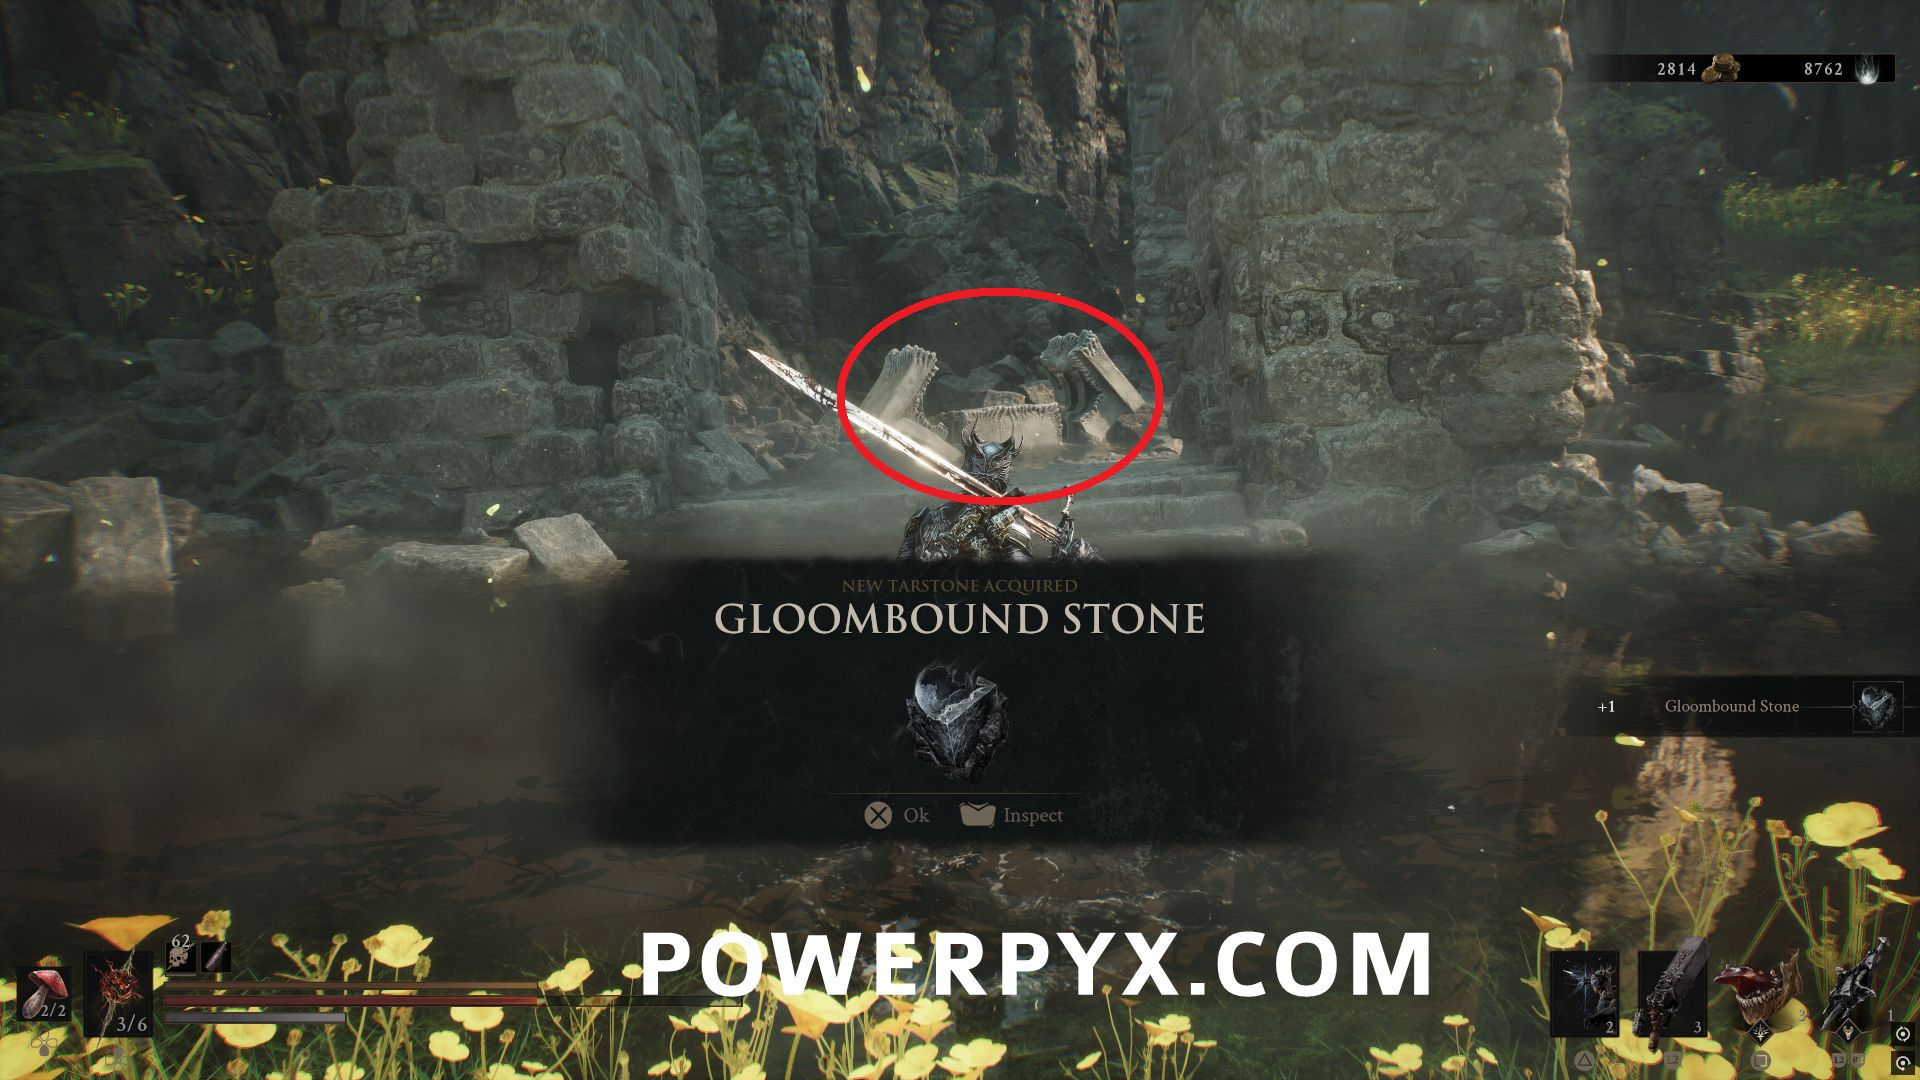
Northeast of Blackridge Pass Beacon, in the middle of the graveyard area named Stones of Remembrance, in a chest in the center ruined building.
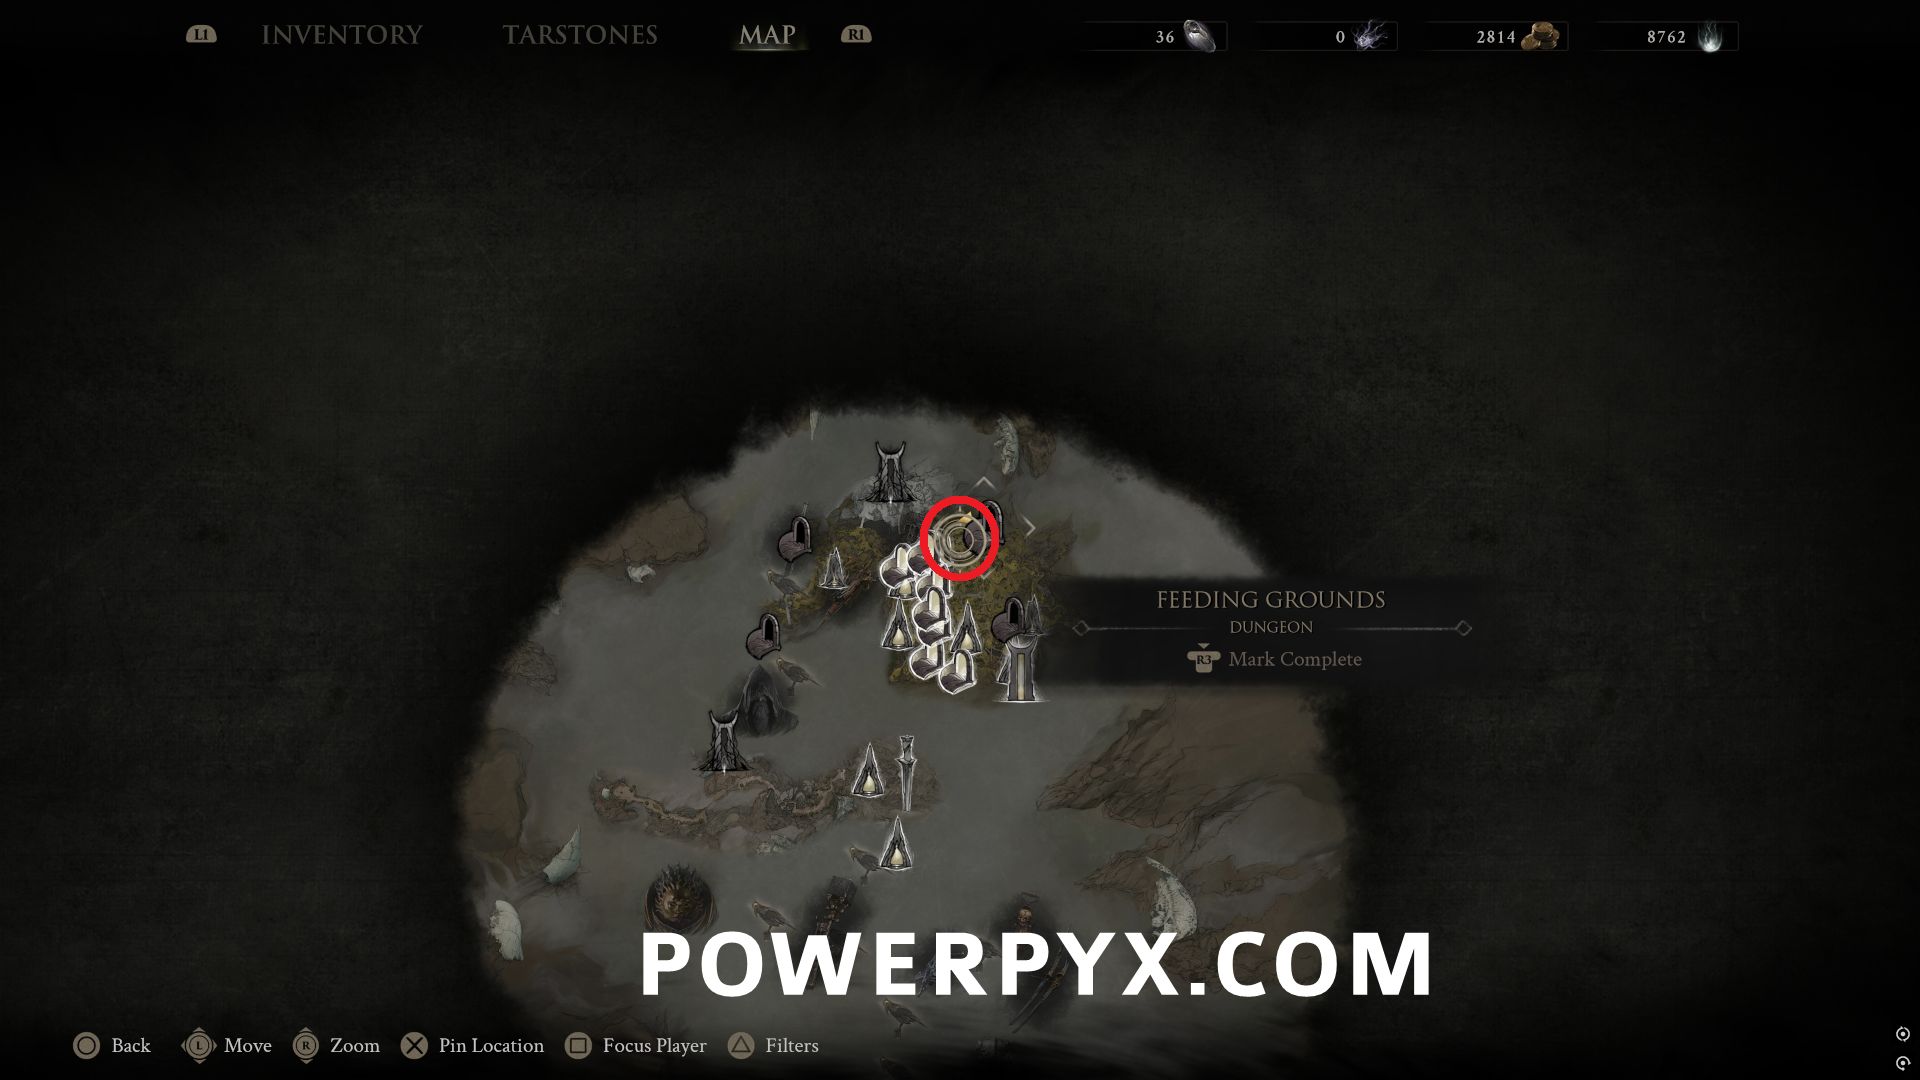
#13 – Justiciar’s Stone
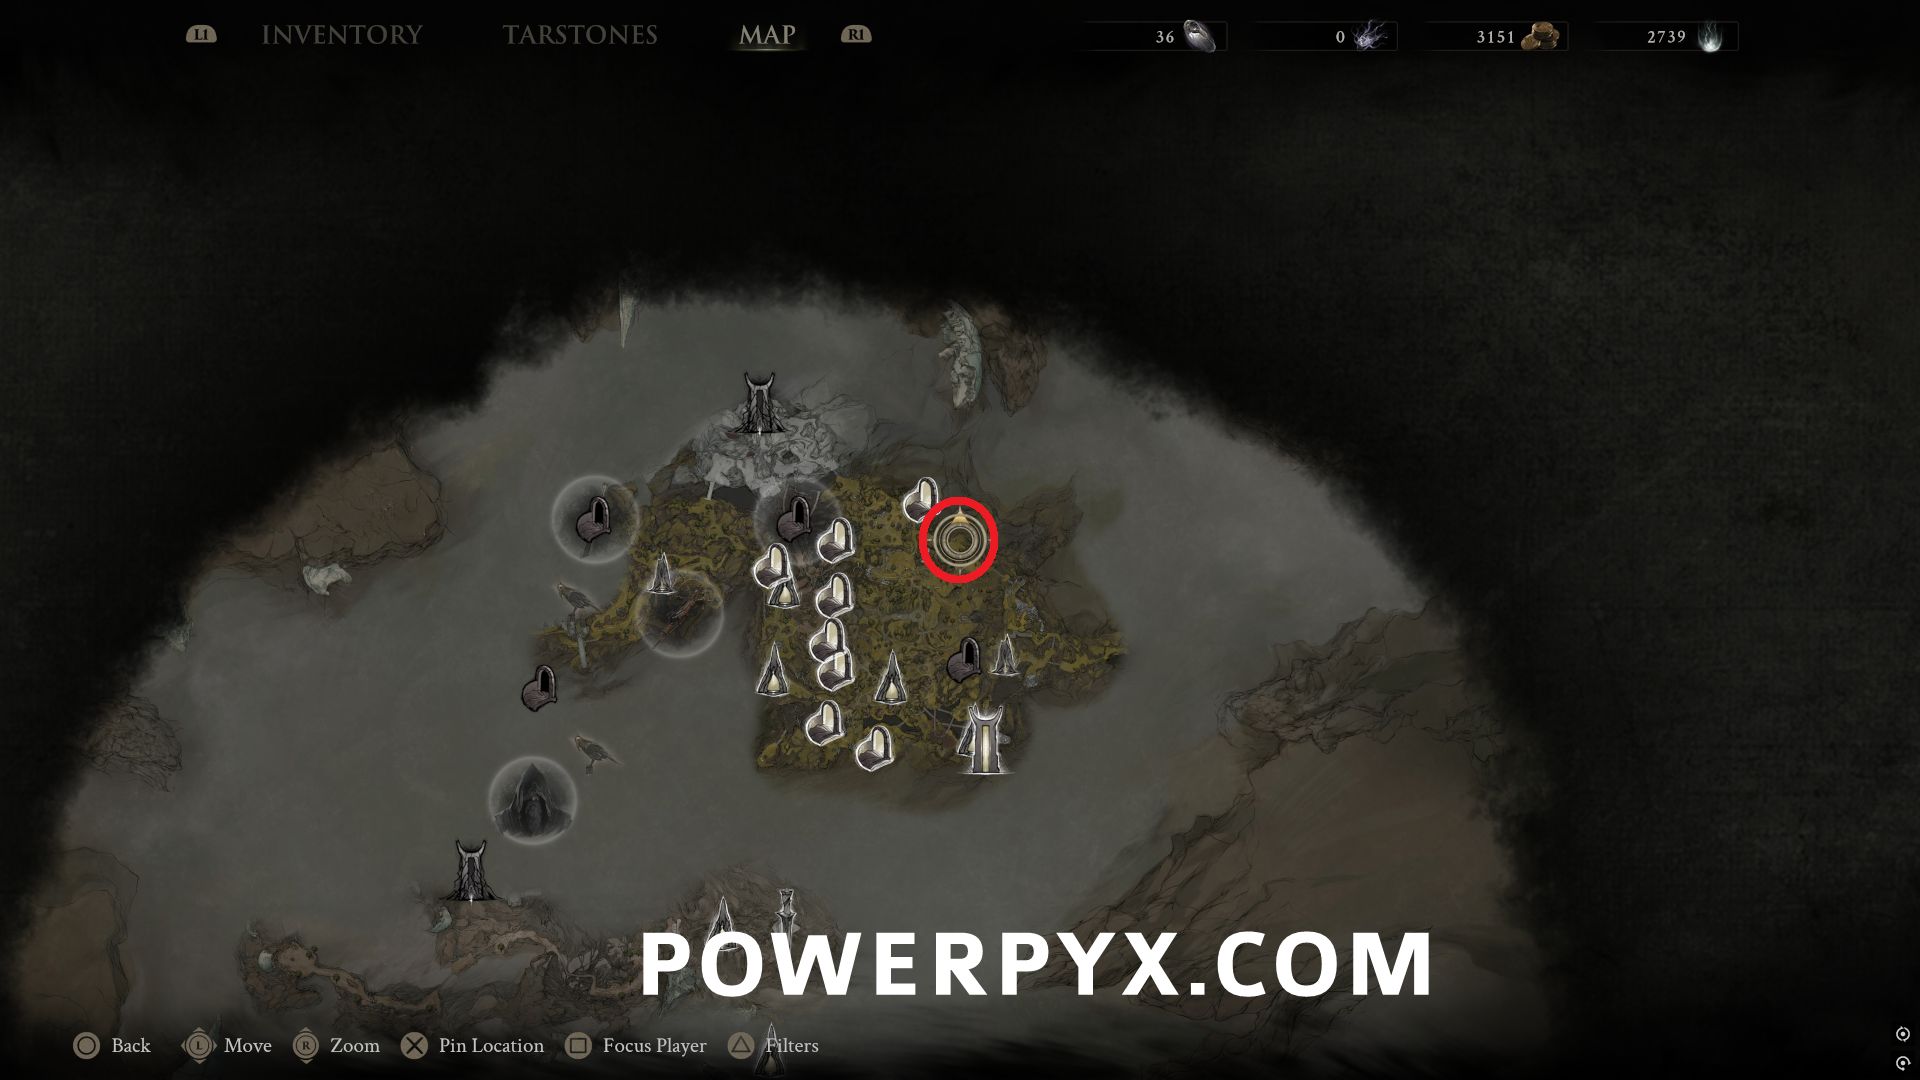
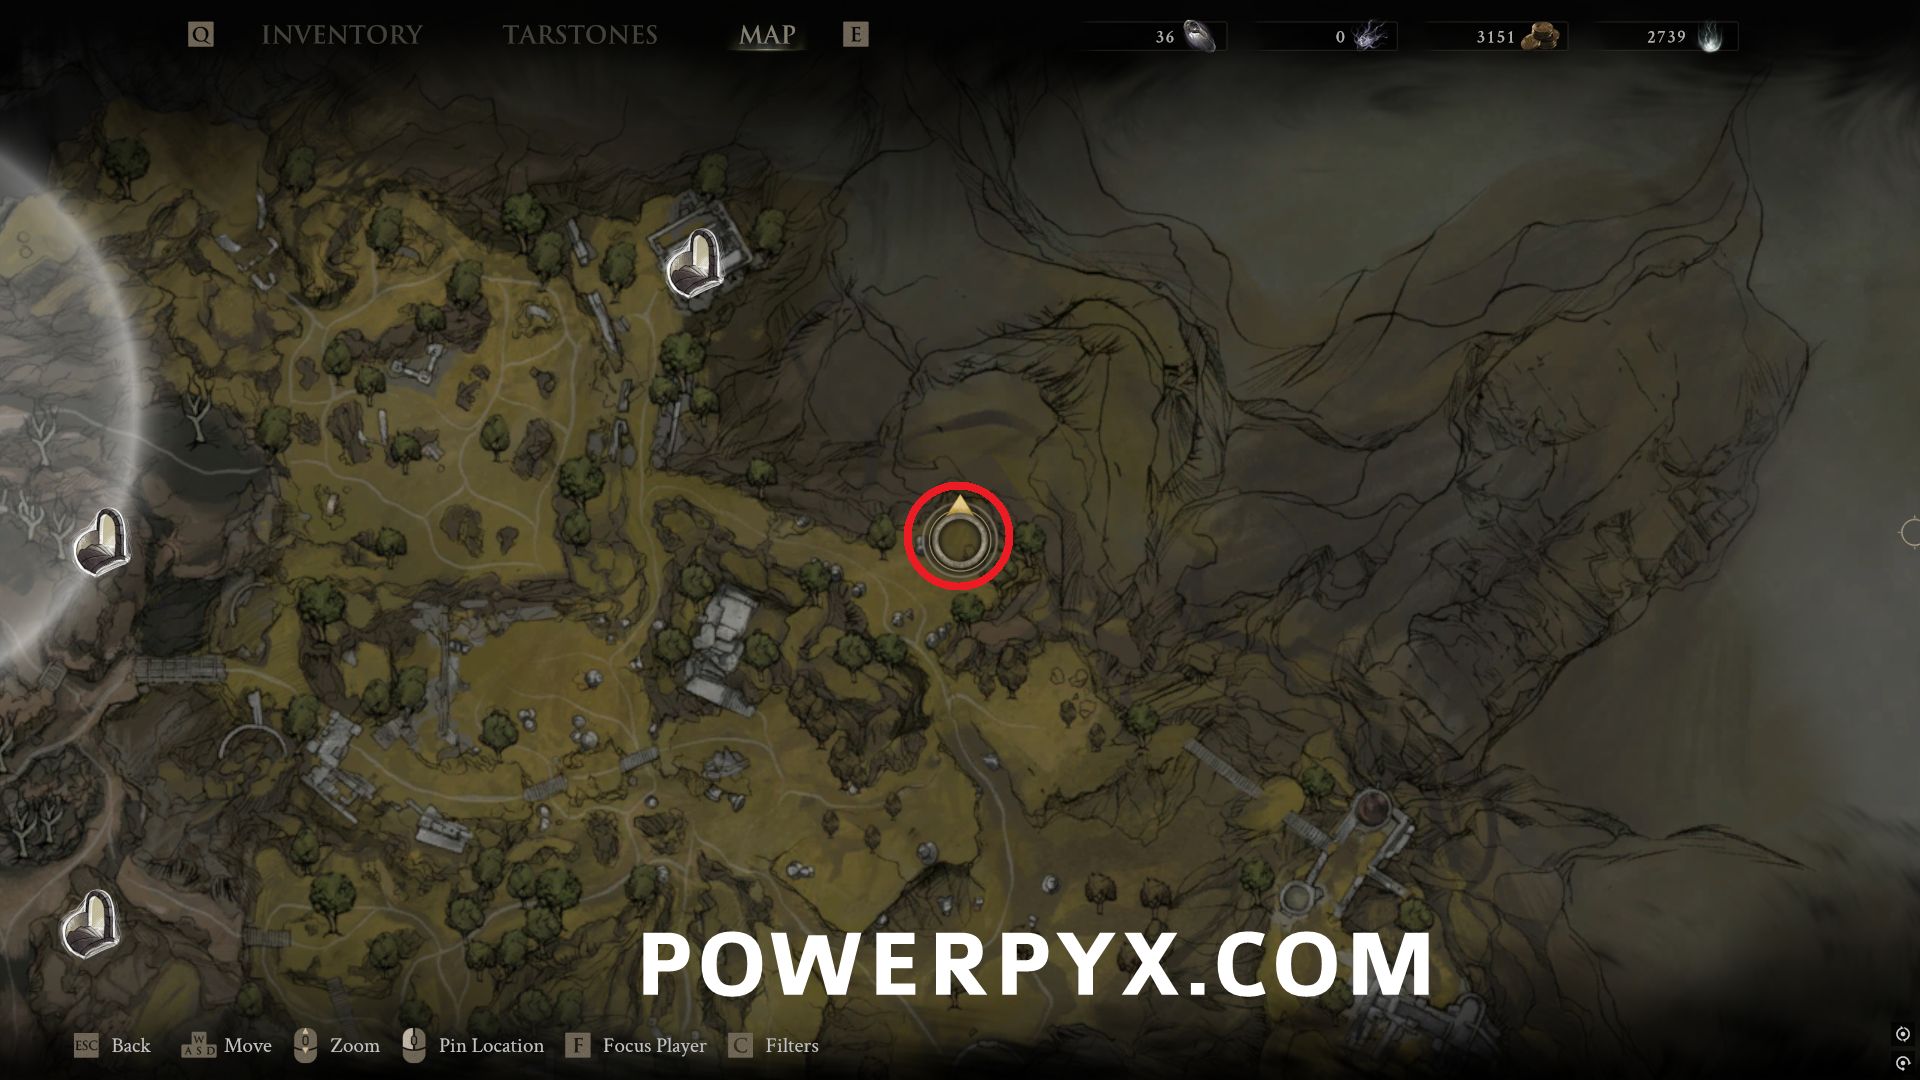
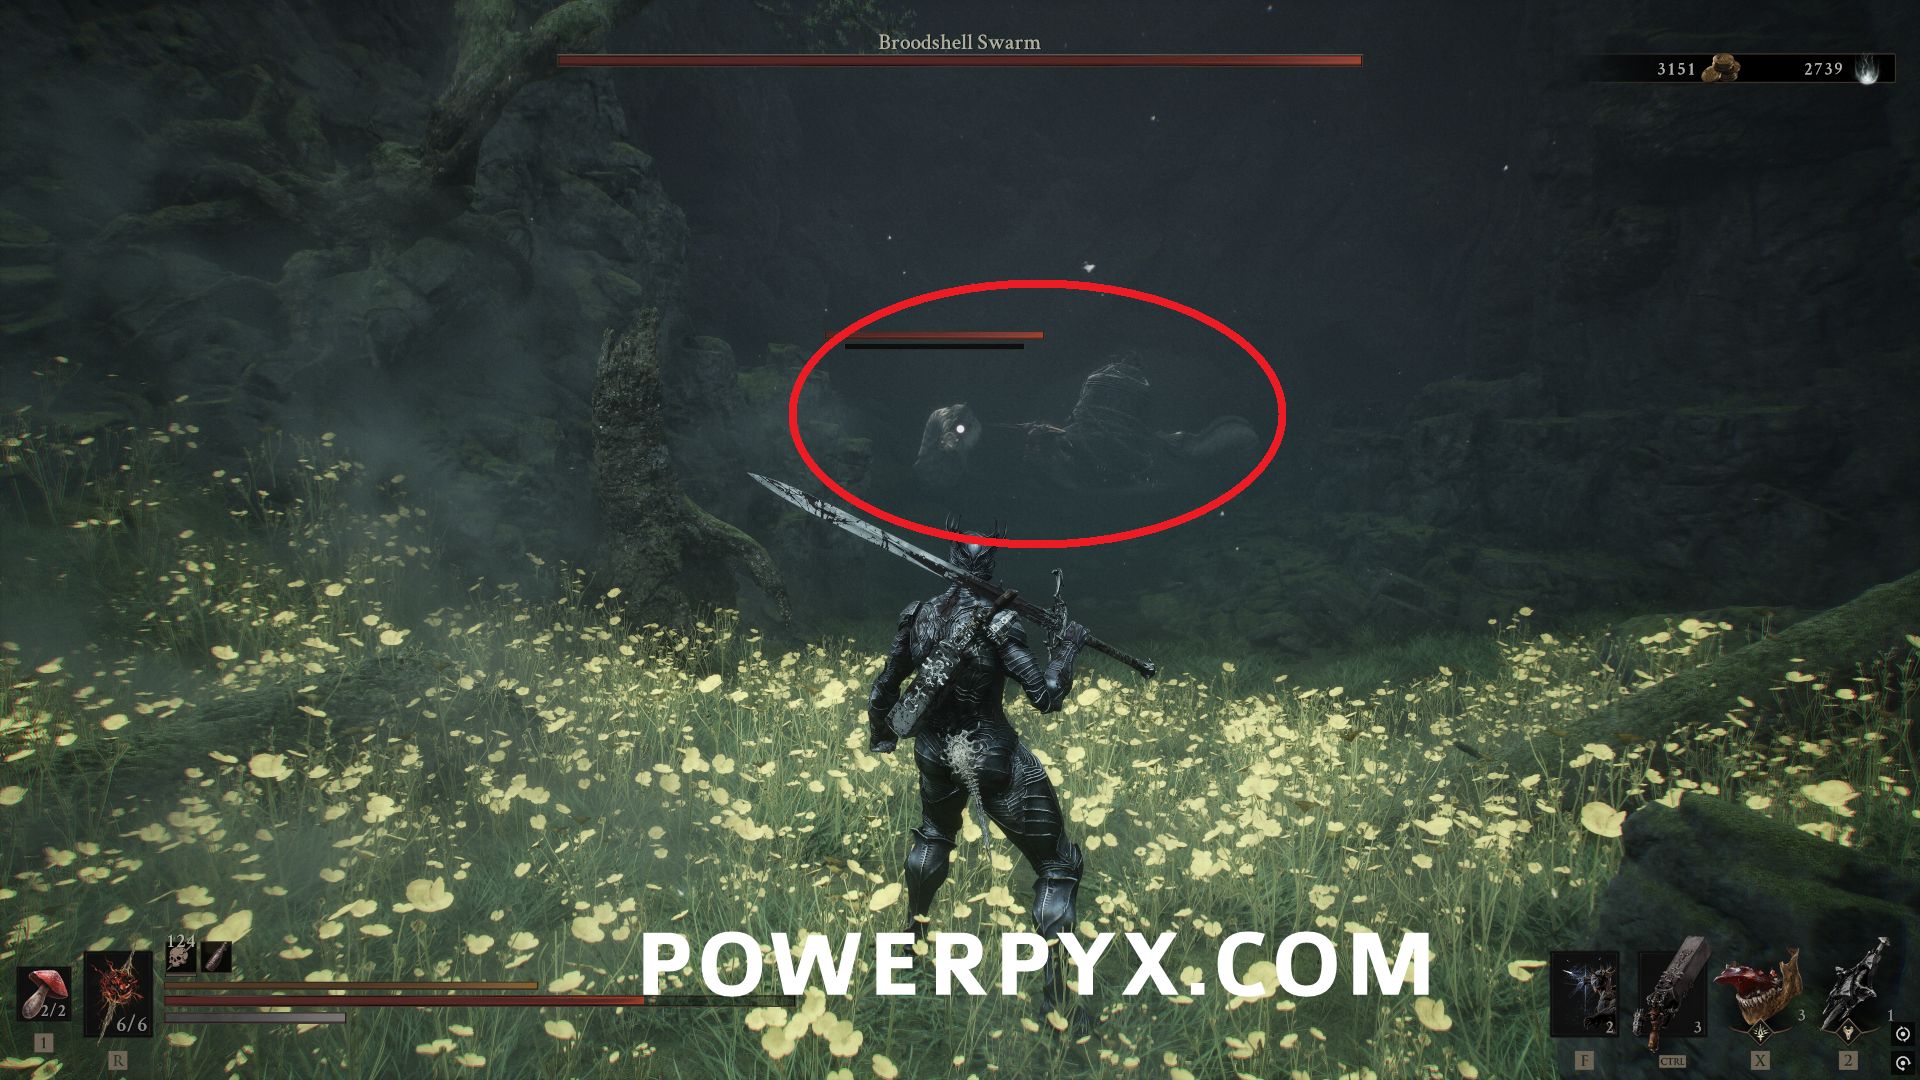
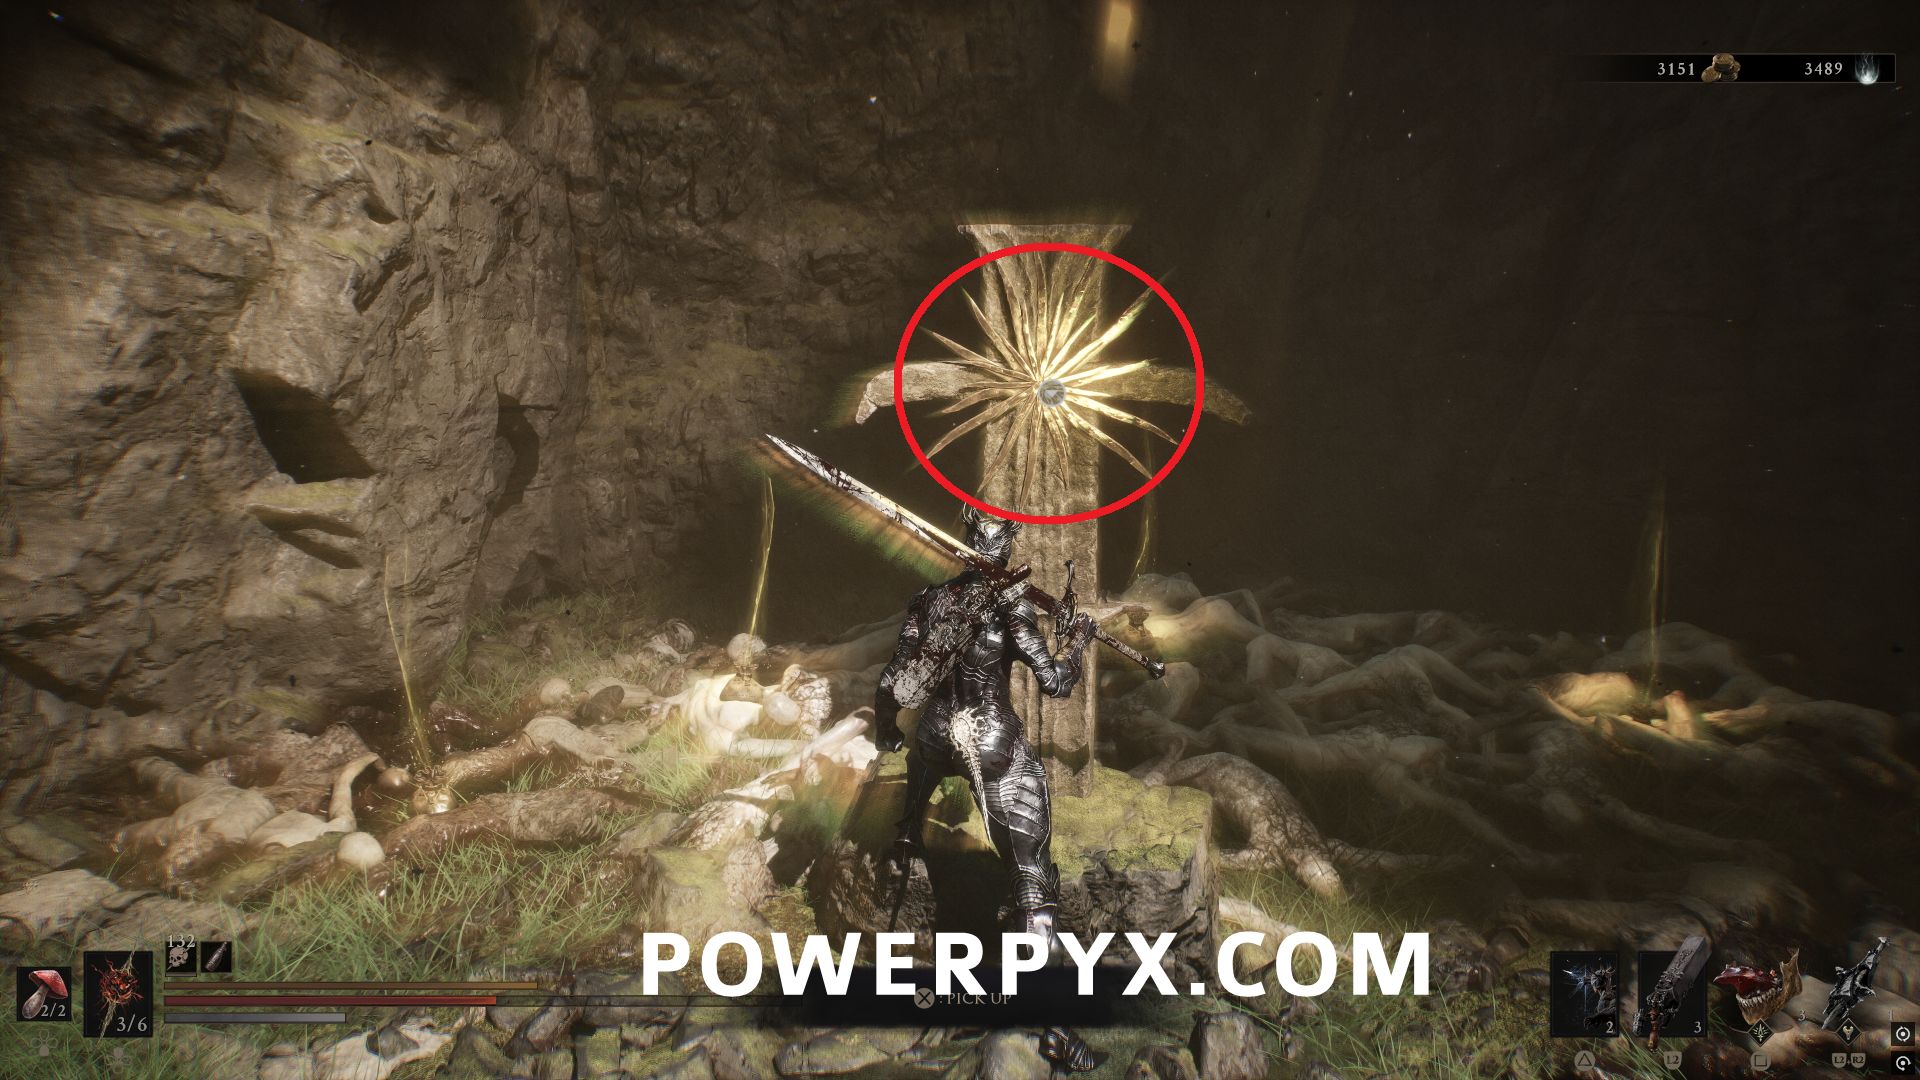
Southeast of Feeding Grounds dungeon entrance, in the swampy area to the north is a group boss named Broodshell Swarm. Defeat it, then in the cave behind it you can pick up this Tarstone.
Combat
#14 – Wounding Stone
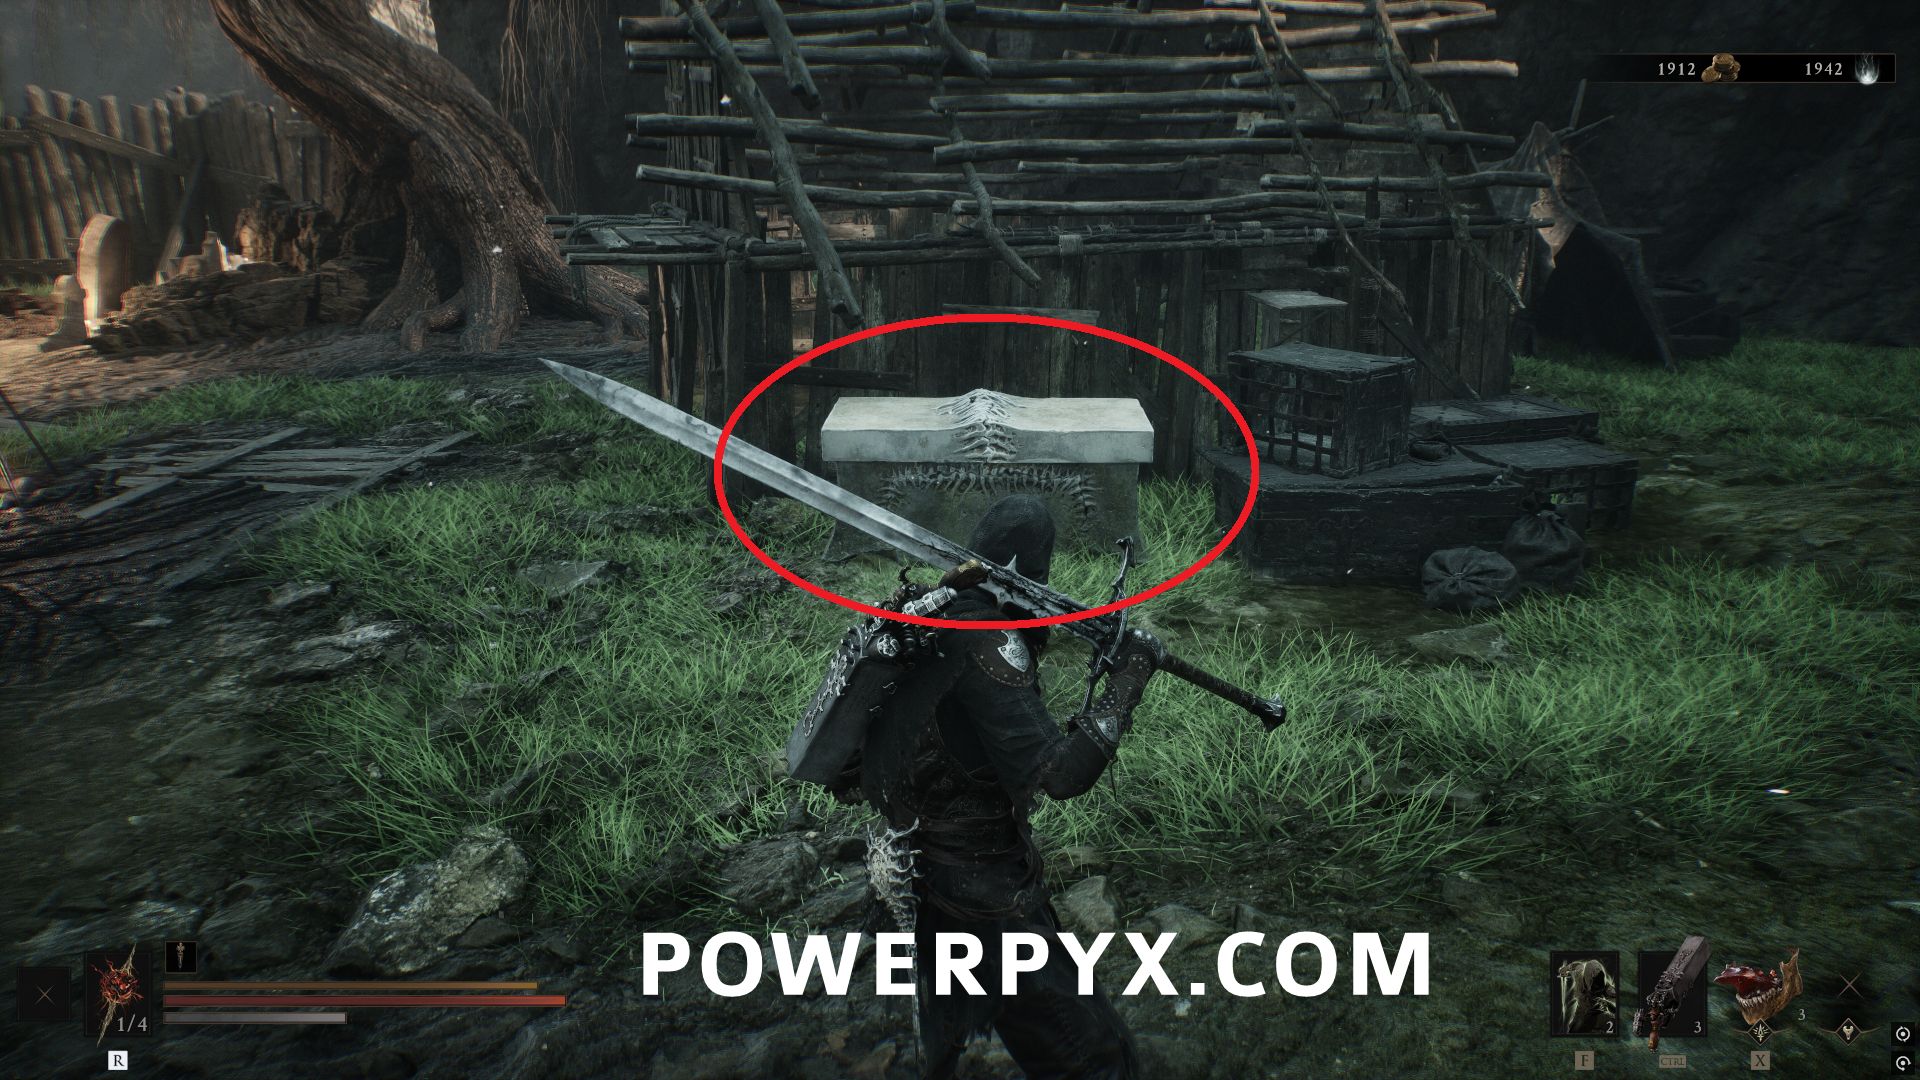
Southeast of Widow’s Overlook Beacon, in the area where you acquire Tiel, in the chest around the corner of the first house.
#15 – Grudge Stone
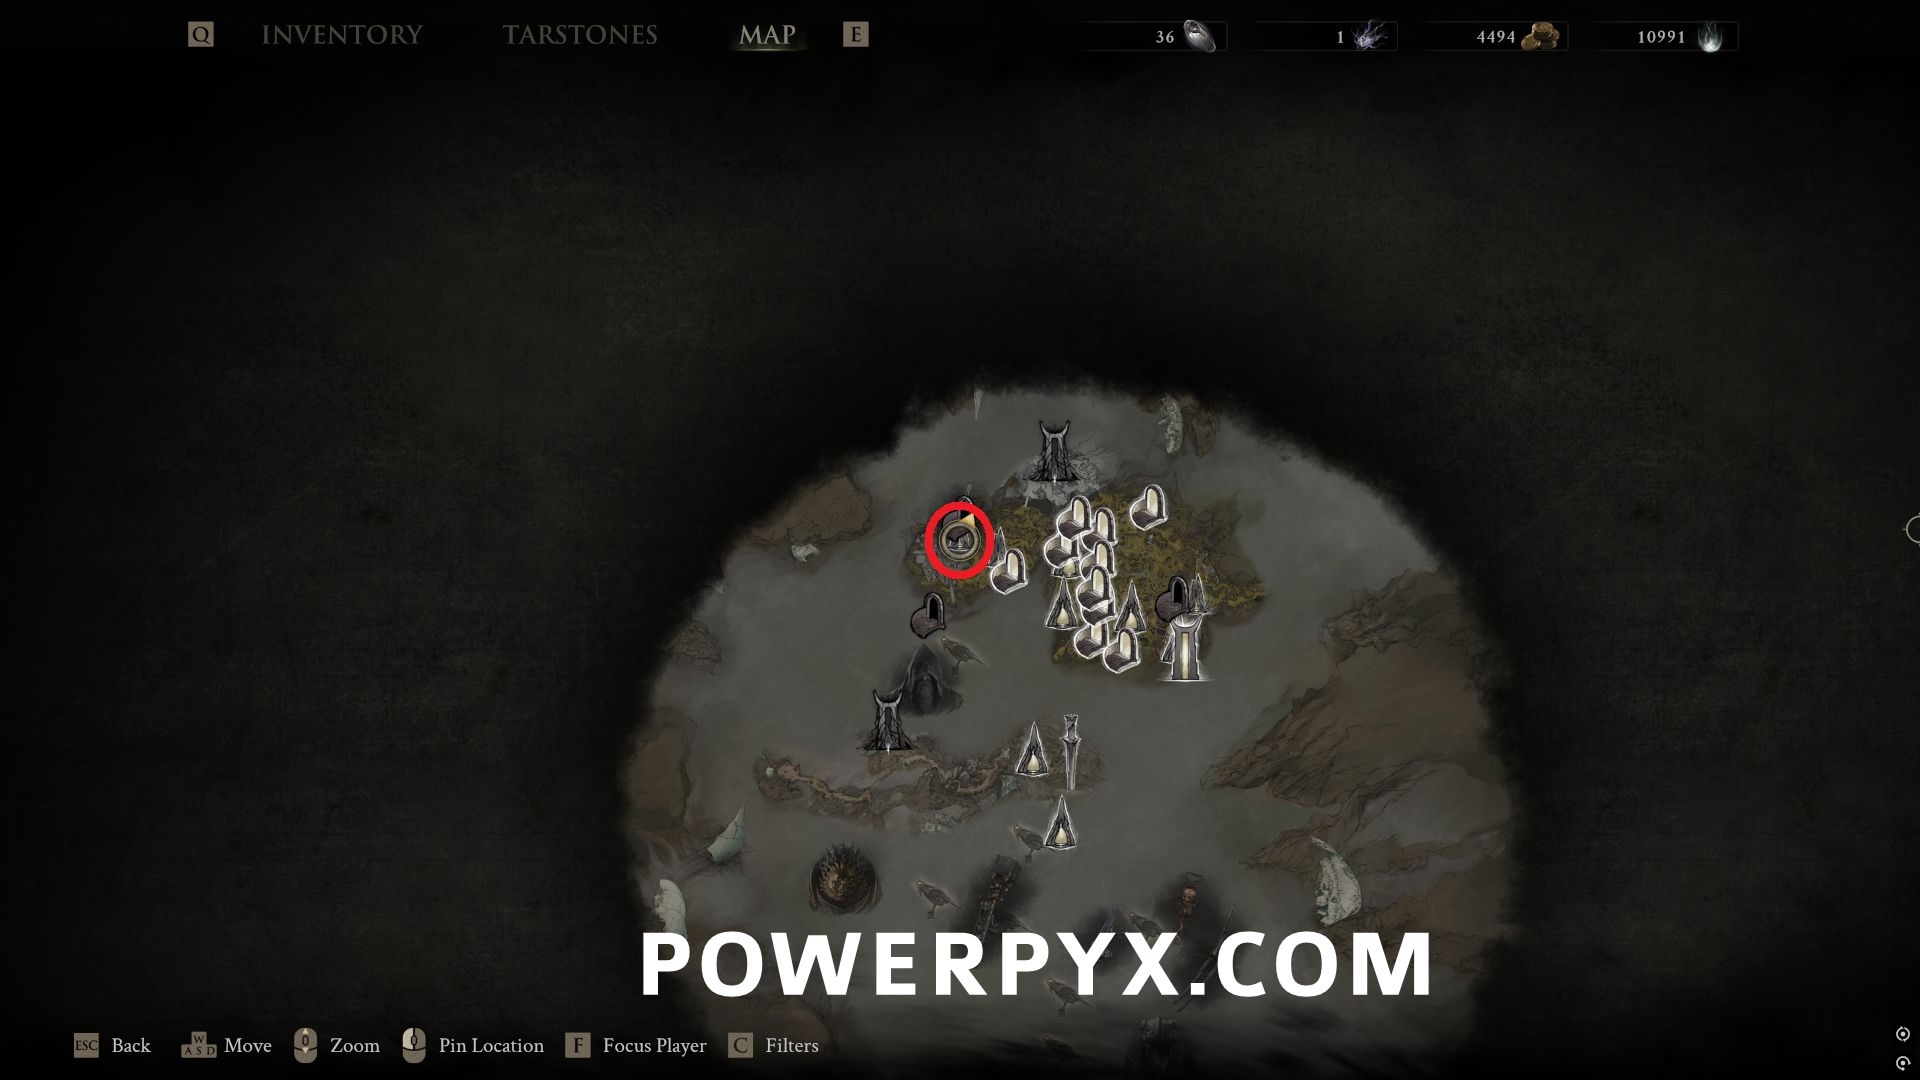
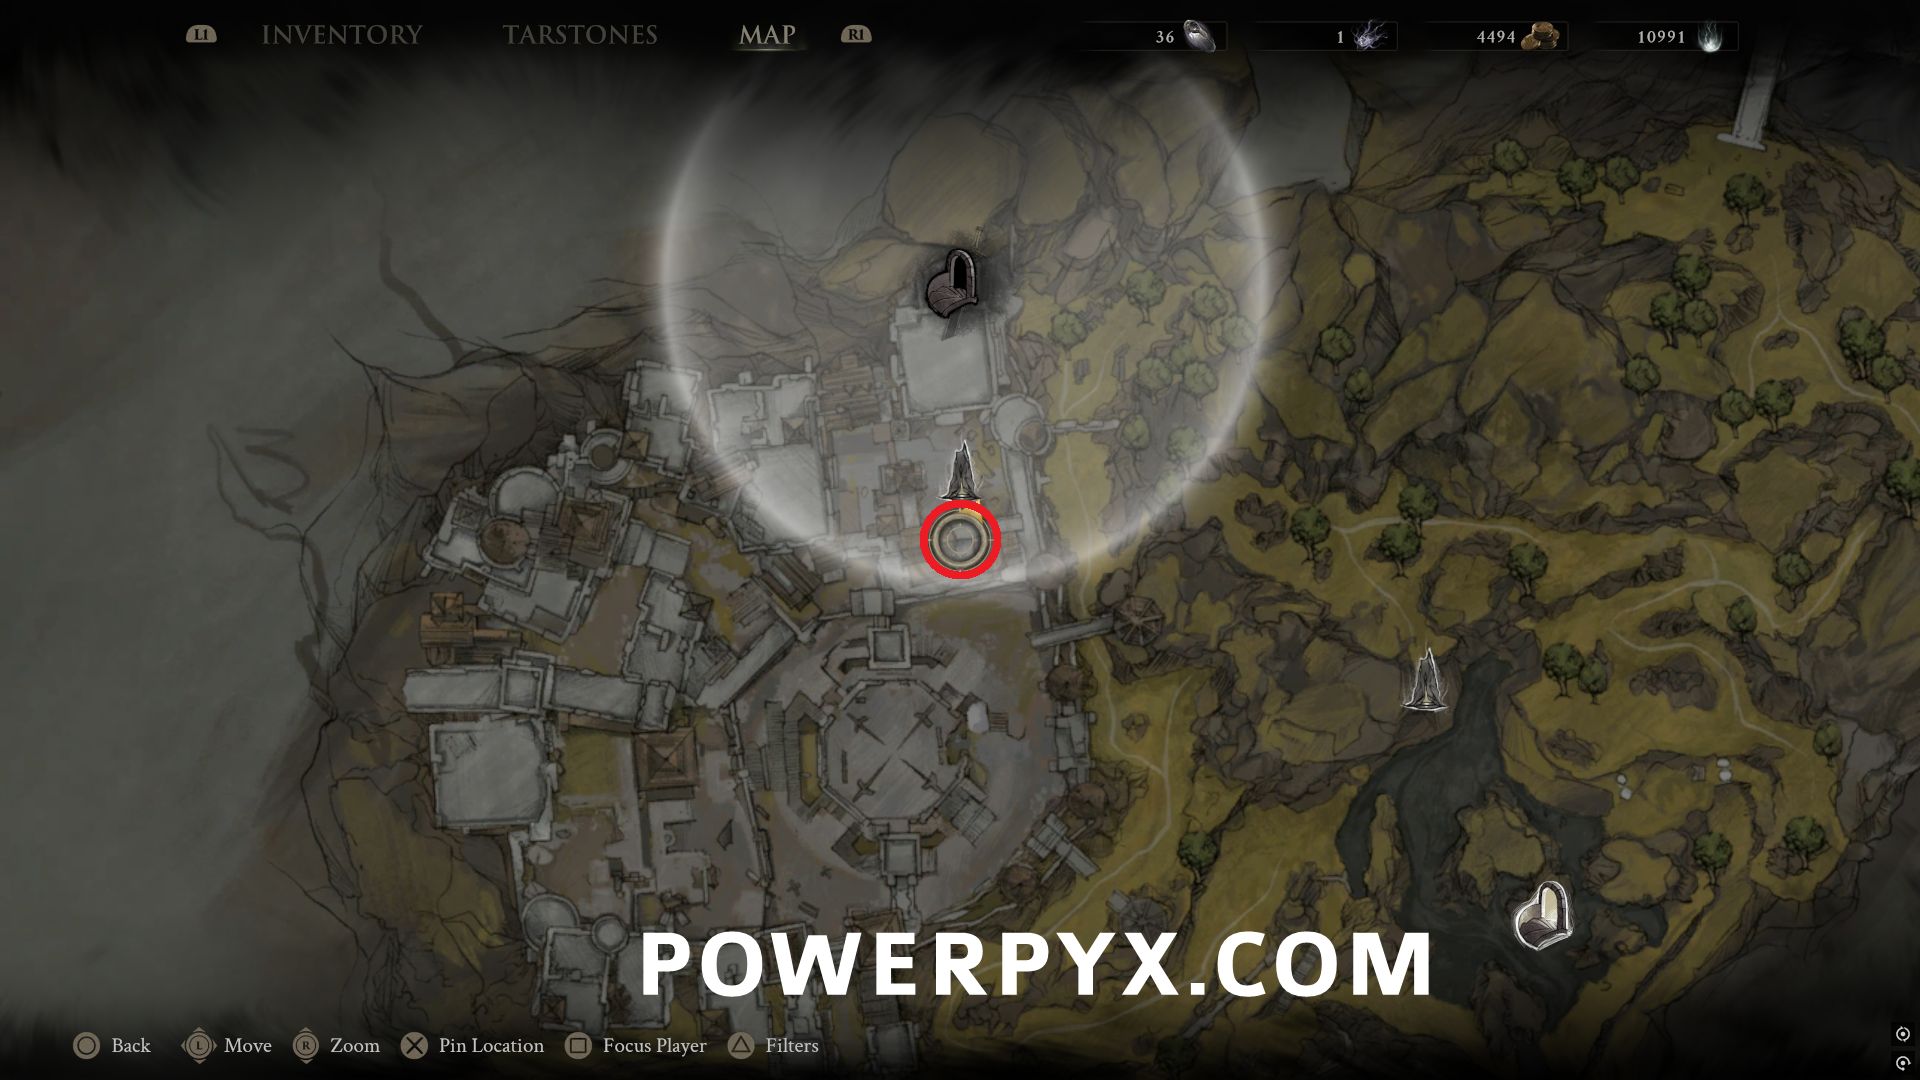
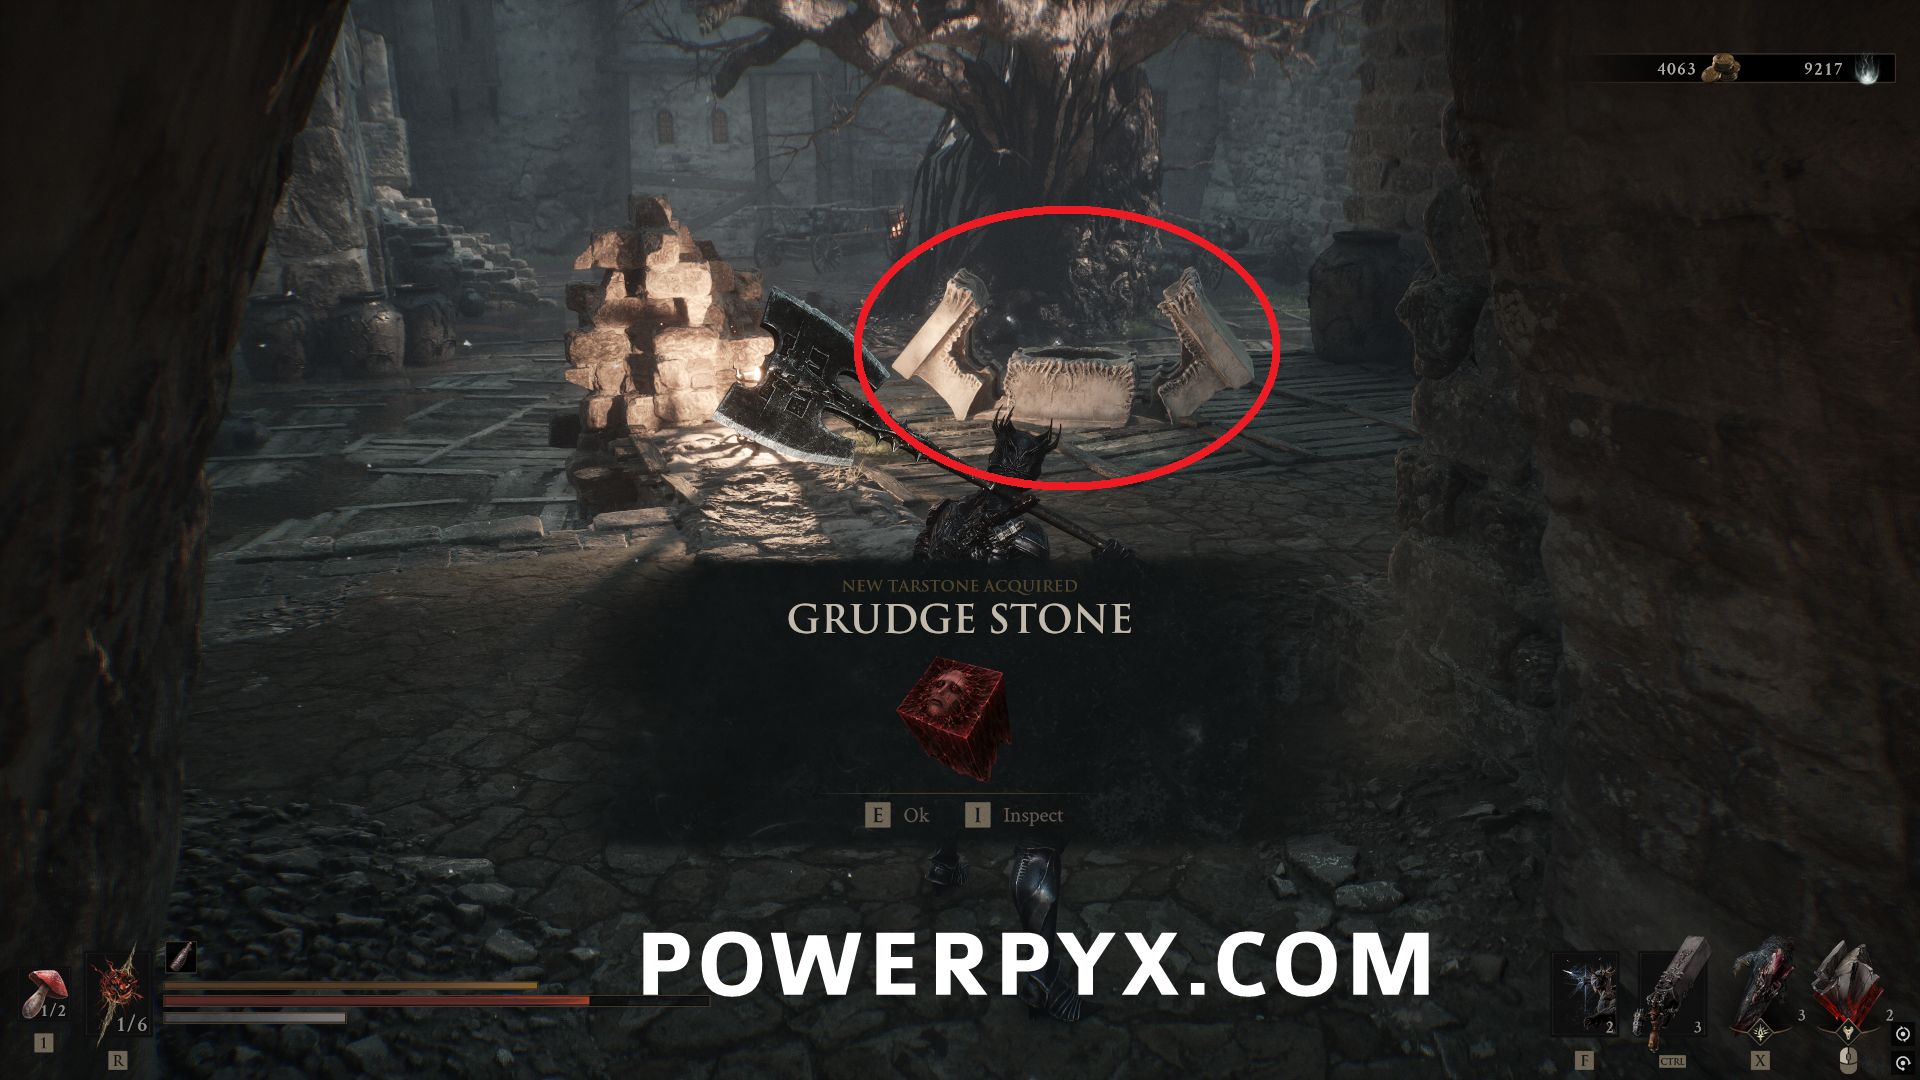
Directly south of Citadel of Penance Beacon, in a chest.
#16 – Duality Stone
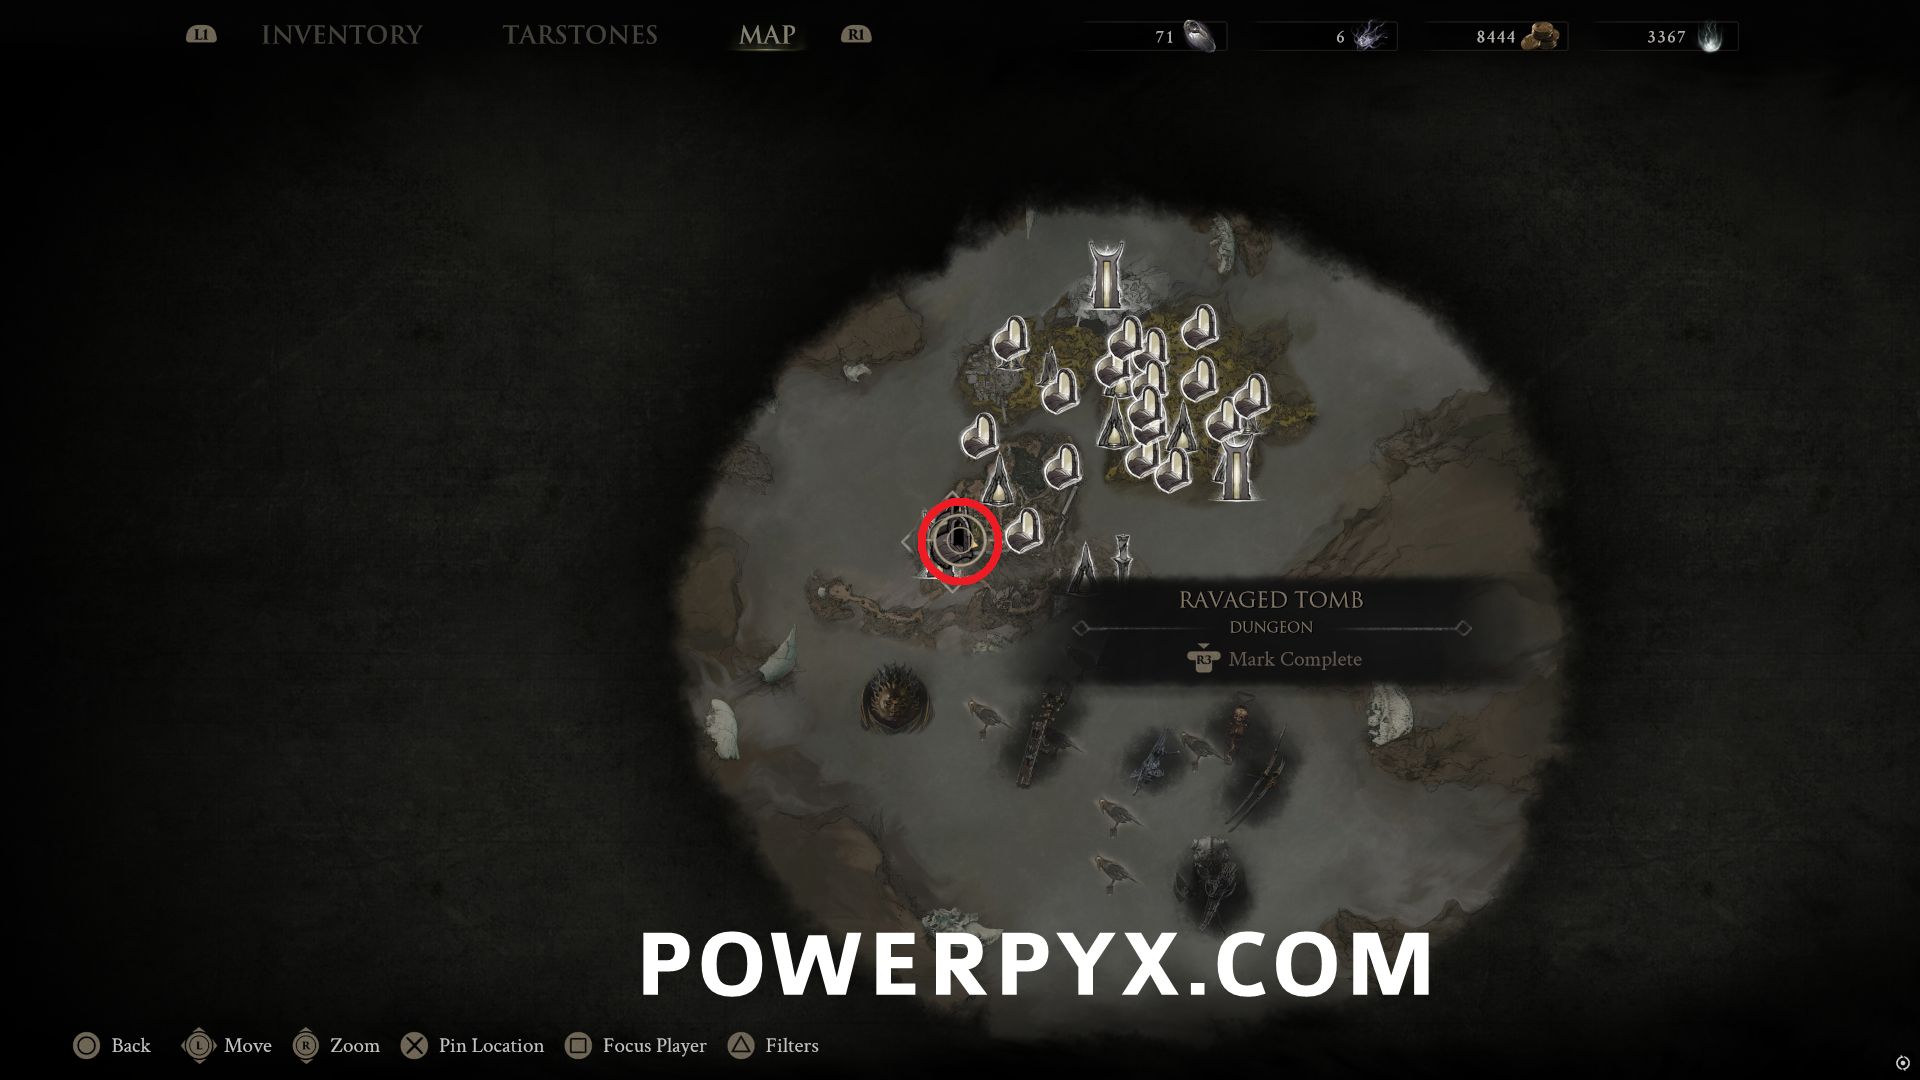
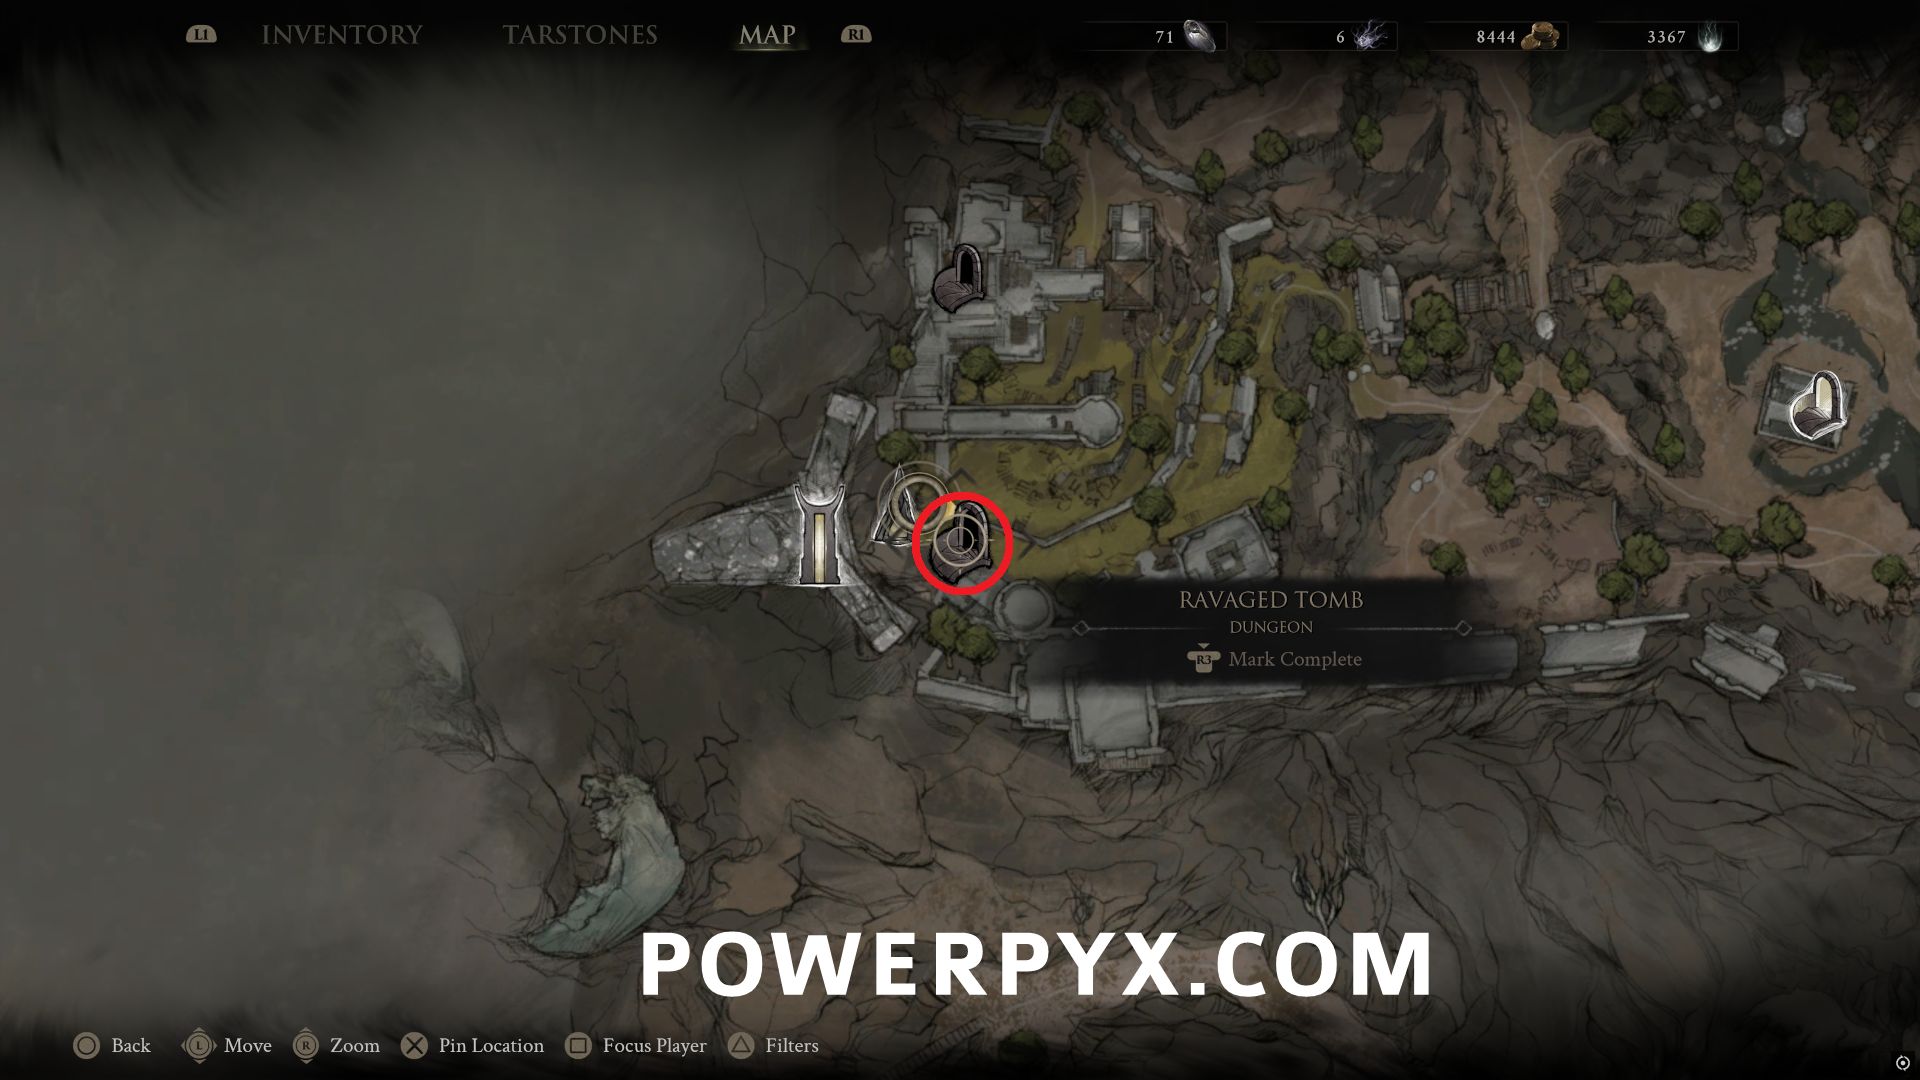
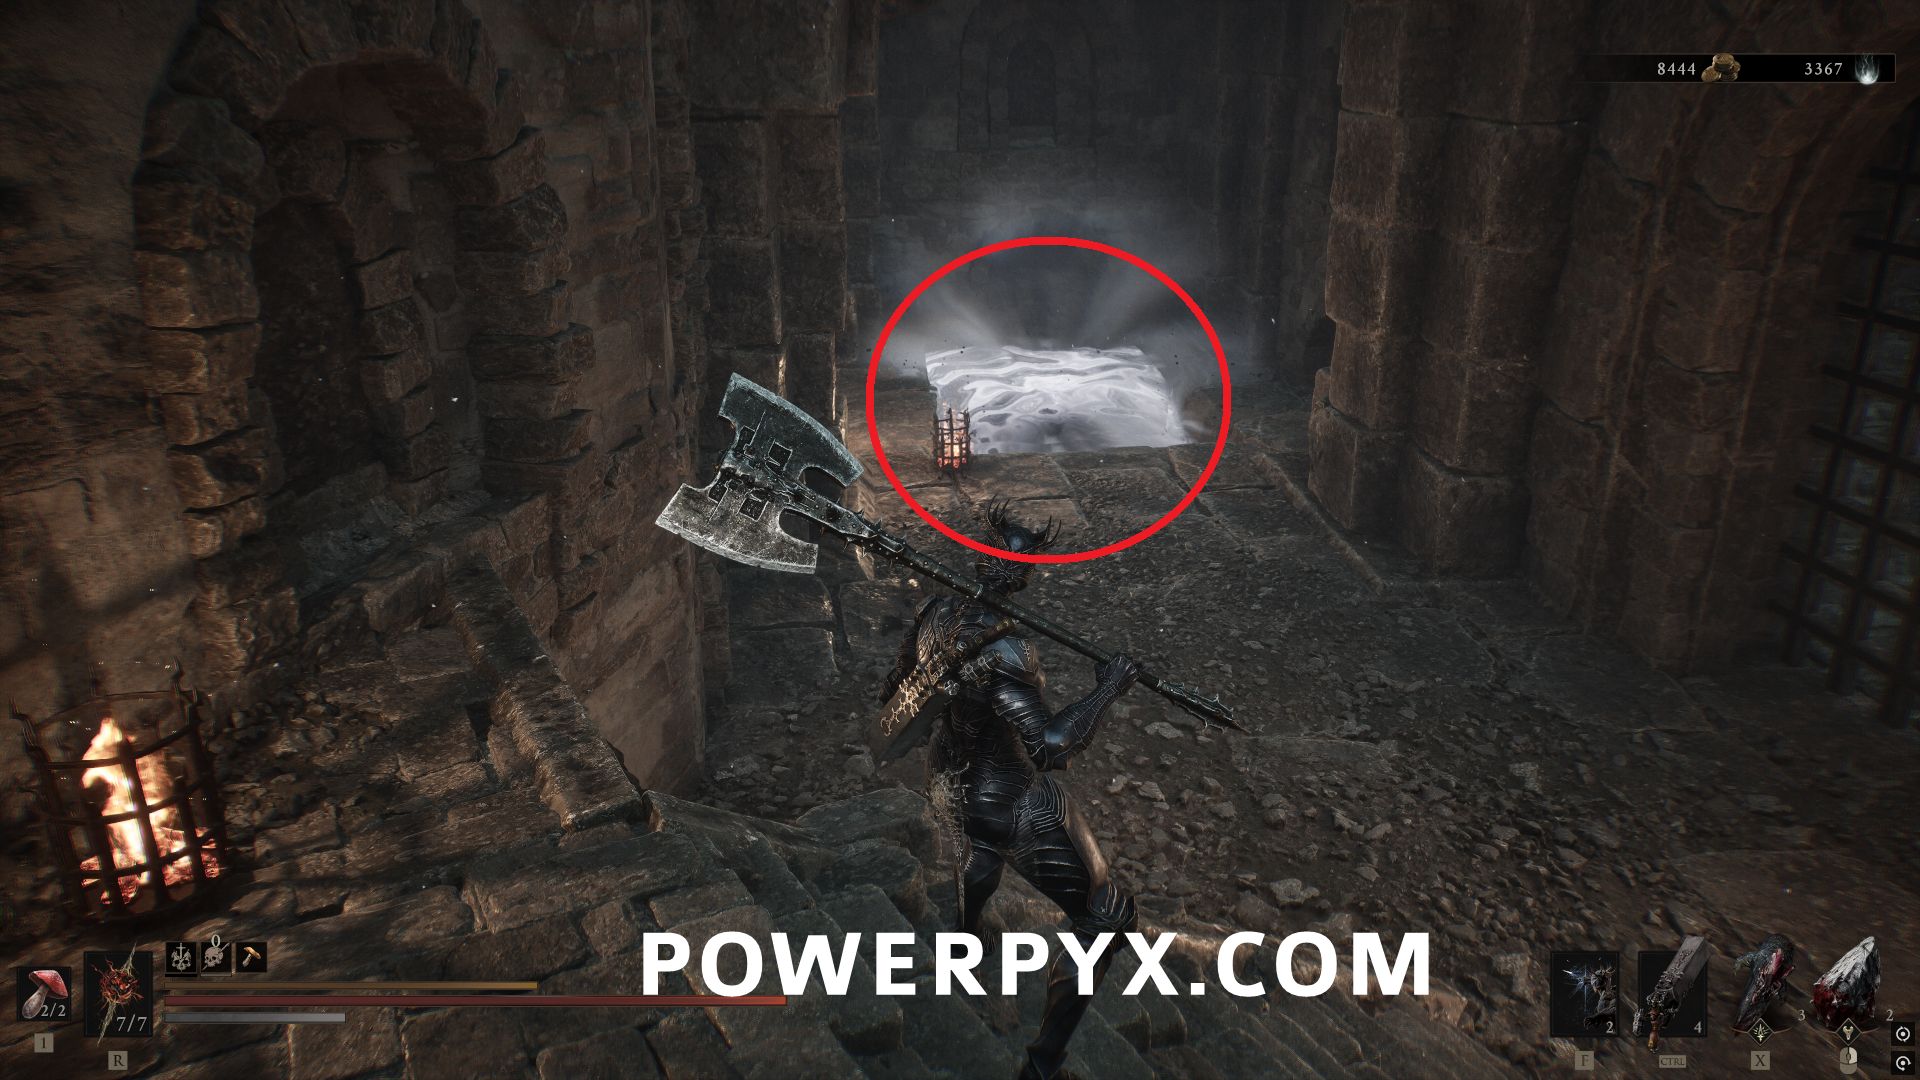
From Nocthean Gate Beacon, go southeast down the elevator, and the entrance to the Ravaged Tomb dungeon is in the room at the bottom.
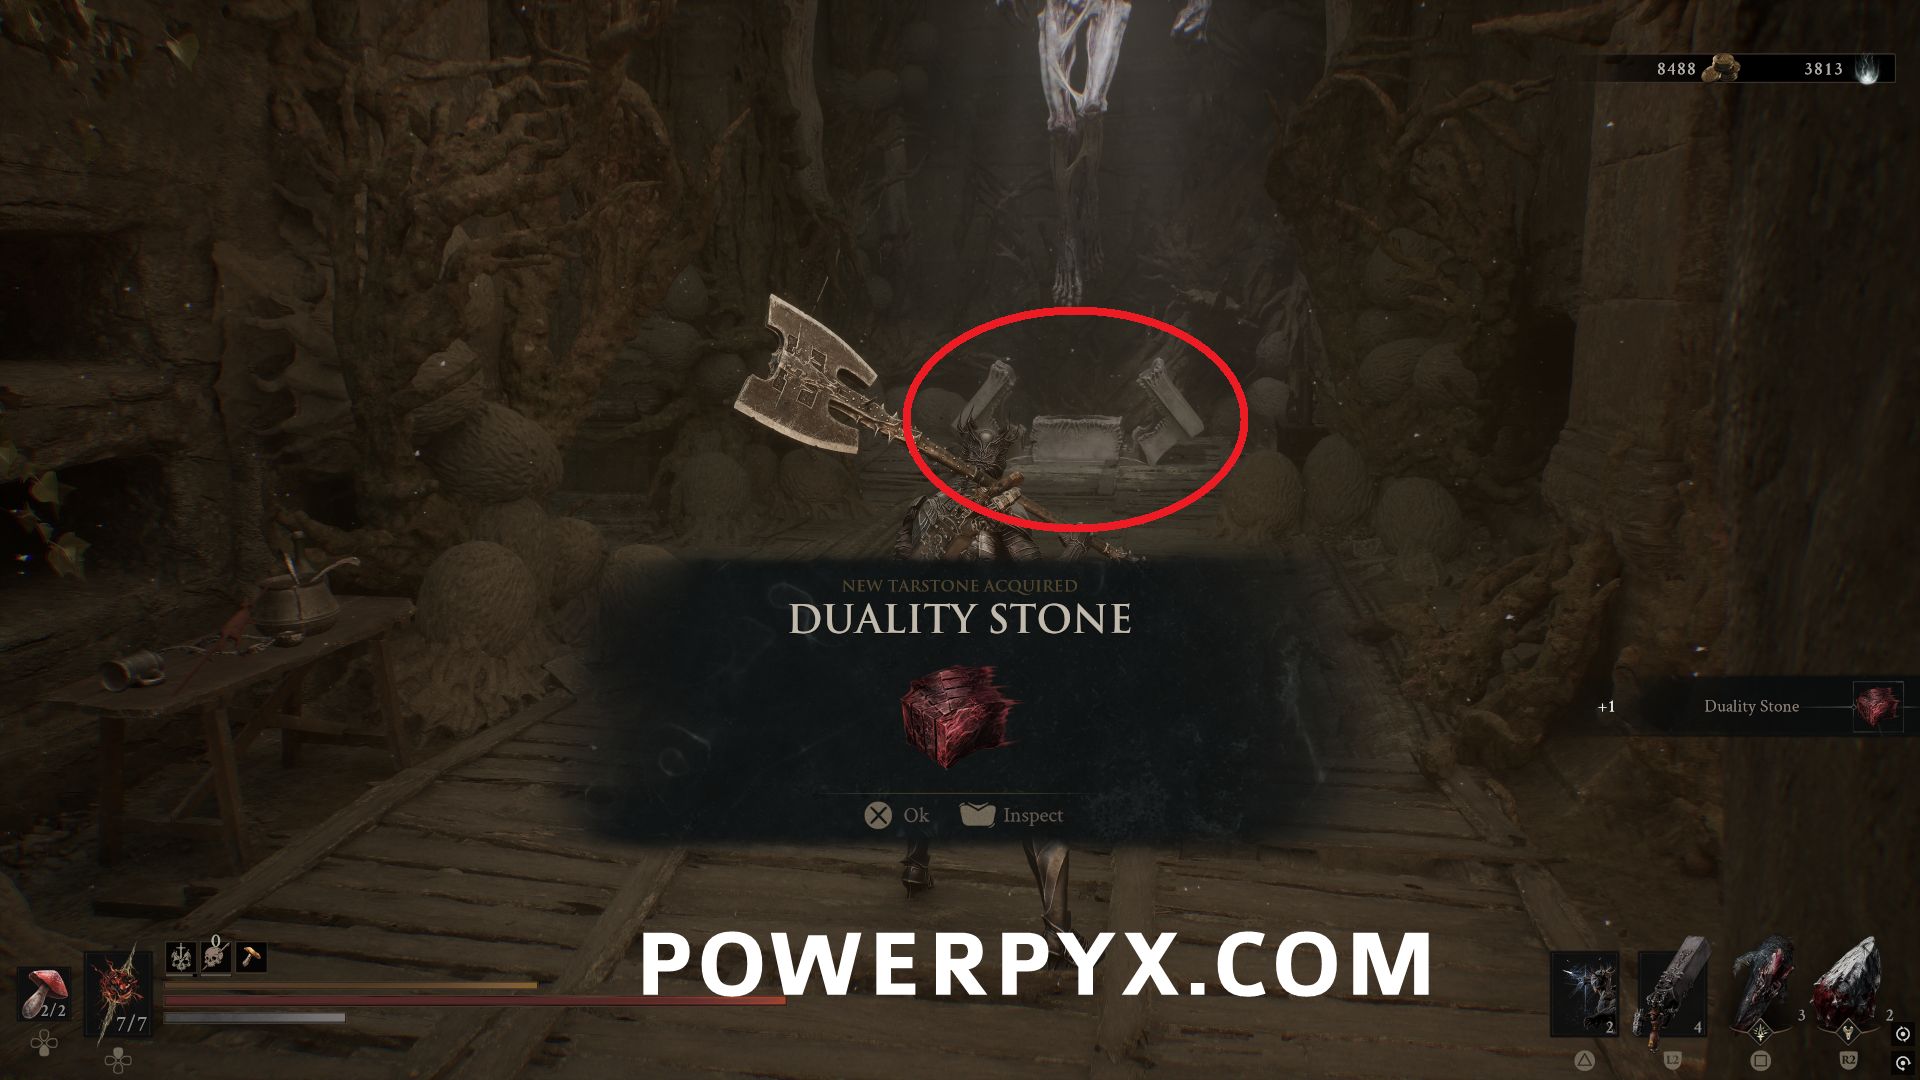
Follow the path through the dungeon, and the Tarstone is in the chest beneath the giant hanging body.
#17 – Unyielding Stone
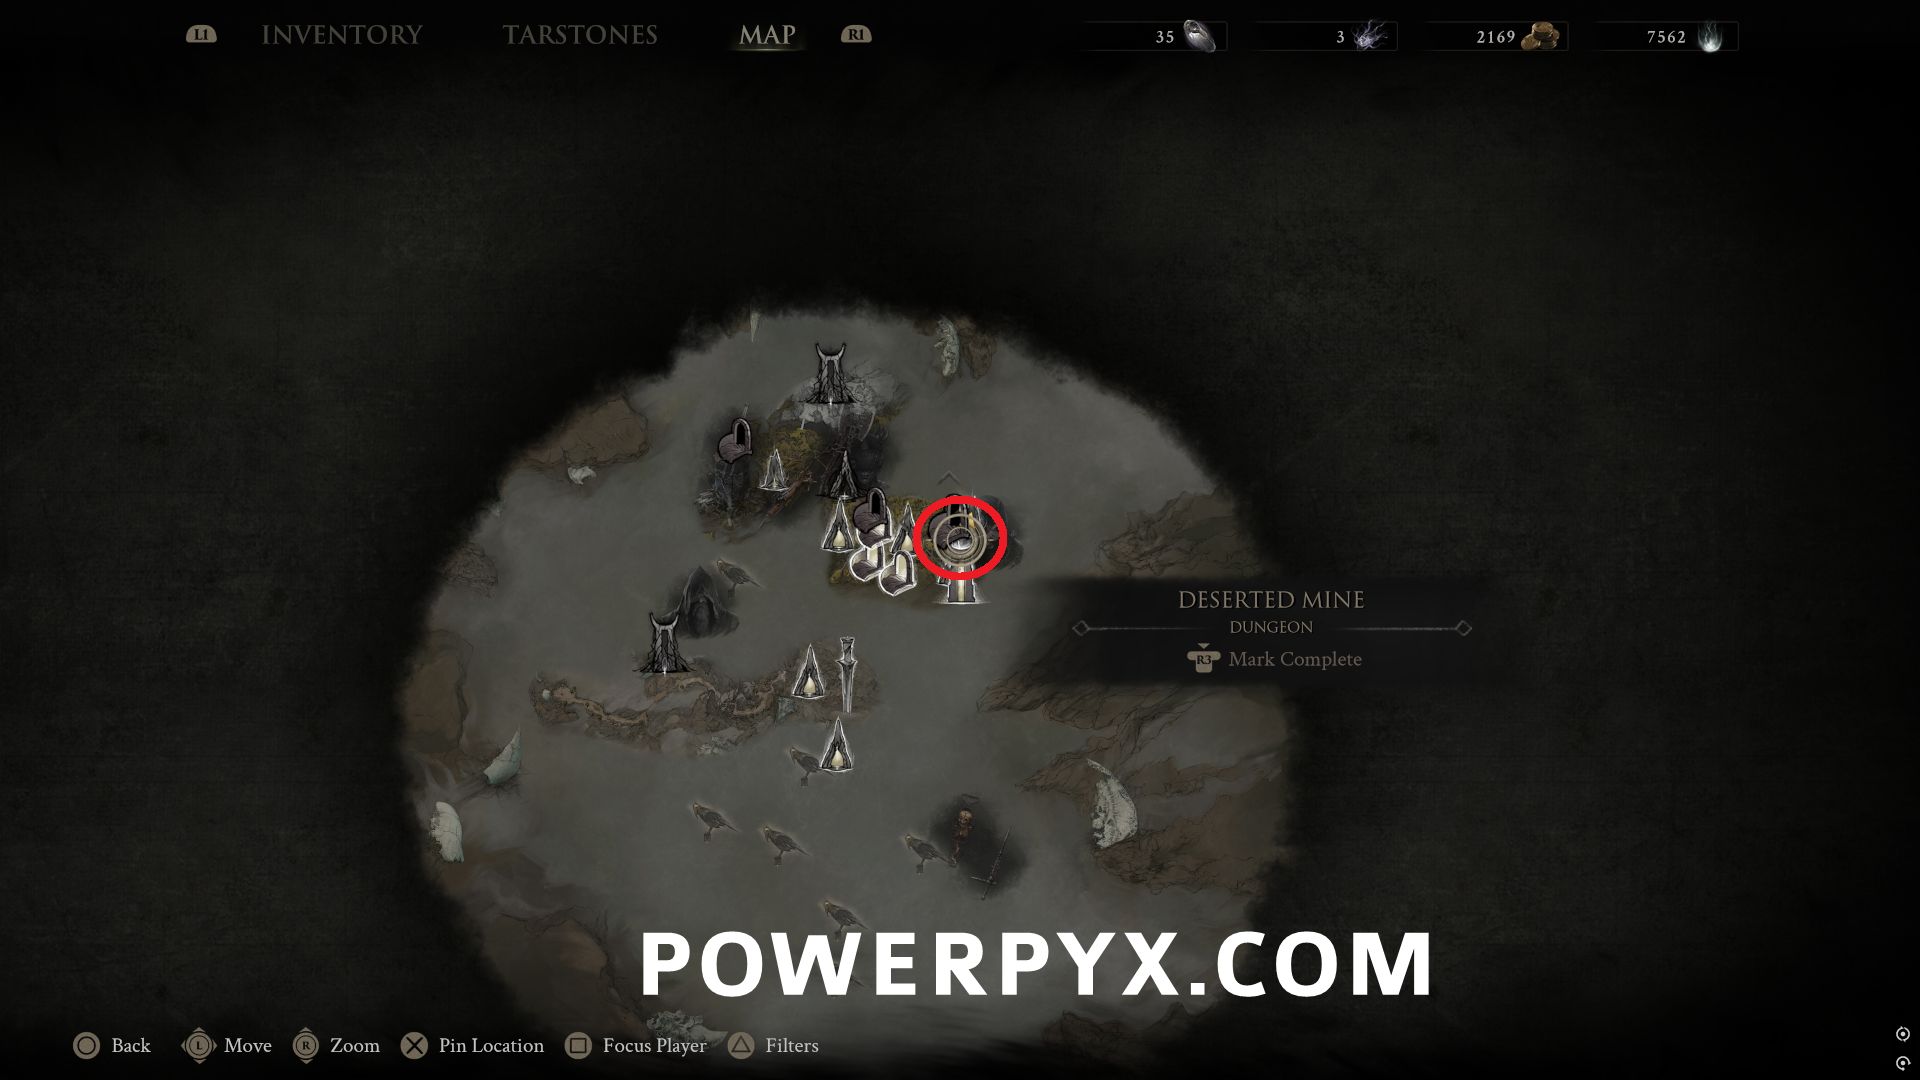
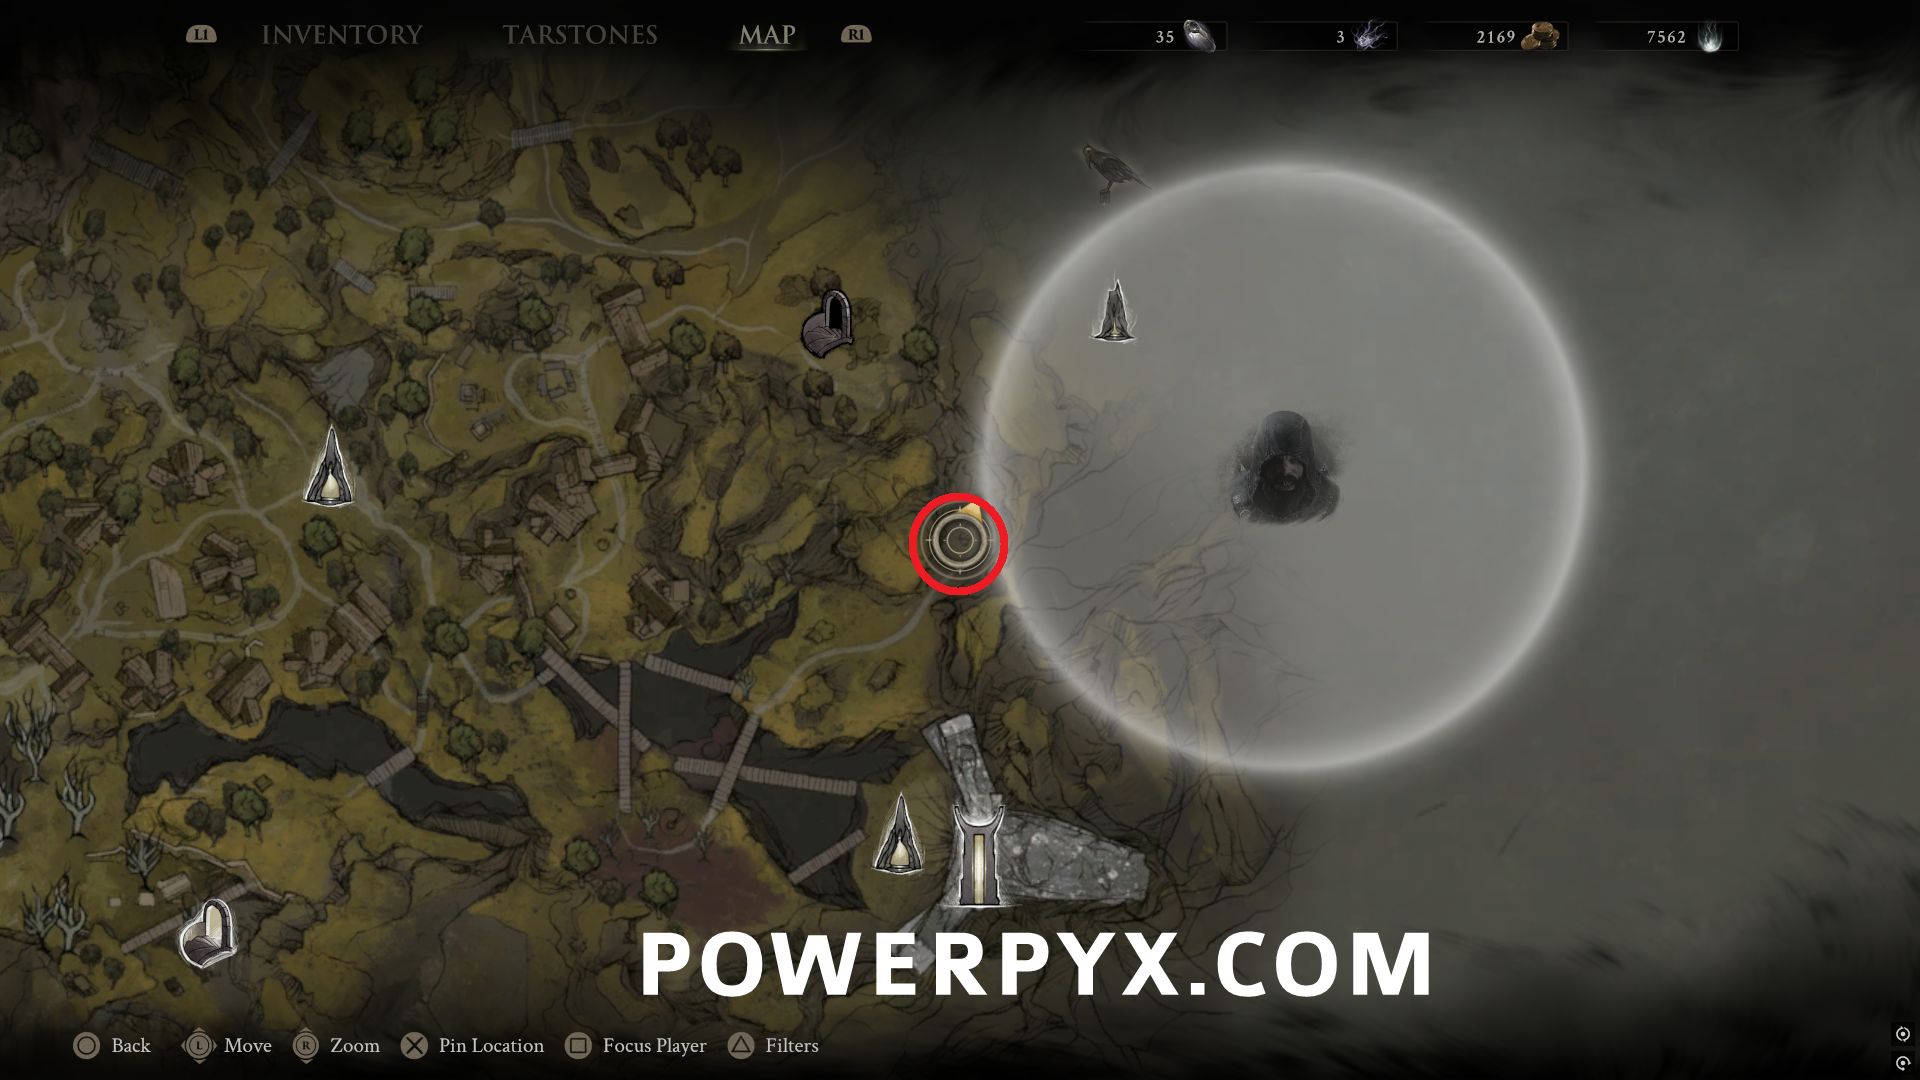
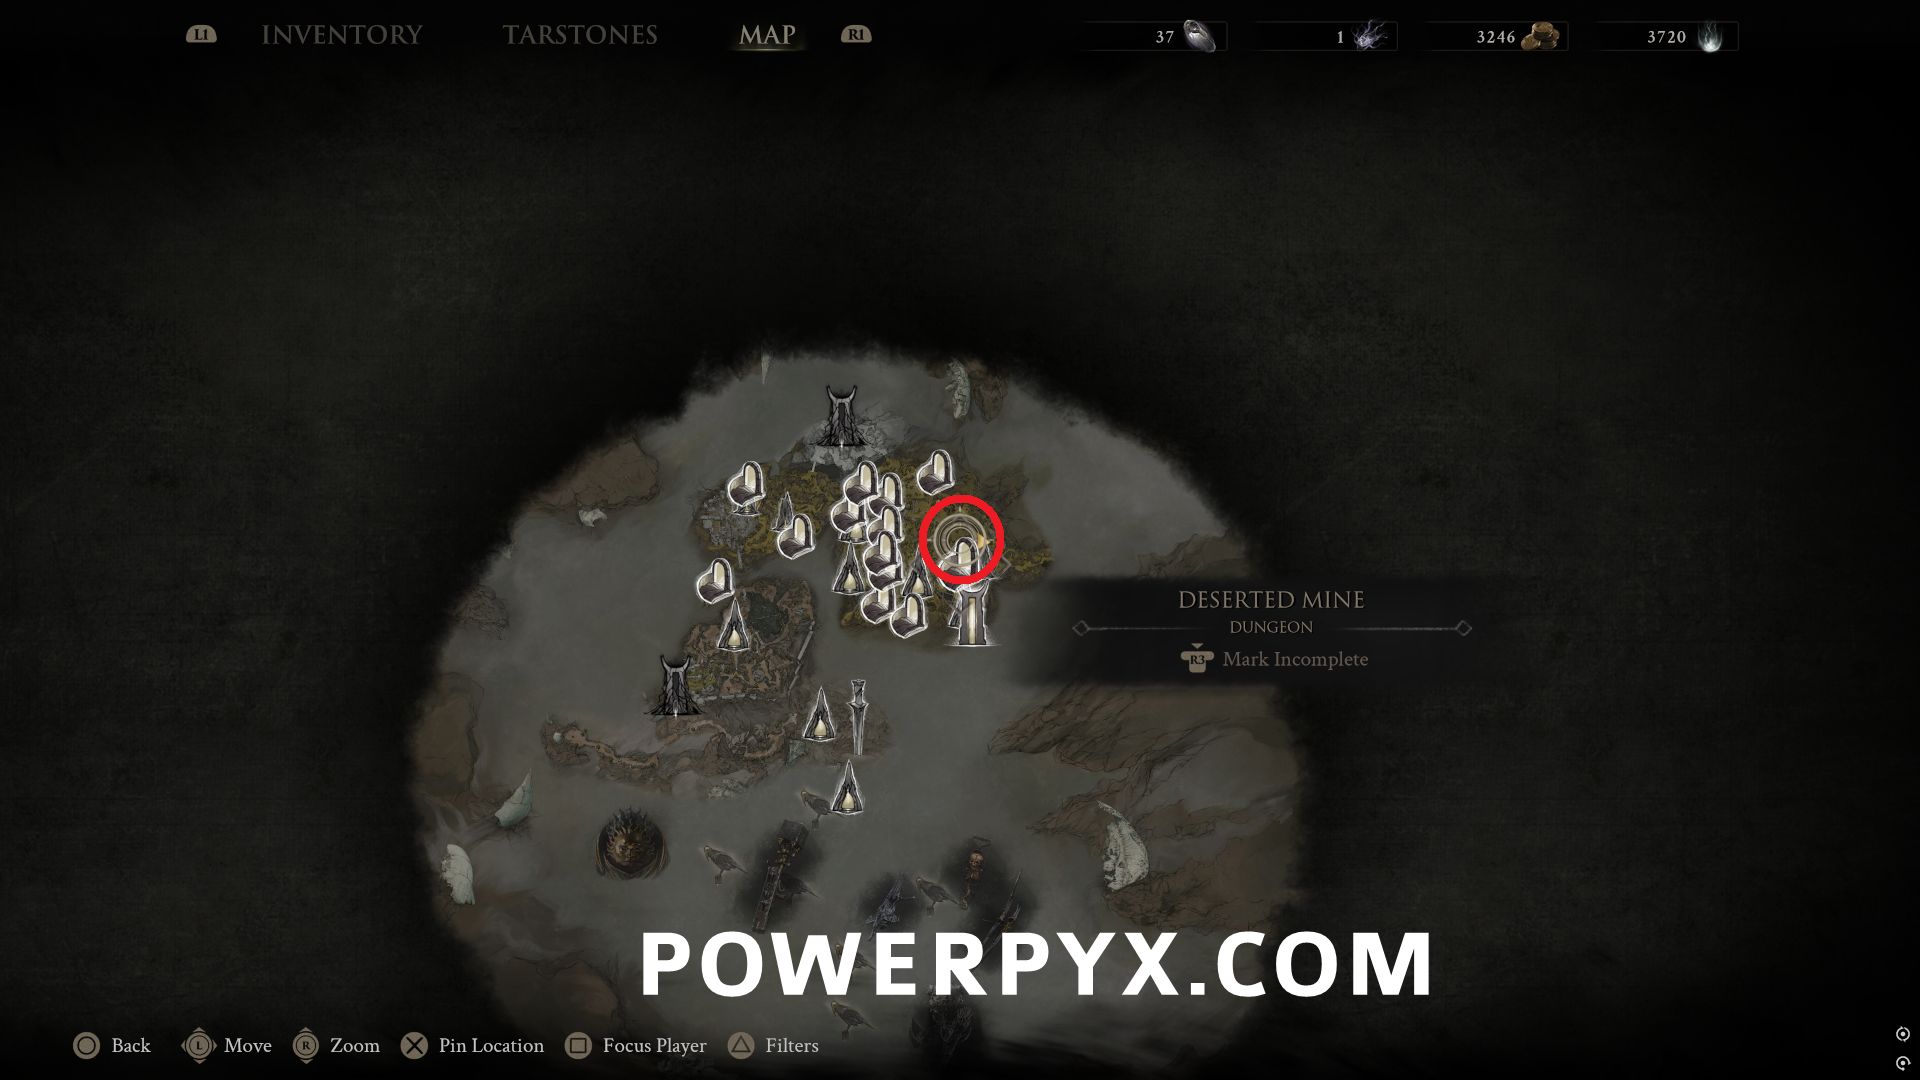
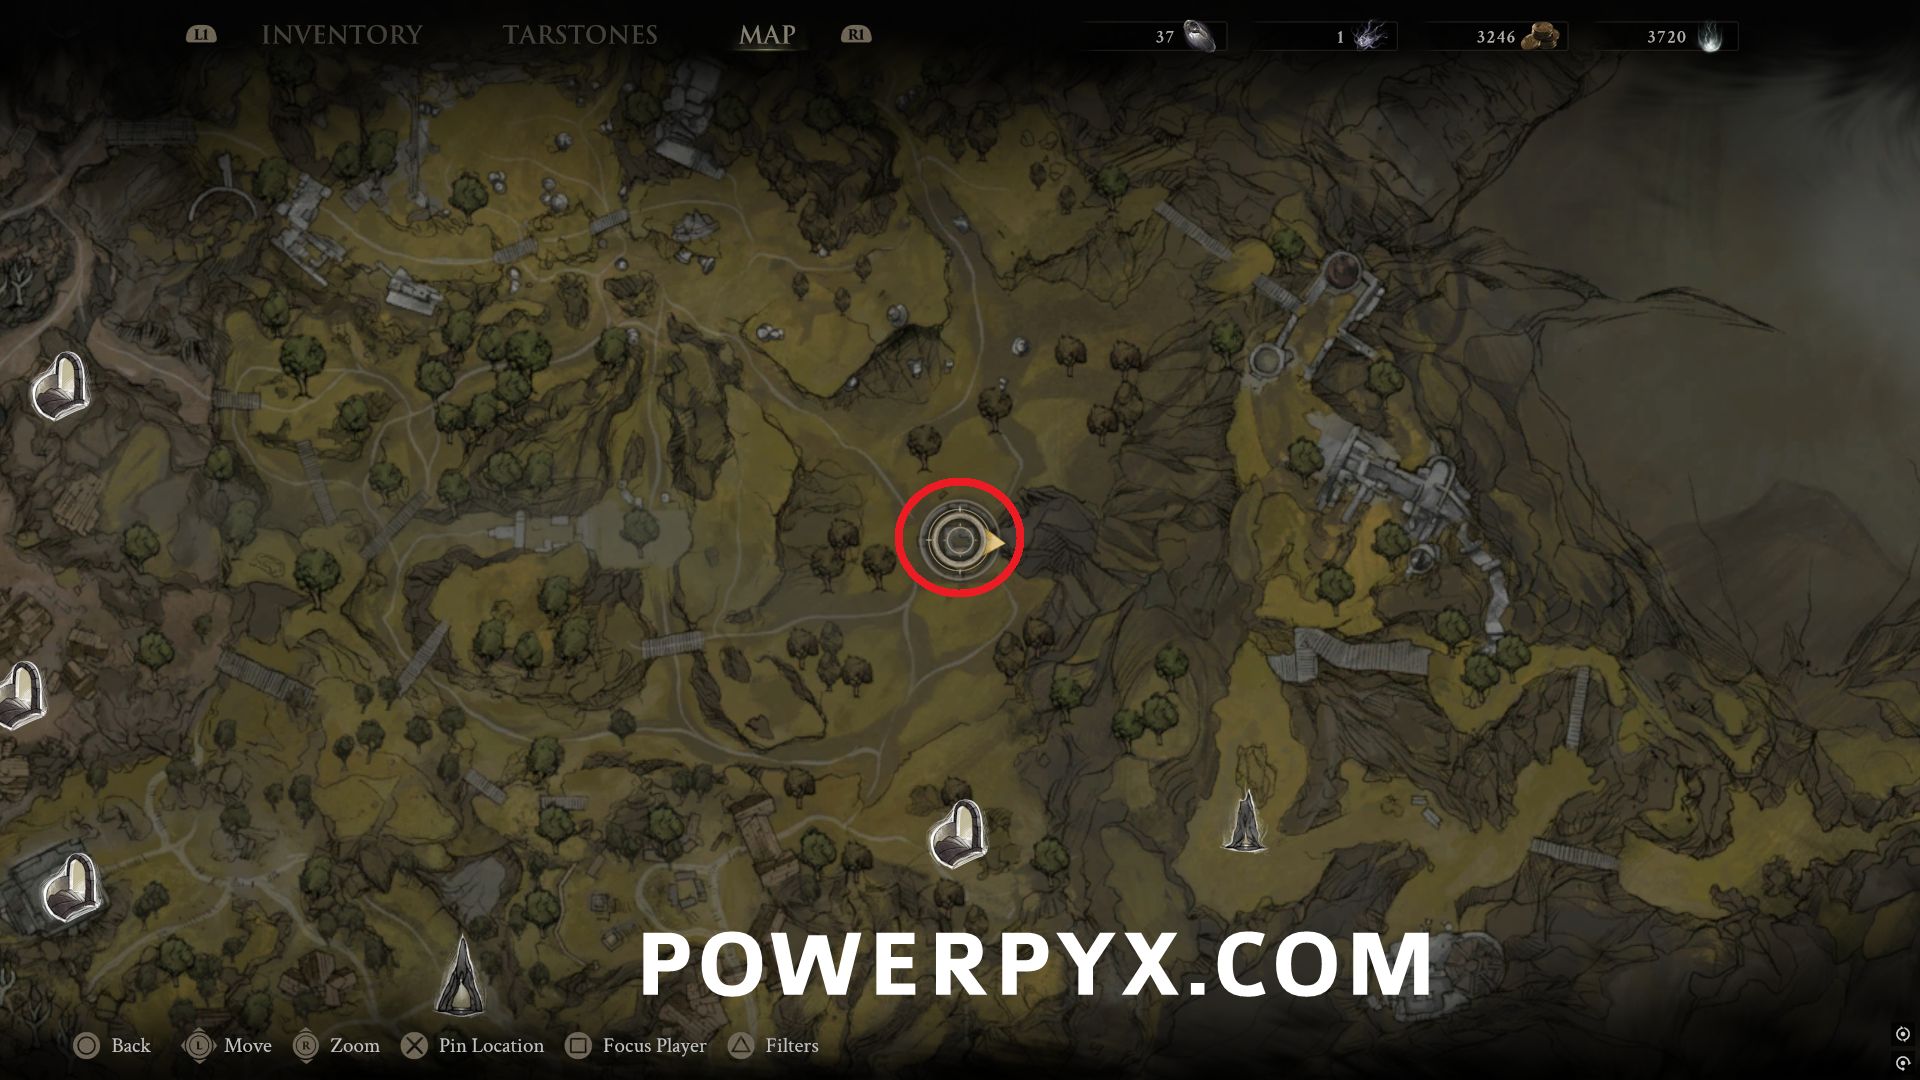
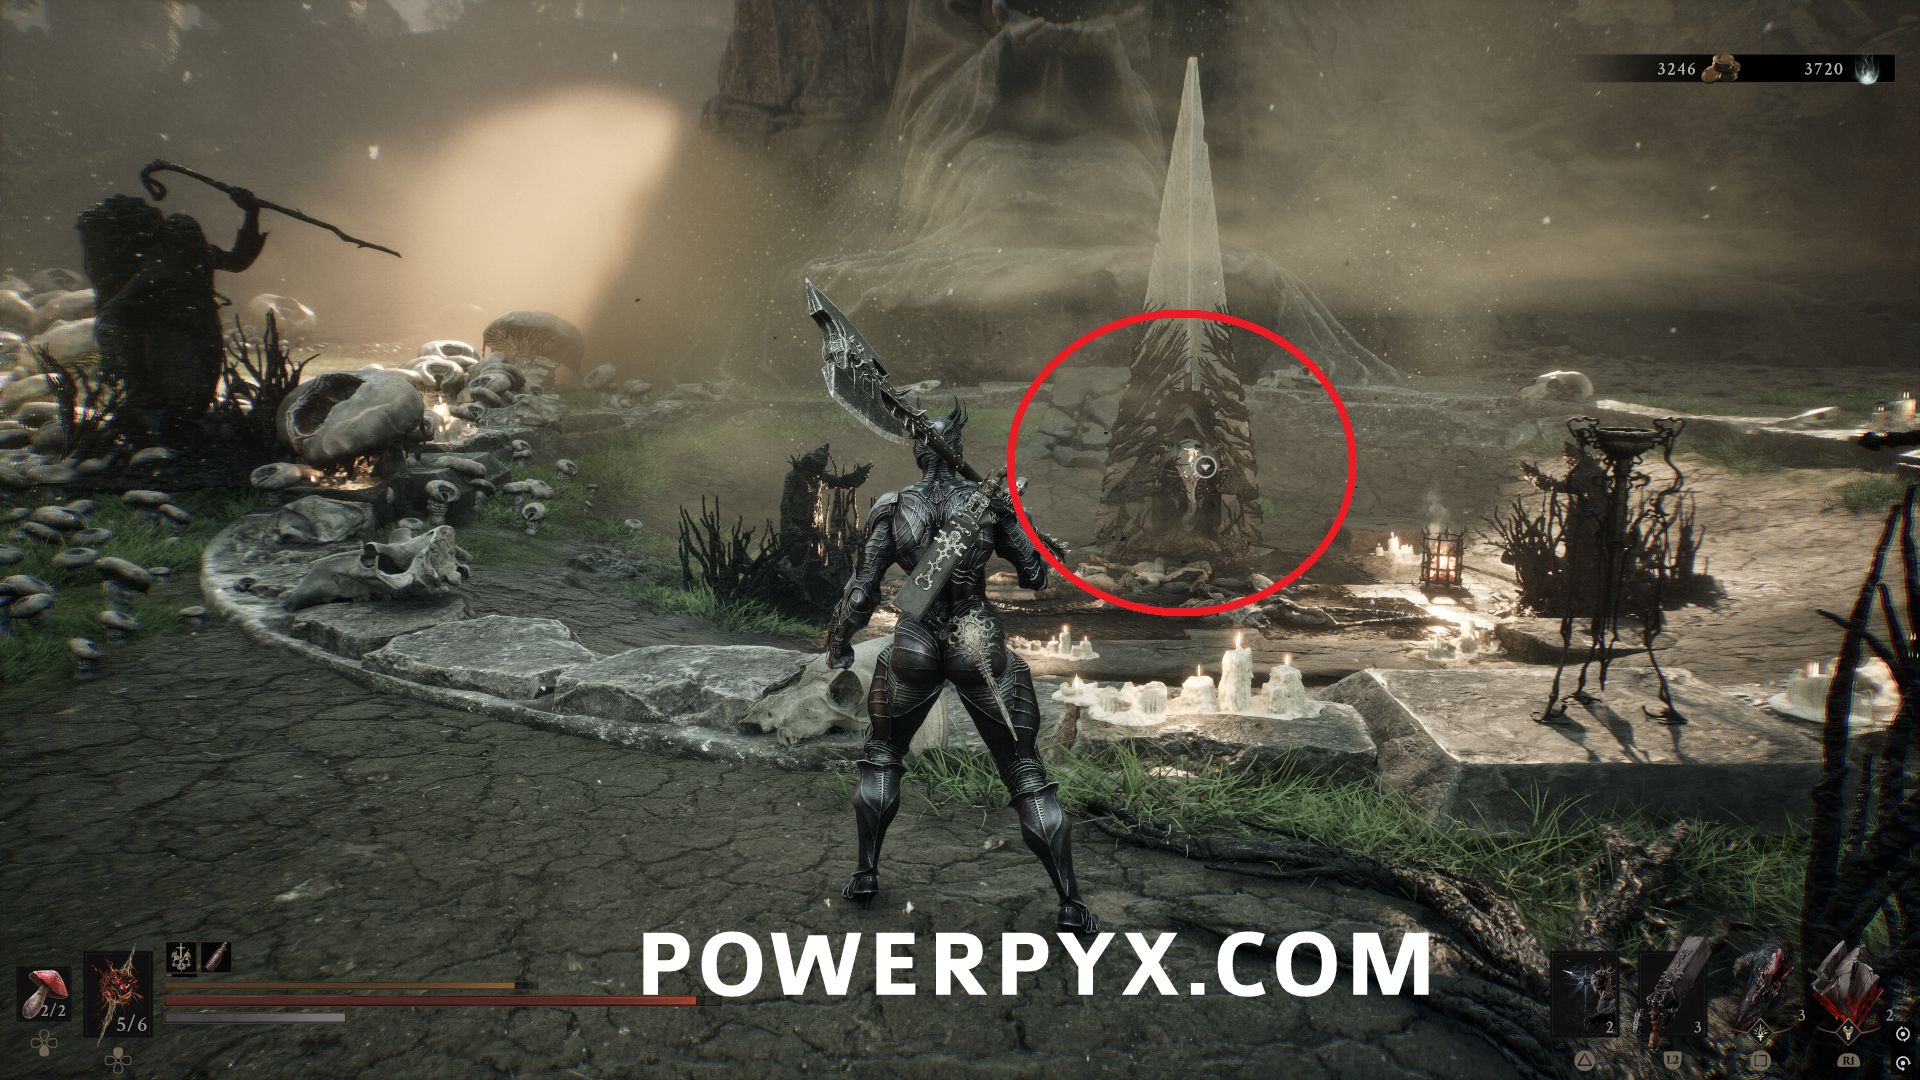
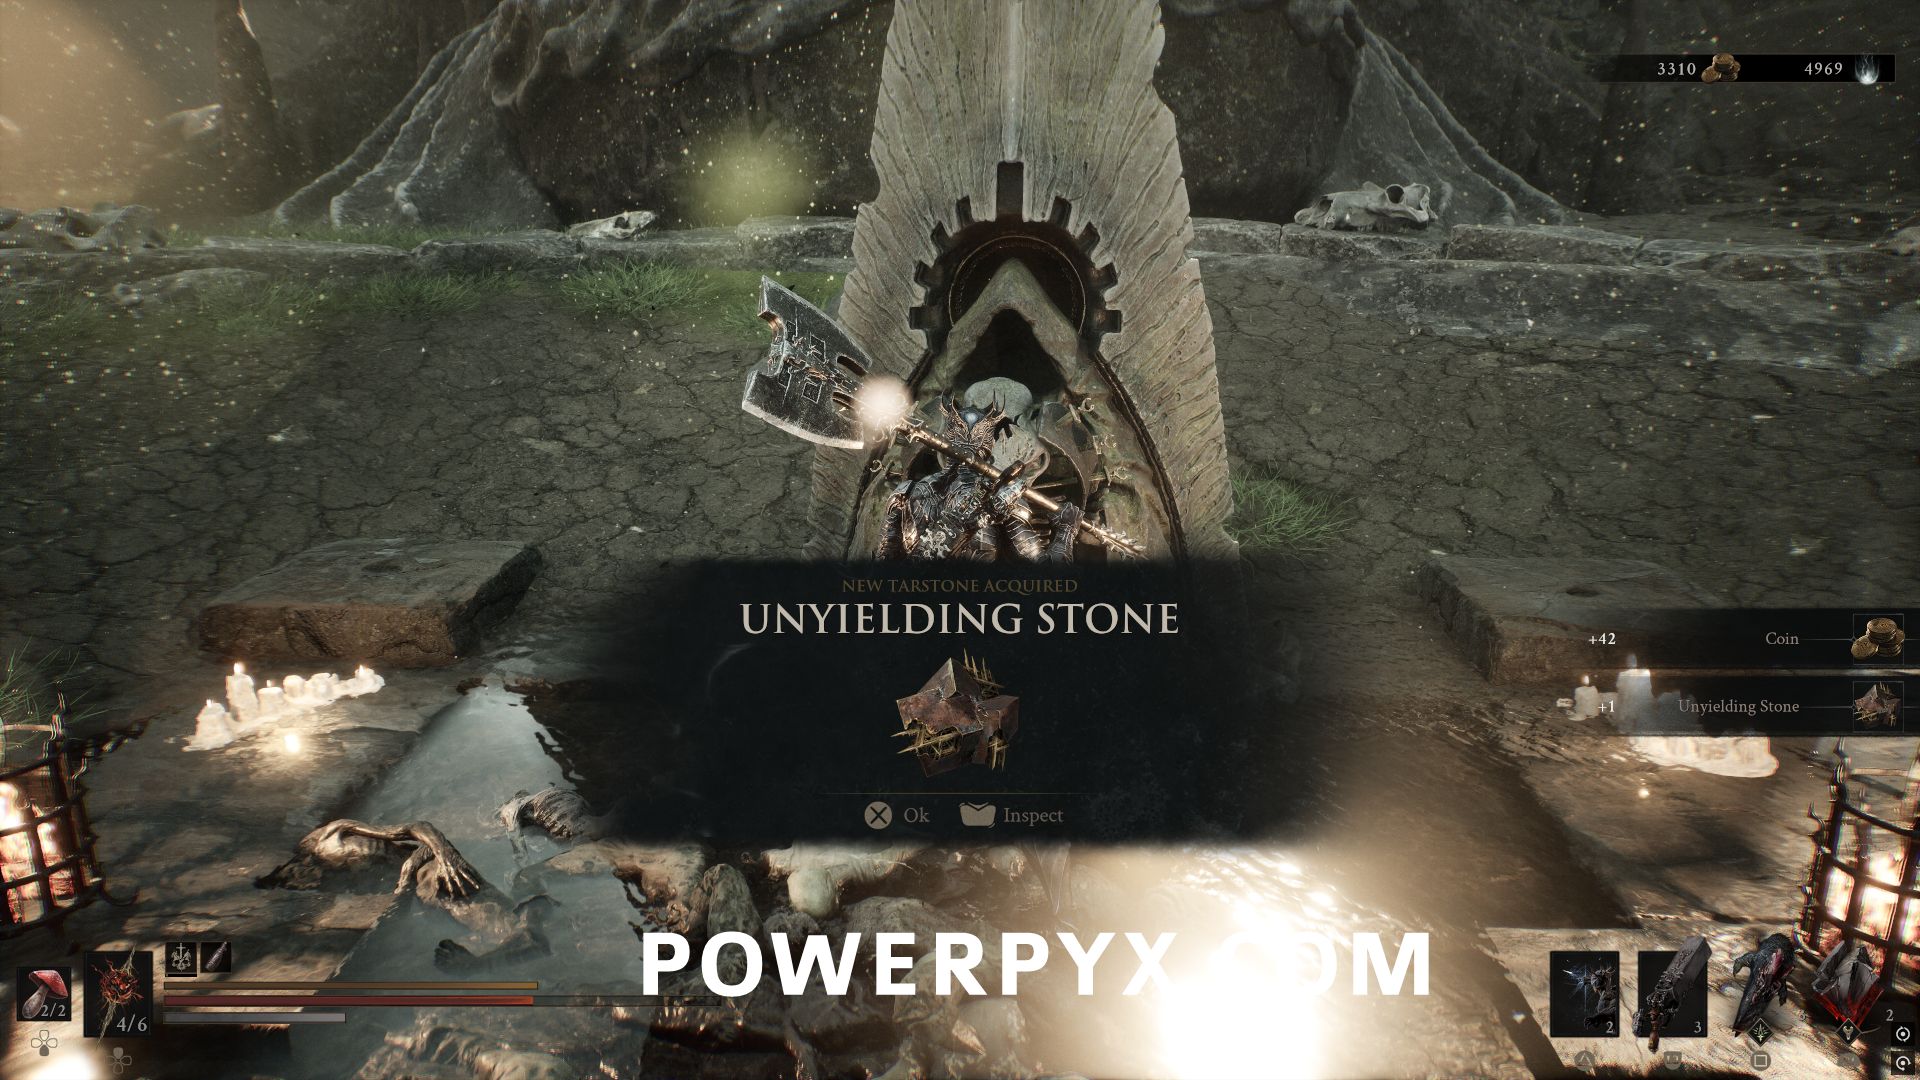
North of Deserted Mine Dungeon, in the middle of the stone circle, activate and complete the trial to obtain the Tarstone.
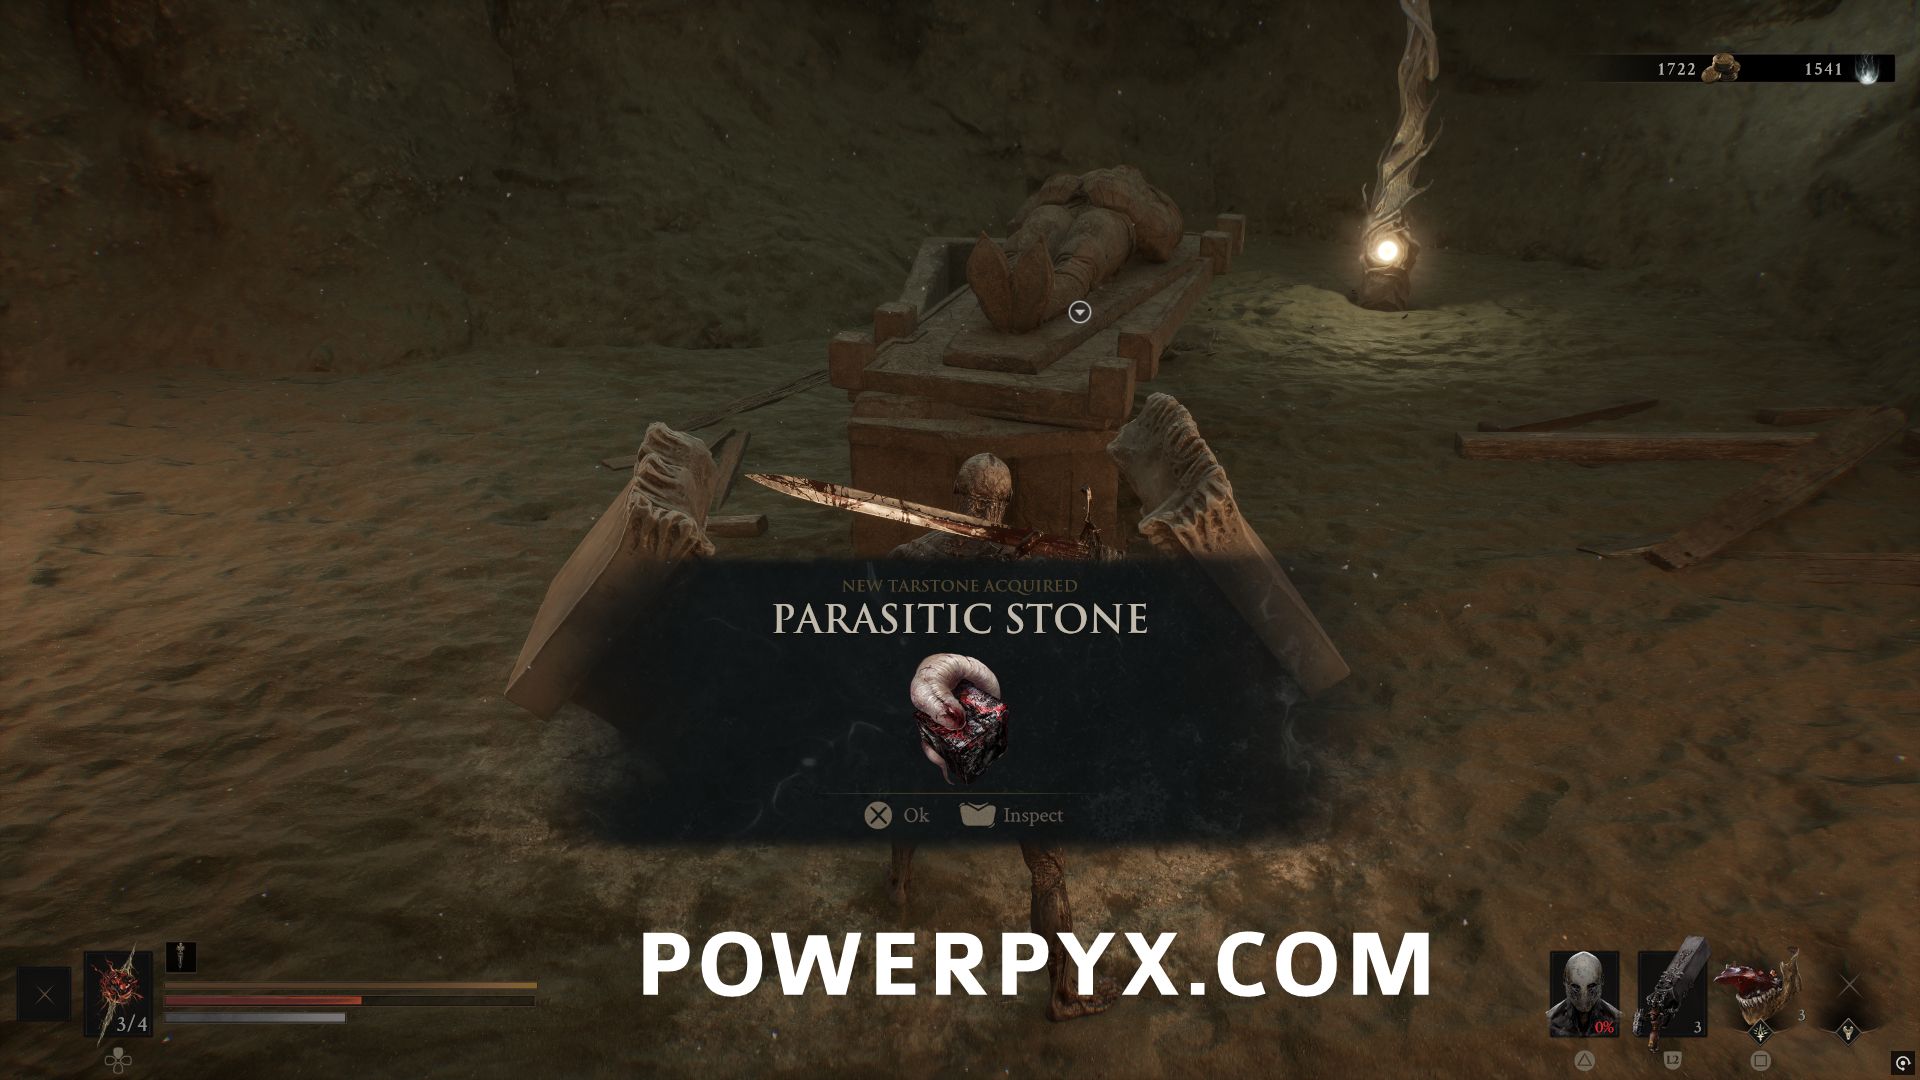
#18 – Parasitic Stone
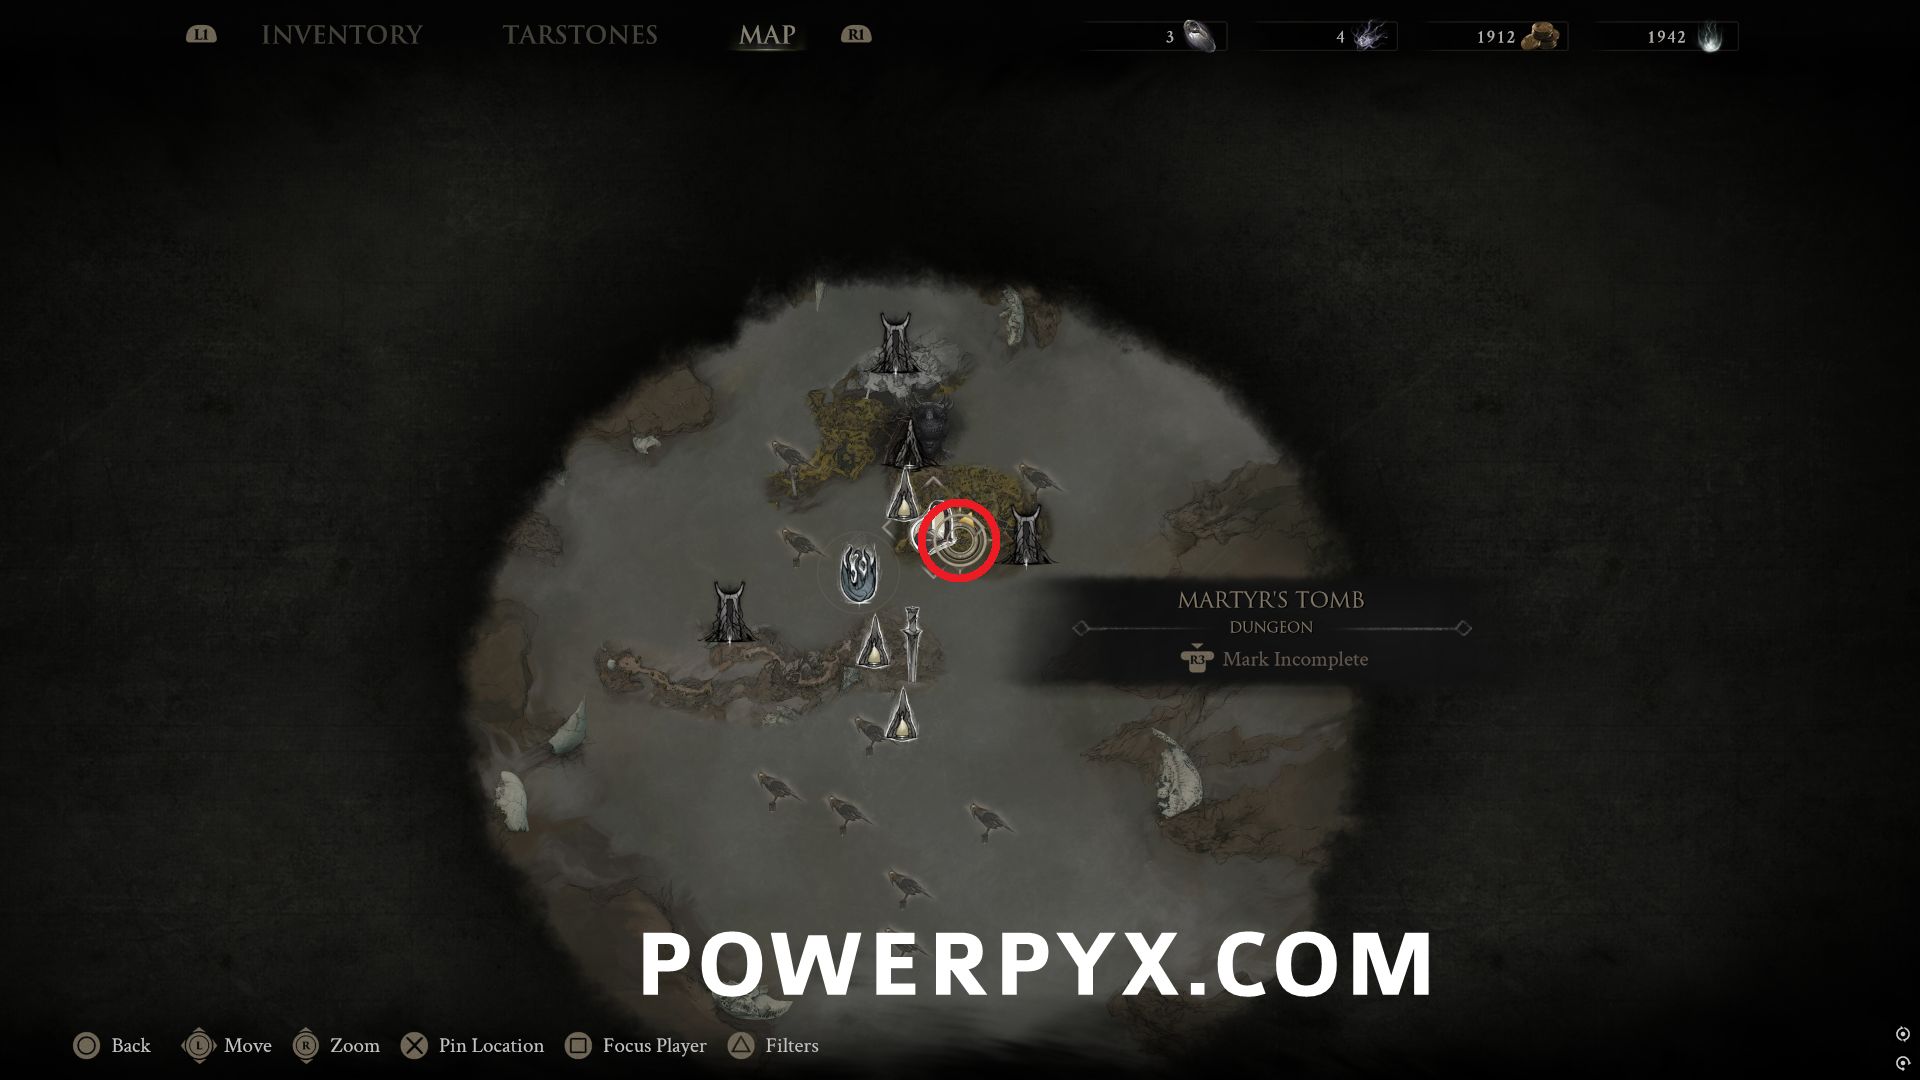
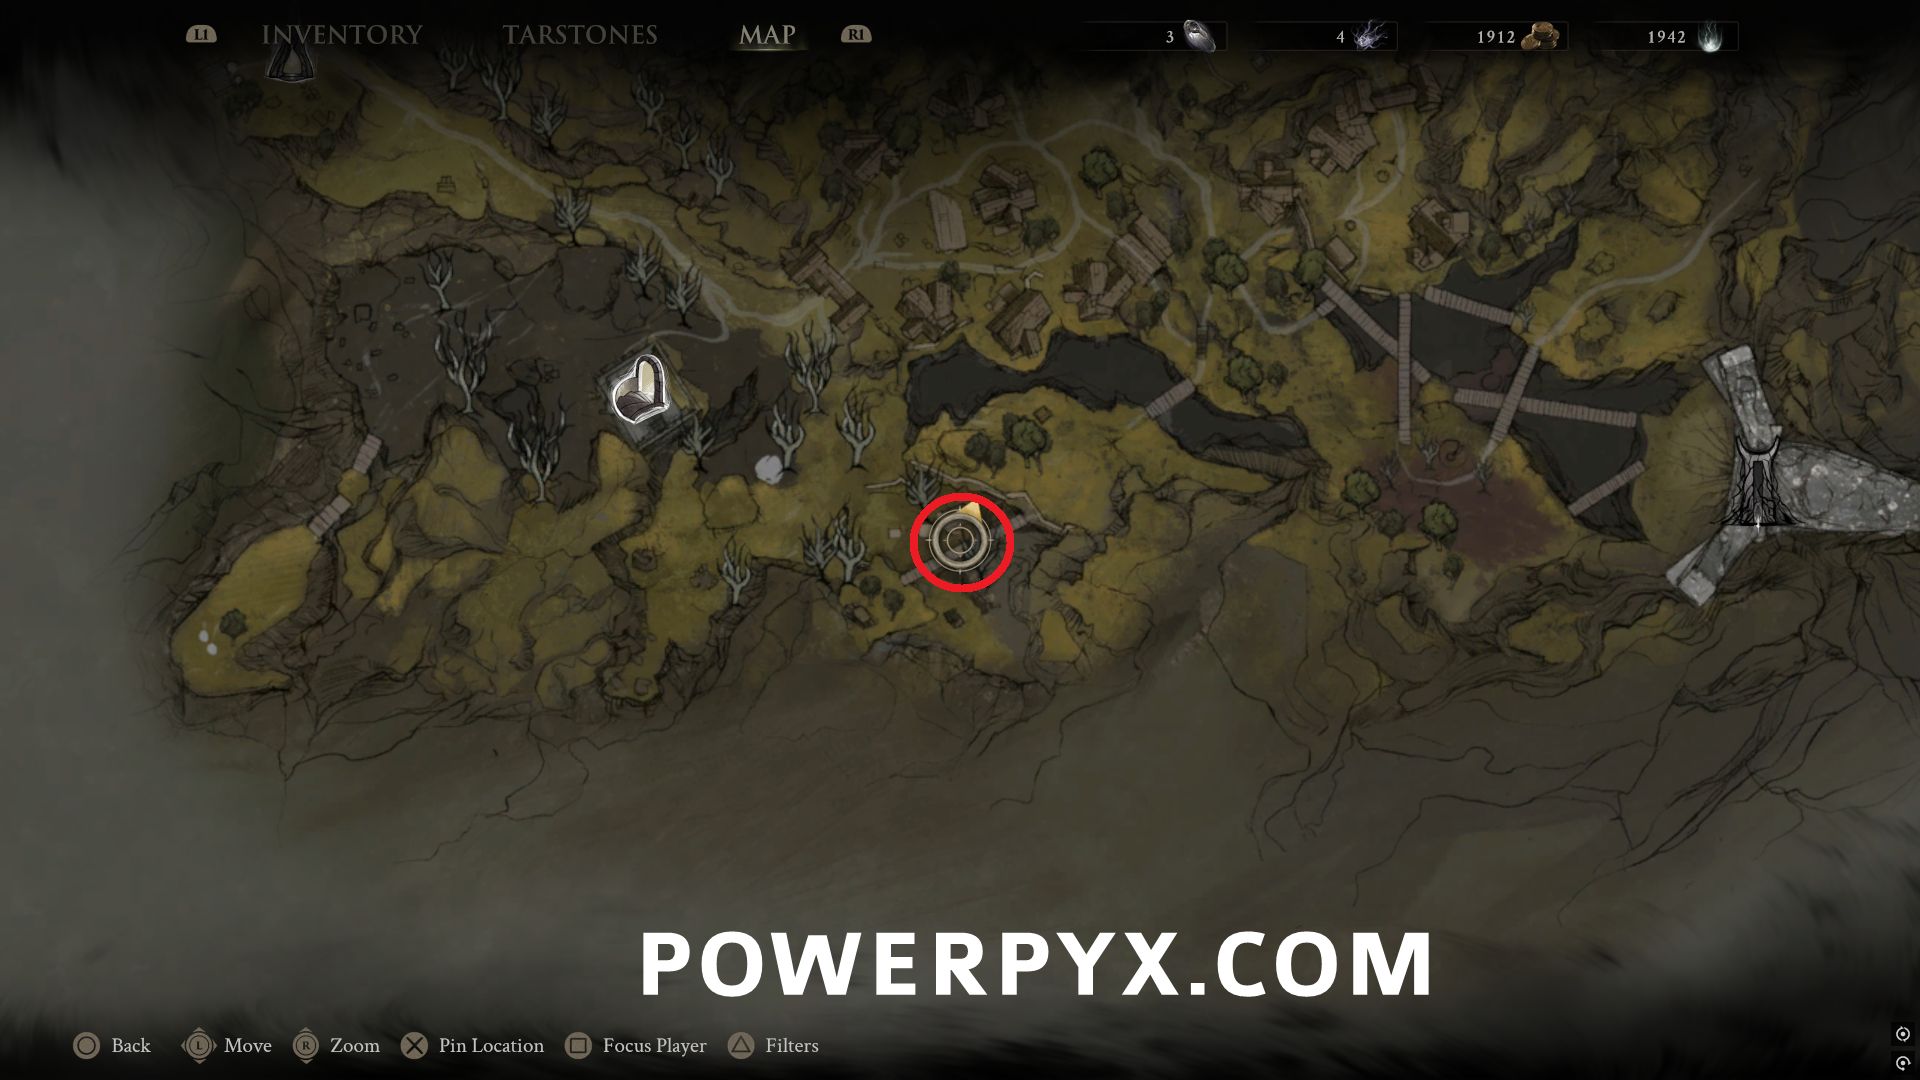
Southeast of Widow’s Overlook Beacon, go into the building to find the entrance to the Martyr’s Tomb dungeon.
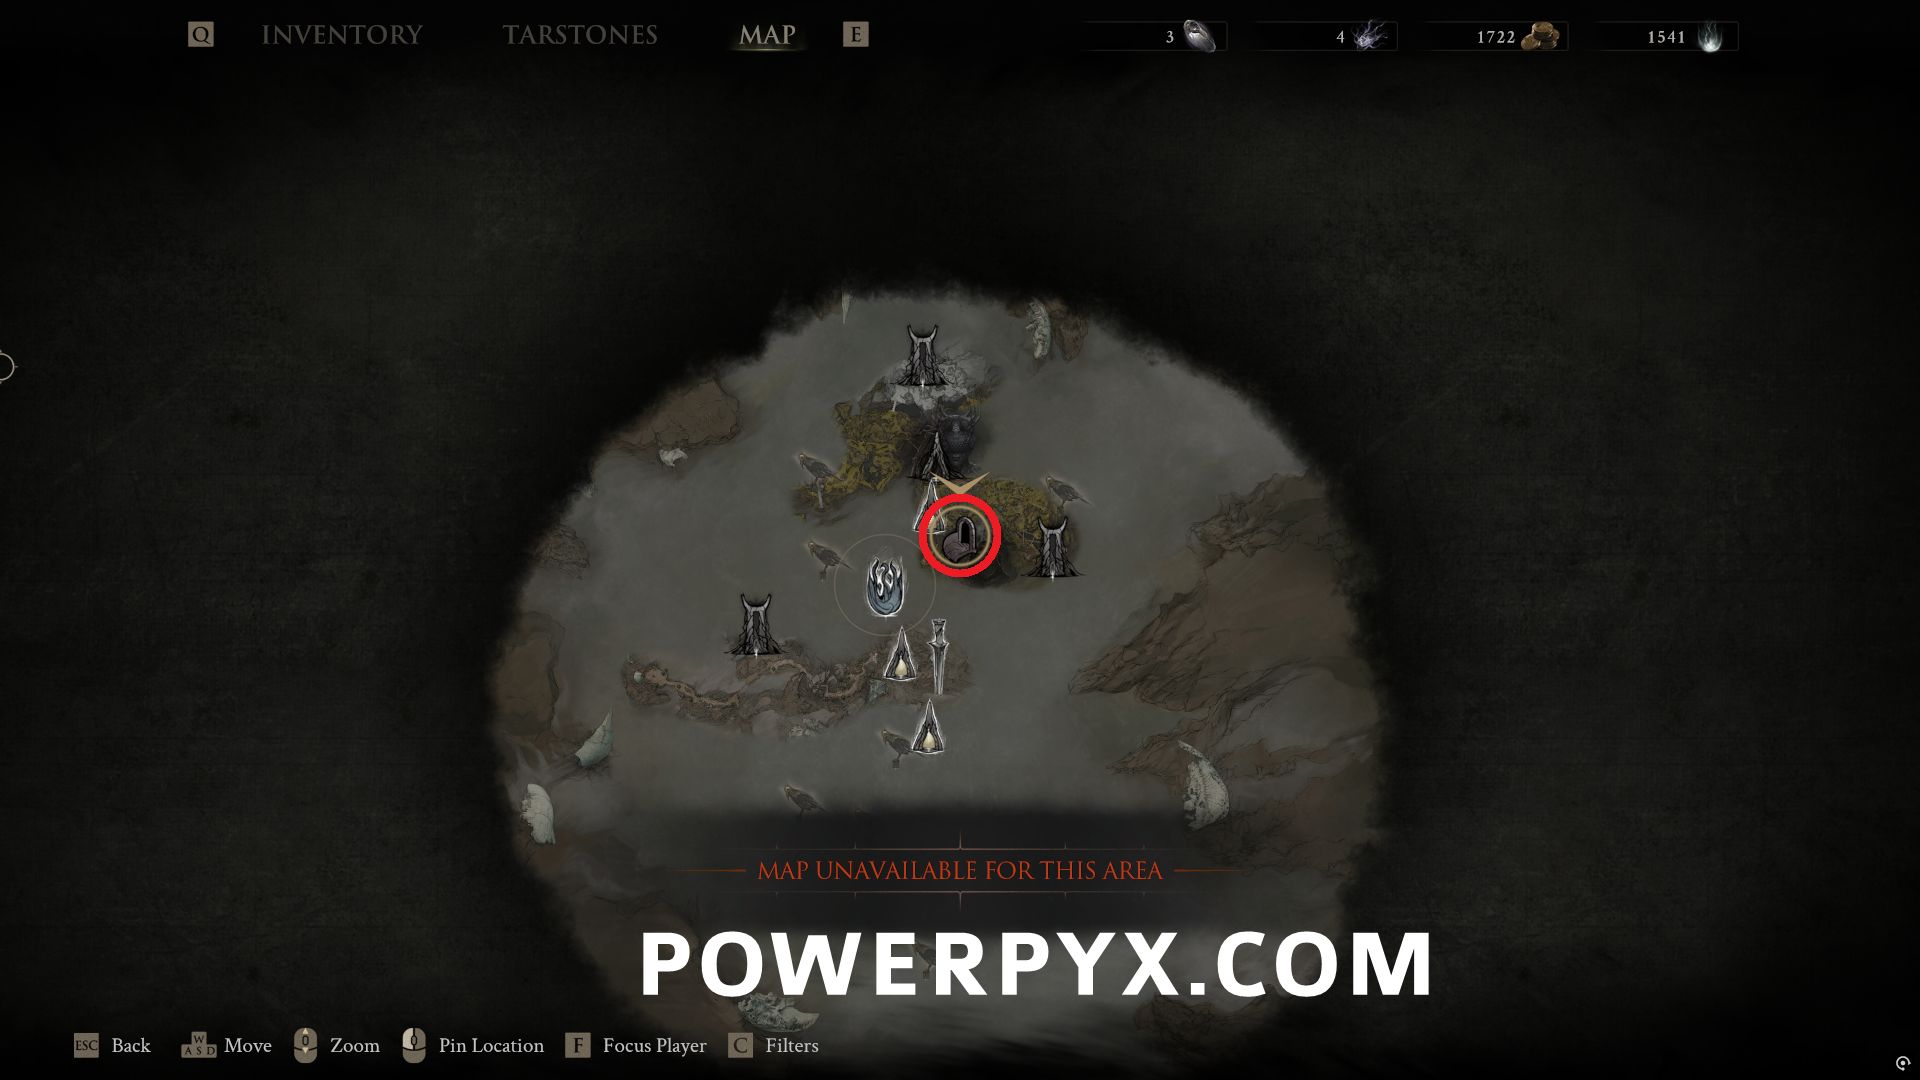
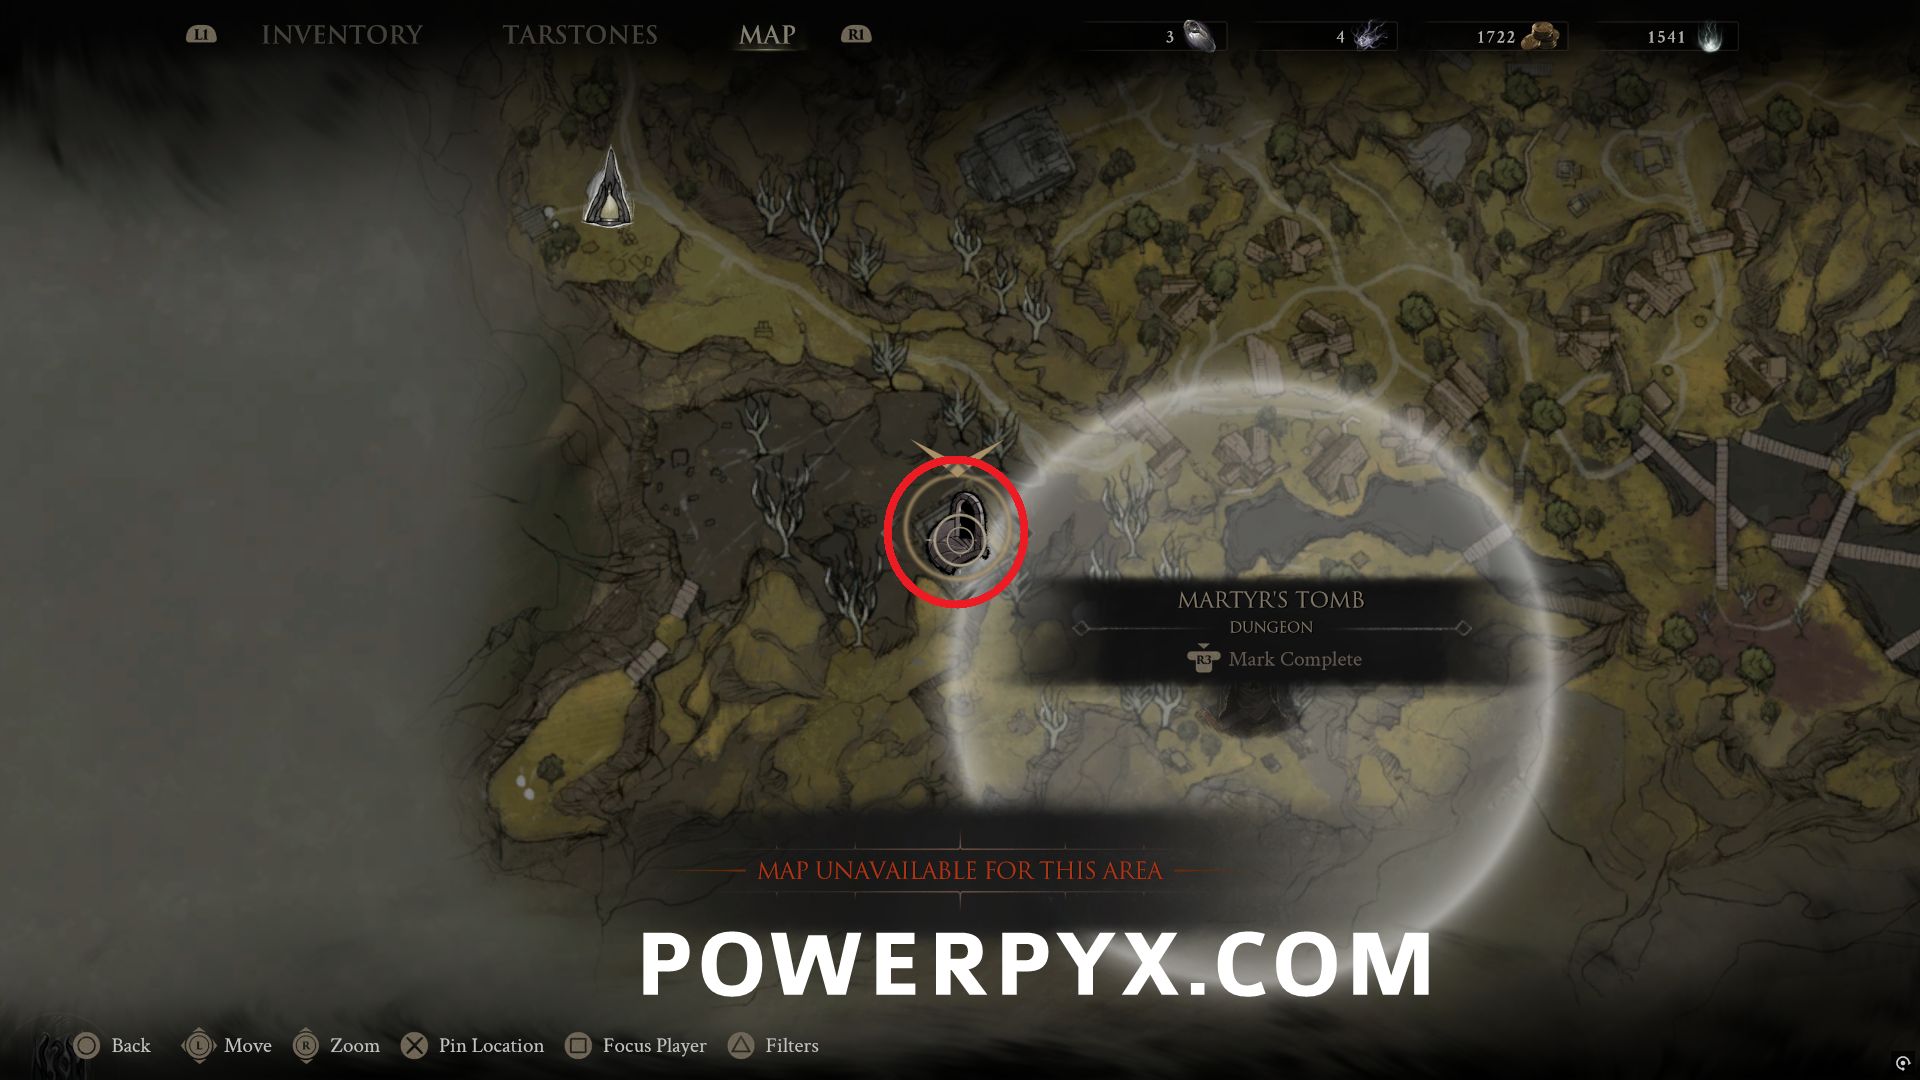
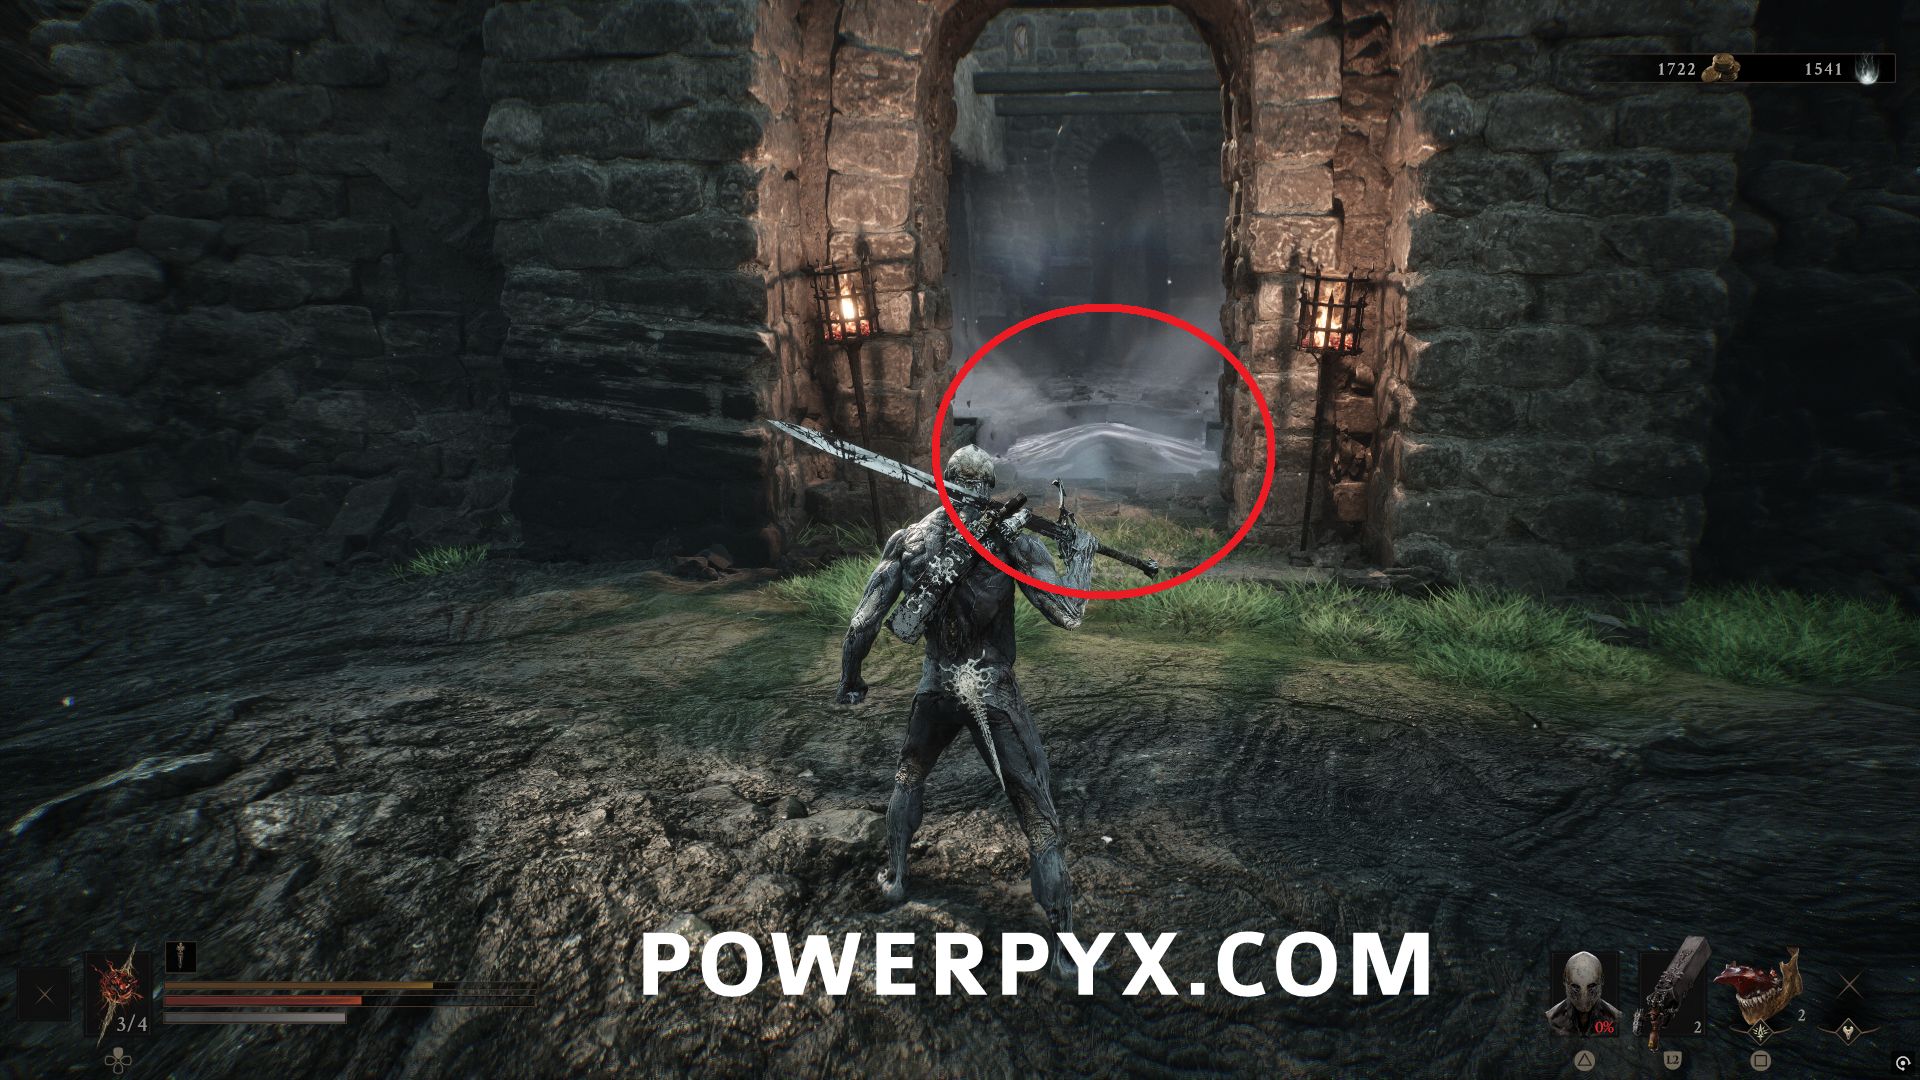
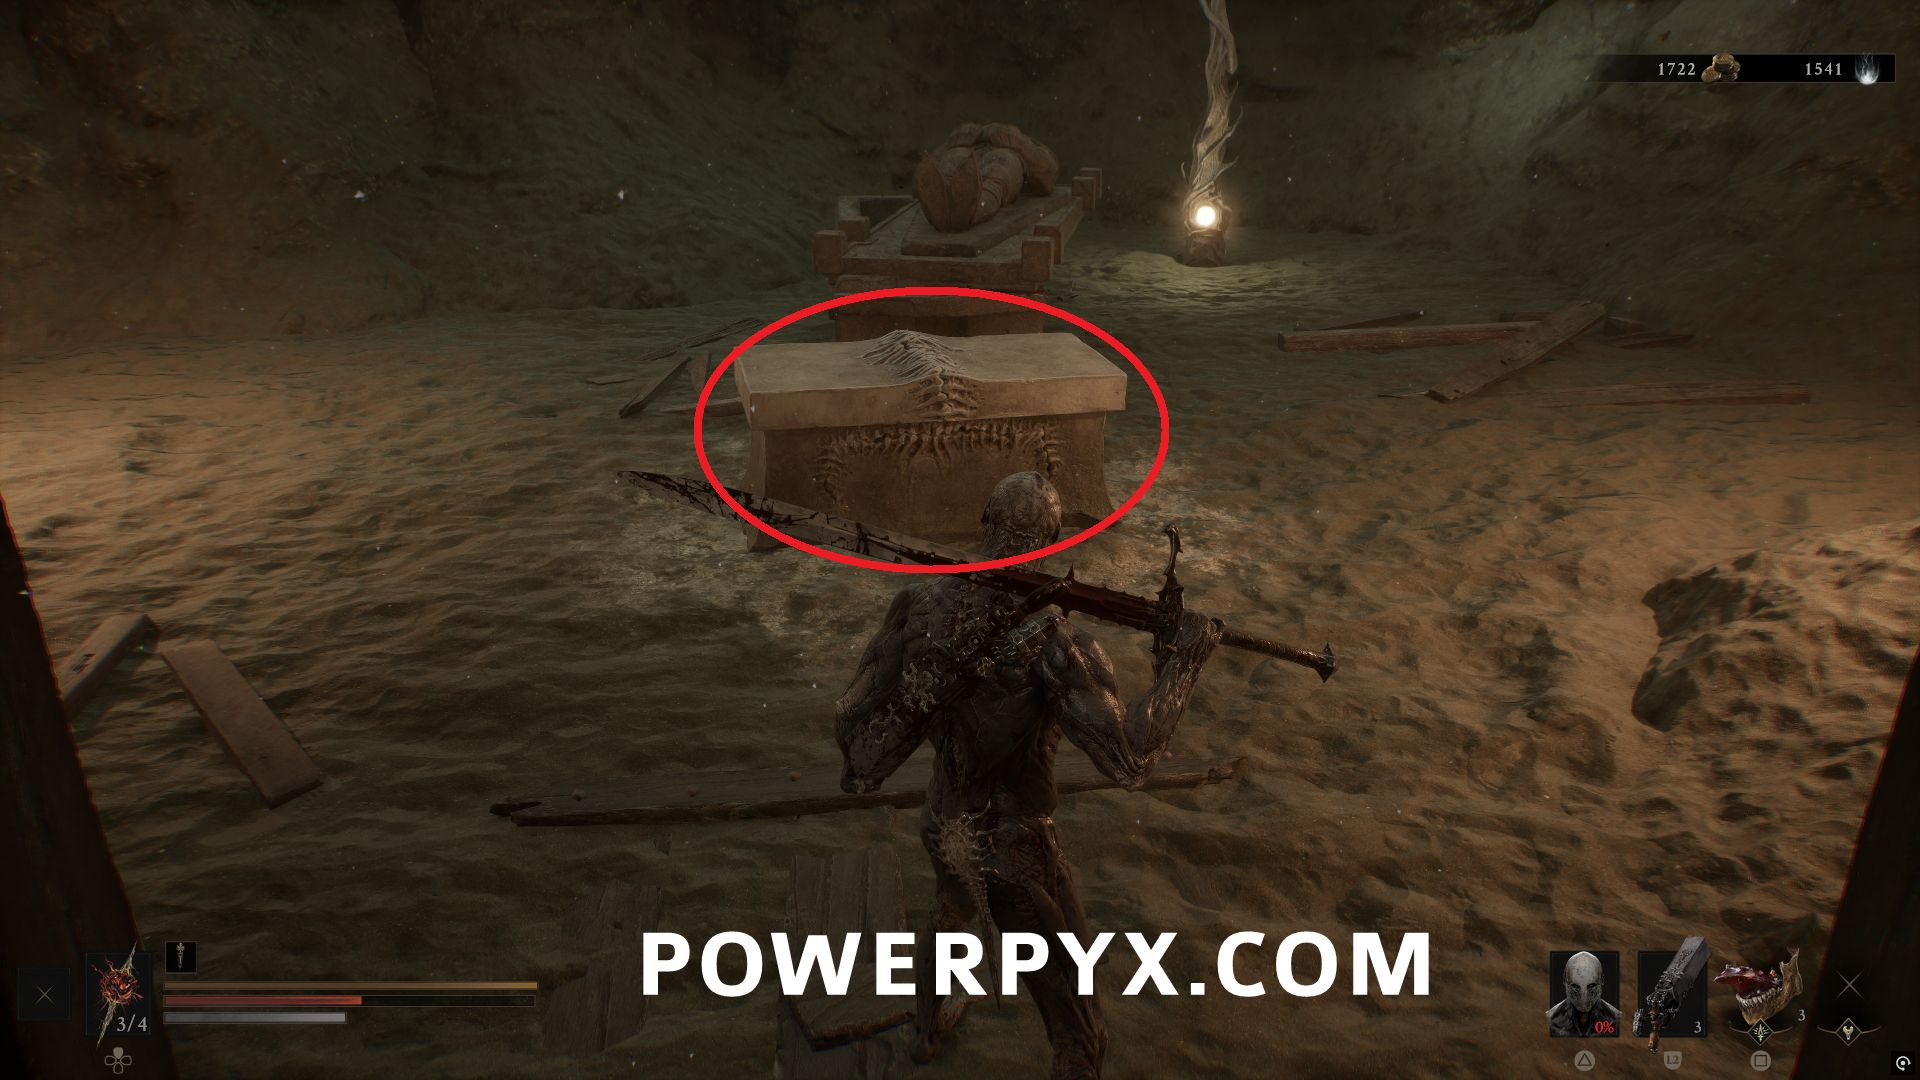
Go to the back room and loot the chest to obtain the Tarstone.
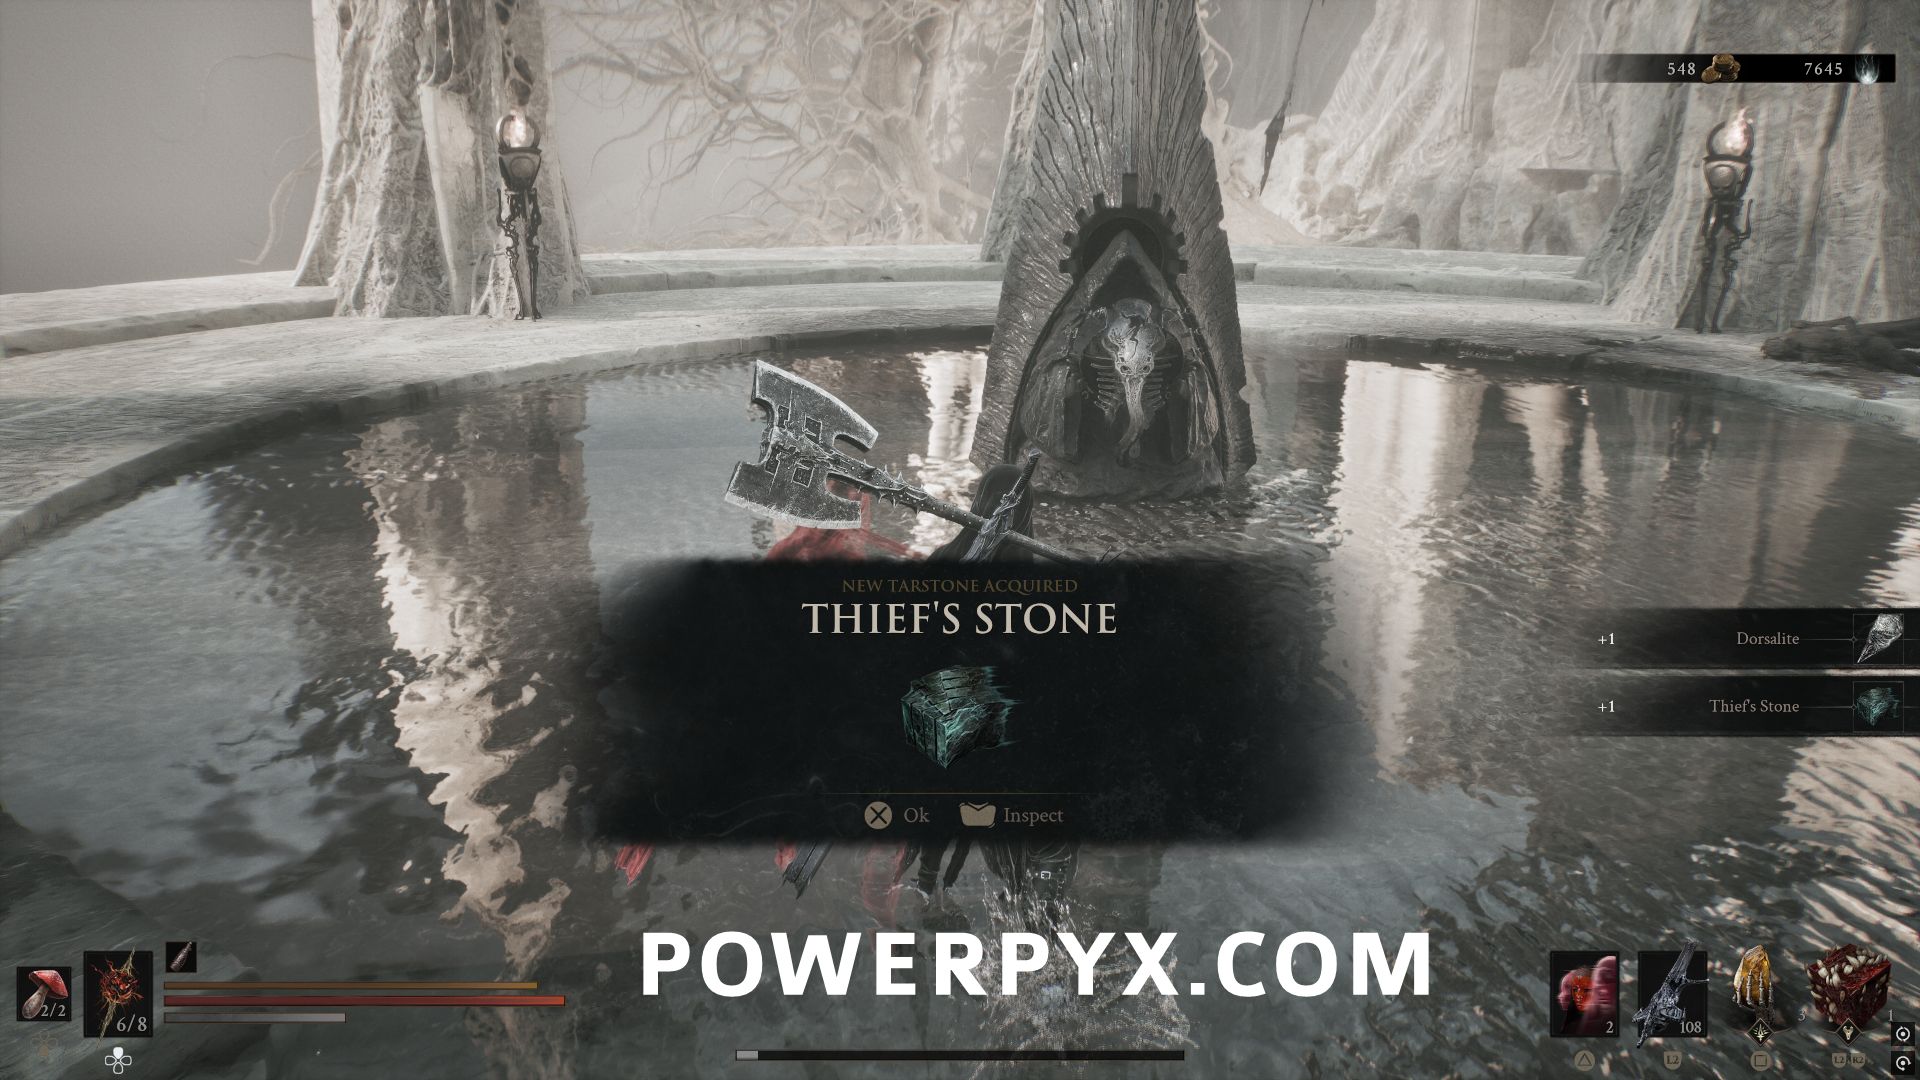
#19 – Thief’s Stone
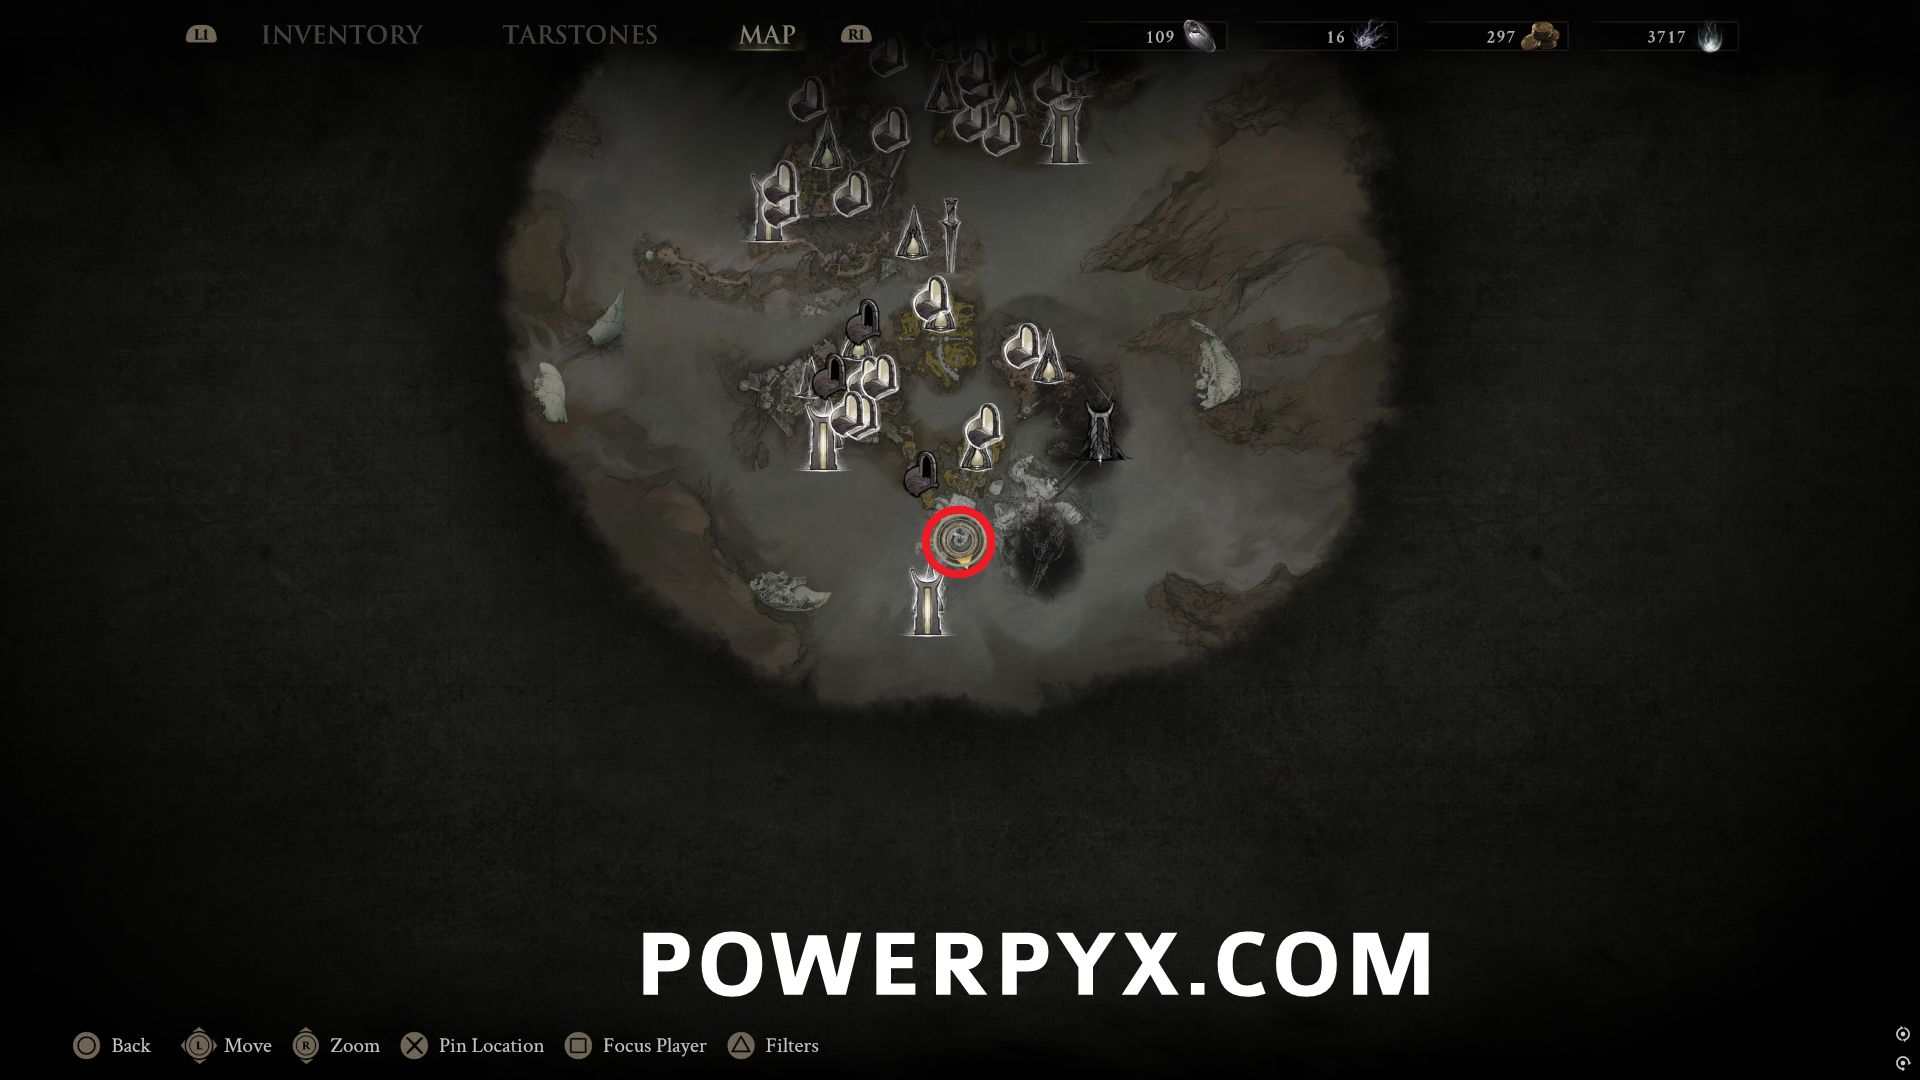
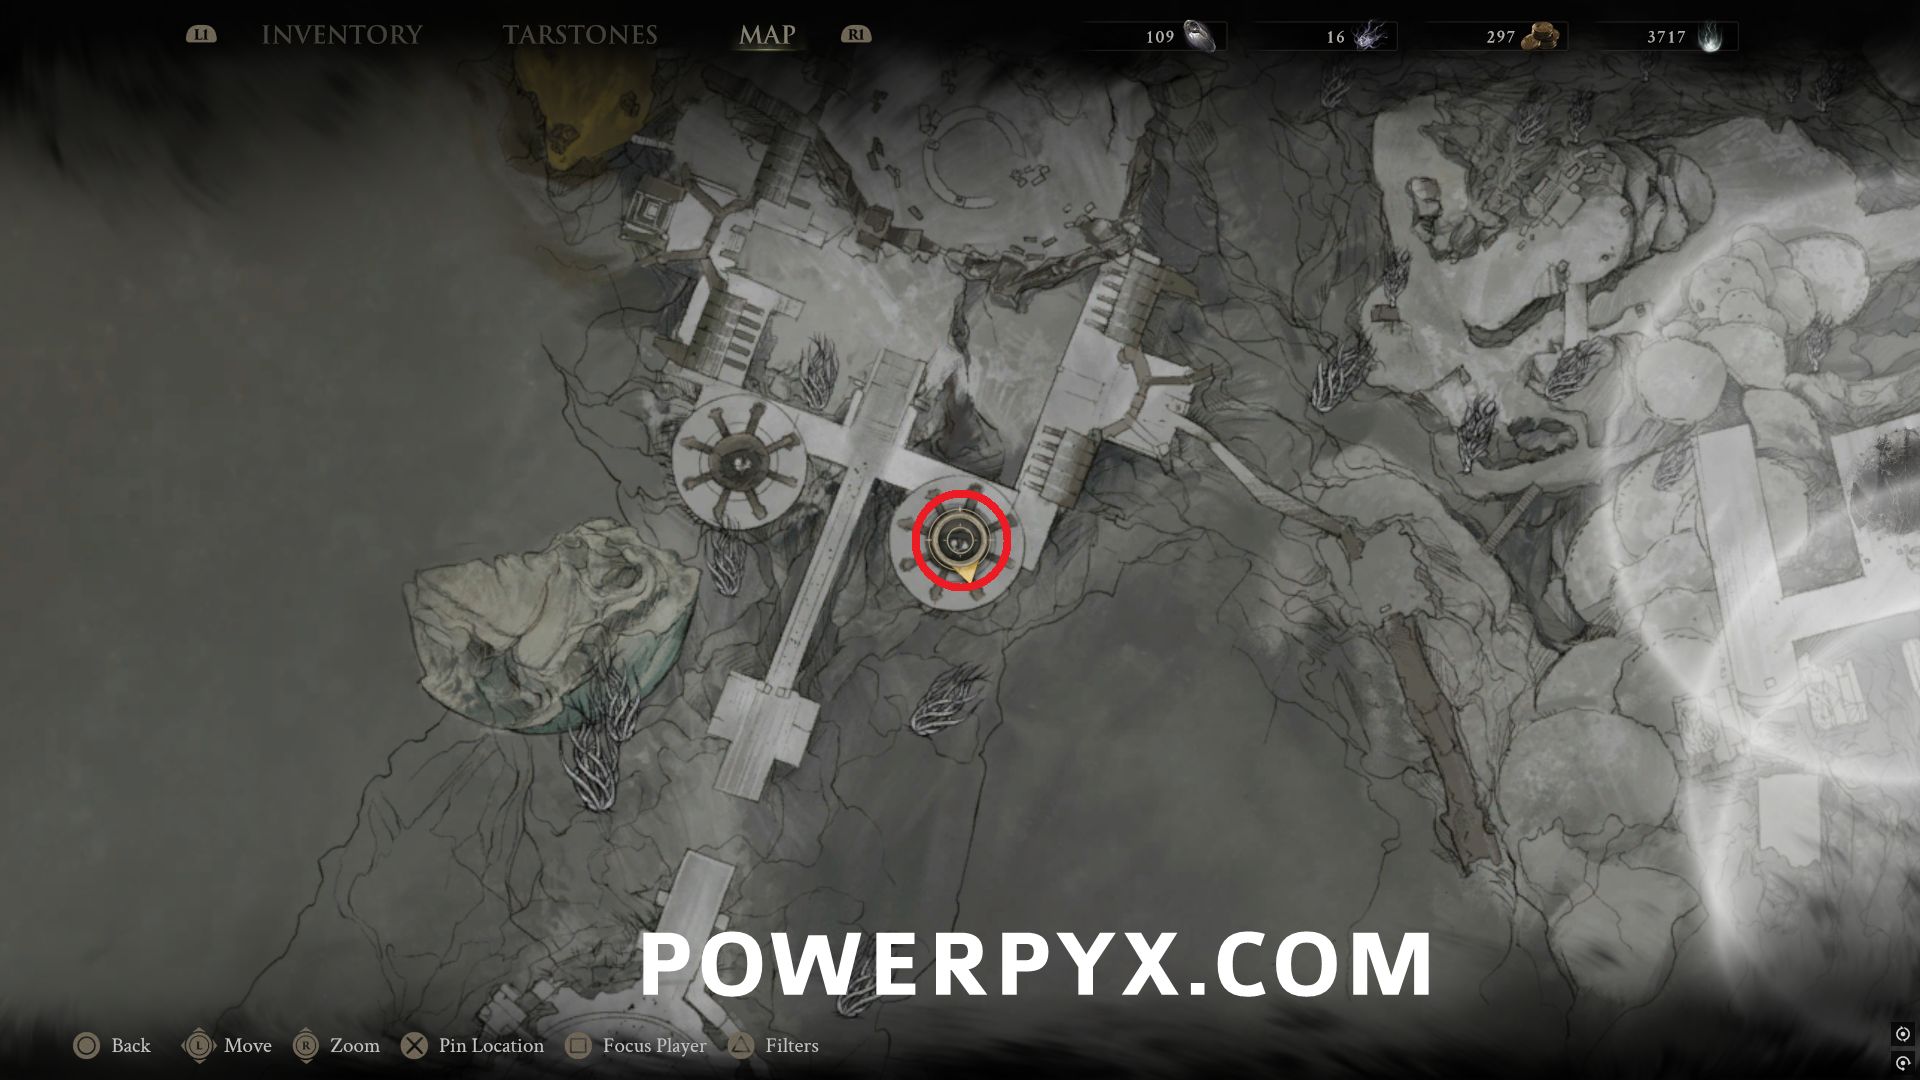
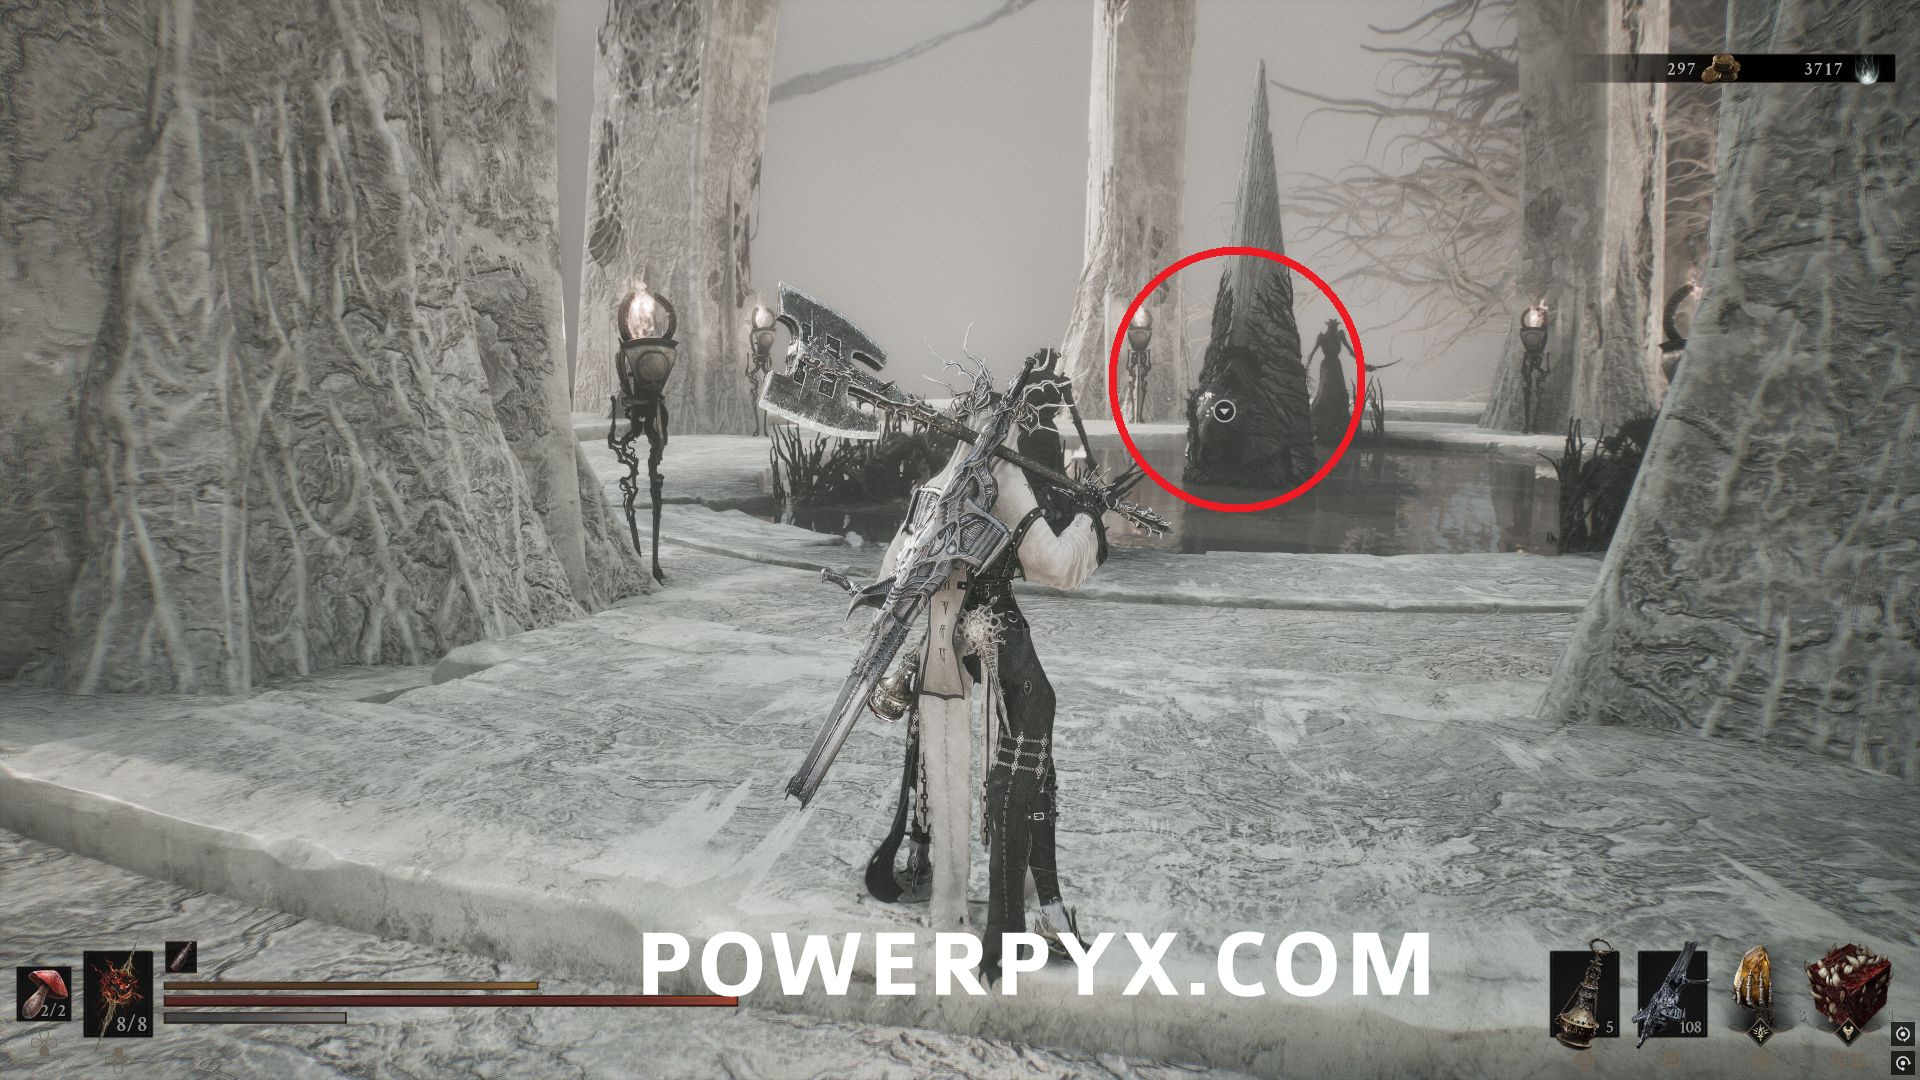
Northeast of Gate of Infinity Beacon, on the opposite circular platform from the statue where Ruk was located with the Map Fragment, activate and complete the trial to obtain the Tarstone.
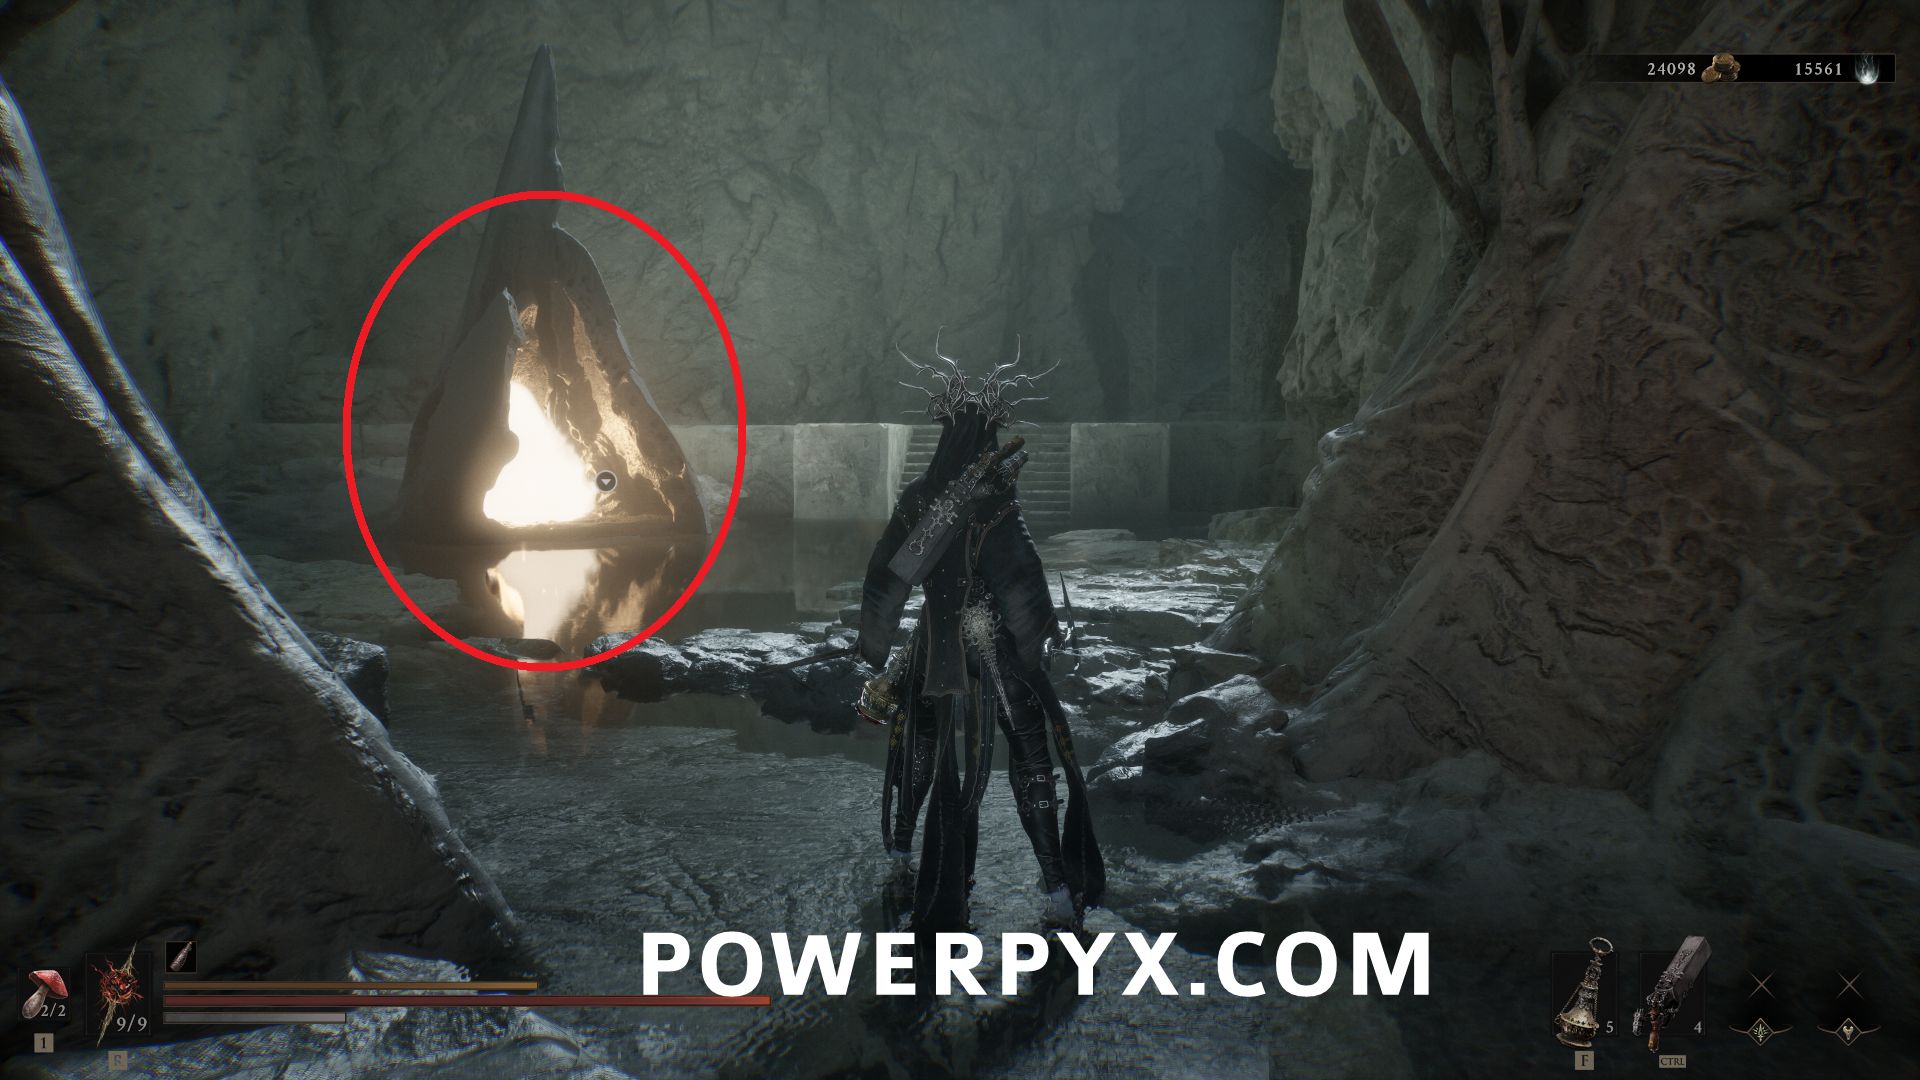
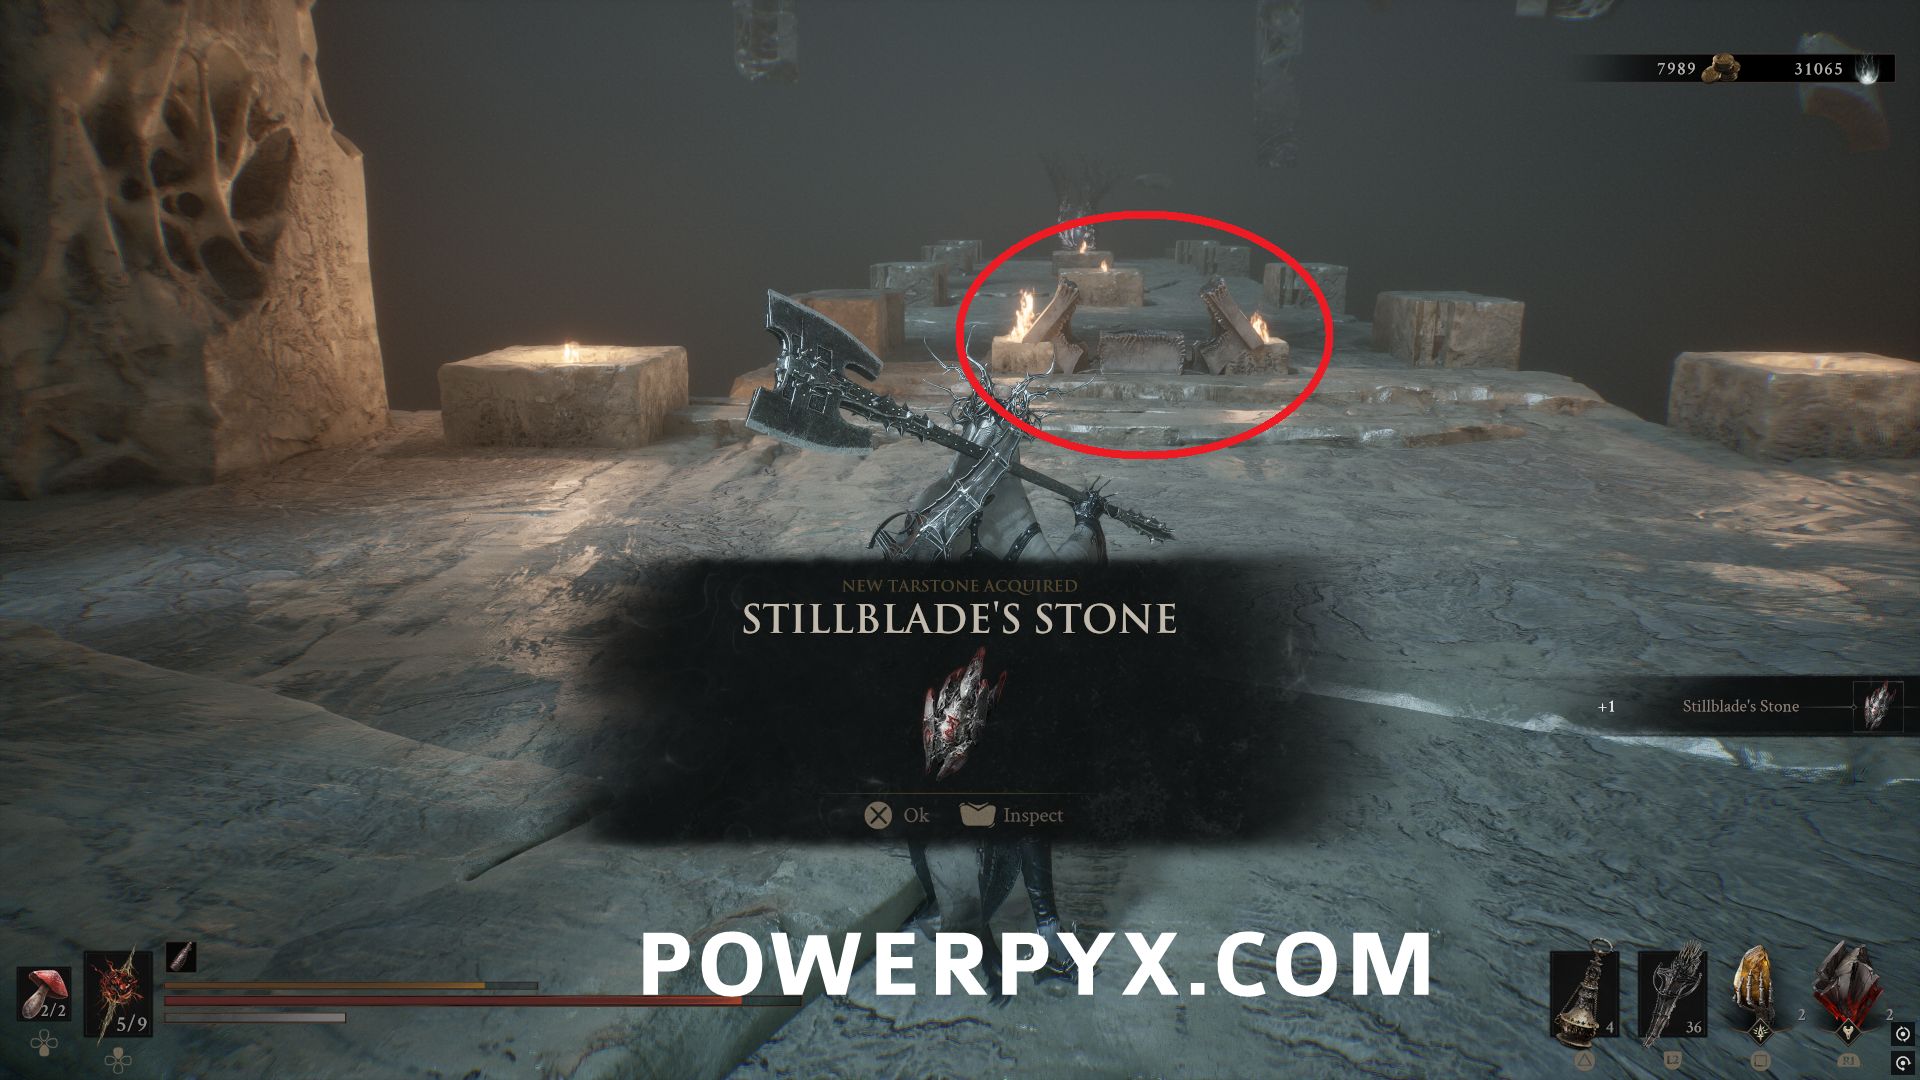
#20 – Stillblade’s Stone
In the Faded Citadel area inside the Citadel Annex Beacon, progress through the area until you ride the spider creature across a gap. Defeat the enemy immediately after to access the chest containing this Tarstone.
#21 – Zealot’s Stone
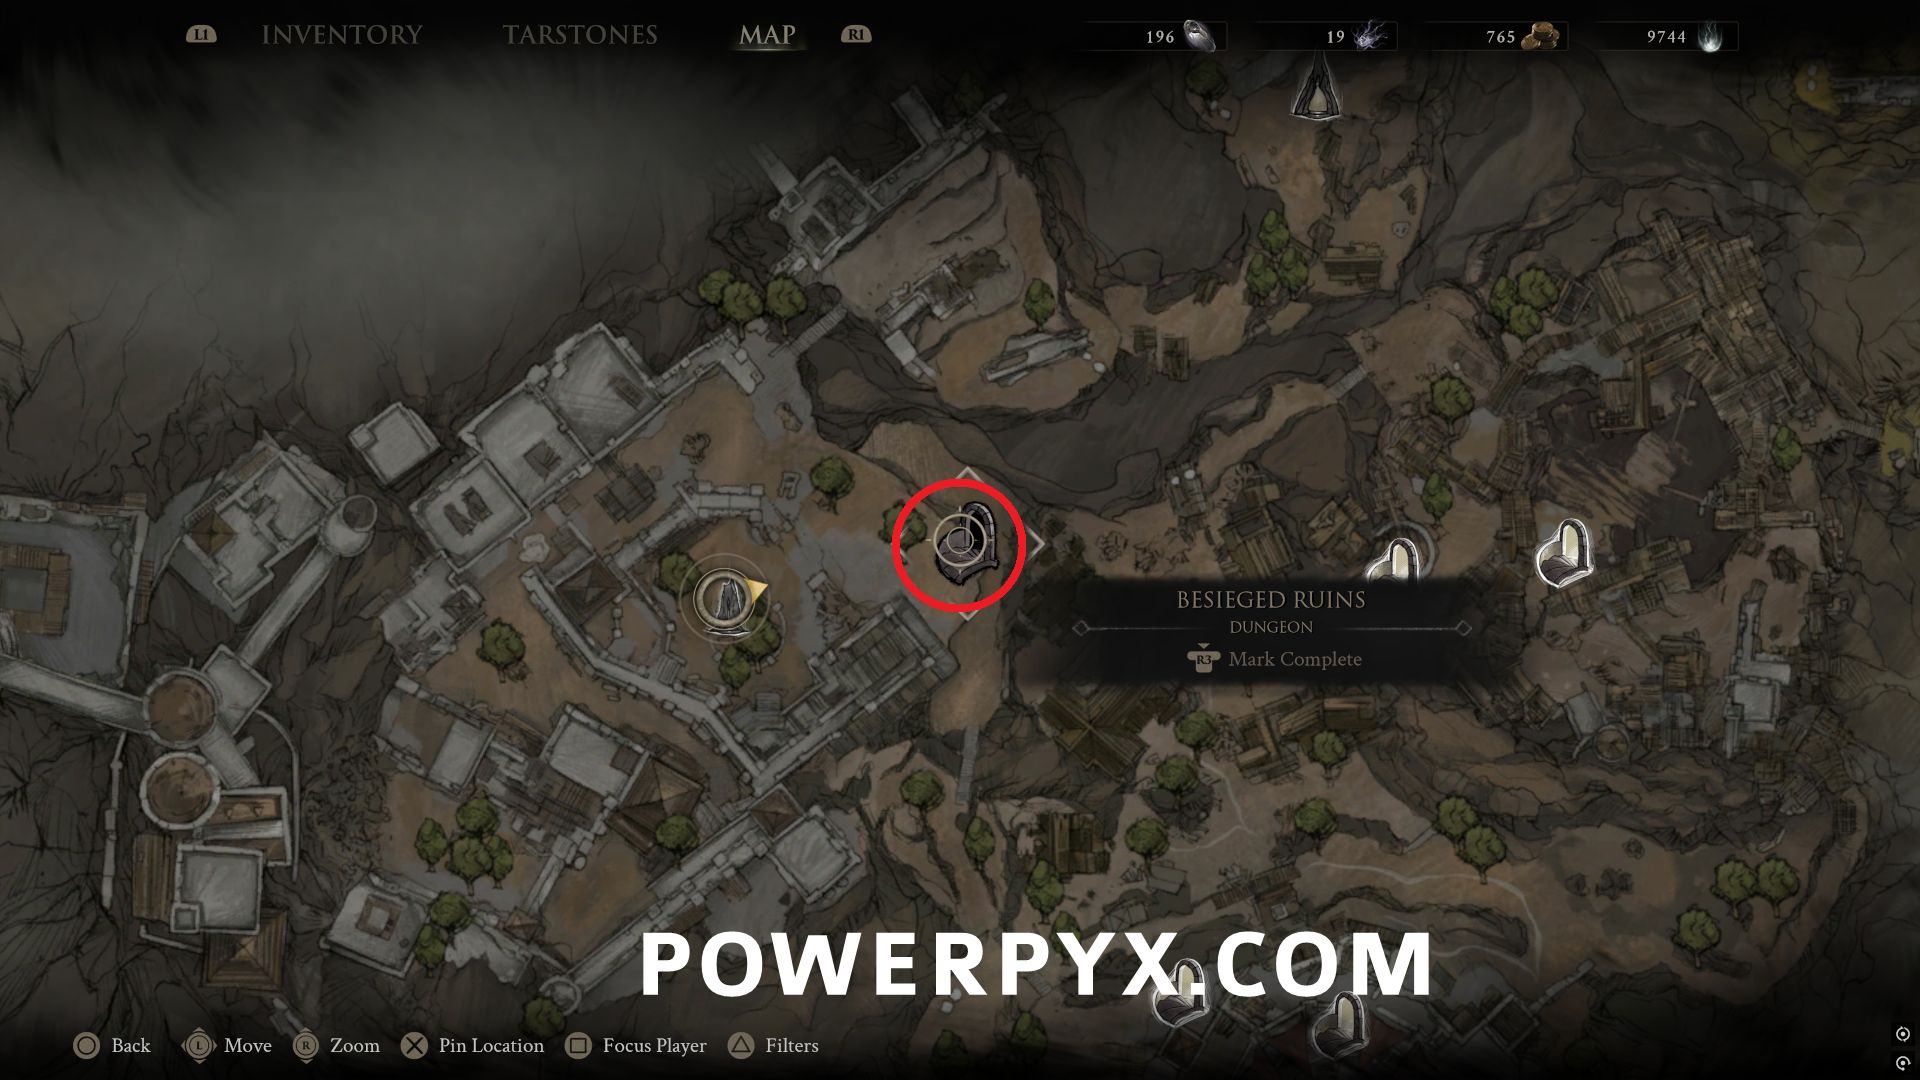
East of High Lords Courtyard Beacon, drop down two levels to the lowest one where the enemies are by the jump pad, and the Besieged Ruins dungeon entrance is in the wall nearby.
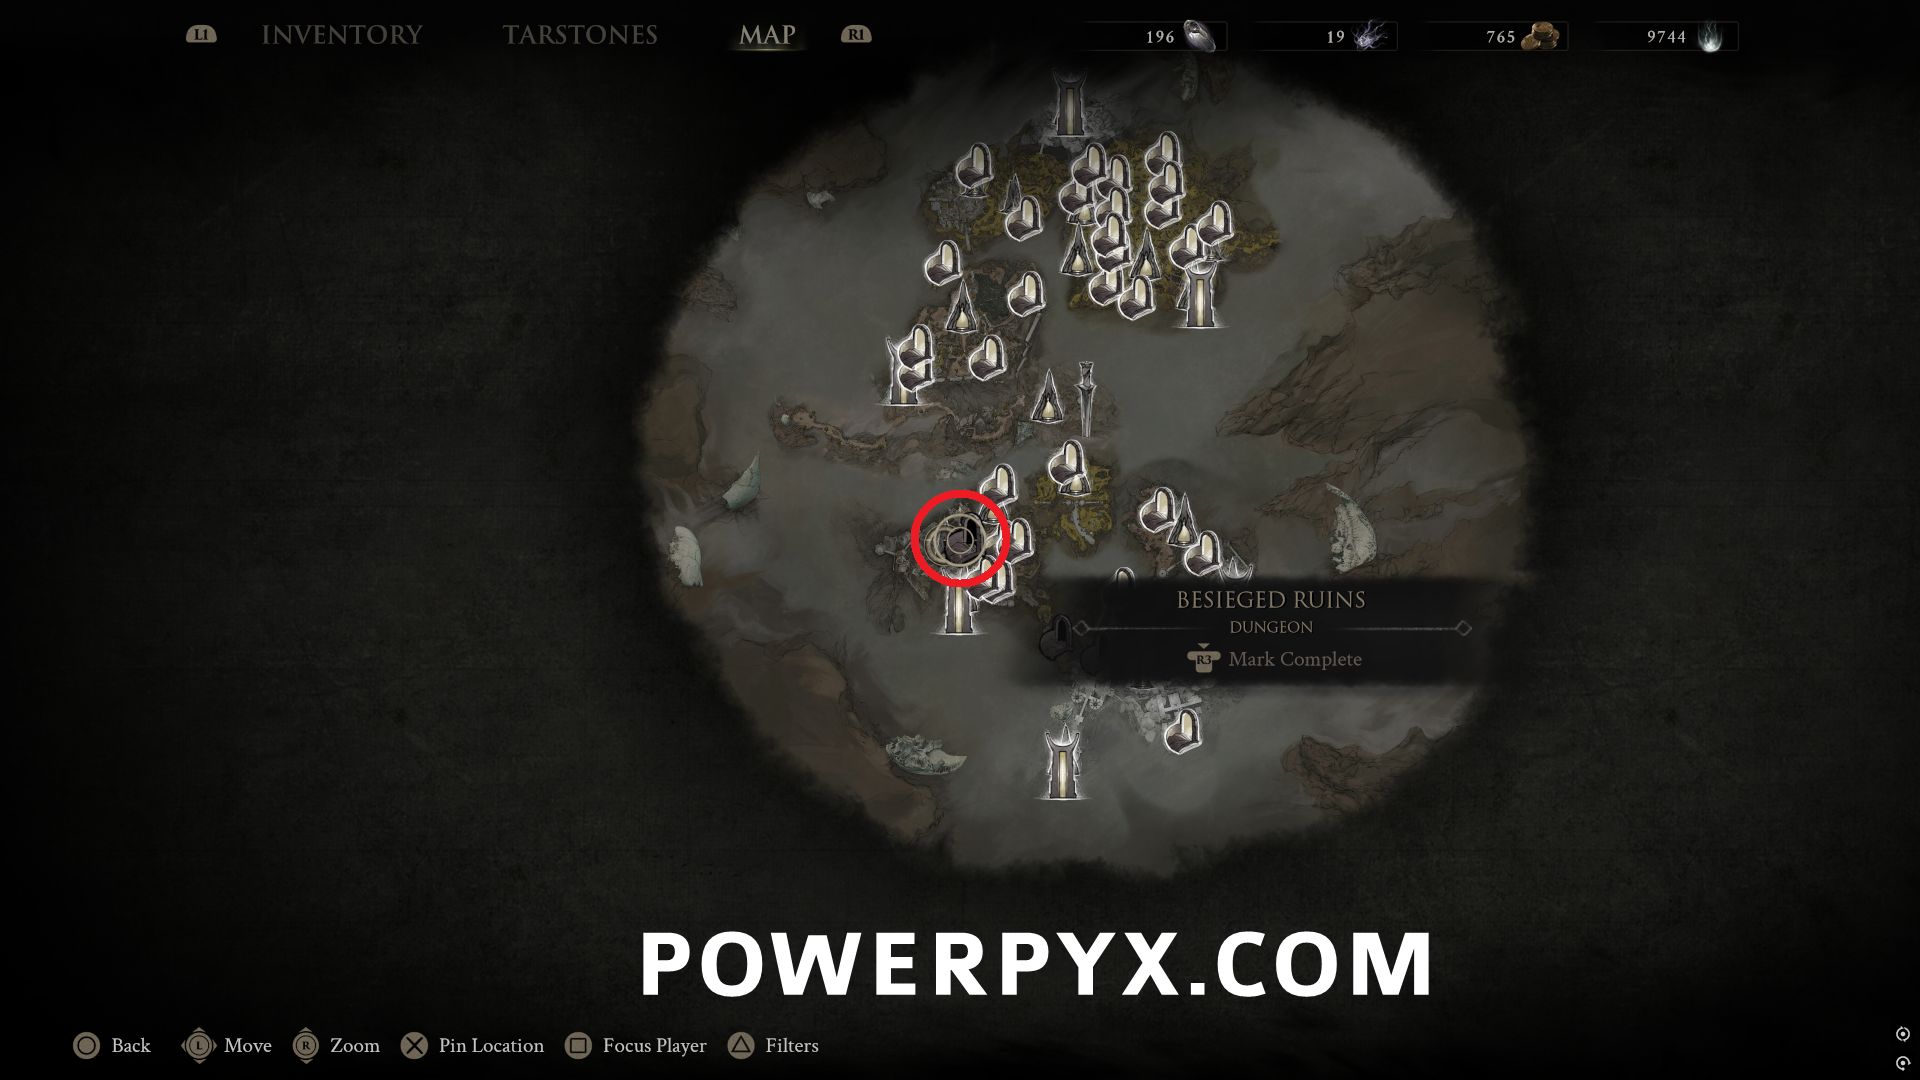
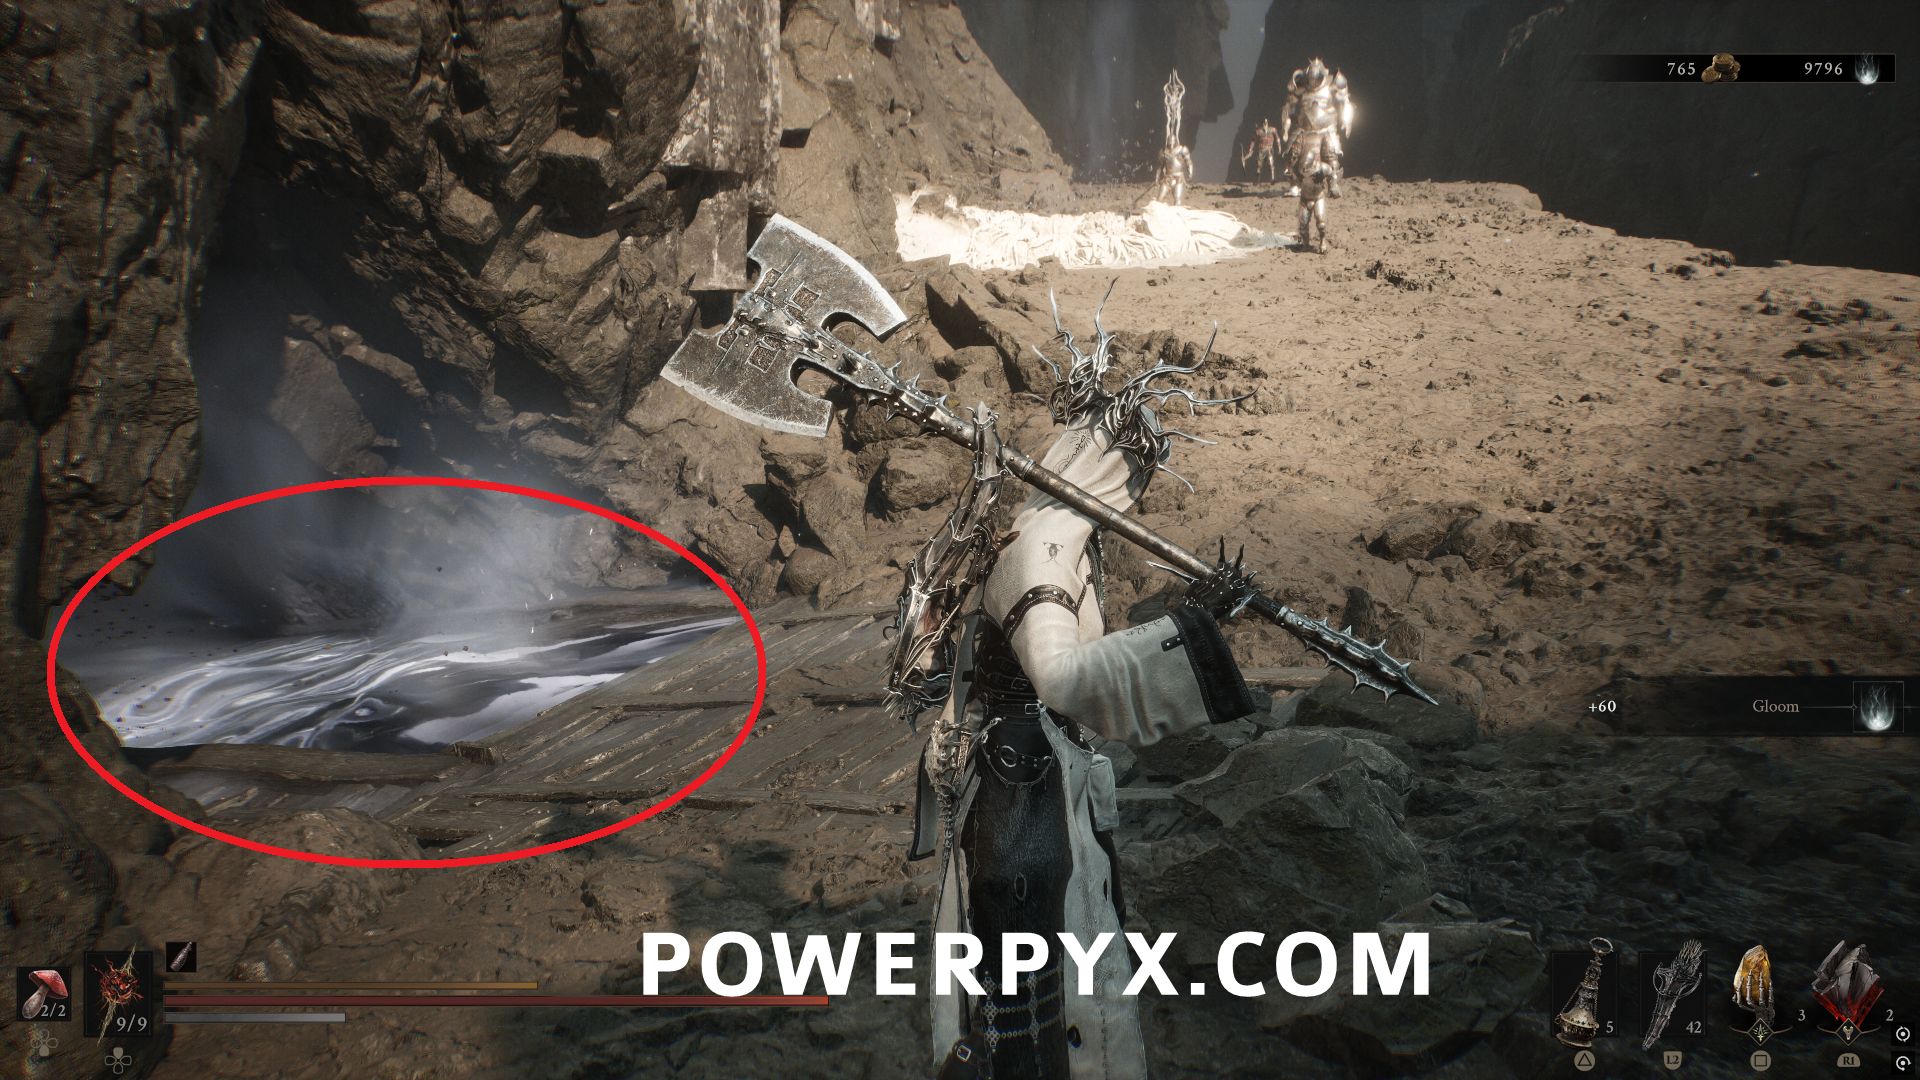
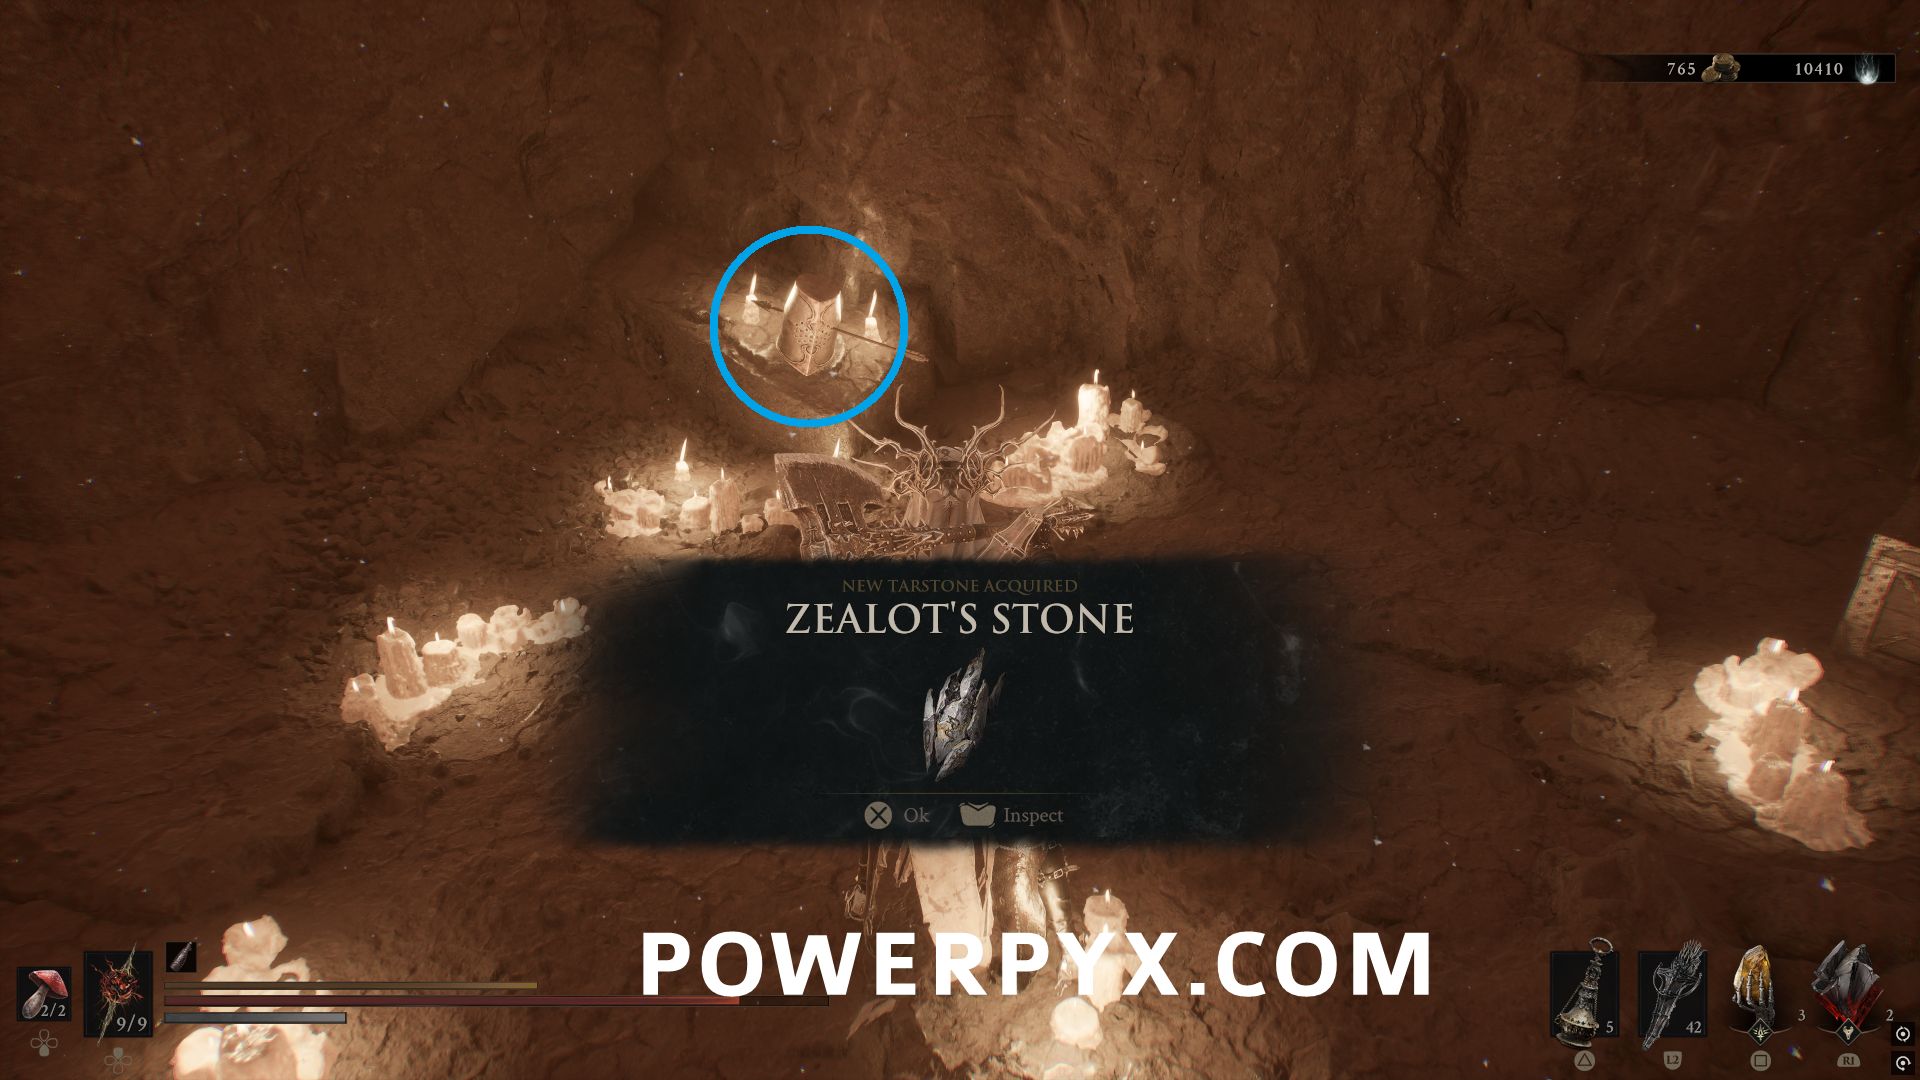
Go to the back of the dungeon and interact with the helmet that has an arrow in it to be transported to a flashback where you are playing as a knight. Play to the end of the area defeating enemies to obtain the Tarstone.
#22 – Clerik’s Stone
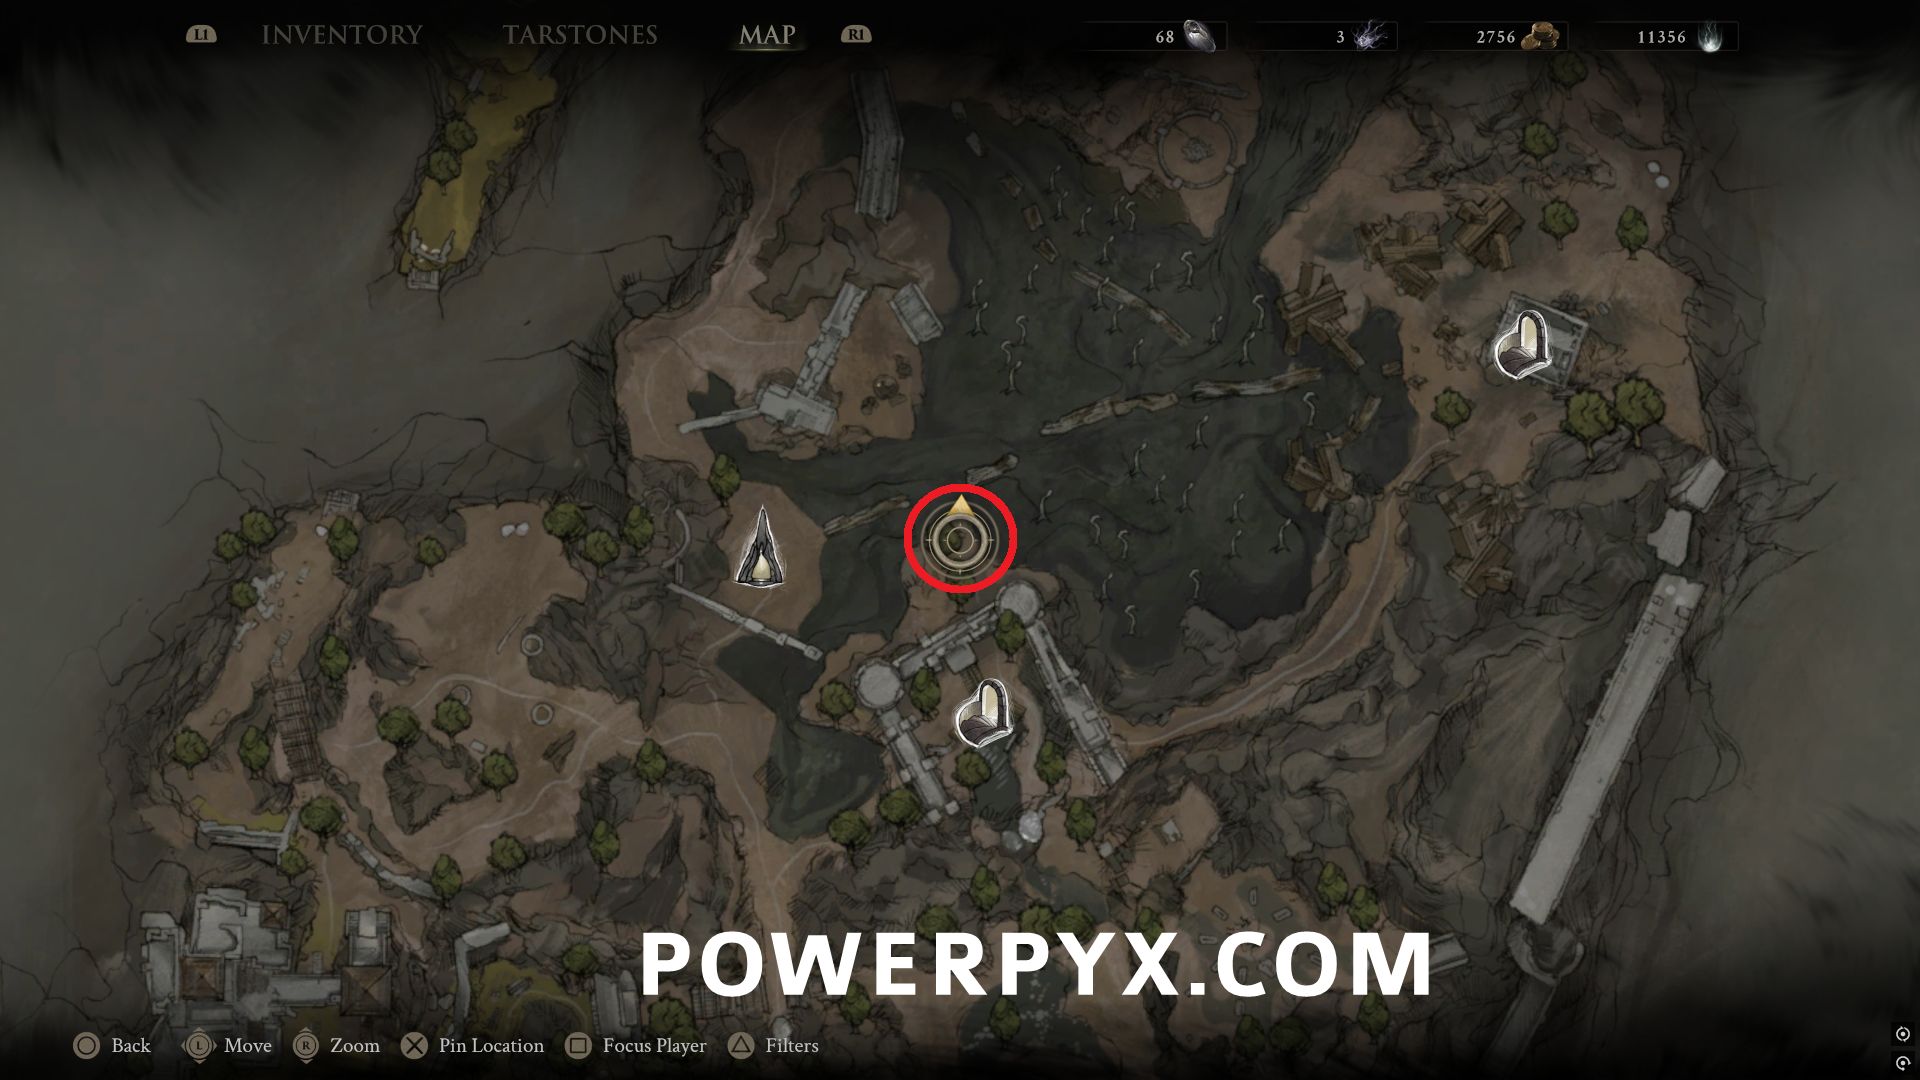
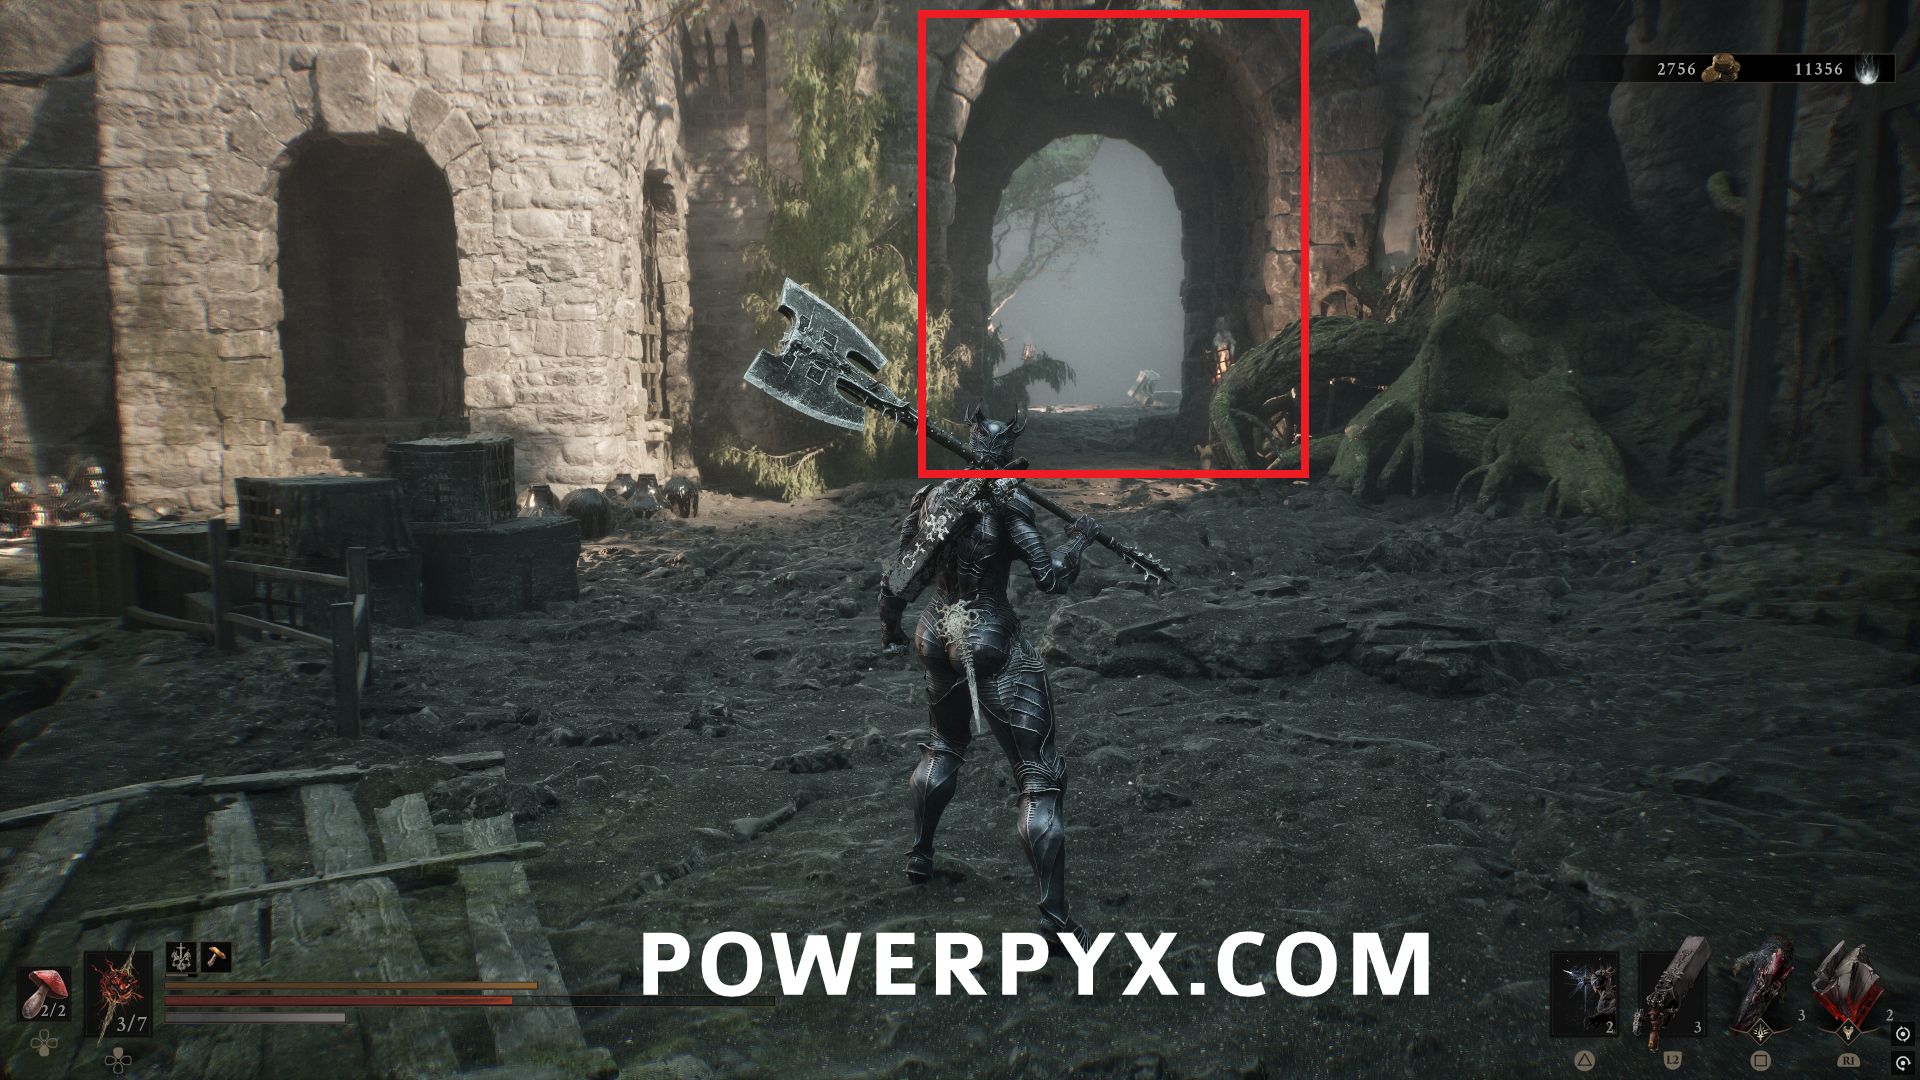
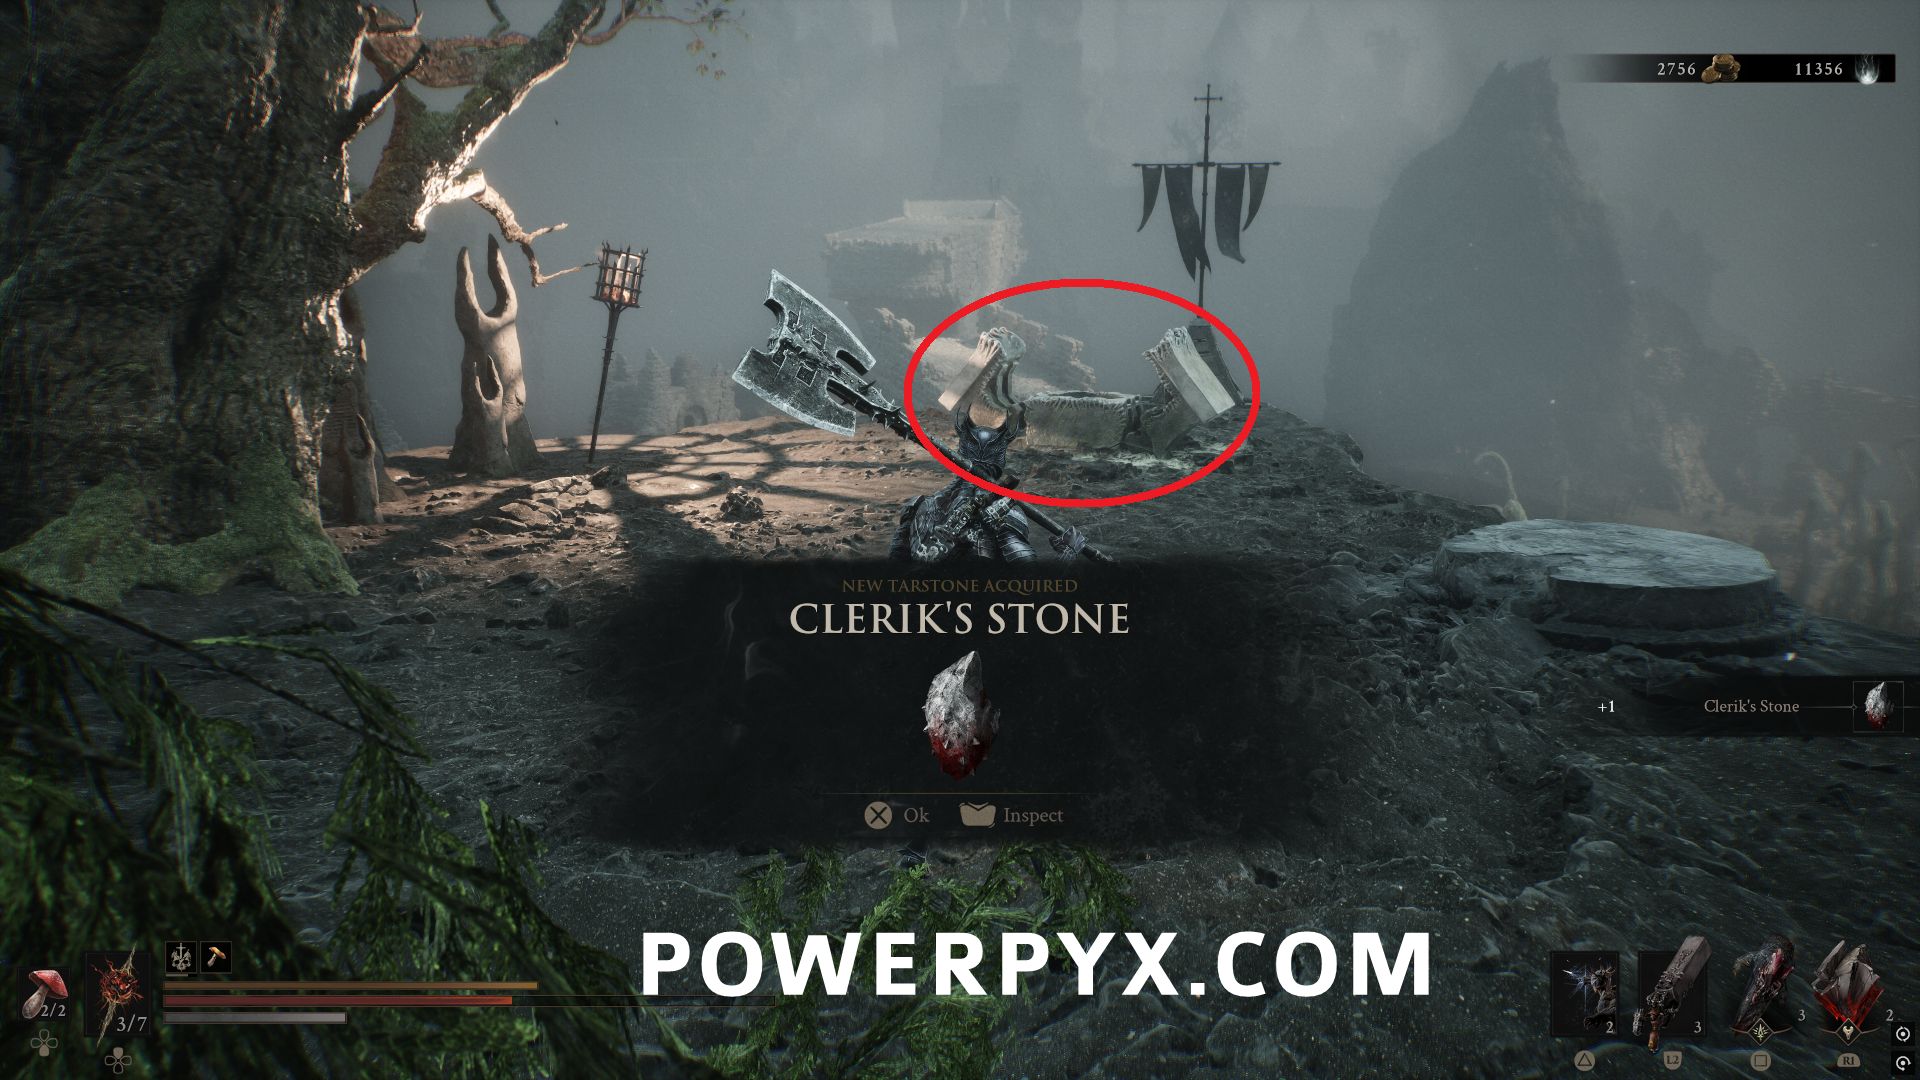
Southwest of Disciple’s Stash Dungeon, follow the path up into the castle area. In the north corner hit the wall to cause it to disappear, and the Tarstone is in the chest on the cliff.
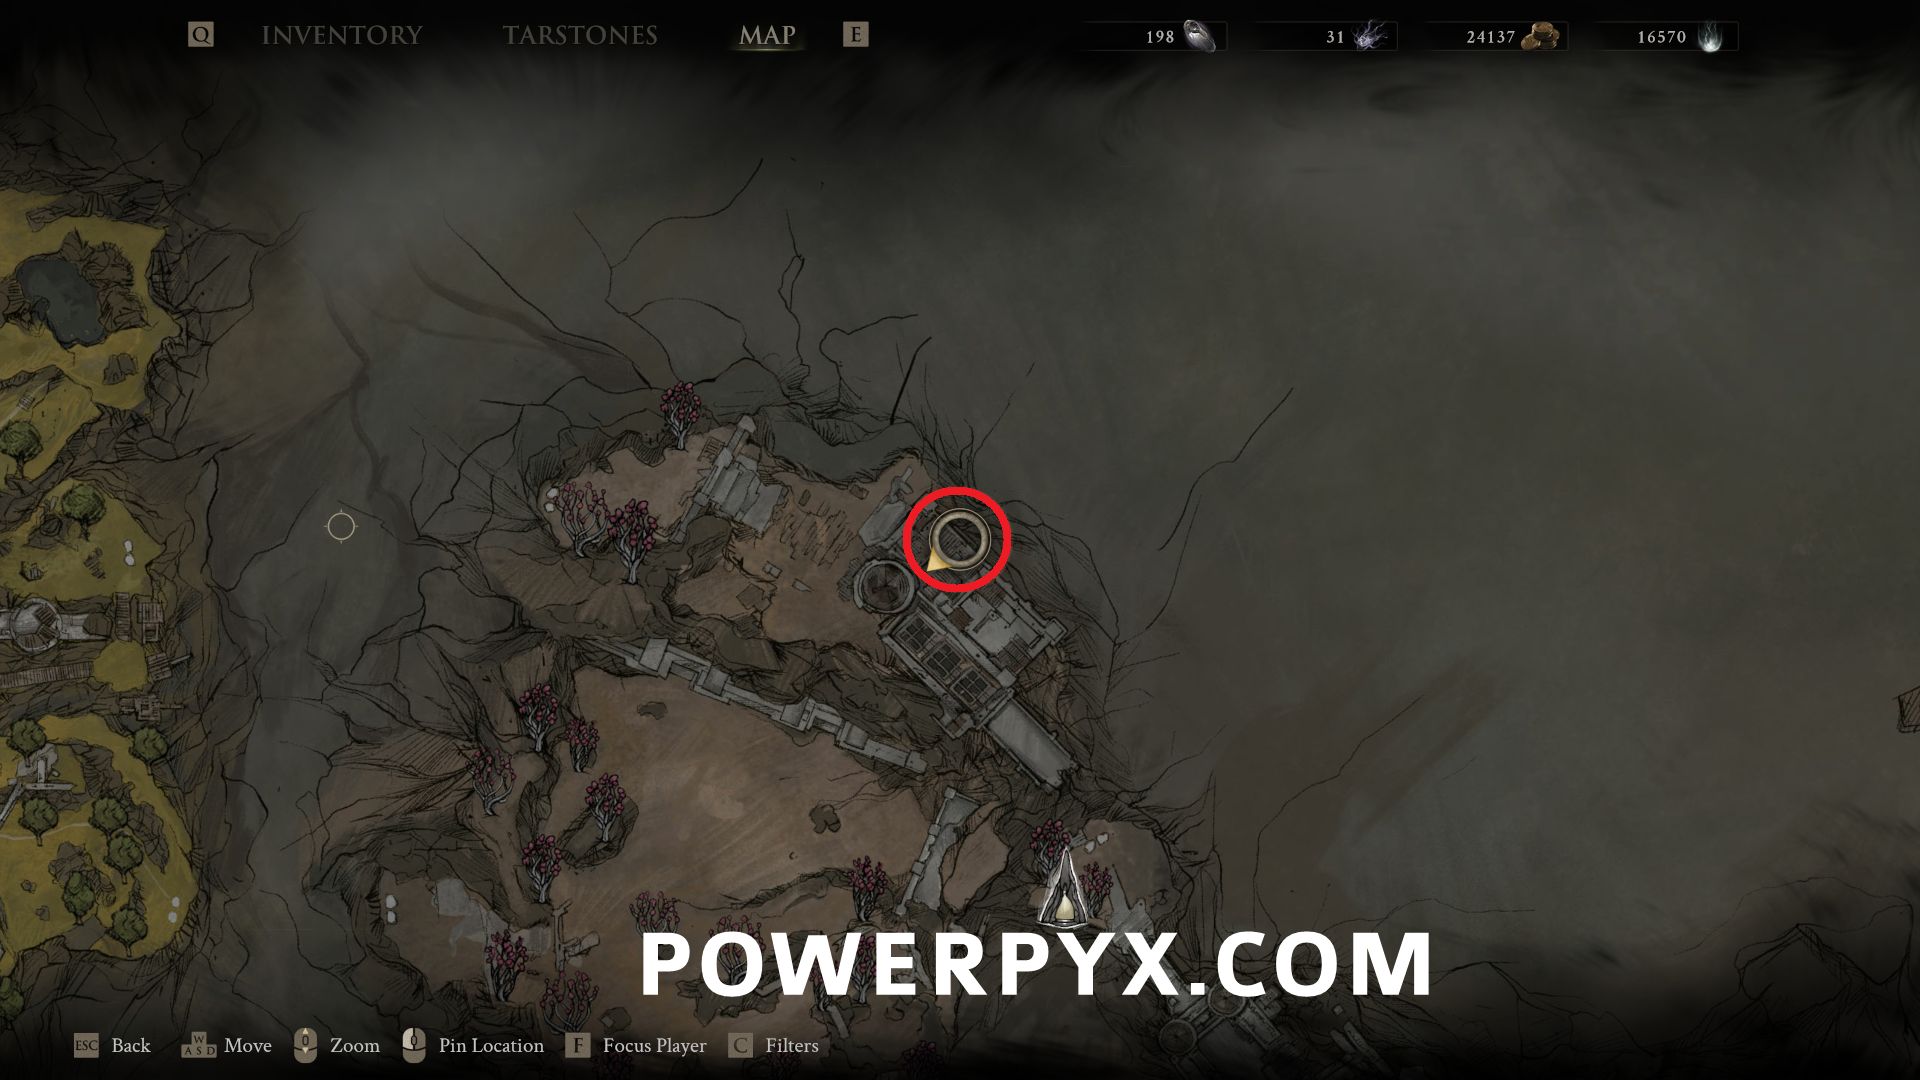
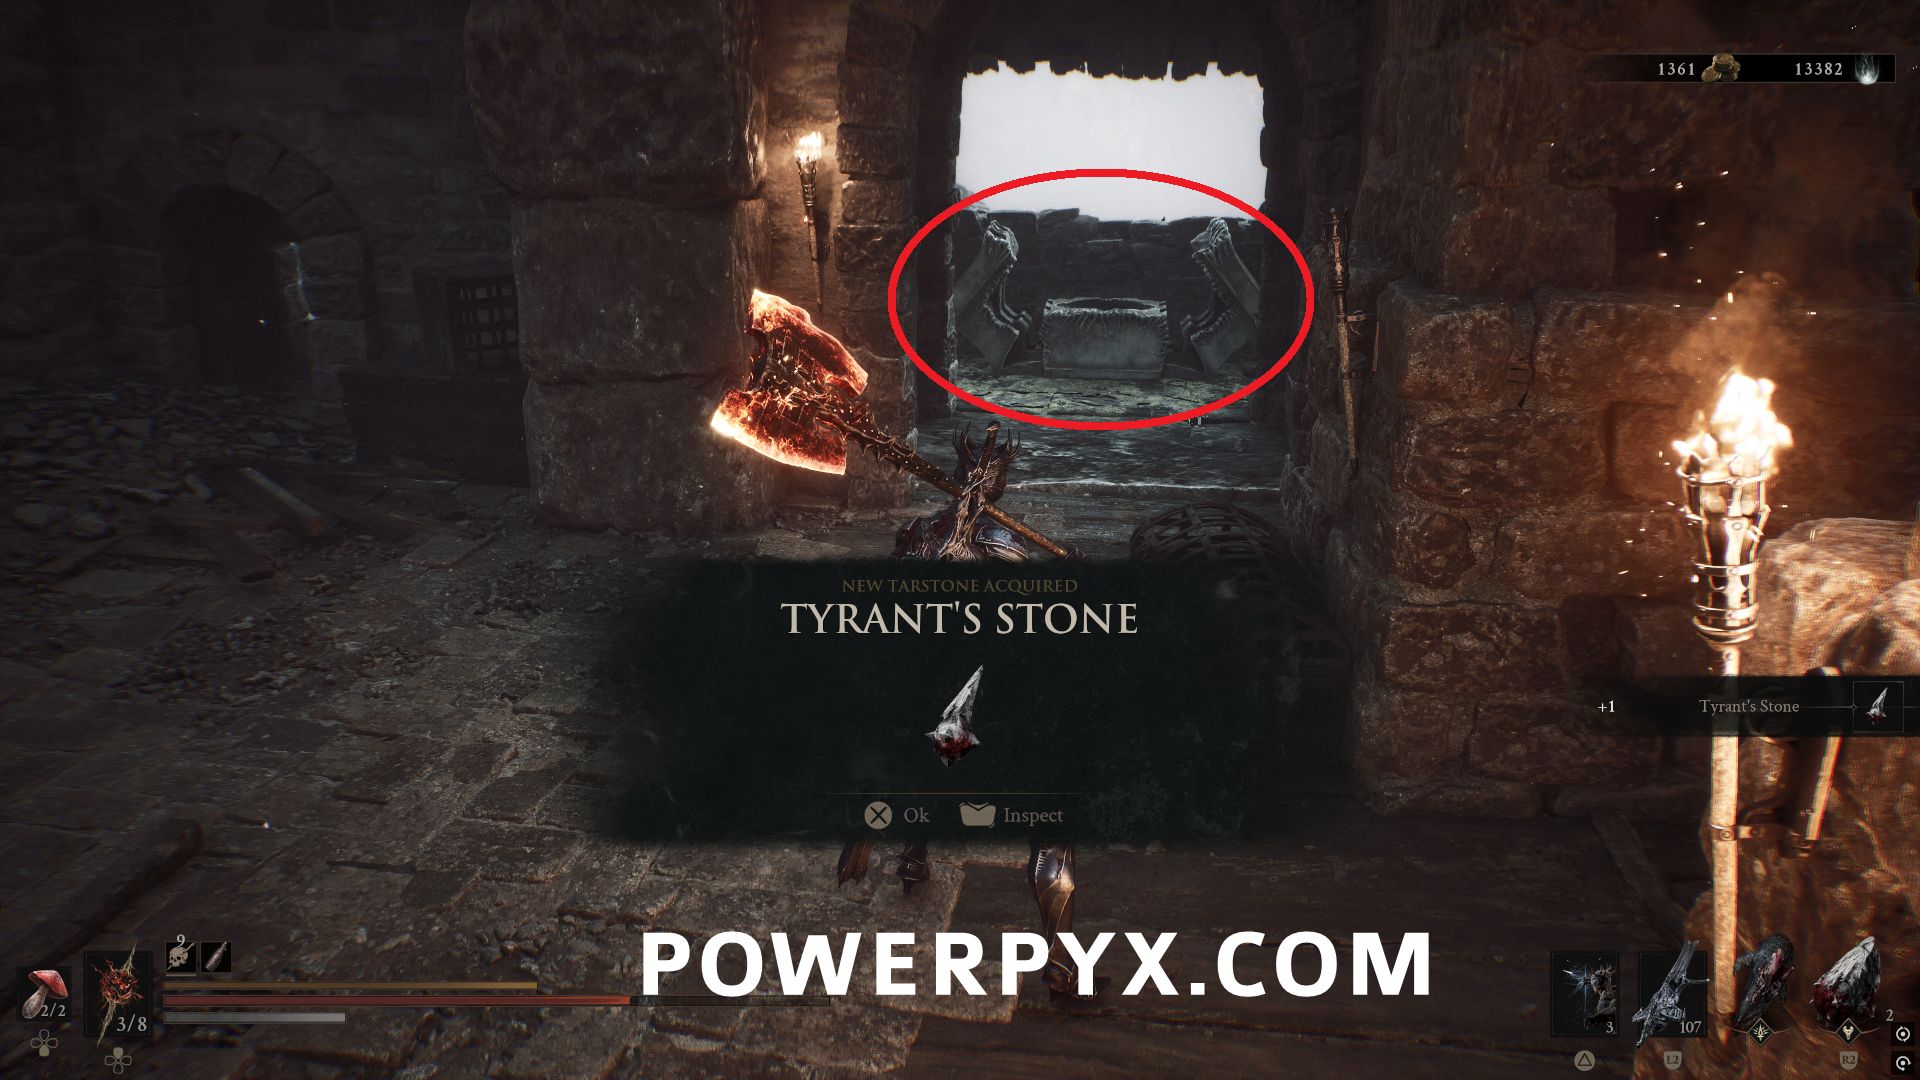
#23 – Tyrant’s Stone
From the Abbey Entrance Beacon, jump back across using the Bone Gate and go through the upper castle area. On the right is a wall with a white mark you can hit to reveal a chest, which contains this Tarstone.
#24 – Enfeebling Stone
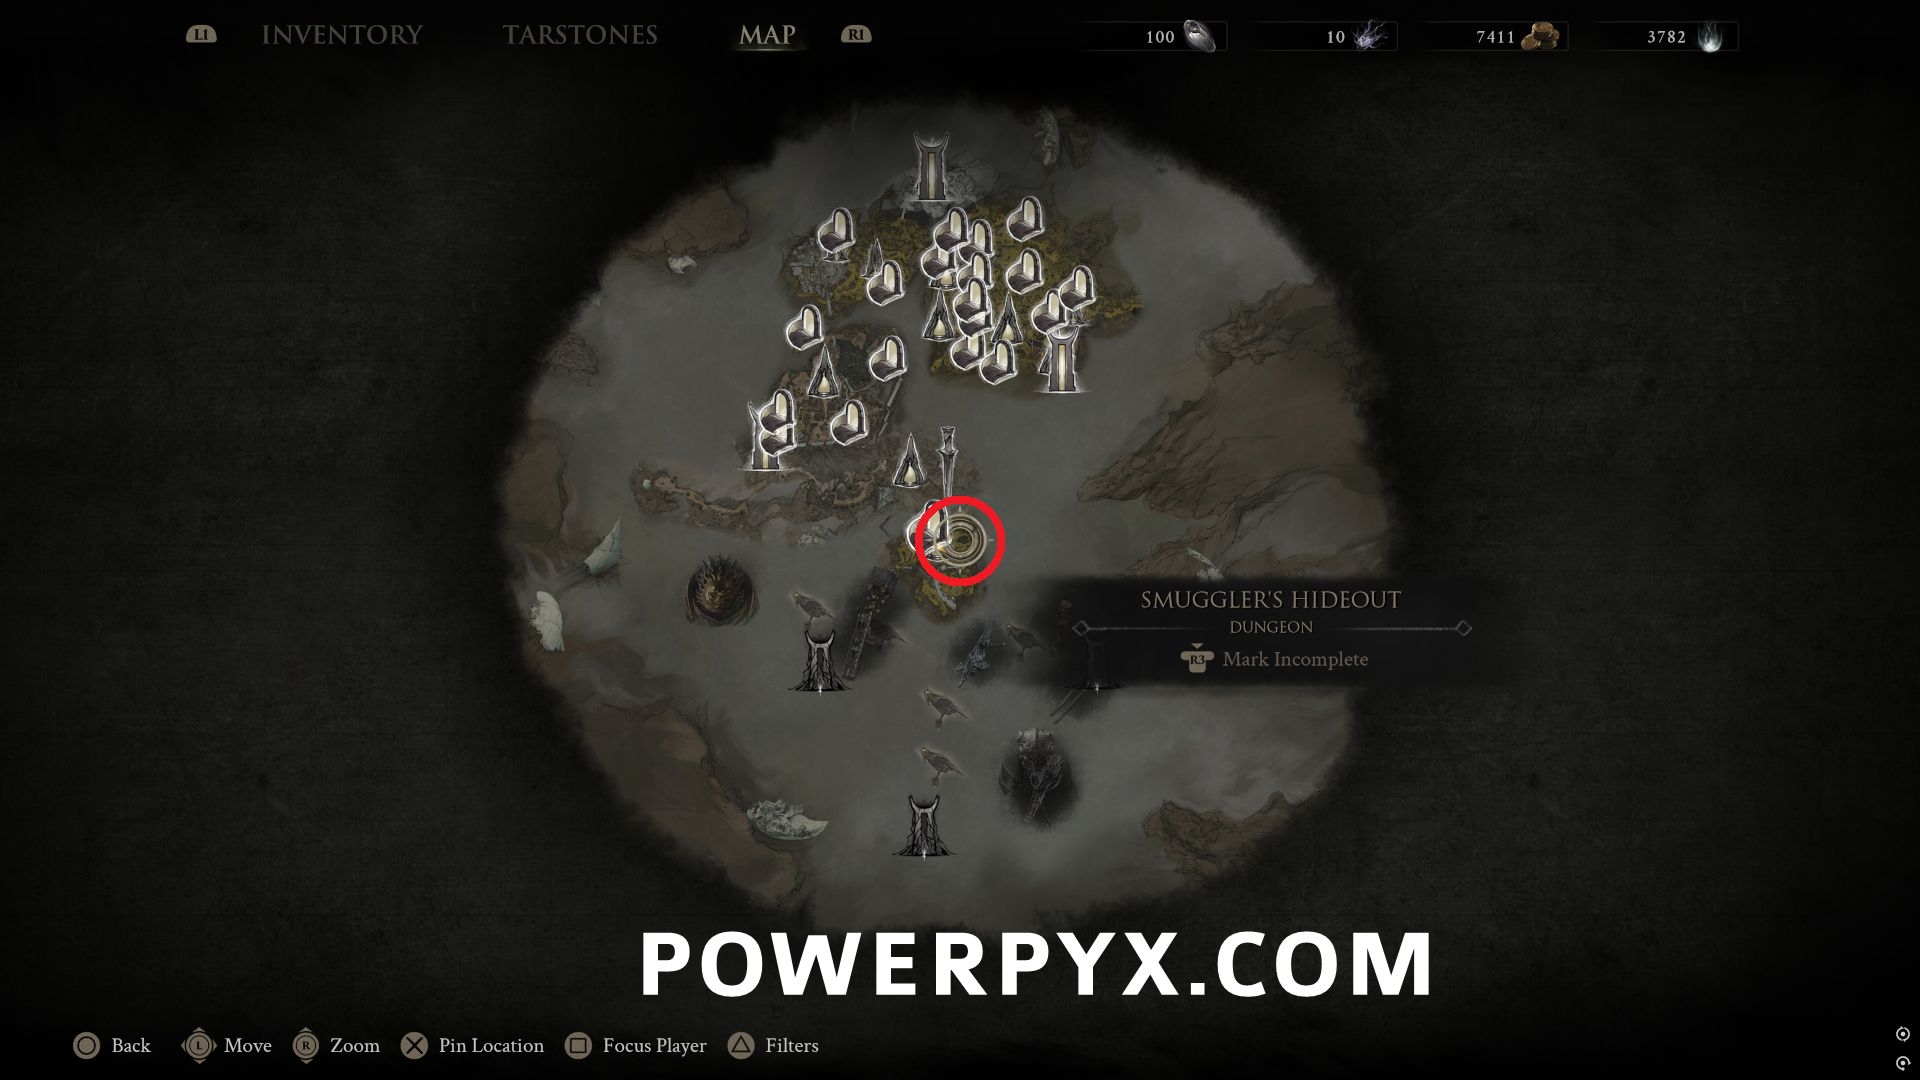
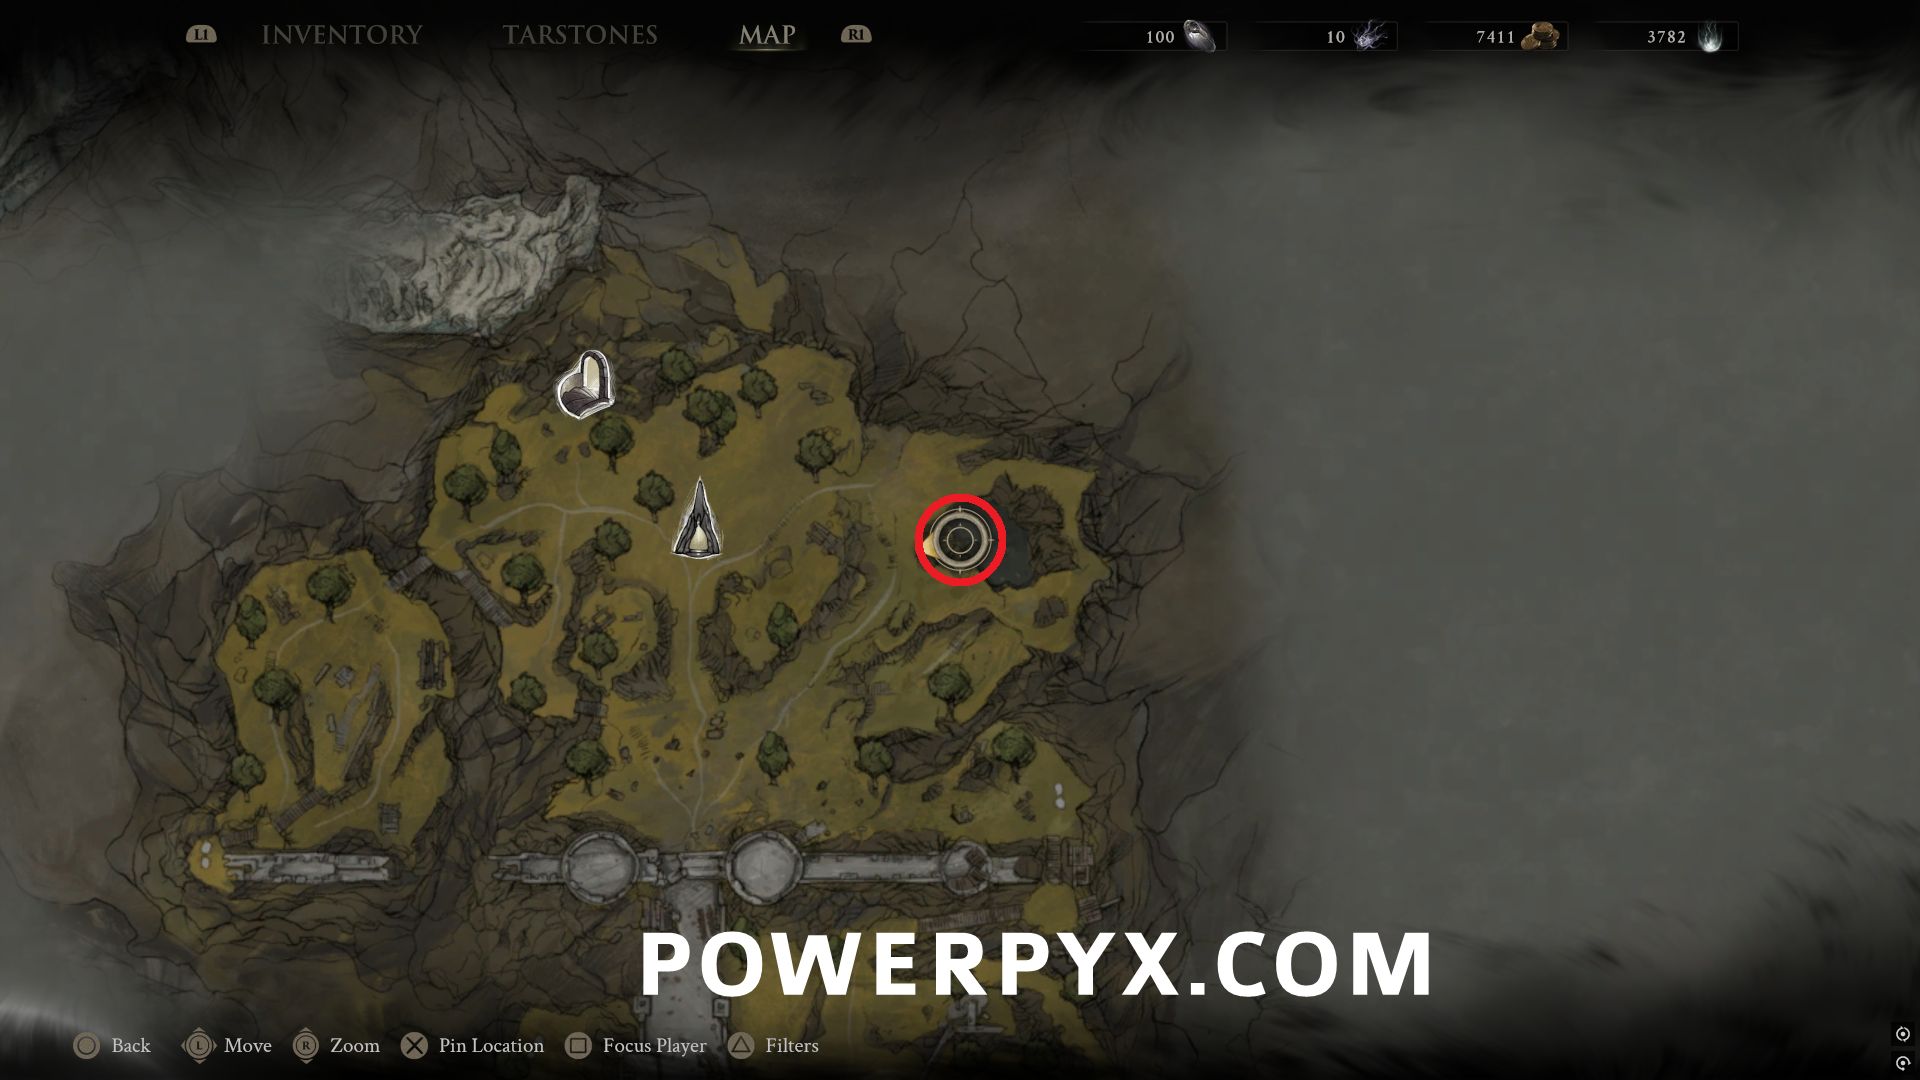
East of Outskirts of Mammon Beacon, active and complete the trial to obtain the Tarstone.
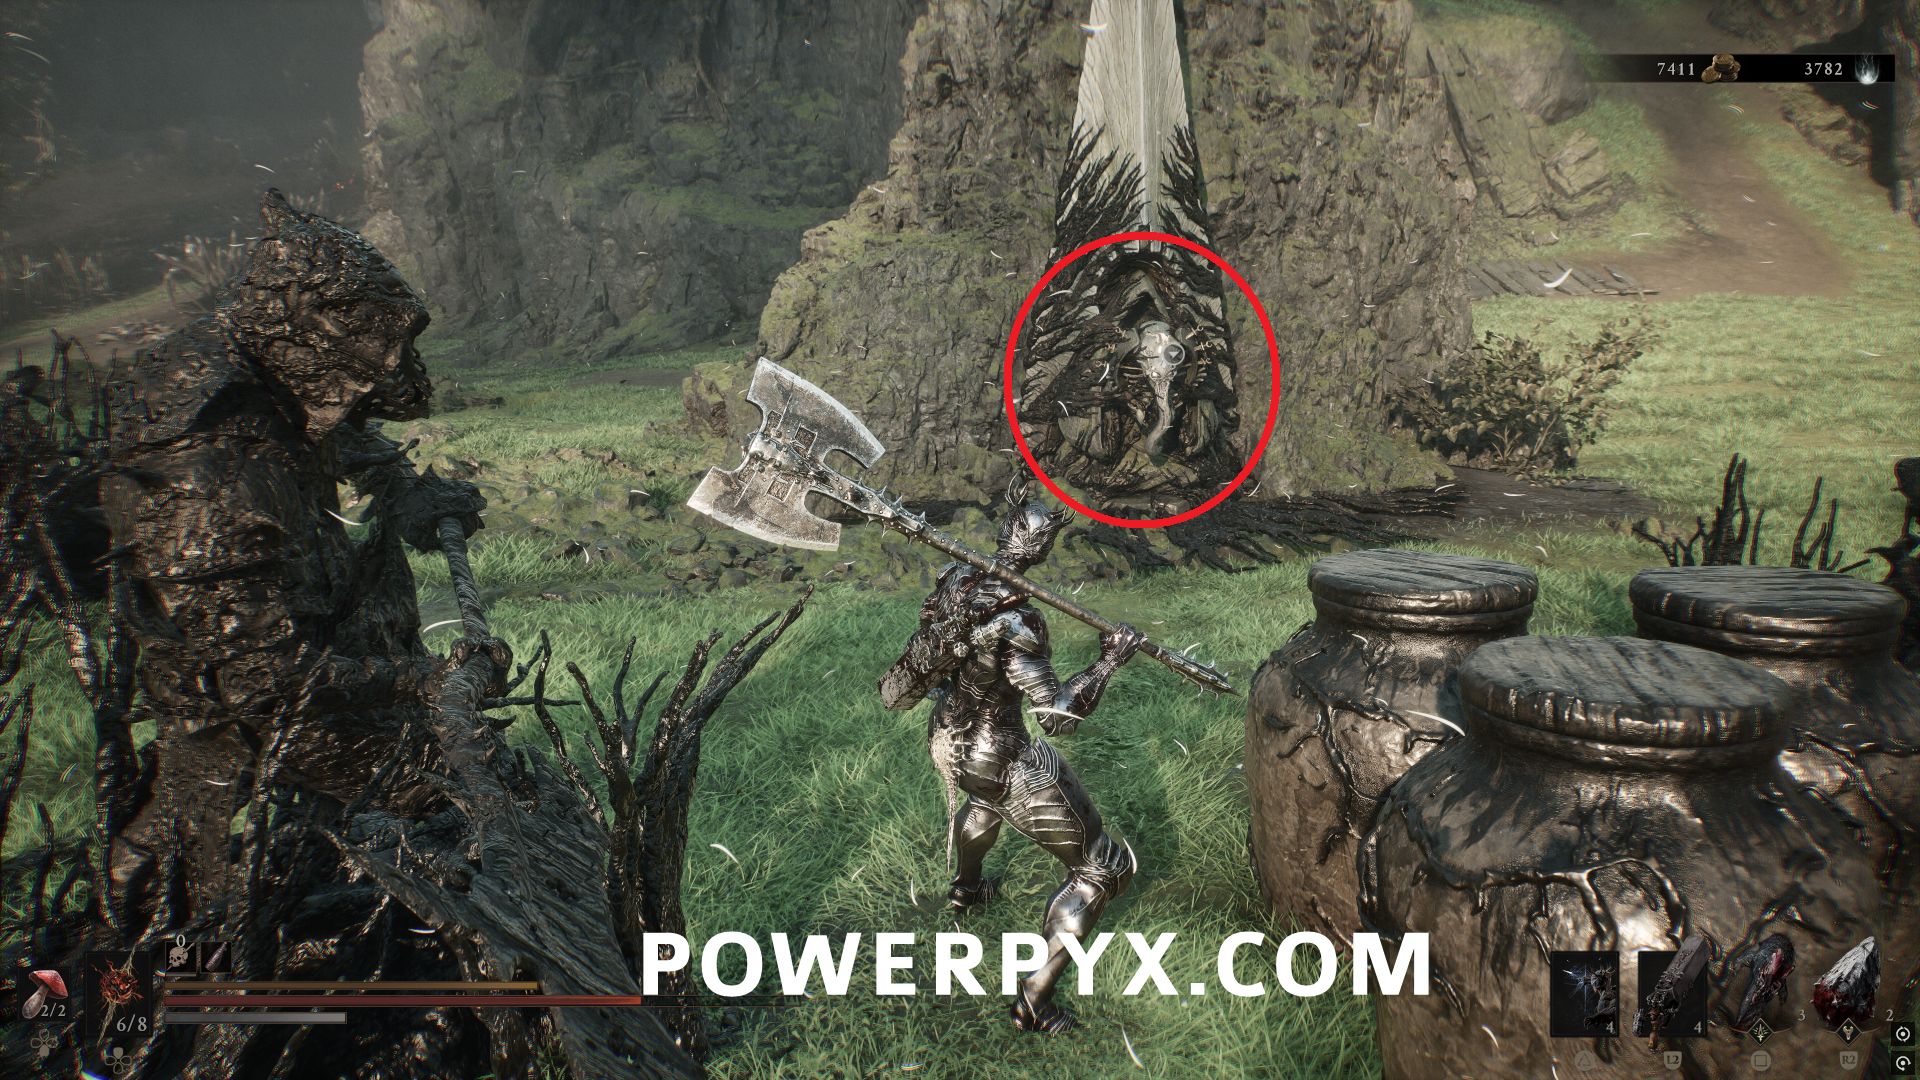
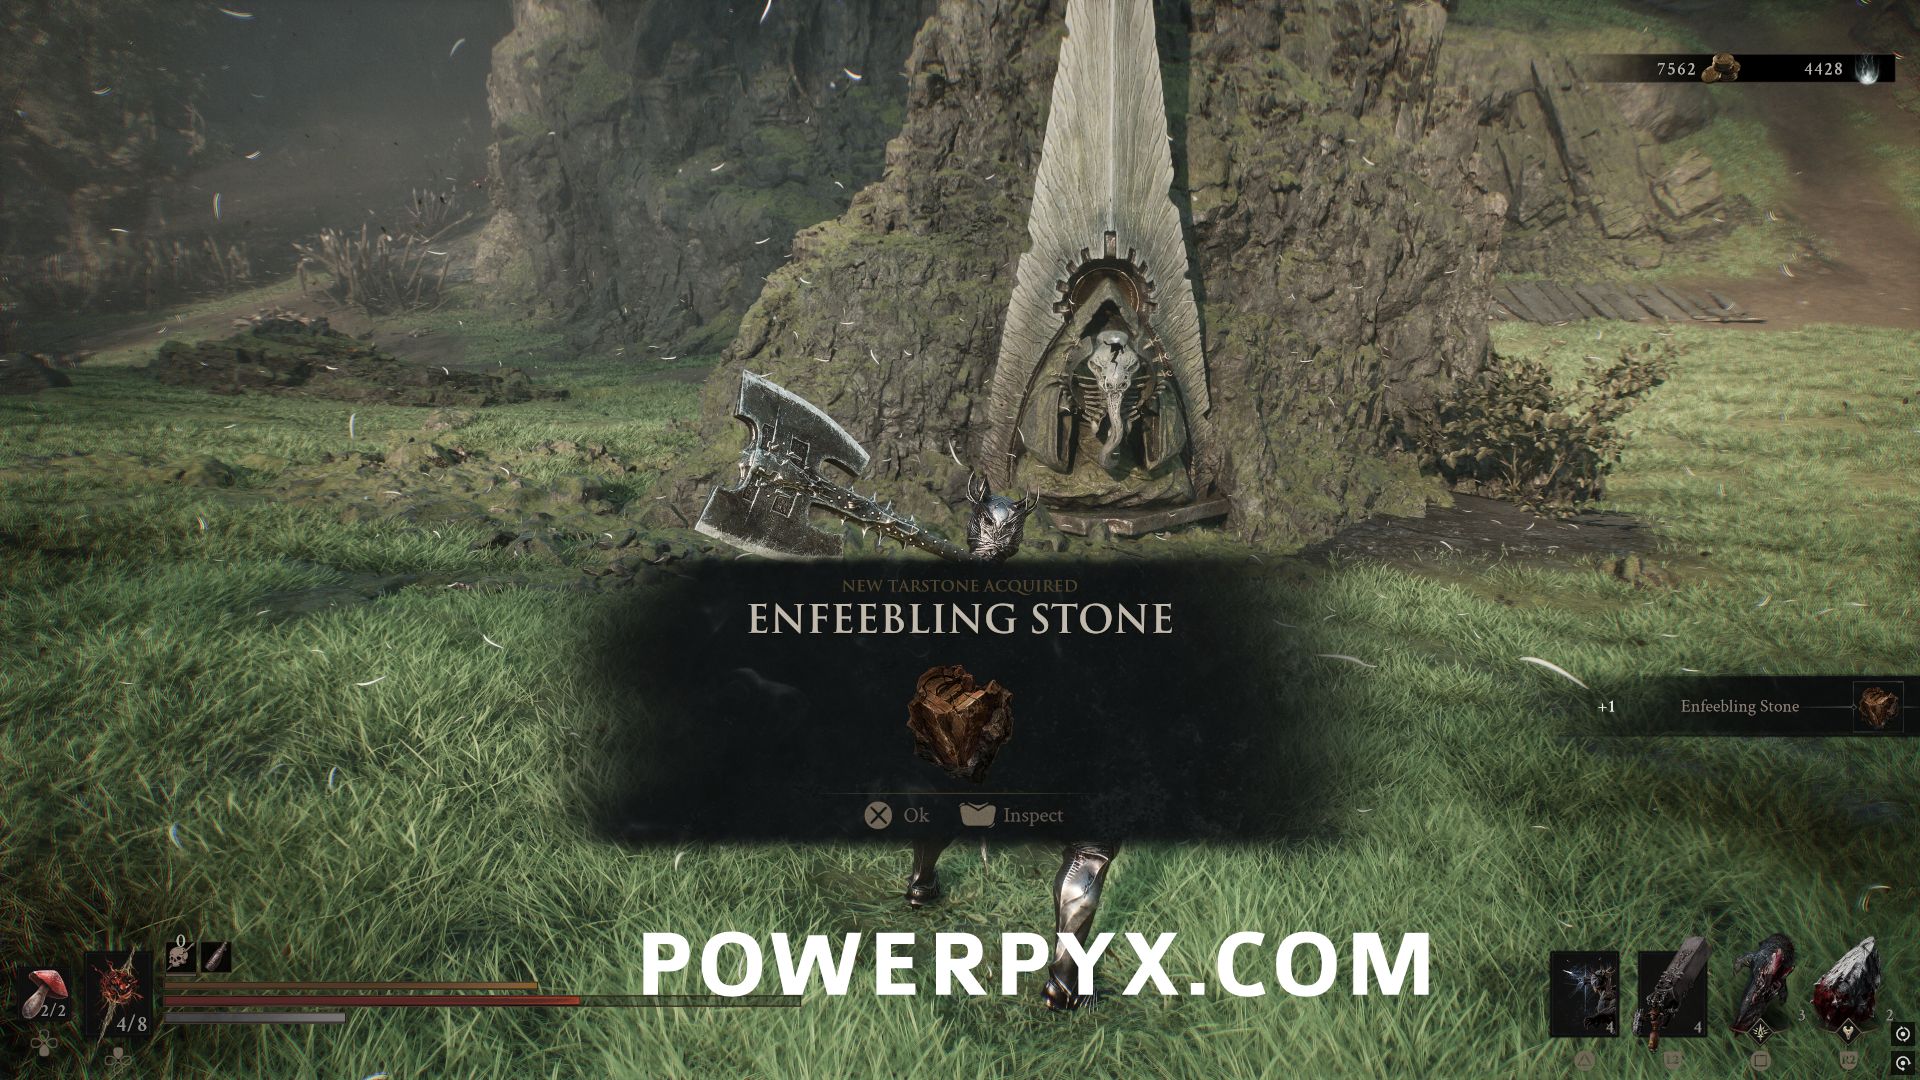
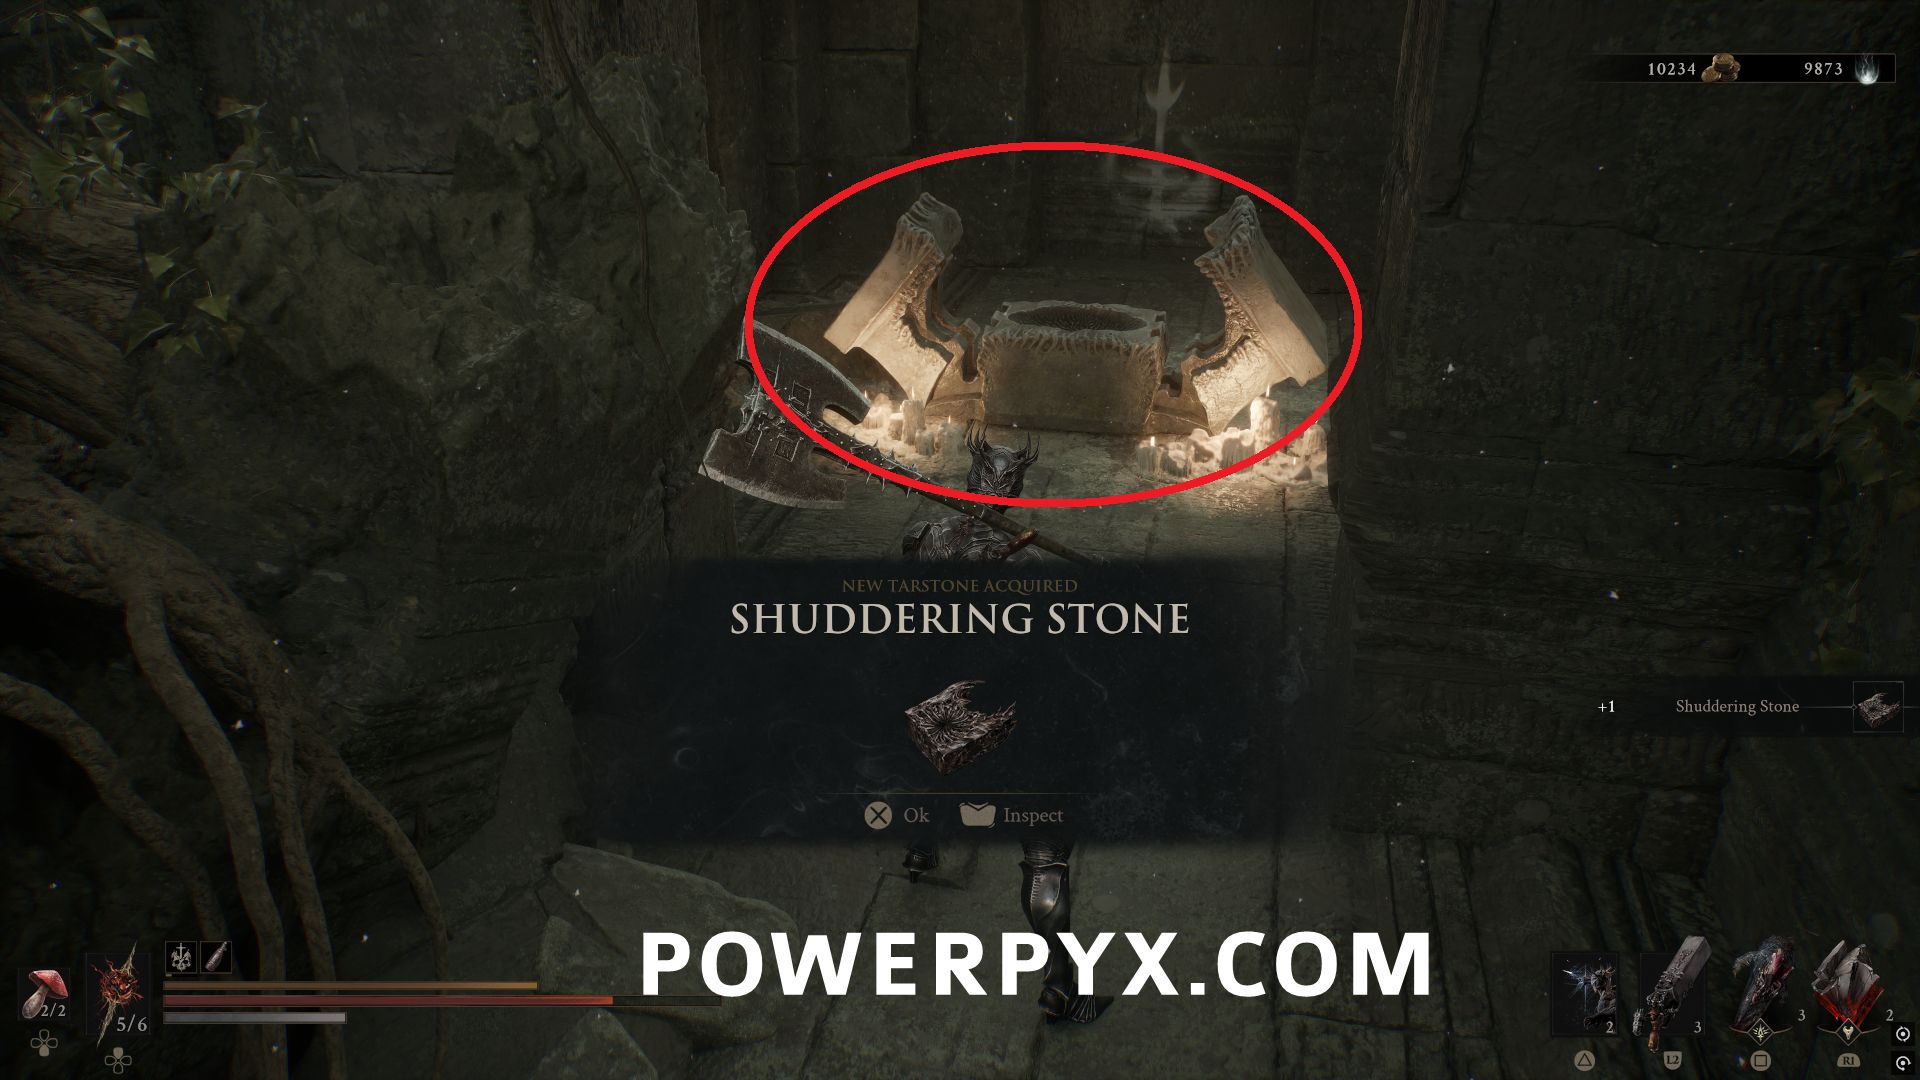
#25 – Shuddering Stone
Southwest of Gloomshade Grove Beacon, follow the cliff path until the Bone Gate which leads to the Desolate Peak location. The Illusionist’s Cache dungeon entrance is inside the building.
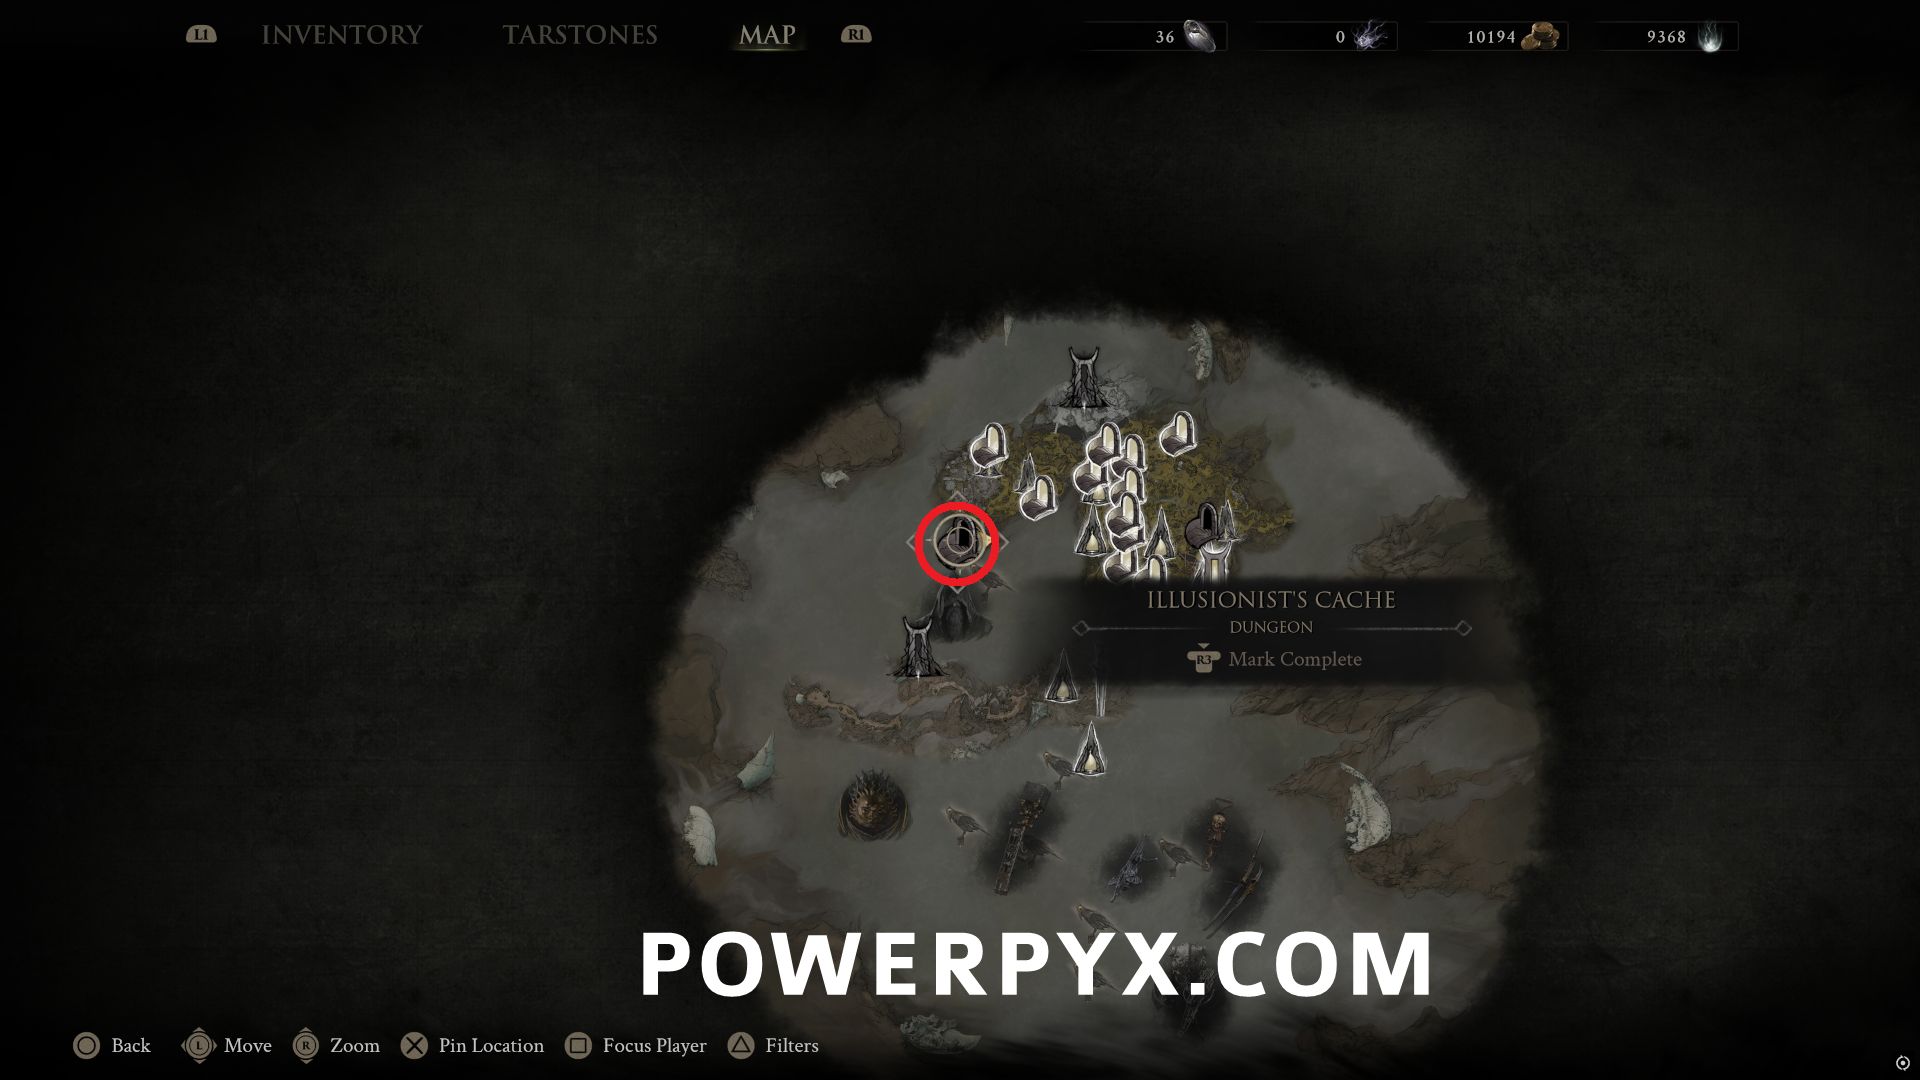
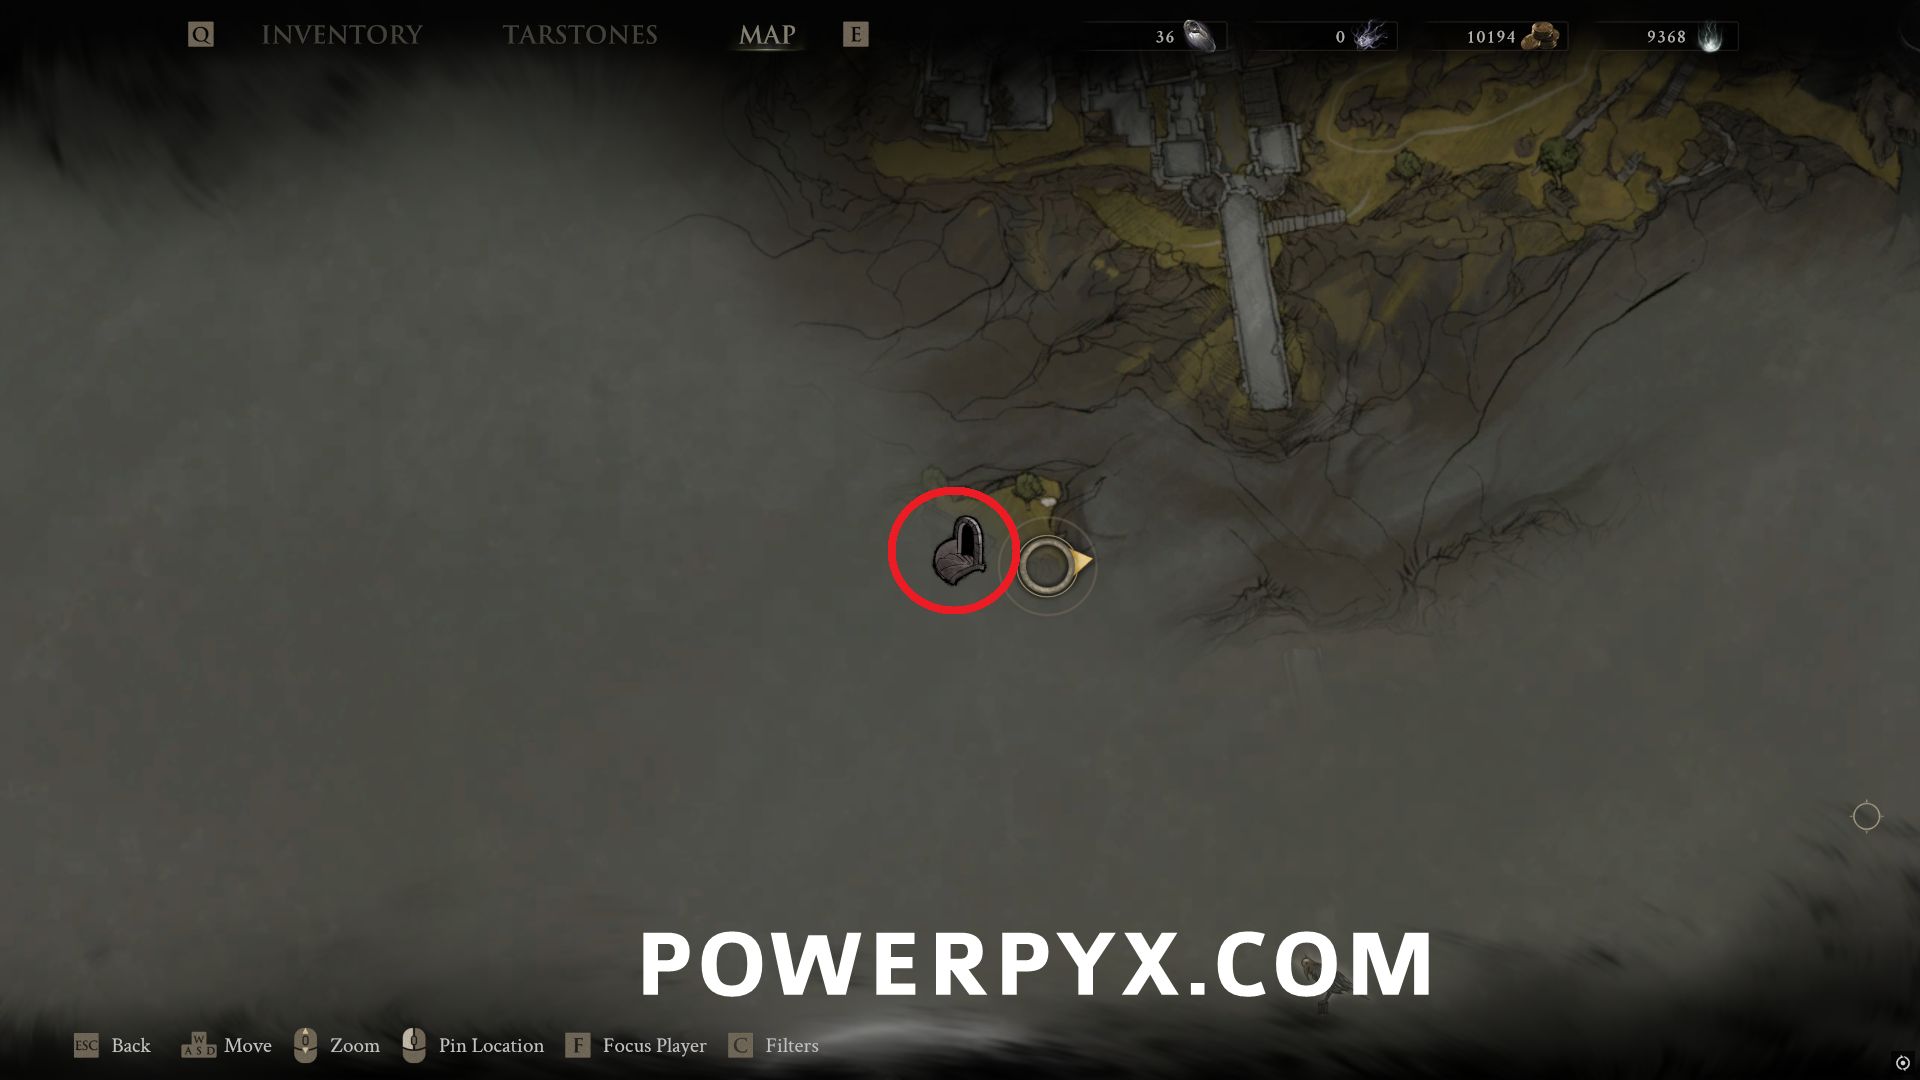
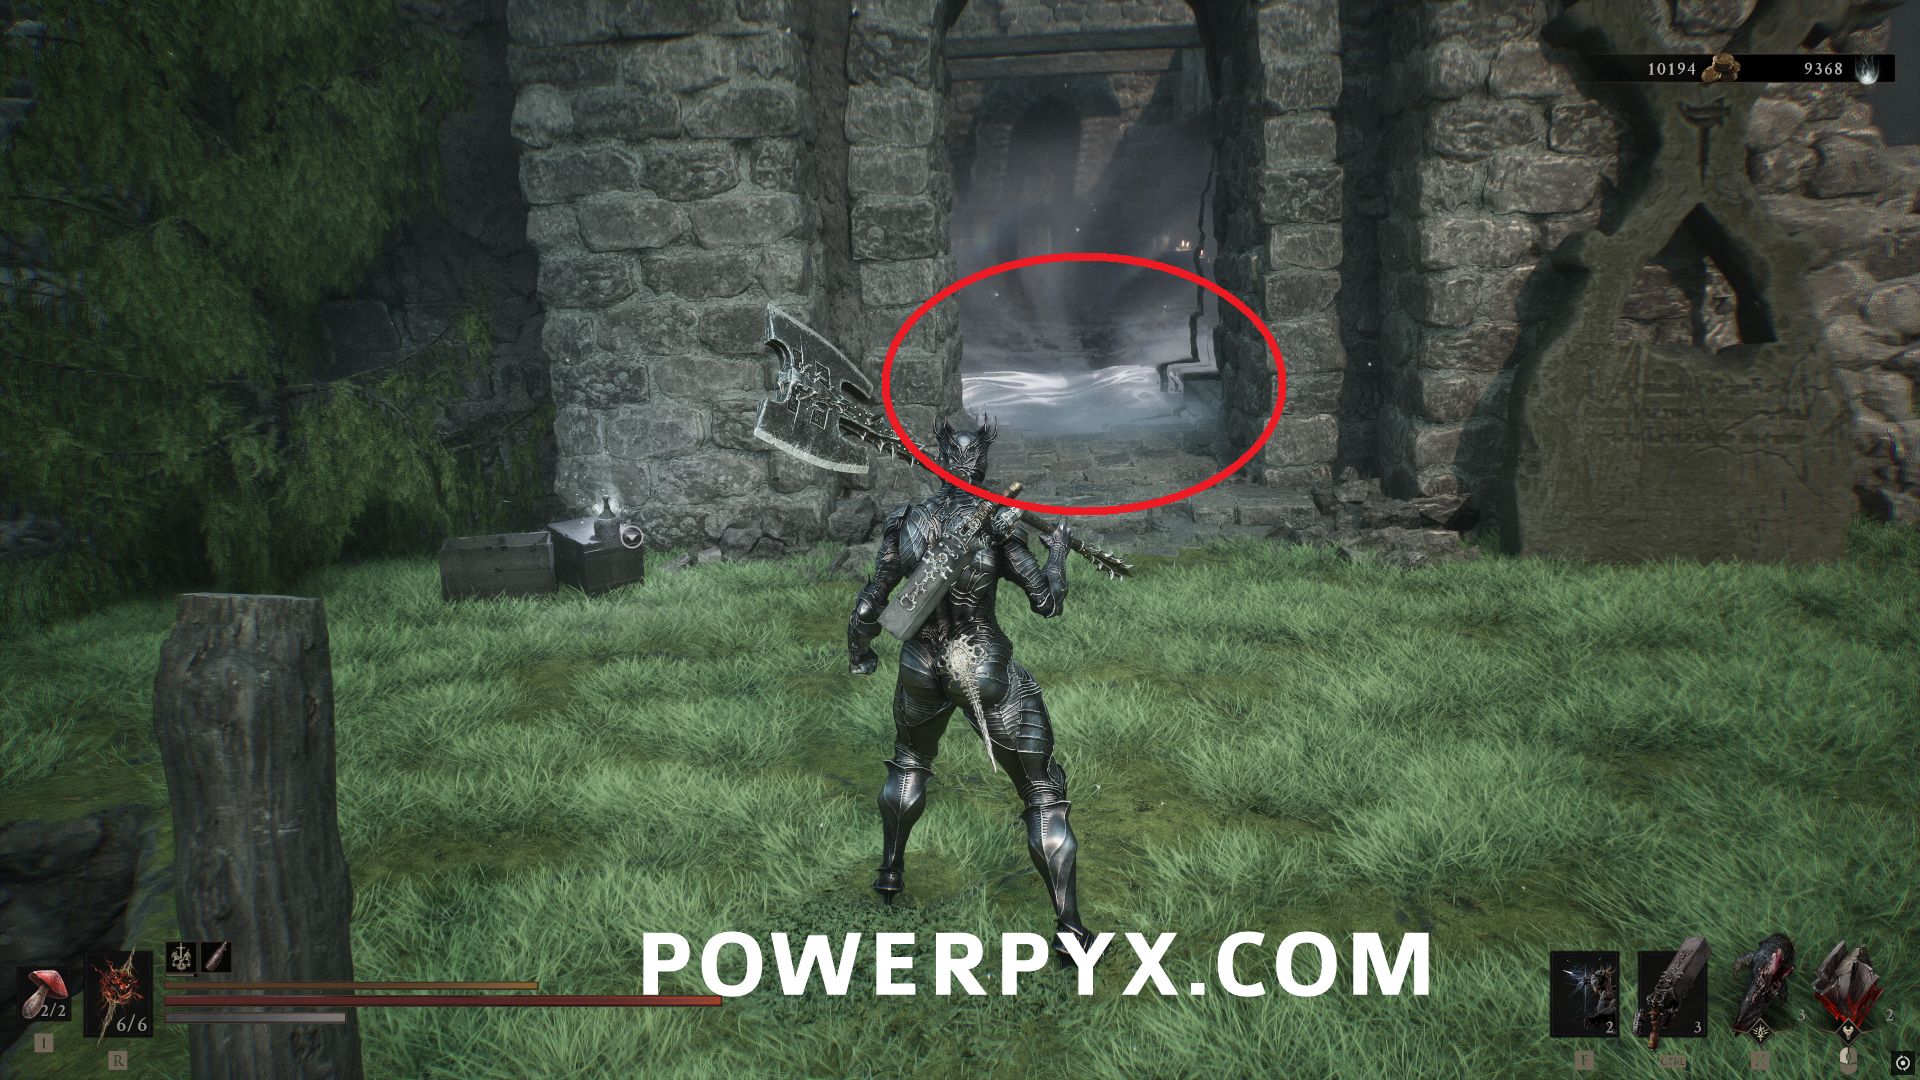
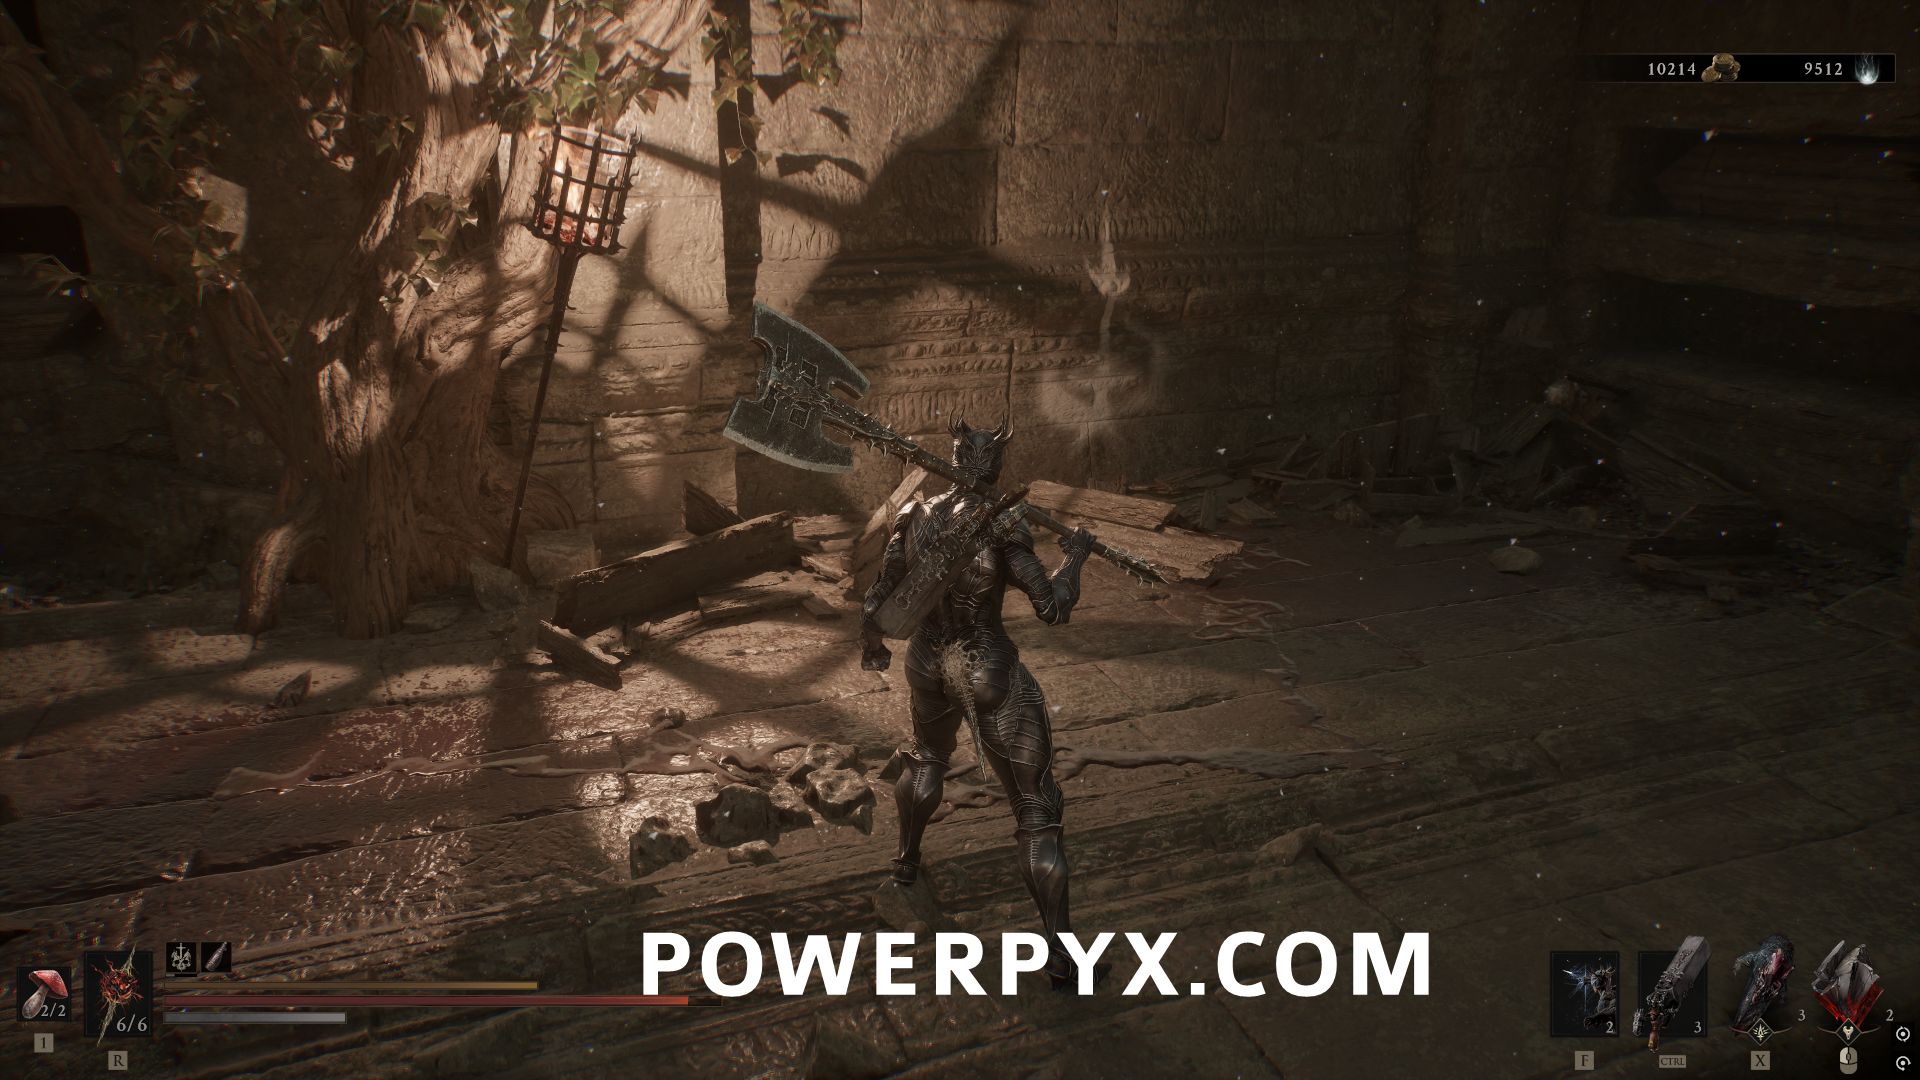
Progress through the dungeon using the arches to change the visibility of things along with hitting the false walls with white symbols. Behind the wall that opens after you get the block onto the pressure plate is a chest that contains the Tarstone.
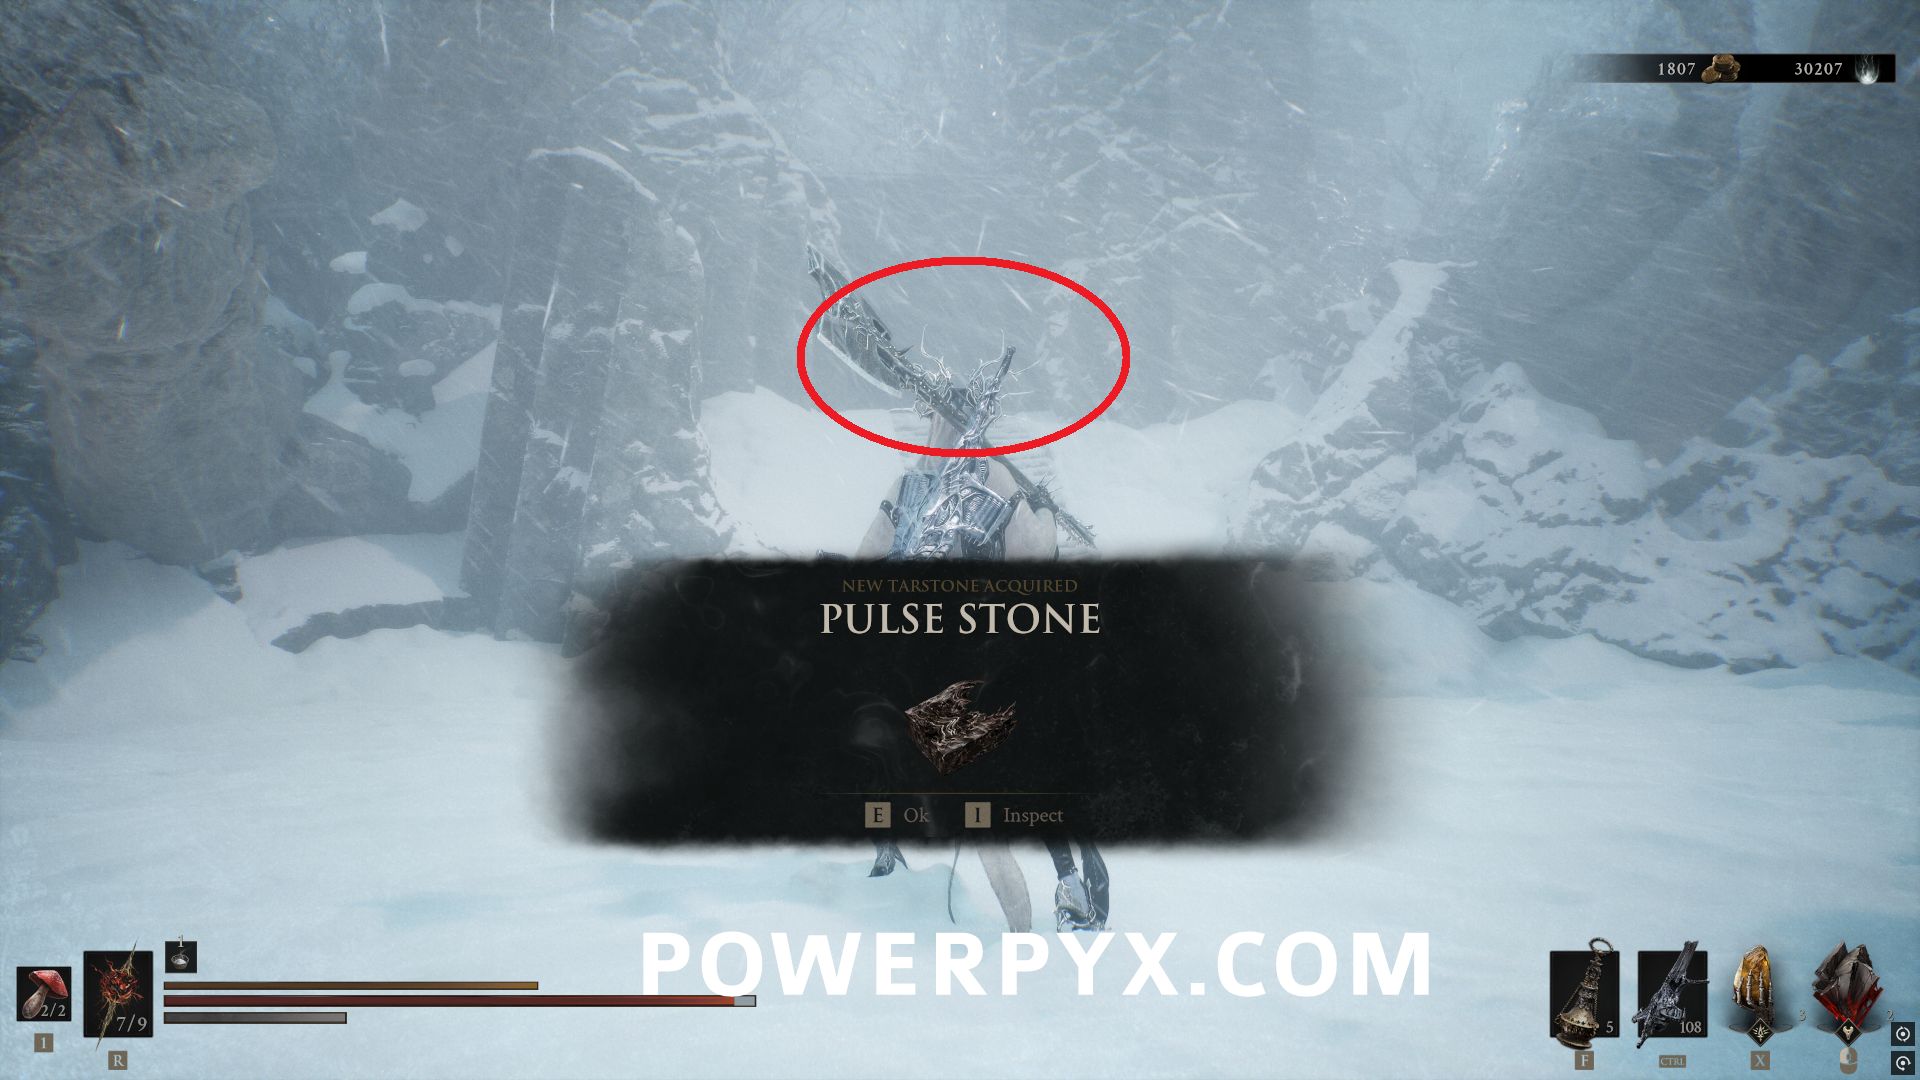
#26 – Pulse Stone
In the Conquered Temple area, after the Winterglass Lake Beacon. Follow the path through the area until you reach a cave, then a group of Grisha Hunters. To the left of the hunters there is a large group of stone hands that will reveal a chest containing this tarstone.
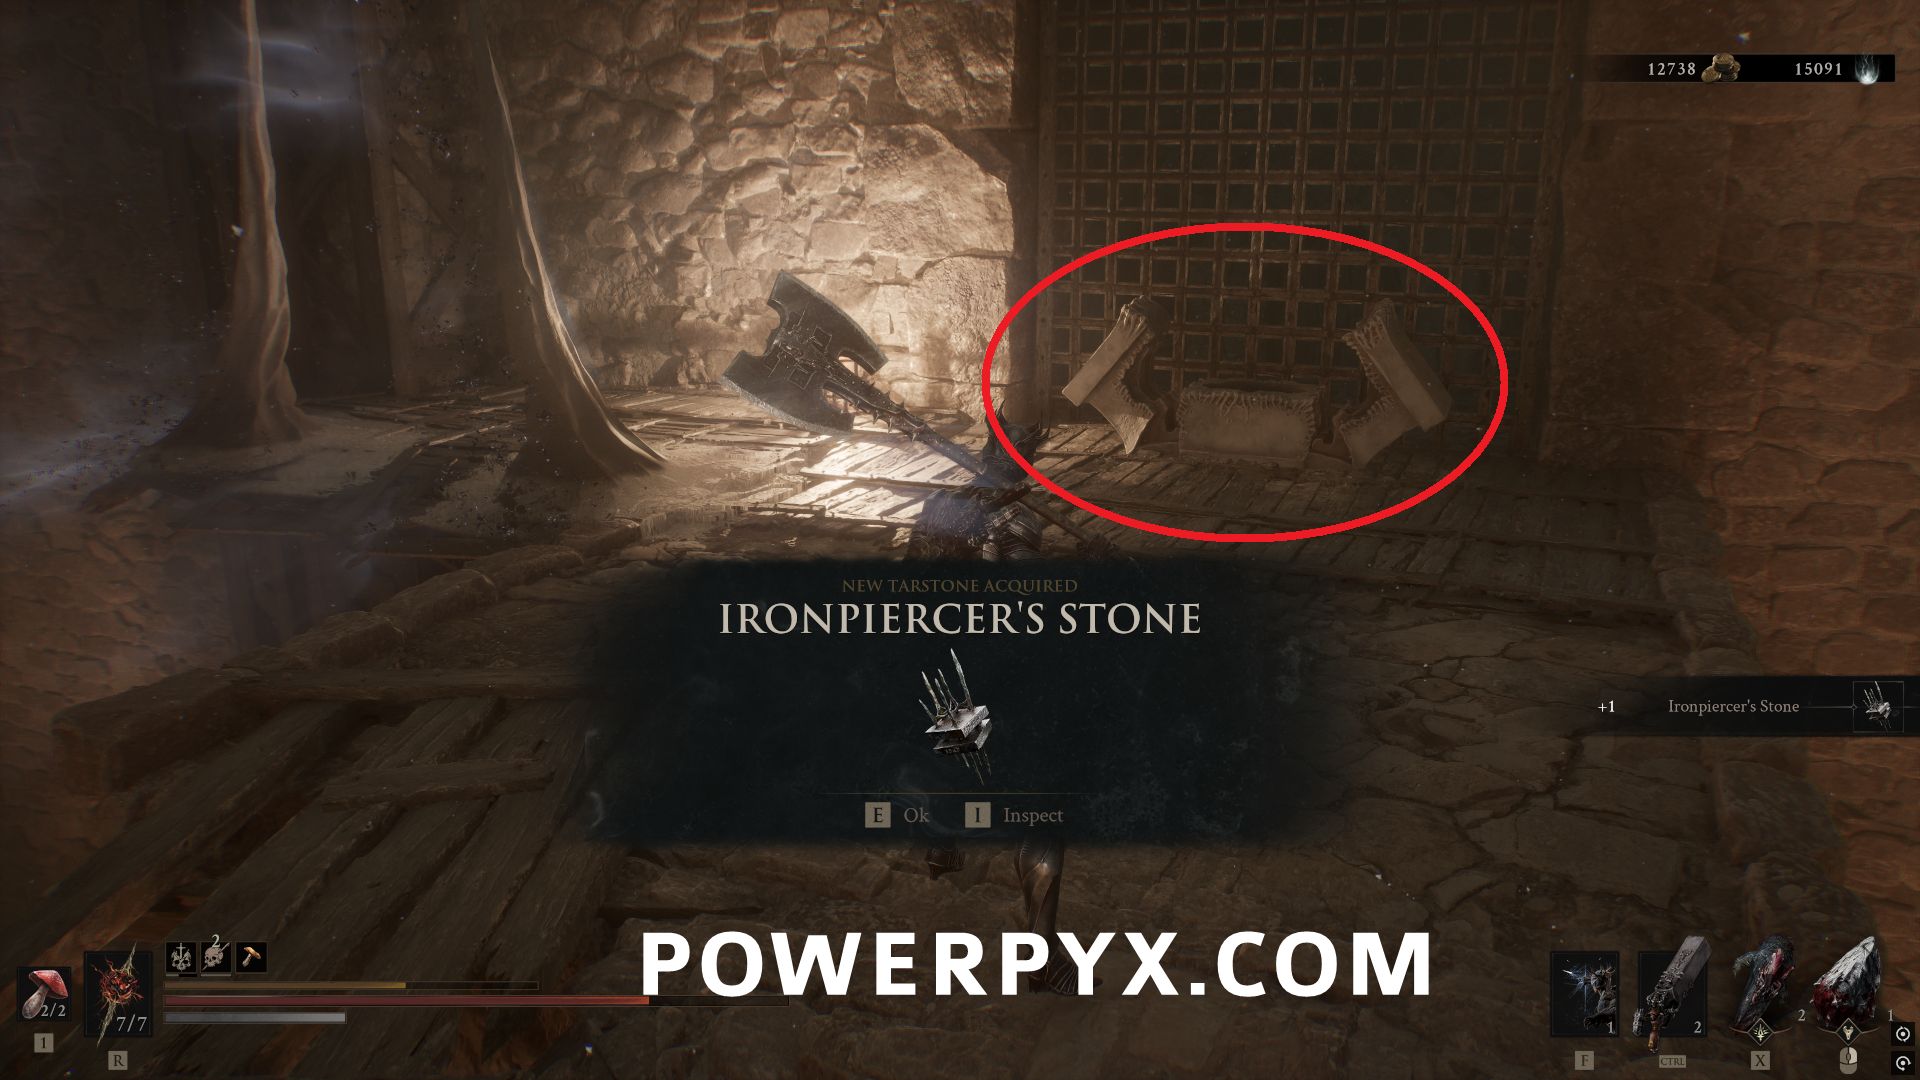
#27 – Ironpiercer’s Stone
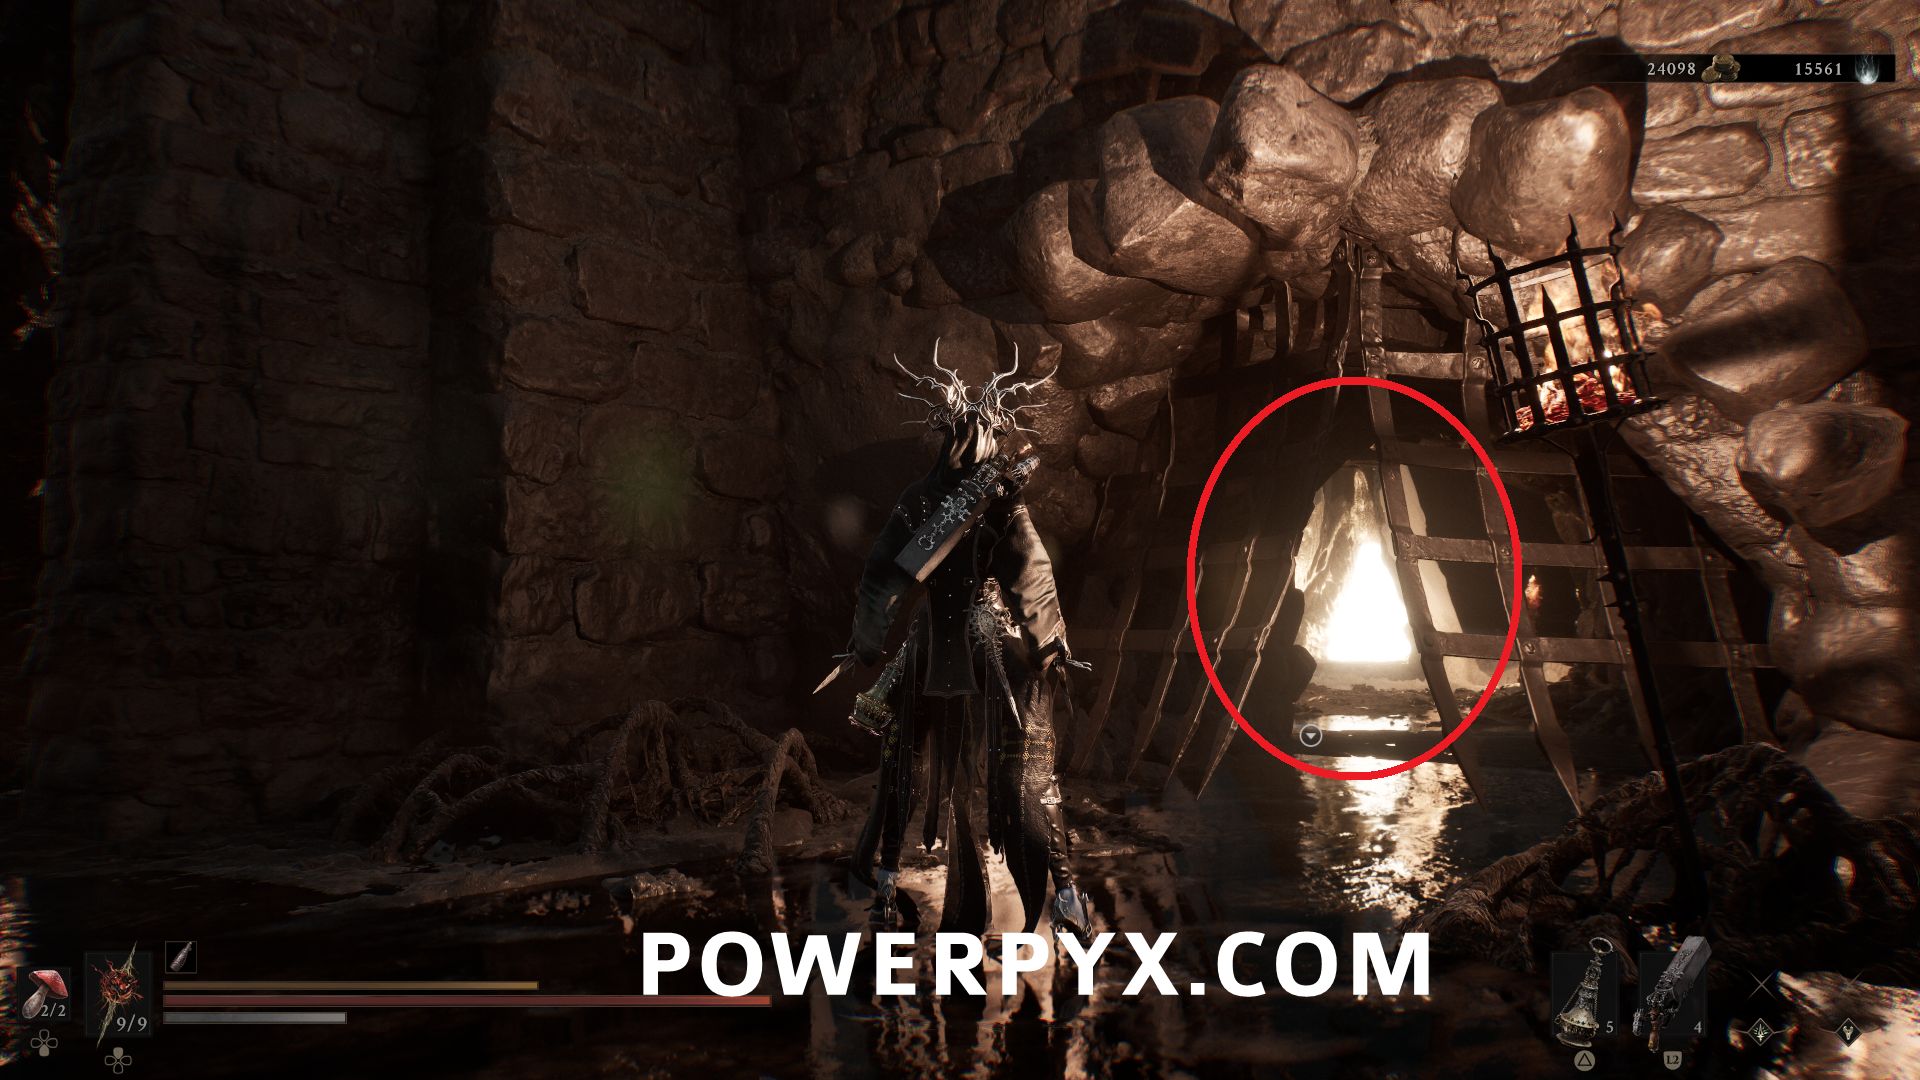
In the Prisoner’s Domain area, inside the Slumwater Drain Beacon, progress through the area until you use the Bone Gate to reach the upper level in a large room. The chest immediately on this platform contains the Tarstone.
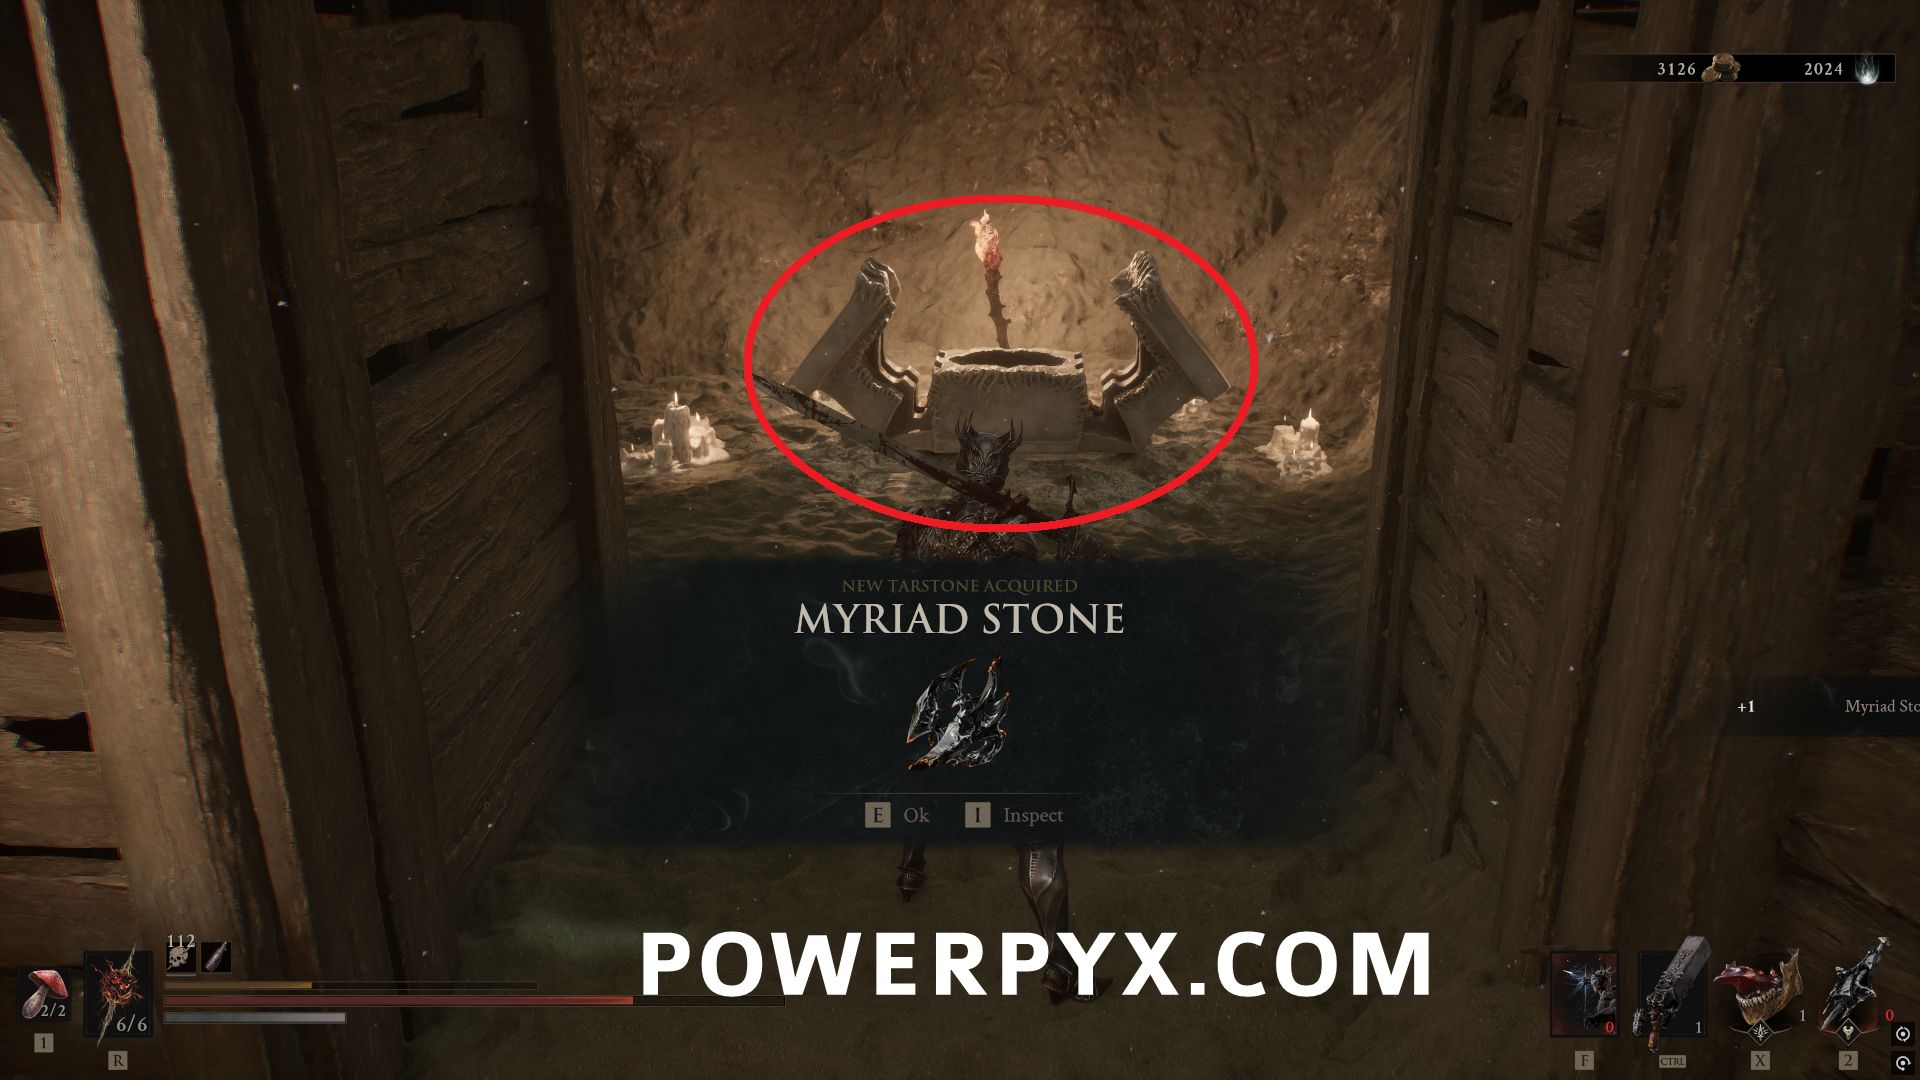
#28 – Myriad Stone
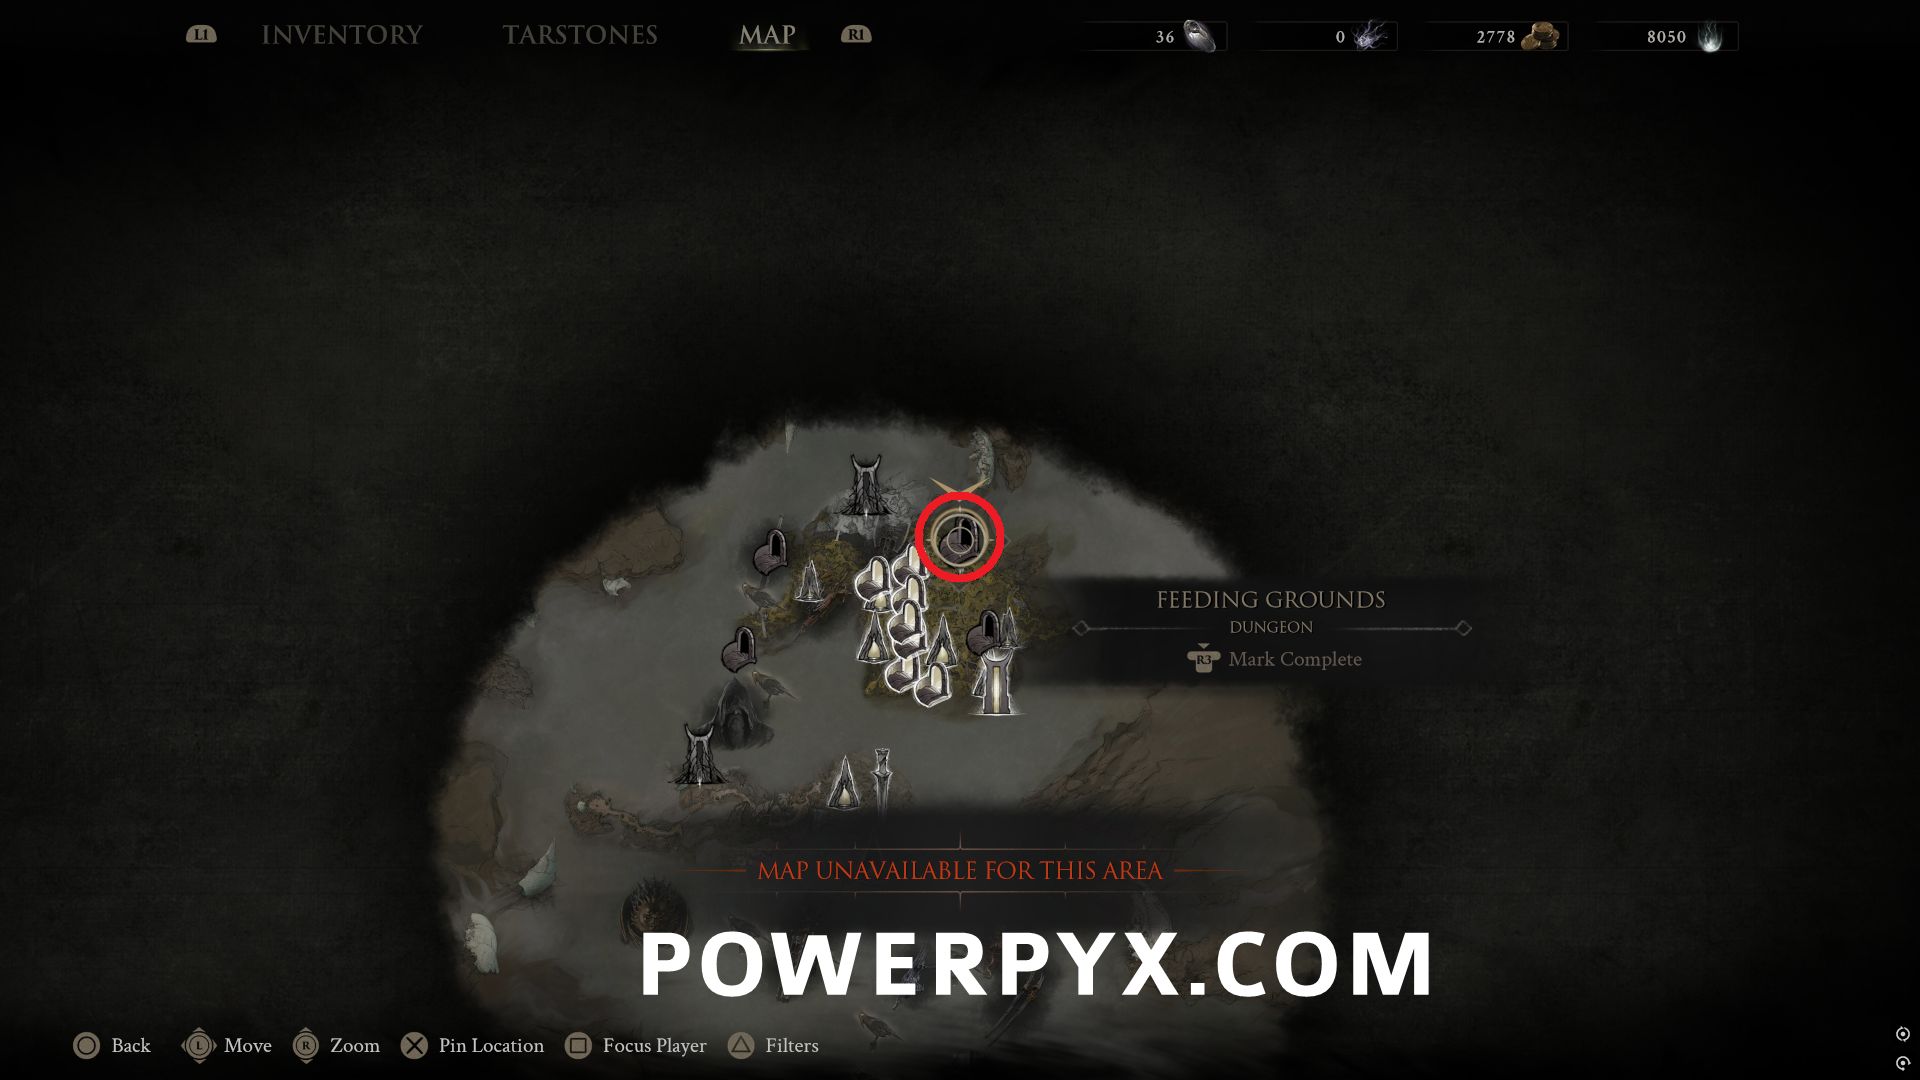
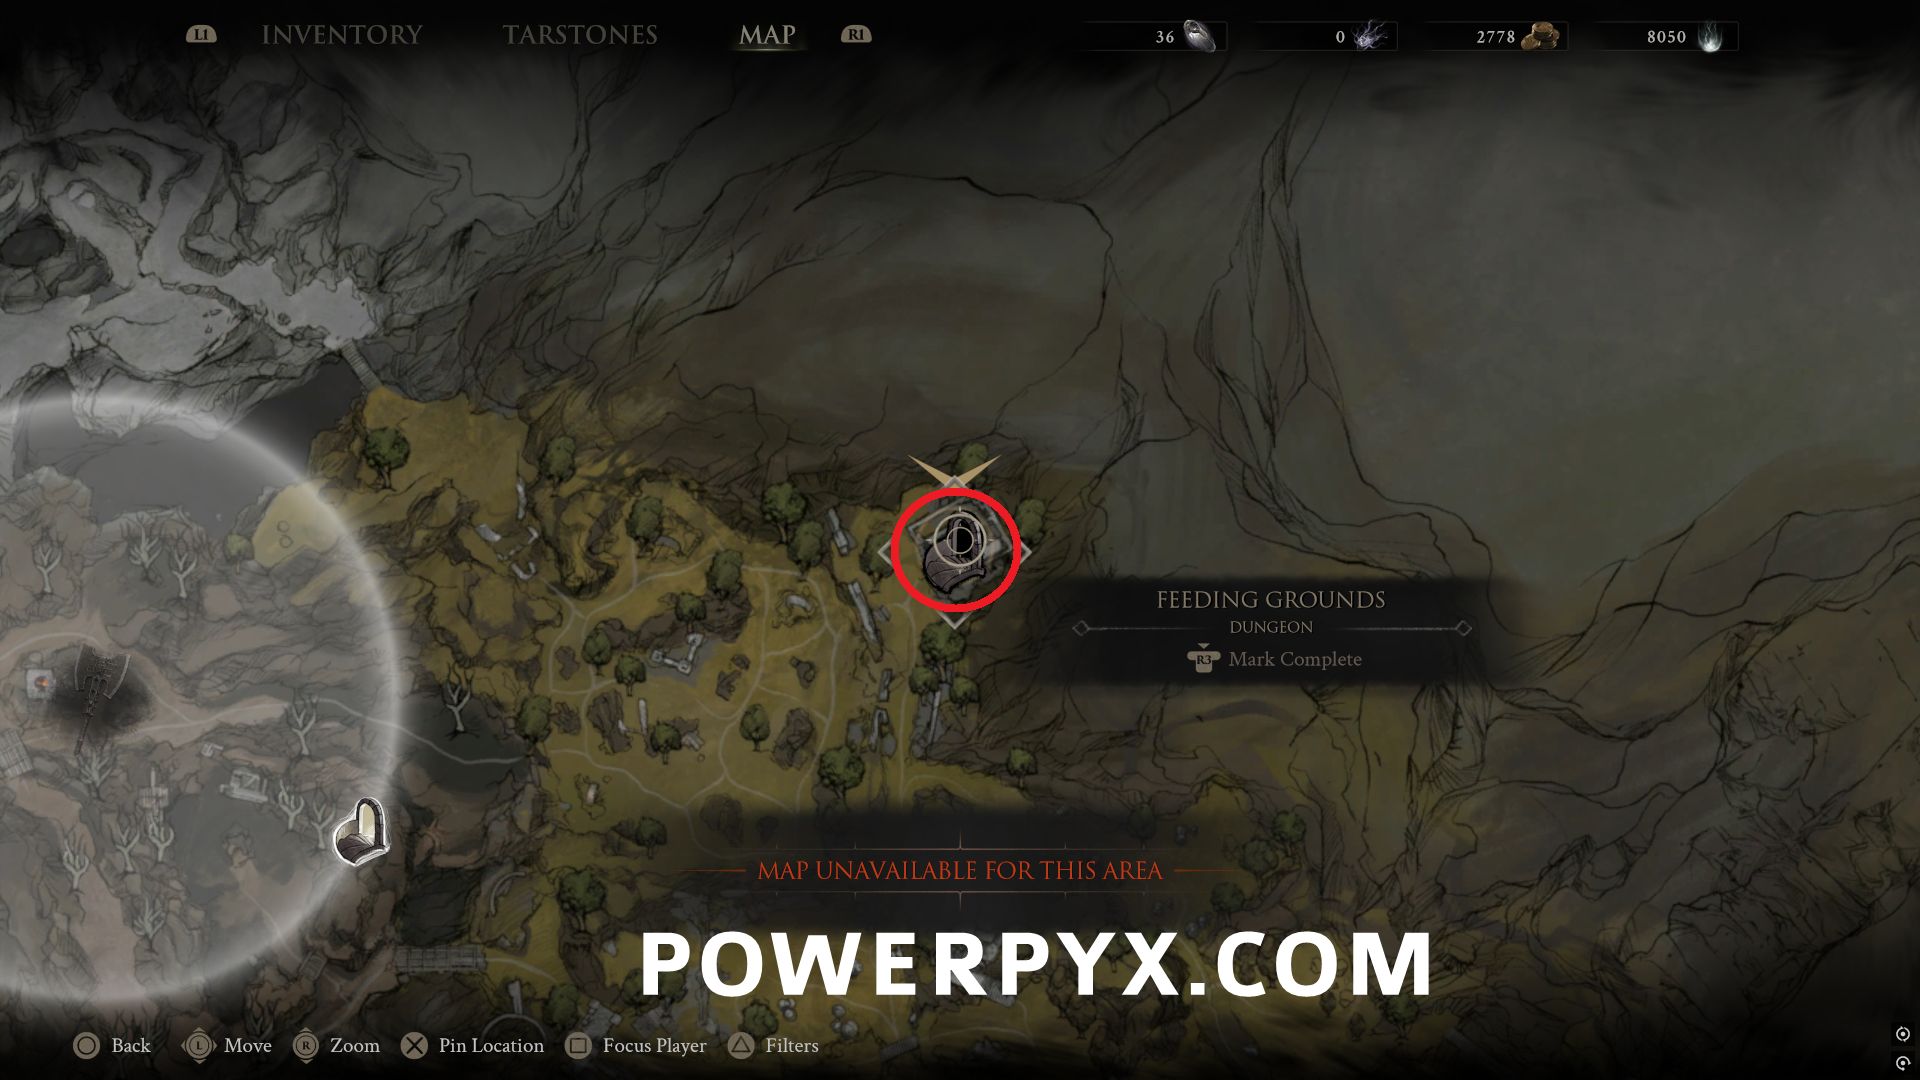
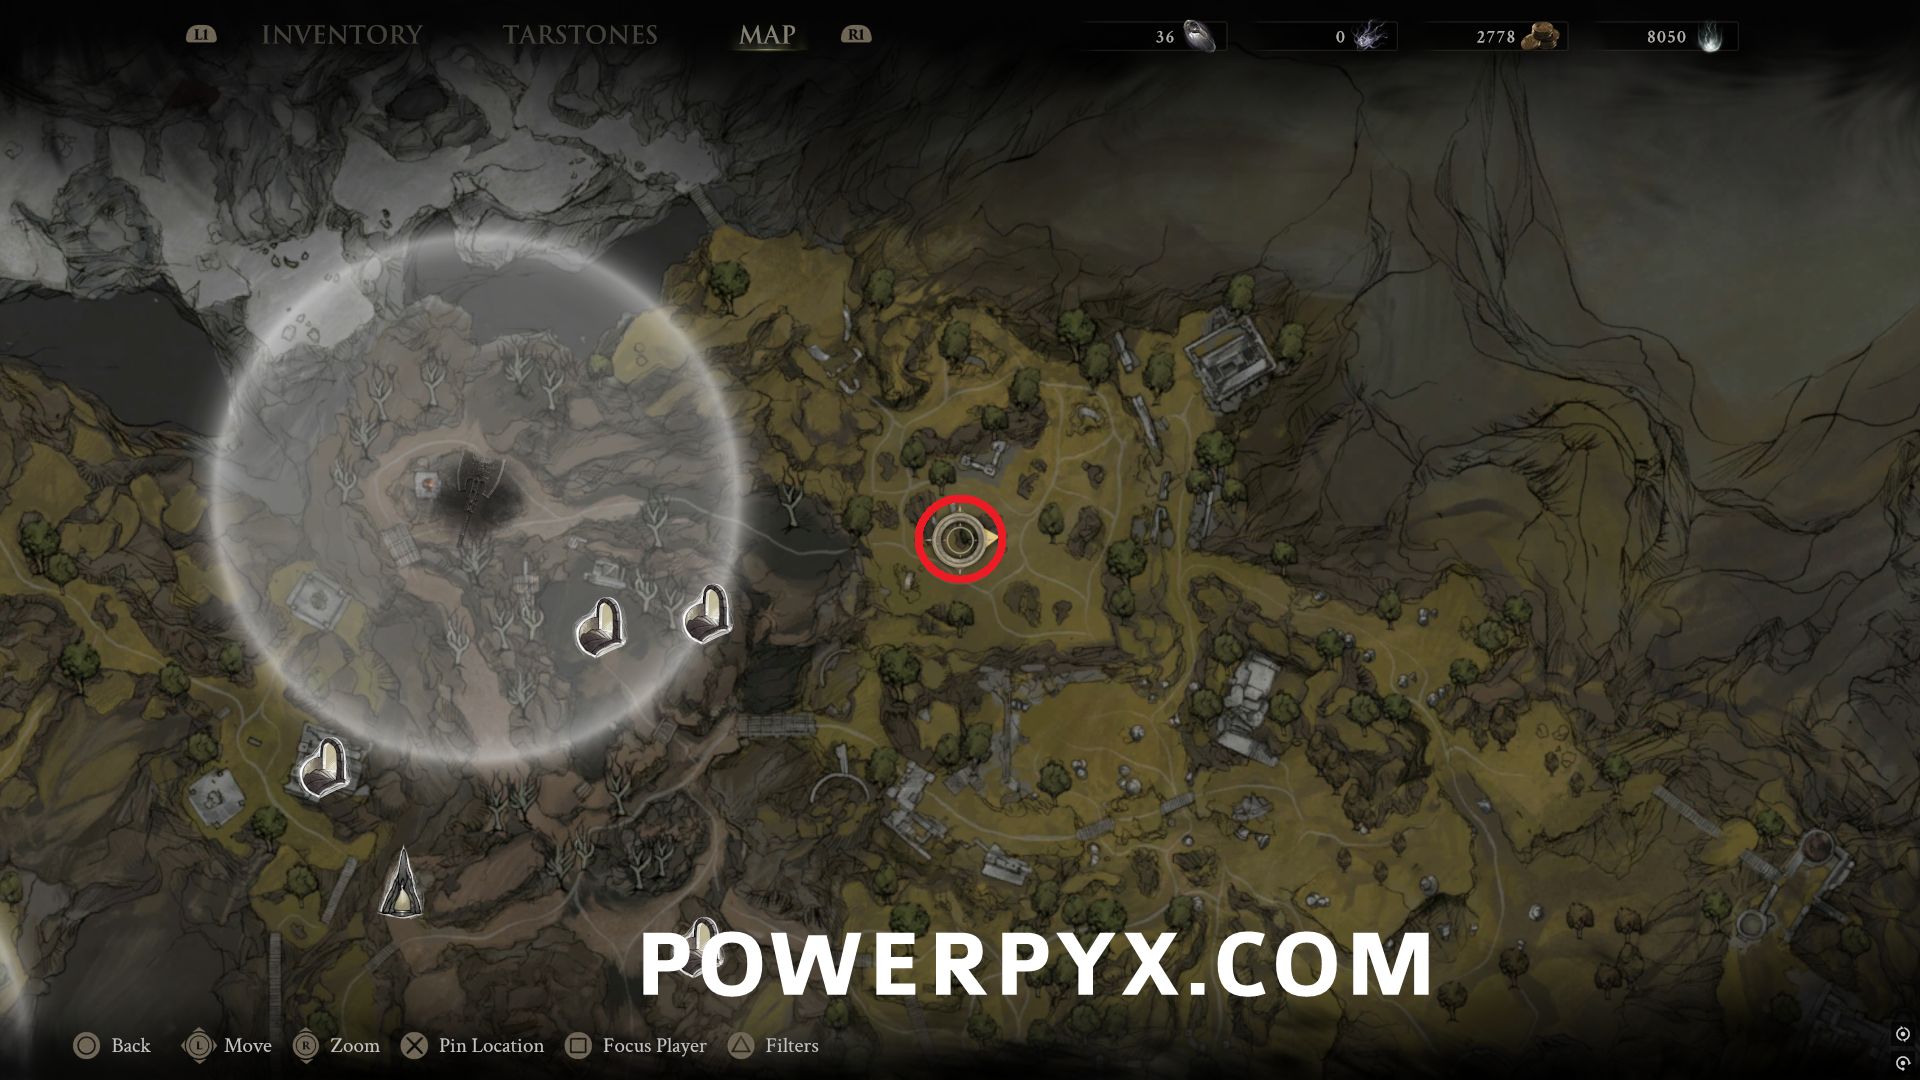
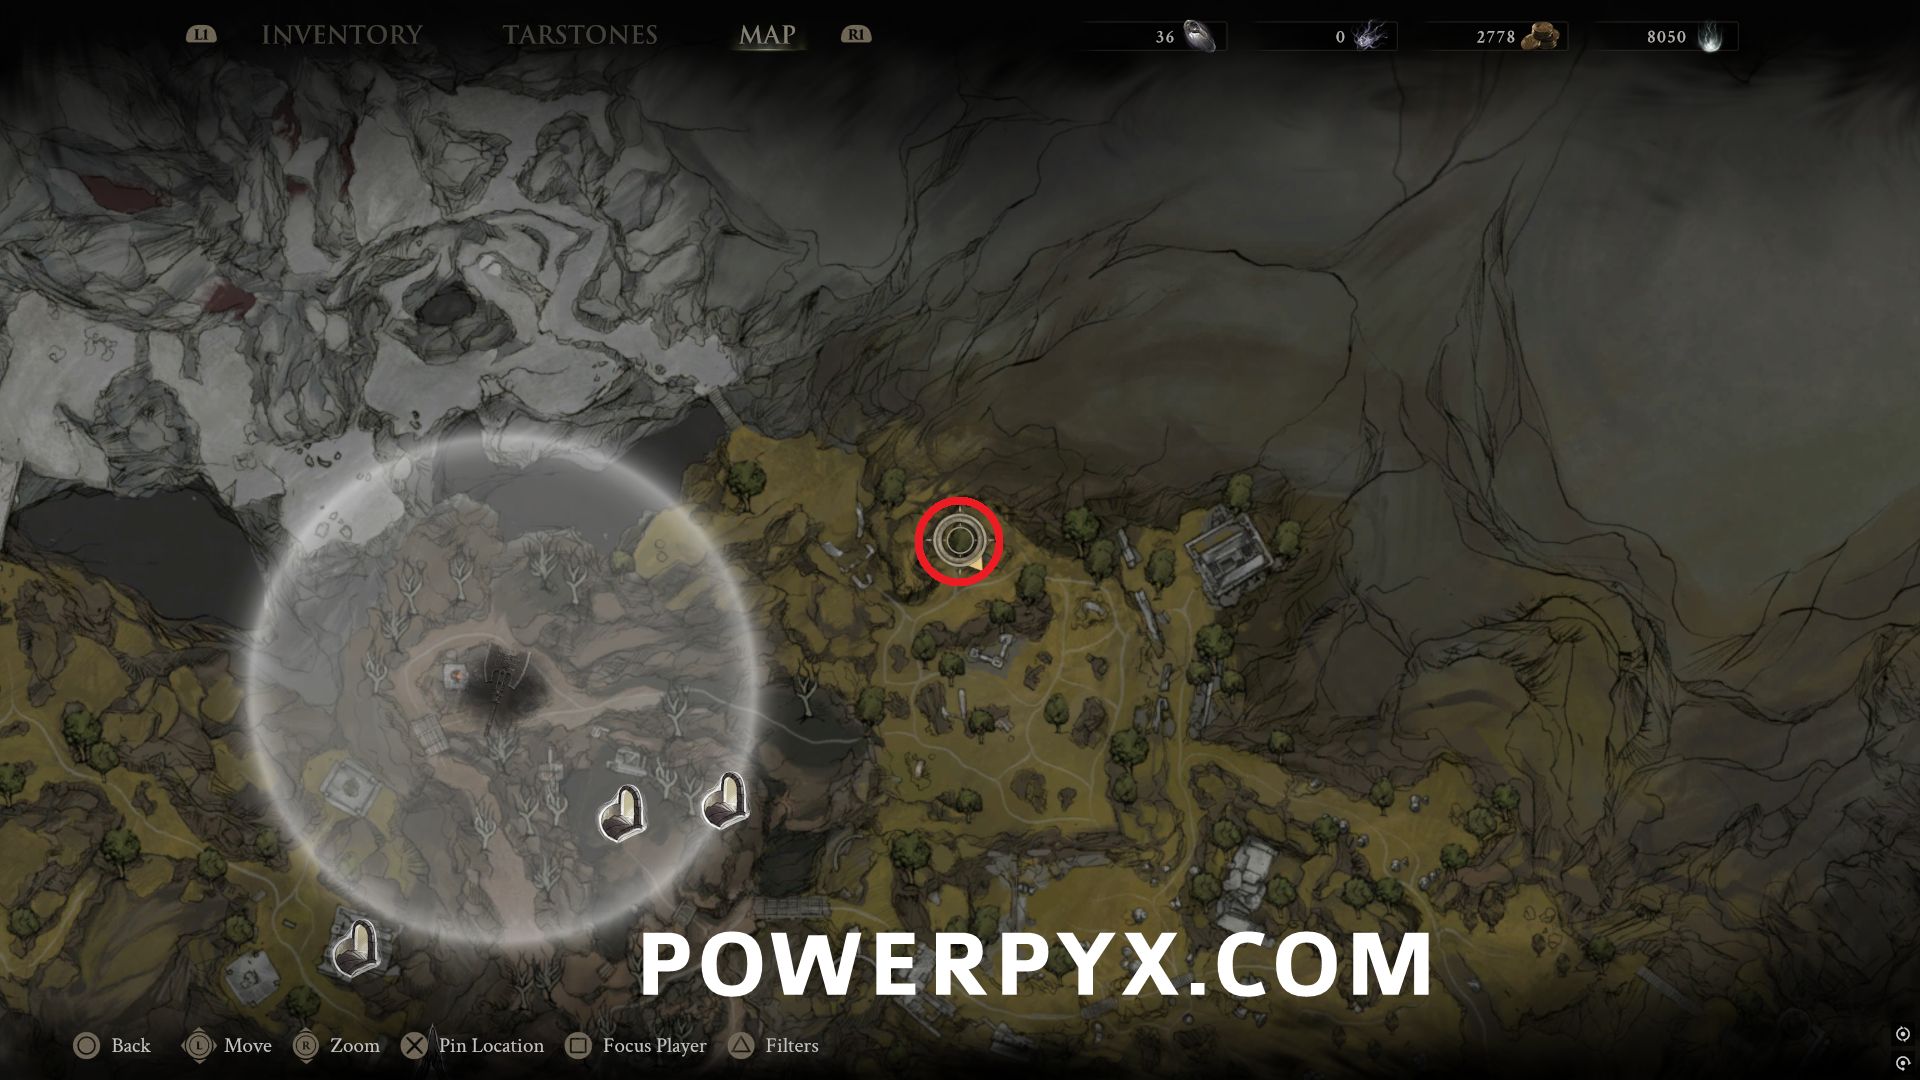
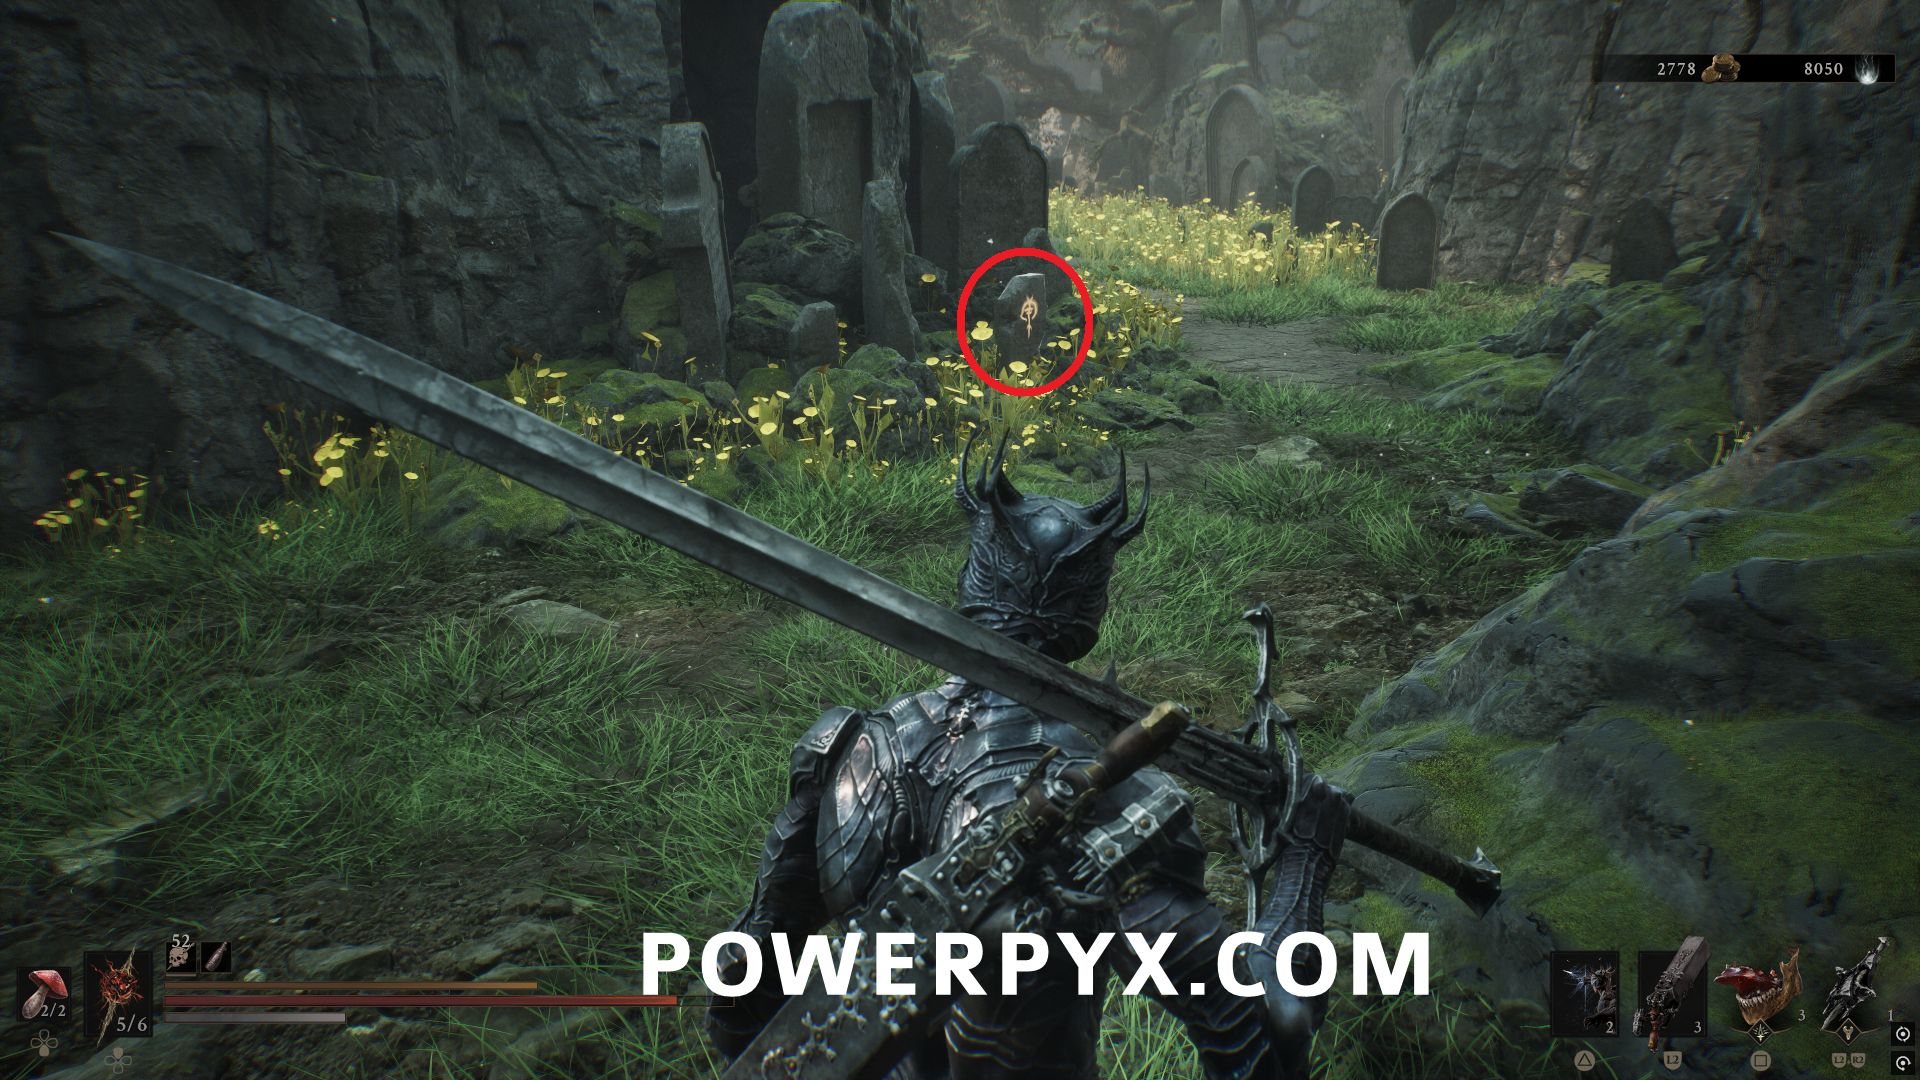
Northeast of Blackridge Pass in the graveyard area near the map edge. Destroy the three glowing tombstones to open the door into the building where the Feeding Grounds dungeon entrance is located.
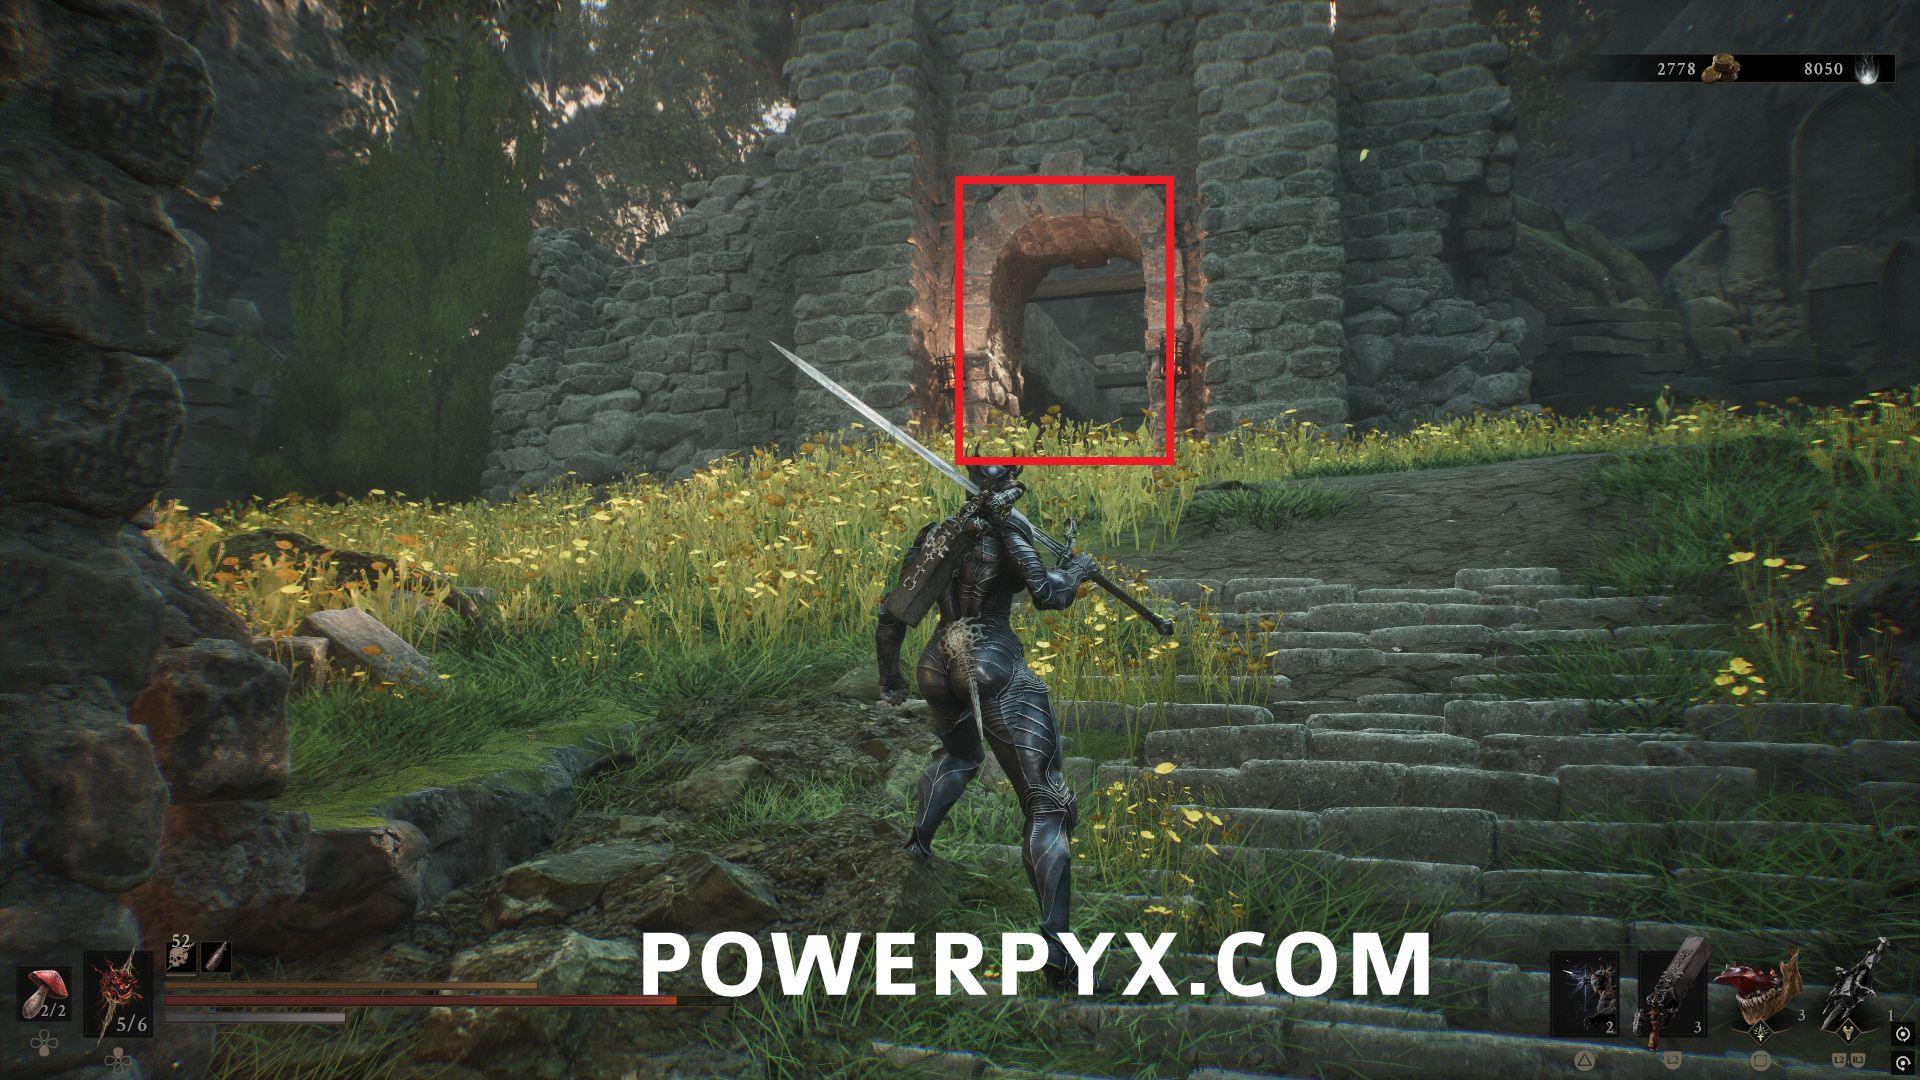
The first is in the center of the area.
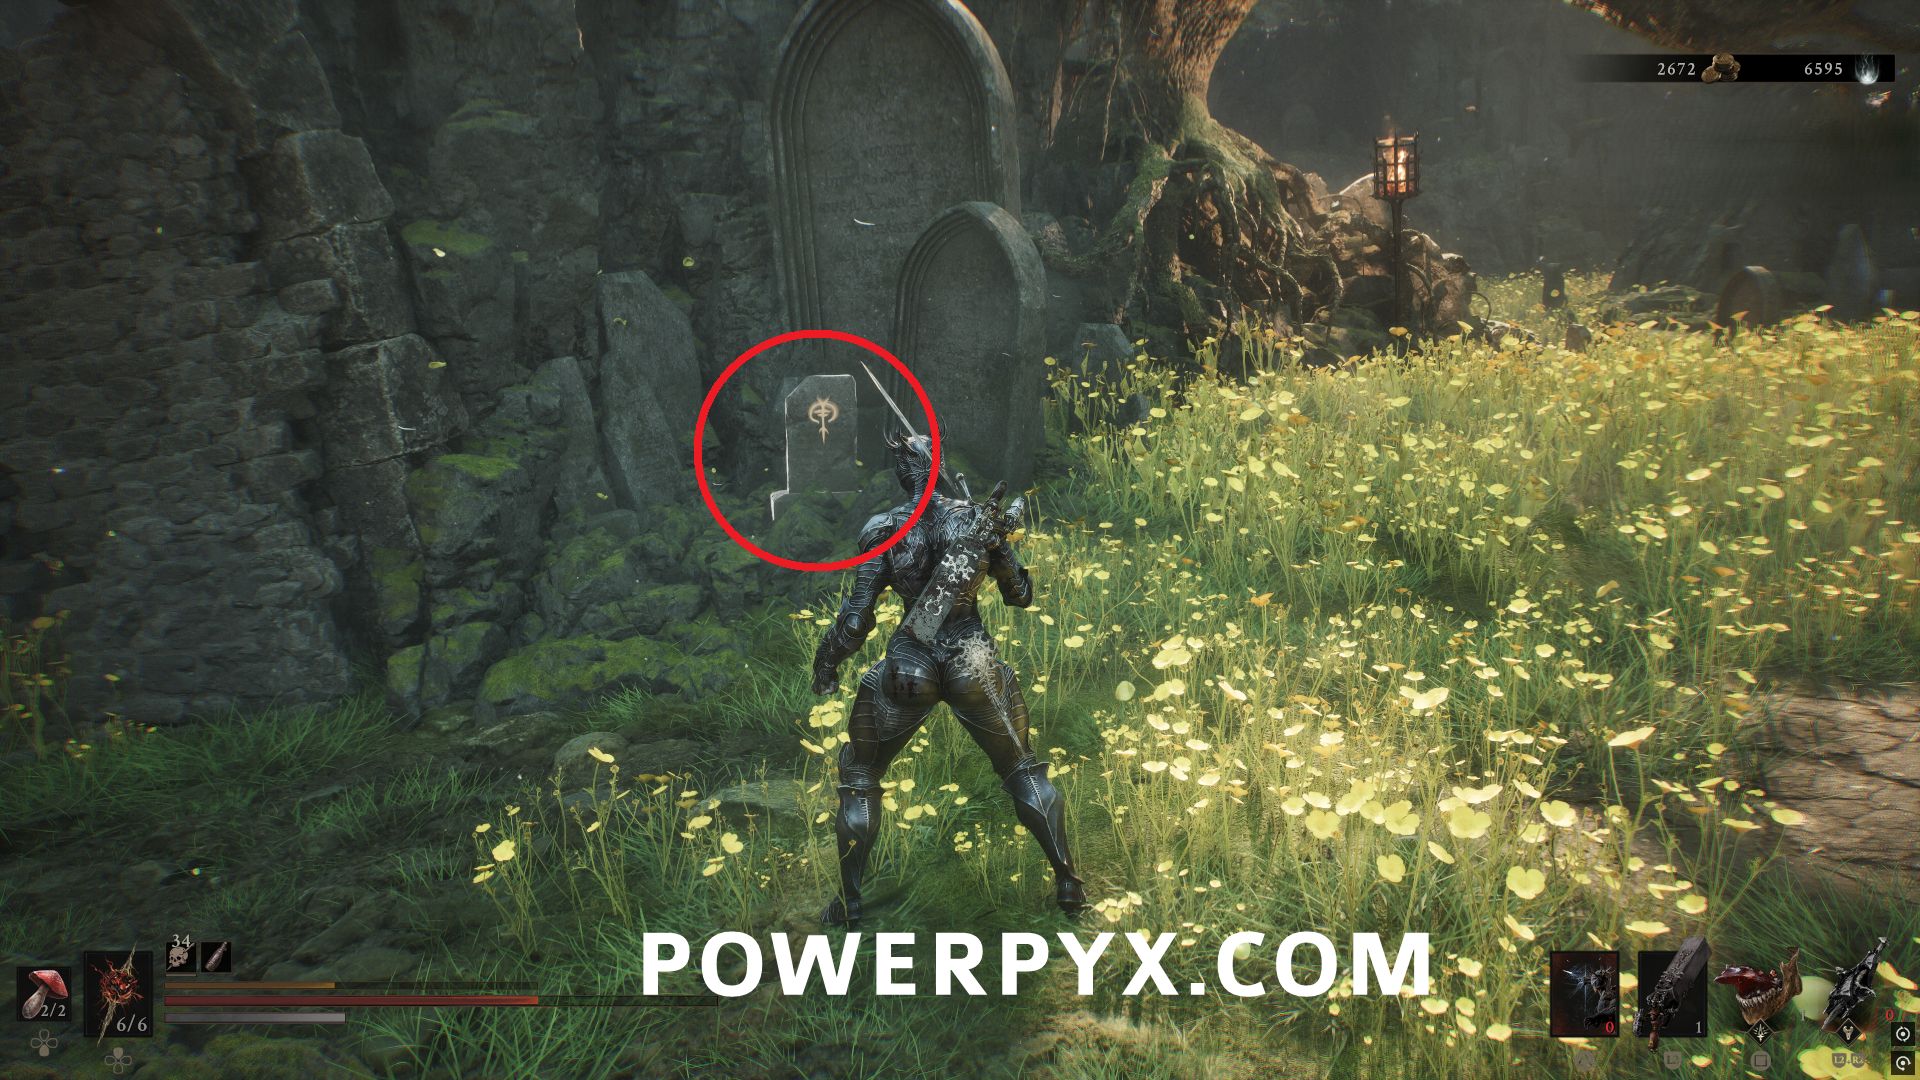
The second is left of the stairs leading to the building with the dungeon entrance.
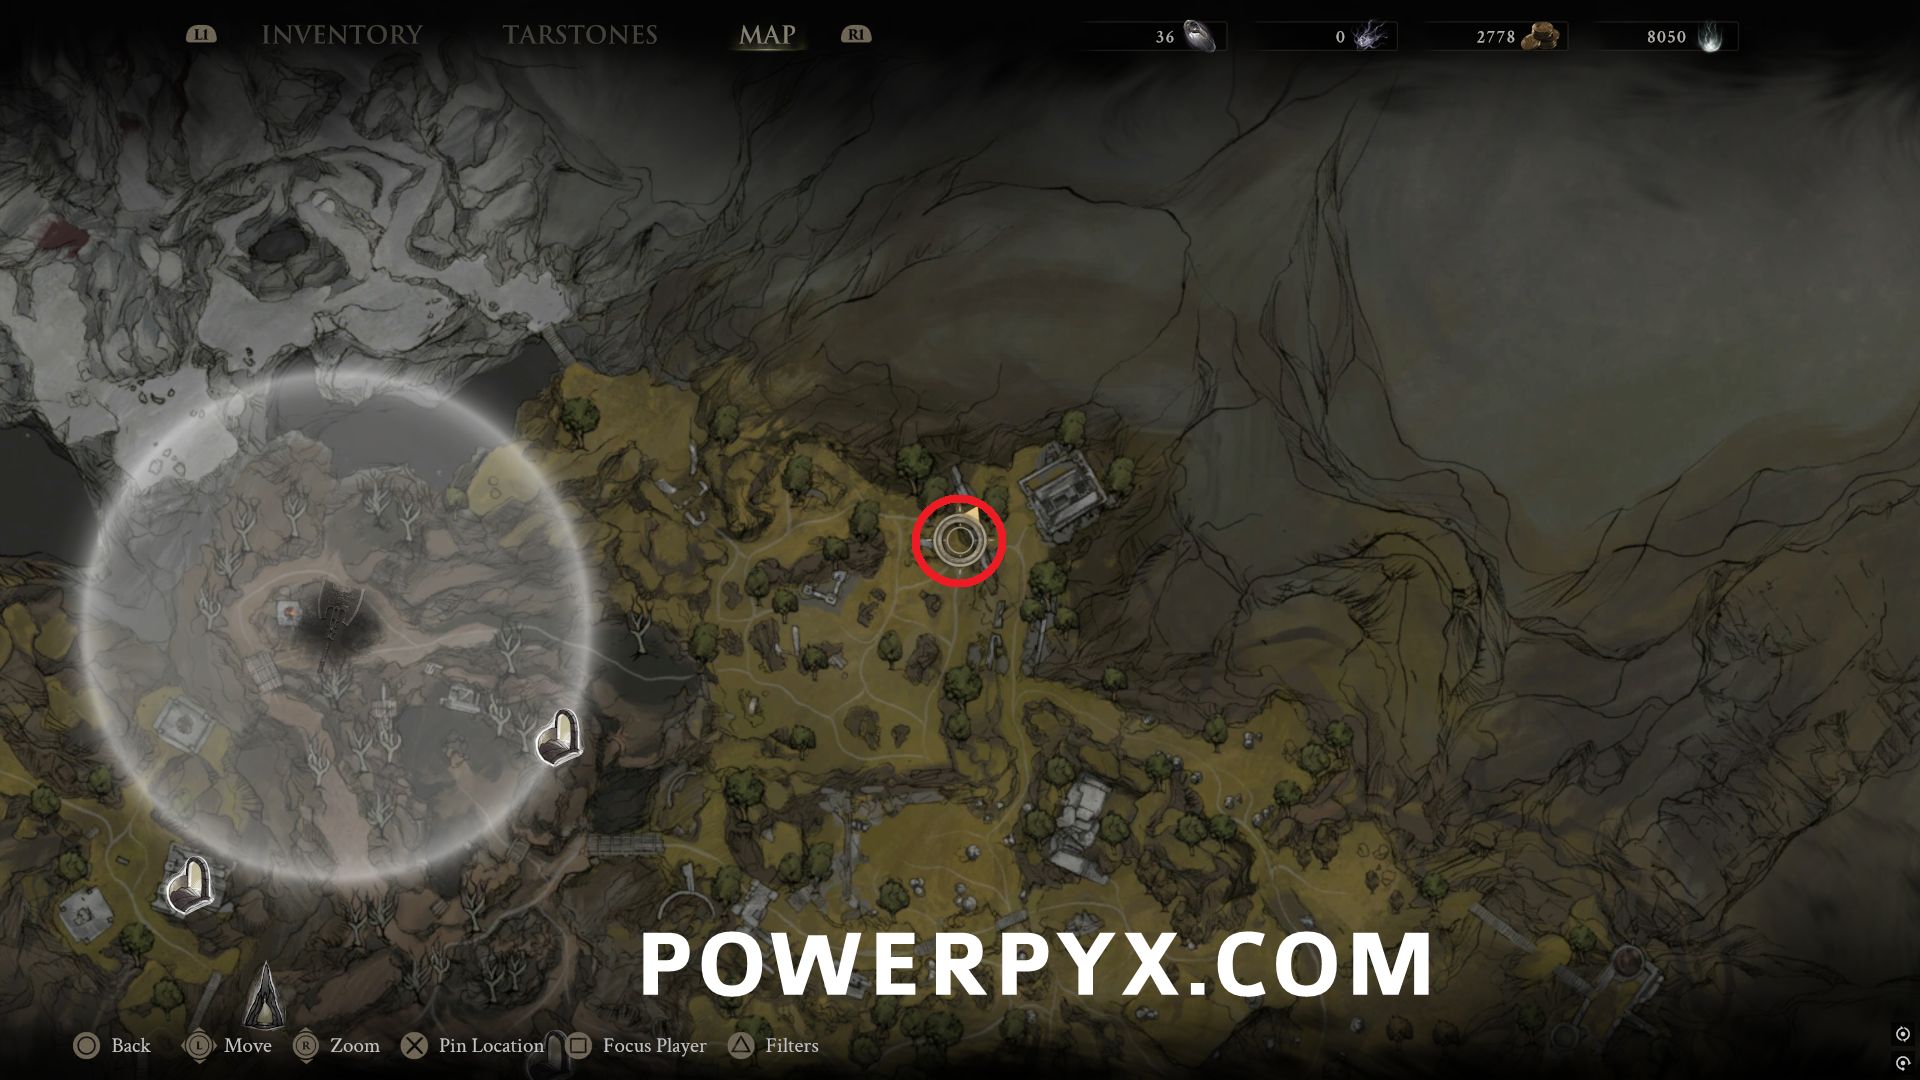
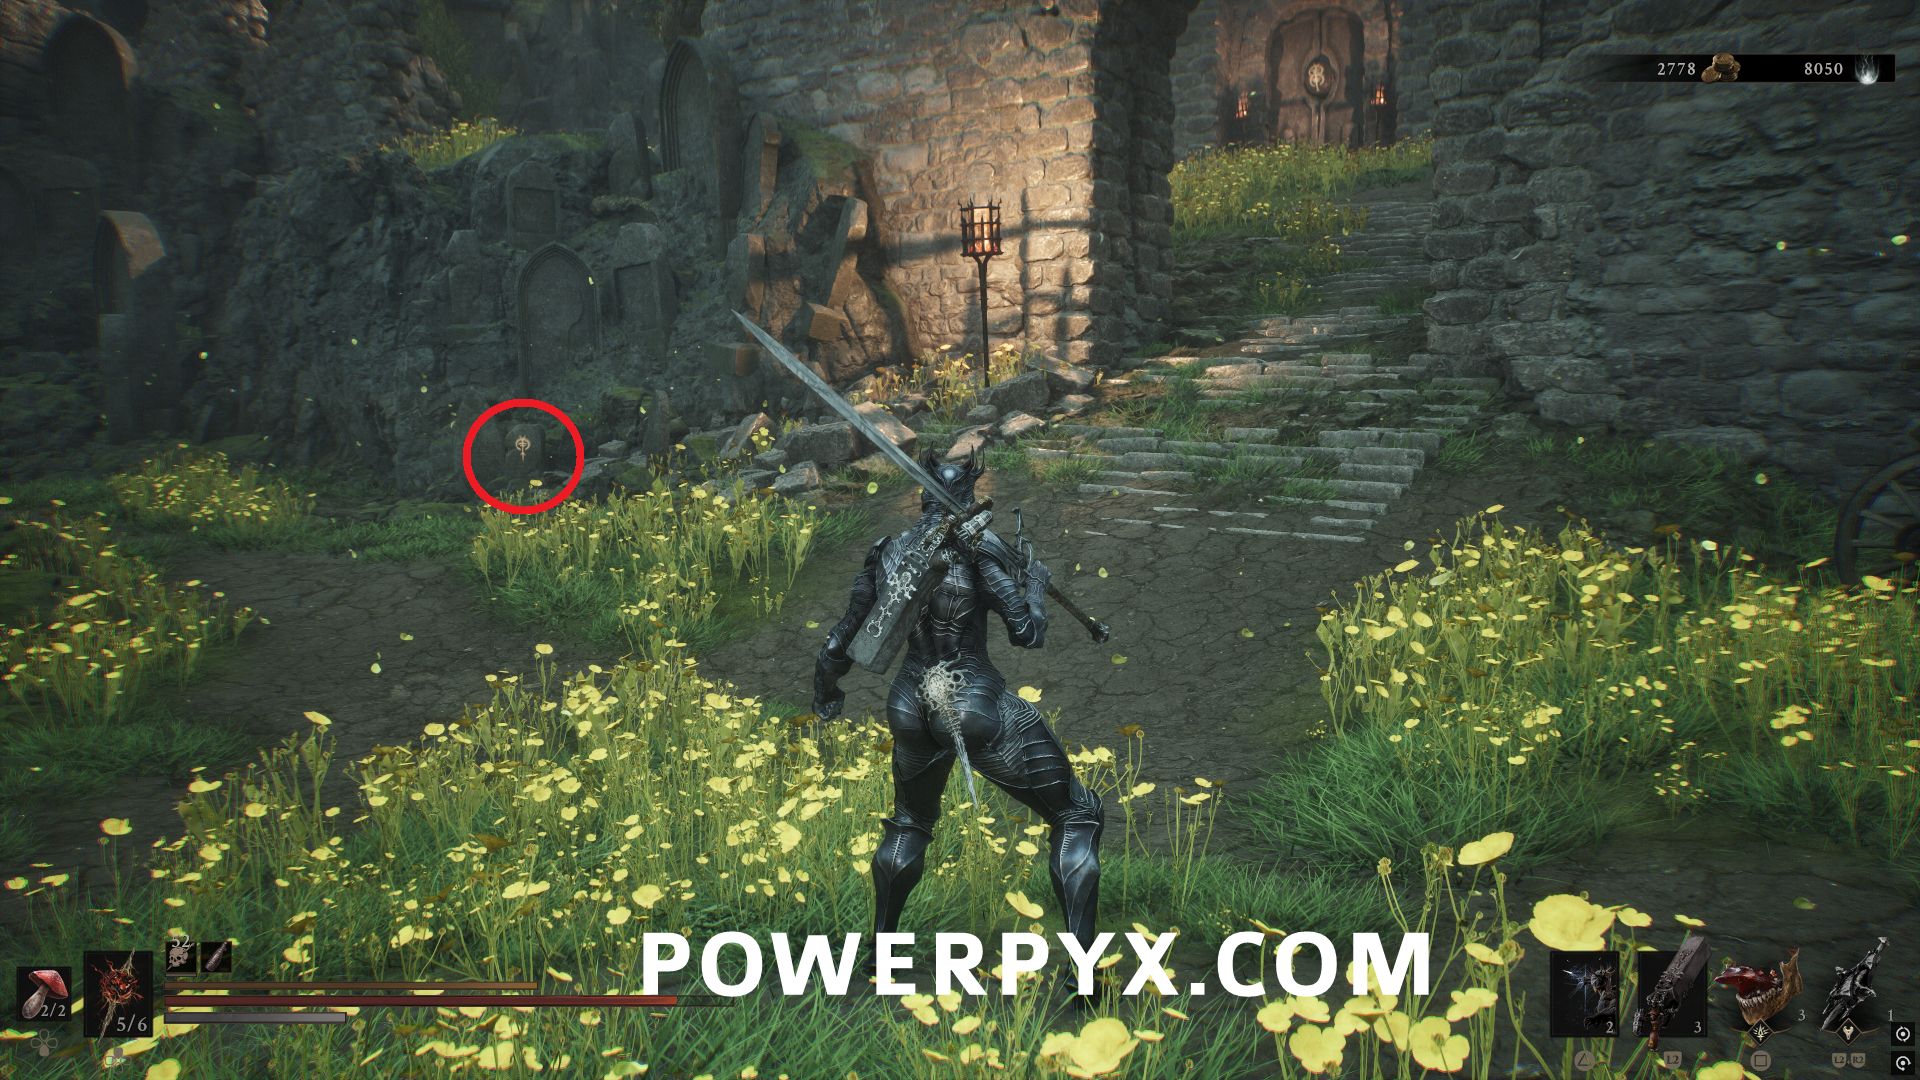
The third is on the north edge of the graveyard area on the top path.
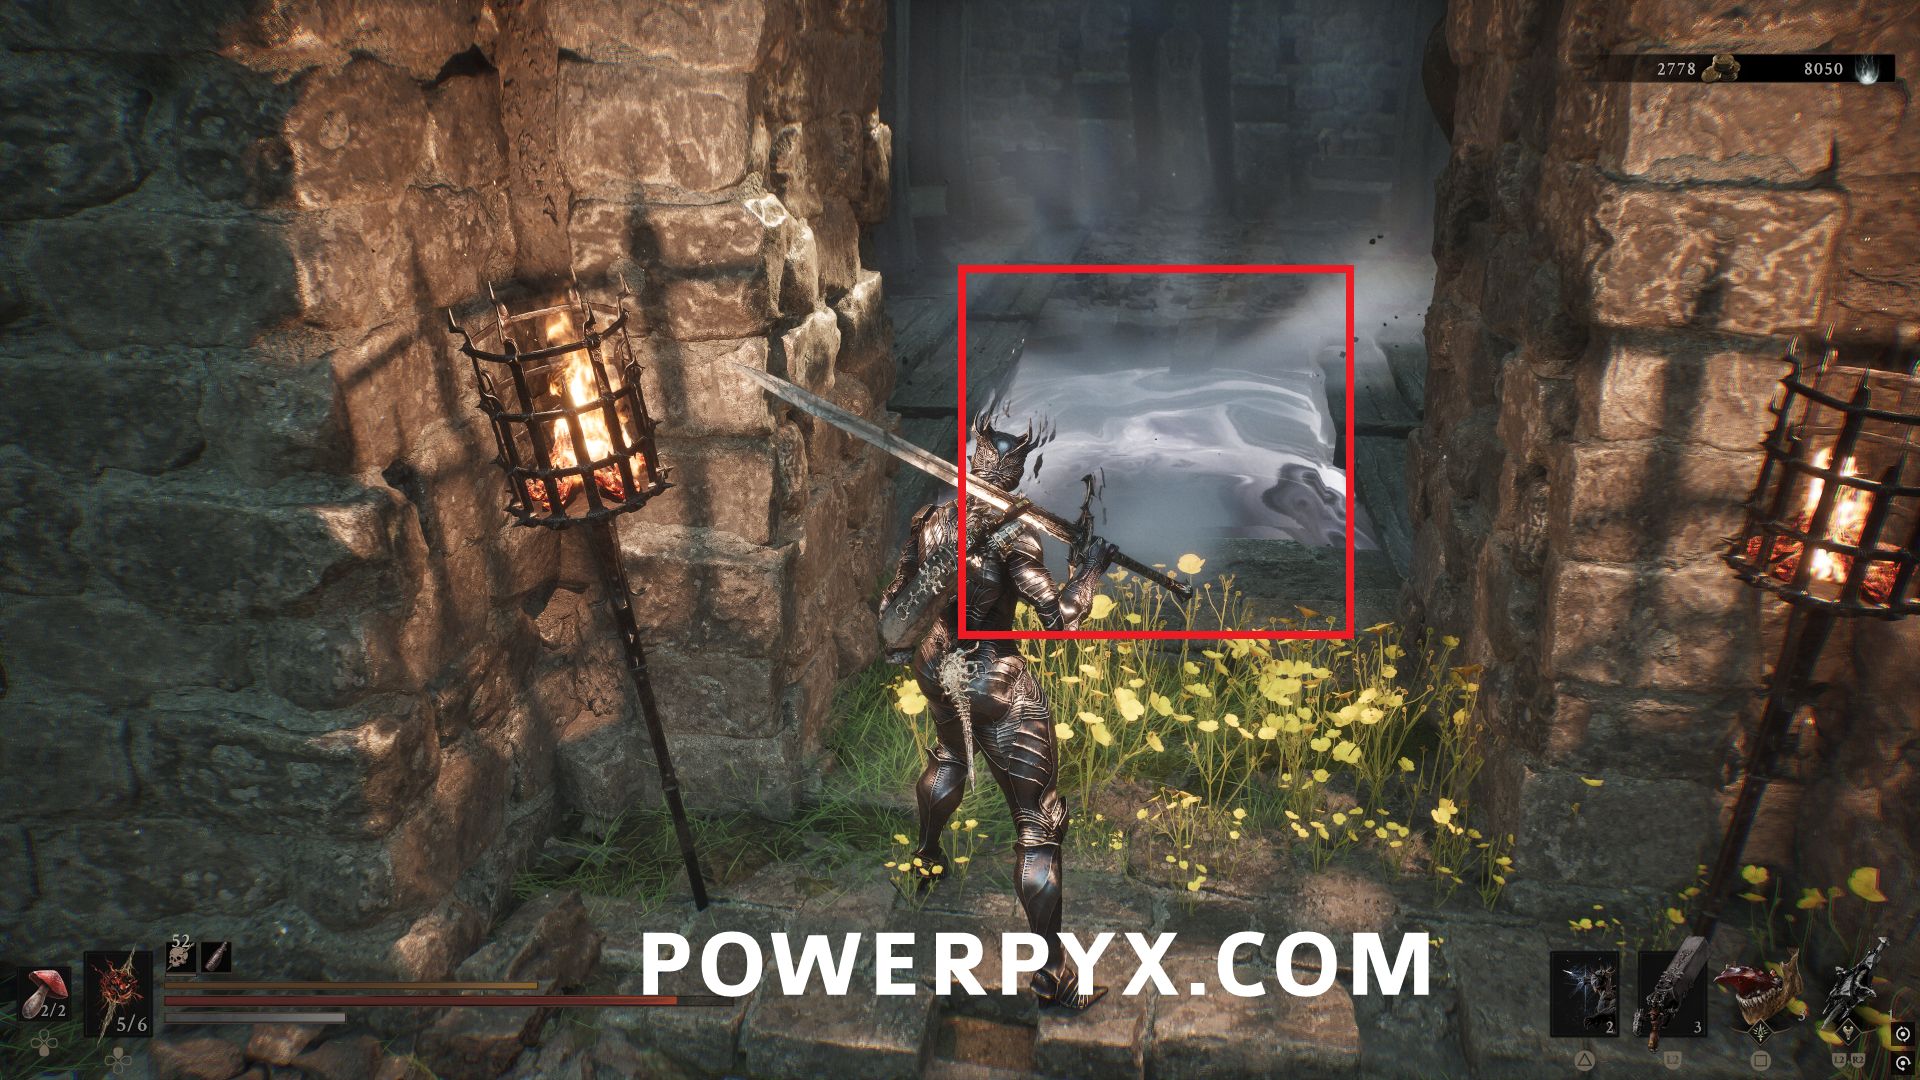
In the main floor of the dungeon in a chest that contains this Tarstone. If you try to run across the middle floor you’ll be dropped to a lower area with enemies and will need to fight them to get back up to the main floor.
#29 – Splitting Stone
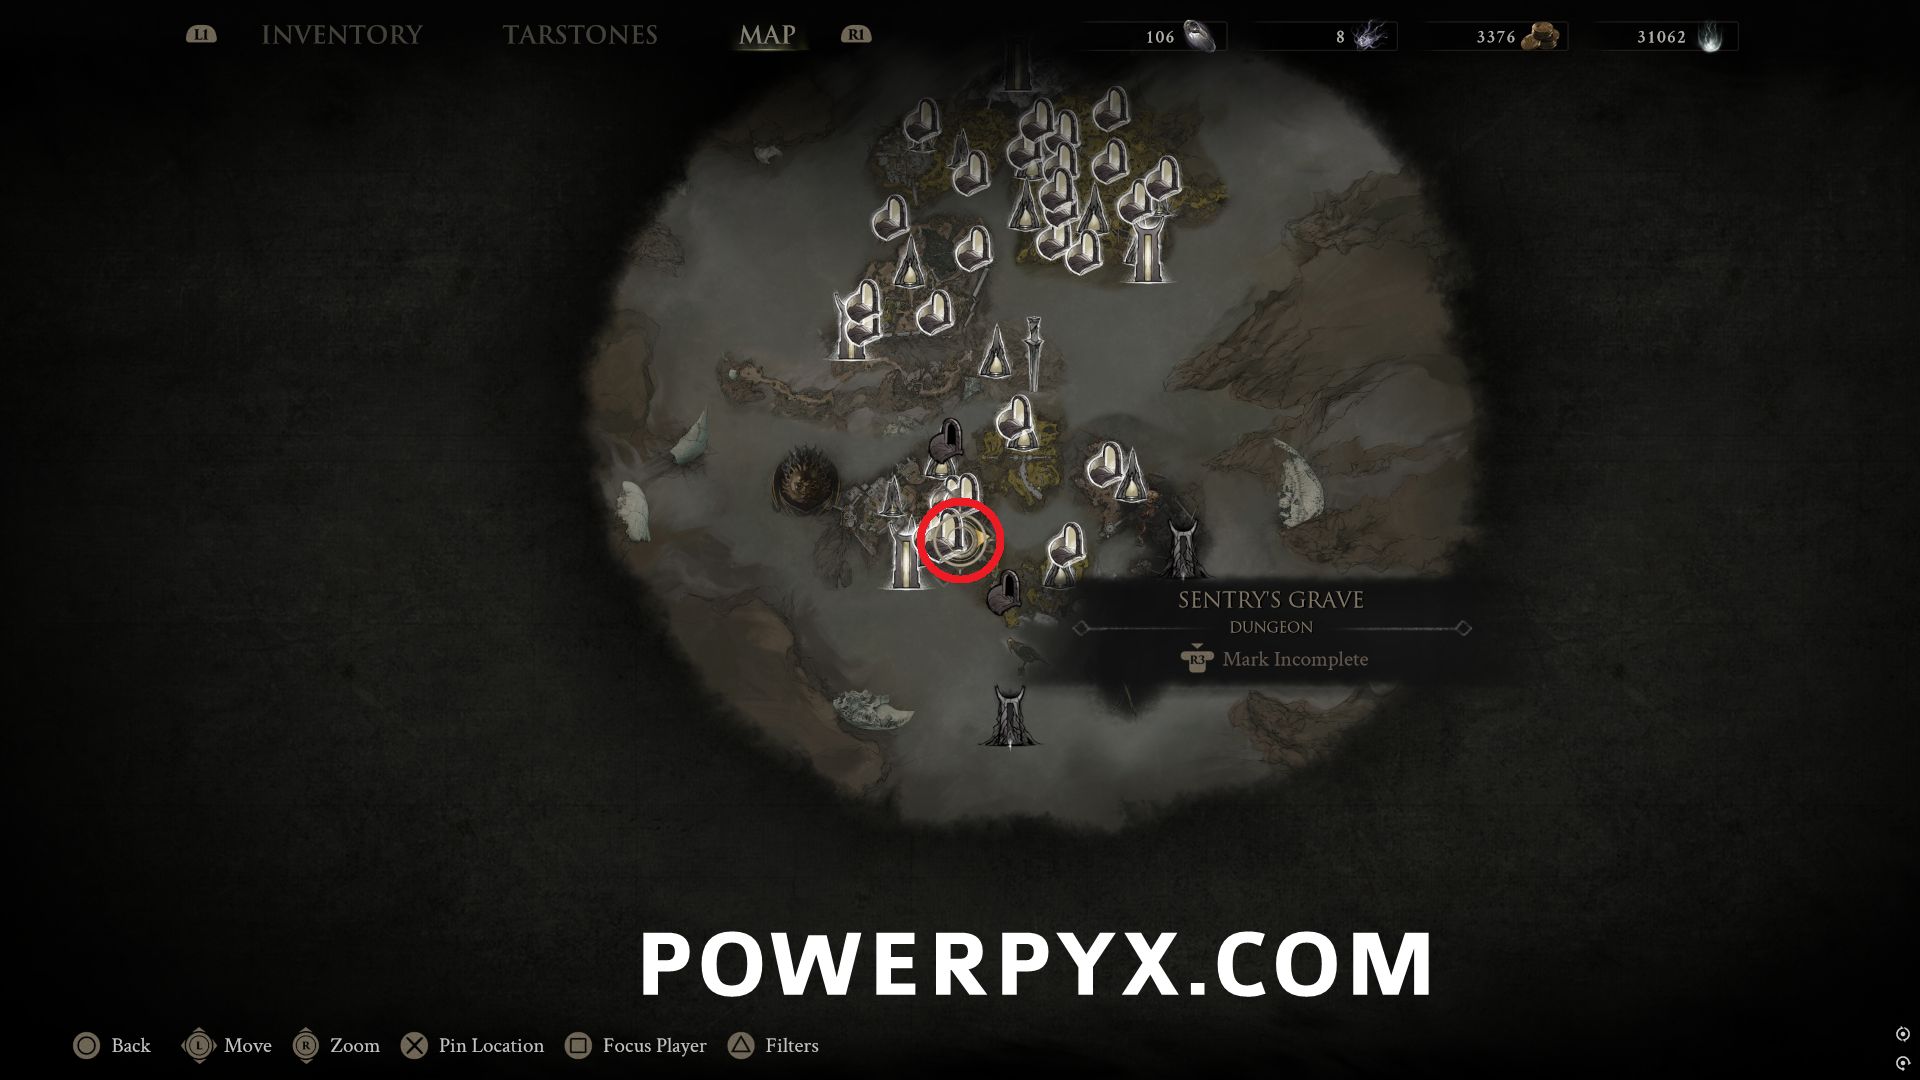
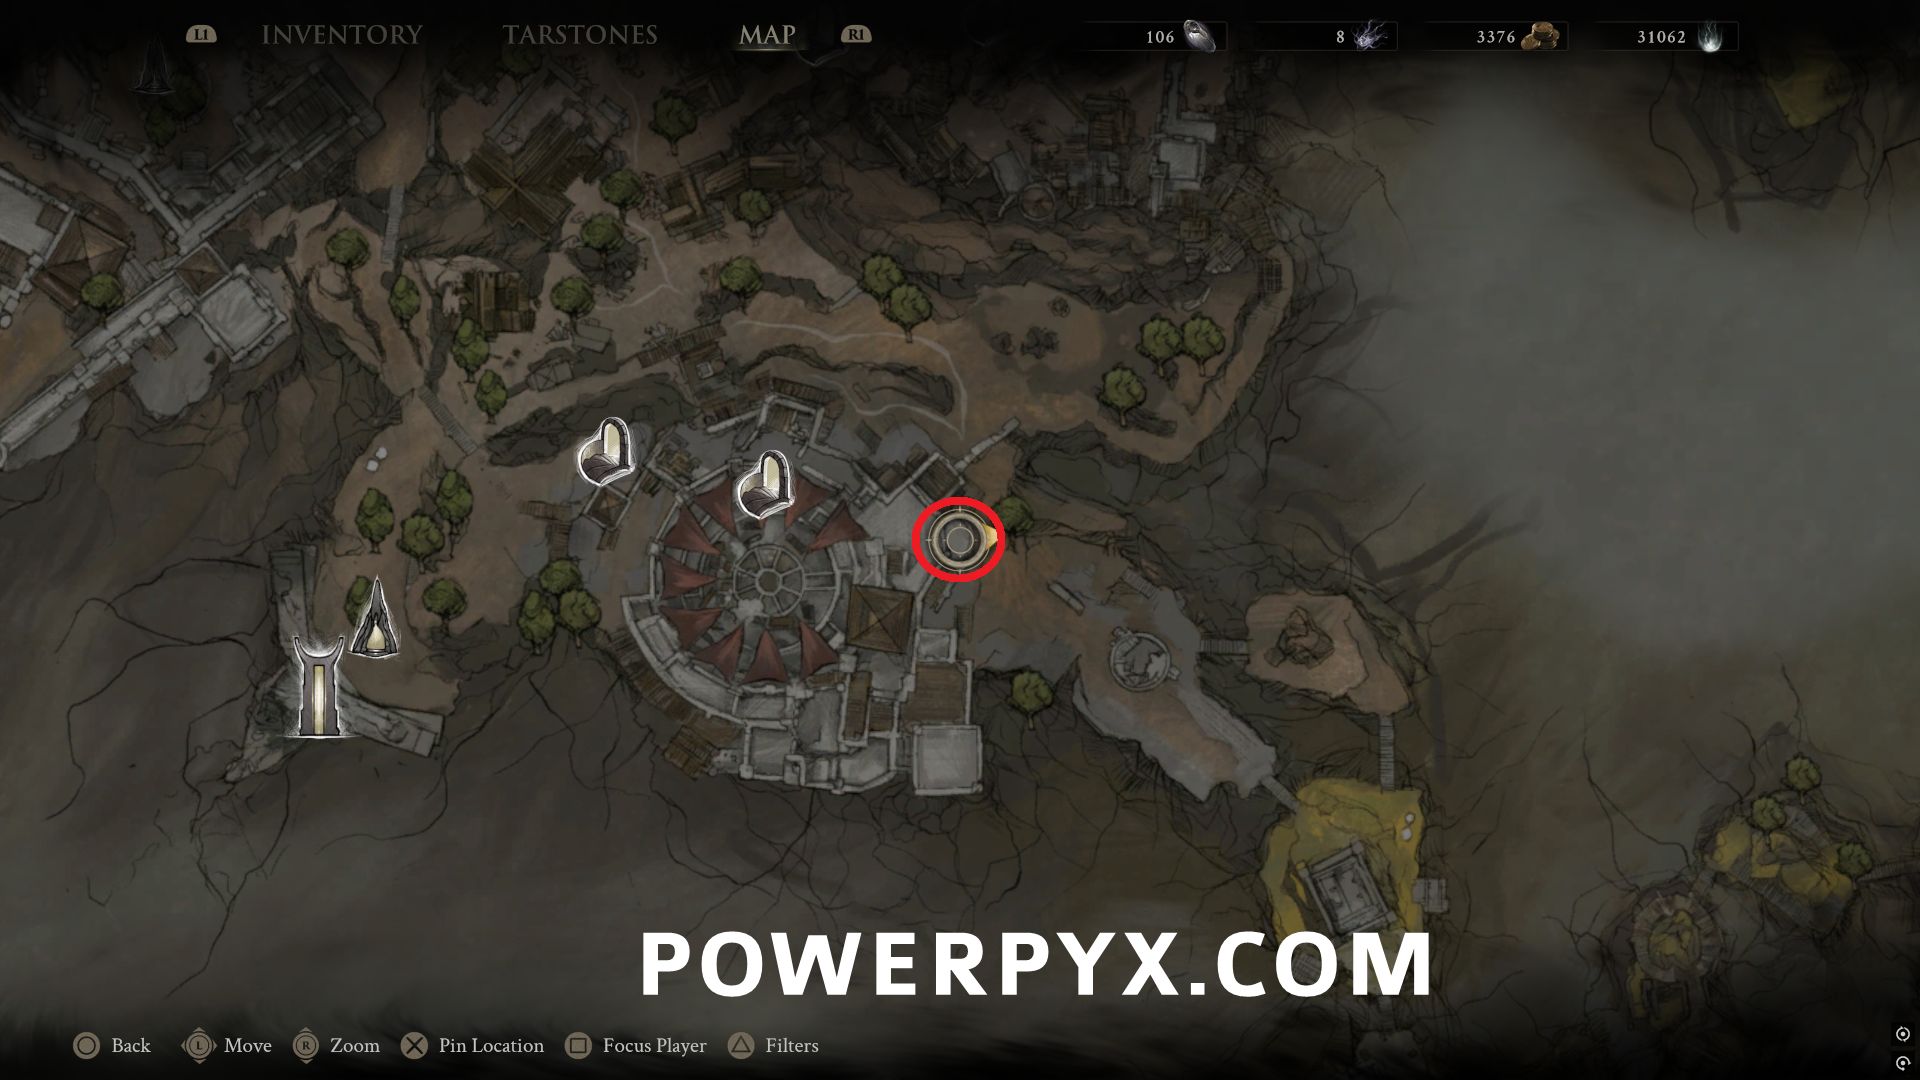
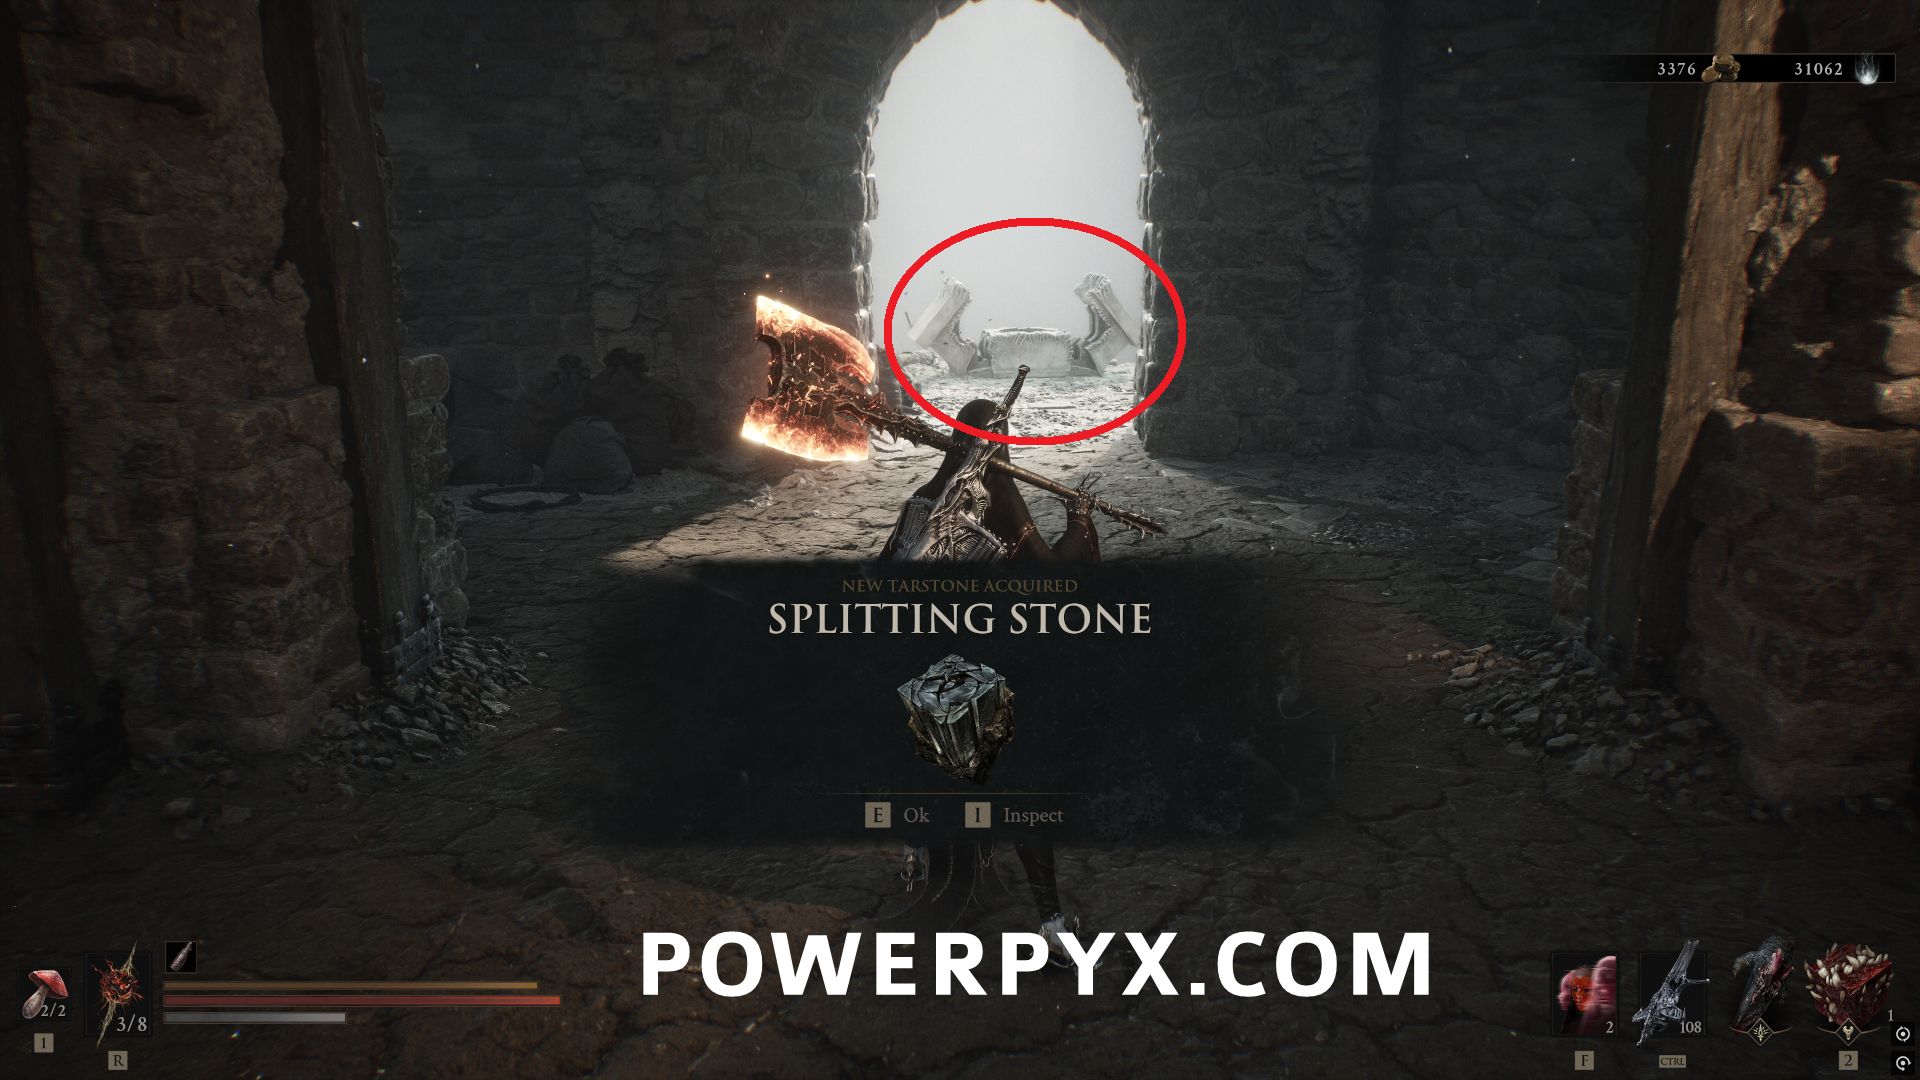
From Sentry’s Grave Dungeon entrance, go clockwise around the castle area and this is in a chest to the north on a balcony that contains this Tarstone.
#30 – Rupturing Stone
In the Prisoner’s Domain area, on the platform with the summon before the main area boss, walk around to the other side where you can obtain this Tarstone from the chest.
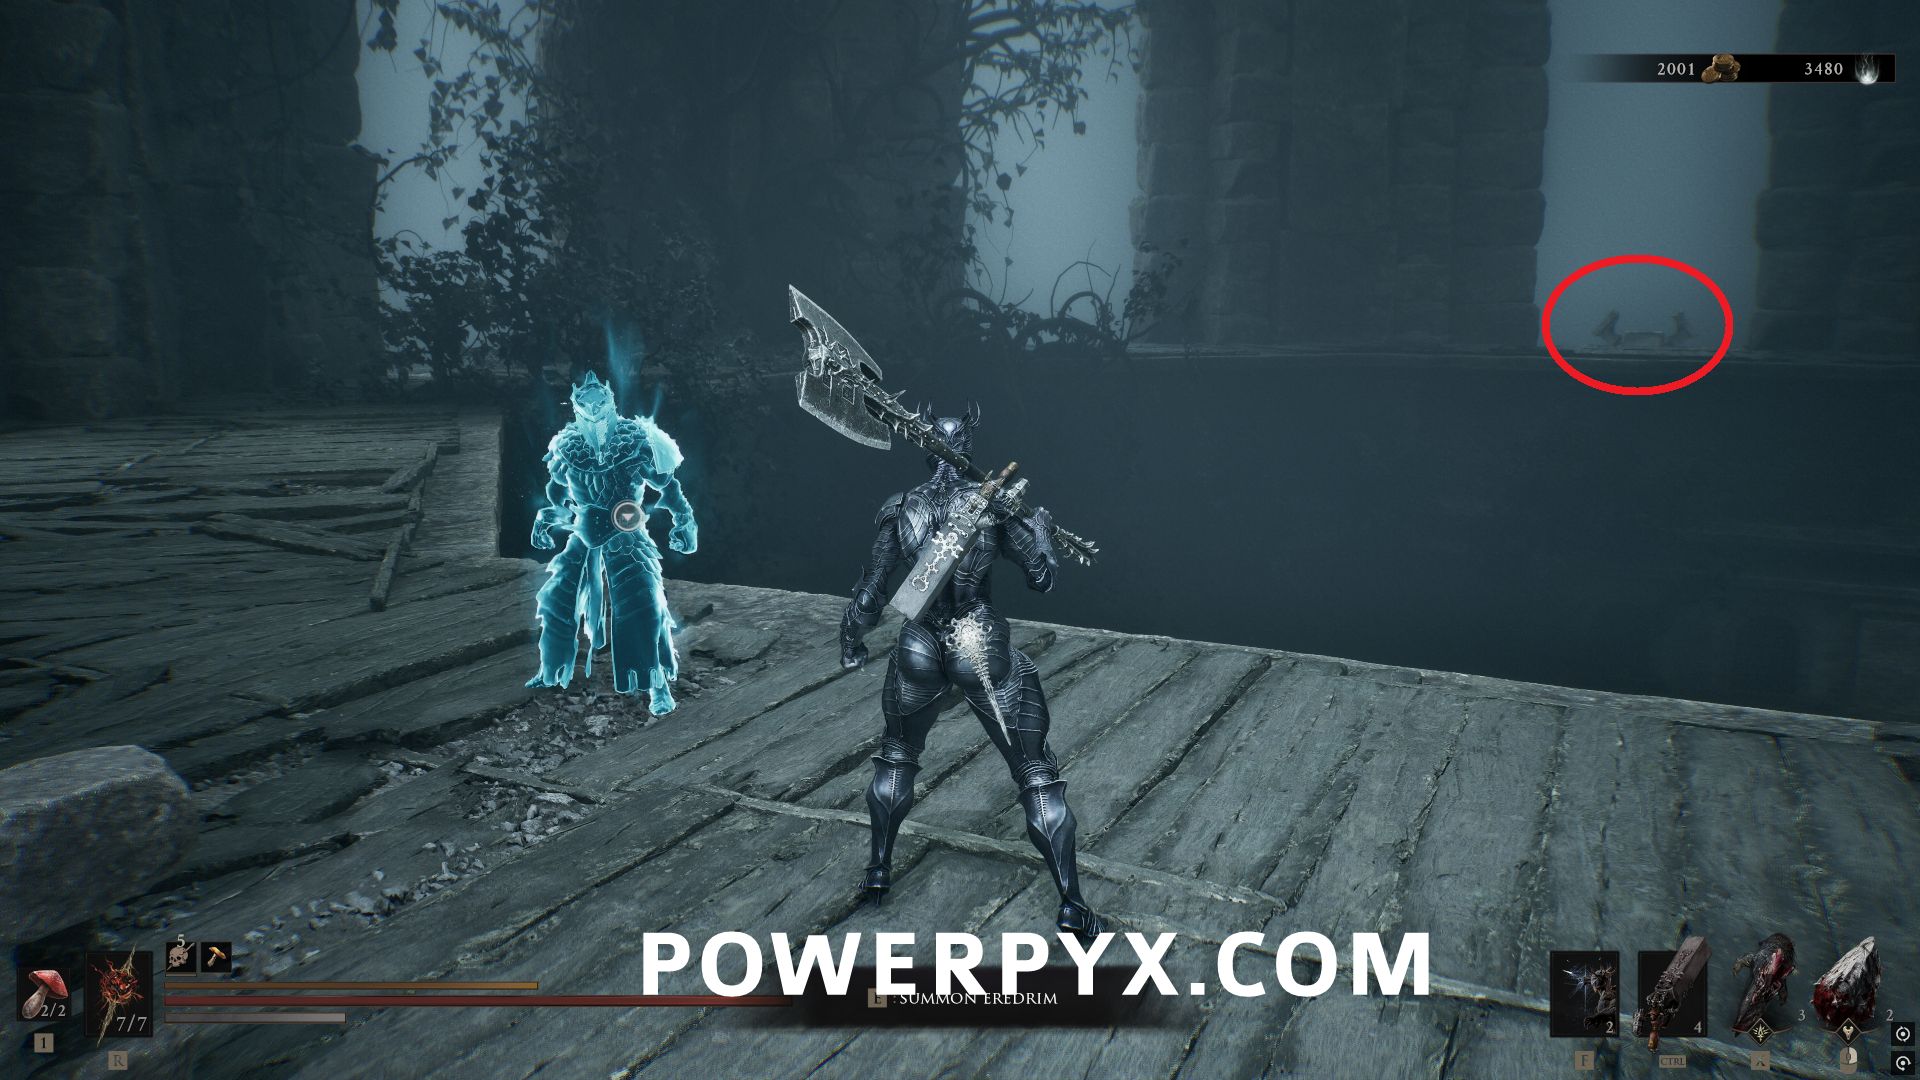
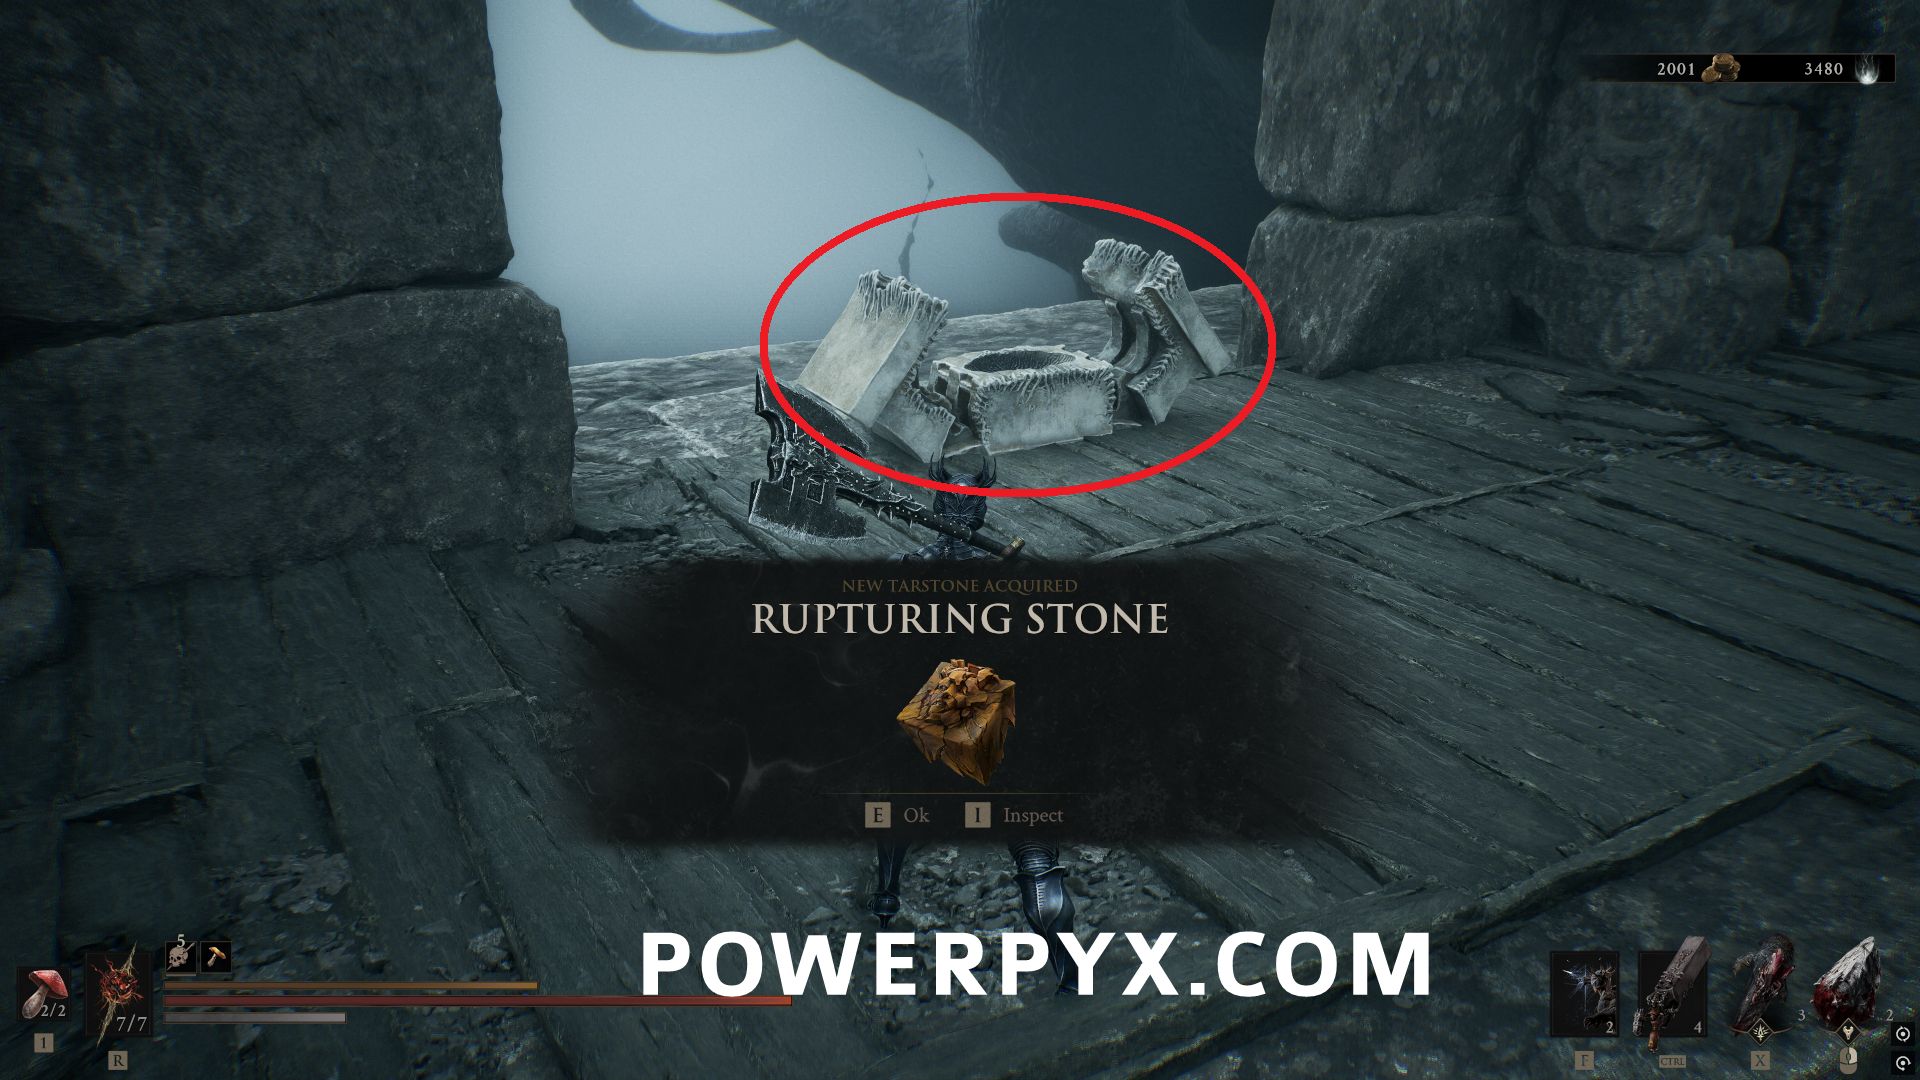
#31 – Blackblood Stone
In the Sanguine Caverns area, inside the Pulsing Caves Beacon, follow the path through the Beacon to the upper level, and the chest with this Tarstone is near the group of stone crab enemies.
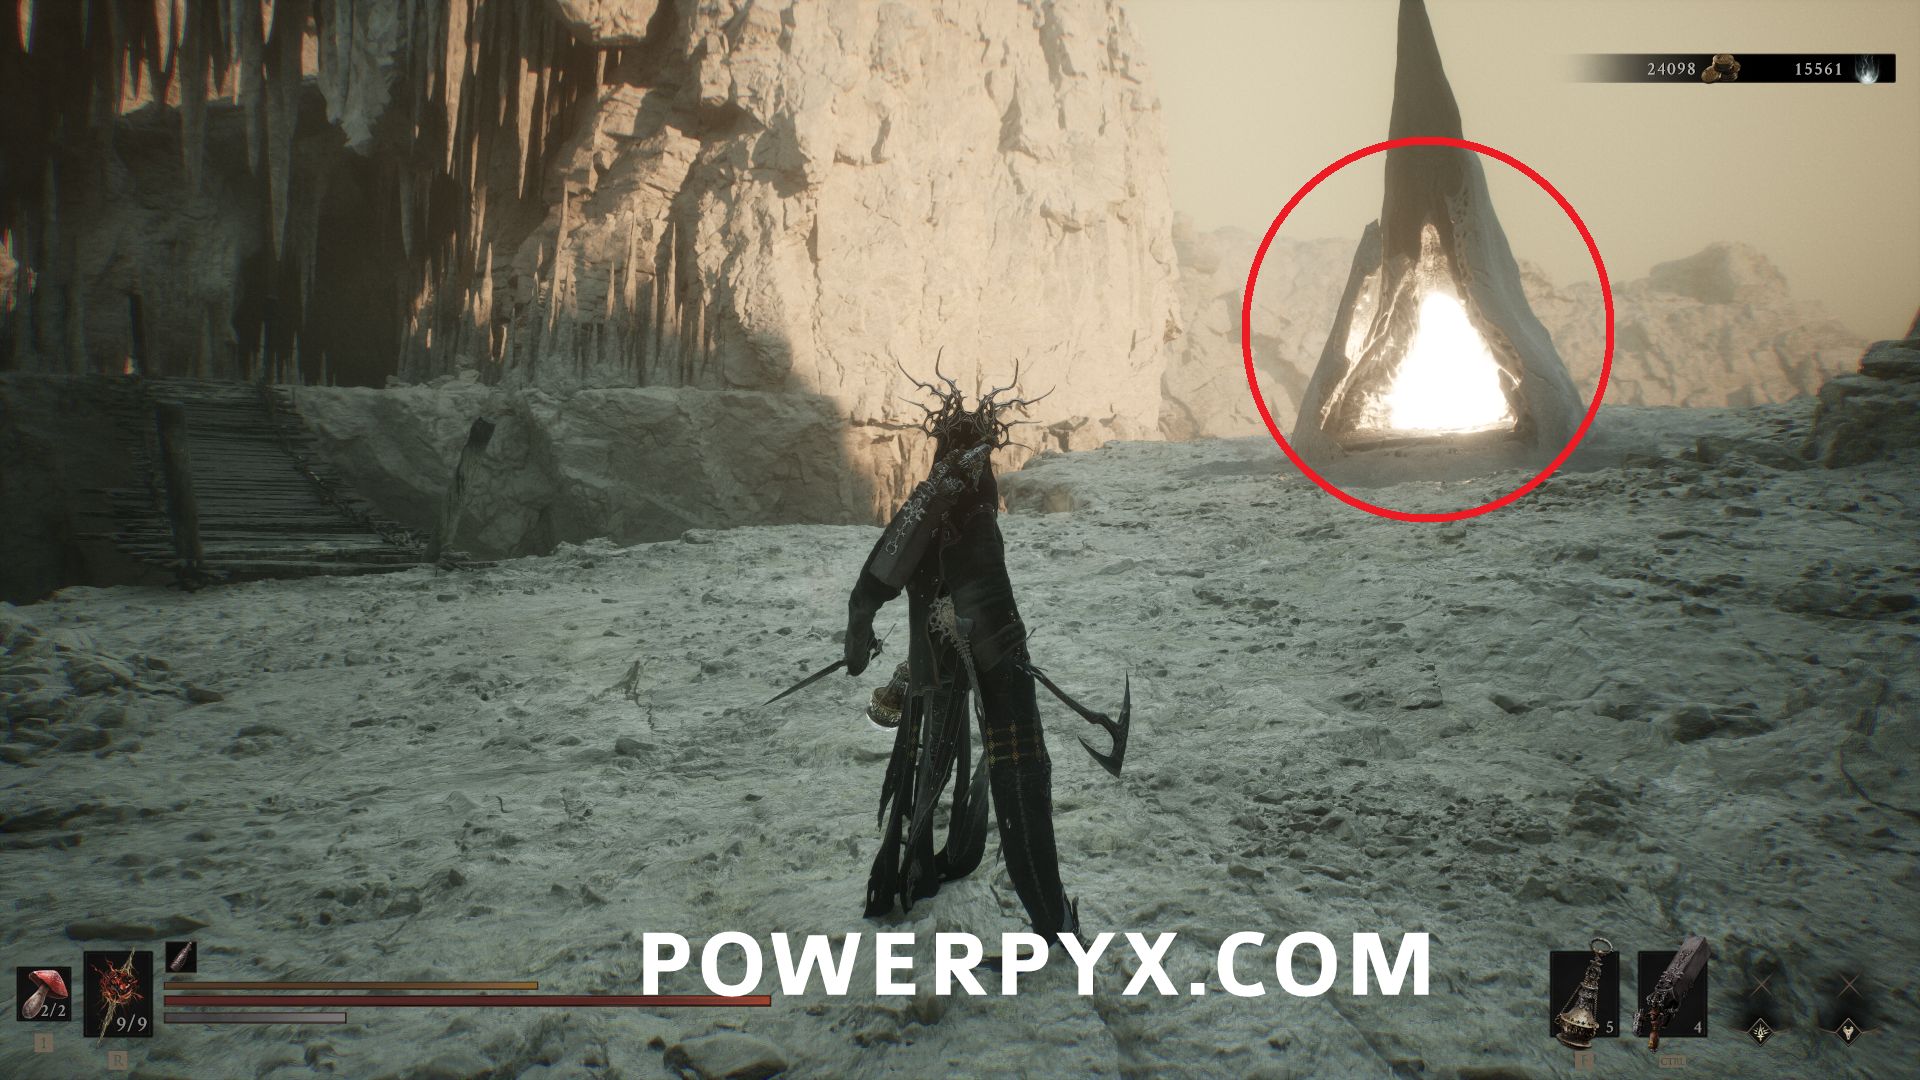
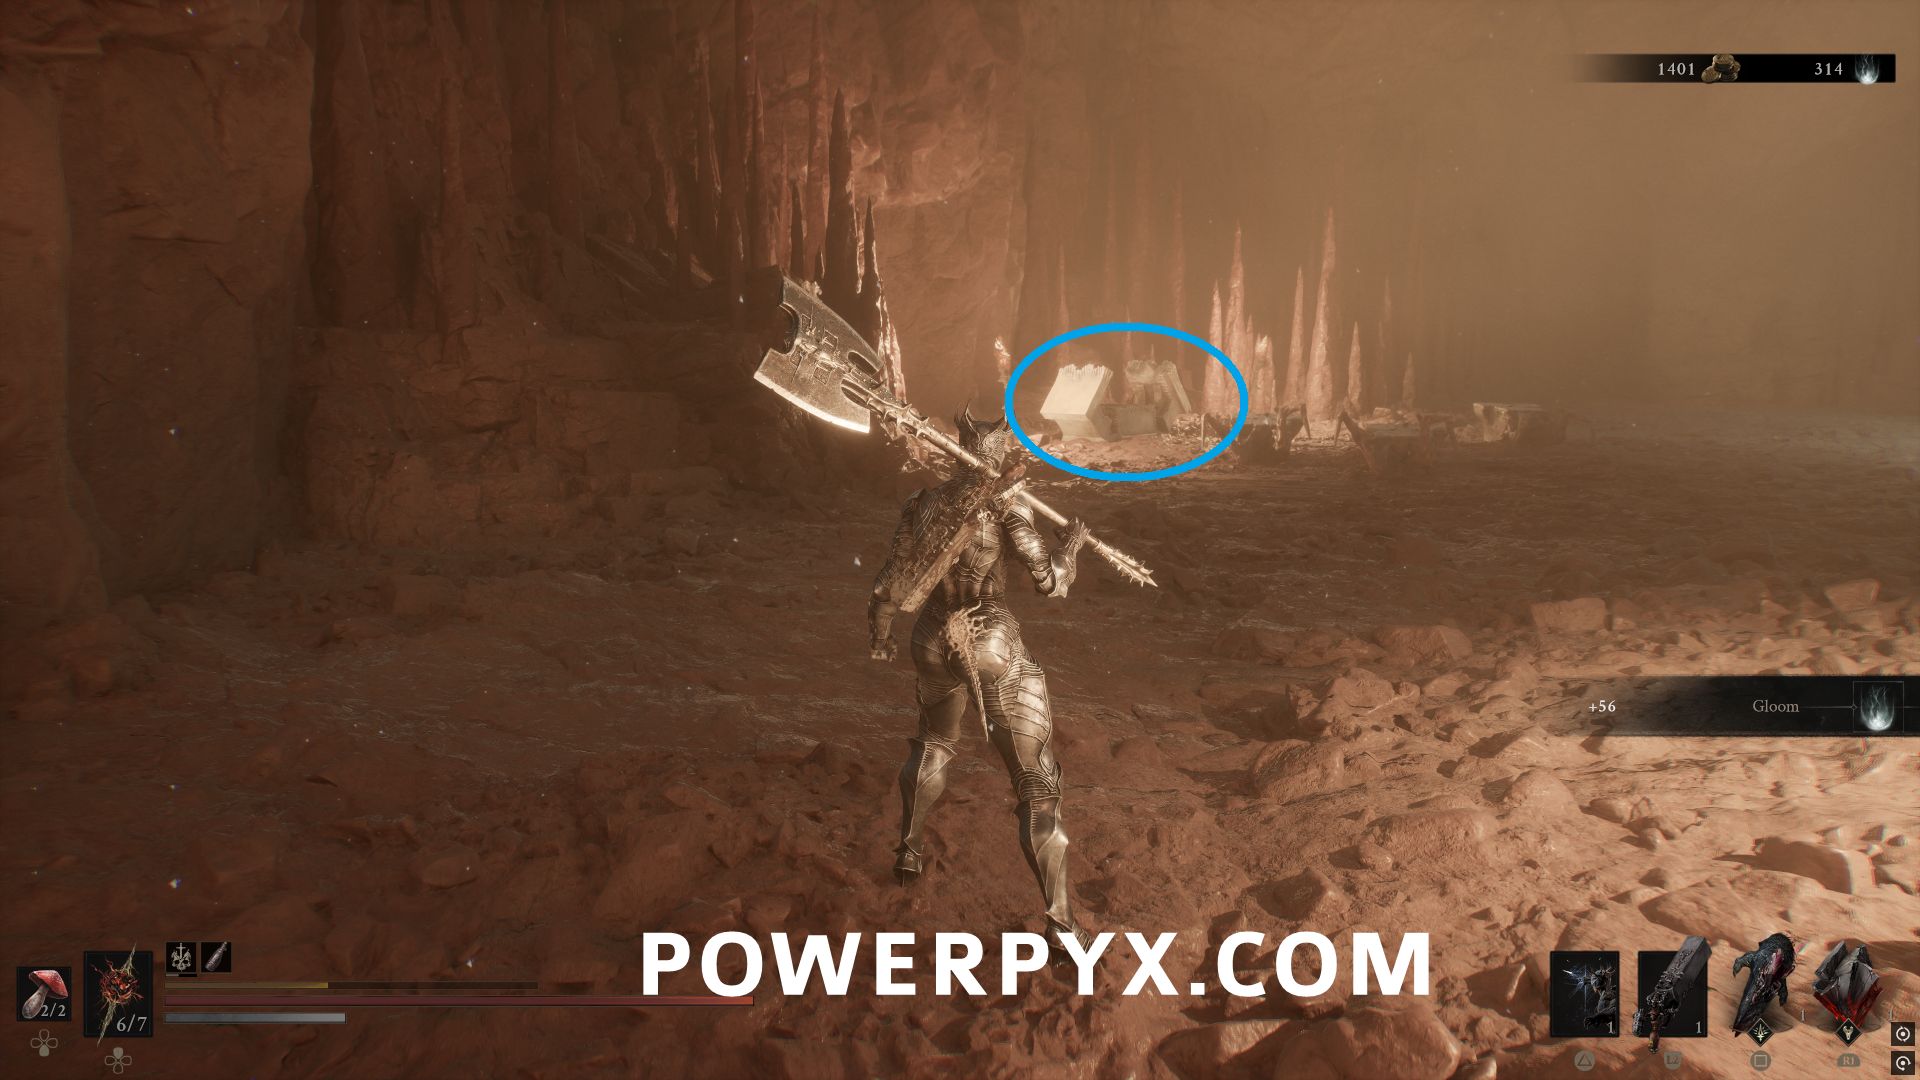
#32 – Corroded Stone
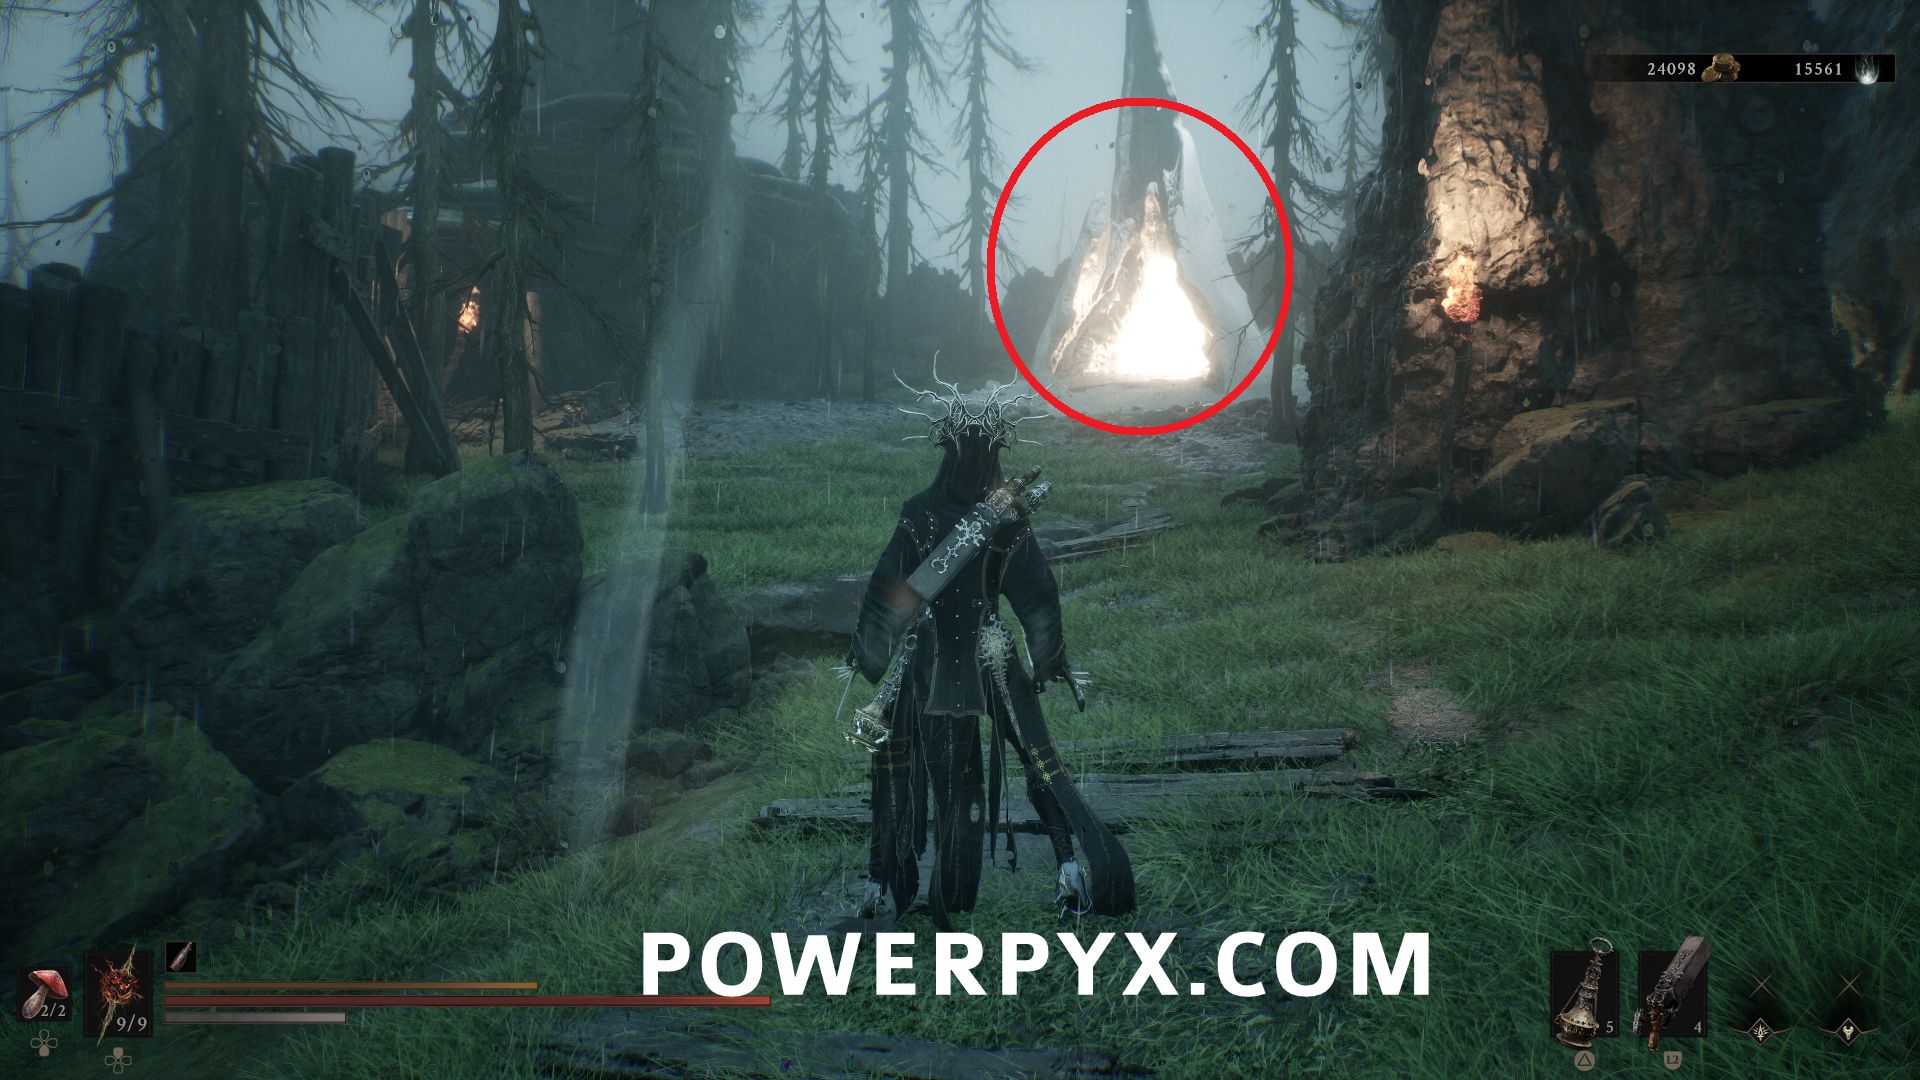
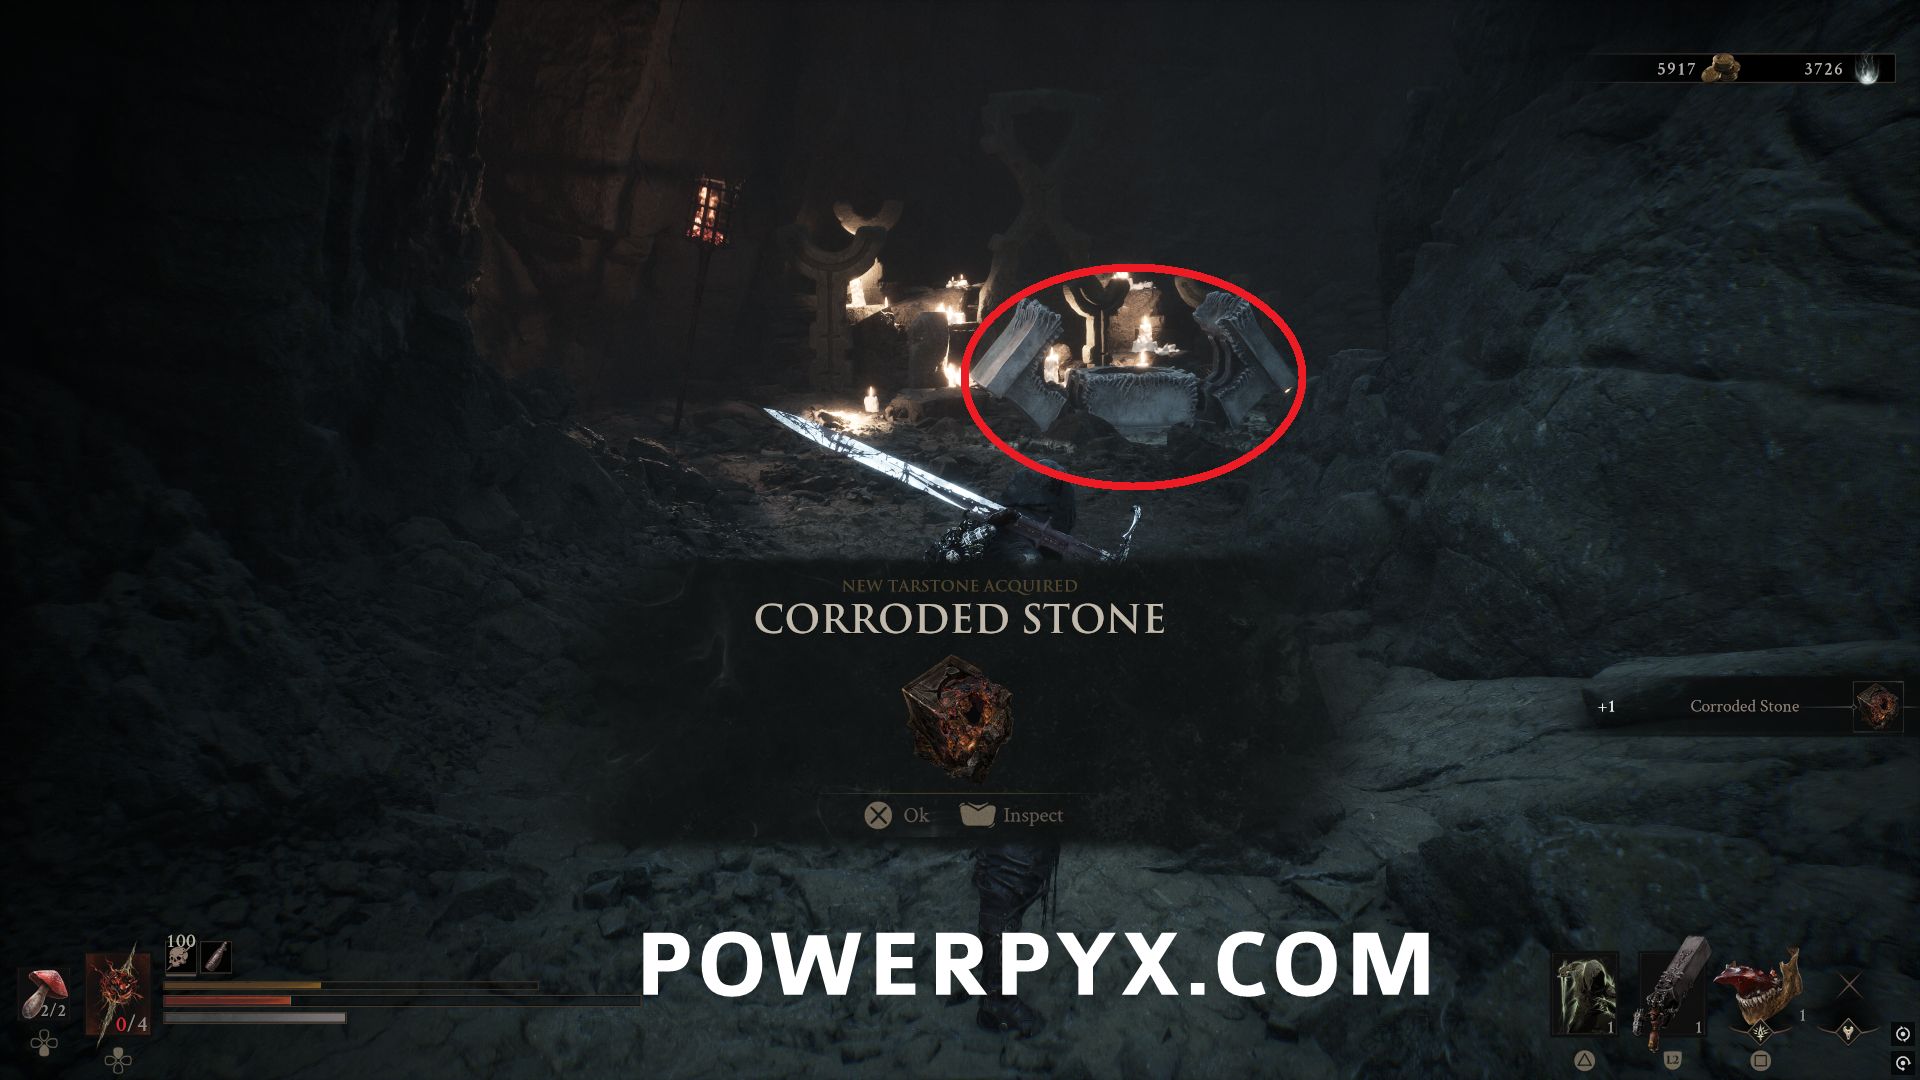
In the Glutted Mire area, inside the Sunken Village Beacon, follow the main path until you drop down to a lower area after climbing up the wooden platforms. The Tarstone is in a chest just past two enemies.
#33 – Squall Stone
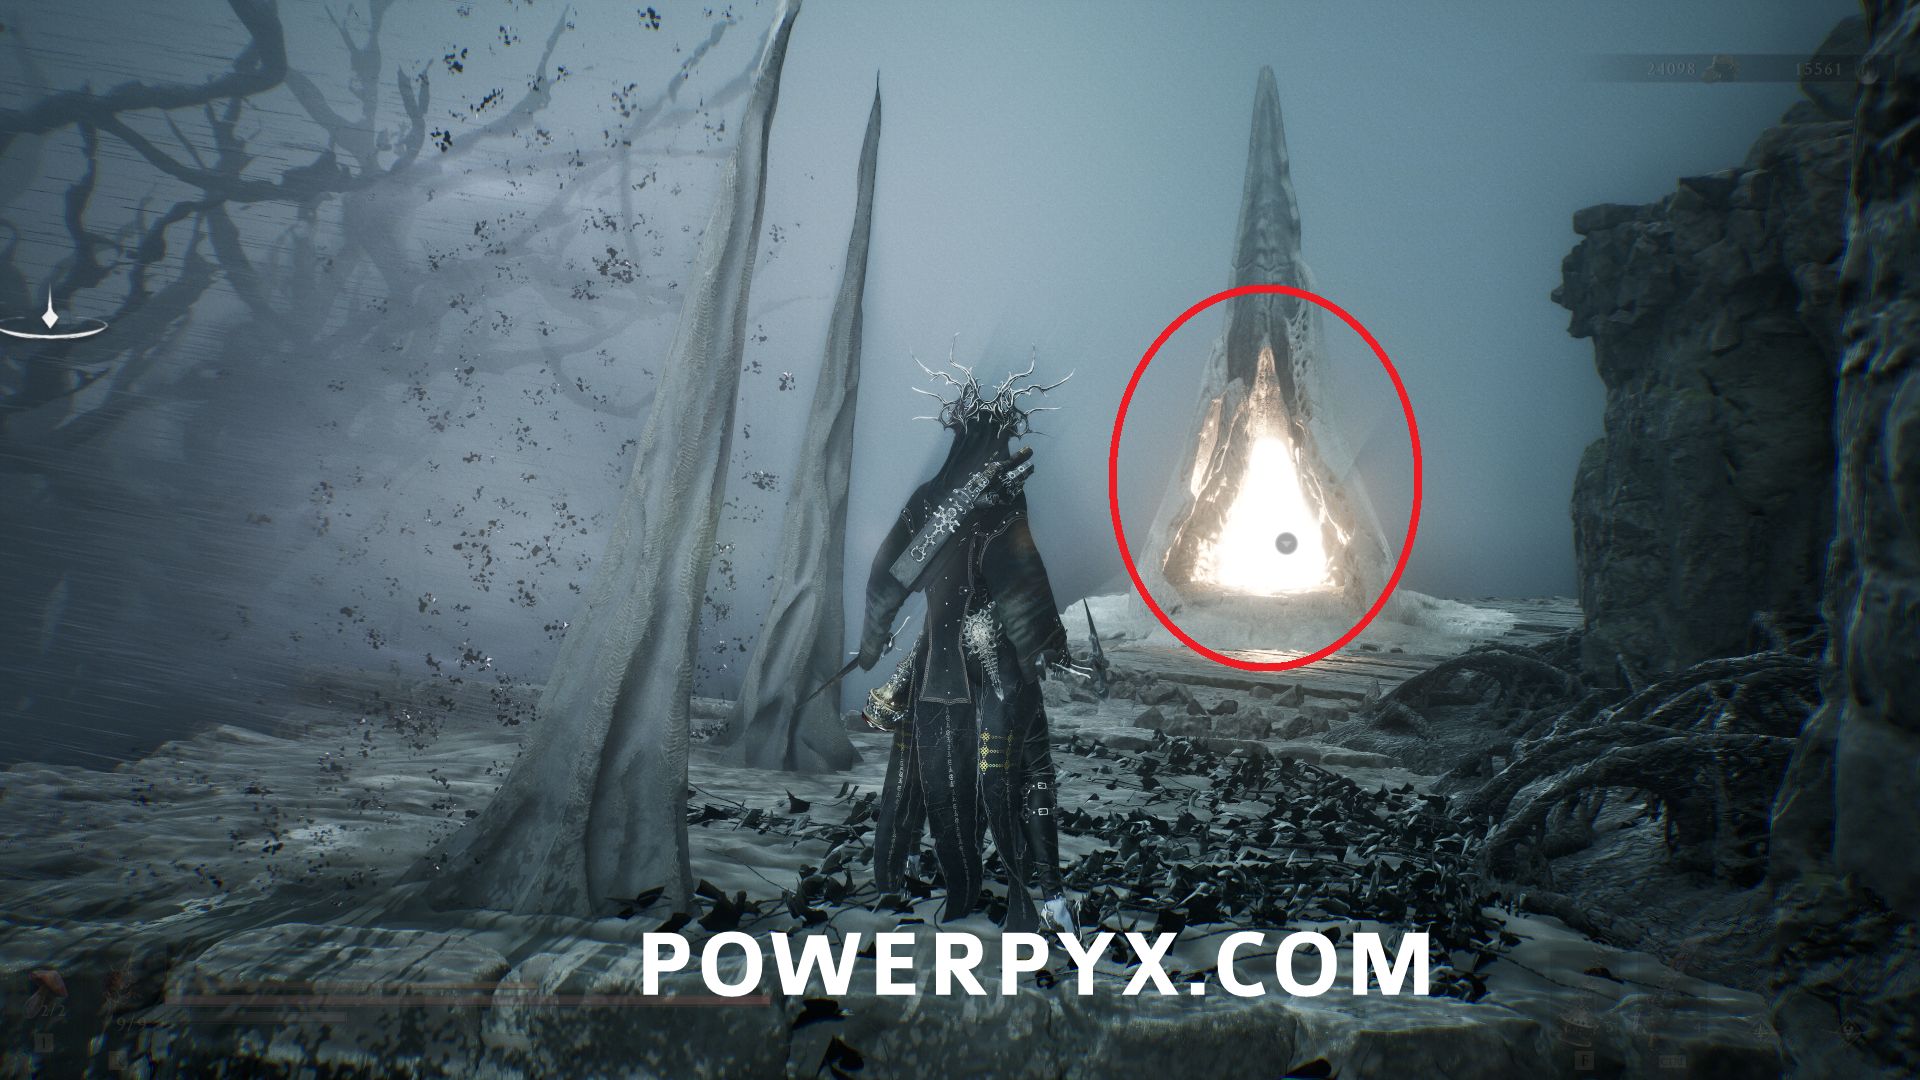
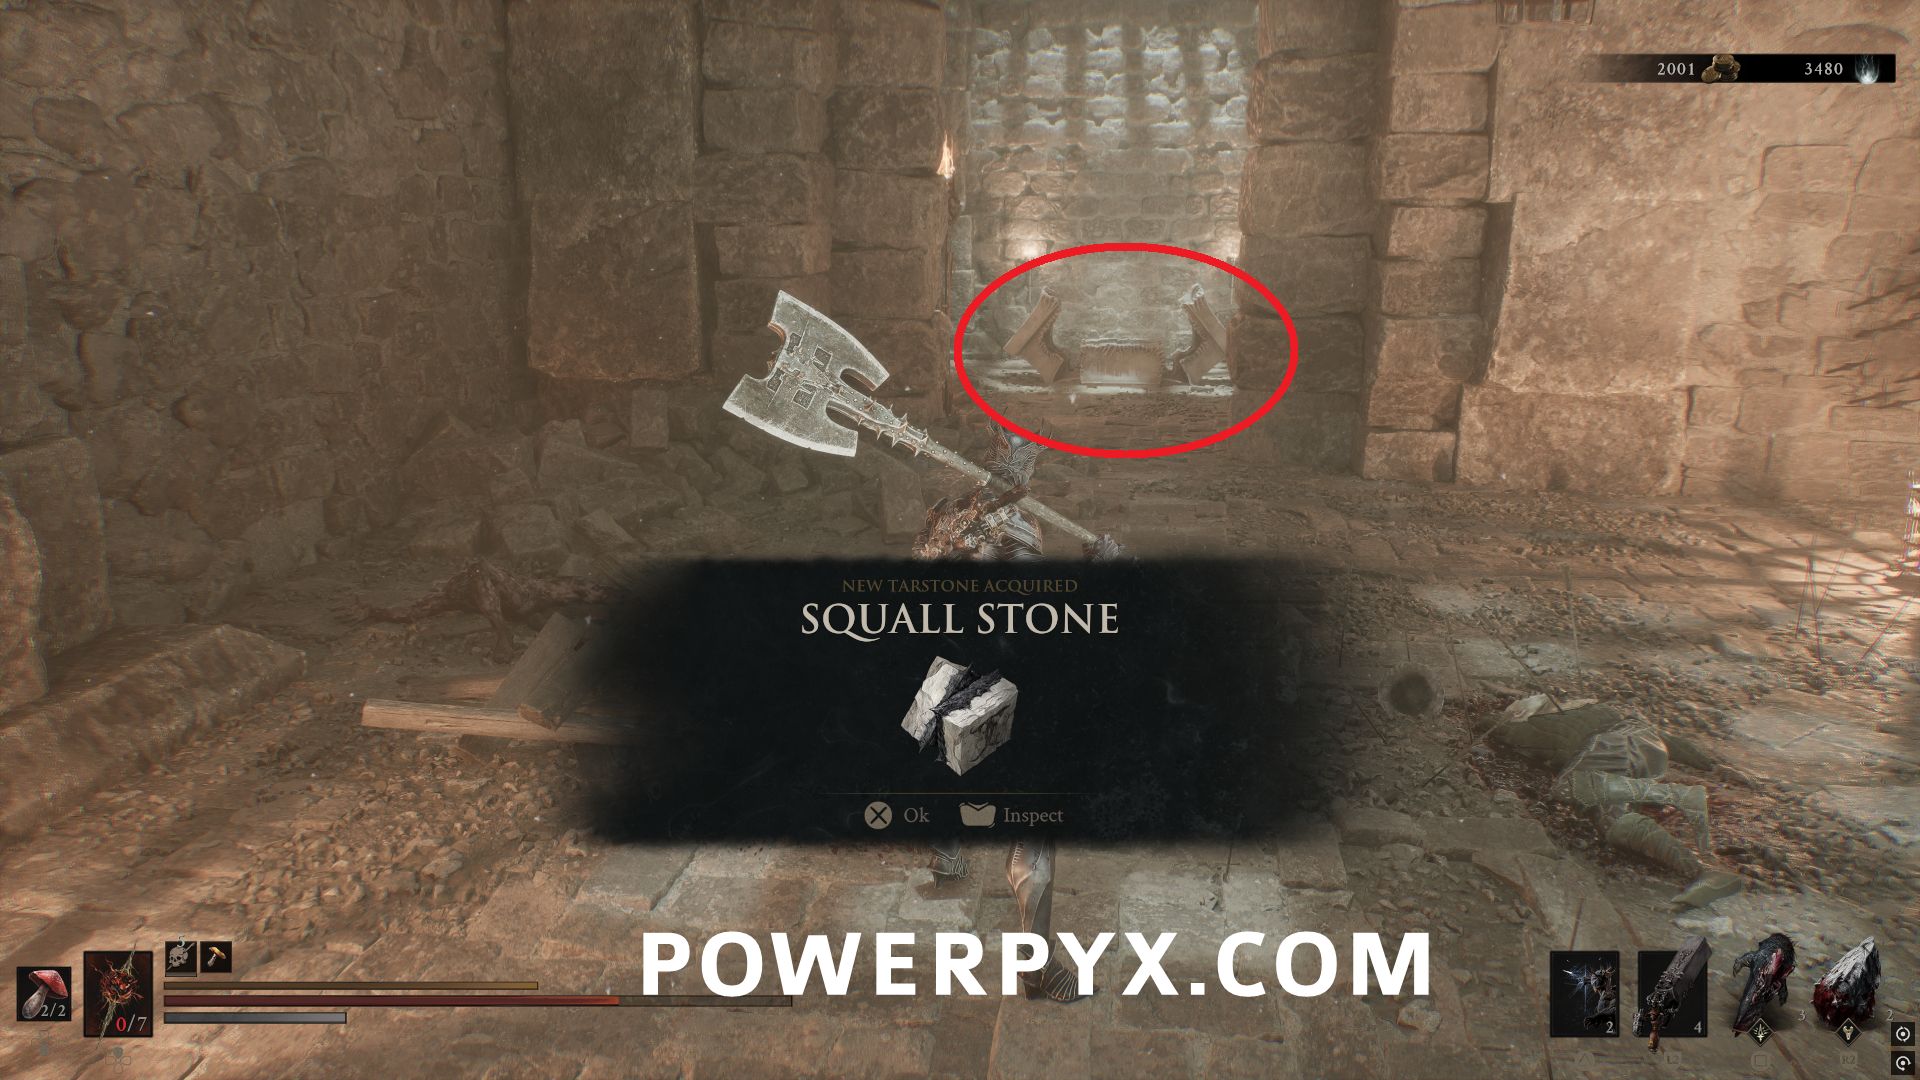
In the Prisoner’s Domain area, inside the Executioner’s Pulpit Beacon. Follow the path through the area until you reach the room where you fight the ghosts that come out of the iron maidens. In this room one side room has the button that opens the way to the Ova, and the other has a chest that contains this Tarstone.
#34 – Charged Stone
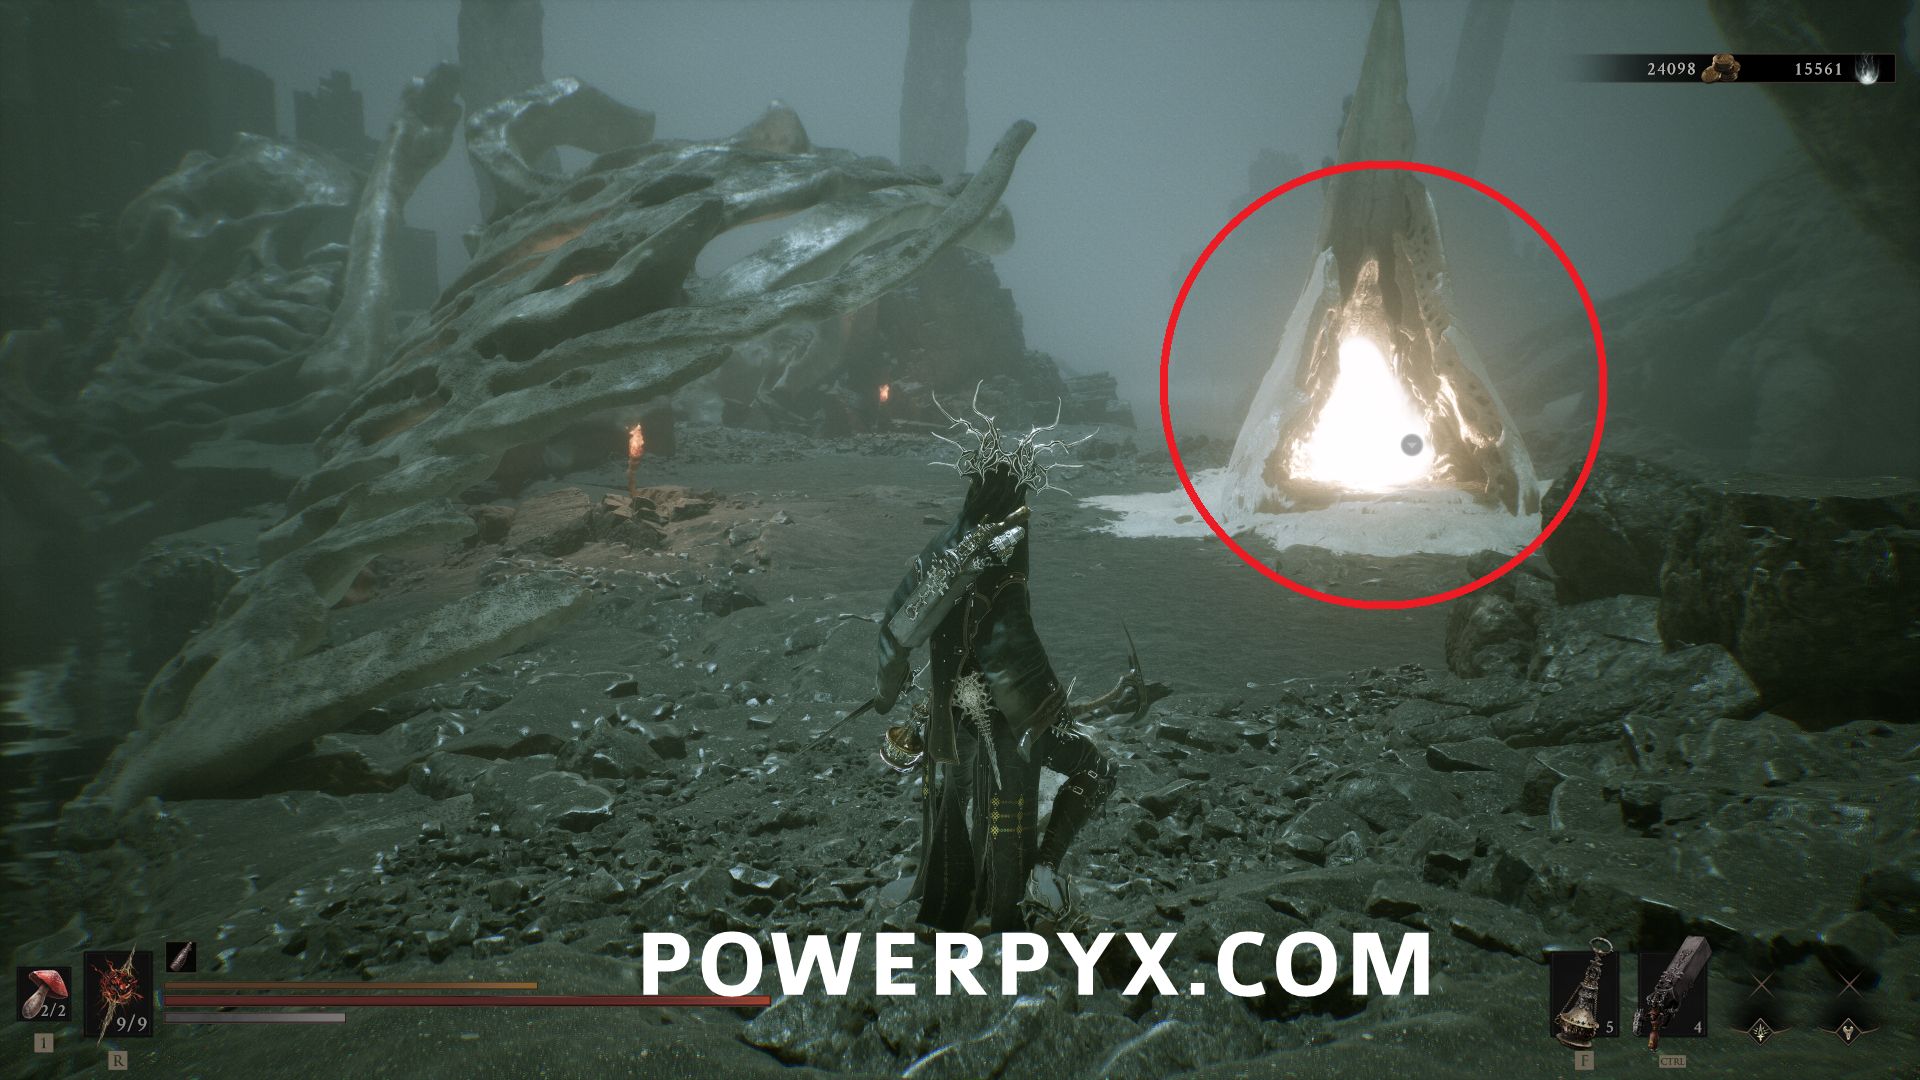
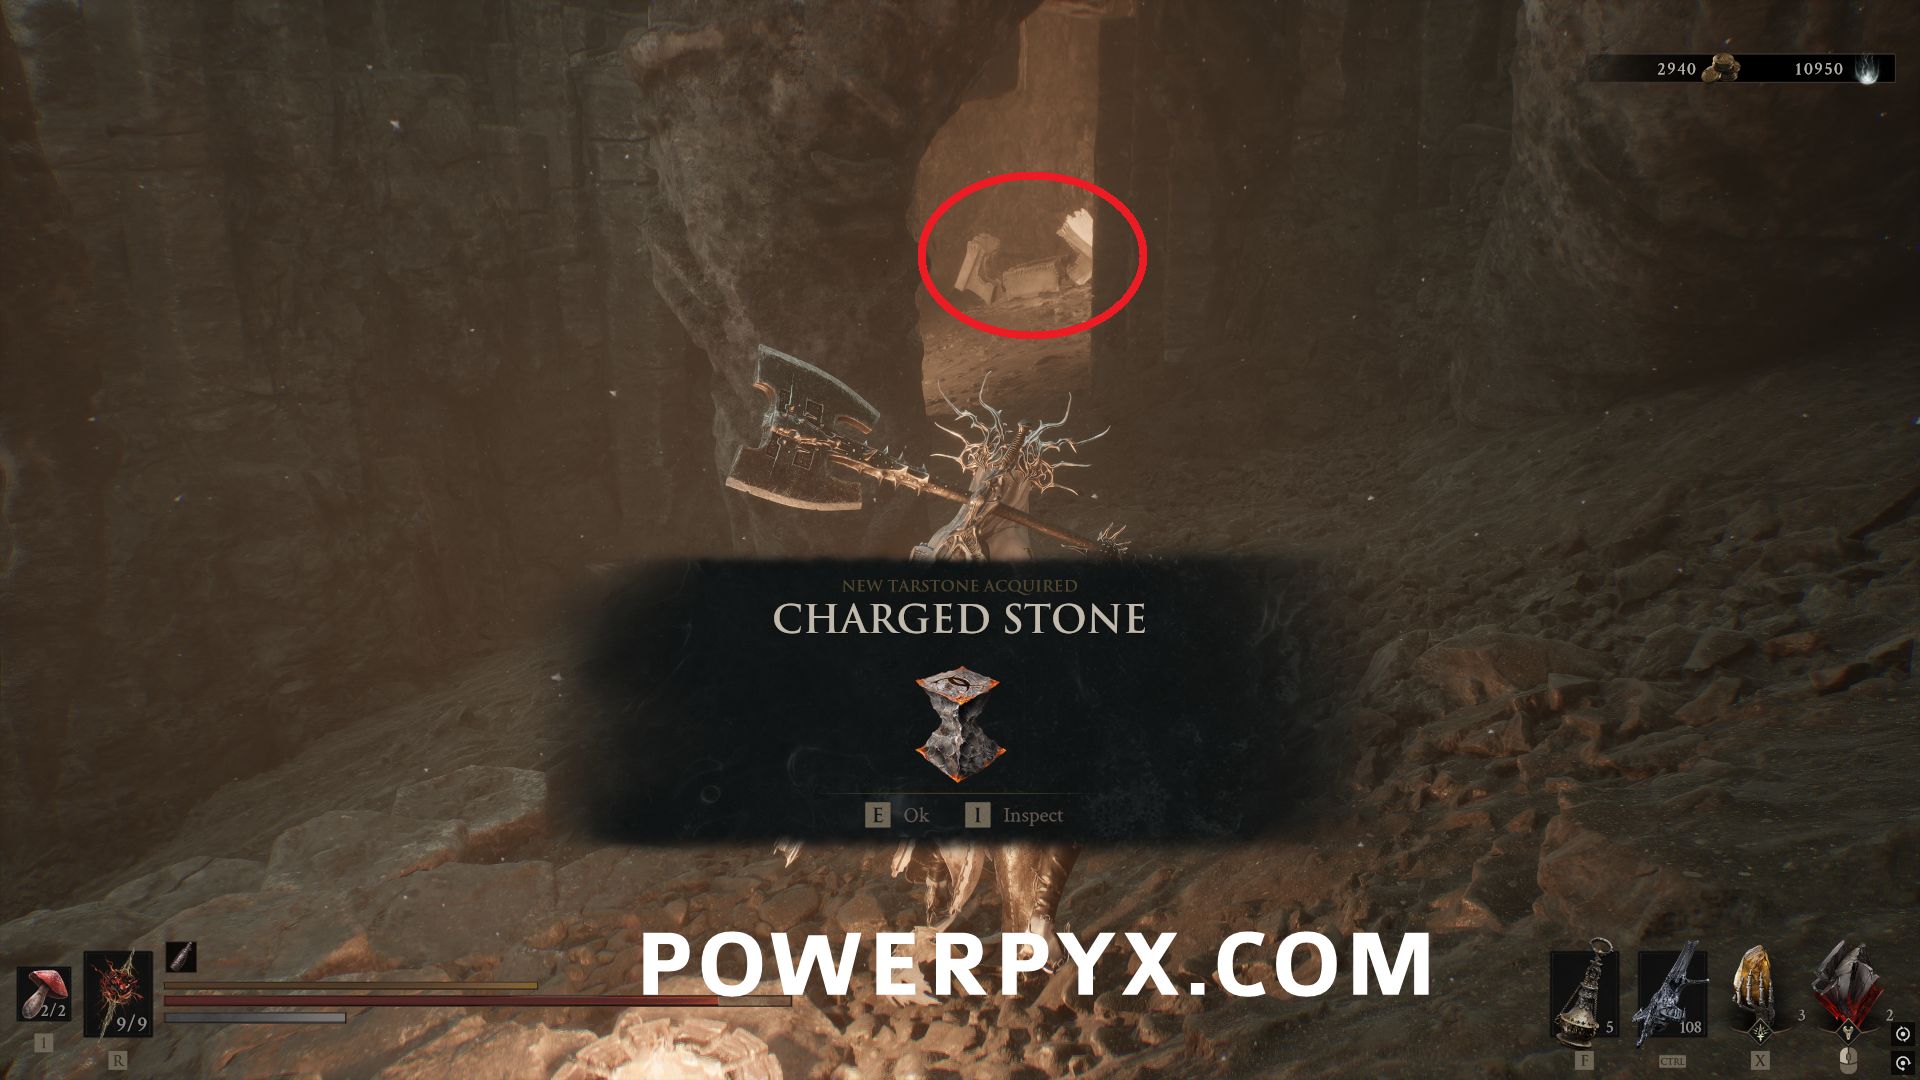
In the Withered Shoals area, inside the Nameless Pass Beacon. Follow the path through the area, and just after the long tube turn right where there is a chest that contains this Tarstone.
#35 – Unstable Stone
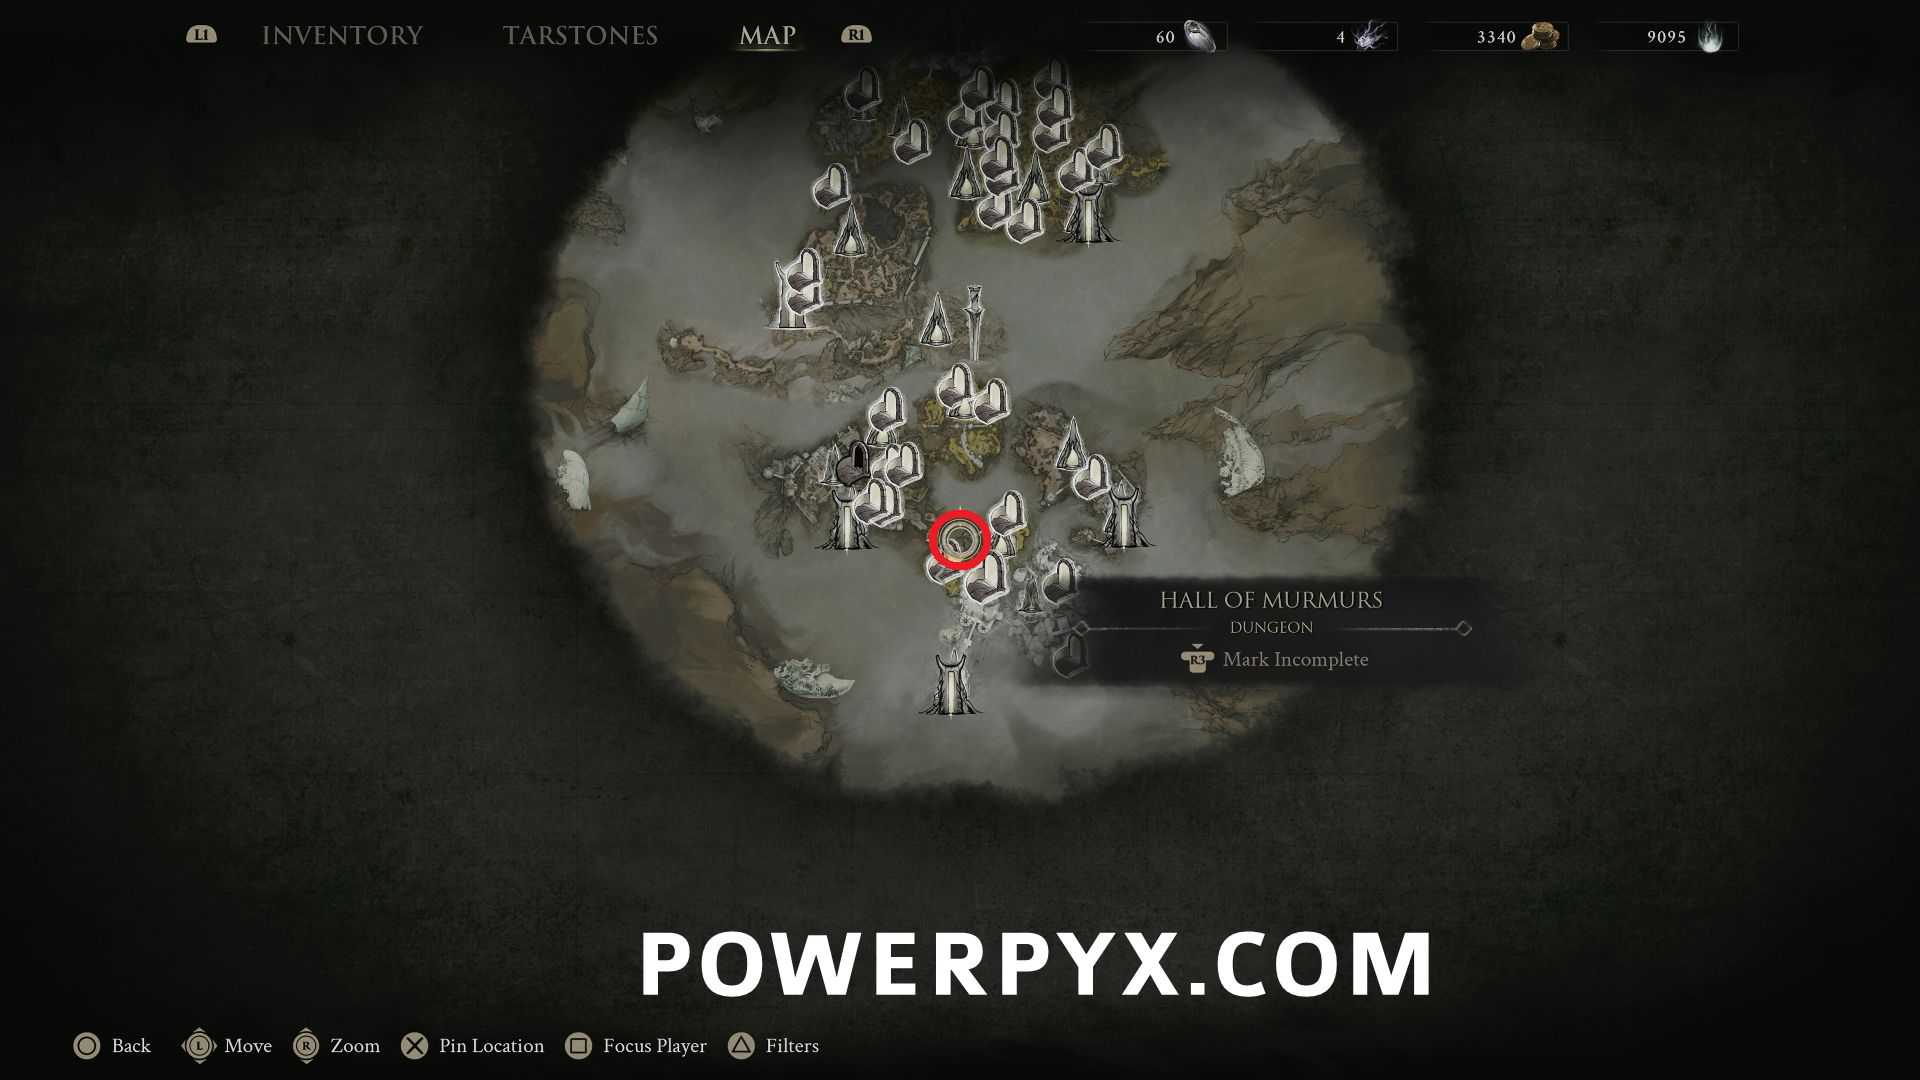
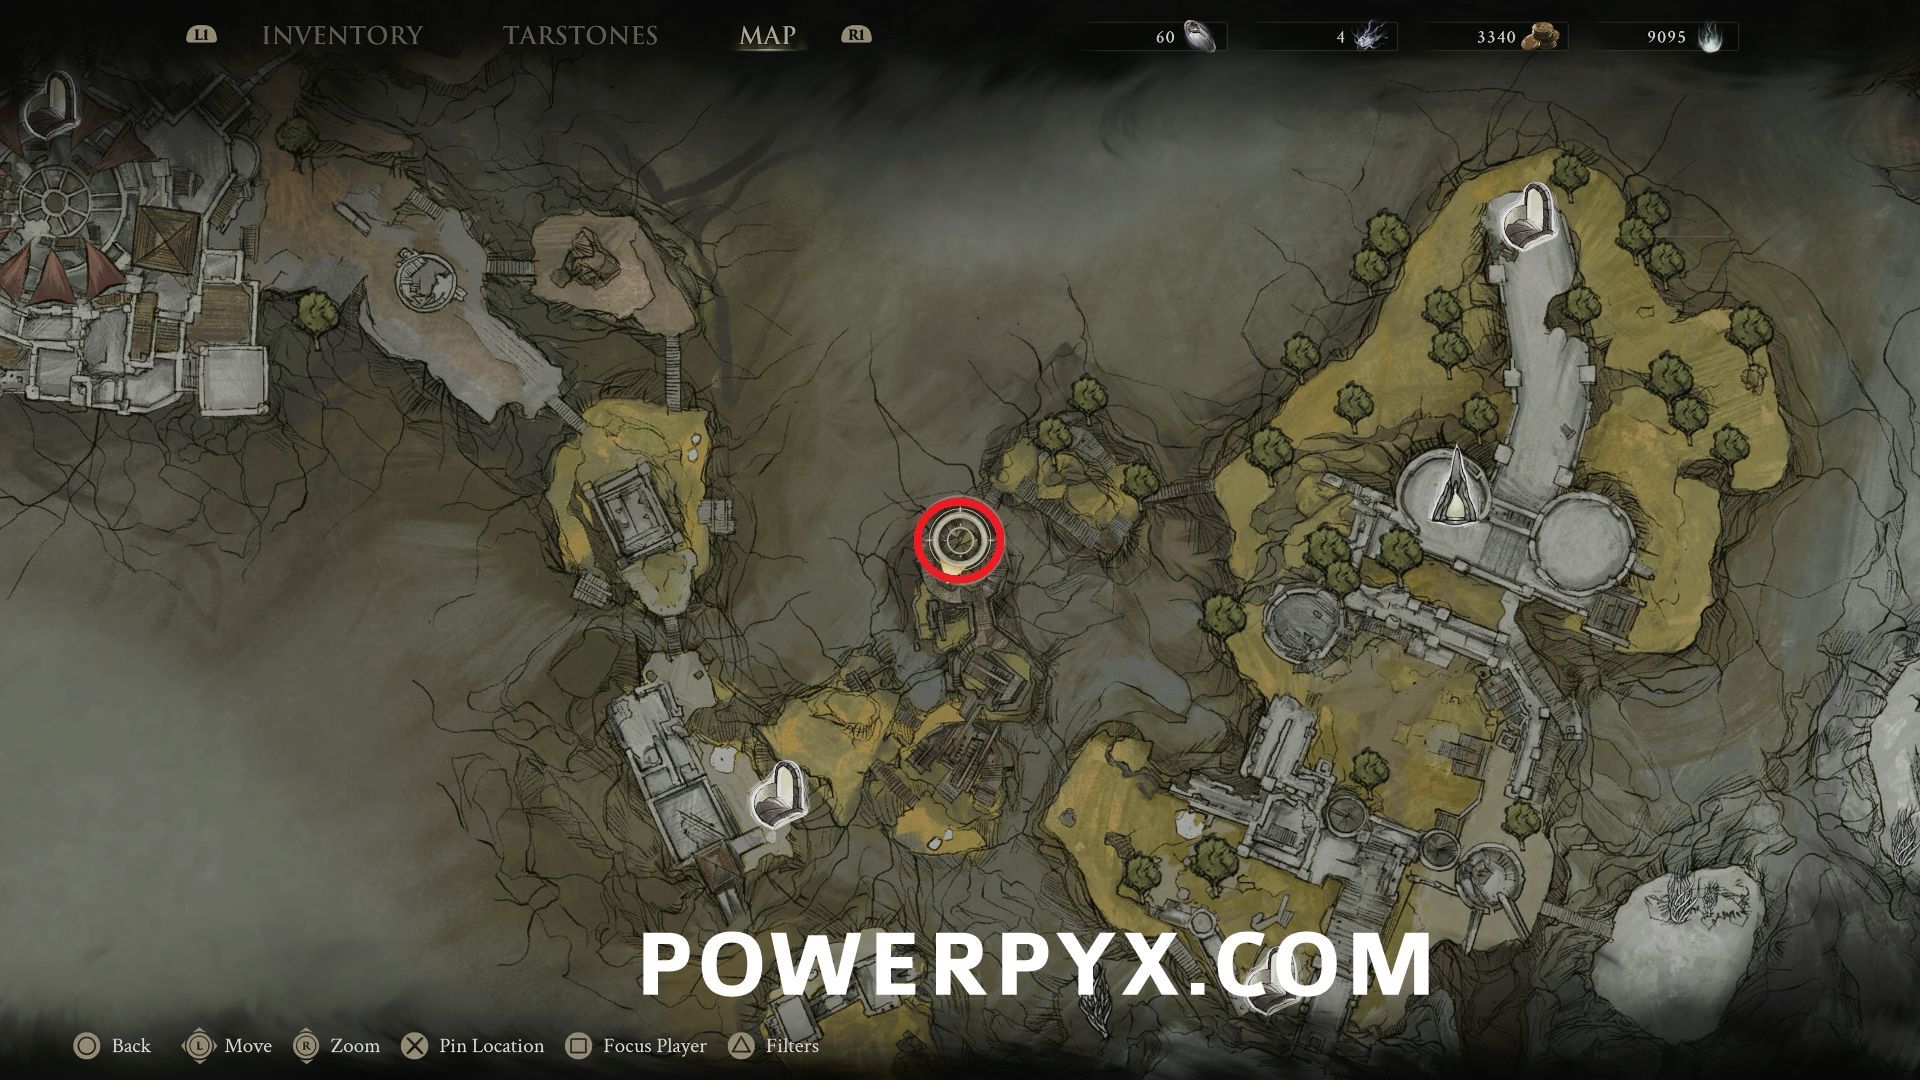
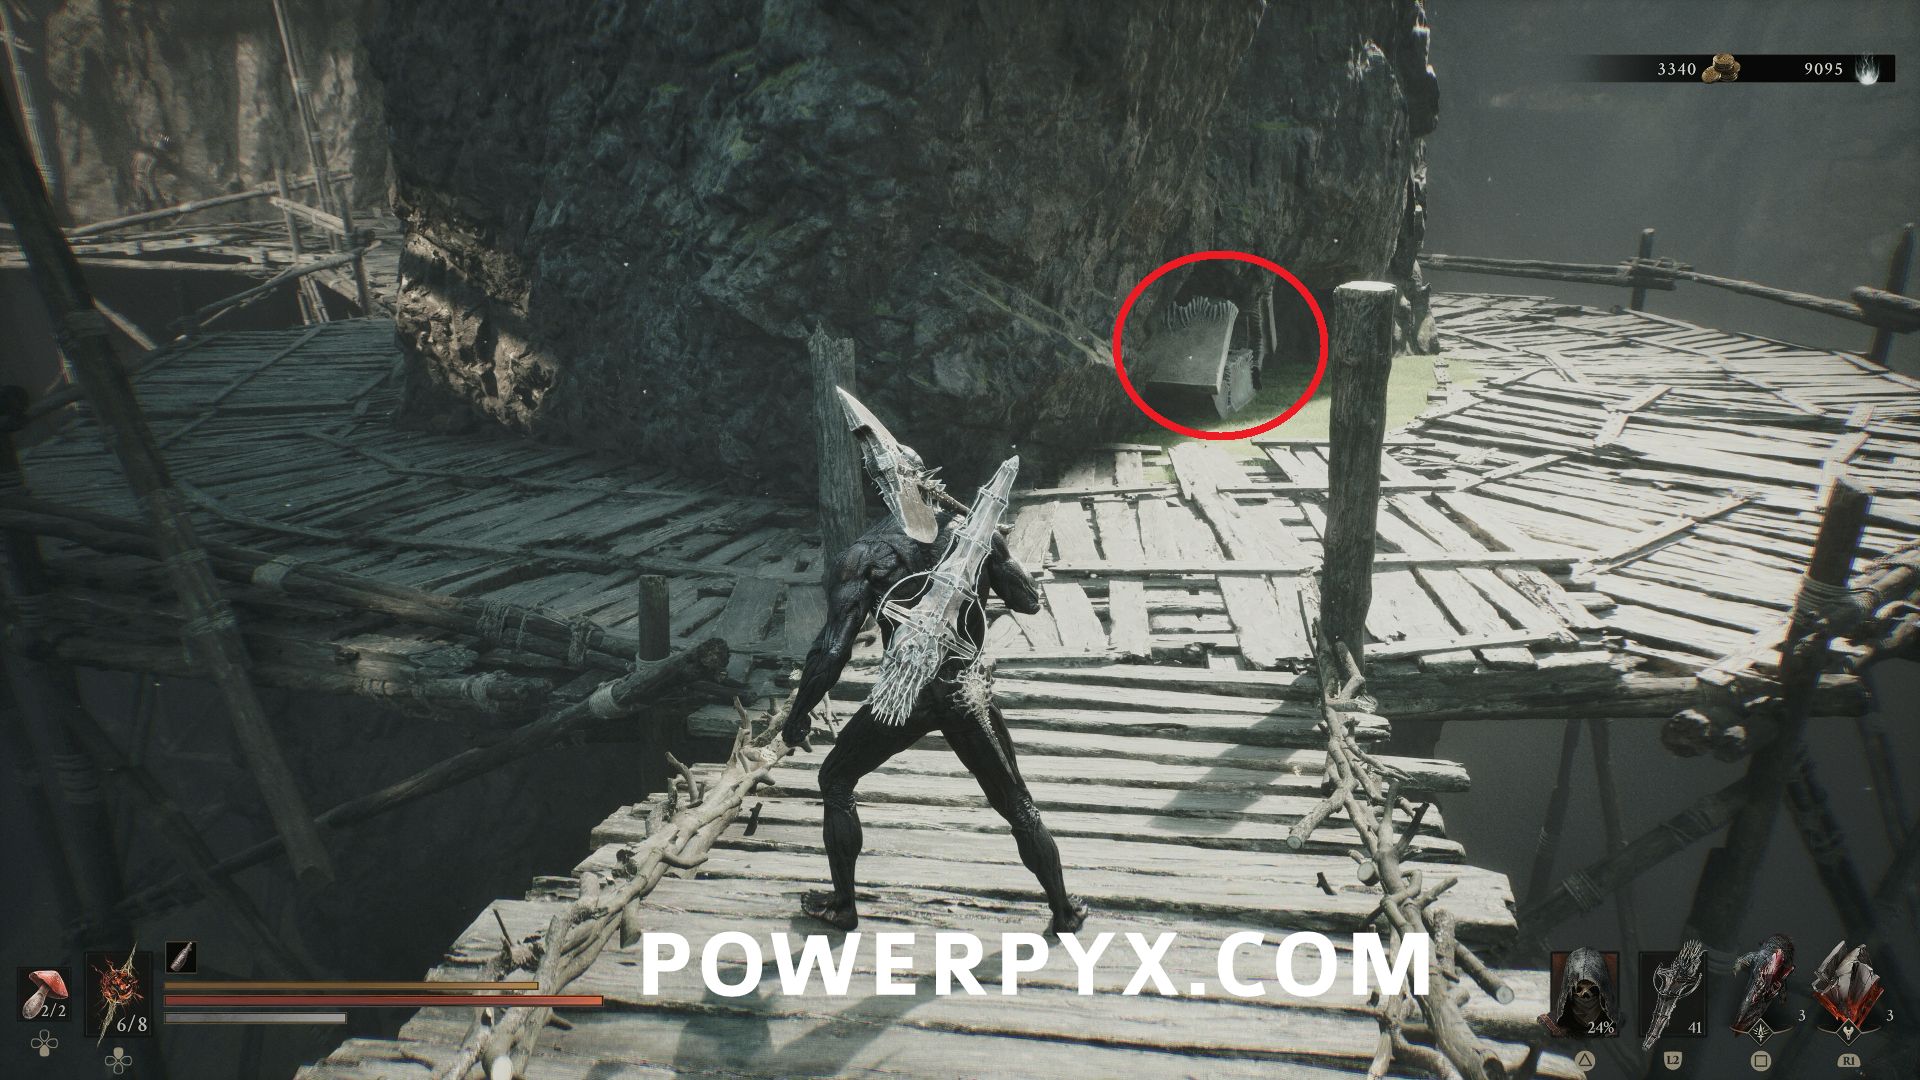
West of Castigator’s Keep Beacon, drop to the lower level and go onto the wooden platforms around the stone pillars. At the second pillar on the north side you can hit a wall to reveal a chest that contains this Tarstone.
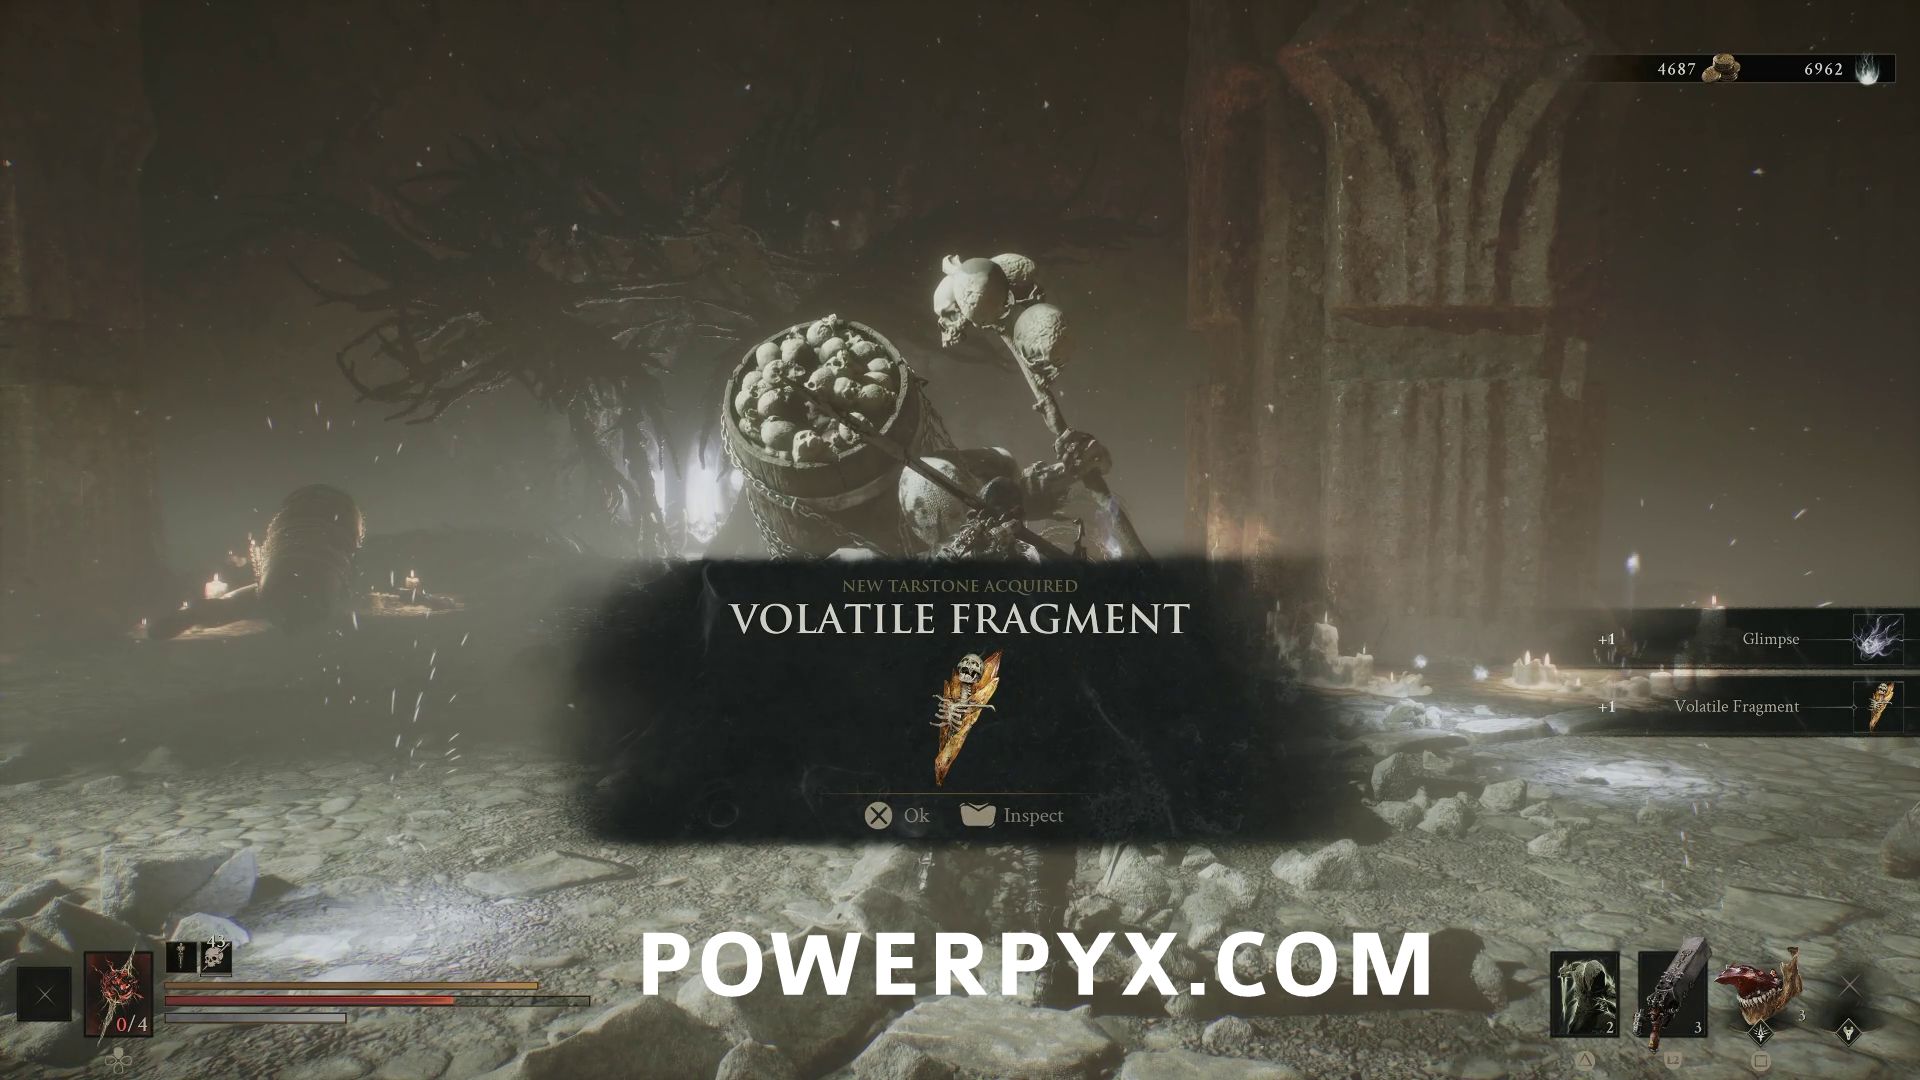
#36 – Volatile Fragment
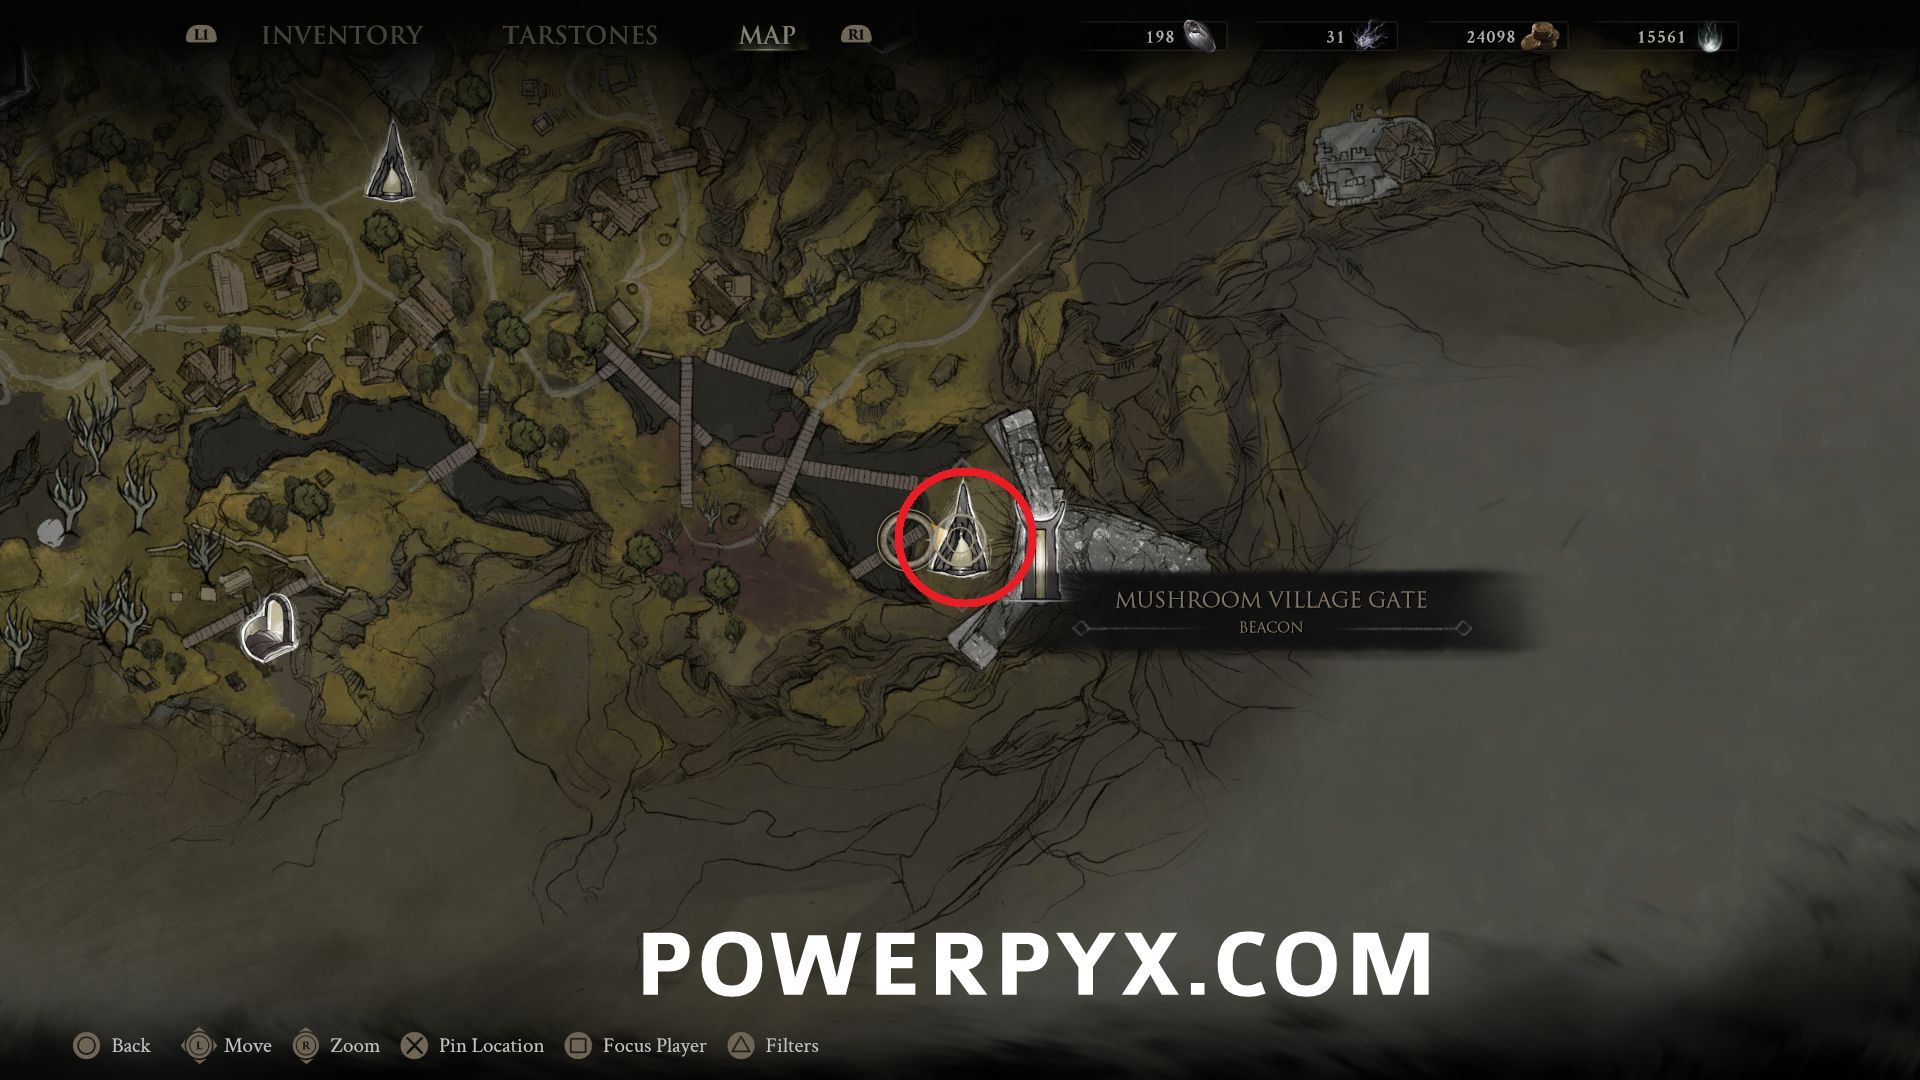
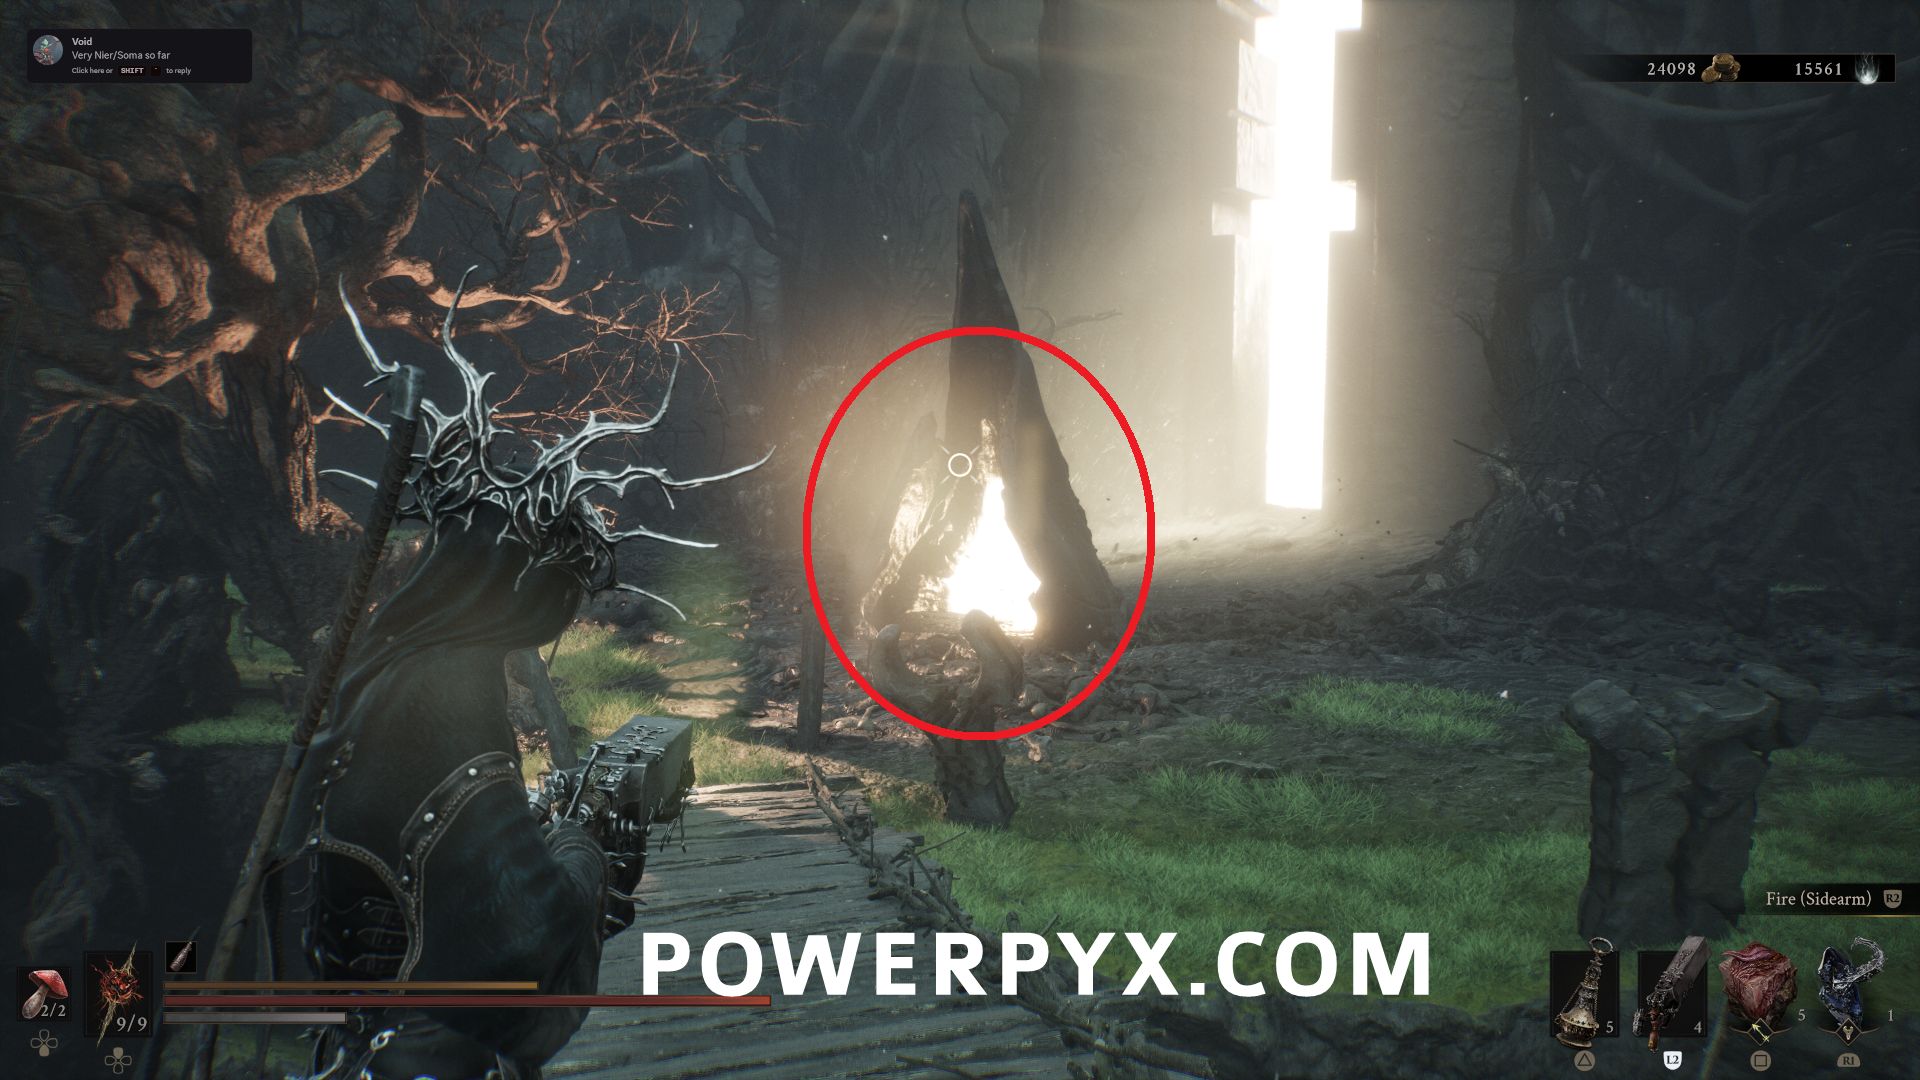
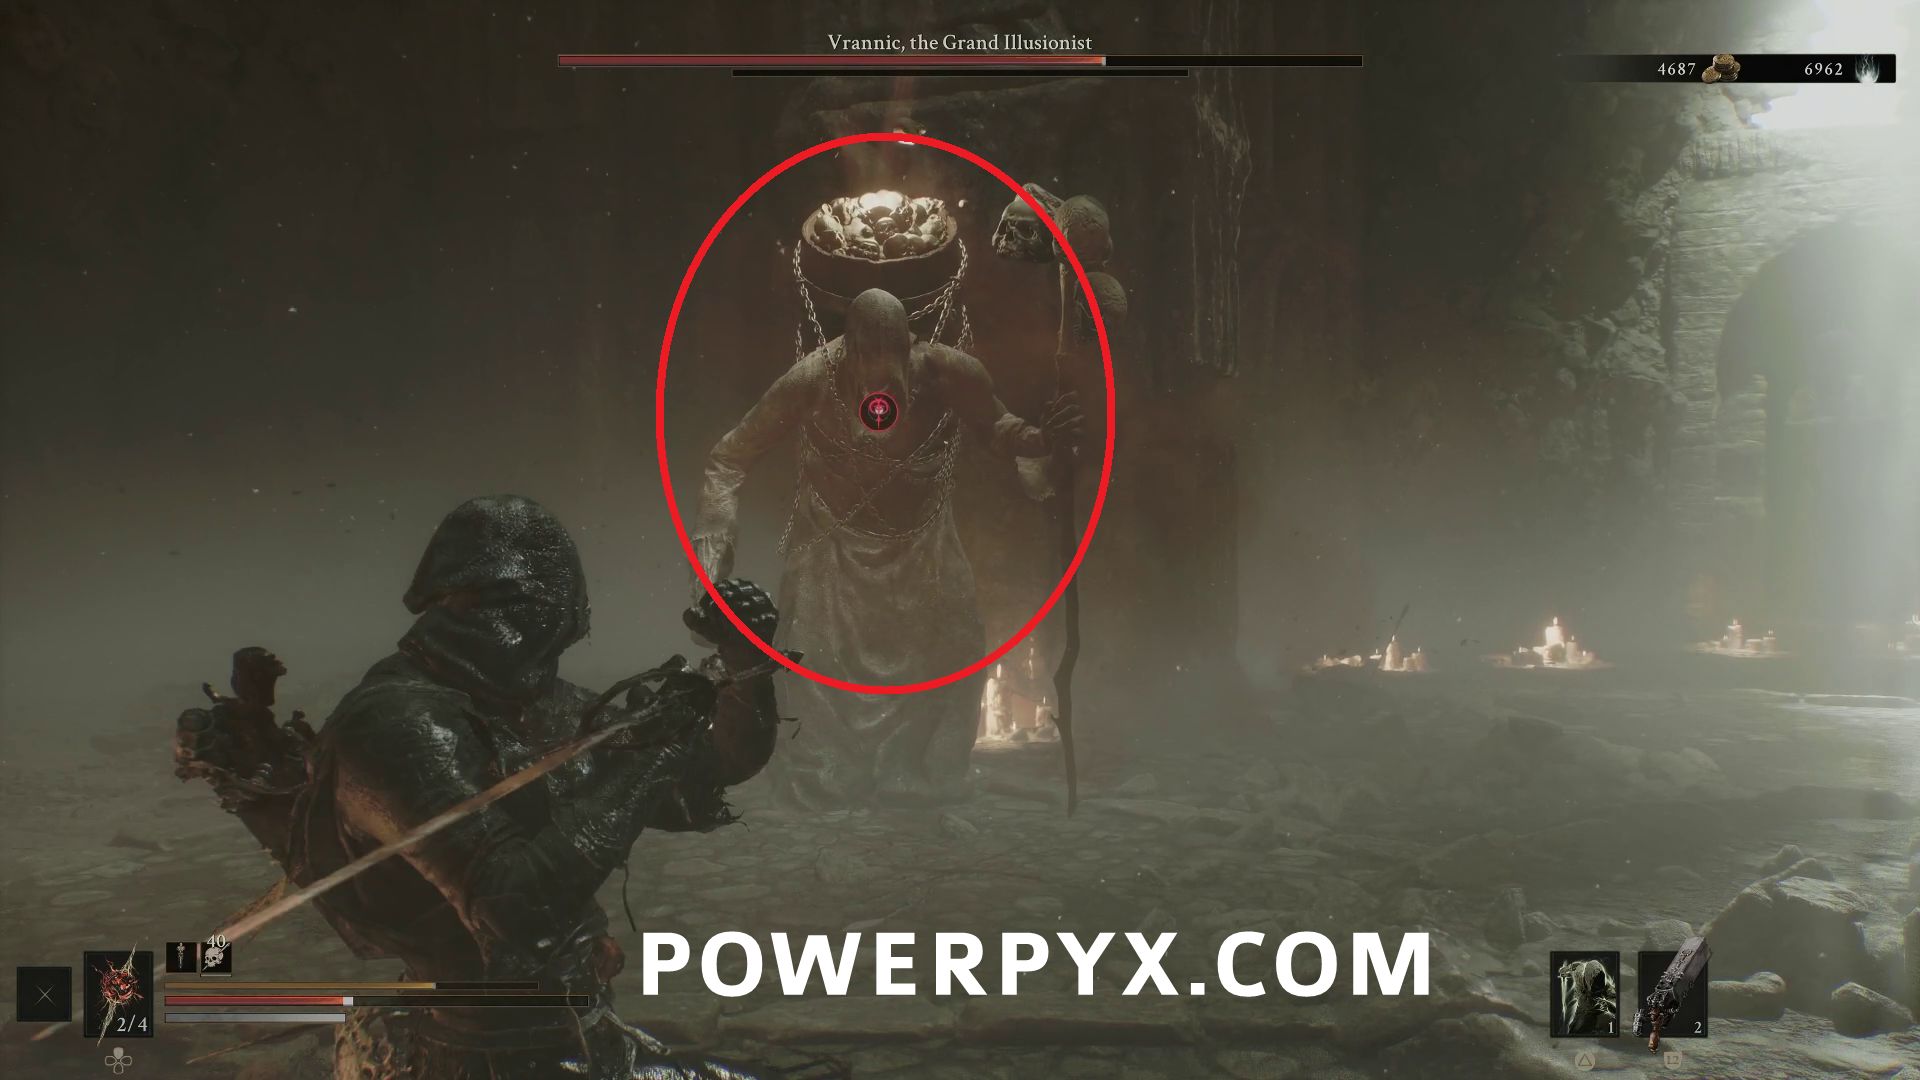
Inside the Mushroom Village Gate Beacon, defeat the miniboss Vrannic, the Grand Illusionist to obtain the Tarstone.
Infusions
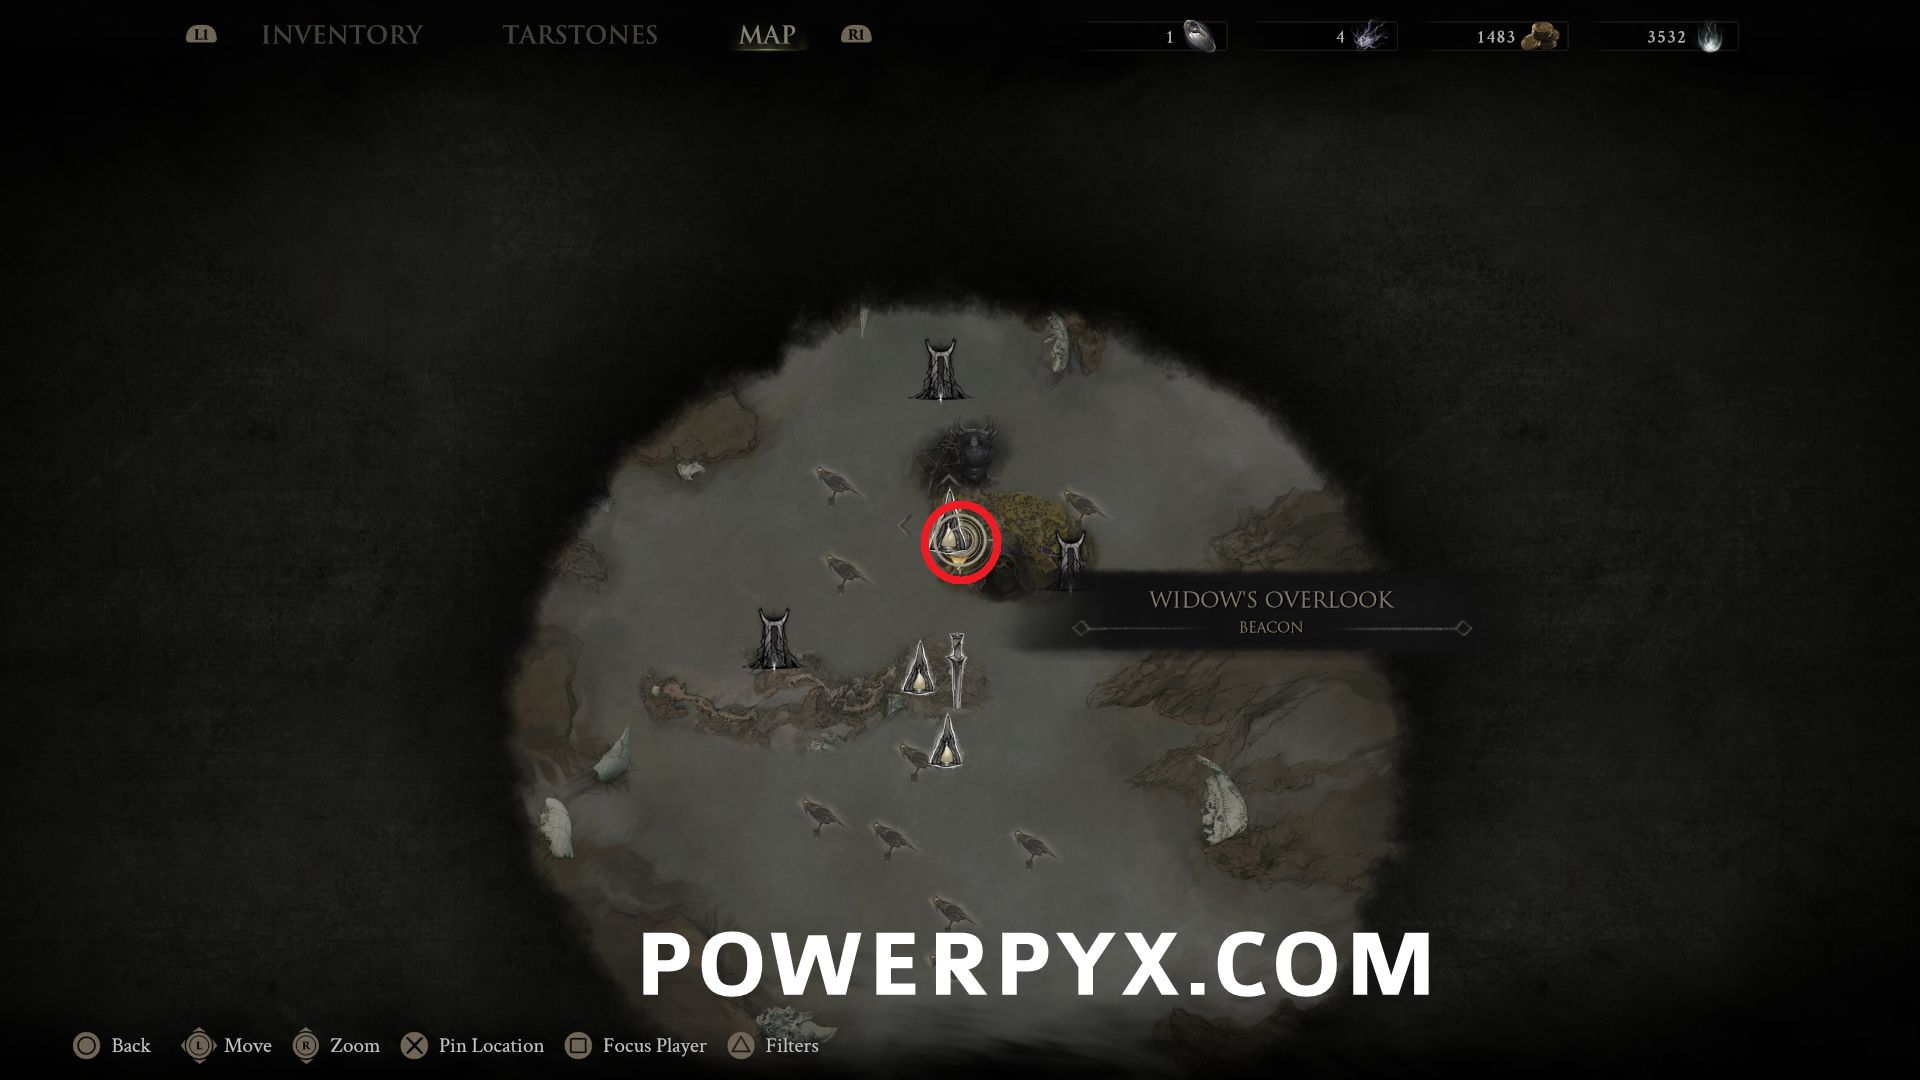
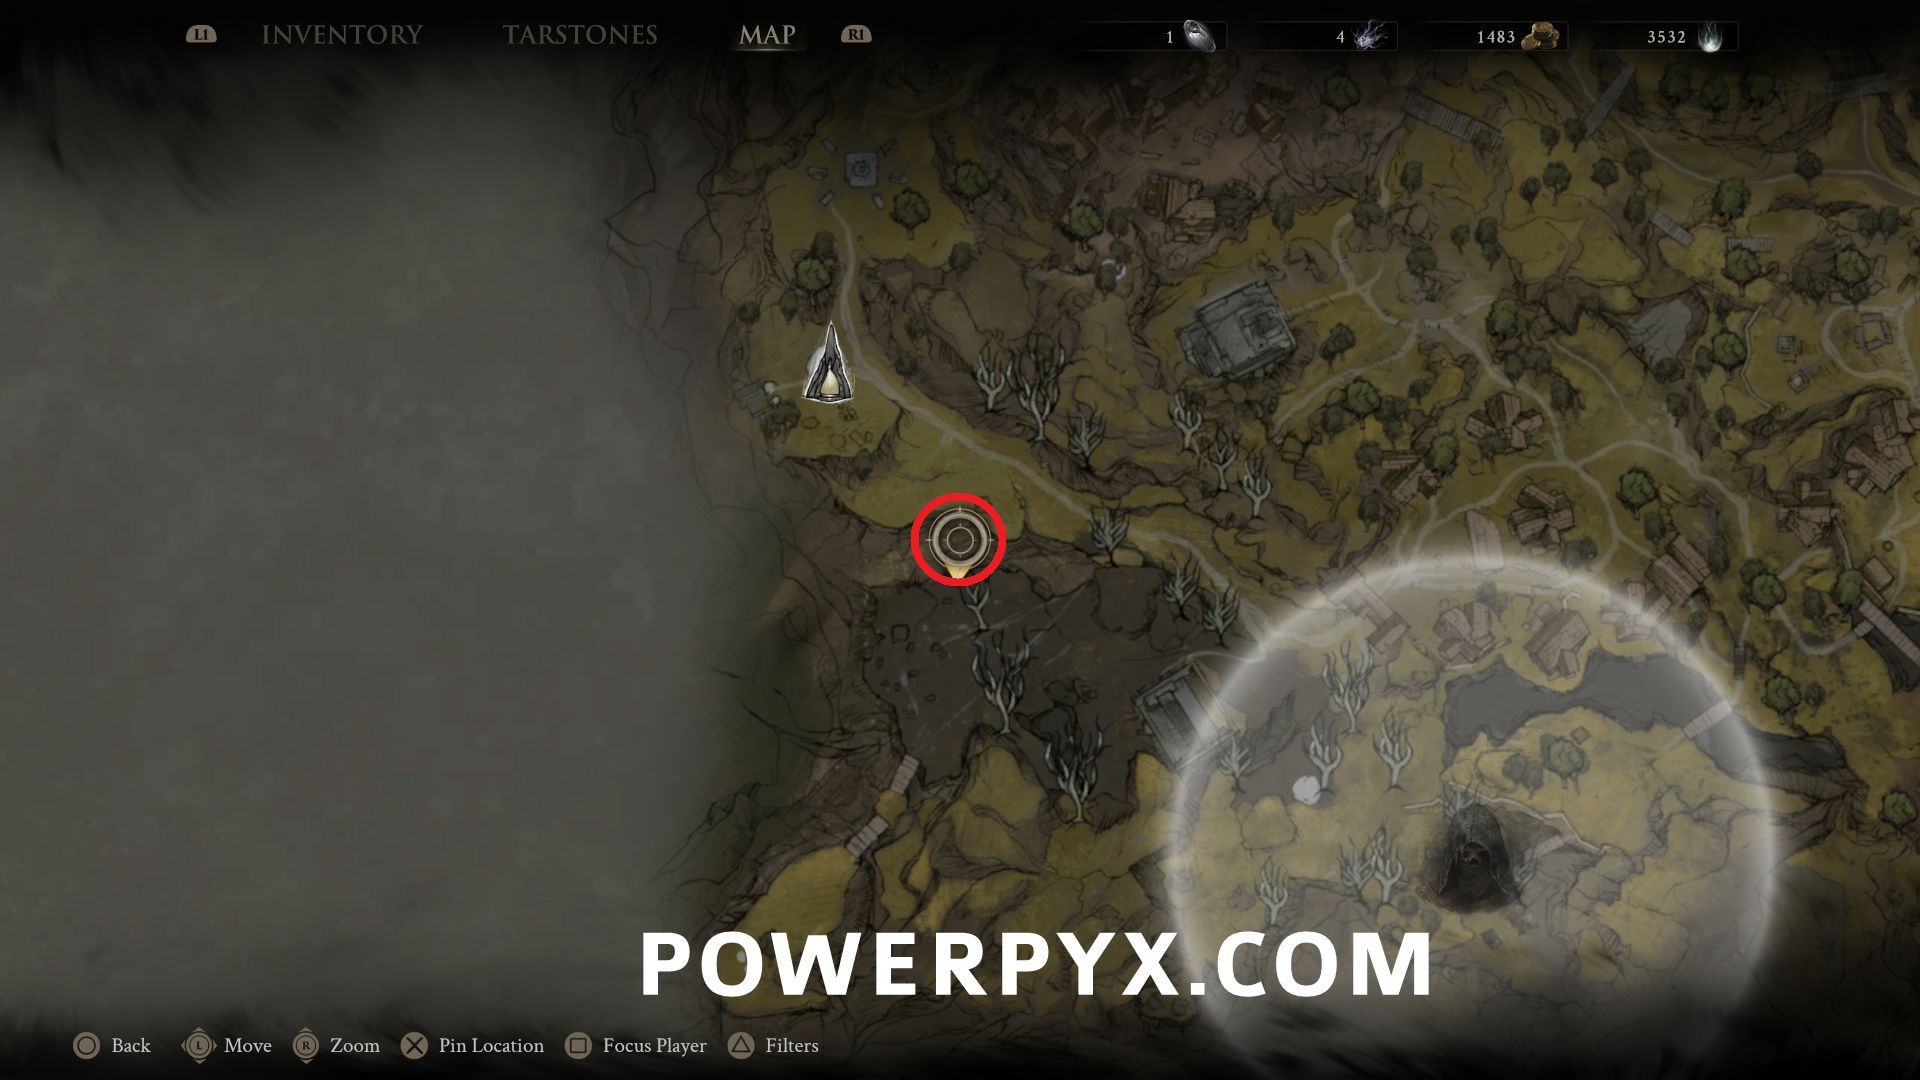
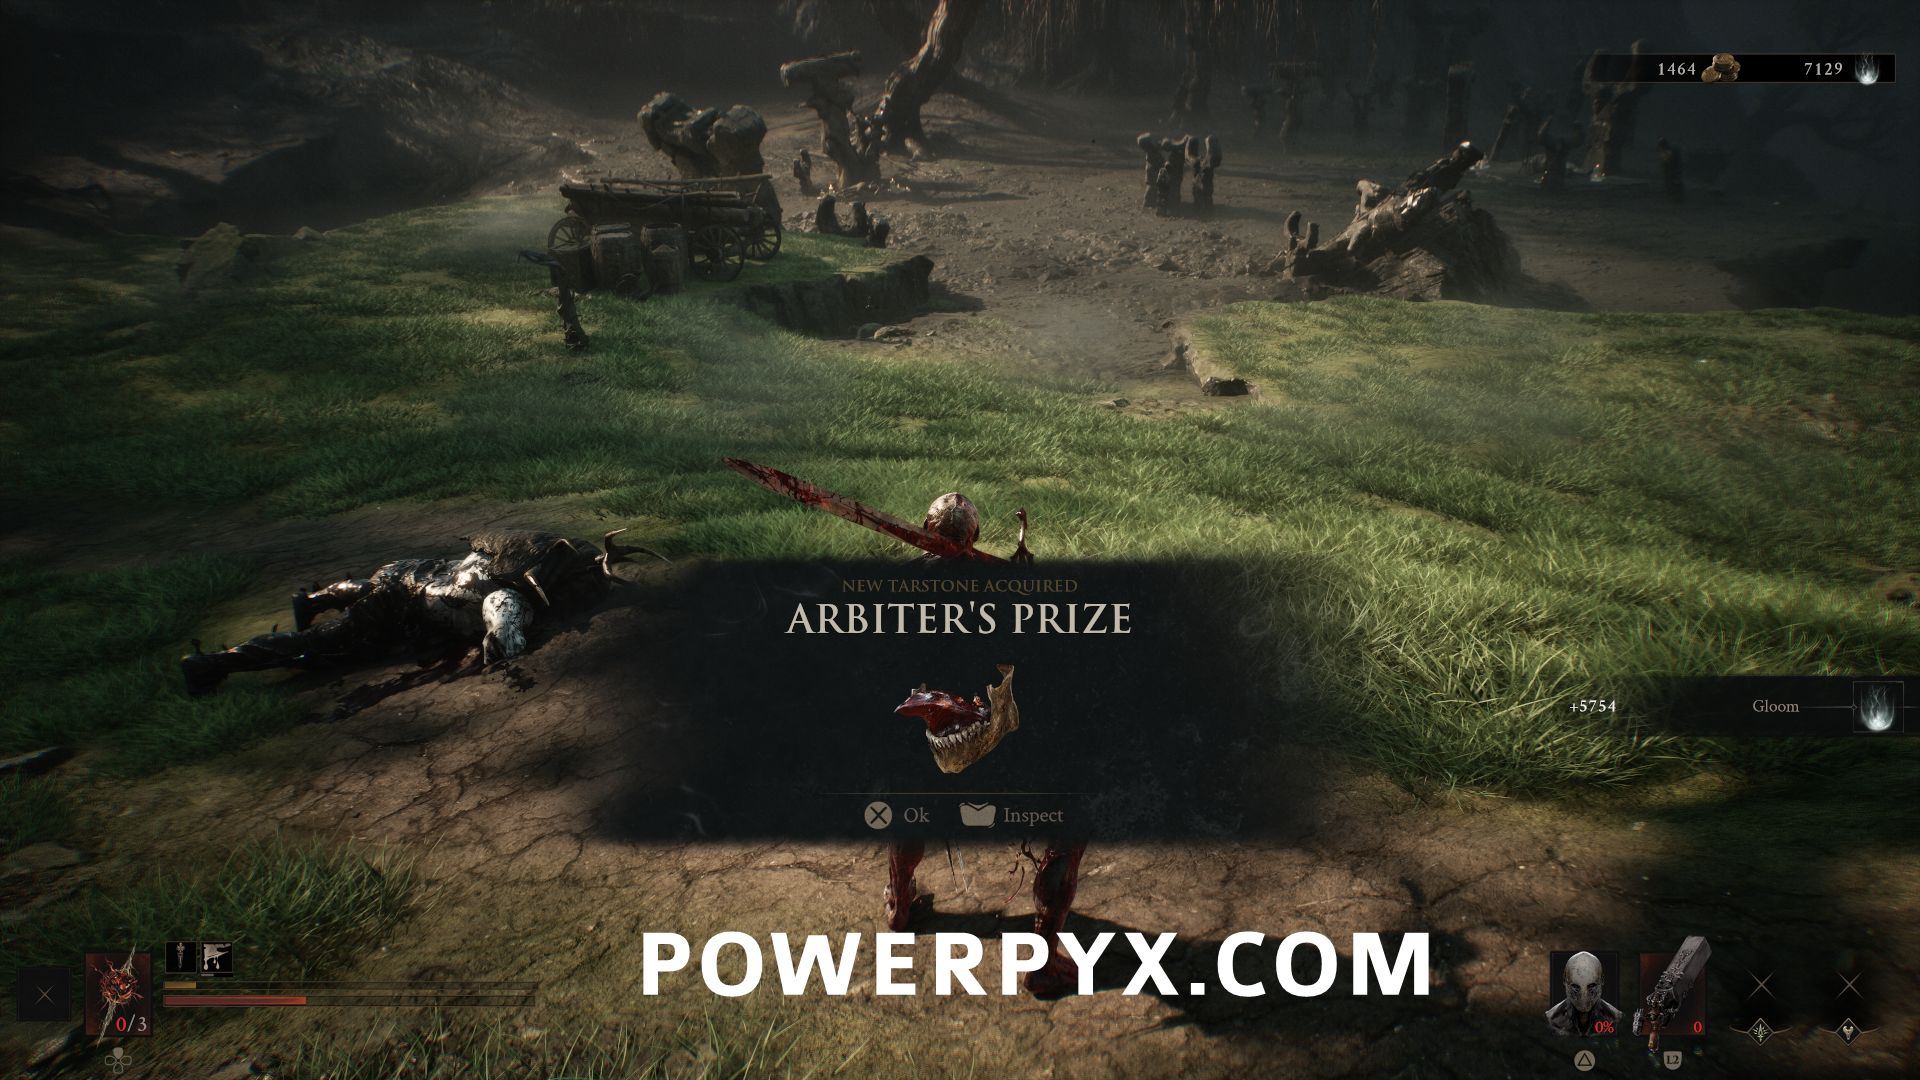
#37 – Arbiter’s Prize
Southeast of Widow’s Overlook Beacon, defeat the miniboss Great Arbiter of Flesh to obtain the Tarstone.
#38 – Serpent Stone
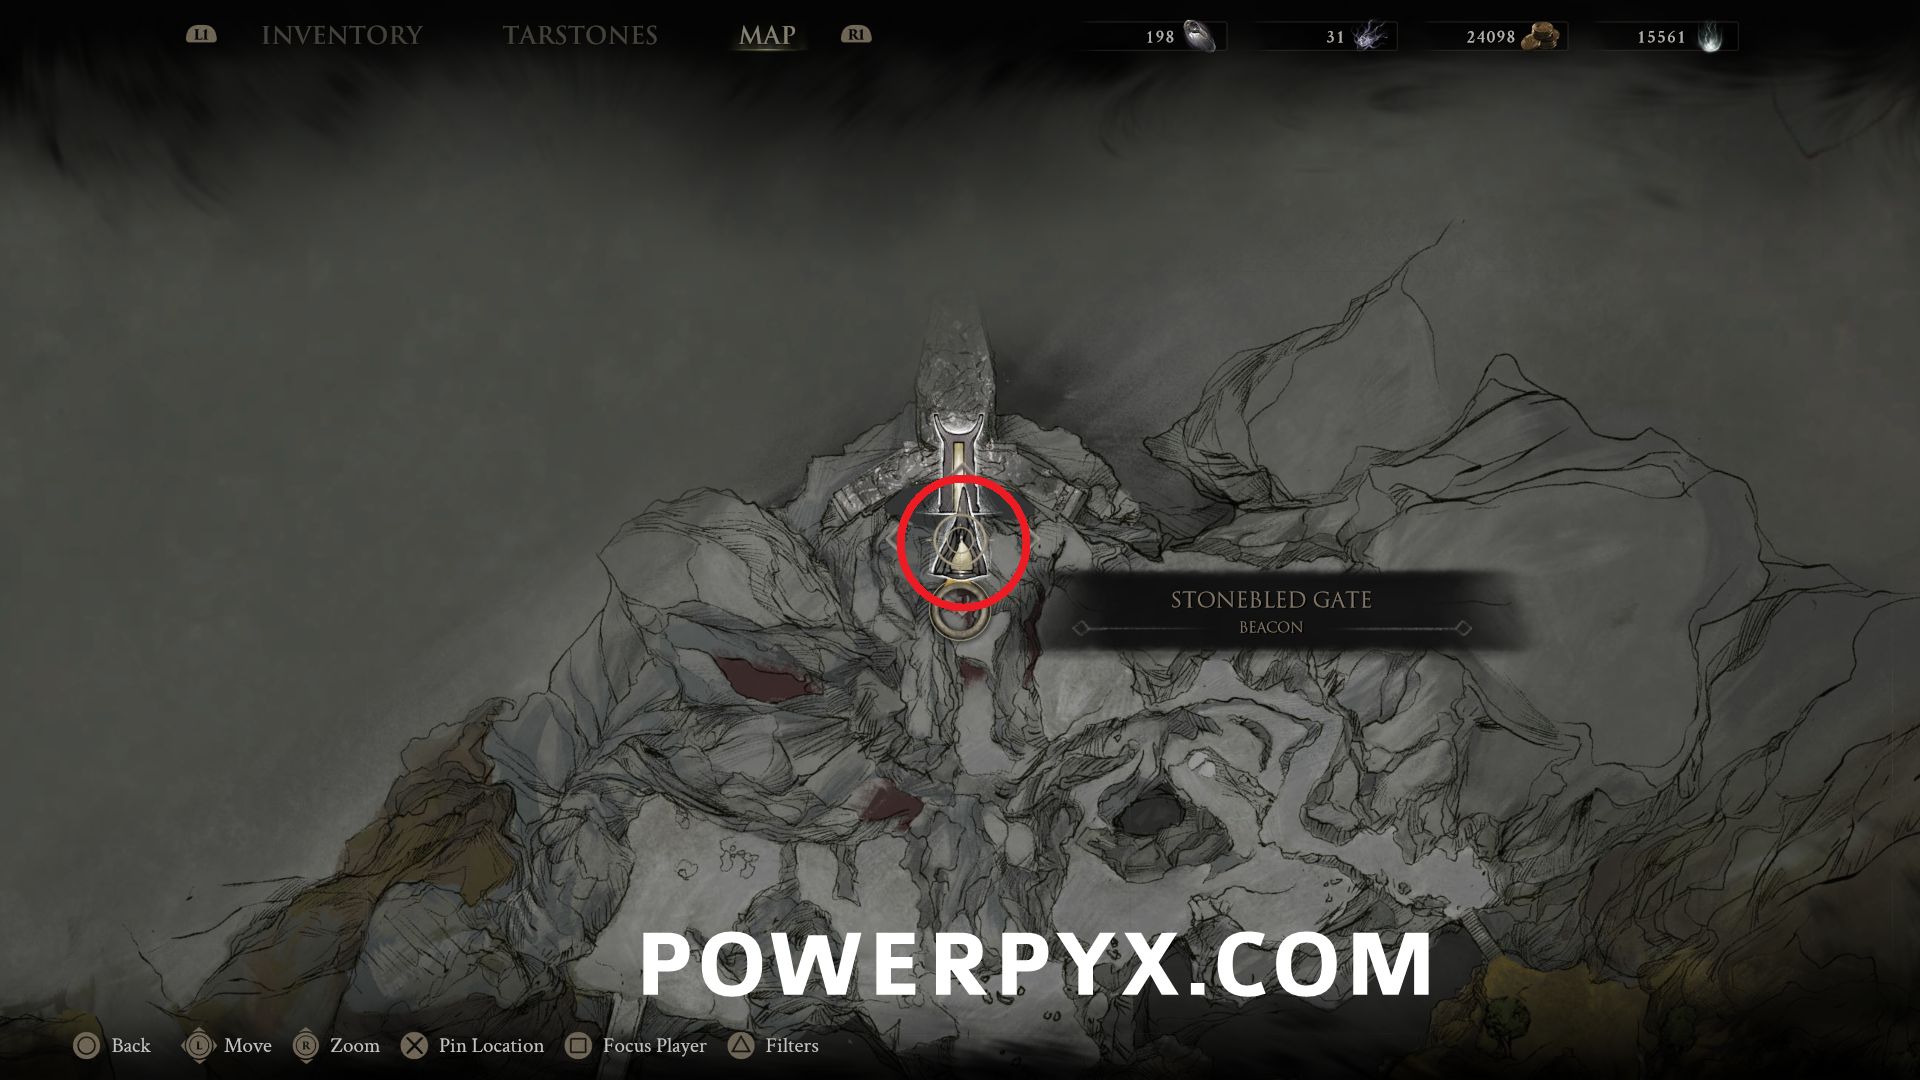
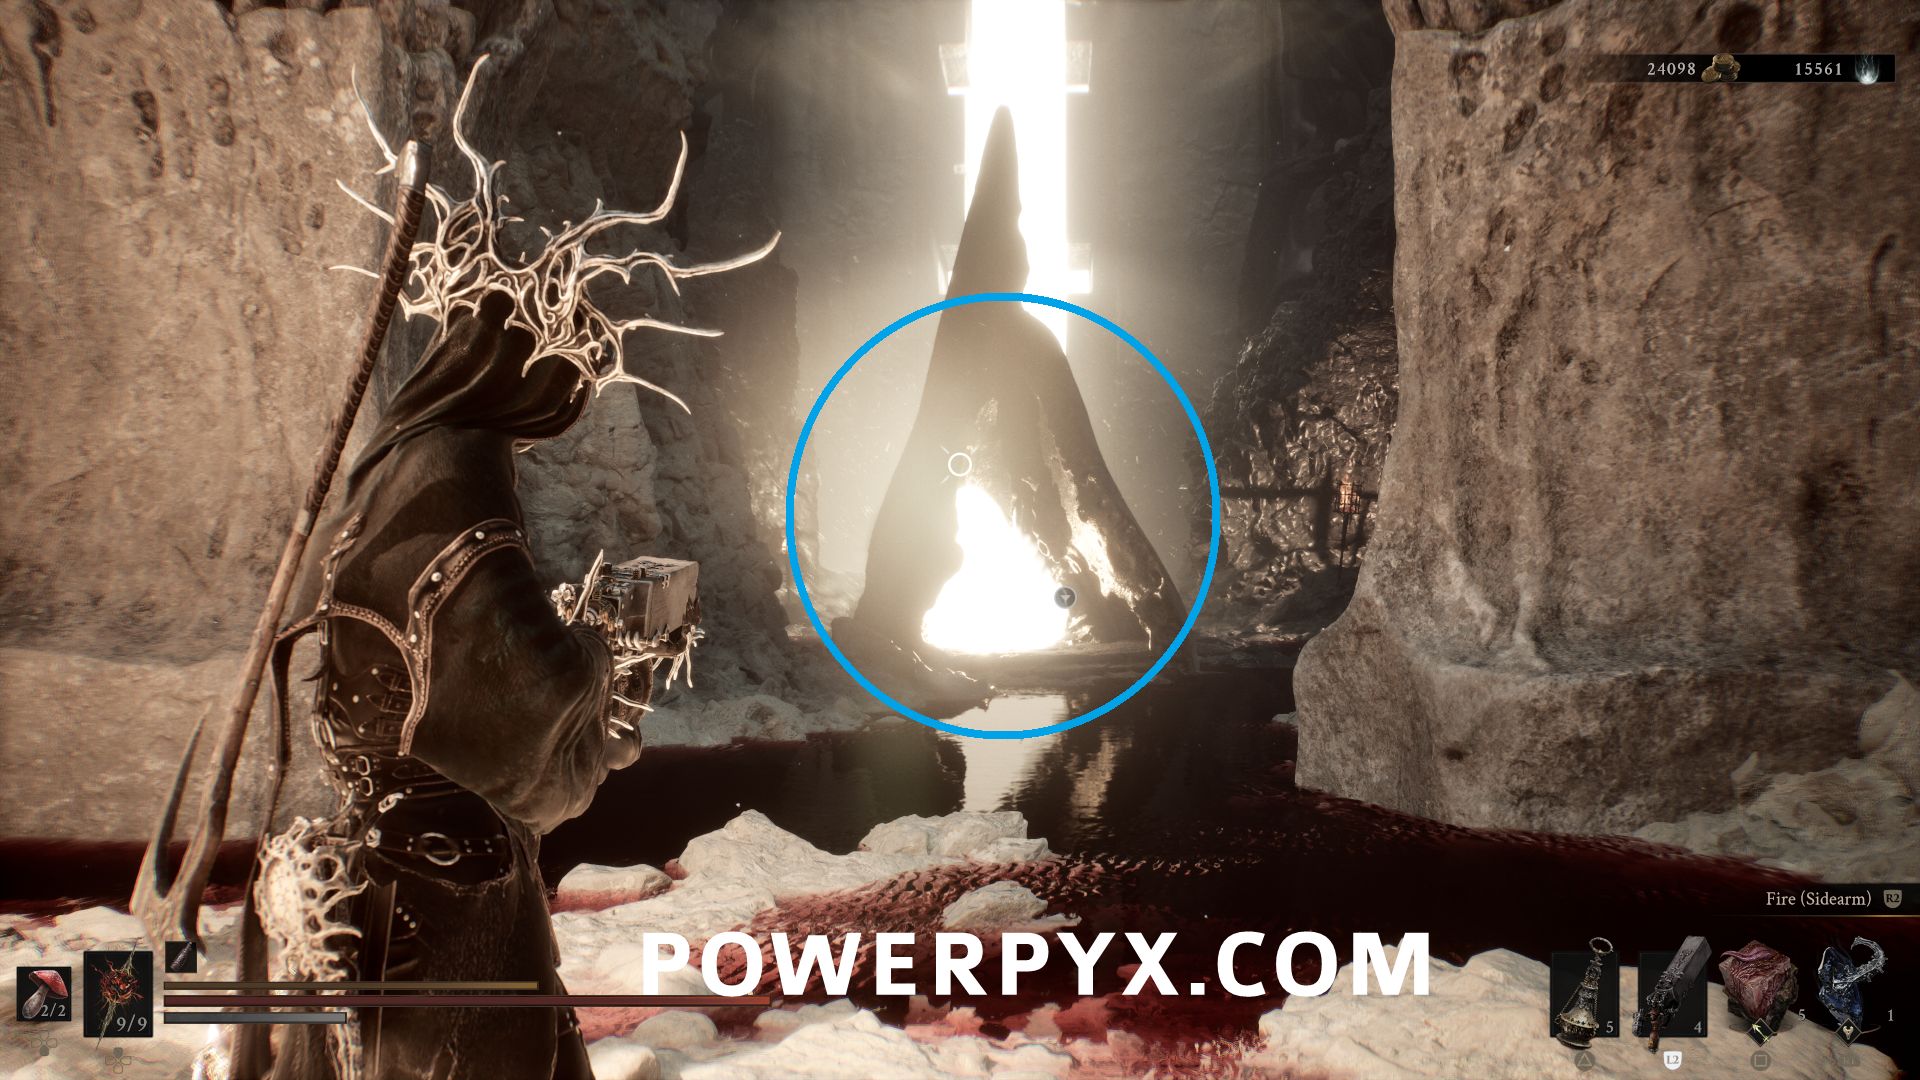
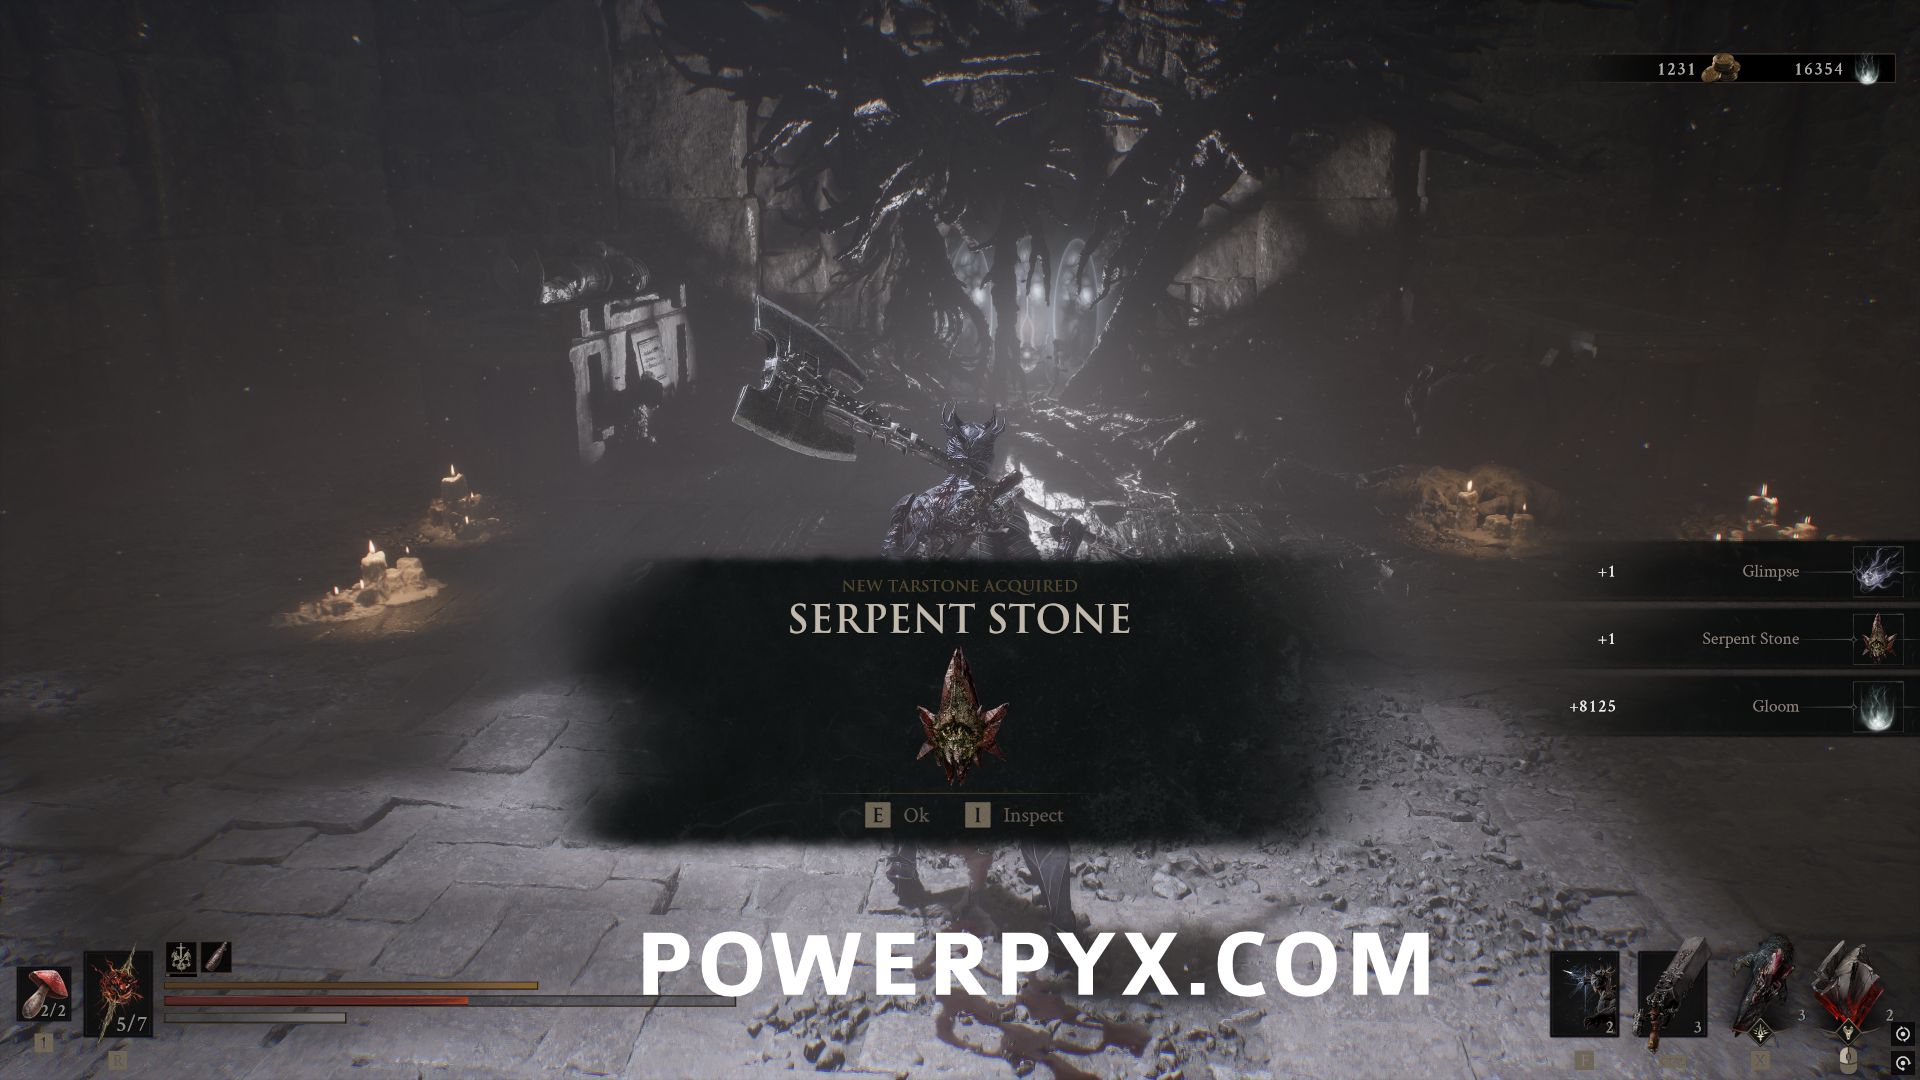
Inside the Stonebled Gate Beacon, progress to the end of the area and defeat the miniboss Lucian, the Thirsting Knight to obtain the Tarstone.
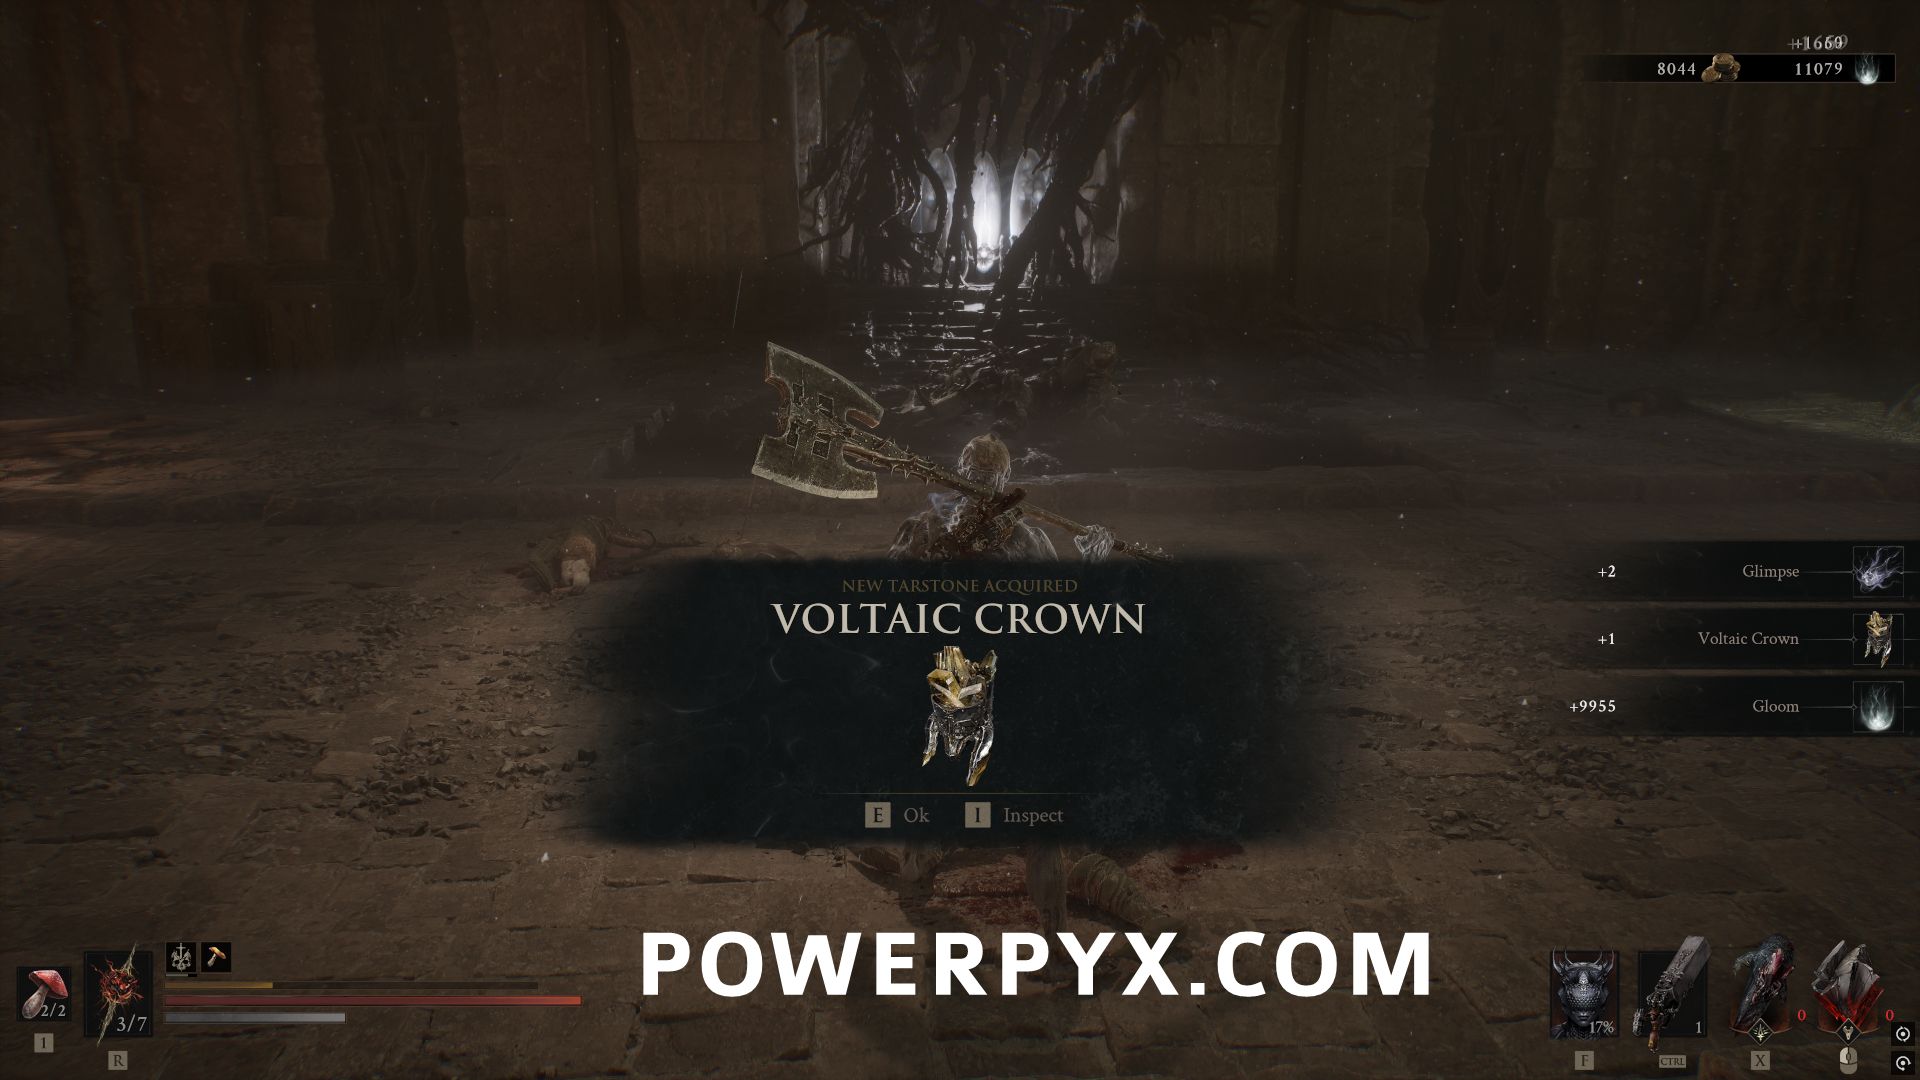
#39 – Voltaic Crown
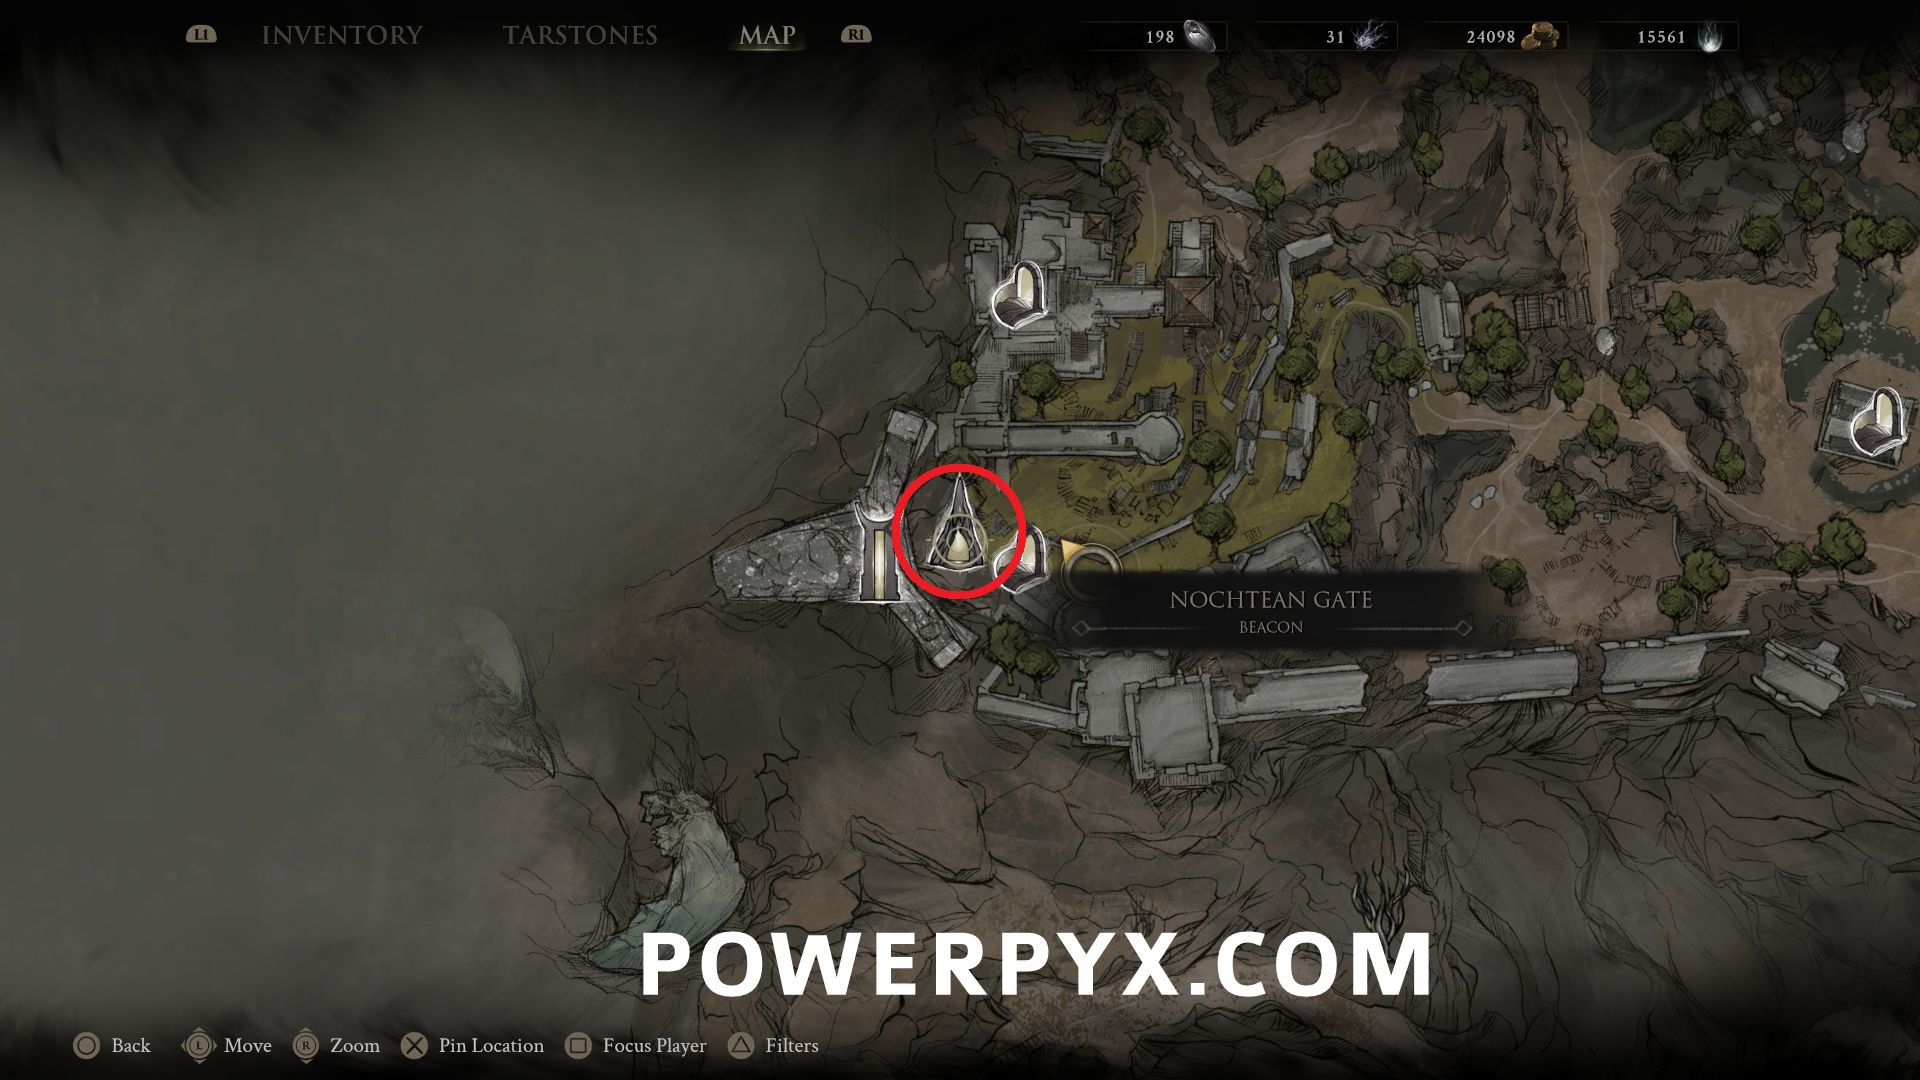
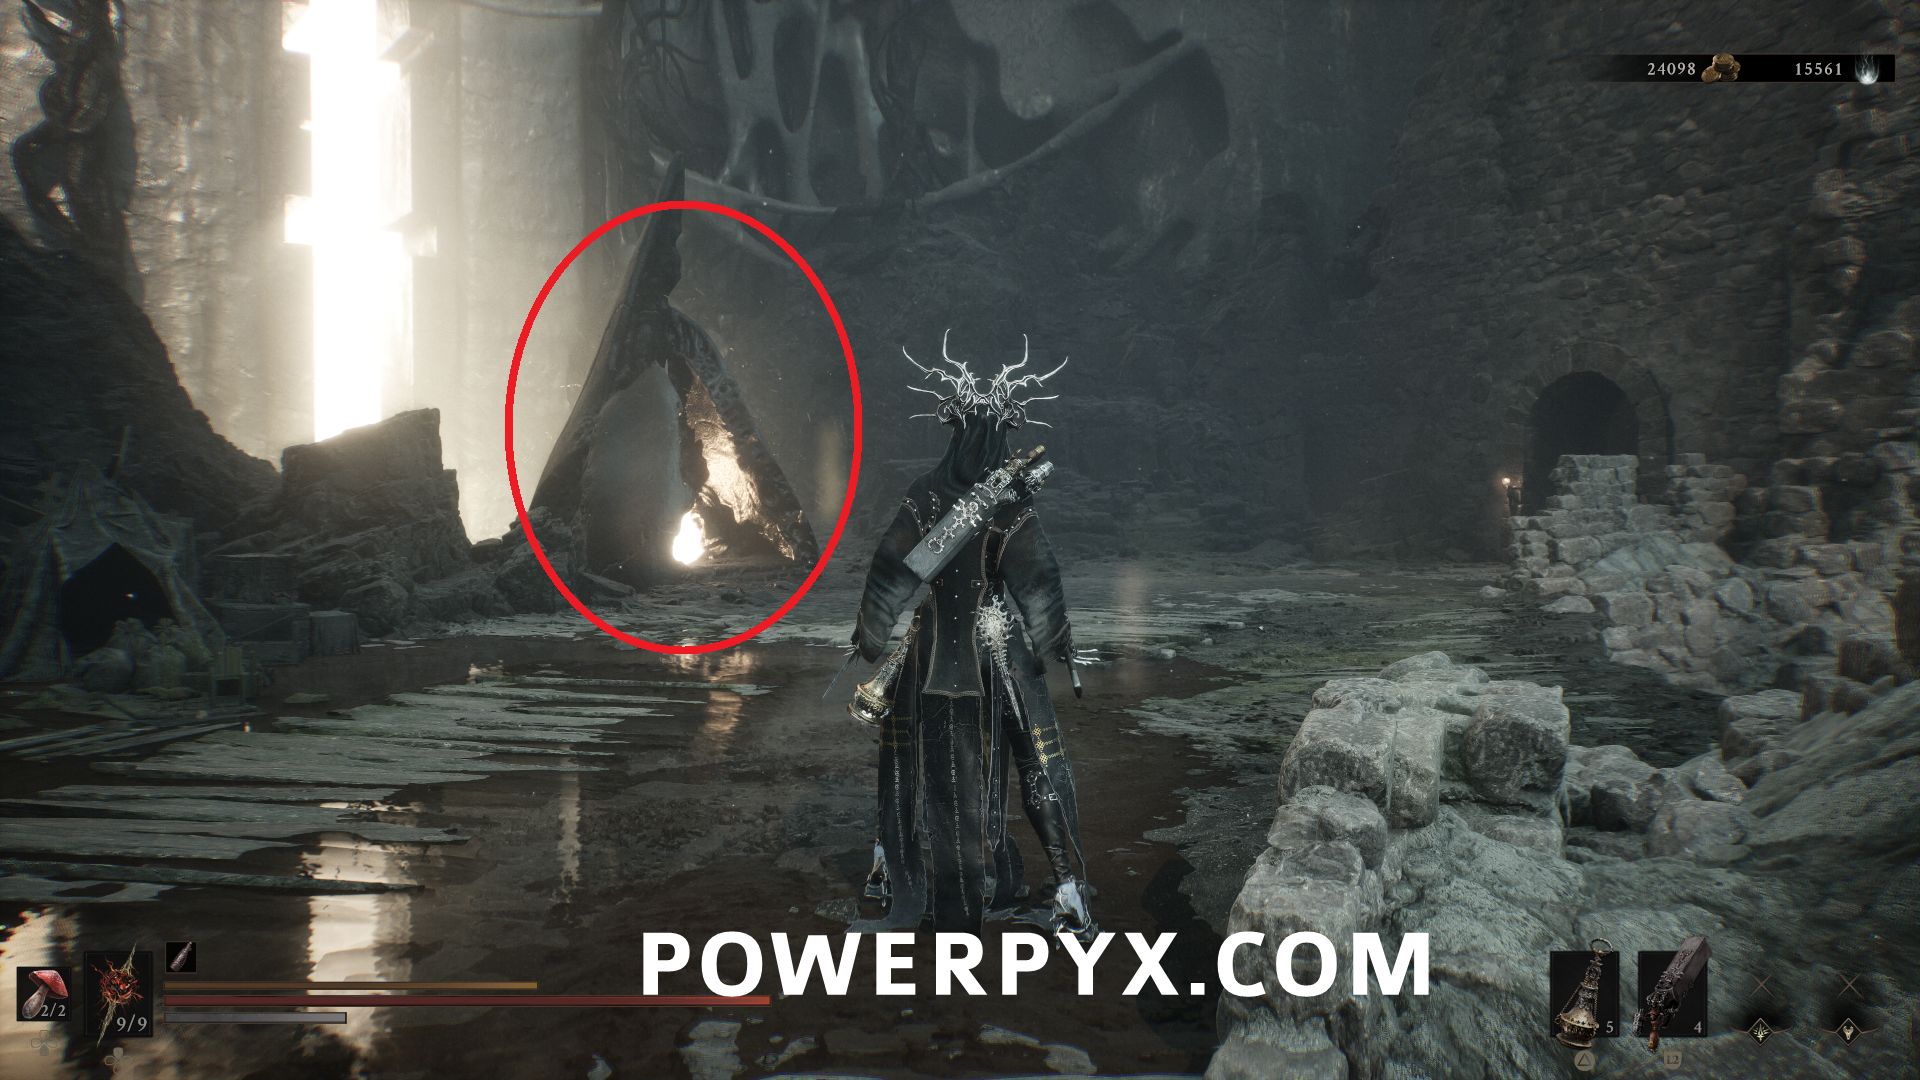
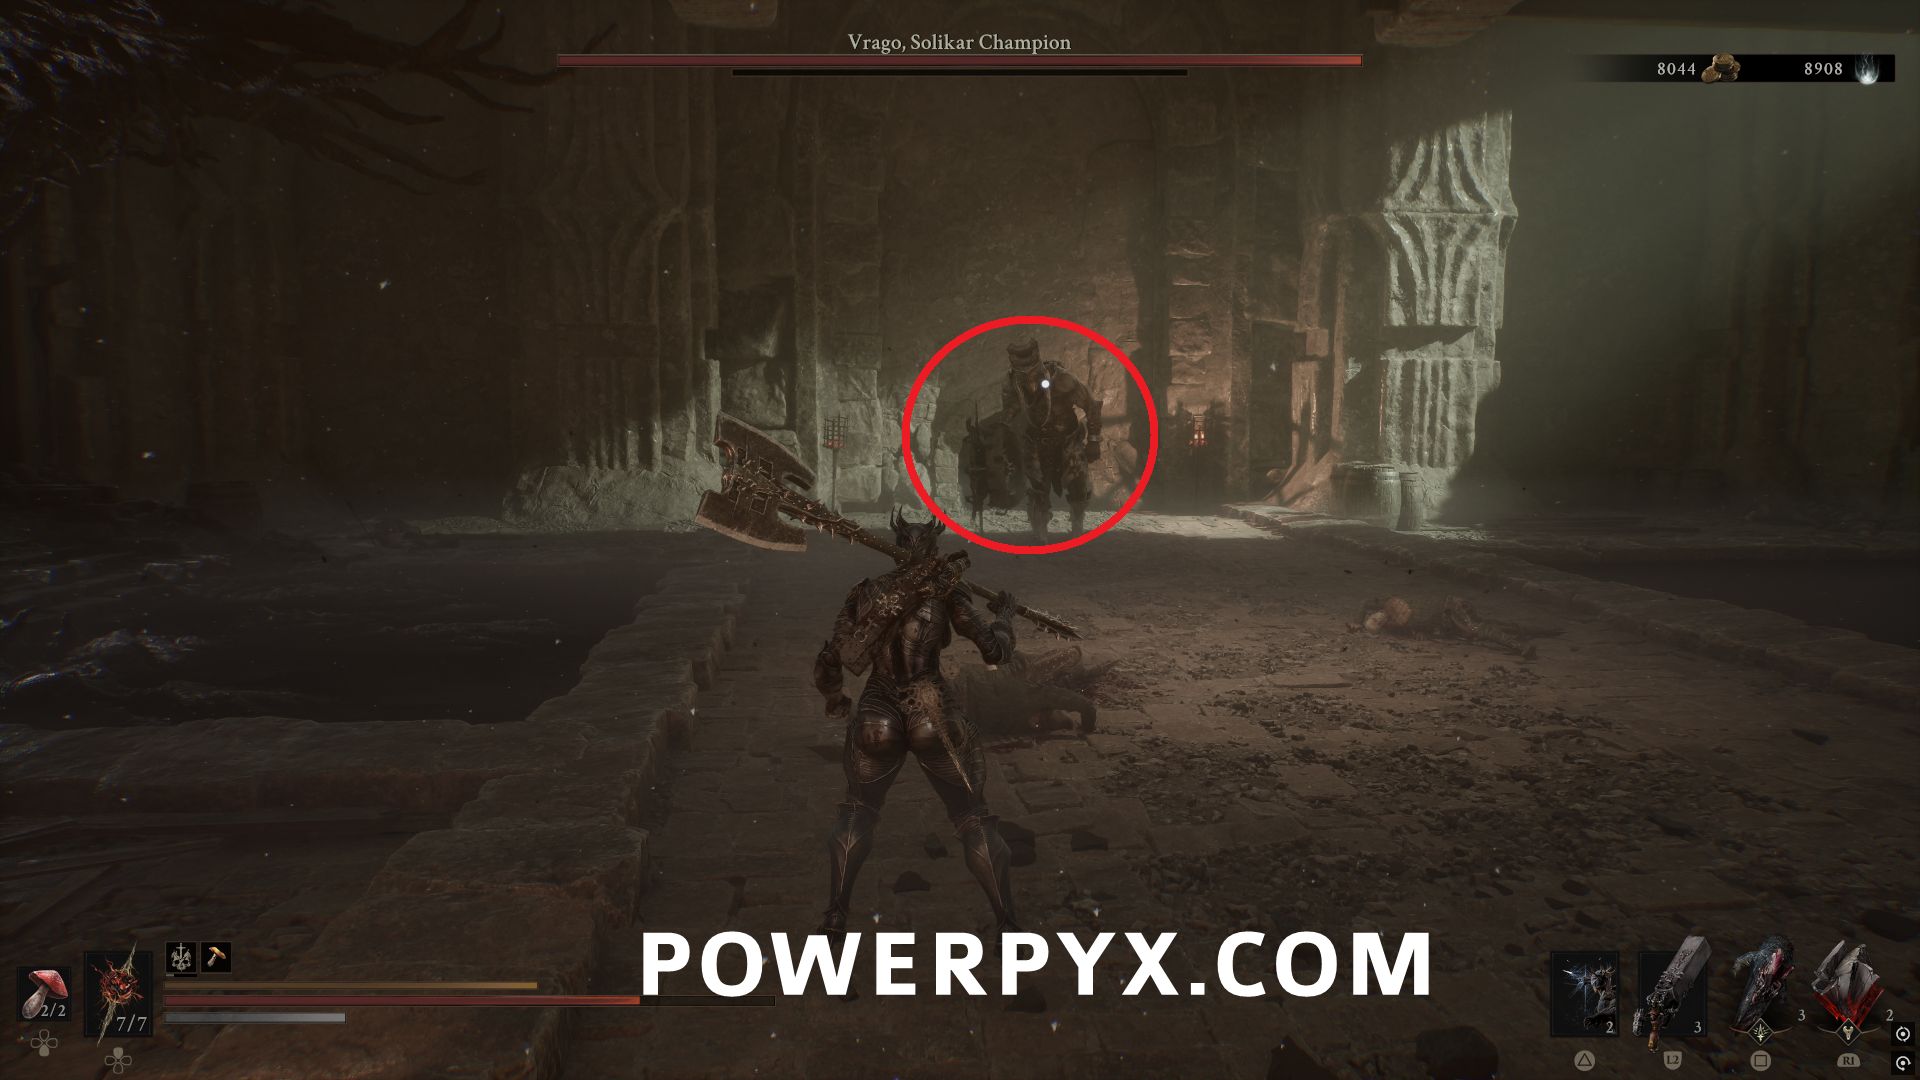
Inside the Nocthean Gate Beacon, progress to the end of the area and defeat the boss Vrago, Solikar Champion to obtain the Tarstone.
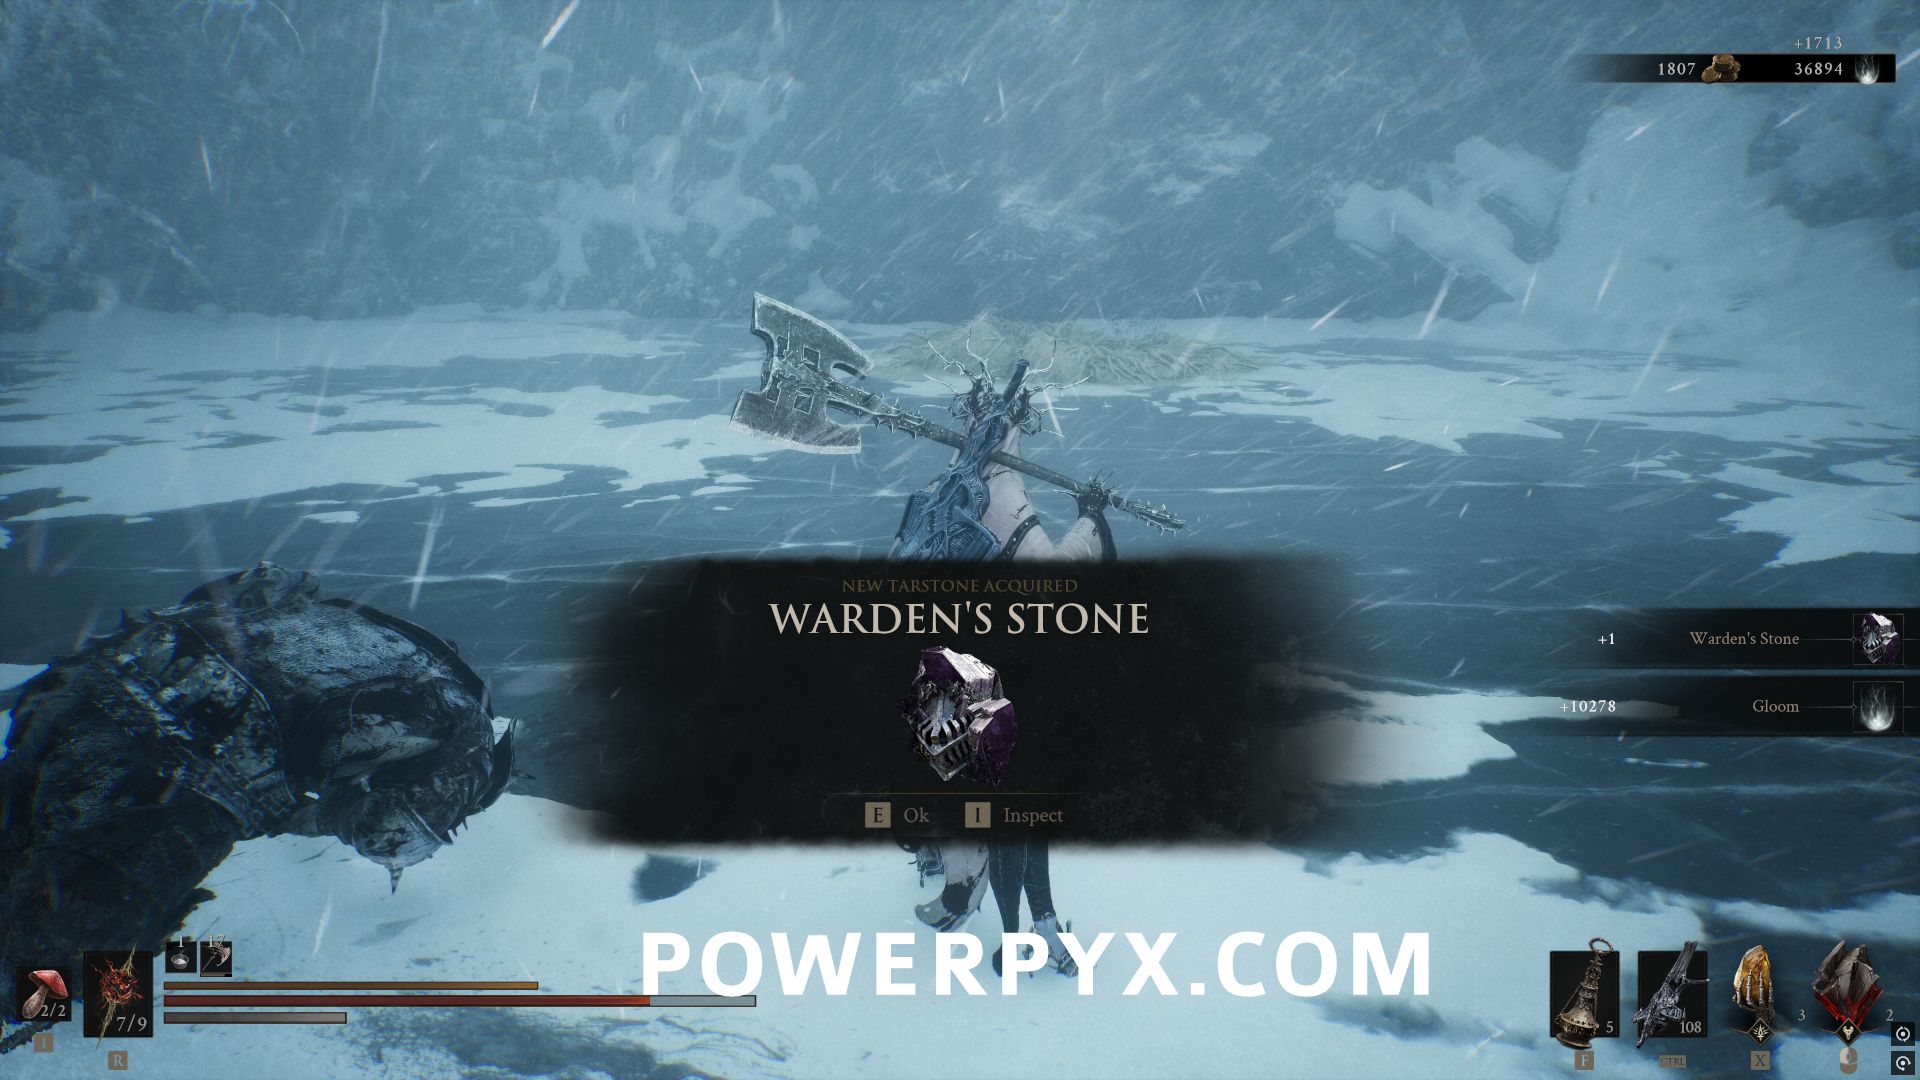
#40 – Warden’s Stone
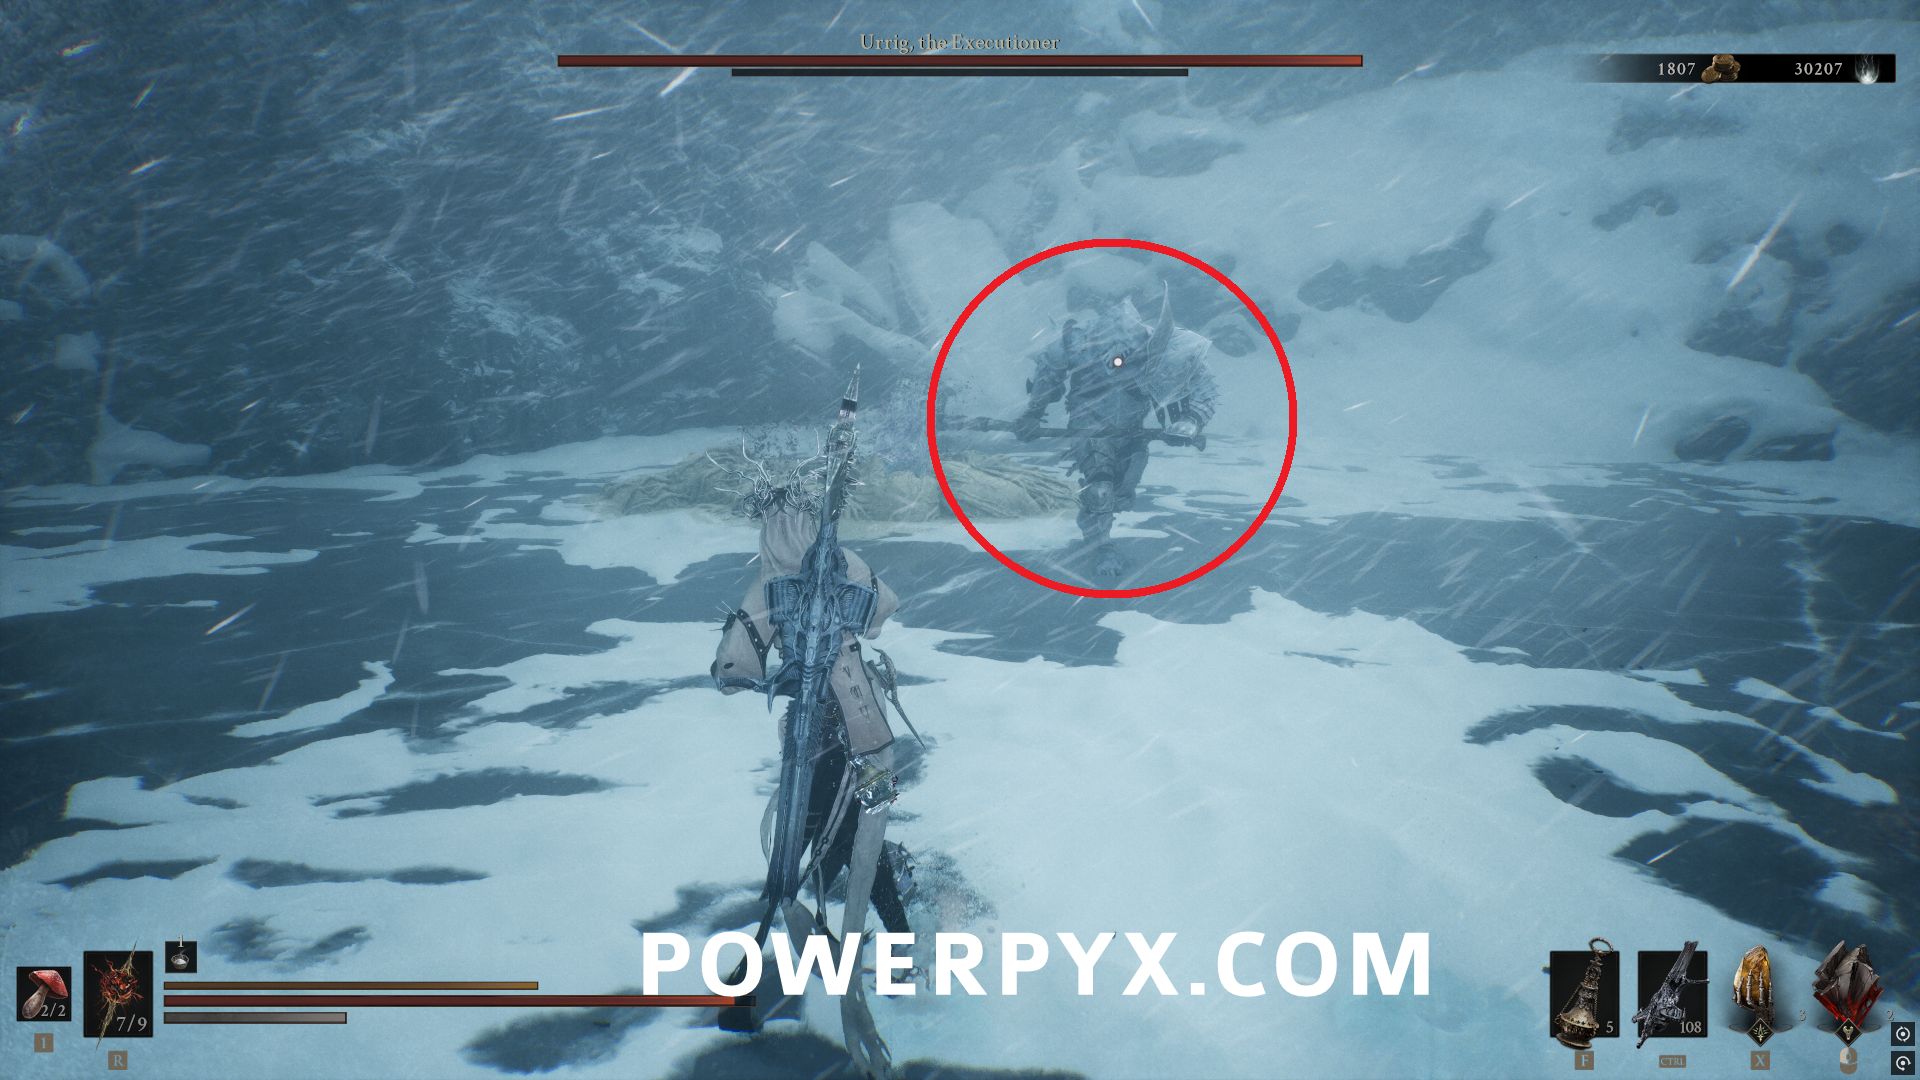
In the Conquered Temple area, after the Winterglass Lake Beacon, follow the path until you encounter the miniboss Urrig, the Executioner and defeat them to obtain the Tarstone.
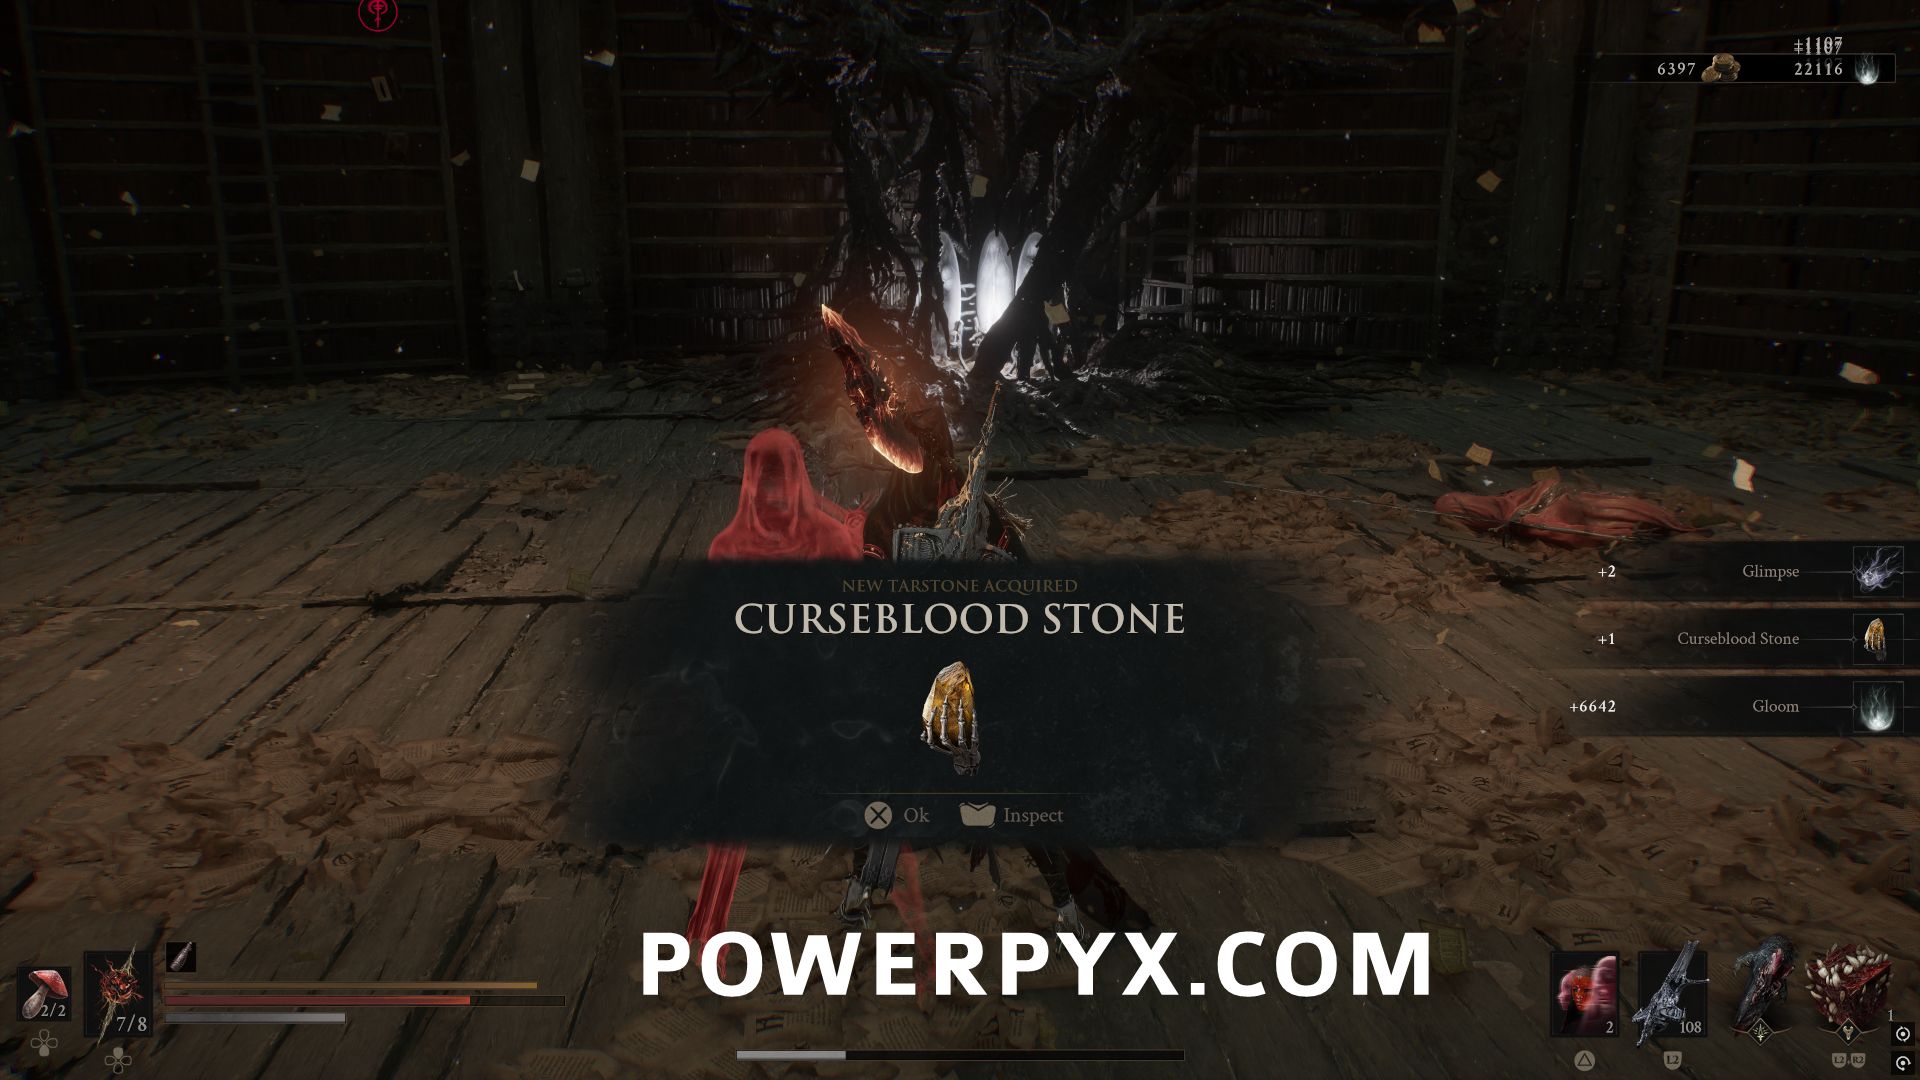
#41 – Curseblood Stone
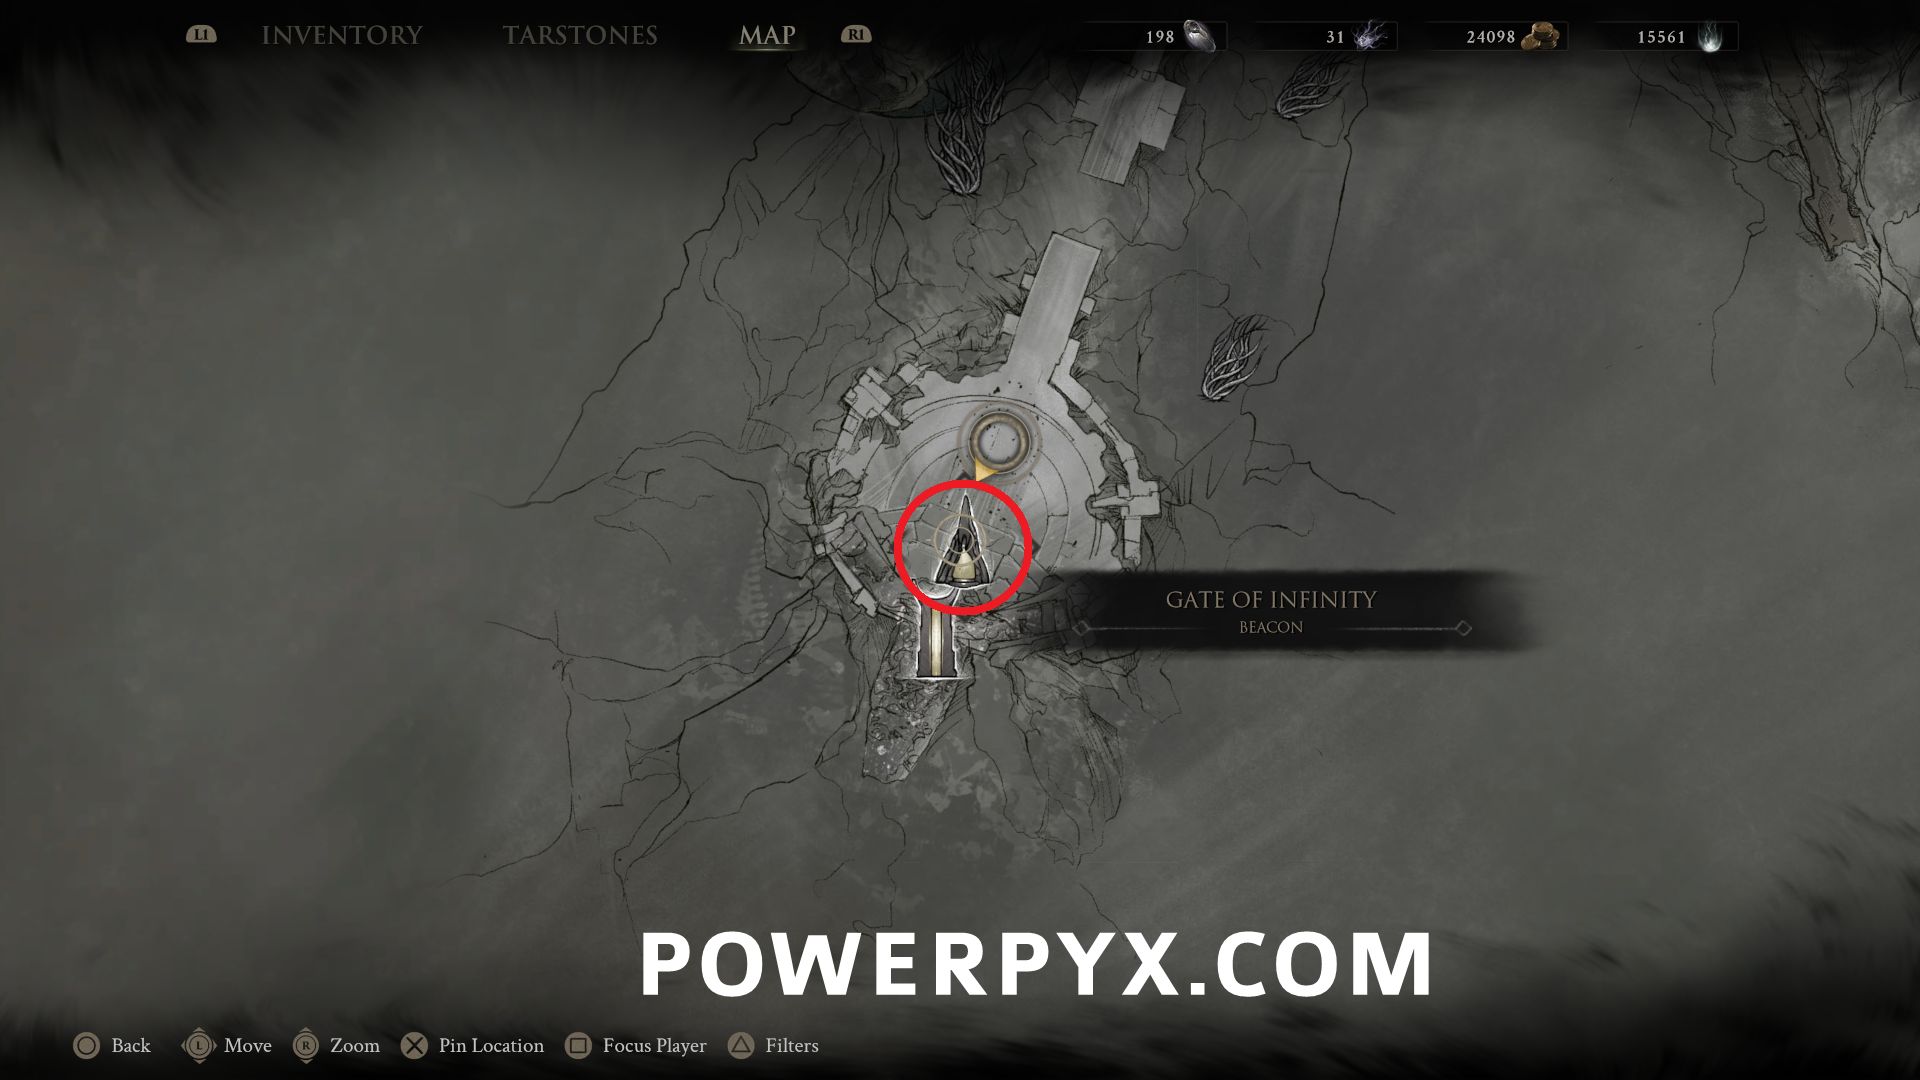
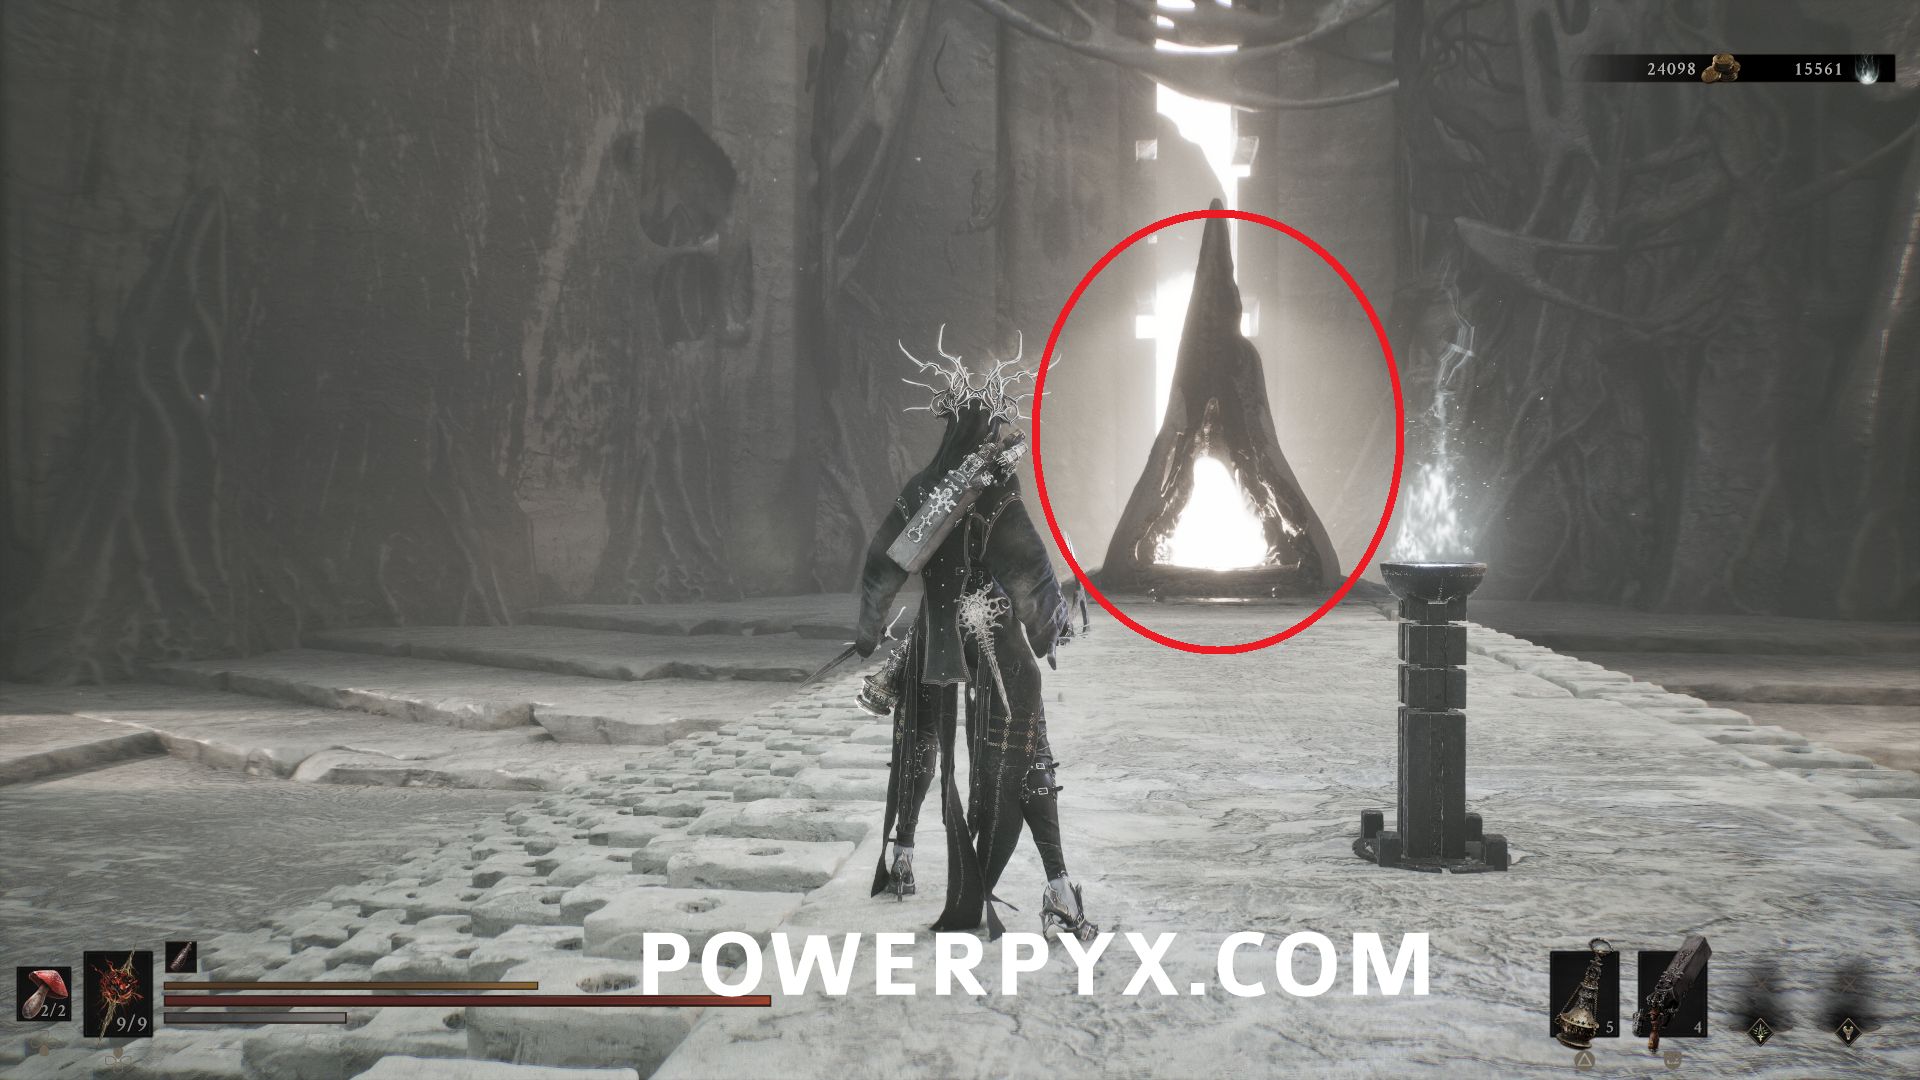
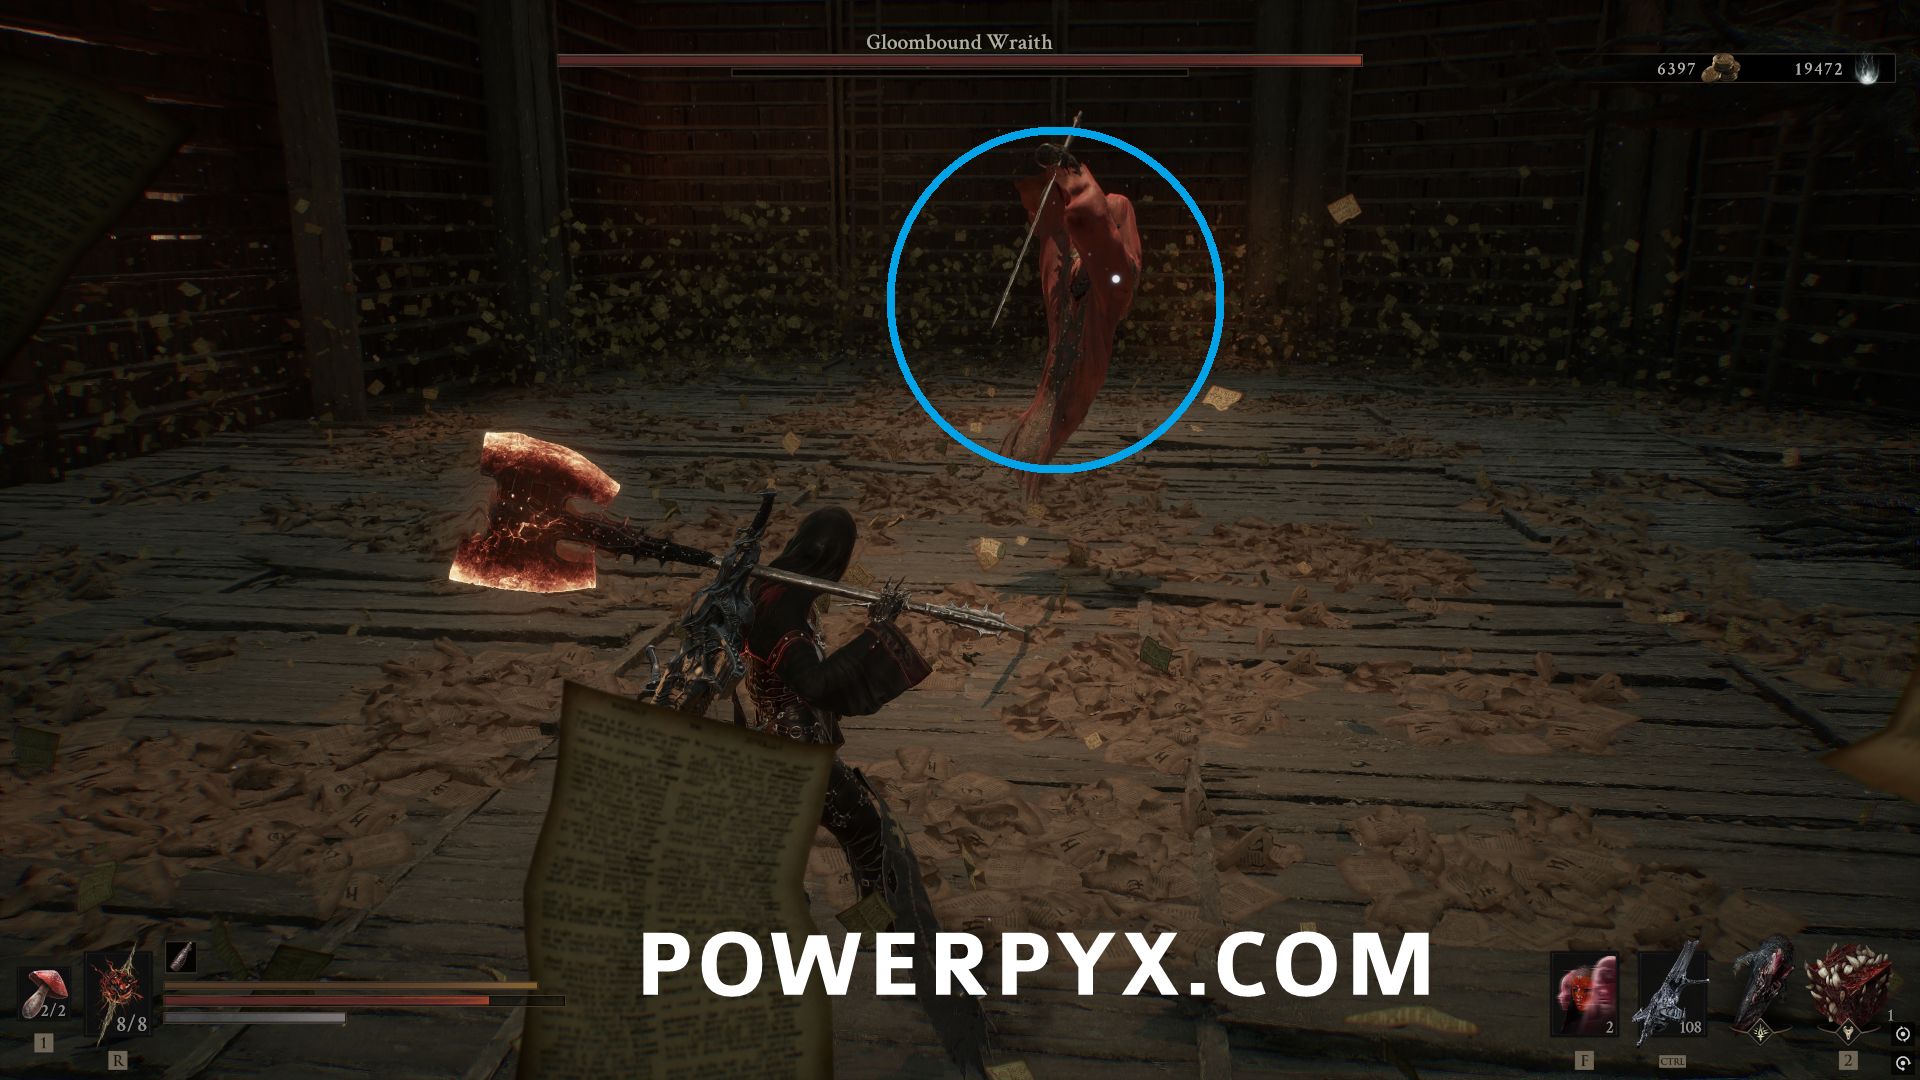
Inside the Gate of Infinity Beacon, progress to the end of the area and defeat the miniboss Gloombound Wraith to obtain the Tarstone. To reach the boss you need to pick up the item Grimorium Obscurum from on top of the bookshelves, and place it in the slot along the wall near where you enter.
#42 – Nightgrasp Stone
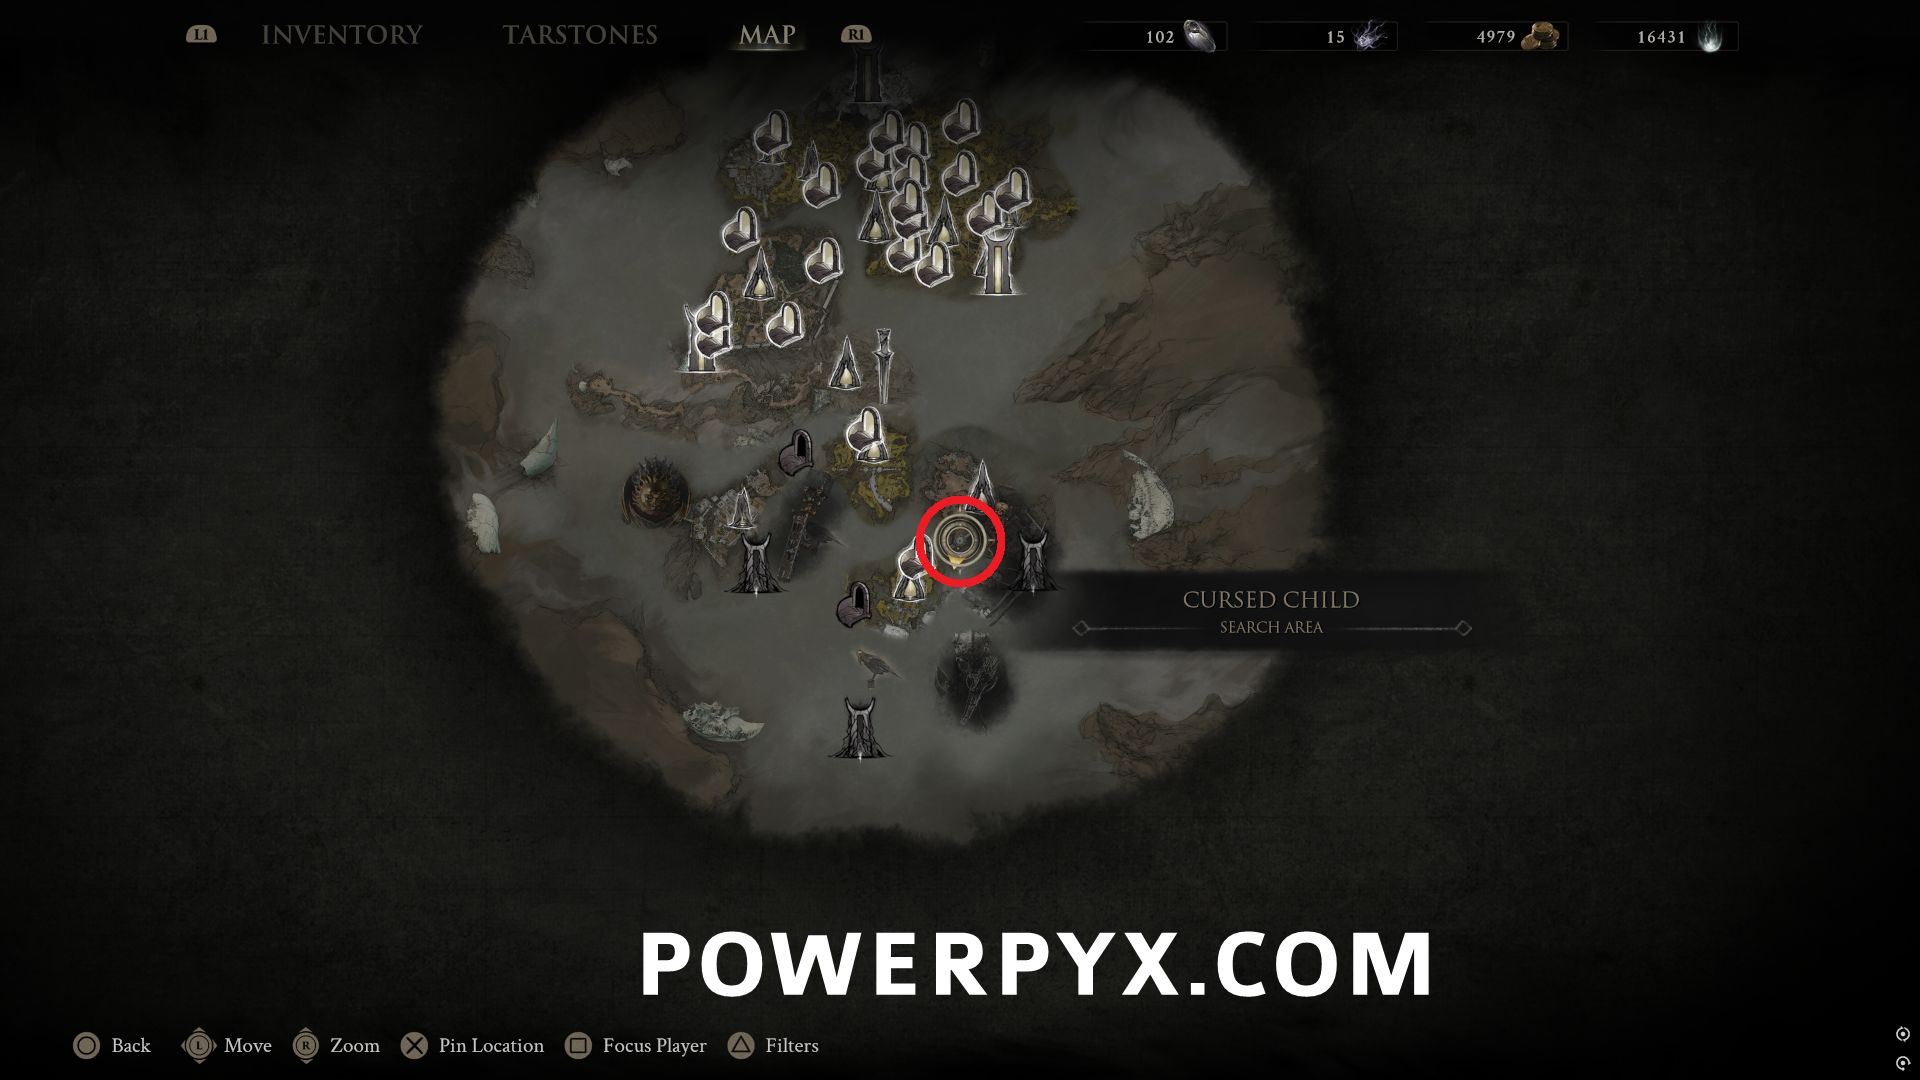
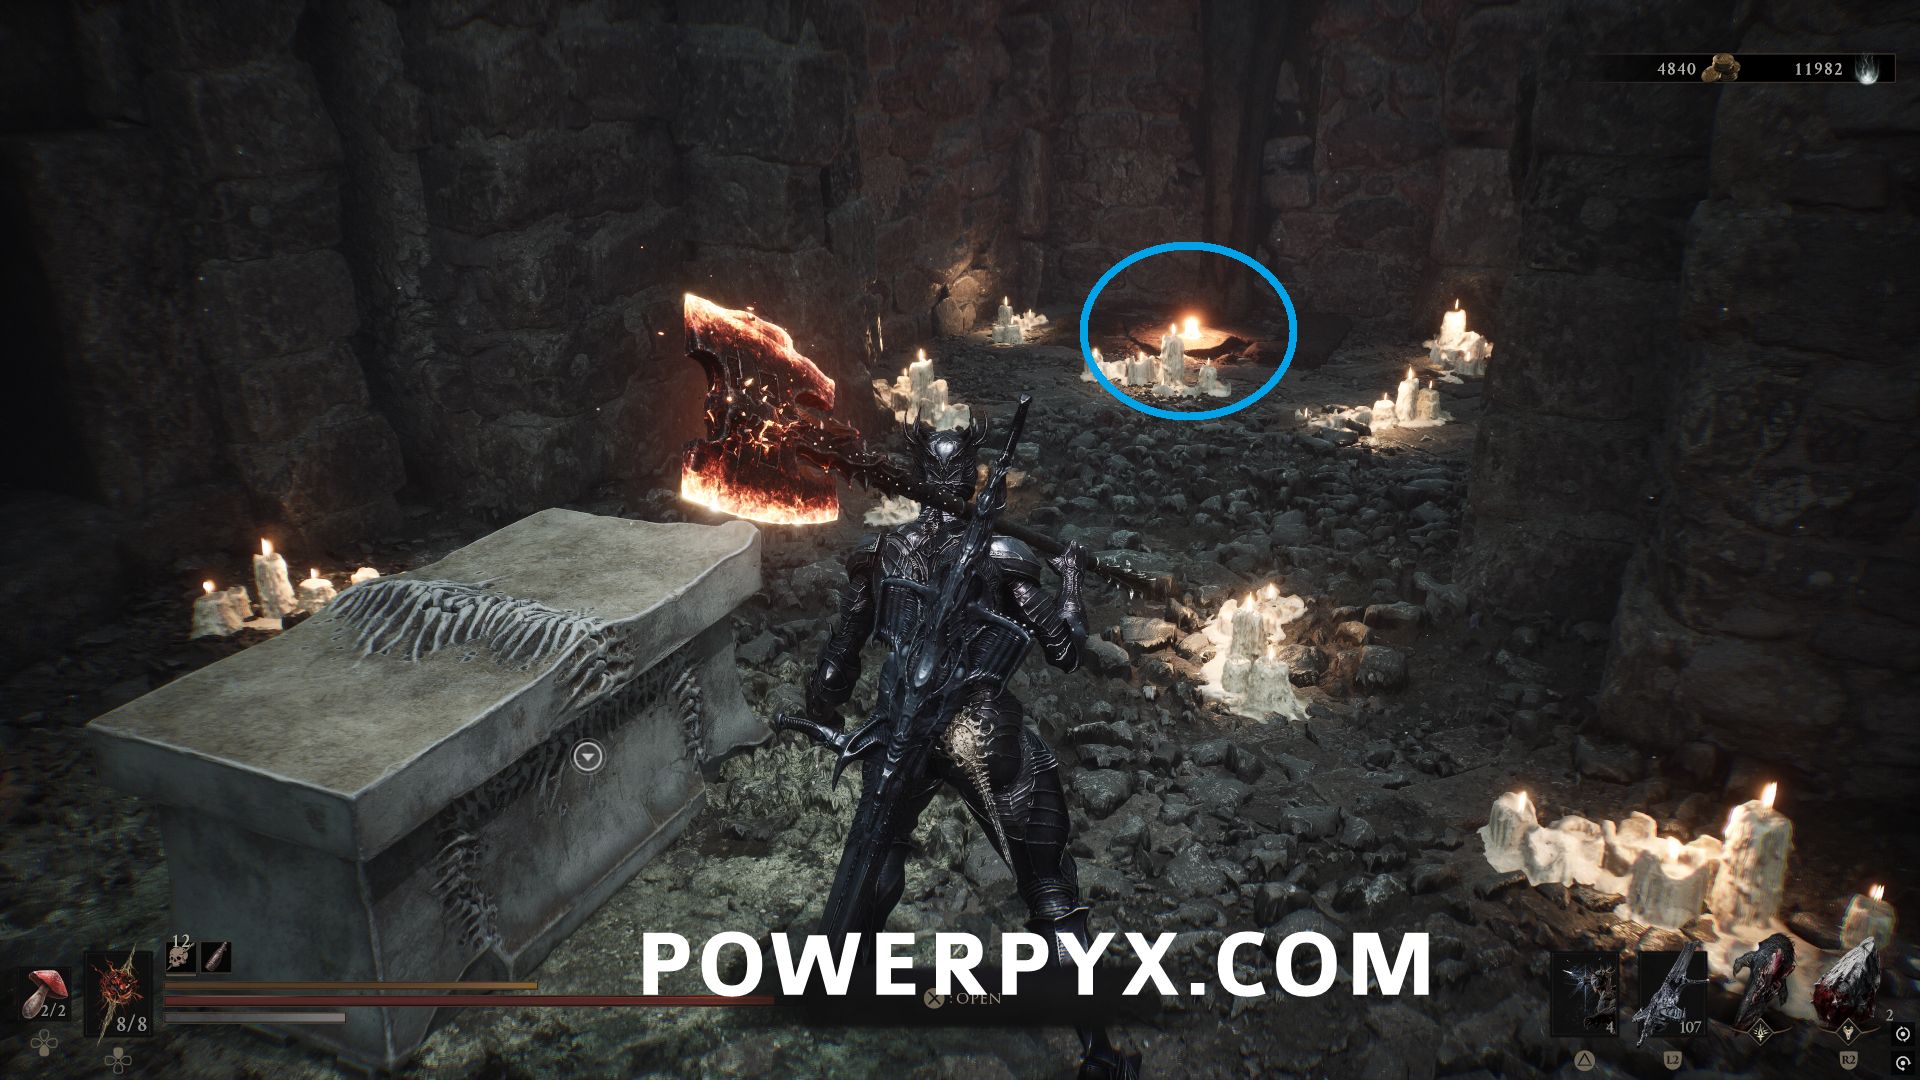
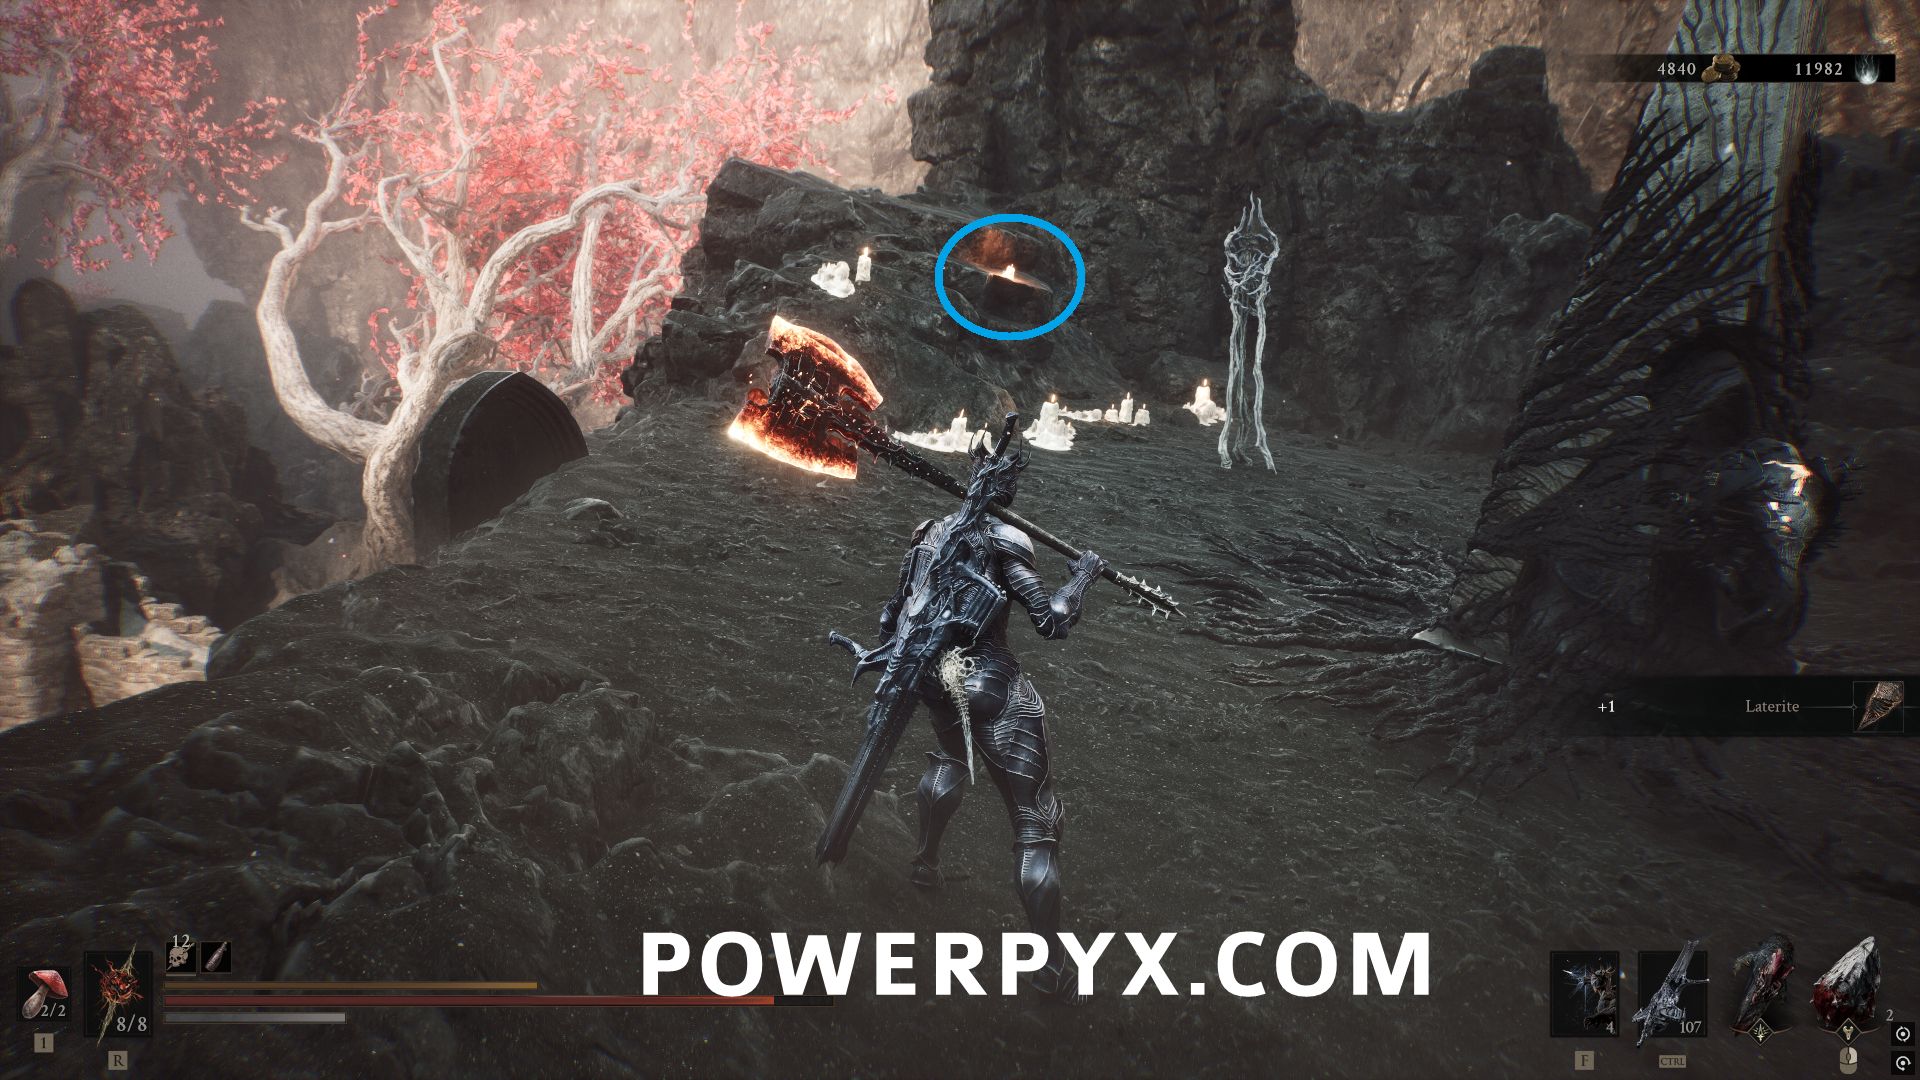
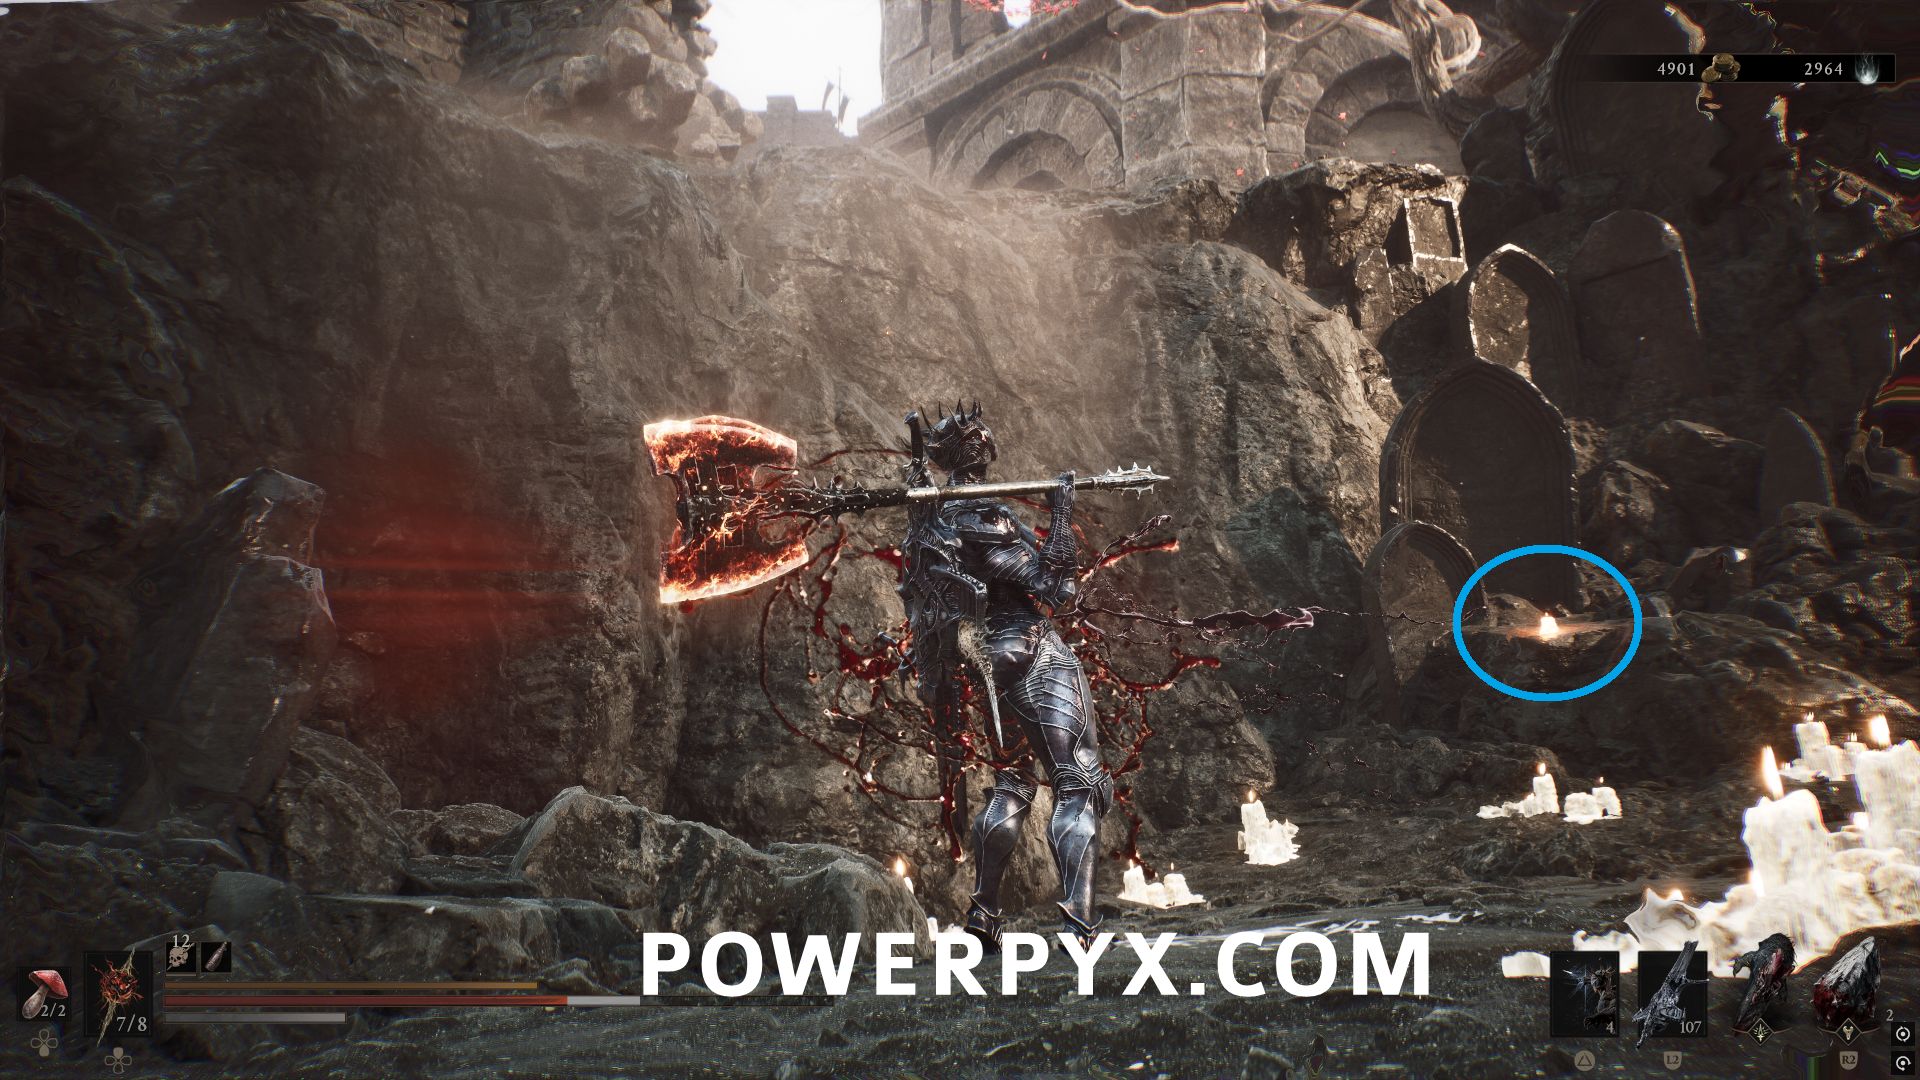
From the Abbey Entrance Beacon, go into castle the area and take an immediate right turn (southwest) and follow the path to the tower where a Map Fragment is located. On the lower level of the tower, activate the three candles to open the chest and obtain the Tarstone.
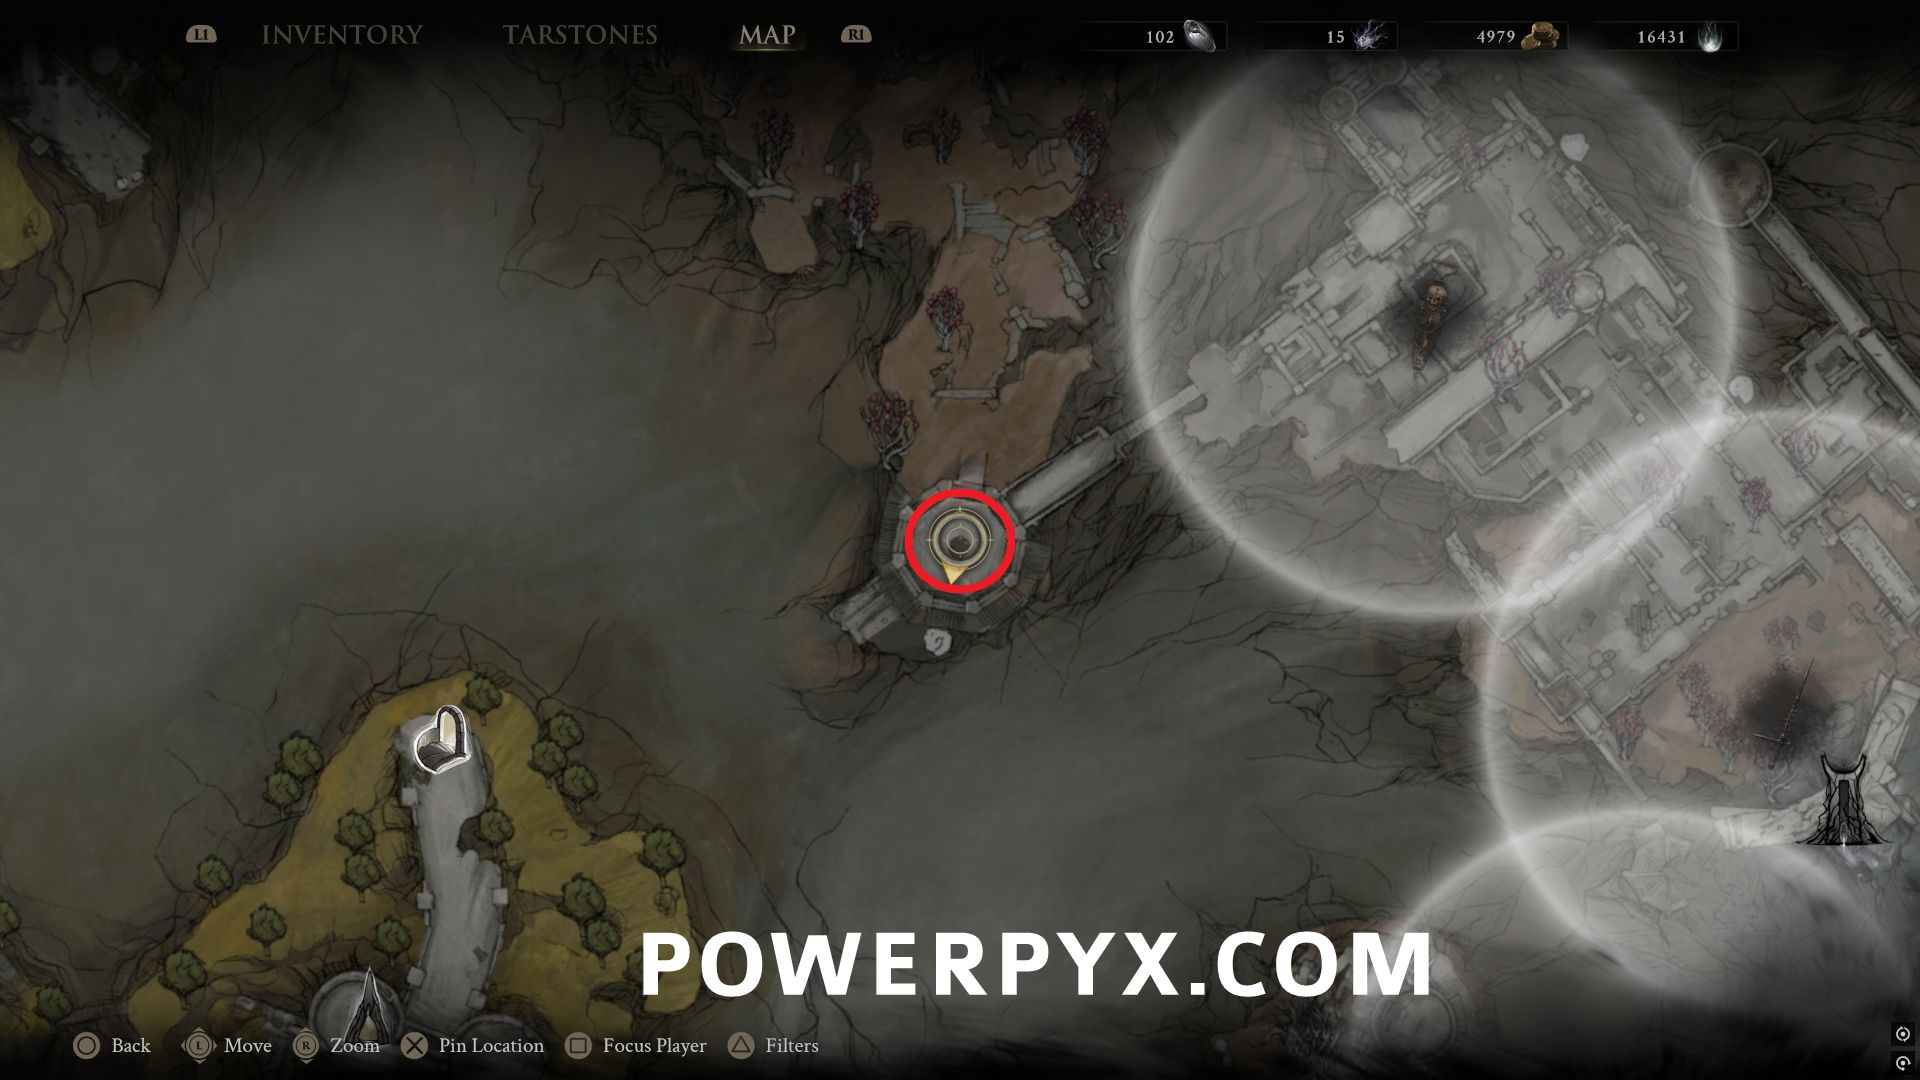
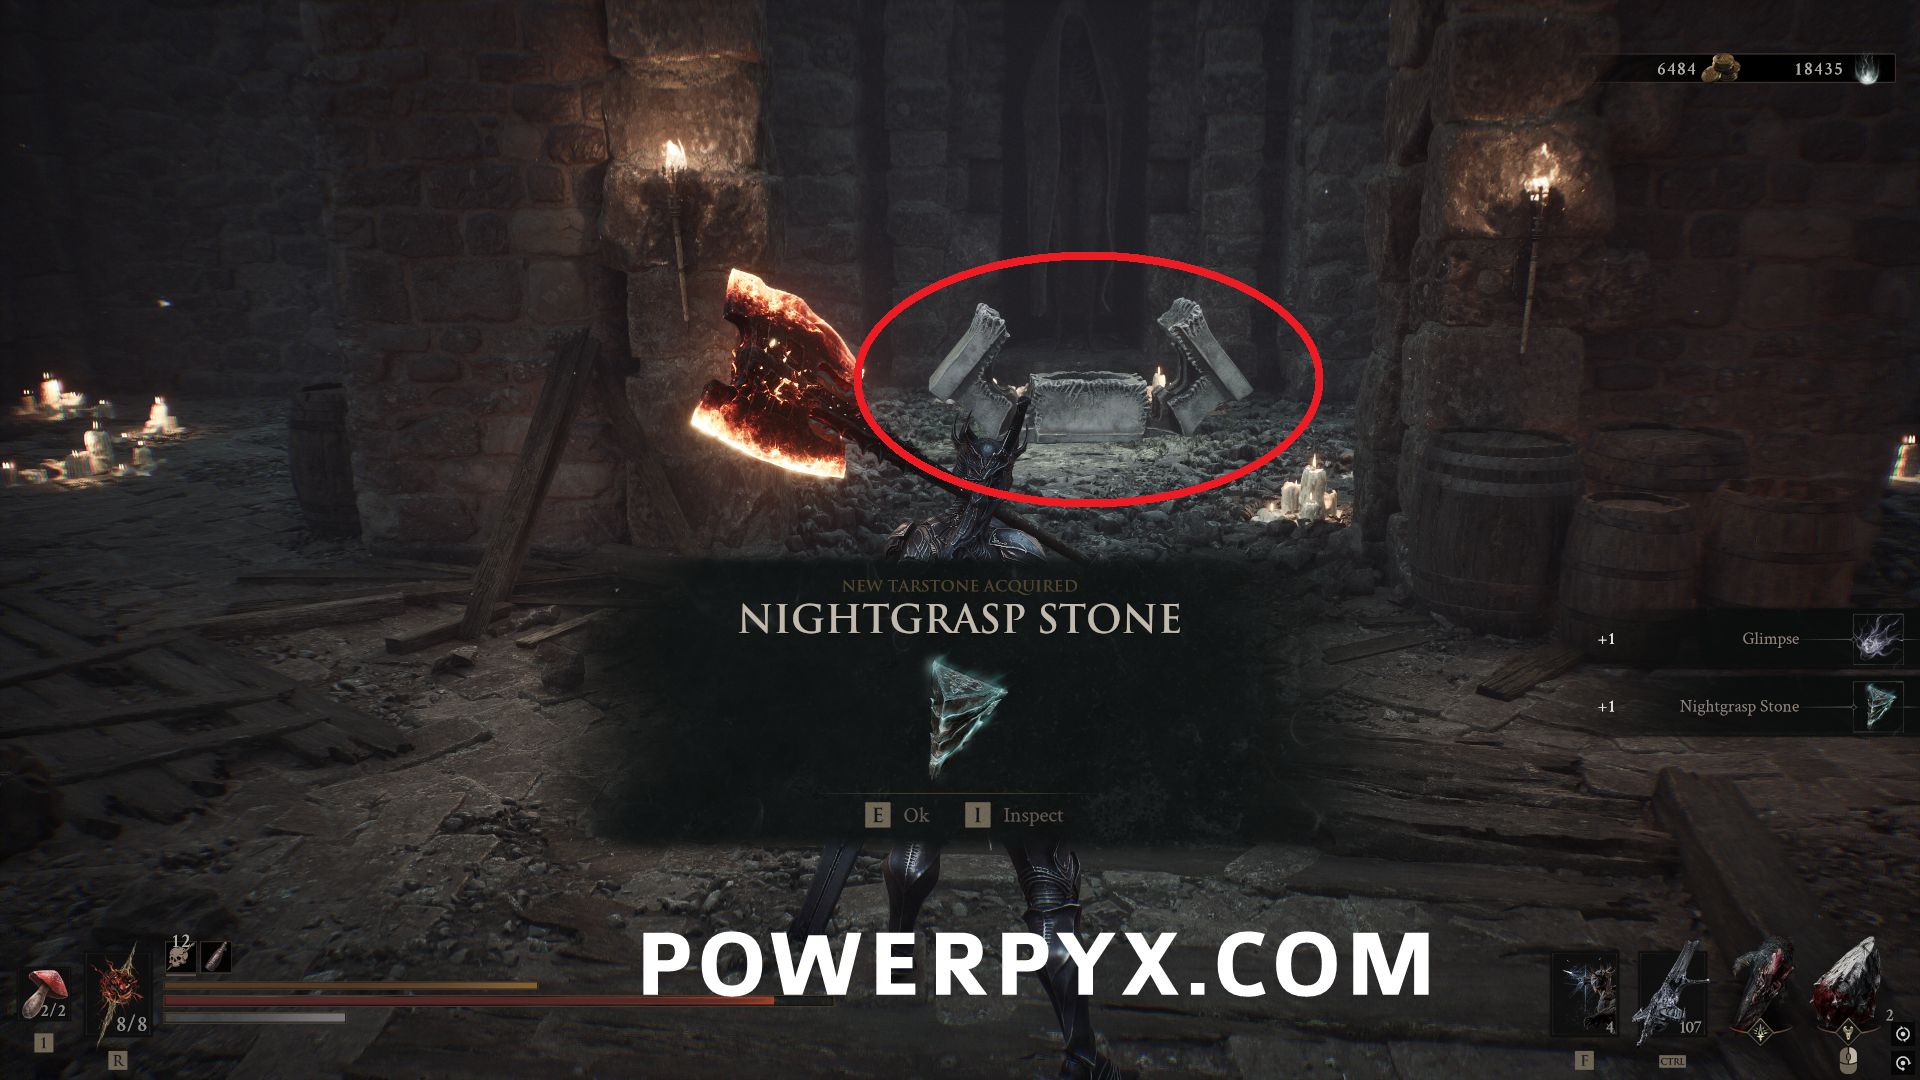
The first is in the room with the chest.
The second is behind the trial pillar.
The third is off the left side on a lower ledge when facing the trial pillar from the tower.
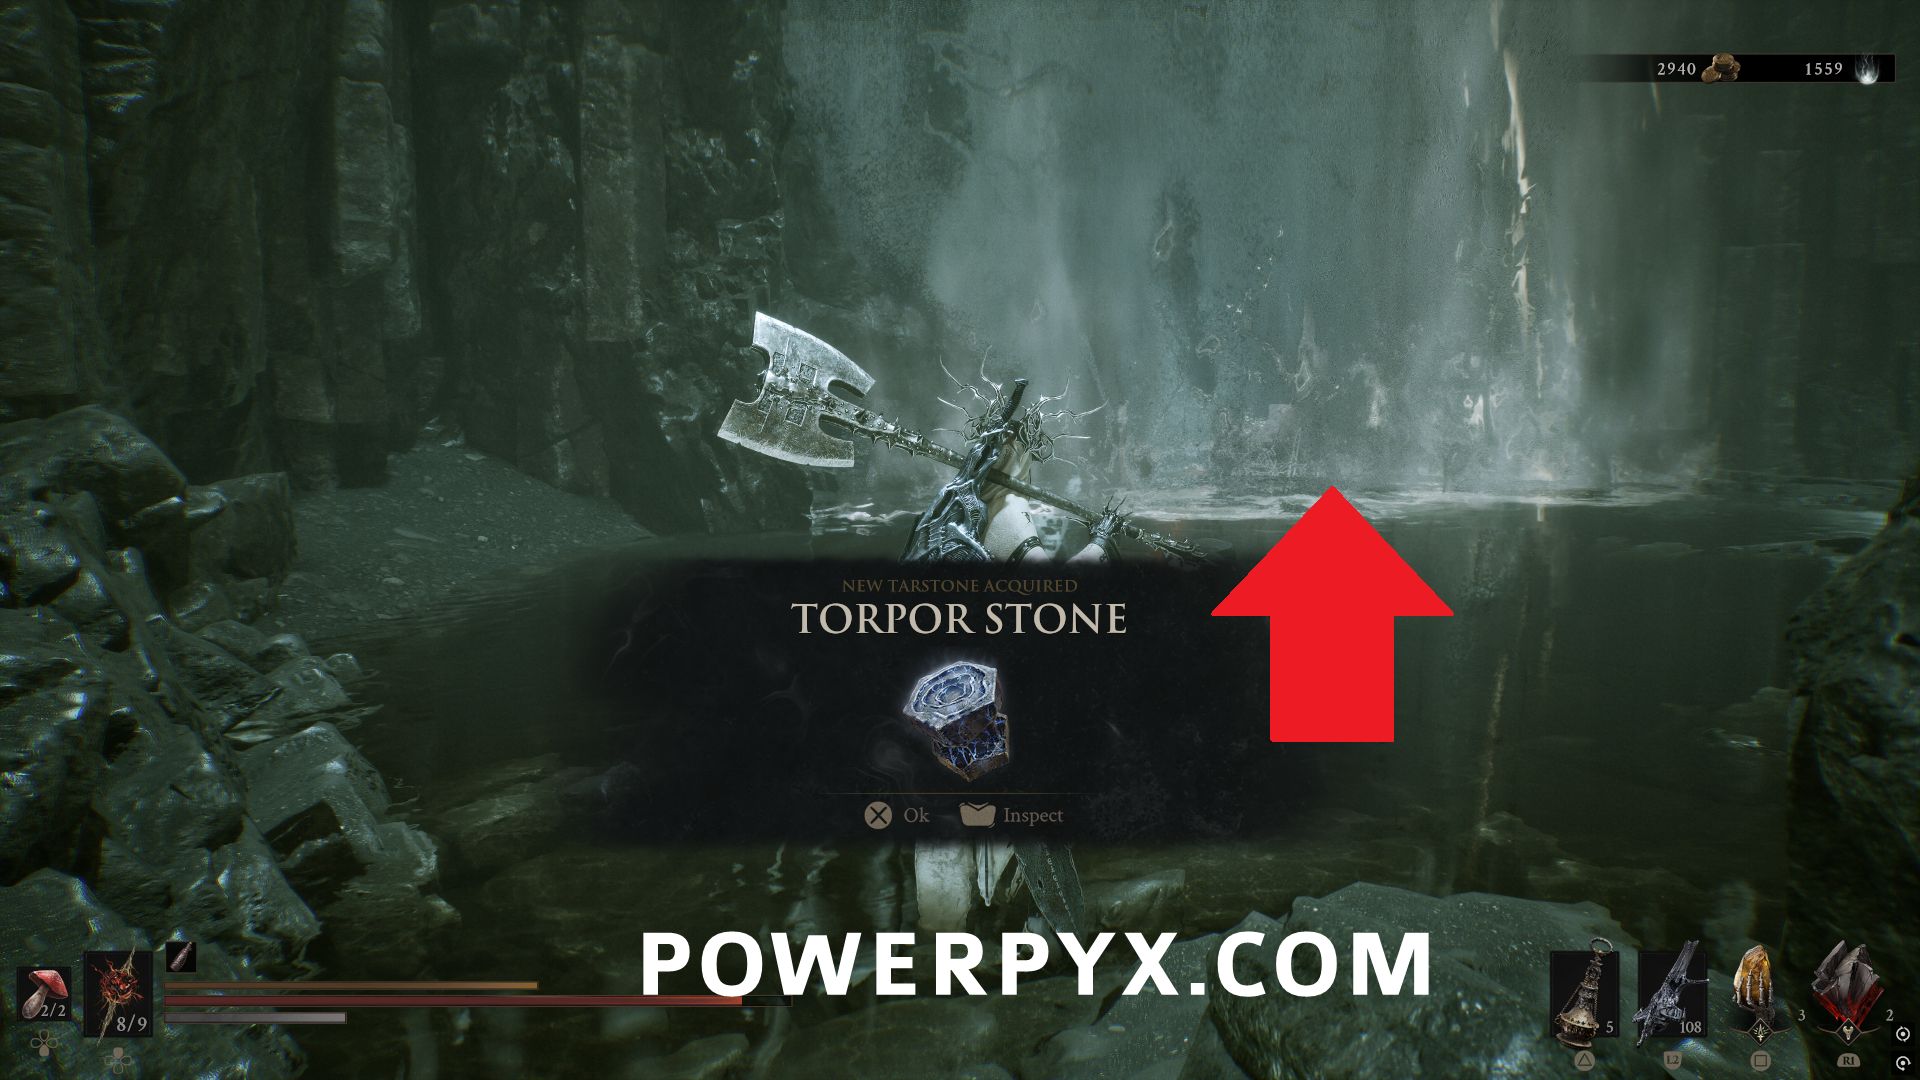
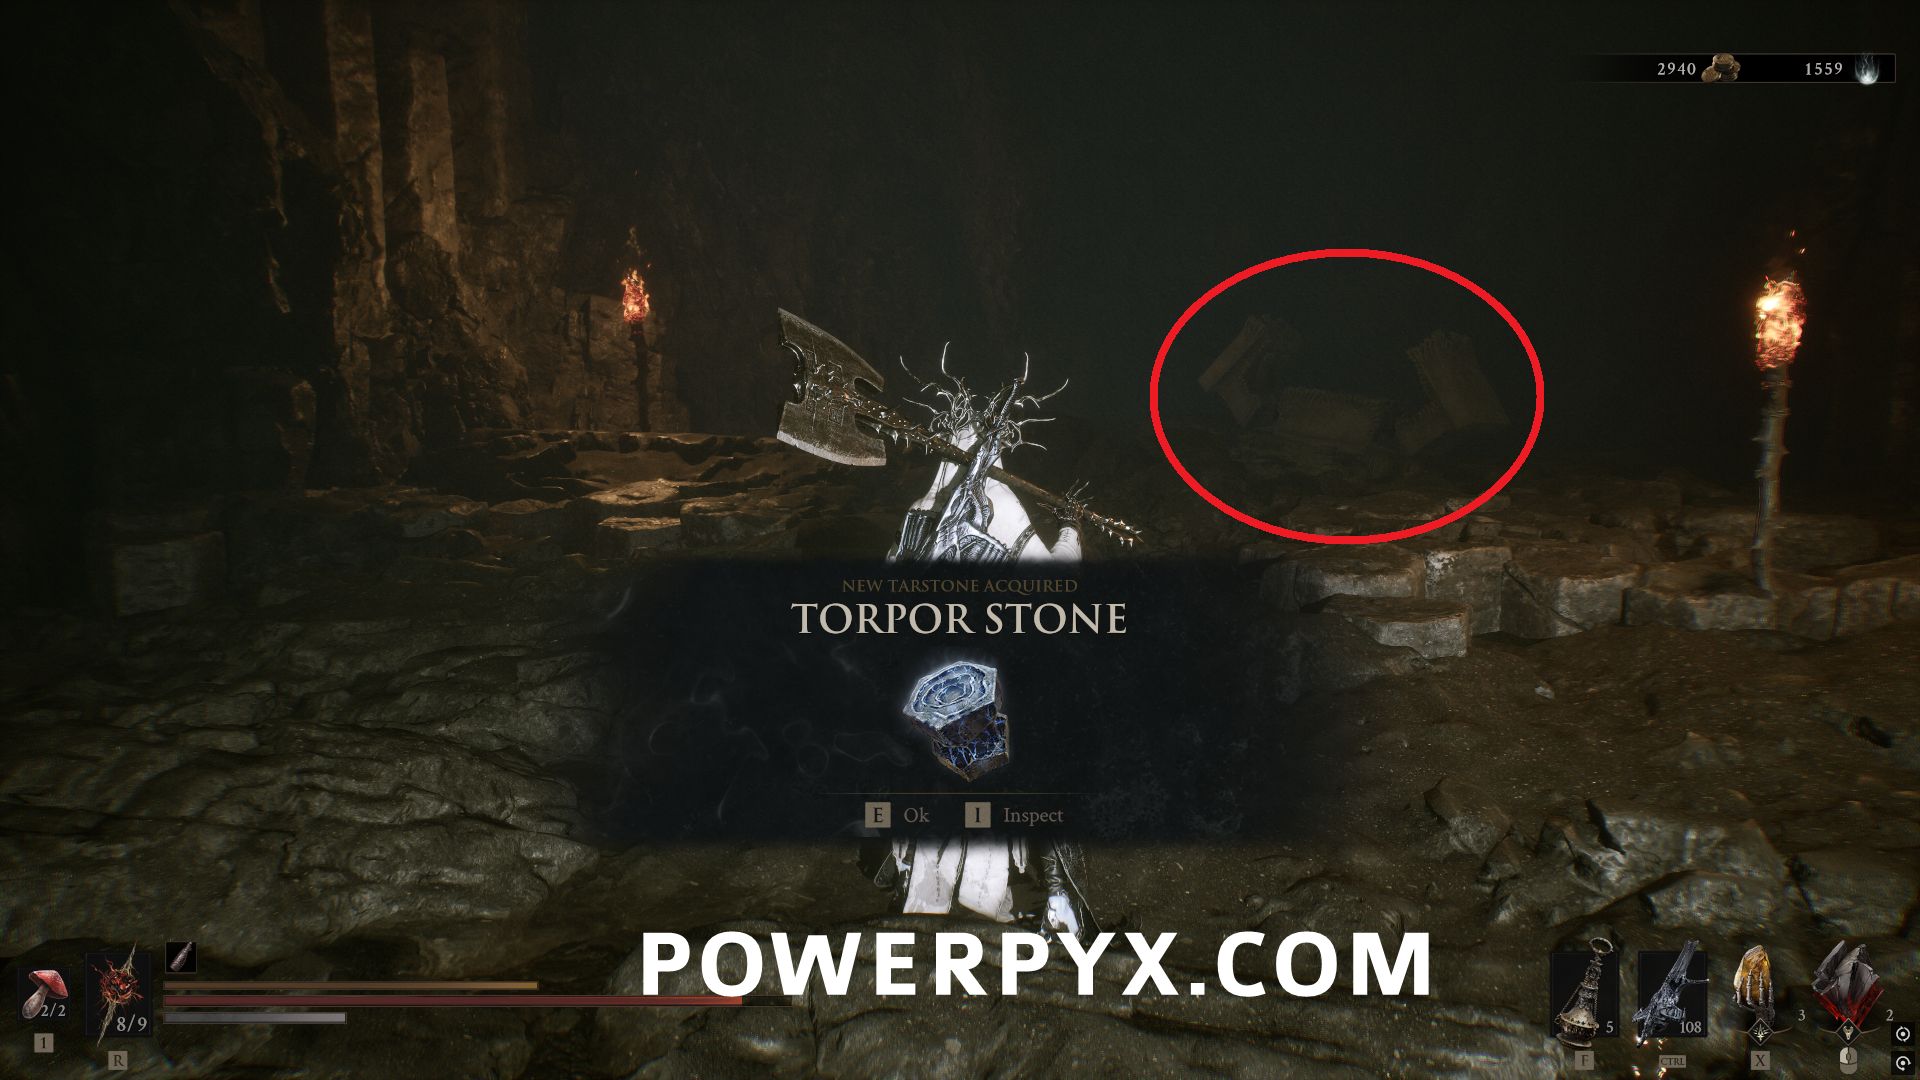
#43 – Torpor Stone
In the Withered Shoals area, at the Ossinite Falls Beacon, walk through the waterfall behind the Beacon to find a chest with this Tarstone.
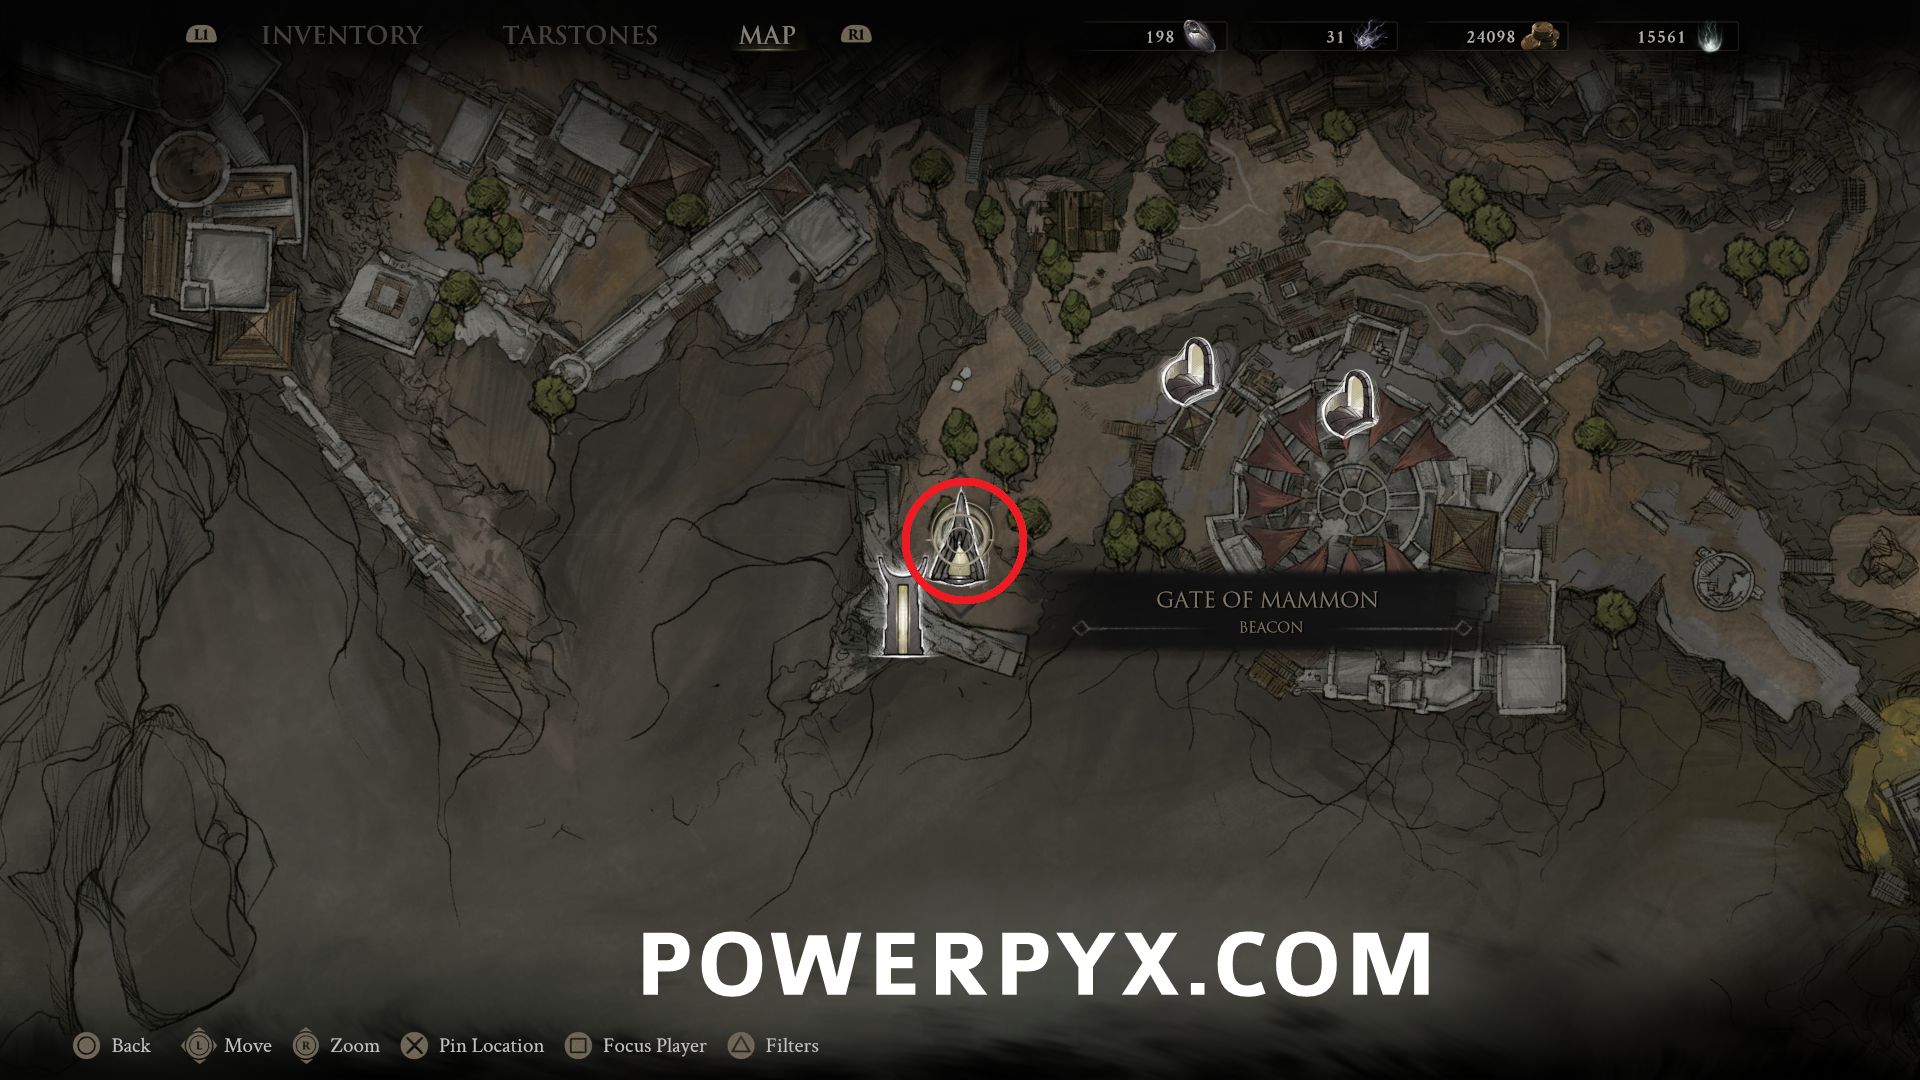
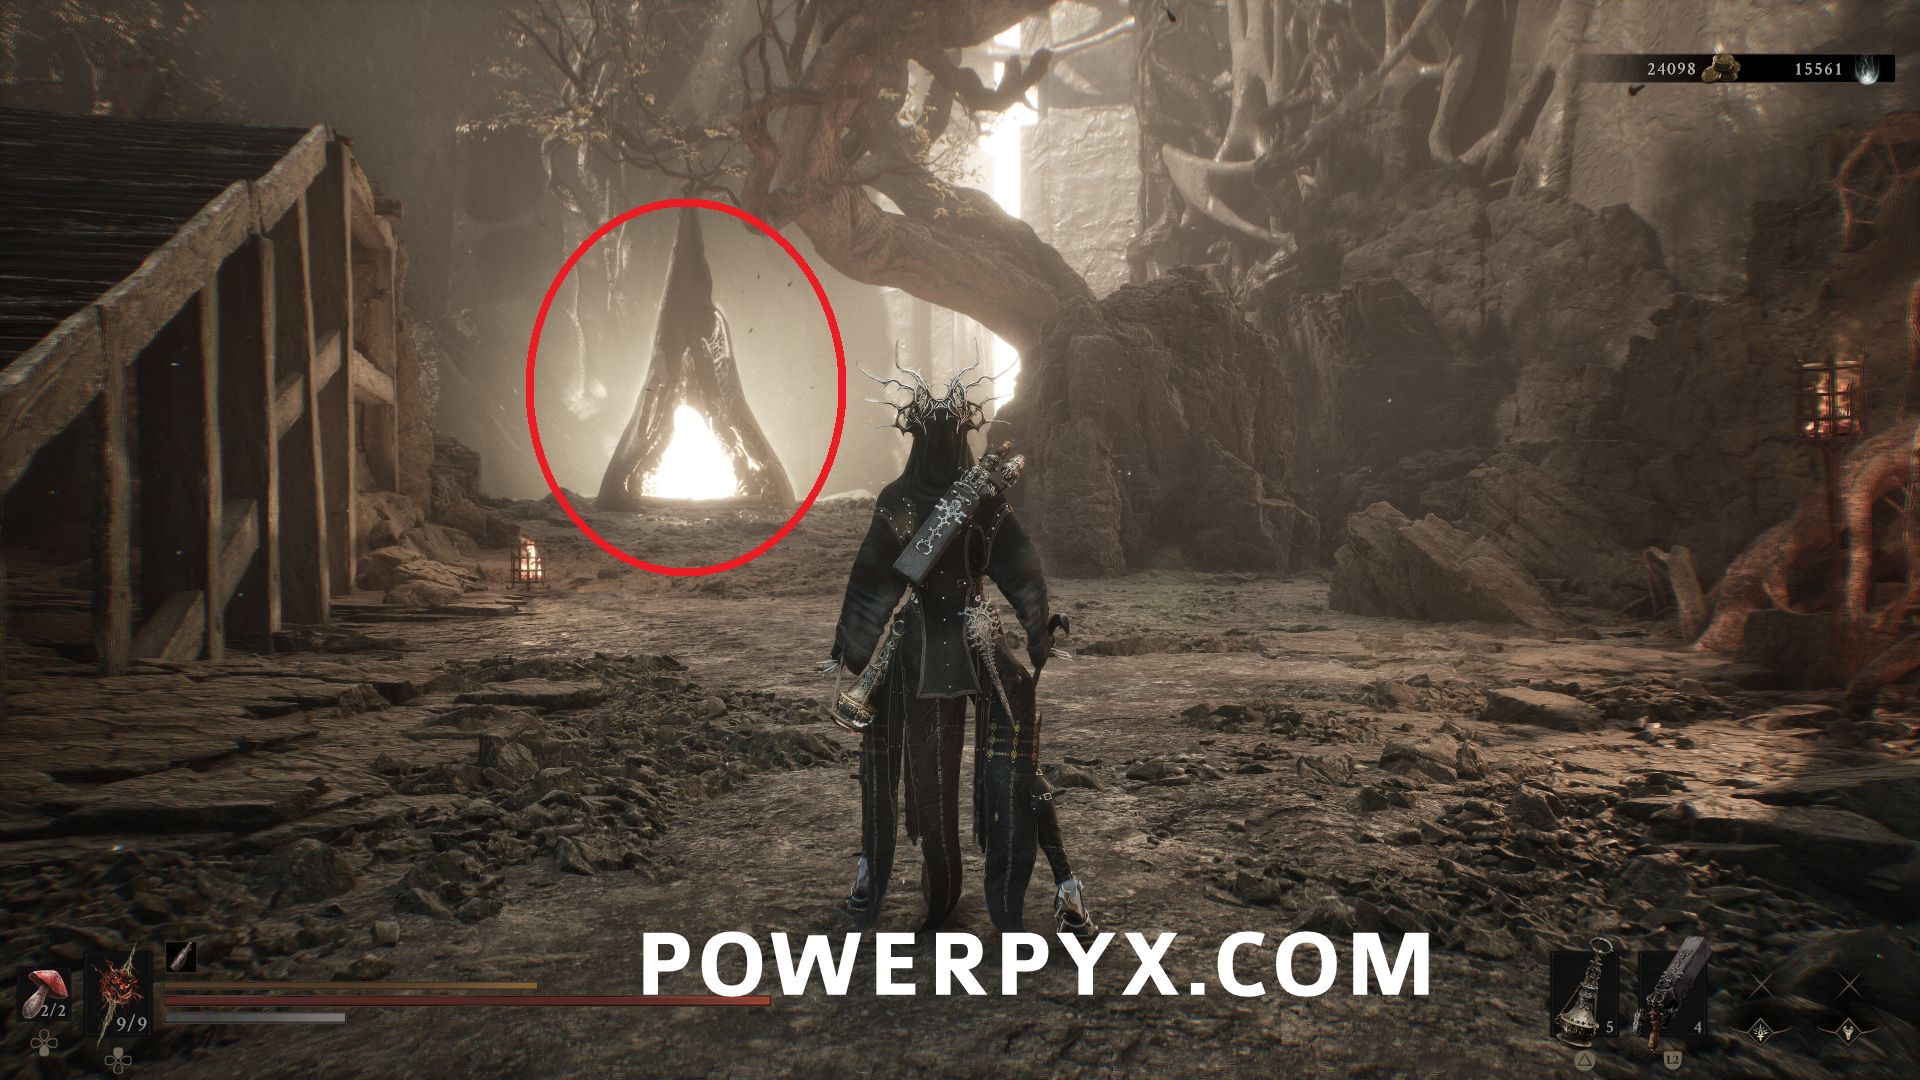
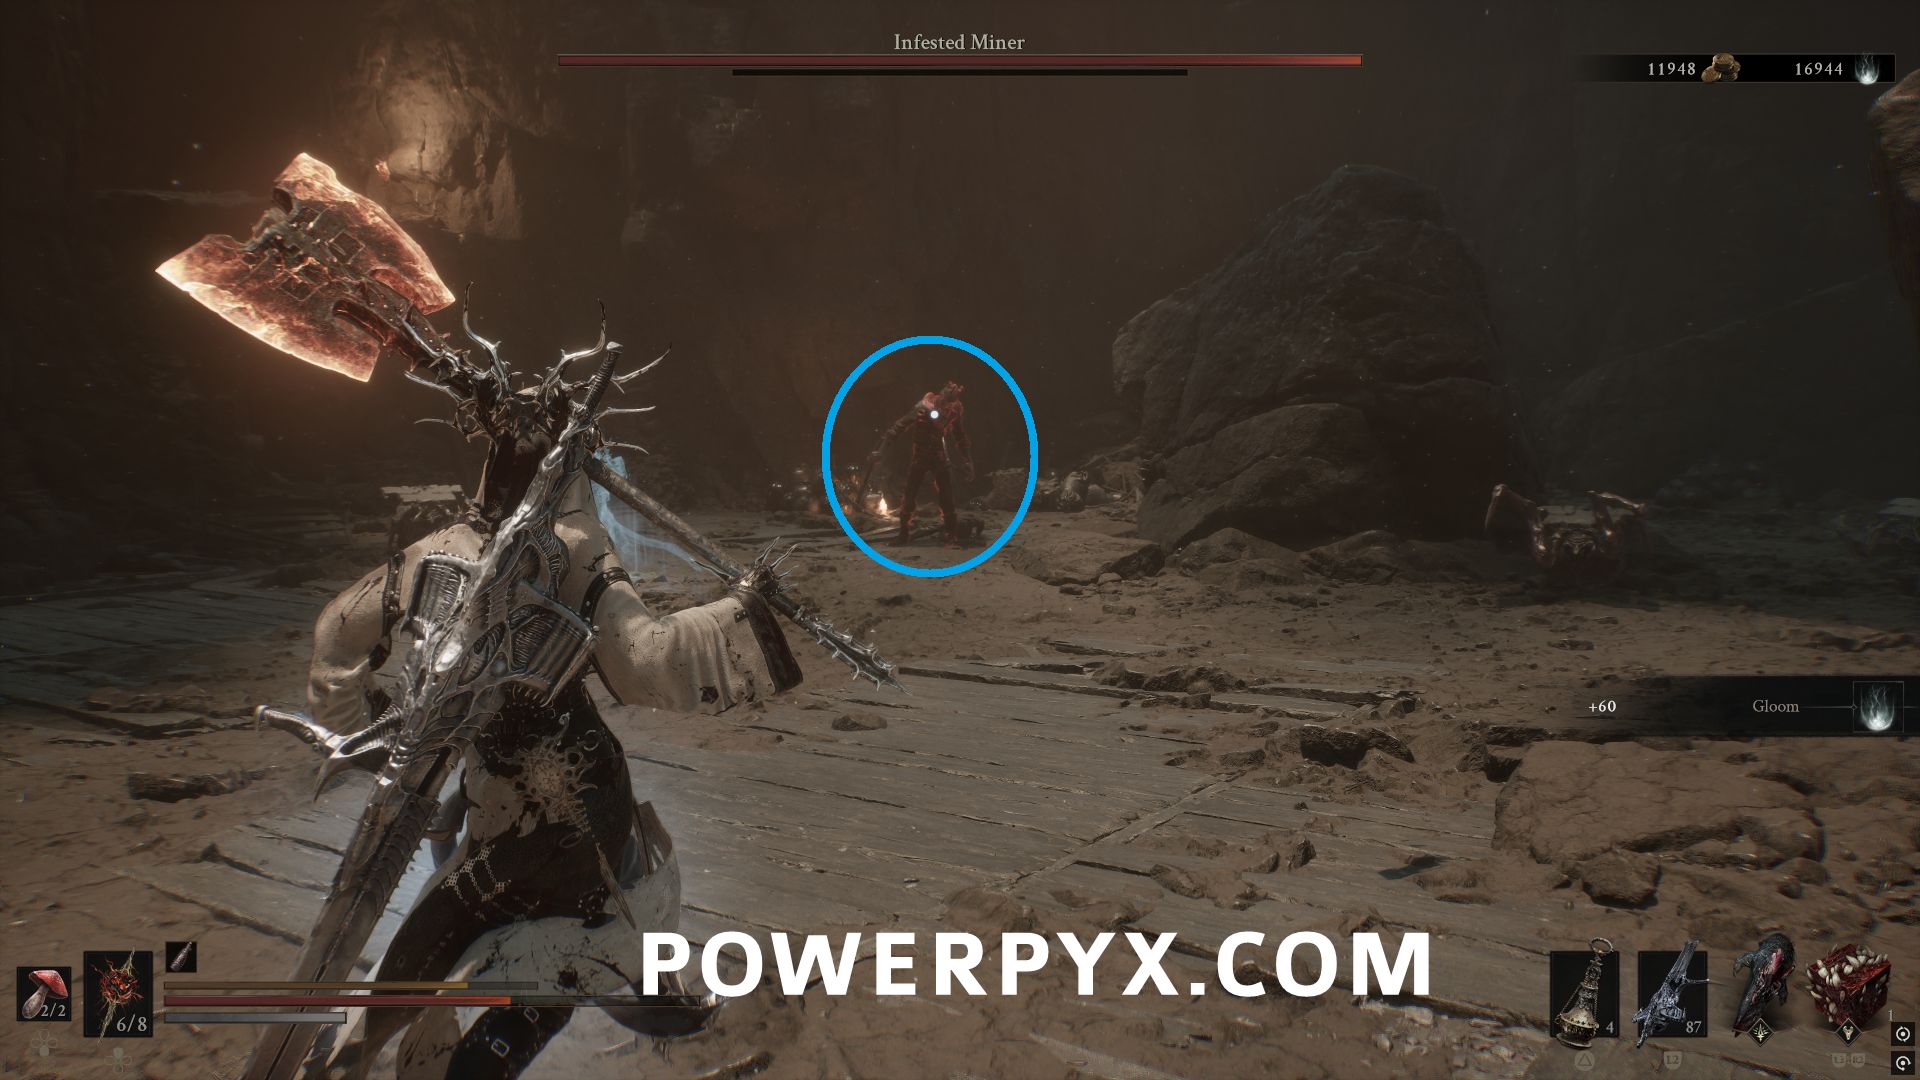
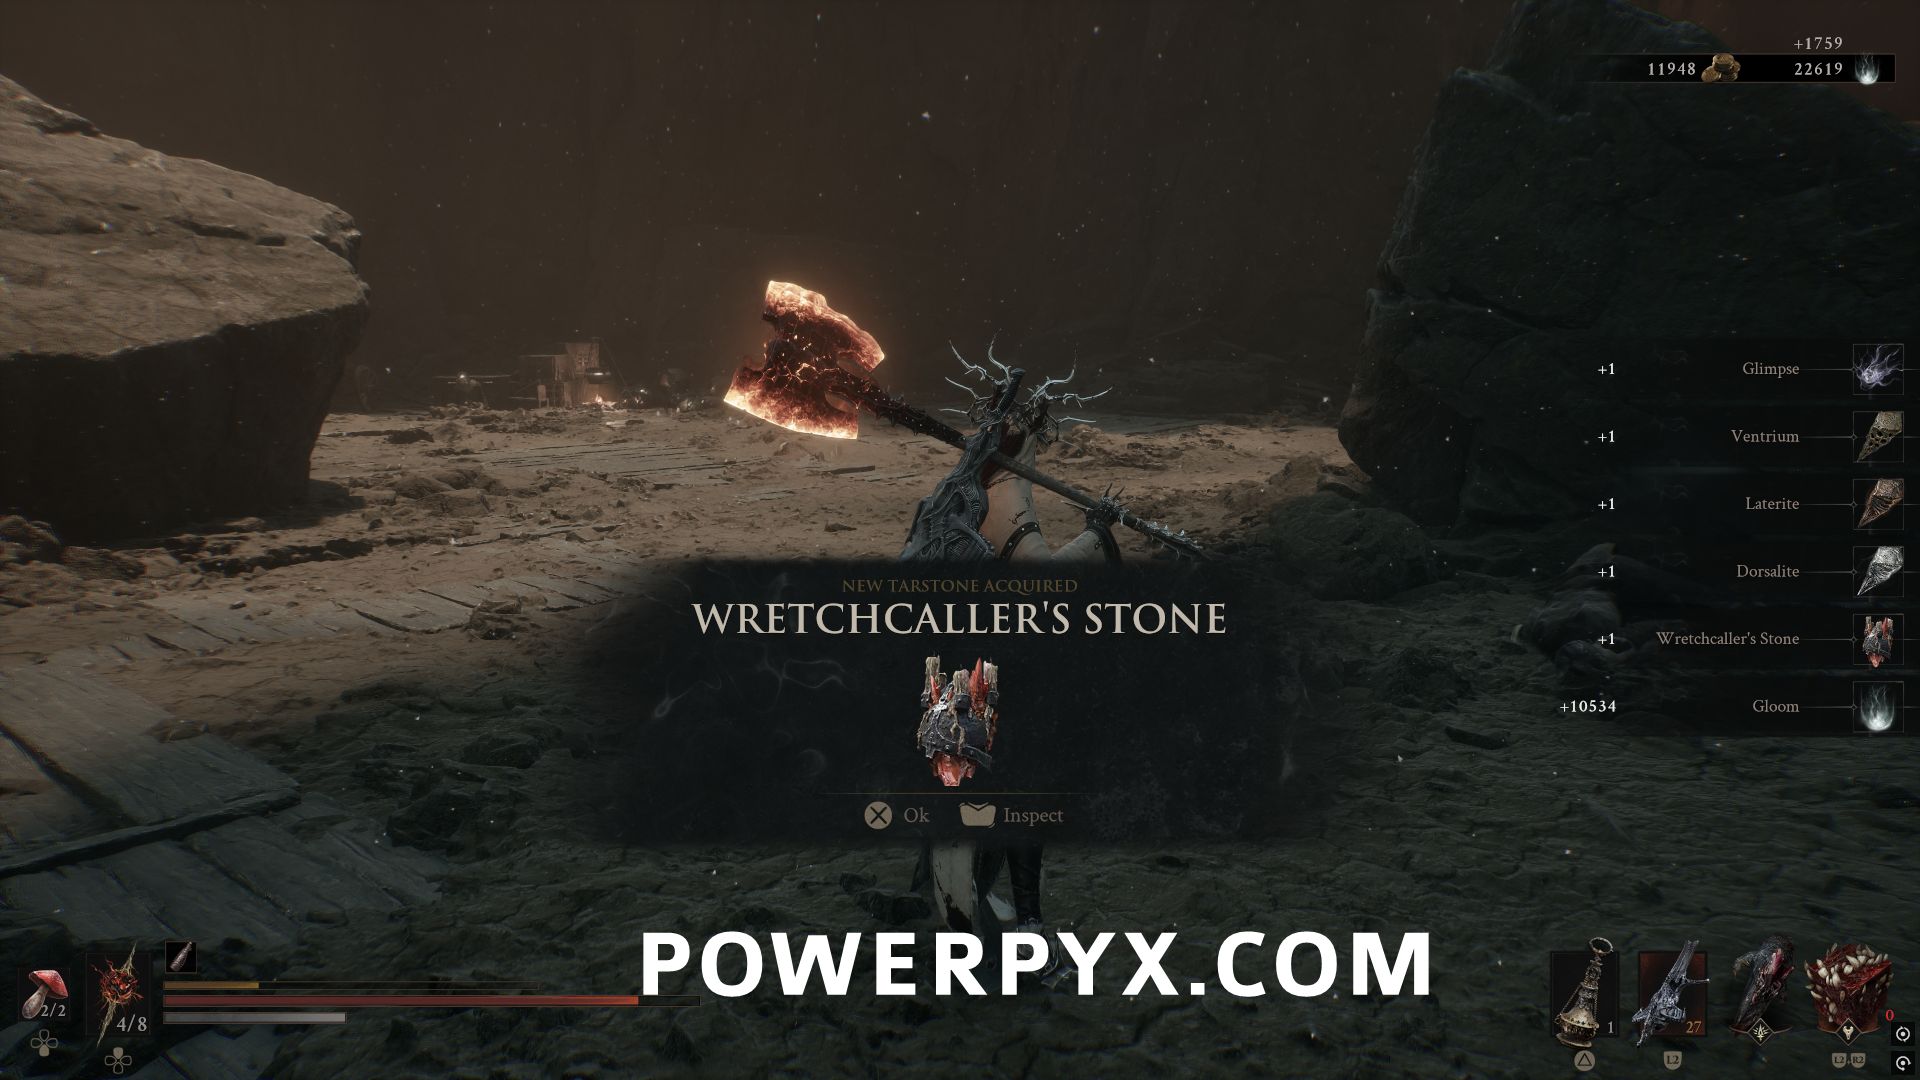
#44 – Wretchcaller’s Stone
Inside the Gate of Mammon Beacon, progress to the end of the area and defeat the boss Infected Miner to obtain the Tarstone.
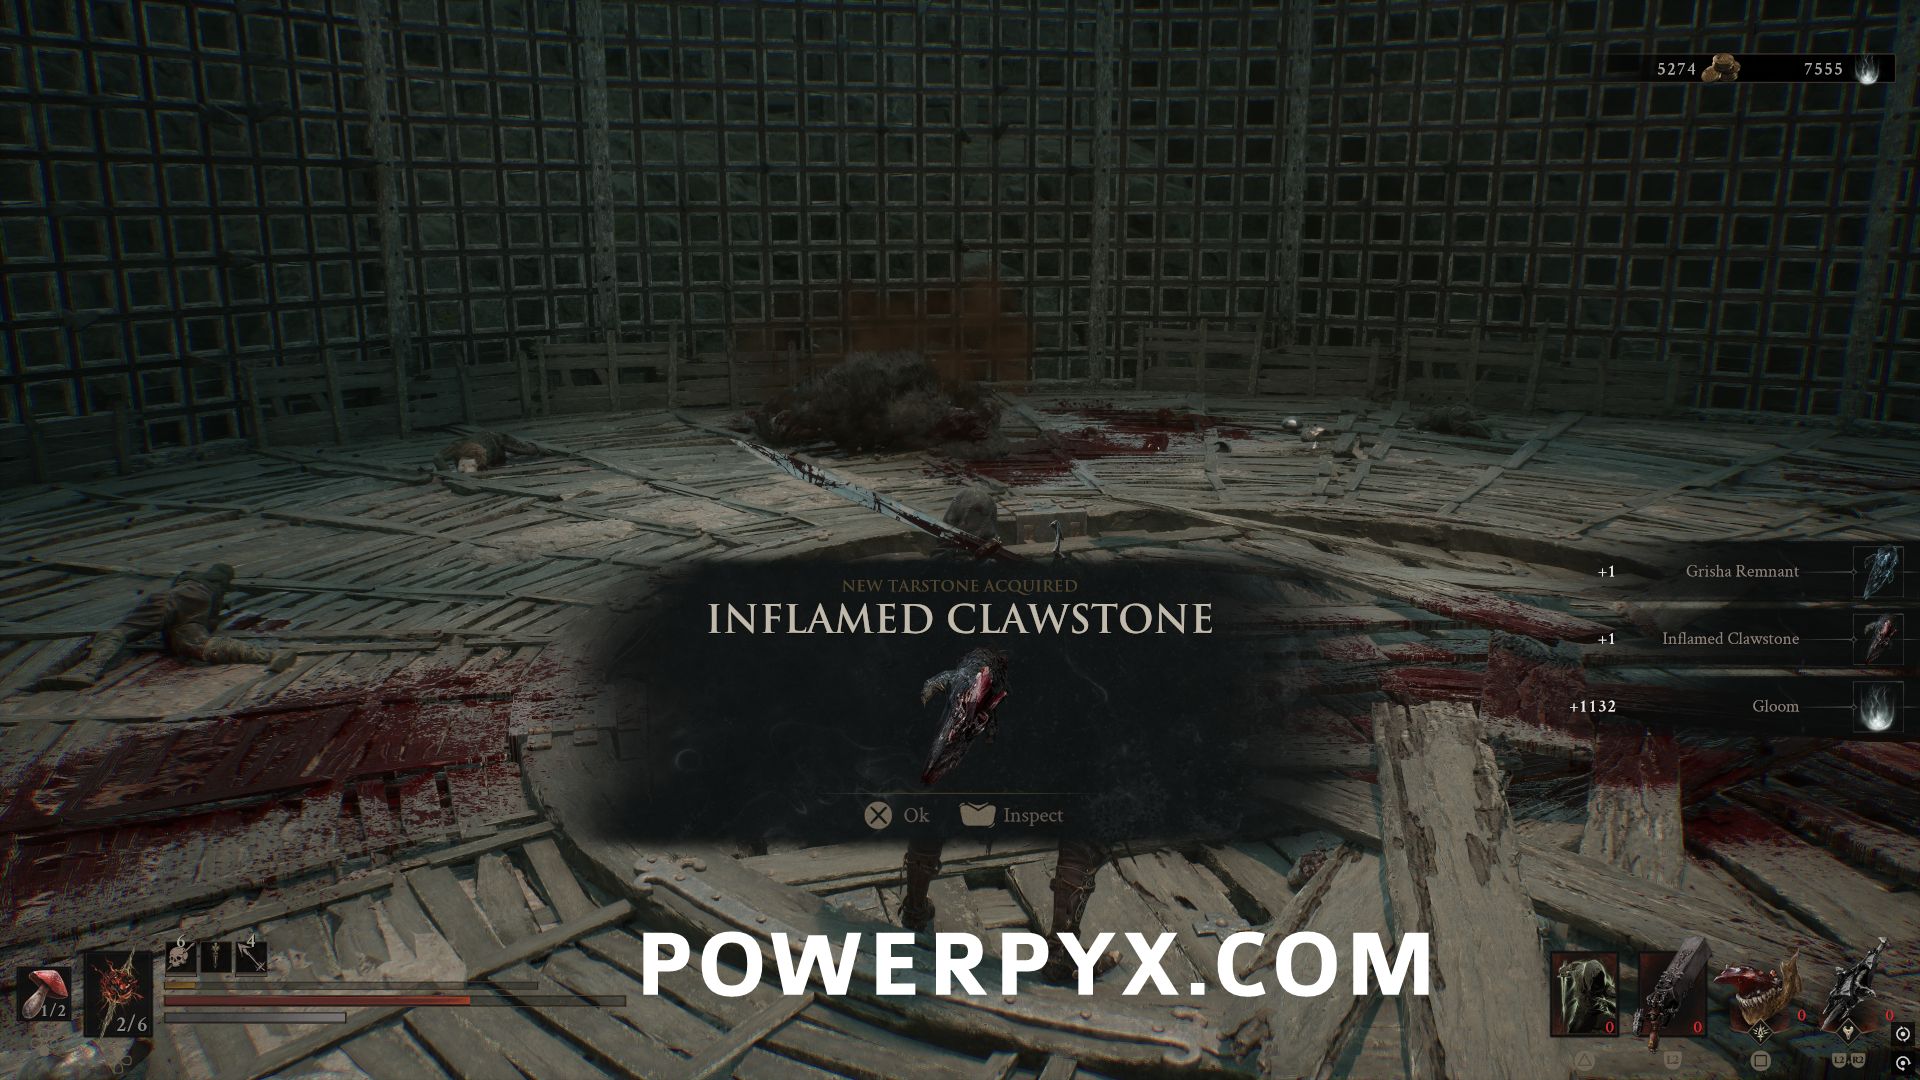
#45 – Inflamed Clawstone
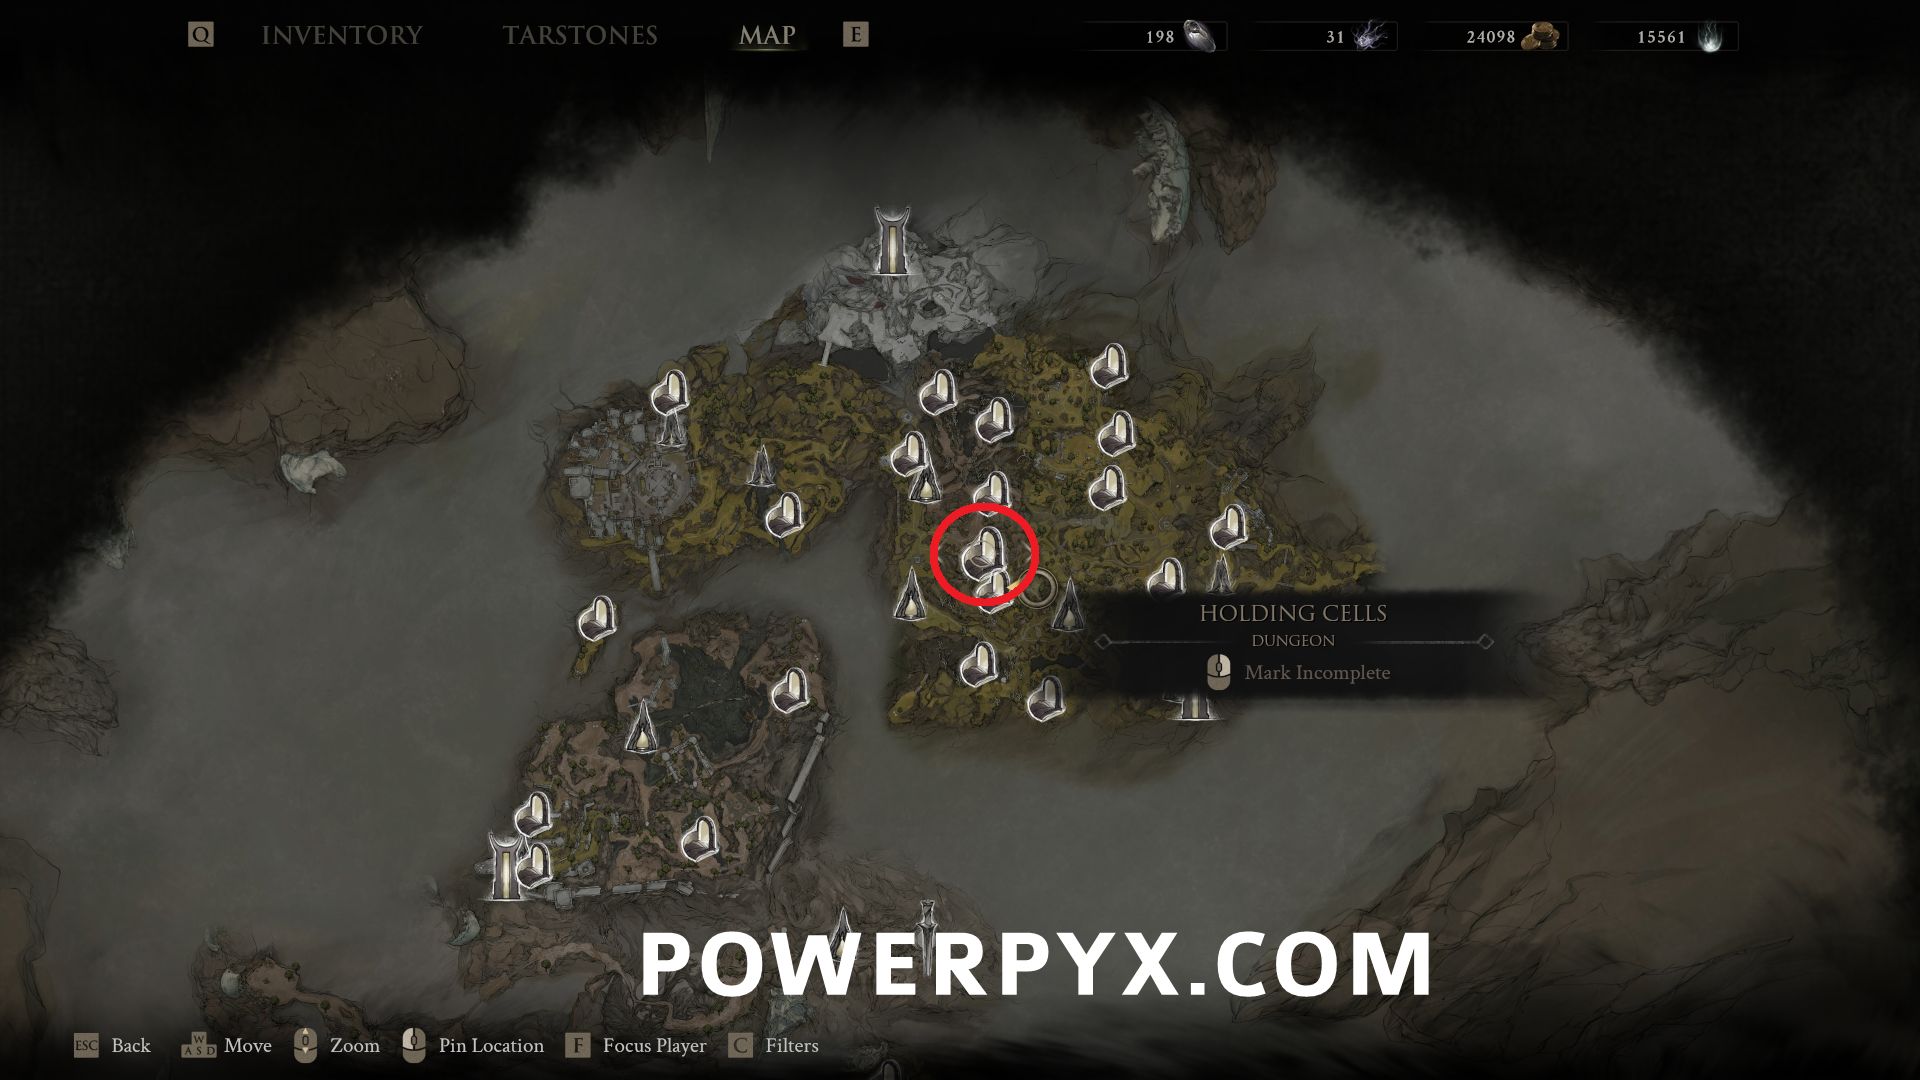
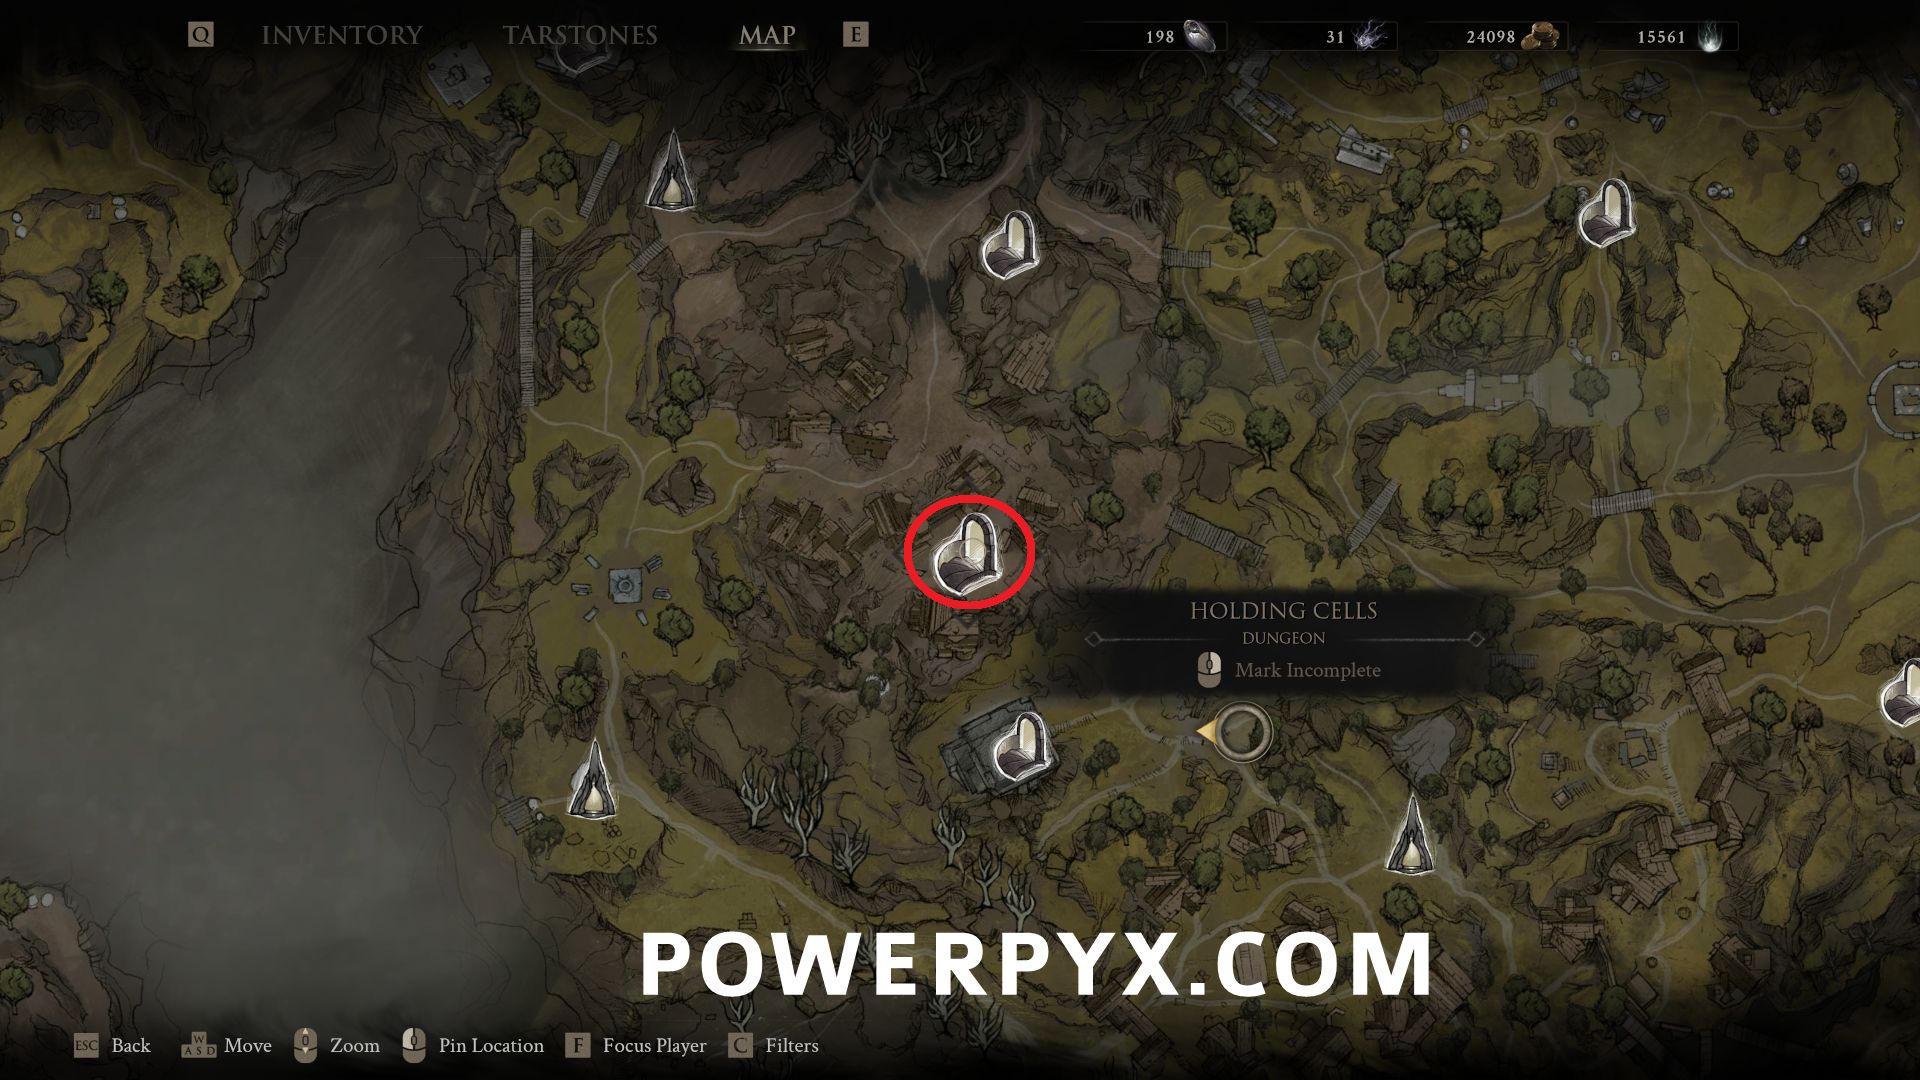
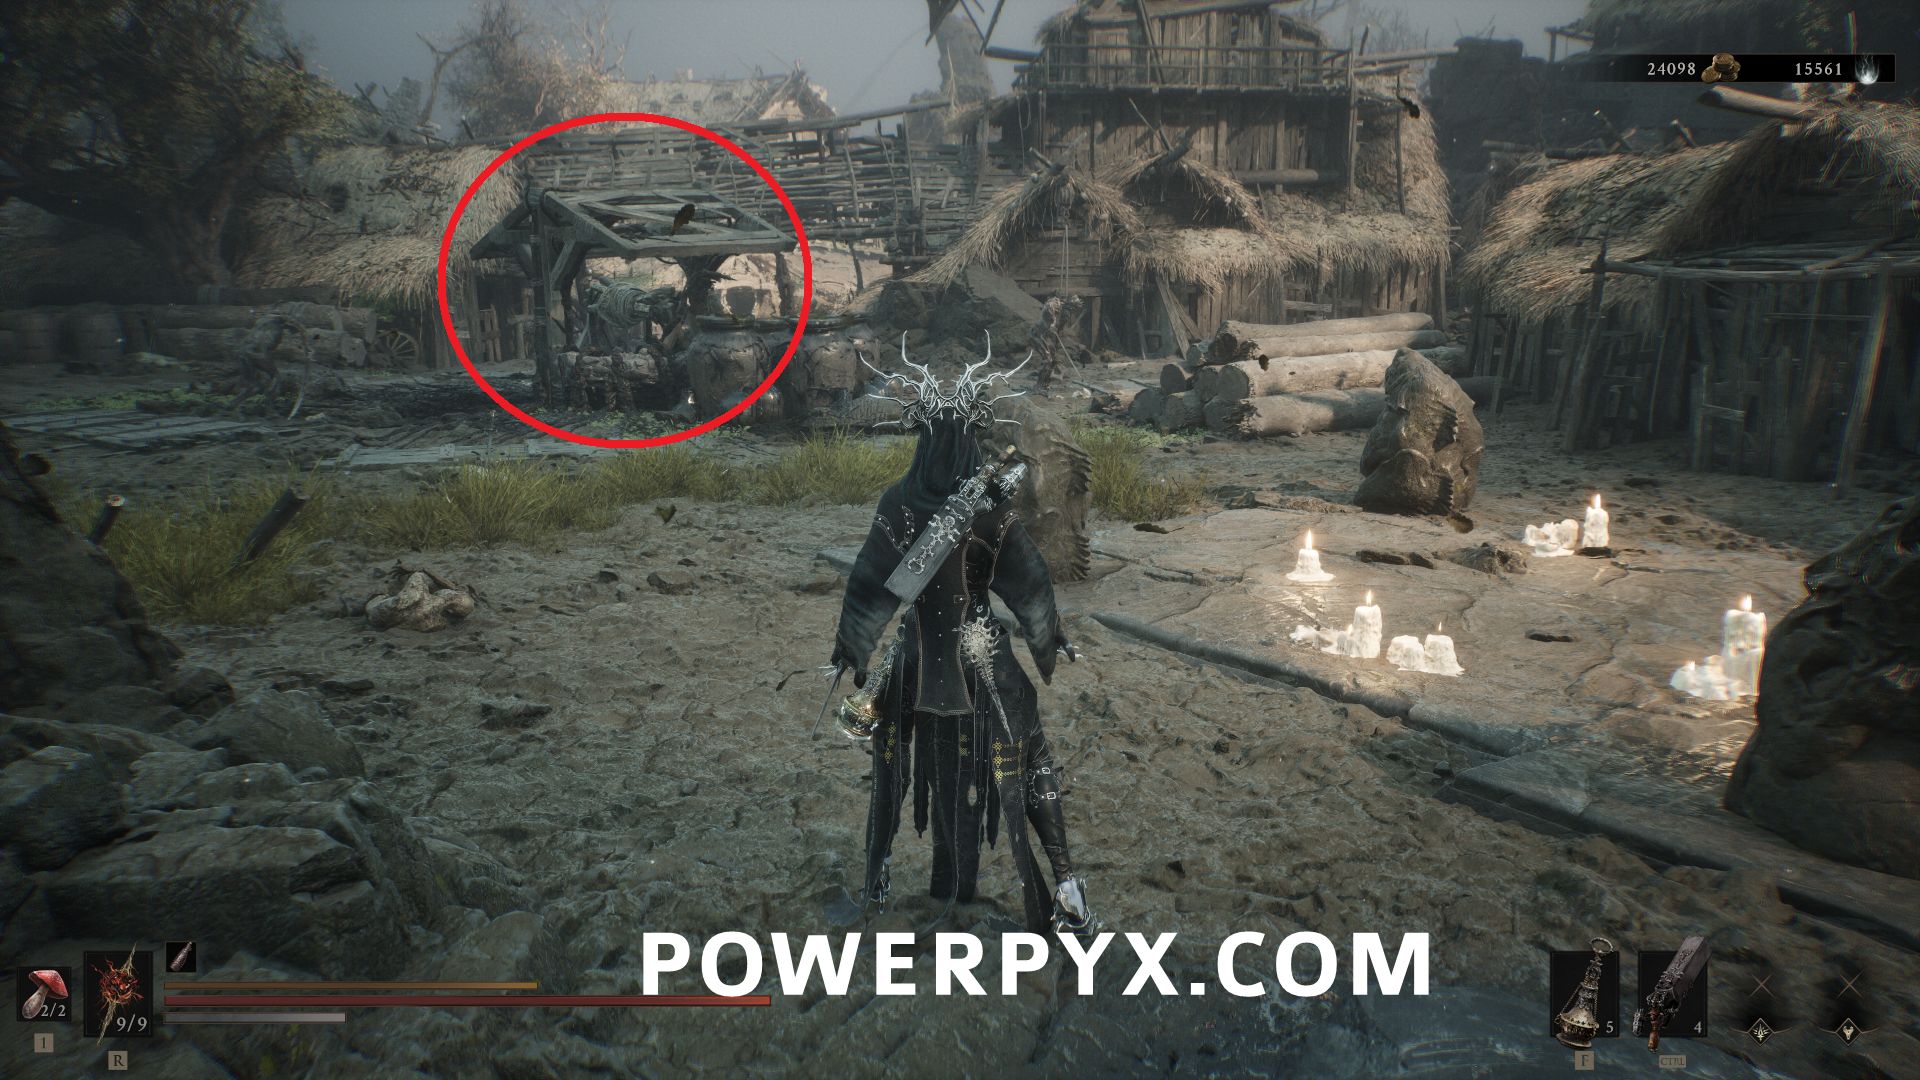
Northwest of Mushroom Village beacon, north of Shrine of Trials dungeon entrance, use Mether’s Breath to clear the corruption blocking the jump pad. On the upper level you can enter the dungeon Holding Cells by interacting with the well.
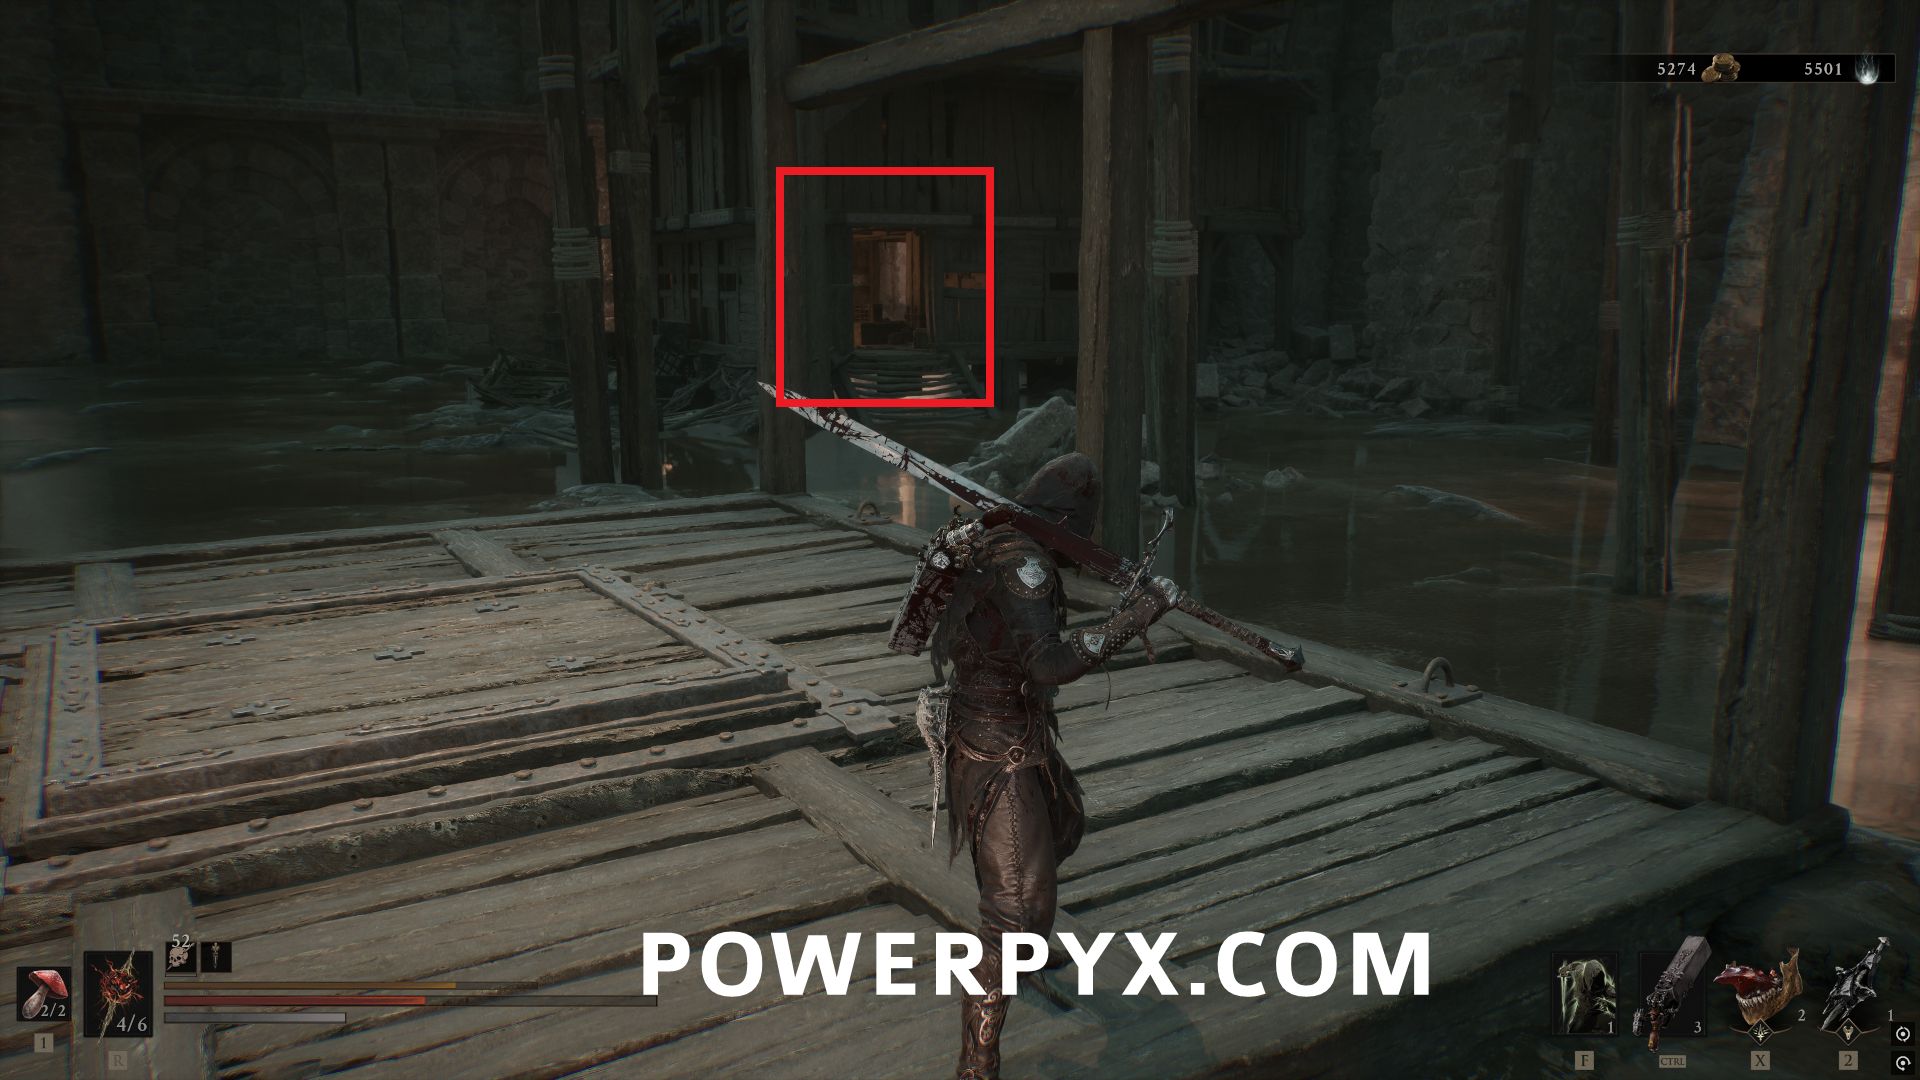
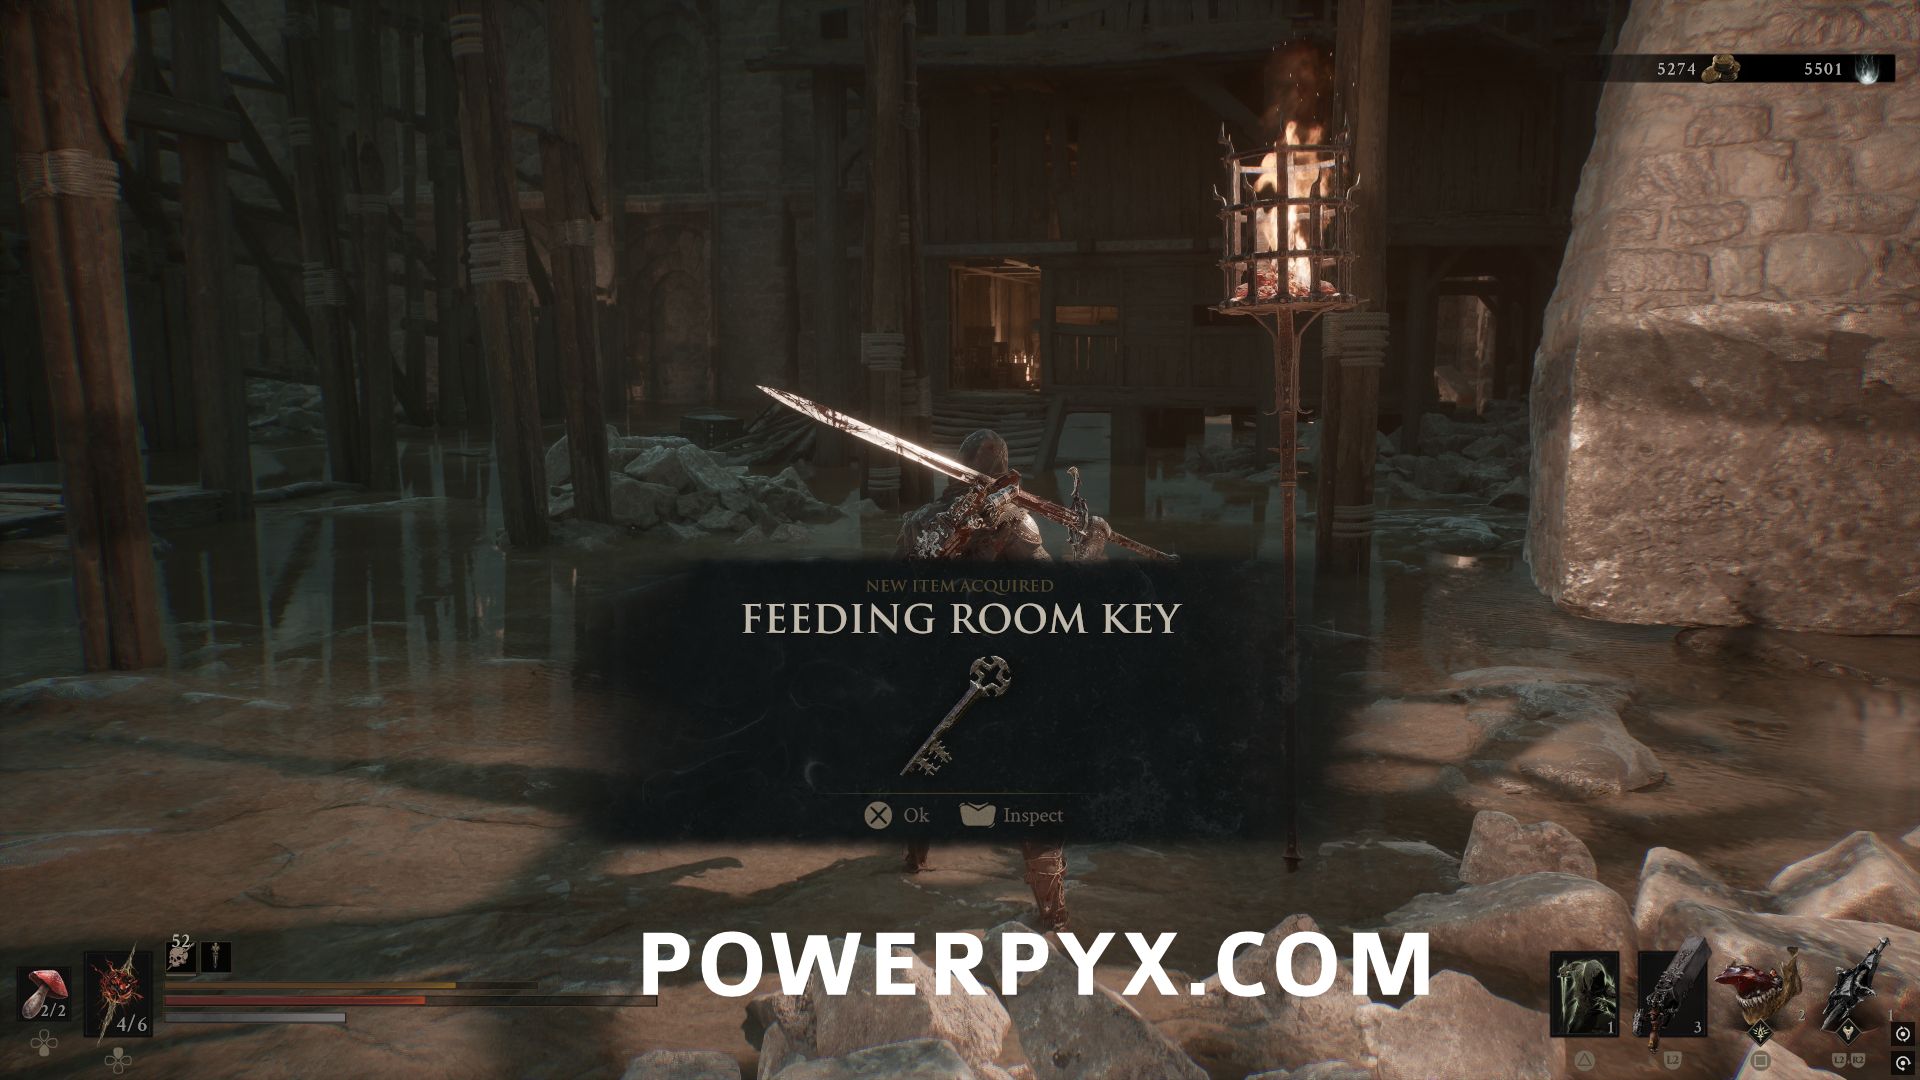
On the lower level of the dungeon, from where you enter go to the far side where there is a building. Inside on the ground by two bodies you can pick up the Feeding Room Key.
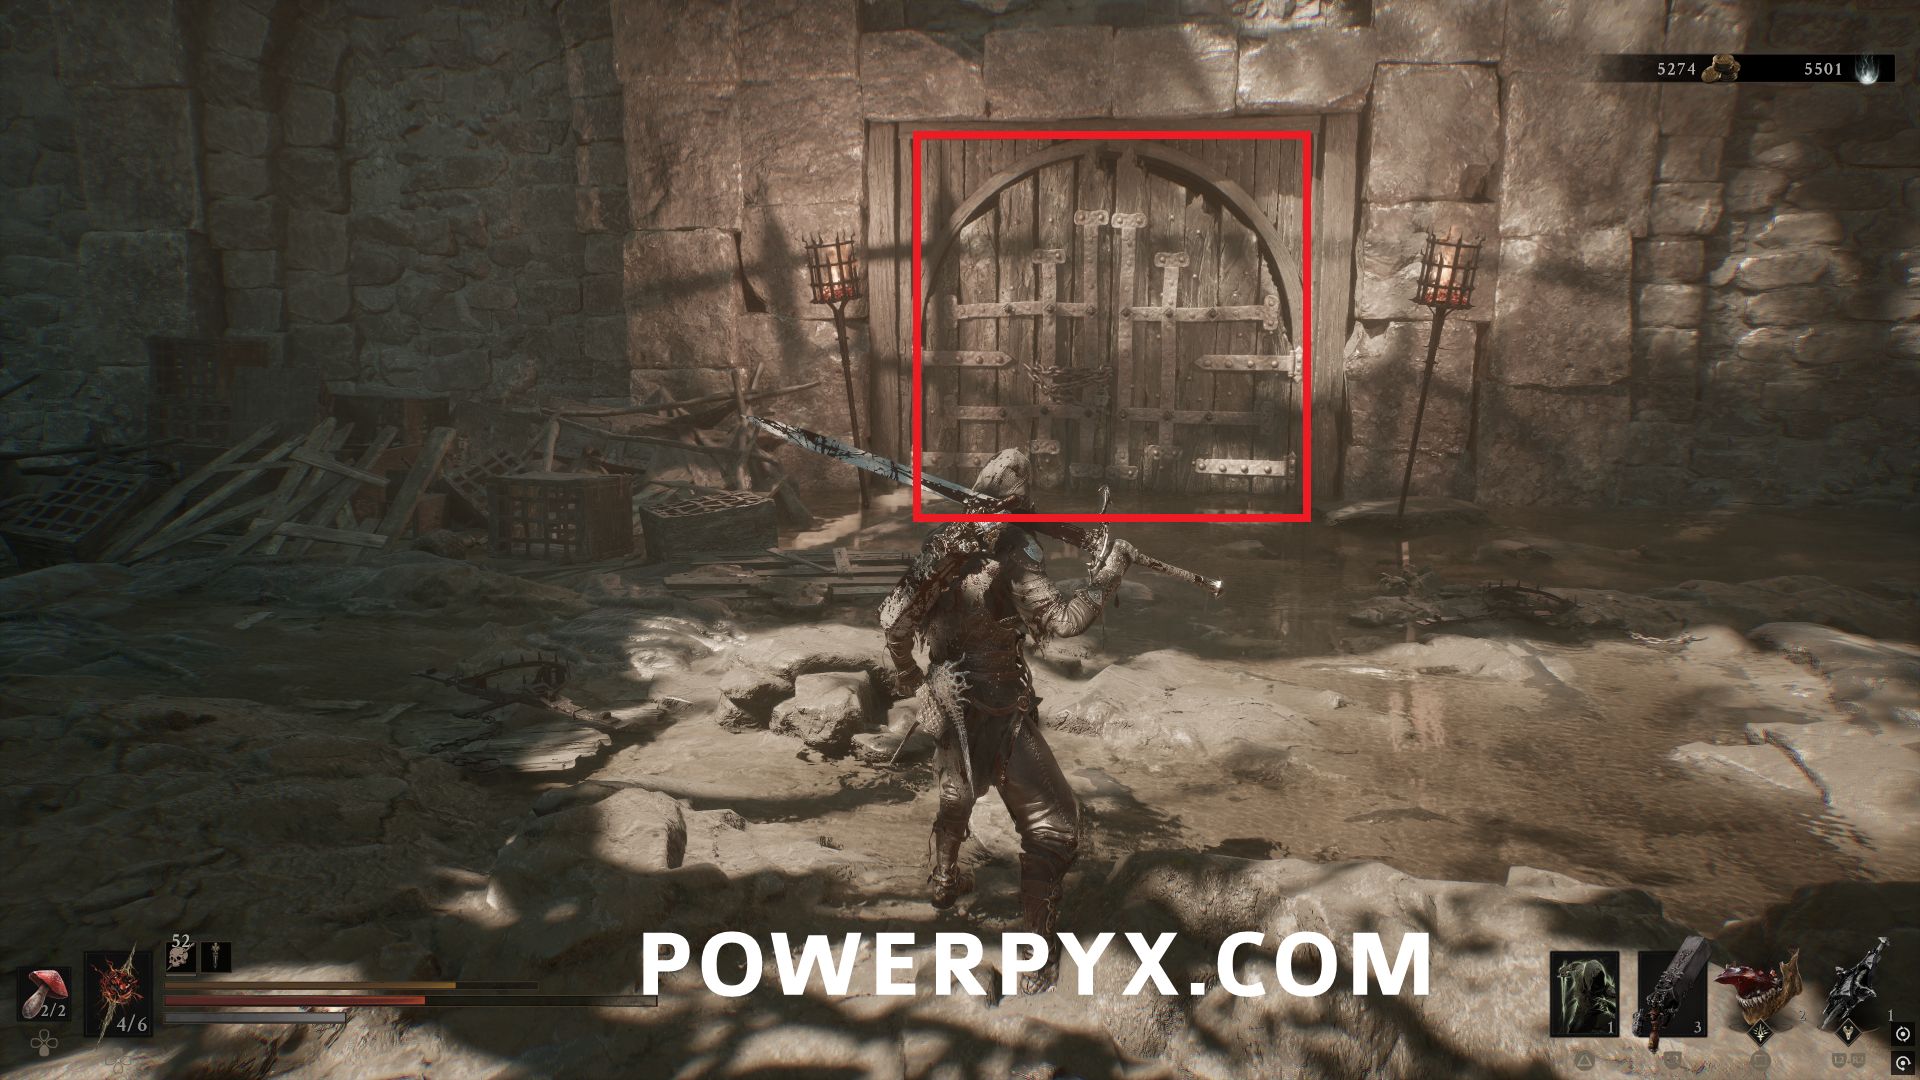
Use the key on the door halfway down the lower area on the right (from where you entered). Defeat the Rabid Grisha Pack boss to obtain the Tarstone.
#46 – Hag Stone
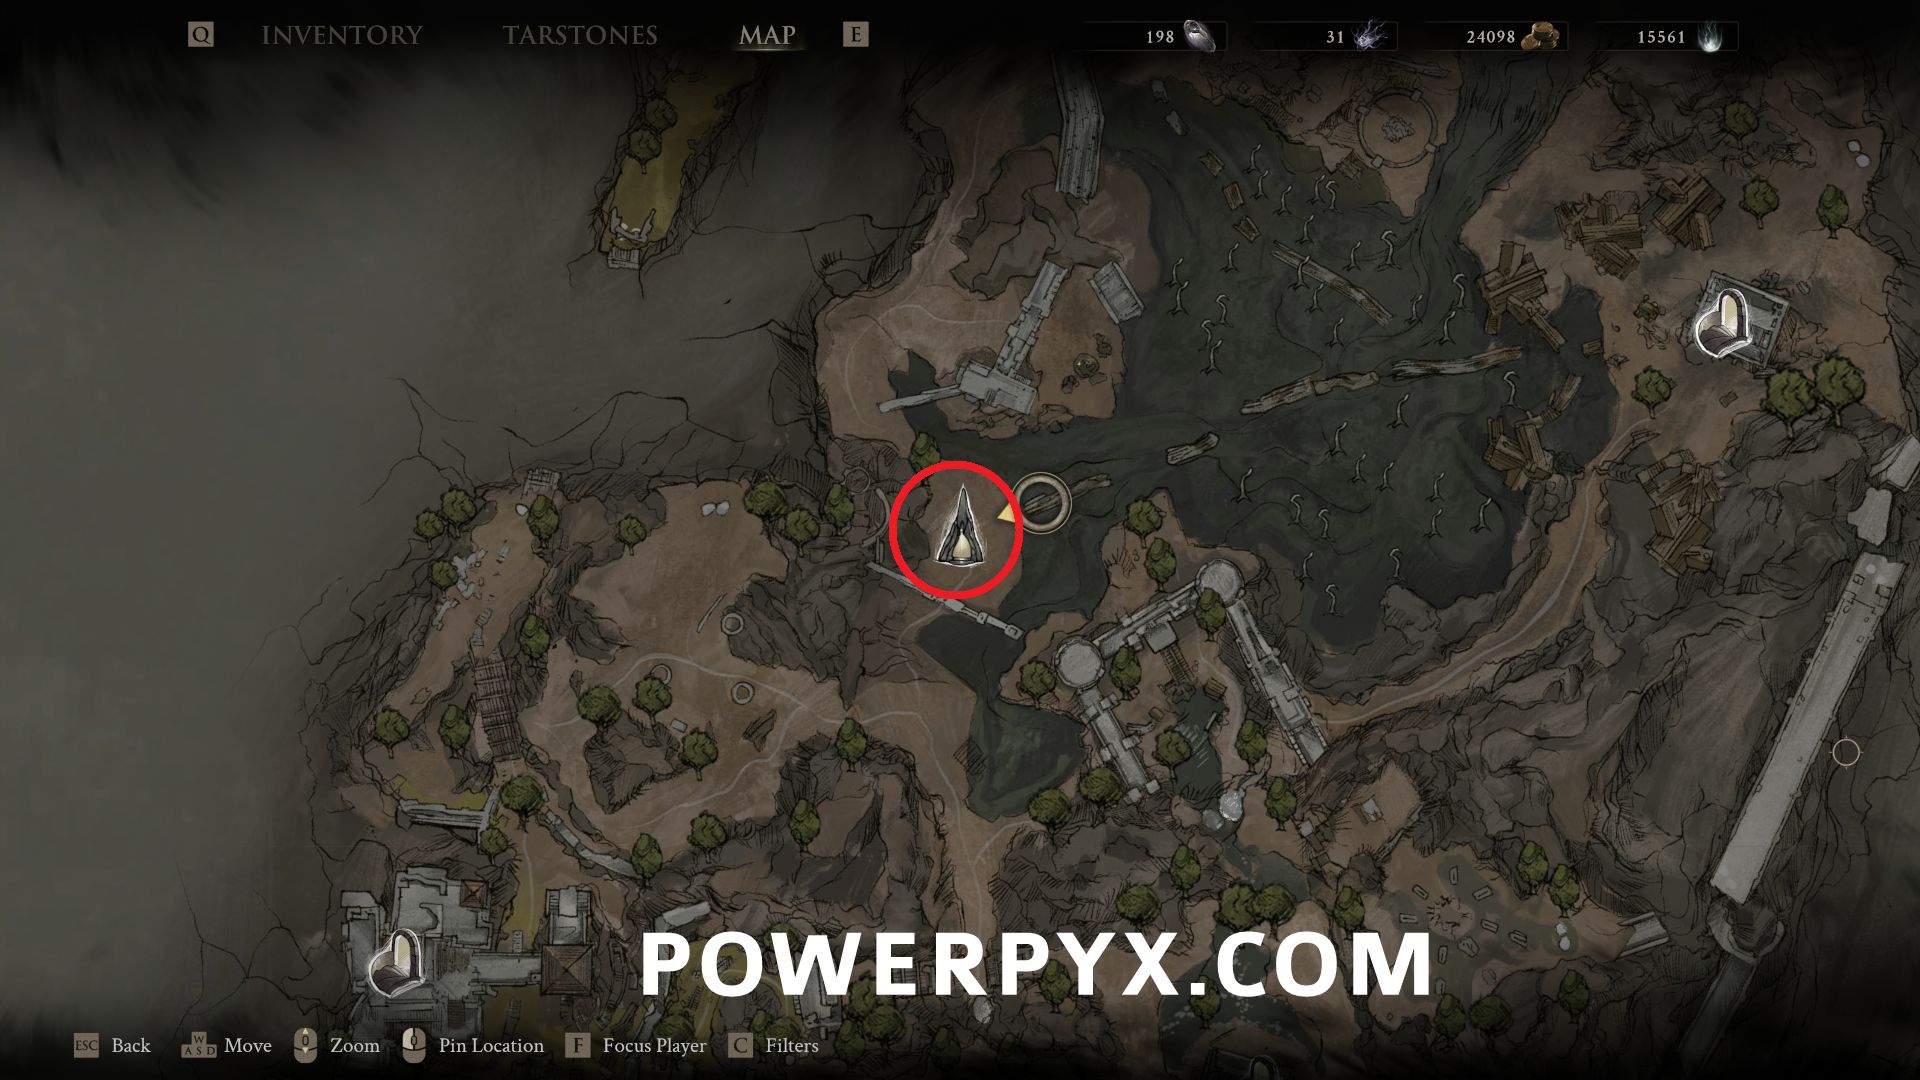
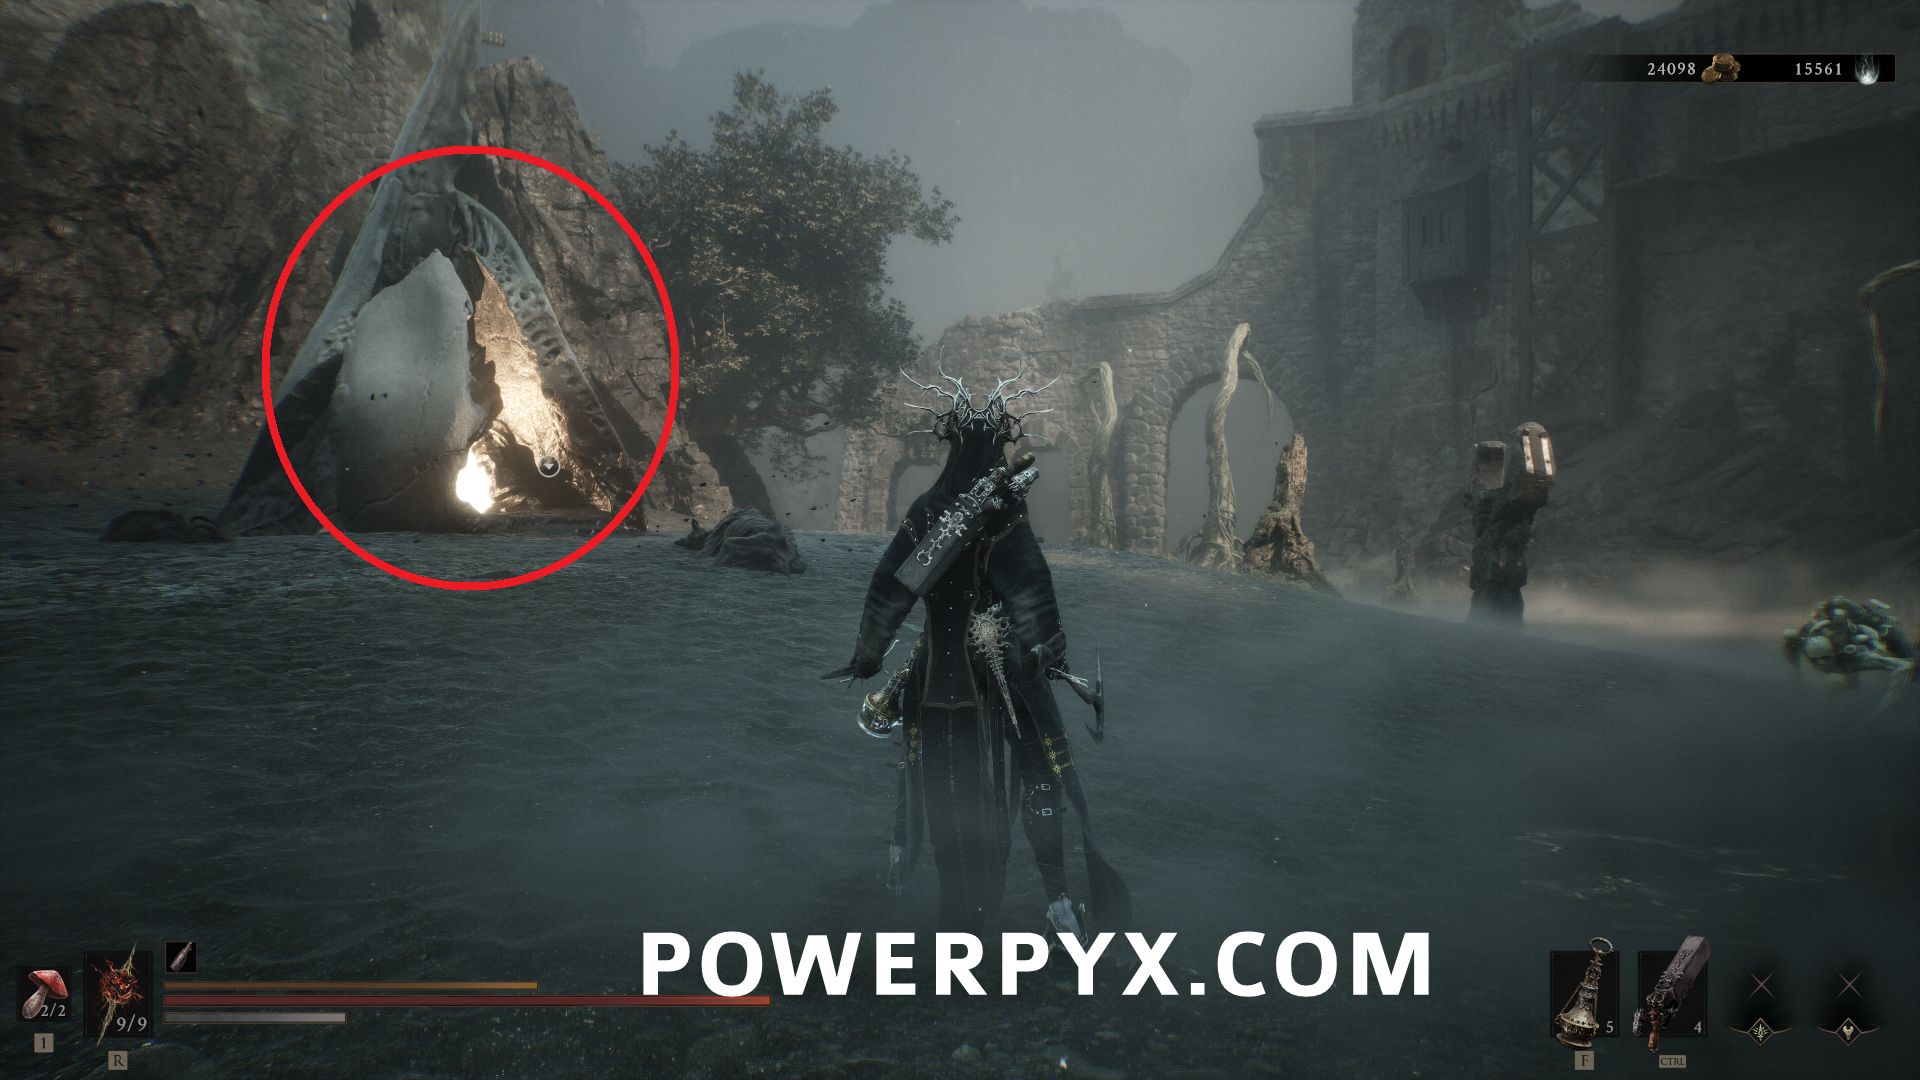
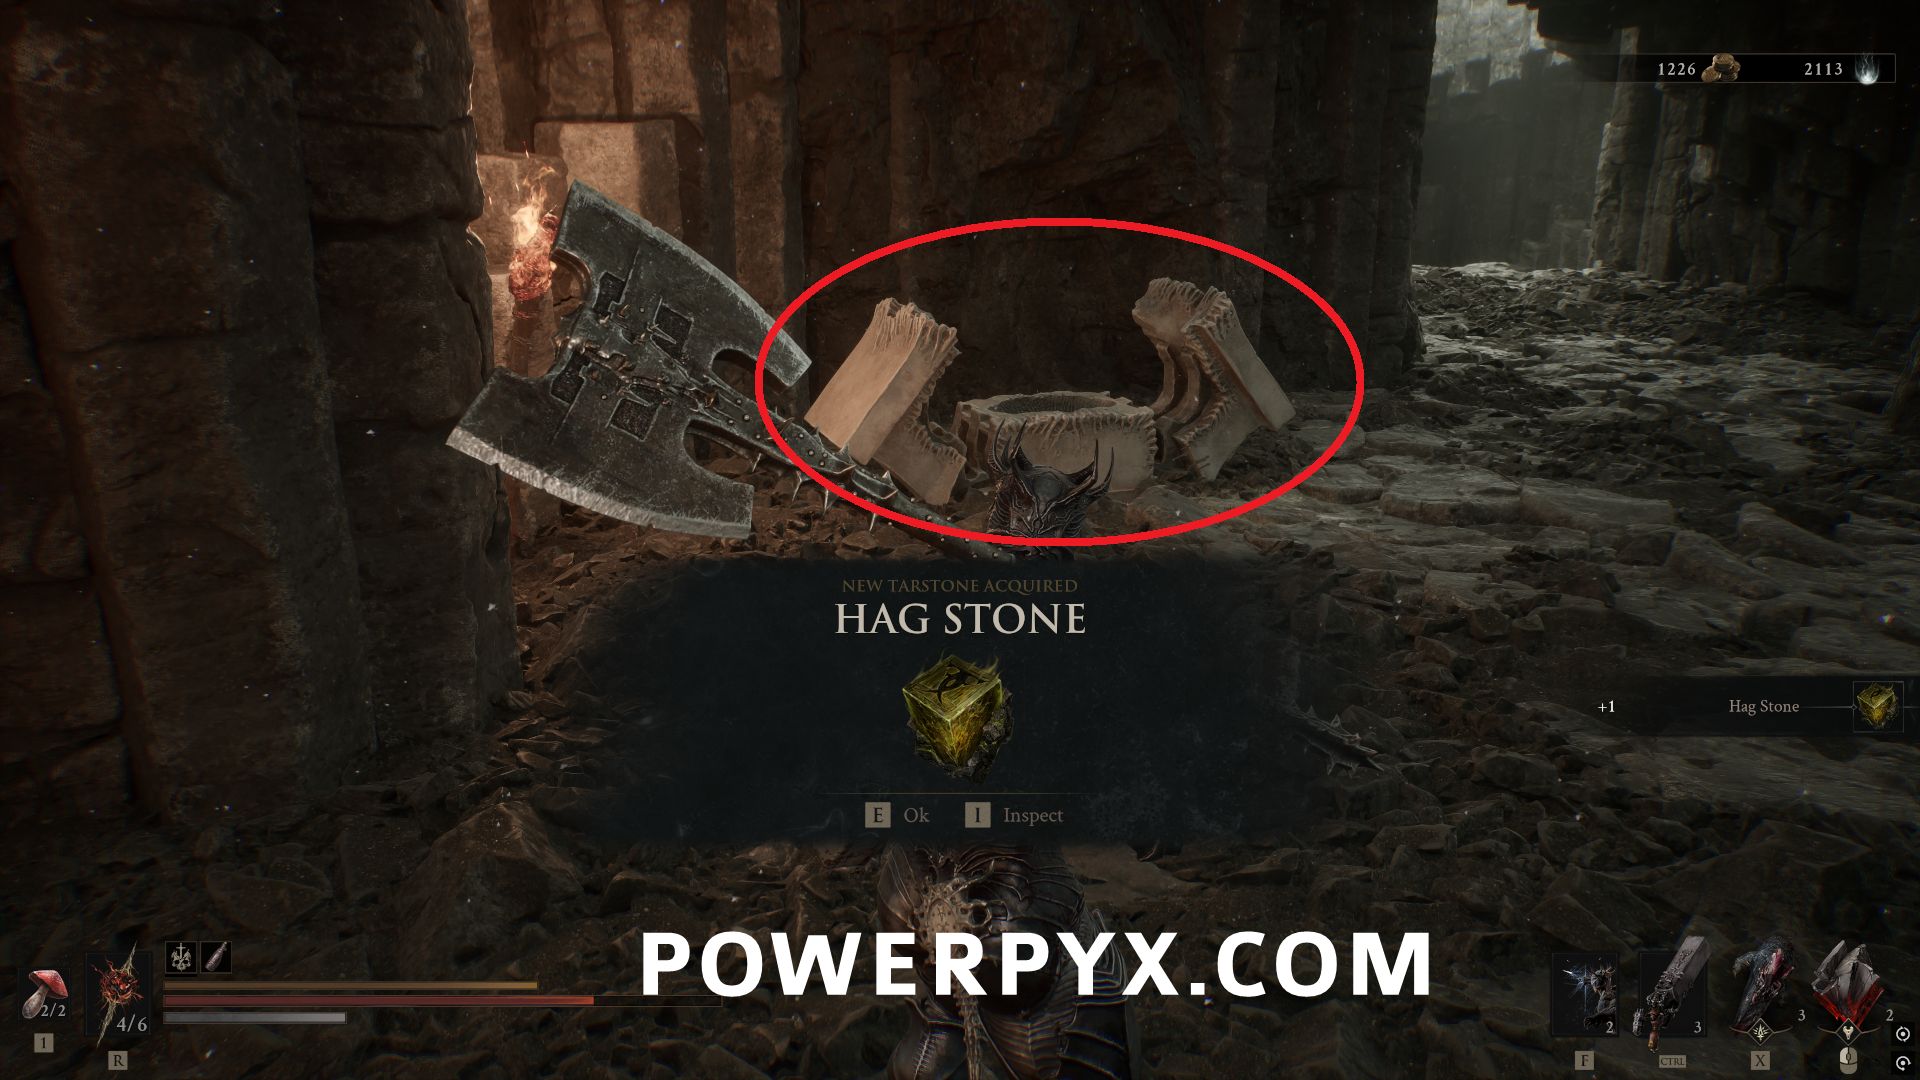
Inside the Outskirts of Nochte Beacon, progress through the area until you reach a chest partway through which contains the Tarstone.
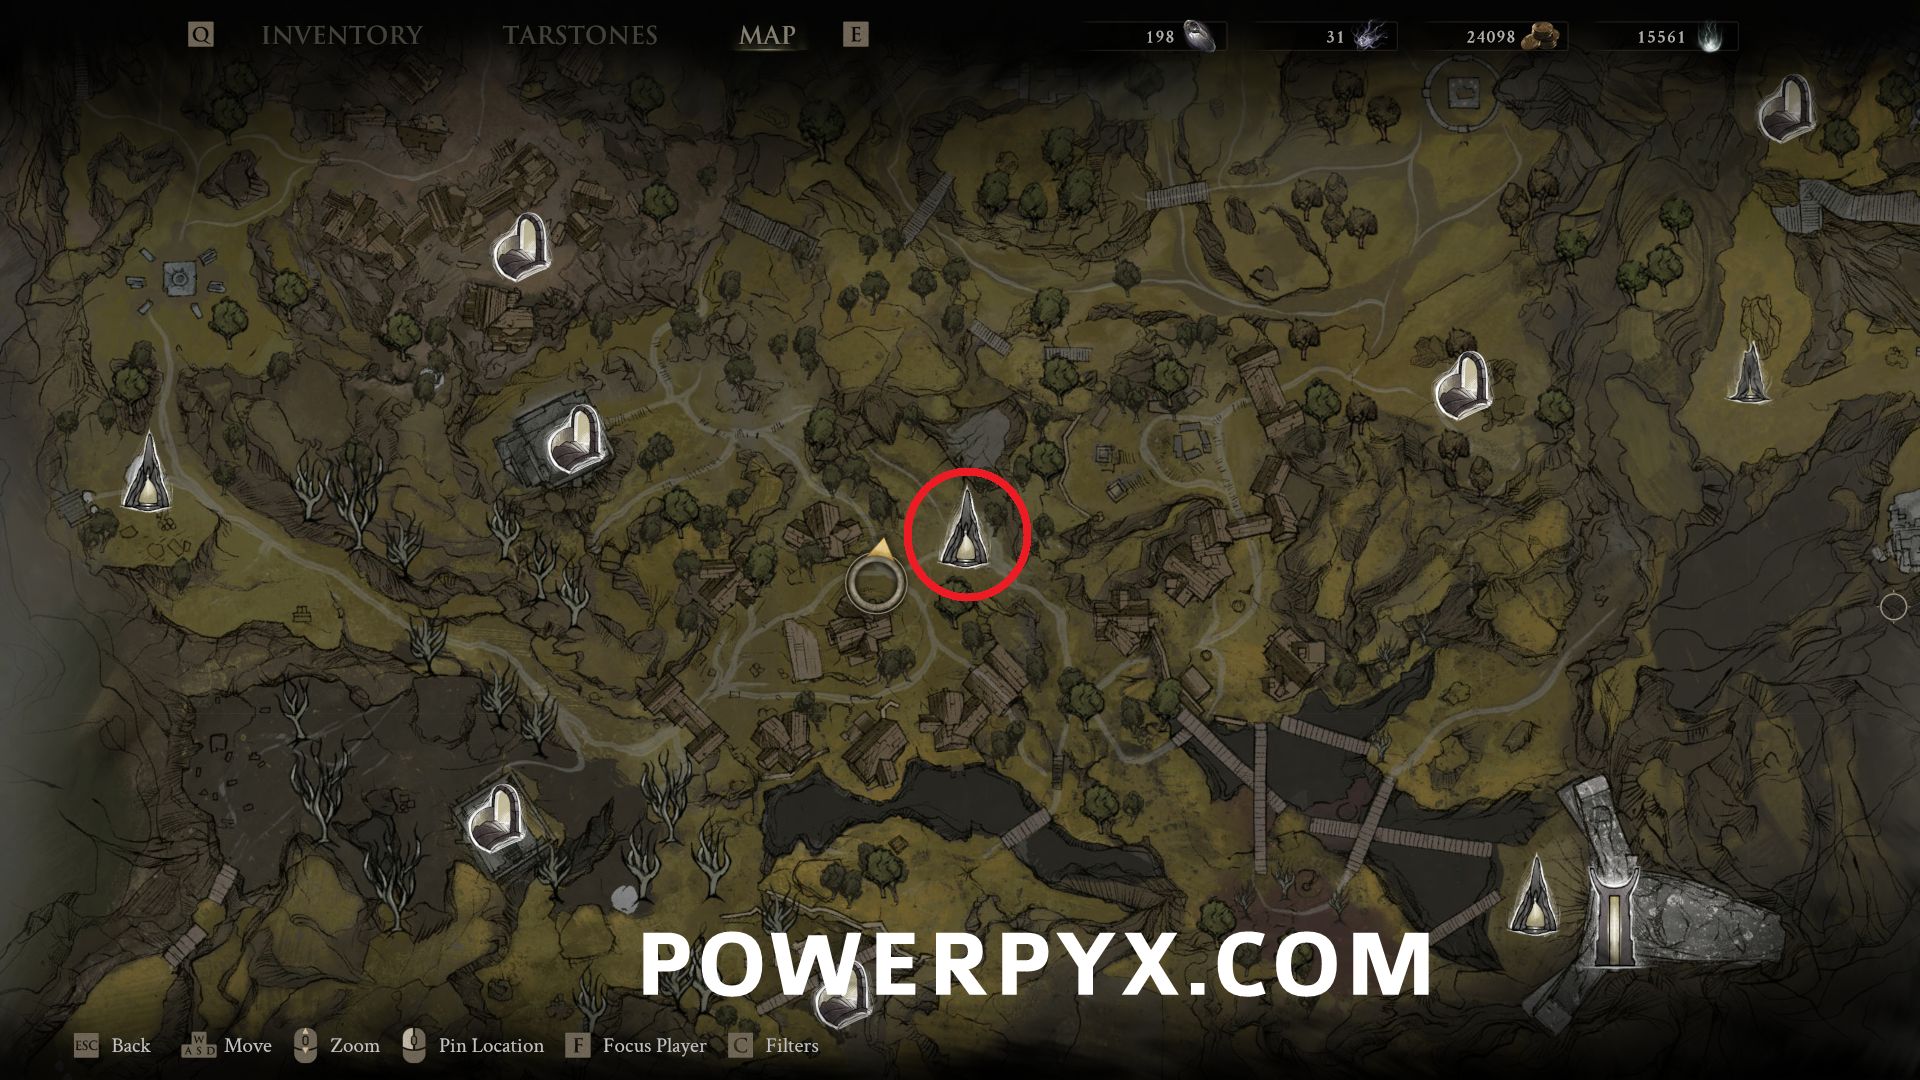
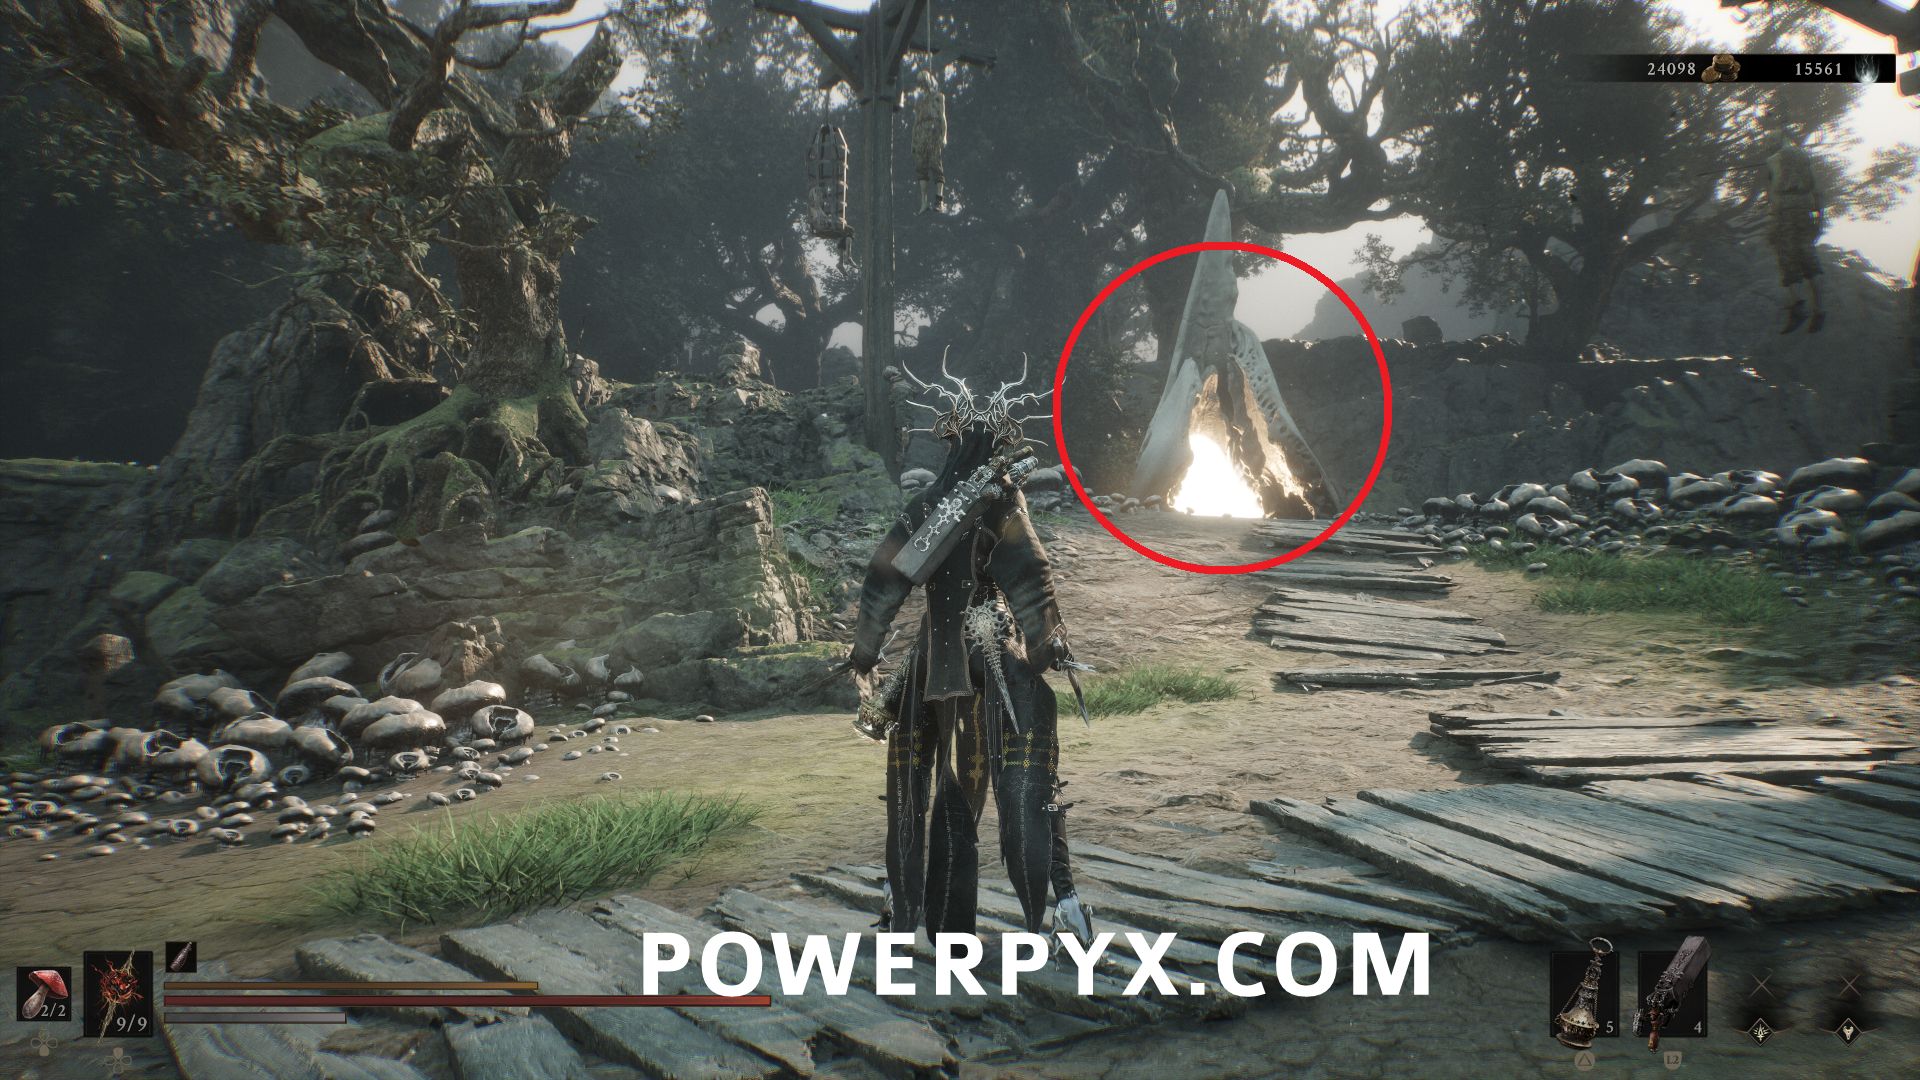
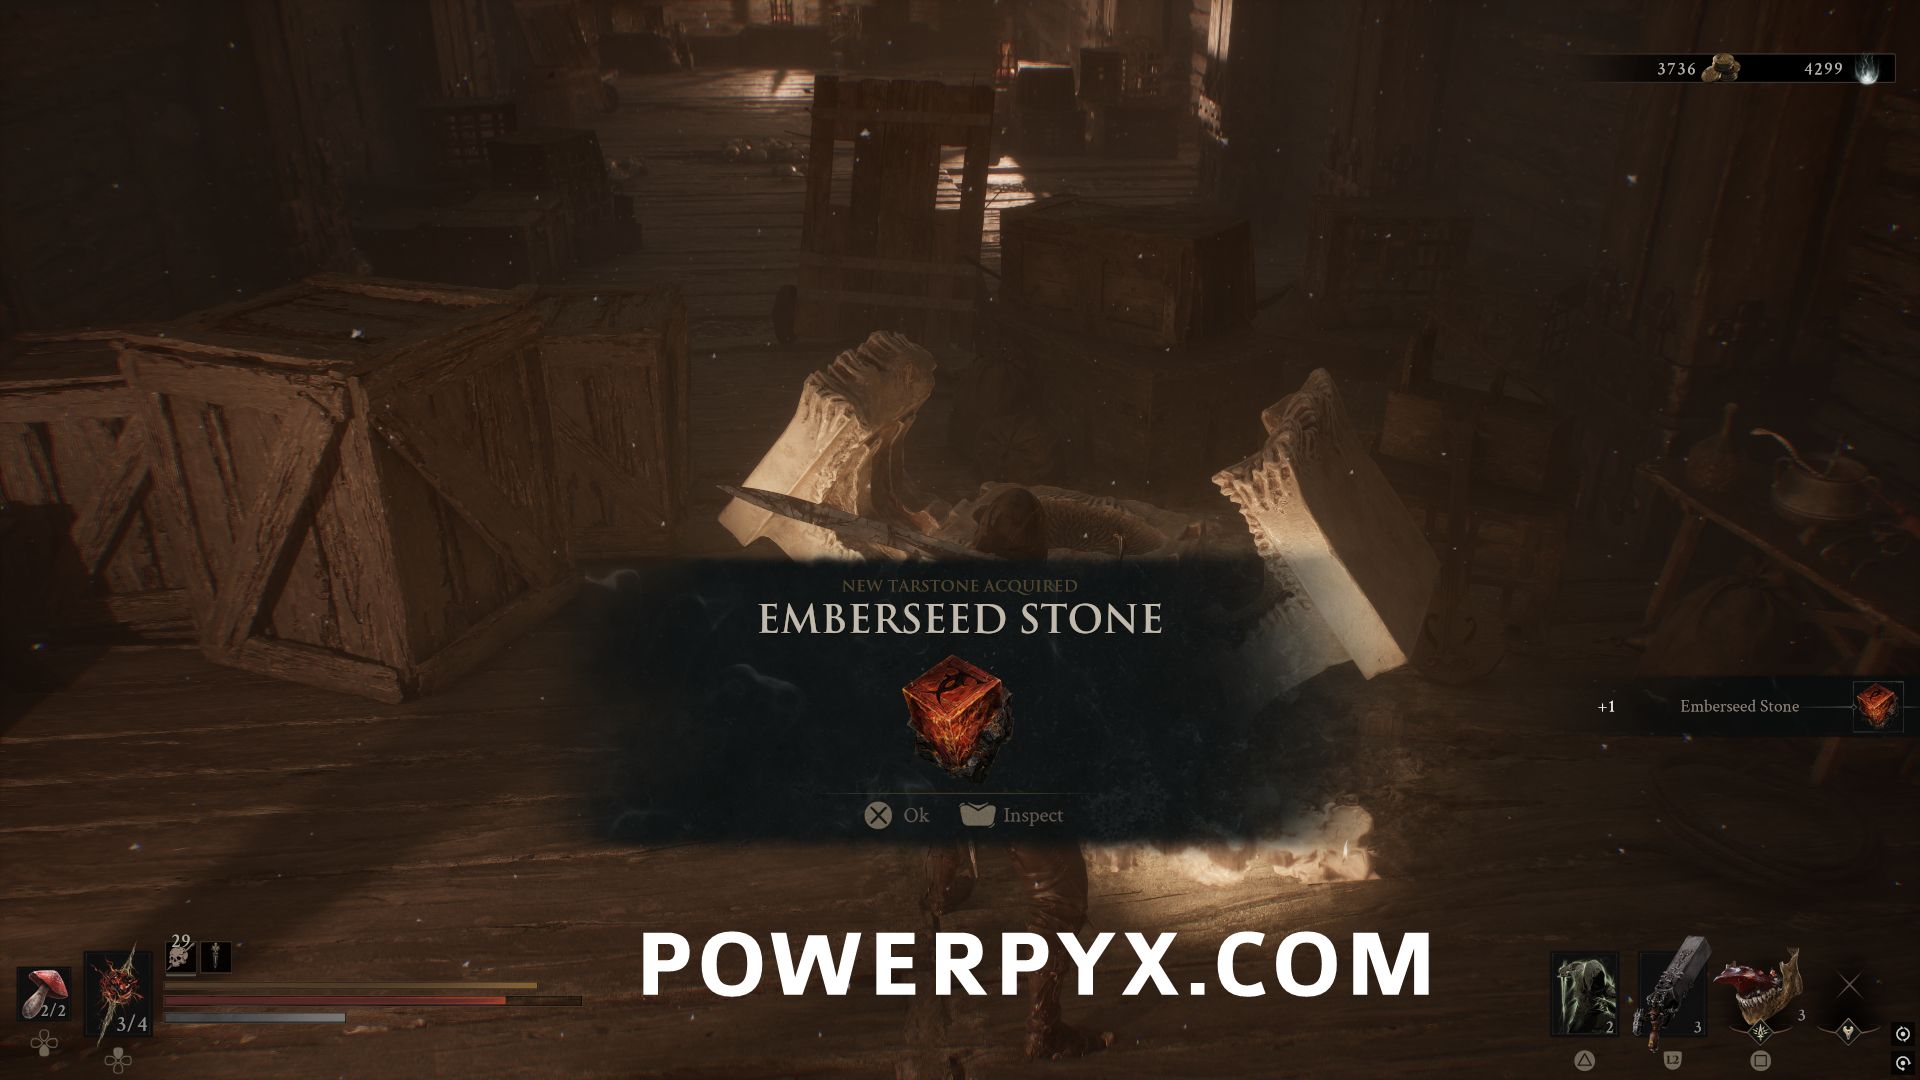
#47 – Emberseed Stone
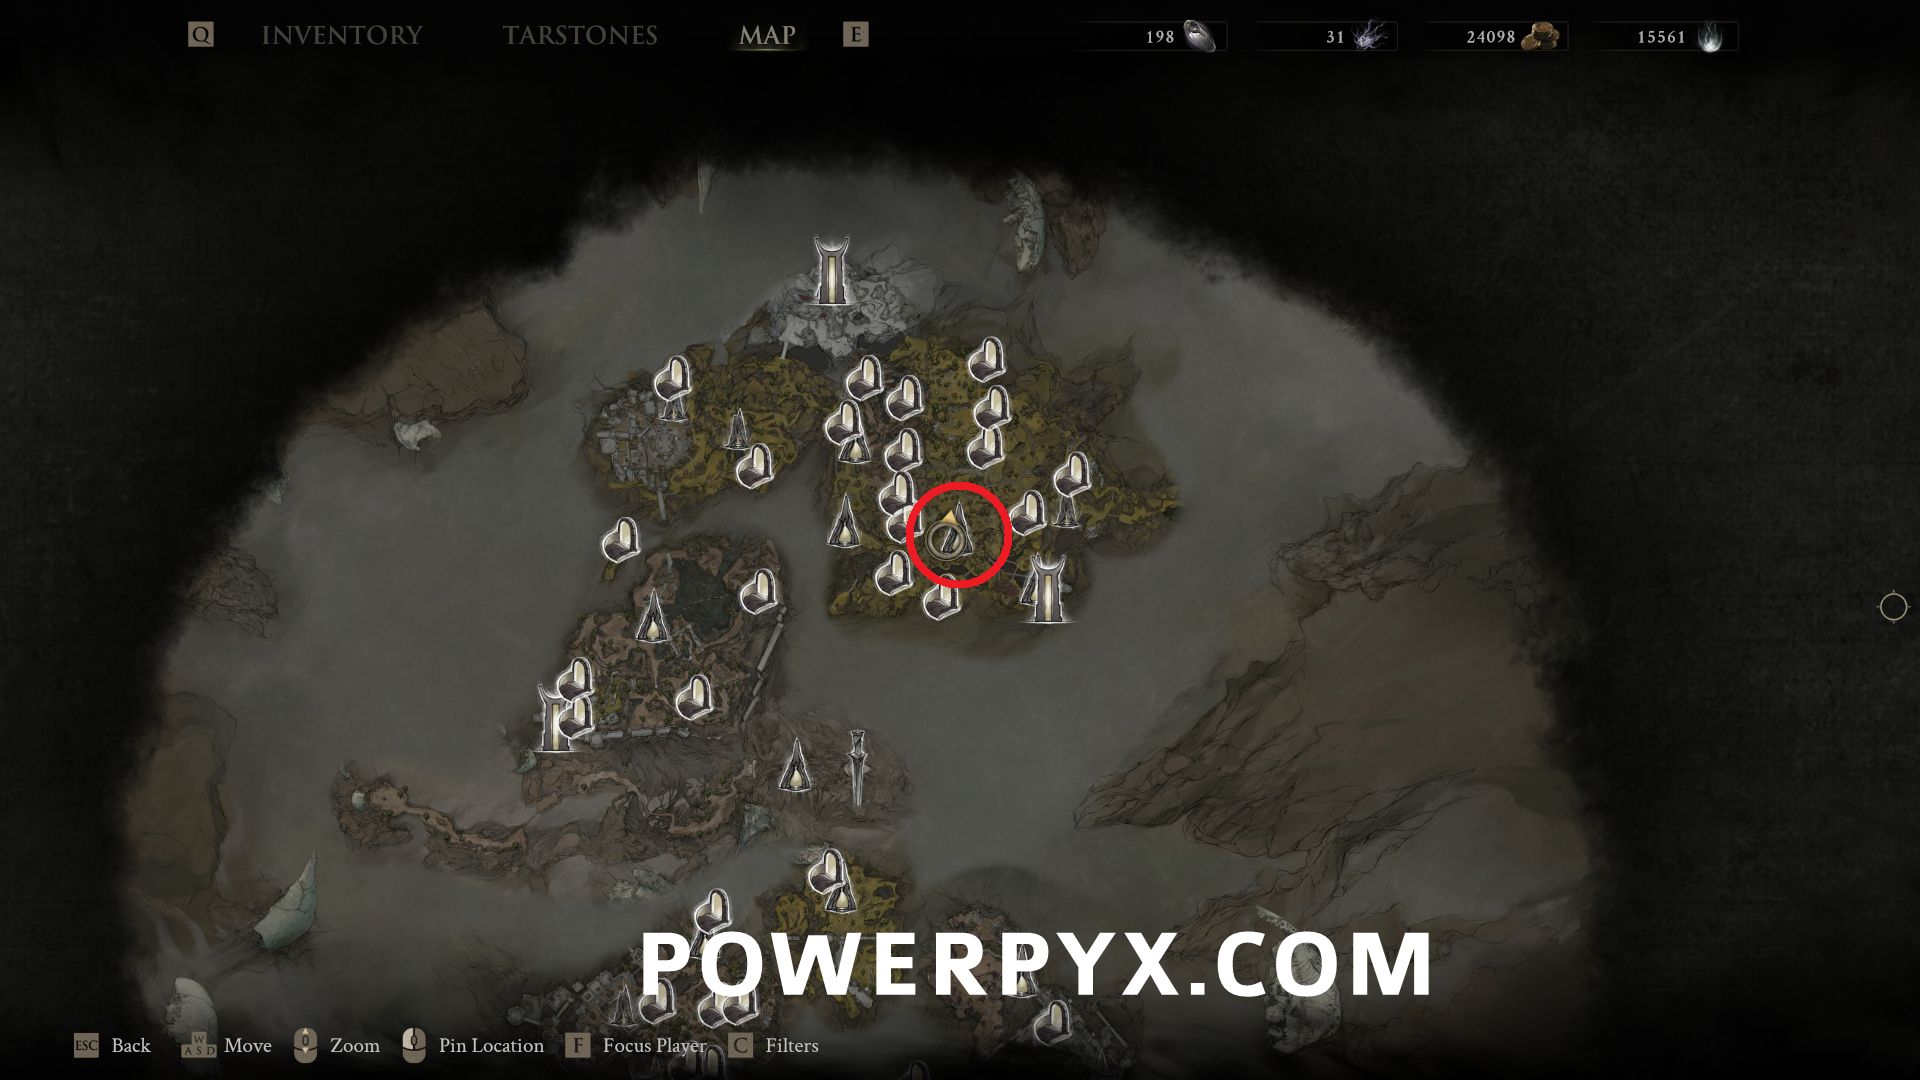
Inside the Mushroom Village beacon, progress through the area until you reach a chest partway through which contains the Tarstone.
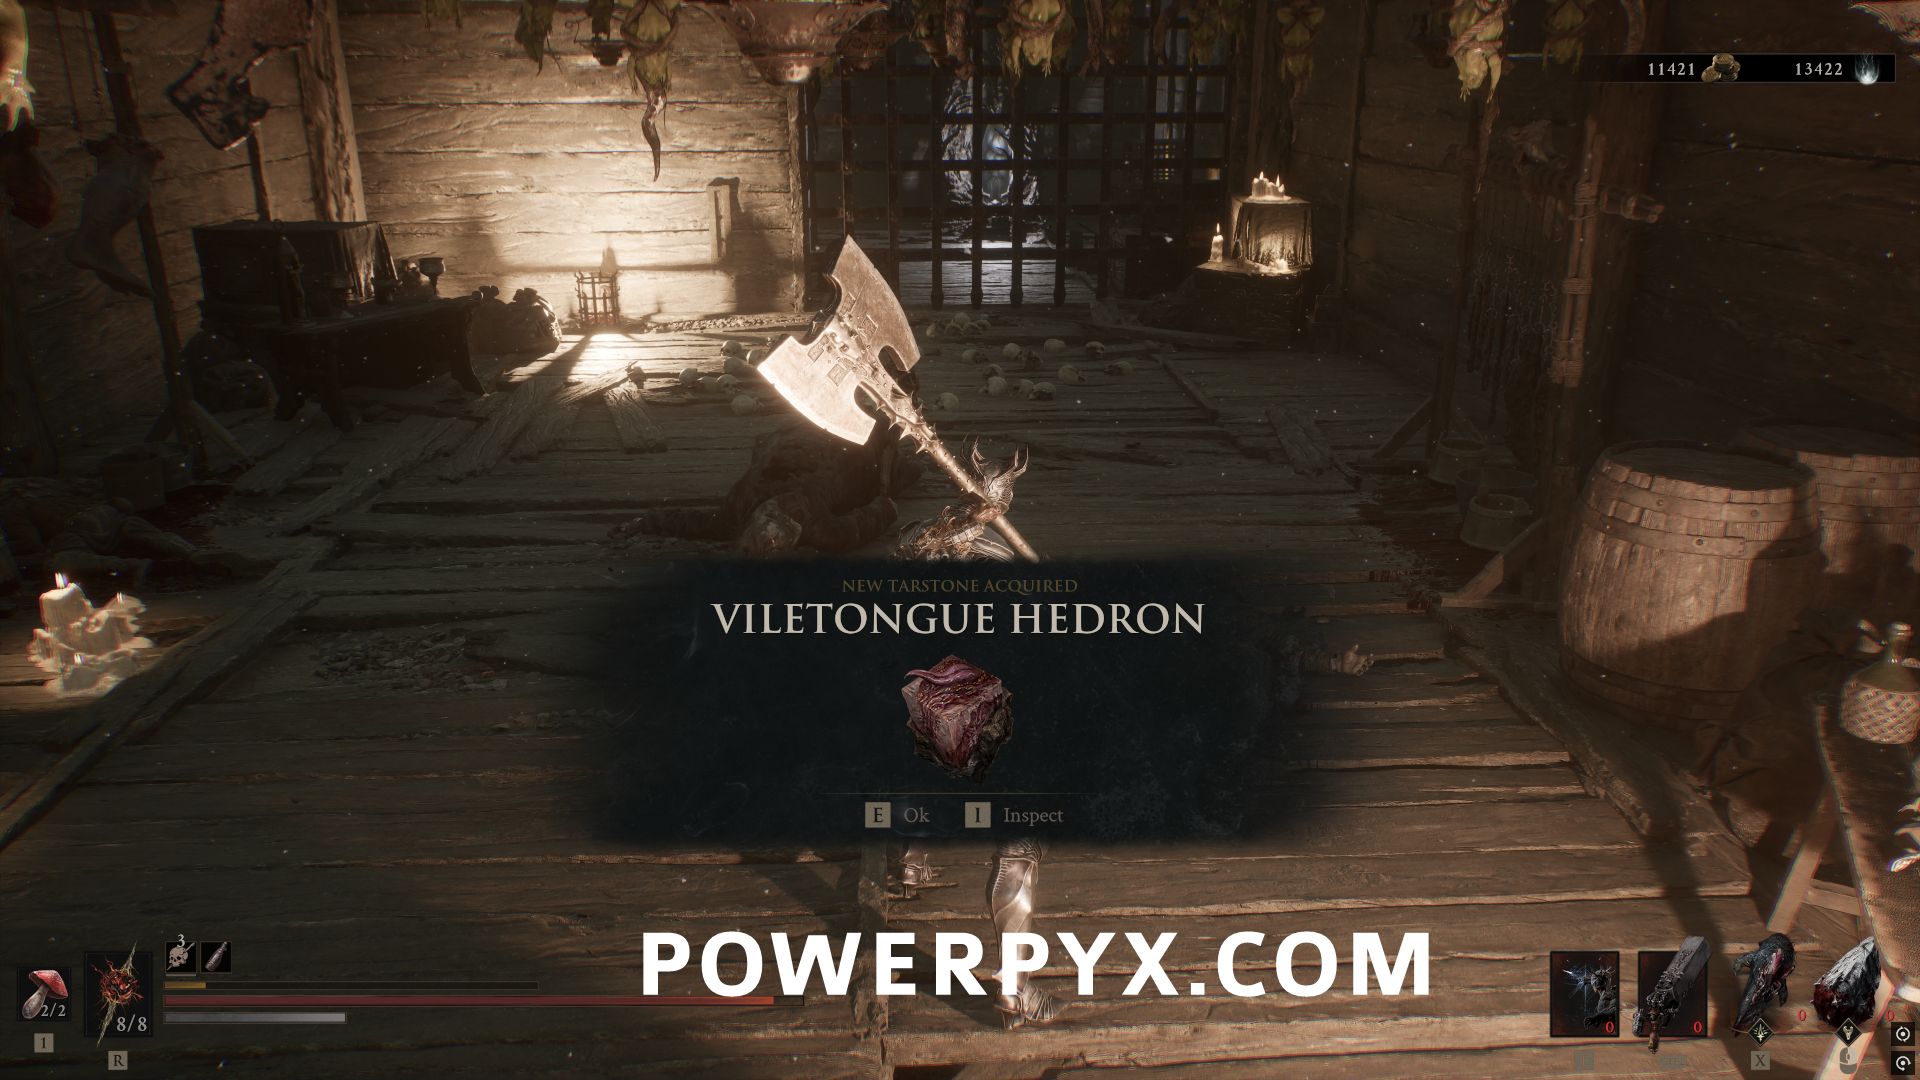
#48 – Viletongue Hedron
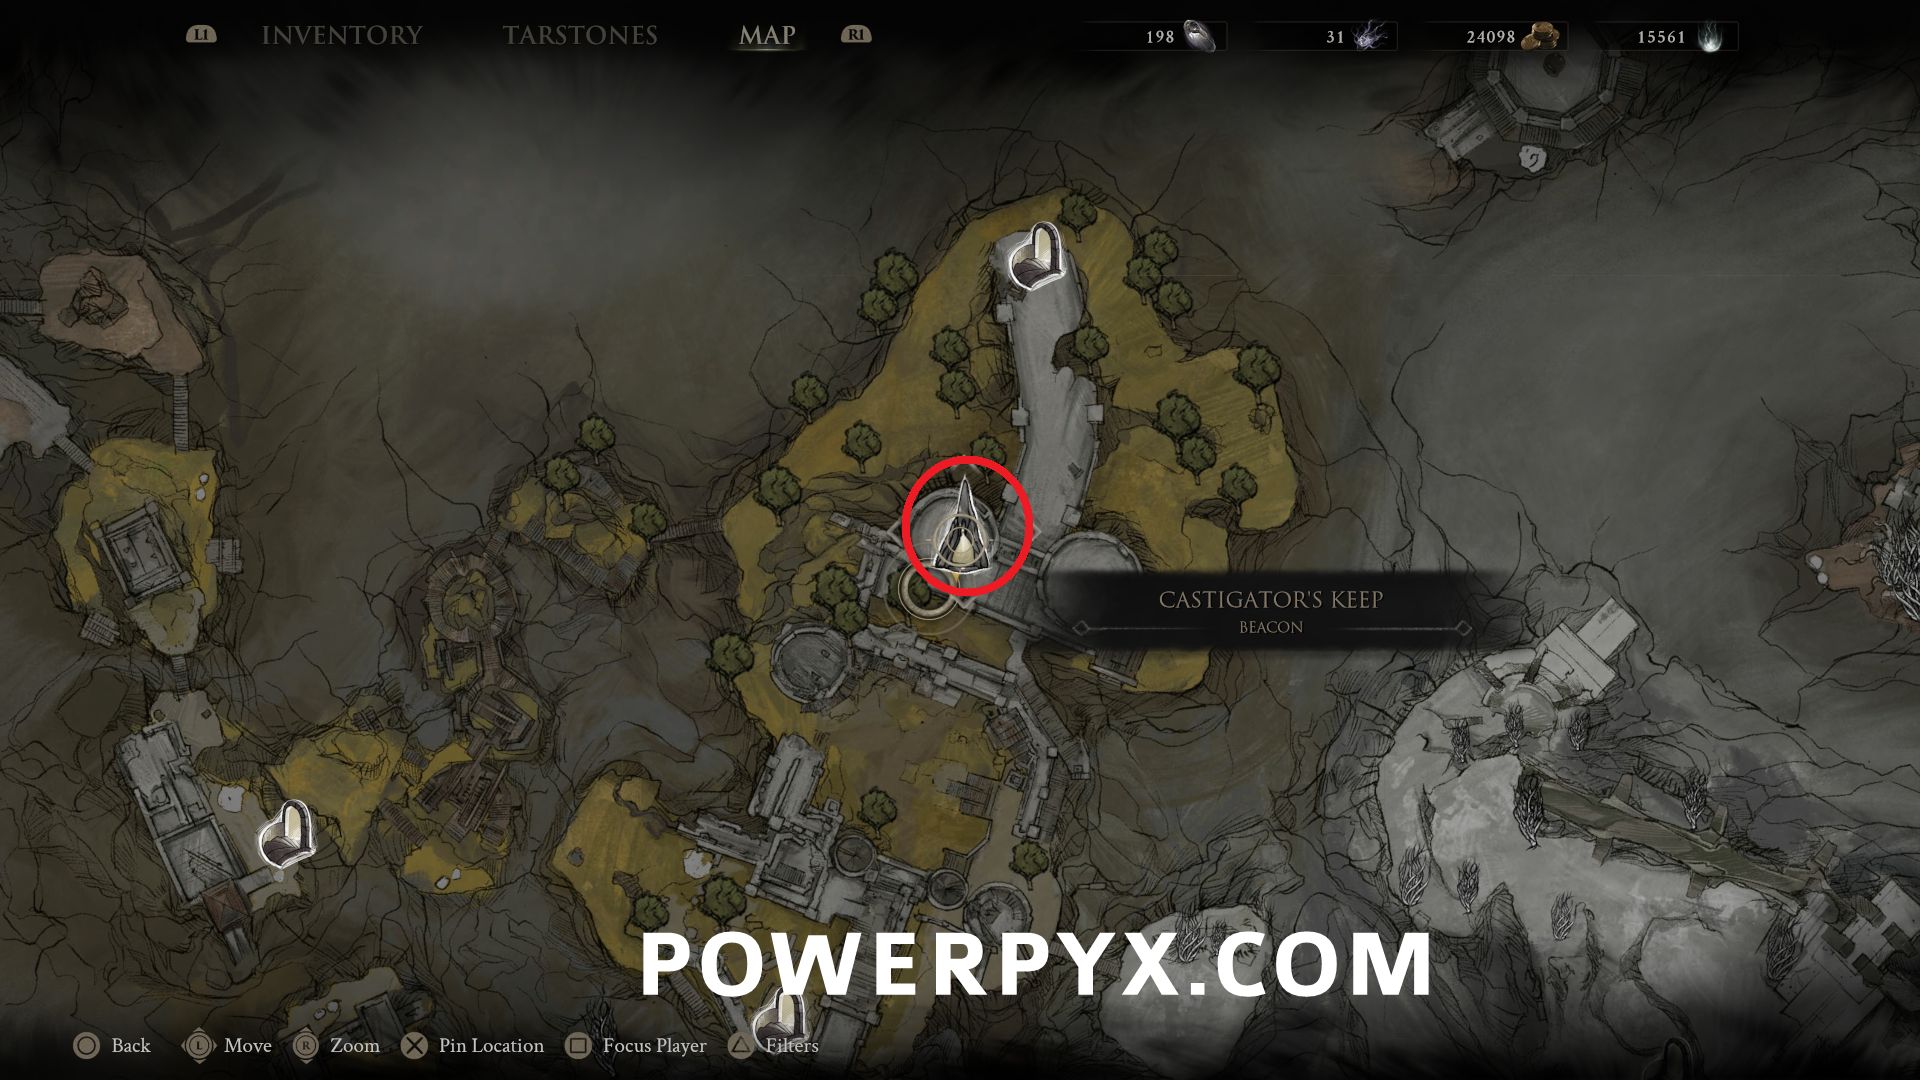
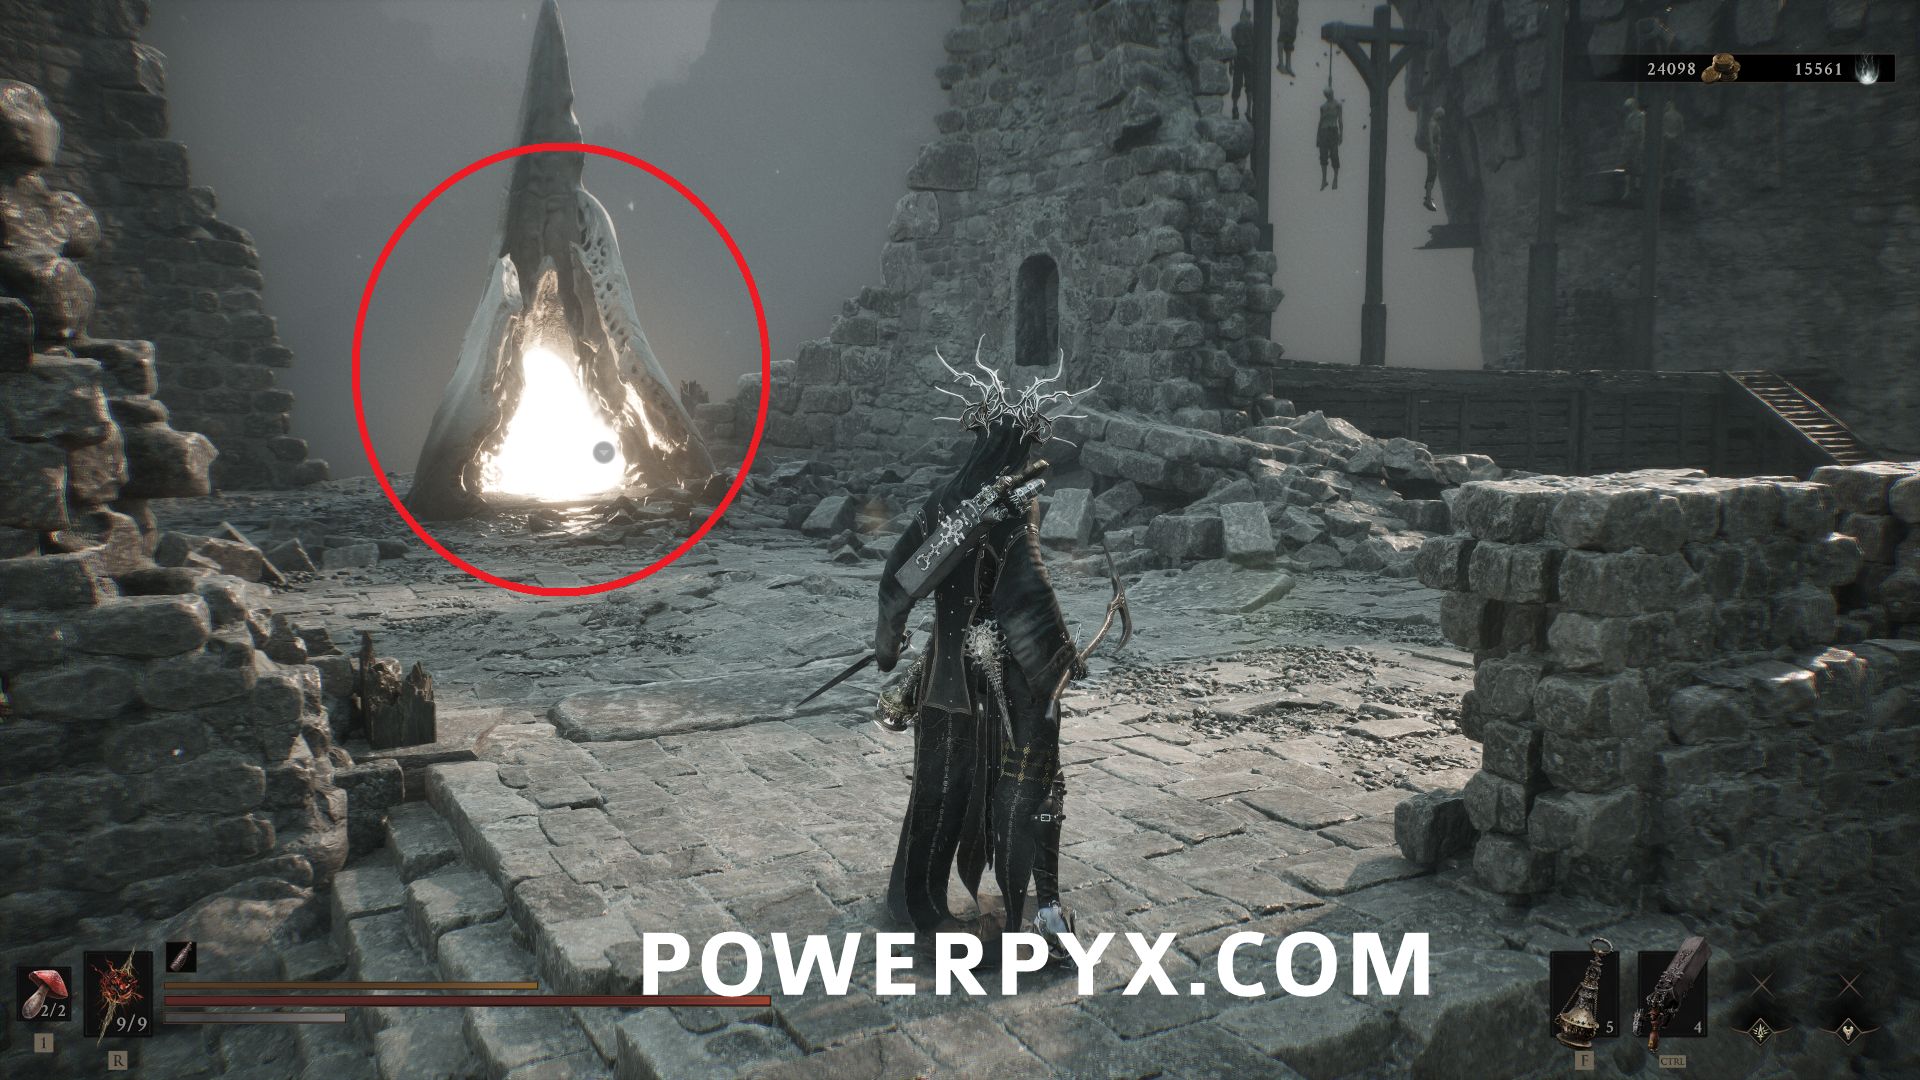
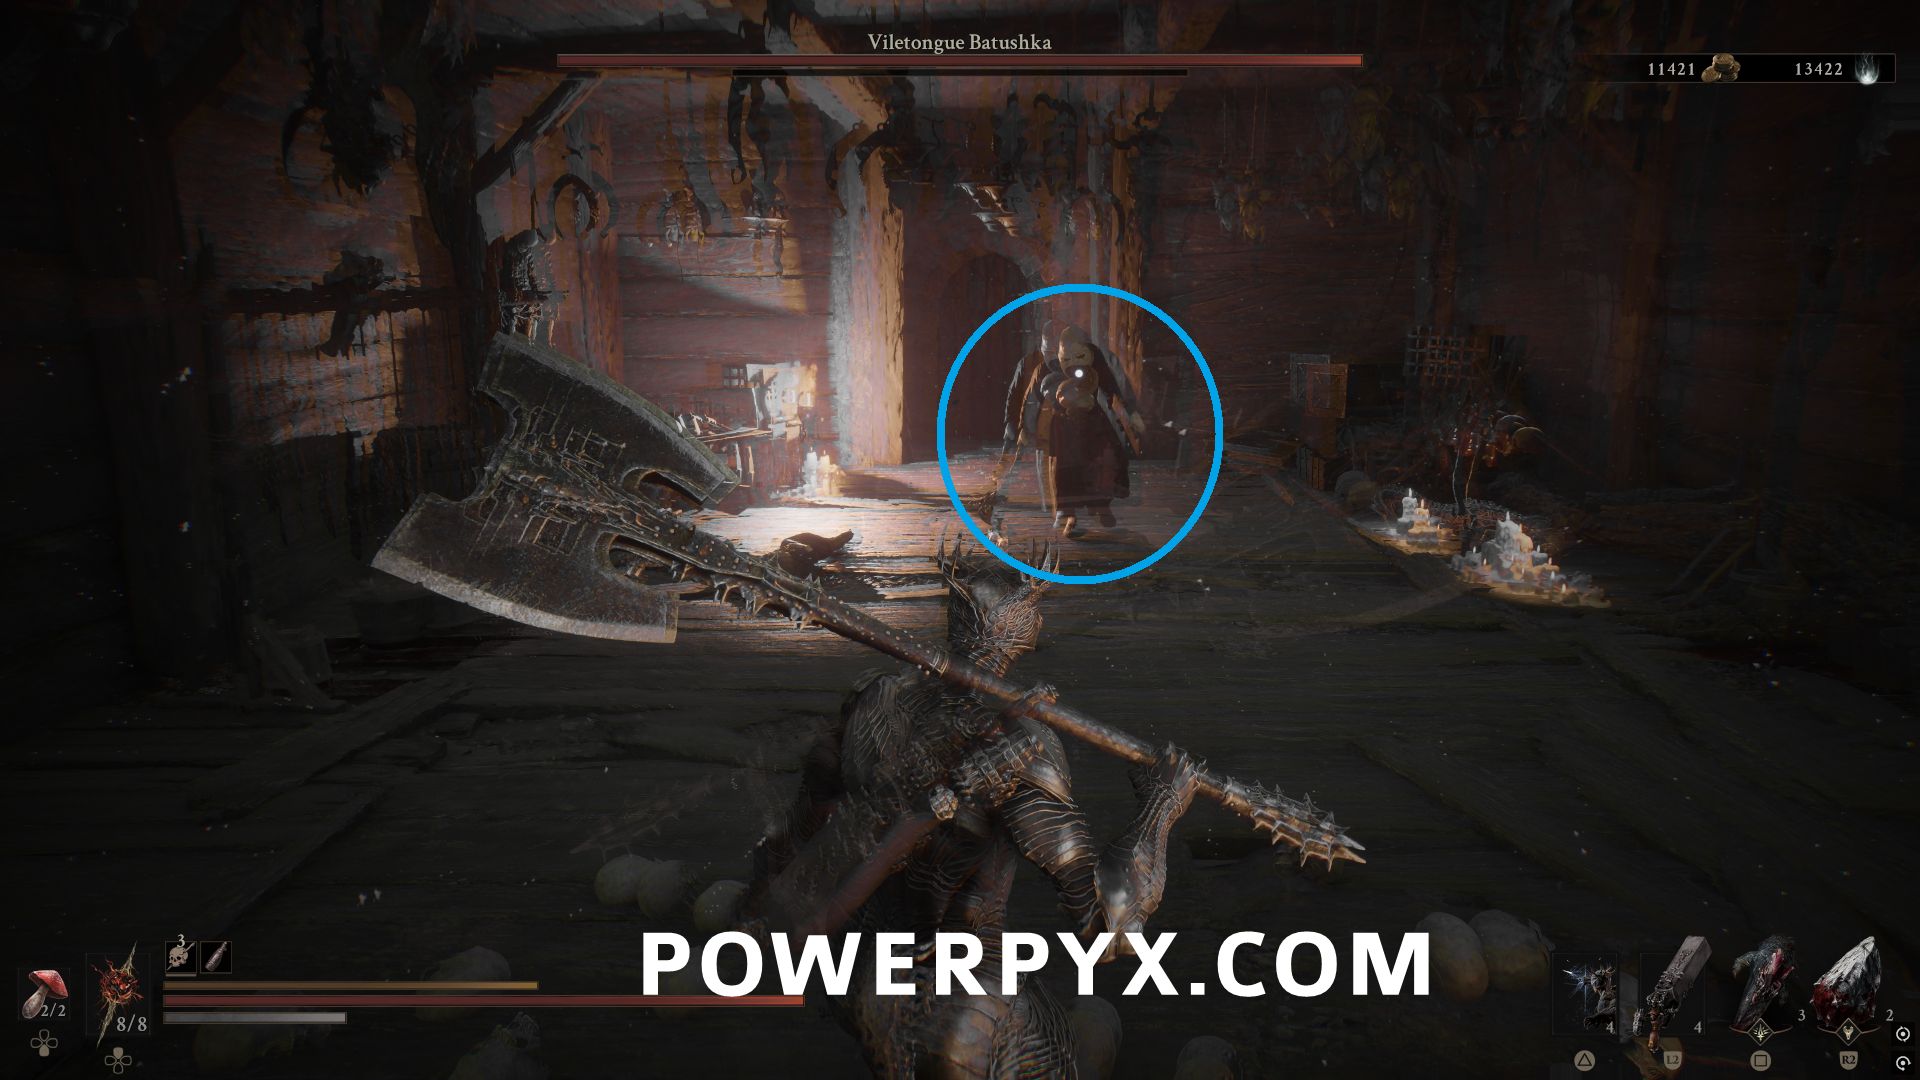
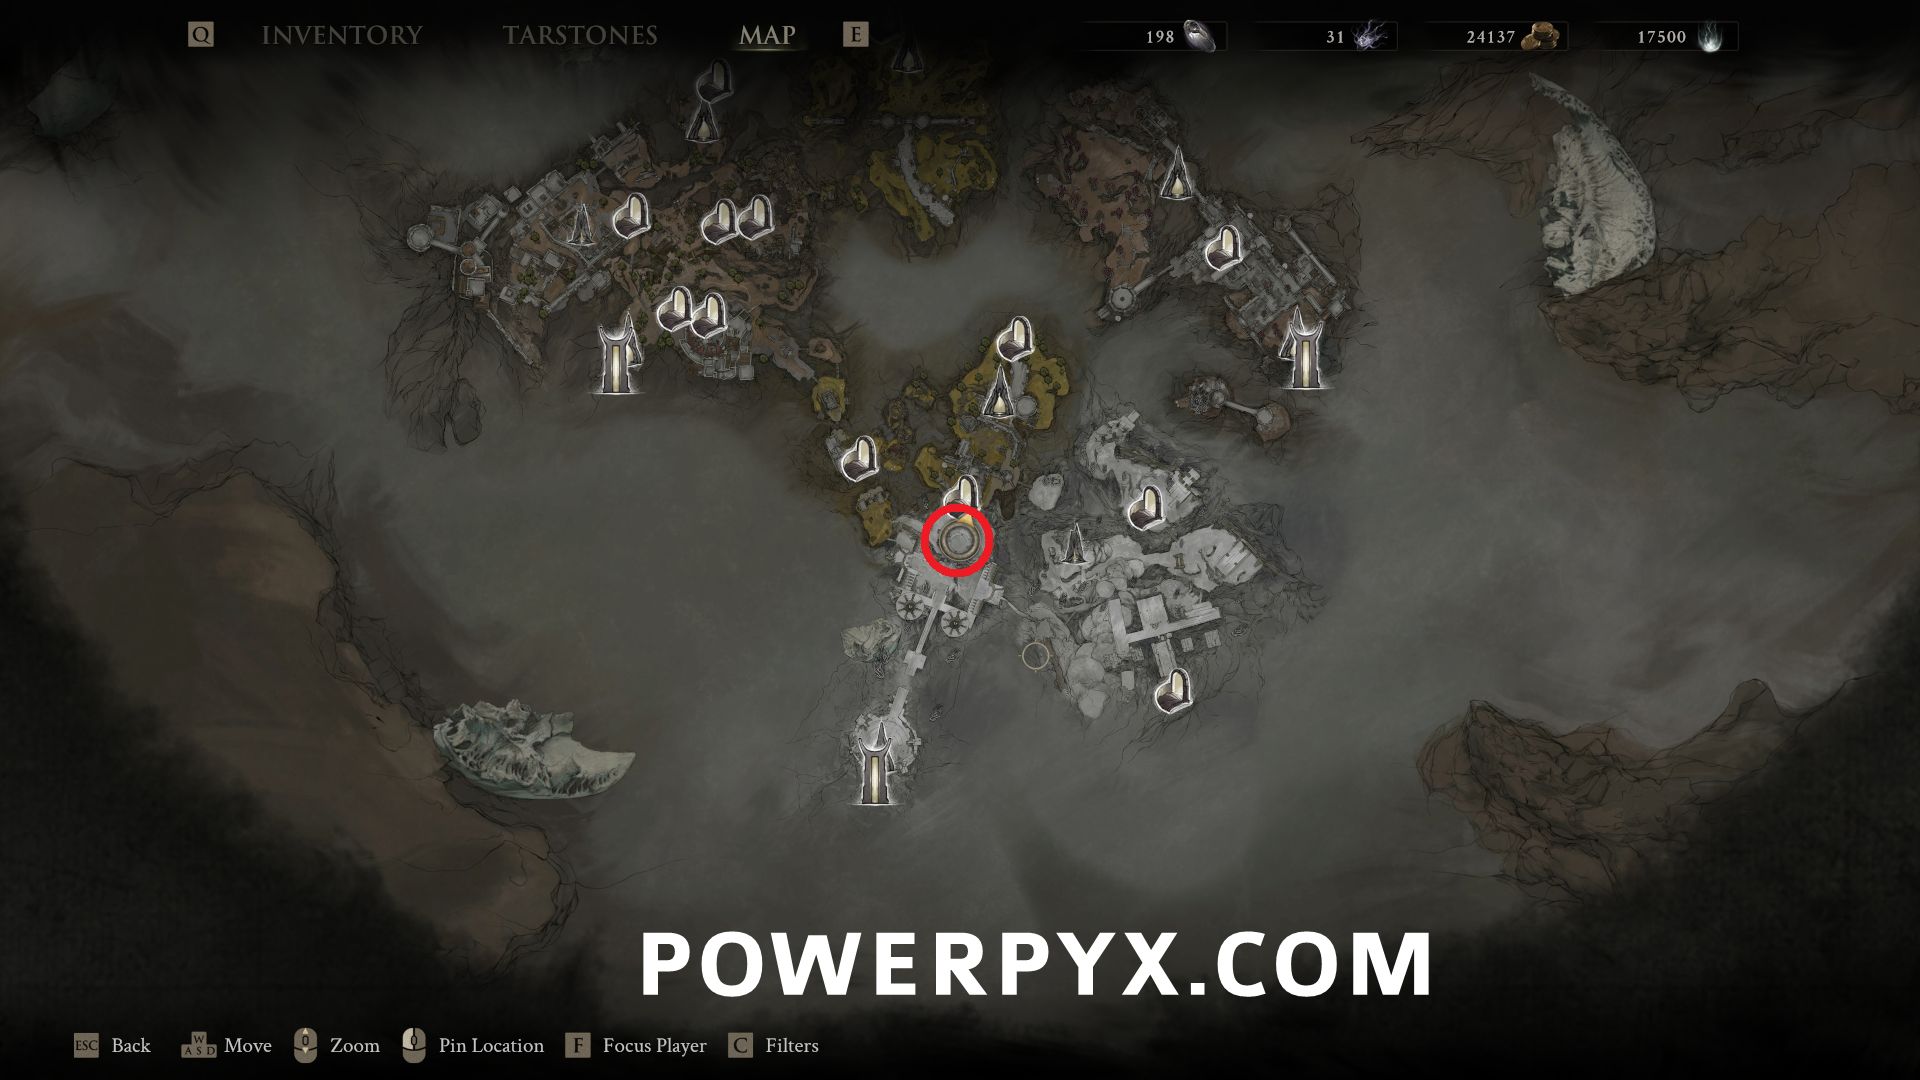
Inside the Castigator’s Keep Beacon, progress through the area until you reach the room with the Ovum. To the right interact with the item and your movement controls will be reversed. Defeat the miniboss Viletongue Batushka to obtain the Tarstone.
#49 – Voltaic Amber
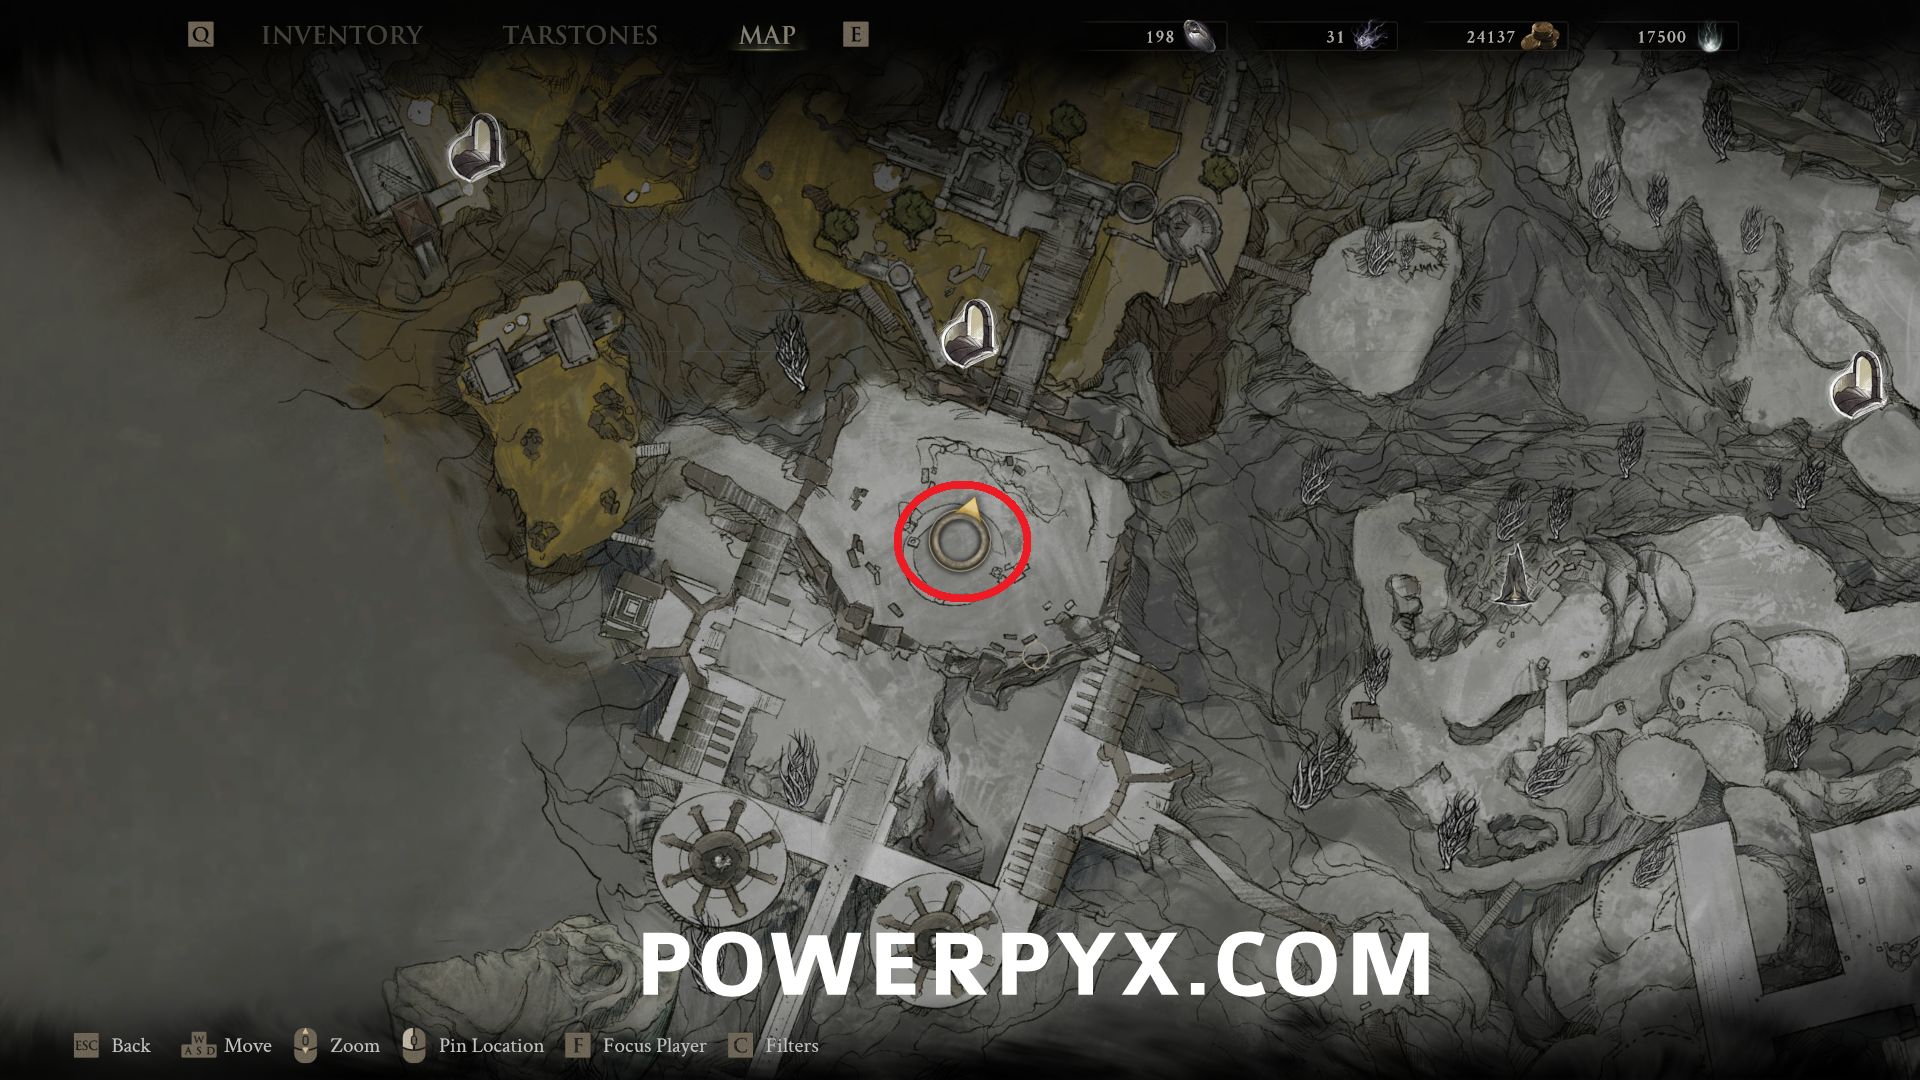
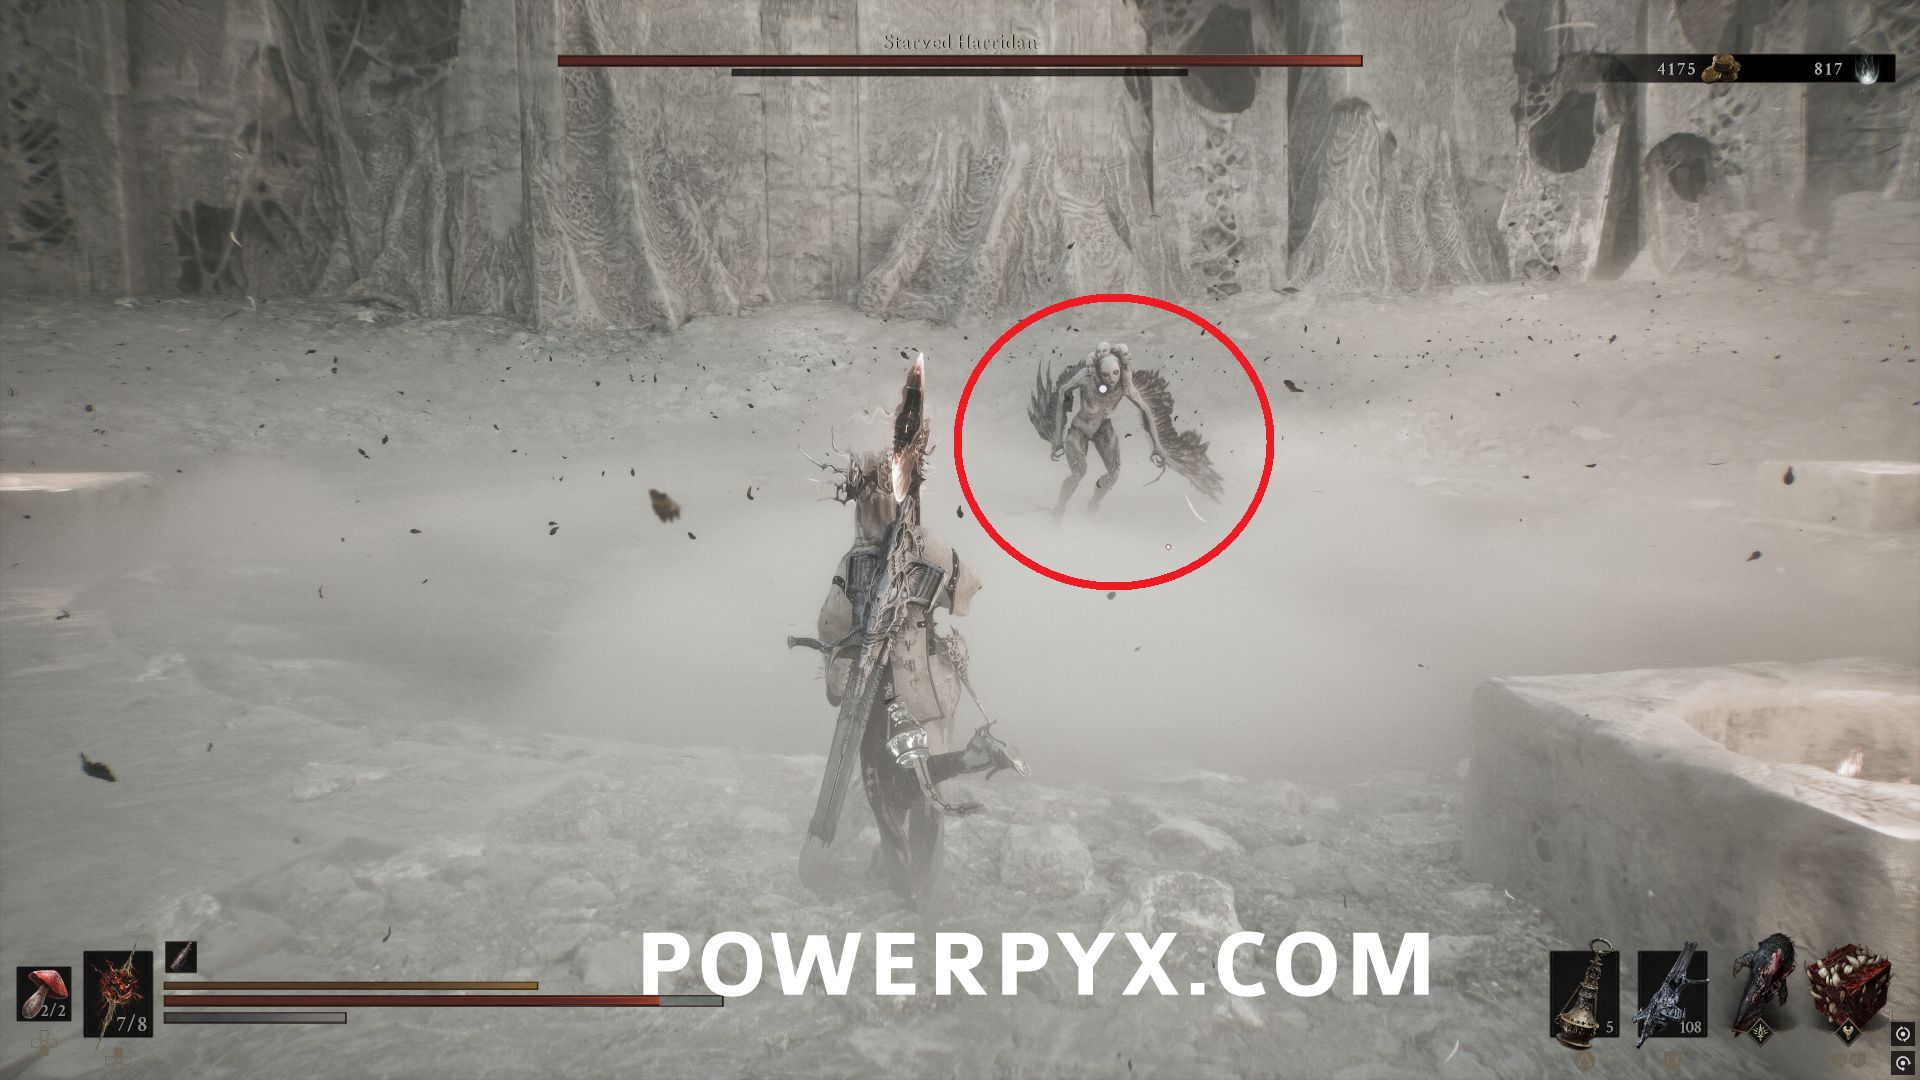
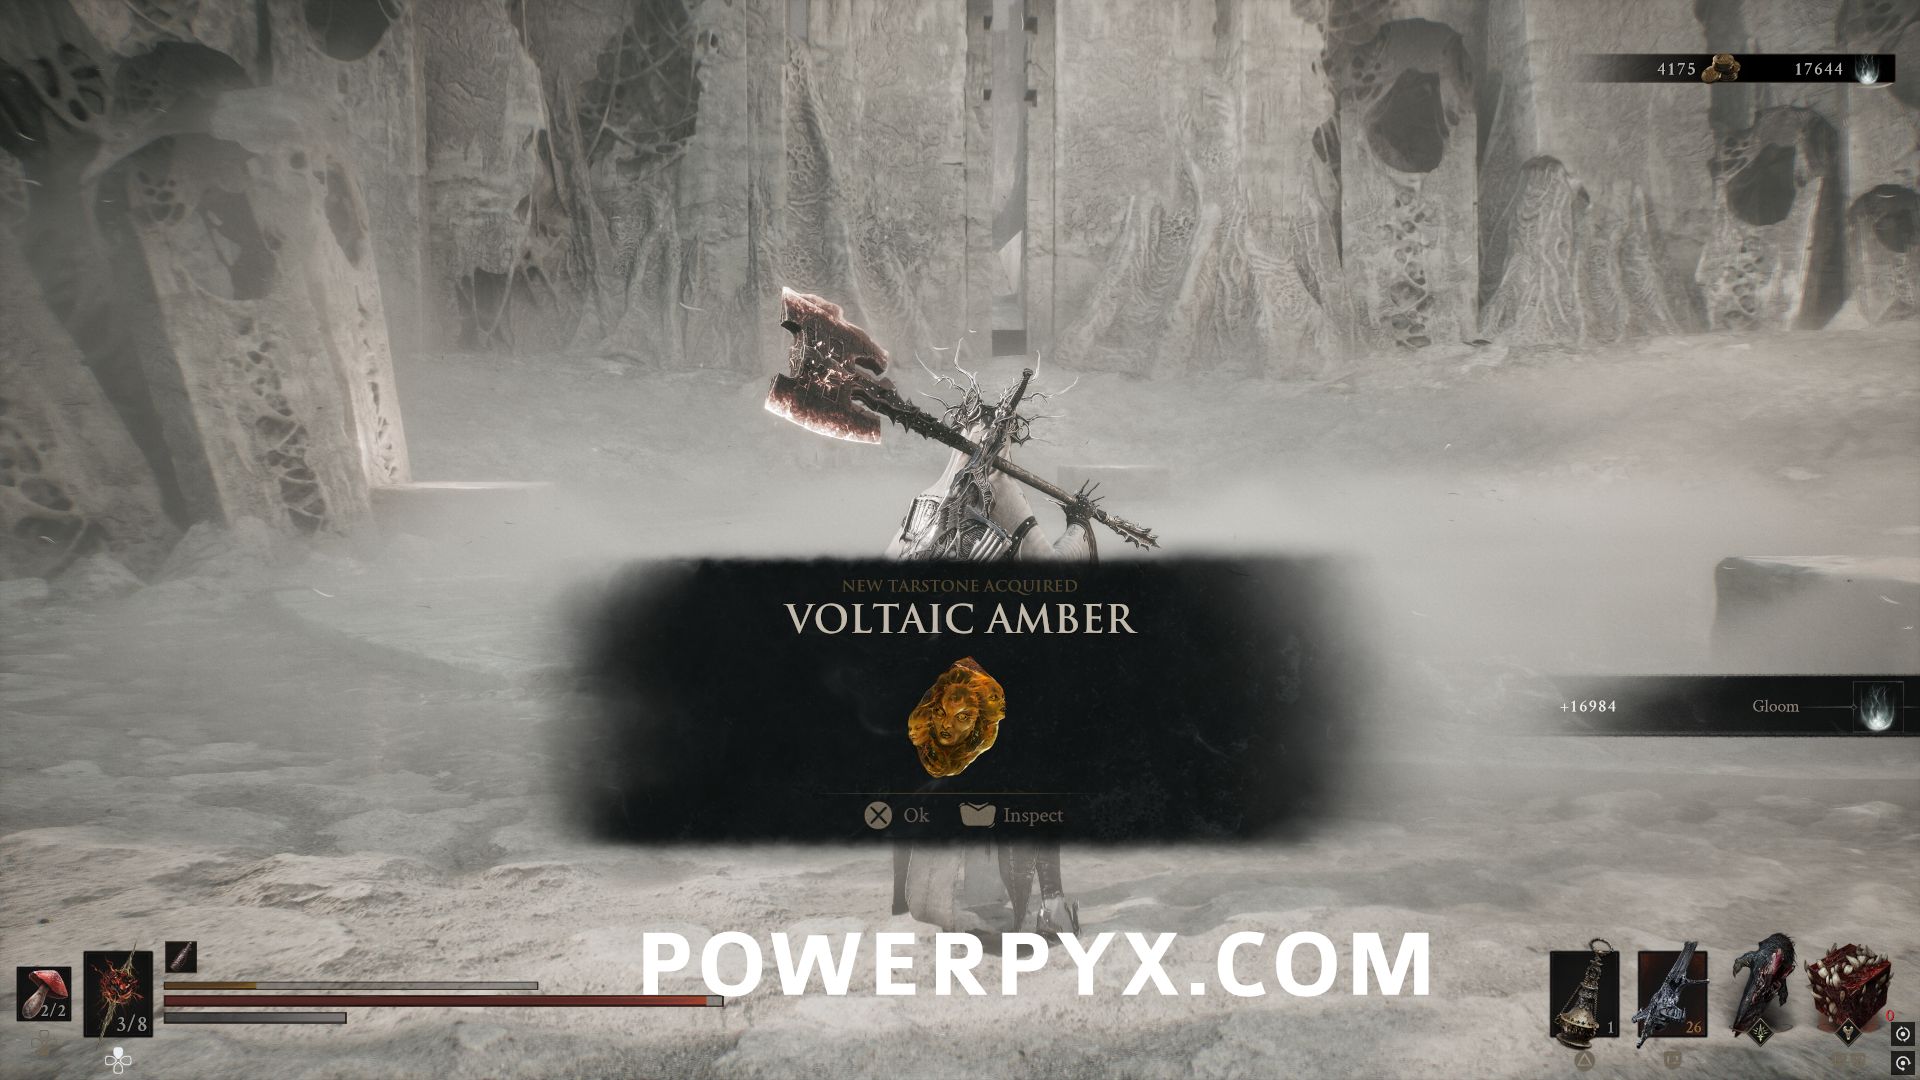
Southwest of Castigator’s Keep Beacon, follow the path and take the elevator up leading to the south to reach the Vestige of Infinity area. Defeat the miniboss Starved Harridan to obtain this Tarstone.
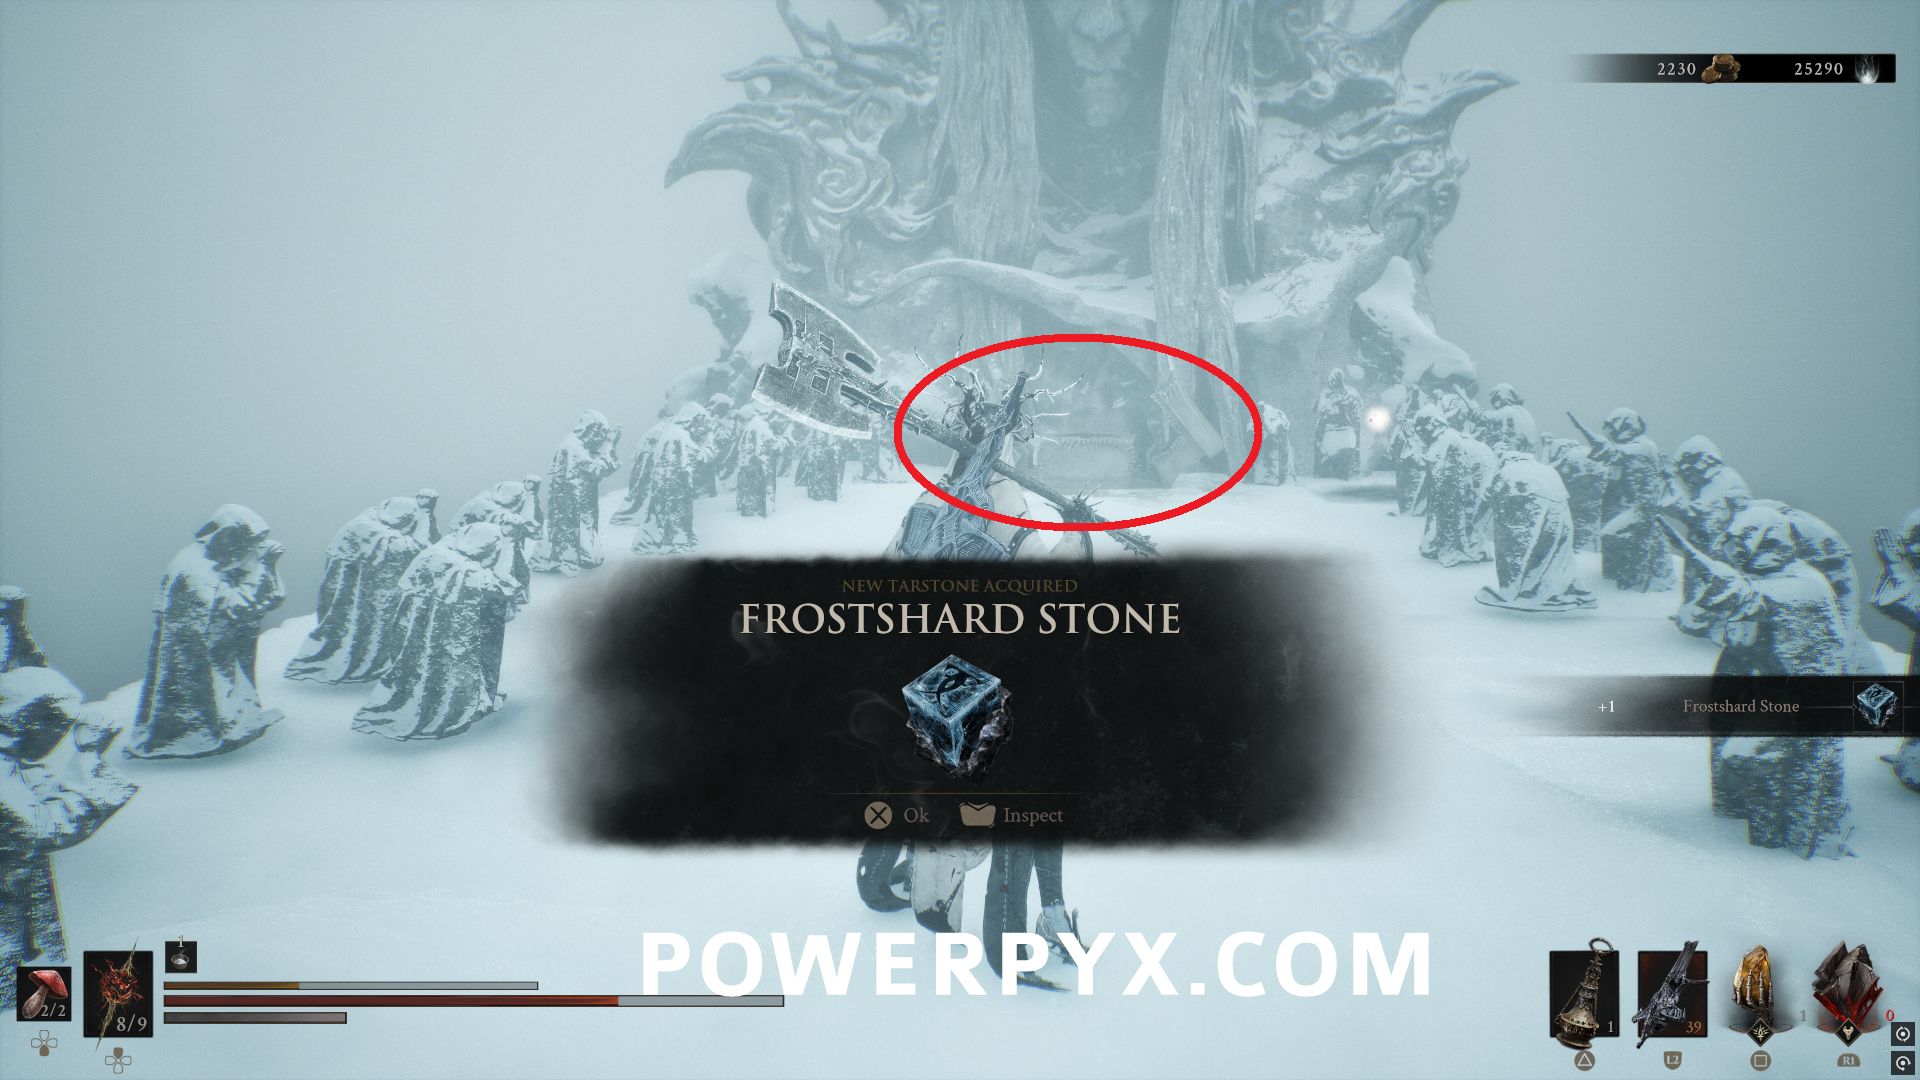
#50 – Frostshard Stone
In the Conquered Temple area, inside the Conqueror’s Horde Beacon, behind where the Ova was located is a path leading further into the Beacon.
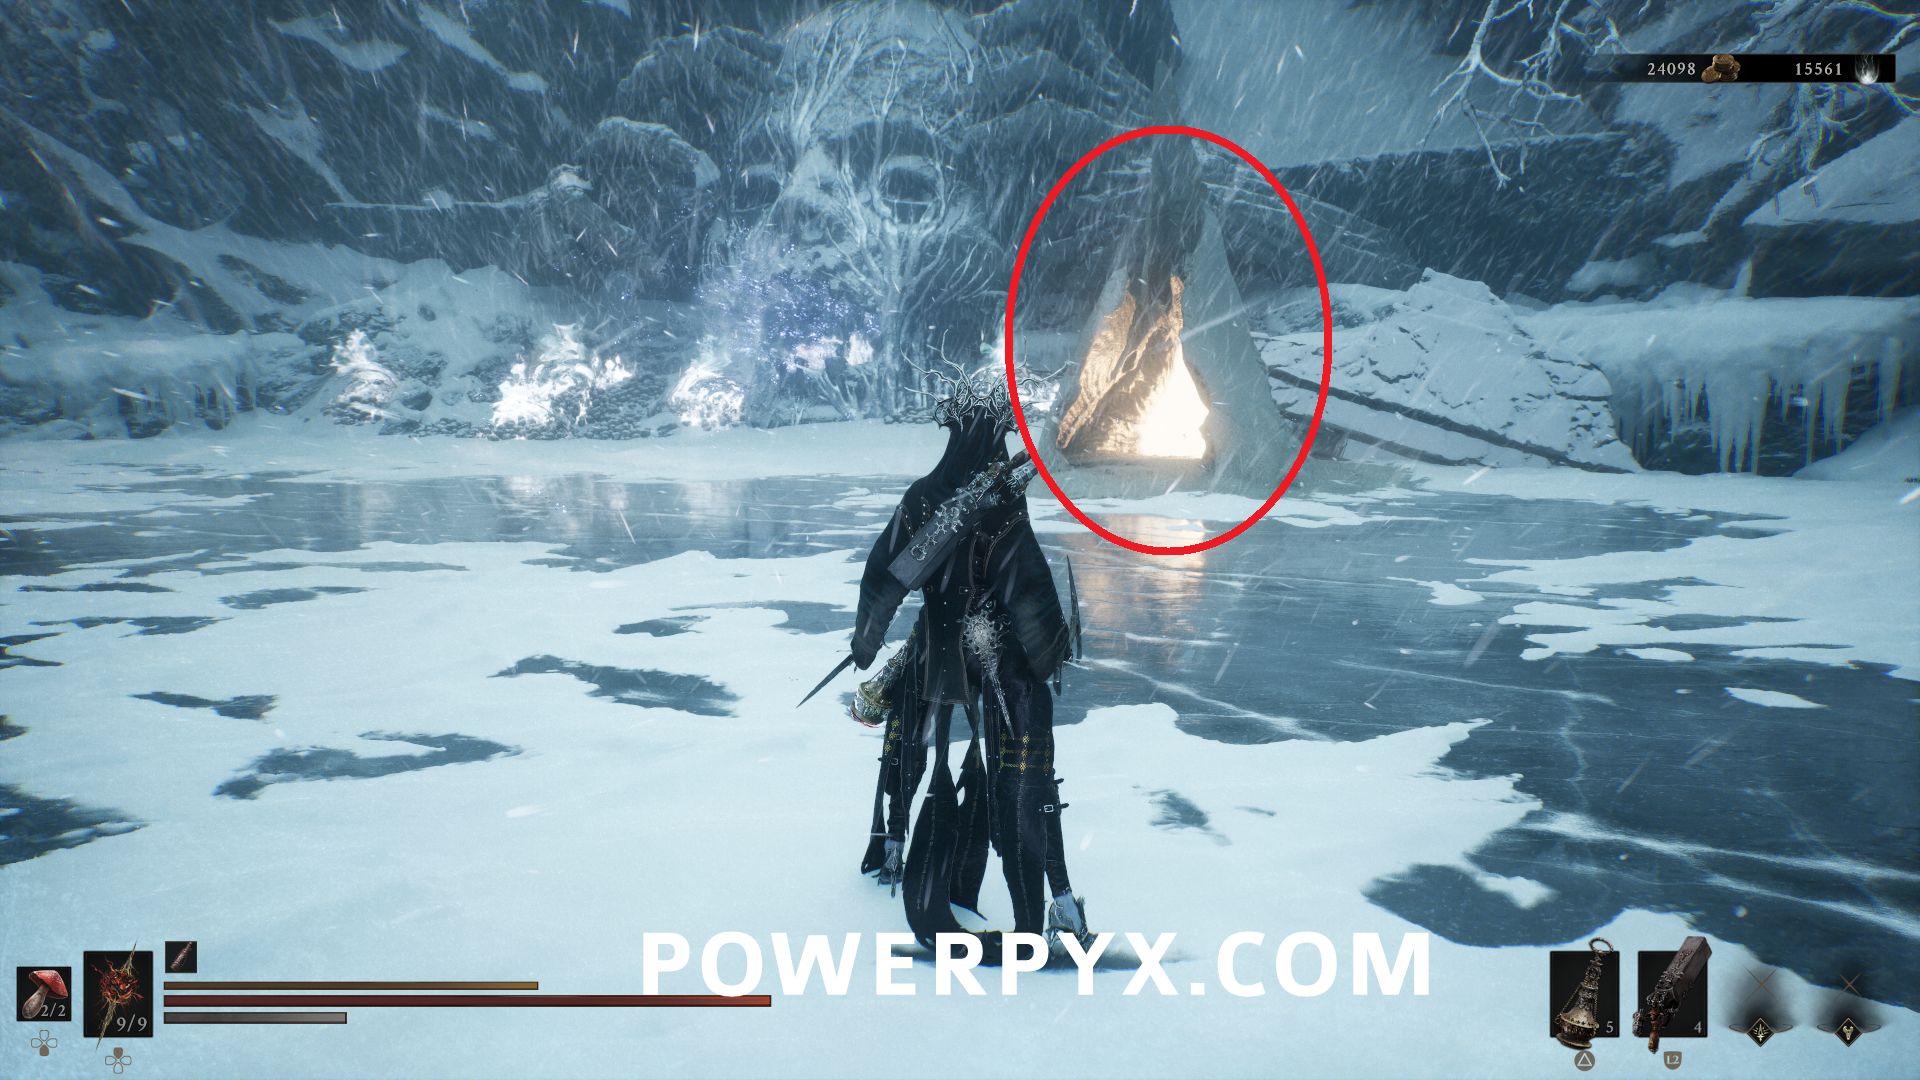
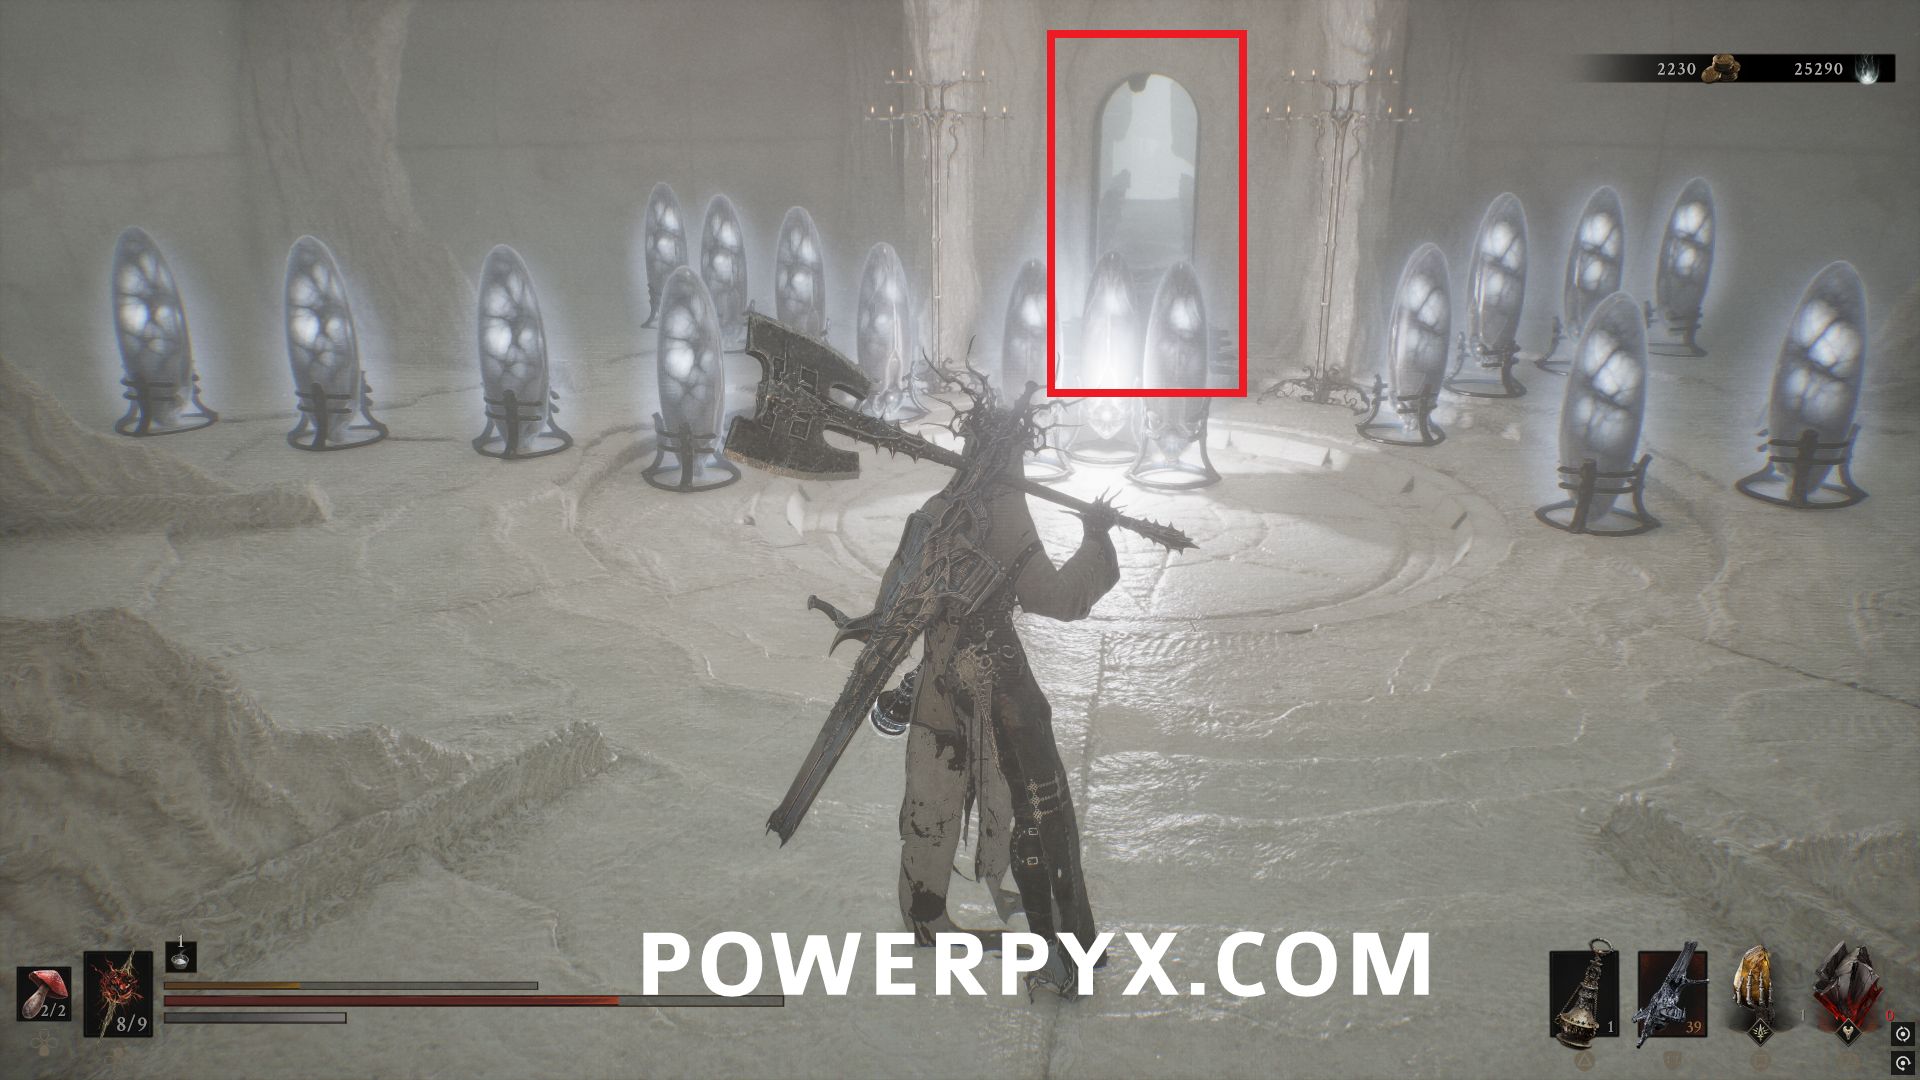
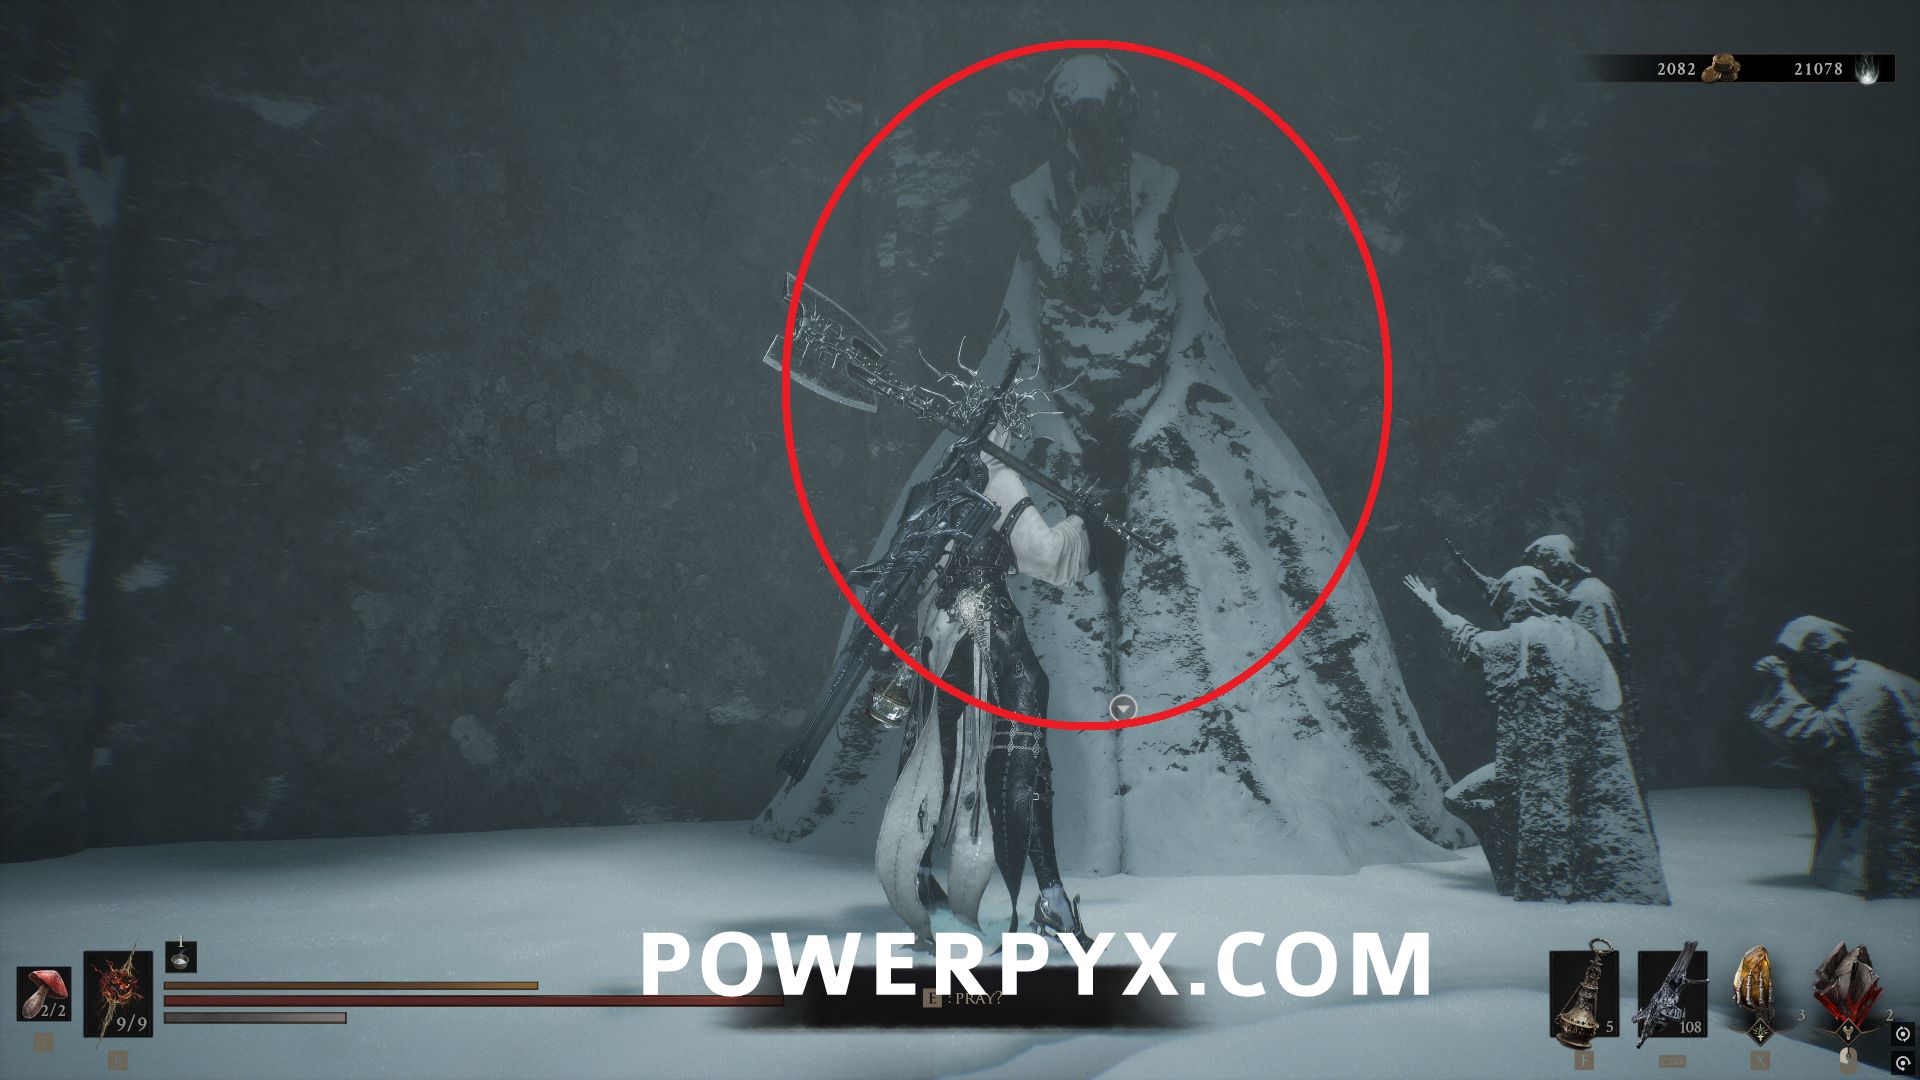
Follow the path through the snowy areas all the way to the end where you can find a chest in front of a large statue that contains this Tarstone.
#51 – Monarch’s Vestige
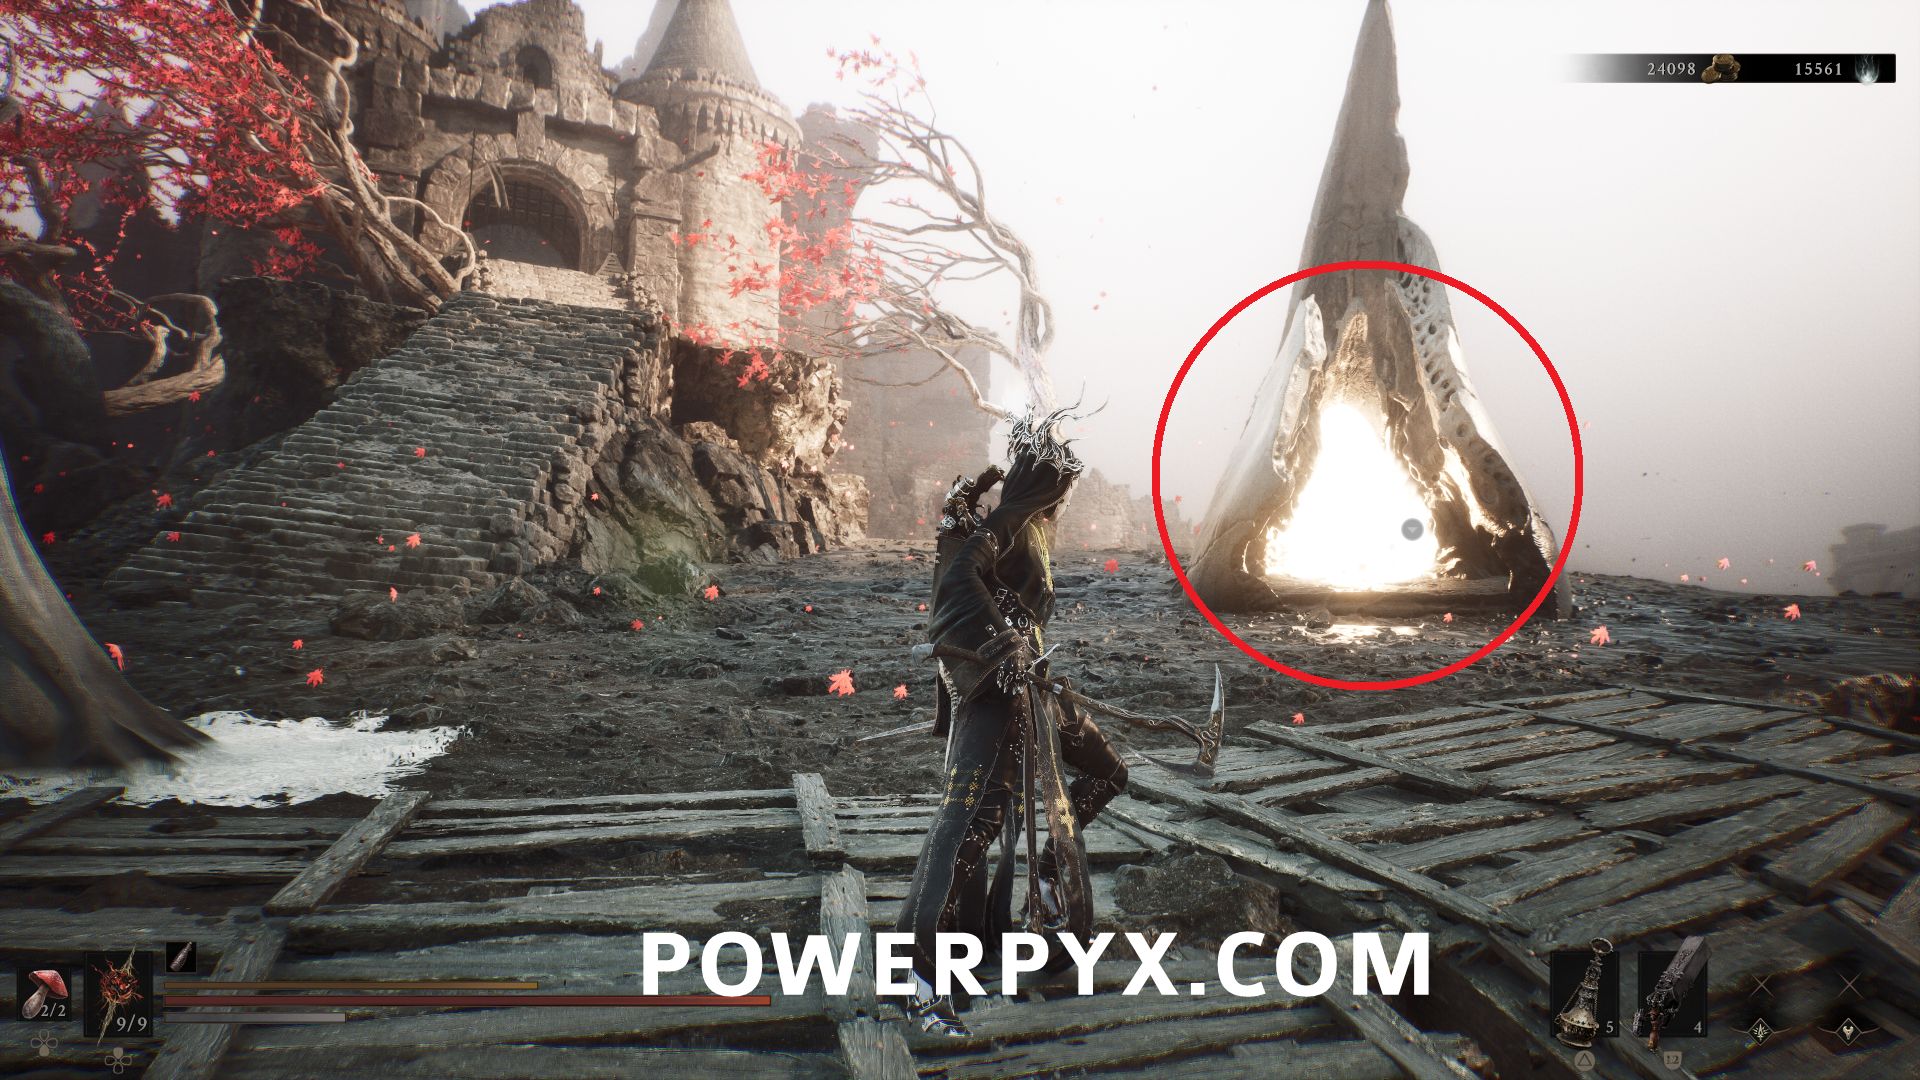
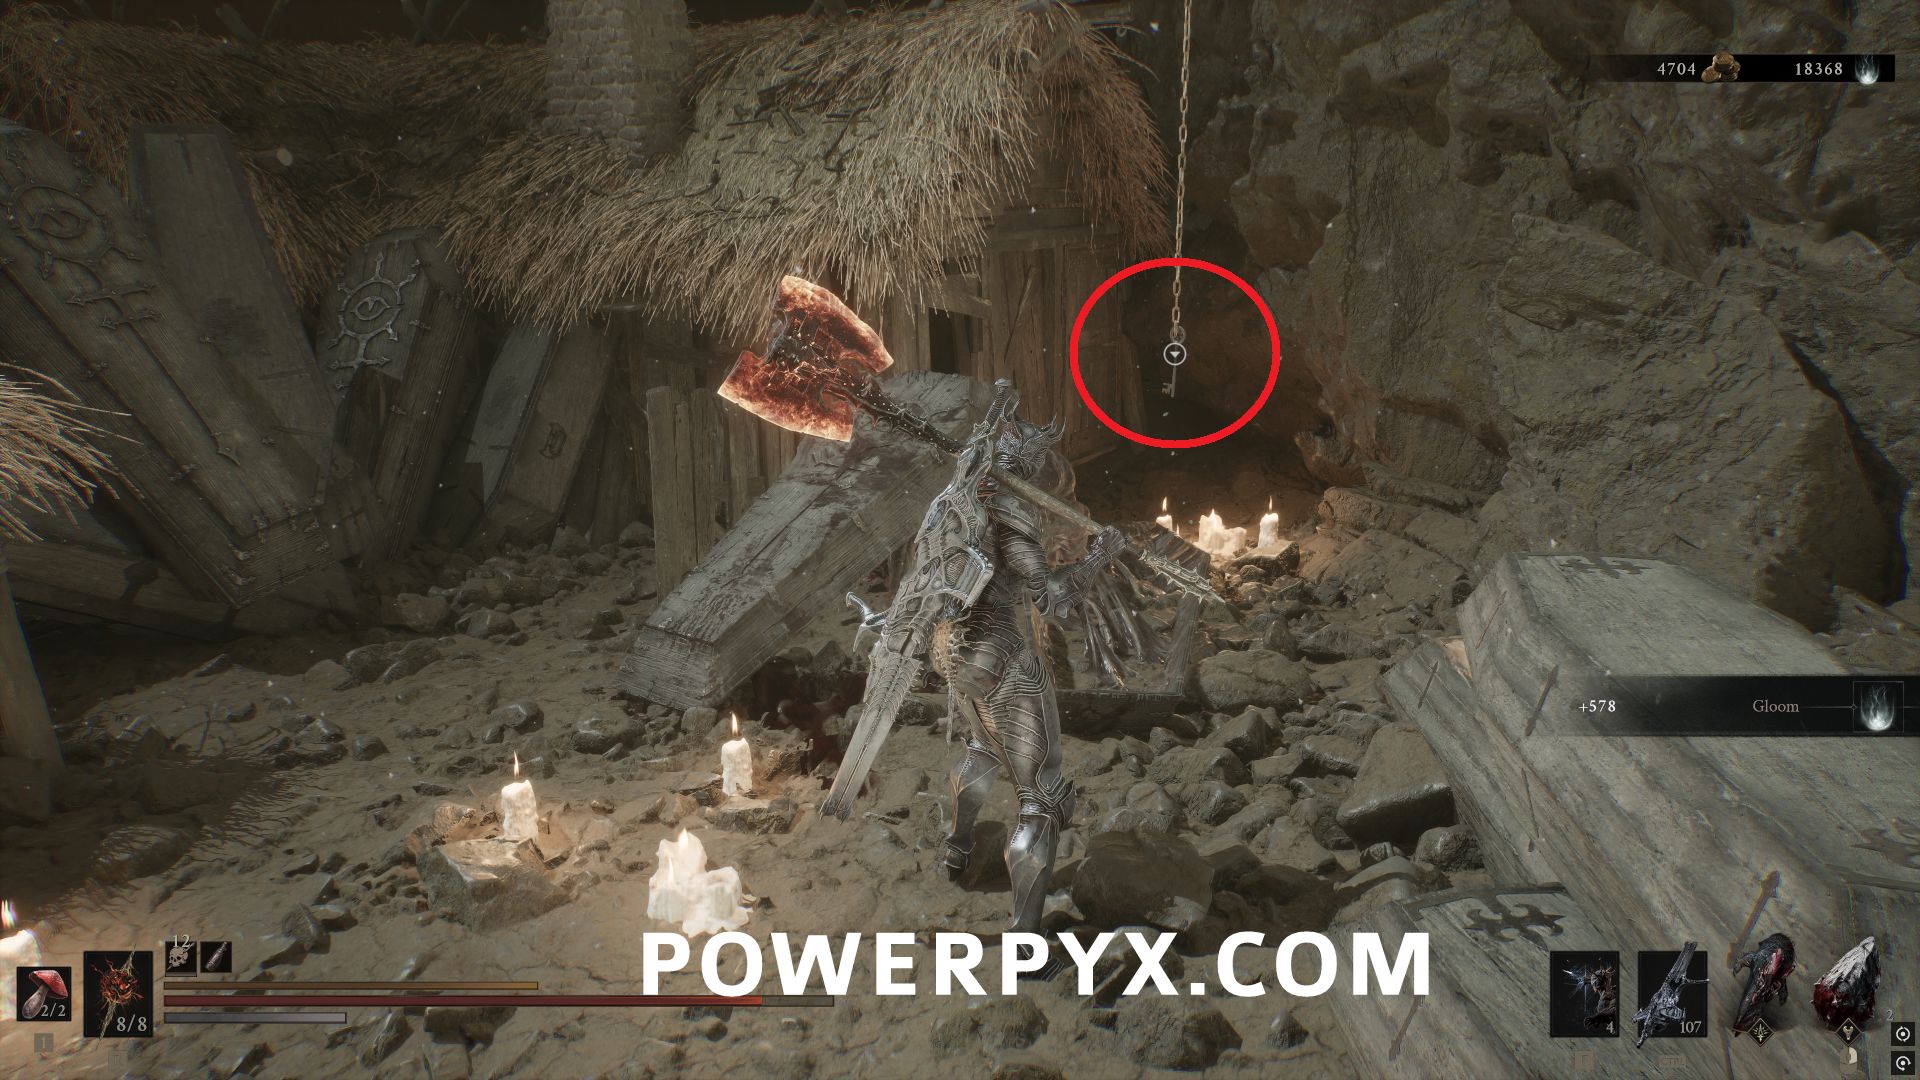
Inside the Abbey Entrance Beacon, first follow through path through the area until you reach the small path behind the houses. Defeat the enemy that appears out of the coffin then behind them you can pick up the Strange Village Key.
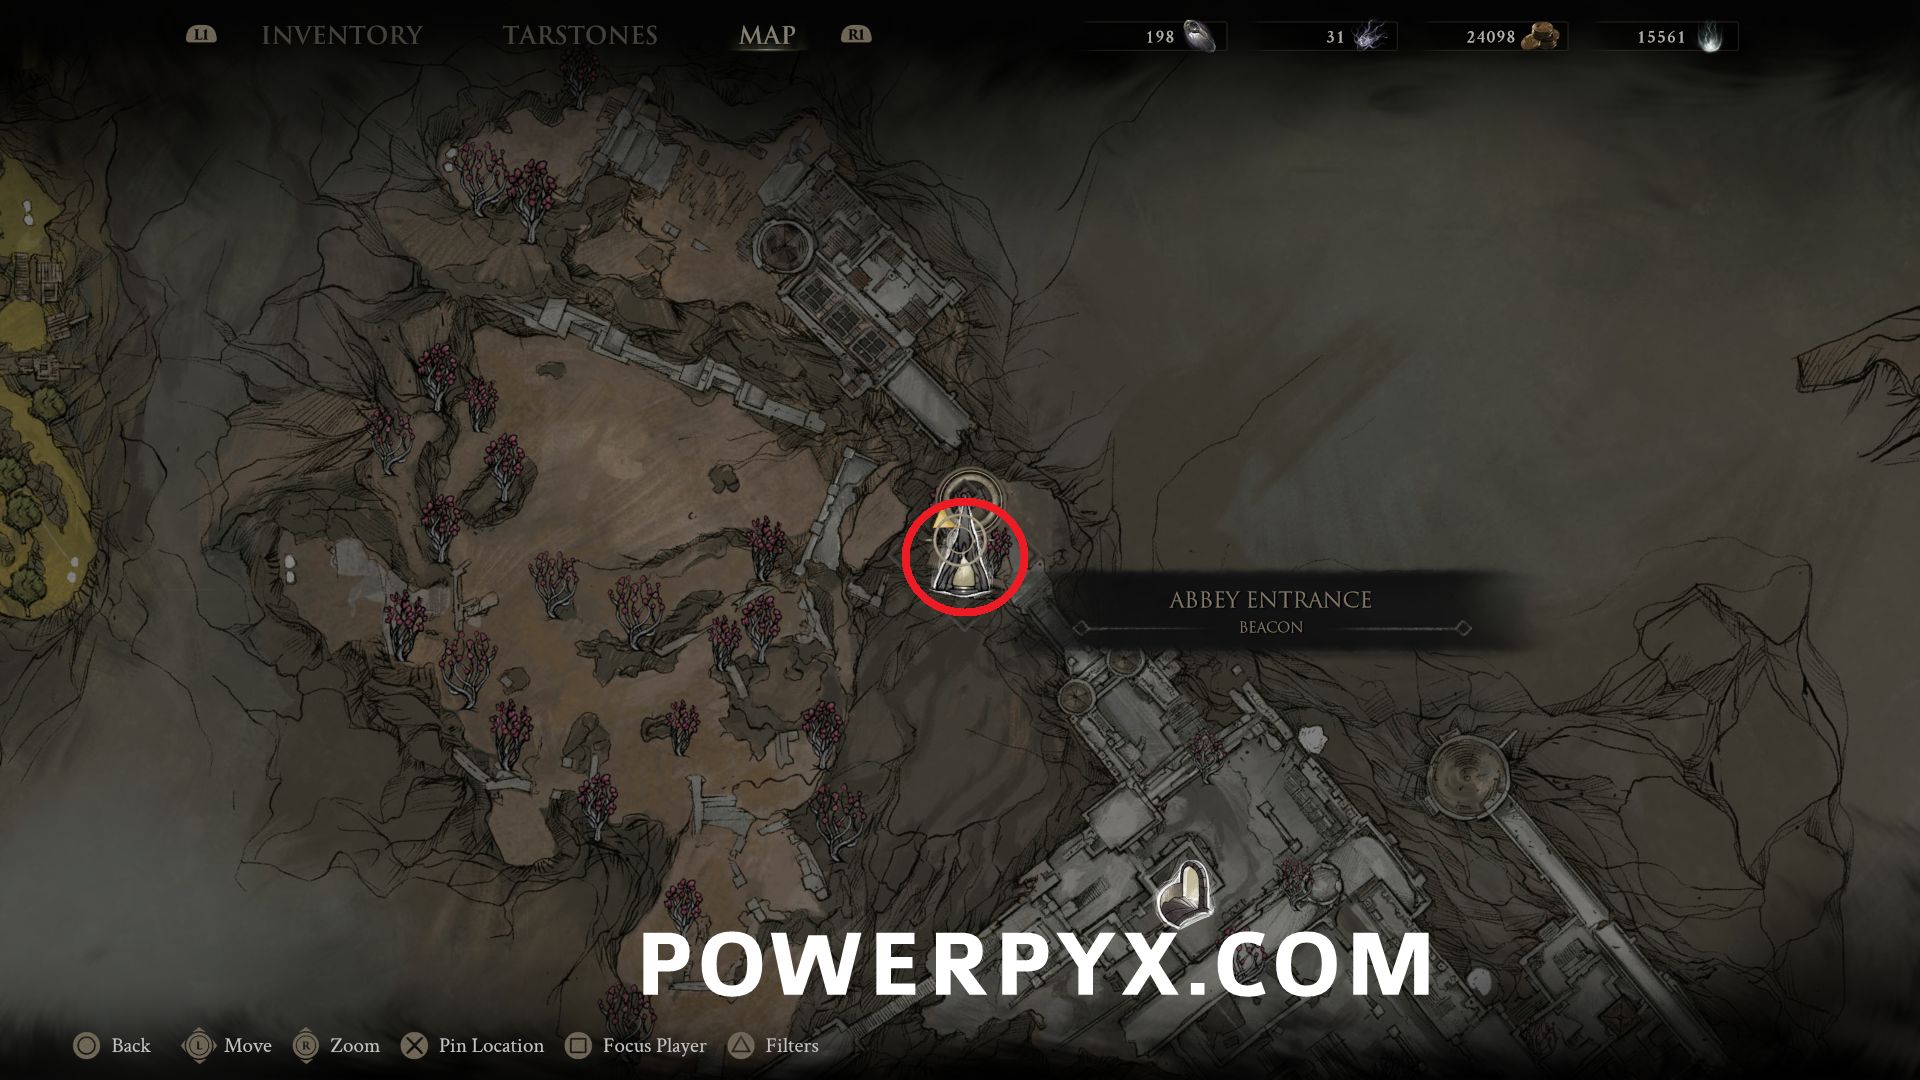
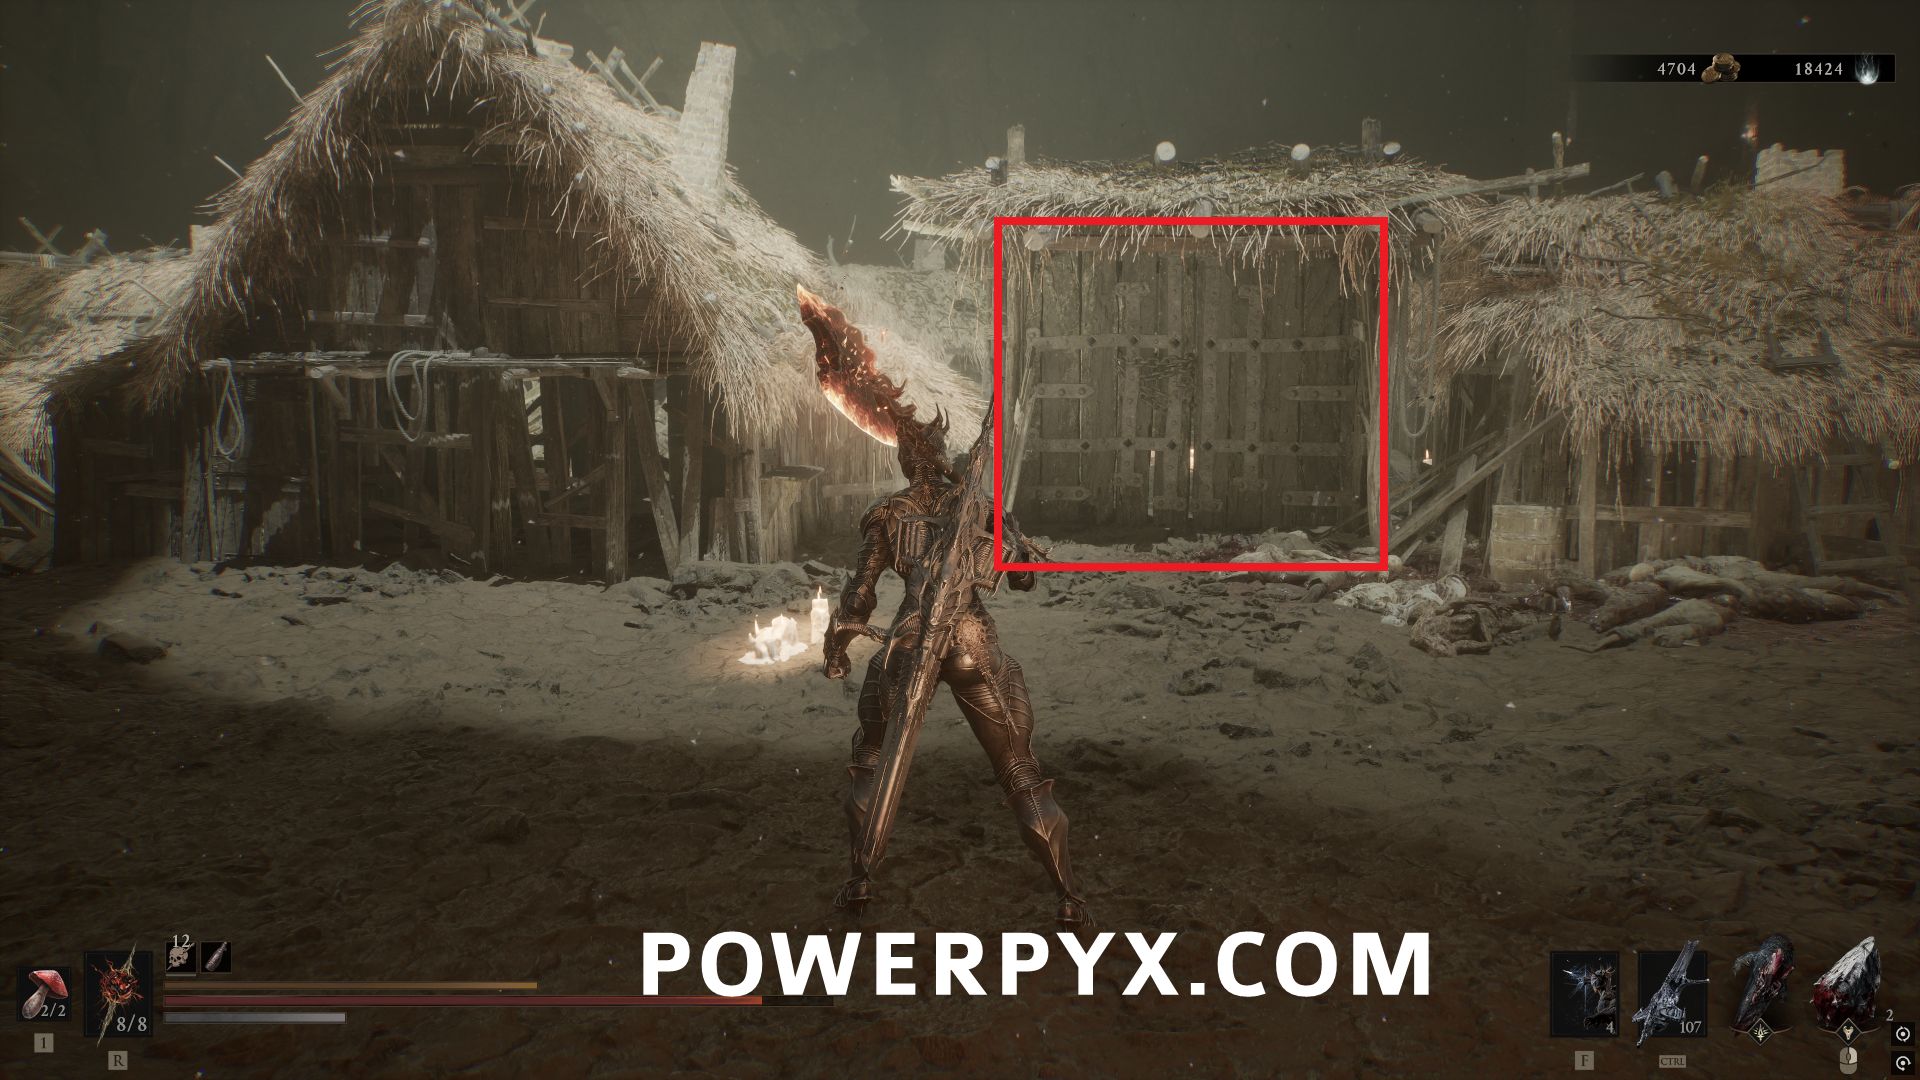
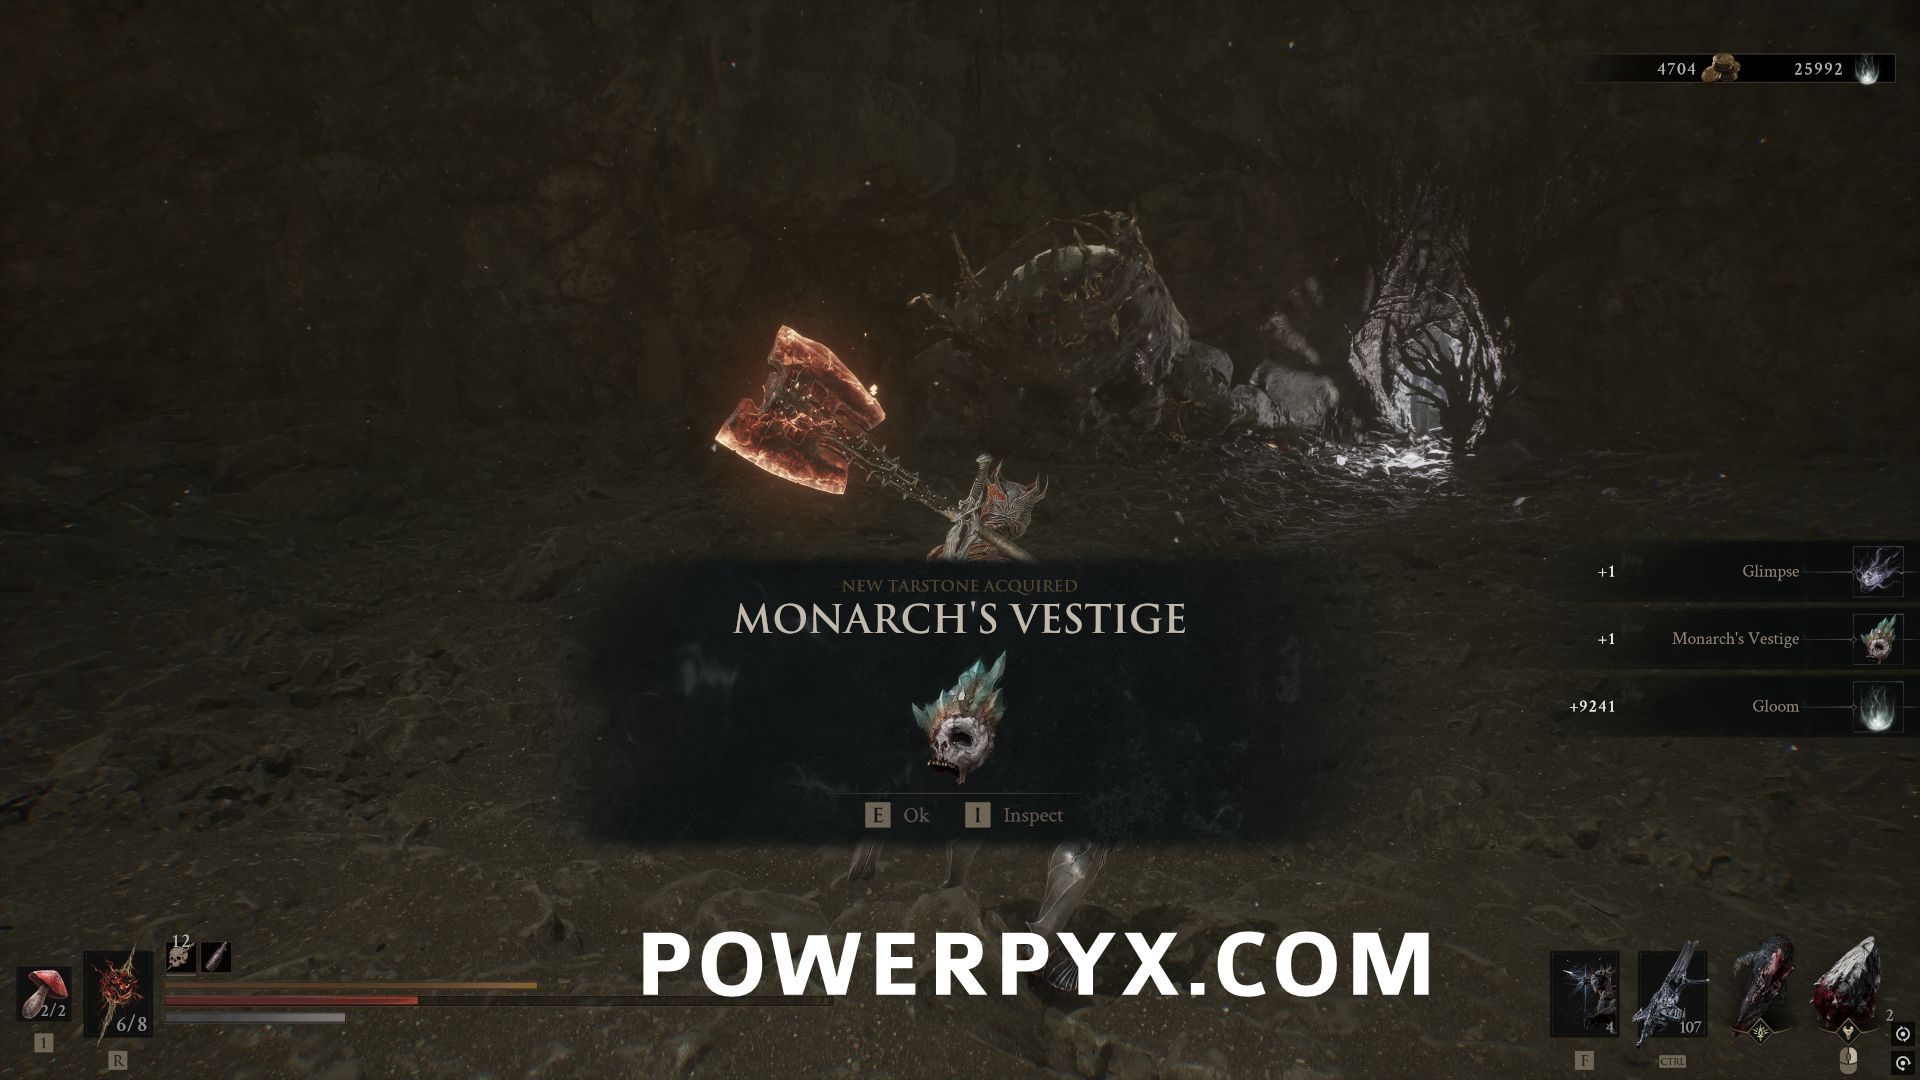
Use the key on the door in the center of the are, then drop down the hole and defeat the miniboss Bor, the Deluded Monarch to receive the Tarstone.
#52 – Accursed Stone
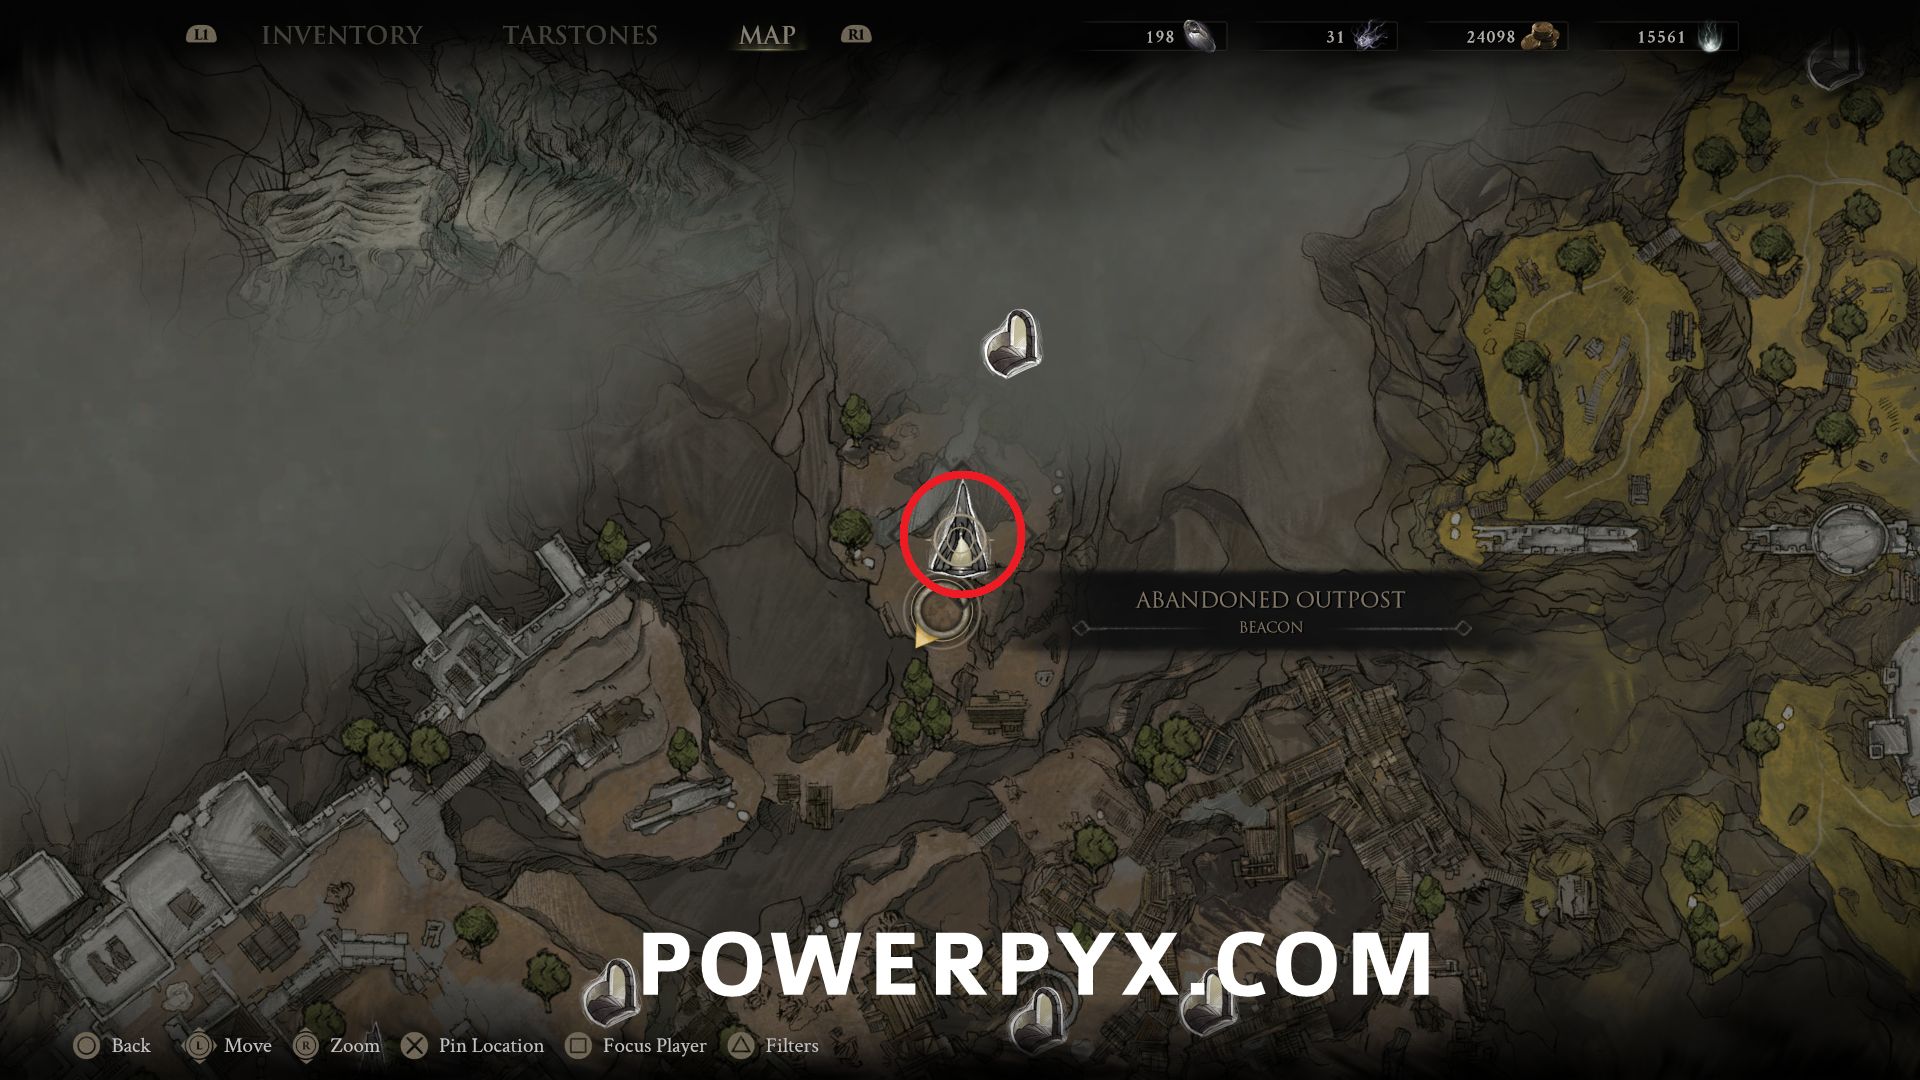
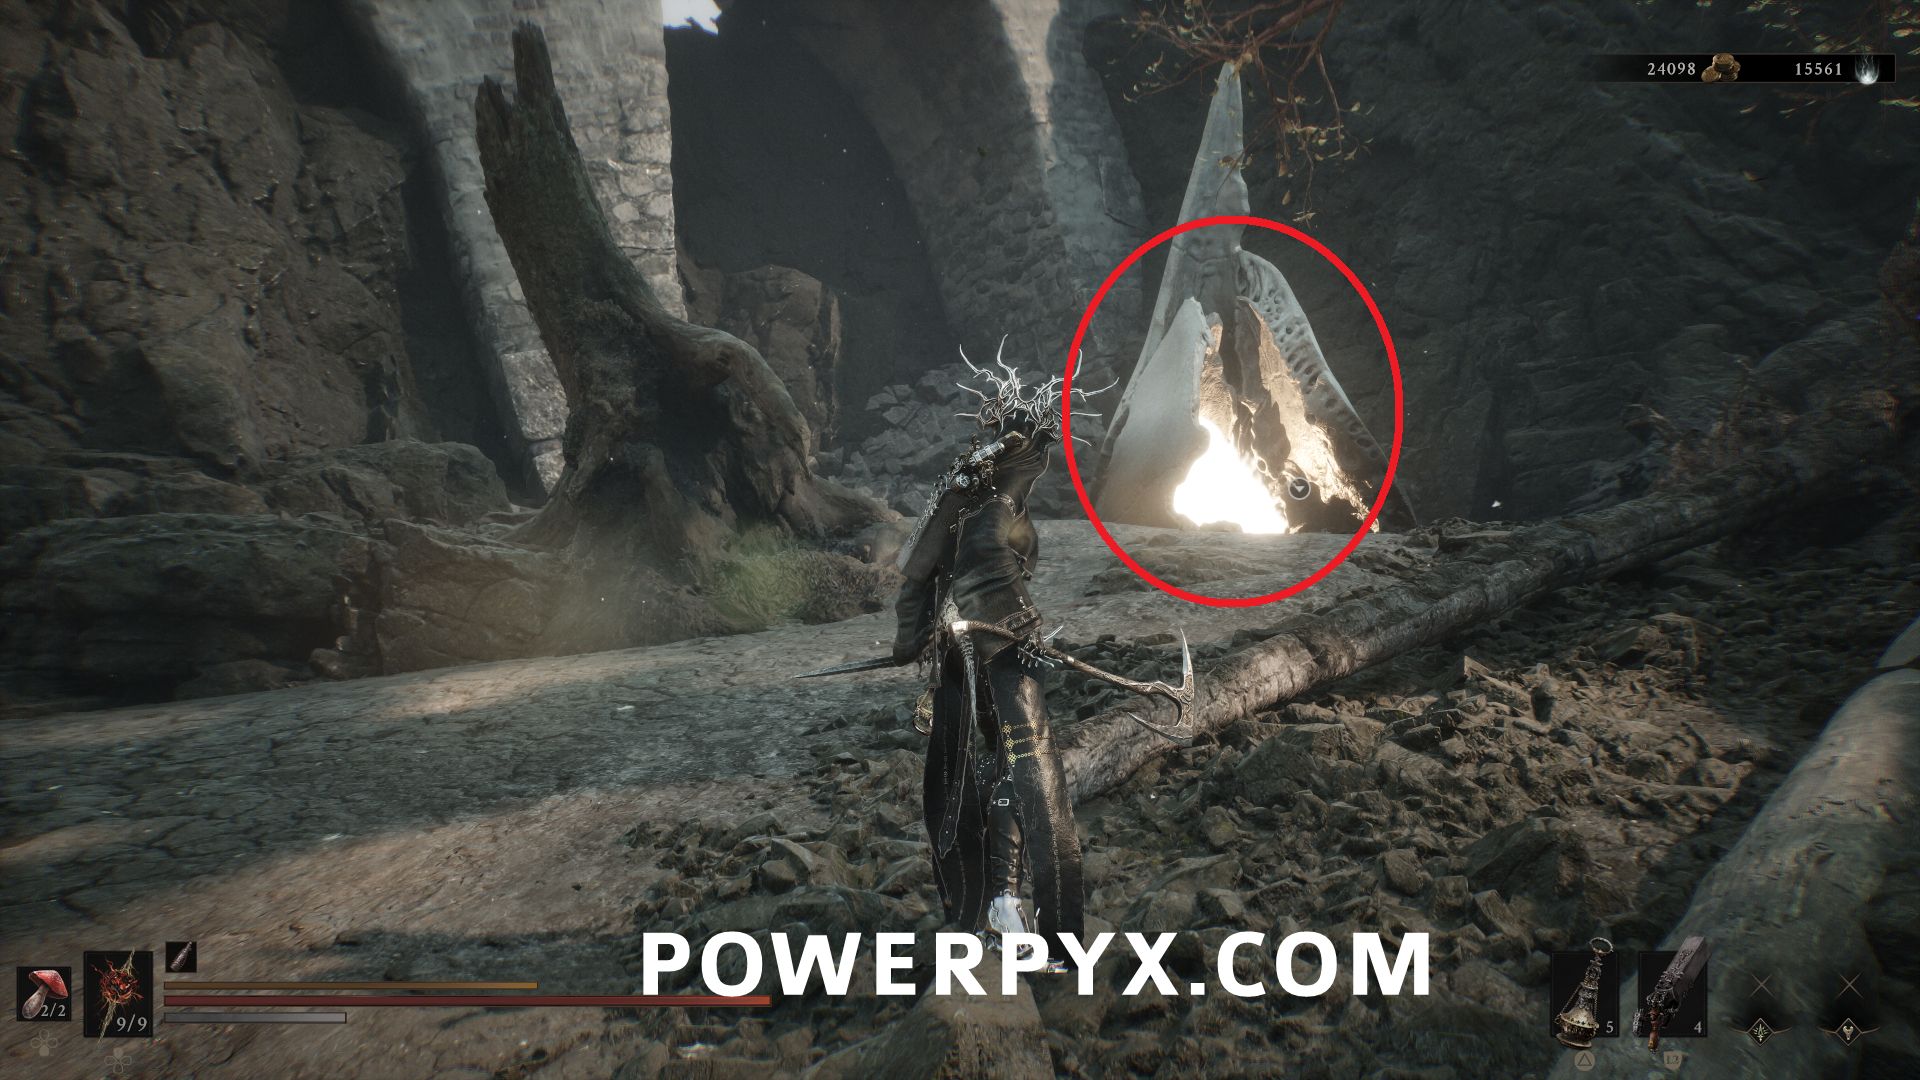
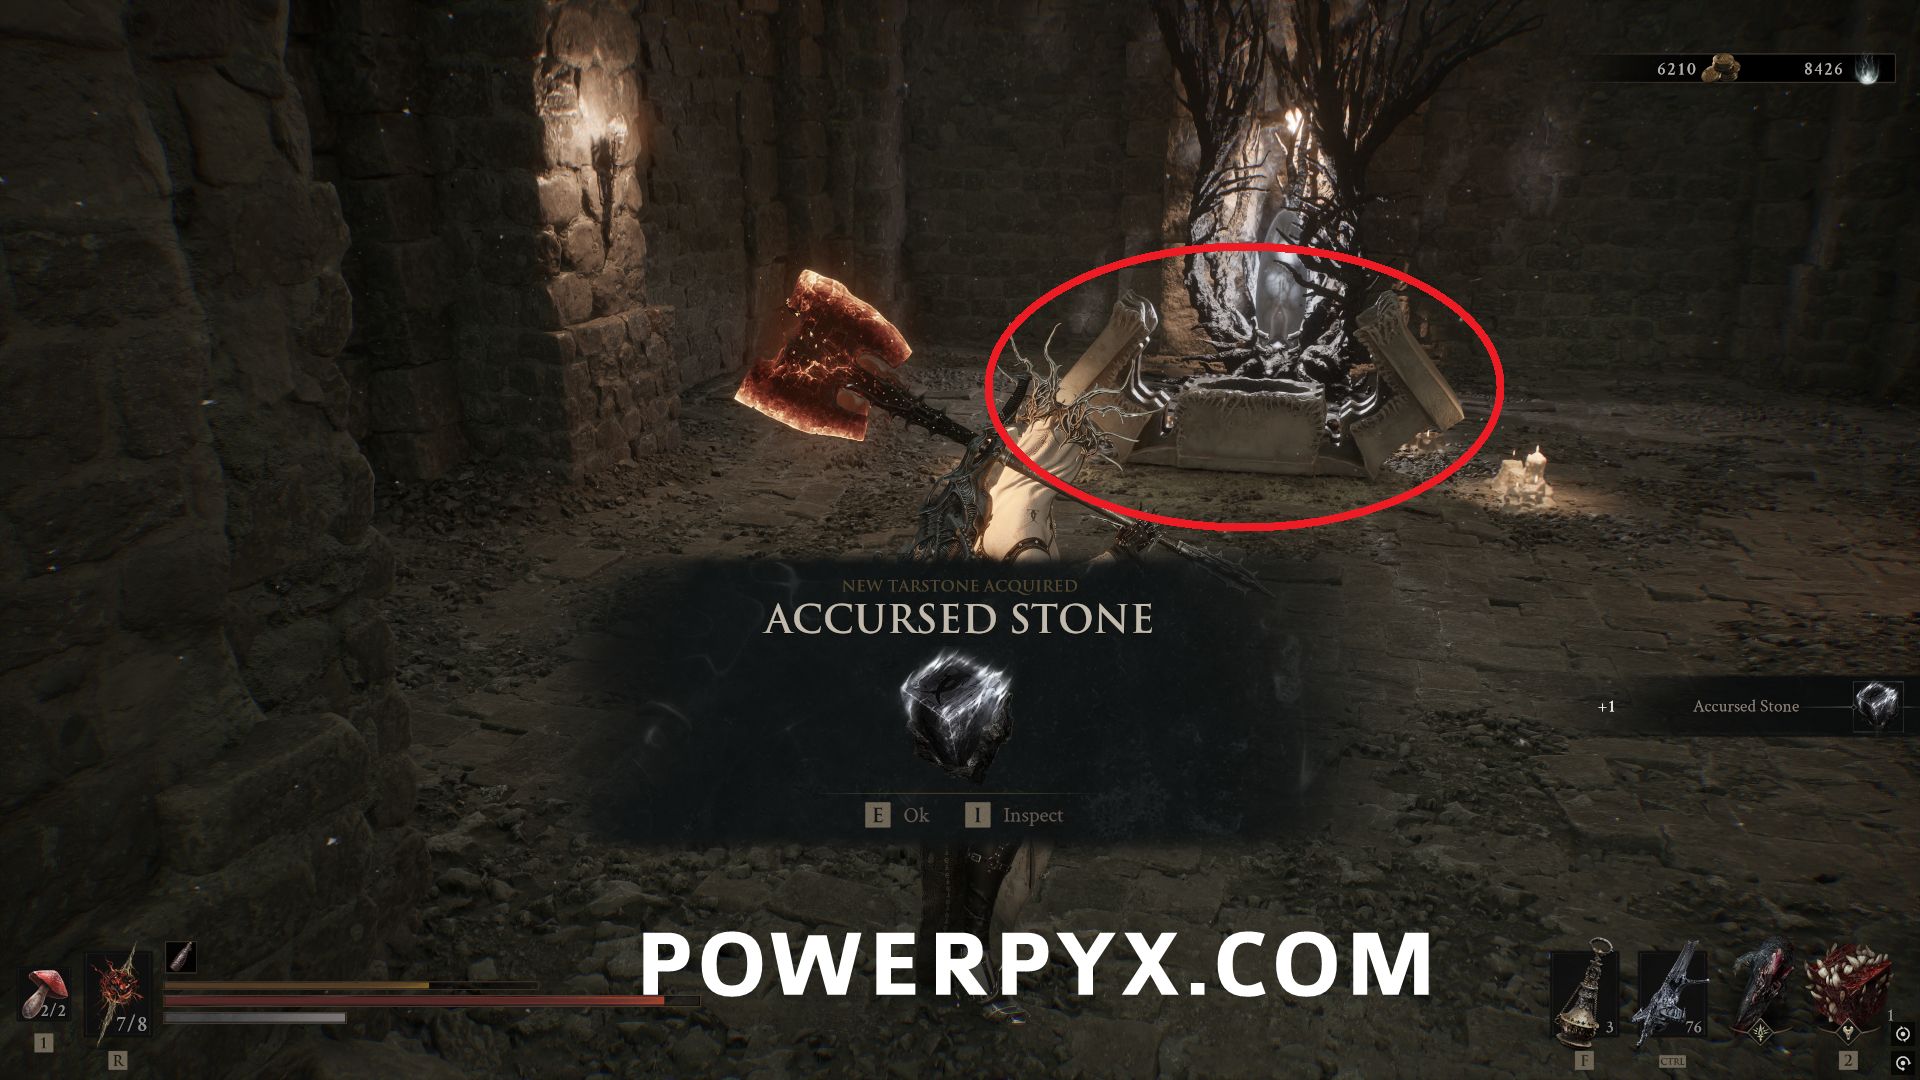
Inside the Abandoned Outpost Beacon, drop down to the lower area and hit the button on the wall to open the gate in the upper area, then open the chest to obtain the Tarstone.
#53 – Weeping Stone
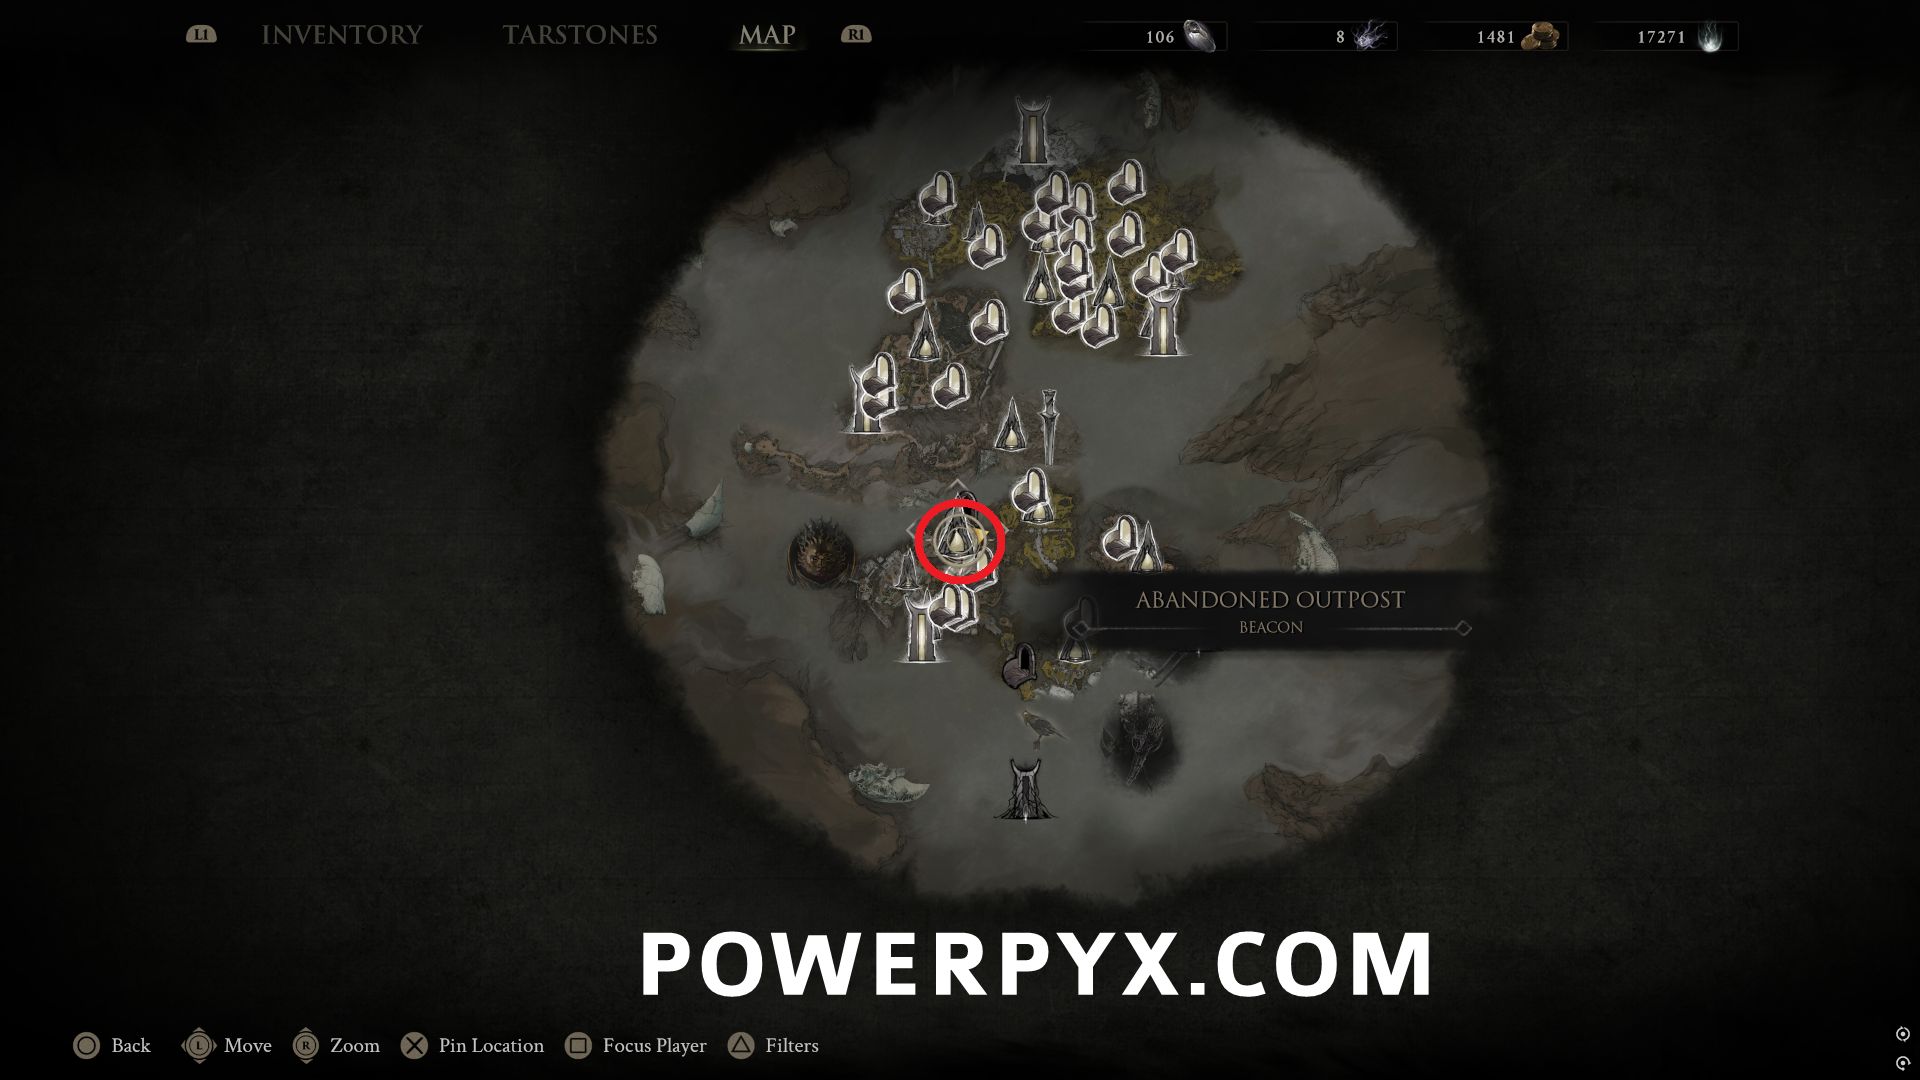
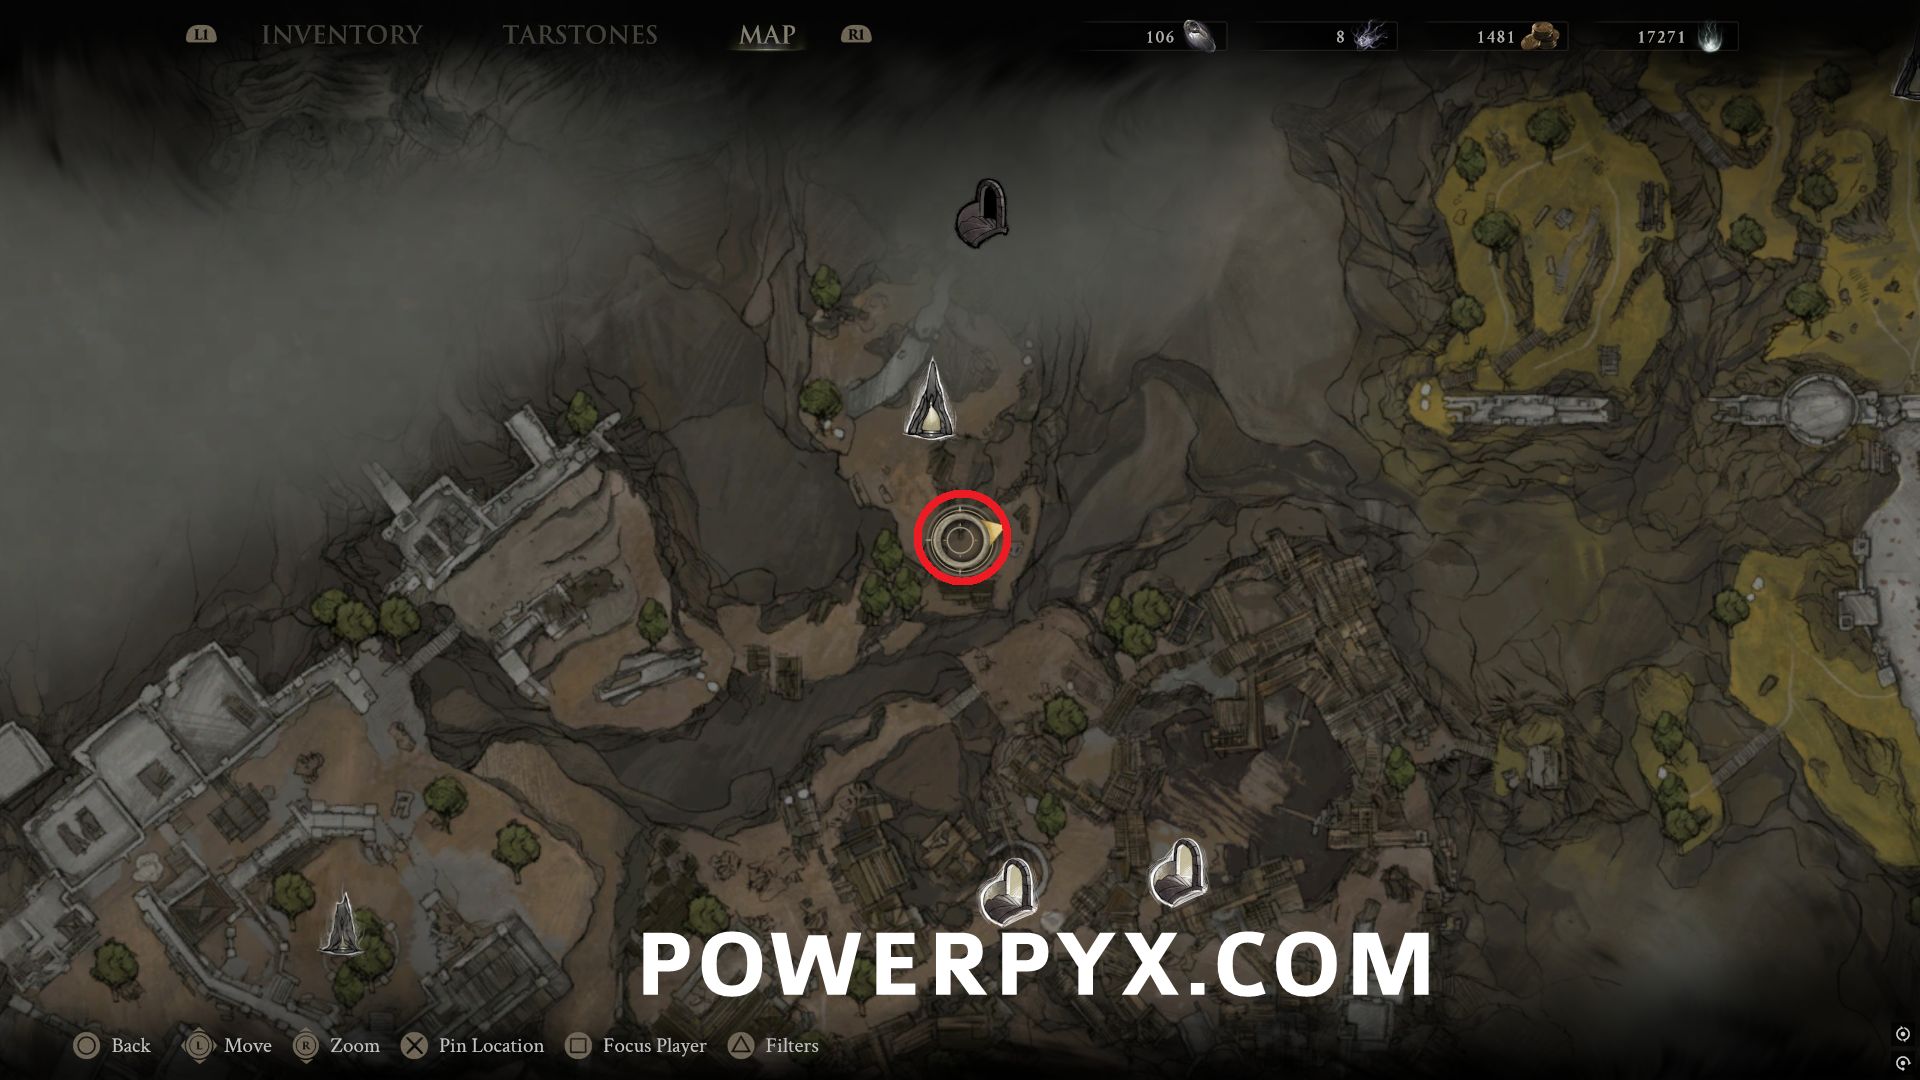
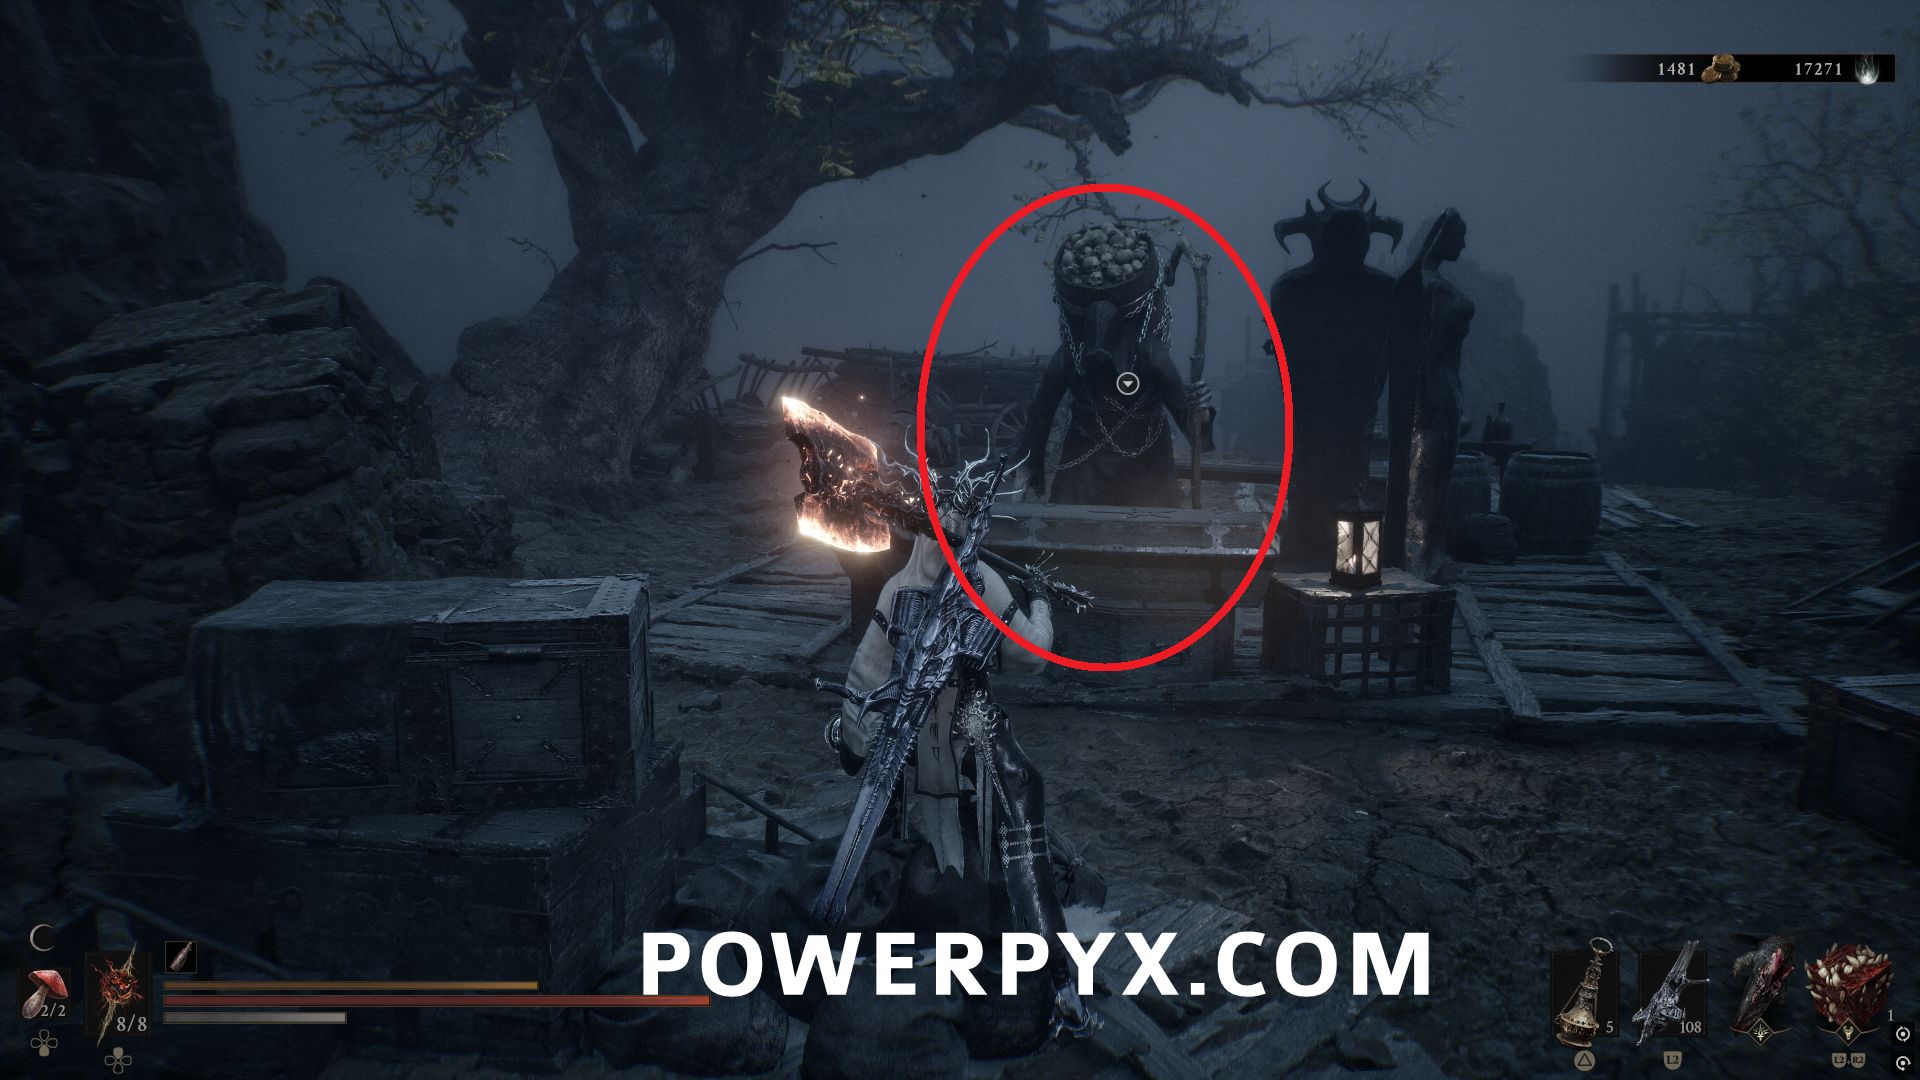
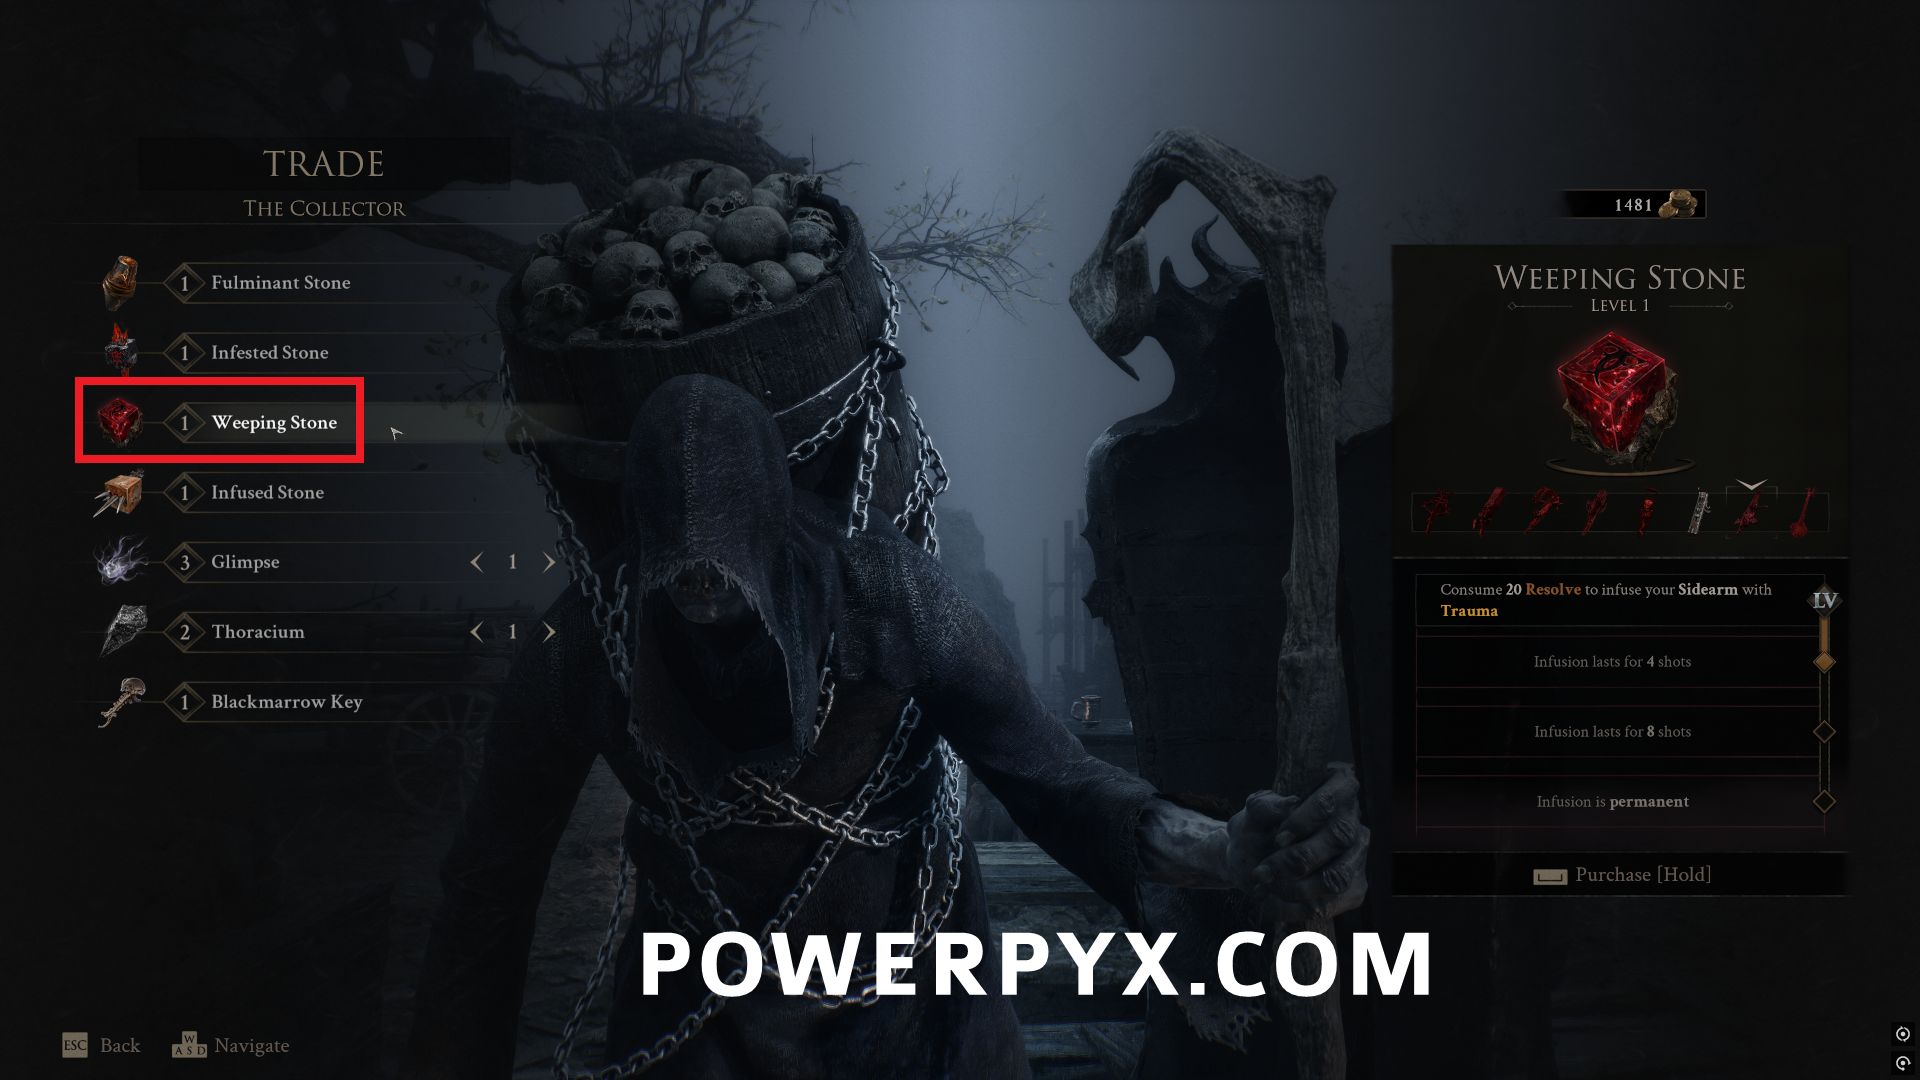
When the game is changed to night time, go directly south of Abandoned Outpost Beacon and a vendor named The Collector will be present. Purchase this Tarstone for 1500 Coin.
Abilities
#54 – Acolyte’s Stone
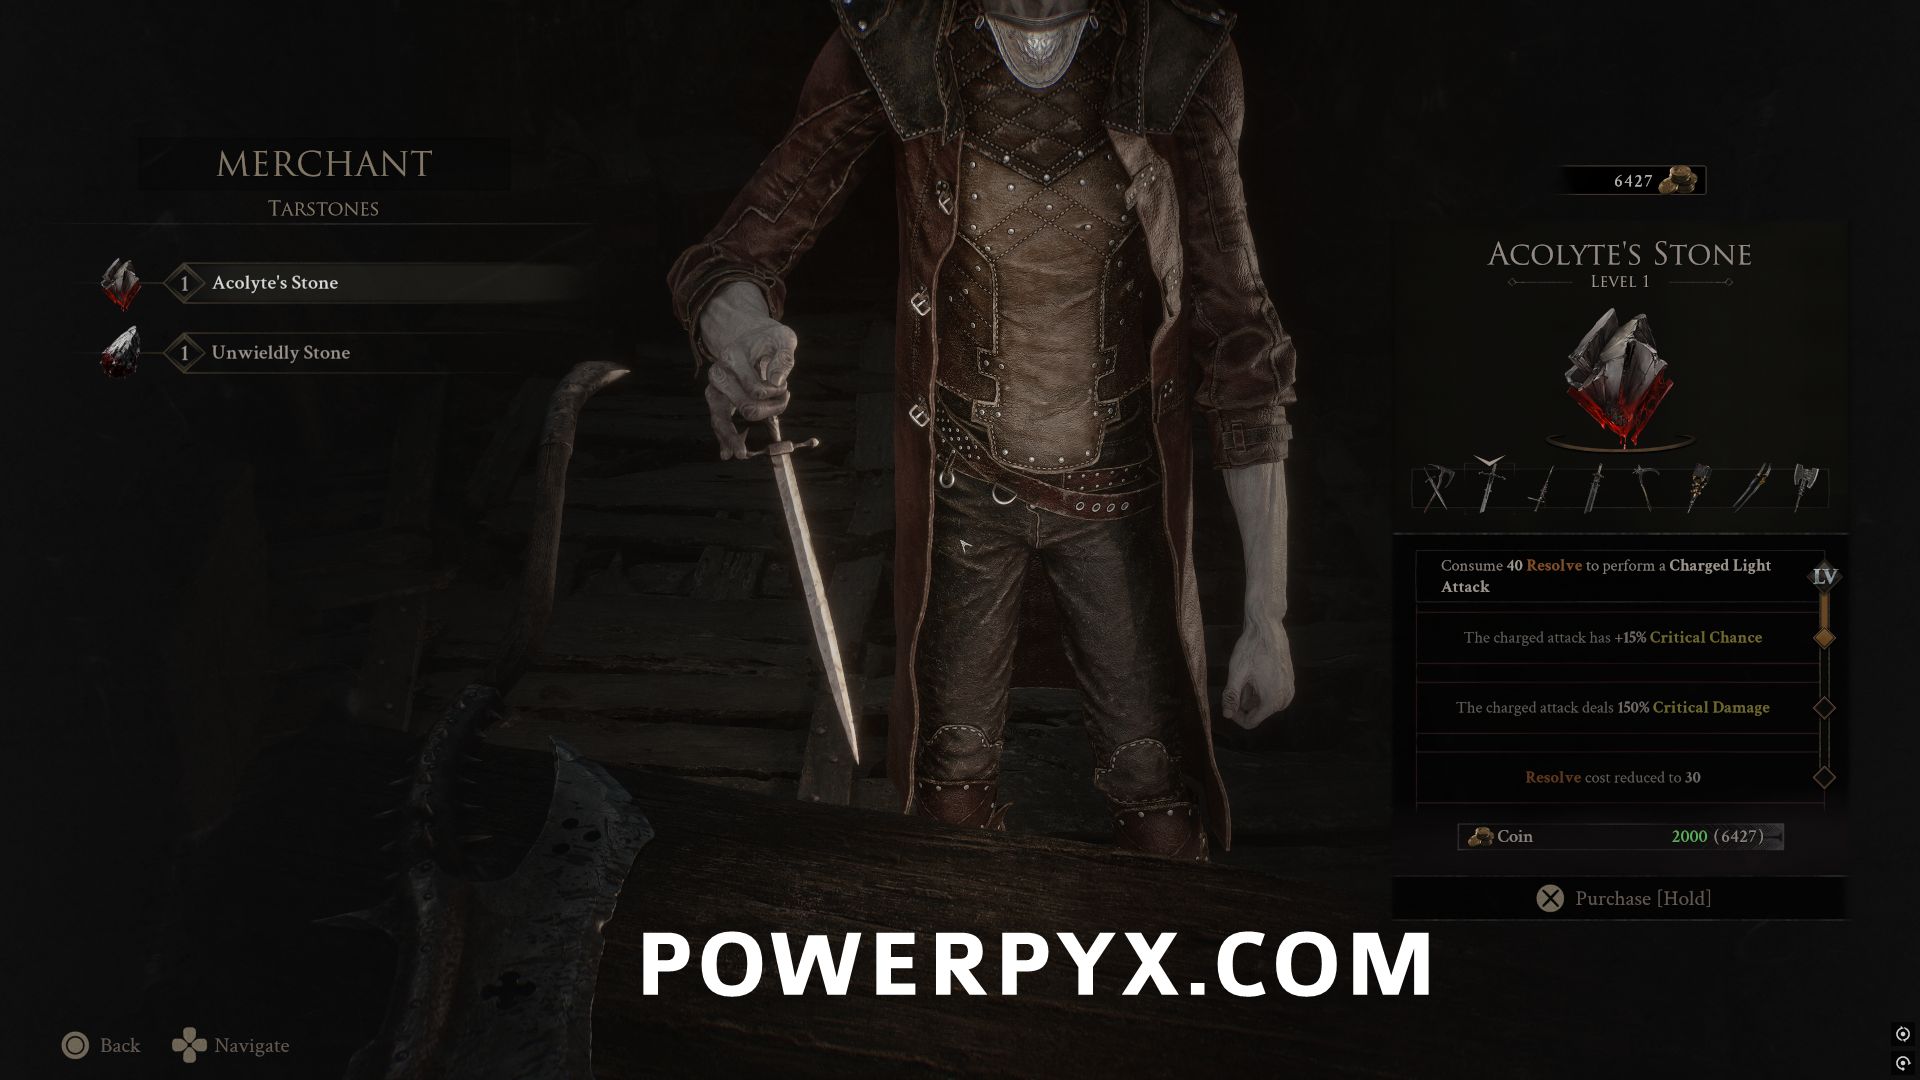
In Marrow Keep, you can purchase this Tarstone from the vendor Merrick for 2000 Coin.
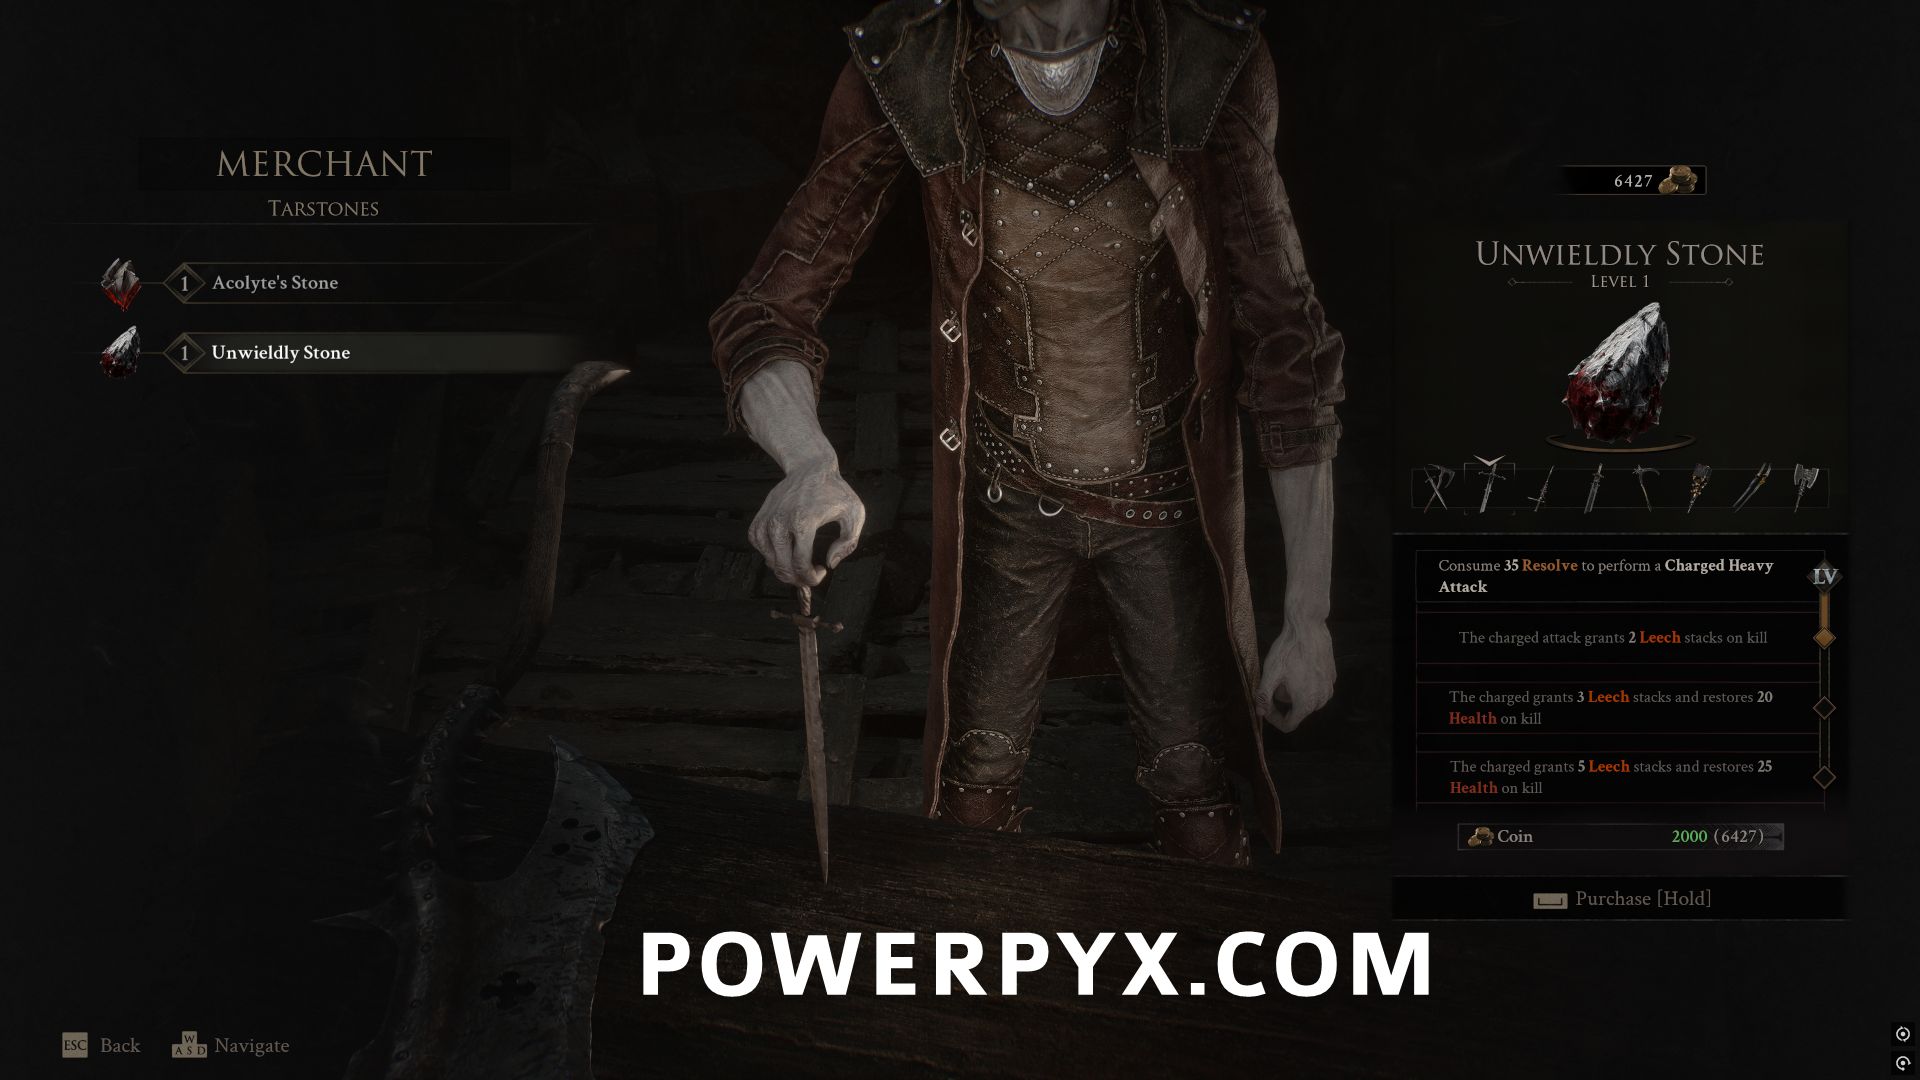
#55 – Unwieldly Stone
In Marrow Keep, you can purchase this Tarstone from the vendor Merrick for 2000 Coin.
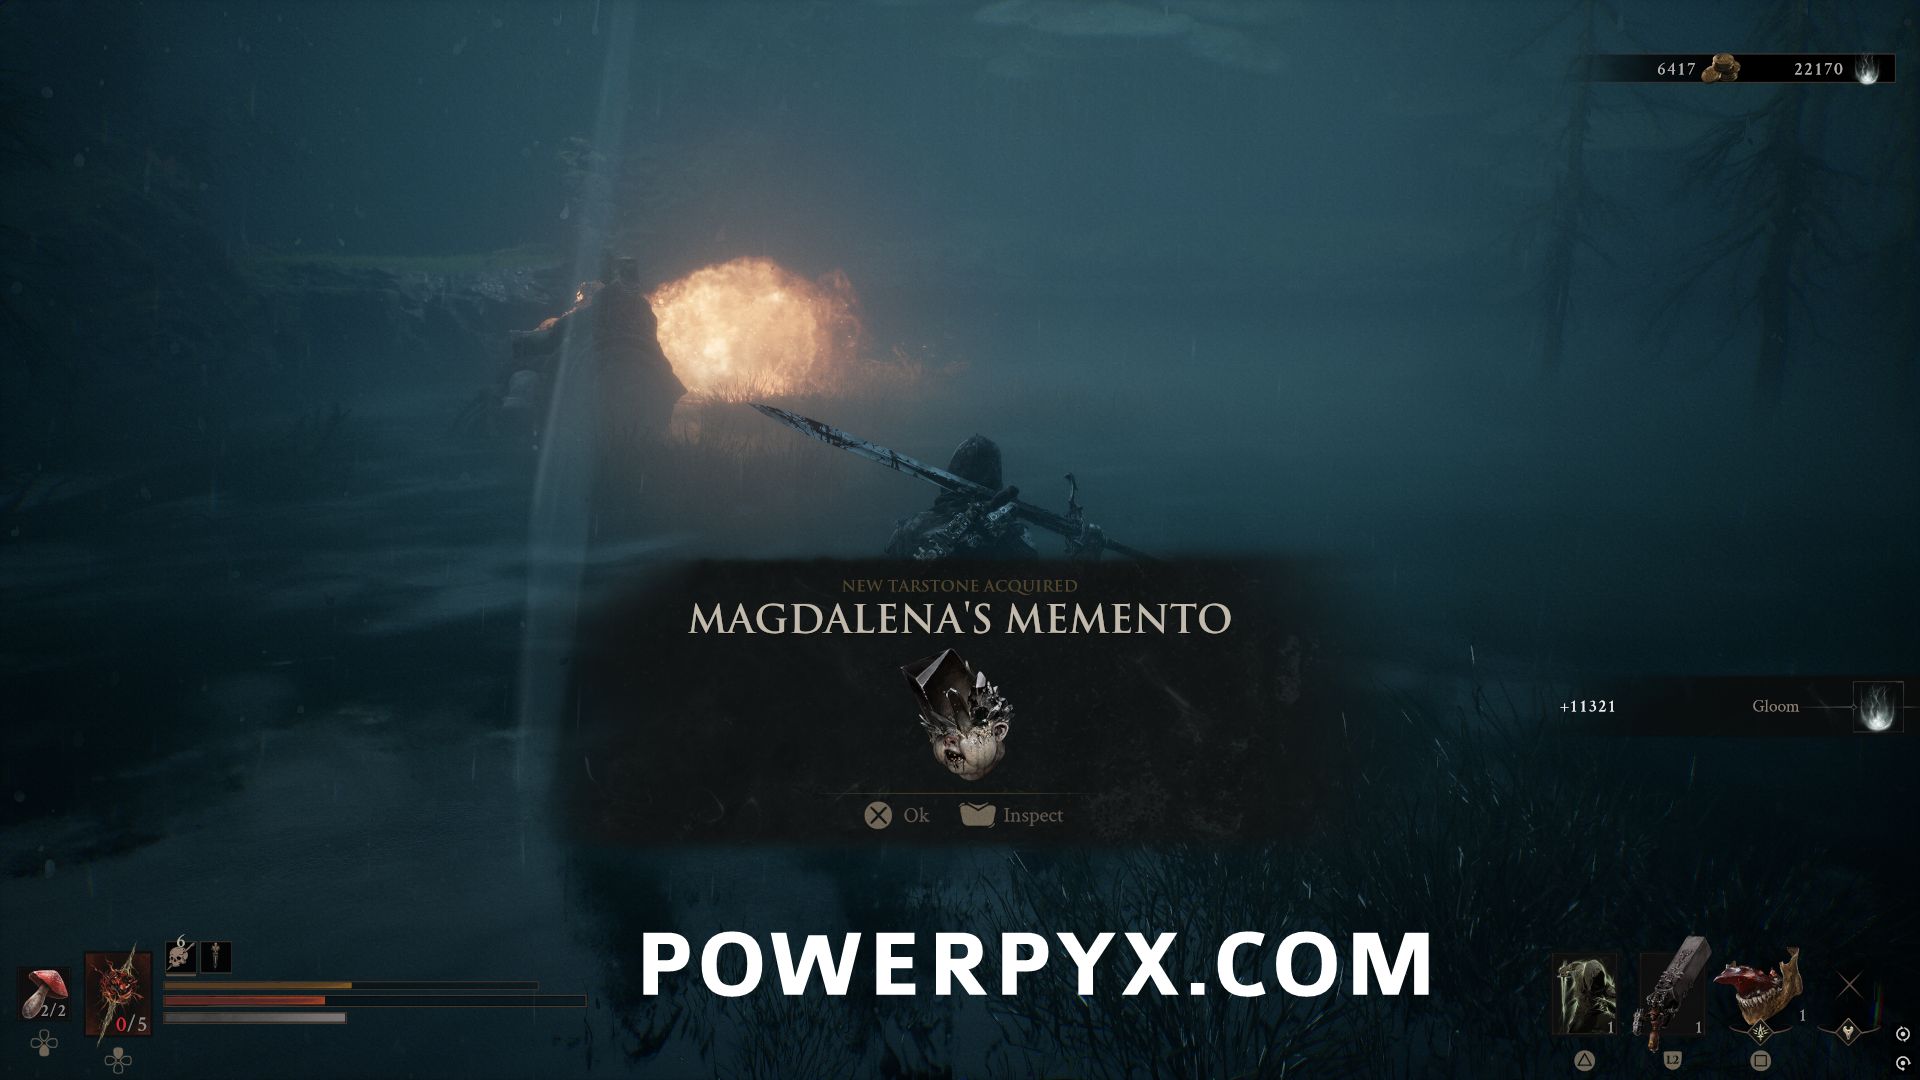
#56 – Magdalena’s Memento
In the Glutted Mire area, defeat the main boss Magdalena, the Lady of the Woods to obtain this Tarstone.
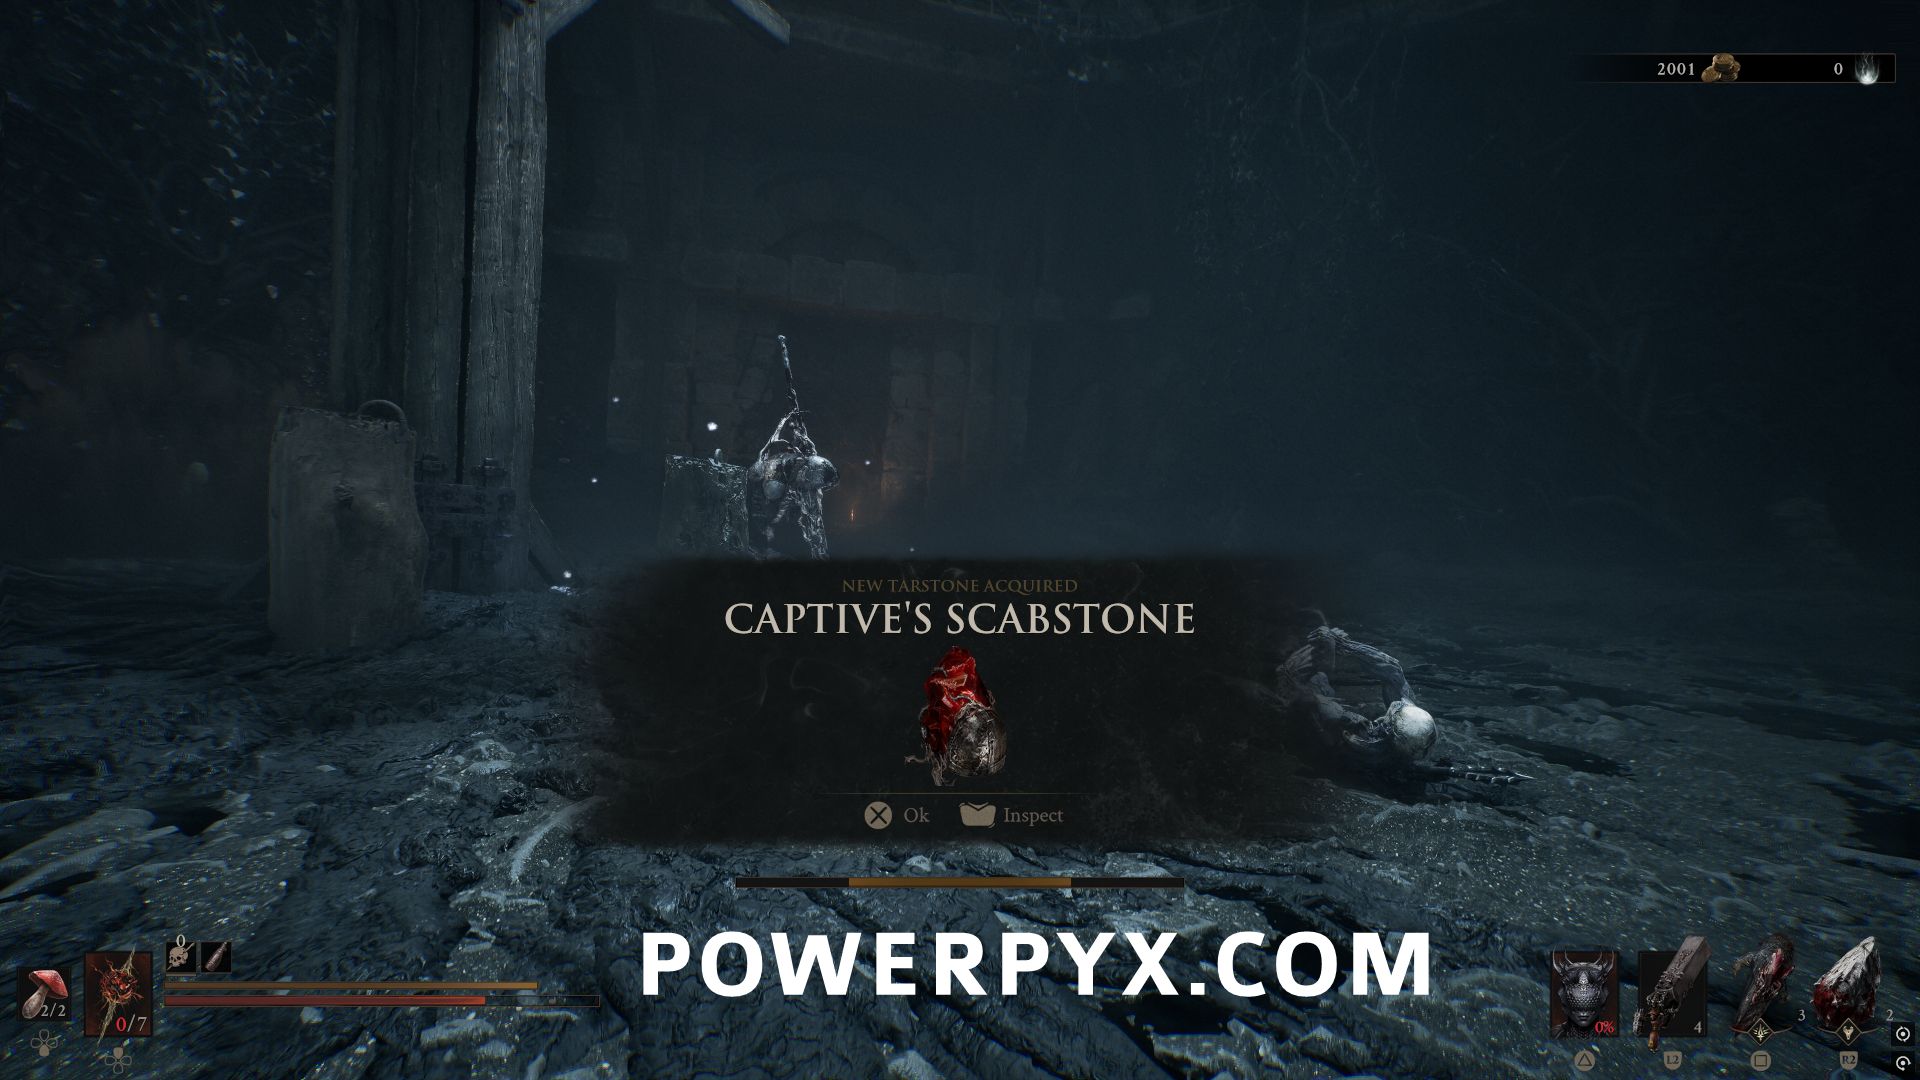
#57 – Captive’s Scabstone
In the Prisoner’s Domain area, defeat the main boss Nameless Captive to obtain this Tarstone.
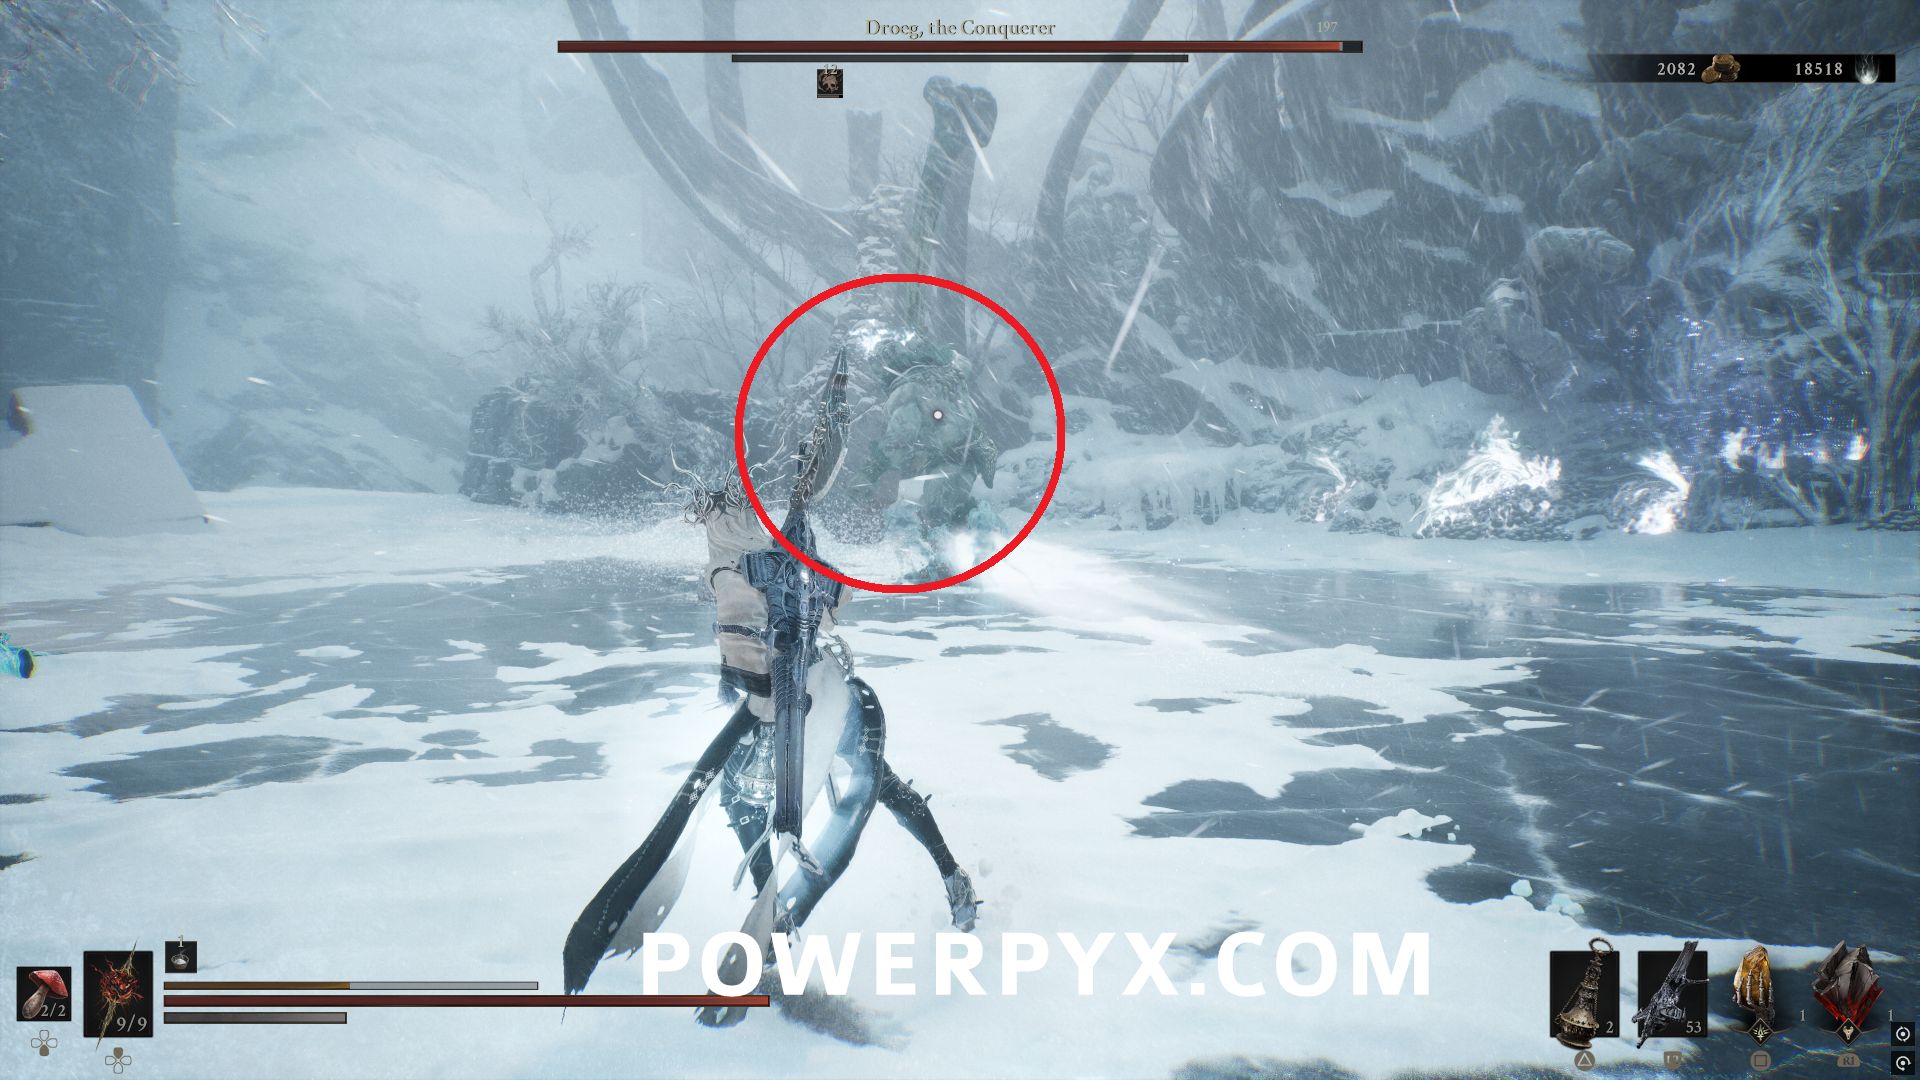
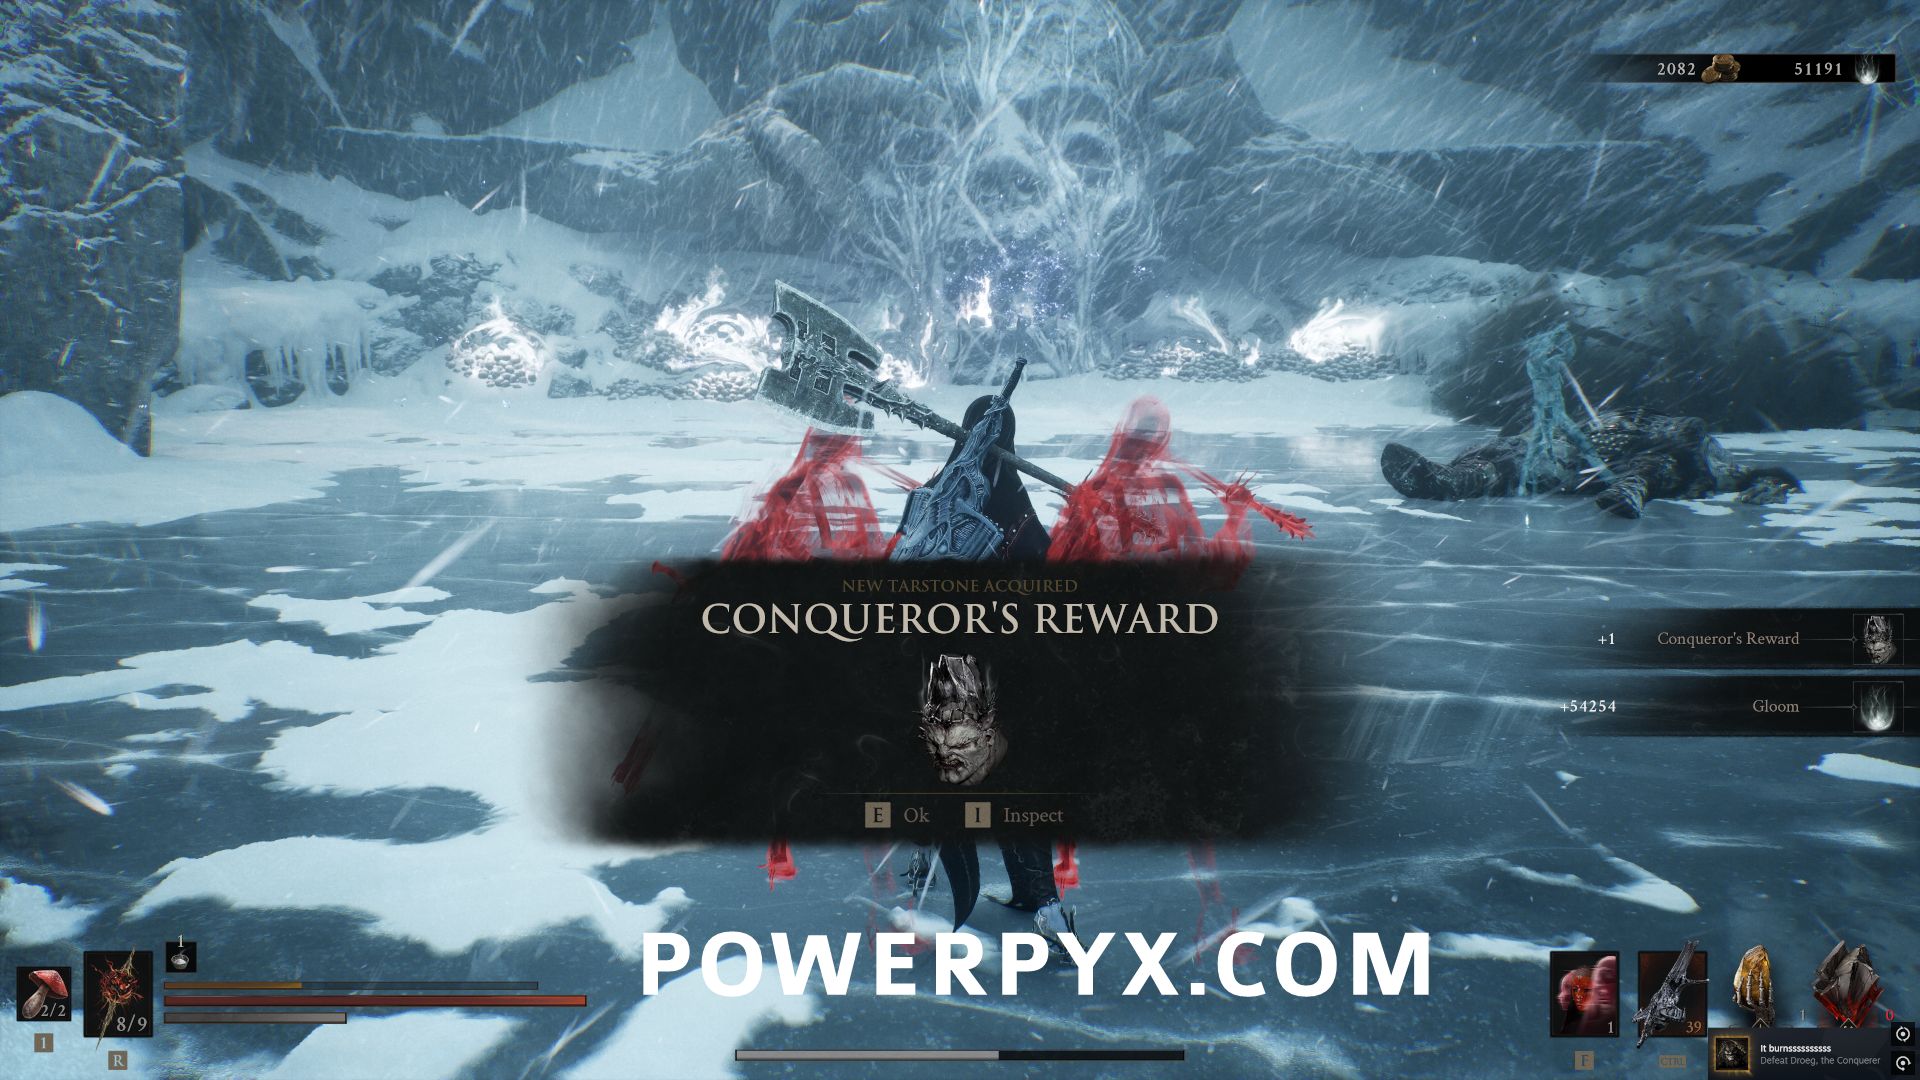
#58 – Conqueror’s Reward
In the Conquered Temple area, defeat the main boss Droeg, the Conquerer to obtain this Tarstone.
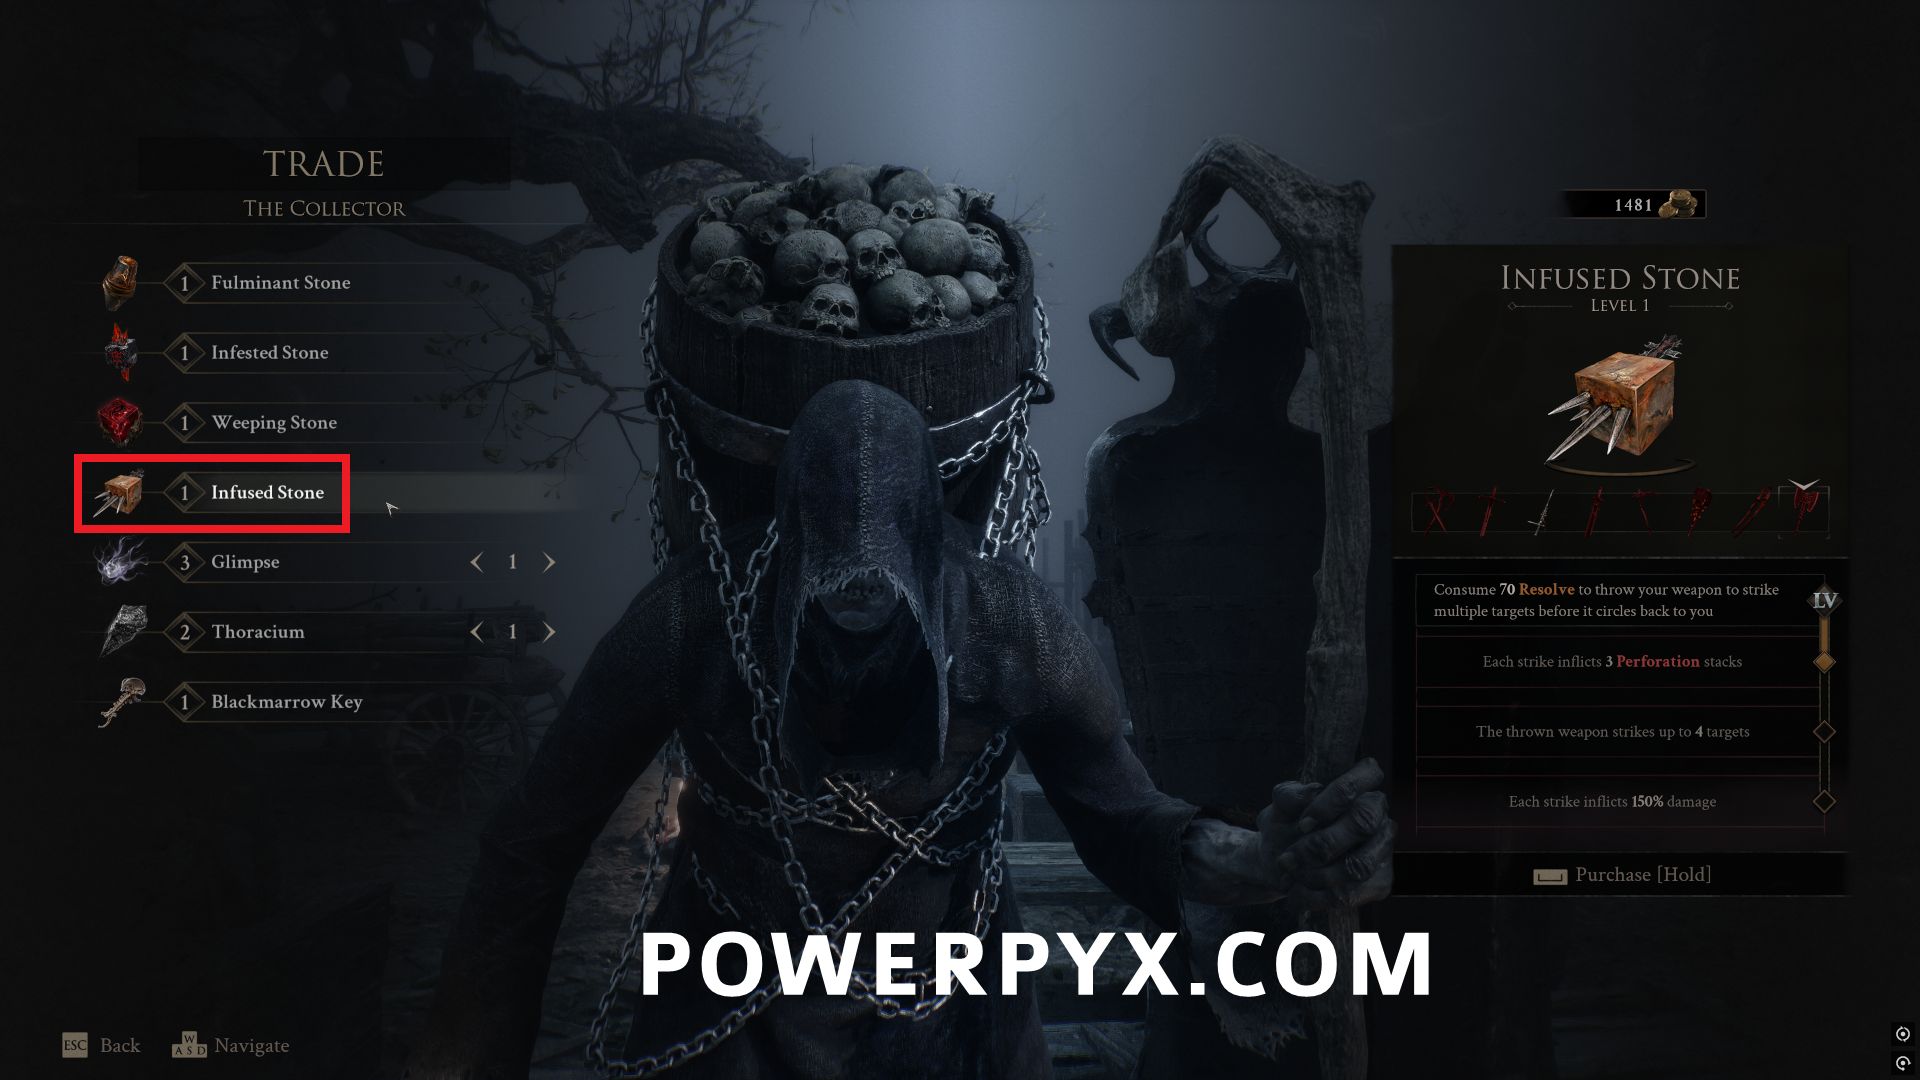
#59 – Infused Stone
When the game is changed to night time, go directly south of Abandoned Outpost Beacon and a vendor named The Collector will be present. Purchase this Tarstone for 1500 Coin.
#60 – Shrike Stone
In the Glutted Mire area, after the Seeping Mire Beacon, follow the path into the next swamp area. Instead of taking the path the leads up and left to the bridge over the area, take the path to the right that leads down some wooden platforms and across a long rope bridge to a farther area.
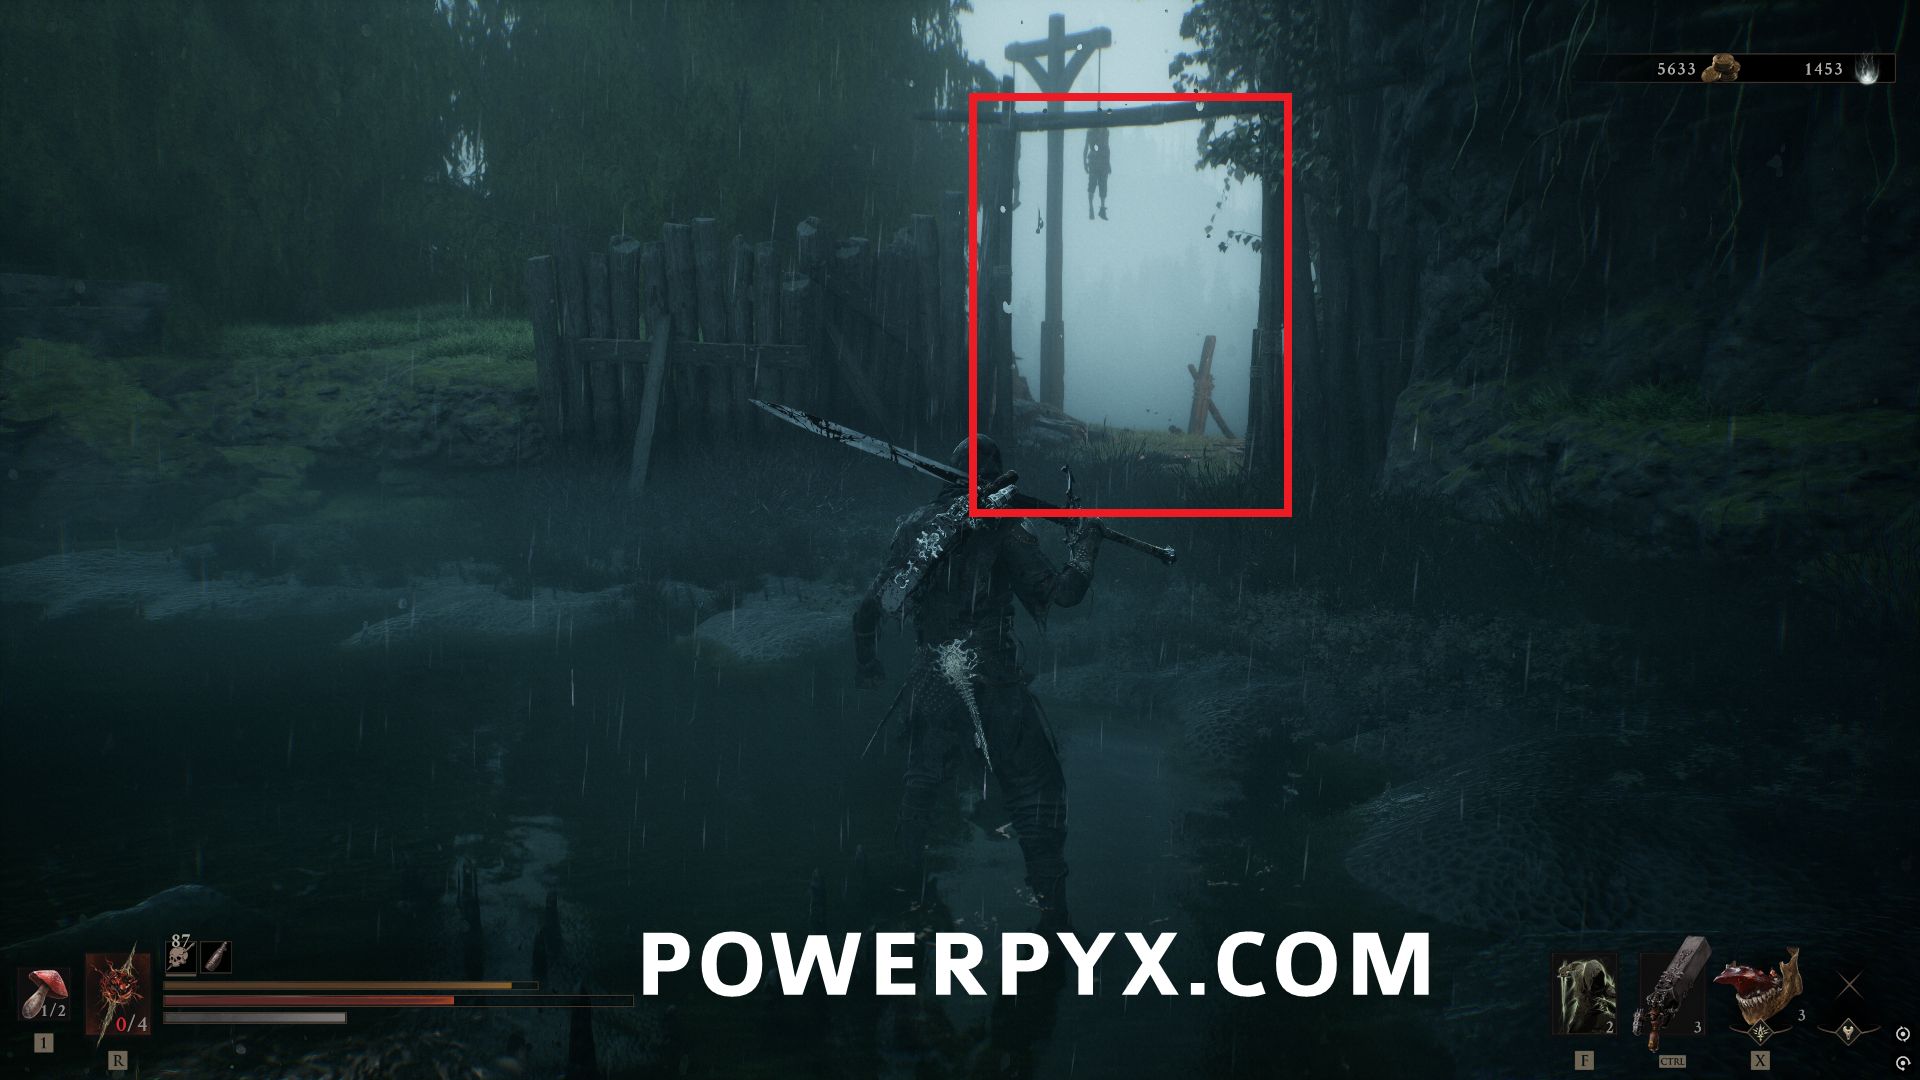
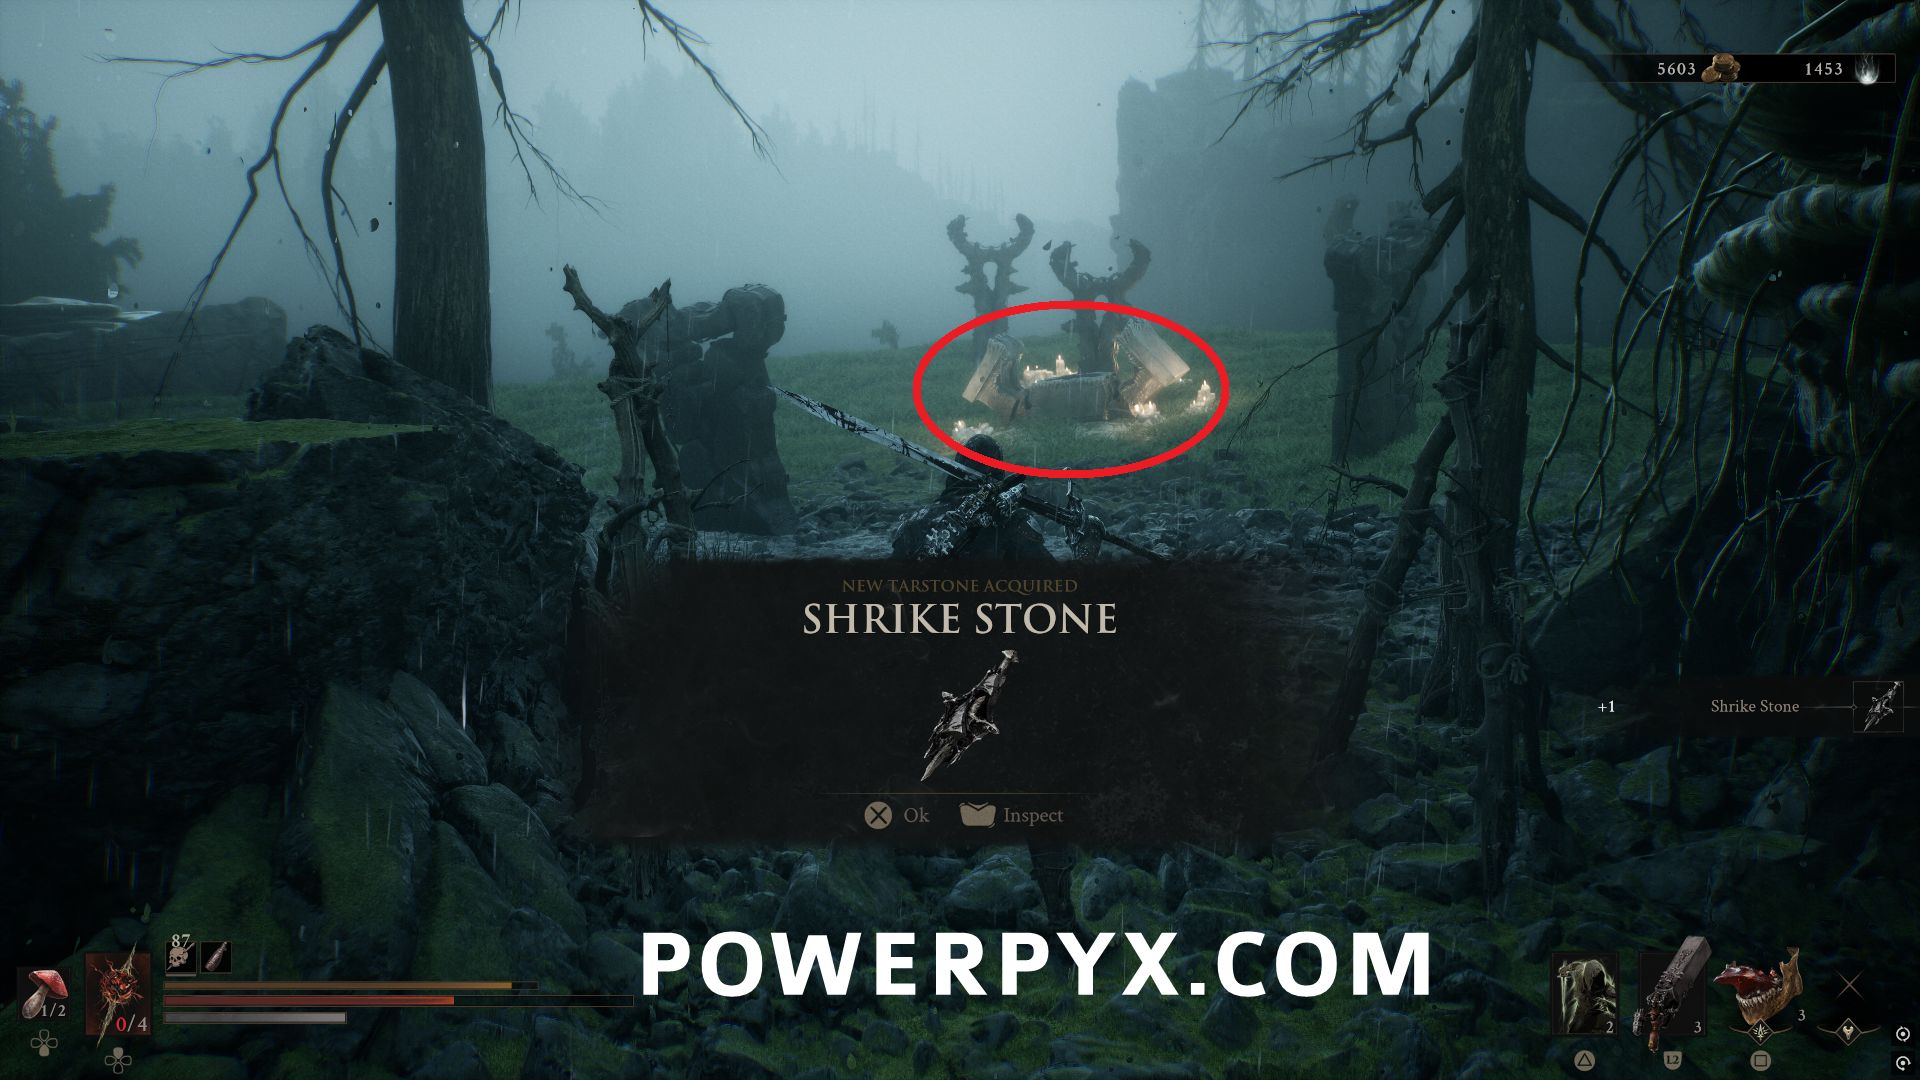
In this area with some exploding enemies and two giant eels is a chest that contains this Tarstone.
#61 – Colossus Stone
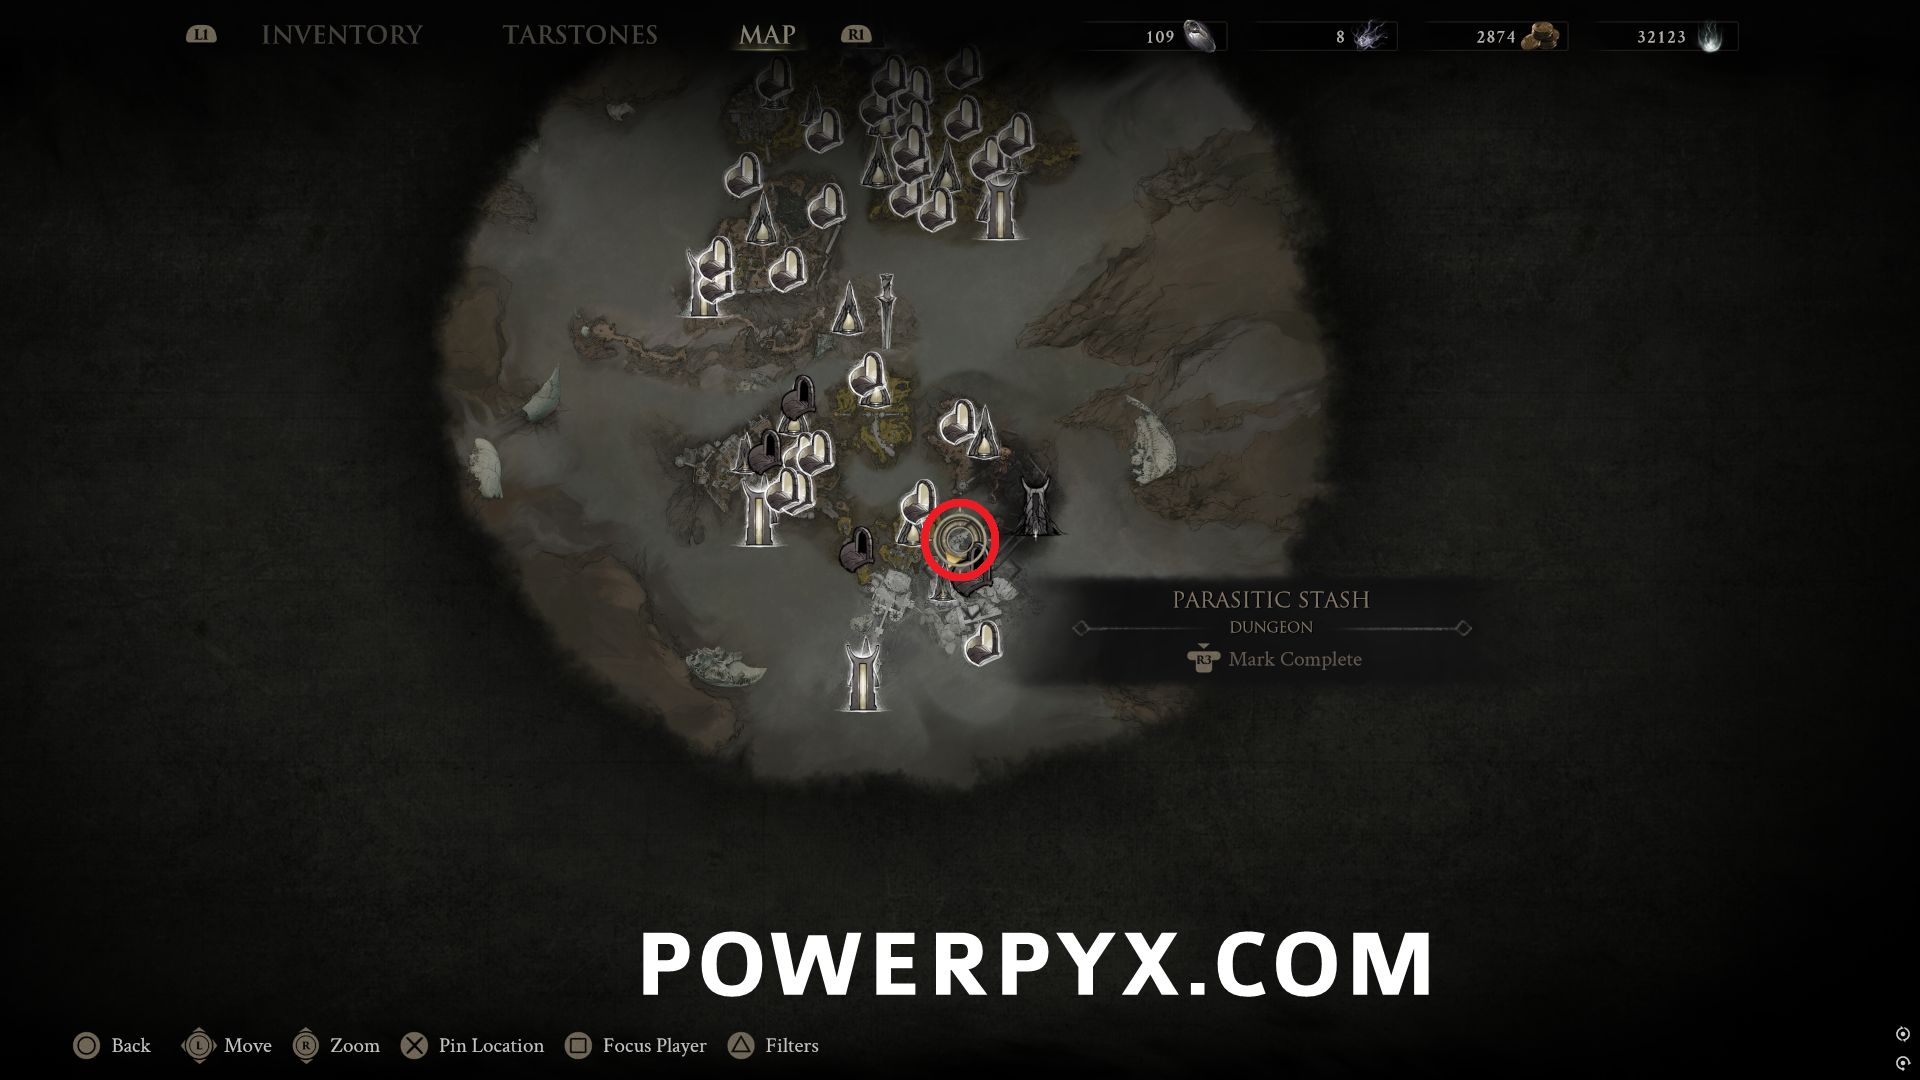
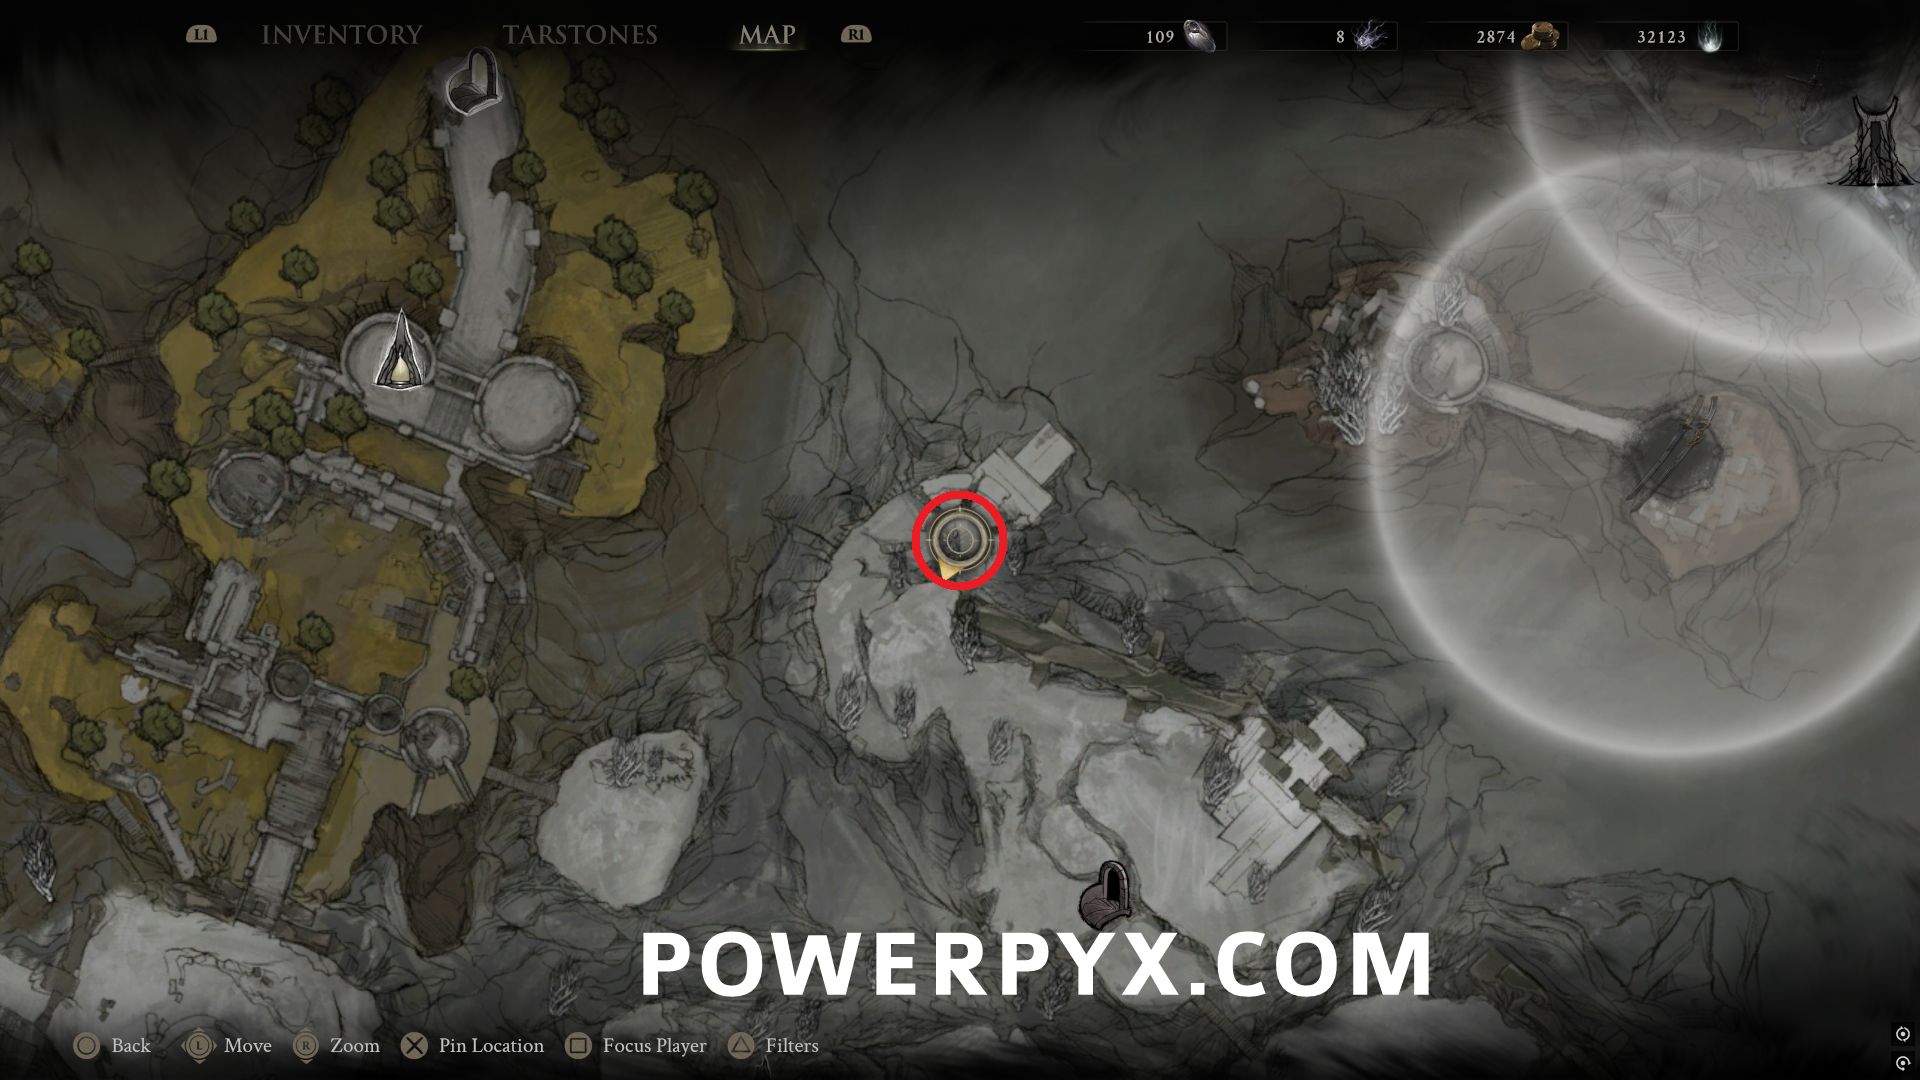
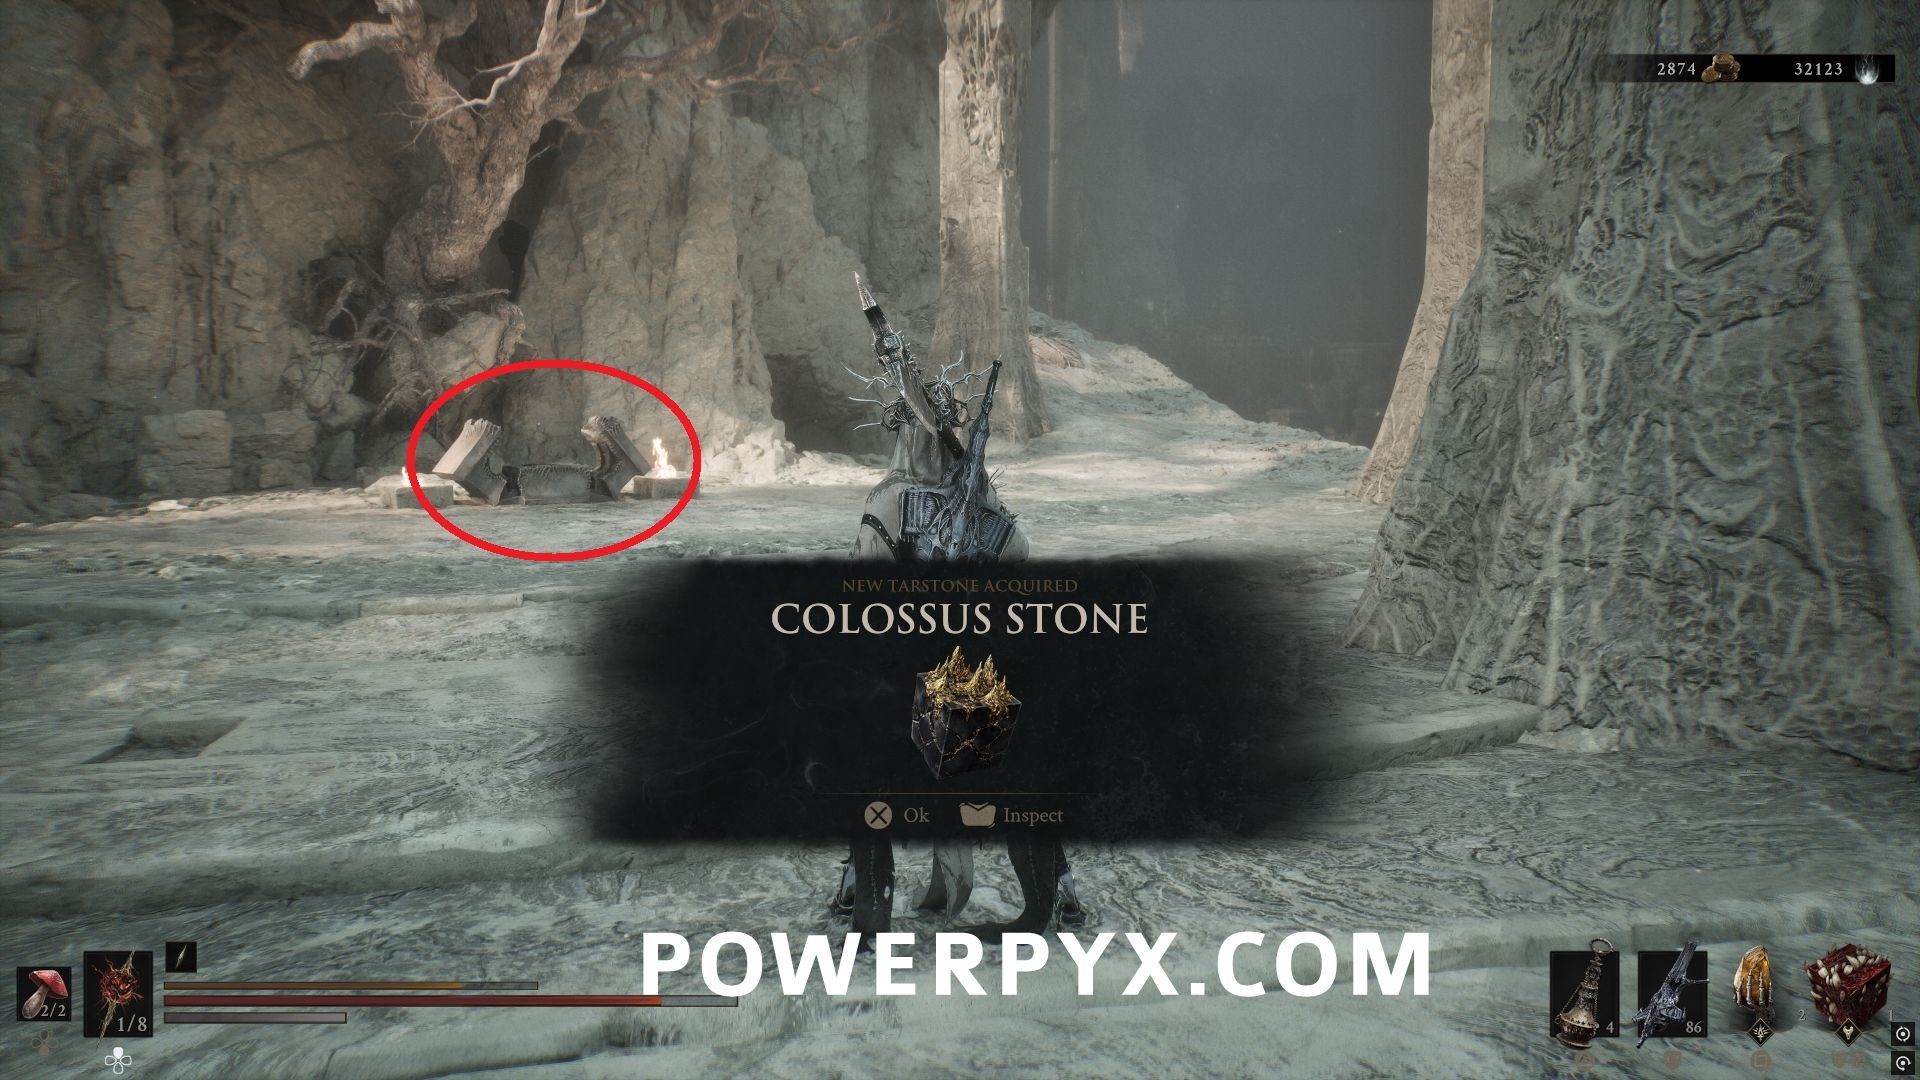
Northeast of The Silent Steps Beacon, follow the path to the northeast corner of the white map area. On the same platform as a Bone Gate that leads to the eastern part of the map is a chest that contains this Tarstone.
#62 – Lost Clotstone
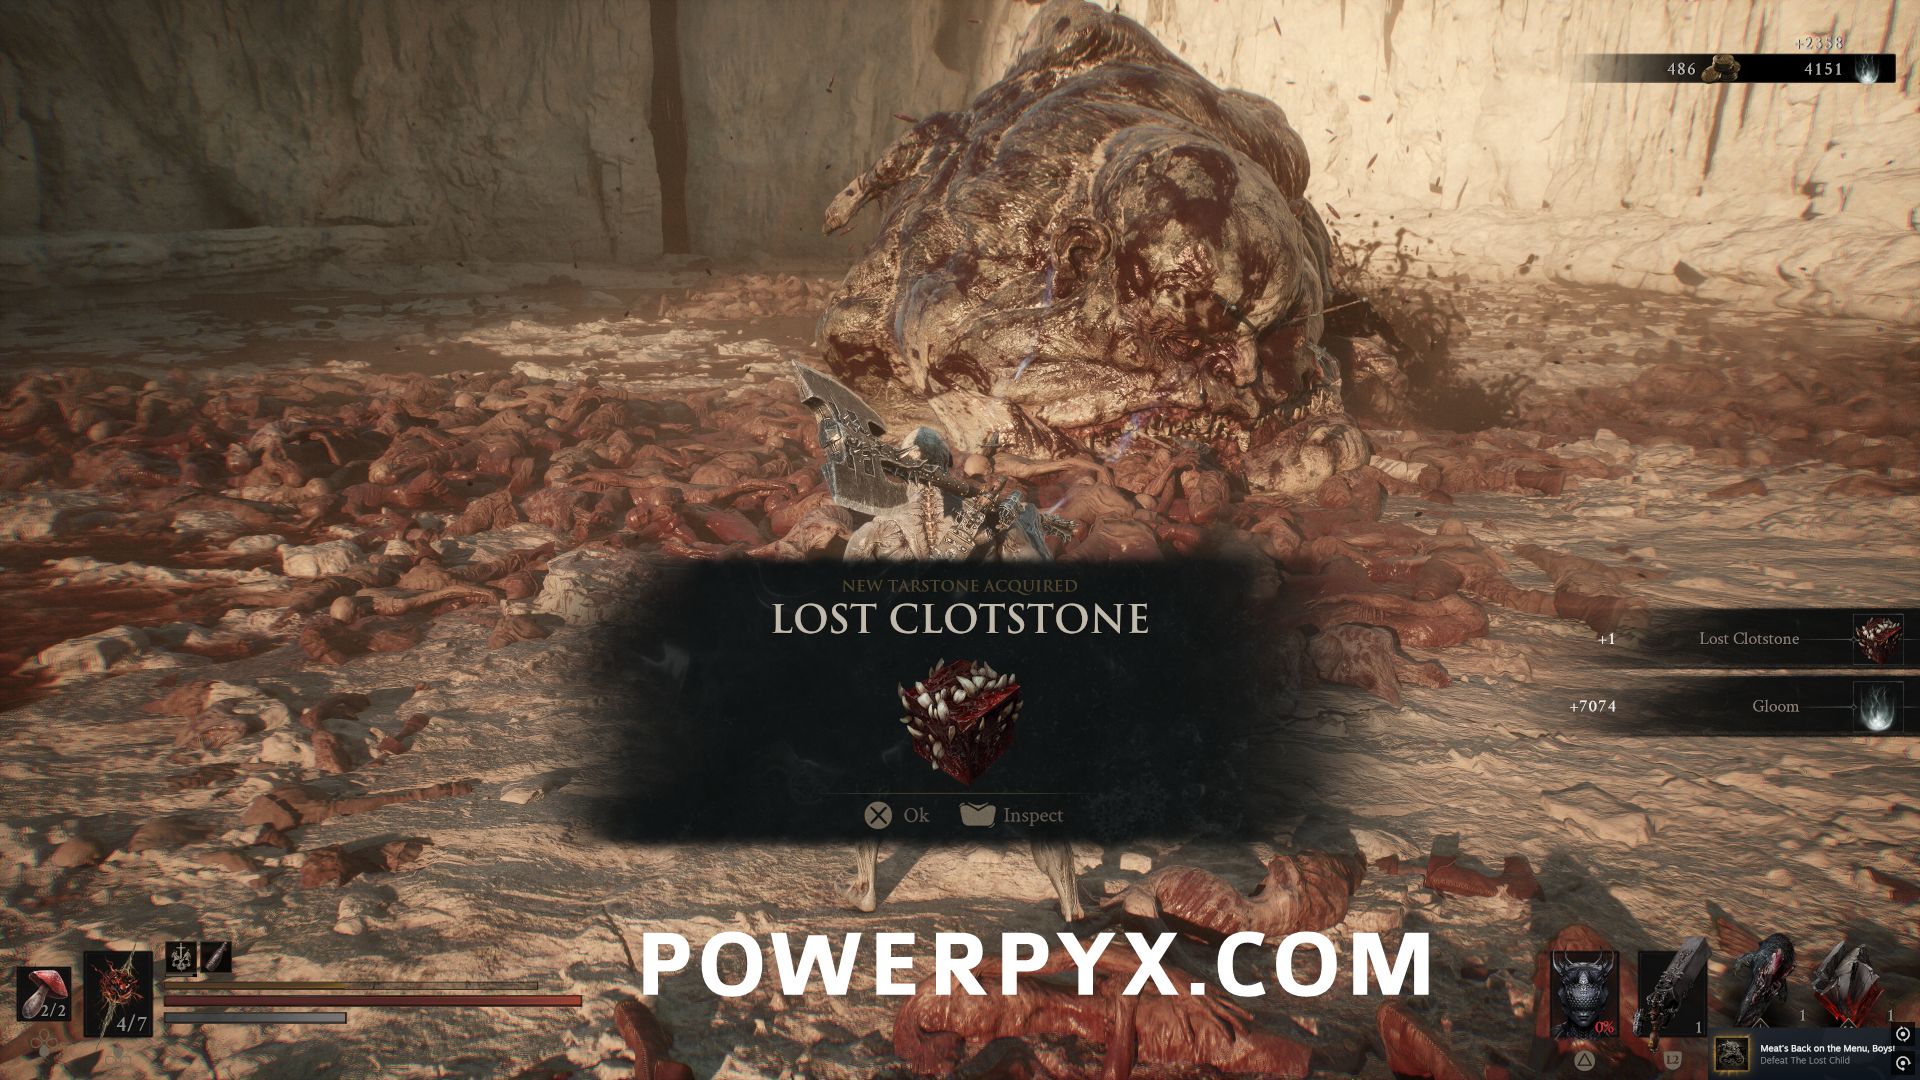
In the Sanguine Caverns area, defeat the main boss Lost Child to obtain this Tarstone.
#63 – Scholar’s Wormstone
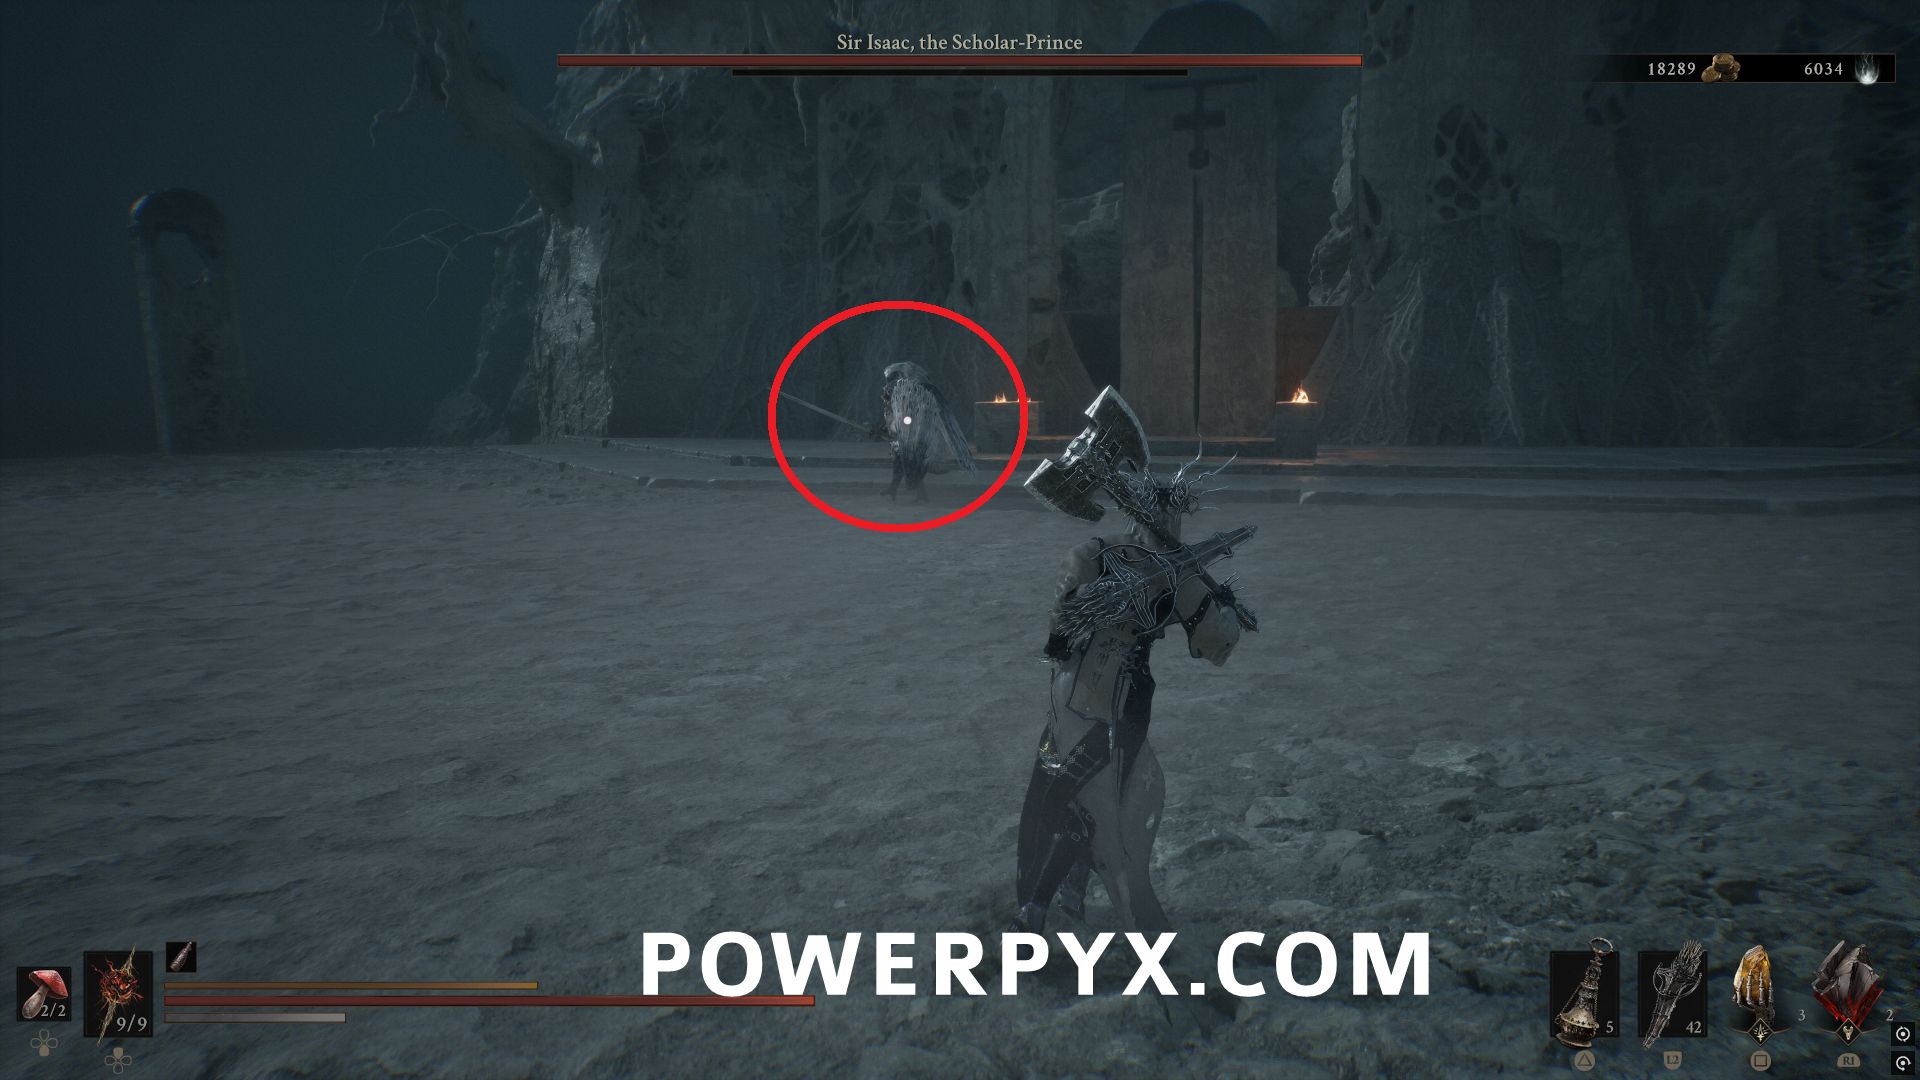
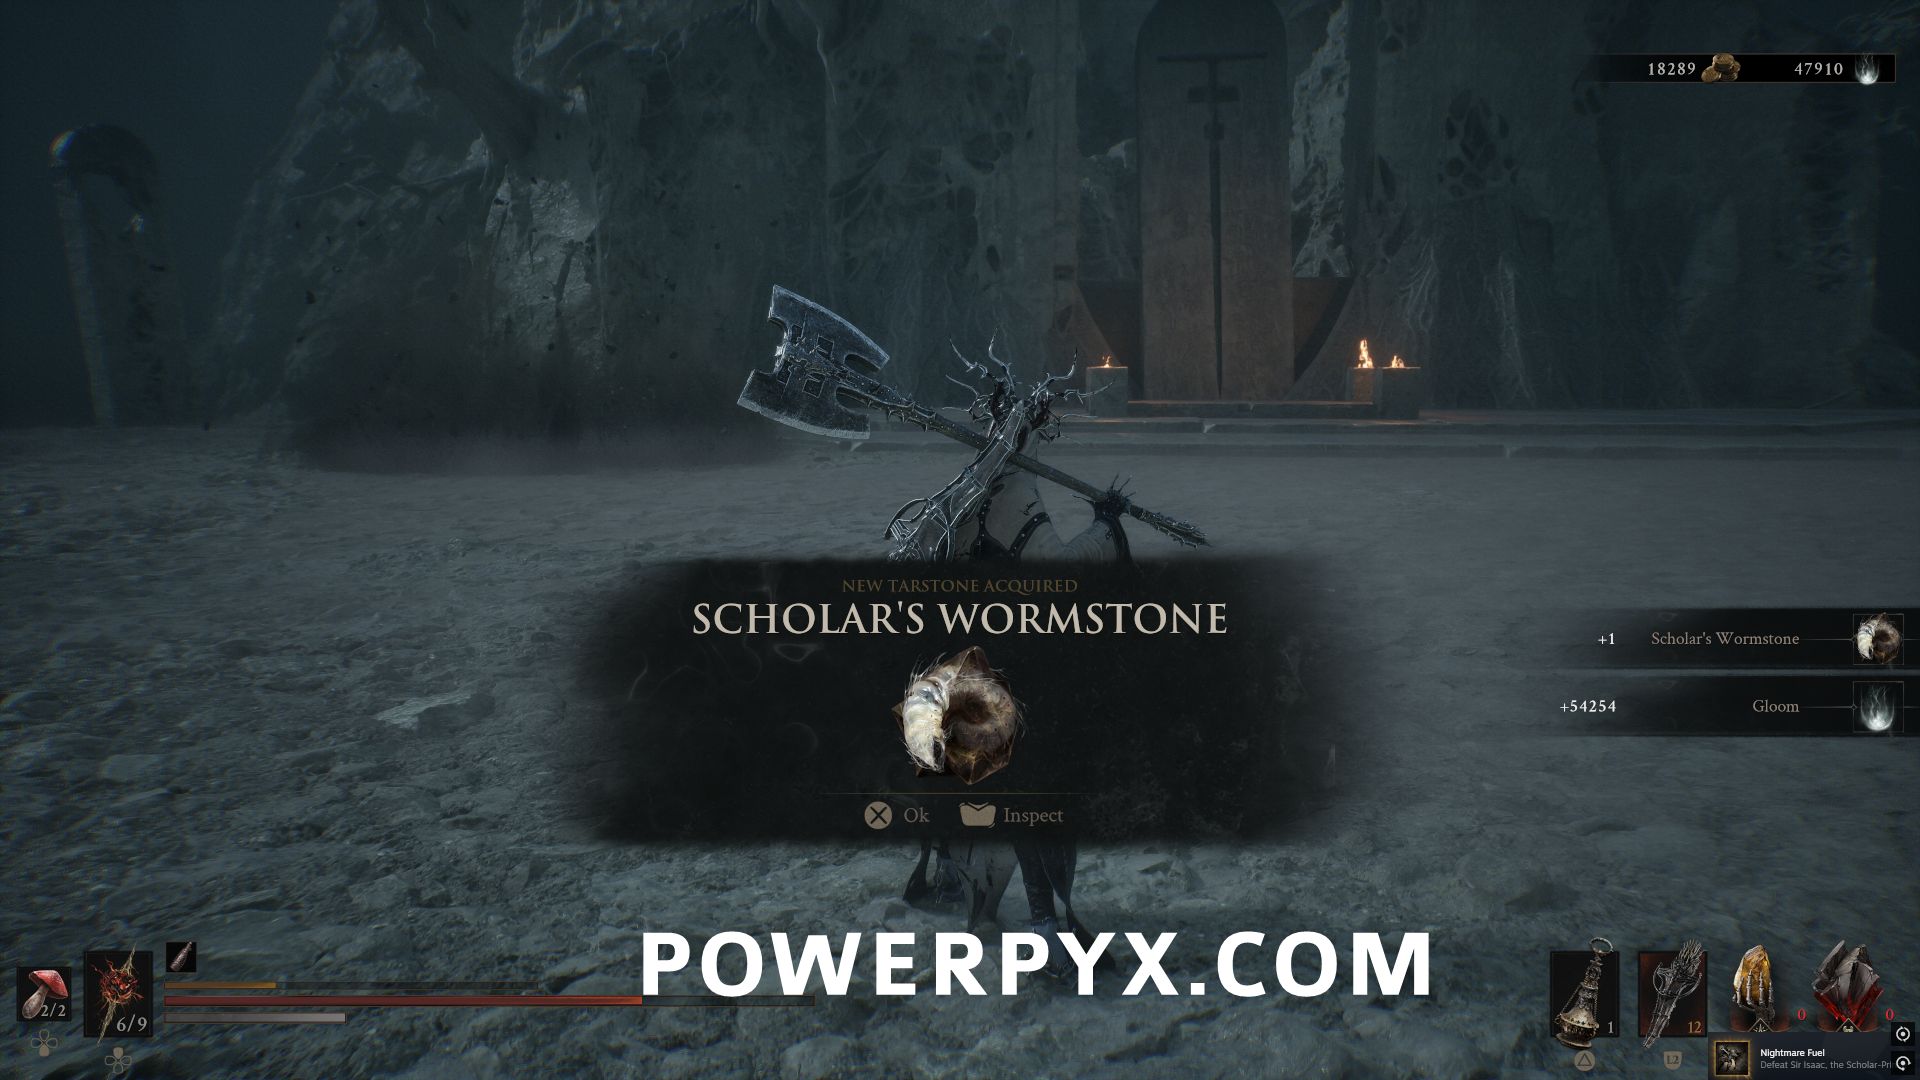
In the Faded Citadel area, defeat the main boss Sir Isaac, the Scholar-Prince to obtain this Tarstone.
#64 – Clockwork Shardstone
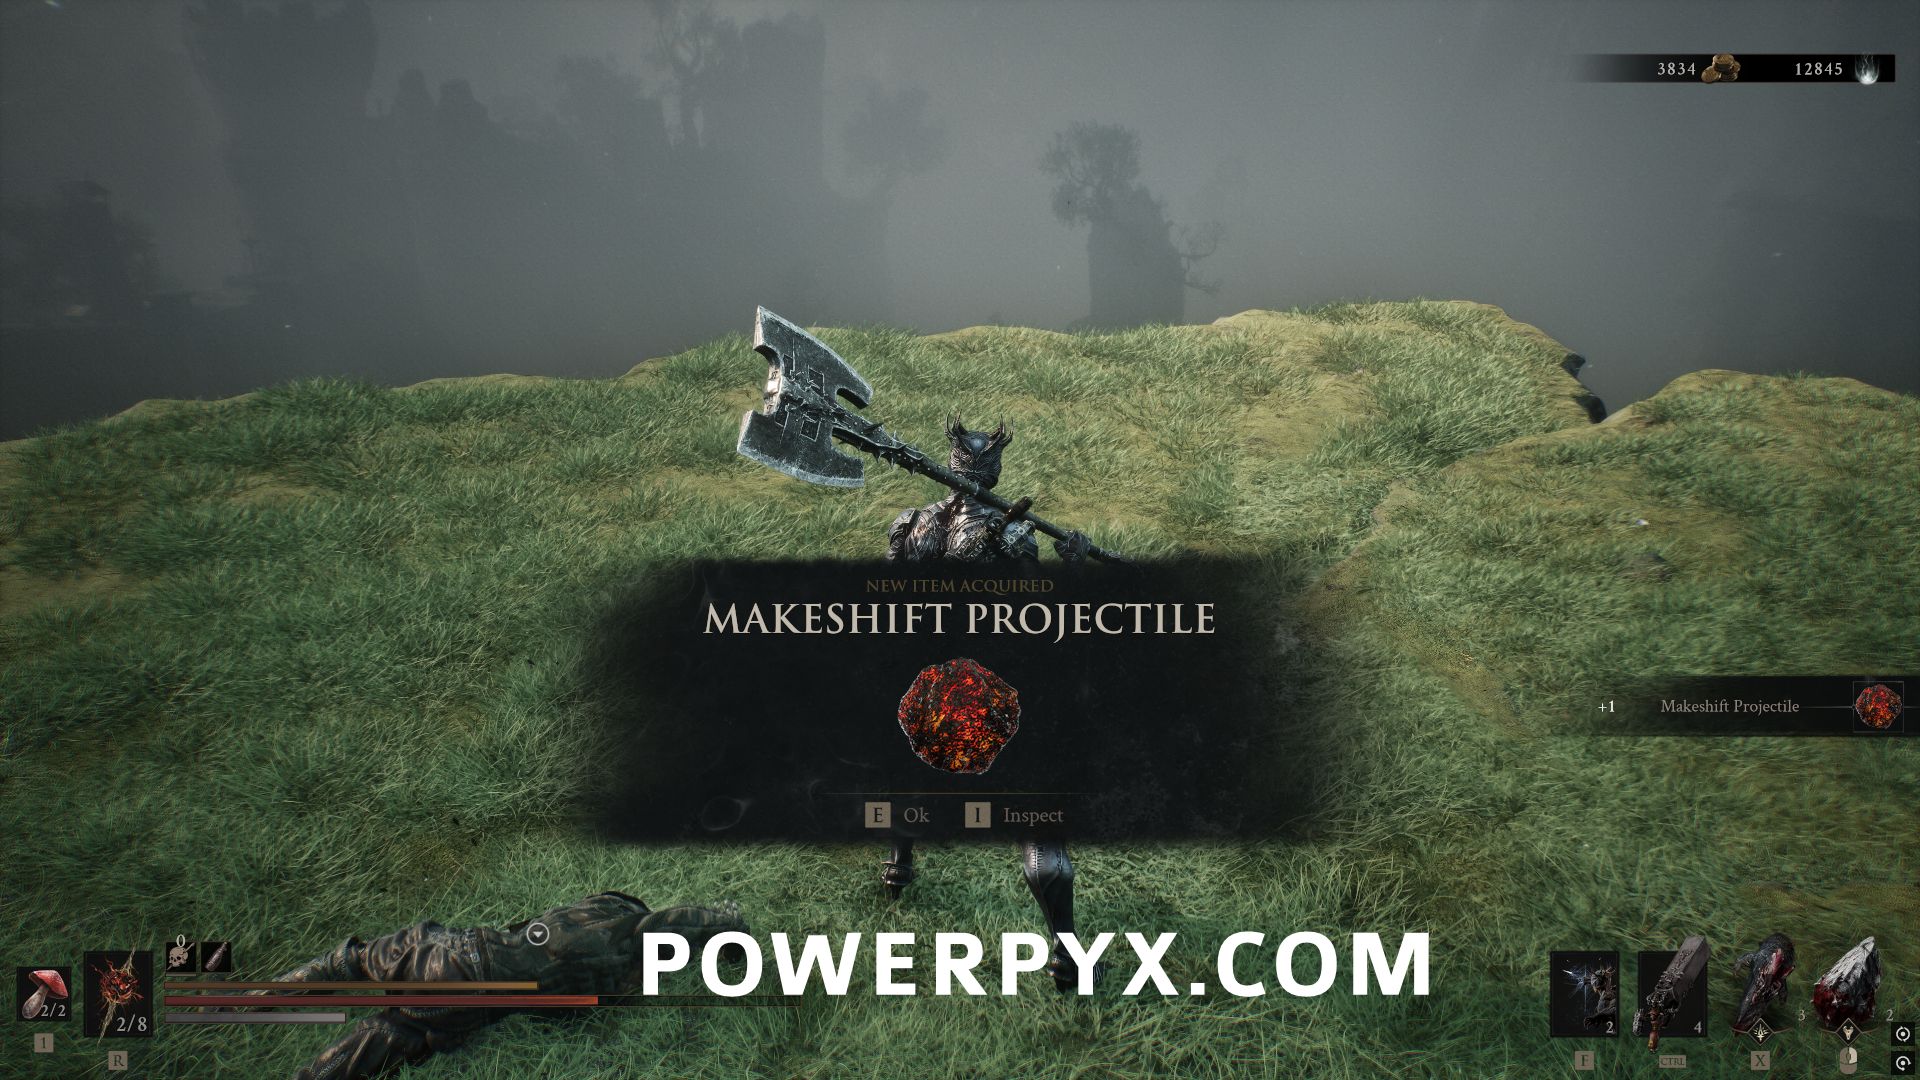
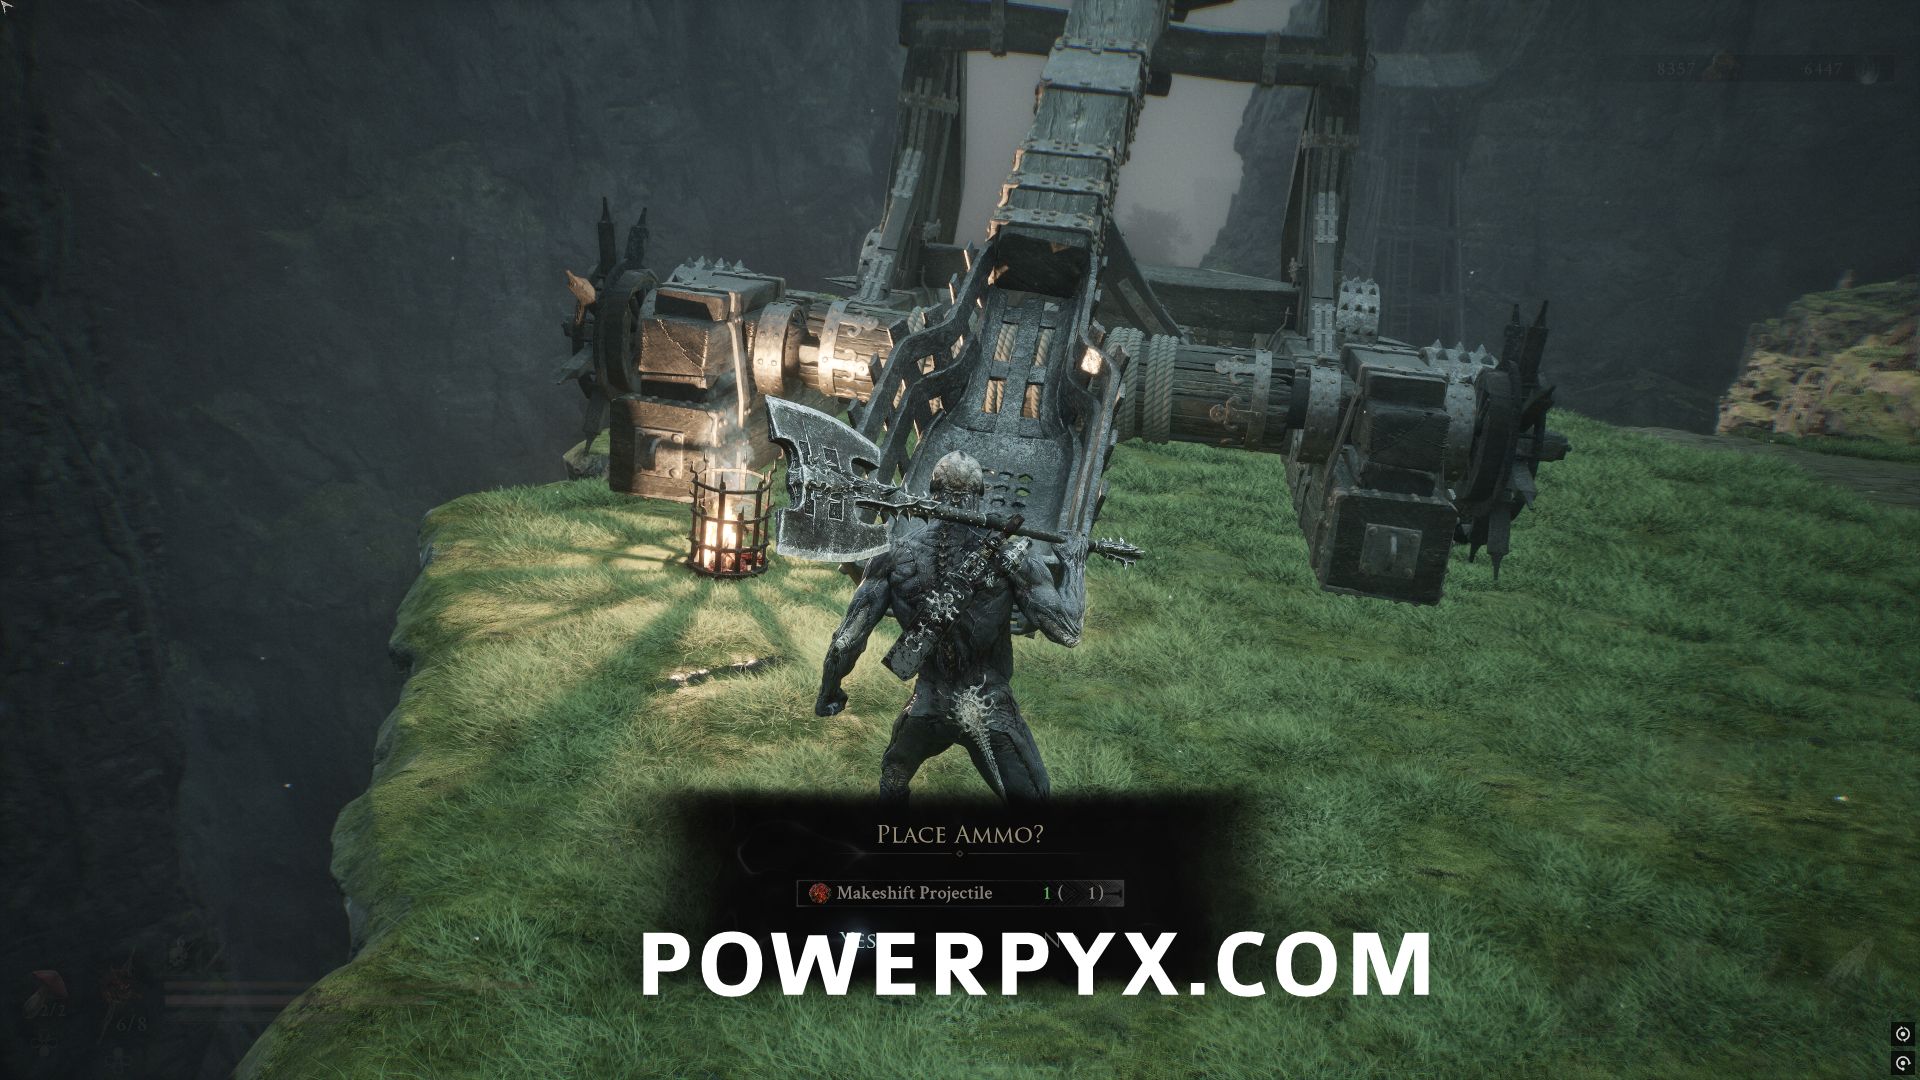
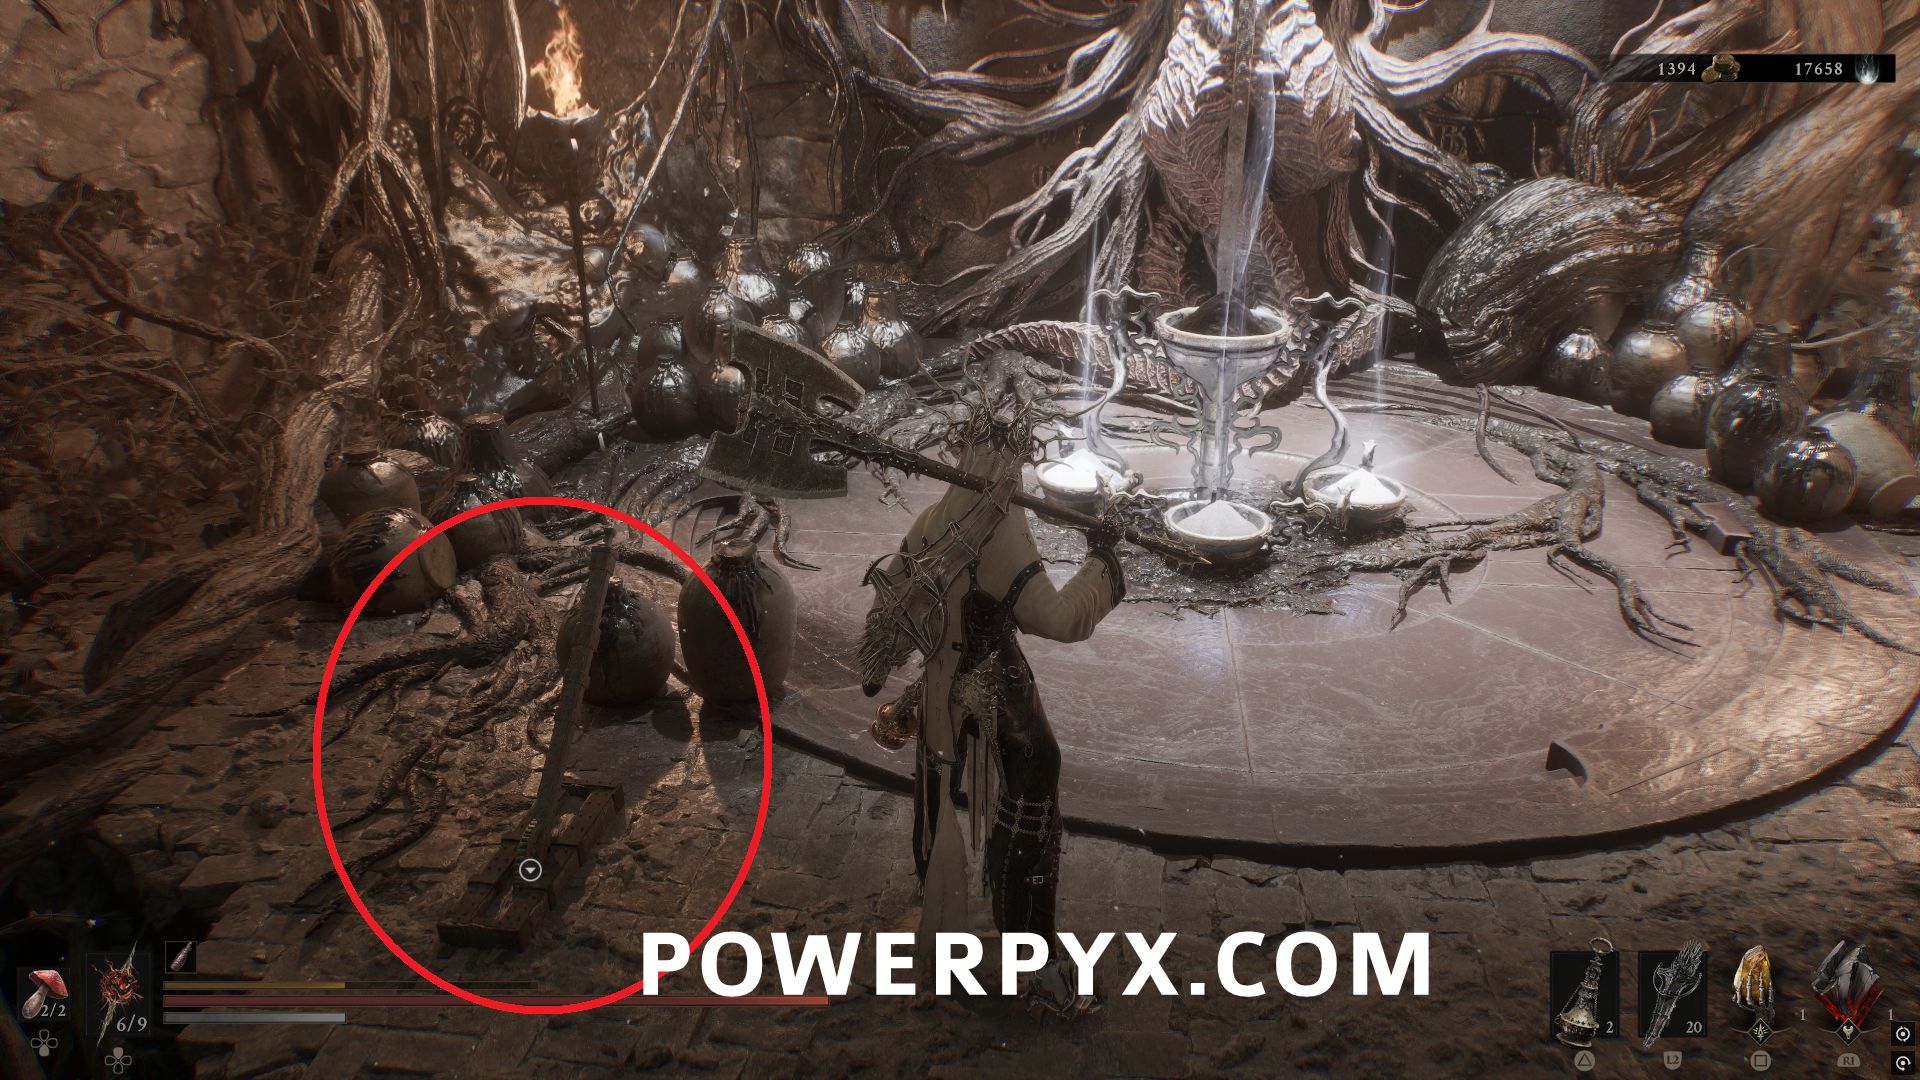
First to access the Alchemist’s Workshop Dungeon, from Outskirts of Mammon Beacon follow the paths to the very south part of this area. There is a glowing rock on the ground near a group of Grisha hunters that can be picked up, giving you the Makeshift Projectile.
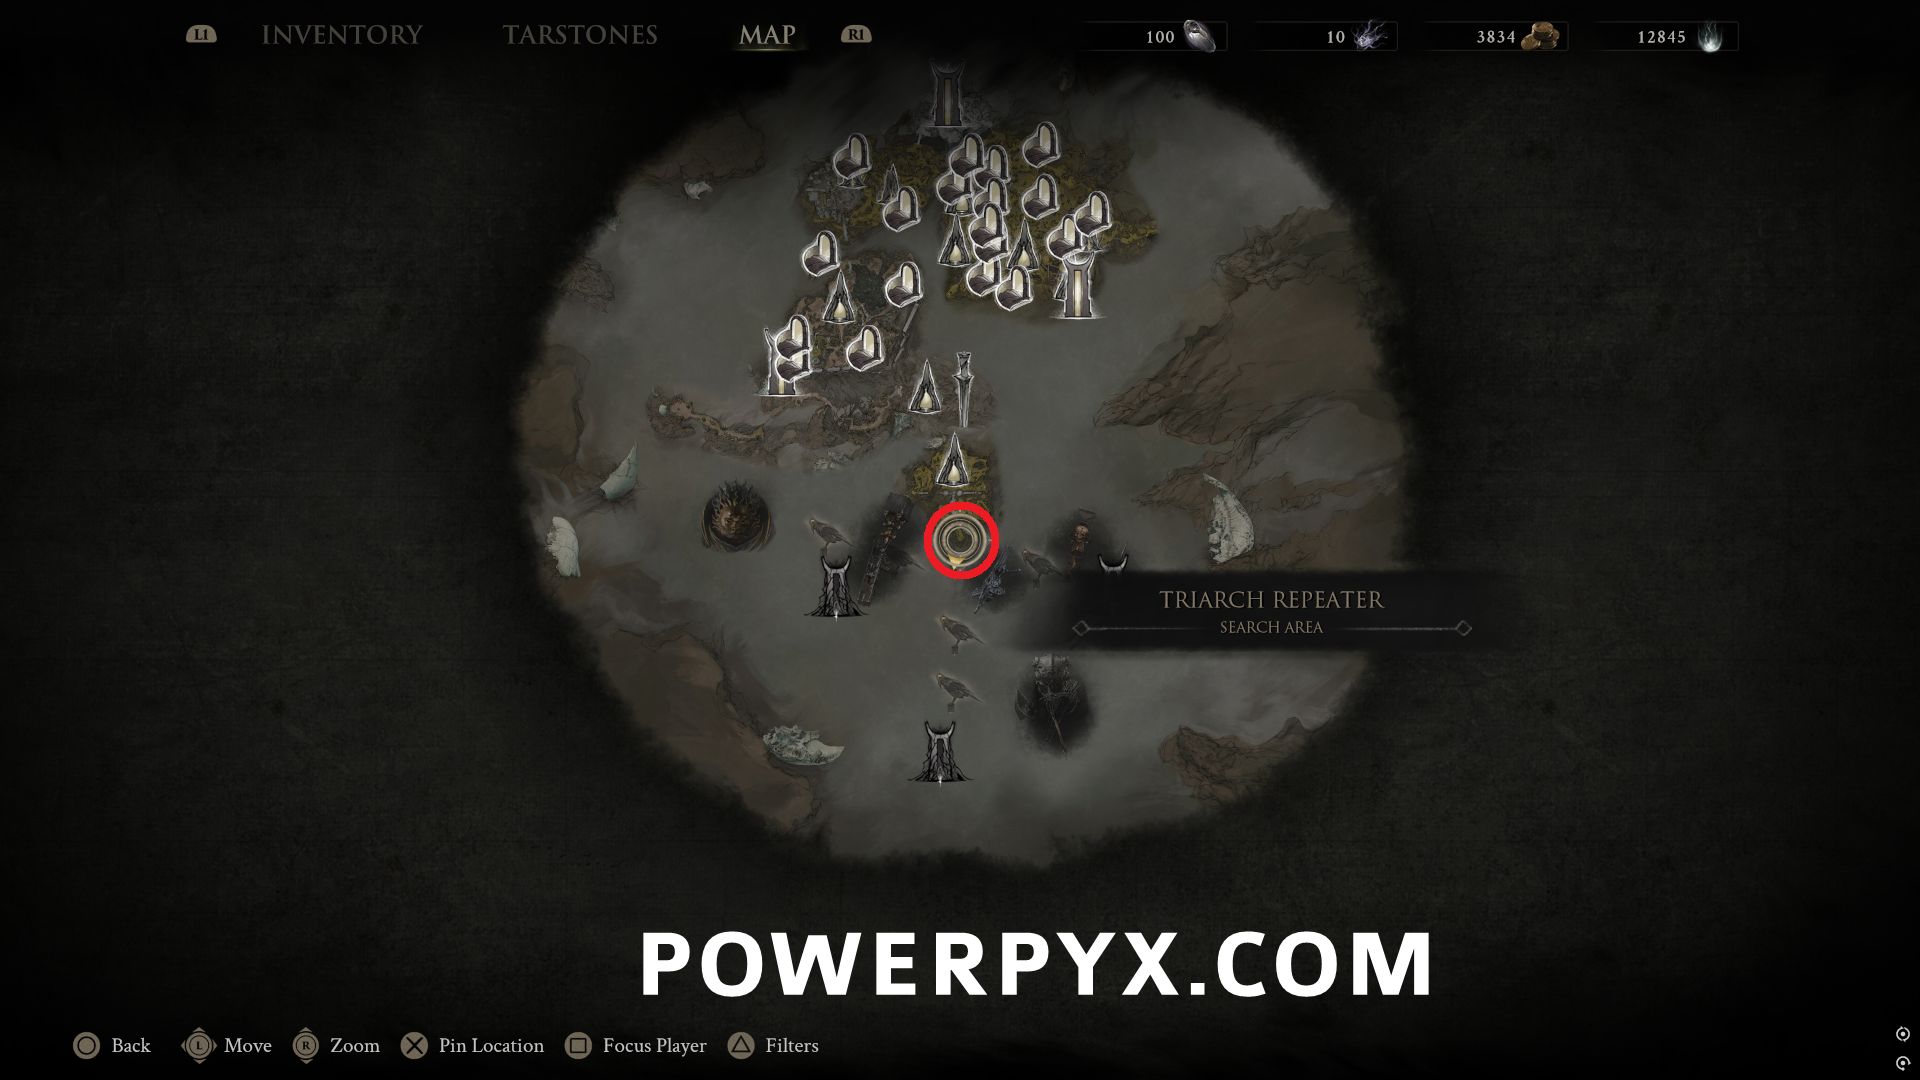
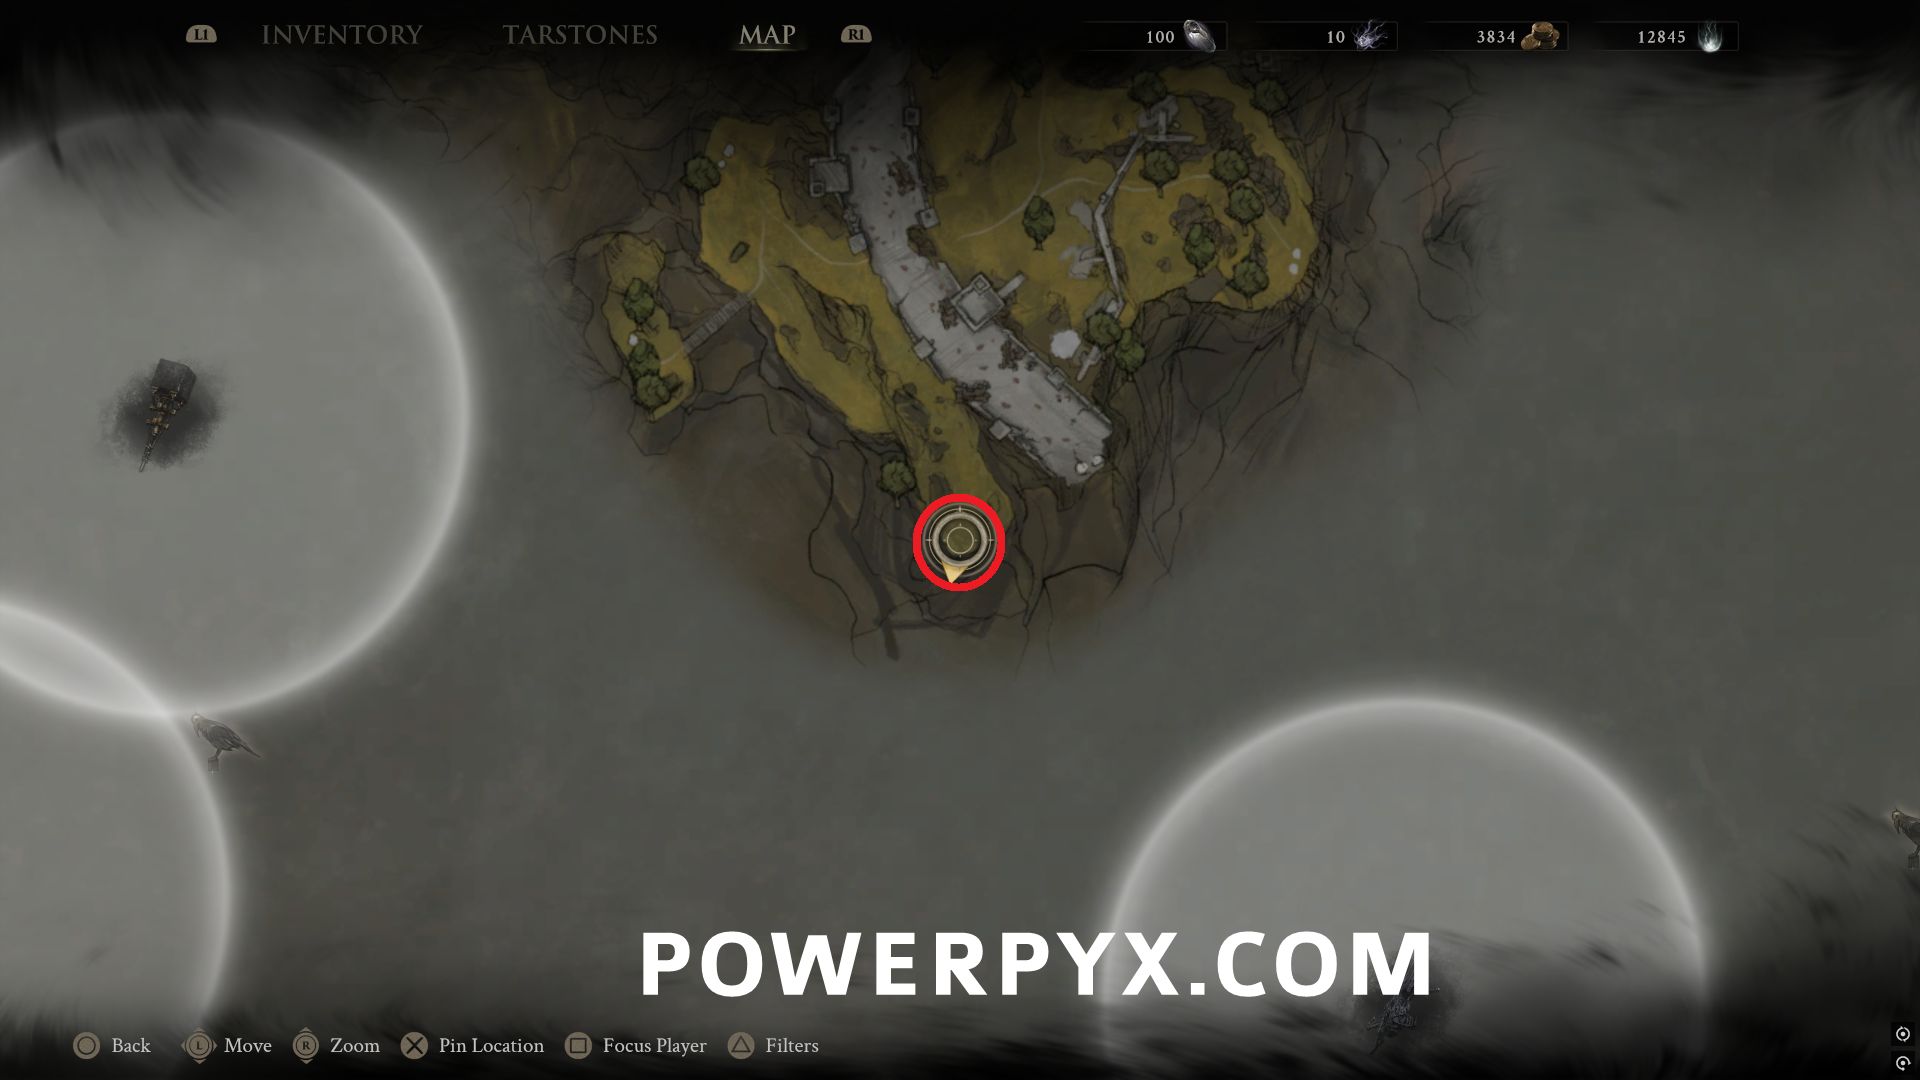
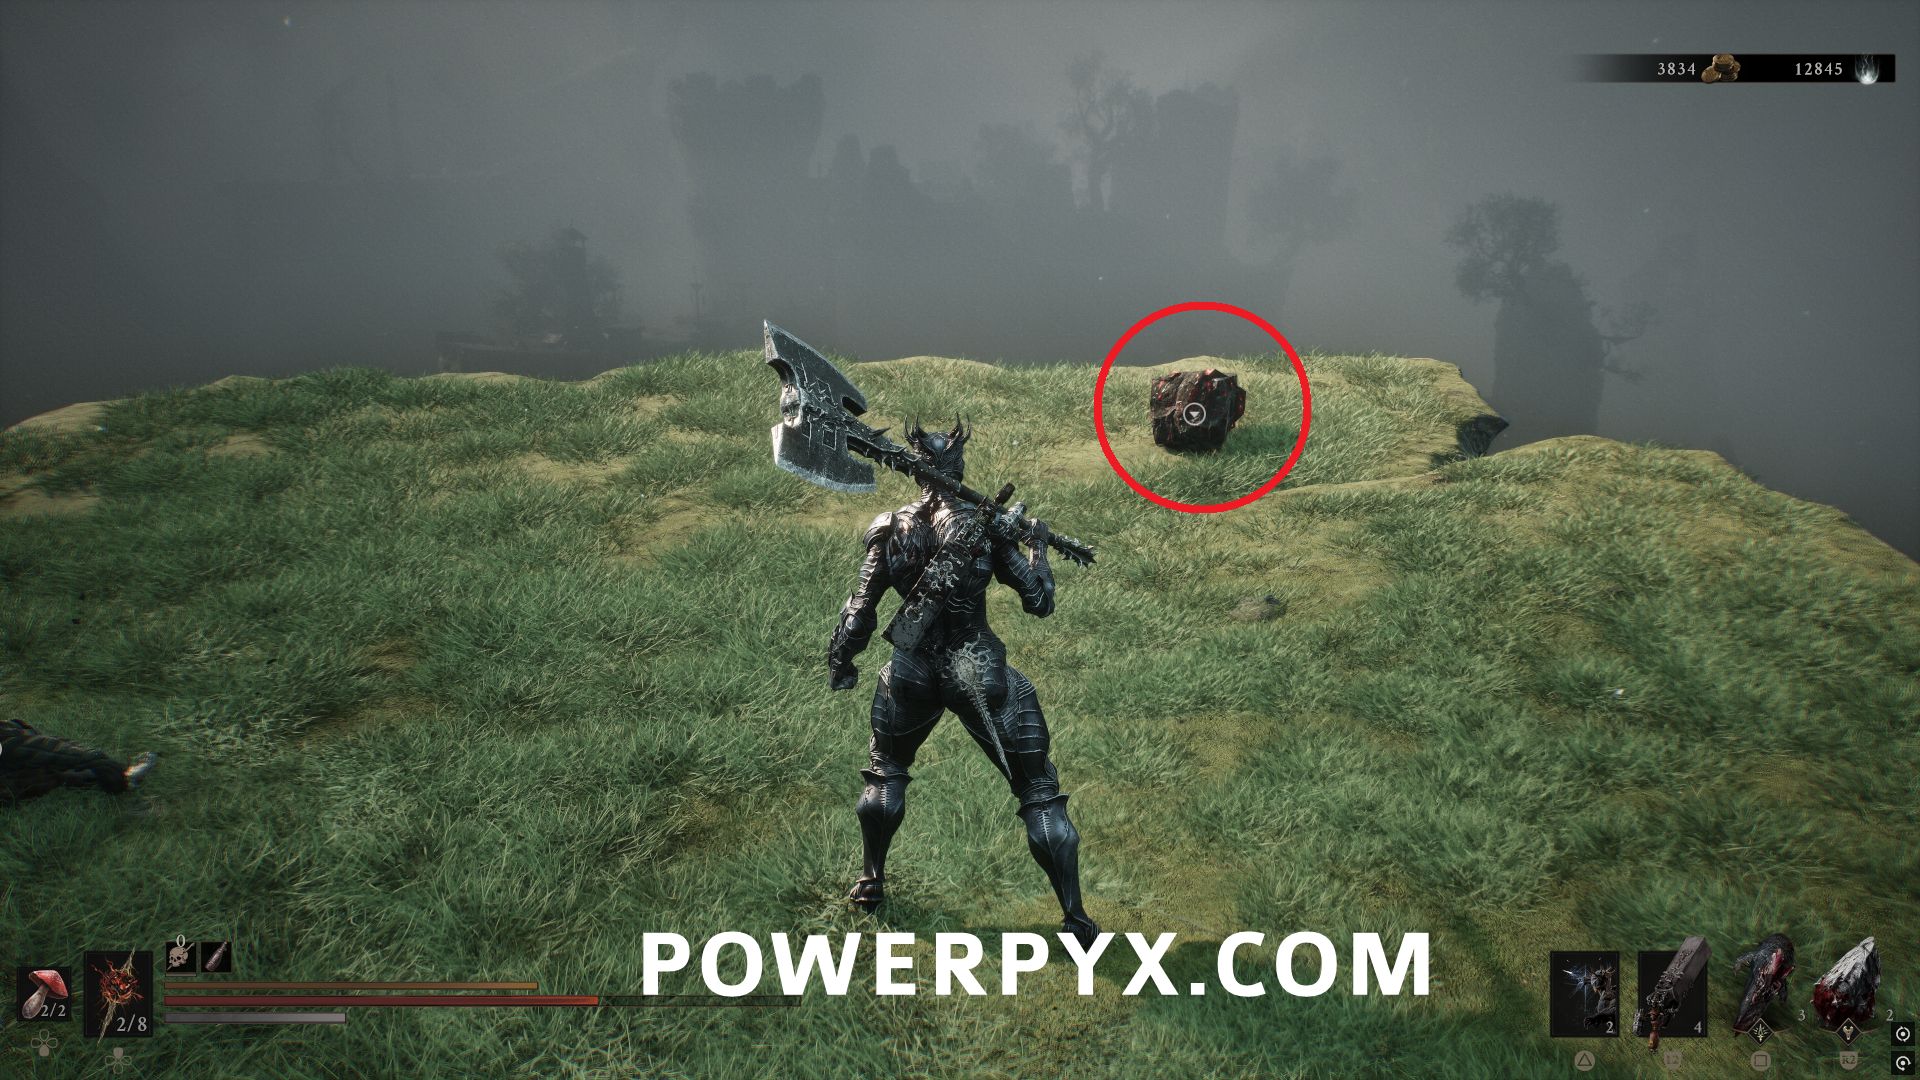
Return to the Outskirts of Mammon Beacon, then slightly east of the statue where the map fragment was located you can use the item on a catapult.
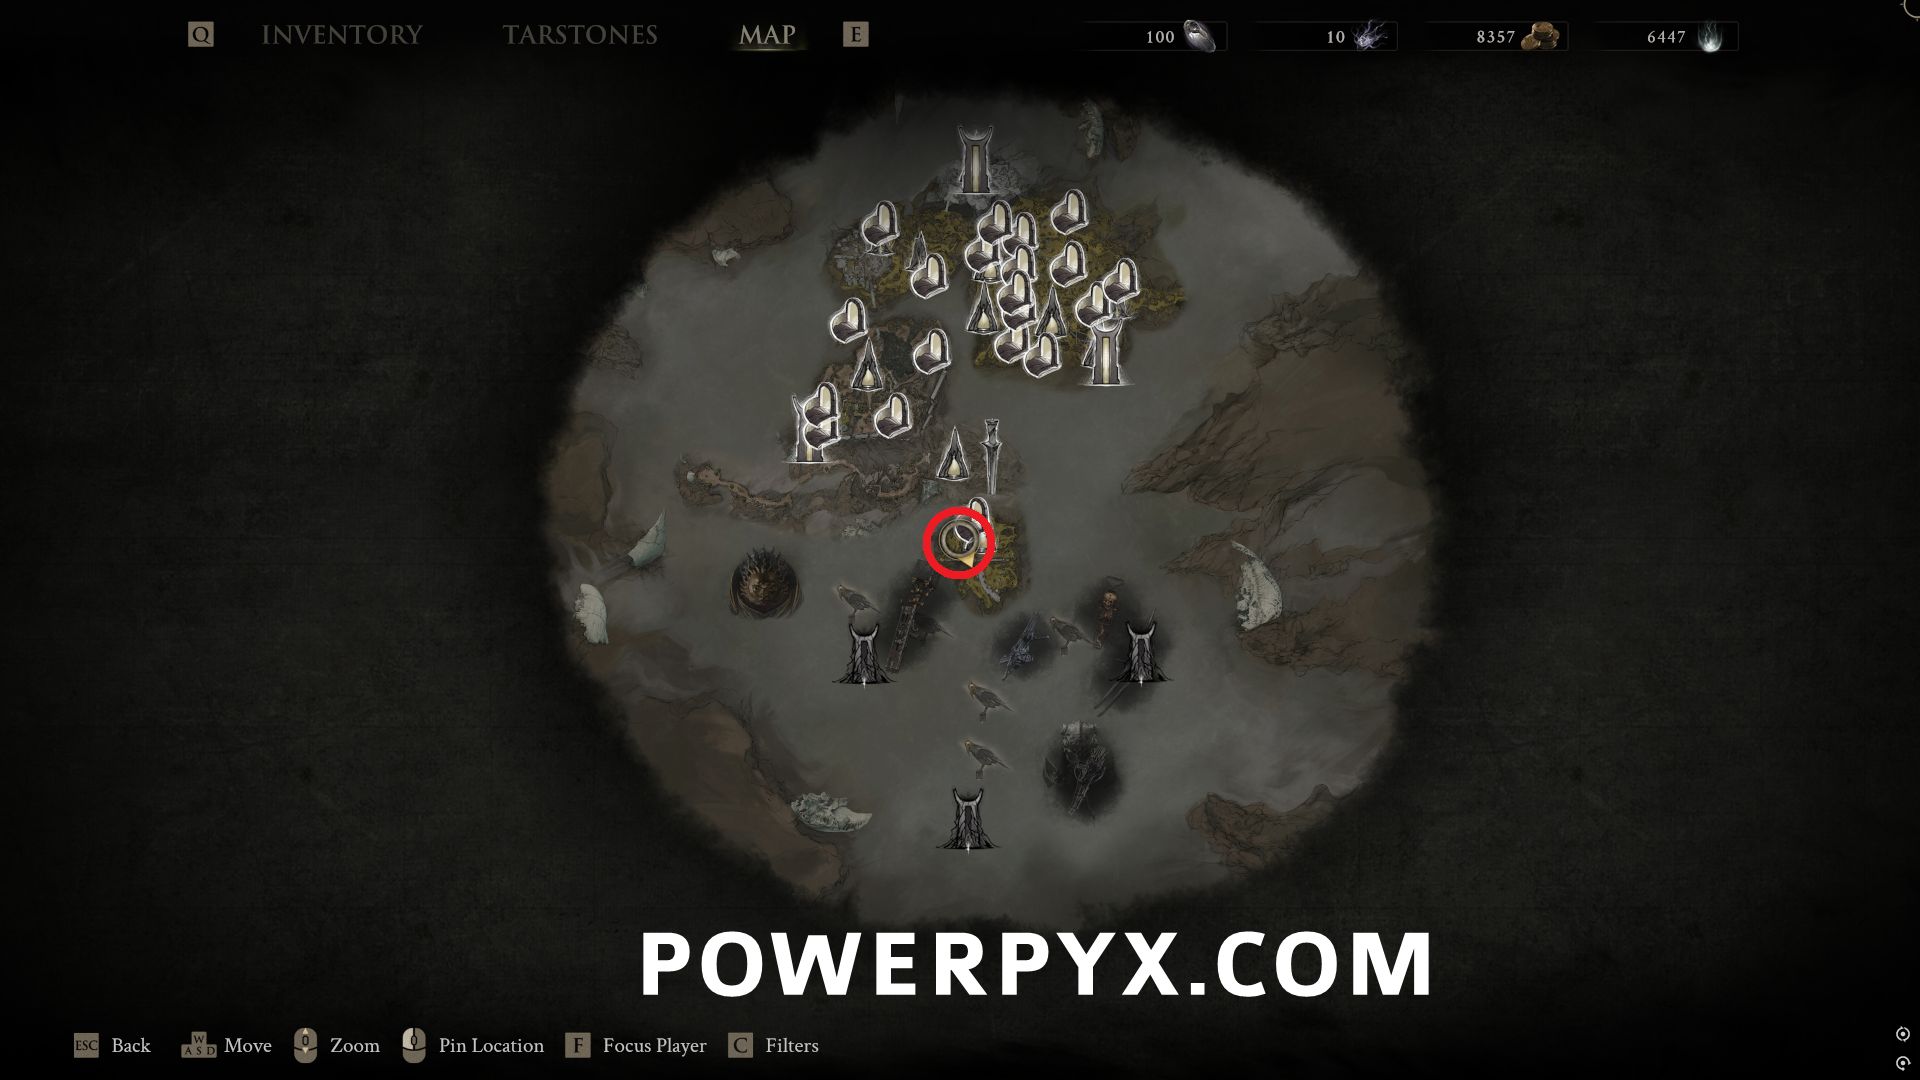
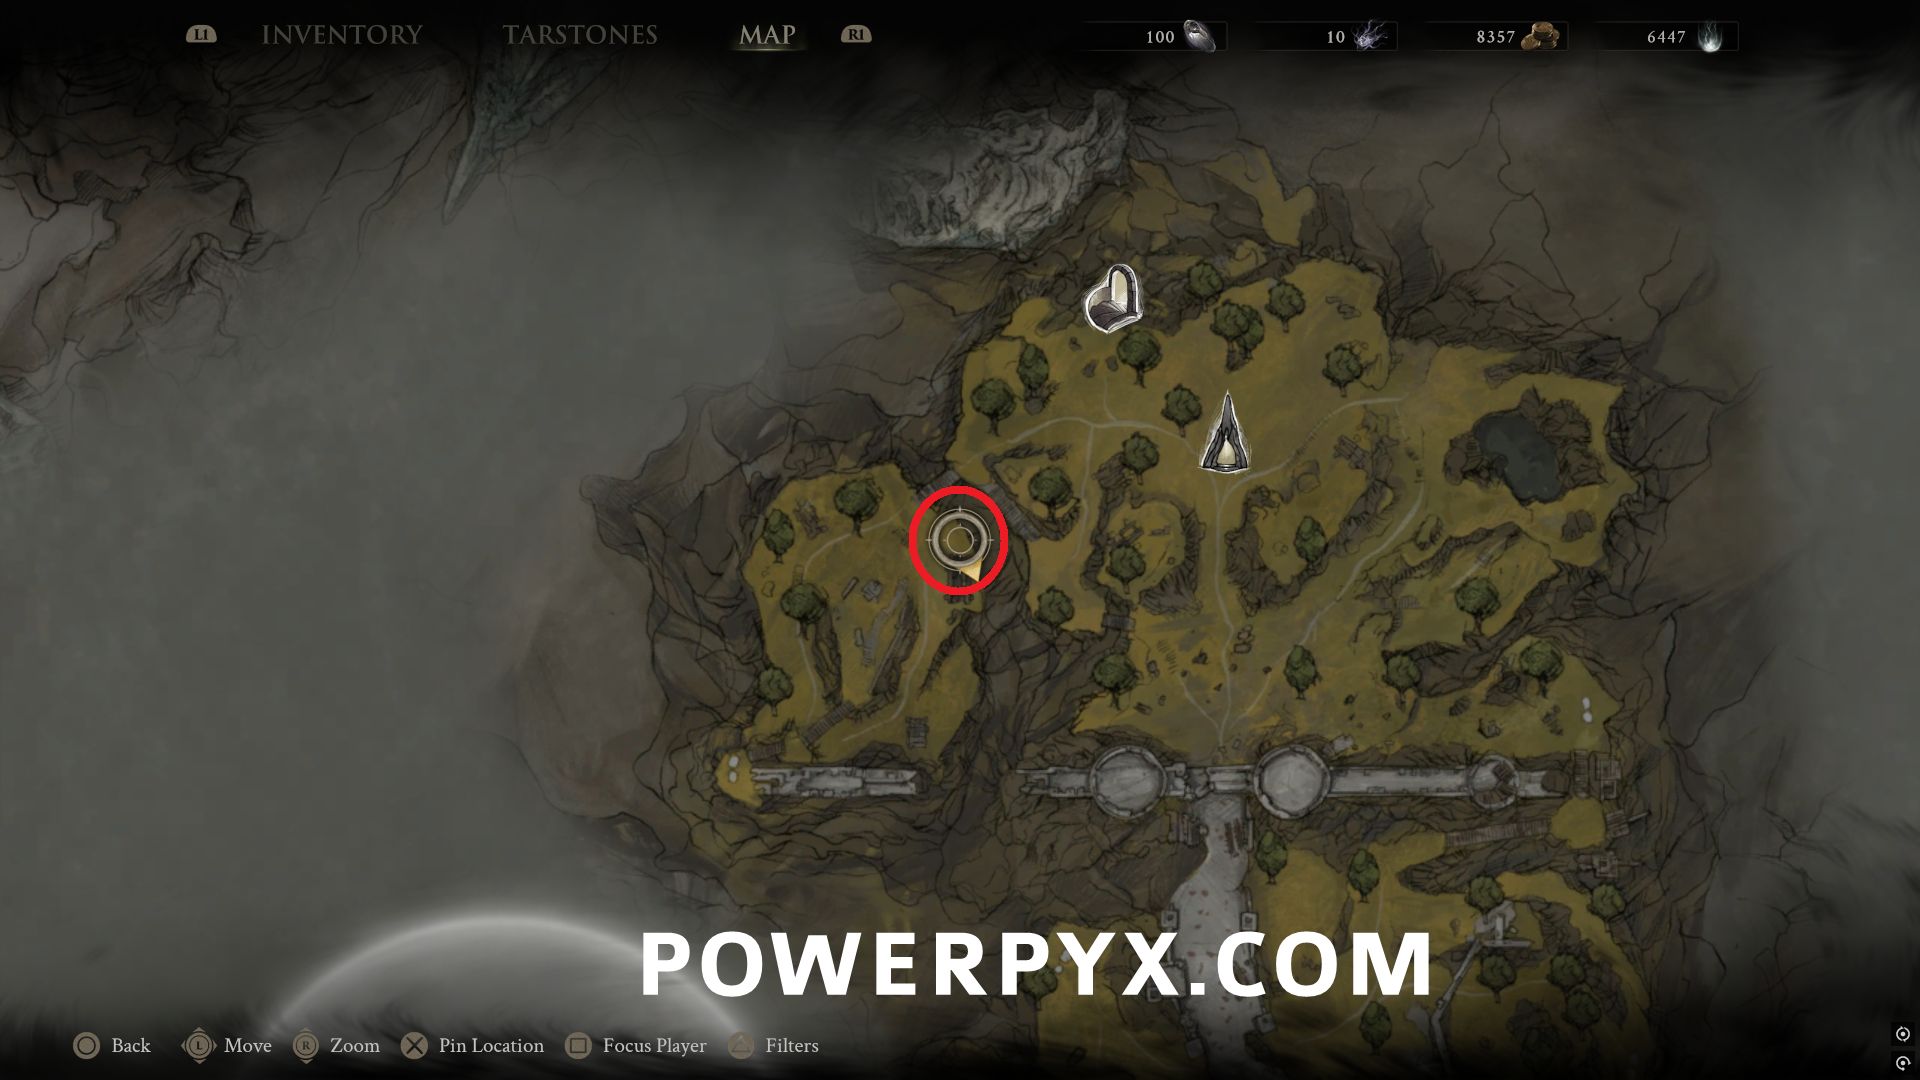
From Castigator’s Keep Beacon, drop down to the lower area and follow the wooden platforms so the southwest. At the end you can find the entrance to the Alchemist’s Workshop Dungeon that is open due to launching the projectile with the catapult.
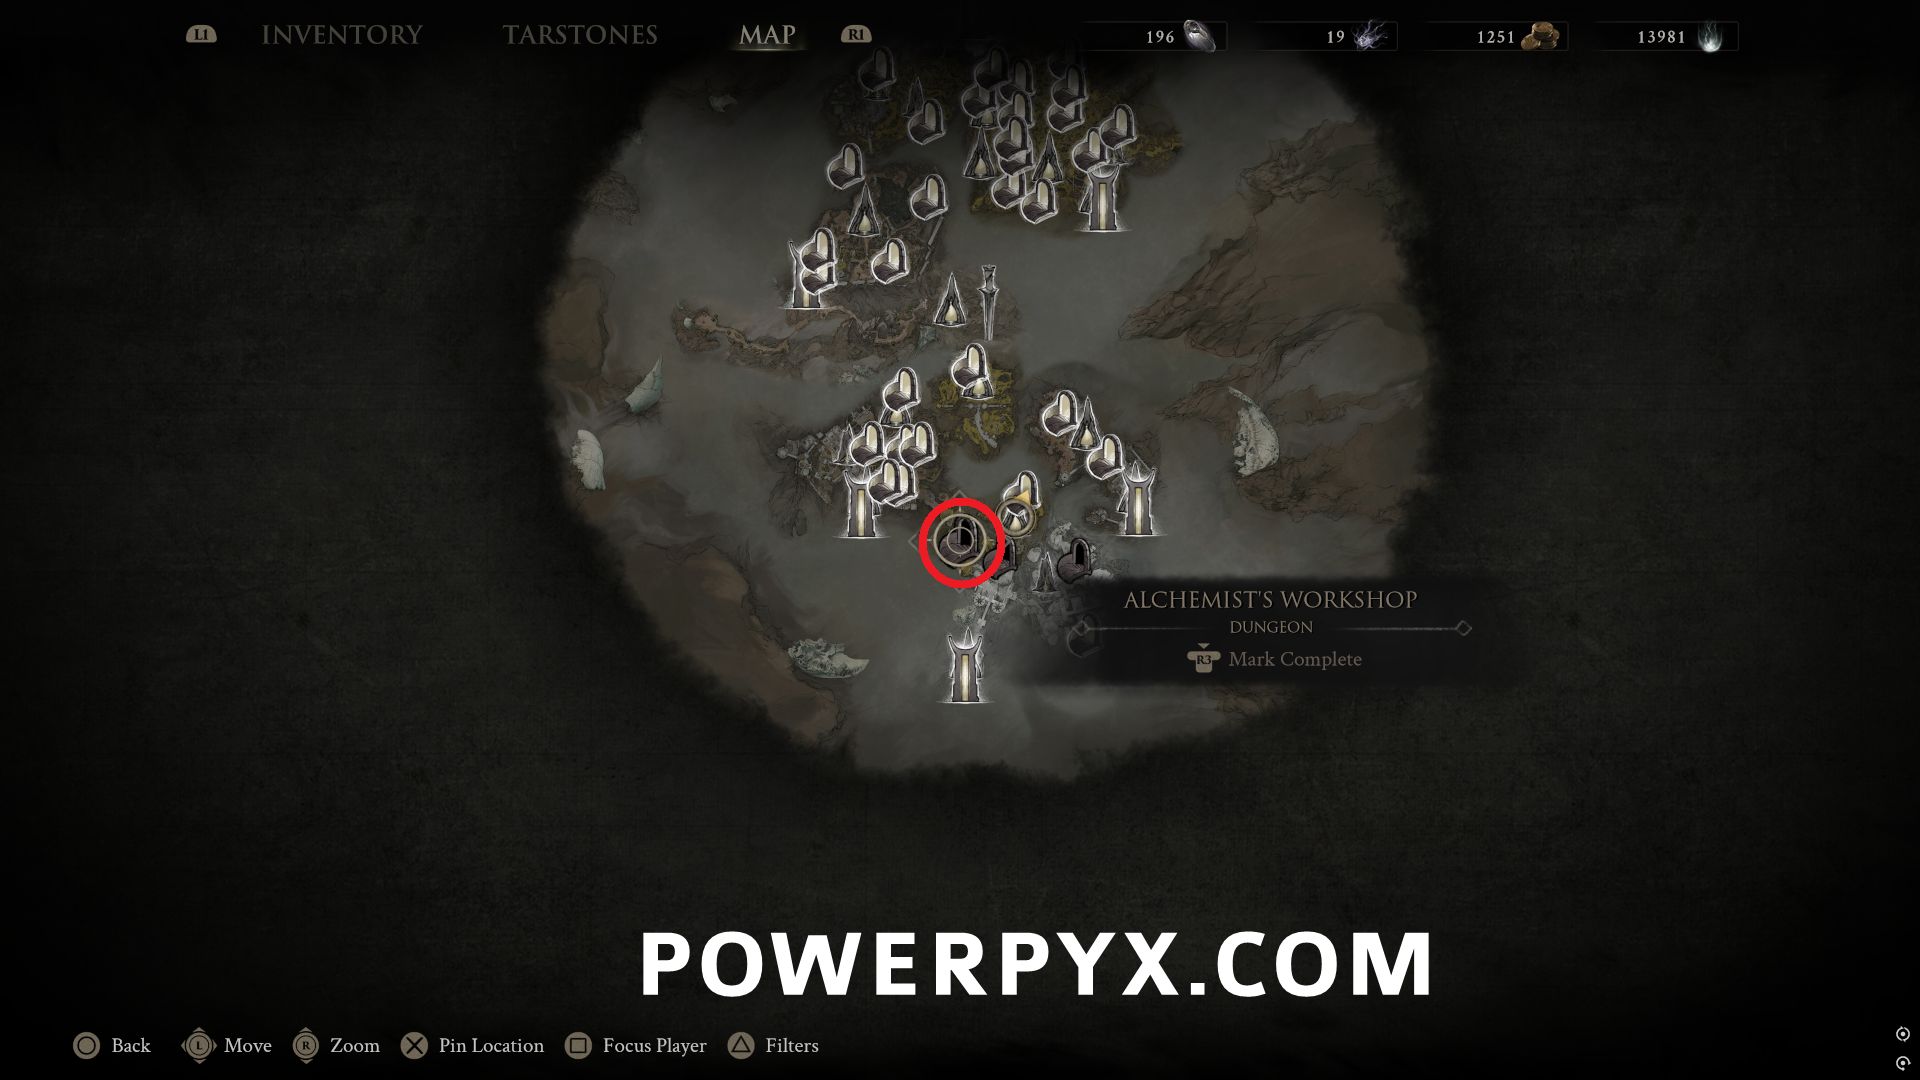
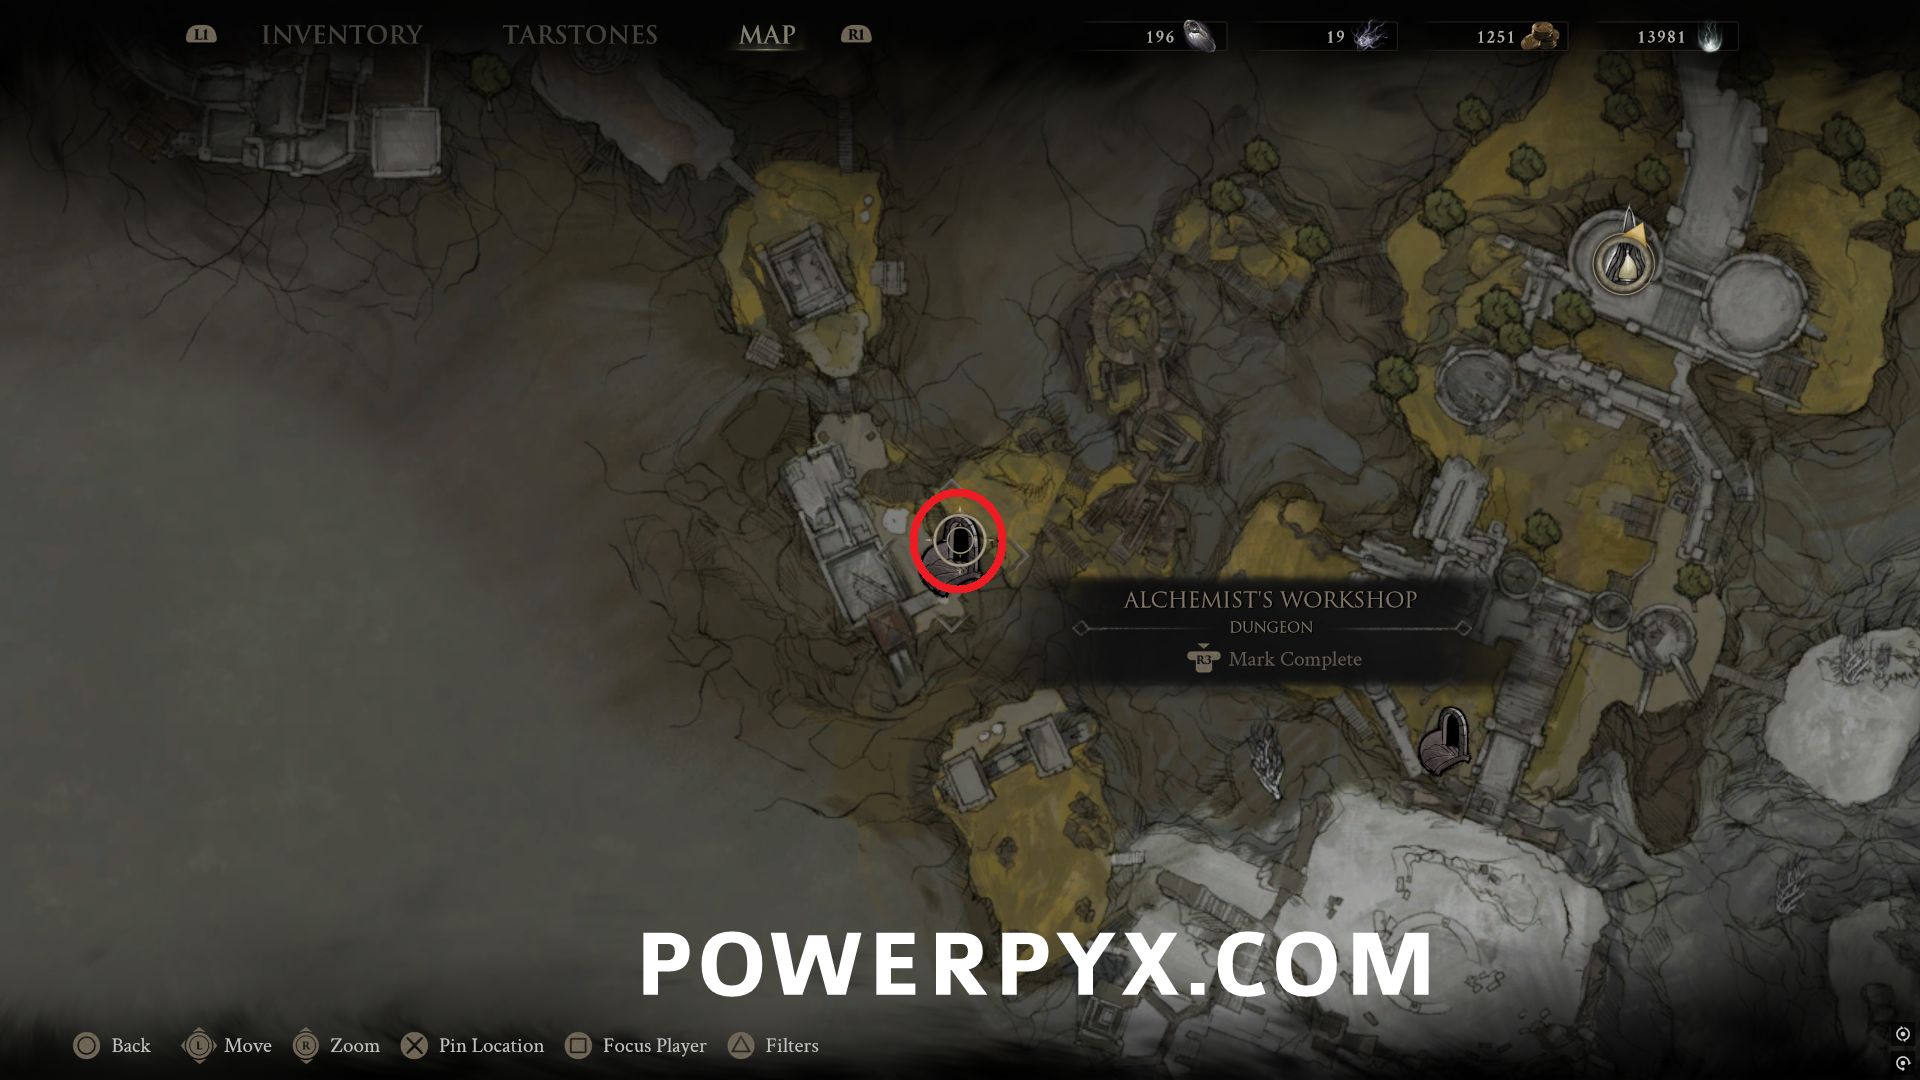
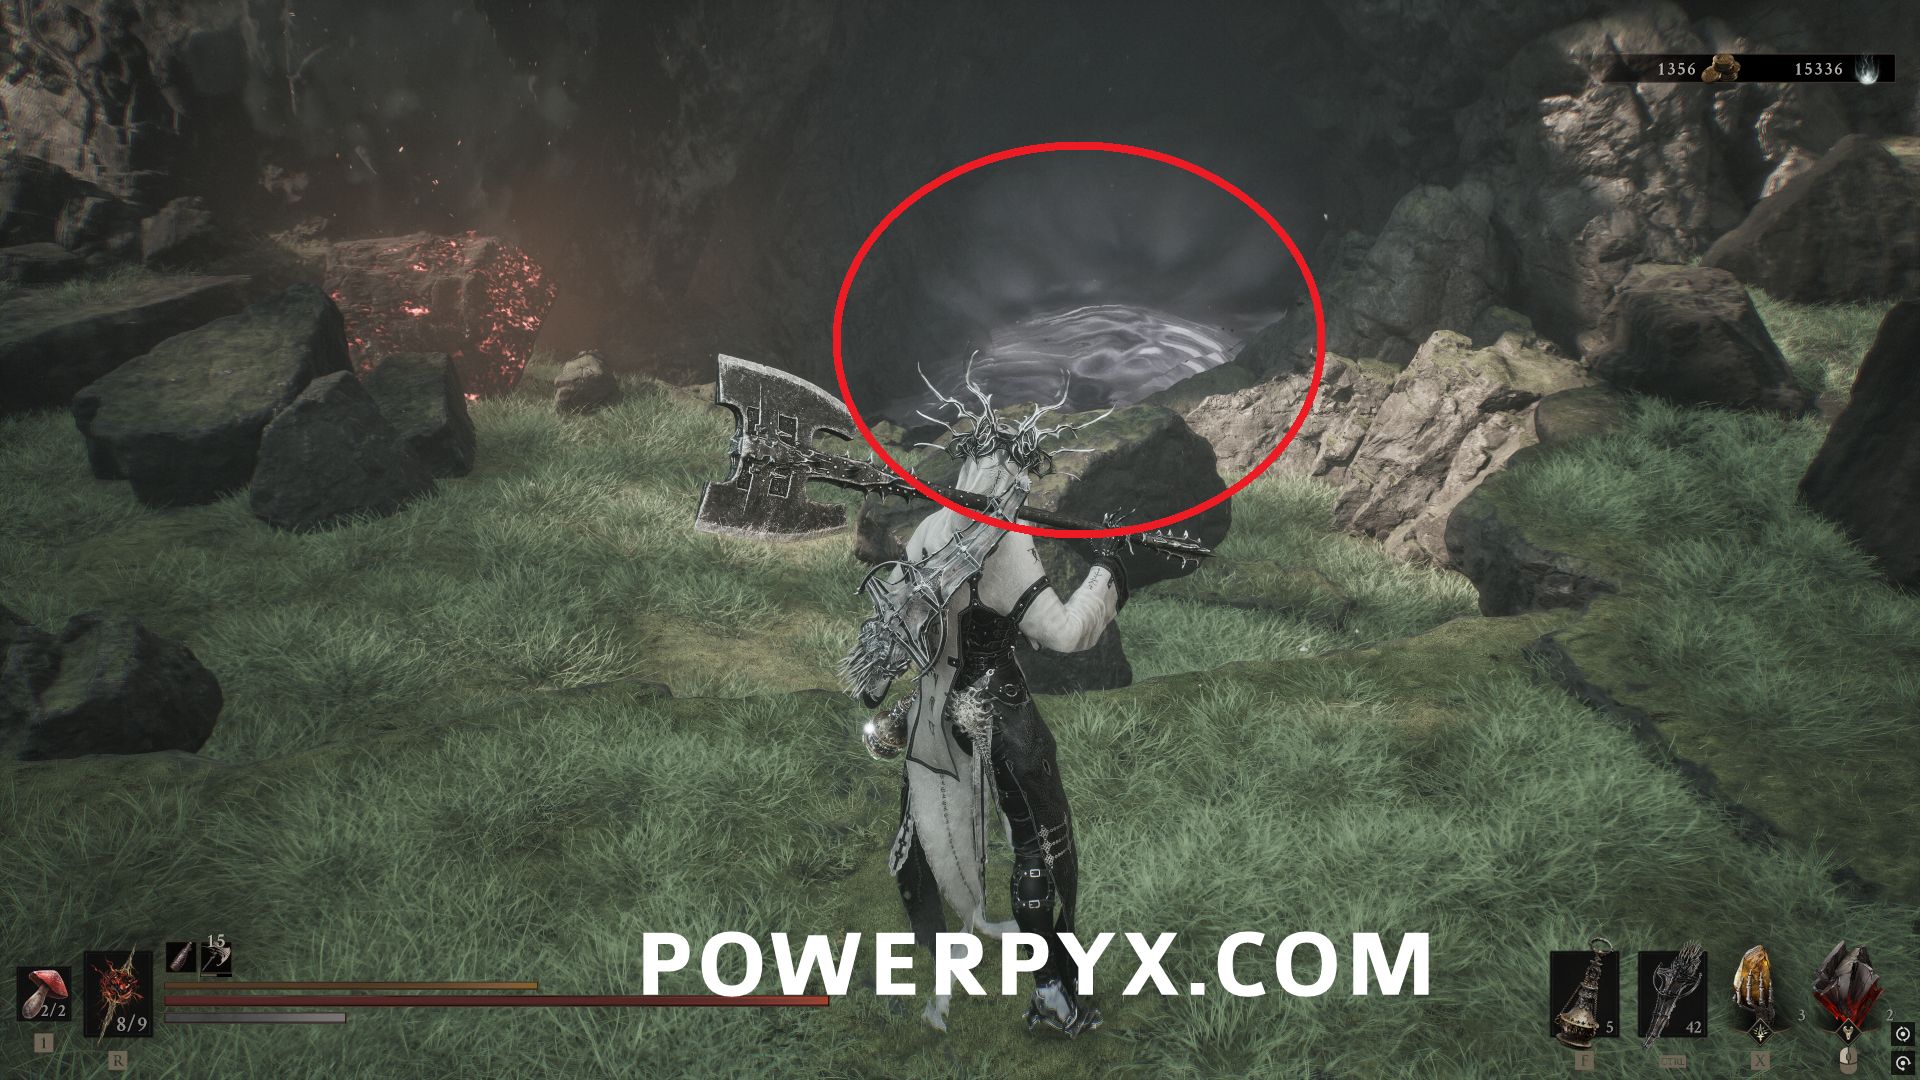
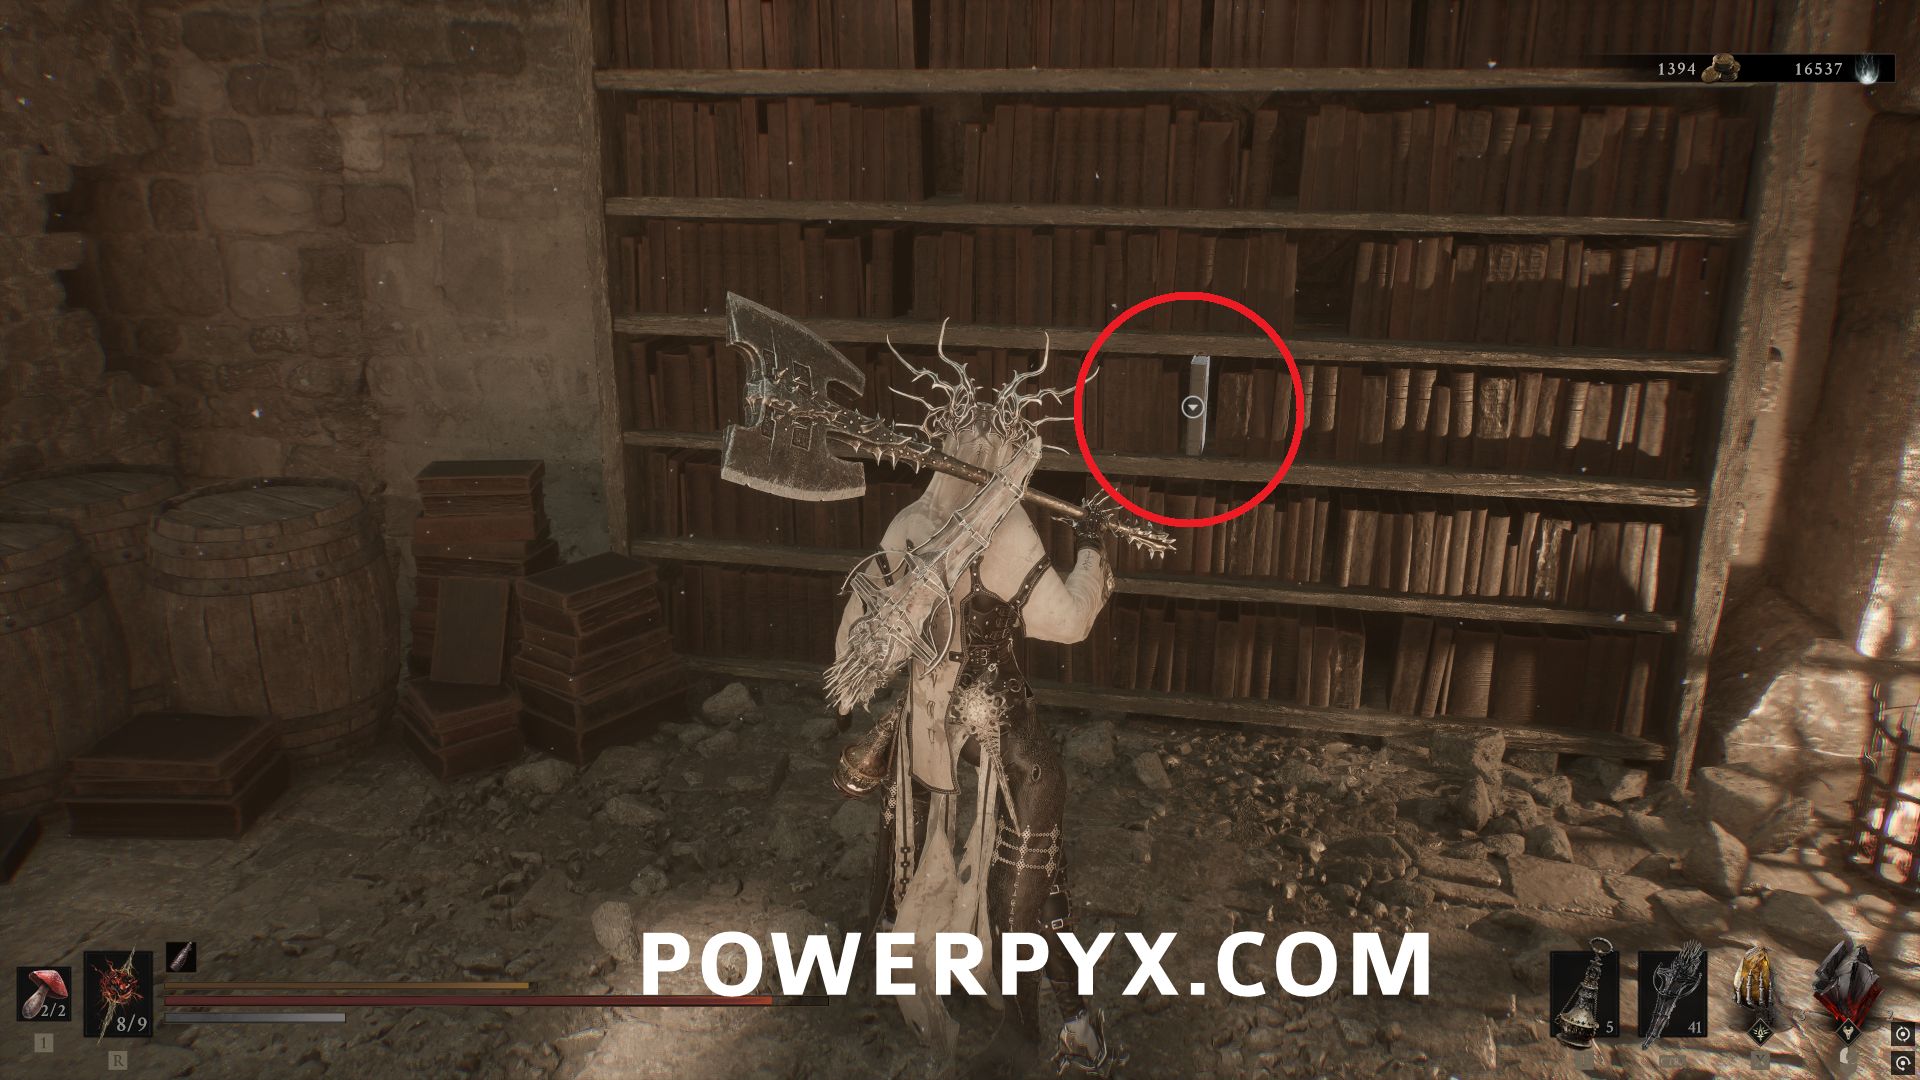
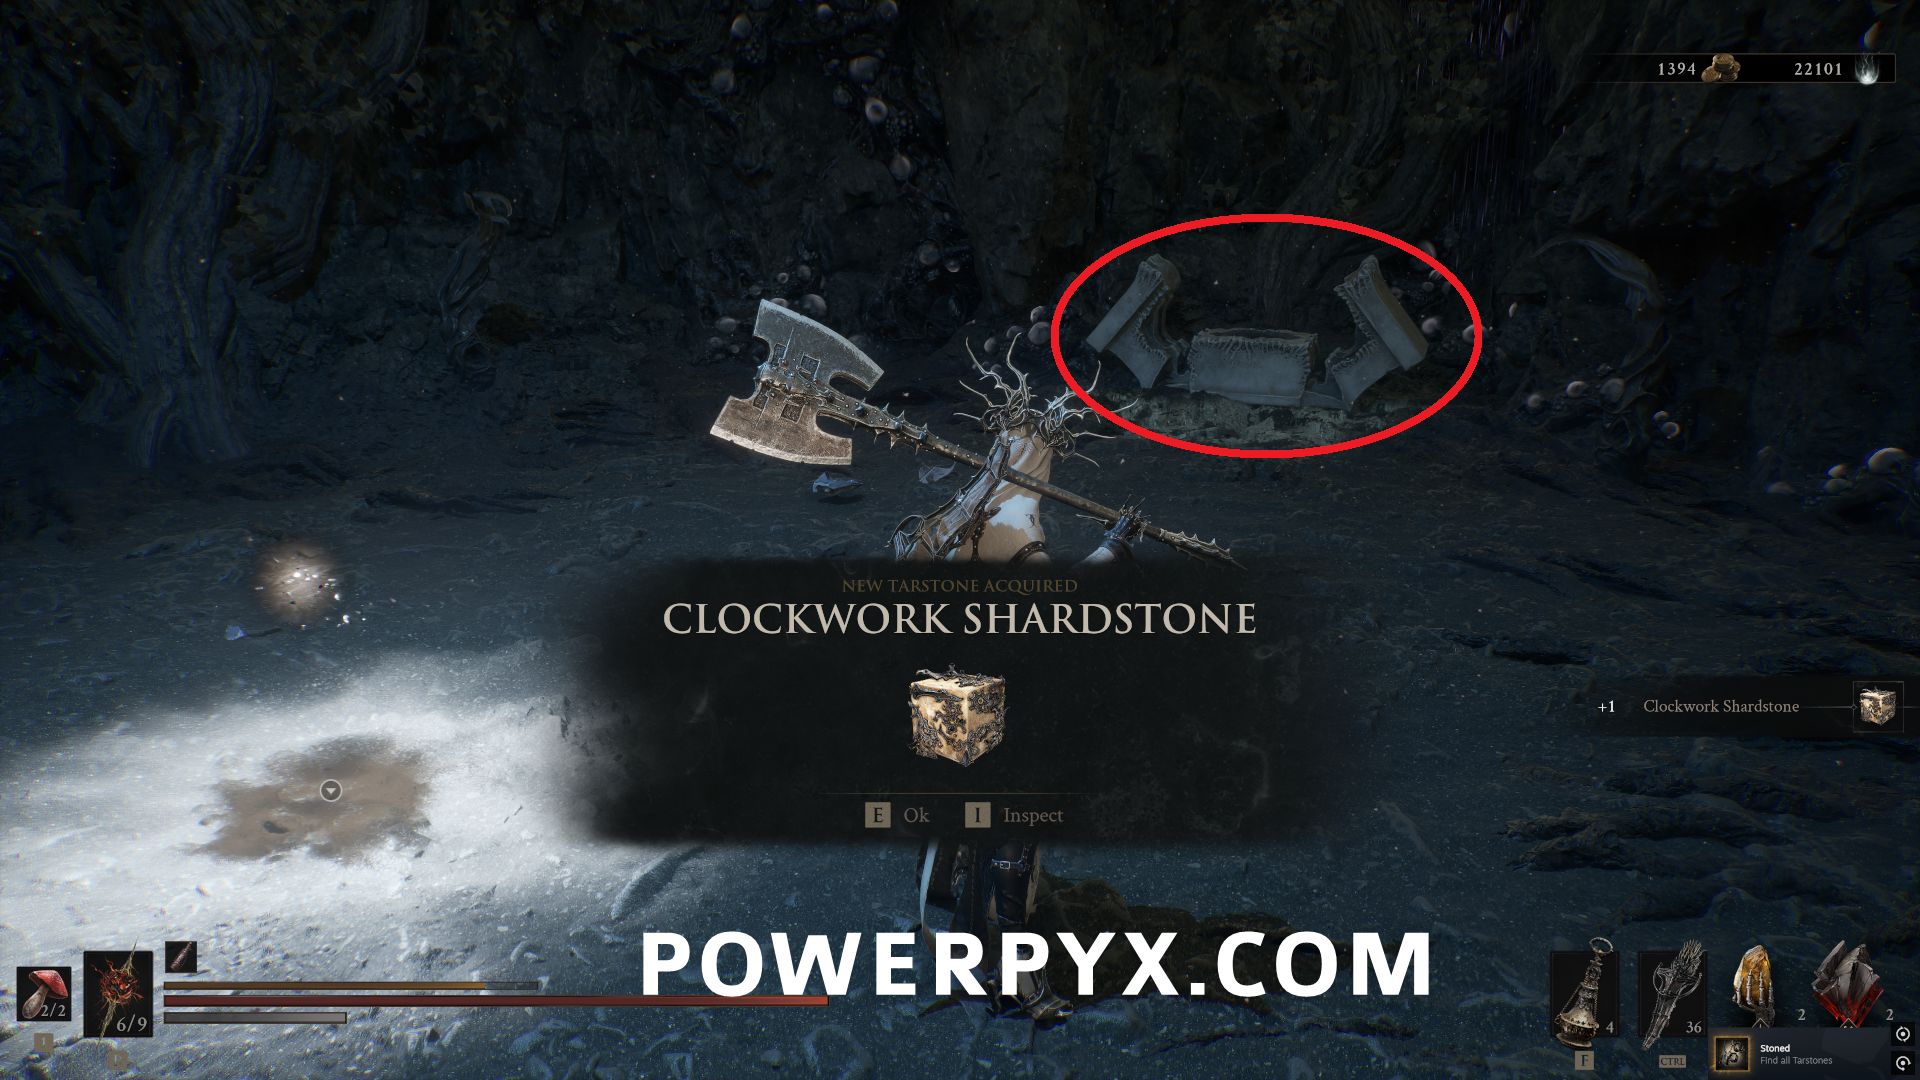
Progress through the area, going through the bookshelf and the fake wall to a hidden area, then in a side room pull the lever to access the elevator in the prior room. In the room at the bottom of the elevator is a chest that contains this Tarstone.
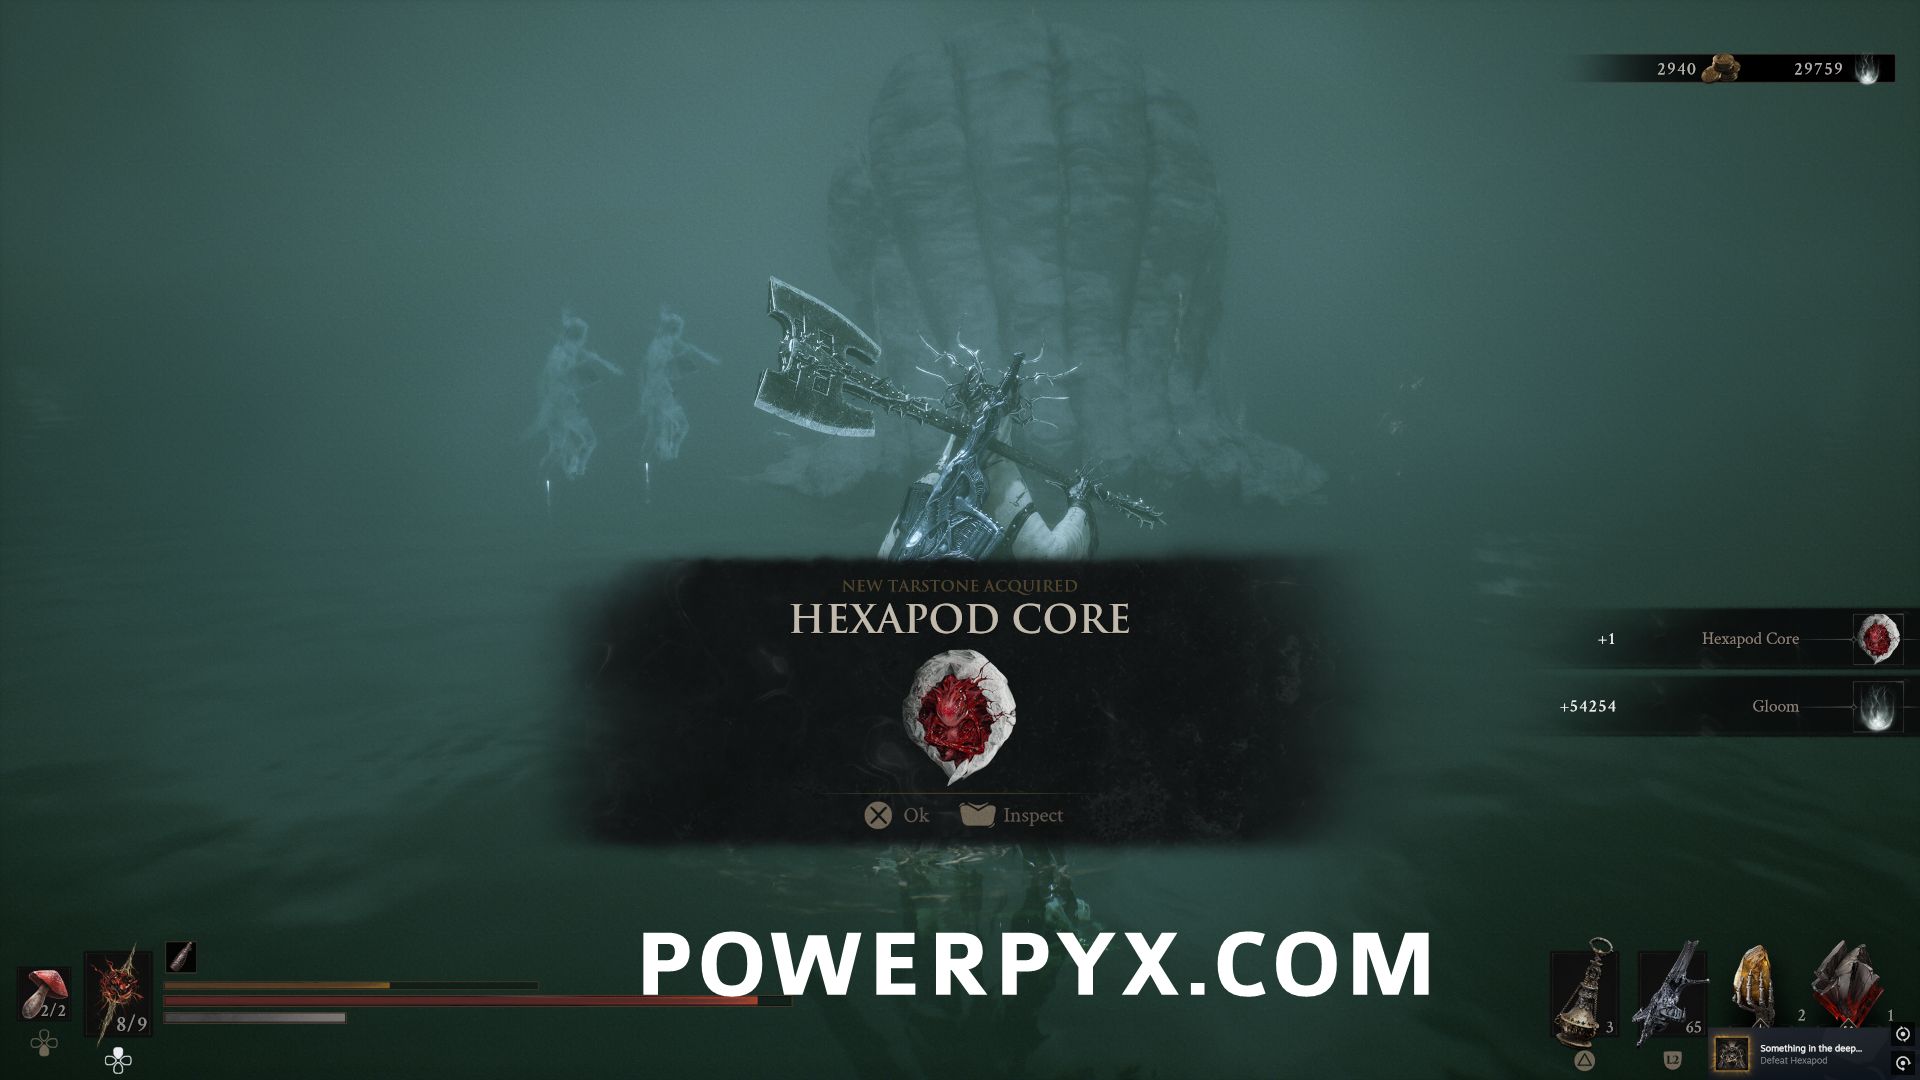
#65 – Hexapod Core
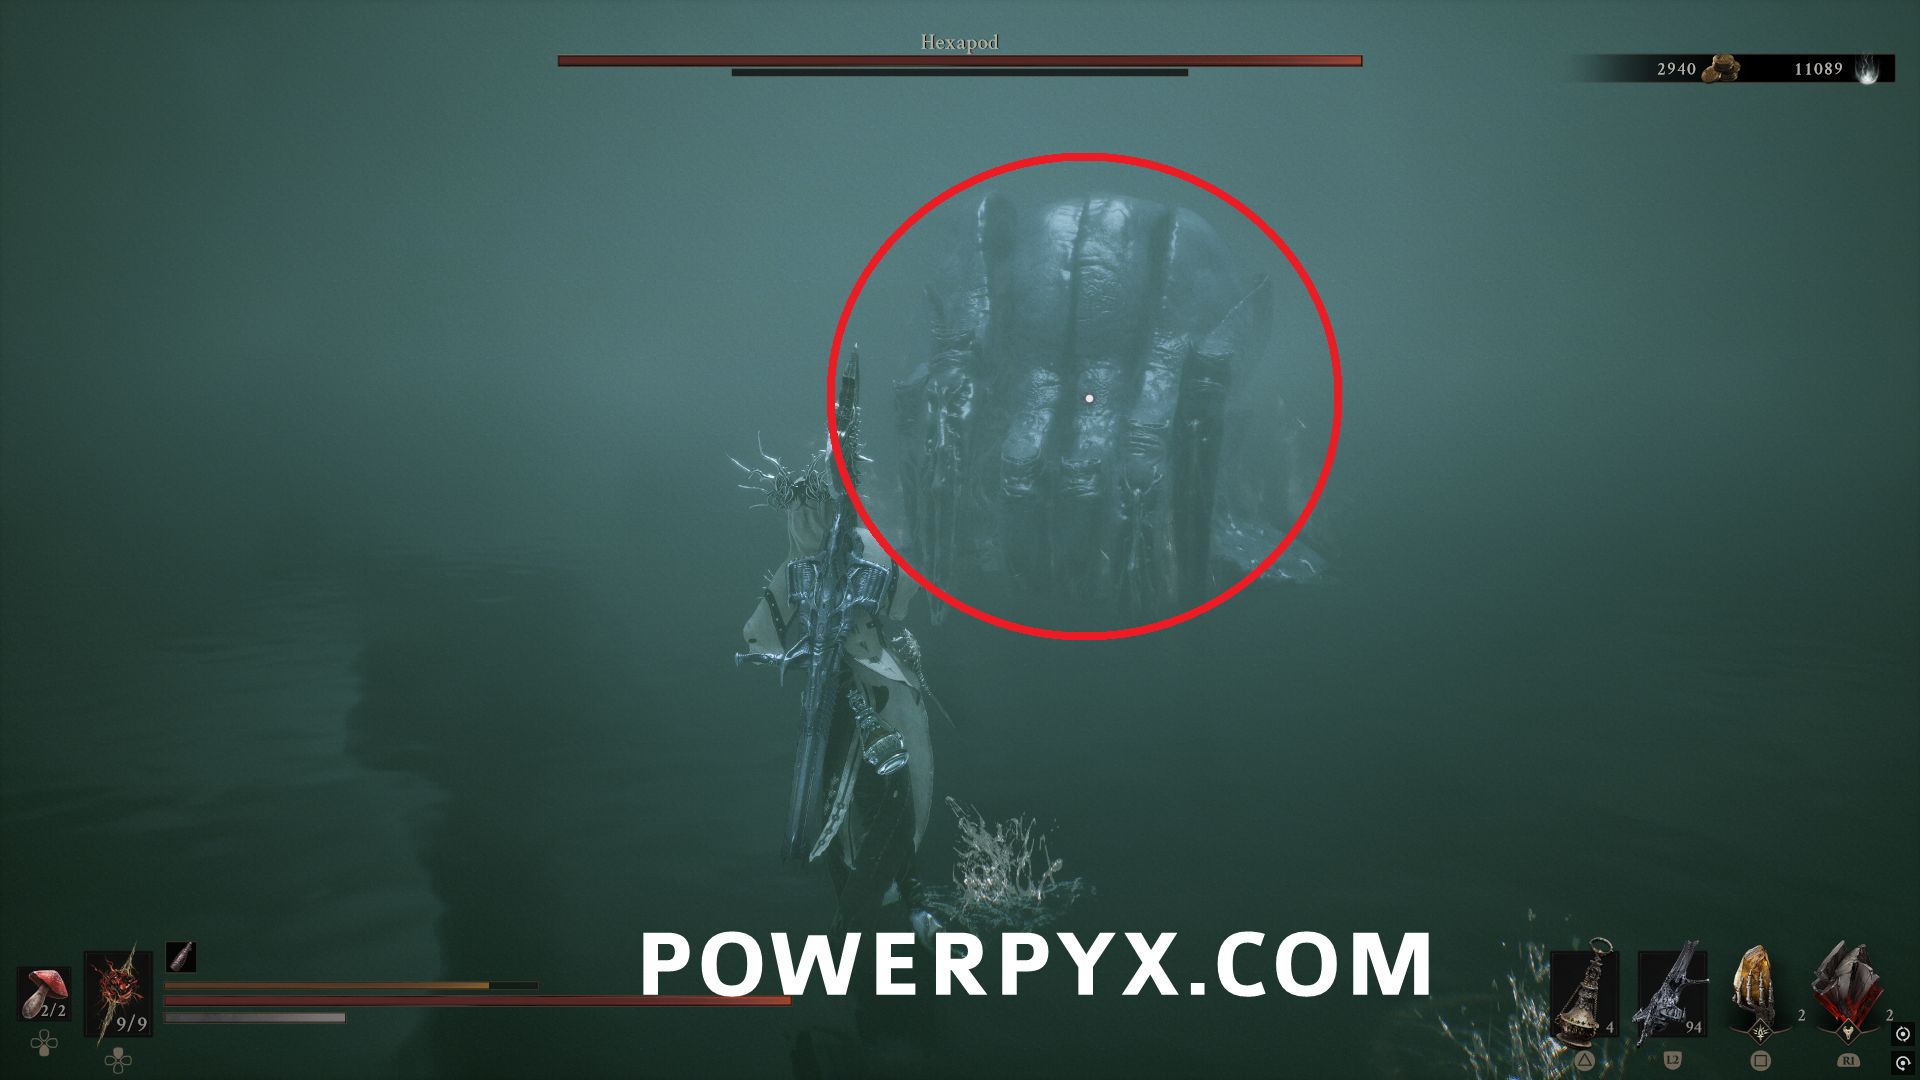
In the Withered Shoals area, defeat the main boss Hexapod to obtain this Tarstone.
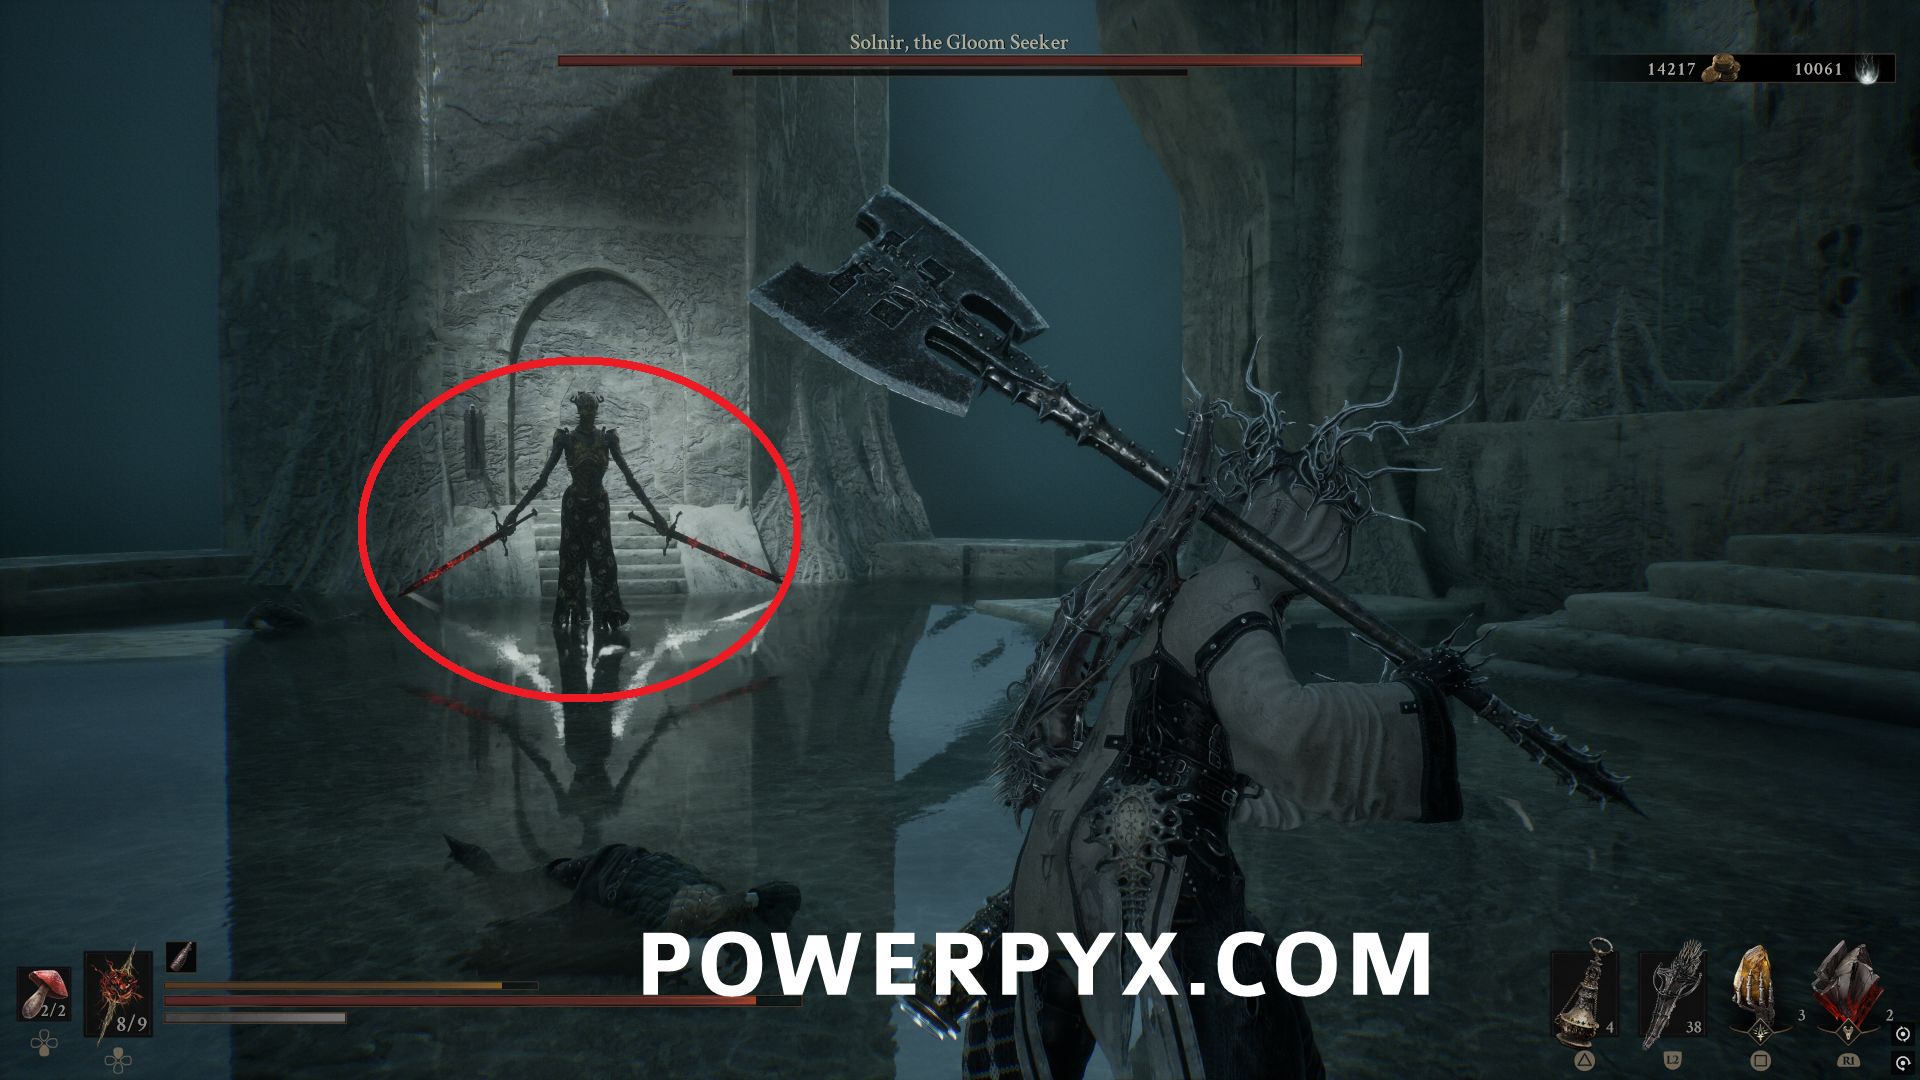
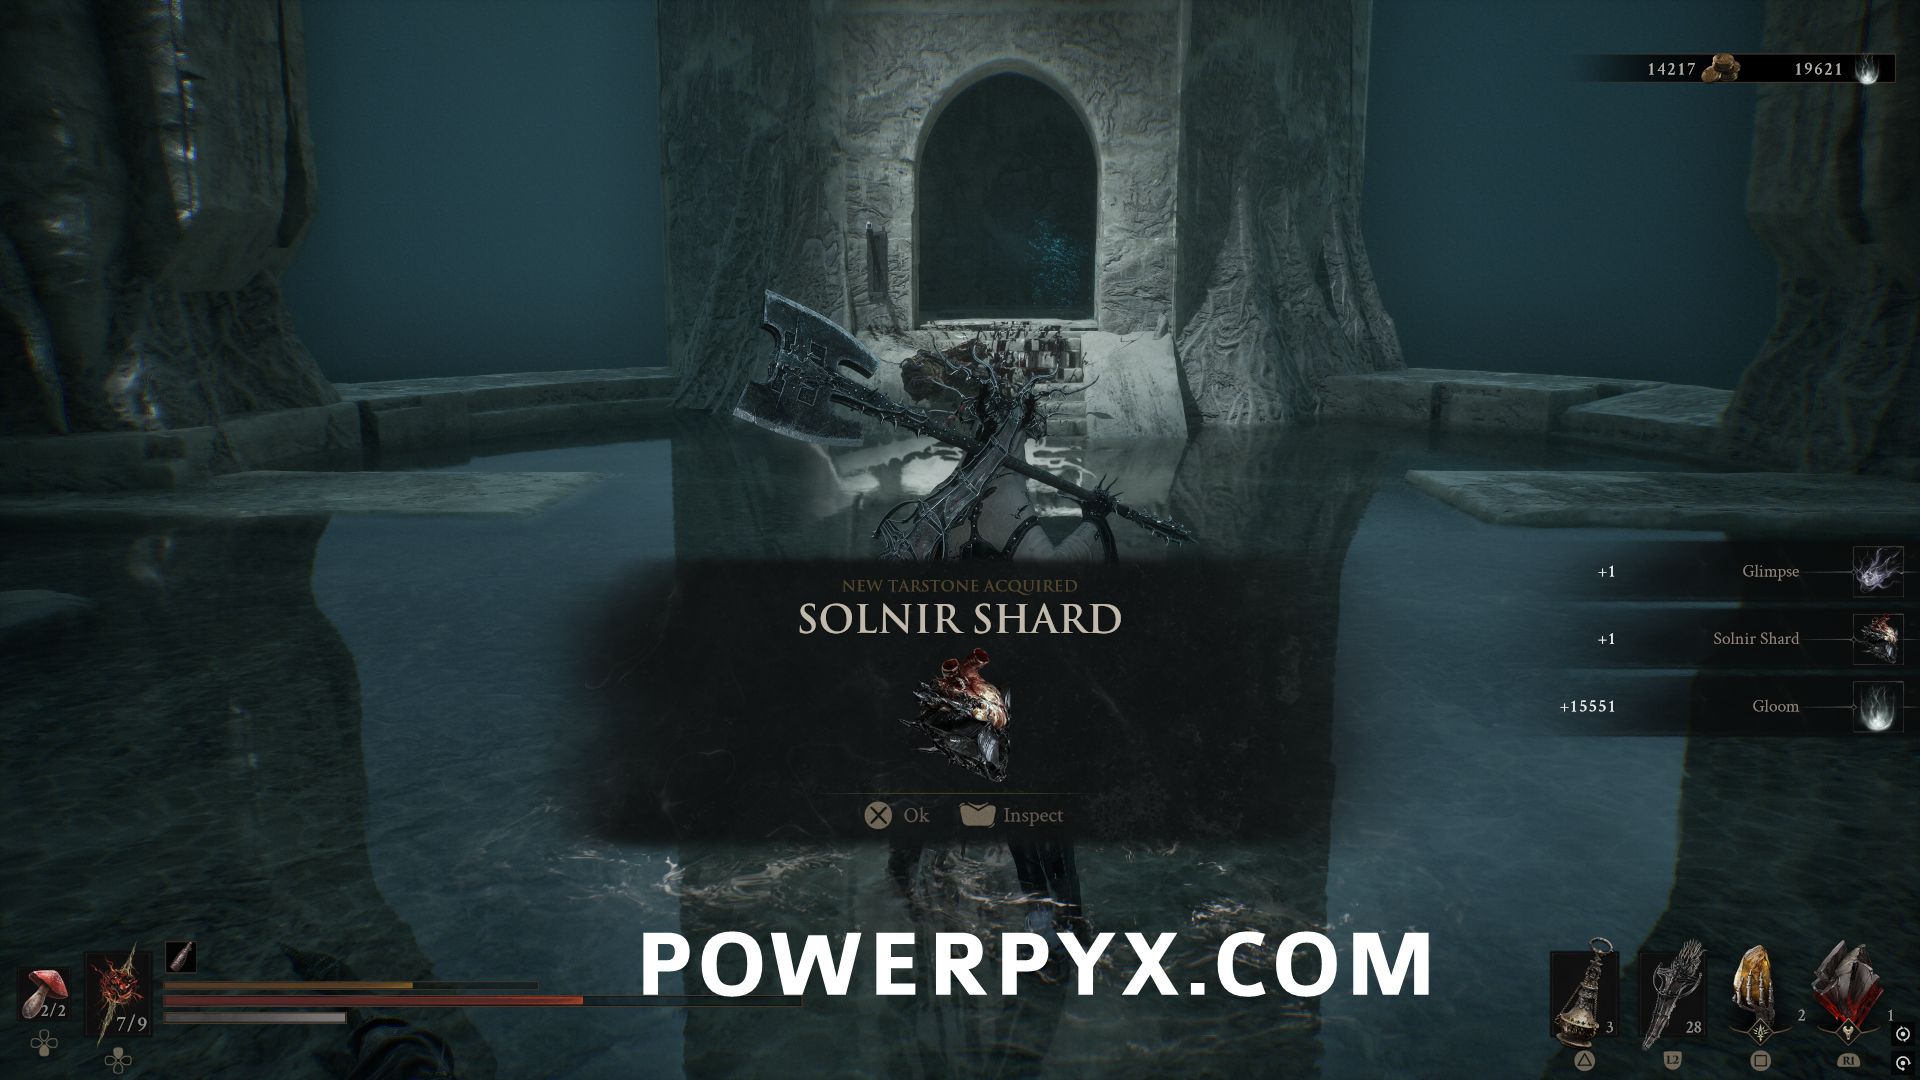
#66 – Solnir Shard
In the Faded Citadel area, after the Citadel Annex Beacon, progress through the area to encounter the miniboss Solnir, the Gloom Seeker and defeat them to obtain this Tarstone.
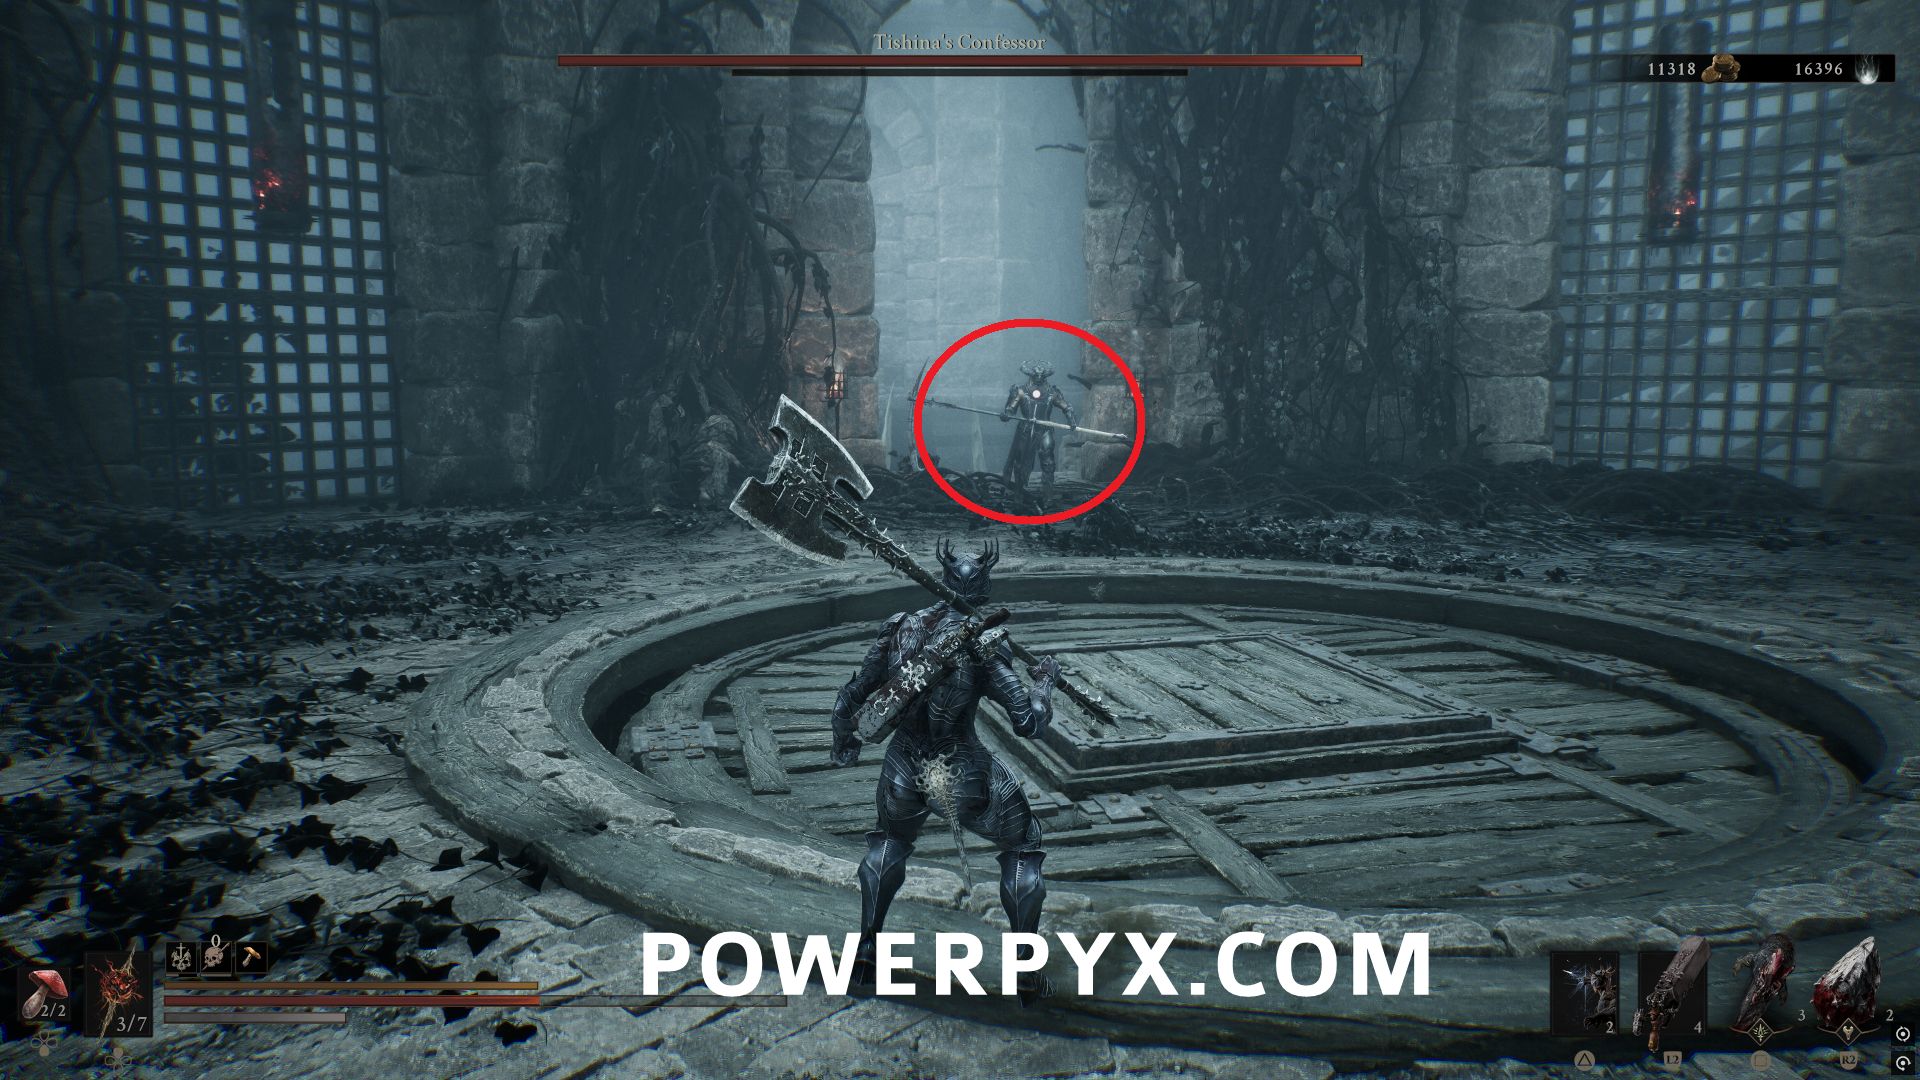
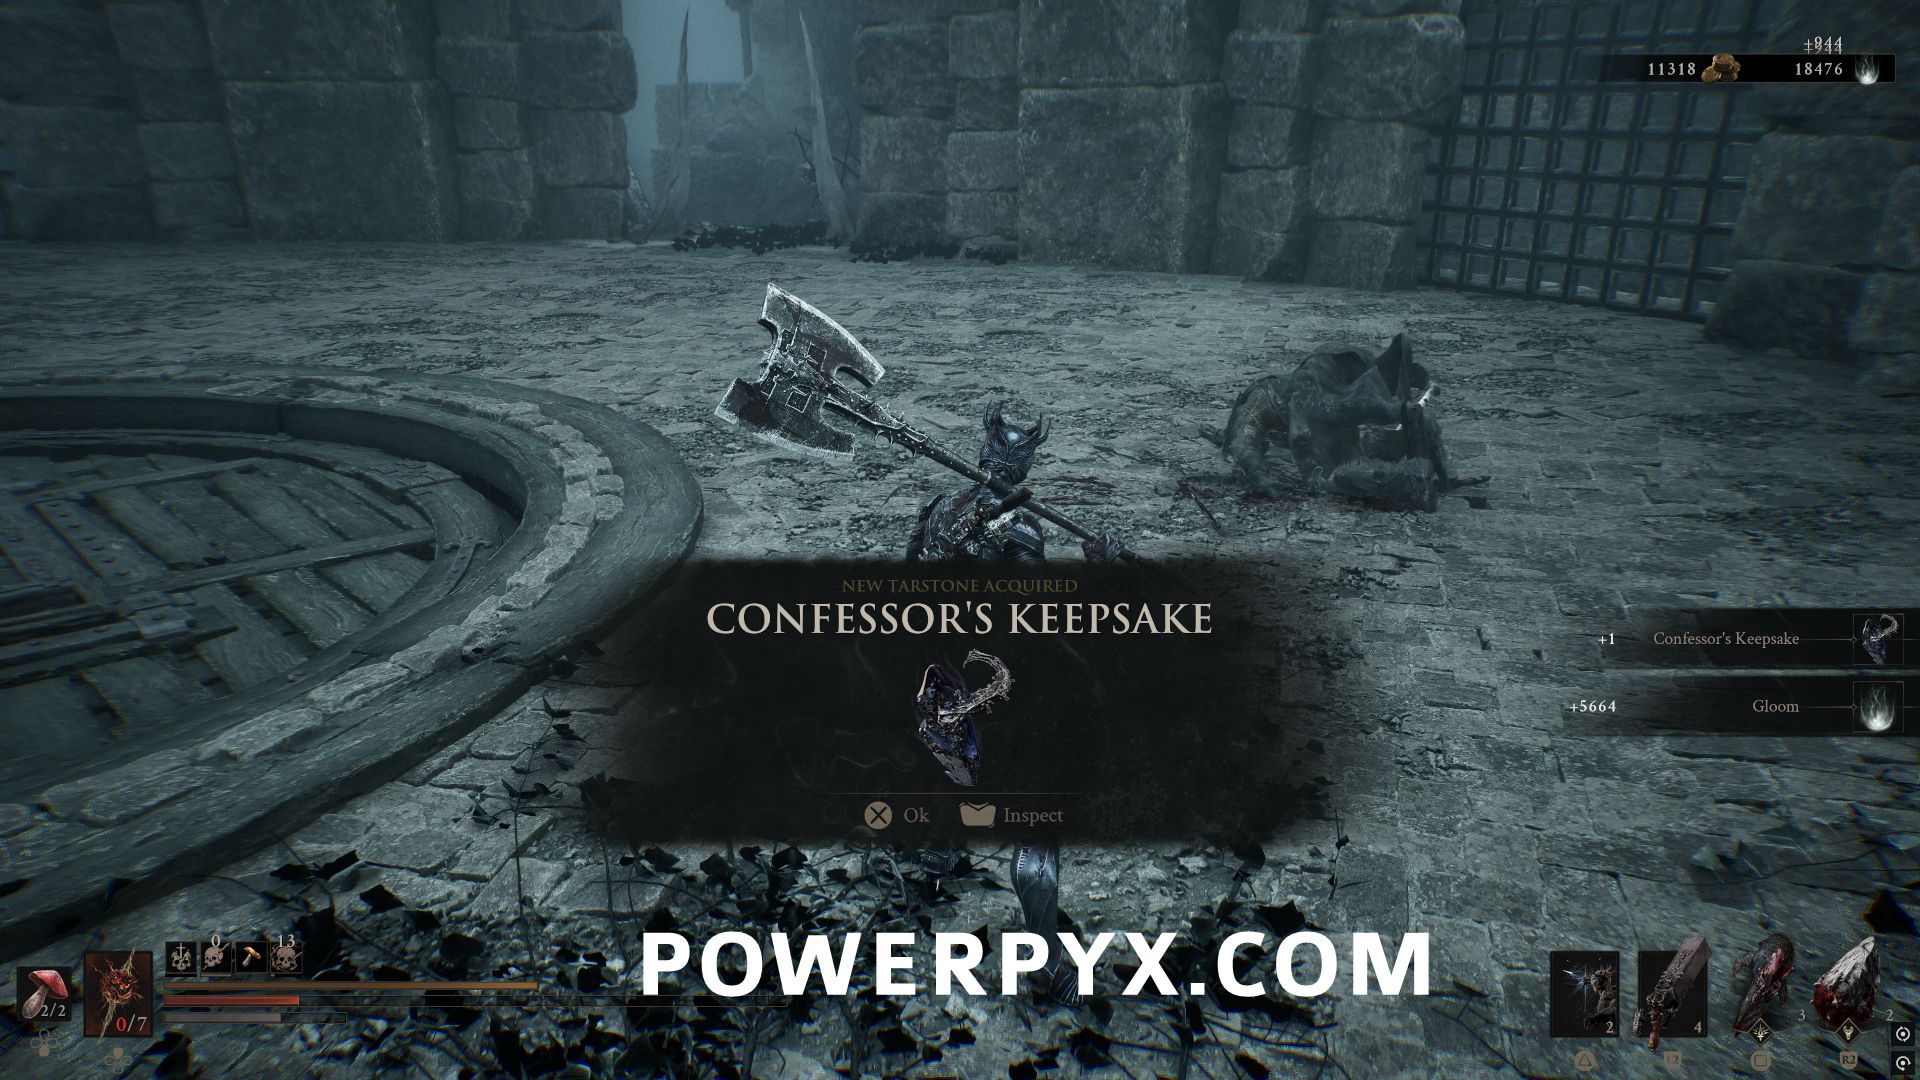
#67 – Confessor’s Keepsake
In the Prisoner’s Domain area, after the Slumwater Drain or Executioner’s Pulpit Beacons, defeat the miniboss Tishina’s Confessor to obtain the Tarstone.
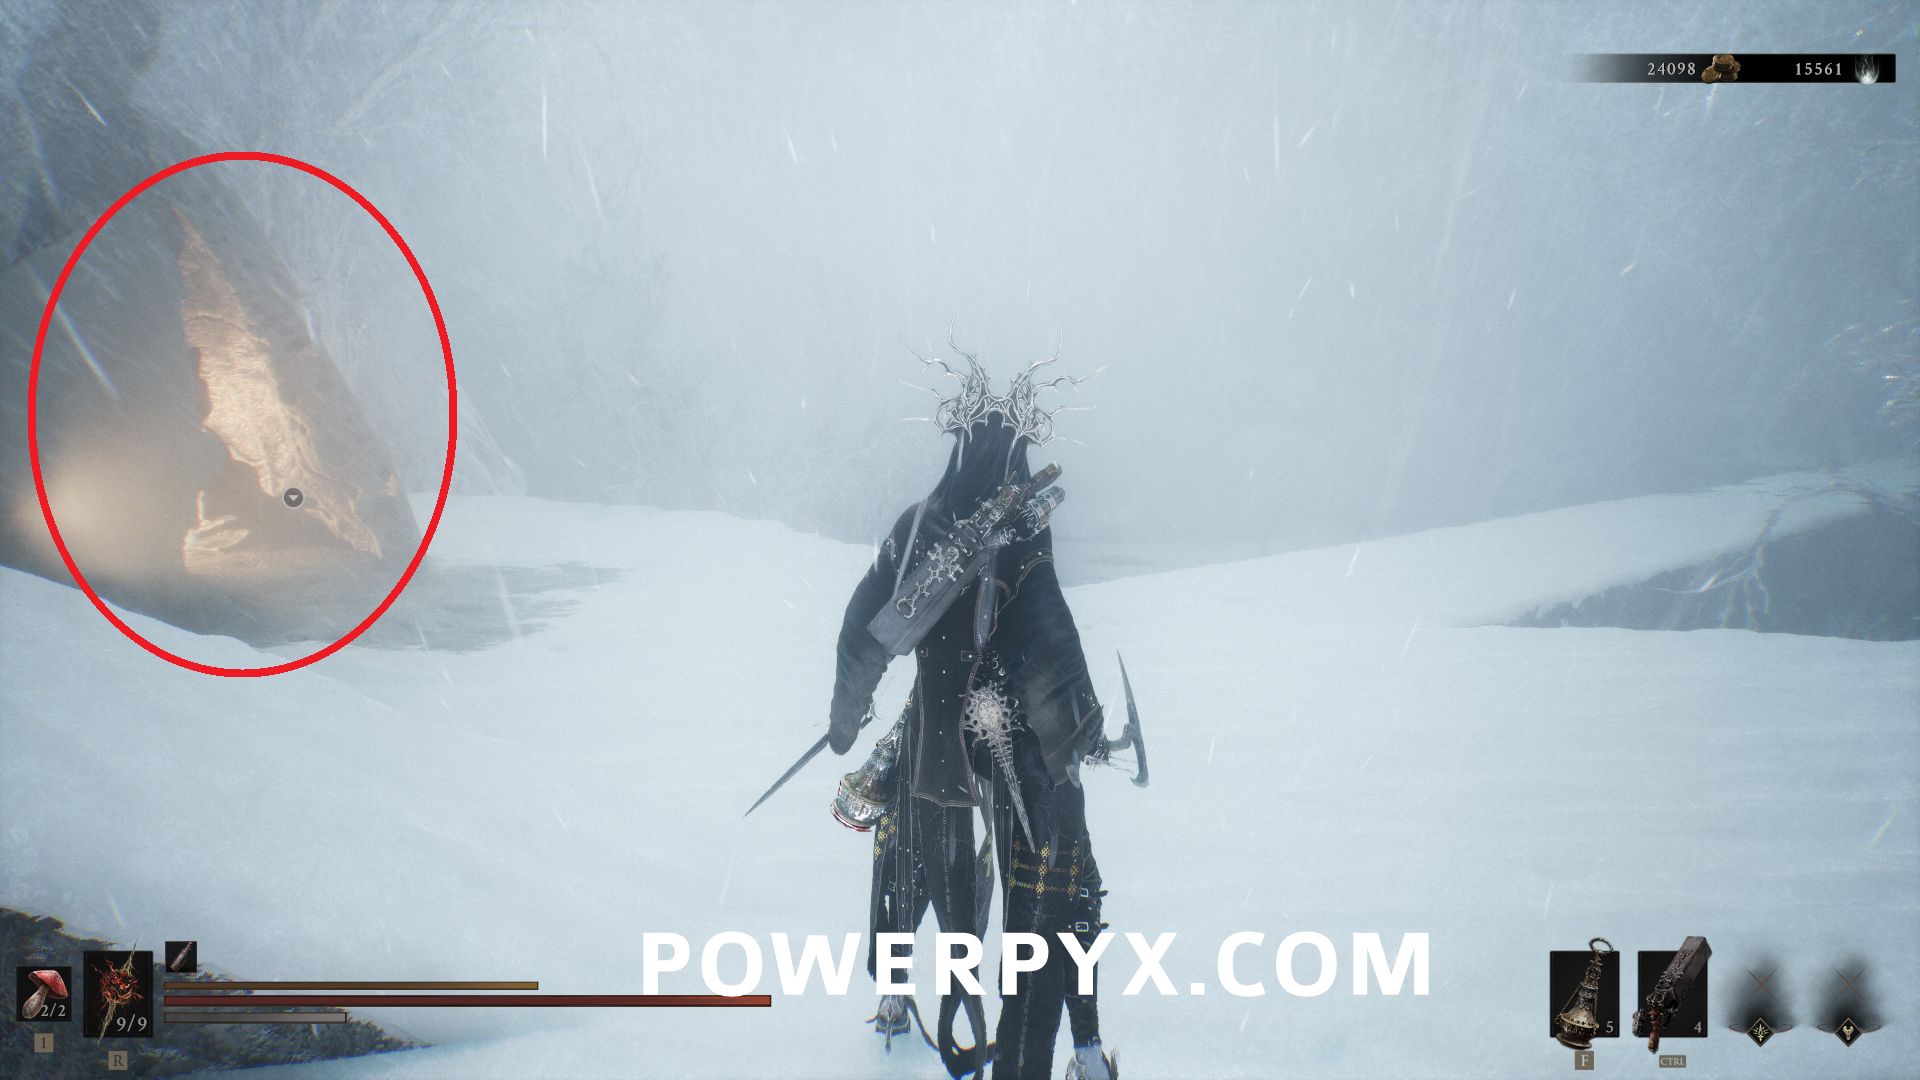
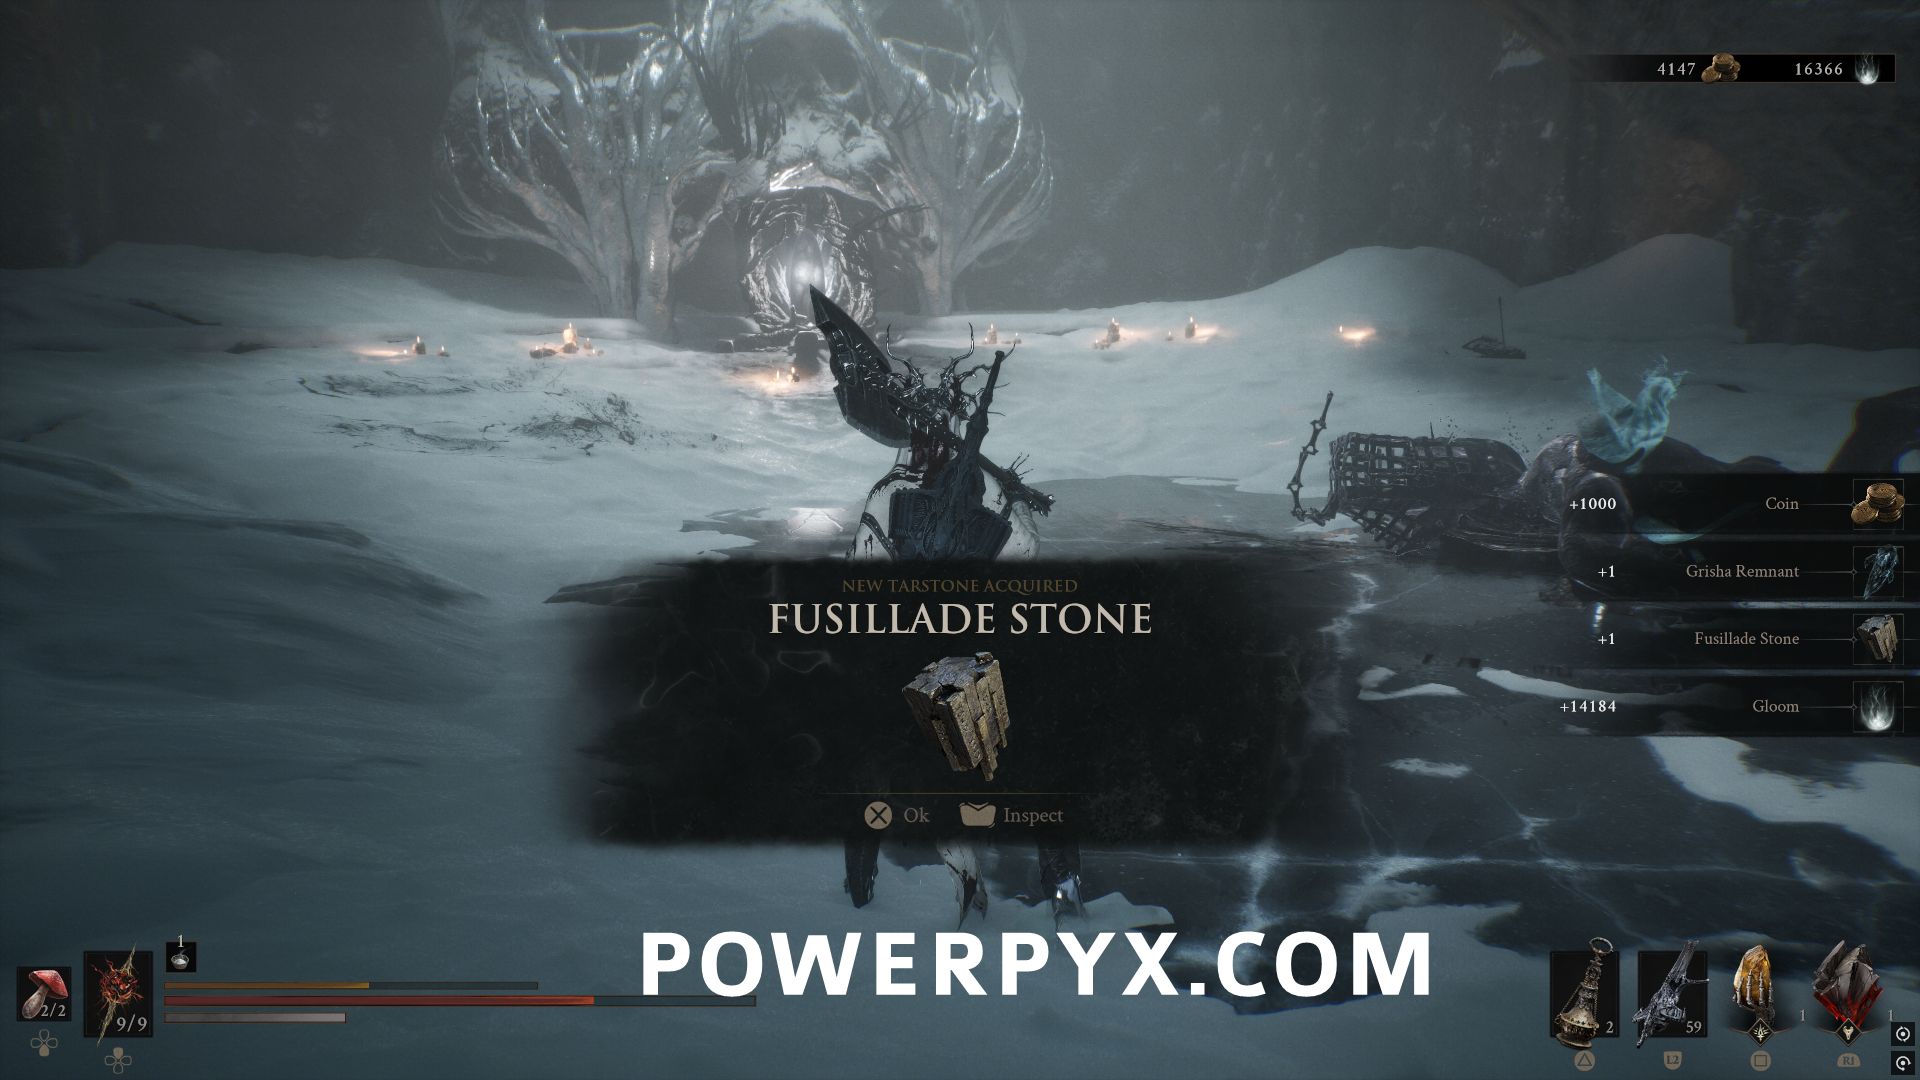
#68 – Fusillade Stone
In the Conquered Temple area, inside the Winterglass Lake Beacon, progress to the end of the area and defeat the Caged Grisha boss to obtain the Tarstone.
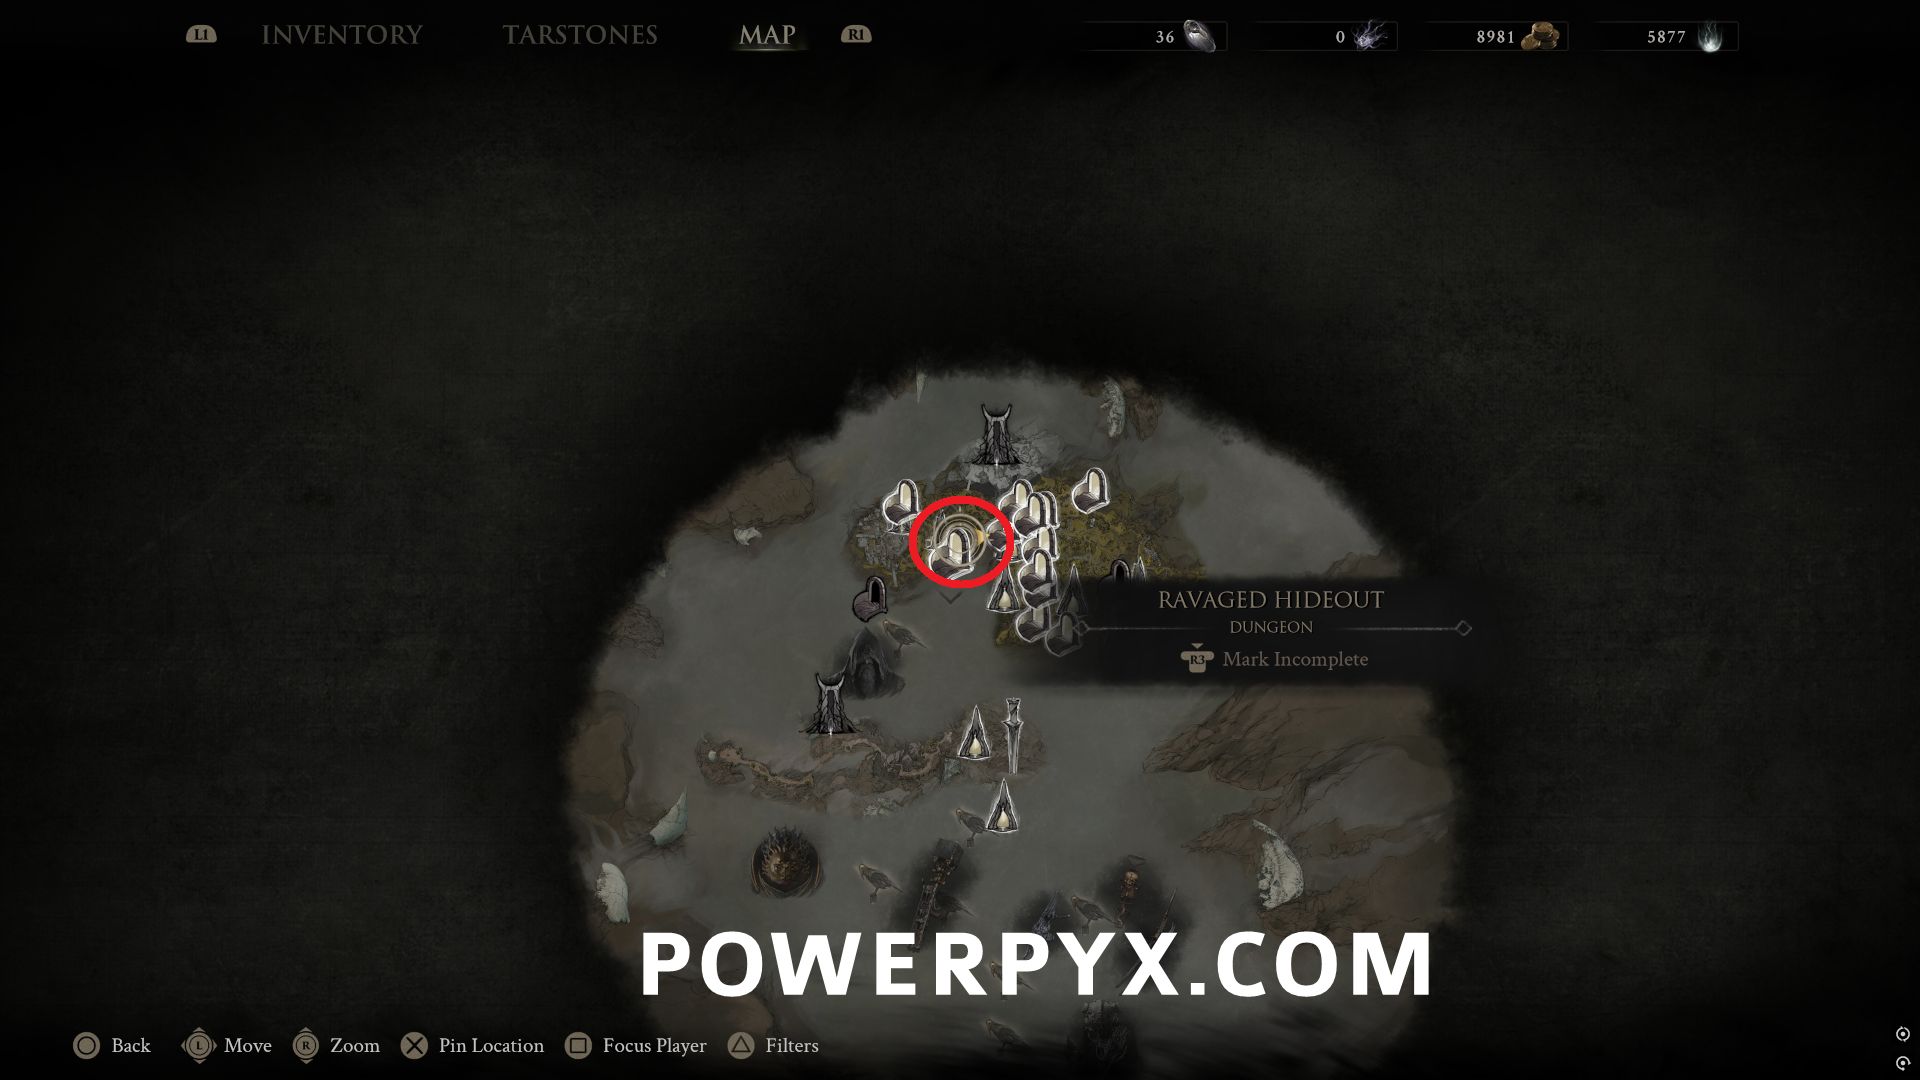
#69 – Barrage Stone
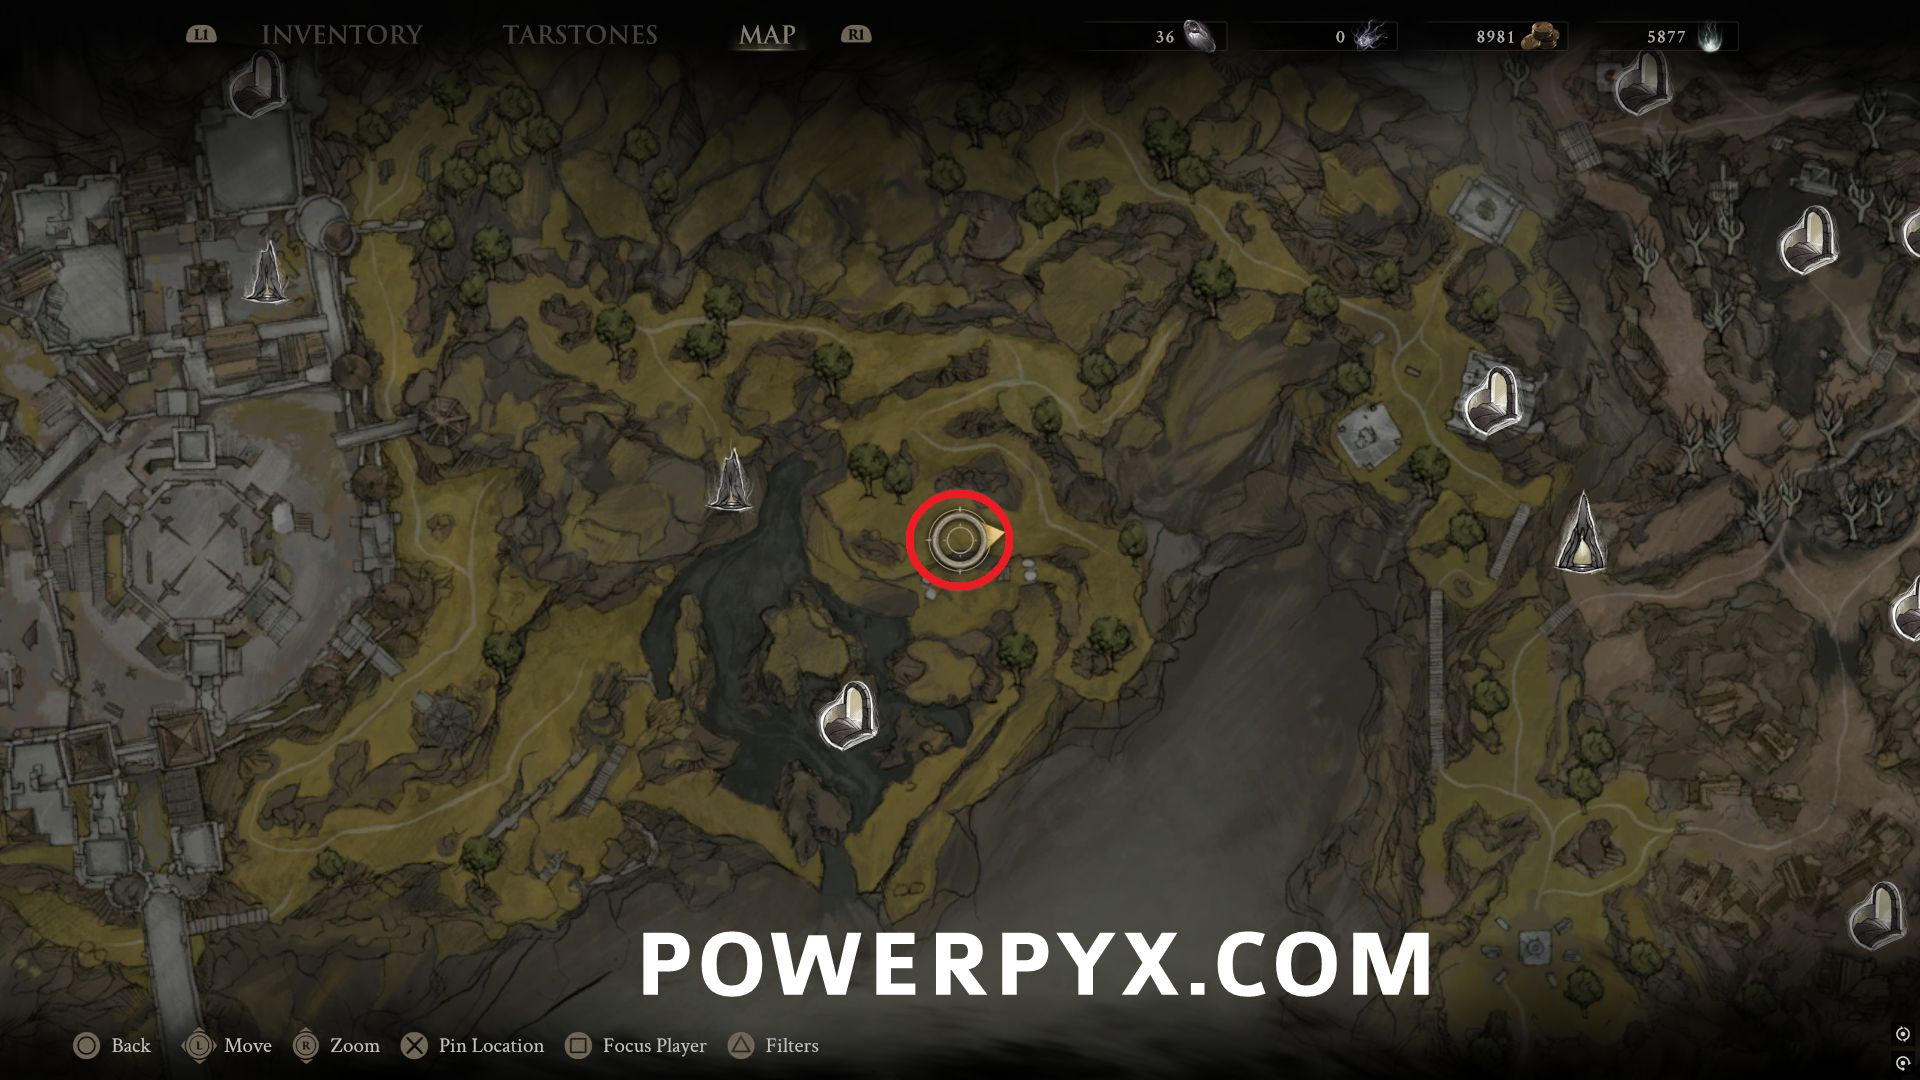
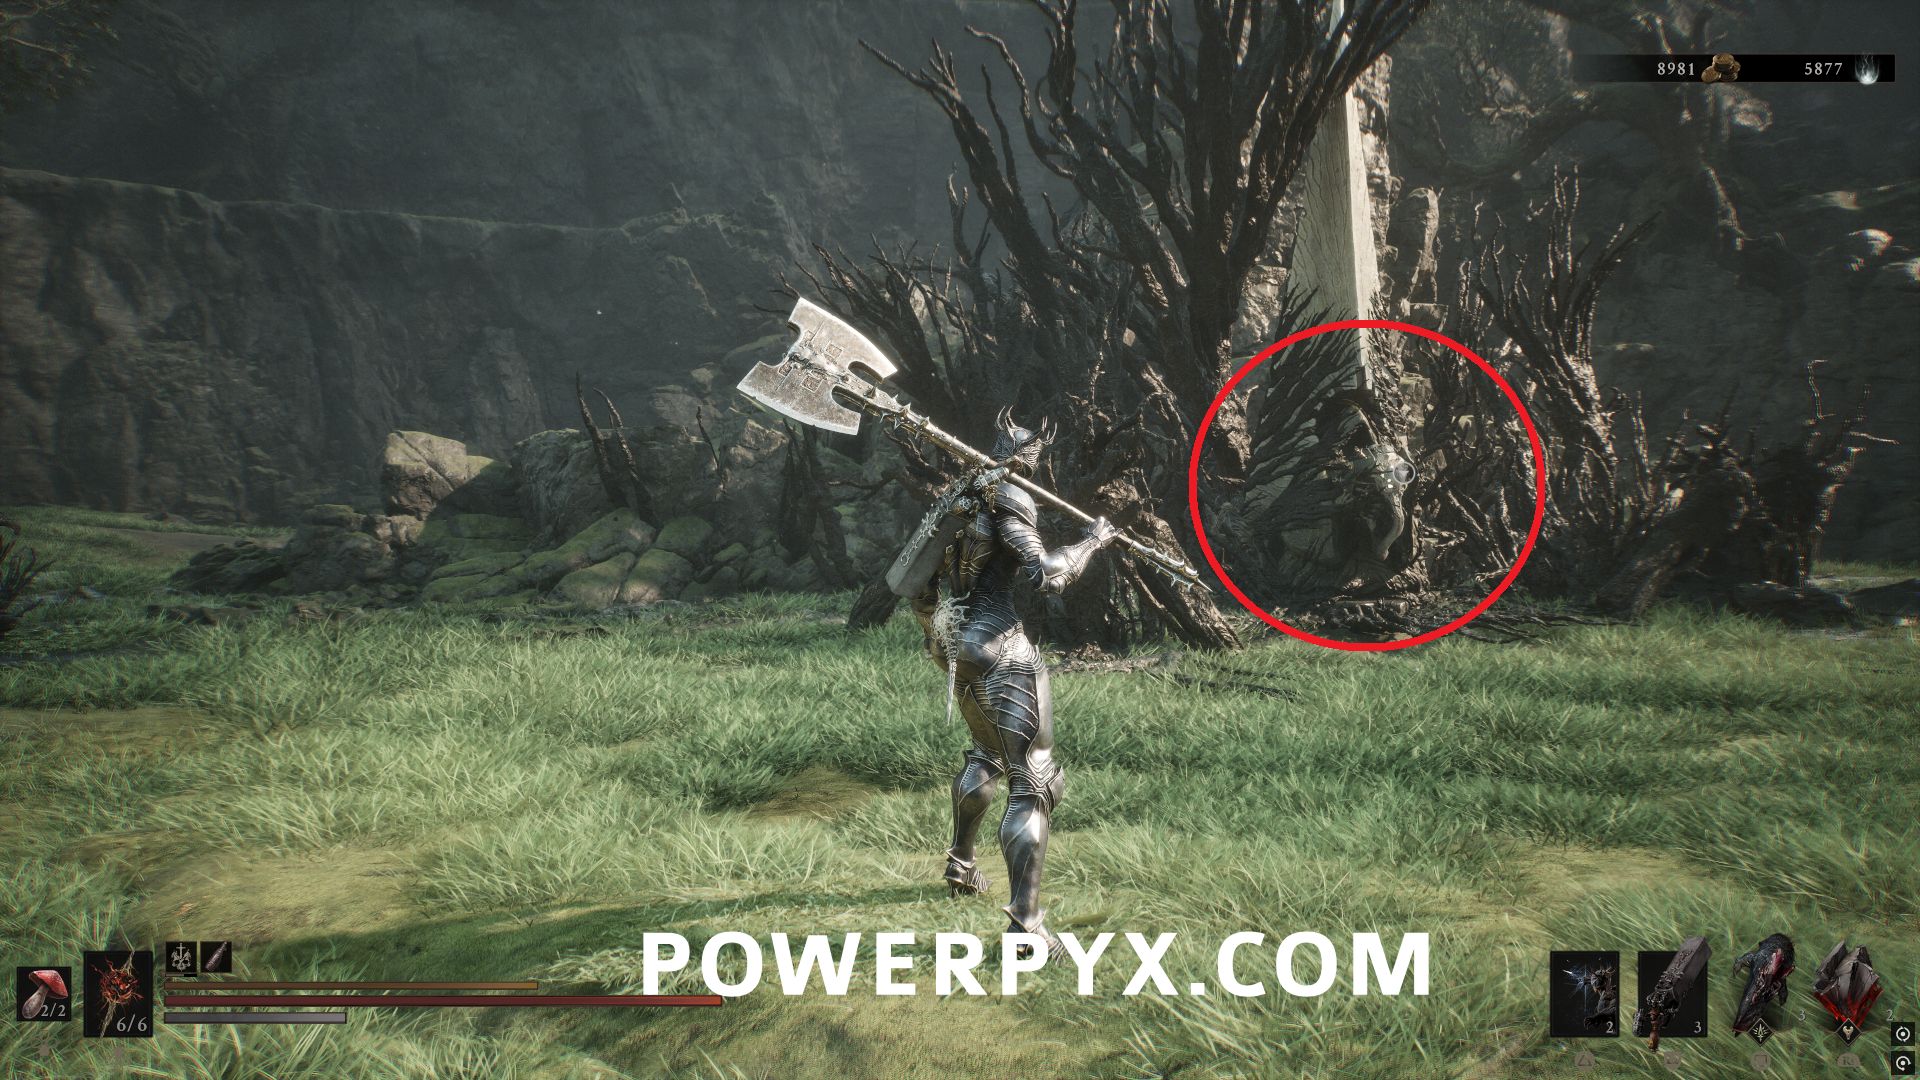
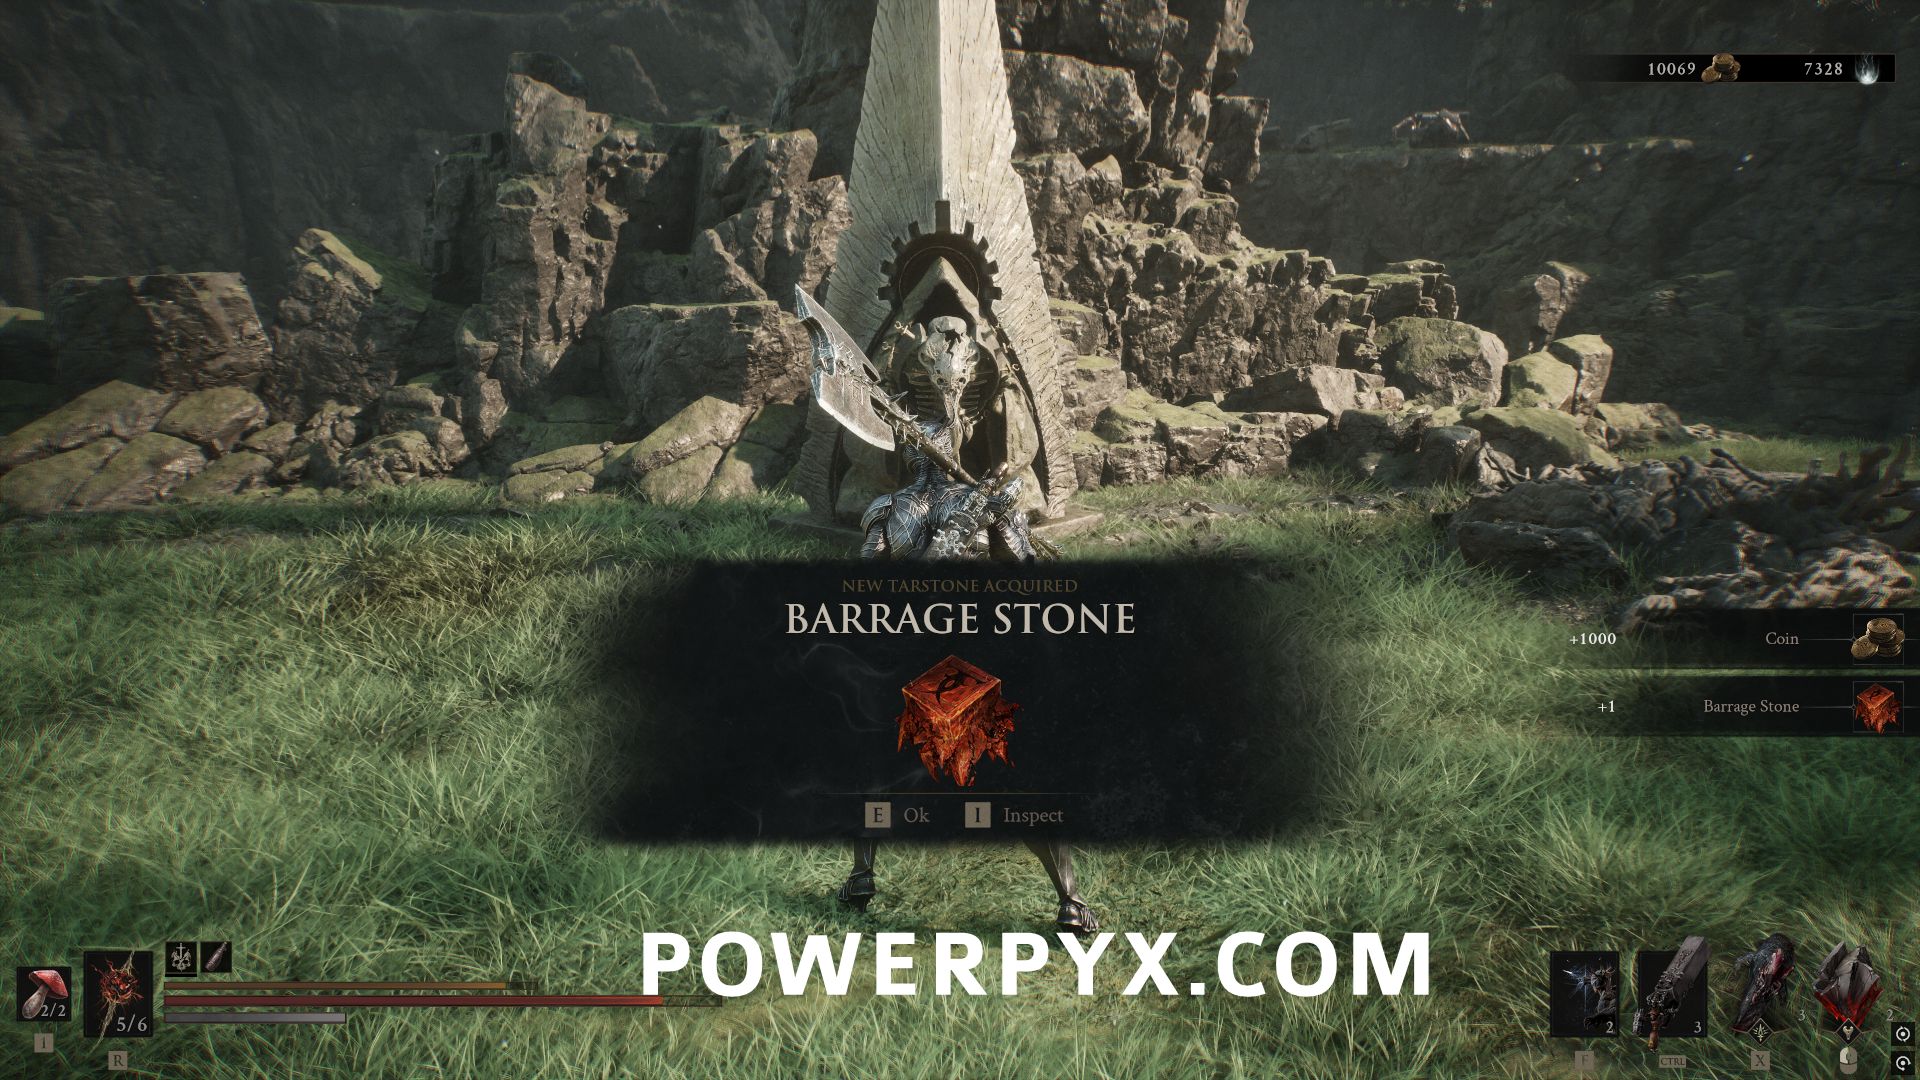
Southeast of Gloomshade Grove Beacon, activate and complete the trial to claim the Tarstone.
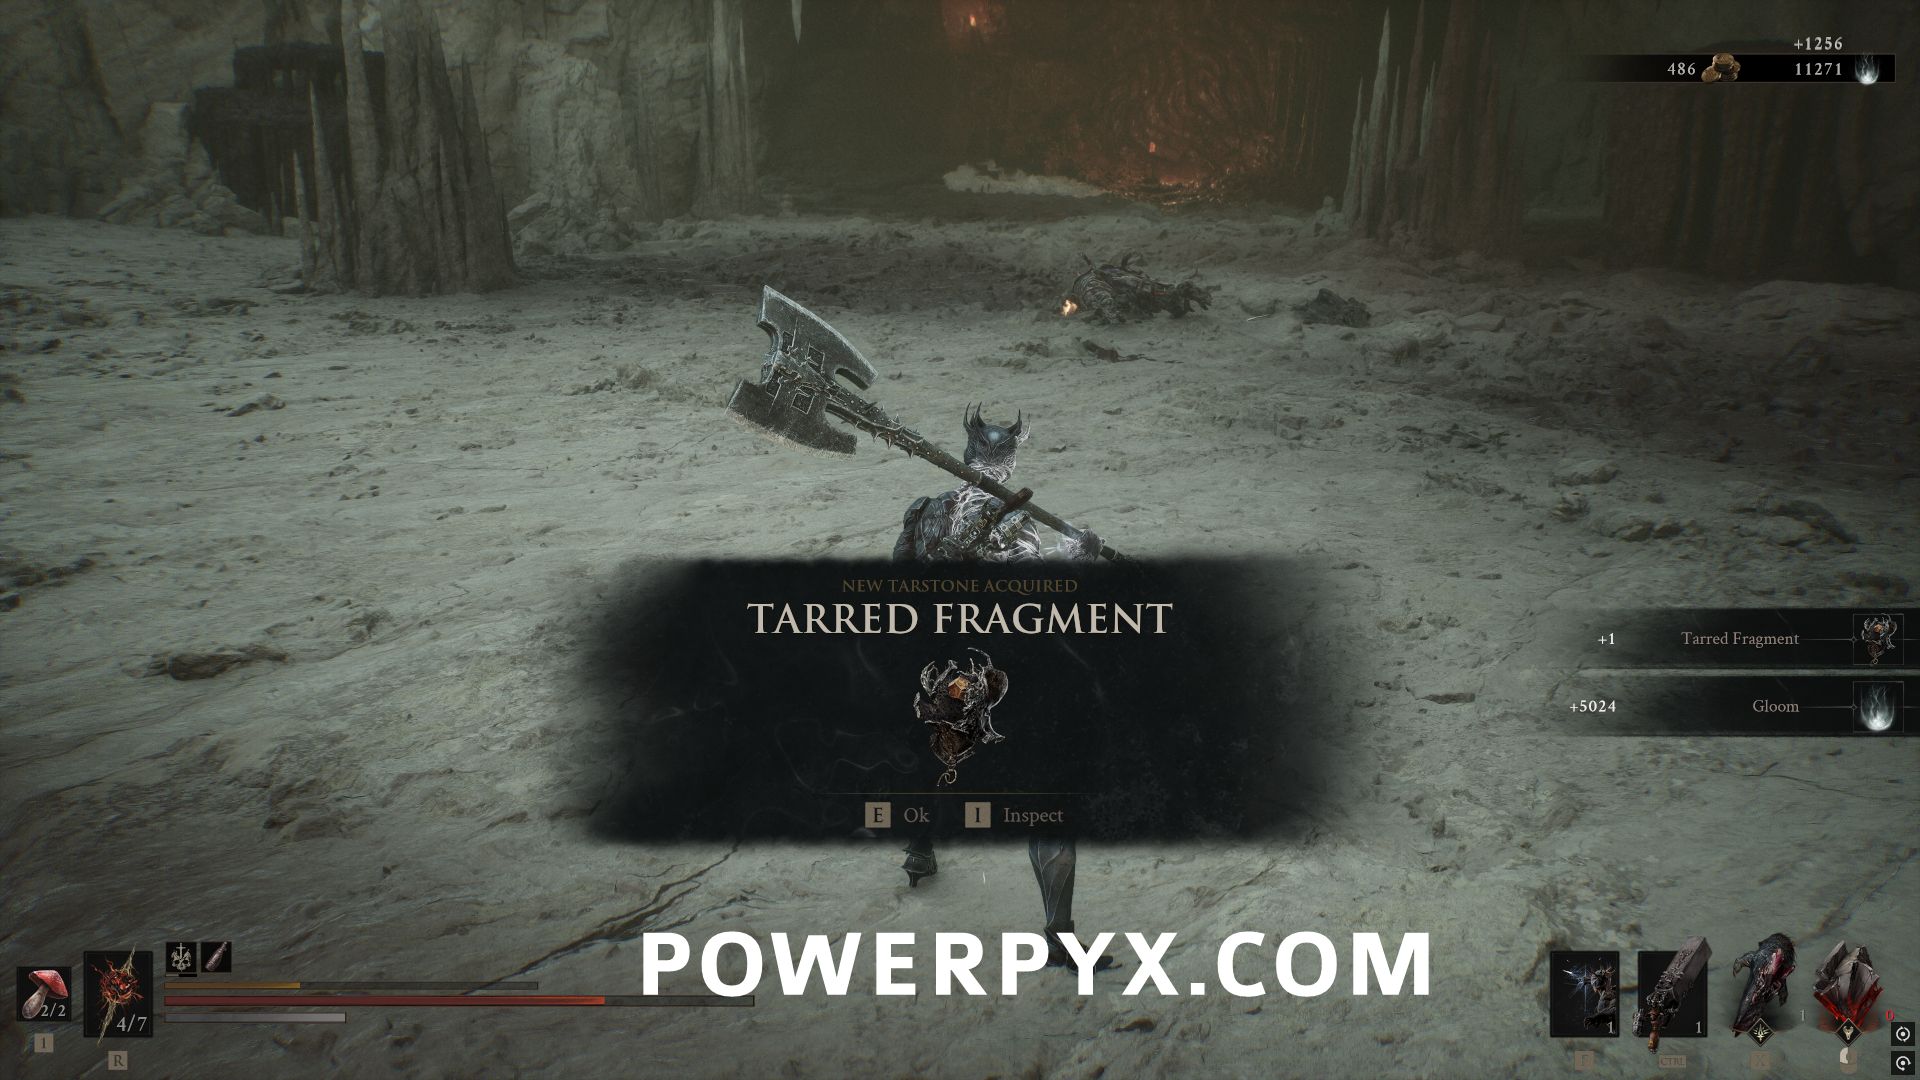
#70 – Tarred Fragment
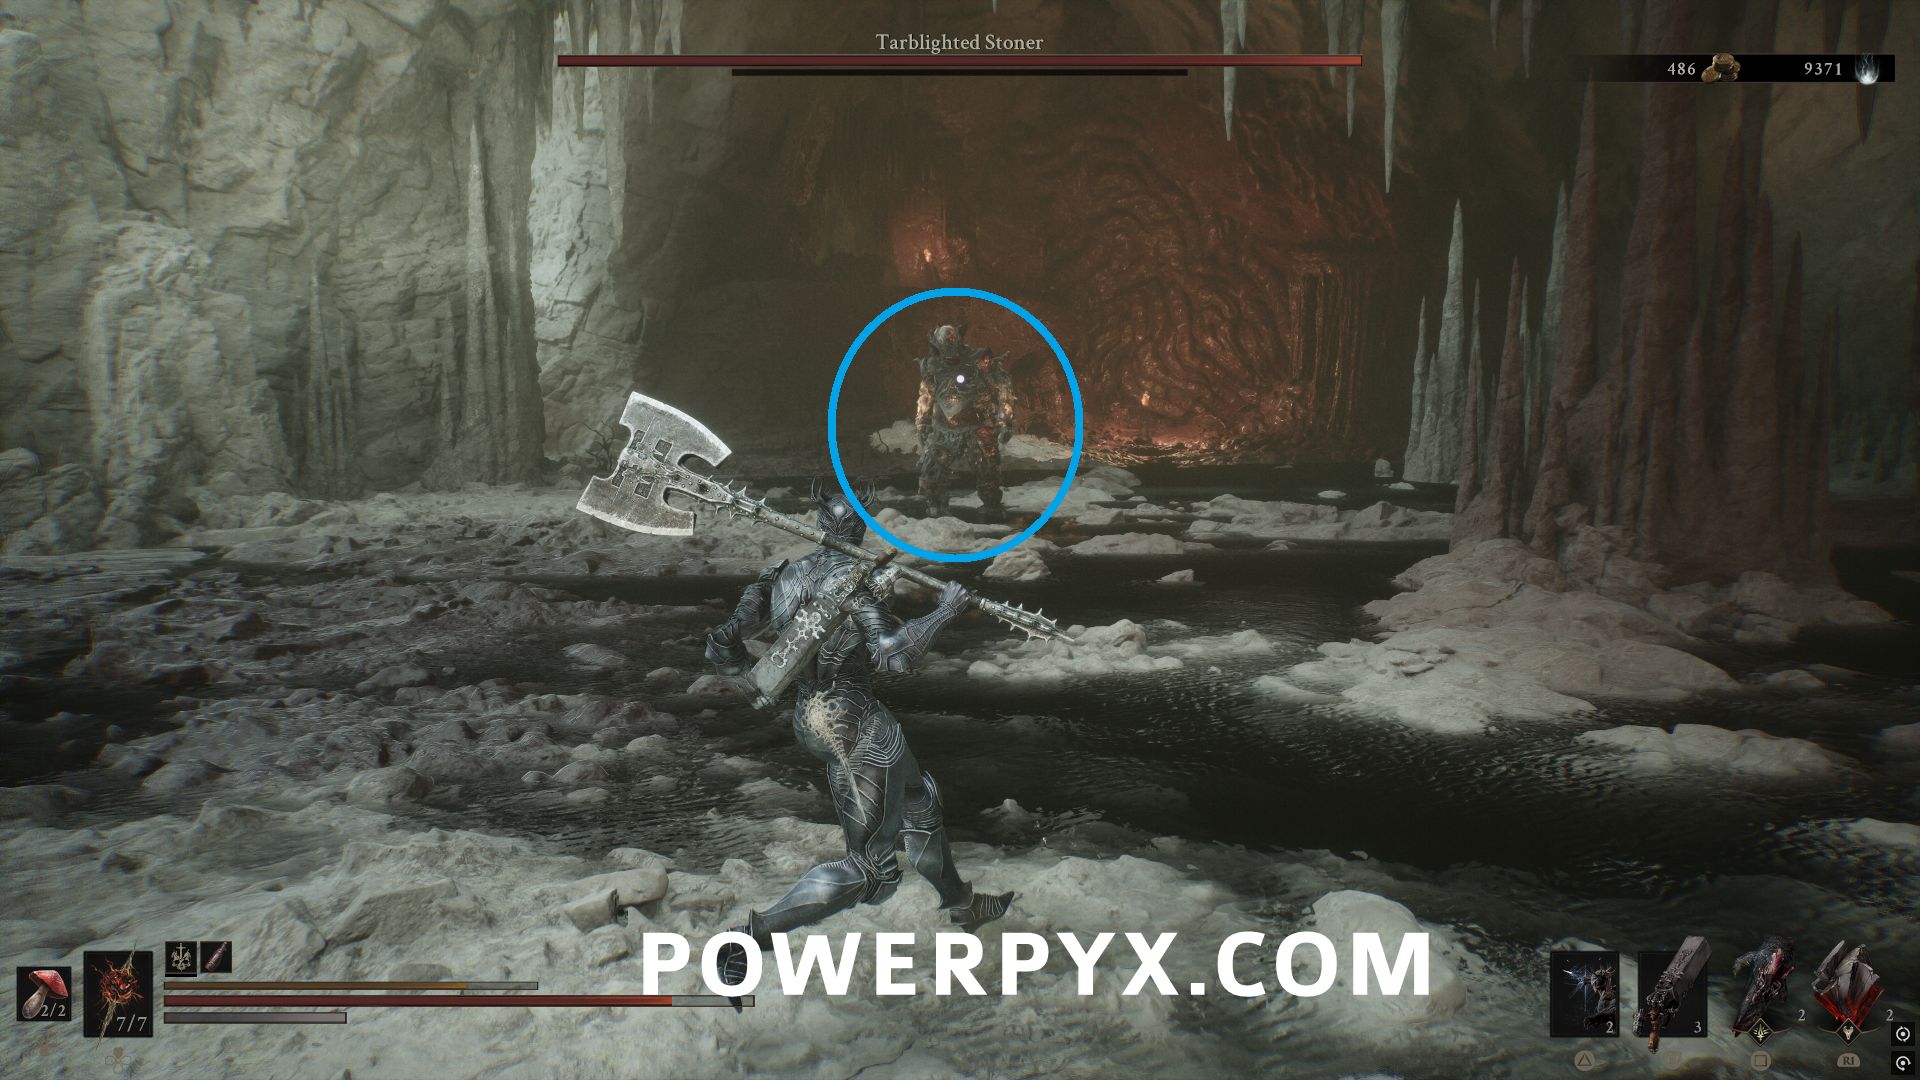
In the Sanguine Cavern area, after the Sanquine Shoreline Beacon, defeat the miniboss Tarblighted Stoner to obtain the Tarstone.
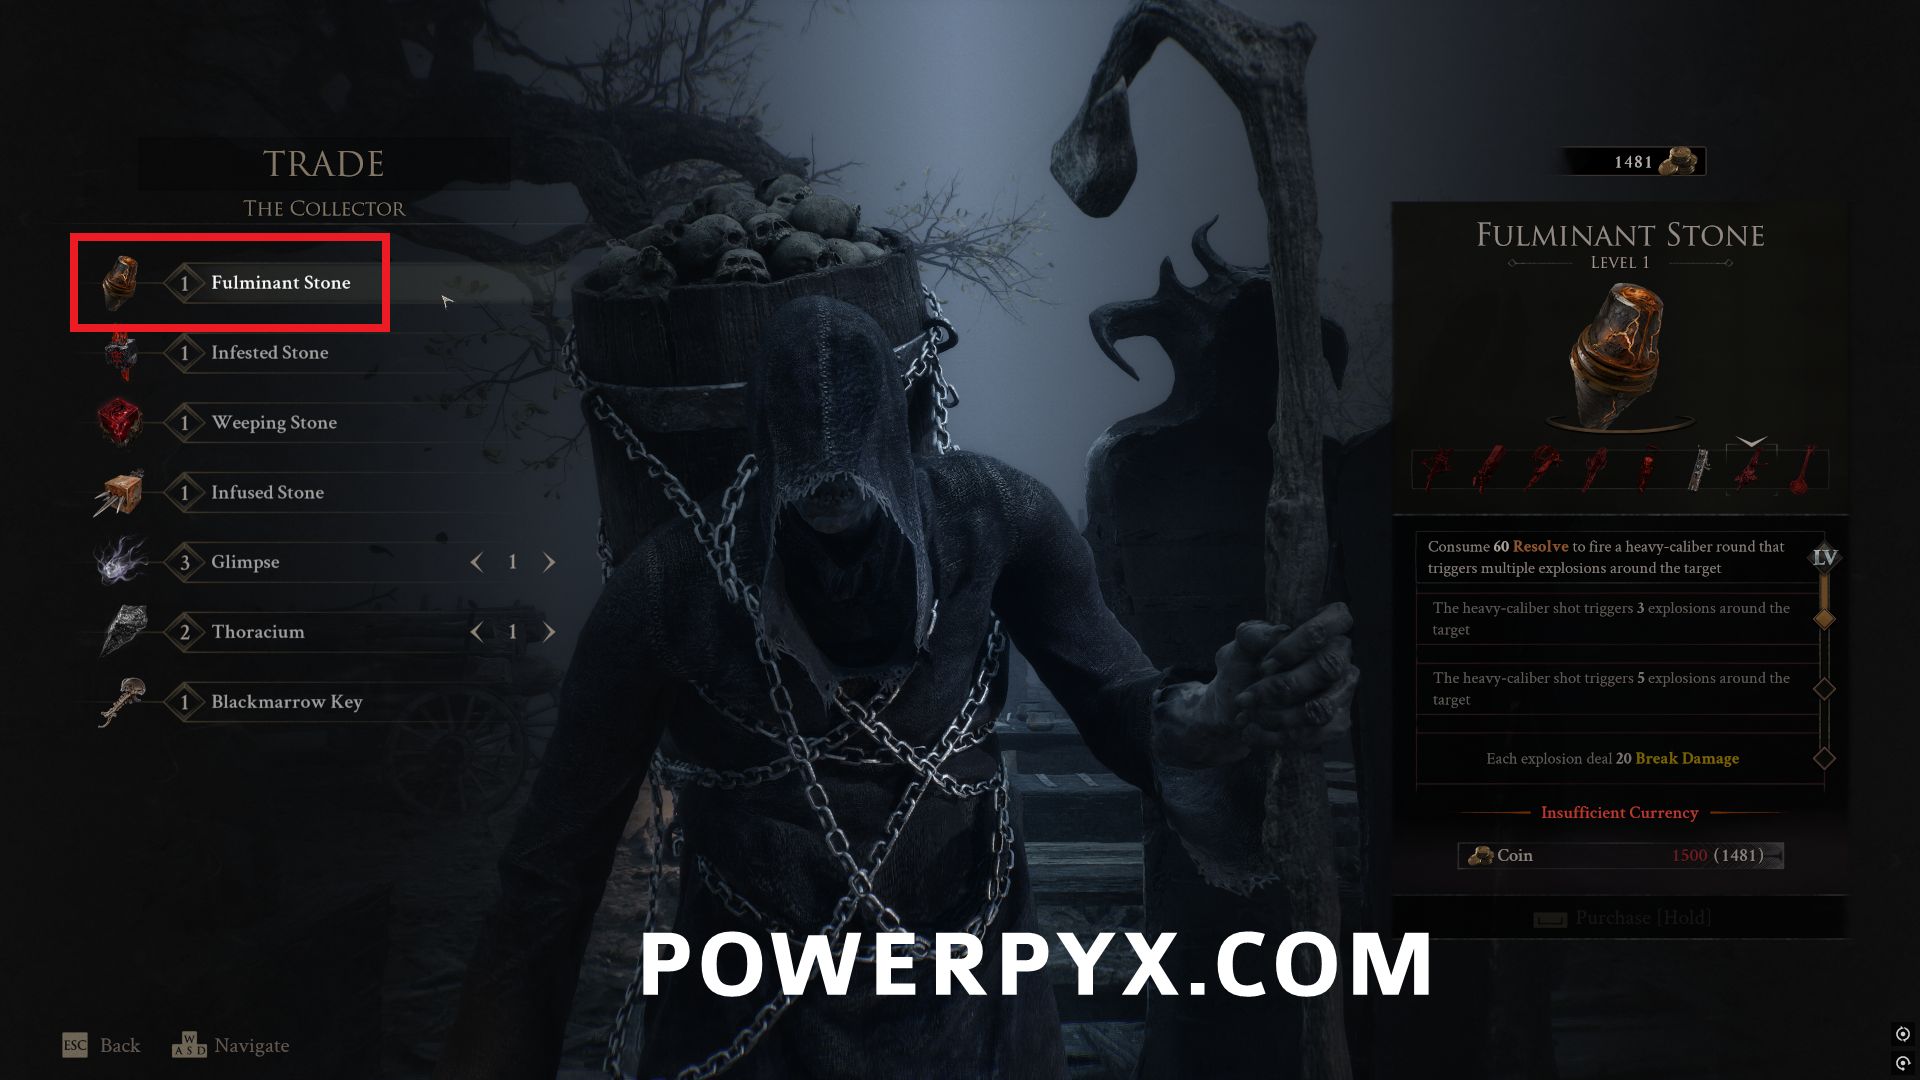
#71 – Fulminant Stone
When the game is changed to night time, go directly south of Abandoned Outpost Beacon and a vendor named The Collector will be present. Purchase this Tarstone for 1500 Coin.
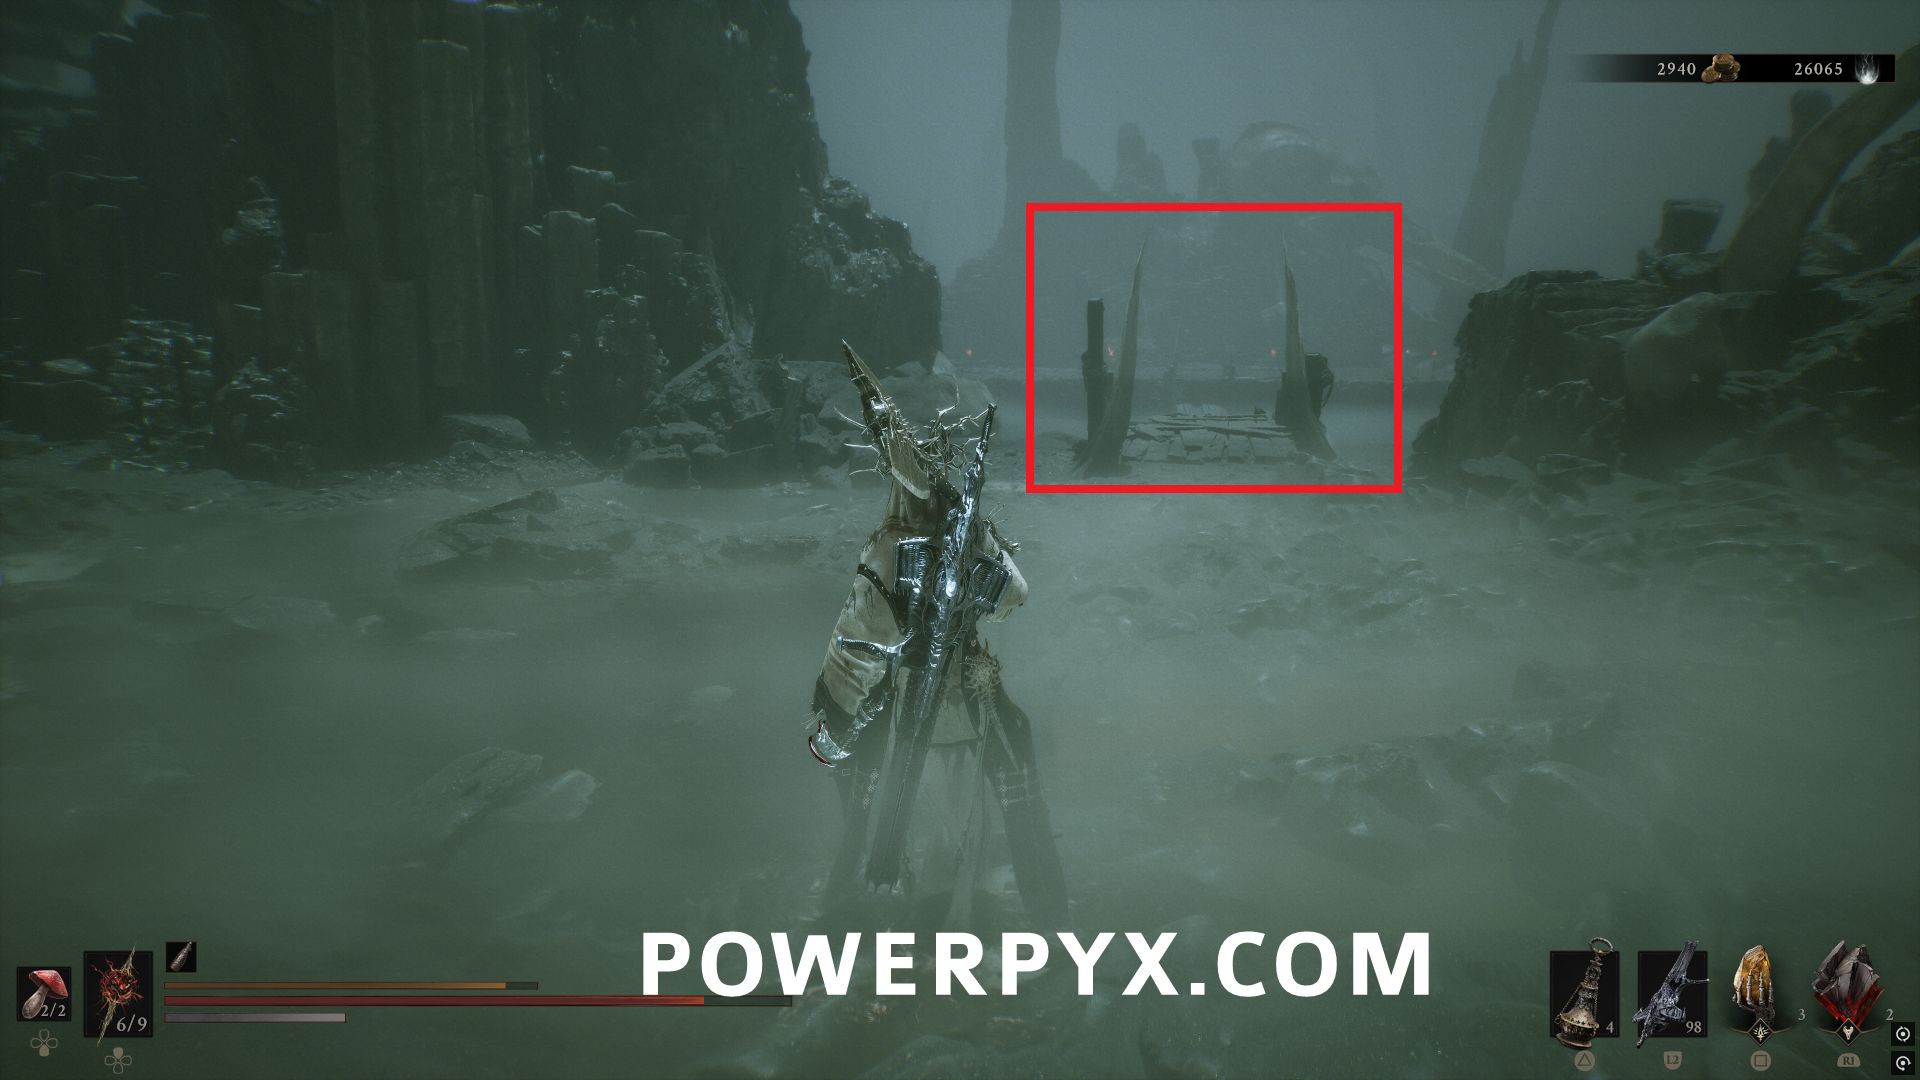
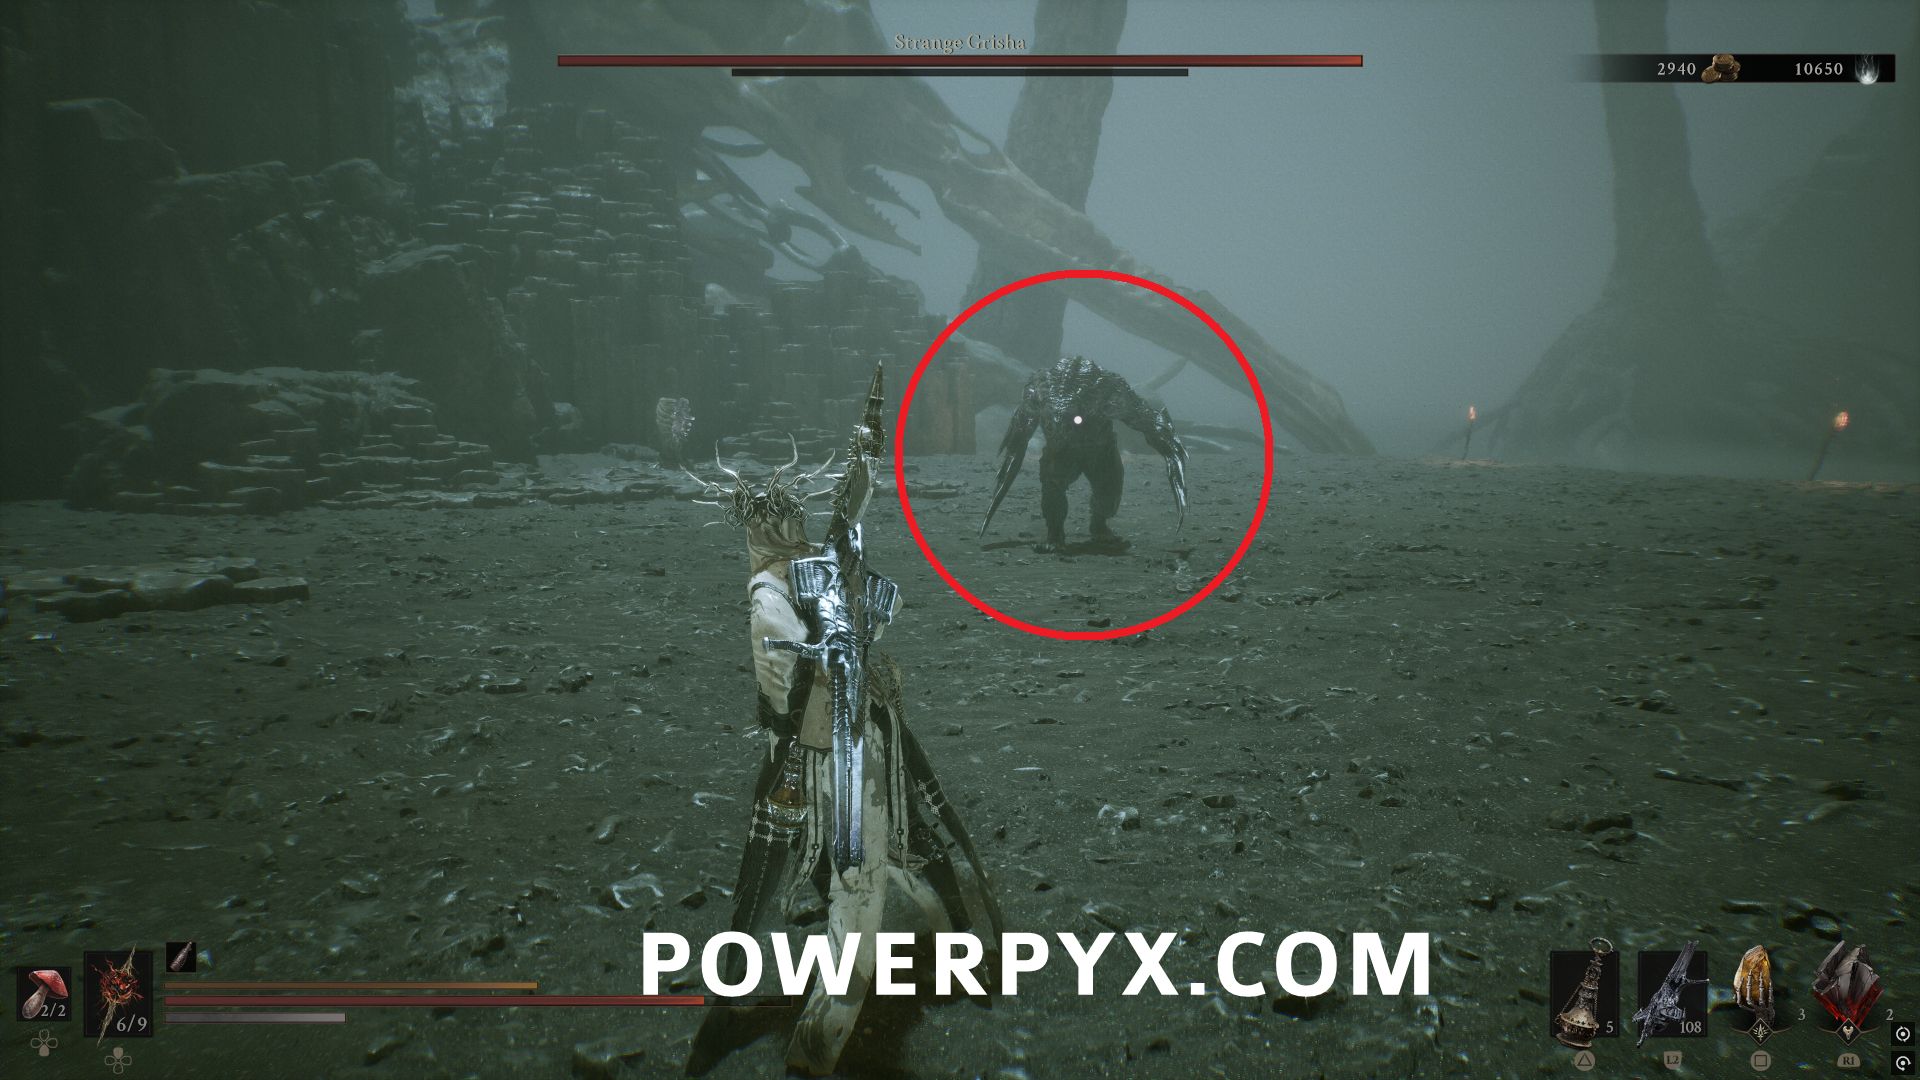
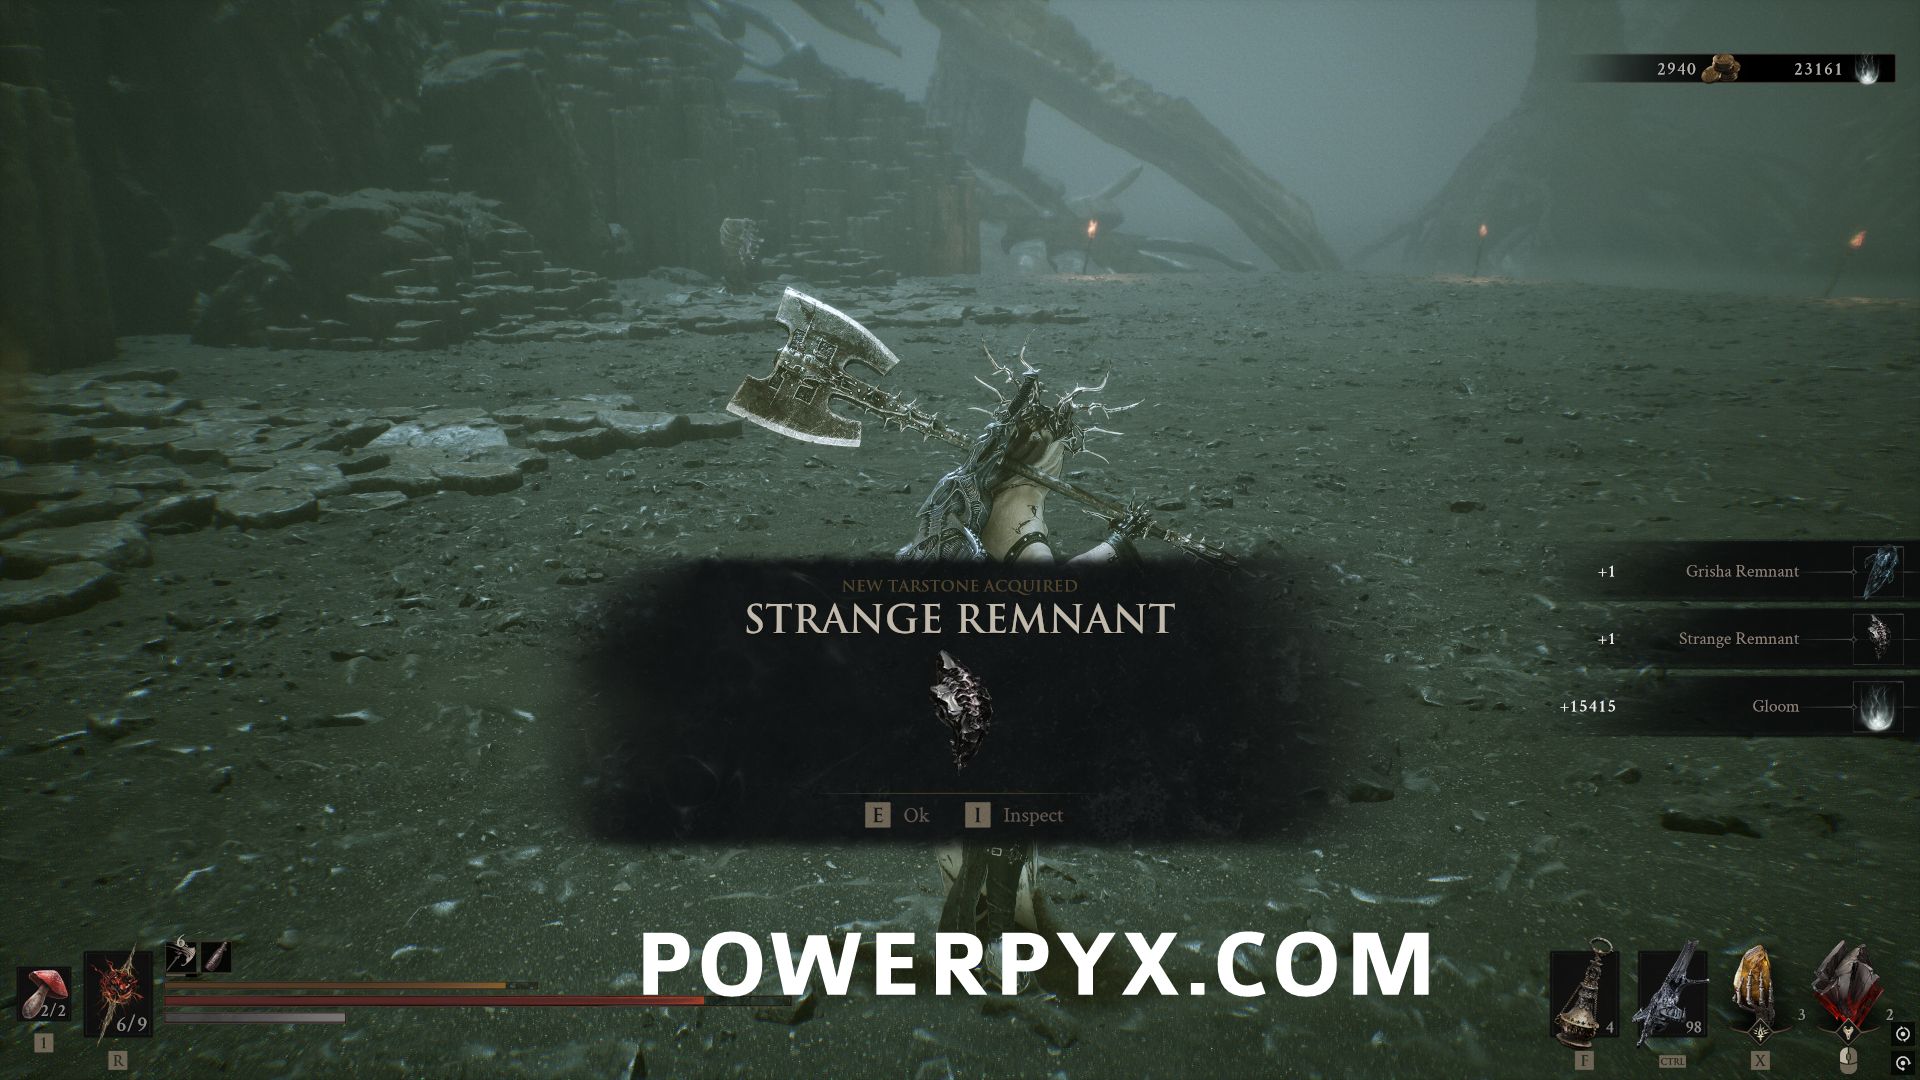
#72 – Strange Remnant
In the Withered Shoals area, from the start of the area main path sticking to the right side until you reach a Bone Gate that allows you to jump to an island. Defeat the Strange Grisha miniboss on that island to obtain the Tarstone.
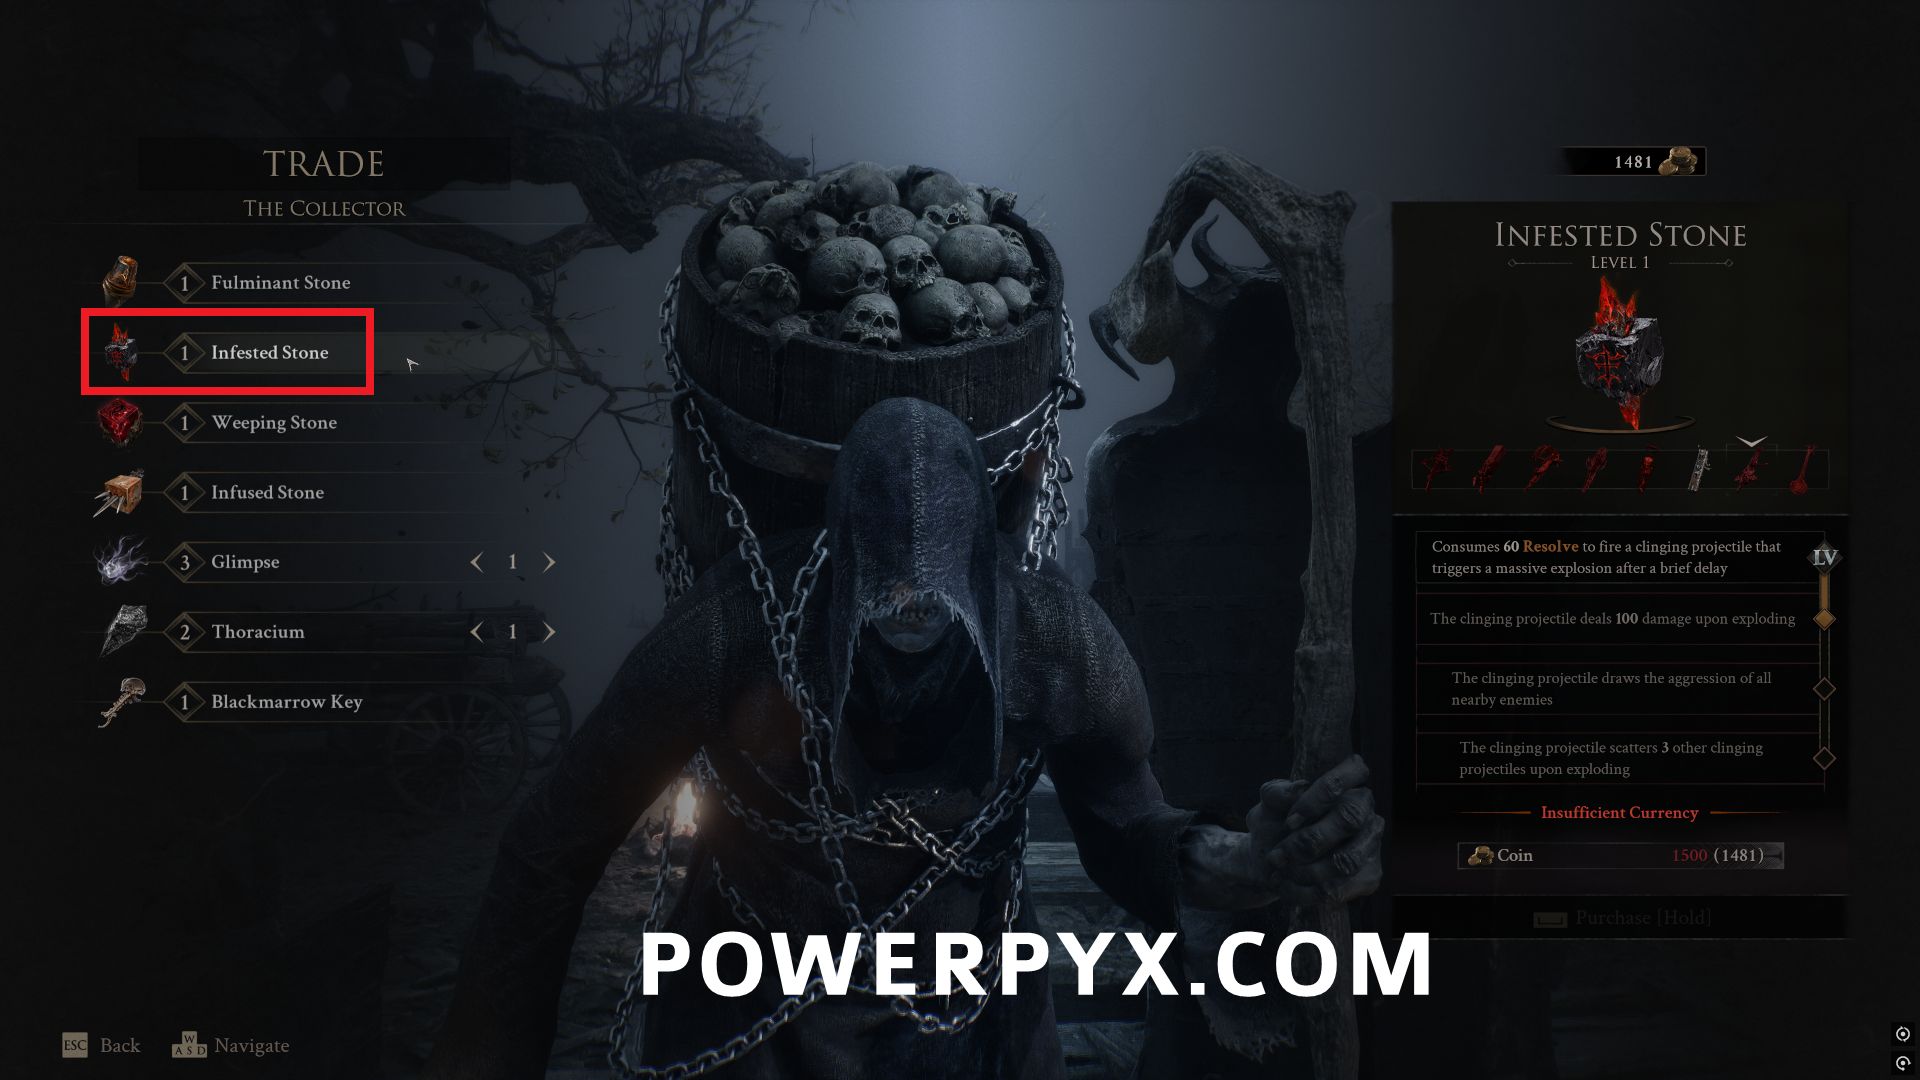
#73 – Infested Stone
When the game is changed to night time, go directly south of Abandoned Outpost Beacon and a vendor named The Collector will be present. Purchase this Tarstone for 1500 Coin.
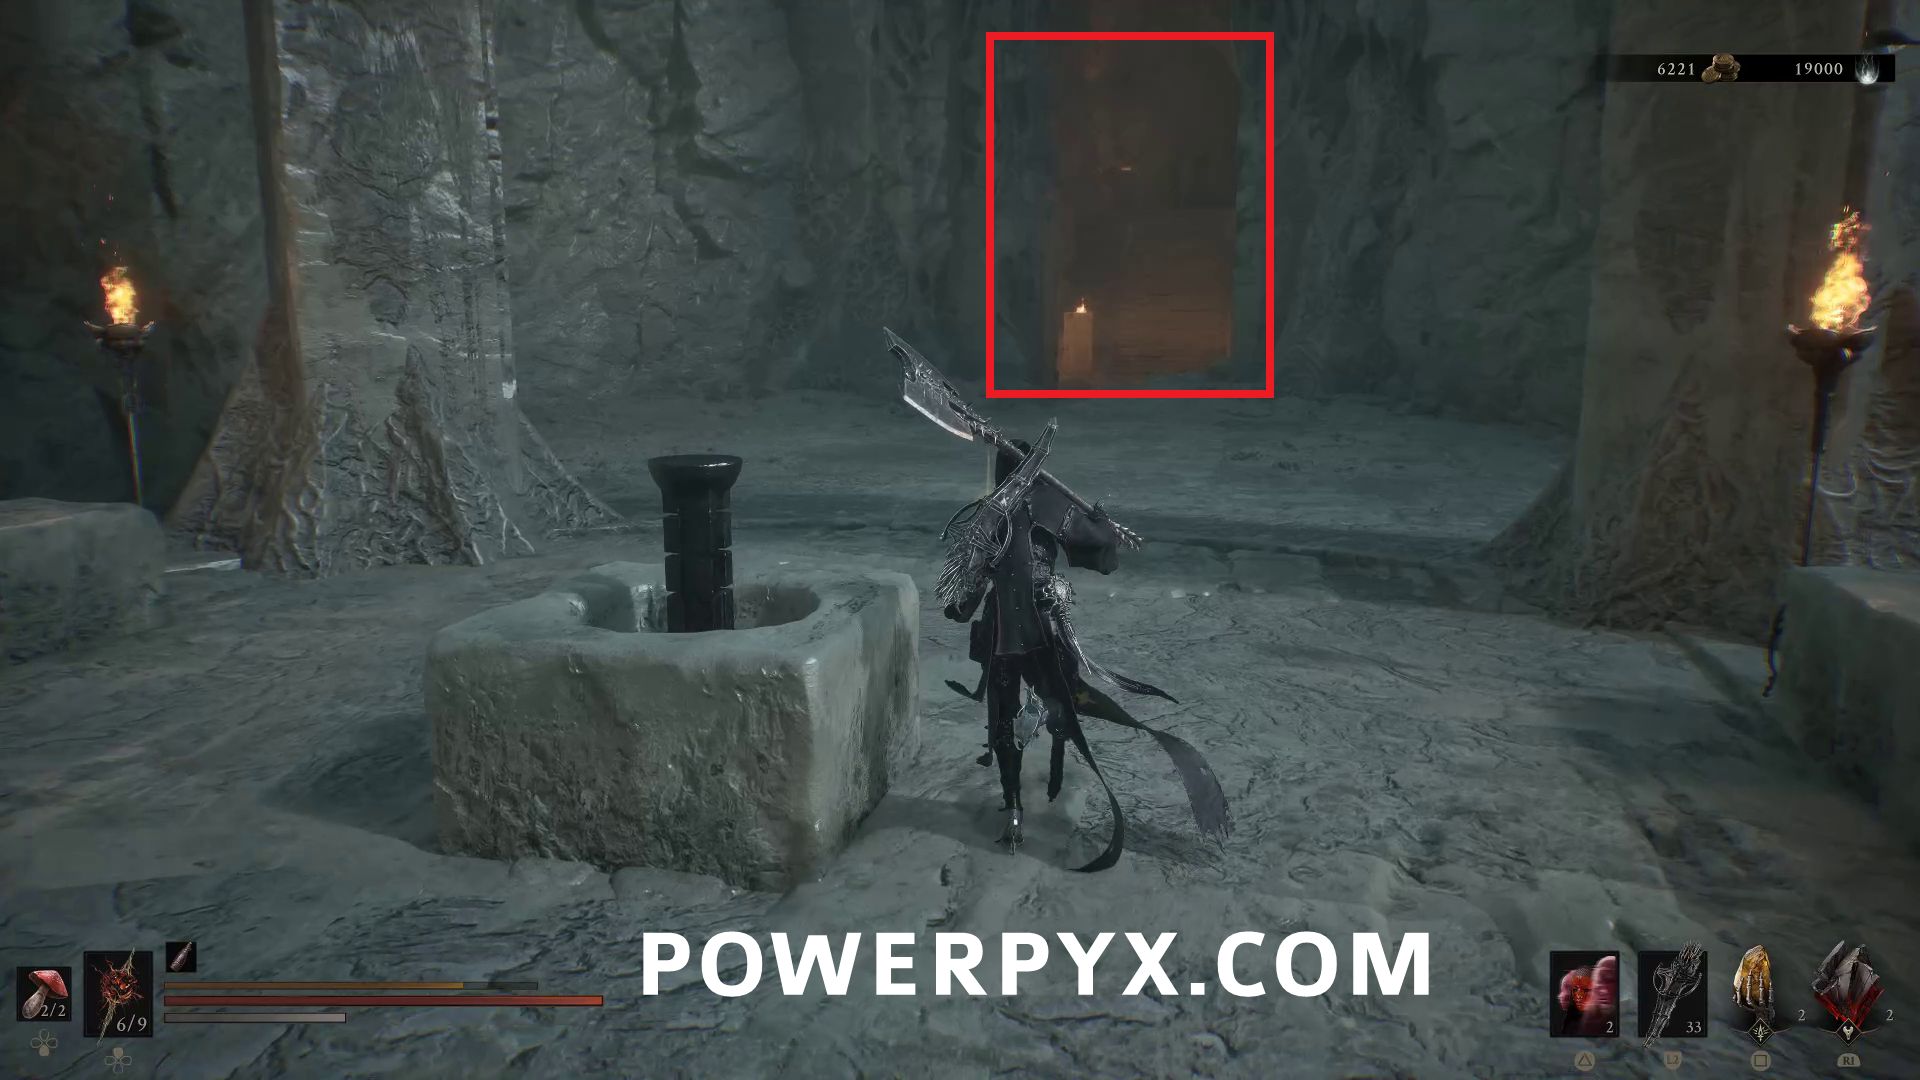
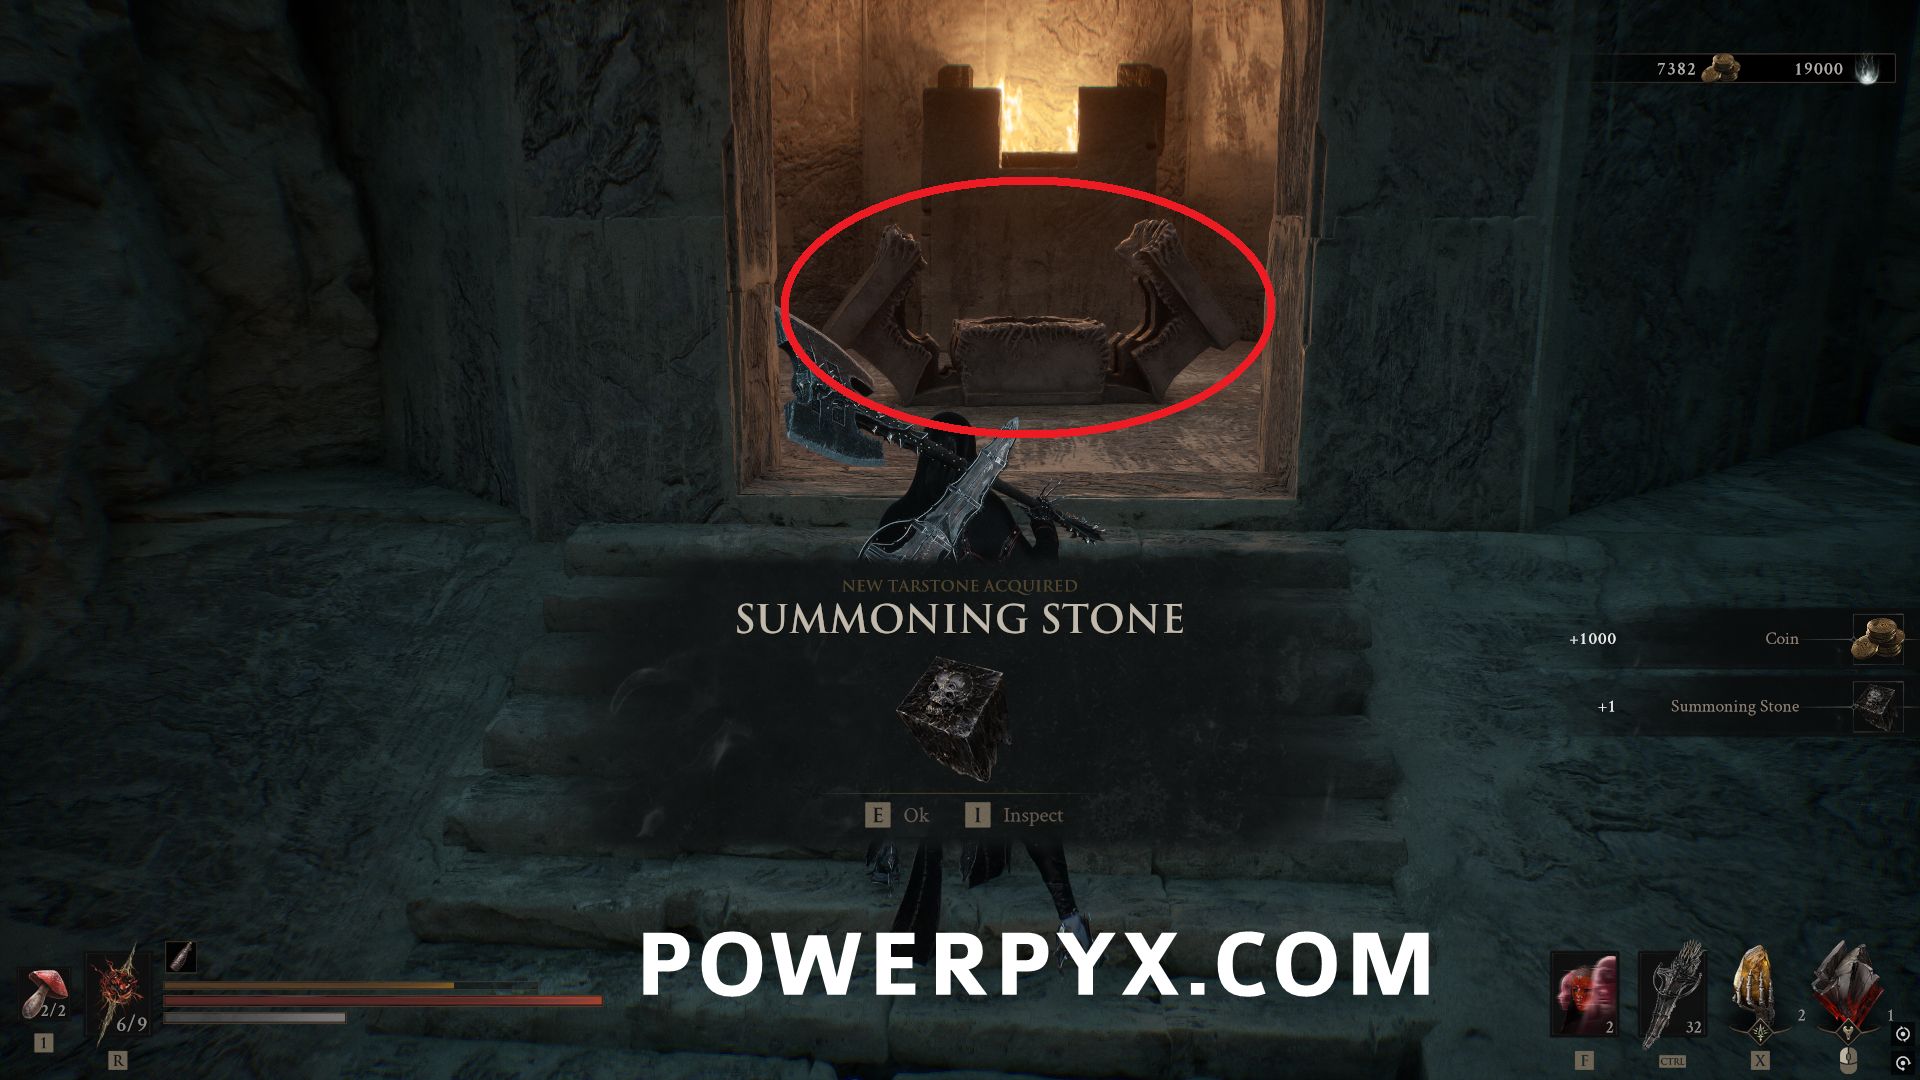
#74 – Summoning Stone
In the Faded Citadel area, from the start of the area progress until you reach the second group of enemies with invulnerability fire. Once they are dealt with go up the stairs in the flame lit tunnel and at the top you can find a chest that contains this Tarstone.
#75 – Hand of Rock
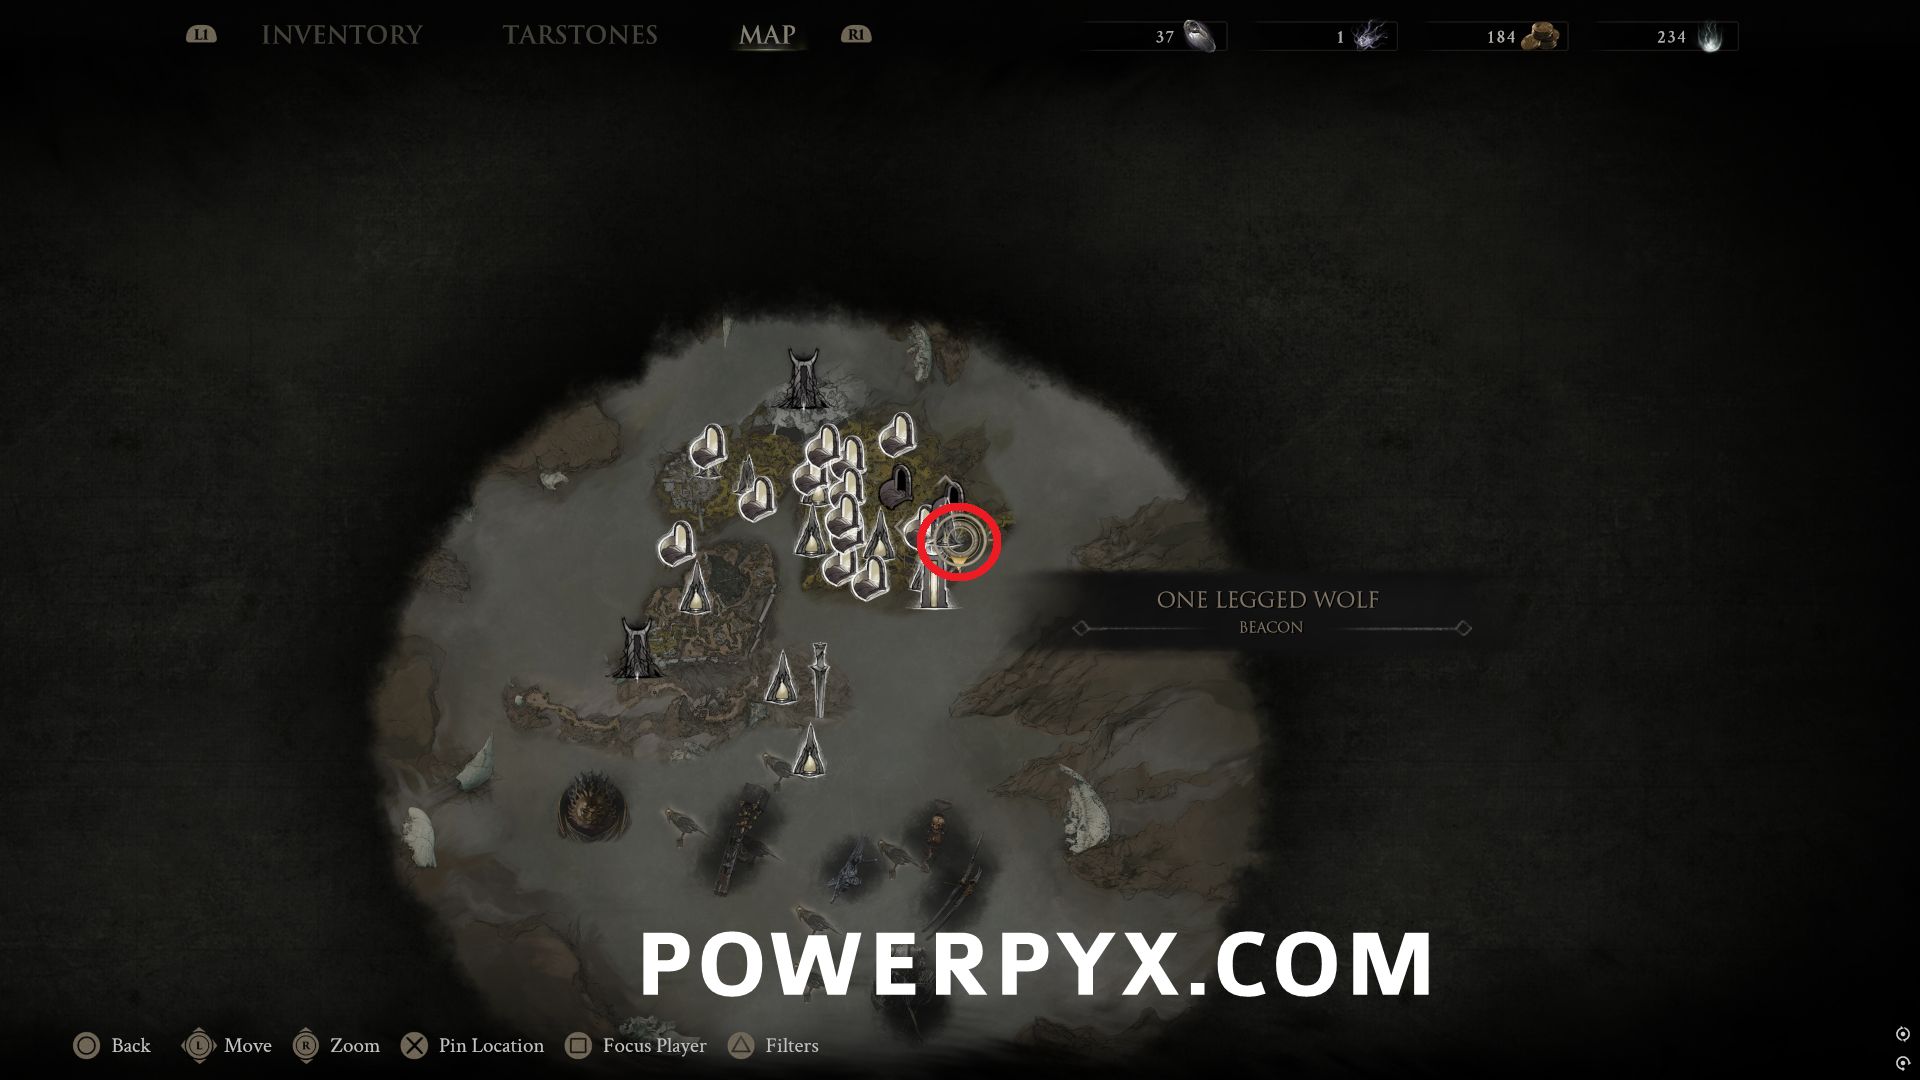
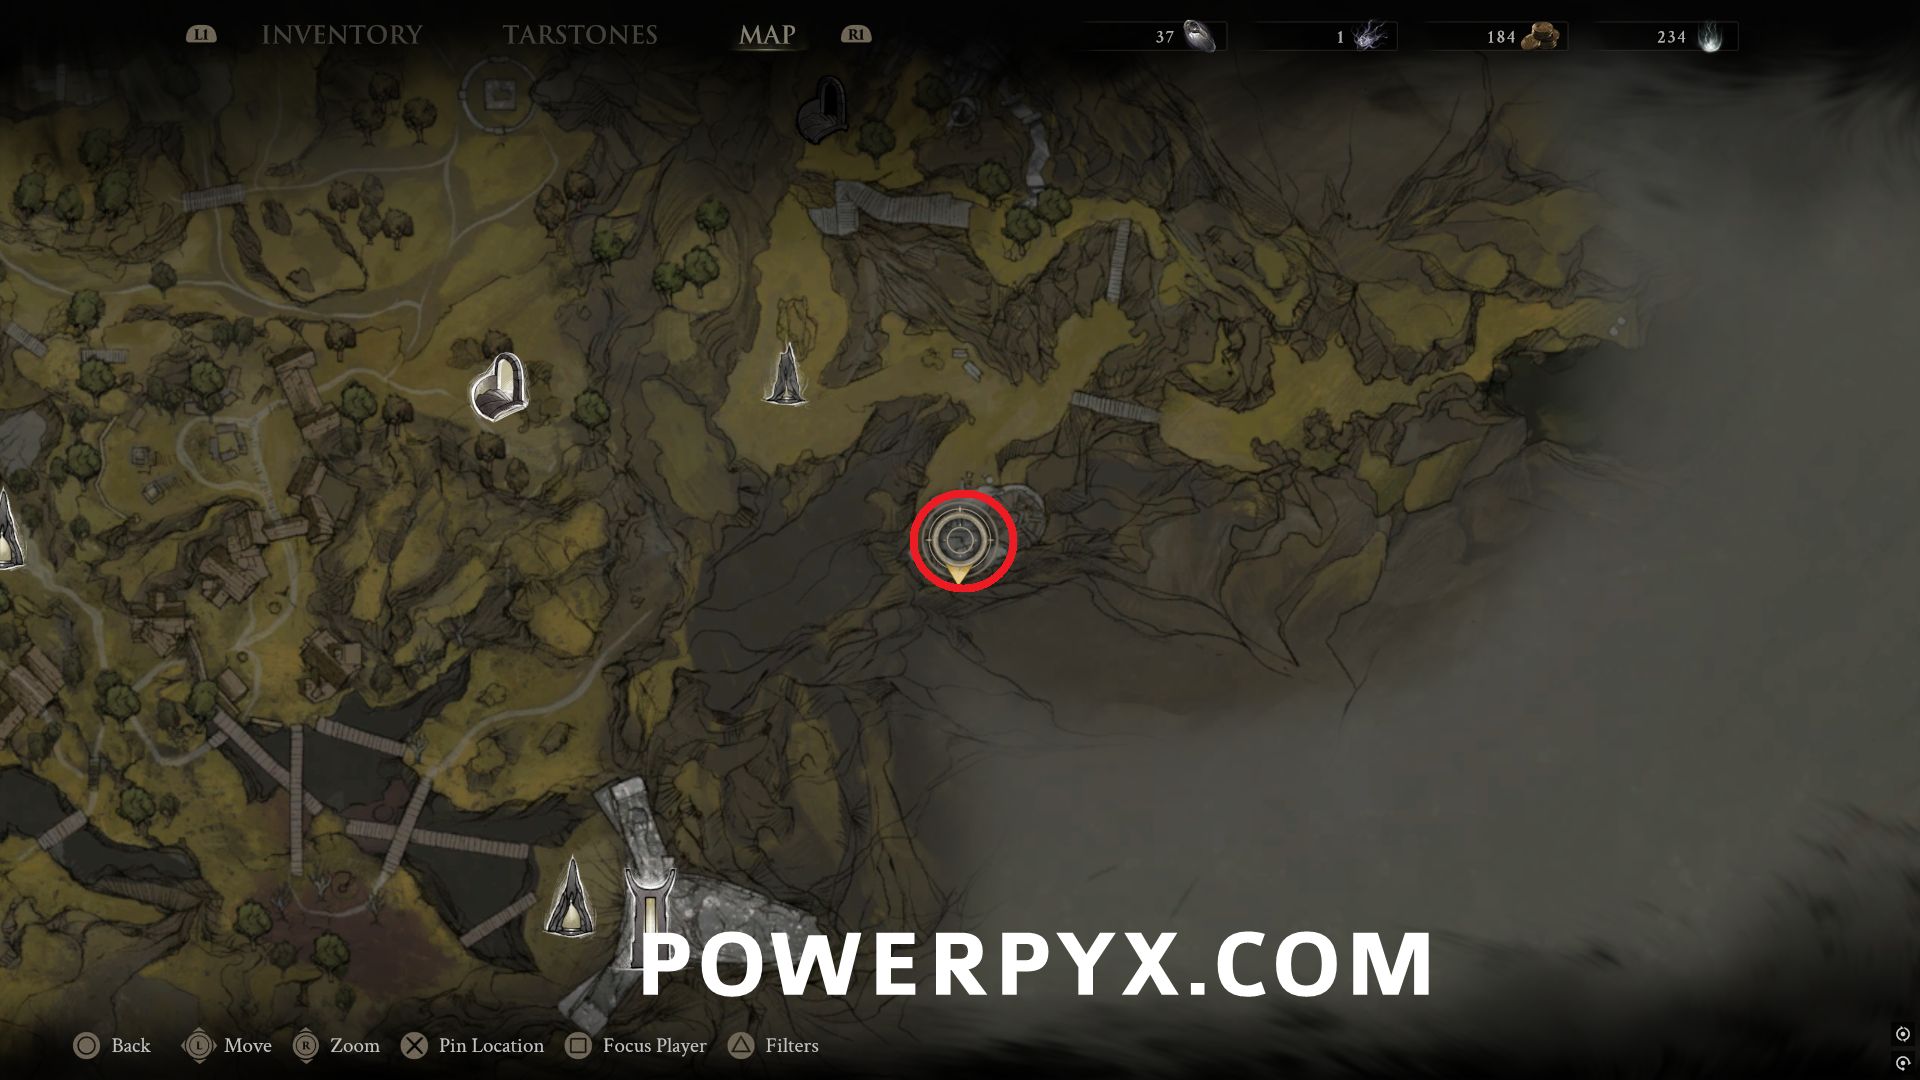
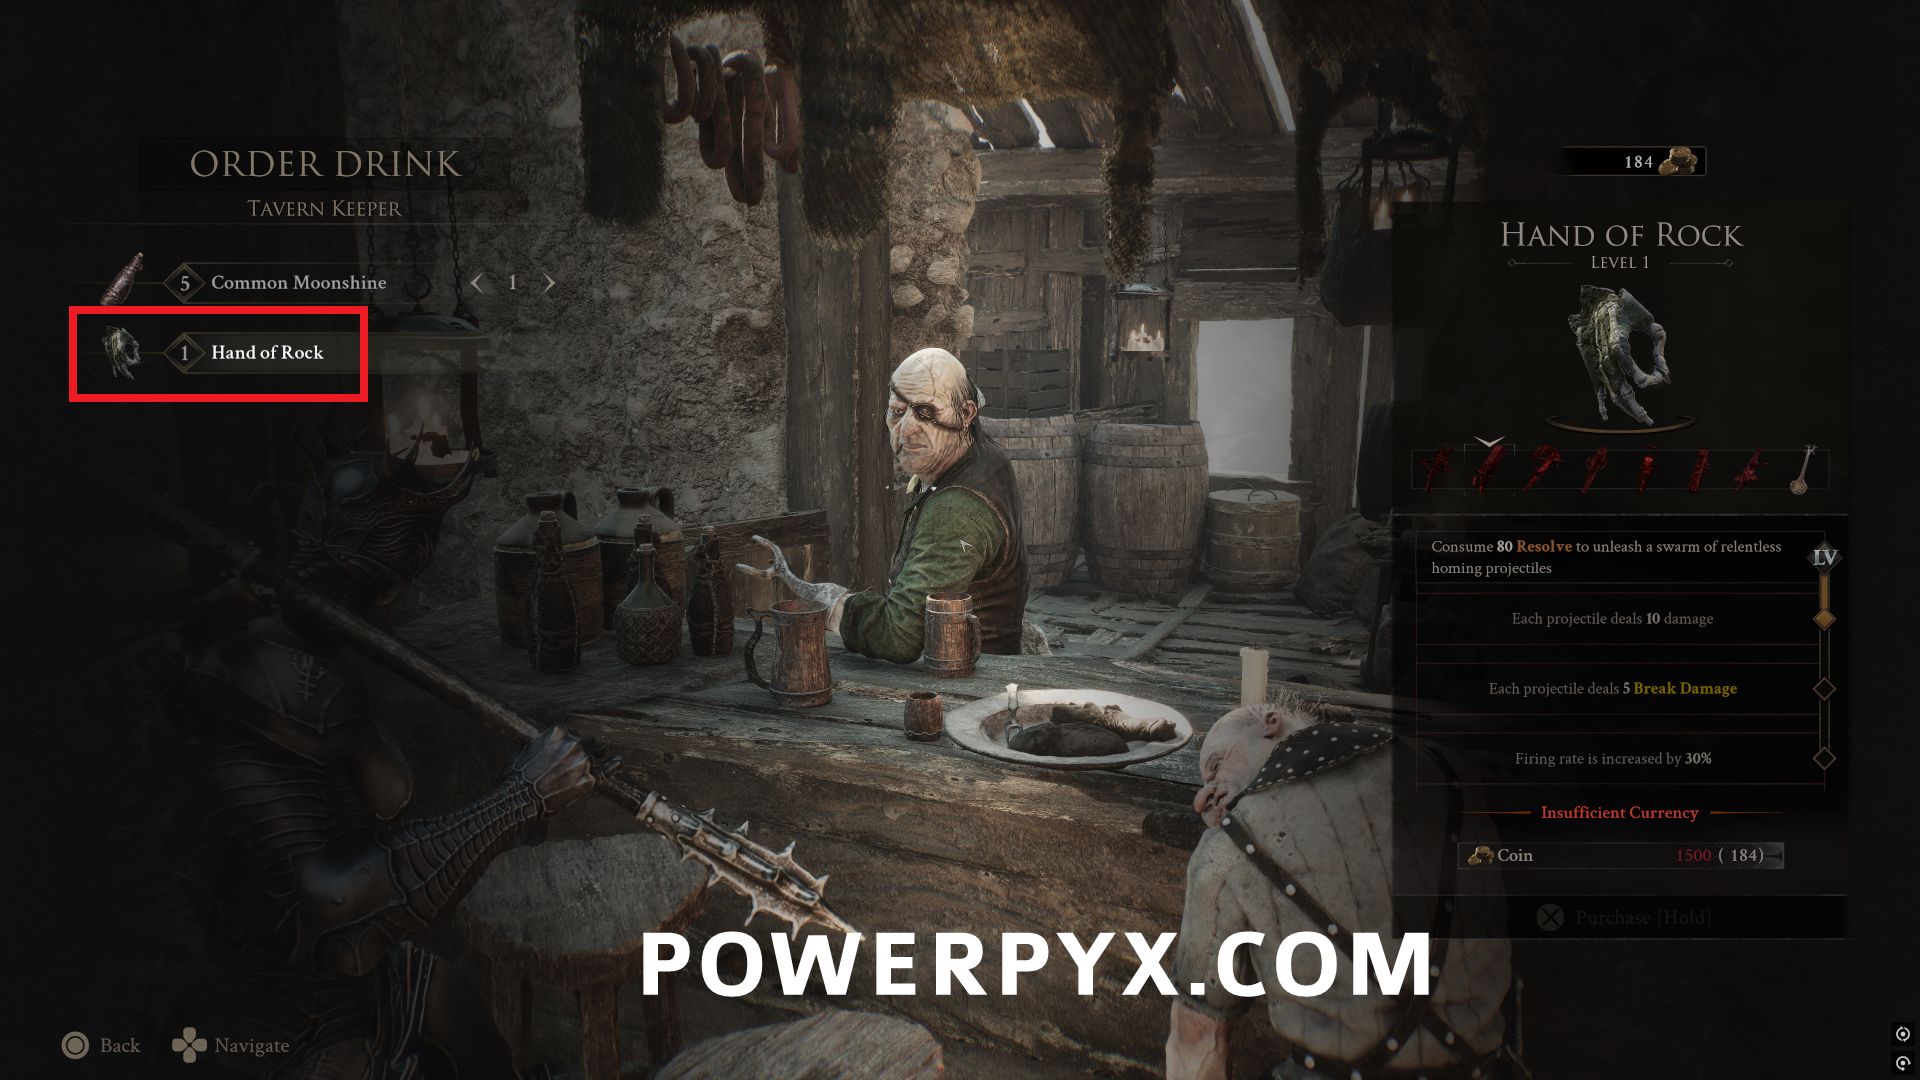
Southeast of One Legged Wolf Beacon, enter the One Legged Wolf Tavern and speak with the Tarvern Keeper. Under the “Order Drink” option you can purchase this Tarstone for 1500 coin.
That’s all of the Tarstones in Mortal Shell II.
More Mortal Shell 2 Guides:
- Shell Locations
- Tarstone Locations
- Beacon Locations
- Weapon Locations
- Sidearm Locations
- Tarforge Upgrade Locations
- Dungeon Locations
- Healing Upgrade Locations
- How to Summon Night (Increase Difficulty)
Kaze says
I have 75 Tarstones and the trophy tracker shows 71/73. Wonder if recent patch broke this trophy.
Gage says
During the review period there was 73 with two blank spots in the menu because the devs had removed two of them. If they added them back in there is potential that that has caused issues now.
It popped correctly for me at 73 still, having collected the two new ones. Unsure what the issue you experienced could be then.
Holden says
Same for me. I have 75 in my inventory and the trophy tracker says 71/73.
Jordan says
The 2 missing from this list are ‘Headman’s Stone’ and ‘Unstable Stone’
Sorry I can’t give direction for them but at least everyone knows what to look for and maybe they get added to the guide.
Gage says
Both locations added now
Seth says
The chest for the shattering stone was already opened when I entered the dungeon, so that one is null and glitched for me. Also whatever is the chest in revenant Graves it says need 2 offerings but all 3 candles are lit and won’t let me open it so whatever is in that chest Im locked out of too basically.
Gage says
I had this occur for me on one of the Offering chests, but reloading the game allowed me to open the chest correctly.
Seth says
It still bugged after reloading several times here’s to hoping I can just NG+ that chest. Im basically on final boss now. Used this guide for the support ones until I had a glitched one basically. Then continued the game. Would suck to have to make a new save for just 1 trophy being the tarstones since it’s the grindiest one for 1 playthrough.
Seth says
I went through the list and you technically can miss 2, the trophy just popped for me and the chest for shattering in the mine is still bugged, and the candle chest i was talking about as well is bugged and that stone is the nighters. Just got the trophy though. So meaning you might be able to technically miss the berserker one so might not be fully missable.
Marlon says
The night vendors Stones doesn’t Count for me i have them all tried multiple times buying it nothing goes up on the tracker stuck on 71/73
chris says
I’ve got 75 tarstones in my inventory but the tracker say 71/73 and the trophy hasn’t popped :/
Matt says
For anyone wondering why this wont pop and says 71/73. Simply exit to the main menu and load the save back and it should pop. At least it did for me.
France says
Thank you. It worked.
GeneralGrissom says
Thank you! This is the solution