
Mortal Shell 2 contains 23 Healing Upgrades, split into Revered Glands (increasing quantity of healing items) and Synaptic Vessels (increases potency of healing items). Obtaining Healing Upgrades is not required for any specific trophy/achievement, but is helpful for getting through the game.
None of the Healing Upgrades are missable, you can find any missed ones after the final boss in free-roam before choosing to enter New Game+.
Health upgrades are listed in the order they appear closest to a nearby Beacon, in the same order as the Beacons appear in the Mether’s Breath (fast travel) menu when at any Beacon. Unfortunately there is no way to tell if you have picked up a health upgrade without going to each location and checking if the pickup is still present, as they aren’t tracked in-game in any way.
Marrow Keep
Marrow Keep
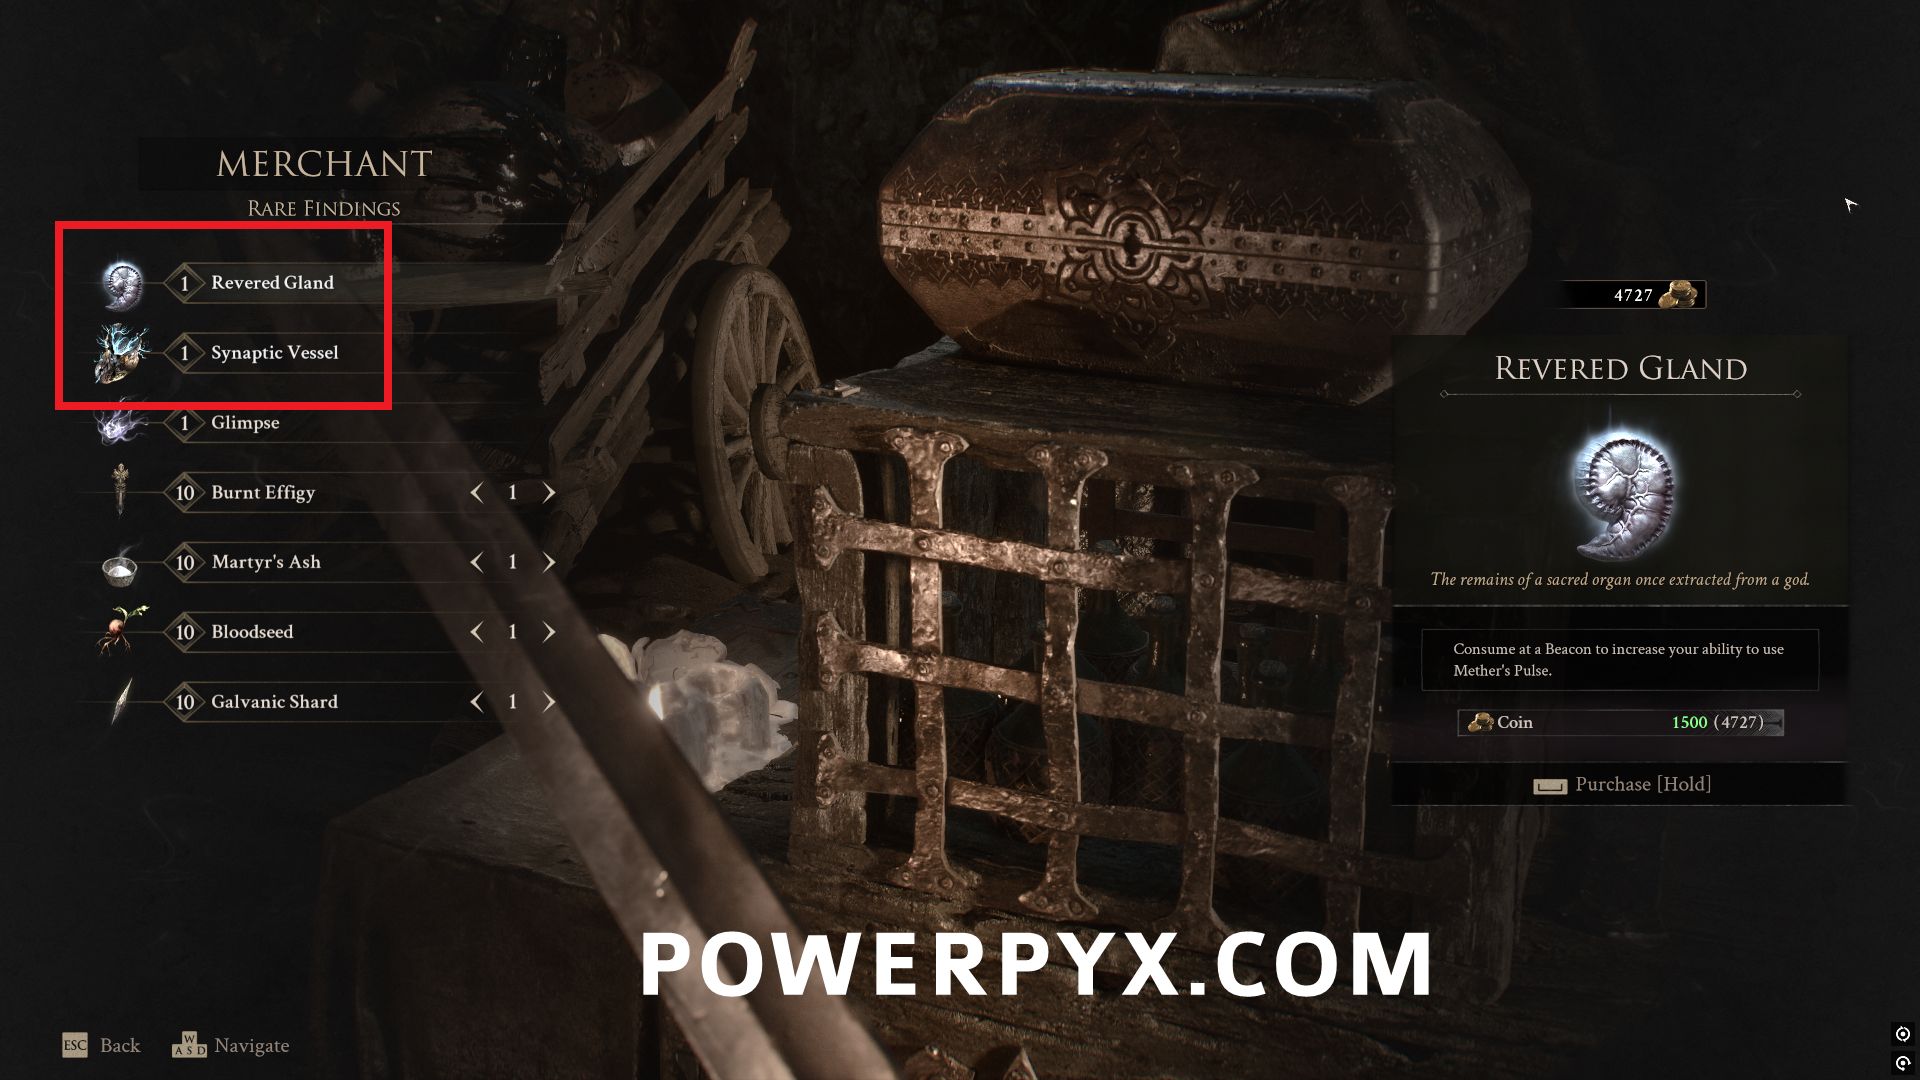
#1 – Revered Gland – In the southern part of Marrow Keep, you can purchase a Revered Gland from Merrick for 1500 coin.
#2 – Synaptic Vessel – In the southern part of Marrow Keep, you can purchase a Synaptic Vessel from Merrick for 1500 coin.
Fainweald
Stonebled Gate
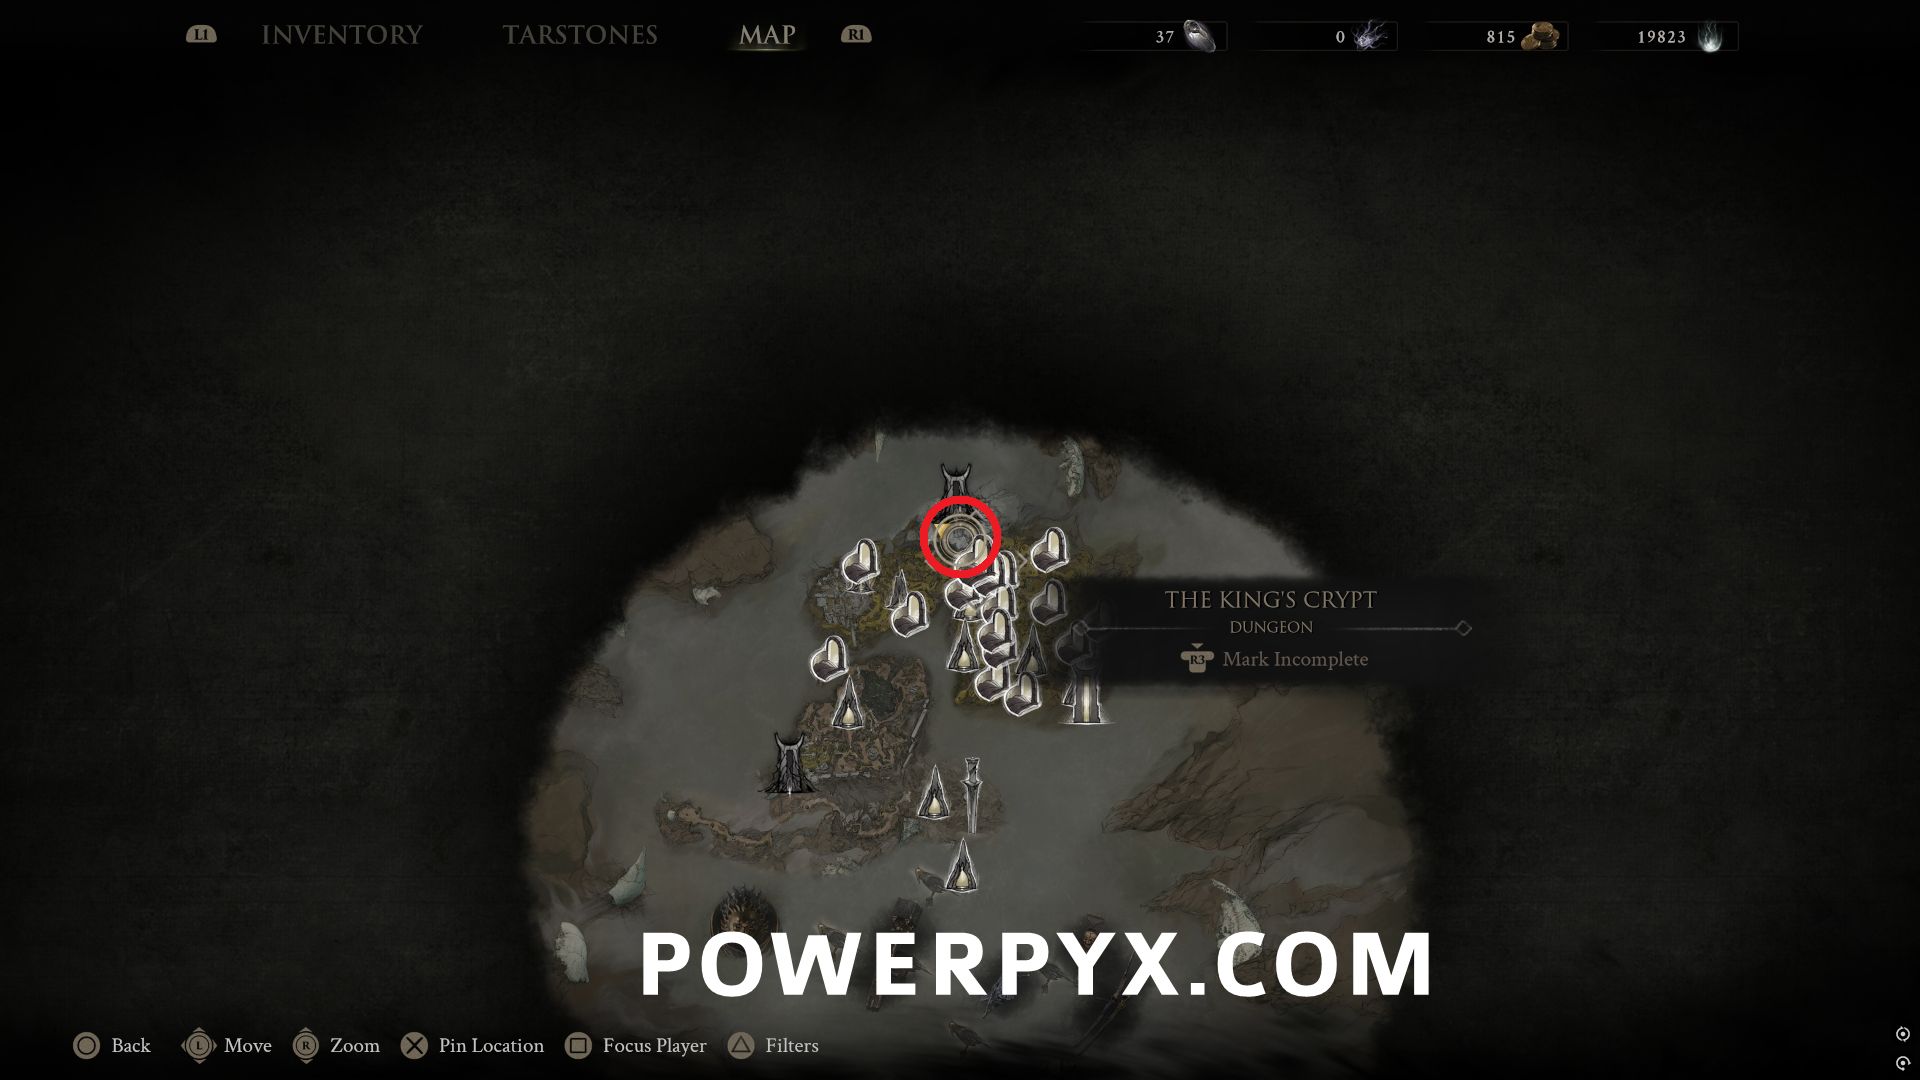
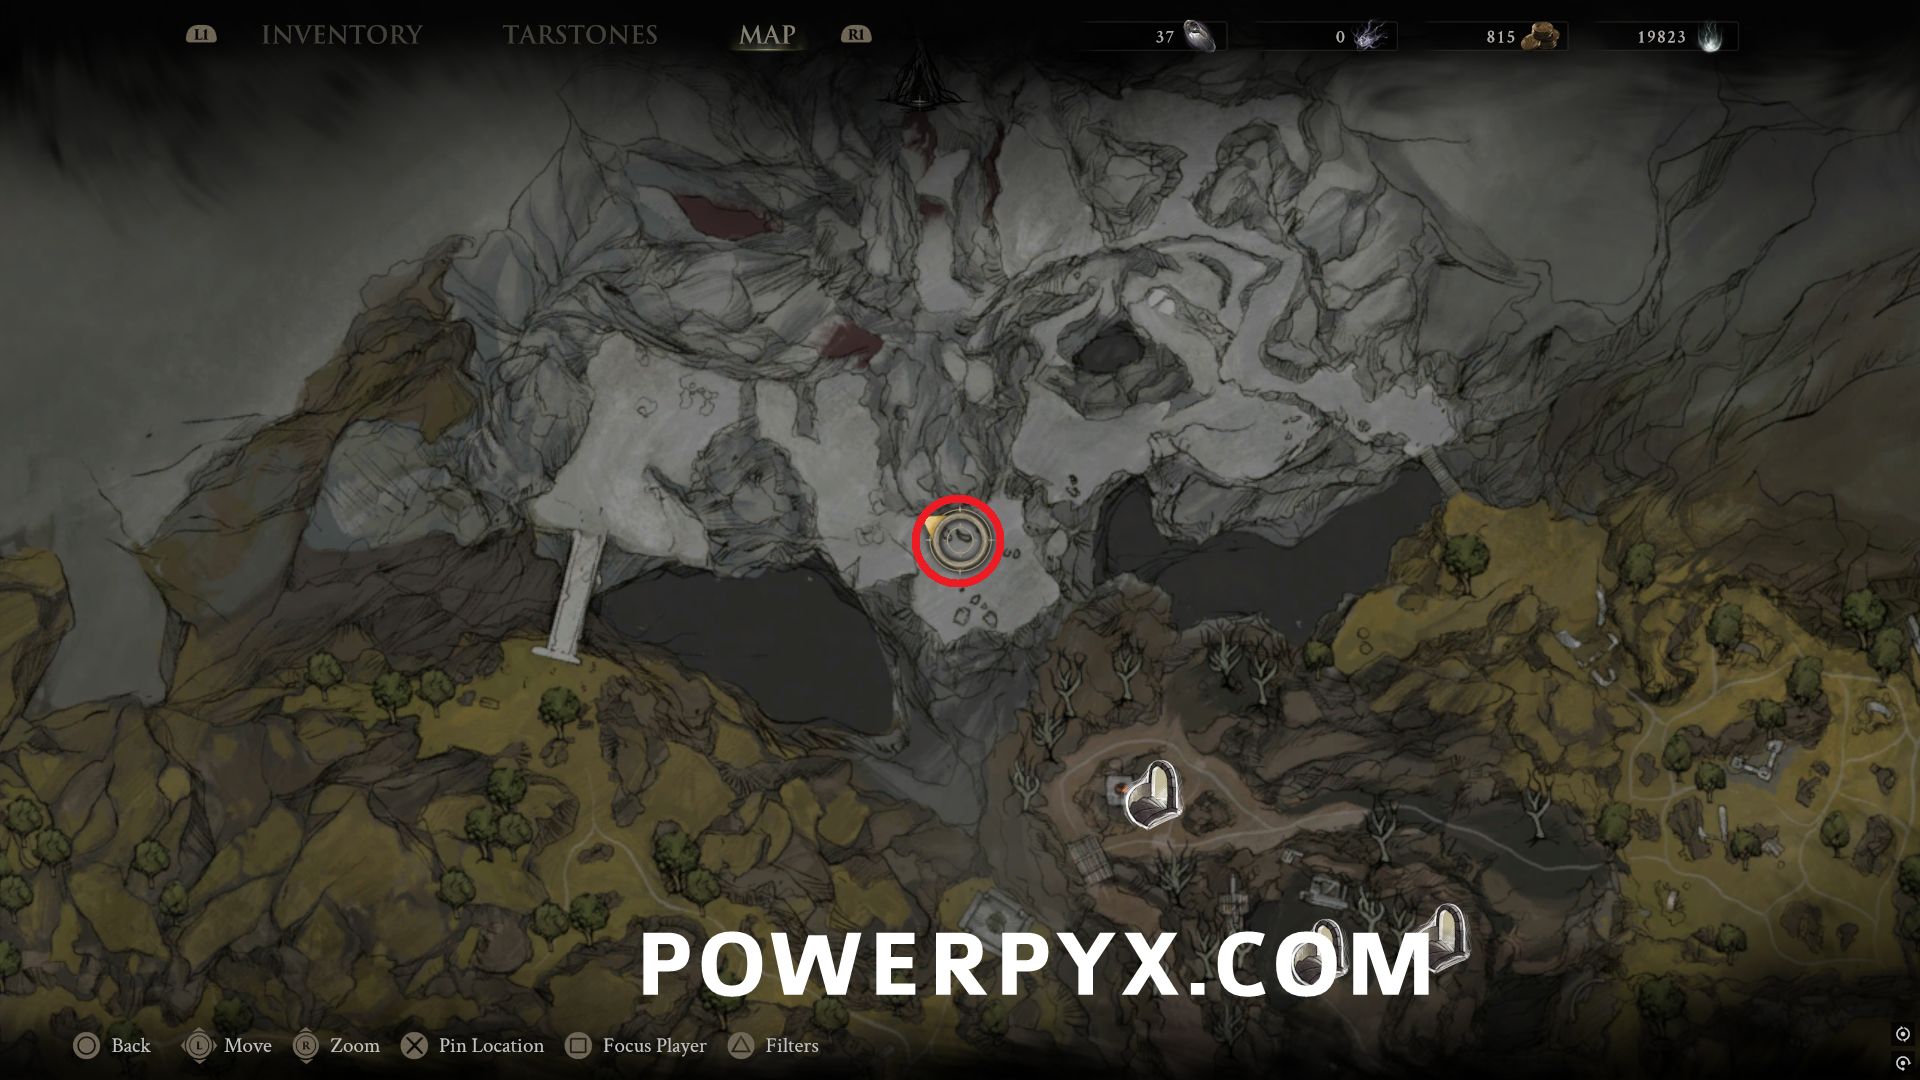
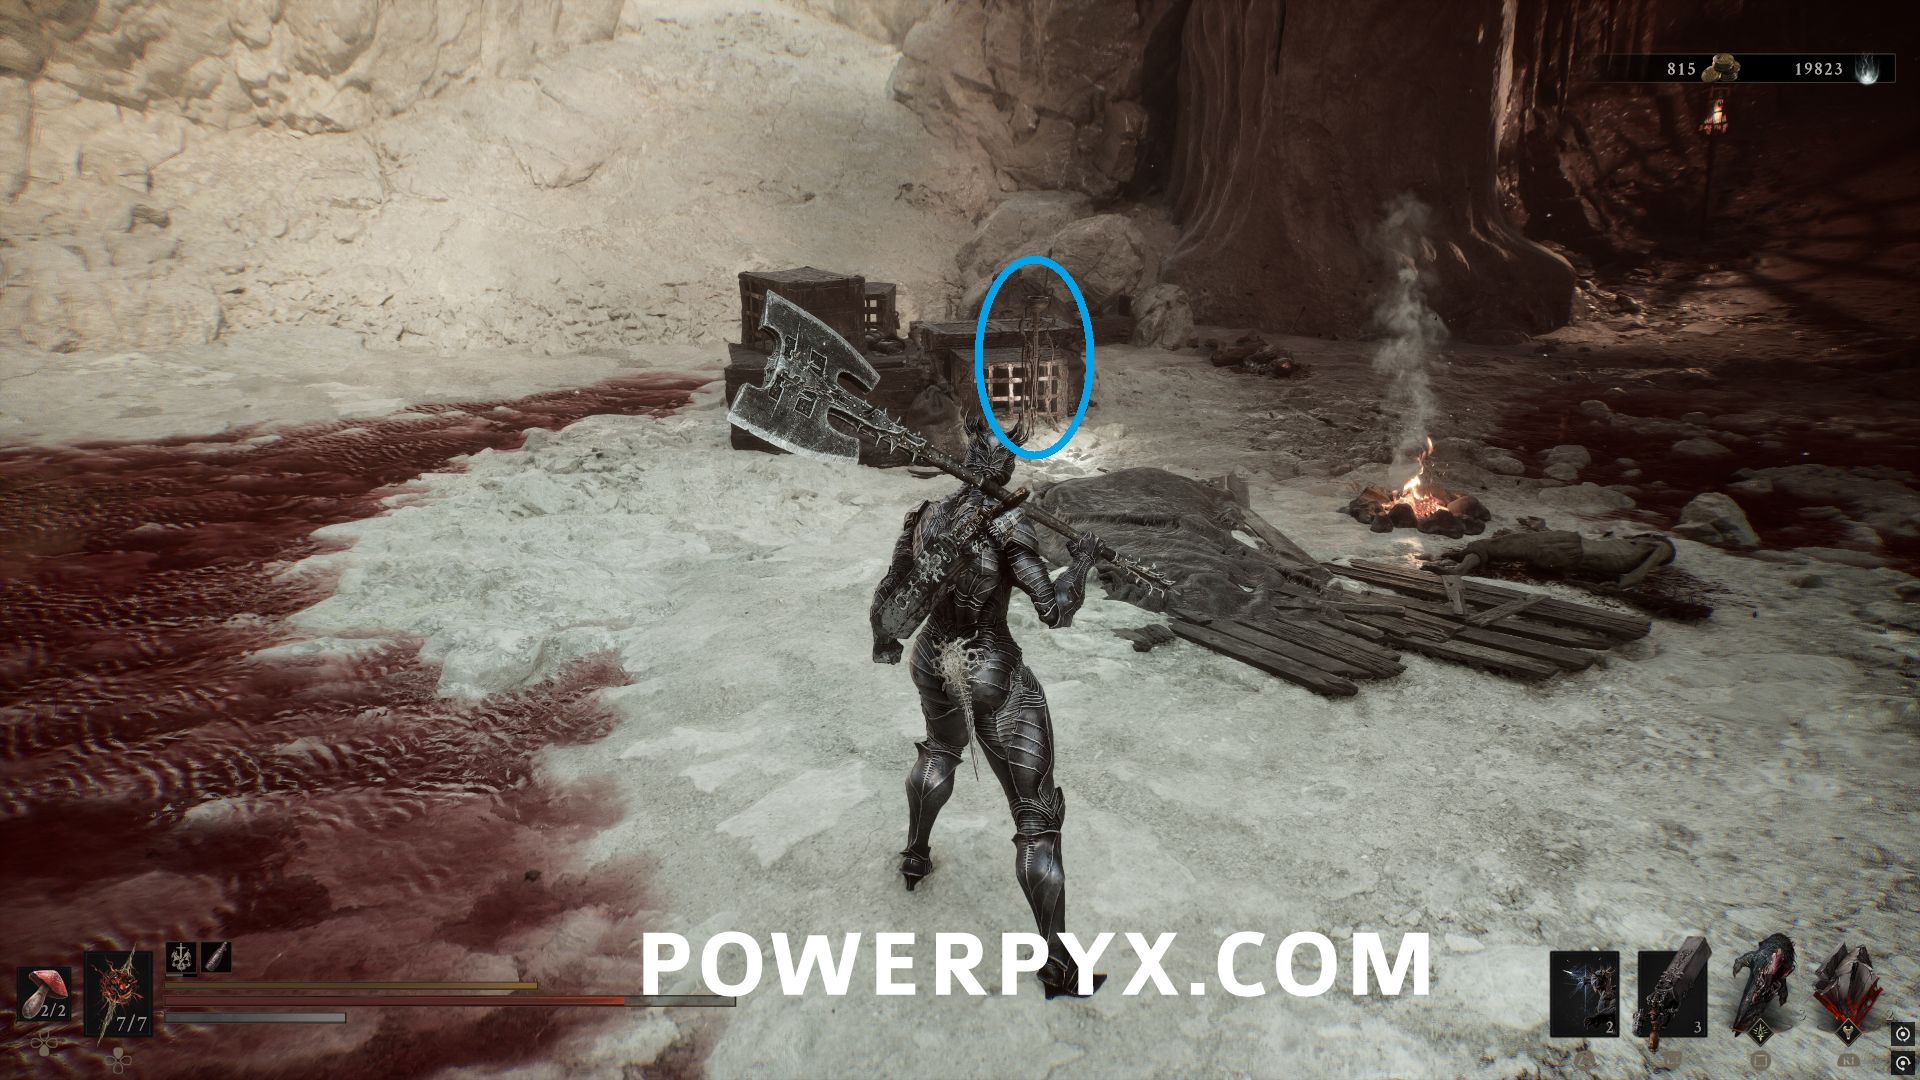
#3 – Synaptic Vessel – South of Stonebled Gate Beacon in the camp area, just beside the fire by some boxes.
Nochtean Gate
Thieves Retreat Dungeon
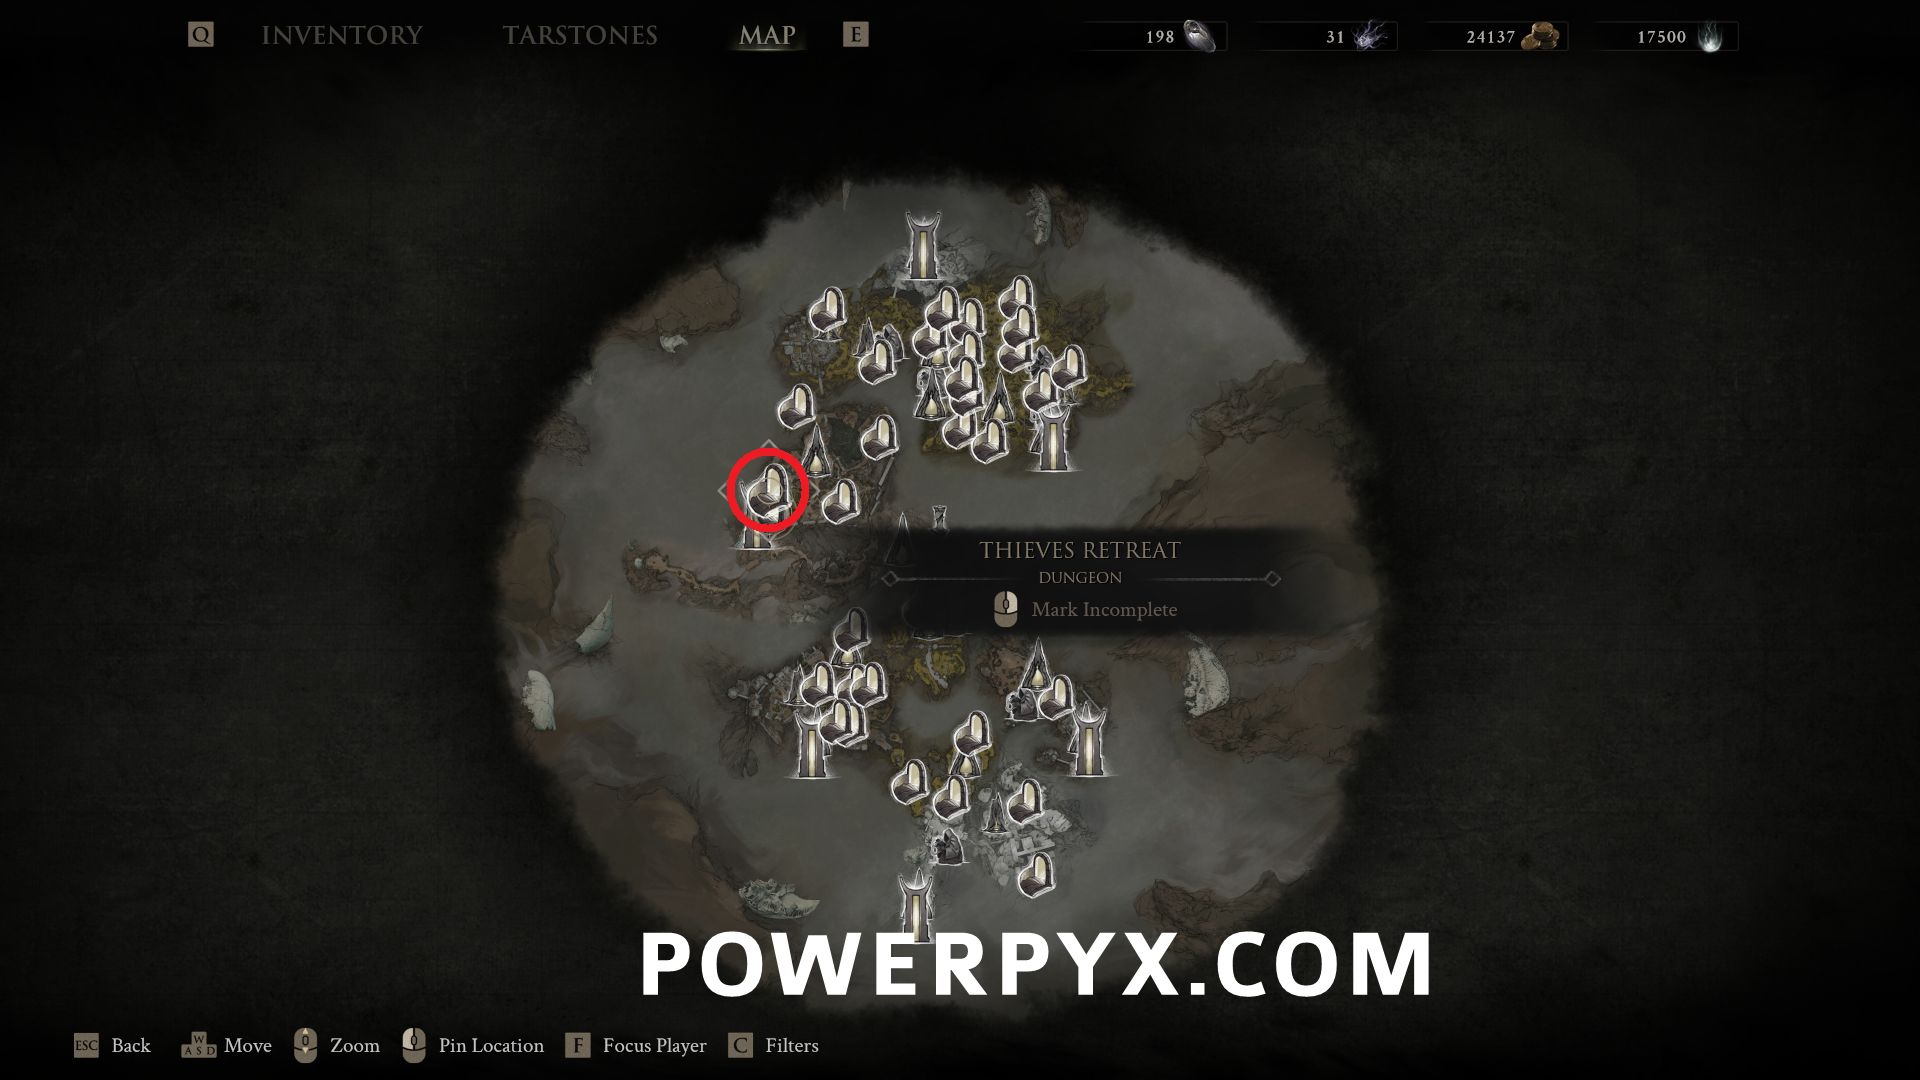
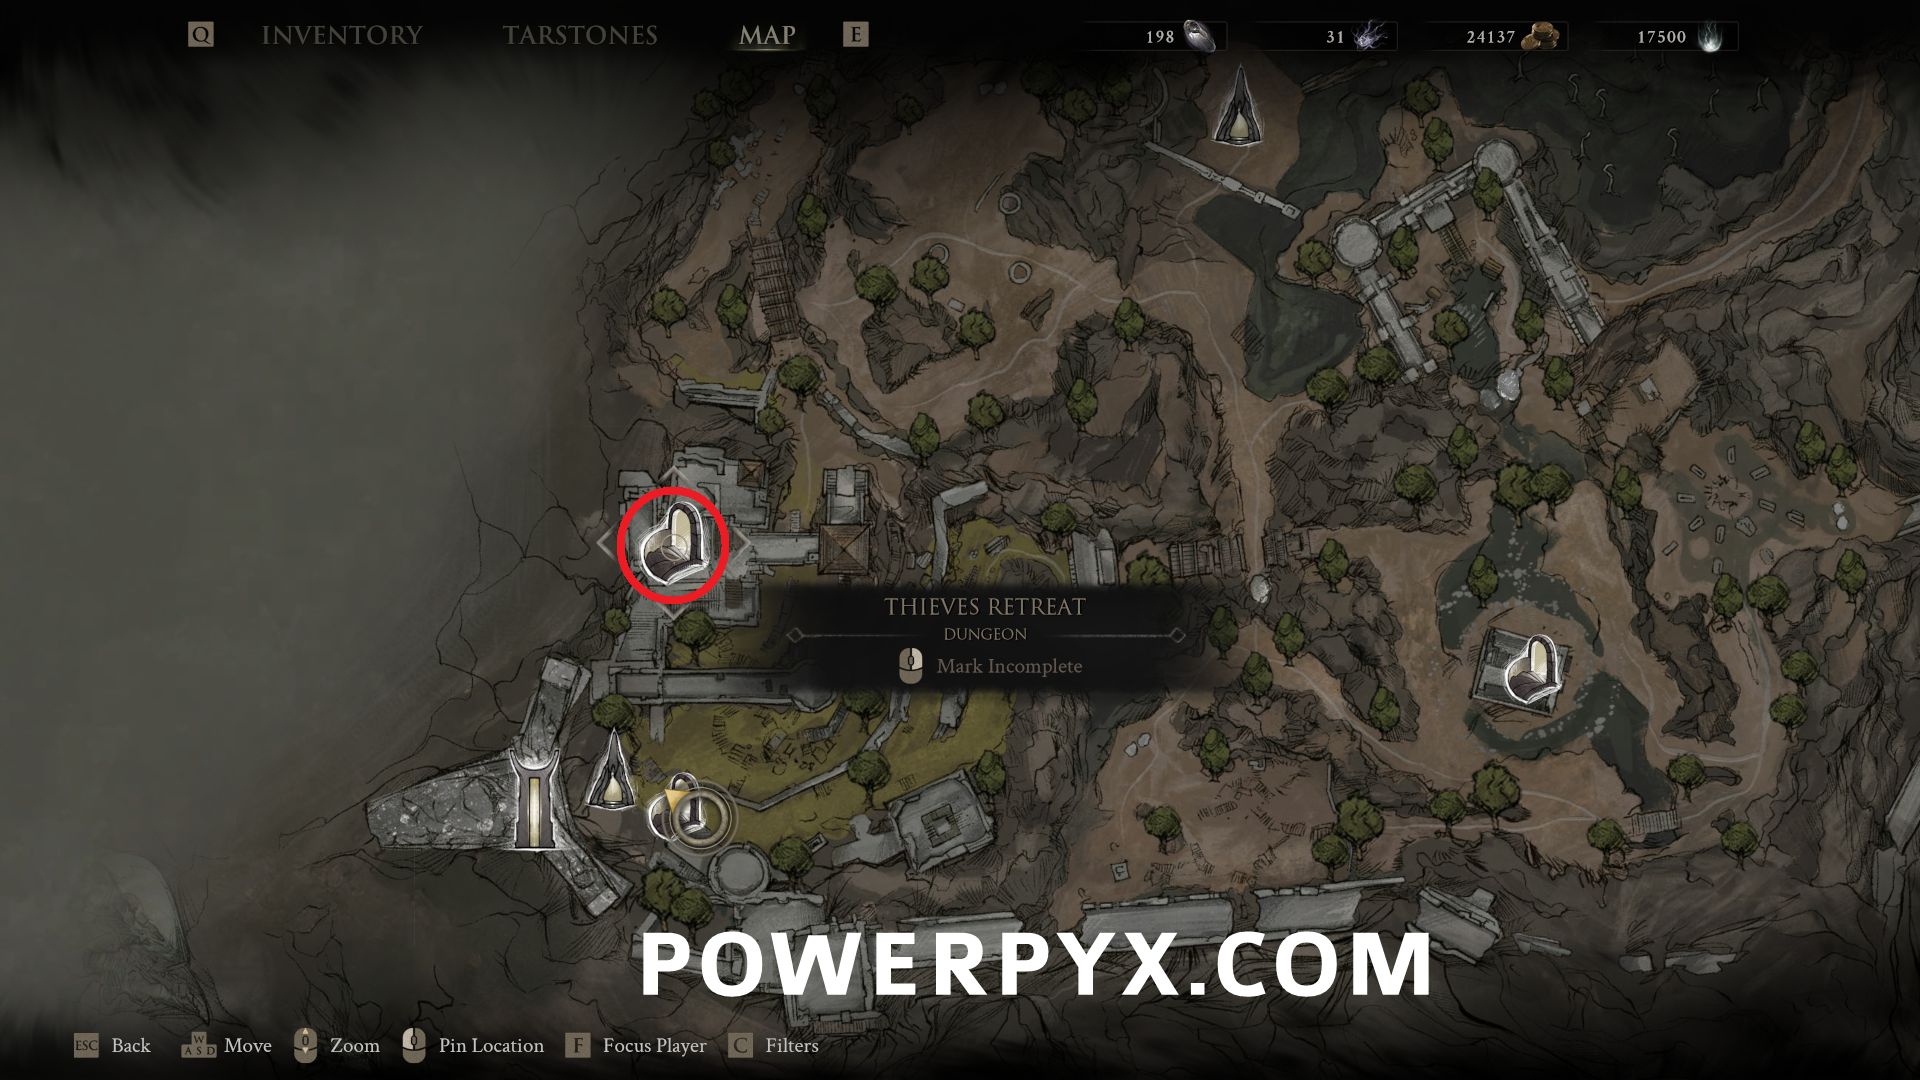
#4 – Revered Gland – From Nocthean Gate Beacon, go north and drop one level below, where you can press a switch to open a metal gate leading to the entrance of this dungeon.
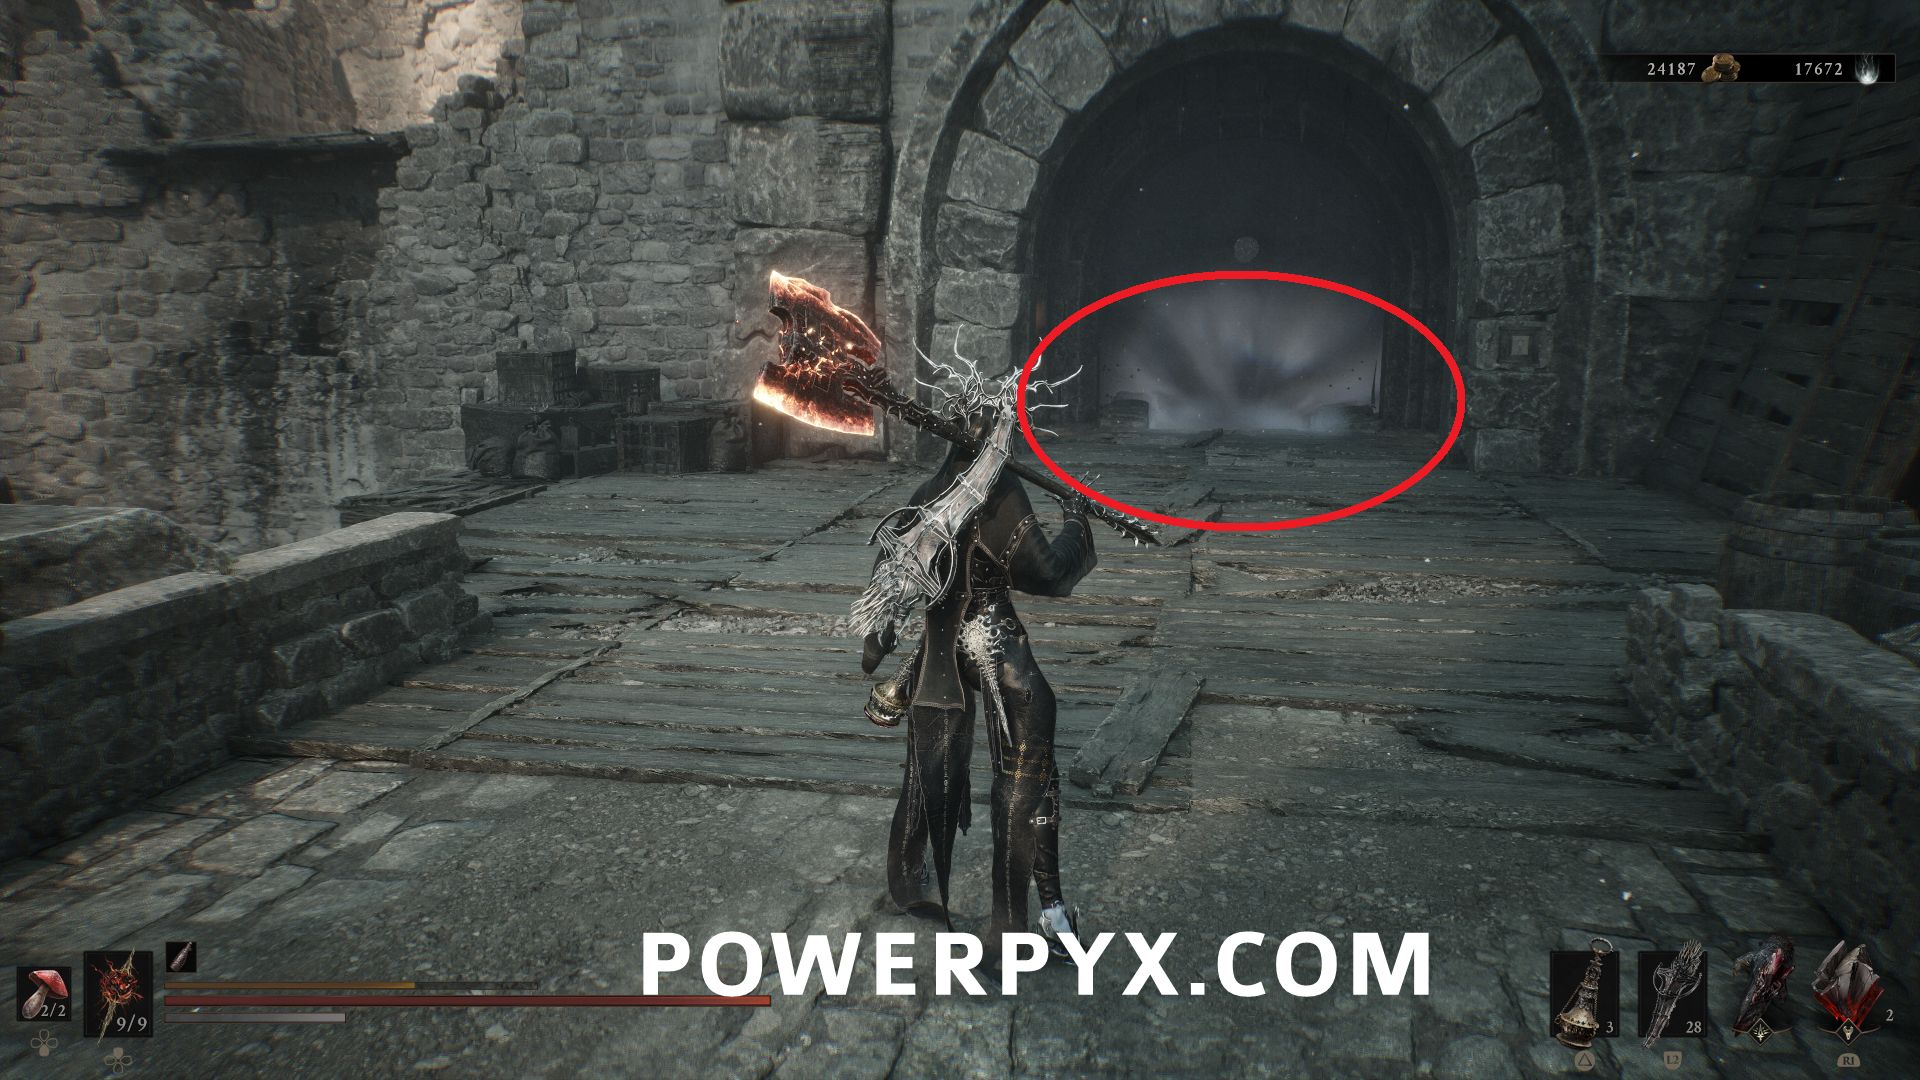
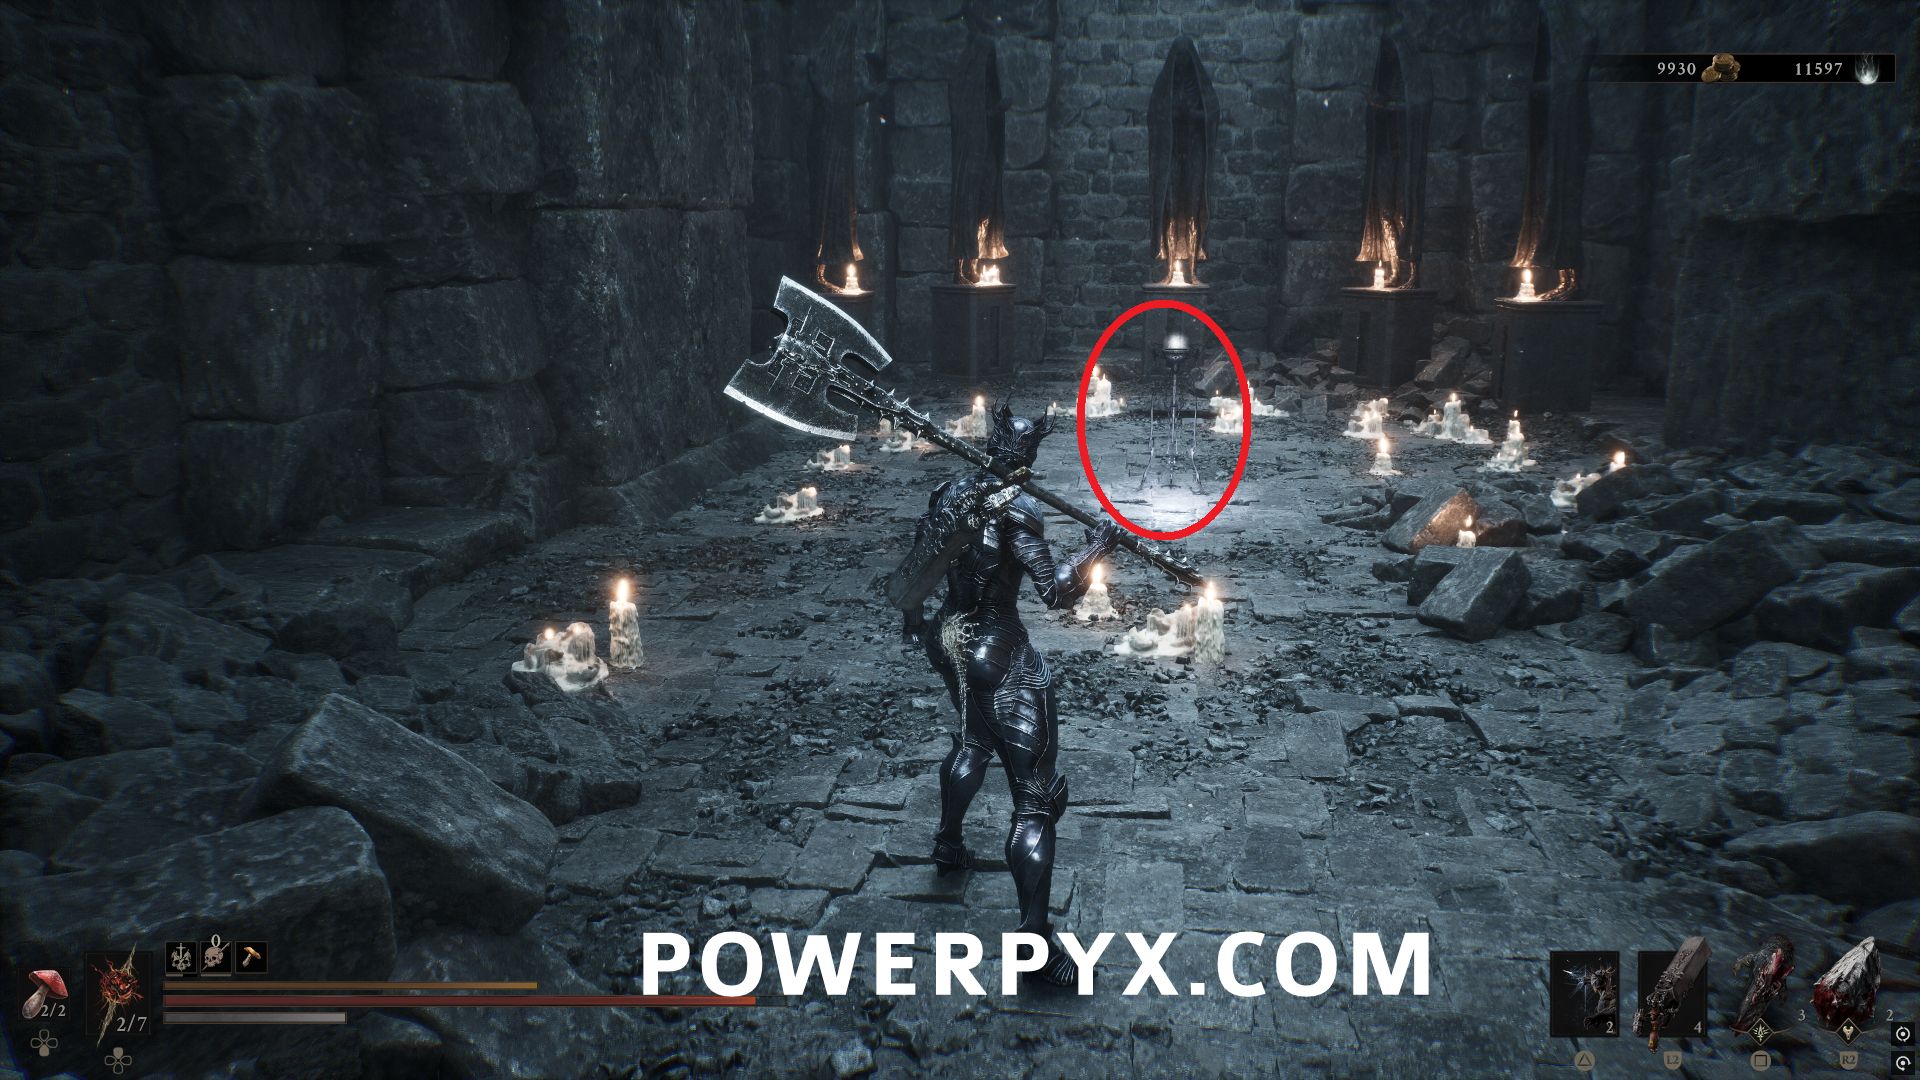
Follow the path through the dungeon over the invisible walkways. Use the bodies floating in midair to help direct you between the turns. If you fall down there are a large number of enemies, but you can get back up to the upper platforms with the elevator in the middle of the area.
Mushroom Village
Holding Cells Dungeon
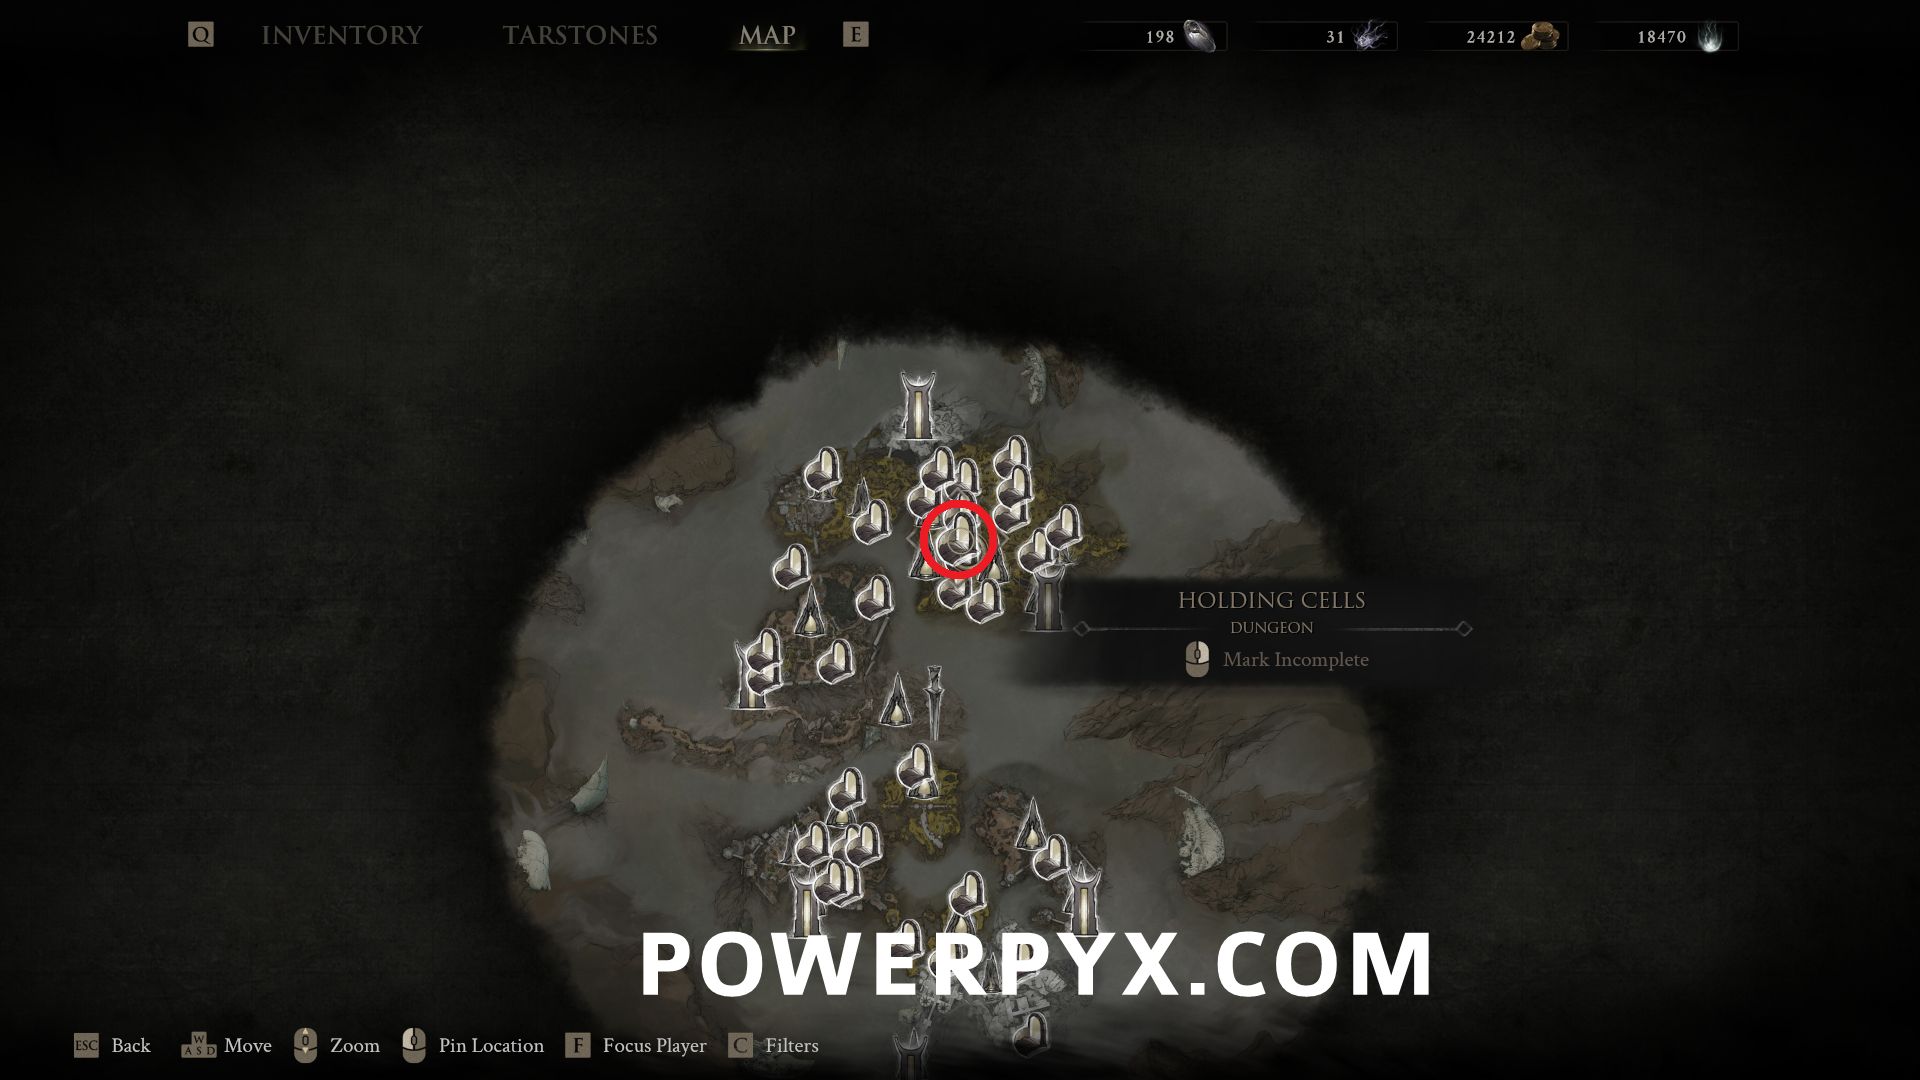
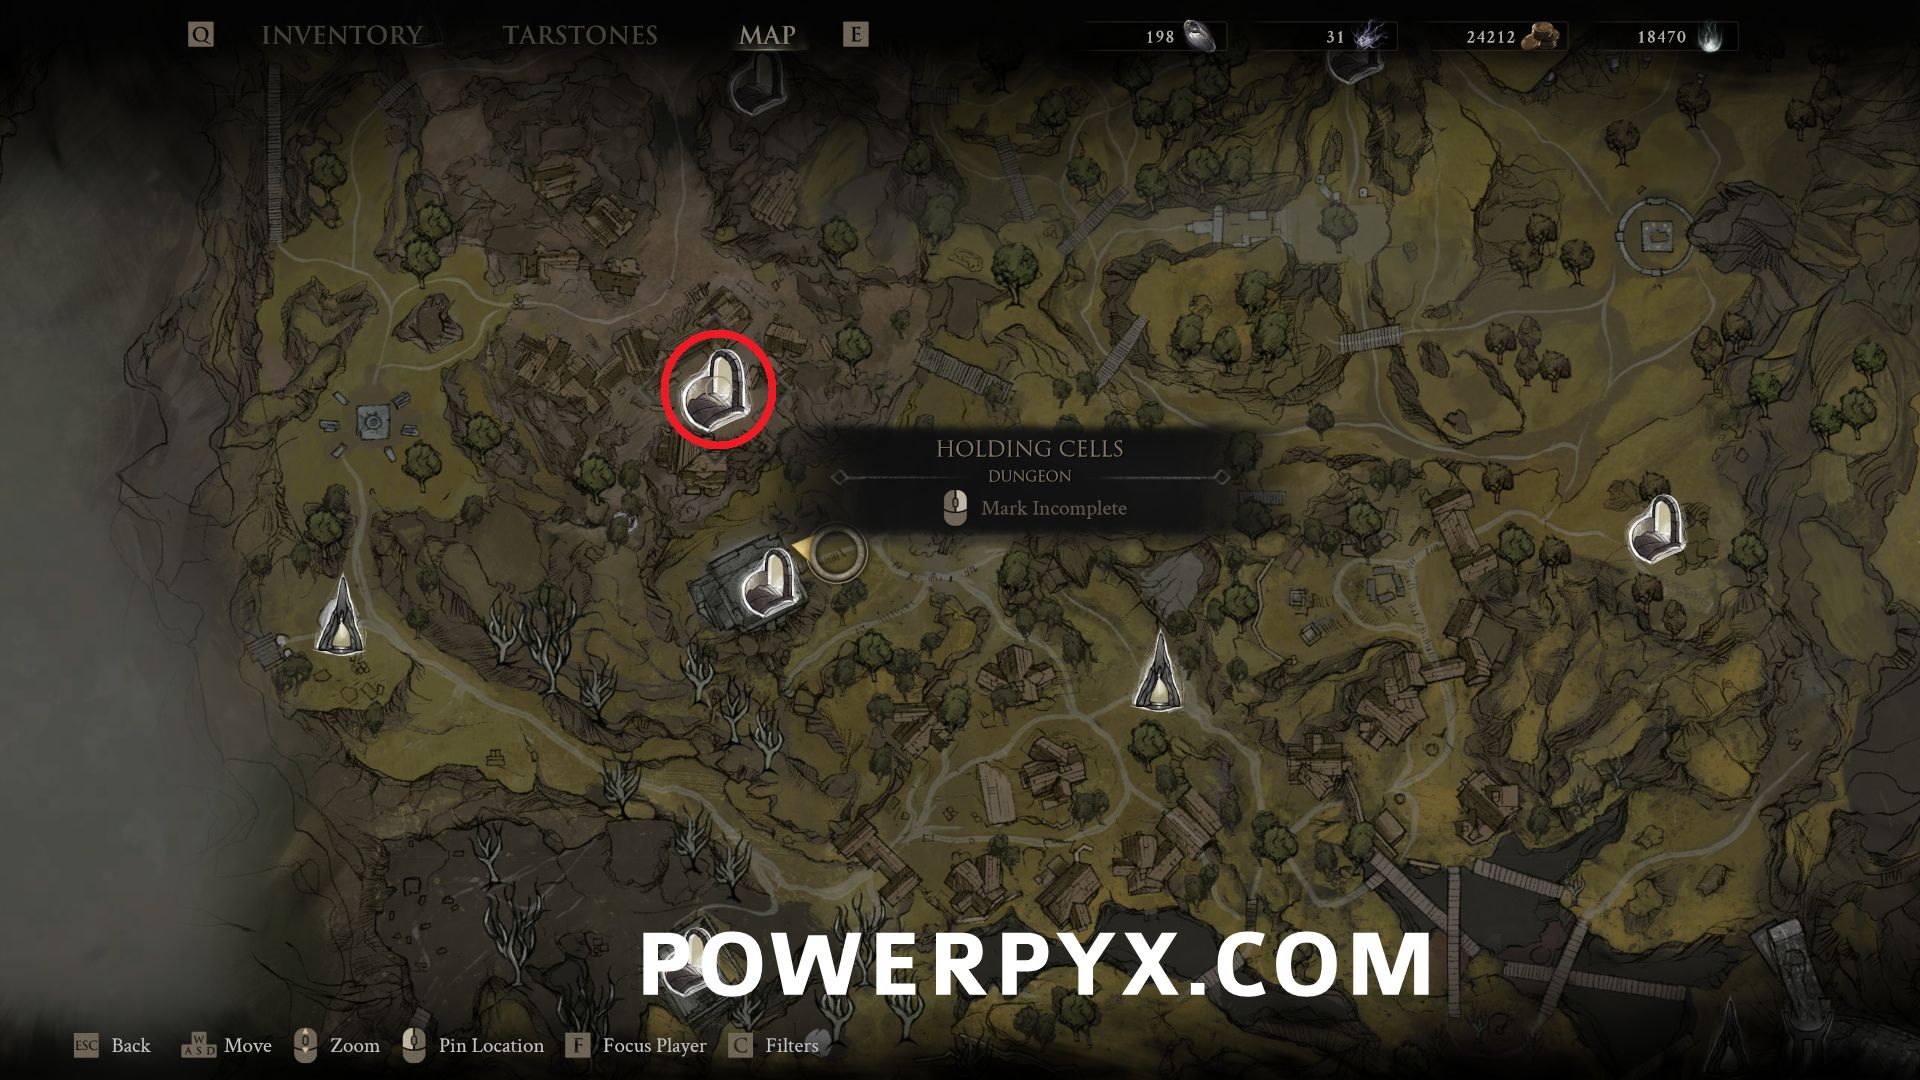
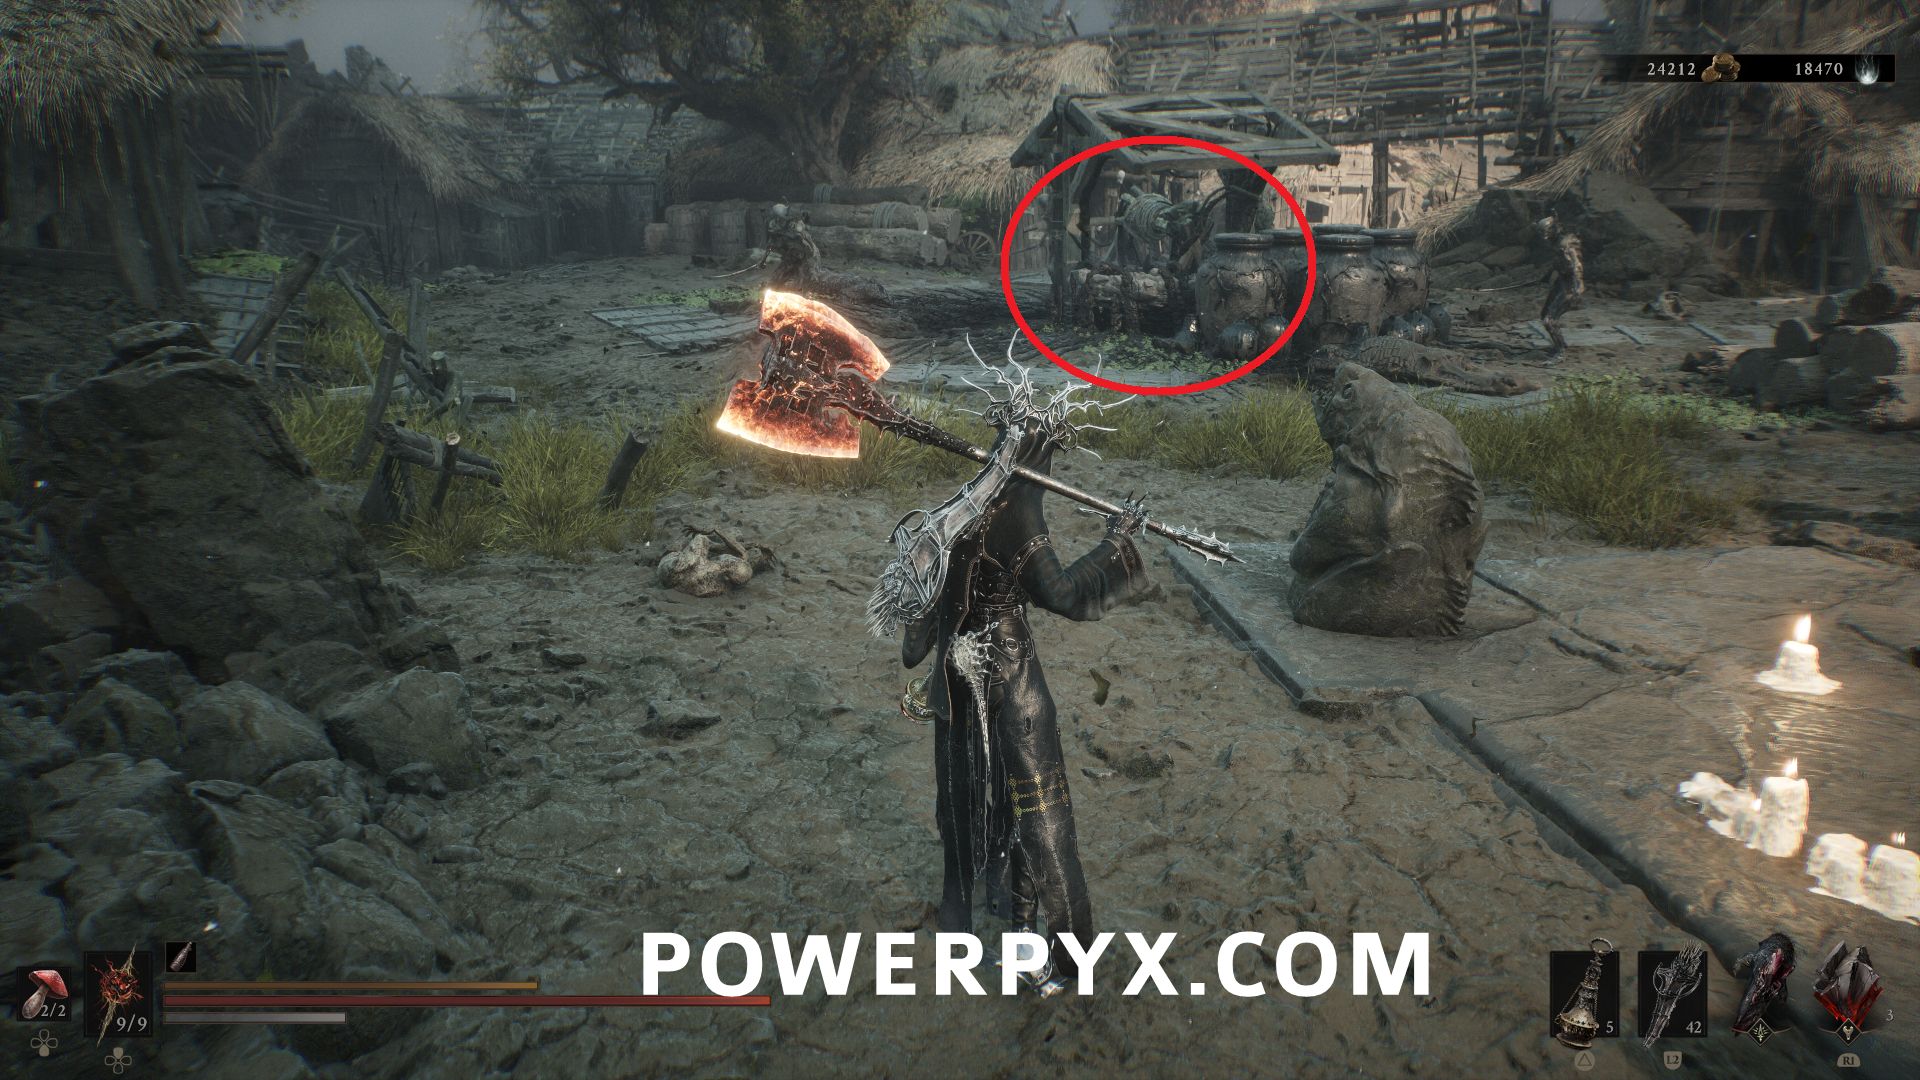
#5 – Revered Gland – Northwest of Mushroom Village beacon, north of Shrine of Trials dungeon entrance, use Mether’s Breath to clear the corruption blocking the jump pad. On the upper level you can enter this dungeon by interacting with the well.
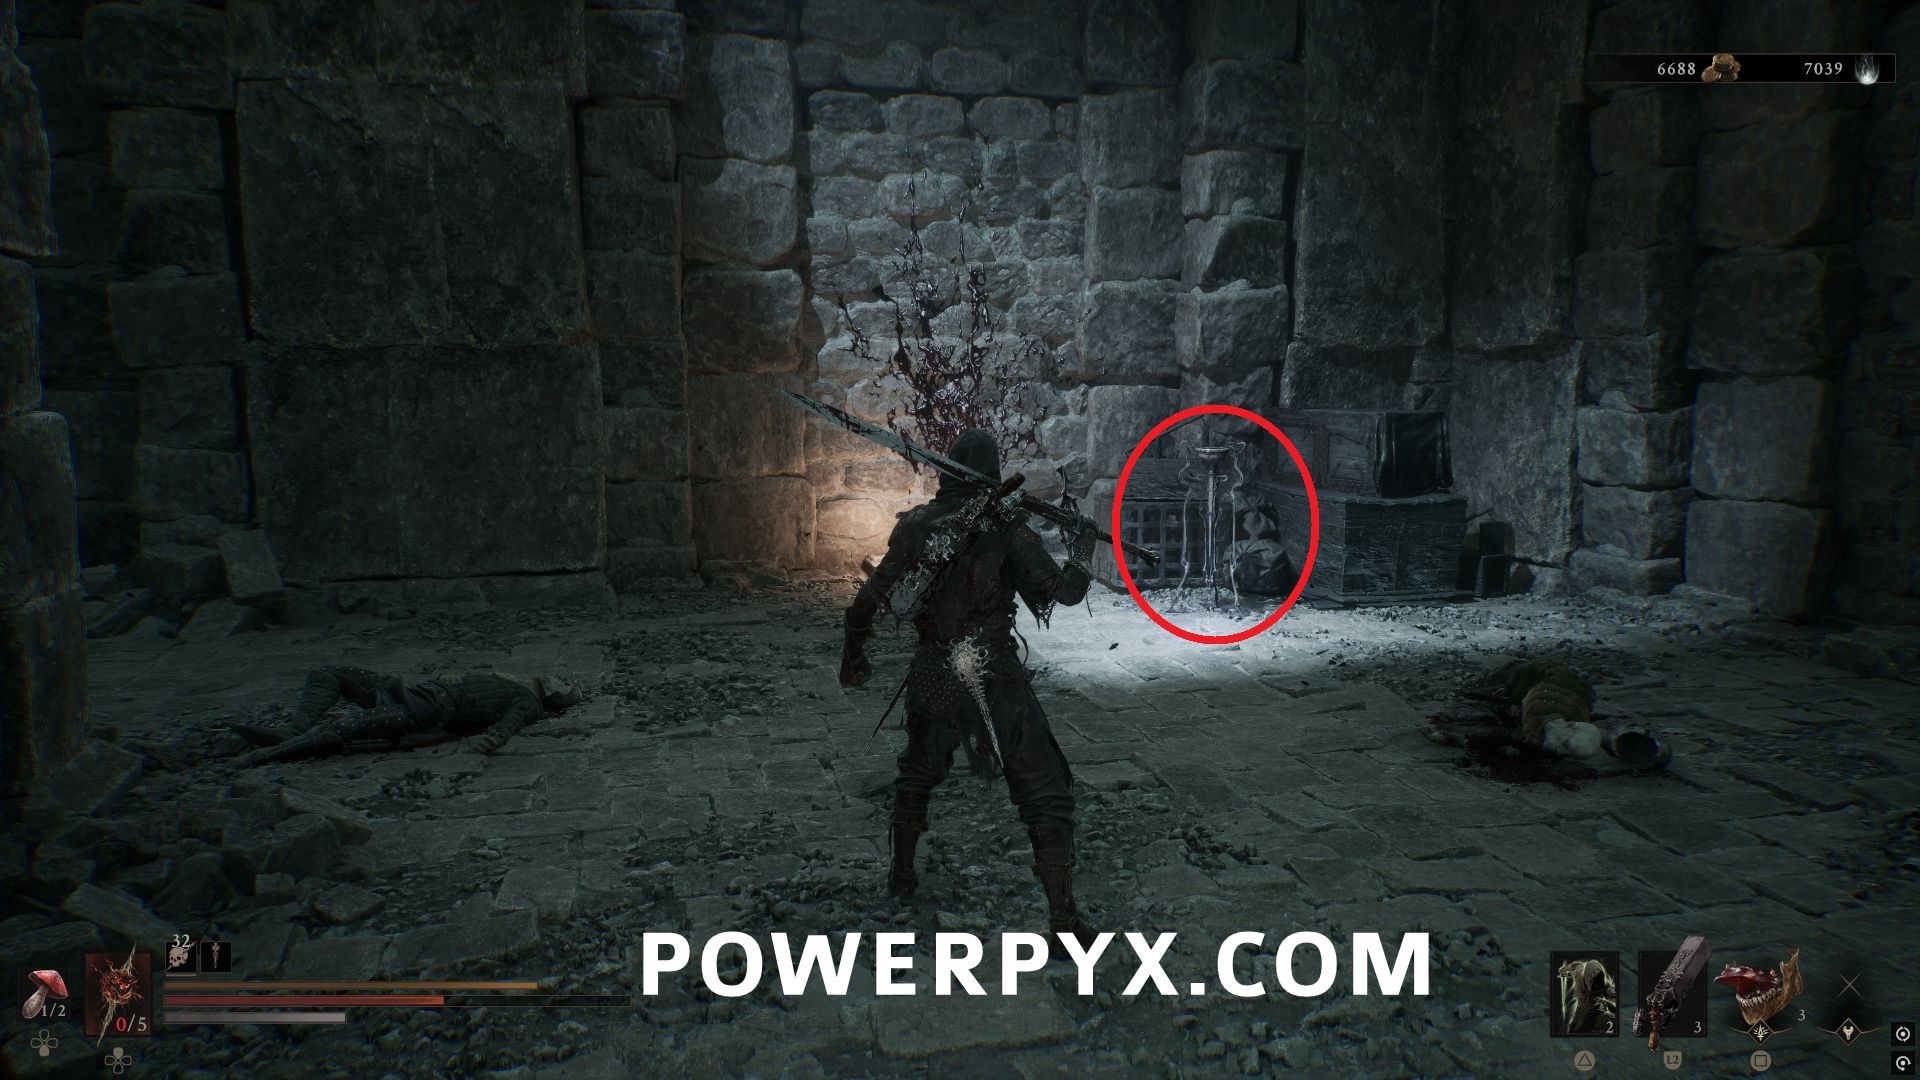
Continue through the upper area of the dungeon and push a button behind some boxes in the long hallway. This opens a gate to a room on the left side where this is located.
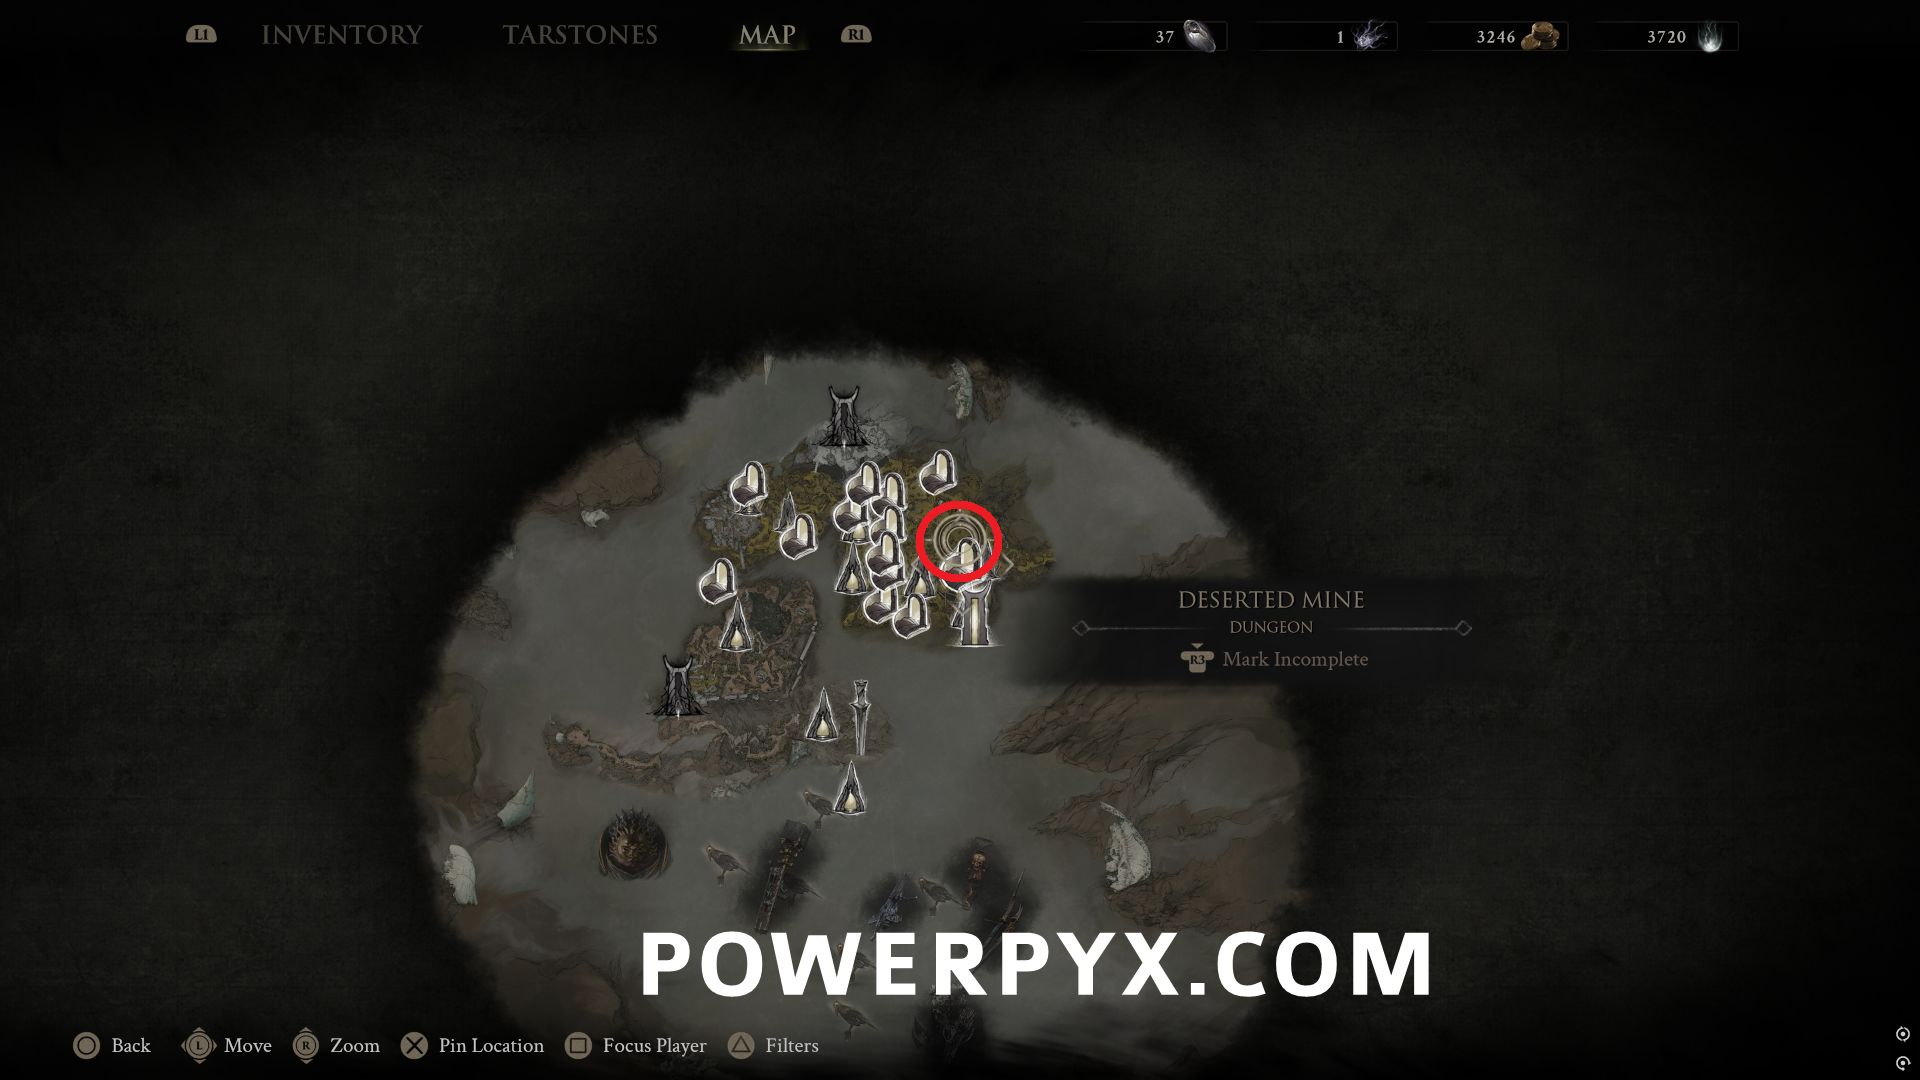
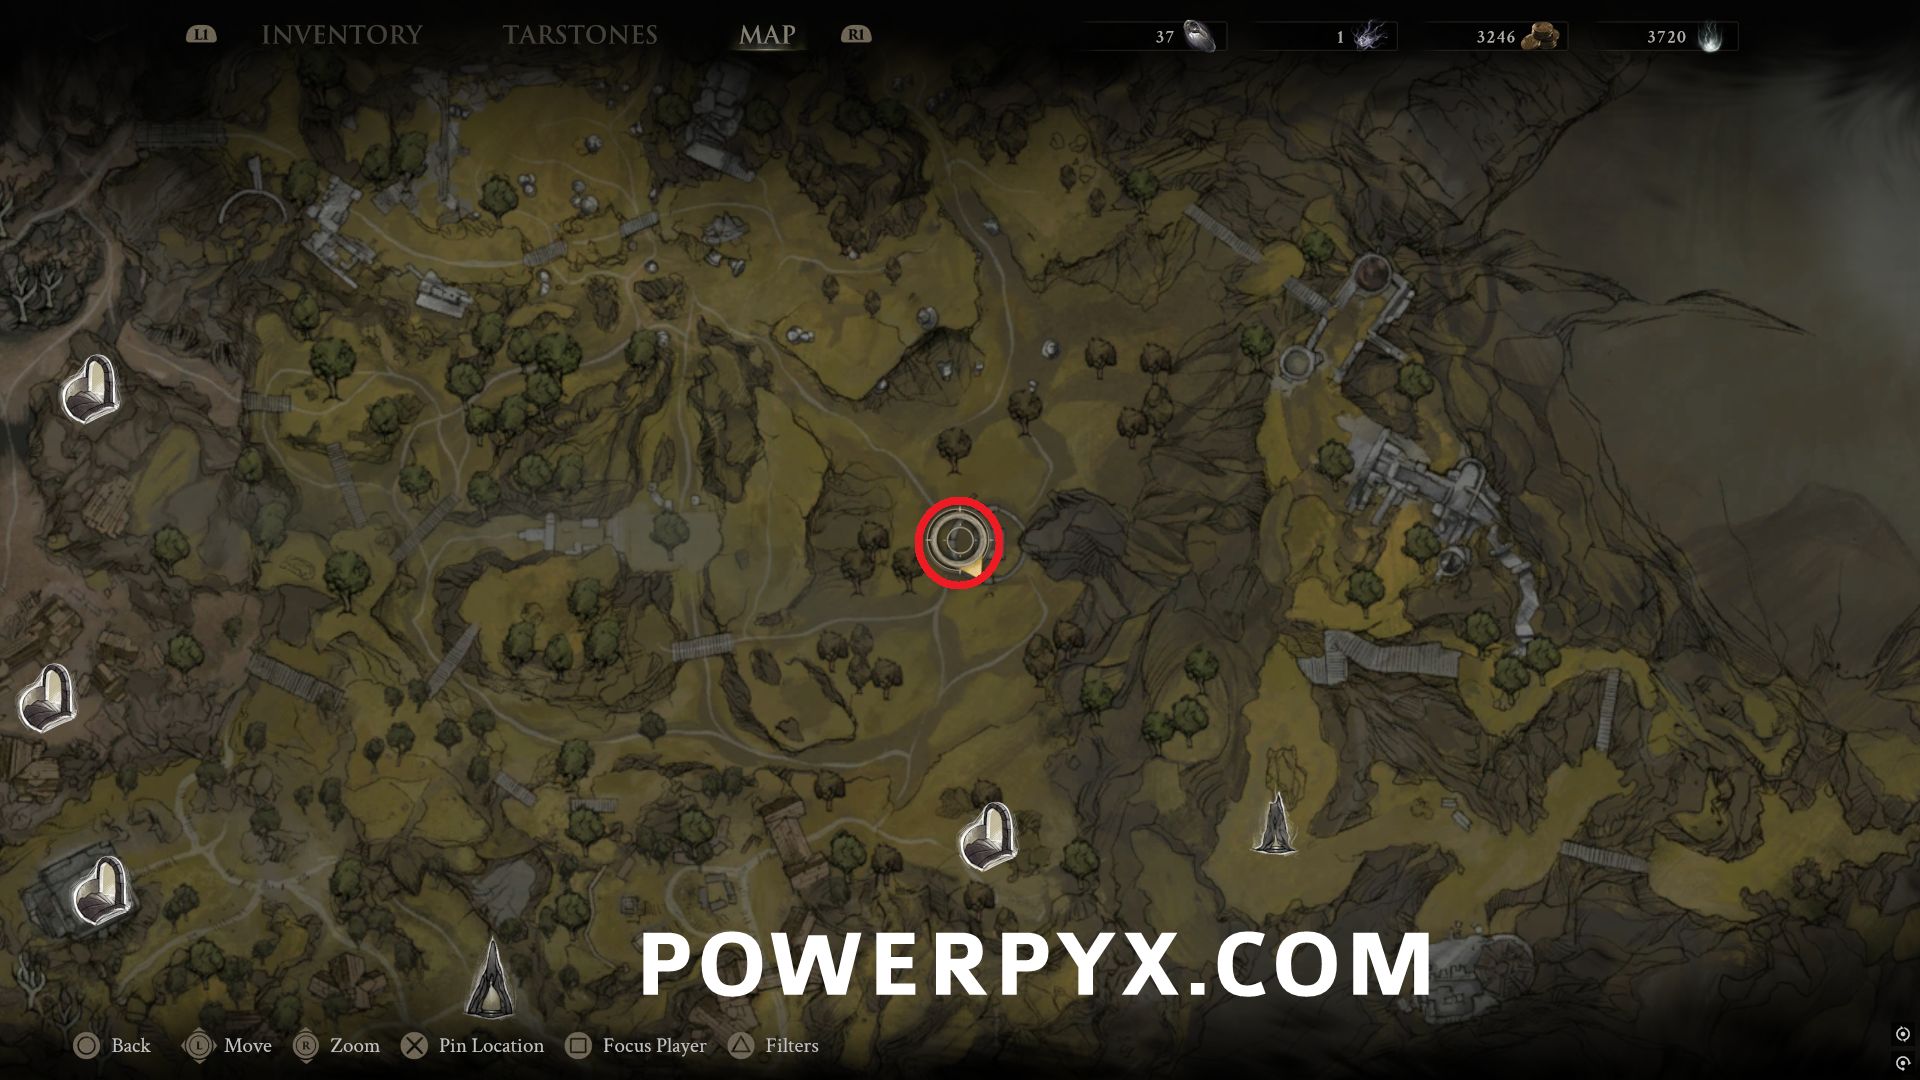
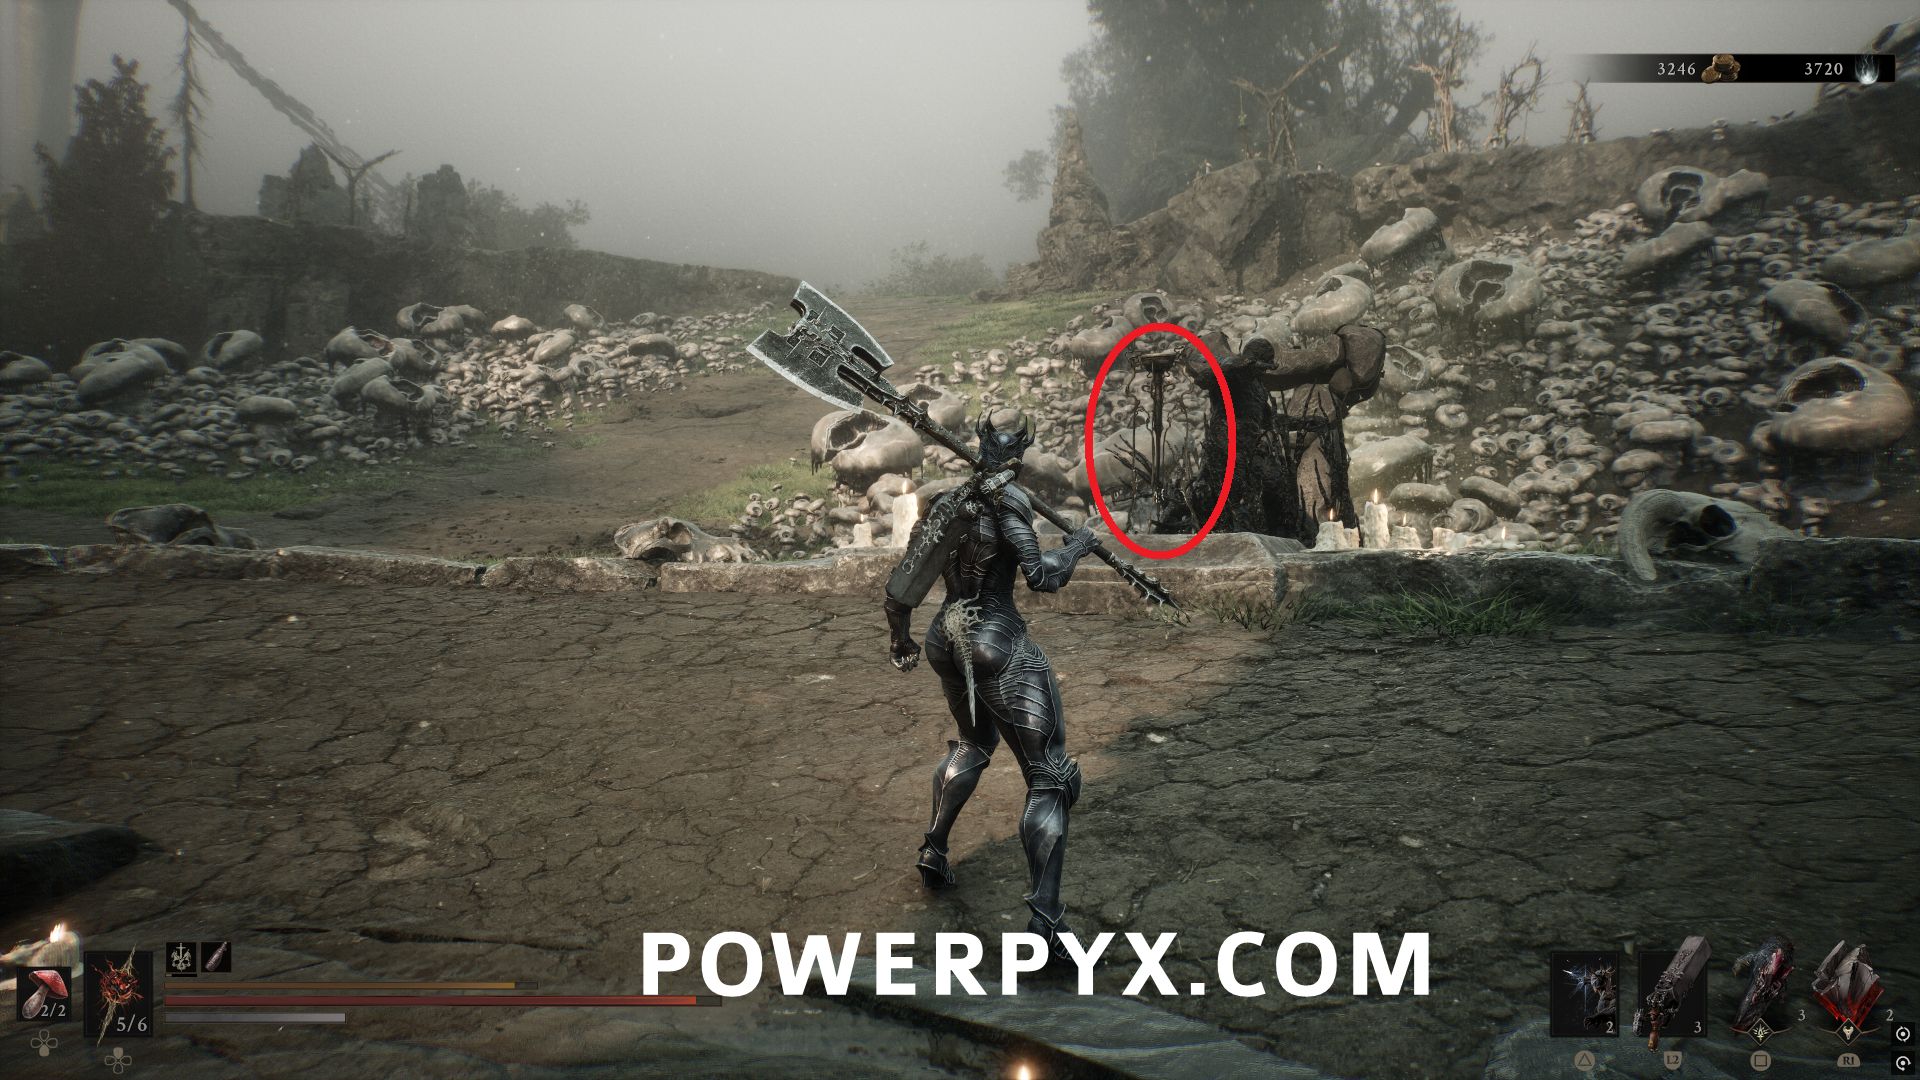
#6 – Synaptic Vessel – North of Deserted Mine Dungeon, the pickup is on the east edge of the stone circle where the Trial Obelisk is located.
Outskirts of Nochte
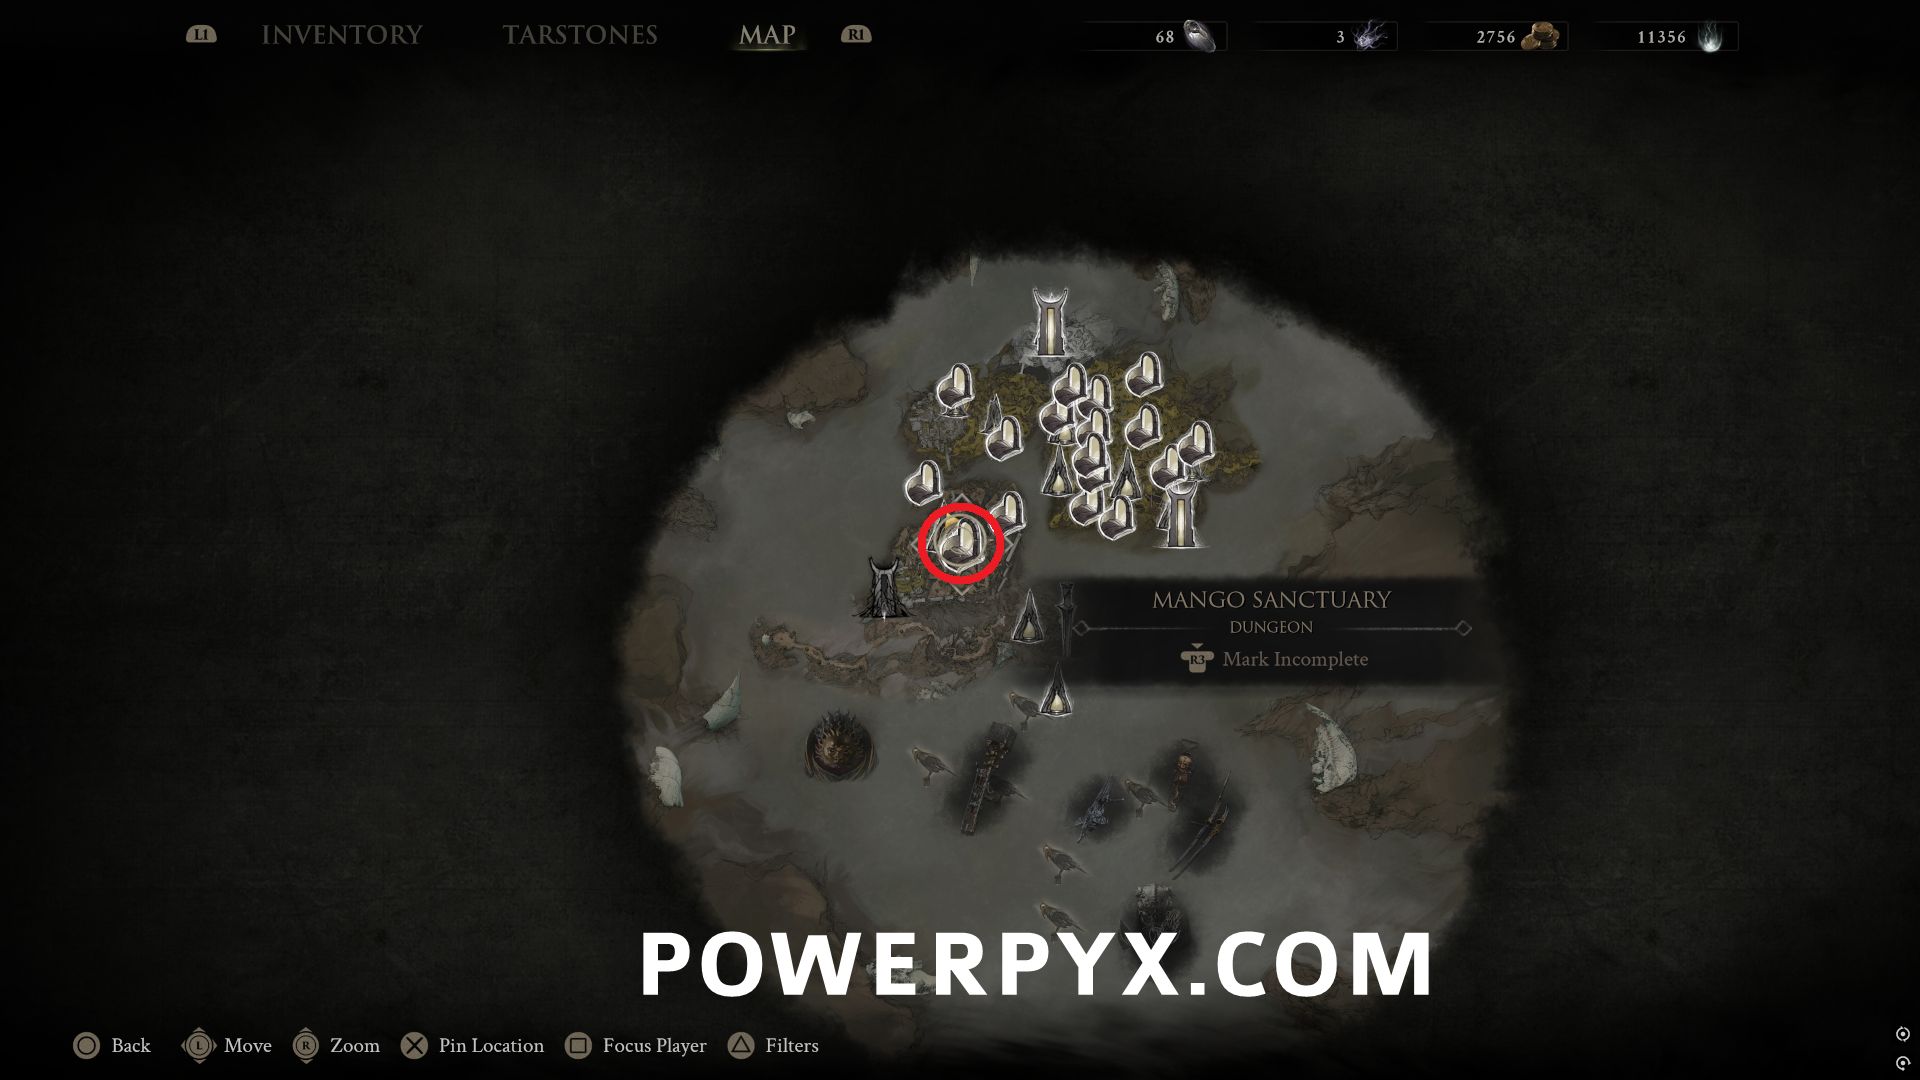
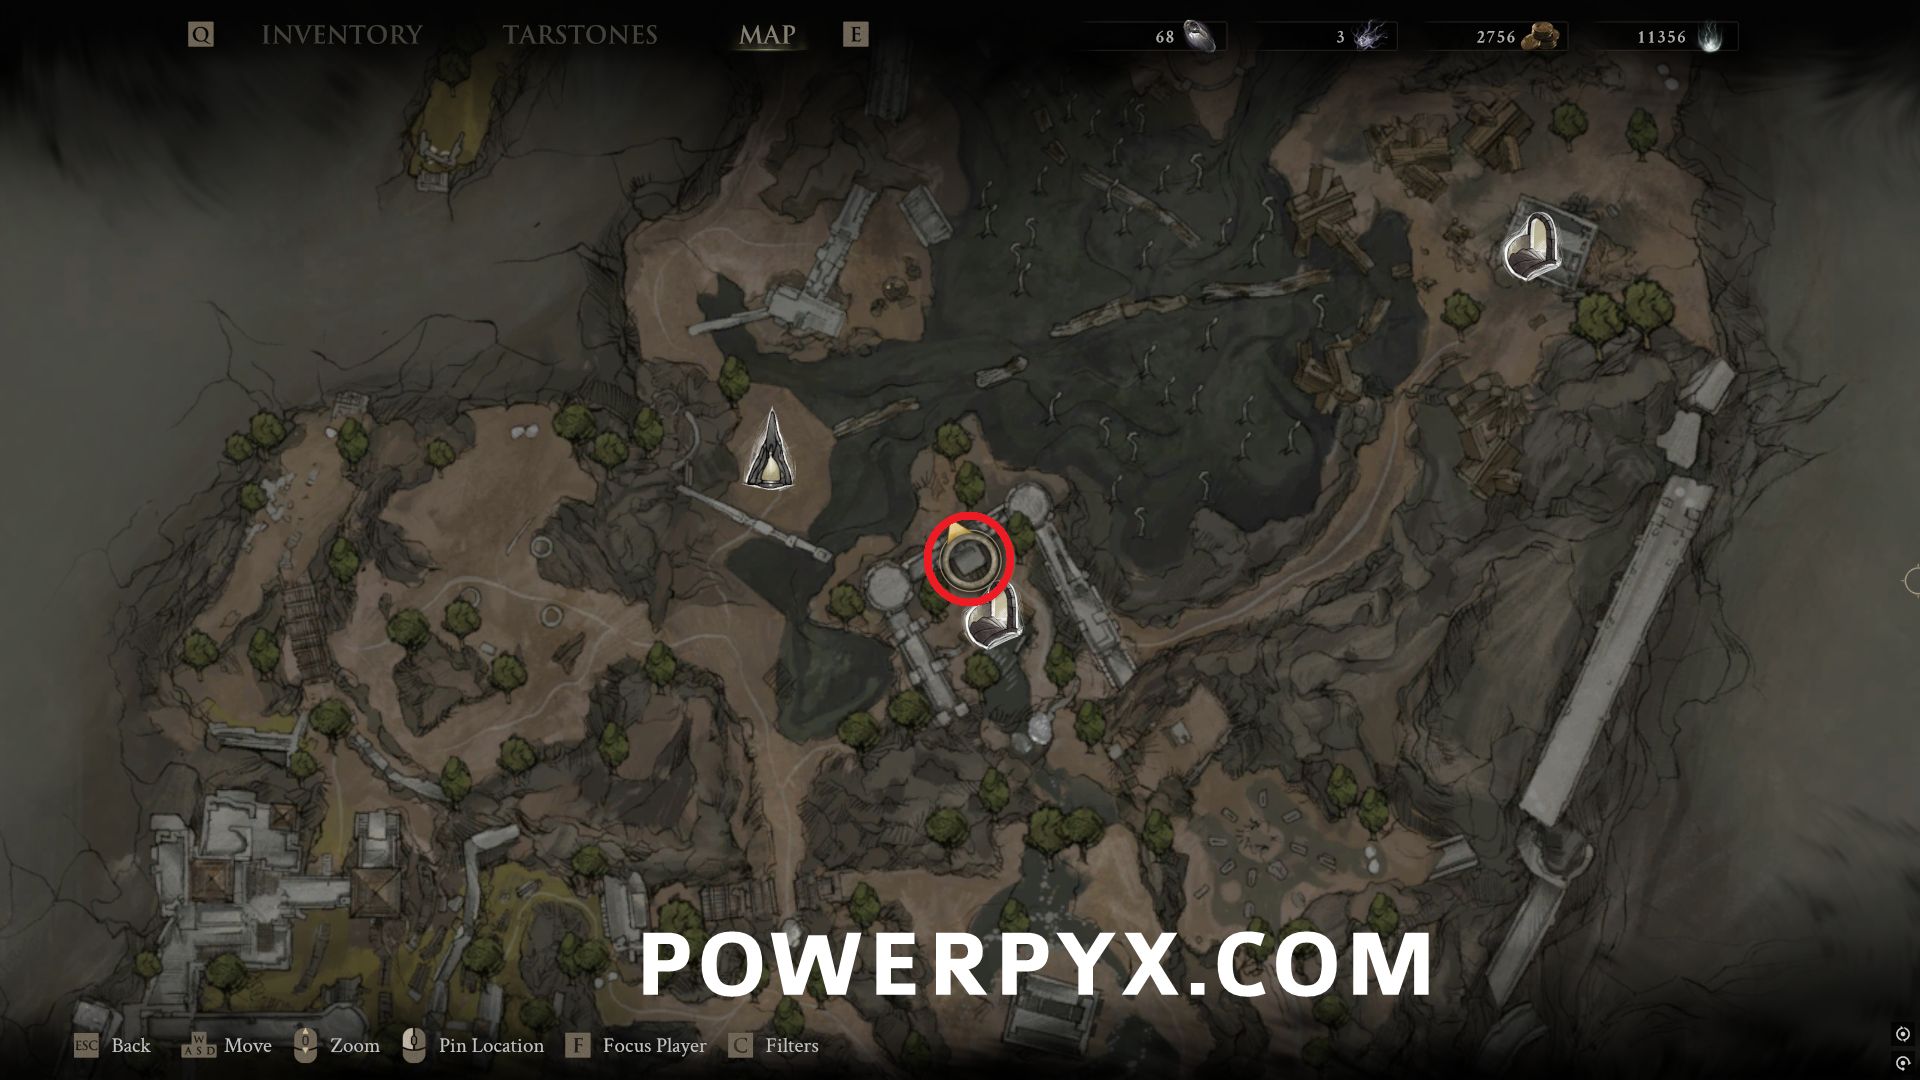
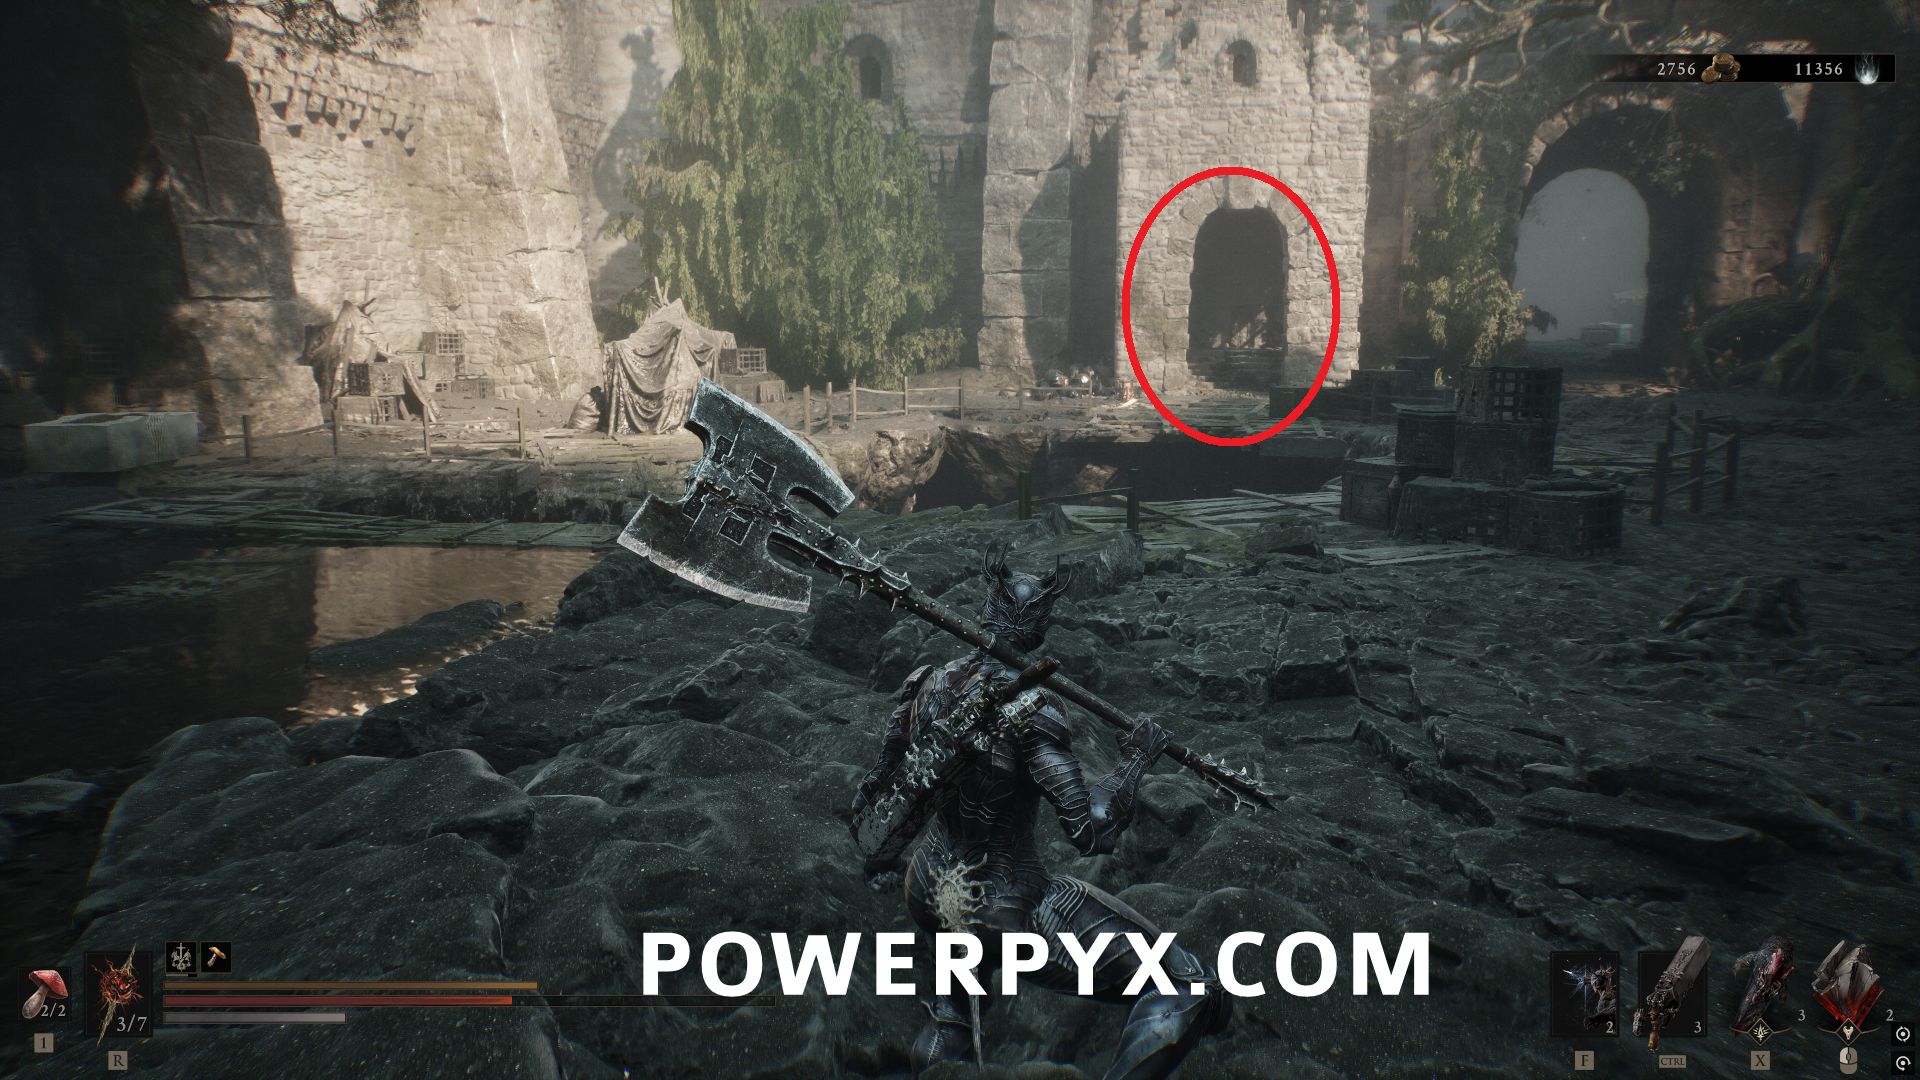
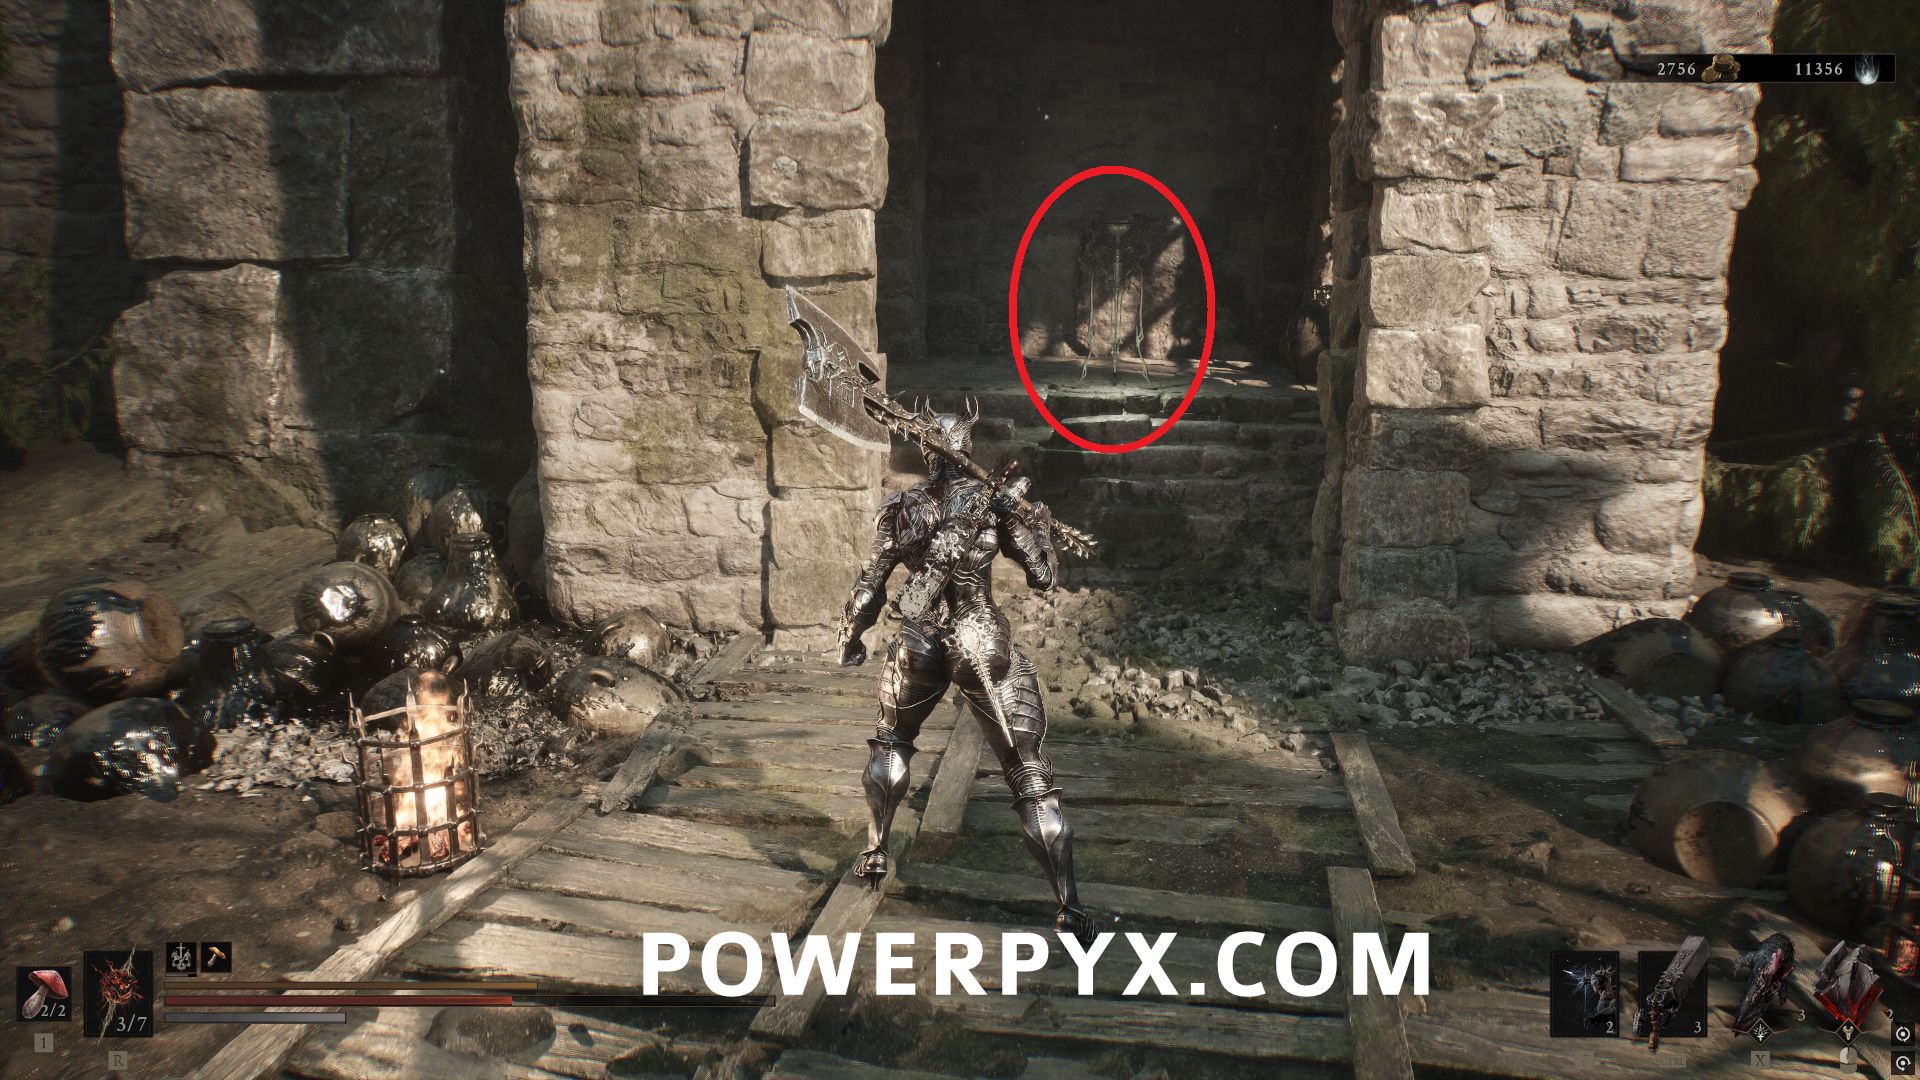
#7 – Synaptic Vessel – South of Outskirts of Nocthe Beacon, in the upper castle area, inside a small part of the building on the north interior part.
Grisha Hunting Grounds Dungeon
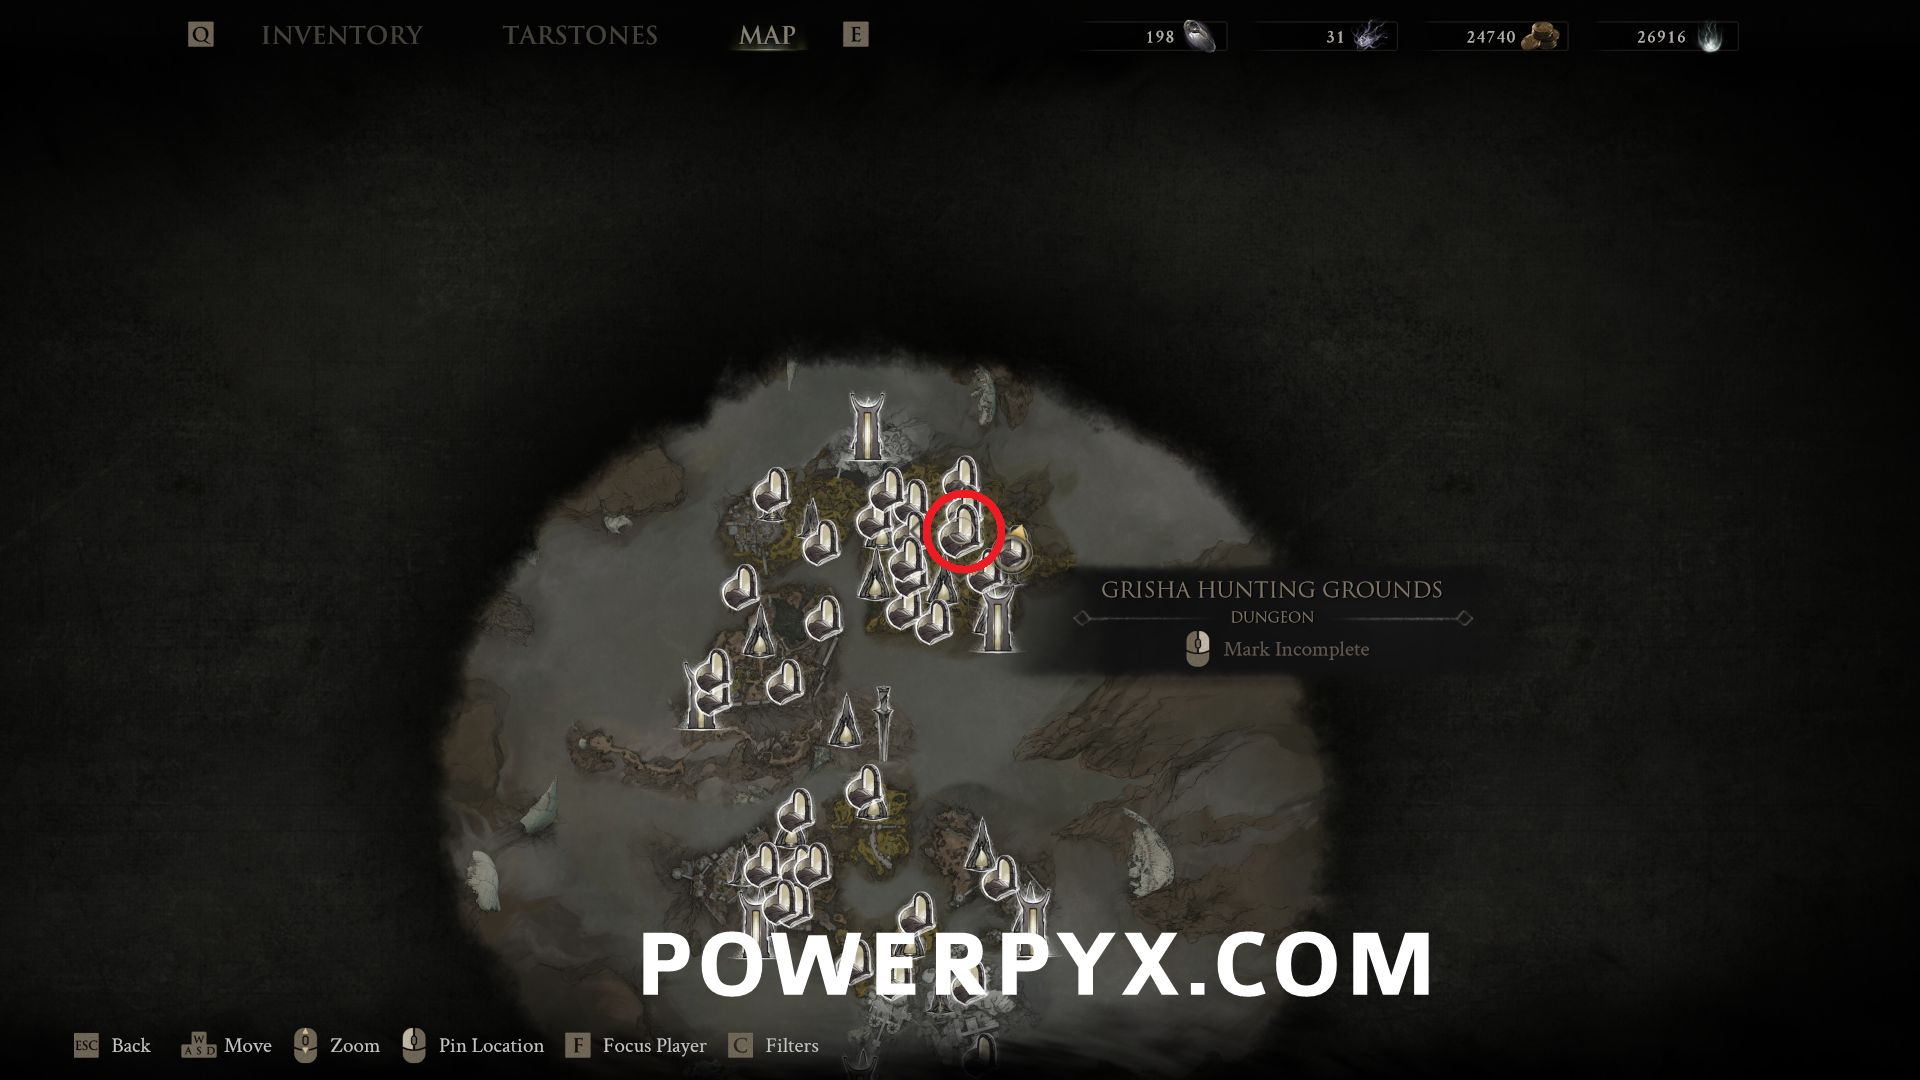
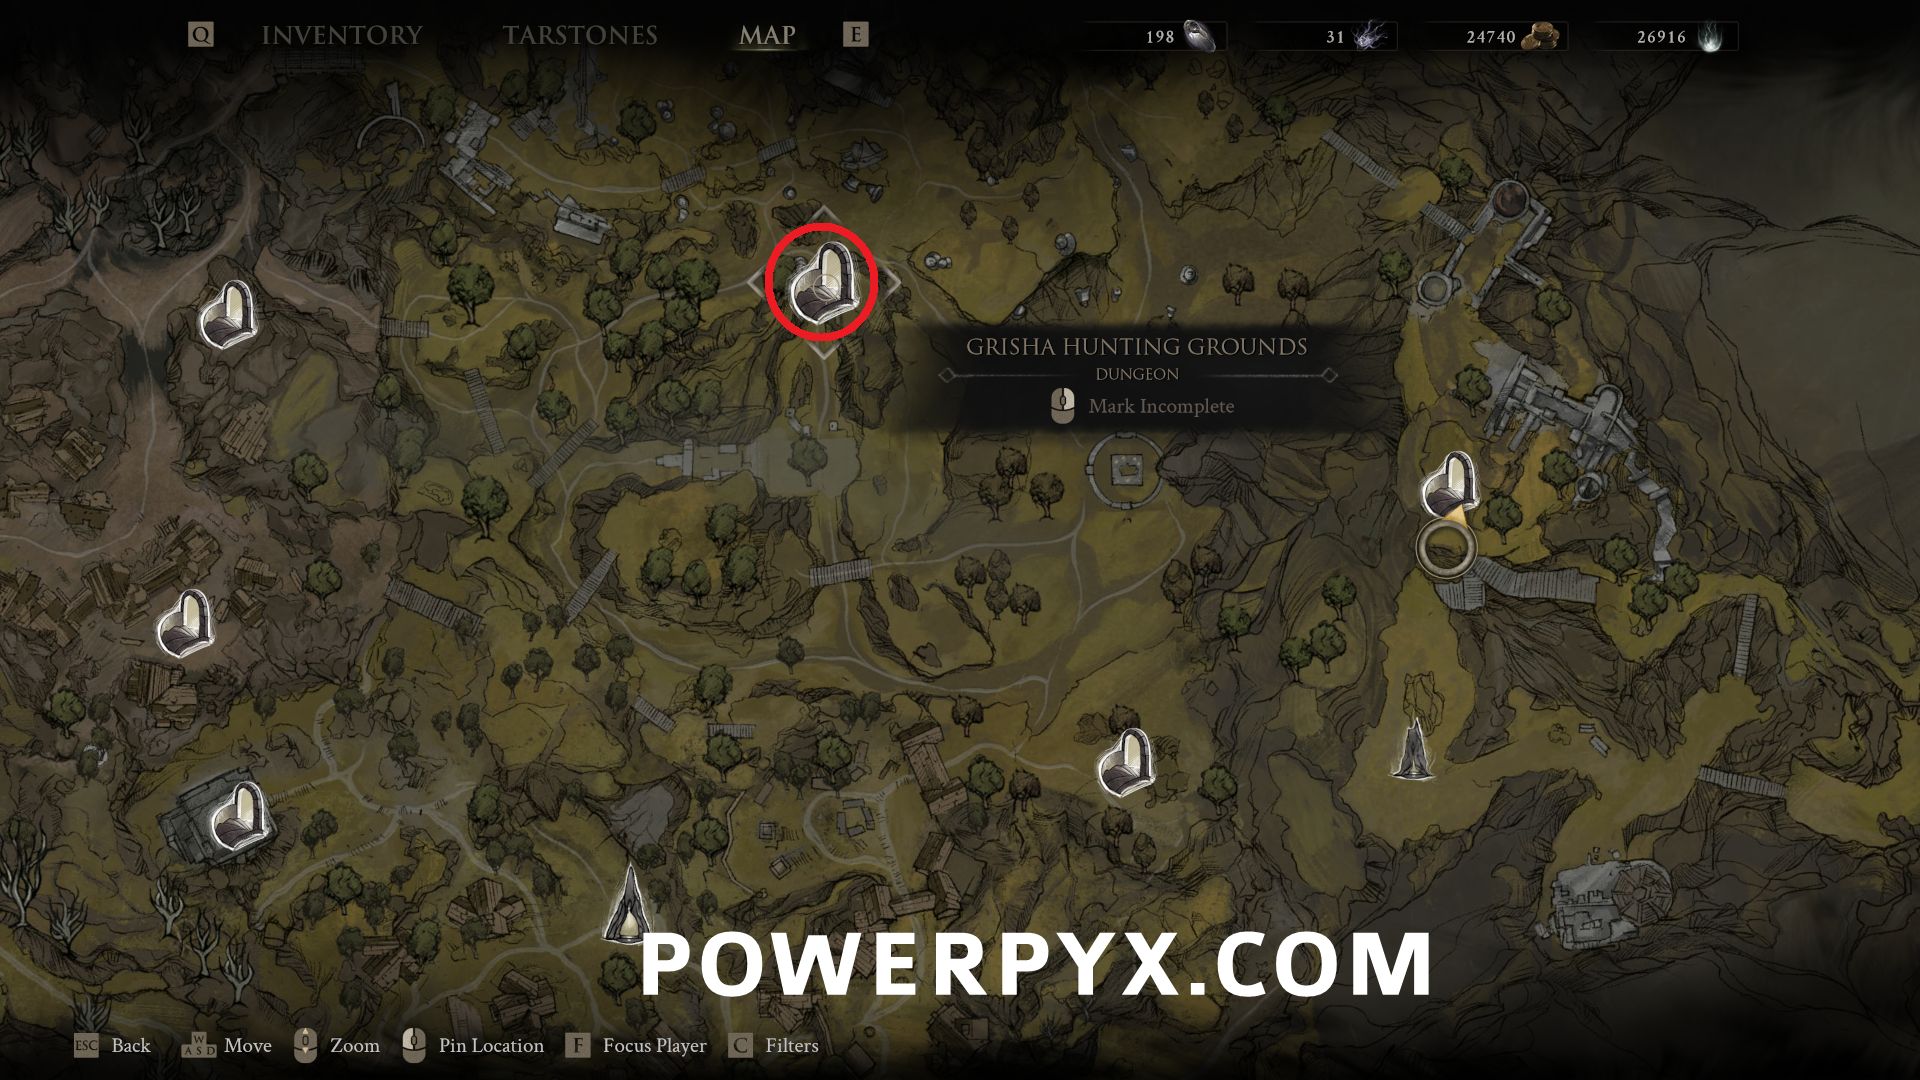
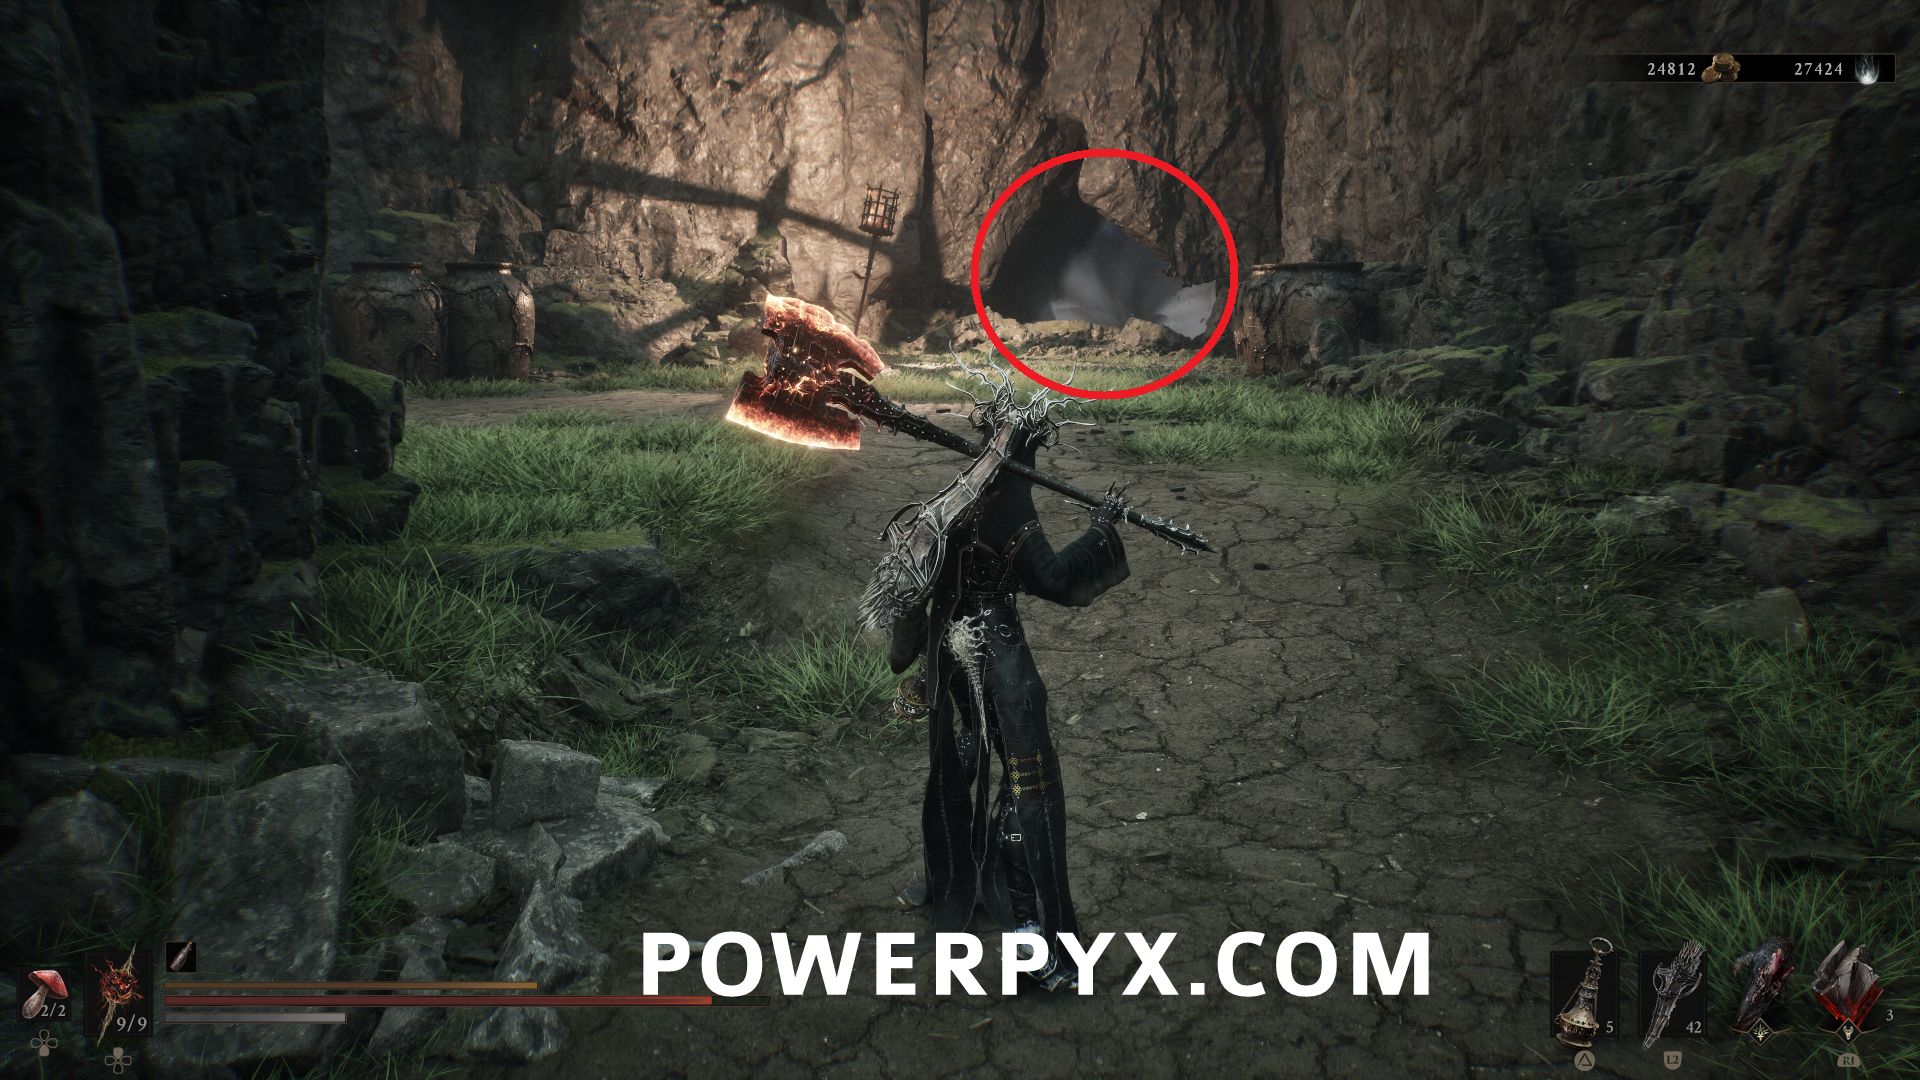
#8 – Revered Gland – Northwest of One Legged Wolf Beacon, in the valley area past the ruins, go to the end of the dungeon and defeat the Pale Grisha boss to obtain the item.
Widow’s Overlook
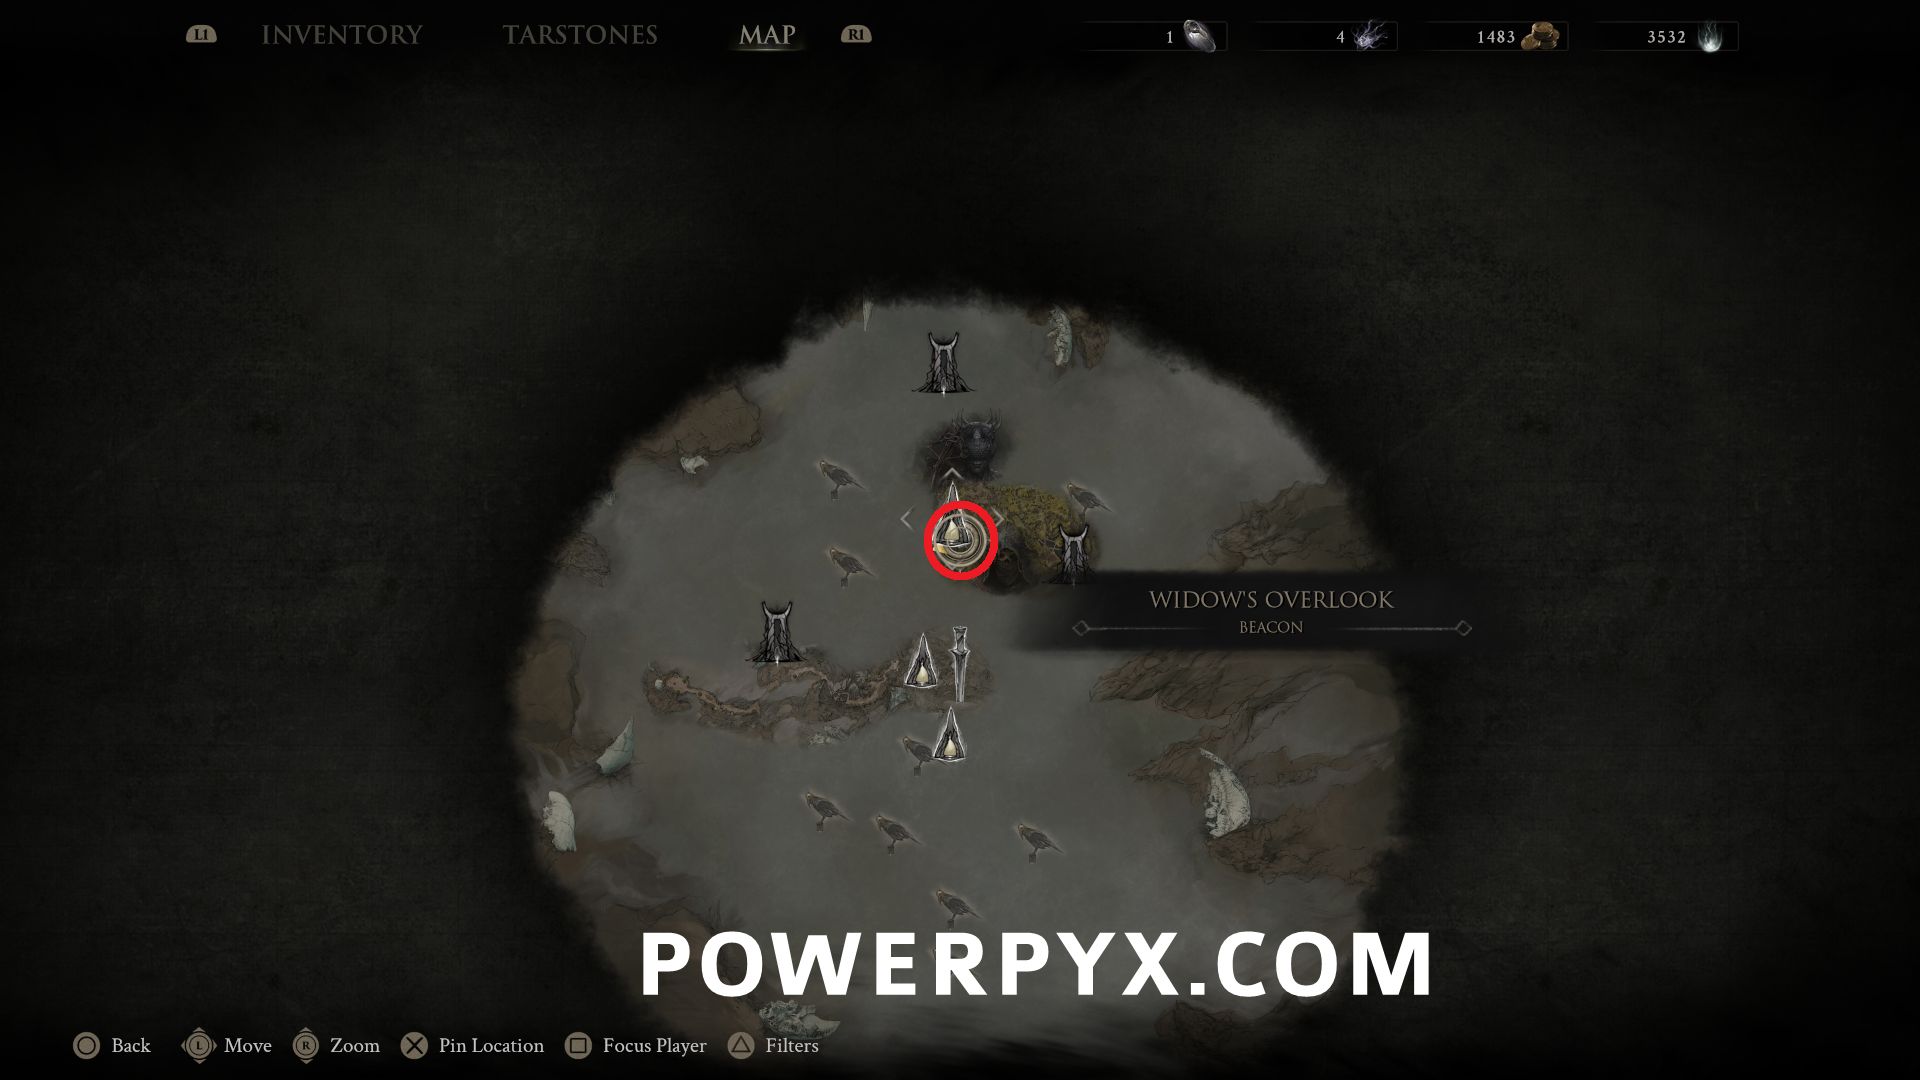
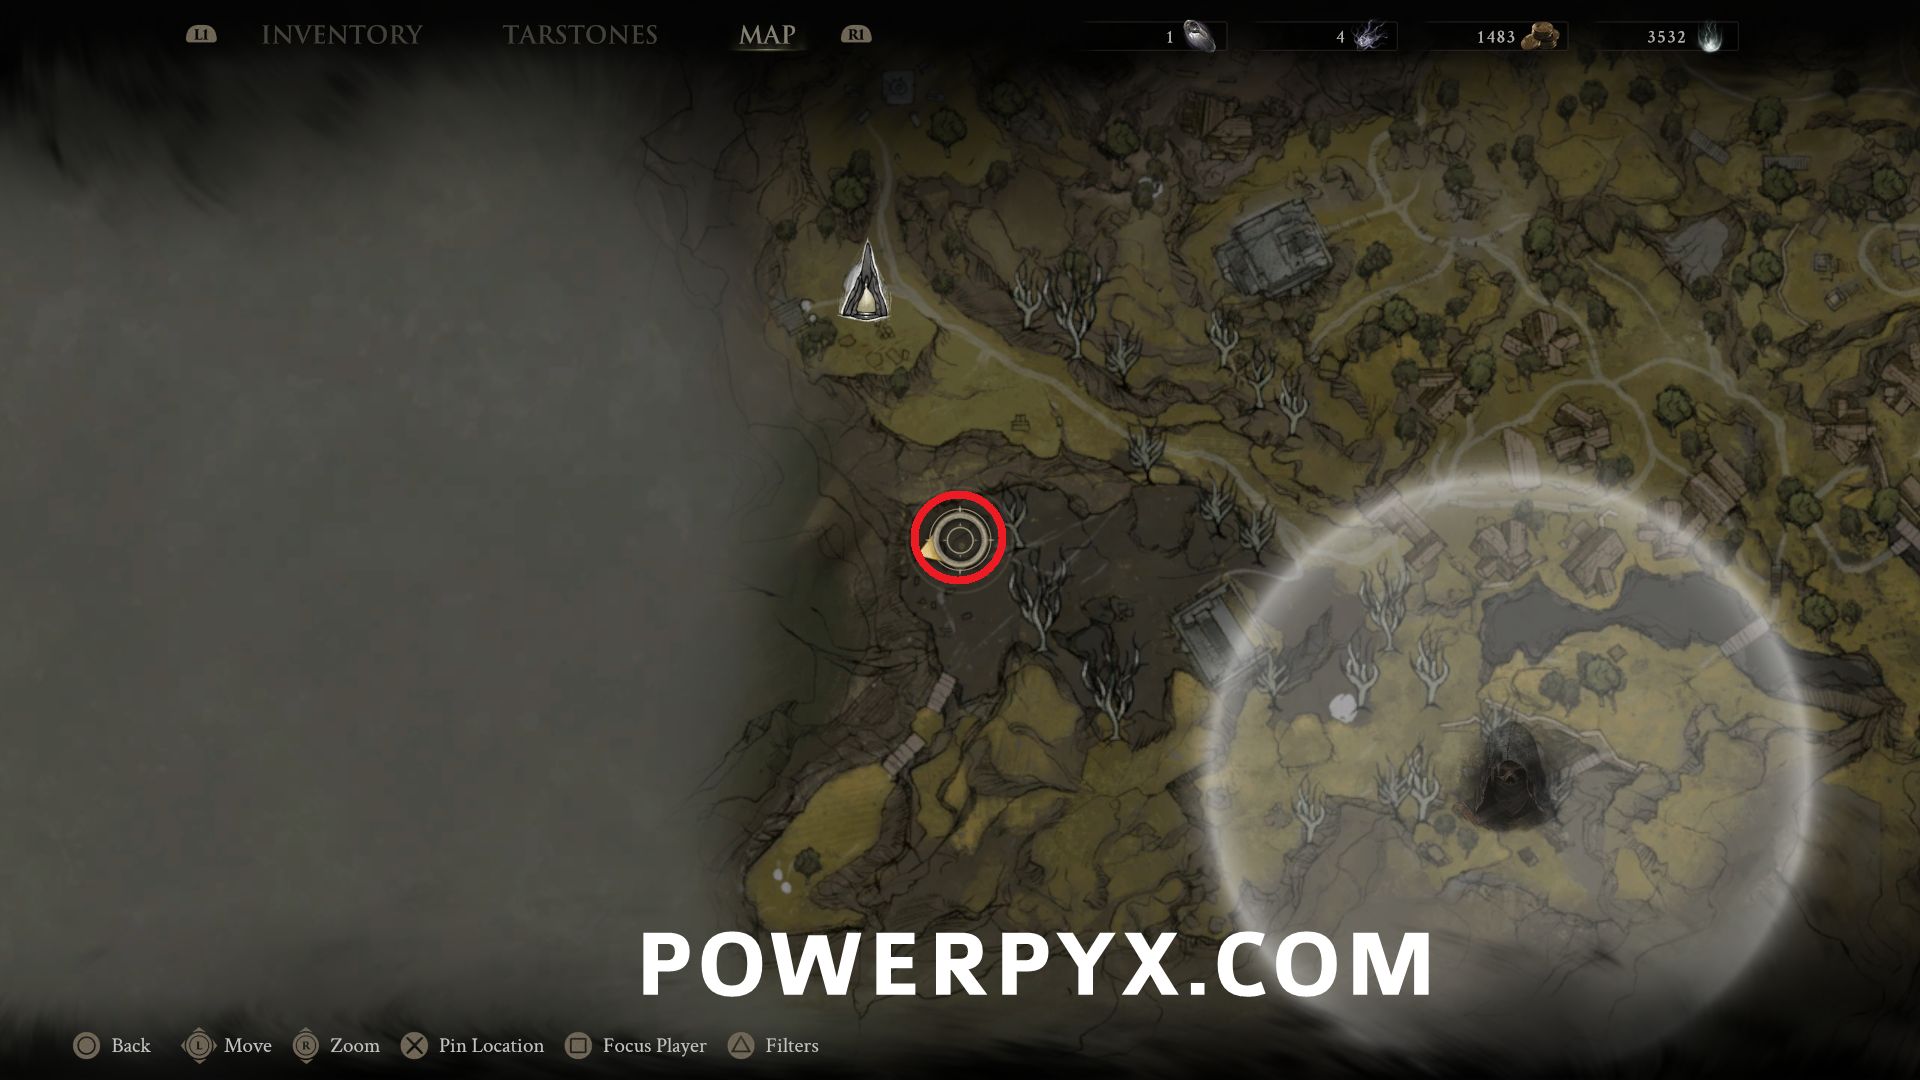
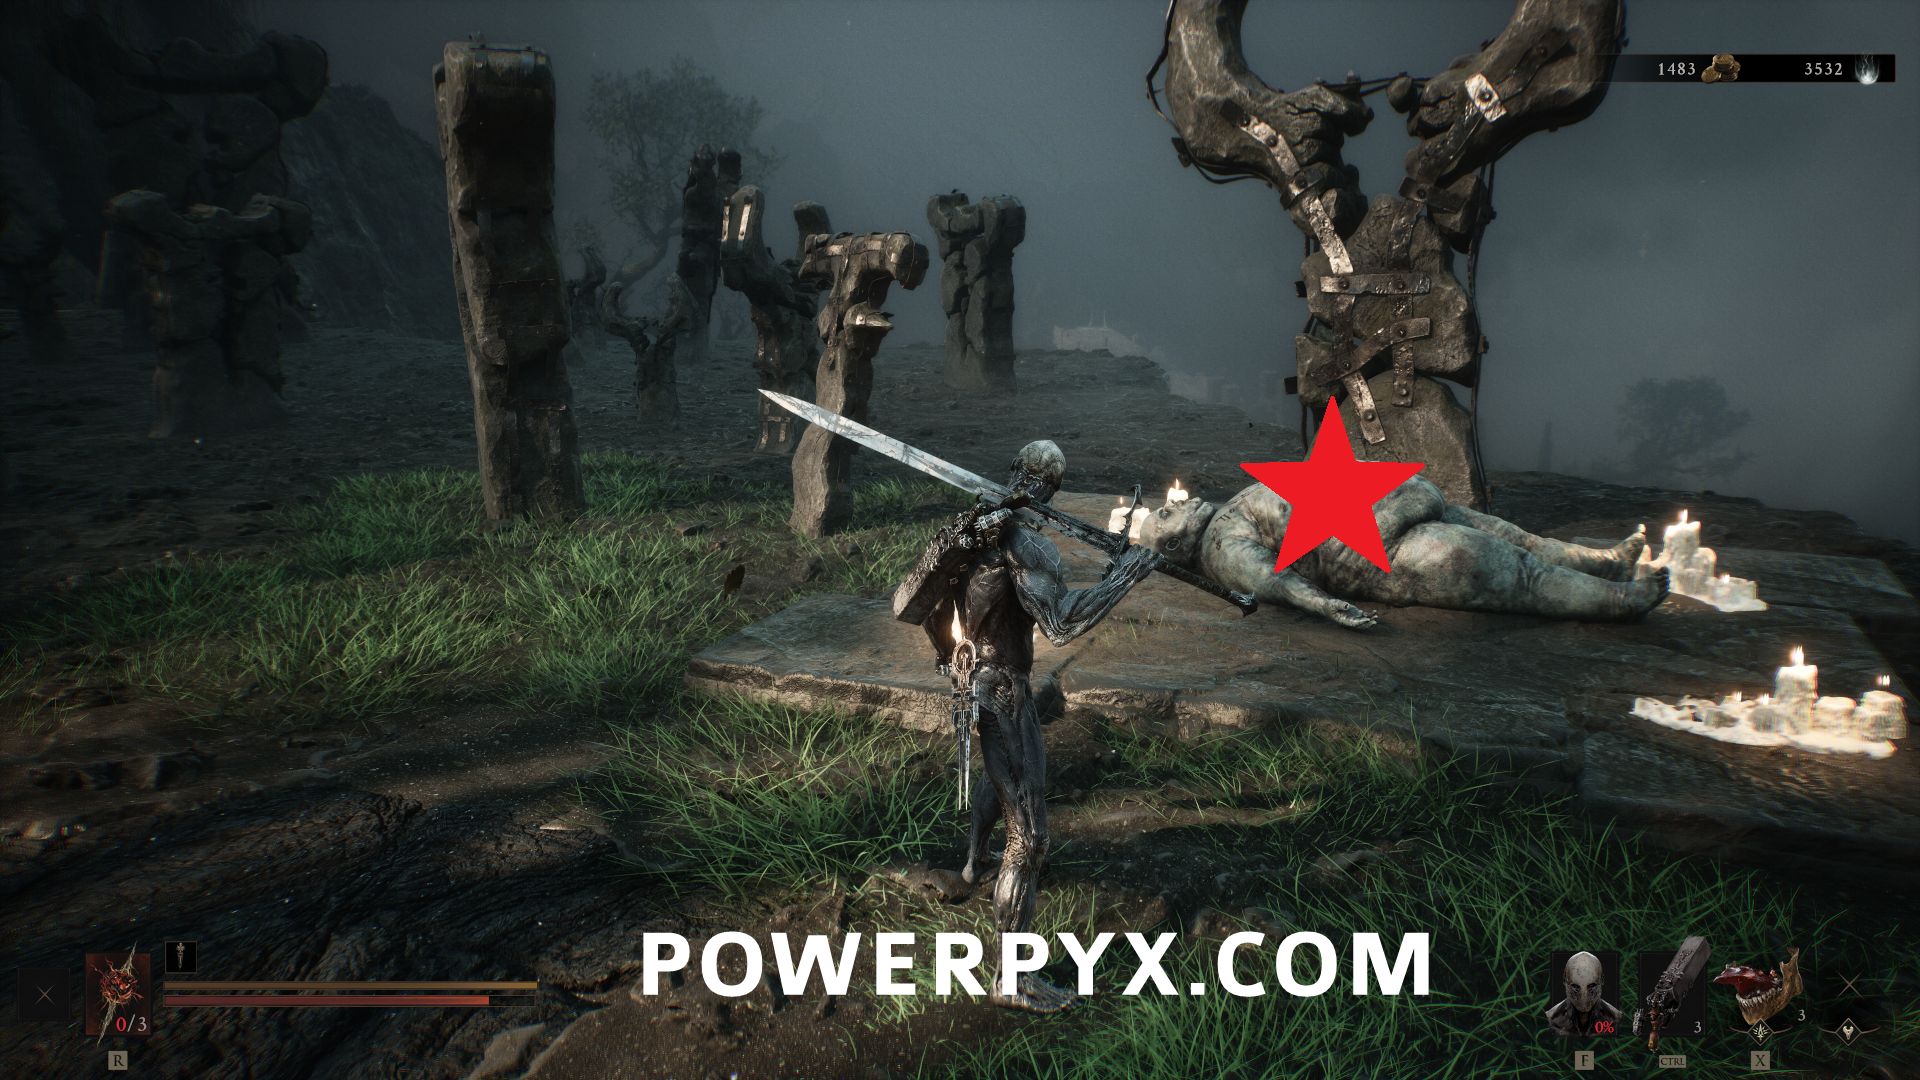
#9 – Revered Gland – South of Widow’s Overlook Beacon, beside a body near the west cliff edge.
Citadel of Penance
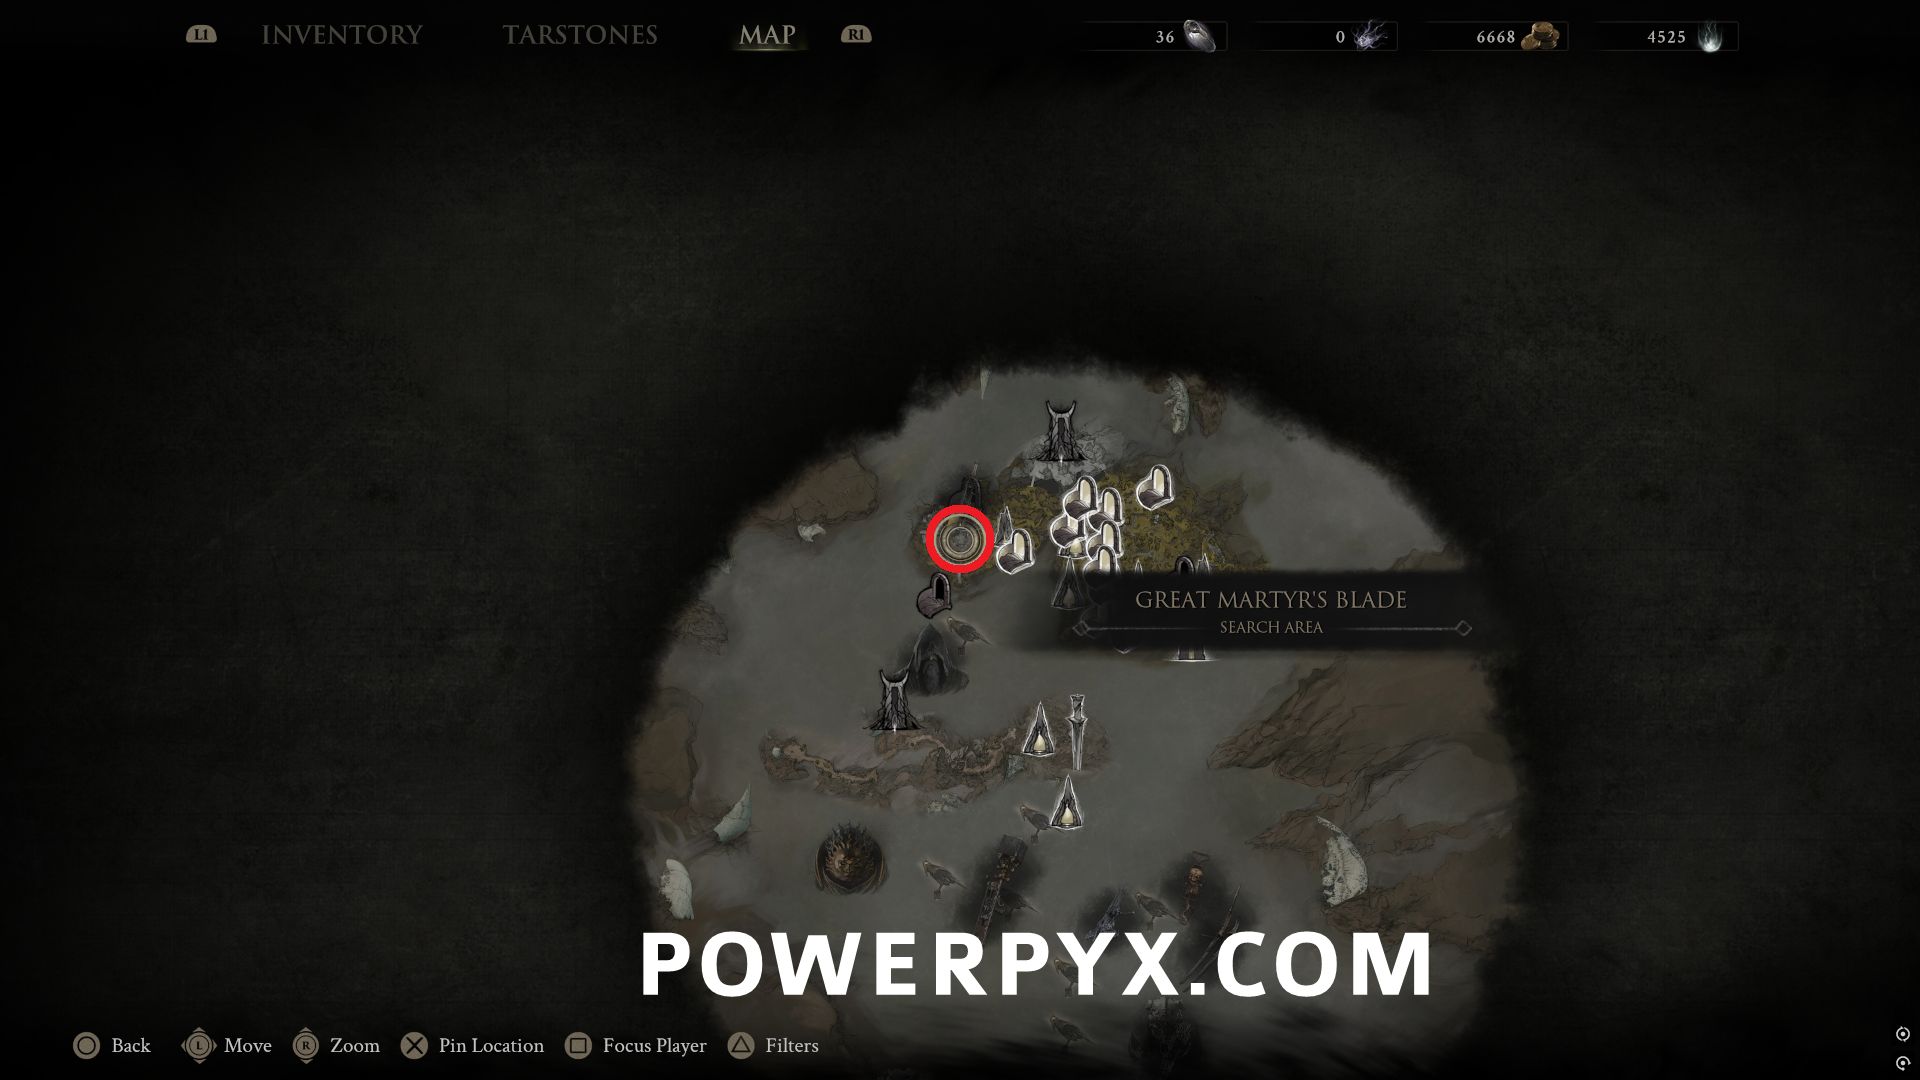
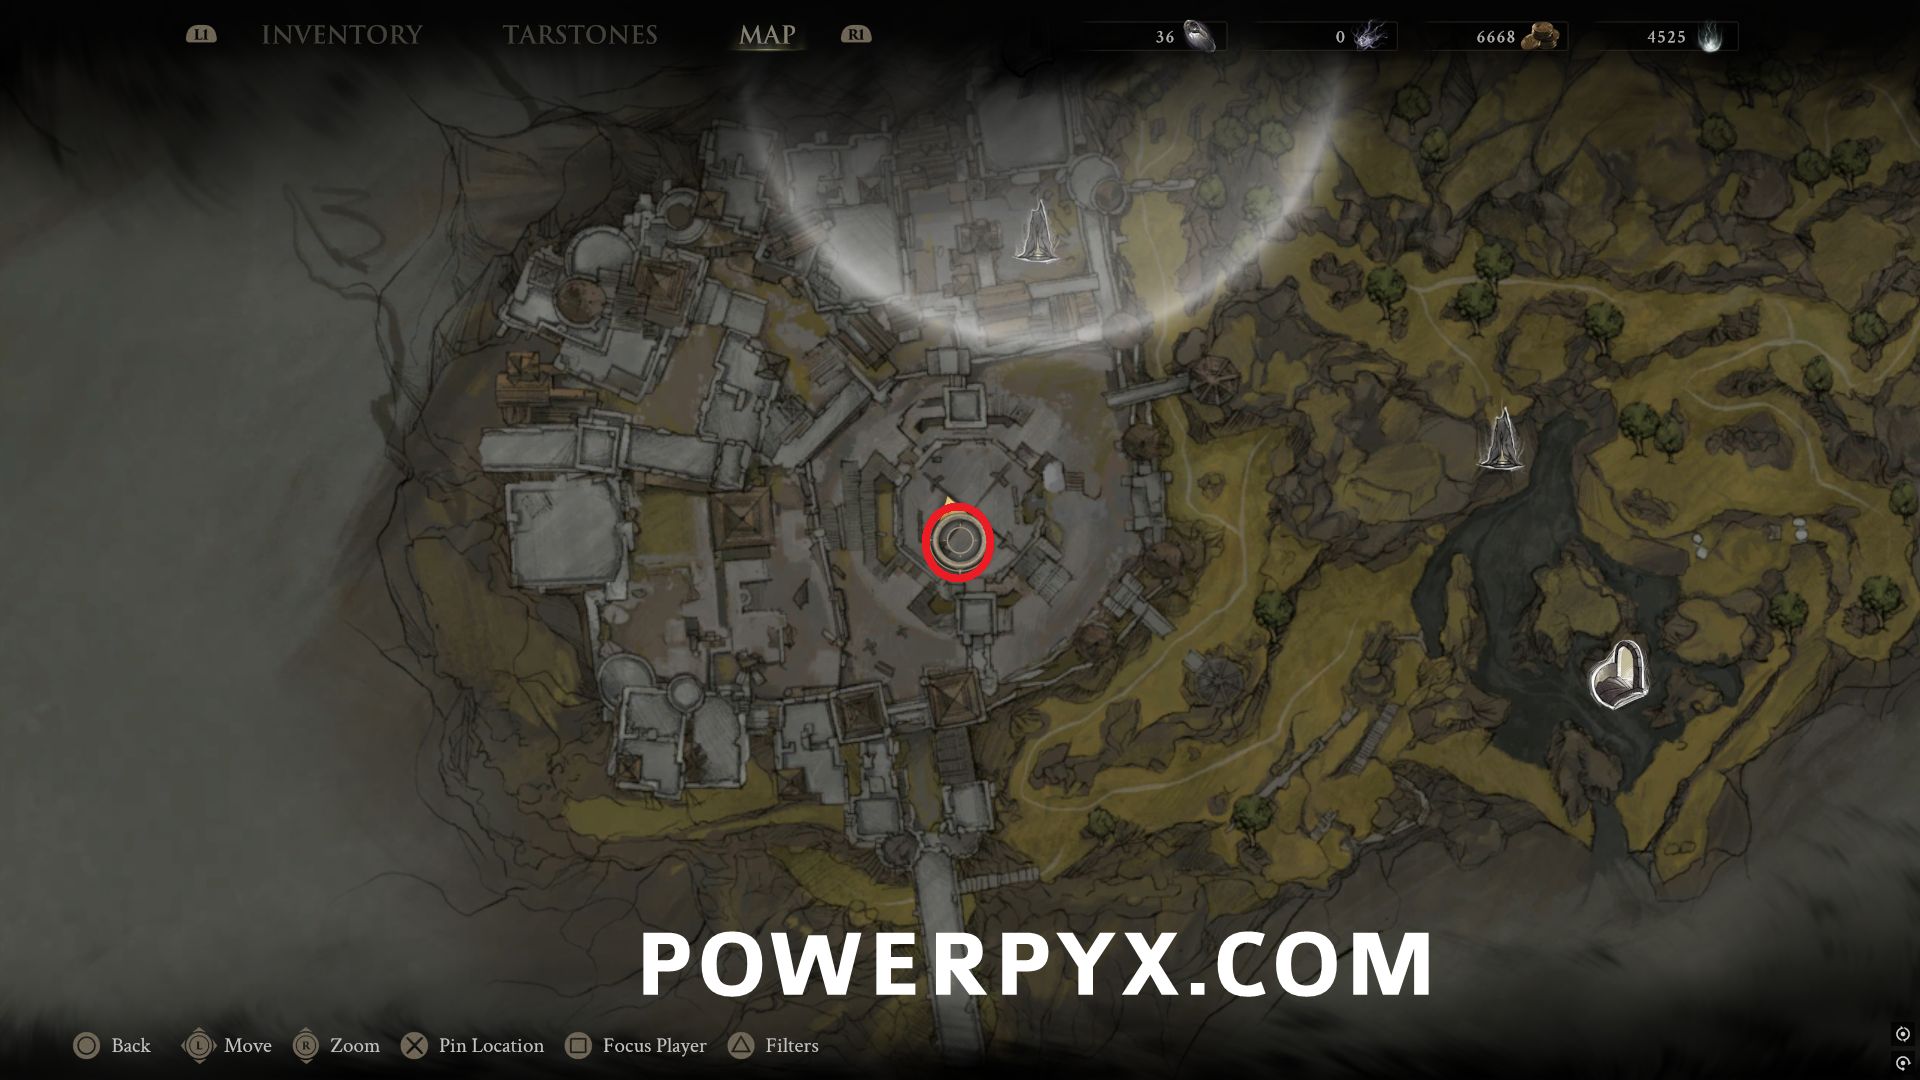
#10 – Revered Gland – Southeast of Citadel of Penance Beacon, follow the path to the outer area of the castle. This is in the southwestern corner section, behind a breakable wooden wall.
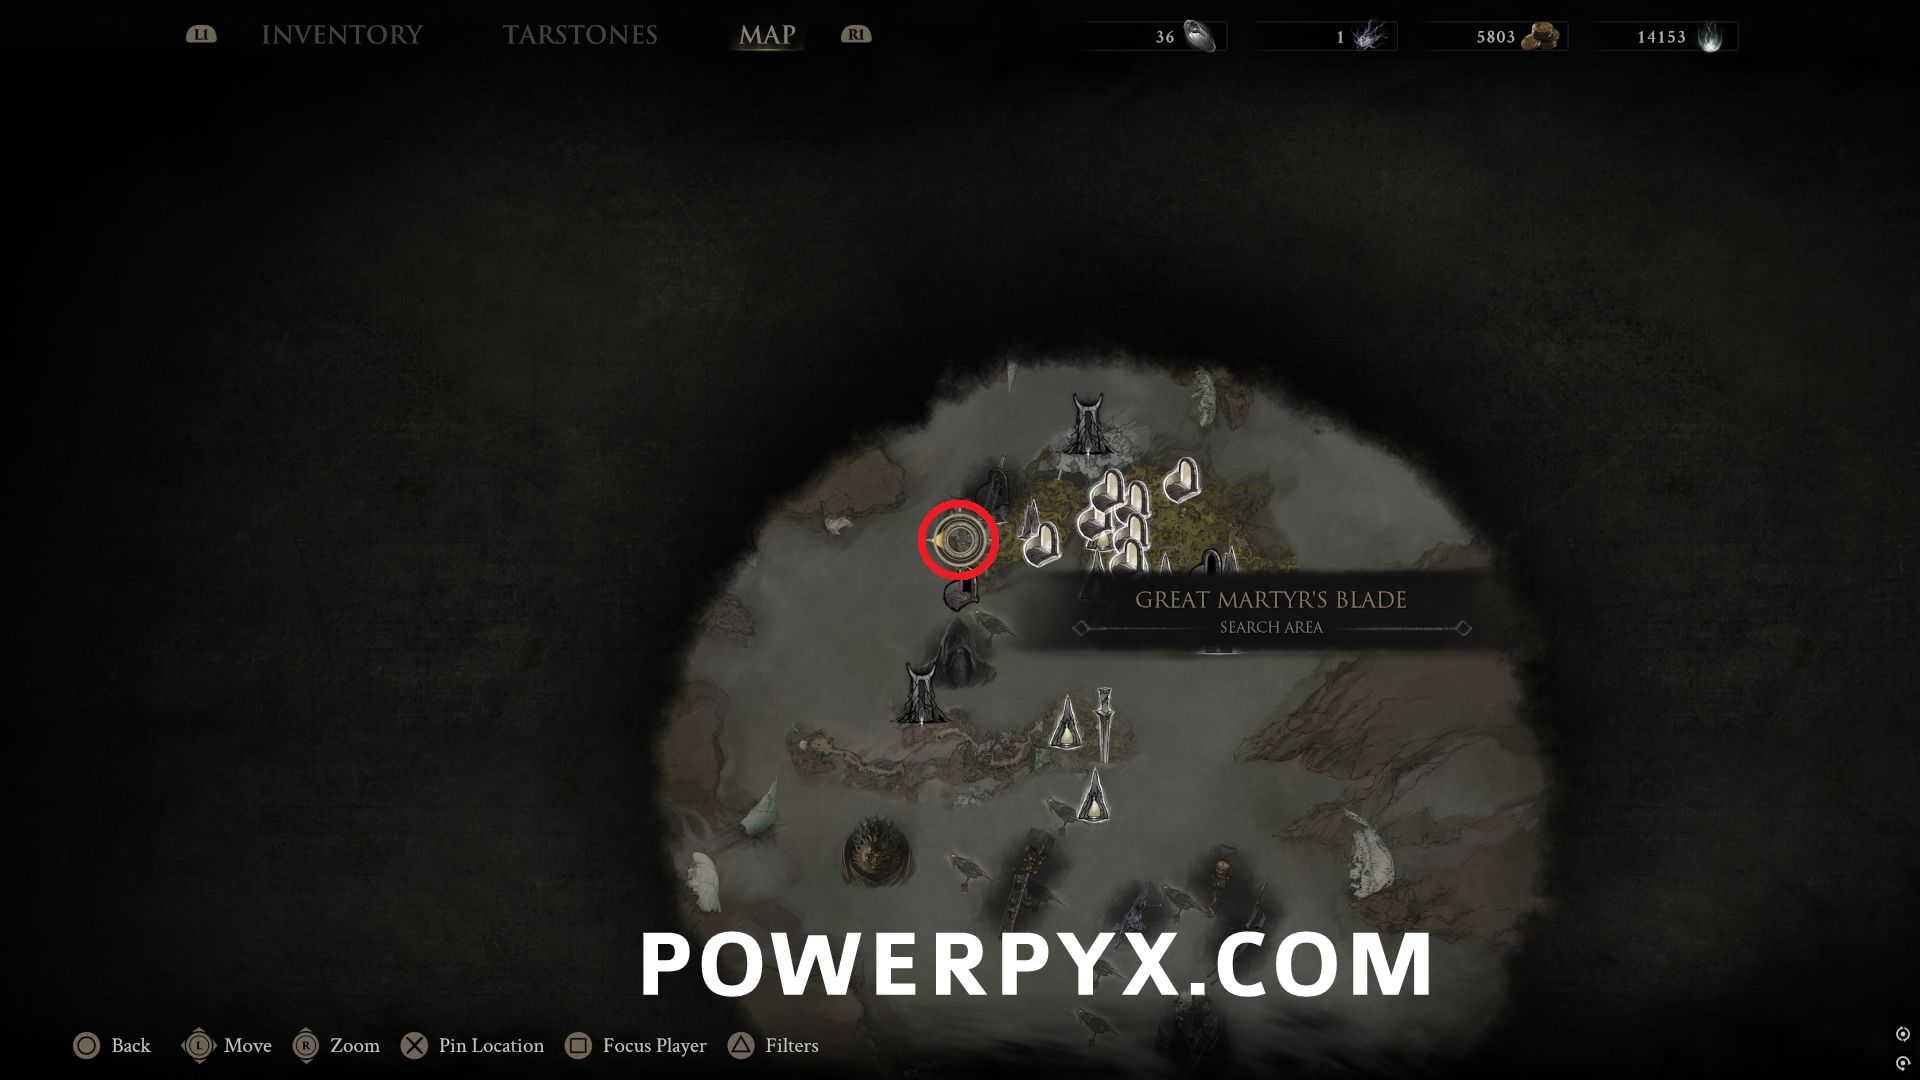
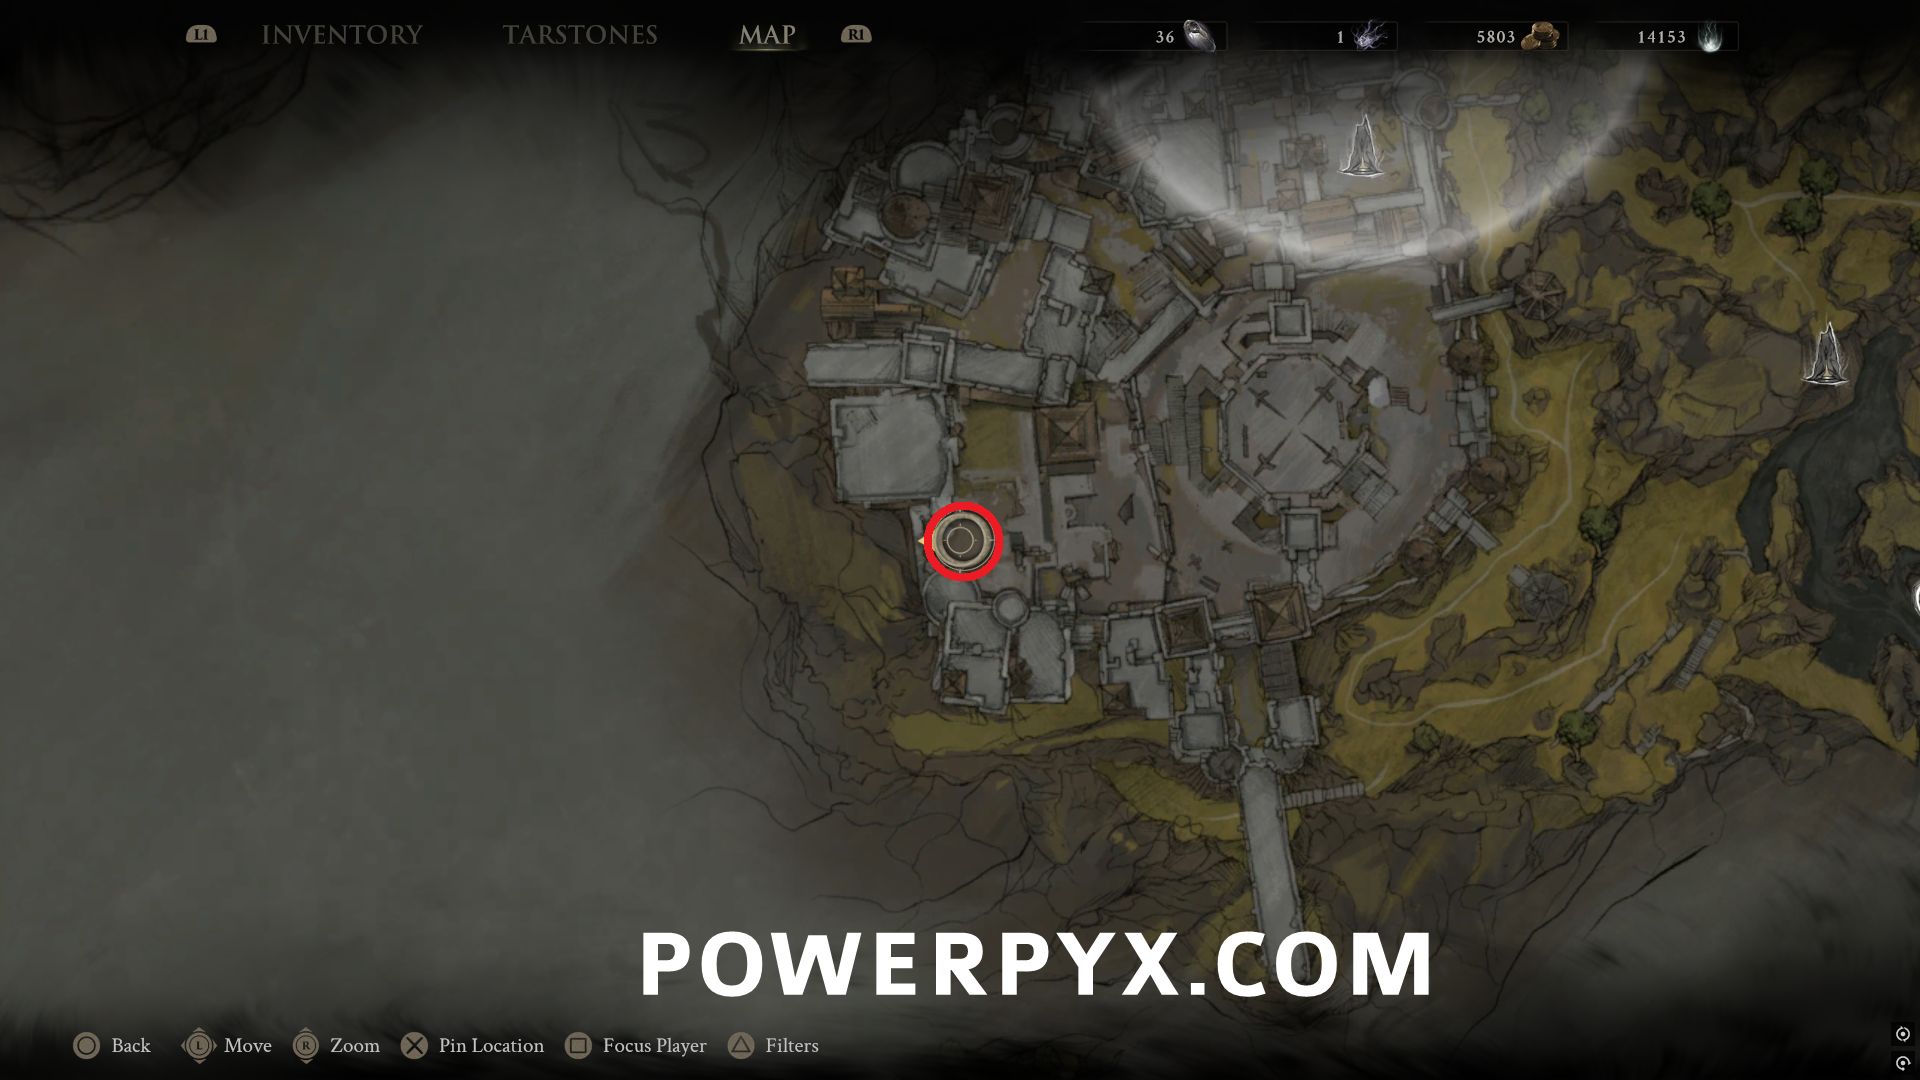
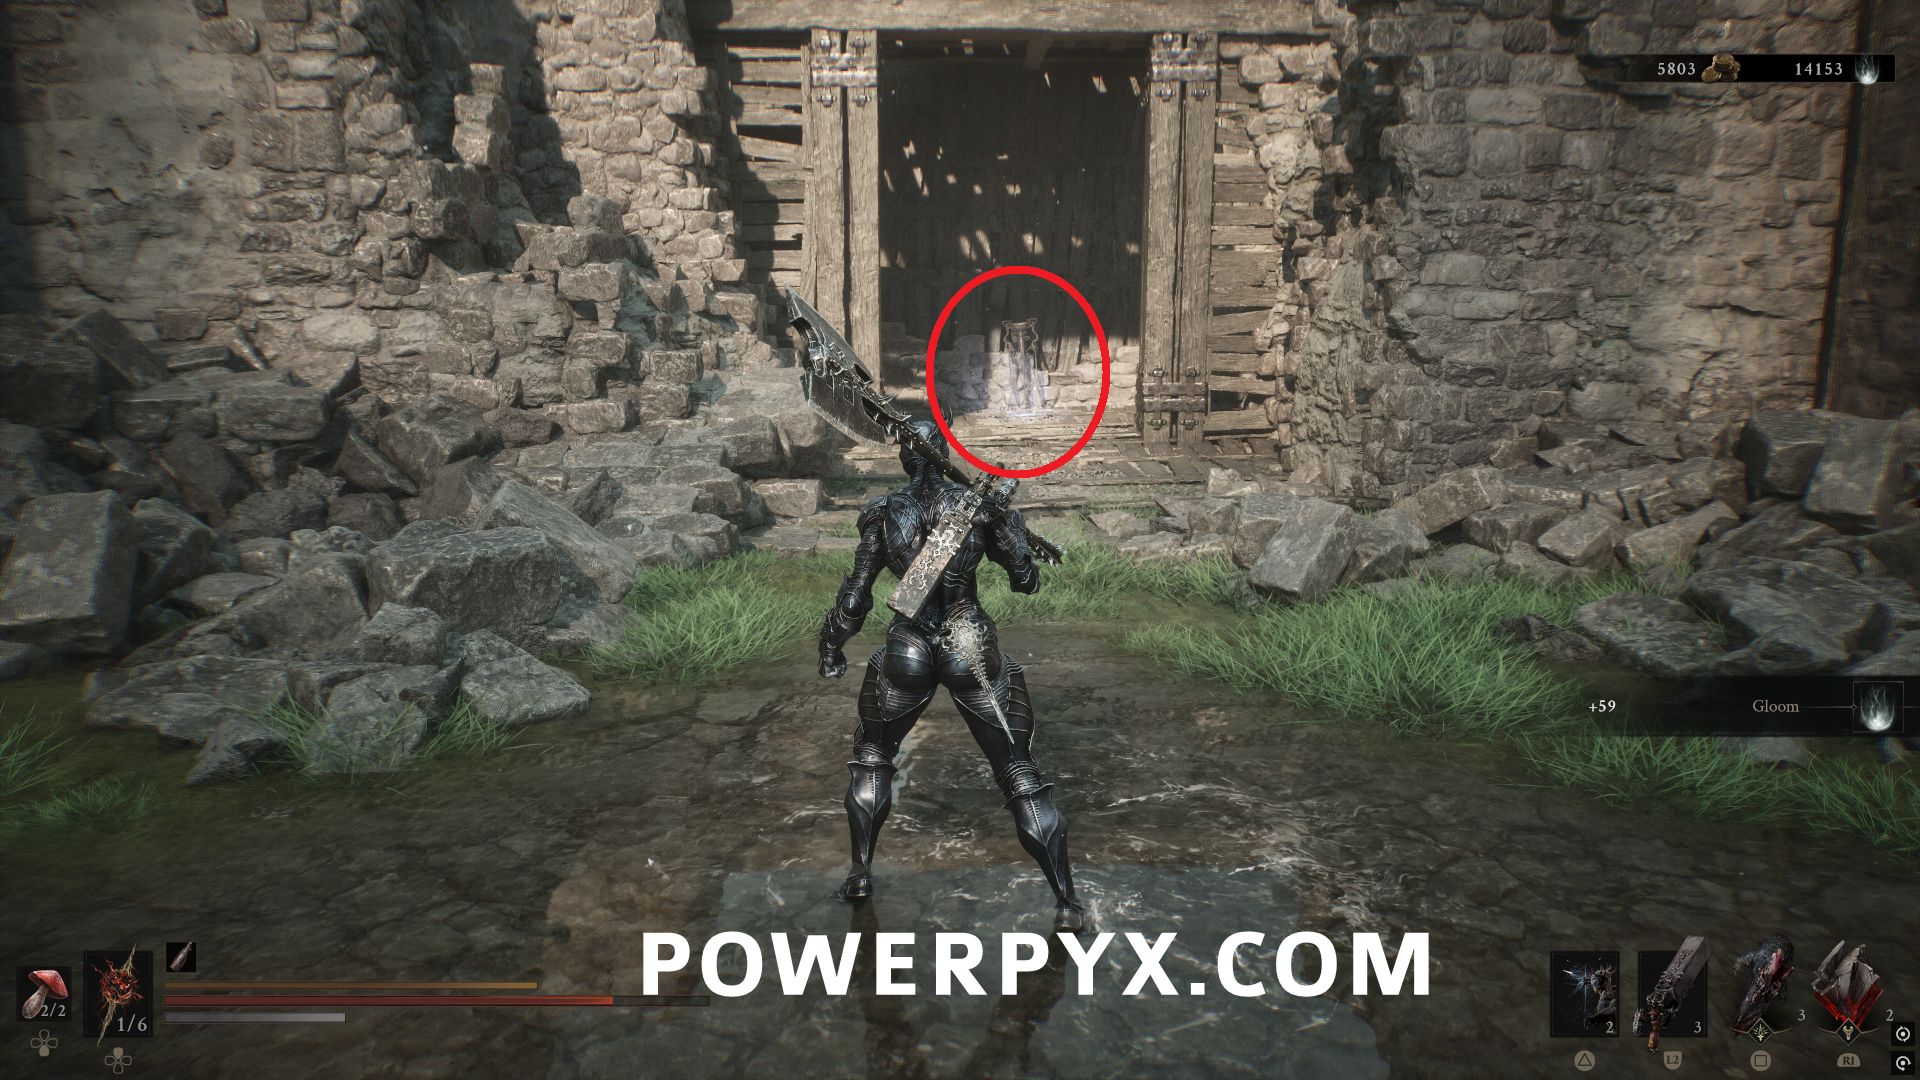
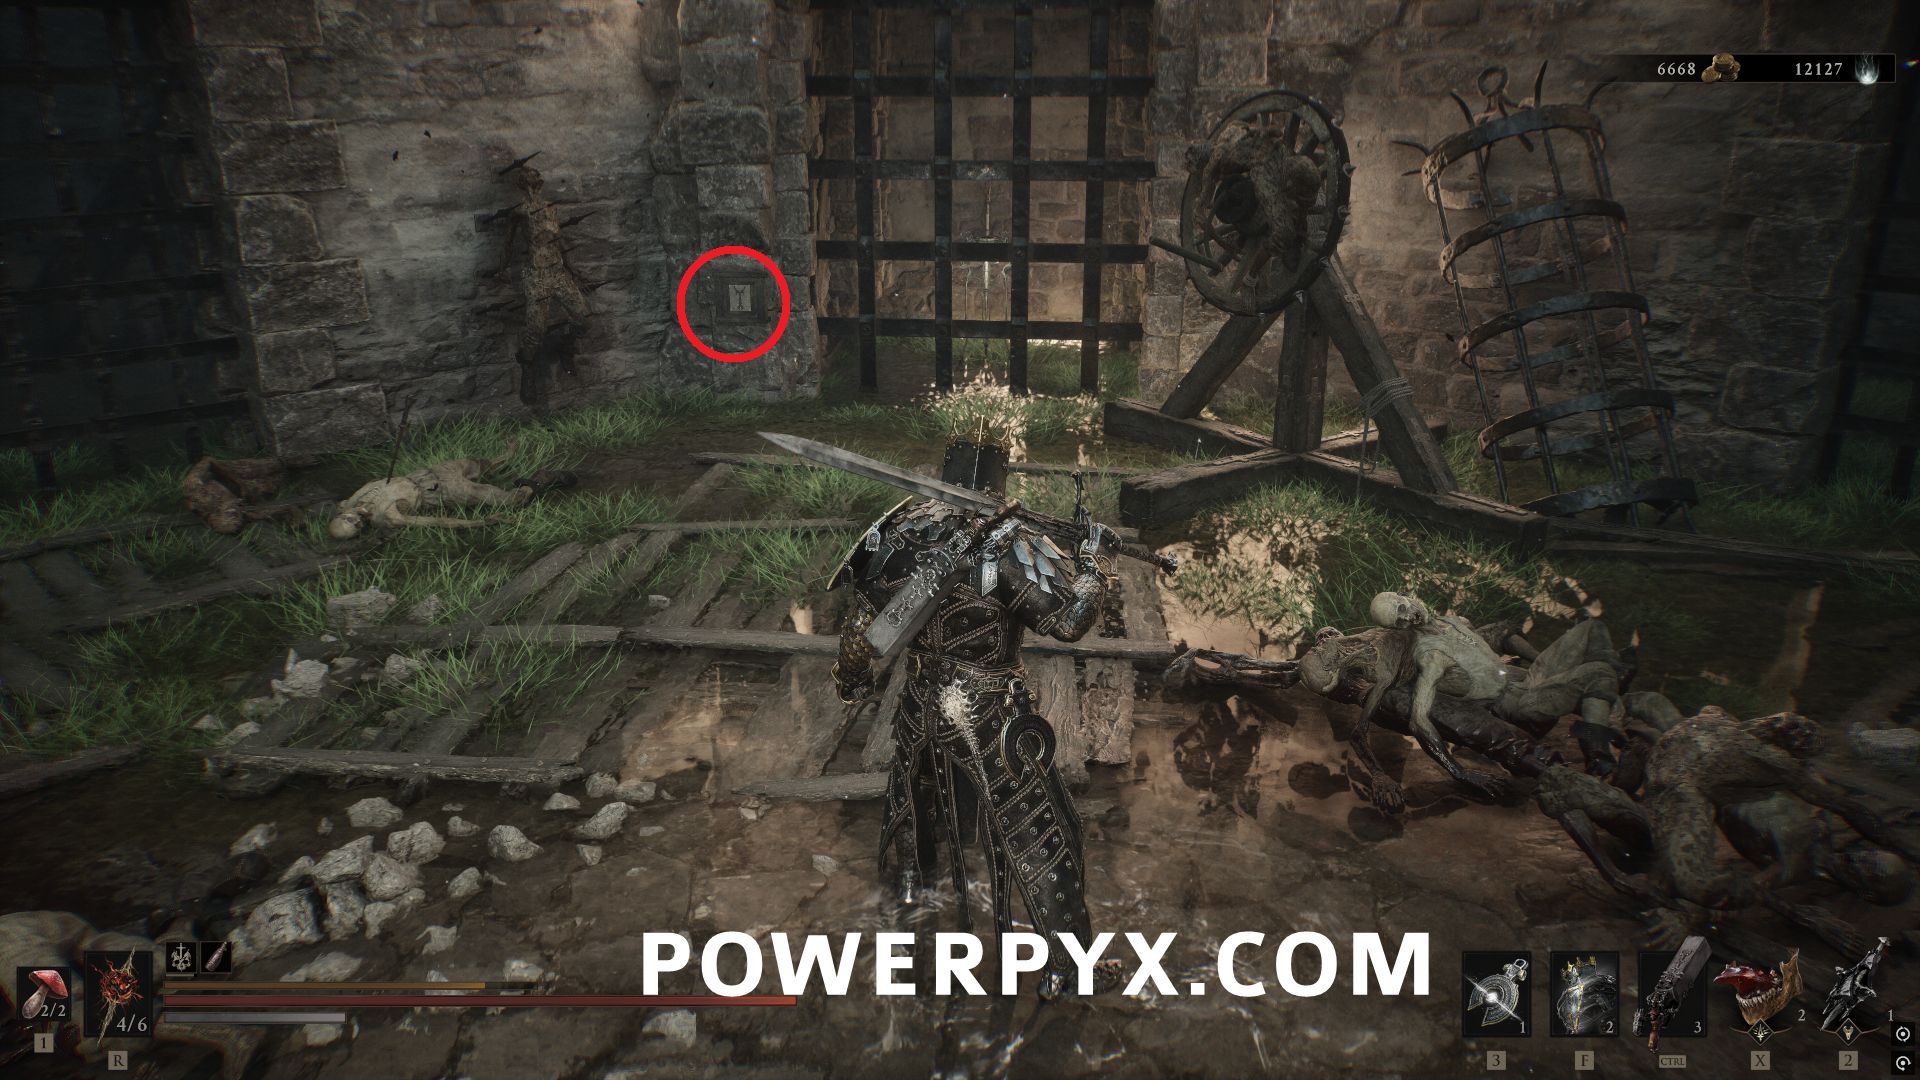
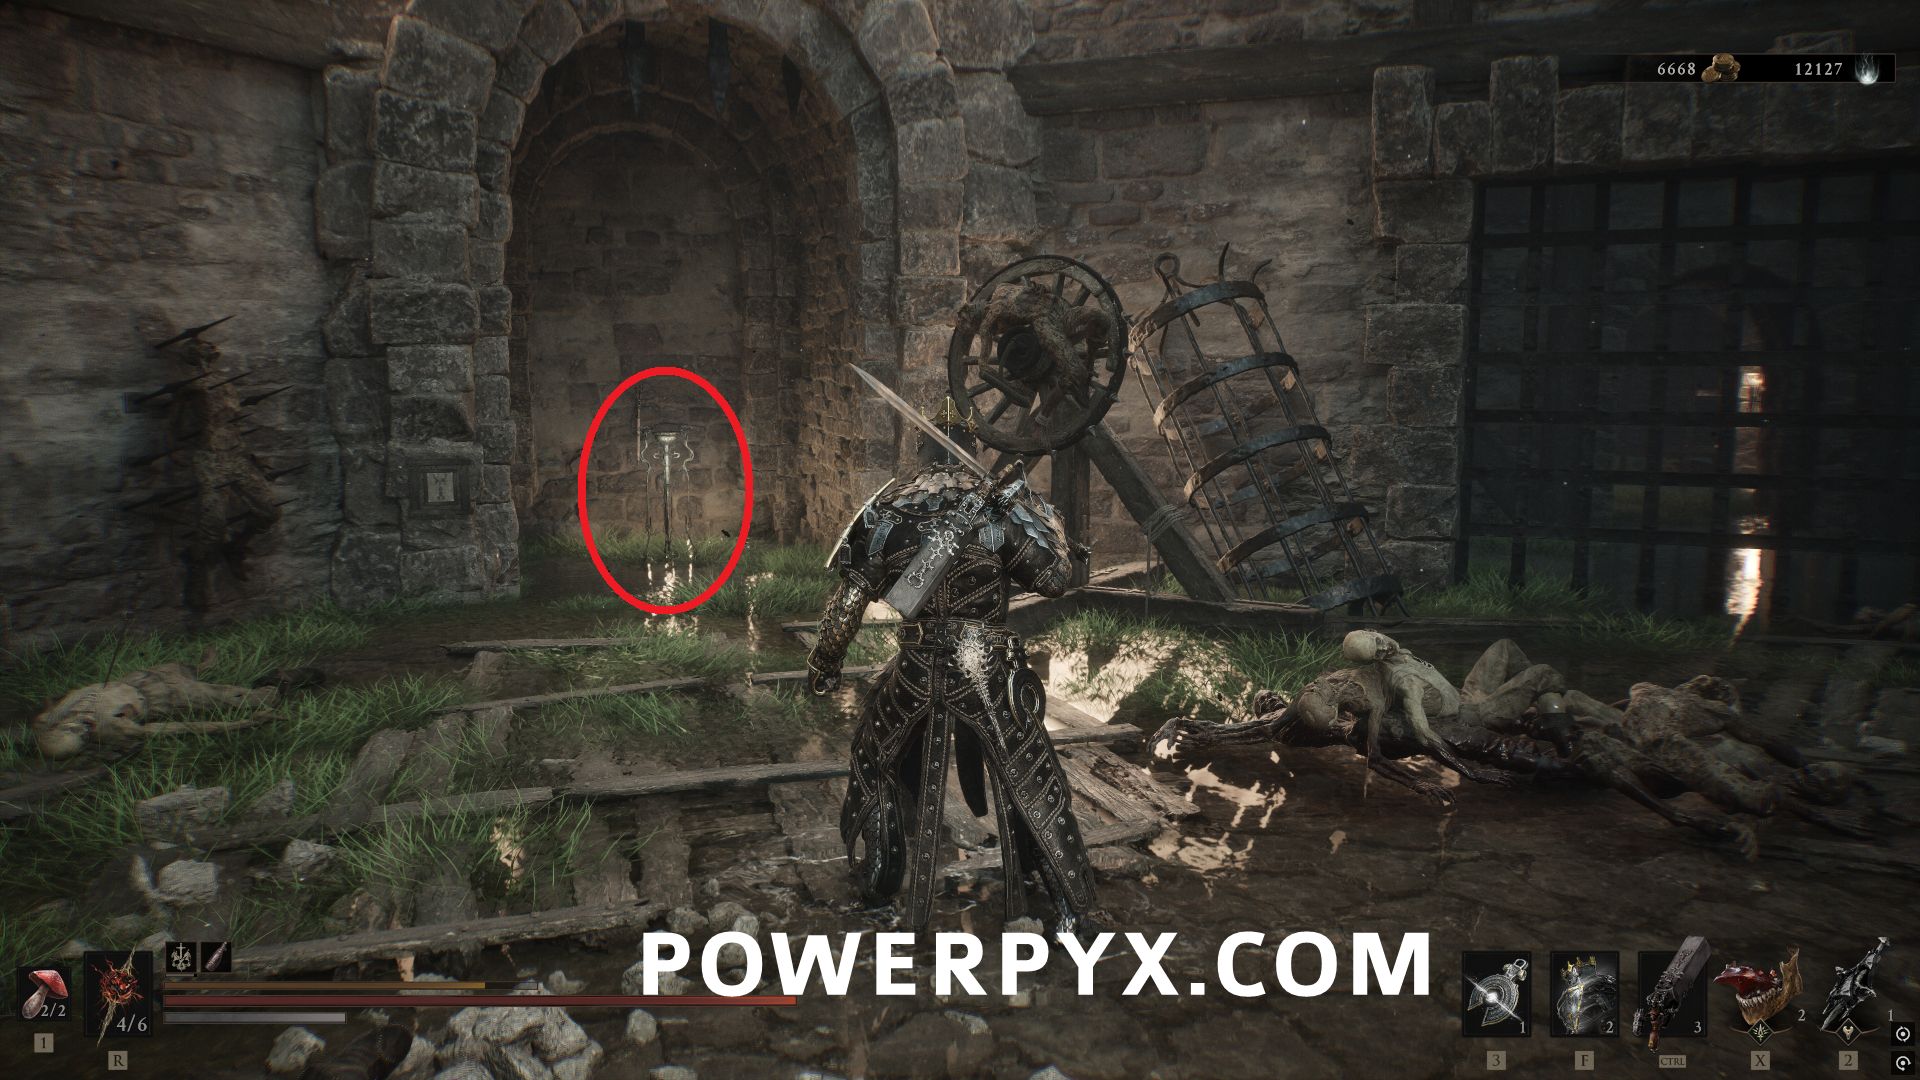
#11 – Synaptic Vessel – Face the opposite wall from where Eredrim was and press the button to open the gate where this is located.
One Legged Wolf
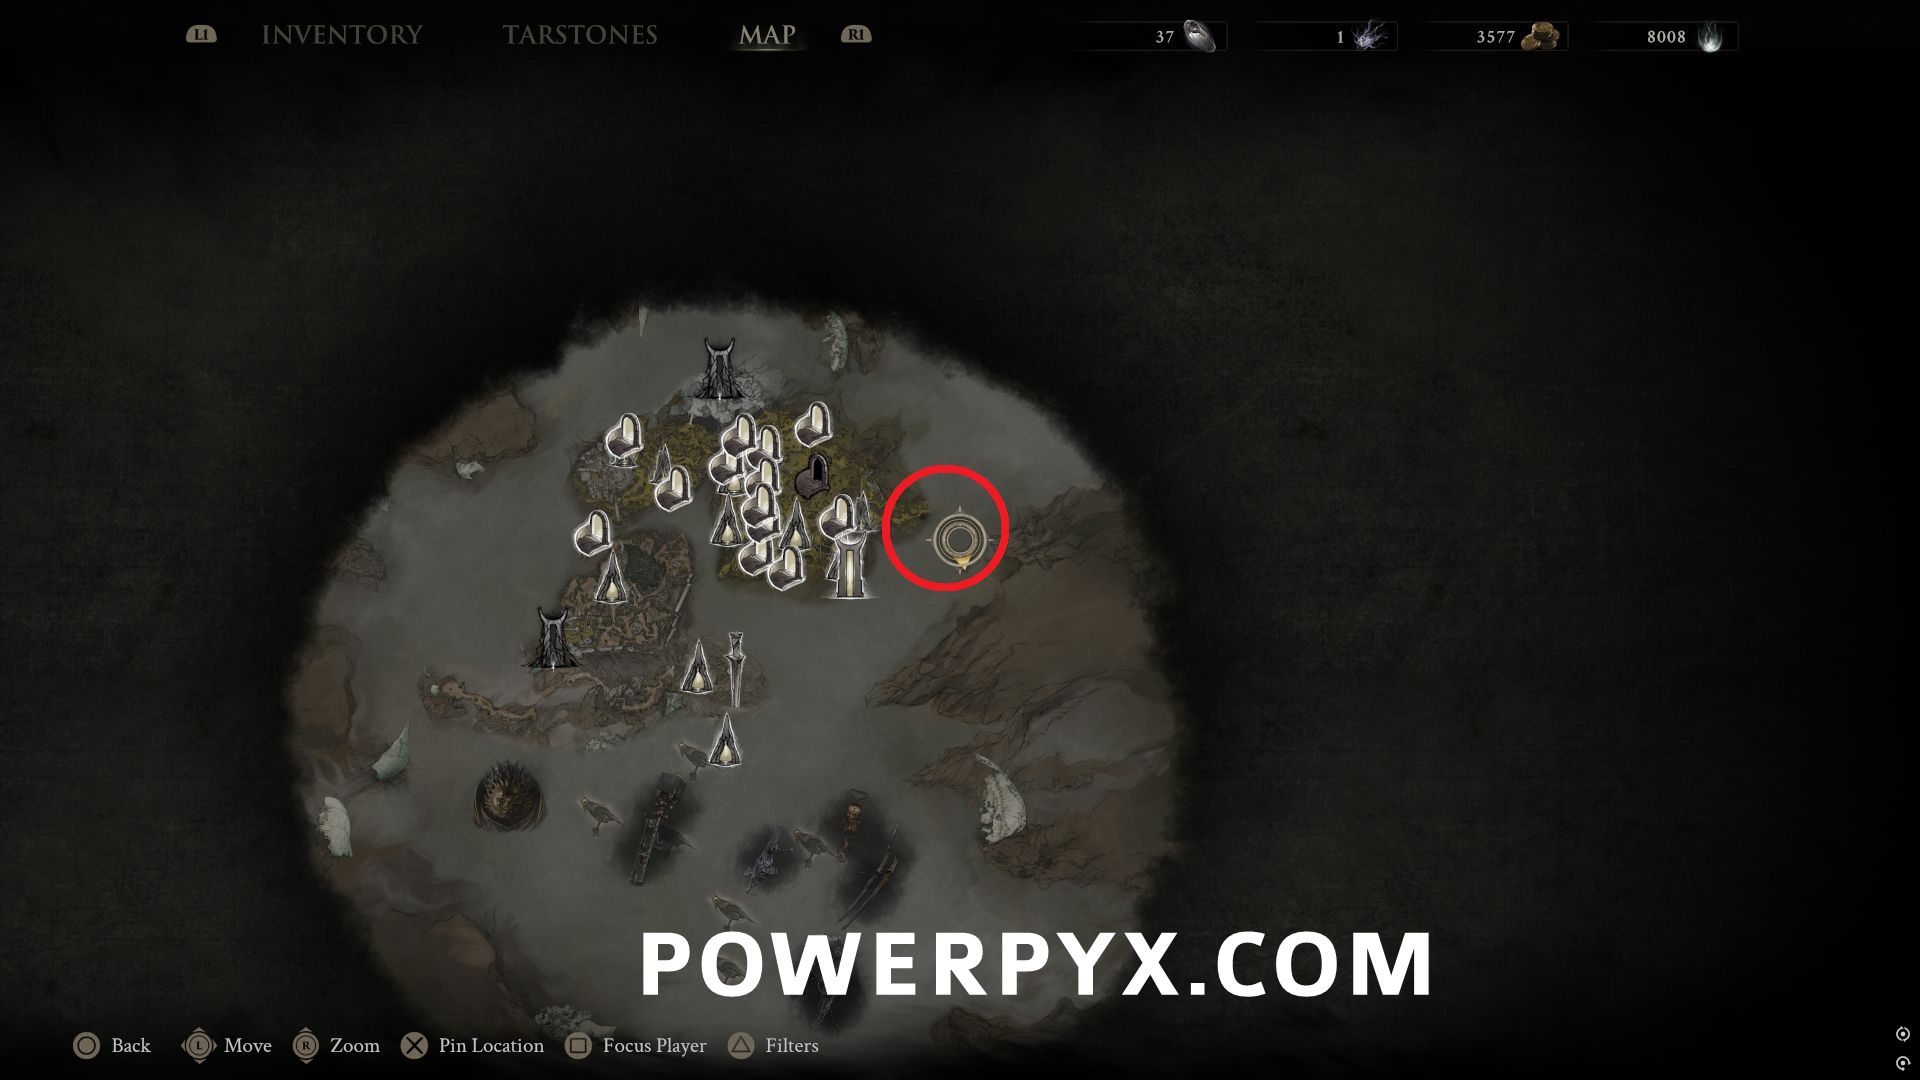
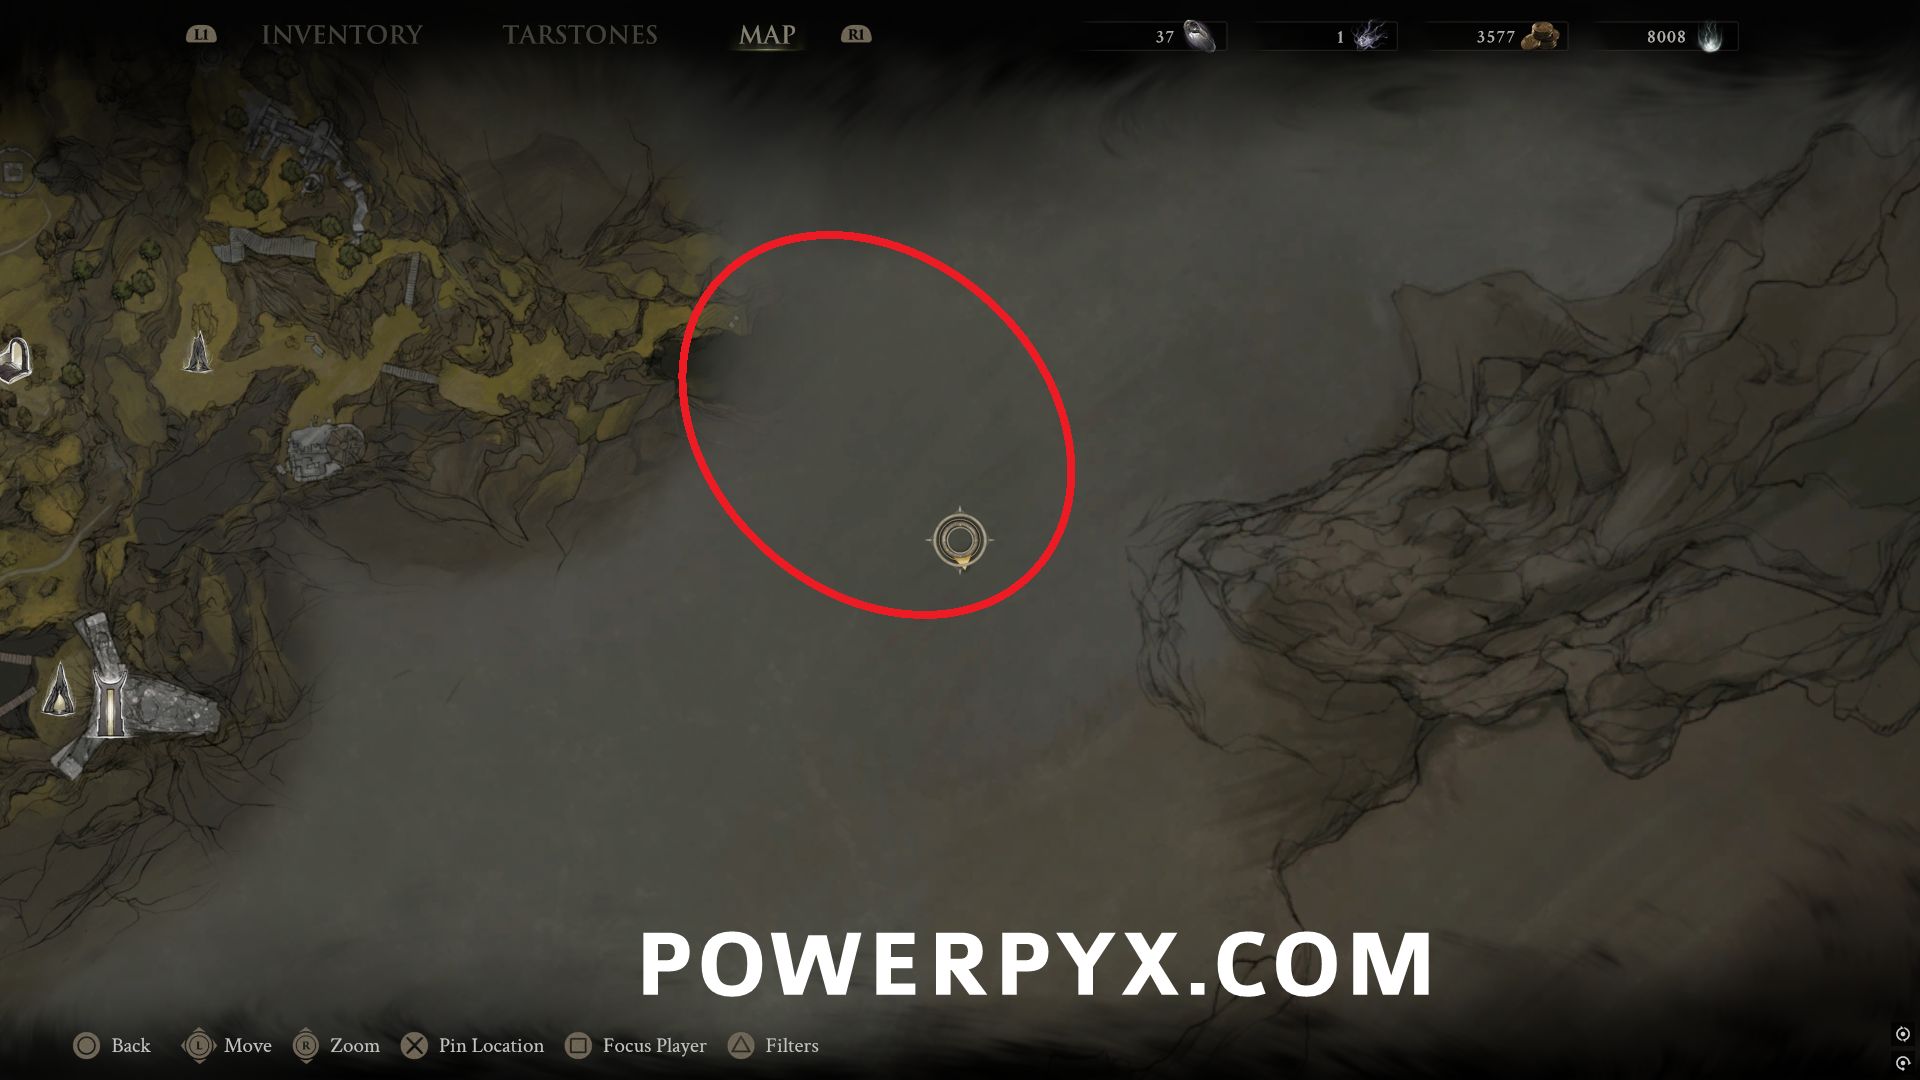
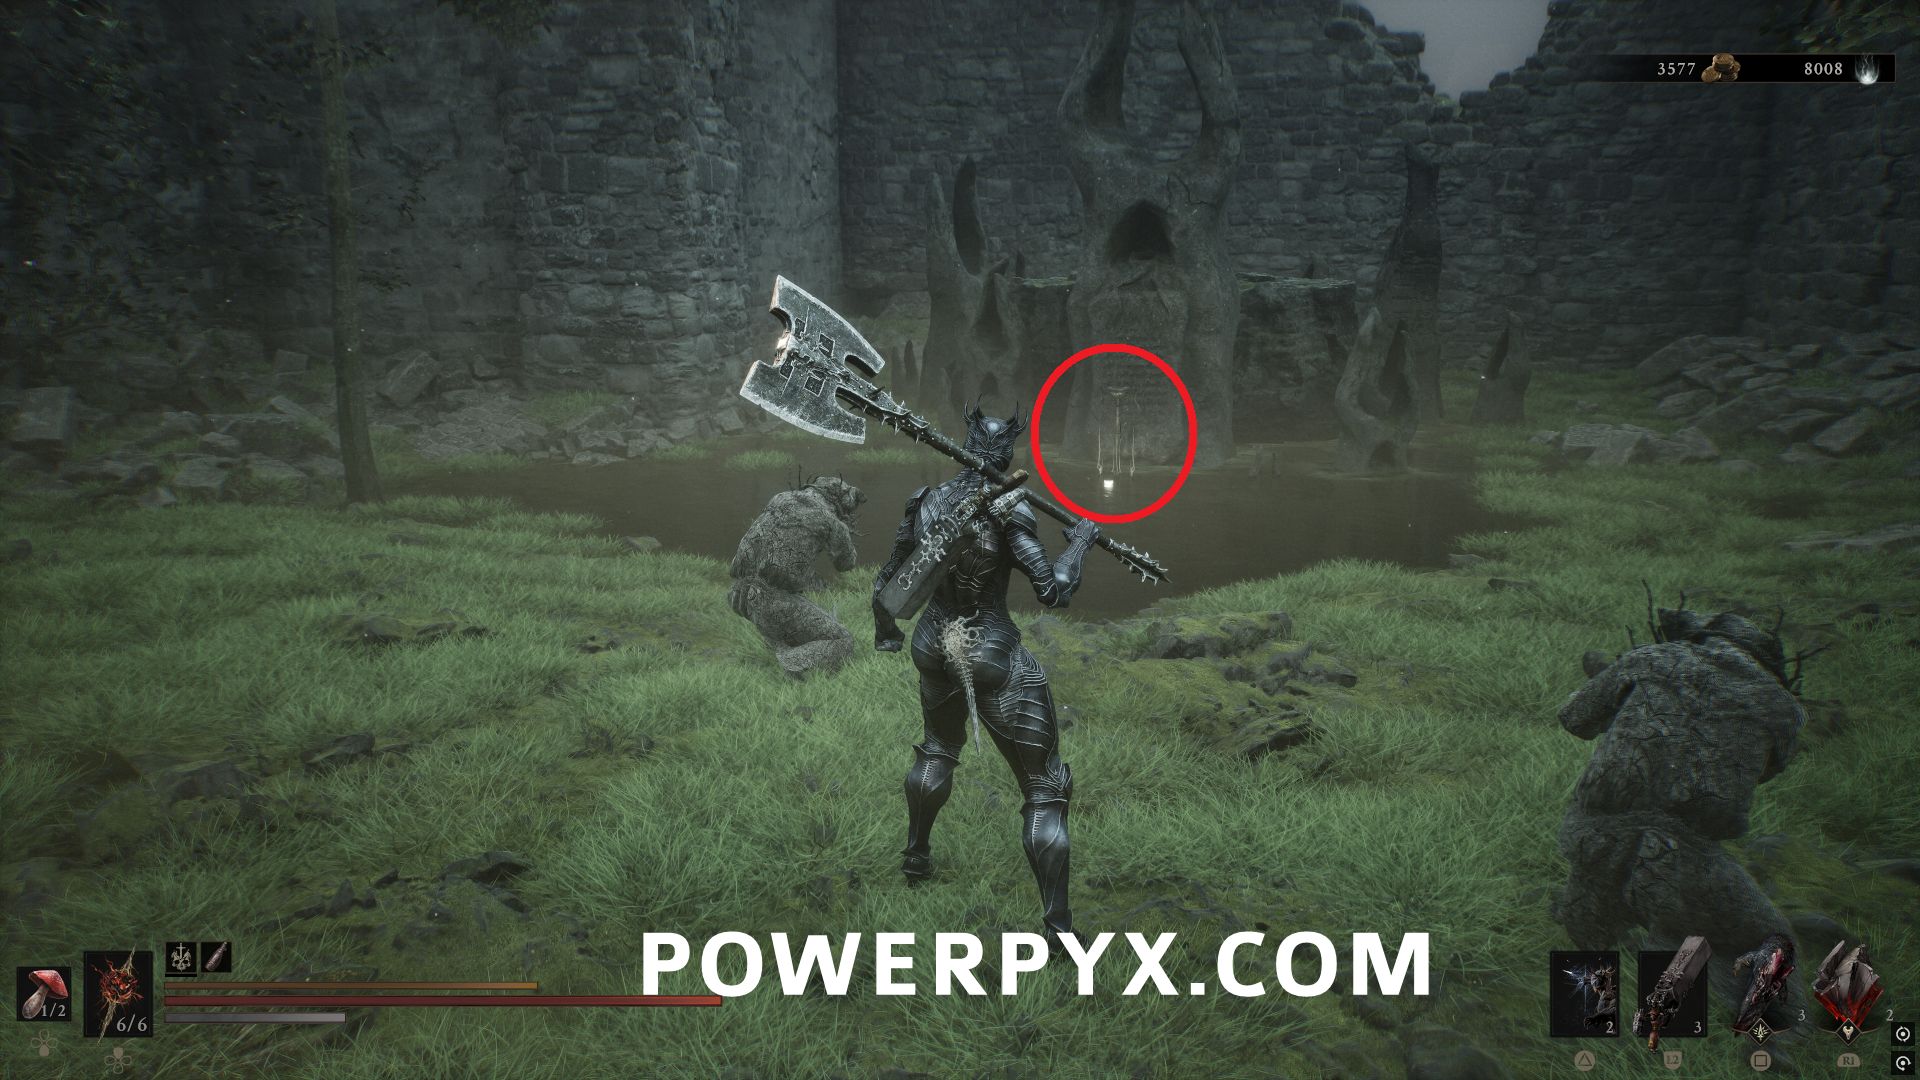
#12 – Synaptic Vessel – East of One Legged Wolf Beacon, follow the path all the way east through the jump to reach the Temple of Vatra area. Follow the path further east and the item is on the right before the large set of stairs.
Ruins of Mammon
Sester’s Gate
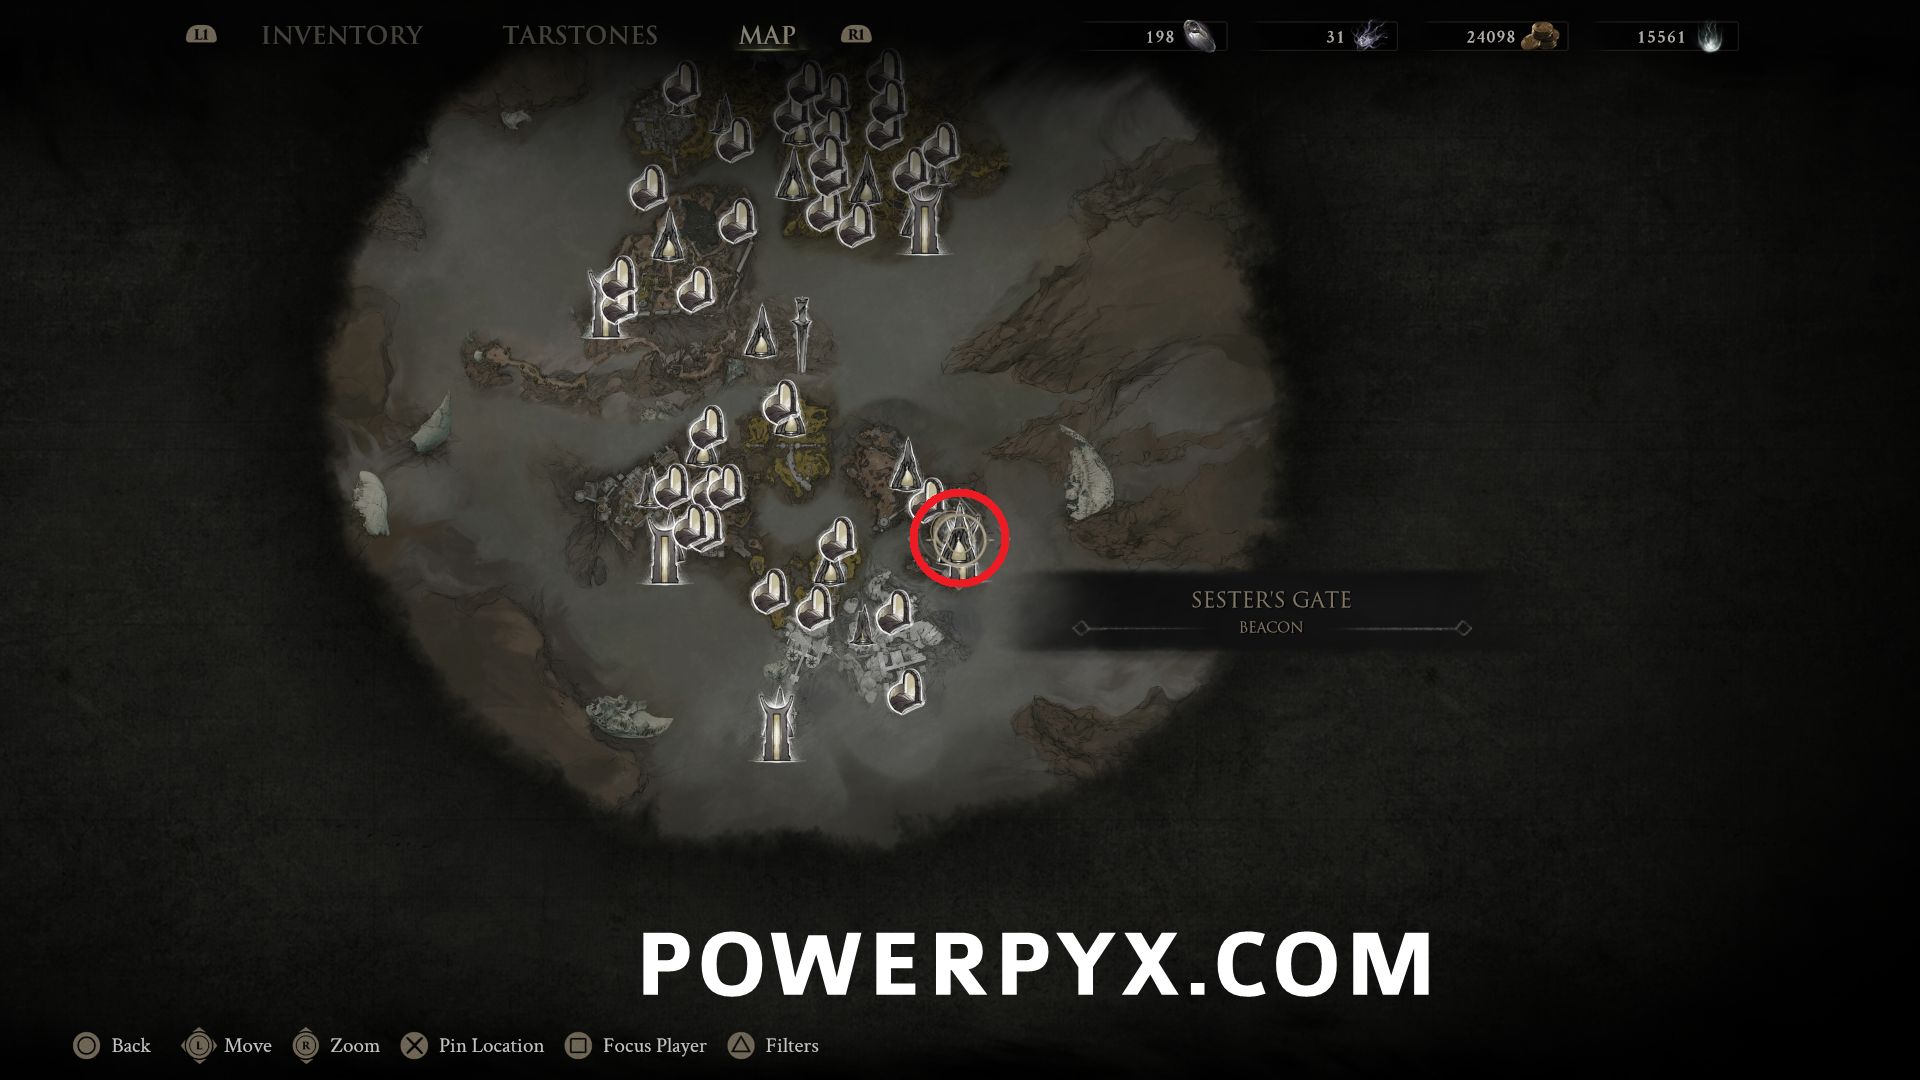
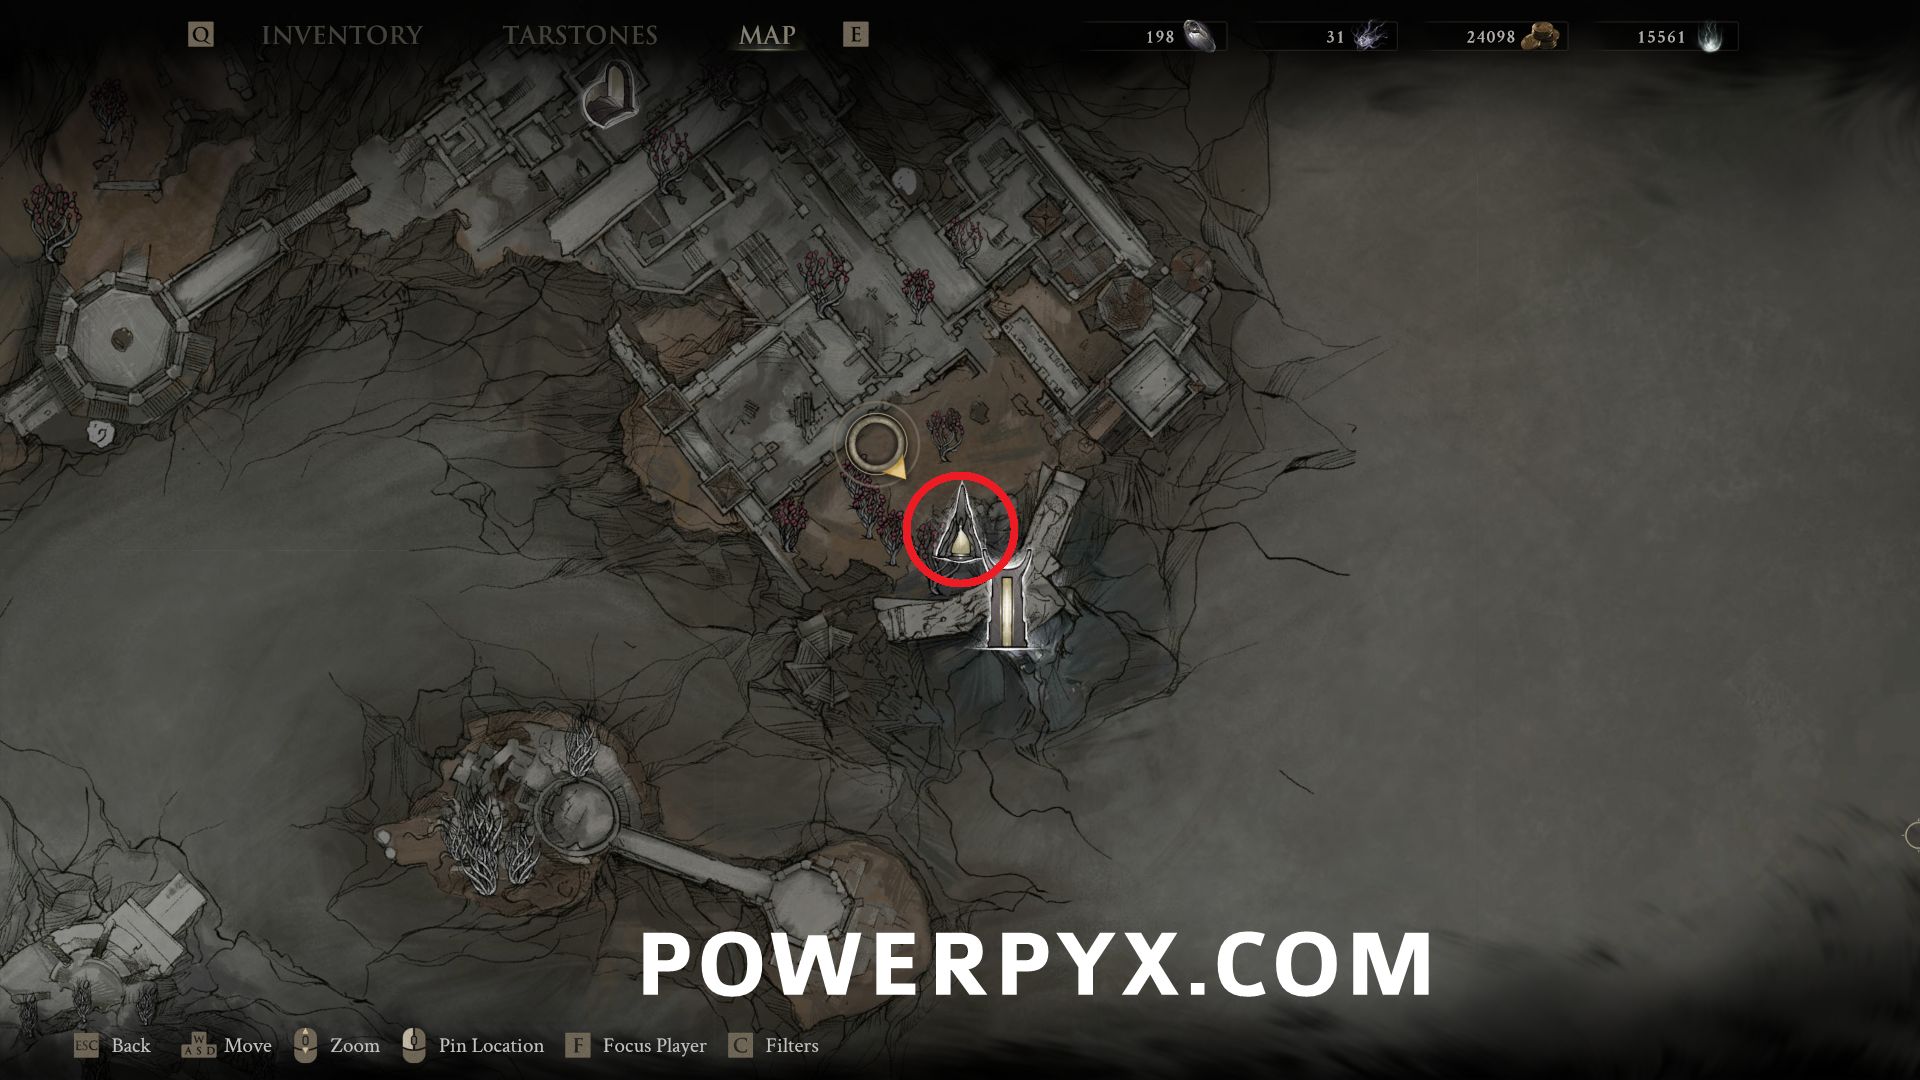
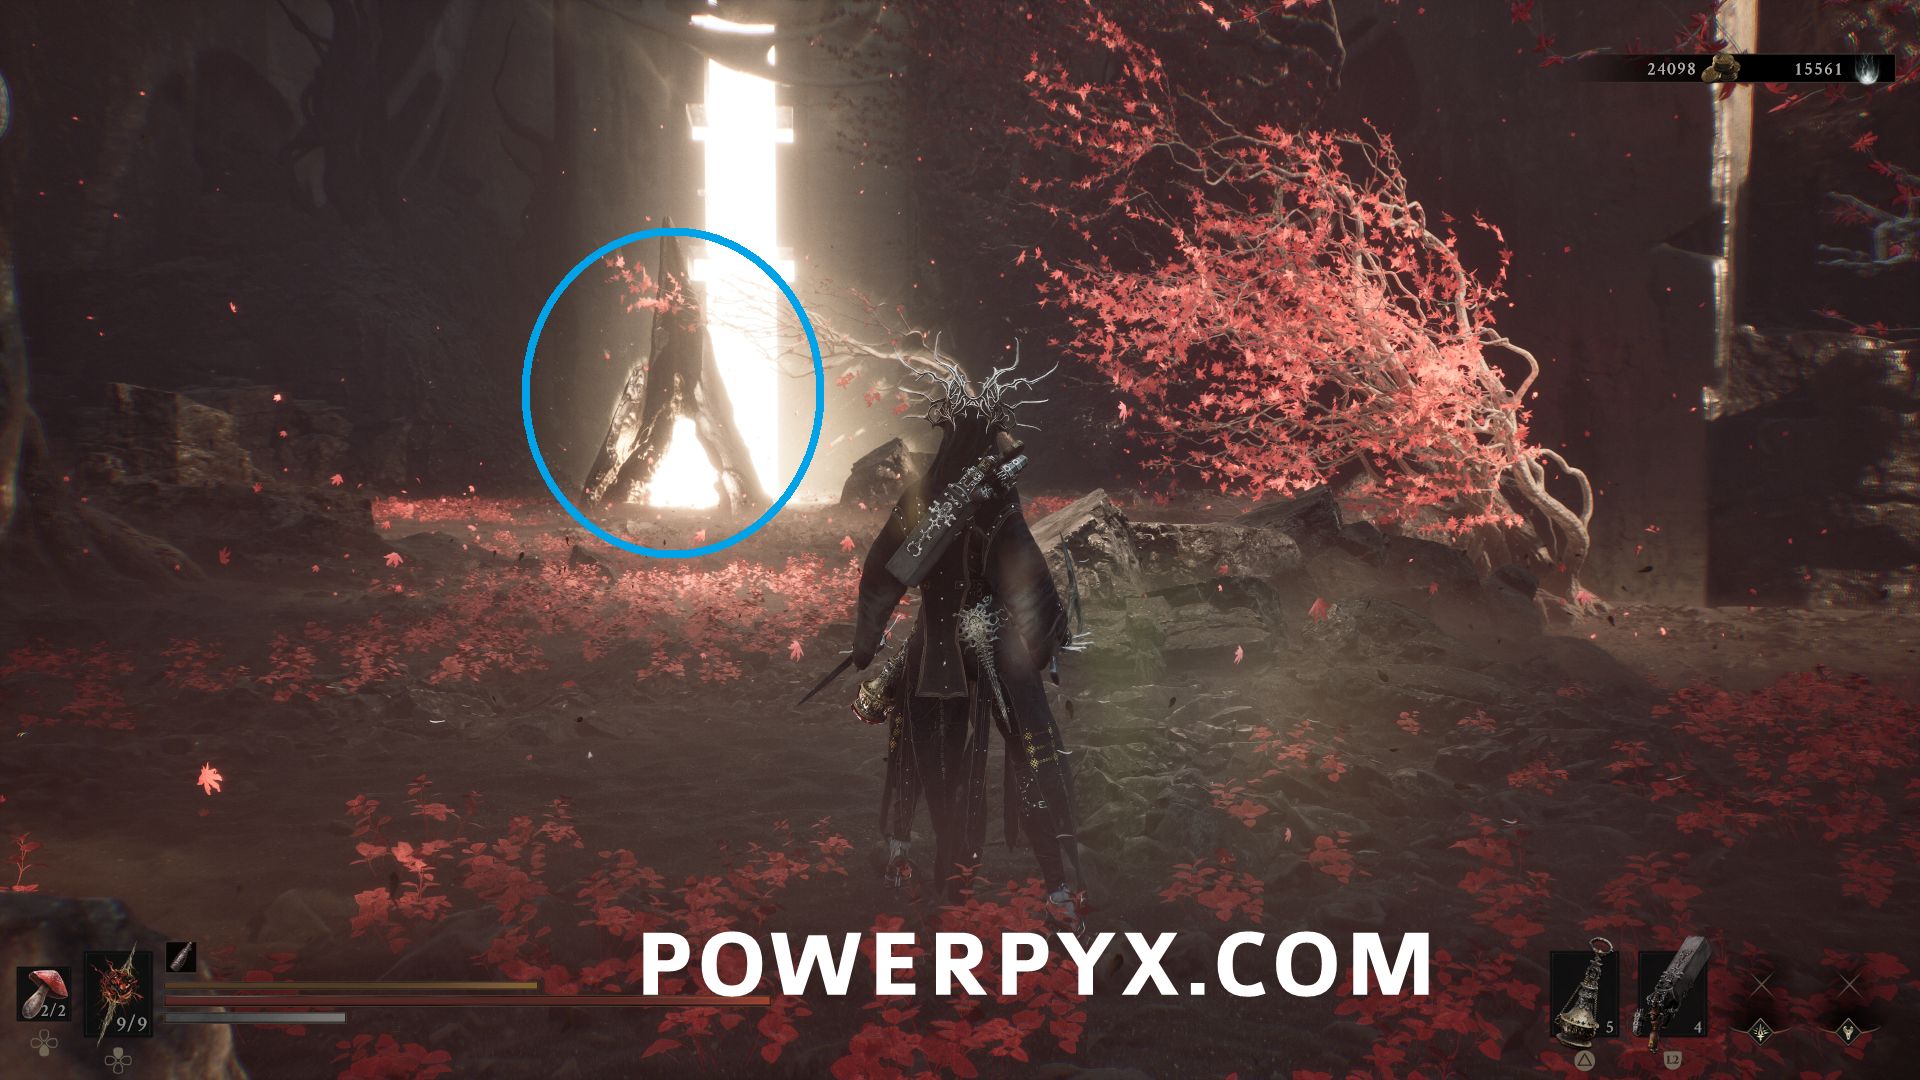
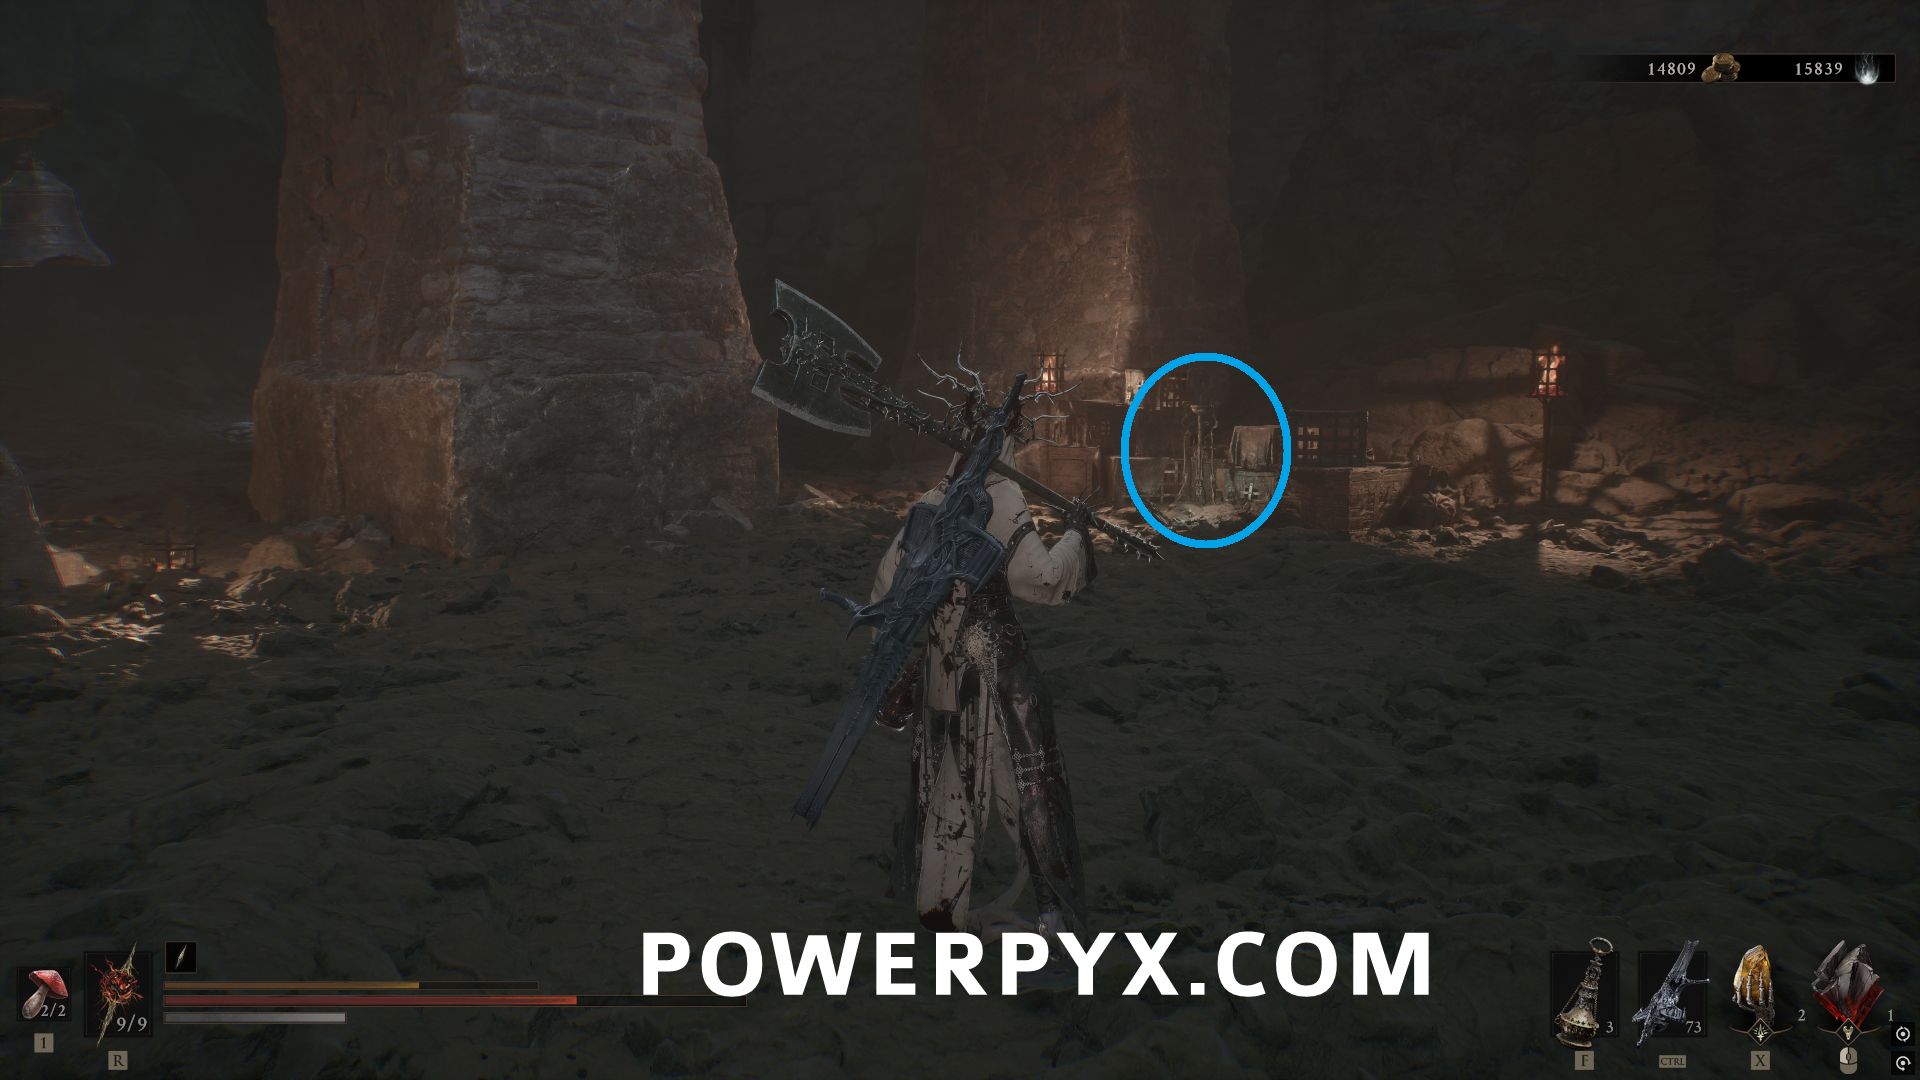
#13 – Synaptic Vessel – Inside the Sester’s Gate Beacon, follow the path through the area to the long bridge where you need to shoot the bells to make the path. At the far back wall on the ground you can pick this up near some boxes.
Gate of Infinity
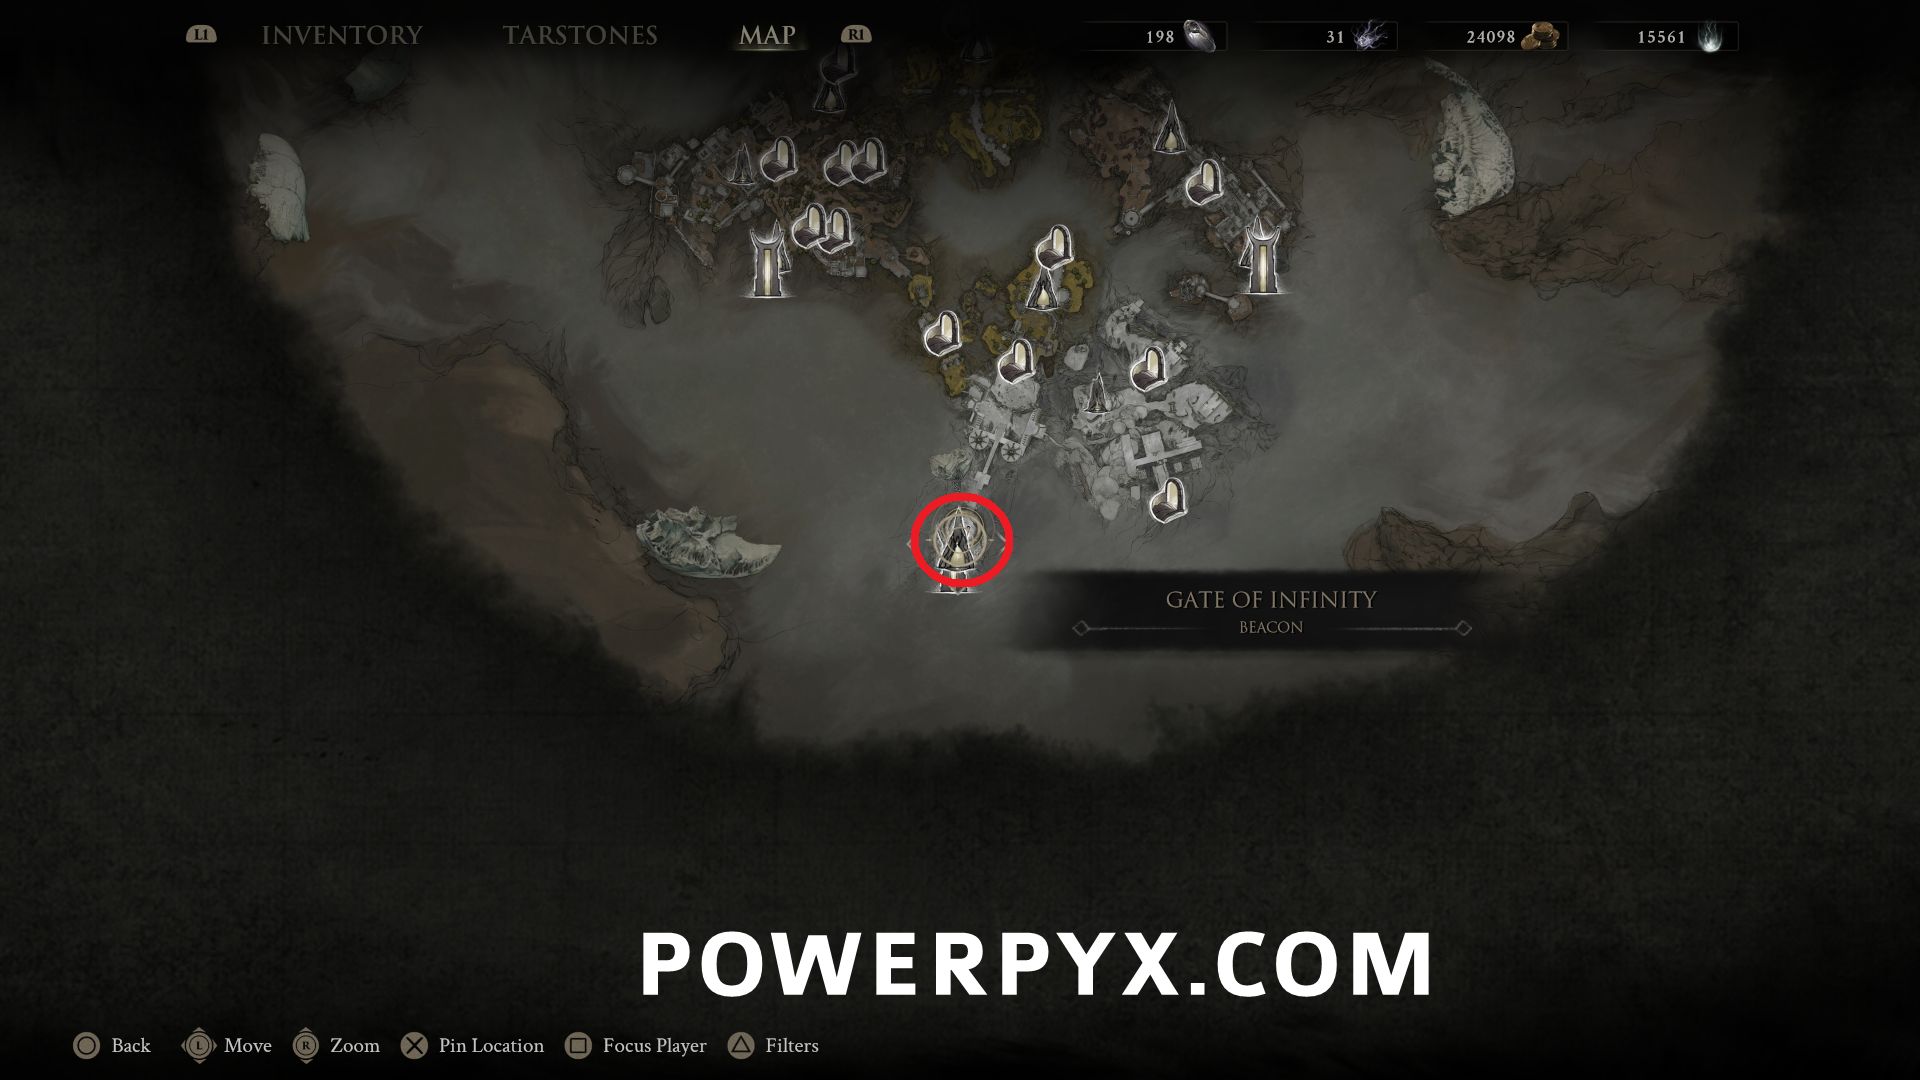
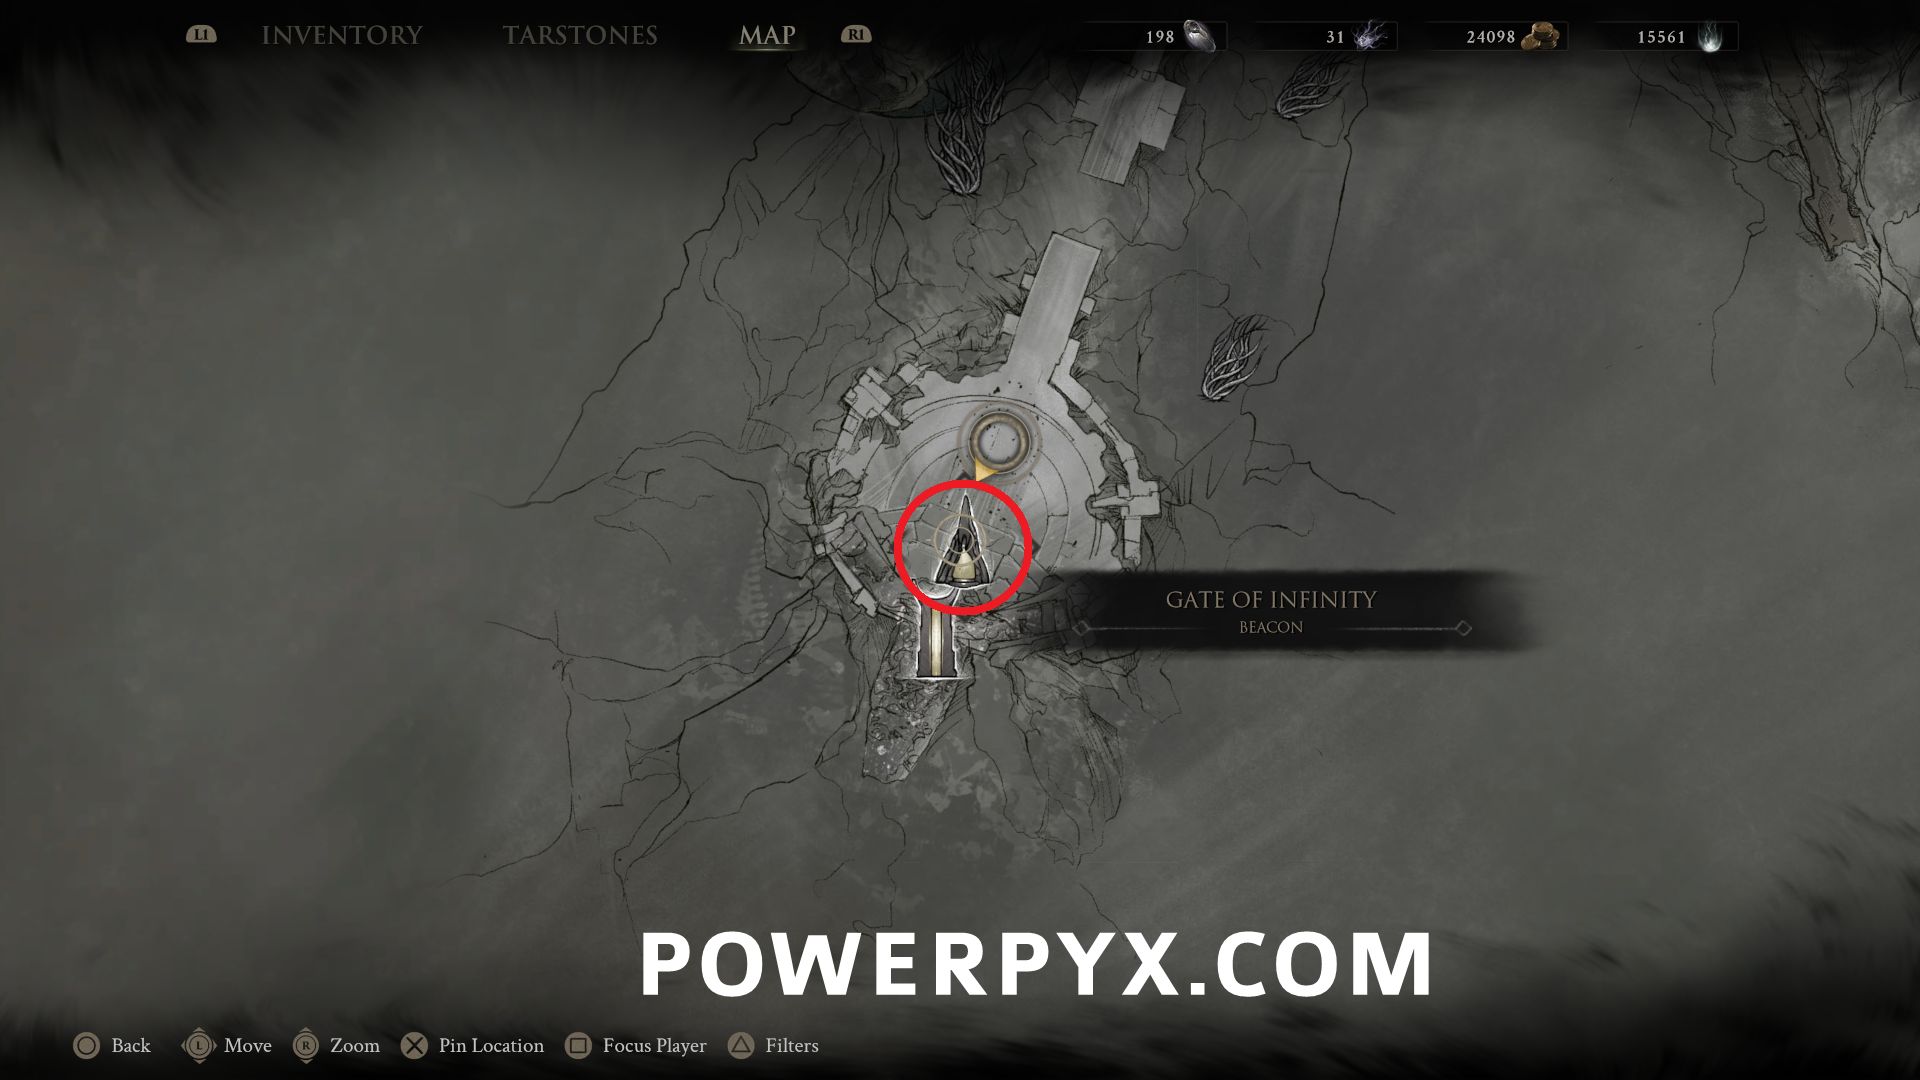
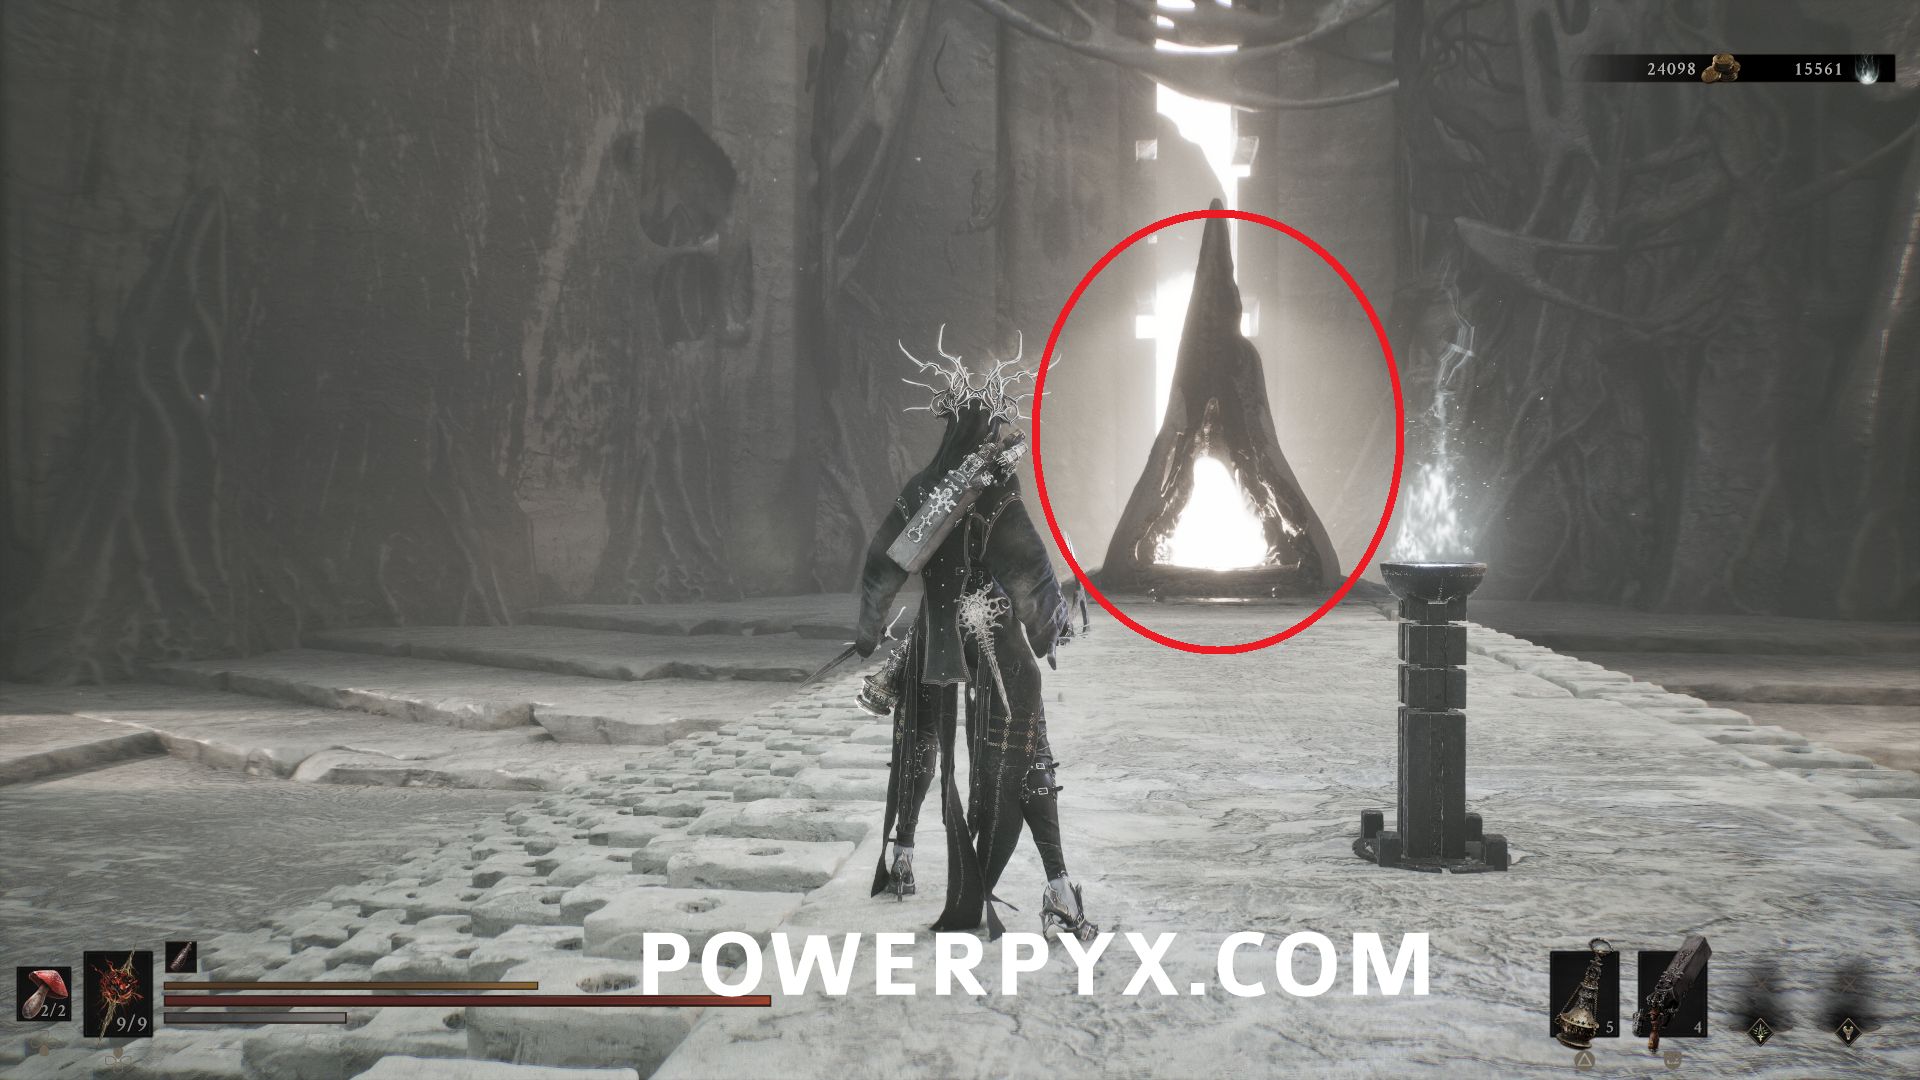
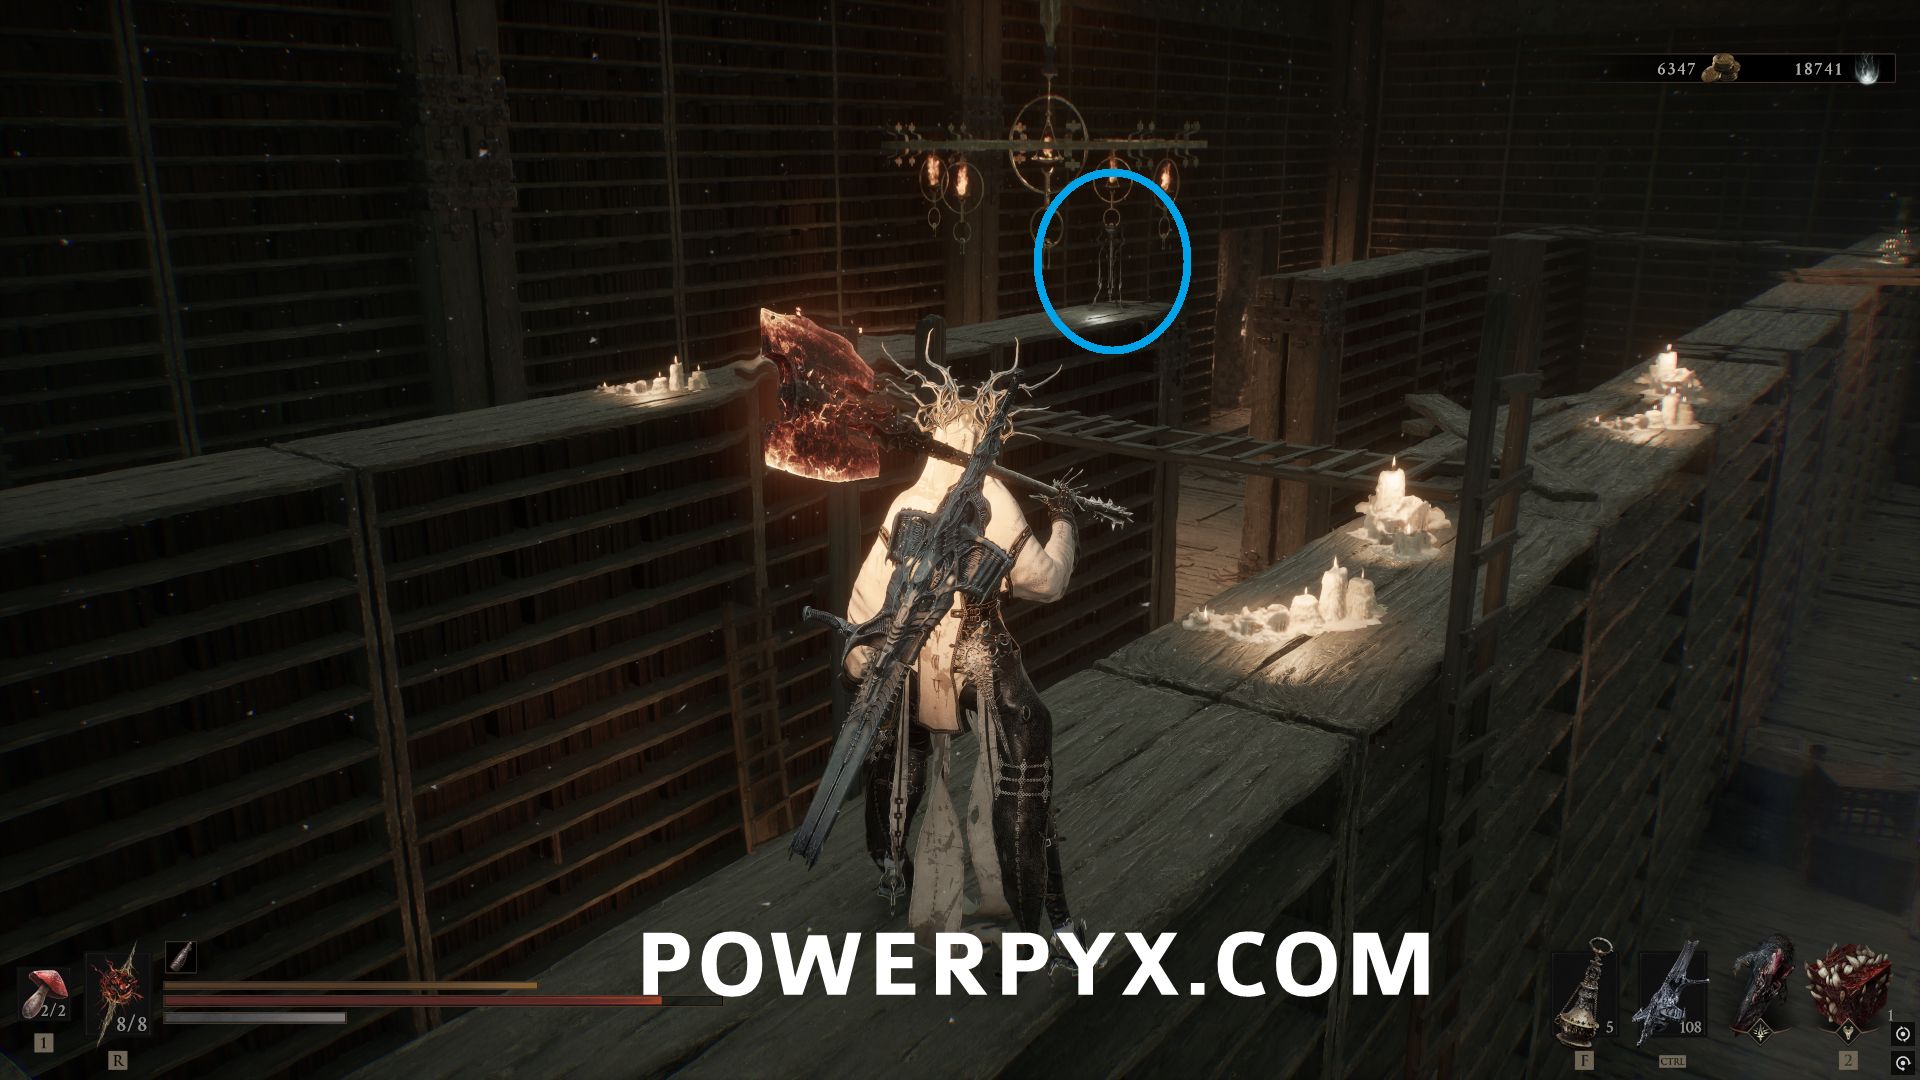
#14 – Synaptic Vessel – Inside the Gate of Infinity Beacon, follow the path through the area until you reach the first spot where you can jump on top of the bookshelves. The health pickup is on the left side (relative to where you entered from).
Castigator’s Keep
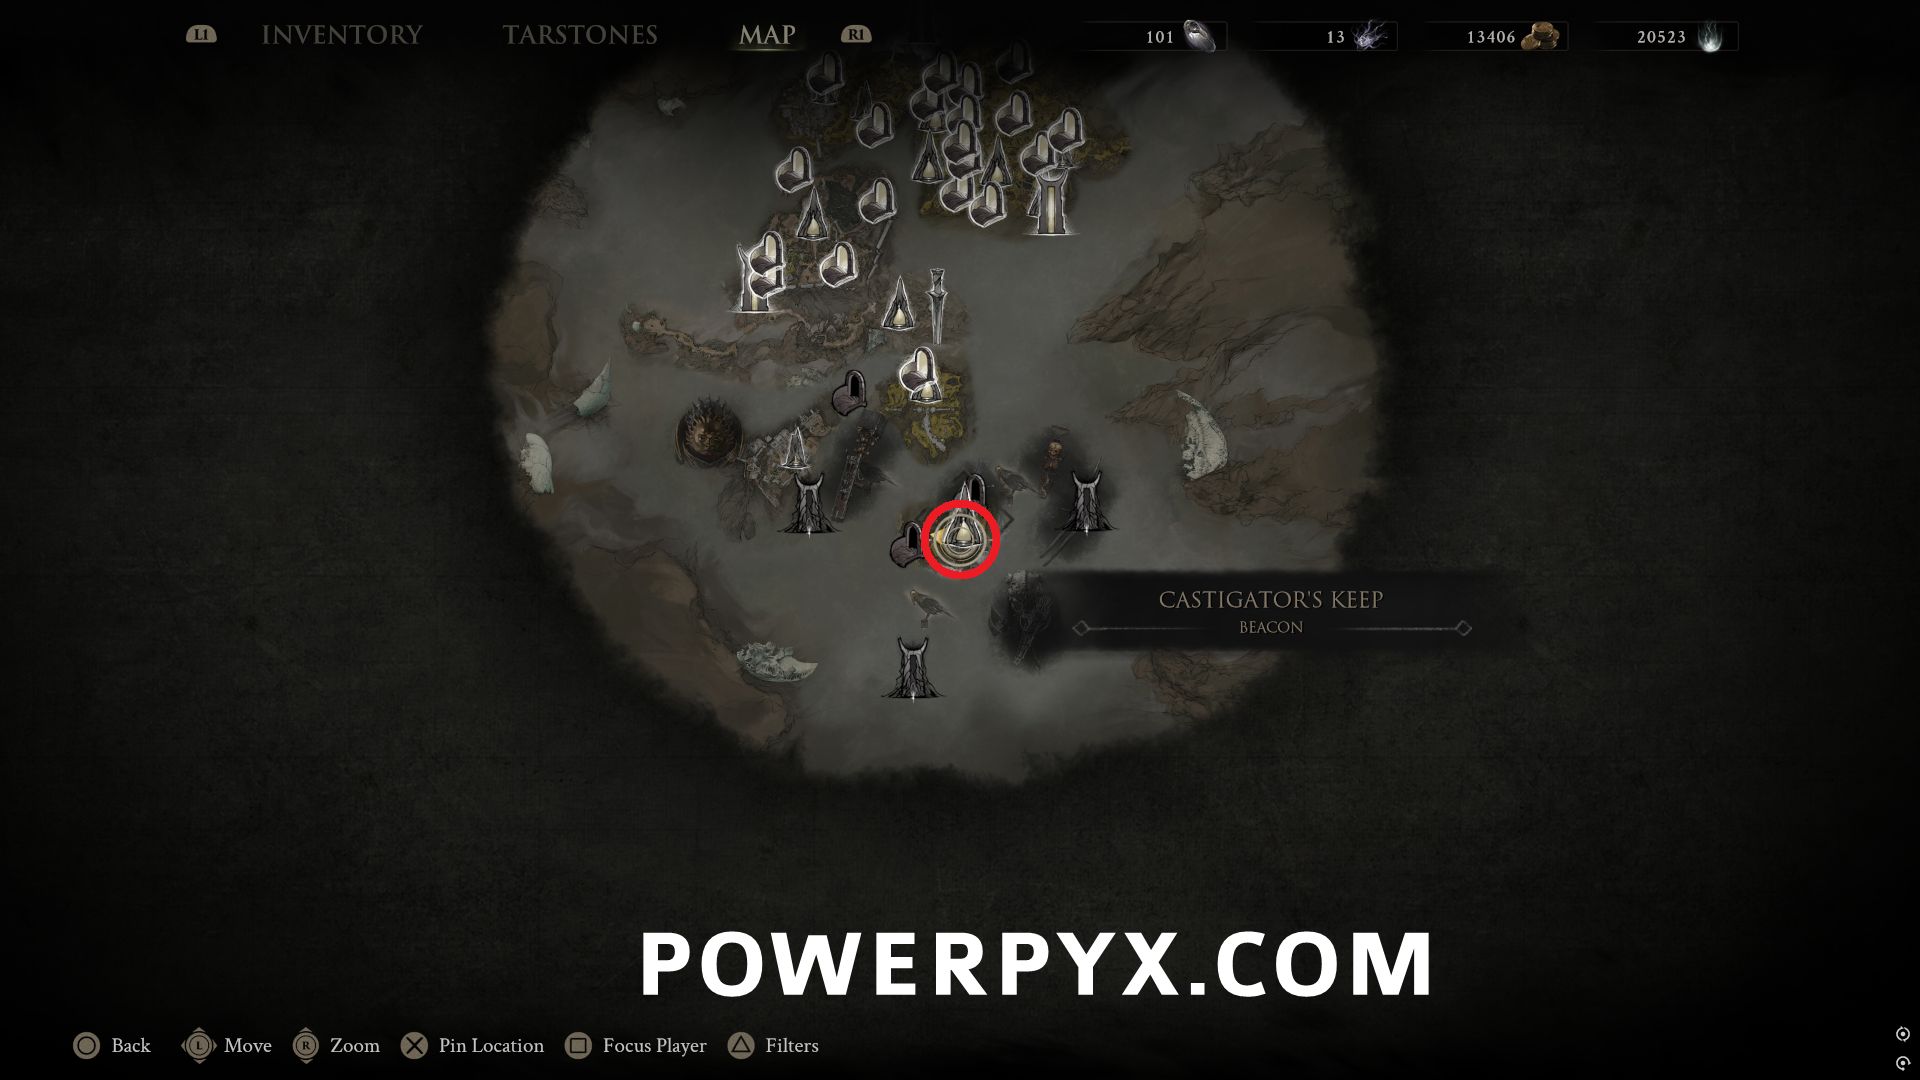
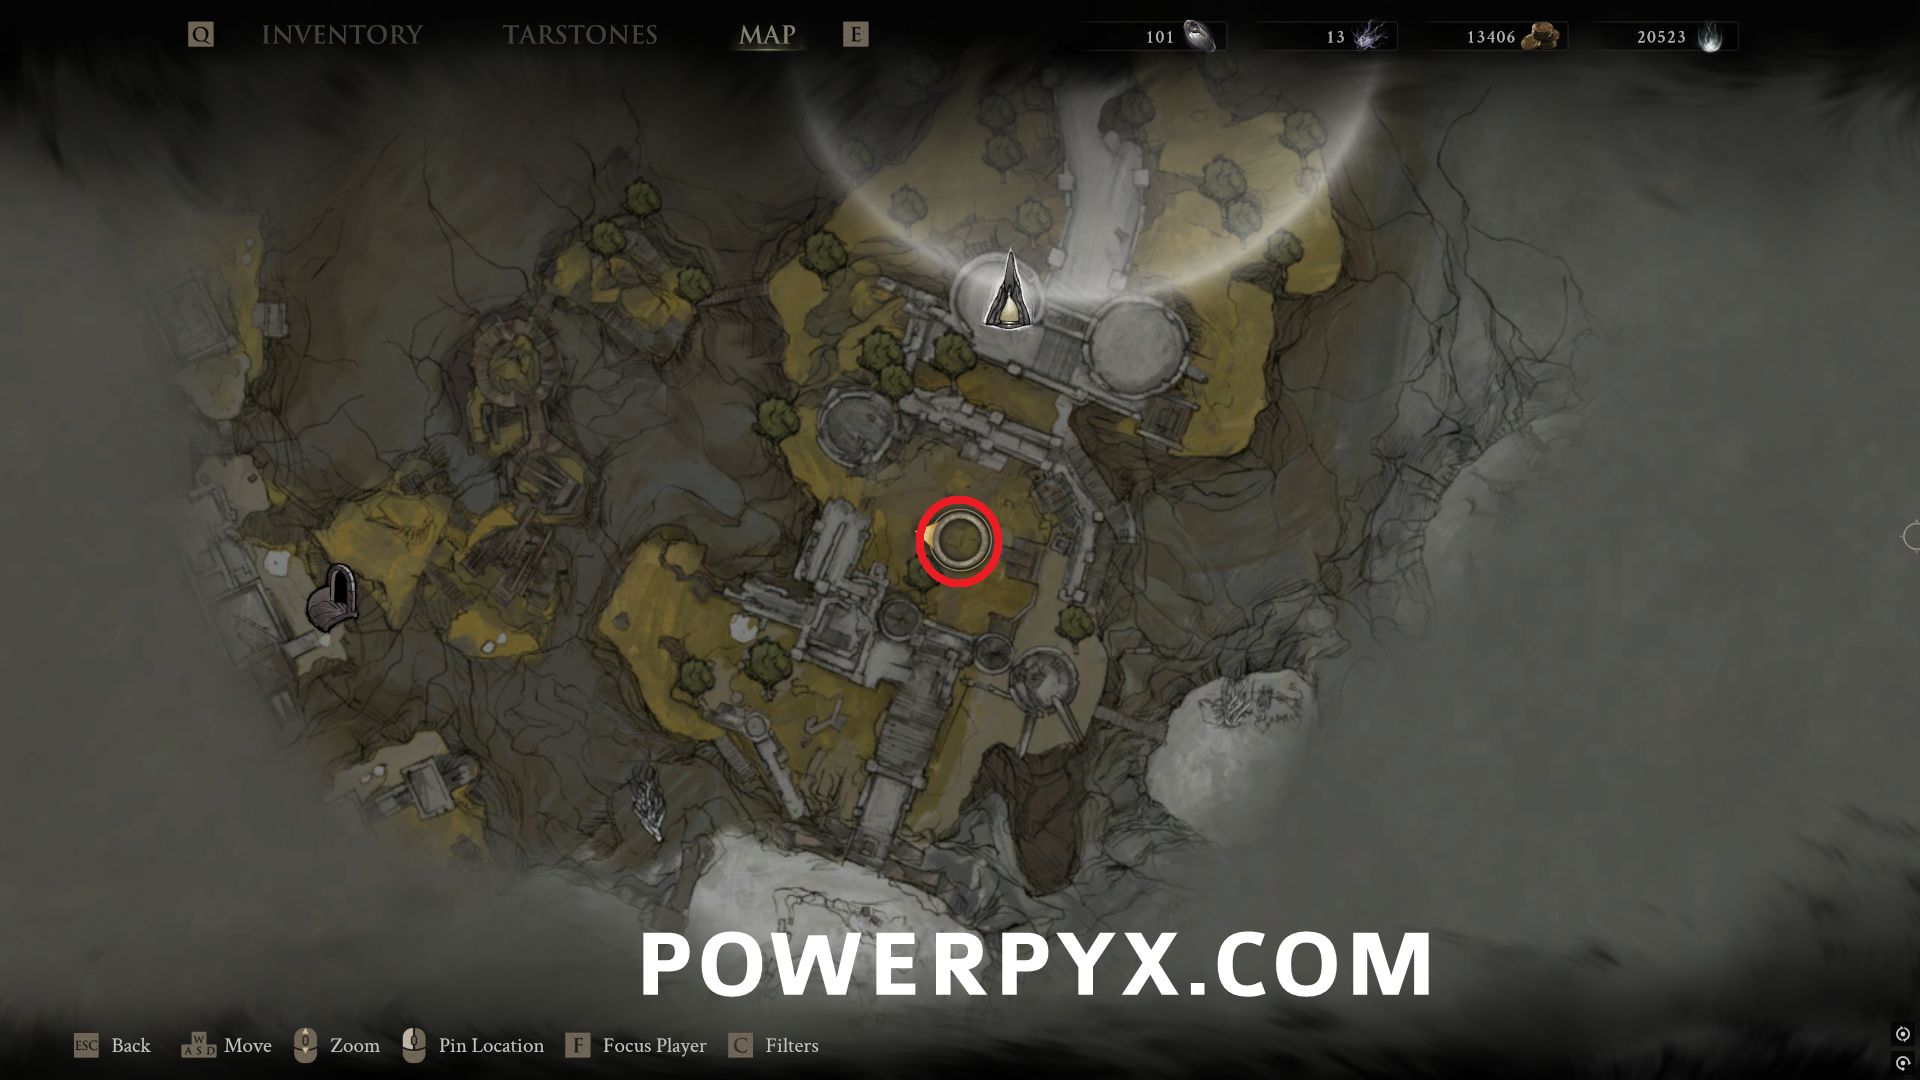
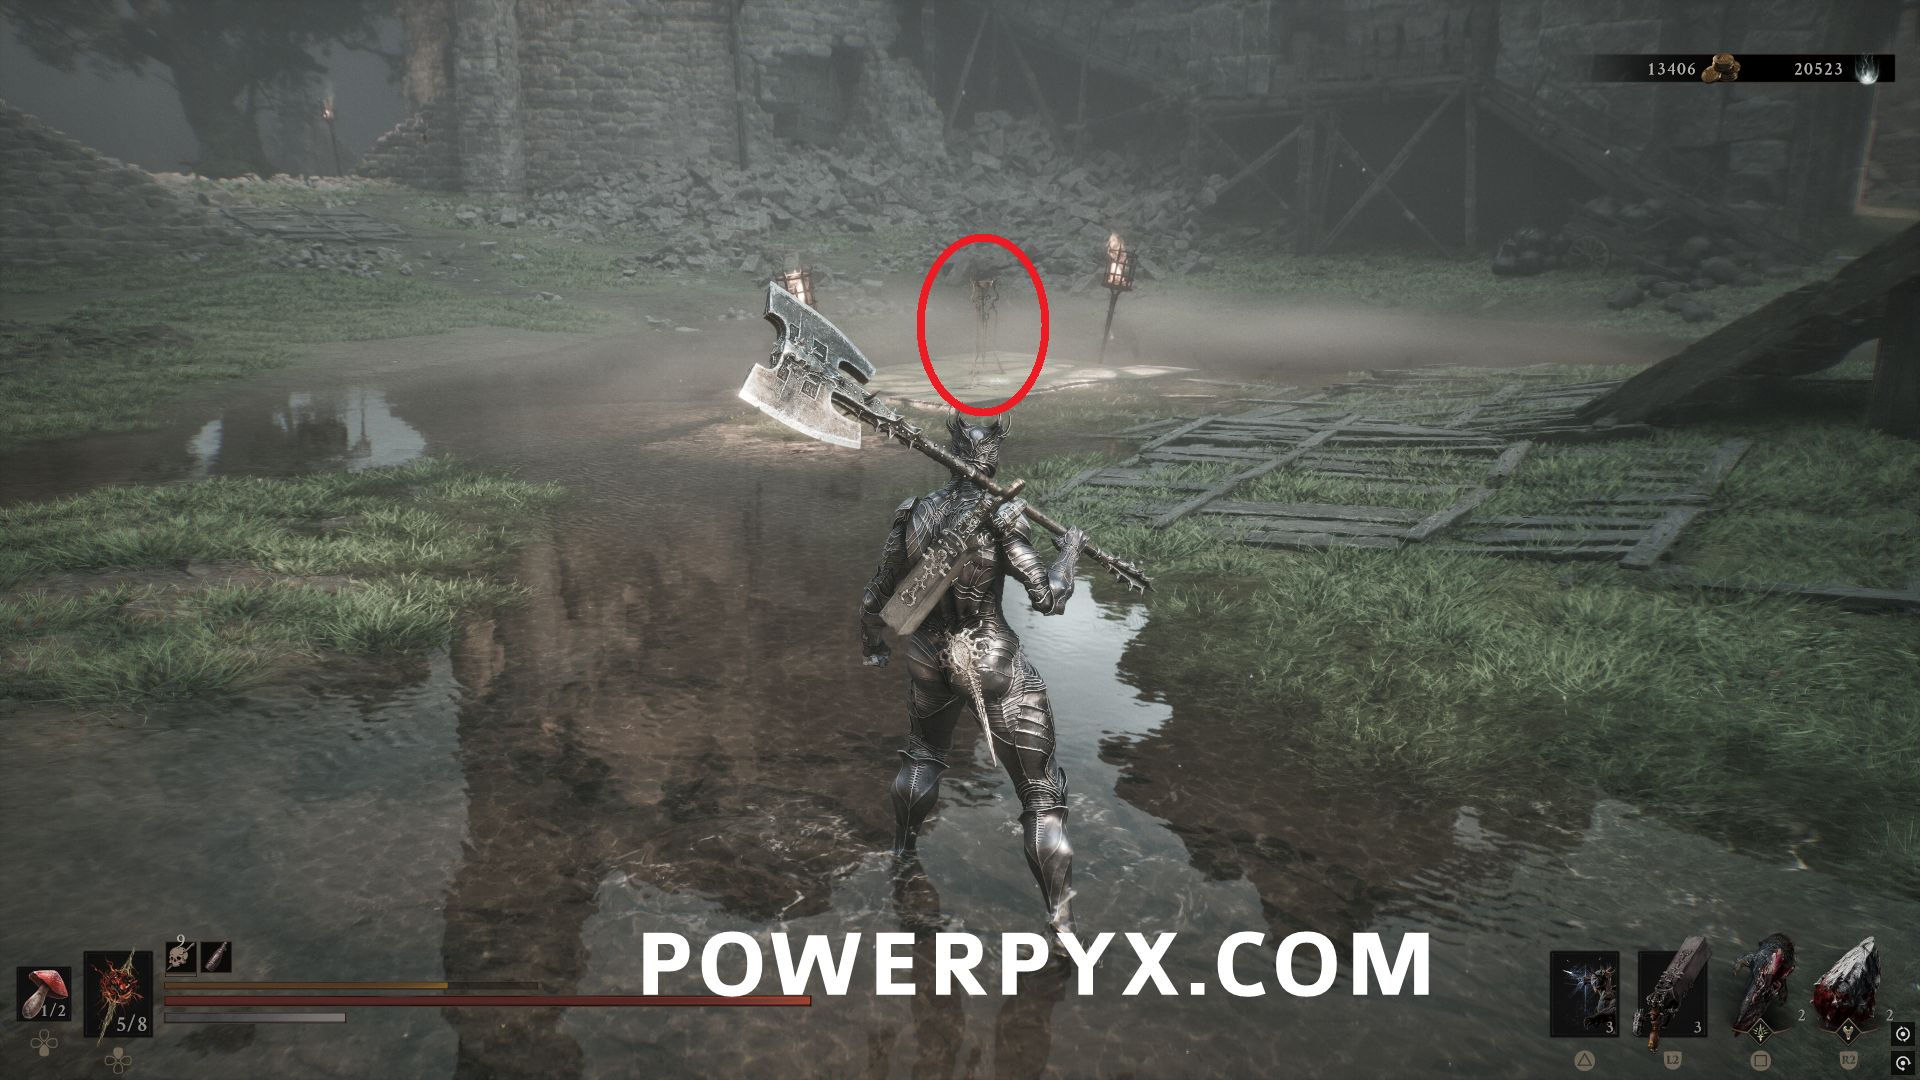
#15 – Synaptic Vessel – South of Castigator’s Keep Beacon, in the middle of the central courtyard of the castle.
Abbey Entrance
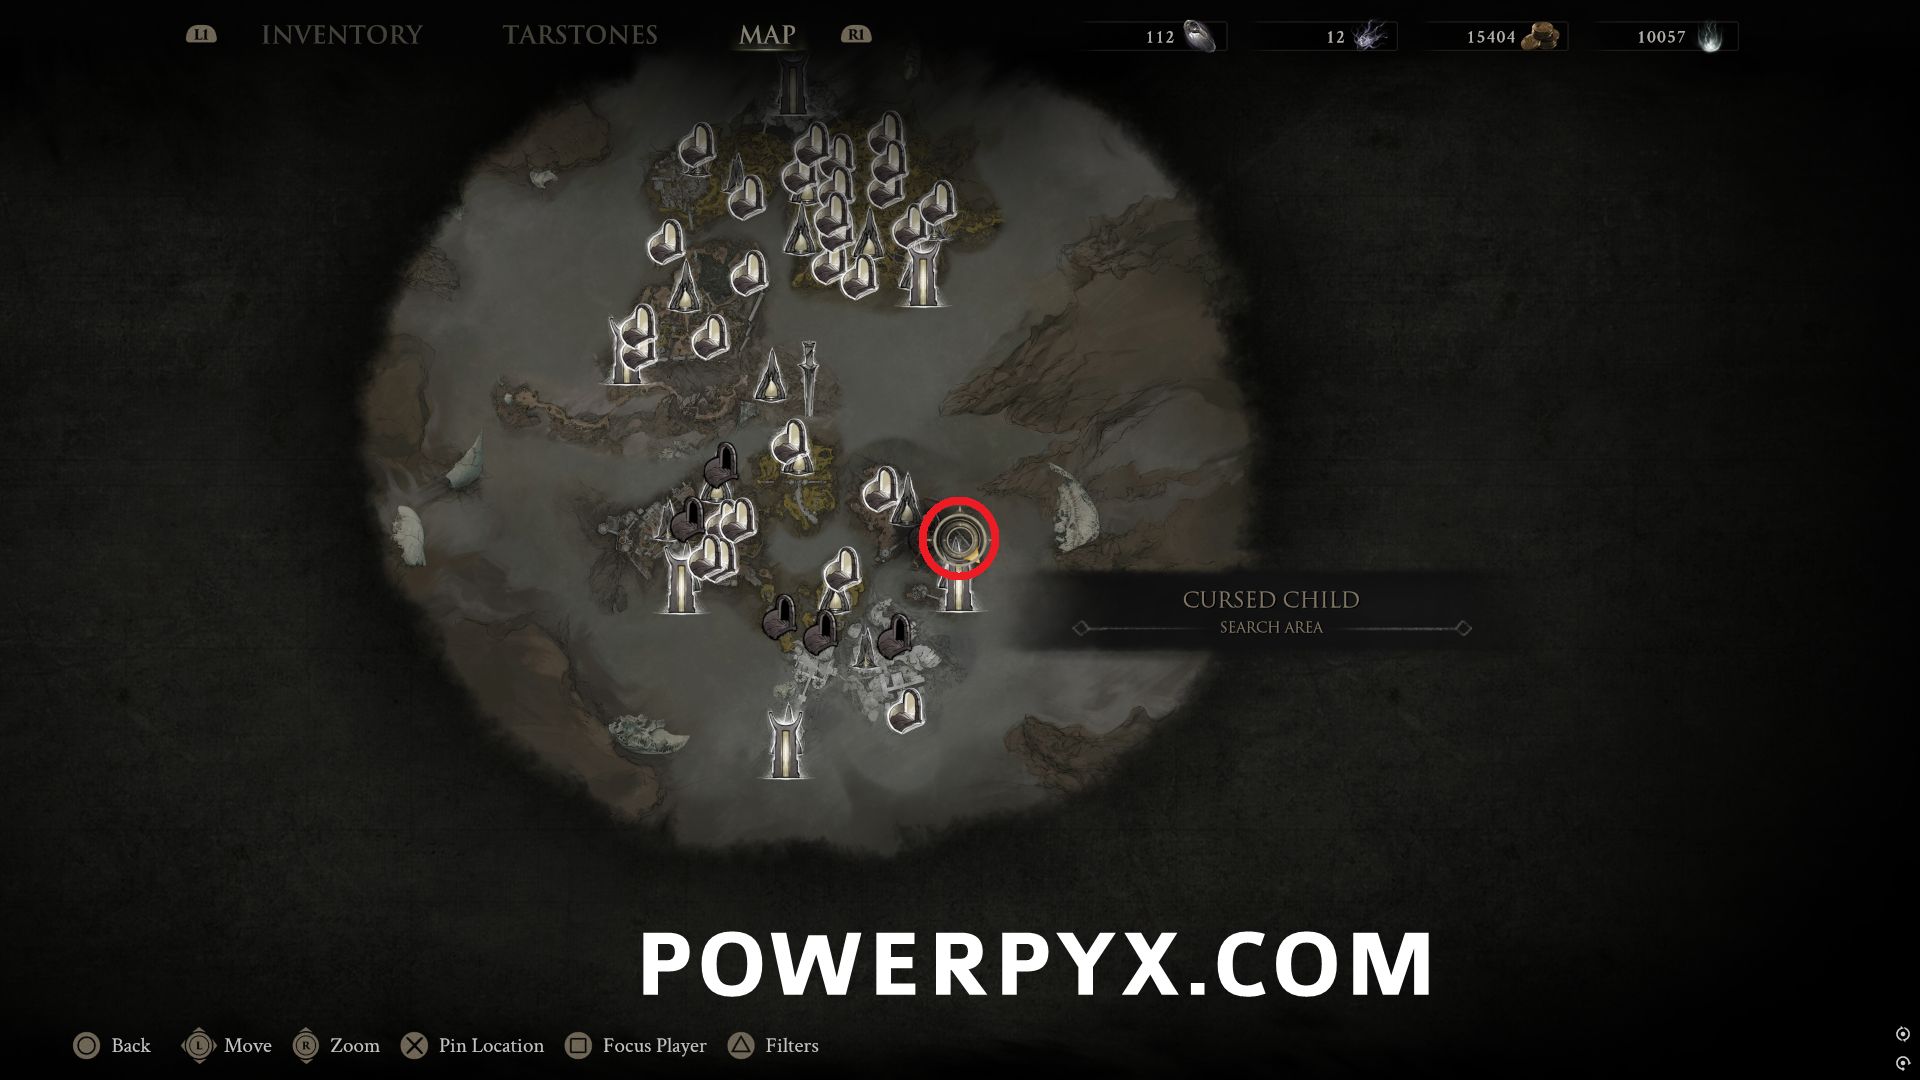
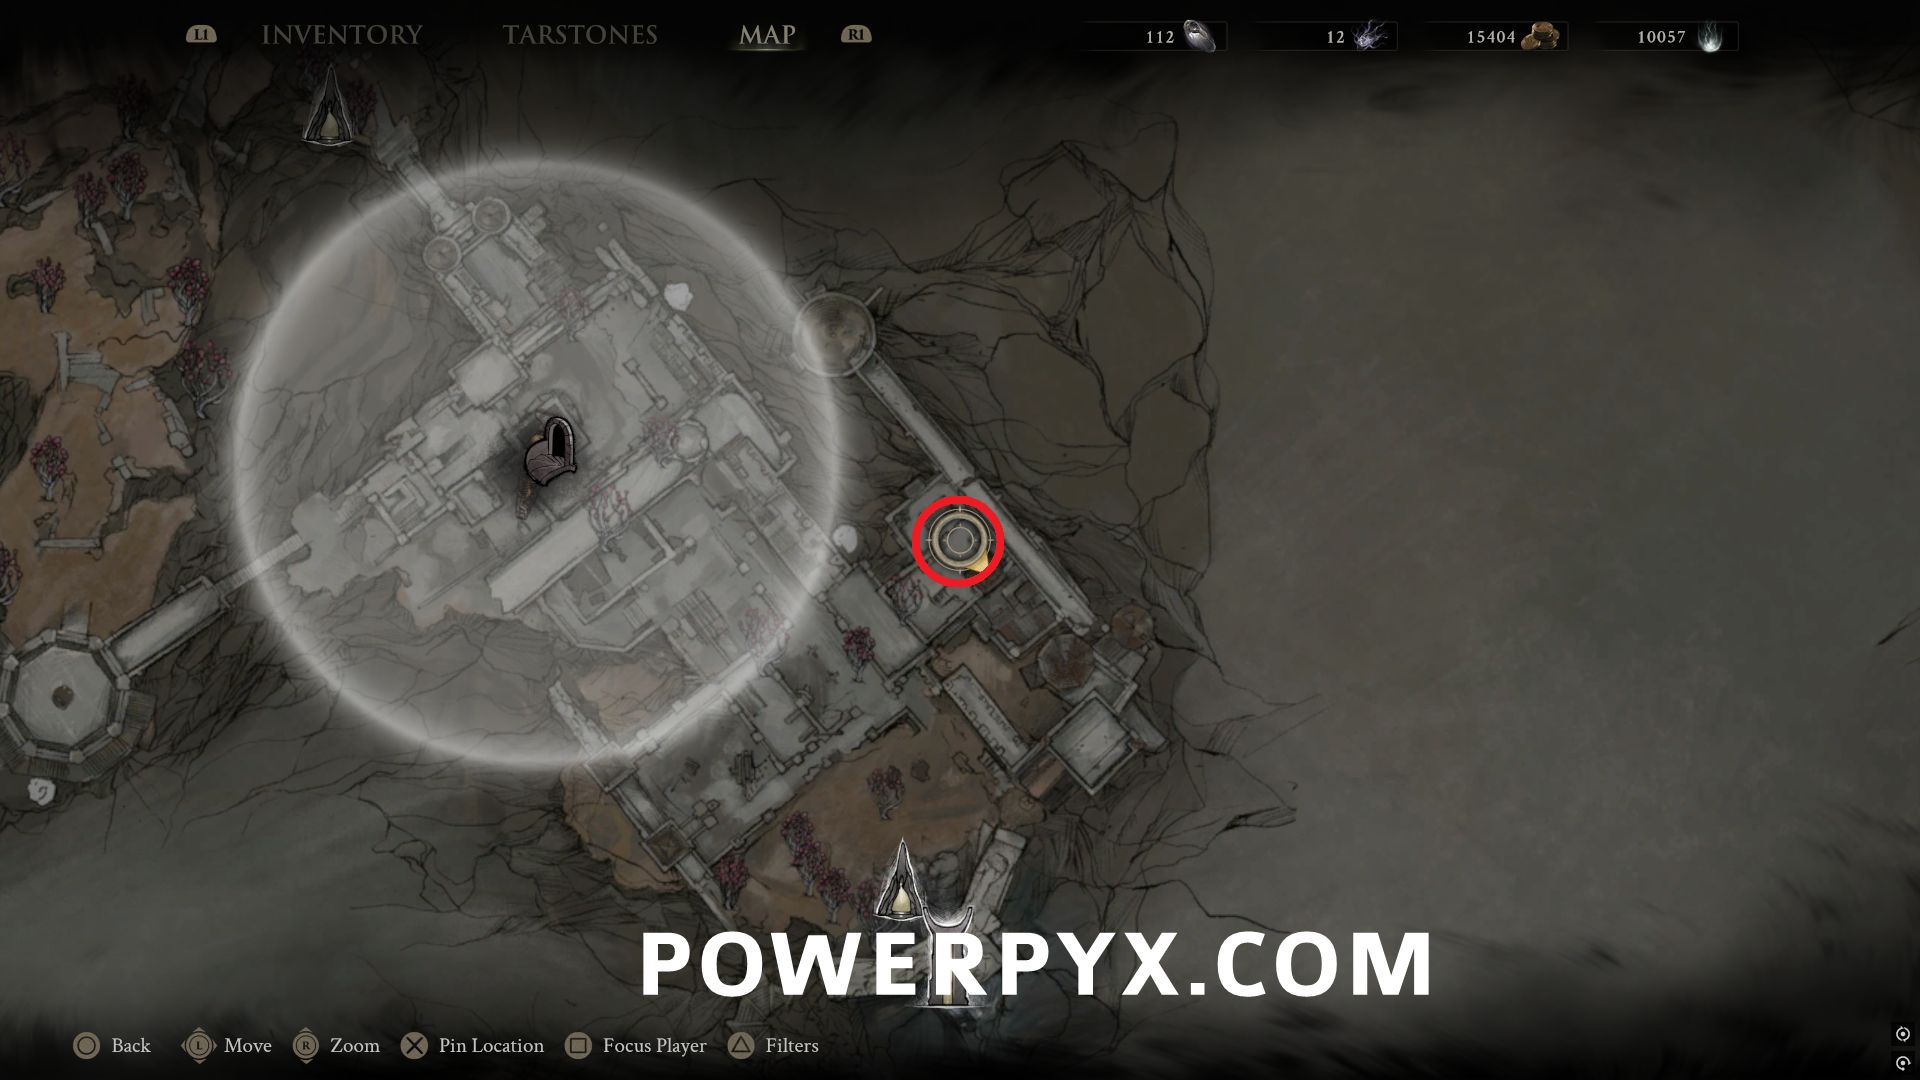
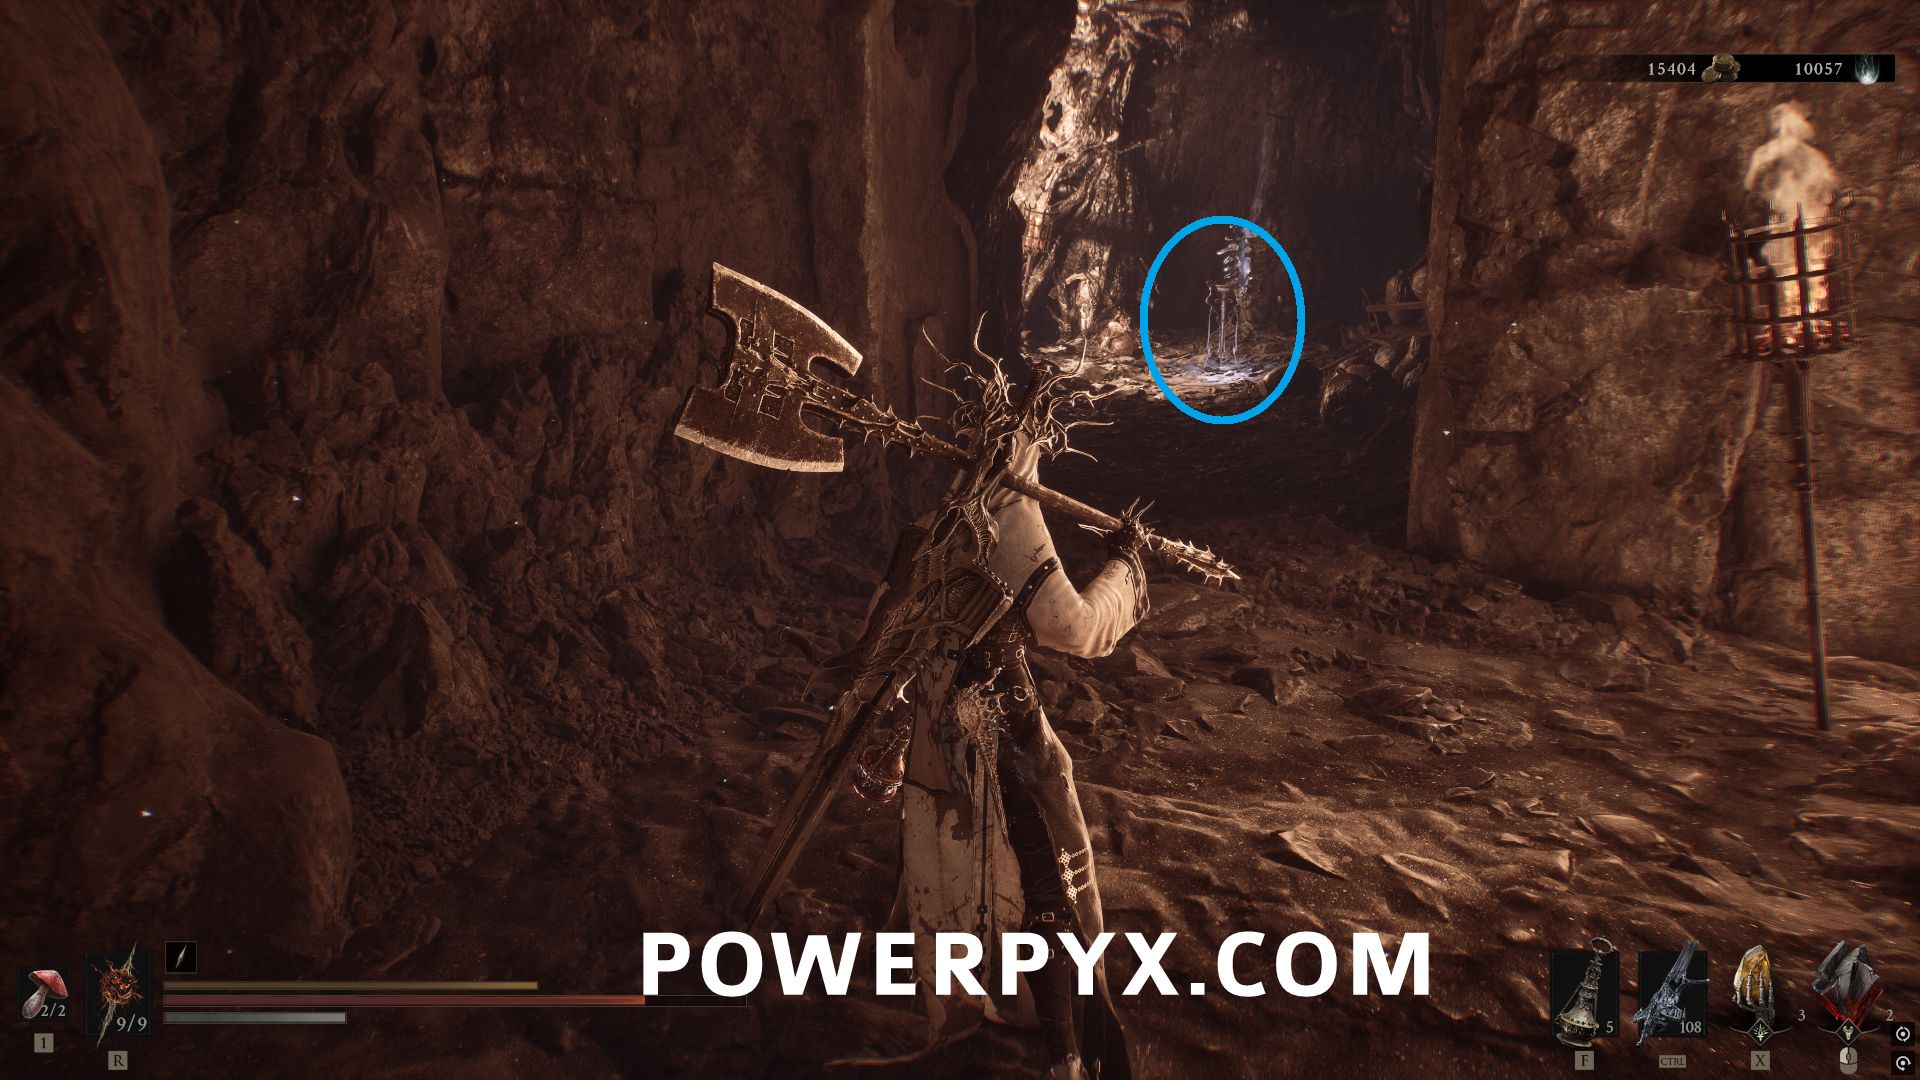
#16 – Revered Gland – From the Abbey Entrance Beacon, go south and enter the town area, then follow the path to the east which will lead to an area outside the castle wall. In the cave with the enemies destroy the three glowing tombstones to open the door at the back where you can pick up this upgrade.
Abandoned Outpost
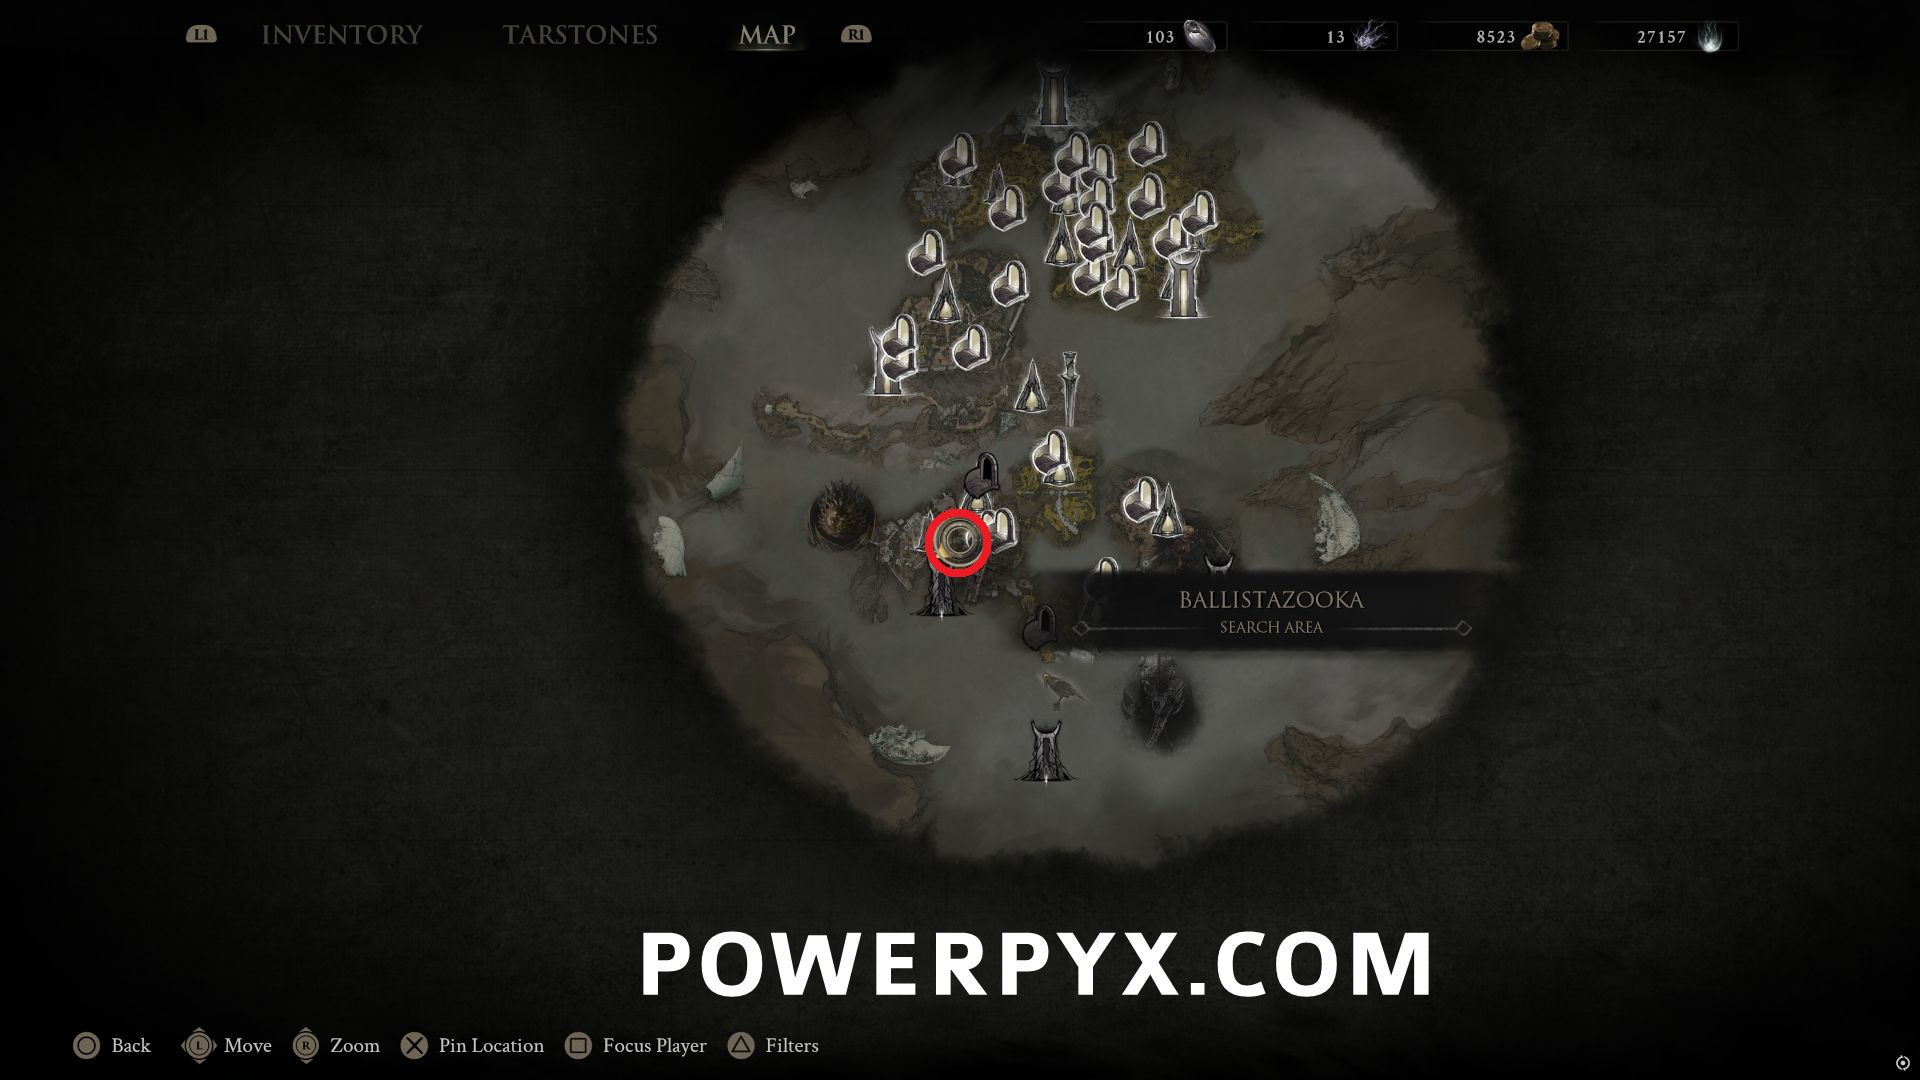
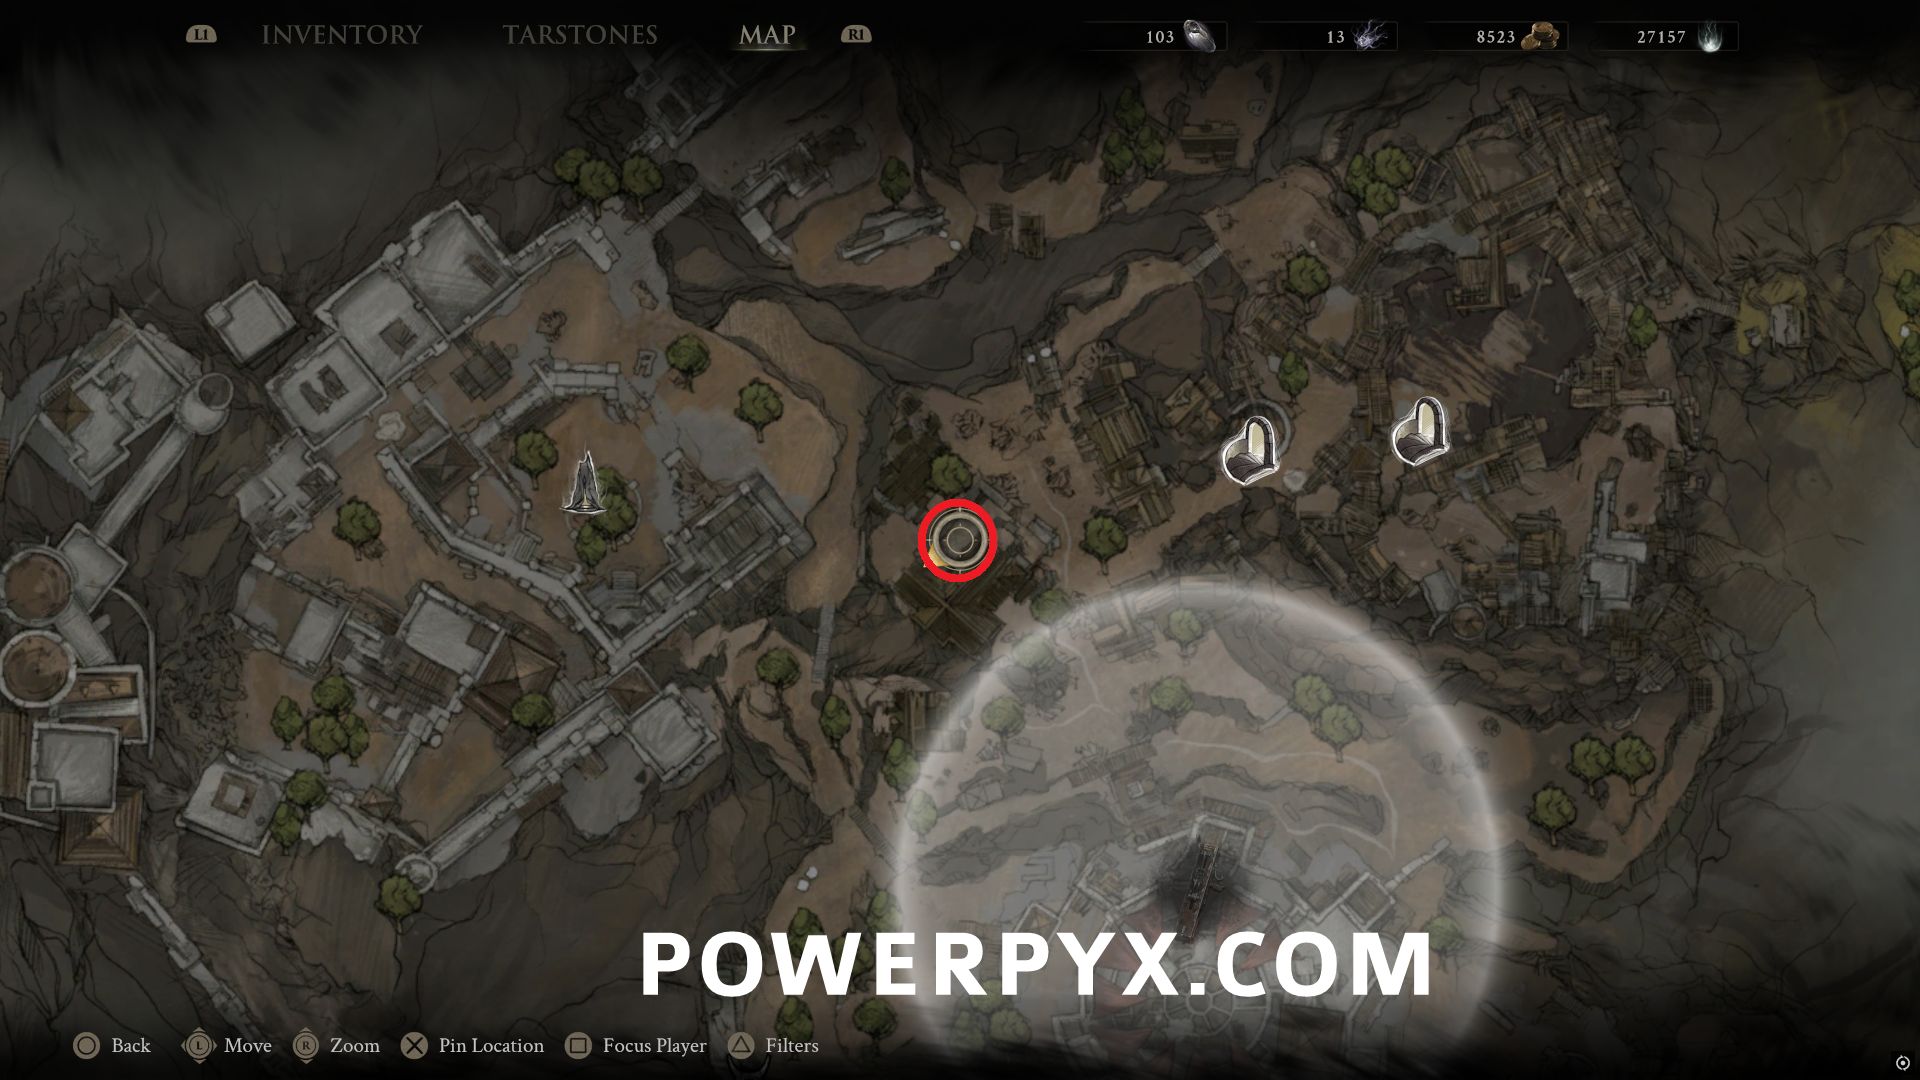
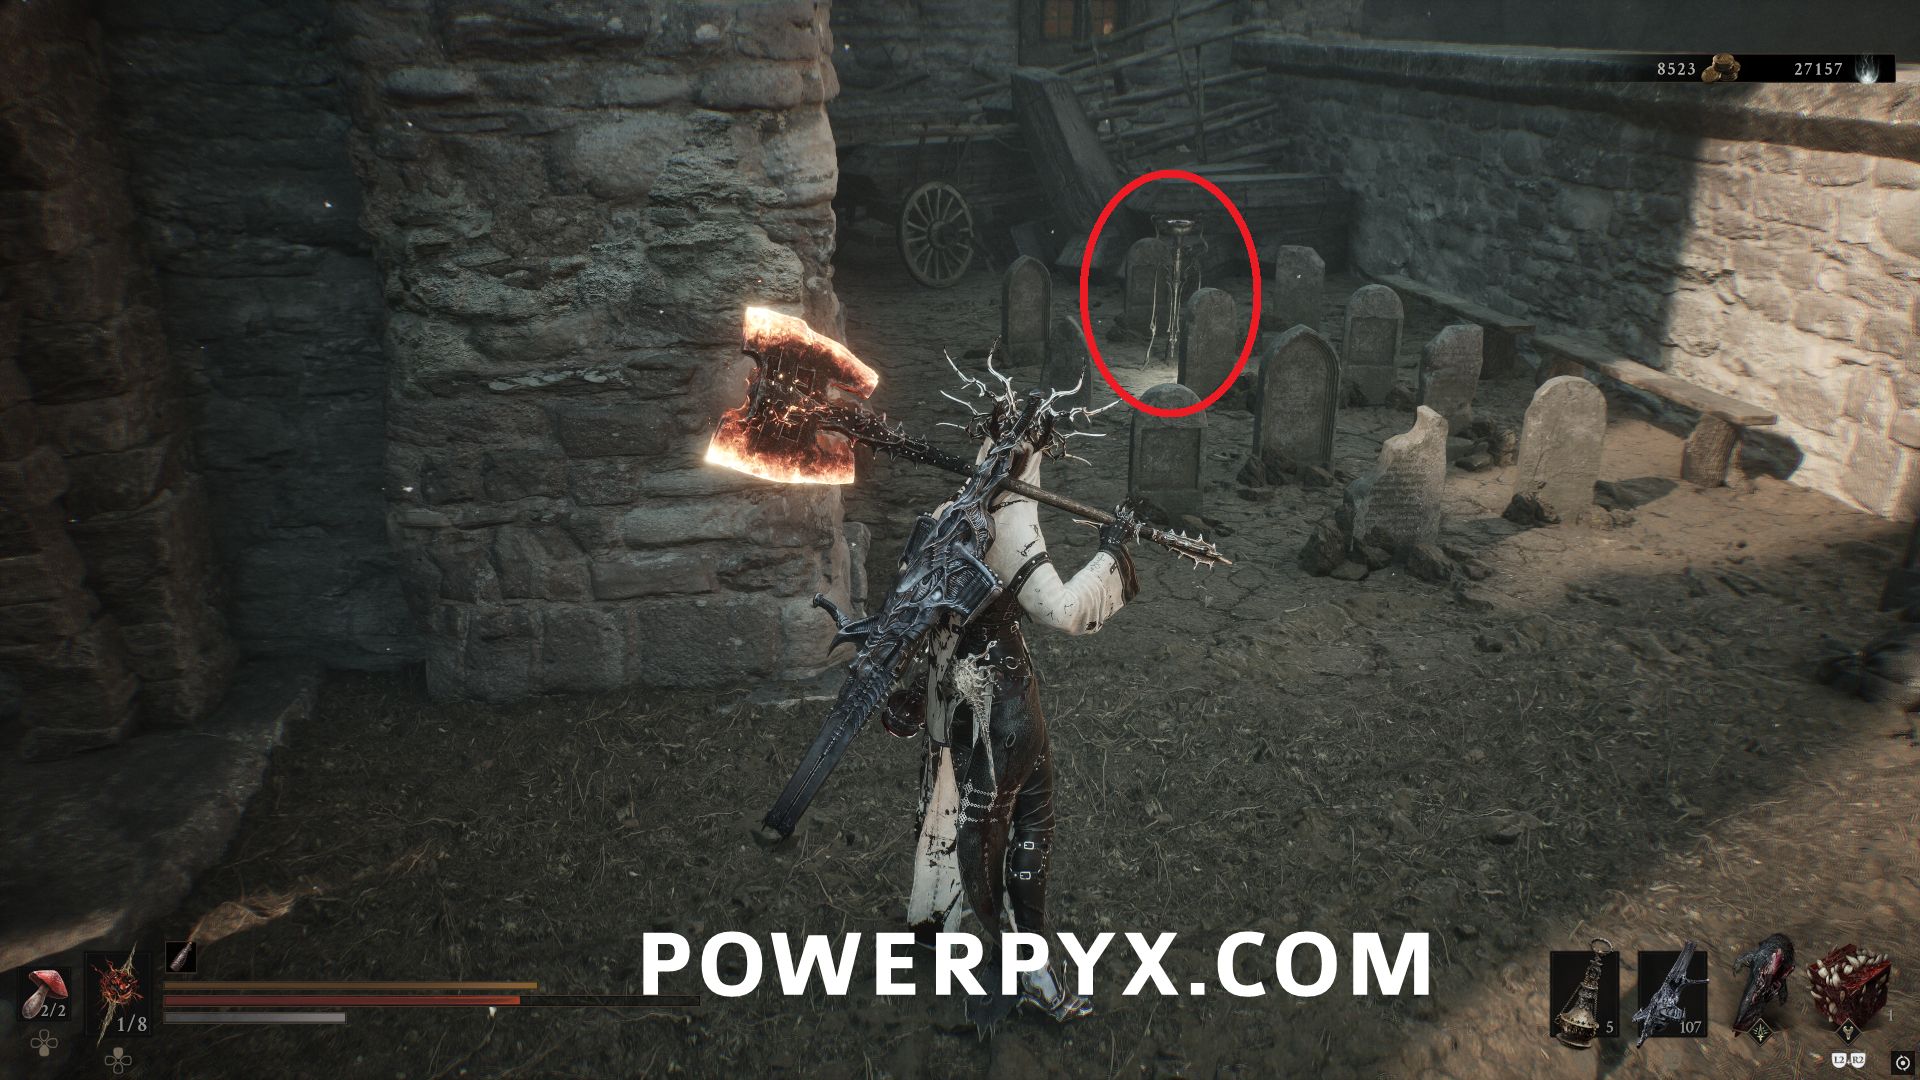
#17 – Synaptic Vessel – From Abandoned Outpost Beacon, follow the path southwest and use the jump pad to reach the Slums area. To the north side of the church building to the west you can find this pickup in between a group of tombstones.
High Lord’s Courtyard
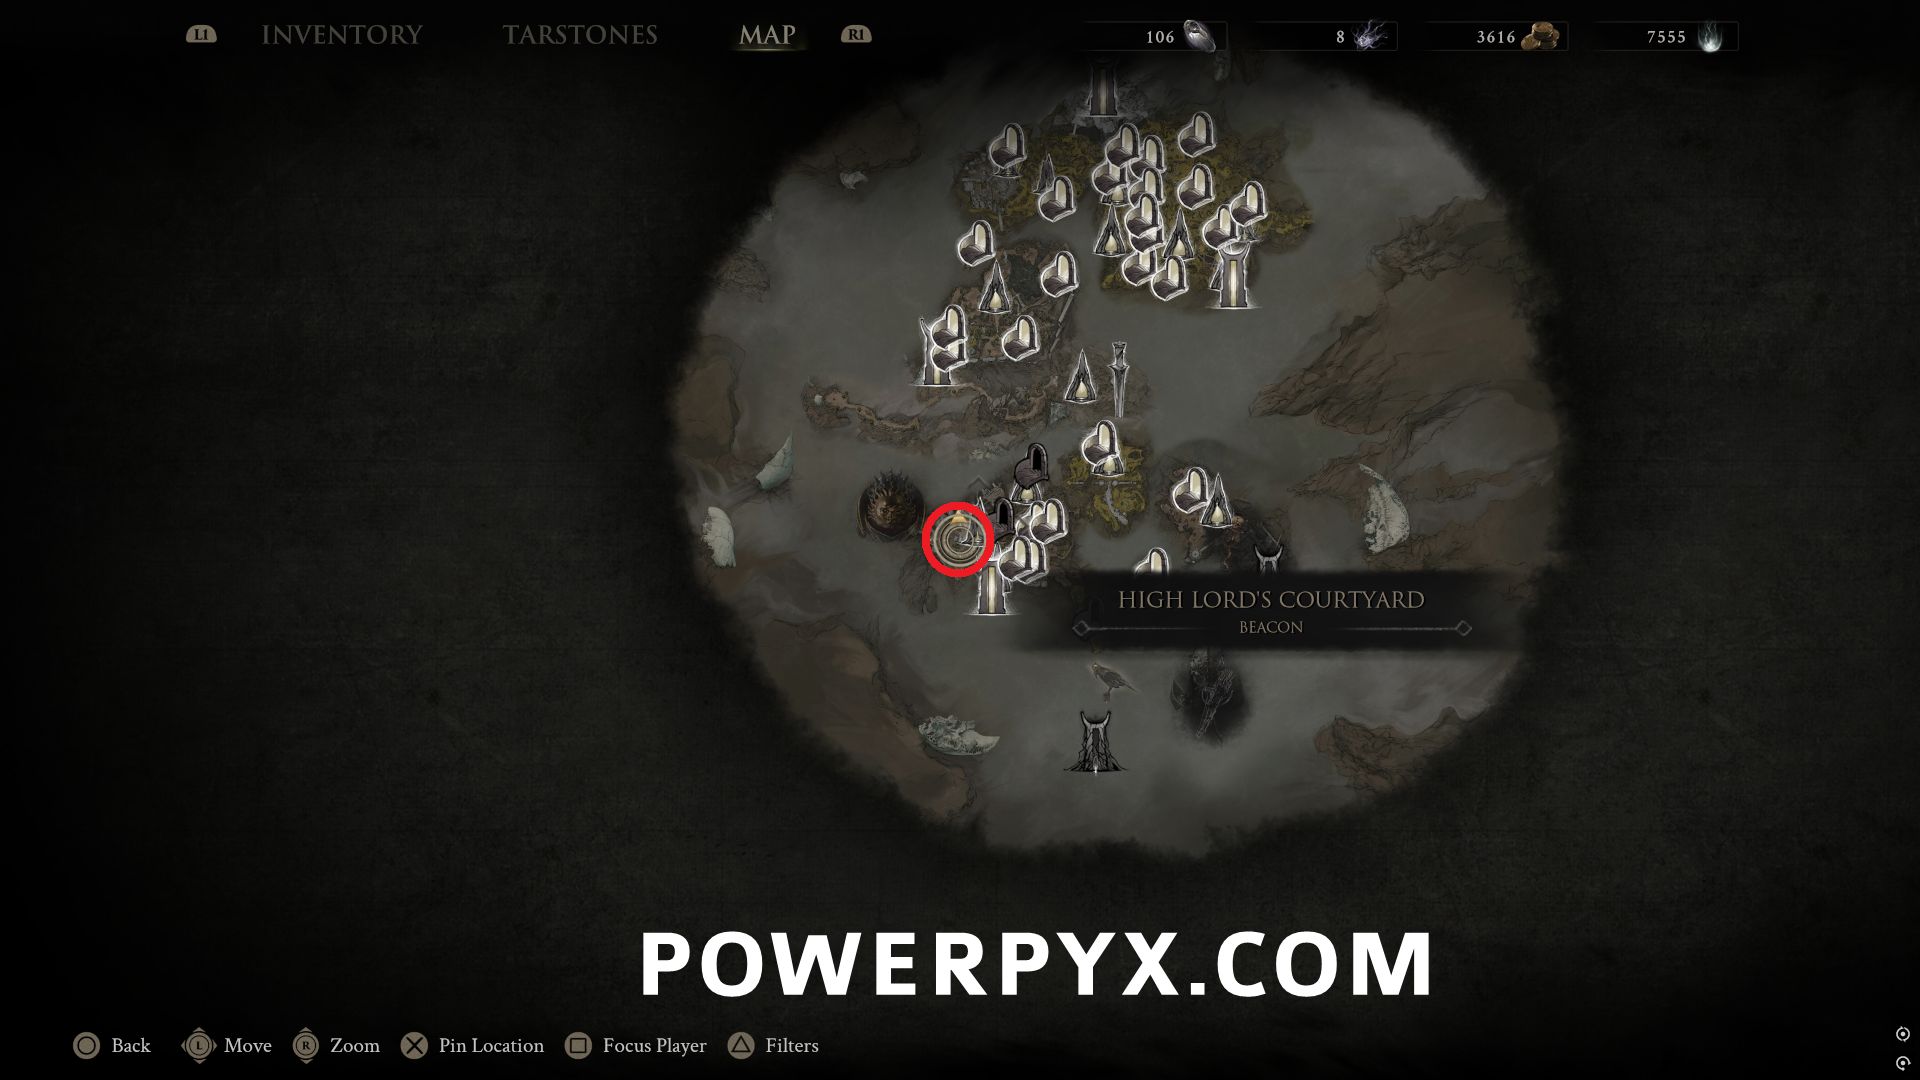
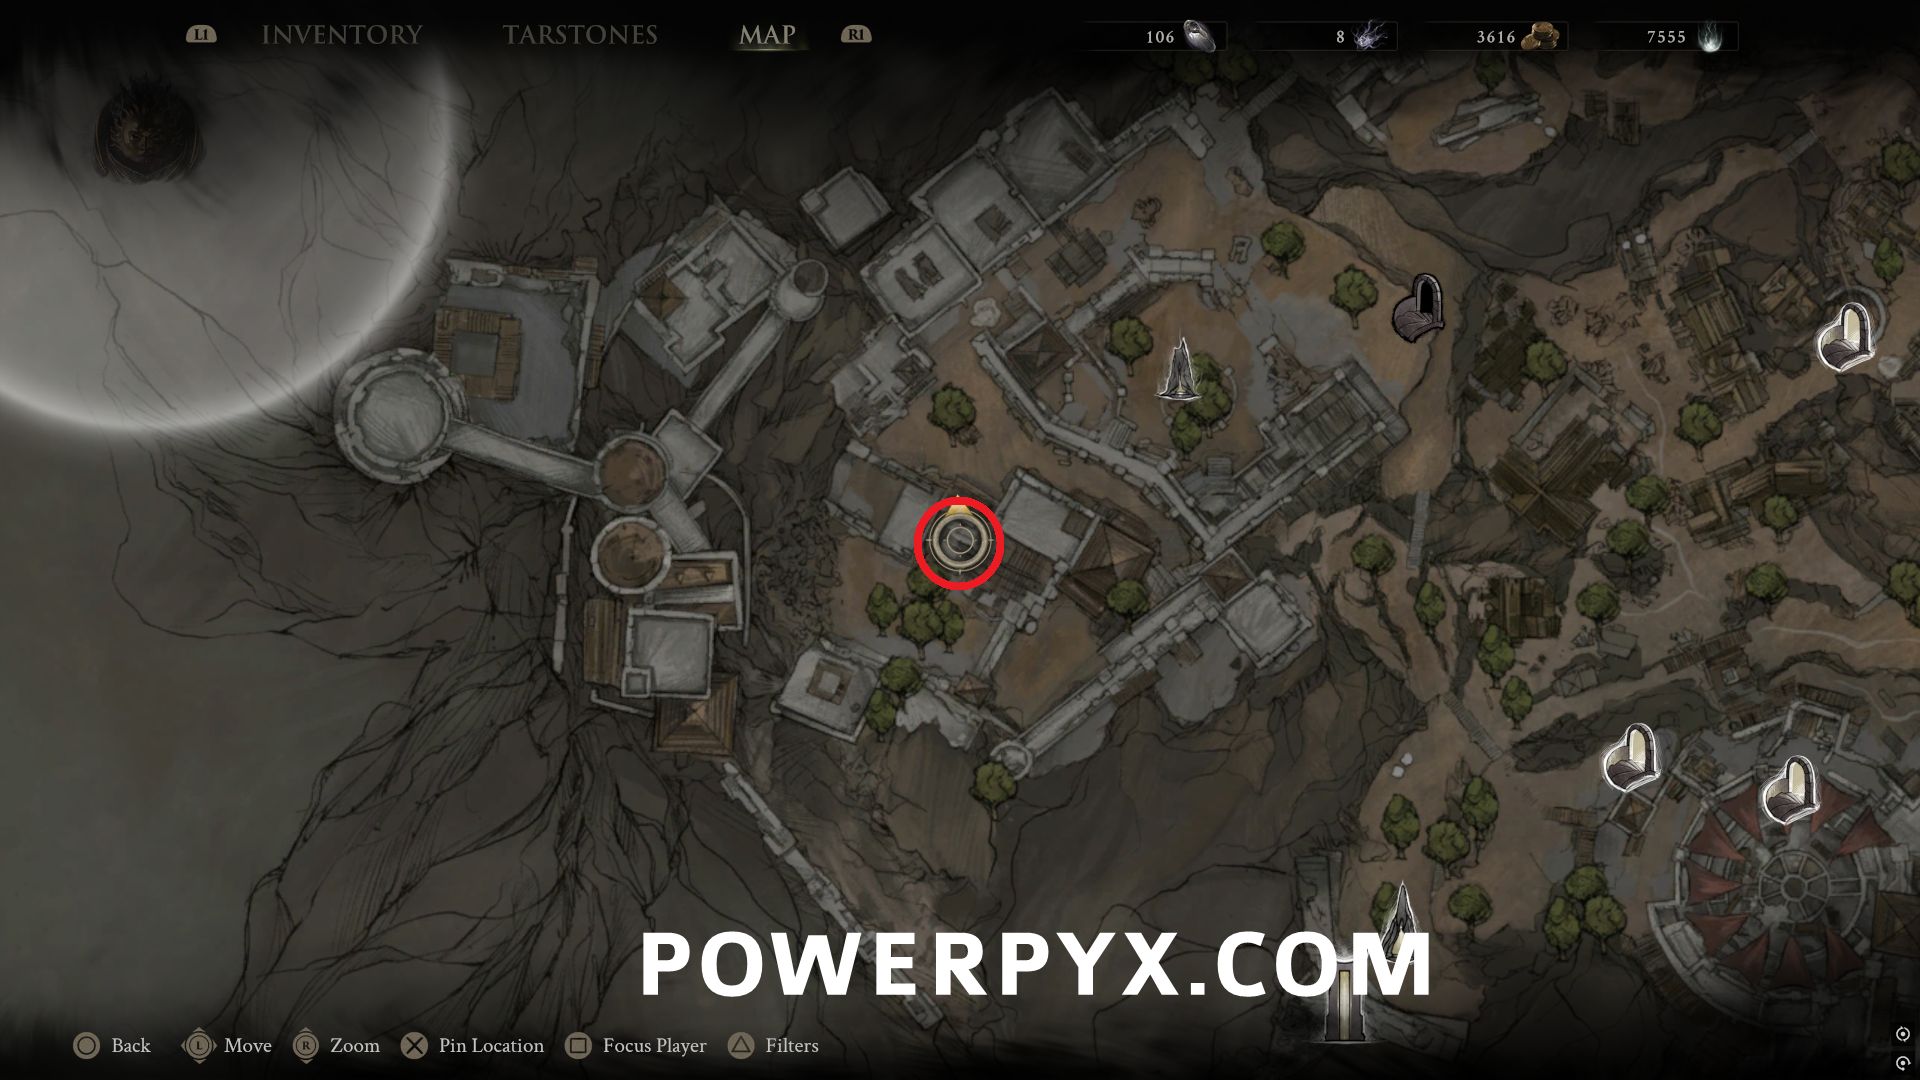
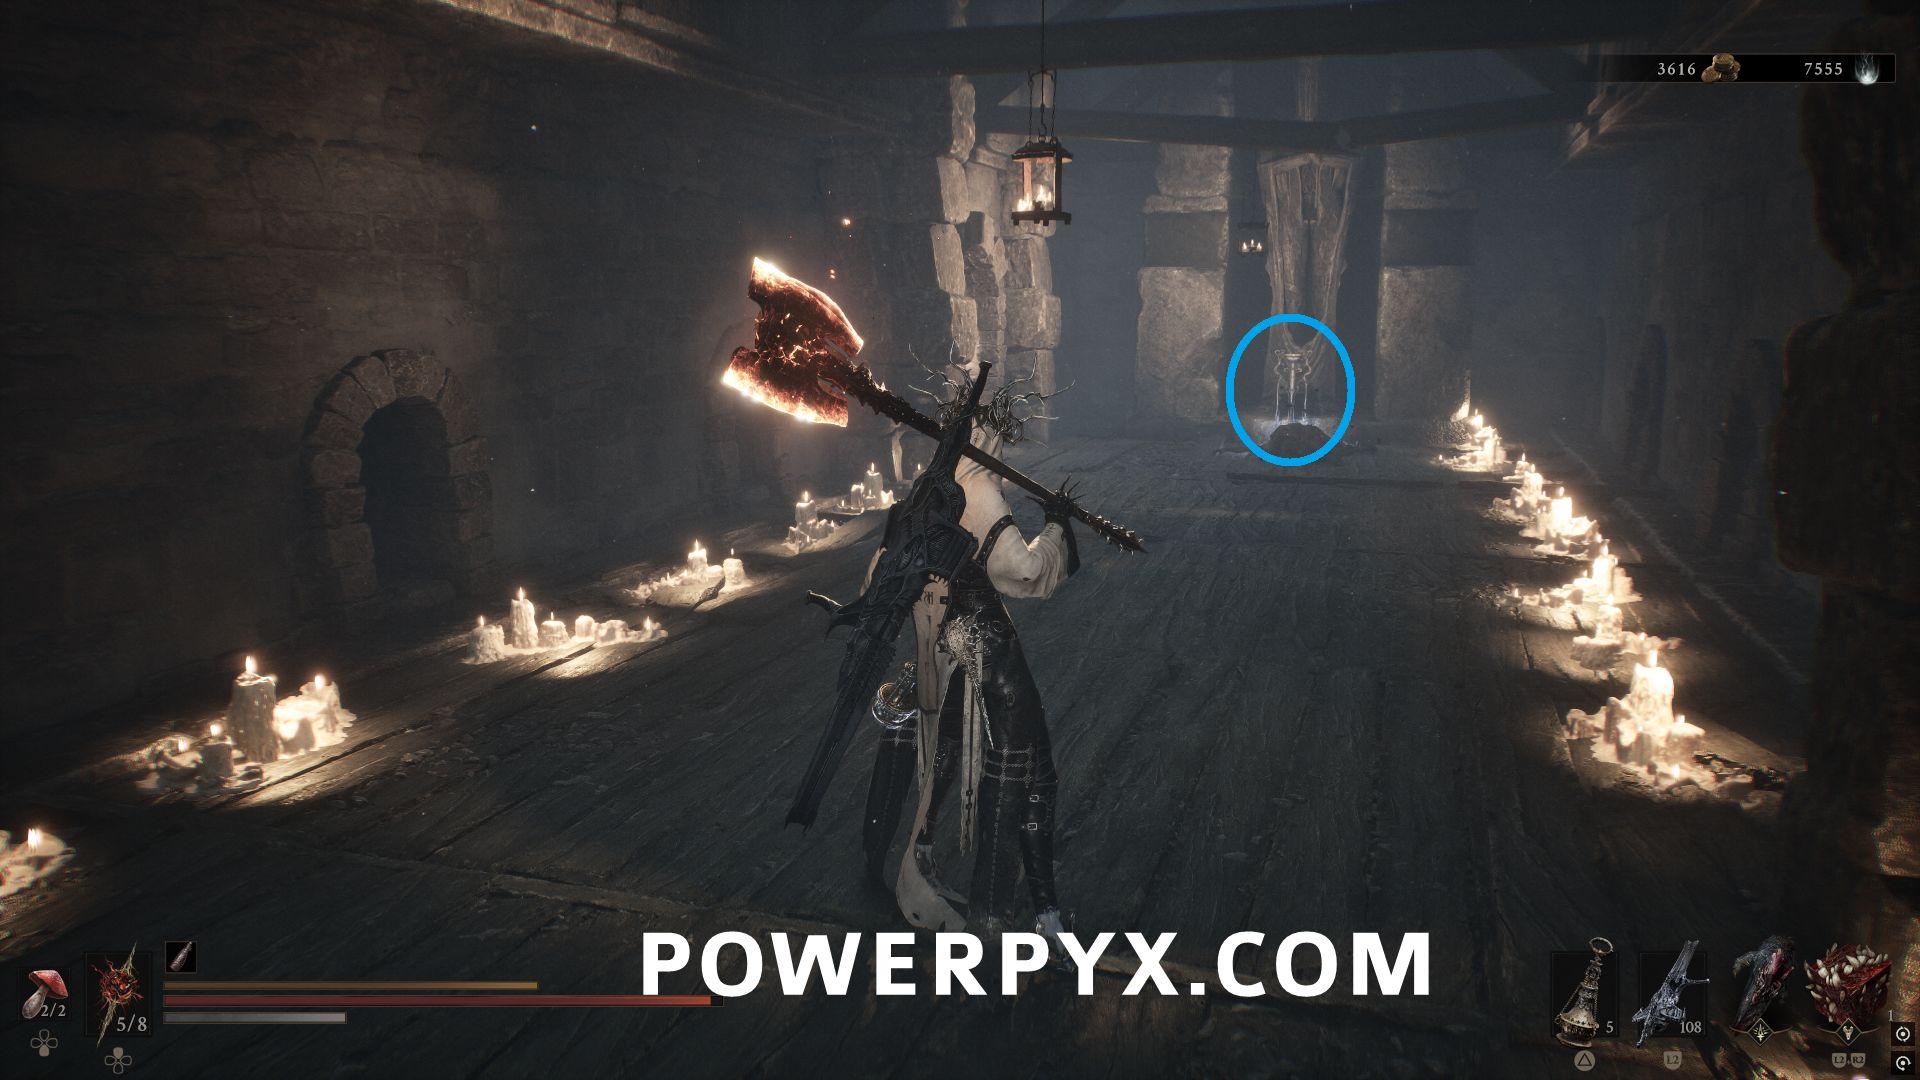
#18 – Revered Gland – From High Lords Courtyard Beacon, follow the area counterclockwise around the outer courtyard area. Once you reach the southern side you can enter the central long building where this is in front of a statue.
Glutted Mire
Seeping Mire
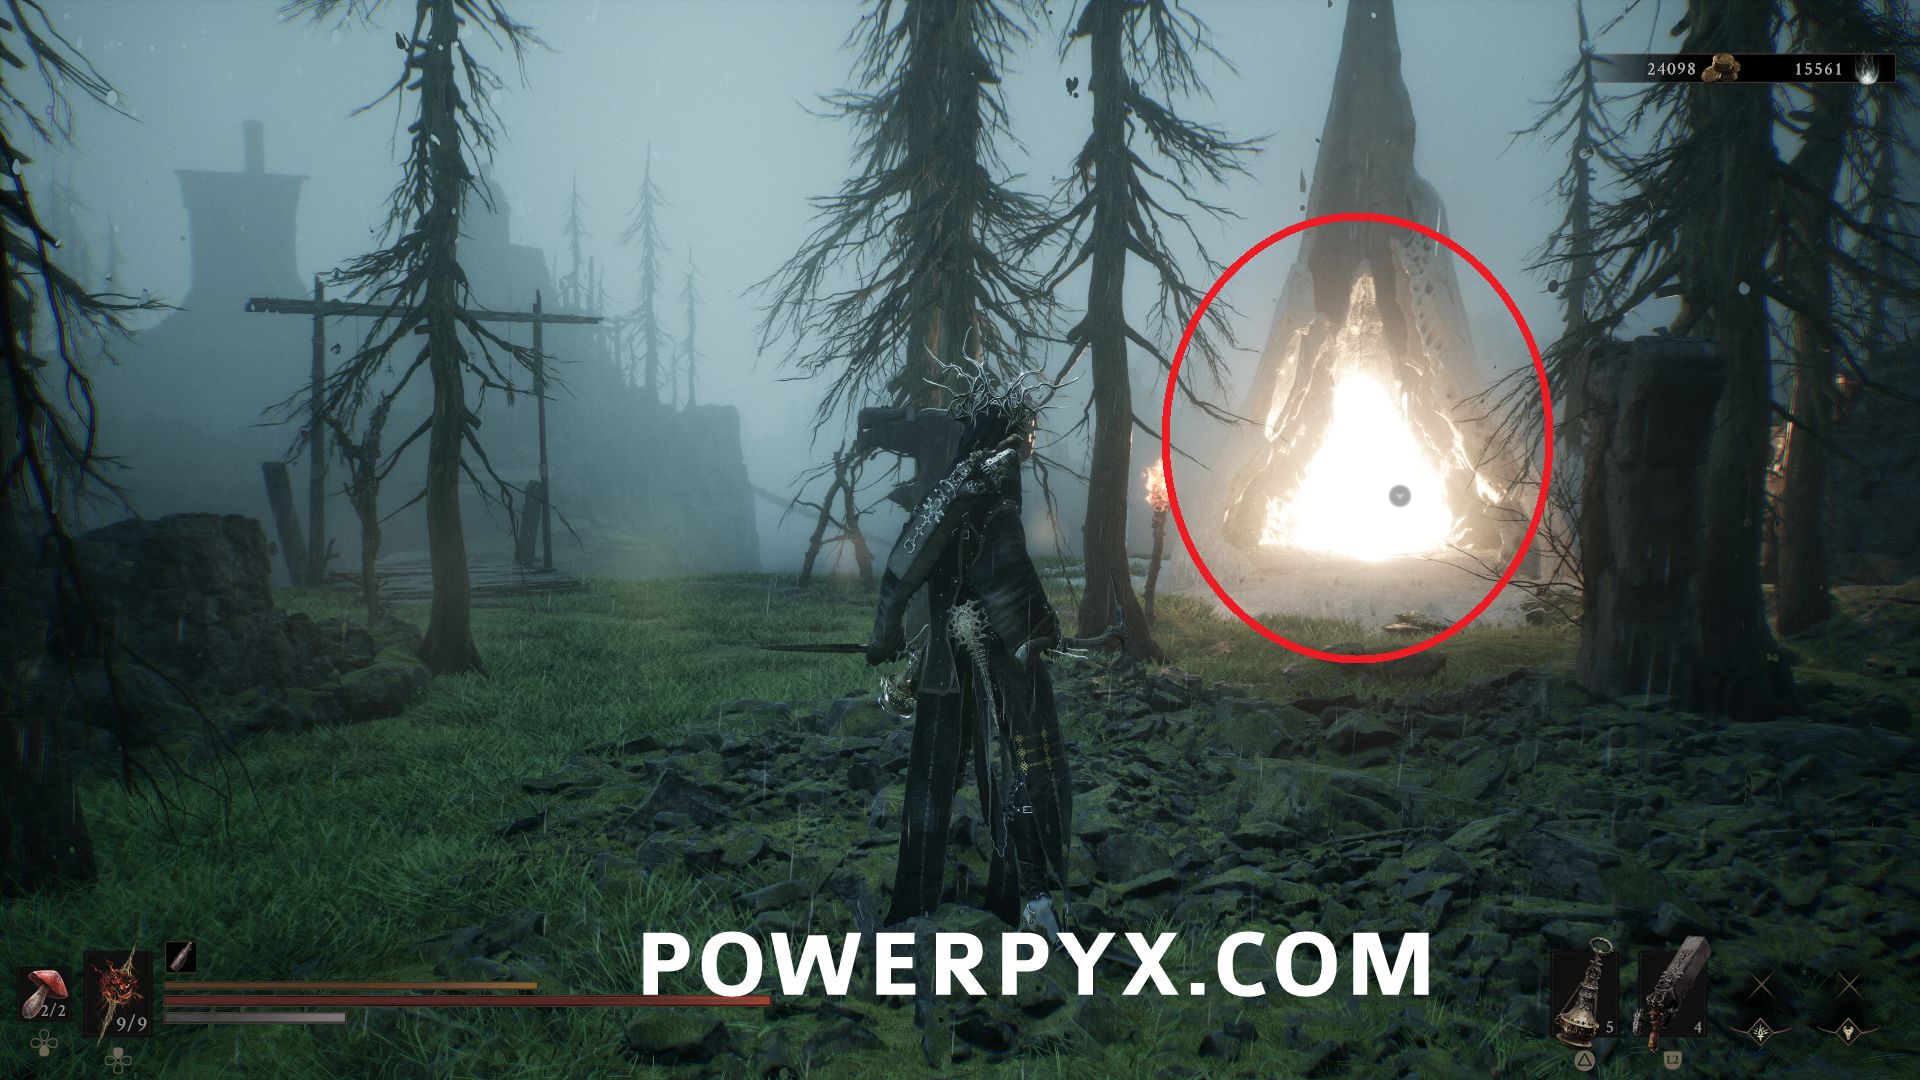
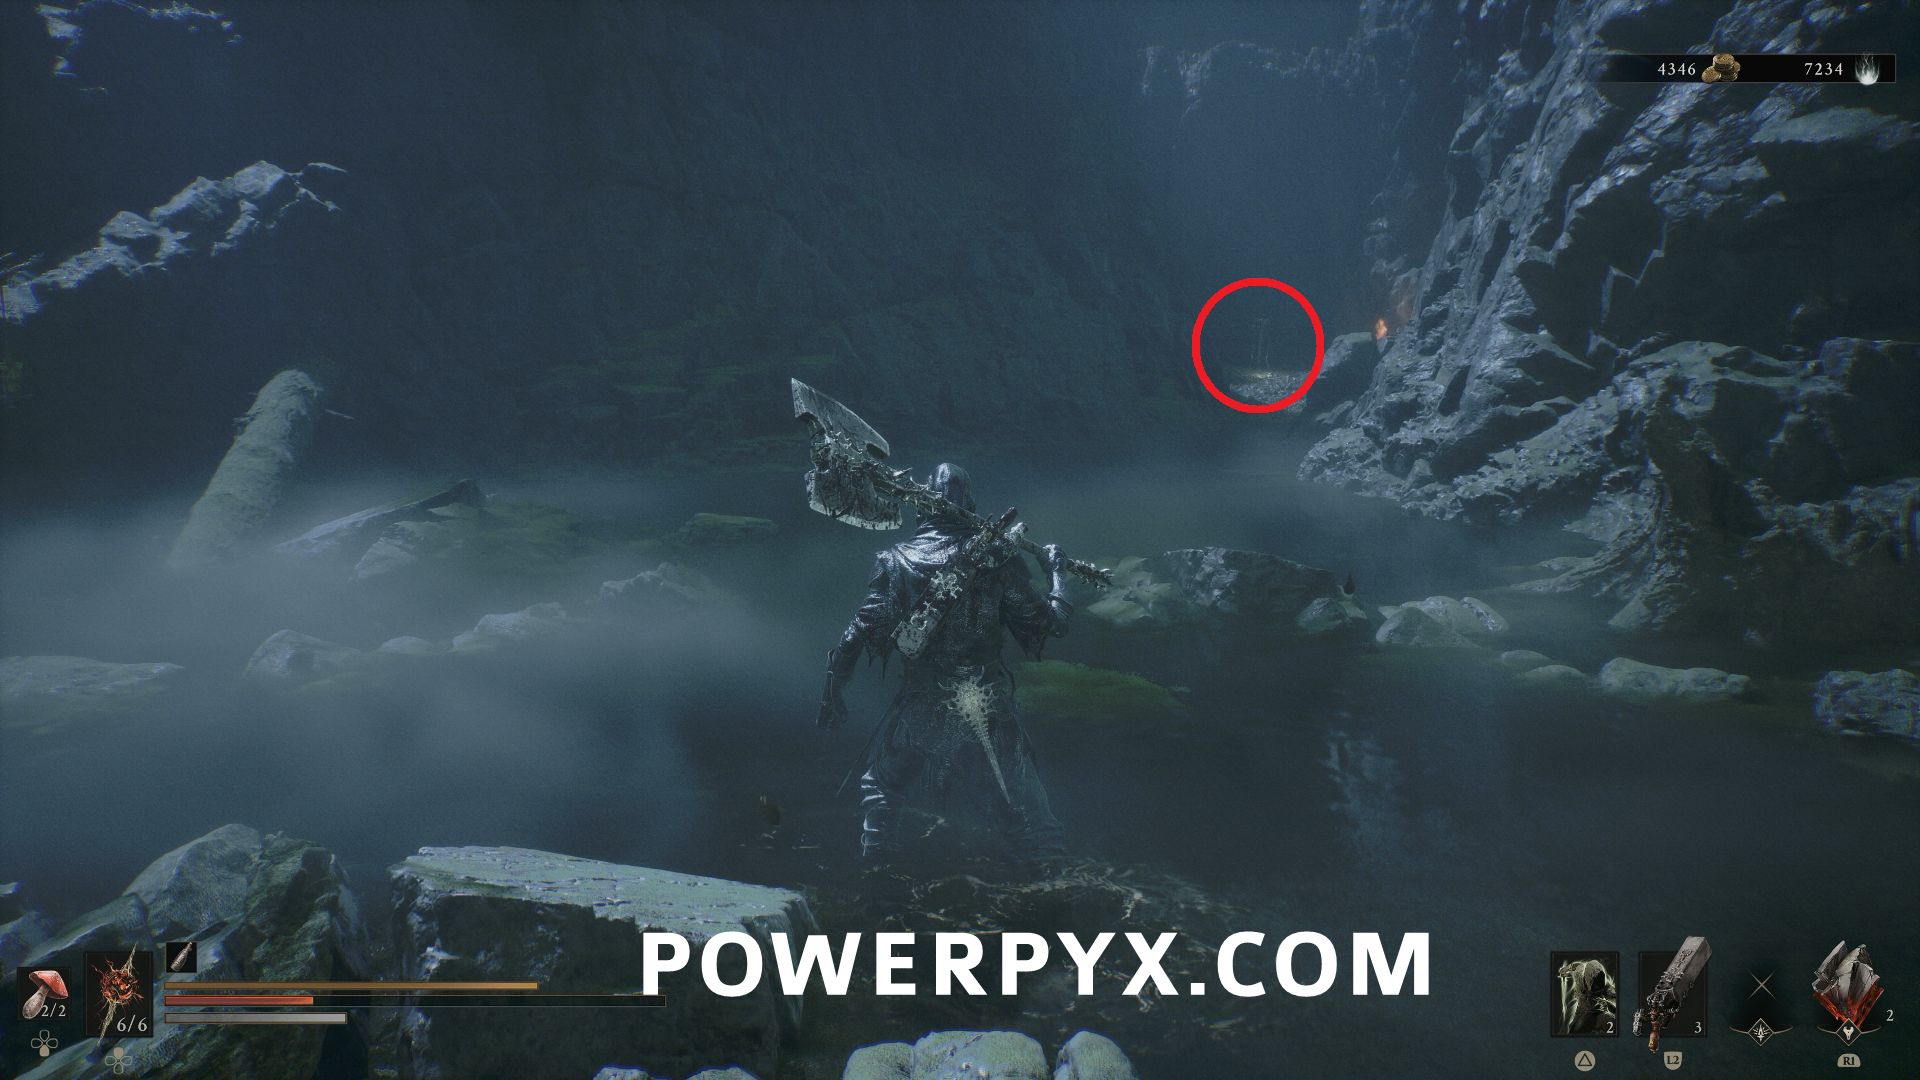
#19 – Synaptic Vessel – Inside the Seeping Mire Beacon, after cleansing the Ova, go to the right side of the boss area where there is a small path with this pickup at the end.
Sunken Village
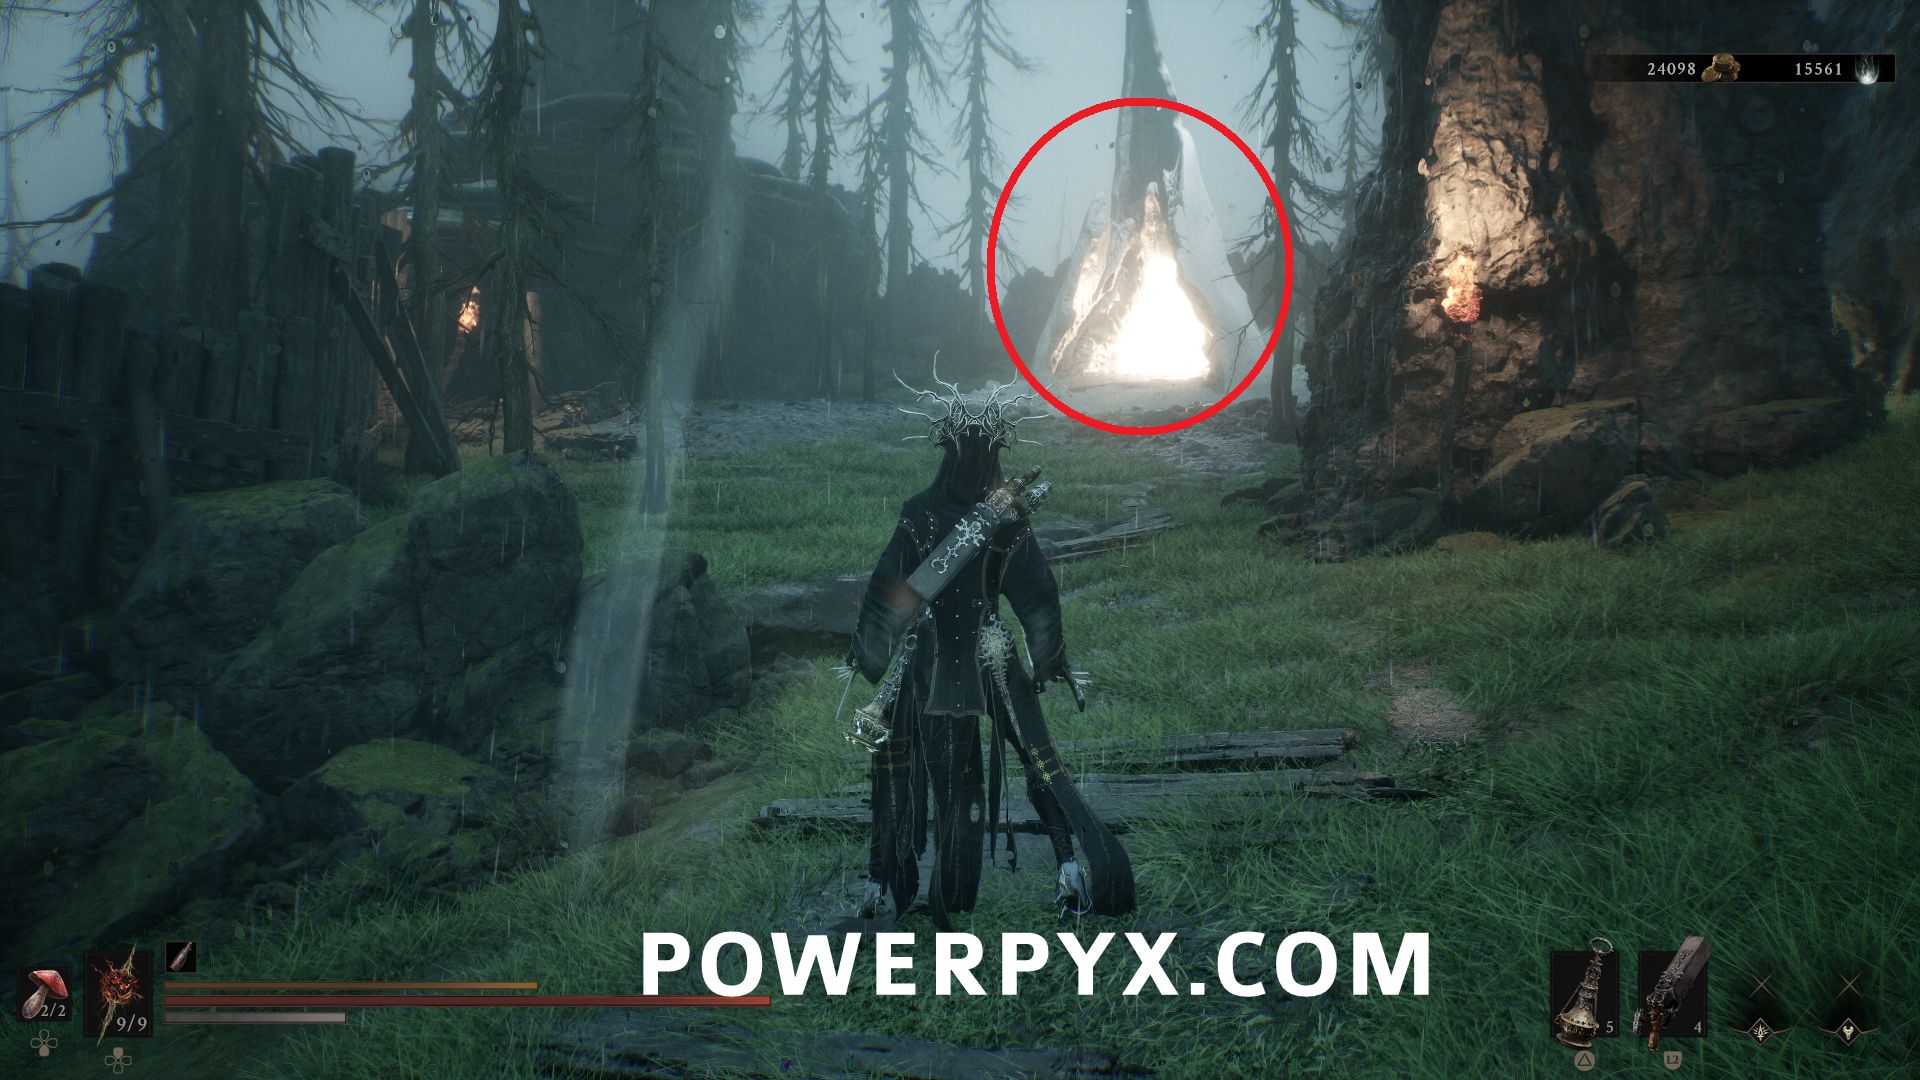
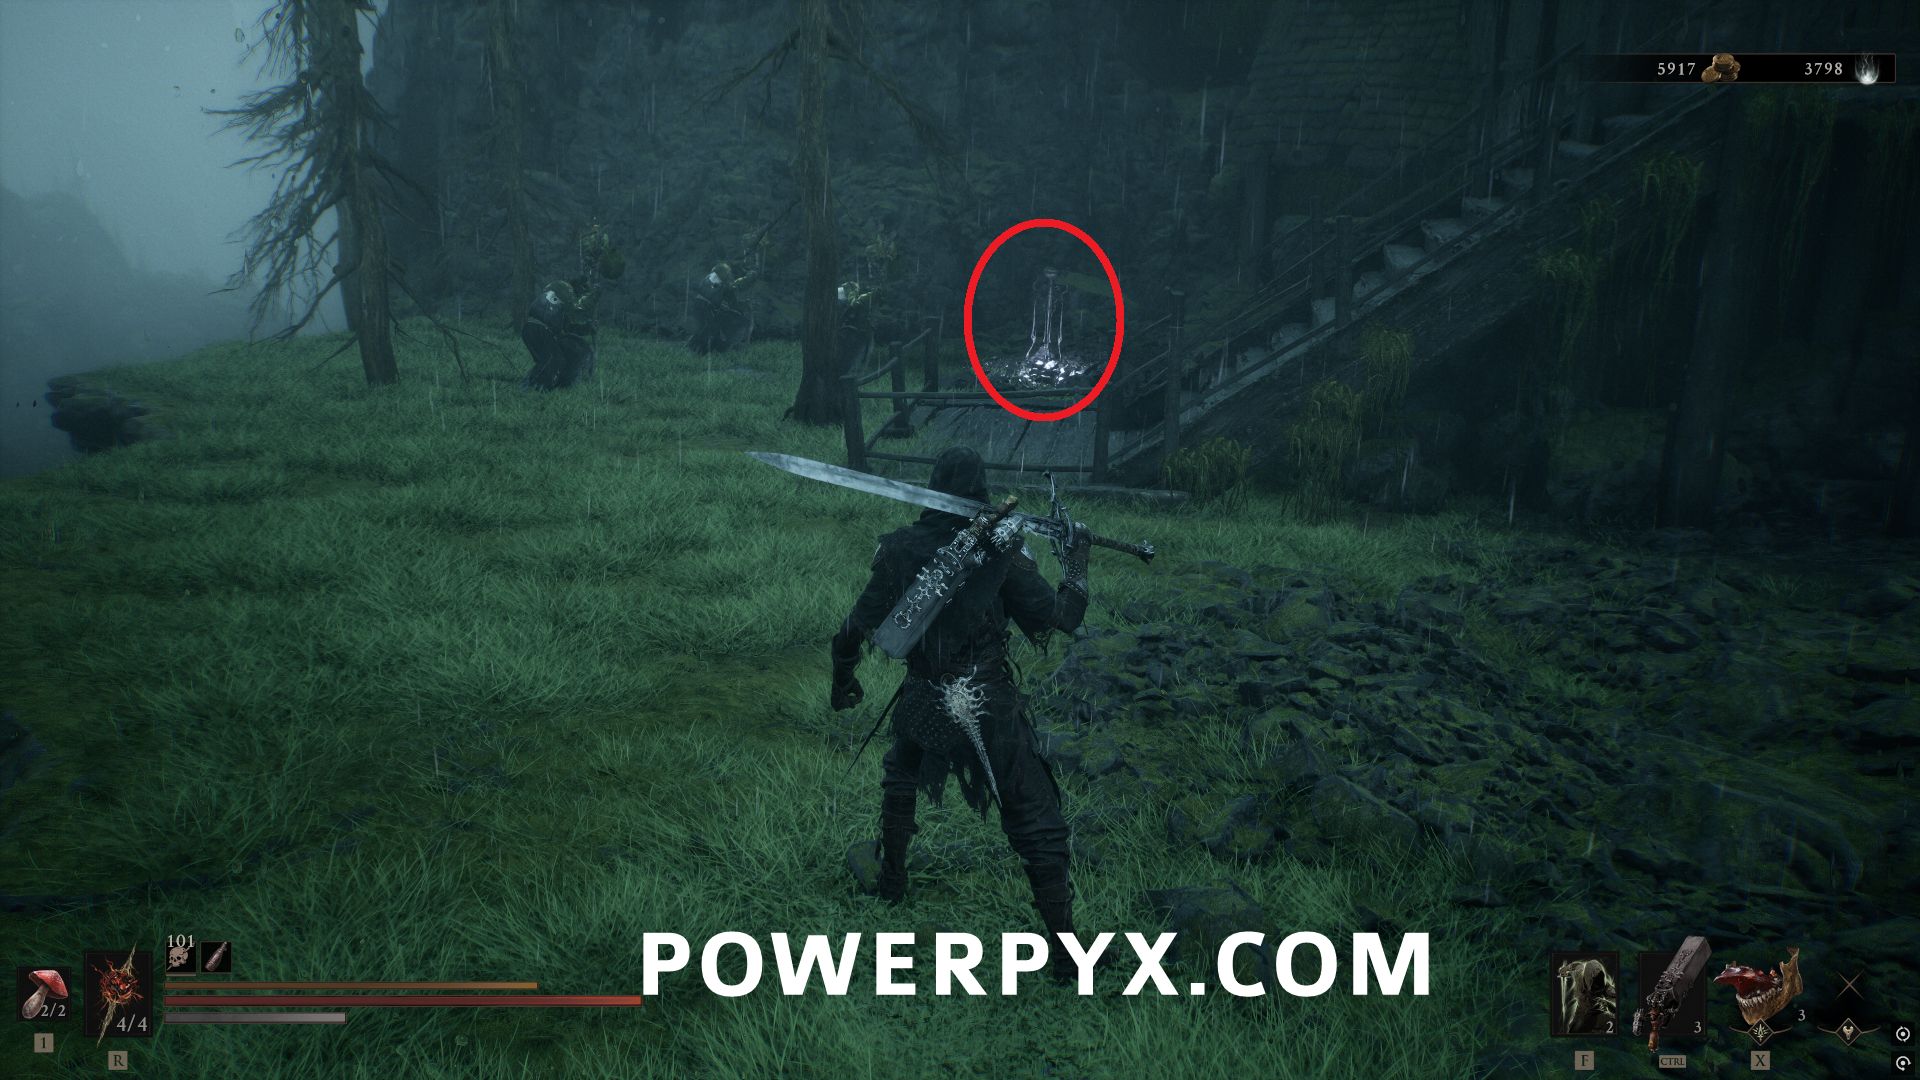
#20 – Revered Gland – After cleansing Sunken Village Beacon, turn around and walk back down the hill where the three enemies are standing in front of the container with the upgrade item, which you can now access after cleansing the beacon.
Prisoners’ Domain
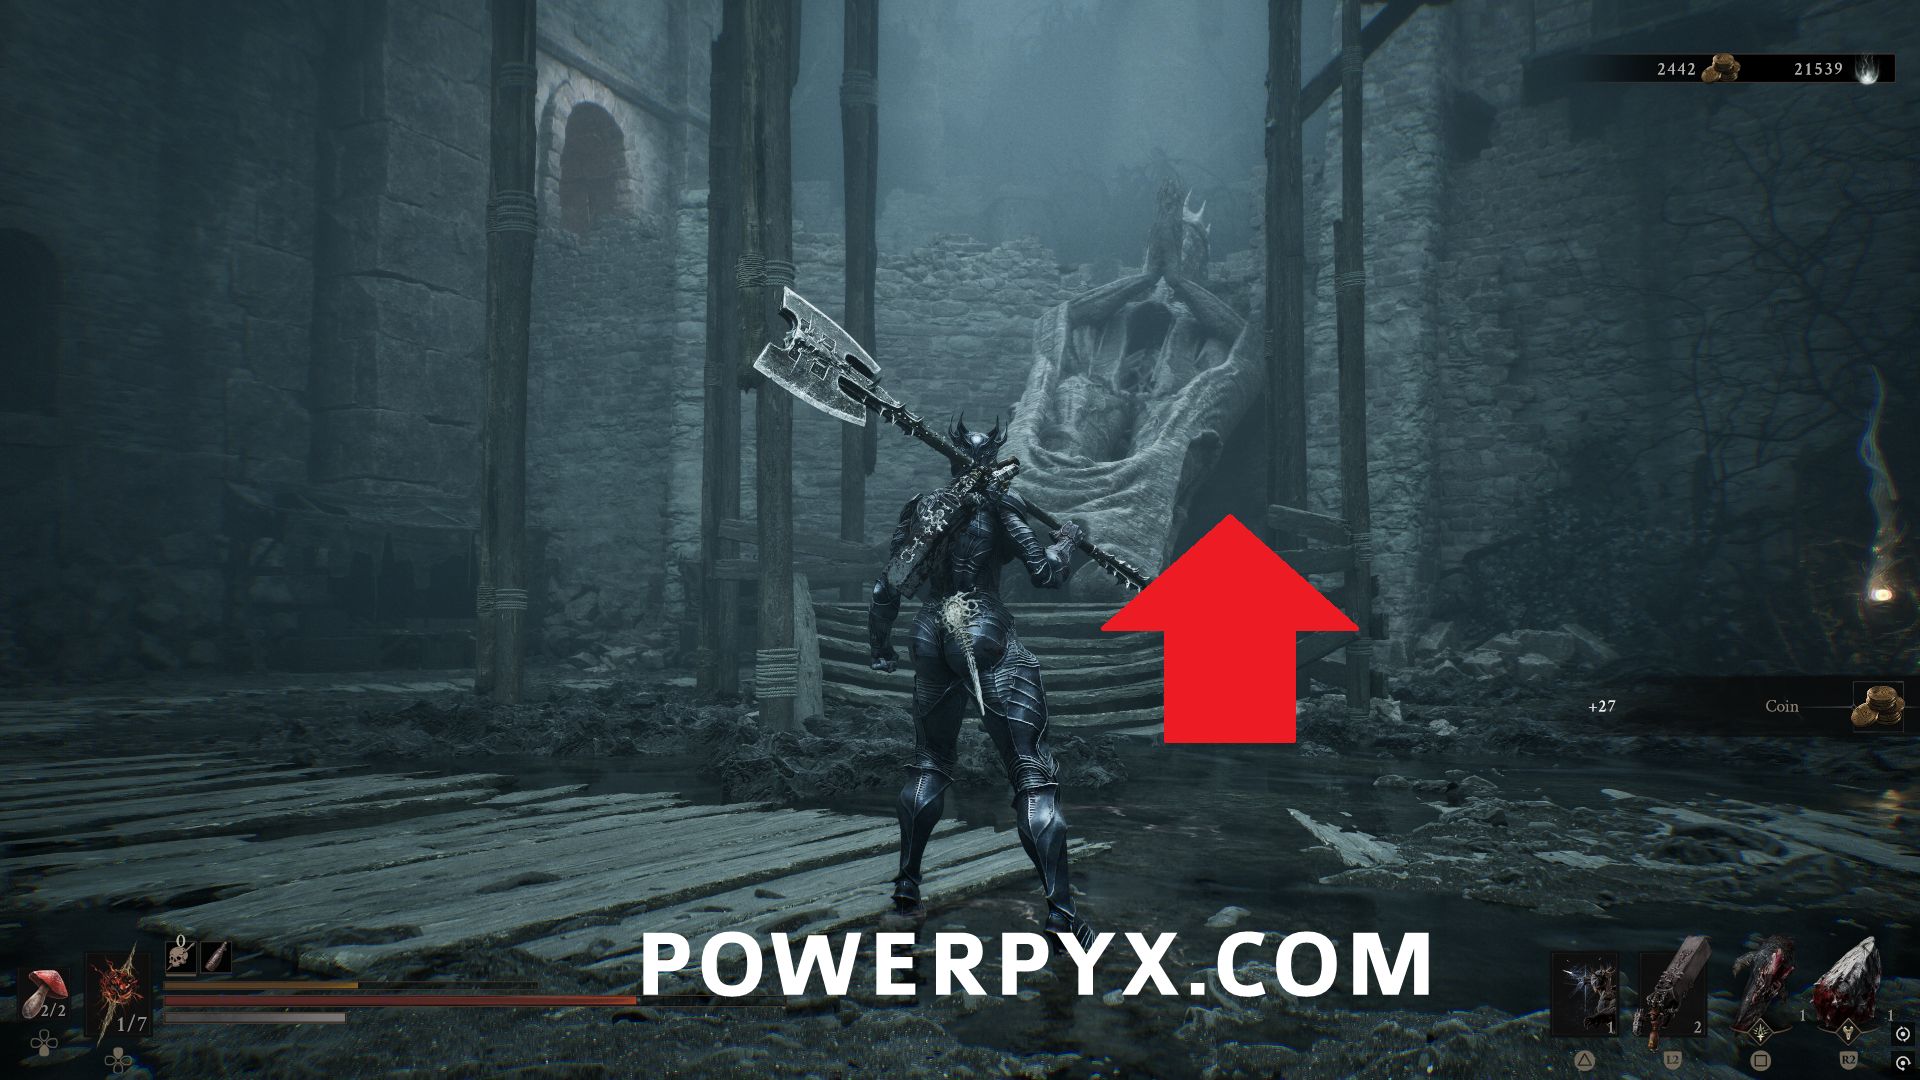
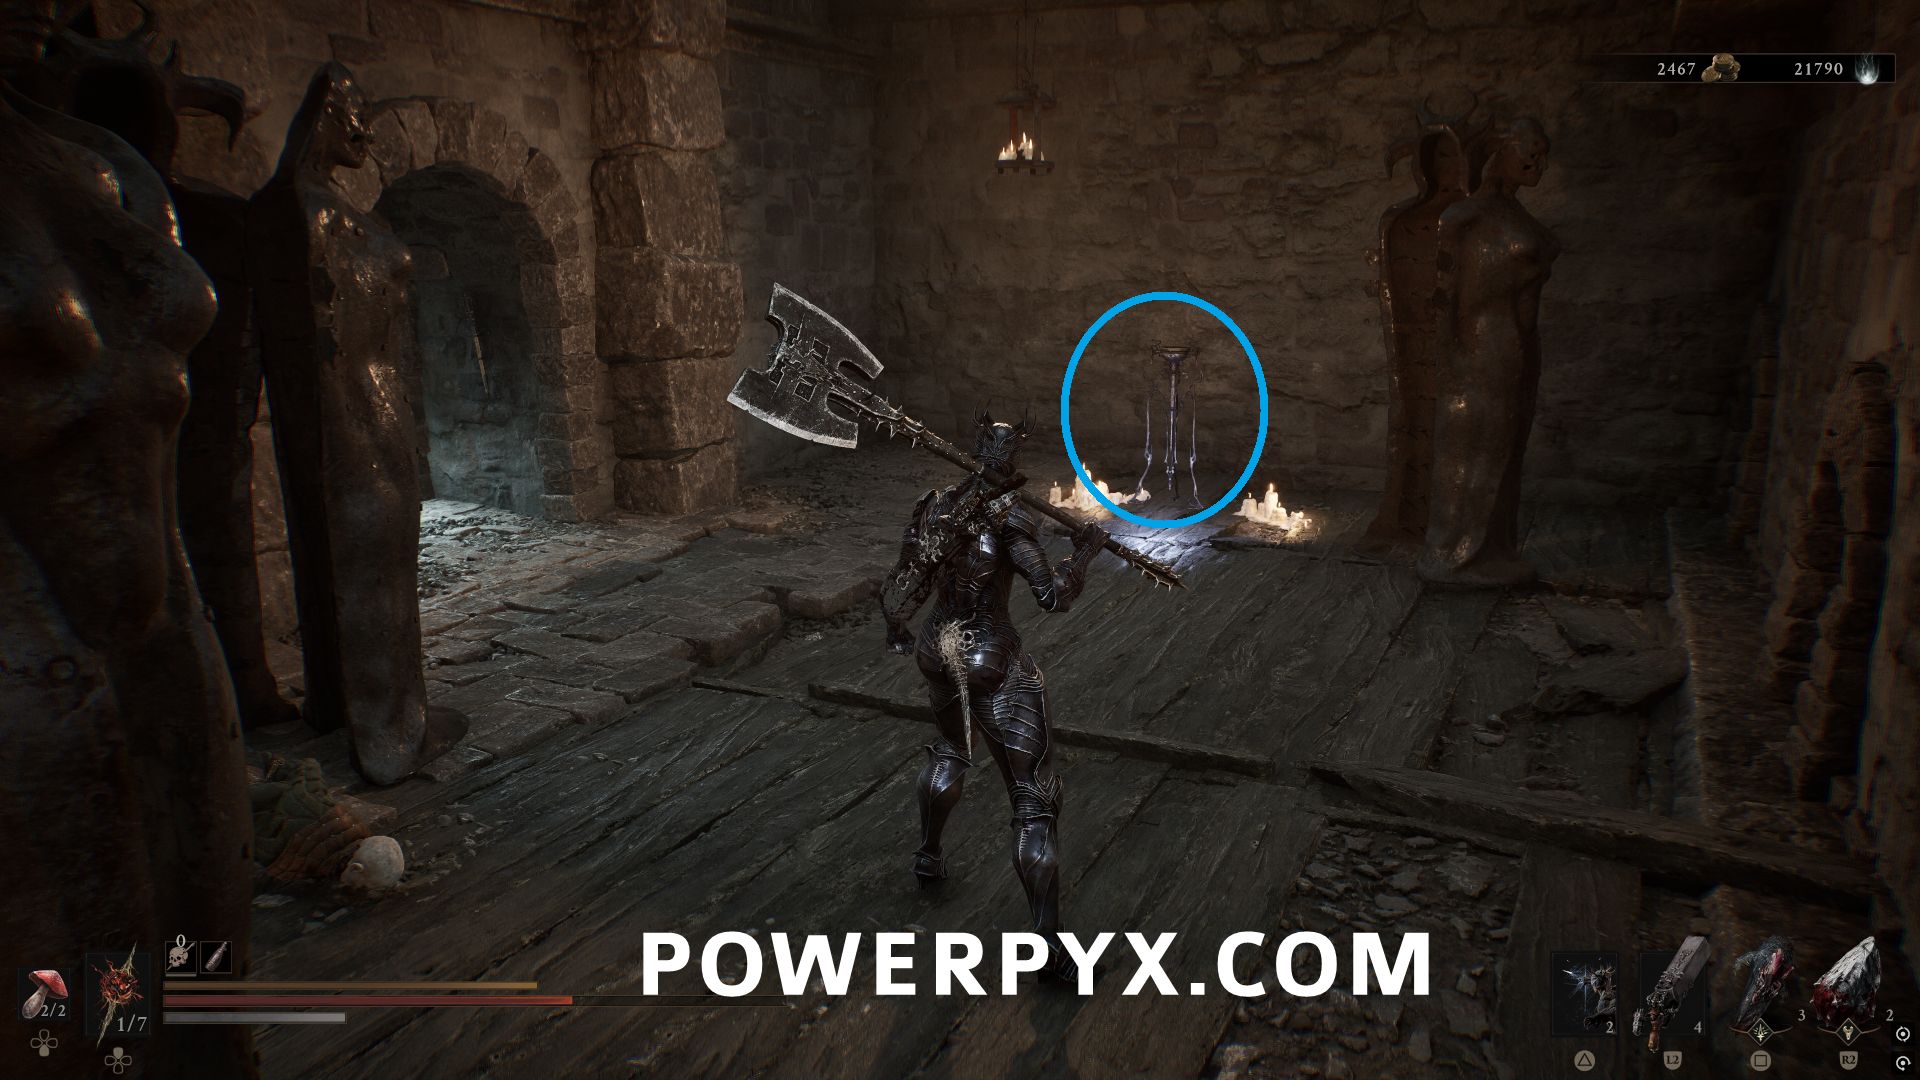
#21 – Revered Gland – From the start of the area, follow the main path until you reach the dead end area with the giant statue. Blow up the pots near the statue to cause it to fall over, allowing you to reach the upper area. In the next room past all of the iron maidens you can find this pickup.
Sanguine Caverns
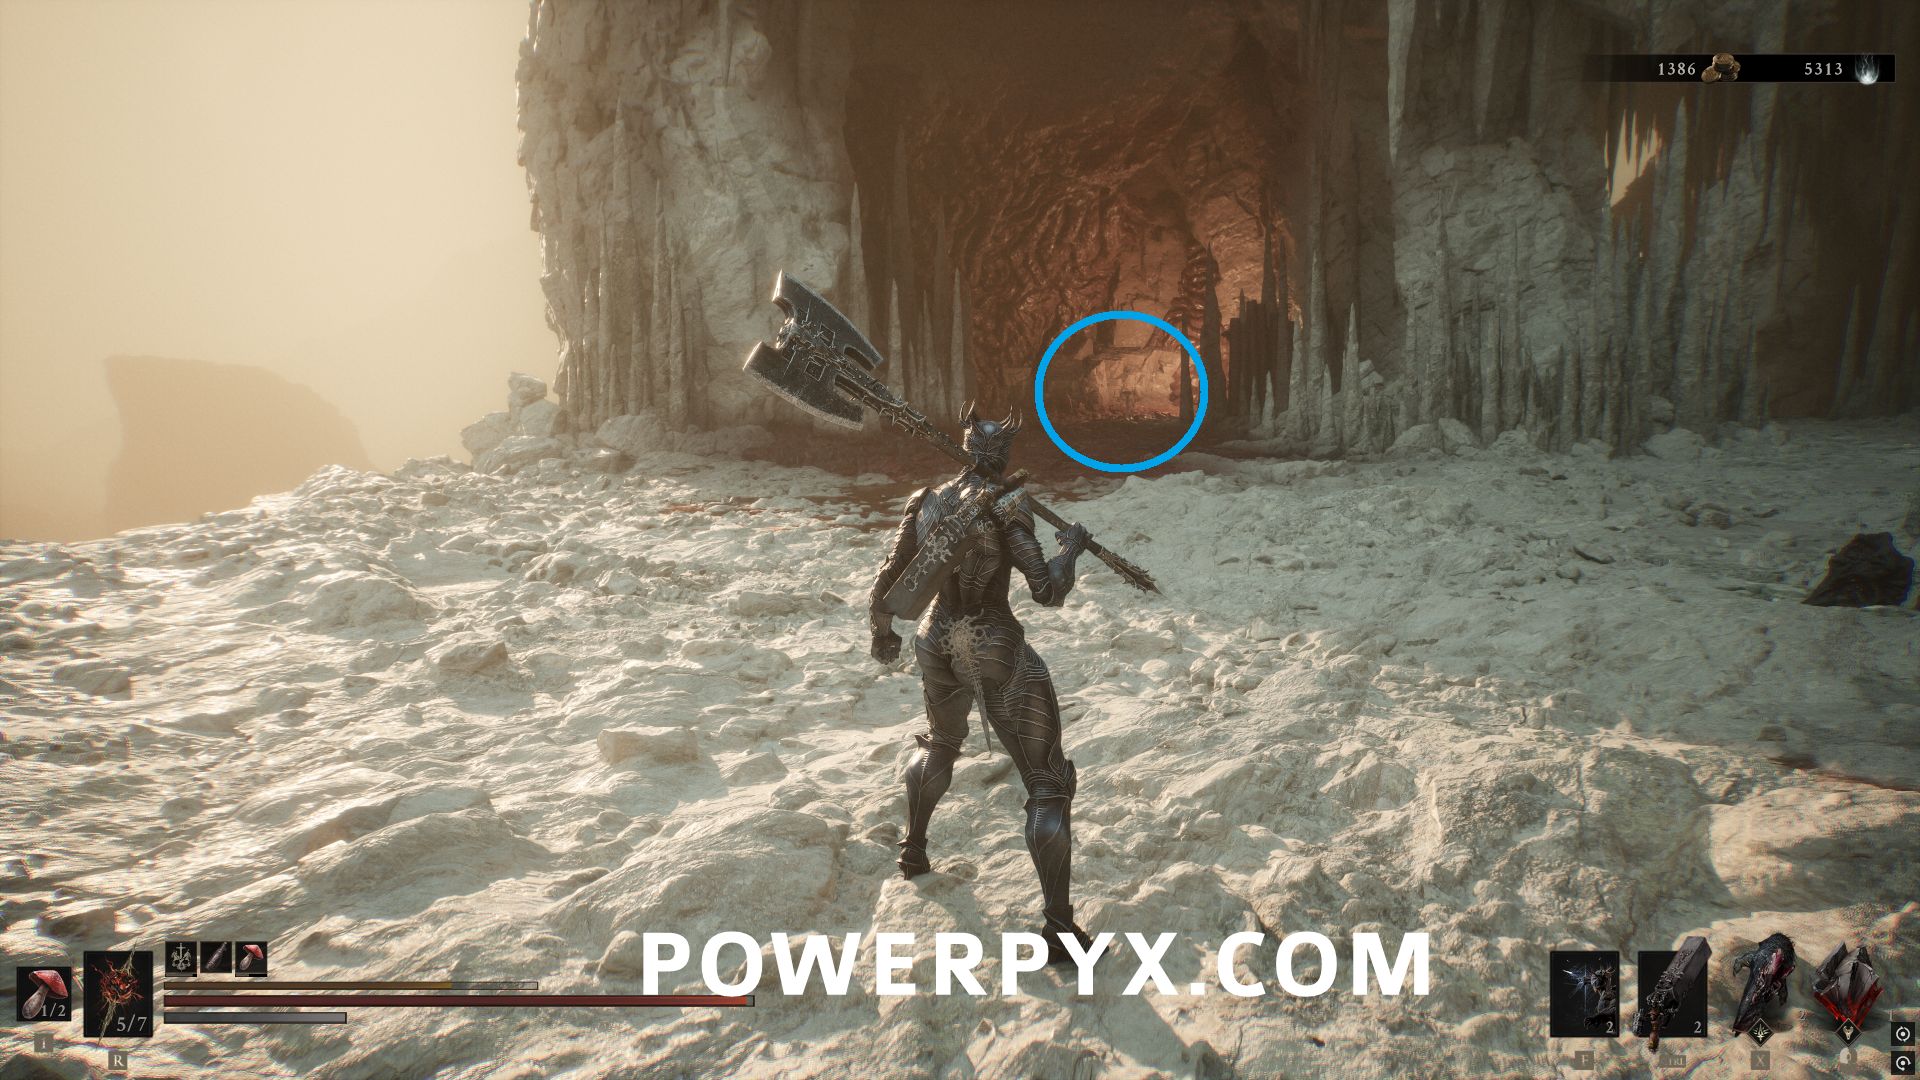
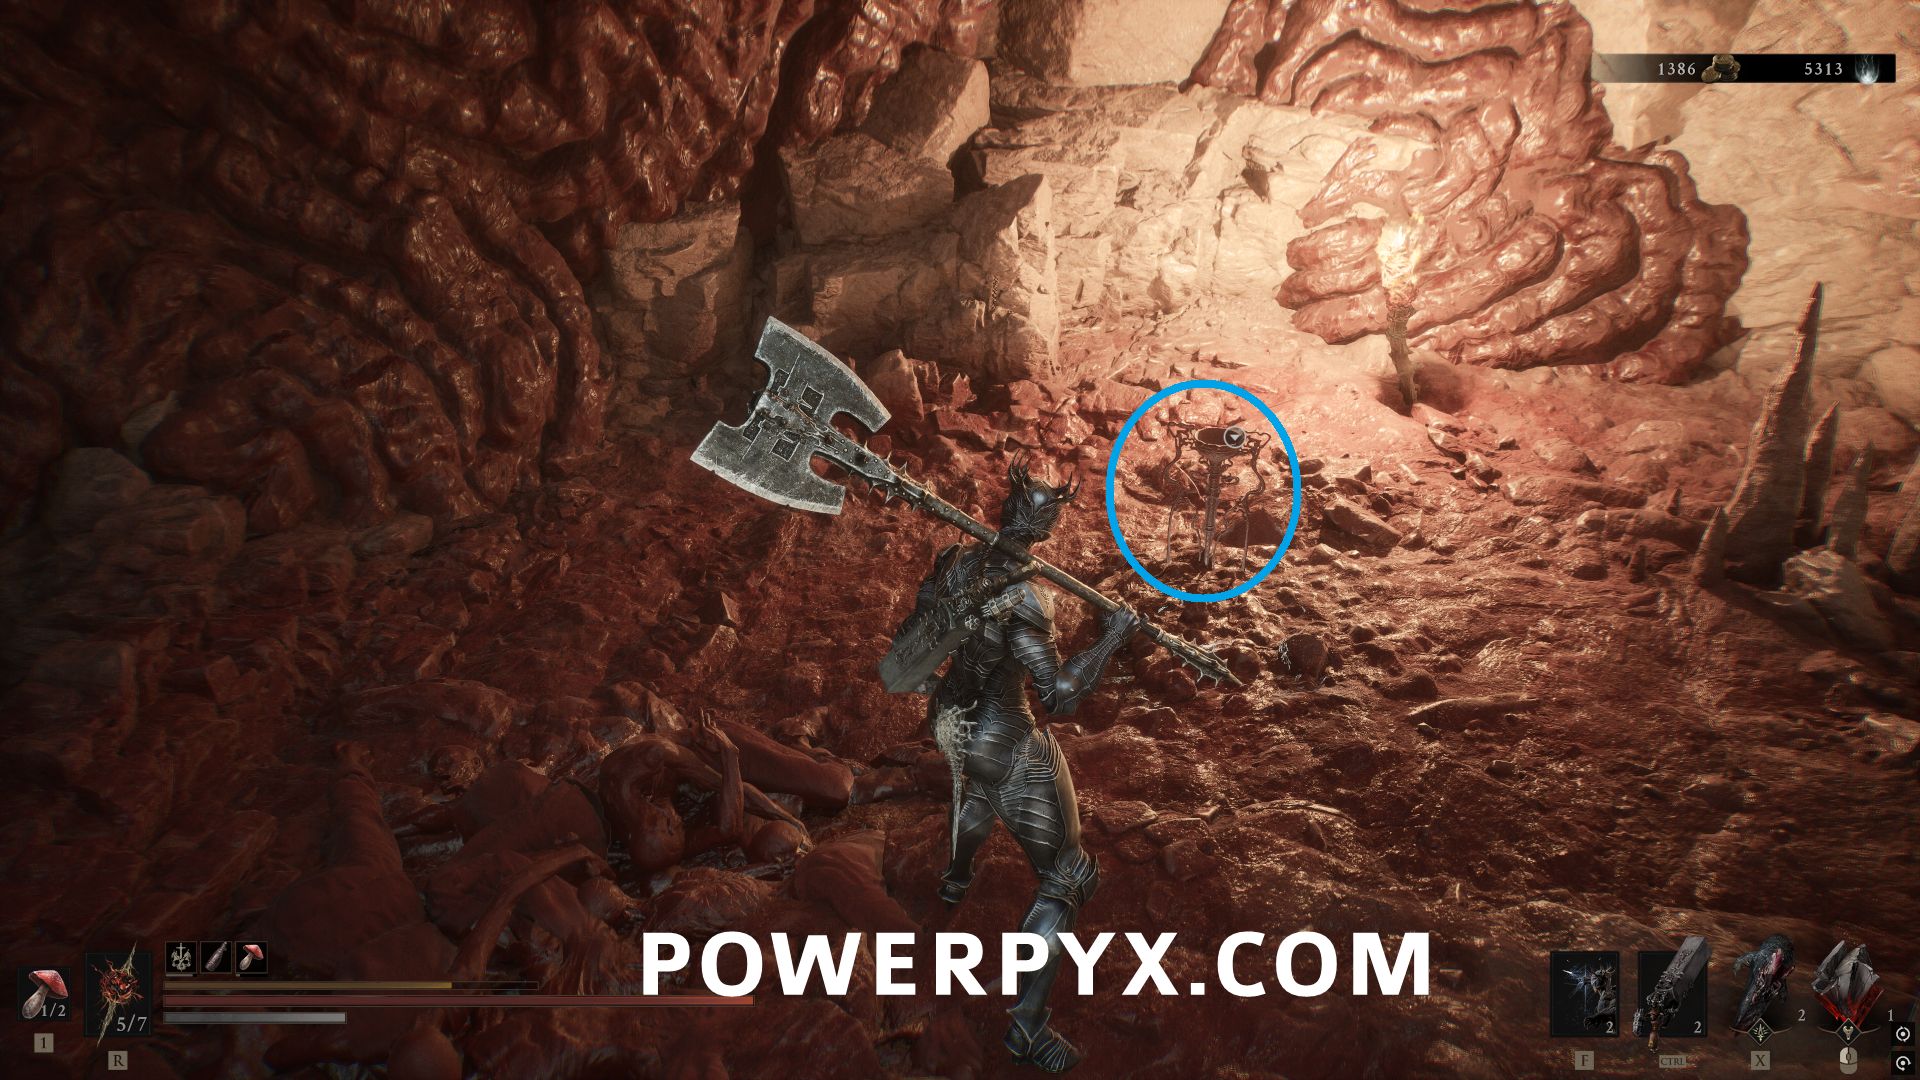
#22 – Synaptic Vessel – From the start of the area, follow the path to where you drop down past the first camp area, to the larger area with the group of exploding corpses and spider/baby enemies. Past them is a wall of spikes with a fire behind it. Hit the spikes to make them disappear, and this pickup is directly behind them.
Sanguine Shoreline
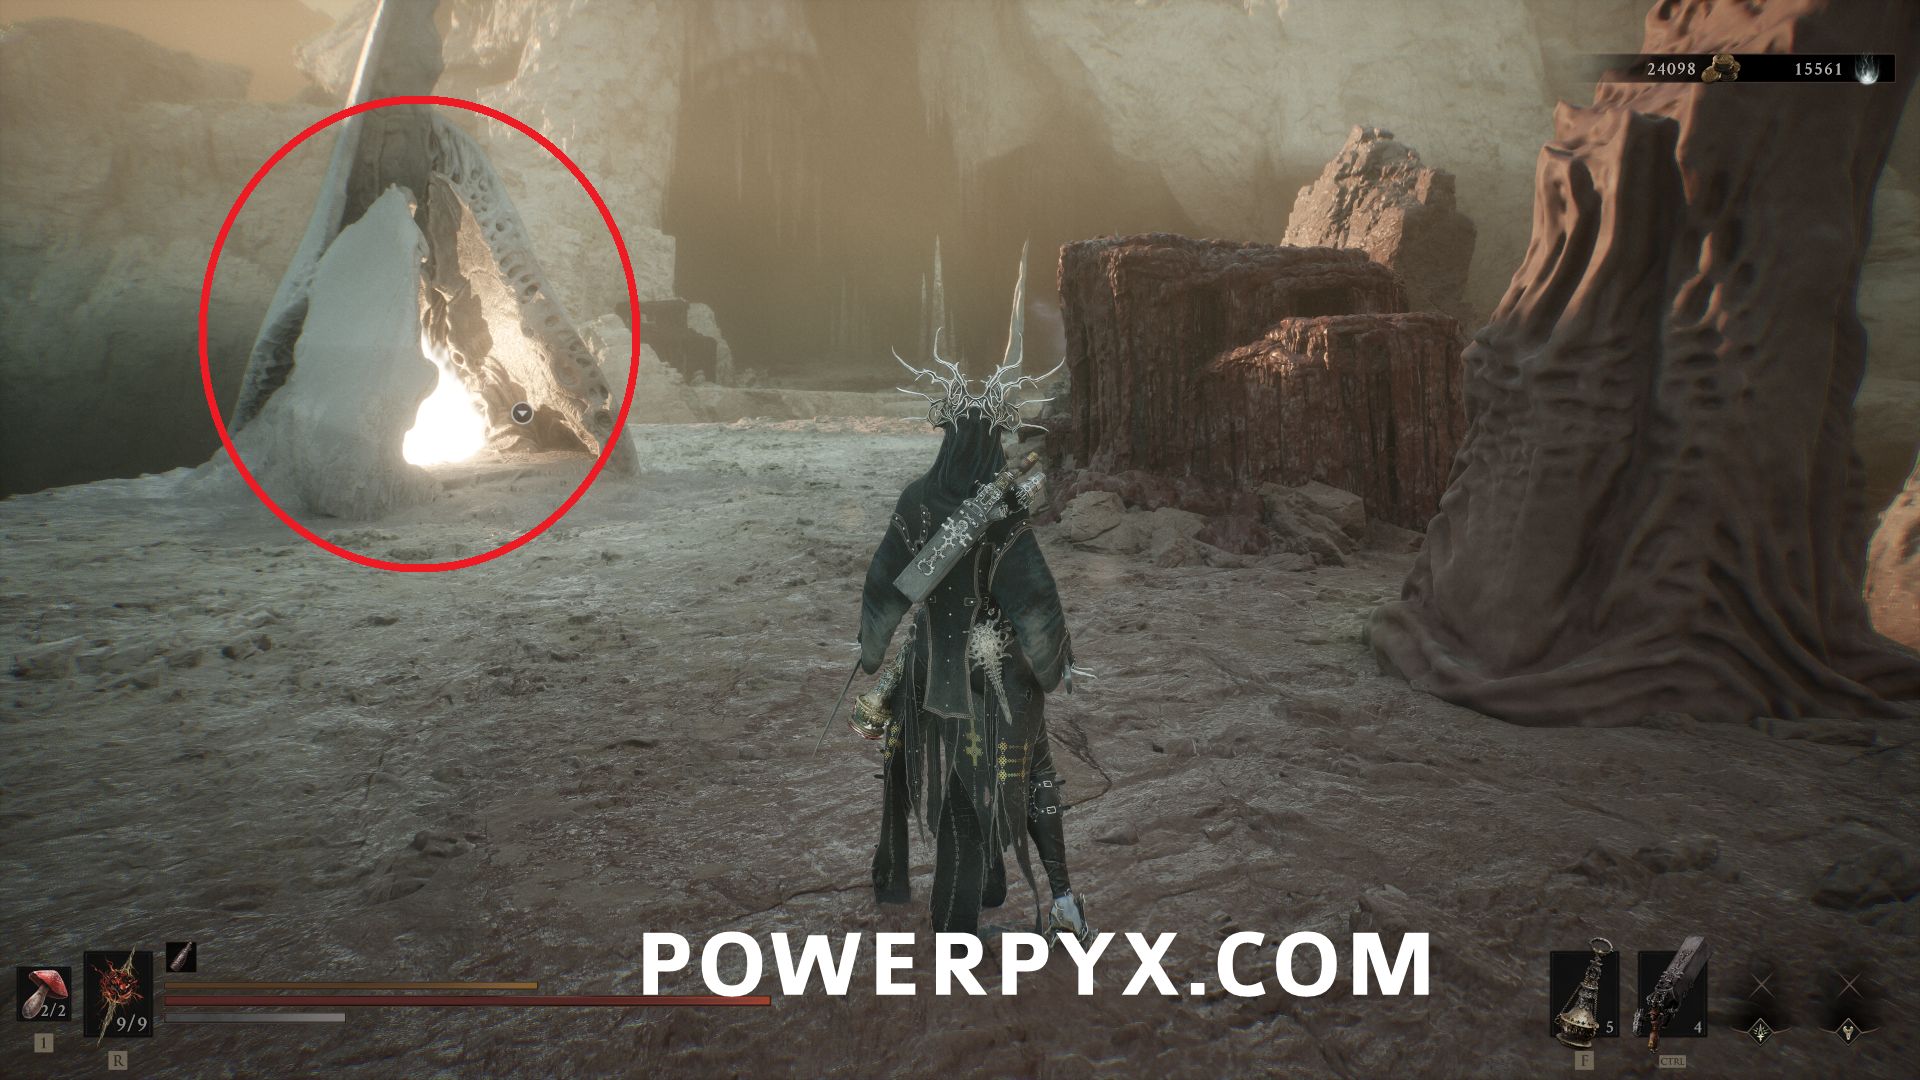
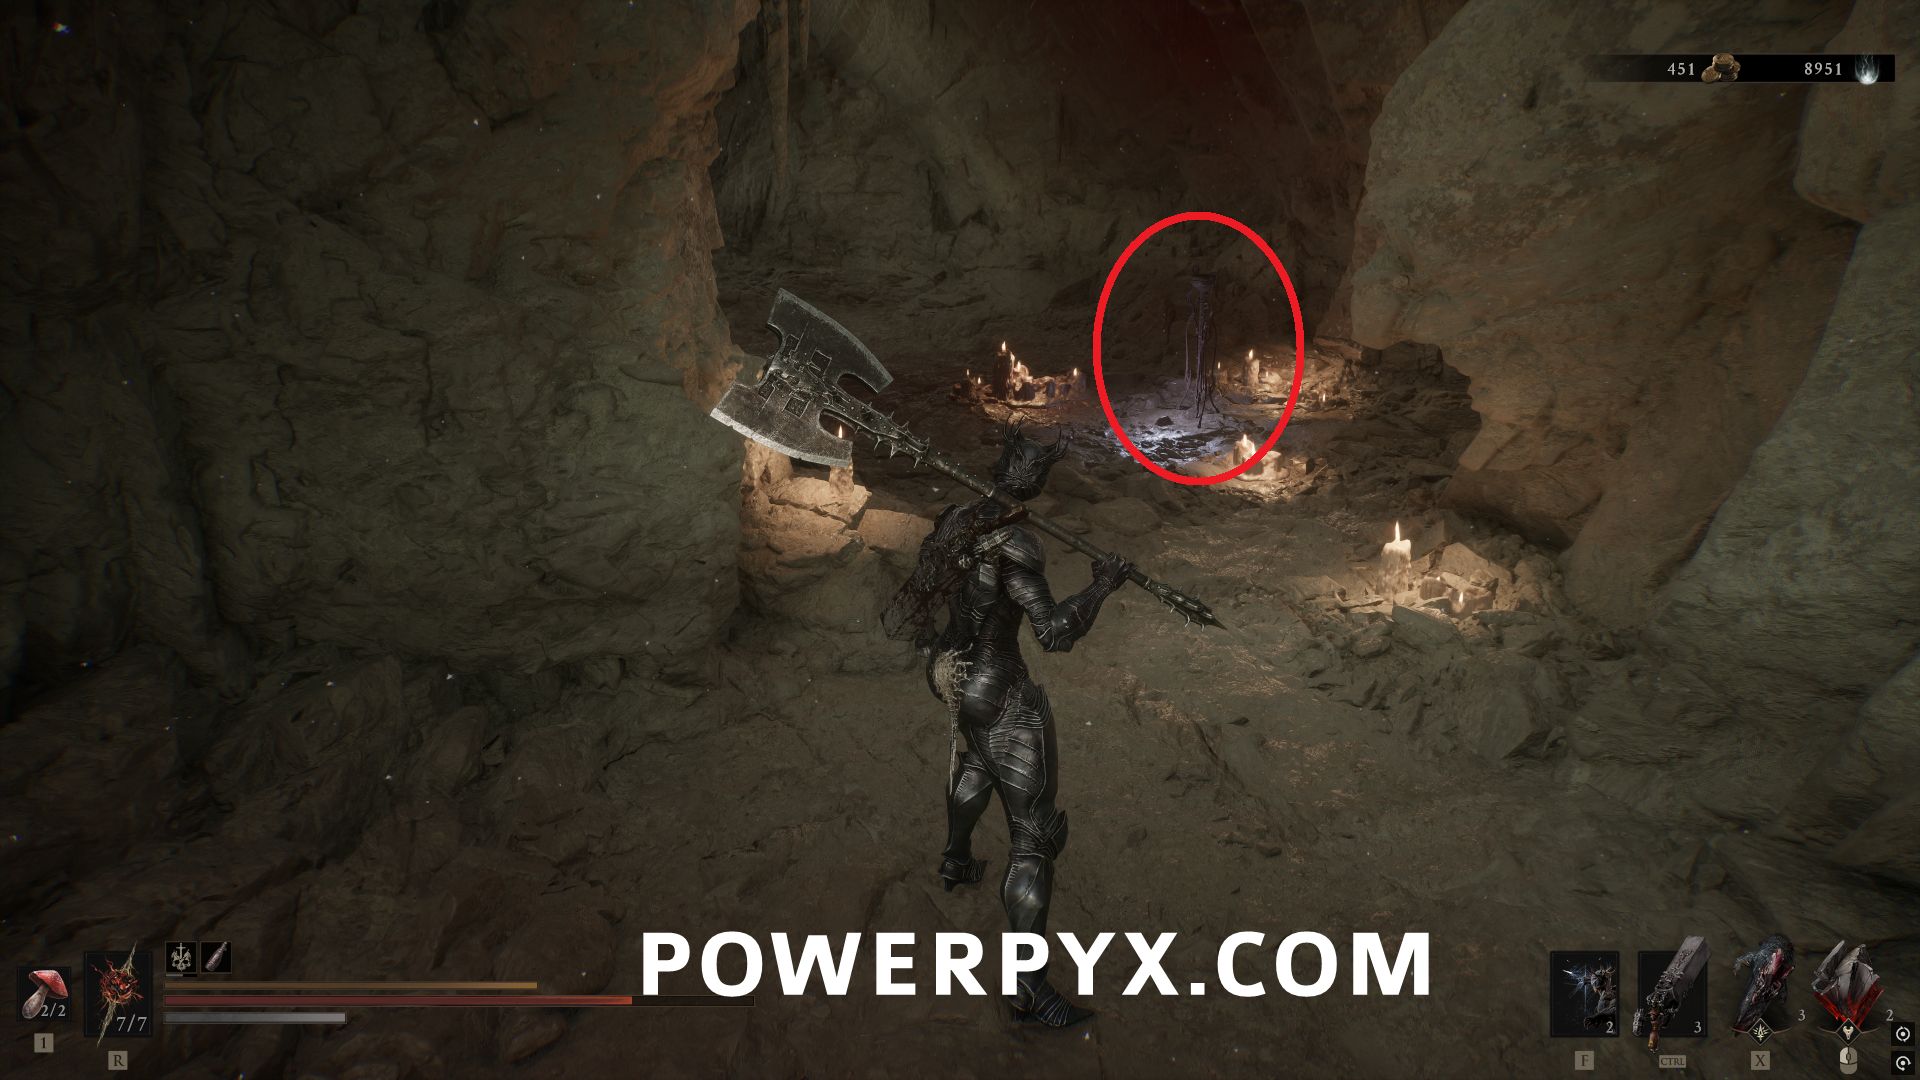
#23 – Revered Gland – Inside the Sanguine Shoreline Beacon, follow the main path through the area, and this will be in a cave after the first open area along the main path.
More Mortal Shell 2 Guides:
- Shell Locations
- Tarstone Locations
- Beacon Locations
- Weapon Locations
- Sidearm Locations
- Tarforge Upgrade Locations
- Dungeon Locations
- Healing Upgrade Locations
- How to Summon Night (Increase Difficulty)
Neo says
What’s the max upgrade for the 1st playthrough?