
Chapter 6: Punishment is the sixth section of Valor Mortis and occurs in the Cursed Hollow region. This walkthrough will guide you through all collectibles available in the Punishment section. Everything that’s needed for trophies and 100% completion is included, nothing is missable and you can return to all areas at any time.
Collectibles Walkthrough:
Chapter 6: Punishment
Fallen Village
Quest: The Oathbound – Step #4
Lantern: Fallen Village > Marketplace
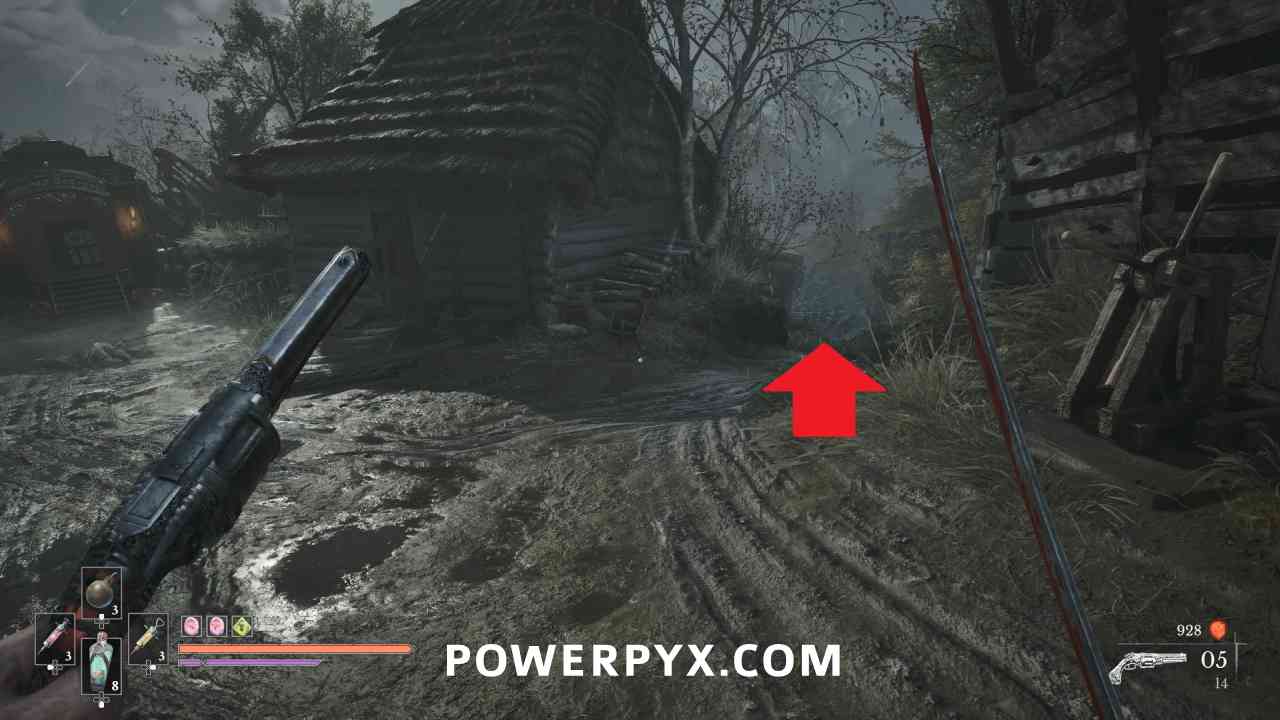
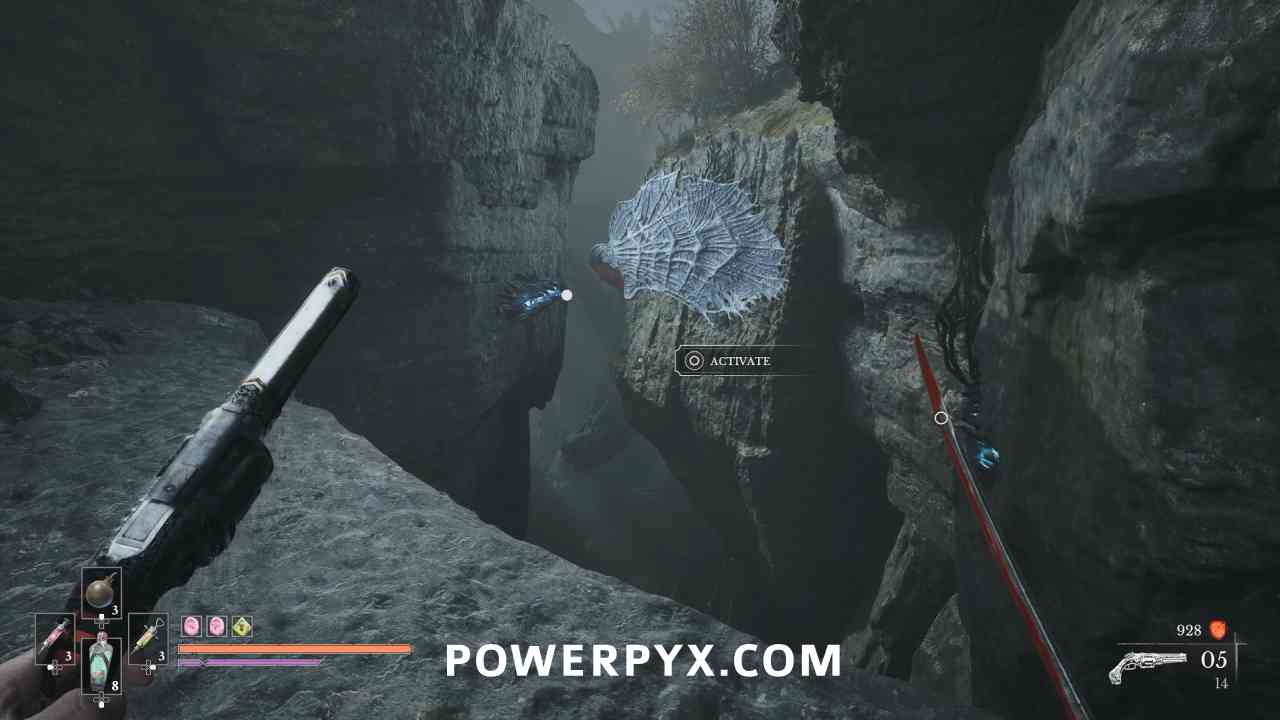
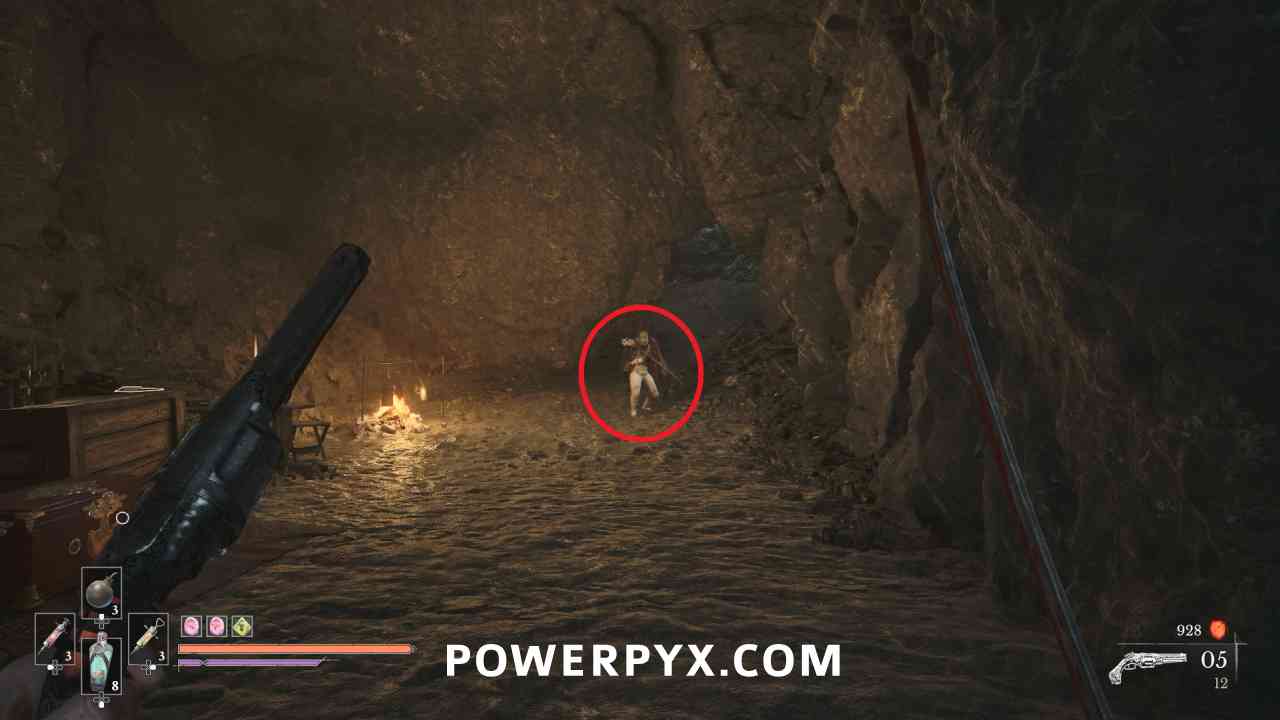
Return to the Marketplace Lantern, turn around and go back through the carriage then left at the intersection. There is a path you can follow now that you can interact with the Neptho-structures. Follow the path to the end and in a cave you can find an Eternal Guardsman. Defeat them to receive a Mysterious Stone Pyramid and Etienne Vauclair’s Emblem. You can also pick up a note, a Legendary Catalyst Clot, and a Pure Transmutation Material from the chest.
Cursed Hollow
Boss: The Bride
Quest: Till Death – Step #1
Lantern: Cursed Hollow > Eerie View
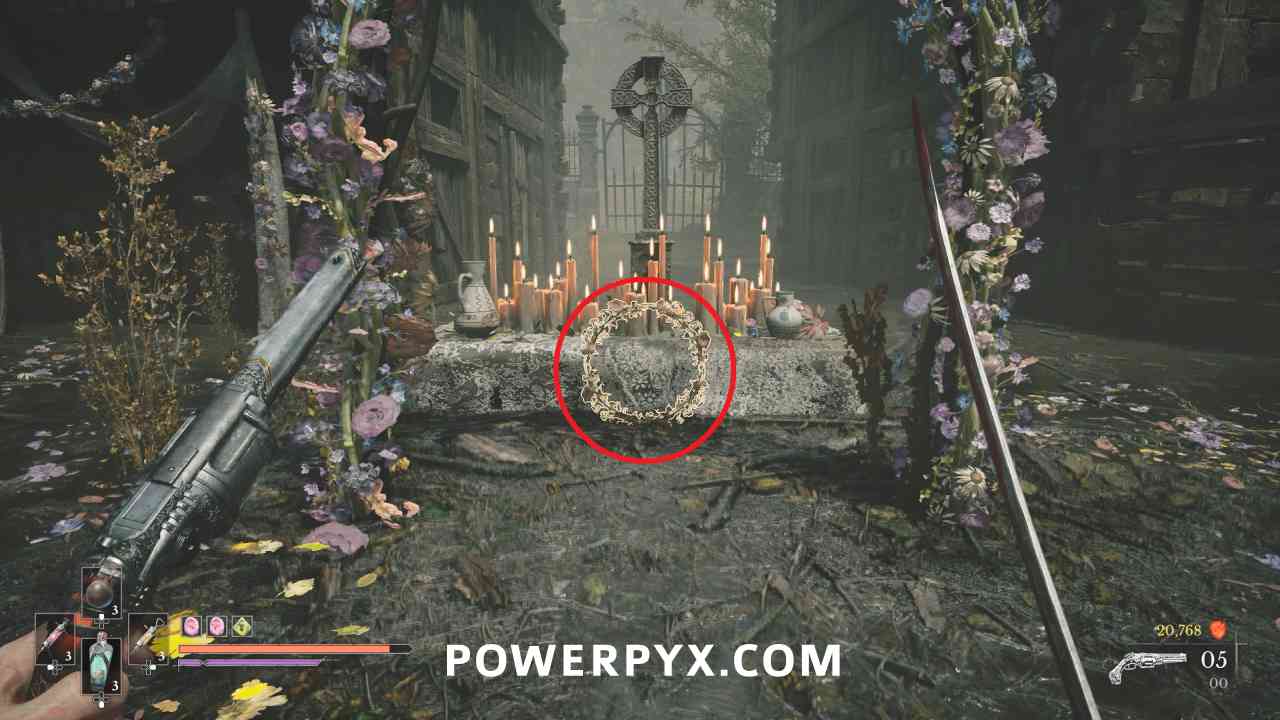
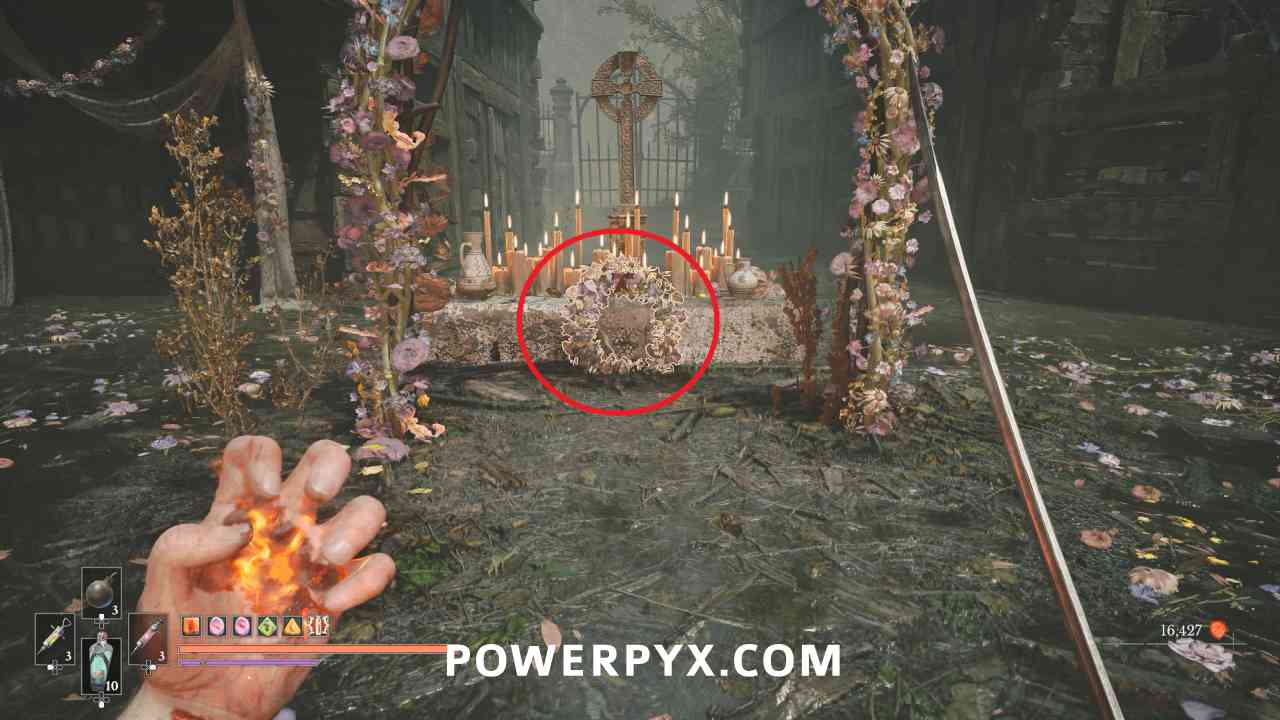
After defeating main boss “The Bride”, go to the altar at the end of the area and interact with the wreath to start the quest.
Quest: Sleeping Beauty – Step #1
Lantern: Cursed Hollow > Village Church
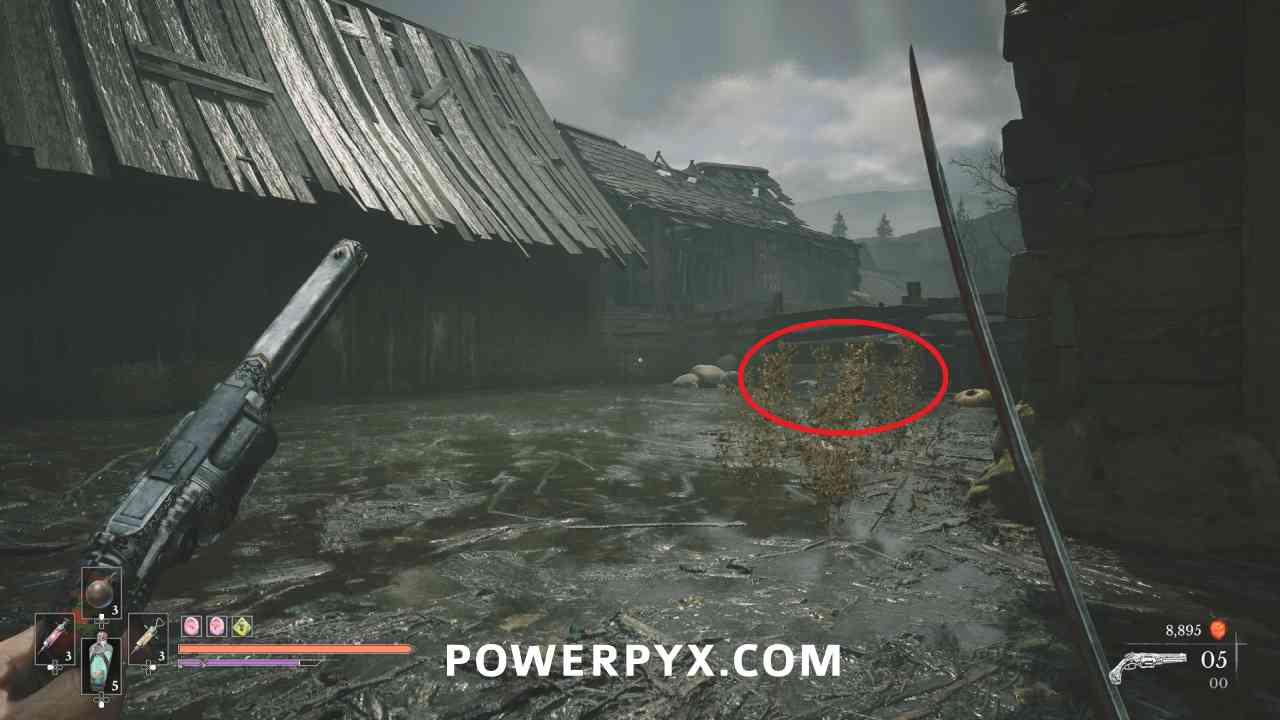
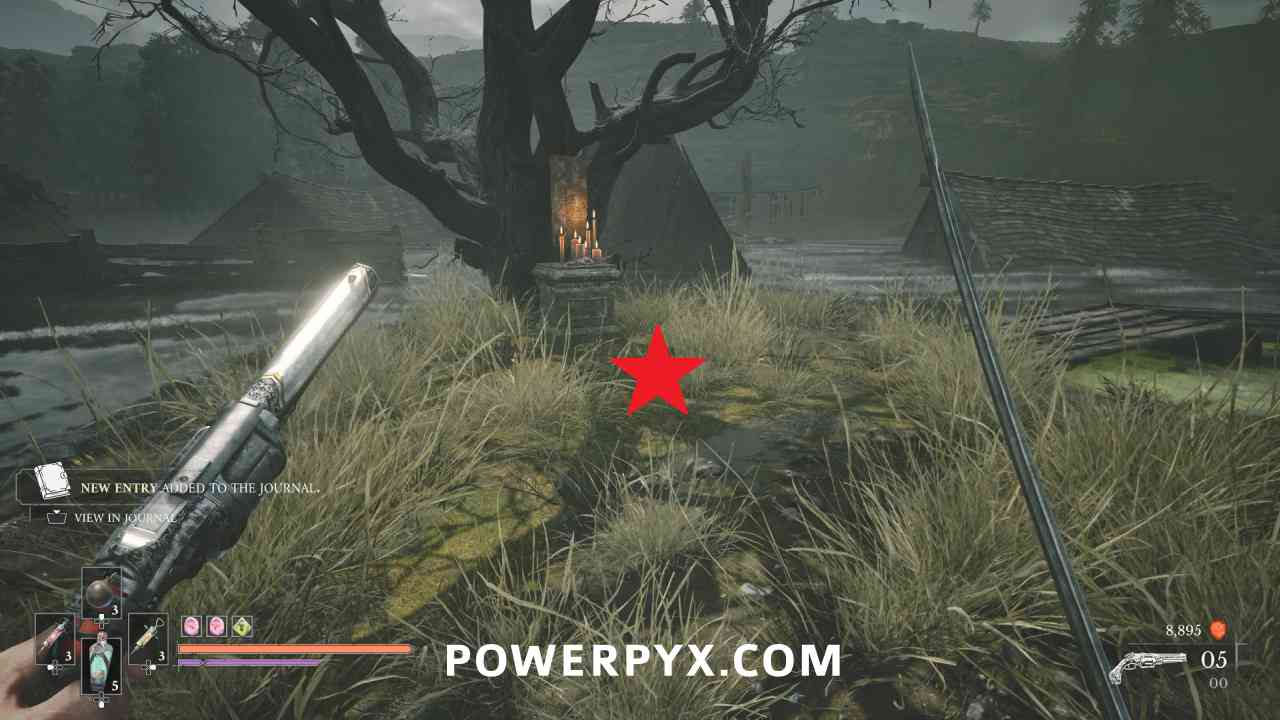
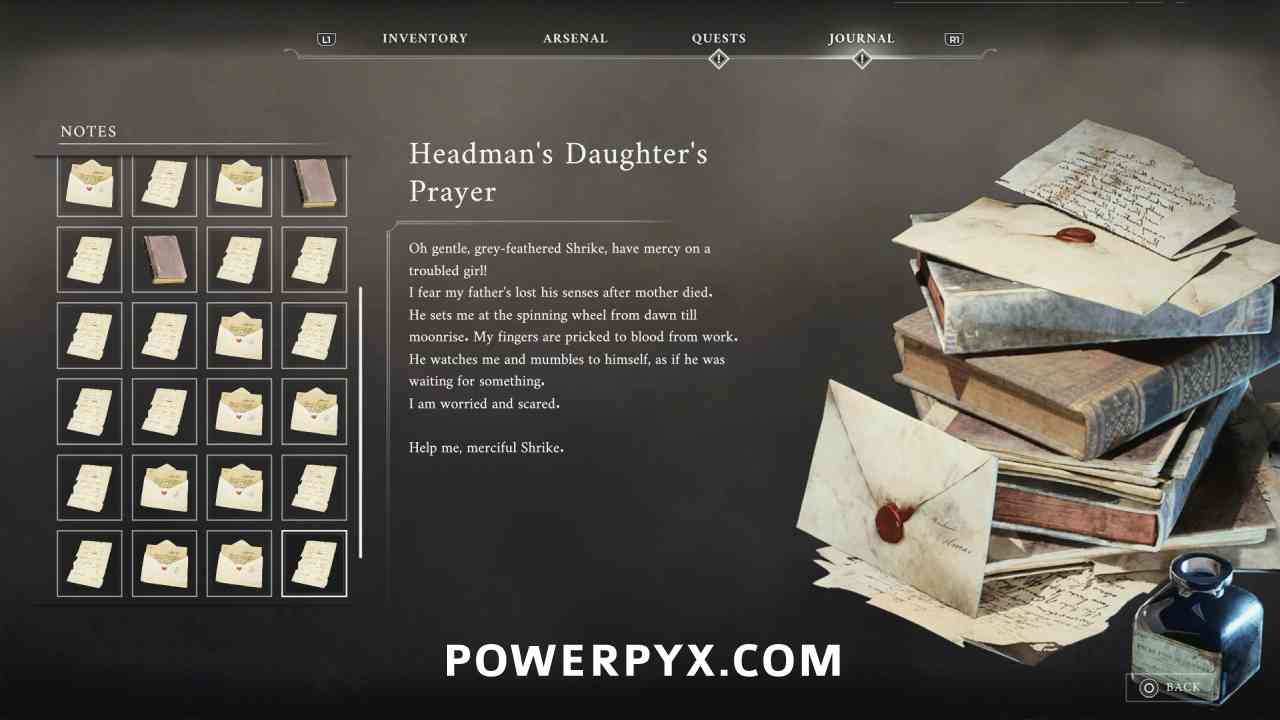
Progress through the village area until you reach the large tree. Instead of going toward it, go to the right and crouch under the fence. Follow the path into the building, then down to the small island with the shrine. Pick up the note “Headman’s Daughter’s Prayer” from the ground to start the quest.
Quest: Sleeping Beauty – Step #2
Lantern: Cursed Hollow > Village Church
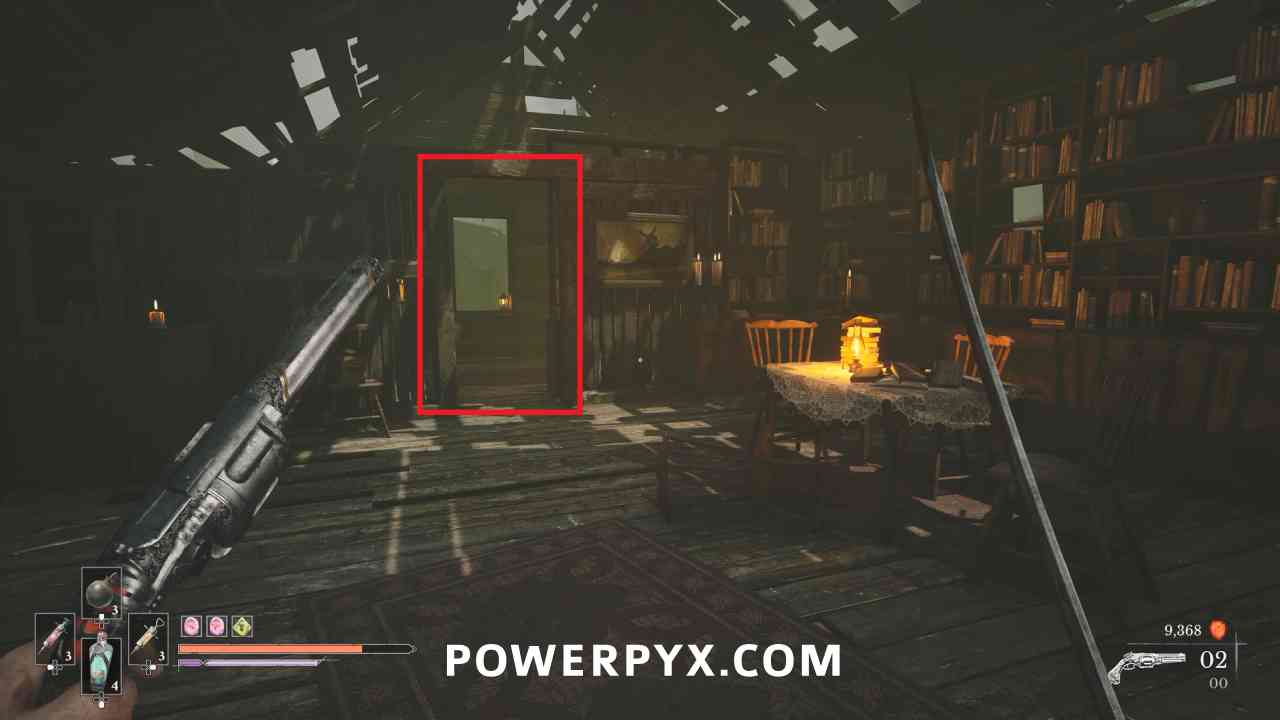
Progress into the next area where you will be attacked by a miniboss in the second room in the building that drops the Headman’s Key when defeated.
Quest: Sleeping Beauty – Step #3 (Complete)
Lantern: Cursed Hollow > Village Church
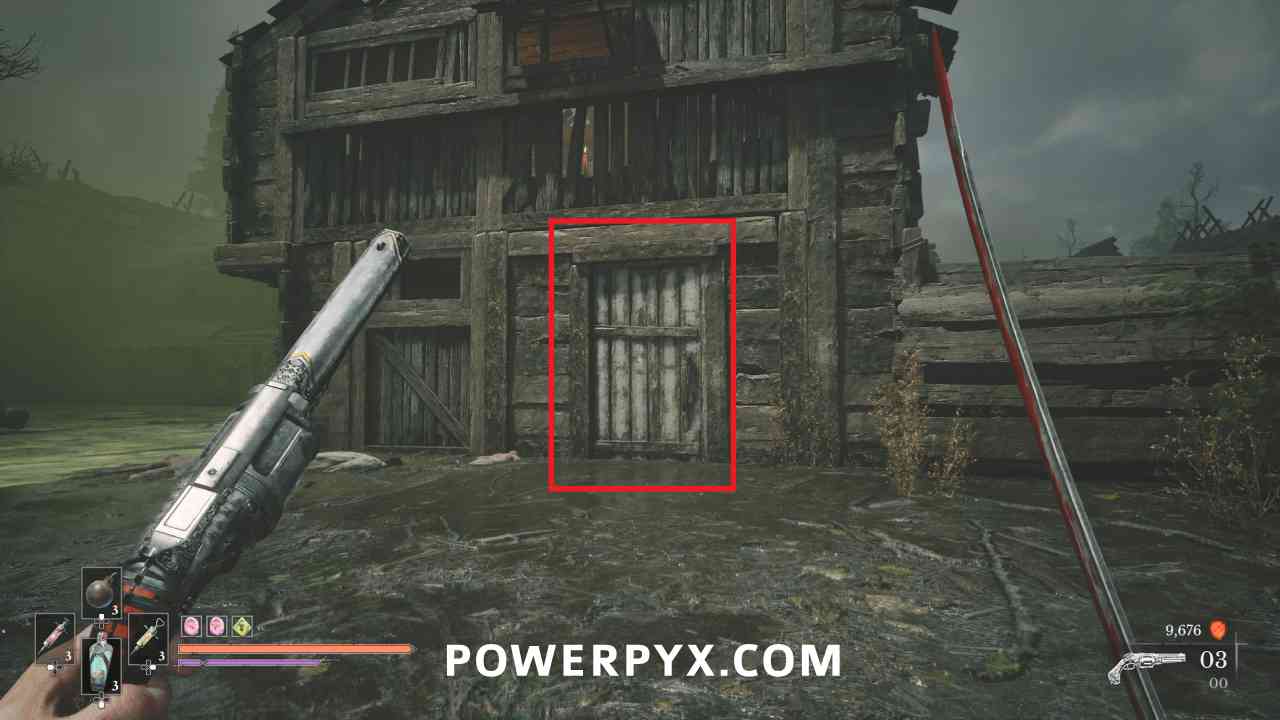
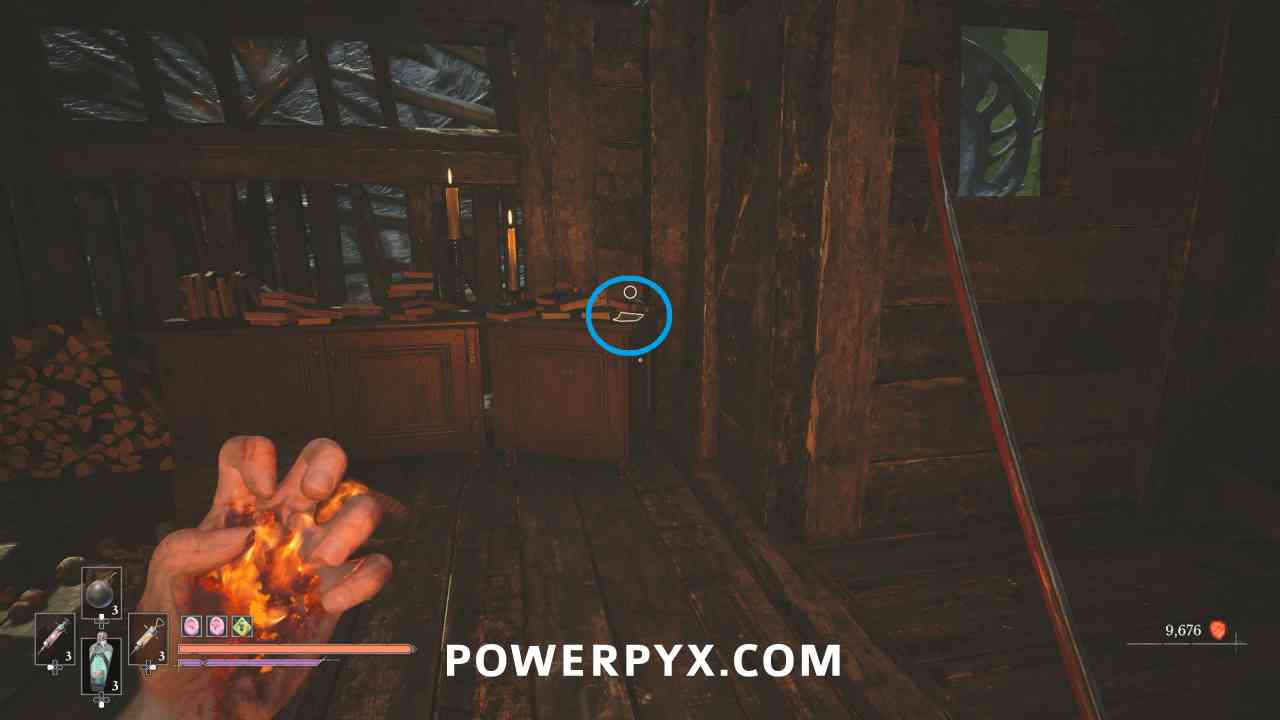
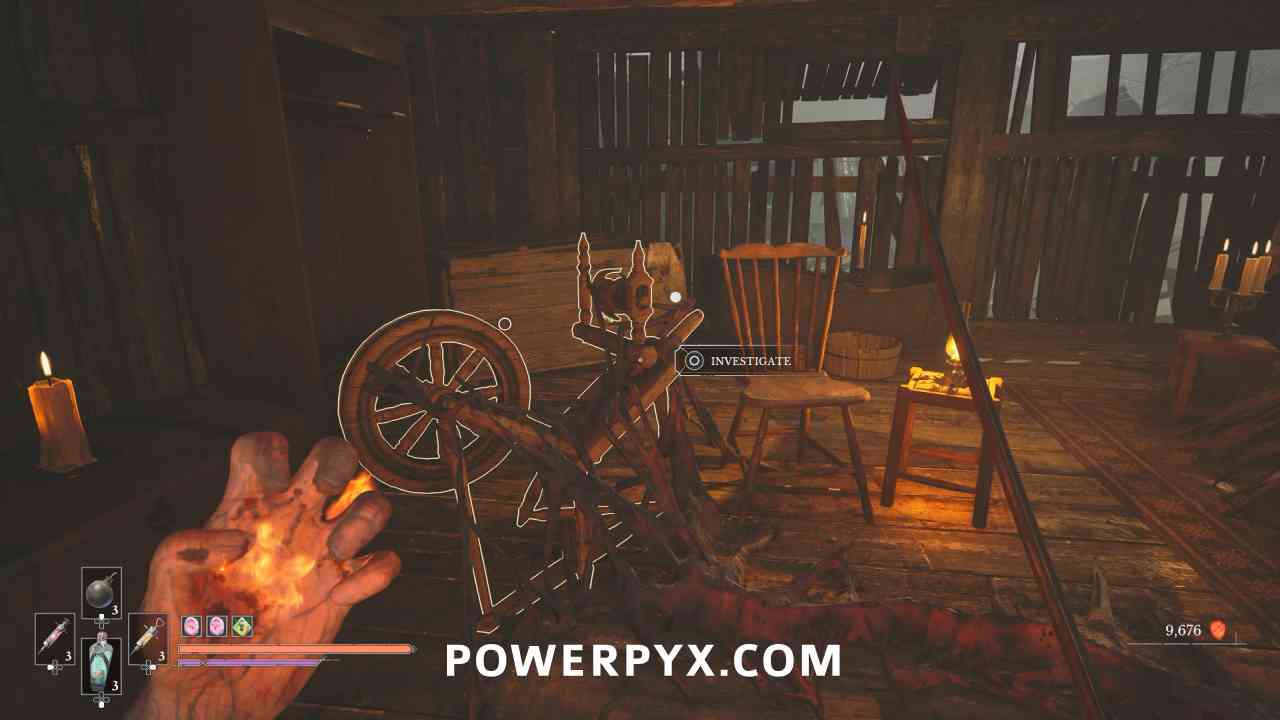
Follow the path back to the main area, and you can now interact with the door on the building and open it with the Headman’s Key. Go up to the second floor and pick up the note on the table to the right, then interact with the spinning wheel. You then have the choice of waking the girl up or letting her sleep, whichever you choose the reward is the same. Rewards a “Distilled Transmutation” Material.
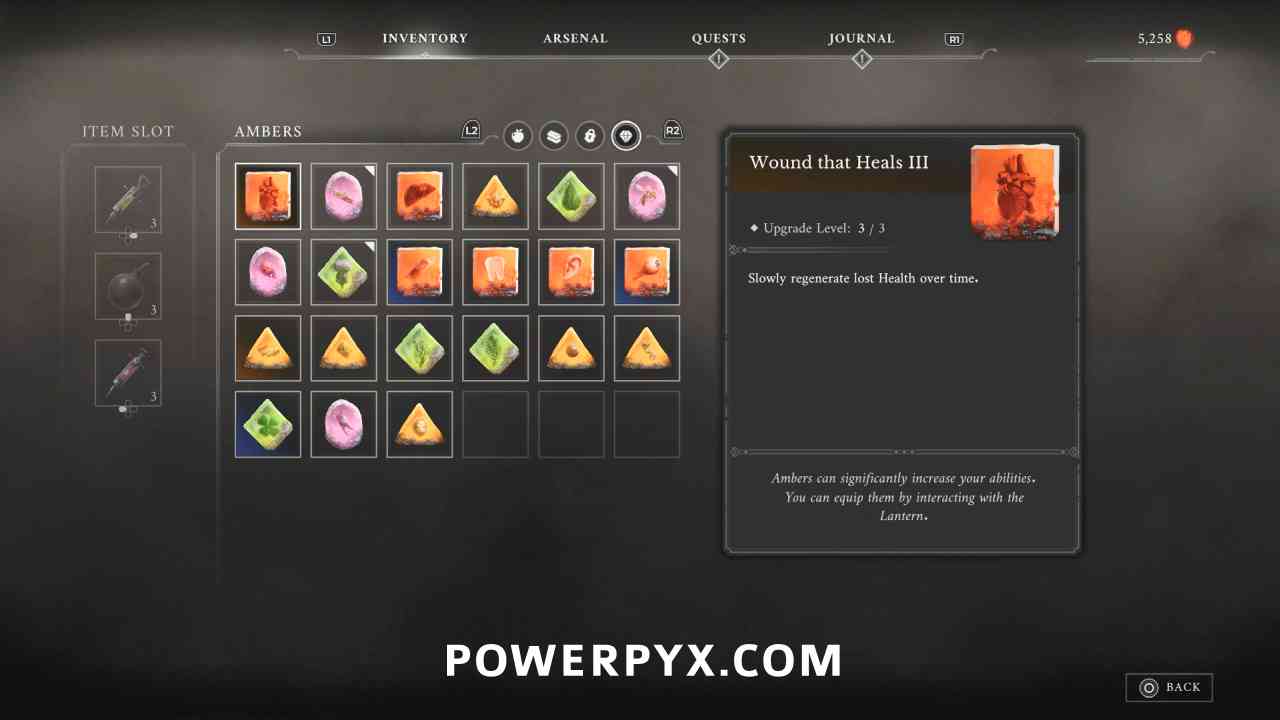
Amber #30: Wound That Heals (Duplicate > Level 3)
Lantern: Cursed Hollow > Deep Water
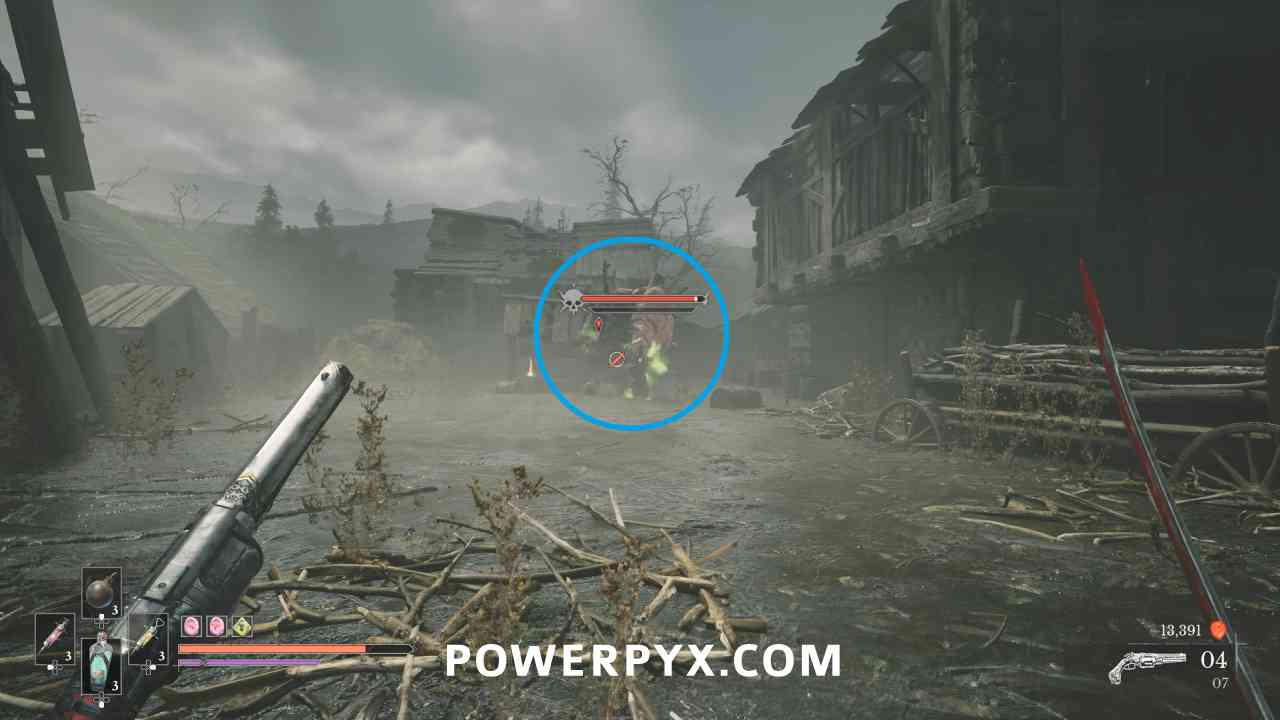
Go to the next Lantern, then turn around and go back to this miniboss that was straight on the path. It’s recommended to trigger the next Lantern first, as the enemy has poison around them that instantly kills you if it fills. When they are defeated you receive the Amber. There is a Distilled Transmutation Material in the chest behind where they were.
Quest: The Curious Case of Seamus Diggory – Step #1
Lantern: Cursed Hollow > Silent Cannons
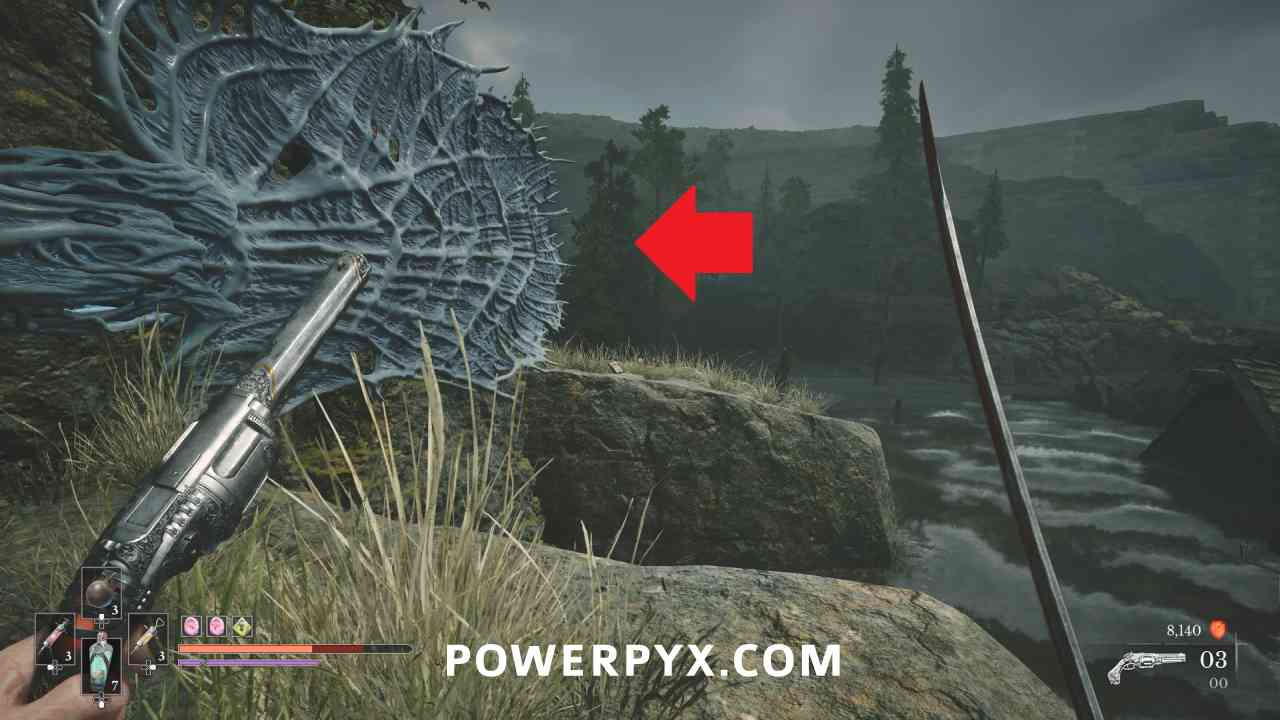
Progress across the river with the platforms, when you reach the spot with the cannon enemy go to the right where there is a wallrun spot. In this area interact with the window of the house to start the quest and receive Empty Bottle.
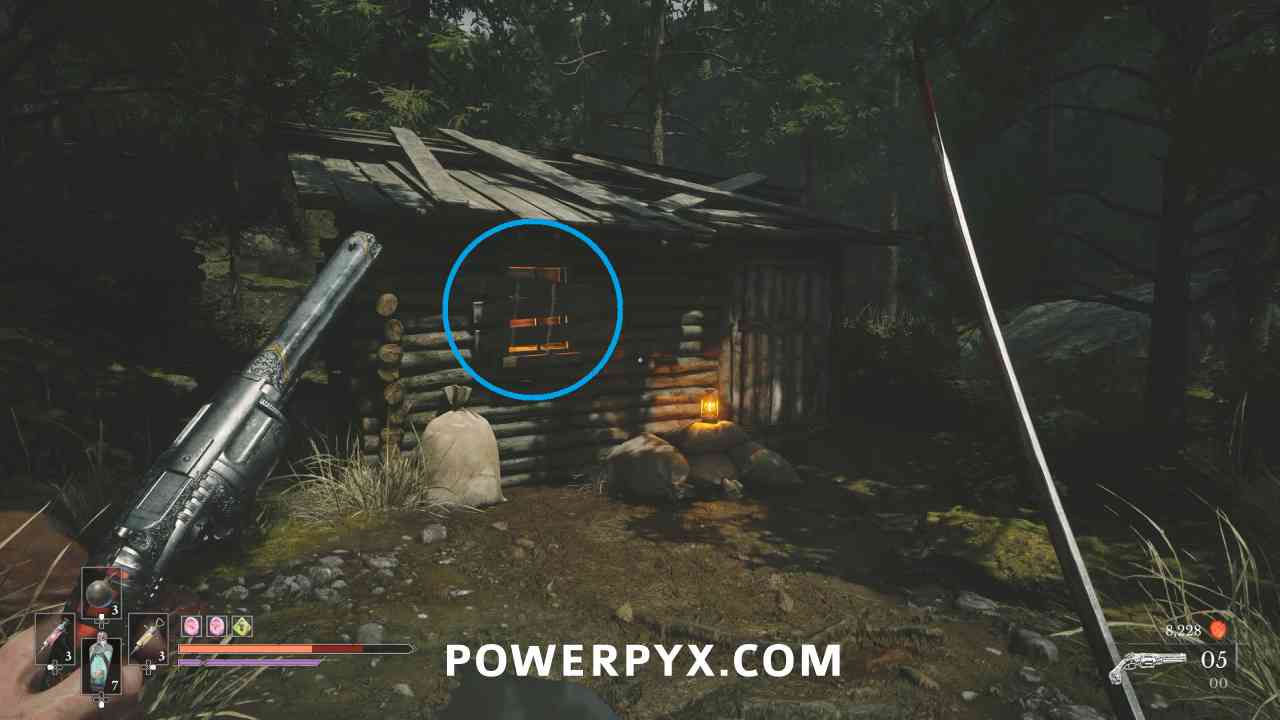
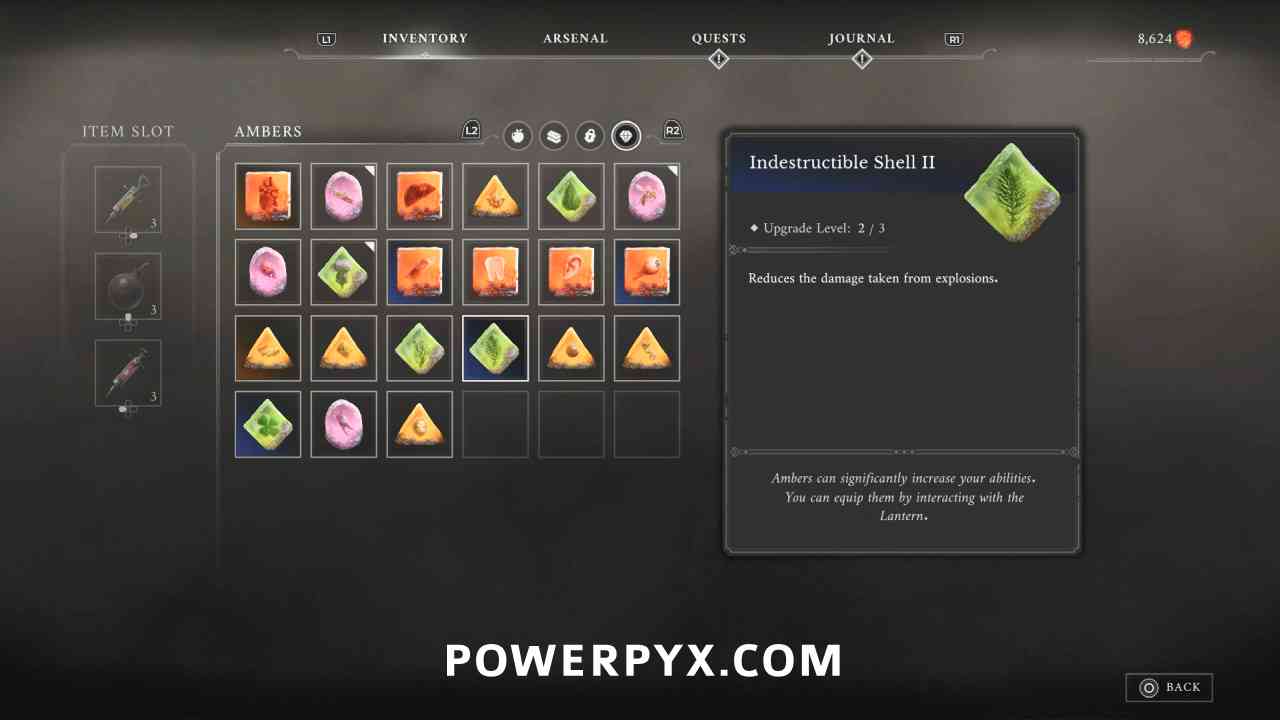
Amber #31: Indestructible Shell (Duplicate > Level 2)
Lantern: Cursed Hollow > Silent Cannons
In the area past the shack Seamus is in, in a chest by some exploding bodies. The chest also explodes when you open it.
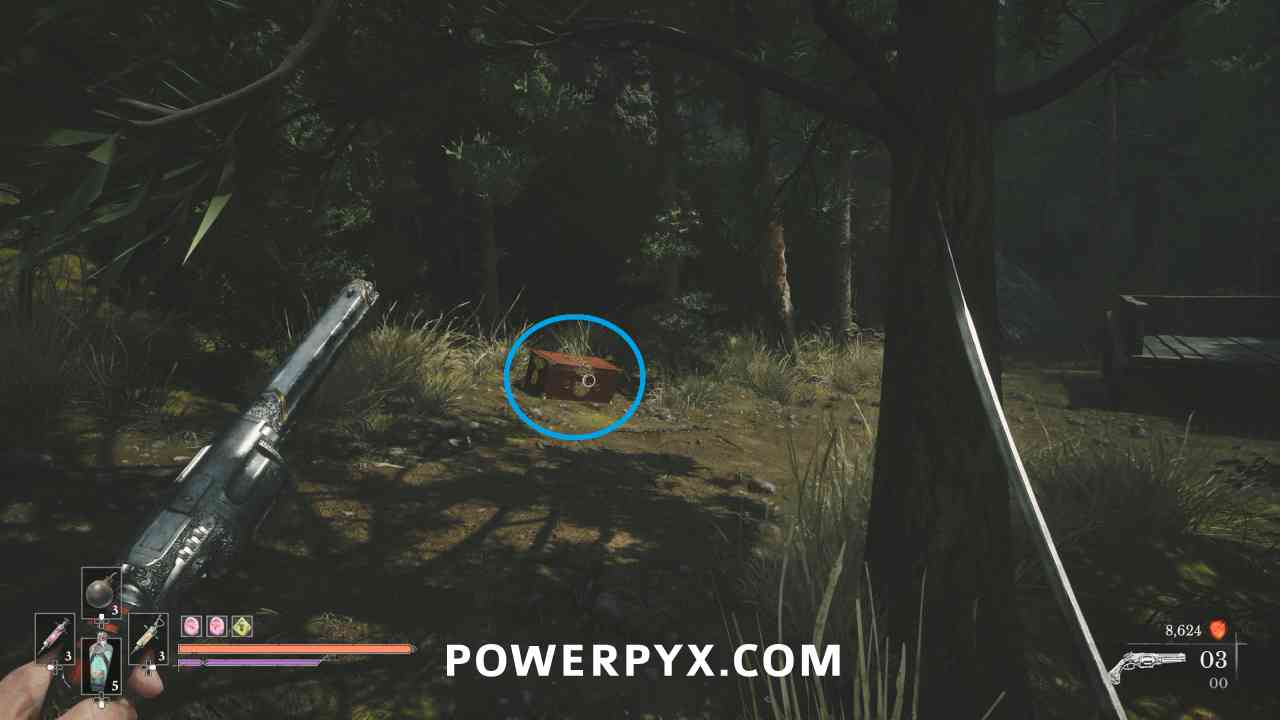
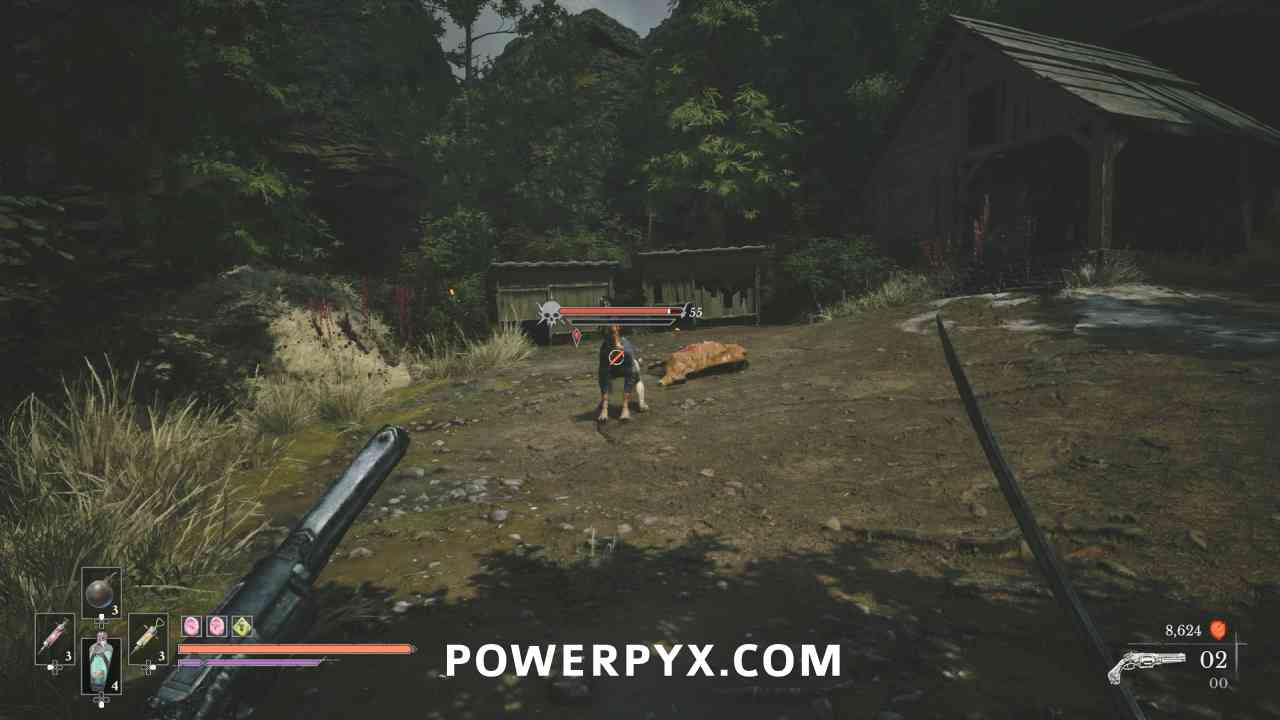
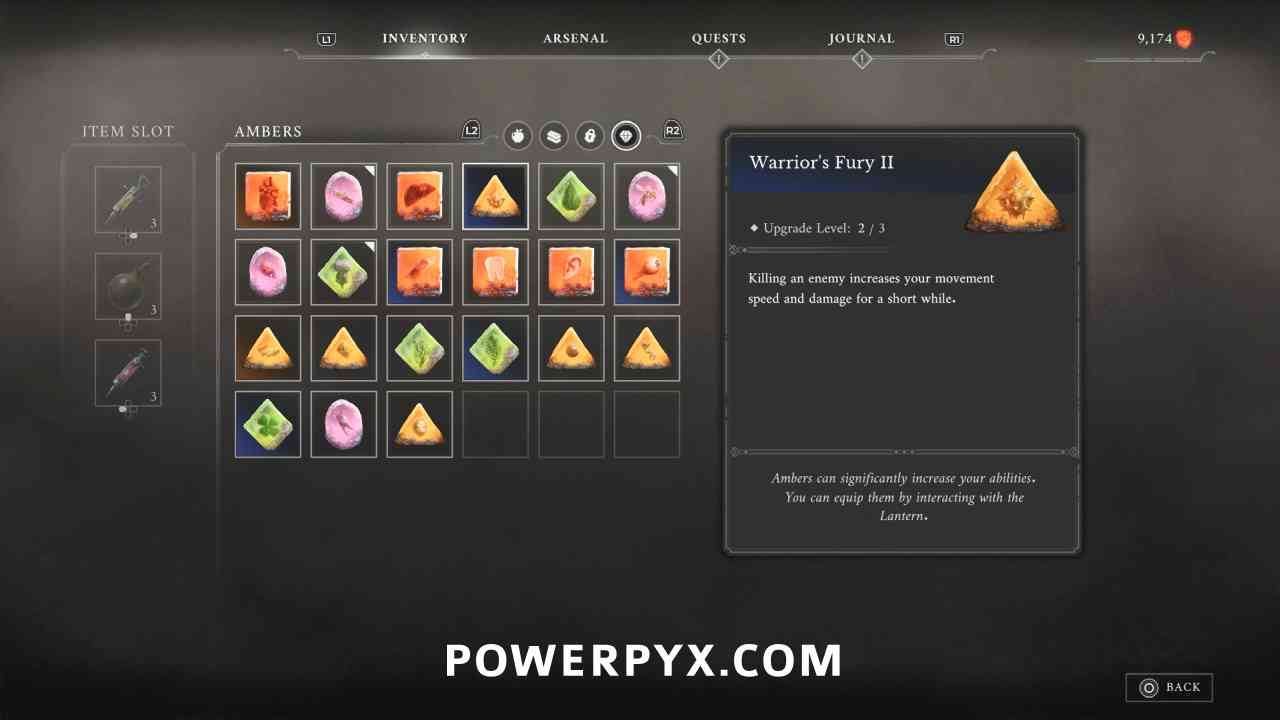
Amber #32: Warrior’s Fury (Duplicate > Level 2)
Lantern: Cursed Hollow > Silent Cannons
Go through the house at the back of the area with the three notes in it, on the other side is a dog miniboss. Defeat the miniboss to receive the Amber (it may drop early after defeating one of the clones the dog summons).
Quest: The Curious Case of Seamus Diggory – Step #2
Lantern: Cursed Hollow > Silent Cannons
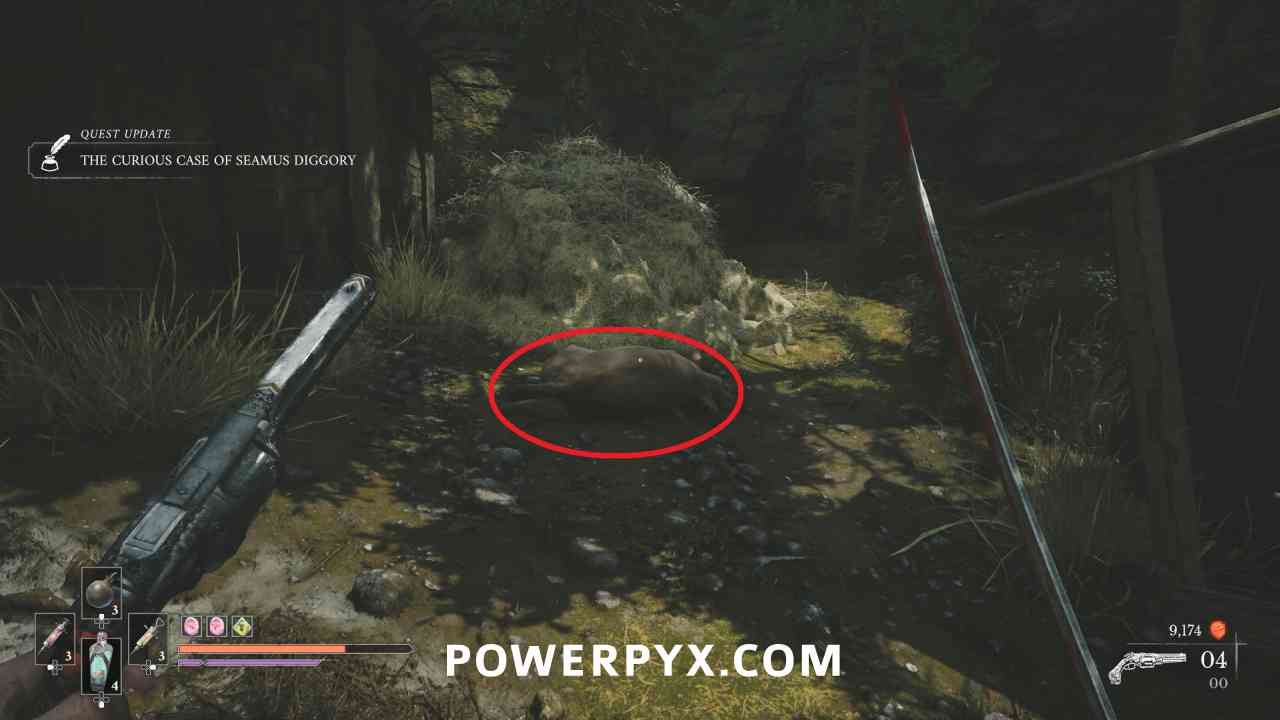
In the same area as the miniboss, interact with the pig on the ground to receive the Blood-Filled Bottle.
Quest: The Curious Case of Seamus Diggory – Step #3
Lantern: Cursed Hollow > Silent Cannons
Go into the shack with the animals hanging from the ceiling, and you can pick up the Bottle of Wine from on top of a barrel.
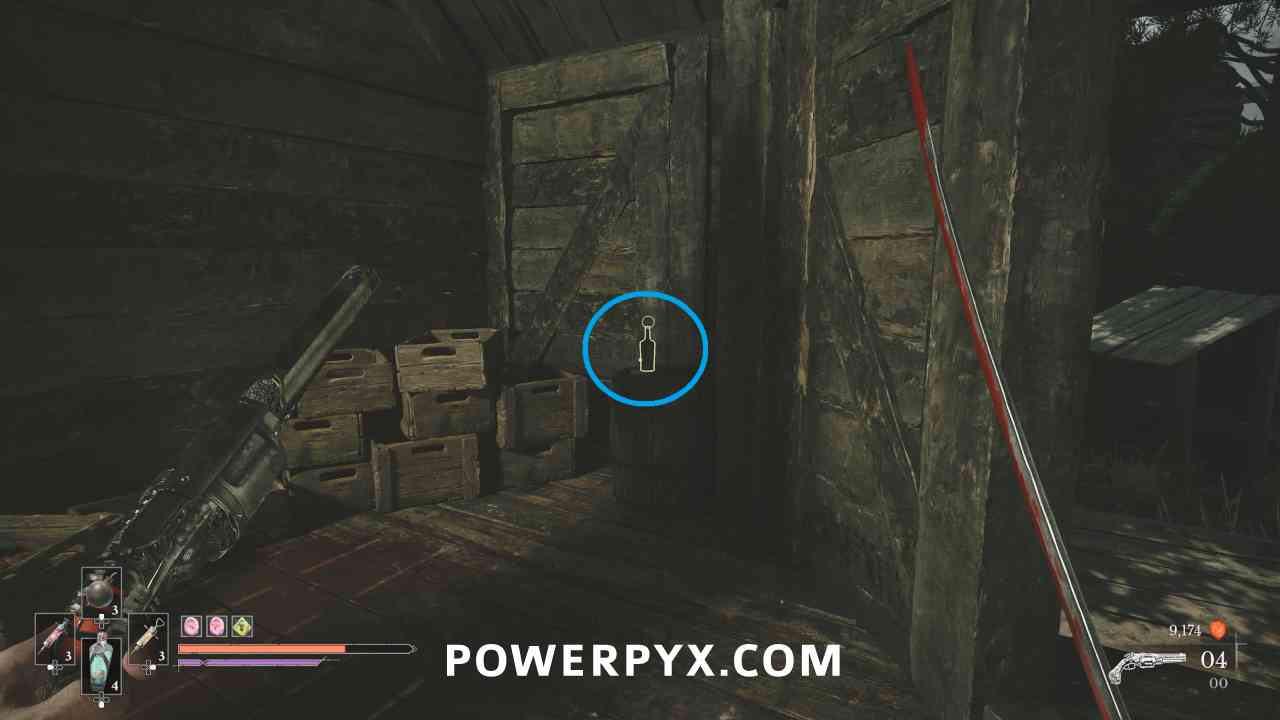
Quest: The Curious Case of Seamus Diggory – Step #4 (Complete)
Lantern: Cursed Hollow > Silent Cannons
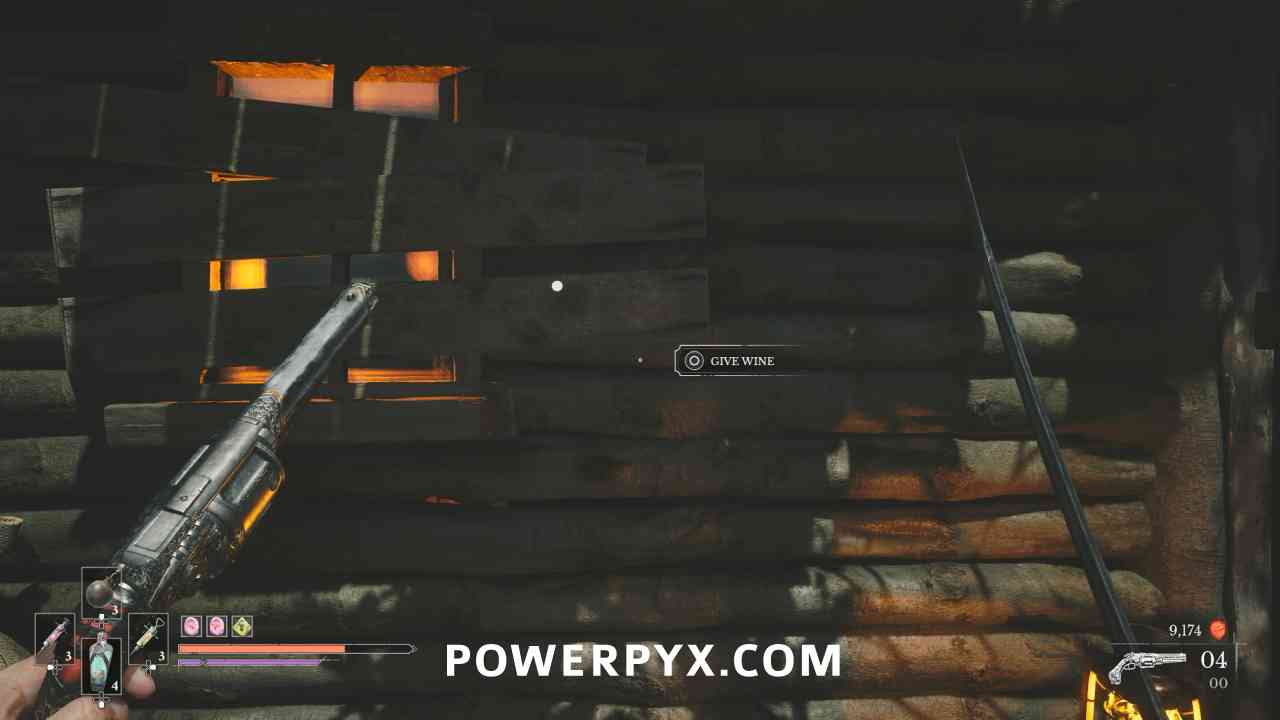
Go back to the house and interact with the window to speak with Seamus. If you collected both the pig blood and the wine, then you have the choice of what to give him. You can choose whichever you prefer, the reward is the same regardless.

Ferrofluid Flask Power Upgrade #10
Lantern: Cursed Hollow > Silent Cannons
Reward for completing The Curious Case of Seamus Diggory side quest.
Quest: The Oathbound – Step #5
Lantern: Cursed Hollow > Deep Water
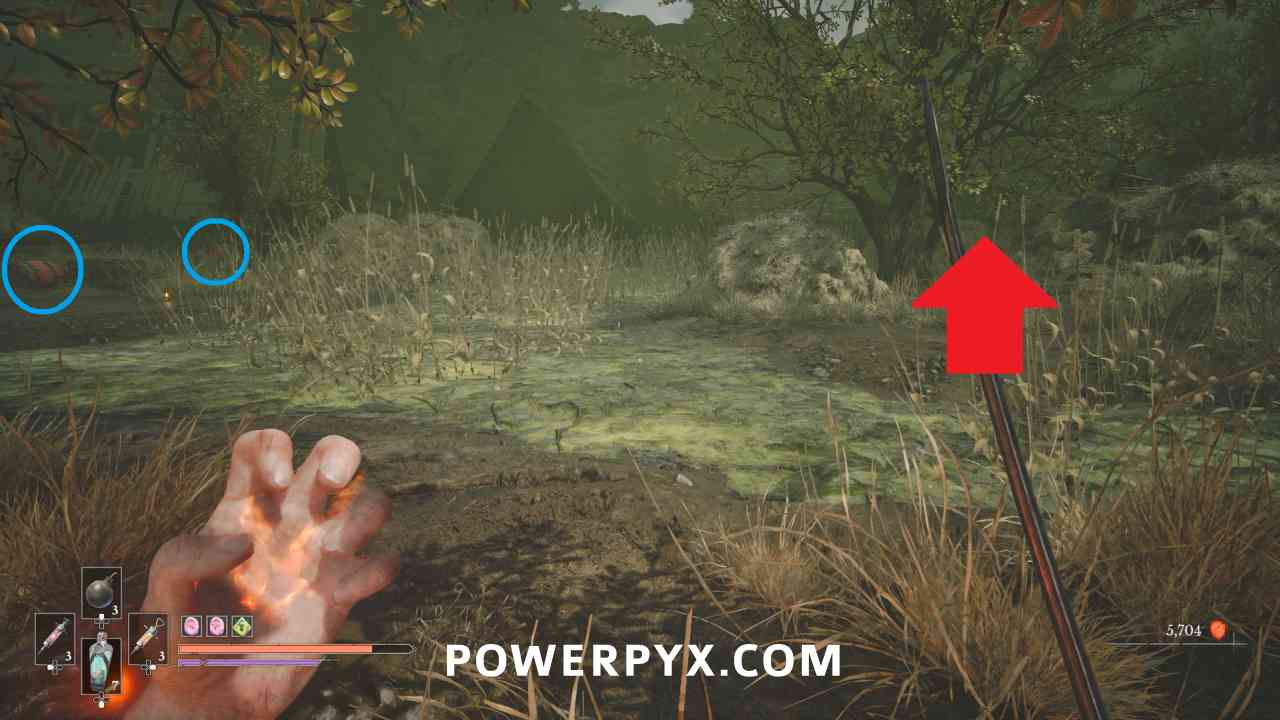
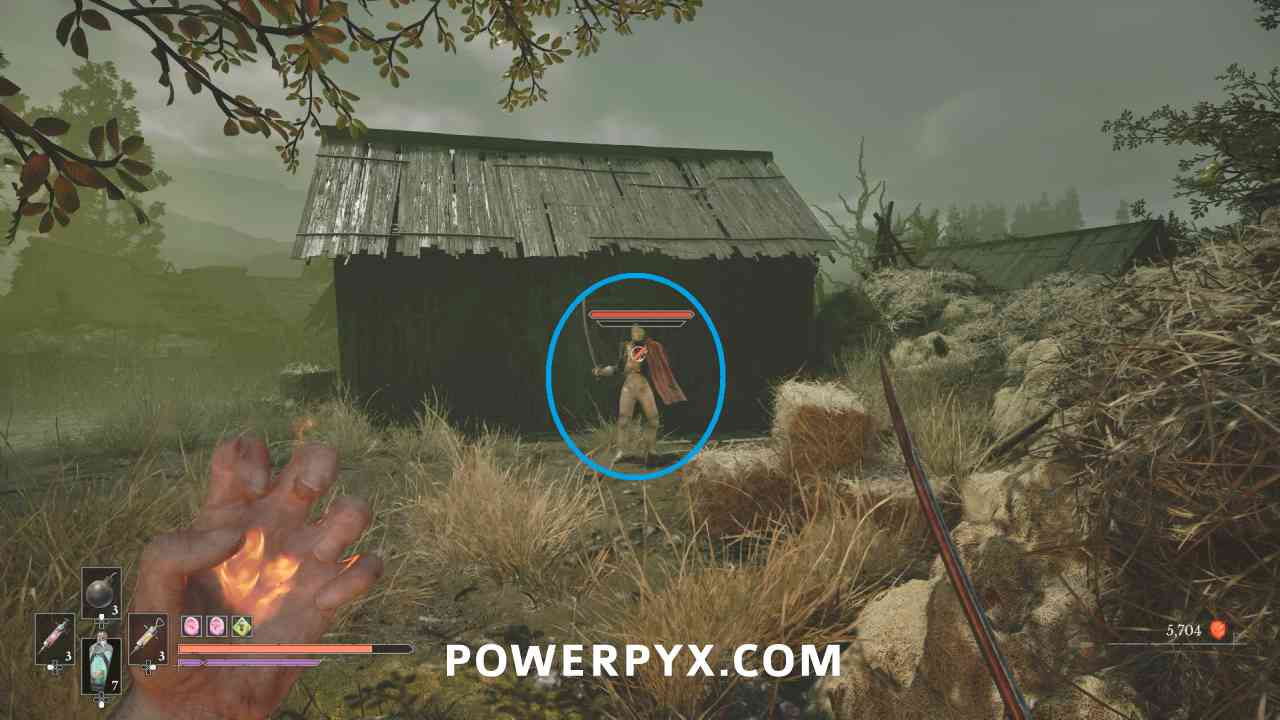
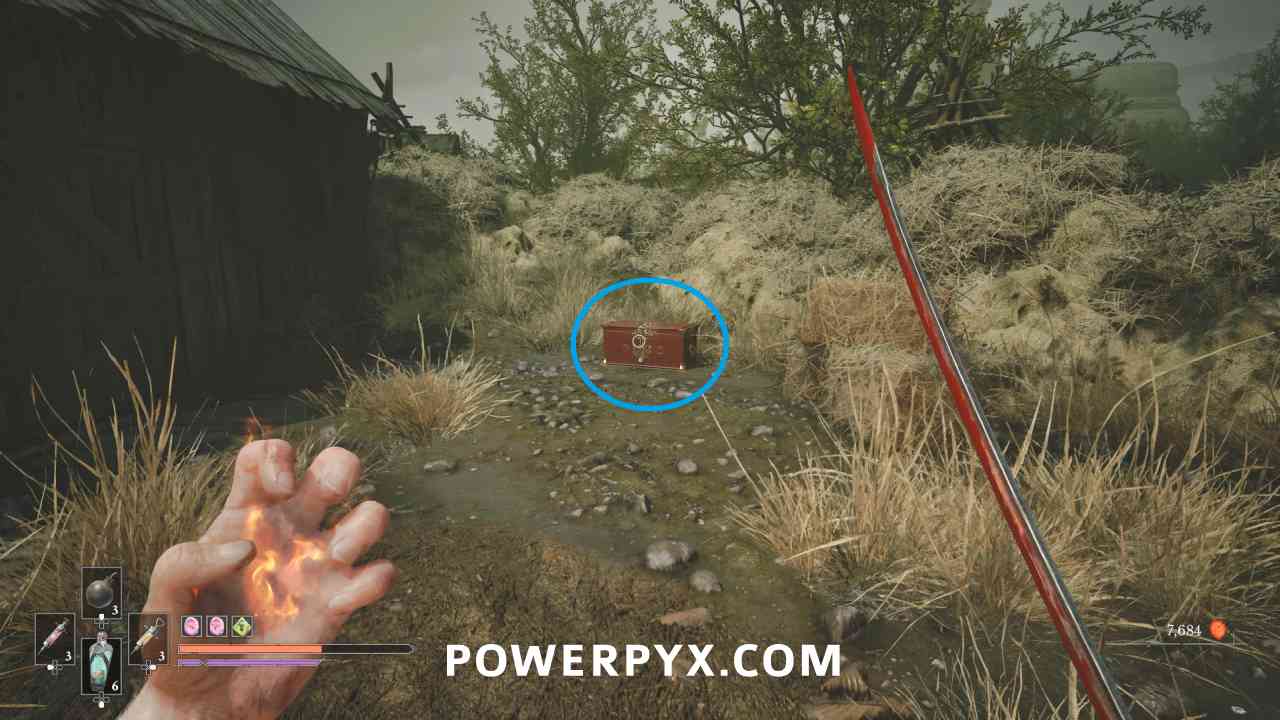
Progress through the area until you reach the long straight stretch before the church, where there is the round area with a hay bale in the center and a cannon enemy walking around. To the right past the building leading to the shortcut, you can see some explosive barrels on the left island. Go on the right island and go around the hay where you can find an Eternal Guardsman near a building. Defeat them to receive a Mysterious Stone Pyramid and Severin Susse’s Emblem.
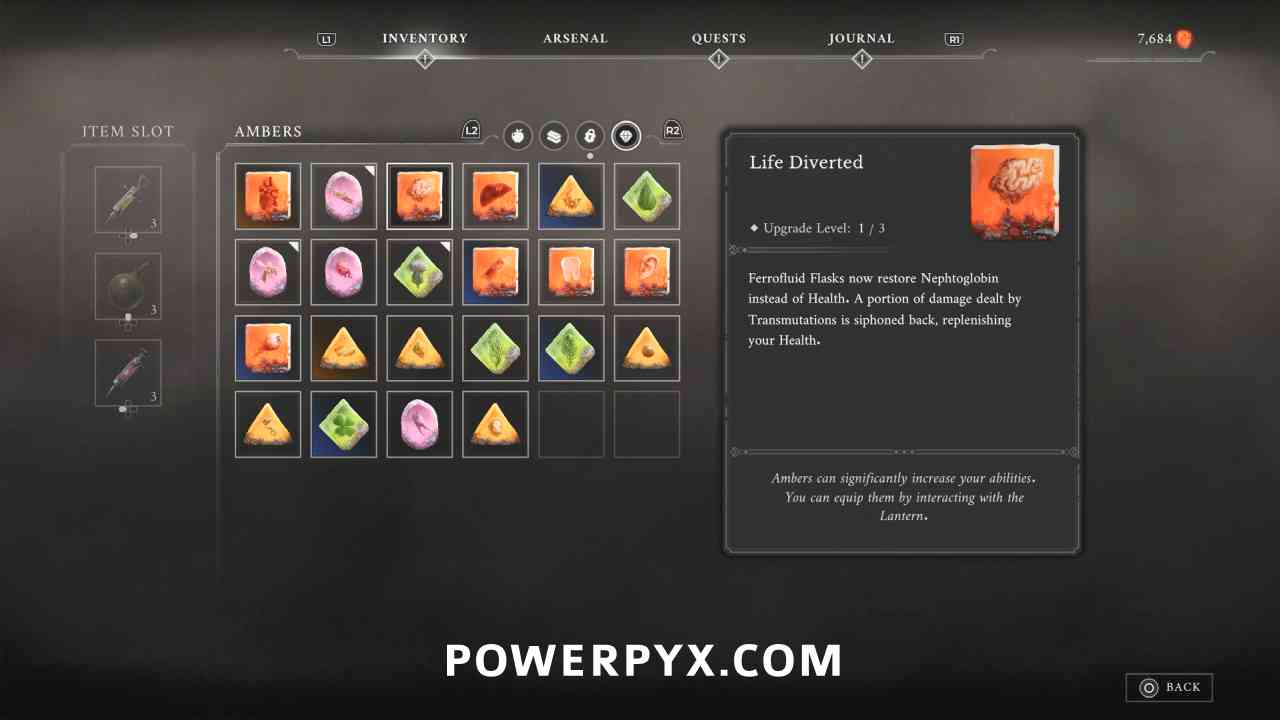
Amber #33: Life Diverted
Lantern: Cursed Hollow > Deep Water
In a chest behind where the Eternal Guardsman was standing.
Weapon #6: Claymore
Lantern: Vale of Wrath > Village Church
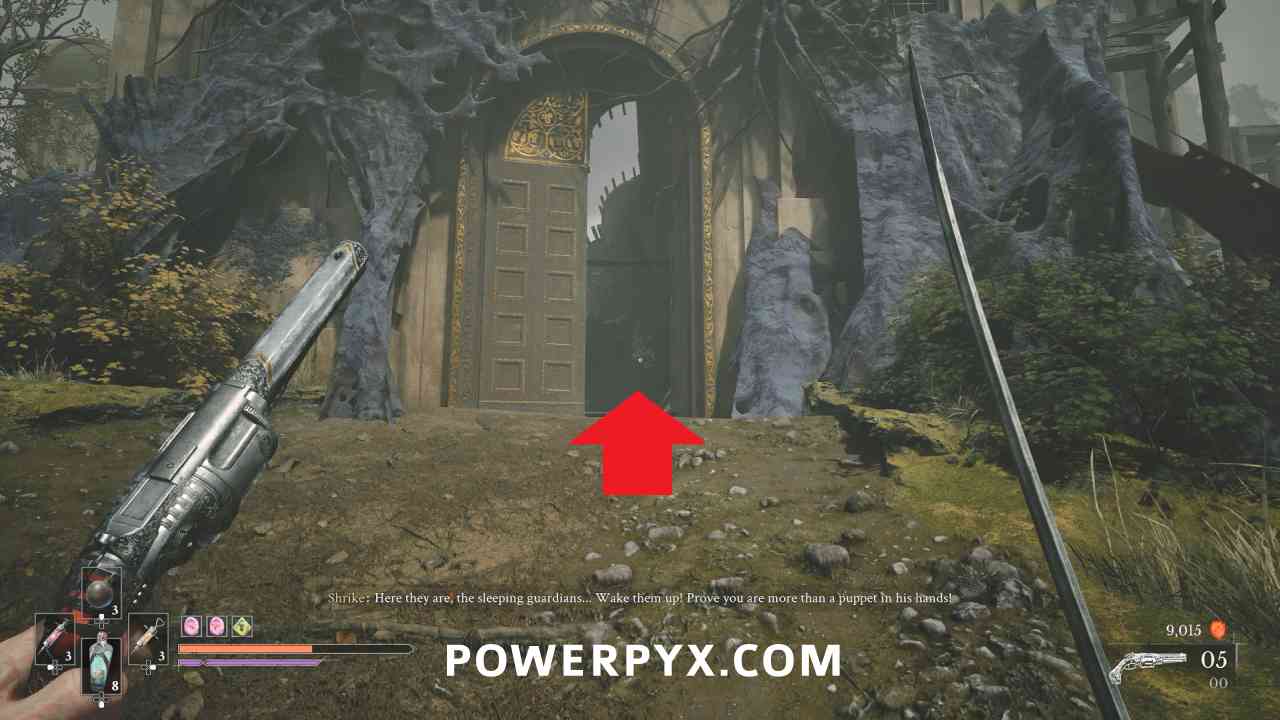
Required to progress. After reaching the church, shoot the two weakspots on the left and right sides of the building to open the front door. Go inside and pull this from the body.
Quest: Till Death – Step #2
Lantern: Cursed Hollow > Village Church
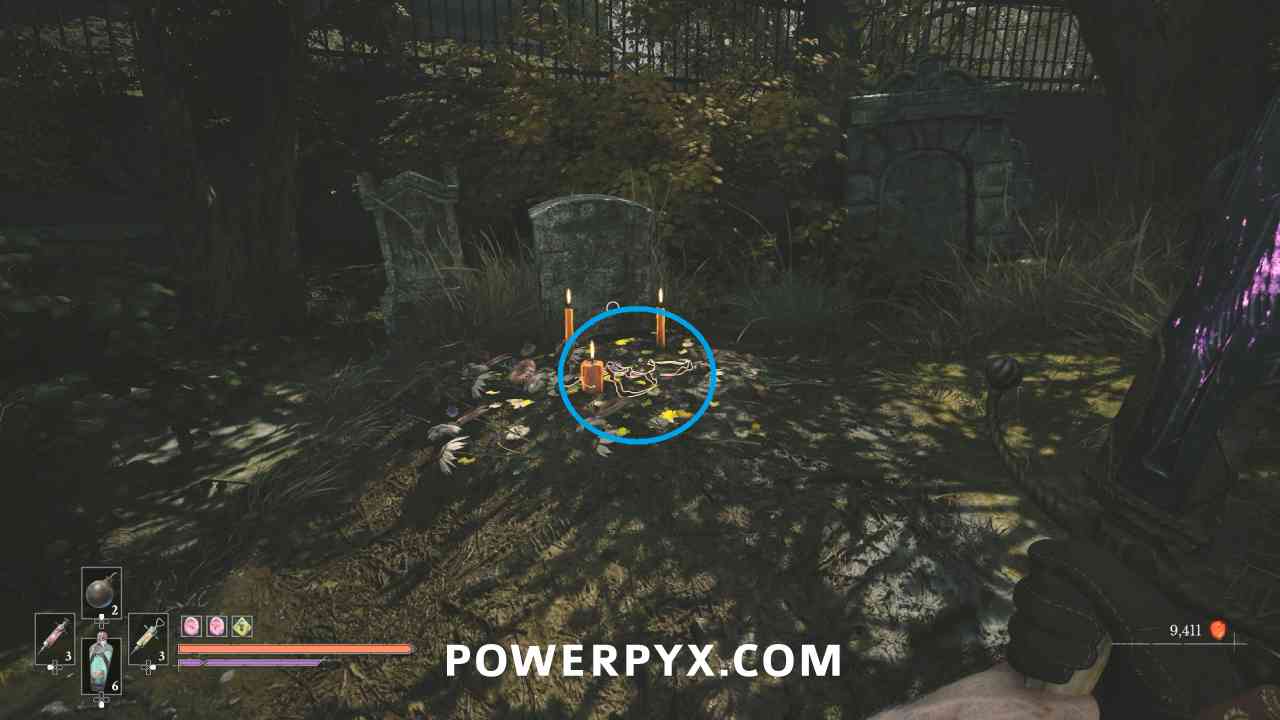
After obtaining the Claymore in the Church, go out the back and then turn to the right where you can view a memory and then pick up the Red Ribbon from the grave.
Quest: Till Death – Step #3
Lantern: Cursed Hollow > Village Church
Go back to the area where the boss fight occurred and interact with the wreath at the altar to place the Red Ribbon.
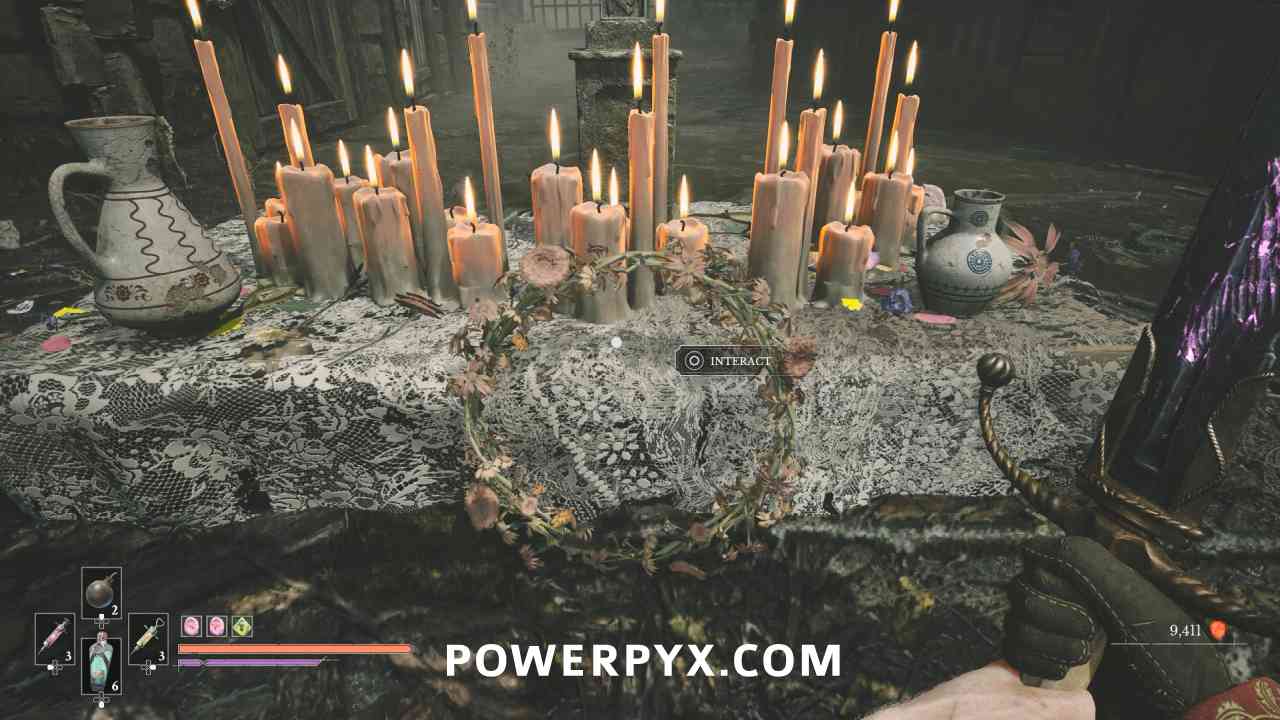
Amber #34: Tomorrow’s Promise (Duplicate > Level 2)
Lantern: Cursed Hollow > Village Church
Reward for completing Step #3 of “Till Death” side quest.
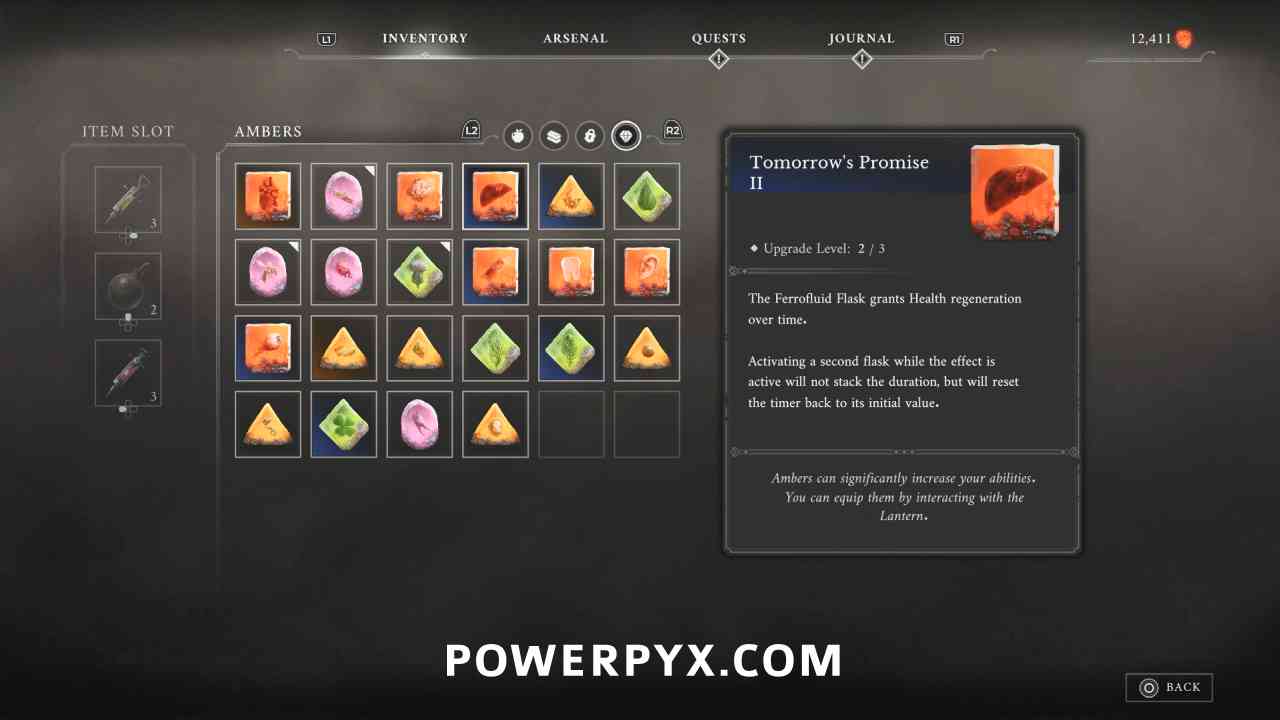
Quest: Till Death – Step #4 (Complete)
Lantern: Cursed Hollow > Village Church
Go to the Lantern and rest, then come back and interact with the wreath again to finish the quest and receive a Revenant’s Return consumable.
NEXT: Chapter 7: Witch Hunt
For all other Chapters and by-type collectibles, check out the complete Valor Mortis Collectible Guide.
Leave a Reply