
Chapter 7: Witch Hunt is the seventh section of Valor Mortis and occurs in The Outskirts and the City of Orphans regions. This walkthrough will guide you through all collectibles available in the Witch Hunt section. Everything that’s needed for trophies and 100% completion is included, nothing is missable and you can return to all areas at any time.
Collectibles Walkthrough:
Chapter 7: Witch Hunt
The Outskirts
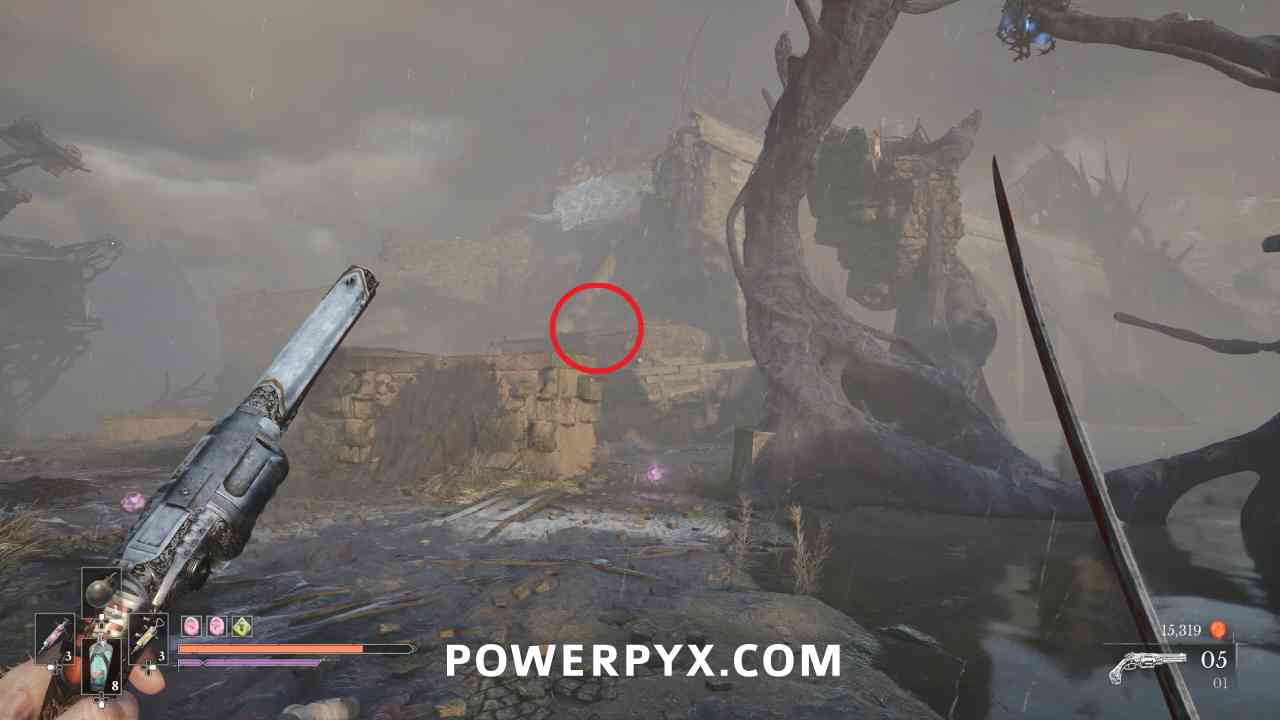
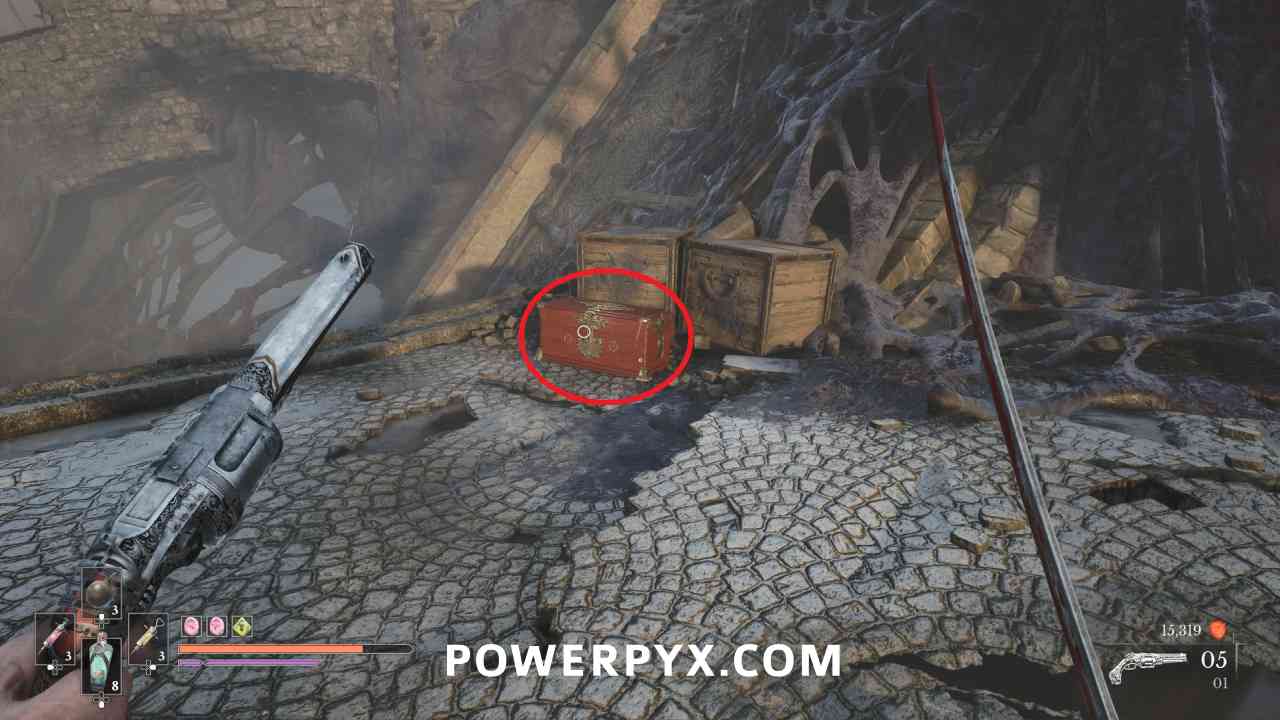
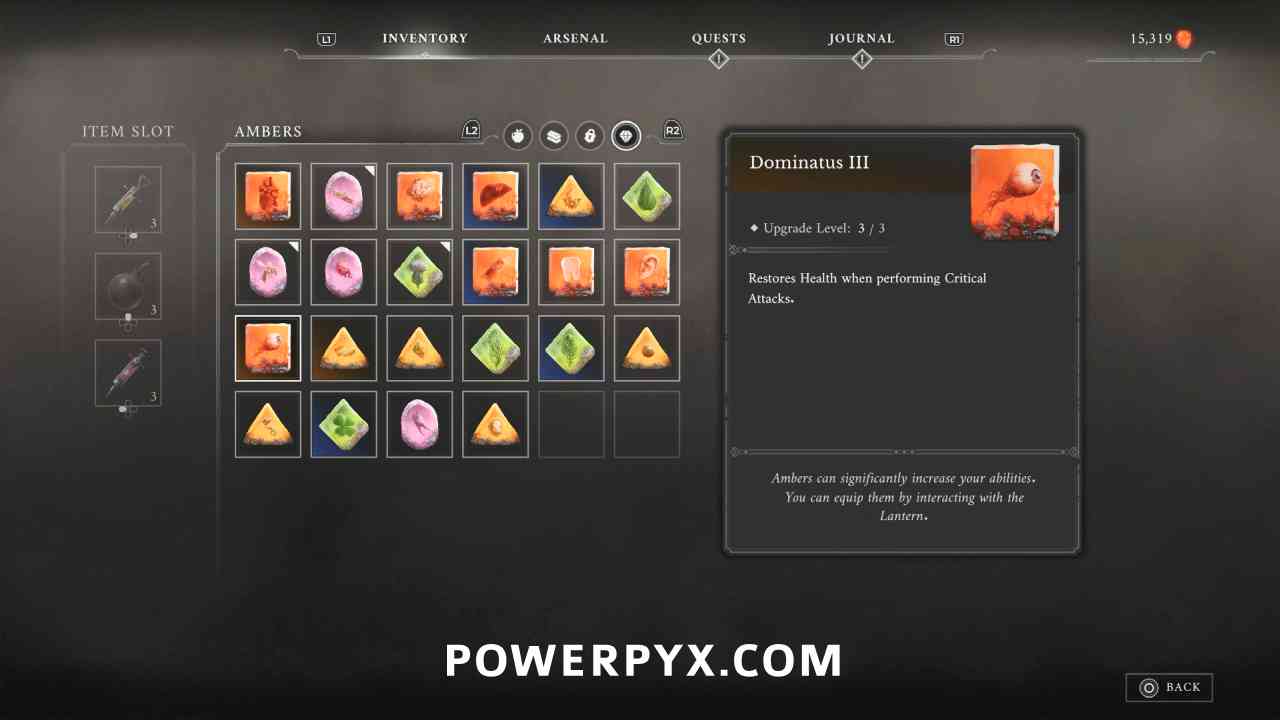
Amber #35: Dominatus (Duplicate > Level 3)
Lantern: The Outskirts > Broken Bridge
Progress from the Lantern to the area with a bunch of enemies on the ground and some wall jumps and grapples to progress. To the left of the wall jumps there are a couple platforms you can climb to find a chest that contains this Amber.
Boss: Justicar Aurelius
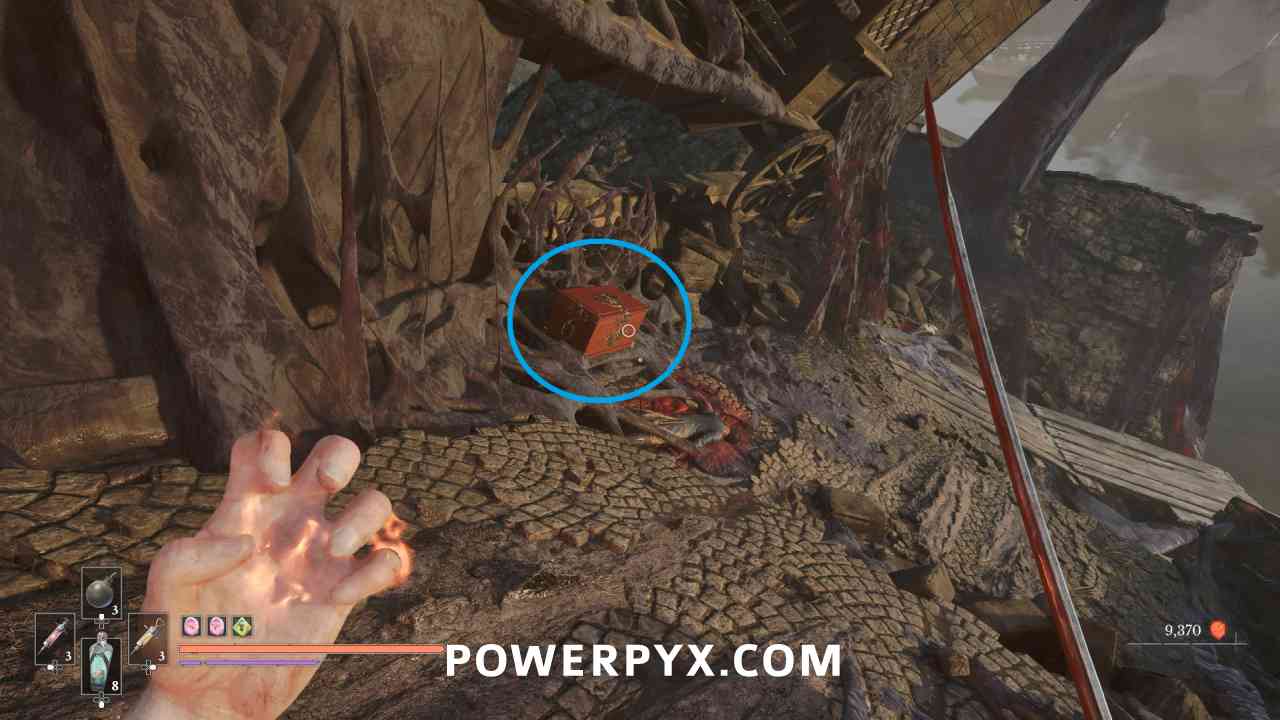
Ferrofluid Flask Power Upgrade #11
Lantern: The Outskirts > Breach
Immediately after the boss area, in a chest on the slope down to the next area.
Quest: The Shrike’s Anthem – Step #1
Lantern: The Outskirts > Island of Whispers
Progress across to the next area and pick up the note on the ground by the wooden shrine.
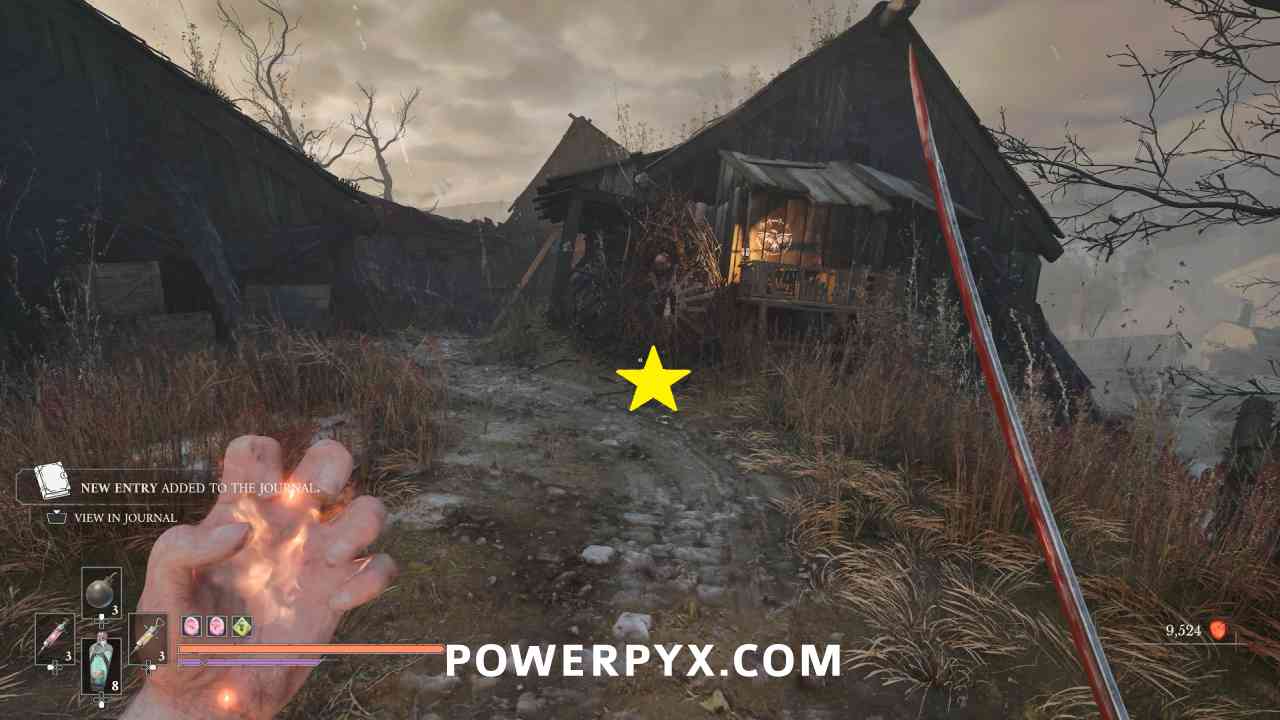
Quest: The Shrike’s Anthem – Step #2
Lantern: The Outskirts > Island of Whispers
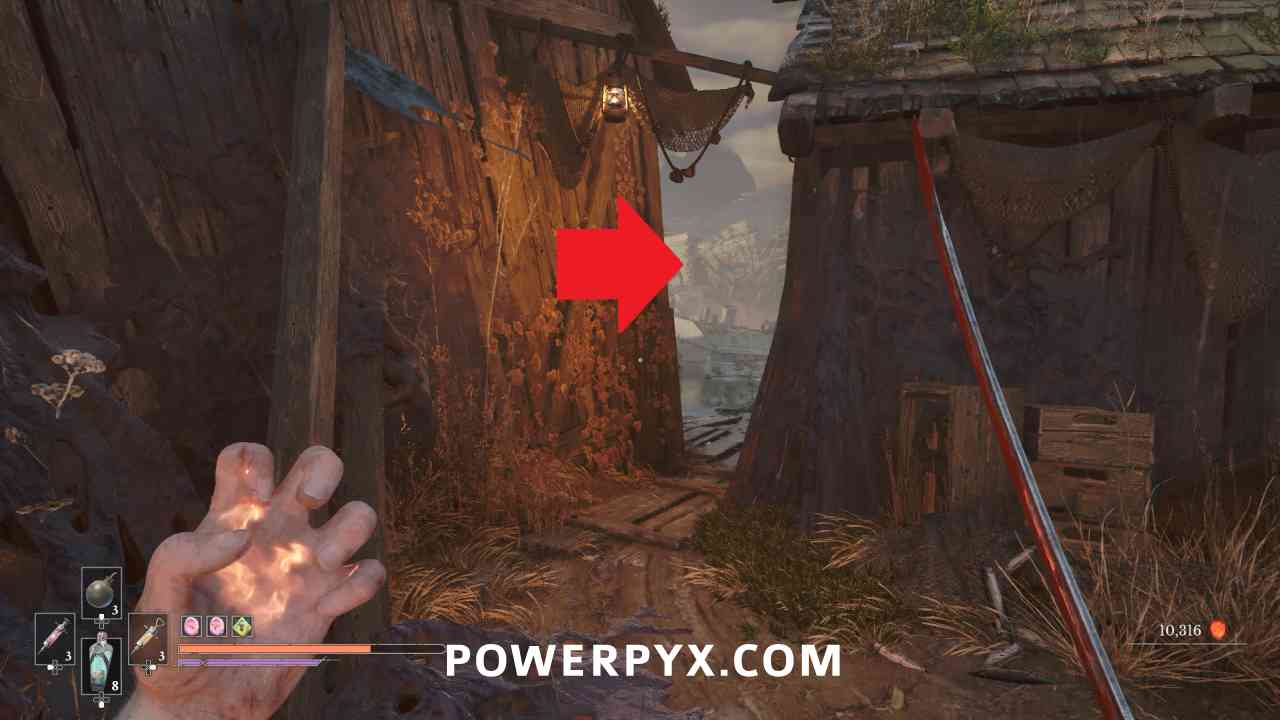
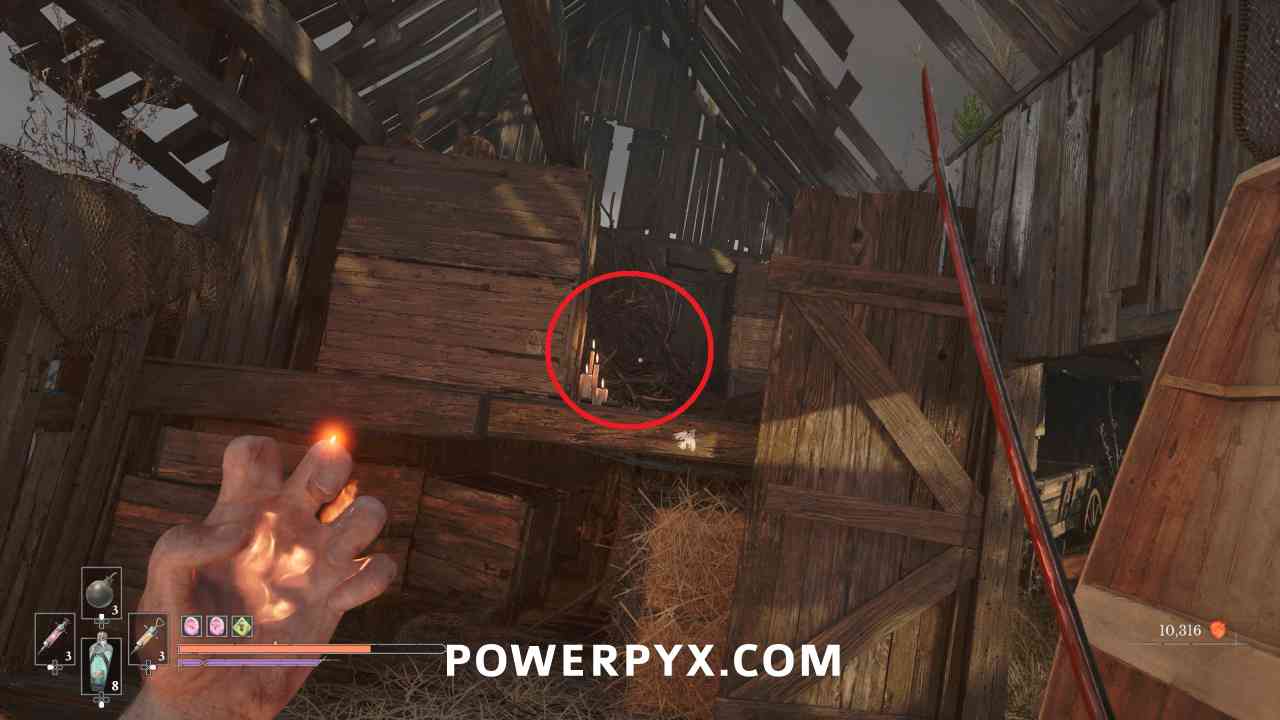
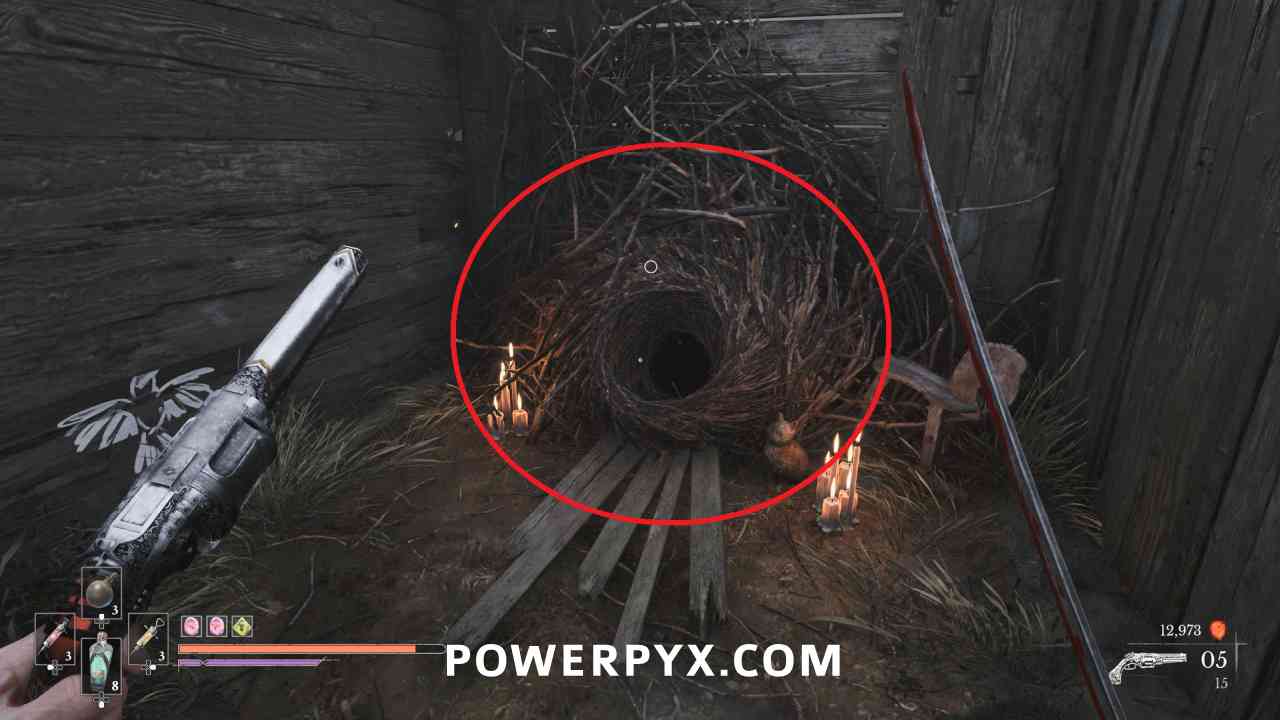
Go left of the shrine and between the gap in the buildings. Keep following the path left, then break the boxes to enter the building. Climb up ledge and interact with the burrow for another portion of the anthem.
Quest: The Shrike’s Anthem – Step #3
Lantern: The Outskirts > Island of Whispers
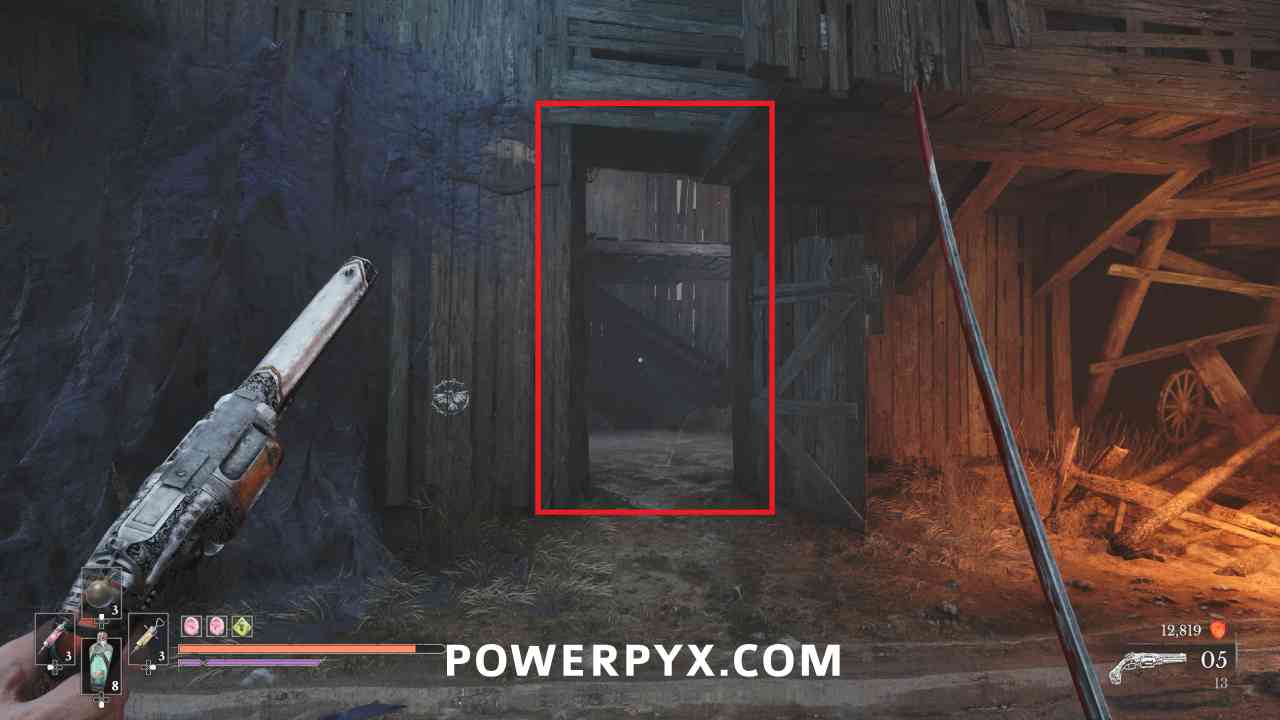
Continue across the bridge and go left into the barn building, then left again and crouch under the hole in the wall to find another burrow and another part of the anthem.
Quest: The Shrike’s Anthem – Step #4
Lantern: The Outskirts > Island of Whispers
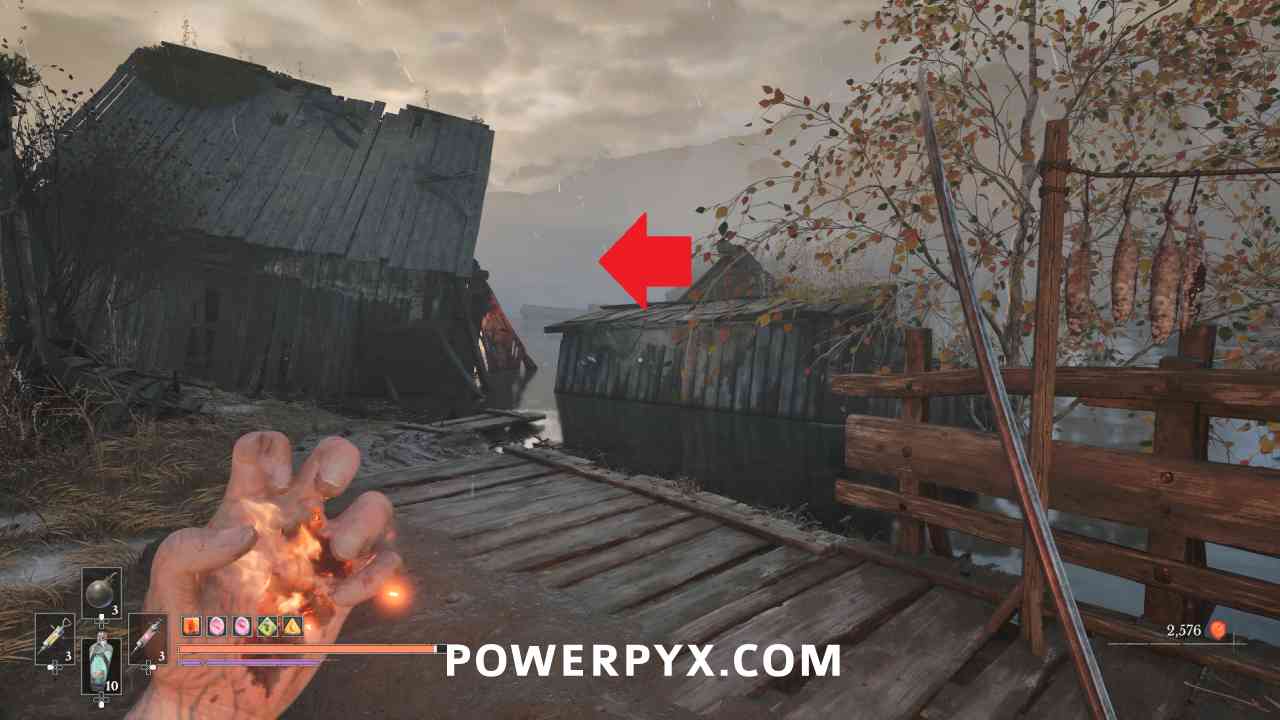
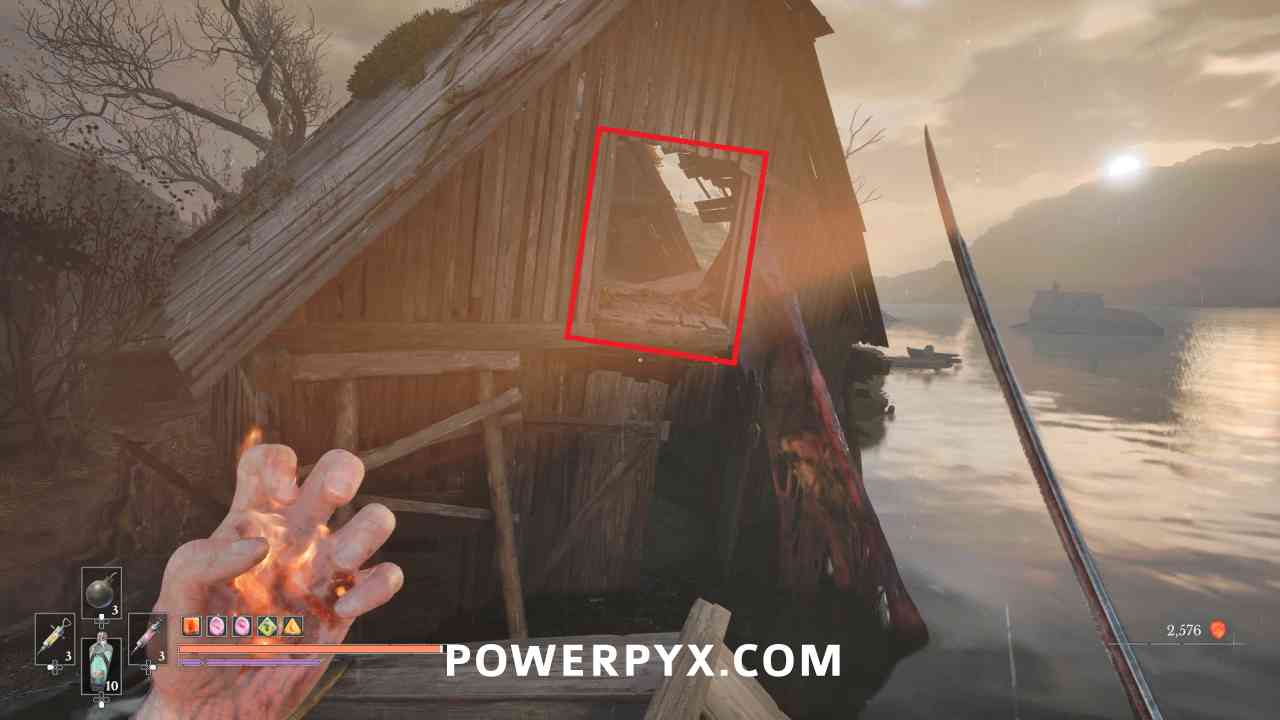
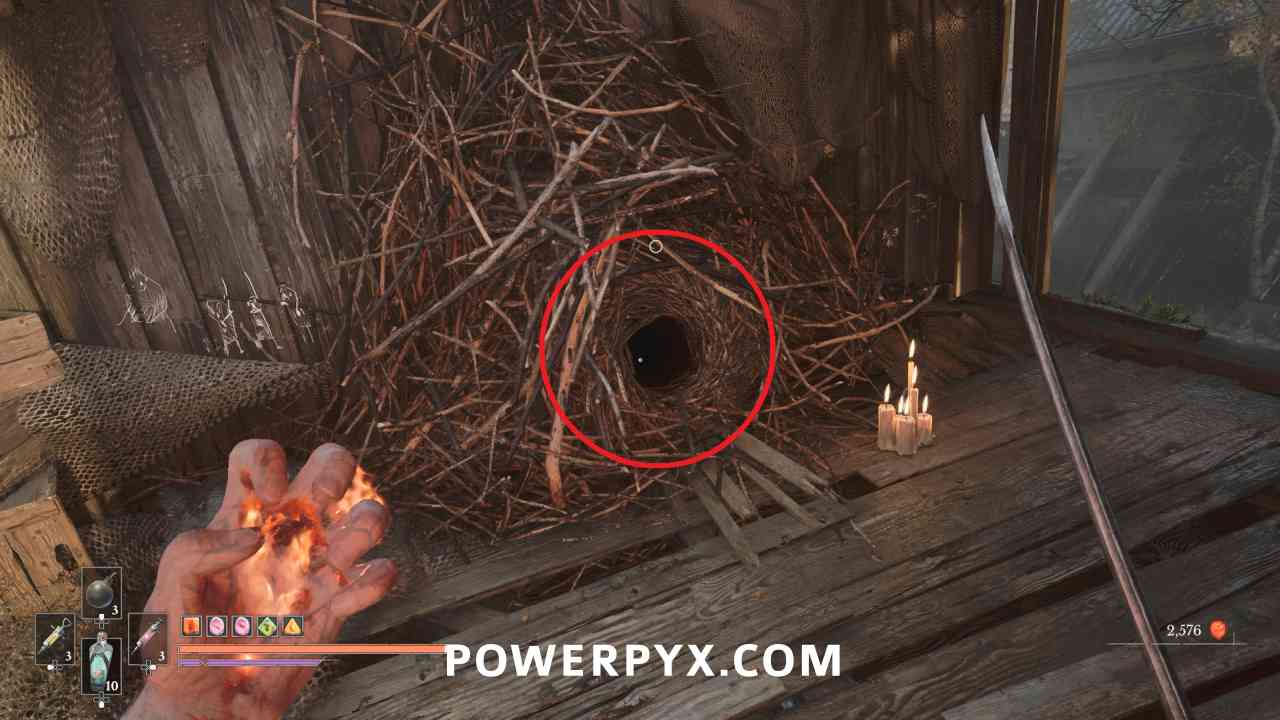
Go up in this building and out the other side. Look toward the water and there is a house with the white marking you can jump on, then into the attic of another building with the burrow.
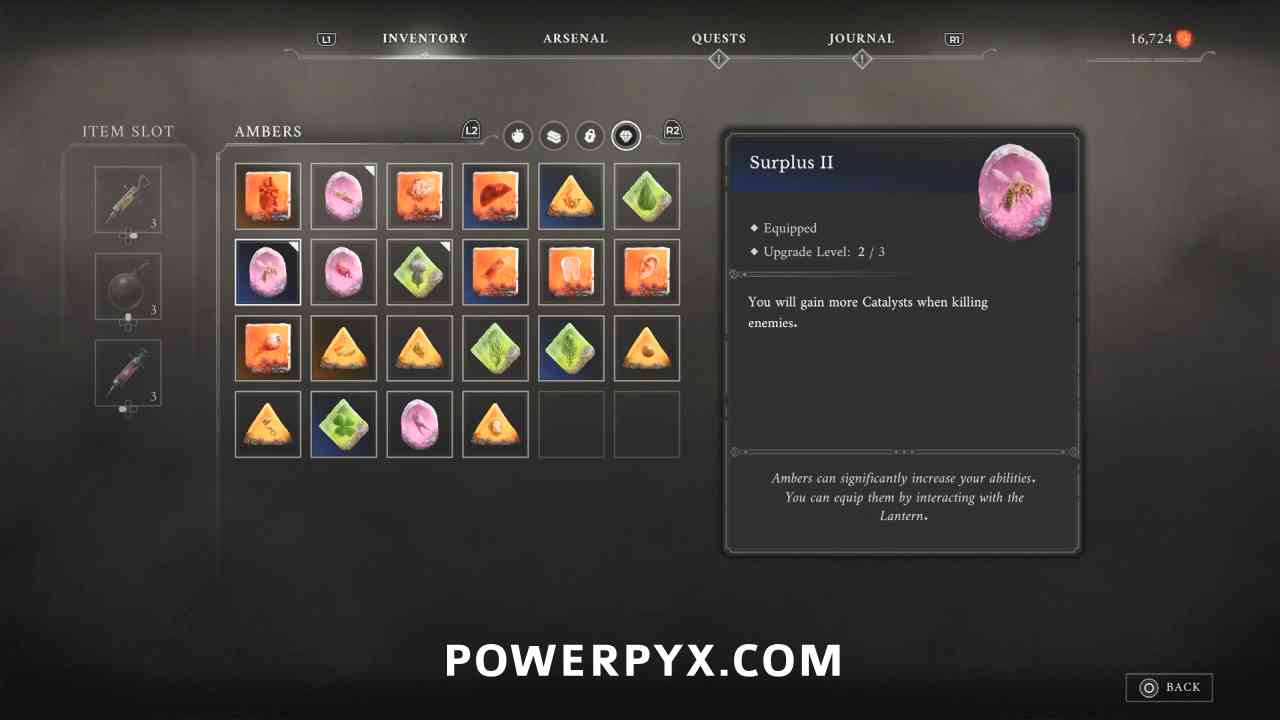
Amber #36: Surplus (Duplicate > Level 2)
Lantern: The Outskirts > Island of Whispers
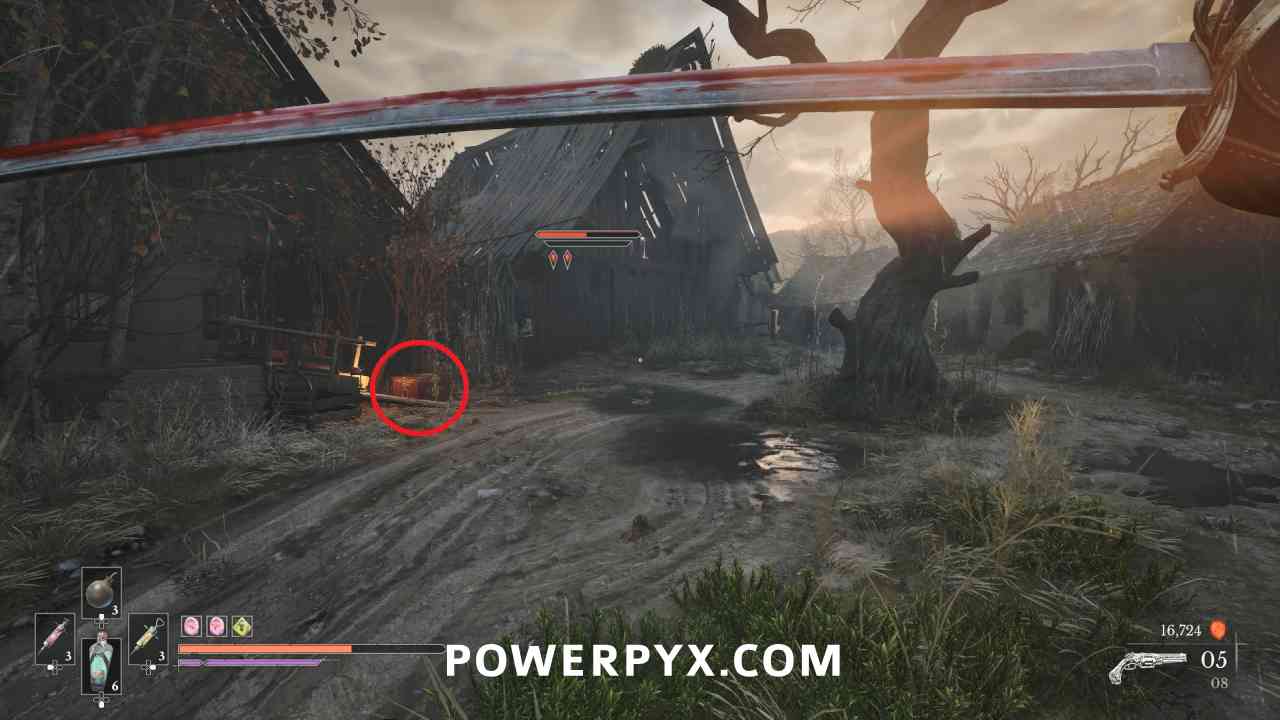
Continue forward and you will be in a long road area with two tall enemies in front of you. On the left about halfway down the road is a chest with this Amber.
Quest: The Shrike’s Anthem – Step #5 (Complete)
Lantern: The Outskirts > Island of Whispers
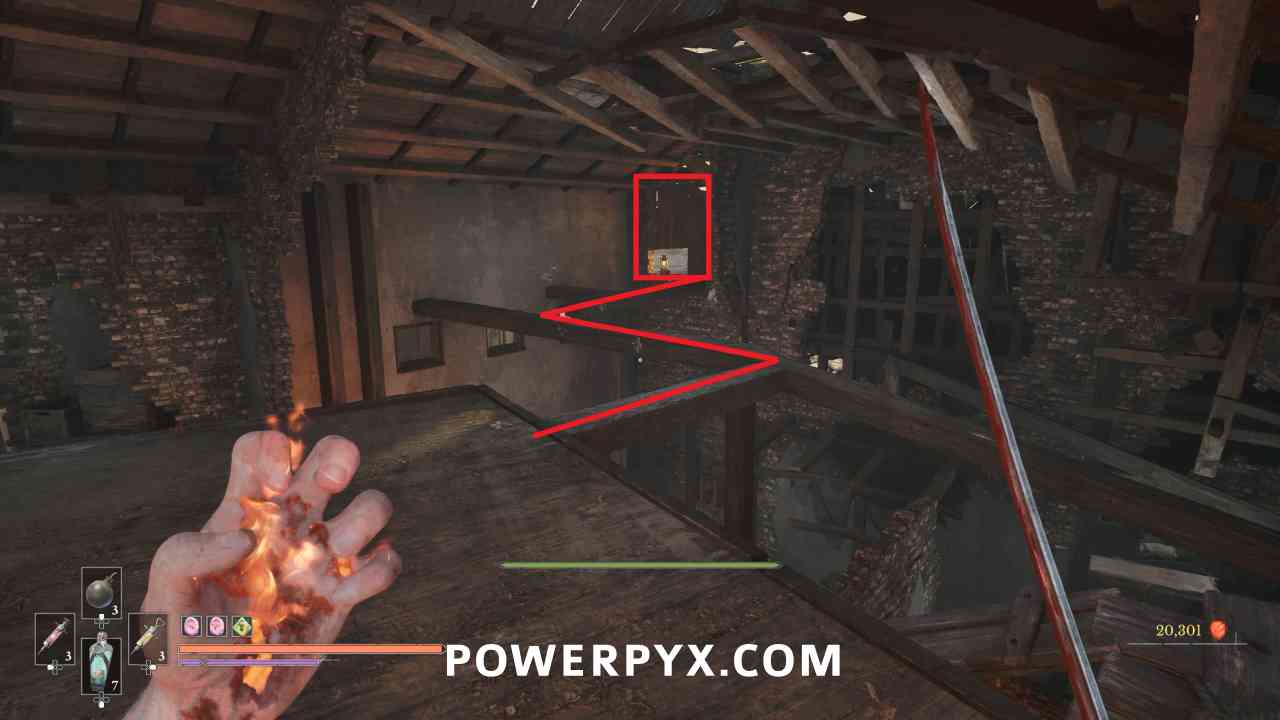
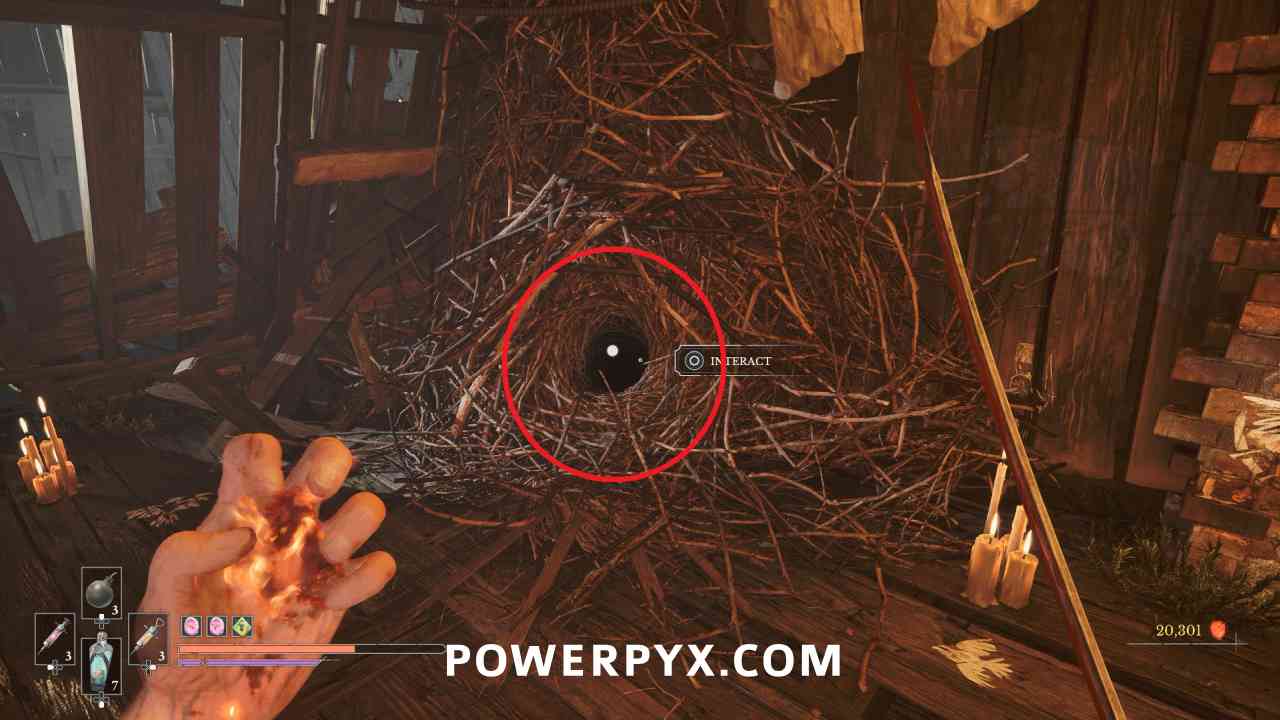
Continue until you reach the barn with the shortcut door that you have to climb up the middle. To the right of the path where you progress there are beams you can walk across to find the final burrow.
Quest: Laudanum – Step #1
Lantern: The Outskirts > Island of Whispers
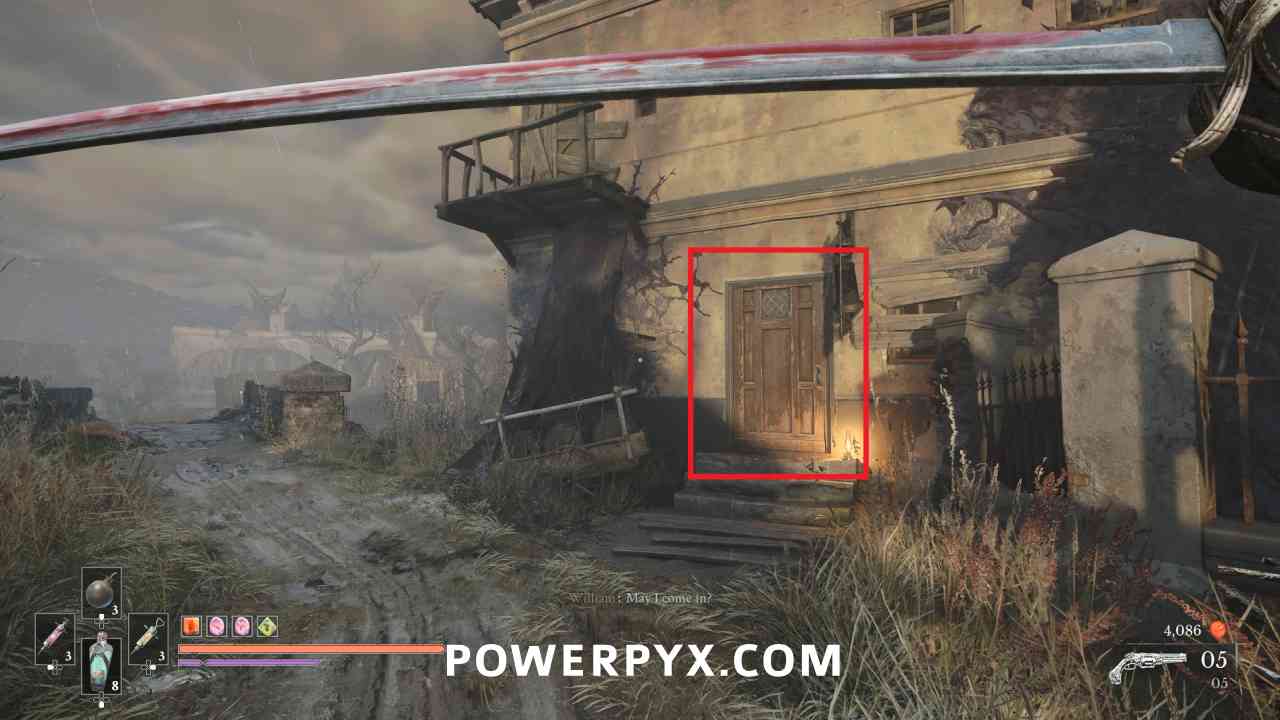
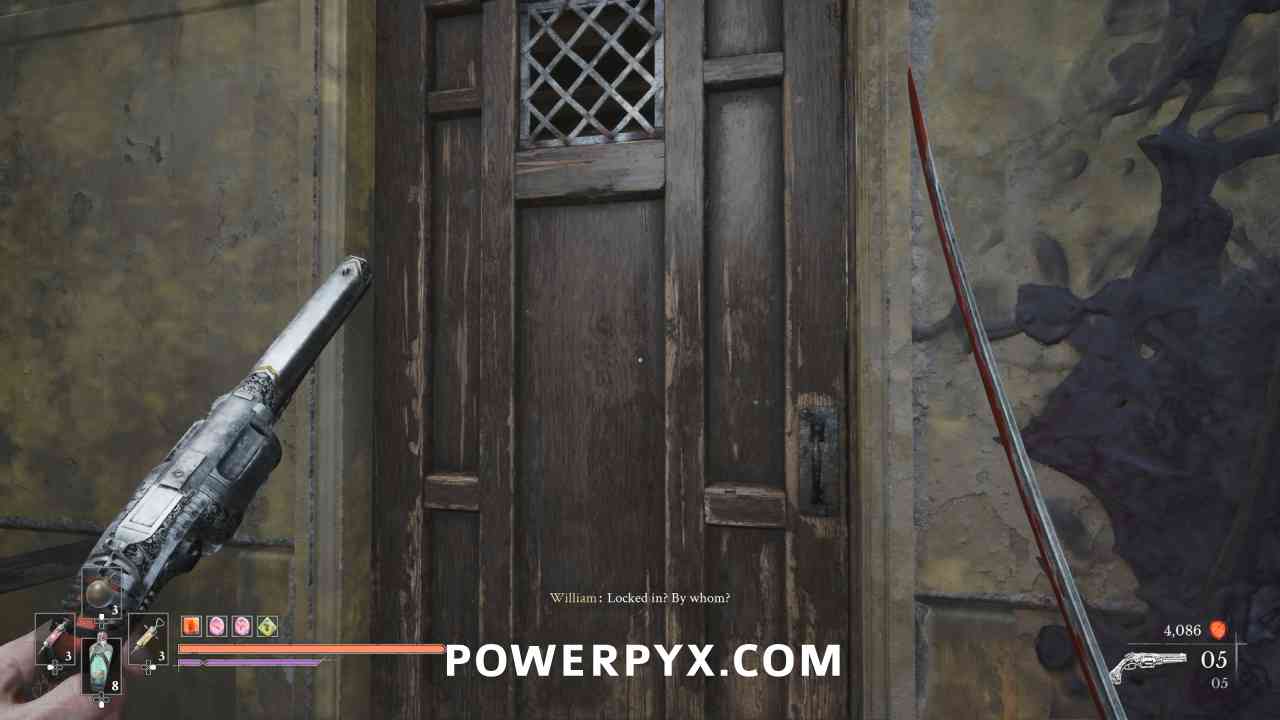
In the street area after the children speak to you again, walk down the road toward where the weak point that opens a shortcut back to the last Lantern is. Before reaching it, interact with the brown door on the right to start the quest.
Quest: Laudanum – Step #2
Lantern: The Outskirts > Island of Whispers
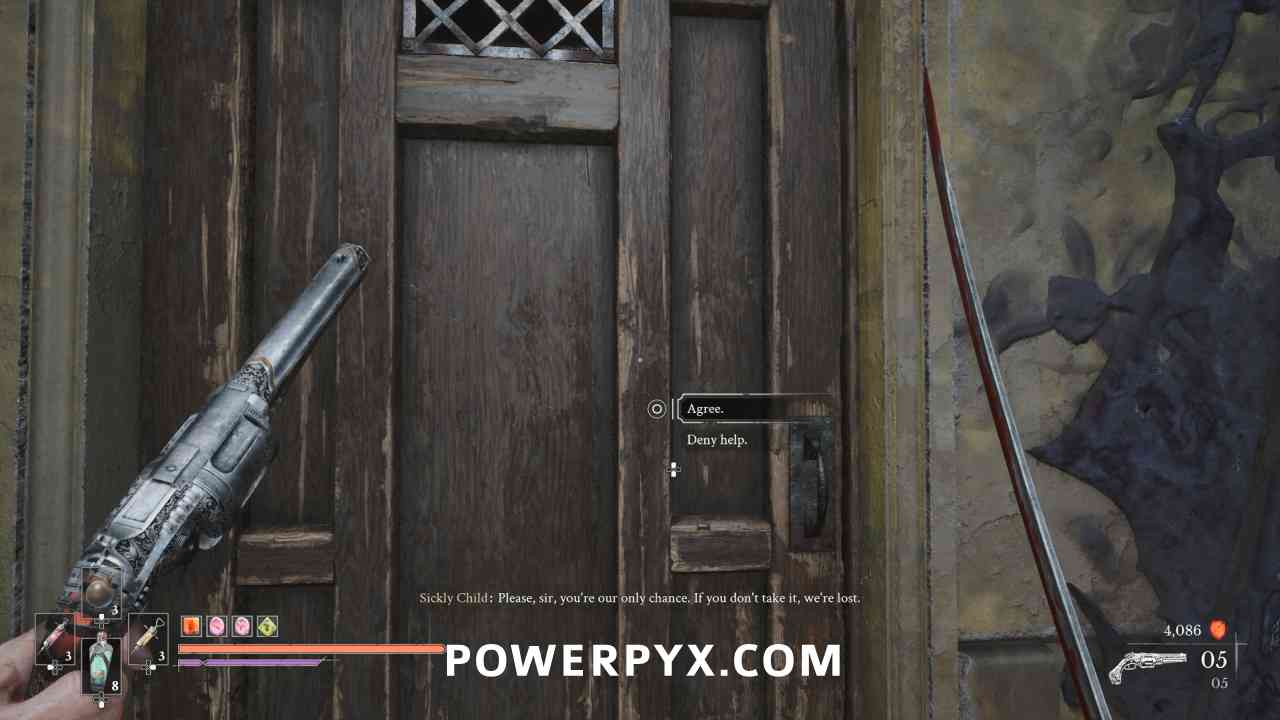
Go left of the door around the building where you can find another wooden door to interact with. You can agree or decline to help the children, the reward for the quest will be the same, but this locks you into the choice immediately instead of at the end of the quest like previous ones. If you agree you’ll receive a Poison-Filled Bottle.
Quest: Laudanum – Step #3
Lantern: The Outskirts > Market Square
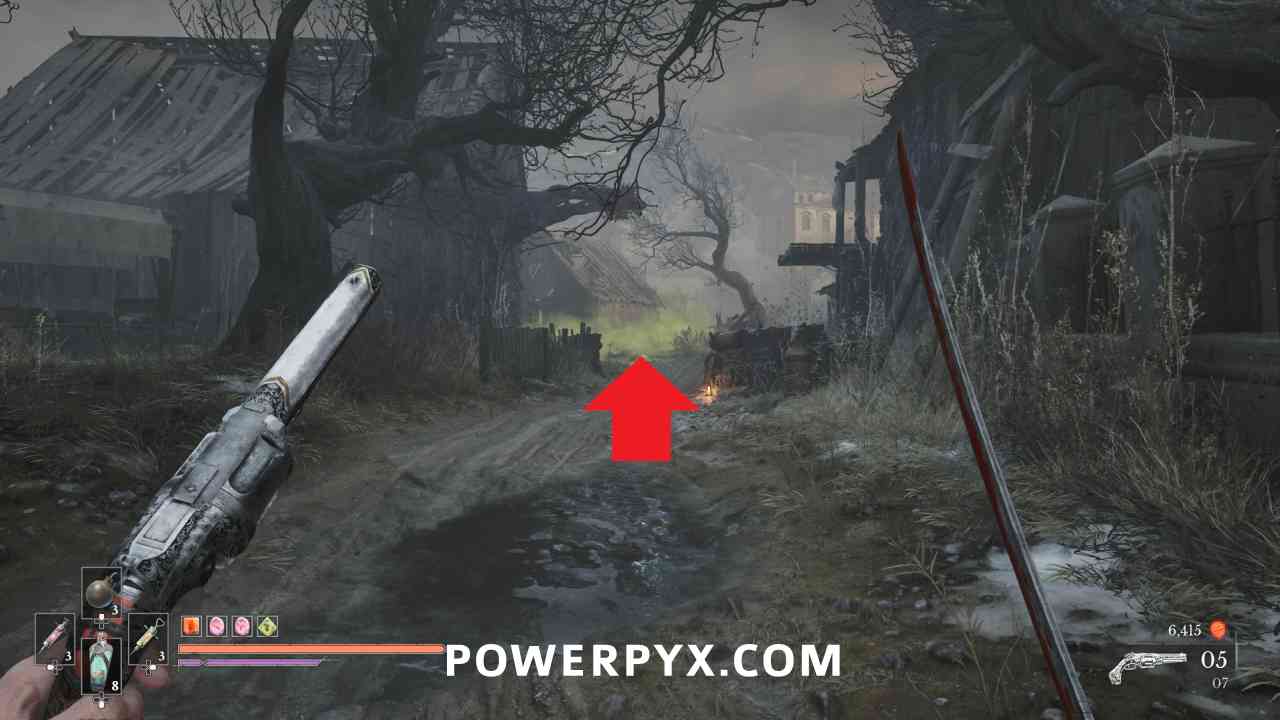
From the Lantern, go toward the poisoned area. Follow the path all the way through until you reach the house. Go up to the second floor and immediately in front of you there is a hole in the floor. Drop down to the bedroom below and pick up the Laudanum. If you agreed to help the children then you will get Poisoned Laudanum.
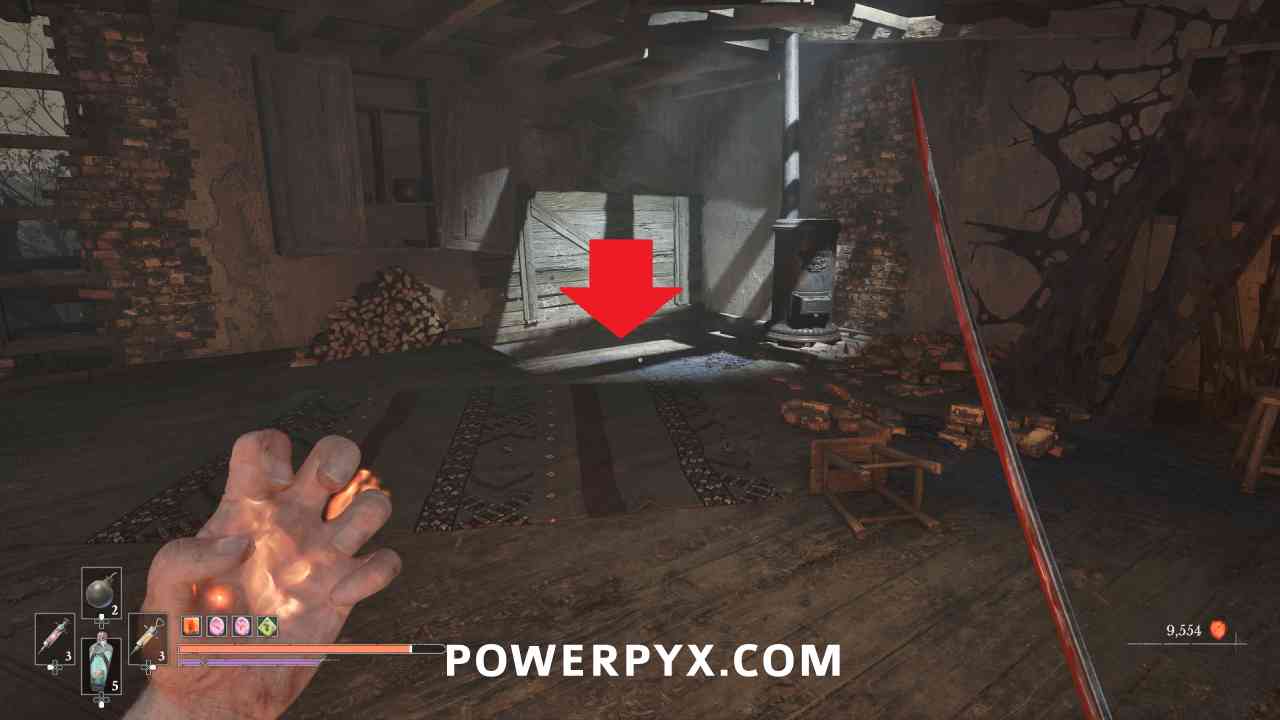
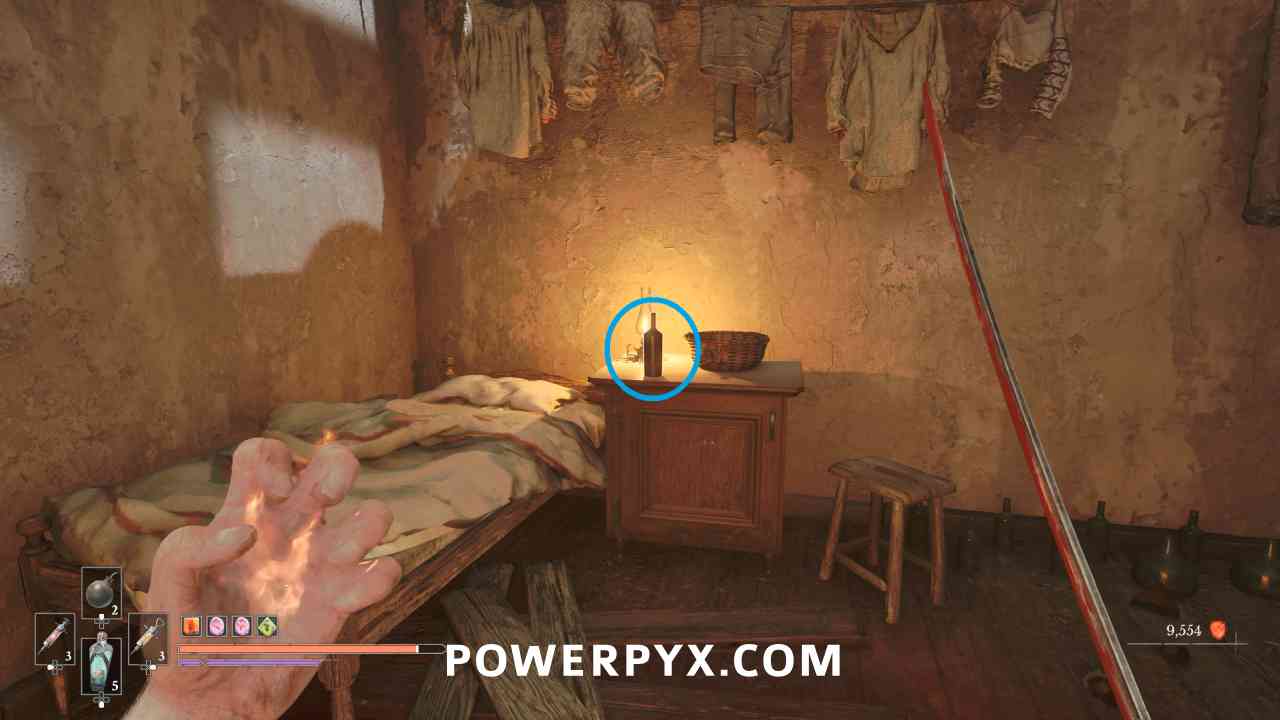
Quest: Laudanum – Step #4
Lantern: The Outskirts > Island of Whispers
Go back to the door and interact with it to give your bottle of Laudanum. Go rest at the Lantern, then come back. You either go upstairs or downstairs depending on your choice during the quest, after which it will be complete.
Amber #37: Potent Concoction (Duplicate > Level 2)
Lantern: The Outskirts > Island of Whispers
Reward for completing side quest “Laudanum”.
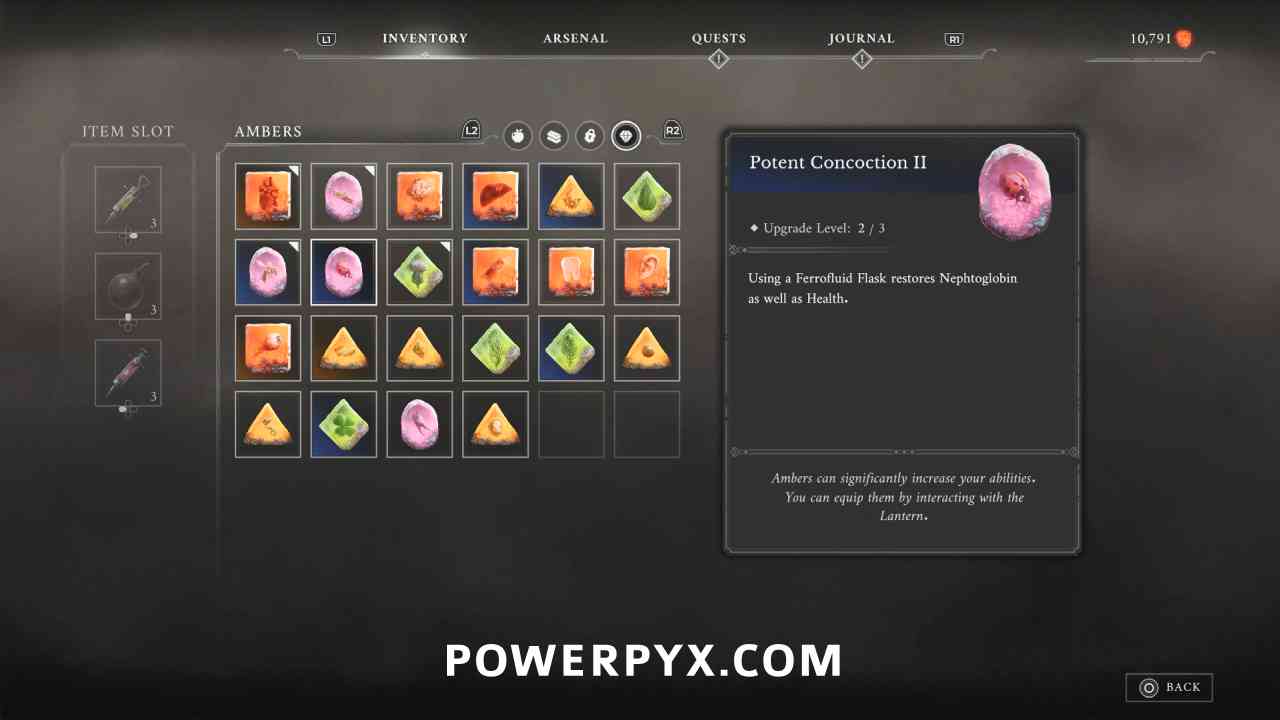
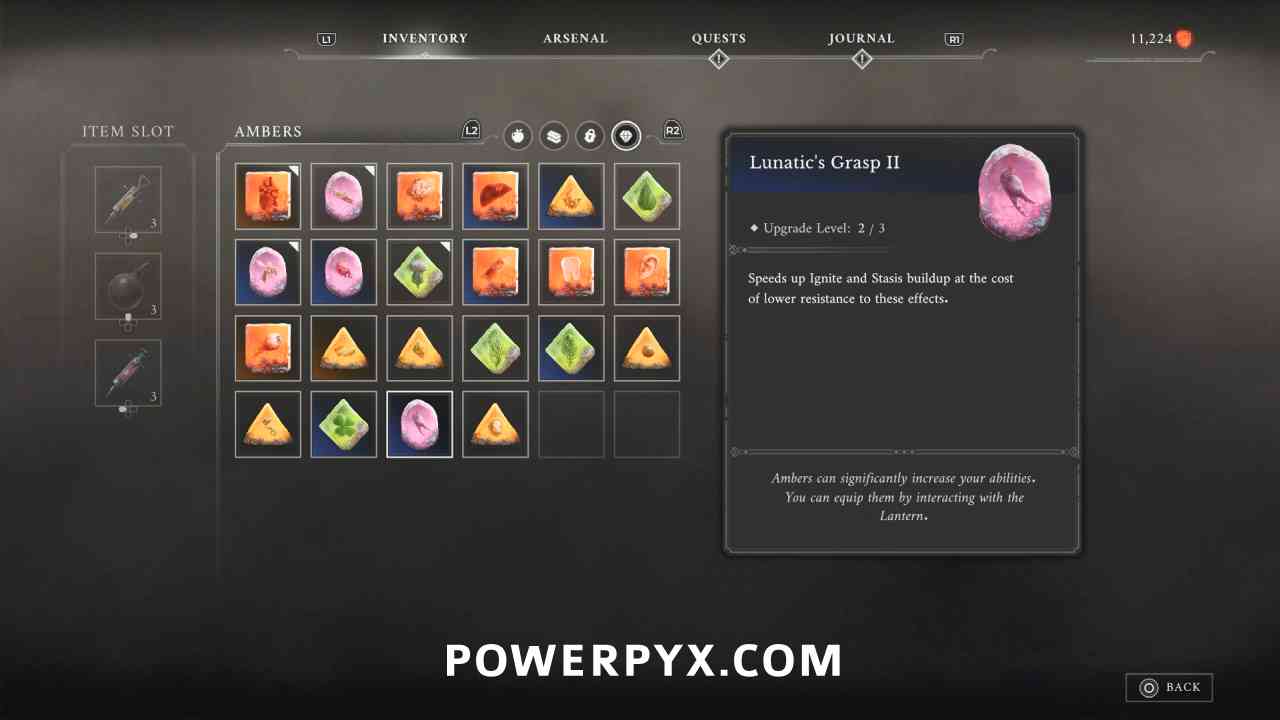
Amber #38: Lunatic’s Grasp (Duplicate > Level 2)
Lantern: The Outskirts > Market Square
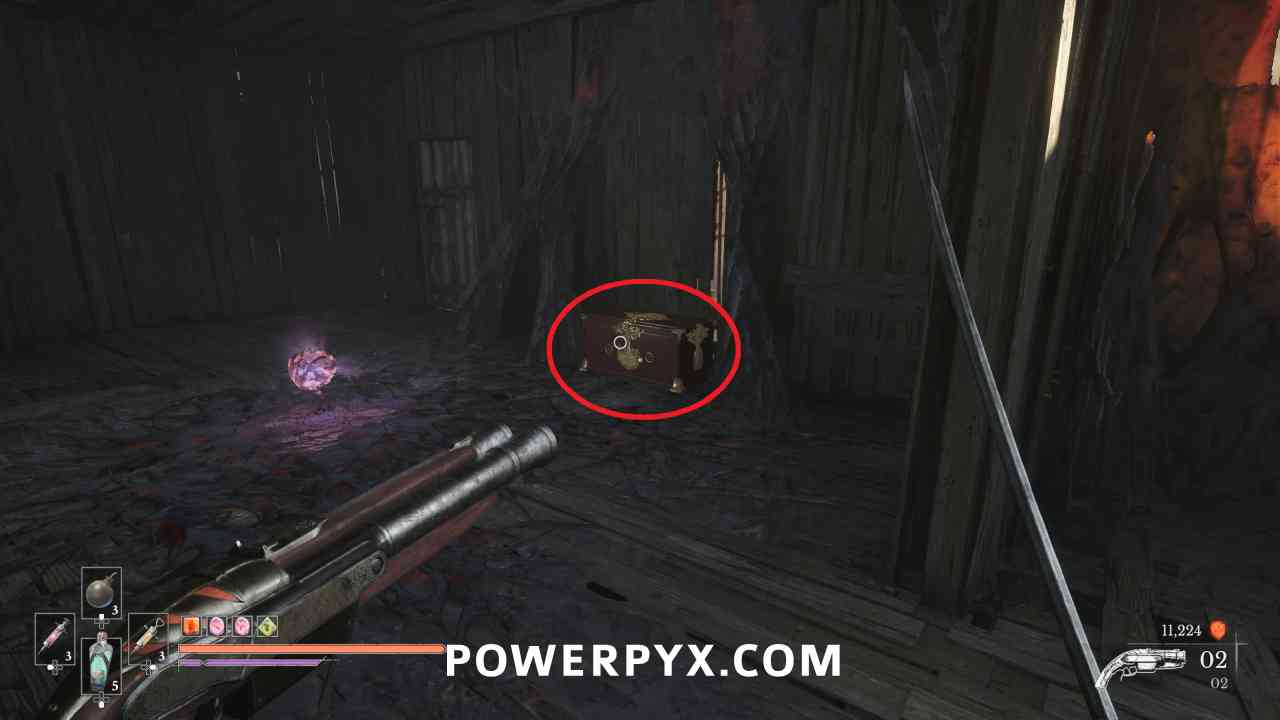
Progress to the point where you go through a barn and have a grapple point ahead of you. Turn around and go around the barn to a side area. Jump across the boats to reach the inside of the building where this is in a chest.
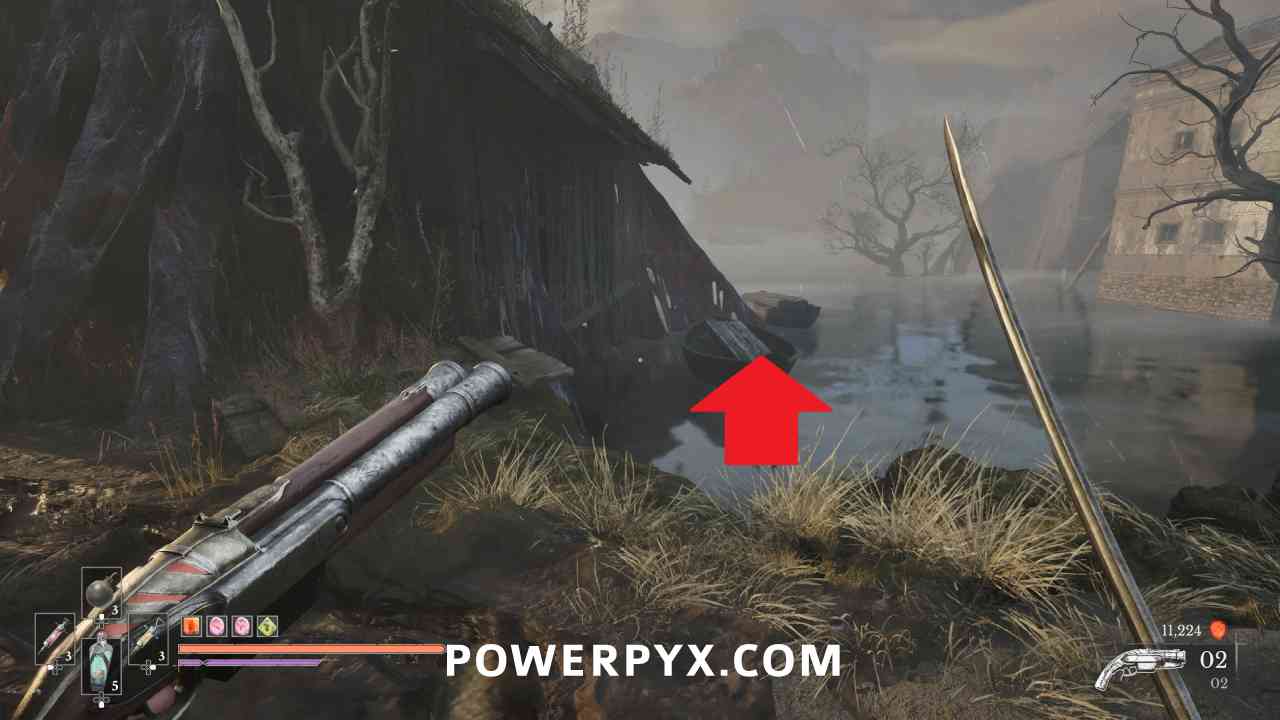
Empty Ferrofluid Flask #6
Lantern: The Outskirts > Market Square
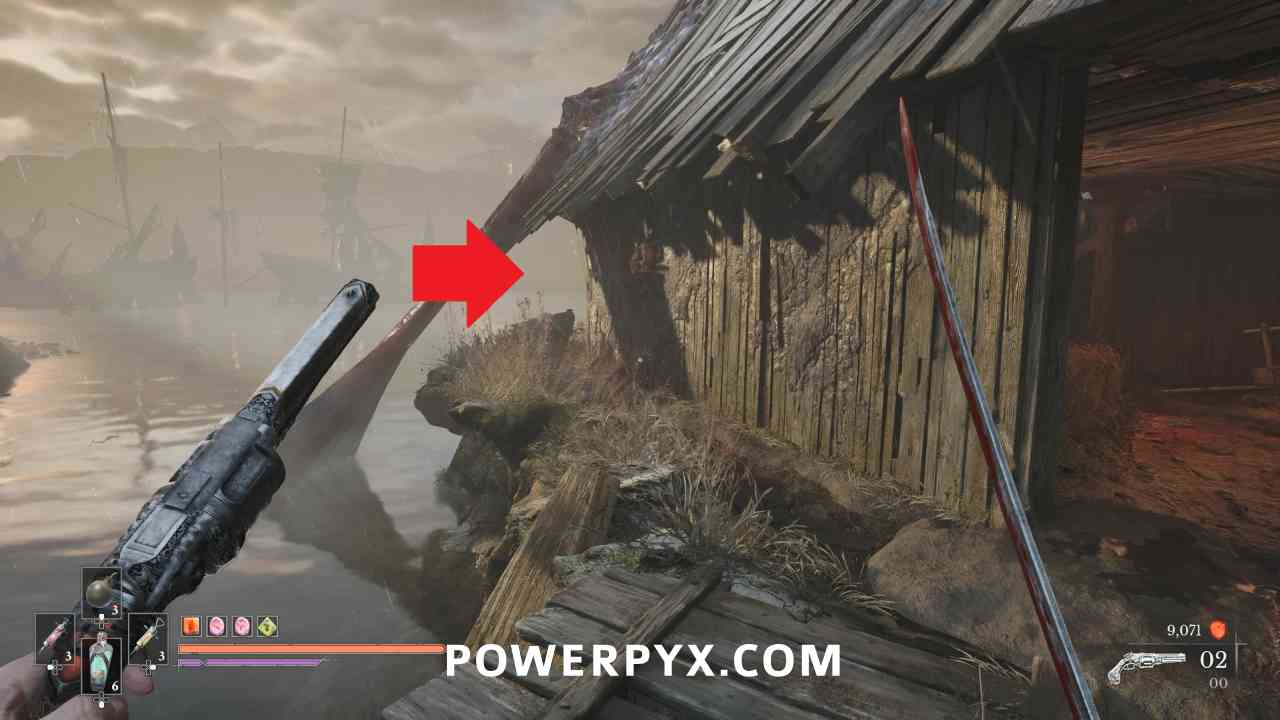
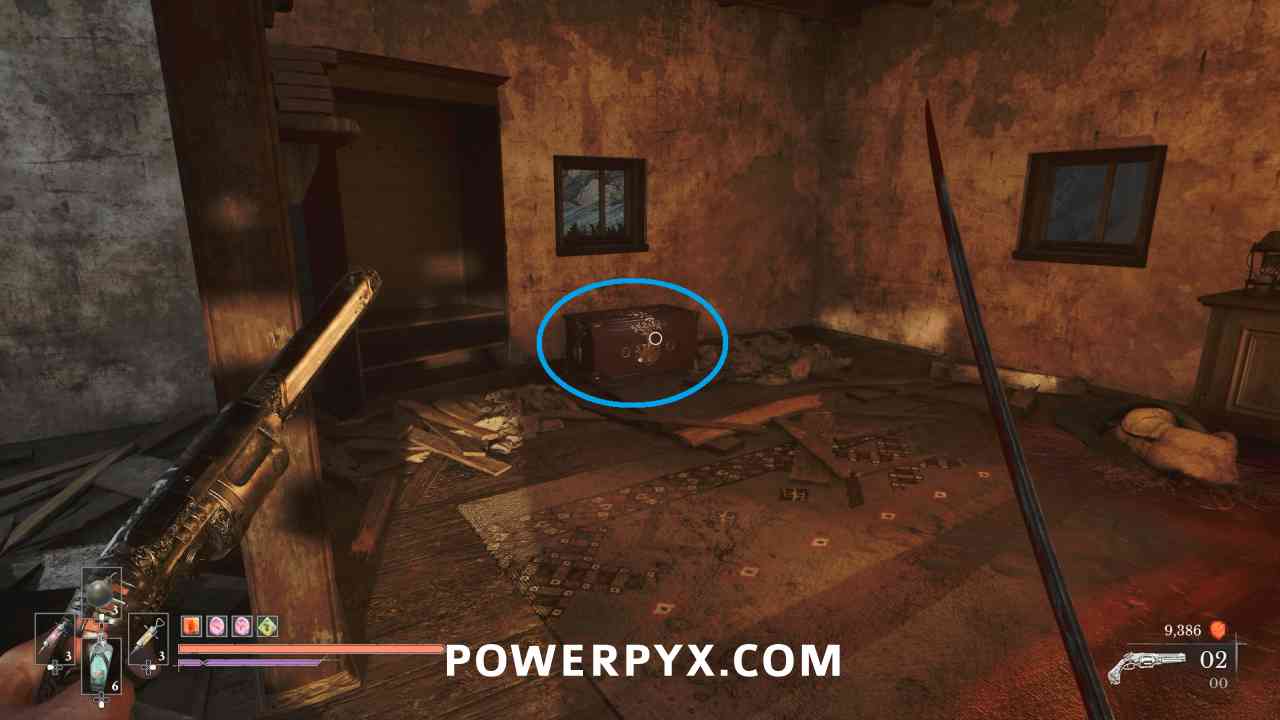
Back outside the barn, you can next go into the larger house. To get into the building shoot the explosive barrels through the window, which allows you to enter the building through a hole in the wall. On the top floor you can find this in a chest. The other chest has a Distilled Transmutation Material.
Boss: Experiment 83
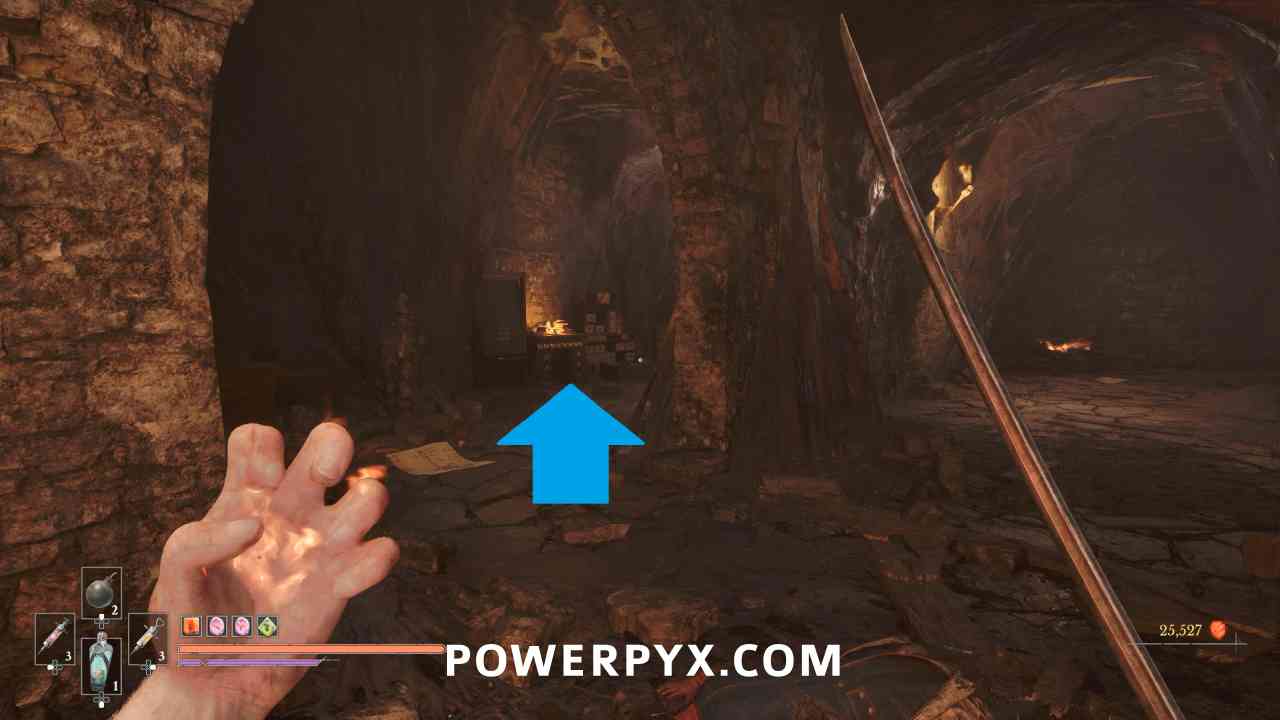
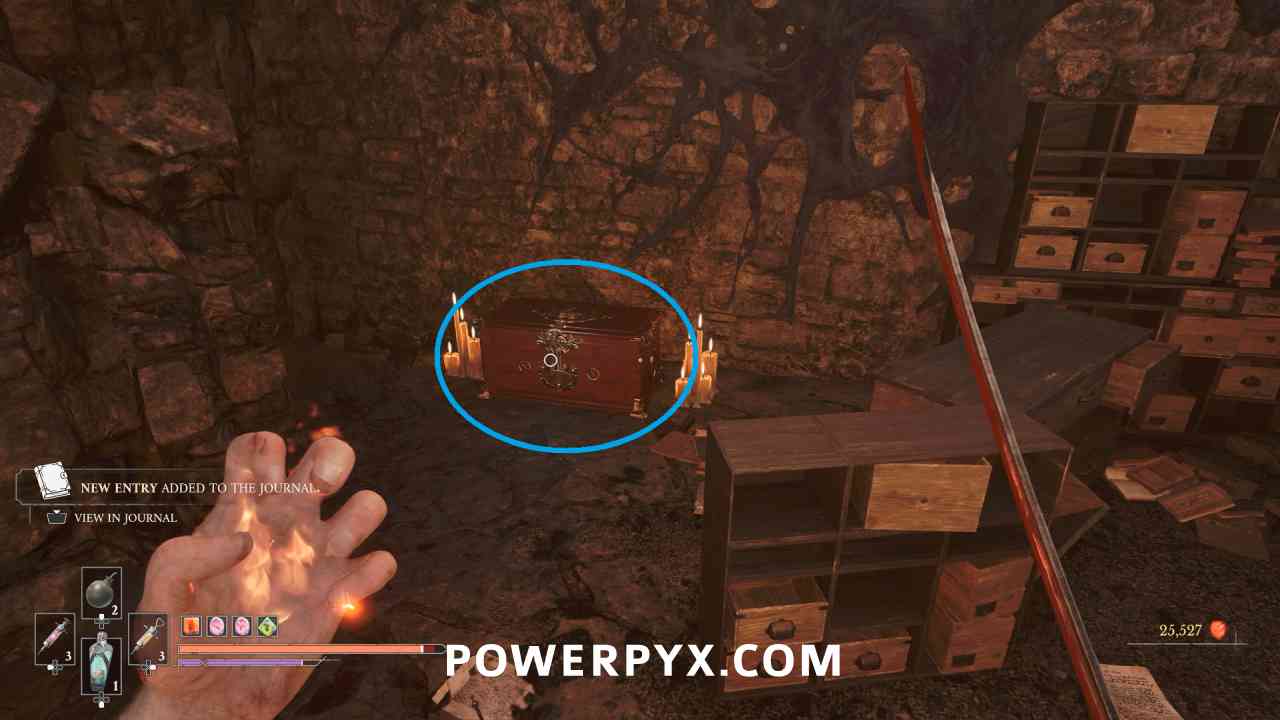
Quintessential Blade Material
Lantern: The Outskirts > Lighthouse
After defeating Experiment 83, this is in the side lab area where there are also two notes, in a chest.
City of Orphans
Quest: Monster Hunt – Step #1
Lantern: City of Orphans > Tribunal Square
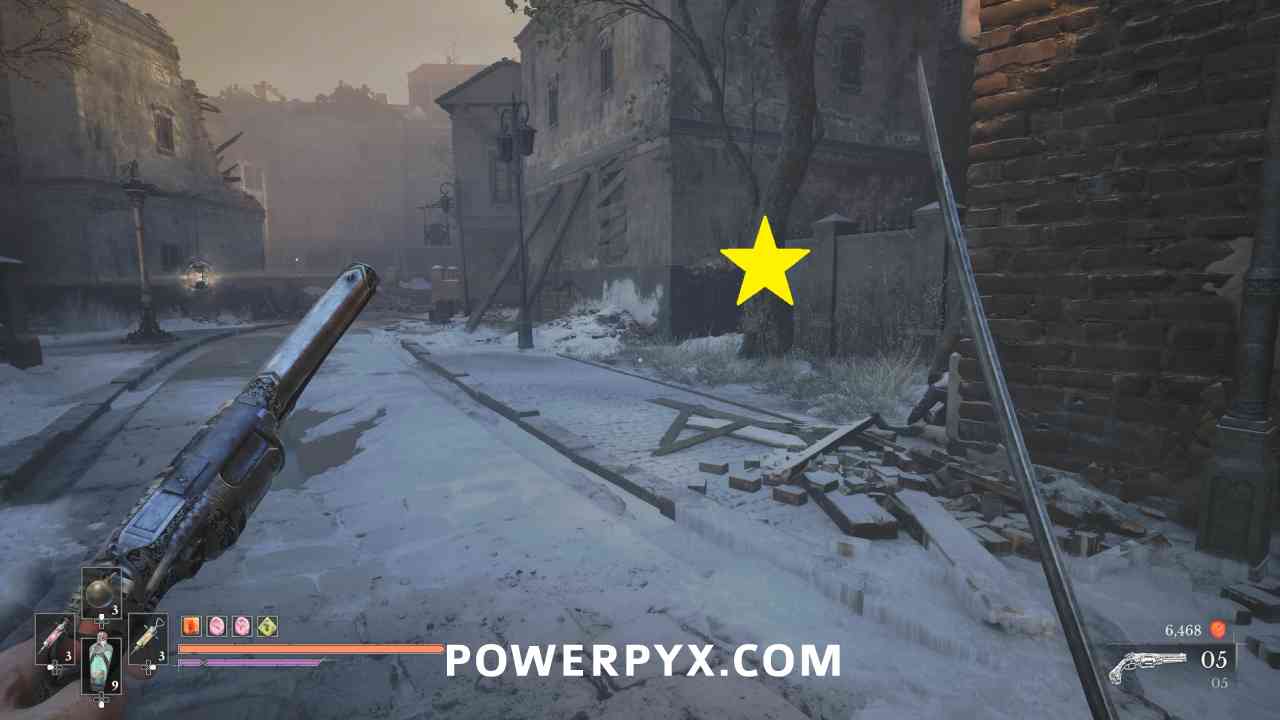
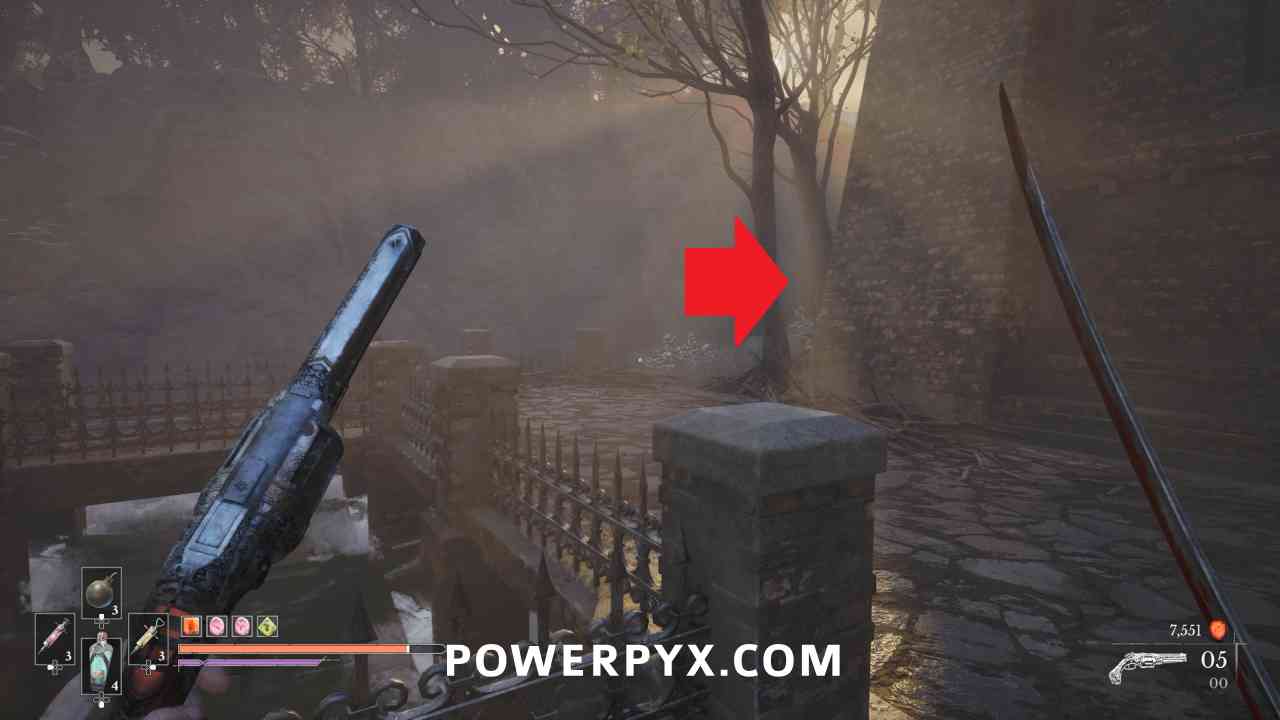
Right beside the Lantern, pick up the “Drawing of a Lancer” that’s stuck to the tree.
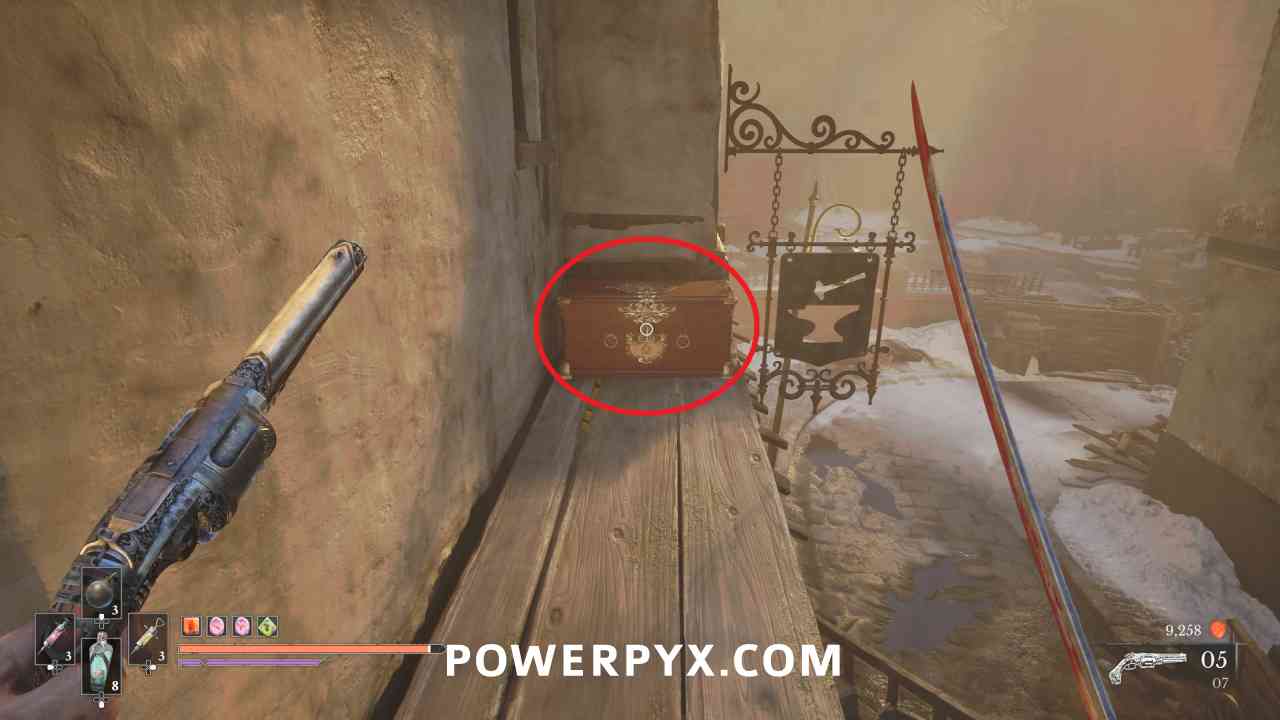
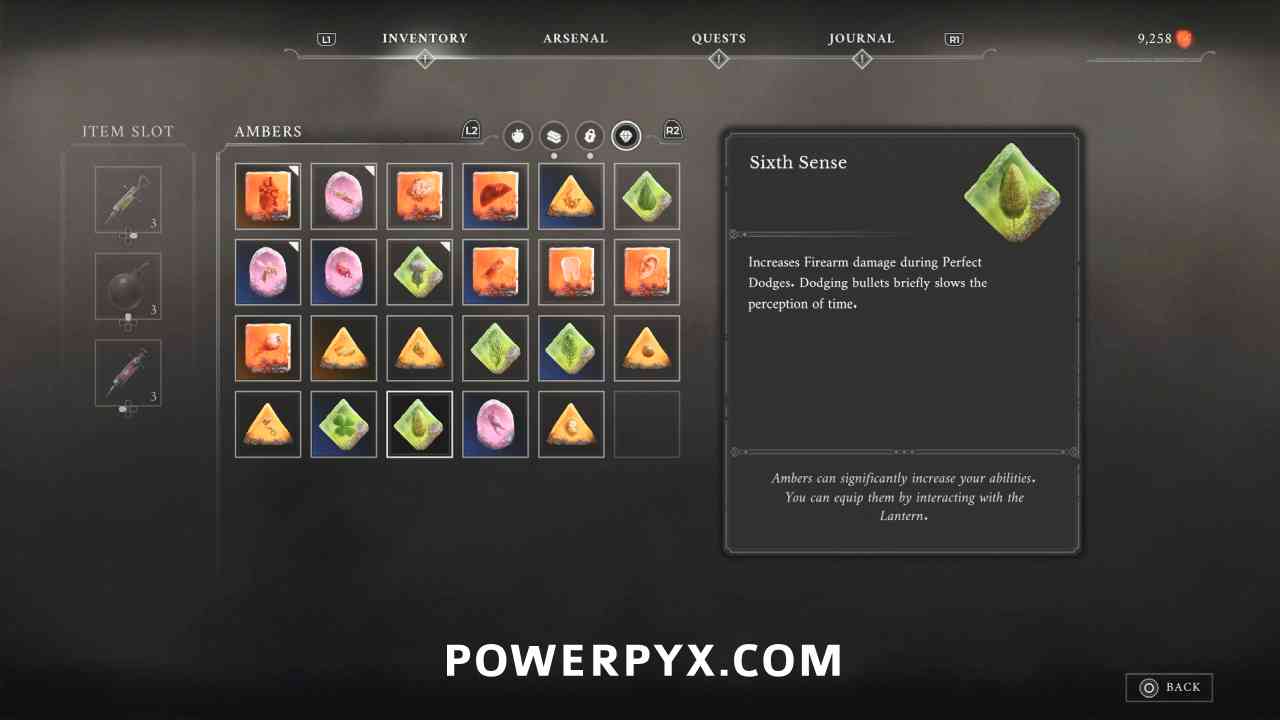
Amber #39: Sixth Sense
Lantern: City of Orphans > Tribunal Square
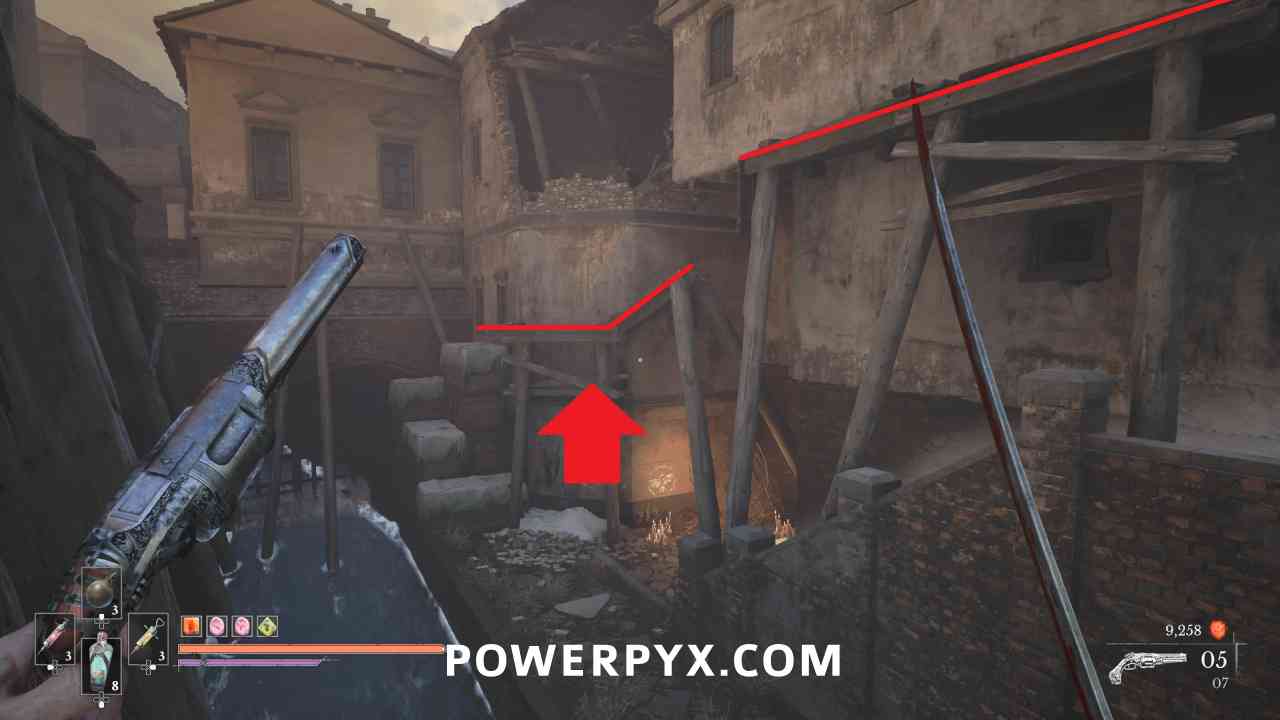
Progress until you reach the burrow near the river. To the left of it are some boxes you can climb, which allow you to follow a path around to building to reach a chest with this Amber.
Quest: Monster Hunt – Step #2
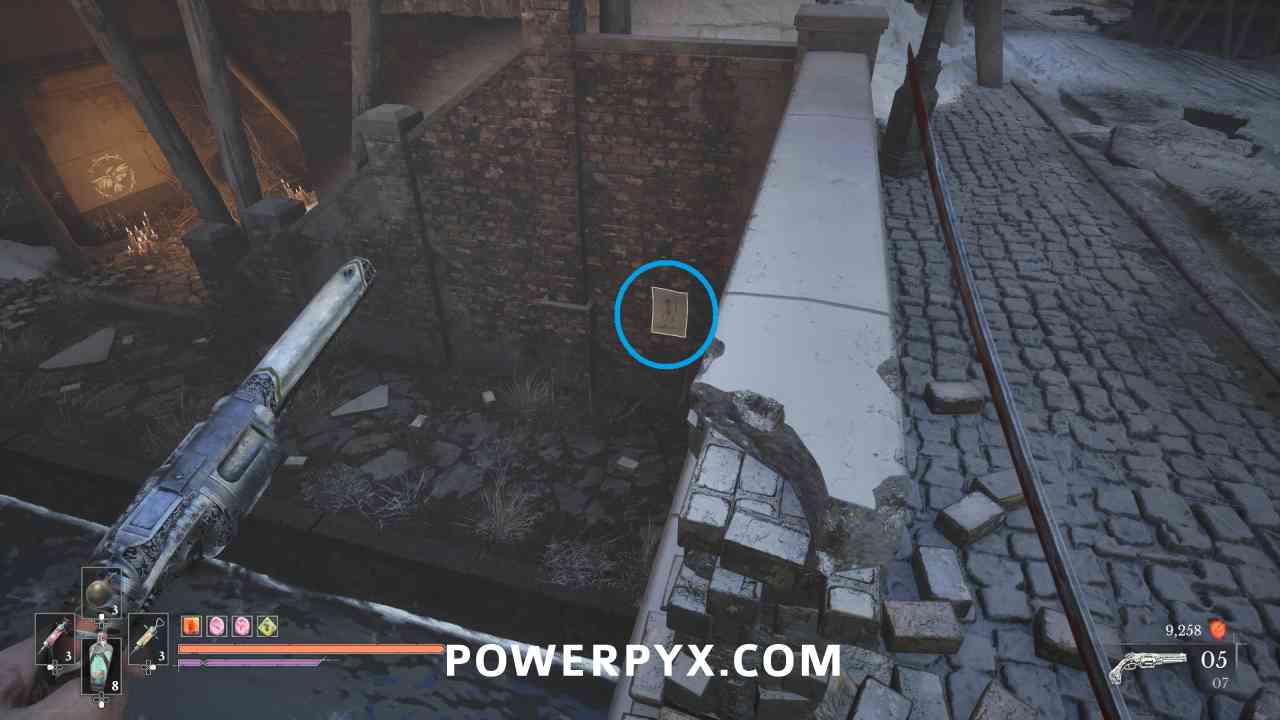
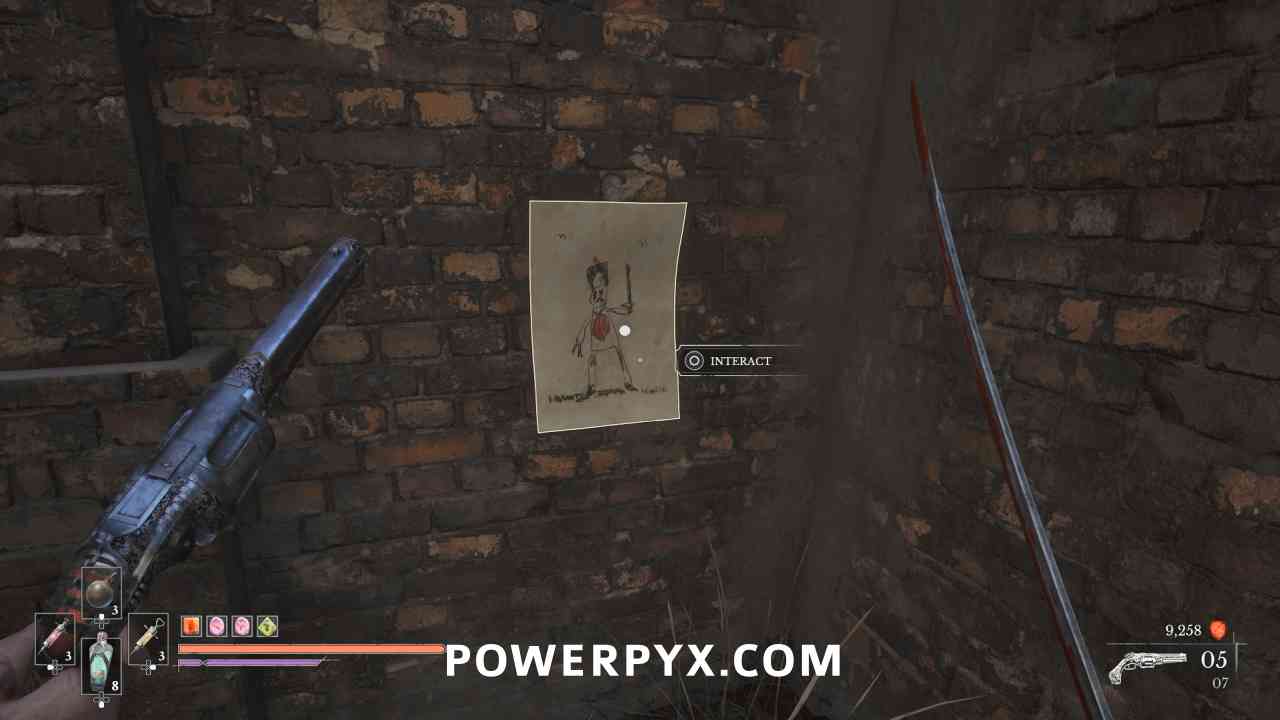
Lantern: City of Orphans > Tribunal Square
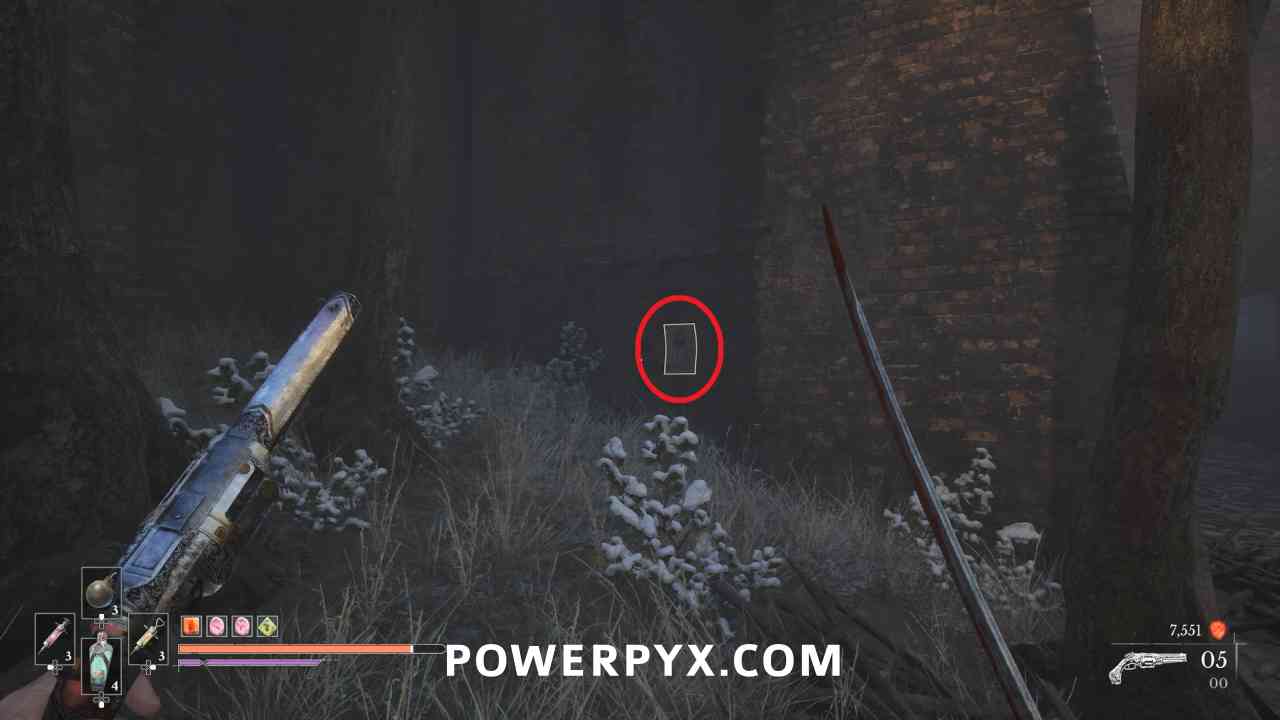
Around the corner of the burrow near the river, you can pick up “Drawing of a Risen Soldier” stuck to the wall.
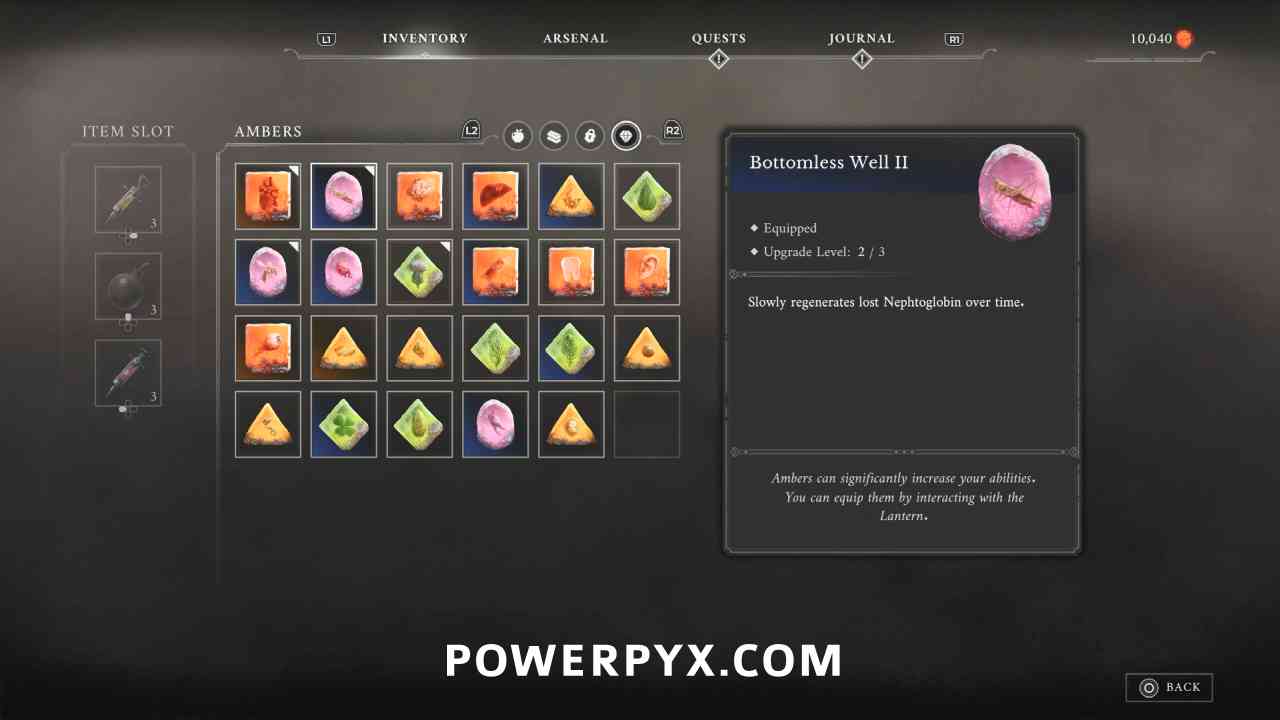
Amber #40: Bottomless Well (Duplicate > Level 3)
Lantern: City of Orphans > Tribunal Square
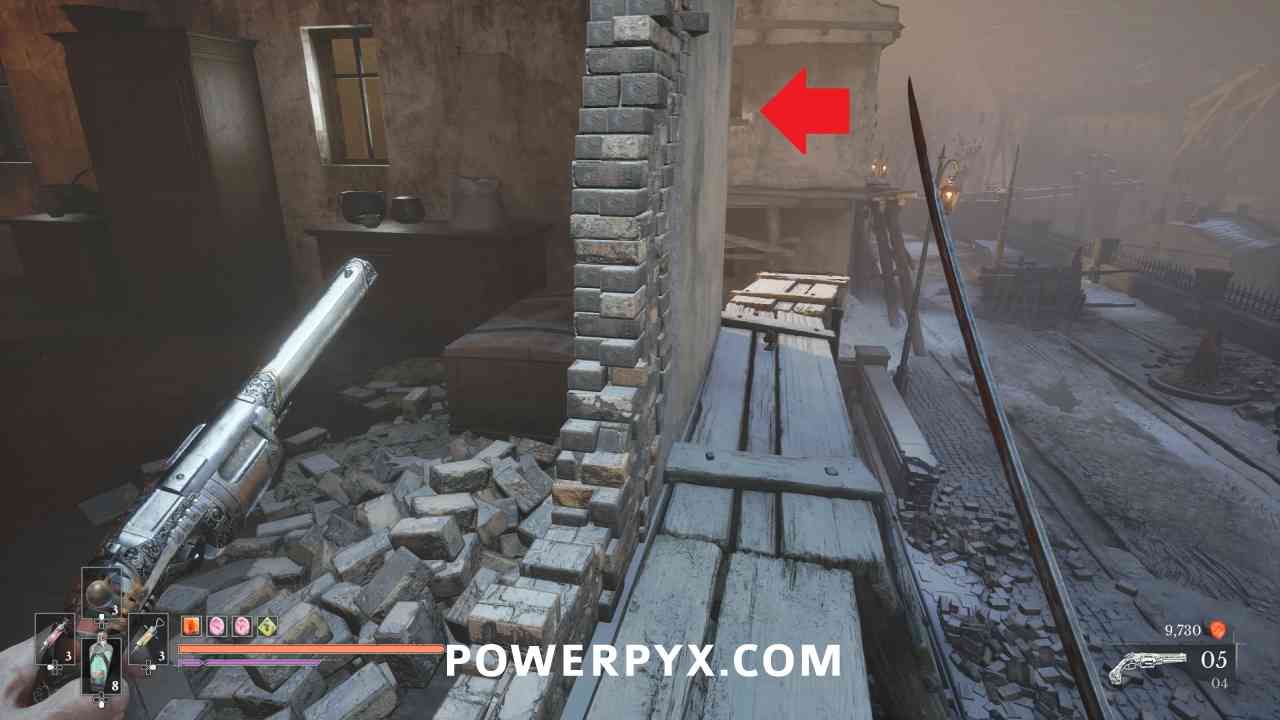
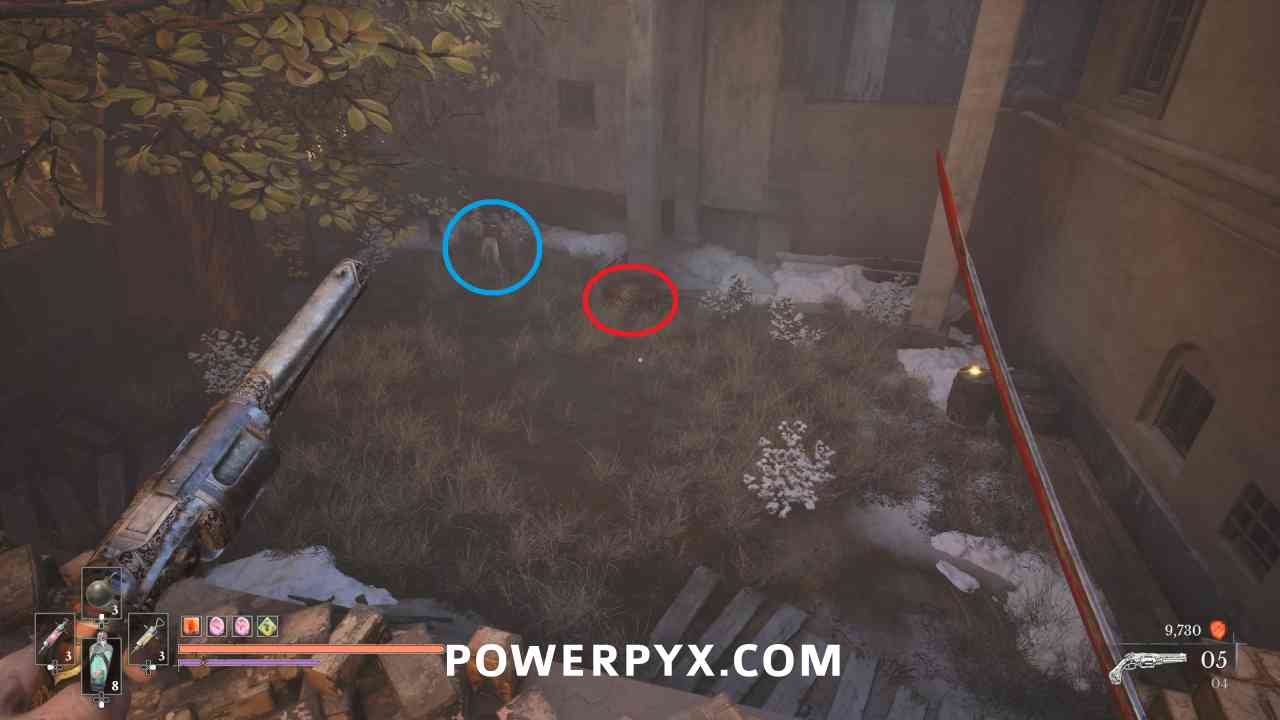
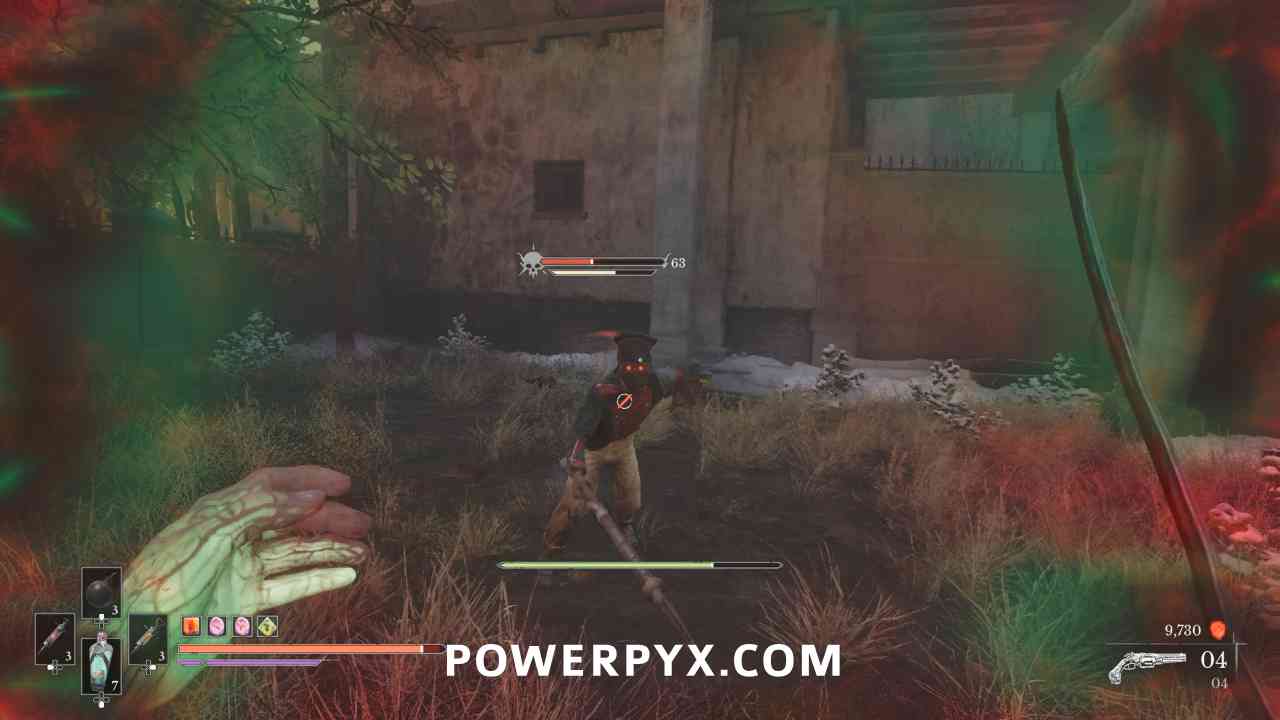
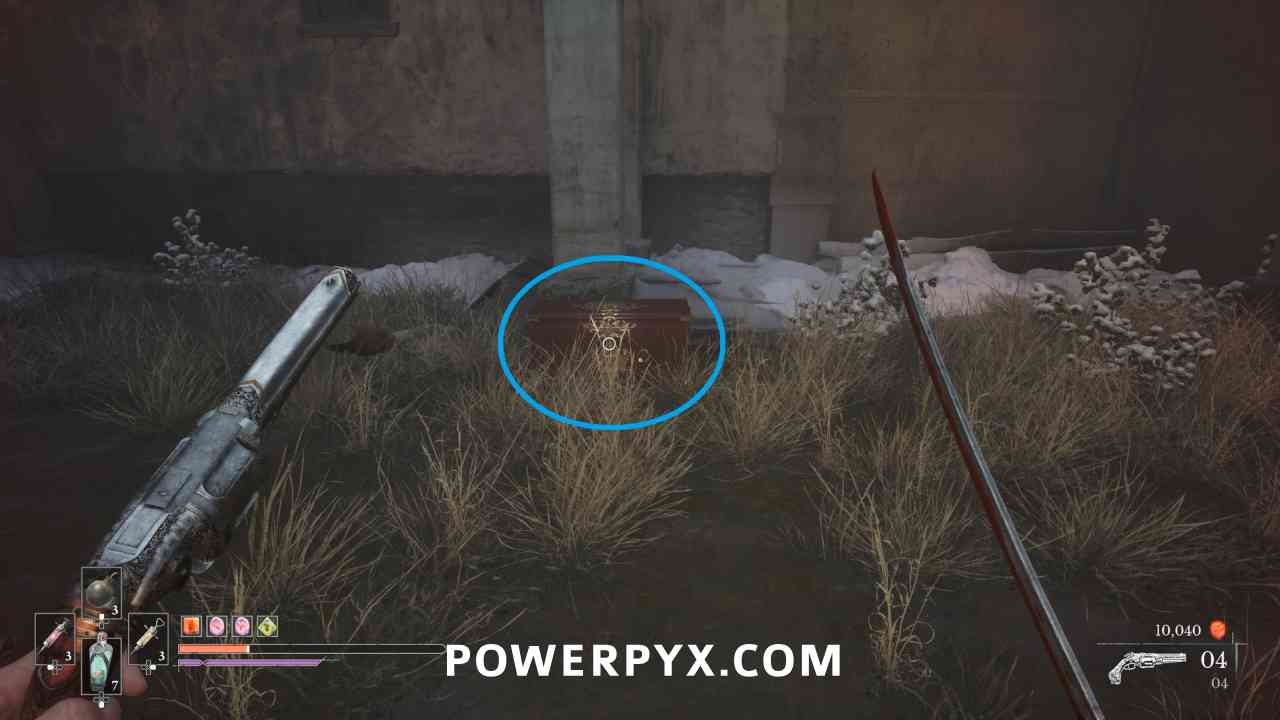
Progress until you go up to the top floor of a house, then can shoot weak points out of one of the windows. Go the opposite direction and follow the path around the building to a courtyard, where a miniboss is near a chest. Defeat the miniboss for this Amber.
Ferrofluid Flask Power Upgrade #12
Lantern: City of Orphans > Tribunal Square
In the courtyard with the miniboss in the chest.
Quest: Monster Hunt – Step #3
Lantern: City of Orphans > Tribunal Square
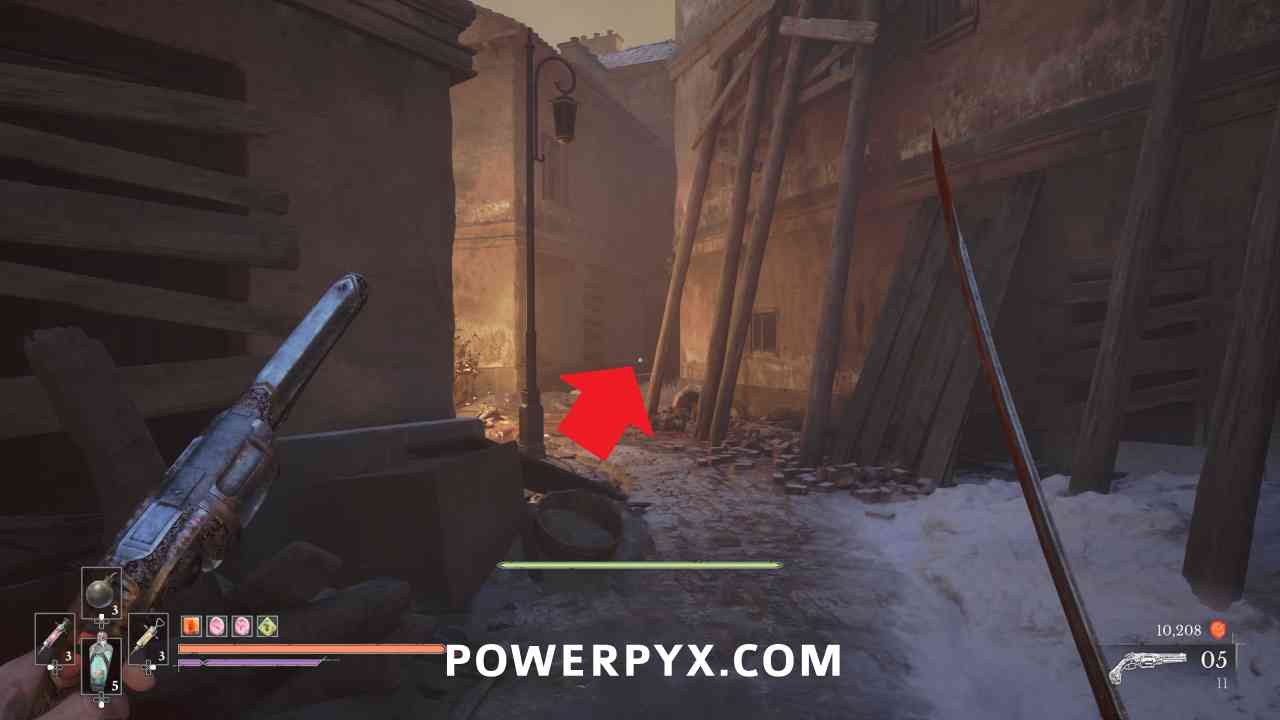
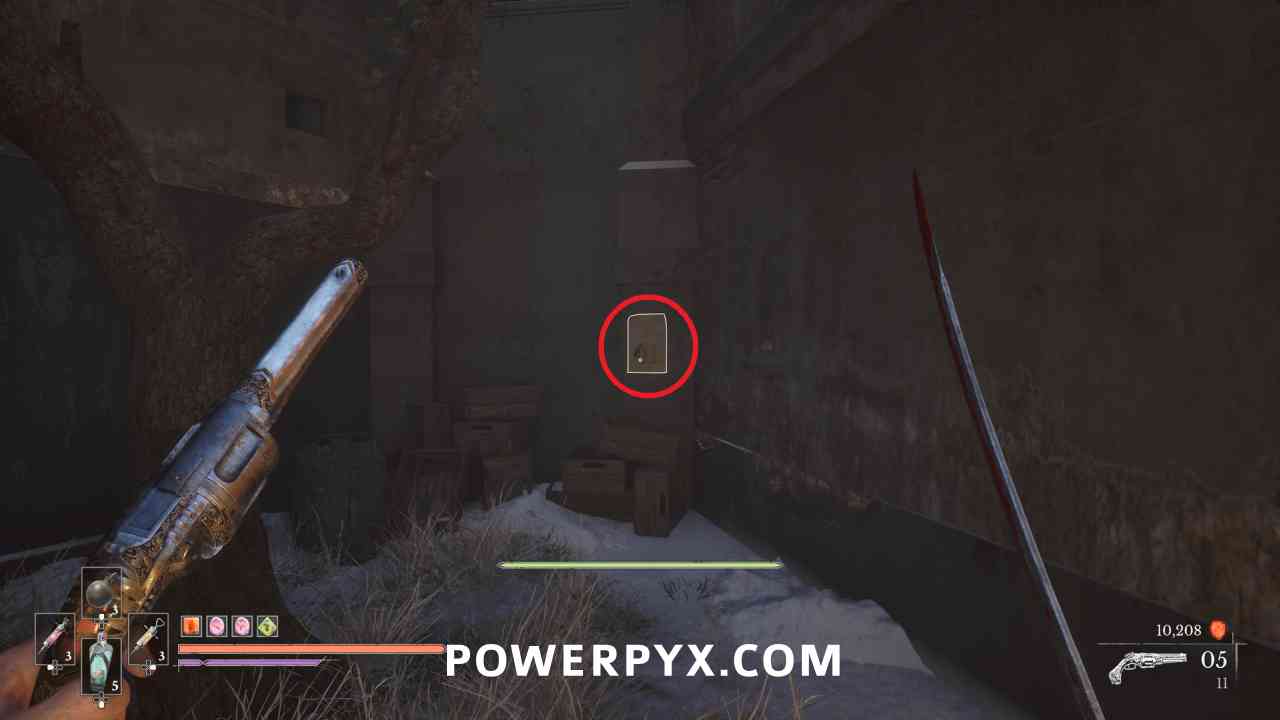
Immediately after walking through the tunnel full of burning wood, go left then right to a small dead end where you can pick up “Drawing of a Howler” stuck to the wall.
Quest: Bedtime Stories – Step #1
Lantern: City of Orphans > Tribunal Square
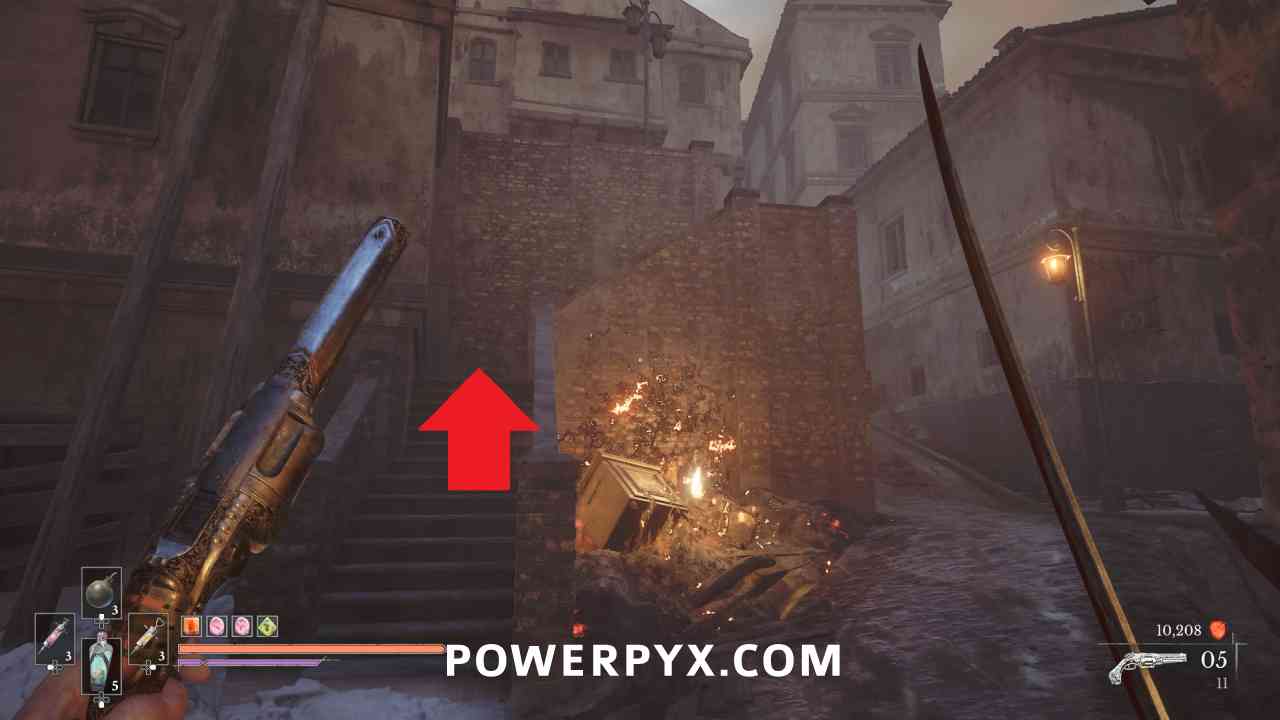
Immediately after walking through the tunnel full of burning wood, go up the stairs immediately in front of you and interact with the burrow and agree to help the children.
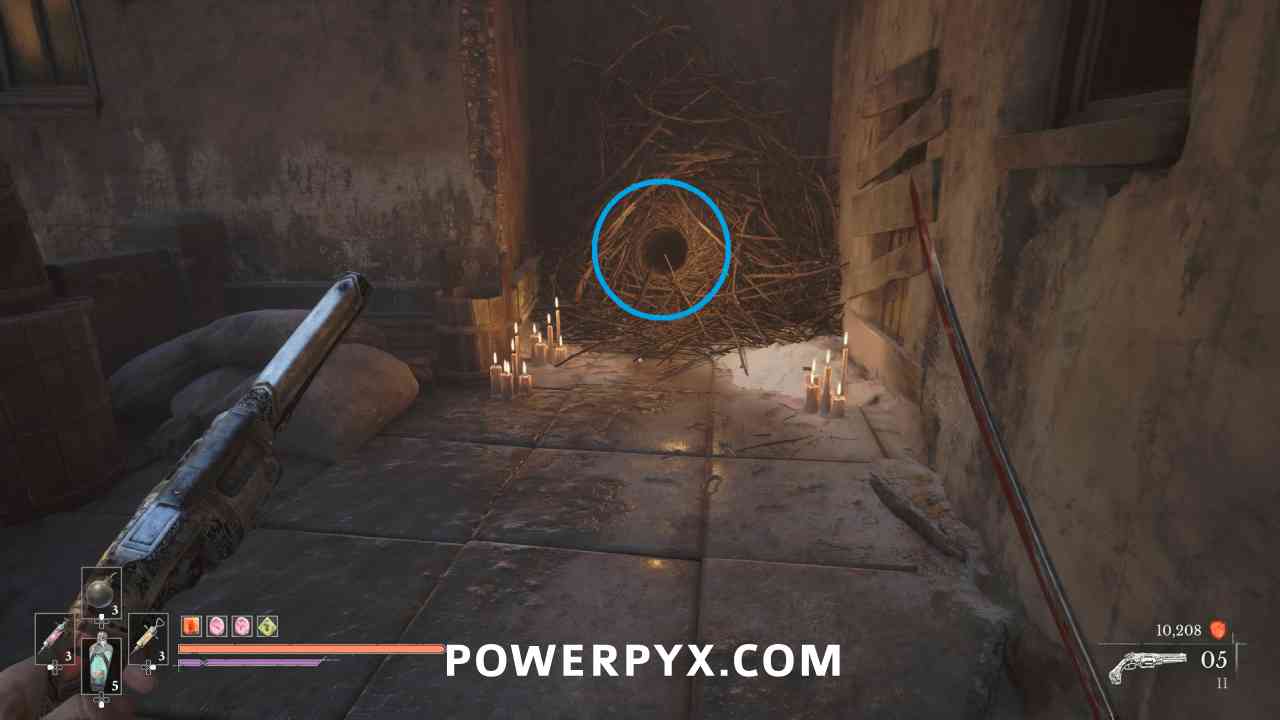
Quest: Monster Hunt – Step #4
Lantern: City of Orphans > Tribunal Square
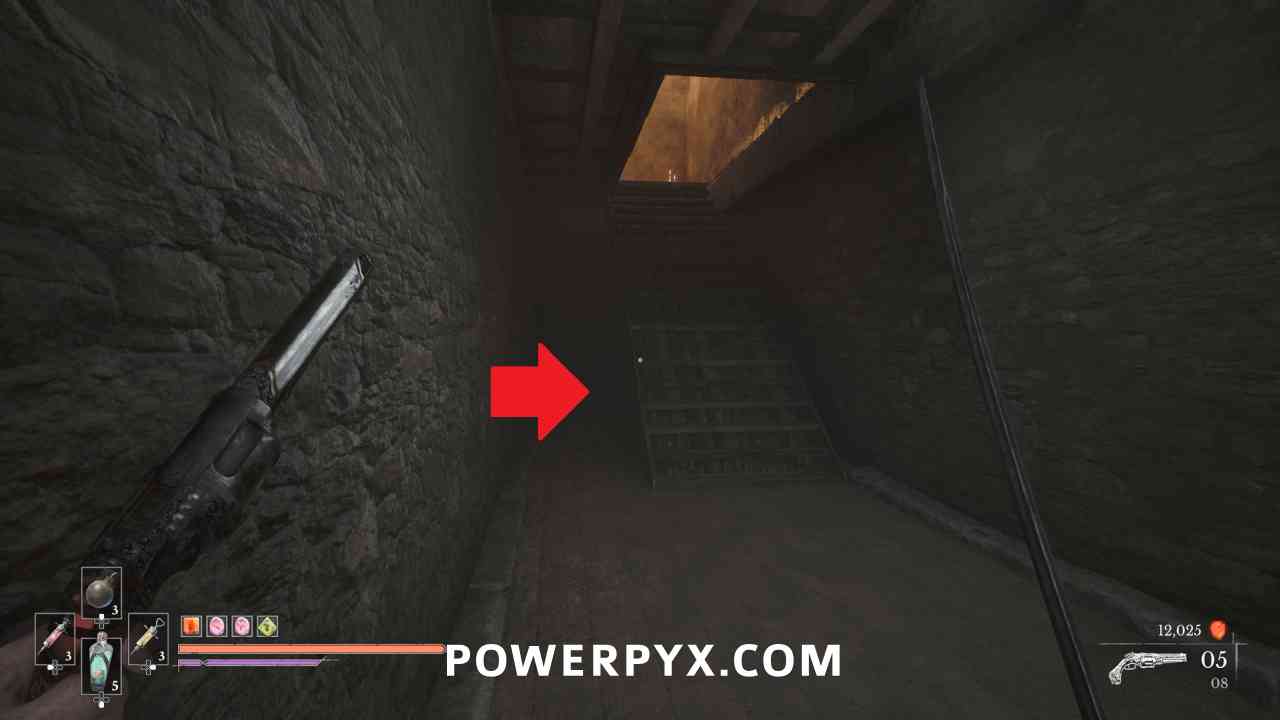
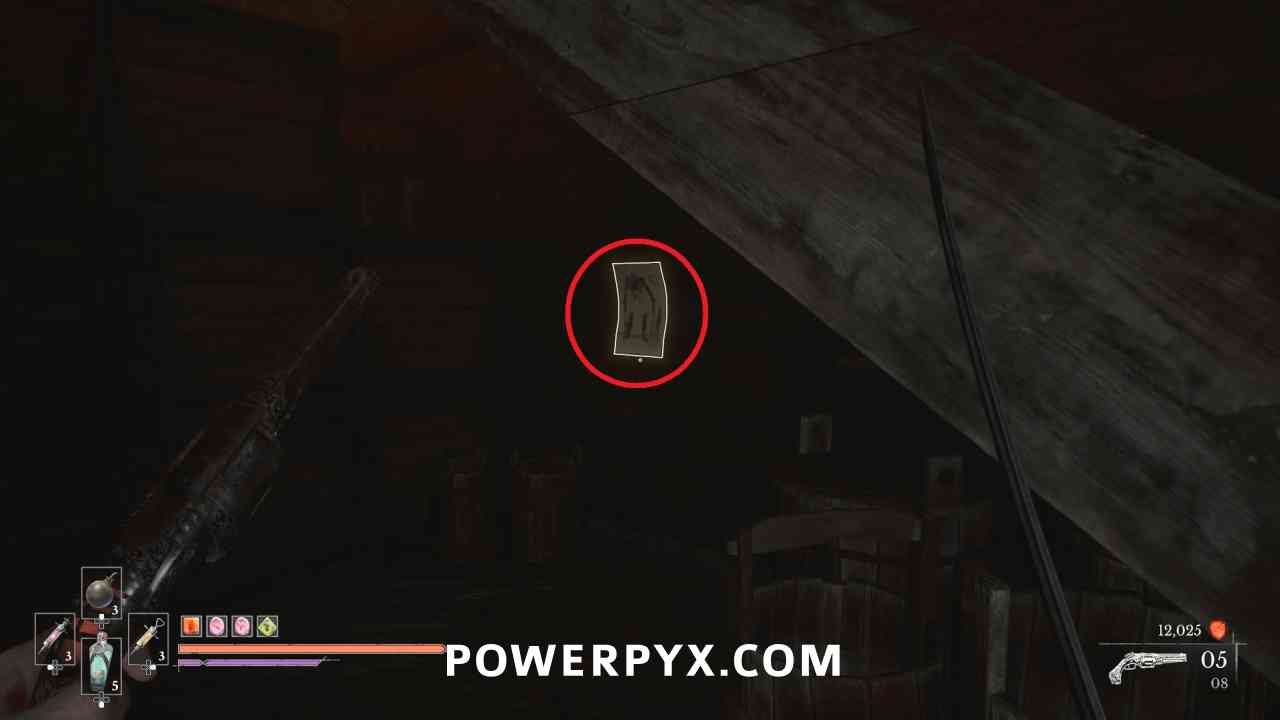
Progress into the building with all the boxes in the first room. Follow the path to the ramp to the second floor and walk left of it where you can pick up “Drawing of a Volunteer” stuck to the wall.
Quest: Bedtime Stories – Step #2
Lantern: City of Orphans > Tribunal Square
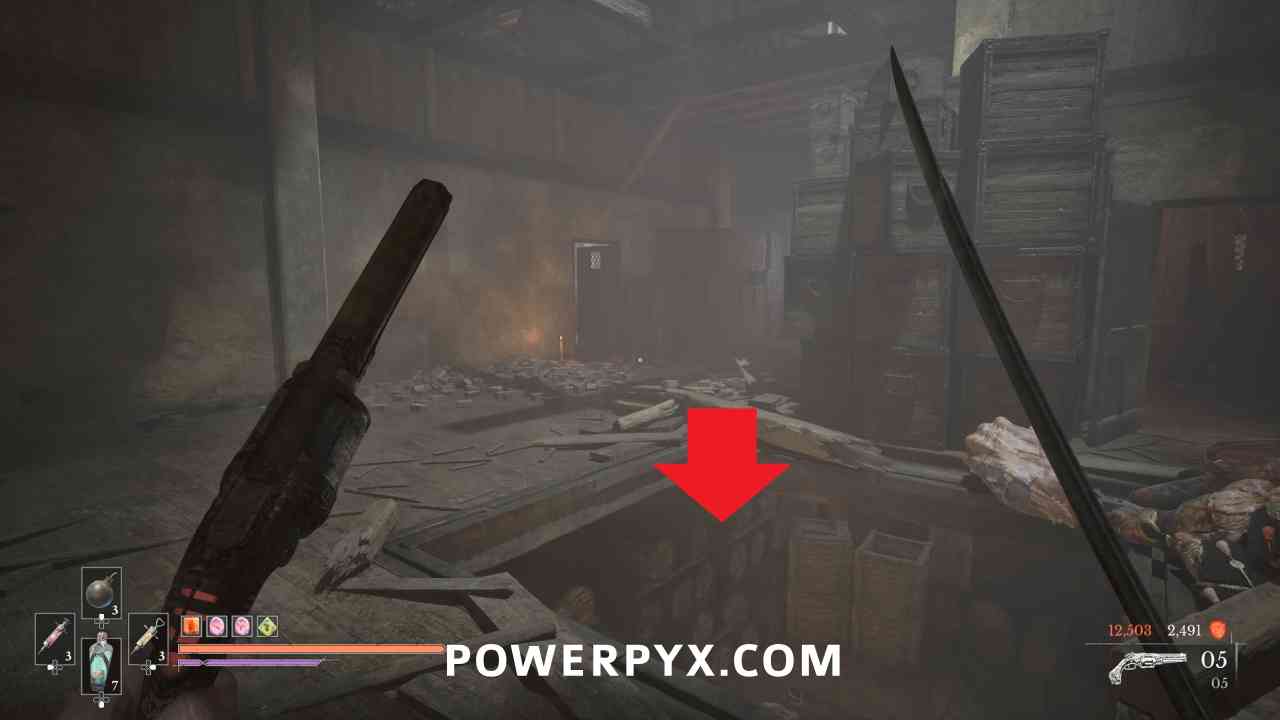
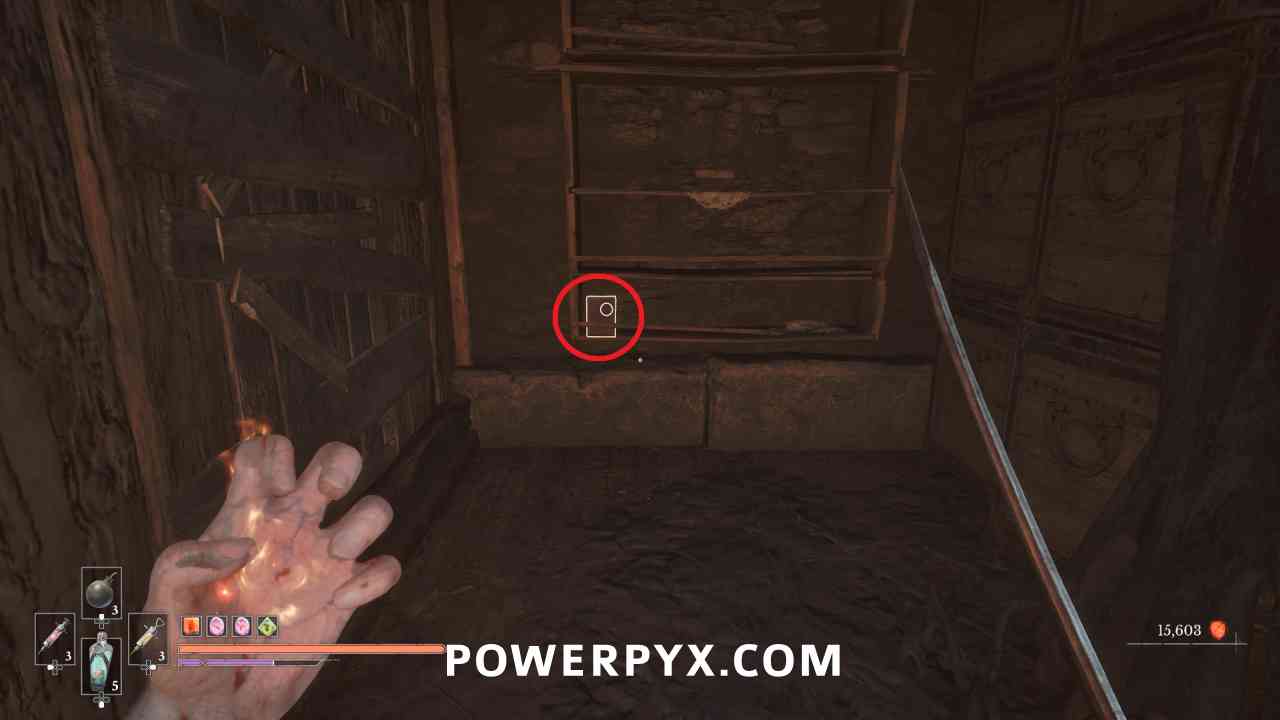
Progress up to the second floor and in the larger room there is a trapdoor that drops you to the basement. You need to go to the basement and on a shelf you can pick up the “Bedtime Stories” from a shelf.
Quest: Monster Hunt – Step #5
Lantern: City of Orphans > Tribunal Square
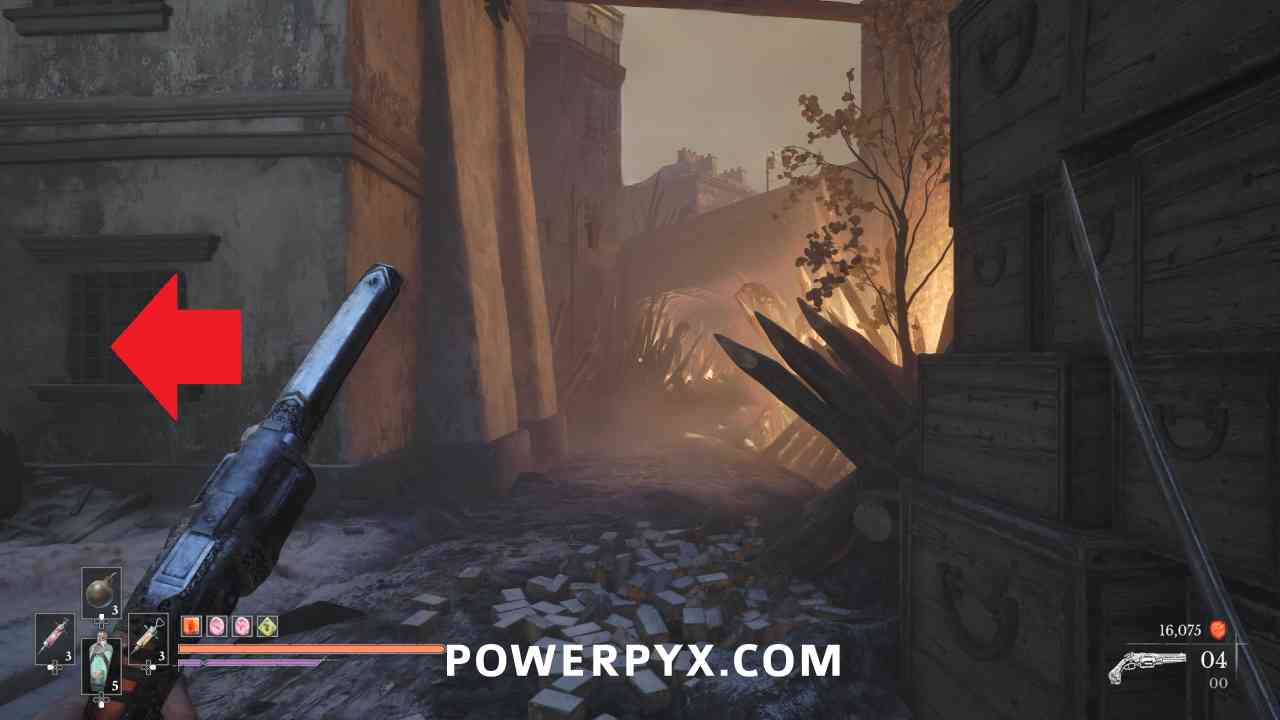
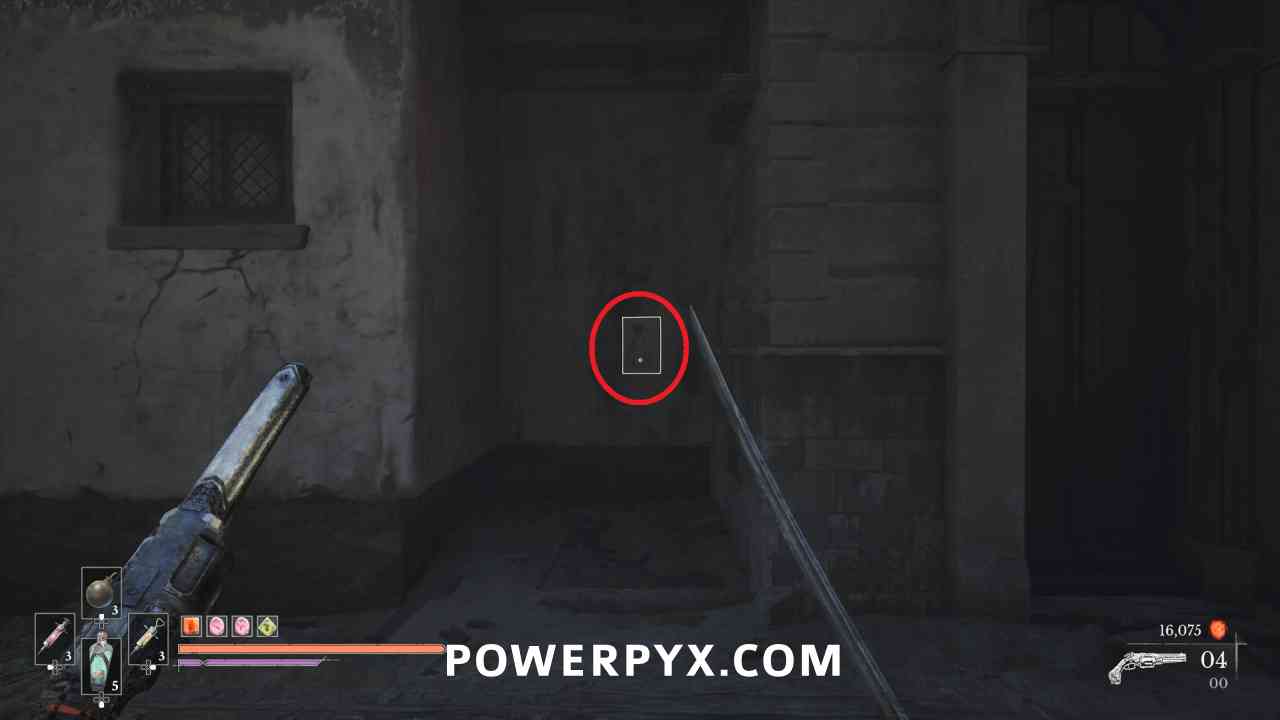
Immediately after exiting the building, go left toward the burning area, then immediately left again. On the right wall in an alcove you can pick up “Drawing of an Eternal Guard” stuck to the wall.
Quest: Monster Hunt – Step #6
Lantern: City of Orphans > Tribunal Square
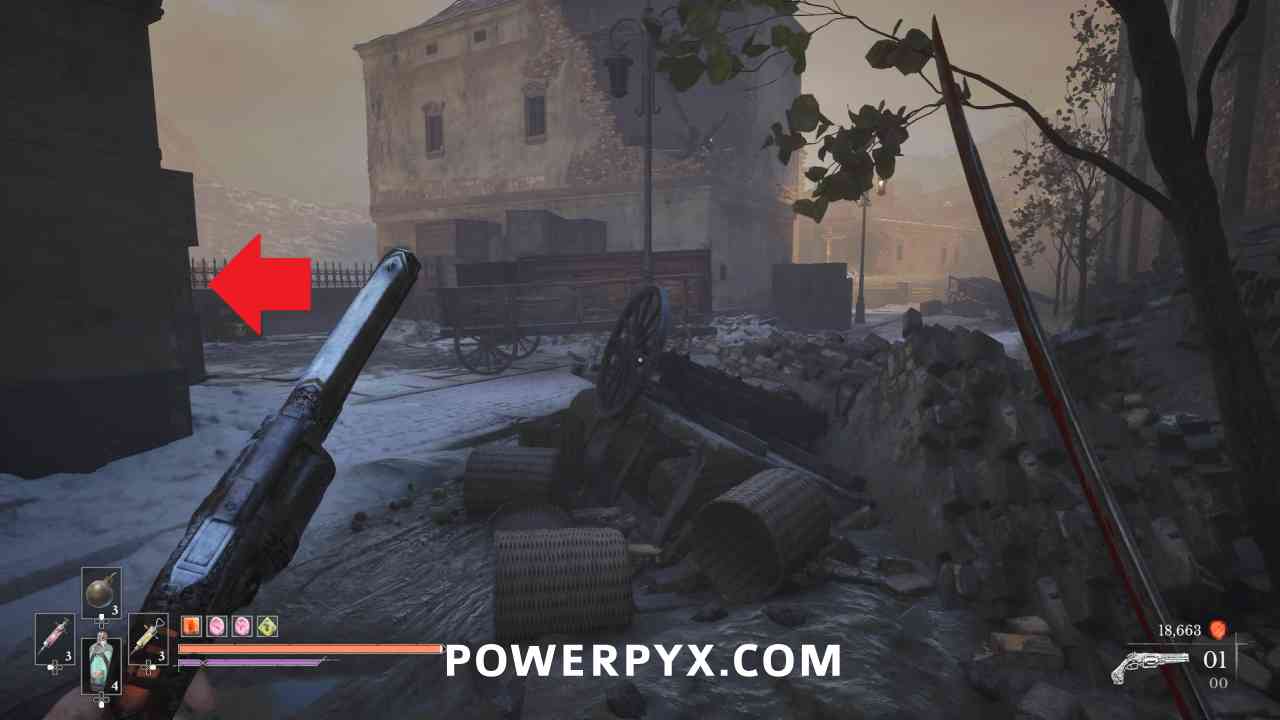
After the tentacle arm enemy, go through the burning tunnel then immediately turn left where you can see a chest with a consumable in it. Left of that chest you can pick up “Drawing of an General Lothaire” stuck to the boxes on the cart.
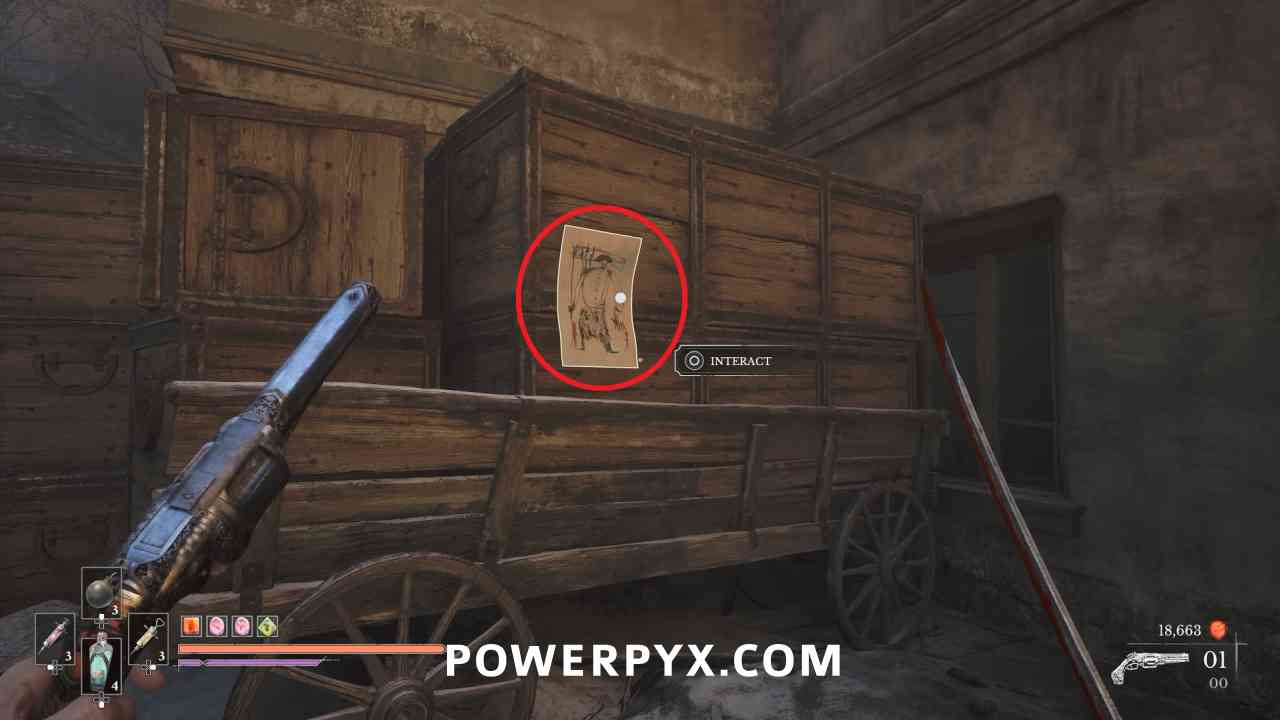
Quest: Monster Hunt – Step #7
Lantern: City of Orphans > Shamble Street
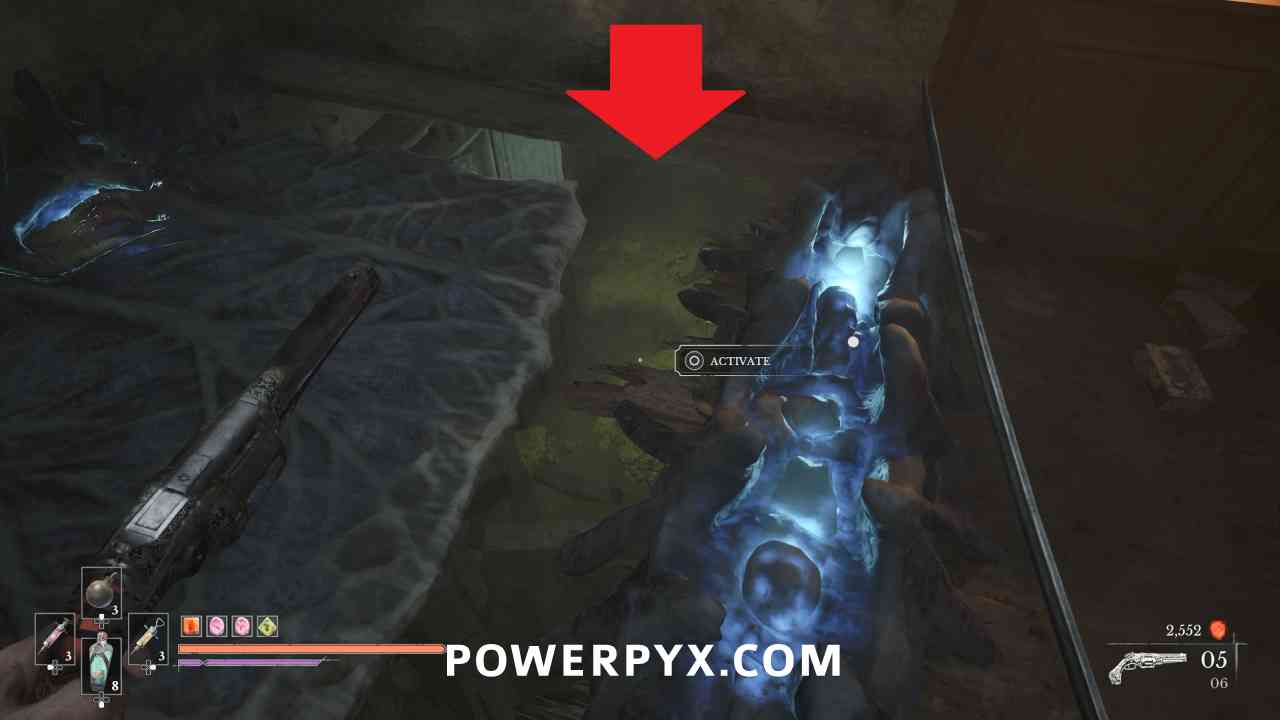
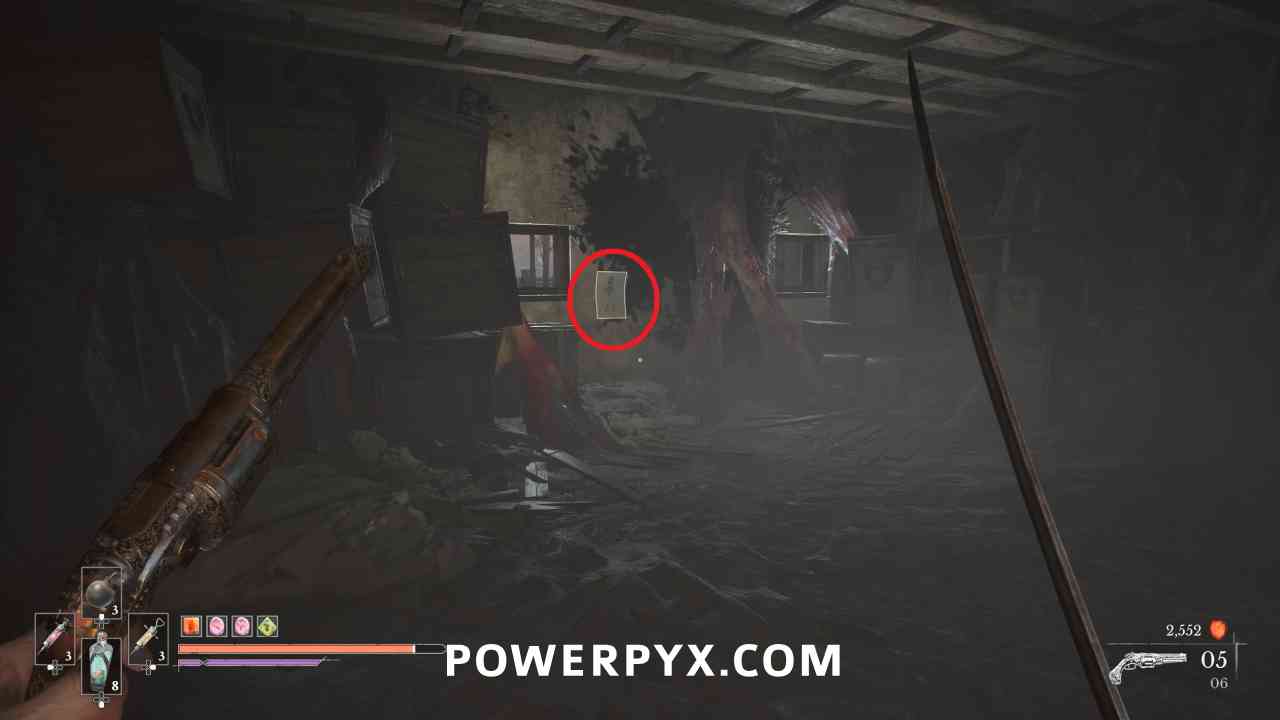
Continue on the main path until you enter a building where you can open and close Neptho-walls to block enemies and move around. In the room where the two ones shooting at you were, look to the right where there is a spot where you can drop yourself to a lower area. Very quickly get out of the poison by jumping and dodging forward, then in the next big room you can pick up “Drawing of a Sapeur” stuck to the wall.
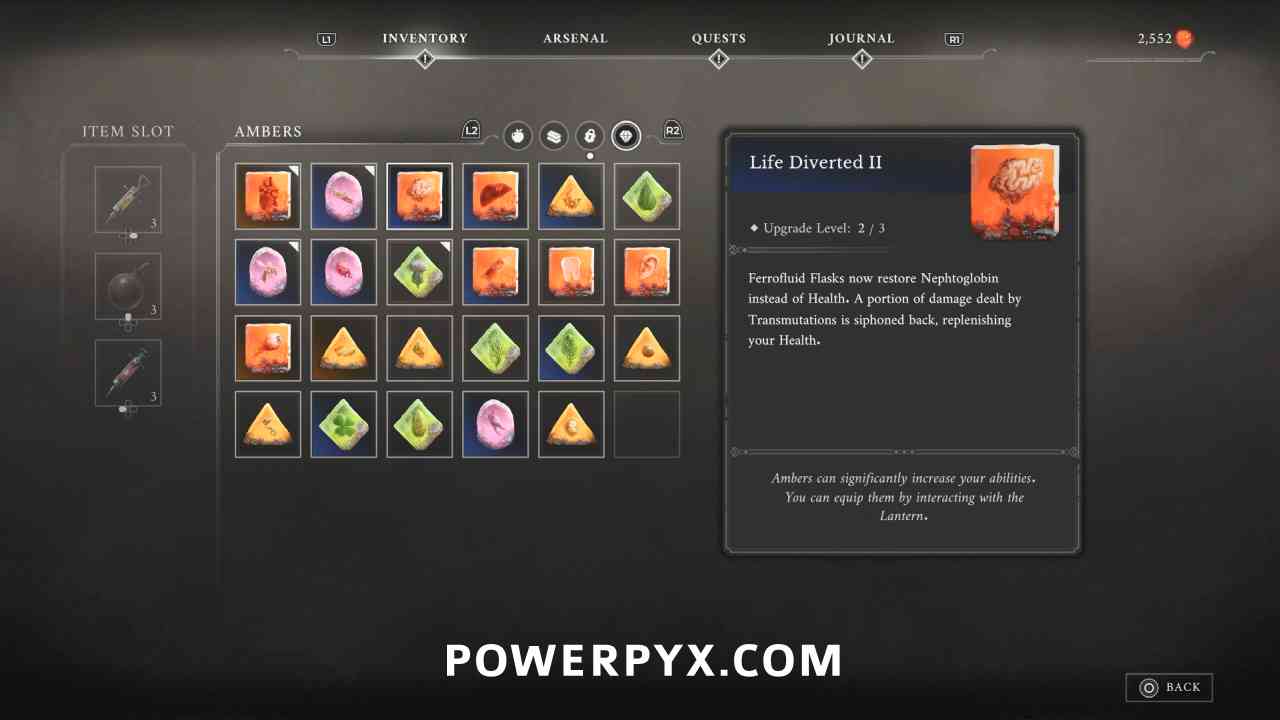
Amber #41: Life Diverted (Duplicate > Level 2)
Lantern: City of Orphans > Shamble Street
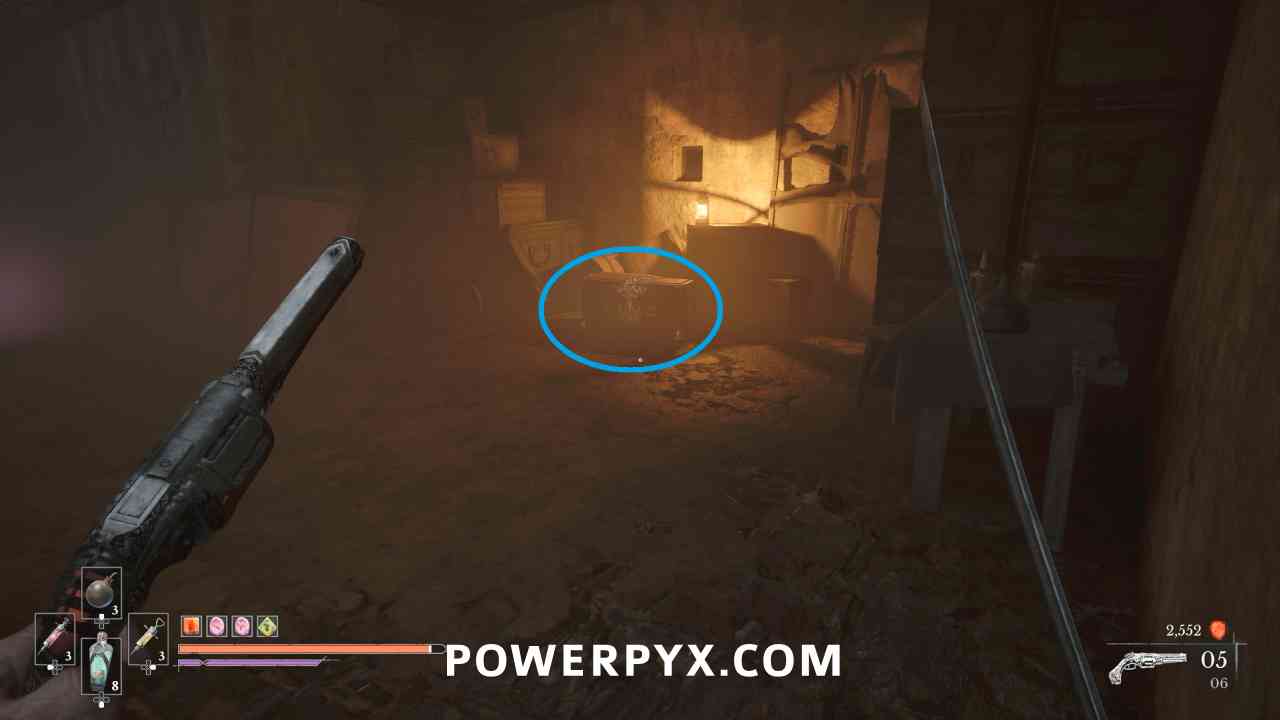
Continue through the building and a chest is directly in your path on the way out of the building.
Quest: Monster Hunt – Step #8
Lantern: City of Orphans > Shamble Street
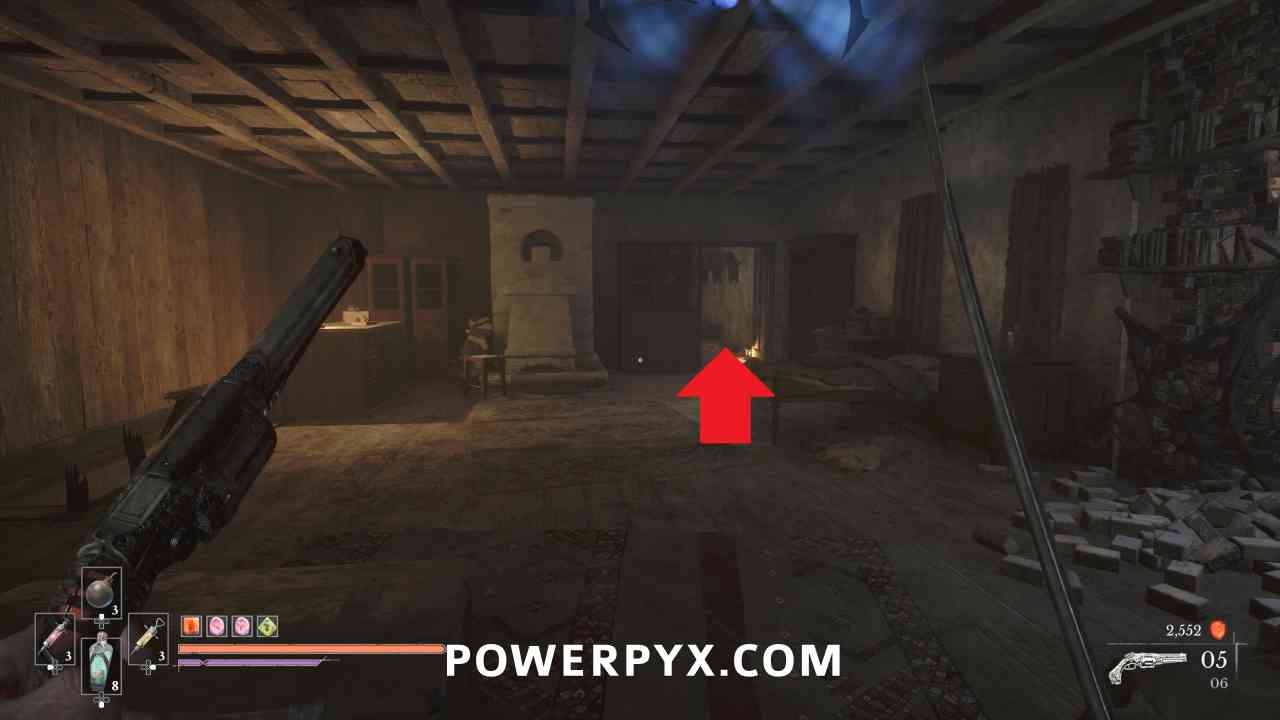
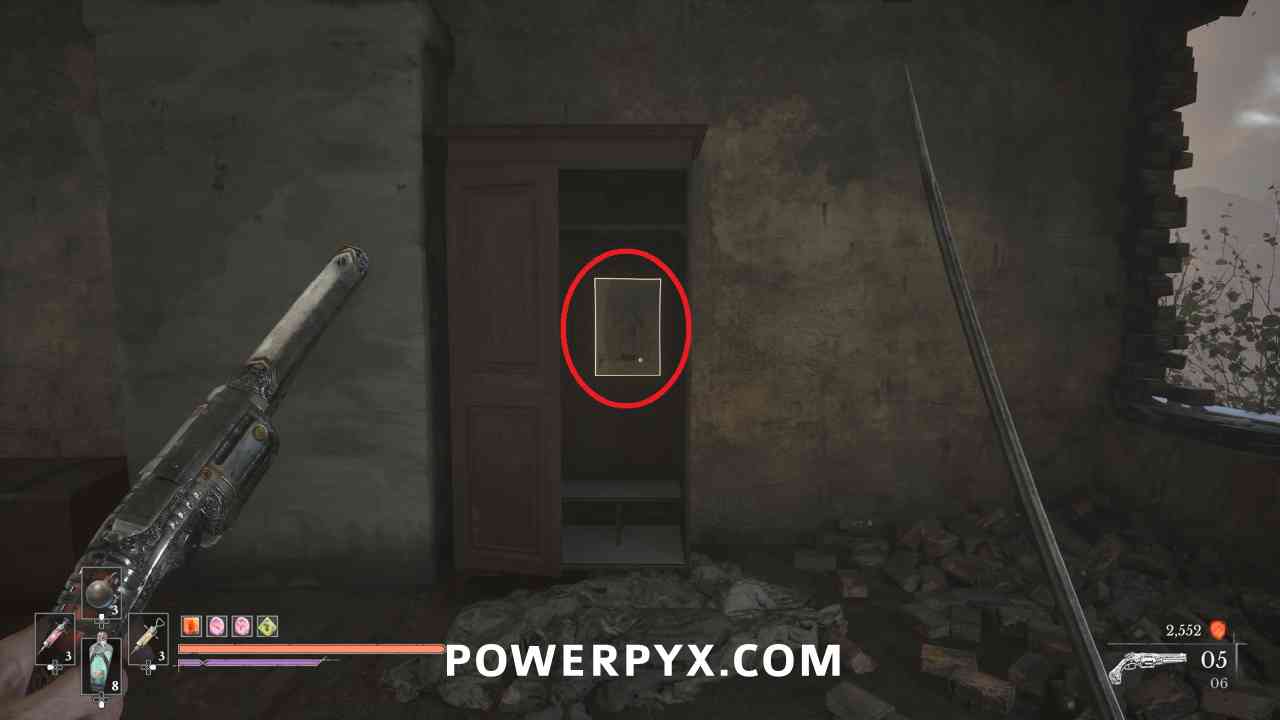
Grapple across the courtyard, instead of going down the stairs, go into the room to the right where you can pick up “Drawing of the Slaughtermill” stuck to the inside of a cabinet.
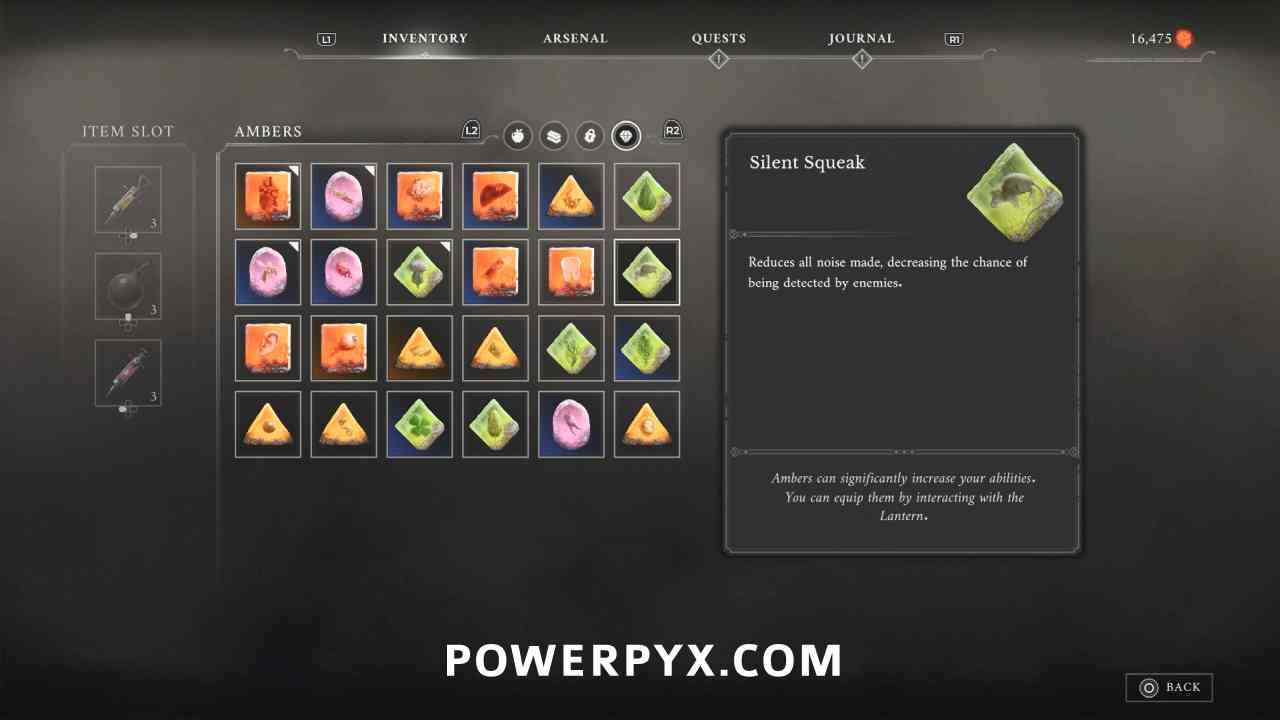
Amber #42: Silent Squeak
Lantern: City of Orphans > Shamble Street
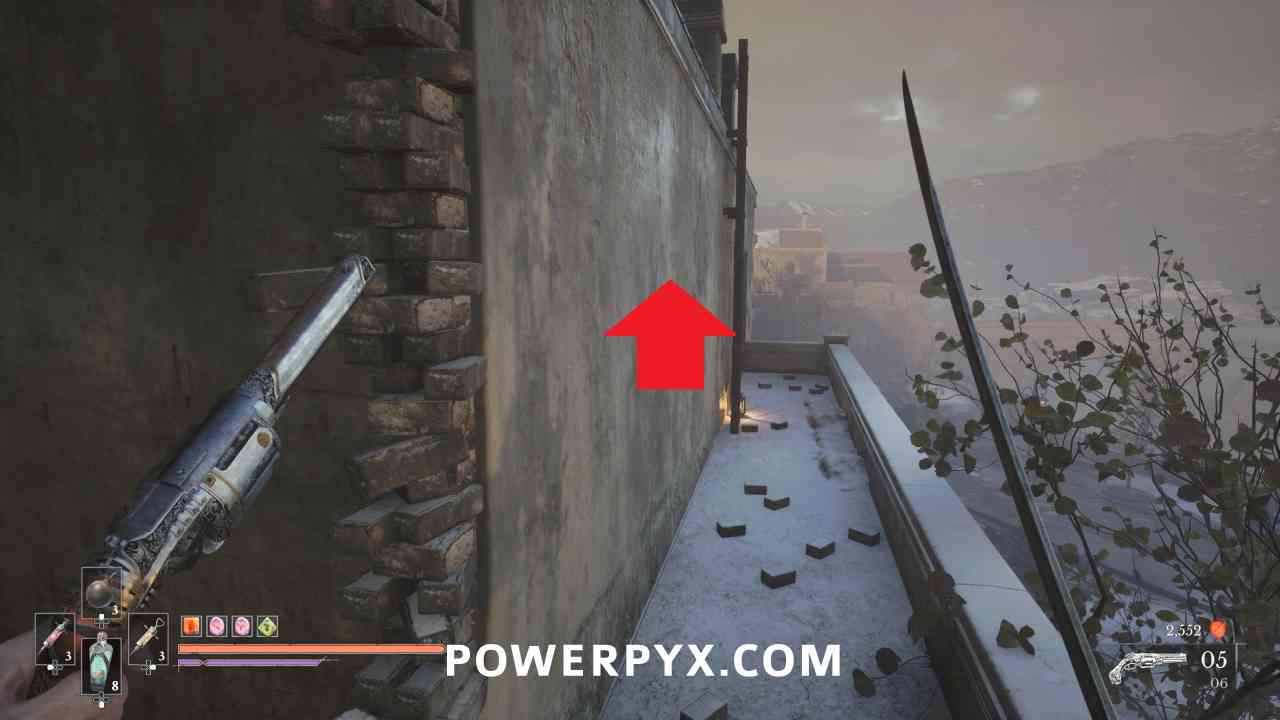
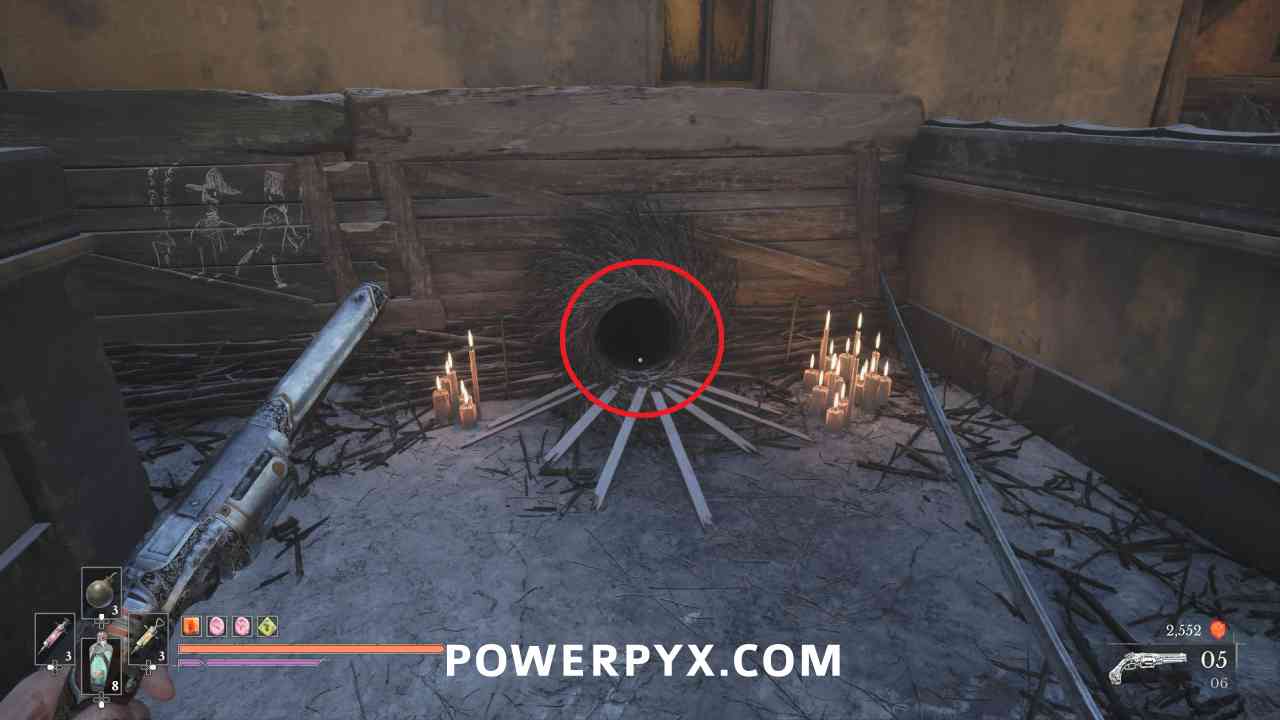
Go outside from above room and climb to the rooftop. Interact with the burrow to receive this from the children.
Quest: Misericorde – Step #1
Lantern: City of Orphans > Shamble Street
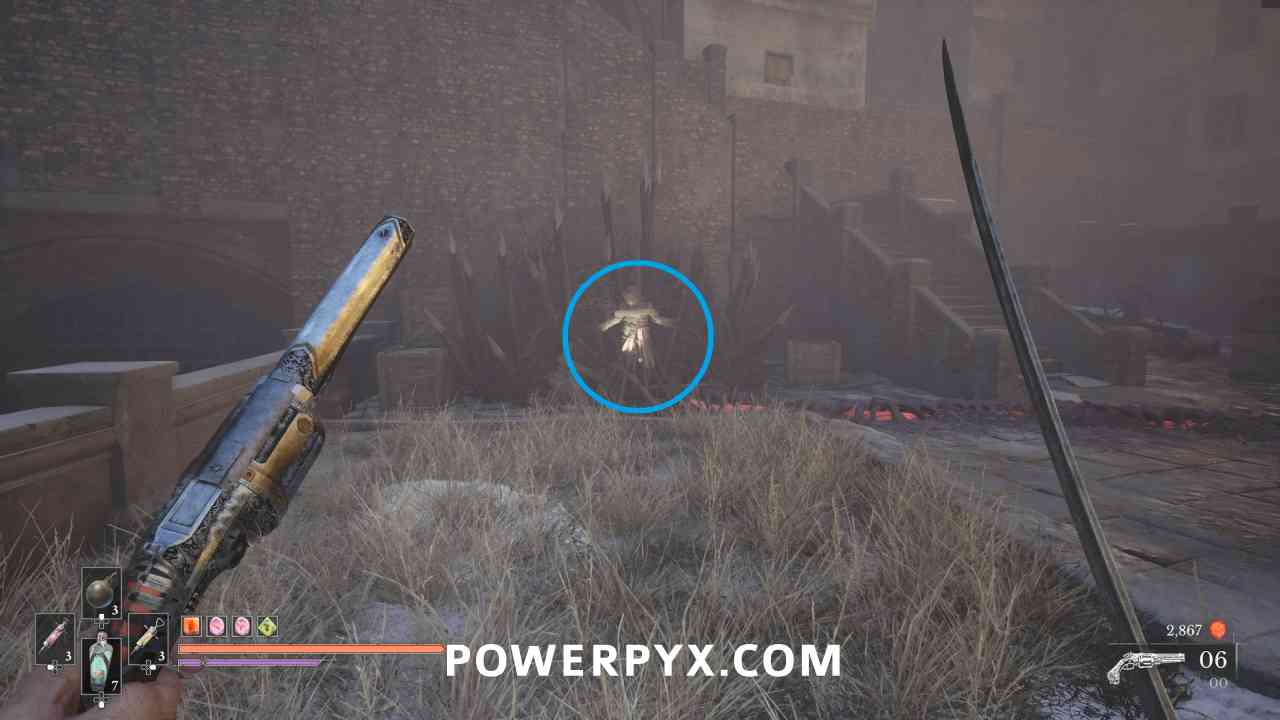
Progress to the next area, to the left near the stairs leading to a shortcut gate, you can speak with a man strapped to a pile of wood.
Quest: Bedtime Stories – Step #3 (Complete)
Lantern: City of Orphans > Tribunal Square
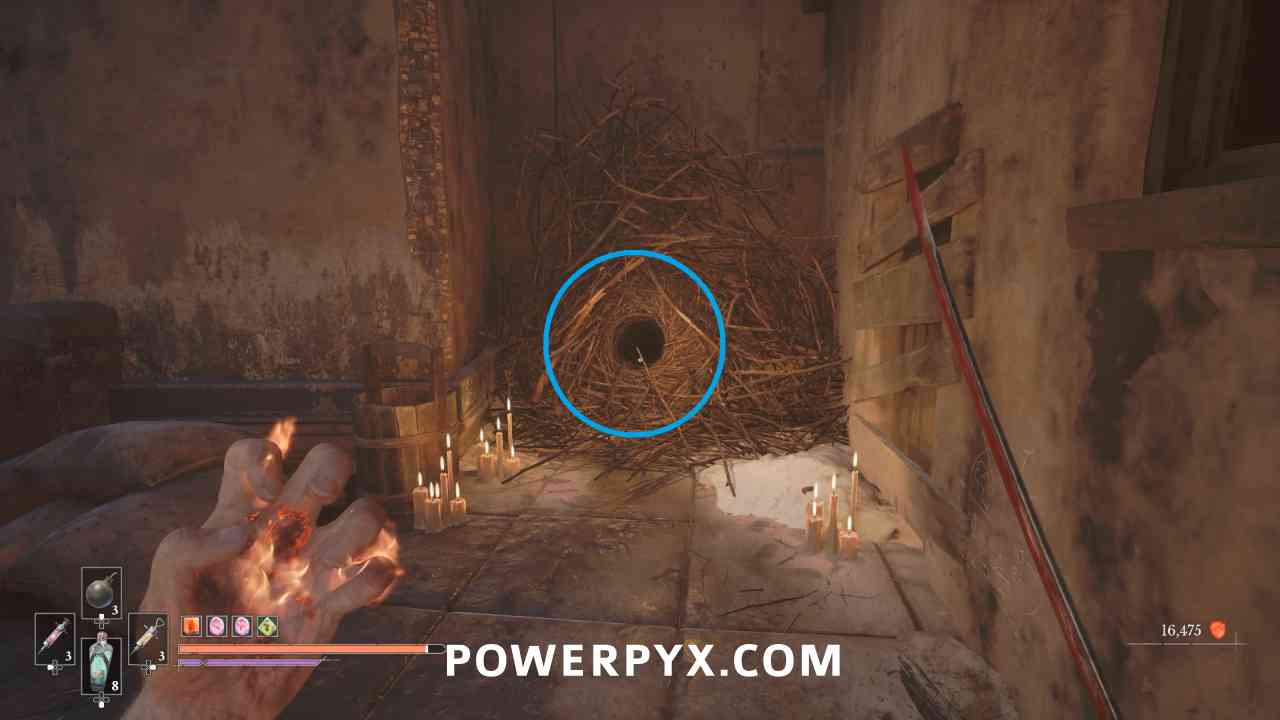
Go back to the two children by using the shortcut behind the man and give them the book. You have the option of reading them a story which you should choose to do, and you will then receive 2 x Tiny Whisker Gifts as a reward from the quest instead of 1.
Quest: Monster Hunt – Step #9
Lantern: City of Orphans > Shamble Street
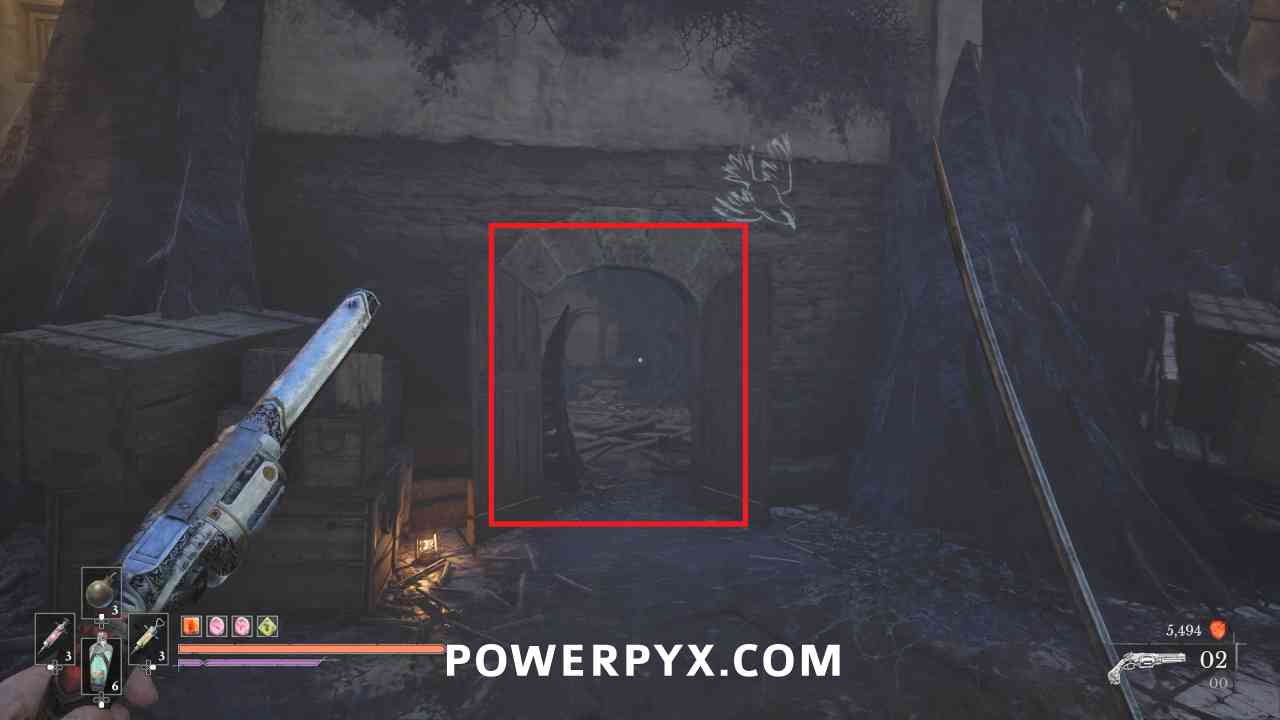
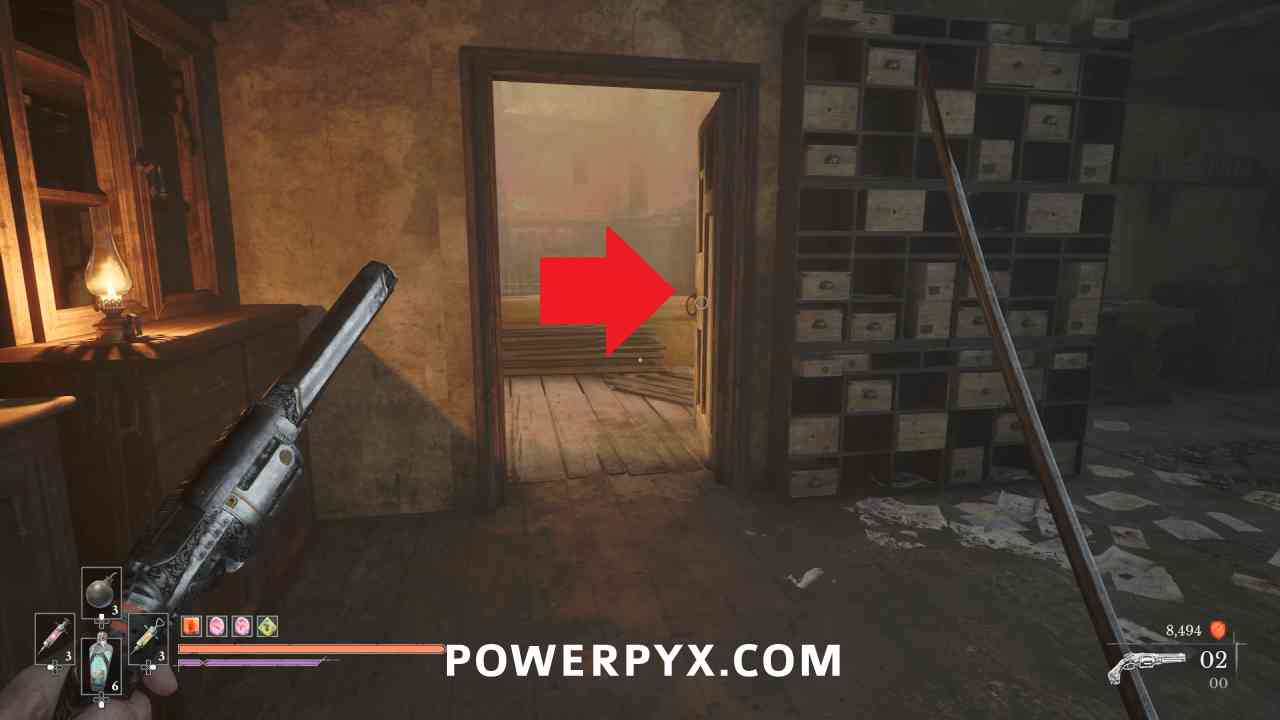
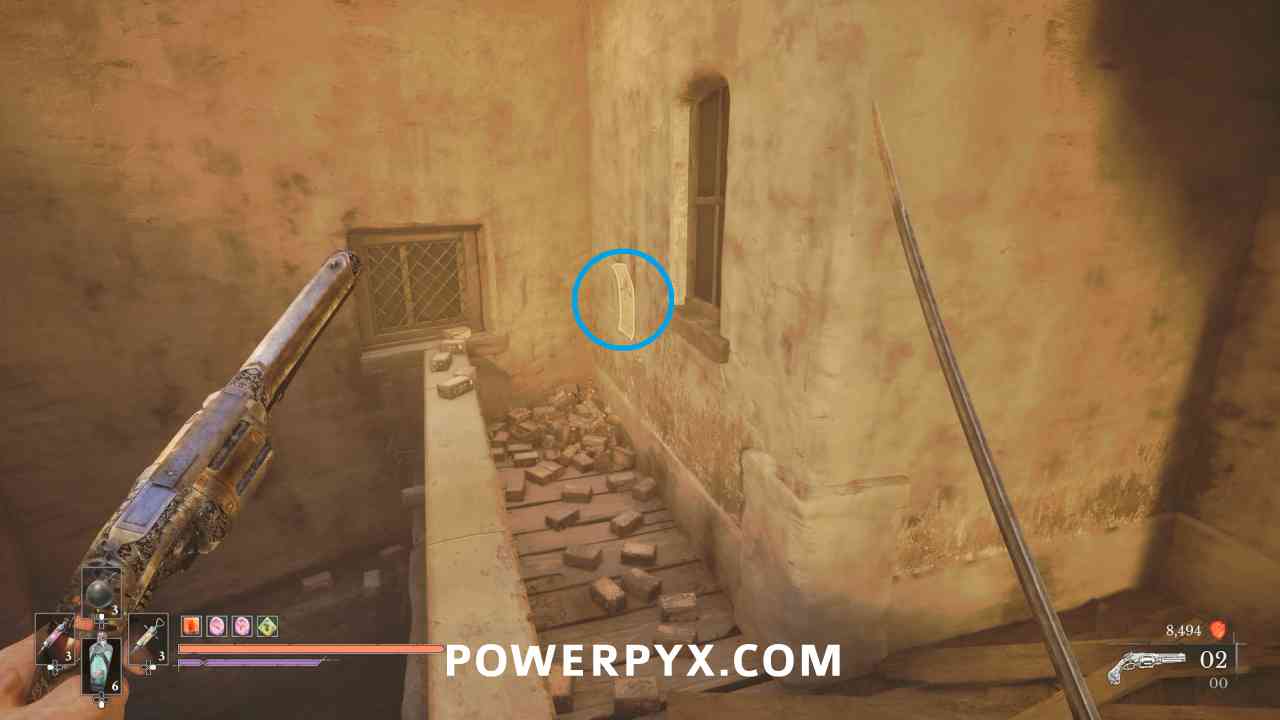
Go into the building nearby and follow the path up to the top floor. When you exit onto the balcony turn right immediately to pick up “Drawing of a Swarm Mother” stuck to the wall in the corner.
Quest: Misericorde – Step #2
Lantern: City of Orphans > Shamble Street
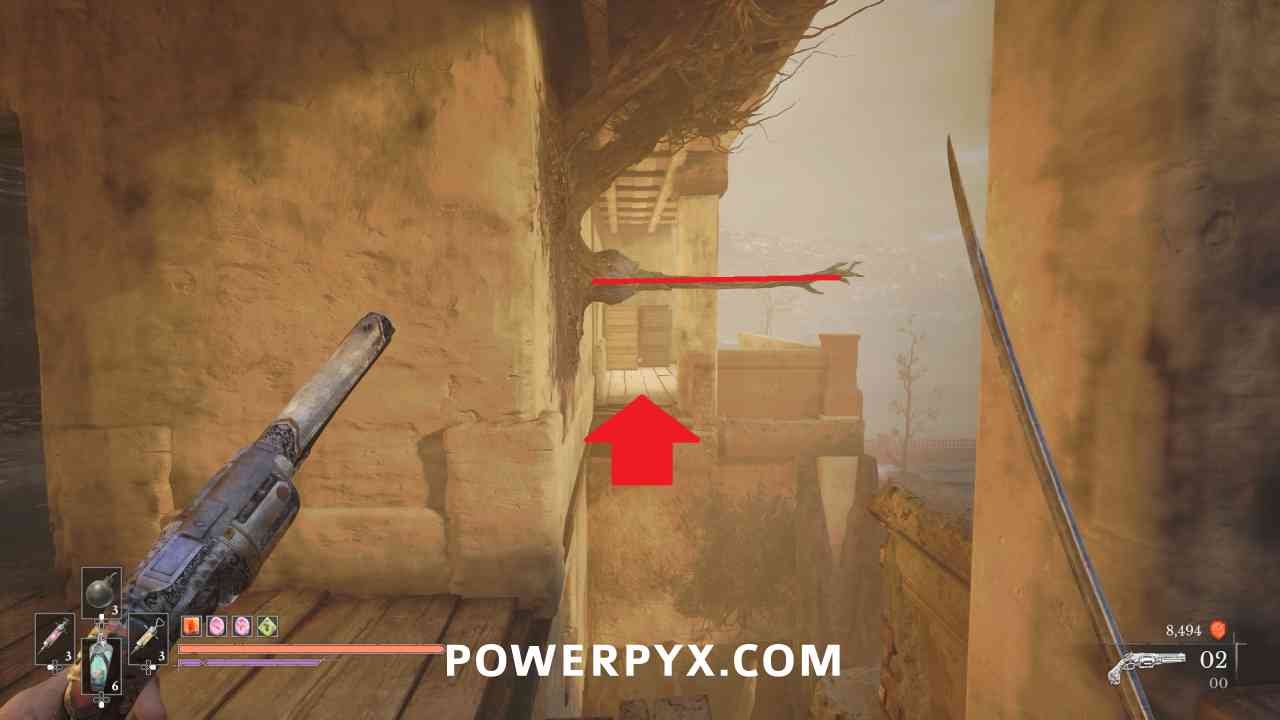
Continue on the outside of the building to where you can shoot a weak point in the attic. After that go back down and interact with the man to complete the quest and receive a Remnant’s Return consumable.
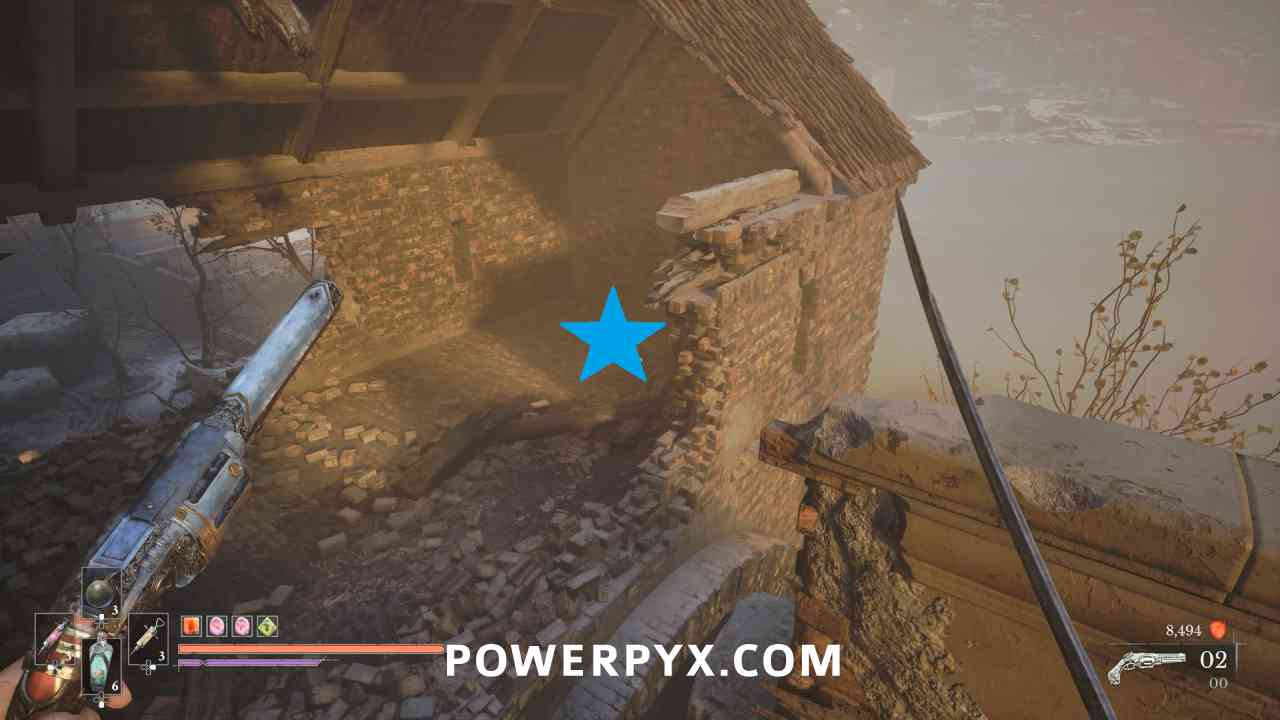
Quest: Monster Hunt – Step #10
Lantern: City of Orphans > Shamble Street
Progress until you reach the ramp leading up to another burning tunnel. To the left of it is a small area with stairs where you can pick up “Drawing of a Shambling Civilians” stuck to a pillar.
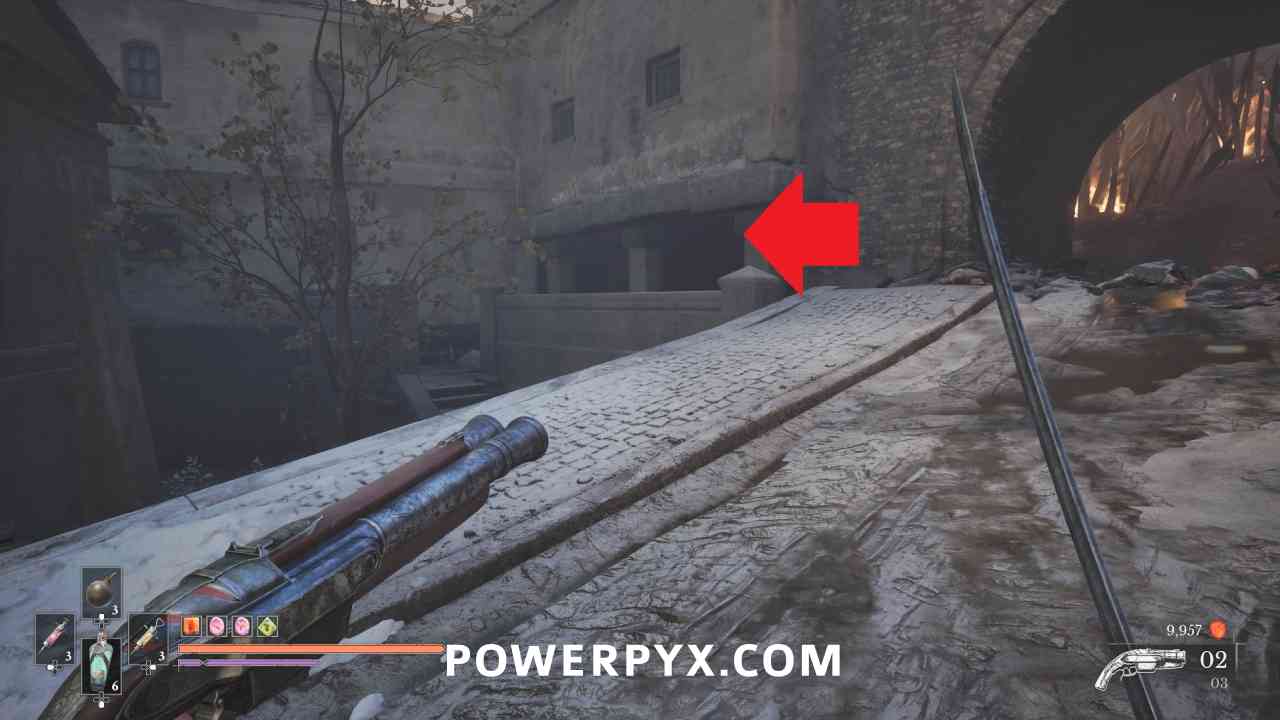
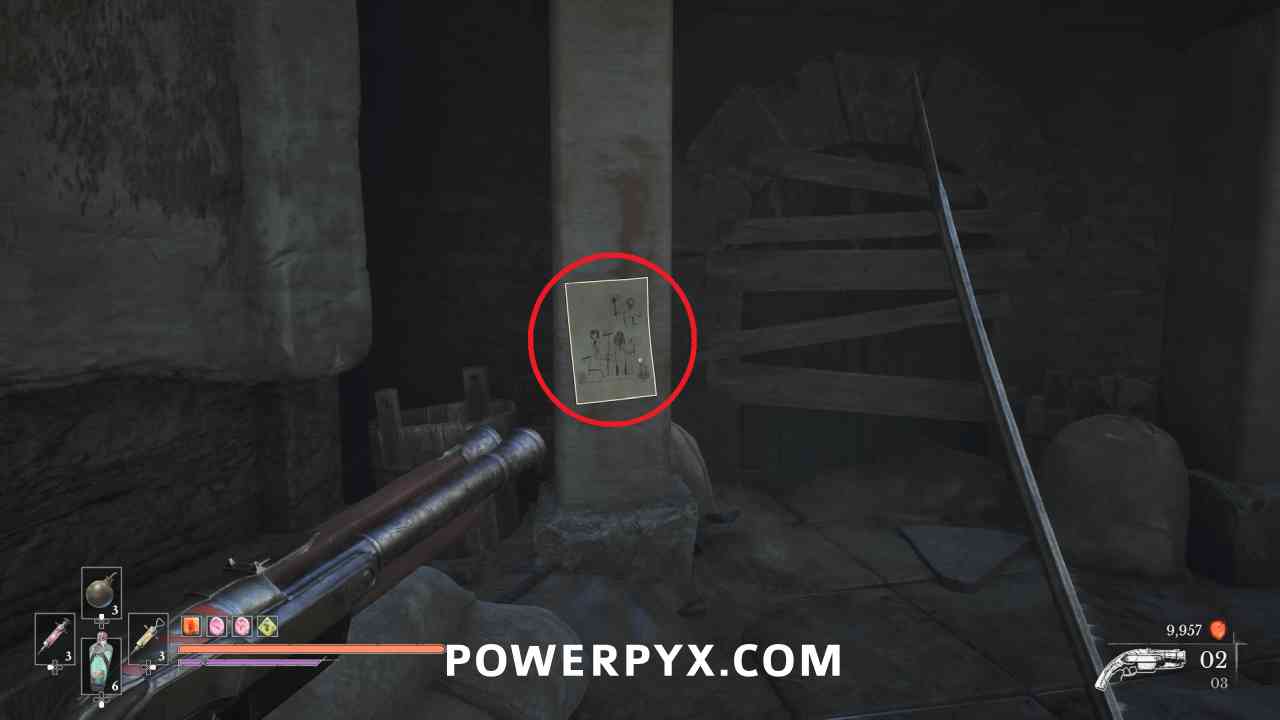
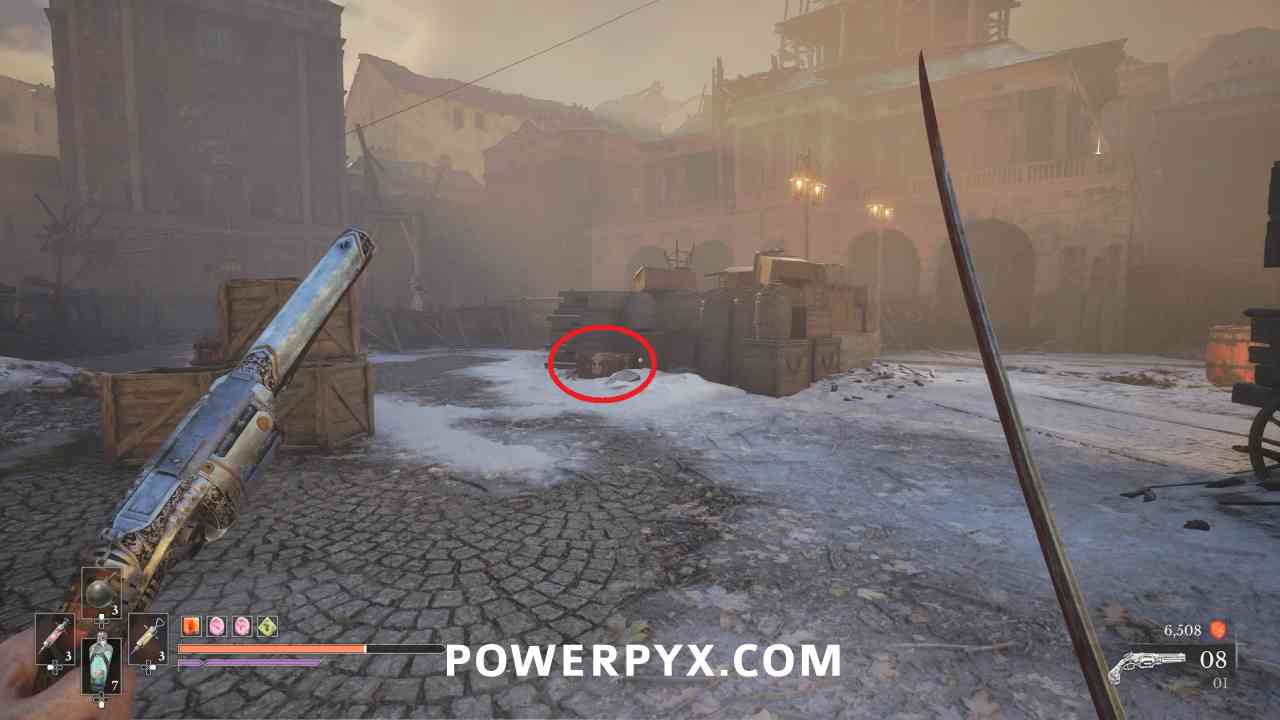
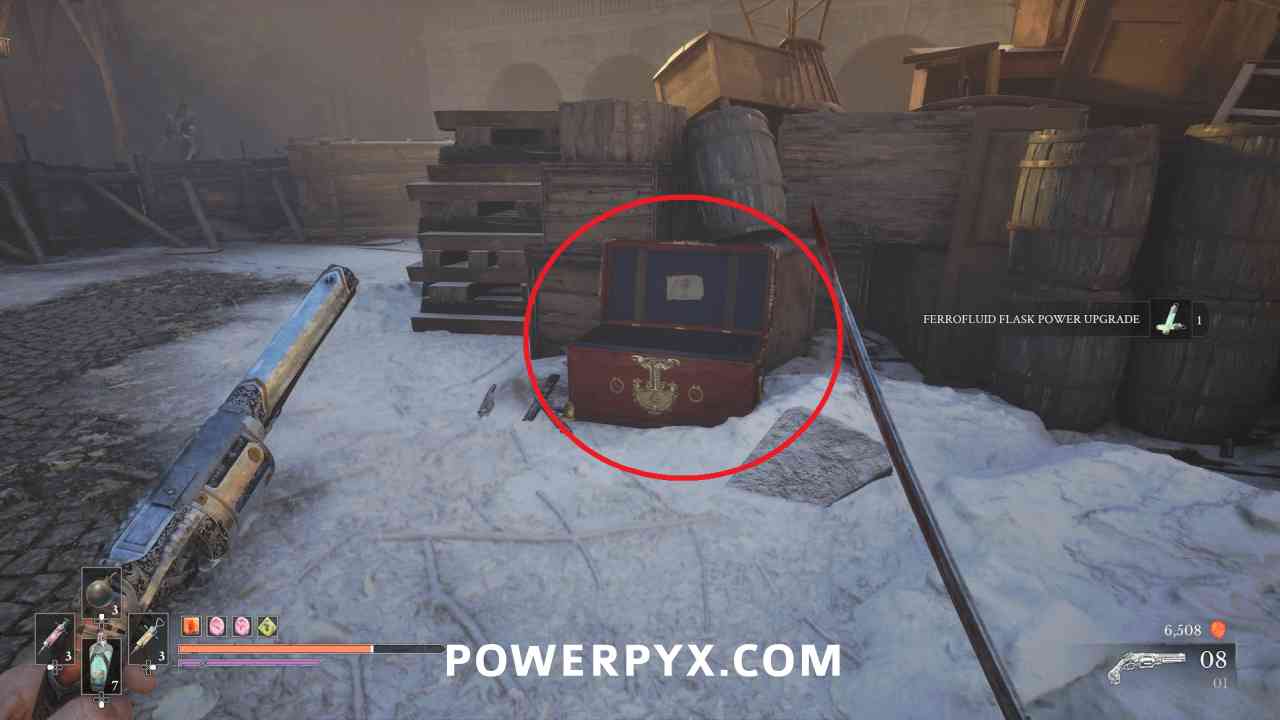
Ferrofluid Flask Power Upgrade #13
Lantern: City of Orphans > Tribunal Square
In the large open area before the tower, in a chest right in the middle where the cannon enemy walks.
Quest: Monster Hunt – Step #11
Lantern: City of Orphans > Shamble Street
Just past the chest location on the front right of the building around the corner, you can pick up “Drawing of a Remnant of the Iron Regiment” stuck to a pillar.
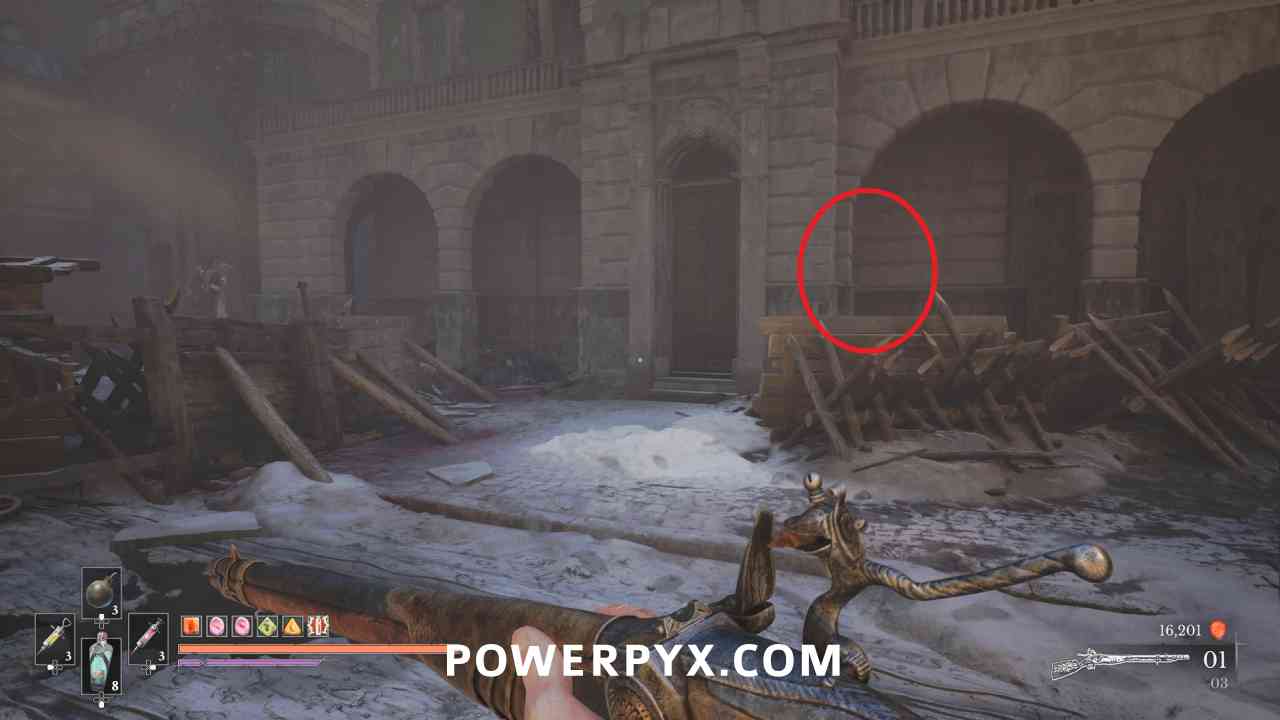
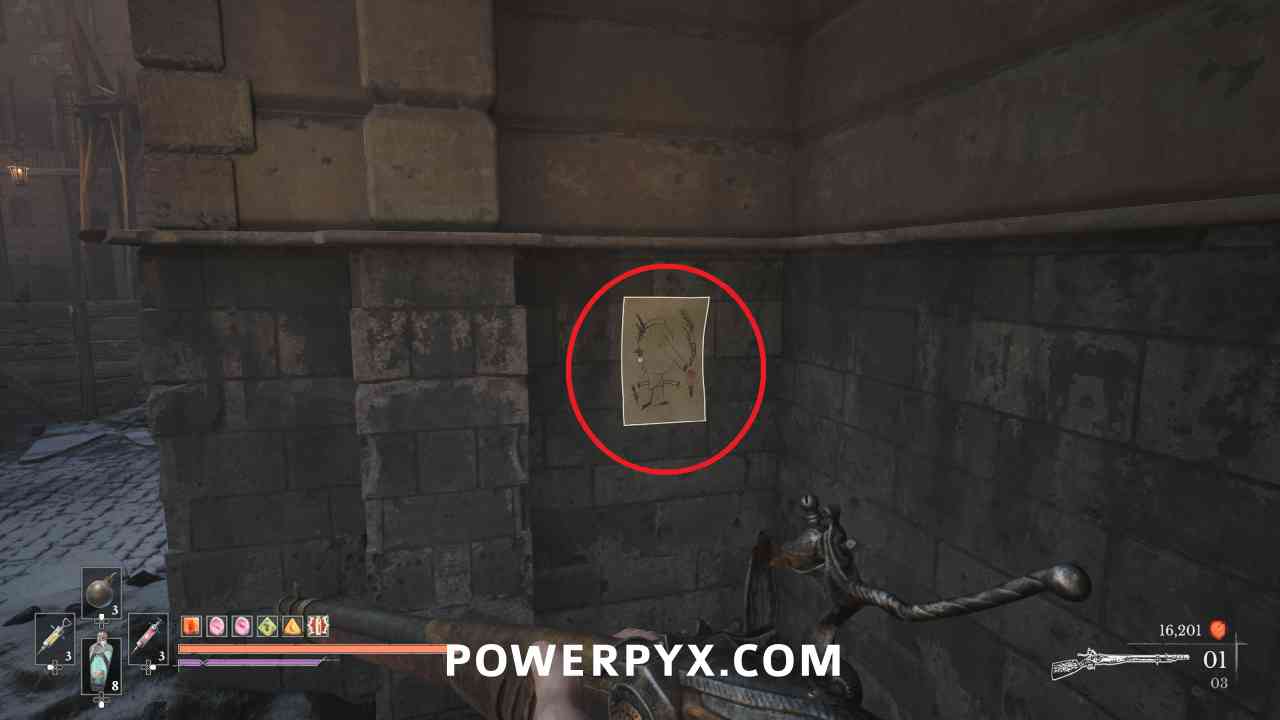
Quest: Monster Hunt – Step #12
Lantern: City of Orphans > Shamble Street
Progress to the top of the tower and ride the zipline down. Go past the sewer building to the right where you can pick up “Drawing of a Sphinx” stuck to a pillar.
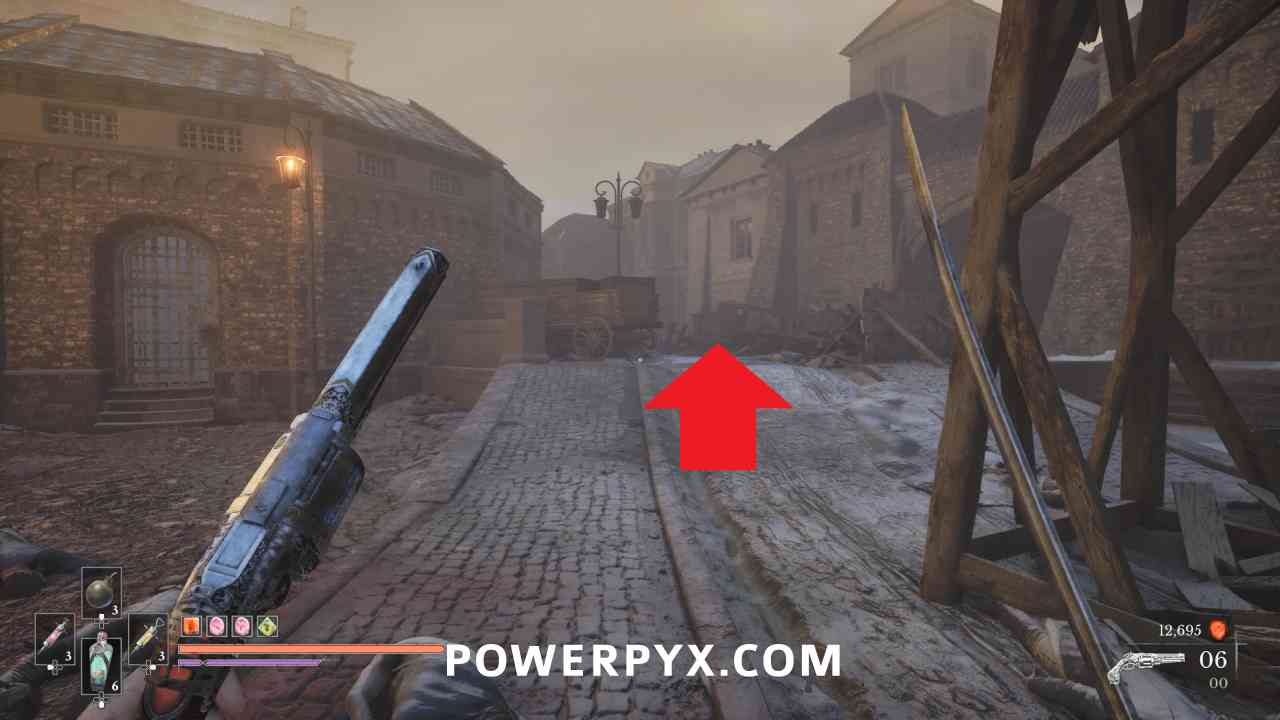
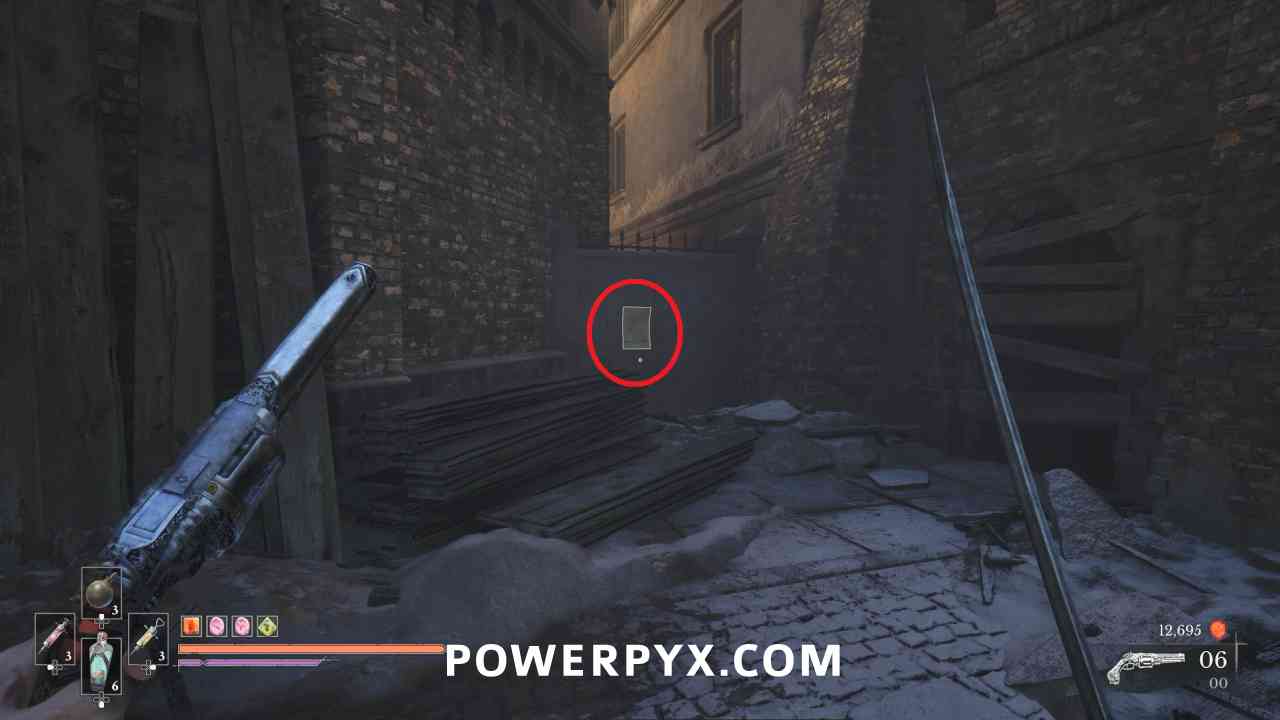
NOTE: The Chapter quest ends when you enter the sewer, but the next chapter doesn’t start until later so the rest of the collectibles for this region are still included in this chapter.
Quest: Mummy and Daddy – Step #1
Lantern: City of Orphans > Sewers
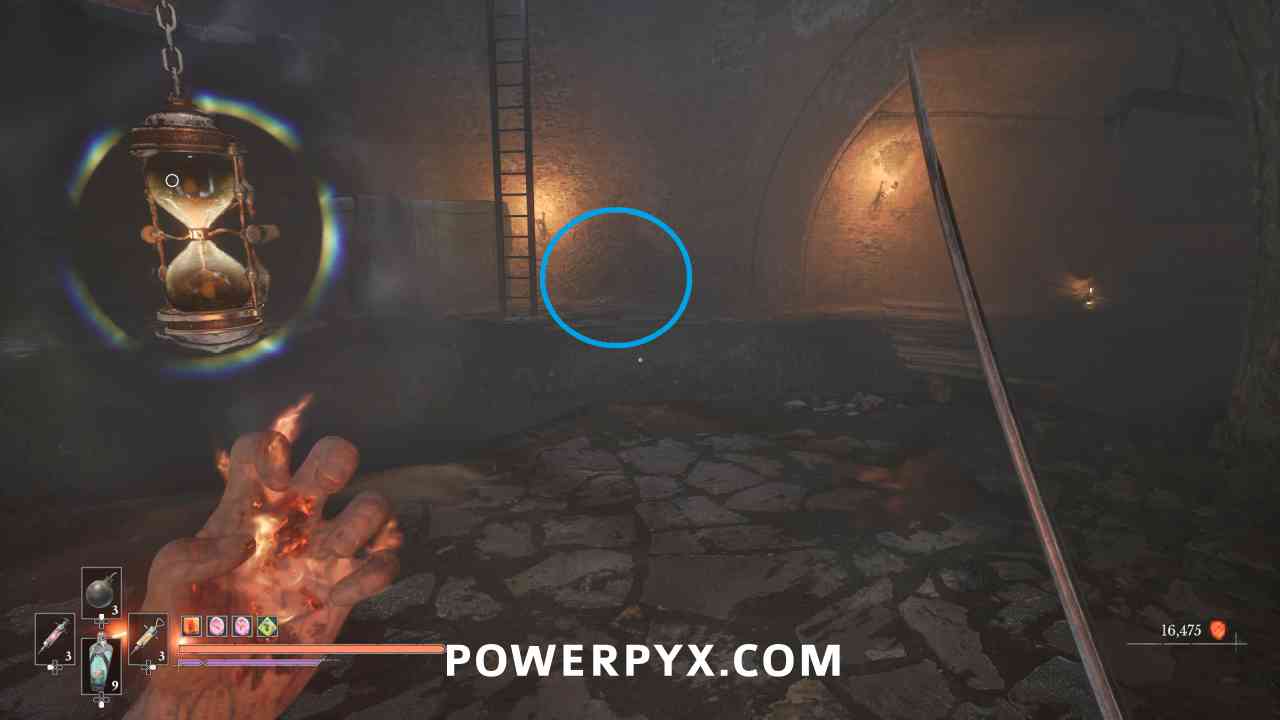
In the area with the Lantern, interact with the burrow behind the ladder on the opposite side of the sewer to start the quest and receive Cheese.
Ferrofluid Flask Power Upgrade #14
Lantern: City of Orphans > Sewers
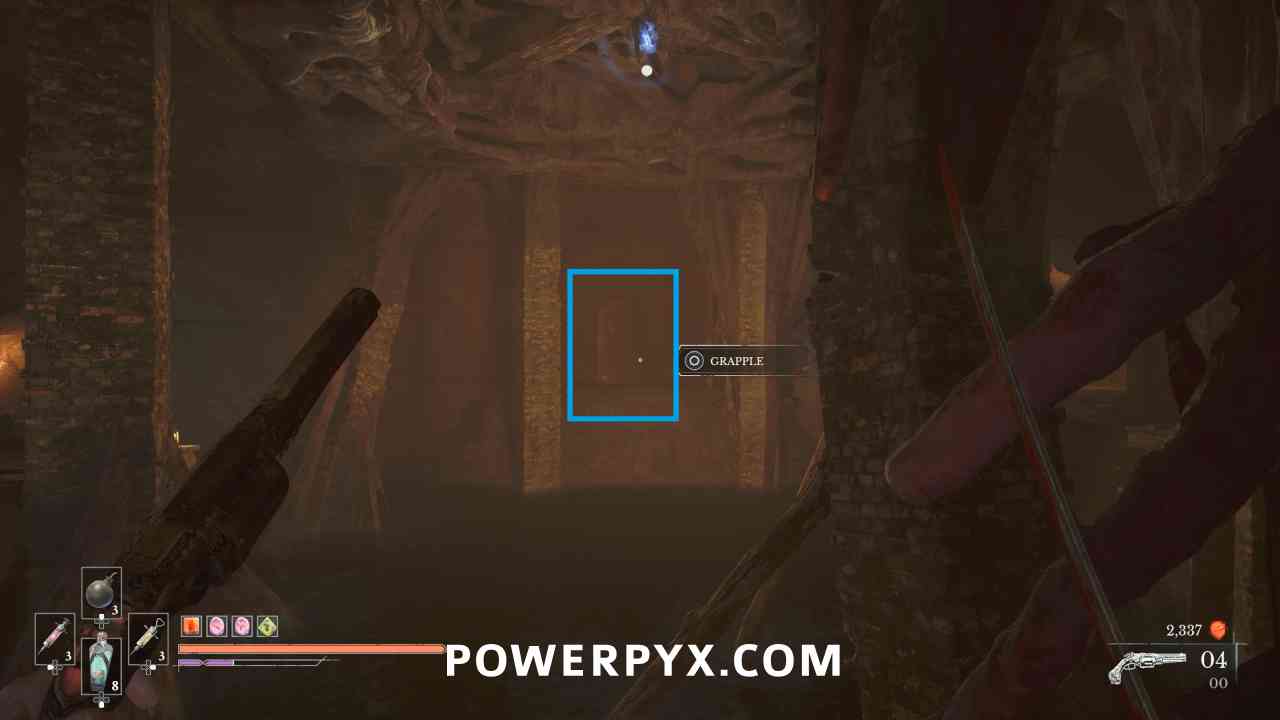
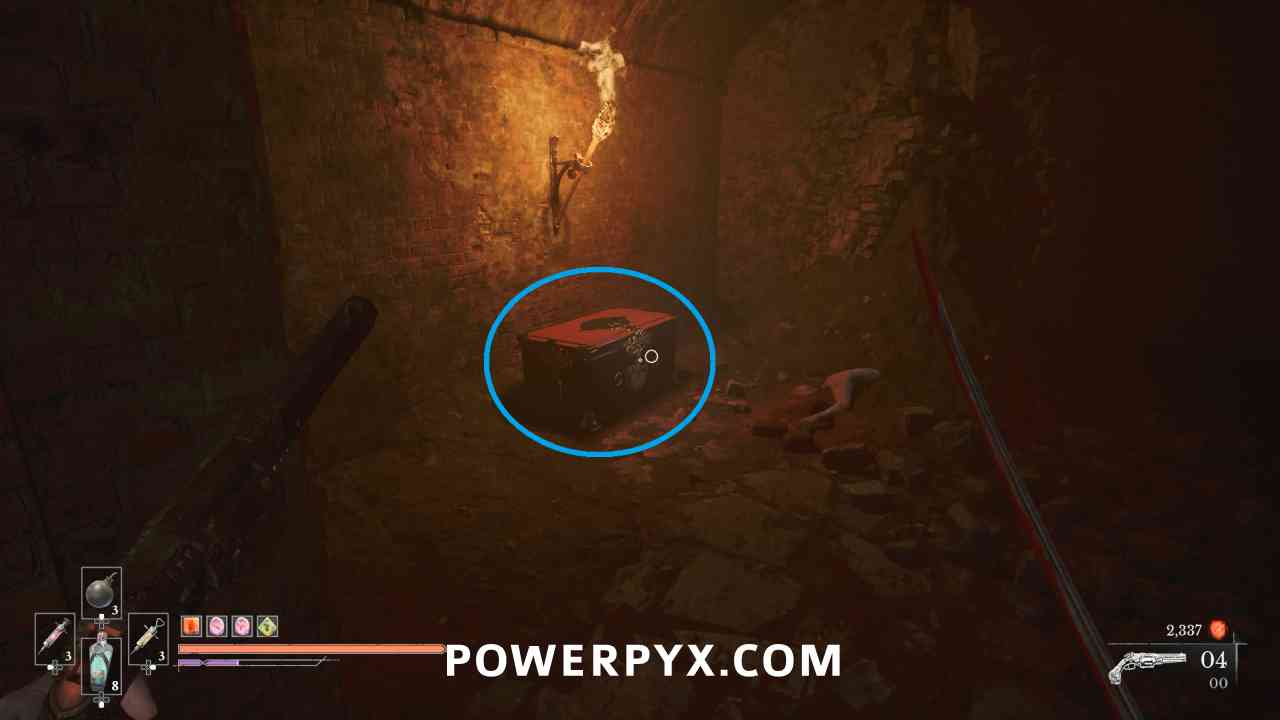
Progress to the circular room with a grapple point in the middle. Grapple to the other side, then look left where there is an exploding enemy lying on the ground. Go to where they are, and you can grapple across to a room with a chest inside that contains this upgrade.
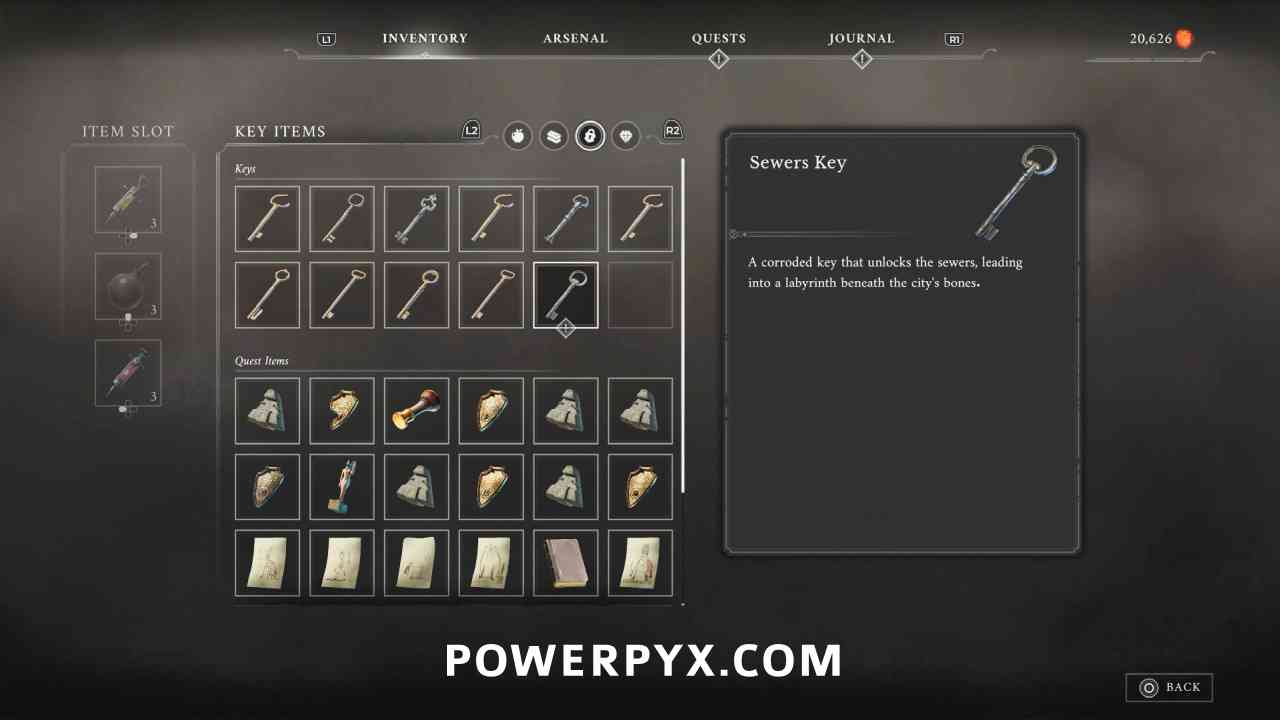
Key Item: Sewers Key
Lantern: City of Orphans > Sewers
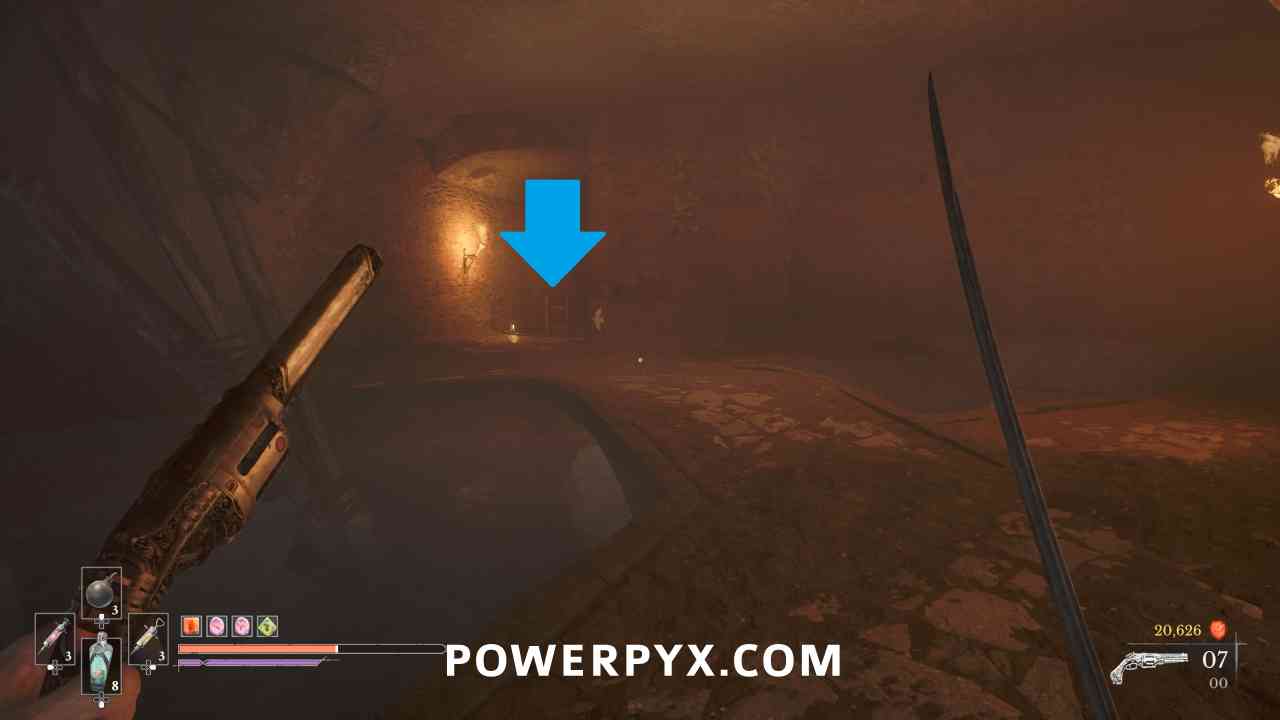
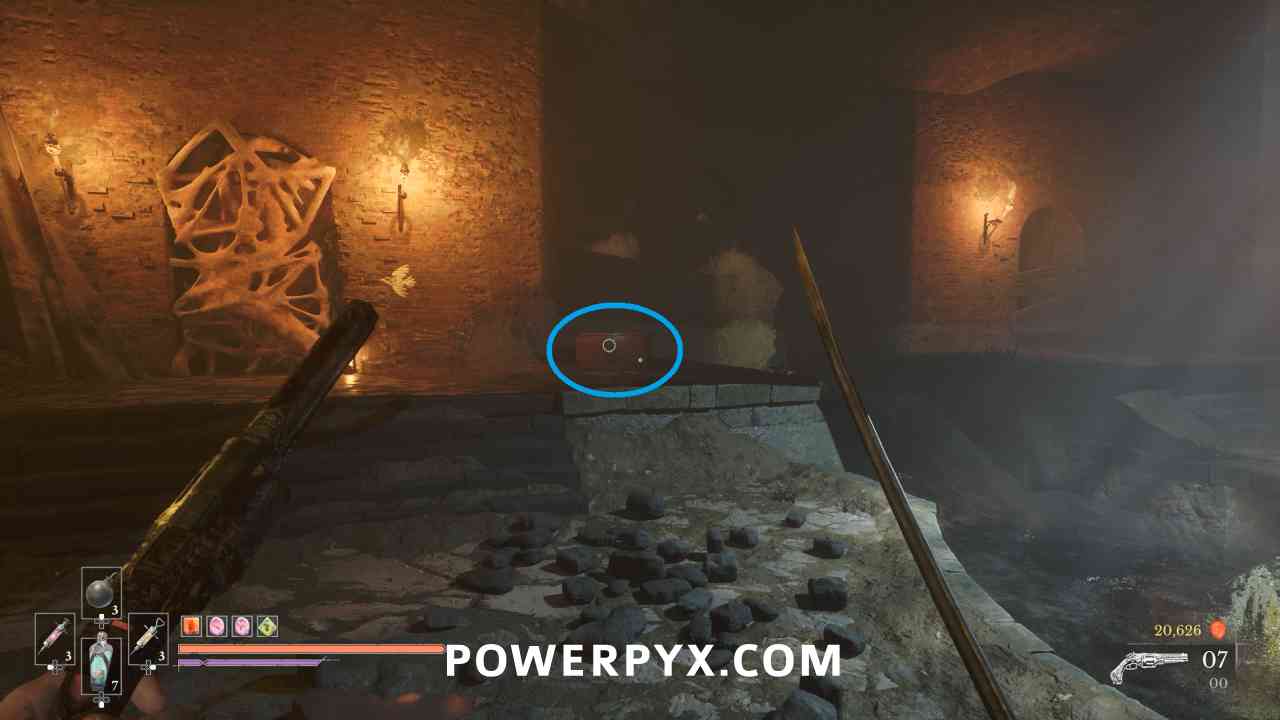
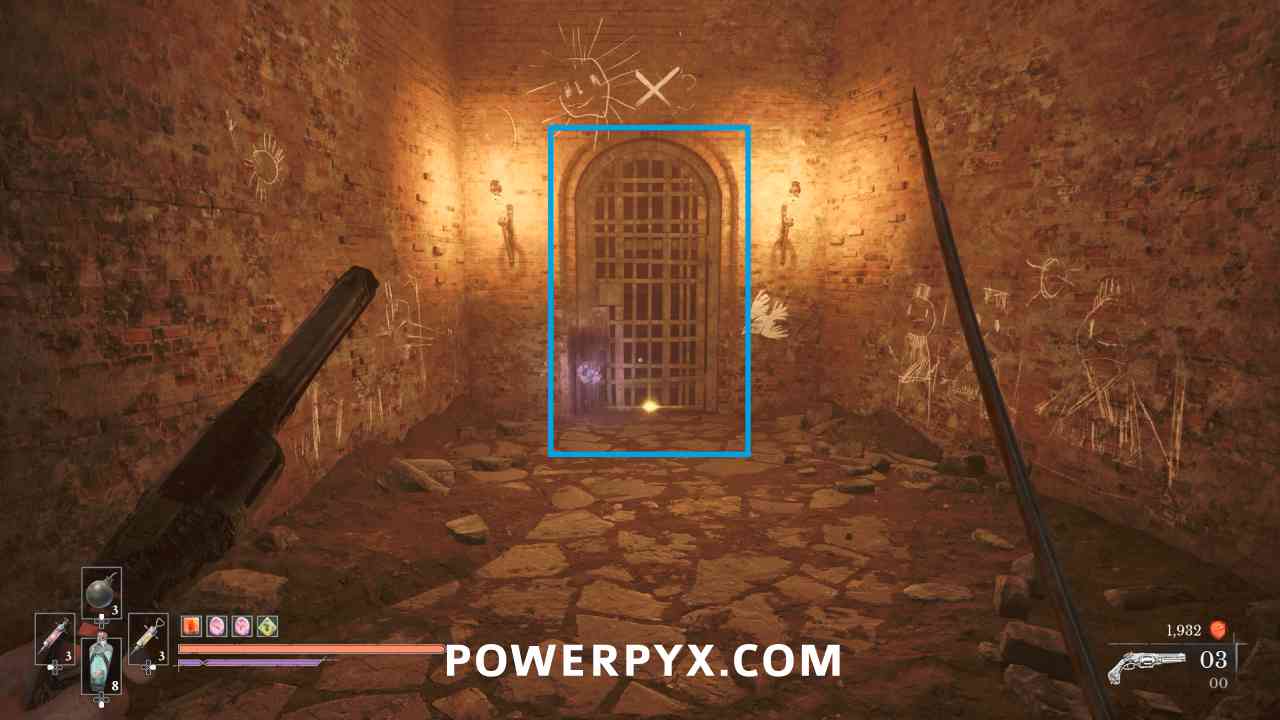
Progress through the sewers until there is a split in the path with a ladder going down to the left. Go down this ladder and in a chest in this room you can obtain this key. This is used on the door in the circular room with the grapple in the middle.
Quest: Mummy and Daddy – Step #2
Lantern: City of Orphans > Sewers
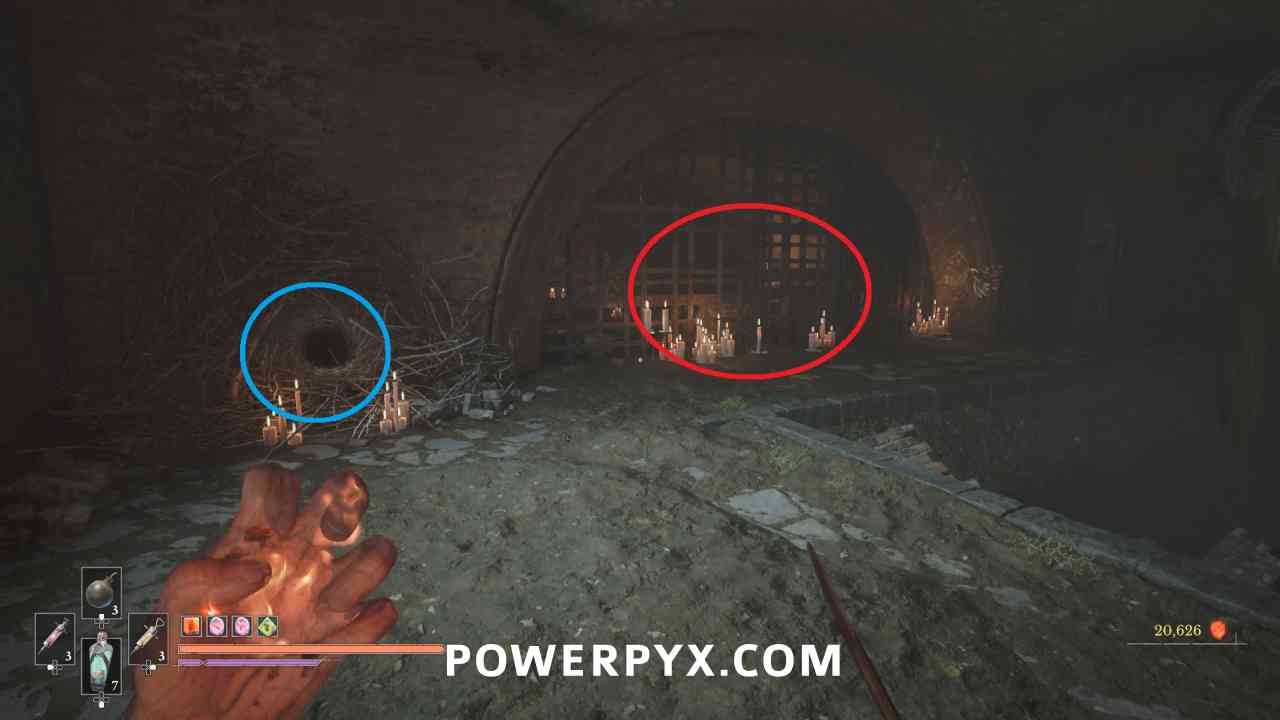
Burn the gold vines to the left of the chest and then in the next room interact with the burrow to learn about the undead in the cell to the right. DO NOT SHOOT THEM or this instantly fails the quest.
Quest: Monster Hunt – Step #13
Lantern: City of Orphans > Sewers
Continue past this room and on the left will be an open area with a blob enemy hanging from the ceiling. Jump across and you can pick up “Drawing of a Grenadier” stuck to the wall on the right.
Quest: Monster Hunt – Step #14
Lantern: City of Orphans > Sewers
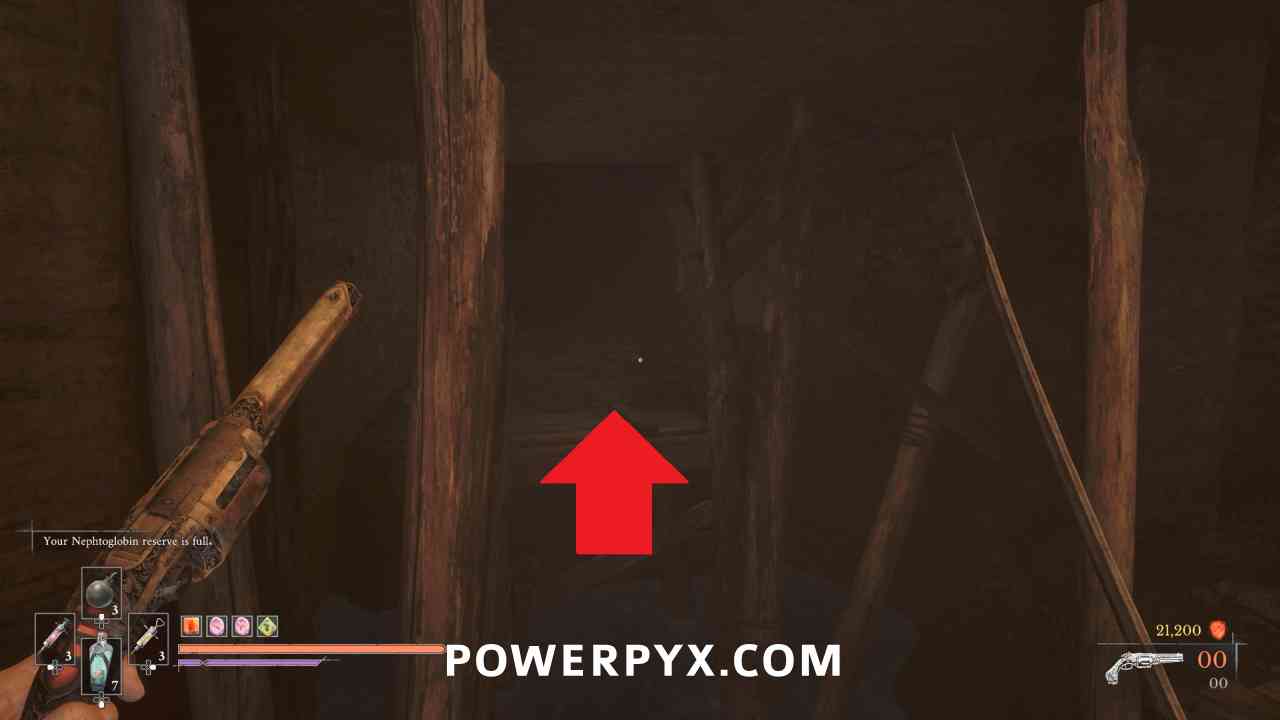
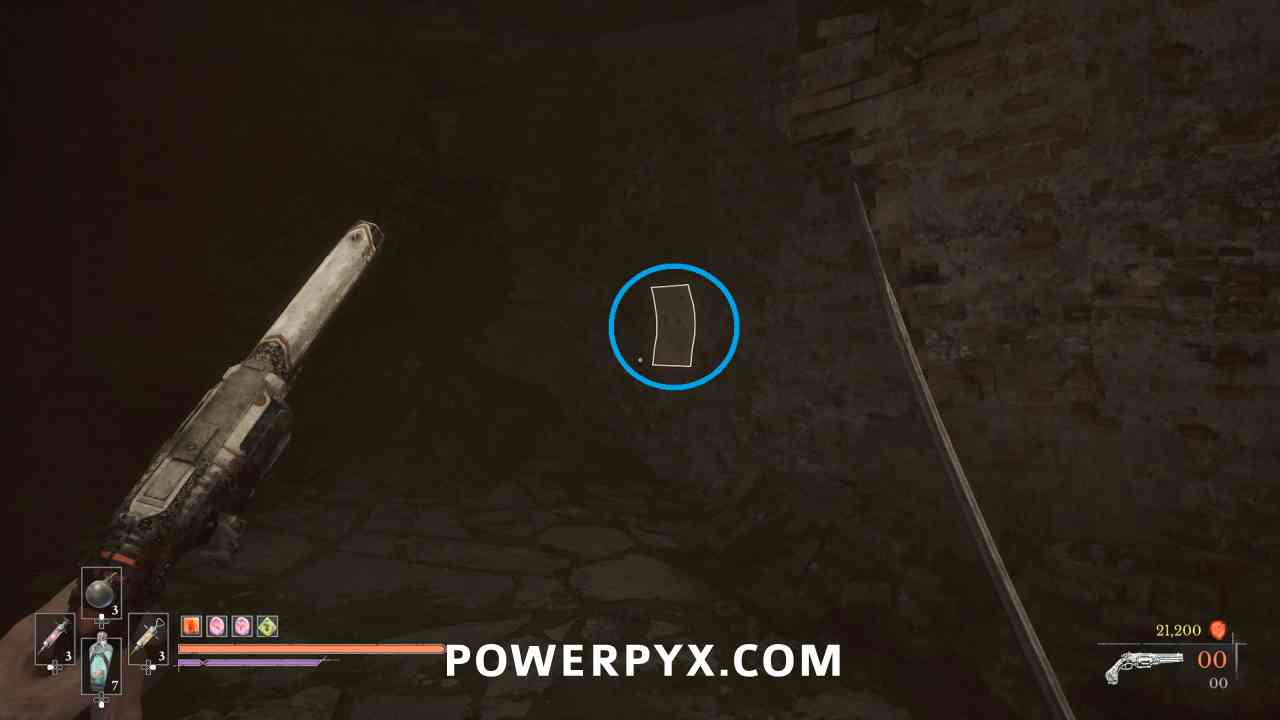
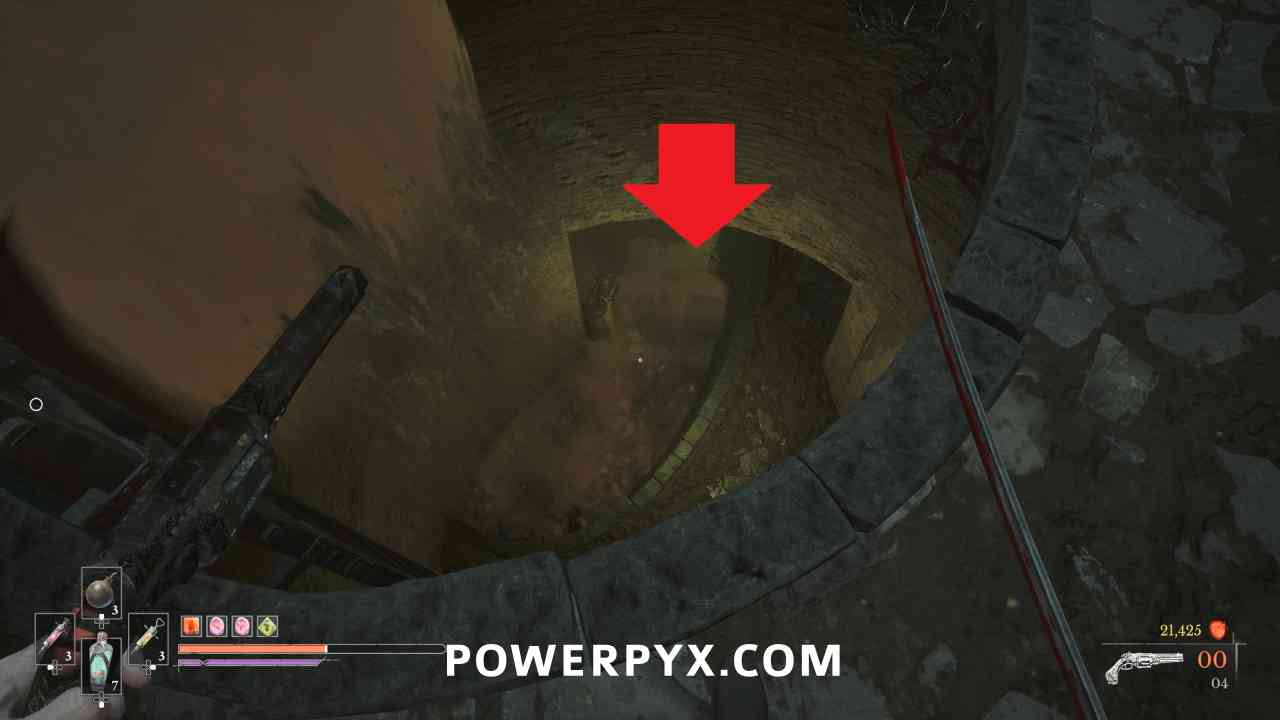
Go back to the spot with the split in the path that you went down the stairs last time. This time go to the right, crouching under the boards and using the grapple. Follow this path to where there is a shortcut back to the Lantern. Go down the ladder into the lower sewer area that is full of poison. Carefully jump across to where you can pick up “Drawing of a Carrion” stuck to the wall on the right.
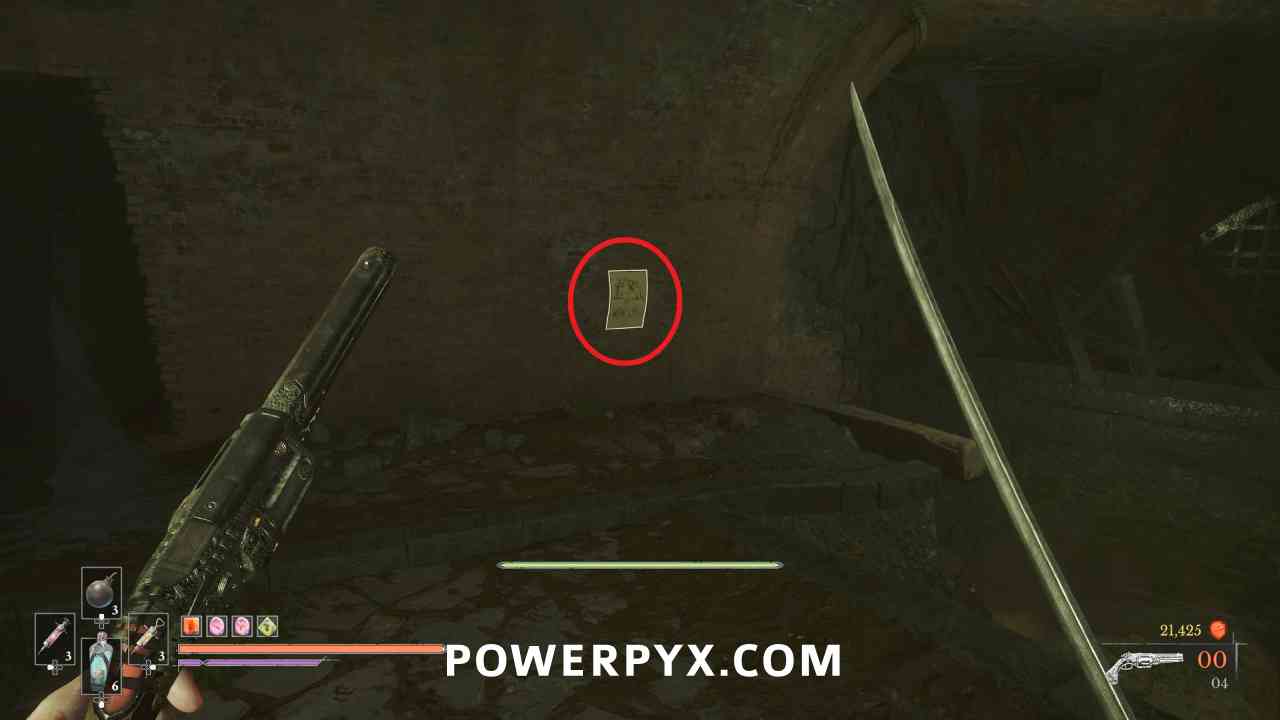
Quest: Monster Hunt – Step #15
Lantern: City of Orphans > Sewers
Go through the door in the circular room using the Sewer Key. Grapple across where the enemy is, then go right to a dead end. You can pick up “Drawing of an Unknown Monstrosity” stuck to the wall on the left by a locked gate.
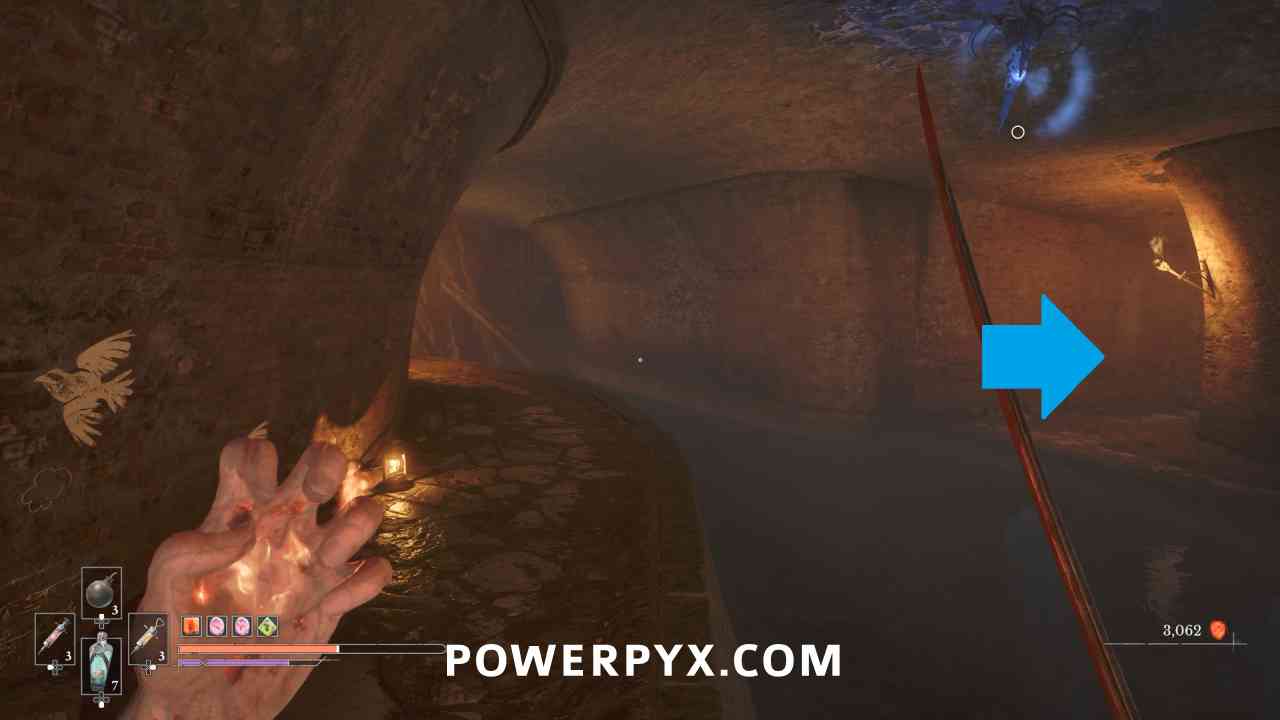
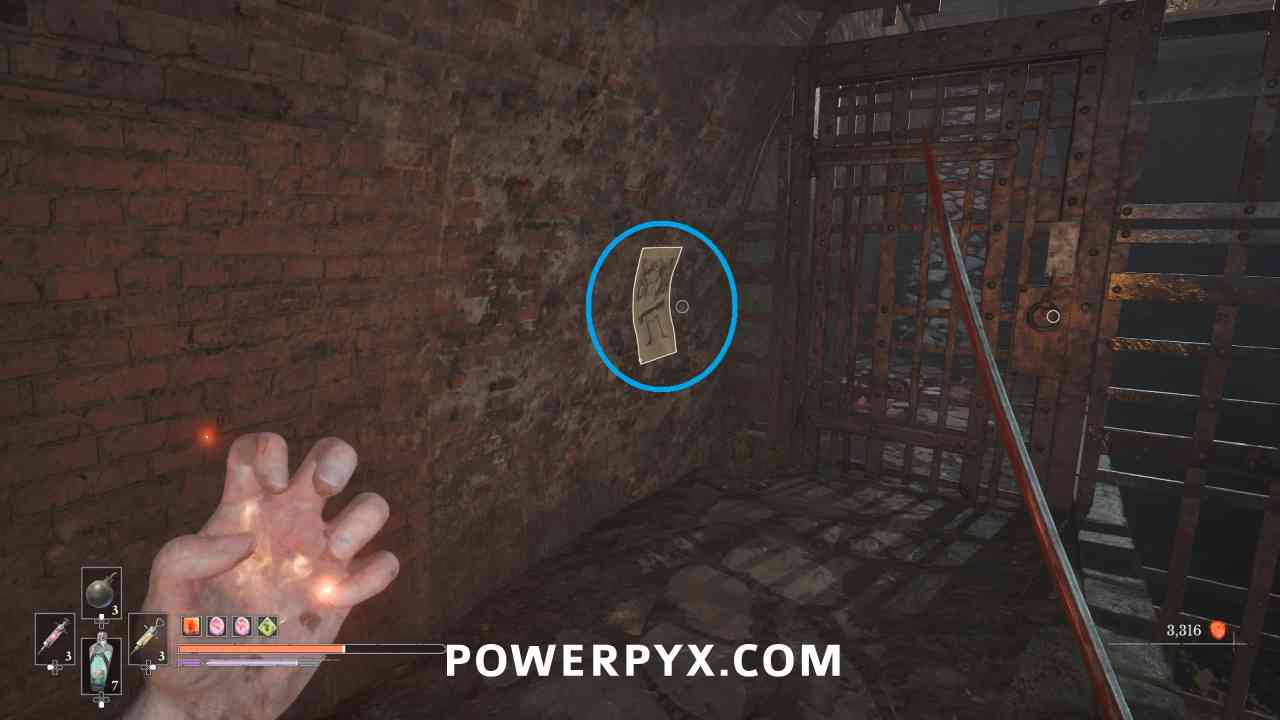
Quest: Monster Hunt – Step #16
Lantern: City of Orphans > Sewers
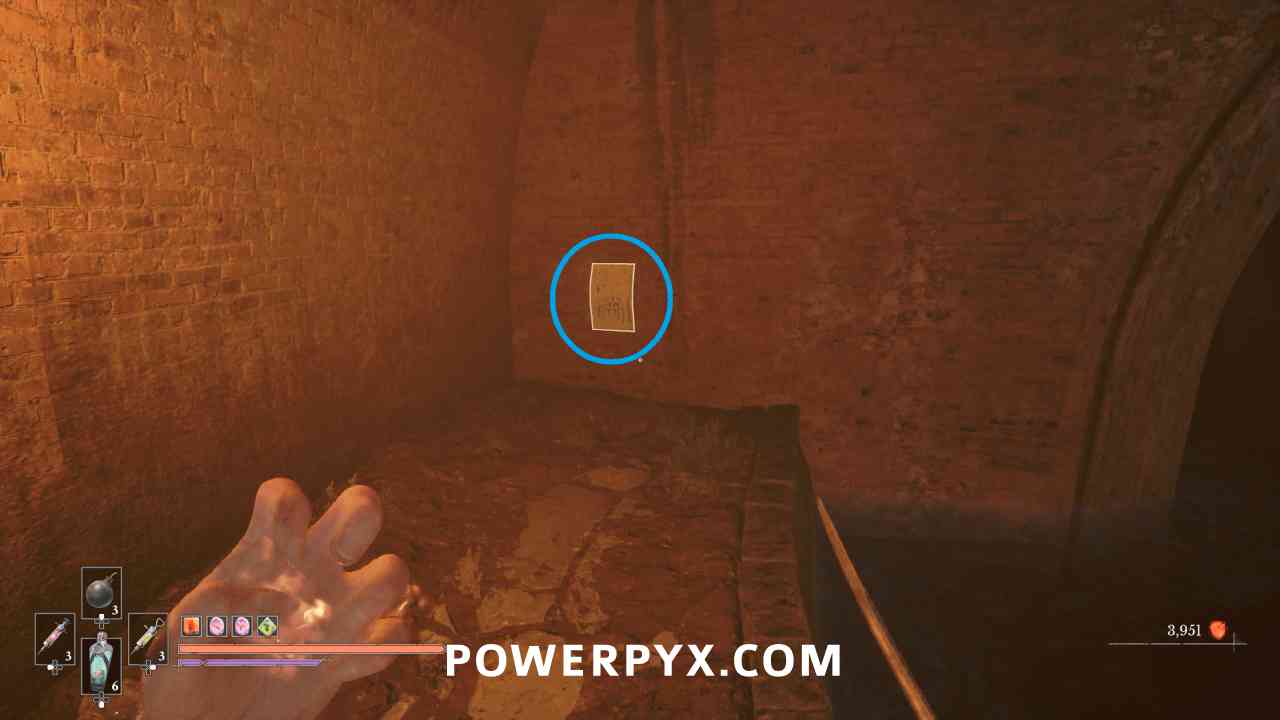
Continue on the path until you reach a spot where it splits left and right. In the middle on the left of the sewer you can pick up “Drawing of an Abomination” stuck to the wall on the left of the round sewer tunnel.
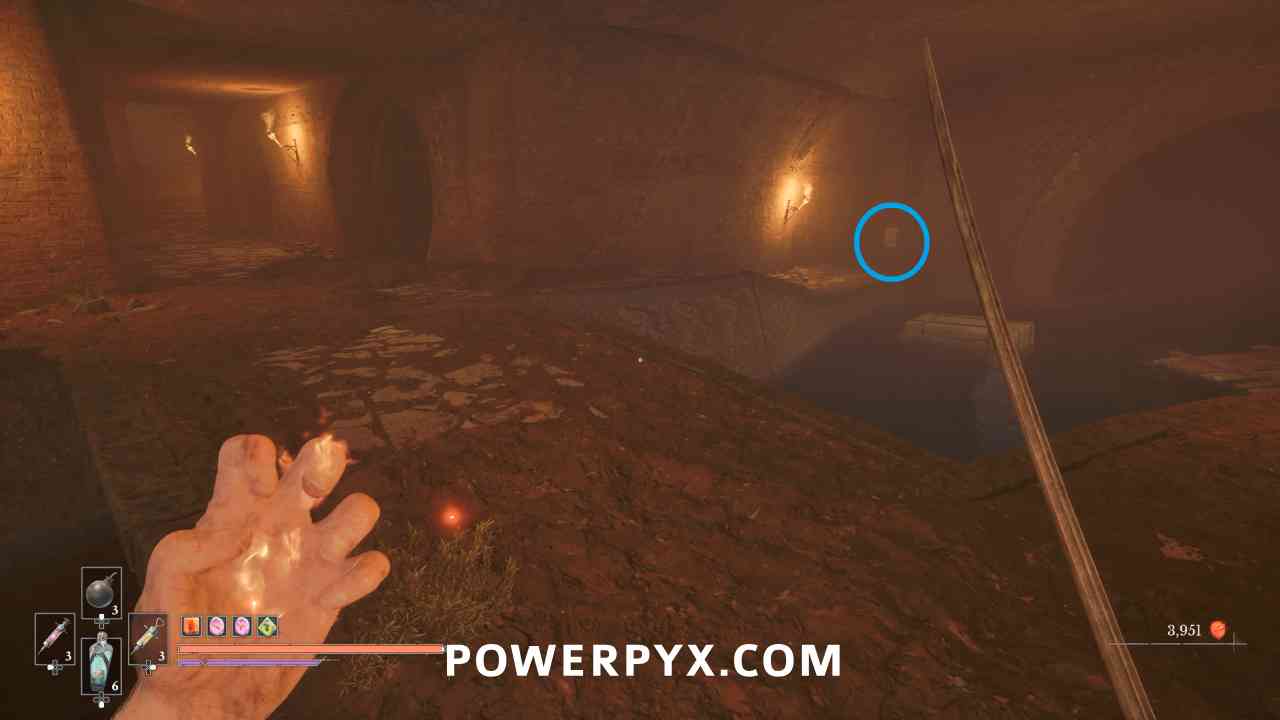
Key Item: Sewer Masters Key
Lantern: City of Orphans > Sewers
Go down the left path (at the end is a shortcut back to the Lantern) then turn left where there is a bar you can swing across to a platform. Left of the platform you can pick up this key off a body, which opens all of the exterior doors going between the city and the sewer.
Quest: Monster Hunt – Step #17 (Complete)
Lantern: City of Orphans > Sewers
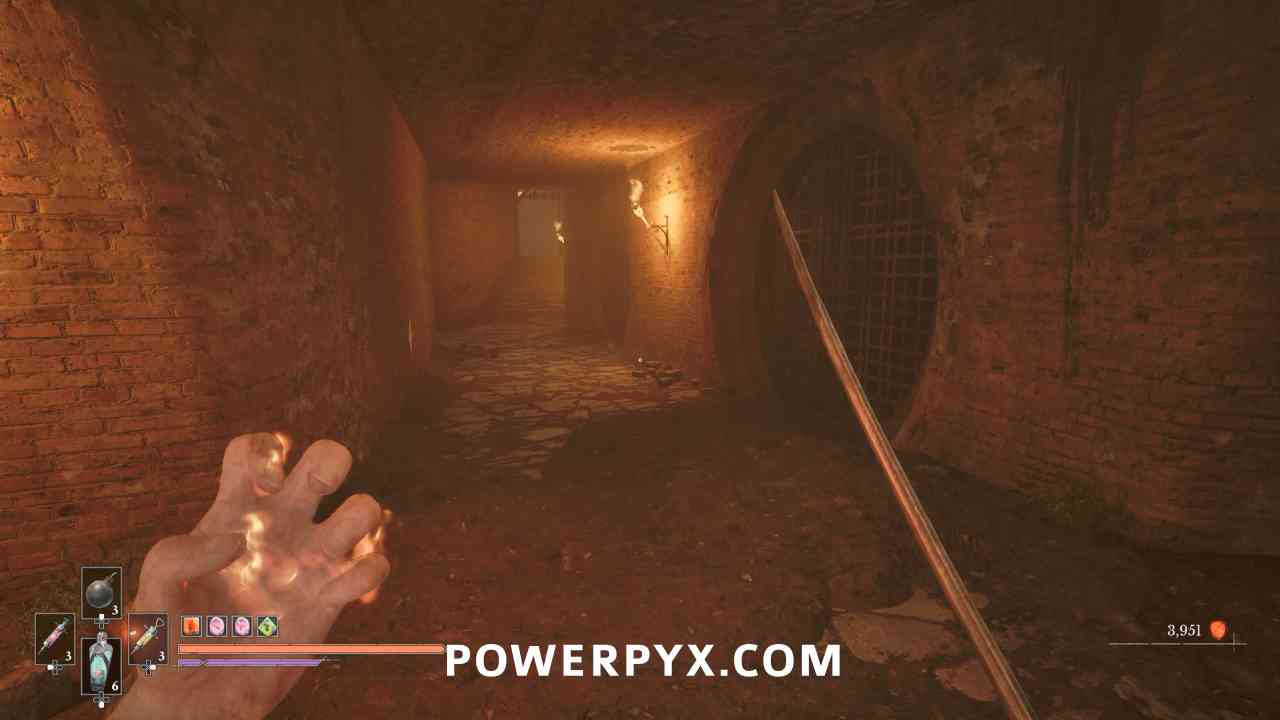
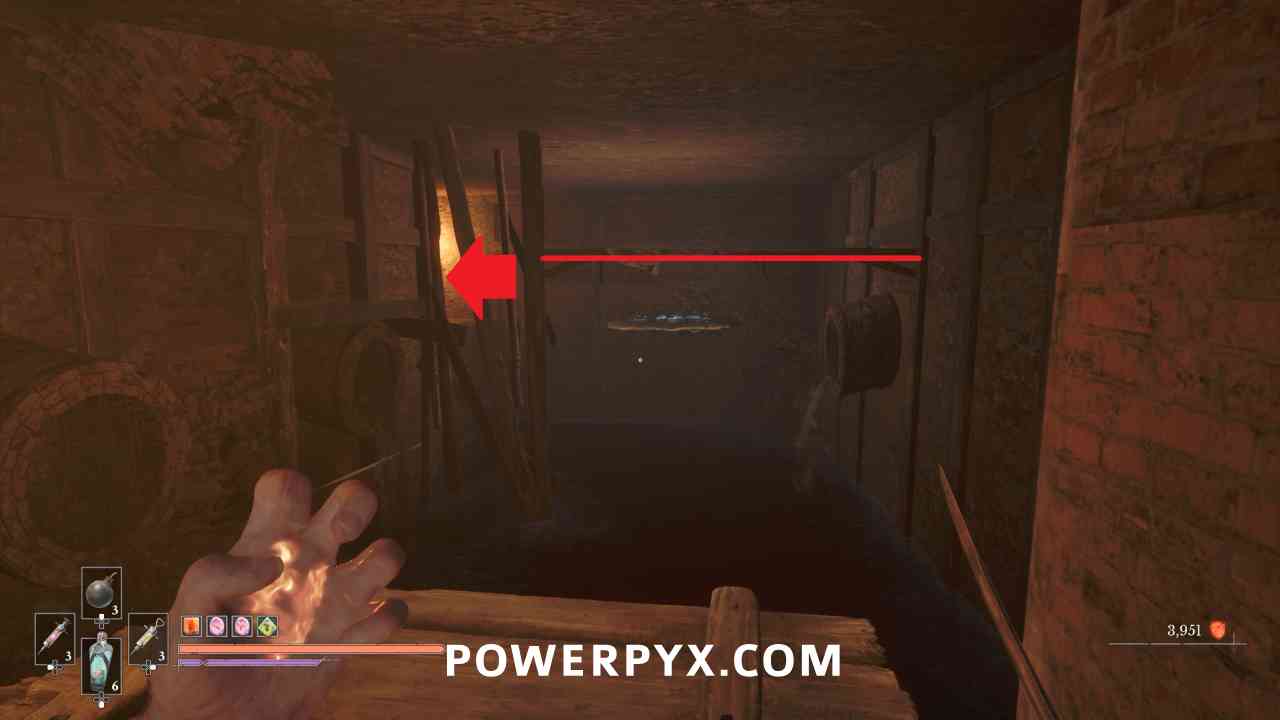
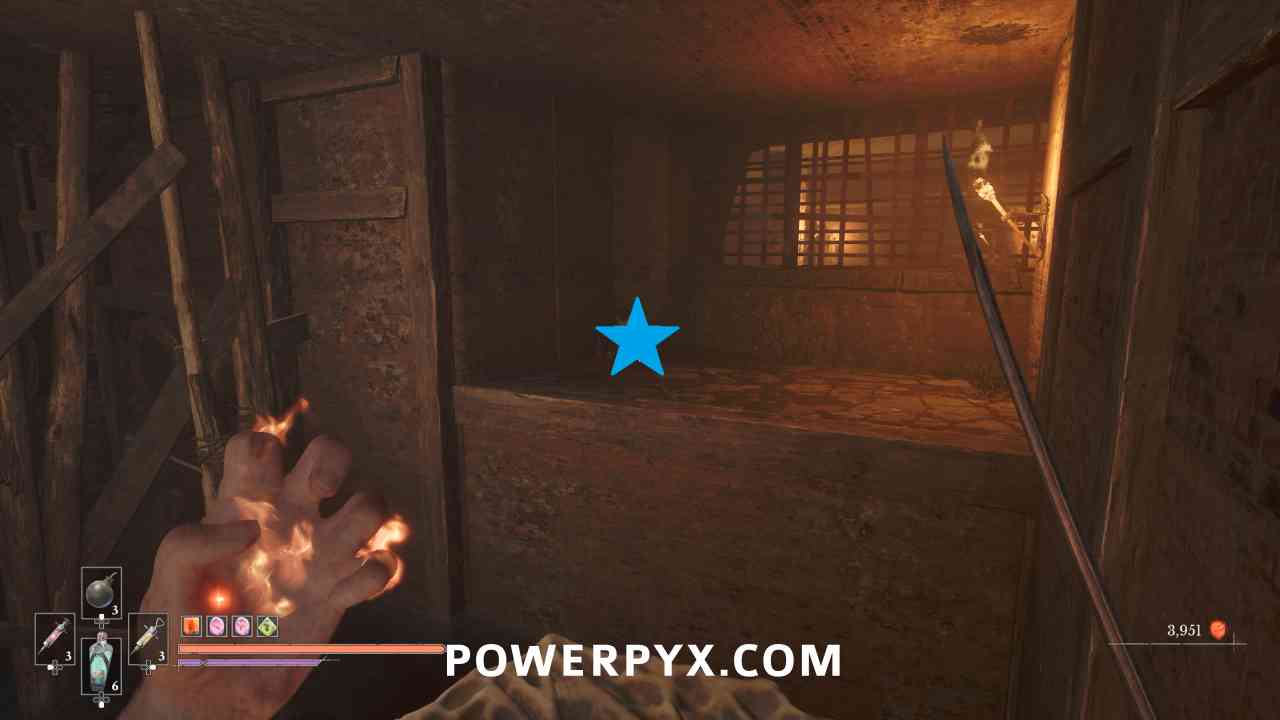
Continue until you end up outside where two enemies are. Go to the edge of the area where the water is and turn right around the corner, and you can pick up “Drawing of an Unknown Figure” stuck to the wall on the right. This should be the last drawing which completes the quest.
Quintessential Transmutation Material
Lantern: City of Orphans > Sewers
Reward for completing side quest “Monster Hunt”.
Key Item: Laboratory Key
Lantern: City of Orphans > Sewers
When you reach the Shrike, she gives you this key to allow you to enter the university.
NEXT: Chapter 8: Blasphemy
For all other Chapters and by-type collectibles, check out the complete Valor Mortis Collectible Guide.
Leave a Reply