
Chapter 5: Crime is the fifth section of Valor Mortis and occurs in the Vale of Wrath region. This walkthrough will guide you through all collectibles available in the Crime section. Everything that’s needed for trophies and 100% completion is included, nothing is missable and you can return to all areas at any time.
Collectibles Walkthrough:
Chapter 5: Crime
Abandoned Church
Key Item: Outward Pass Key
Lantern: Abandoned Church
After waking up in the church, speak with James to receive this key that allows you to go through the door across the grapple point to the right of the one that lead to the Caverns.
Vale of Wrath
Quest: Lost Boy – Step #1
Lantern: Vale of Wrath > Wolfsbane Field
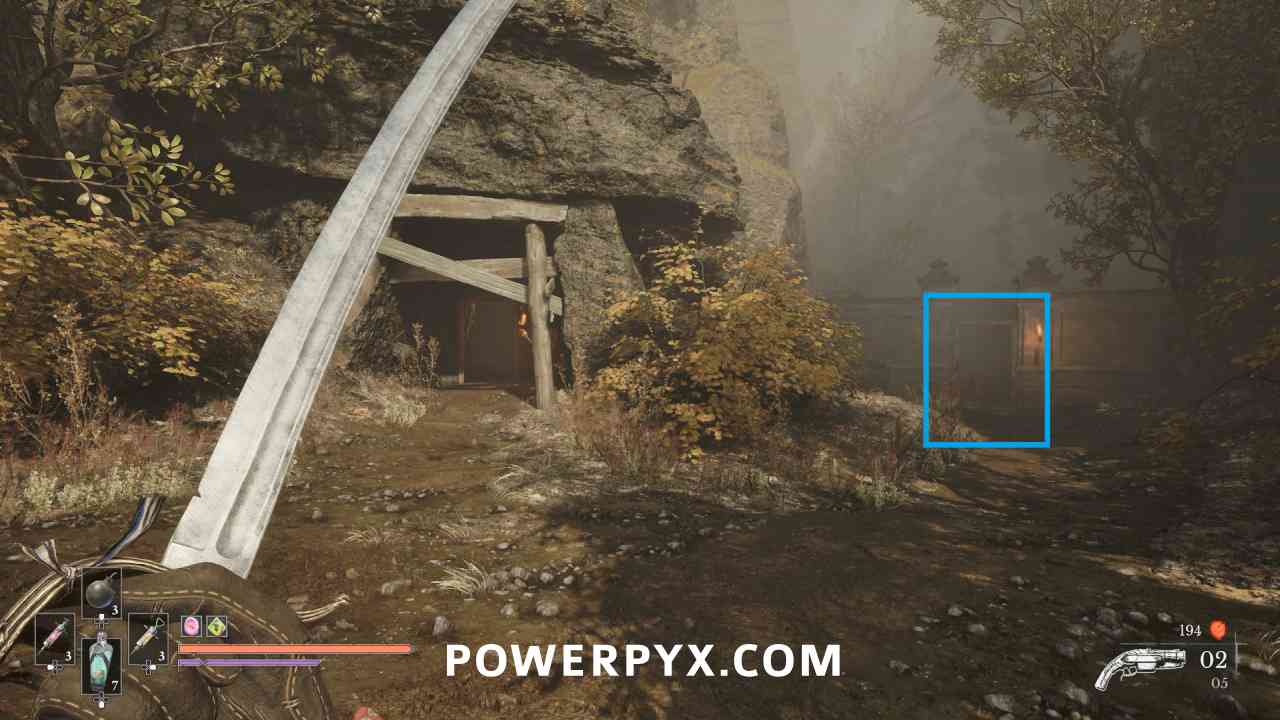
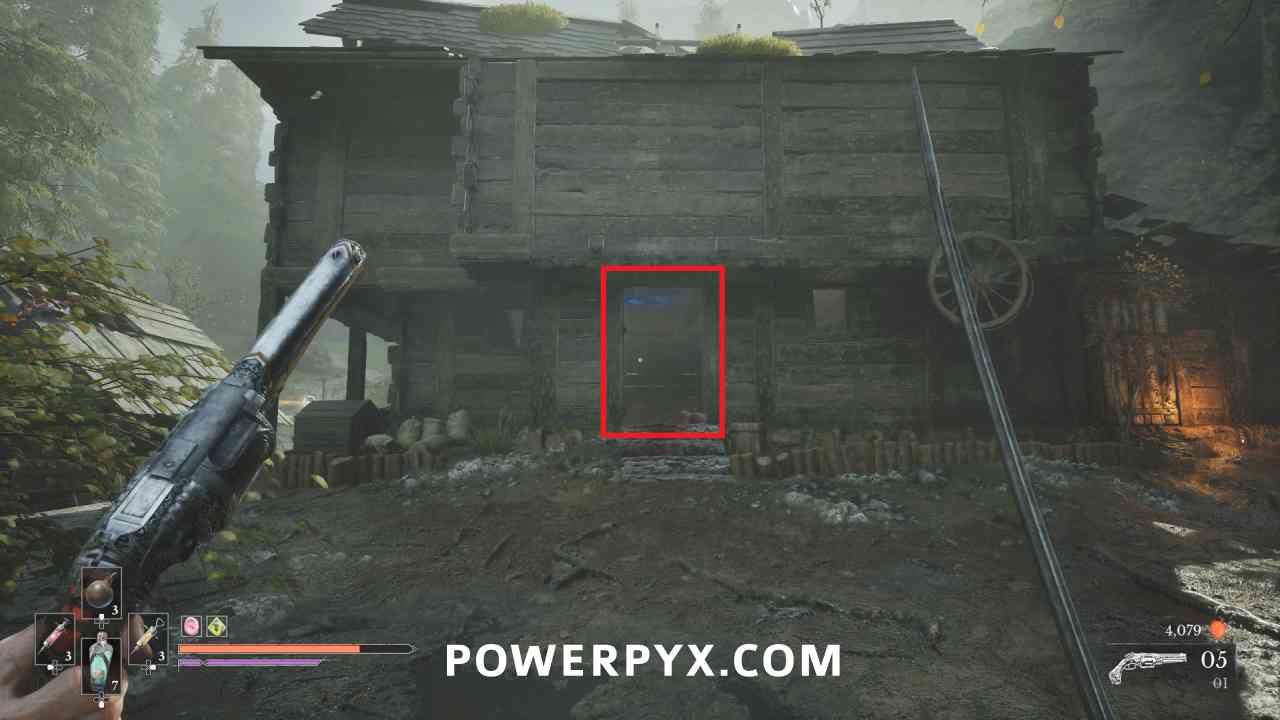
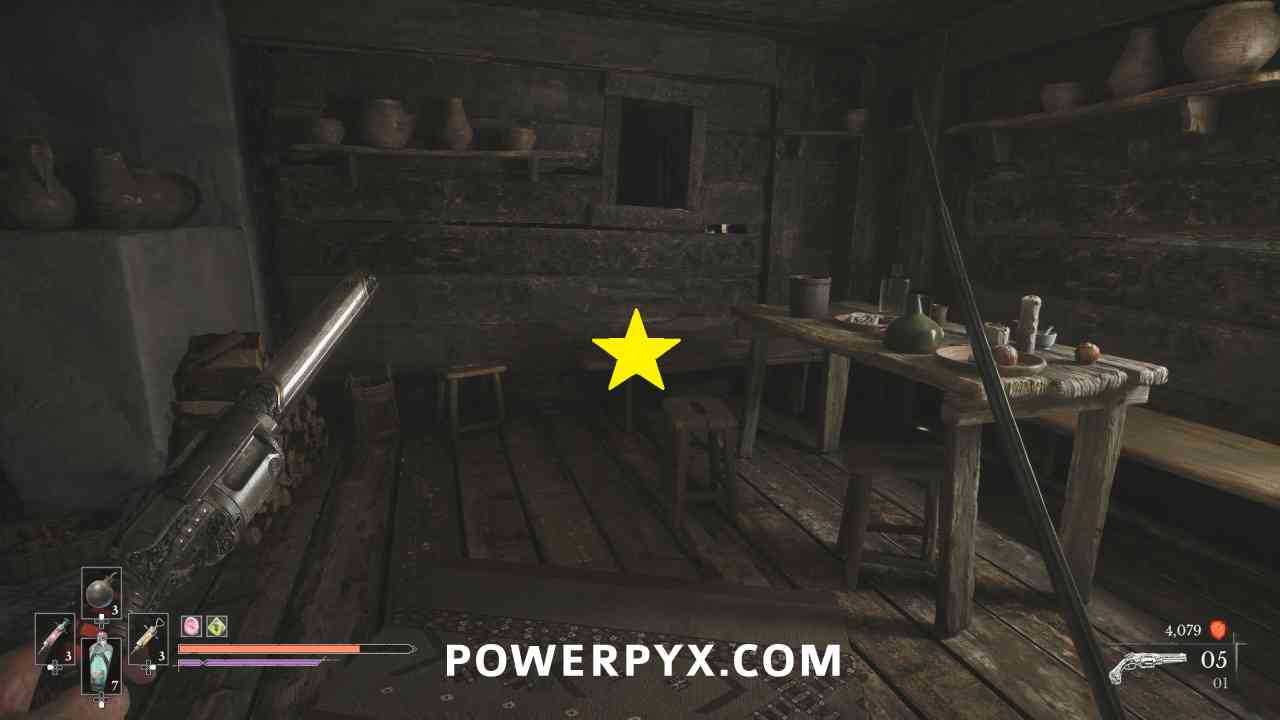
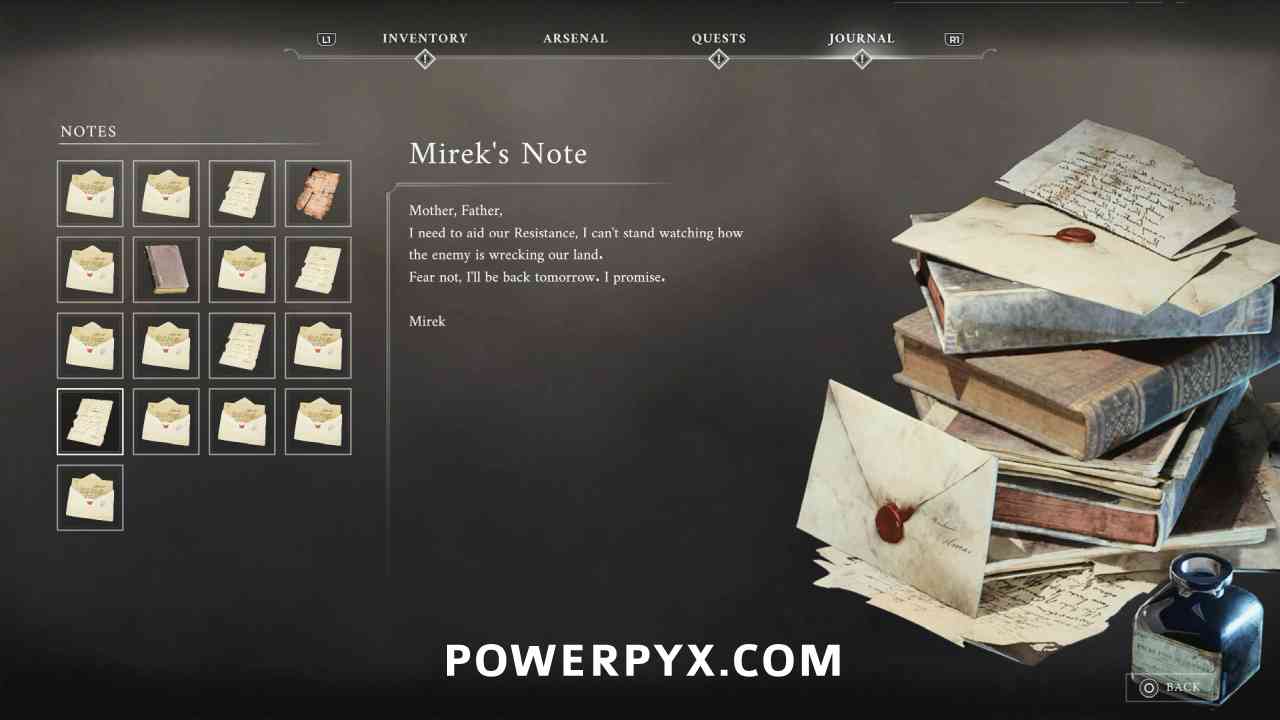
From the Lantern go to the house on the left that you’re required to enter to progress. On the right when you enter pick up the note “Mirek’s Note” from the bench to start the quest.
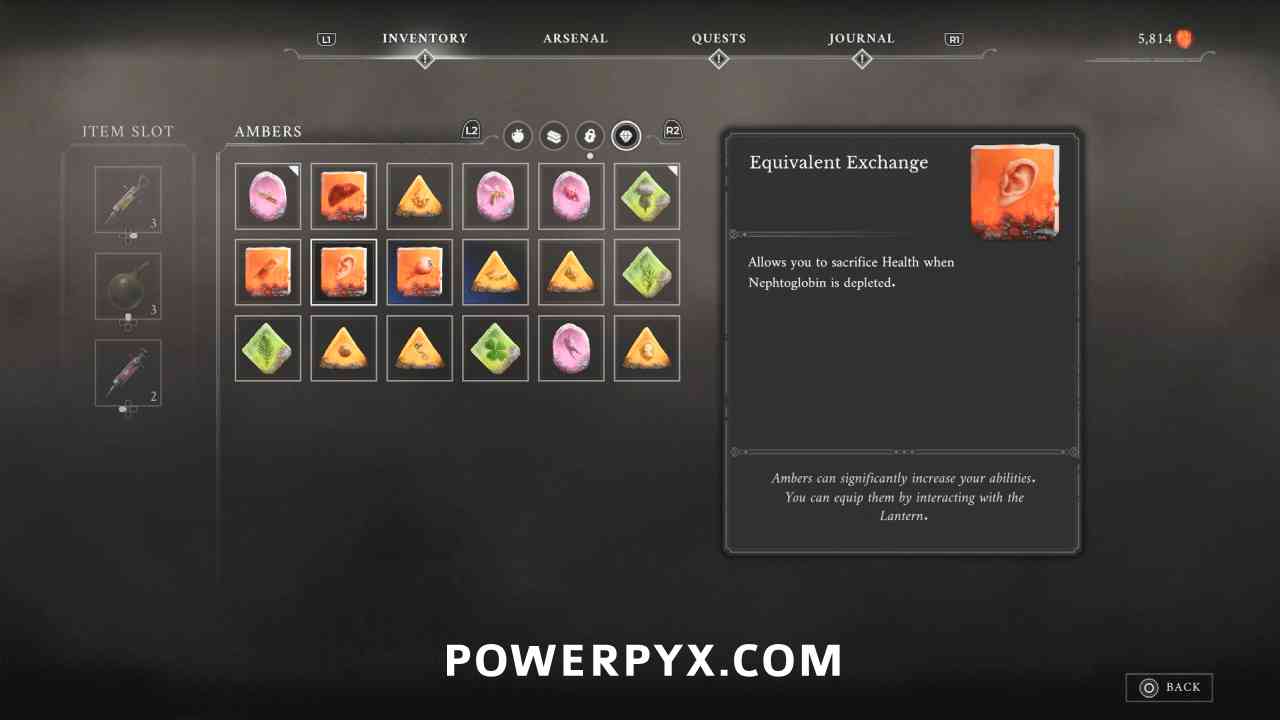
Amber #22: Equivalent Exchange
Lantern: Vale of Wrath > Wolfsbane Field
After destroying the second weak point, continue into the cave with the shortcut that leads back to the prior area. In the room on the right you can grapple up to the platform above and defeat the miniboss to obtain the Amber.
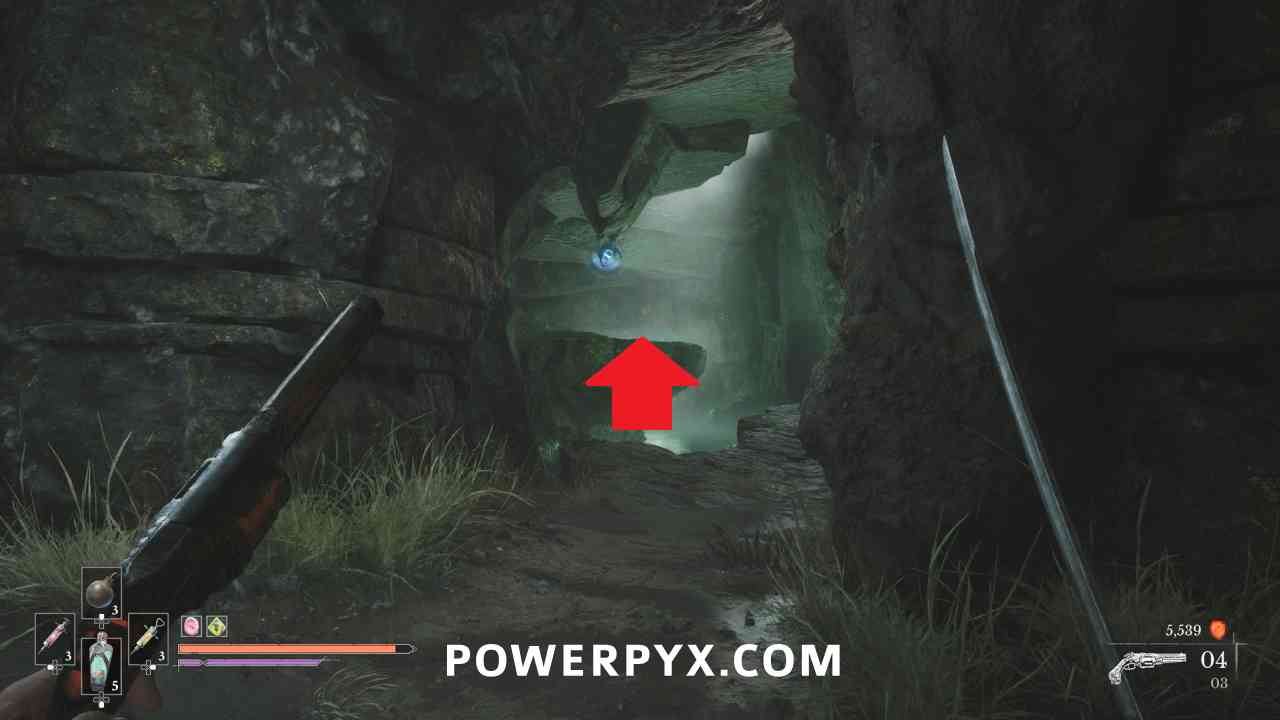
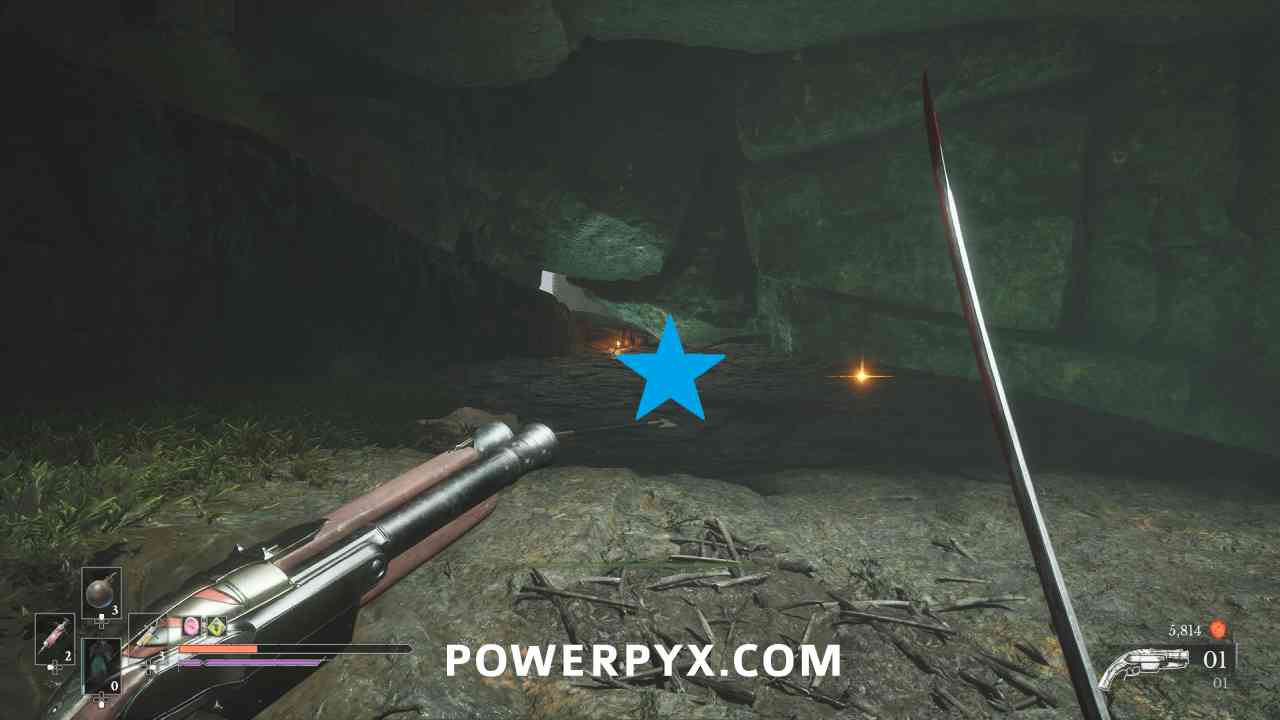
Quest: Lost Boy – Step #2
Lantern: Vale of Wrath > Wolfsbane Field
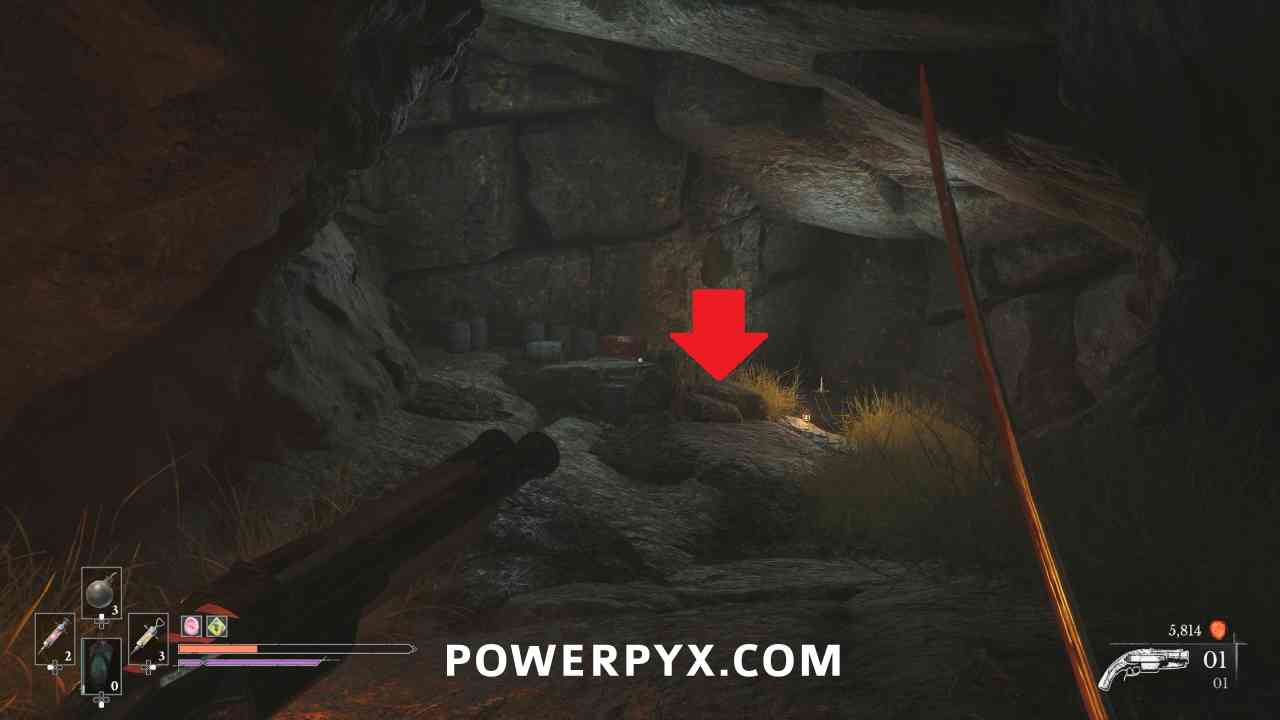
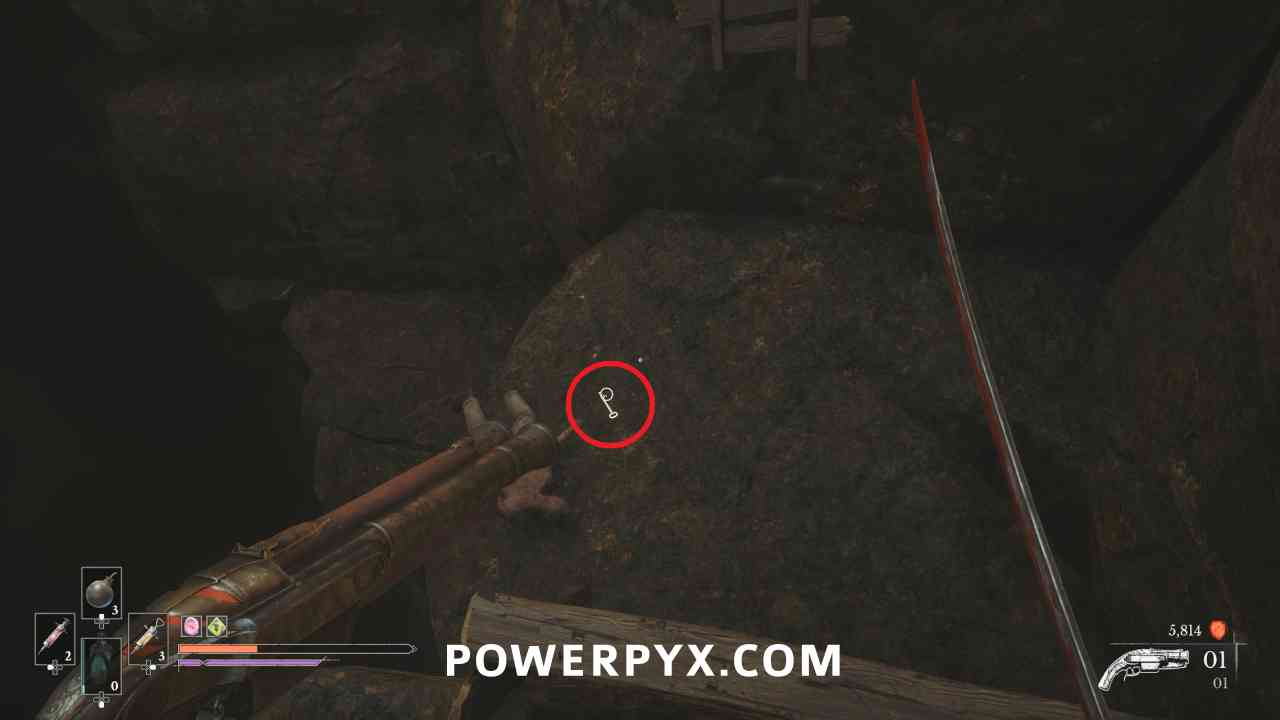
Behind where the miniboss was there is a ramp leading into a separate cave area. Past the chest that contains a Blade Upgrade Material you can pick up the Cellar Key beside a body.
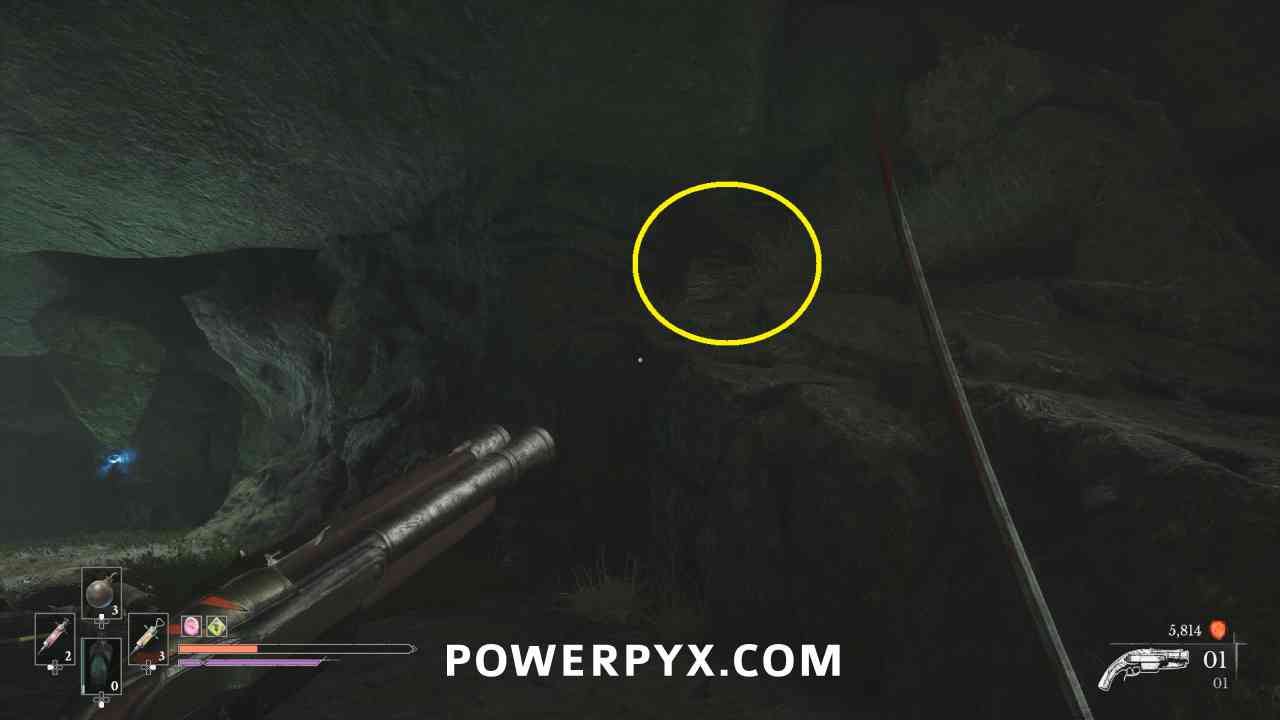
Quest: Lost Boy – Step #3 (Complete)
Lantern: Vale of Wrath > Wolfsbane Field
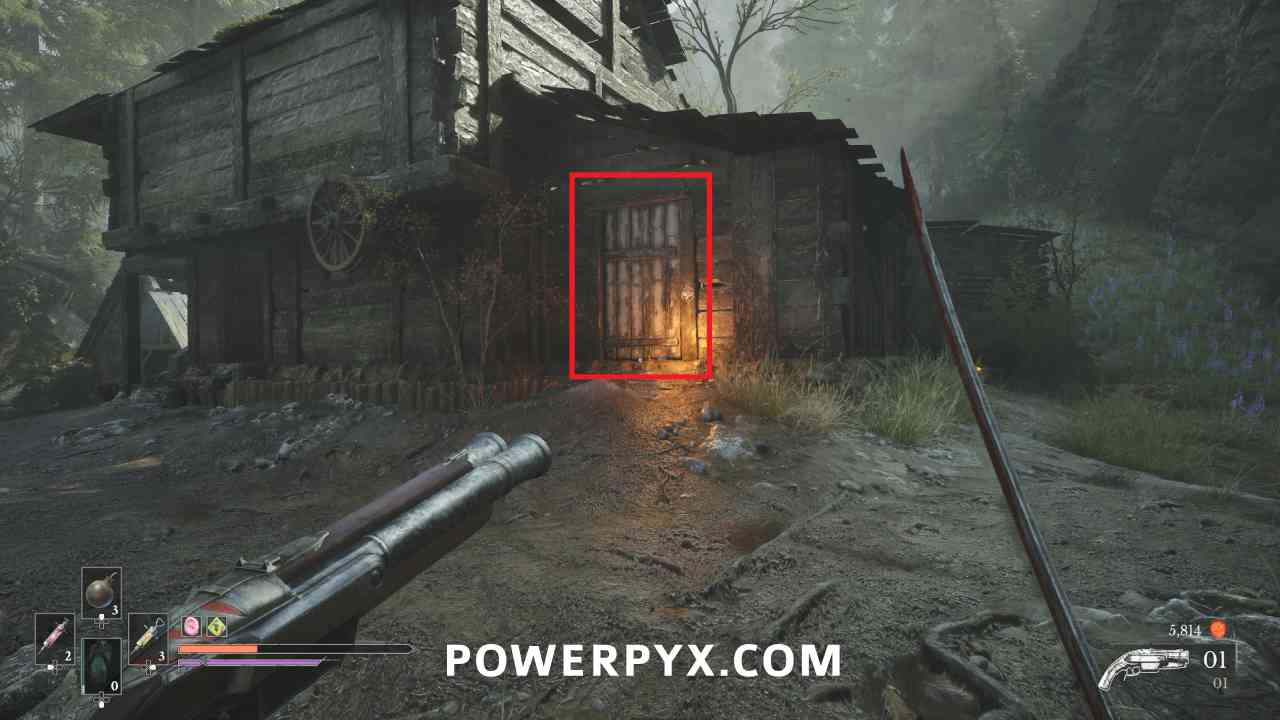
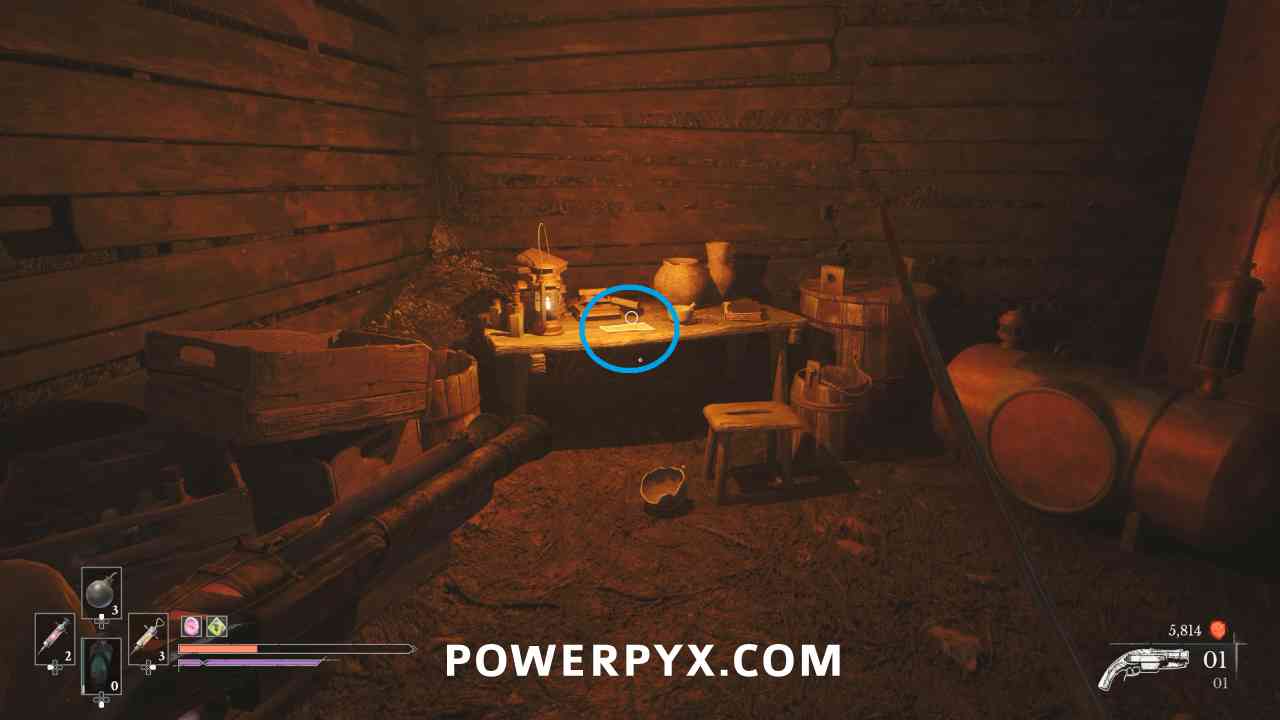
Go back to the prior area and to the right of where you first entered the house there is a door you can enter with the Cellar Key. Pick up the note off the table to complete the side quest.
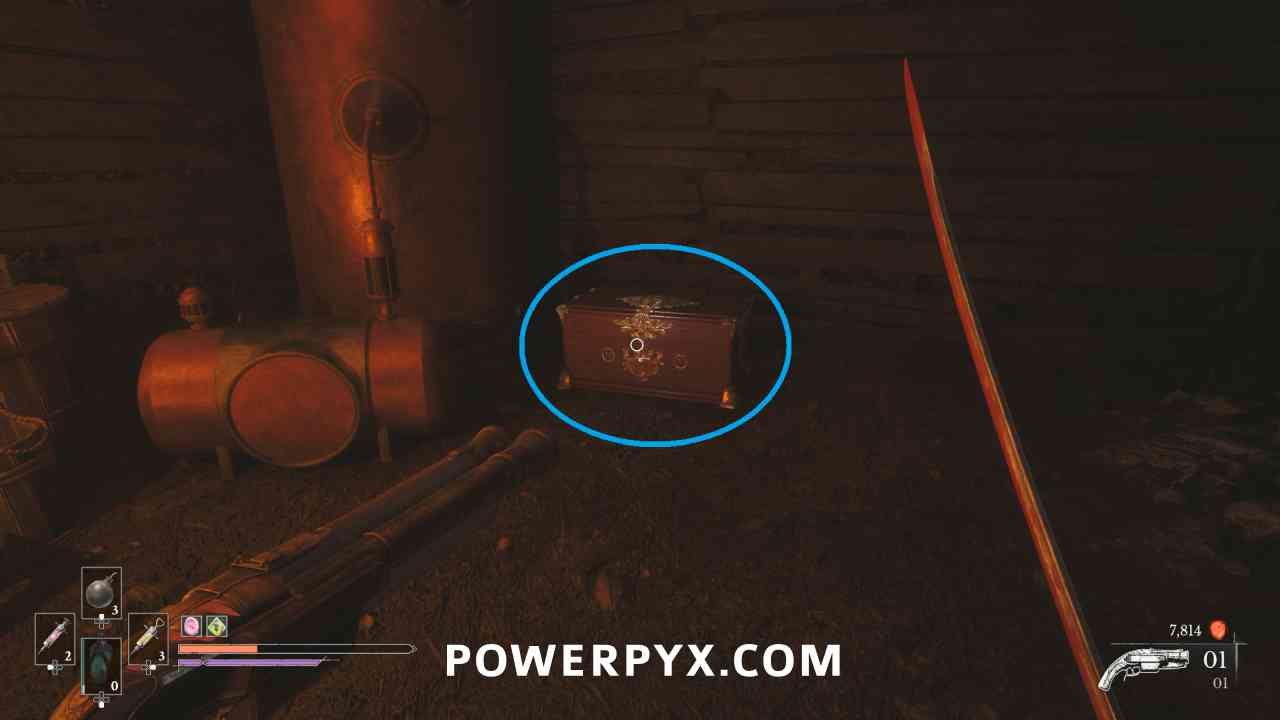
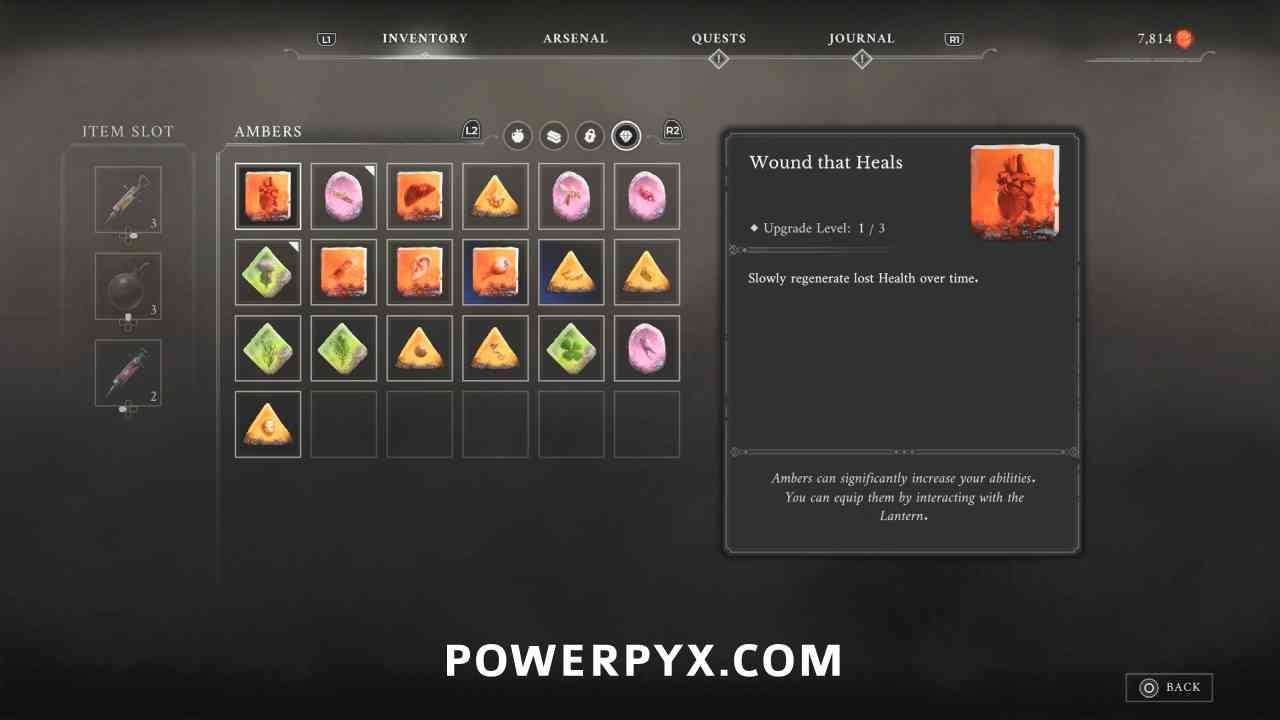
Amber #23: Wound That Heals
Lantern: Vale of Wrath > Wolfsbane Field
In the cellar accessed during the “Lost Boy” quest, in a chest.
Quest: The Deserter – Step #1
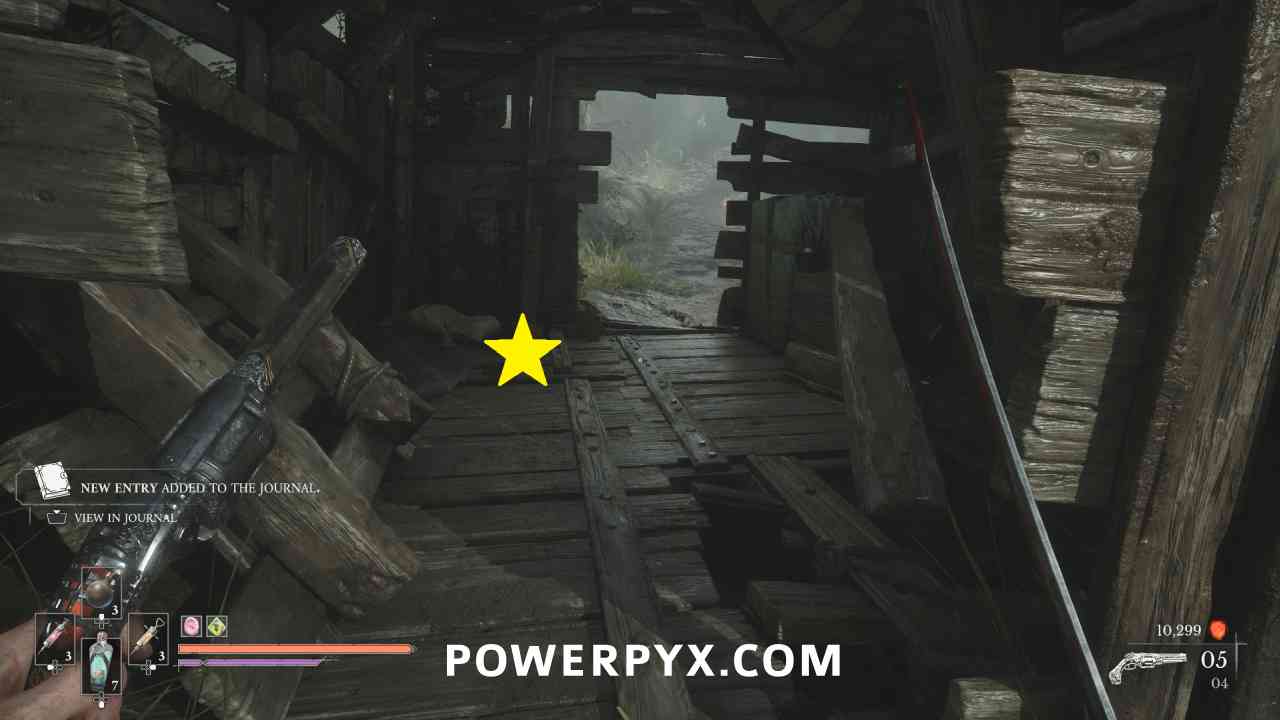
Lantern: Vale of Wrath > Under the Bridge
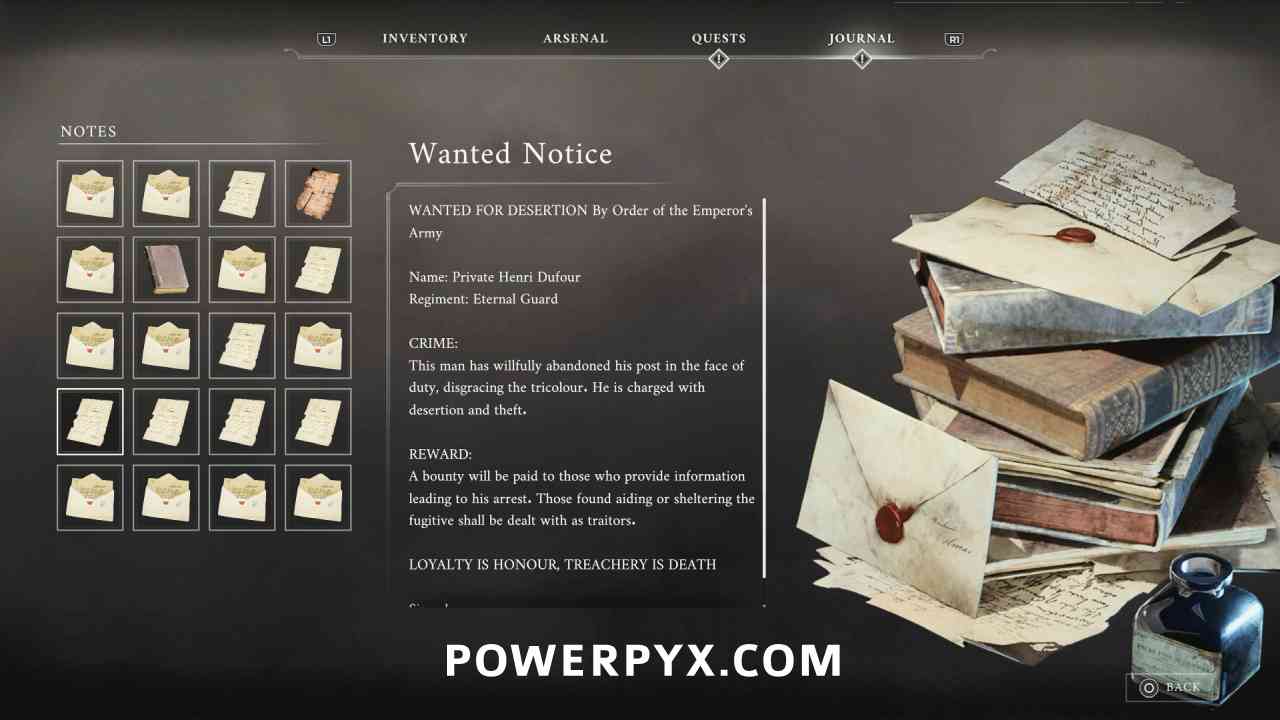
From the Lantern follow the path across the bridge, then in the shack you pass through pick up the note “Wanted Notice” on the ground to start the quest.
Quest: In the Name of Art – Step #1
Lantern: Vale of Wrath > Under the Bridge
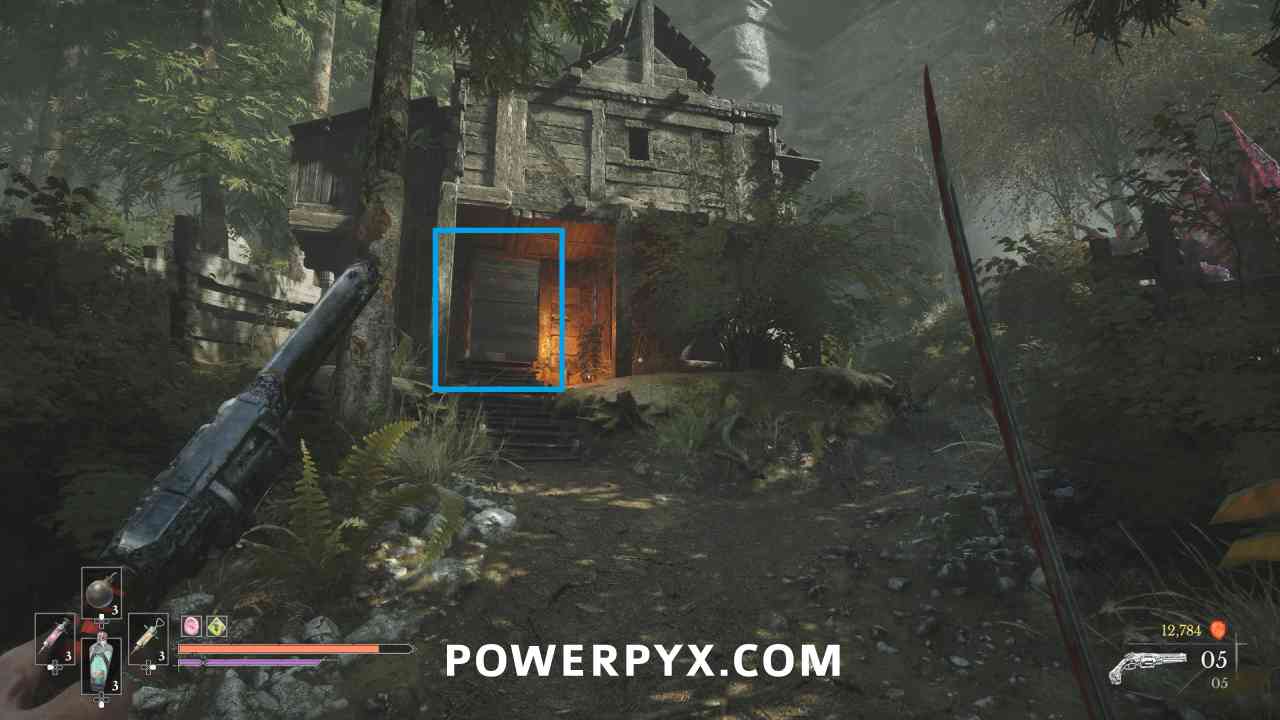
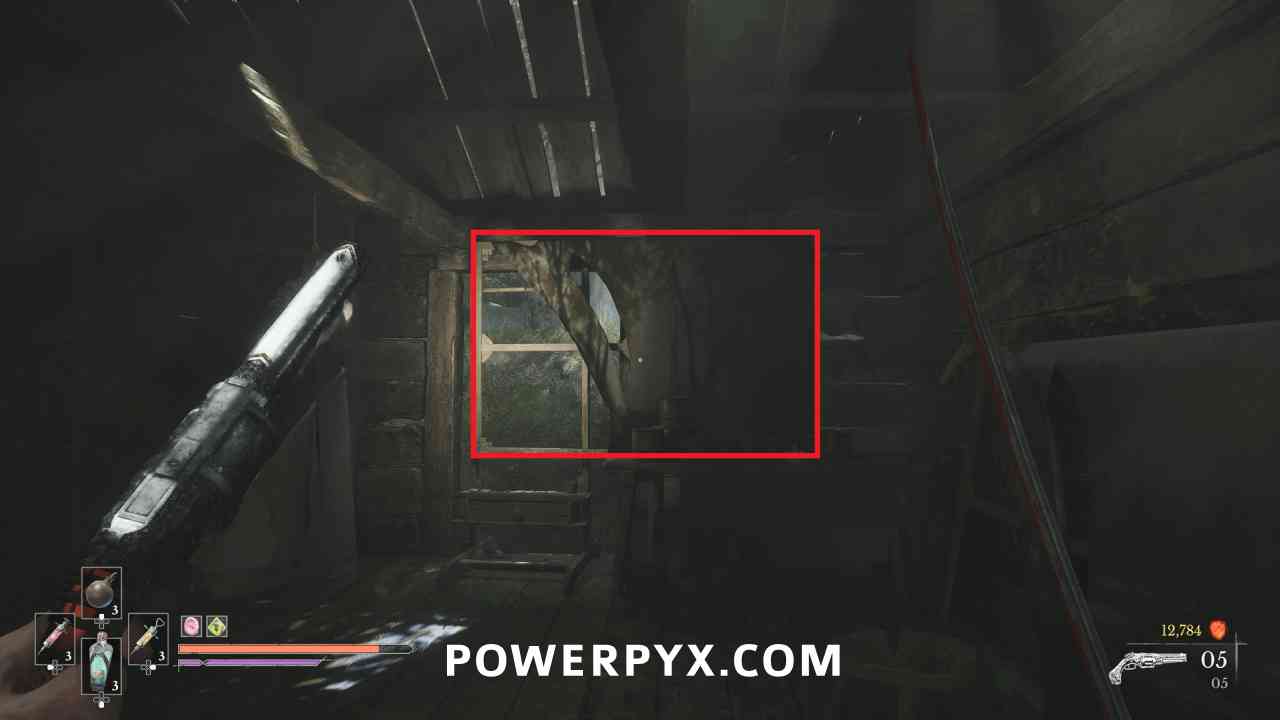
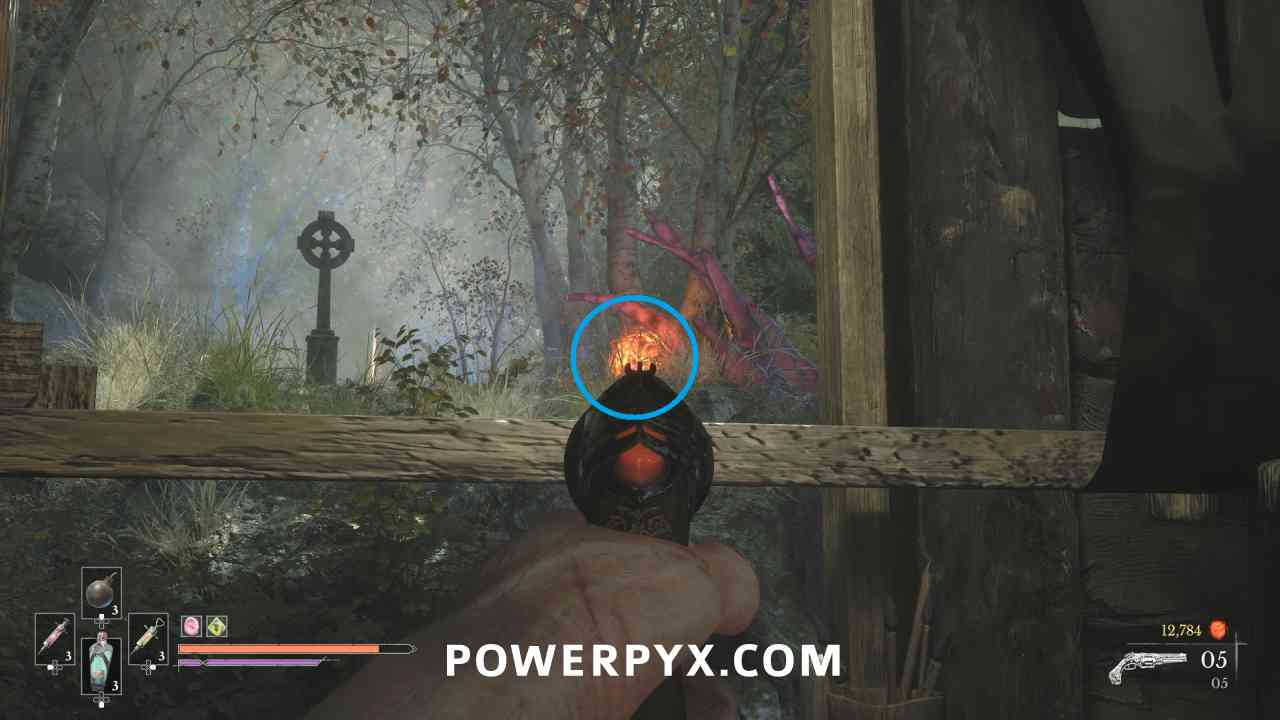
Keep following the path up to a house with a blocked front door. Go around the right side and you can shoot a weak spot through a window, which allows you to enter the front door. Go upstairs and interact with the painting to the right of the body which moves it out of the way, starting the side quest. You can then shoot the weak point through the gap to allow you into the area nearby.
Quest: In the Name of Art – Step #2
Lantern: Vale of Wrath > Under the Bridge
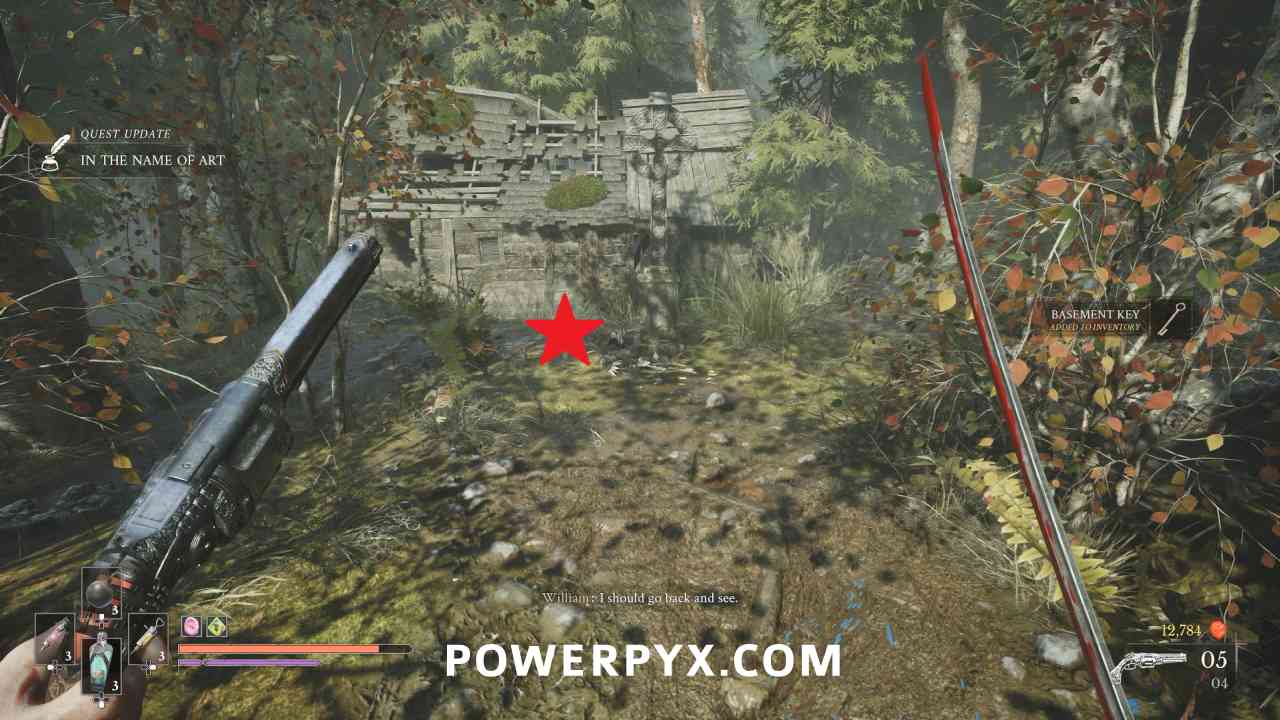
Go into this area beside the house and beside the gravestone at the top of the hill you can pick up the Basement Key.
Quest: In the Name of Art – Step #3
Lantern: Vale of Wrath > Under the Bridge
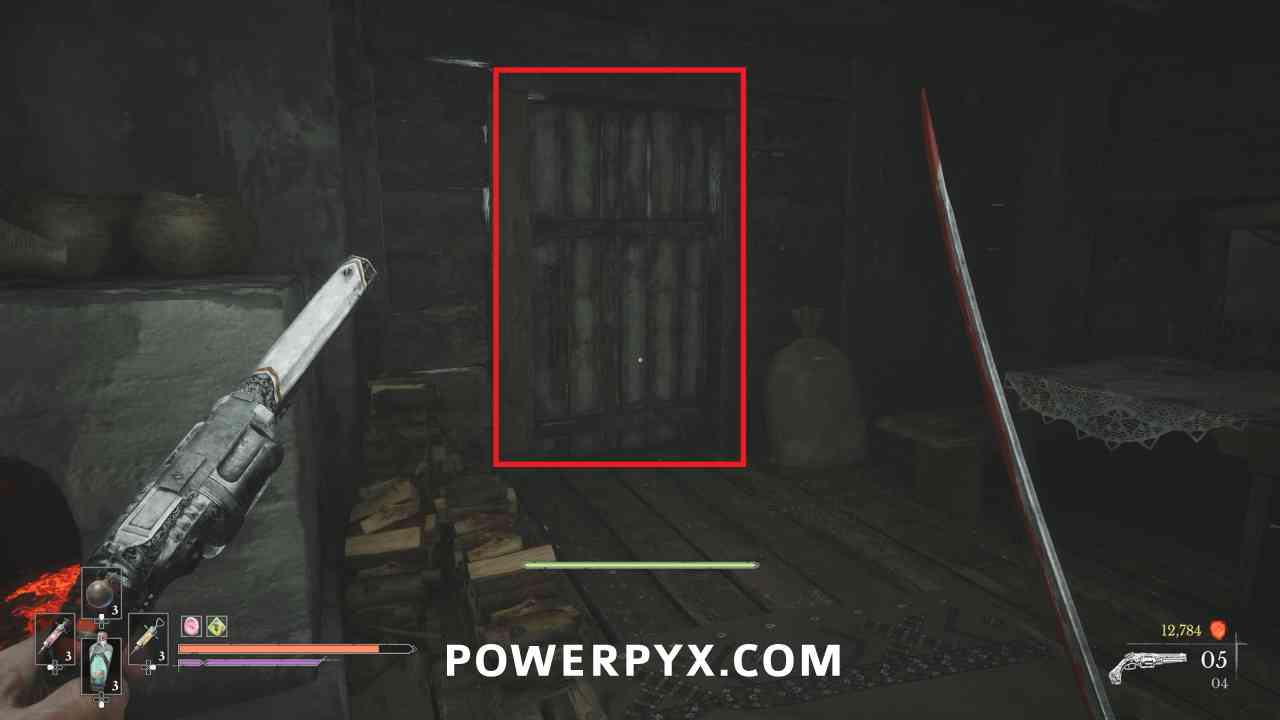
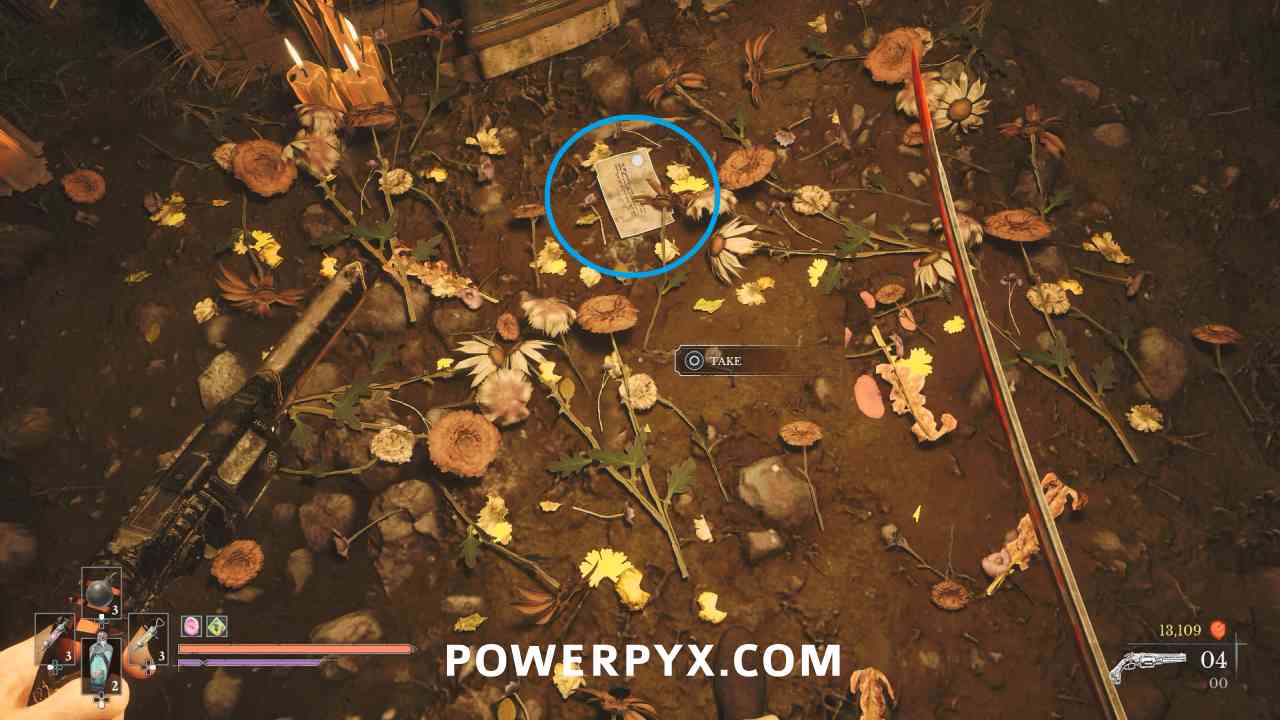
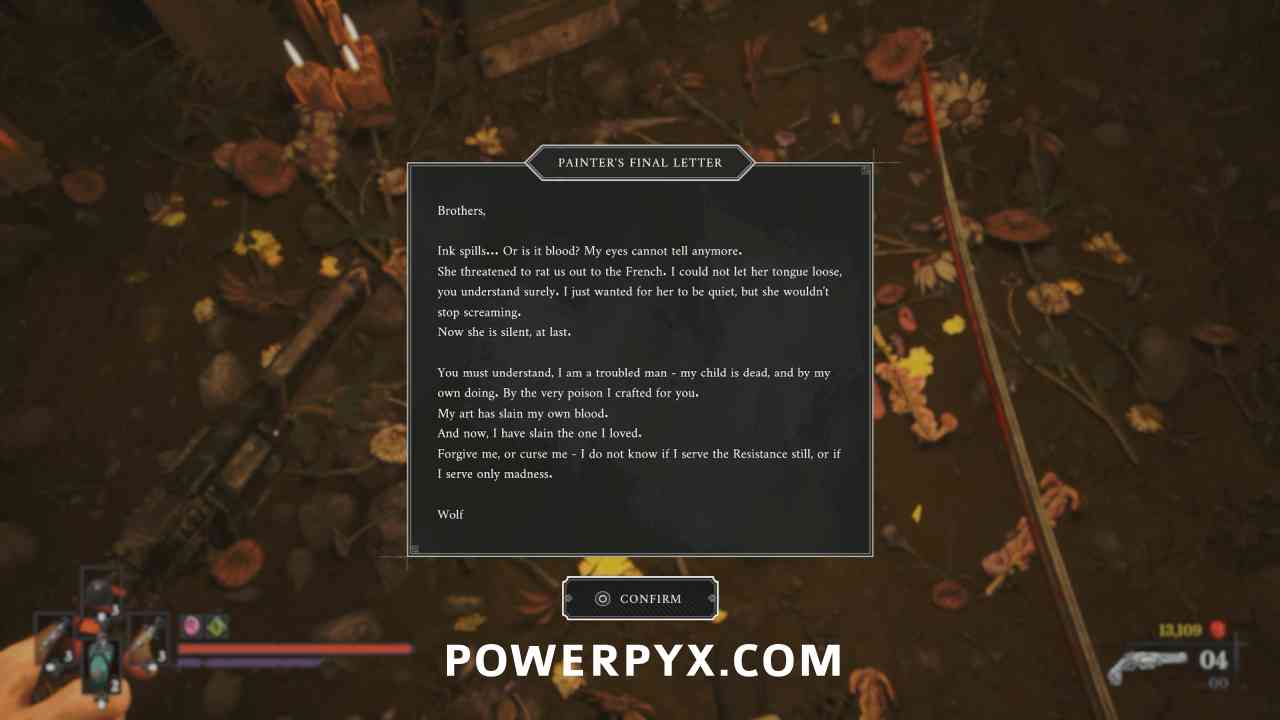
Go back into the house and the door at the back of the first floor can be opened with the Basement Key. Follow the path through the basement viewing the memories, then in the final room pick up the “Painter’s Final Letter” note off the ground in front of the body to complete the side quest.
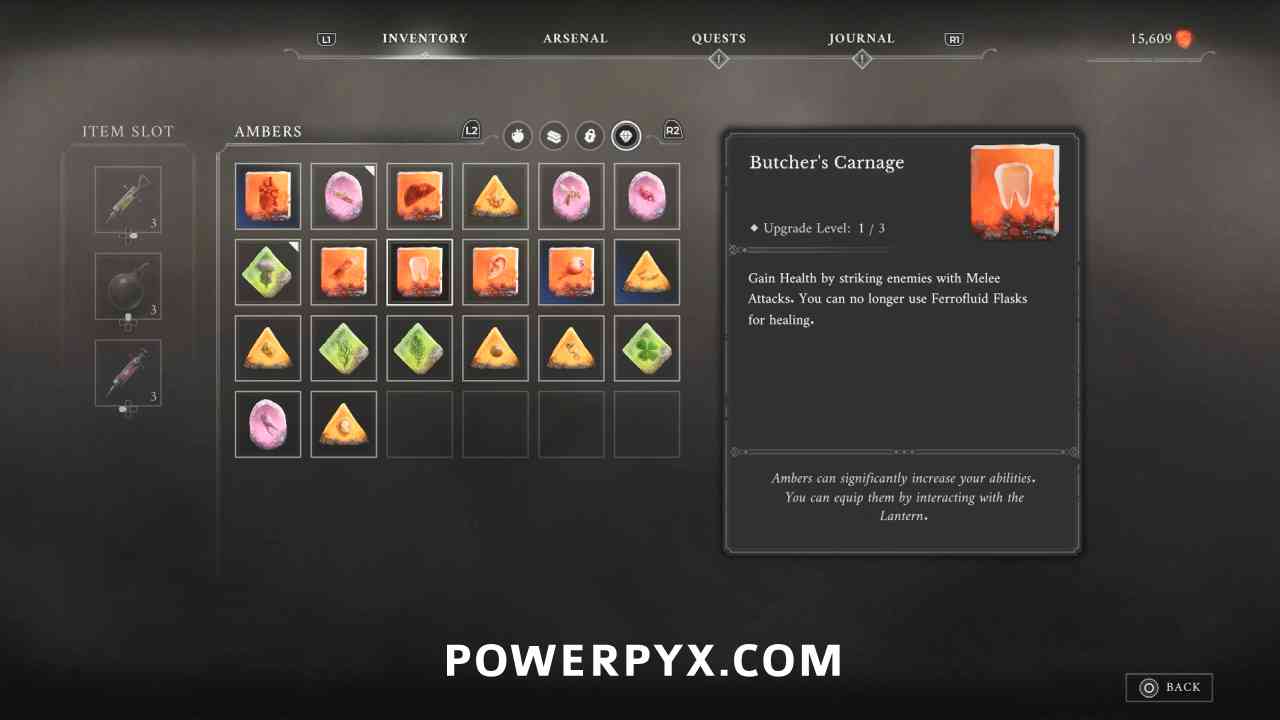
Amber #24: Butcher’s Carnage
Lantern: Vale of Wrath > Under the Bridge
Reward for completing side quest “In the Name of Art”.
Quest: The Deserter – Step #2
Lantern: Vale of Wrath > Under the Bridge
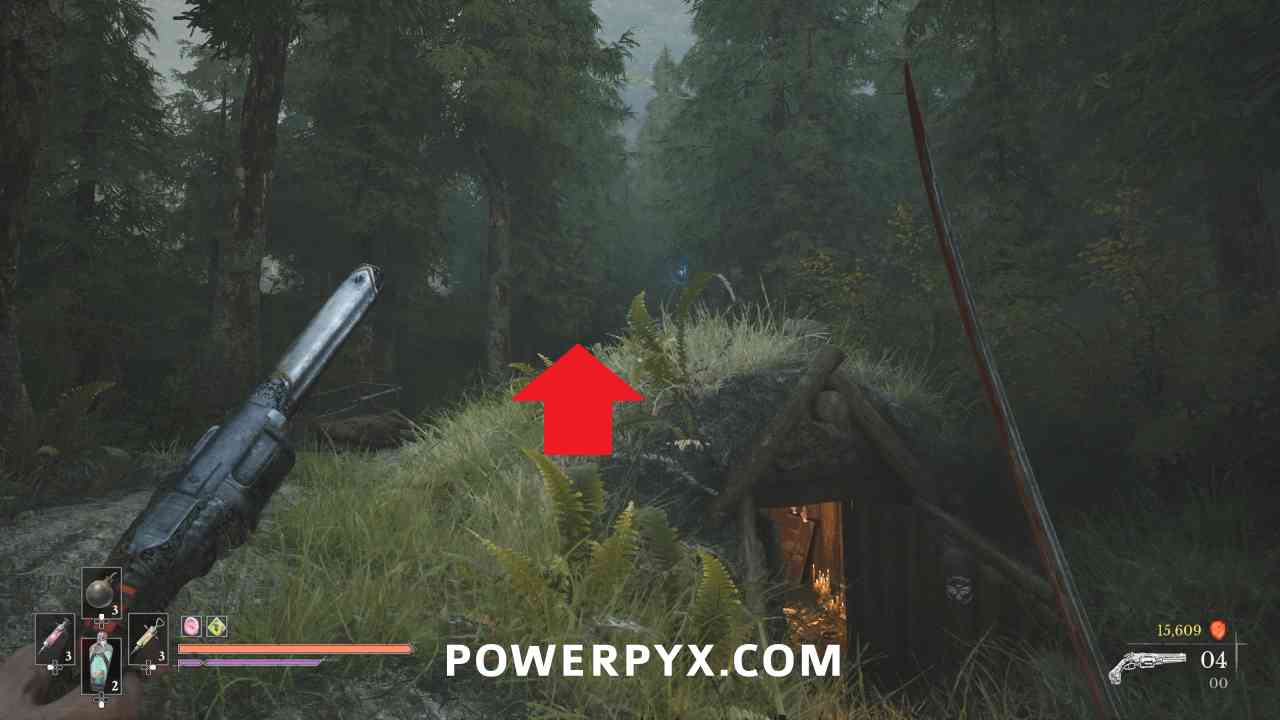
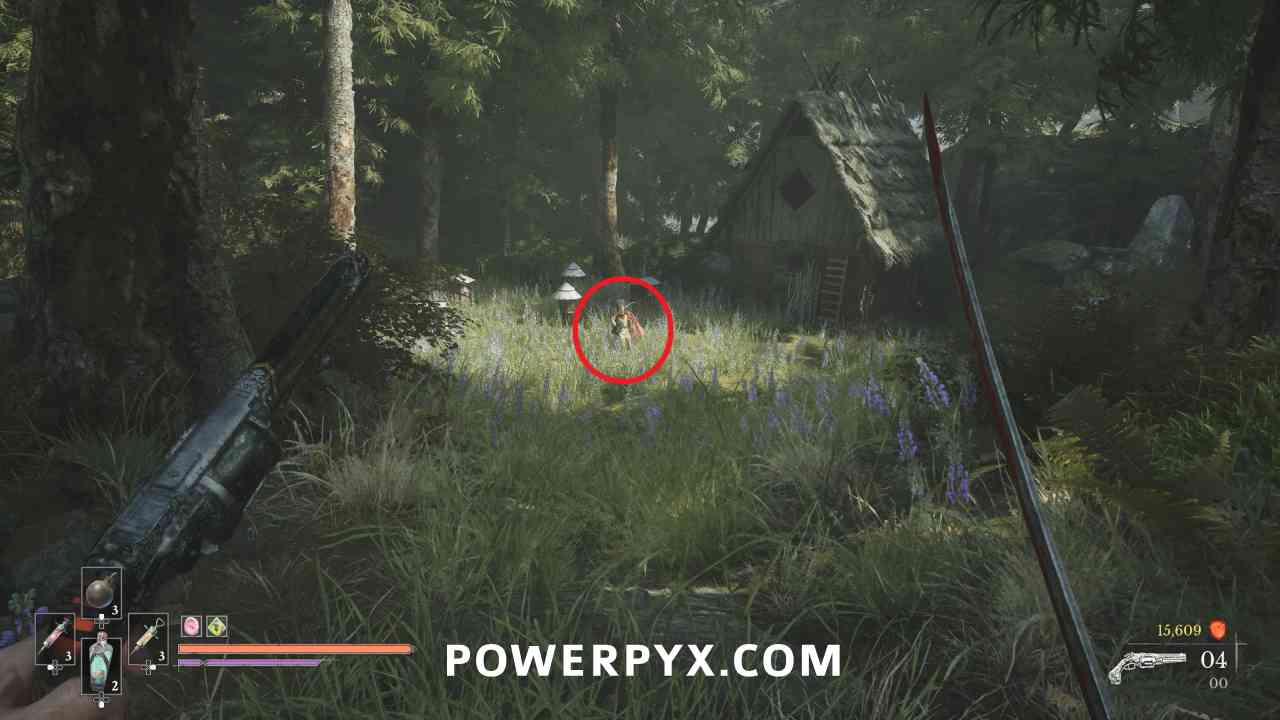
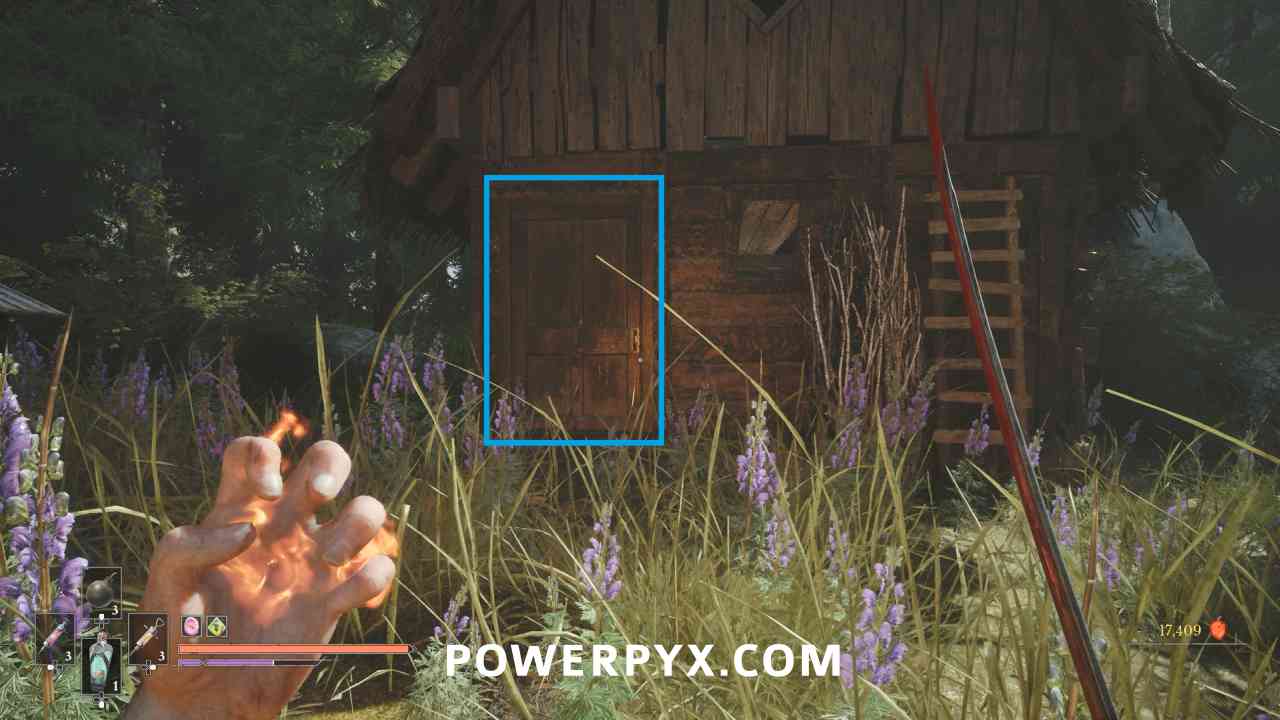
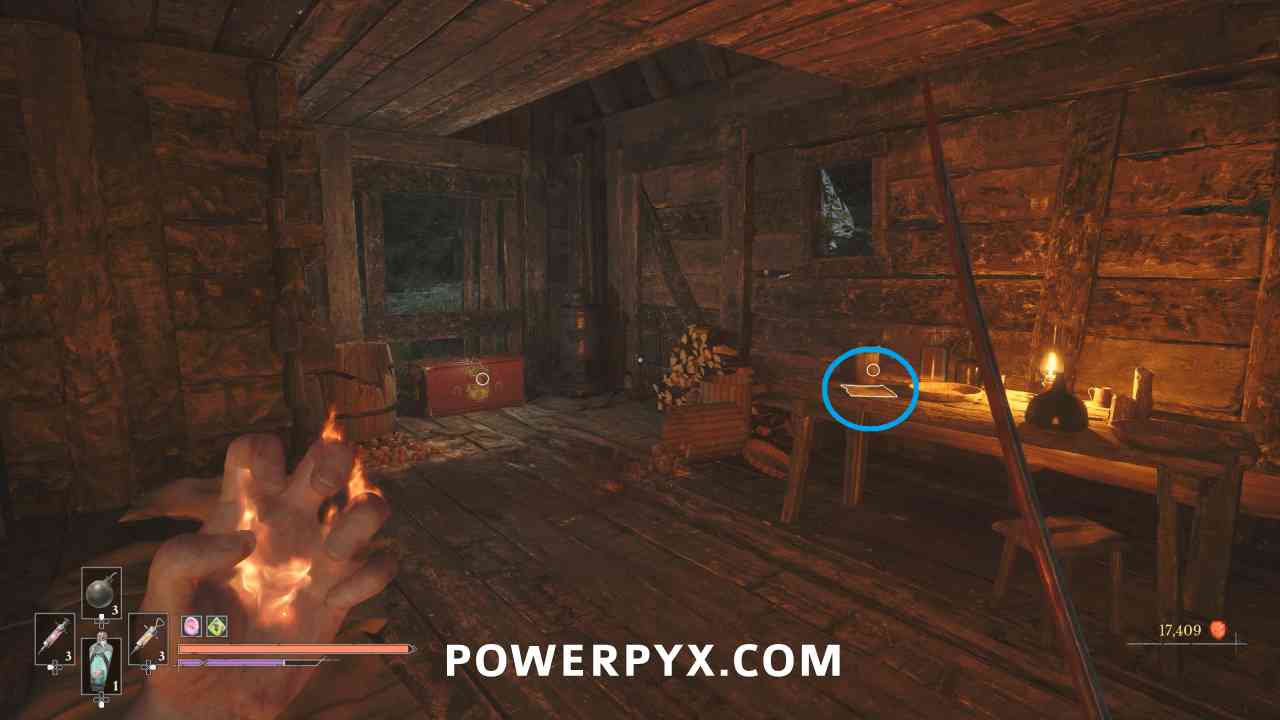
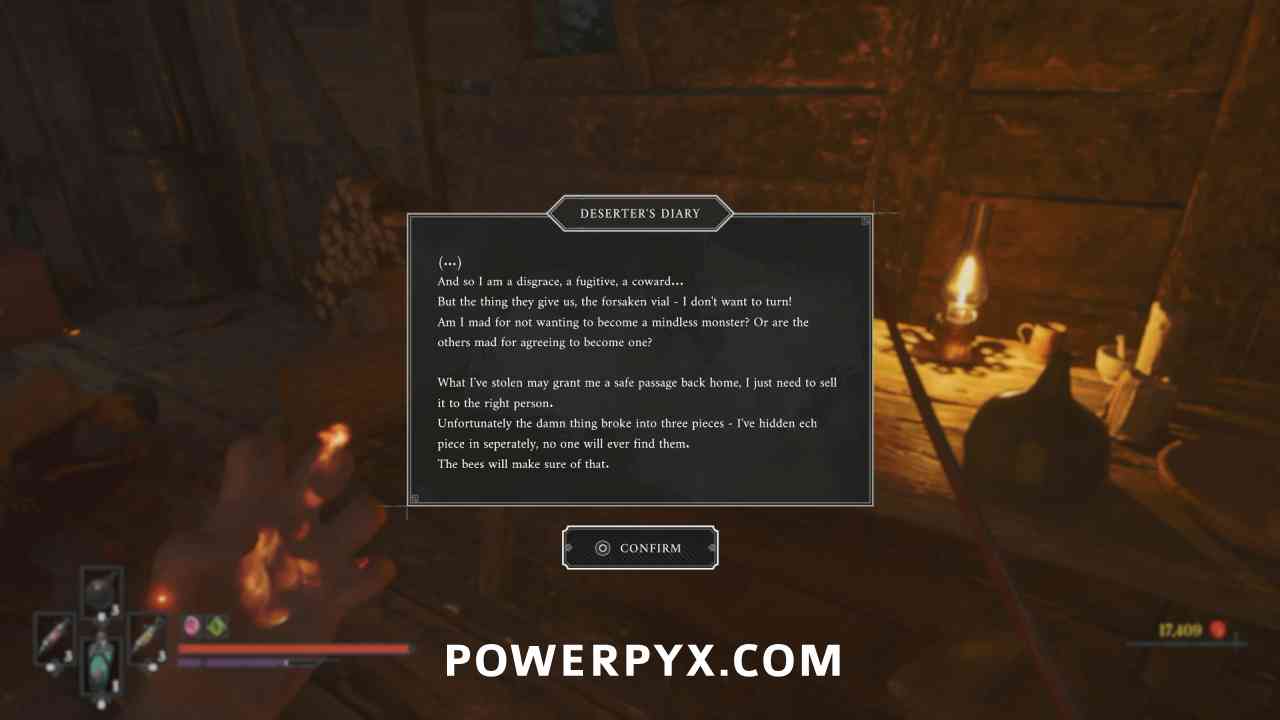
After exiting the basement from “In the Name of Art”, turn right and there are two grapple points you can use to go nearby. In the area after the second one defeat the Eternal Guardsman enemy to receive the Beekeeper’s Hut Key. Use it to open the door of the building and pick up the note Deserter’s Diary from the table.
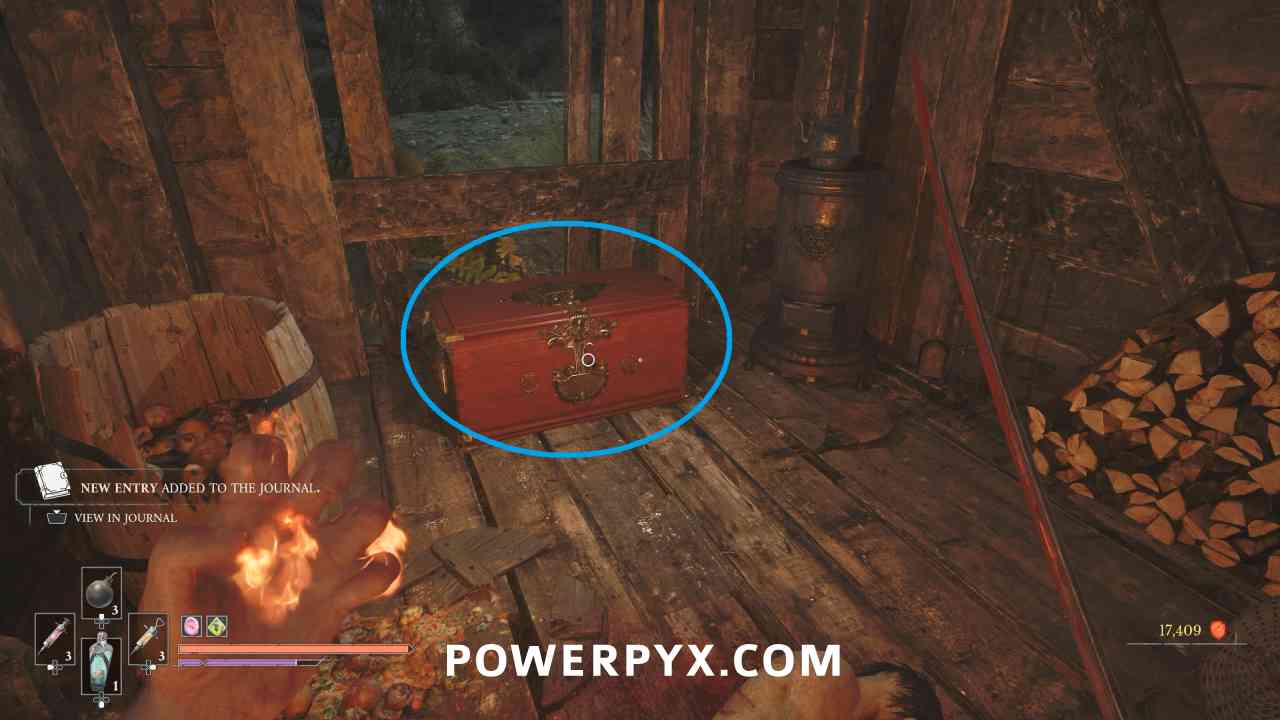
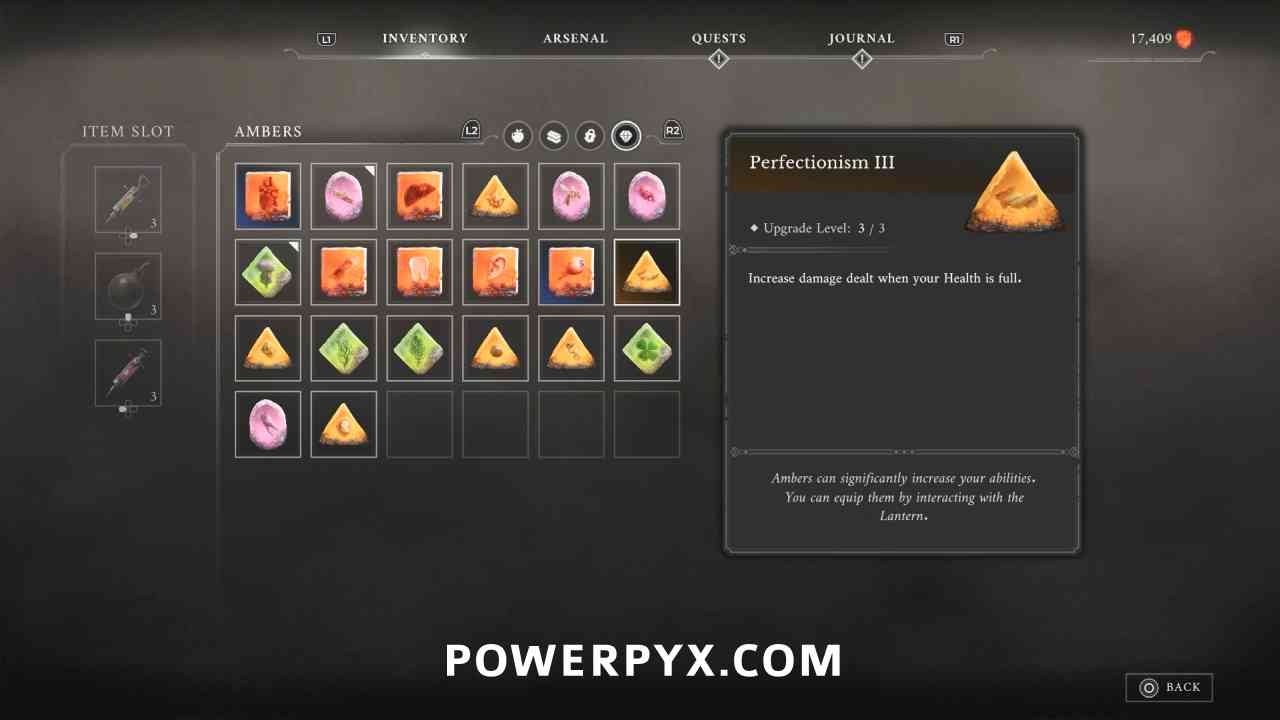
Amber #25: Perfectionism (Duplicate > Level 3)
Lantern: Vale of Wrath > Under the Bridge
In the chest at the back of the building.
Quest: The Deserter – Step #3
Lantern: Vale of Wrath > Under the Bridge
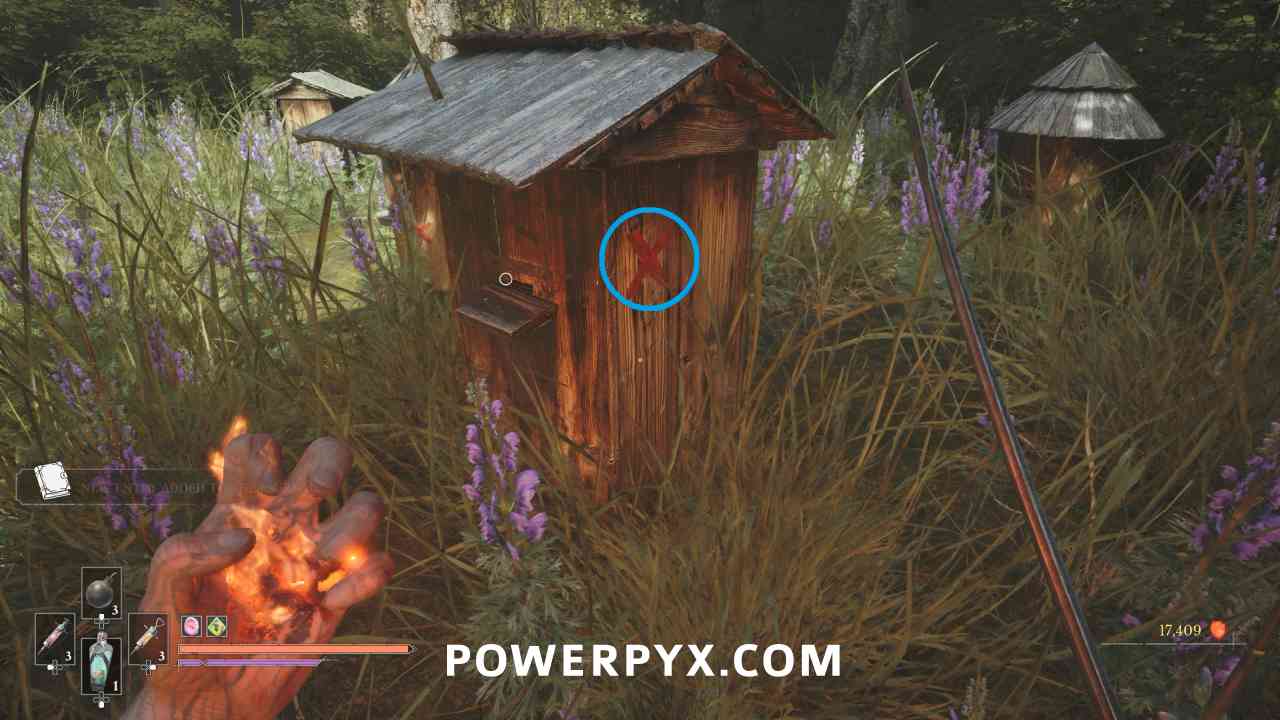
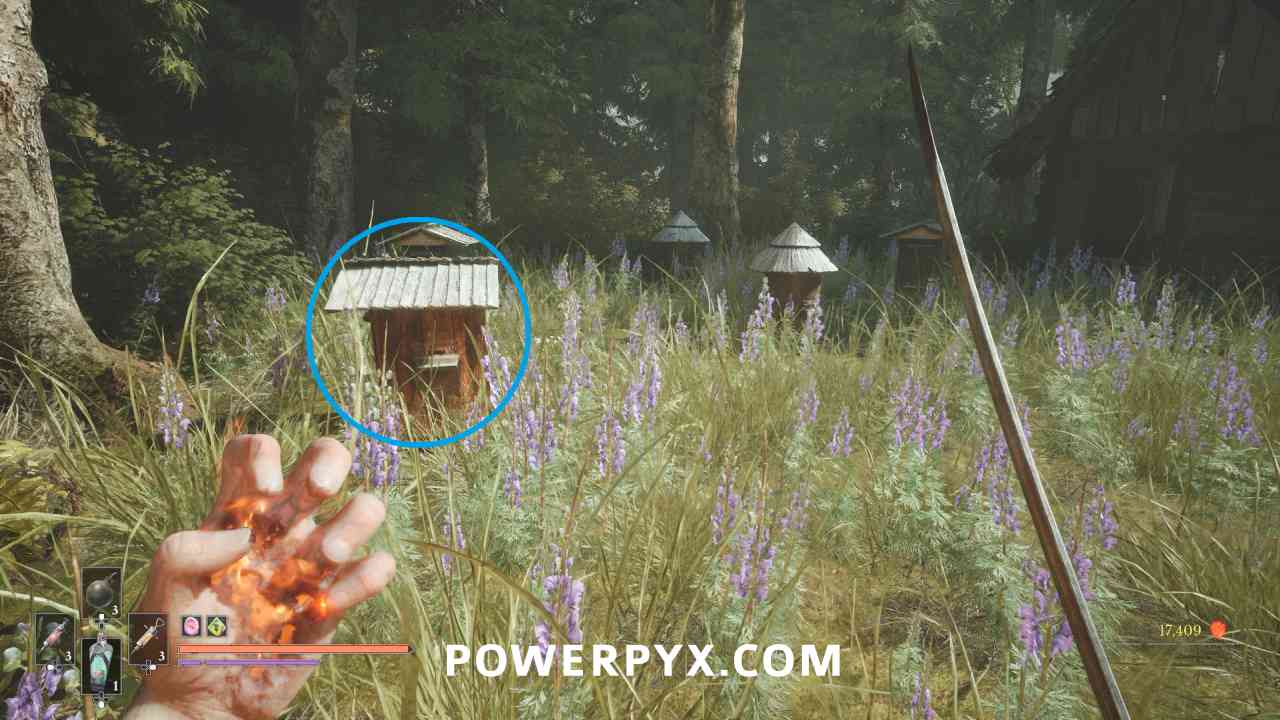
Outside the house you can pick up the “Beekeeper’s Note” from the ground, which explains that the hives with red Xs on them are dangerous. In this area, interact with the square one that’s farthest away from the house to receive an Anubis Figurine Part.
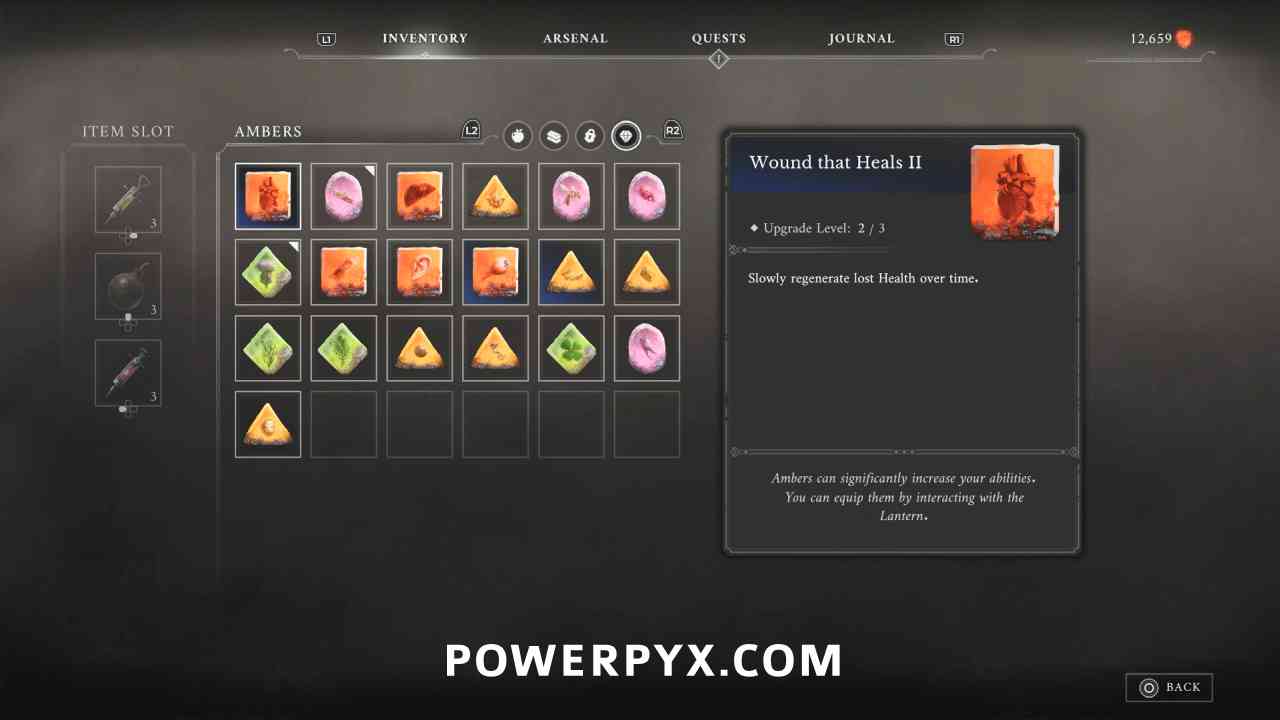
Amber #26: Wound That Heals (Duplicate > Level 2)
Lantern: Vale of Wrath > Under the Bridge
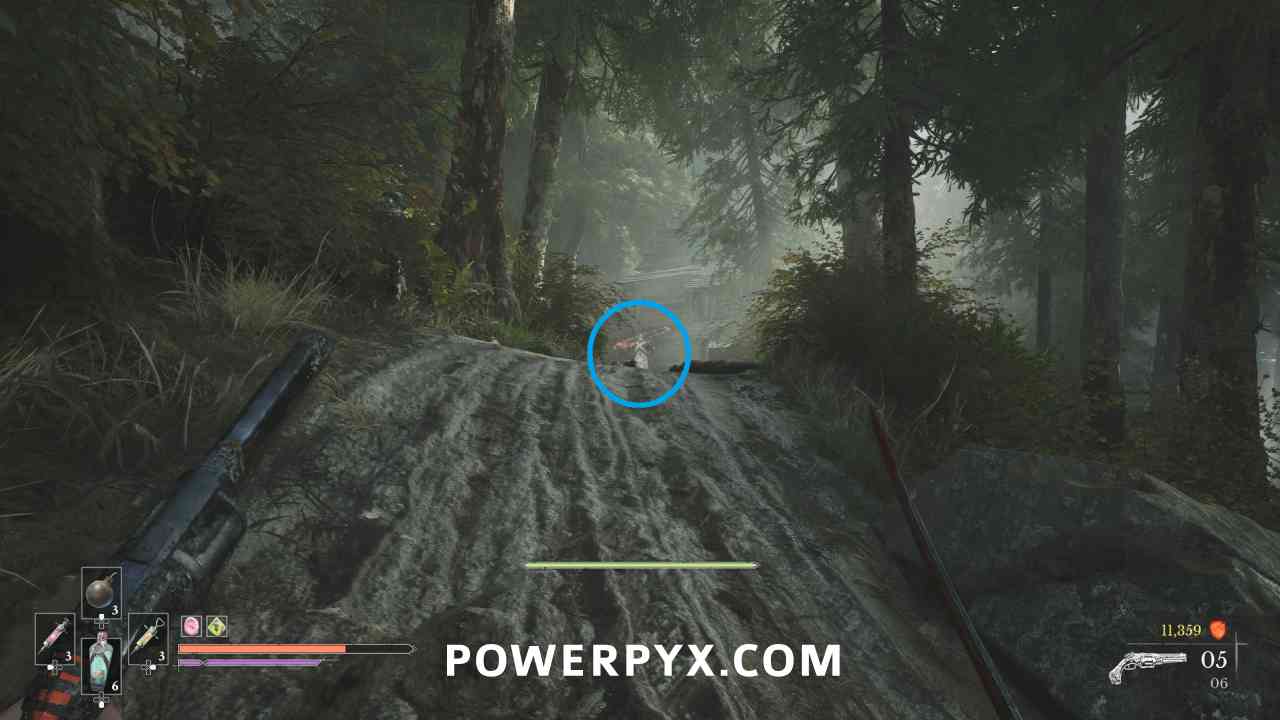
Continue following the path into a forest area. When you approach a road covered in bodies, there is a path up the hill to the right with a miniboss at the top (on the left side of the house you entered previously). Defeat the miniboss to receive the Amber. The chest behind it has an Upgrade Material.
Quest: The Deserter – Step #4
Lantern: Vale of Wrath > Under the Bridge
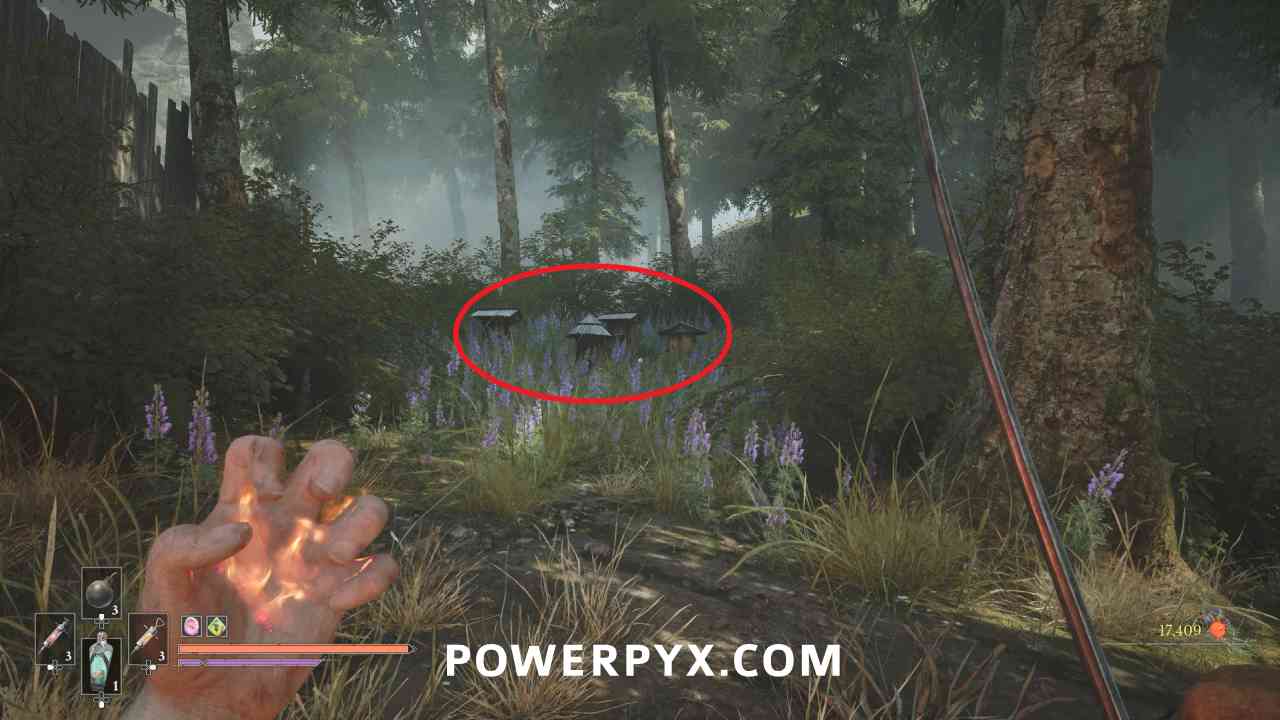
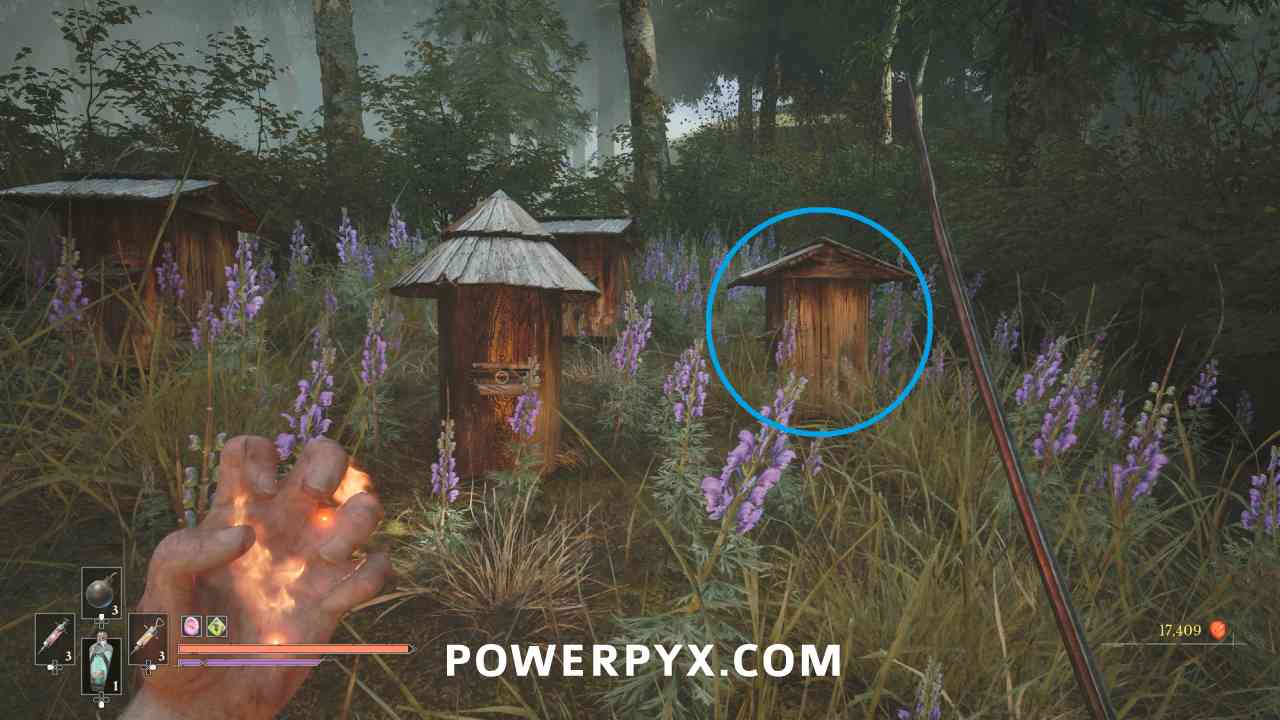
Continue down the road covered in bodies and on the right before the wooden walls there is another group of beehives. Interact with the square one to the right to receive an Anubis Figurine Part.
Weapon #5: Musket
Lantern: Vale of Wrath > Under the Bridge
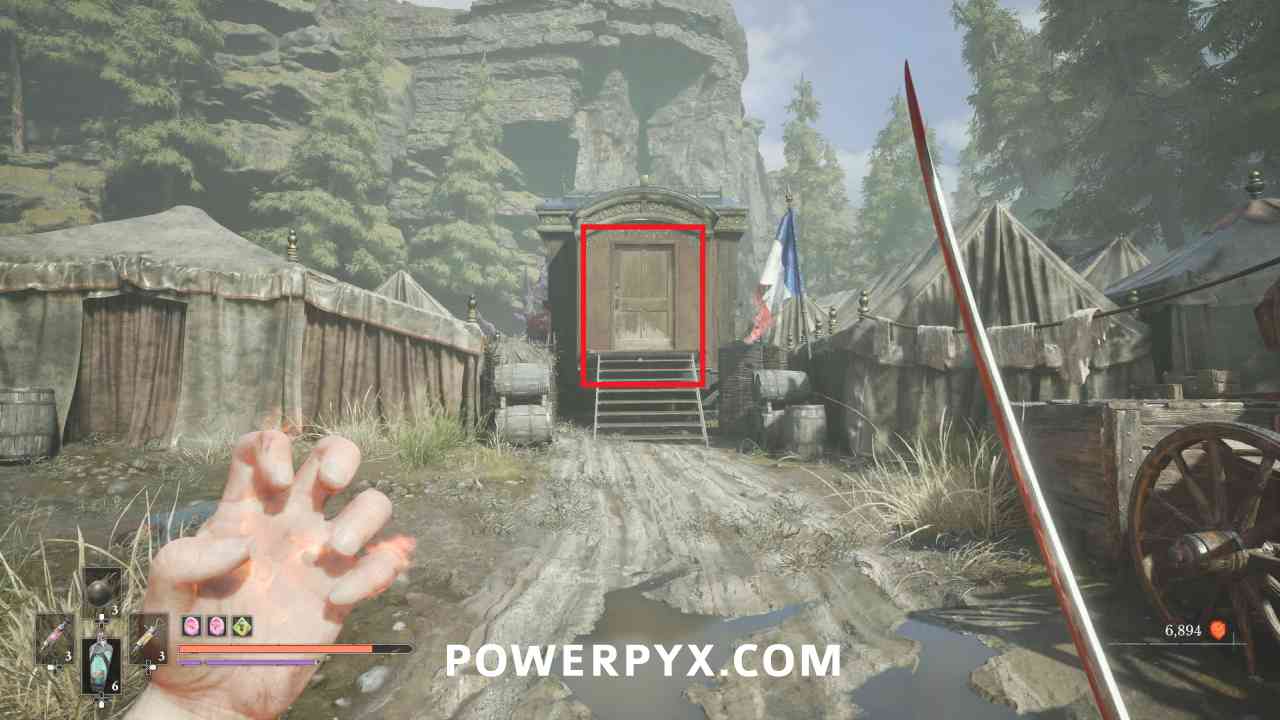
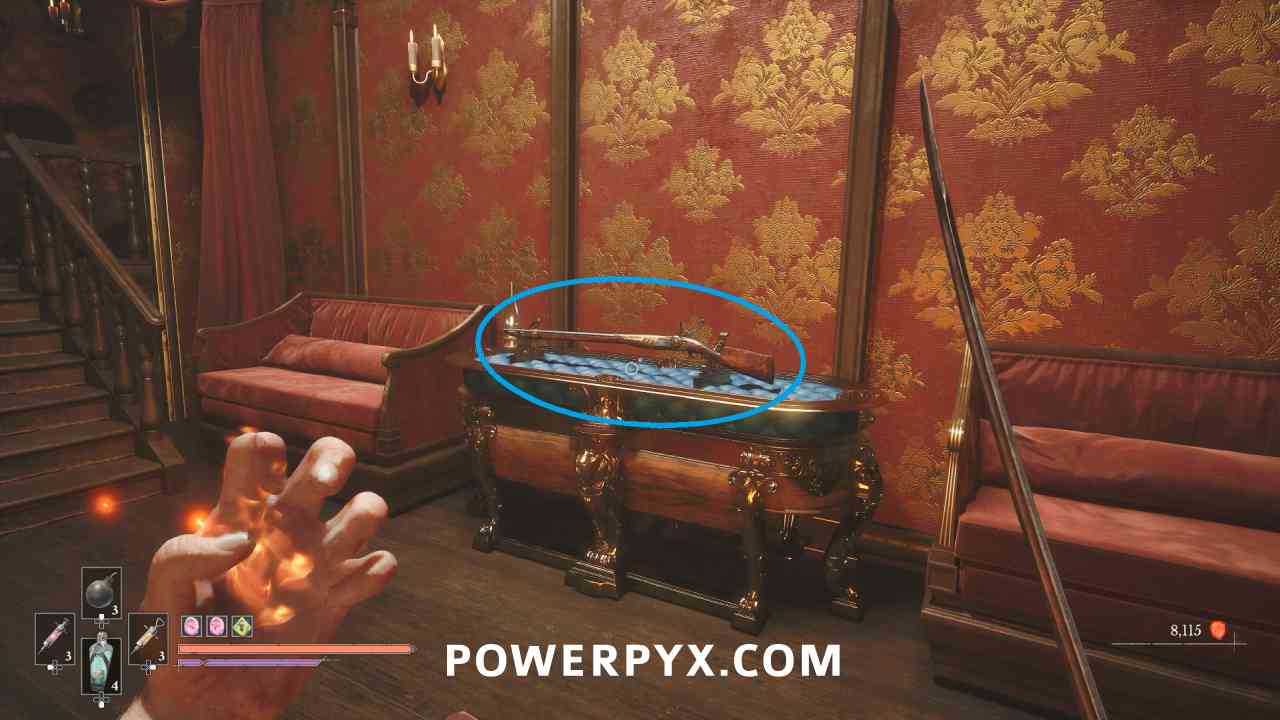
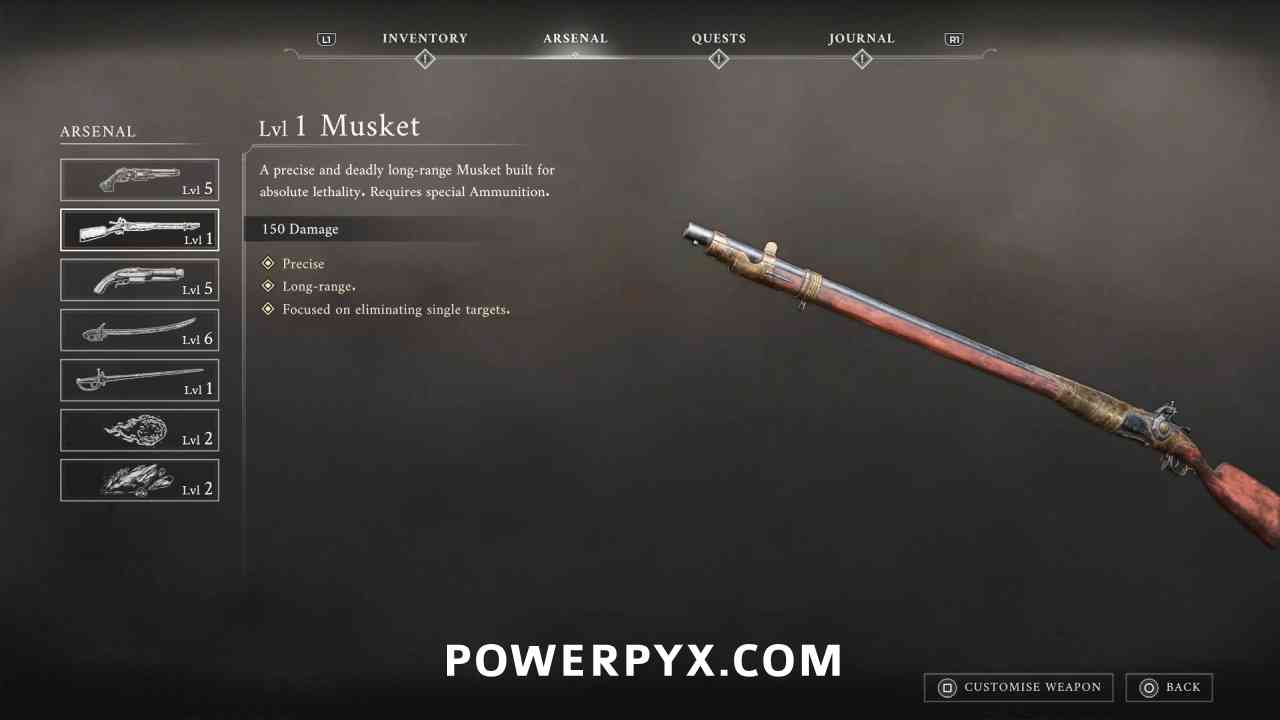
Required to progress. Continue into the fort area and defeat the Volunteer enemy wielding the dual swords to receive the Wagon Key. Use it to enter the wagon in the middle of the area and pick up the Musket from the table inside.
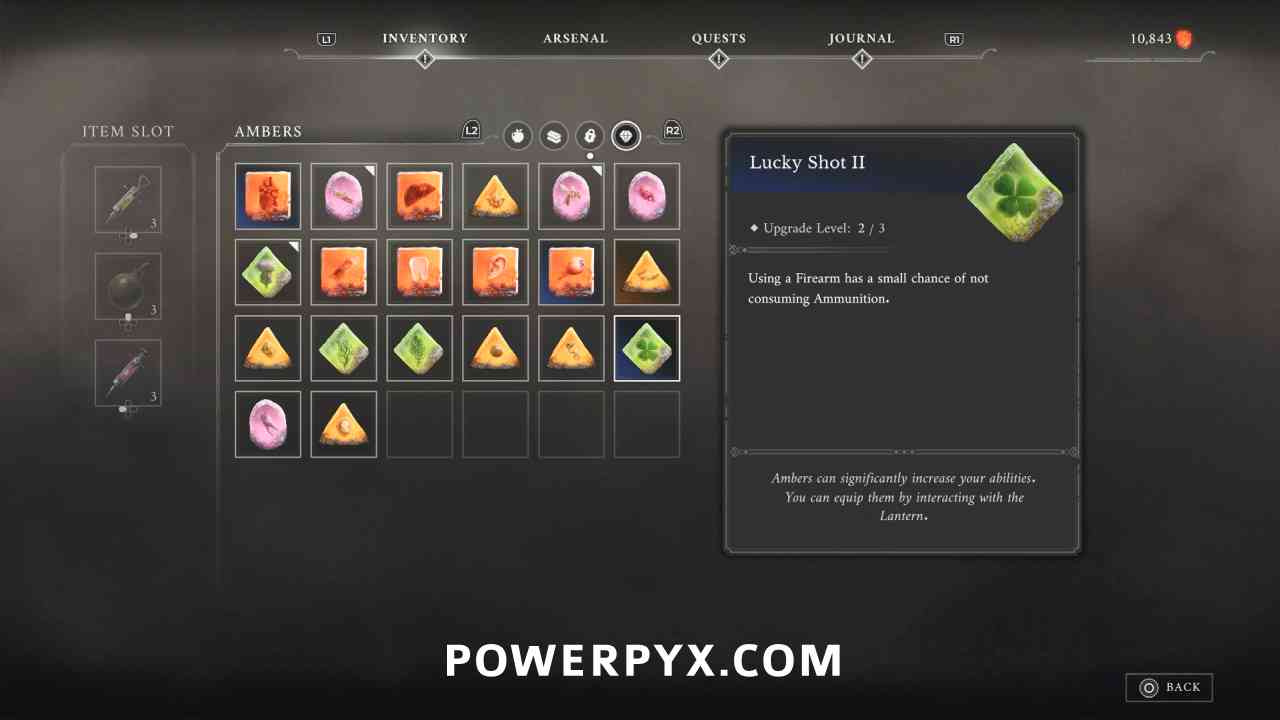
Amber #27: Lucky Shot (Duplicate > Level 2)
Lantern: Vale of Wrath > Poisoned Camp
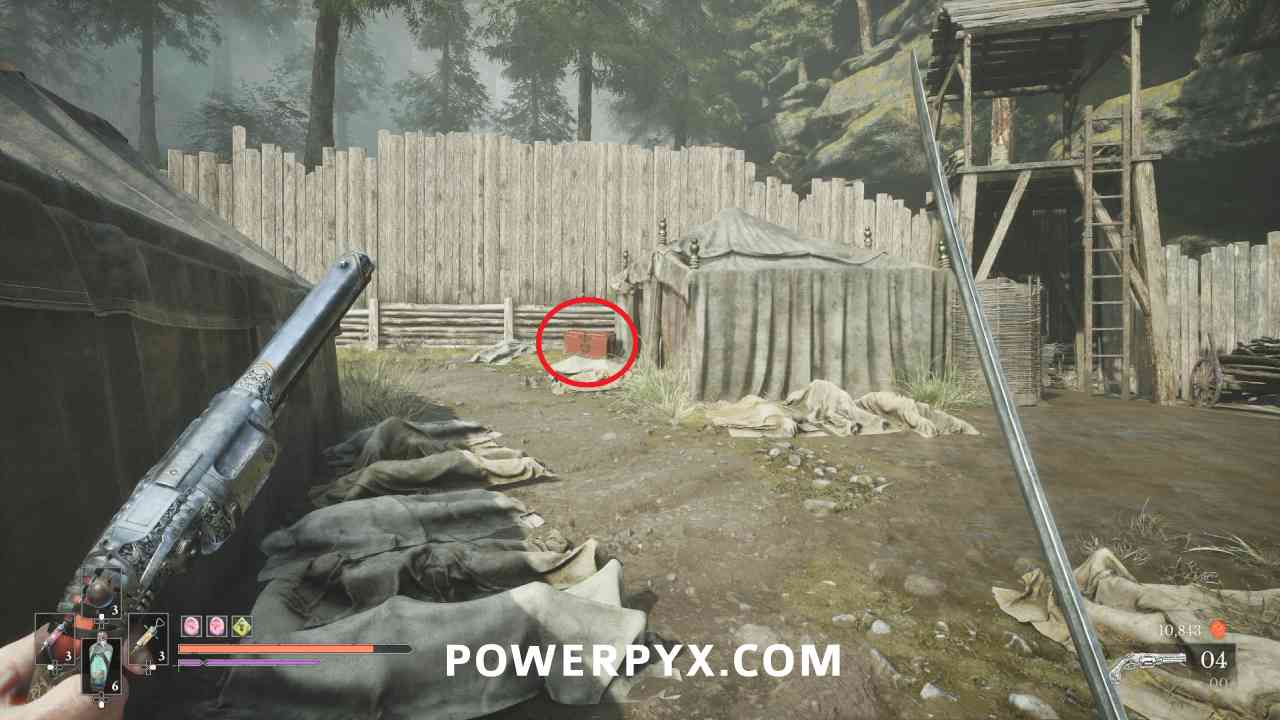
While progressing through the camp area, immediately after the spot with the two flamethrower Volunteers, this is in a chest in a corner. If you are facing the Lantern from where you exit the carriage, it is left through the path you clear by shooting the weak point on the carriage wall. The chest has bombs in it that go off when you first try to open it.
Ferrofluid Flask Power Upgrade #8
Lantern: Vale of Wrath > Under the Bridge
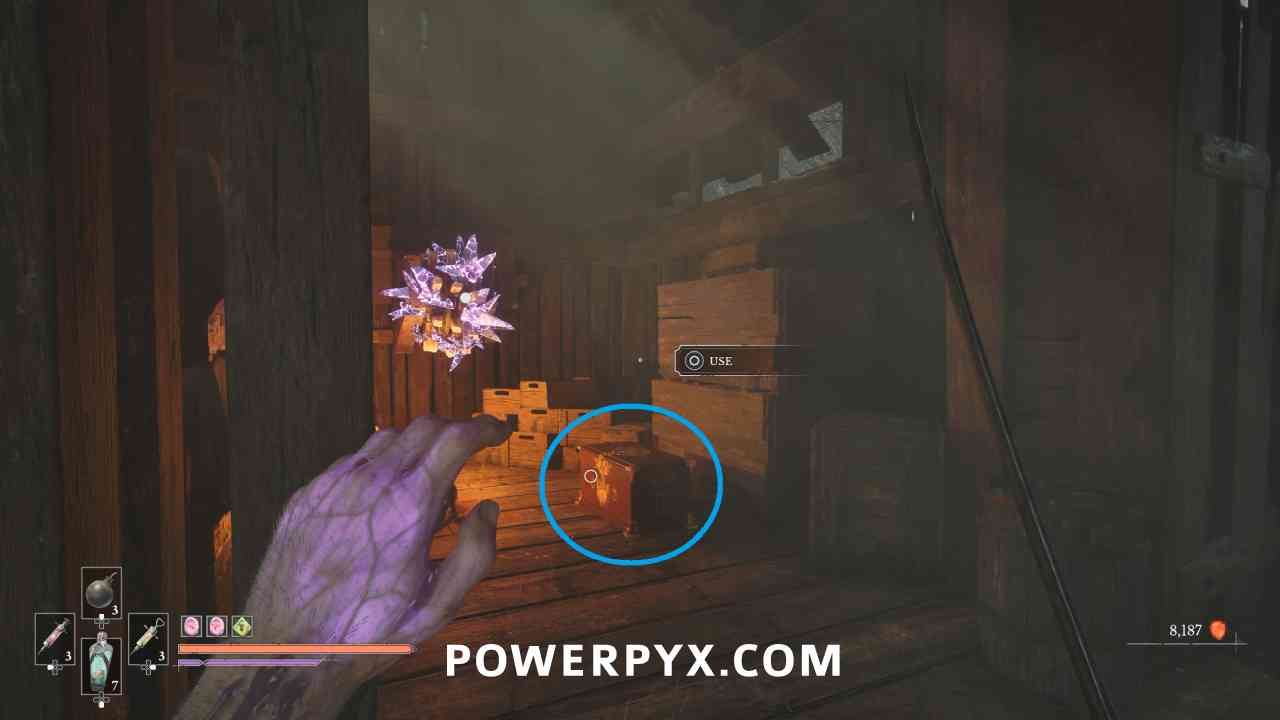
At the spot on top of the bridge where you jump across and into the roof of the building to open the gate, this is inside. Beside the gears that you freeze with Stasis to keep the gate open.
Quest: The Deserter – Step #5
Lantern: Vale of Wrath > Under the Bridge
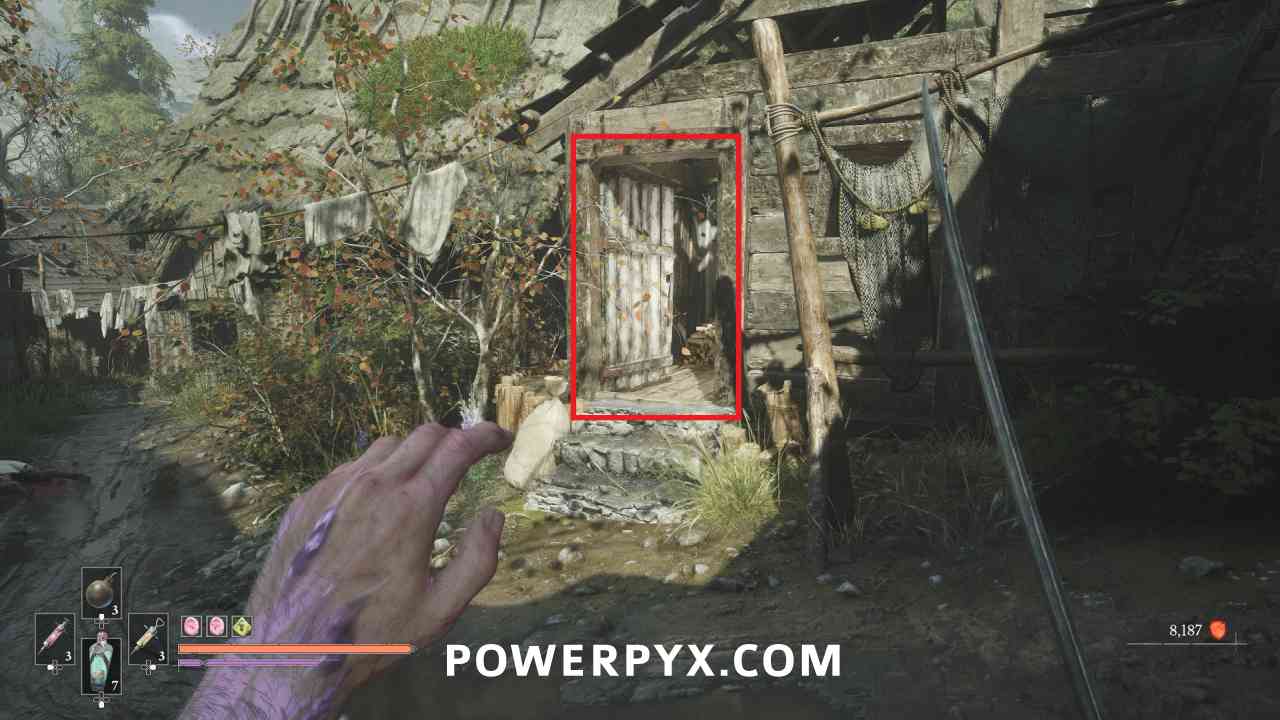
In the town area go through the first house immediately on the right, then out the back where there is one more set of hives. Interact with the square one to the left of the group of three to receive the last Anubis Figurine Part, which completes the Anubis Figurine and the side quest.
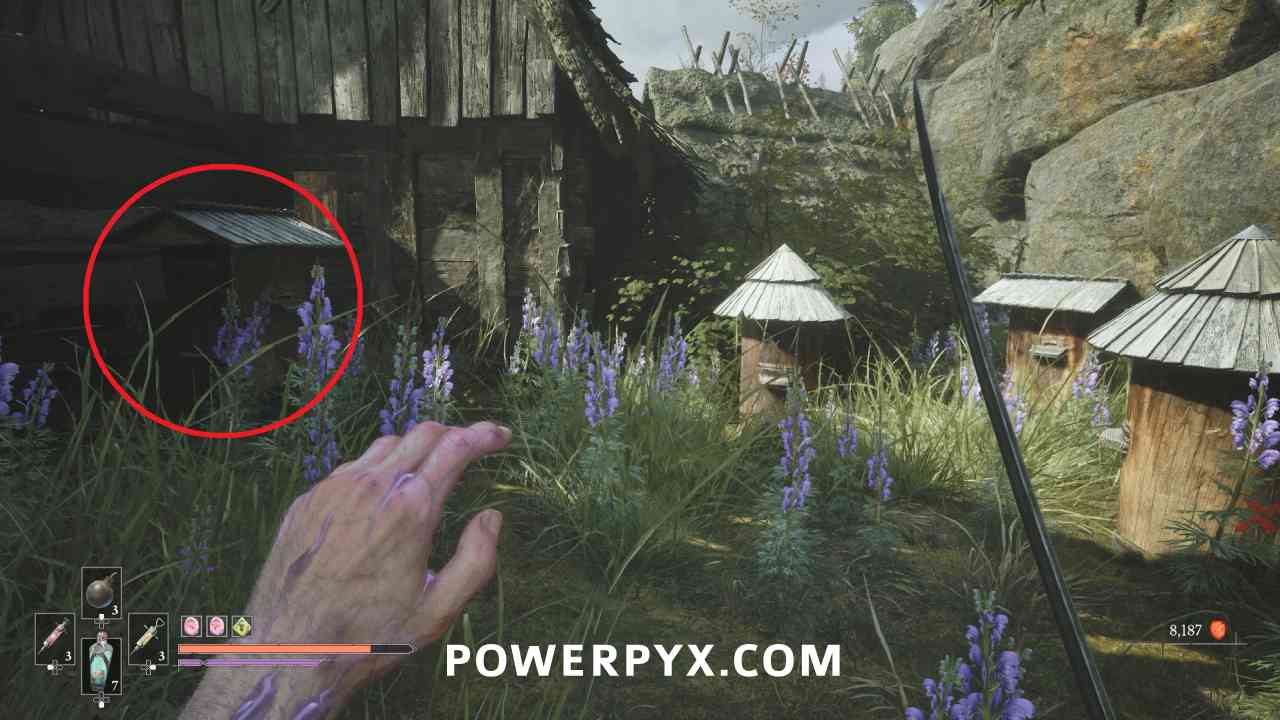
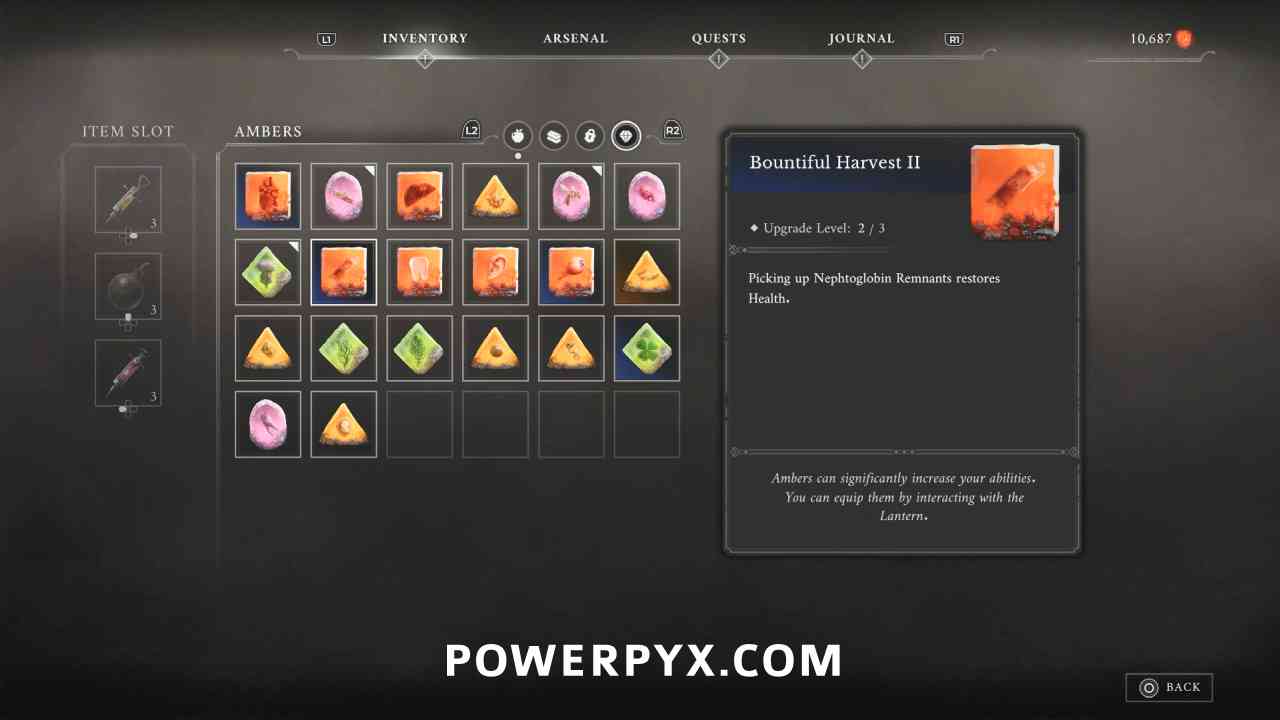
Amber #28: Bountiful Harvest (Duplicate > Level 2)
Lantern: Vale of Wrath > Under the Bridge
Reward for completing side quest “The Deserter”.
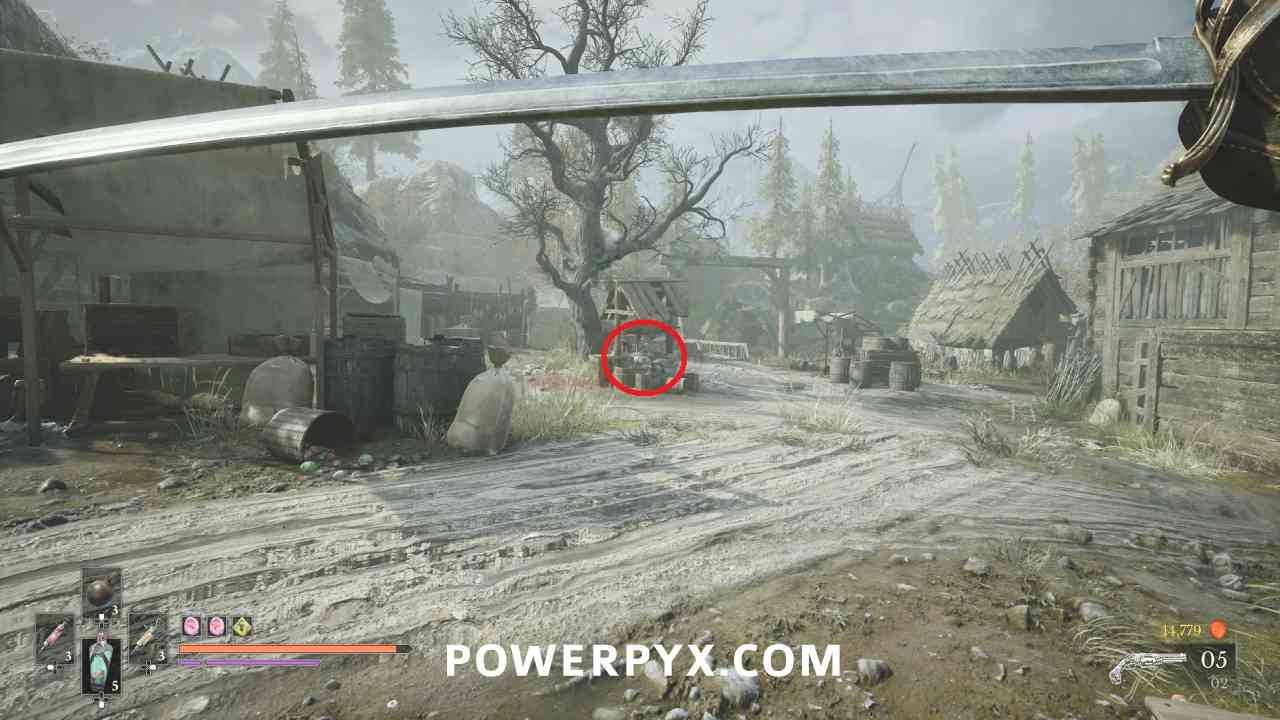
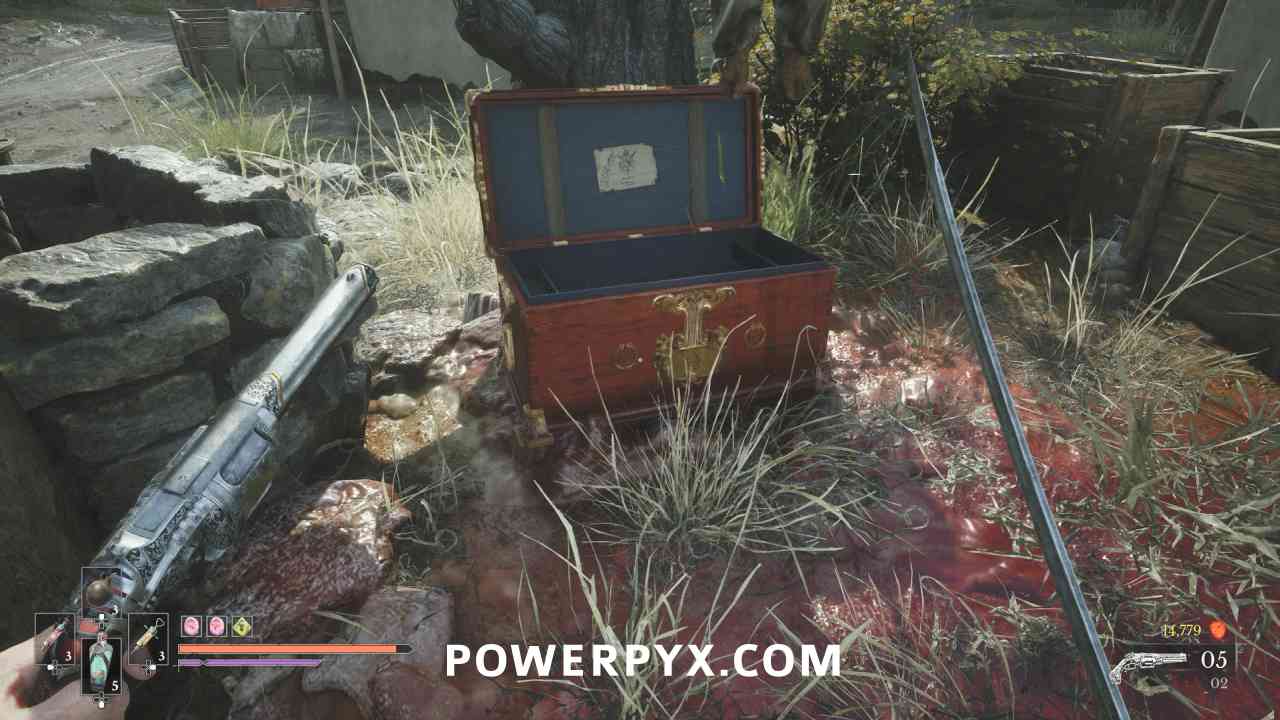
Empty Ferrofluid Flask #5
Lantern: Vale of Wrath > Under the Bridge
In the center of the fishing village area, in a chest beside the tree with the bodies hanging from it.
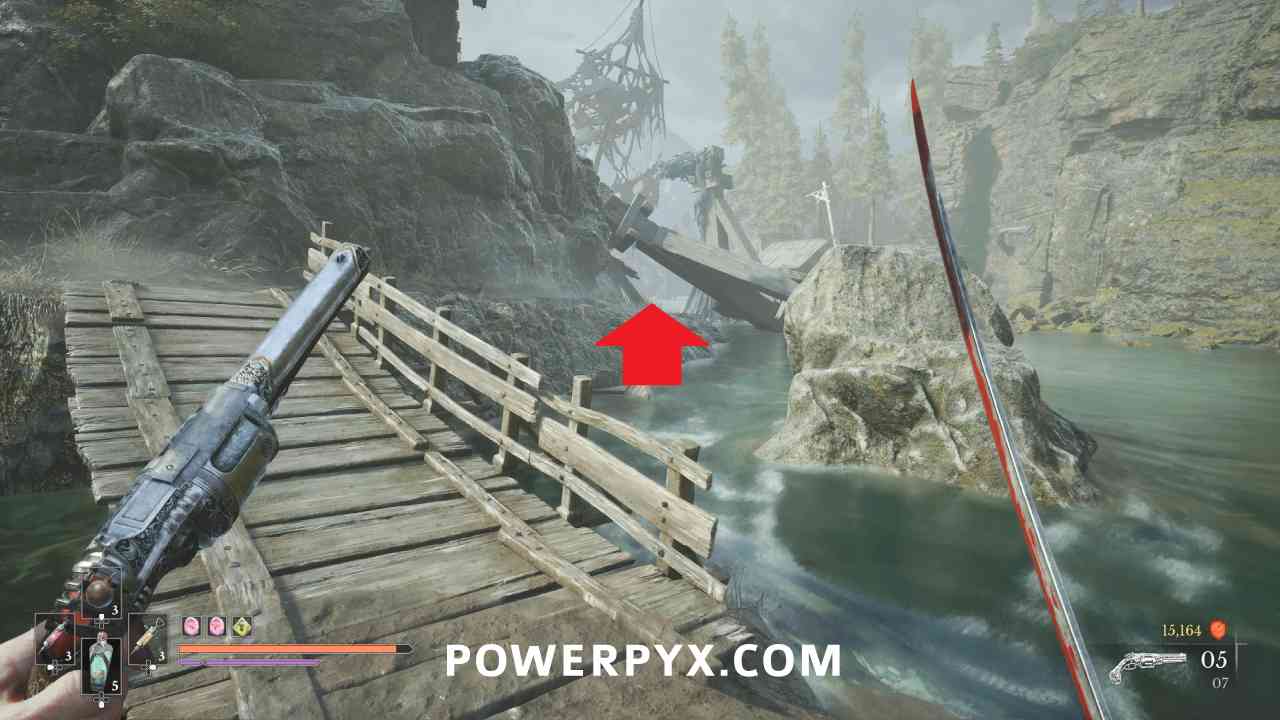
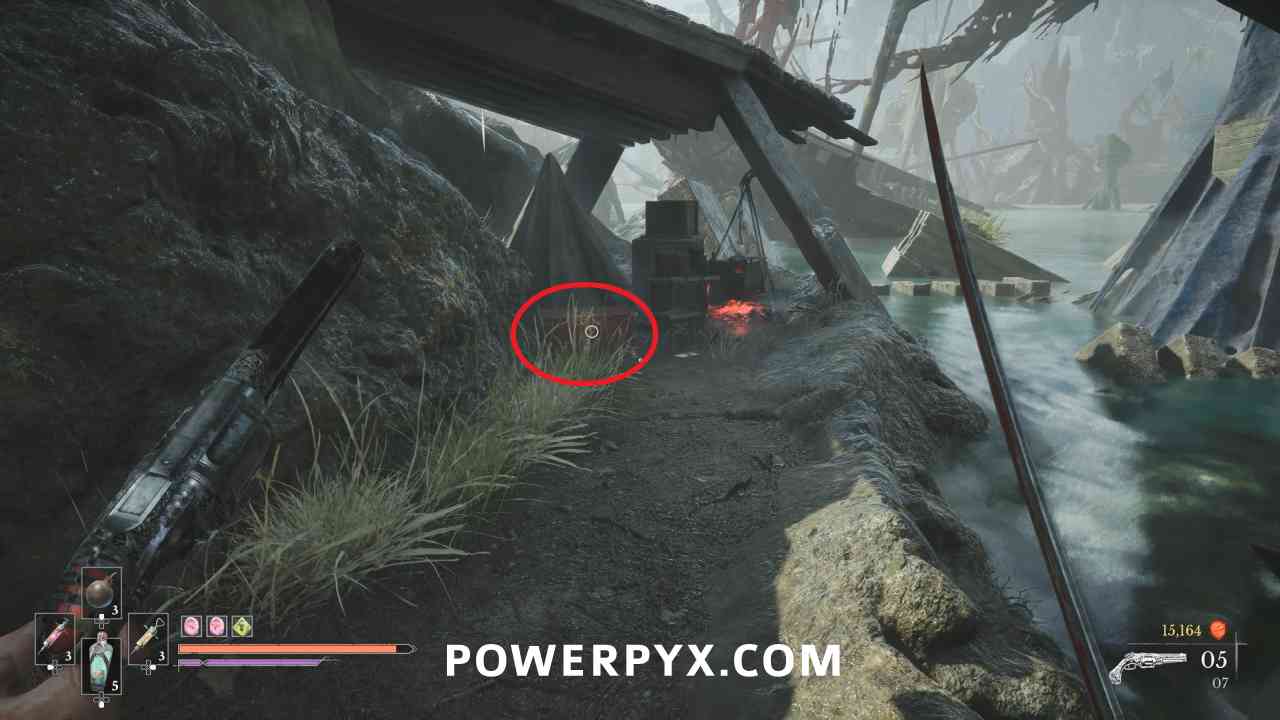
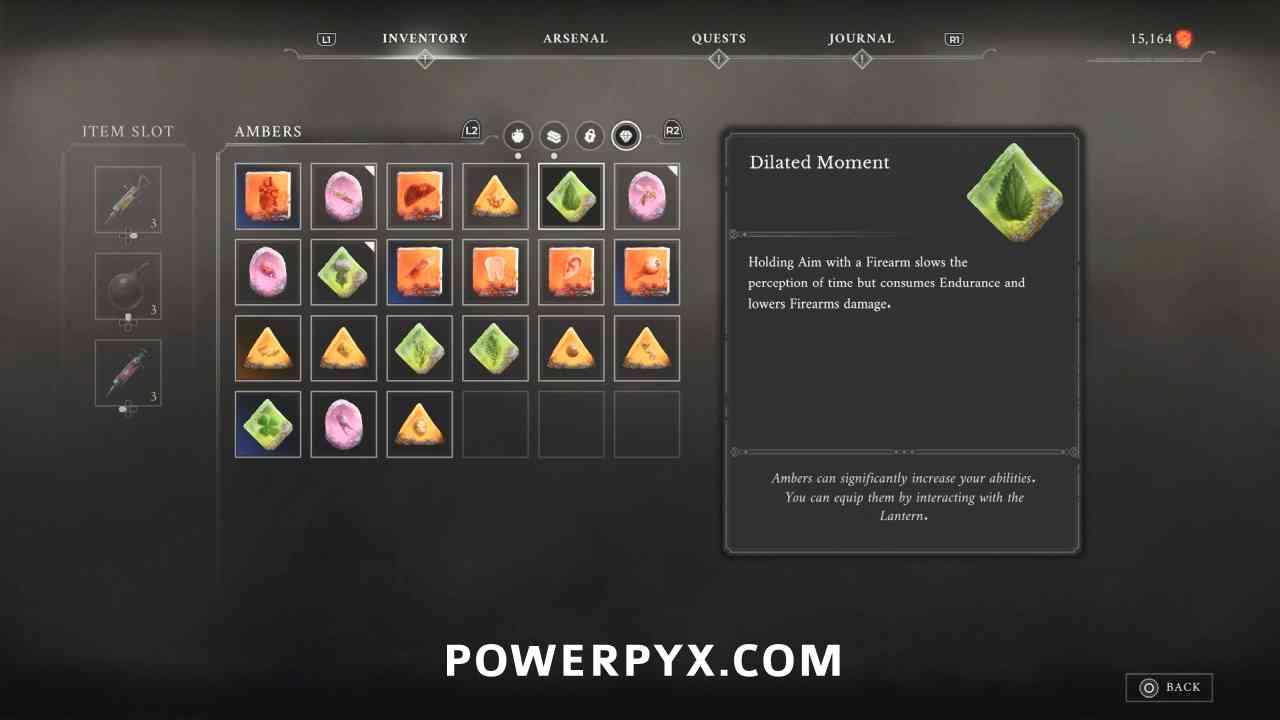
Amber #29: Dilated Moment
Lantern: Vale of Wrath > Under the Bridge
On the right side of the fishing village area (close to the river) follow the path leading along the river to a dead end where this is in a chest just below a grapple point.
Ferrofluid Flask Power Upgrade #9
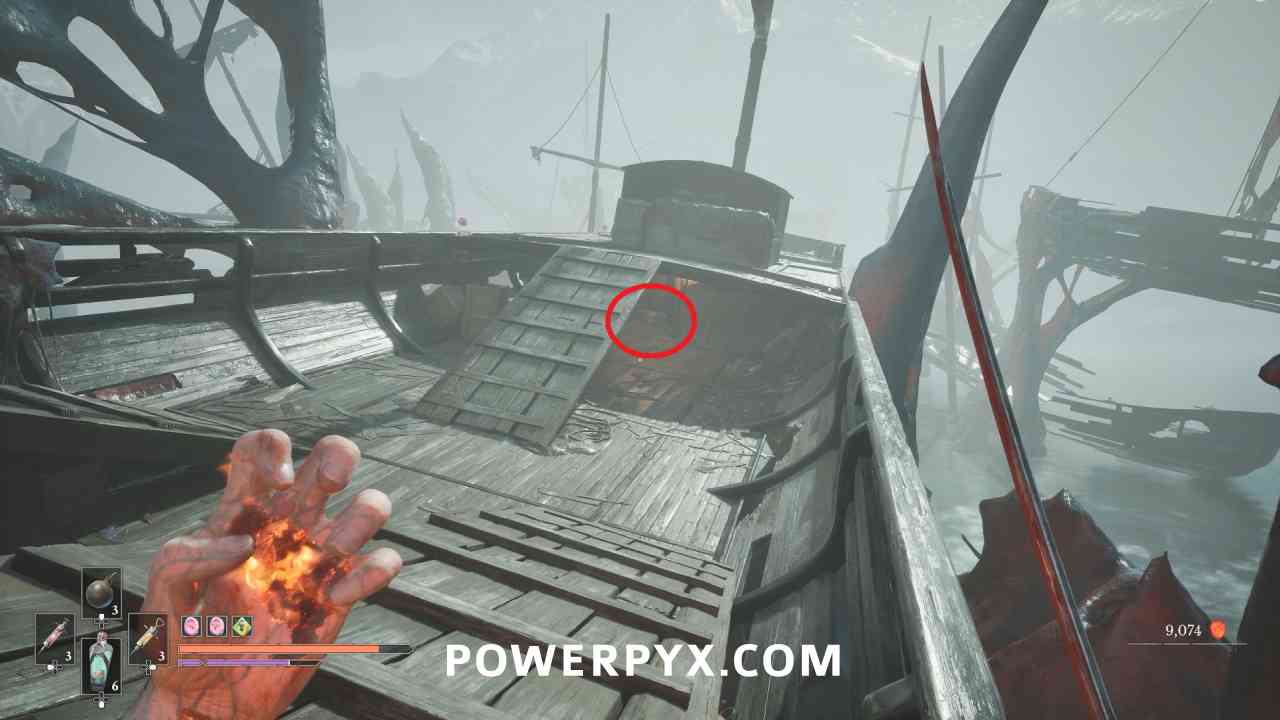
Lantern: Vale of Wrath > Ship Graveyard
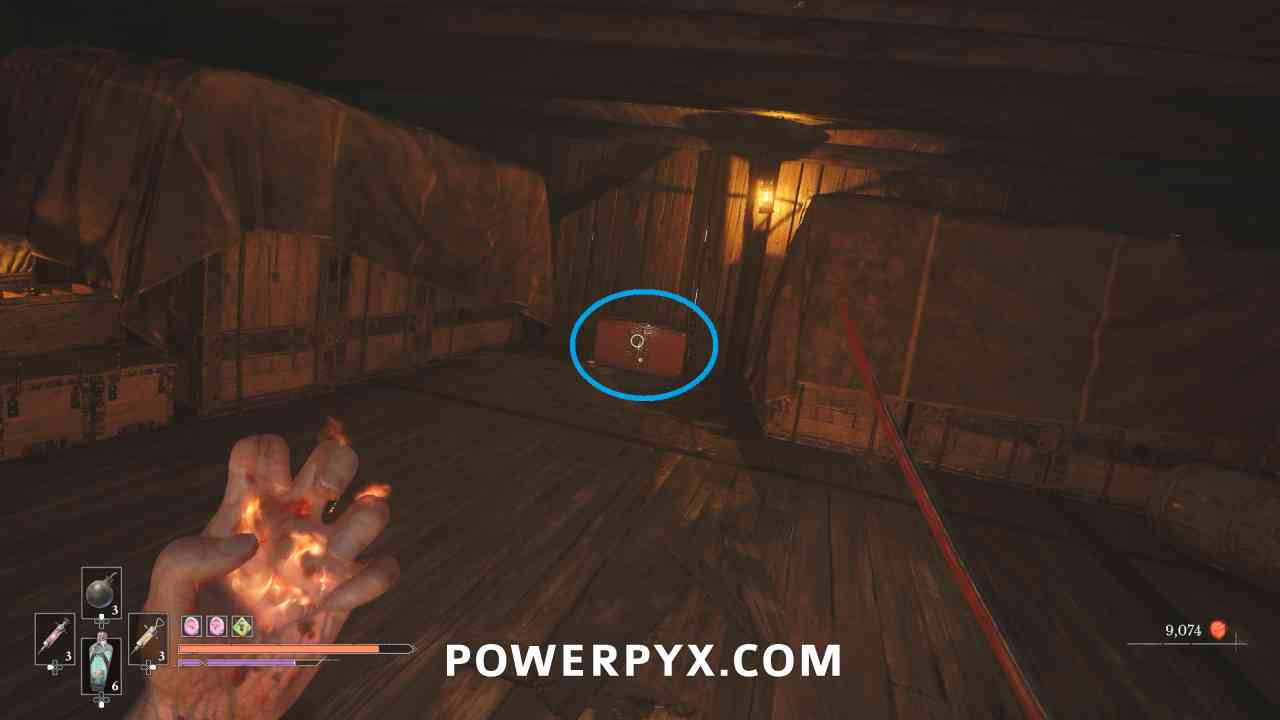
Progress until you reach the ship with the two ramps in the middle (this is where you were being shot from earlier where you had the two walls you could switch for cover). Turn around and under the part of the deck where you start on the ship there is a chest near a group of 3 enemies with this inside.
Boss: Slaughtermill
NOTE: If you die during the second part of this boss there is a checkpoint, but the game won’t put your Catalysts in the boss room, they’ll be on the path just after the Old Windmill Lantern.
Quest: The Emissary – Step #2
Lantern: Vale of Wrath > Old Windmill
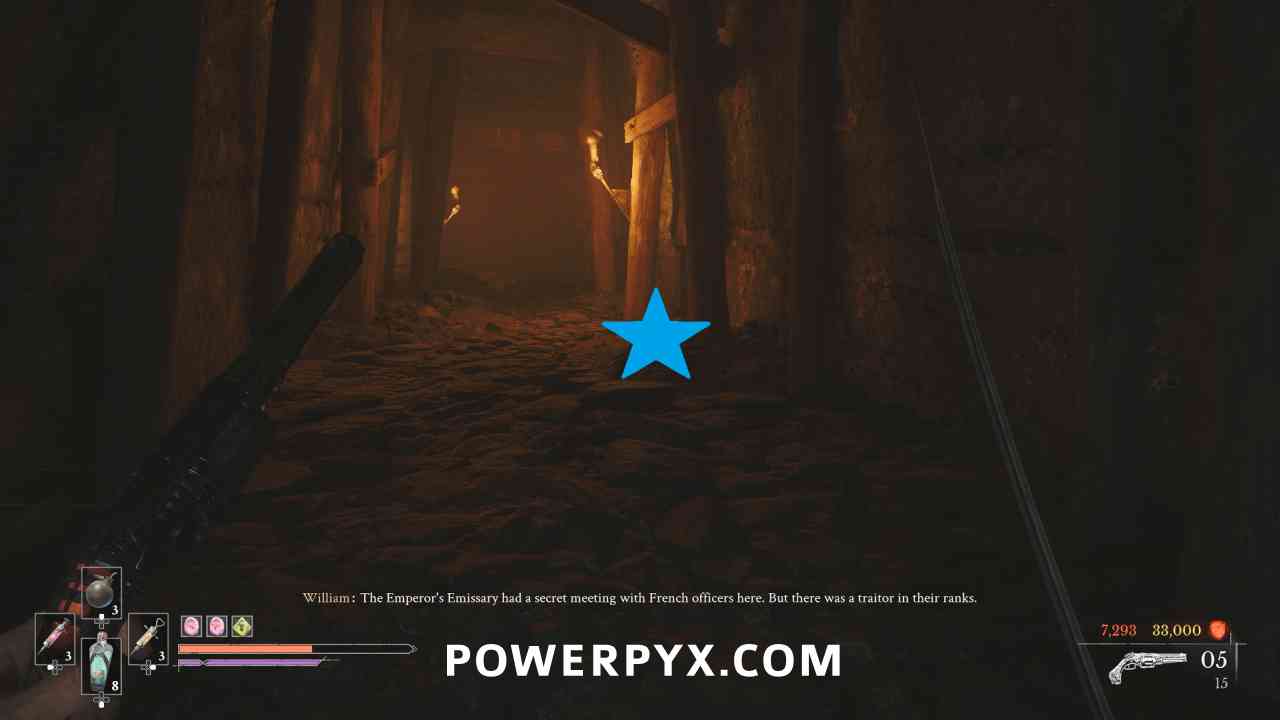
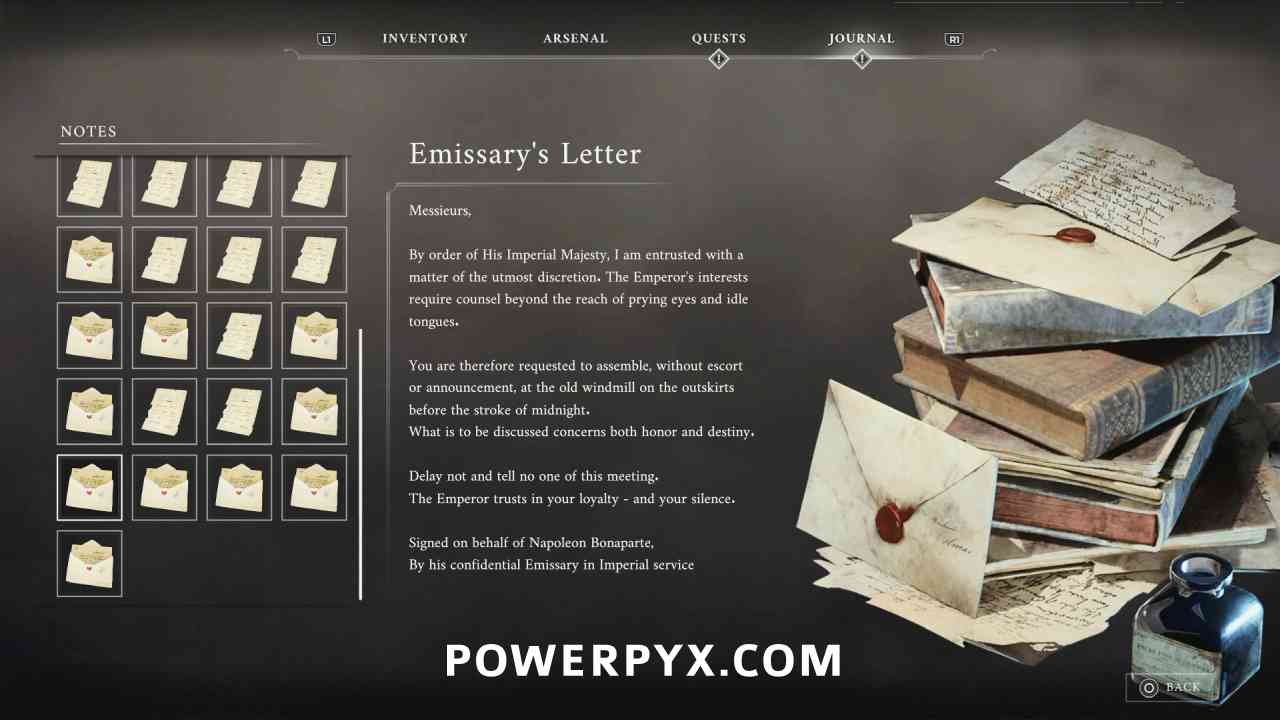
Immediately after the Slaughtermill boss when you are walking down the tunnel from the platform, the note “Emissary’s Letter” is on the ground on the right side a short distance into the tunnel.
NEXT: Chapter 6: Punishment
For all other Chapters and by-type collectibles, check out the complete Valor Mortis Collectible Guide.
Leave a Reply