
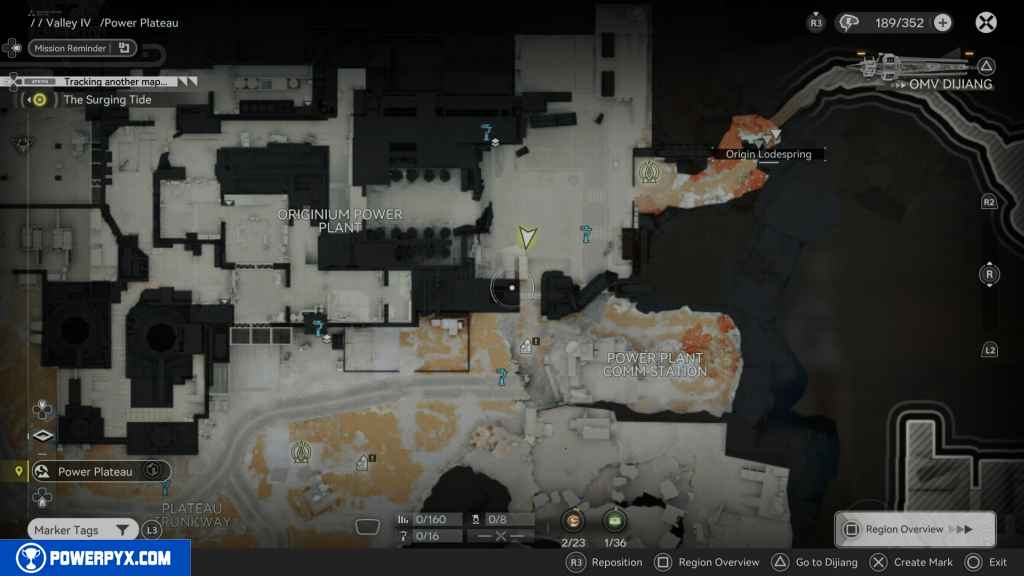
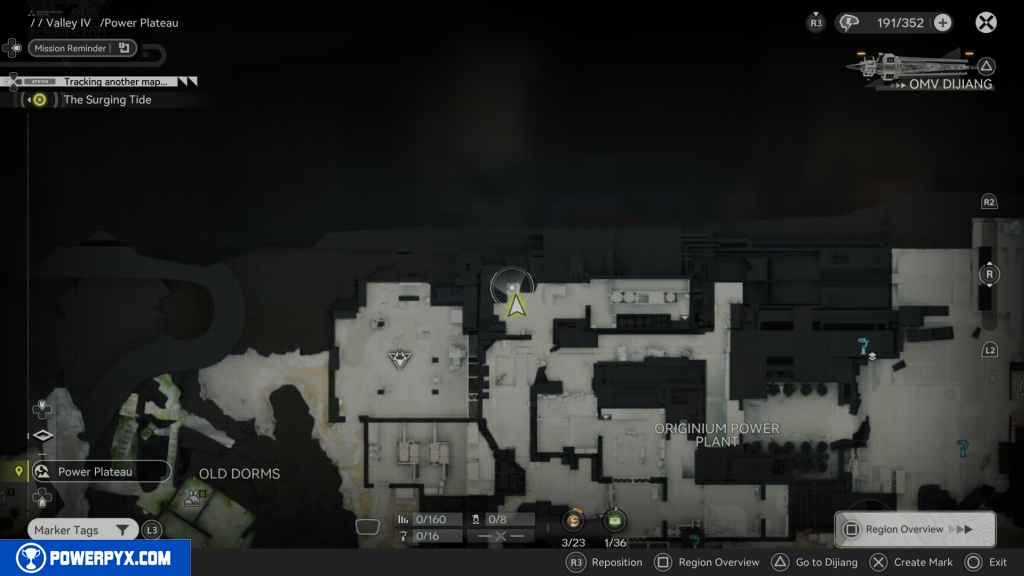
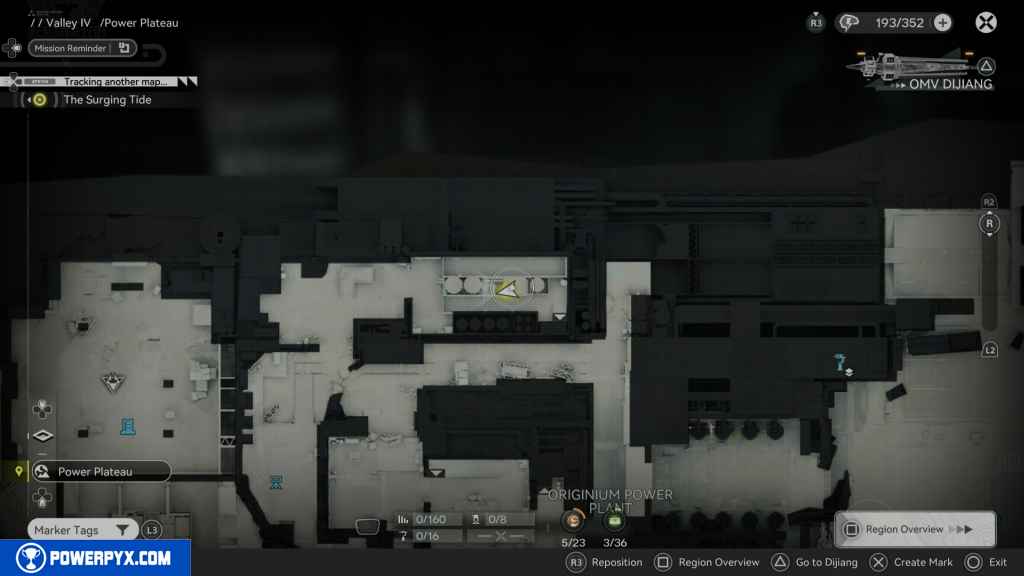
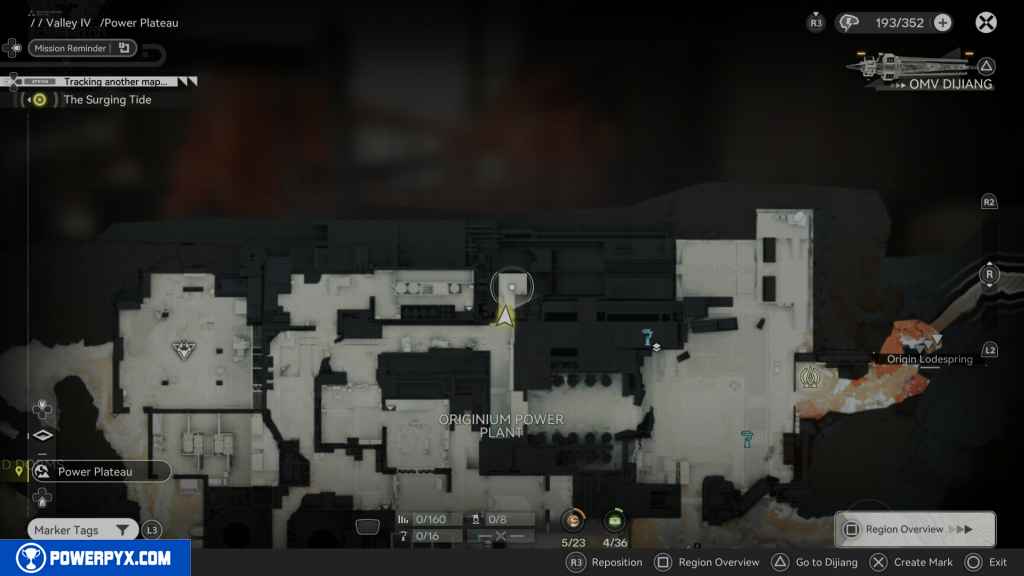
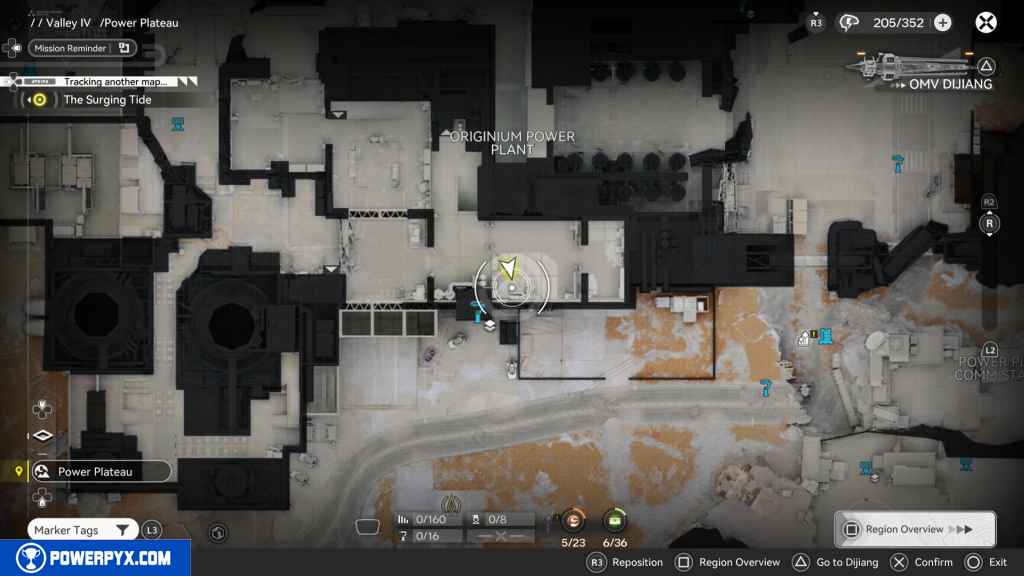
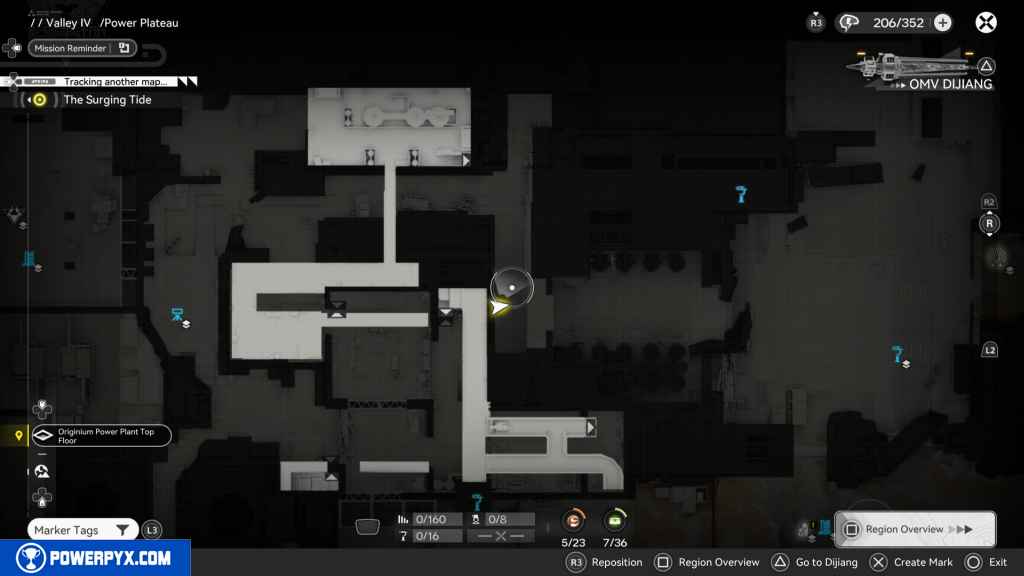
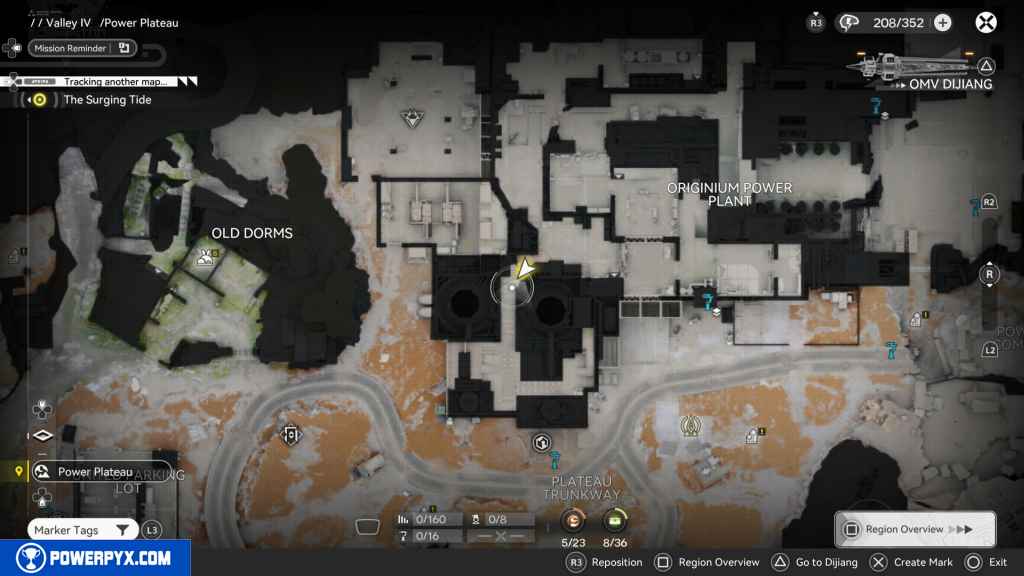
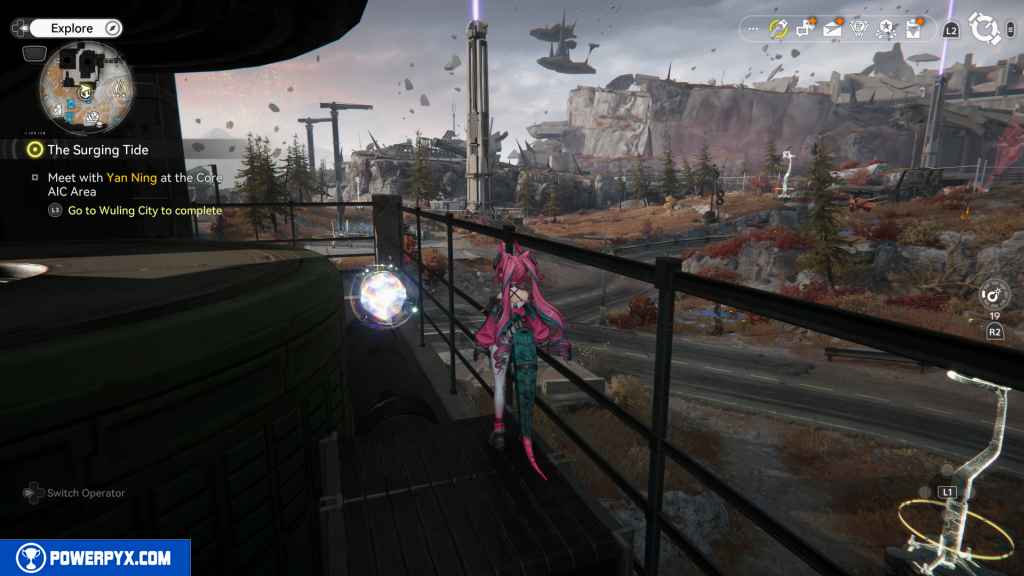
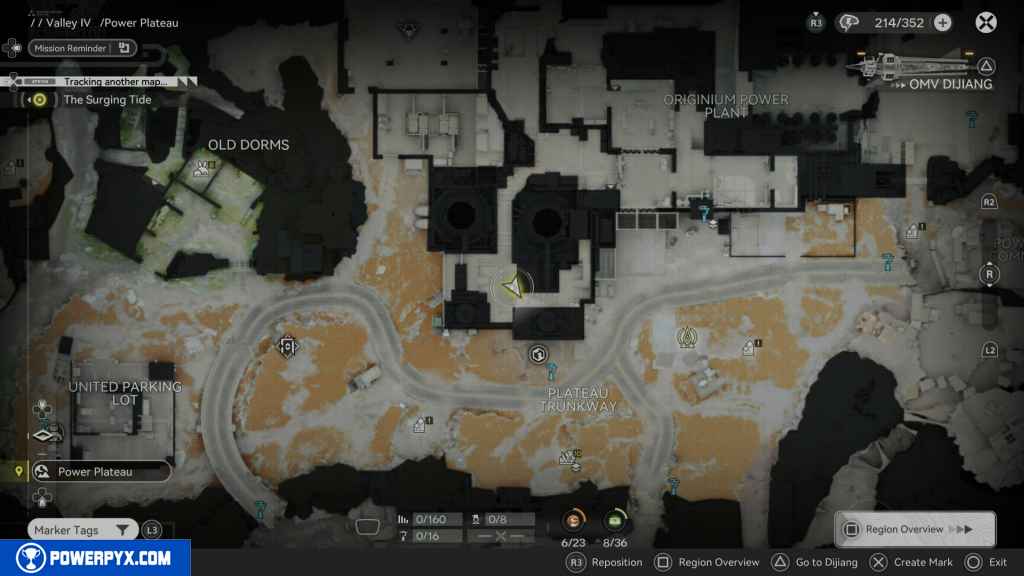
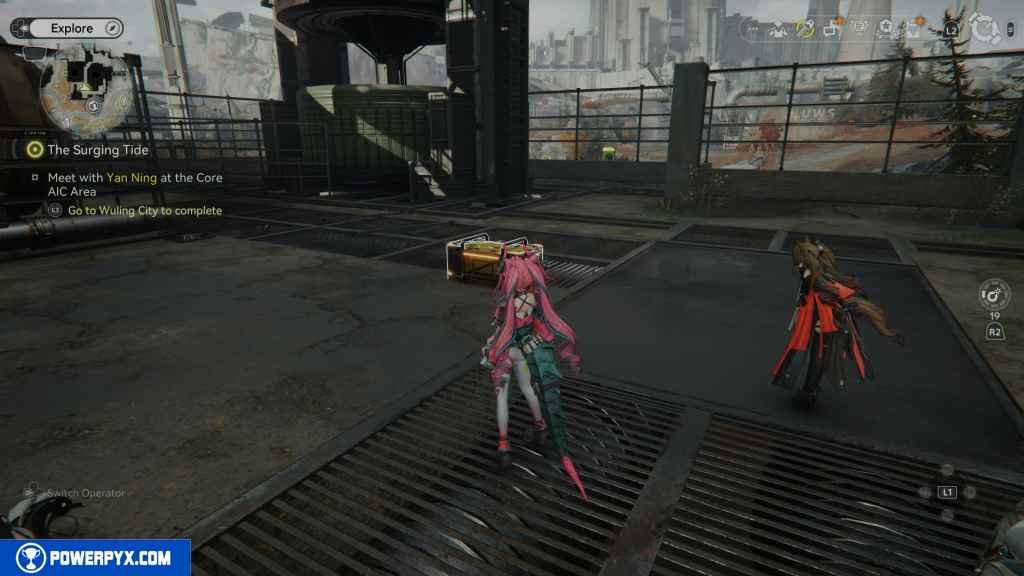
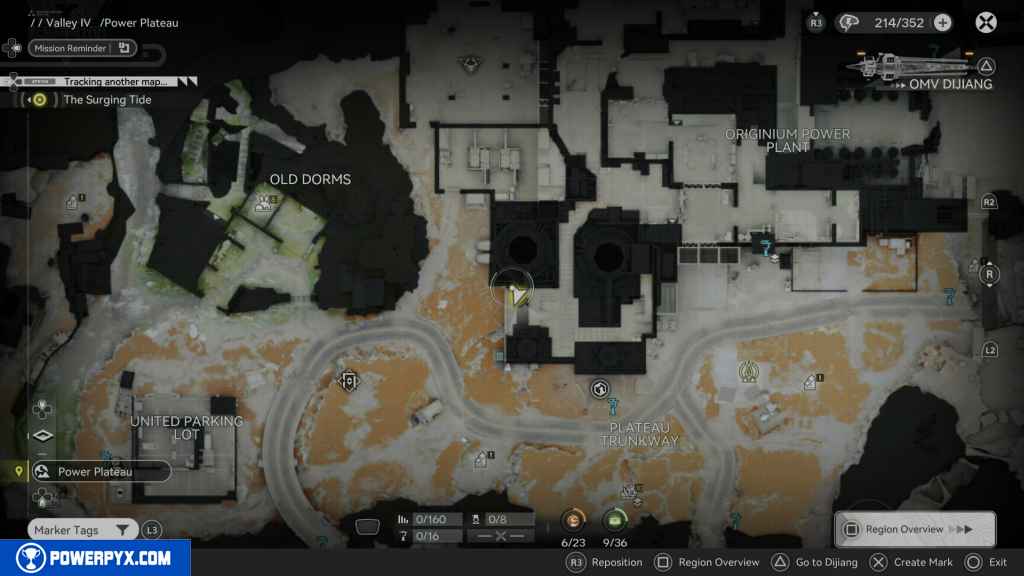
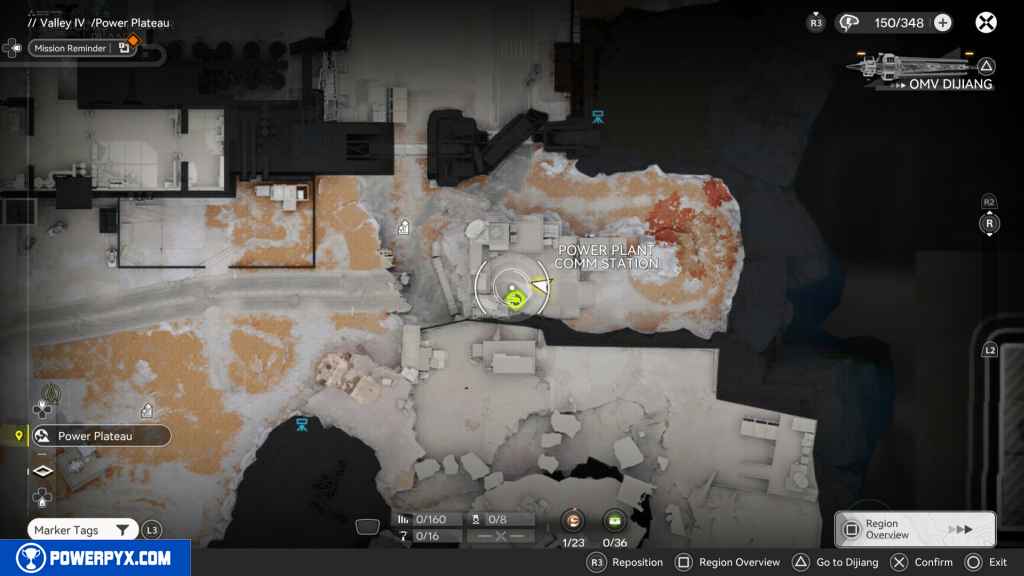
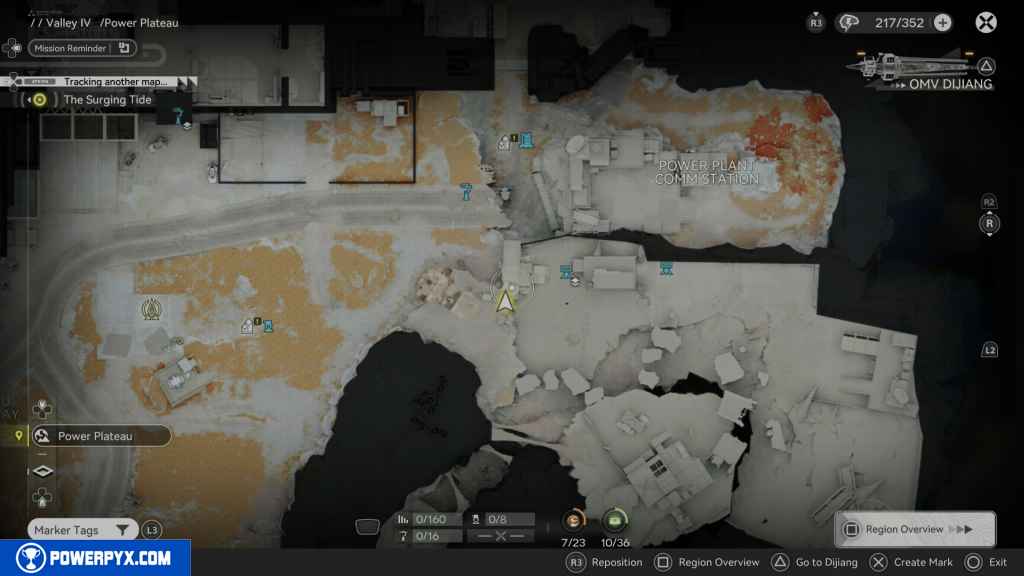
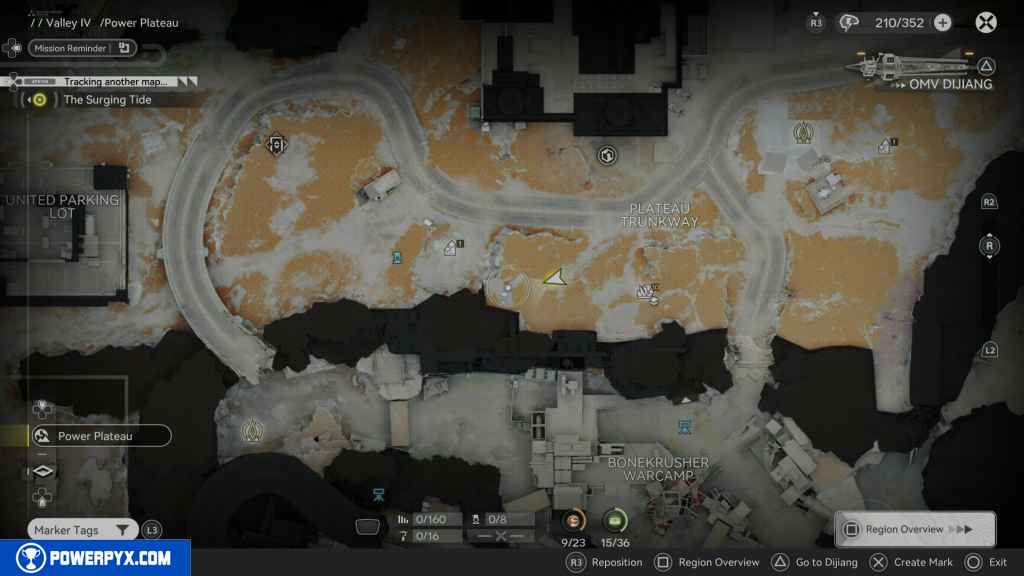
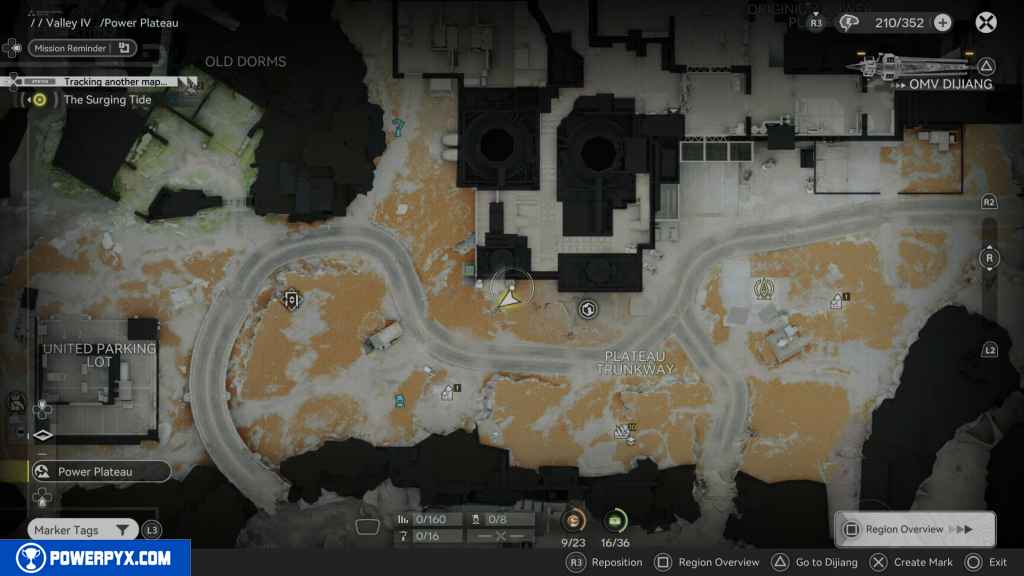
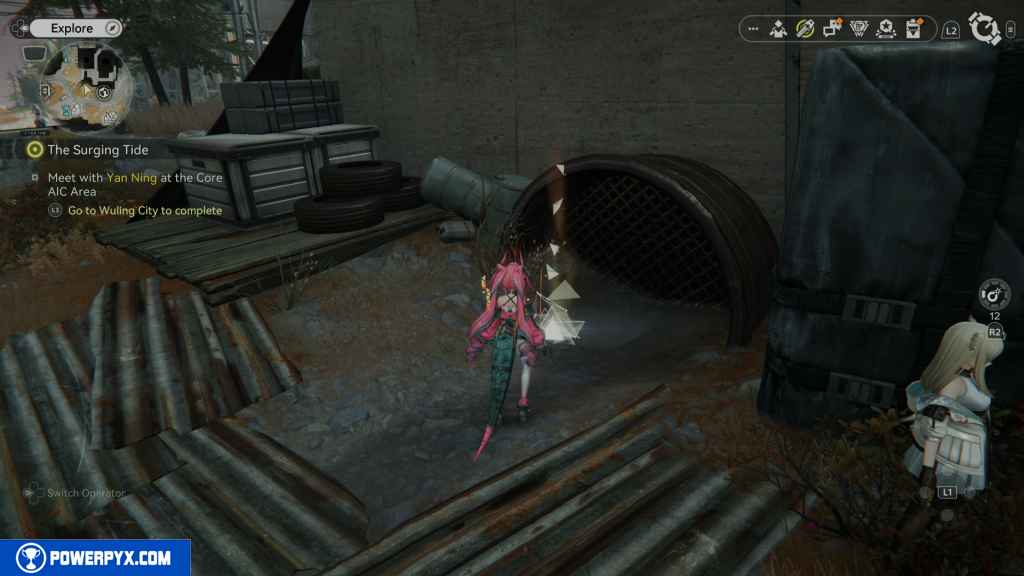
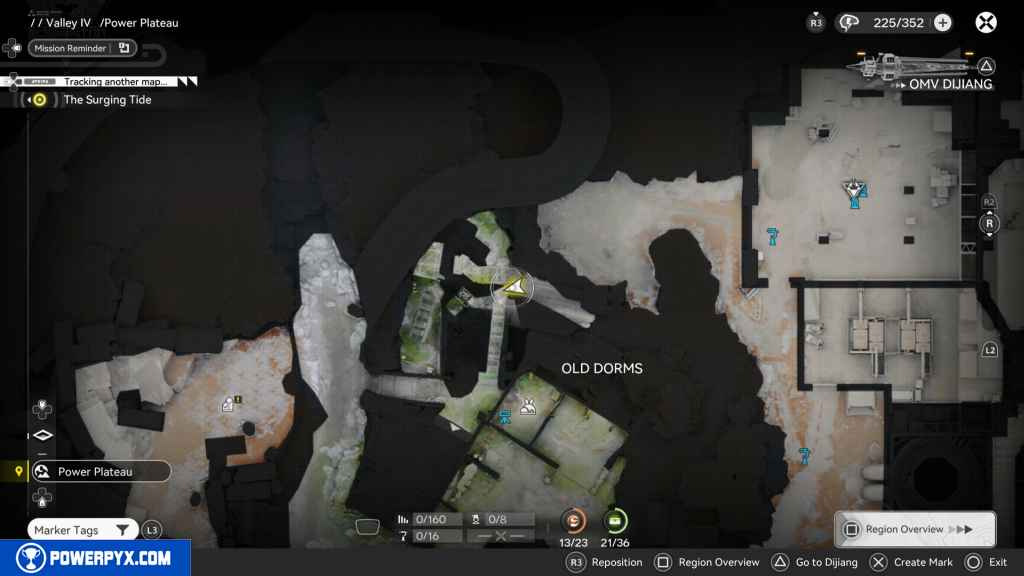
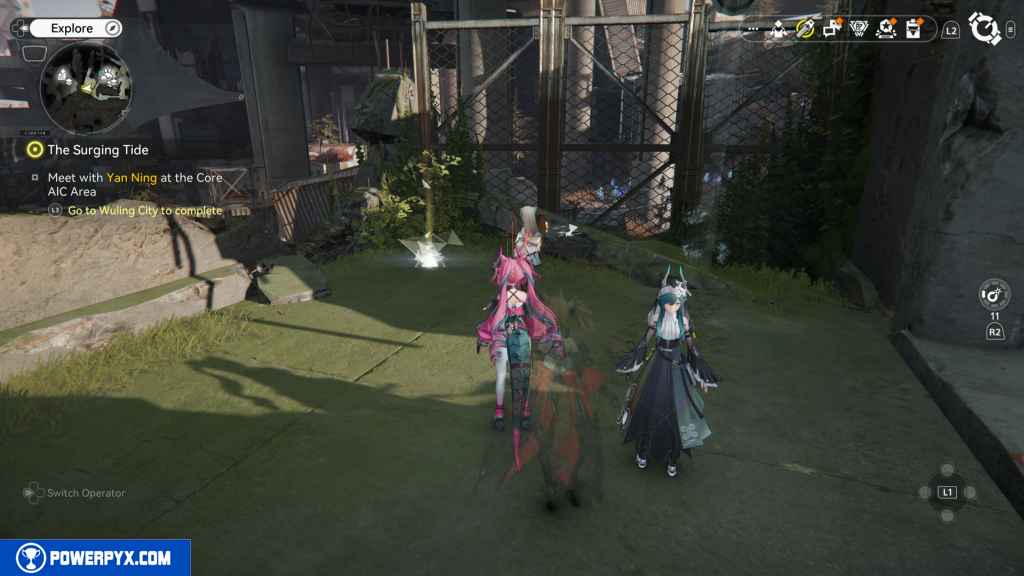
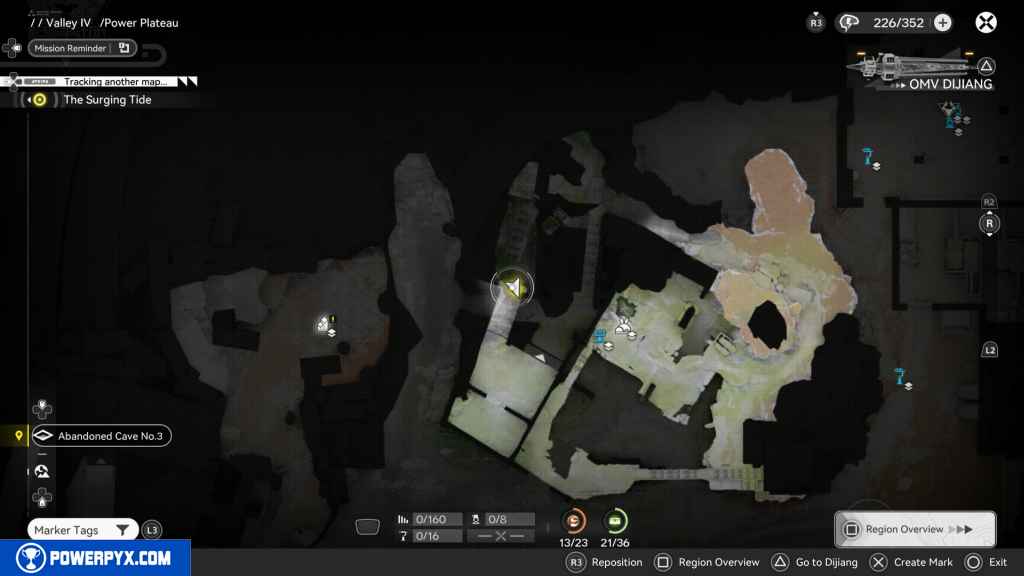
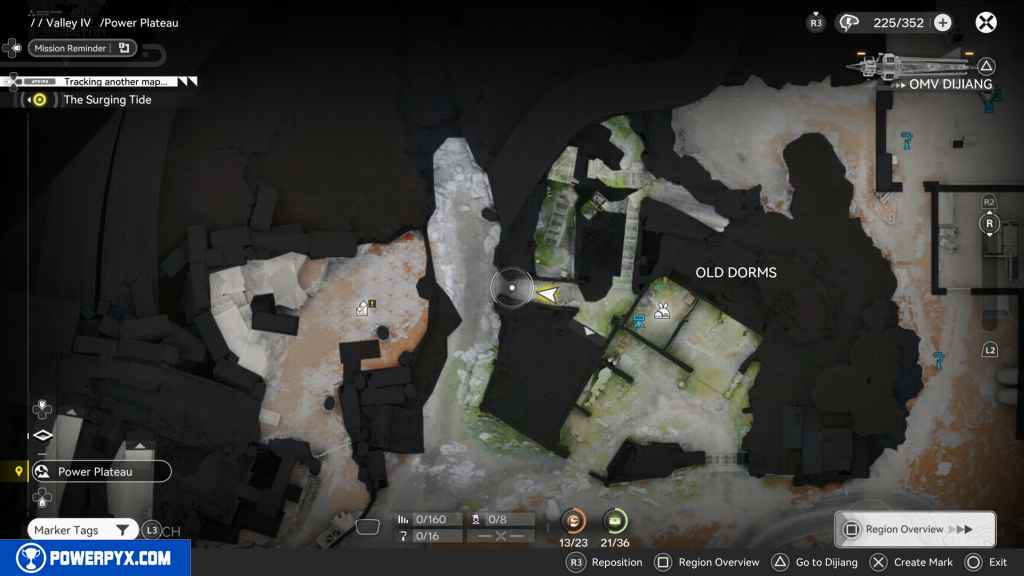
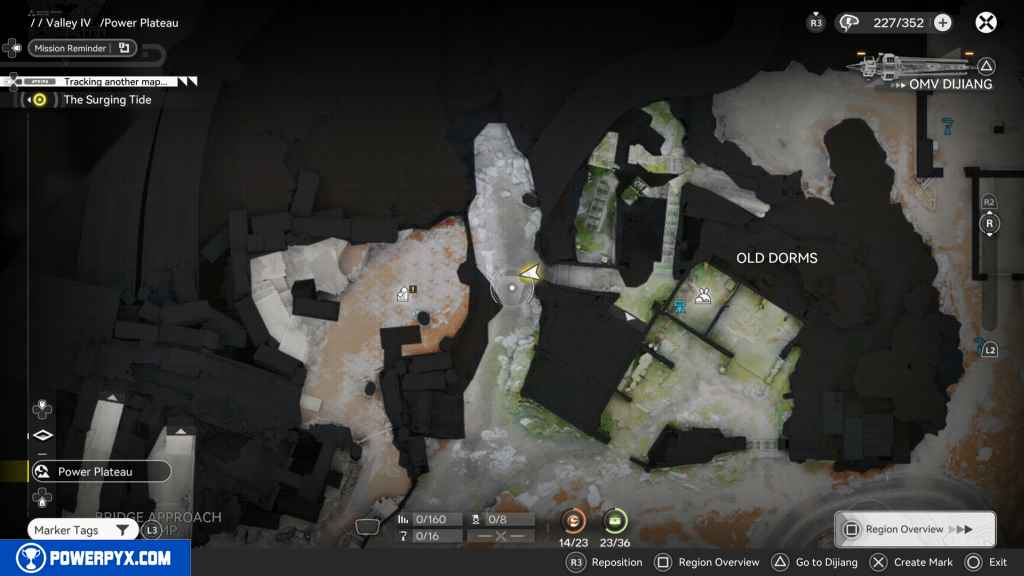
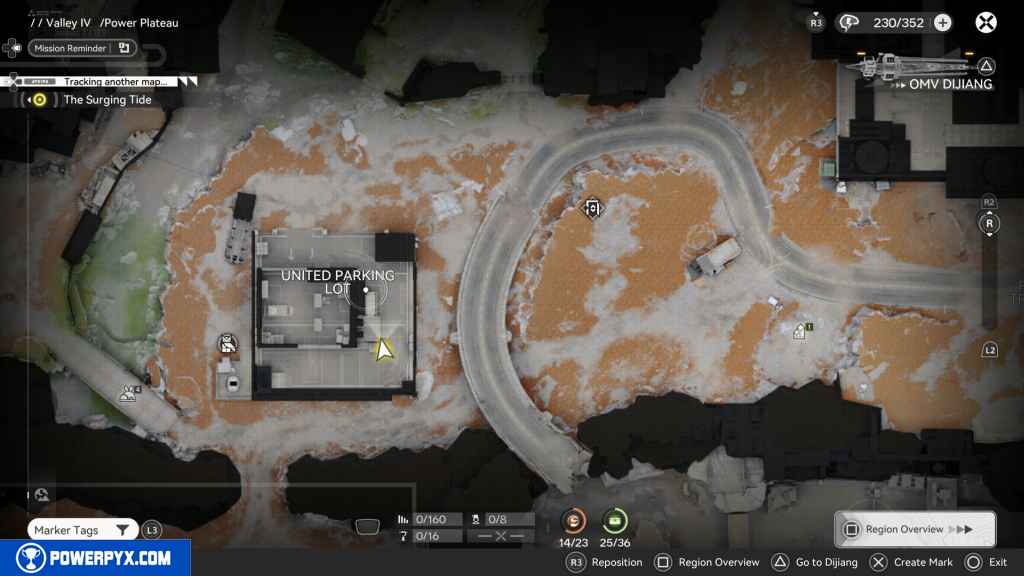
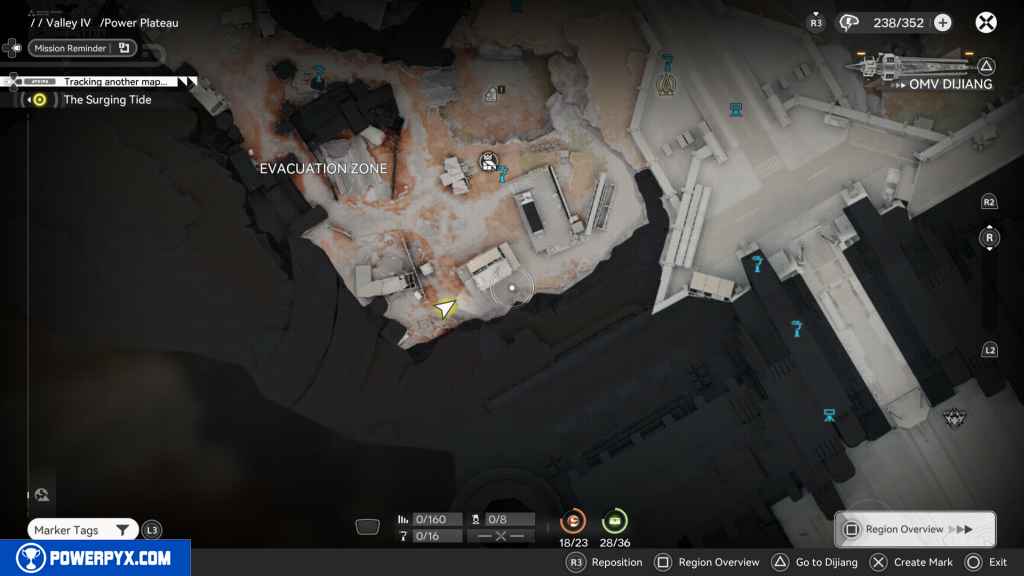
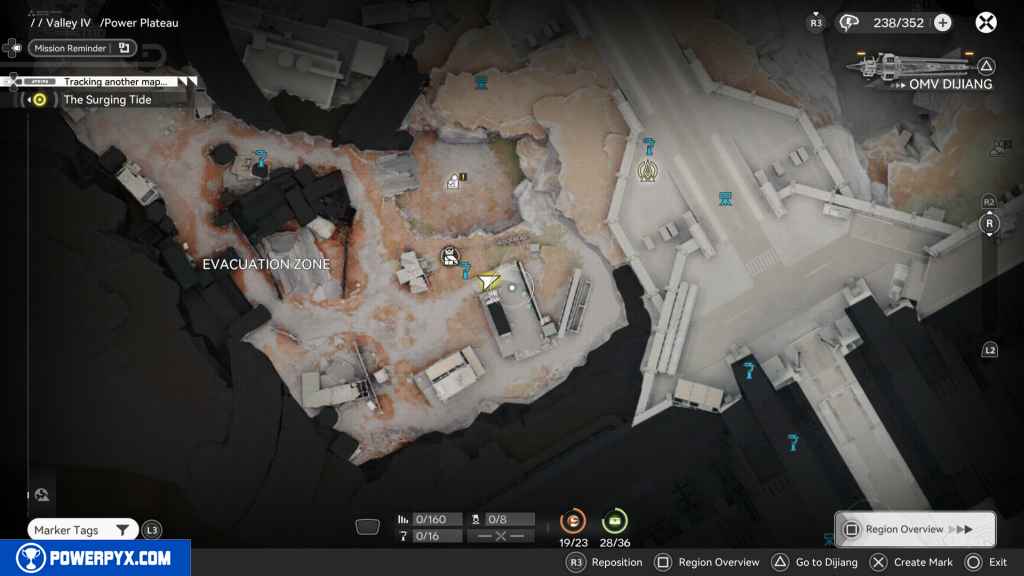
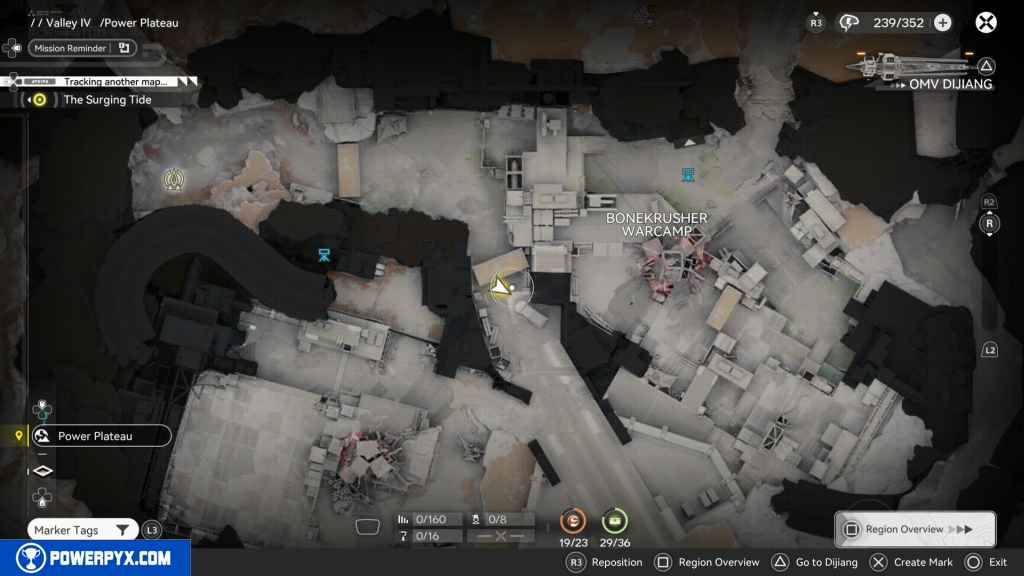
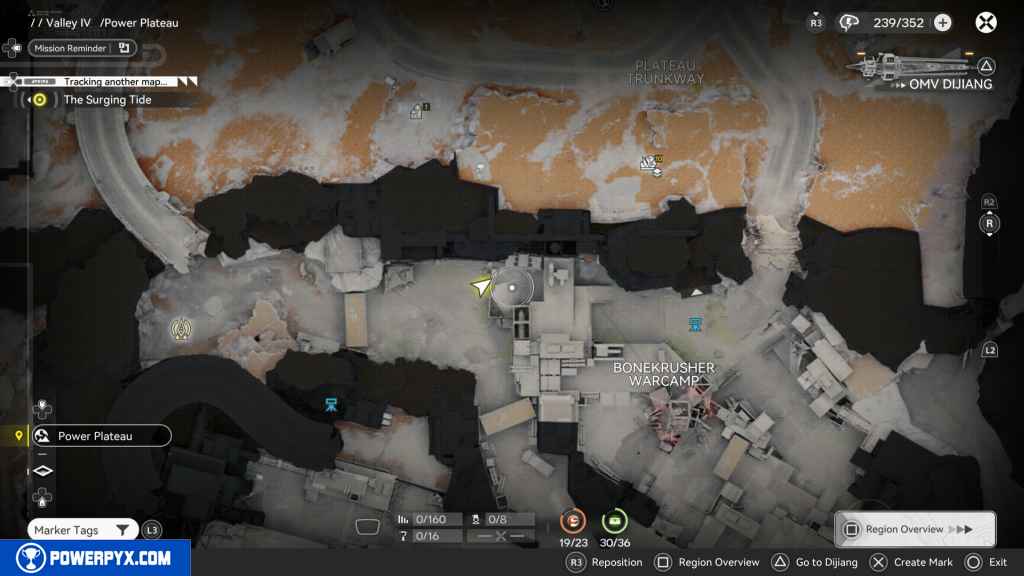
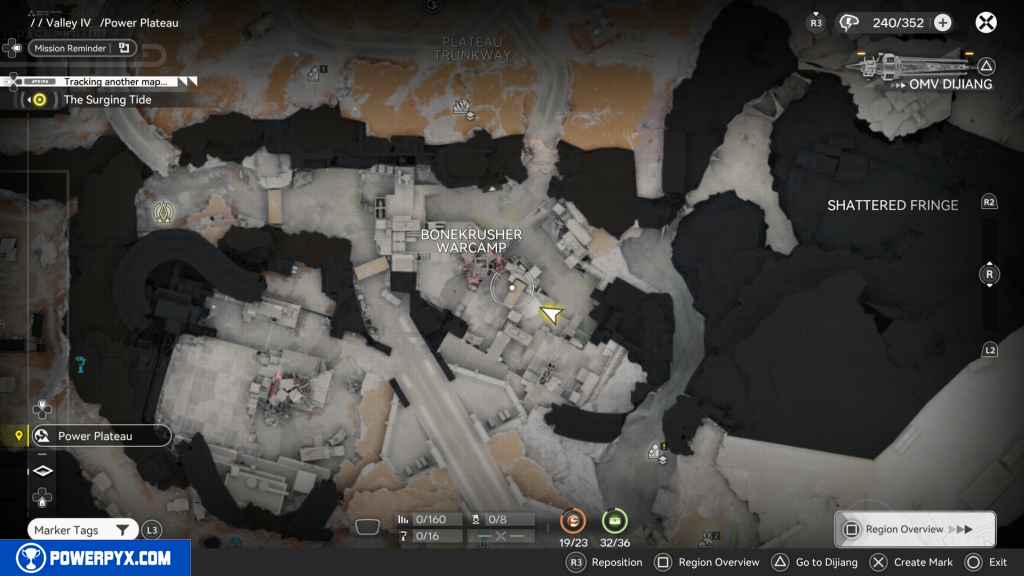
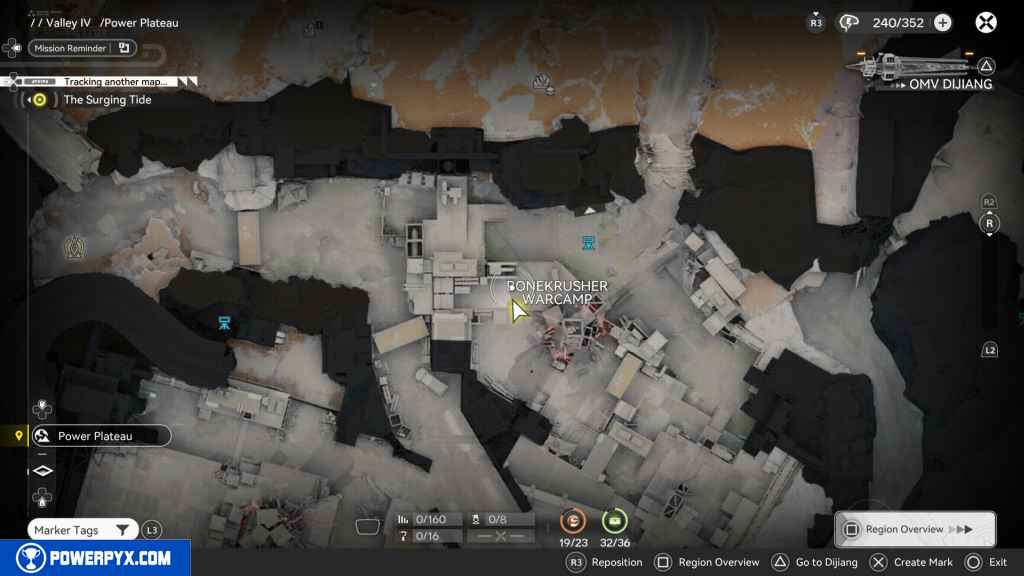
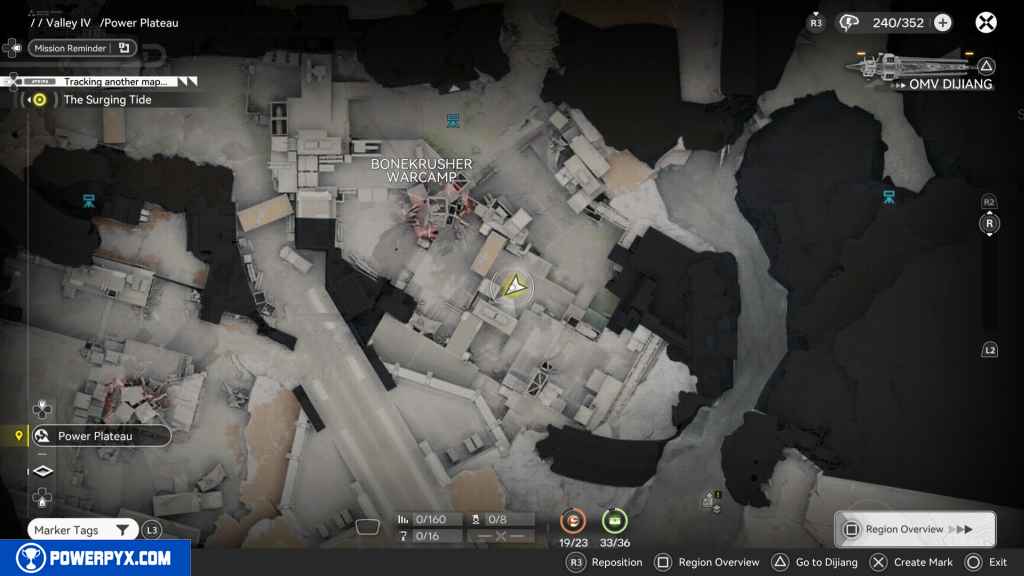
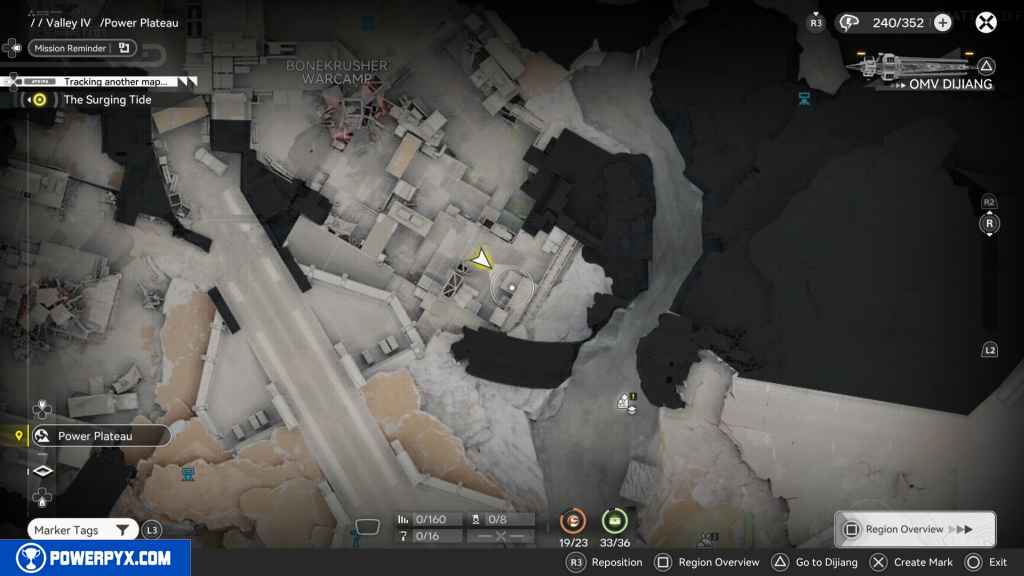
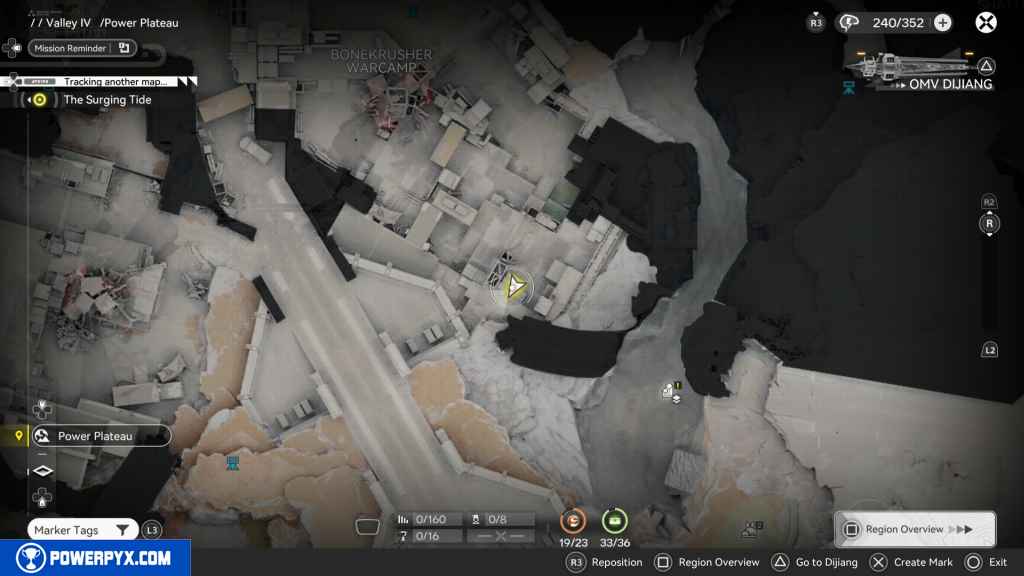
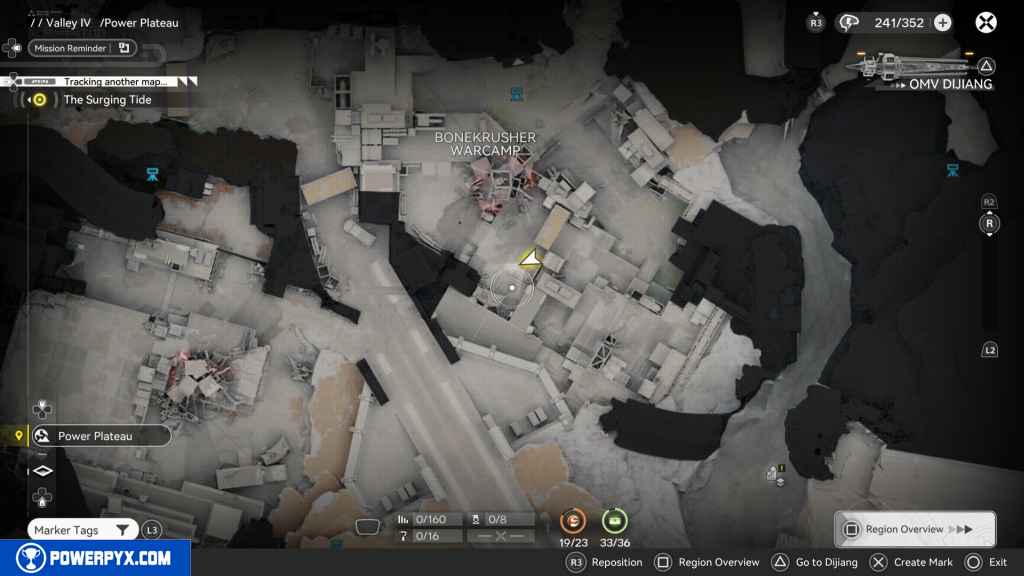
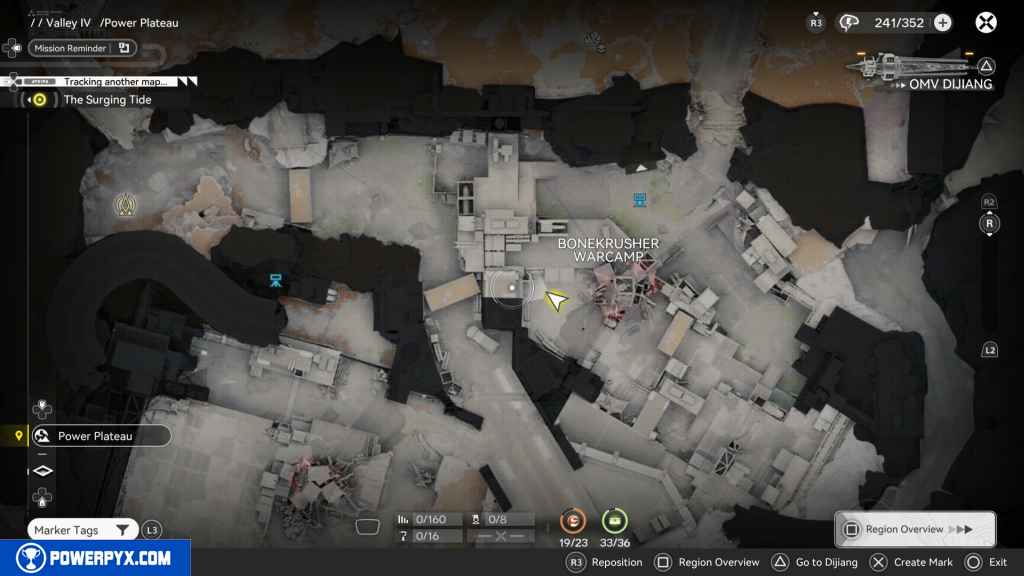
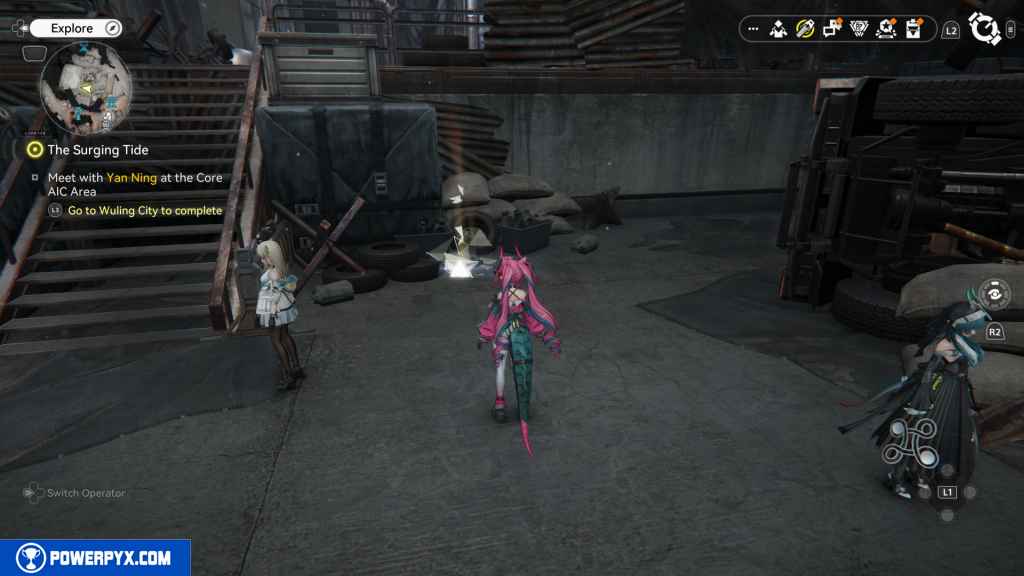
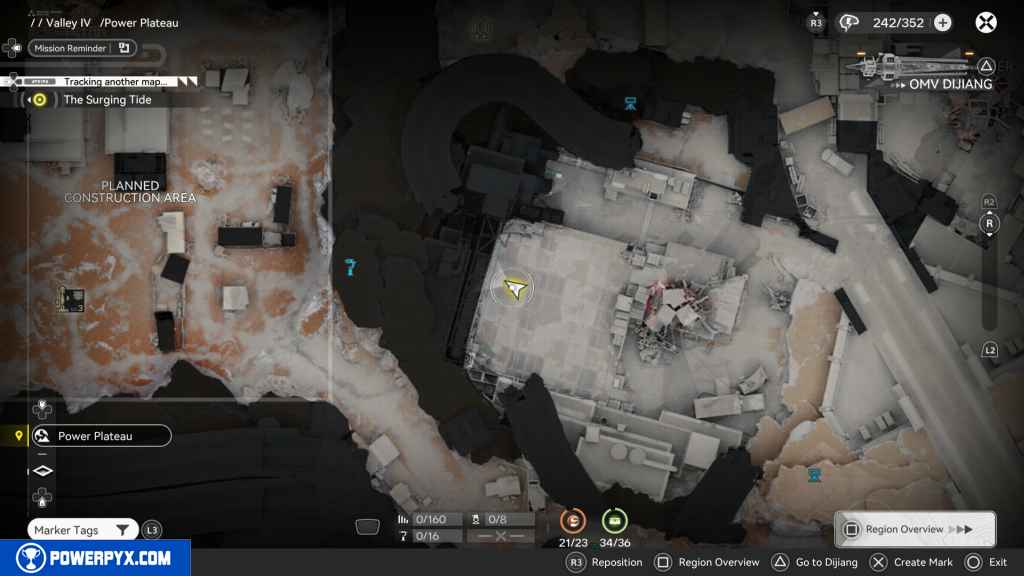
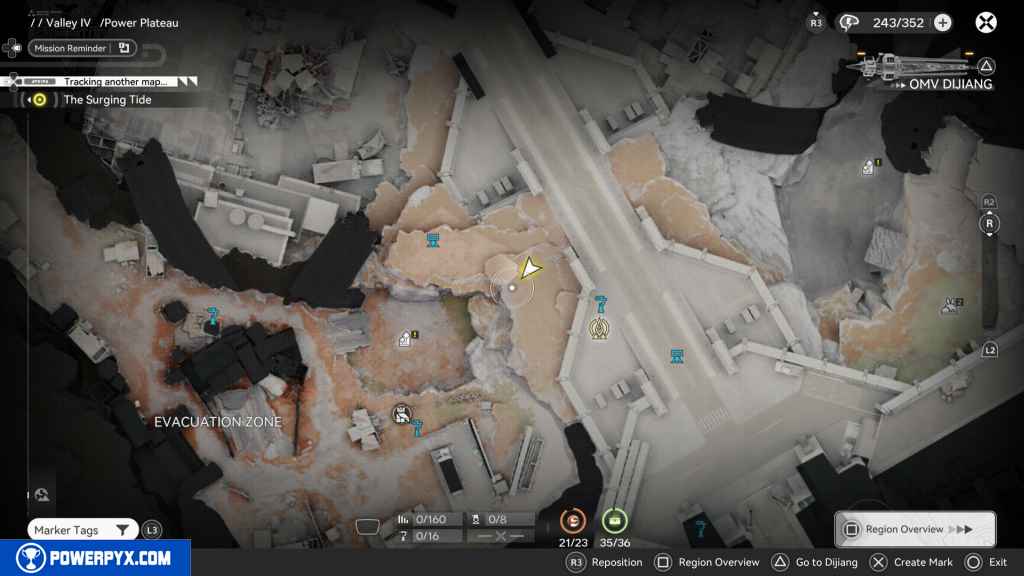
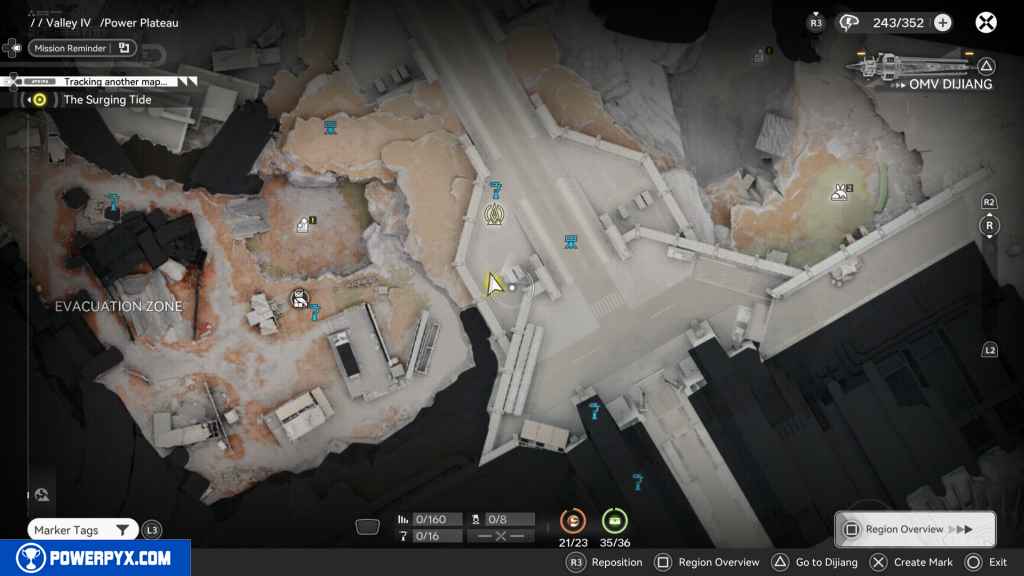
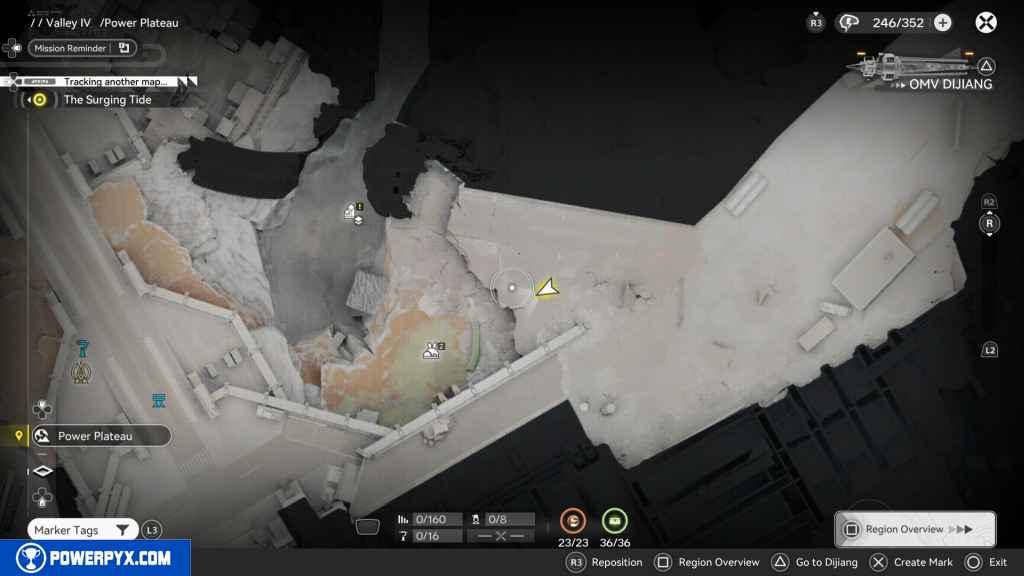
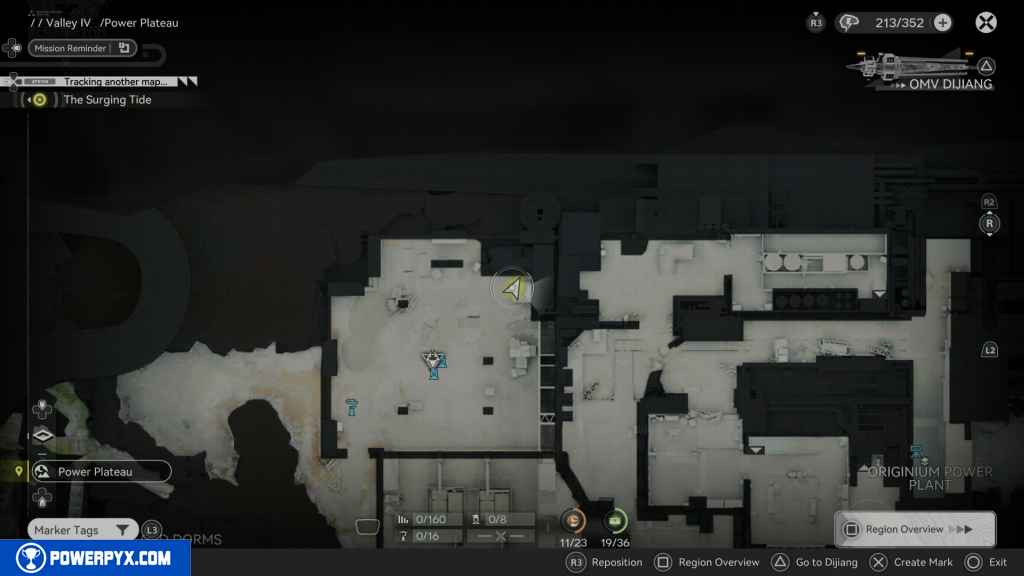
The Power Plateau contains 99 Collectible Locations in Arknights Endfield. This walkthrough will guide you to all the collectibles in the Power Plateau Region. Everything that’s needed for 100% completion is included.
- Aurylene: 23
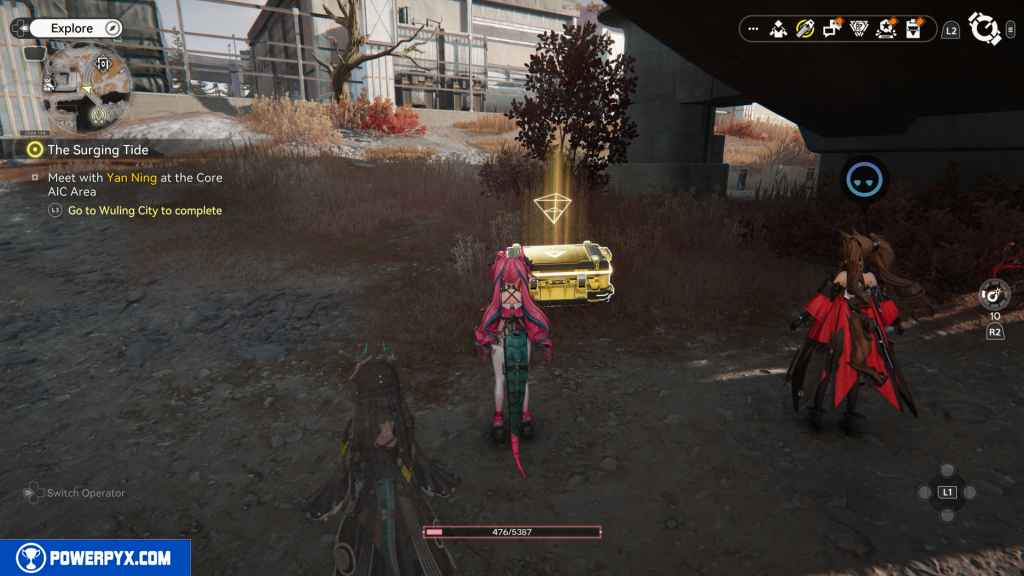
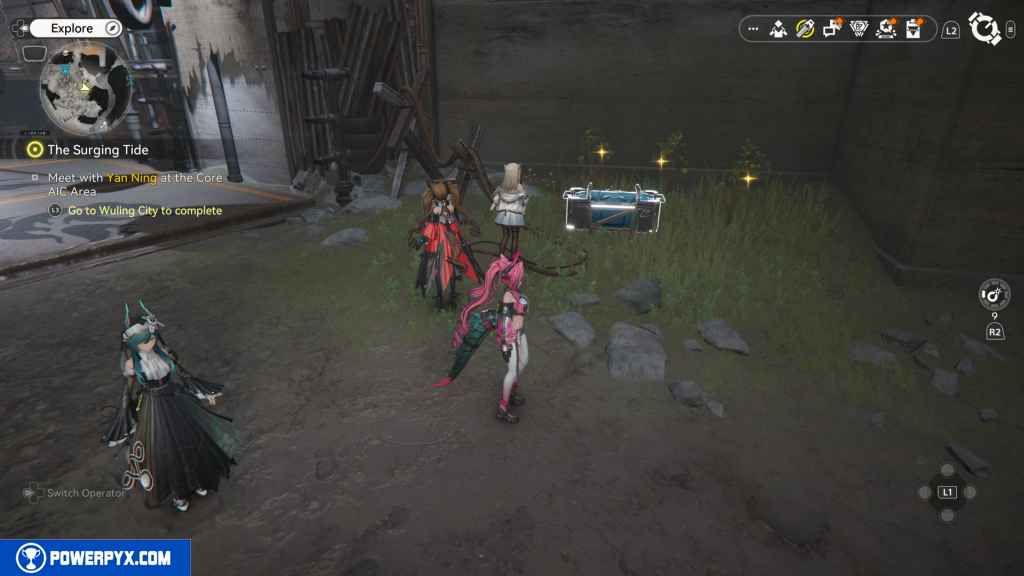
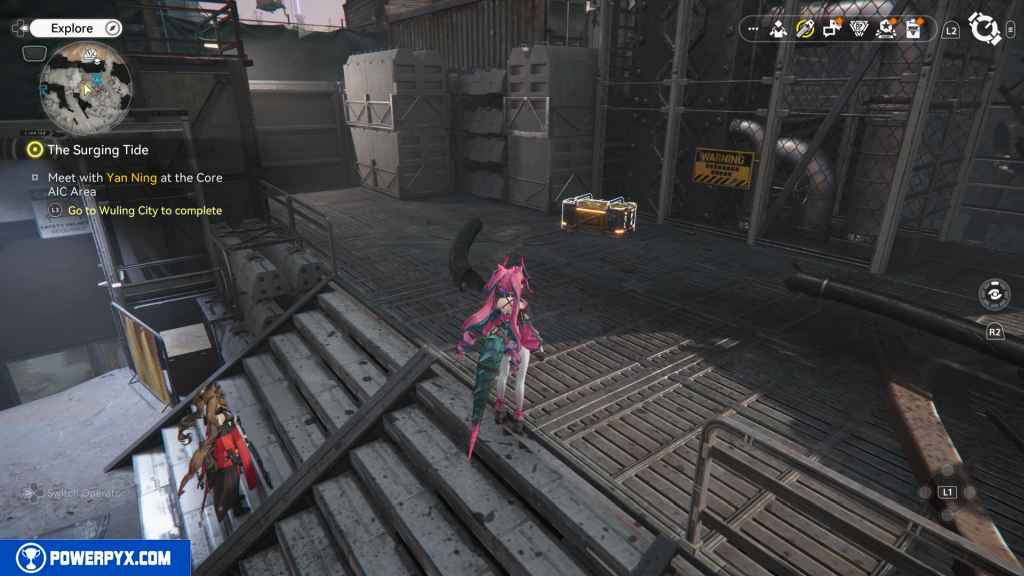
- Crates: 36
- SOS Repair Bots: 4
- Gathering Points: 32
- Investigation Documents: 4
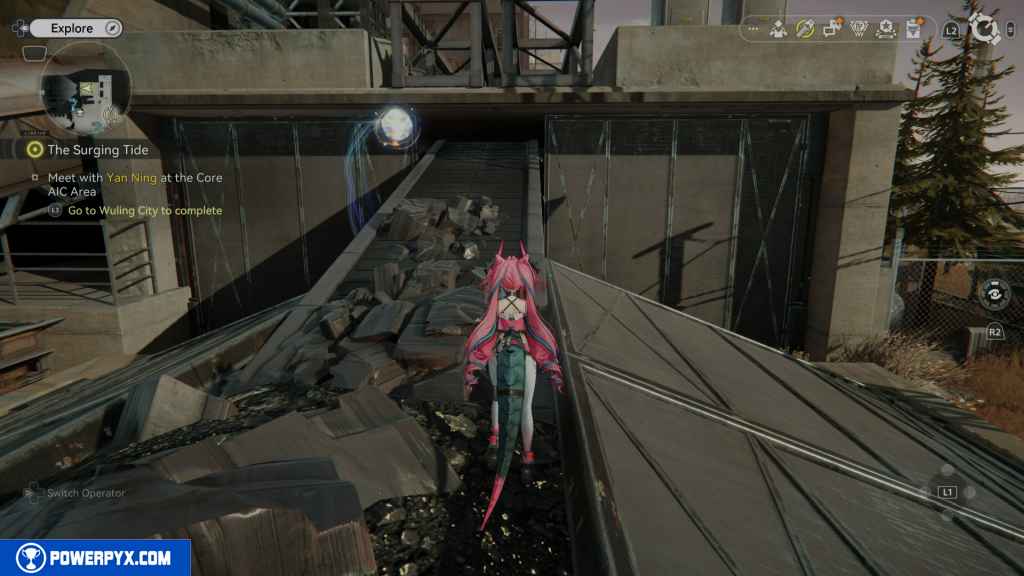
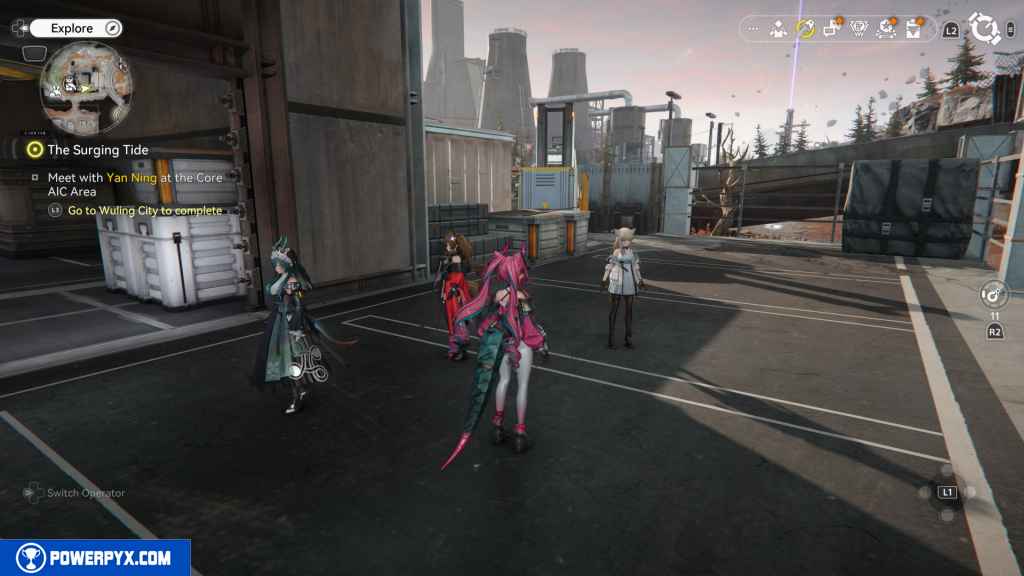
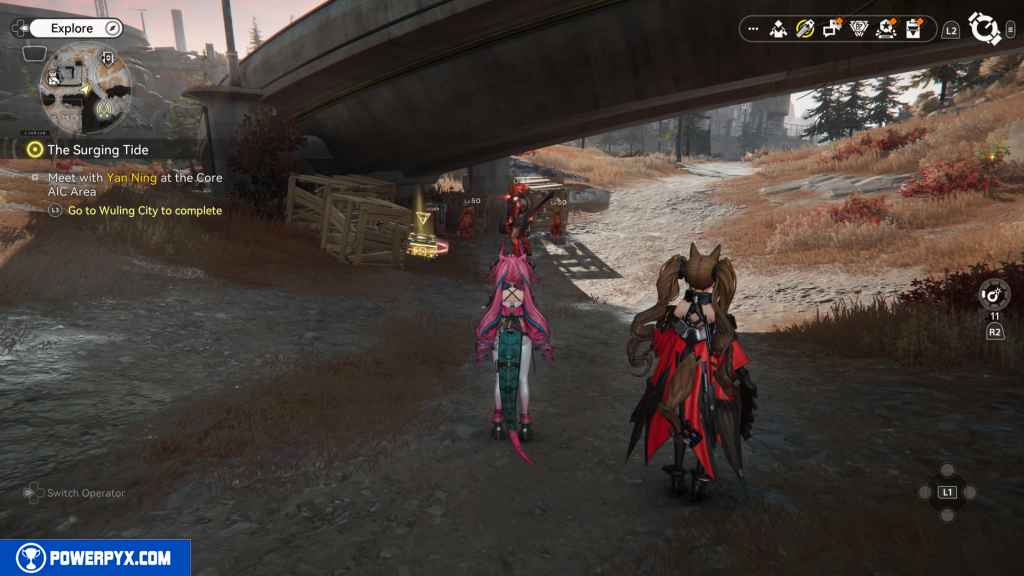
Complete These Quests To Unlock All Areas In The Power Plateau
- Play through the story until you complete Main Mission 28 – Mysterious Signal
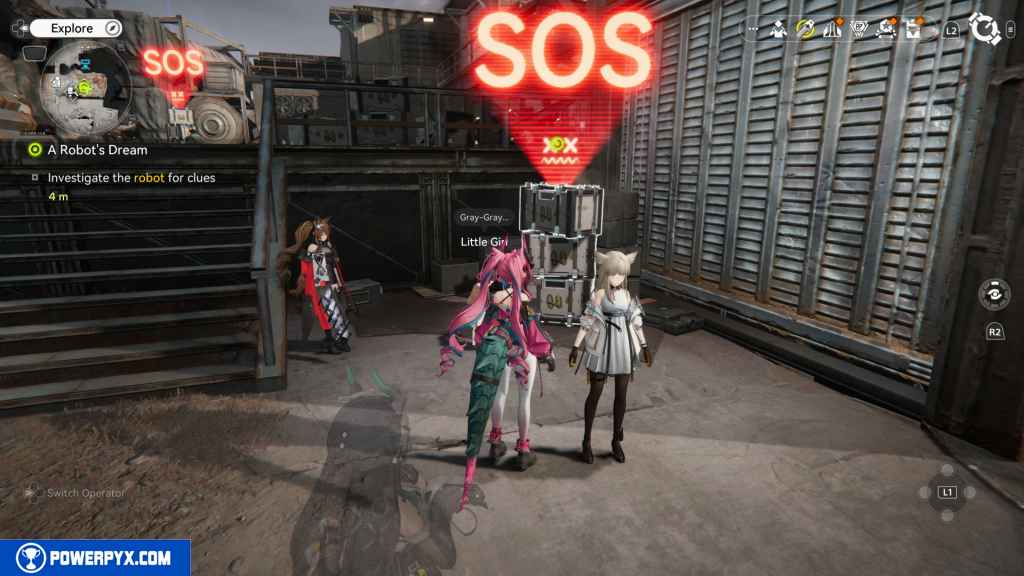
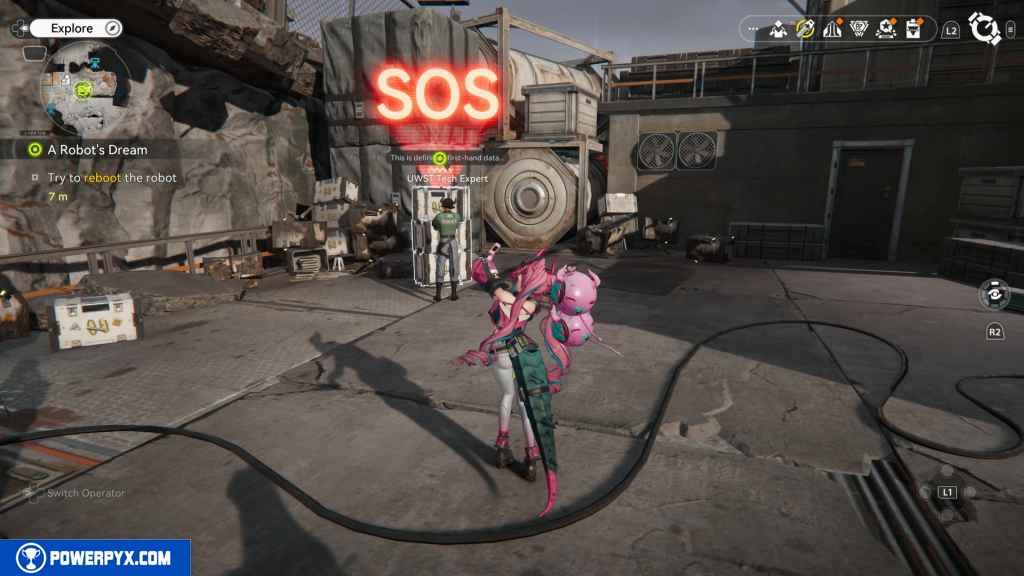
- Side Mission – A Robot’s Dream
- Side Mission – A Brewing Storm: Power Plateau
- Operator Mission- Lone Wolf
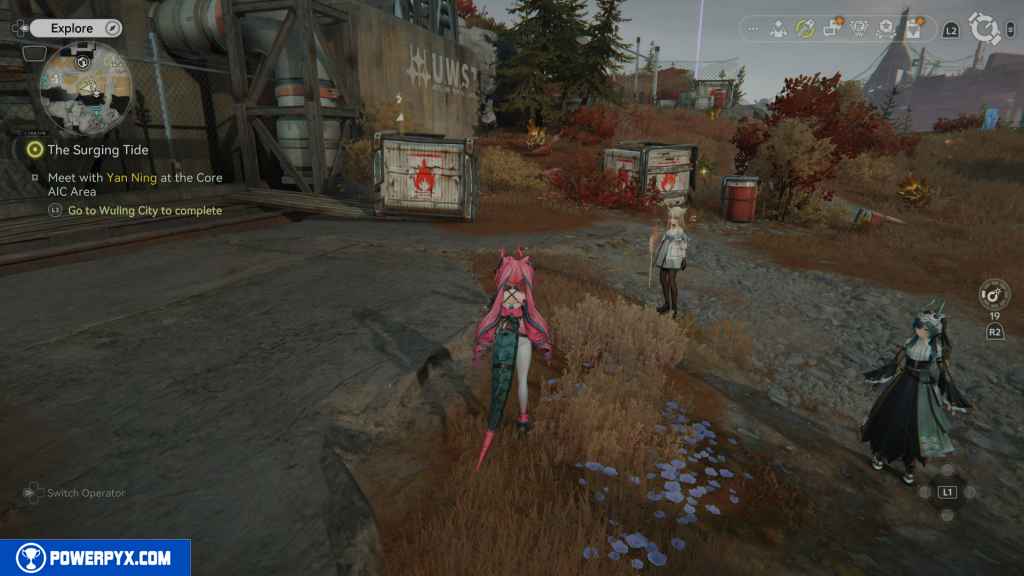
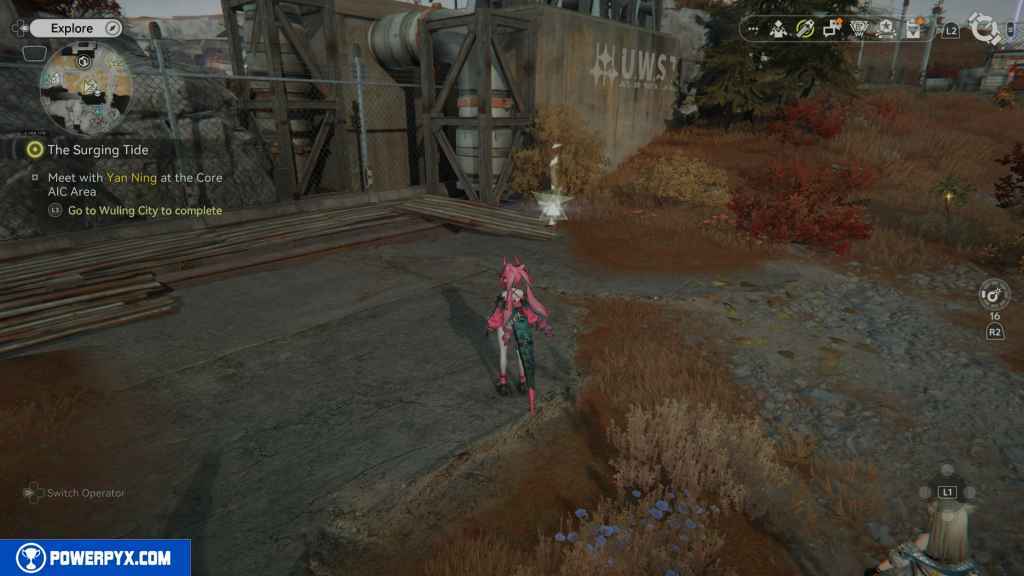
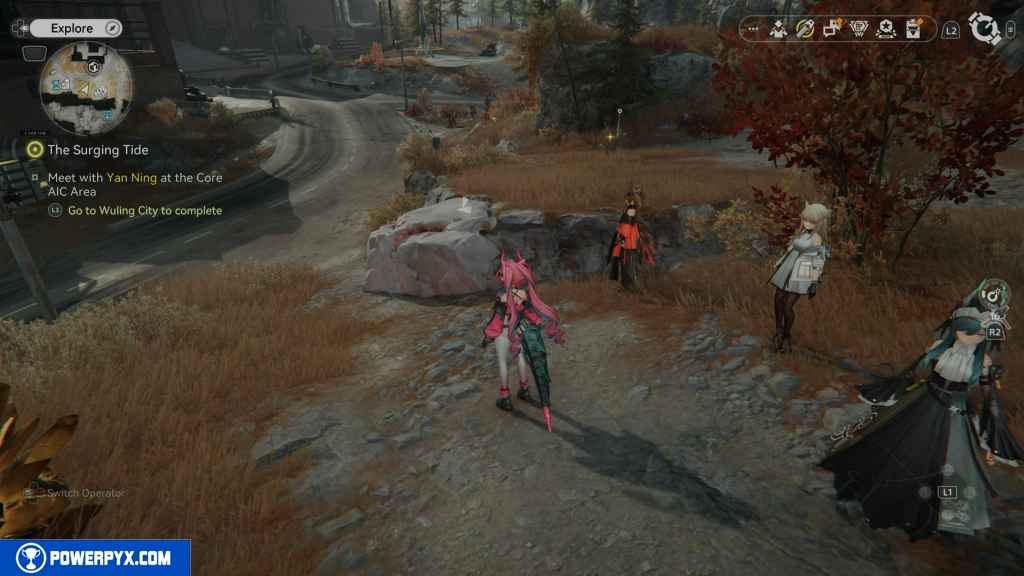
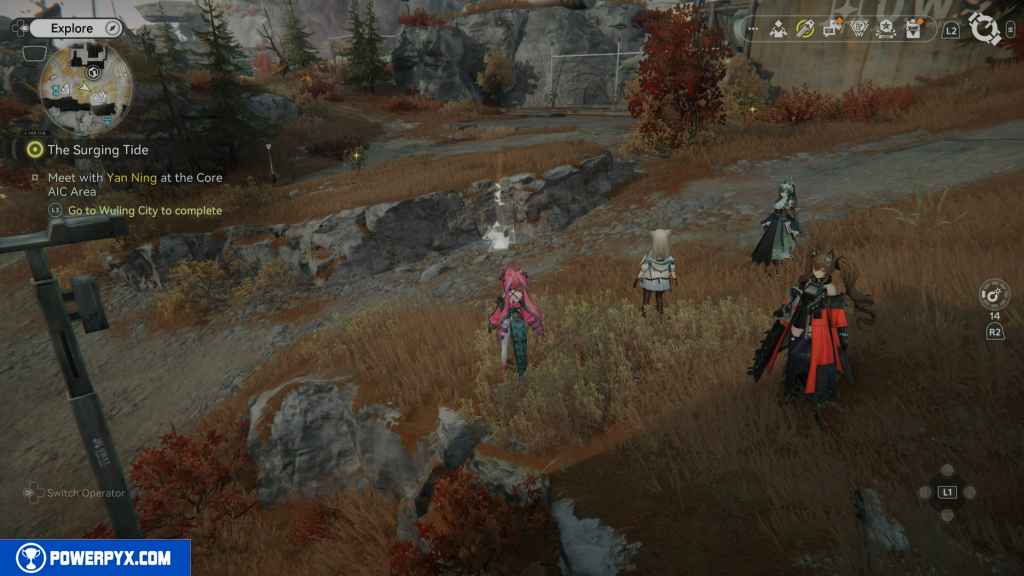
Collectibles Overview:
Collectibles
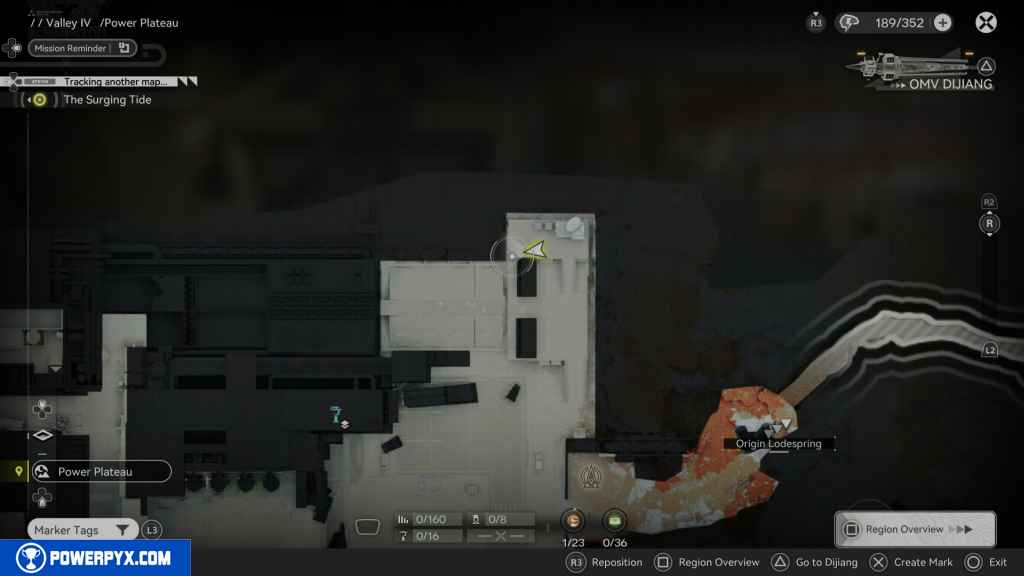
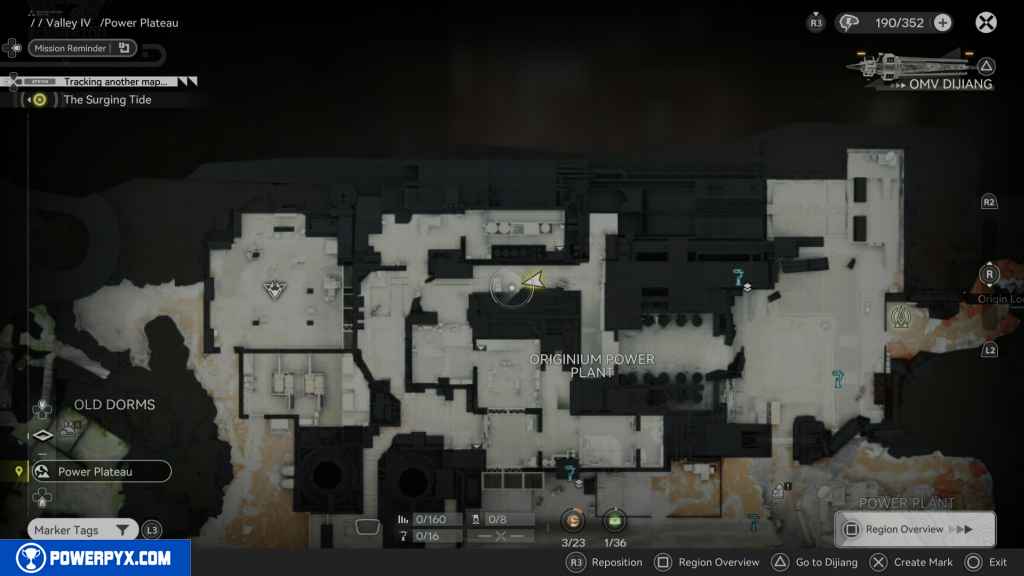
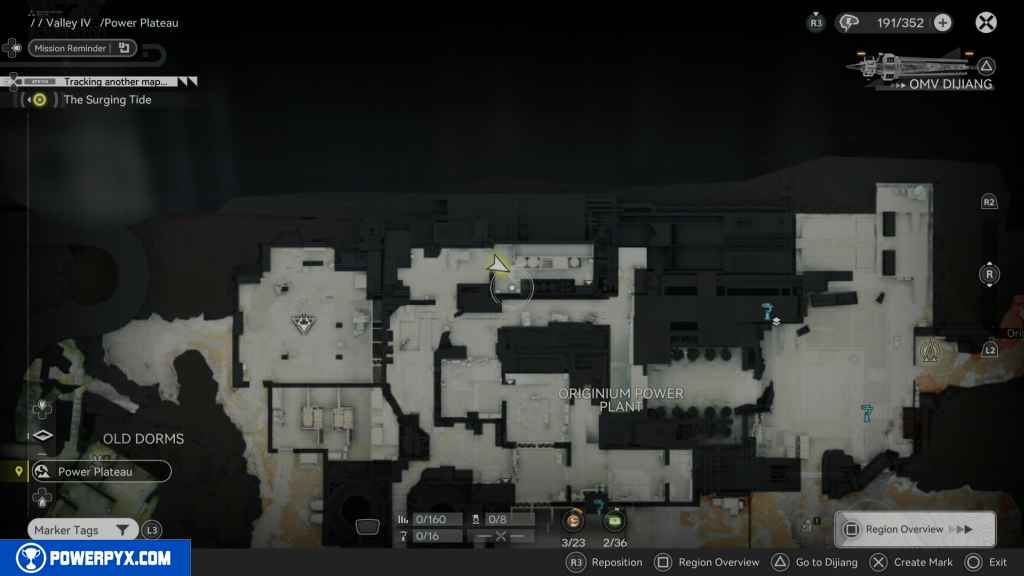
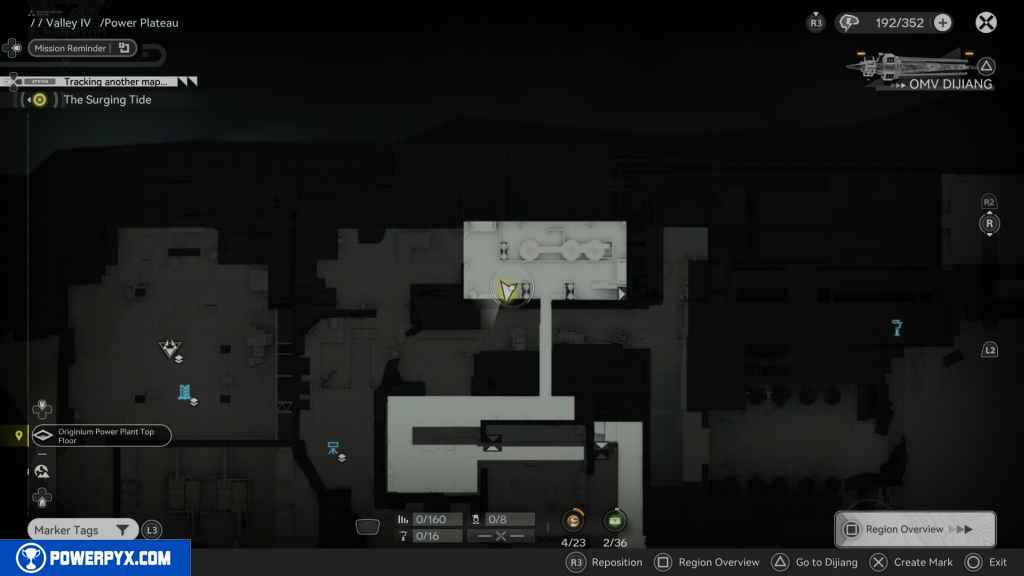
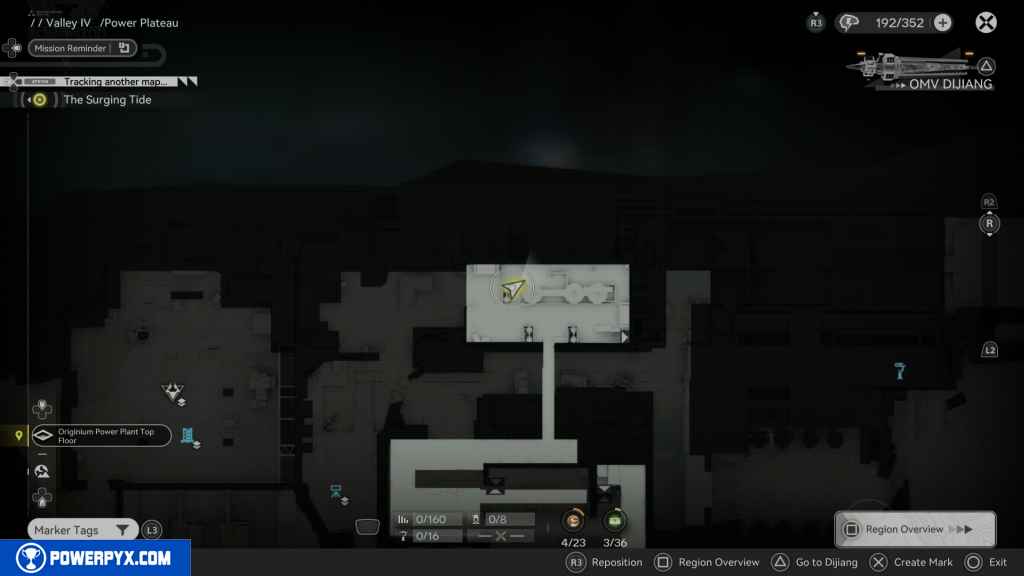
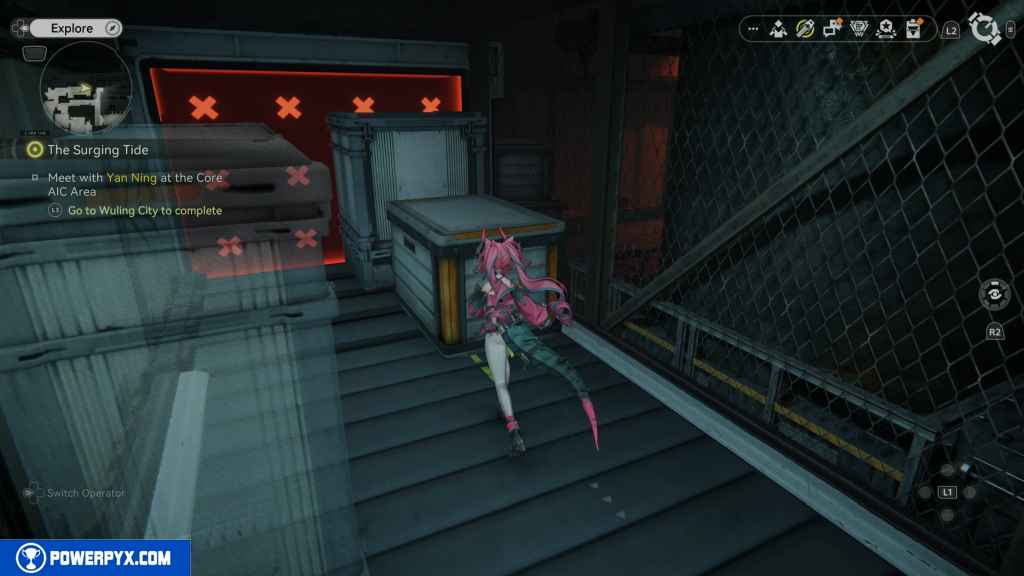
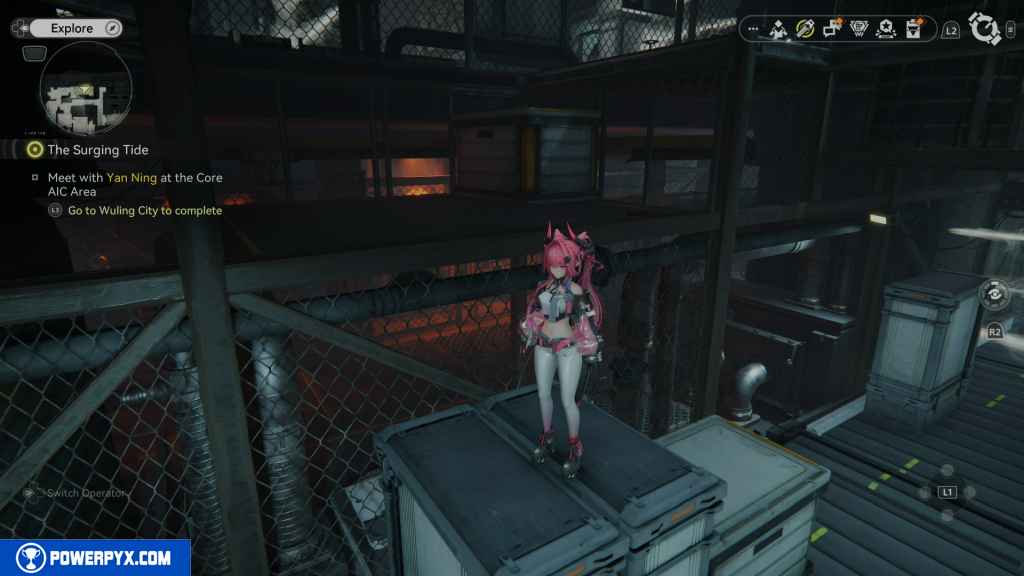
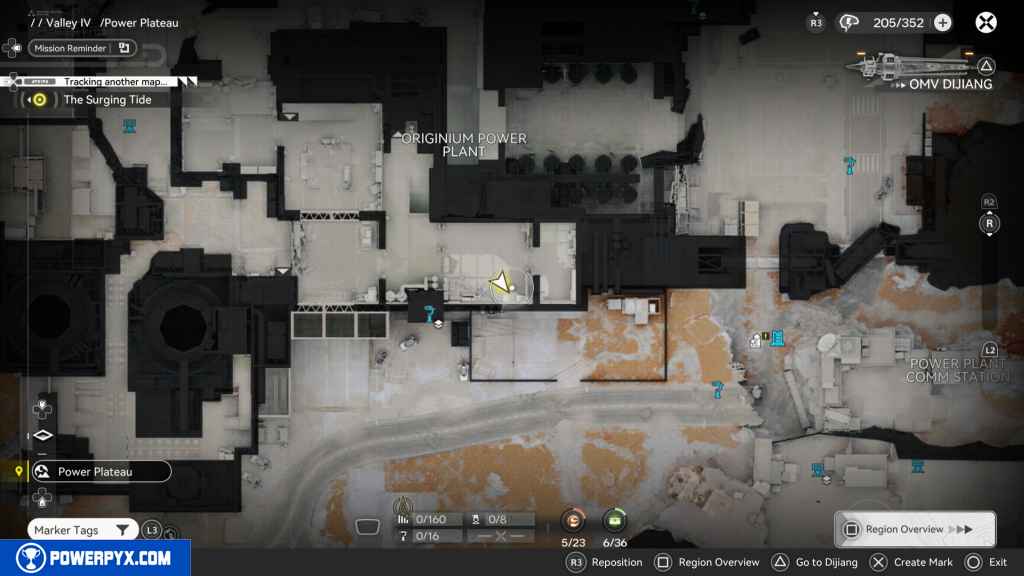
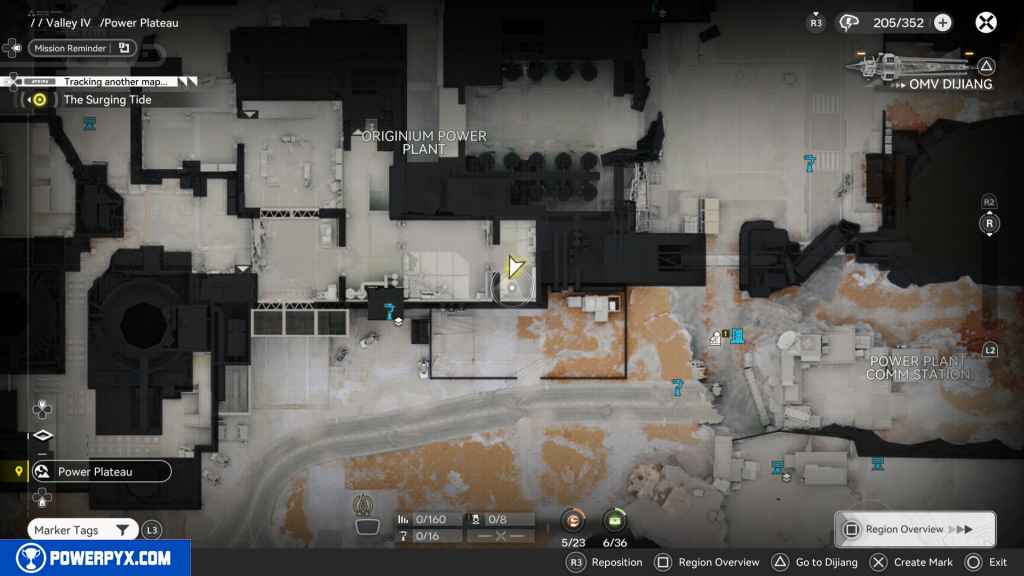
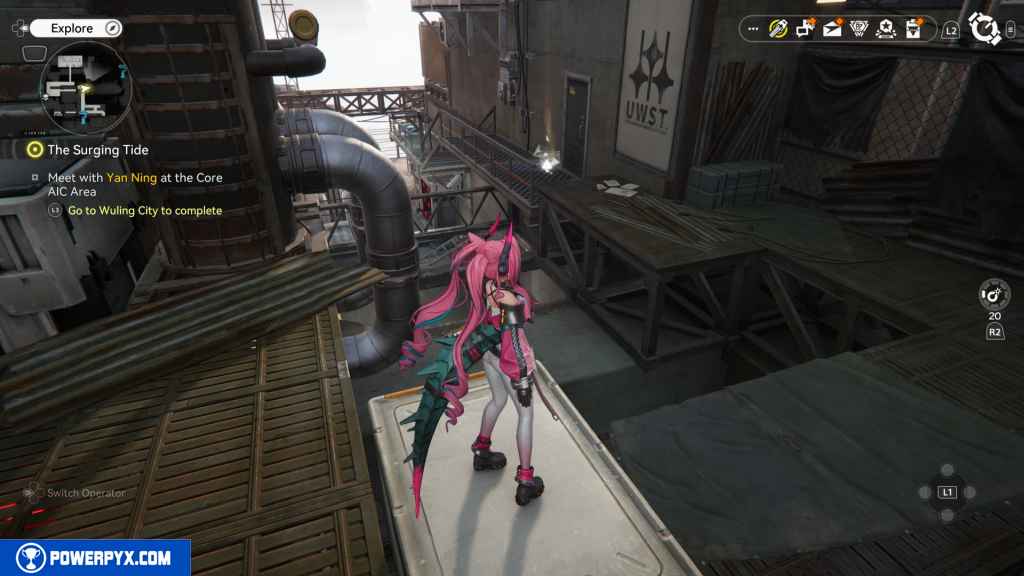
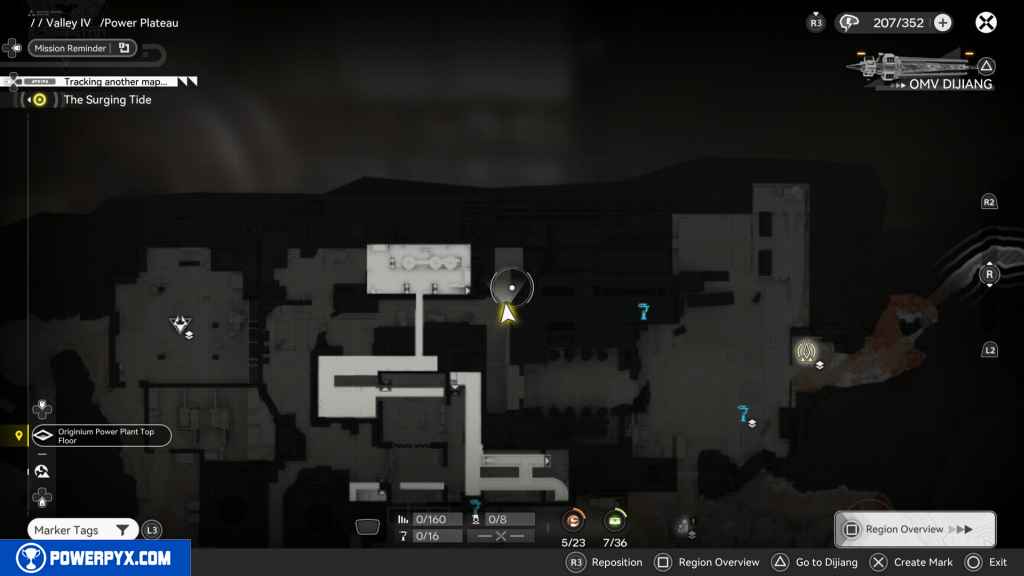
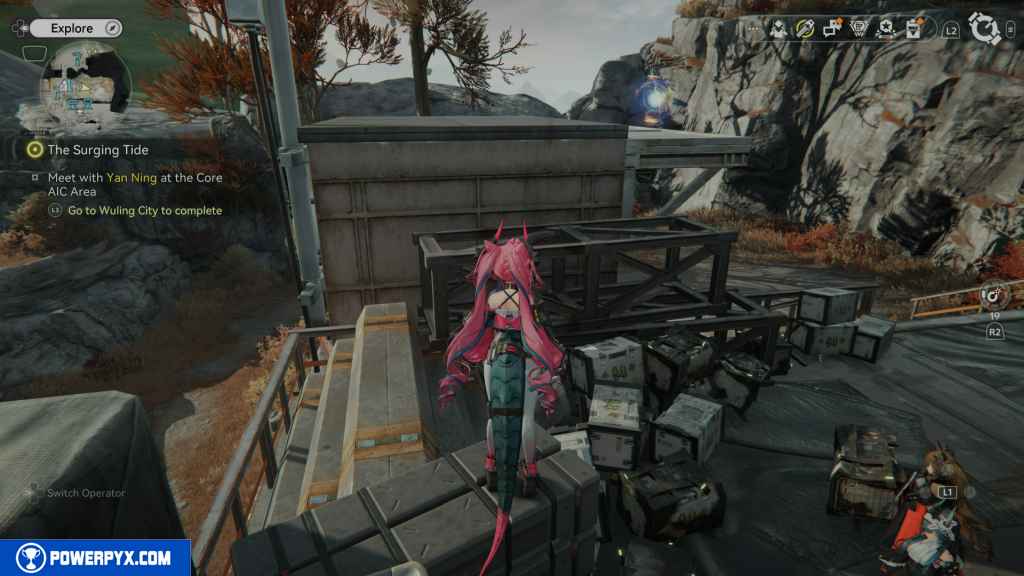
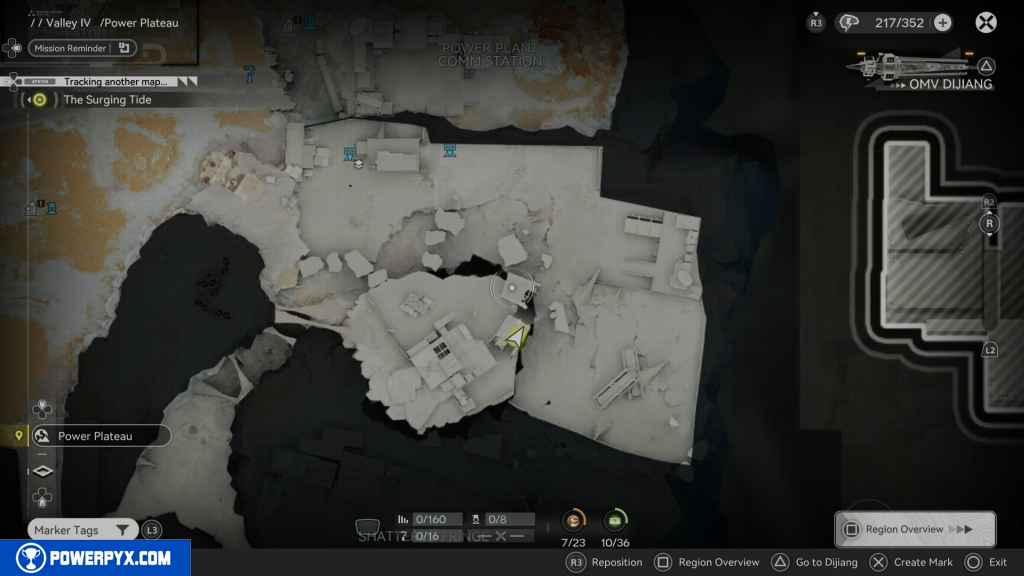
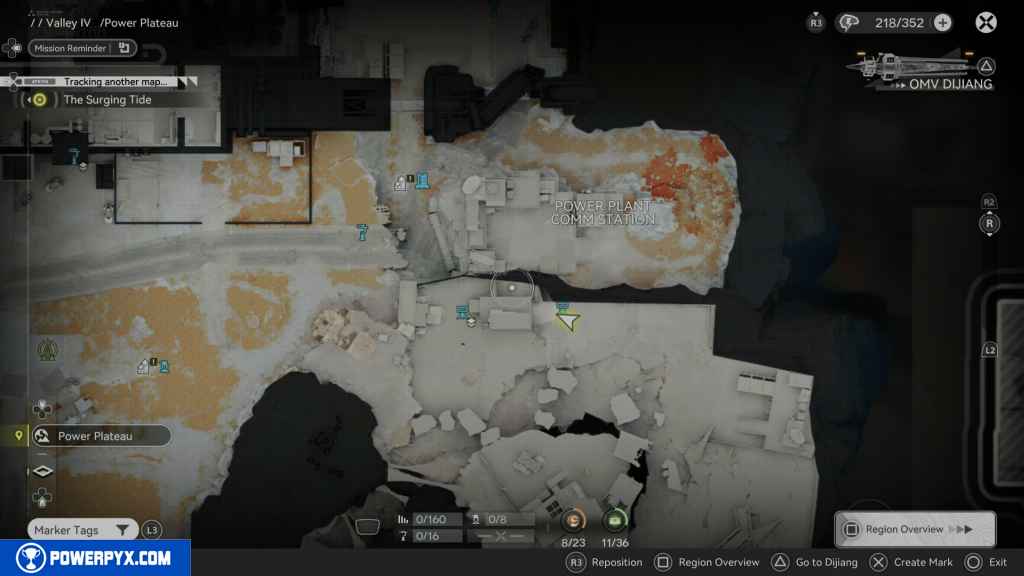
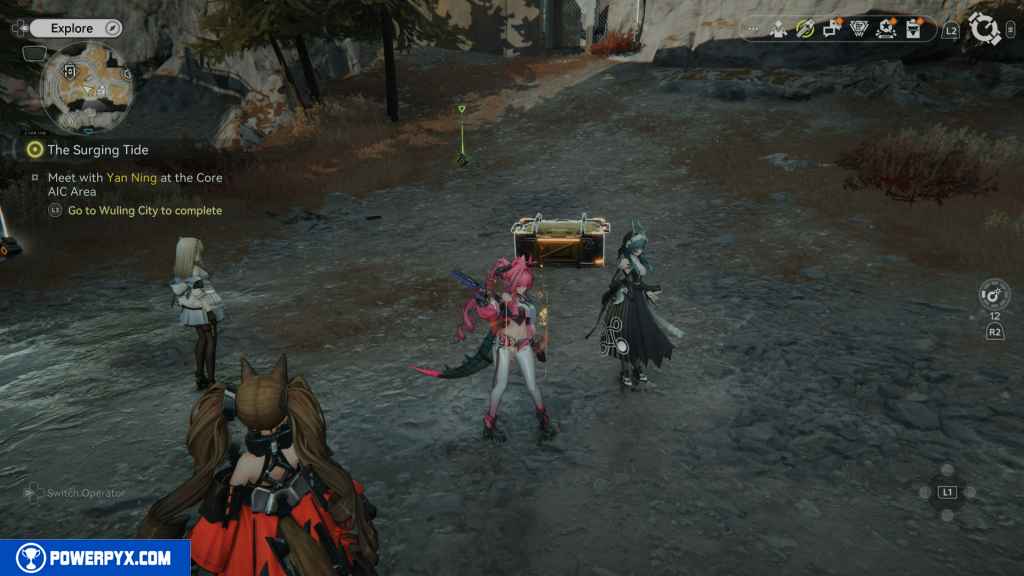
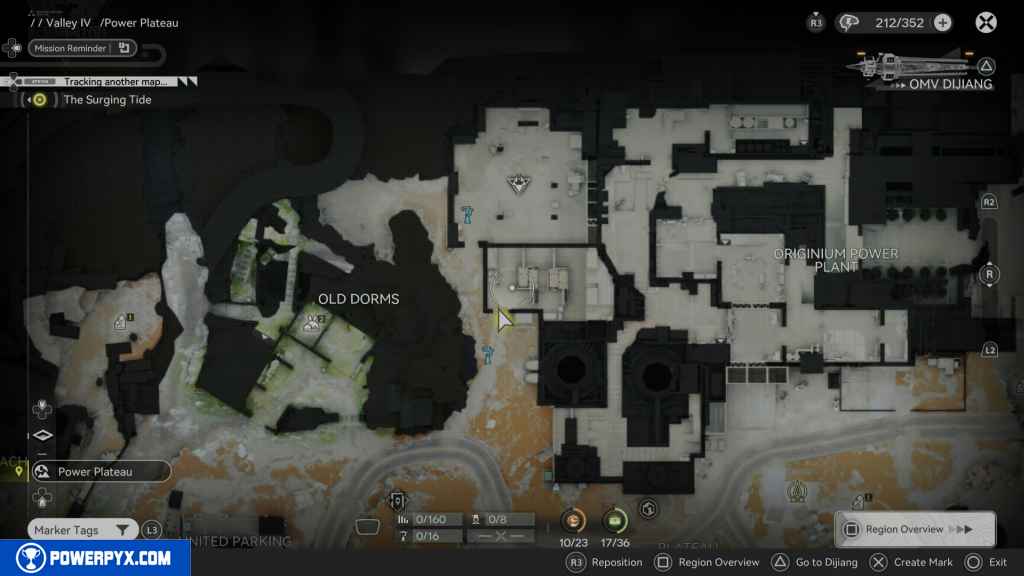
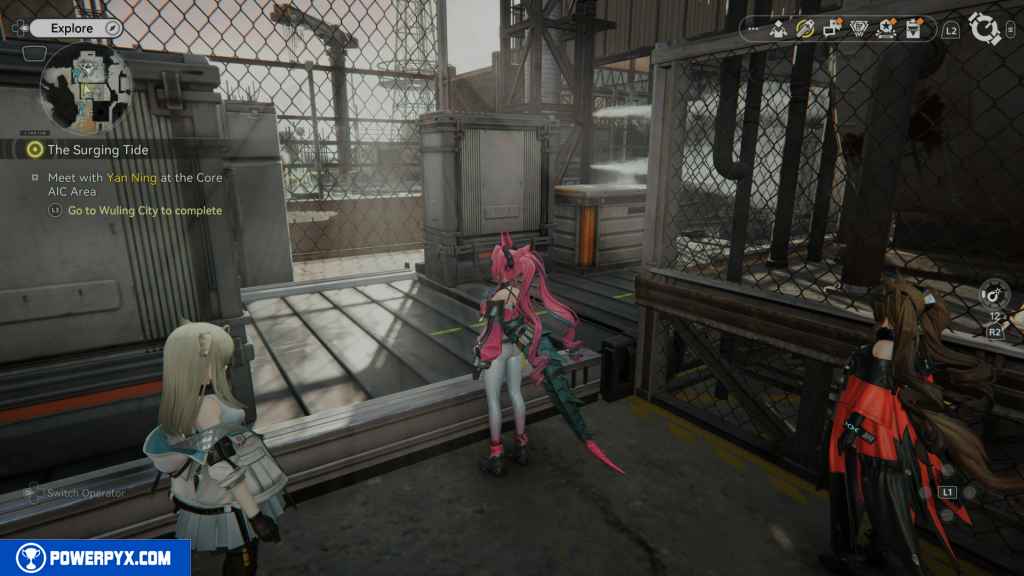
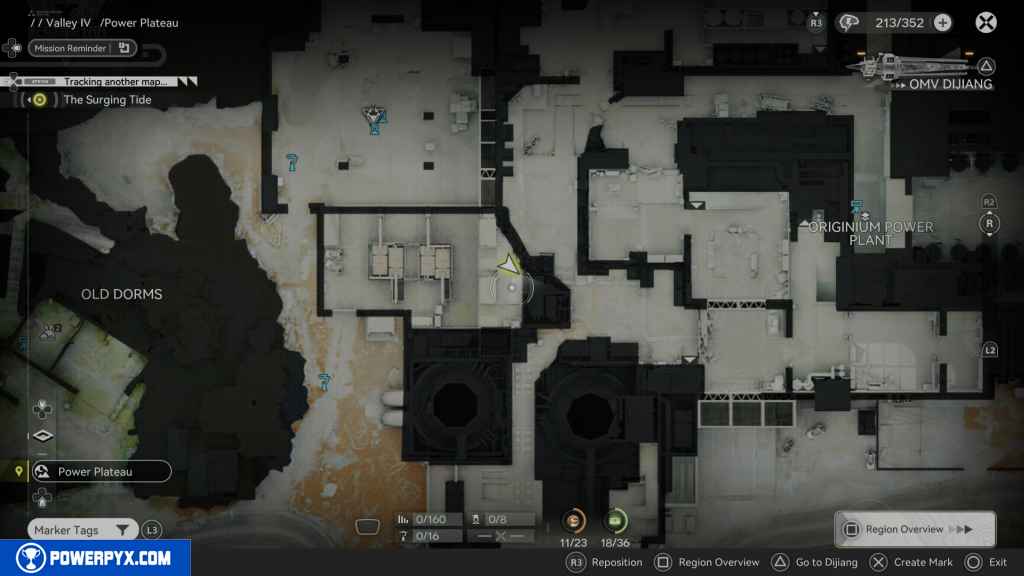
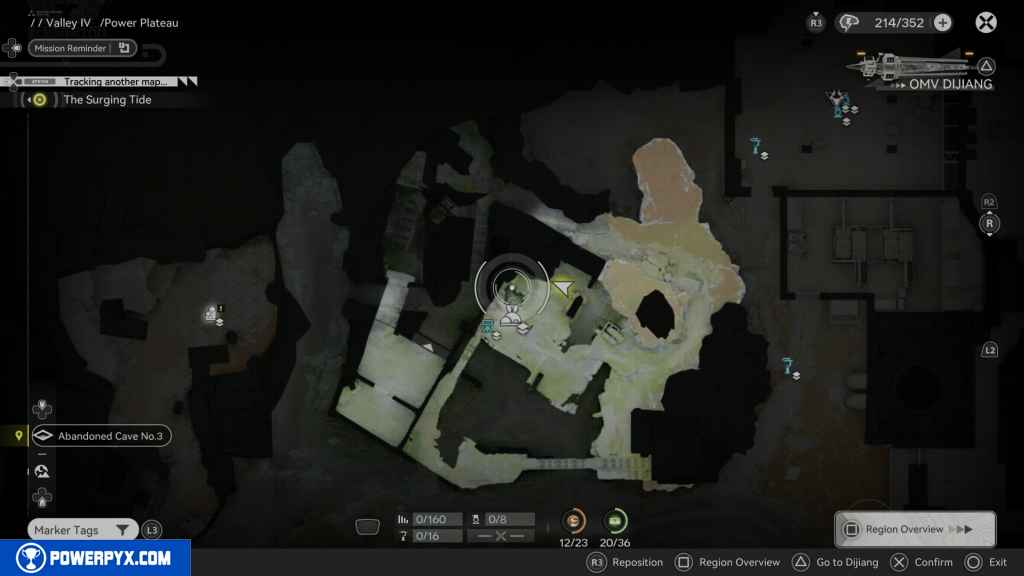
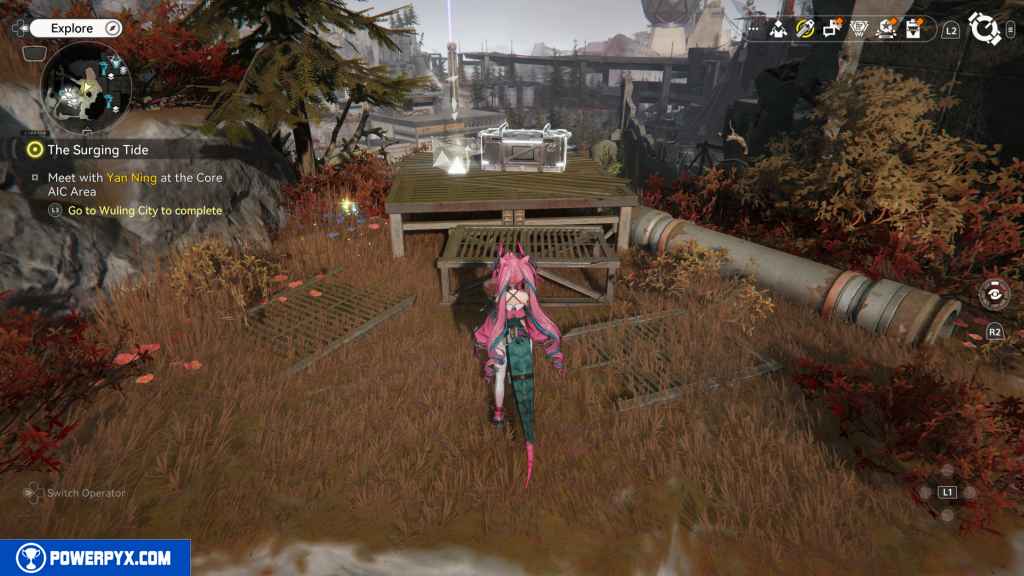
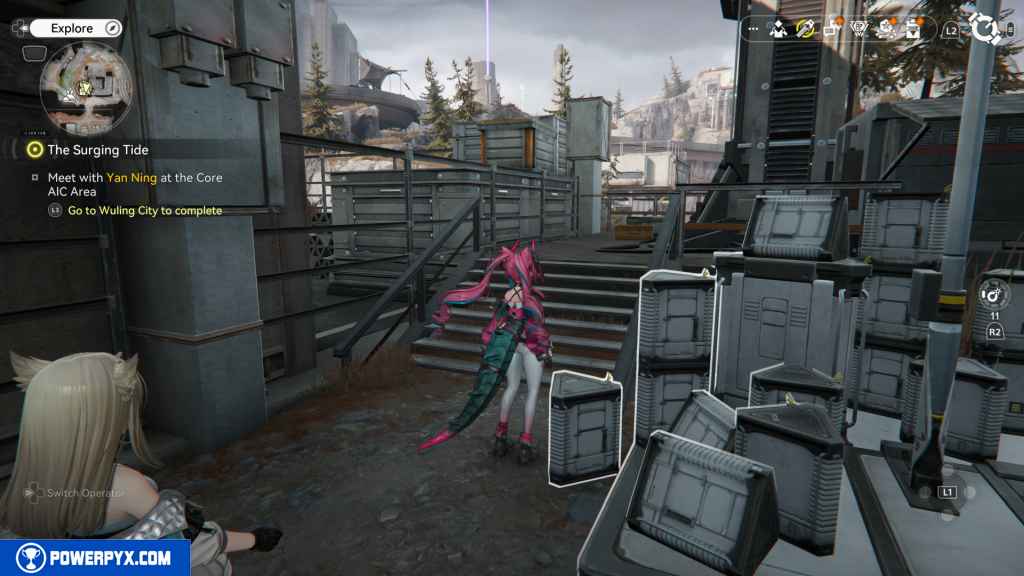
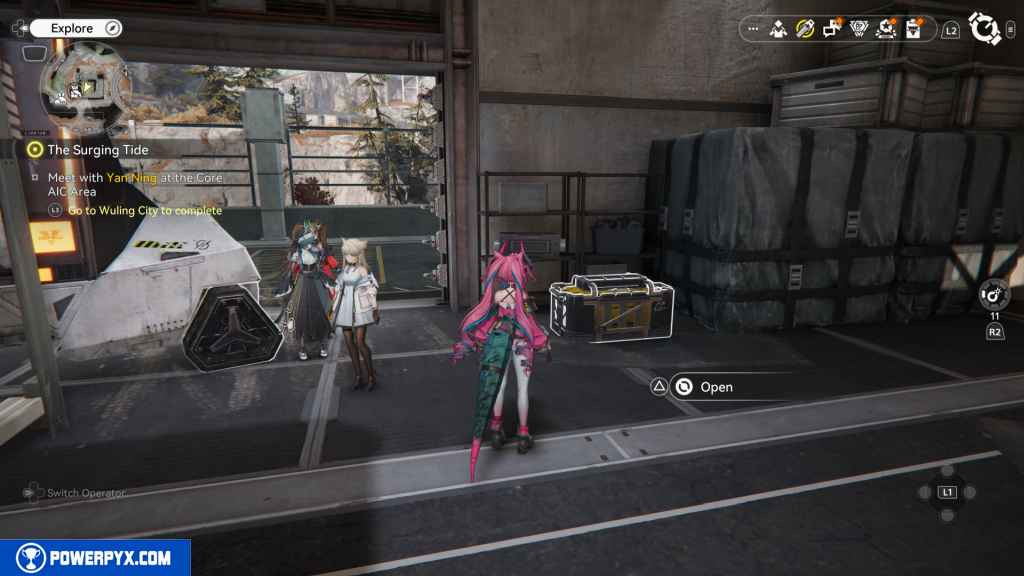
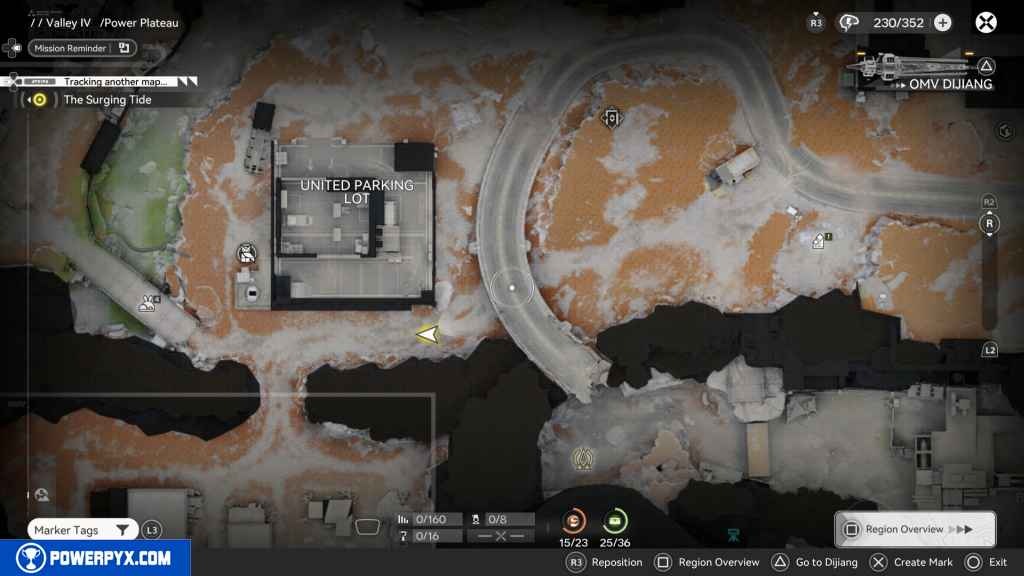
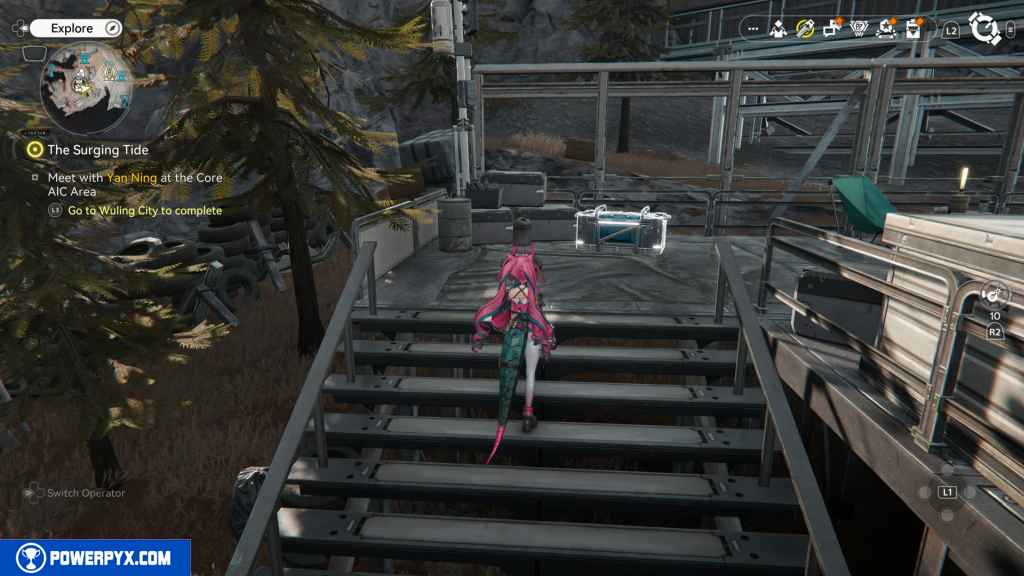
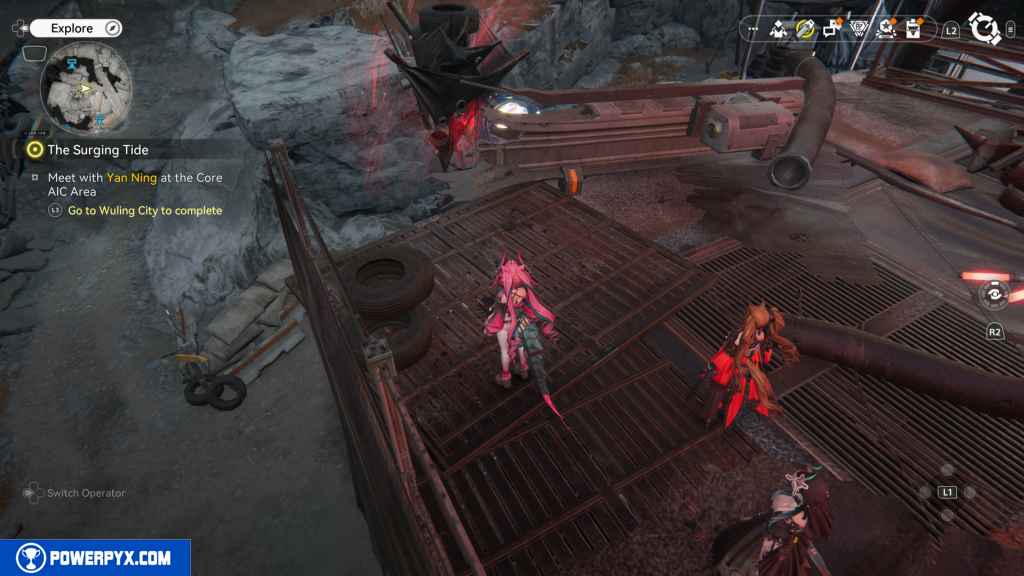
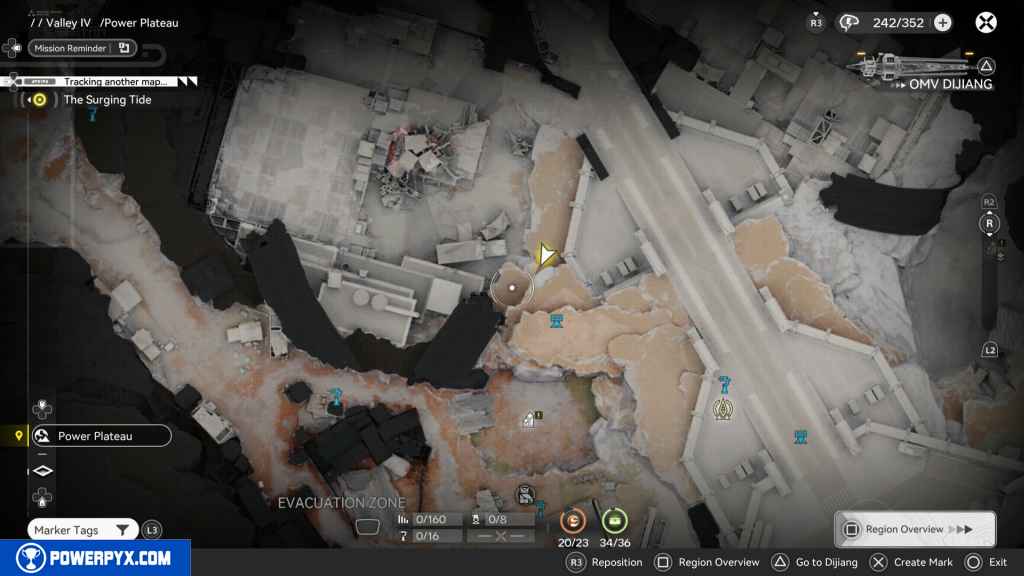
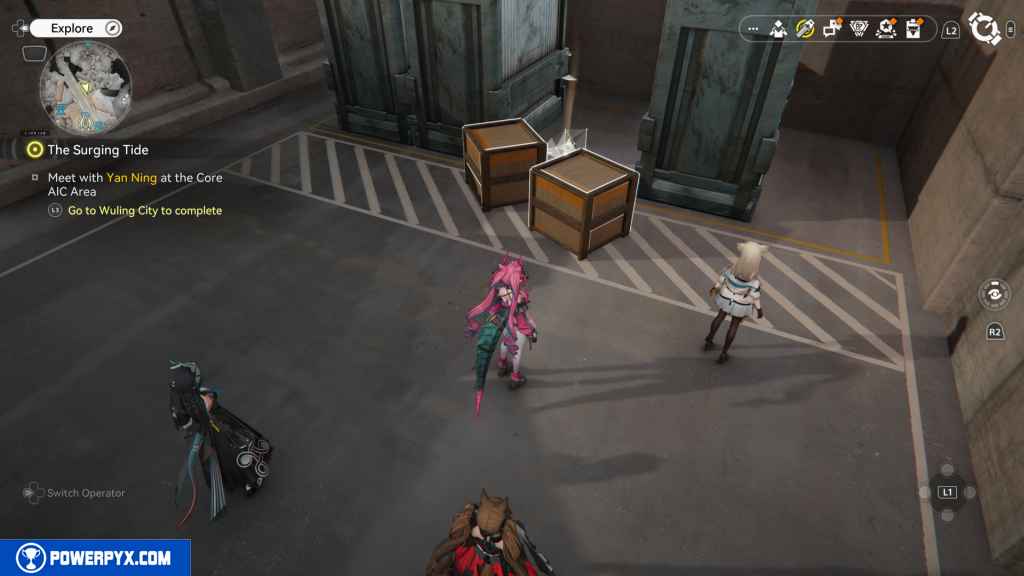
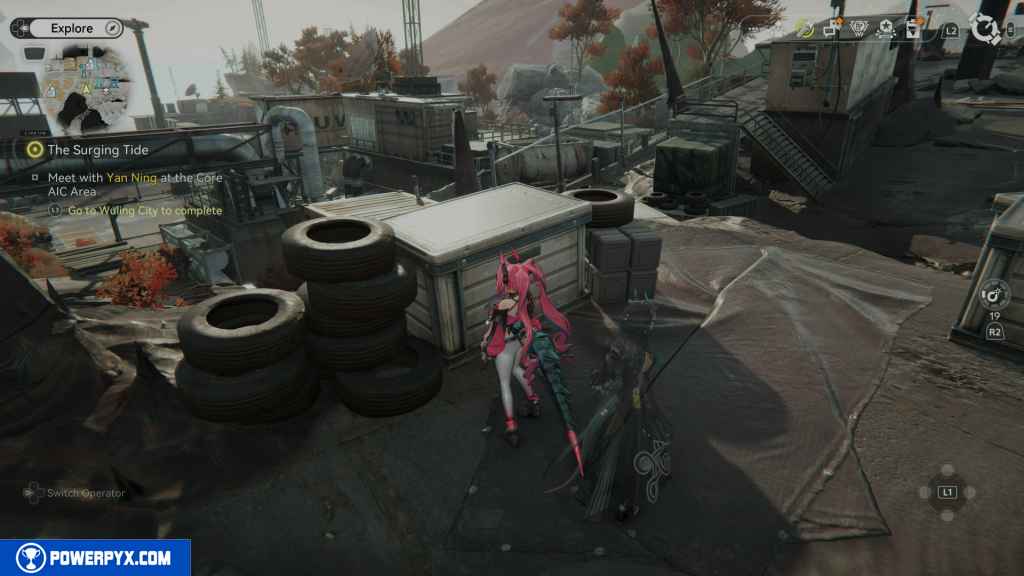
1 – Crate 1
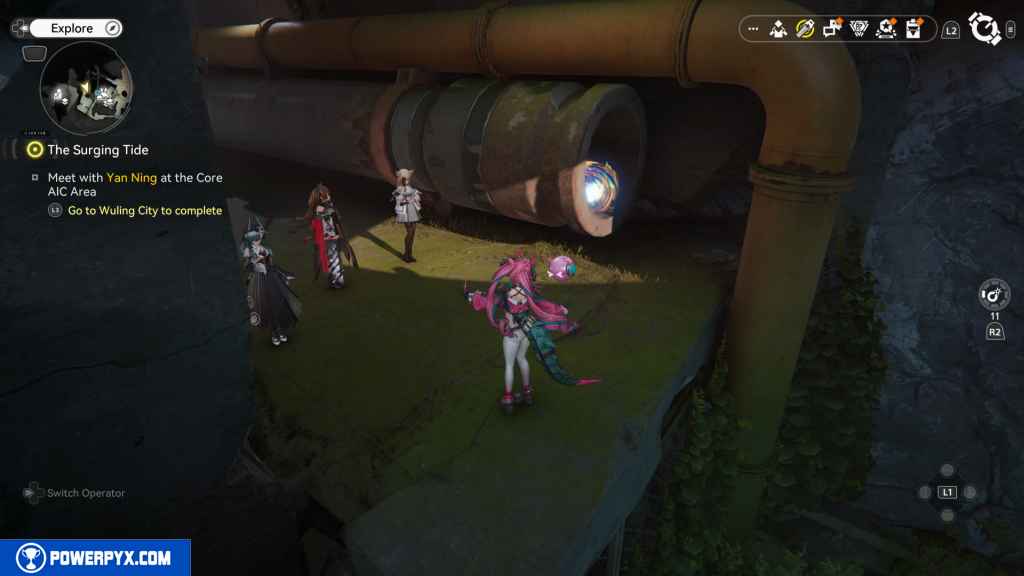
At the Originium Power Plant TP teleporter’s starting location, head north up the stairs on your right to the top to find this crate.
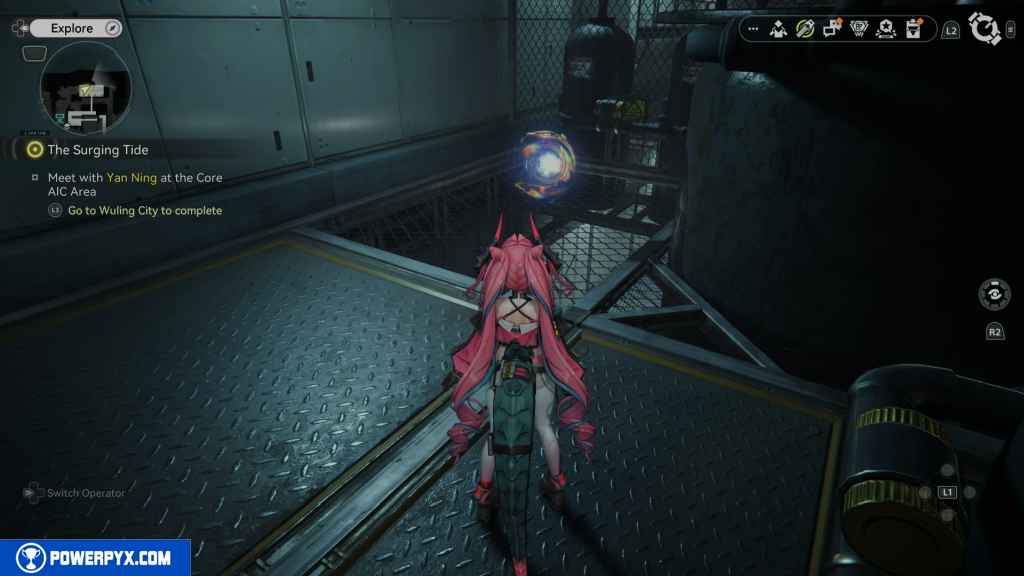
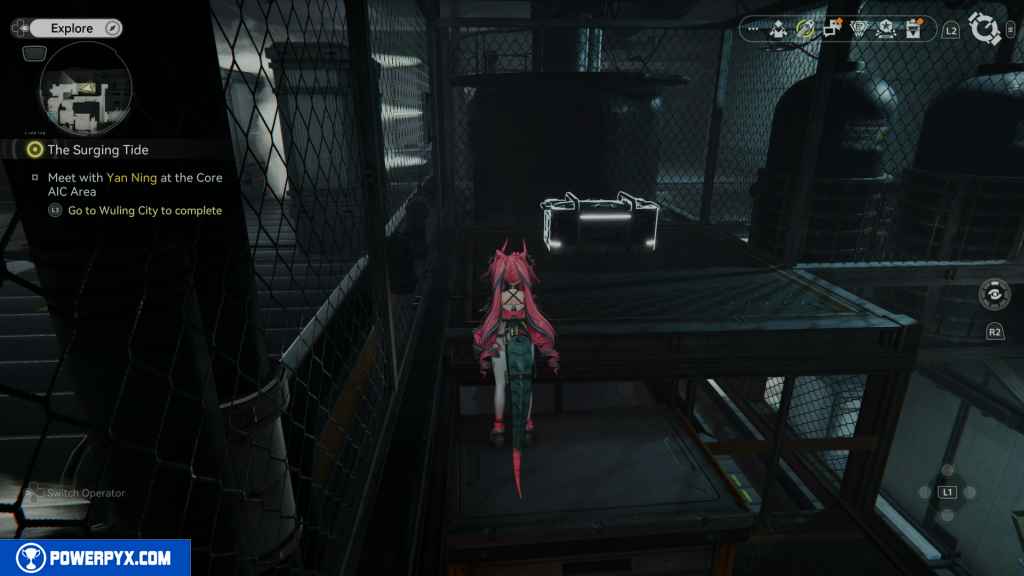
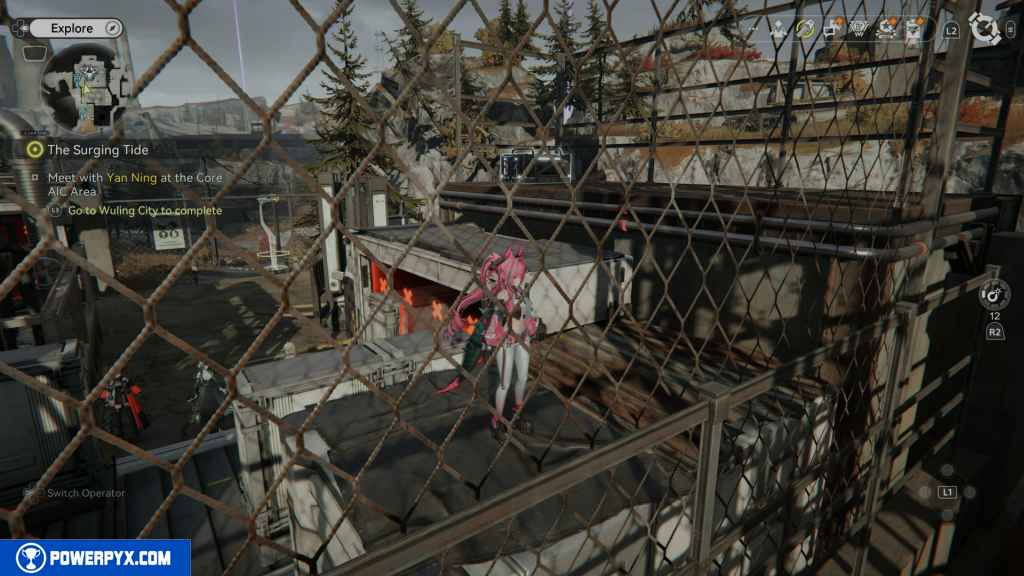
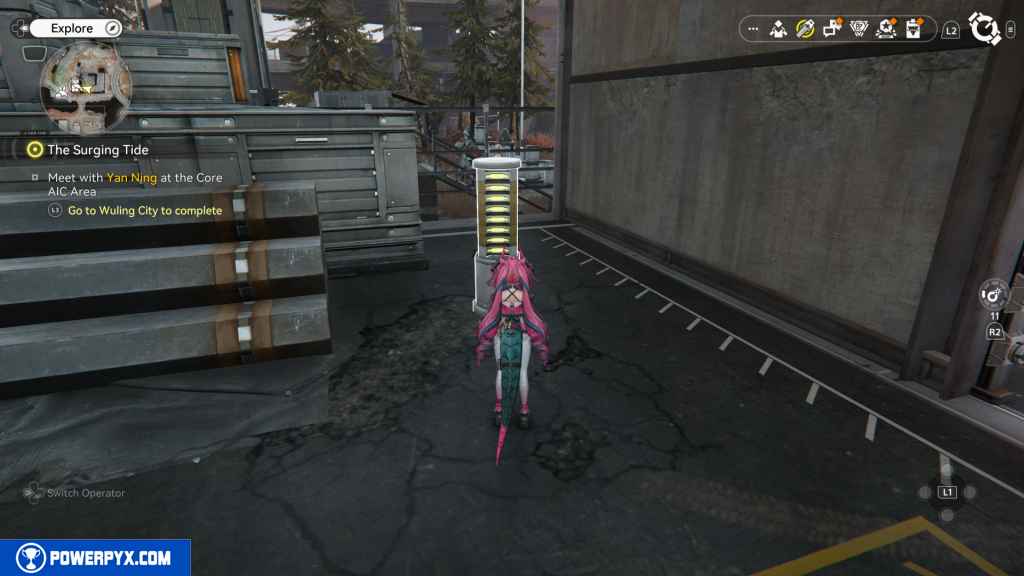
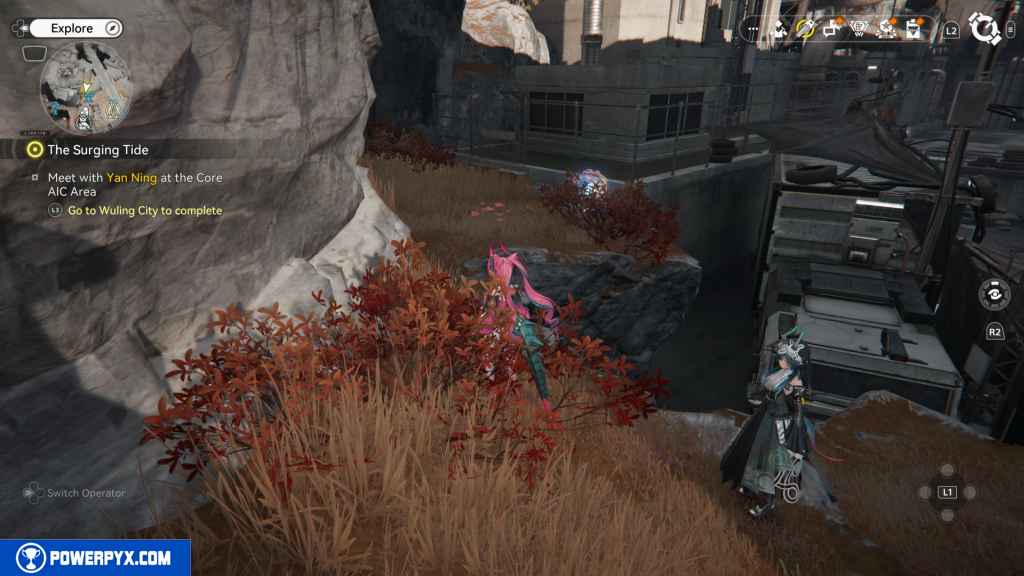
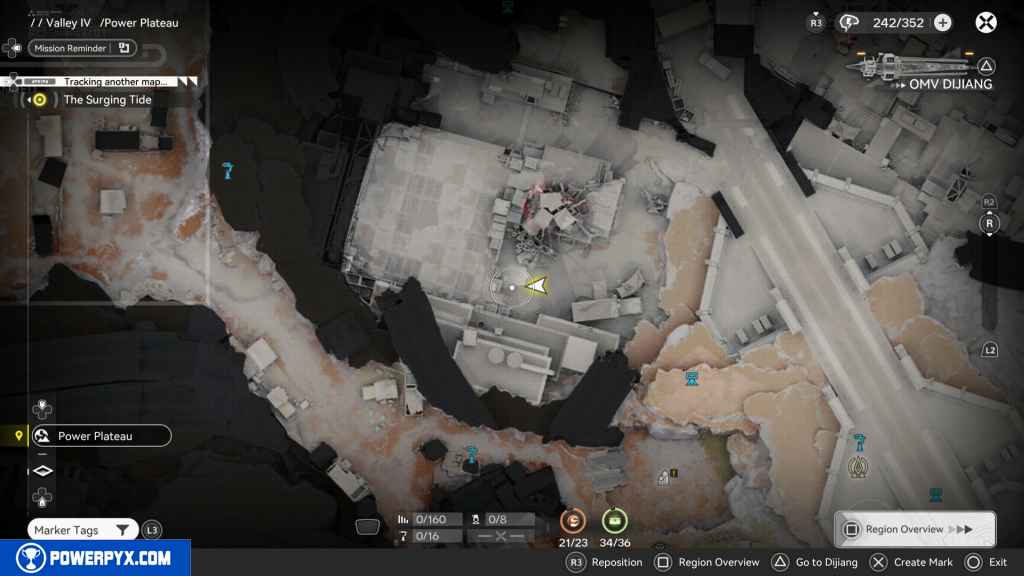
2 – Aurylene 1
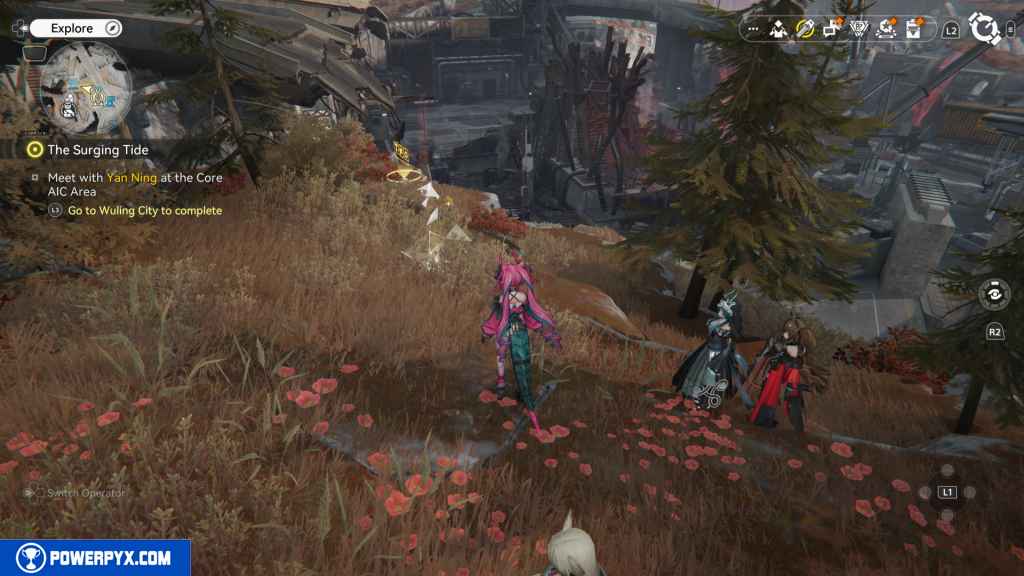
Look past the crate to the Factory and the jammed conveyor belt. You should see the Aurylene floating around the top of the belt.
3 – Aurylene 2
Head south, but before going into the Factory, look southwest into the forest area with all the minerals. On the right, you should see the Aurylene on top past the shading structure. To reach it, climb the stairs and jump onto the boxes.

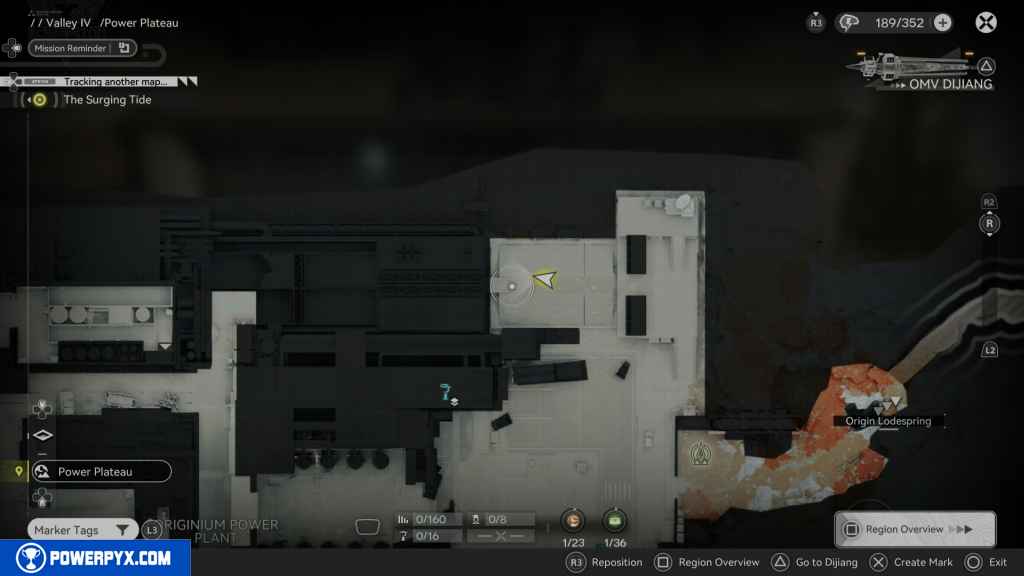
4 – Gathering Point 1
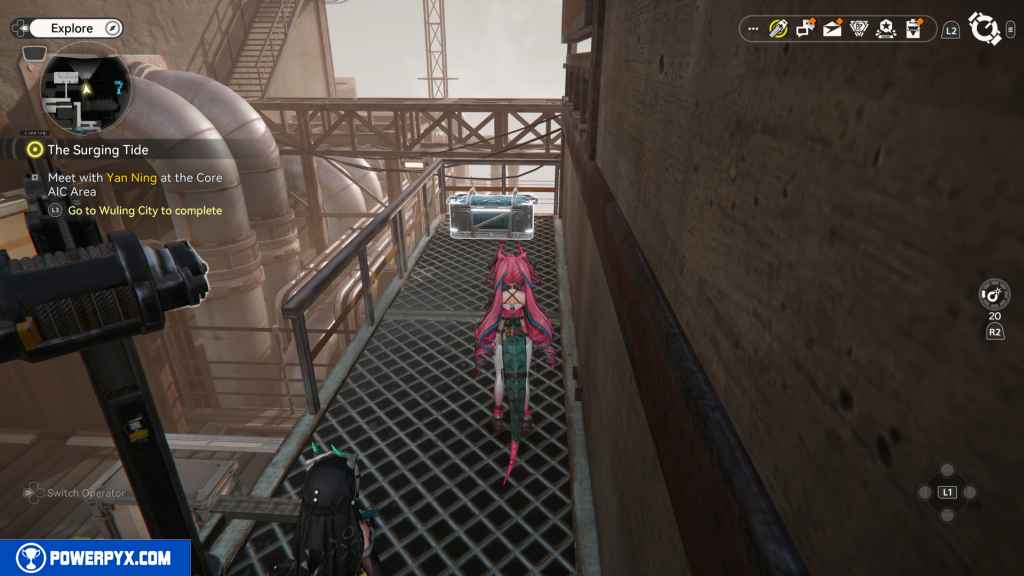
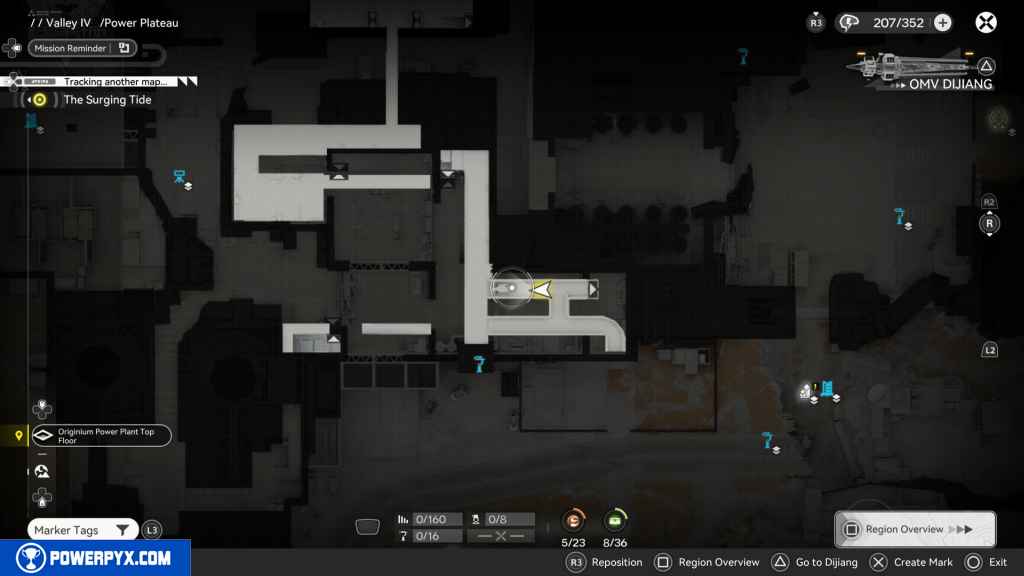
Head into the Factory, then turn right and go north to the conveyor belt. Run to the left, and you should see the first Gathering Point on your left.
5 – Gathering Point 2
Continue west until you reach the next area and turn right to go north. As you enter the area with the two workers standing and talking, look to your left; you should see two boxes you can destroy. Inside one of these boxes is the Gathering Point.

6 – Crate 2
In the same area, look north from the Gathering Point to see the crate.
7 – Aurylene 3
Head east past the stairs to the area with the conveyor belt and the steam. On the right of that is the next Aurylene.
8 – Gathering Point 3
Make your way onto the conveyor belt with the steam, then past the steam until you reach the opening on your right, which has a control panel. In this area is the Gathering Point.
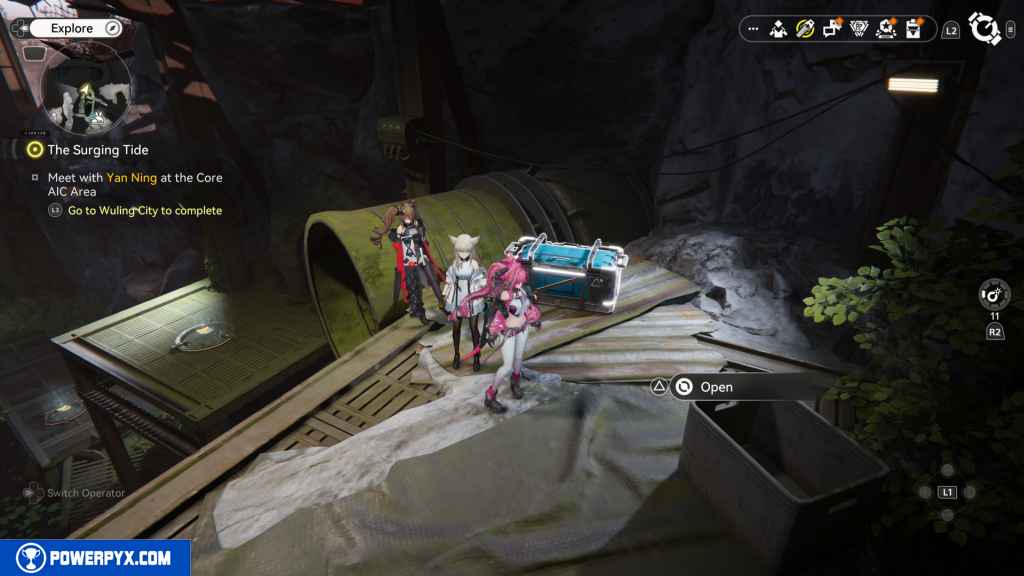
9 – Crate 3
Continue on the conveyor belt west, and you should see a hole in the fence on your right. Go through it and up the stairs. At the top is another conveyor belt with steam. Make your east this time, and you should see the crate on your left.
10 – Aurylene 4
Opposite the crate past the conveyor belt and steam, you should see an opening, and in that room is the next Aurylene.
11 – Crate 4
To get this crate head back down to the lower-level conveyor belt. Wait until you see the two boxes come through. Jump on the boxes and wait for the best to reach the opening area to the south. Jump into the area, and you should see the crate.
12 – Crate 5
Return to the first conveyor belt you ran past. You should have seen some blight that you should destroy. Use your scanner to reveal its core. Use an industrial explosive and blow up the core, opening the path. Head past it, and you should see the crate on your left.
13 – Gathering Point 4
Continue through the plat heading south, you should see some Blight on your right. Ignore it for now and head to the next room. You should see some stairs on your right. Go up the stairs to find the next Gathering Point on some boxes.
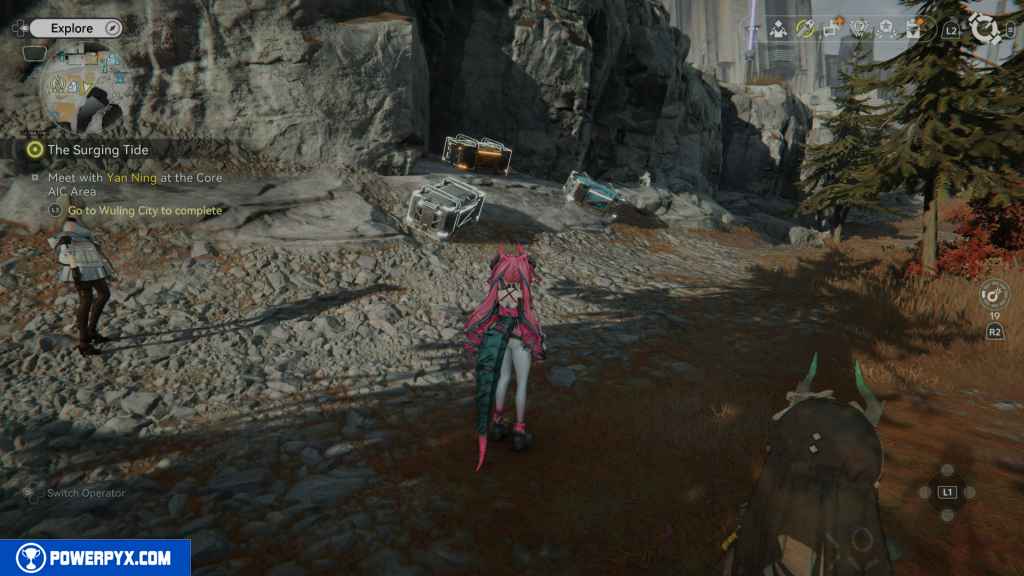
14 – Crate 6
Continue east into the next room and head east to the one after that. You should see a crate on your left.

15 – Gathering Point 5
In the same room, look south, and you should see the next gathering point on top of some equipment.
16 – Gathering Point 6
In the same room, just east of the last Gathering Point, is the next one.
17 – Gathering Point 7
Head into the next room to the east, and in the south corner is the next Gathering Point.
18 – Gathering Point 8
Head back out into the hall and turn right, going north. Head up the stairs, and you should see the next Gathering Point.
19 – Crate 7
Turn around from the Gathering Point and head down the stairs on your left to an area with a bunch of green algae. In this room is the next crate.

20 – Gathering Point 9
Go back up the stairs to where you got Gathering Point 8. From there, jump up the crates to a conveyor belt. Wait until you see two boxes approaching. Jump on the boxes and onto the platform to the east. From there, head along the scfolding to the Gathering Point to the north.
21 – Crate 8
Just past the last Gathering Point on the same platform is the next crate.
22 – Aurylene 5
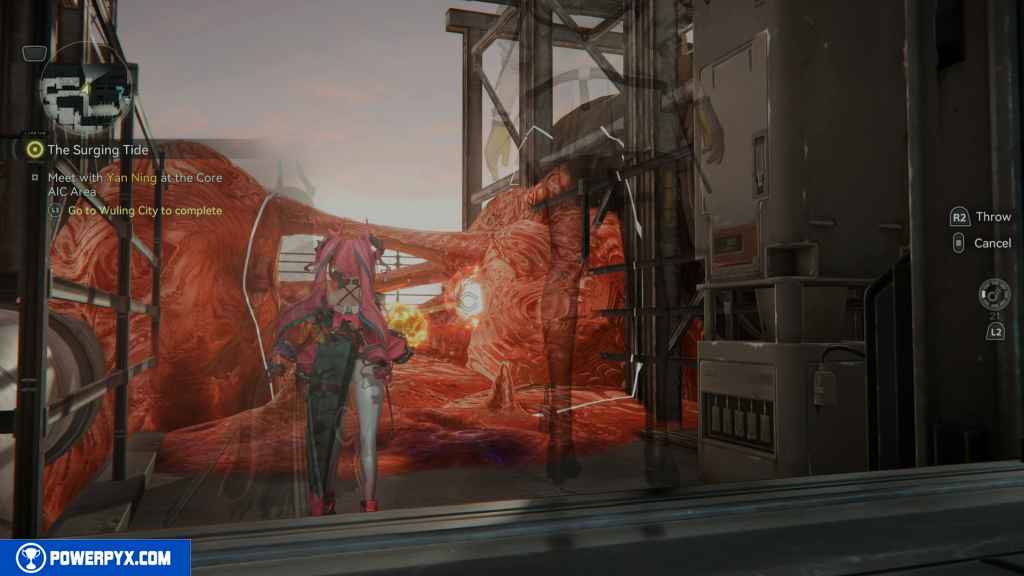
Return to the conveyor belt you used to get the last two collectables. This time, head south on the belt and avoid the steam until you reach the end, then see a tunnel on your left. Go inside and then turn left in the tunnel. The Aurylene will float into the tunnel. (It was accidentally grabbed before a screenshot or video could be obtained)
23 – Gathering Point 10
Return to the conveyor belt you used to get the last two collectables. This time, head south on the belt and avoid the steam until you reach the end, then see a tunnel on your left. Go inside and then turn left in the tunnel. When you reach the end, turn left again, and you should see this Gathering Point.
24 – Aurylene 6
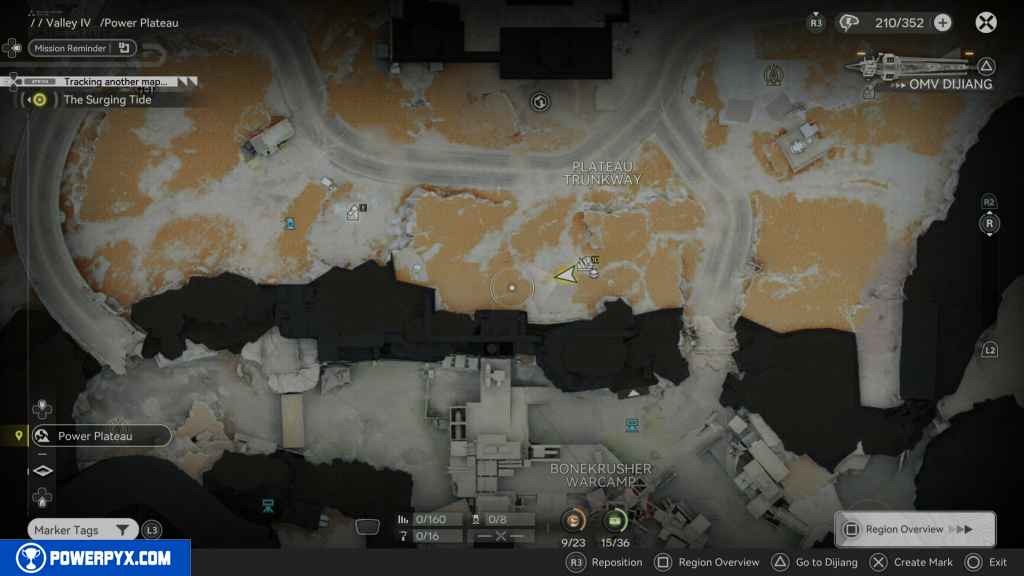
Return to the large area of the Factory where we ran past the Blight to the west. This time, destroy the Blight with a bomb and continue down the path to find this Aurylene. When you approach it, it will take off. Follow it until it goes into a fenced-off area. To reach it, approach the fence from the south end overlooking the Depot Node.
From there, jump into the fence, and you should land on the concrete. From there, jump onto the piece of machinery and into the area with the Aurylene.
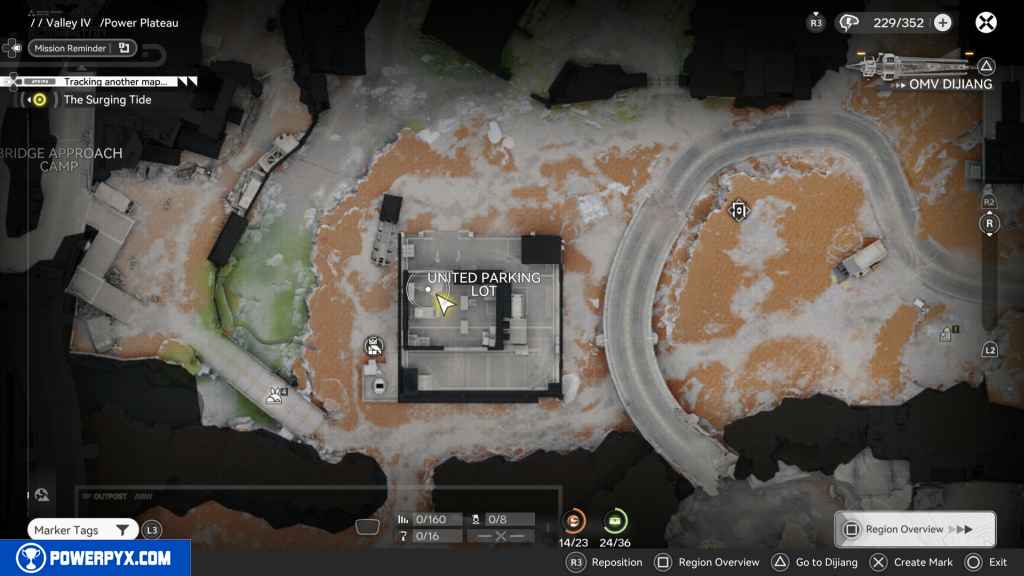
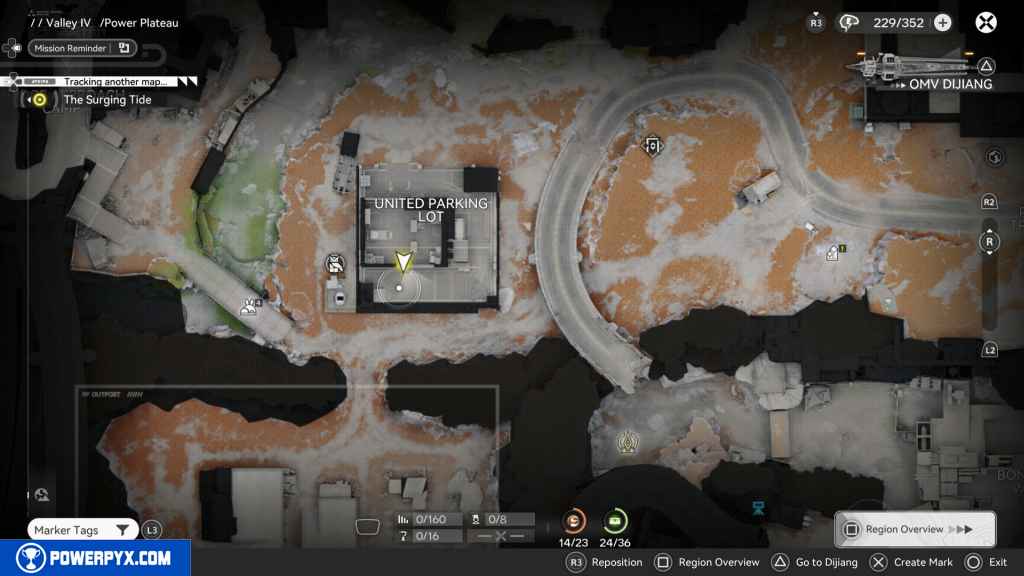
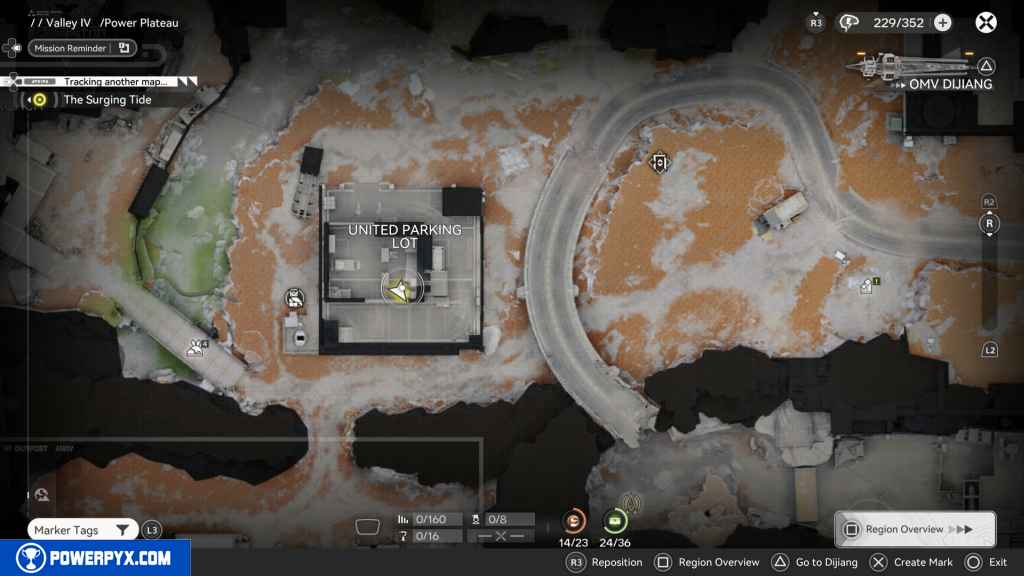
25 – Crate 9
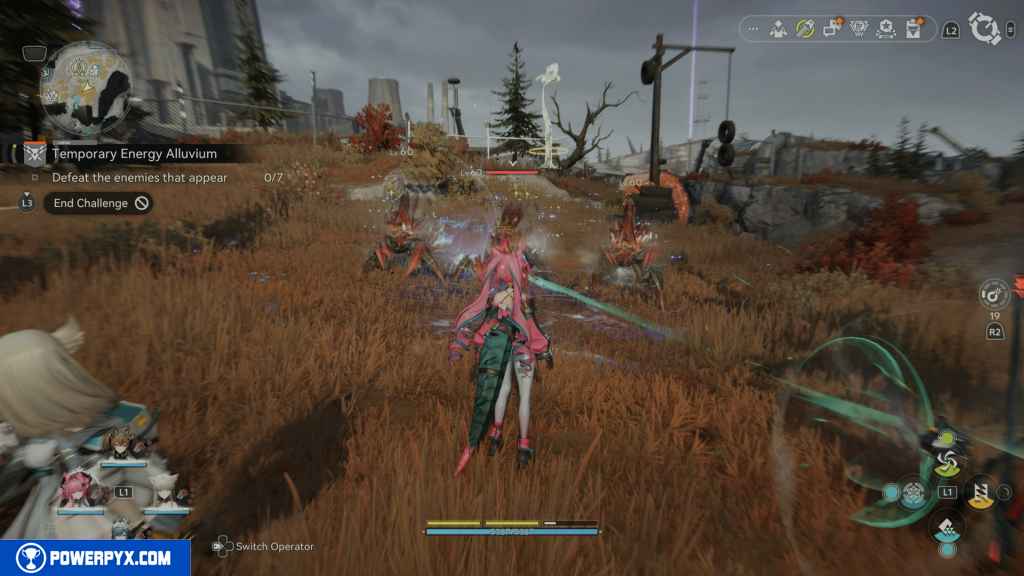
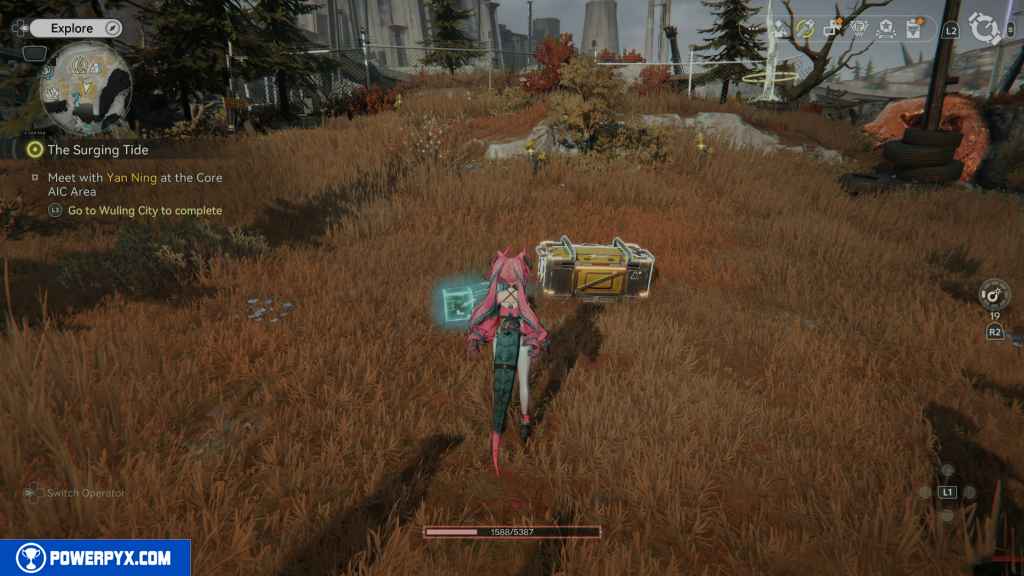
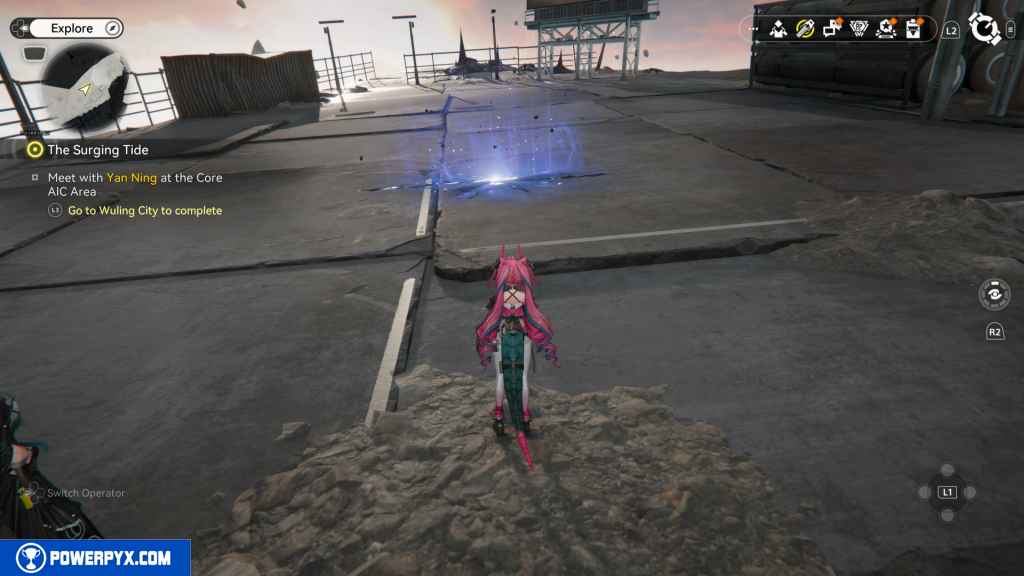
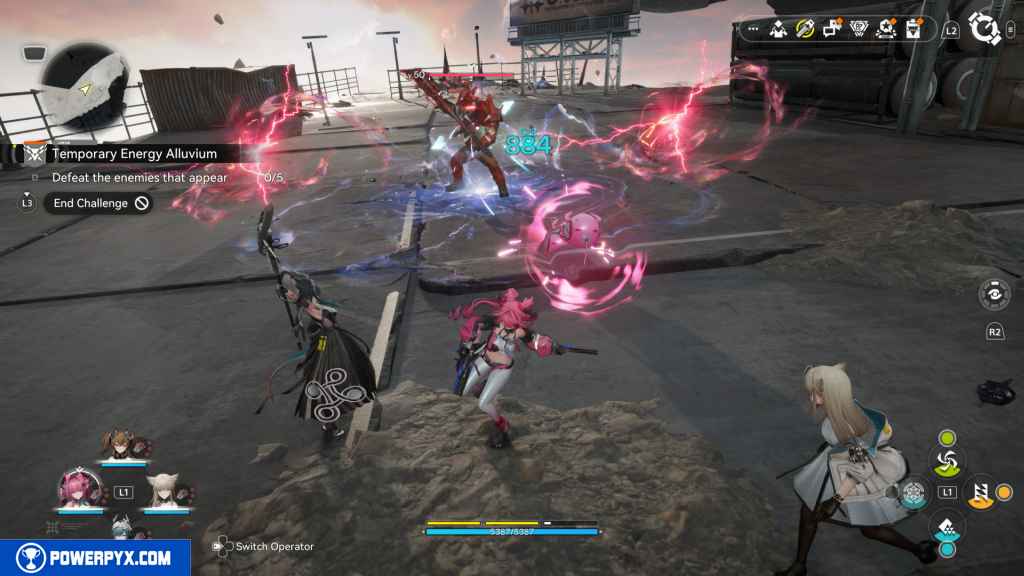
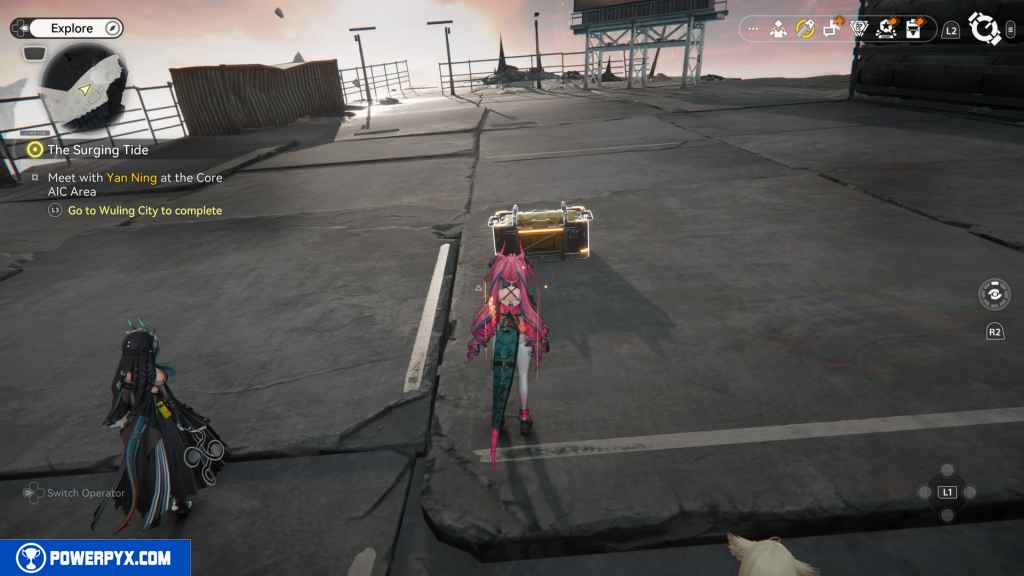
This crate is in the same area and requires you to challenge the Energy Alluvium. Once you defeat all the enemies, the crate will appear.
26 – Crate 10
From the Energy Alluvium, head west up the steps and go around the large cylindrical part to find the next crate.
27 – Gathering Point 11
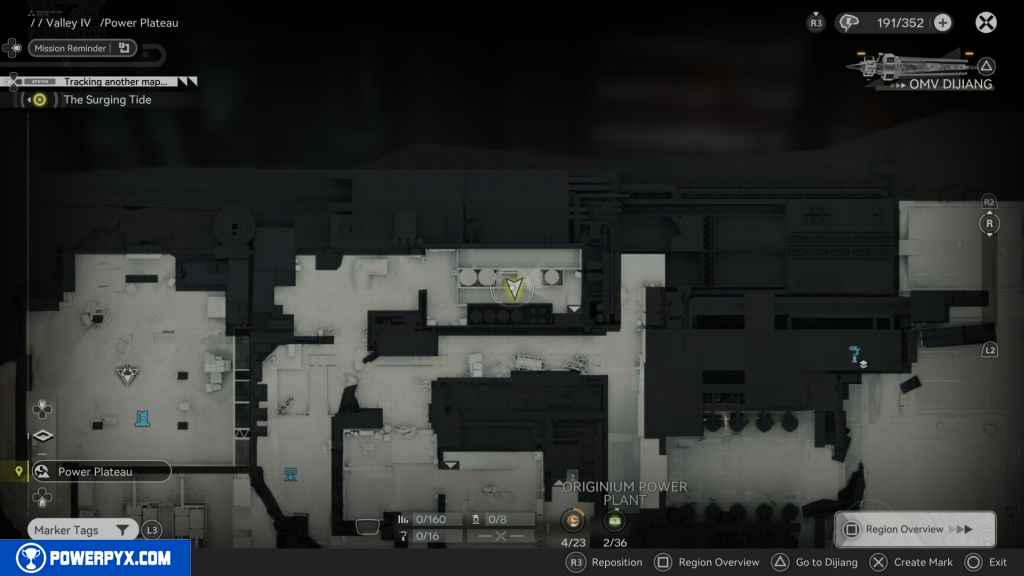
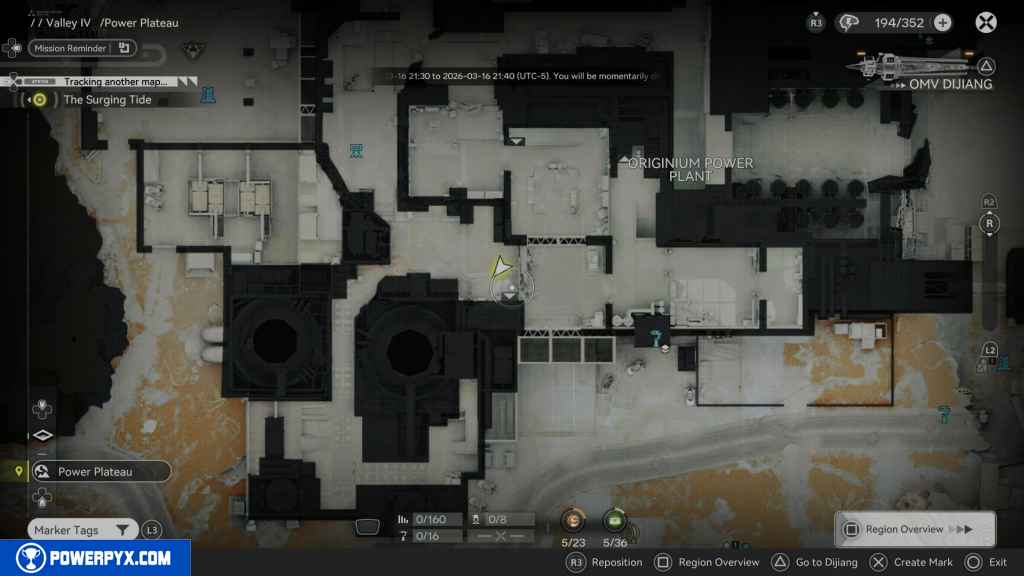
Head back inside the Factory and make your way to the control room located on the second floor. To reach it, go into the middle room on your map, and you should see the stairs to take up to the control room on the north. The Gathering Point is inside the control room.
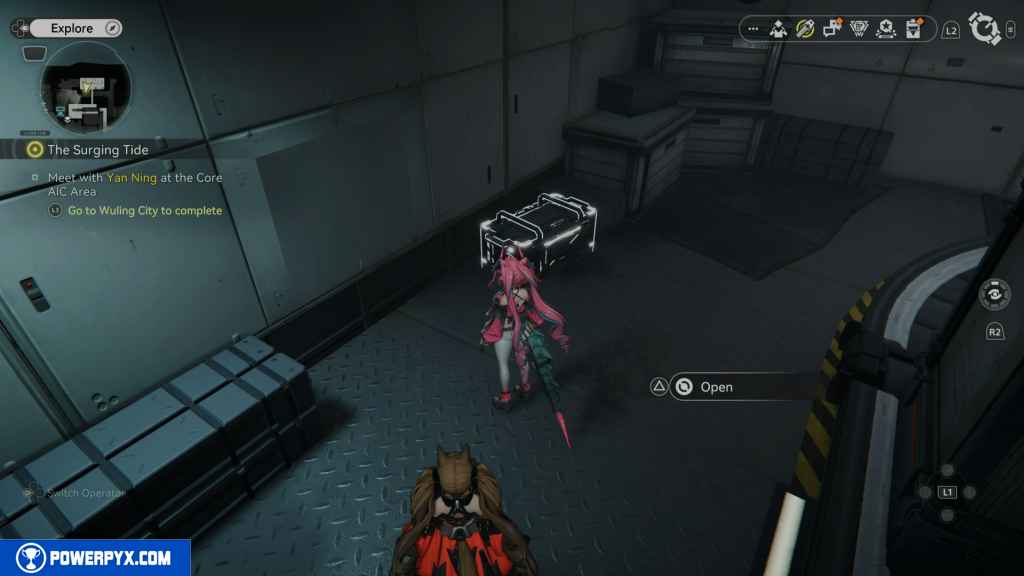
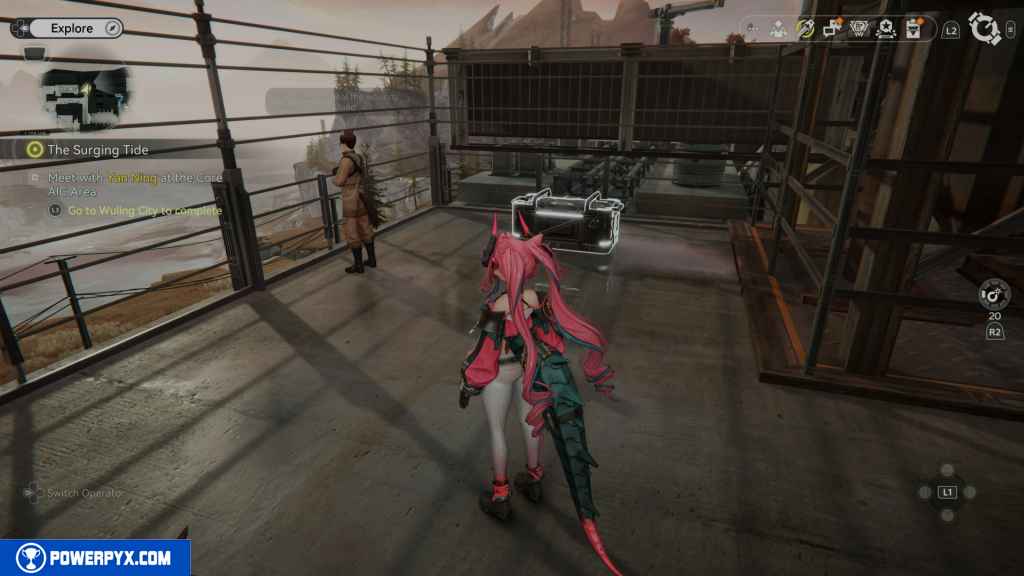
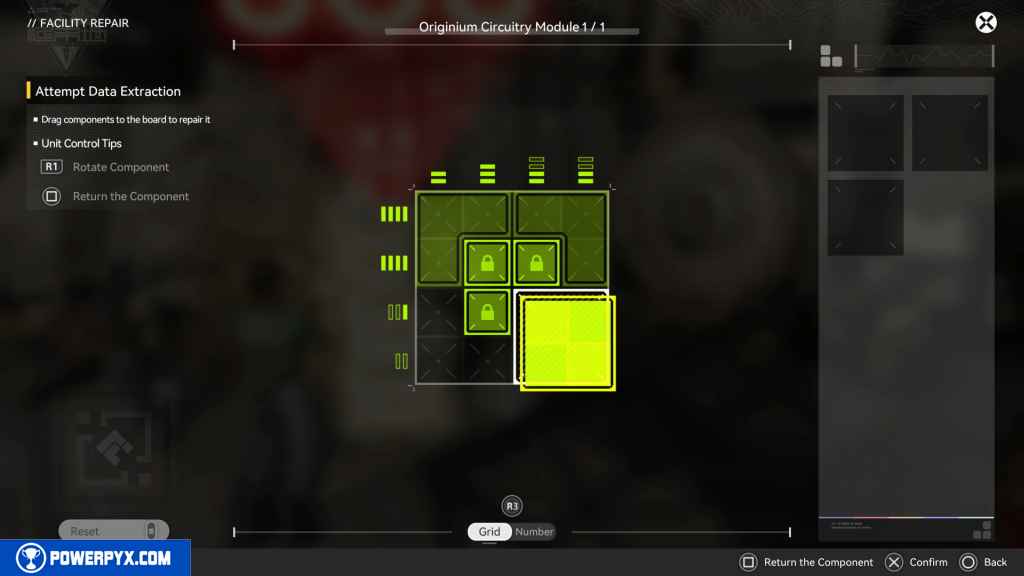
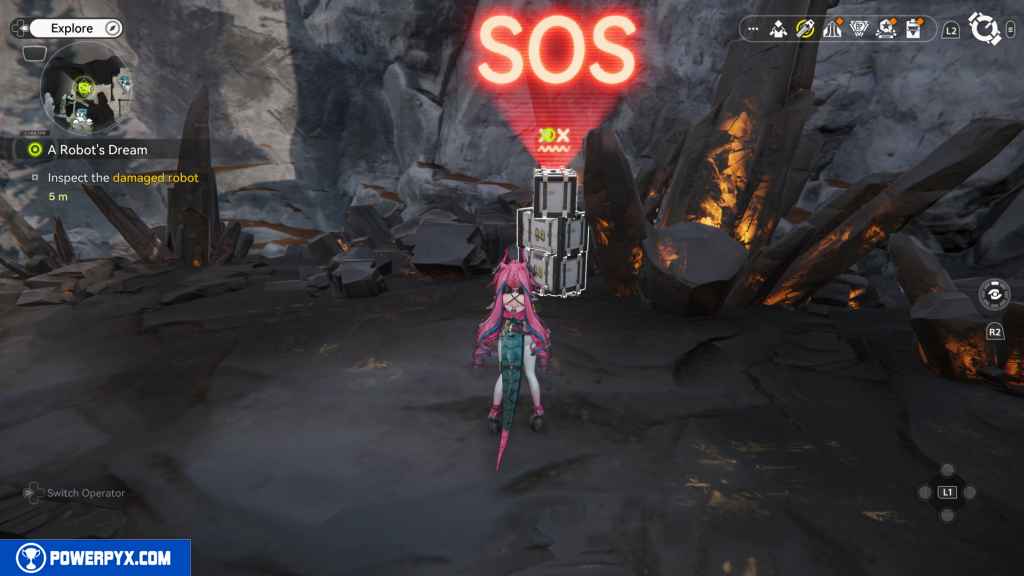
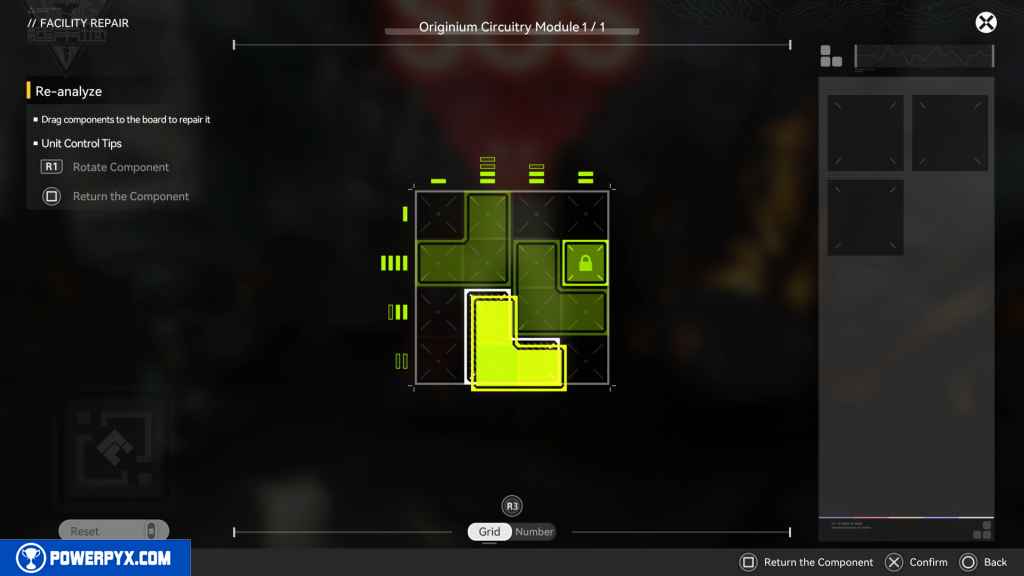
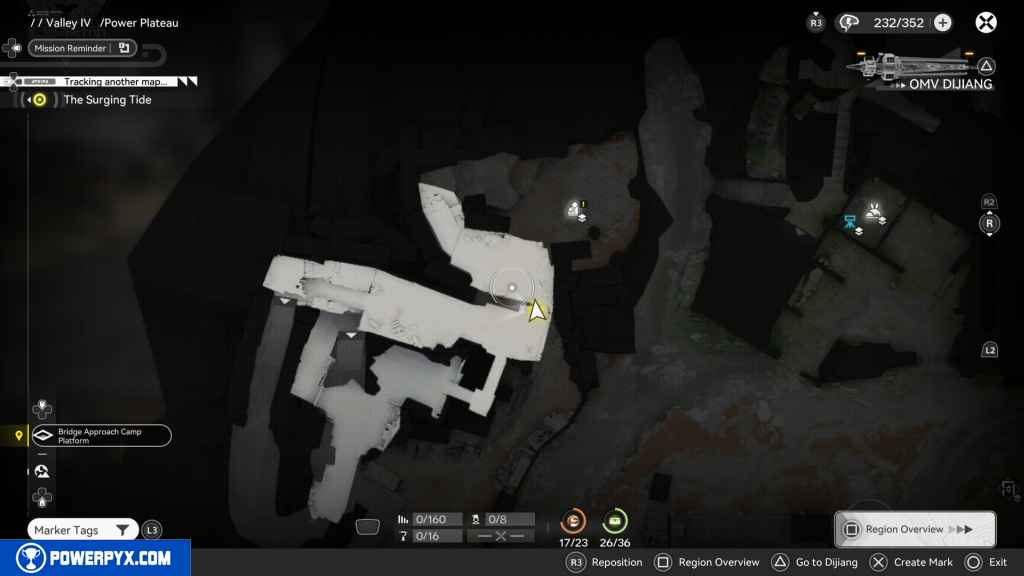
28 – SOS Repair Box 1
For these next few collectables, you need to start the Side-Mission – A Robot’s Dream. Once you start it, follow the quest, and you will unlock your first SOS Repair Box in the area south of the TP Teliporter in front of the Factory.


29 – SOS Repair Box 2
Continue with the Side-Mission – A Robot’s Dream, and you’ll find the next box with a little girl standing in front of it.

30 – SOS Repair Box 3
The third Repair Box is at the end of the area, going west up the stairs, where you will encounter another man trying to fix the SOS box as part of the Side-Mission – A Robot’s Dream.
31 – Aurylene 7
In this same area, if you look east, you should see the Aurylene on the roof of a building. Climb up the boxes to the north and up to the roof to reach this Aurylene.

32 – Gathering Point 12
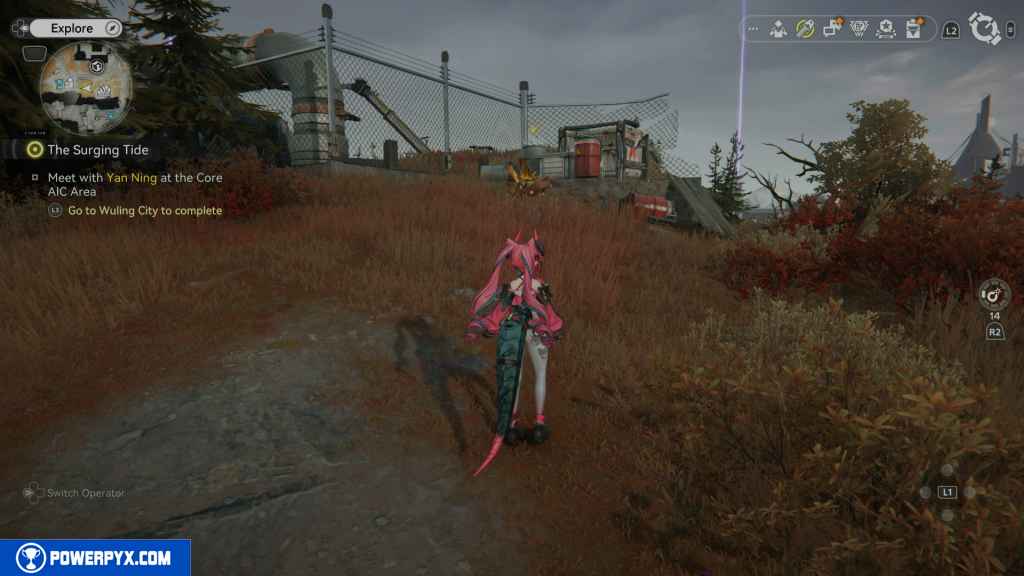
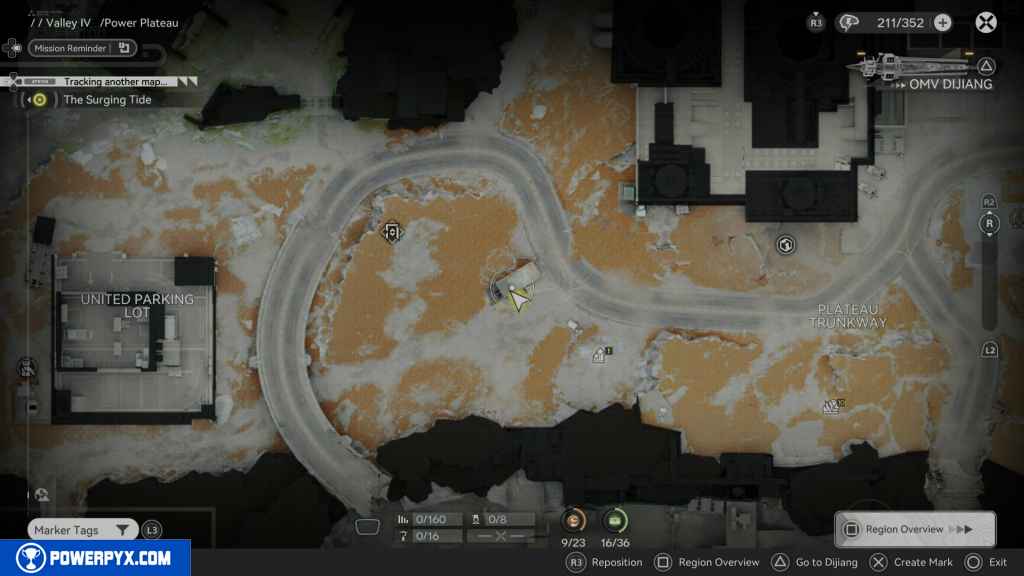
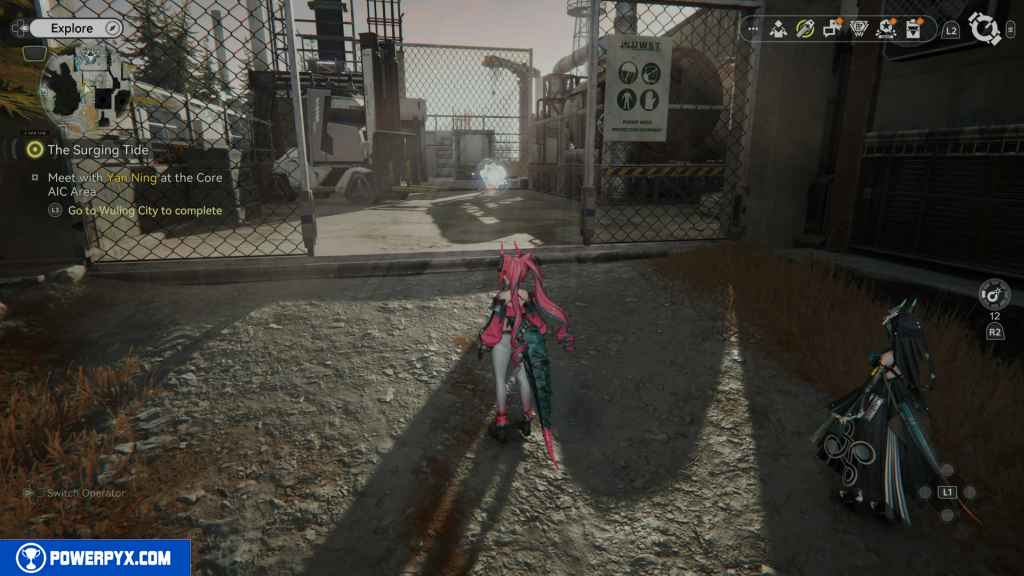
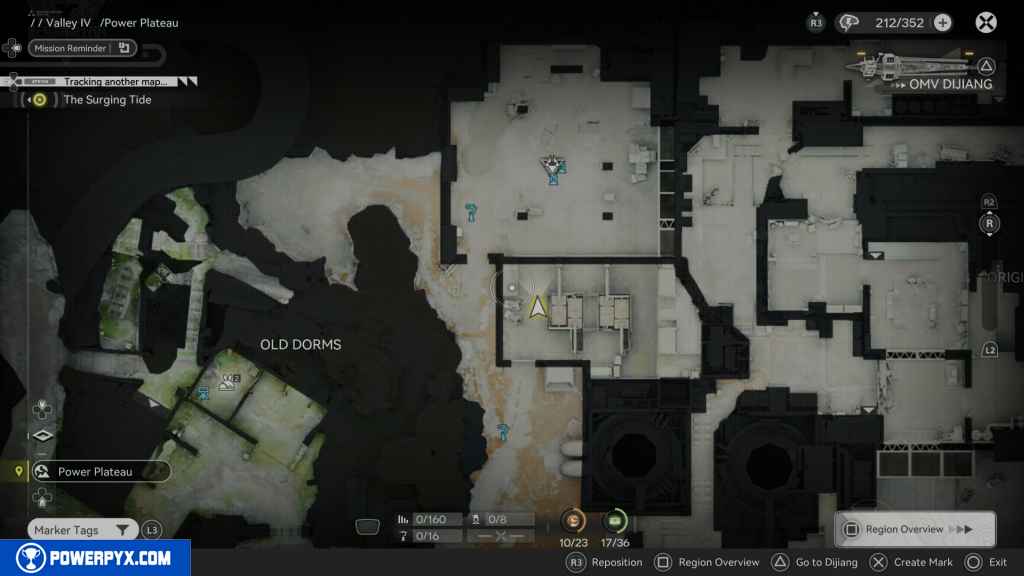
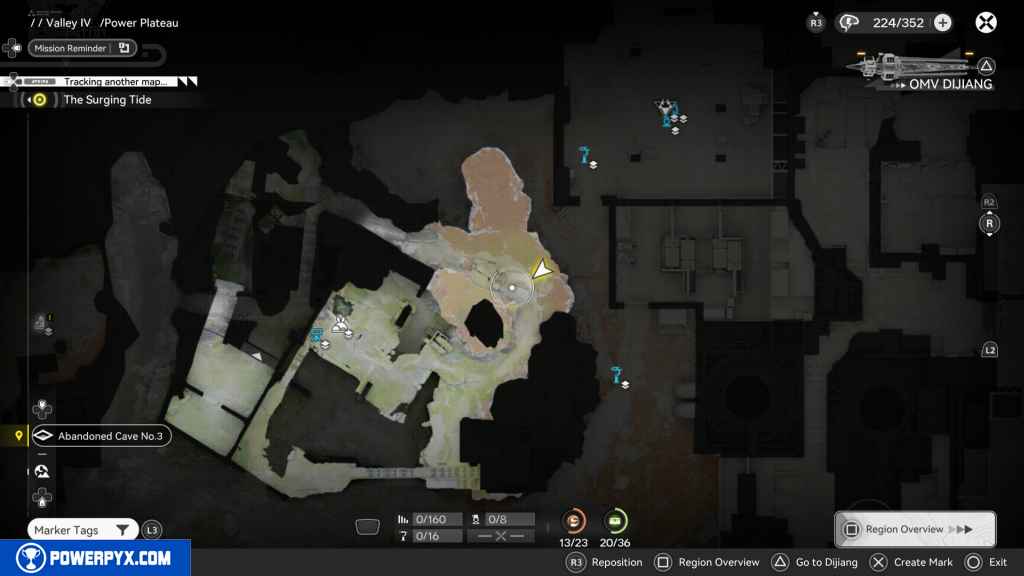
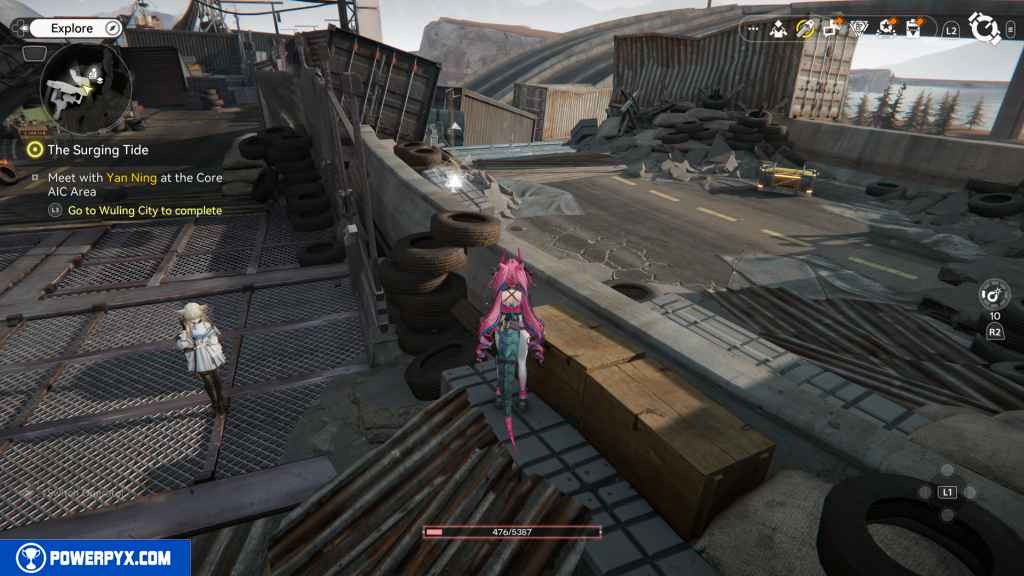
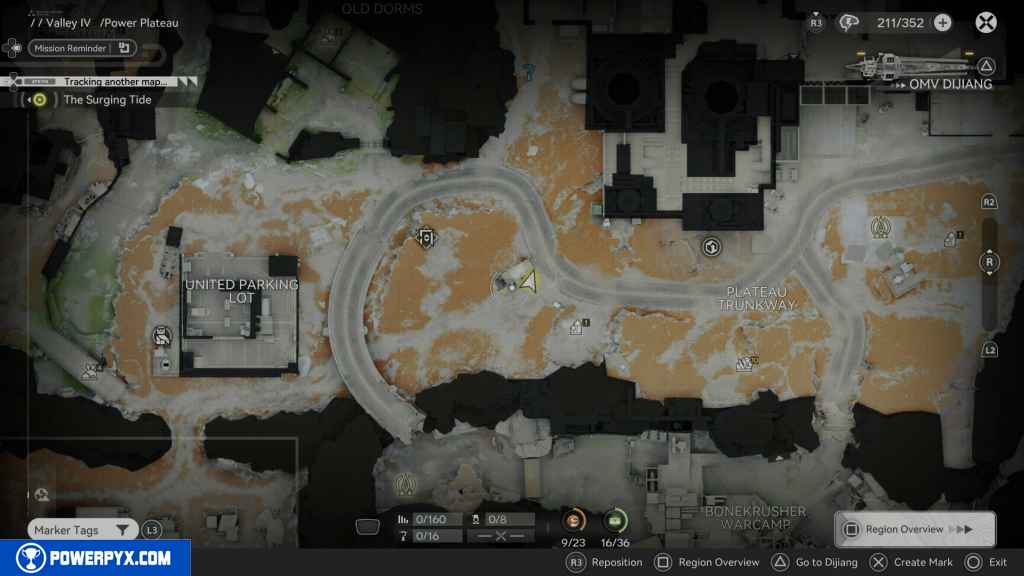
Jump to the TP Teliporter next to the Plateau Trunkway. Go east until you reach the Blight blocking your path. Destroy the Blight and approach the man on the hill. This will begin the Side Mission – A Brewing Storm: Power Plateau. These next few collectables will take place in the area of this quest.
The first is the Gathering Point, located just north of where you destroyed the Blight atop a container.
33 – Aurylene 8
Follow the Side Mission “A Brewing Storm: Power Plateau” until you reach the platform where you must repair the control console. If you look northeast, you should see the Aurylene on a floating platform. Jump to it to acquire it.
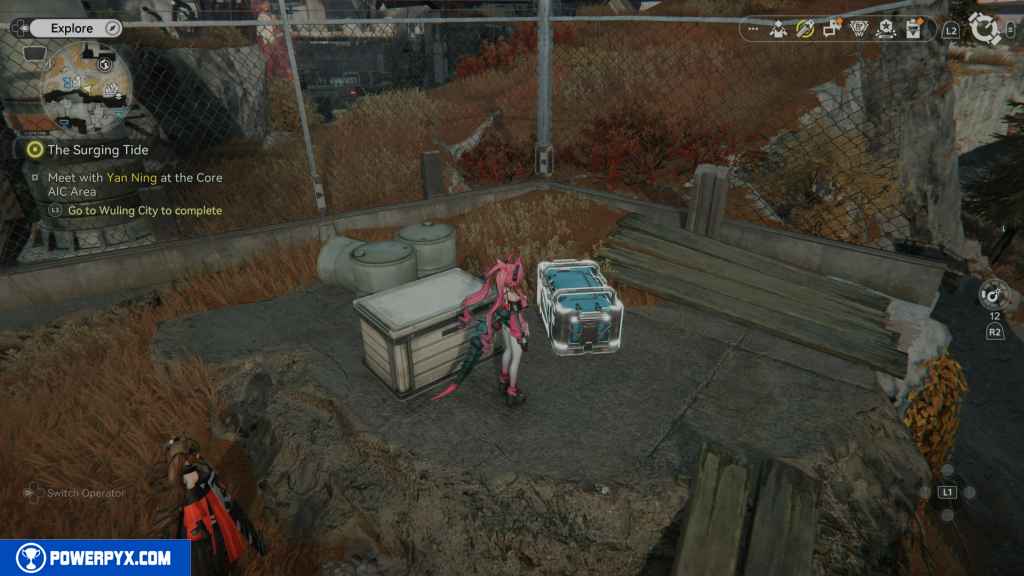
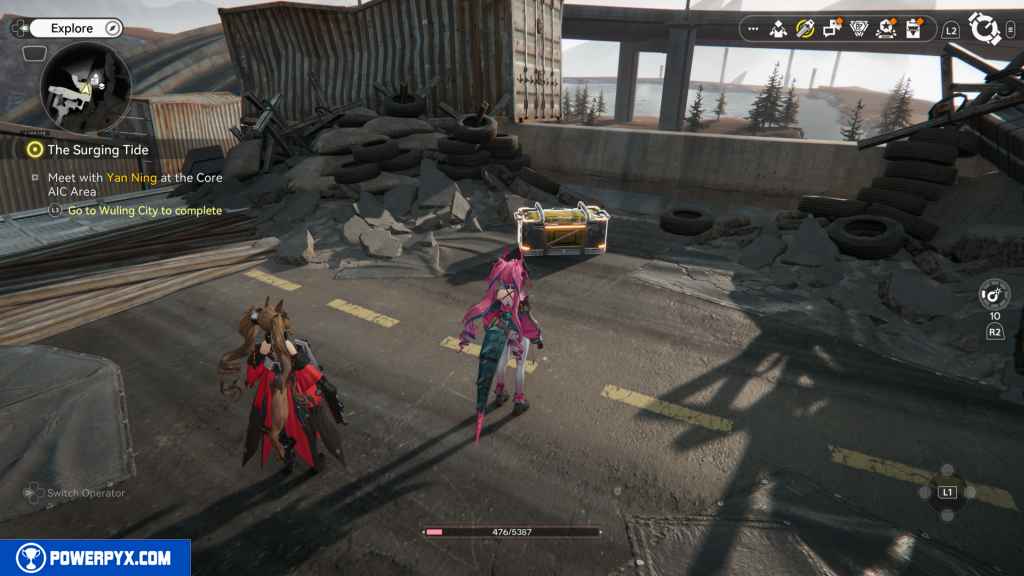
34 – Crate 11
From the Aurylene, look east, and you should see the crate on the platform on the edge of the broken area surrounded by boxes.

35 – Aurylene 9
Head west from the crate, hugging the fence to the north. When you reach the next building, you should see an opening in the gate ahead of you with the Aurylene inside.
36 – Crate 12
Head back out of the area where you began the Side Mission – A Brewing Storm: Power Plateau and turn left. Hug the mountain wall and go south, and you should find three crates.
37 – Crate 13
Right next to the last crate.
38 – Crate 14
Next to the last two crates.
39 – Crate 15
Head southwest from your last location to see another Energy Alluvium. Activate it and defeat the enemies that appear to get the crate.
40 – Gathering Point 13
Head west against the southern fence, and you should reach an area with two explosive crates. Blow them up to reveal the Gathering Point.
41 – Gathering Point 14
From the explosive crates, turn north and drop down a small hill, and you should see a small rock that you can blow up with a bomb. Do so to reveal the next Gathering Point.

42- Crate 16
Look west from the last location, and you should see some more explosives and an explosive box up a hill. Blow up the box to reveal the crate.
43 – Gathering Point 15
From the hill head, directly north to the Factory. You should see the next Gathering Point in front of the sewer pipe.
44 – Aurylene 10
Head west from the last Gathering Point, and you should see a container past the road. Inside the container is the next Aurylene.
45 – Crate 17
The next crate is located south of the Energy Alluvium from which you just grabbed the Aurylene. Defeat all the enemies, and the crate will appear.

46 – Crate 18
Head north up the hill to the west side of the Factory. You should see an Aurylene that, when you approach it, will fly into an area covered by steam.
Ignore it for now and instead look north to the next conveyor belt. Wait for the belt to have two boxes you can jump on. Do so and jump up to the area to the west to find the crate.
47 – Aurylene 11
Now, to catch the Aurylene that you saw when you first entered the area. Head down the conveyor belt to the north until you see a path on your left. Head south, and you should see the Aurylene. It will fly away and head north. Follow it, and it will go down the opening you used to reach the southern belt. Don’t follow it. Instead, turn around and go back the way you came and intercept it as it tries to make its way back to you.
48 – Crate 19
Between the two conveyor belts are some stairs leading east. Follow them up and turn right to see the crate.
49 – Aurylene 12
Head out of the area you’re in and continue west. Head around the corner to the rocky area. Look to the south, and you should see the Aurylene in the corner.
50 – SOS Repair Bot 4
This is the final Repair Bot that is part of the Side-Mission – A Robot’s Dream, and can’t be missed when you’re doing the quest.

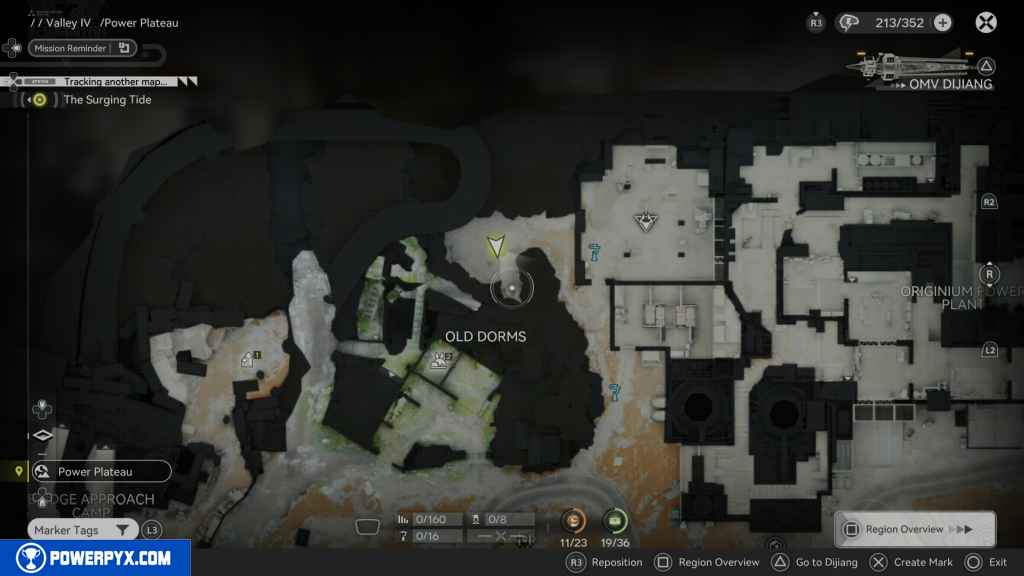
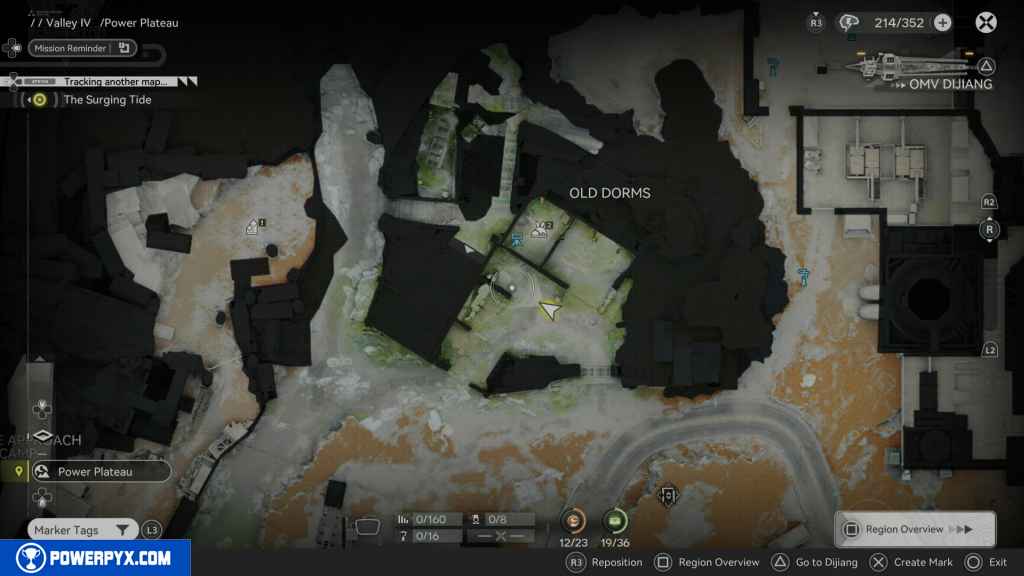
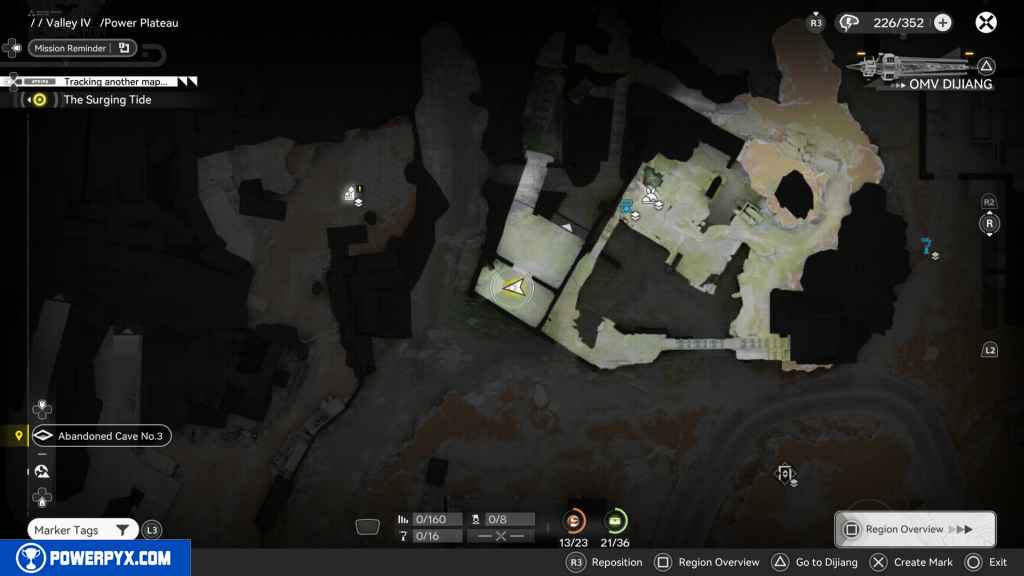
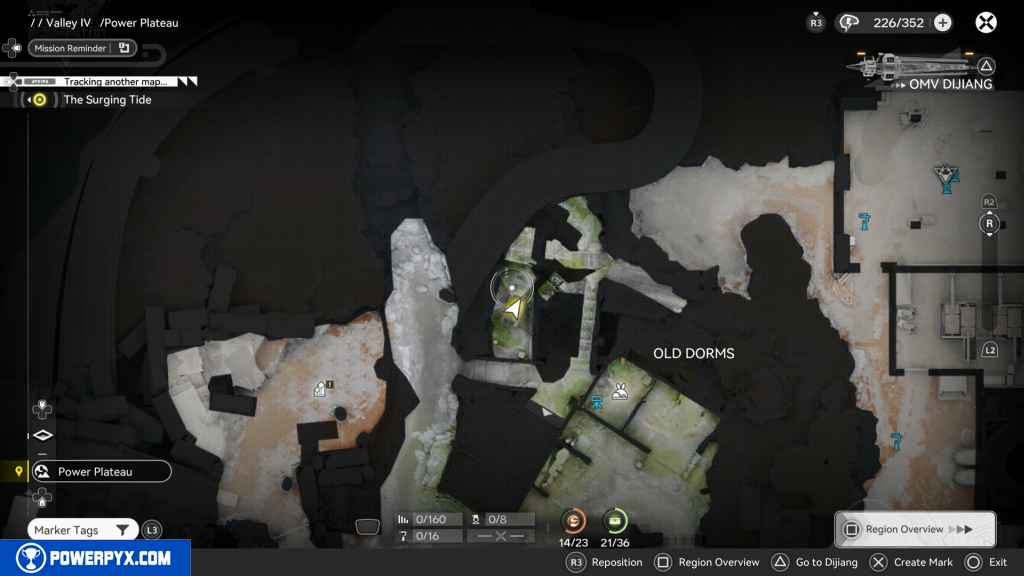
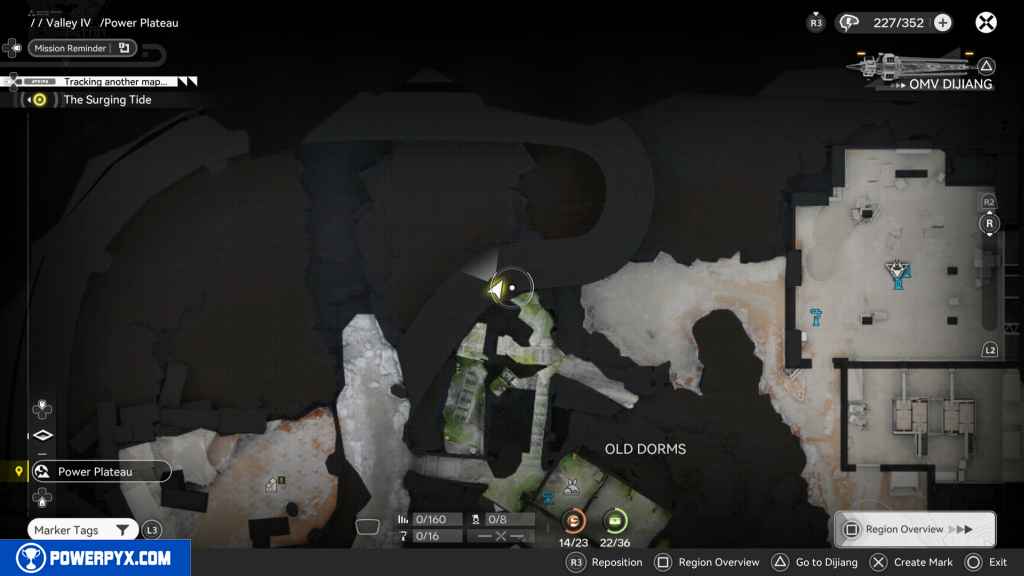
51 – Crate 20
Head to the Old Dorms. When you enter through the east entrance, look to the west; you should see the crate.
52 – Aurylene 12
Head up to the second floor of the dorms. If you look at the hole that leads down to the collectable mushrooms, you will see a distortion over the whole. Use your scanner to reveal the Aurylene and grab it.
53 – Gathering Point 16
While on the second floor, head northeast along the path and go around the mountain top hill. You should see some platforms you can jump up to. Do so, and you should see the Gathering Point next to a crate.

54 – Crate 21
Right next to the Gathering Point you just picked up.
55 – Gathering Point 17
Continue west, and you should see some destructible boxes leading into a tunnel. You will encounter a bunny with some flowers on it. Follow it, and you should see the Gathering Point on the guardrail path.
56 – Gathering Point 18
After grabbing the Gathering Point, follow the bunny all the way south off the guardrail path back to the ground floor. Follow it to the end of its path, and it will reward you with the next Gathering Point.
57 – Aurylene 14
Turn around, and you should see a path on your left. Take it, before falling, look to your left, and you should see the Aurylene inside the pipe.
58 – Crate 22
Now you should fall down the path to the north and to the crate in front of you, and a jump pad.
59 – Crate 23
Take the jump pad up to the platform. Then use the next one. It should take you up to a platform with the next crate.
60 – Gathering Point 19
Fall to the east, and you should land right next to the Gathering Point.
61 – Gathering Point 20
Head back up the guardrail path, and when you fall at the south end, look west, and you should see a tunnel path blocked by a wall you can blow up with a bomb. Do so, and go outside, and on your left is the next Gathering Point.
62 – Gathering Point 21
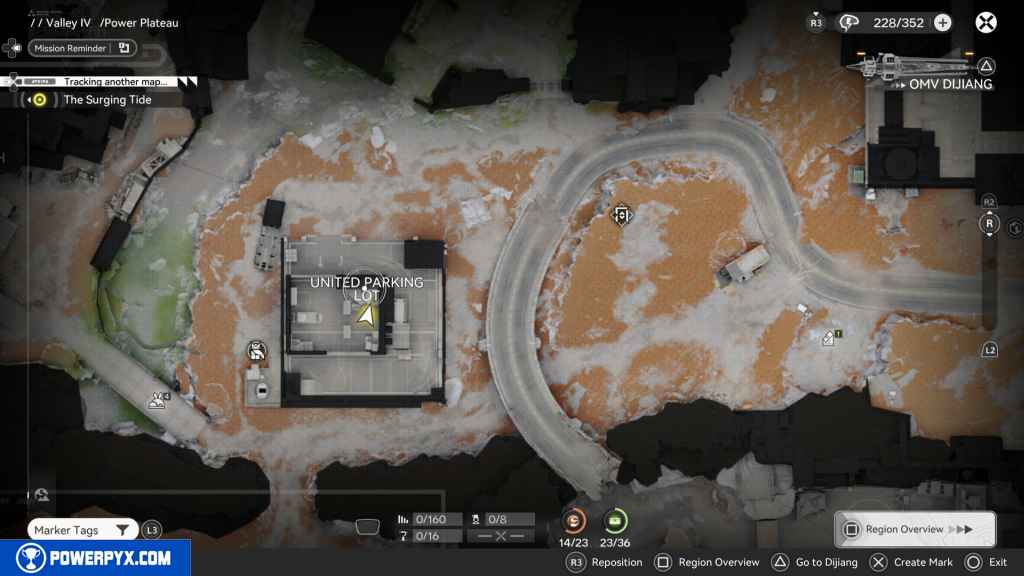
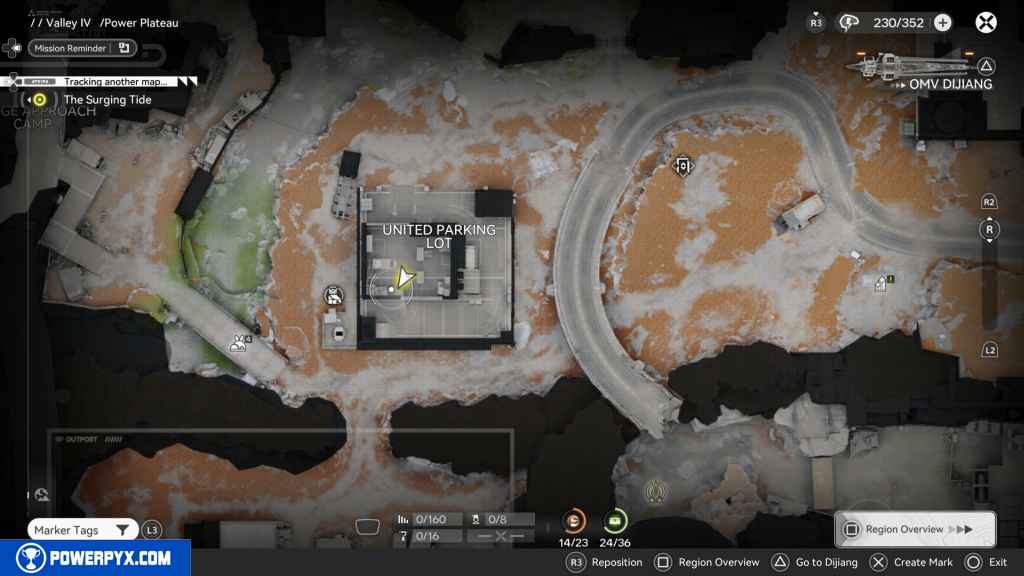
Head down to the United Parking Lot. As you approach, you should see a forklift on your right. Right next to it is the Gathering Point.
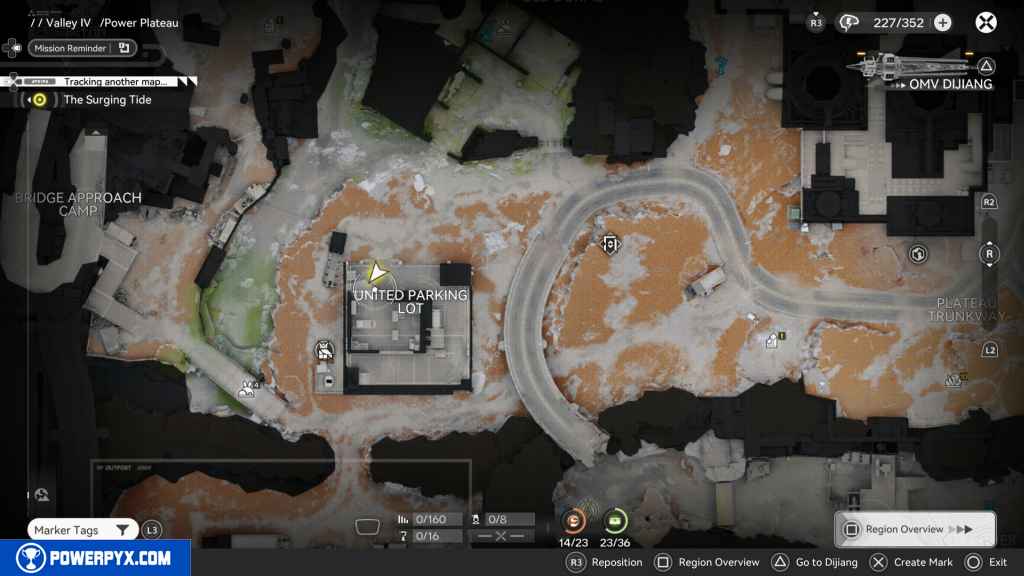

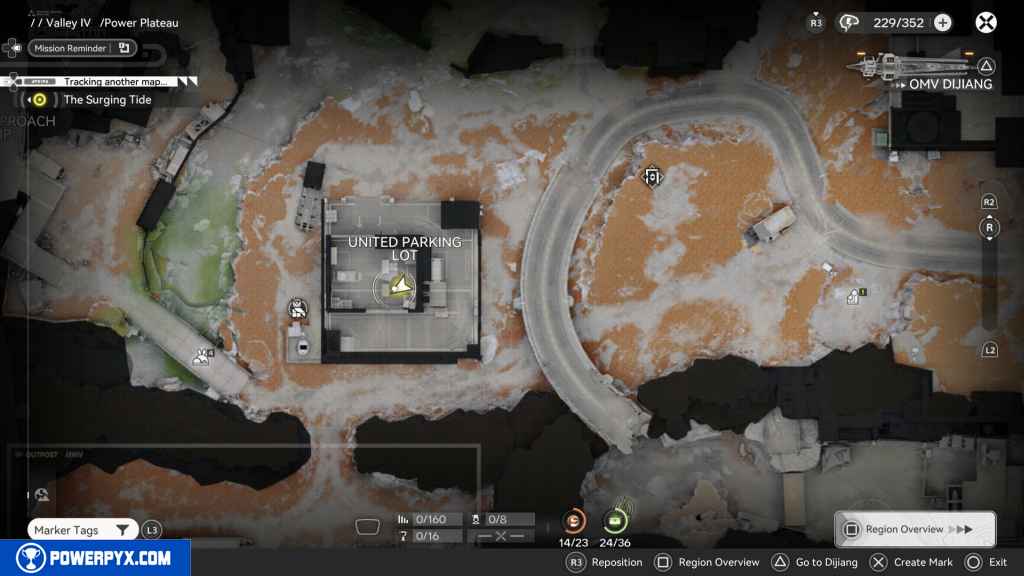
63 – Crate 24
To get this crate, you need to pull off some prerequisite steps. First, enter the garage and walk to the forklift right next to the laser barrier. Activate it to lift the box.
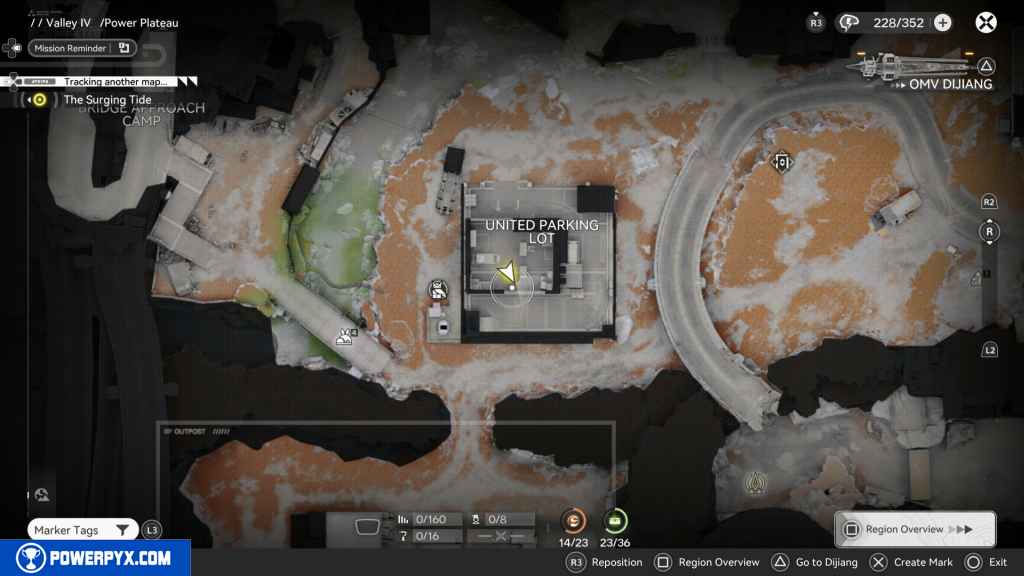
Next, run around the building to the west to the area with the Owl Recycling Station. Jump onto the boxes to the east to see a power pylon. Strike it to deactivate the laser barrier. Go inside on the east side, and you should see the crate on top of some boxes. Jump up to grab it.
64 – Gathering Point 22
In the room with the crate, you just got the forklift active in the center to raise the box. Head to the other side of the shelves, and you should see the Gathering Point, which was underneath the now lifted box.

65 – Crate 25
This crate is located right next to the laser barrier. It’s locked and requires you to find three blue keys to unlock it. The first key is under the forklift to the north of the chest. Raise the box by using the forklift and grab the blue key 1/3.

Head south past the now-deactivated lasers, and the next key should be outside 2/3.
The last key is in the room to the east, where you grabbed the last crate. Look to the right, and you should see it on top of a box 3/3.
You can now go and grab the crate.
66 – Aurylene 15
To get to this Aurylene, go east from the laser barrier; you should see another forklift. Don’t activate it; instead, jump onto the boxes, then onto the box on the forklift, and onto the small roof. You should see the Aurylene at the end of the path to the north.
67 – Crate 26
Head to the road on the east side from the south. Underneath the ramp, you should see some enemies and the crate. You have to defeat all the enemies to unlock this crate.

68 – Aurylene 16
Head west to the Bridge Approach Camp. When you cross the bridge, go north. On your right side, you should see some containers. Inside one of these containers is the Aurylene.
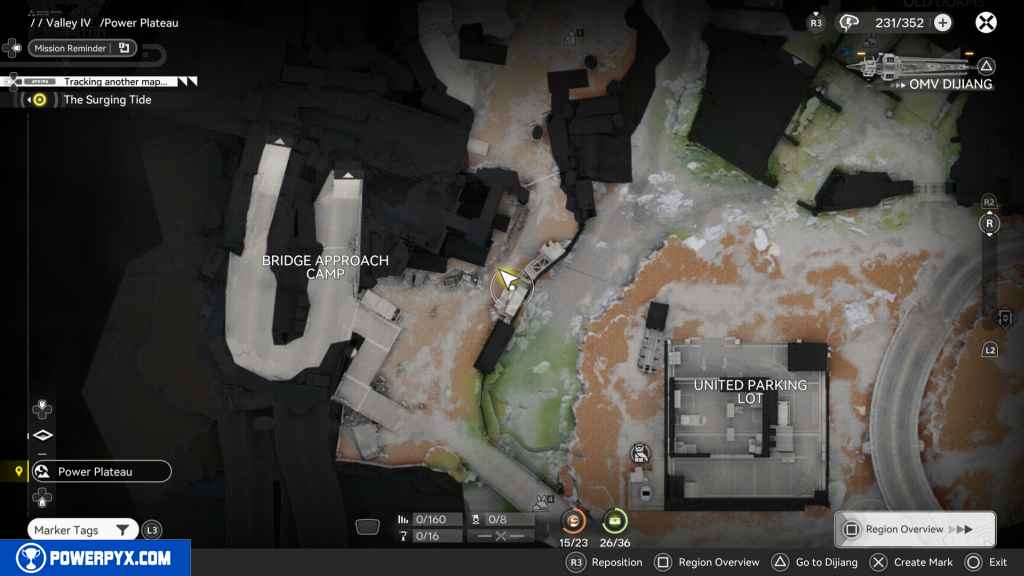
69 – Gathering Point 23
To get this crate, you must start the Operator Mission- Lone Wolf or have completed it. When you enter the complex, follow the path west. Run all the way up to the top of the complex.
Run through the open container and then turn around. Go to the path right of the container, and you should see the Gathering Point.
70 – Aurylene 17
Opposite of the Gathering Point, you should see the Aurylene. Follow the path around and pick it up.
71 – Gathering Point 24
Head east past the small camp, and you should see a path leading north over the barricade. Look to the left, and you should see the Gathering Point.
72 – Crate 27
This crate is located in the same location as the Gathering Point to the north.
73 – Crate 28
Continue south down the path until you reach some open containers on your left. Look to your right, and you should see the next crate.
74 – Aurylene 18
Head southeast from the Planned Construction Area down the path to a small living area. Look to the right, and you should see the Aurylene behind a towel on a rope.
75 – Aurylene 19
Continue southeast all the way to the end. Behind the building to the south, you should see the next Aurylene.
76 – Crate 29
Next to the Owl Recycling Center are some stairs. Go up the stairs, and the crate will be right in front of you.
77 – Crate 30
Teleport to the TP Point west of the Bone Crushers Camp. Head east until you see a path to the right going south. Take that path, and you should see the crate in front of the truck.
78 – Crate 31
Turn around and go back. This right turn, right, and you should see a dead end with steam coming out of the ground.
Run into the steam, and it will propel you up over the wall. Head down the stairs and look under the stairs to find the crate.
79 – Crate 32
Continue into the camp heading southeast. You should see the crate on the floor on your left.
80 – Crate 33
Go south from the last crate and up the stairs leading west. Continue west past the large steaming structure. On your right, you should see the crate up some more steps on the platform.

81 – Gathering Point 25
Make your way back the way you came, and you should see a broken fence south of the bomb dispenser, which is a bomb dispenser. Go through it and up the stairs. The Gathering Point should be right in front of you.
82 – Gathering Point 26
South of the last Gathering Point are some boxes you can climb. Do so, and the next Gathering Point should be right in front of you.
83 – Gathering Point 27
Go back to the area with the large red steam pipes. Turn to your left, and you should see the Gathering Point over the rail next to a large pillar.
84 – Crate 34
Continue west, and you should see the tunnel entrance. Go through the tunnel.

When you reach the other side, immediately turn left, and you should see the crate.
85 – Gathering Point 28
From the crate, you should see a path heading west. Take it, and you should come to a camp and a dead end. Look to the right, and you should see the Gathering Point.
86 – Aurylene 20
Go back the way you came, and you should see the Aurylene above the ground between the Landbreaker structure. Approach it, and it will fly away to the roof of the building on the south. Run up the path and up the stairs, follow the path around the structure, up some more steps until you reach the Aurylene.
87 – Aurylene 21
Jump down from the roof and this time take the hill path on the left, turn right at the fork, and continue up the grassy path to the next Aurylene.
88 – Gathering Point 29
Jump back down and take the path you used to chase the Aurylene. You should see the Gathering Point next to the stairs on your right.
89 – Crate 35
Head up the stairs to the large open area, and you should see the crate against the wall to the west.
90 – Gathering Point 30
Head to the long road going southeast. Run up the path and turn left the first chance you get. Behind some destructible boxes is the Gathering Point.
91 – Gathering Point 31
Head up the ramp, and the first chance you get to go off the path to the grassy area to the southwest, take it. Go up the hill past some trees, and you should see the Gathering Point.
92 – Aurylene 22
When you reach the top of the ramp, go right around the TP Point and behind the large boxes is the next Auylene.
93 – Aurylene 23
Head east from the TP point up some stairs. You should see the final Aurylene right in front of you.
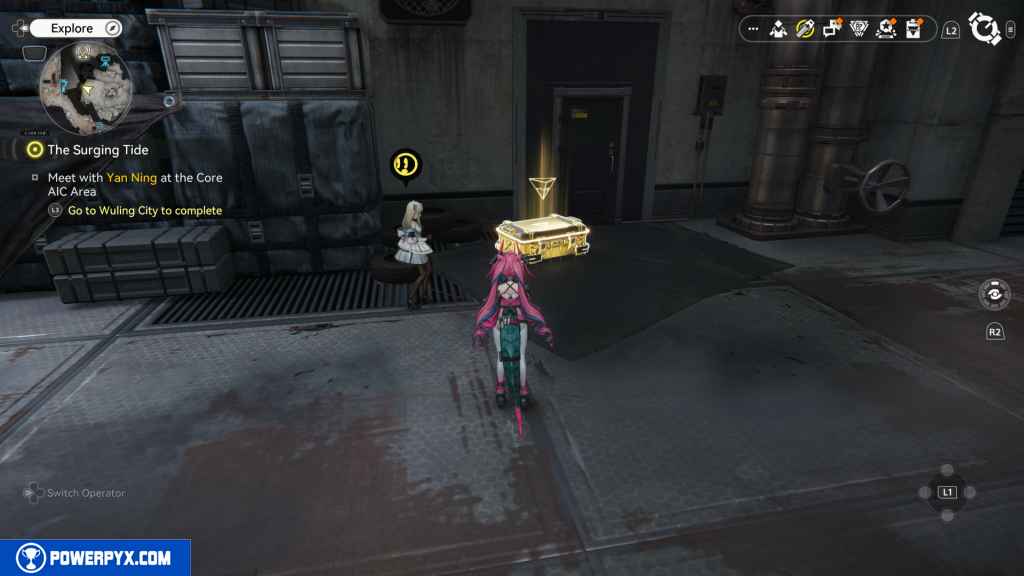
94 – Crate 36
The final crate is located east of the last Aurylene we picked up. You should find another Energy Alluvium. Activate it and defeat all the enemies to get the crate to appear.
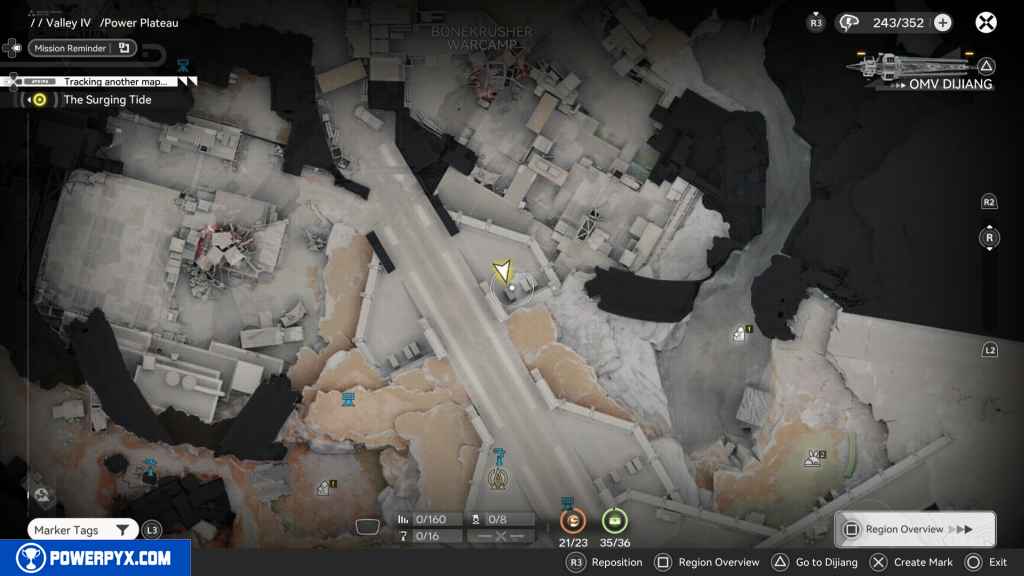
95 – Gathering Point 32
The final Gathering Point is located east of the last chest. When the path forks to a broken bridge to the north, look at the giant spike sticking out of the ground. Go behind the spike, and you should see the Gathering Point on the edge of the bridge.
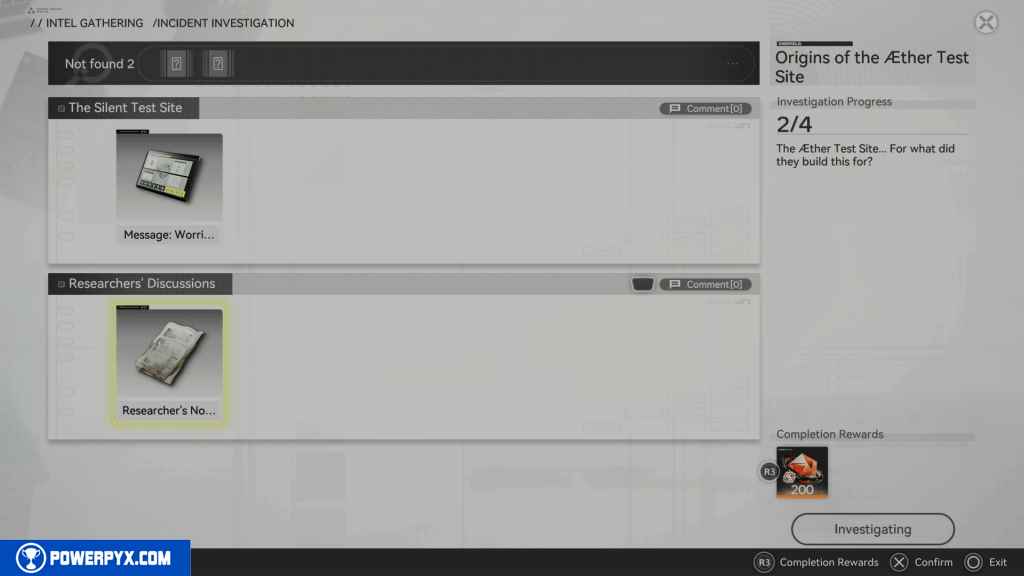
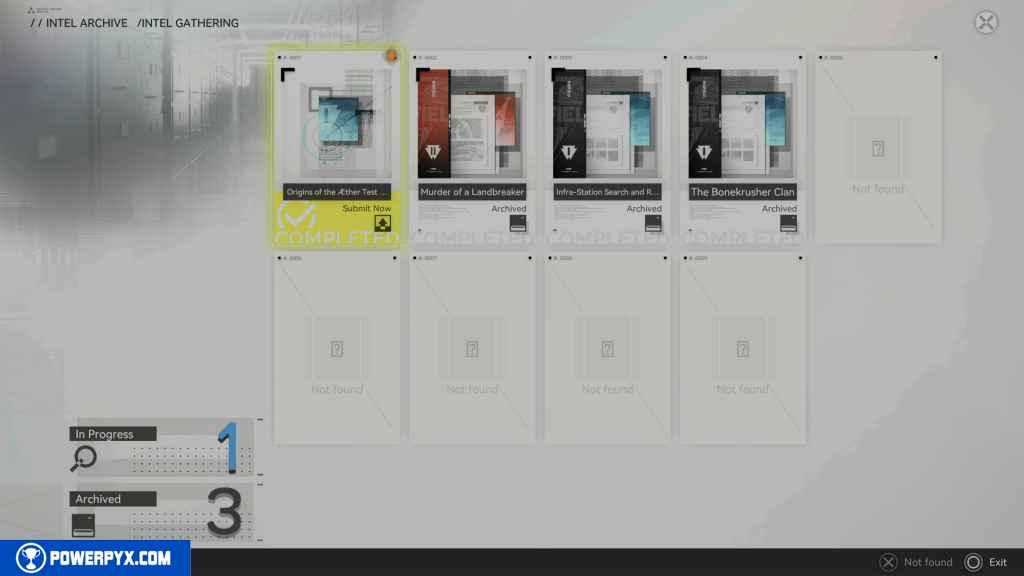
96 – Worried Scientist Message
There are four investigative messages to find, awarding 200 Oroberyl. These four messages are from the Origins of the Ether Test Site. The first message is found inside the Originium Power Plant.

From the Control Room, head into the room with the conveyor belt and the steam. Look to the right, and in the corner, you should see the first message, “Worried Scientist.
97 – Researcher’s Notes
Head up the hill east of the Plateau Trunkway, where you began the Side Mission – A Brewing Storm: Power Plateau. Right at the top, on your left, on top of the box, is a crumpled piece of paper.
98 – Letter – A Hopeless Soul
This letter is found on top of a box west of the Plateau Trunkway. Look for a container to the west. It’s right in front of the open doorway.
99 – Memo – An Idler
Head north from the last letter all the way into the large area with Severe Energy Alluvium. In this area, head northeast, and you should see a camp with a worker. On the desk is the last file you need to complete this investigation.
That’s 100% of the collectibles you can find in the Power Plateau area in Arknights Endfield.
For all other regions, refer to the Arknights Endfield Collectible Guide.
Leave a Reply