
Recursions and Iterations is the 7th main mission in the Contain the Crisis questline in Control Resonant. This walkthrough will guide you through all objectives of the Recursions and Iterations main quest.
- Main Story: Contain the Crisis
- Starting Location: Downtown > Oldest House
- Requirement: Complete Enemy of My Enemy, and midway through the quest you will also need to complete Jesse Sightings: The Subway Fault to unlock the “Reach Ability”
- Reward: 1 x Living Shard, Grist’s Tracking Device, Prime Candidate Restraint Suit
- Quest Description: After the disaster with the CFD, the Sinkhole’s been Patterned even deeper. Now Pope needs my help.
Objectives:
- Meet Pope in the Oldest House Lobby
- Find the Team Below the Sinkhole
- Locate the Research Team
- Explore the Beacon Location
- Keep Searching for the Team
- Pick up the Device
- Track the Time Fluctuations
- Restore the Power
- Return to Ayad
- Locate Grist
- Locate the Transmission Tower
- Defend the Transmission Tower
- Cross the Chasm
- Follow the Relays to Grist
- Place the Final Probe Relay
Meet Pope in the Oldest House Lobby
After the prior main quest Enemy of My Enemy, you are back in Dylan’s cell in the Oldest House. Follow the path back to the lobby to speak with Pope.
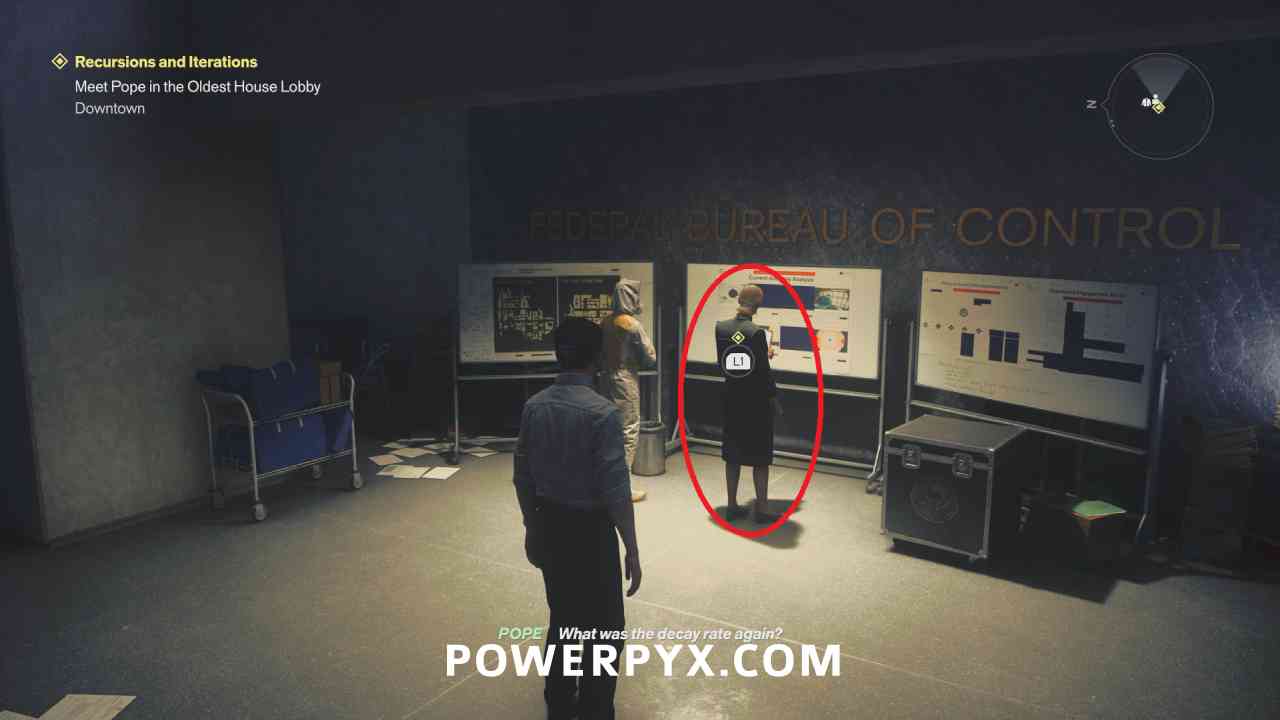
Speaking with Pope starts the side mission Into the Valley of Death, related to Langston’s research. This one isn’t required for main story progression.
Find the Team Below the Sinkhole
You need to enter the Sinkhole again through the way you exited previously, which is through a laundromat.
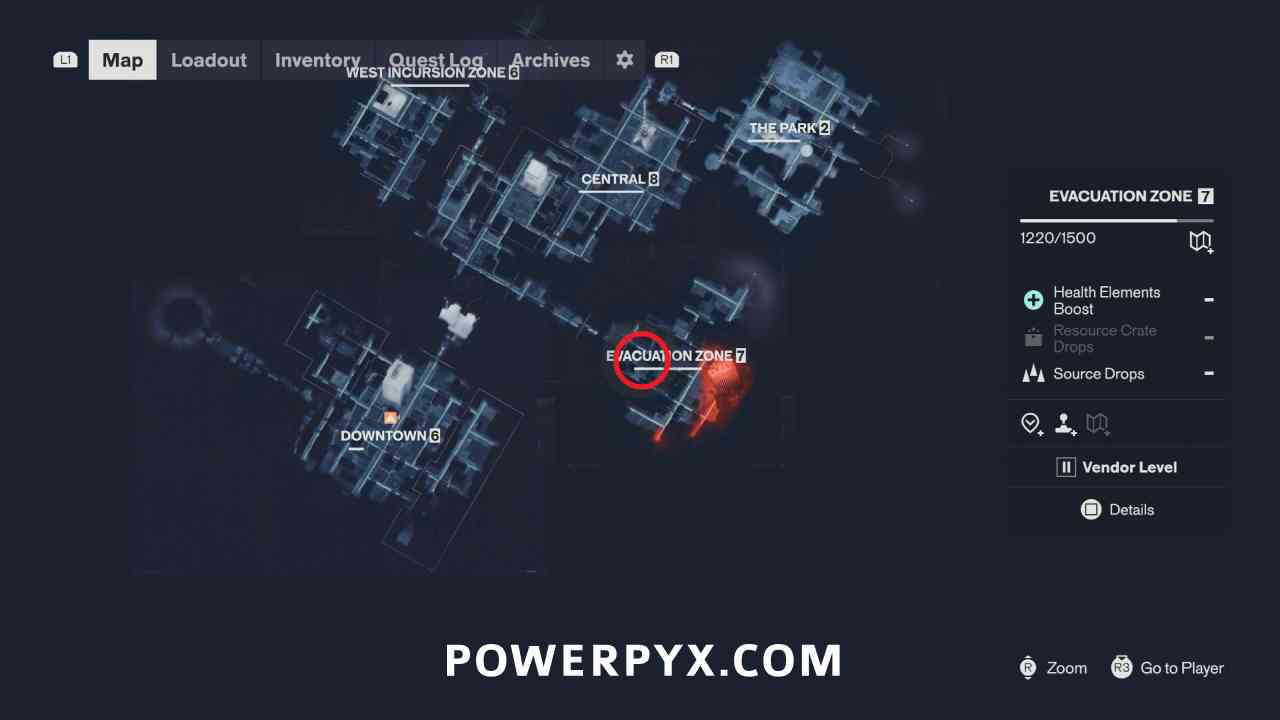
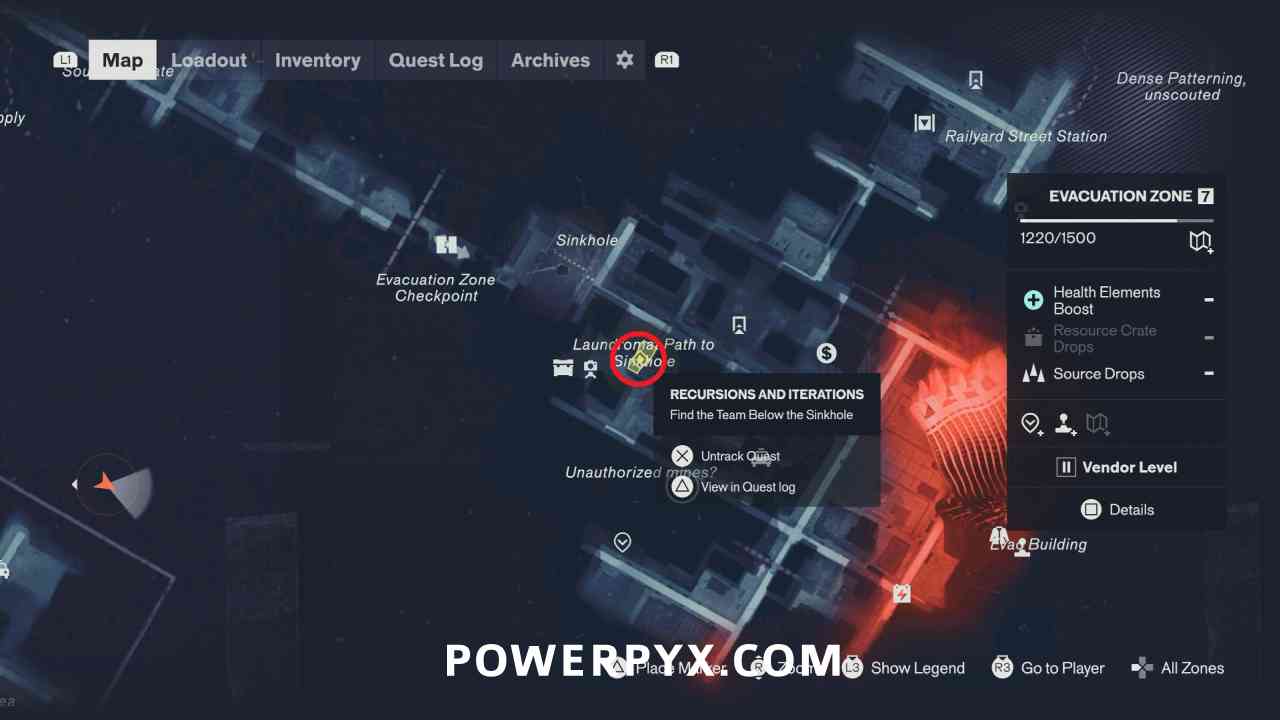
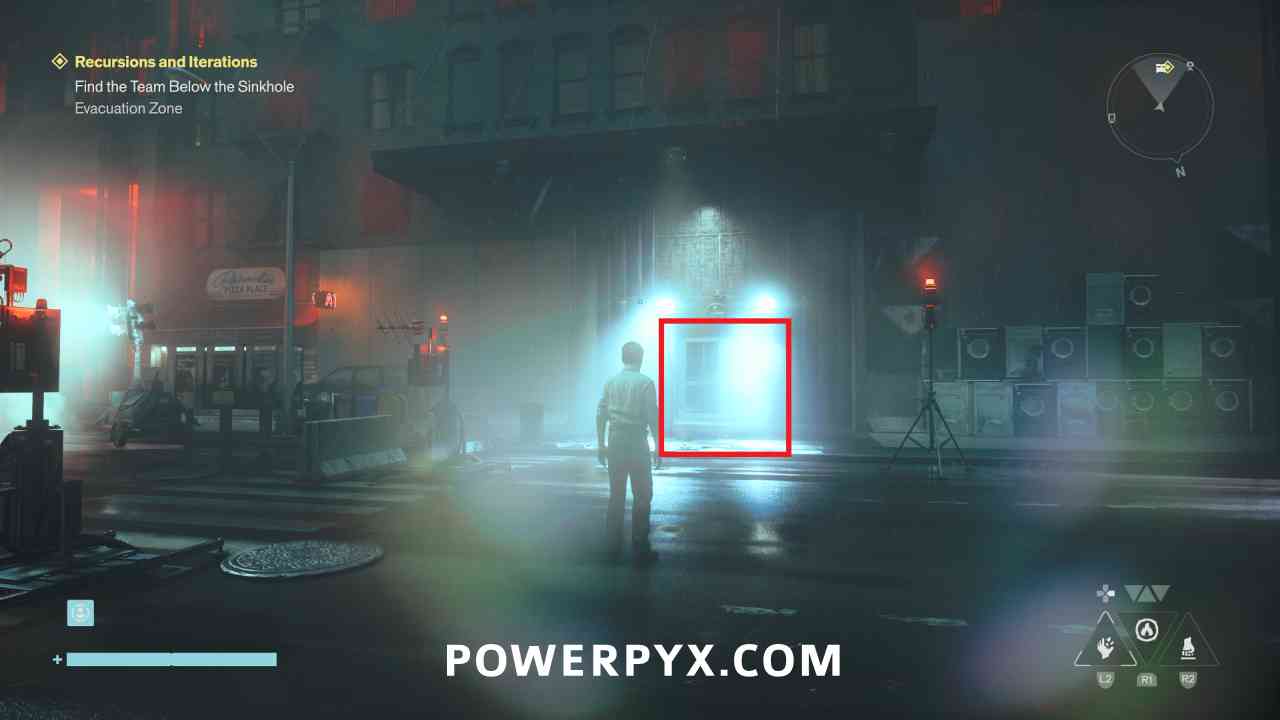
On the way in, make sure to grab the Power Upgrade crate that is now in the building, then continue through the back.
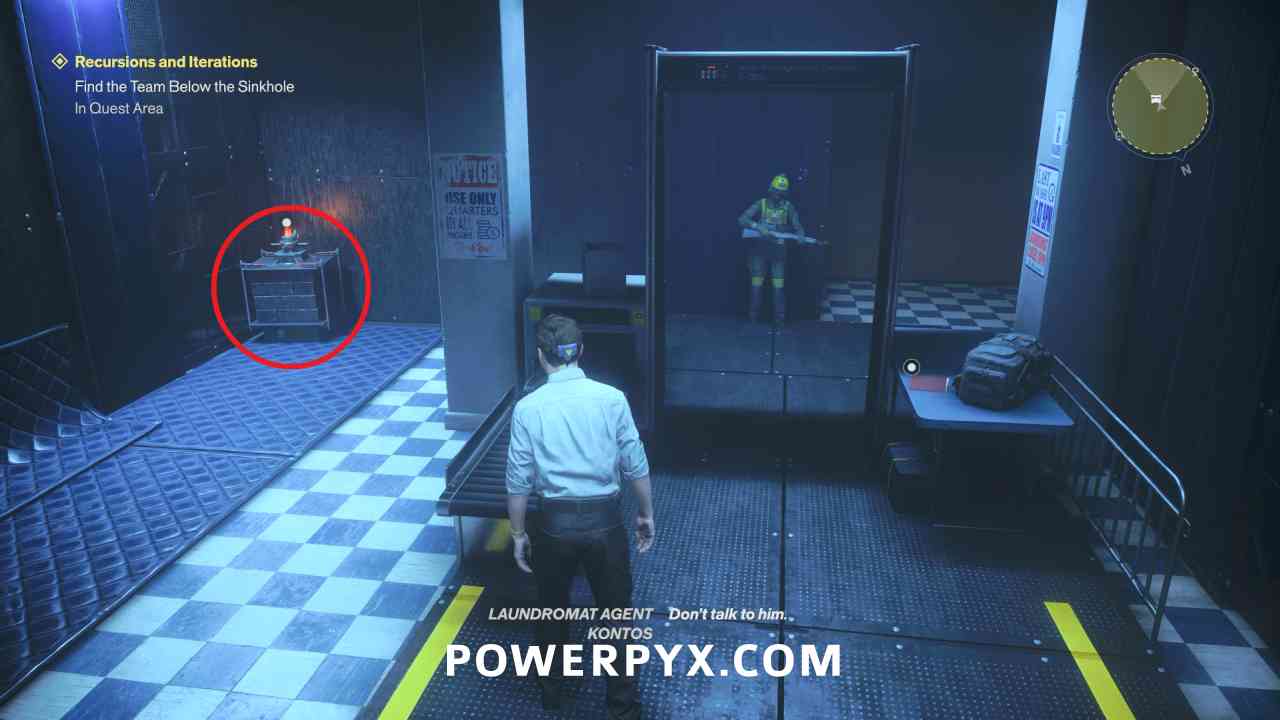
Inside the first open area, drop down to the platform with the “PERSONNEL ACCESS” text on the ground.
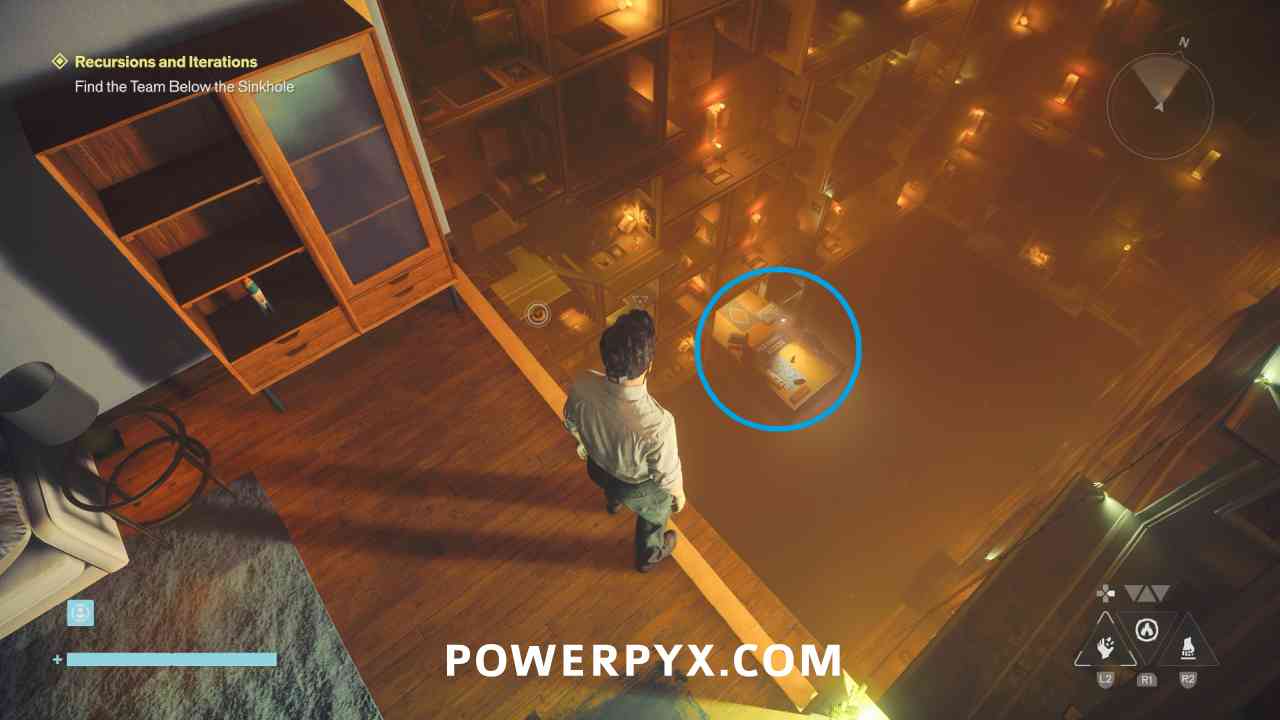
Follow the yellow tape on the ground and the arrows pointing where to go.
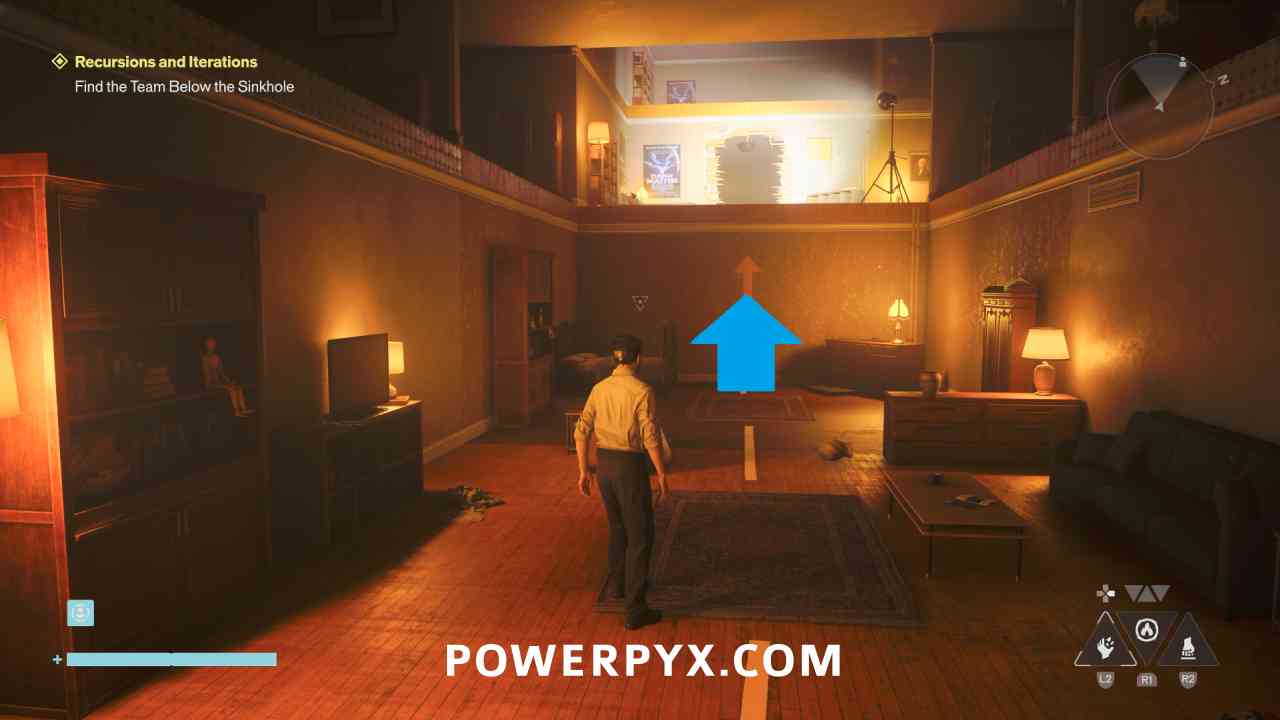
In the next open area you can jump up to a higher platform to talk to a man named Dombrow. This is related to the Into the Valley of Death side mission, but you can skip this if you want.
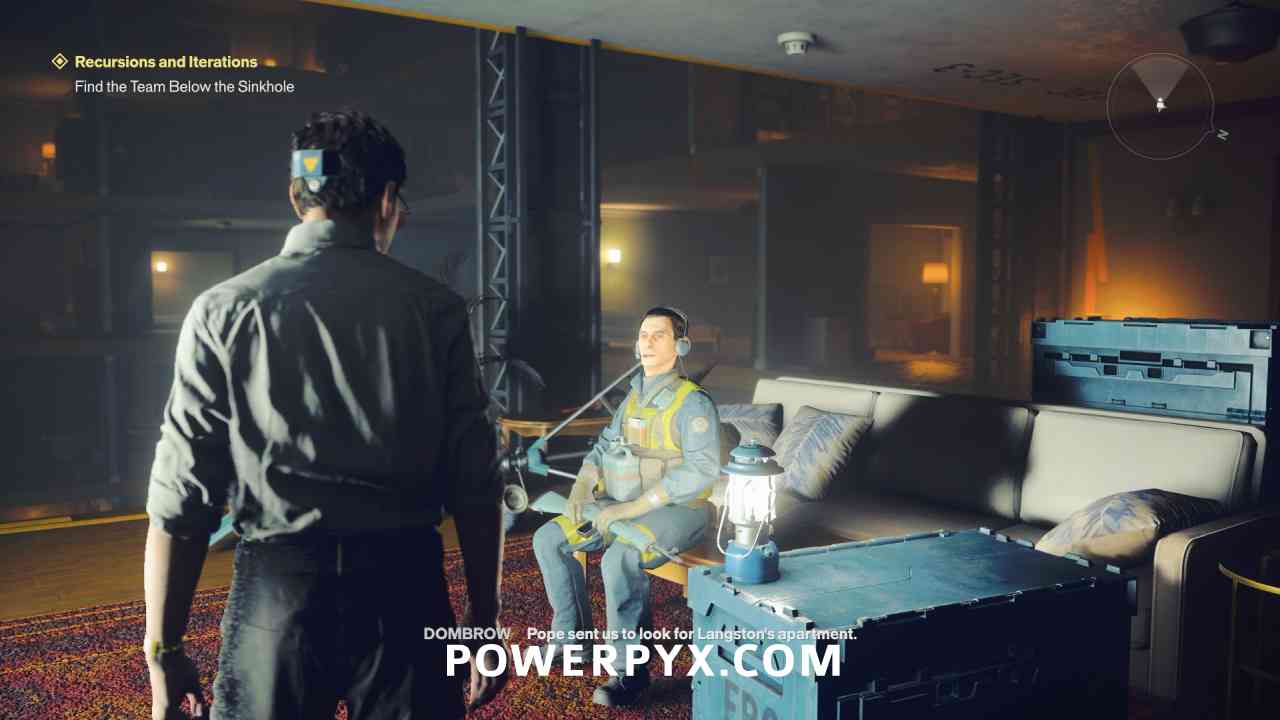
To continue, drop down to the lowest level of this room and go down the hole in the middle.
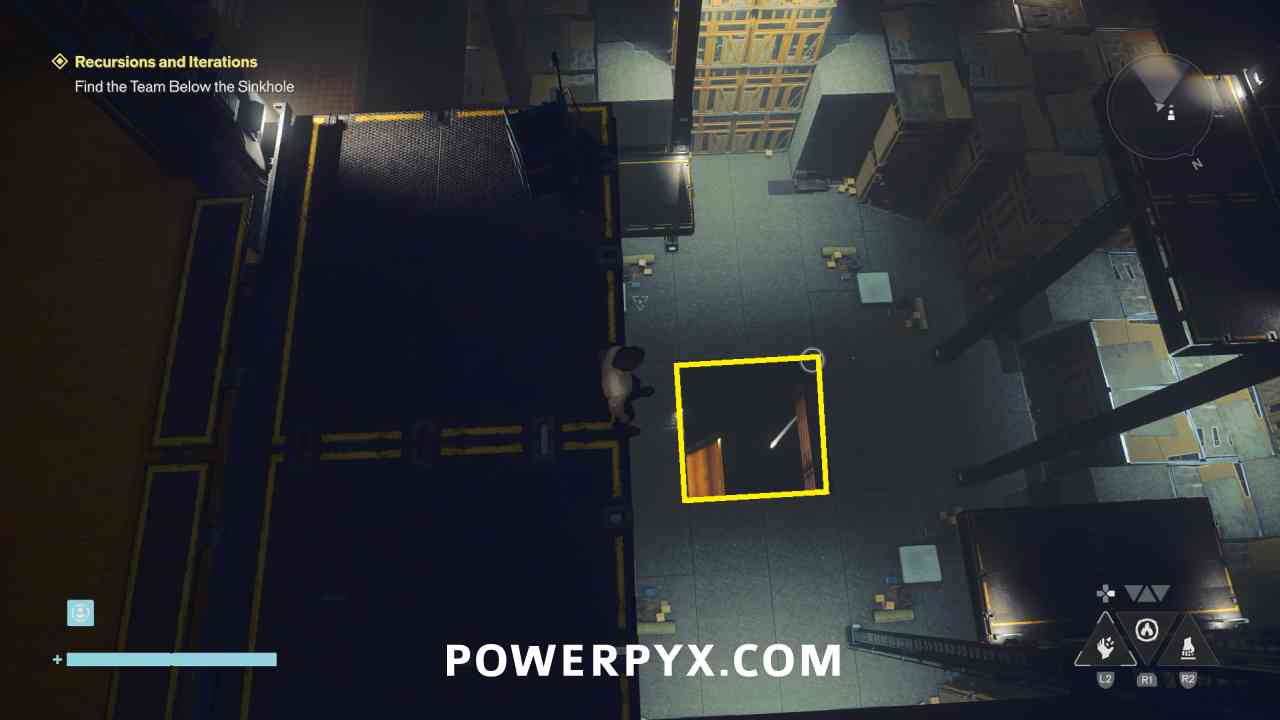
Keep following the white lights attached to ropes to keep moving downward.
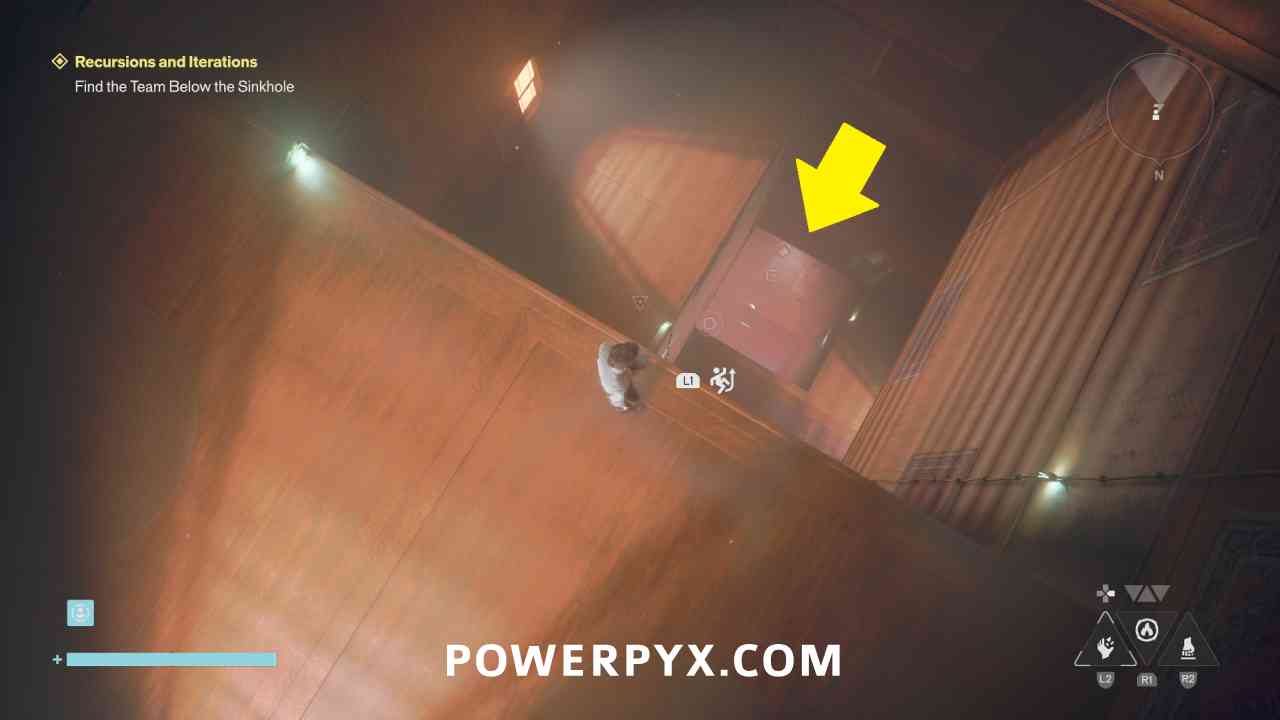
Once you drop down to the previous bottom area, make sure to activate the Sinkhole fast travel door.
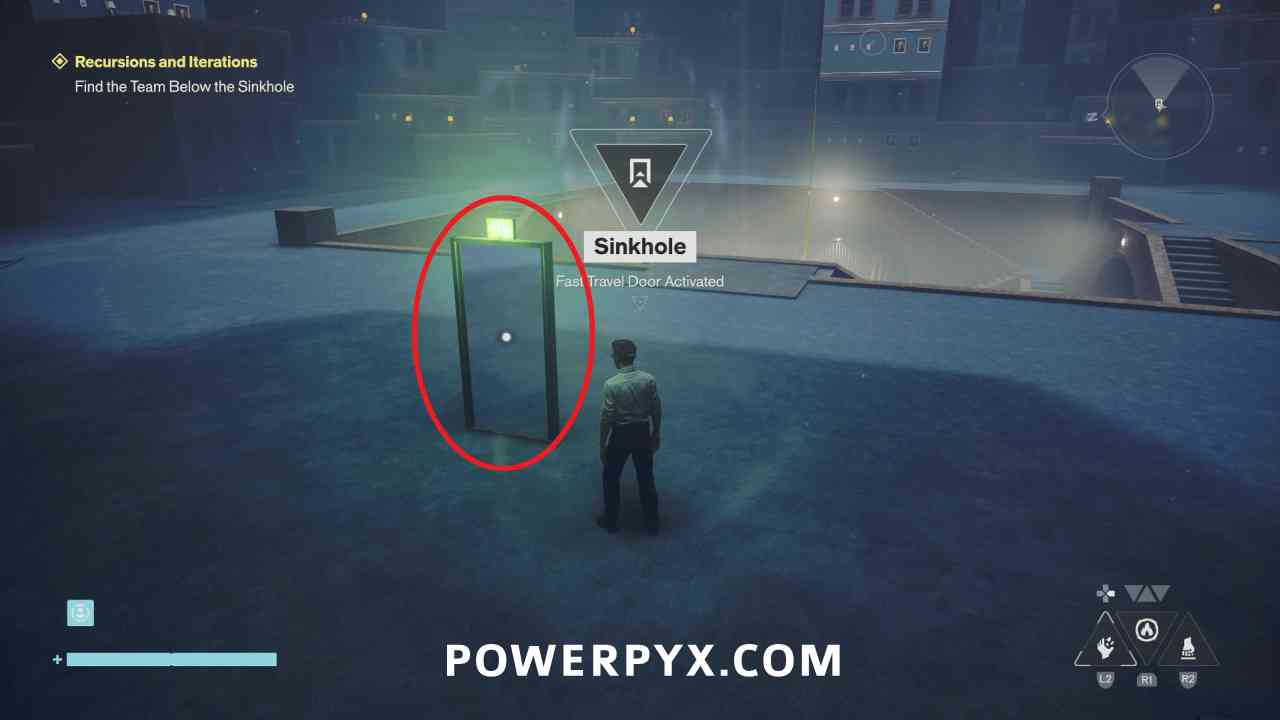
Then go down the near area in the middle of the room. There will now be a hole where you previously went down with the diving bell in Into The Sinkhole.
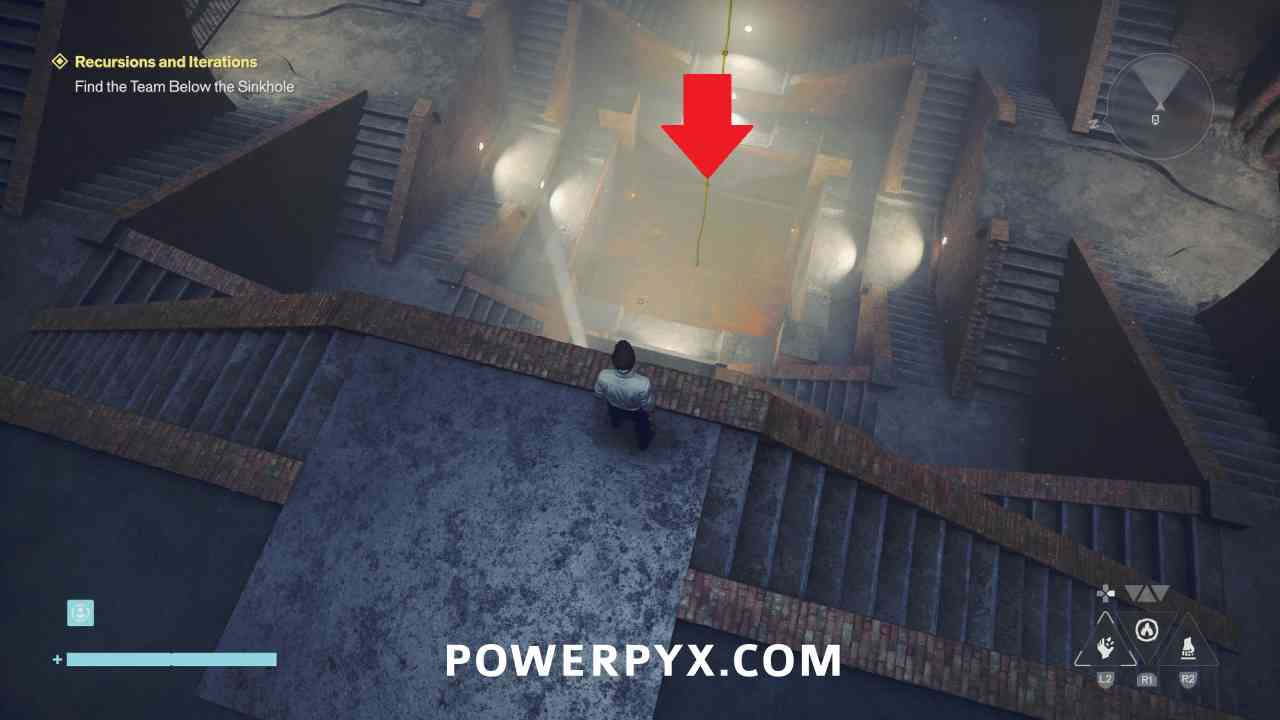
Just after dropping down the hole there is another Power Upgrade crate to the left of the south door. Then go through either door and start following the stairs down.
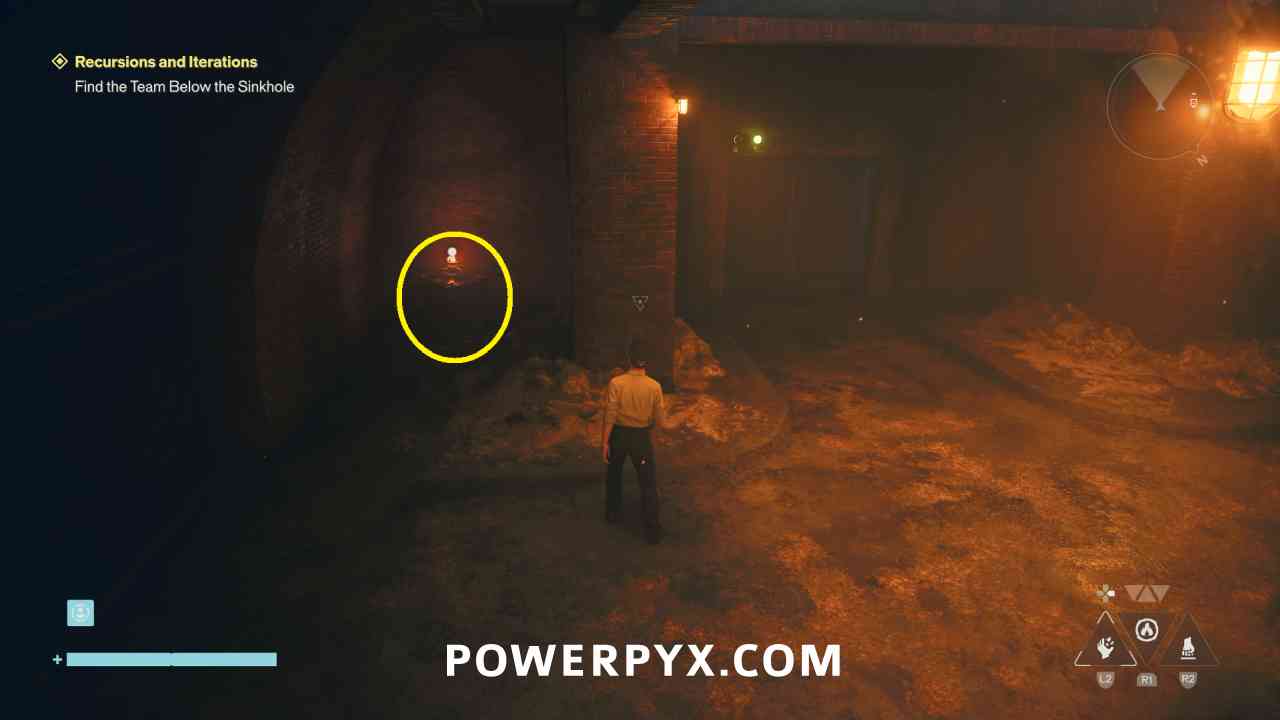
Locate the Research Team
Once you reach the Underpass area, jump down to the red platform below.
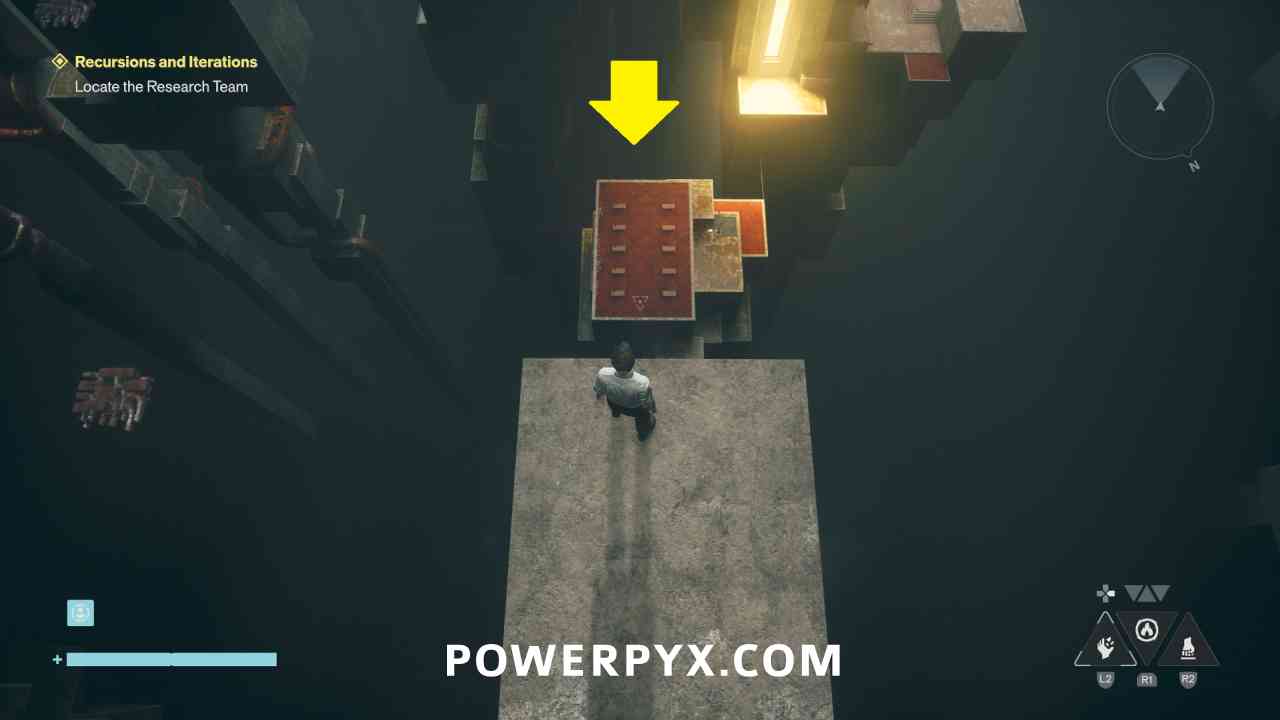
Then start following the path to the right where you can see more white lights attached to ropes. Defeat any of the Hiss in your way.
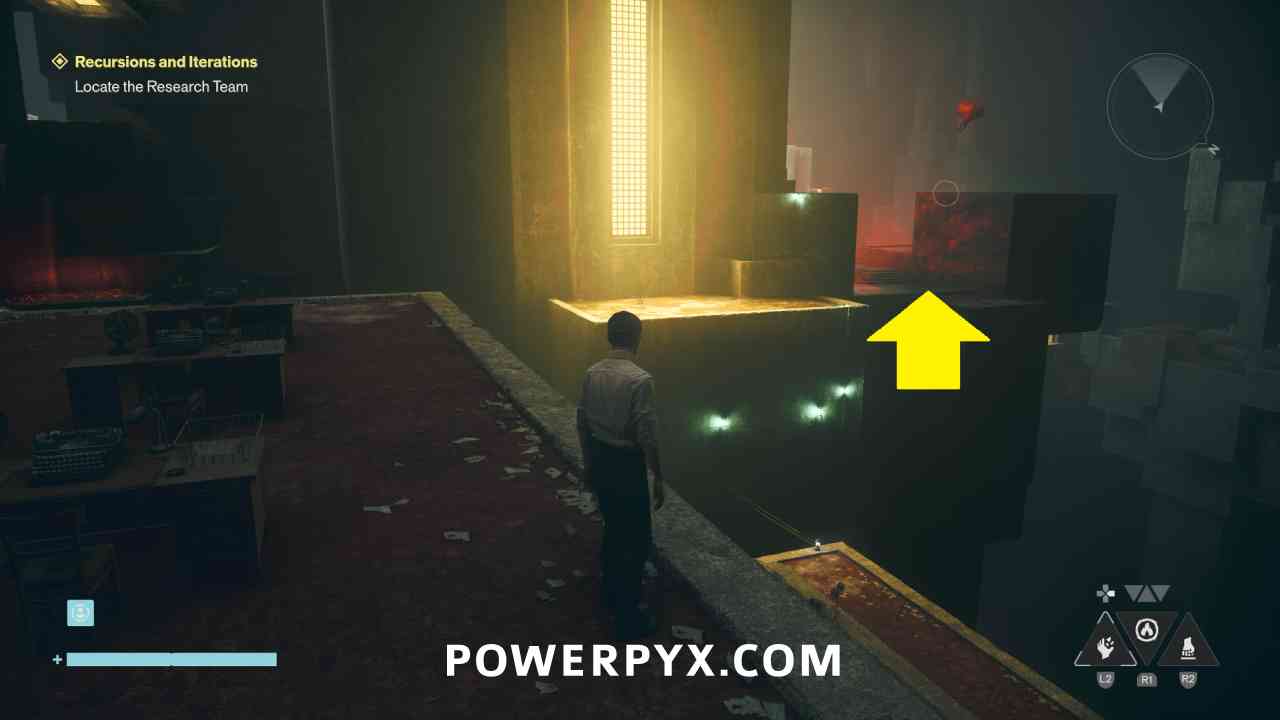
Keep following the lights after the group of Hiss. On the left you can drop down before progressing to find the region’s shop along with a Health Point crate.
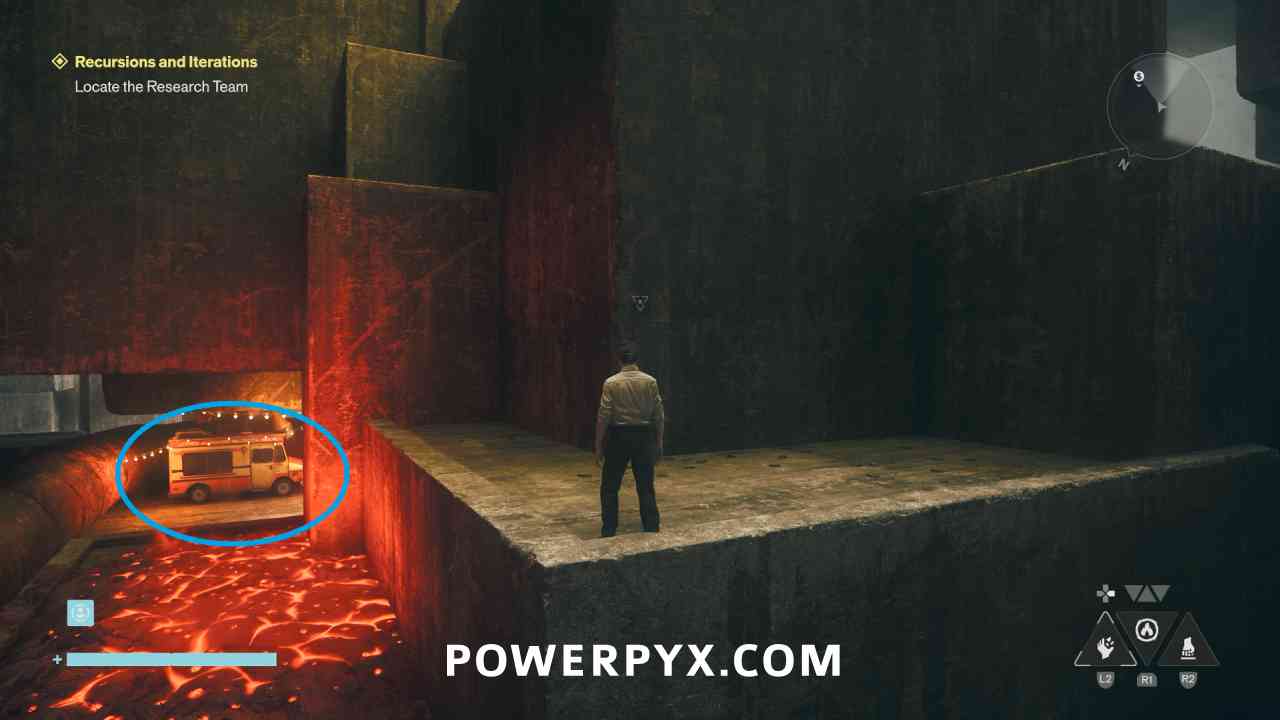
Climb back and keep following the pillar upward following the lights. Near the top of the pillar you’ll need to jump across to the area in front with the Hiss, defeating them to progress.
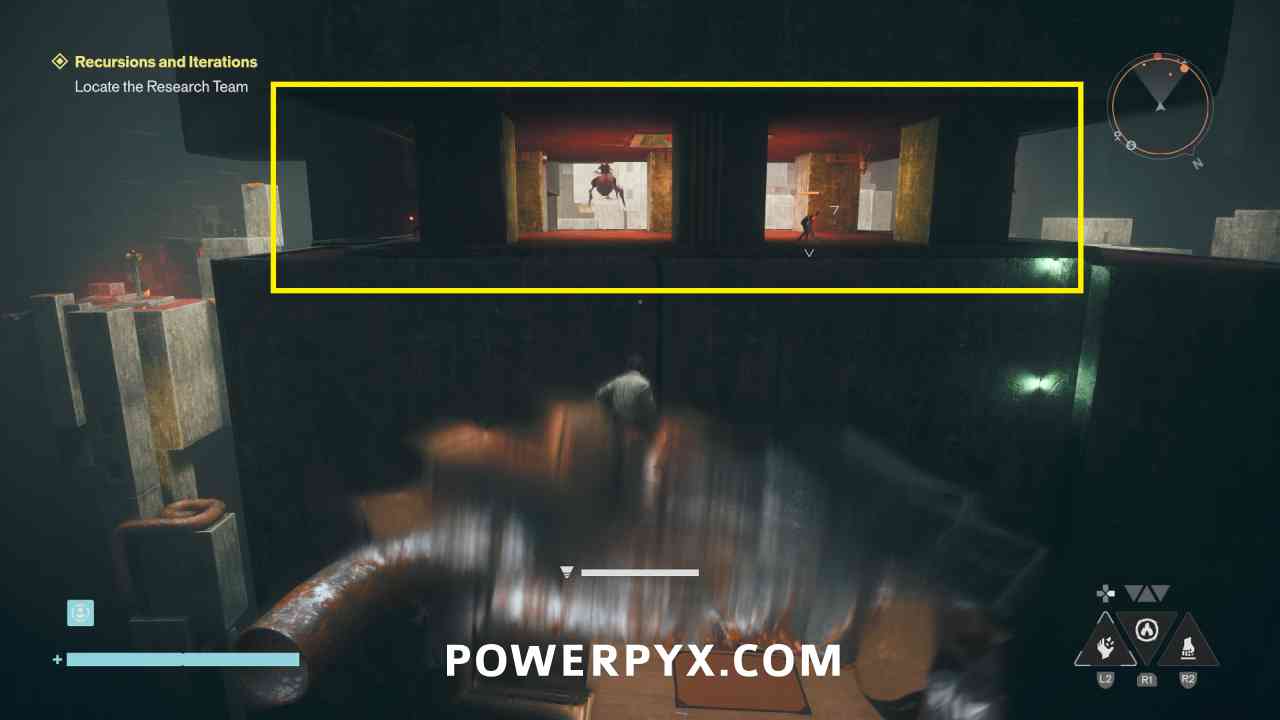
After the group of enemies is defeated, you can jump upward to the ceiling and shift gravity to land upside down, then drop into the hole. Land on the patterned platform and then jump off to the top of the area.
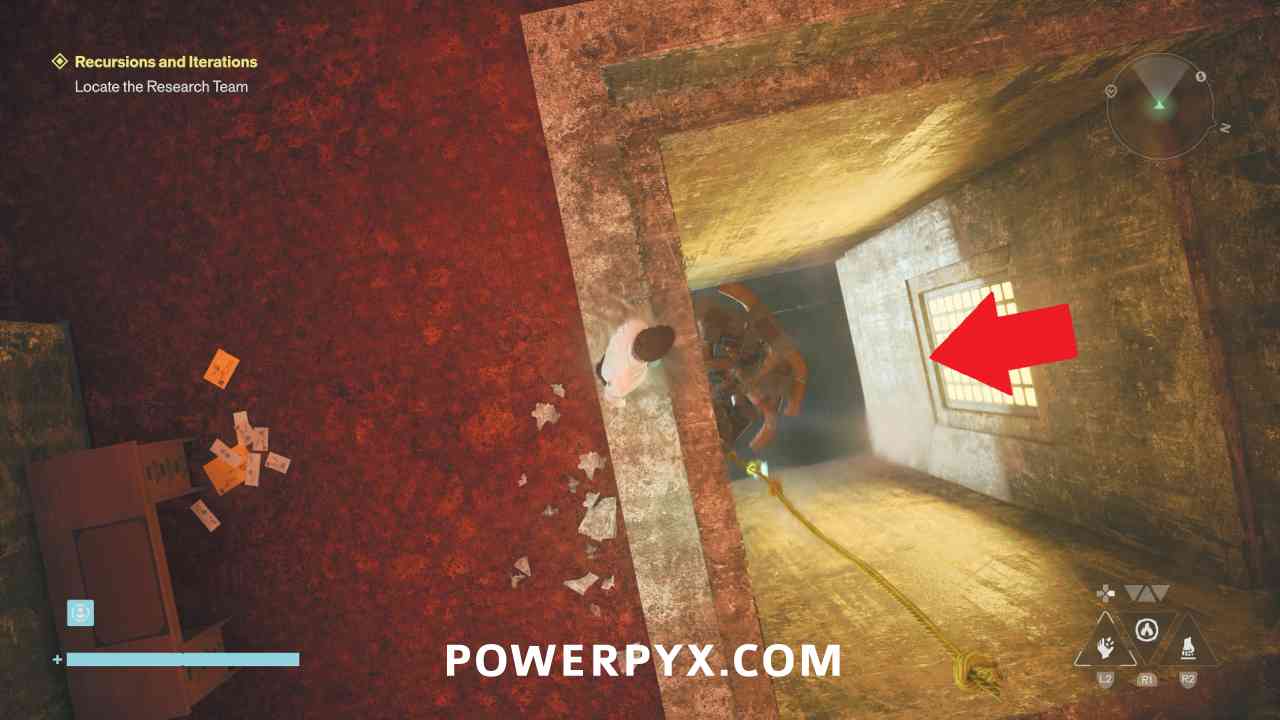
On the top of the area, keep following the path of lights leading south.
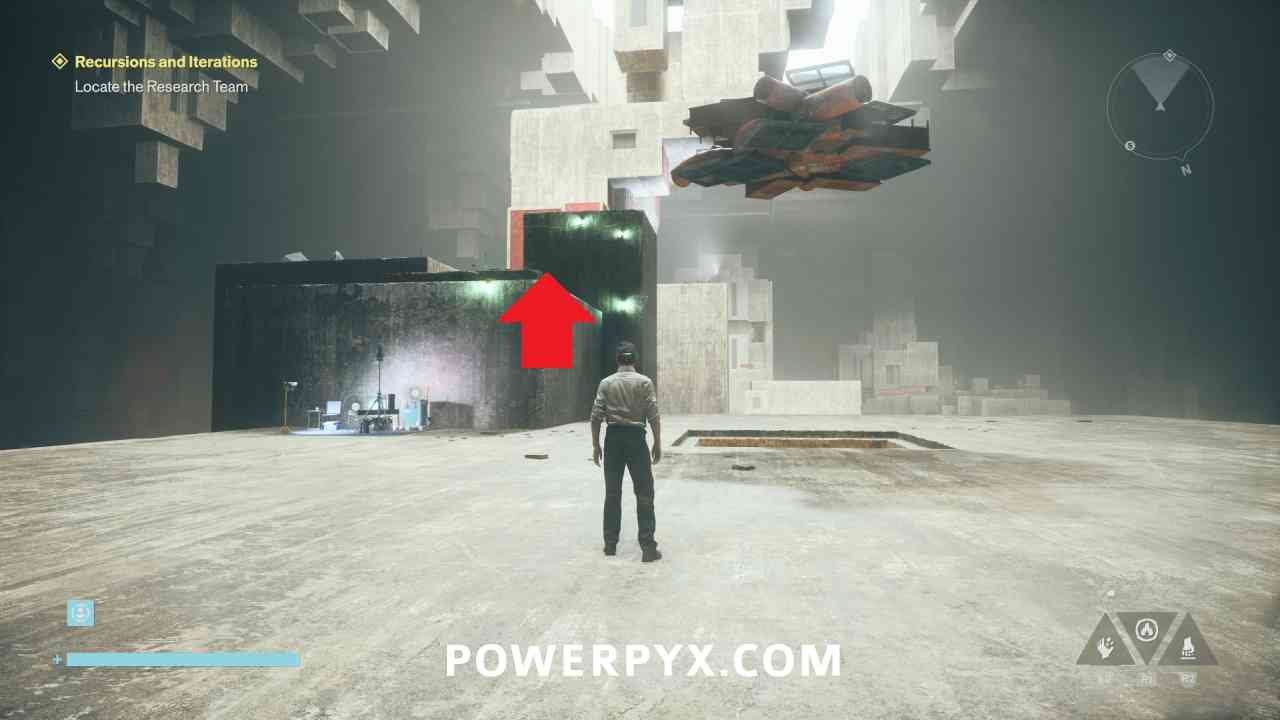
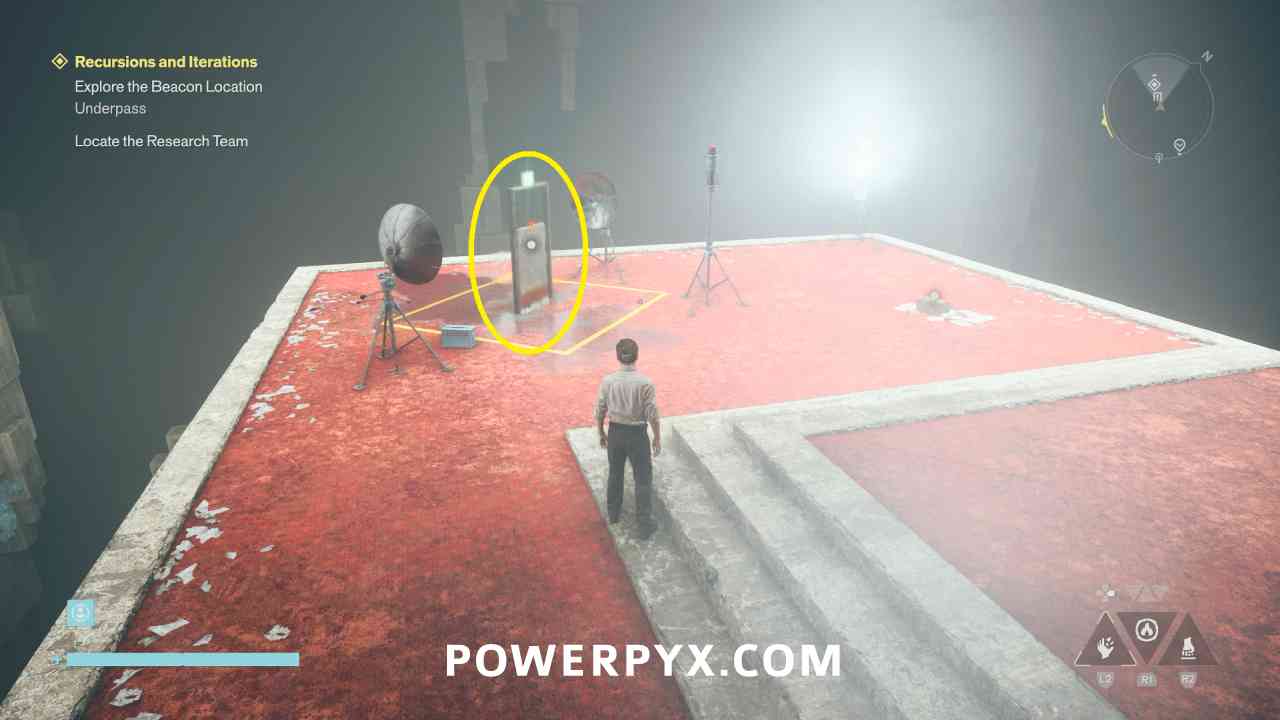
Go to the south of the platform and you can call out the red light in the distance, which will update the objective. You can also activate The Spire fast travel door nearby, which you should do before continuing.
Explore the Beacon Location
To progress, go to the lower part of this camp platform and look down the middle, where you can see more ropes with lights leading down. If you want to go up The Spire it leads to the Underpass Resonant boss.
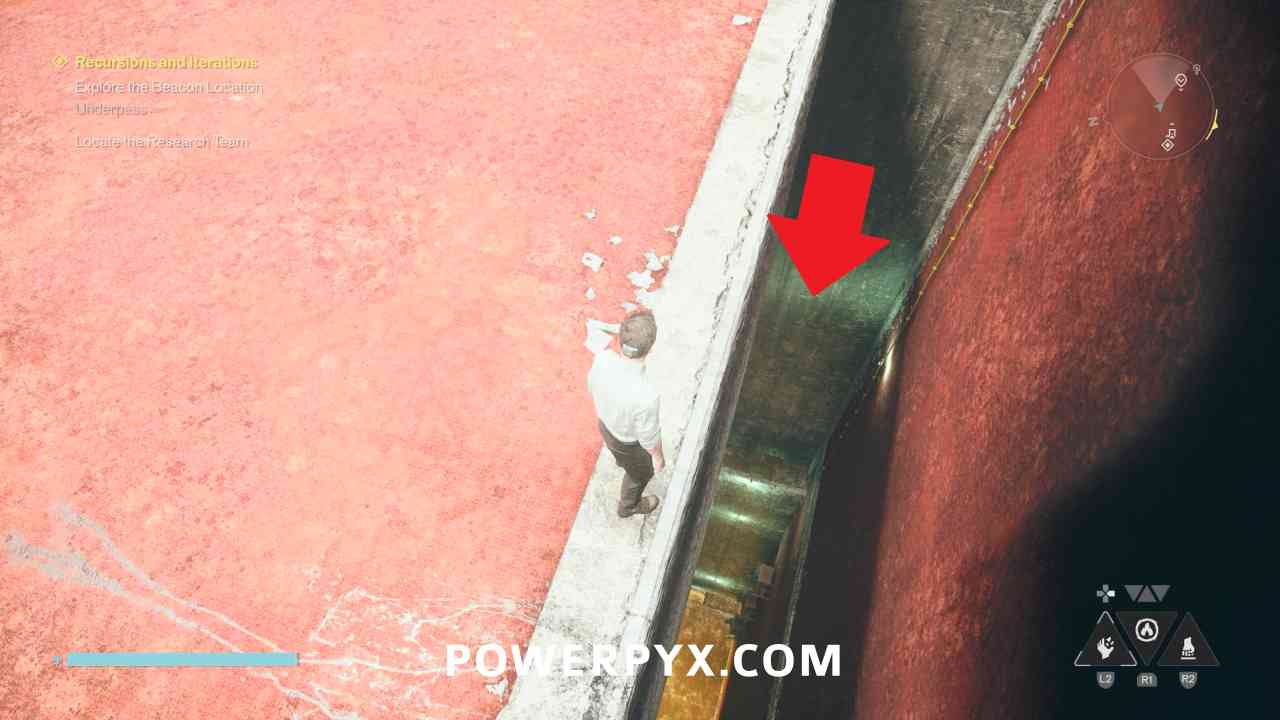
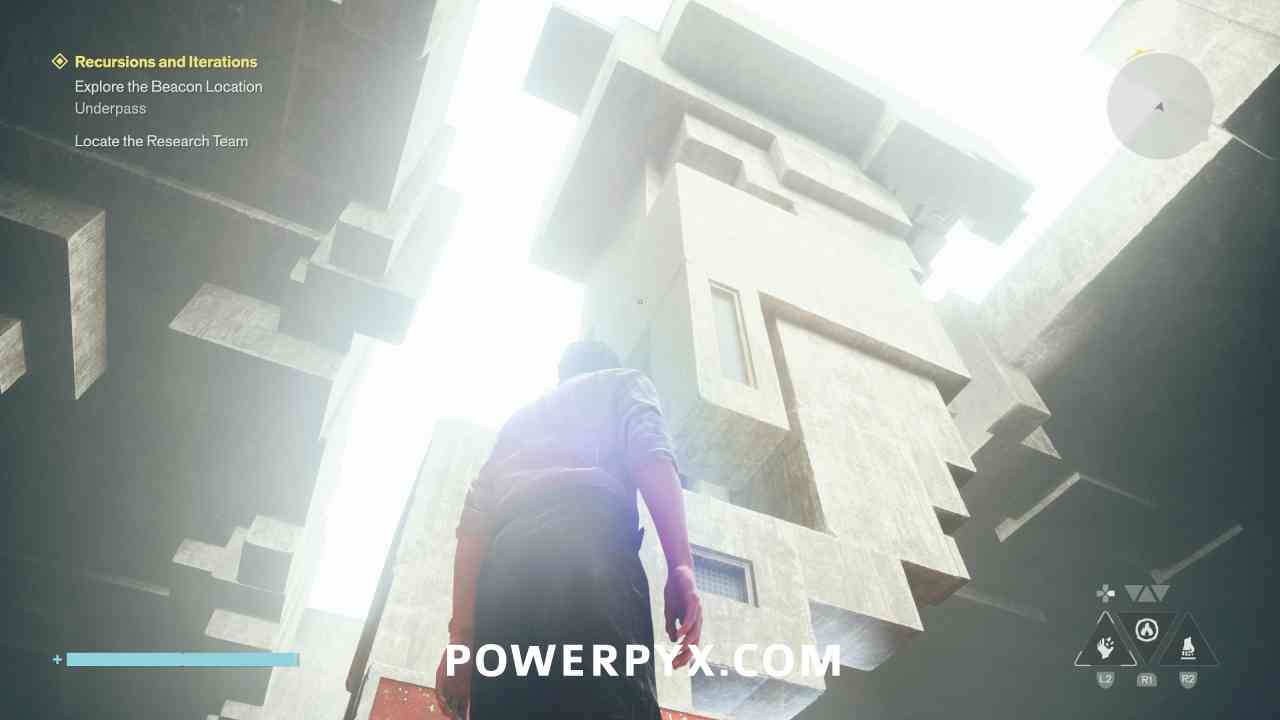
At the lower level, on the left you can activate the Map Kit for the area, then continue following the path to the right which leads to the beacon location.
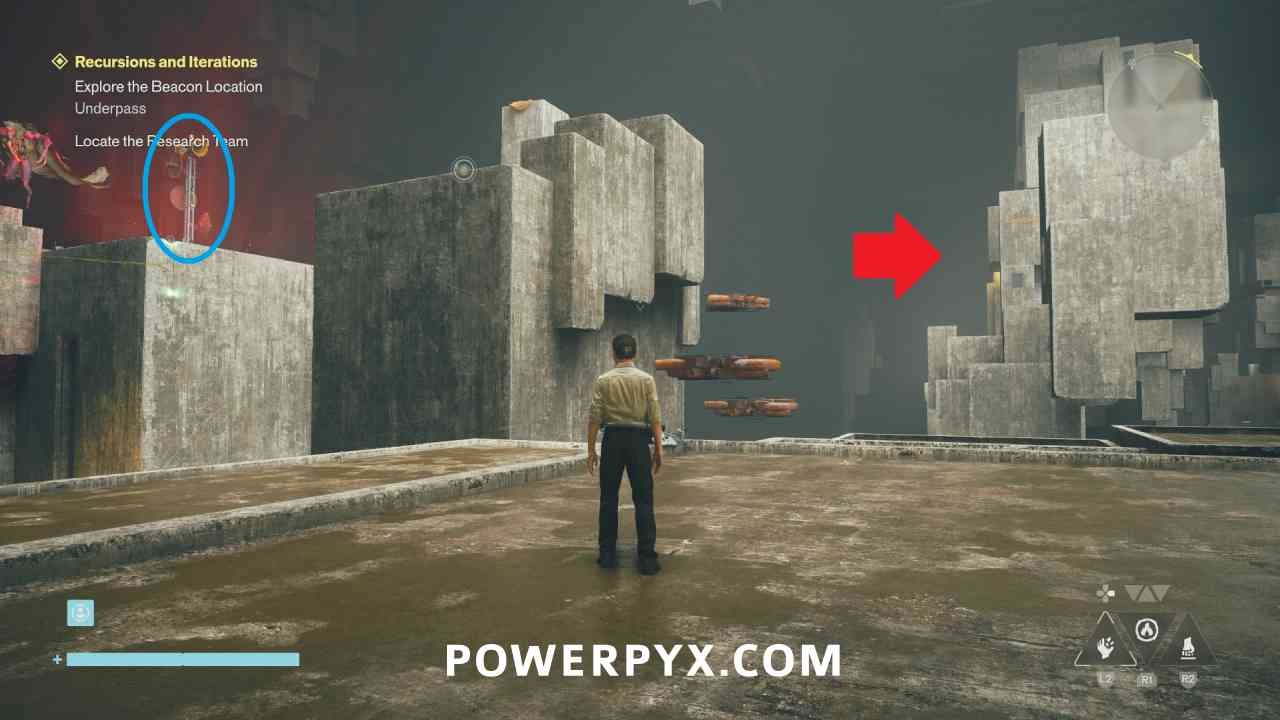
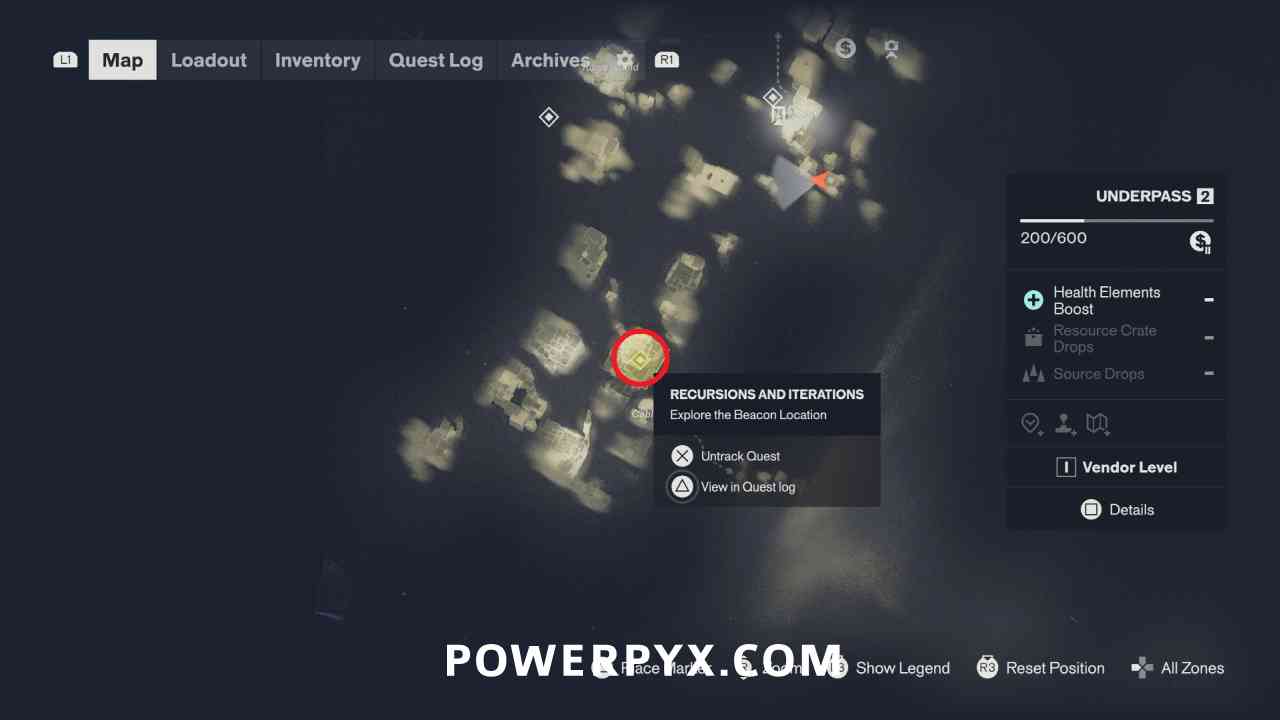
On the next platform deal with the enemies, then go through the path to the left of the room. On the other side you can activate the Halfway Trail fast travel door.
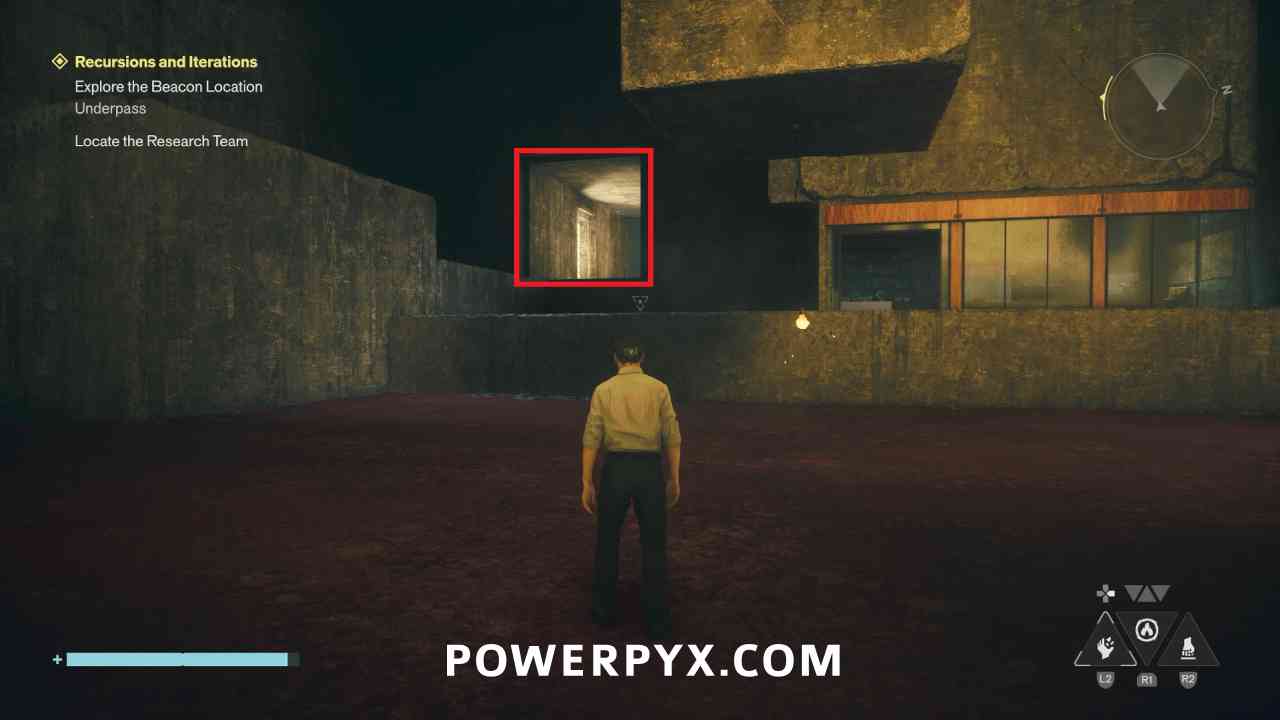
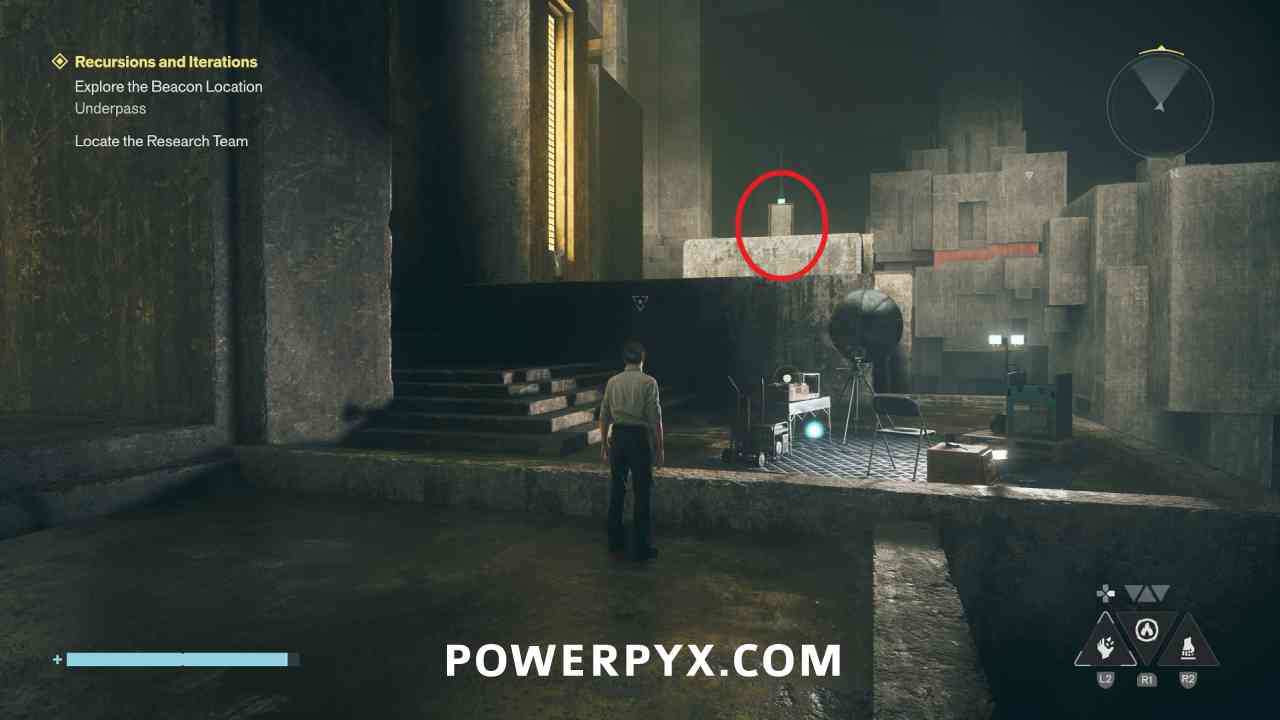
Continue past it and on the left you can jump to the platform with the yellow light. This requires the Reach Ability to use the grappling point, you get it from Jesse Sightings: The Subway Fault. If you haven’t done it yet you can use the fast travel door and do it now.
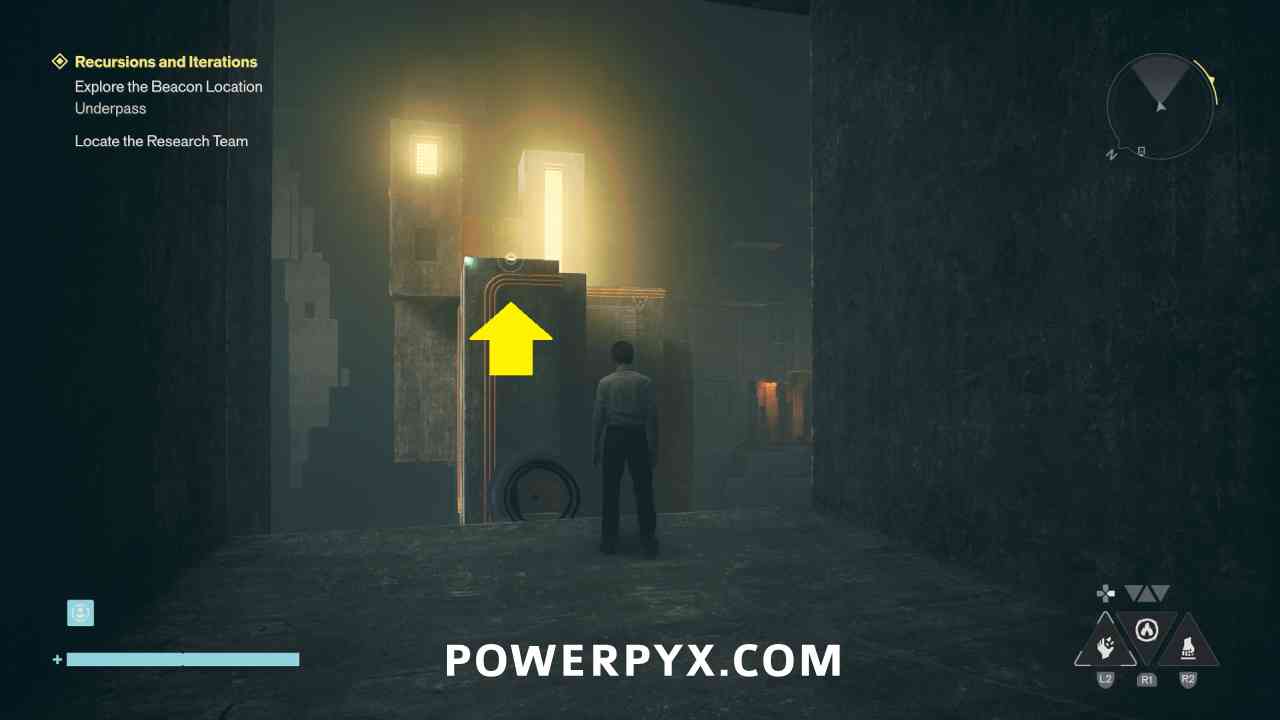
Then across to the red floor area toward where the red beacon light is located.
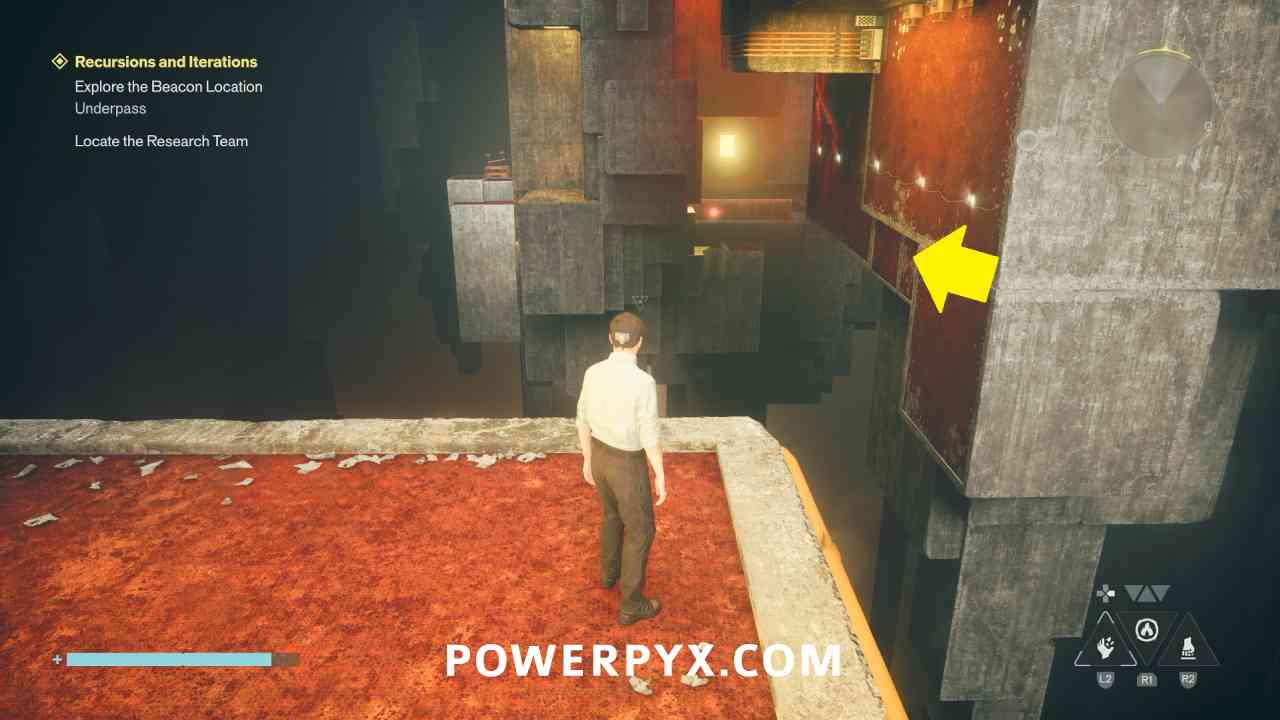
Follow the path of red floors, defeating an Hiss in the way. When you reach the spot with the beacon, jump across to the walkway it’s on.
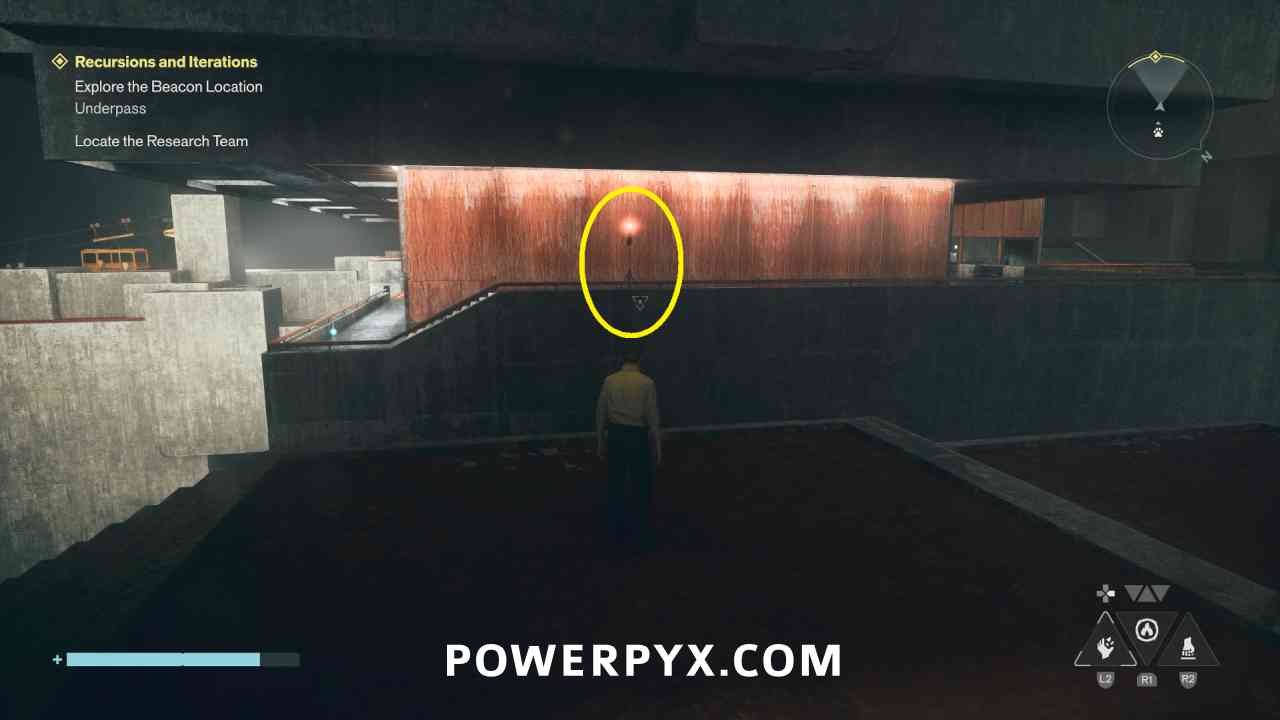
Inspect the area with the group of bodies to update Zoe.
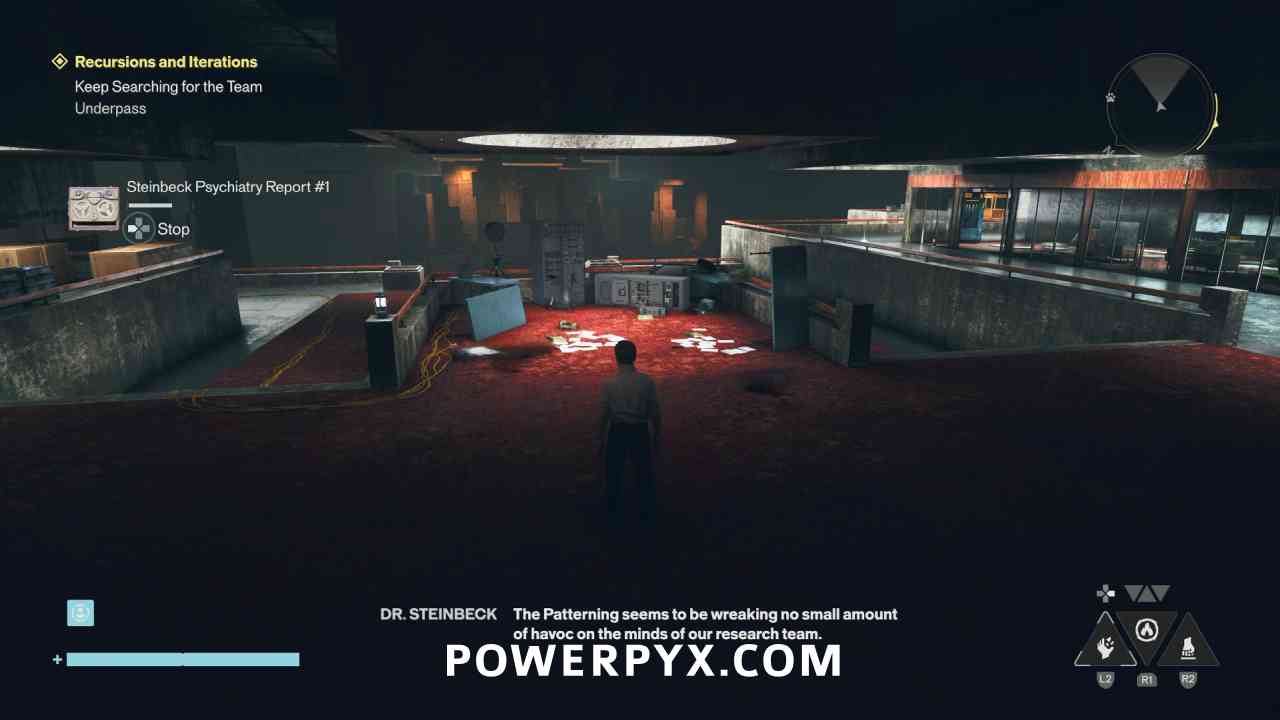
Keep Searching for the Team
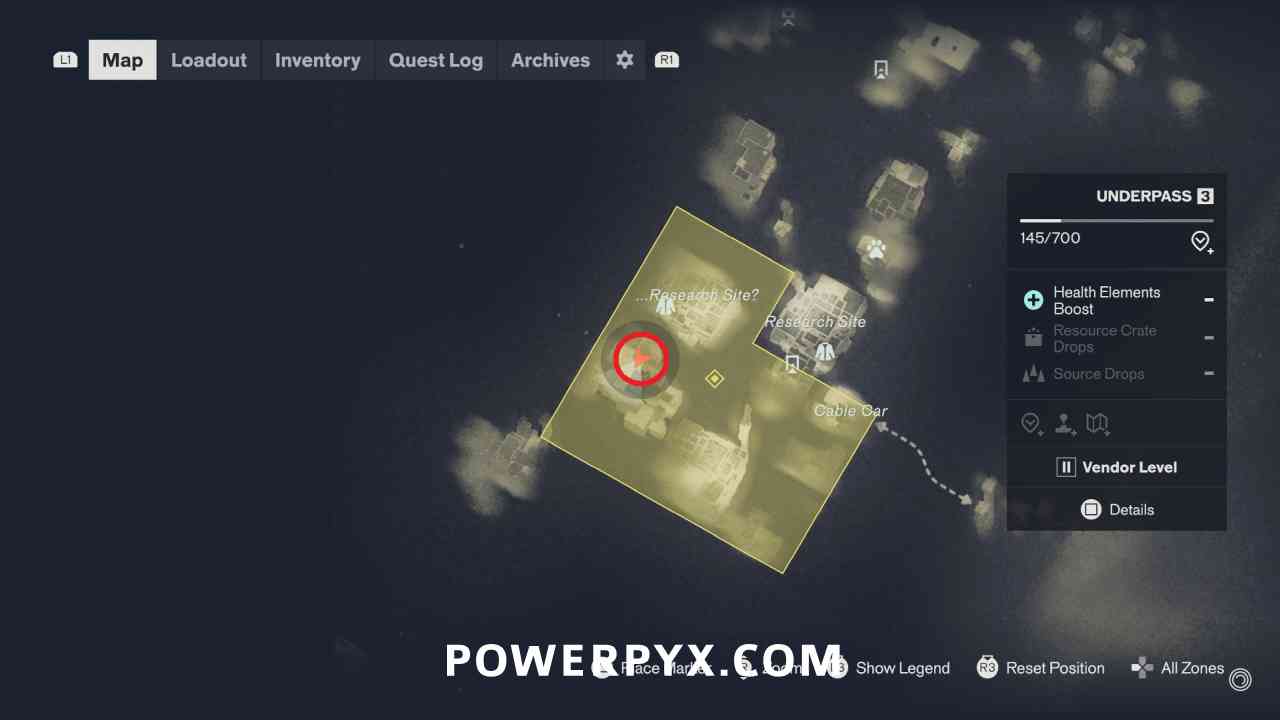
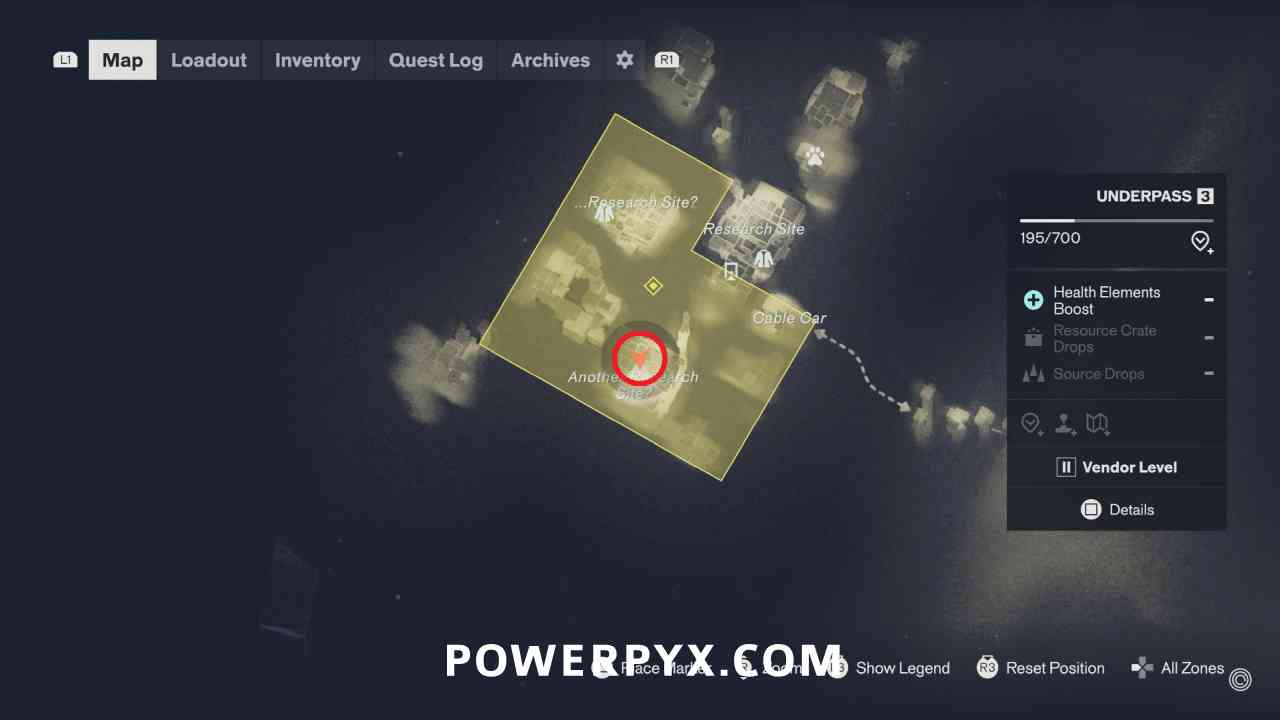
You now have a very large search area to look through. On the east corner you can go inspect the Cable Car, which you should remember for later.
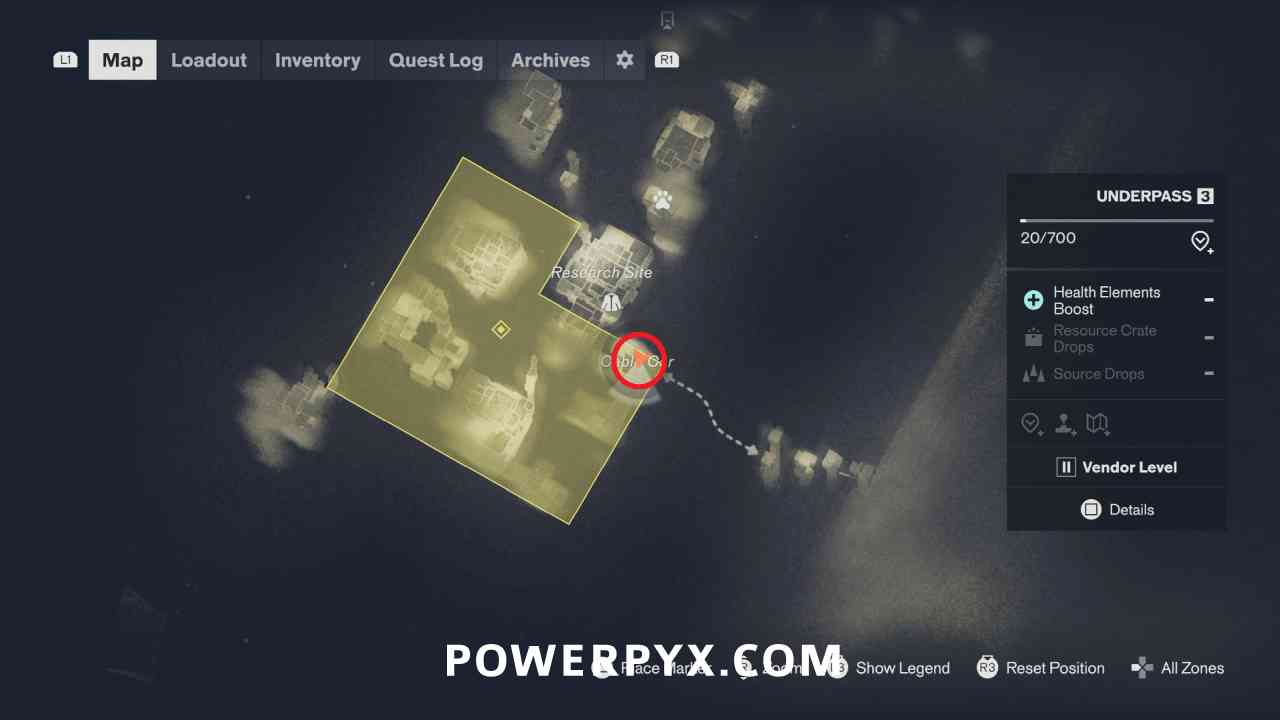
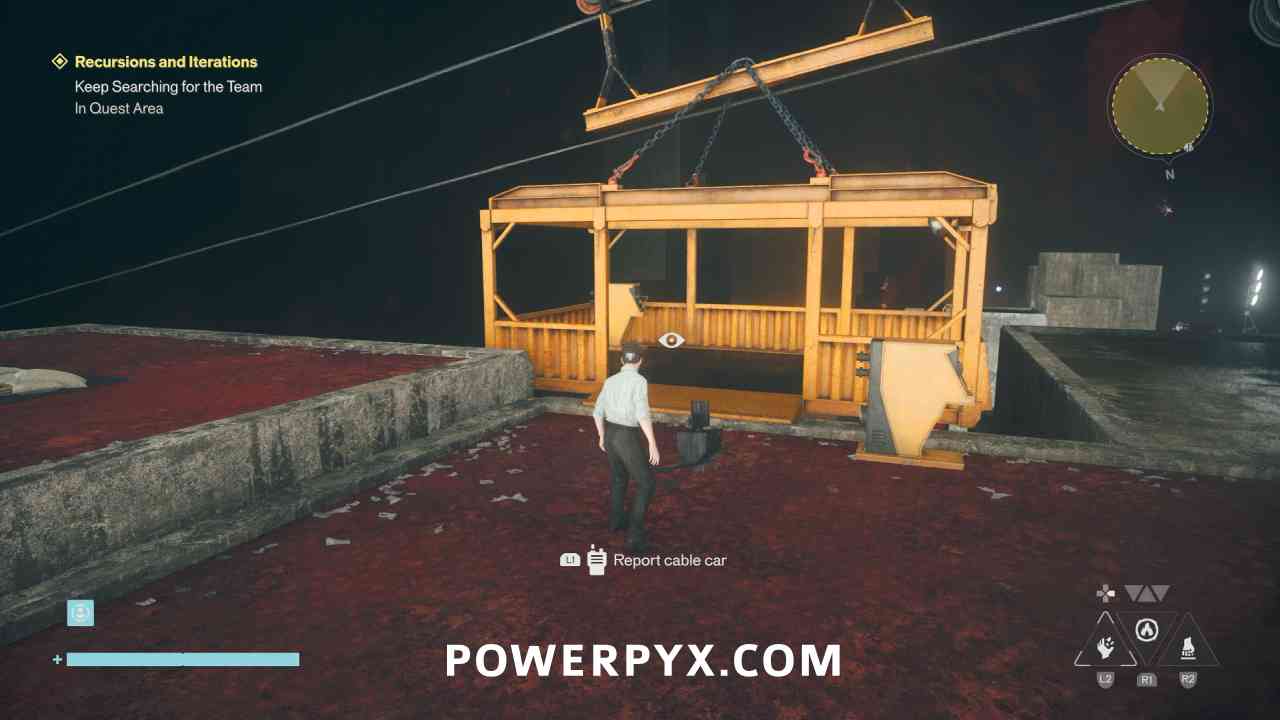
Just to the west of it you can climb up the pillar to the top, which has the Research Station fast travel door which you should activate.
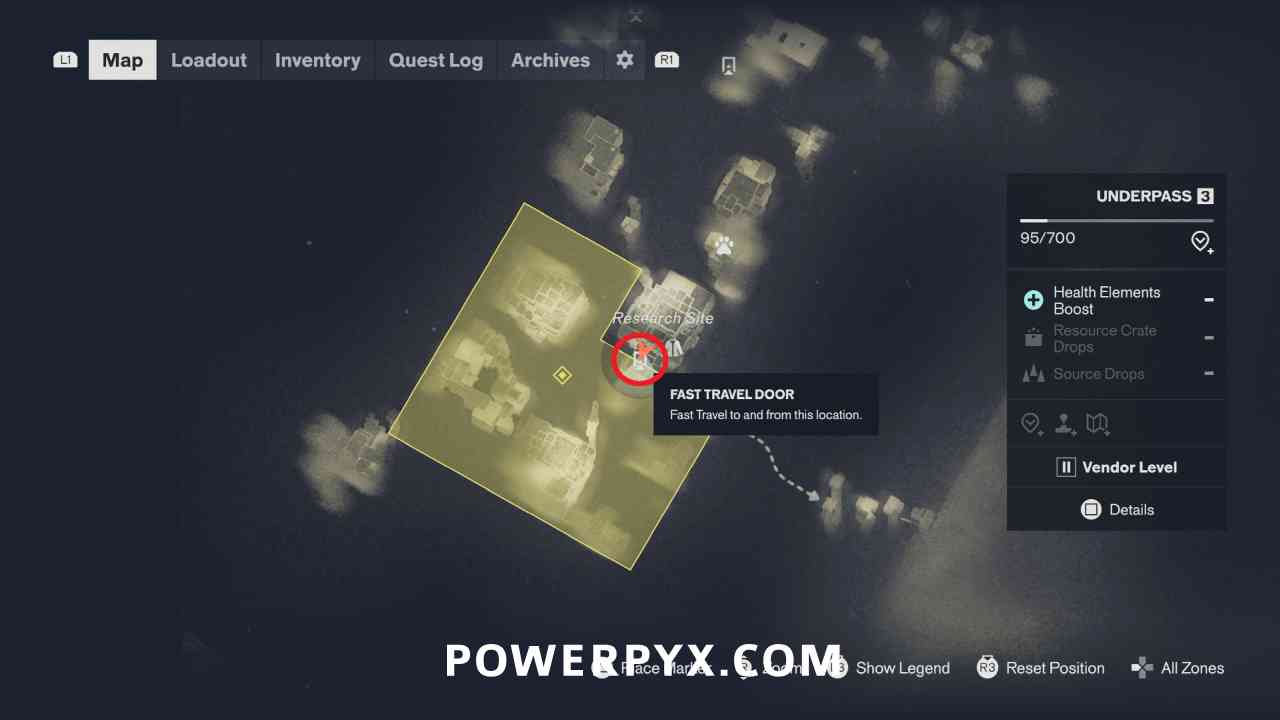
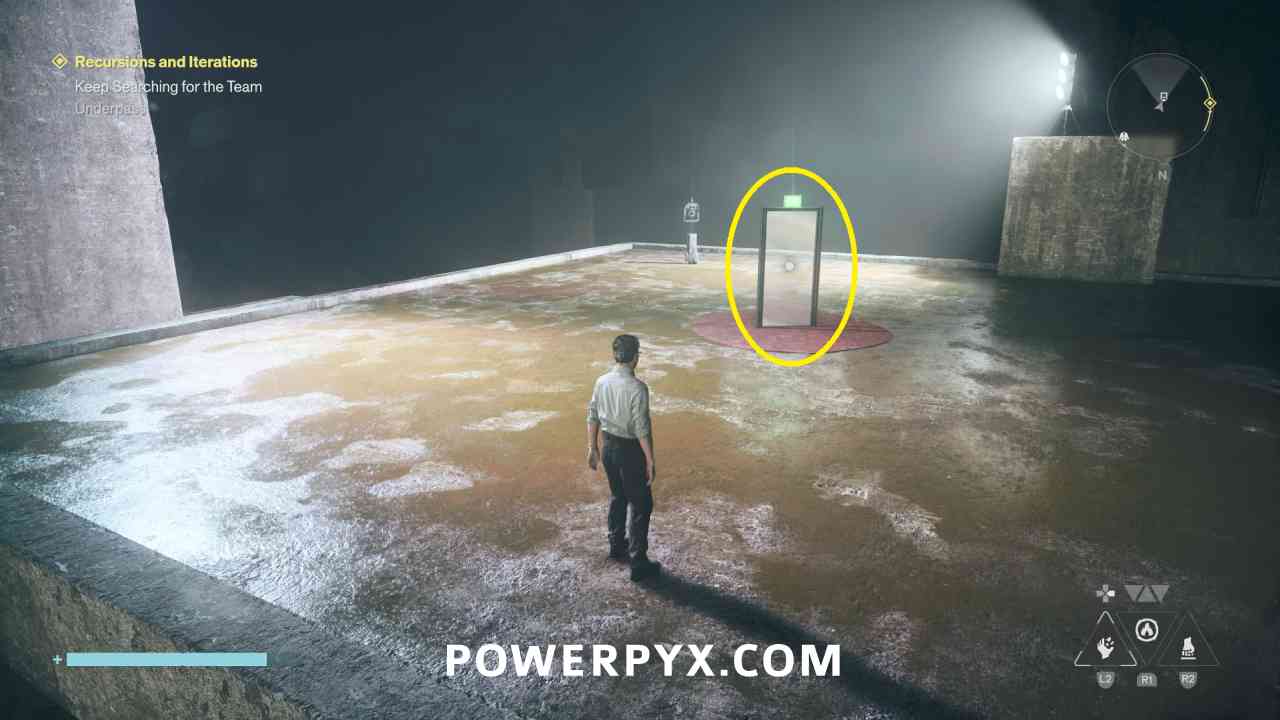
Go further west, and you can use the platforms to reach another area of walkways.
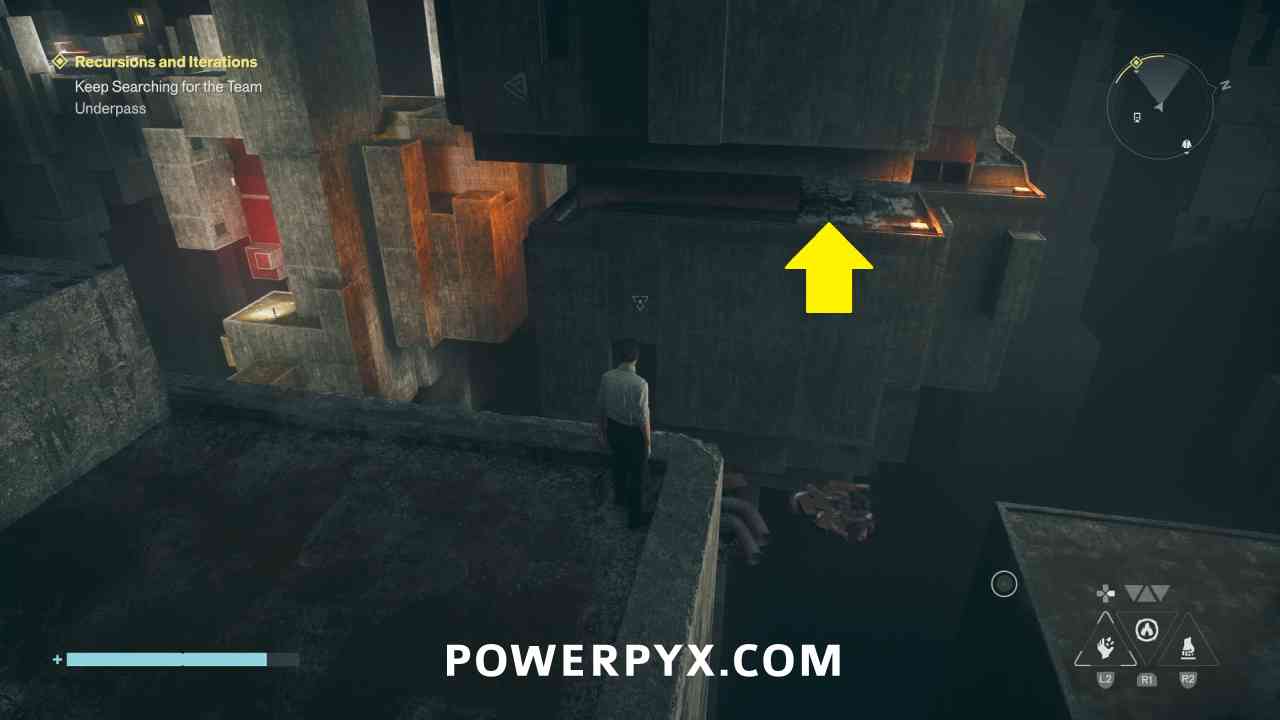
Go into this area and you can find the research team, then interact to report the anomaly that occurs.
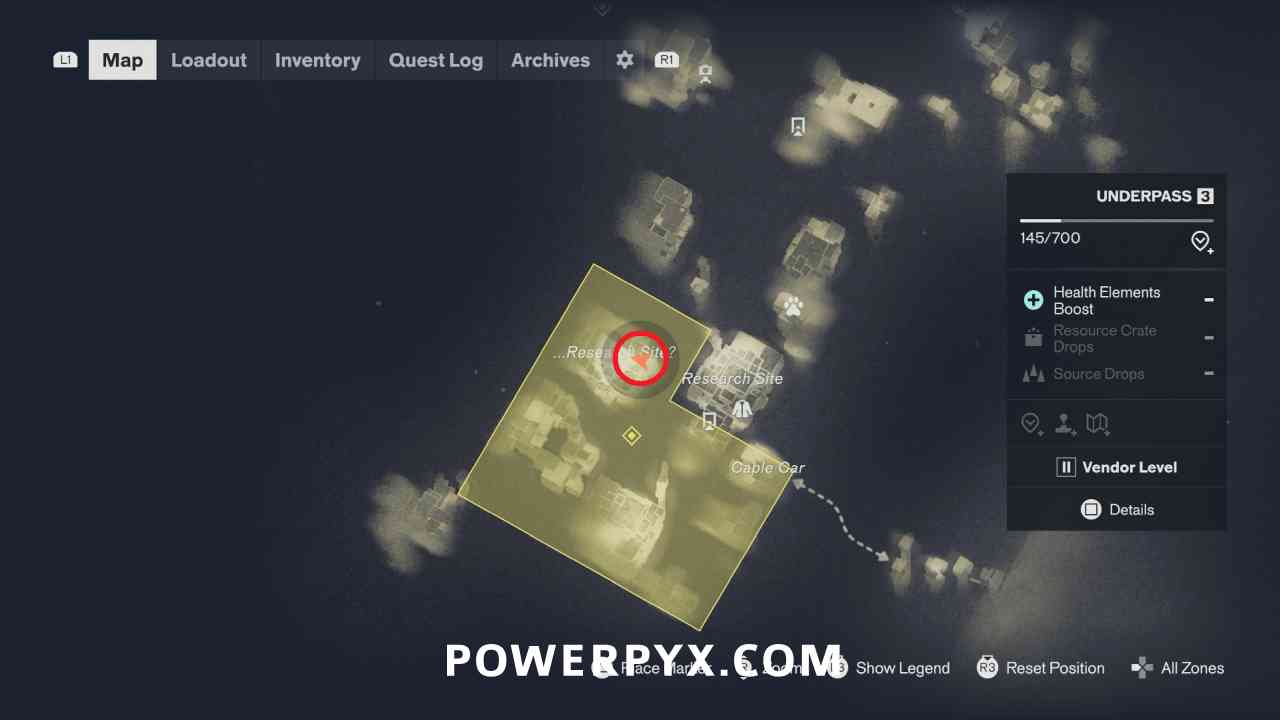
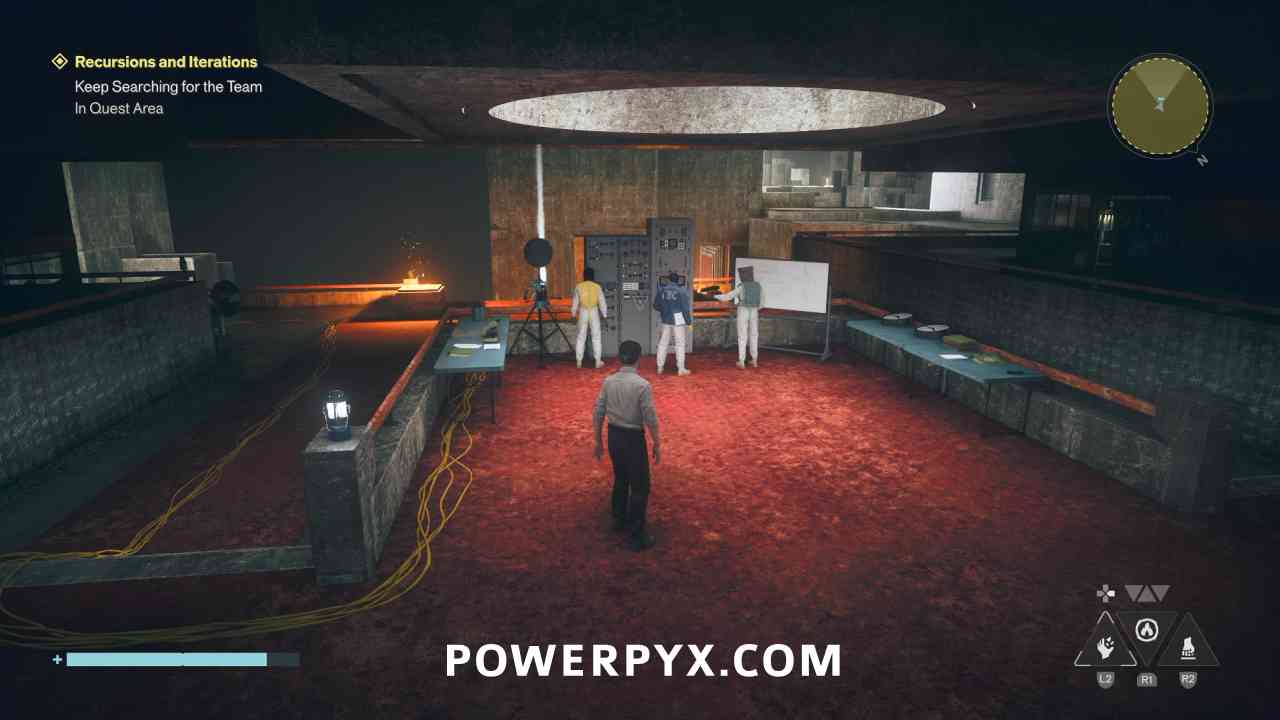
Jump to the southwest tower, then deal with the group of enemies.
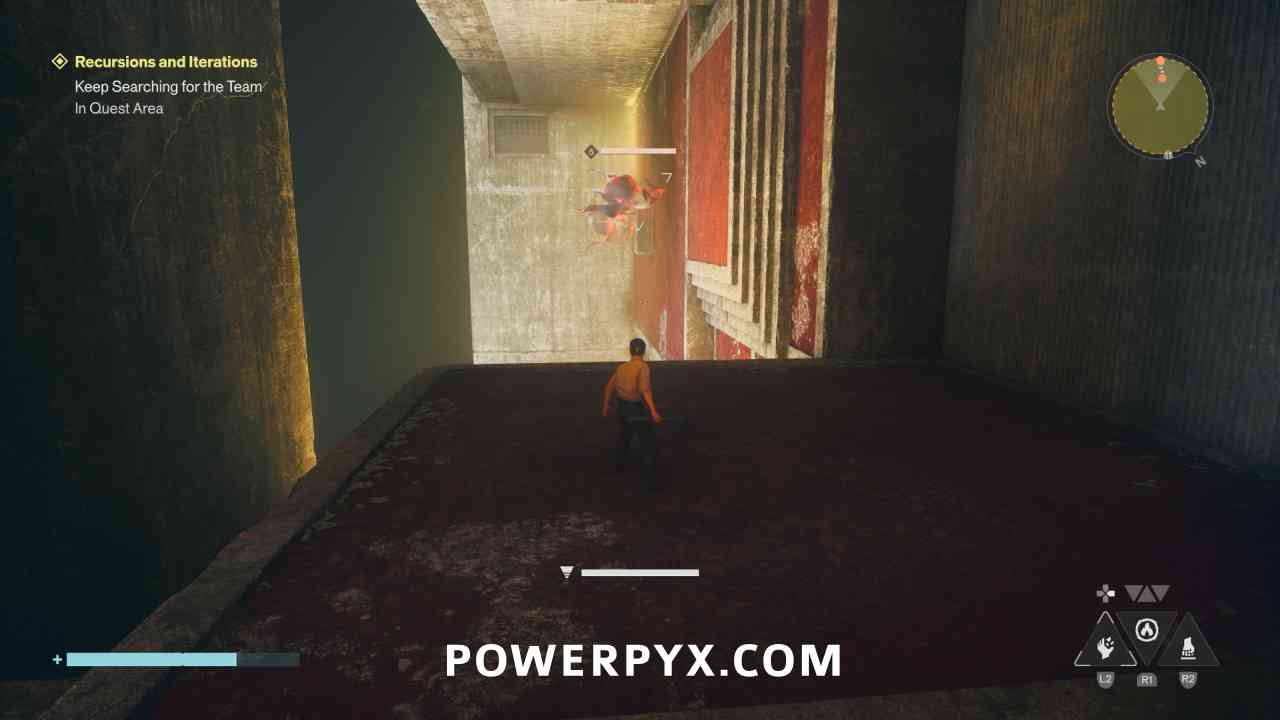
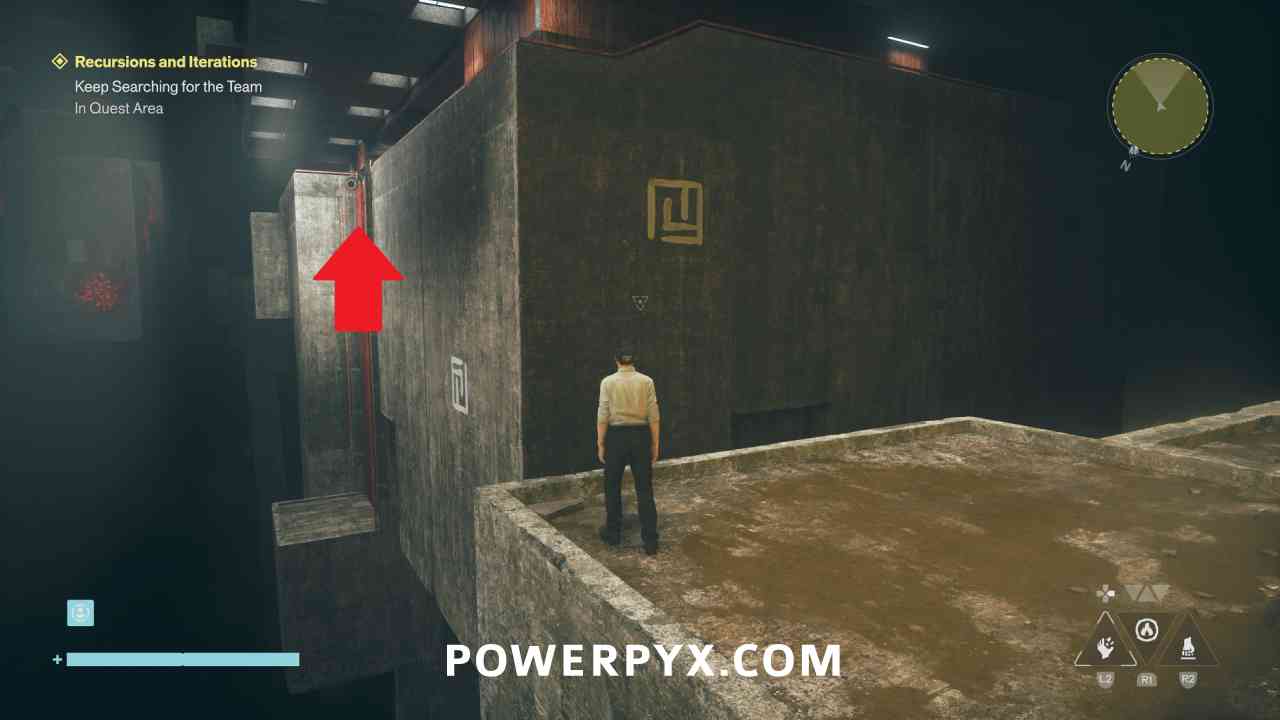
Then follow the wall down where there is another walkway area you can jump to.
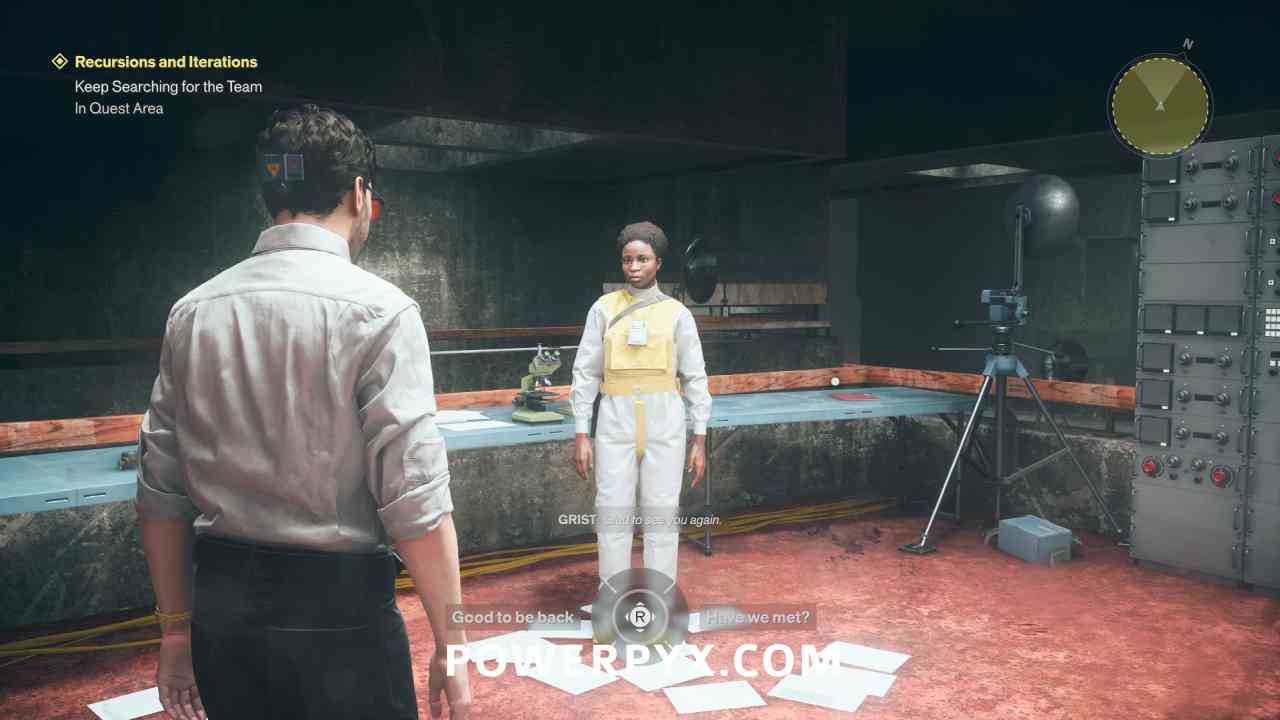
Go near the group of people on this platform, then speak with Grist after the other people disappear.
Pick up the Device
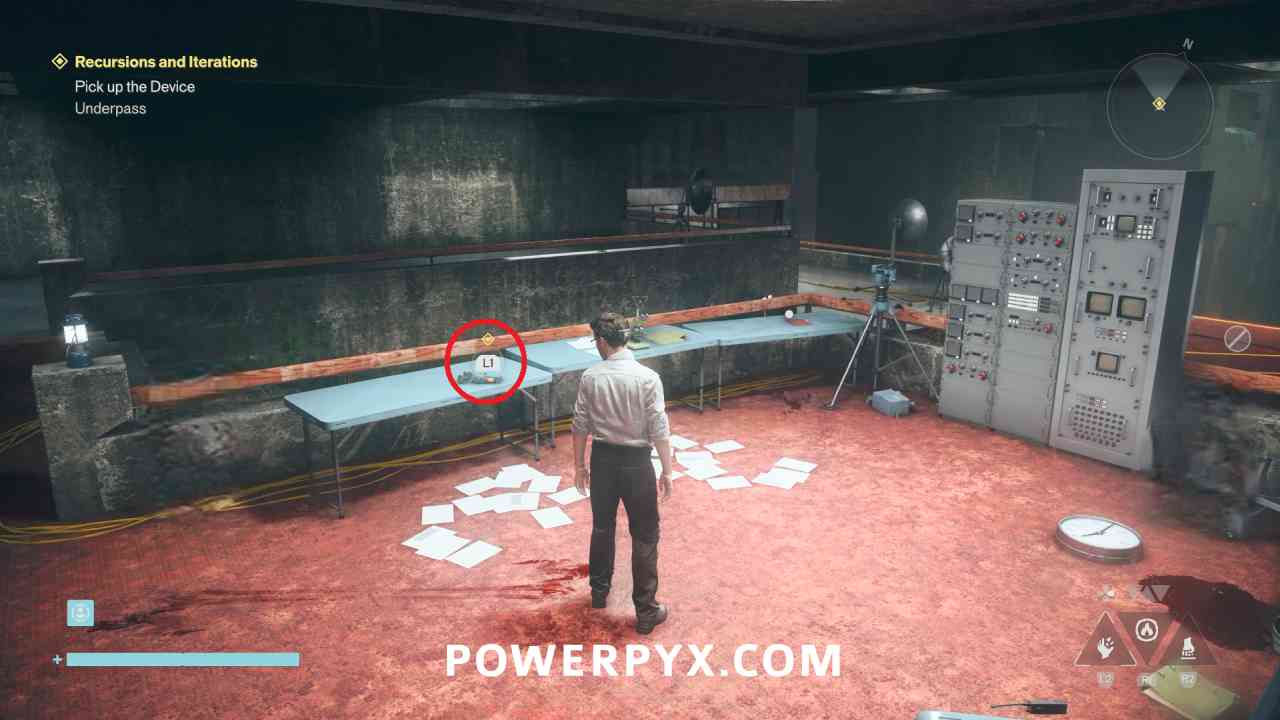
After Grist disappears, pick up the device from the table.
Track the Time Fluctuations
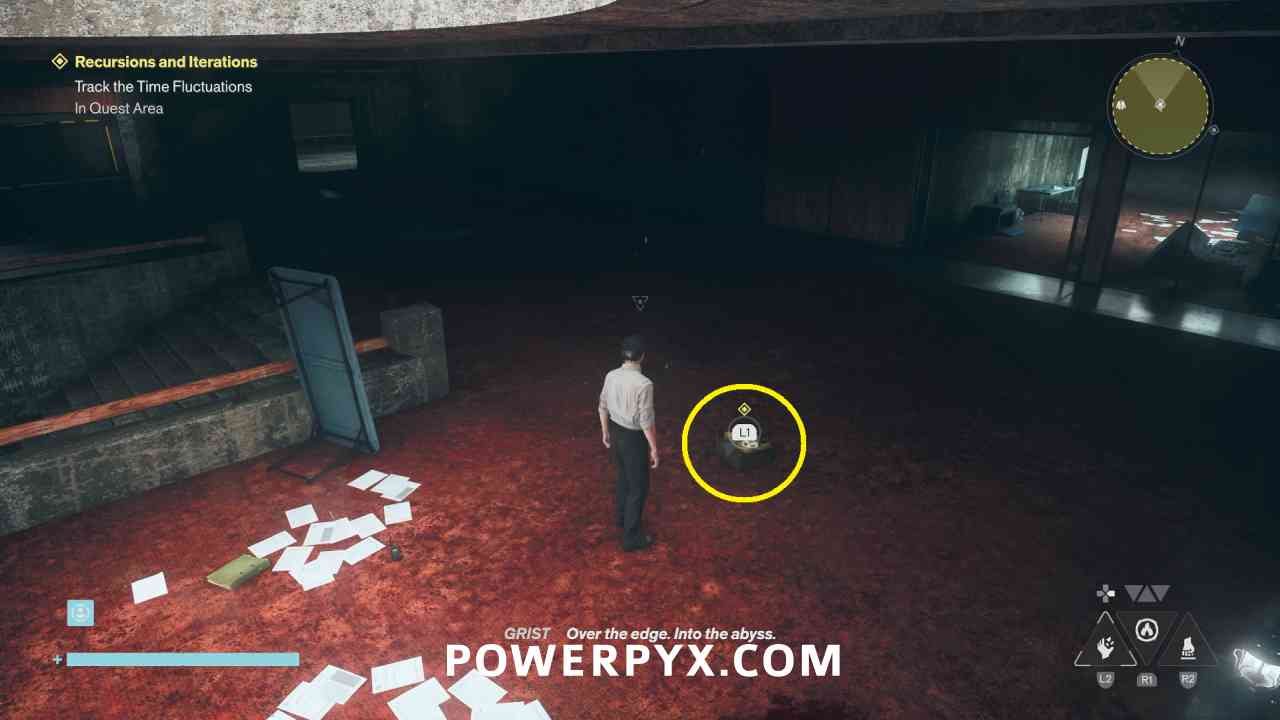
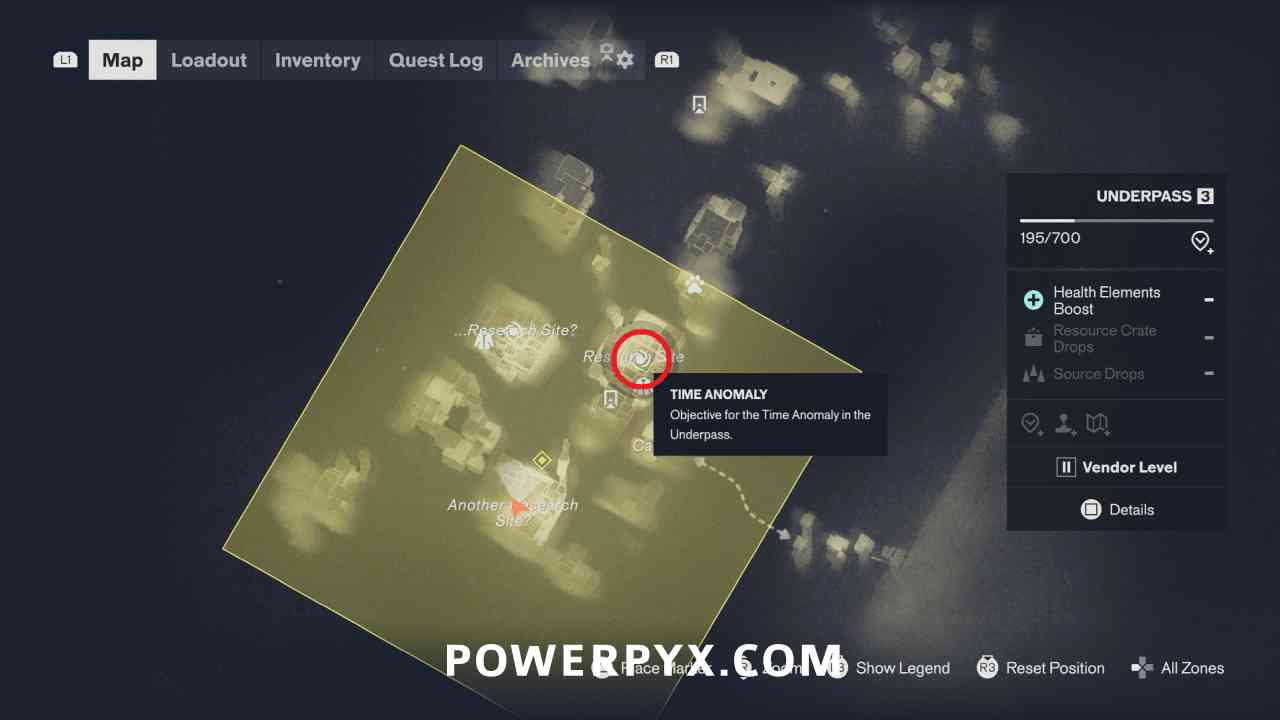
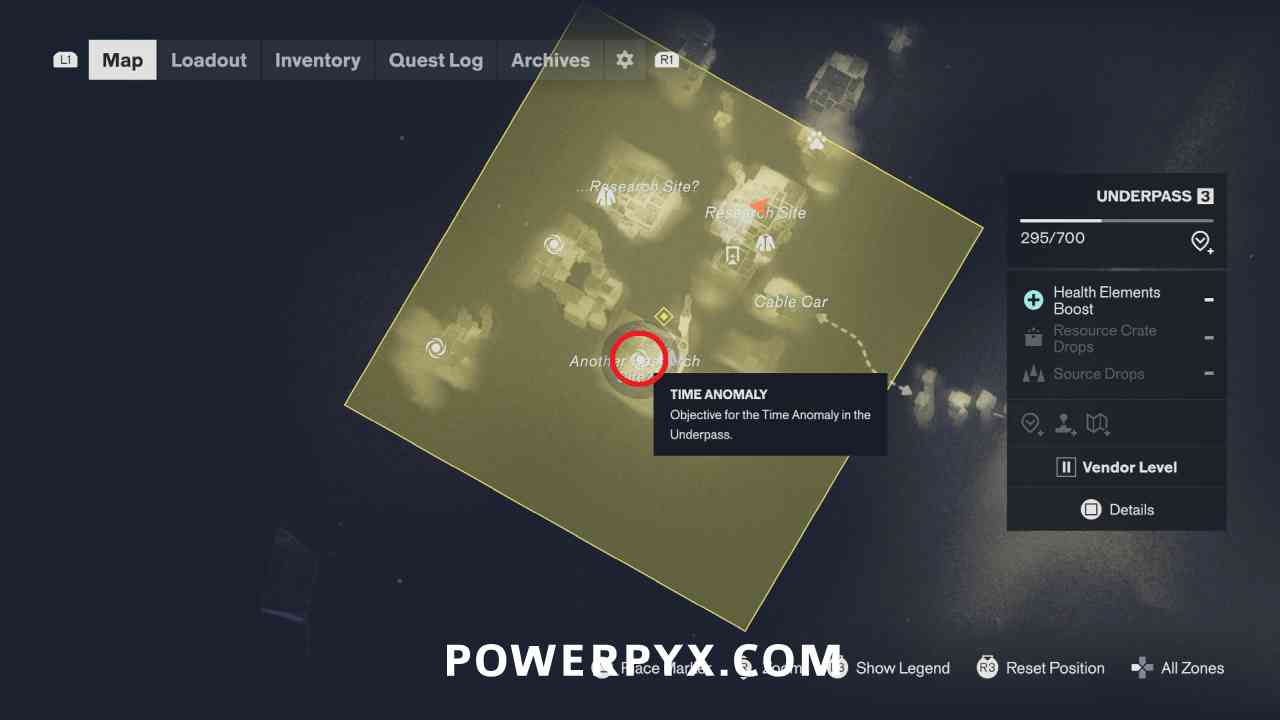
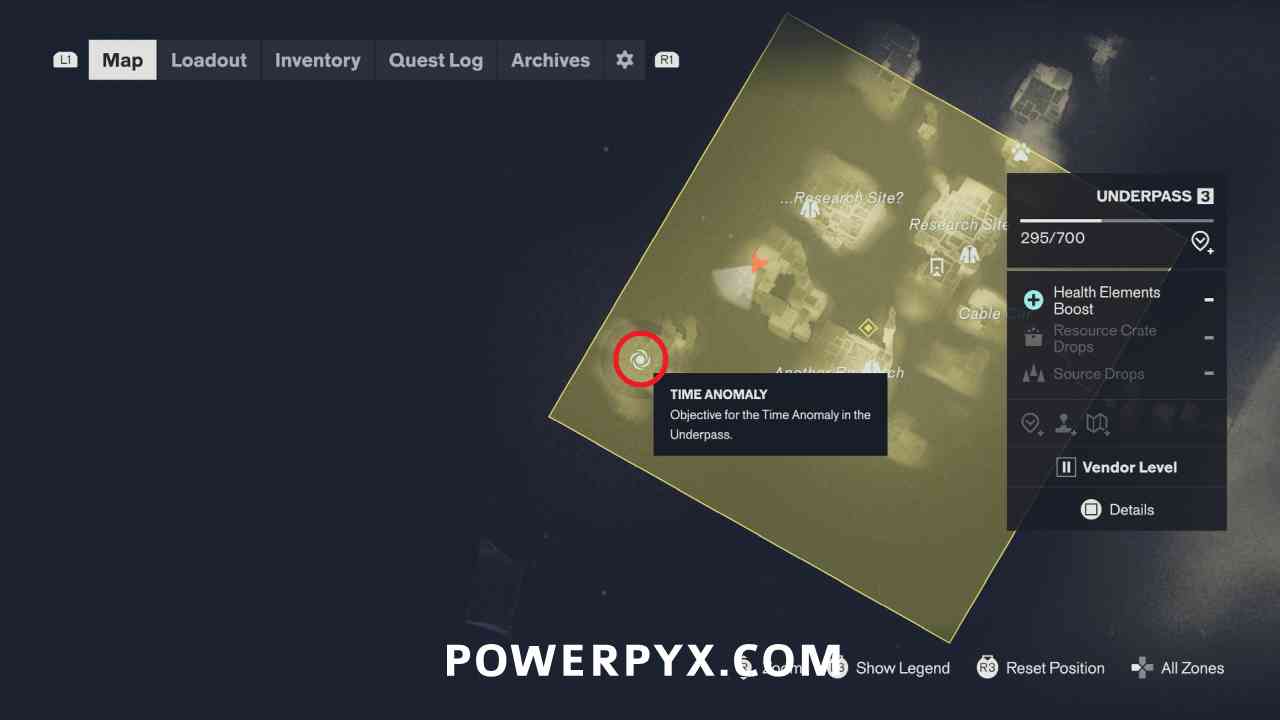
You now need to track the Time Fluctuations that are around the area. These are marked on the map, at the previous two Research Sites that you’ve visited.
Return to previous research site, where you can find an audio log sitting on the ground at the marked location.
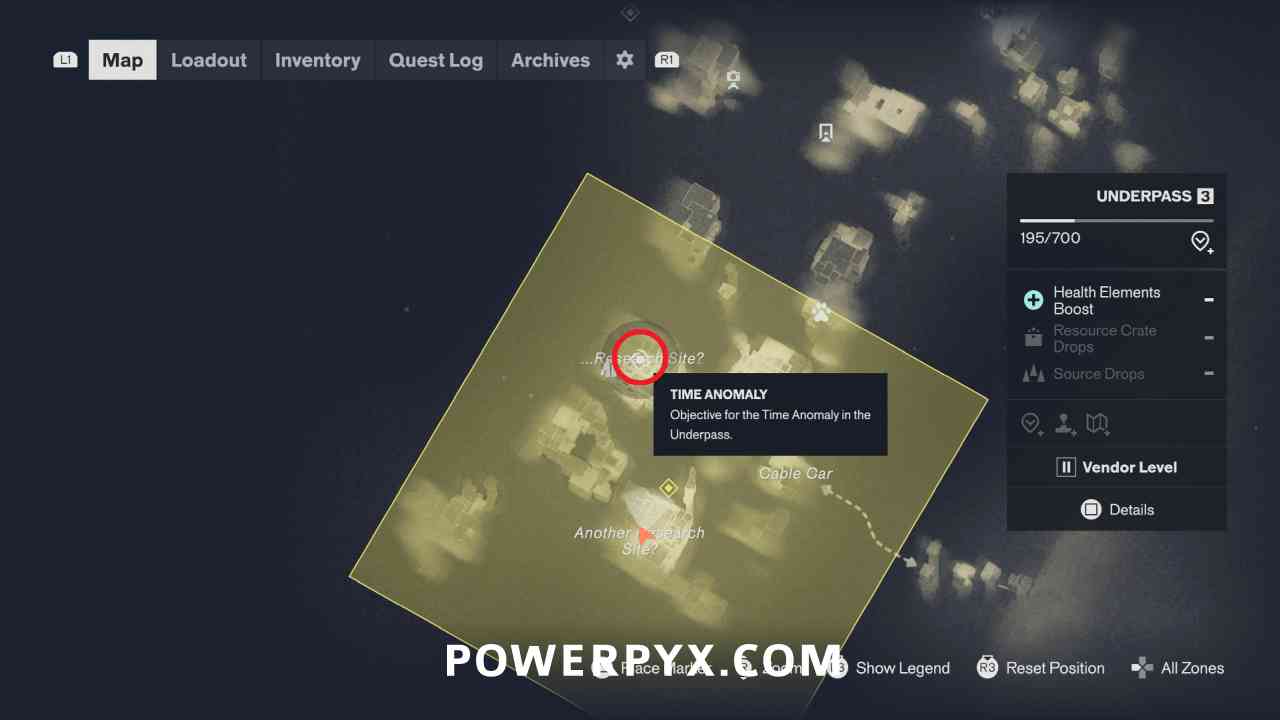
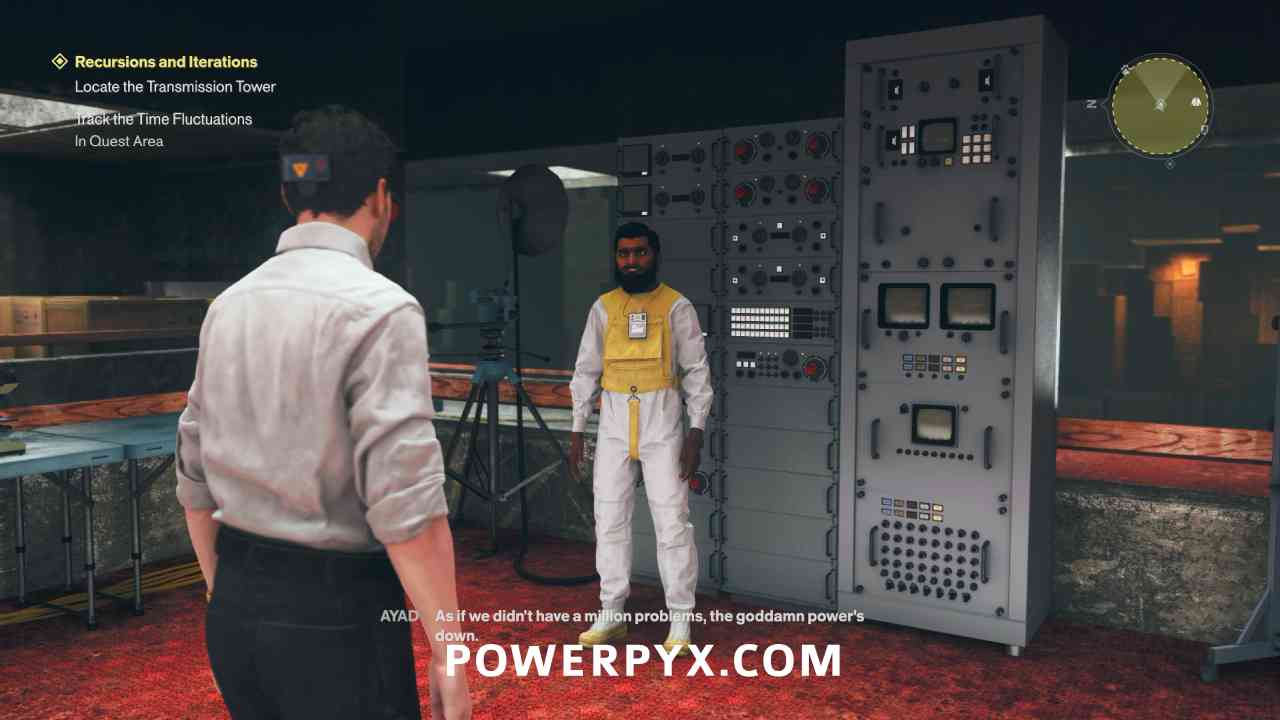
Then return to the first research site, where you can speak with the researcher Ayad. After doing these you will have two new objectives.
Restore the Power
Ayad wants you to restore power, and tells you to follow the yellow tape on the ground to lead you to where to go.
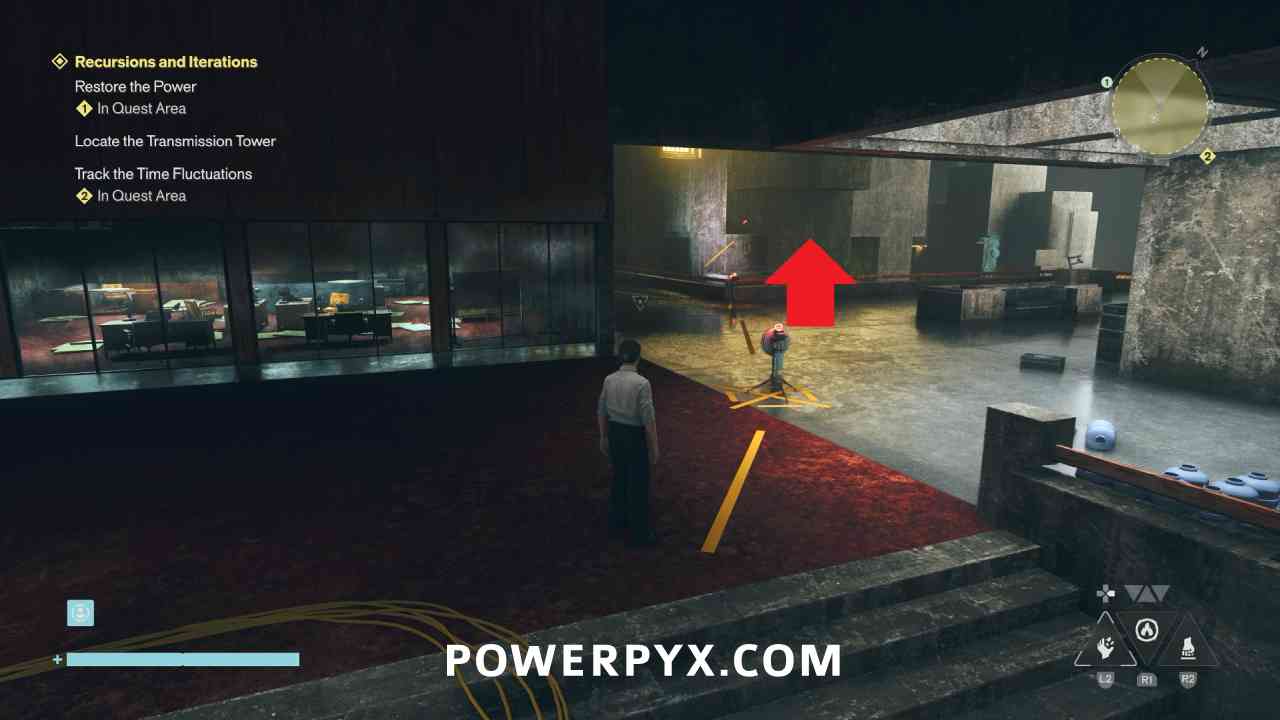
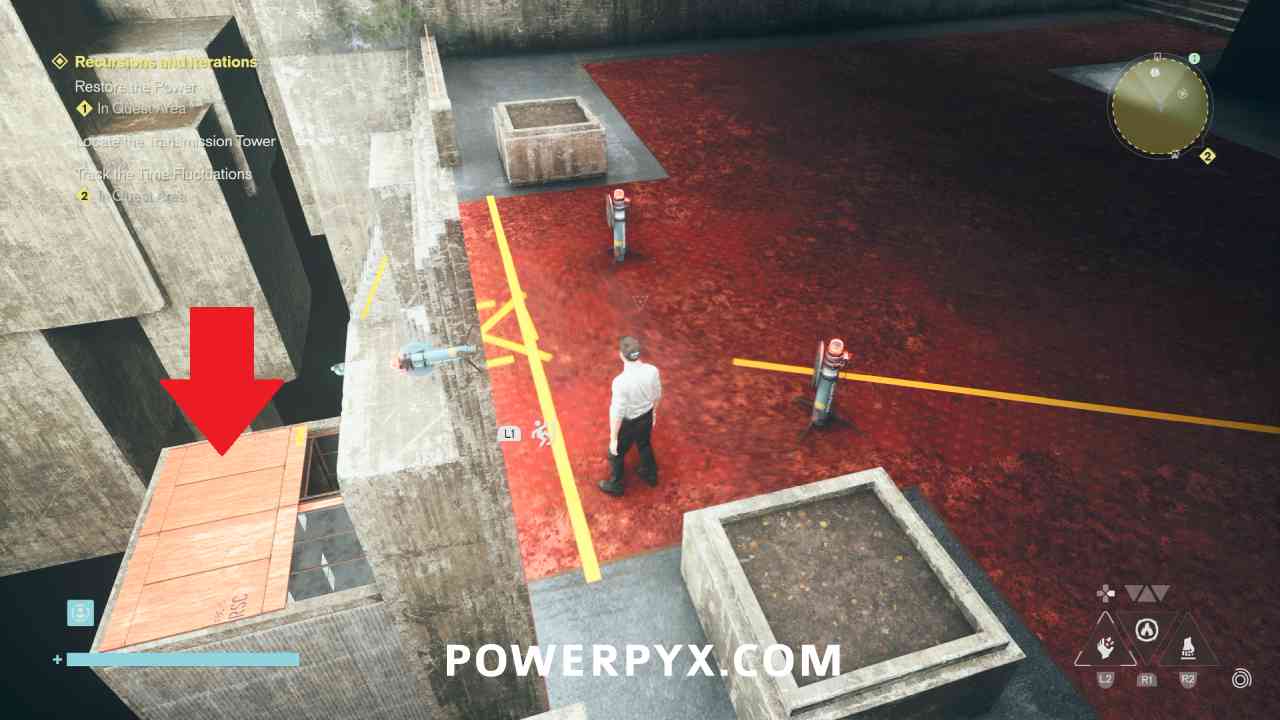
Climb to the top of the tower then turn east, you’ll be able to see that the room on the wall keeps shifting around. Jump to the wall and change gravity, and you can see in the room there are Charge cubes.
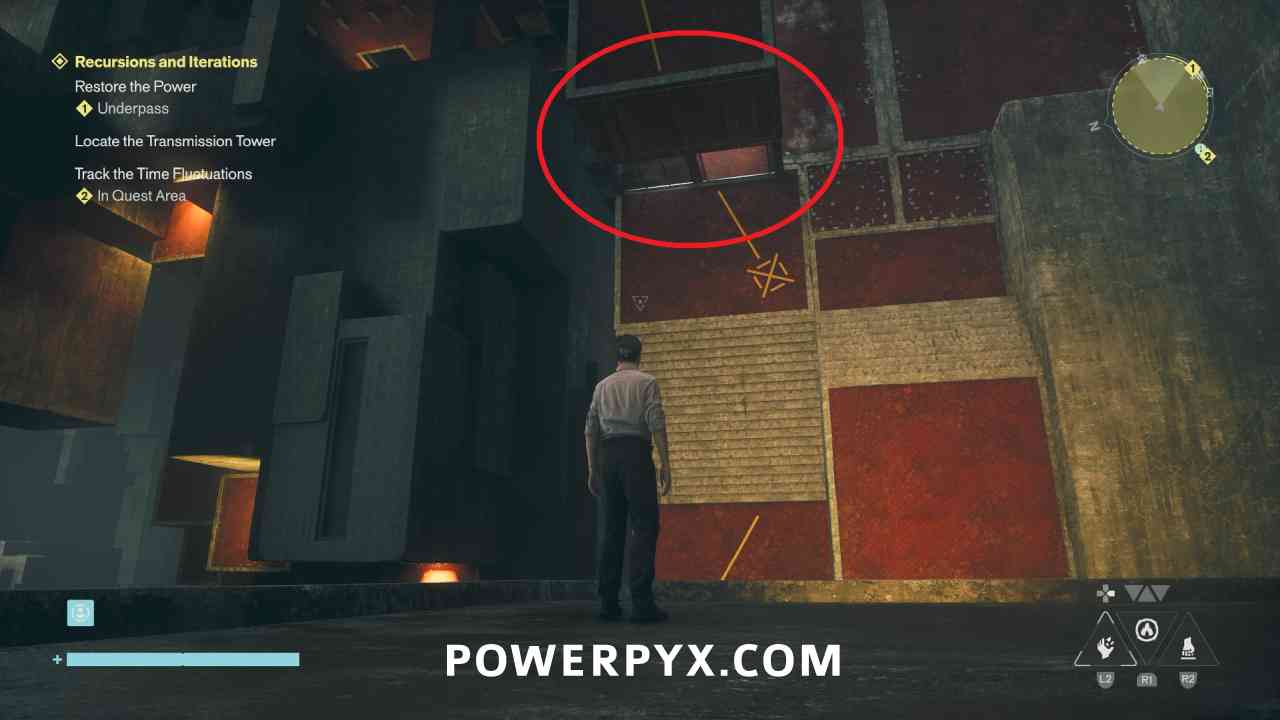
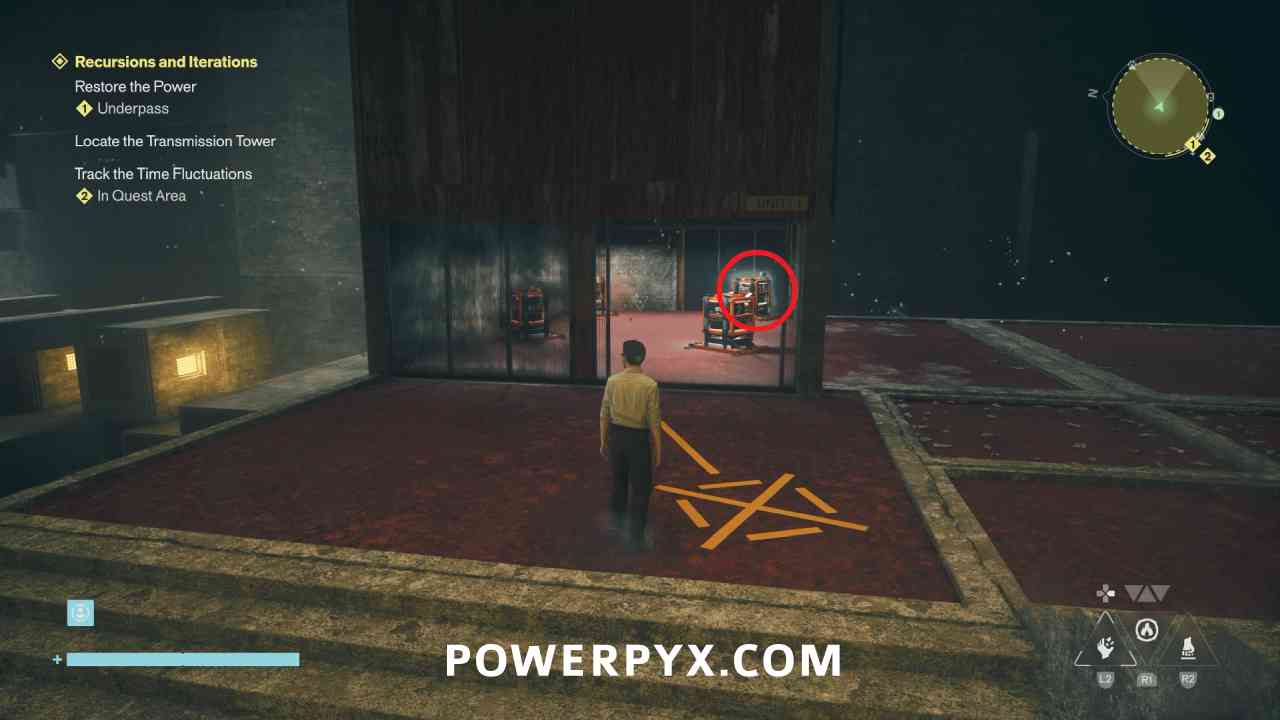
You need to grab the charge from this moving room, and run it back to the main area east of Ayad where there is a normal unmoving room with 1 already charged cube.
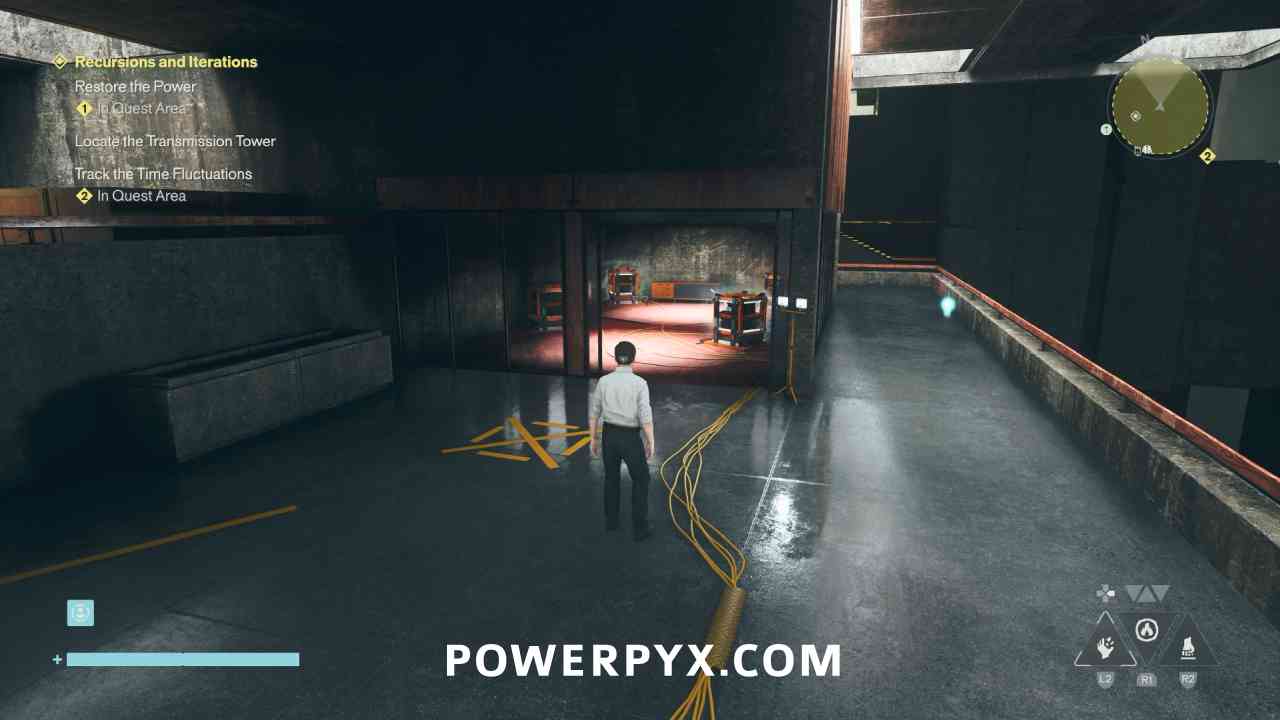
Go back near the prior spot and there is another room on the wall to the right, bring this charge down to the main area.
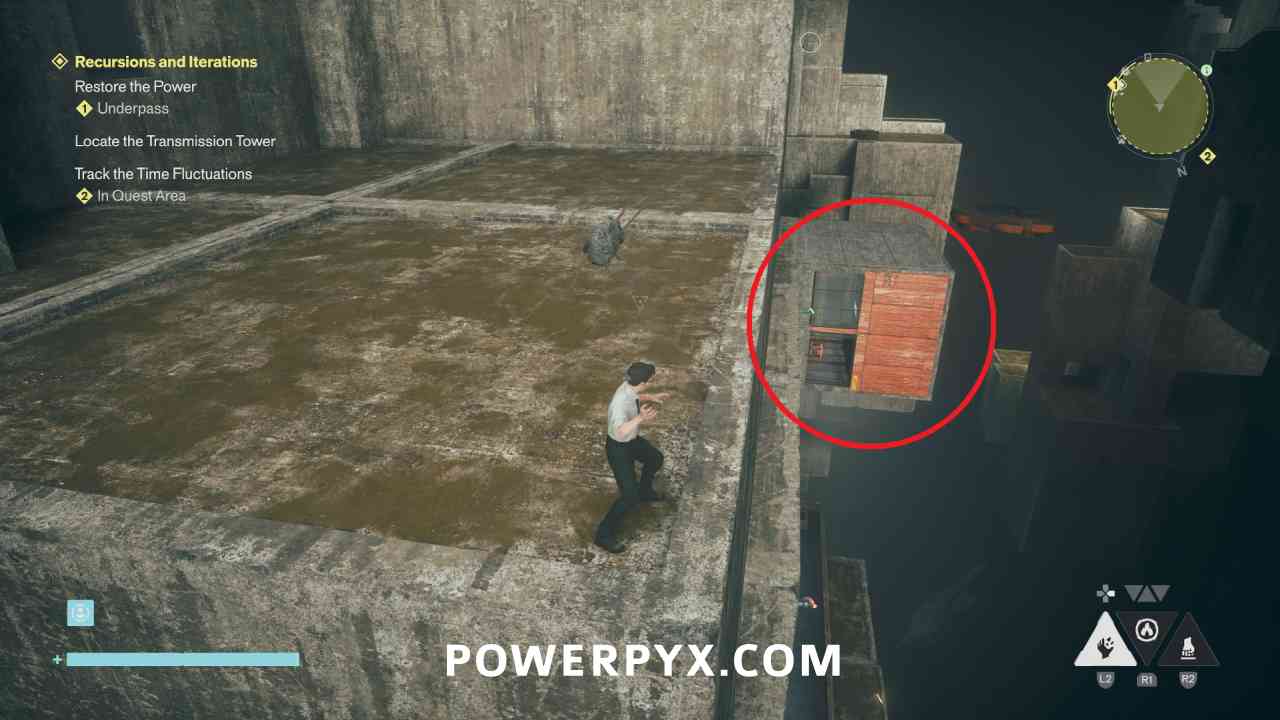
Now the final one is off the east side of the platform, in the direction Ayad is facing. Pick it up and bring it back so all 4 charges are in the main area room.
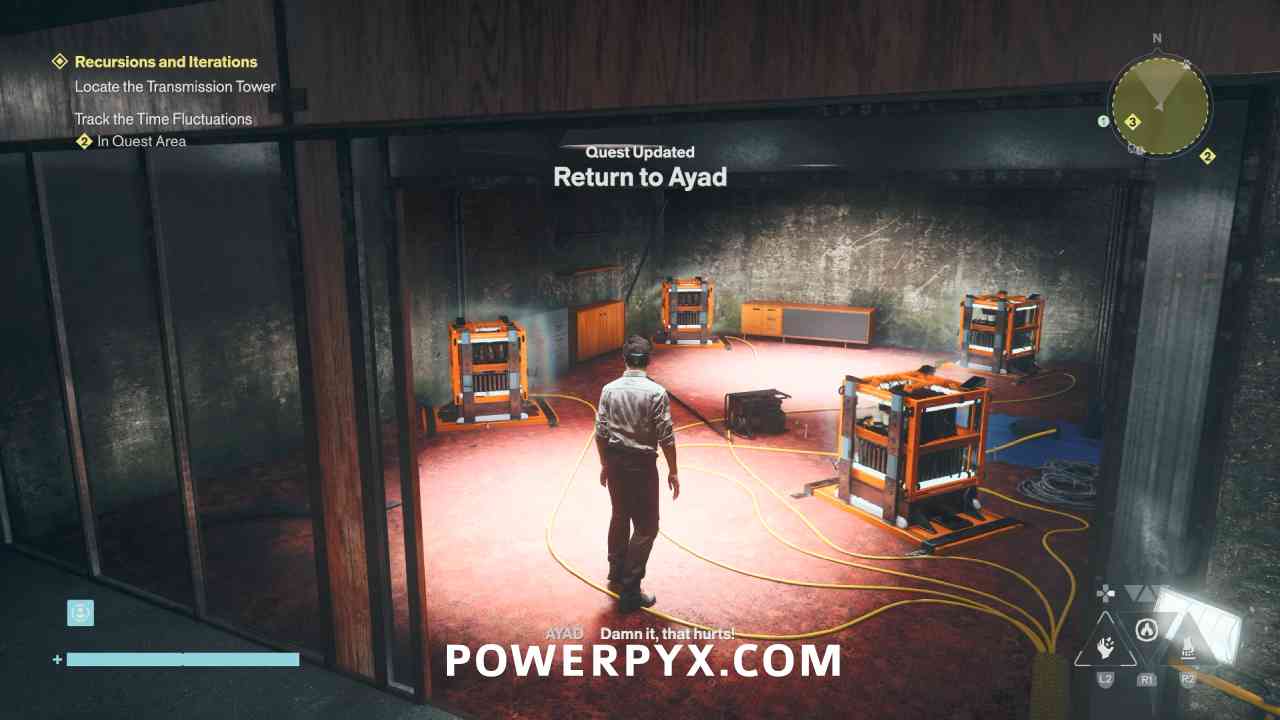
Return to Ayad
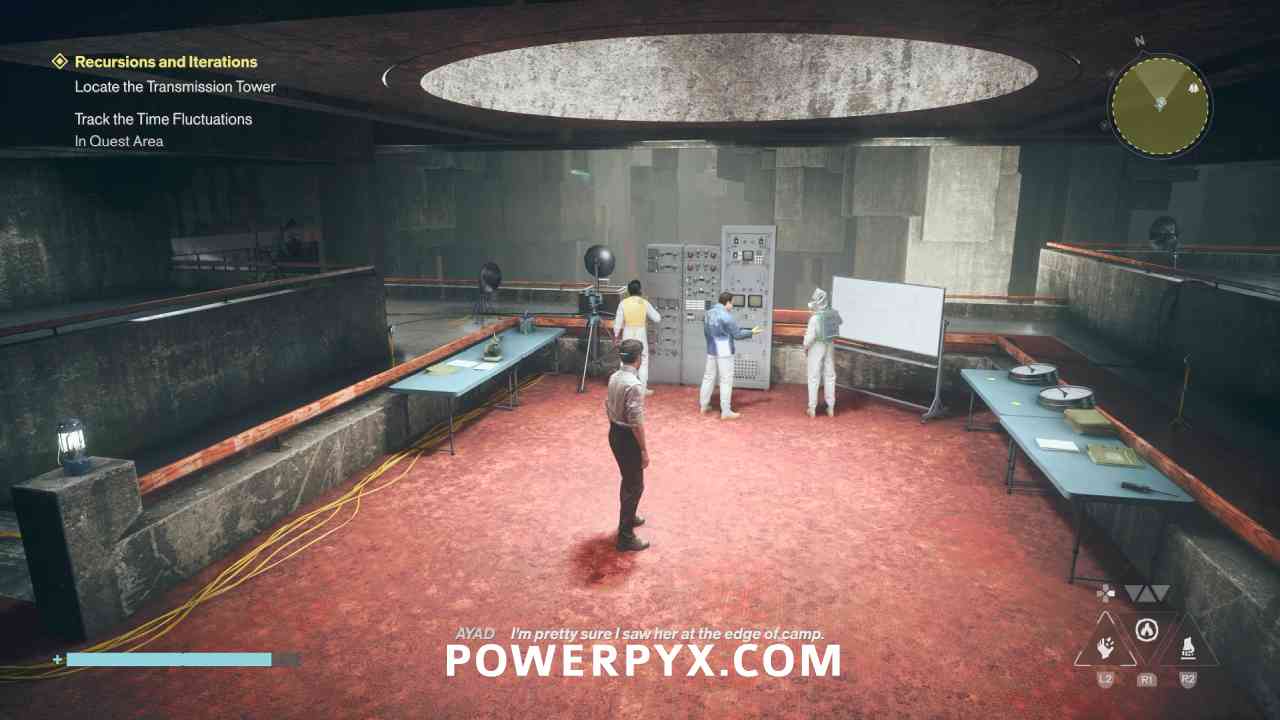
After placing all 4 charges, speak to Ayad again and he will disappear. You now want to go back to the third location “Another Research Site?” where you can encounter the team of three researchers again, which triggers a new objective.
Locate Grist
Now you need to locate Grist. Go to the southeast where there is a new objective in this smaller search area. You can find her looking over the edge of the area.
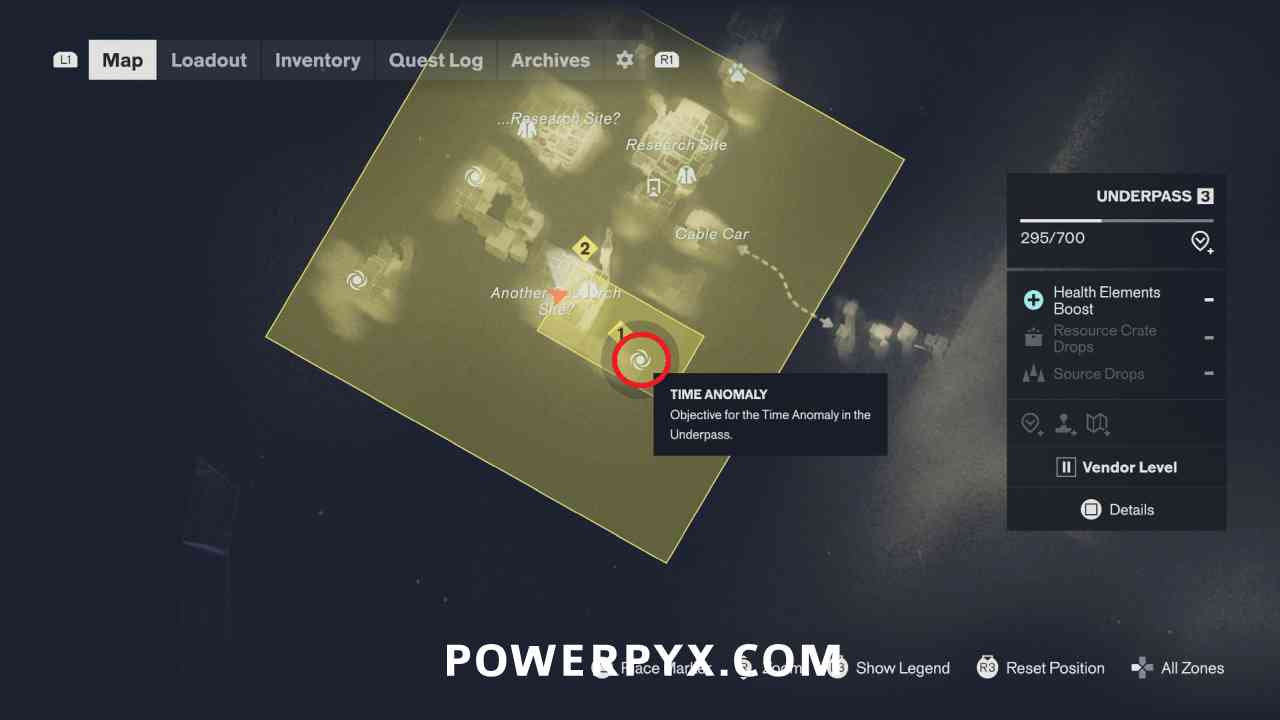
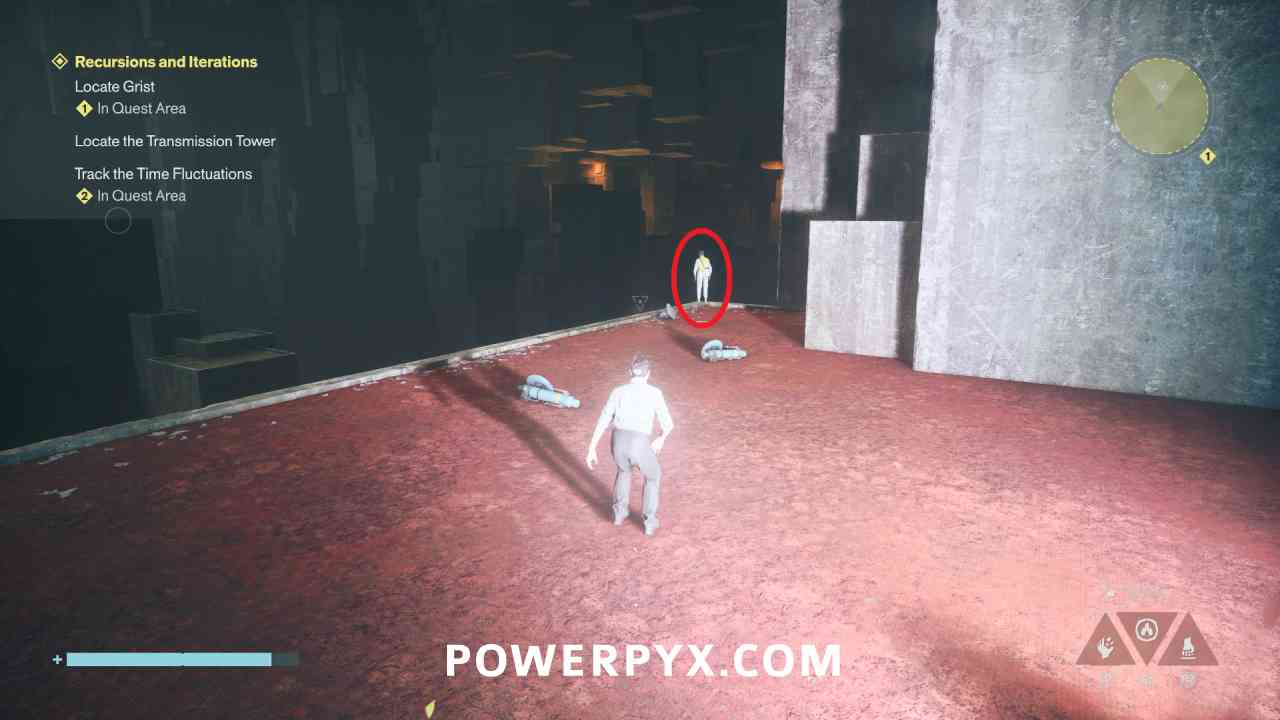
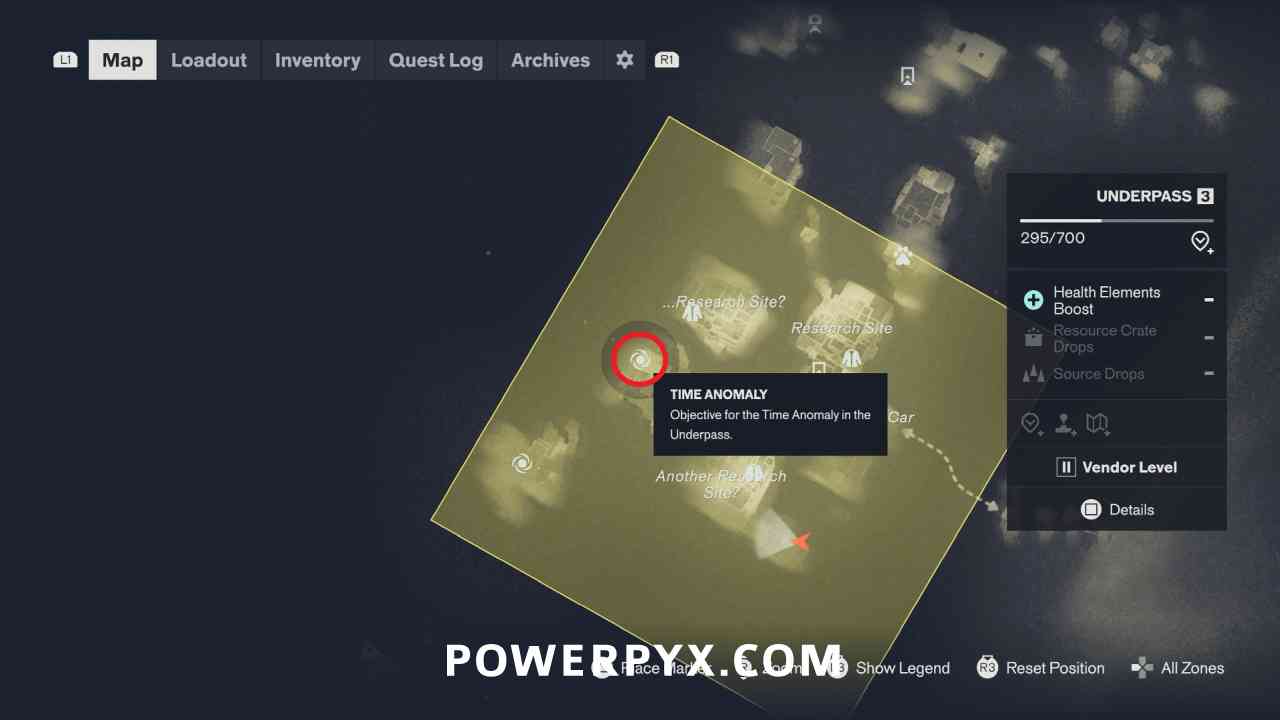
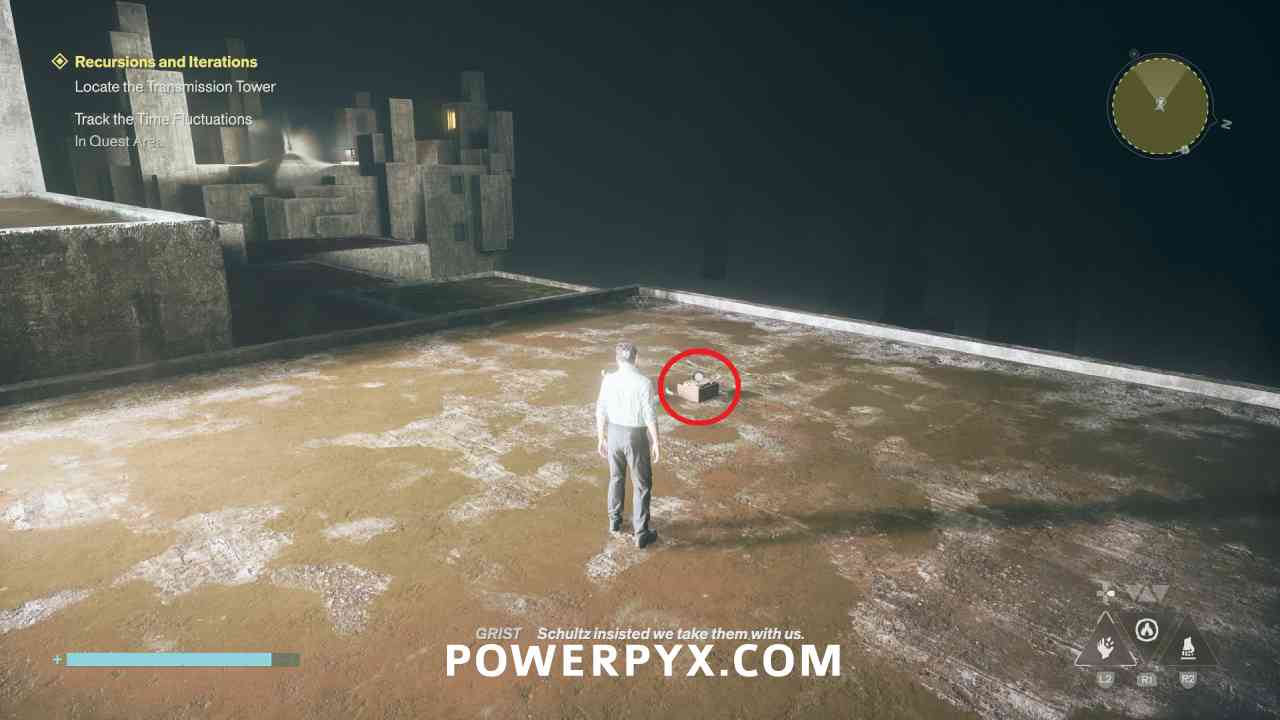
After speaking with Grist she’ll disappear, and you have one more anomaly to check at the western spot. Climb up to the upper area of the tower where you can find a recording beside a body of Grist’s.
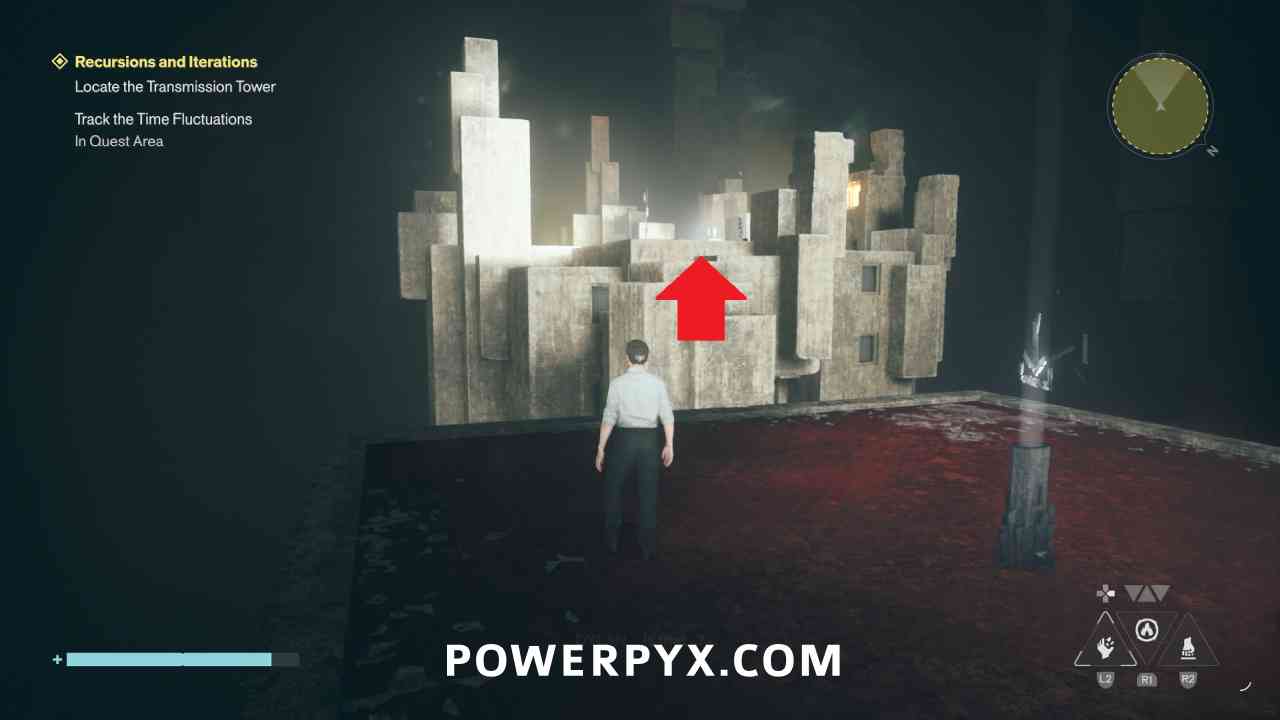
Locate the Transmission Tower
Now to find the Transmission Tower, go to the southeast from the recording you just picked up.
Defend the Transmission Tower
At the Transmission Tower you will be attacked by waves of Hiss, defeat them to continue.
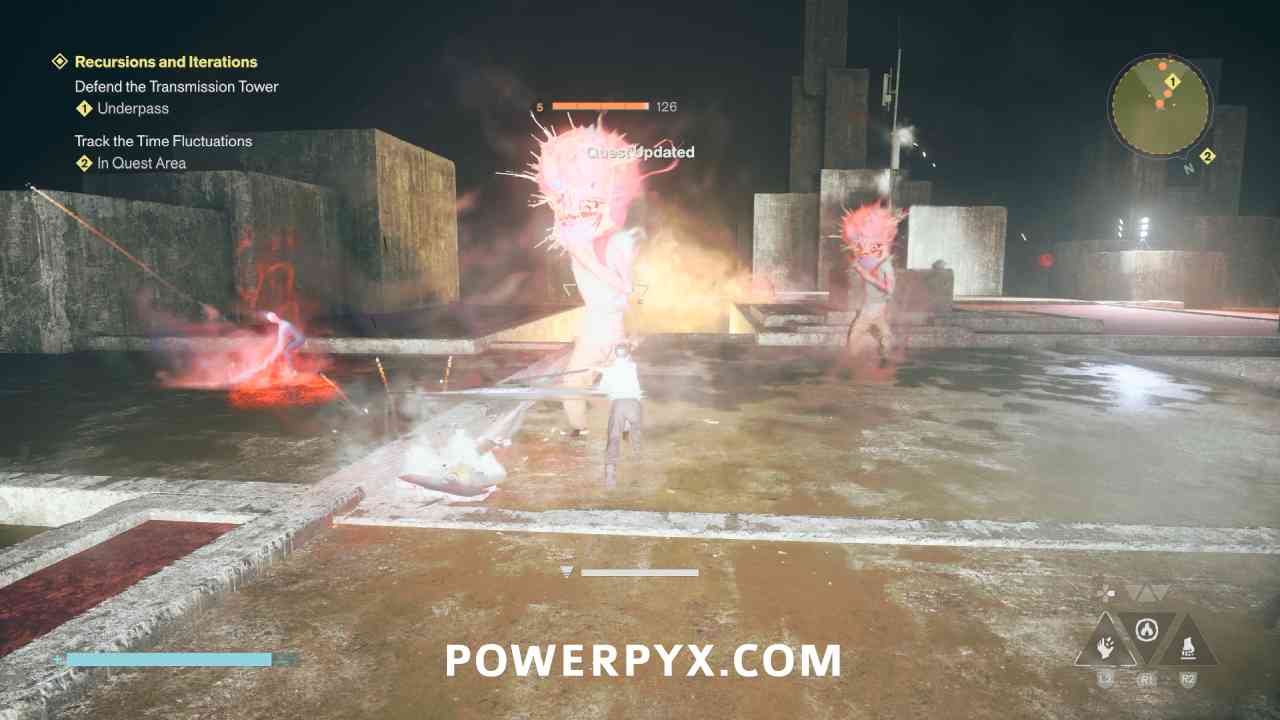
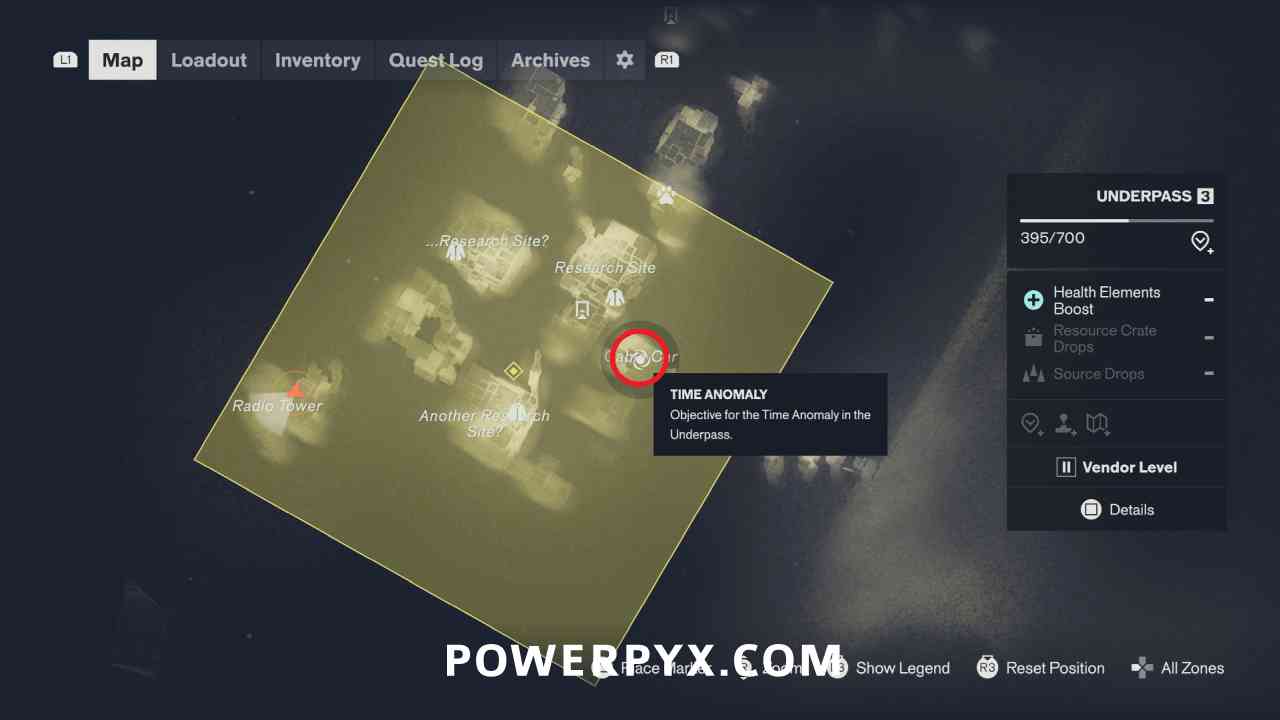
After defeating all the enemies, there is one new time fluctuation to check. Make your way back to the east side of the area to the Cable Car mentioned earlier where you can speak with Grist.
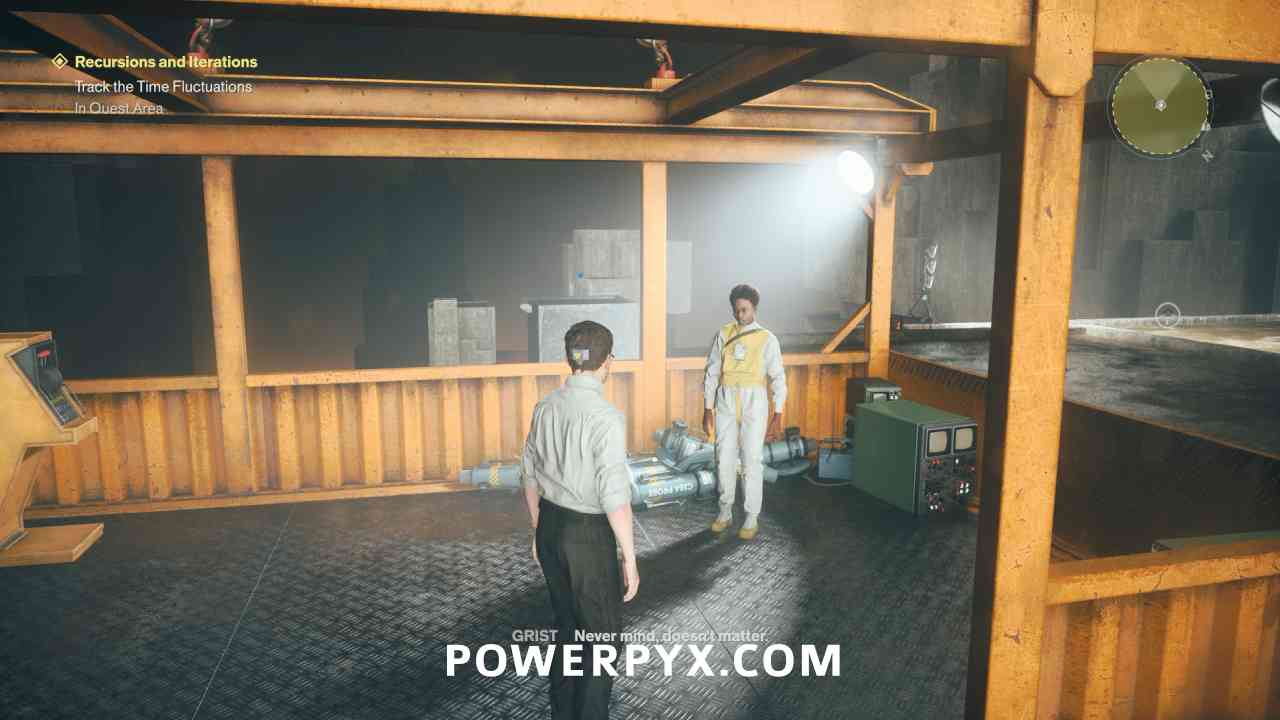
Cross the Chasm
You now need to help out Grist with further research. Interact with the level on the Cable Car to cross the chasm.
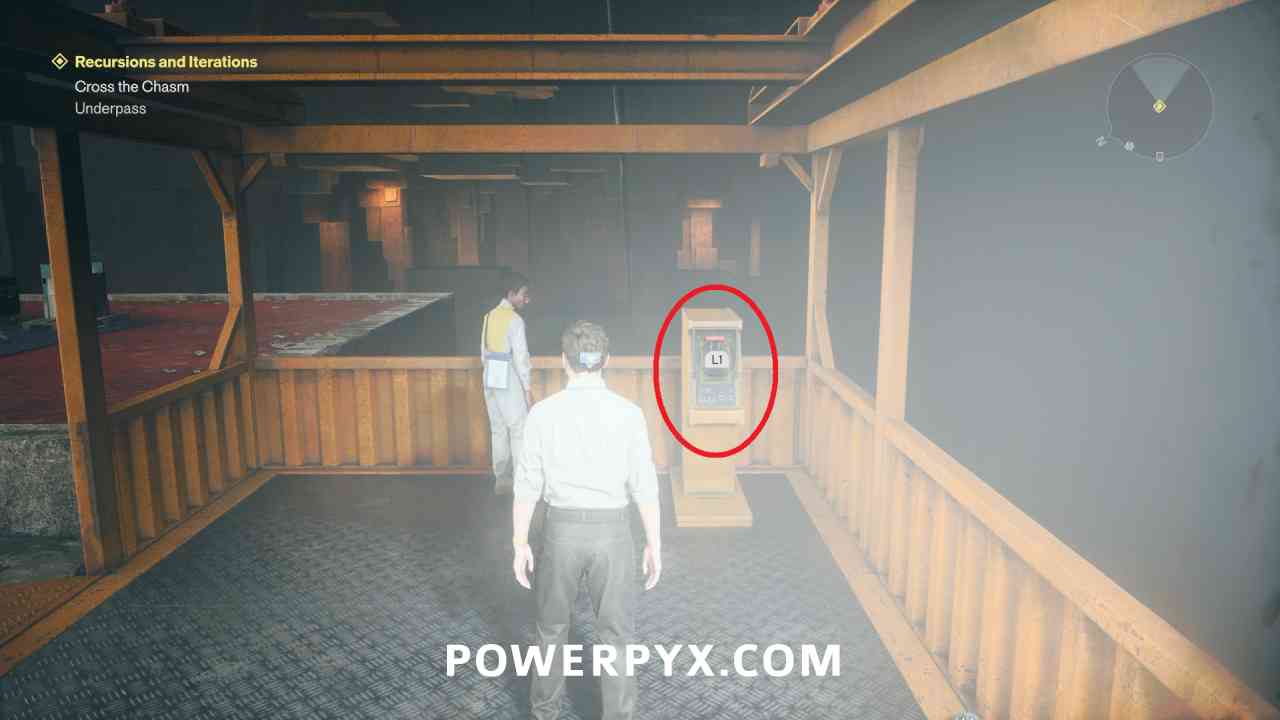
Follow the Relays to Grist
Once the Cable Car stops, make sure to grab the Power Upgrade crate on the left before continuing.
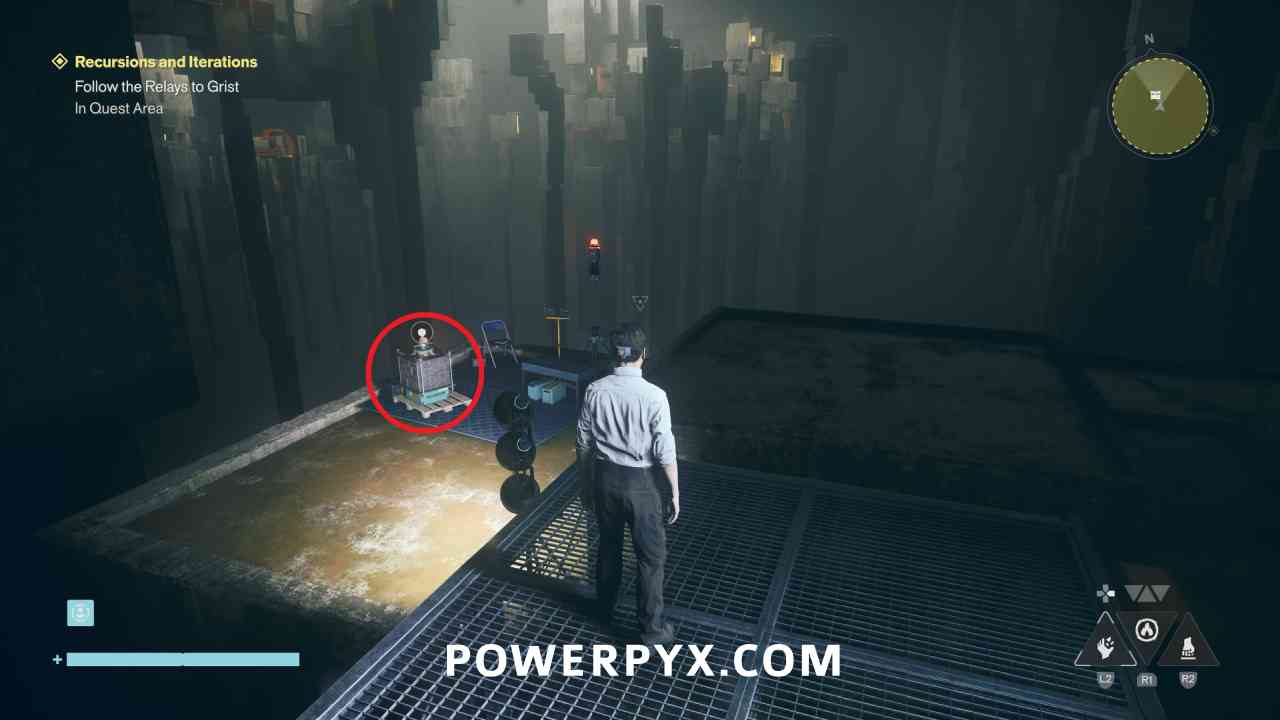
Then follow the path of red beacons toward the next area. Jump down toward the Mold and keep moving southeast where there is a new anomaly icon on the map.
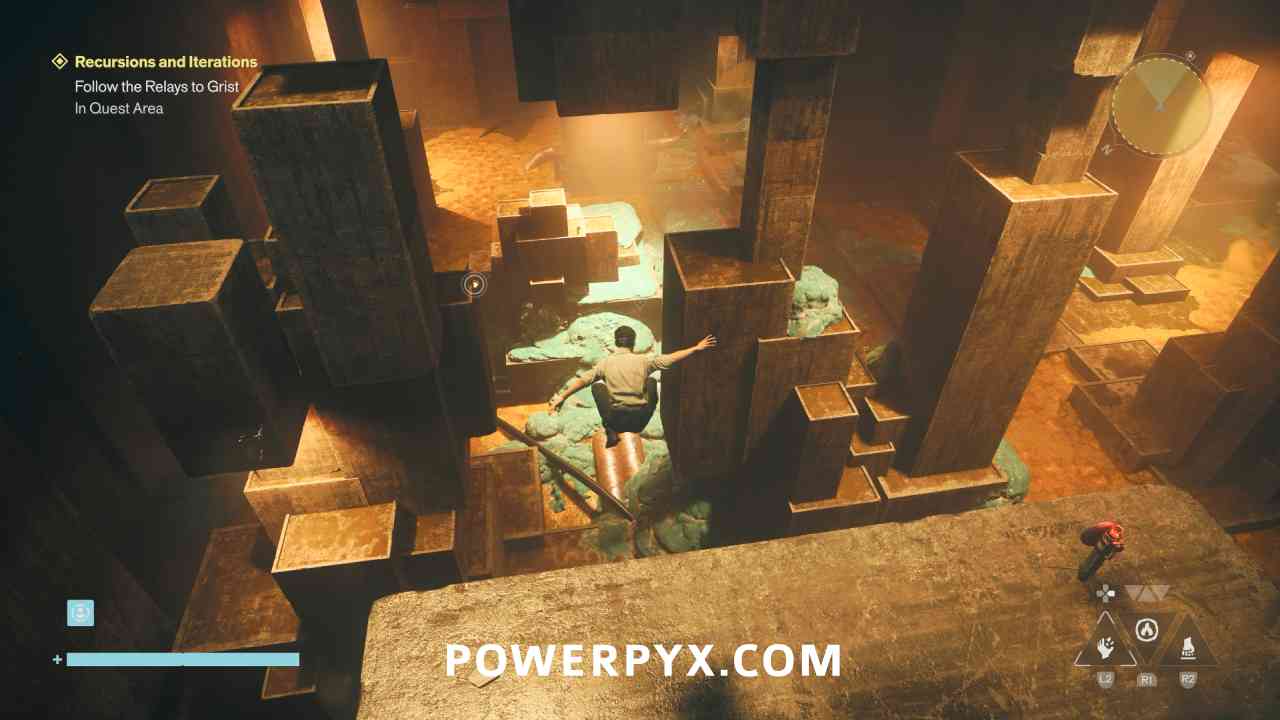
In this new version of the research area, interact with the intercomm in the northern room.
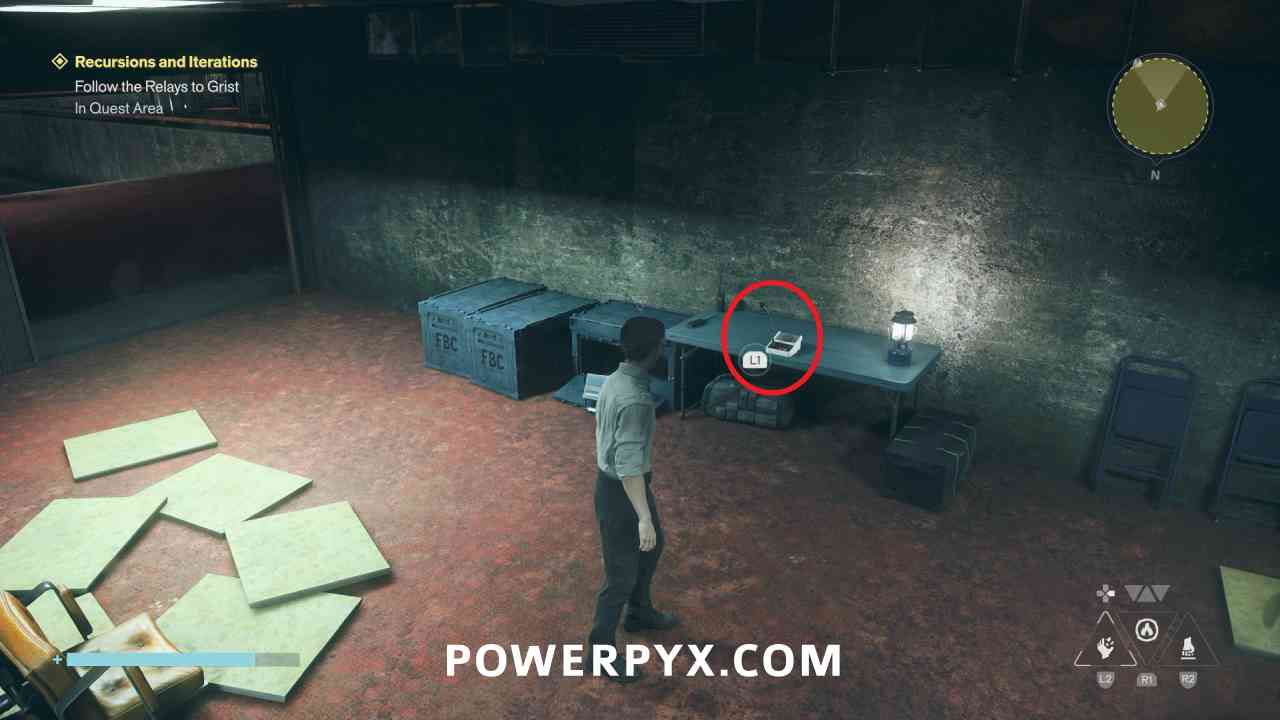
You can then continue to the southeast following the red beacons.
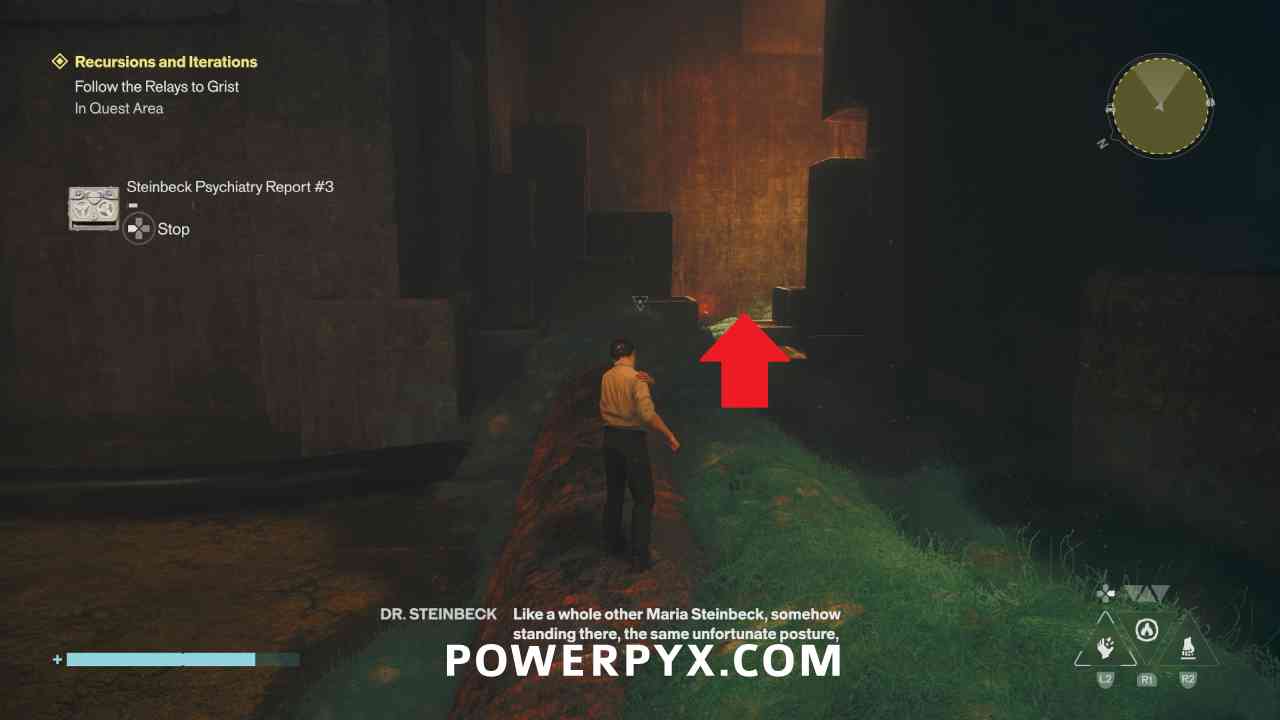
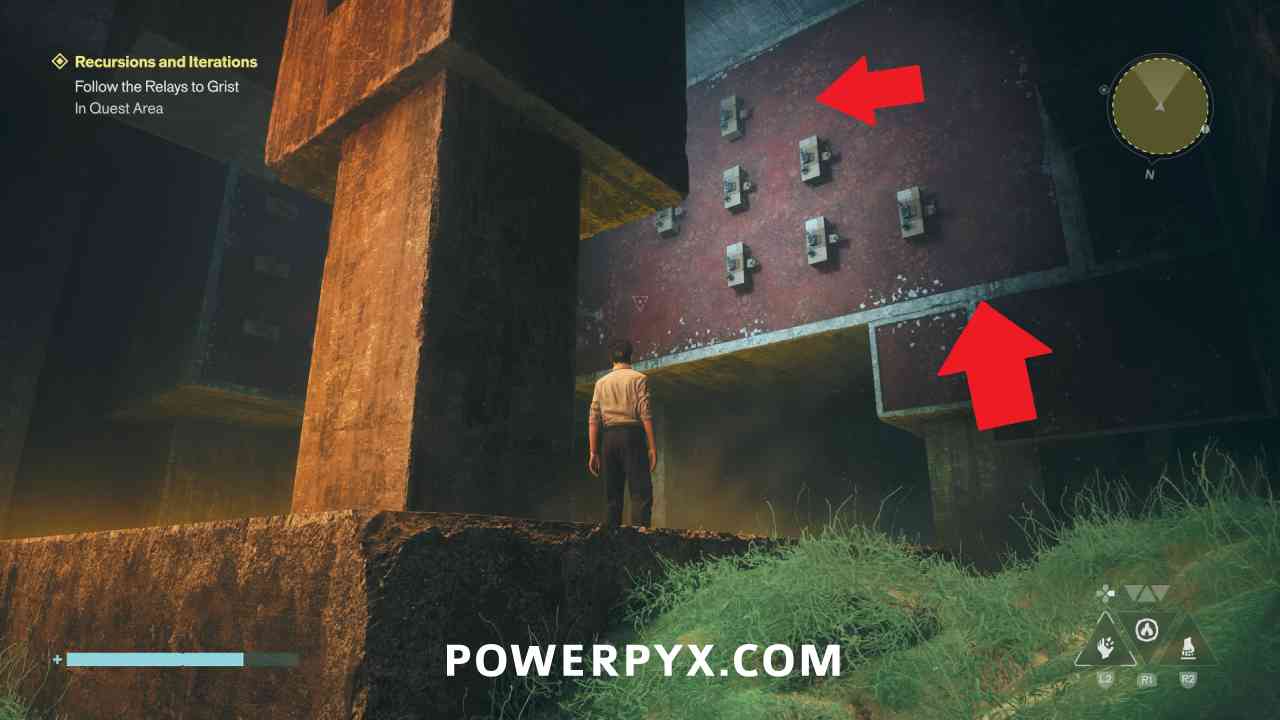
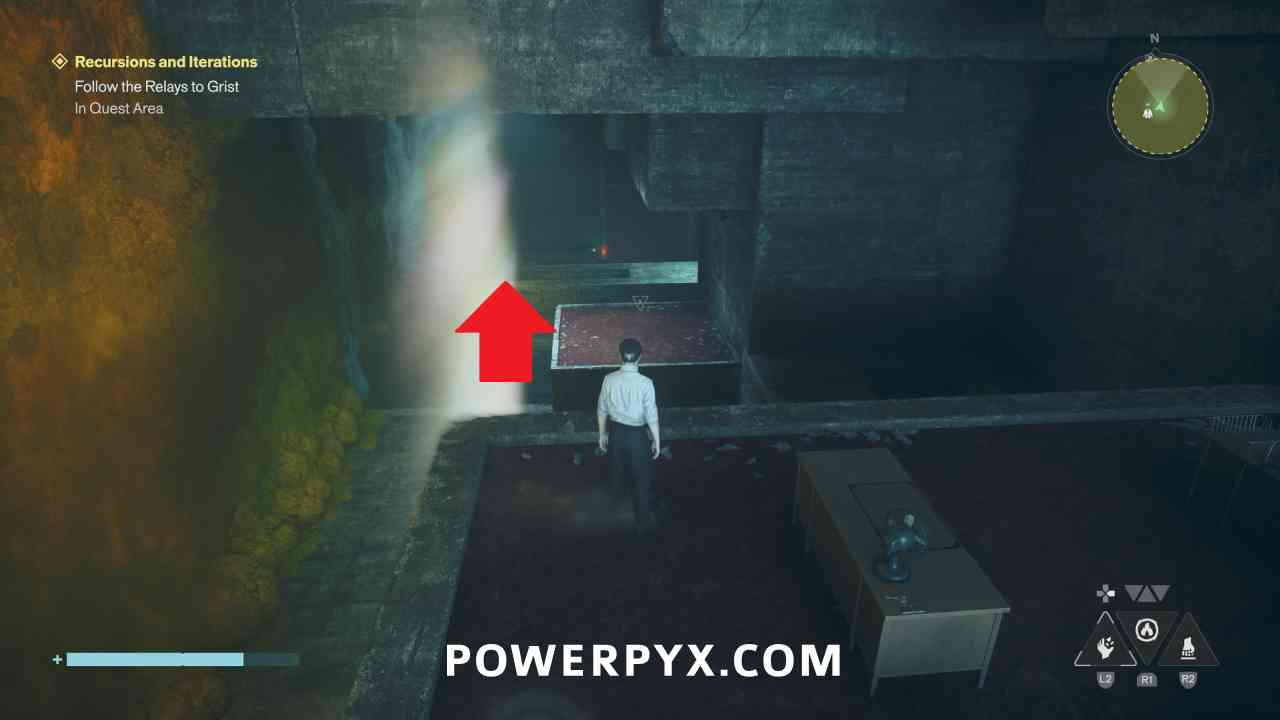
In the next large open room, you need to go to the right side first, where you can shift gravity to follow the path along the walls. This will allow you to reach the exit on the far side of the room.
Place the Final Probe Relay
Once you reach Grist, she will die again and you need to place the last relay. Before you progress, there is the Deepest Underpass fast travel door on your right you can activate.
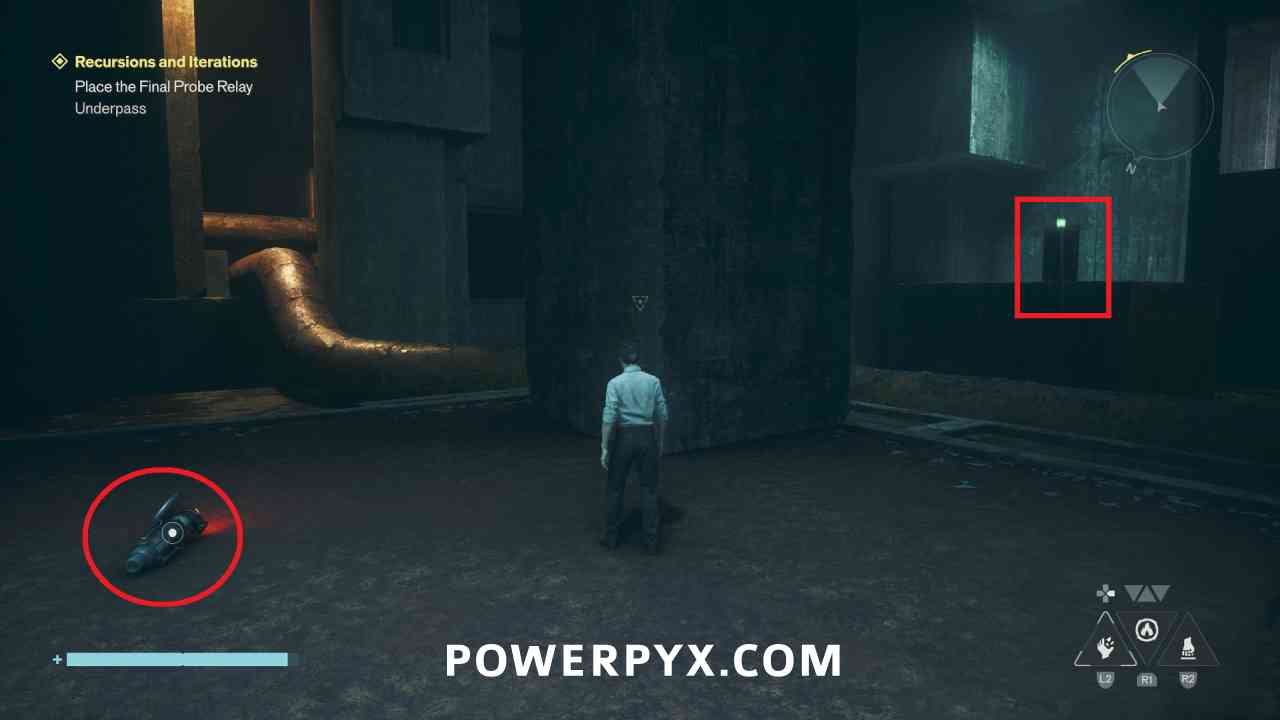
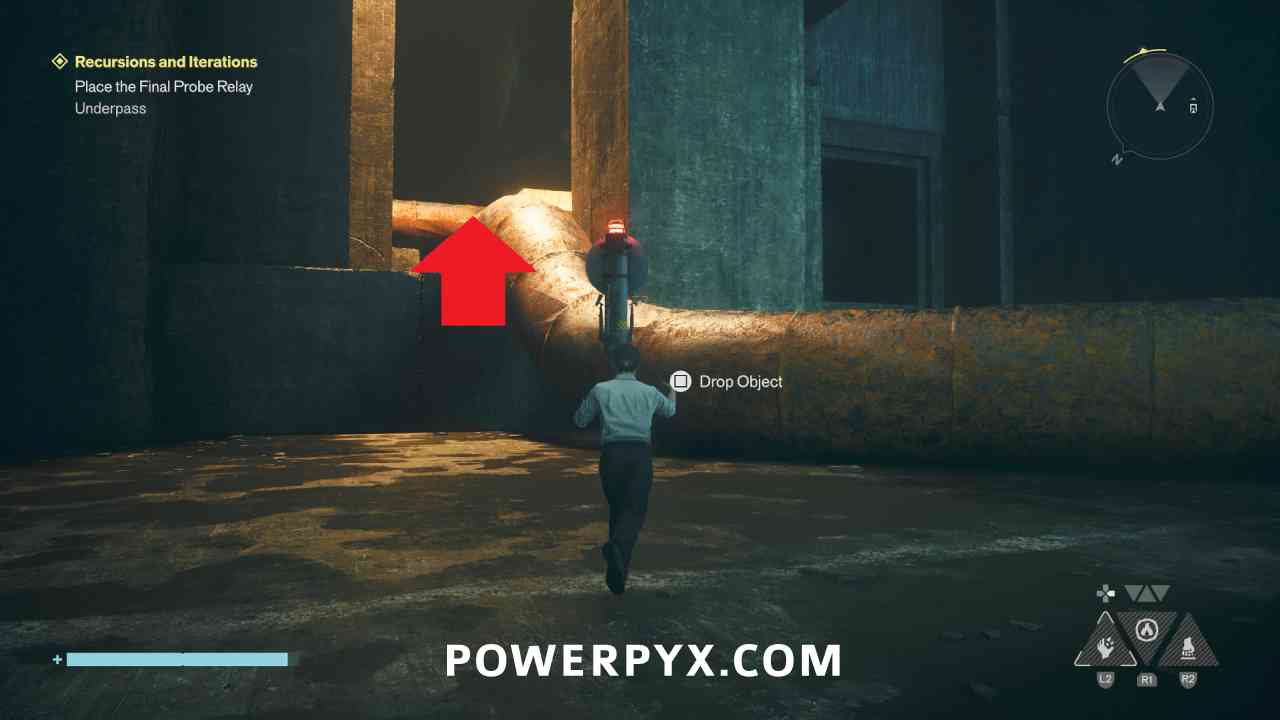
Pick up the relay and start following the path leading through the pipes.
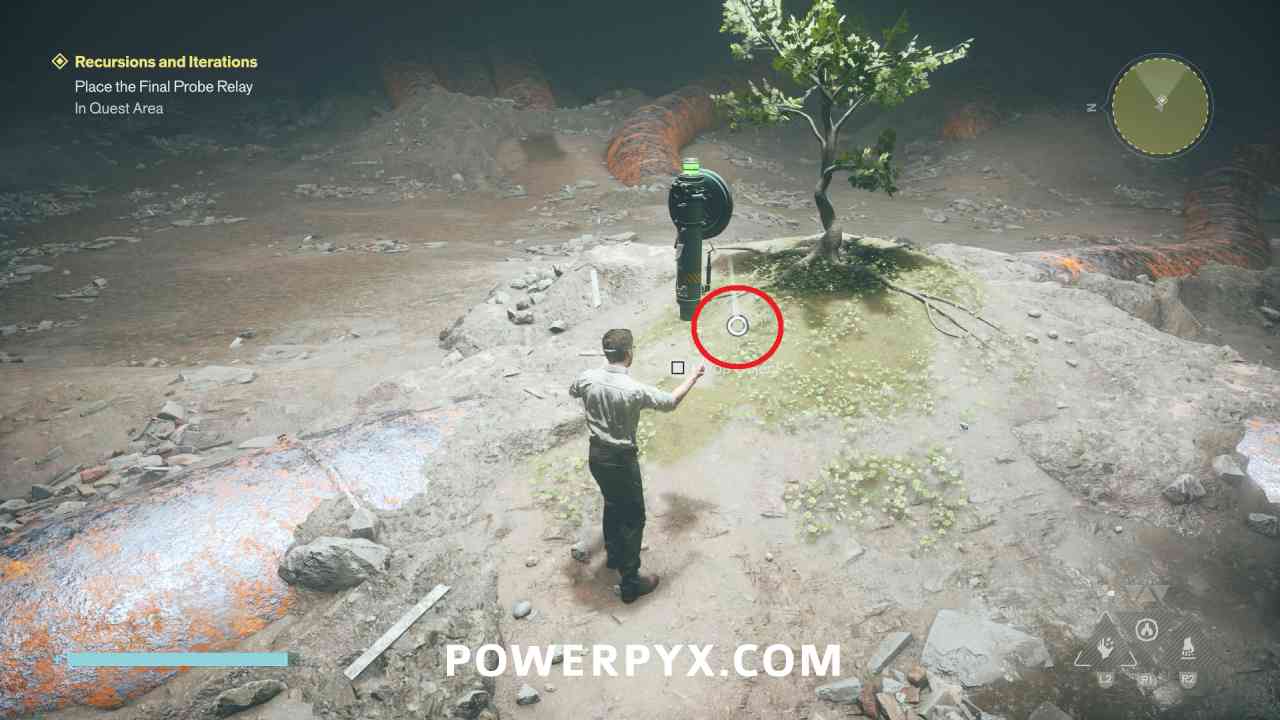
When you reach the room, place it on the ground beside the tree and activate it, completing the mission.
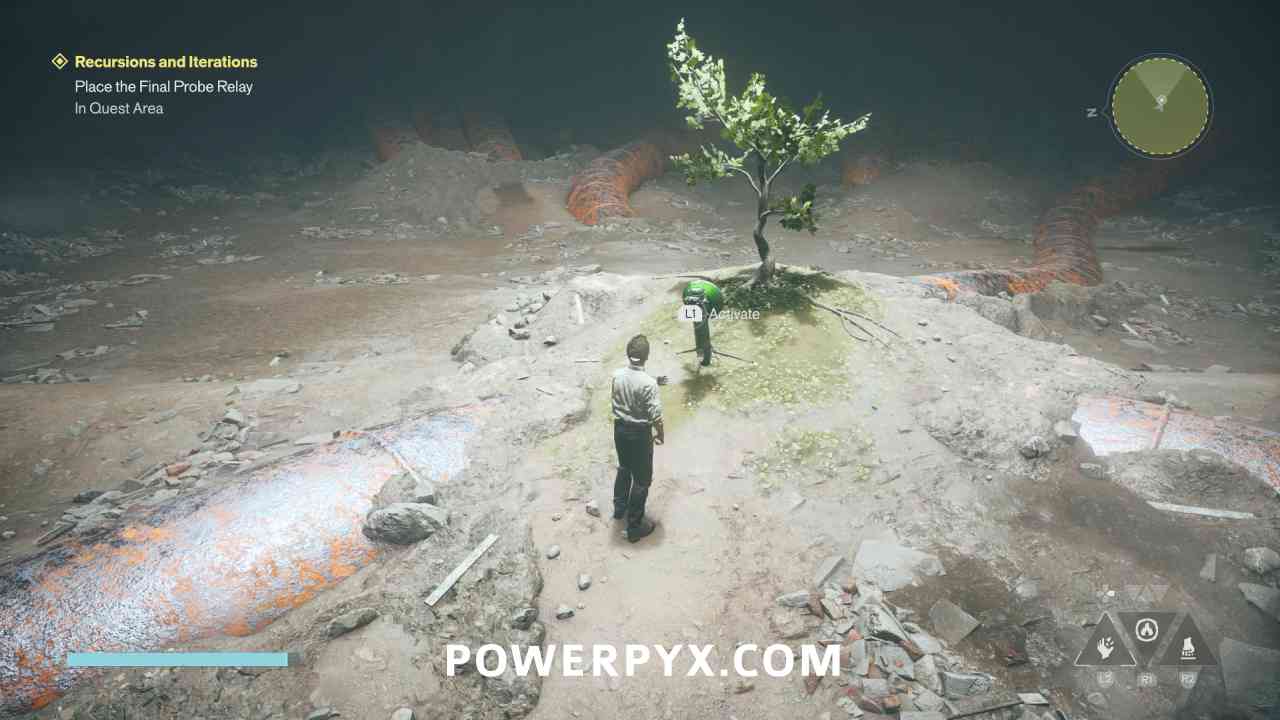
This finishes Recursions and Iterations in Control Resonant.
For all other Quests refer to Control Resonant Walkthrough.
Leave a Reply