
The Room of Requirement is the twenty-first main quest in Hogwarts Legacy. This walkthrough will guide you through all objectives of the The Room of Requirement Main Mission.
Requirement: having completed In the Shadows of the Undercroft, Level 6
Reward: 260 XP, Conjuring Spell, Evanesco, Conjuration Spellcraft, Desk of Description, miscellaneous conjurations, Interior Decorating side quest
Quest Info: Professor Weasley and a house-elf named Deek introduced me to the Room of Requirement and helped me make it my own. I can now use it as I see fit.
Objectives:
- Meet with Professor Weasley
- Follow Professor Weasley
- Explore the Room of Requirement
- Use the Desk of Description
- Speak to professor Weasley
- Conjure a Potting Table
- Conjure a Potions Station
Starting Location: The Room of Requirement
We’ve now learned Confringo in a secret undercroft room that Sebastian showed us. We’re now ready to talk to Professor Weasley for an introduction to the Room of Requirement.


Meet with Professor Weasley
Press  to activate your Charmed Compass. This will reveal a golden wisp trail that you can follow to your destination. Once reached, press
  /
/  inside the glowing ring to start the quest.
Follow Professor Weasley
Inside the Room of Requirement, follow Professor Weasley.

Soon enough you will learn Evanesco, the Vanishing spell, needed to make objects vanish. As usual, steady your wand with the left stuck and guide it along the symbol’s path to learn the spell. Don’t let go of the left stick and remember to press the corresponding button to gain speed and lose the red spark. Now, press  and hold
  to equip Evanesco in your Spell Set and then cast it with the chosen spell slot. After learning and using Evanesco, continue following Professor Weasley.


Explore the Room of Requirement
Explore the Room of Requirement as Professor Weasley suggests, casting Revelio for interaction points. At the end of the corridor you should see a crate with a handle you can use Accio on. Then, use Levioso on the same crate to levitate and climb it, allowing you reach a higher ledge with a chest.

Now slide back down and remove the chairs with Evanesco.

Crouch through the opening and continue along the hallways for the next pile of chairs to remove. Eventually, you’ll reach some Chinese lights and have to crouch under some furniture to reach a new area.

Now continue along the hallways until you reach Deek, the house-elf.

One of the first thing you’ll be able to interact with in the Room of Requirement is the Desk of Description, needed to reveal the magical properties of any Unidentified Gear that you’ve collected.

Use the Desk of Description
Approach the Desk of Description to identify any gear you may have collected up to now.
Speak to professor Weasley
Now talk to Professor Weasley to advance and learn the Conjuring Spell, the magic to create objects out of thin air. However, to conjure the object you need its spellcraft. As usual, steady your wand with the left stuck and guide it along the symbol’s path to learn the spell. Don’t let go of the left stick and remember to press the corresponding button to gain speed and lose the red spark.


Conjure a Potting Table
Now press and hold /  to equip the Conjuring Spell and choose Herbology > any Potting Table from the Small Potting Tables section. In the next screen, customize the Potting Table any way you like and then press
  /
/  to conjure it. Remember that conjuring costs Moonstones, found in the wild or purchasable from selected stores in Hogsmeade. When you’re done, back out with
  /
/  .
.


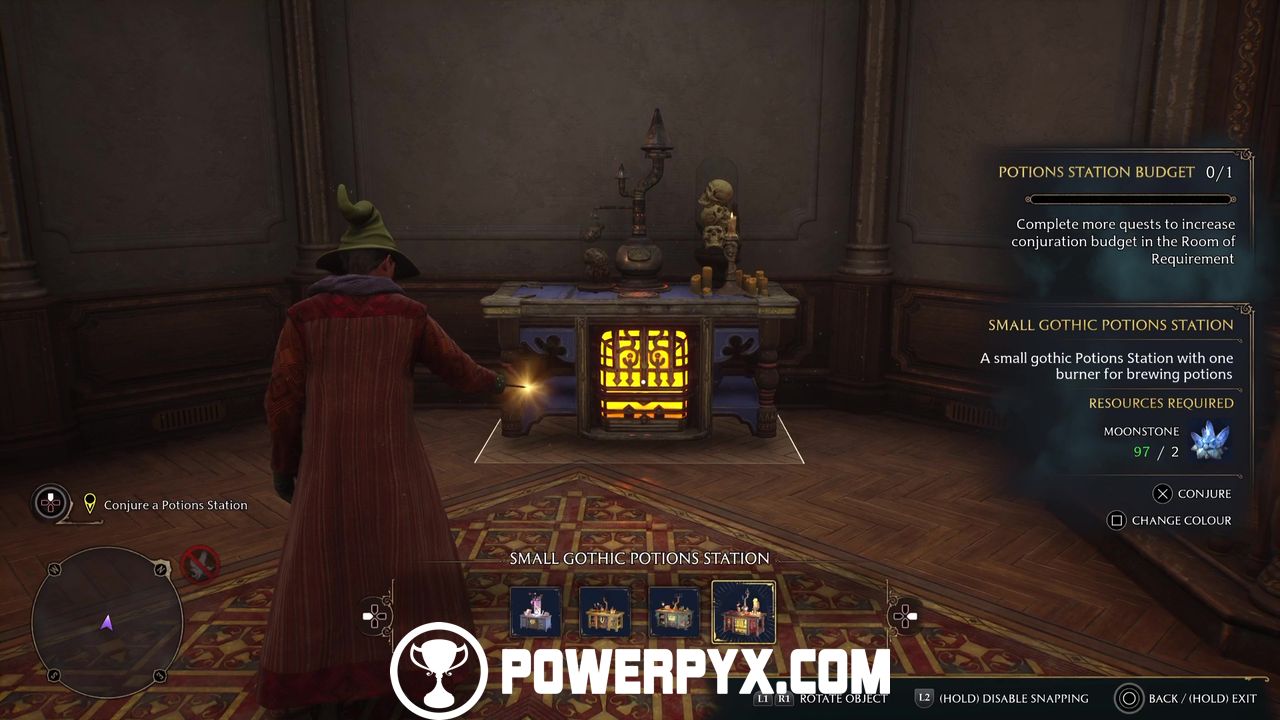
Conjure a Potions Station
Now choose a different corner of the room and do the same, this time with a Potions Station. Choose Potions > any Potions Station from the Potions Stations section. In the next screen, customize the Potions Station any way you like and then press to conjure it. Remember that conjuring costs Moonstones, found in the wild or purchasable from selected stores in Hogsmeade. When you’re done, back out with / .


This finishes The Room of Requirement in Hogwarts Legacy.
Next Quest: The Map Chamber
For all other quests refer to the Hogwarts Legacy Walkthrough.
Leave a Reply