
Ninja Gaiden Ragebound contains 197 Collectibles: 63 Crystal Skulls, 126 Scarabs (spread across 60 locations), 8 Secret Ops. The Scarabs can be spent in the shop to buy Talismans and Secret Arts. The Secret Ops unlock new bonus levels. Some Scarabs count as 3 for the shop currency. If counting actual pickups there are only 59 individual Scarab Locations but they are equal to 126 Scarabs currency at the shop. Golden Scarabs count as 1 at the shop and blue scarabs count as 3 at the shop.
Nothing is missable, you can replay the levels at any time to grab what you still need. On level replays, the items you already collected respawn as grayed-out versions and can be picked up again. When finding collectibles via level replay you must finish the whole level afterward to save the progress. If you quit to the world map it won’t save! You only need to pick up the missed collectible when using level replay, not the ones you already found.
It’s advisable to play with Assist Mode enabled to make it easier. You can adjust the incoming damage (even set it to 0%) and it doesn’t disable any trophies. Buy & equip the Talismans “Scarcity” & “Unoworthy” early on, each of these increases the rank you get in the results screen after levels by +1, so you will easily get A Ranks while collecting everything. In some levels A rank is needed to unlock new Talismans and Secret Arts at the shop.
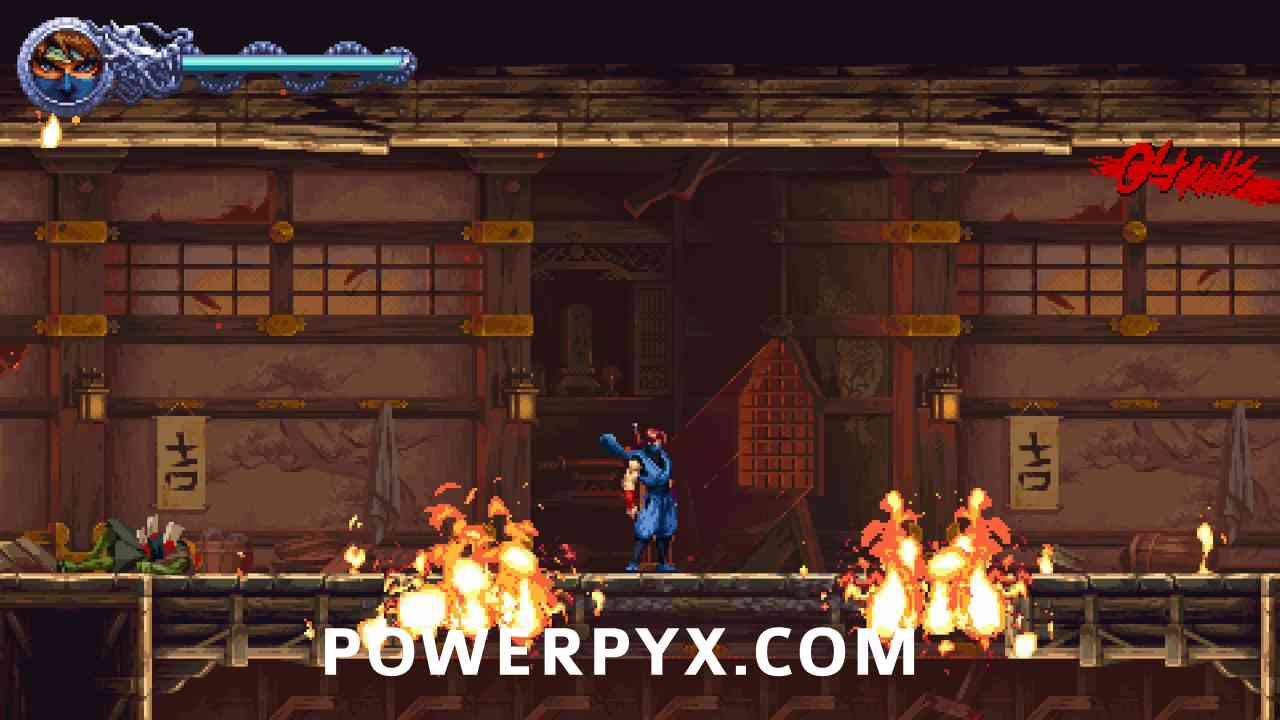
The levels are very short, only taking 2-20 minutes each, and a lot of collectibles are on the main path in plain sight. Some are behind destructible walls or on optional side paths. The entire game can be finished in 7 hours including all collectibles. There are 27 levels total (19 main levels + 8 secret ops).
Trophies obtained from Collectibles:
- 63 Crystal Skulls –
 The Fate of the Giant +
  A Test of Valor
 - 126 Scarabs –
 Legendary Hunter + Gold Hunter + Meliora + Talisman Collector (purchase all Talismans) + Secret Arts Collector (purchase all Secret Arts) + Weapon Hoarder (purchase all items from Muramasa’s Shop)
 - 8 Secret Ops – Shadow Warriors + Undercover Ninja
 The Fate of the Giant +
  A Test of Valor
 Legendary Hunter +
 The Tragic Duel – P-1
- 0 Scarabs
- 3 Crystal Skulls
- 0 Secret Ops
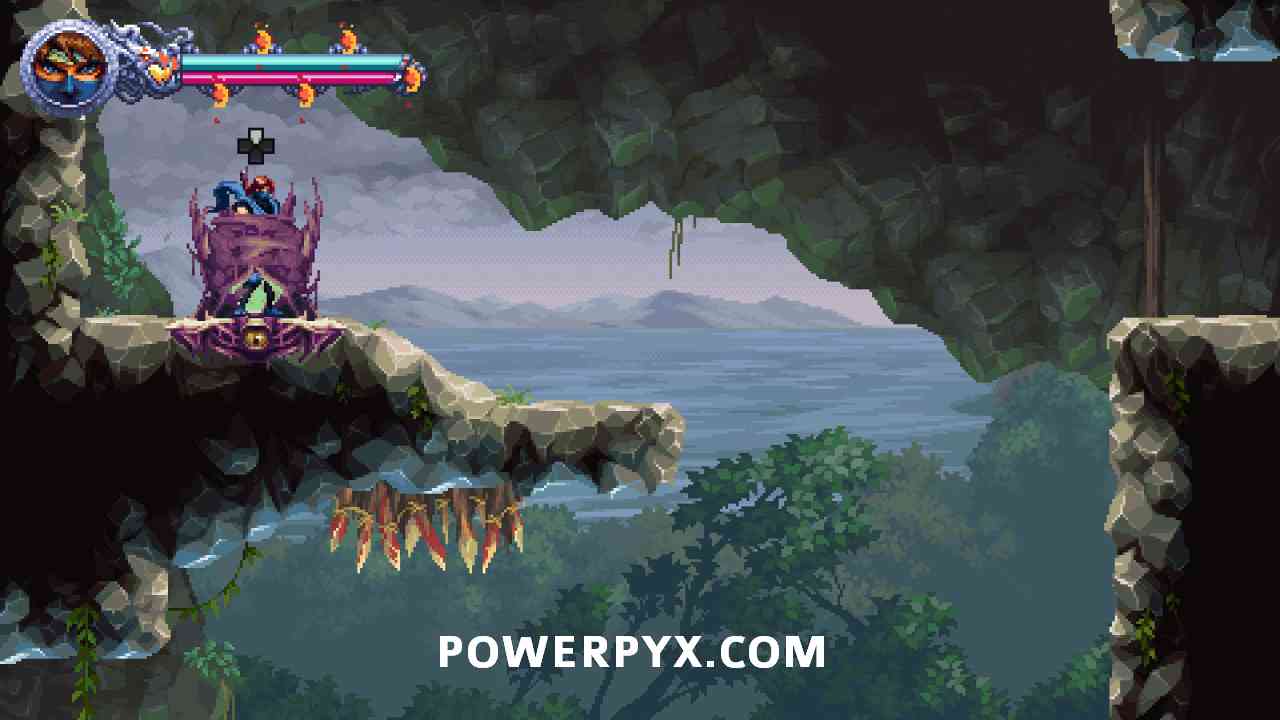
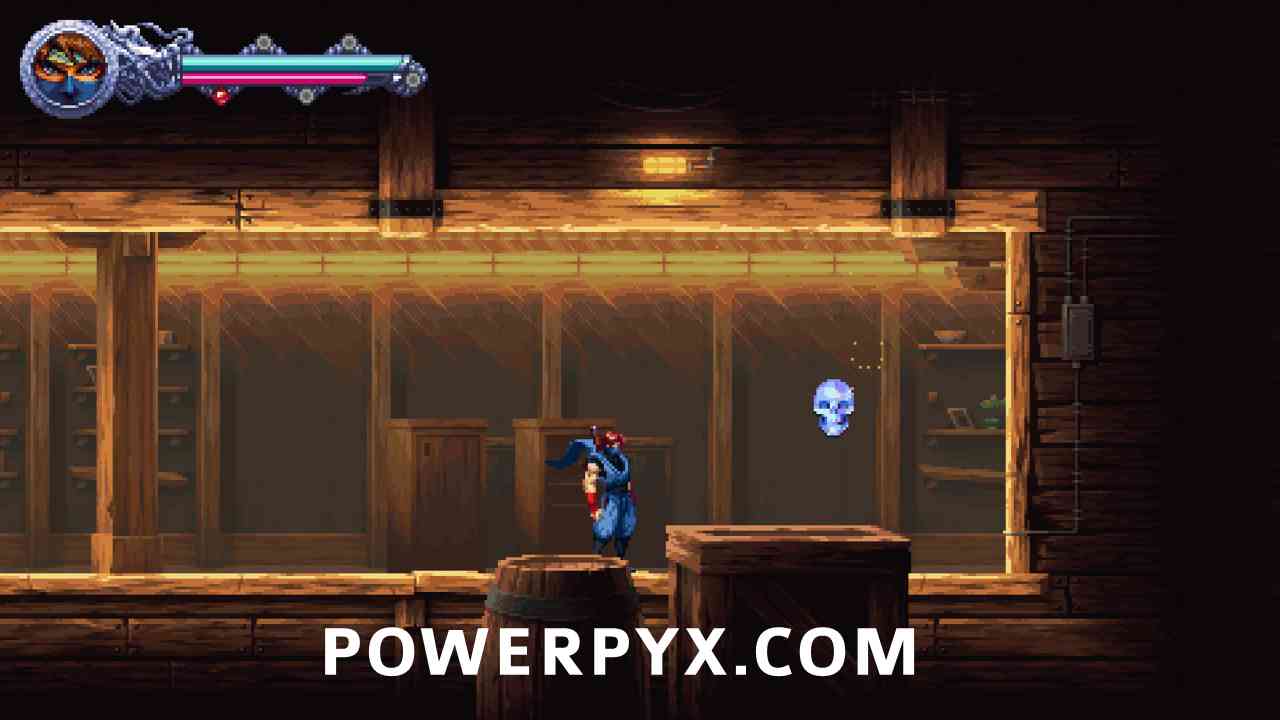
#1 – Crystal Skull 1
Near the start of the game in plain sight on main path.
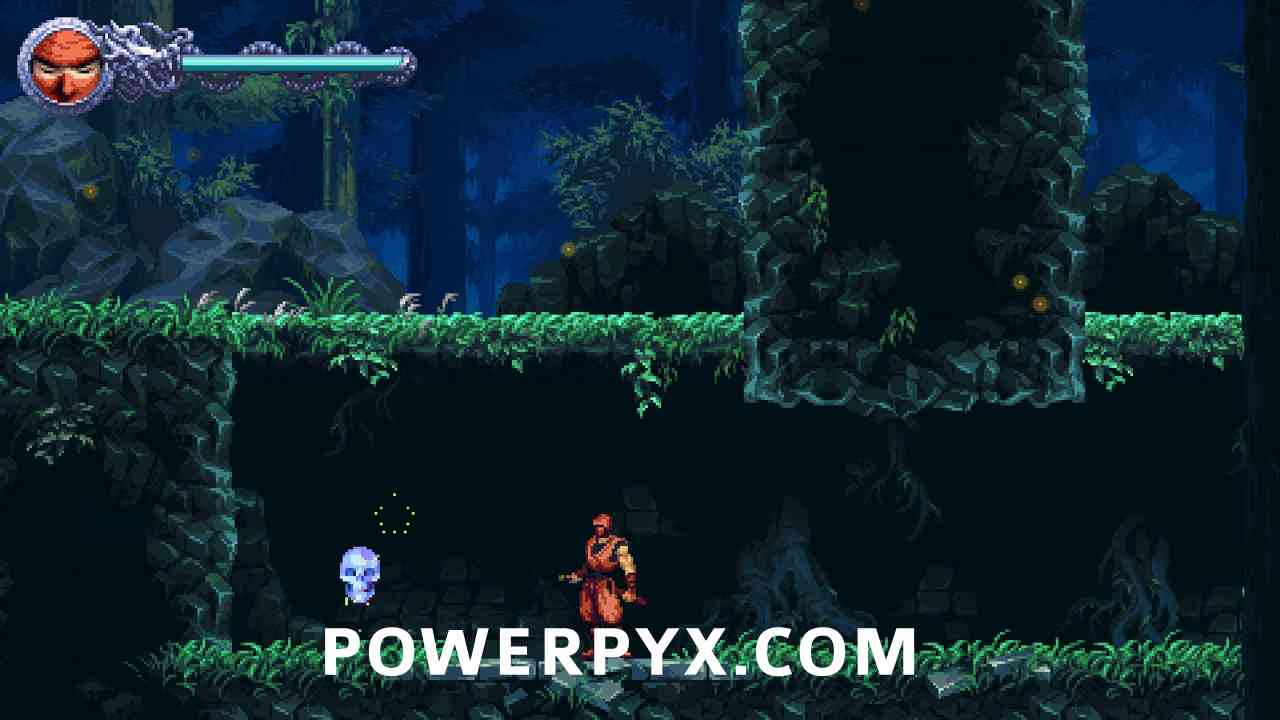
#2 – Crystal Skull 2
After climbing the first wall.
#3 – Crystal Skull 3
After falling into a pit and climbing down of it, after dropping down to the next forest section.
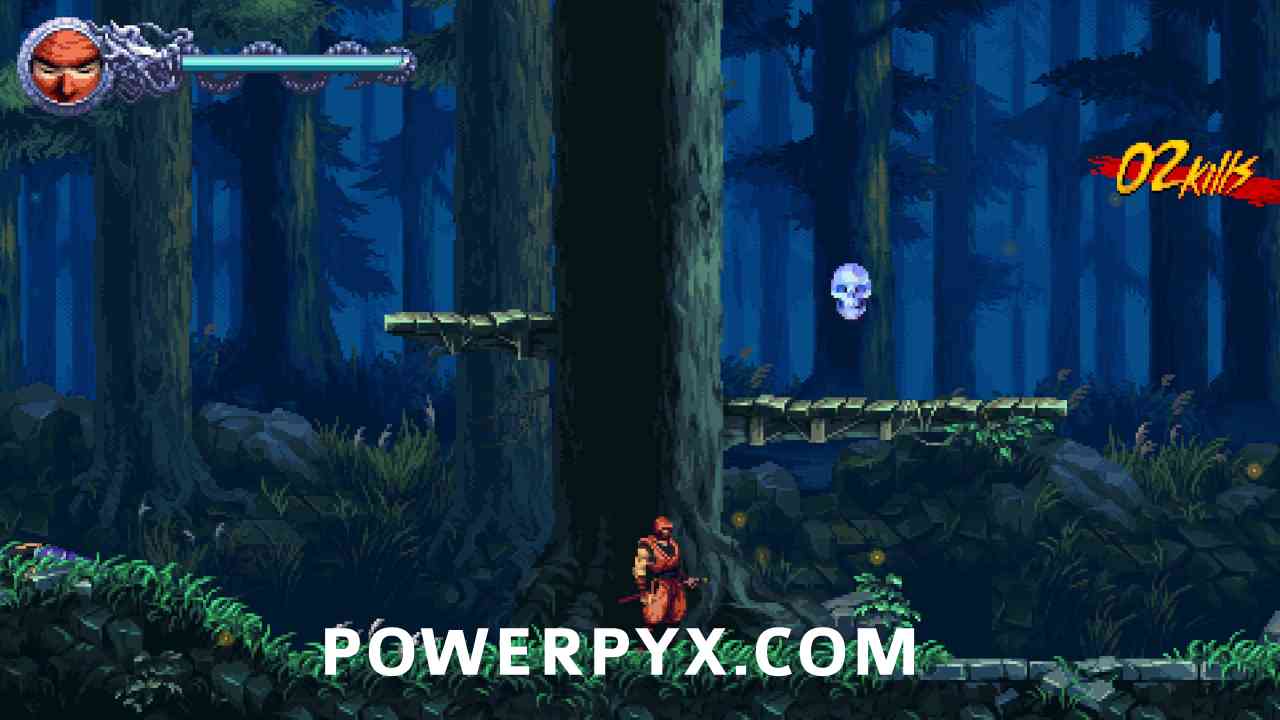
Ryus Test – 1-1
- 0 Scarabs
- 1 Crystal Skulls
- 0 Secret Ops
#1 – Crystal Skull 1
In plain sight after doing a triple dash midair.
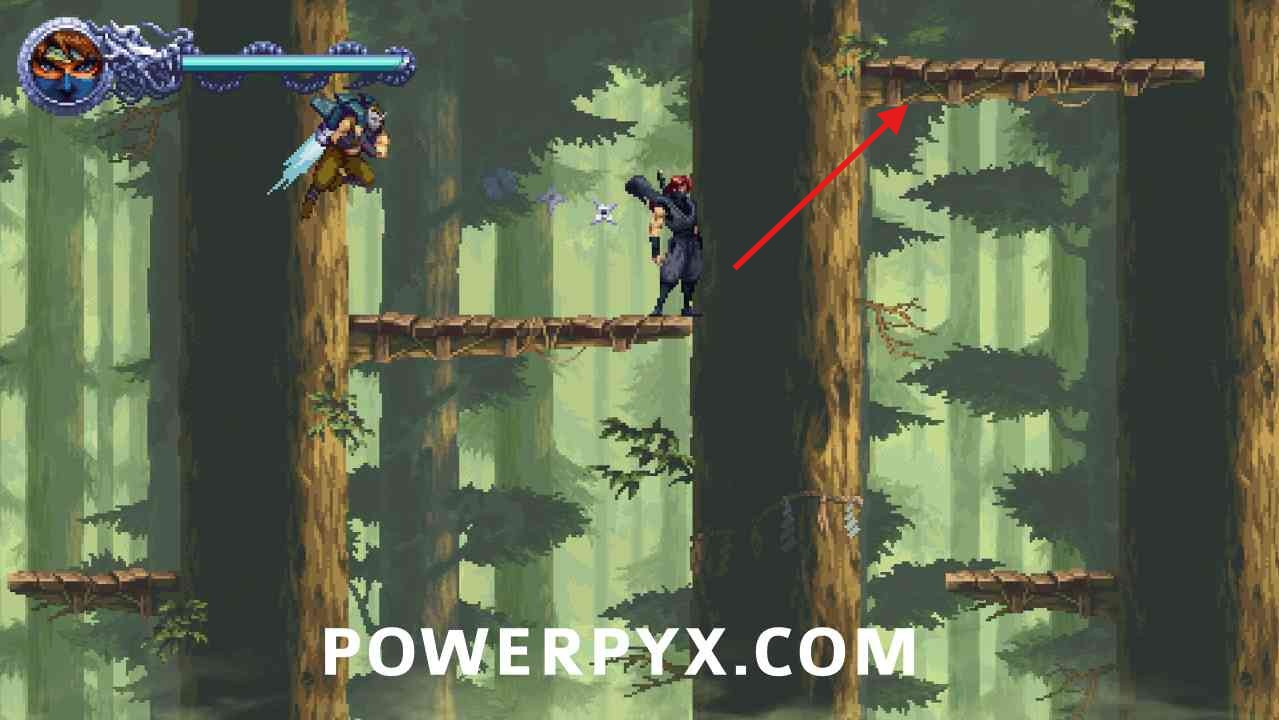
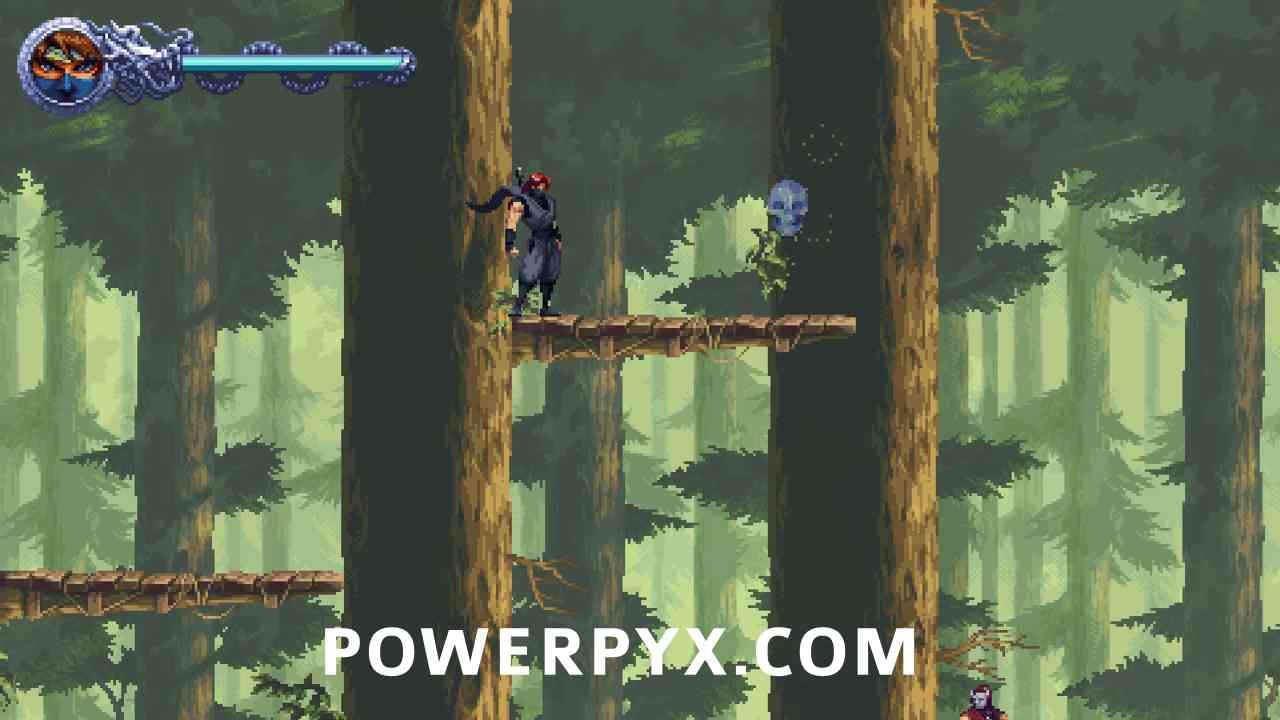
Seized by Dark Forces 1-2
- 3 Scarabs
- 3 Crystal Skulls
- 0 Secret Ops
#1 – Scarab 1
On the right before climbing up the first long wall.

#2 – Crystal Skull 1
Follow the main path until you climb up to a sword-thrower enemy, then an enemy throws shuriken at you from below, there jump down to get to the collectible.
#3 – Scarab 2
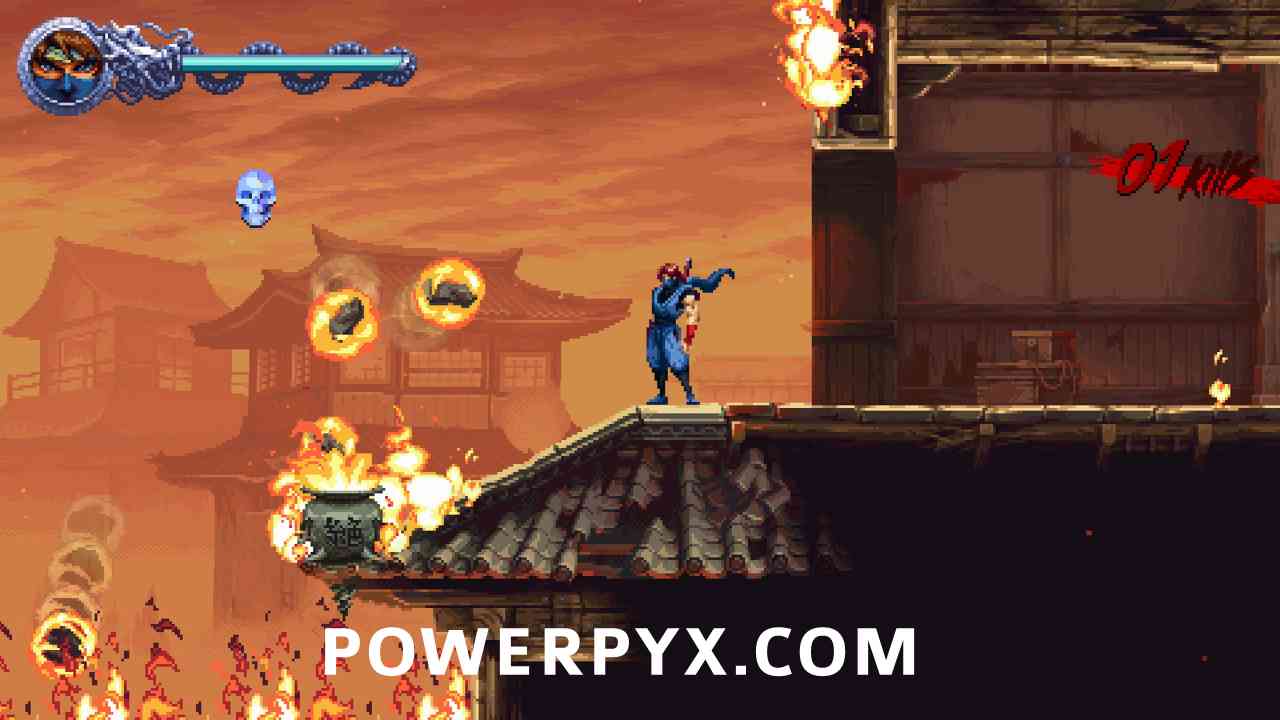
After going over a roof with burning meteors falling down at you, it’s on the right.
#4 – Crystal Skull 2
After climbing up another roof where a checkpoint is, turn left and press R1/RB to slide through the opening in the wall.
#5 – Crystal Skull 3
At the next checkpoint slide to the left.
#6 – Scarab 3
Immediately after the previous checkpoint take the right path and as you climb up it’ll on the right. Climb in through the floor.
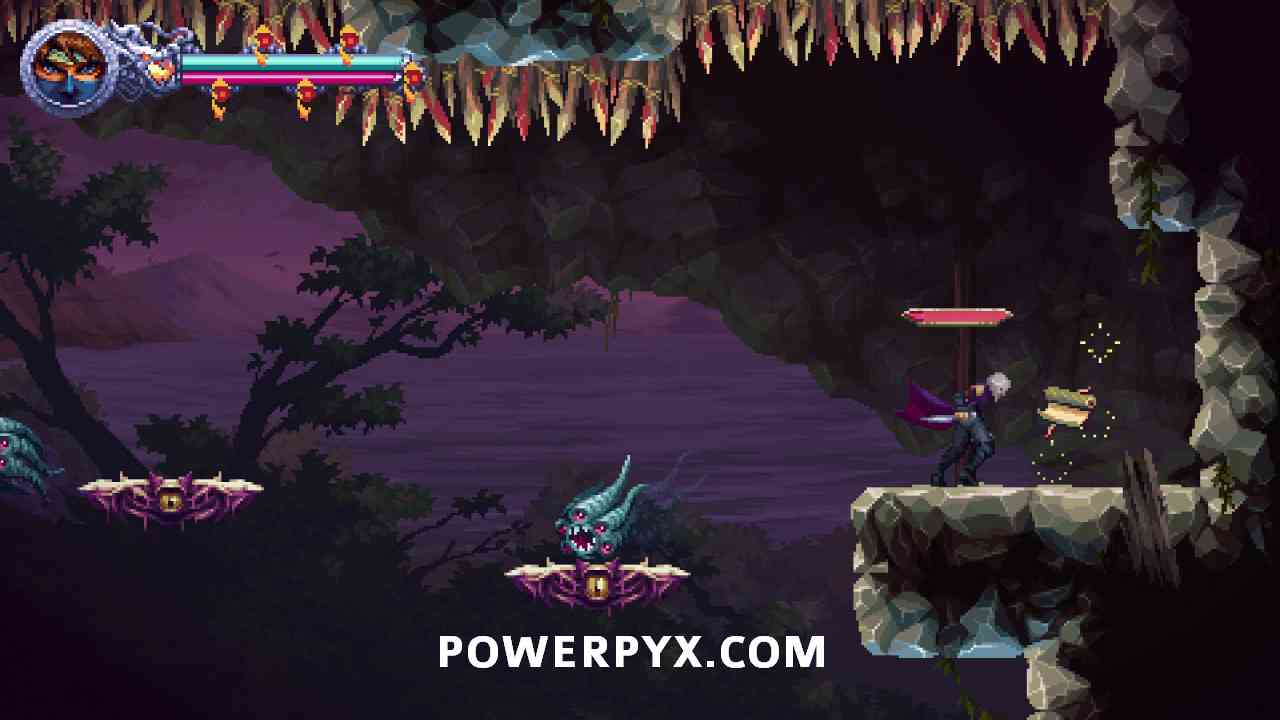
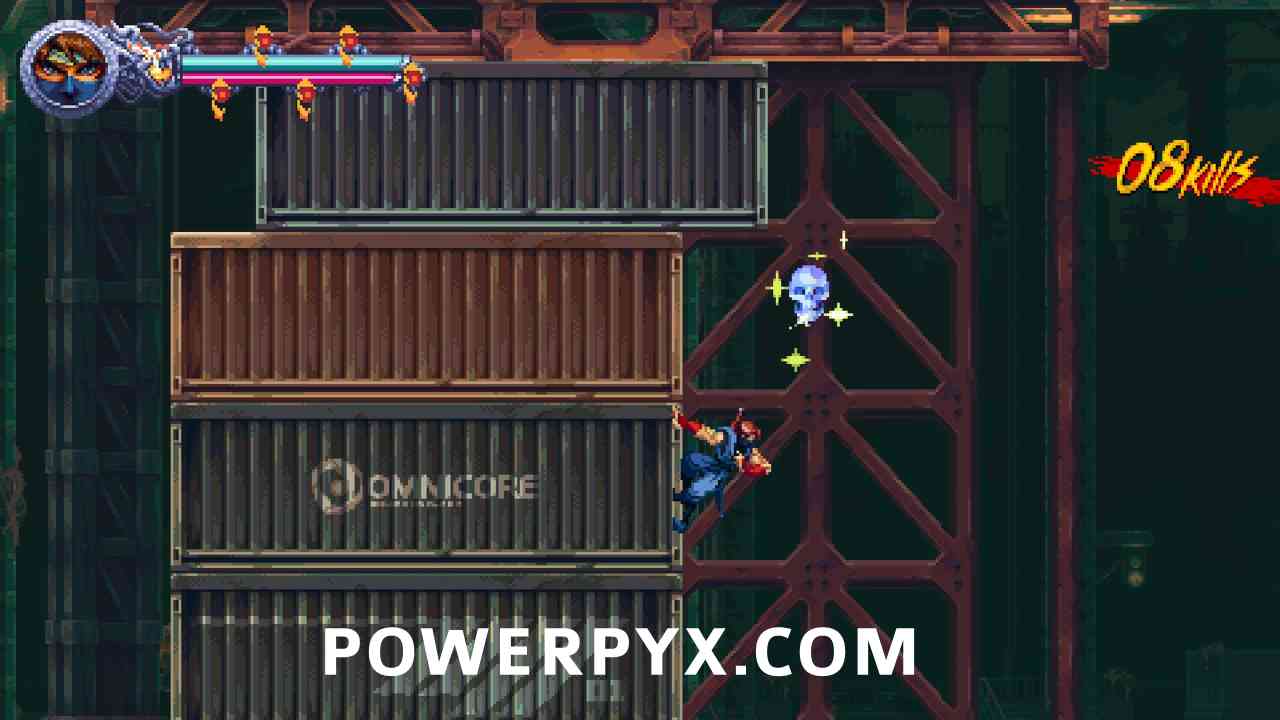
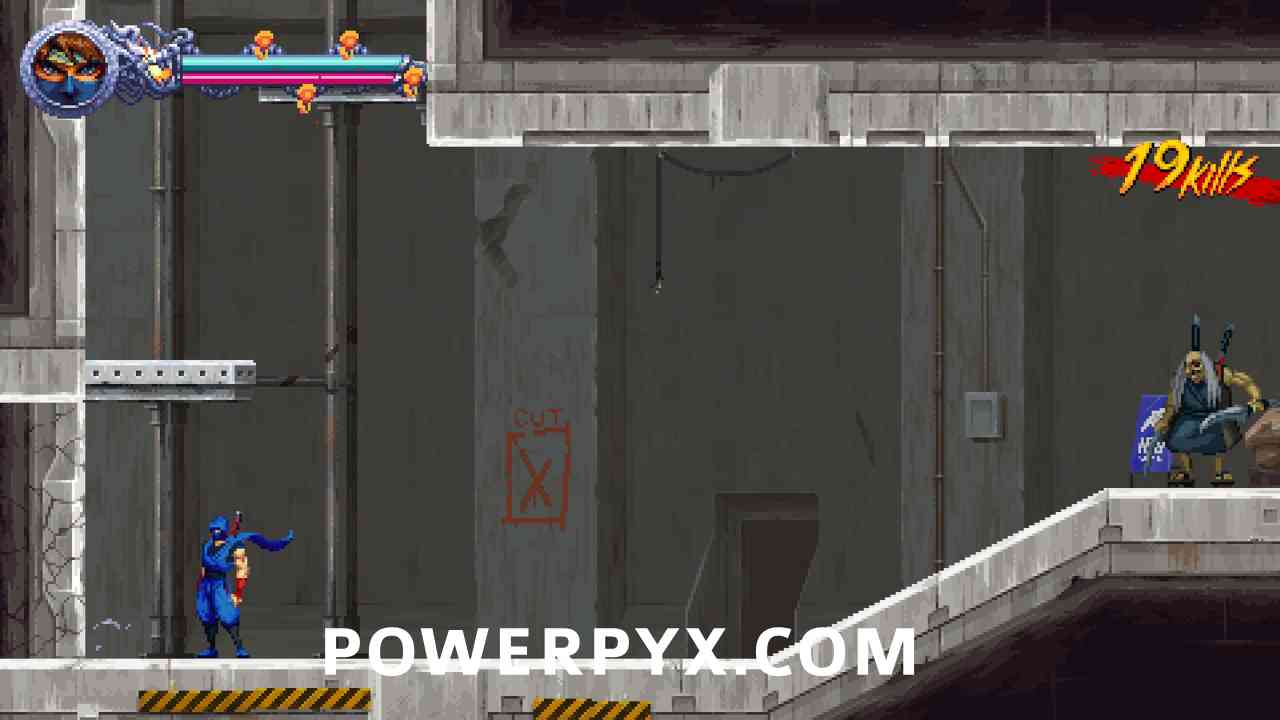
After the Demons! 1-3
- 5 Scarabs
- 3 Crystal Skulls
- 1 Secret Ops
#1 – Scarab 1
After climbing up the first wall.
#2 – Secret Ops (S-1)
After entering the cave in the first section go all the way to the right and break the wall at the end, before jumping up. Collect the scroll at the end.

#3 – Scarab 2
After climbing up in the cave, to the right of the checkpoint.
#4 – Scarab 3-5 (x3)
After cave outside in forest before dropping down. Counts as 3 scarabs in 1 pickup.
#5 – Crystal Skull 1
In forest after climbing left wall, after reaching a shrine and seeing the 2nd jetpack enemy jump up the tree (can see the sparkle already).
#6 – Crystal Skull 2
Same area on the far left end.
#7 – Crystal Skull 3
After leaving the forest on the long bridge that starts burning off behind you, near end of bridge must climb down to grab it fast.

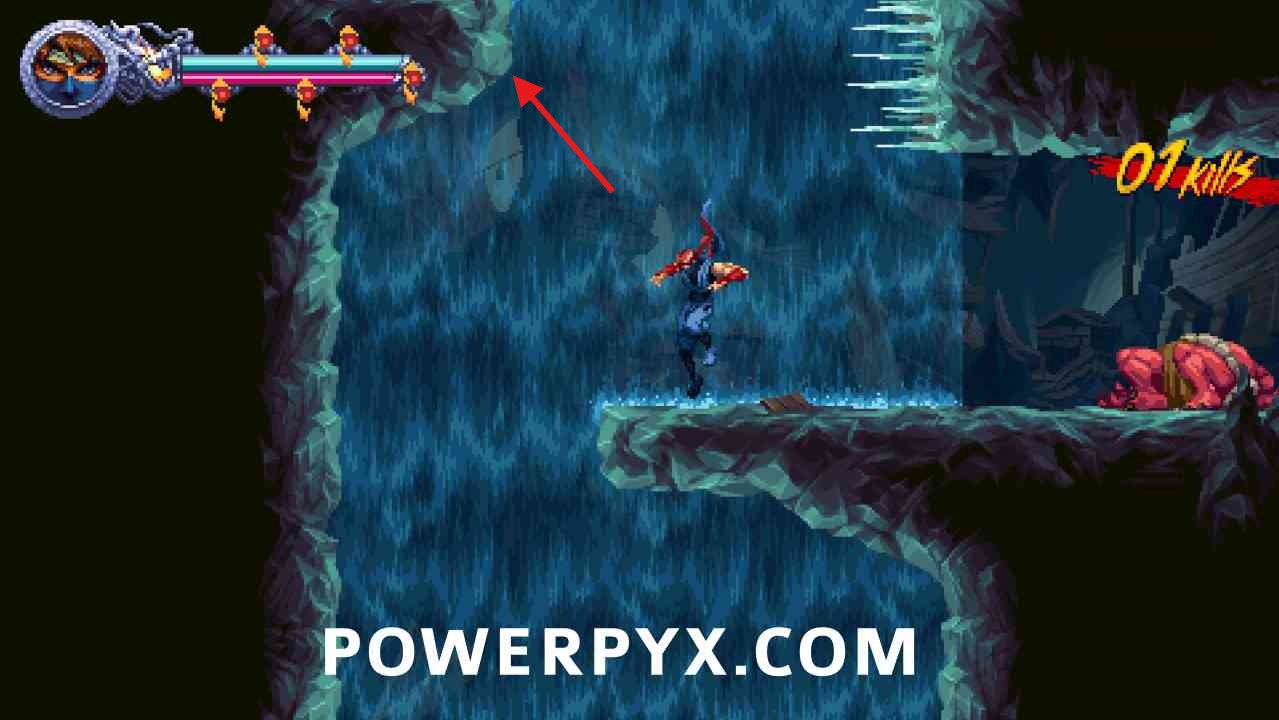
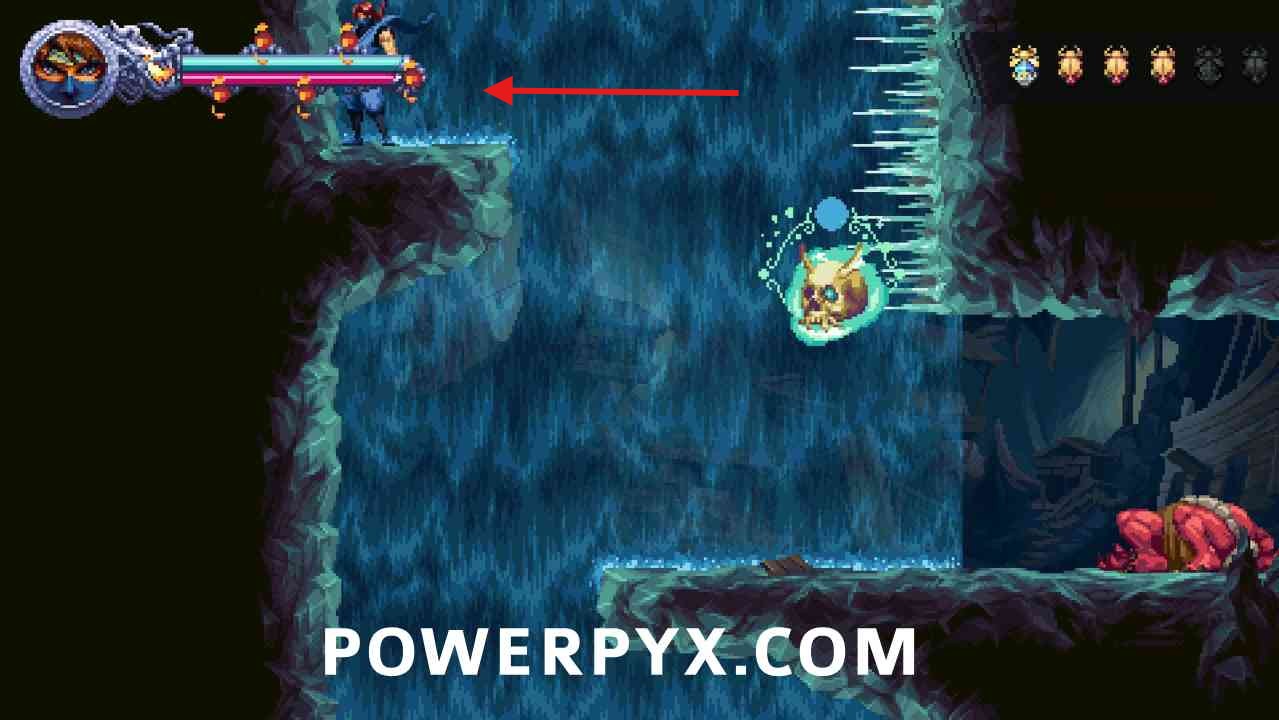
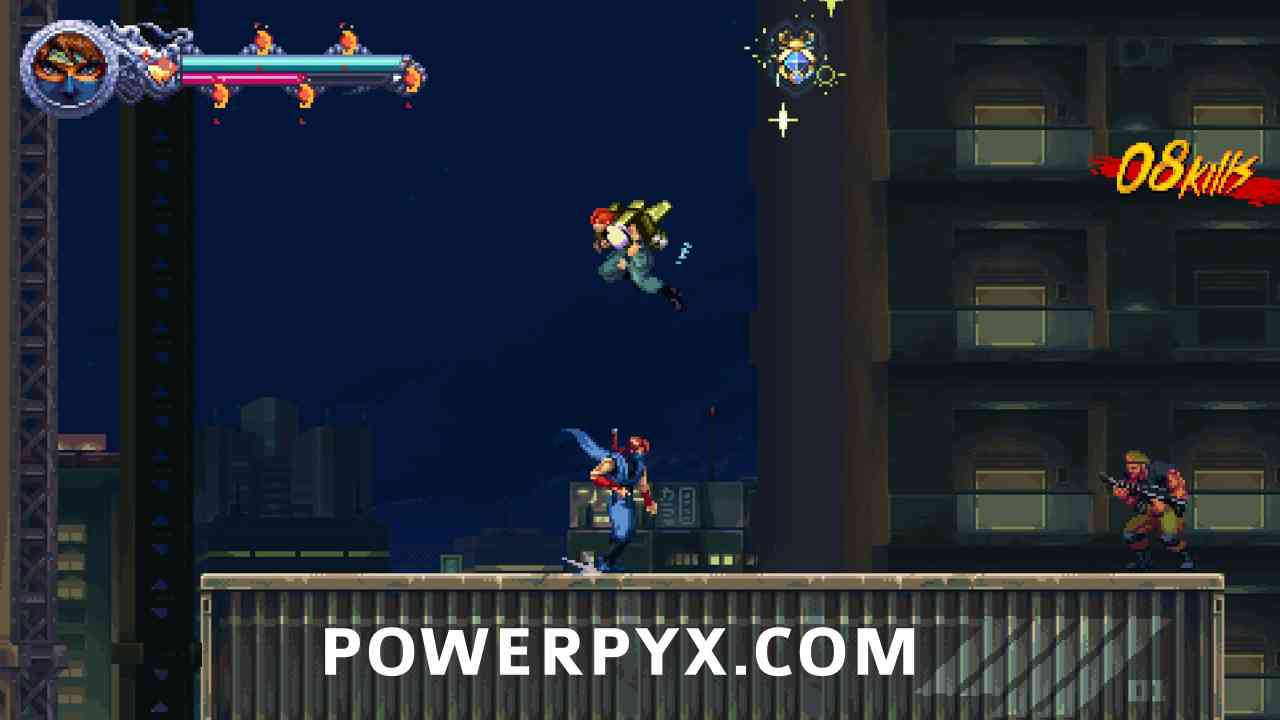
Midnight Assault 2-1
- 3 Scarabs
- 3 Crystal Skulls
- 1 Secret Ops
#1 – Scarab 1
From the level start open the first door to the left, it’s in the next section.

#2 – Crystal Skull 1
After using the elevator go to the right end of the area where you must jump down a dark tunnel. Jump down the first two webs (don’t jump all the way down), then take the right path to a hidden room to find this.

#3 – Scarab 2
Continue on the main path, it’s between the next two laser turrets on ceiling. Destroy the turrets and climb the wall from the right side.
#4 – Scarab 3
After the second elevator ride, in the next dark tunnel drop down to the very bottom and take the left path to a secret room.
#5 – Crystal Skull 2
After the long outside climb on the side of the skyscraper, when you go back inside go up and take the next right path to find it in a side room.
#6 – Secret Ops (S-2)
After the third elevator ride (elevator falling down), take the left path and climb back up the roof (same way you took to the elevator). Where the elevator was before you can now drop down onto the roof of the elevator, to the left is the secret room with the scroll.
#7 – Crystal Skull 3
After the third elevator ride (elevator falling down), take the right path and climb up through the open floors.
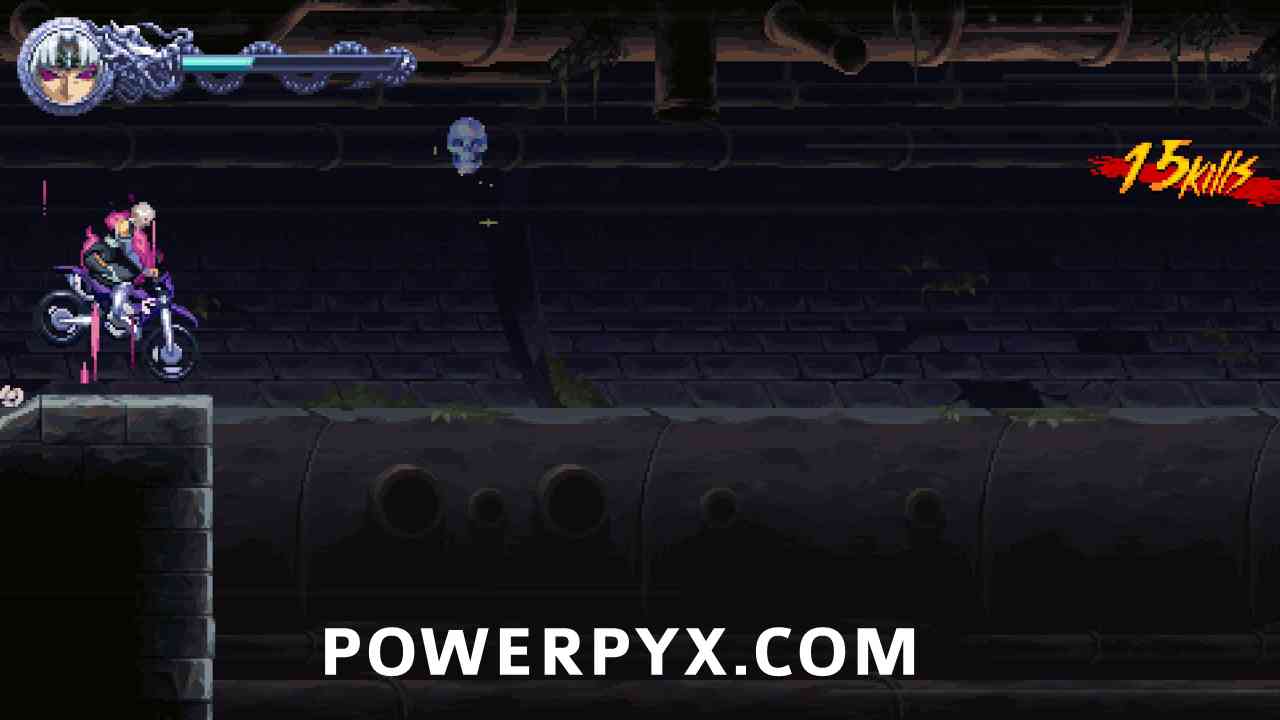
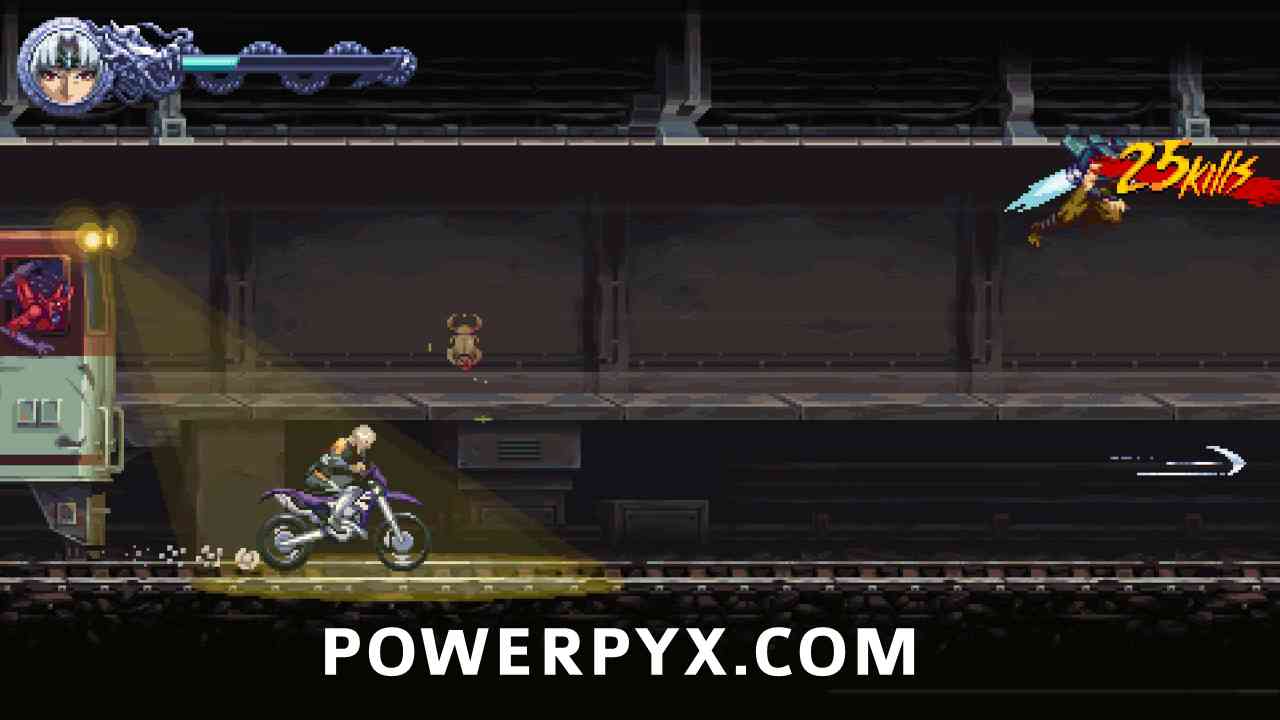
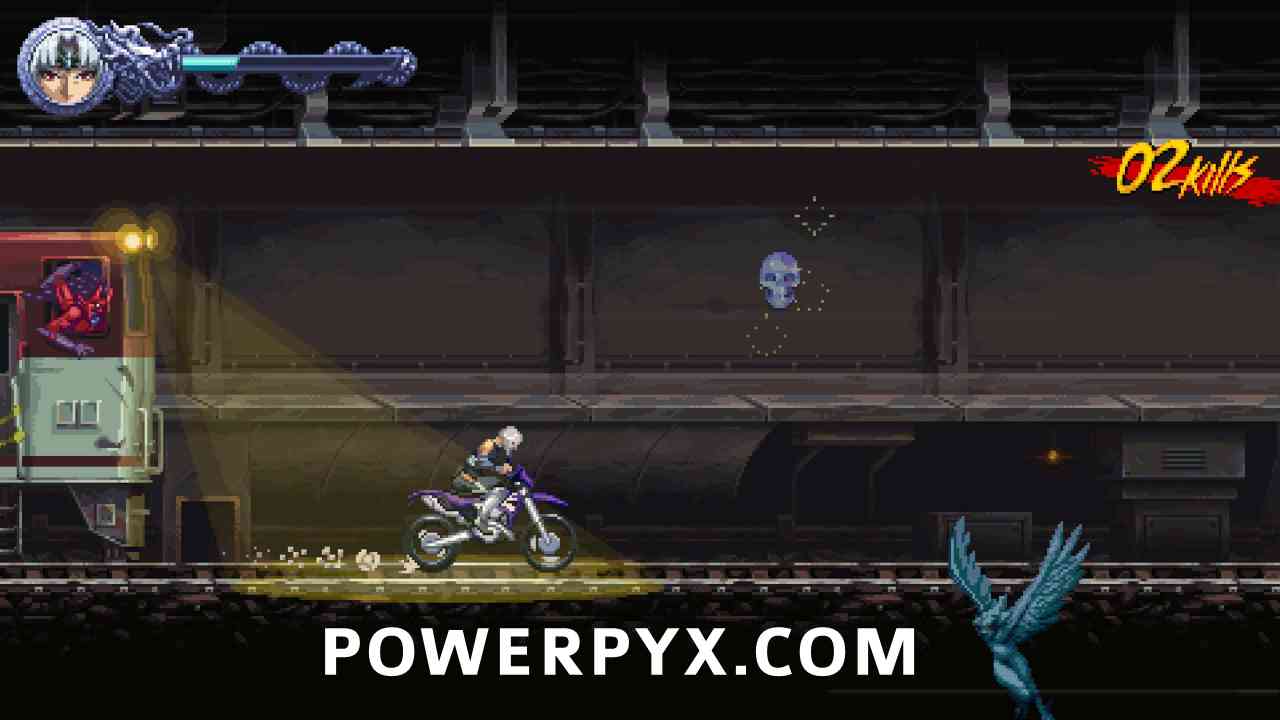
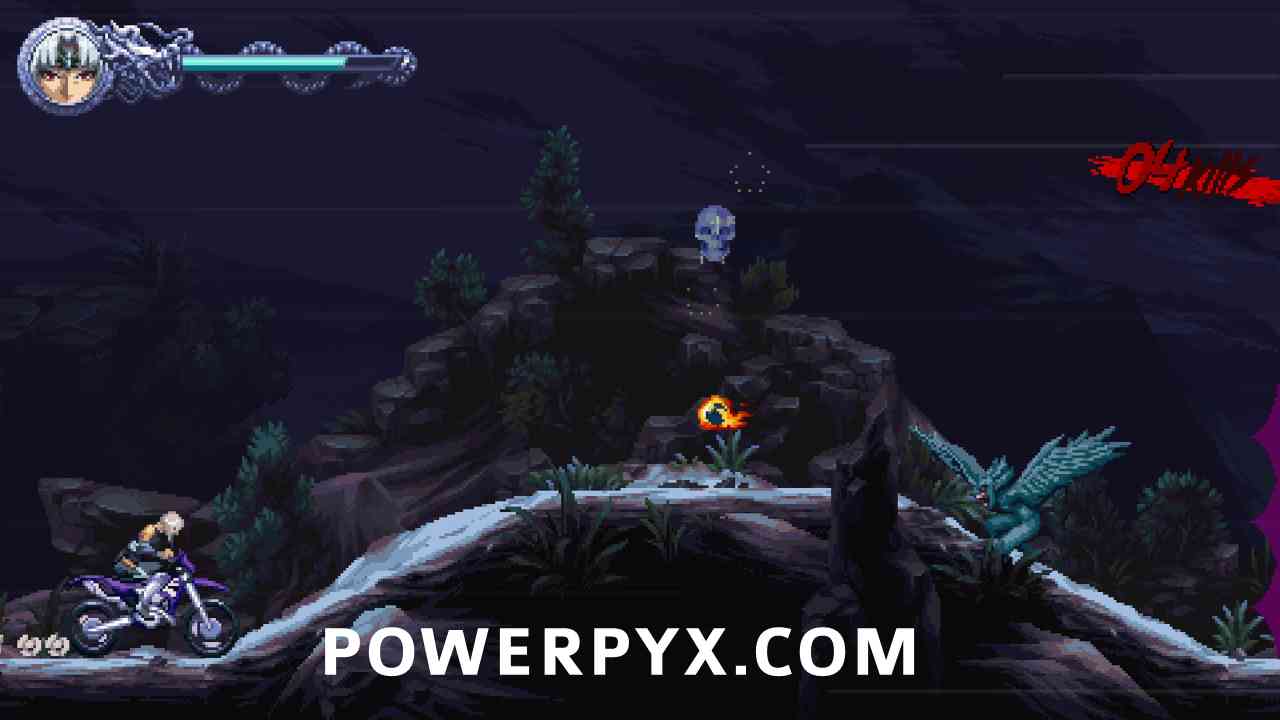
Deceptive Alliance 2-2
- 5 Scarabs
- 3 Crystal Skulls
- 0 Secret Ops
This mission is a fast-paced bike ride. If you miss a collectible you can let yourself die to respawn at the last checkpoint. In game settings you can use assist mode to slow down the time too.
#1 – Scarab 1
During bike ride, you will see a golden bug icon on the right side a few seconds before it comes up, must jump into it.
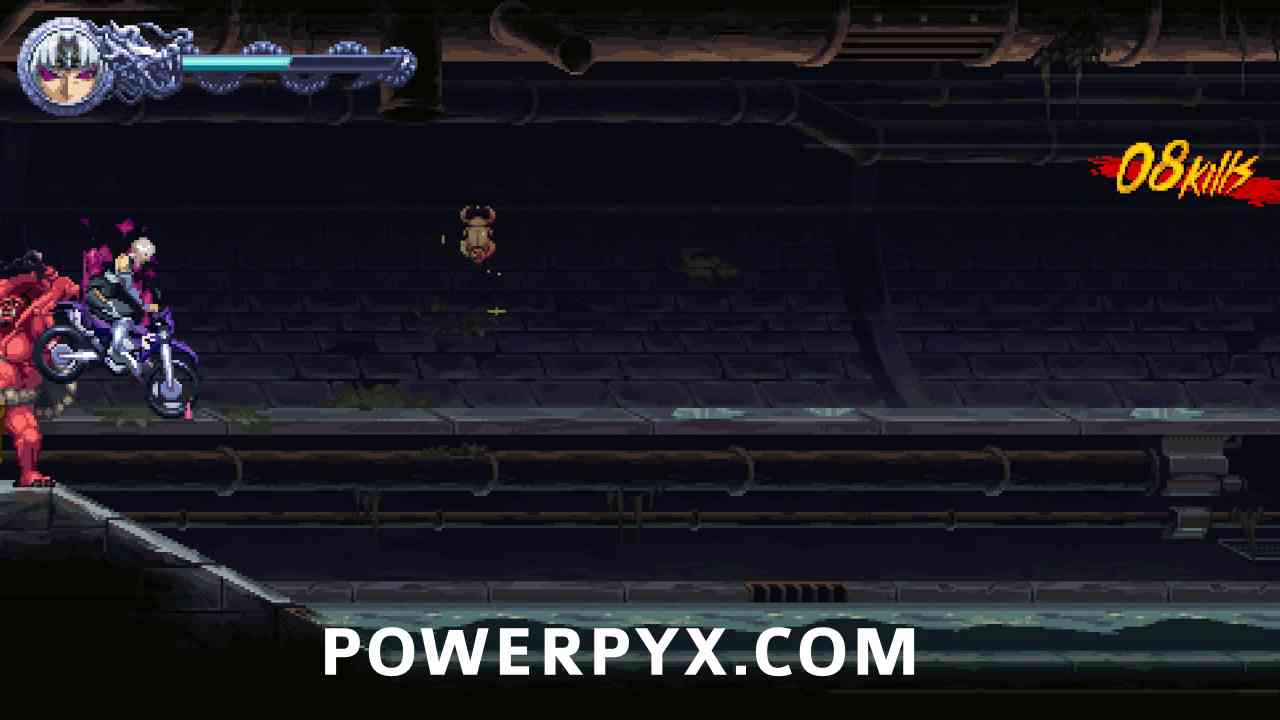
#2 – Crystal Skull 1
During bike ride, shortly after the scarab before a big drop.
#3 – Scarab 2
During the train tracks when the train starts to appear behind you.
#4 – Crystal Skull 2
During the train tracks while the train is chasing behind you, you will see a skull icon on the right shortly before it comes into view.
#5 – Crystal Skull 3
In the dark mountain section.
#6 – Scarab 3-5 (x3)
In the dark mountain section, counts as 3.
Entwined Fates 3-1
- 0 Scarabs
- 1 Crystal Skulls
- 0 Secret Ops
#1 – Crystal Skull 1
After throwing a kunai to destroy a barrel to then hit a button, climb up the path that the button opens, then you will see the skull sparkling in the air at the top of the screen slightly out of view. Just before you get the tutorial to “Destroy blue auras with  /
/  or
or  /
/  for Hypercharge.
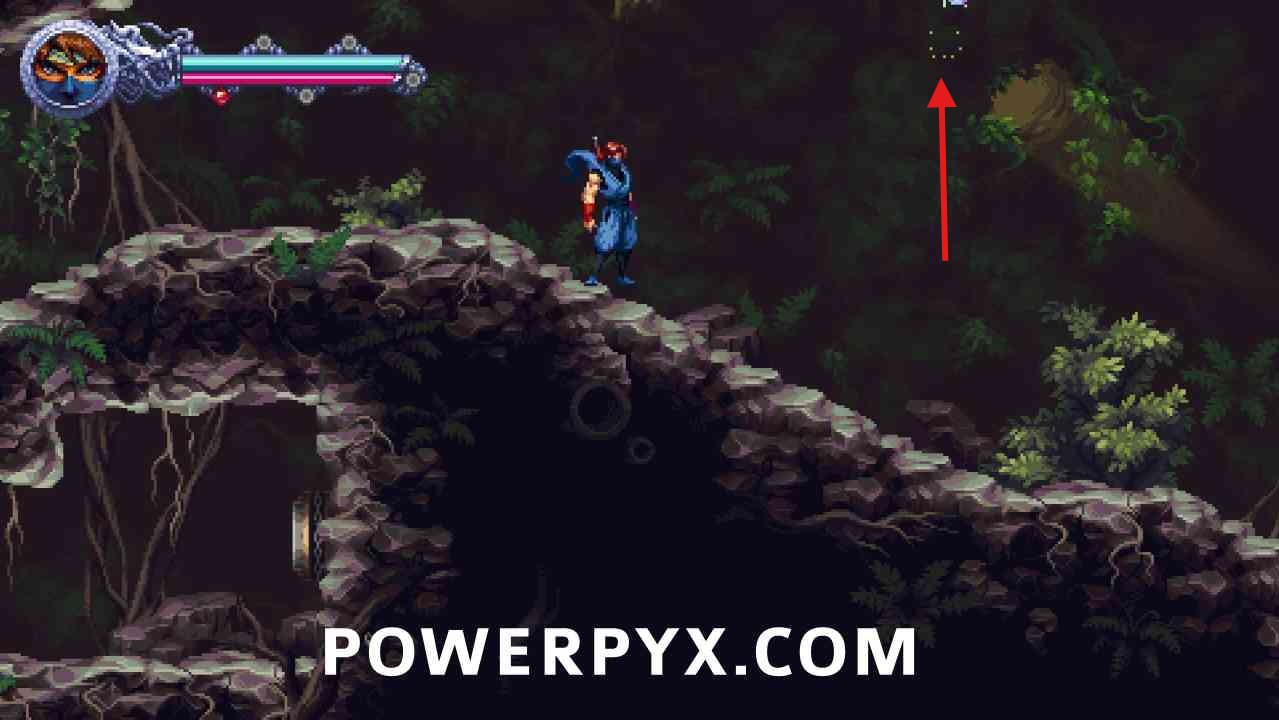
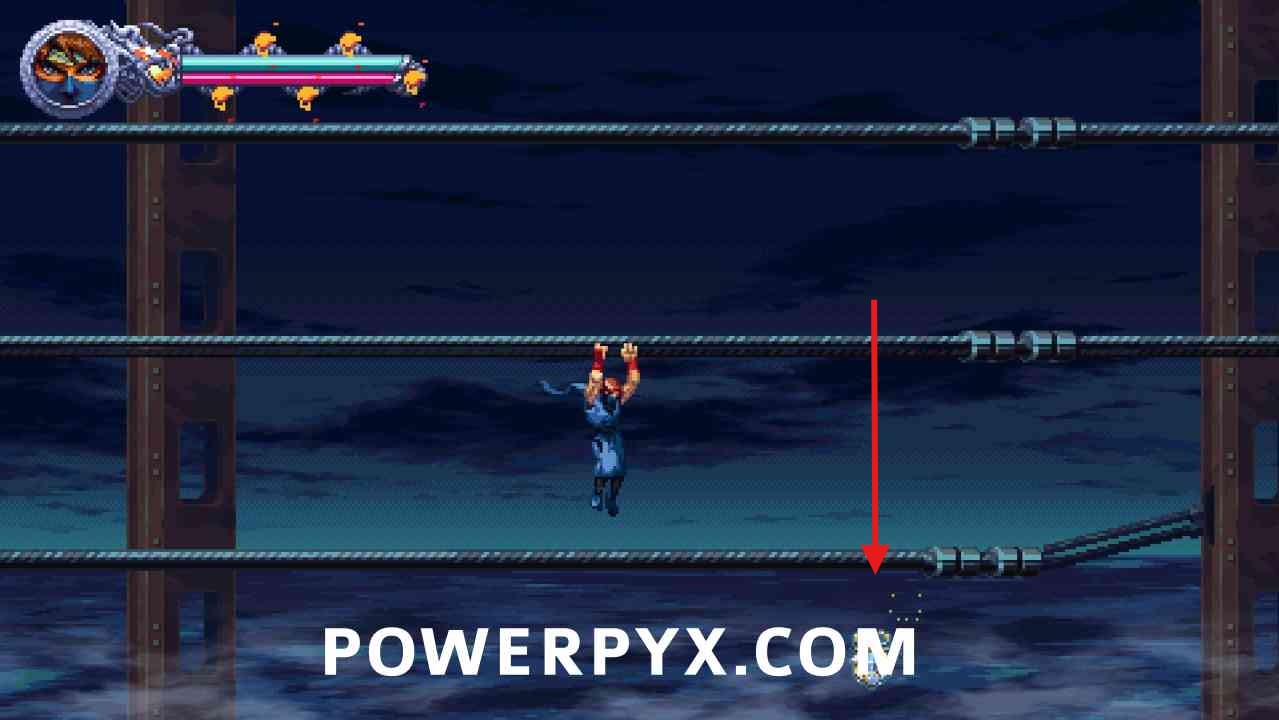
A Perilous Descent 3-2
- 5 Scarabs
- 3 Crystal Skulls
- 1 Secret Ops
#1 – Scarab 1
At the level start on the right. Jump off the hanging rock on the left to reach it.
#2 – Scarab 2-4 (x3)
After the third checkpoint in this mission you will use a bunch of ziplines to advance. After climbing down a bit and reaching another section of ziplines you will see this blue scarab in plain sight at the top of the screen, but must be fast to jump to the top of the zipline and hang onto the wall. If you miss it just drop down the abyss to respawn. This is just before the 4th checkpoint.
#3 – Crystal Skull 1
After using the demon altar to spawn the girl that throws kunai, you must play as her briefly to throw kunai at a cog that lifts a rock. Then as the male character quickly climb up that wall where the rock blocked the path, before it descends back down.
#4 – Crystal Skull 2
After a long zipline slide where a sea monster attacks from below, you enter a new area. After going to the far ride side you go down a tunnel, at the bottom is a secret destructible wall on the left that leads to the skull.
#5 – Secret Ops (S-3)
From the last location advance past the next checkpoint, then on the right of the area you go down another tunnel that looks similar to the previous one. At the bottom of the tunnel on the left you find another destructible that leads to a demon altar. Use the altar to spawn the girl, get to the end of the path, behind the last enemy is the scroll pickup (collected while playing as the girl).
#6 – Scarab 5
Above the next checkpoint in plain sight. Use the zipline on the left to reach it, if you already used it jump against it to push it back up.
#7 – Crystal Skull 3
In the area with the red blood sea, after the 2nd checkpoint there, you will climb down a wall and it will be on the left.
Ancient Pirate Cave 3-3
- 10 Scarabs
- 3 Crystal Skulls
- 1 Secret Ops
#1 – Scarab 1-3 (x3)
After the first checkpoint, there’s a destructible wall on the right that leads to this blue scarab (counts as 3).
#2 – Crystal Skull 1
A few minutes later, after the third checkpoint (which is in a waterfall cave), you enter another pirate room where you must climb up a wall. Then it’s on the left, can climb along the ceiling and dash through the gap.

#3 – Scarab 4
After the next checkpoint you need to stand on moving wooden platforms that go to the right of the screen. During this, after ducking under some stalactites climb the wall.
#4 – Scarab 5
In the next section there are wooden platforms moving up a waterfall, halfway up on the right is a destructible wall. You will see a skull to the right but it can’t be reached from this room (the next skull is in a different room).
#5 – Crystal Skull 2
Go back to the previous room with the wooden platforms moving up the waterfall. At the top dash through the gap on the left.
#6 – Secret Ops (S-4)
In the next section you will be outside. After climbing a wall, turn left to find a demon altar and summon the girl. While playing the girl go up and left, at the end of the left platforming section is the scroll (collected as the girl).
#7 – Scarab 6
After the next 3 checkpoints (after going through a cave and pirate room), you will reach a waterfall with spikes sticking out the right wall. There it’s in the top left corner out of view. You must climb up the right wall where the spikes are and take the damage to jump over to the left.
#8 – Crystal Skull 3
Same area as the previous item. Drop down just one floor, then go through the left opening to find a secret room. This is before reaching the next checkpoint (if you reached the checkpoint you went too far but can climb back up).
#9 – Scarab 7-9 (x3)
In the next waterfall section with platforms moving up, go to the top for a breakable wall on the right. Contains blue beetle that counts as 3.
#10 – Scarab 10
Shortly after the pink tentacle starts chasing you it’s at the top of the screen.
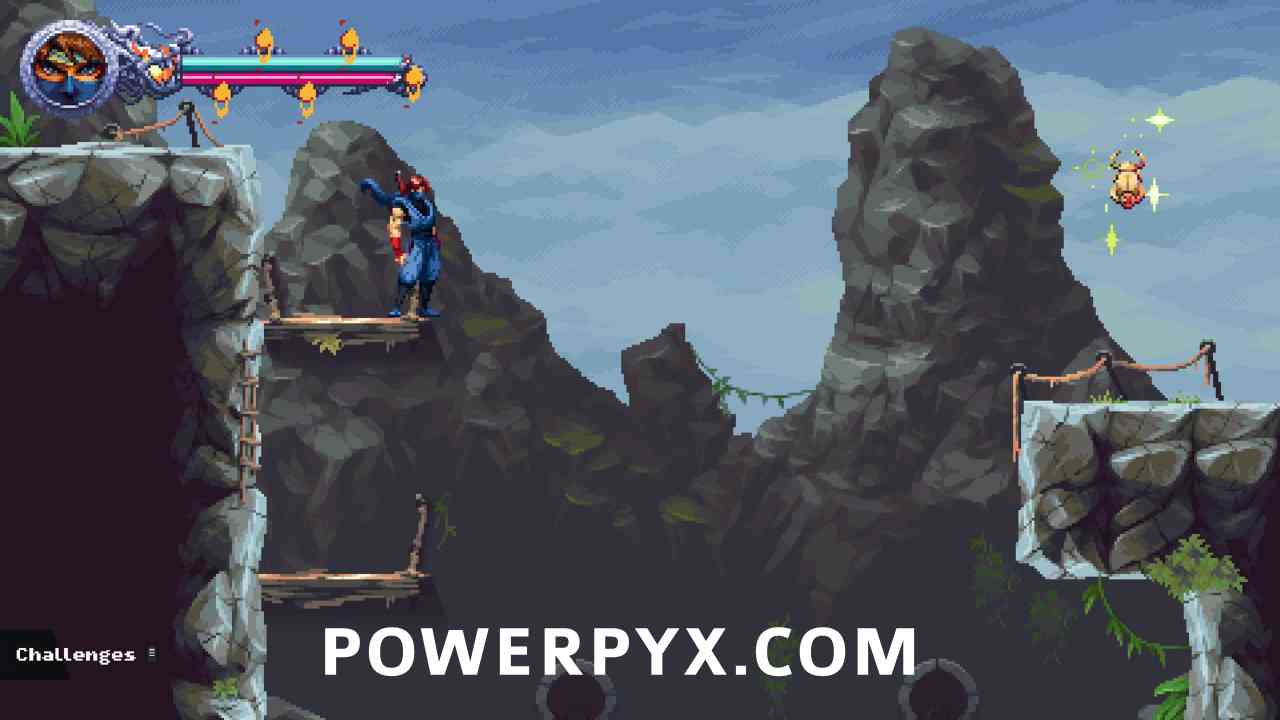
Into the Catacombs 3-4
- 8 Scarabs
- 3 Crystal Skulls
- 1 Secret Ops
#1 – Scarab 1
After climbing the first wall on the right, it will be in the air left of the little green roof.
#2 – Crystal Skull 1
Above the scarab use the demon altar, then it’s at the end of the left platforming section while playing as the girl.
#3 – Crystal Skull 2
At the third checkpoint, after going over the roof platforming section. To the left of the third checkpoint dash through the gap. A red flying samurai spawns on the left, do an L1/LB jump into him to reach the skull (if you accidentally kill him, go back to the checkpoint to respawn him).
#4 – Scarab 2-4 (x3)
Shortly after the next checkpoint, inside the temple, when climbing up a wall on the left of the screen it’ll be in plain sight.
#5 – Crystal Skull 3
To the immediate right of the Scarab is a destructible wall.
#6 – Scarab 5
After going outside and going up to the rooftop by jumping over the purple enemies, it will be in the air at the top of the screen.

#7 – Secret Ops (S-5)
After dropping into a dark cavern with slime enemies, advance to the second checkpoint in the cavern. Immediately to the right of the checkpoint jump on the next platform below – this makes the ceiling above the checkpoint collapse. Backtrack to the checkpoint and climb up the now-open ceiling.
#8 – Scarab 6-8 (x3)
In the dark cavern section you’ll go through a sewer area. Where water flows down from both sides, drop down to find the blue scarab.
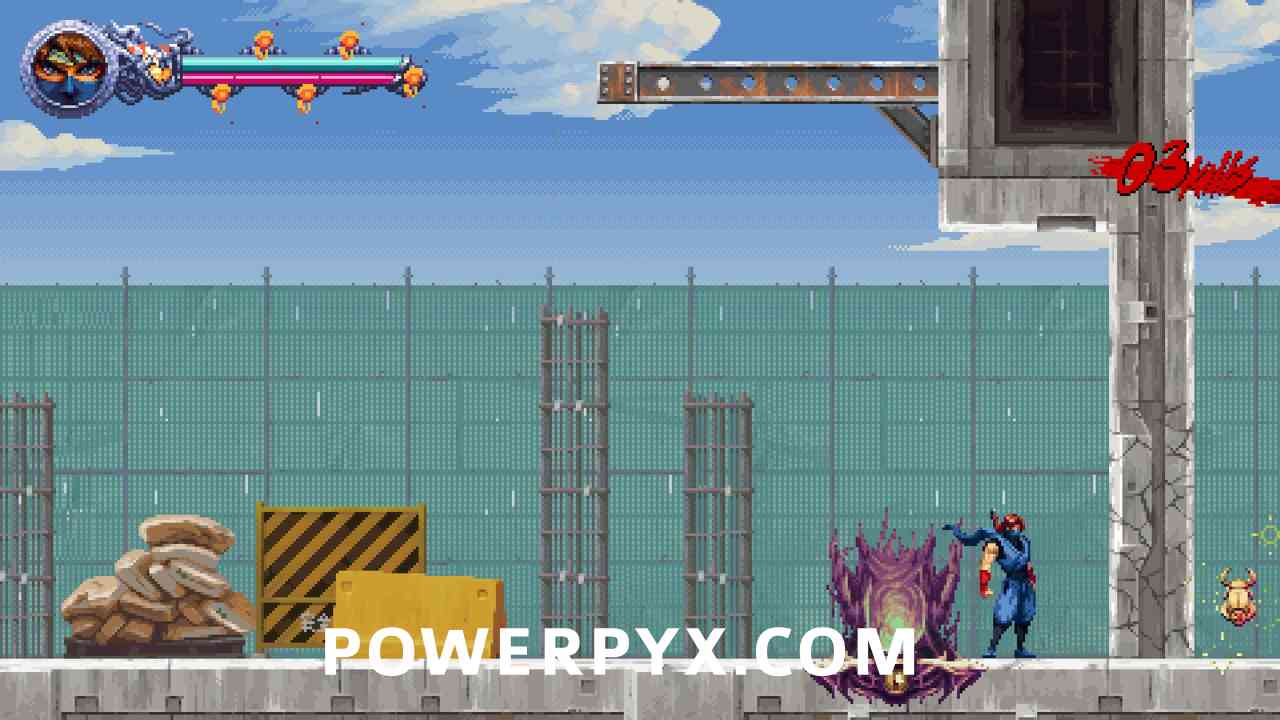
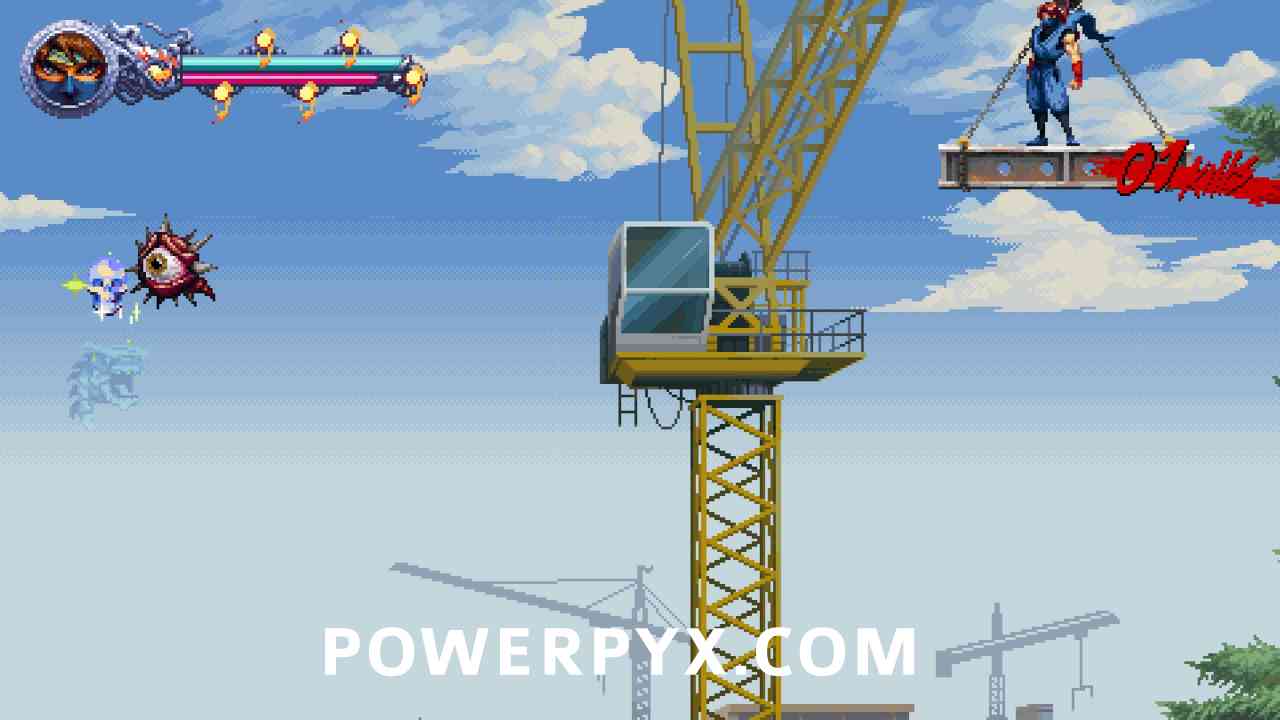
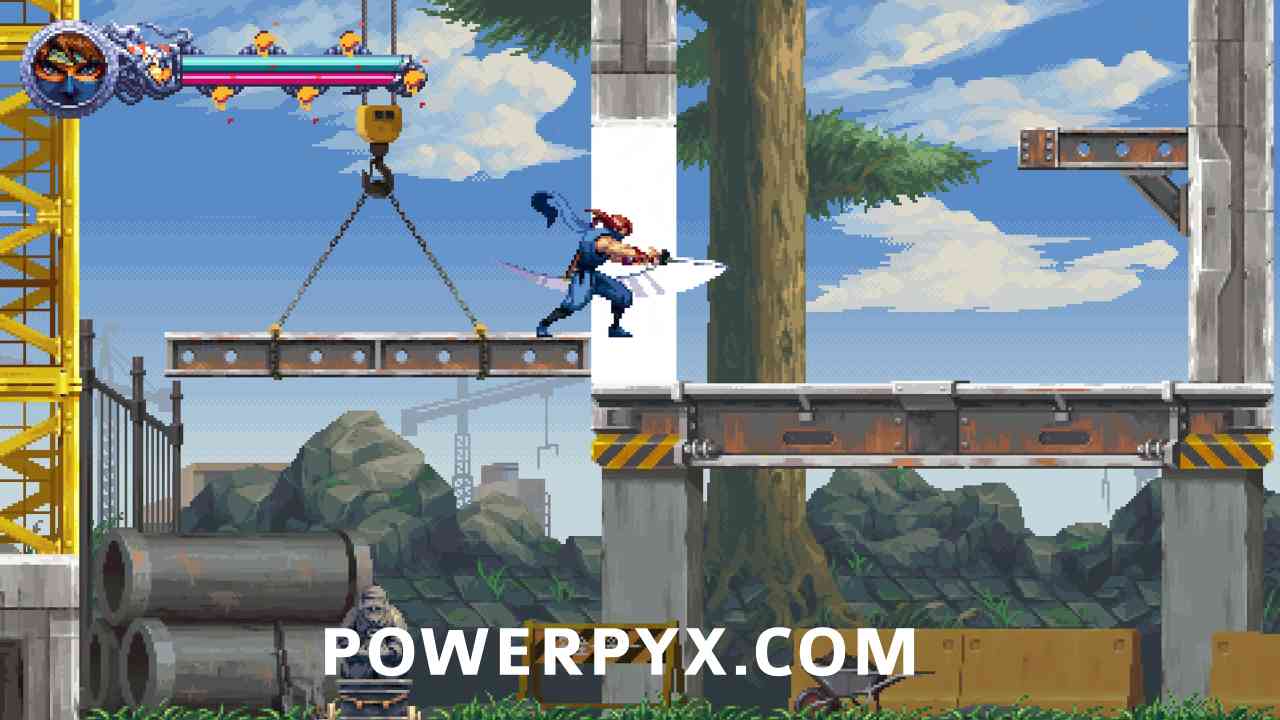
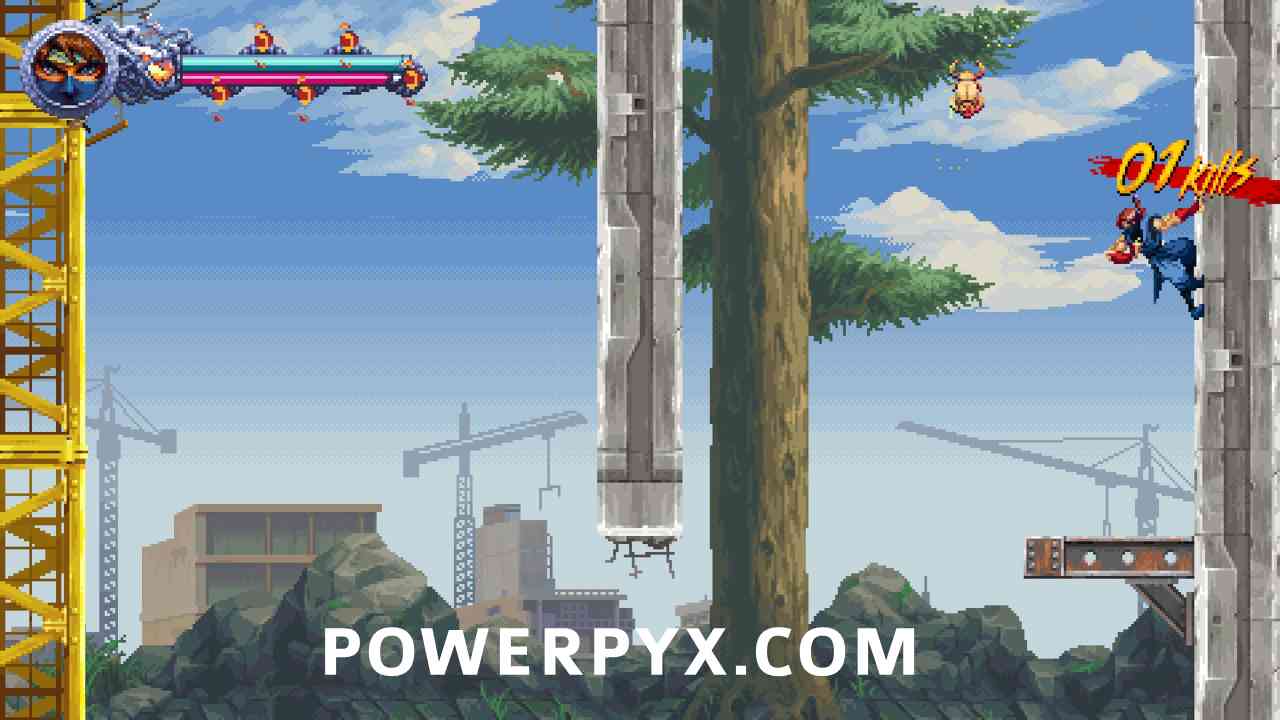
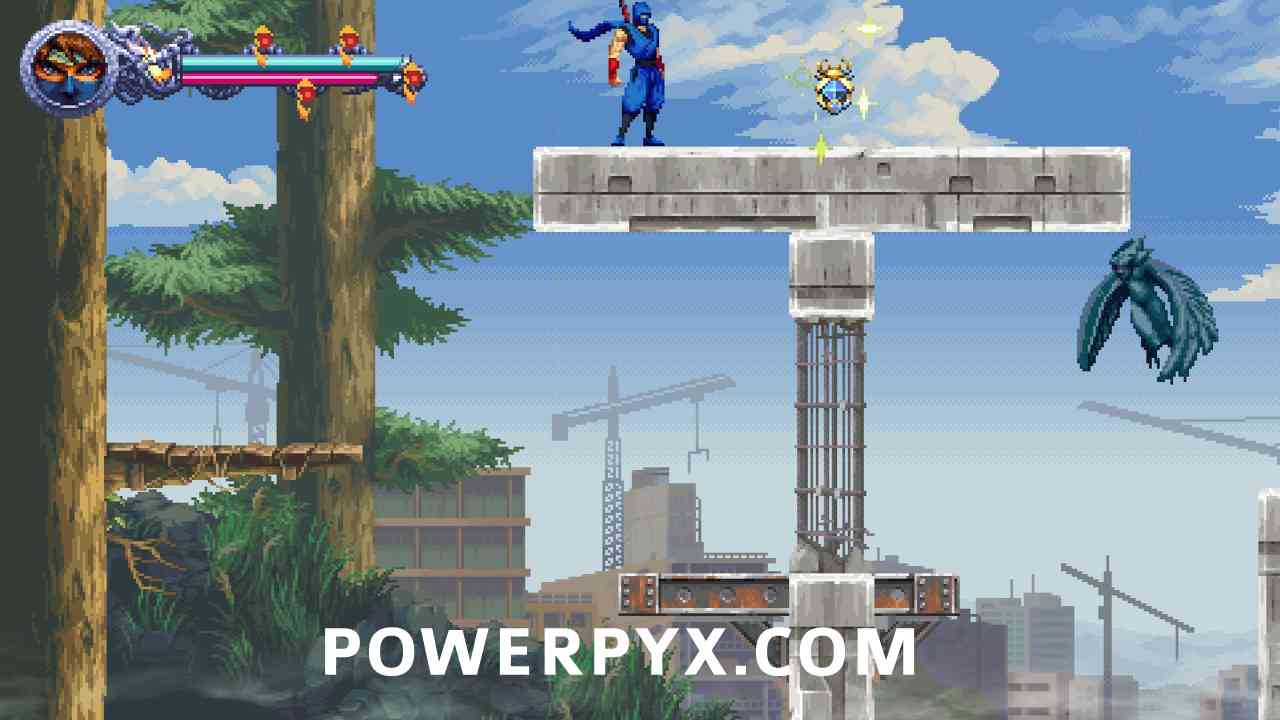
Construction Site 3-5
- 5 Scarabs
- 3 Crystal Skulls
- 1 Secret Ops
#1 – Scarab 1
After the second checkpoint on the far right behind a breakable wall, next to a demon altar.
#2 – Crystal Skull 1
After the next checkpoint you’ll be in an area with green nets in the background. While climbing up the area there’s a breakable wall on the right that leads to the skull.
#3 – Crystal Skull 2
After the next checkpoint, after the platforming section in the sky, a black beetle will chase you. Climb down the next area and it’ll appear at the top of the screen. Hang from ceiling to reach.
#4 – Secret Ops (S-6)
After escaping the black beetle you’ll be inside a building with spinning blades on the floor. In the first section climb up until you see a breakable wall on the left. Behind it is a demon altar, finish the platforming section as the girl to reach this.
#5 – Scarab 2-4 (x3)
While climbing over the yellow cranes it’s on one of the cranes, in plain sight (not the first few cranes, a little bit later after climbing a few cranes).
#6 – Crystal Skull 3
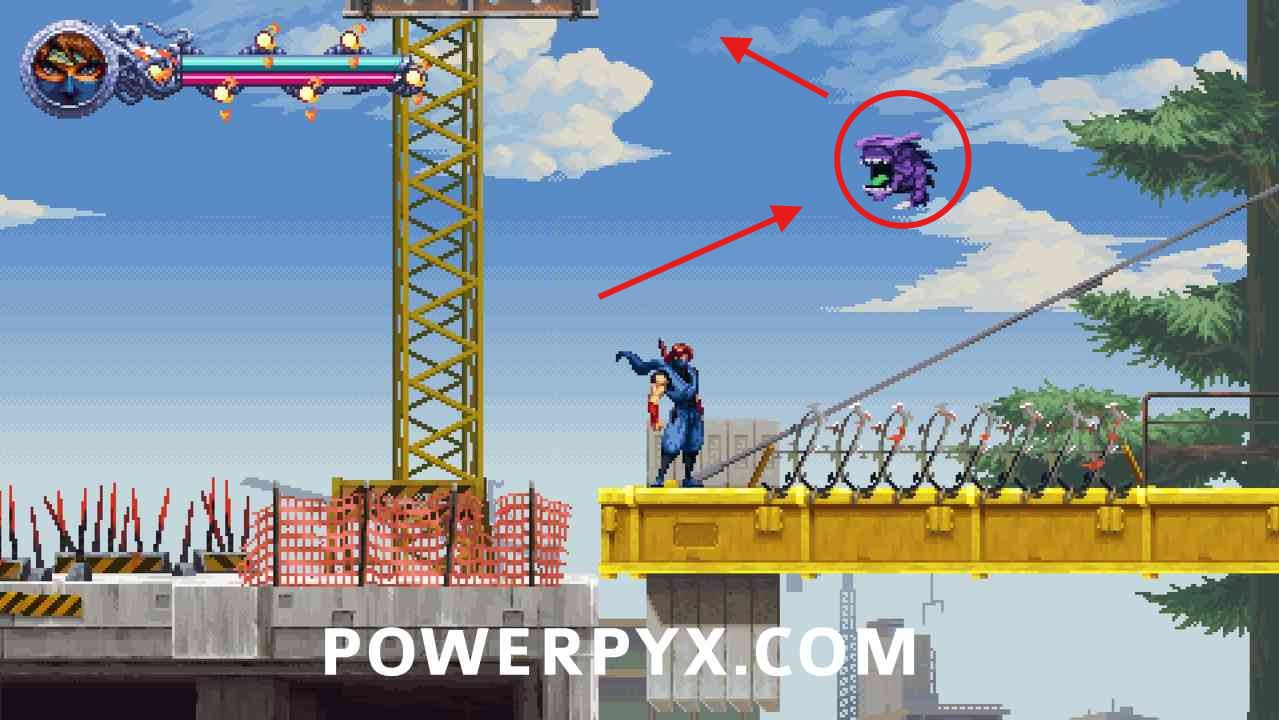
Directly after the Scarab, walk over the yellow crane where the Scarab was, at the next yellow crane with barbed wire on the floor, there’s a purple flying enemy. Jump into it with L1/LB to boost up to a platform at the top of the screen out of view (hidden). This will lift you up to a hidden section, jump over the enemies to reach the skull in the sky.
#7 – Scarab 5
Directly after the previous collectible, go to the far right of the area where you must slide down the wall. There the beetle will be on the right. Stand on the steel beam that will move down, then on the right destroy a wall.
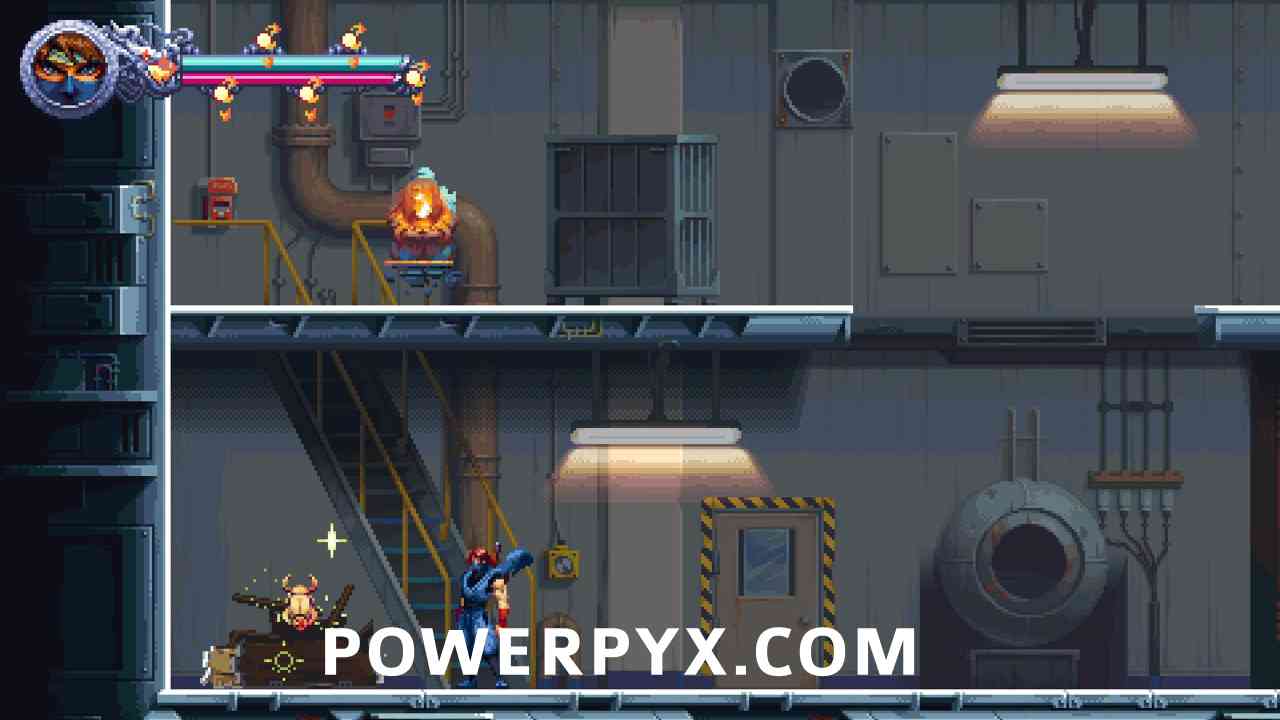
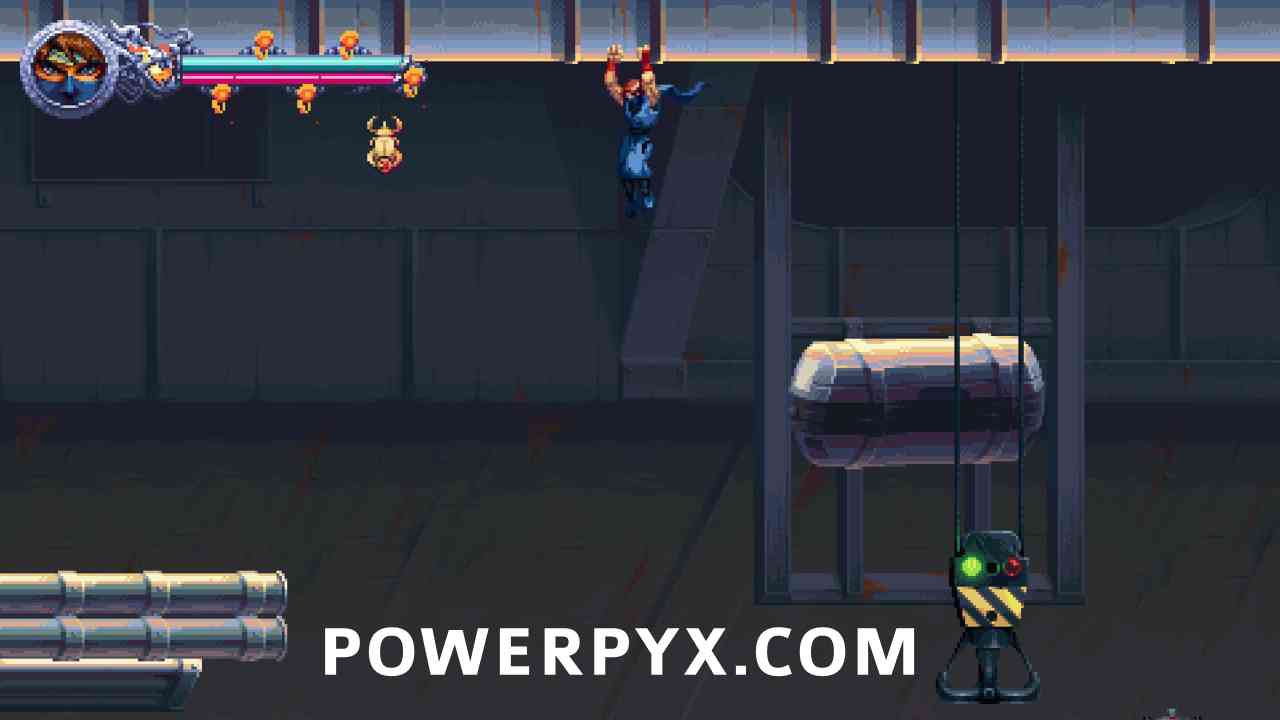
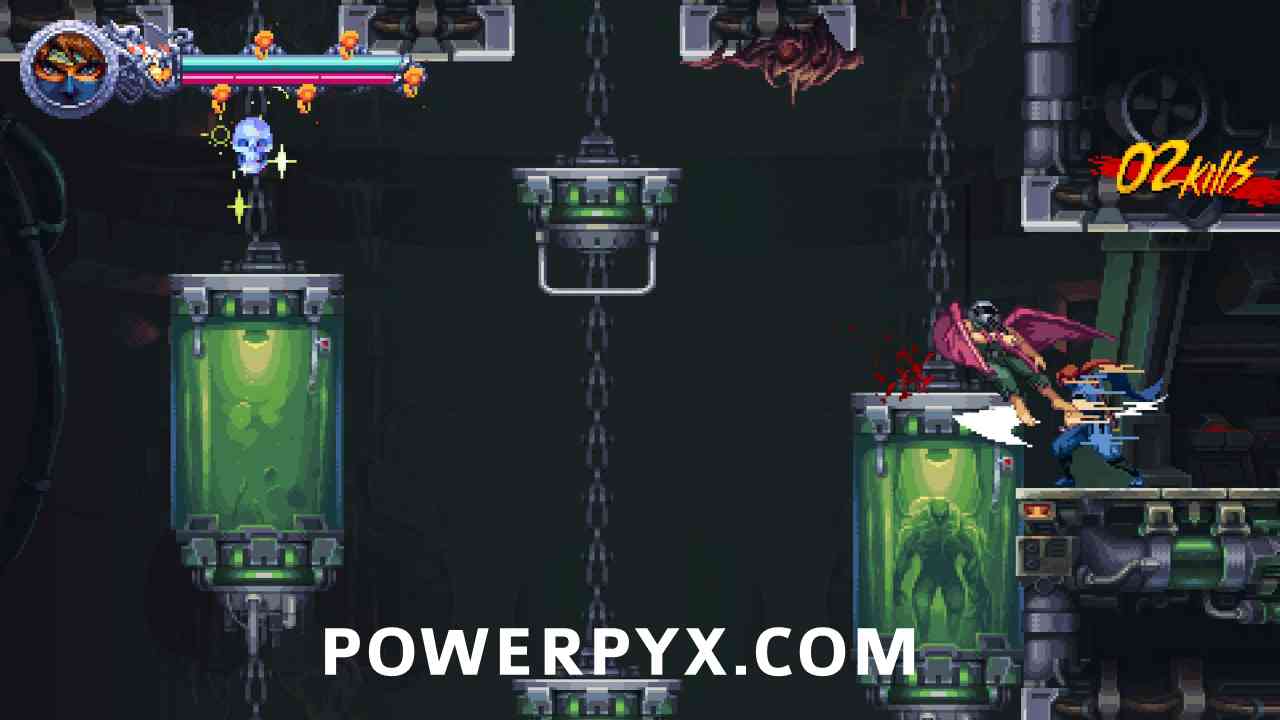
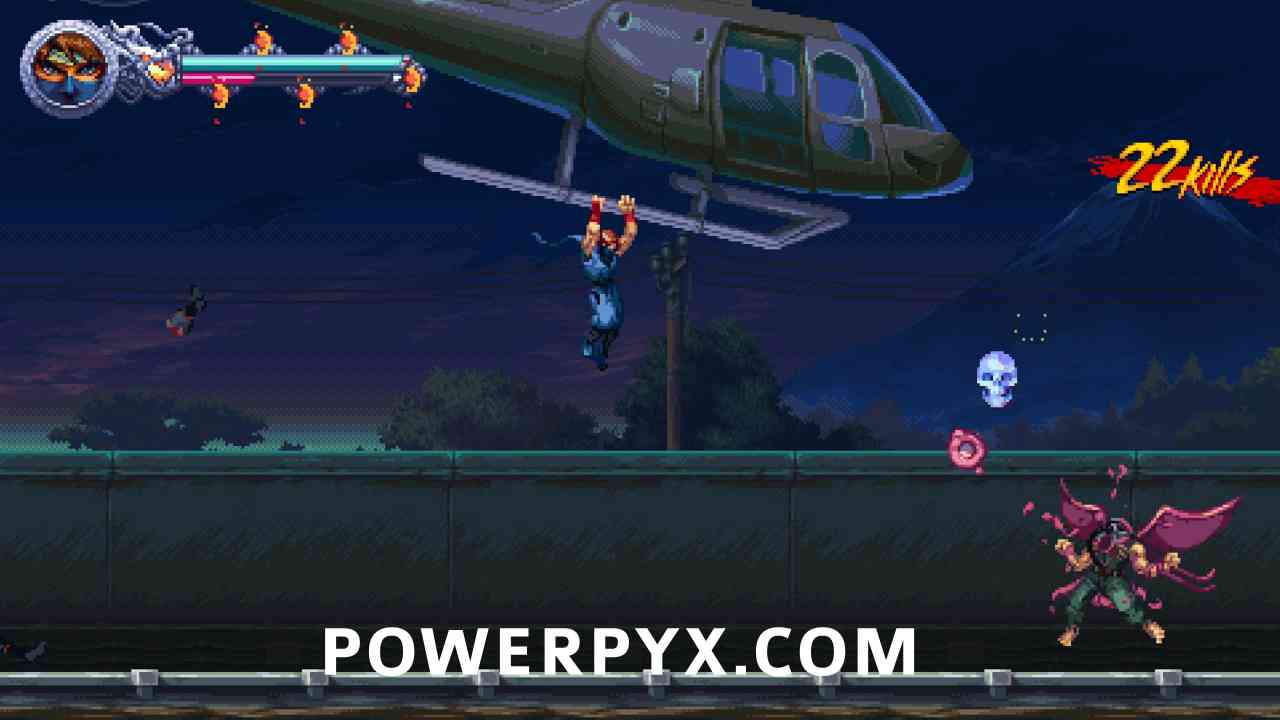
Steel Prison 4-1
- 5 Scarabs
- 3 Crystal Skulls
- 0 Secret Ops
#1 – Crystal Skull 1
At the start on the left behind a destructible crate. Before using the demon altar.

#2 – Scarab 1-3 (x3)
A few minutes later, you will reach an area where you must push movable trolleys to advance. There are two trolleys, you must push the one on the right, climb over it, push it back towards the left to see the scarab hidden behind the trolley.
#3 – Scarab 4
Below the next checkpoint in a box.
#4 – Crystal Skull 2
To the right of the checkpoint in plain sight.
#5 – Crystal Skull 3
In the next section on the main path in the upper half on a steel beam.
#6 – Scarab 5
After the big helicopter fight, you get dropped down to a dark area. Go to the left and hang on to the hook with a green/red light on it. After the hook slides up you see this on the left. Unmissable on main path.
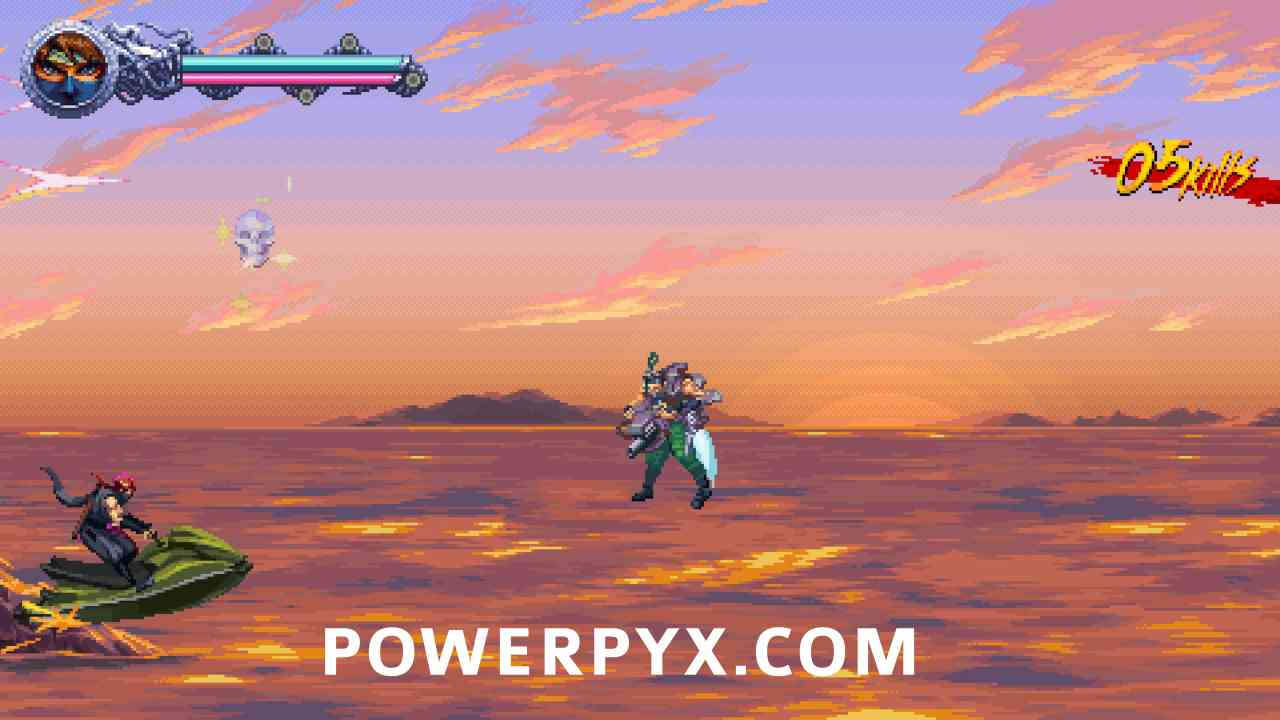
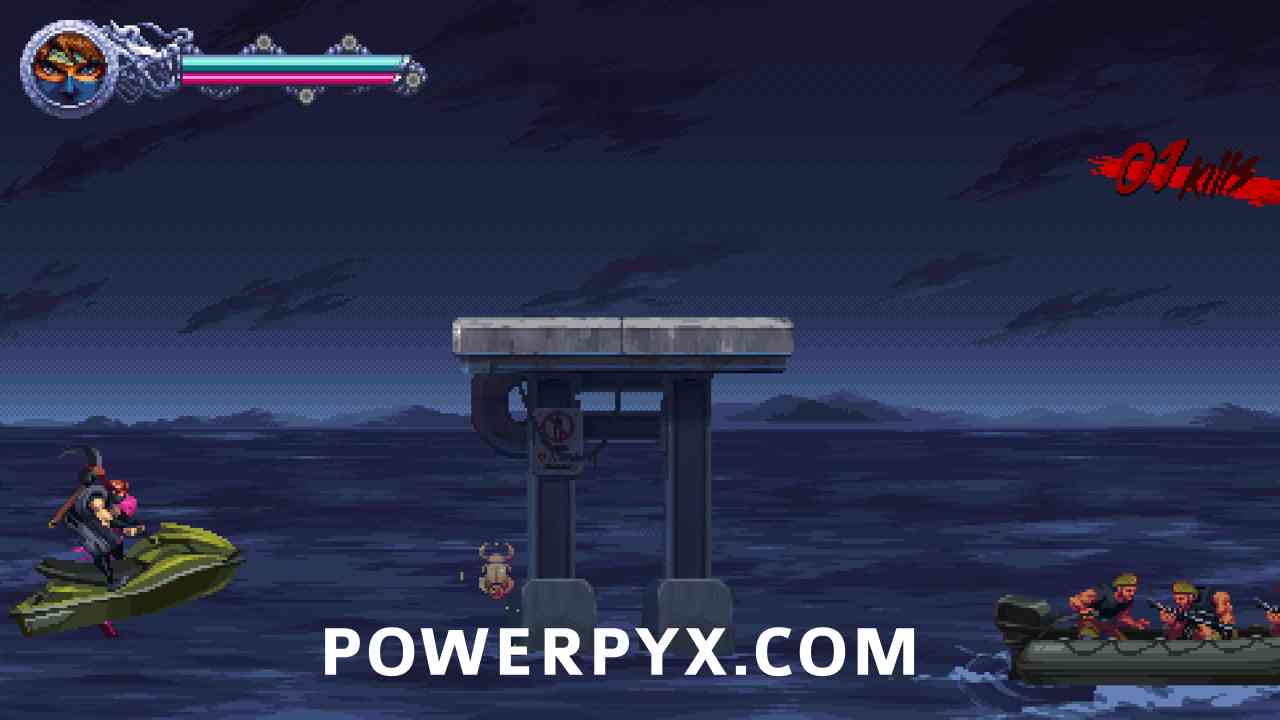
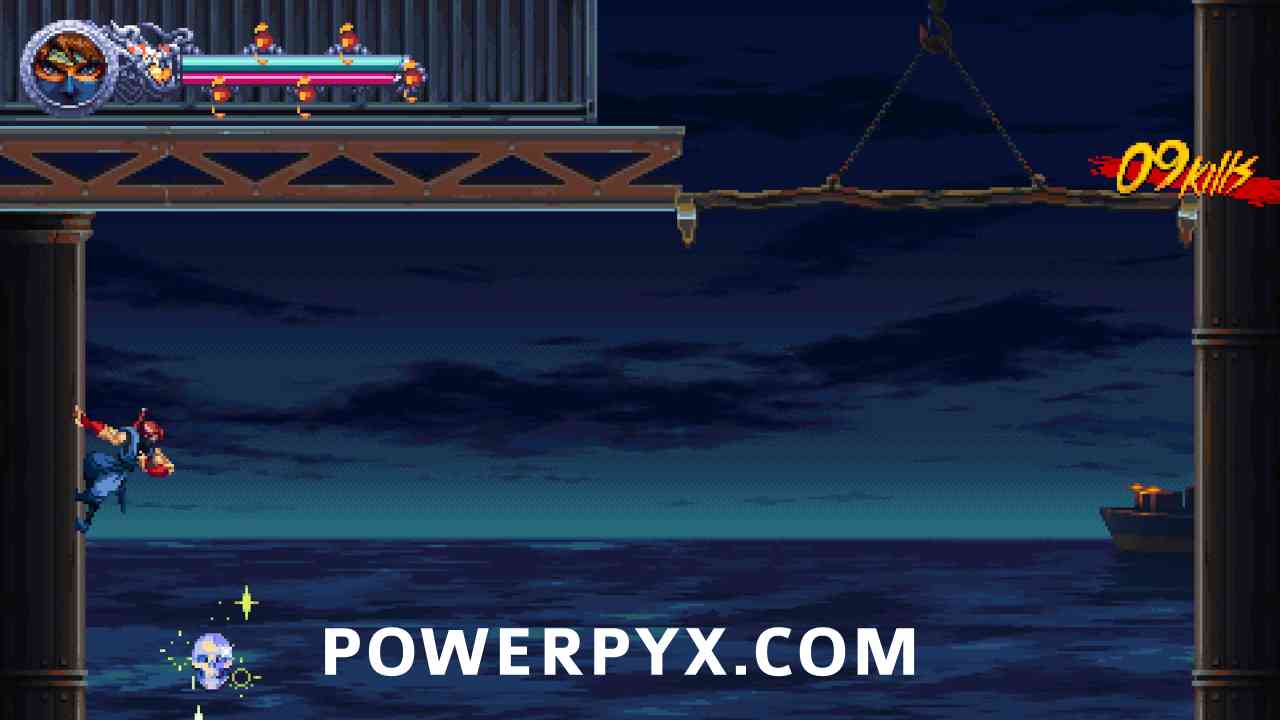
Open Sea Chase 4-2
- 2 Scarabs
- 3 Crystal Skulls
- 0 Secret Ops
This is a fast-paced autoscroller level. To get the collectibles more easily you can use assist mode in the game settings and slow down time to 50%.
#1 – Crystal Skull 1
In the first section on the ocean with the sunset, shortly after the start.
#2 – Scarab 1
As soon as you reach the dark area after the sun goes down, at the top of the screen, jump over the docks.

#3 – Crystal Skull 2
After the next couple of docks at the top of the screen. Jump over the docks to reach it.
#4 – Scarab 2
After dropping down the next docks at the bottom in the ocean.
#5 – Crystal Skull 3
After the last item stay on the water (don’t jump over the docks), then you’ll drive through it automatically.
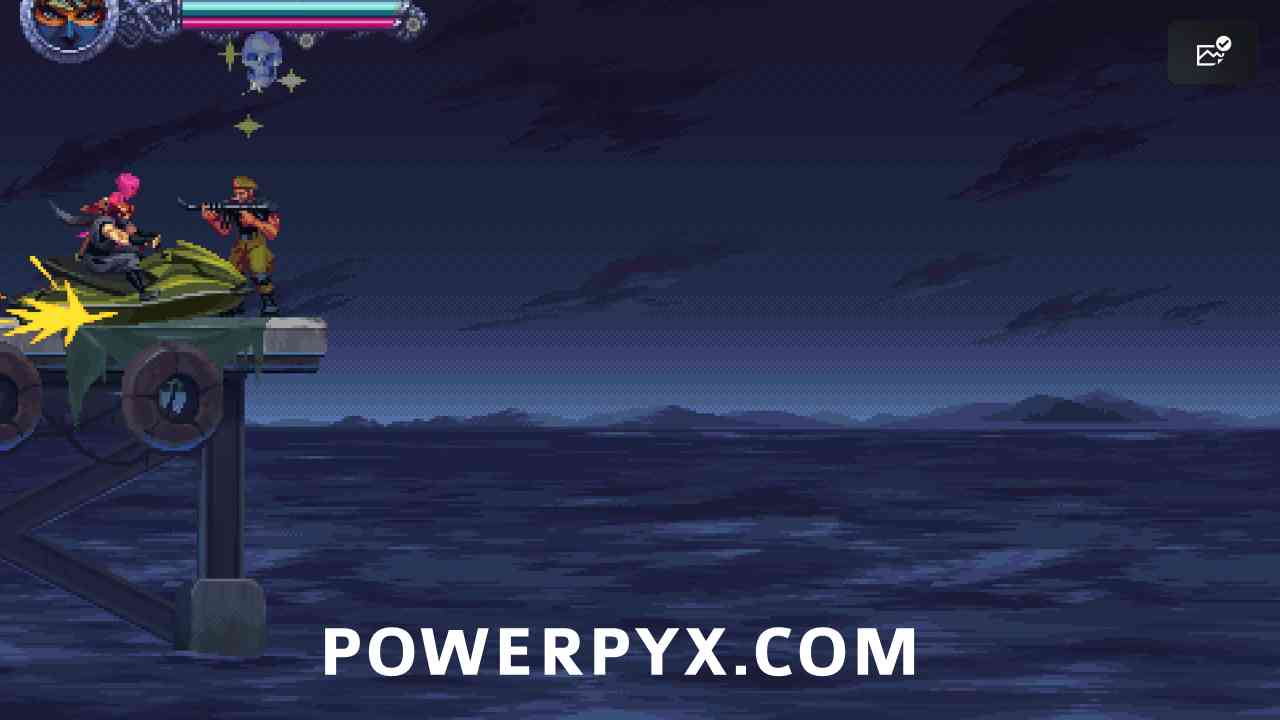
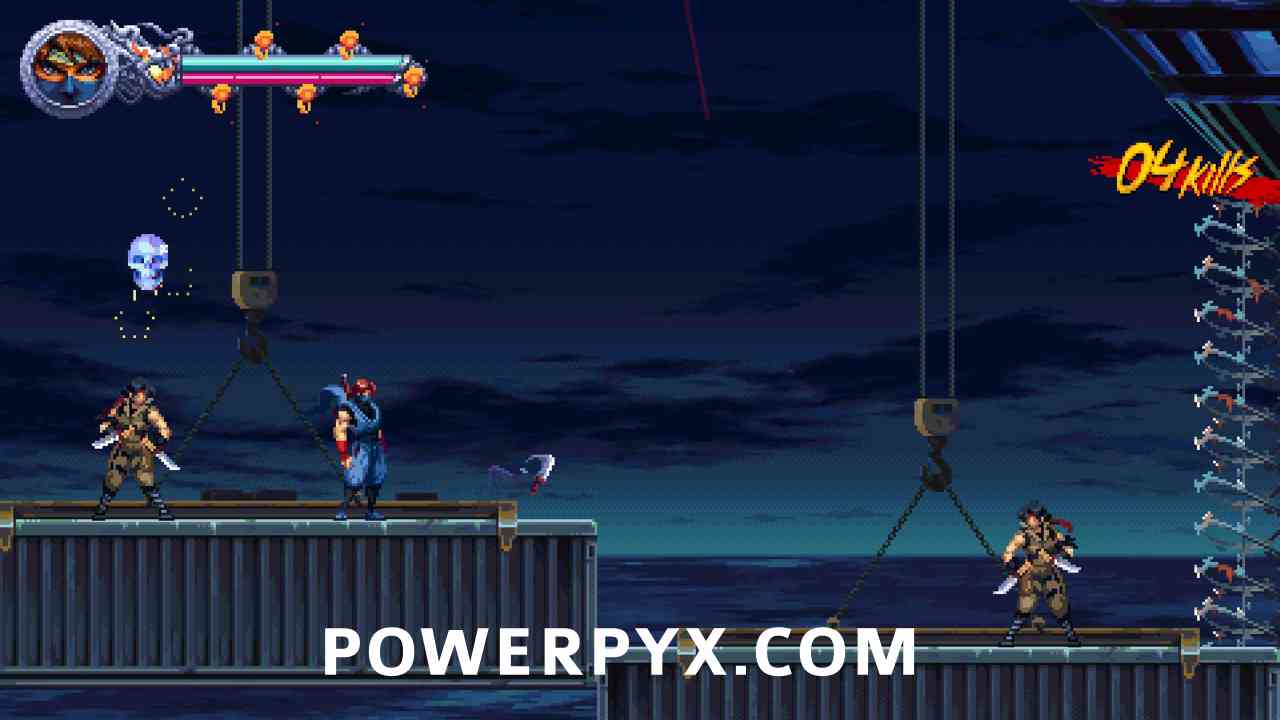
Navy Base Infiltration 4-3
- 5 Scarabs
- 3 Crystal Skulls
- 1 Secret Ops
#1 – Crystal Skull 1
At the start while on the containers that are moving up, stay on the left container.
#2 – Scarab 1
After using a demon altar and then dropping through a hole to the next checkpoint, it will be left of the checkpoint.
#3 – Crystal Skull 2
Same area, after dropping to the bottom where the lava is, hang onto the conveyor belt and then jump up its right side.
#4 – Scarab 2-4 (x3)
After reaching the next checkpoint outside, there are 3 ropes, hang onto the bottom rope to reach this.
#5 – Crystal Skull 3
From the previous item, reach the end of the area on the right, then the floor collapses and you fall down to the next checkpoint. Backtrack up the left wall to reach the skull.
#6 – Scarab 5
After a miniboss fight against two turrets on the ceiling, you get a cutscene where a green truck rams against a pillar, then you go into an area with a demon altar. Use the altar, while playing at the girl to up and take the left path.
#7 – Secret Ops (S-7)
Same demon altar section while playing as the girl, go up and take the right path to find it at the end up the wall.
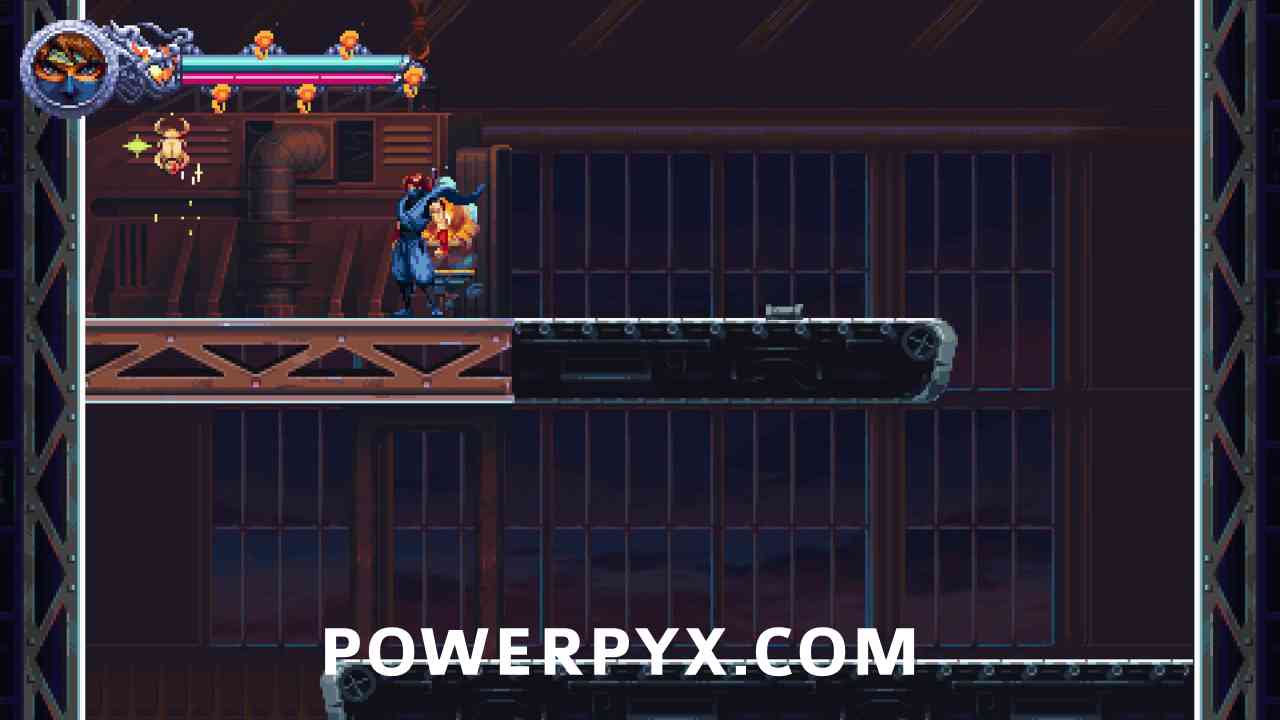
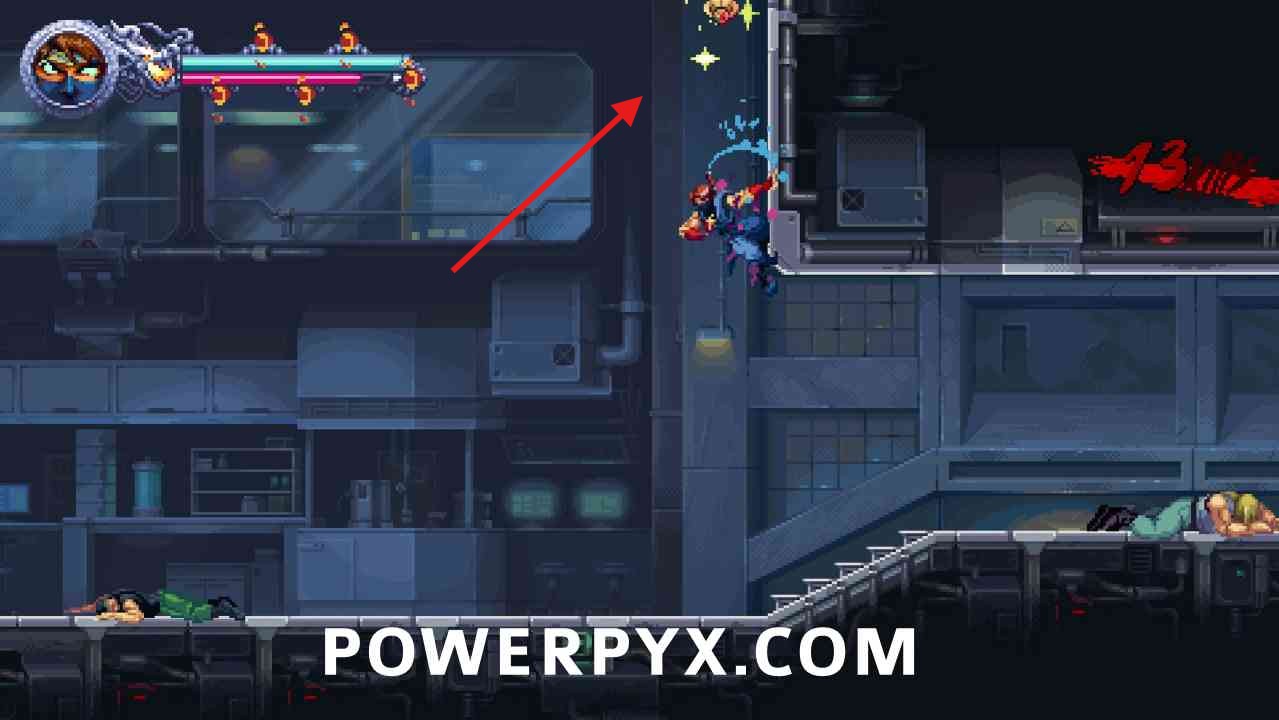
The Secret Lab 4-4
- 4 Scarabs
- 3 Crystal Skulls
- 1 Secret Ops
#1 – Scarab 1
Early in the level at the top of the screen before entering a narrow path to a checkpoint.
#2 – Secret Ops (S-8)
After the checkpoint you will have a long elevator ride. Stay on the left edge of the elevator. At the top where the elevator stops, there’s an open path on the left leading to this (not the doors that quickly open and close and have an enemy coming out, can’t enter those).
#3 – Crystal Skull 1
At next checkpoint slide through gap on left.
#4 – Crystal Skull 2
After the next two checkpoints you must jump up moving green test tubes to not fall into acid, it will be in the top left.
#5 – Scarab 2-4 (x3)
After jumping over many green test tubes to the left, you will reach a checkpoint and then must stand on a test tube that slowly moves to the left. Hang off the left side to drive through the scarab.

#6 – Crystal Skull 3
After next checkpoint climb up the green test tubes, on right dash through gap.
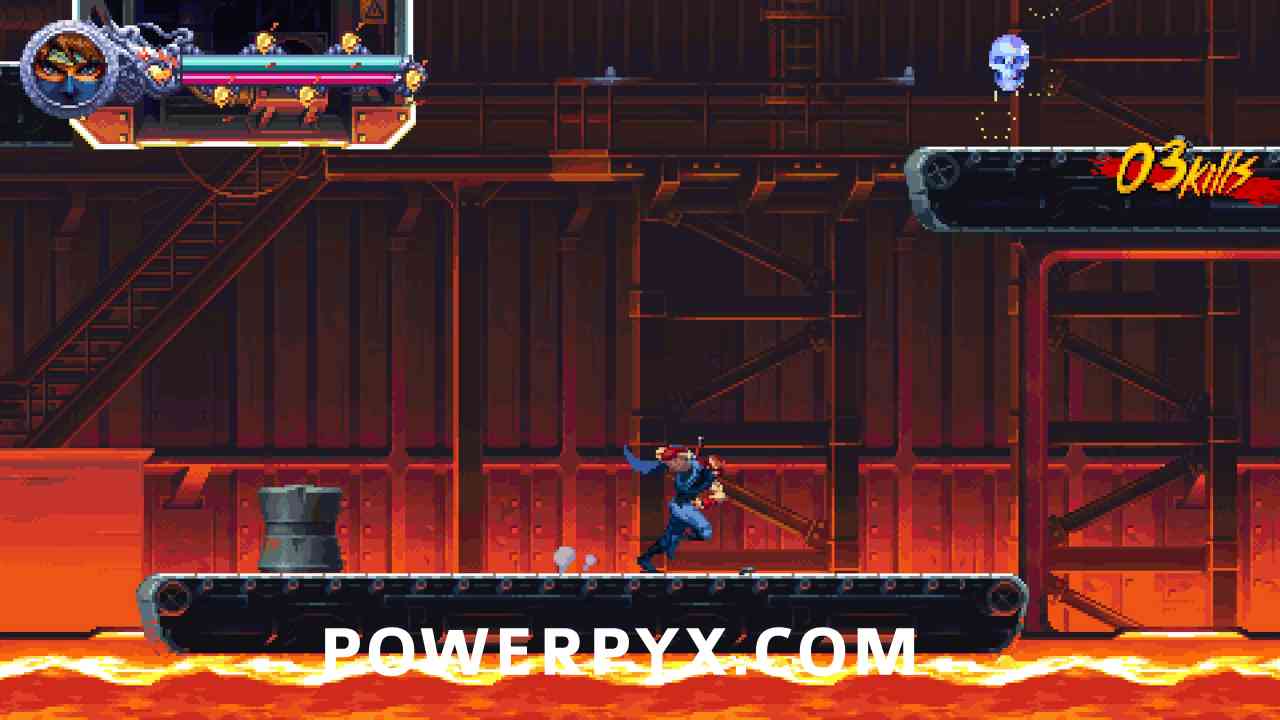
Super Express to Hell 4-5
- 9 Scarabs
- 3 Crystal Skulls
- 0 Secret Ops
#1 – Crystal Skull 1
At the start of the level, climb up the area straight above you, then climb up the next section and drop down the right side instead of jumping over the brown platforms. There you find the skull on the left (before reaching first checkpoint).
#2 – Scarab 1-3 (x3)
After the second checkpoint you will be on a moving train. Proceed until you reach a checkpoint during the train section, shortly after you find this floating above one of the containers. It’s in a fixed position moving with the container. Jump into the enemies to reach it.
#3 – Scarab 4-6 (x3)
After you drop down to the next checkpoint on another traing, go left of the checkpoint.

#4 – Crystal Skull 2
At the next checkpoint is a demon altar, use it and finish the platforming section as the girl.
#5 – Scarab 7-9 (x3)
Move forward on the train until you enter an area with dark background, then immediately slide down the gap between the first two containers.
#6 – Crystal Skull 3
During the helicopter ride, you will fly through it when hanging off the lowest part of the helicopter.
Into the Shadows 4-6
- 0 Scarabs
- 3 Crystal Skulls
- 0 Secret Ops
#1 – Crystal Skull 1
When you reach the first demon altar on the main path, activate it and finish the platforming section as the girl.

#2 – Crystal Skull 2
In the woods area while jumping over the military vehicles, reach the last truck, when it drives uphill stand on the hood of the car and you’ll autocollect the skull. It’s on the uphill path.
#3 – Crystal Skull 3
After escaping the burning cave you reach another demon altar, use it and while playing as the girl go up the first path and at the top go left.
Endless Struggle 5-1
- 0 Scarabs
- 0 Crystal Skulls
- 0 Secret Ops
SECRET OPS COLLECTIBLES
Forest Resistance S-1
- 3 Scarabs
- 2 Crystal Skulls
#1 – Crystal Skull 1
On the main path before entering the cave, stand below it and L1/LB jump into a shuriken thrown by the red enemy to the left (don’t kill him).
#2 – Crystal Skull 2
Inside the cave climb the right wall, then it’s straight above you (before climbing the next wall). To reach it either climb through the spikes on the right and take the damage, or L1/LB jump into the burning projectile being short from the right and hang onto the wall.
#3 – Scarab x3
After going outside to the wood, advance till you climb the left wall, then you find it on the tree trops at the top of the screen. L1/LB jump into one of the jetpack enemies to reach it.
Demon Pest S-2
- 9 Scarabs
- 2 Crystal Skulls
#1 – Scarab 1-3 (x3)
At the start go left and climb down the shaft.
#2 – Scarab 4-6 (x3)
From the start take the right path, climb up the shaft, on the next roof this is above the flying creatures. Use L1/LB to boost up.
#3 – Crystal Skull 1
After going over the roof climb up twice and take the right path.

#4 – Crystal Skull 2
Continue on the main path through the next area (indoor apartment) until you go up small red stairs. Then you are in a similar-looking area to where the last item was found. Near the top you can take the left path to reach the skull.
#5 – Scarab 7-9 (x3)
When climbing up the next shaft with electric traps on the sides, it’s in the top left.
Mountain Trial S-3
- 12 Scarabs
- 2 Crystal Skulls
#1 – Scarab 1-3 (x3)
To the right of the cog you use near the start. Jump through the spikes to reach it.
#2 – Crystal Skull 1
Shortly after the first checkpoint you reach a bridge with red lasers pointing down below it. Defeat the enemies, then at the top of this bridge dash through the opening on the right.

#3 – Scarab 4-6 (x3)
At next checkpoint to the left.
#4 – Scarab 7-9 (x3)
At same checkpoint to the right.
#5 – Crystal Skull 2
On main path in plain sight, while jumping over the rocks in midair. Hang off the side of the mid-air block to grab it safely, it won’t count if you fall to your death.

#6 – Scarabs 10-12 (x3)
At the bottom of the next cave section destroy the wall on the left. Use the demon altar, finish the platform section with the girl.
Back in the Cave S-4
- 6 Scarabs
- 2 Crystal Skulls
#1 – Scarab 1-3 (x3)
In the first cave section, go all the way to the right where a big waterfall is. There on the right you can dash through a gap to find a demon altar. Use it to play as the girl, finish the platforming section.
#2 – Scarab 4-6 (x3)
Shortly after the last item (between first and second checkpoint), you climb up a shaft in the cave with spikes on the left. On the right you will see the scarab, where a red devil enemy is.
#3 – Crystal Skull 1
When you reach a waterfall with wooden platforms moving up, there’s a breakable wall on the right that leads to this.

#4 – Crystal Skull 2
After the next checkpoint you must use wooden platforms that go to the left. Where the platforms end, break the wall to reach this.
Secret Castle S-5
- 9 Scarabs
- 2 Crystal Skulls
#1 – Scarab 1-3 (x3)
In the starting area, after going outside to the temple roofs, climb up to the bigger roof by jumping through the flying beetles. Then go left to find this.
#2 – Crystal Skull 1
Immediately after dropping down to the dark cave go left.
#3 – Scarab 4-6 (x3)
To the left of the next checkpoint slide through the gap.
#4 – Scarab 7-9 (x3)
From previous scarab go back to the checkpoint from before. Head to the far right of the area, there you can slide through a gap to find this.
#5 – Crystal Skull 2
Directly below the previous scarab, slide down the opening.
Evil Redevelopments S-6
- 9 Scarabs
- 2 Crystal Skulls
#1 – Scarab 1-3 (x3)
After the woods when reaching the first concrete platform, destroy boths beams so the platform collapses, thus revealing the scarab.
#2 – Crystal Skull 1
Shortly after the previous item, when you go through the area with green fences in the background, destroy the second concrete beam to reveal the skull.
#3 – Scarab 4-6 (x3)
To the right of the next checkpoint destroy the wall. Then use the demon altar behind it to find it in the platforming section as the girl.
#4 – Scarab 7-9 (x3)
Go back to the previous checkpoint, take the left path and drop down, destroy the left wall to find this.

#5 – Crystal Skull 2
After the next checkpoint and after you walk behind a big green fence where the enemies appear as gray silhouettes, climb up the path and destroy the concrete pillar on the left where an enemy is.
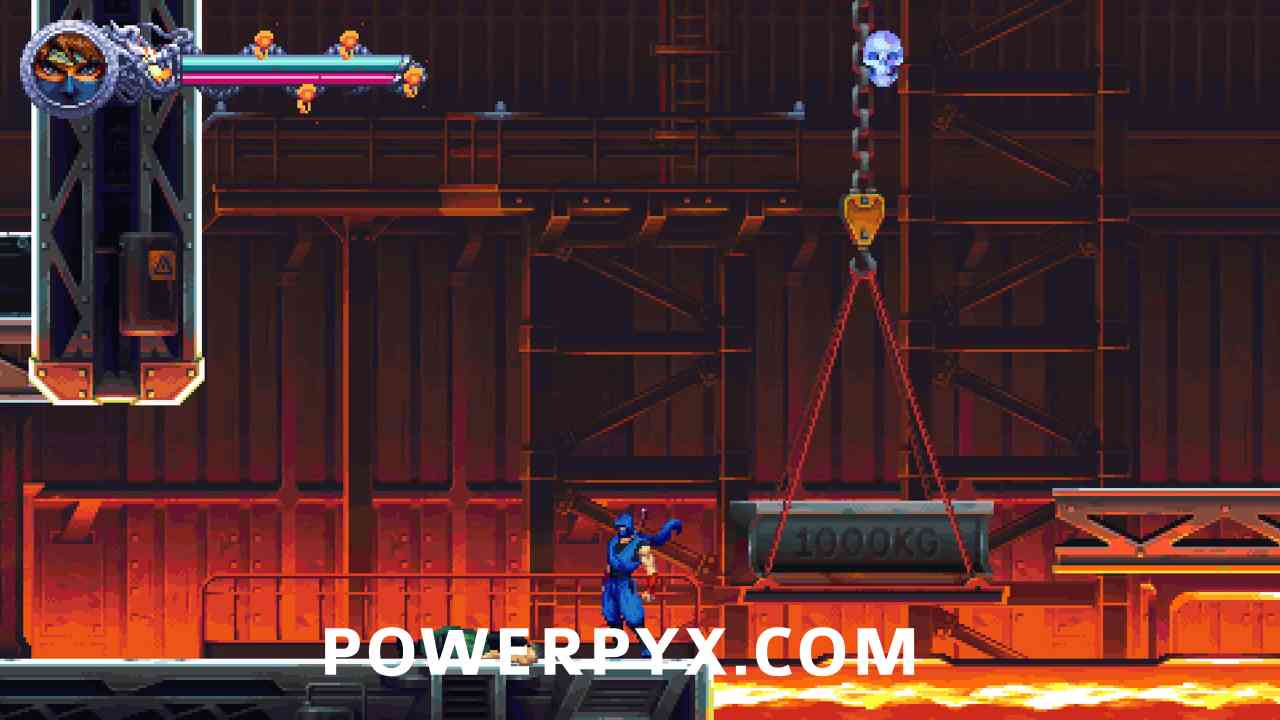
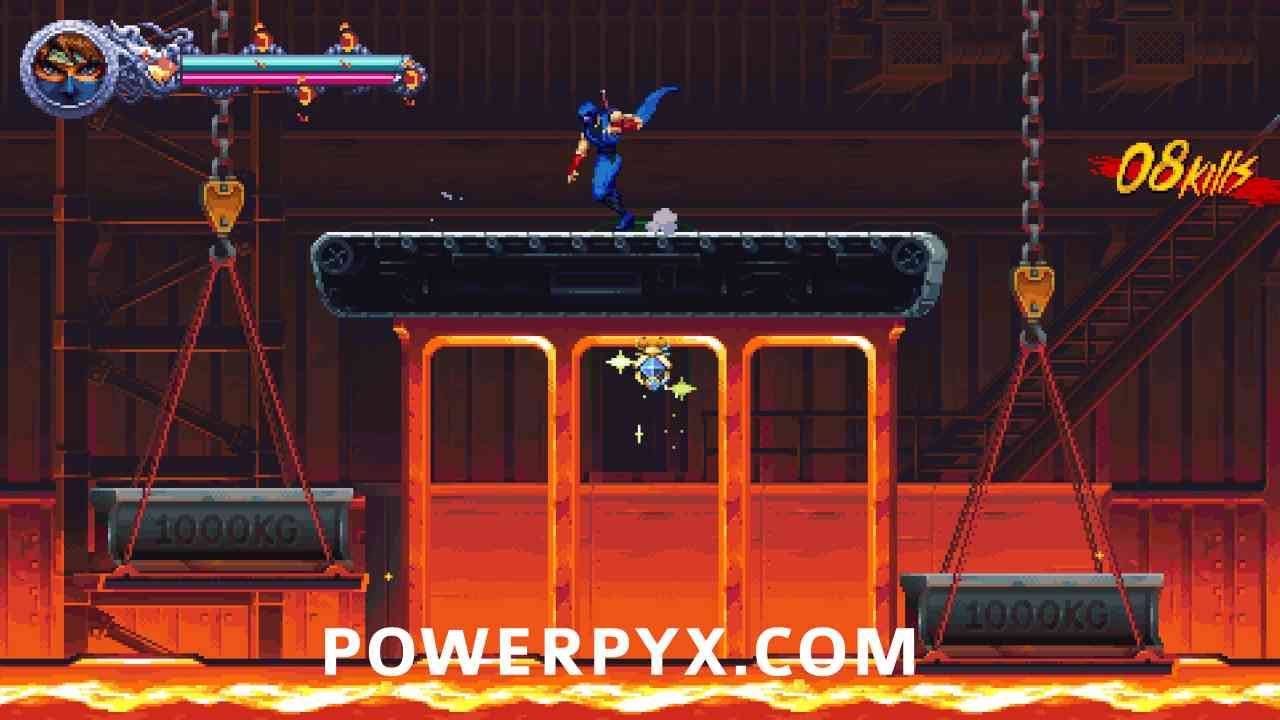
Silent Tides S-7
- 6 Scarabs
- 2 Crystal Skulls
#1 – Crystal Skull 1
After using the demon altar, while playing as the girl it’s in the zipline section on the top zipline.
#2 – Scarab 1-3 (x3)
In the same platforming section as the girl, after going over the conveyor belts on the far left end of the area, before dropping down to the button that you must activate to advance.

#3 – Crystal Skull 2
While playing as the guy again, you can now take the right path into the forge area. After reaching the first hanging 1000kg beam, the skull will float above it.
#4 – Scarab 4-6 (x3)
After the next checkpoint, in plain sight on the main path, below a conveyor belt with 1000kg weights on either side.
Lab Stronghold S-8
- 3 Scarabs
- 2 Crystal Skulls
#1 – Crystal Skull 1
Immediately after the first checkpoint there are two pillars sticking out of the ceiling with a red laser firing between them. You must climb up between them to reach the hidden skull. You can climb through the yellow ceiling part.
#2 – Scarab 1-3 (x3)
Immediately after the previous item you jump over green glasses. After two glasses close together it’s at the top of the screen.
#3 – Crystal Skull 2
Immediately after the next checkpoint dash through the gap on the right to find the skull in the side room.
That’s all of the collectibles in Ninja Gaiden Ragebound. For any cleanup refer to the Trophy Guide & Roadmap.
Leave a Reply