
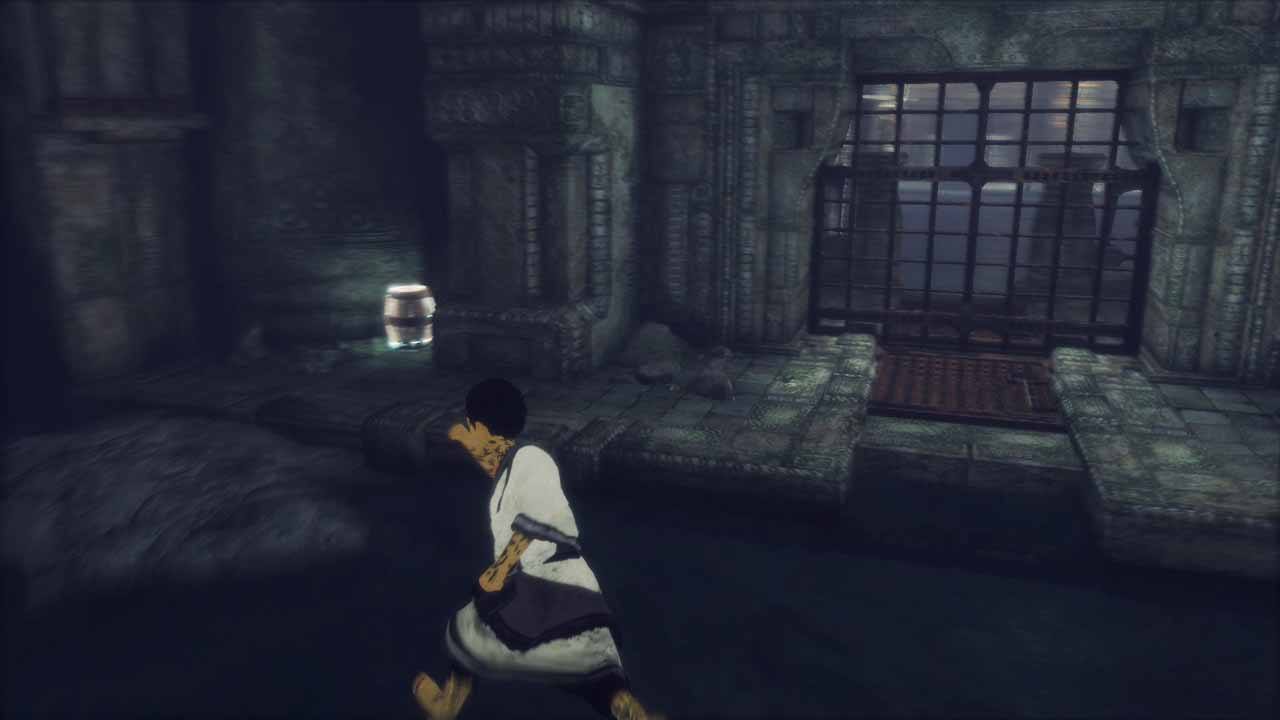
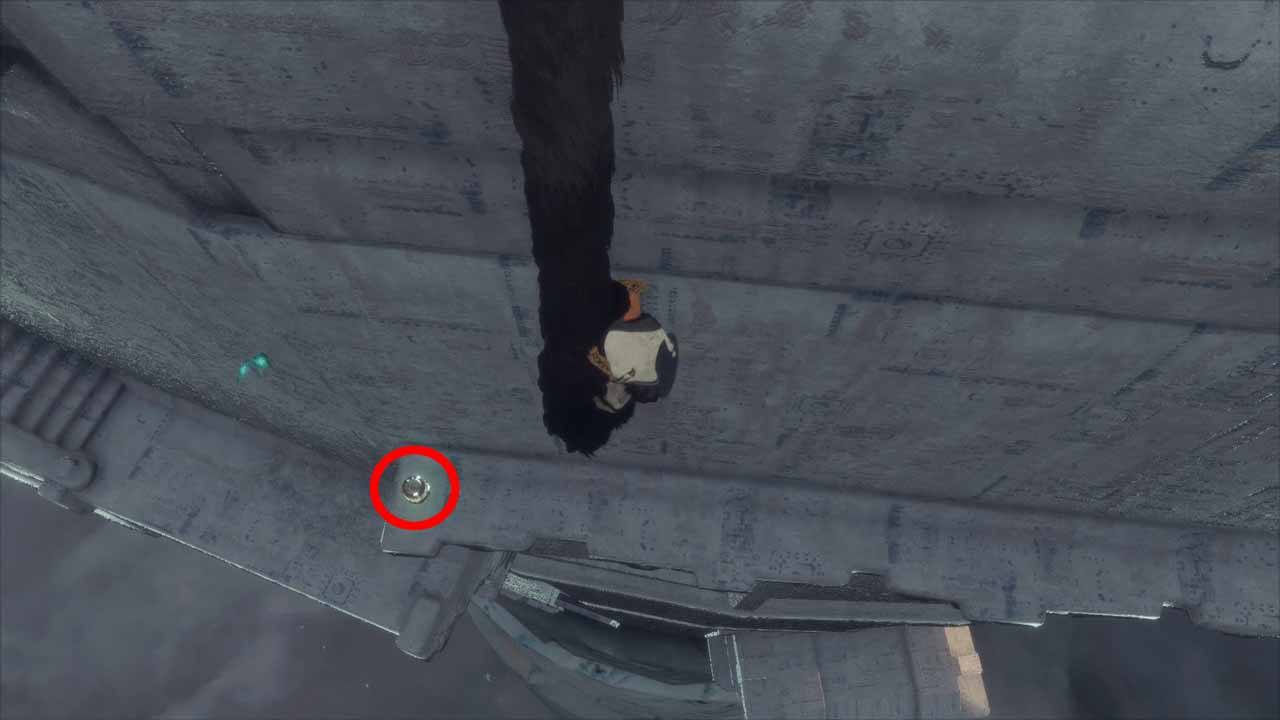
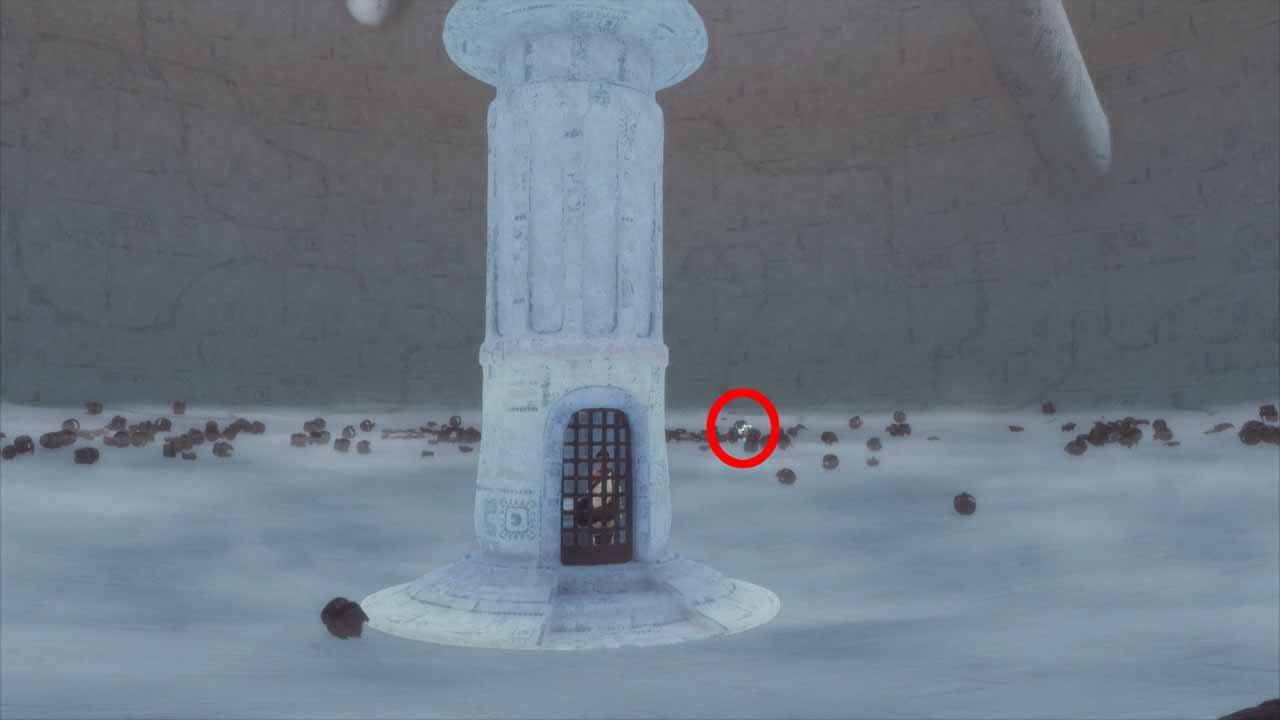
There are 48 Barrel Locations in The Last Guardian. Finding all Barrels unlocks the “Lock, Stock, and Barrel” Trophy.
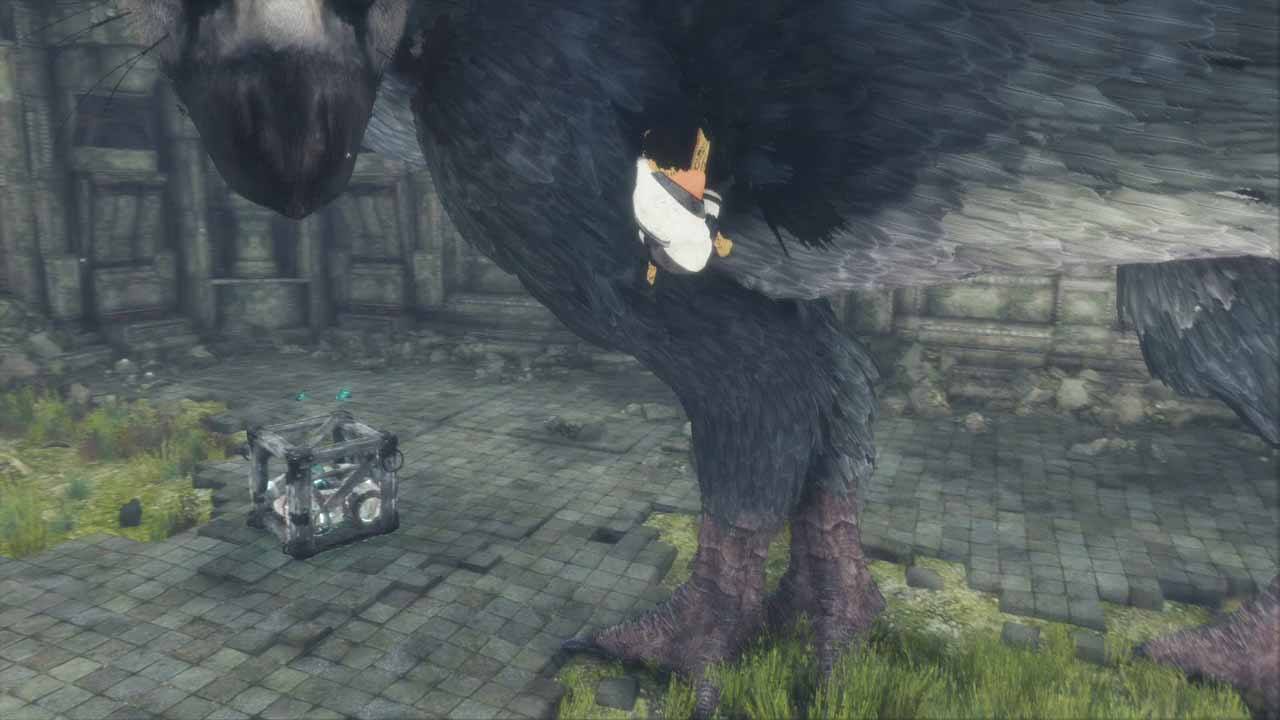
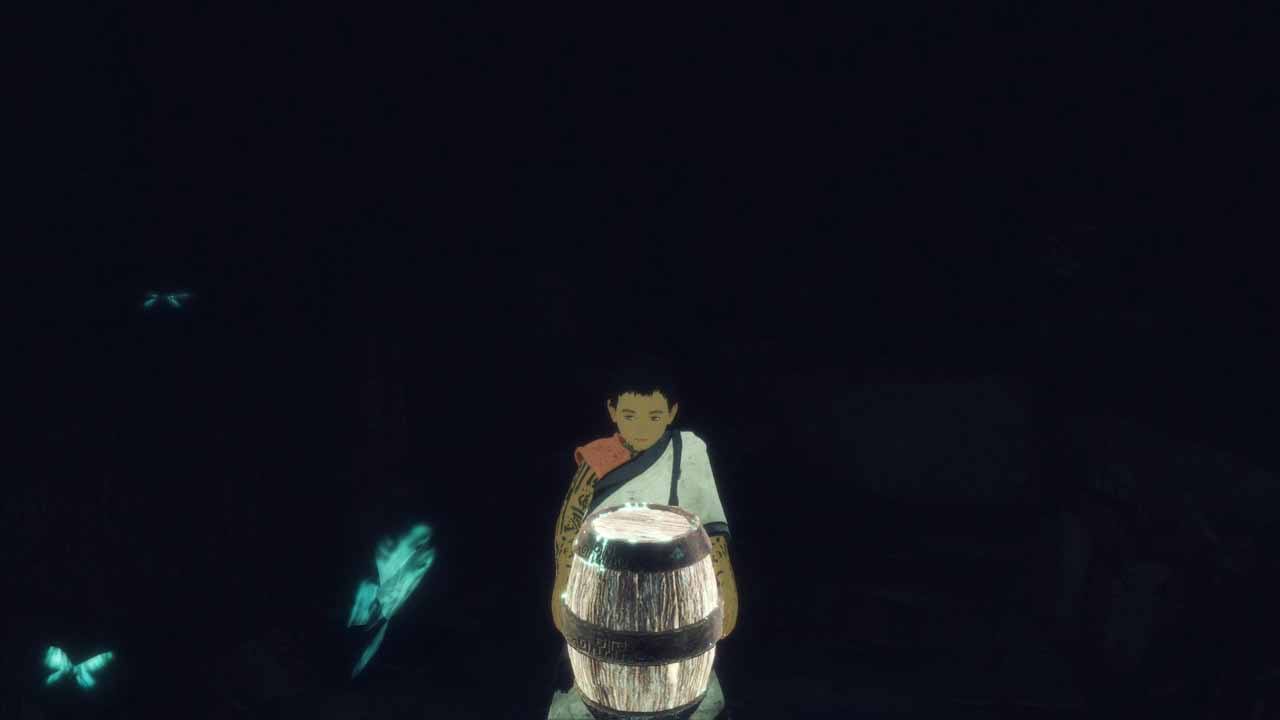
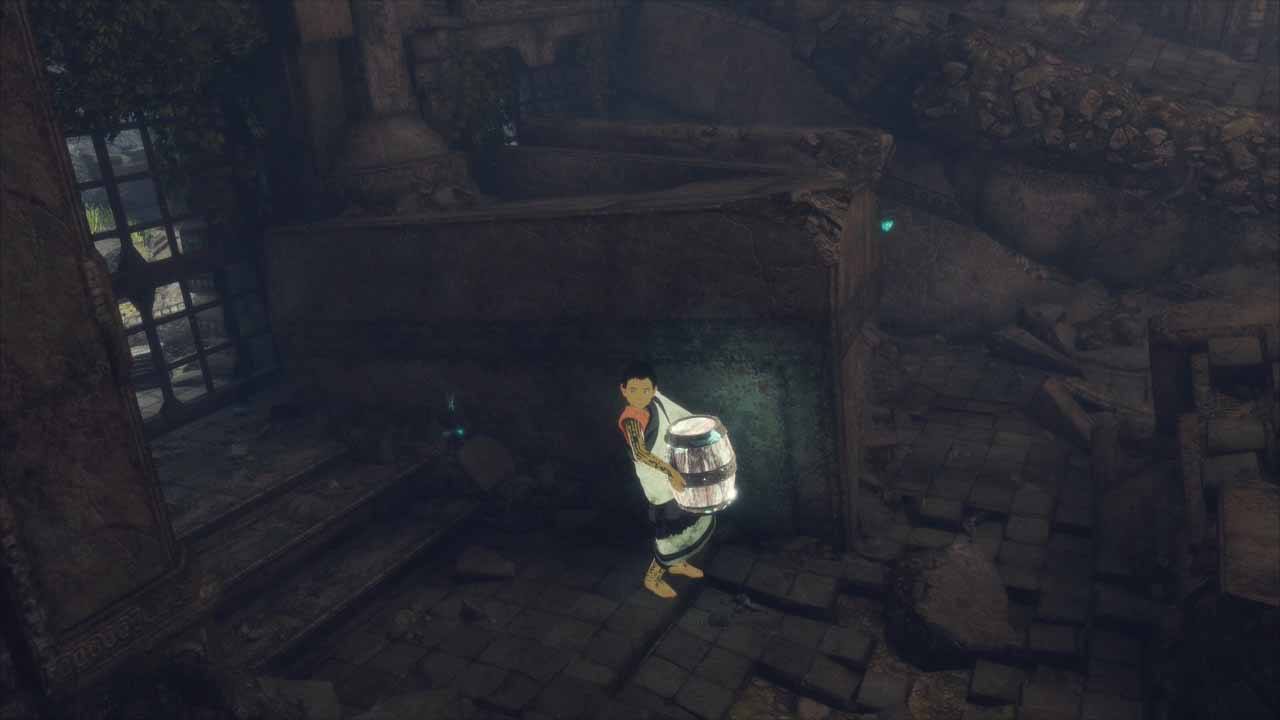
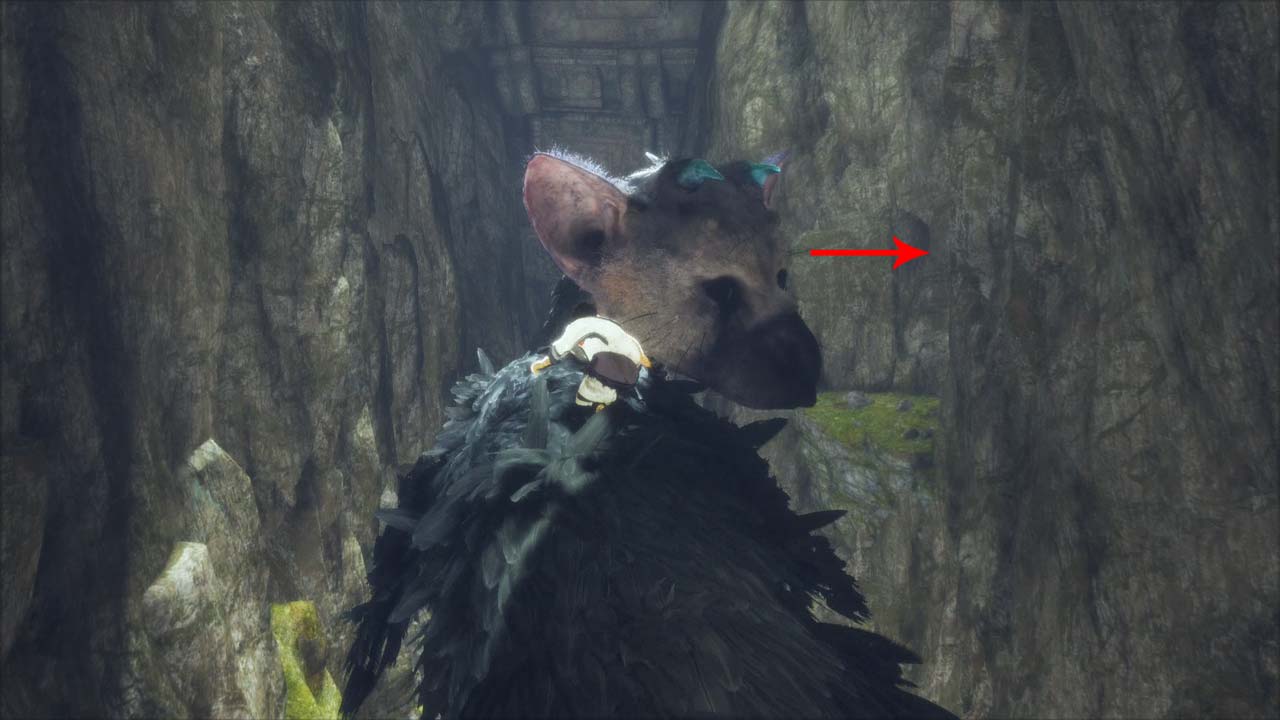
These Collectibles are food for Trico. The barrels have a white glow around them. When you give them to Trico he will eat them. They also unlock Costumes in New Game+ which you need for several other trophies. When a barrel is nearby you can see blue butterflies around the boy. One butterfly when a barrel is in the area, two when you are very close, three when you are standing right next to a barrel or holding it.
It’s important that Trico eats the barrels. Otherwise it doesn’t count for the trophy!
All barrel locations are missable due to the lack of chapter select. Your progress does, however, carry over into the next playthrough. So if you missed a barrel you can grab it on the next playthrough. No need to collect all barrels again, you only need to find the one you are missing to unlock the trophy. If you die or restart checkpoints you must feed the barrels to Trico again!
One of the bonus items (Fine Featherpainter) requires a total of 96 barrels collected over multiple playthroughs (unlocks the trophy “Dressed for the Fest”).
Also see:
All Barrel Locations

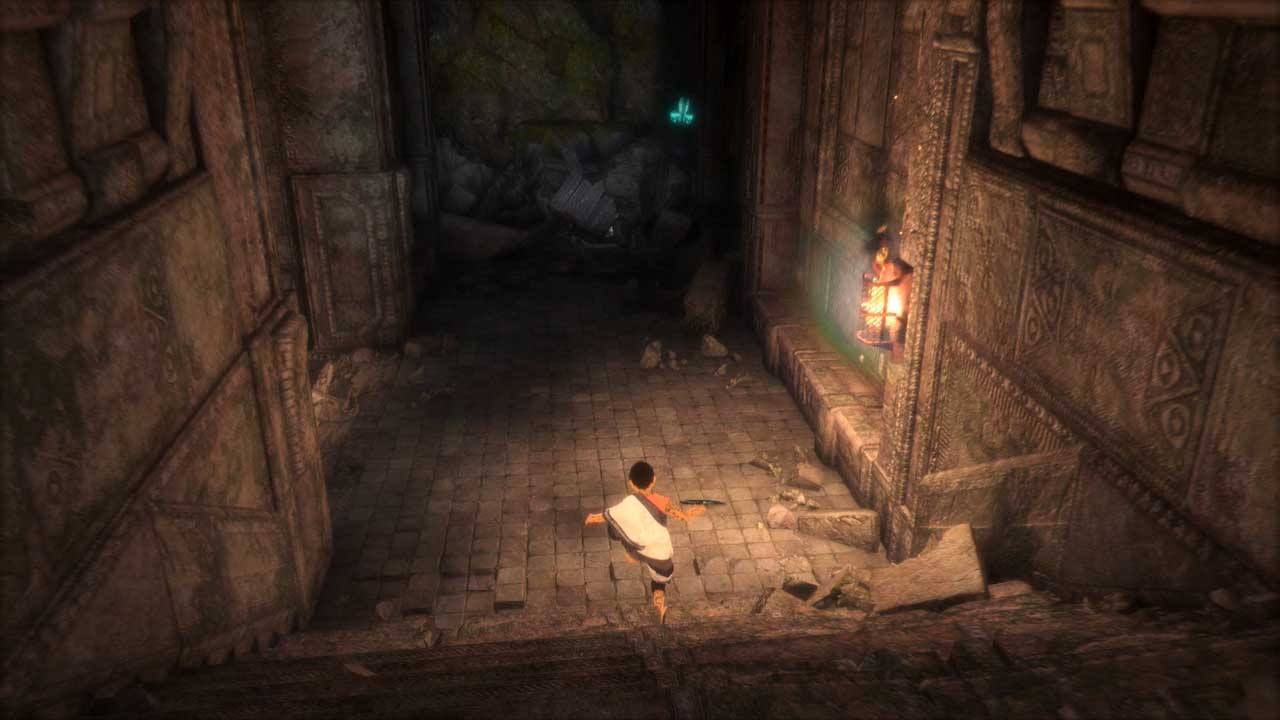
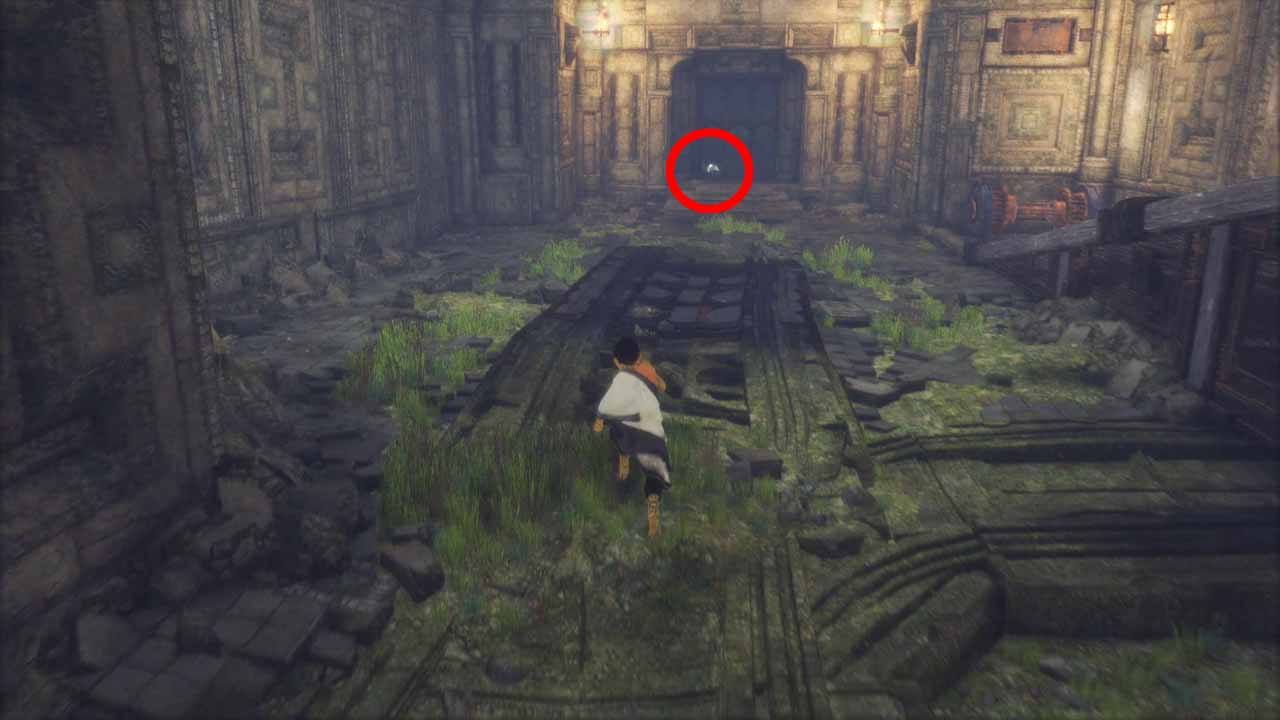
Barrel #1-3
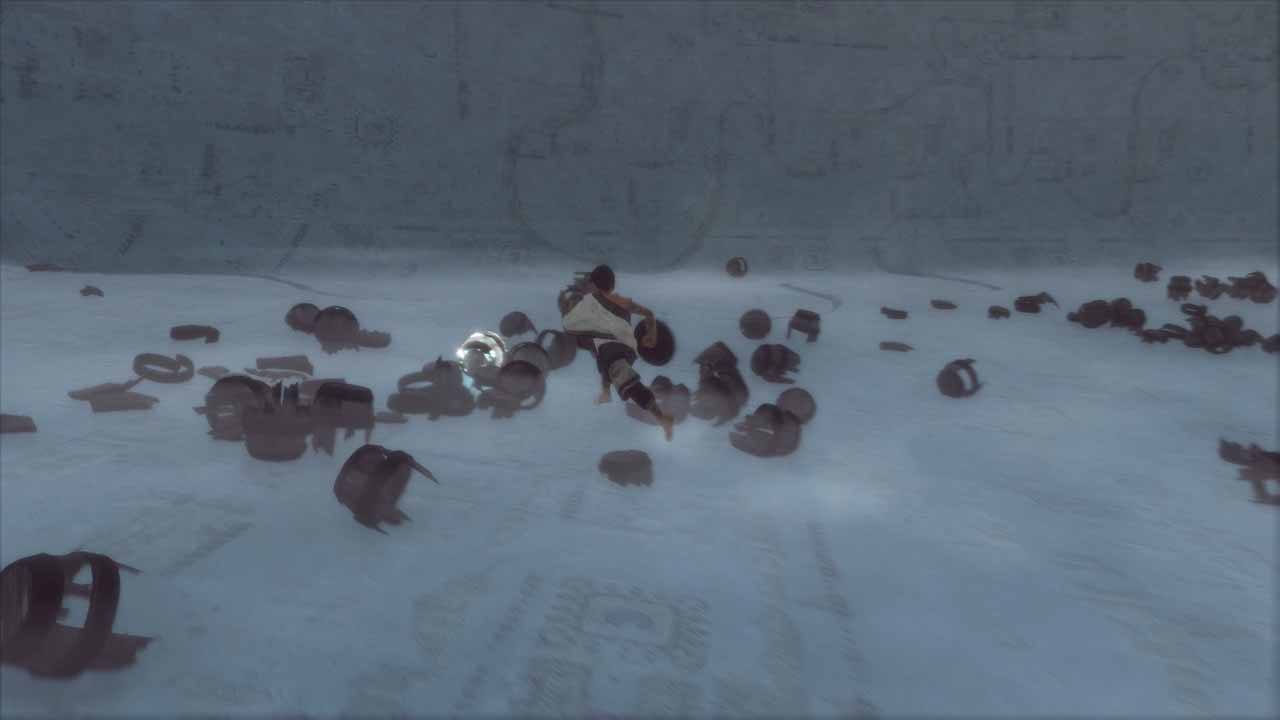
In starting area, unmissable. You must feed all three of them to Trico to progress in the story.
 |
|
 |
|
 |
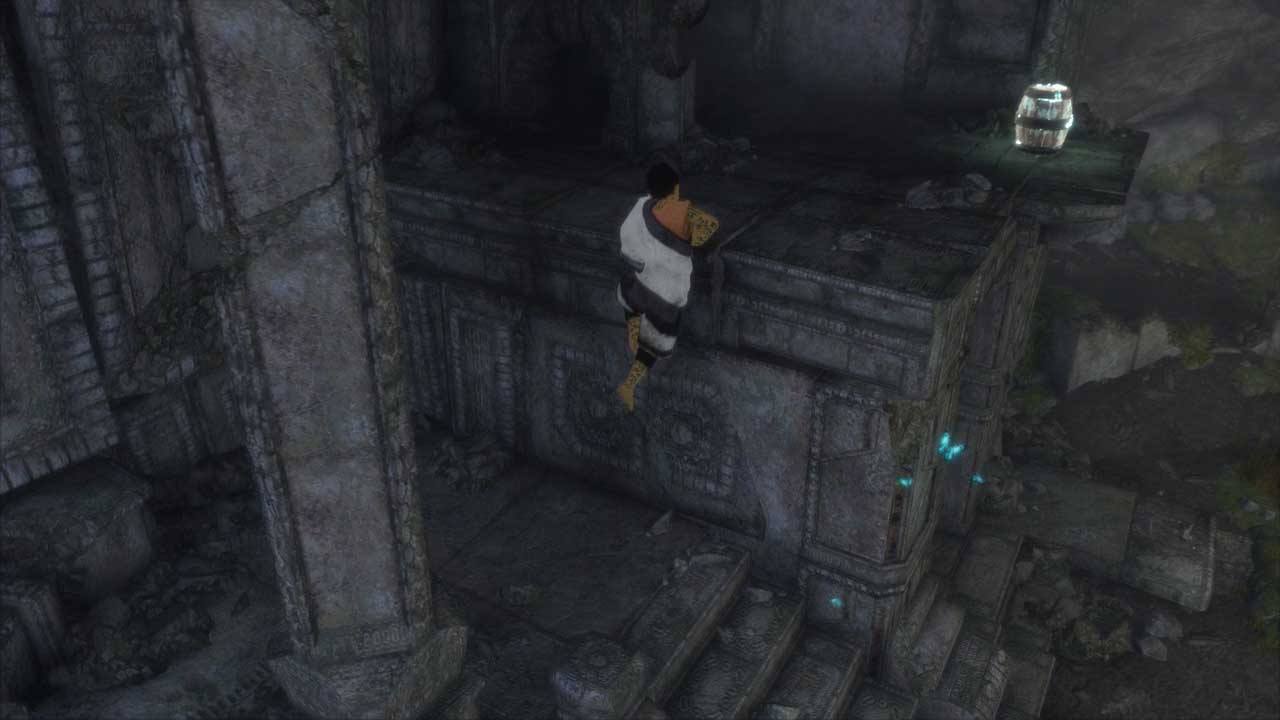
Barrel #4
After you free Trico climb his back on the other end of the starting area to reach this barrel.
 |
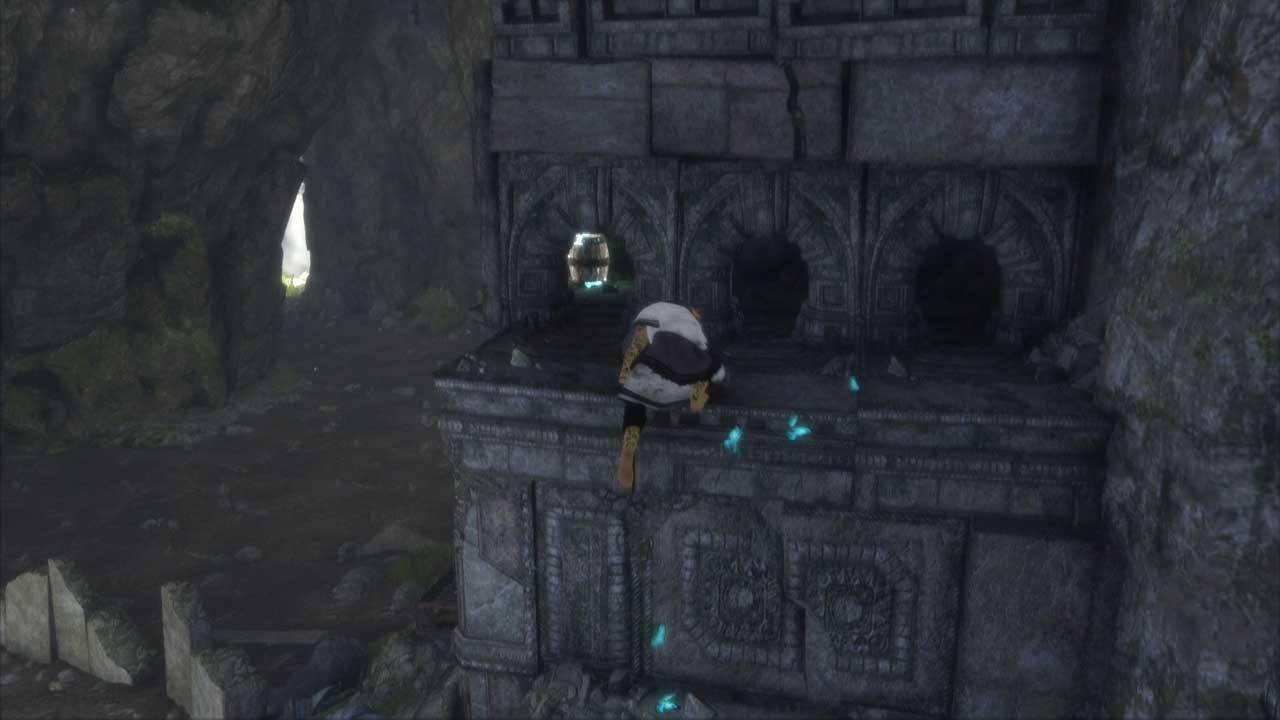
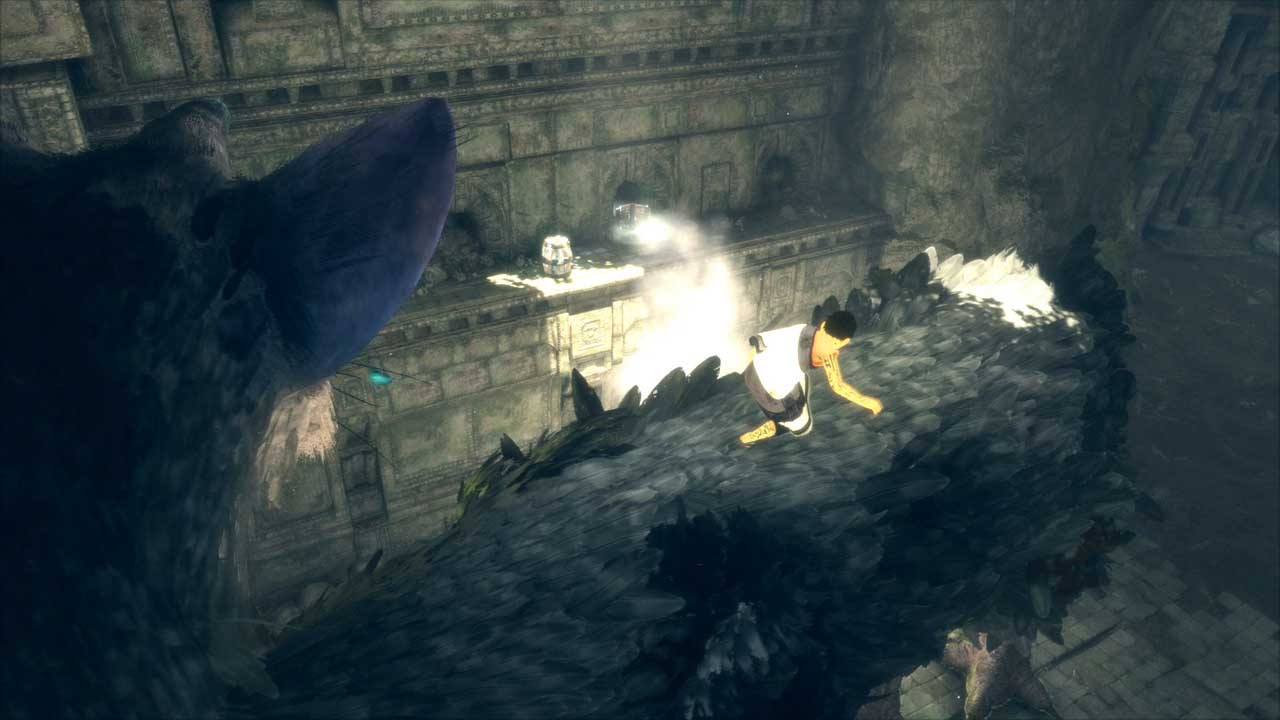
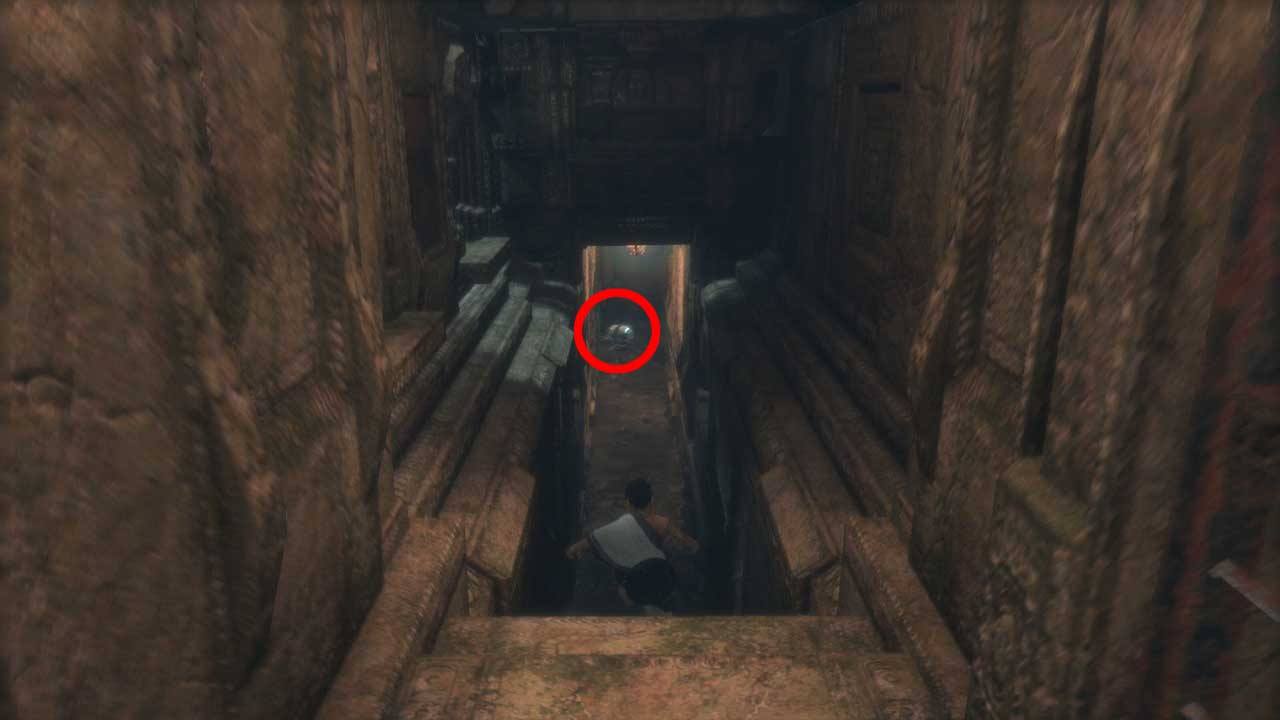
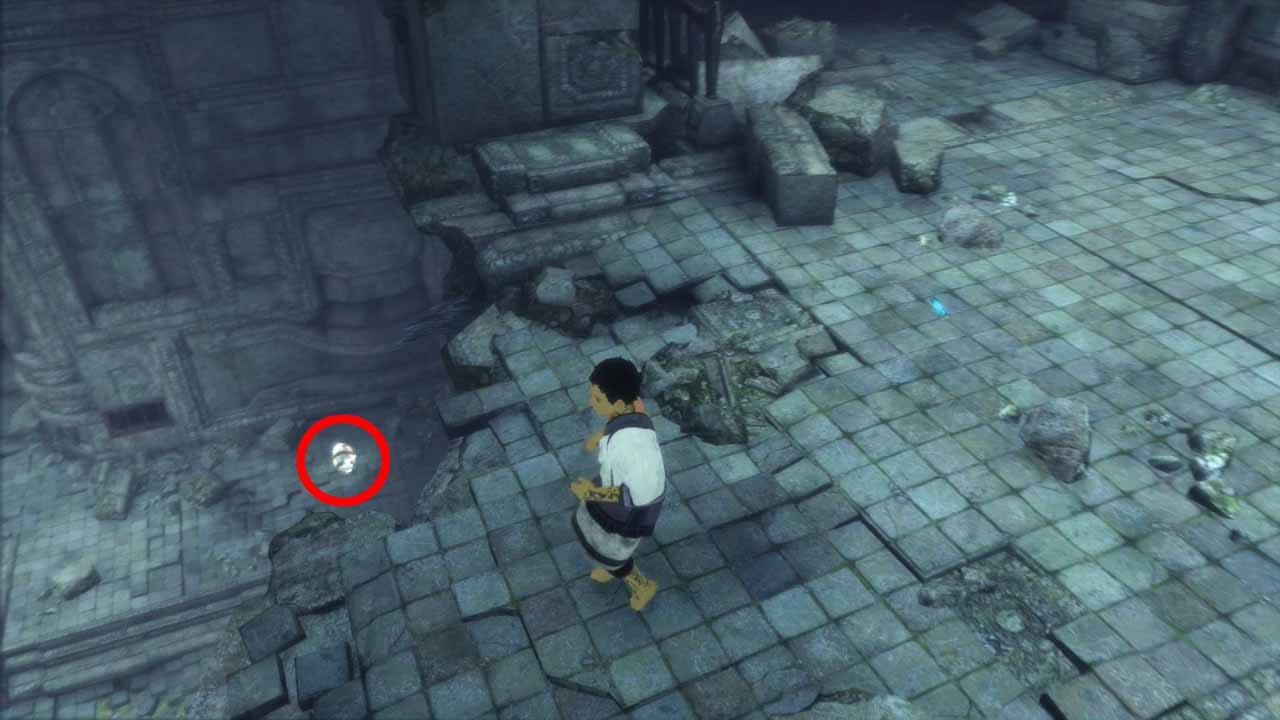
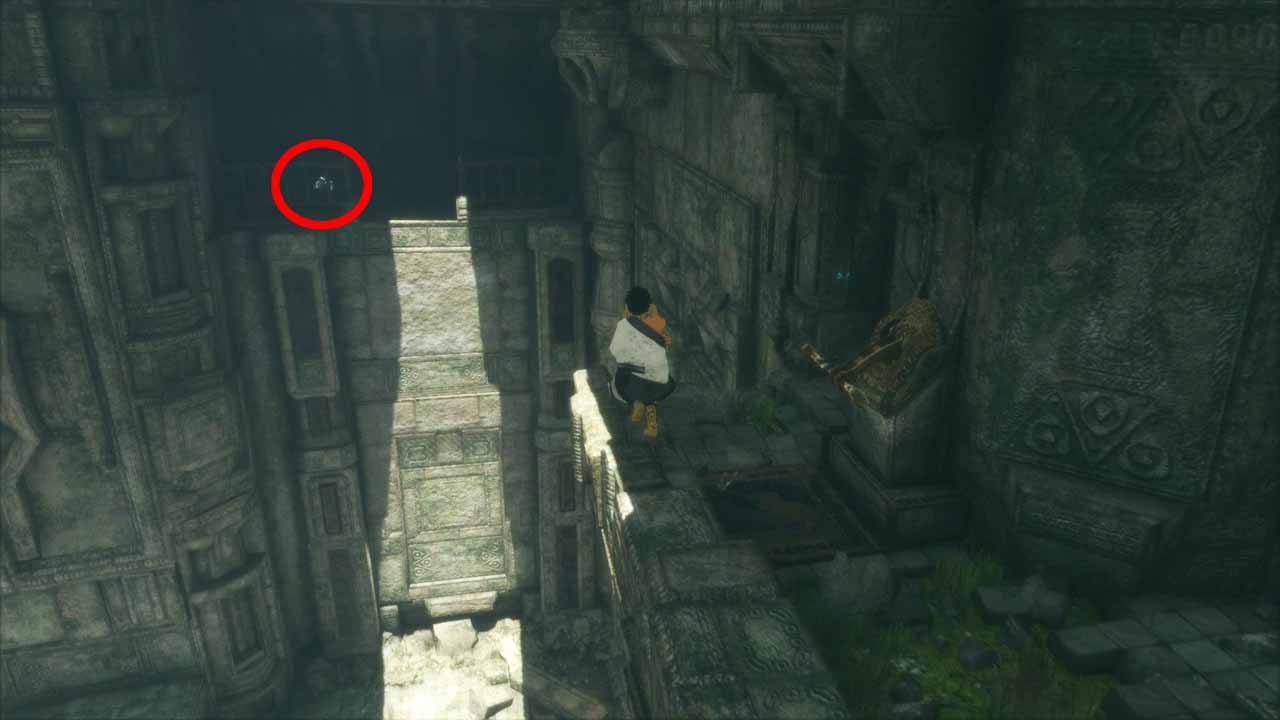
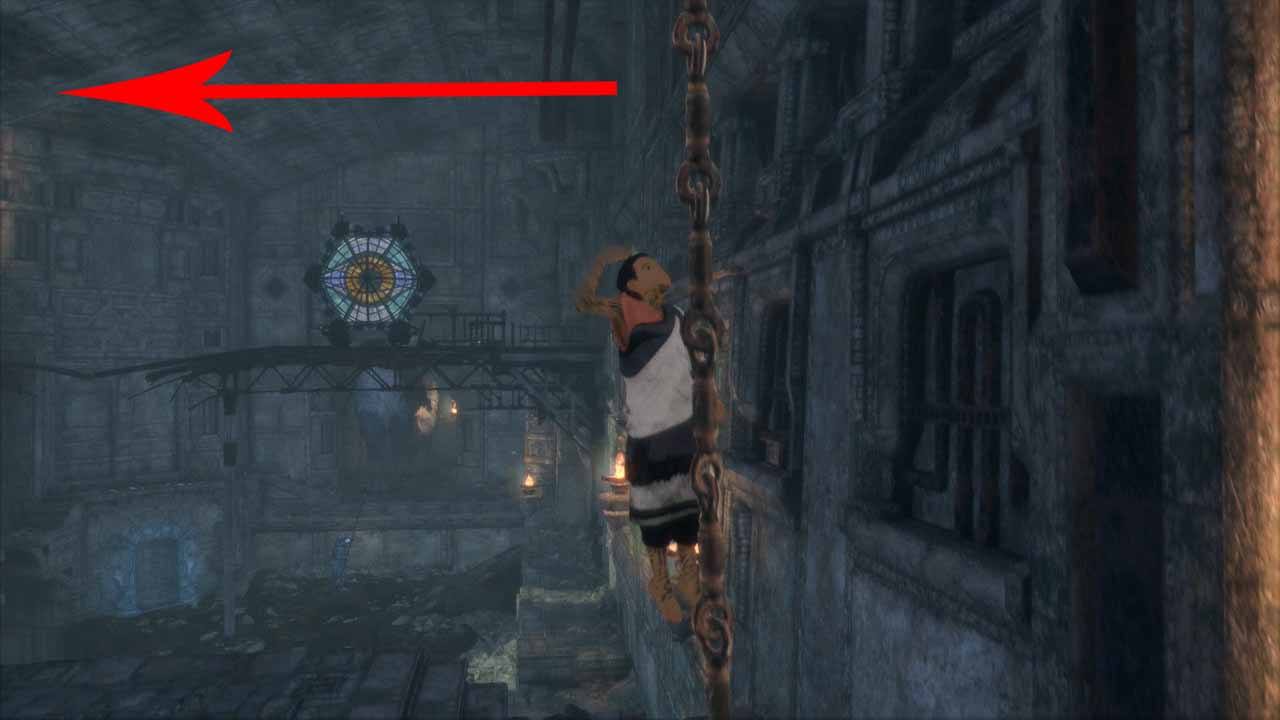
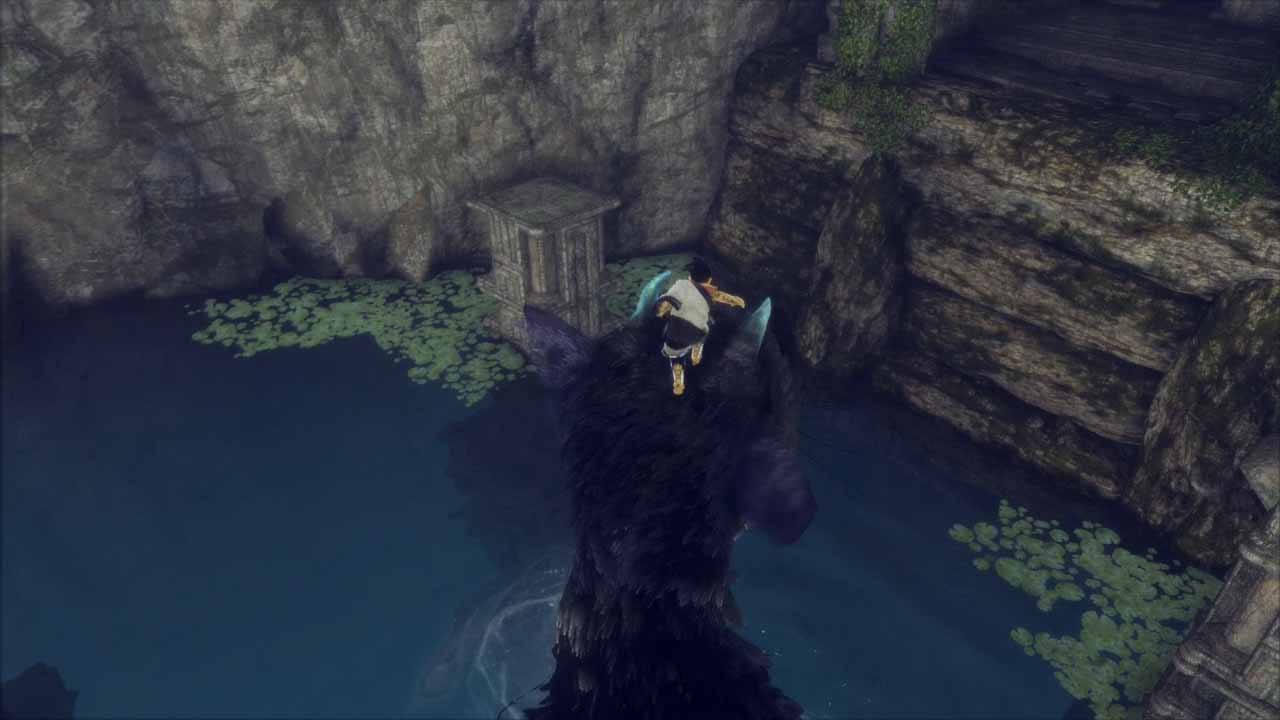
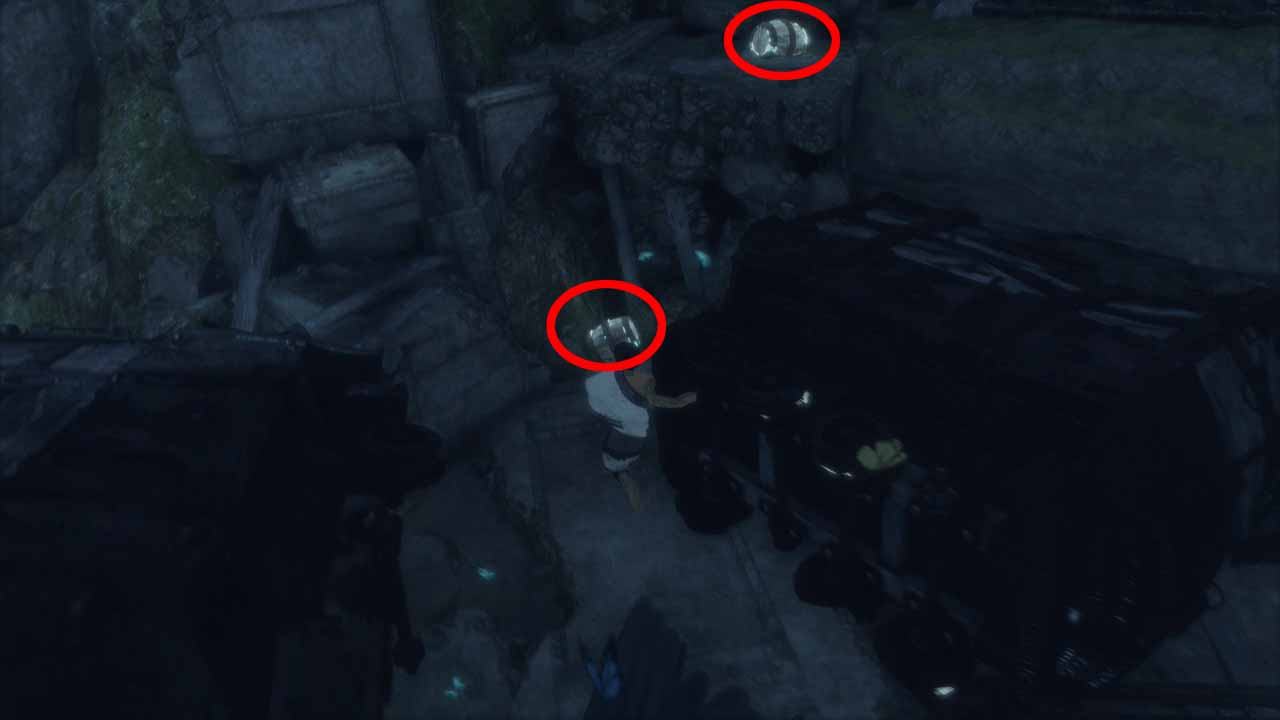
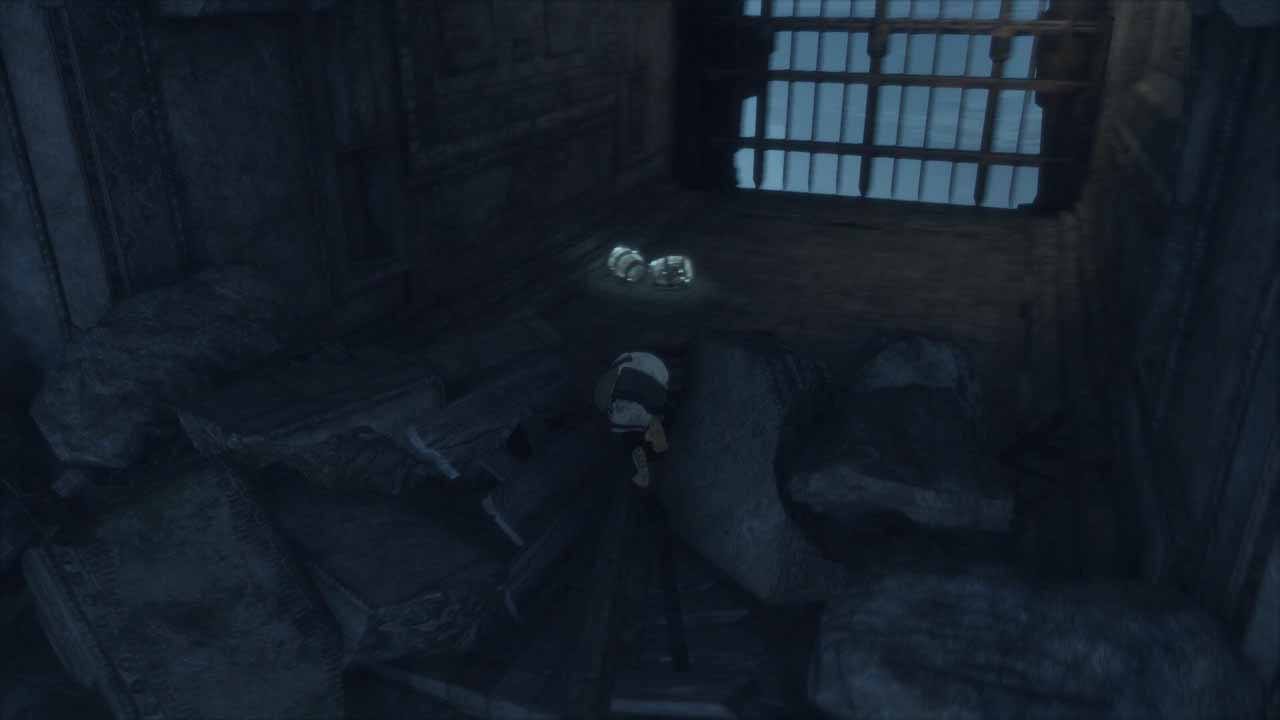
Barrel #5-6
You will stumble across these two barrels automatically on your way to the mirror item. Climb Trico’s back and throw them down to him.
 |
Barrel #7-9
Unmissable. When you come to the flooded cave area you must destroy a wooden blockade with Trico’s tail and push a box with 3 barrels down a ledge. You must throw at least one of them in the water to make Trico follow you (part of the story, unmissable). Make sure to give him the other barrels before moving on.
 |
 |
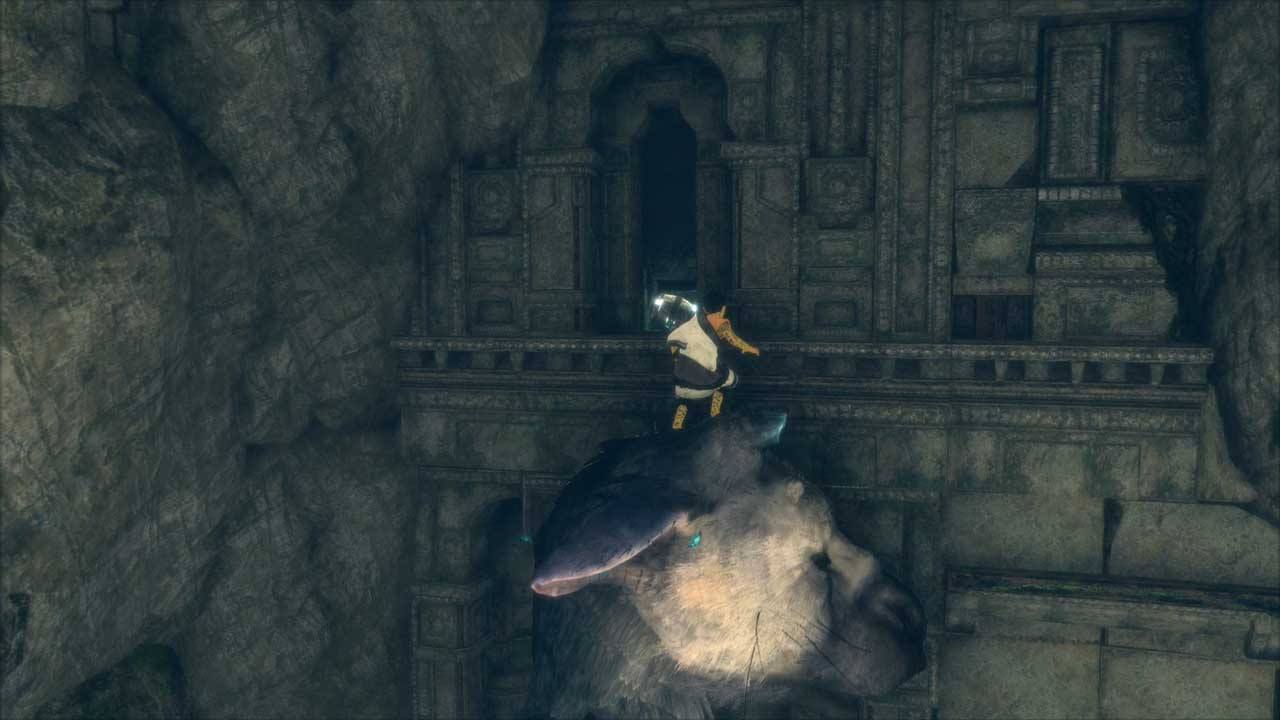
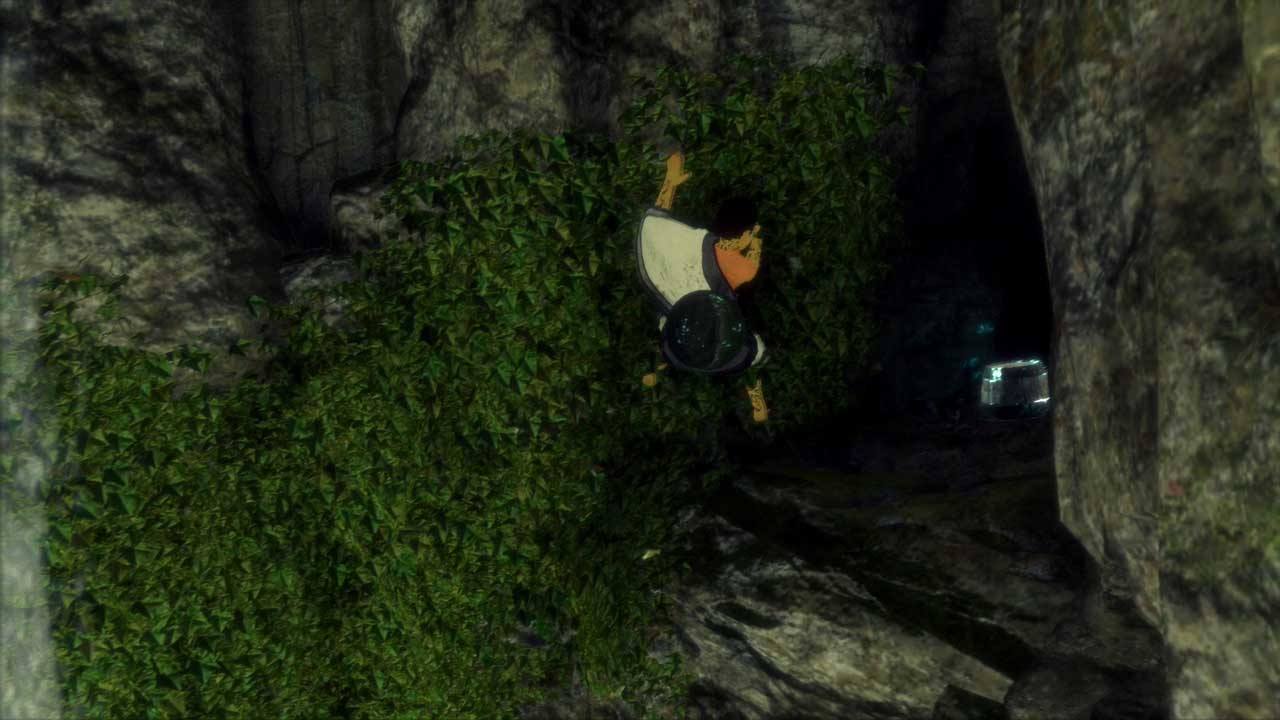
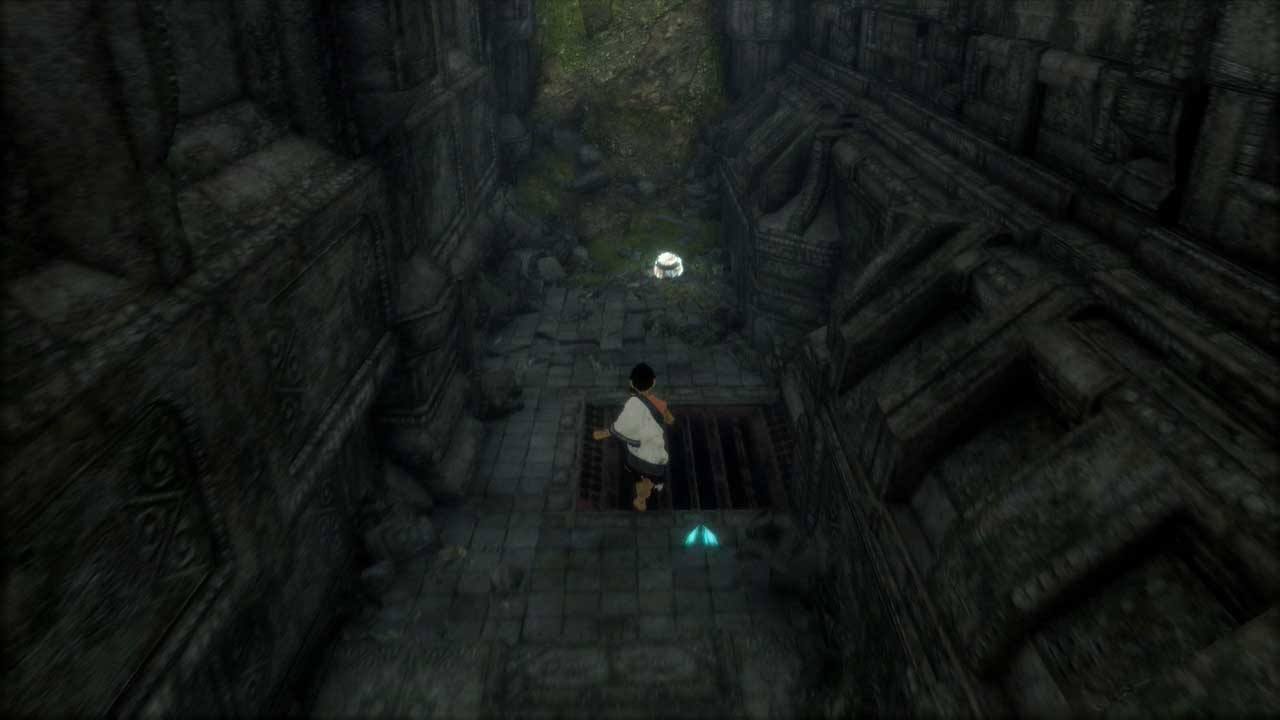
Barrel #10
Still in the flooded cave area (same as last barrels). There are some green leaves on the wall. Jump on Trico’s back and then onto the leaves to climb up.
 |
 |
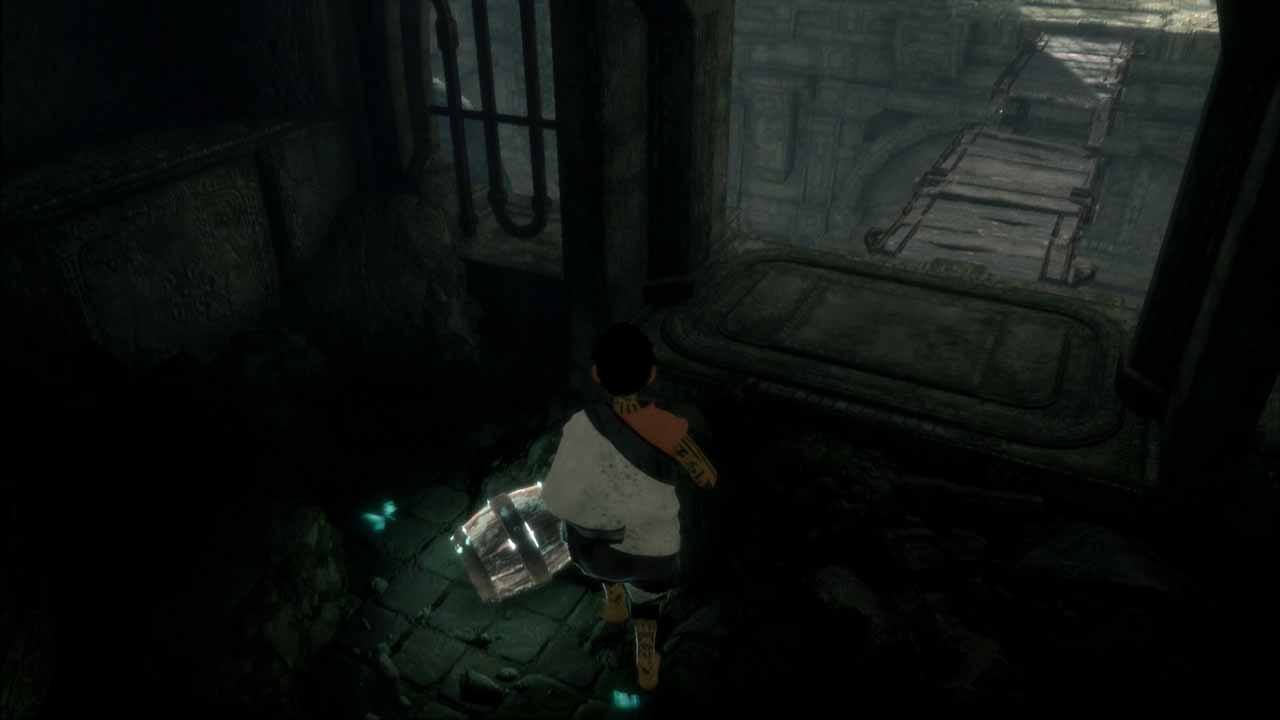
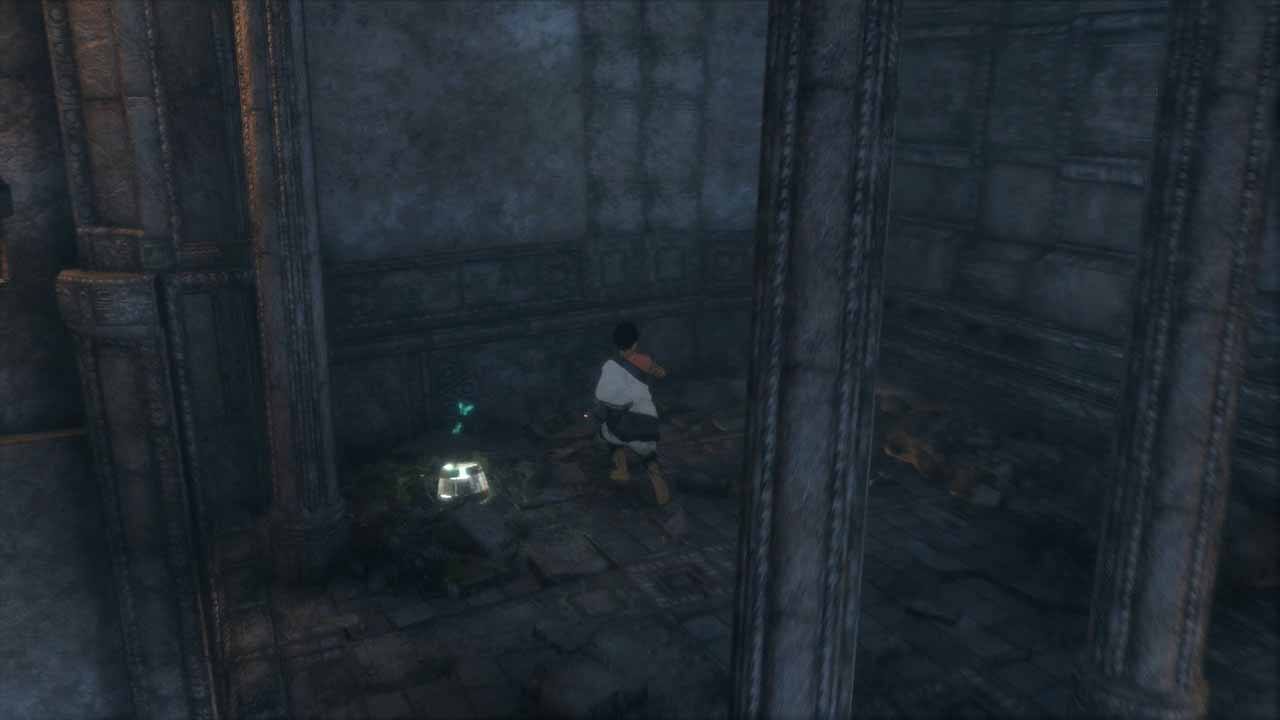
Barrel #11
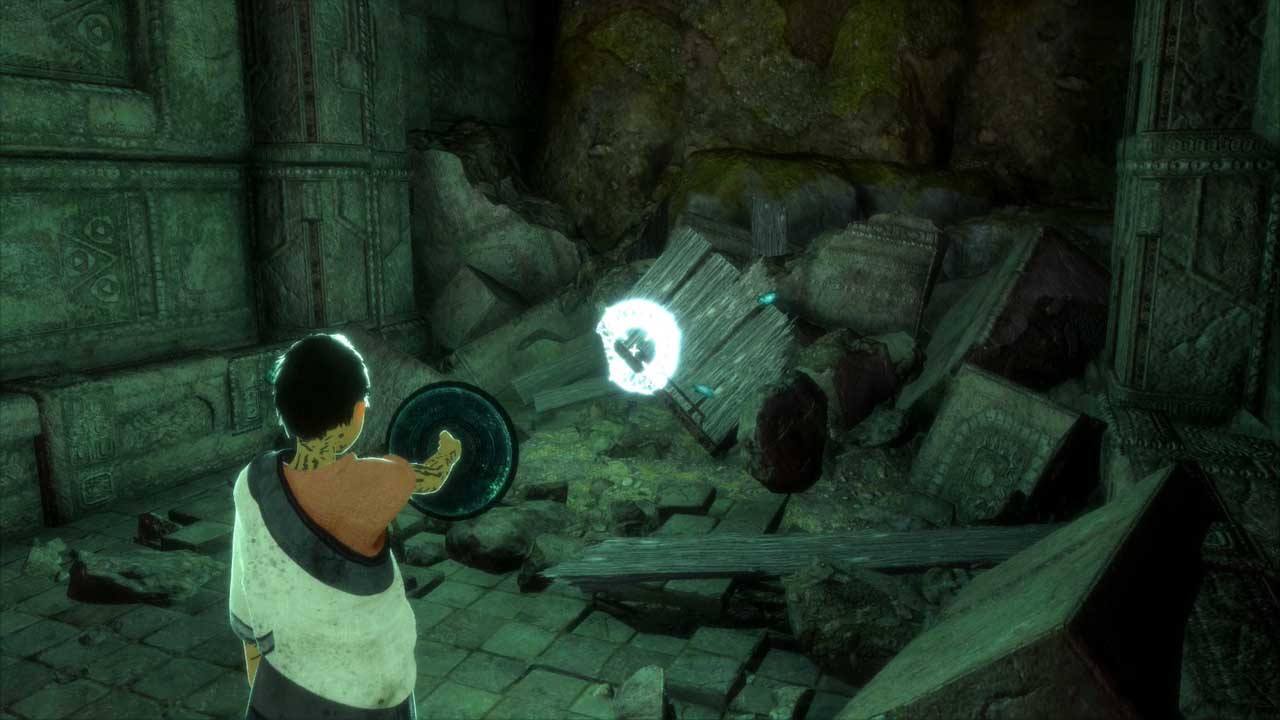
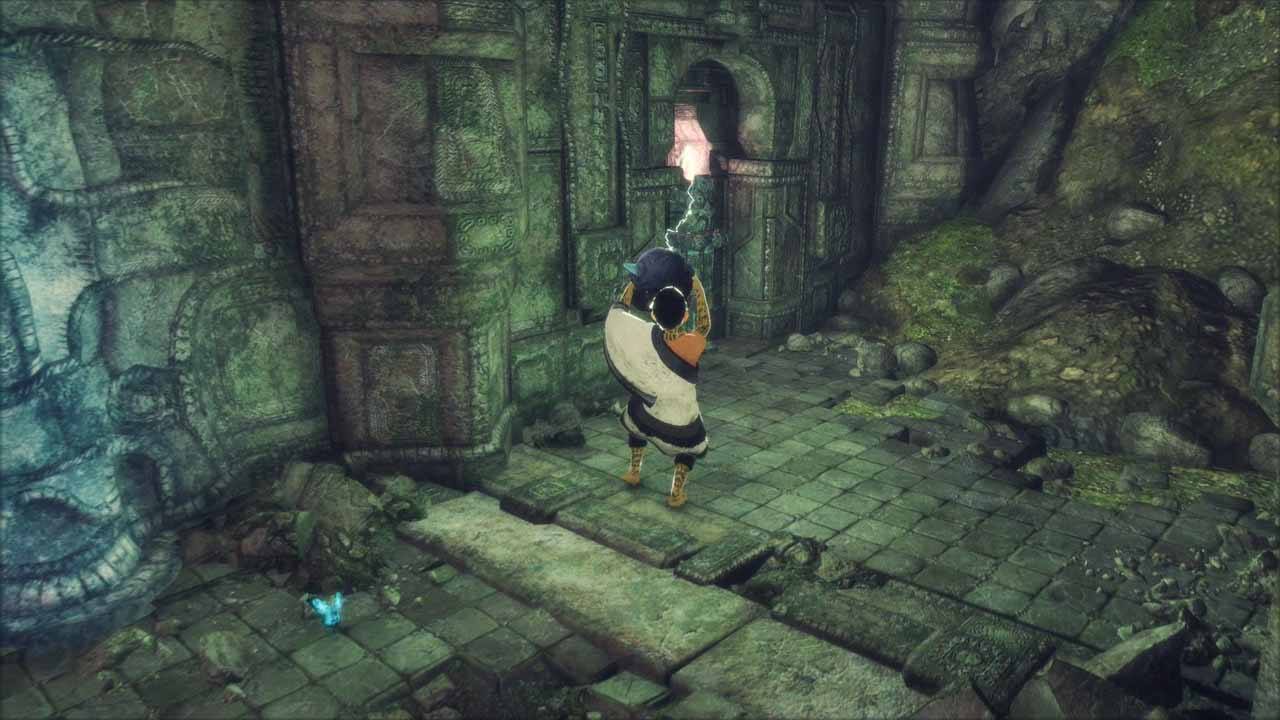
This is after going outside and destroying the stone pillar with Trico’s tail. You will have to call Trico upstairs to make him follow you. After that there’s some rubble in the hallway. Aim at it with the mirror to blow it up. This will reveal a well hidden barrel.
 |
 |
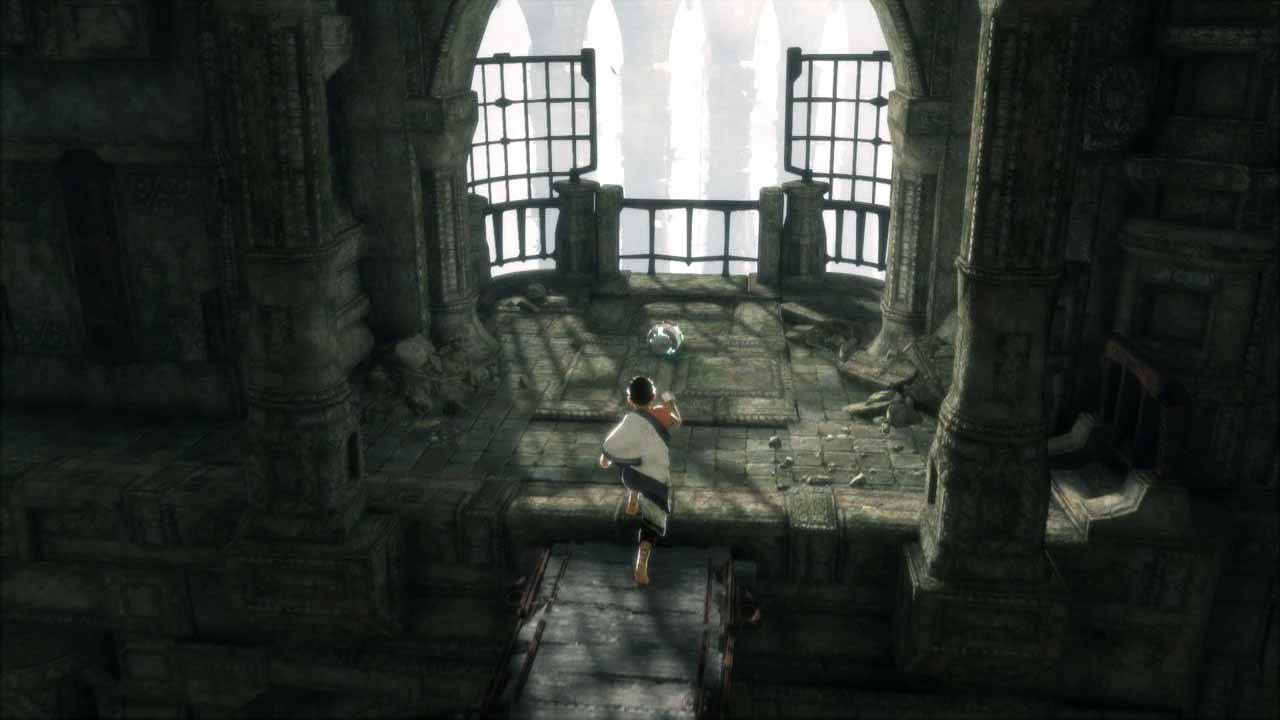
Barrel #12
Just after the last barrel you must climb up the wall in the big room. On top of the wall is a barrel.
 |
 |
Barrel #13
From last barrel climb upstairs. You will see a wooden blockade in front of you that must be destroyed to proceed. Near the blockade is a cave with a barrel inside. Trico can also stick his head in here for the Collar Trophy.
 |
Barrel #14
This is after going through the woods (outside) you will have to push away a glass eye to proceed. Trico is scared of these eyes so you always have to destroy them. Just after the eye there’s a tight corridor in the next room. At the end of the corridor is a barrel location.
 |
 |
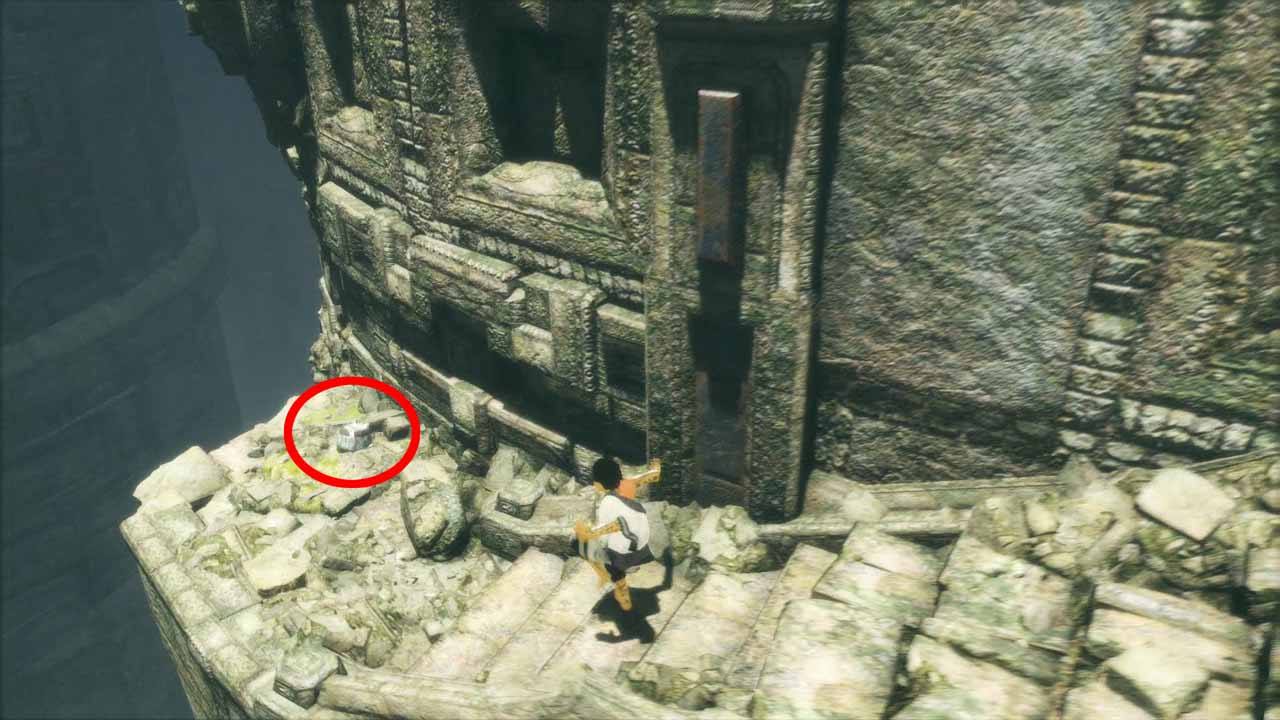
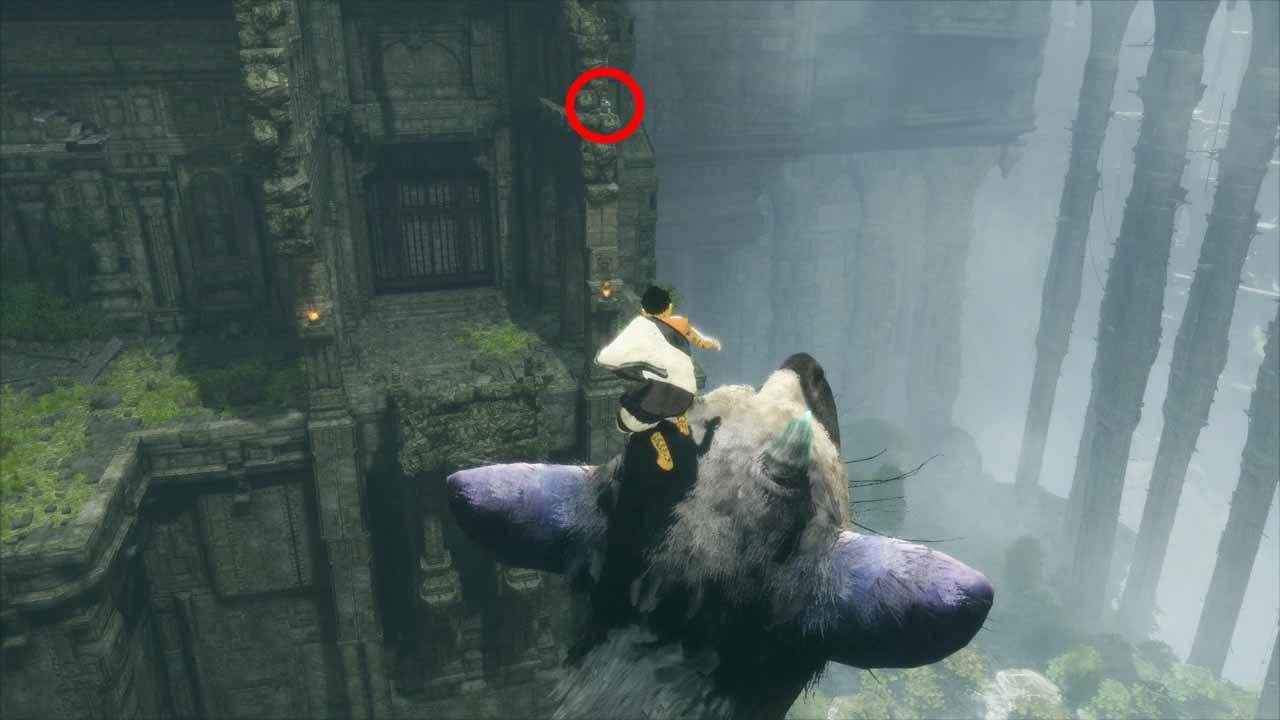
Barrel #15
This one is right after a climbing section, after opening a gate for Trico. Just before you go into the antenna room with the weird glowing contraption on the ceiling.
 |
Barrel #16-17
You will walk straight into these, would be very hard to miss. At one point you will have to climb up Trico’s tail to reach a floor above you. Up here you find two barrels in plain sight right next to each other.
 |
 |
Barrel #18
Shortly after the last two barrels you come to a room with 4 suits of armor enemies. In the same room where you fight these enemies is a barrel in the corner of the room.
 |
Barrel #19
Trico will step on a floor trap that will make a gate fall onto his tail. You must free him by using a chain that lifts the gate. Many suits of armor will spawn in this area. After fighting them in a tight corridor you will go outside. Head to the right of the area and check at the end of the broken stairs.
 |
 |
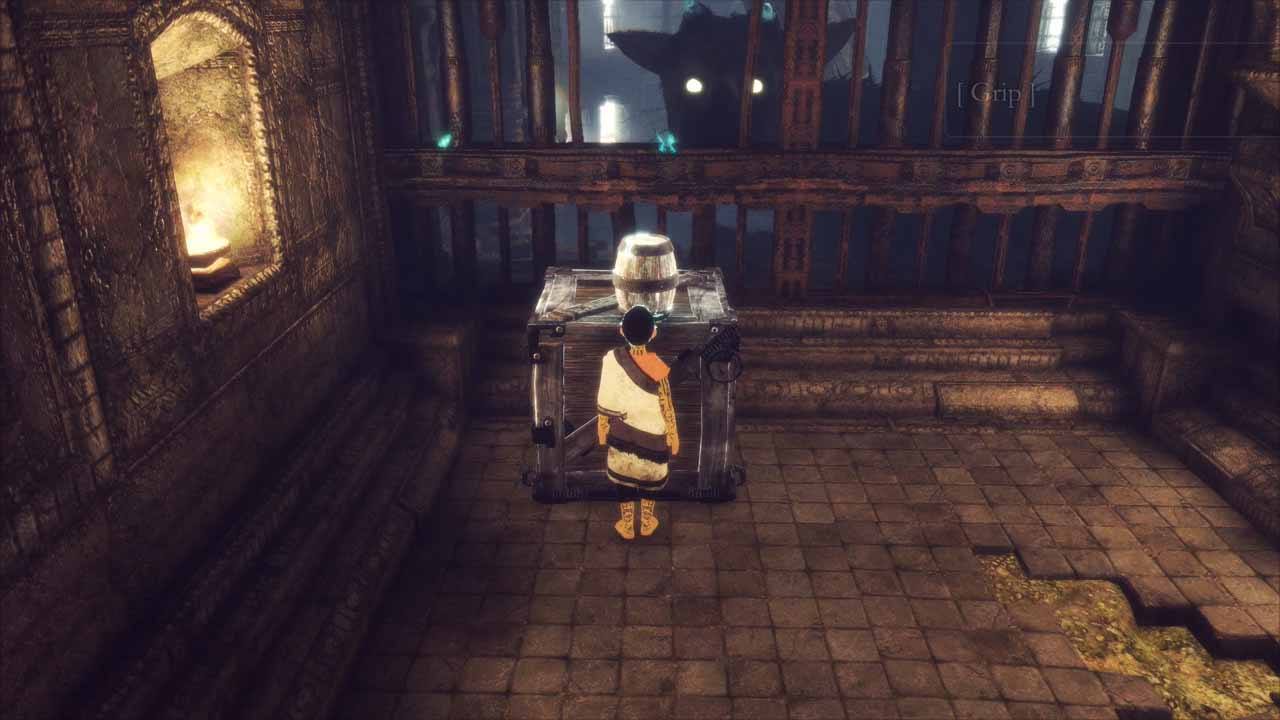
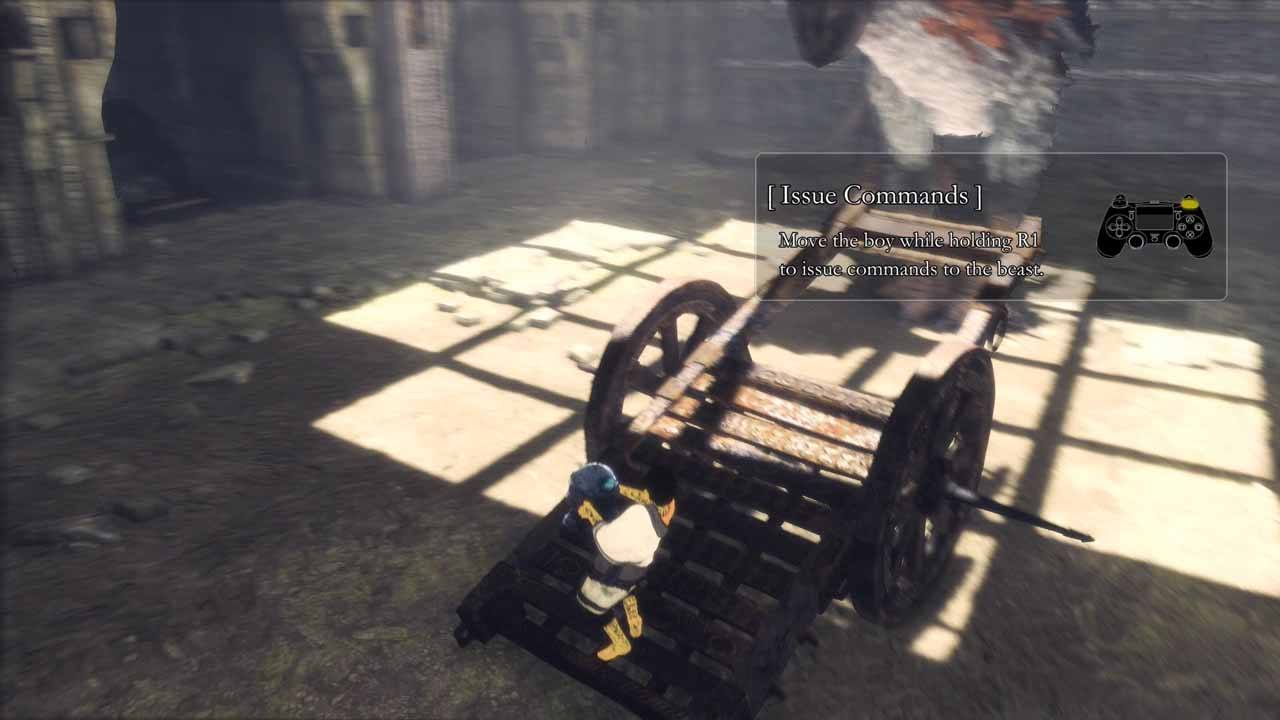
Barrel #20, 21, 22, 23
In the room where you learn how to give Trico commands. There’s a wooden crate here that contains 4 barrels. Tell trico to destroy the crate (press R1+Square).
 |
Barrel #24
Continue to use the switch upstairs and call Trico outside. Now that you can command him press R1+Triangle while looking at the wall with the barrel on top. This will tell Trico to stand up against the wall and you can climb up his back.
 |
 |
Barrel #25
Tell Trico to jump to the other side where the big gate is (press R1+Triangle and face towards the gate). Now tell him to stand up against the ruins to the right of the gate (R1+Triangle). There’s a barrel on top.
 |
 |
Barrel #26
Quite a bit later this barrel is after the room where you had to put the glowing keg on the chain as a counterweight. After going through the gate (which is now lifted up by the counterweight) go straight ahead and jump through the metal bars at the end of the path.
 |
Barrel #27
After the wooden bridge falls apart you come to a room with enemies and a glass eye. Trico can’t attack the enemies because he is scared by the eye. There’s a chain at the end of the room you can climb. After climbing the chain jump to the left to reach a somewhat hidden platform with a barrel on top.
 |
 |
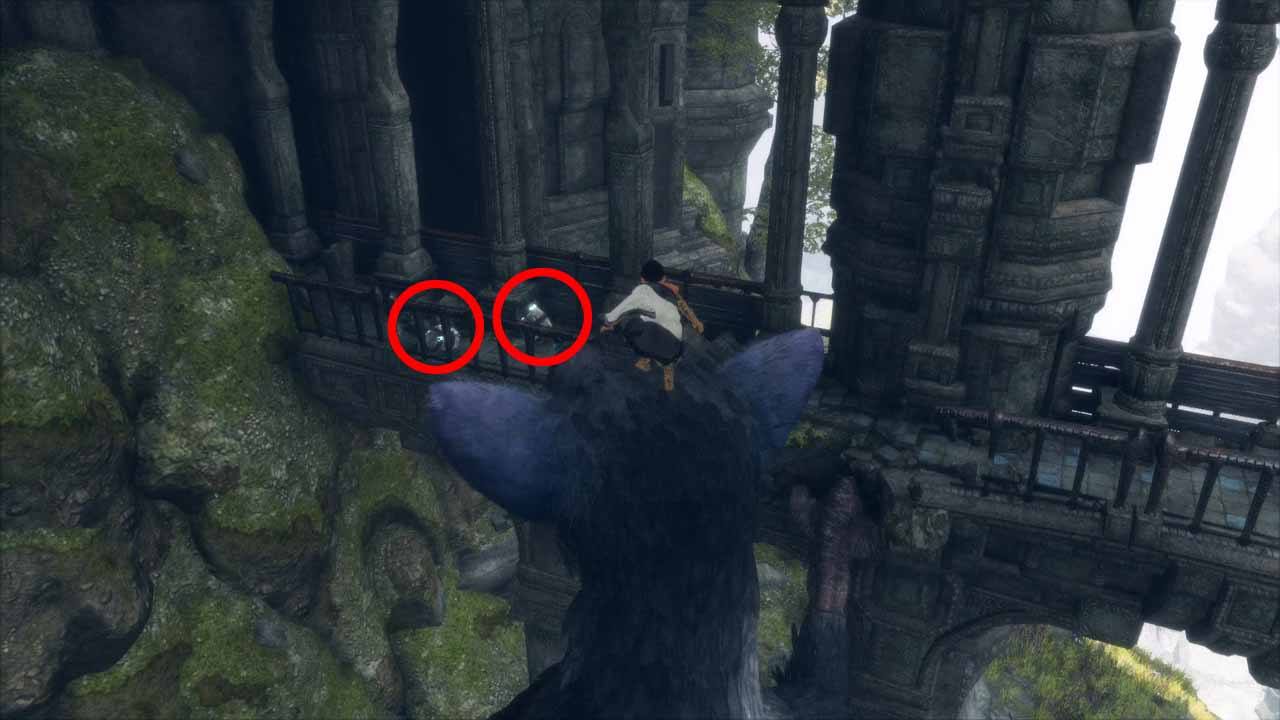
Barrel #28-29
Just after the last barrel destroy the glass eye and go outside. Command Trico to jump up the ruins on the left side. You need to do this to proceed anyway but there are two barrels on top of the ruins (they are in plain sight and would be hard to miss).
 |
Barrel #30
Unmissable. After Trico gets sick and lays down you must get a barrel for him. This is quite a while after the last two barrels.
 |
Barrel #31
Again unmissable. After Trico helps you get off the tree branch he will be wounded again and lay down. You must get this barrel for him to proceed (cannot be missed). This is the room where you previously used the keg as a counterweight to lift a gate.
 |
Barrel #32
After feeding the last barrel to Trico he will jump to a rooftop where two enemies aim glass shields at him. This frightens Trico and you must ram into the enemies so they drop those shields. In the same enemy room is a broken gate. Behind the broken gate is a barrel.
 |
 |
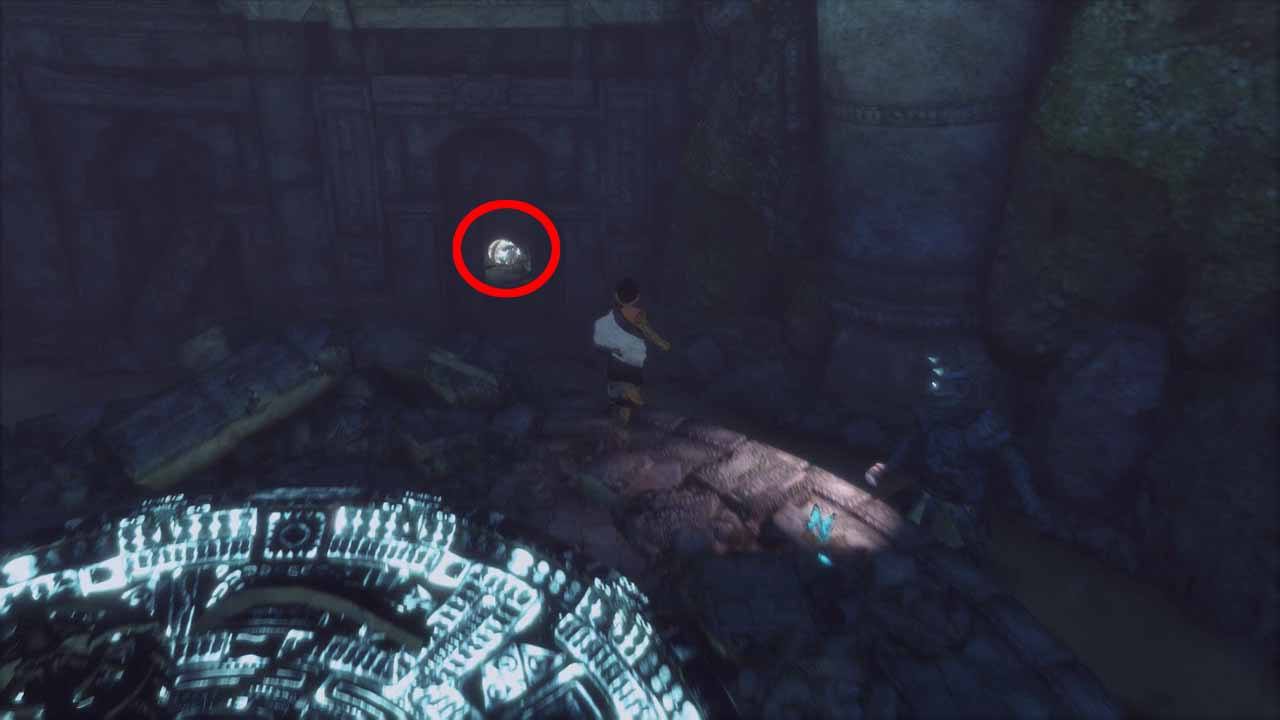
Barrel #33
Same area as last barrel. Take the head of one of the enemies and carry it to the third statue in the big hallway. It will turn the statue into a suit of armor. The statue is now gone and reveals a hole in the wall. Go through the hole and you find a barrel. Well hidden and easy to miss.
 |
 |
Barrel #34
Unmissable, story-related barrel. Trico will lay down again because he gets wounded. You must feed him this barrel to proceed in the story.
 |
Barrel #35
This is in the Colosseum. After clearing the Colosseum of enemies check behind the wall in the back of the arena.
 |
 |
Barrel #36
This is one of the trickiest barrels in the game. We are still in the Colosseum arena from the last barrel. After Trico opens the gates you must push a cart to the middle of the arena. Now carry the head of a suit of armor with you and step on the cart. Trico will smash the other side of the cart which will propel you and the head upwards (through the ceiling). On the upper floor there’s a statue just like Barrel #33. Carry the head and connect it with the statue. This turns the statue into a suit of armor and reveals a hole in the wall behind it. Go through the hole to grab the barrel. By far the hardest part is to get the head up there. It may take a few tries. Just try from different angles and jump back down if it didn’t work. The head can land just about anywhere on the upper floor so look around carefully.
 |
 |
Barrel #37
Just after the last barrel, Trico will jump to a cave with lots of water in it. After he jumps up get off him and look behind the pillar in the very back. This is BEFORE you drop into the big pool of water.
 |
 |
Barrel #38
In the second water area (after diving through the first one). Just a little while after the last barrel. You’ll see one closed gate and one lit up area. Command Trico to swim to the lit up area. Climb his back, jump on one of the platforms and finally on the leaves at the wall. Climb up and you’ll find a barrel.
 |
 |
Barrel #39
Story-related, cannot be missed. This is a long time after the last barrel. After escaping the cage you must take a suit of armor’s head down the elevator and connect it to the statue. Behind the statue is this unmissable barrel. You must feed it to Trico to proceed (he refuses to continue until you feed him).
 |
 |
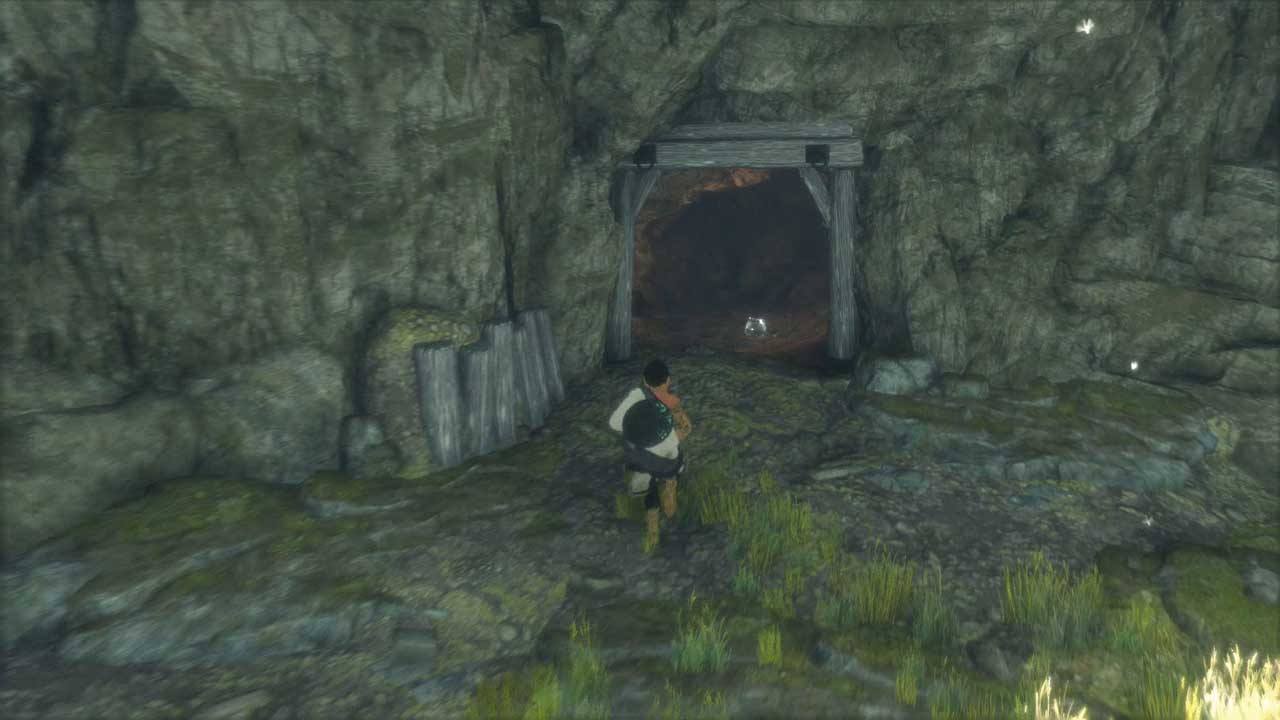
Barrel #40
Jump through the hole that Trico made when he came to save you from the cage. Up there you can find a small path in the rocks. At the end of the path is a barrel. Easy to miss. If you wait too long Trico will jump to the next area up ahead.
 |
 |
Barrel #41
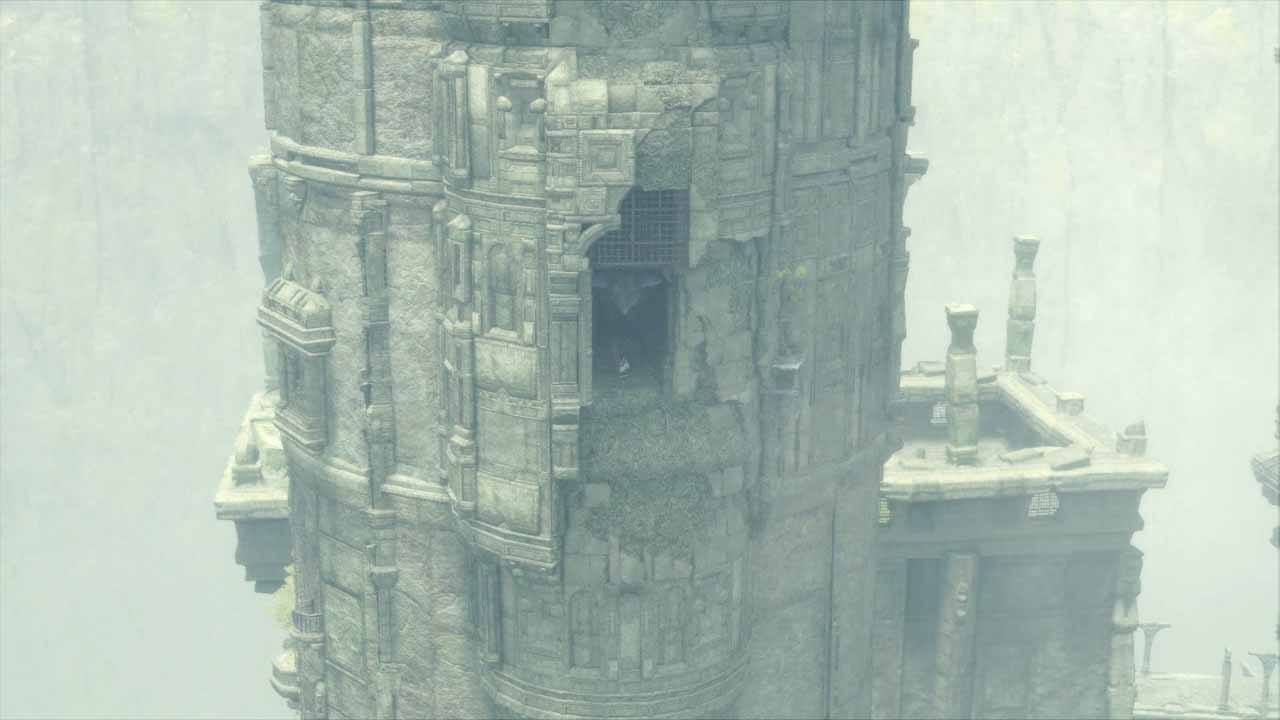
This is a long time after the last barrel. After the mines collapse you get attacked by an army of enemies. Trico now flies to a tower where you must use two switches to open gates. Inside the tower go up the stairs on the right to the top floor. Up on the top floor you can find a barrel.
 |
 |
Barrel #42-43
Unmissable, story-related.
 |
Barrel #44-45
Unmissable, story-related (same place as last two).
 |
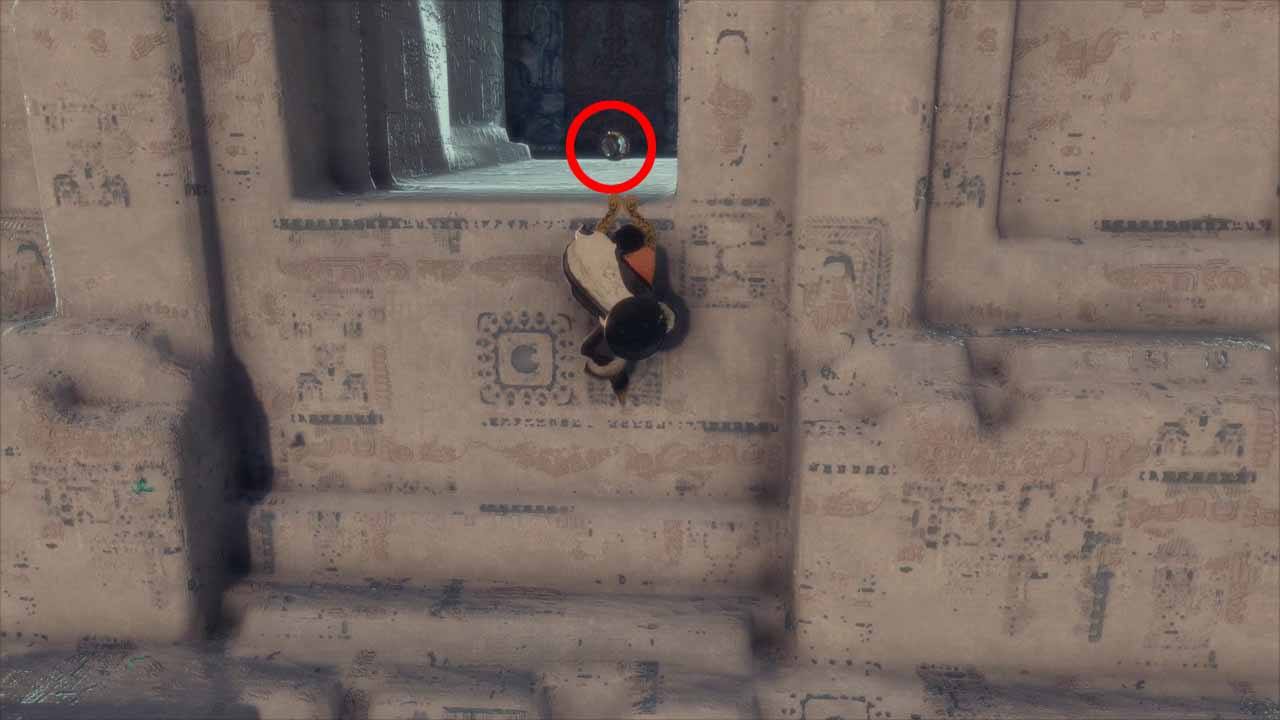
Barrel #46
Near the end of the game you have a massive enemy encounter on a tall tower. There are 4 windows on the tower. Out of each window an enemy will be throwing spears at Trico. In one of the windows is a hidden barrel location. Once the battle is over command Trico to lean against the wall to climb up there.
 |
 |
Barrel #47
Same place as the last barrel. Run around the edge of the tower and look for a barrel down below. Now call Trico and grab his tail with the Circle-Button. Push his tail down the ledge and climb to the barrel.
 |
Barrel #48
Inside the tower, after yet another massive enemy encounter. You will use an elevator and come to a room with lots of rubble on the floor. The final barrel is here.
 |
 |
fer says
Goddamn, barrel 47 ended my Untouchable playthrough. Like 0 time to pause and restart checkpoint. Save backup? Nope, too cool for such things. Argghhh.
Emily says
Thank you! I managed to get all of them on my 3rd play through, and on my fourth I will unlock the last outfit! ?
Chris says
With barrels #5-6, there is only one barrel on that ledge for me. This is my third playthrough. I can’t get the trophy because of this. I’m on PS5 playing the disc version. I’m at a loss. Can’t get the trophy.