
Gotham Knights has a Secret Villain Case (Side Case) for Clayface. It isn’t marked in the game anywhere and doesn’t get added to your Case Files automatically. You have to trigger it yourself. This guide explains how to get the secret Clayface Side Quest.
Requirement: Finish Main Case 02: The Rabbit Hole

The prerequisite is that you have finished Main Case 02: The Rabbit Hole. This is the 2nd mandatory main case in the game. It takes about 2 hours of gameplay to get to this point in the game. As soon as Main Case 03 starts you can start with the actual requirements. You can still do it at any point later. It’s still available in free-roam after finishing the story, so no worries it doesn’t go away.
Step 1: In West End District, Defeat 5 Clay Mimics at Random Crimes
At any point after finishing Case 02, head to New Gotham > West End district.

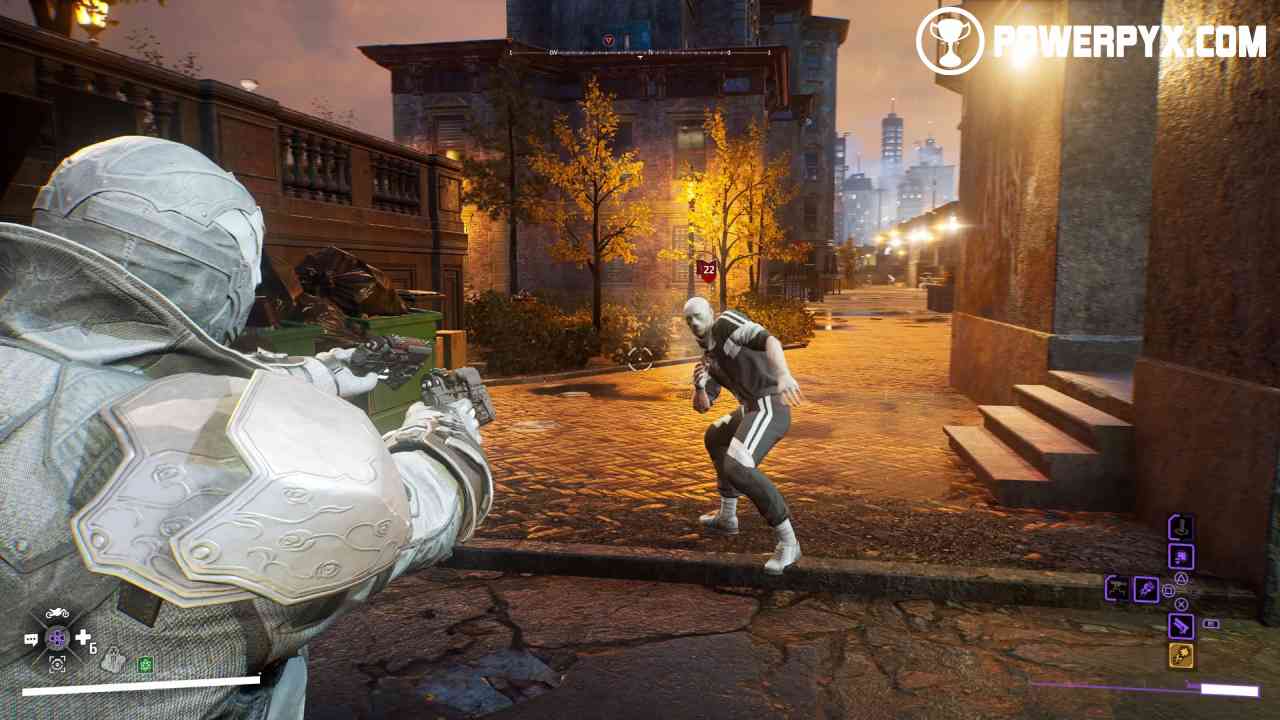
Use your scanner by pressing D-Pad down to find random crimes. You will notice some of them have an orange triangle icon, instead of the usual white one. Go to those crimes. There will be one Clay Mimic at each crime, attacking a pedestrian. Defeat the Clay Mimic. It will melt and leaves behind a pool of clay matter on the ground. Pick up the clay sample. Repeat this 5 times total across West End, looking for more random crimes. Remember, the crimes with an orange or red icon won’t have Clay Mimics.
The spawns are completely random, they don’t have fixed locations. But there should always be a few within 200-400 meters. If no more are spawning you can return to The Belfry (headquarters) and return to West End, it should spawn more then.

Step 2: Return to The Belfry (Headquarters)
After getting 5 Clay Samples, you’ll get a quick call from one of the other heroes. You will also get a new Case added to your Case File Menu, called “CF01: Clay Face”. Now return to The Belfry, your headquarters. You can scroll over it on the map to use fast travel. Interact with the Computer to get a short cutscene that properly starts the Clayface quest series.

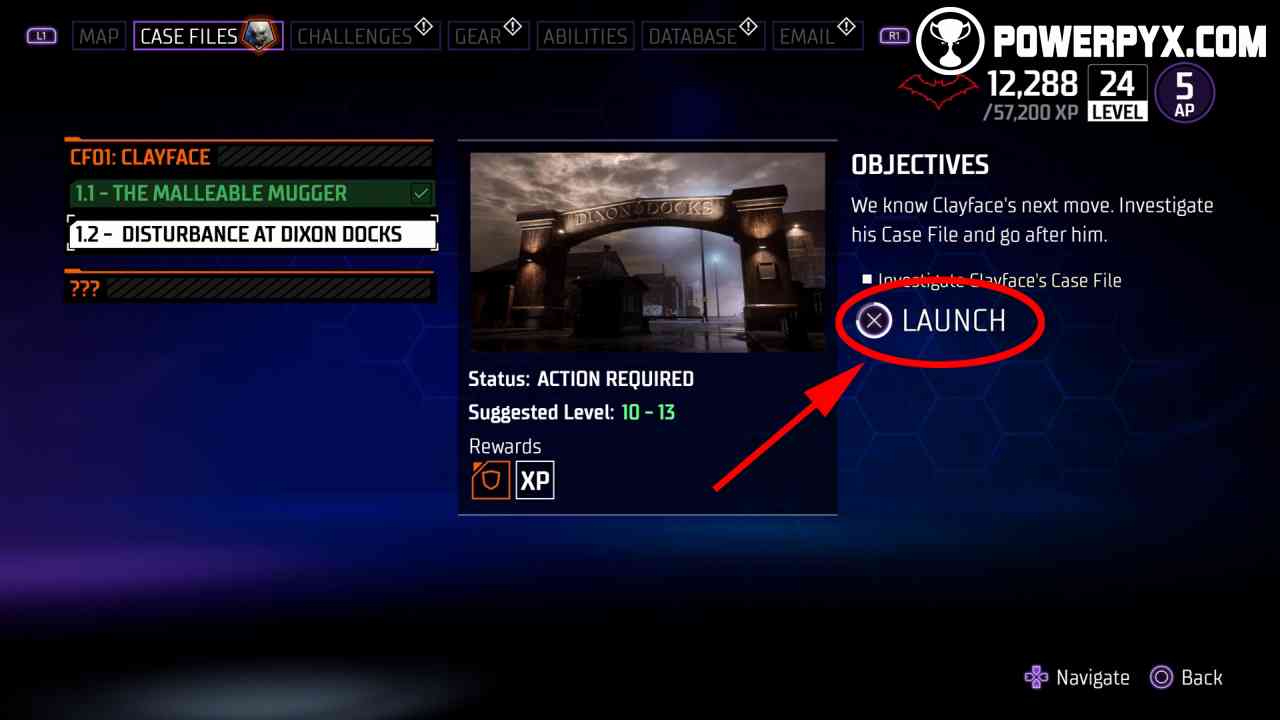
Step 3: Start Case via Case Files Menu
After the cutscene, open the Case Files Menu. Select CF01: Clay Face > 1.2 – Disturbance at Dixon Docks. Hold  /
/  to load this Case File, it will bring up a loading screen and starts the side quest. You will have to do the same for the 3rd subquest of this case. Now enjoy the rest of the case. If you need a full walkthrough, refer to CF01: Clayface Walkthrough.
For everything else needed for 100% Completion, refer to the Gotham Knights WIki & Strategy Guide.
Leave a Reply