
You Alone I Have Seen is a Main Story Mission in Days Gone. This walkthrough will guide you through all objectives of the “You Alone I Have Seen” Main Quest.
 One Down
Objectives:
- Clear the Chemult Horde
- Return to Captain Kouri
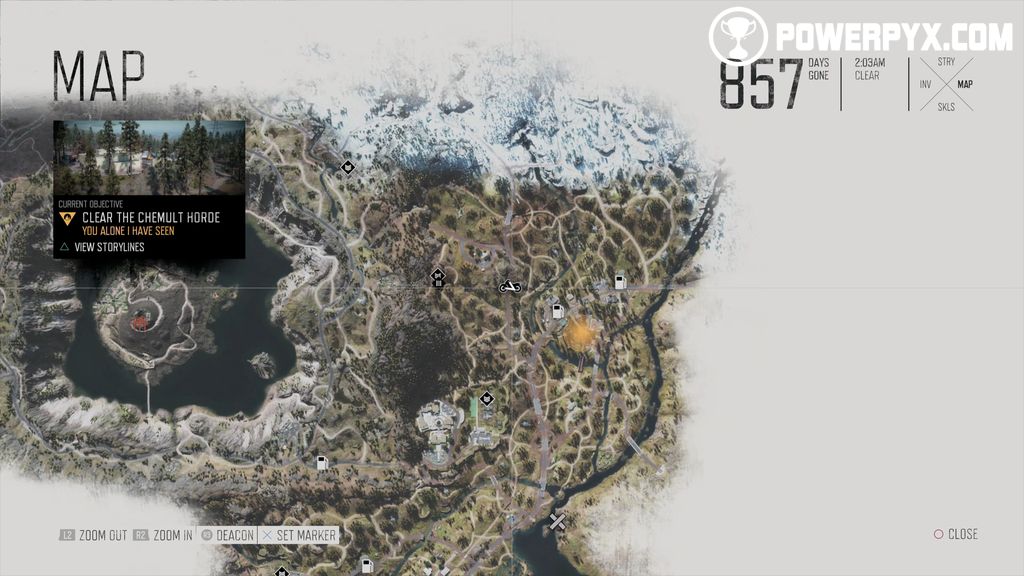
You Alone I Have Seen Starting Location
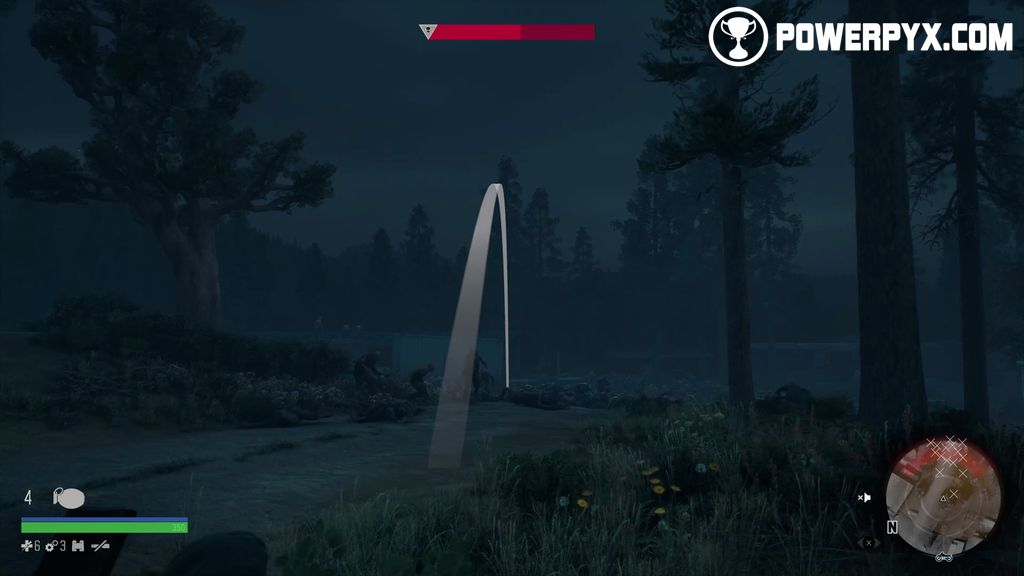
This mission immediately starts after the end of This Could Be It. This mission starts in Lake Crater. In this mission you will have to bring down a Horde made up of more than 300 Freakers. If you have followed this walkthrough, you should have plenty of explosive throwables and the Chicago Chopper. On top of your screen is a red bar indicating the overall health of the Horde, visible throughout the mission.
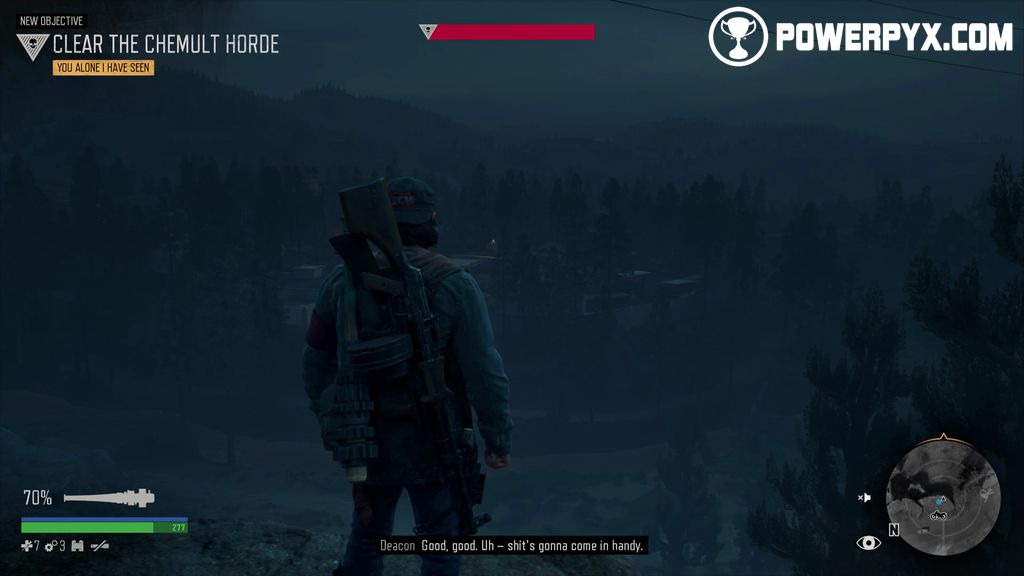
Clear the Chemult Horde
Start by collecting some napalm molotov in the crates behind you next to the bikes and then make your way to your location.
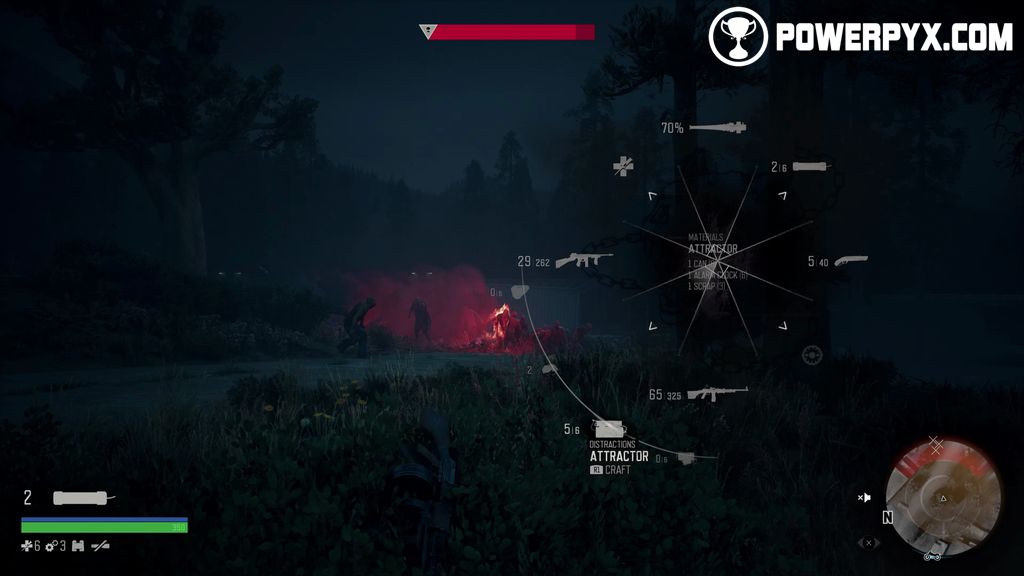
Try hiding in a bush that is as close as possible to the Horde. Using stealth here is of paramount importance if you don’t want to get caught as running will make too much noise and attract the Horde towards you. You want to have a strategy: if you have one, throw an Attractor to attract a good chunk of the Horde into a specific point. The aim here is to amass as many Freakers as possible into one specific small area Then, throw an explosive. If you don’t have an Attractor, then simply throw an explosive, making sure that it hits as many Freakers as possible.
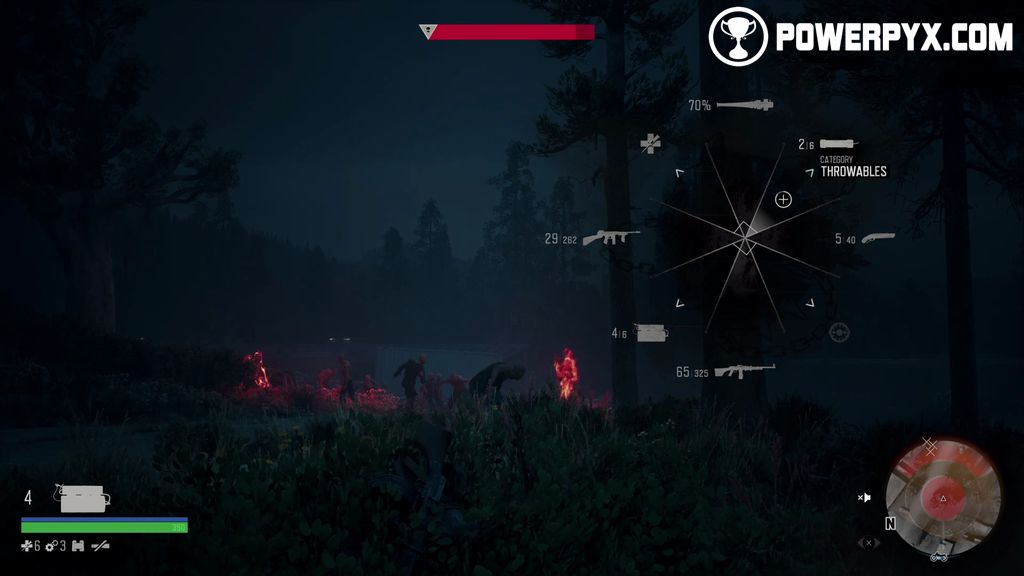
If you have enough, rinse and repeat until the Horde’s health bar is at least halfway through the bottom.
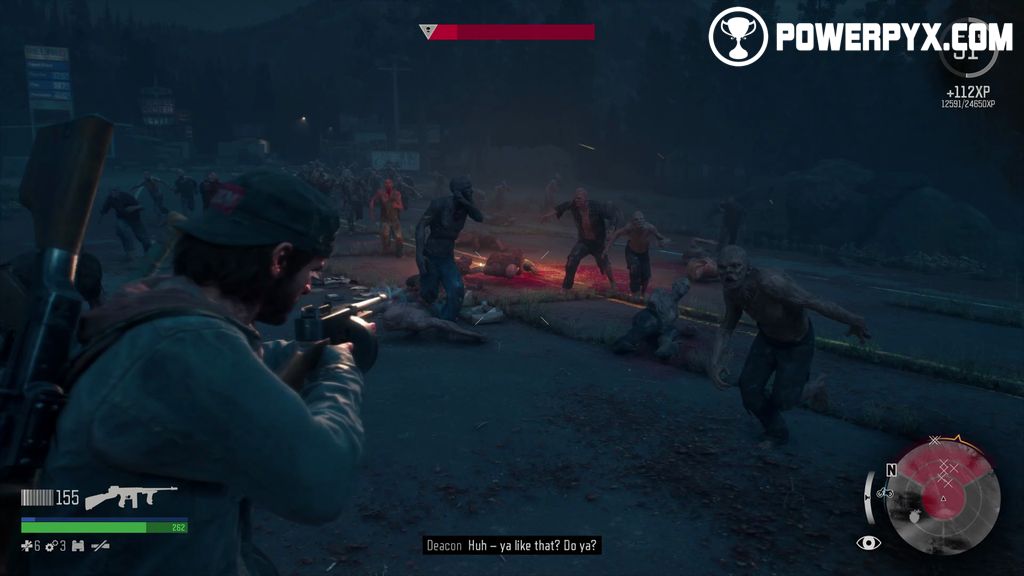
Then, engage. Now the strategy here is slightly different. Shoot down a few and run like hell. Rinse and repeat. This will allow your Stamina to recharge as you shoot. Avoid rolling as that uses too much Stamina. Using a Stamina boost is not a bad idea either if you have one. There are also lots explosive canisters of gas around the gas station and using these will create additional explosions, minimising the number of Freakers. Using trucks to channel the Freakers into a specific location is also good to take down lots of them in no time. Keep using all of these strategies together and the Horde should be down soon enough.

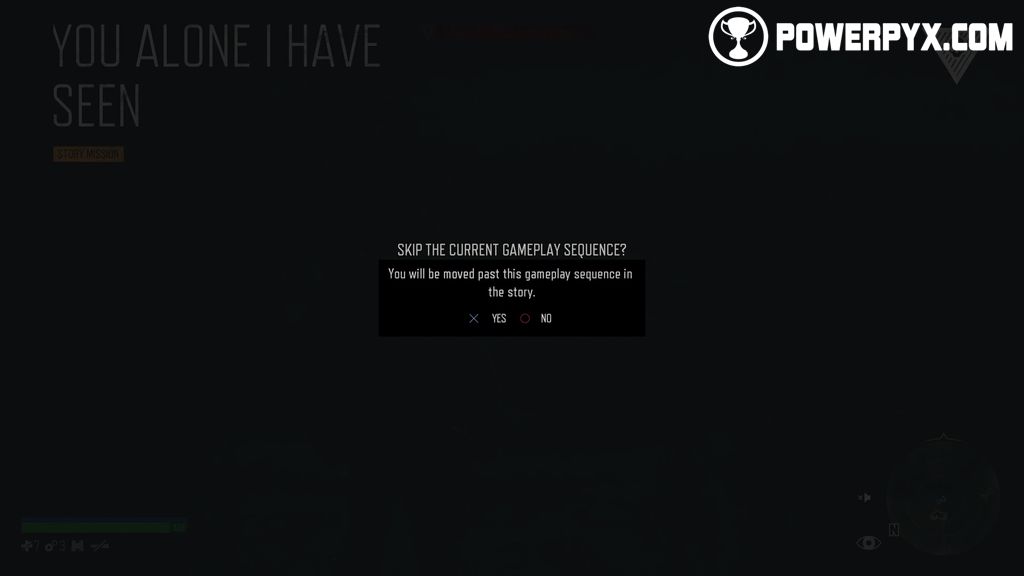
If you somehow die too many times in a row, the game will enable you to skip this gameplay sequence. Don’t worry, you’ll still unlock the trophy for “killing” your first Horde (:silver: One Down) and be able, to boot, to collect the Freakers’ ears for  Lend Me Your Ears.
Return to Captain Kouri
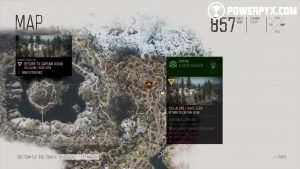
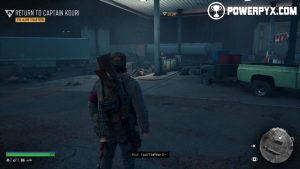
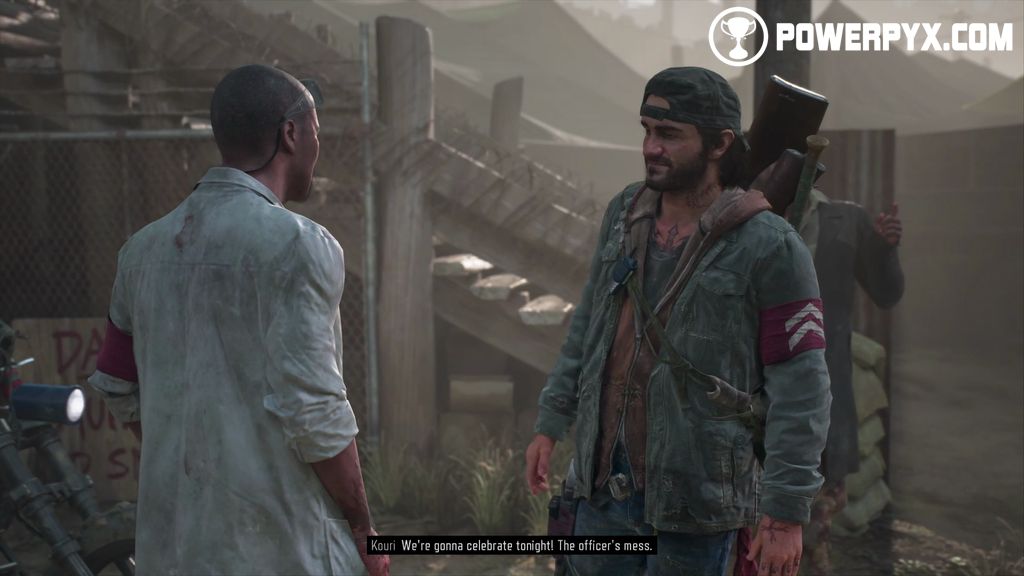
After disposing of the Horde, return to Captain Kouri and with him you’ll return to Camp. The camp will reverence Deacon for bringing down a whole Horde alone.
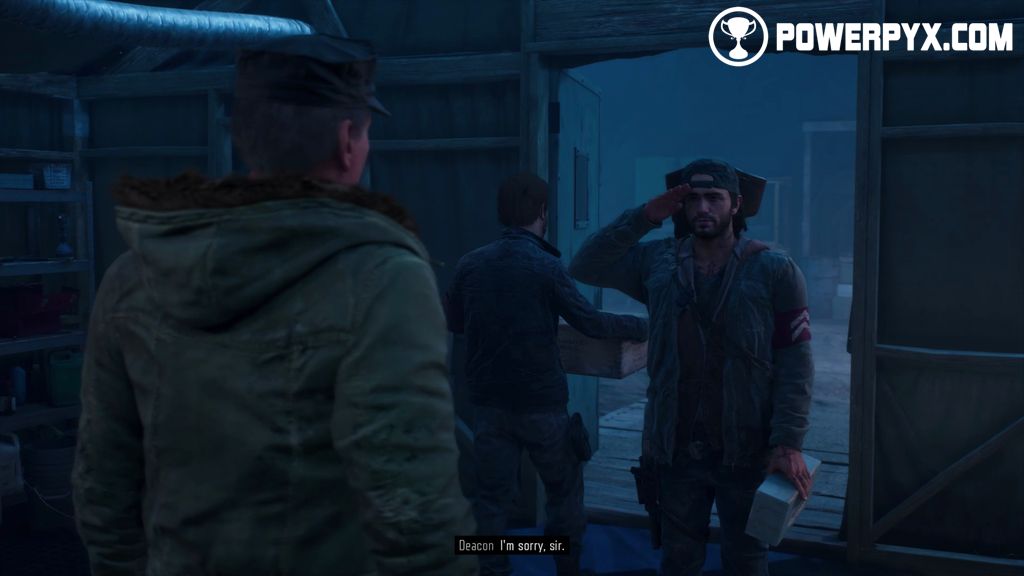
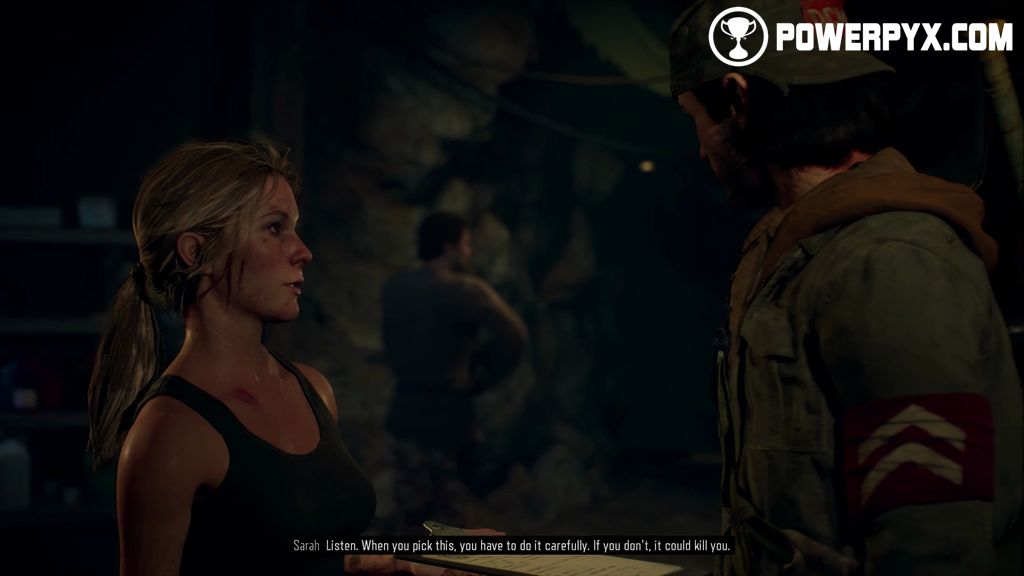
But the Colonel seems to have different plans. He has locked Sarah in the Ark. Deacon still manages to meet with her and Sarah tells him she’s been working on something new: poison, and a deadly one to boot.
This concludes You Alone I Have Seen mission in Days Gone and unlocks the mission “He’s Not Big On Tunes”.
For all other Days Gone Story Missions check out the full Days Gone Walkthrough.
Saltedszechuan says
How many deaths are required to skip this gameplay section?
DSTJ says
how many times you have to day to skip the missions ?
Tim says
WARNING! If you kill the horde and then save and quit before talking to Khouri again, it will make you do it all over when you reload the save. I found this out the hard way.
Muzz says
An easier way to take down this horde is, once you’ve stocked up on Napalm Molotovs and extra supplies to make them, go to the front of the café that has a large neon sign pointing to itself. In the front wall of the café is a hole that you can crouch and sneak through, which brings down a small furniture barricade behind you, which will then stop any Freakers from entering the house. You can then go upstairs and climb through one of the windows at the front of the house onto a ledge, out of reach of the horde. Shoot the car with the alarm which will then attract the Freakers to you, allowing you to bomb and shoot them at your leisure from relative safety. Some Freakers may not come to the front of the house so you may eventually need to jump back to the ground to finish them off, but this should be the only dangerous part of taking down this particular horde.
A_Ron_11 says
This sounds SO much easier. Thanks, looking forward to trying this later.
Austin says
Thank you for the tip!!
Thomas Harrison says
Good tip. 100% worked for me
John Anderson says
Oh yeah. I will try this one
Jeff says
I can’t roll in there because it’s already blocked by the chairs. About to skip this horde. Been working on it for two days.