
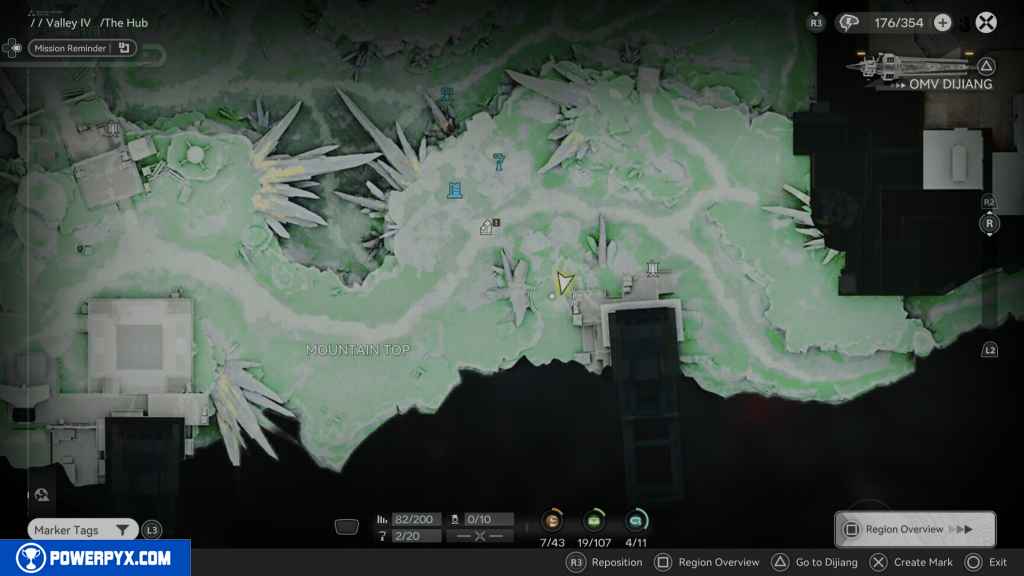
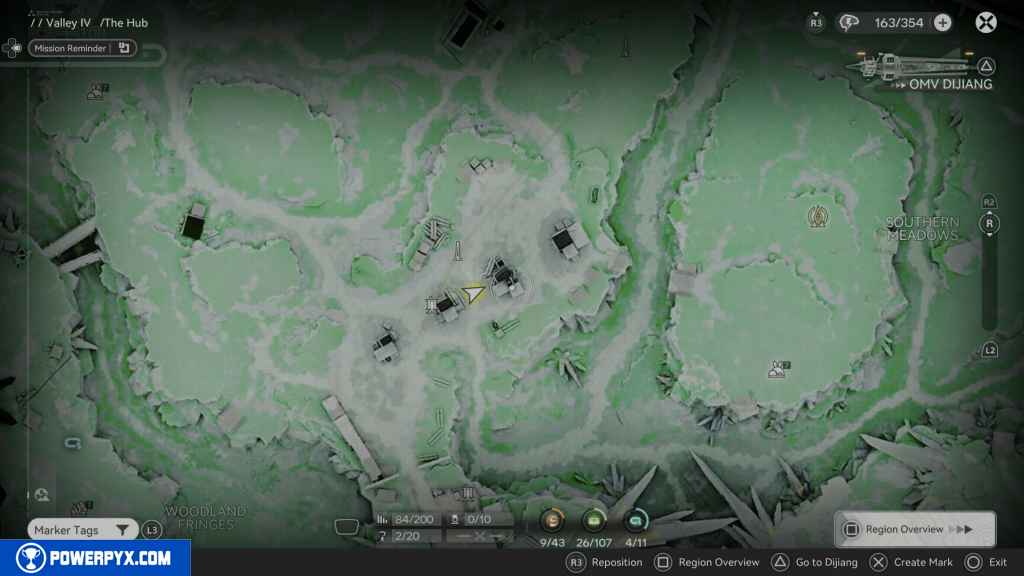
The Hub contains 277 Collectible Locations in Arknights Endfield. This walkthrough will guide you to all the collectibles in The Hub. Everything that’s needed for 100% completion is included.
- Aurylene: 43
- Crates: 107
- Protocol Data Logger: 11
- SOS Repair Bots: 9
- Gathering Points: 105
Complete These Quests To Unlock All Areas In The Hub
- Play through the story until you complete Main Mission 29 – Conference of the Four
- 5th Main Mission – Rally and Unite
- Side Mission – A Brewing Storm: The Hub
- Side Mission – Elevator Repairs
- Side Mission – The Road is Rough
- Side Mission – Invisible Glyphs: Discovery
- Side Mission – Had To Be Done
- Side Mission – Invisible Glyphs: Investigation
- Side Mission – Base Revisited
- Side Mission – Rumors about Tech
- Side Mission – Moral Booster
- Side Mission – Antique Drone
Collectibles Overview:
Collectibles
1 – Crate 1
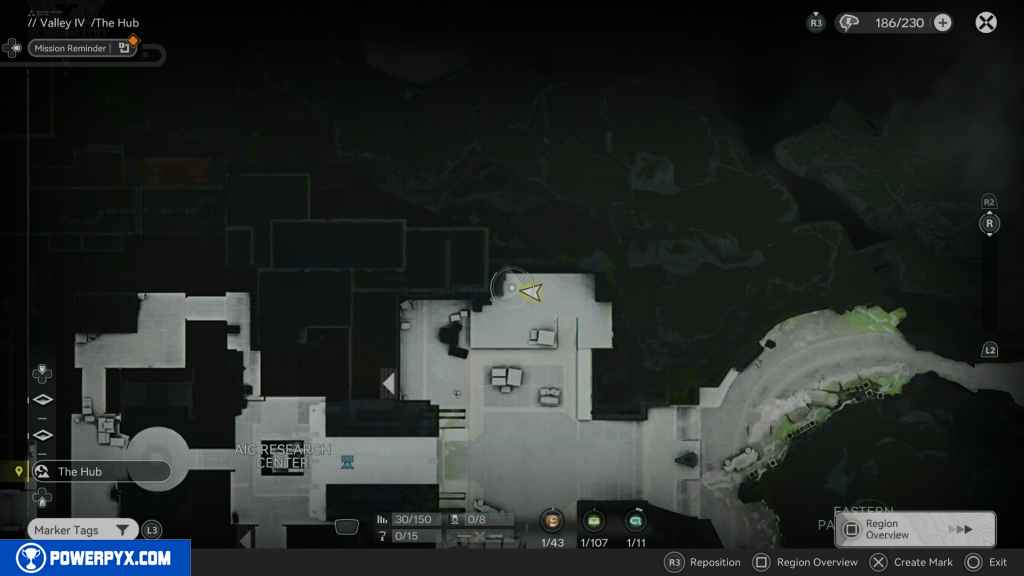
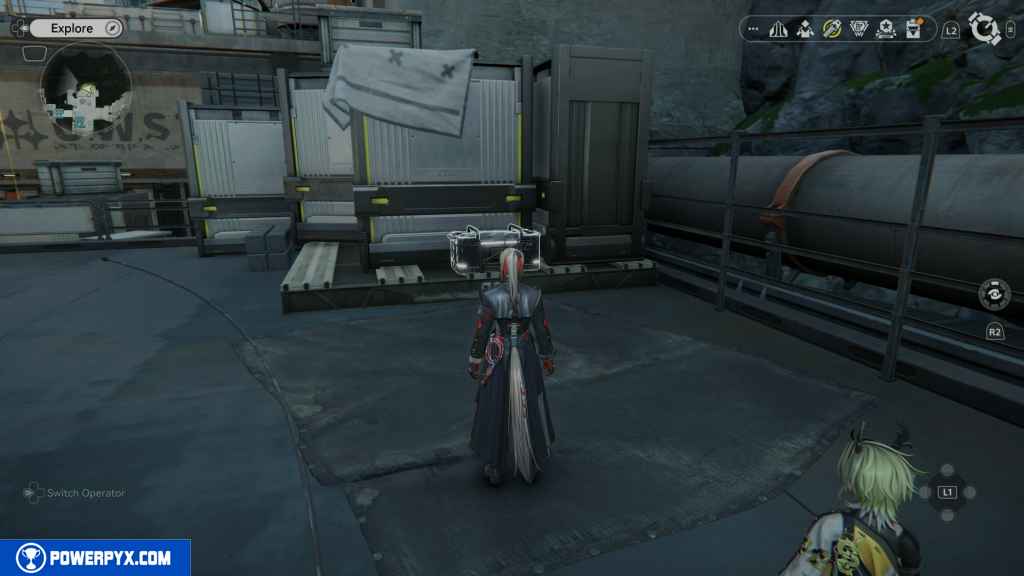
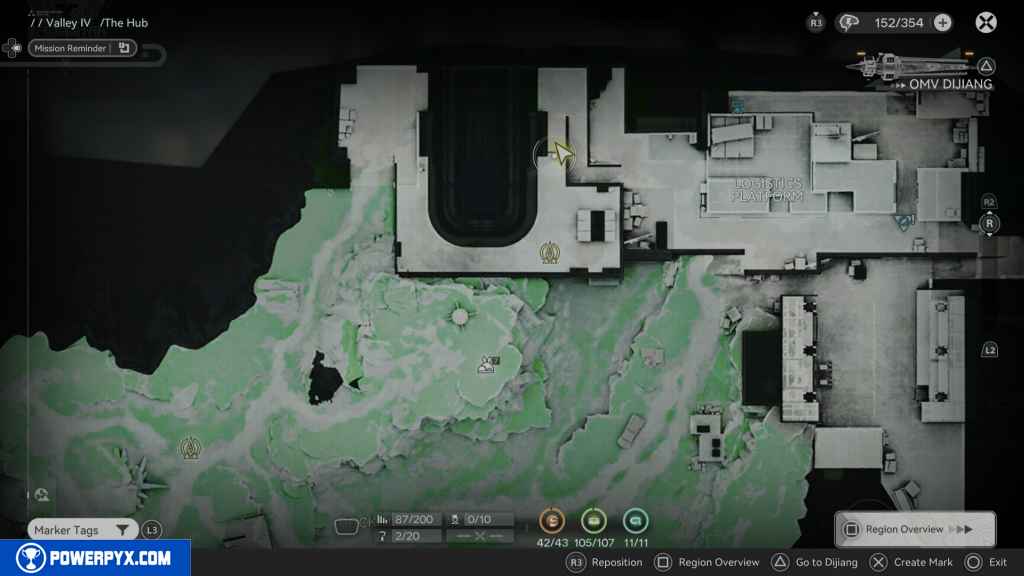
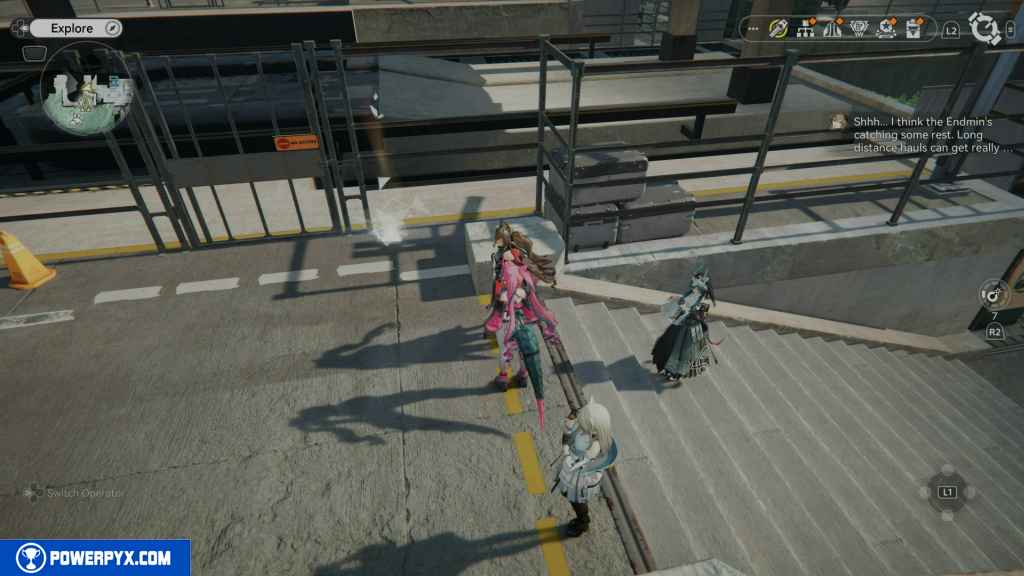
We start exploring The Hub for collectables at the start of the game – the Eastern Passageway leading into the AIC Research Center. As you approach the base, go up the stairs to the north, and you should see this next to some boxes.
2 – Crate 2
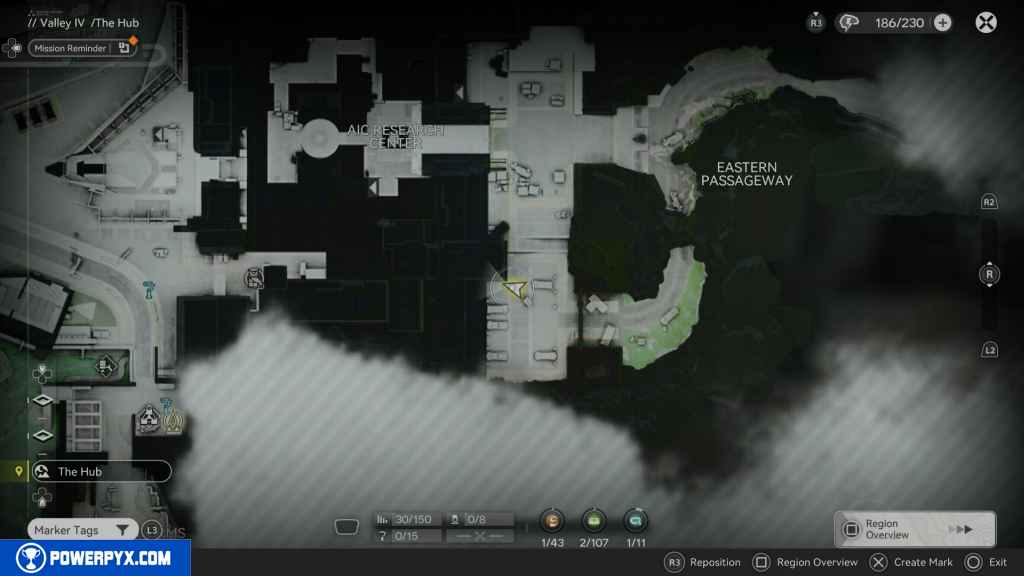
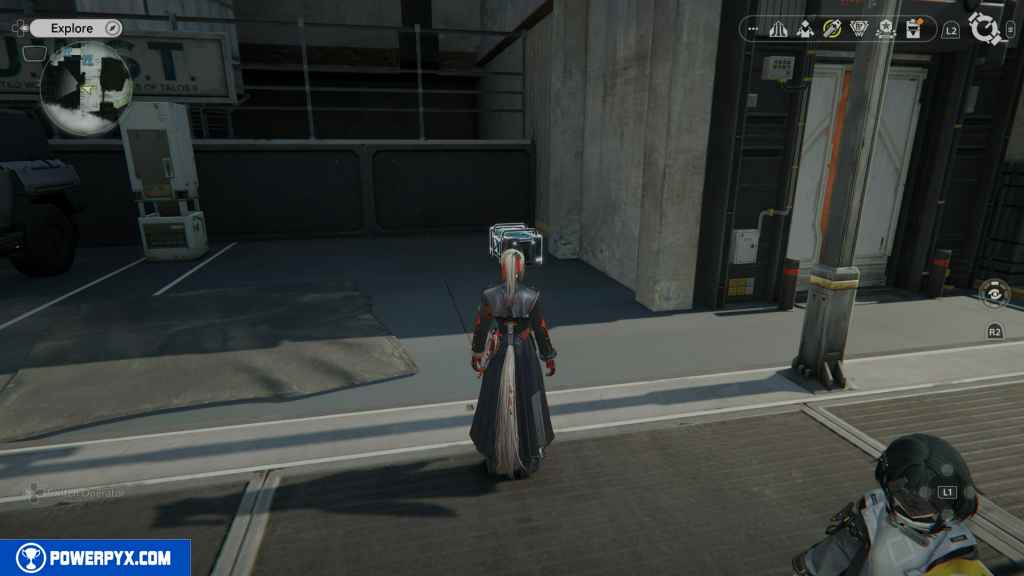
From there, head south to the parking lot and look around the first corner on the west for this crate.
3 – Crate 3
In the bed of the second truck going south.
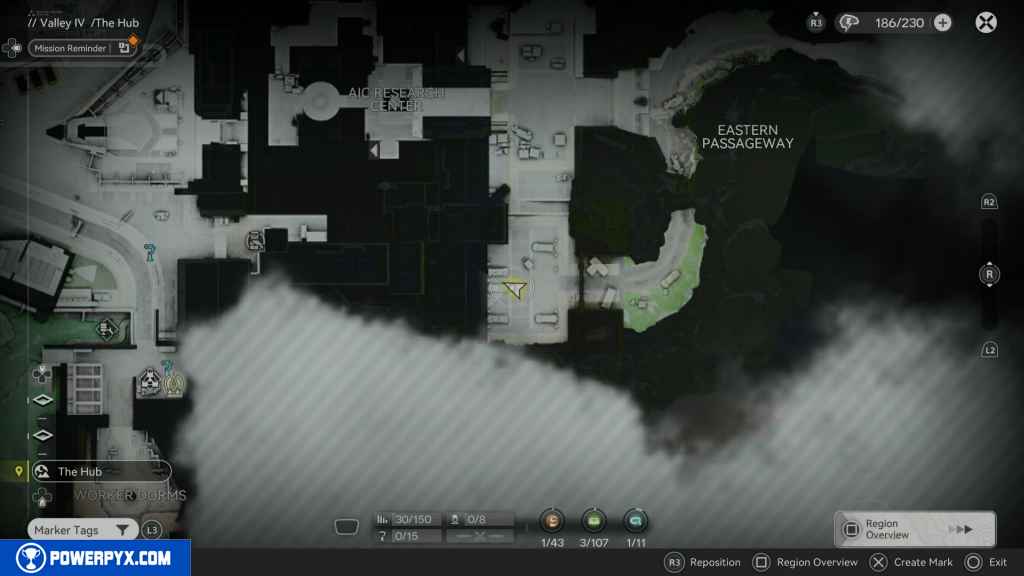
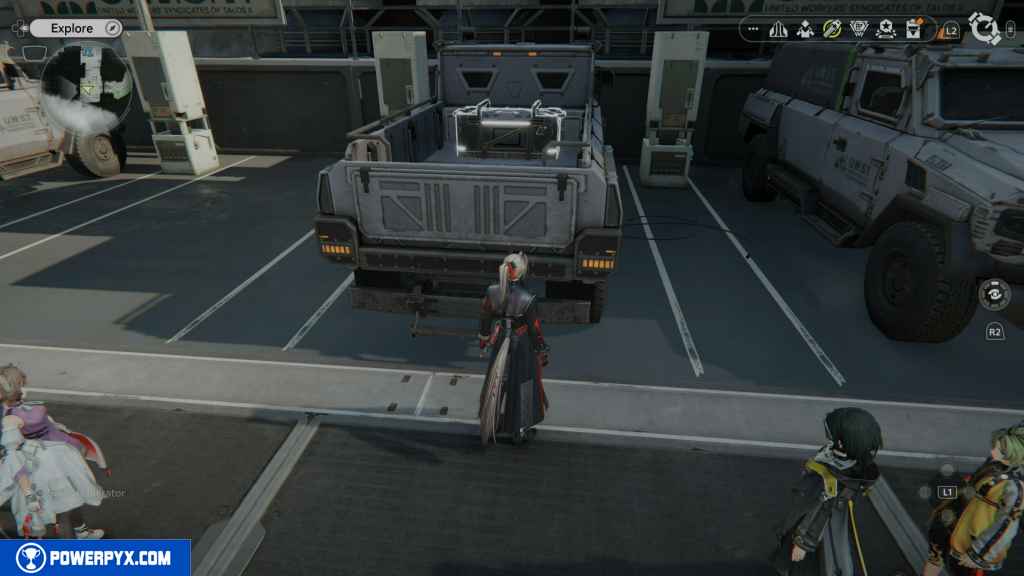
4 – Gathering Point 1
In the bed of the last truck on the southwest.
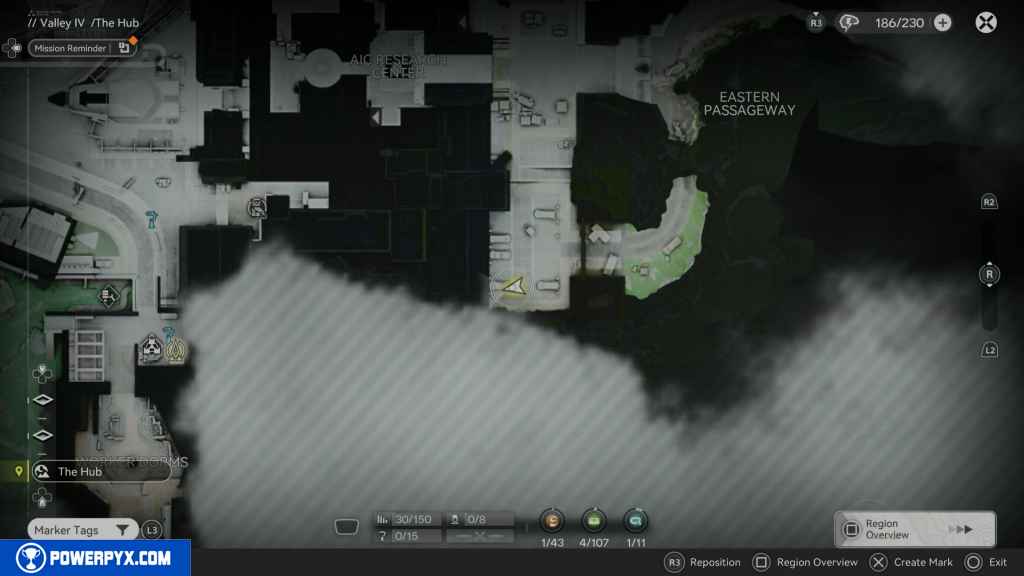
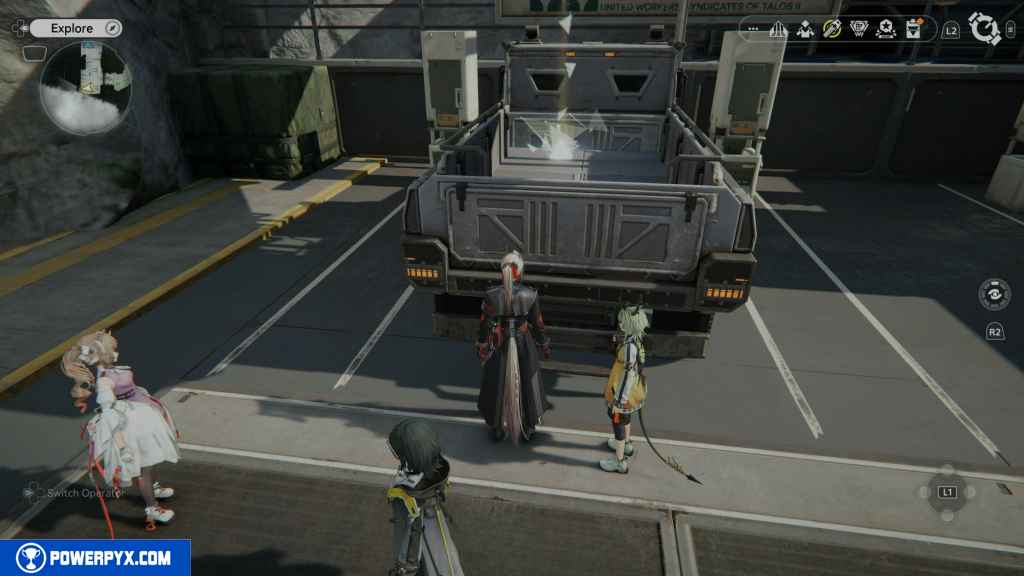
5 – Crate 4
From the last truck, turn around and look east to find this next crate sitting next to the truck.
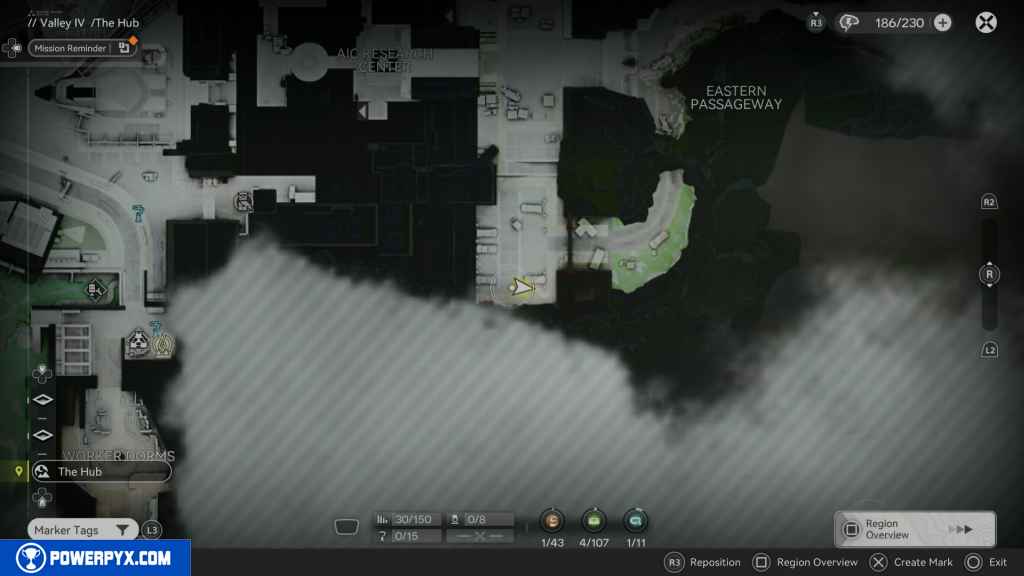
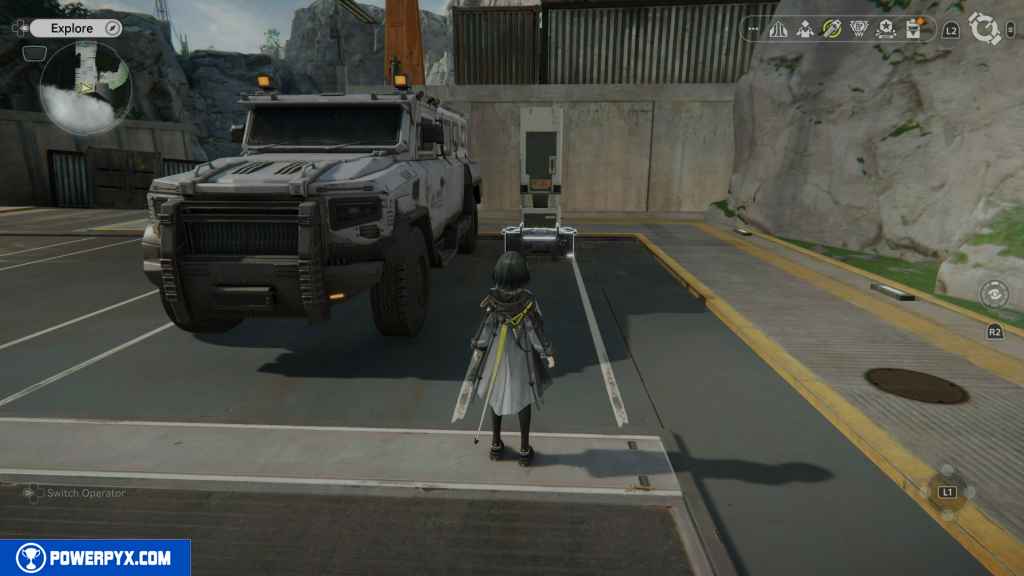
6 – Gathering Point 2
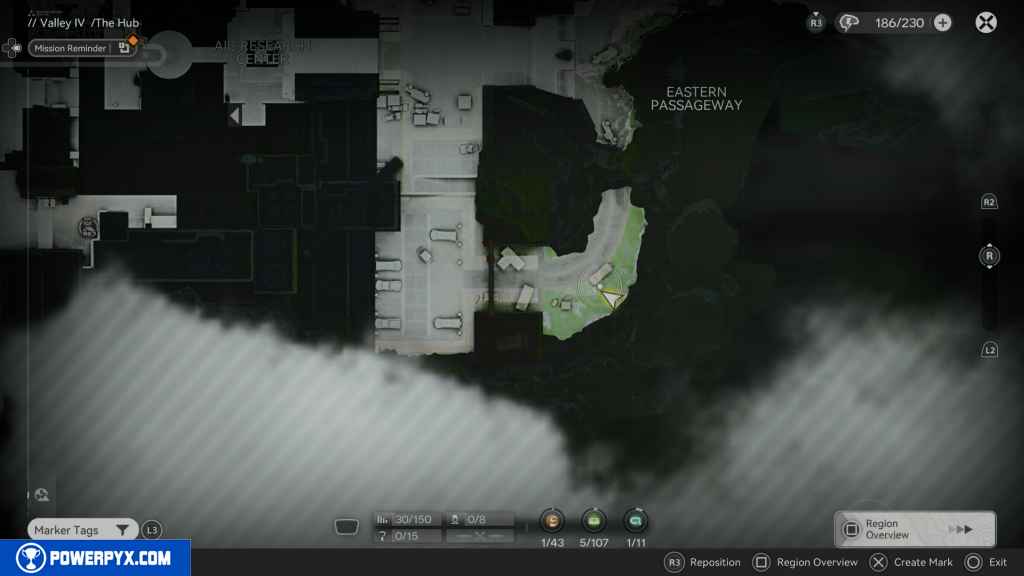
Head to the area east, and you should find this Gathering Point next to the boxes right in front of you.
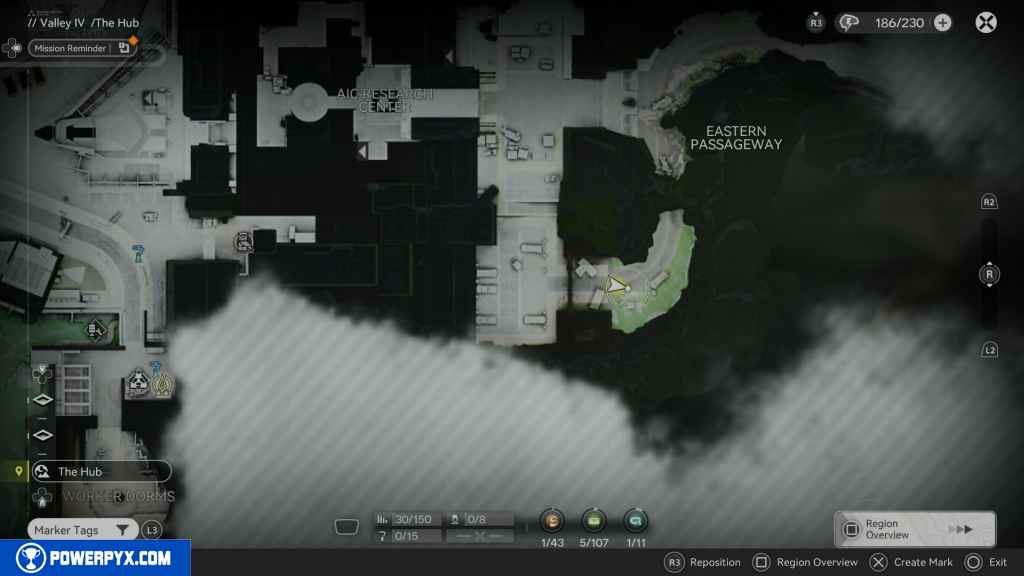
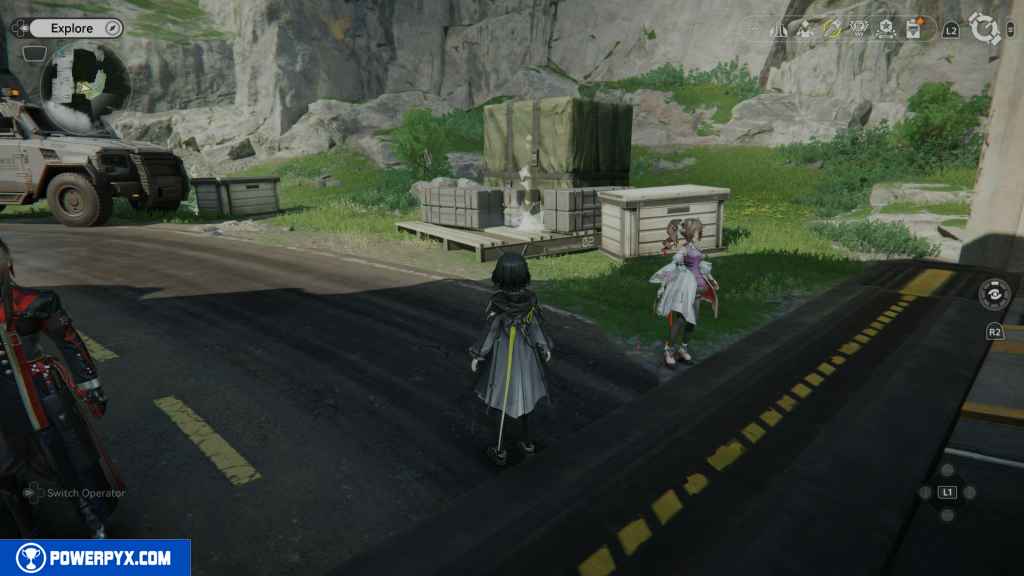
7 – Gathering Point 3
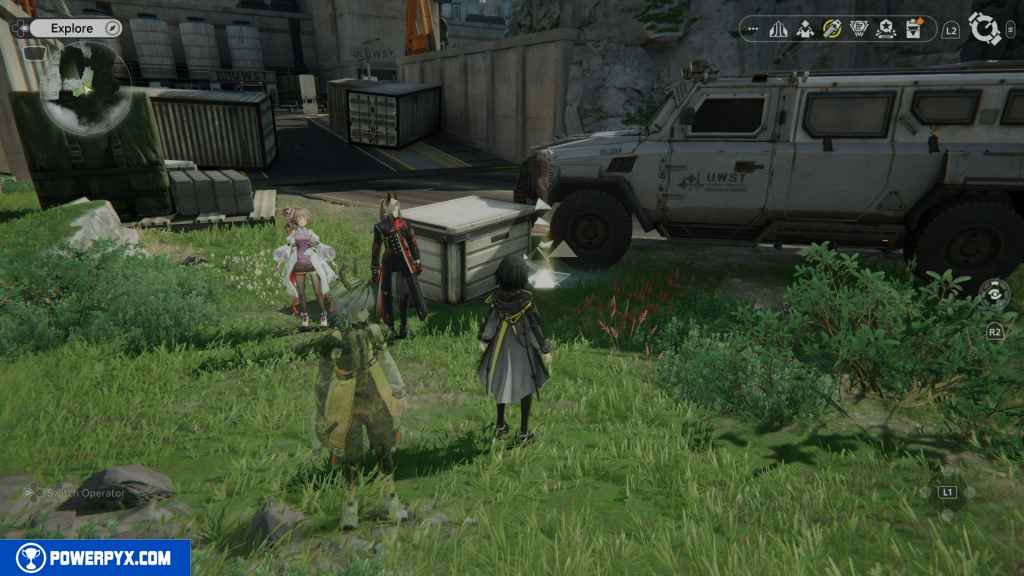
Continue east, and you should see a truck and a box next to it. On the other side of the box is the Gathering Point.
8 – Aurylene 1
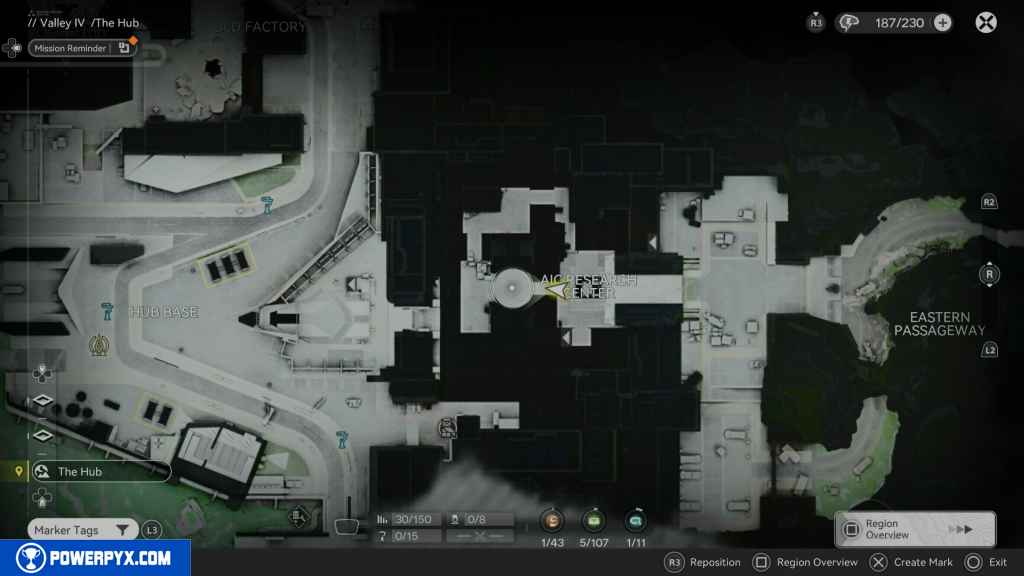
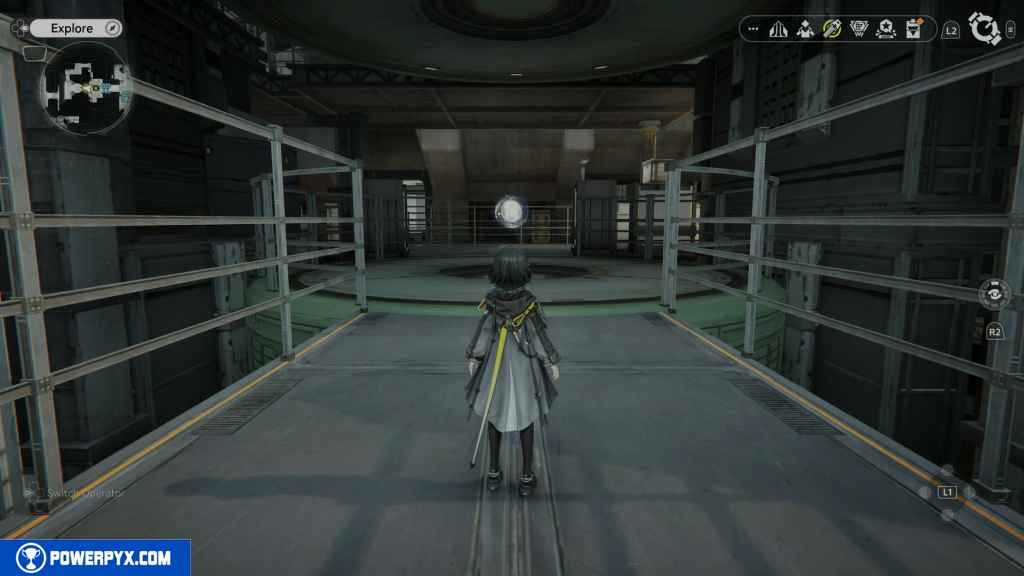
Head west into the AIC Research Center and continue to the large cylindrical platform. The Aurylene should be right in front of you.
9 – Crate 5
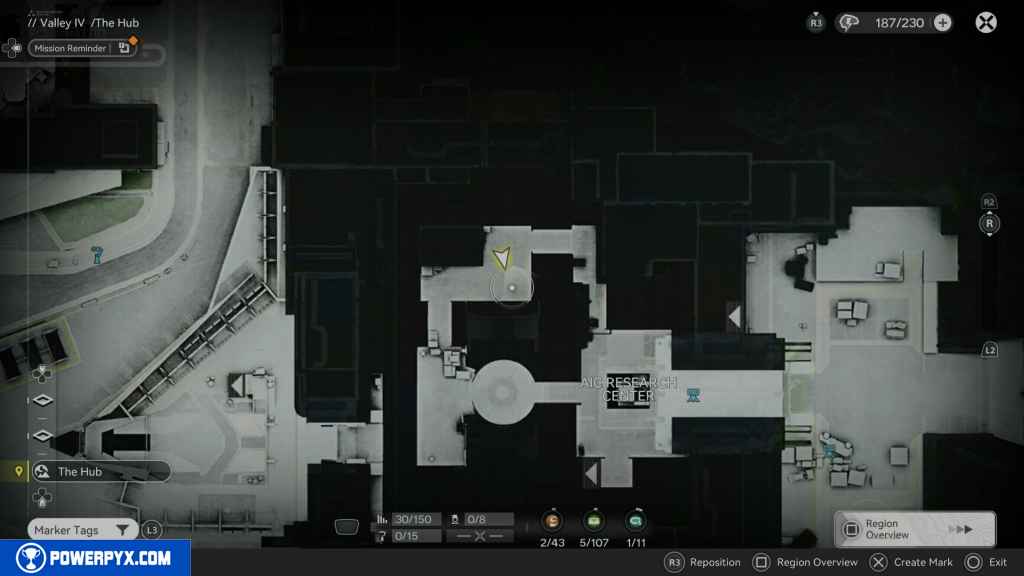
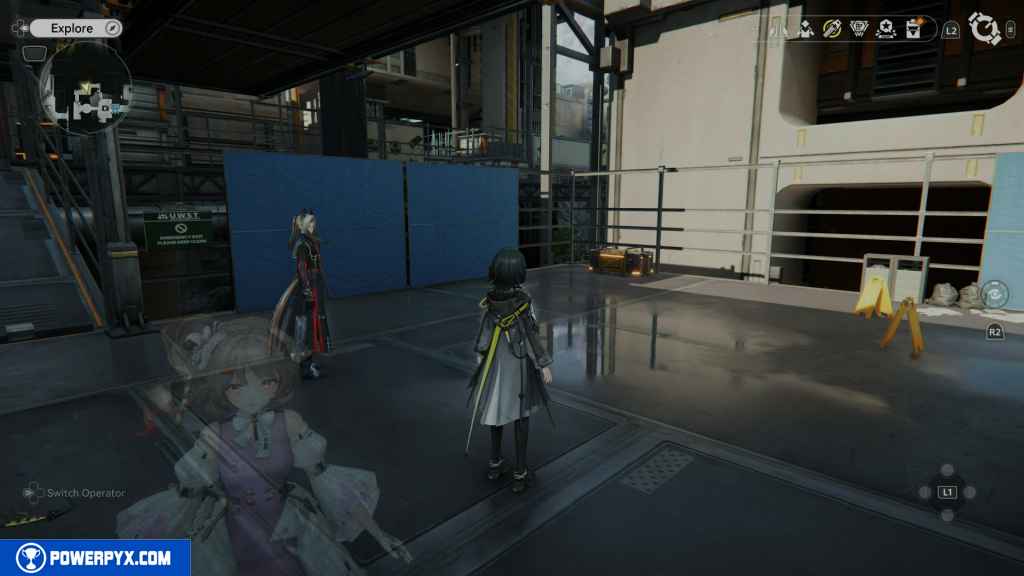
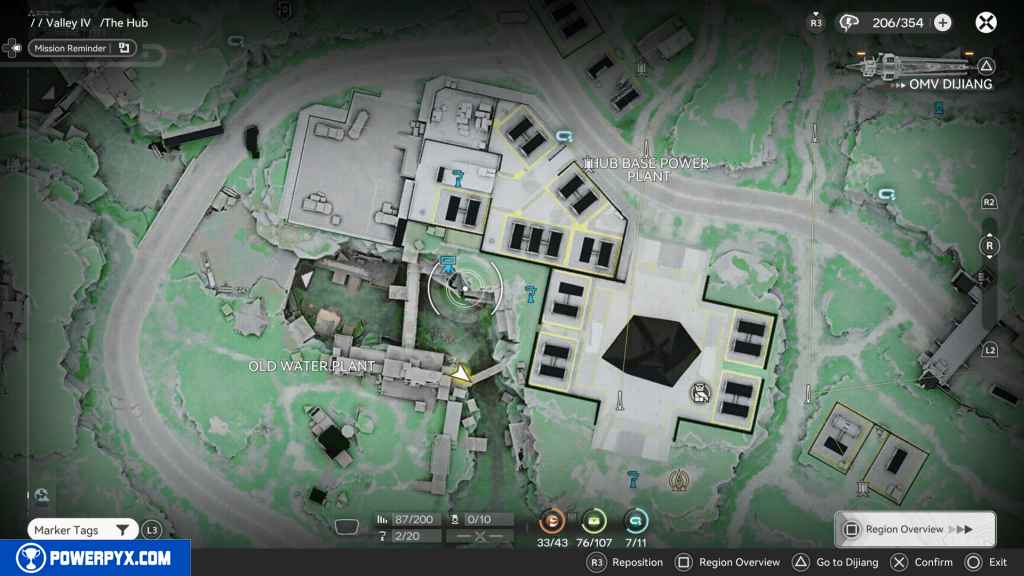
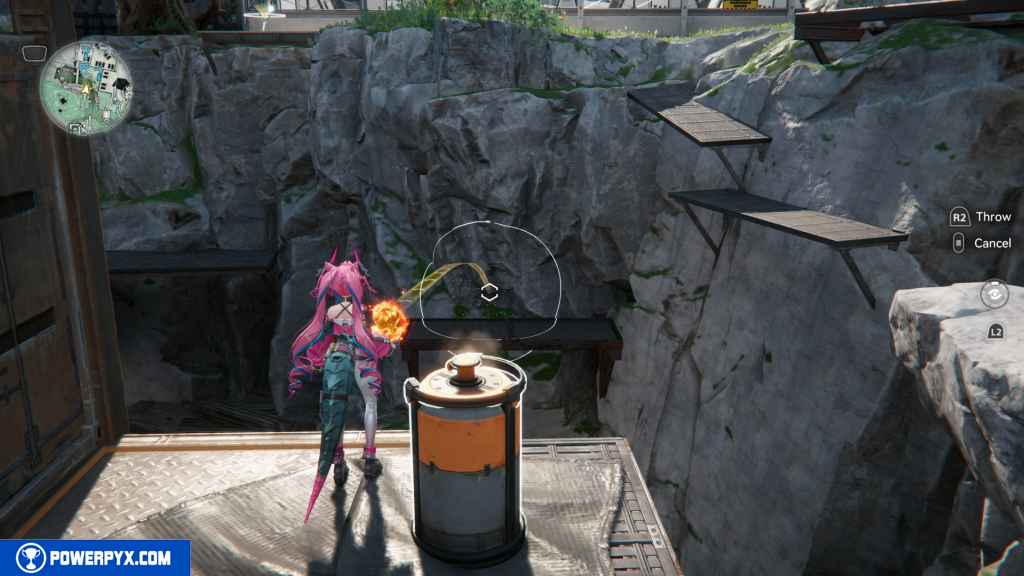
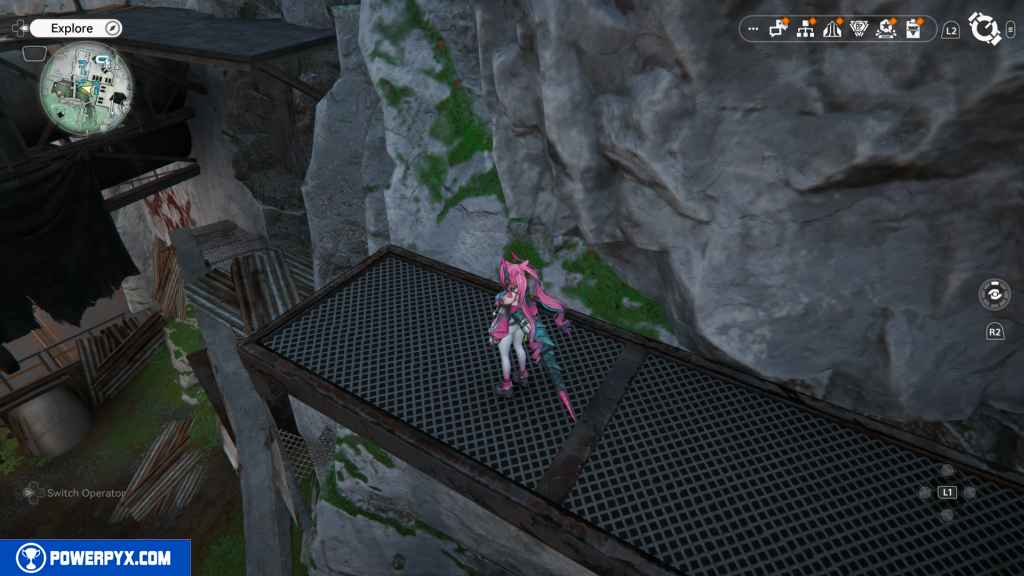
You should finish the Side Missions – Base Revisited and Rumors about Tech to find the collectible. Turn around and go back to the last area. On your map, look north, and you should see a path that you can use to jump up some crates to reach. Do so and use the moving crate to create a platform to jump up to the seesaw platform.
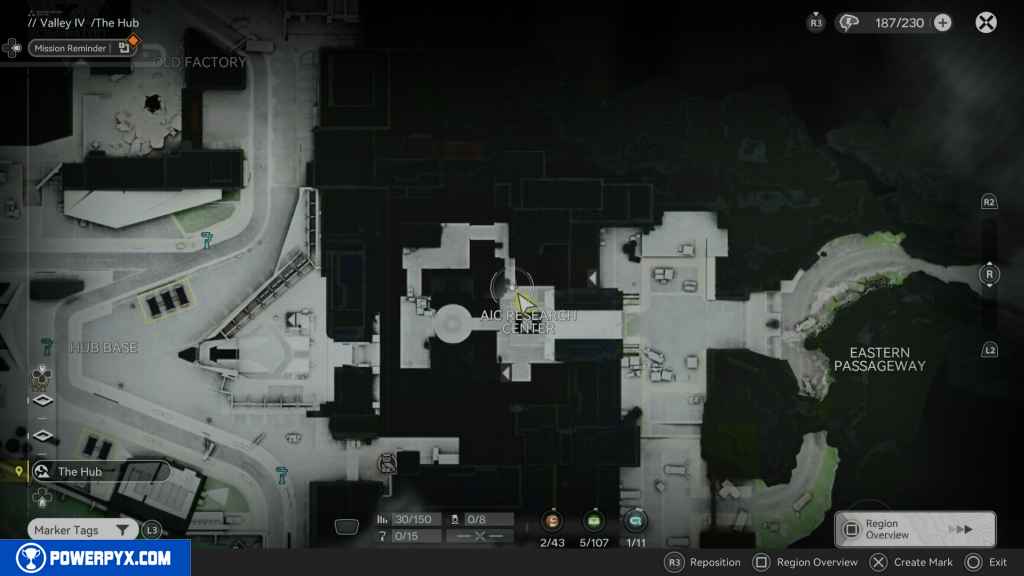
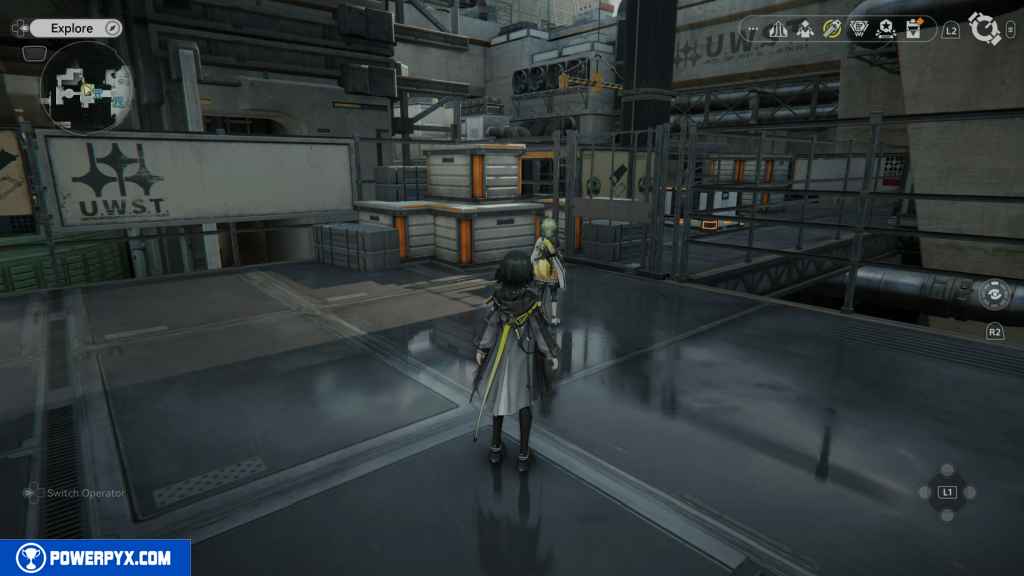
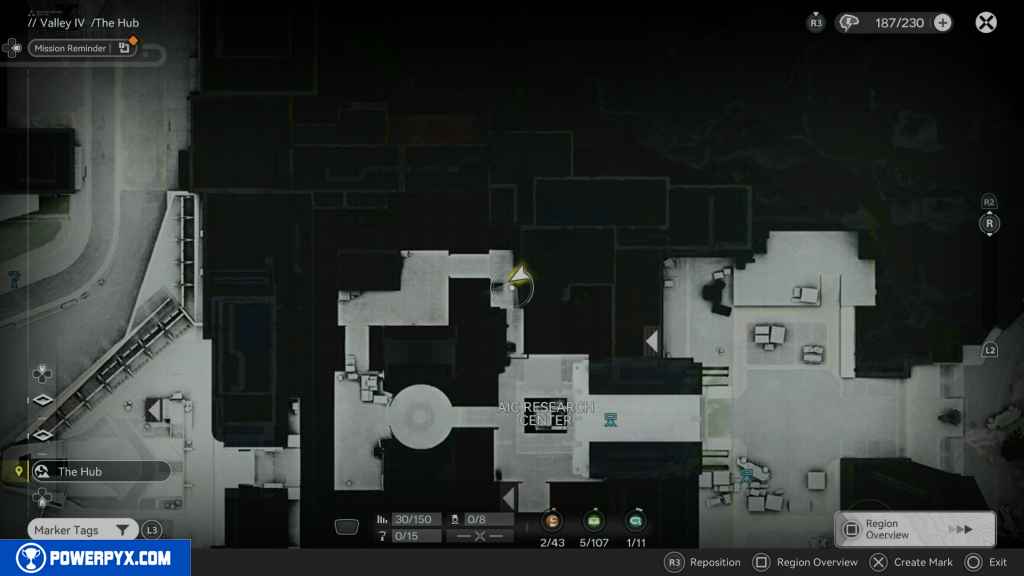
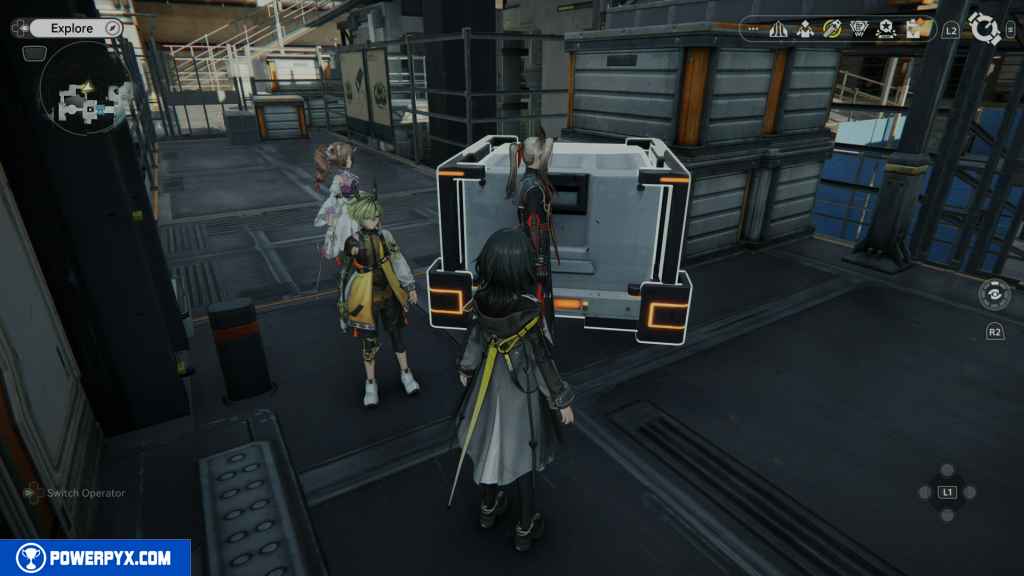
From there, jump down and look to your south to find the crate.
10 – Gathering Point 4
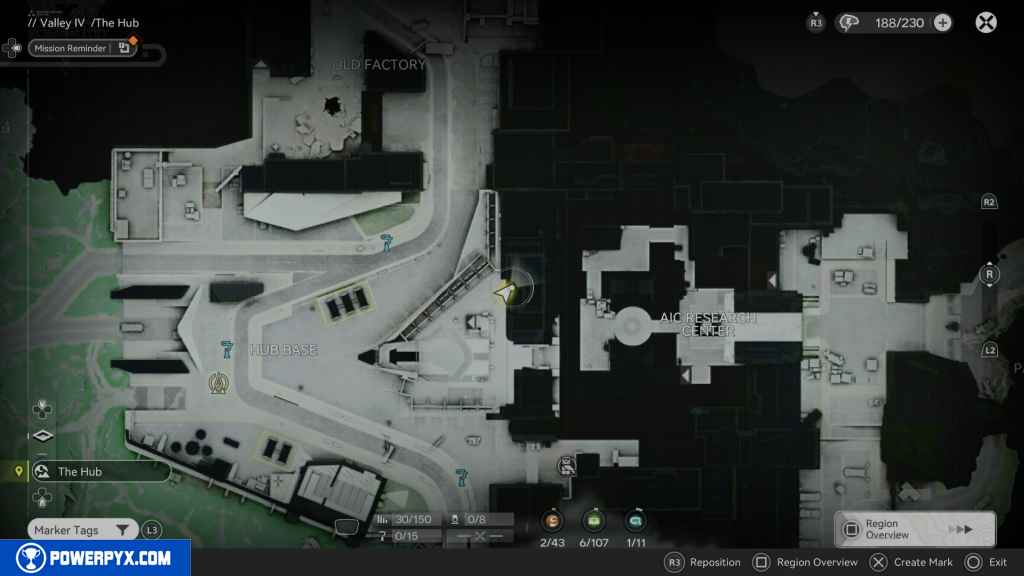
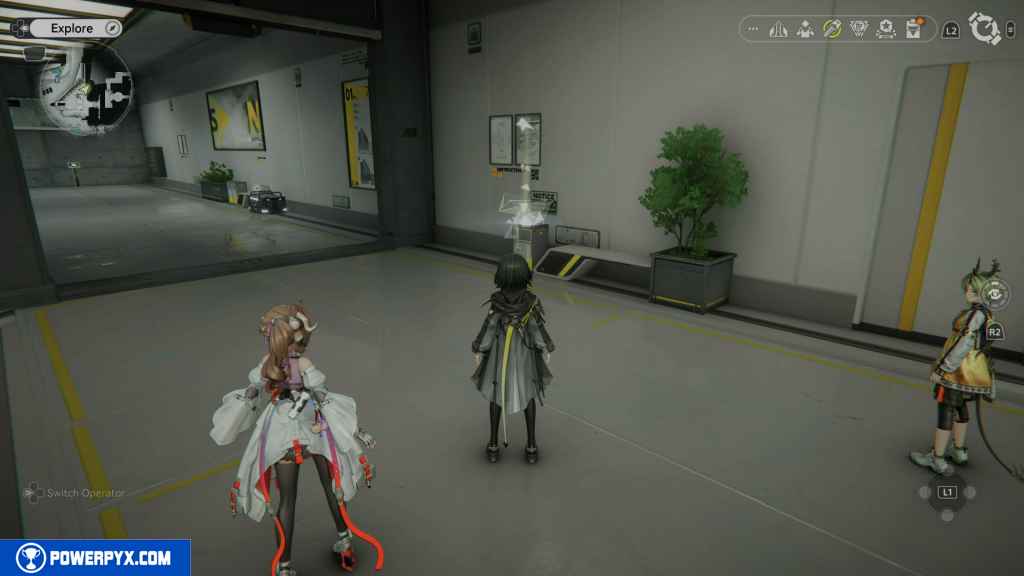
Head into the Hub Base and turn right to go north. You should find this Gathering Point on top of a trash can.
11 – Crate 6
North of the Gathering Point on the floor is the next crate.
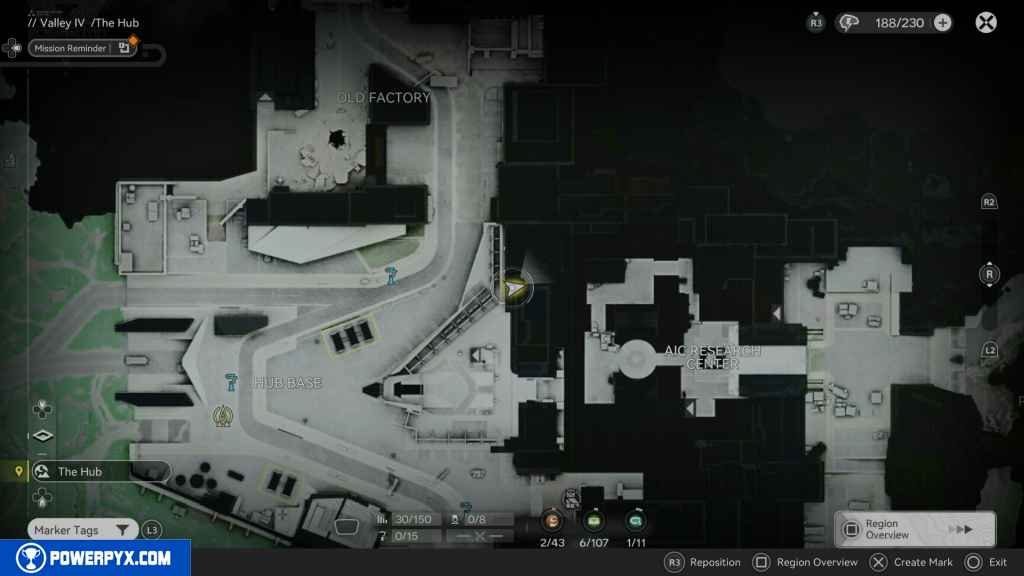
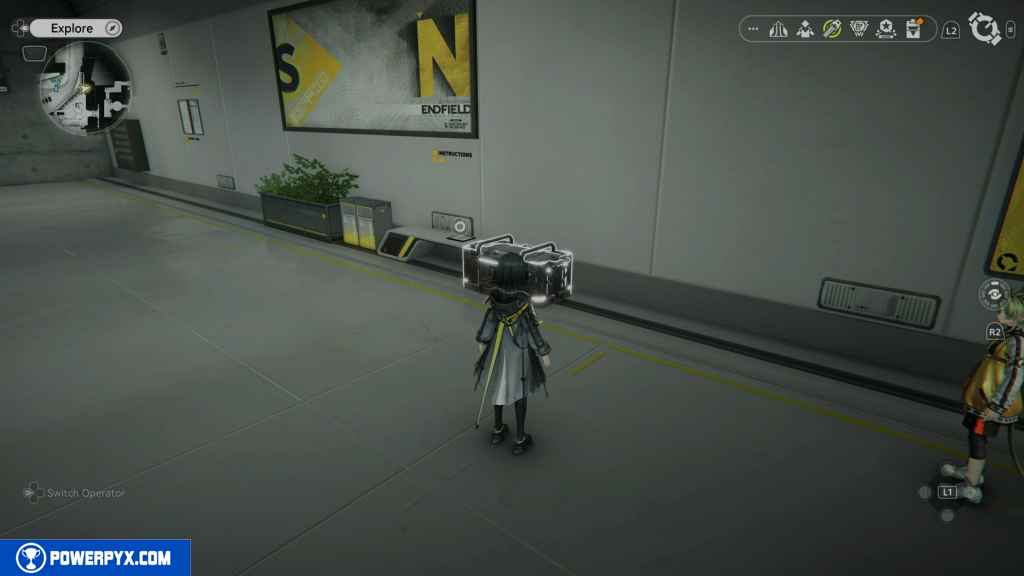
12 – Gathering Point 5
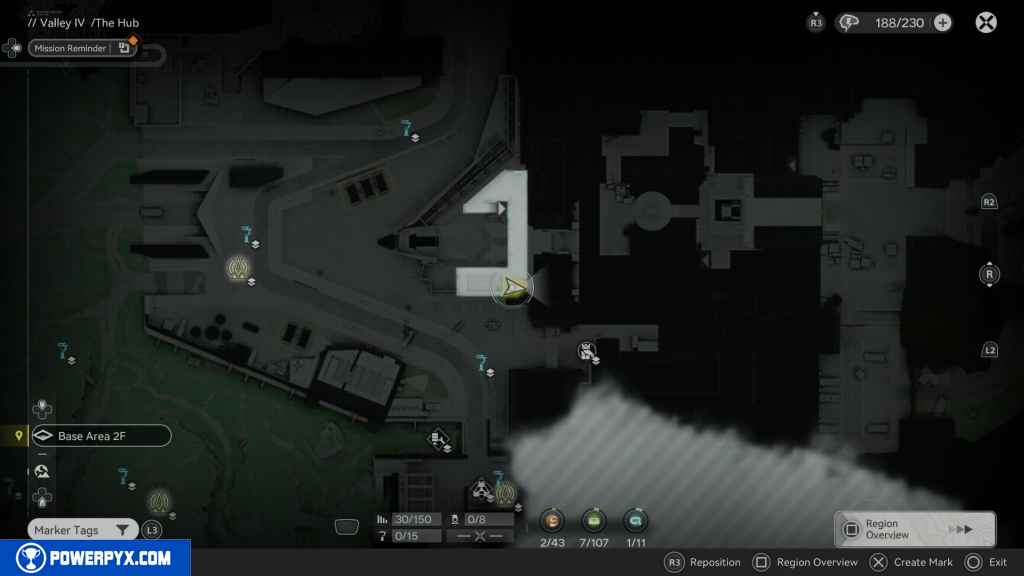
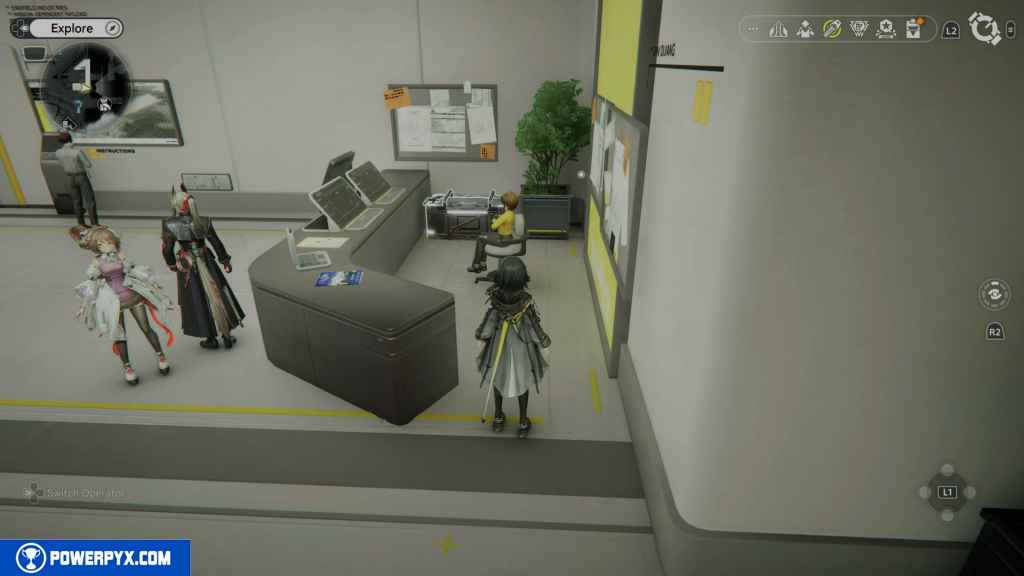
Head upstairs to the second floor and approach the reception desk to find the Gathering Point sitting on top.
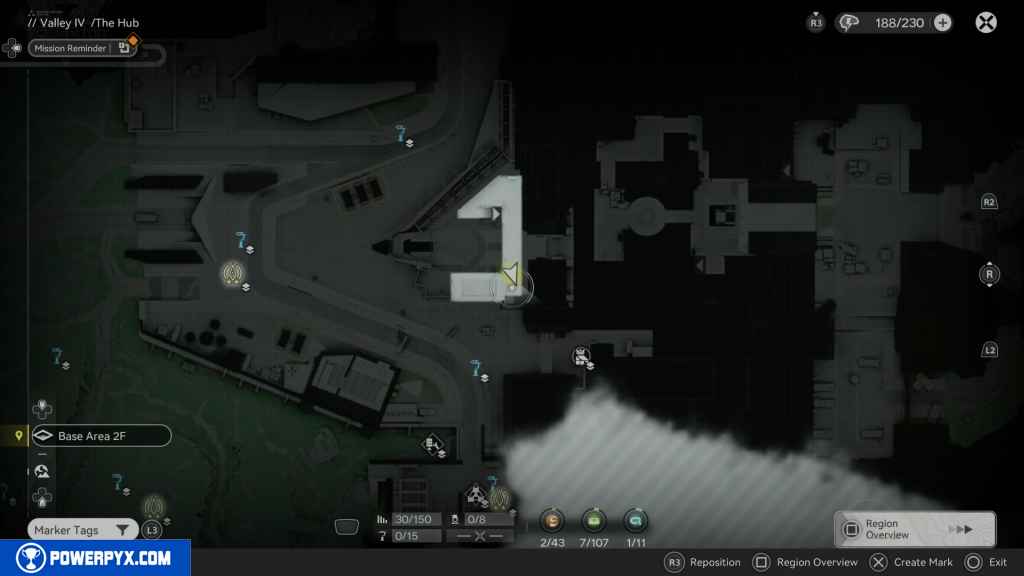
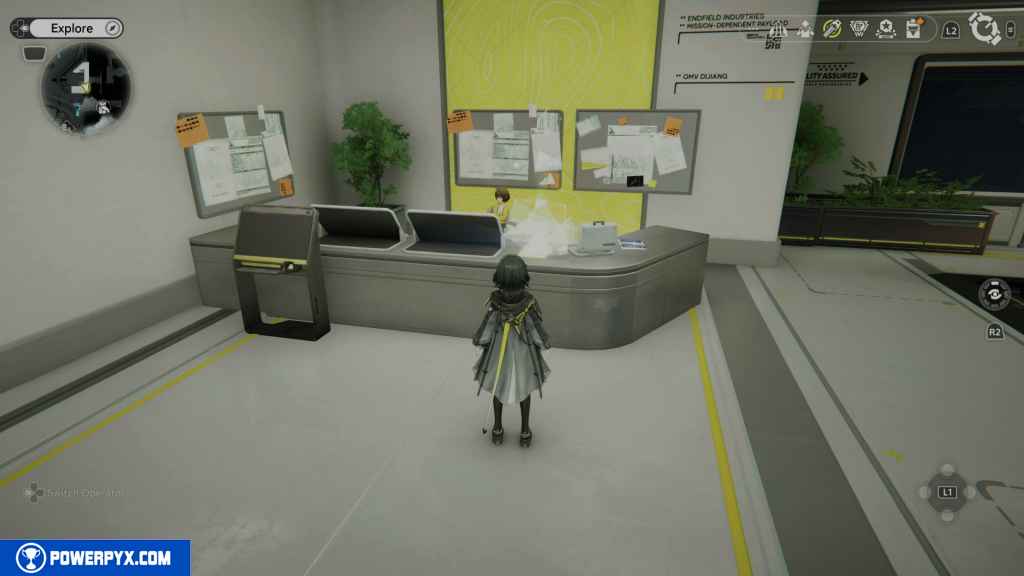
13 – Crate 7
Behind the reception desk in the corner, in the next crate.
14 – Gathering Point 6
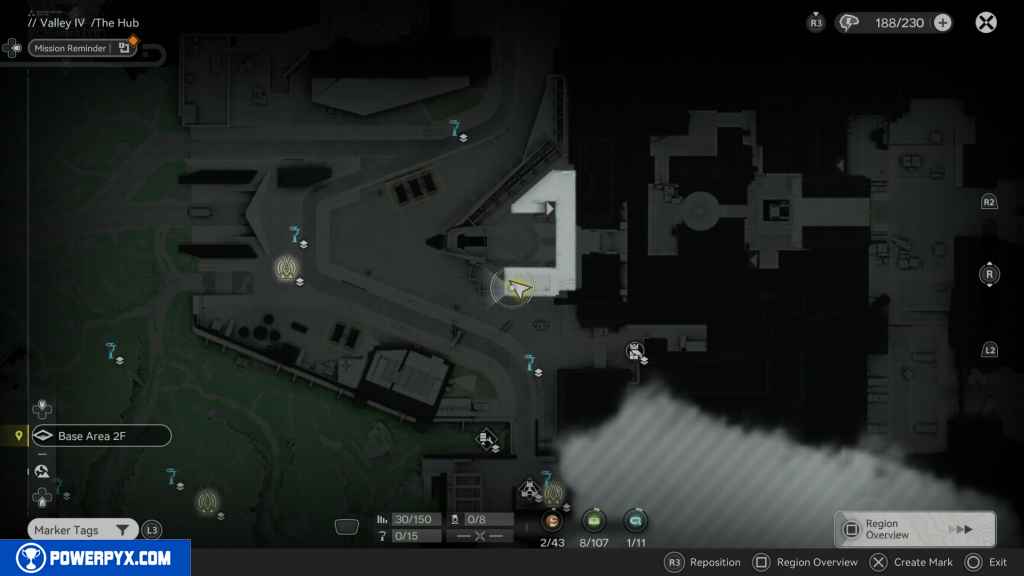
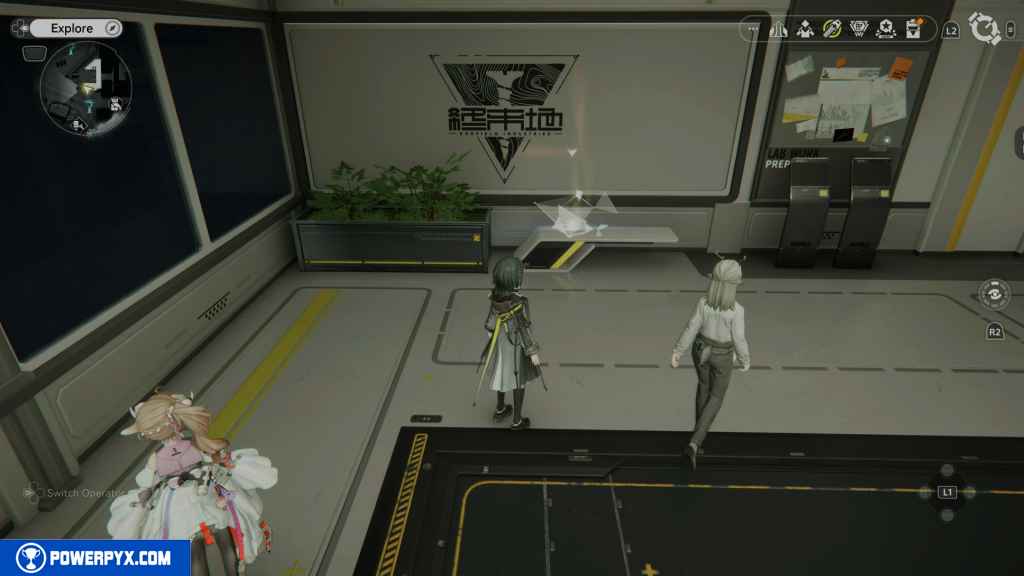
From the reception desk, head west, and you should see the next one on a bench.
15 – Gathering Point 7
Head outside and go east to the Owl Recycling Station to the southeast. On the way to it, you should see the Gathering Point on your left next to a generation.
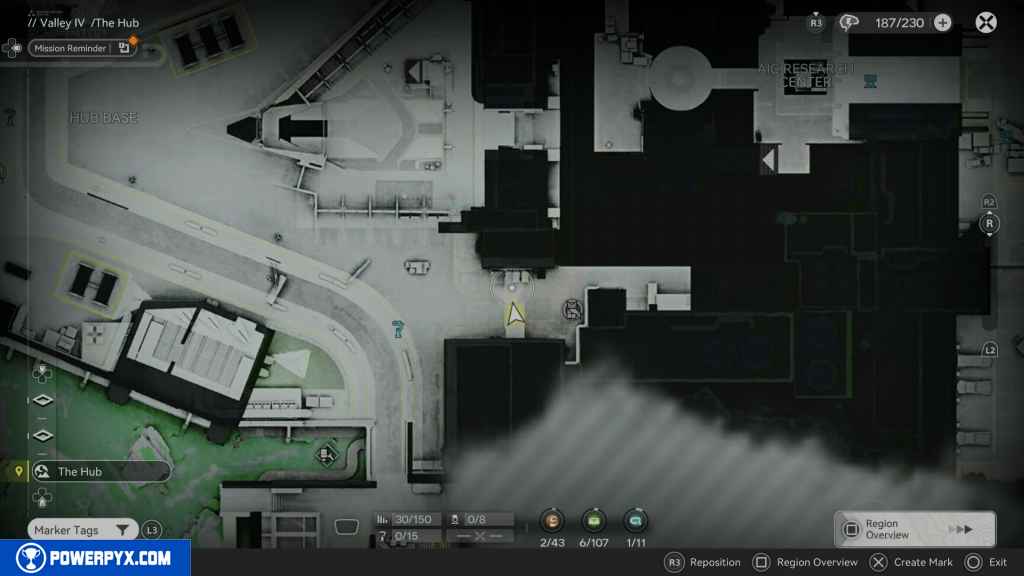
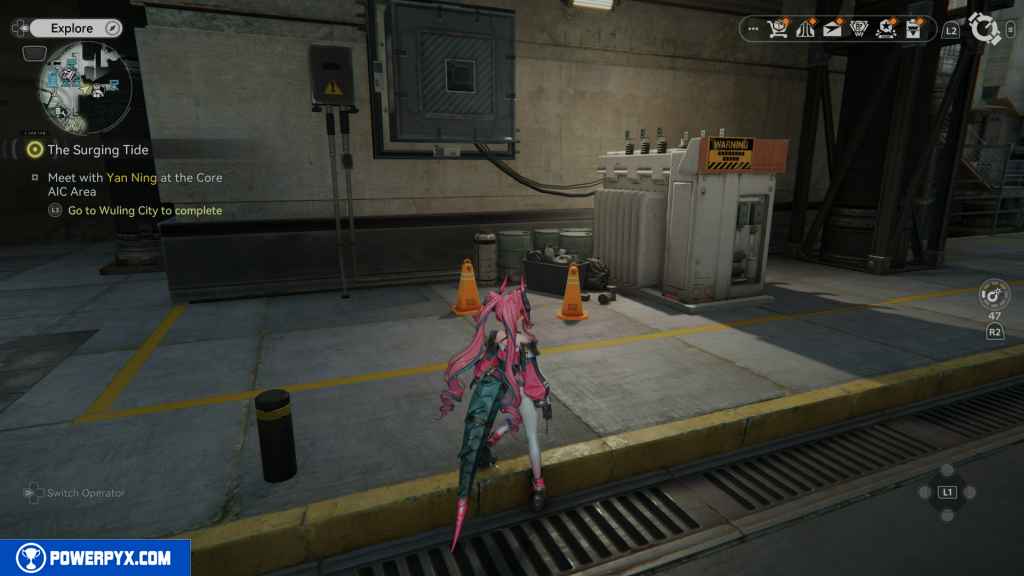
16 – Crate 8
Head south from the Gathering Point toward the Worker Dorms. Before heading down the stairs on the west side, where you see all the plants, is the next crate.
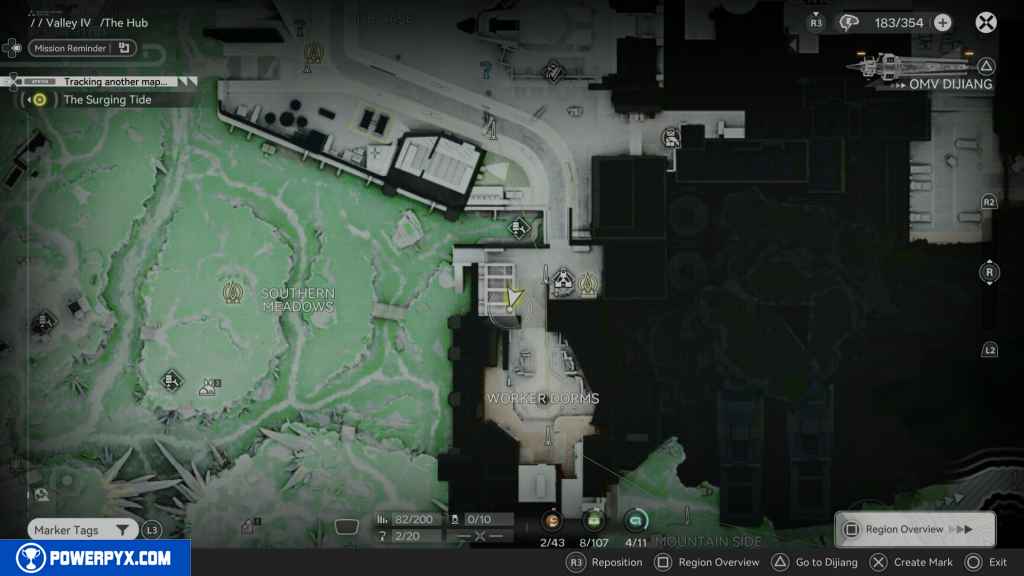
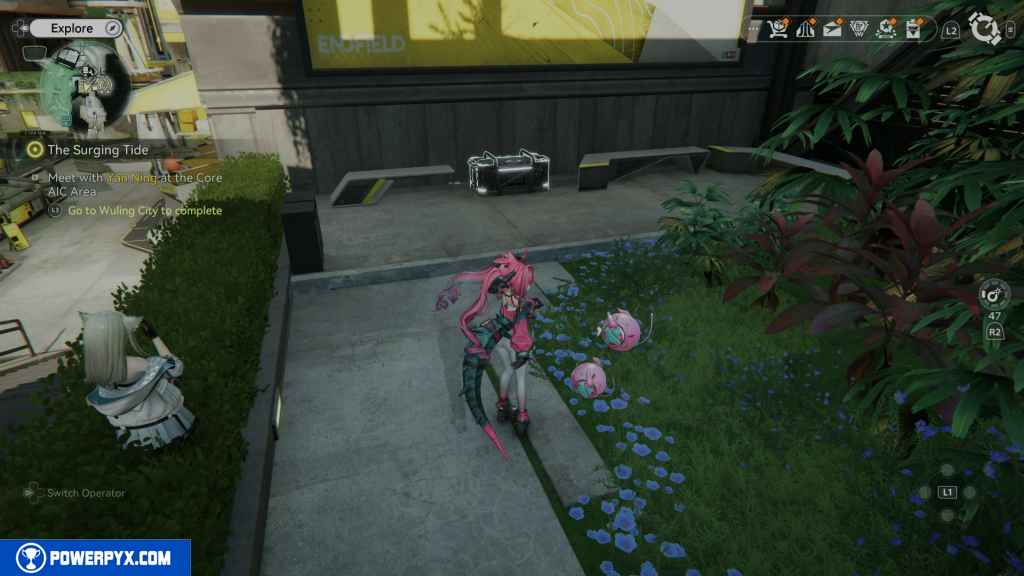
17 – Gathering Point 8
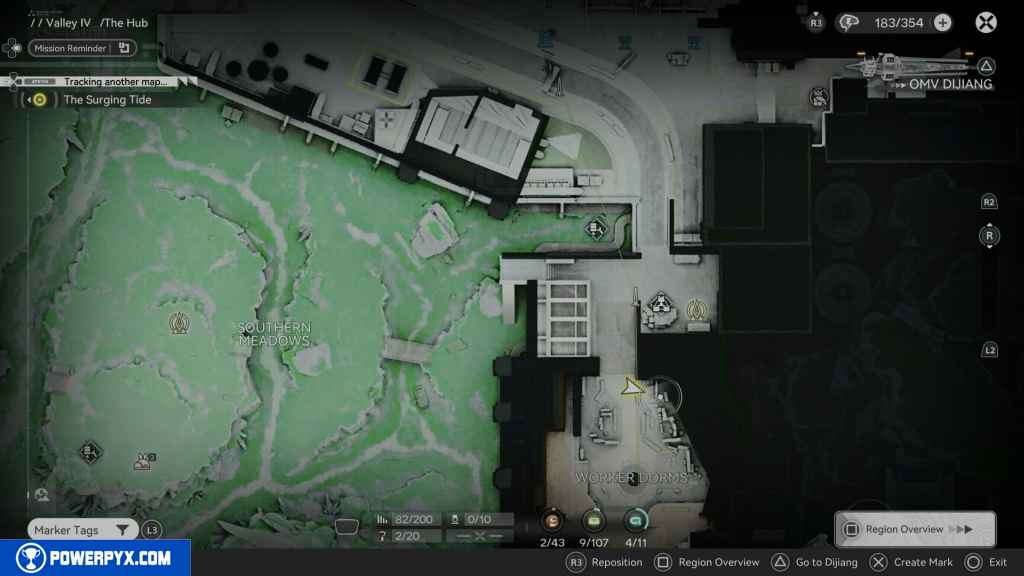
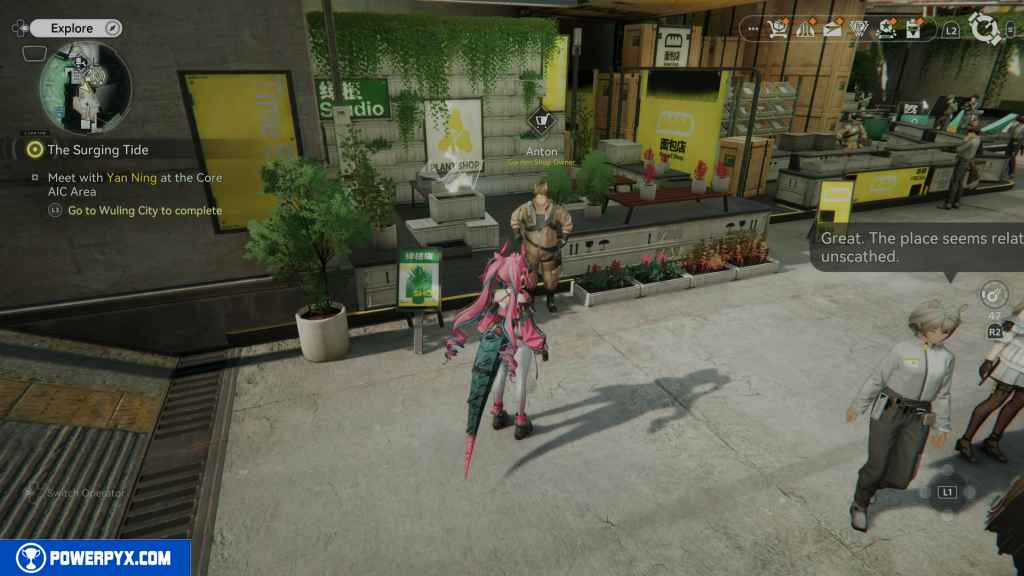
Head down the stairs to the Worker Dorms and look to your left. Behind Anton, the Harden Shop Owner, is the Gathering Point.
18 – Gathering Point 9
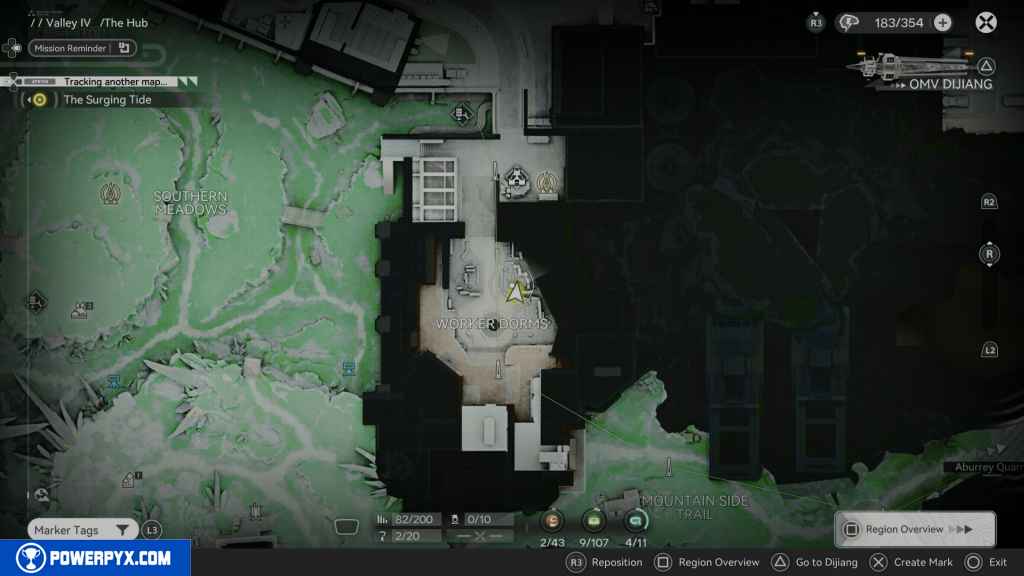
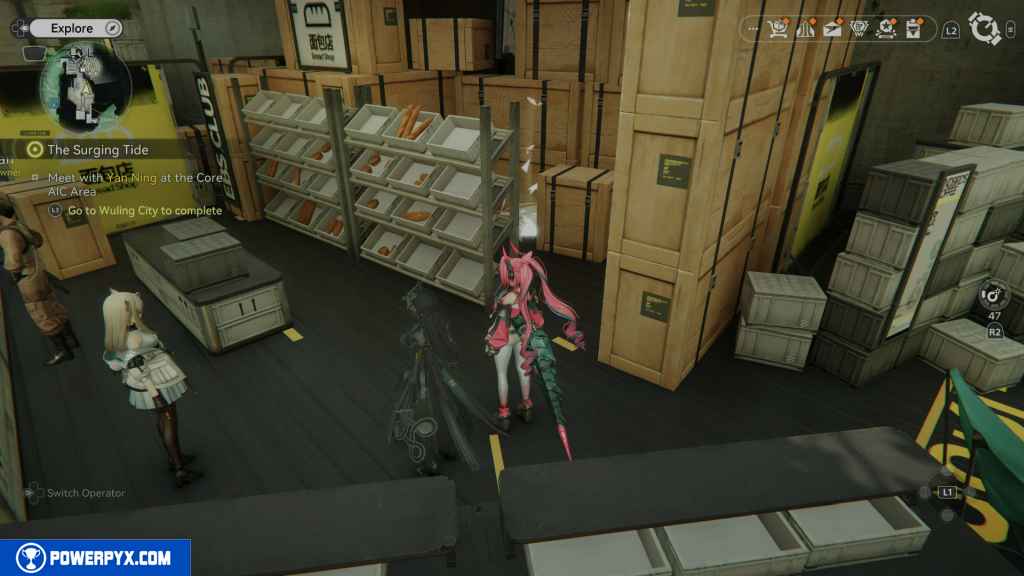
The next food stall on the left is Roman, the Baker Owner. Behind his bread shelves is the Gathering Point.
19 – Gathering Point 10
Further south on your left, next to some camping chairs, is another Gathering Point.
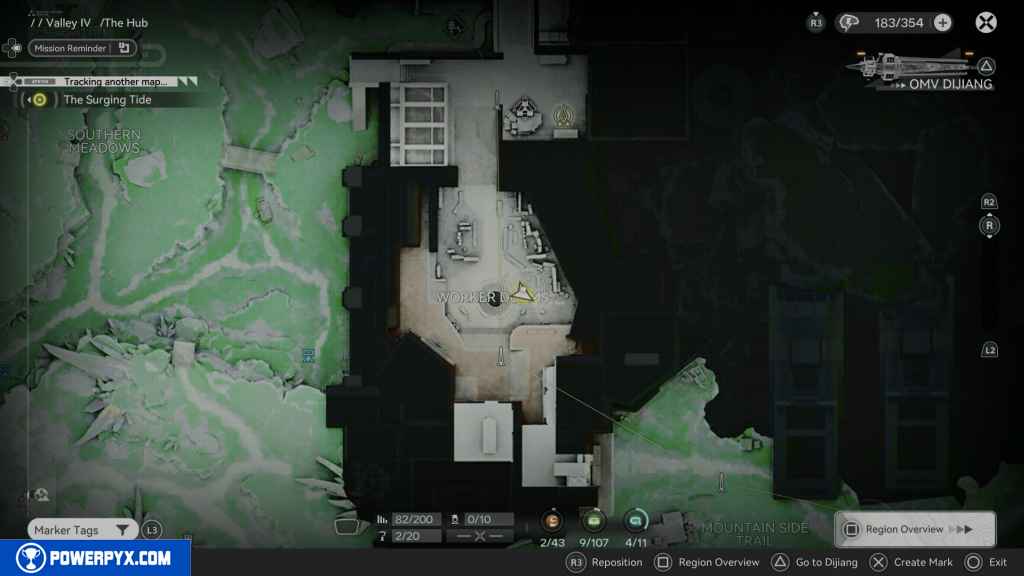
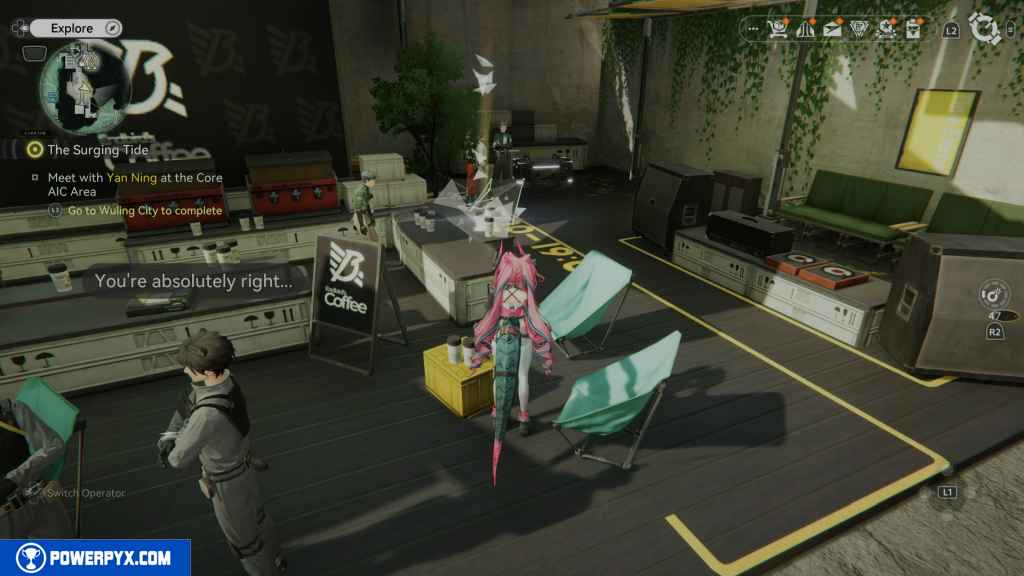
20 – Crate 9
A few feet east of the last Gathering Point is the crate.
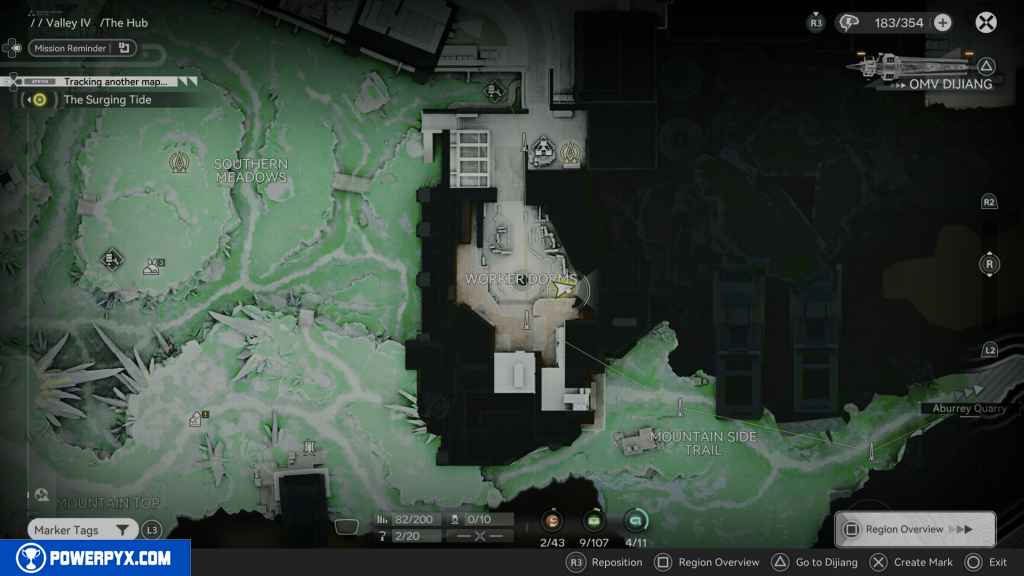
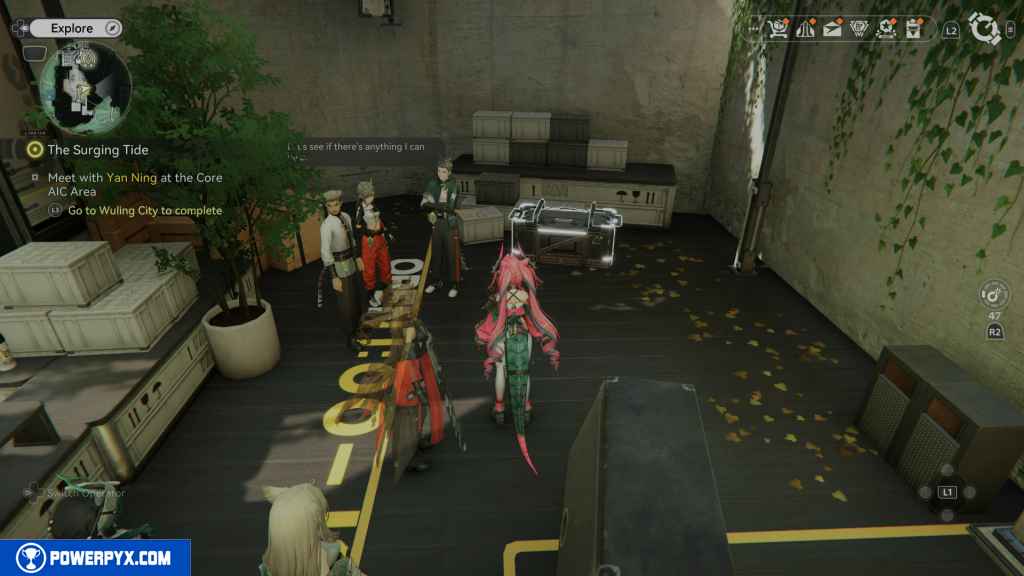
21 – Crate 10
Head west and up the stairs, then turn right and go north to find this crate.
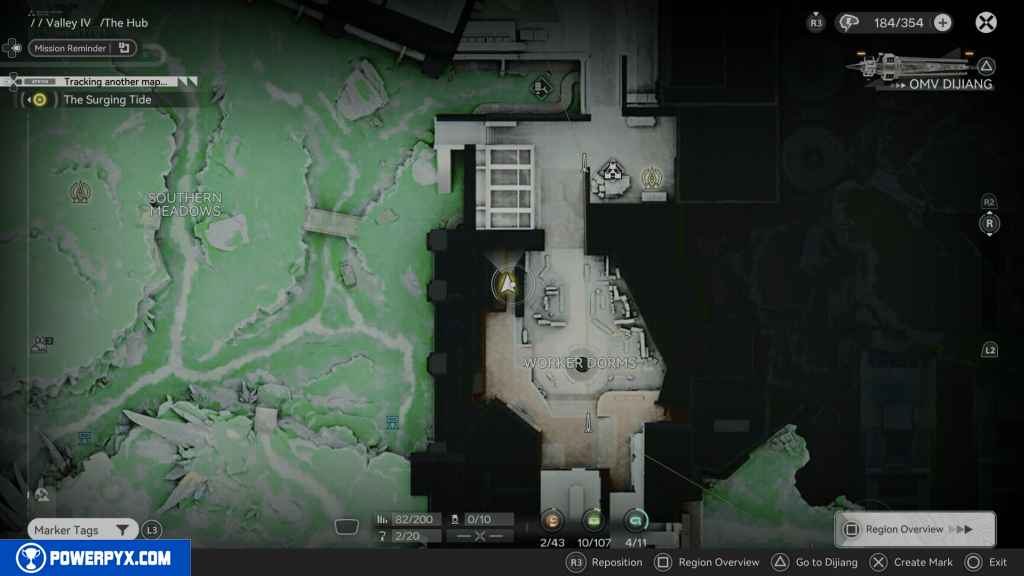
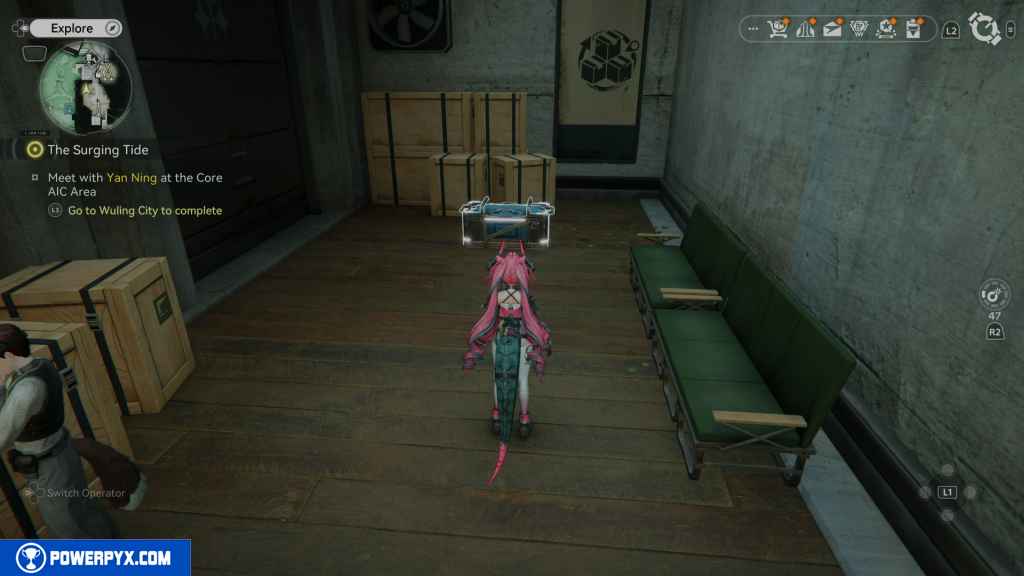
22 – Gathering Point 11
Go south, and you should find this Gahtering Point on top of two trash bins next to two vending machines on your right.
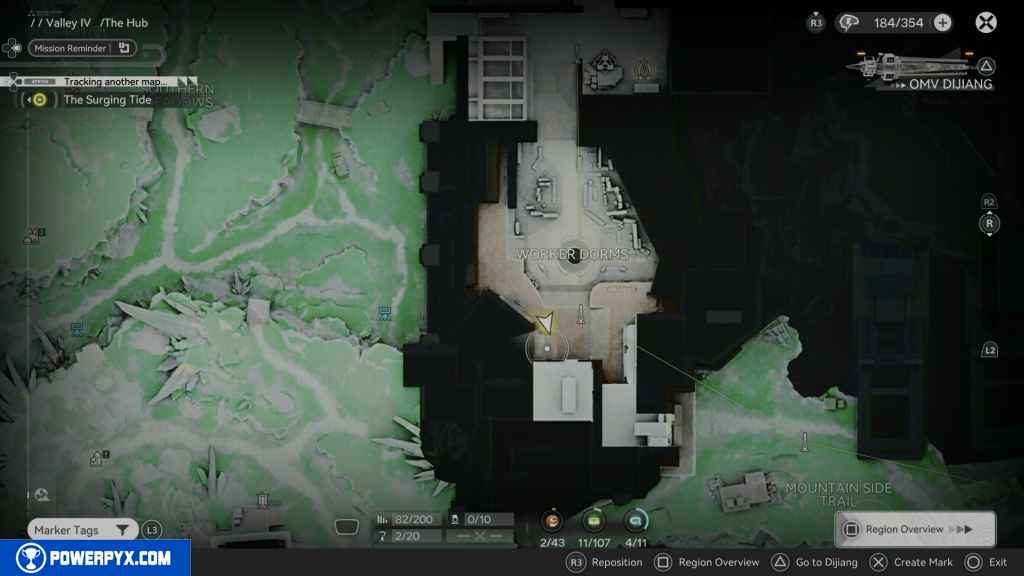
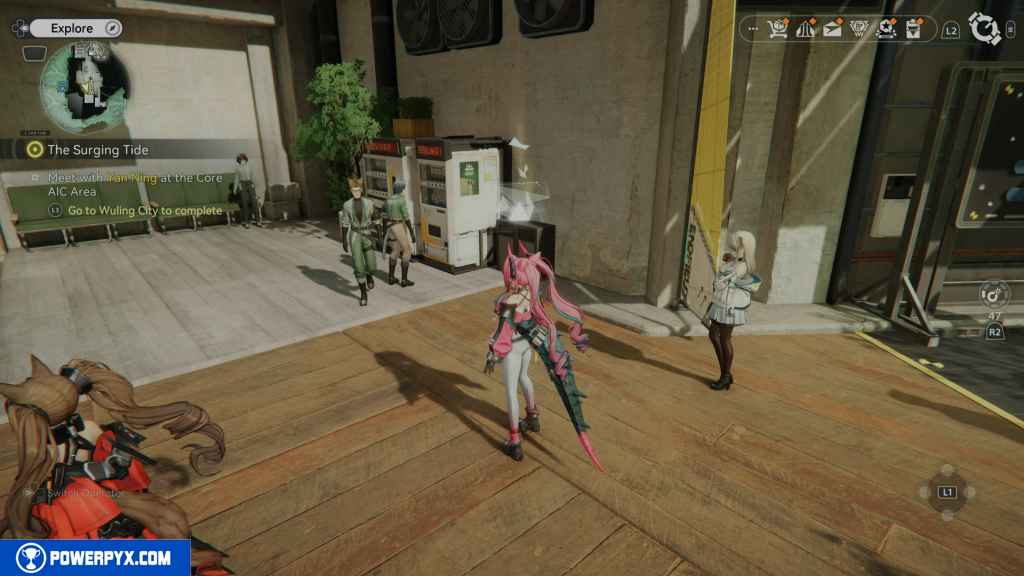
23 – Gathering Point 12
Continue southeast to the Mountain Side Trail. As you emerge from the Working Dorms, you should see the Gathering Point in front of the first building you see on your right.
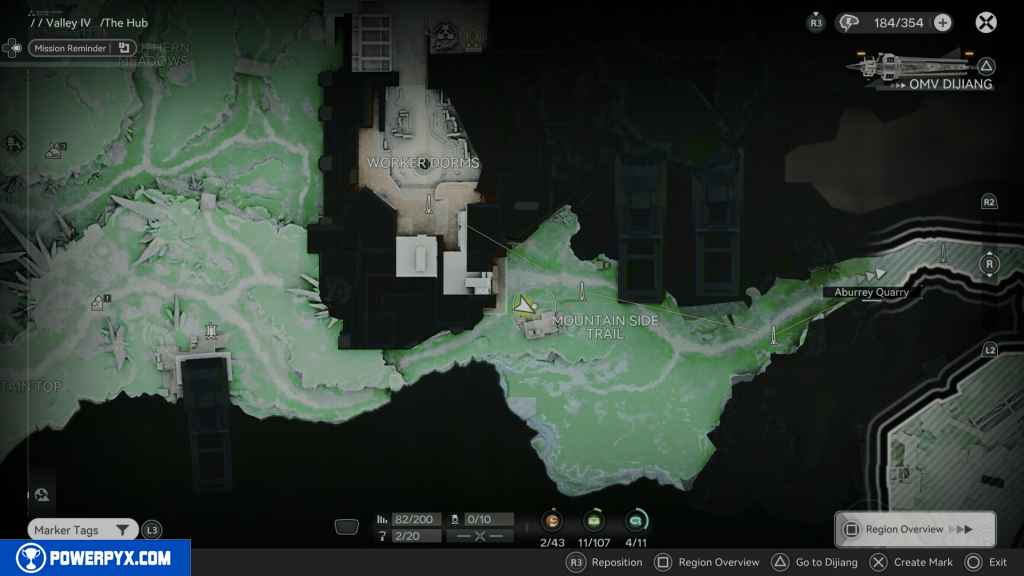
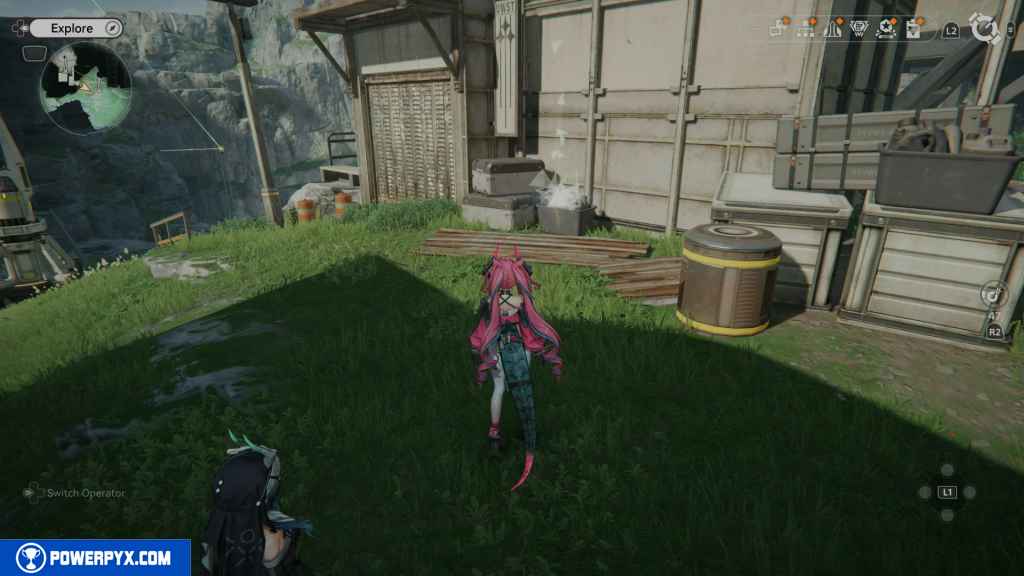
24 – Gathering Point 13
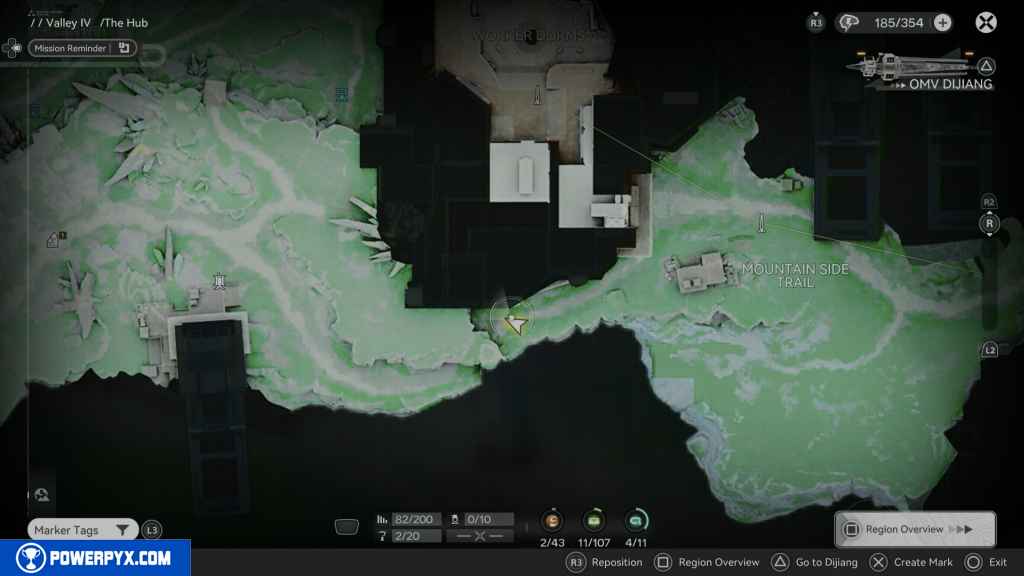
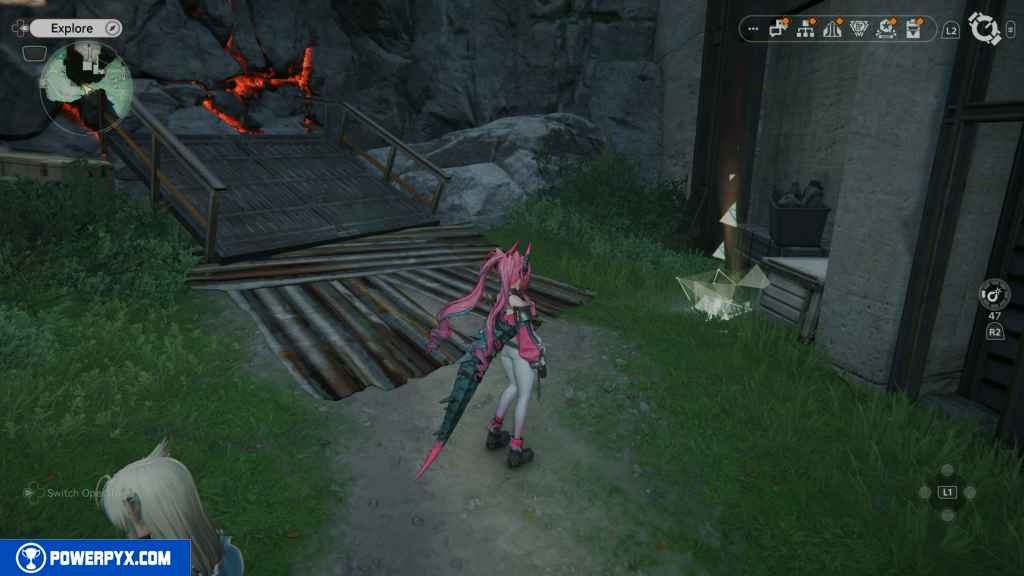
From the last Gathering Point, look west, and you should see a path going up to the mountain wall with a destructible wall. Right before you reach the wall, the Gathering Point is on your right.
25 – Gathering Point 14
Go back the way you came, and before you reach the building ahead, turn right. You should see a drop-off with more boxes and grates. Fall, and you should find the next Gathering Point among the debris.
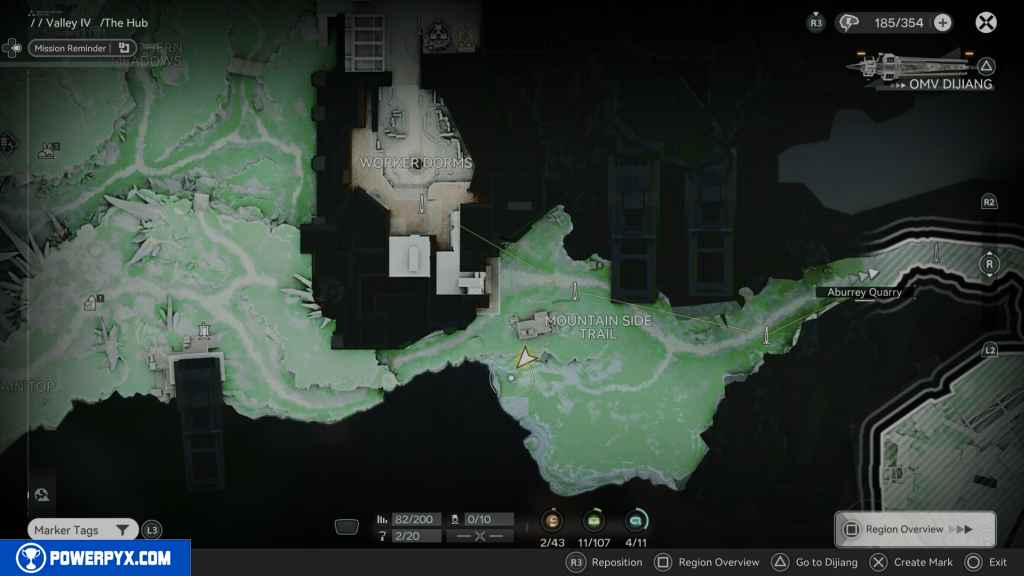
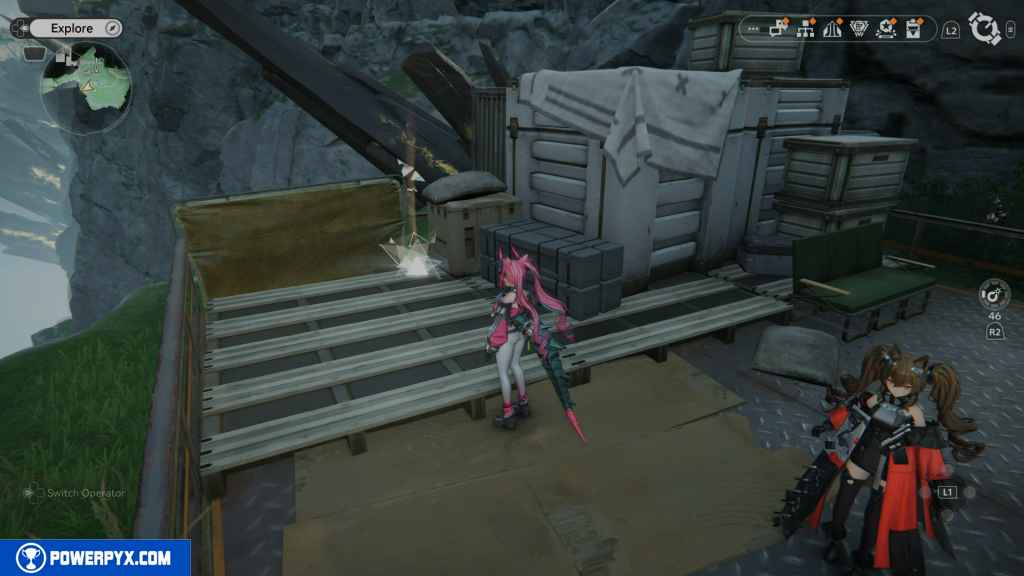
26 – Crate 11
Head south from this area, and you should jump onto some boxes and over an overturned truck. As you land on the other side, the crate is right next to the overturned truck.
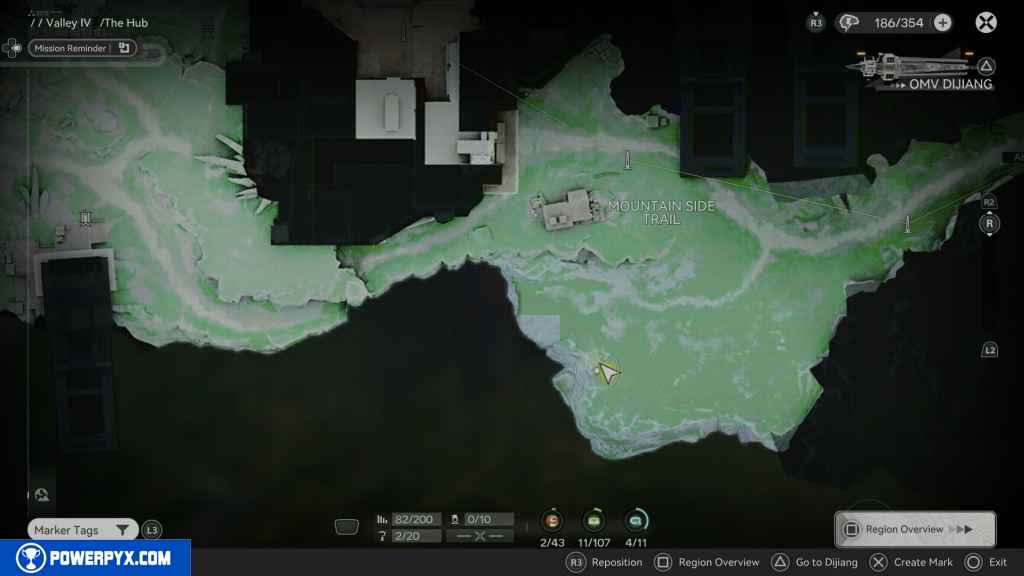
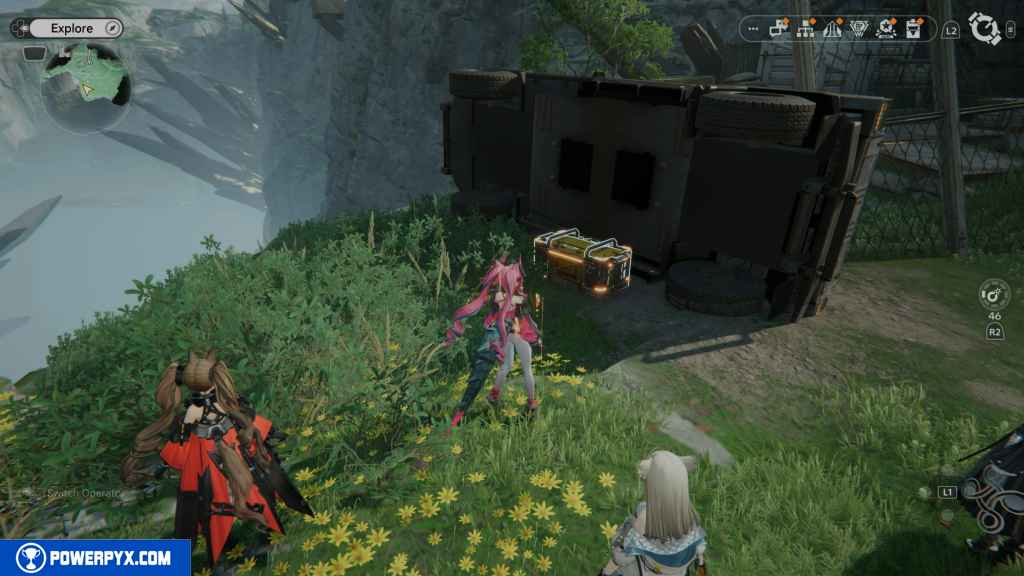
27 – Gathering Point 15
Teleport to the TP point in the Hub Base. Head east, and you should see the Gathering Point on top of some trash bins.
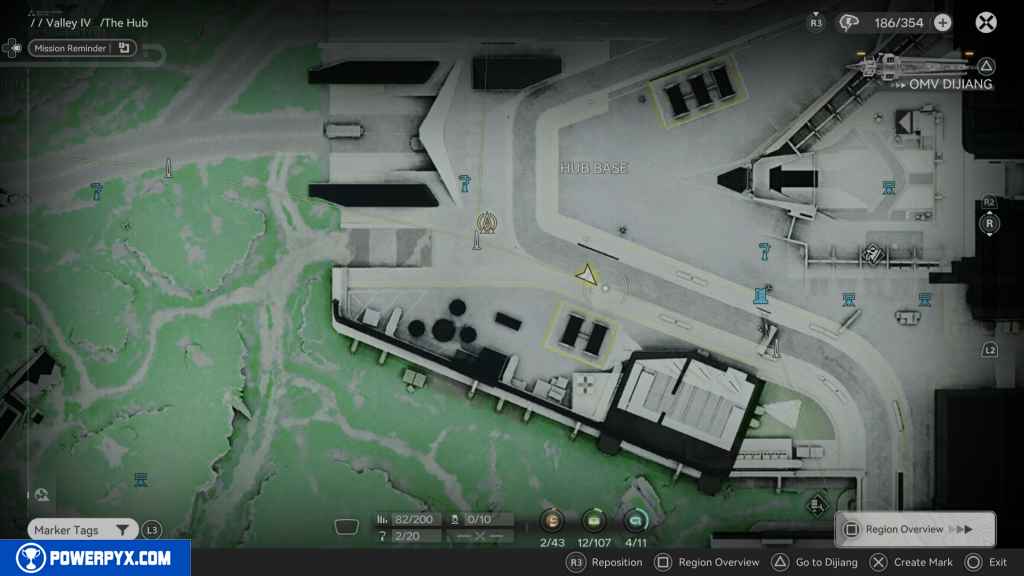
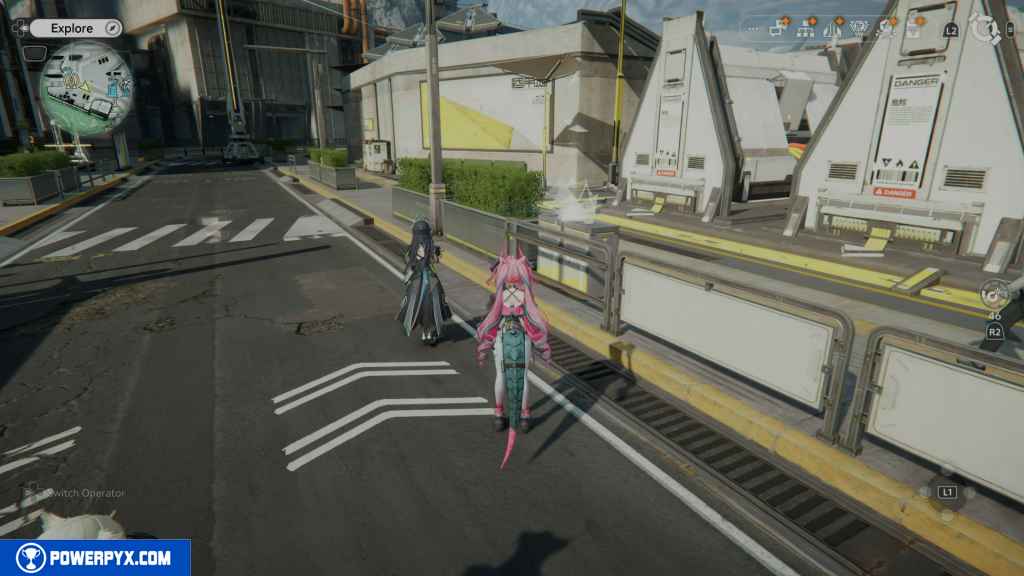
28 – Gathering Point 16
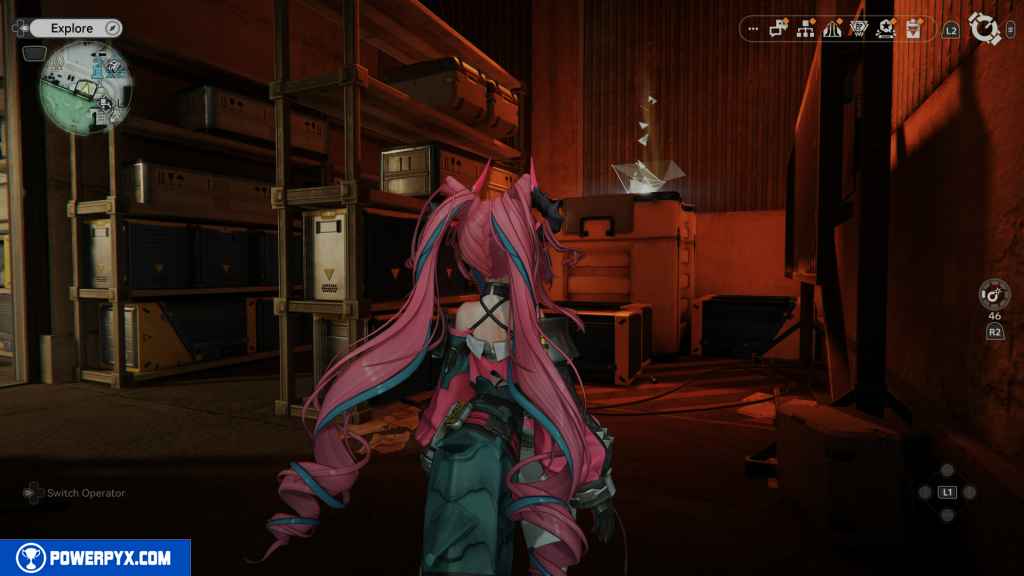
Head east, and on your right is the weapon shop entrance. Go inside and then go around to the right to the back room. The Gathering Point is sitting on top of some boxes.
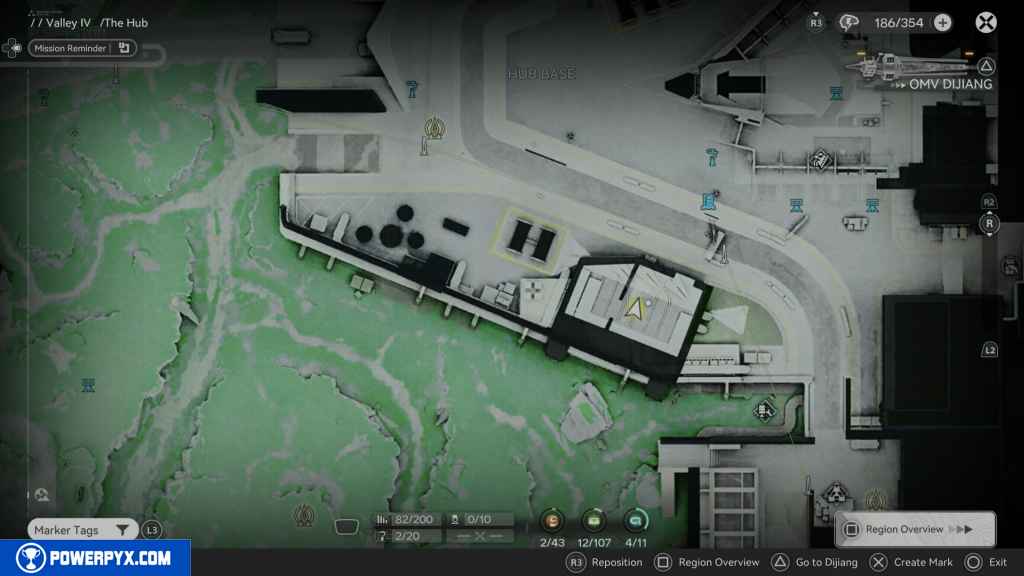
29 – Aurylene 2
Leave the weapon shop and go west. Continue west until you see three cylindrical structures on your left. They are directly south of the TP point. Between these structures lies the Aurylene.
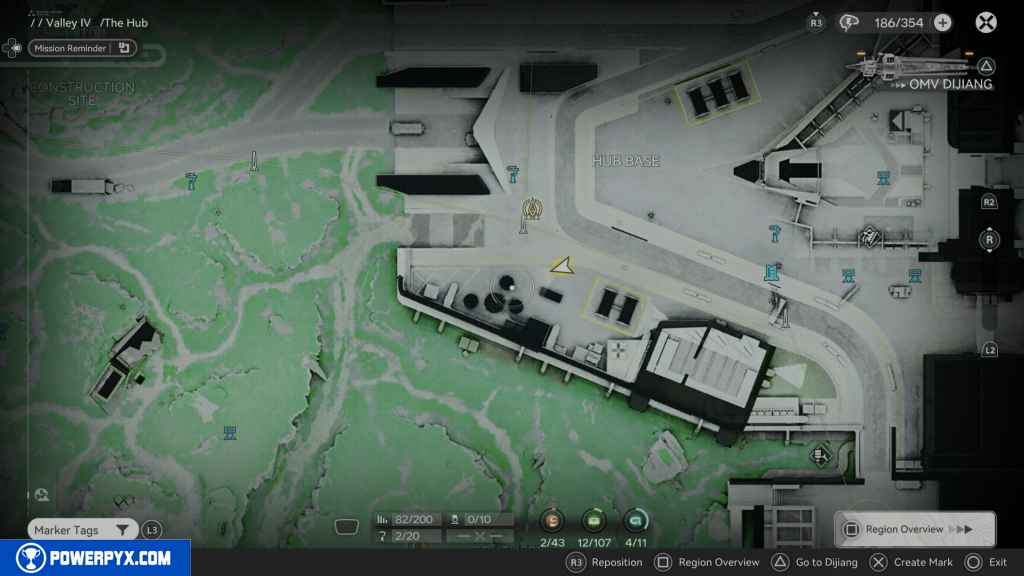
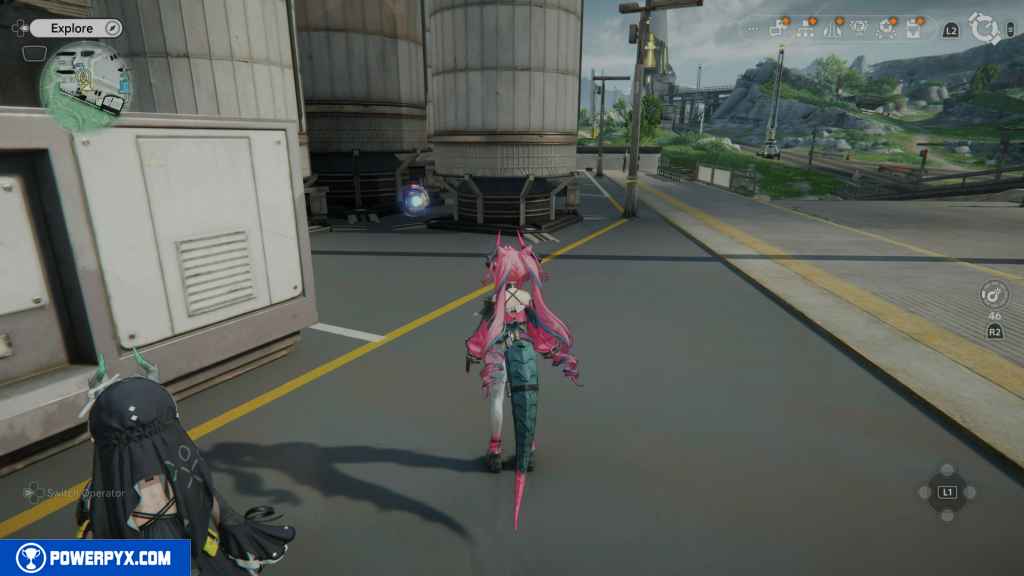
30 – Gathering Point 17
Go northeast of the TP point, and you should see the Gathering Point on top of some trash bins next to the wall banner.
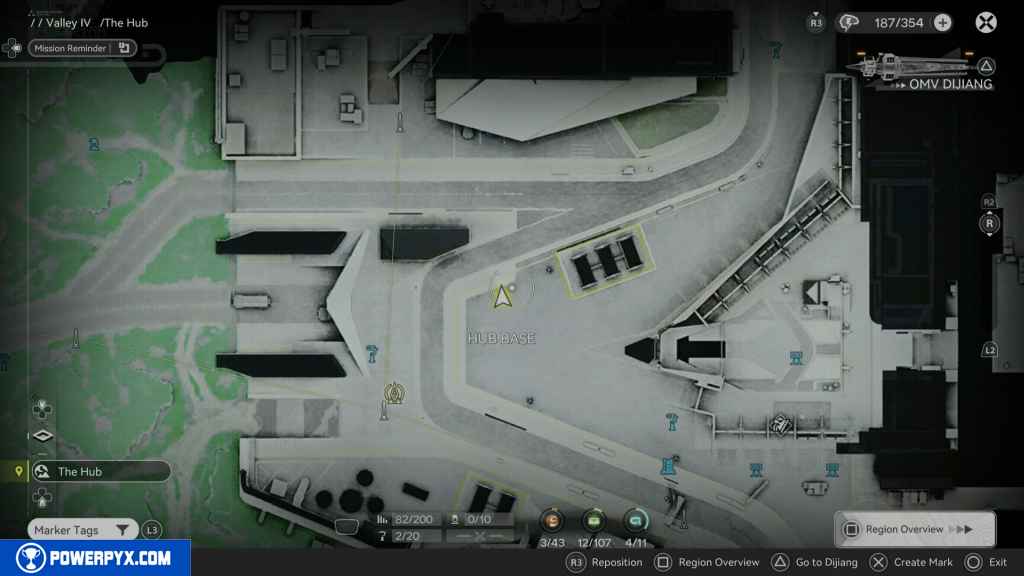
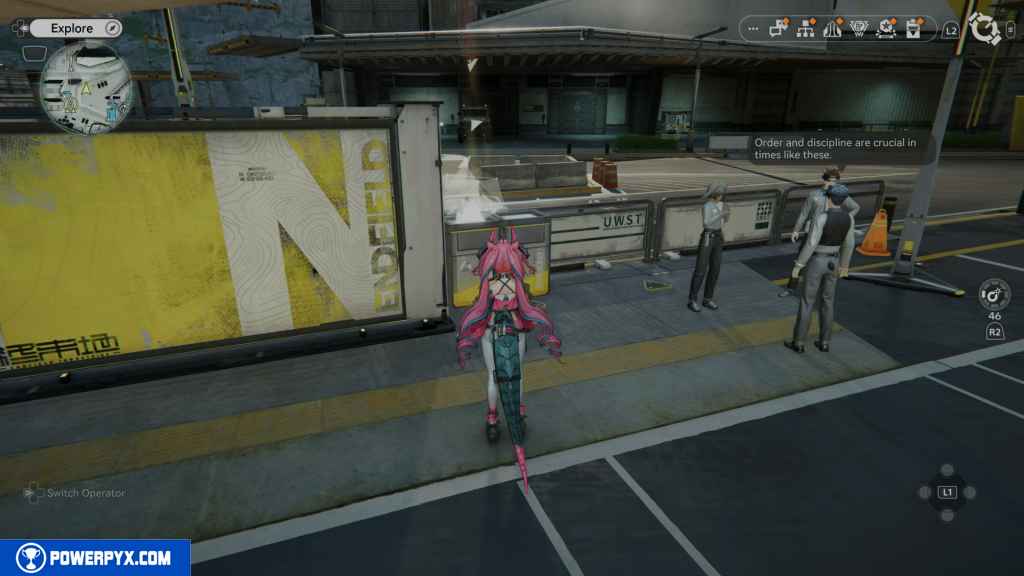
31 – Gathering Point 18
Continue northeast, then north until you reach an area on your left with two forklifts. The Gathering Point is on top of some boxes next to the first forklift.
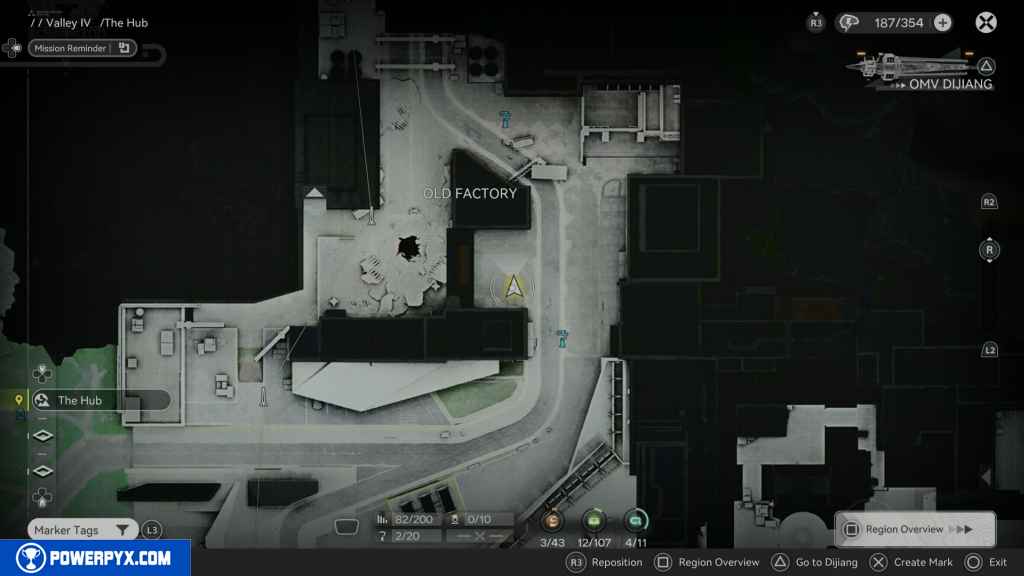
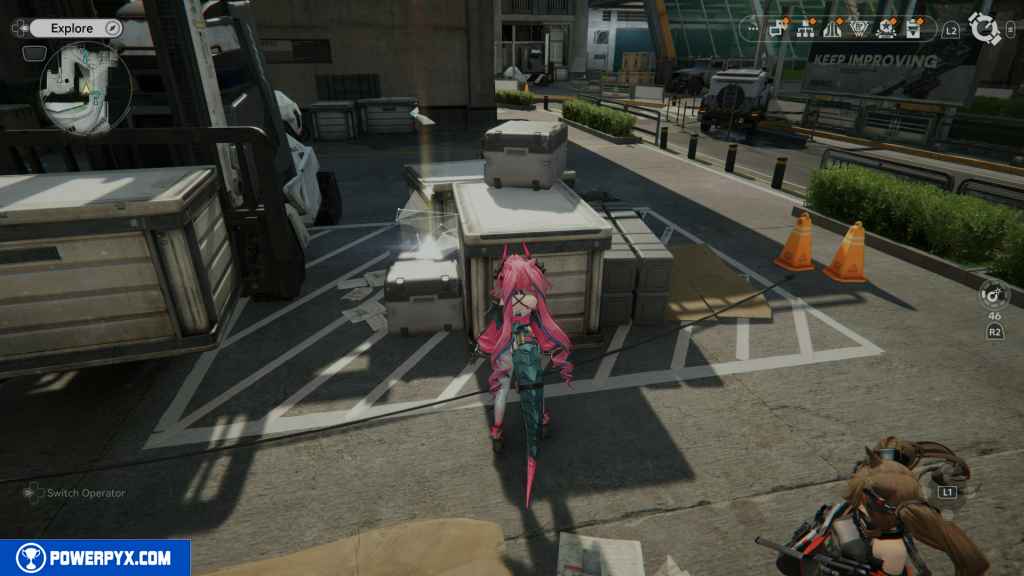
32 – Gathering Point 19
Turn around, and south of the last Gathering Point is the next one on top of a trash bin.
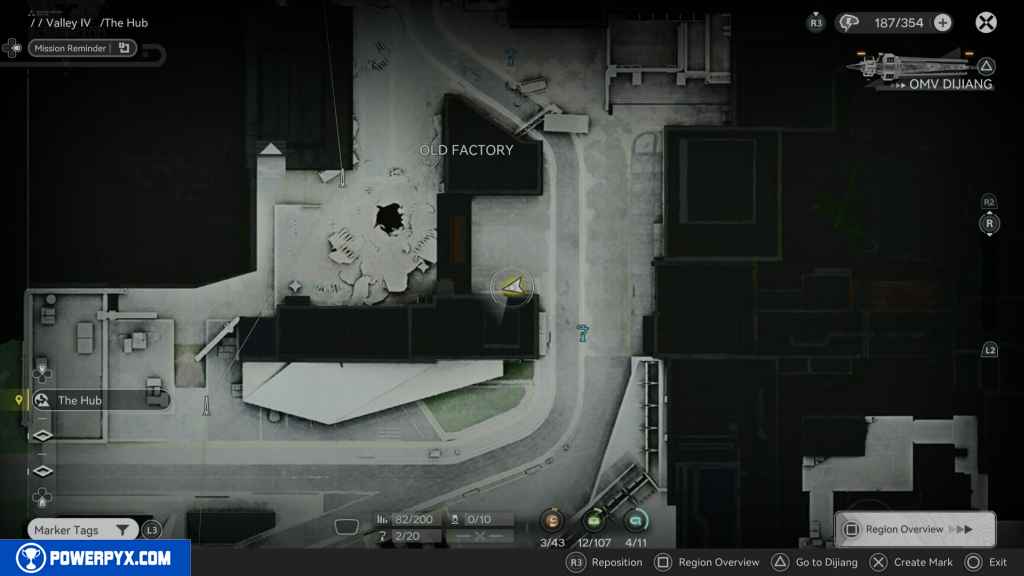
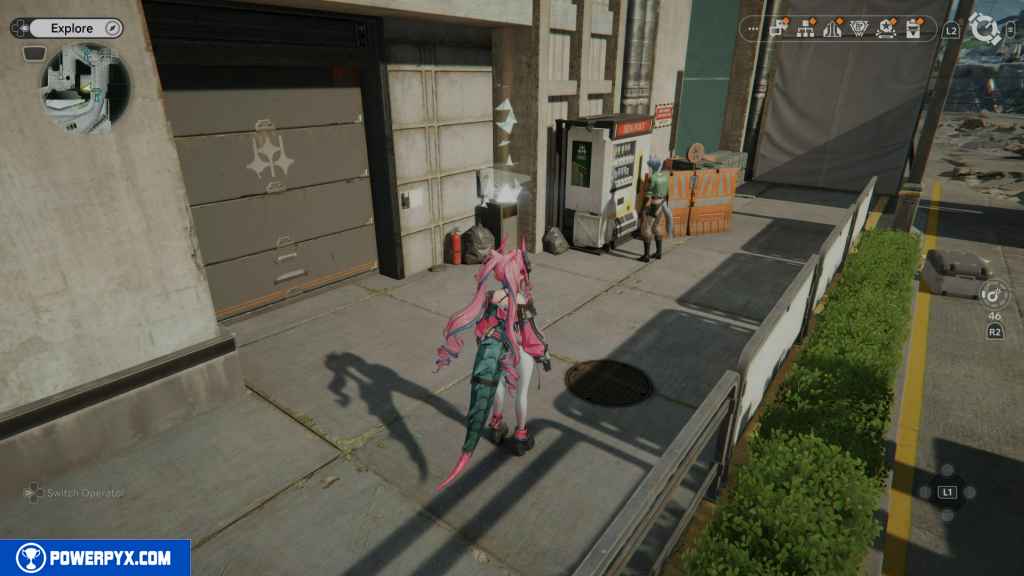
33 – Crate 12
Directly northwest, you should see the crate next to a bunch of supply boxes.
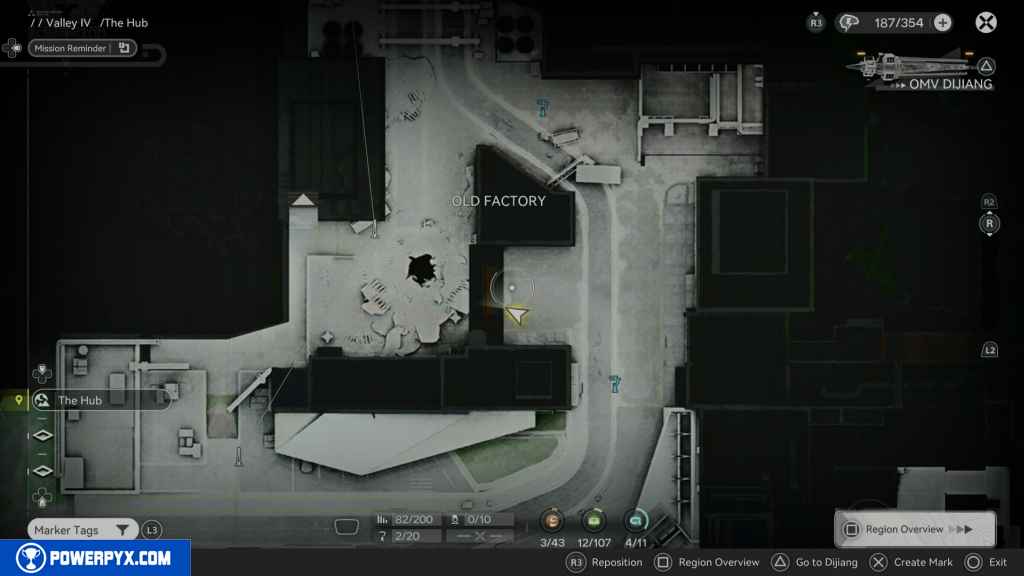
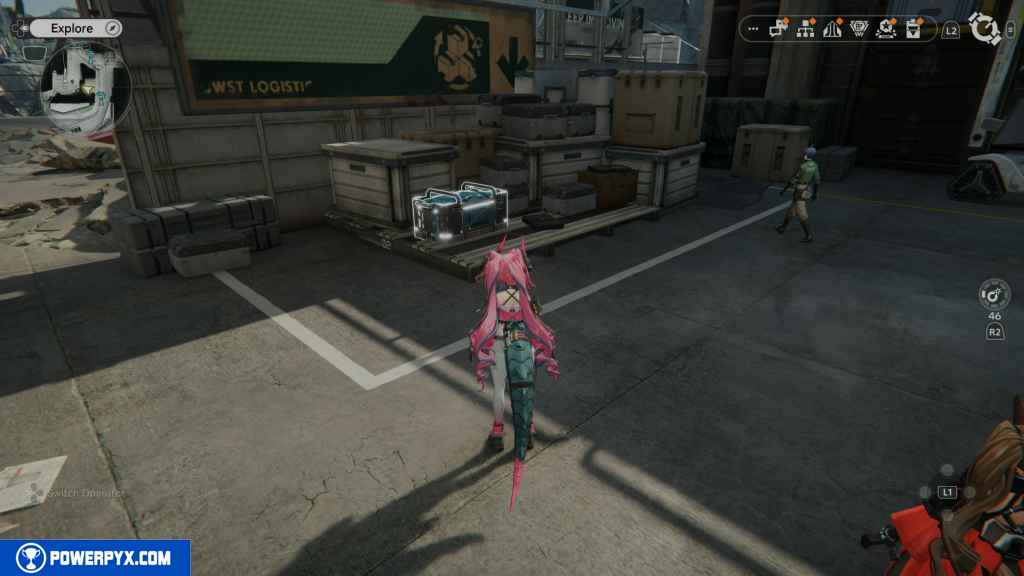
34 – Aurylene 3
Go northeast to the edge, and you should find the Aurylene behind the boxes in the top corner.
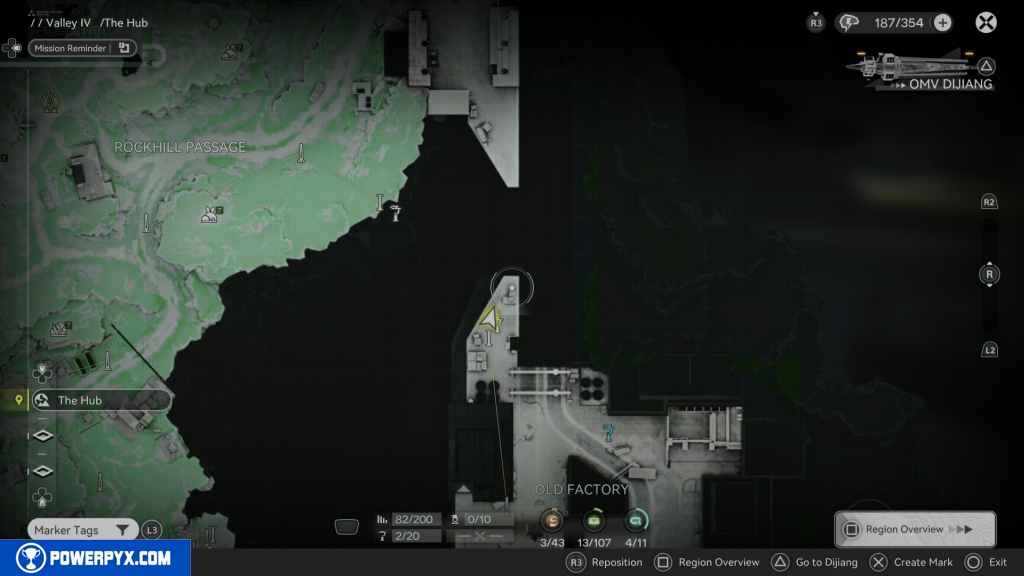
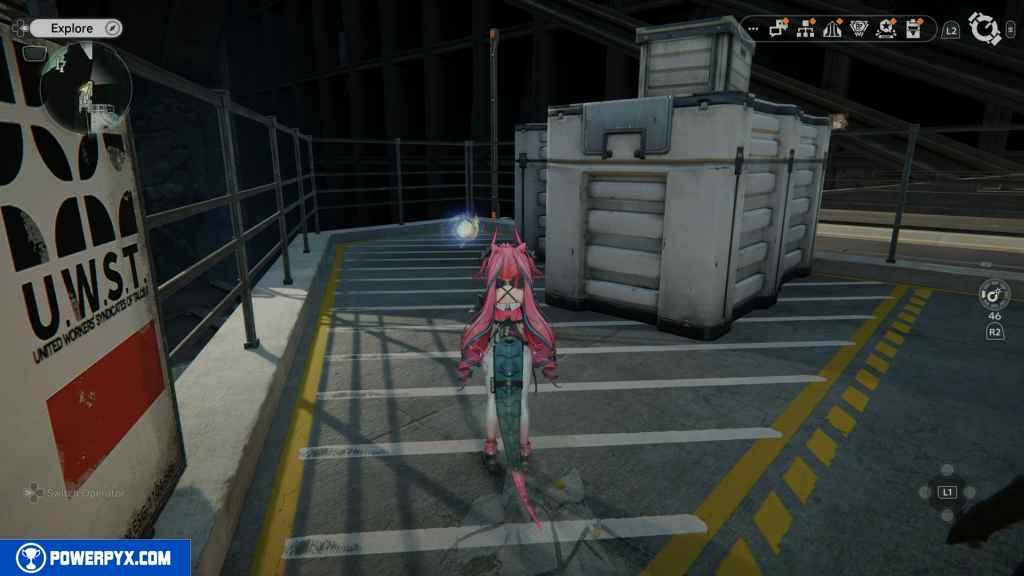
35 – Crate 13
Head south from the Aurylene until you use the broken road and the large hole in the ground. Jump down and immediately head south. You should find the crate next to some shelves.
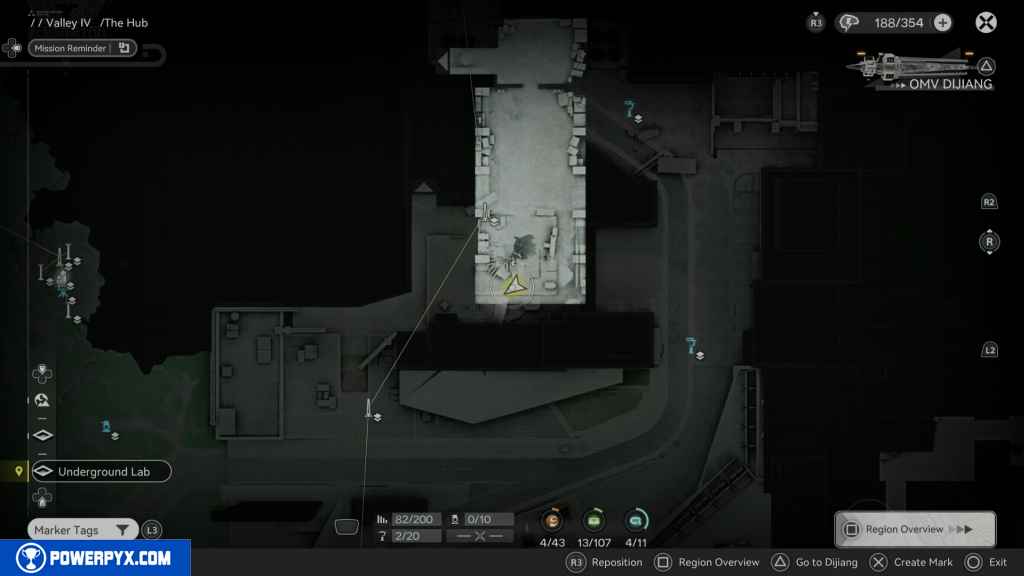
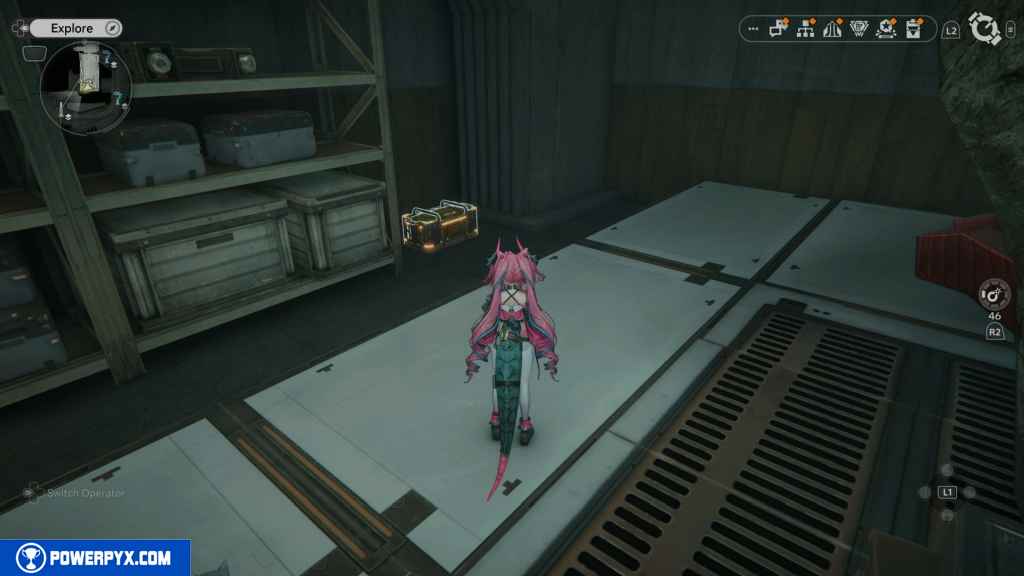
36 – Gathering Point 20
Follow the path out of the underground area, and you should get back outside. Go south, then turn east. You should find yourself in a parking lot with two large vehicles. In between them, against the north wall, is the Gathering Point on top of the trash bin.
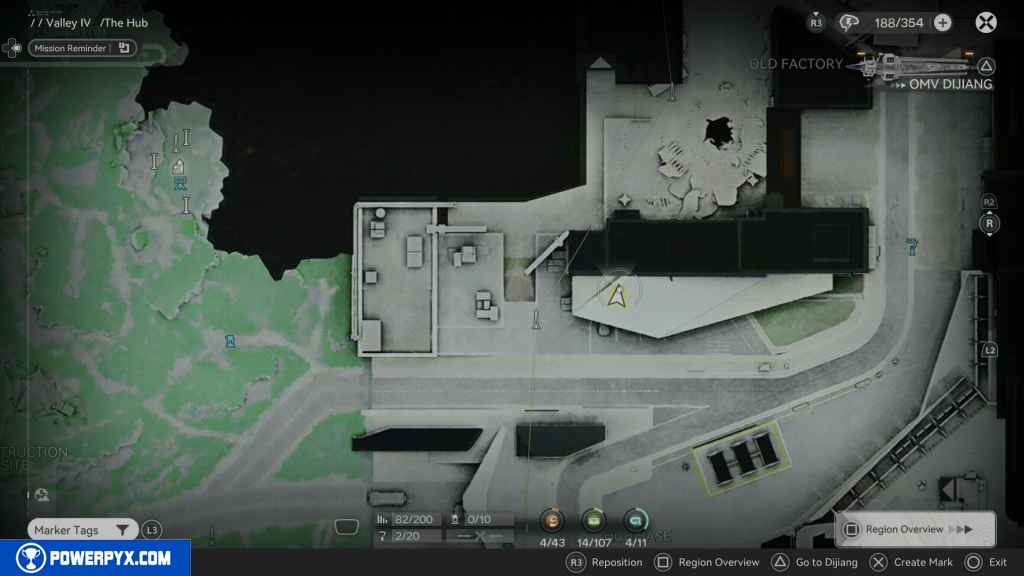
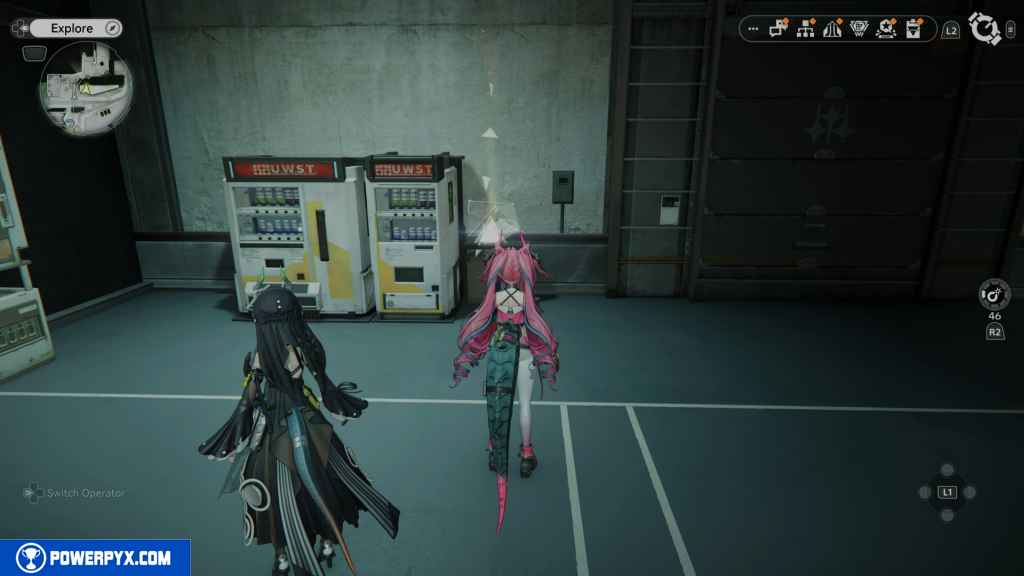
37 – Gathering Point 21
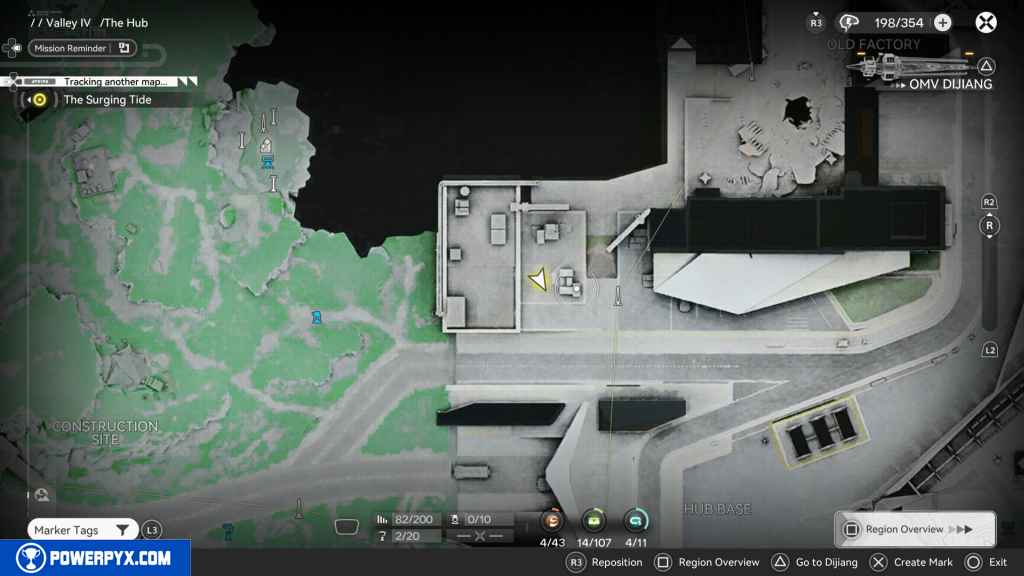
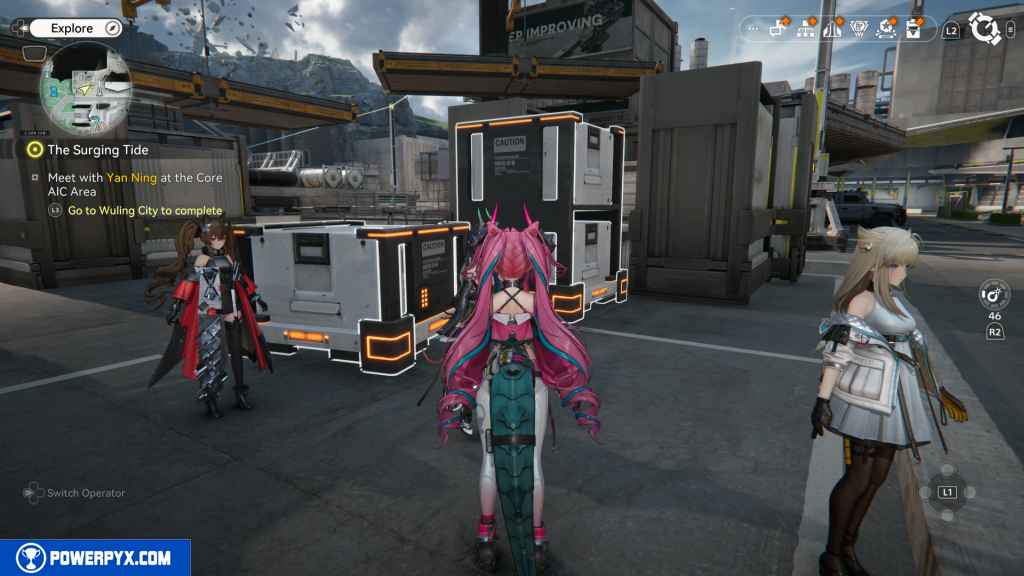
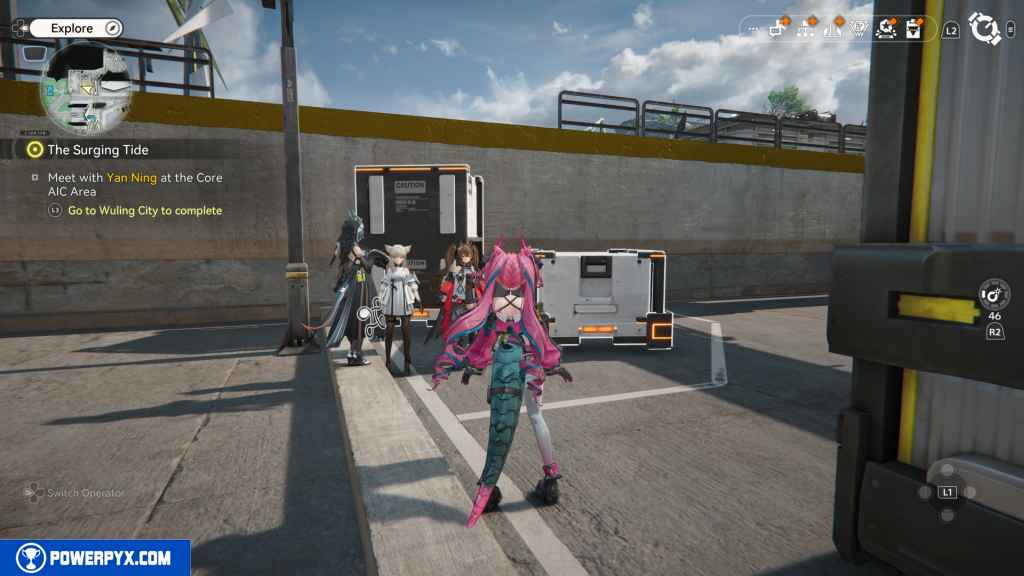
Head west, and you should see the Gathering Point on top of some large boxes. To get this Gathering Point, you need to maneuver the Crates and build a jumping platform to it.
38 – Crate 14
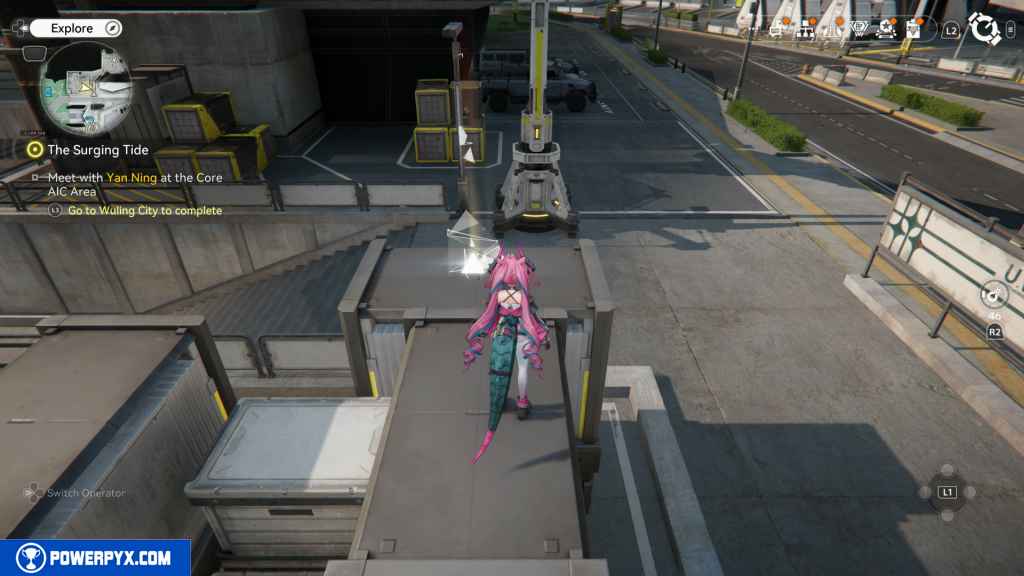
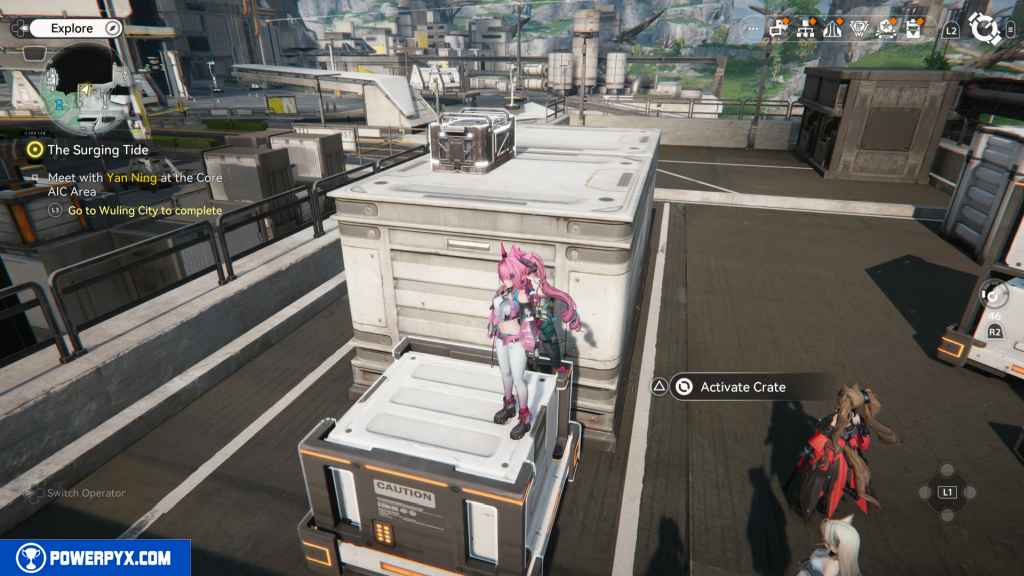
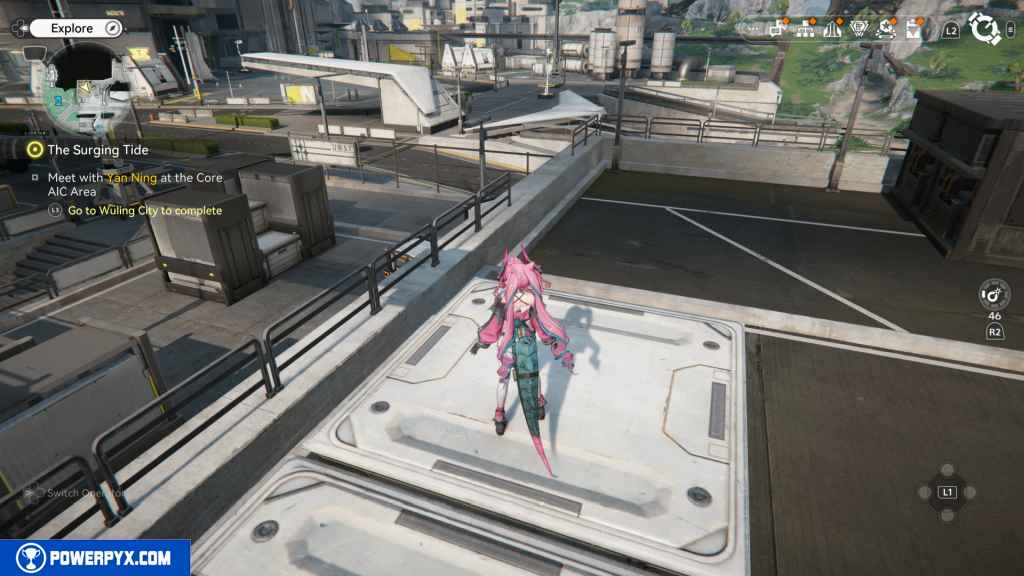
From the Gathering Point, take the two movable Crates and set them up so you can reach the top of the area to your west. You should see an opening in the guardrails that lets you jump to it. From there, go north, and you should see the crate on top of some boxes and another movable crate to jump up to reach it.
39 – Aurylene 4
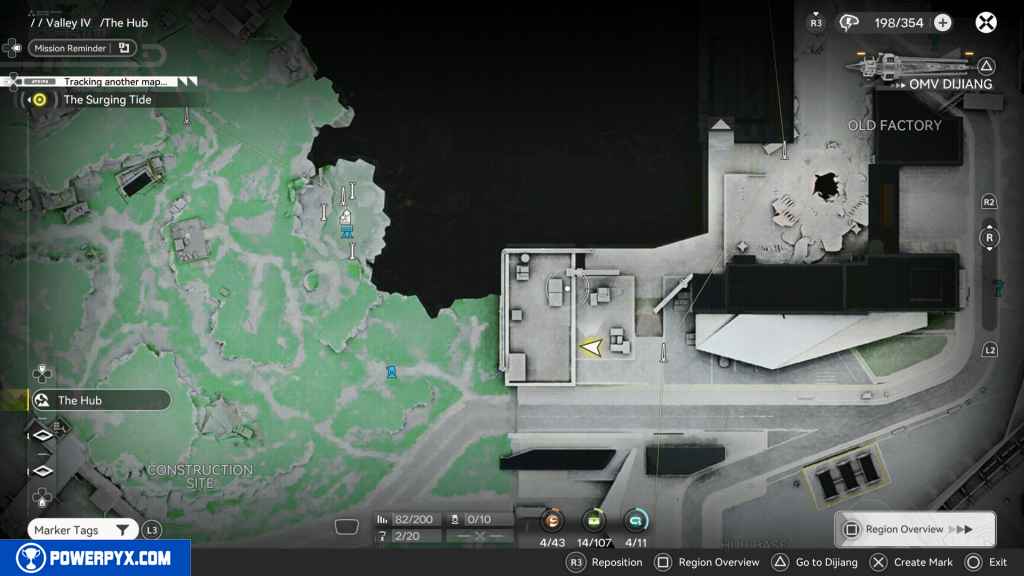
In the same area west of the crate. Move the two movable crates and jump up to grab it.
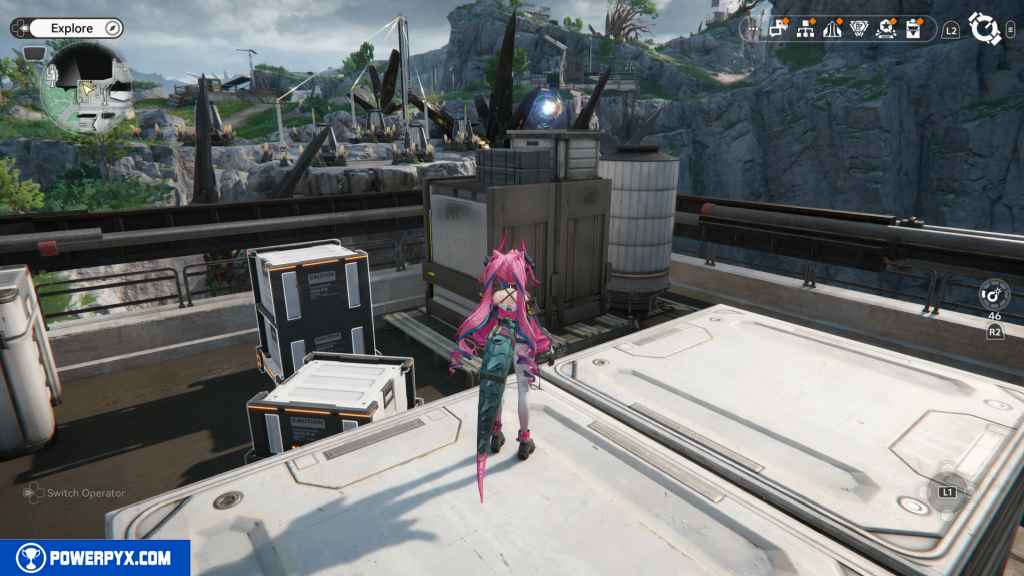
40 – Crate 15
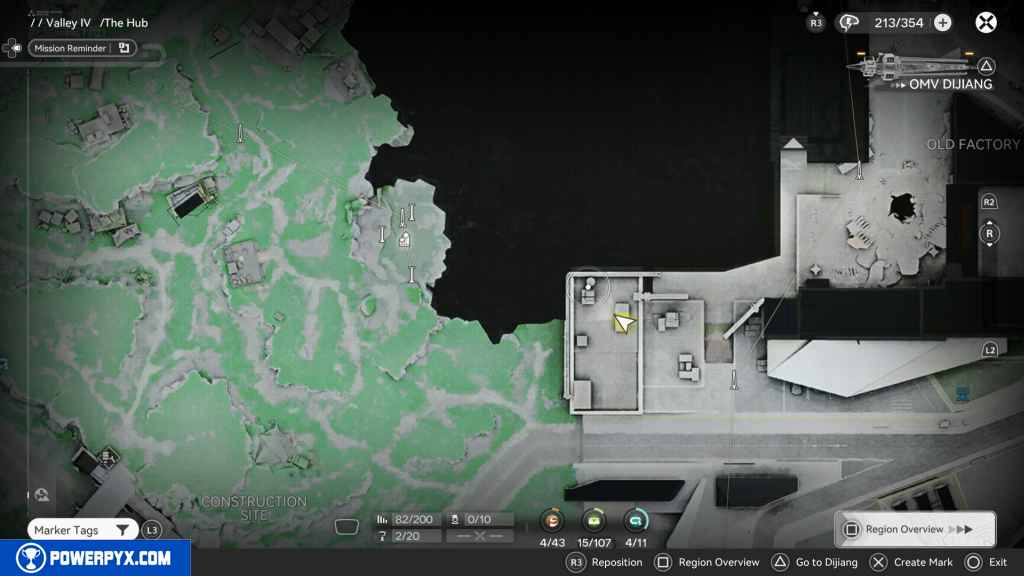
Looking east, you should see two seesaw bridges. Make your way to them by going back down to the last area, moving the two movable crates, and jumping up the north boxes to reach the seesaws. Jump across both of them and onto the parking area roof. The crate is on the roof and can’t be missed.
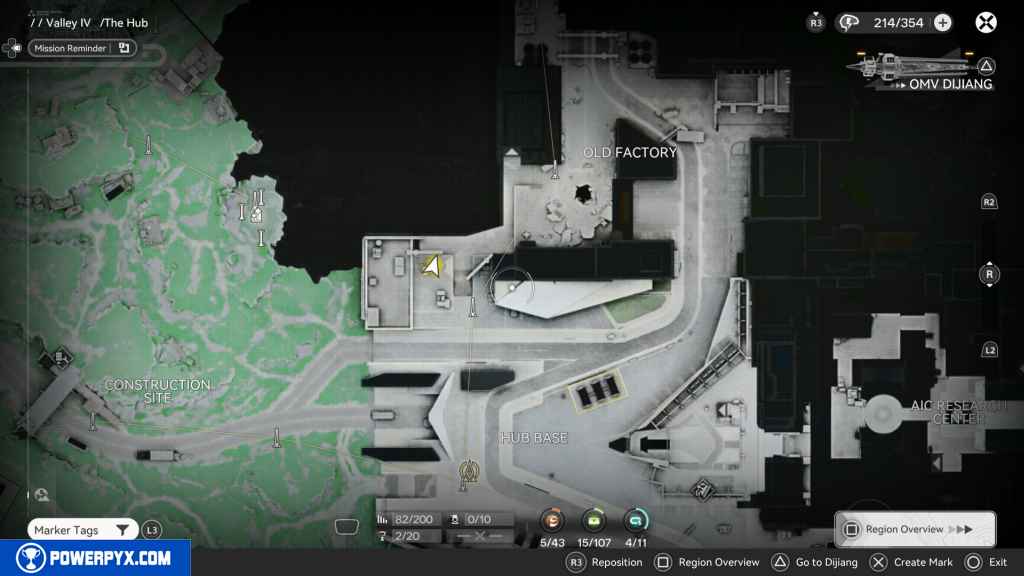
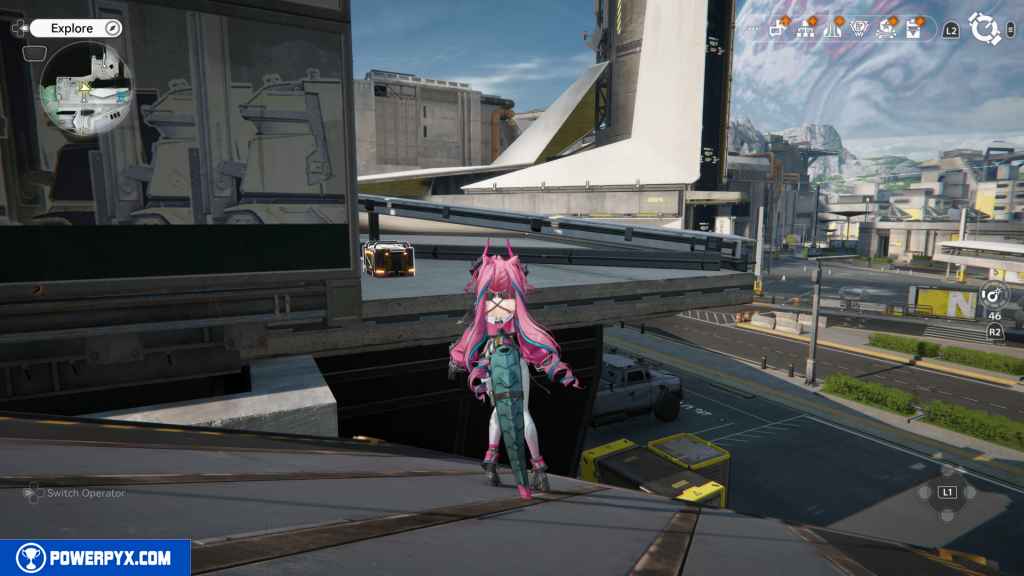
41 – Aurylene 5
Head east on the roof, and you should see what looks like three lamp fixtures. The second one has the Aurylene inside it. Jump to it to reach it.
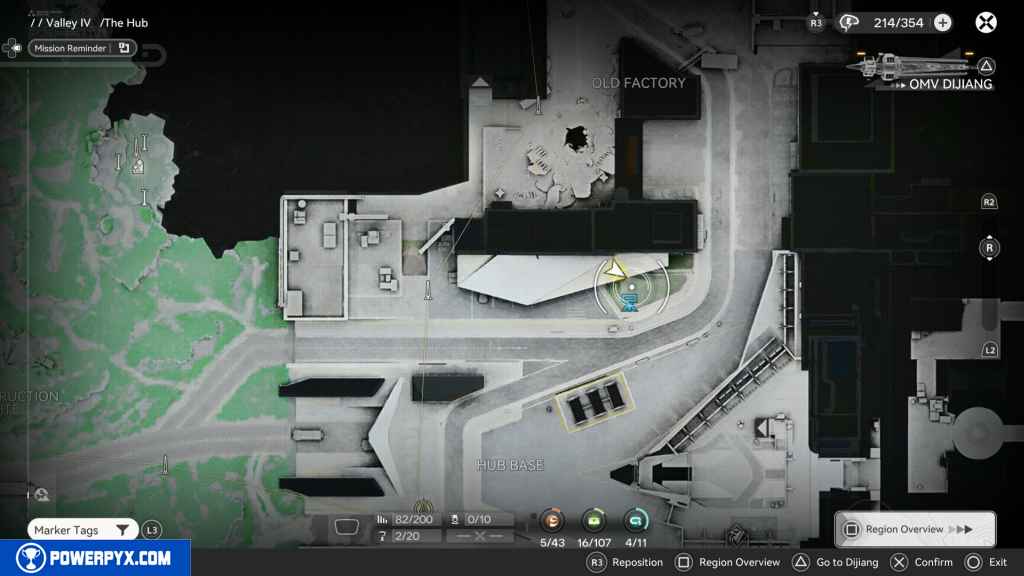
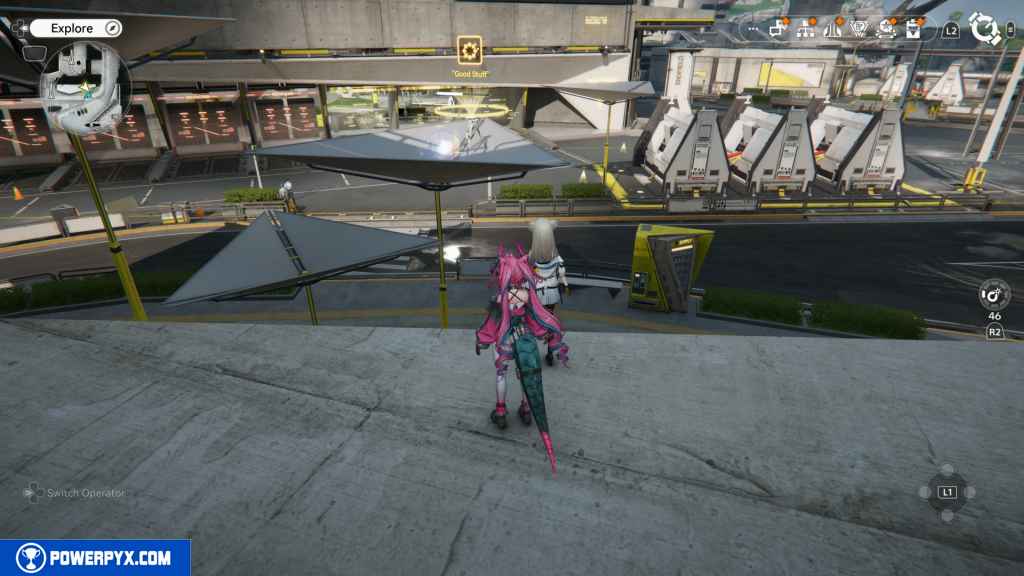
42 – Aurylene 6
Return to the TP point north of the Worker Dorms and head west. You should see the Aurylene right as you approach the balcony.
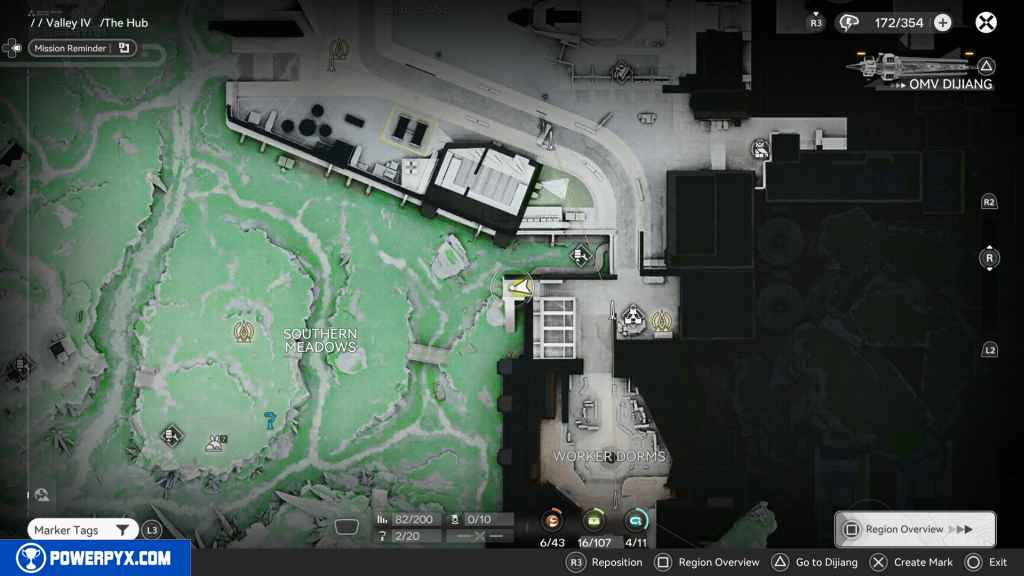
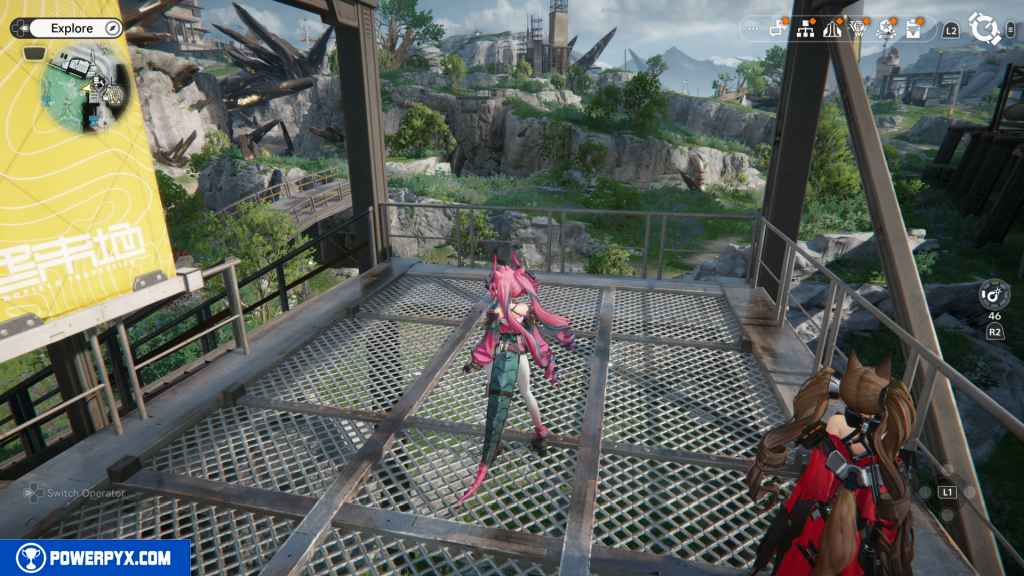
43 – Gathering Point 22
Go down the stairs on your left, then swing around the bottom stairs to the left again, and go north. You should see the Gathering Point in front of you.
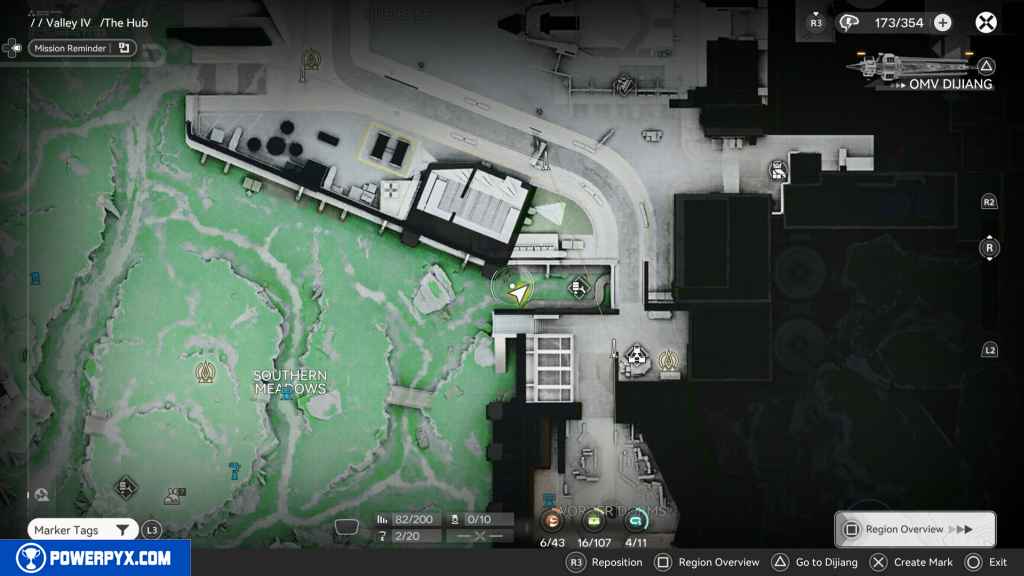
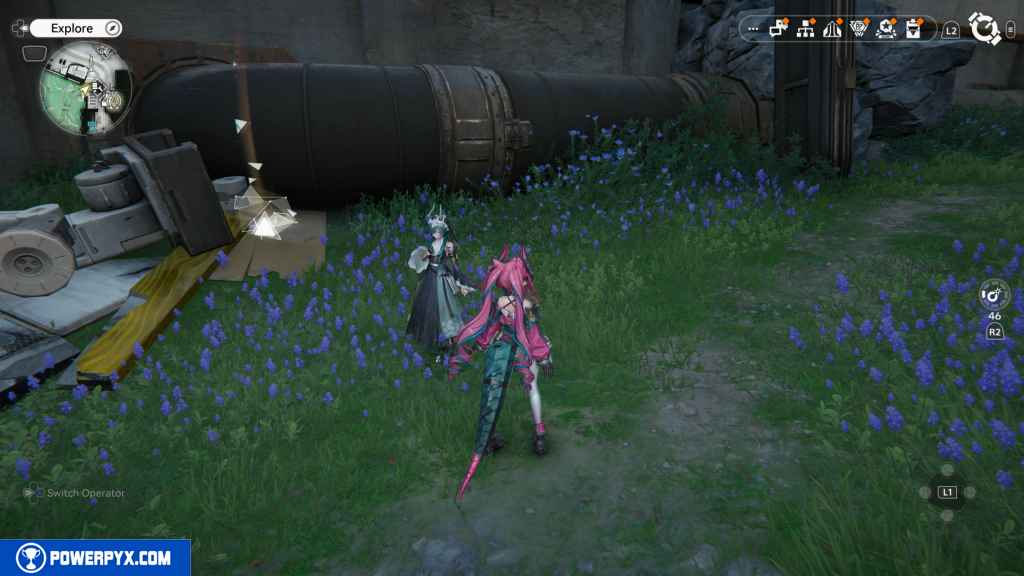
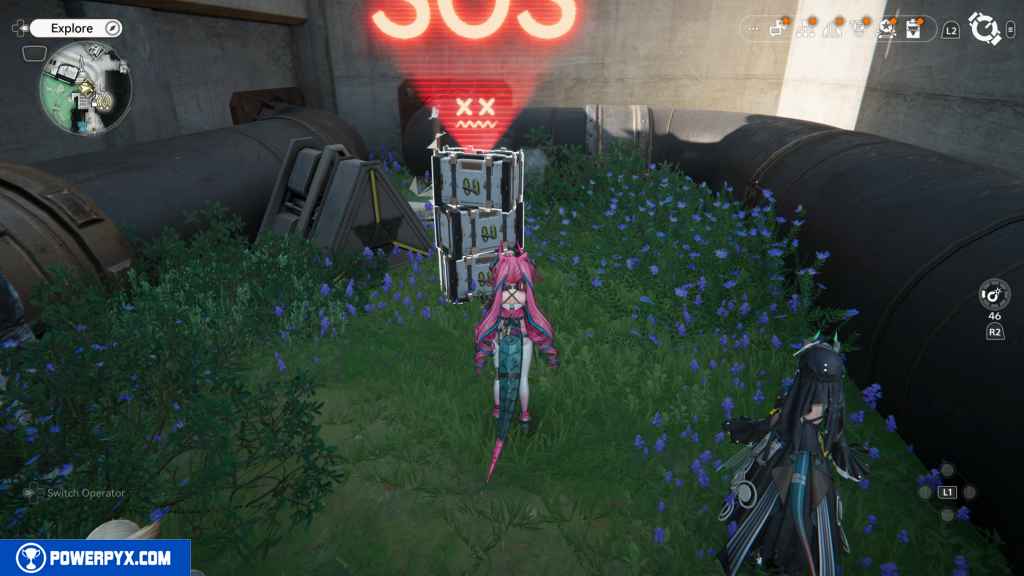
44 – SOS Repair Bot 1
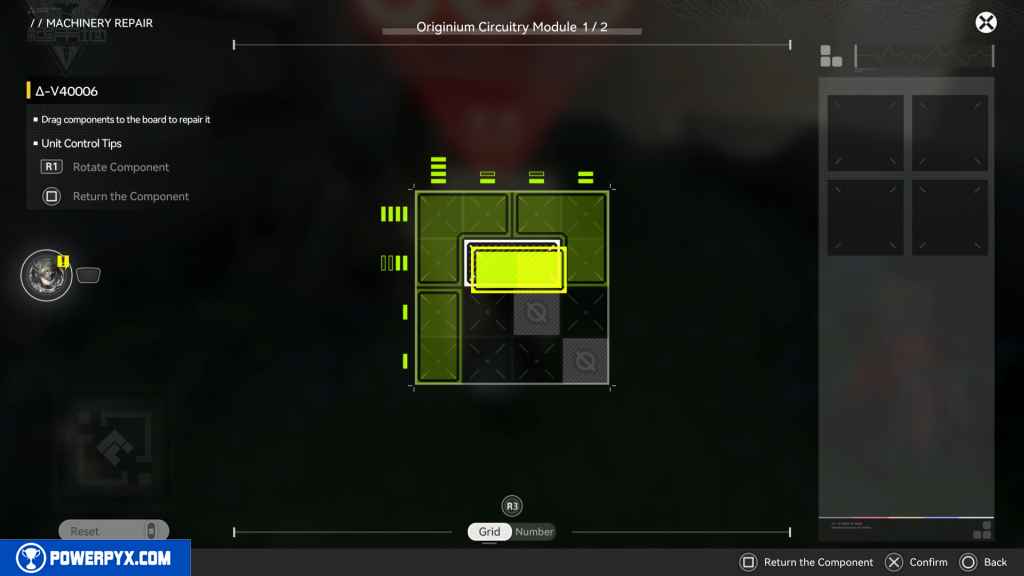
Turn right from the Gathering Point, and you should see an SOS Repair Bot. Activate it and repair it.
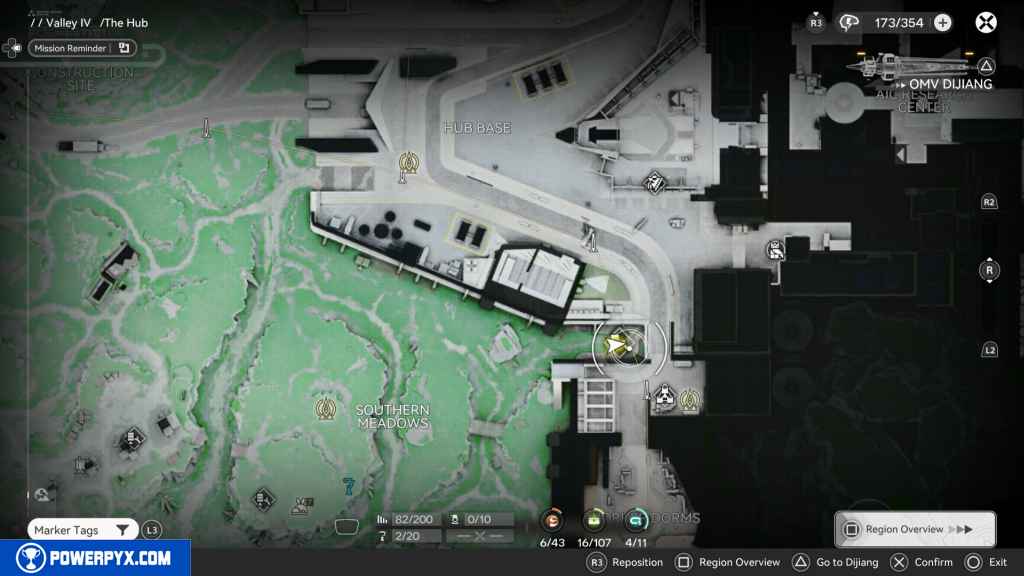
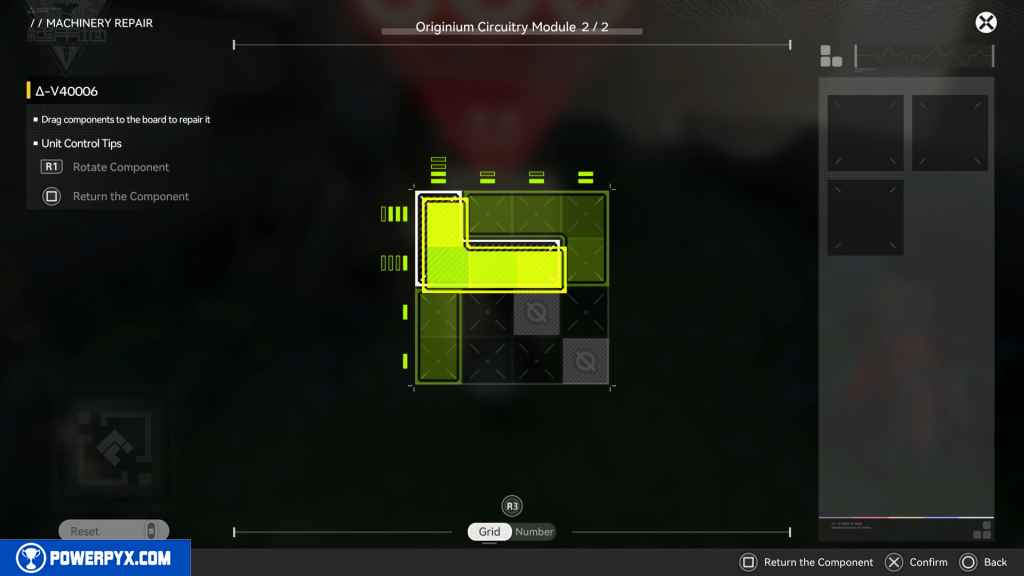
45 – Gathering Point 23
Behind the Repair Bot is the next Gathering Point.
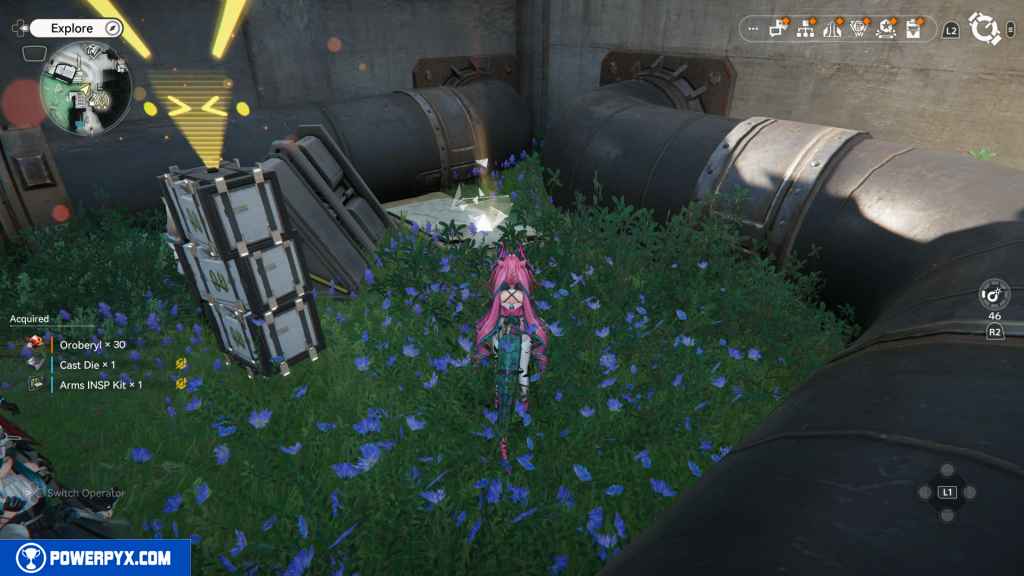
46 – Crate 16
Turn around and head west on the path. You should see the crate on the floor to your right.
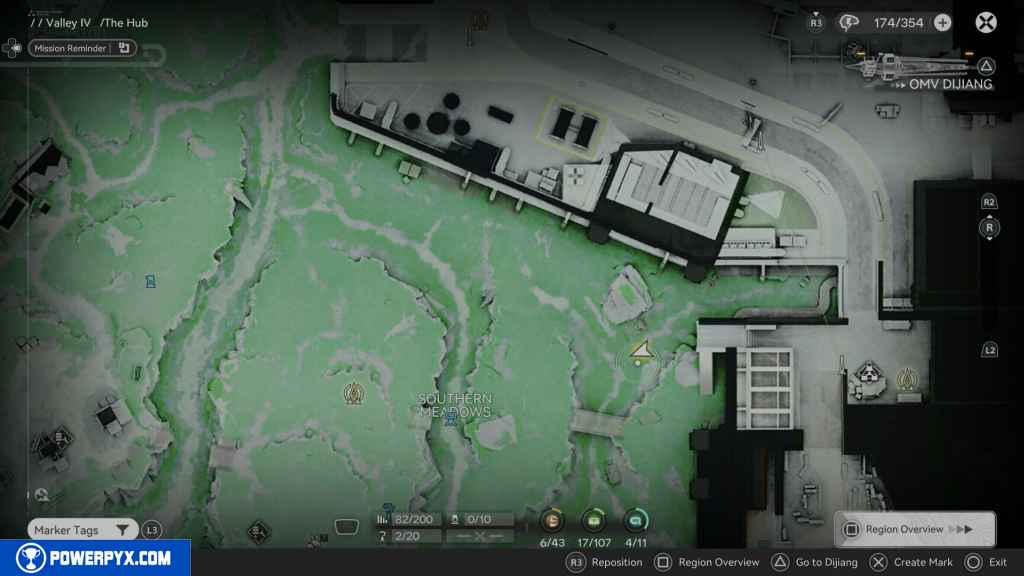
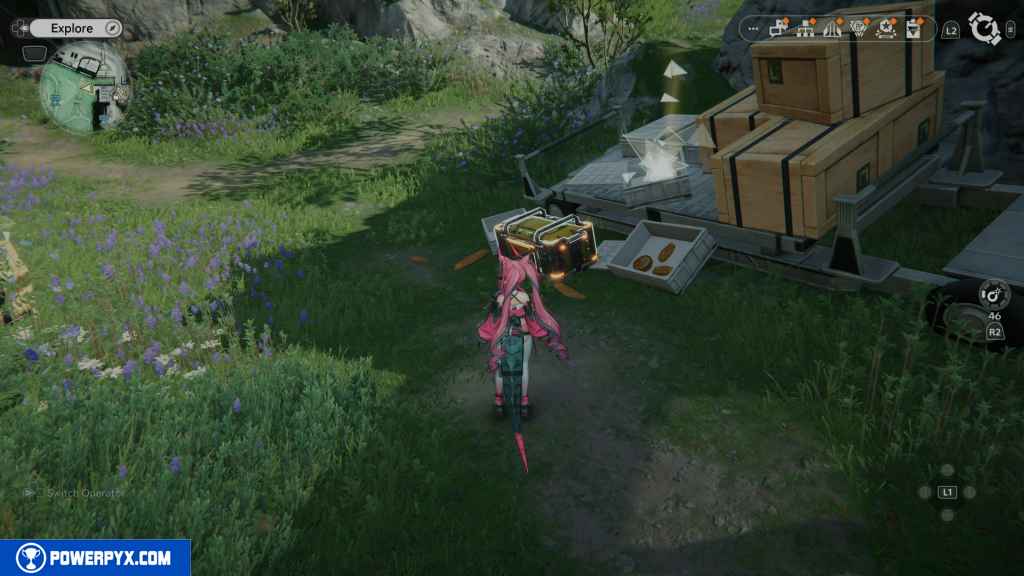
47 – Gathering Point 24
Right next to the crate is the Gathering Point.
48 – Gathering Point 25
Look south from the last Gathering Point, and the next one should be on top of some boxes.
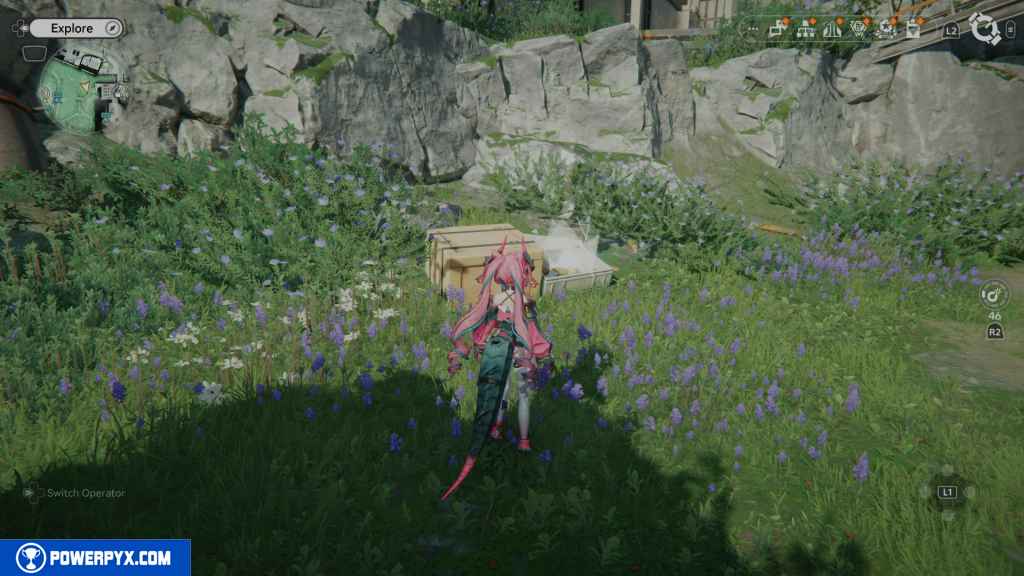
49 – Aurylene 7
This next Aurylene is under the bridge, looking south from the last Gathering Point.
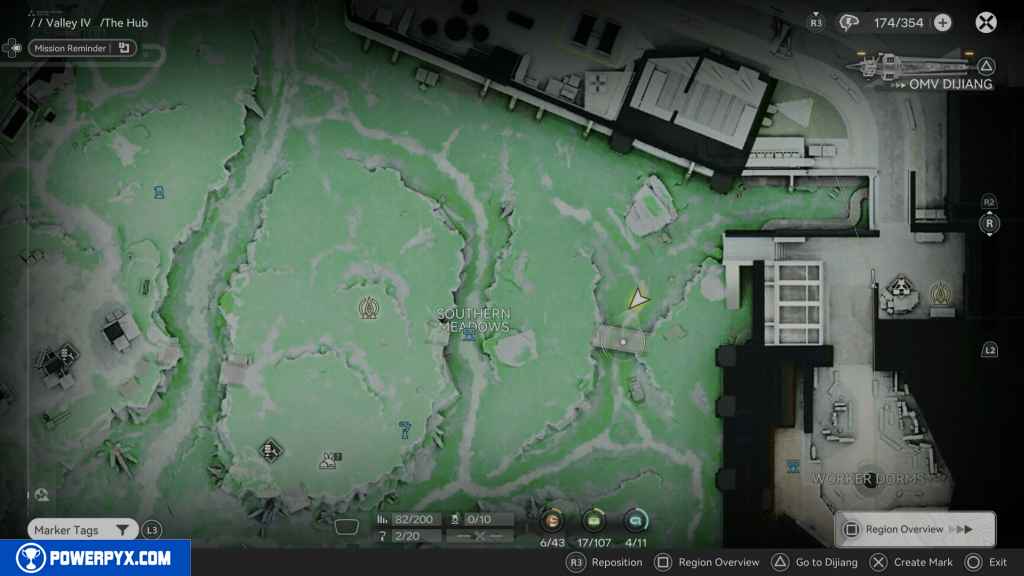
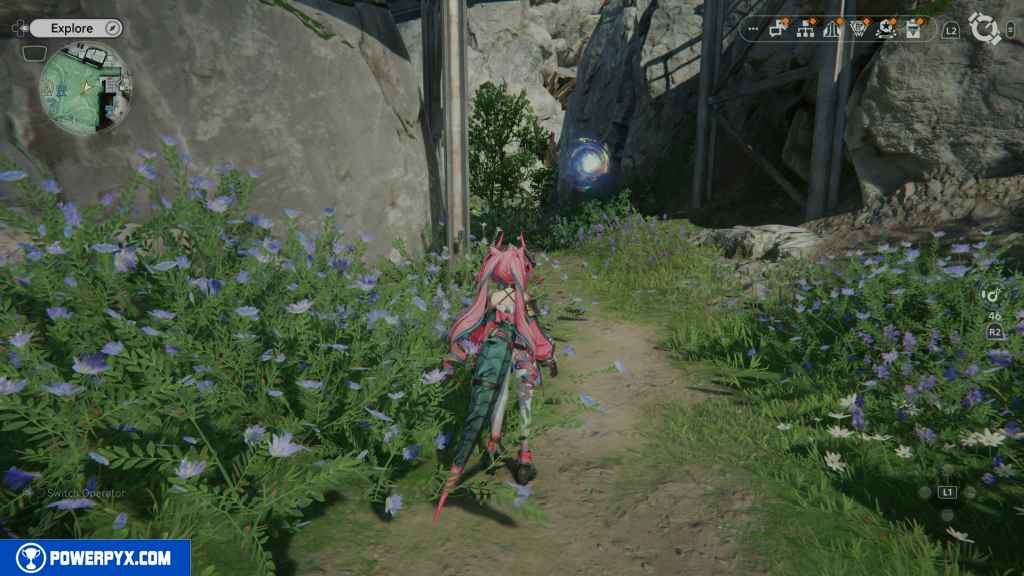
50 – Gathering Point 26
Just a little past Aurylene is the next gathering point, atop some boxes.
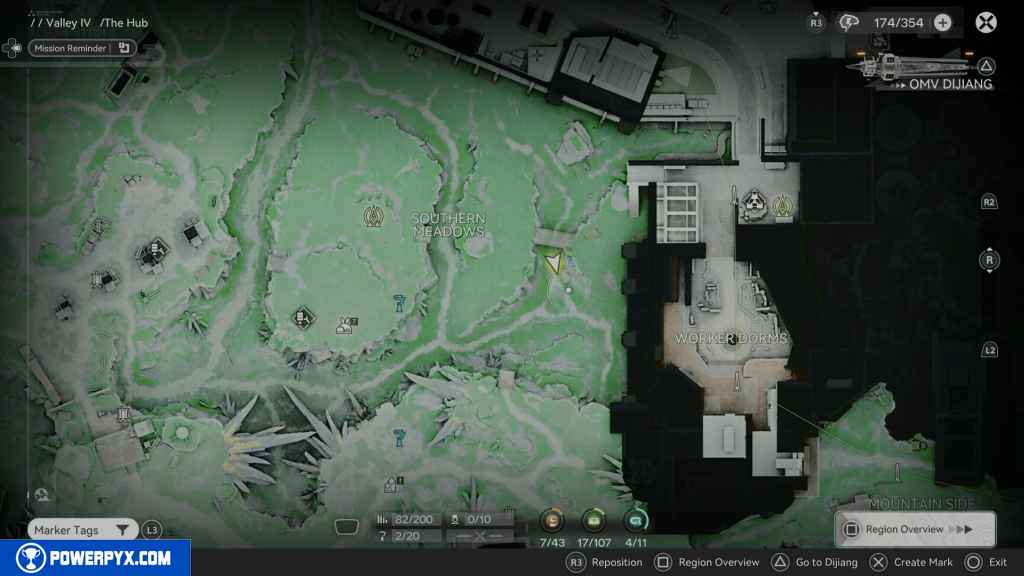
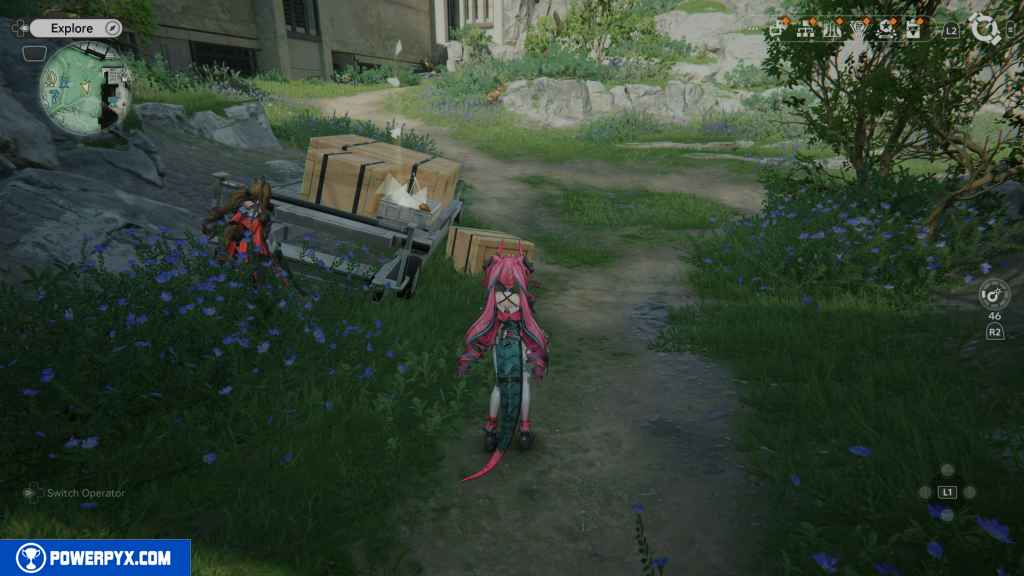
51 – Gathering Point 27
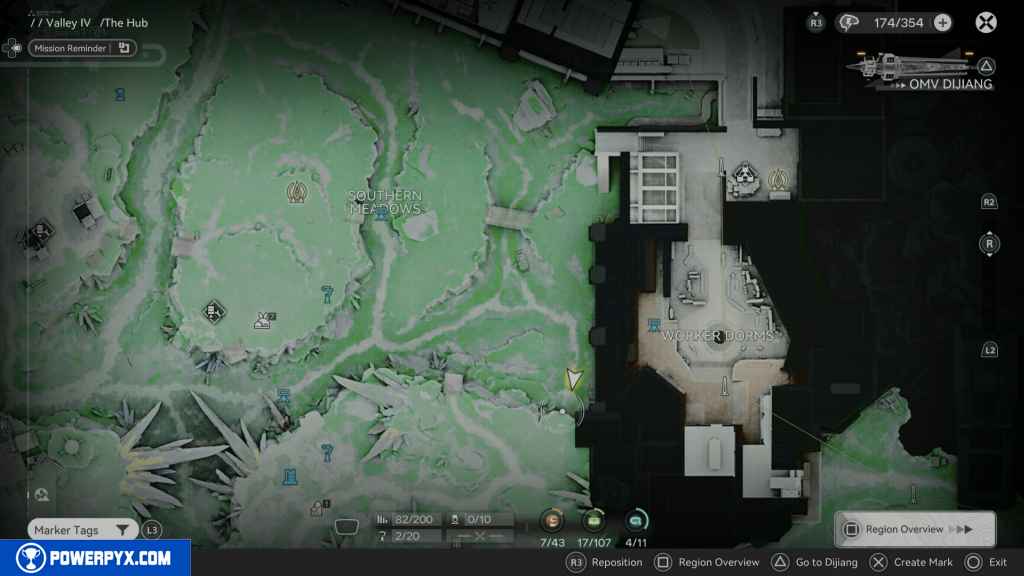
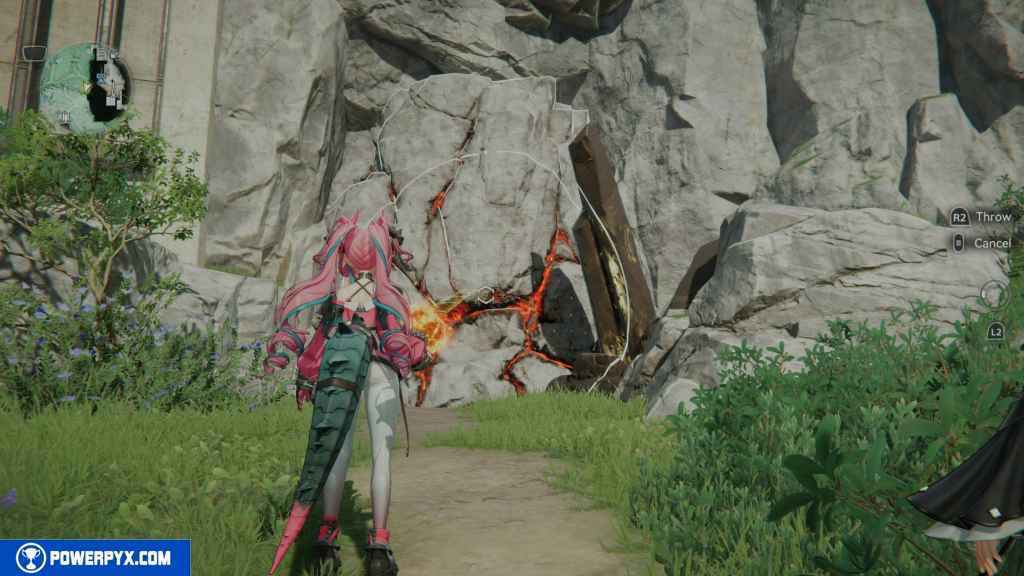
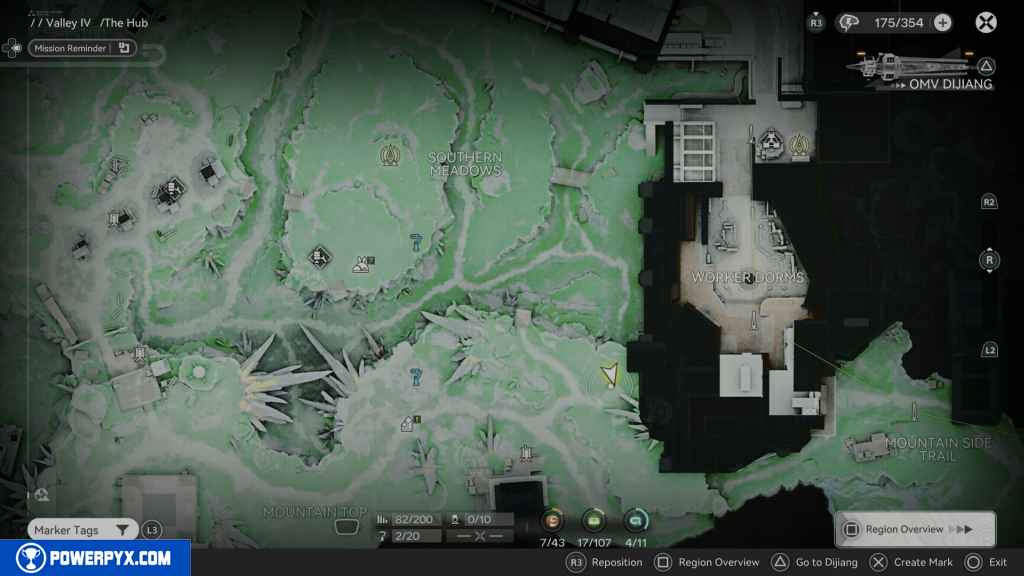
Head south around the wall to the Hub Base. You should see a destructible wall. Use a bomb to blow it up, and you should see two Gathering Points. Grab the first one on your left.
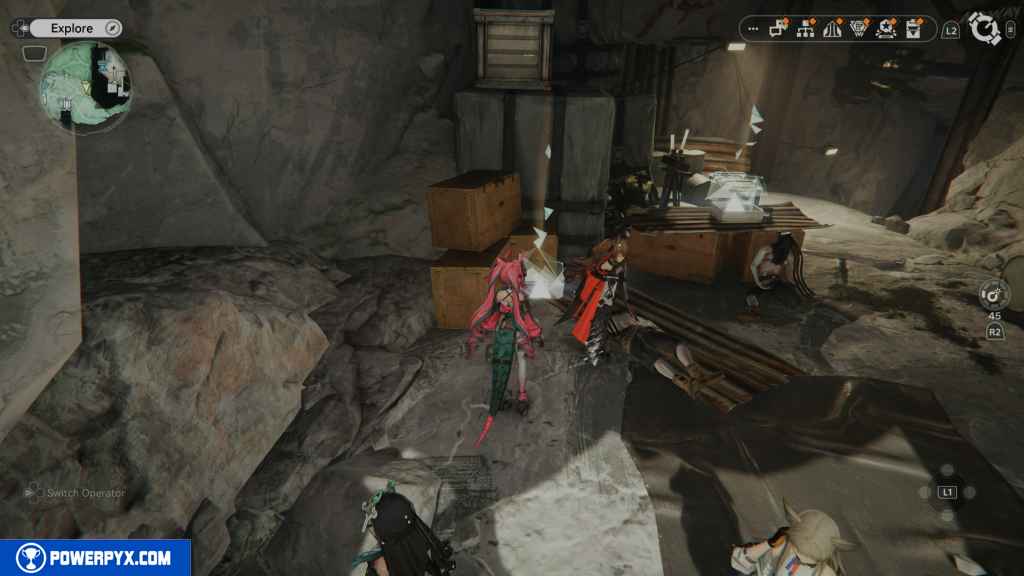
52 – Gathering Point 28
It’s right next to the last Gathering Point on the makeshift table.
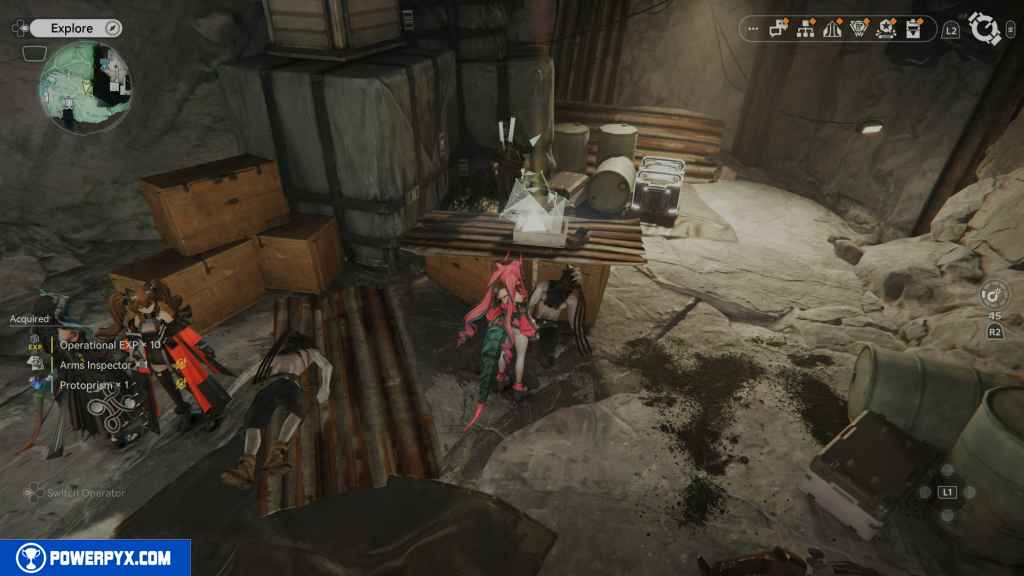
53 – Crate 17
The next crate is just a few feet south of the two Gathering Points. Can’t be missed.
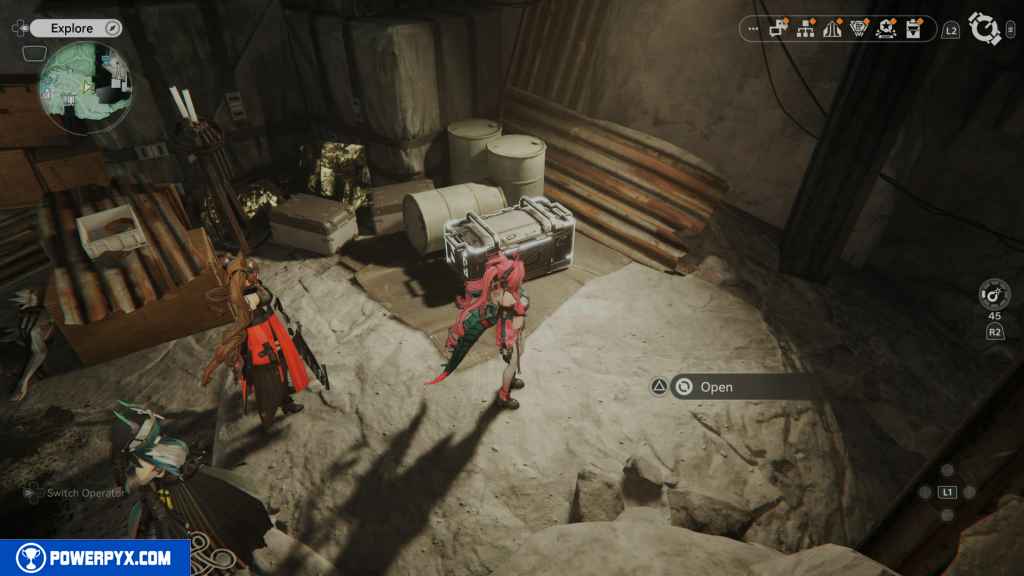
54 – Crate 18
Continue down into the cave you should come out in a large area with three crates. You have to defeat all the enemies in the area to unlock the three crates.
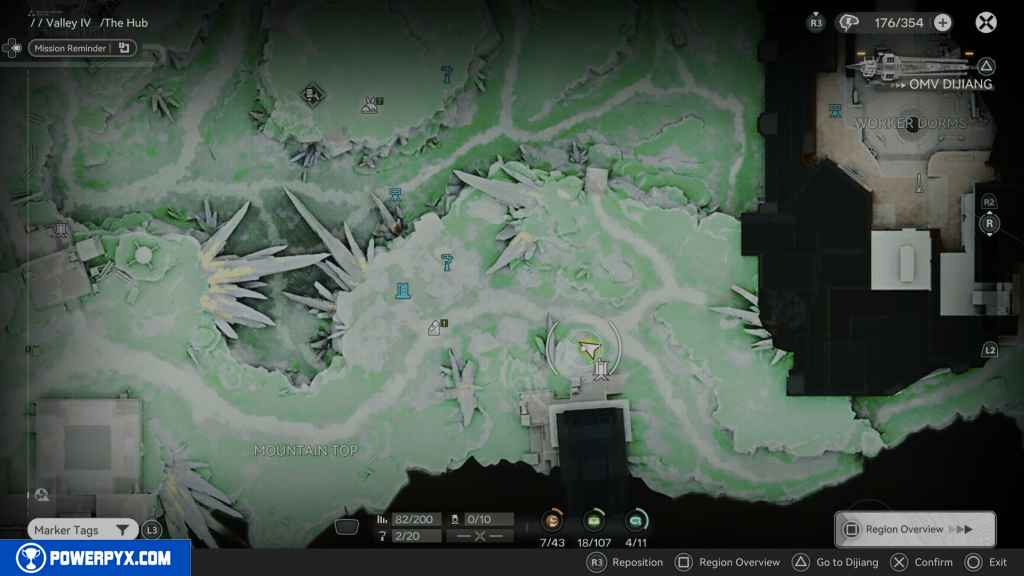
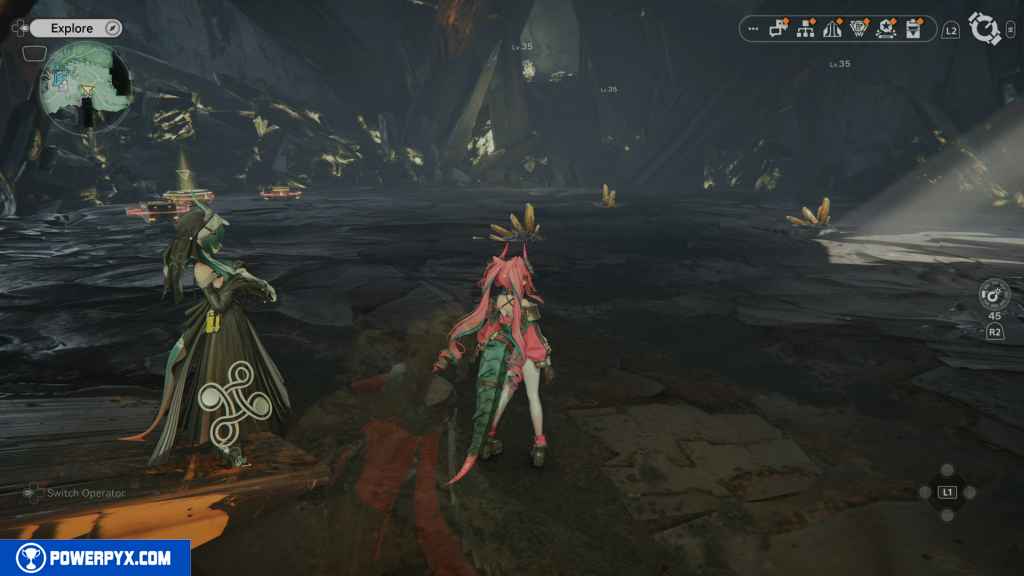
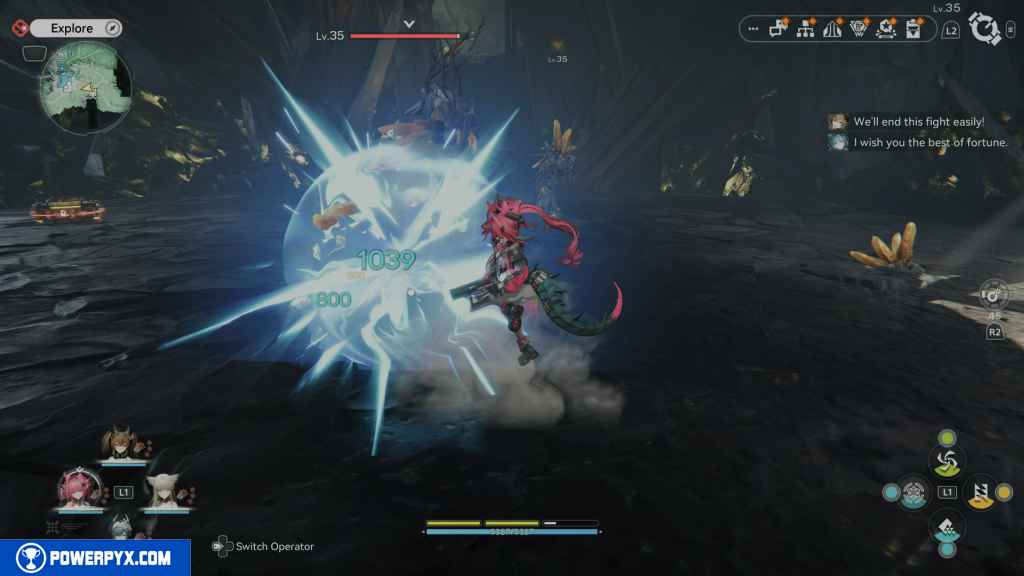
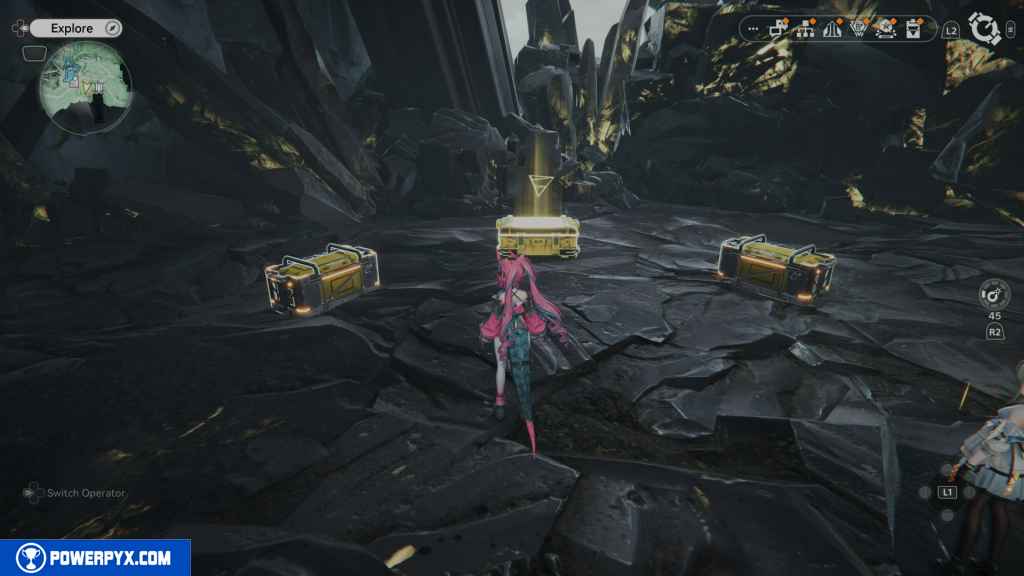
55 – Crate 19
Defeat all the enemies in the area to unlock this crate.
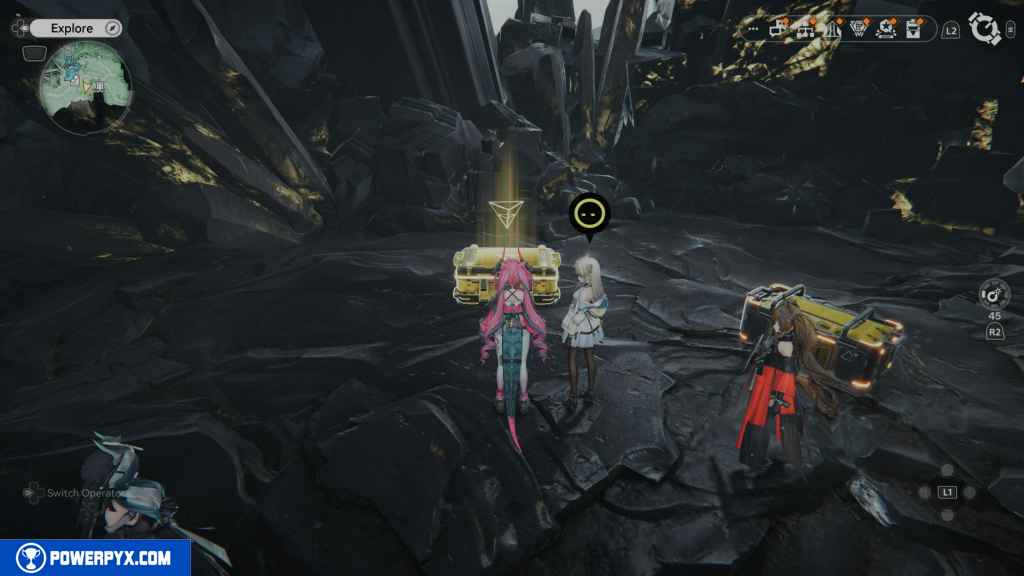
56 – Crate 20
Defeat all the enemies in the area to unlock this crate.
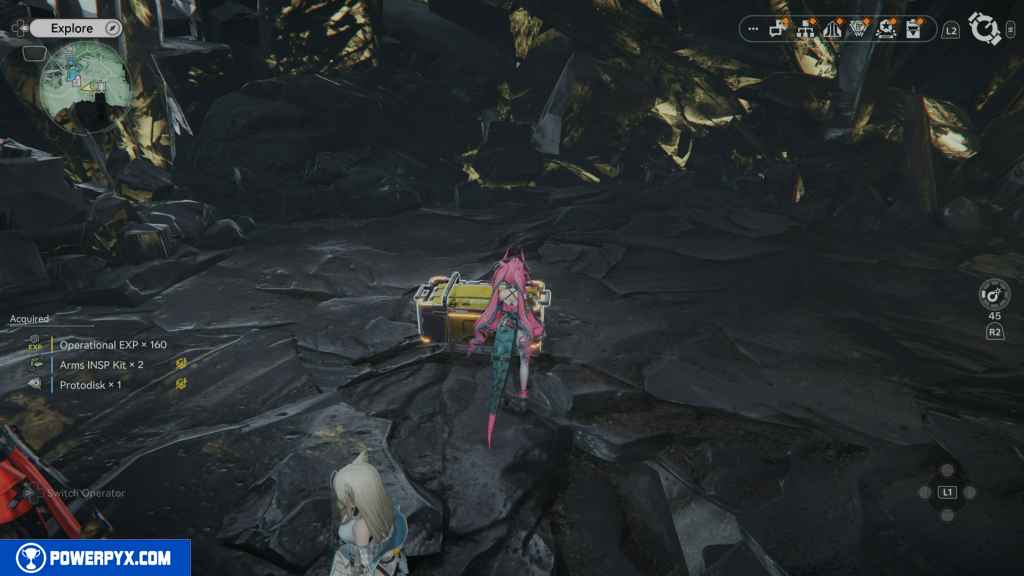
57 – Long-ear 1
Leave the cave and continue west. Go west until you reach an intersection. Going west takes you down a canyon path with crystals. Go north instead and go up the hill. On top of this hill, you should see a glowing Long-ear bunny.
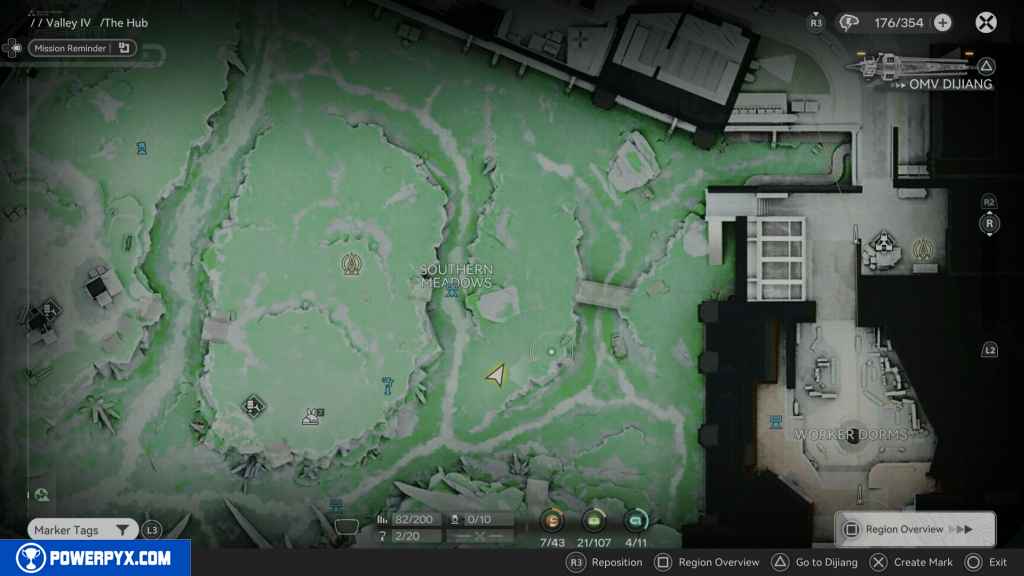
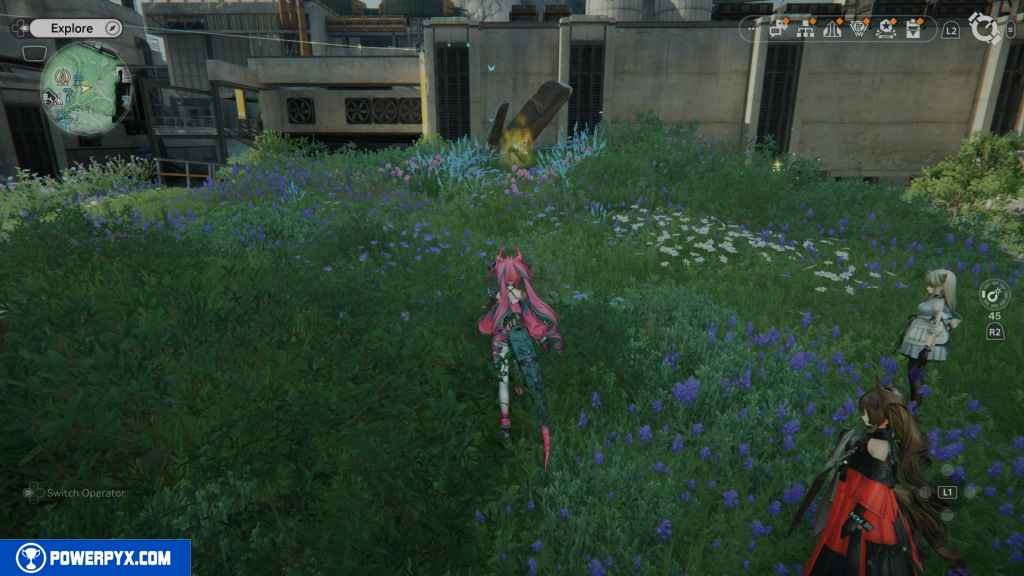
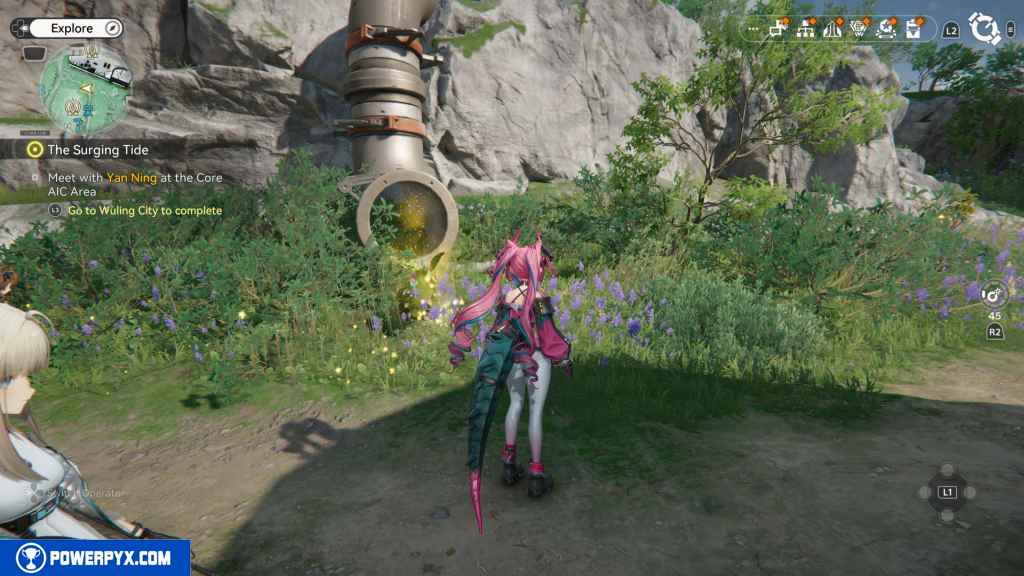
Follow it until it goes into a pipe. Use the rope if it’s activated and reach the top of the hill. The Long-ear will come out of the pipe on this hill. Follow it, and it will lead you to a Gathering Point that it will dig up.
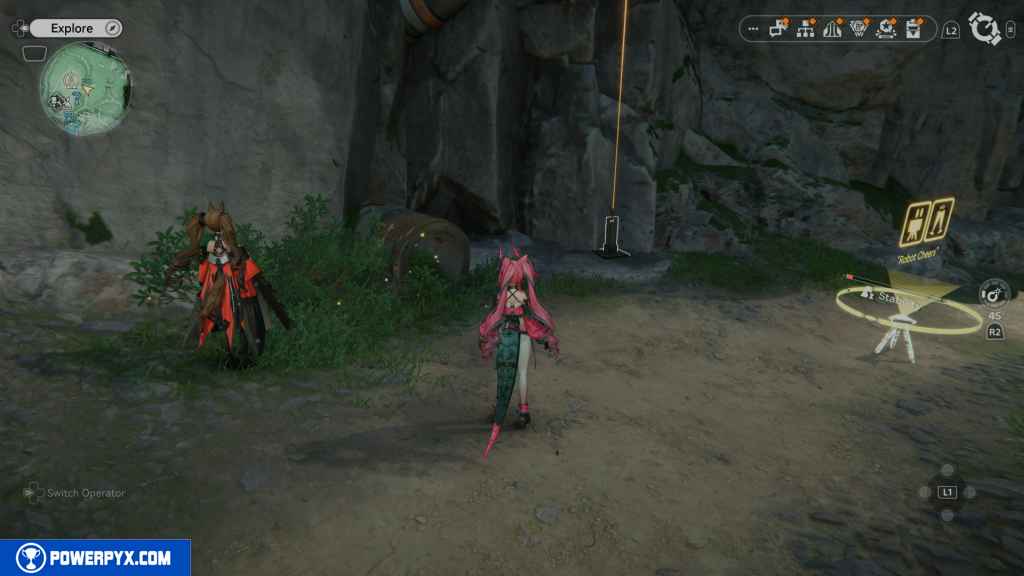
58 – Gathering Point 29
Dug up by the Long-ear.
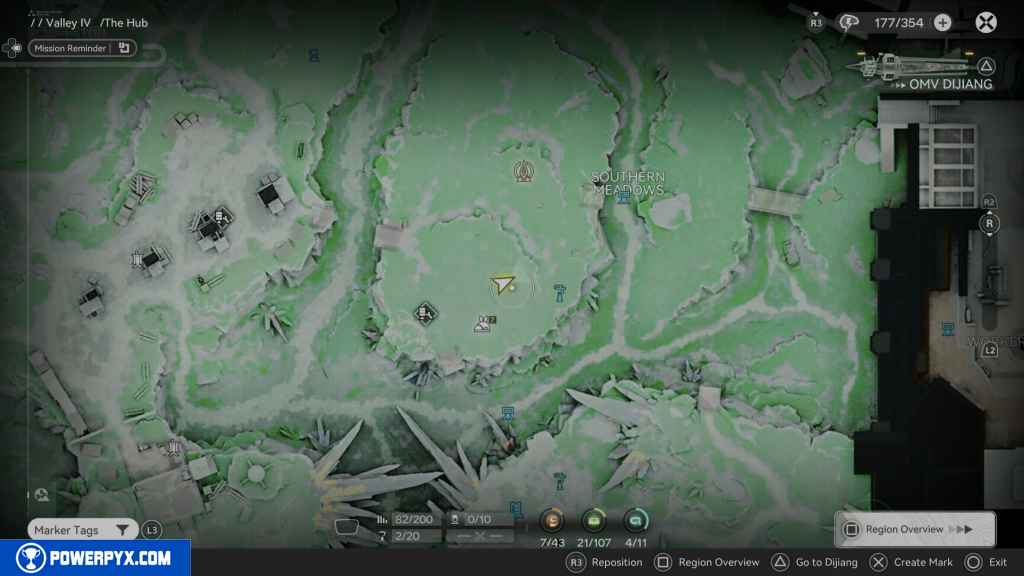
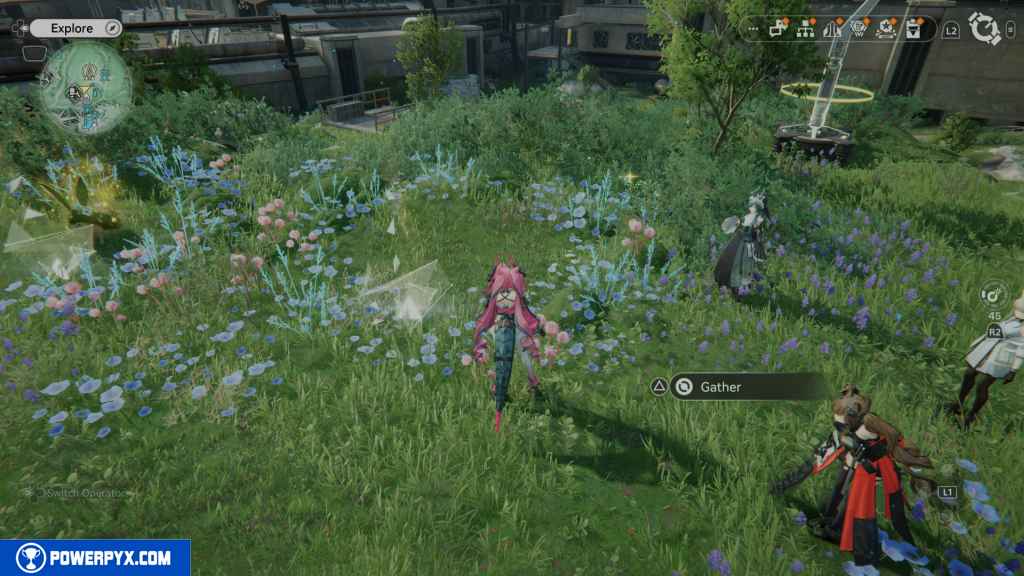
59 – Protocol Datalogger 1
On the same hill, you should find a Datalogger.
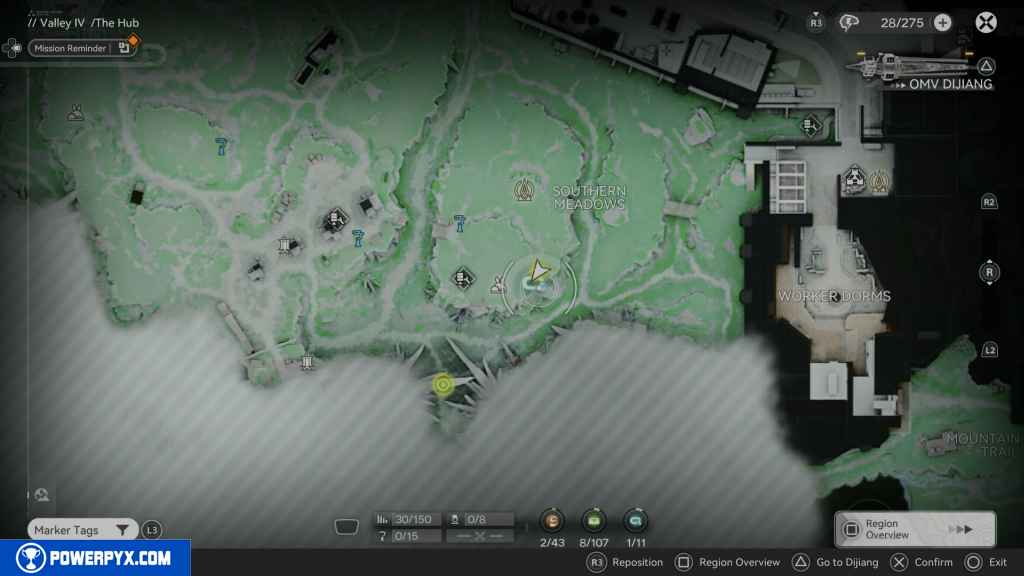
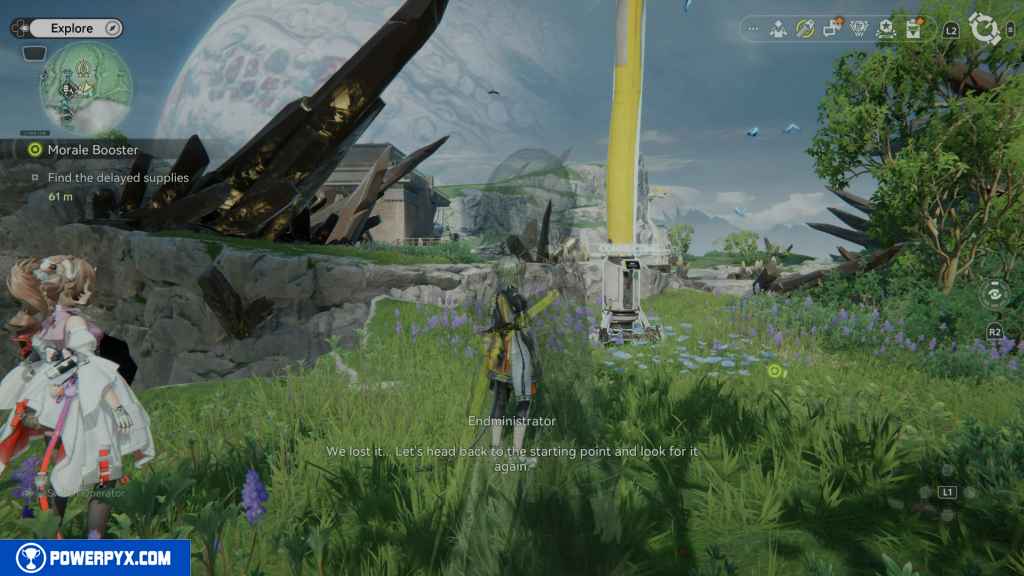
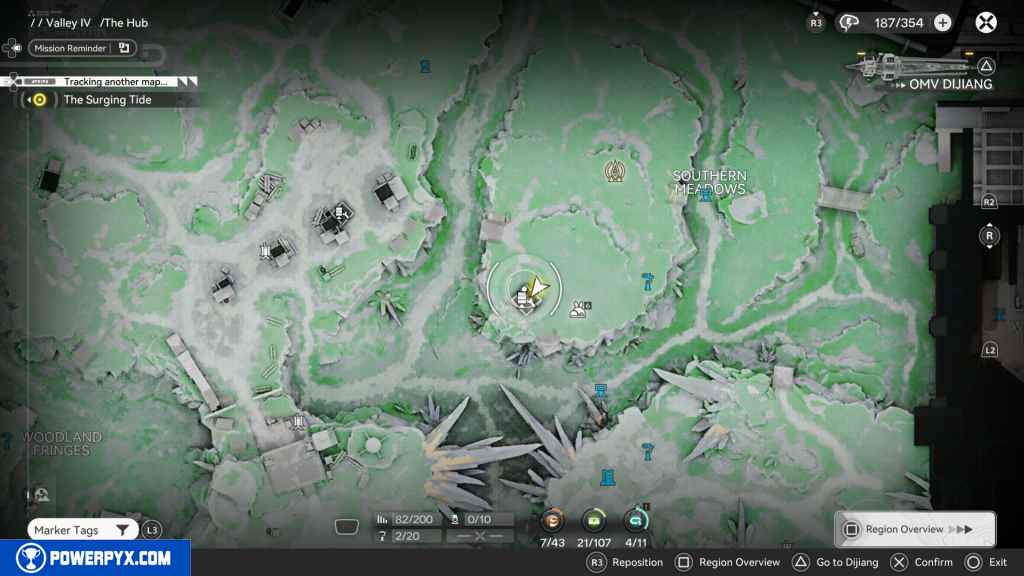
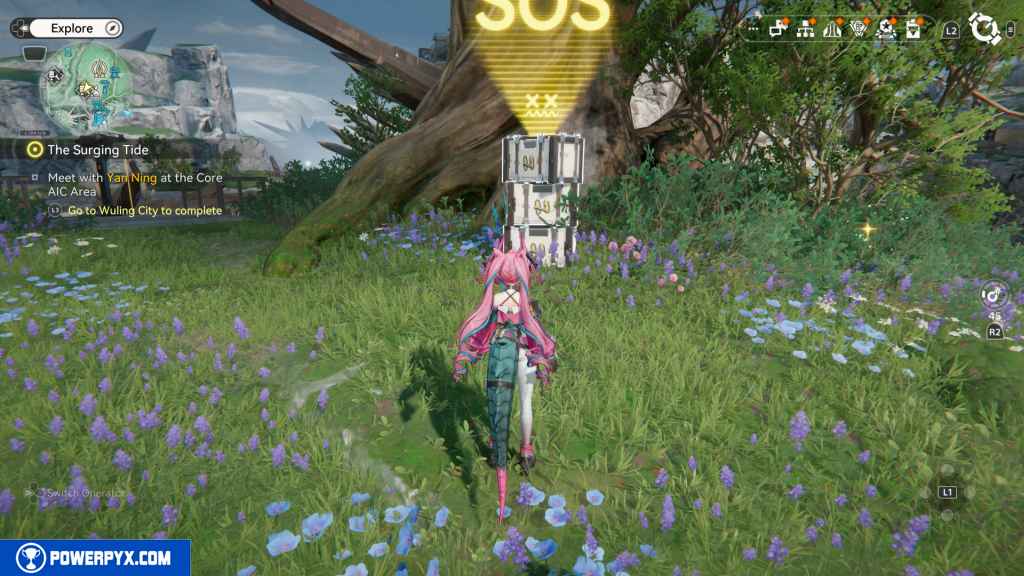
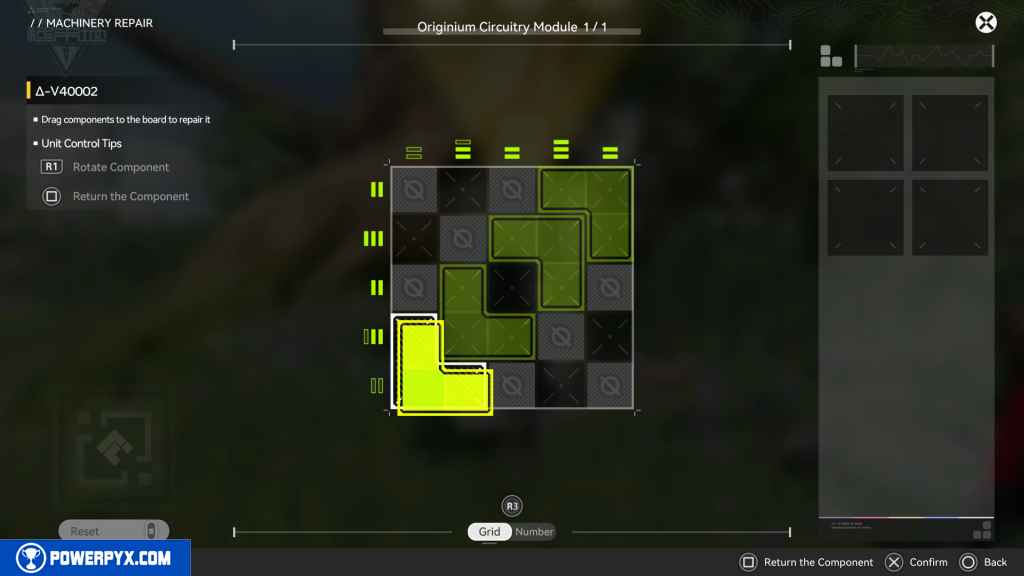
60 – SOS Repair Bot 2
West of the Datalogger, you will find the next SOS Repair Bot.
61 – Gathering Point 30
Jump down from the cliff to the east side and go north down the path. On your left, you should see the Gathering Point on a rock to your left.
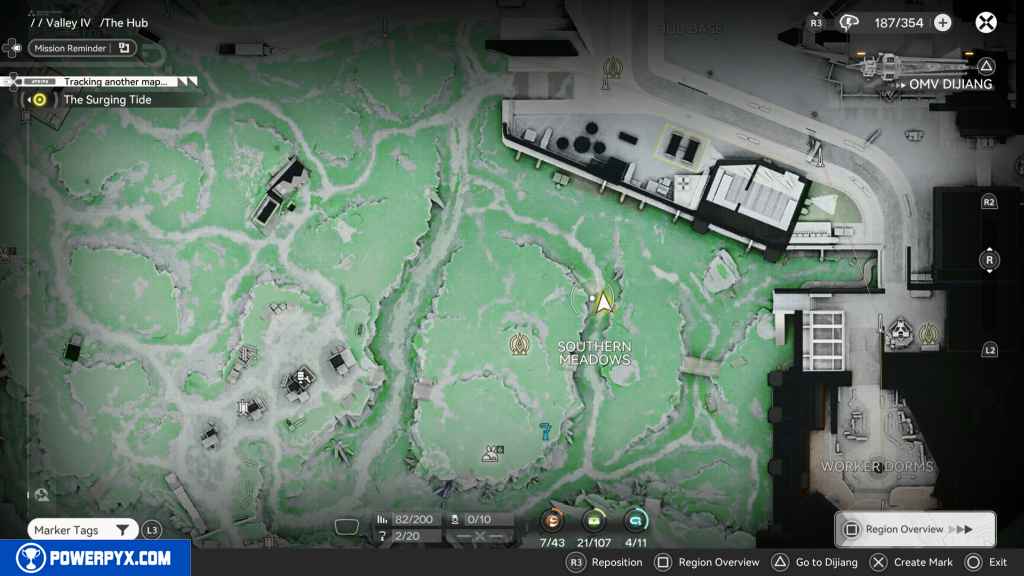
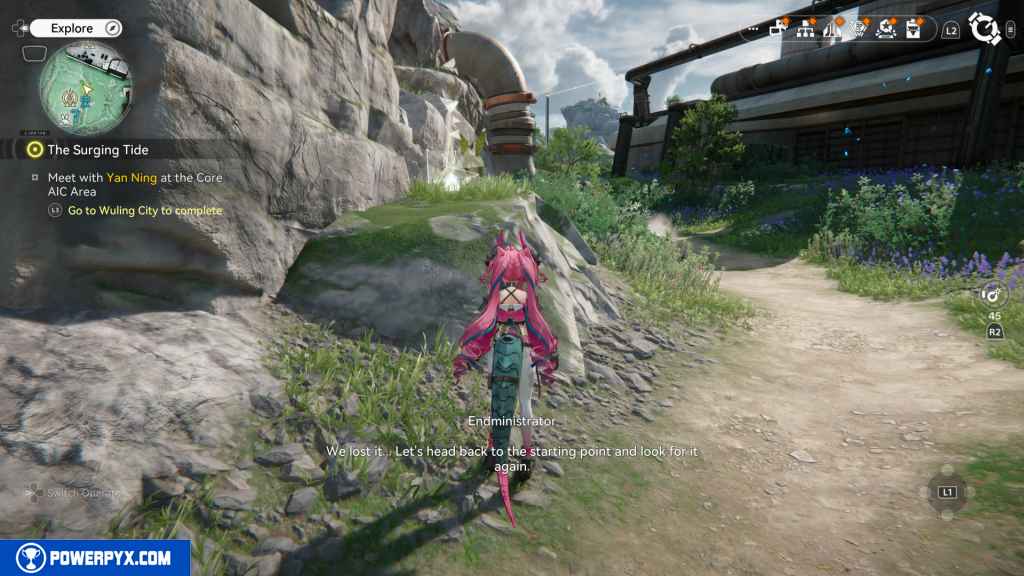
62 – Long-ear 2
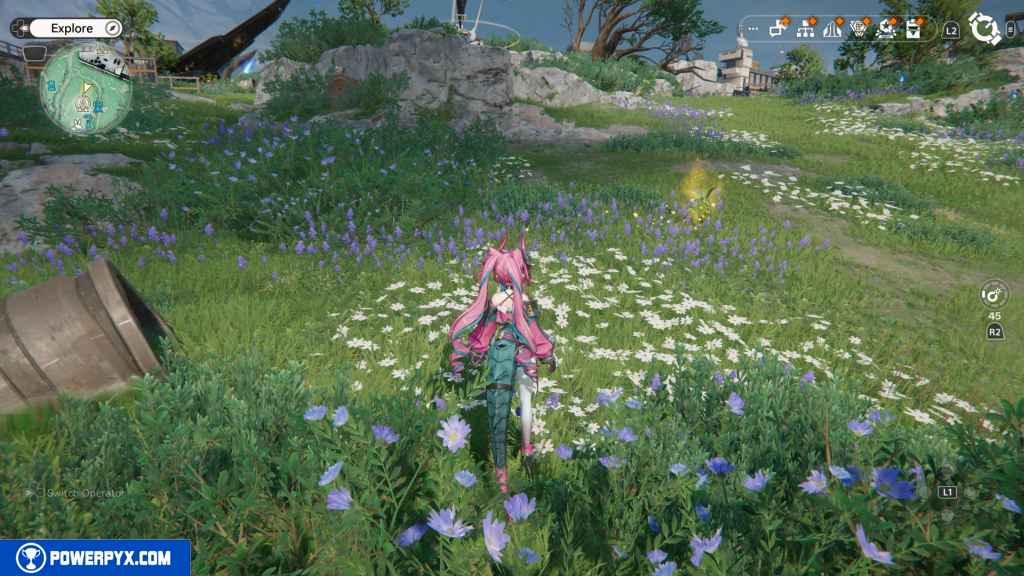
Right next to the Gathering Point, you should see another glowing Long-ear. Follow it, and it will go into a pipe. Go back up the hill, and you should see it emerge from the pipe. You have to be quick about it, or you will lose it and have to go back down and find it again. It will then go through two more pipes and emerge in the same area where the last one came to.
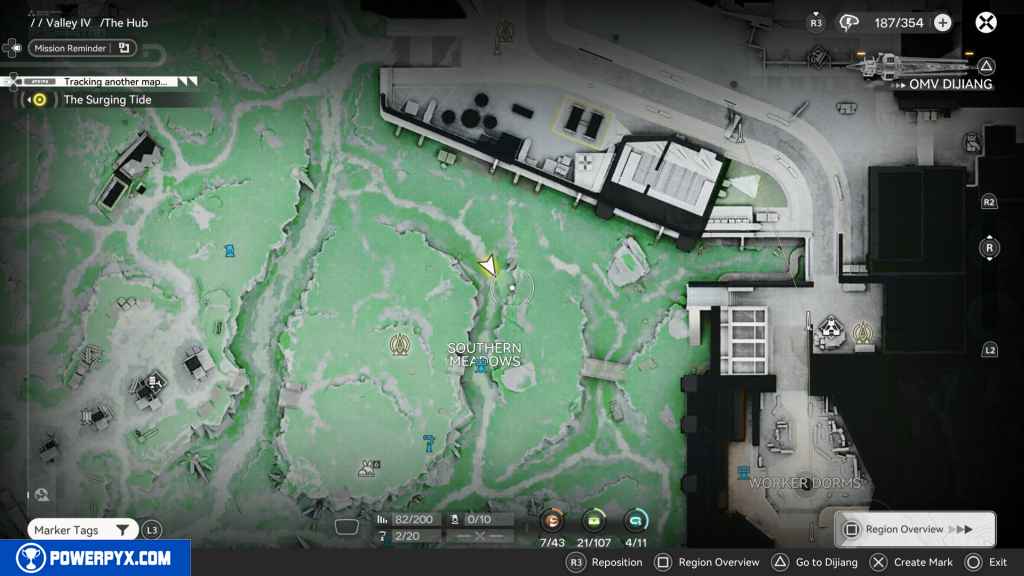
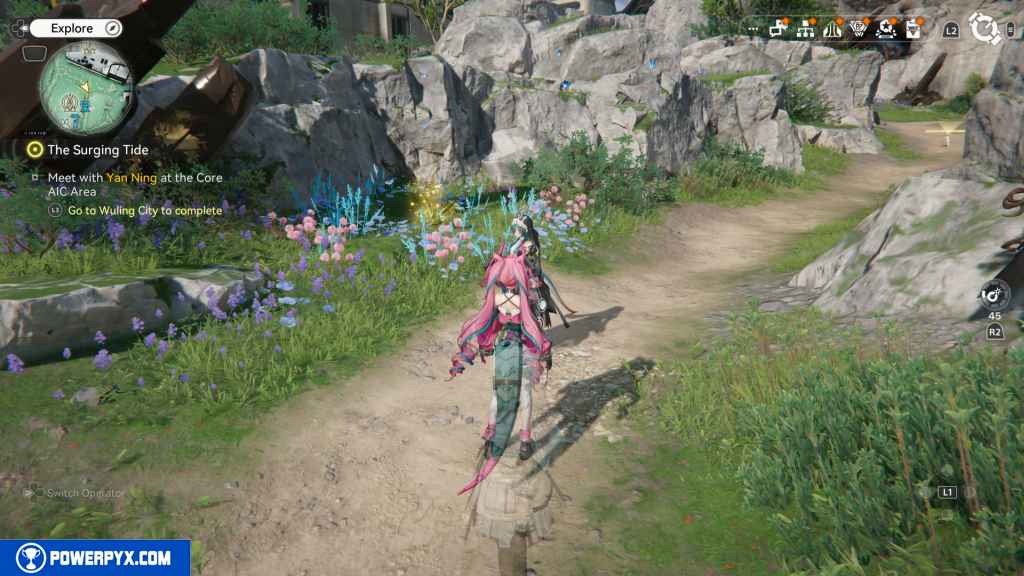
63 – Gathering Point 31
The Long-ear will dig it up as a reward.
64 – Long-ear 3
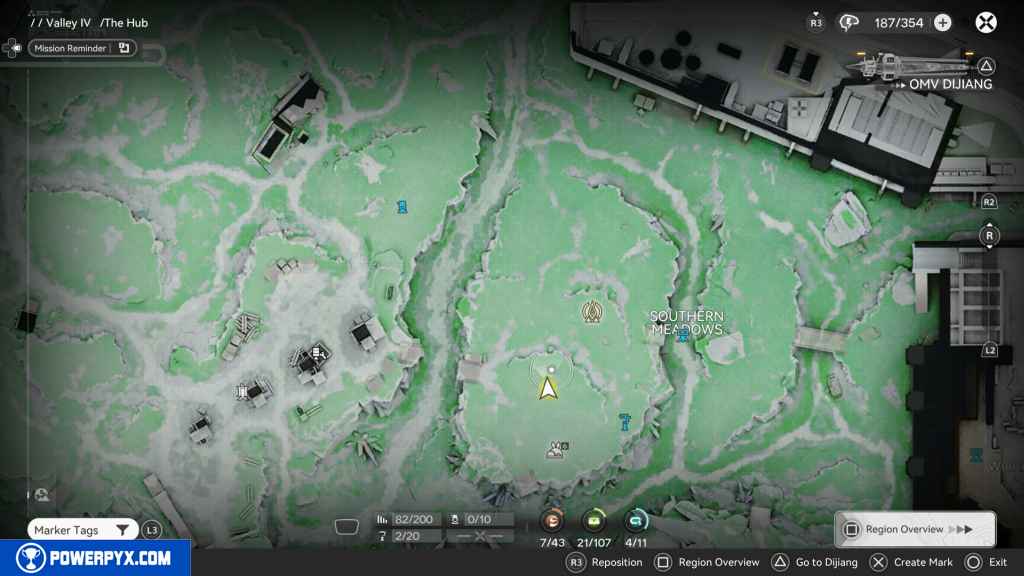
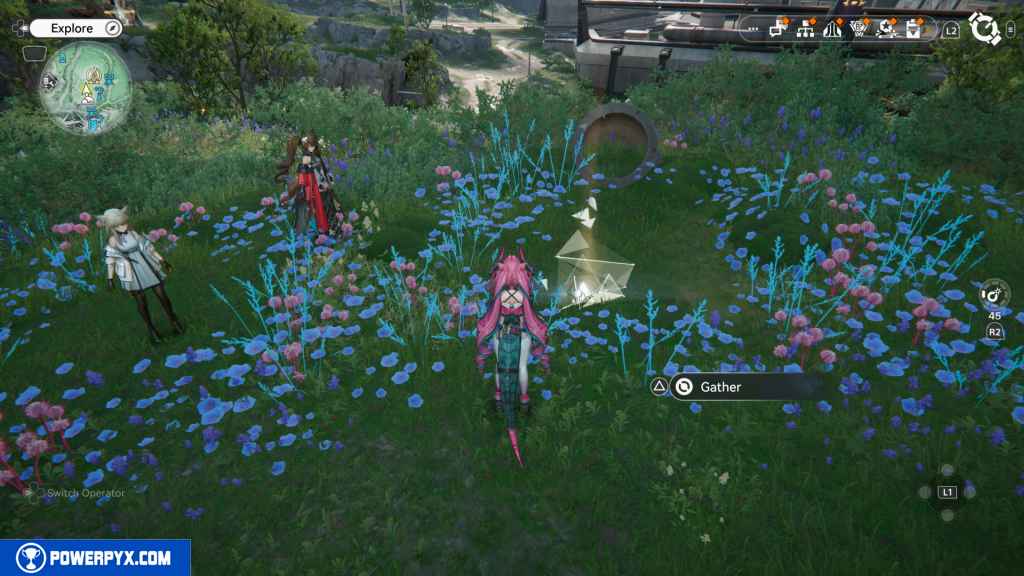
On the same hill, you should already see a Long-ear waiting here. Approach it, and it will dig up another Gathering Point.
65 – Gathering Point 32
Dug up by the Long-ear, already waiting on the hill.
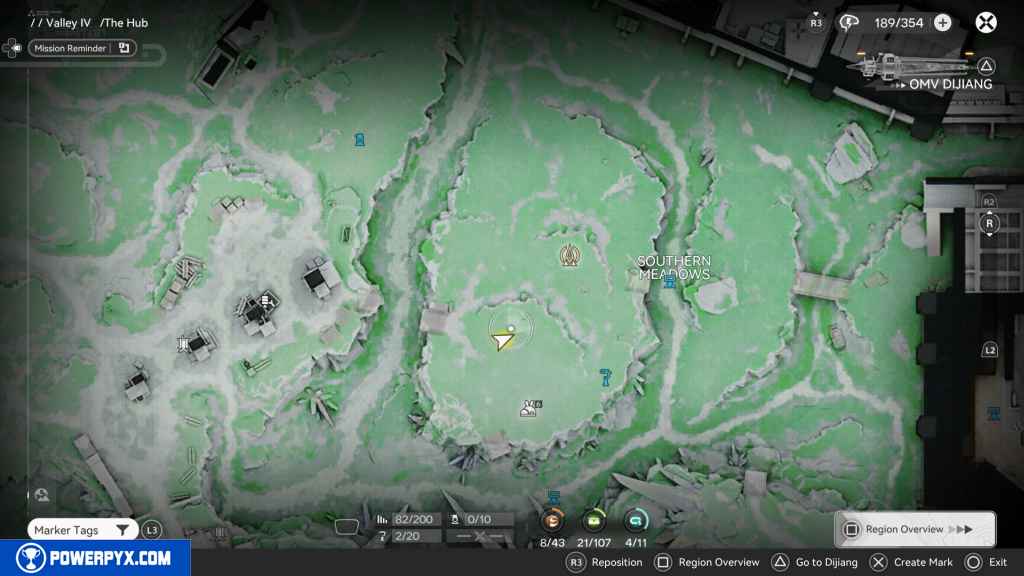
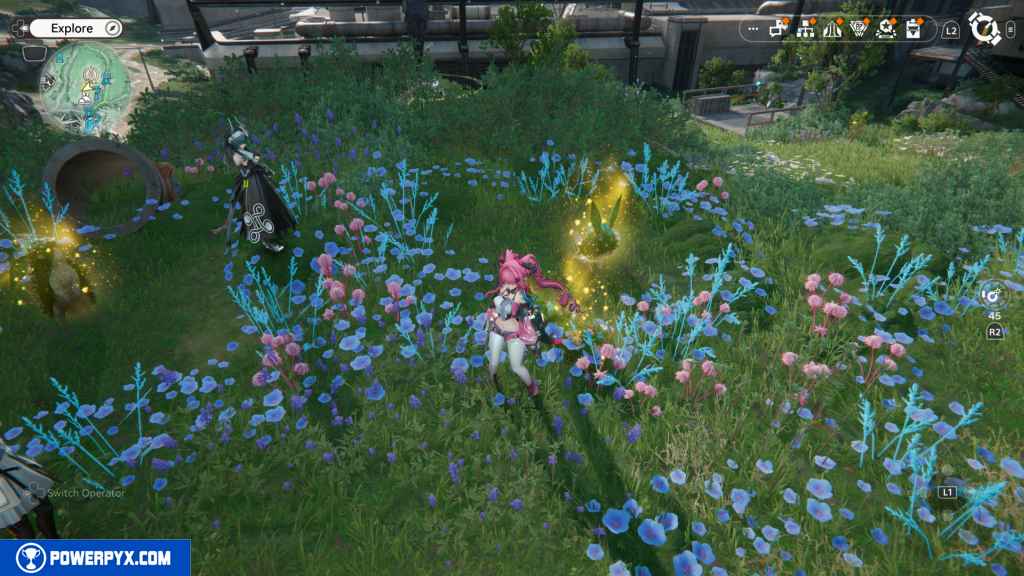
66 – Aurylene 8
Head north to the entrance stairs to the Hub base. Turn west, and you should see an Aurylene floating around. Chase it down to collect it.
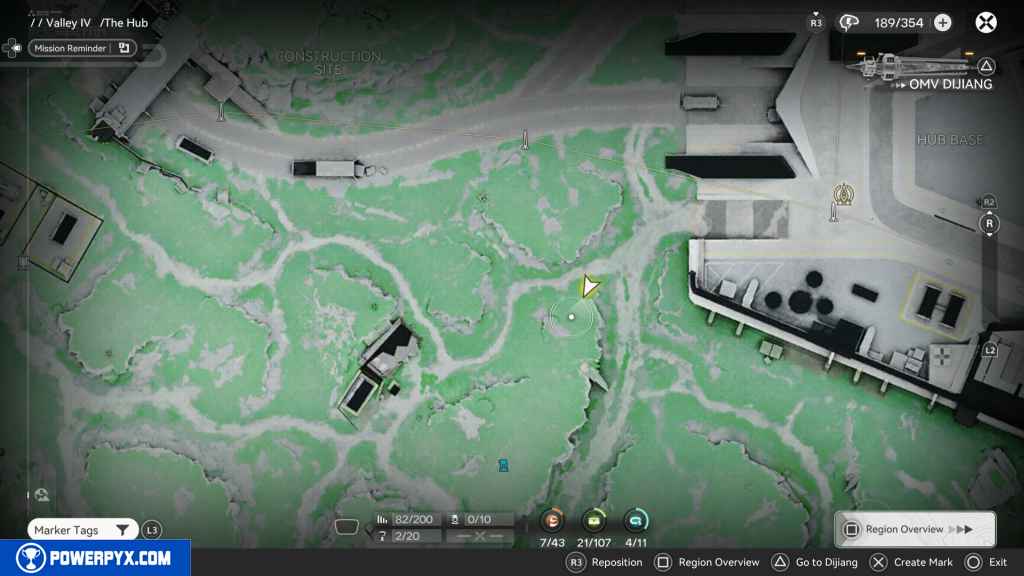
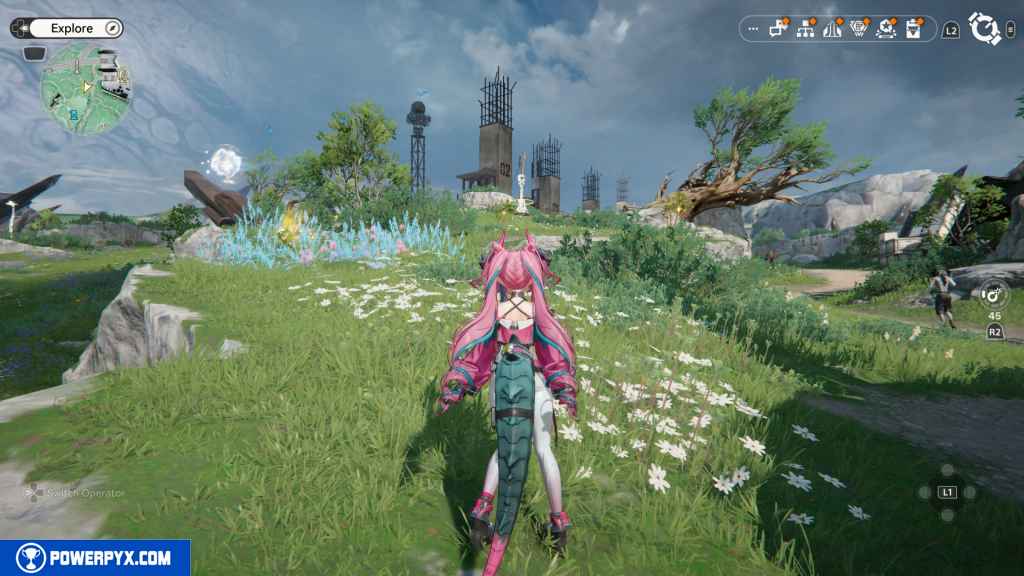
67 – Long-ear 4
In the same area you found the Aurylene, you should see the glowing Long-ear. Follow it all the way south until it reaches the top of the hill with the other Long-ears.
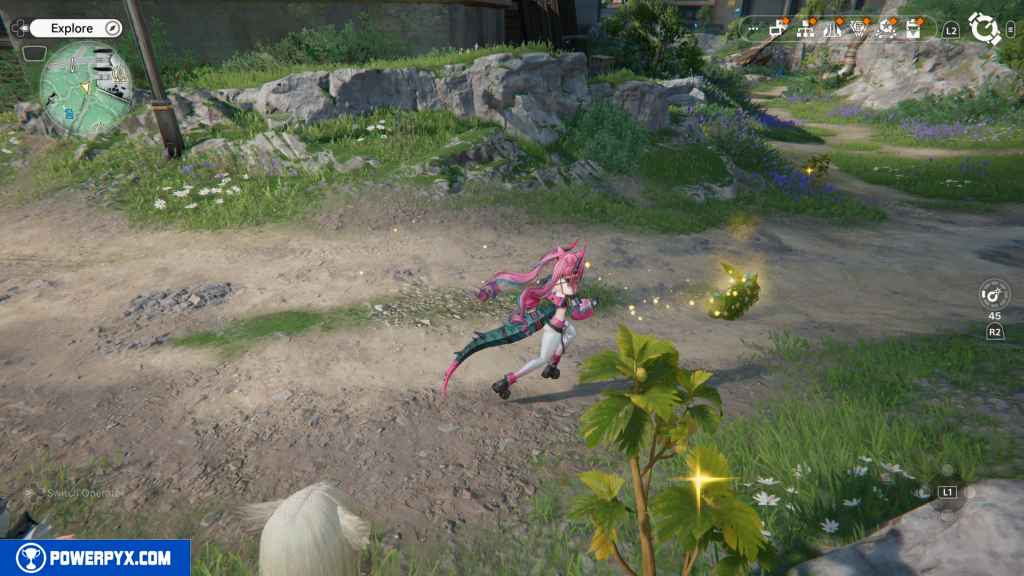
68 – Gathering Point 33
The last Long-ear will dig up another Gathering Point.
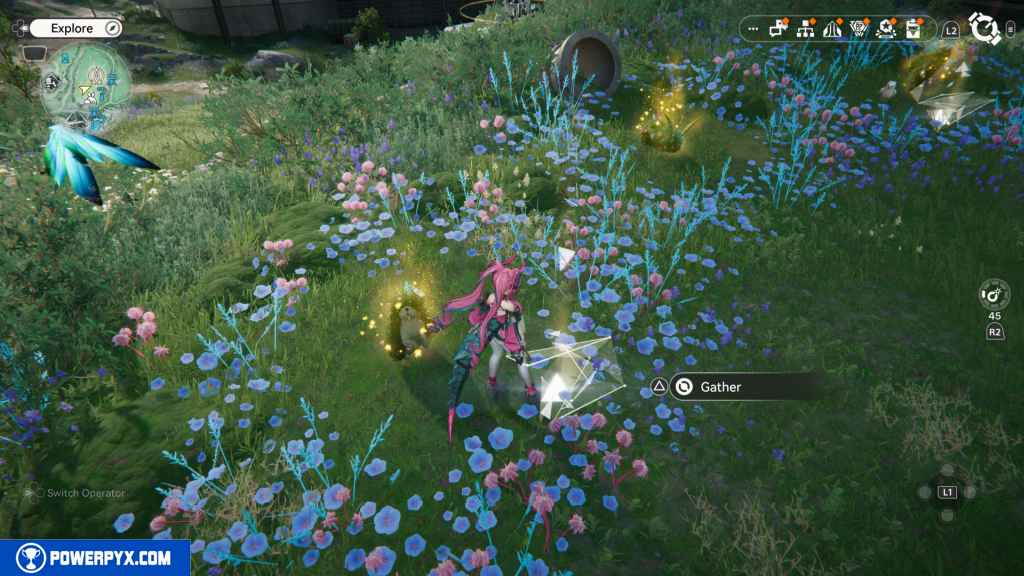
69 – Crate 21
Once all four Long-ears are gathered, a fifth one will appear and dig up a crate.
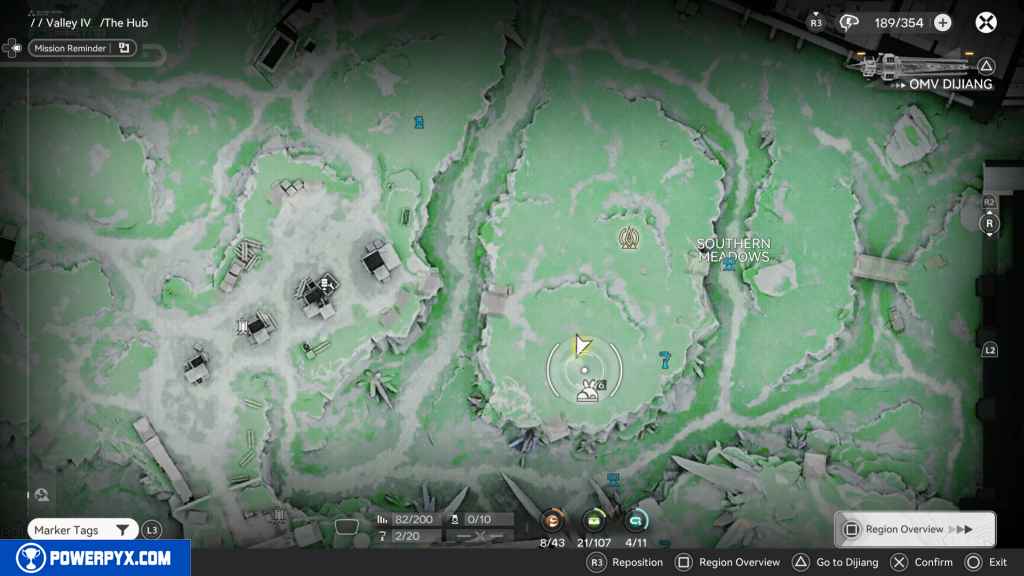
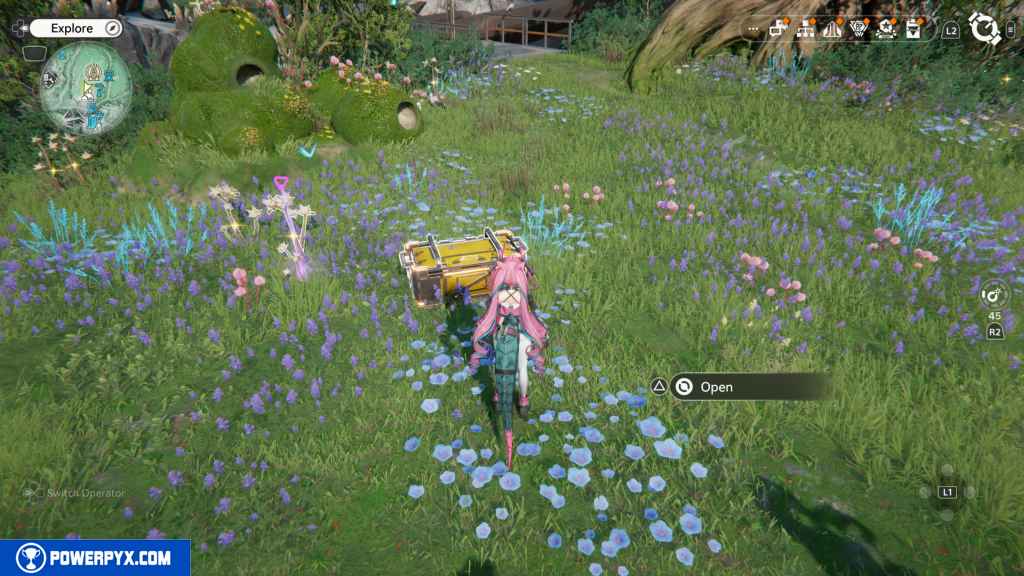
70 – Crate 22
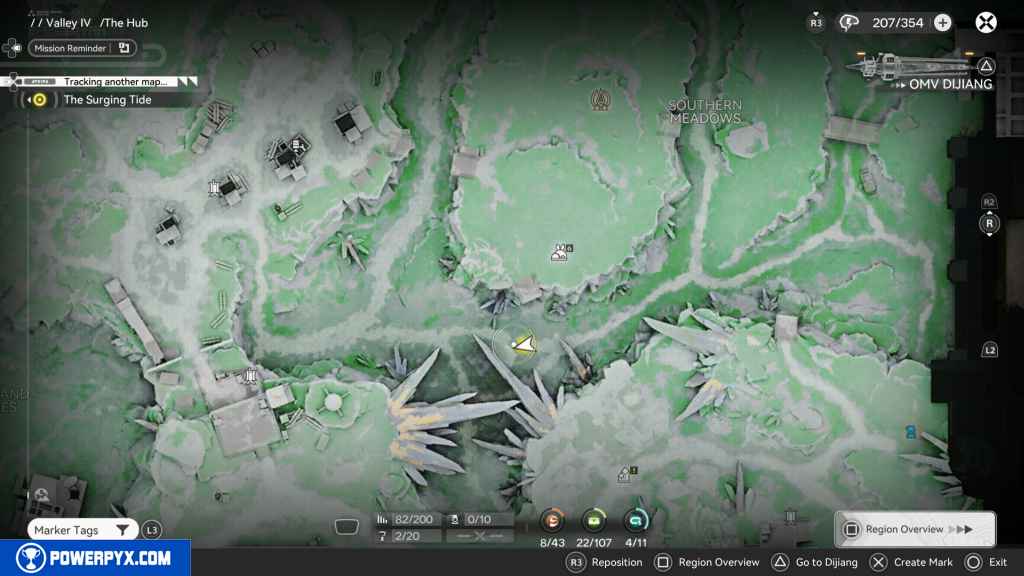
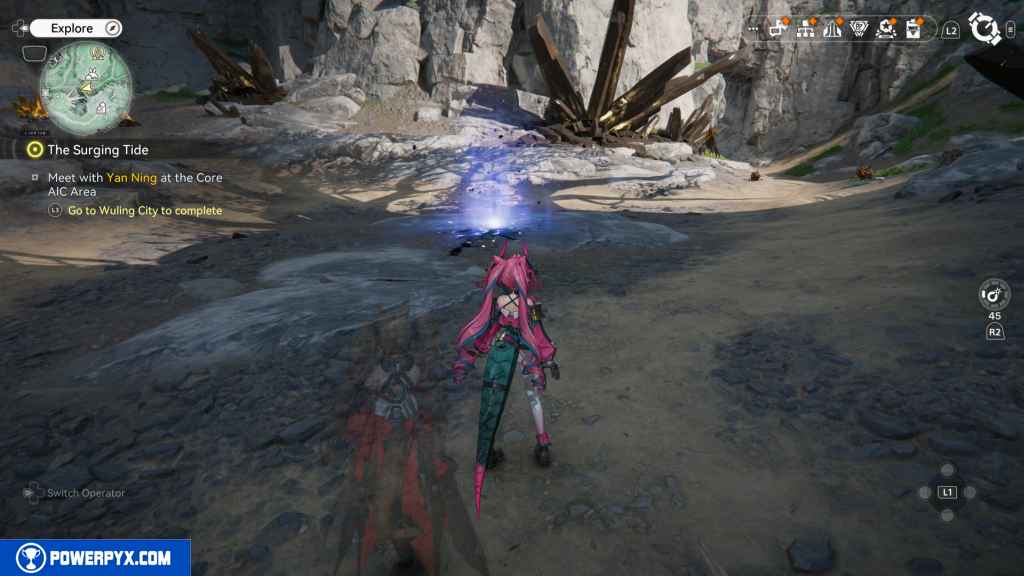
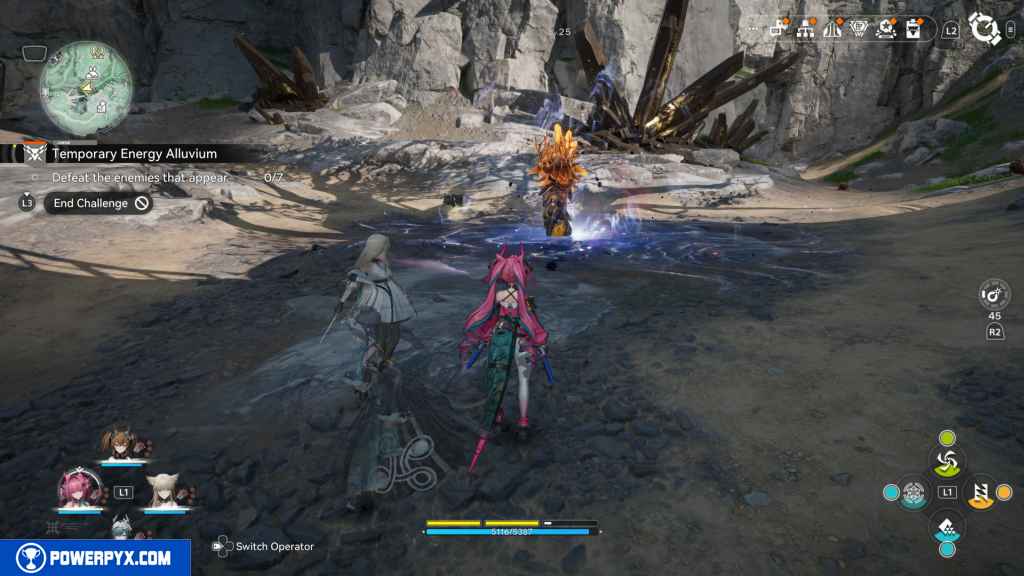
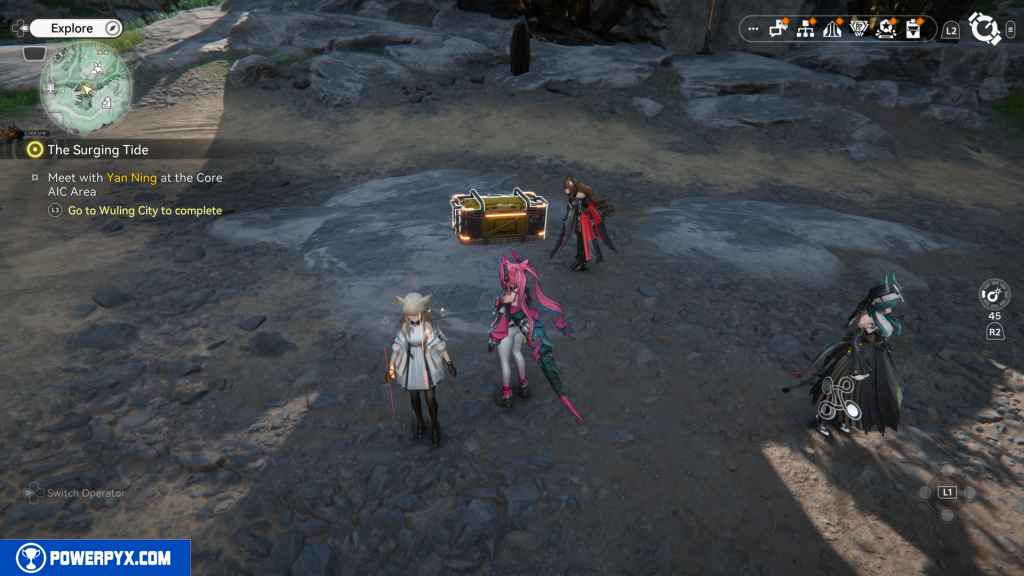
Head south off the cliff to the canyon full of crystals. You should find an Energy Alluvium. Activate it and defeat the enemies that appear to unlock the crate.
71 – Gathering Point 34
To get to this, you need to have started and completed Side Mission – Moral Booster. From the Energy Alluvium, head south, and you should see a destructible wall. Blow it up with a bomb, and inside you should find three Gathering Points and a crate.
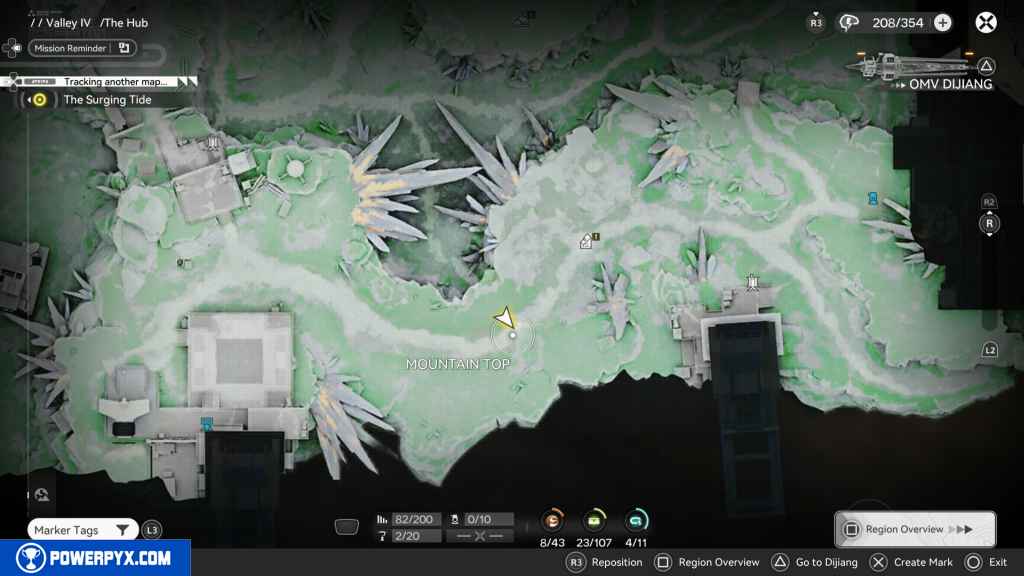
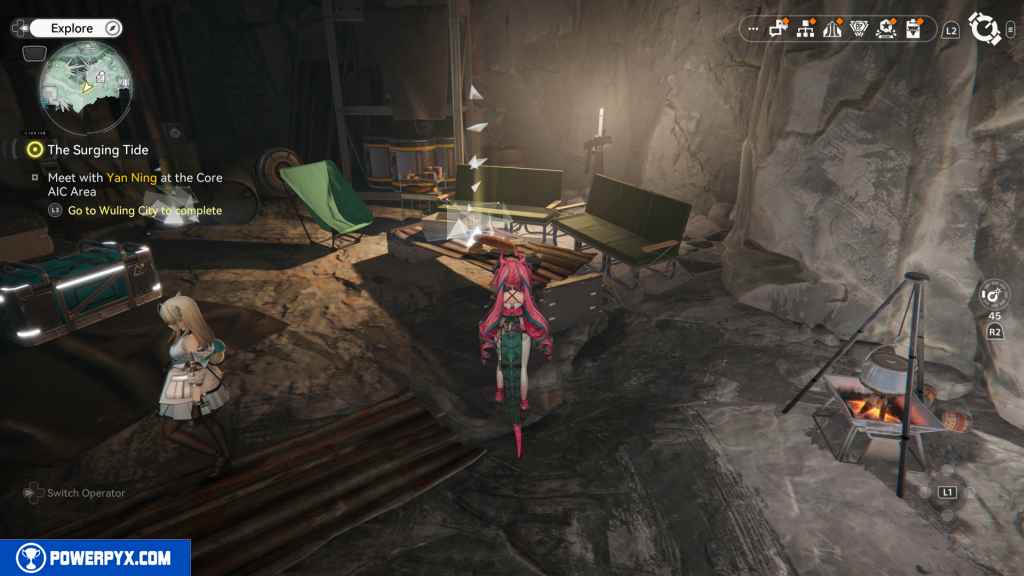
72 – Gathering Point 35
Same cave as the last Gathering Point.
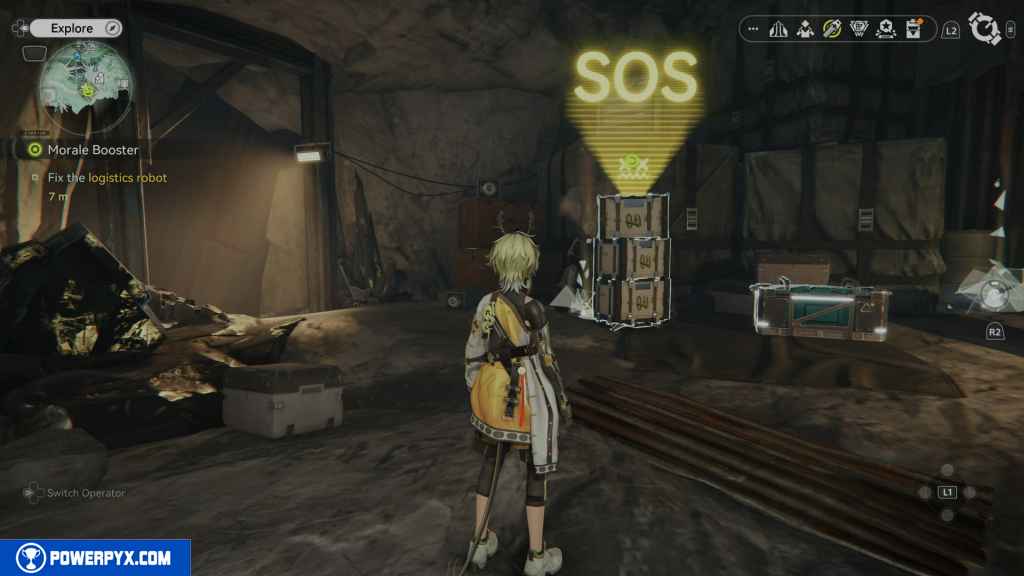
73 – Gathering Point 36
Same cave as the last two Gathering Points.
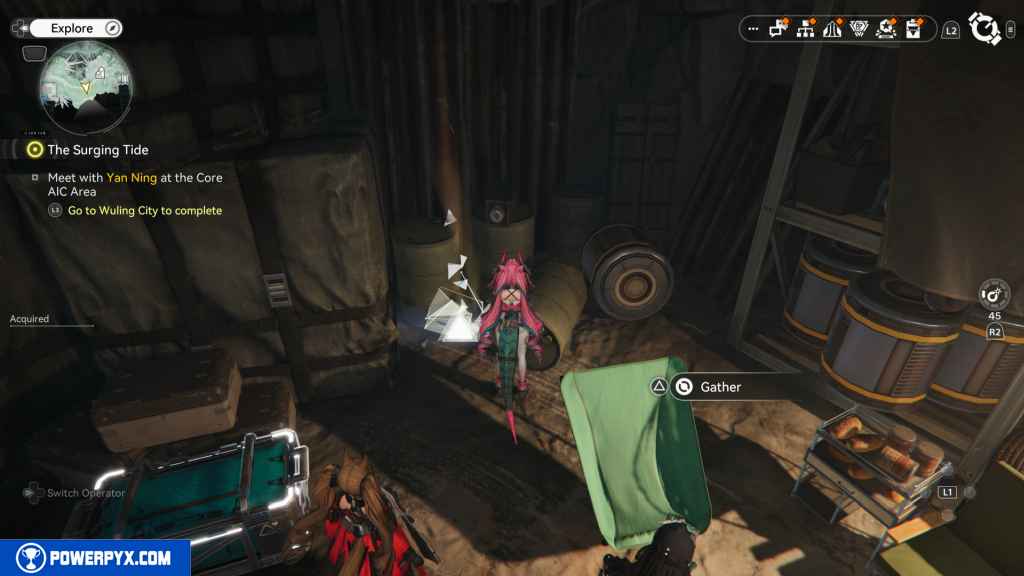
74 – SOS Repair Bot 3
This repair bot is part of the Side Mission – Moral Booster and is required to complete the side quest.
75 – Crate 23
Same cave as the last three collectibles.
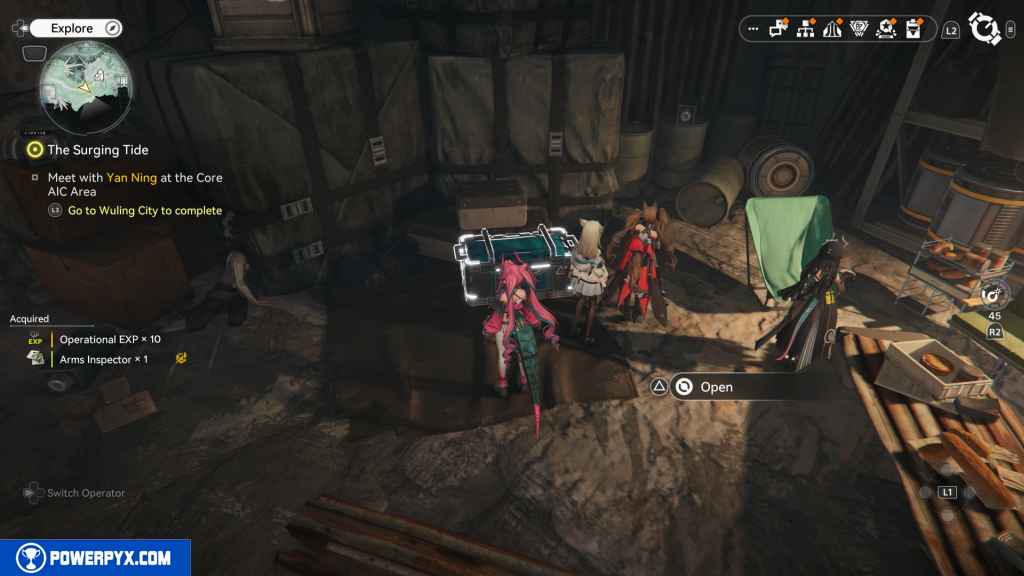
76 – Aurylene 9
Leave the cave and continue west until you see another cave entrance. Don’t go inside; instead, you should see Aurylene moving around the area. You can try to catch it or wait for it to come to the entrance, where it will rest for a few seconds. (This was picked up when I was in the middle of combat by accident.)
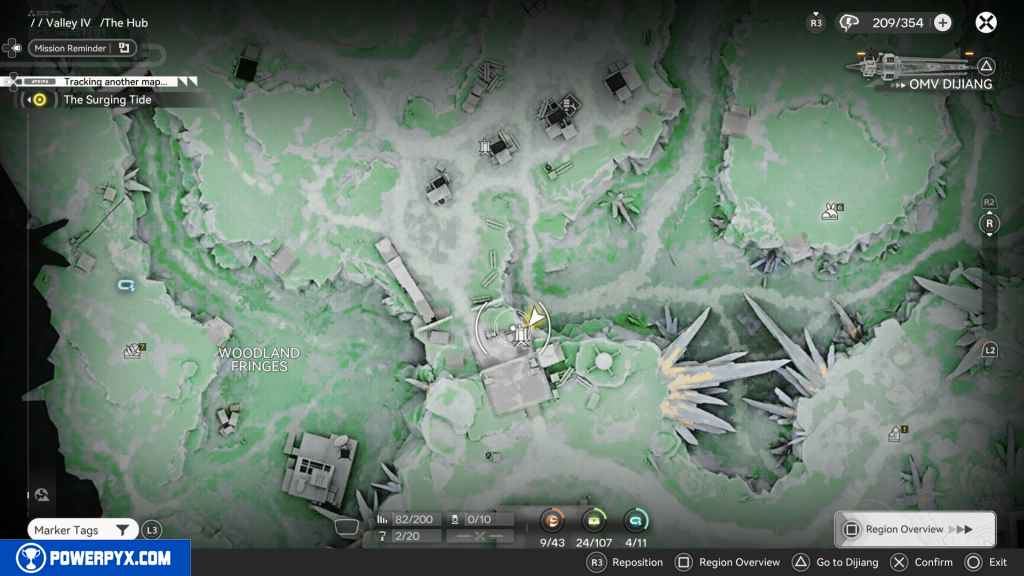
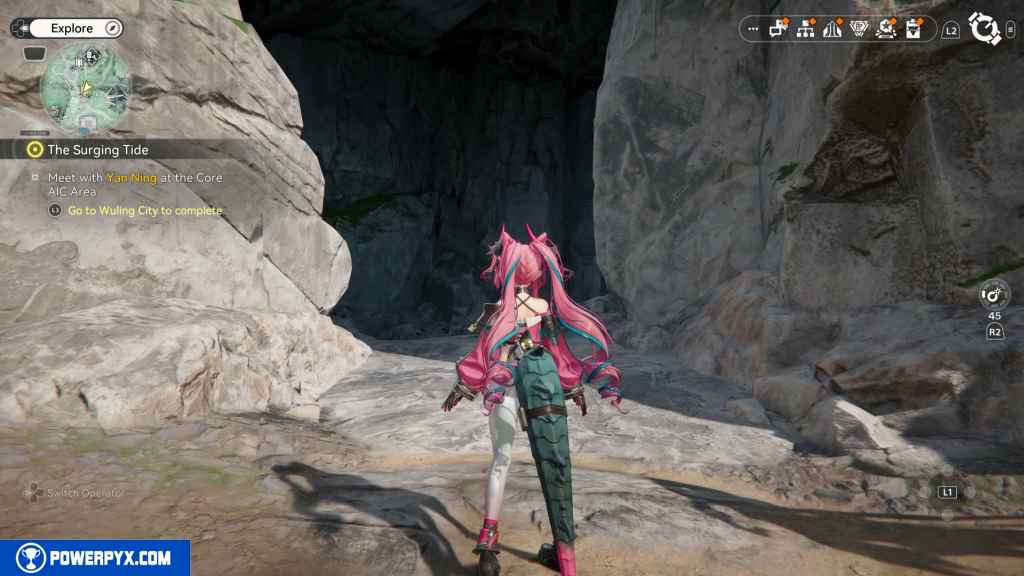
77 – Gathering Point 37
Head north up the hill, and you should come to an area with three large pillar structures. Head east all the way to the end, and you should see the Gathering Point next to some cylindrical parts.
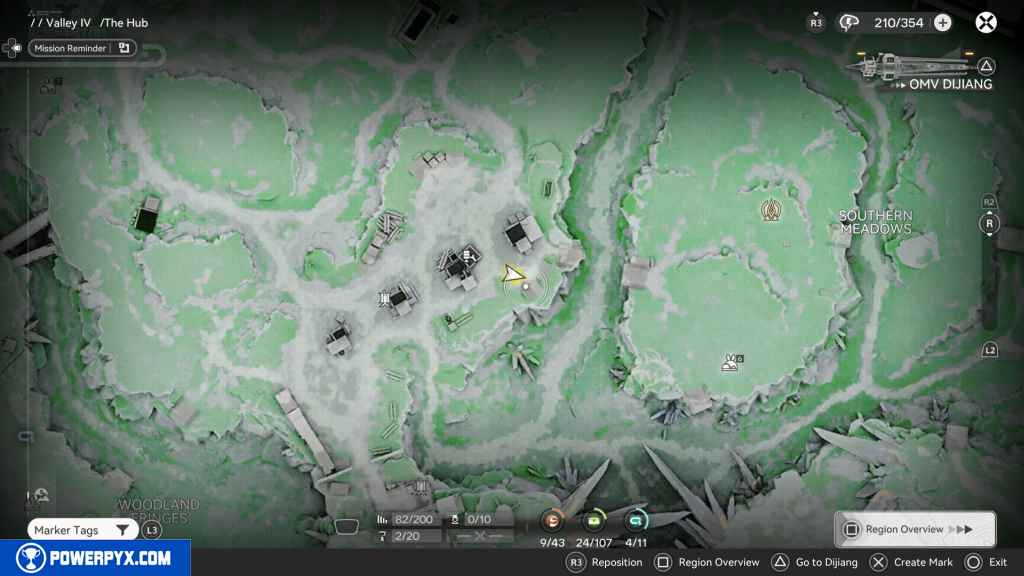
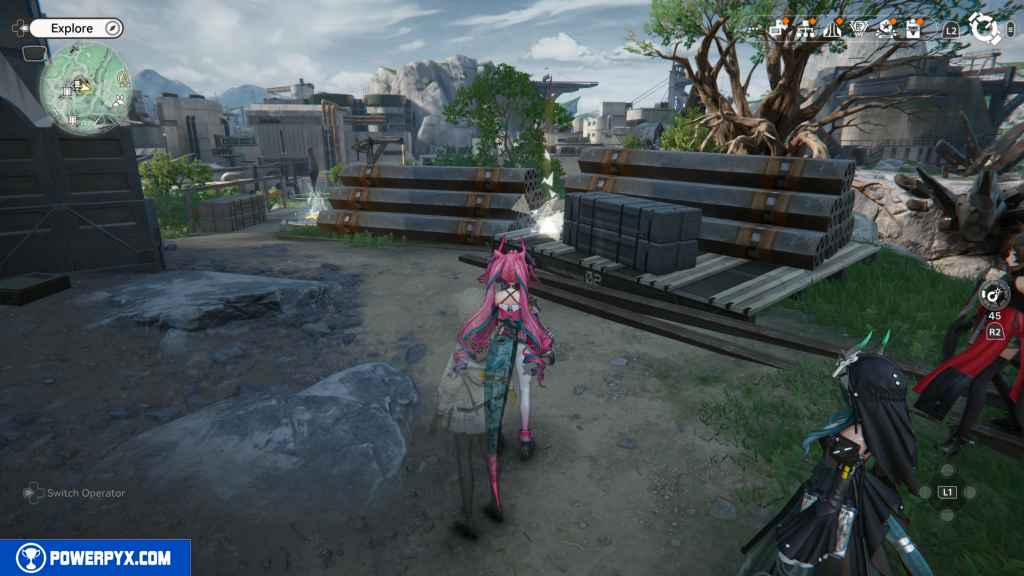
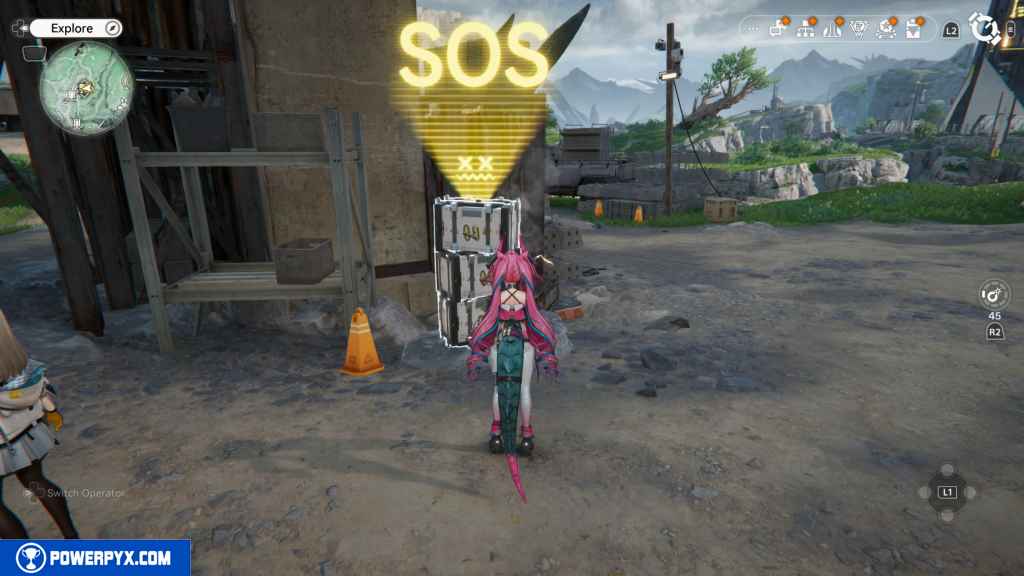
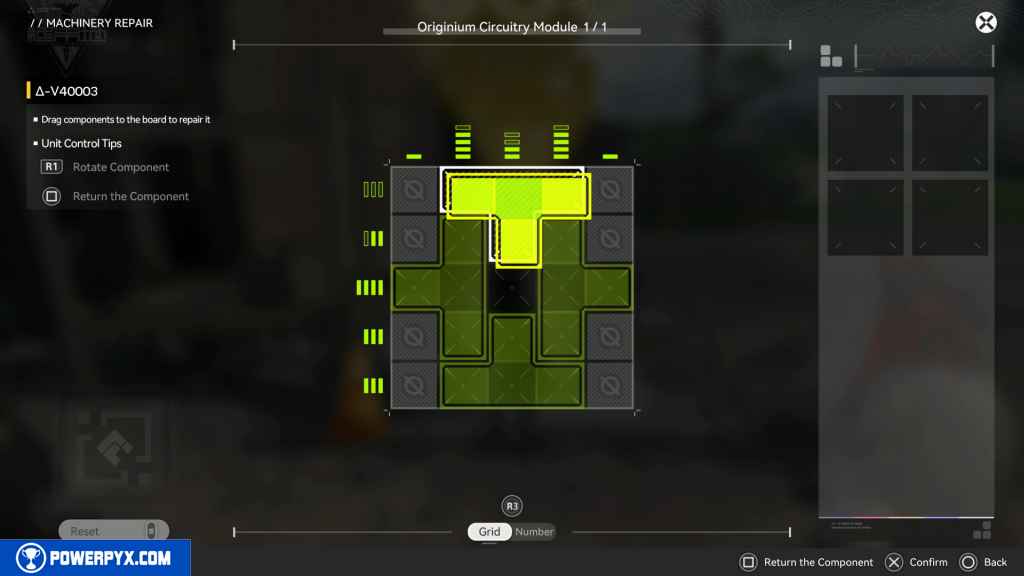
78 – SOS Repair Bot 4
Turn around and look north, and you should spot the SOS Repair Bot. Repair it for the rewards.
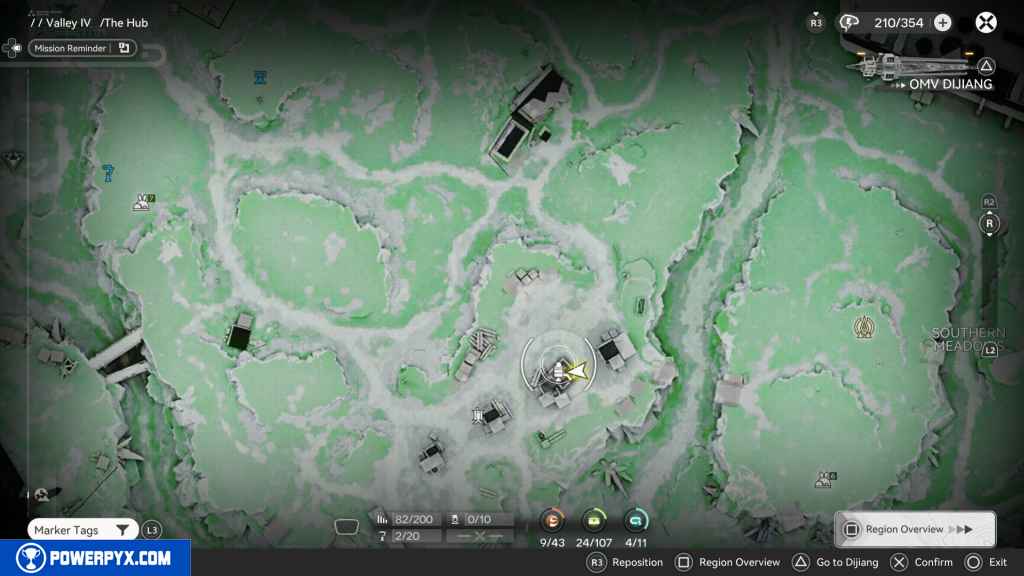
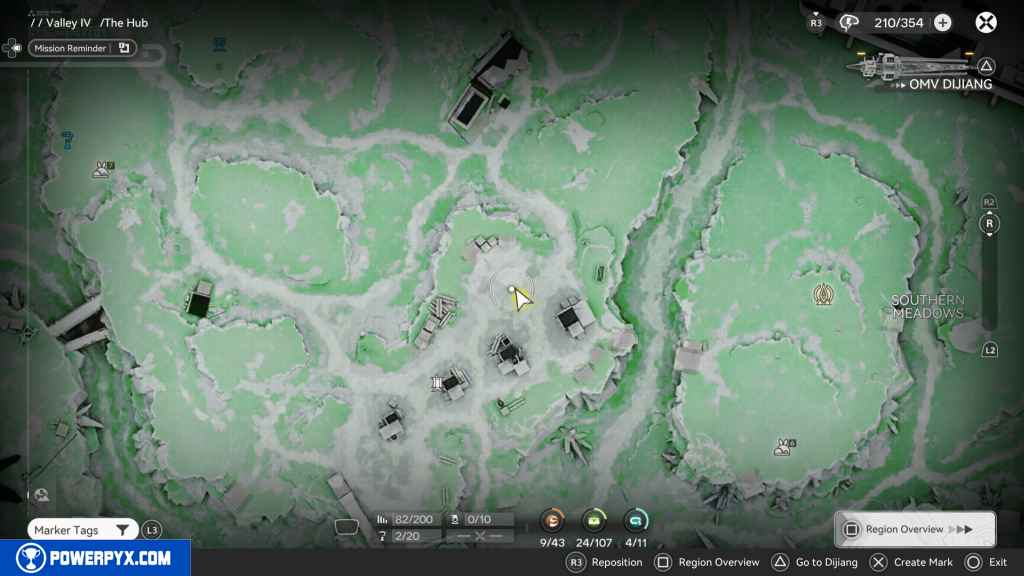
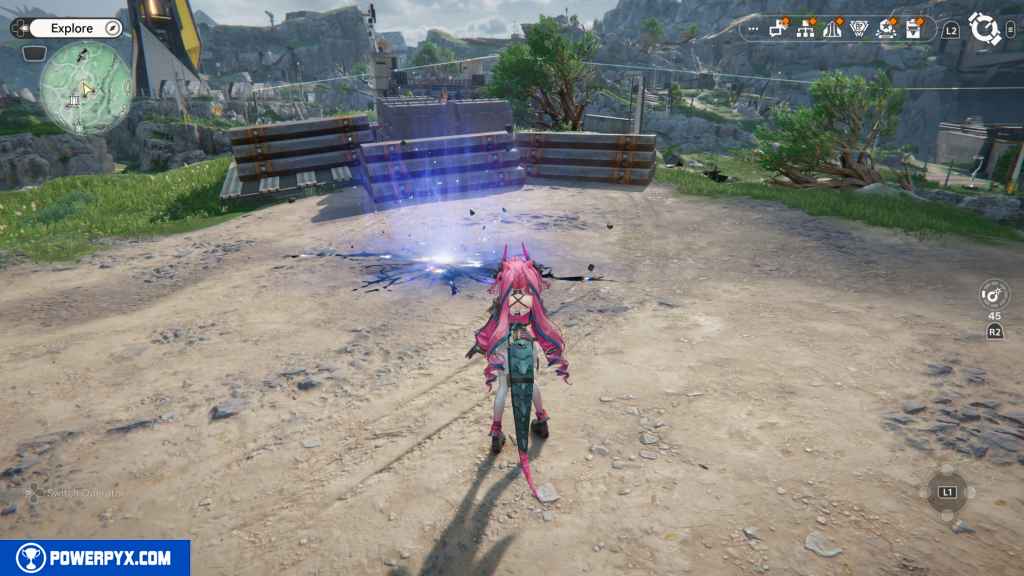
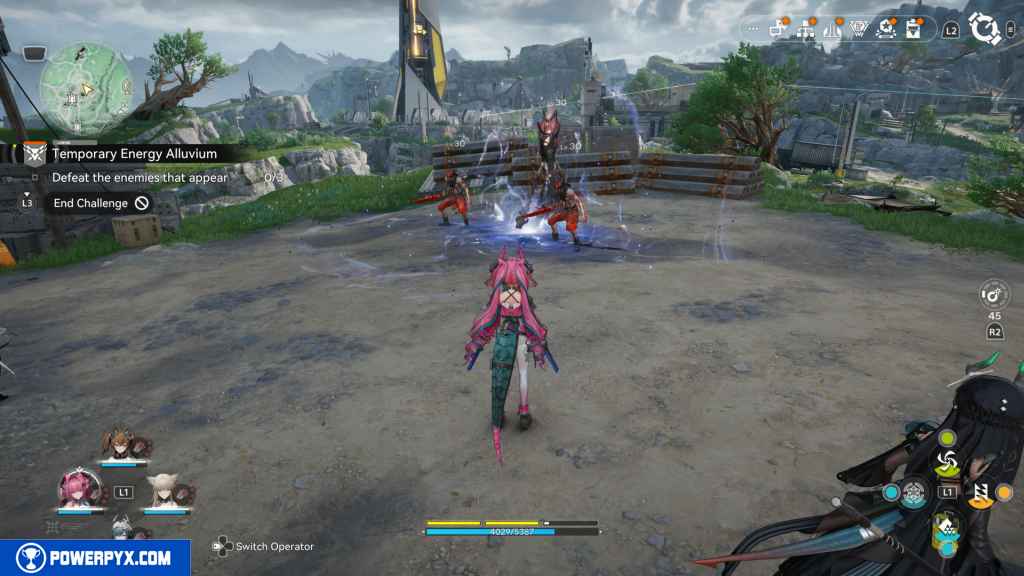
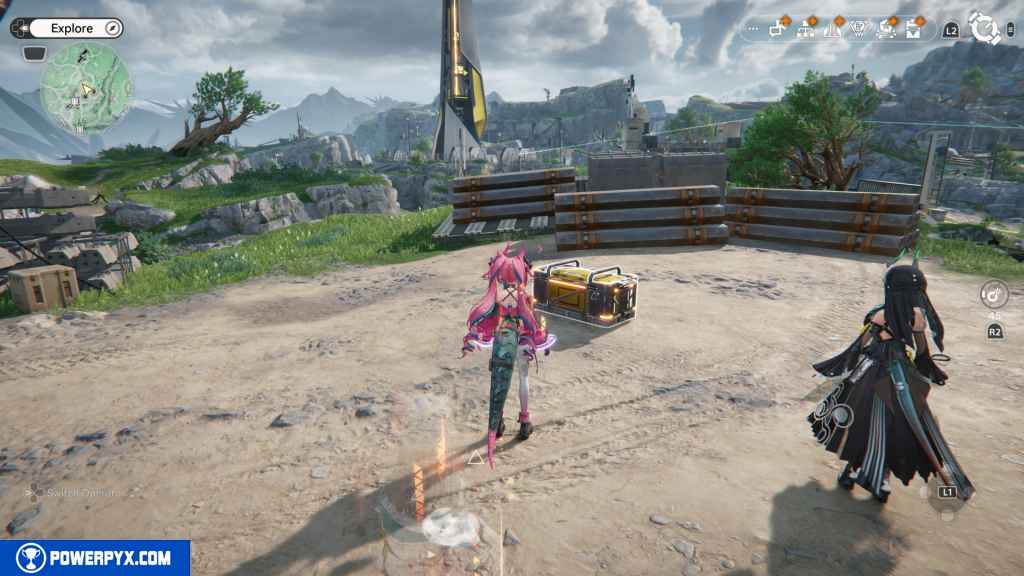
79 – Crate 24
North of the repair bot is another Energy Alluvium. Activate and defeat the enemies to unlock the crate.
80 – Crate 25
Jump off the cliff to the northwest, and you should see the next crate in the grassy area.
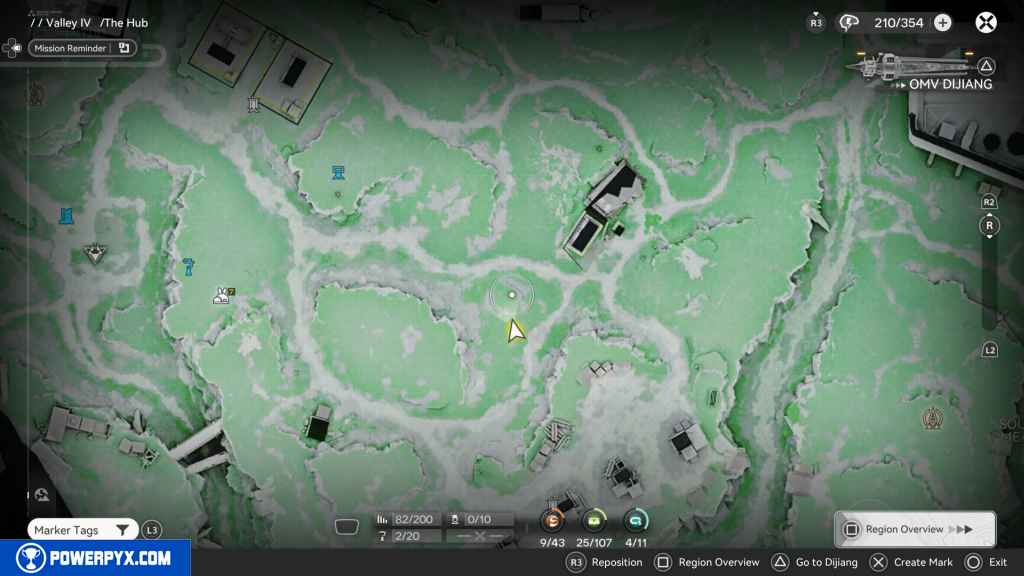
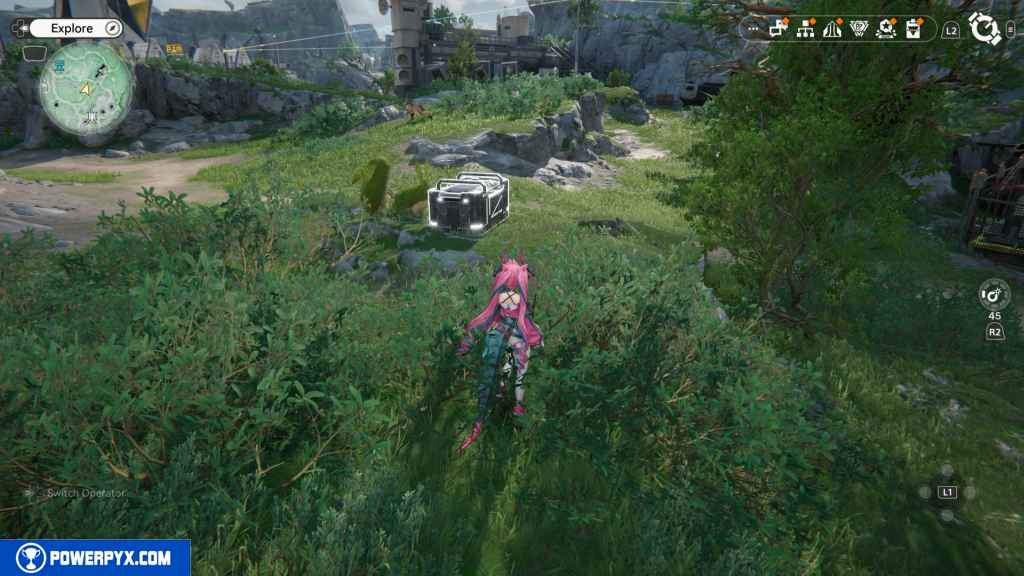
81 – Crate 26
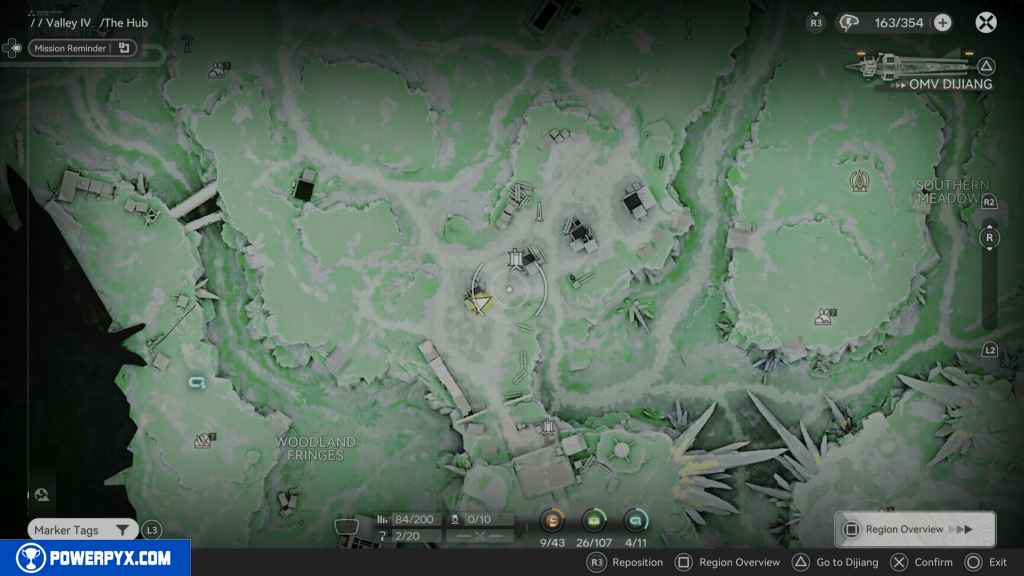
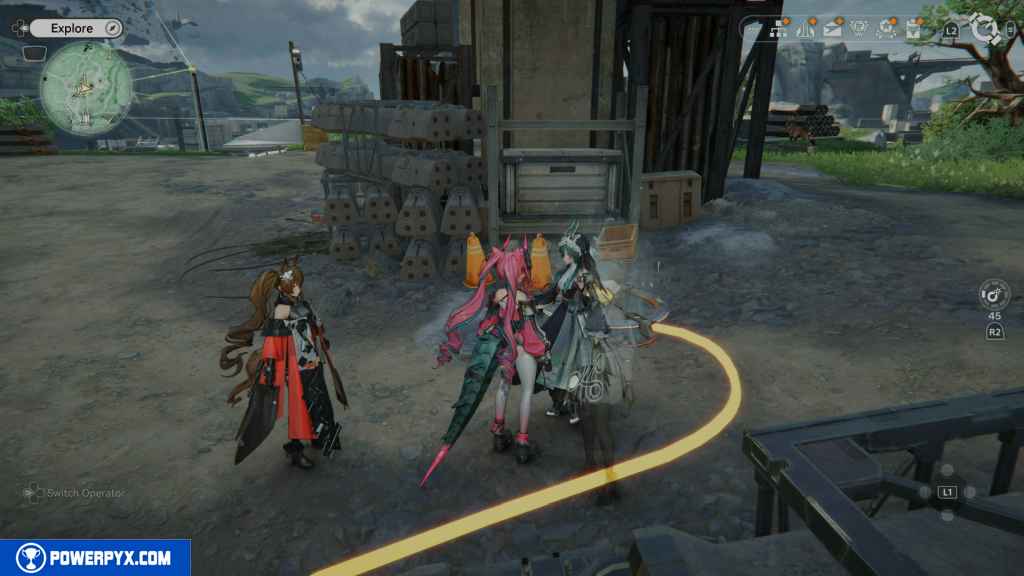
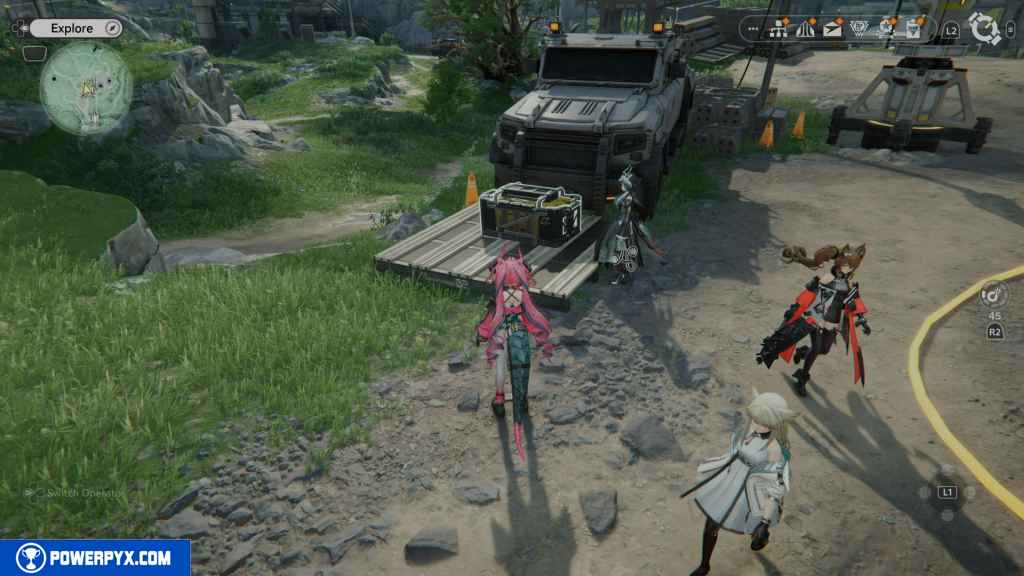
This crate is located in front of the large truck, next to an Electric Nexus, just west of the second Pillar. To get this crate, you need to first connect Relay Towers to the Electric Nexus located next to the second Pillar. Once done, it will activate the jump pads around the pillars.
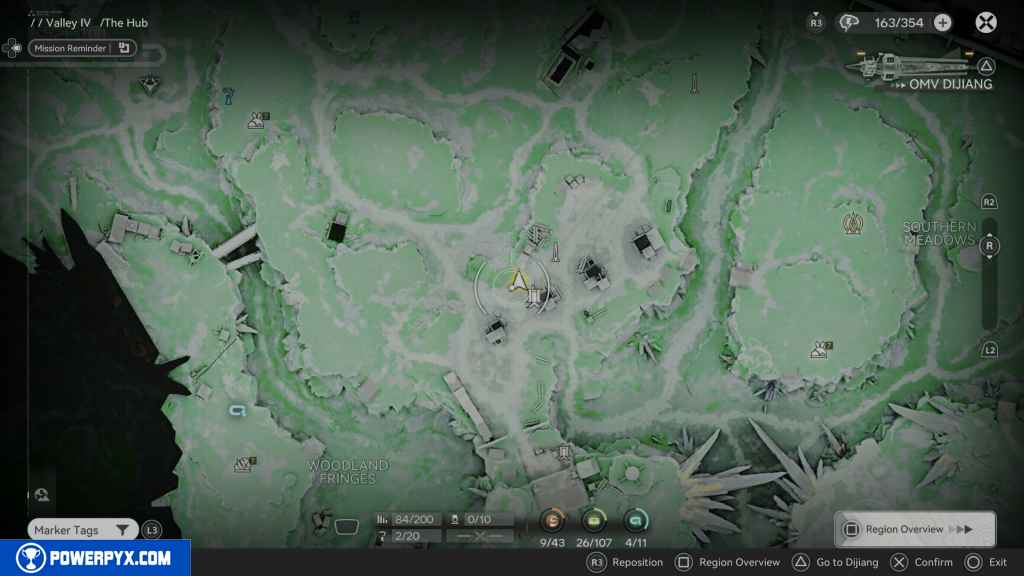
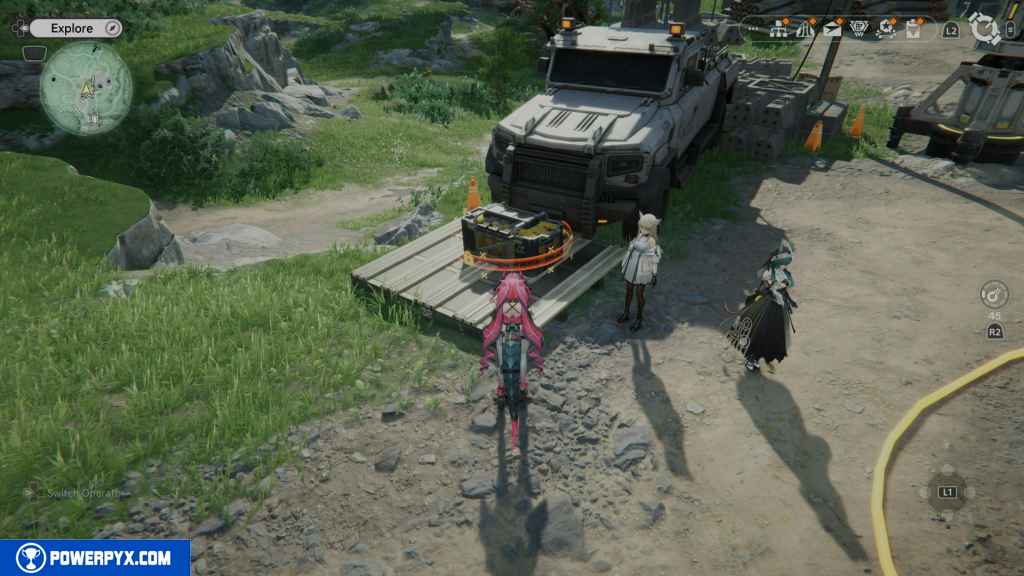
Once connected, you need to find three blue keys to unlock the locked crate in front of the truck next to the Electric Nexus.
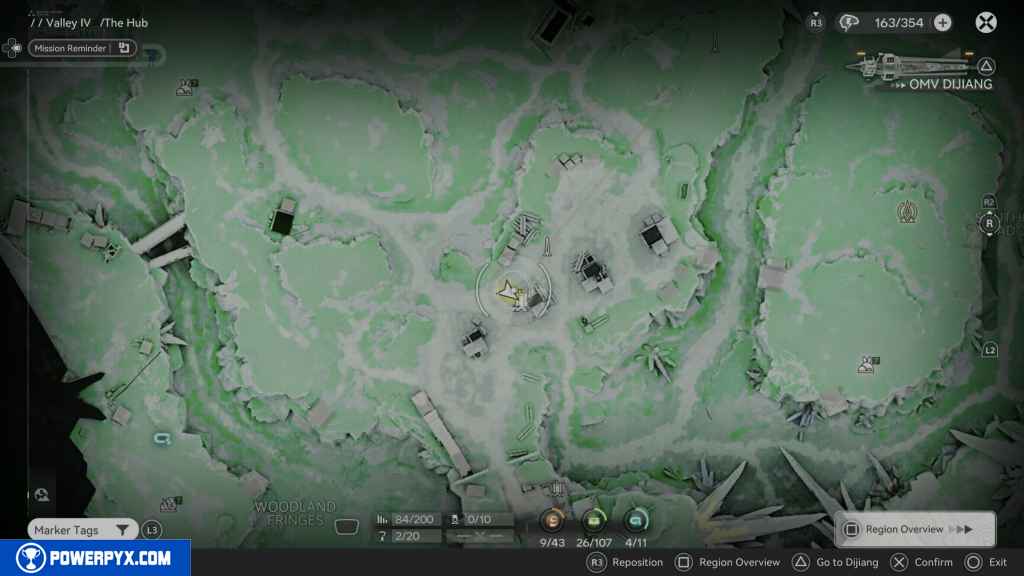
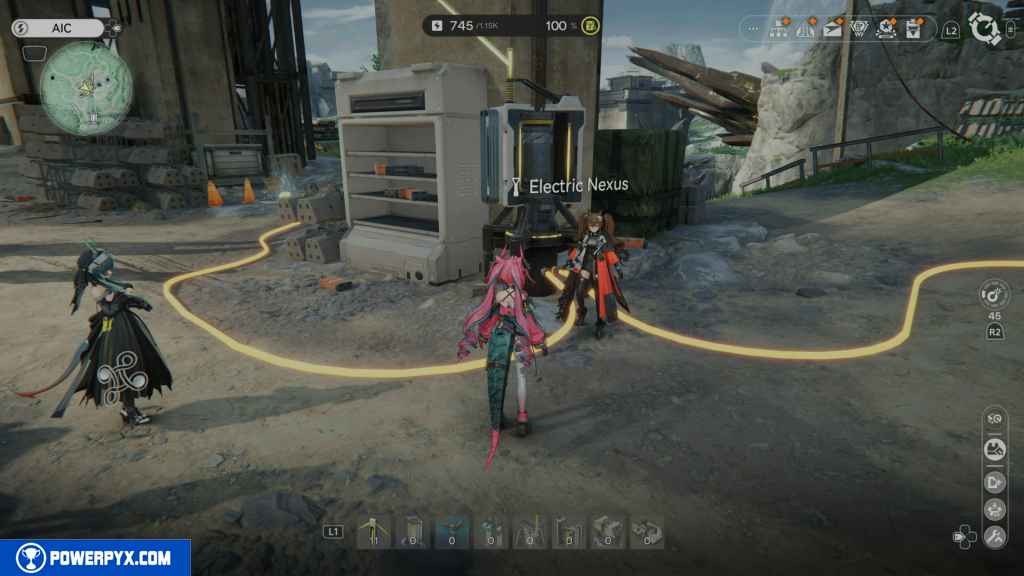
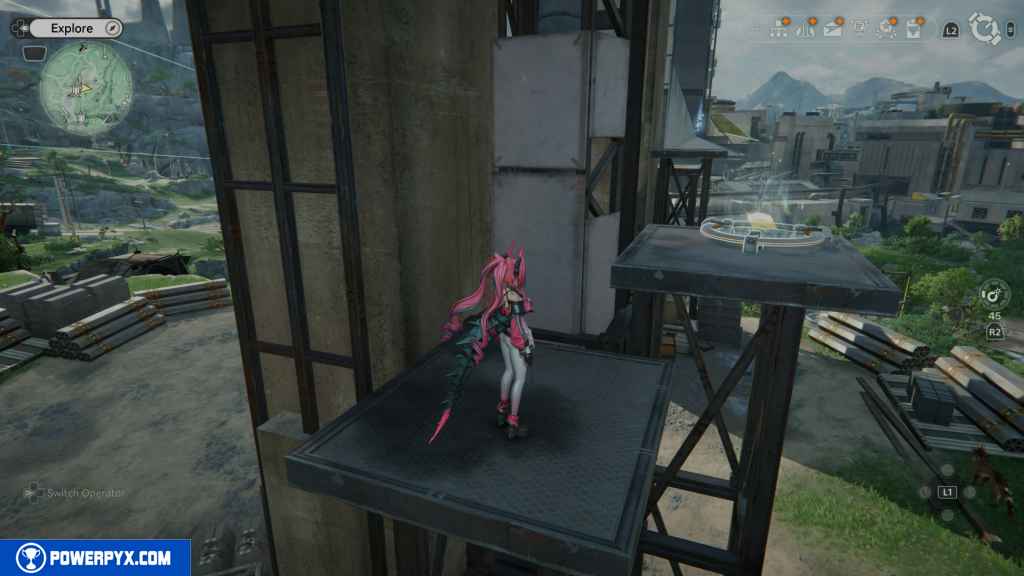
Use the first Jump pad west of the Electric Nexus to reach the top of the first Pillar to get the first key 1/3.
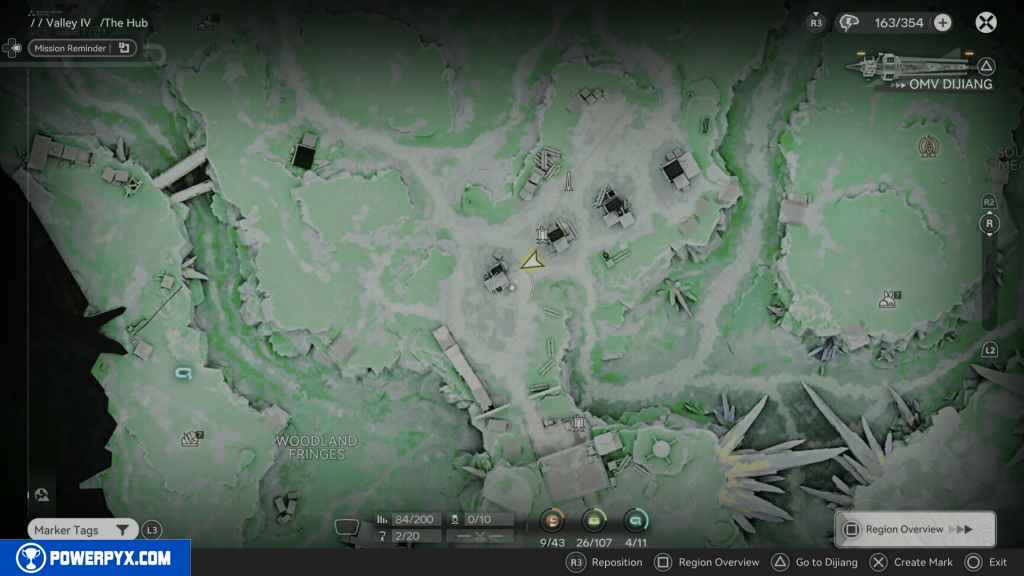
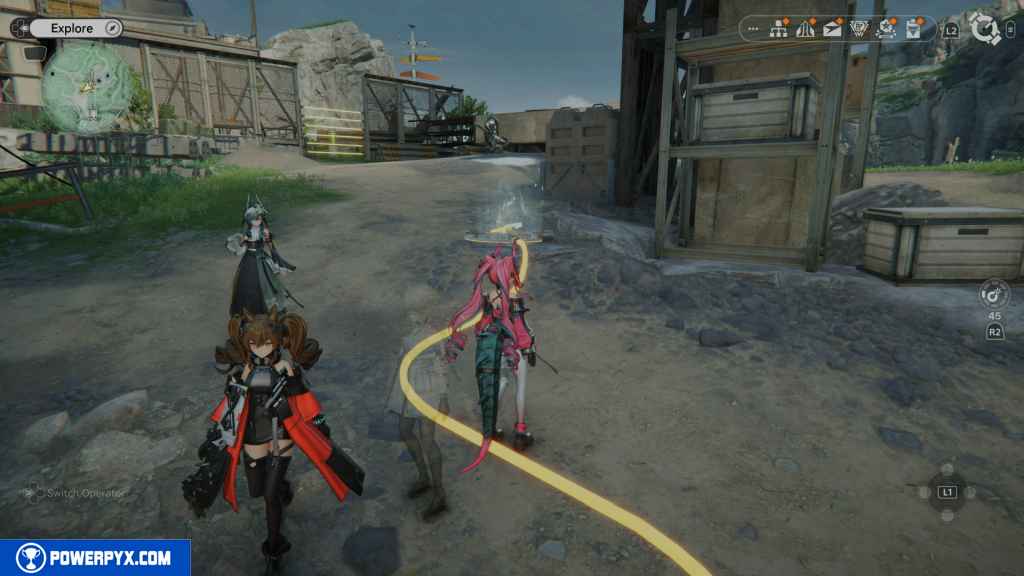
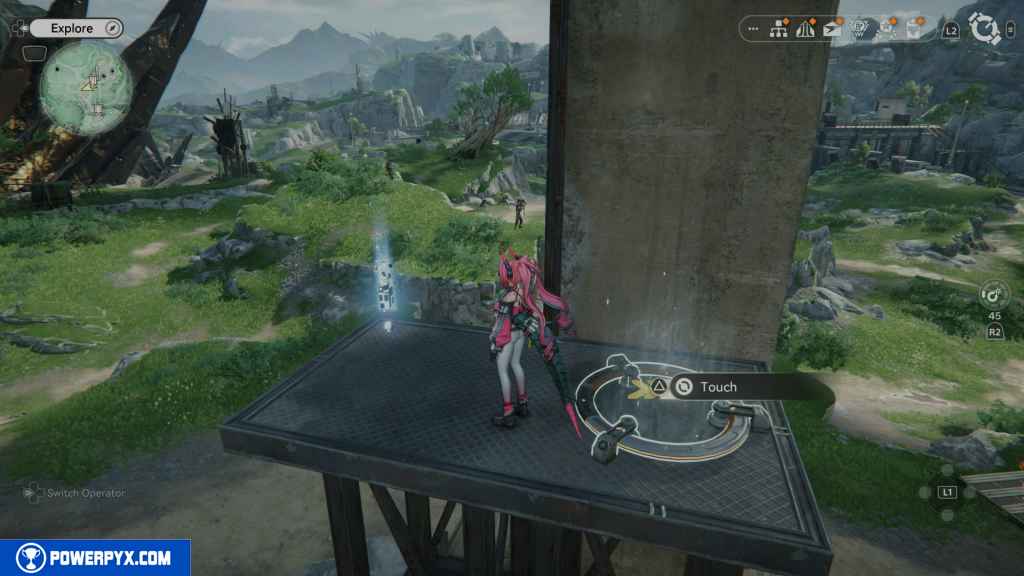
At the top of the Pillar, use the Jump Pad there, and it will send you to the second Pillar for the next key 2/3.
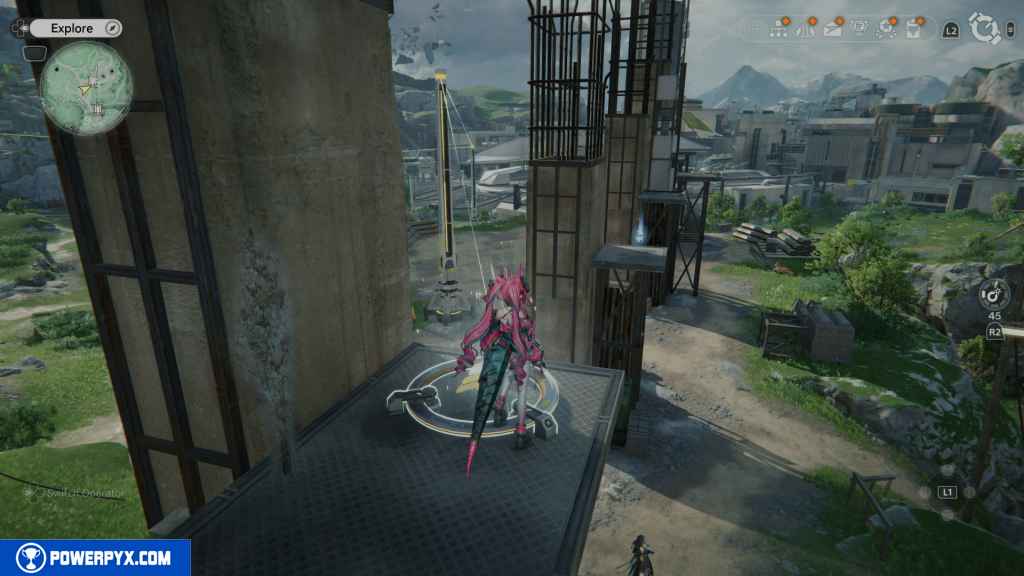
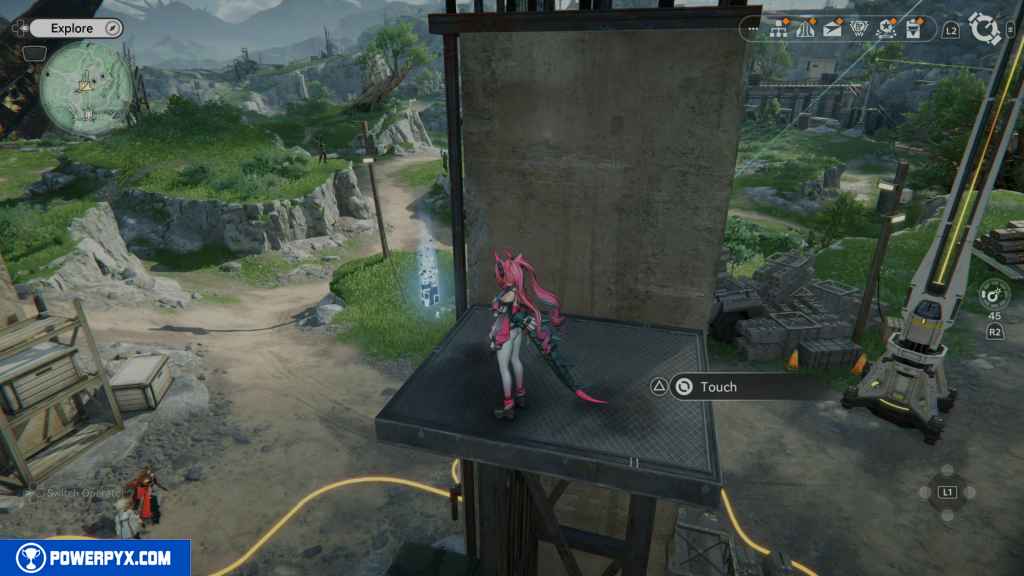
Head back to the ground floor and use the Jump Pad east of the Electric Nexus at the third Pillar. This will send up to the third Pillar. From there, use the next Jump Pad up here, and it will send you to the fourth Pillar and key 3/3.
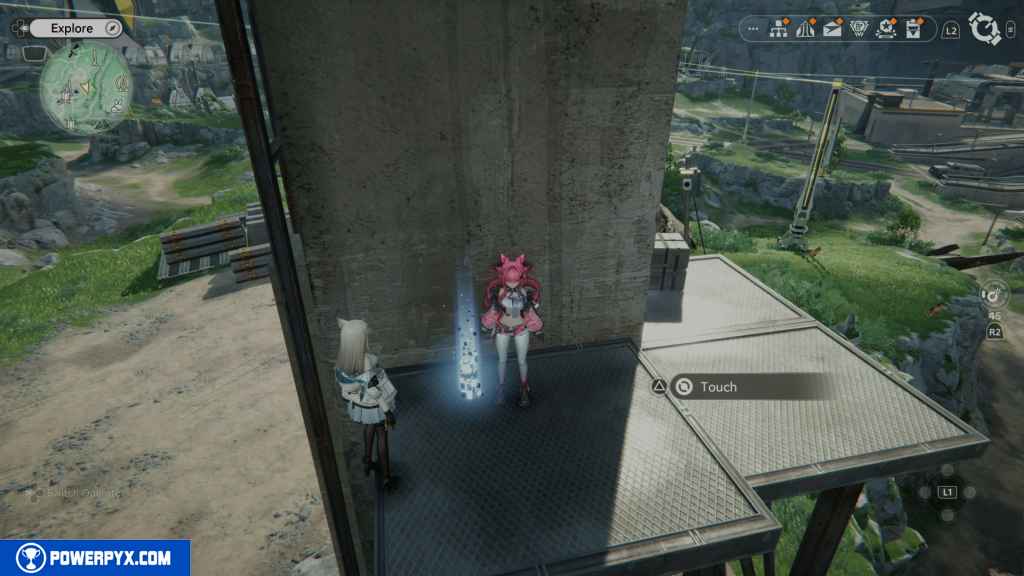
Go back to the crate and collect it.
82 – Gathering Point 38
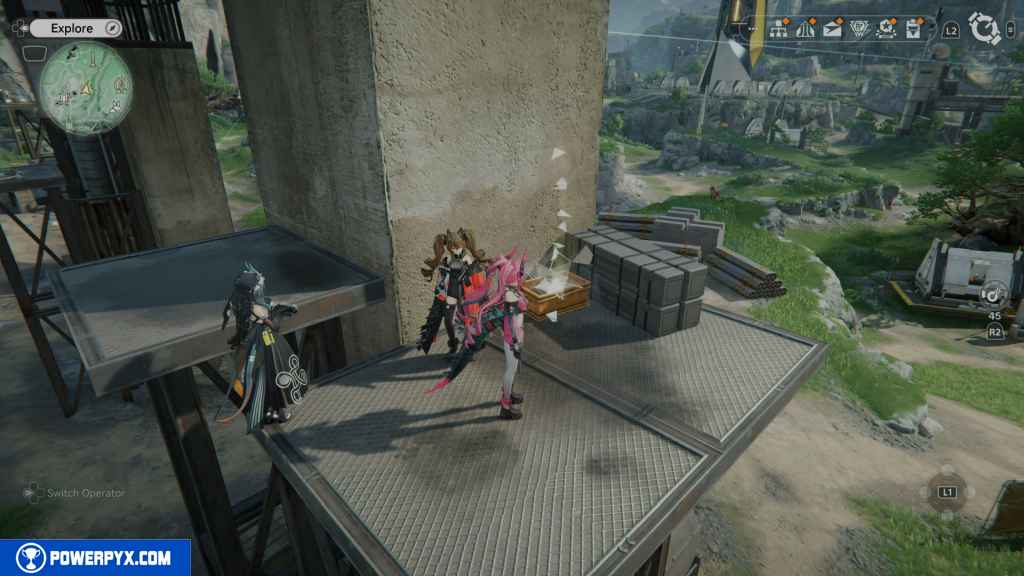
Head back up to where you got the third blue key. Around the Pillar at the top is the next Gathering Point.
83 – Gathering Point 39
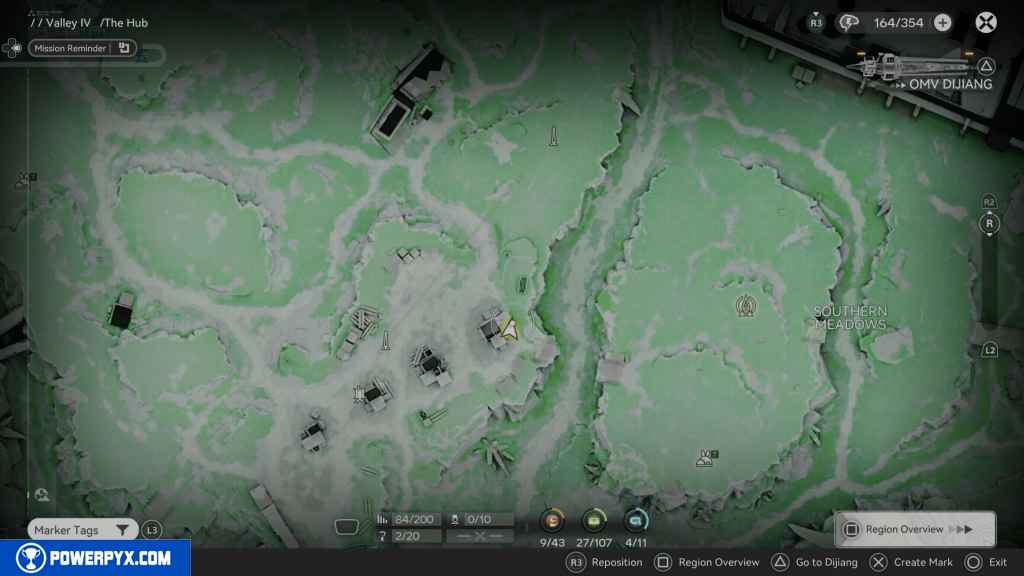
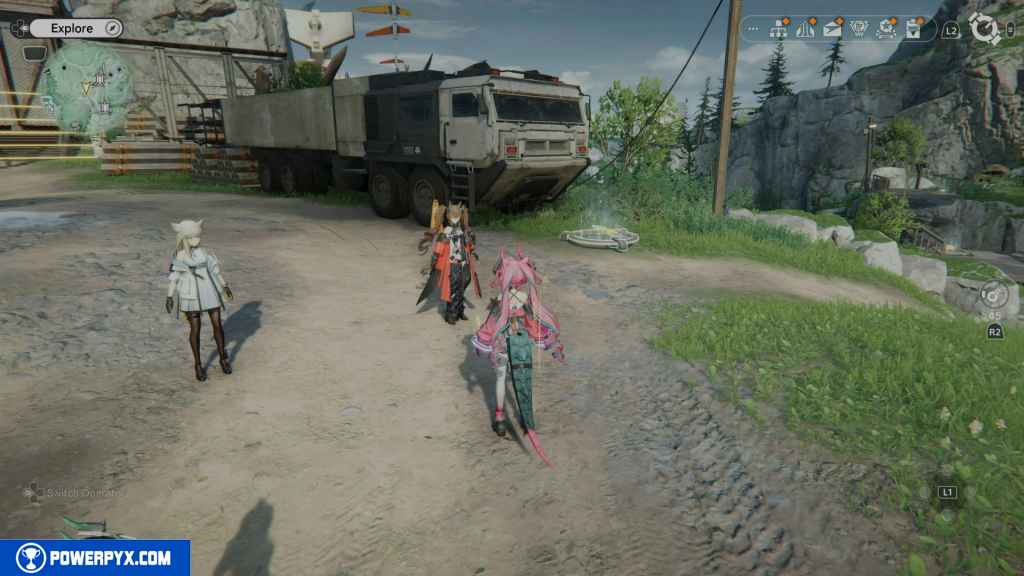
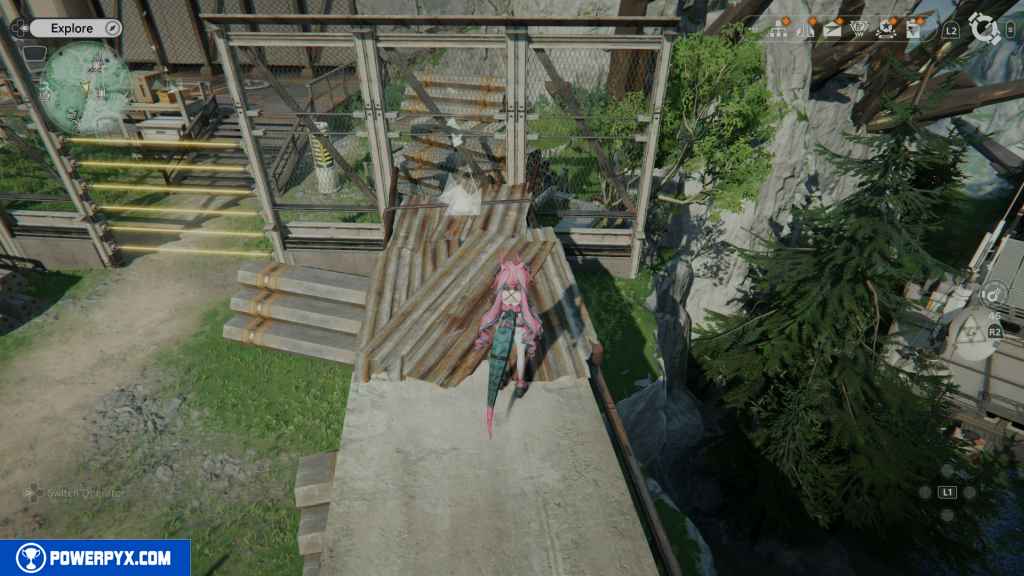
Head southwest from the pillars, and you should reach an area with an electric barrier and a large Bonekrusher enemy. West of the enemy is a long truck and a Jump Pad in front of it. Use the jump pad to get on top of the truck and head to the end to find the Gathering Point.
84 – Gathering Point 40
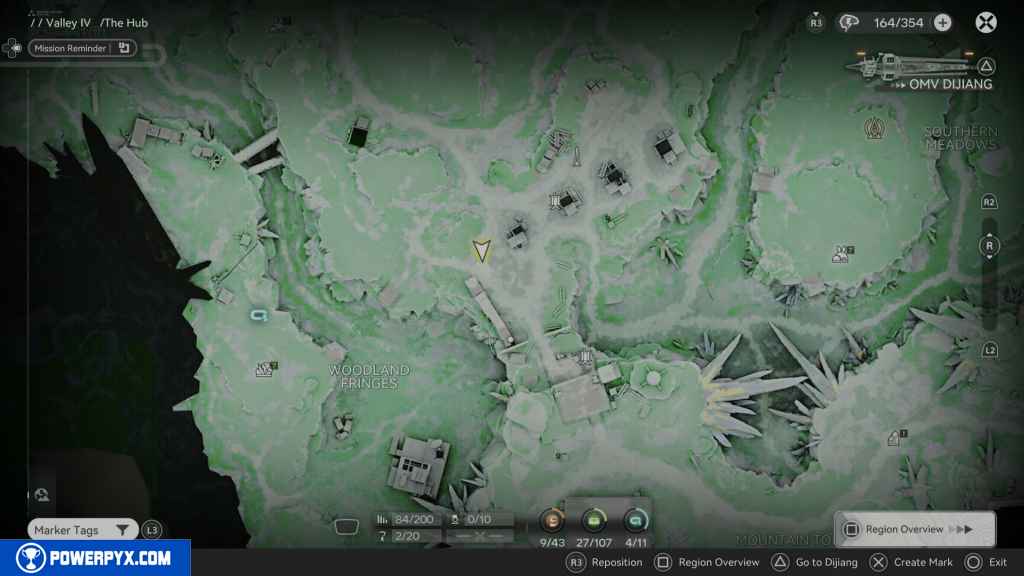
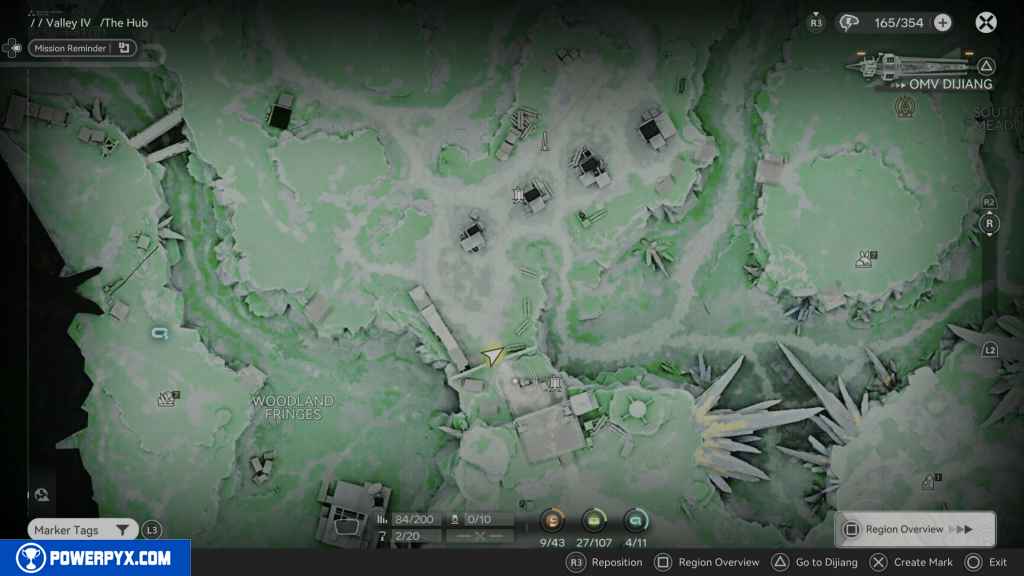
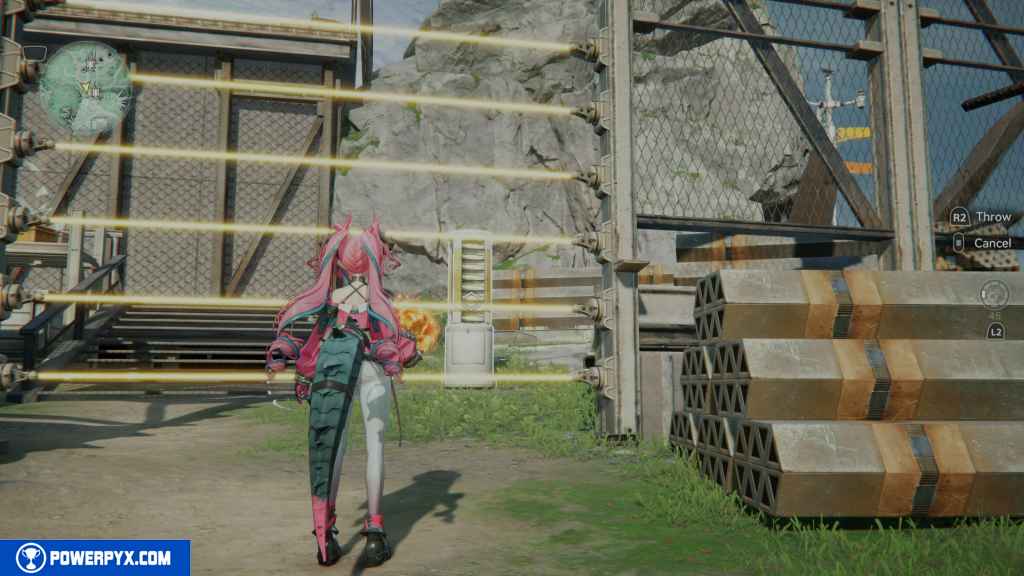
This next Gathering Point is just beyond the electric barrier. Use a bomb and throw it at the electric Pillar on the other side to deactivate the barrier. The Gathering Point is up the stairs to your left.
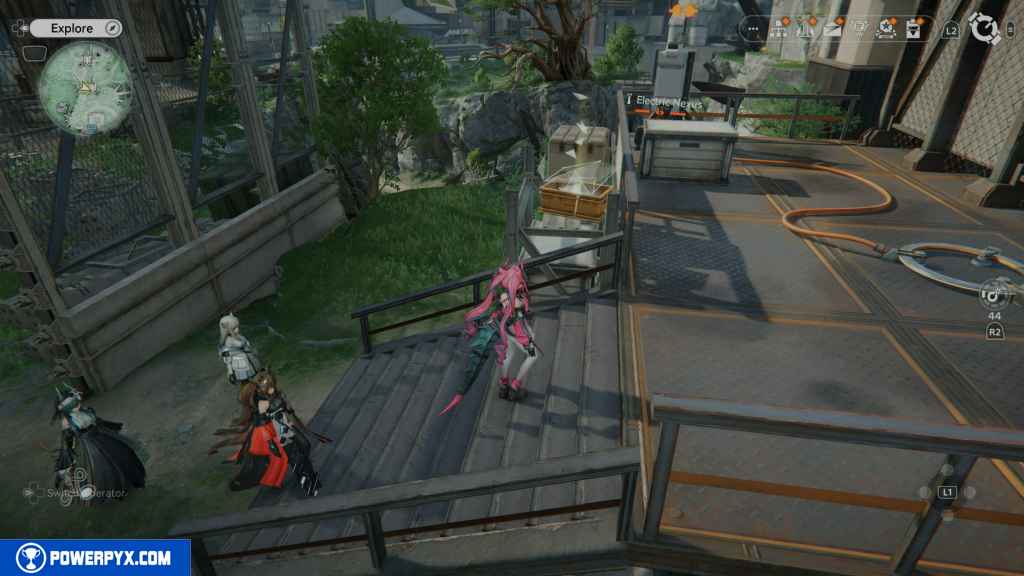
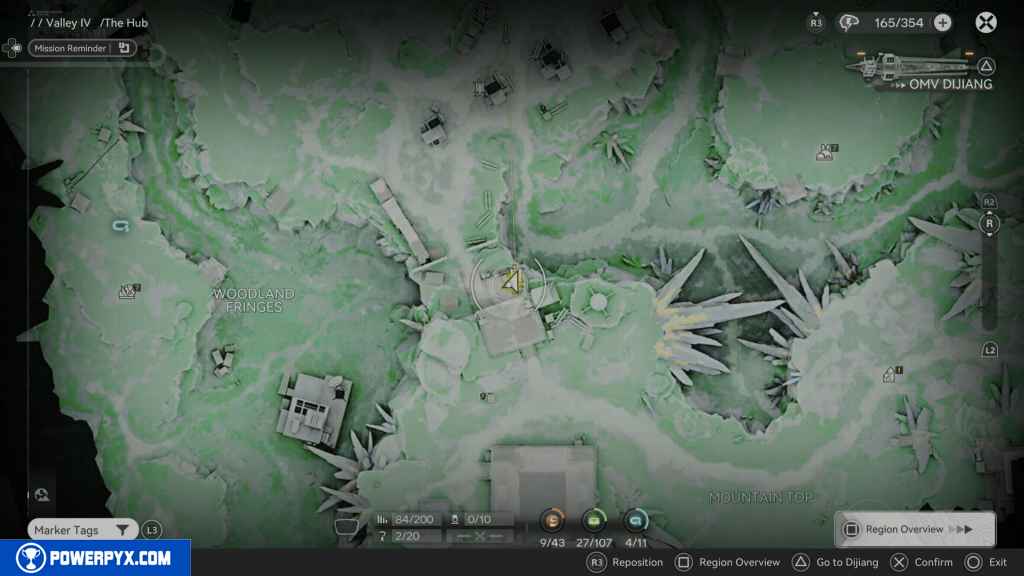
85 – Gathering Point 41
Next to the last Gathering Point is another Electric Nexus that needs to be powered up. Do so with Relay Towers, then power them up to activate the jump pad next to them.
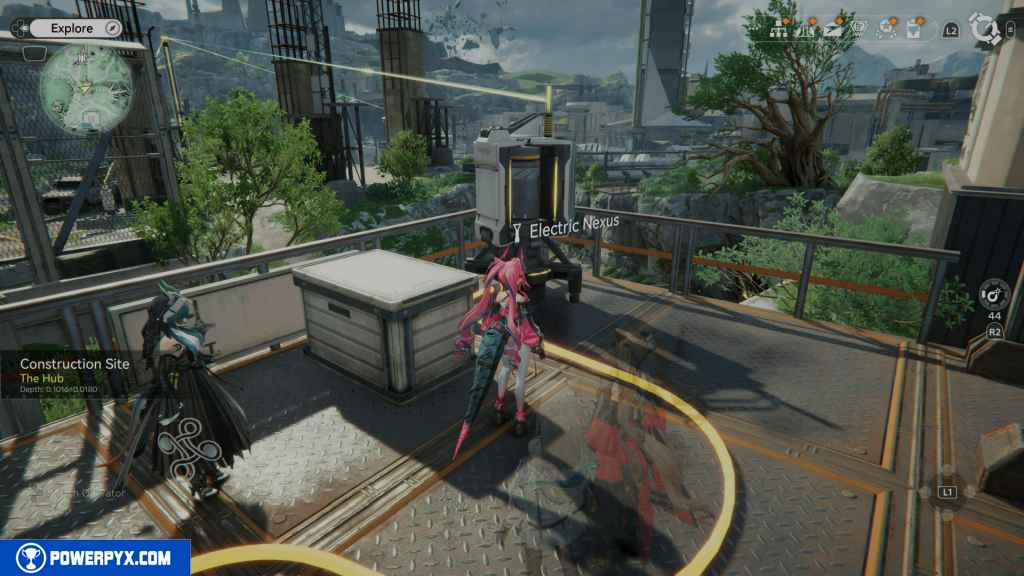
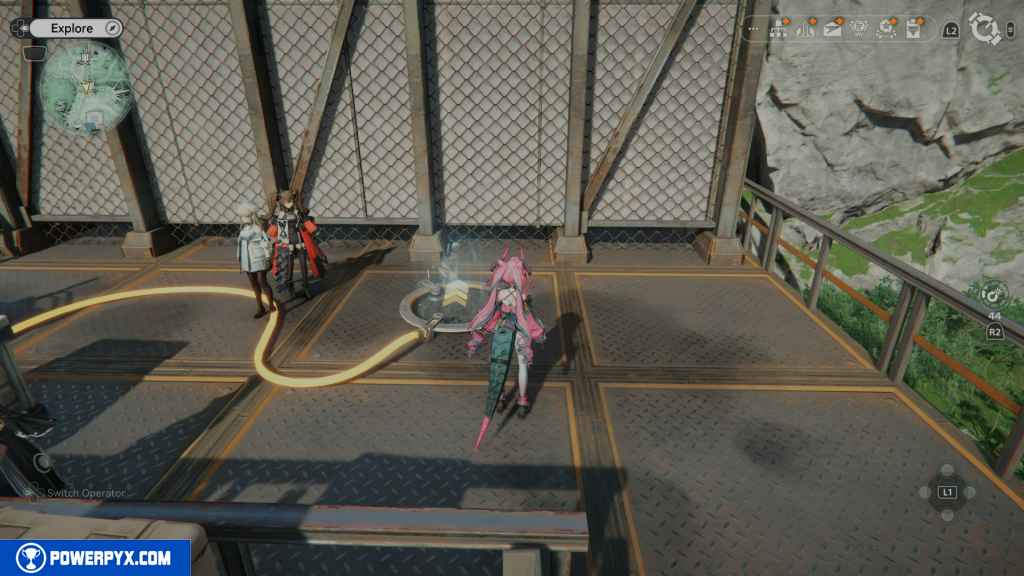
Use it to reach the top; on your left, you should see the Gathering Point.
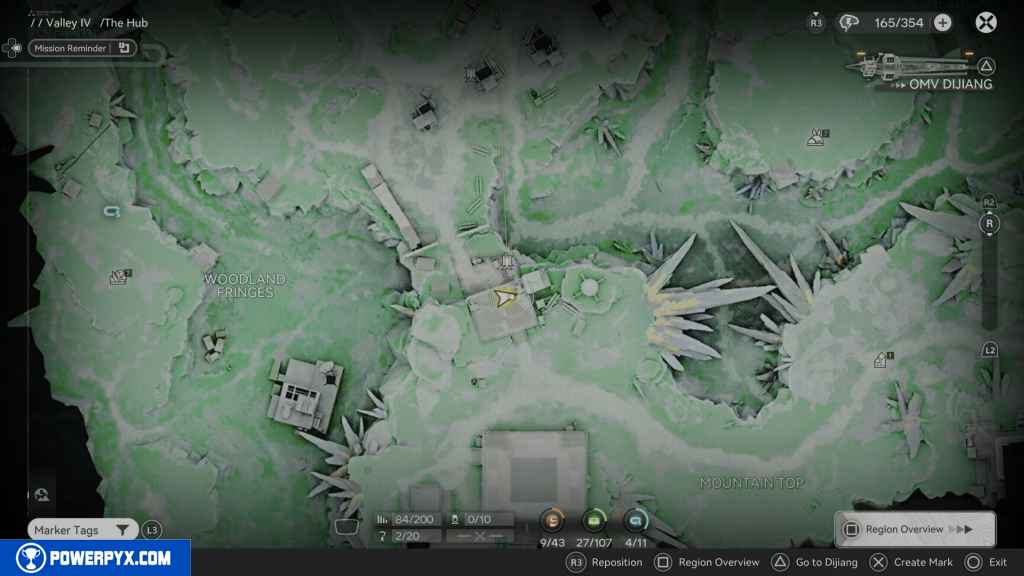
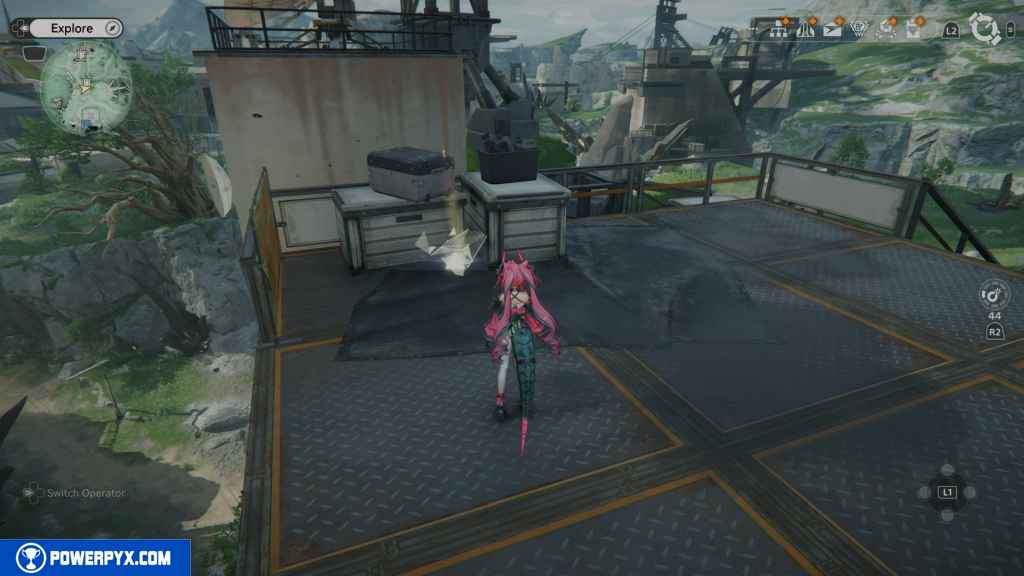
86 – Crate 27
On the same platform, look south, and you should see the next crate in the corner.
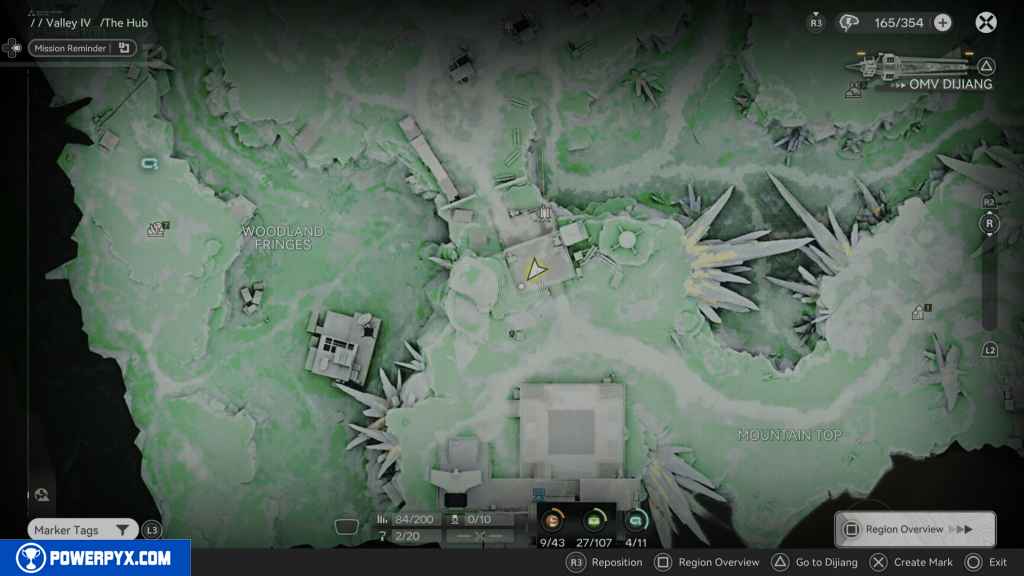
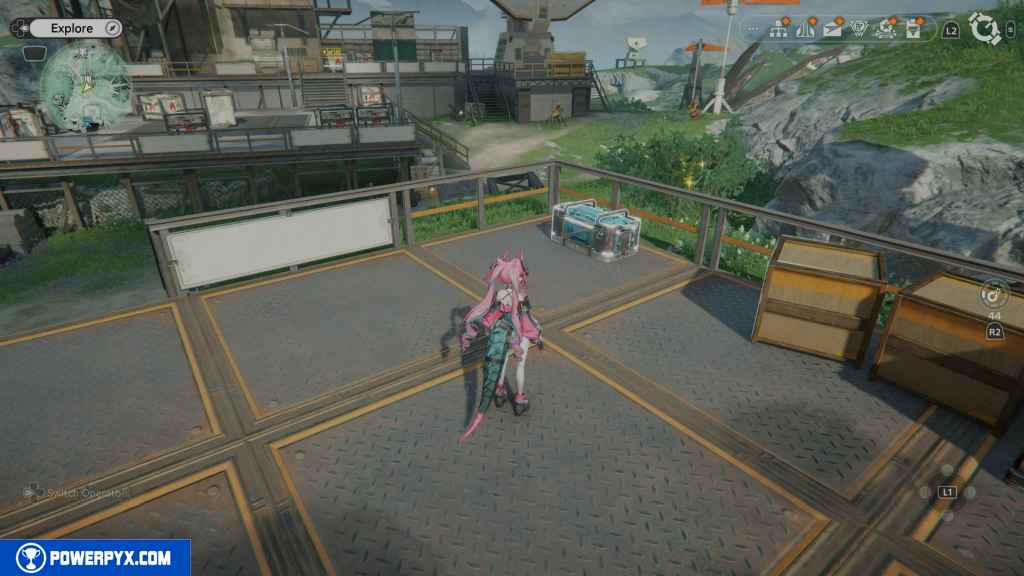
87 – Crate 28
Head down the stairs to the south and turn left. Right around the corner is the next crate.
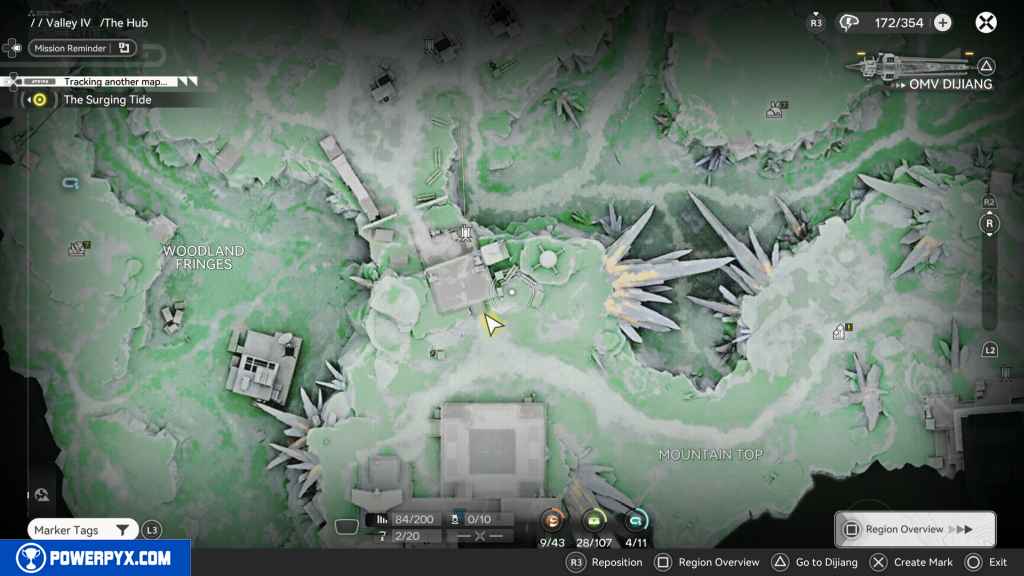
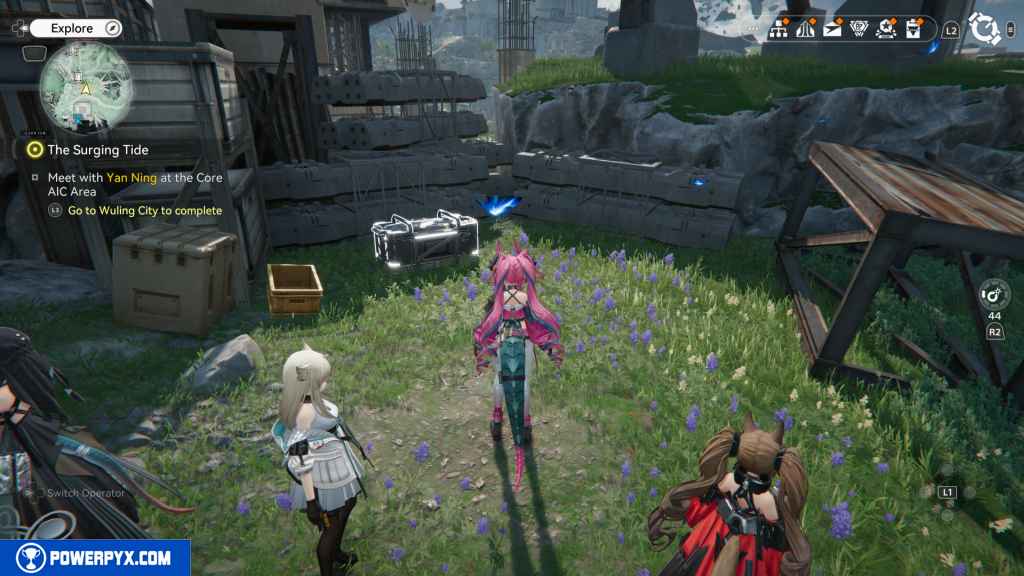
88 – Gathering Point 42
Head south to the large building following the western path. On this path, you should see the Gathering Point on the ground on your left.
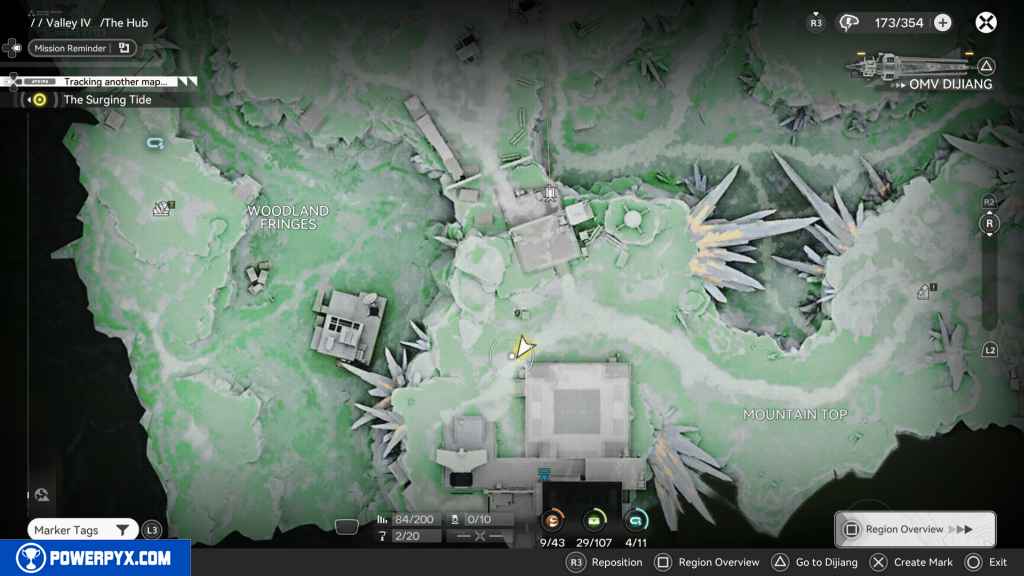
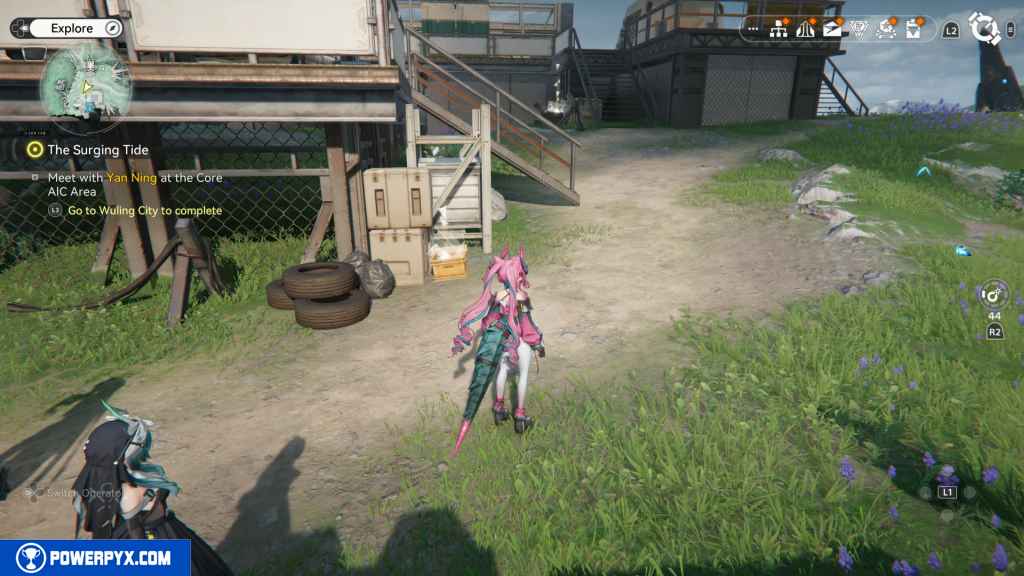
89 – Gathering Point 43
Just south of the last Gathering Point, head south, and you should see the Gathering Point on top of some tires by the stairs.
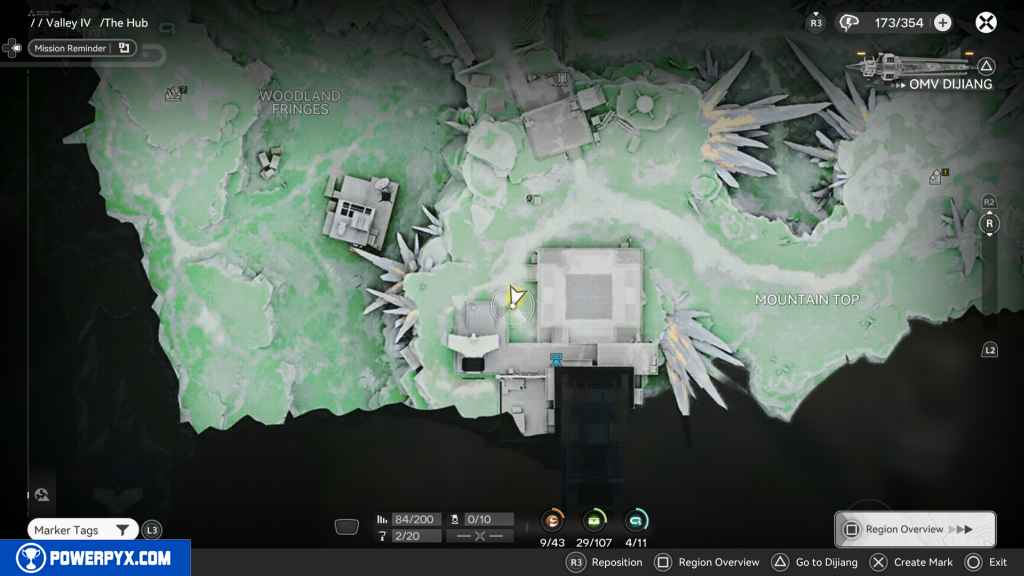
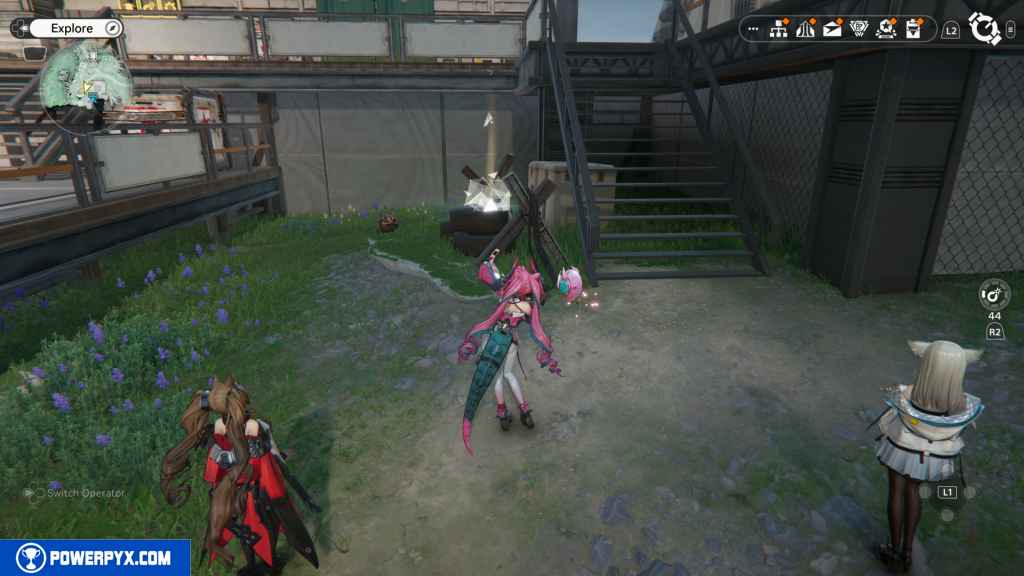
90 – Aurylene 10
Don’t go up the stairs; instead, stay on the ground floor and go around to the west. You should see an Aurylene west of the building. Approach it, and it will fly down the cliff. Follow it to the bottom and collect it on the roof of the building where it stops.
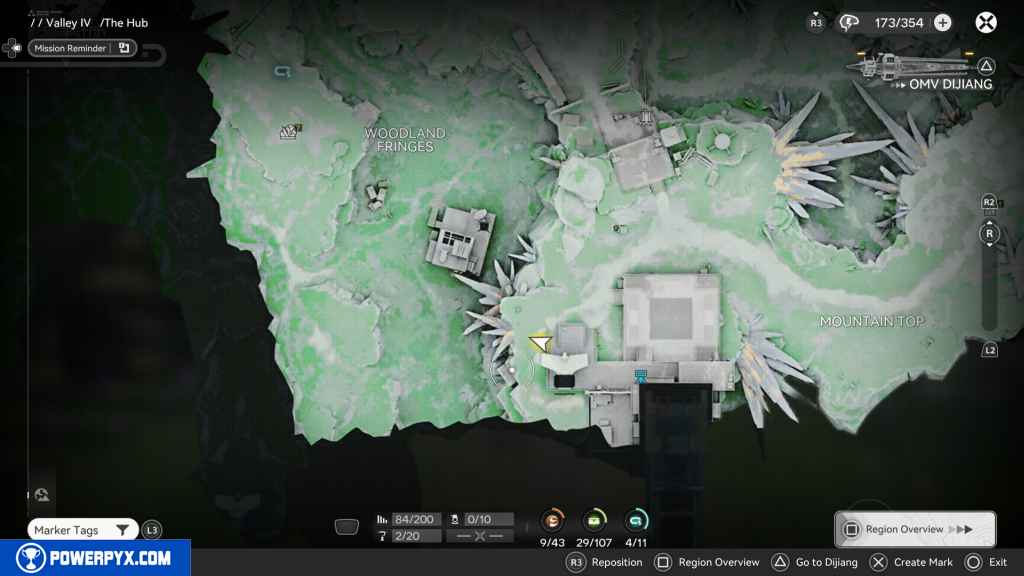
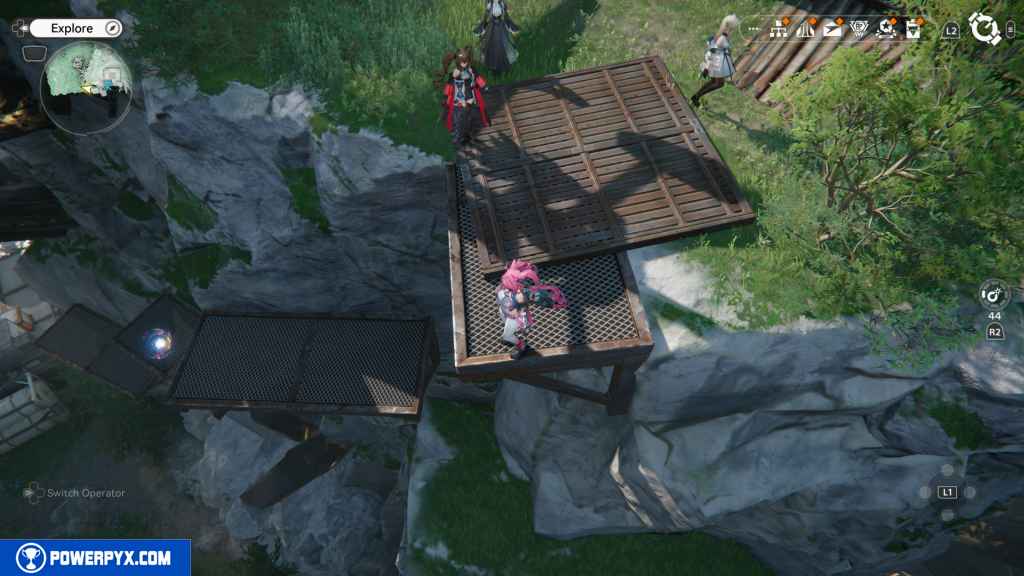
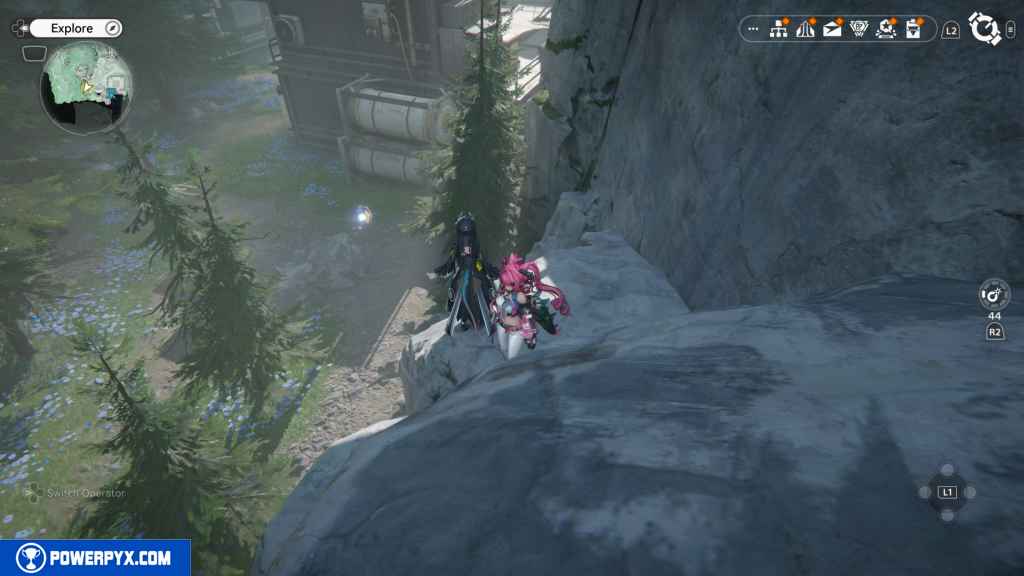
Follow it to the bottom and collect it on the roof of the building where it stops.
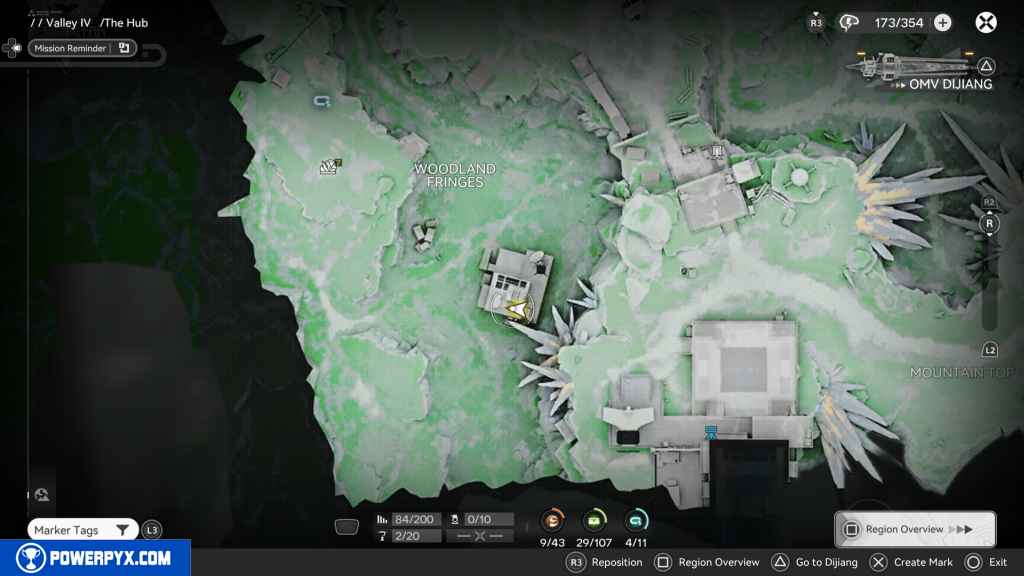
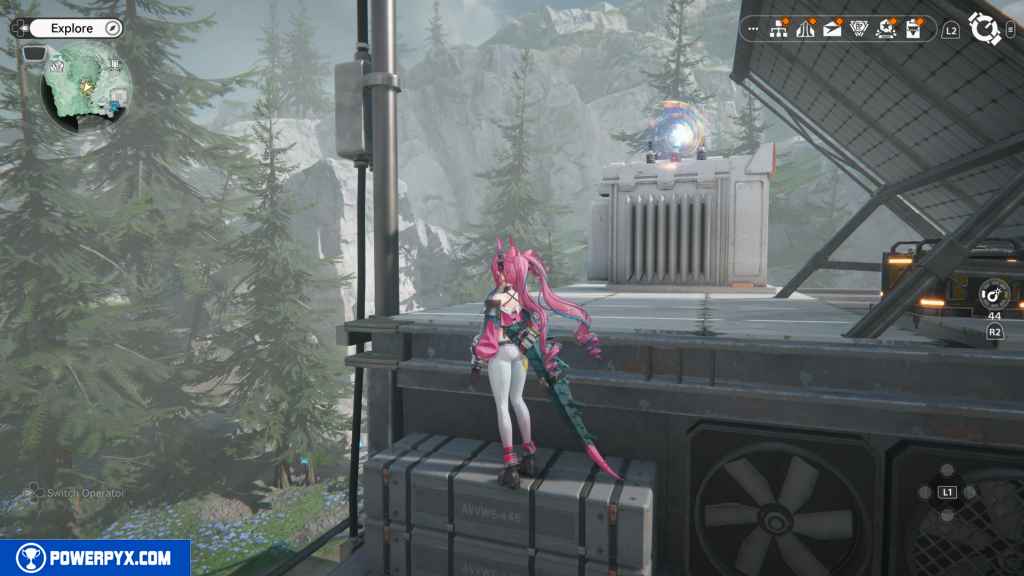
91 – Crate 29
Where you collected the last Aurylene on the same roof is the crate.
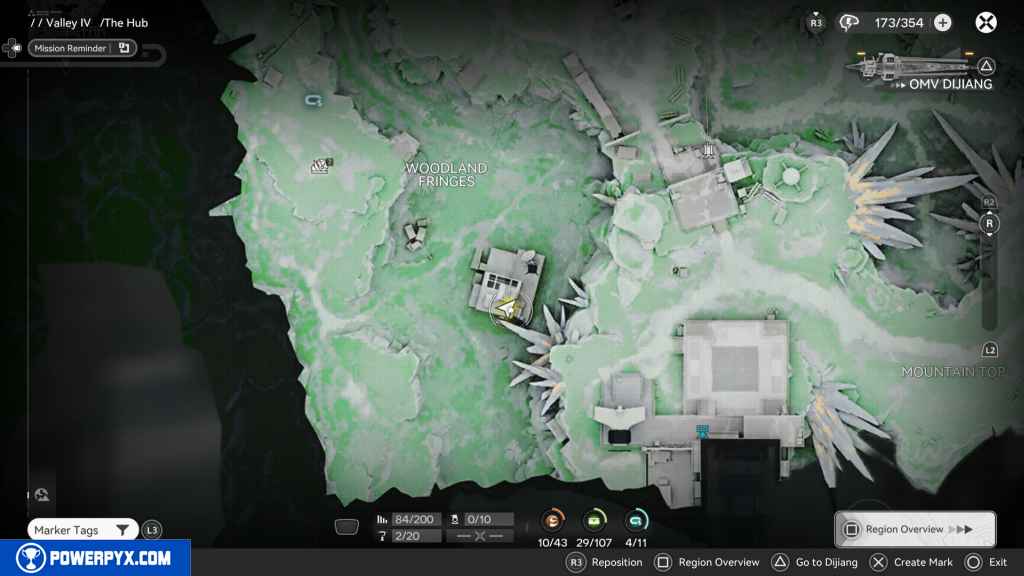
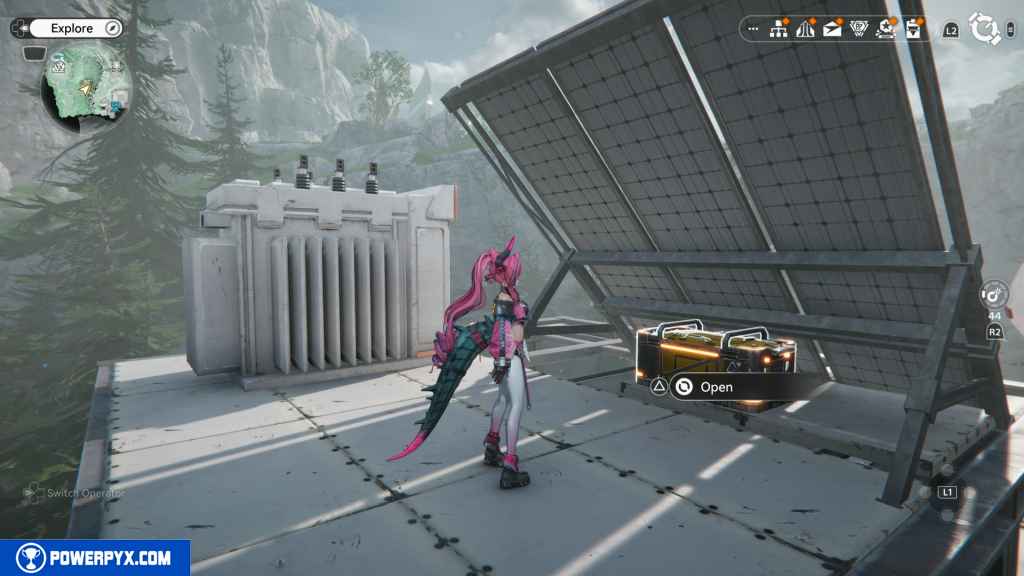
92 – Aurylene 11
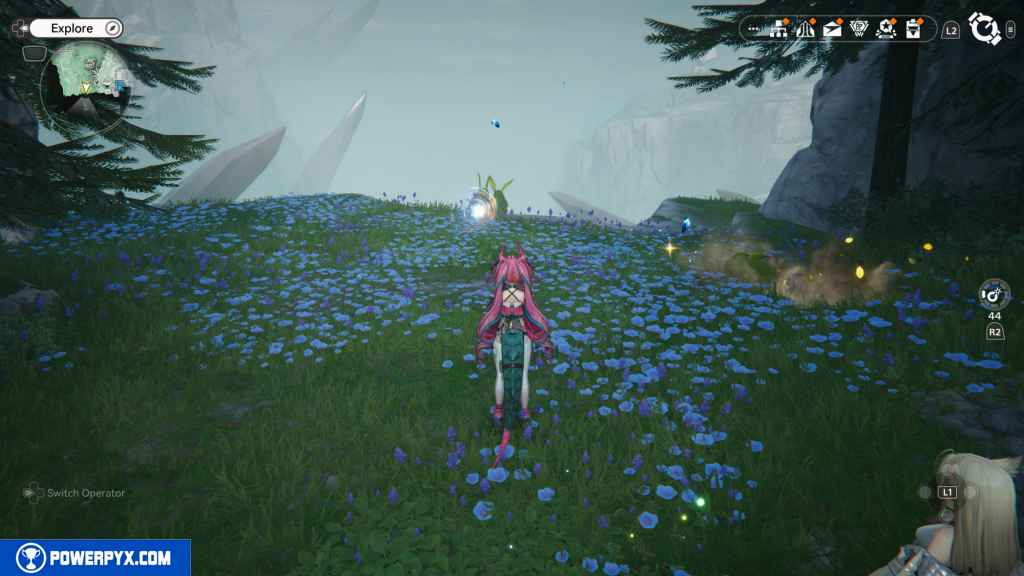
From the roof, jump down, going south, and in the lush area with all the Long-ear bunnies, you will find the next Aurylene.
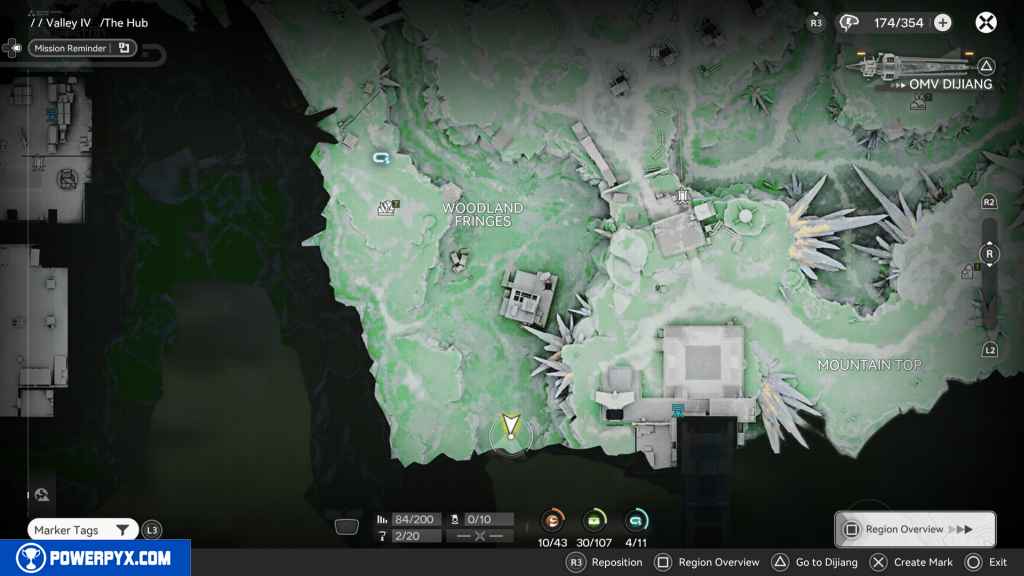
93 – Gathering Point 44
Return to the area with all the explosive boxes on the hill you came down from when you collected Aurylene 10. Go up the first stairs you see to the platform with all the explosive boxes. The first two boxes to the north west hide the Gathering Point.
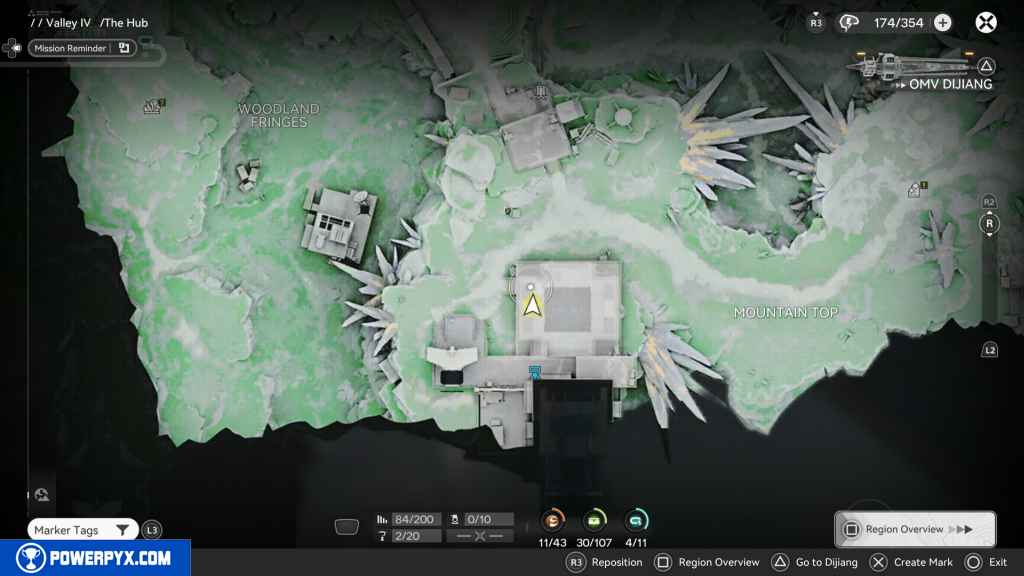
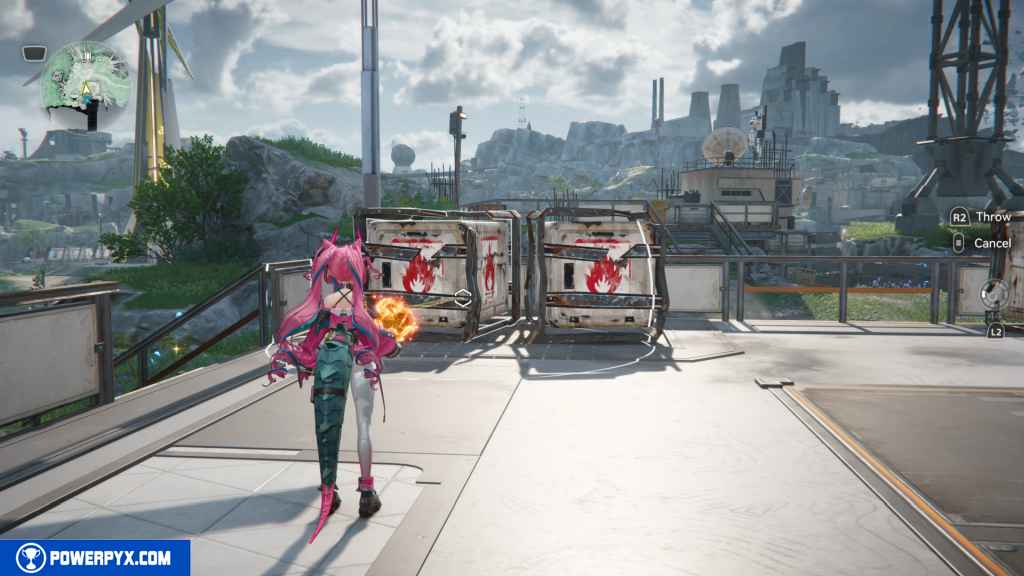
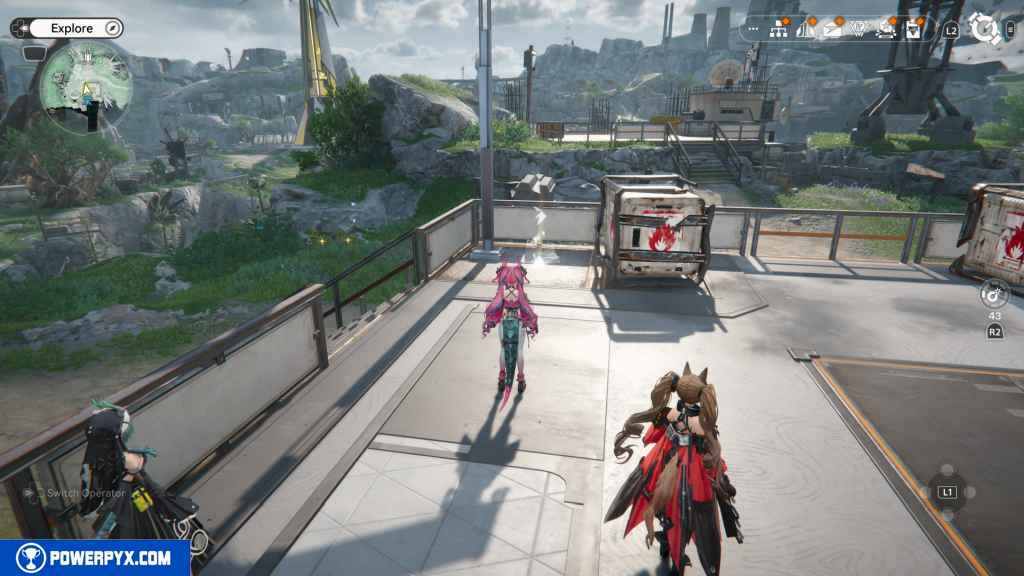
94 – Aurylene 12
This next Aurylene is on top of a light post northeast. You must blow open the explosive box between the west and east light posts, and it will reveal a jump pad. Use it to reach the Aurylene.
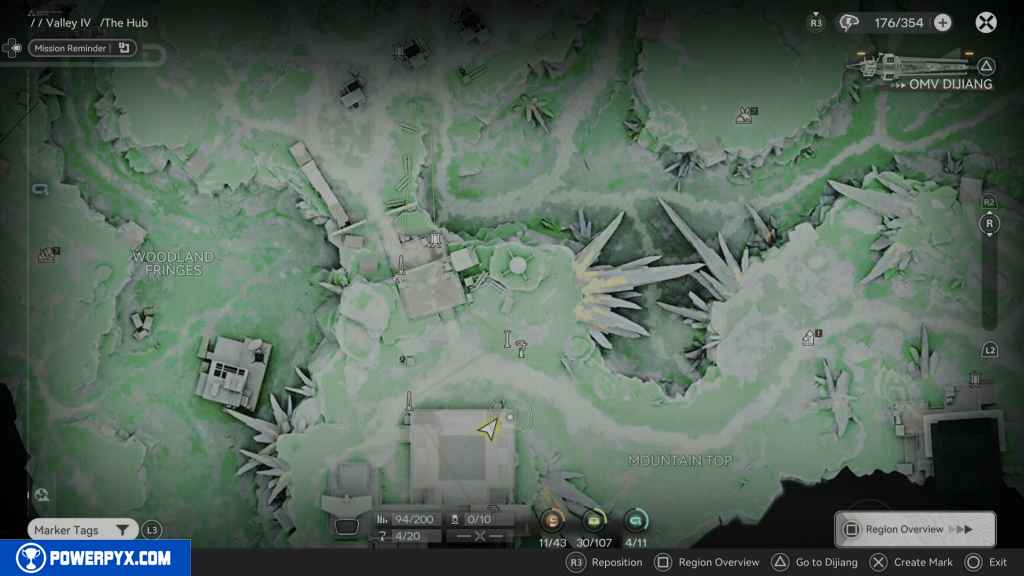
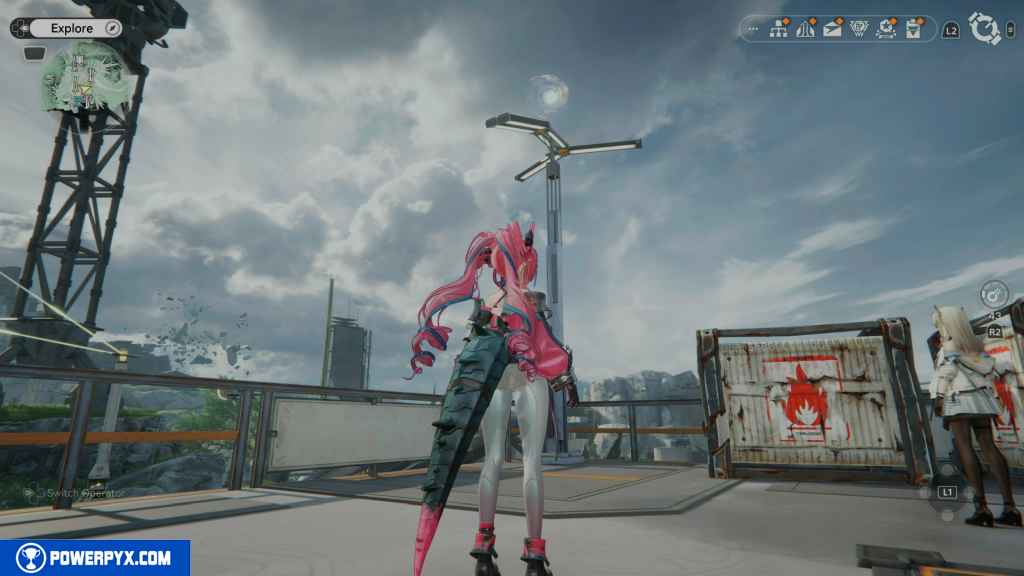
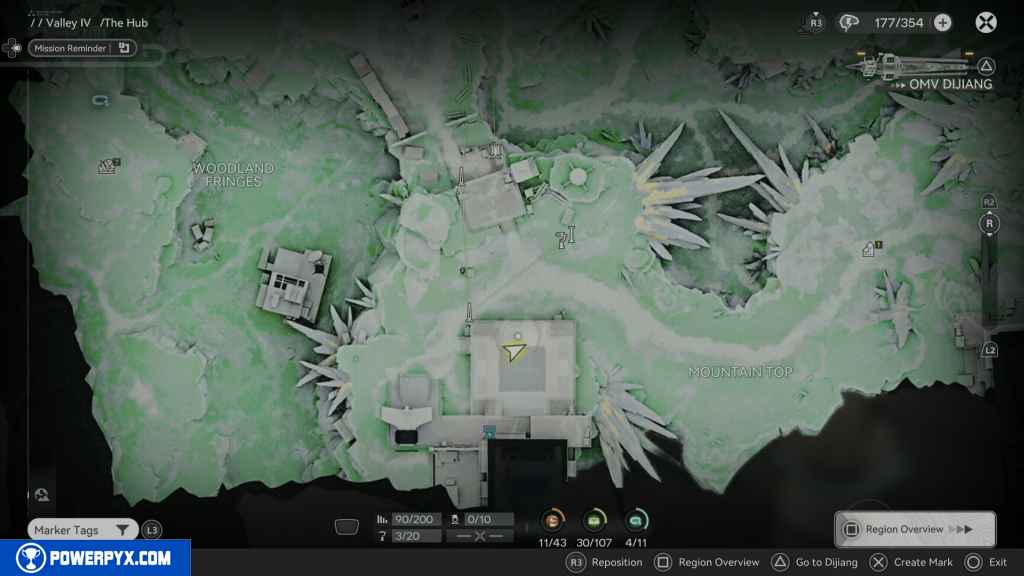
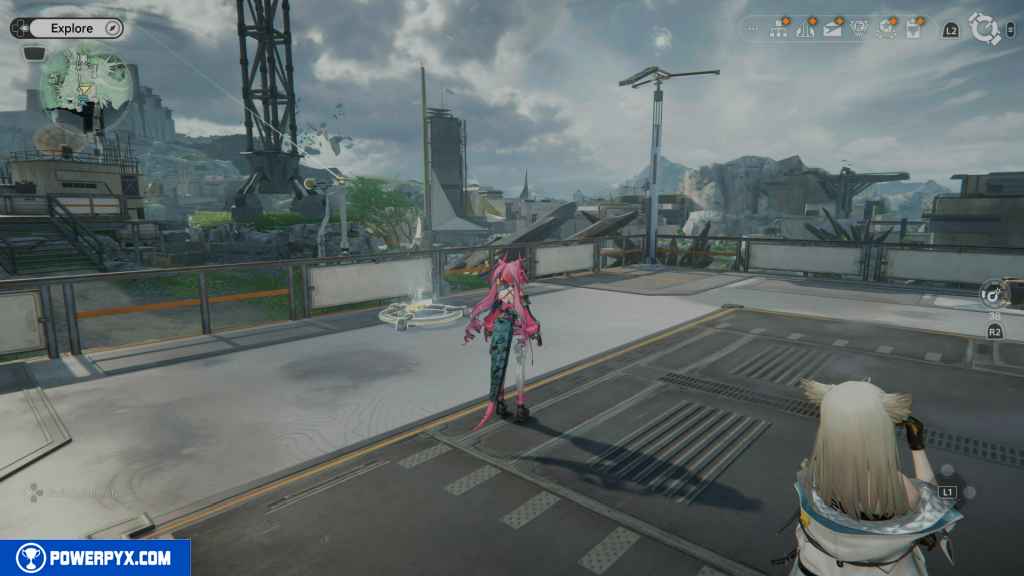
95 – Crate 30
The next exploding crate south of the Aurylene light post contains the next crate.
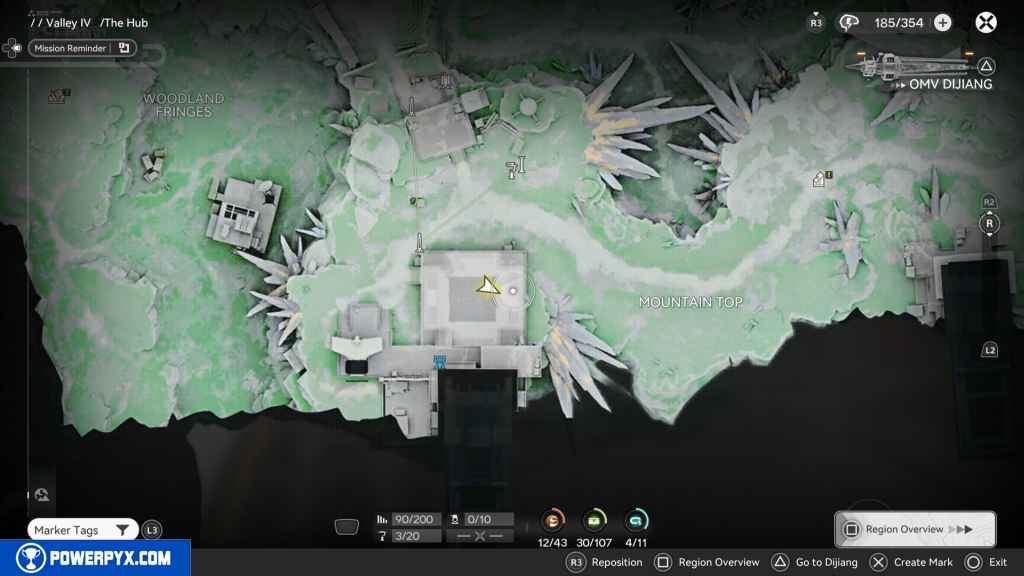
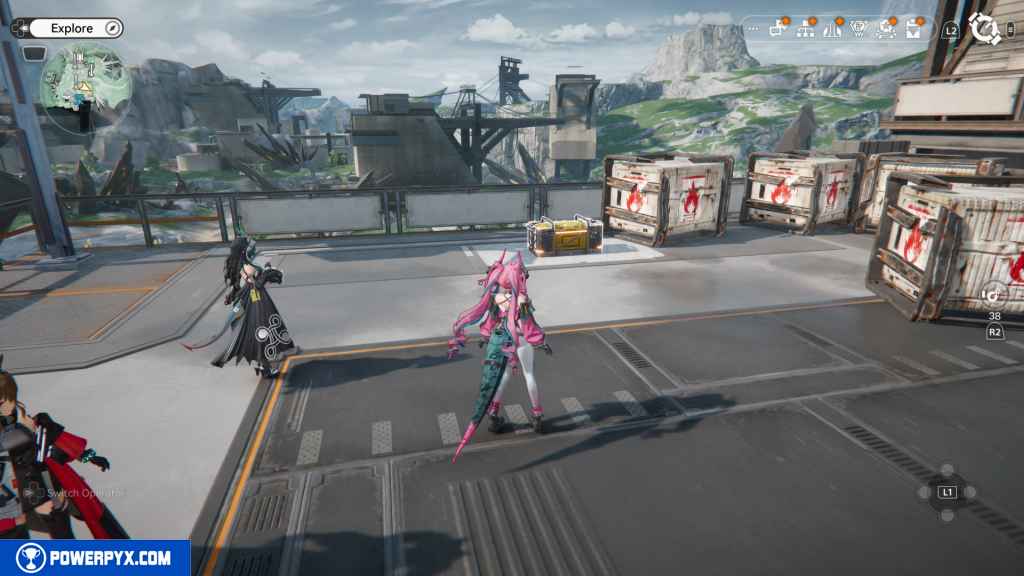
96 – Gathering Point 43
The southeast exploding crate contains the next Gathering Point.
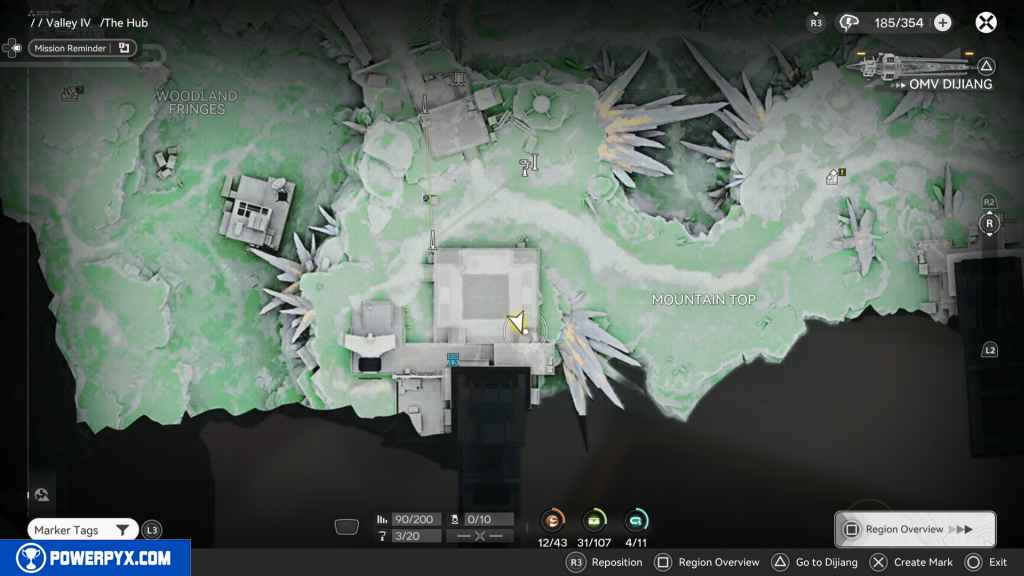
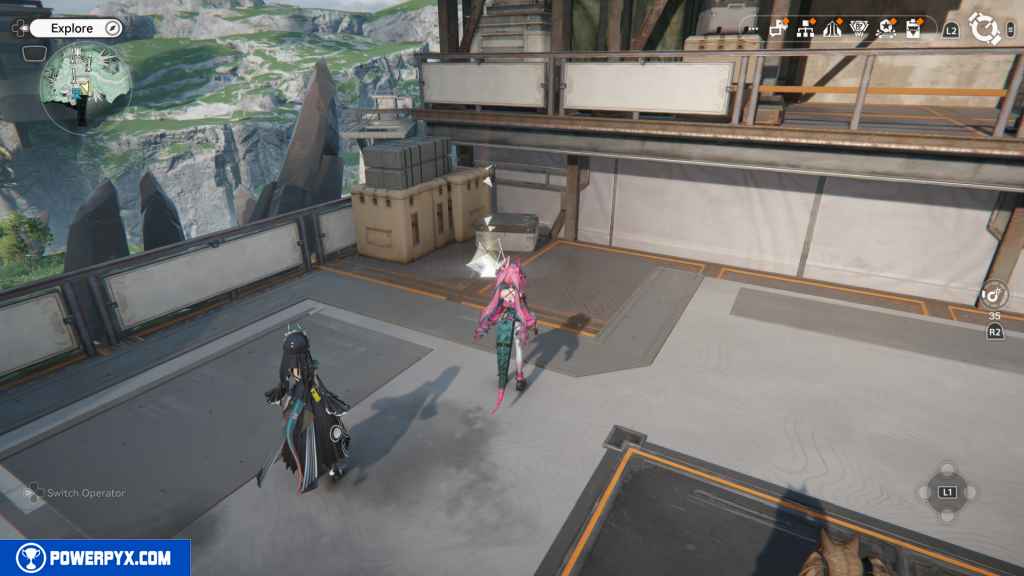
97 – Crate 31
Go up the stairs to the south, and the first explosive box contains the next crate.
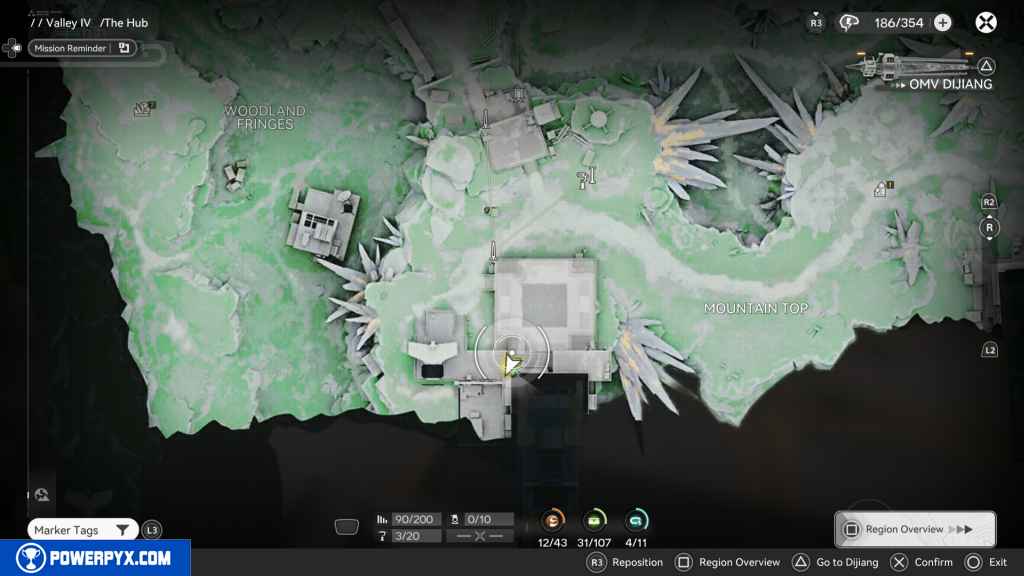
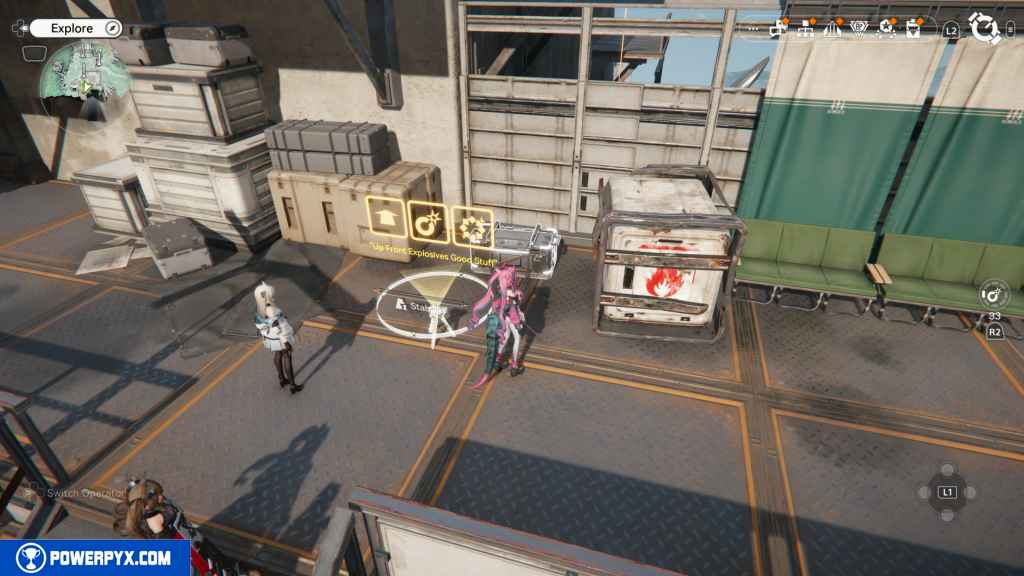
98 – Gathering Point 46
Head east past the rope, and you should see the Gathering Point ahead of you.
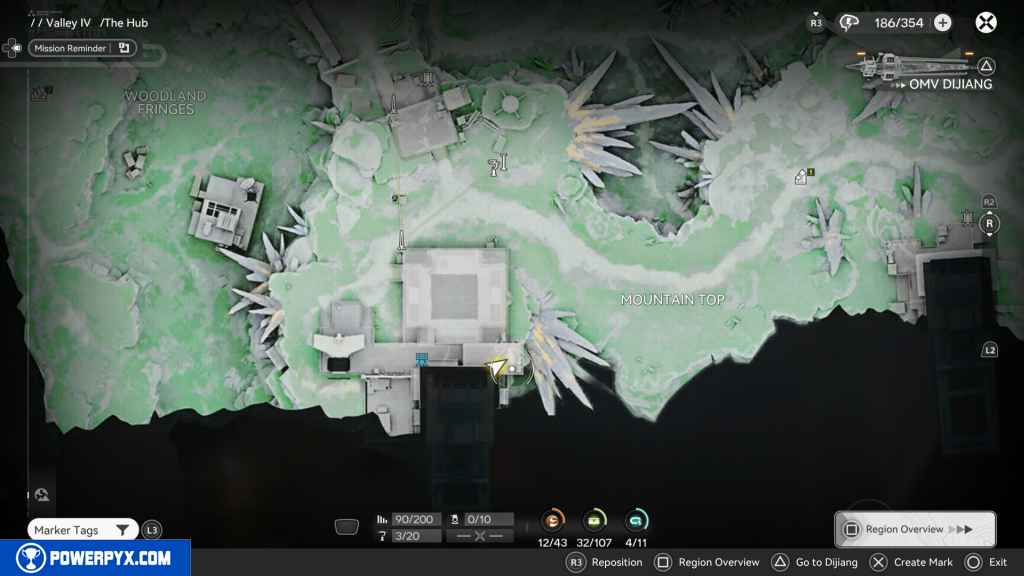
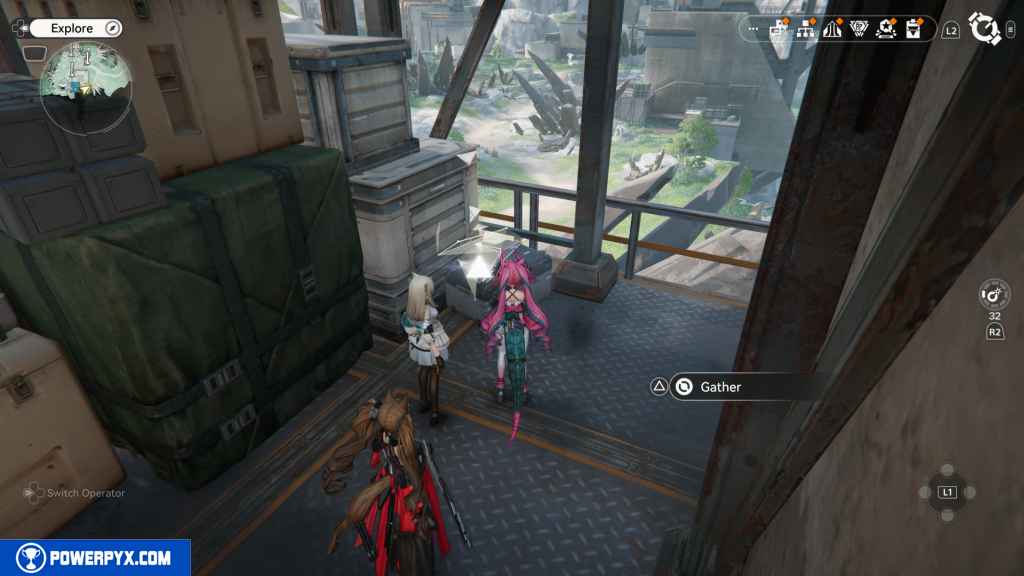
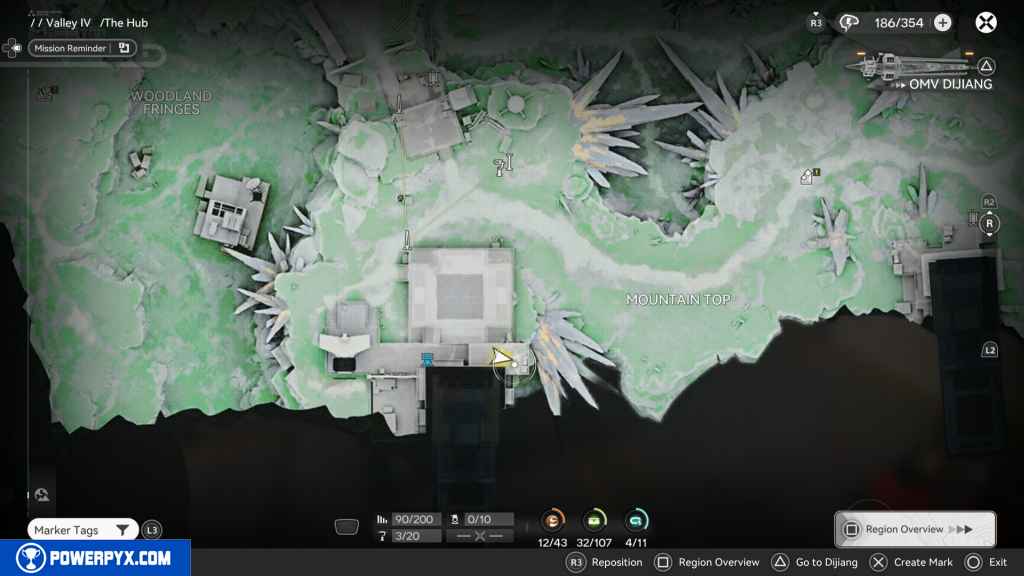
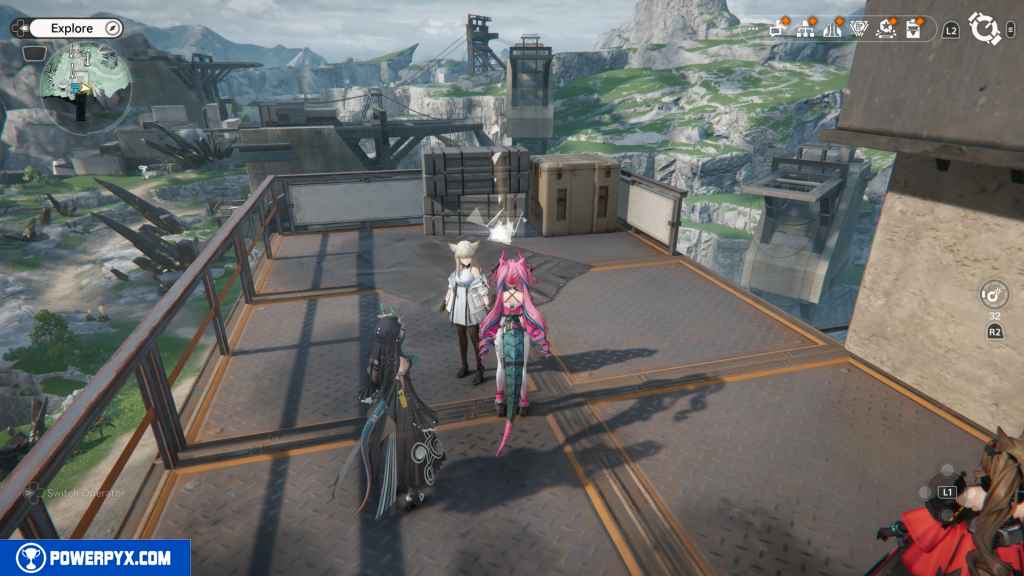
99 – Gathering Point 47
Use the rope you just ran by and head up. When you reach the top, look for the Gathering Point right in front of you.
100 – Gathering Point 48
Turn right from the last Gathering Point, looking south, and you should see the Gathering Point on a platform you have to jump to.
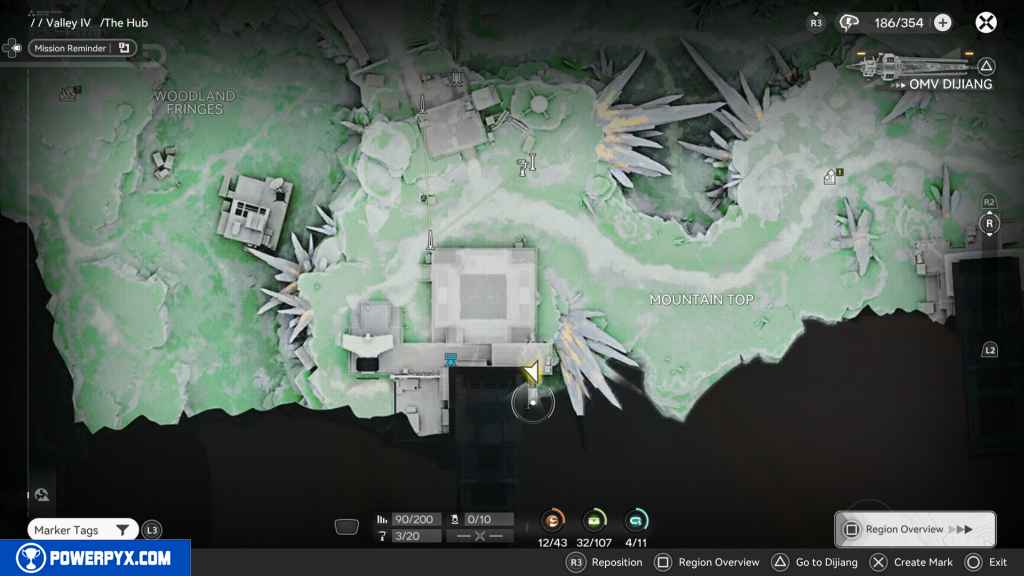
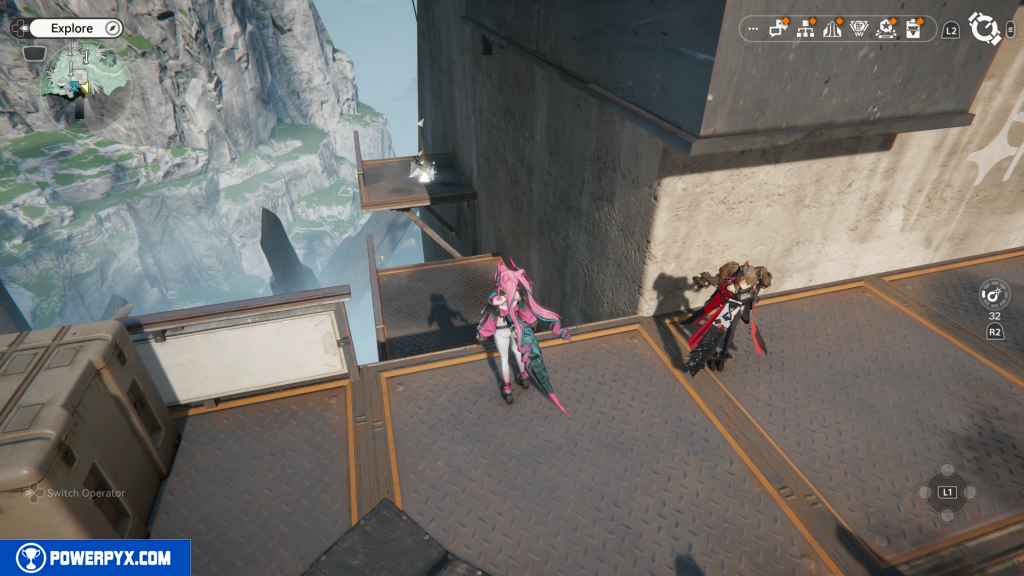
101 – Aurylene 13
Go back up the rope to the top, and you should see a path of platforms to jump across going west. Do so and go around the corner south, and you should see the Aurylene at the end of the final platform.
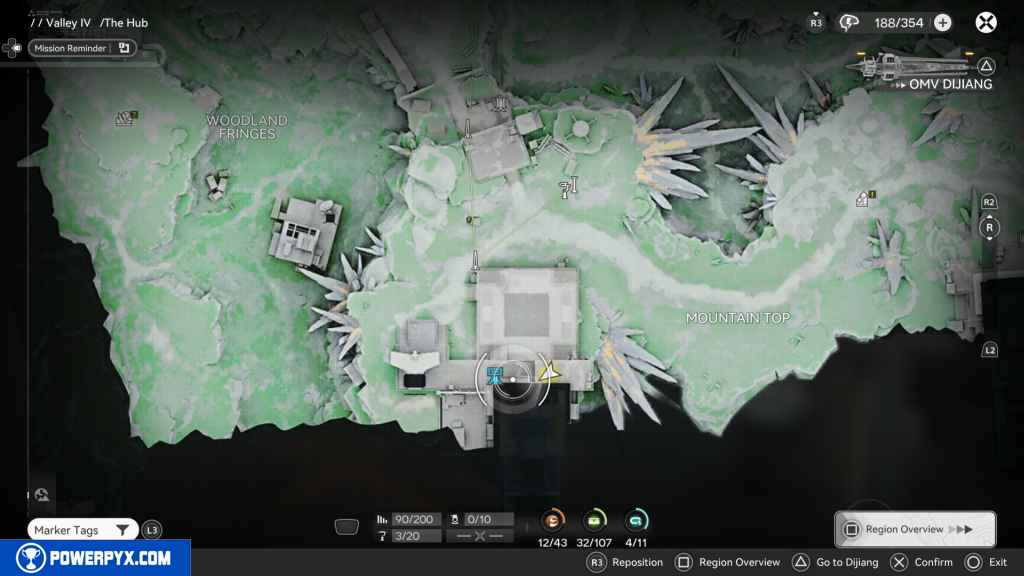
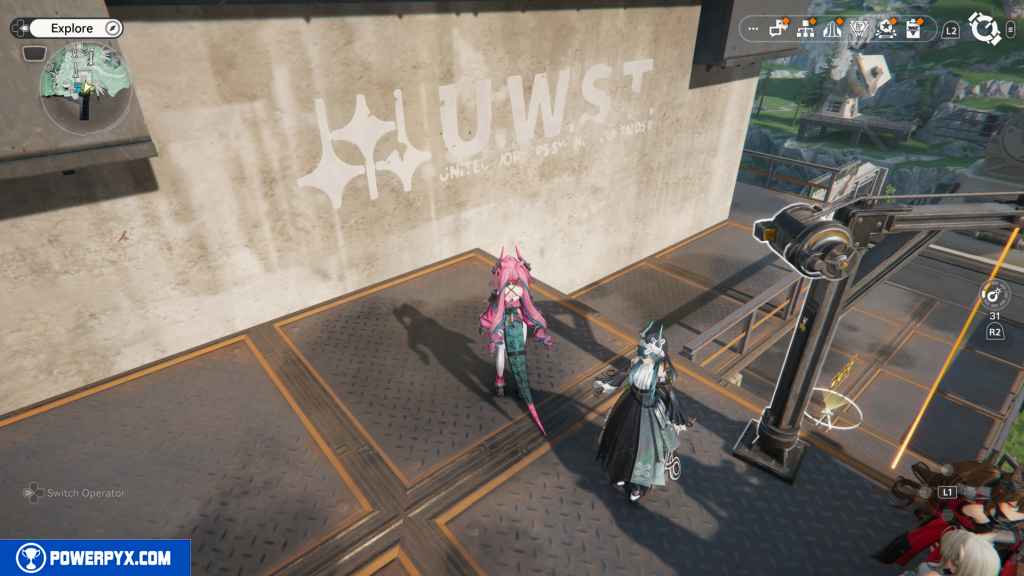
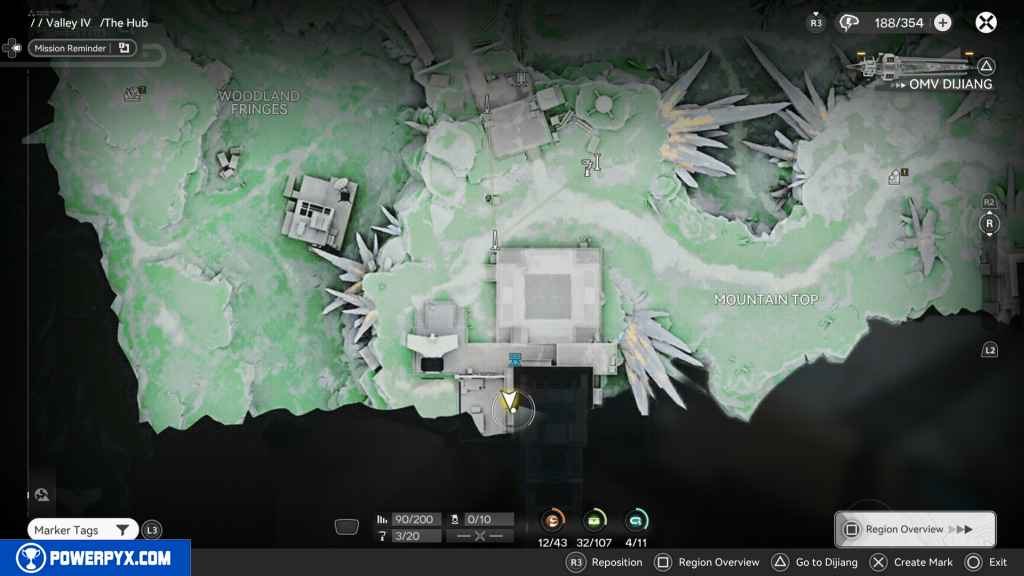
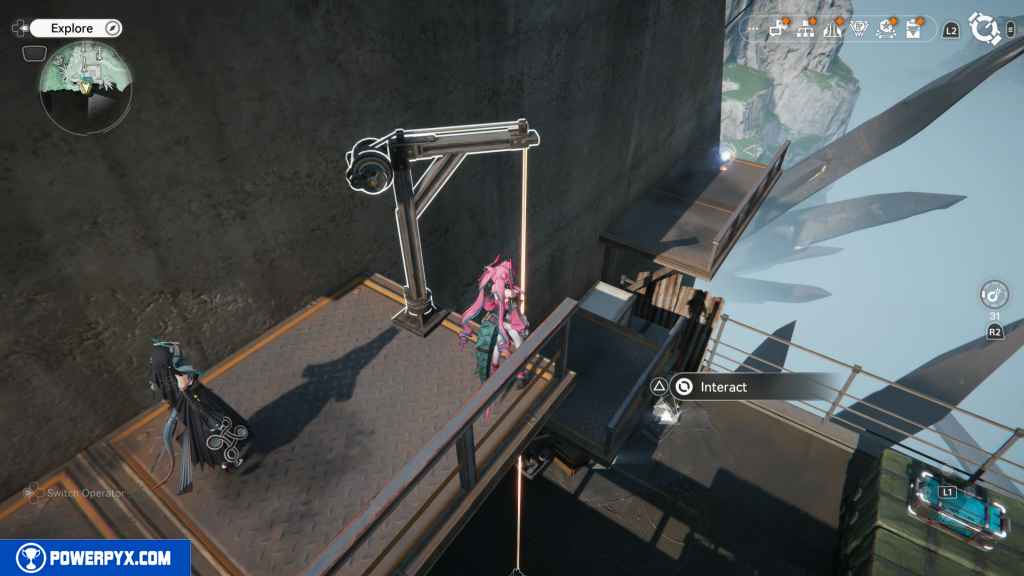
102 – Gathering Point 49
Drop down to the small area of equipment boxes, and you should find the next Gathering Point next to the rope.
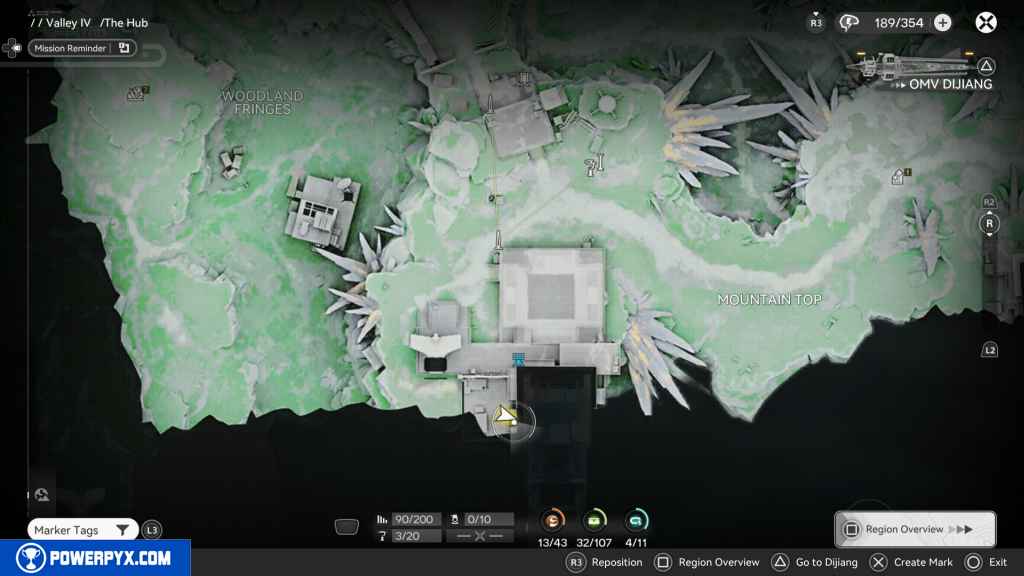
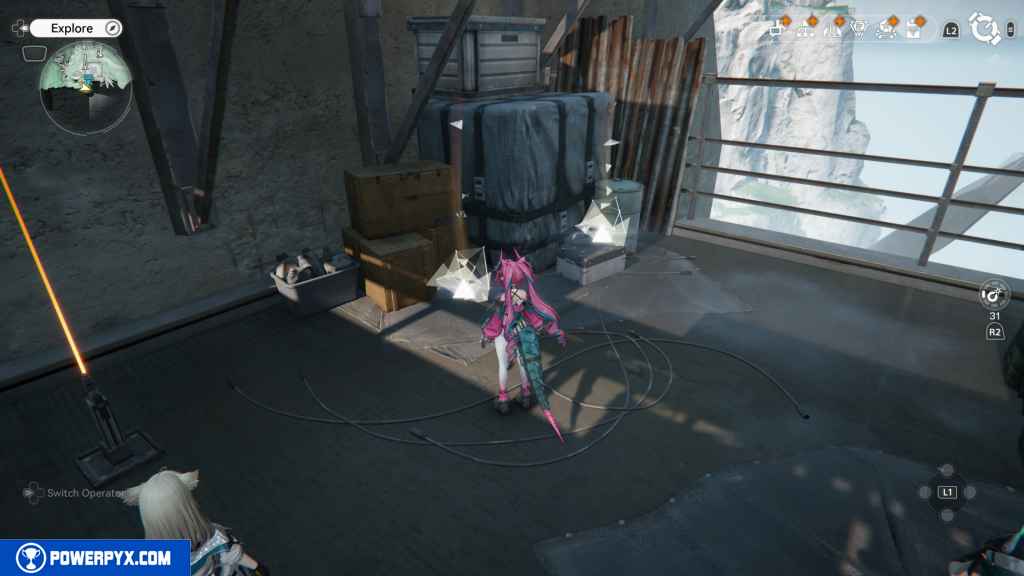
103 – Gathering Point 50
This Gathering Point is right next to the last one.
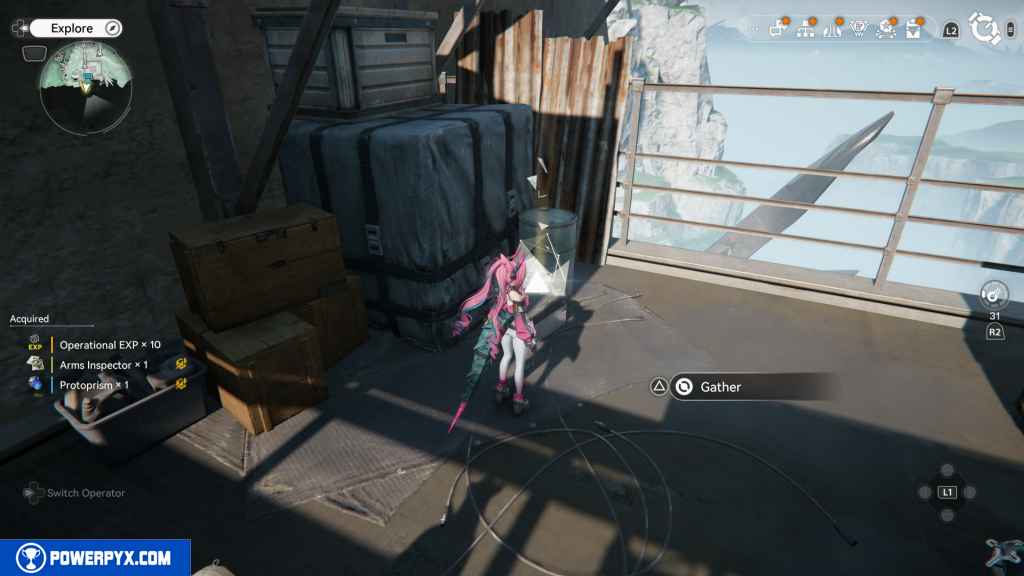
104 – Gathering Point 51
Turn around and look north, and you should see the next Gathering Point by an inclined platform.
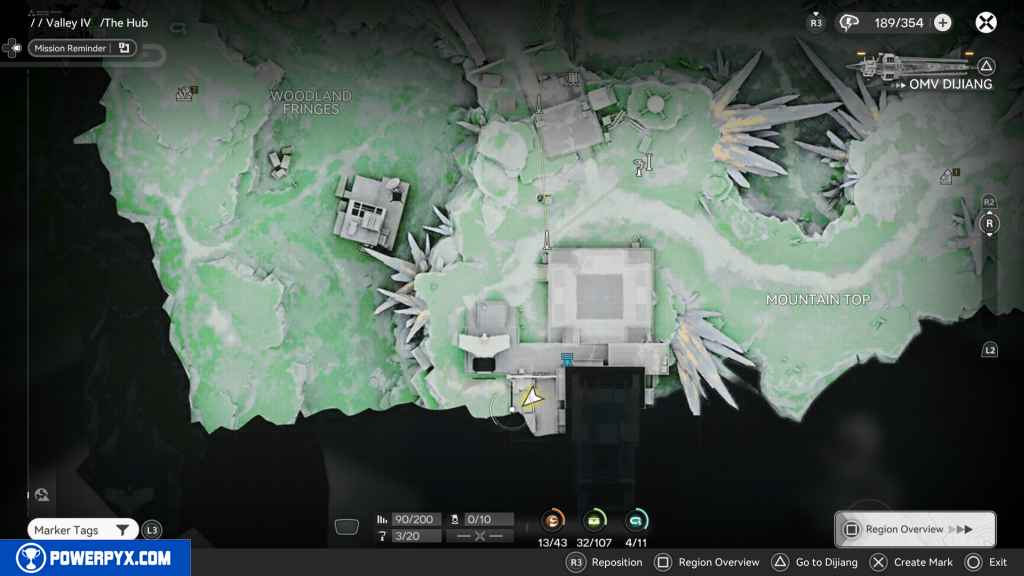
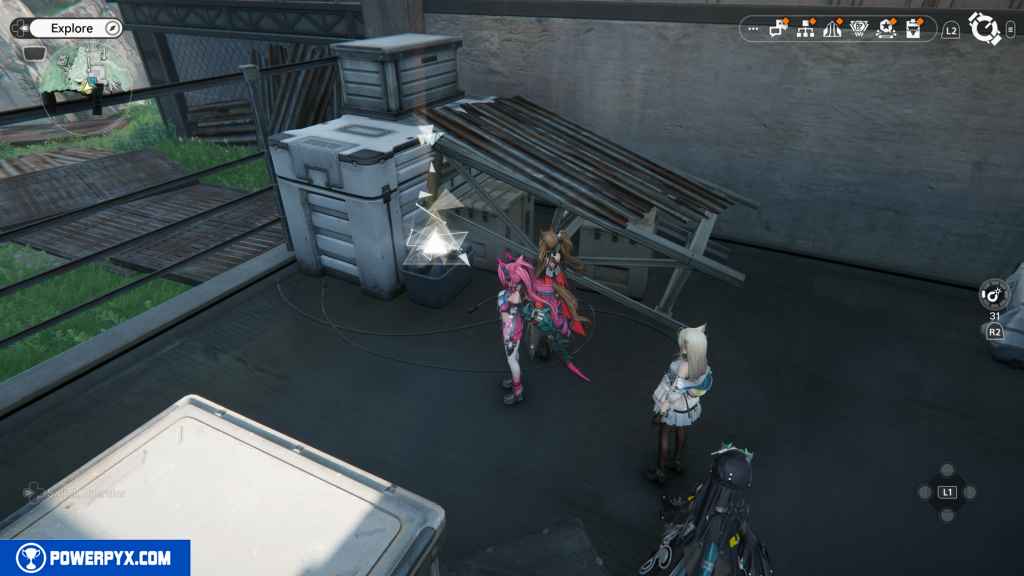
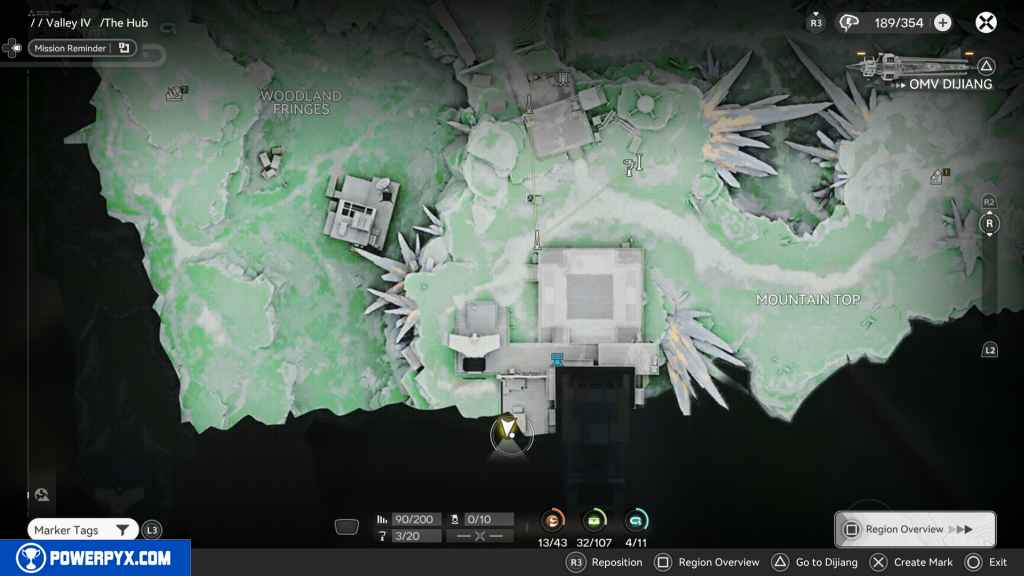
105 – Gathering Point 52
Turn south from the last Gathering Point, and you should see another one by a box and some barrels.
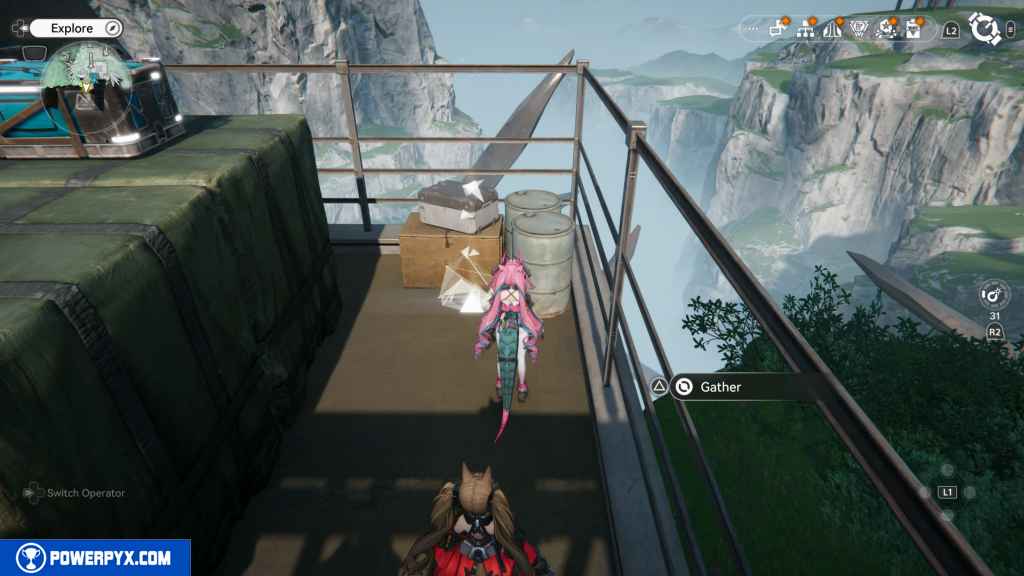
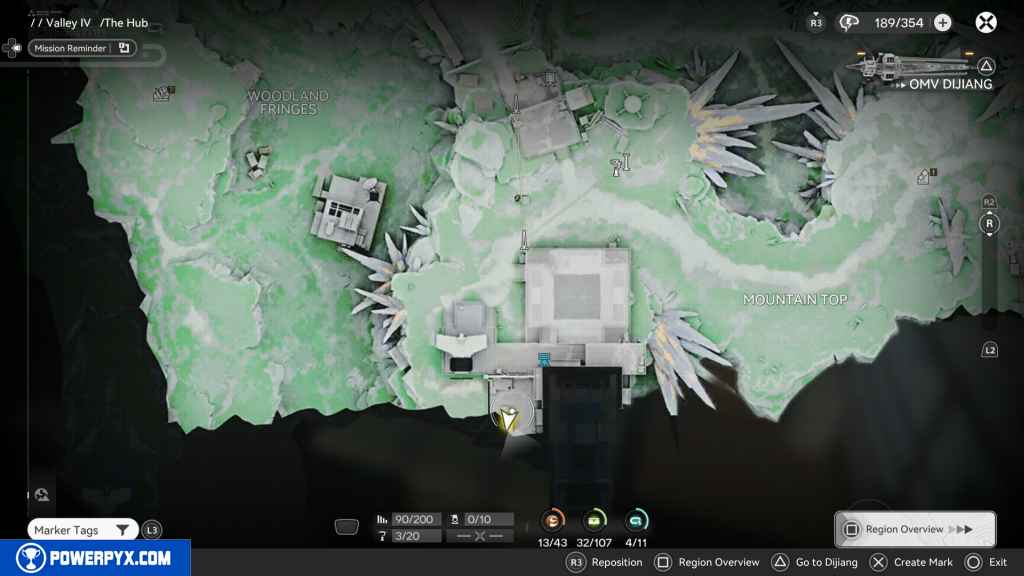
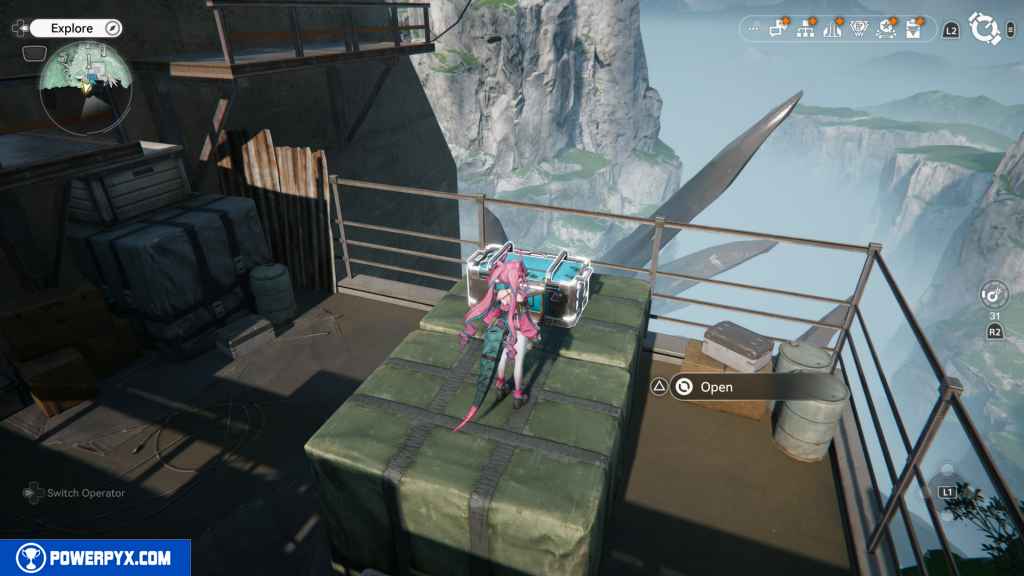
106 – Crate 32
Jump up the box, the green tarped boxes, and the crate will be right on top.
107 – Crate 33
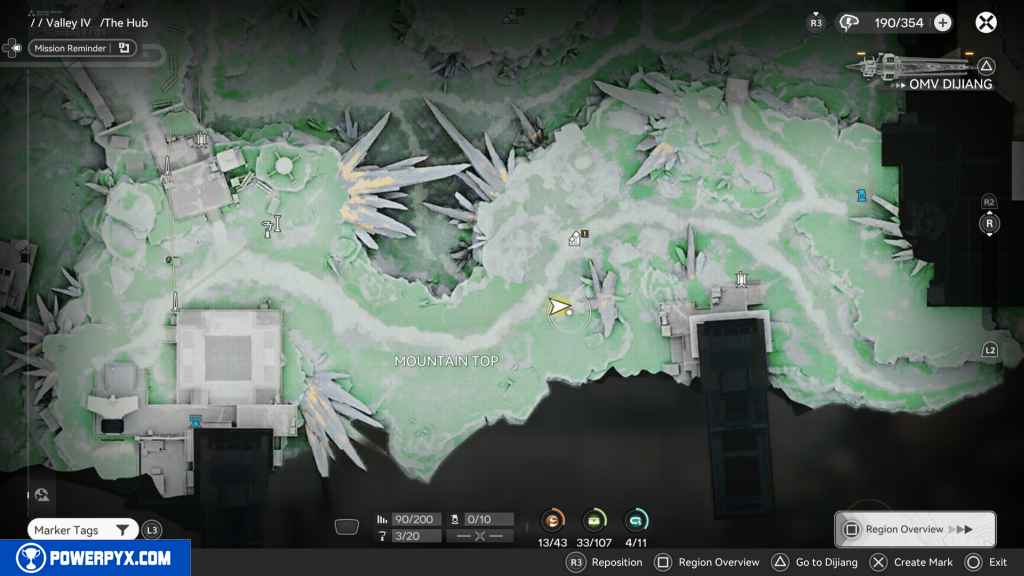
Continue east from the facility, and you should see an area with a lot of crystals. On the path, you should run into a locked crate on your right. You need to find the three blue keys to unlock it.
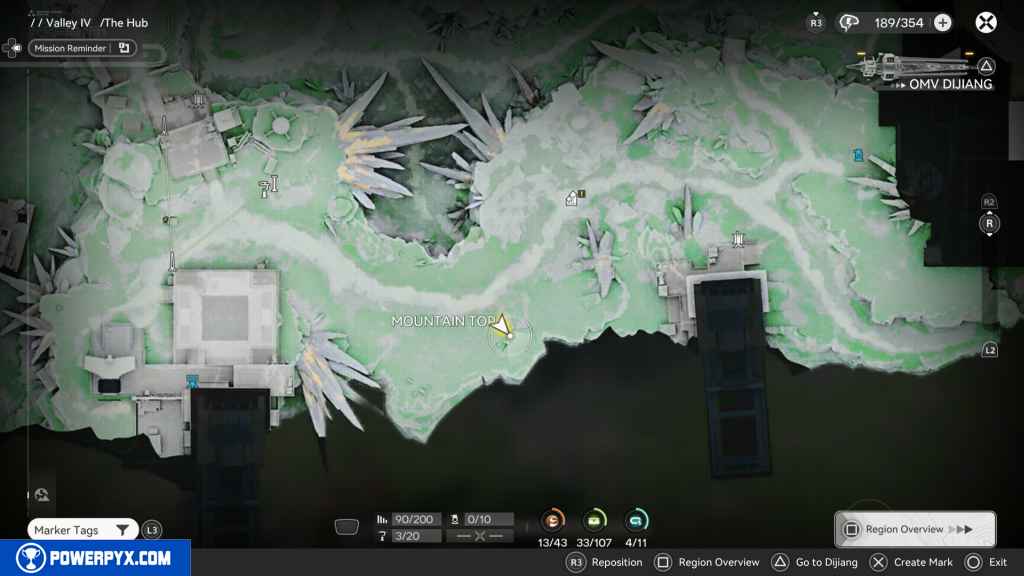
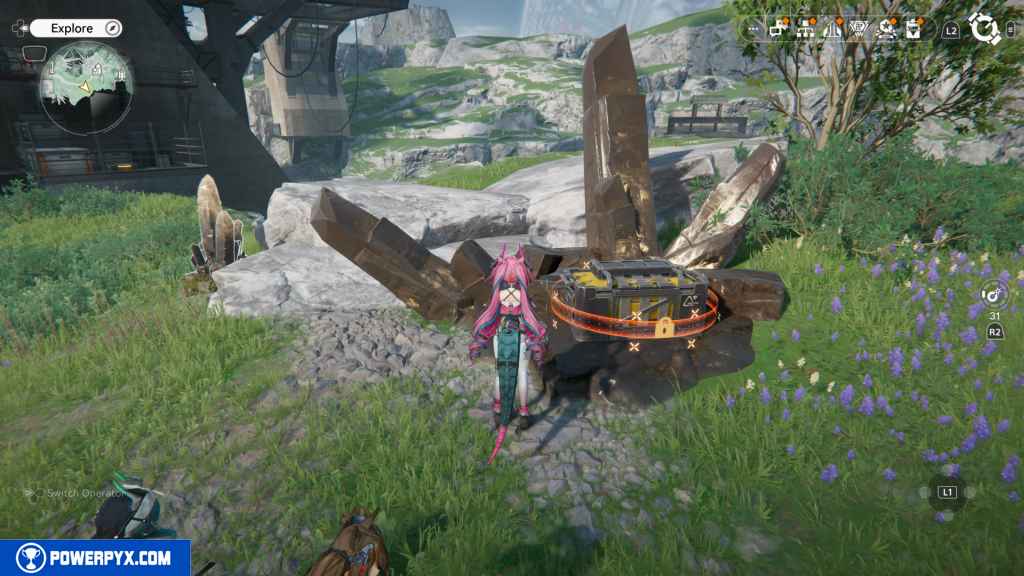
The first key is directly north on the path, hovering over a crystal base 1/3.
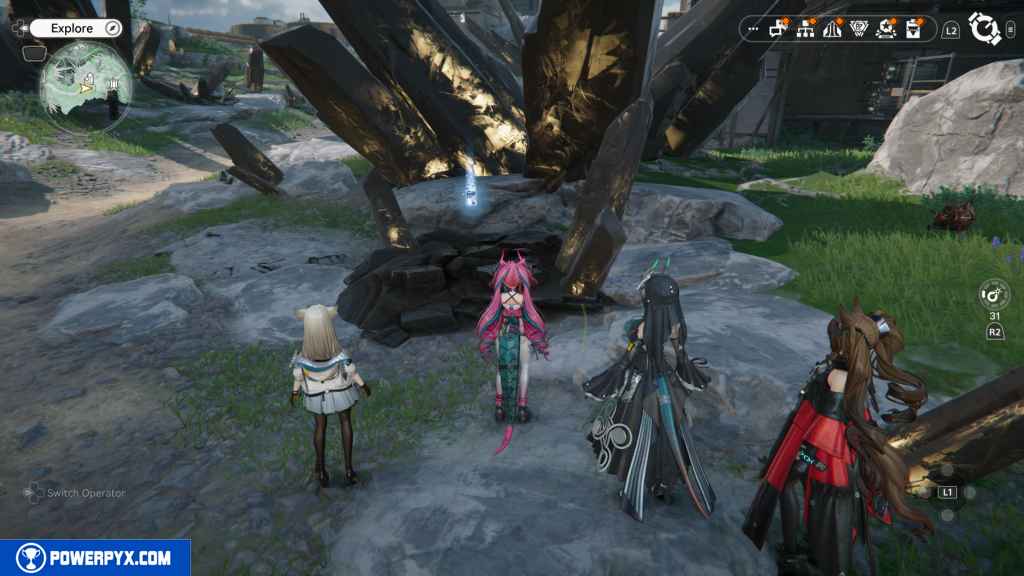
The second key is west of the first key. If you head back, it will be on your right, hovering over the crystal base 2/3.
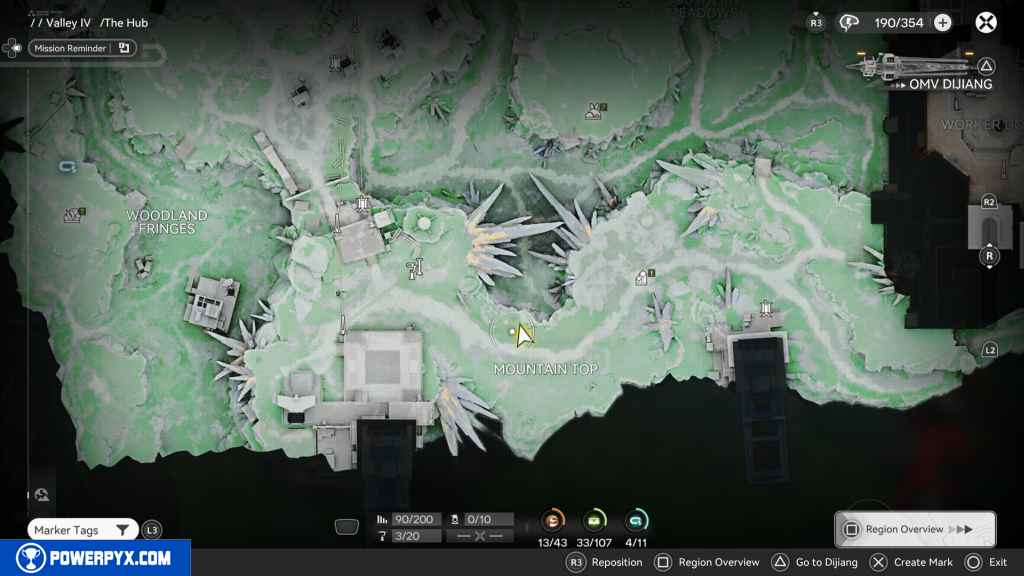
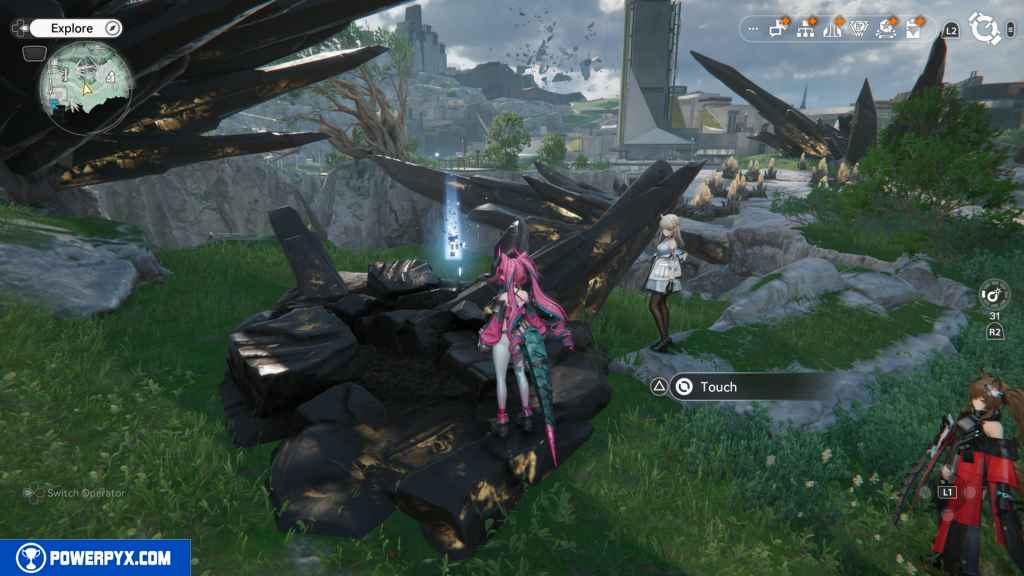
The third key is directly south of the second key in another crystal base 3/3.
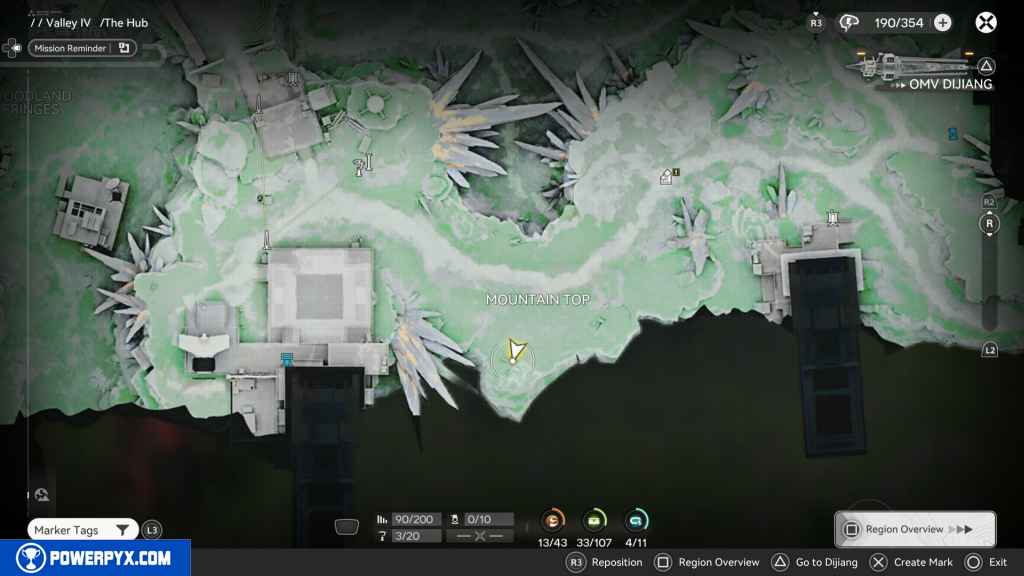
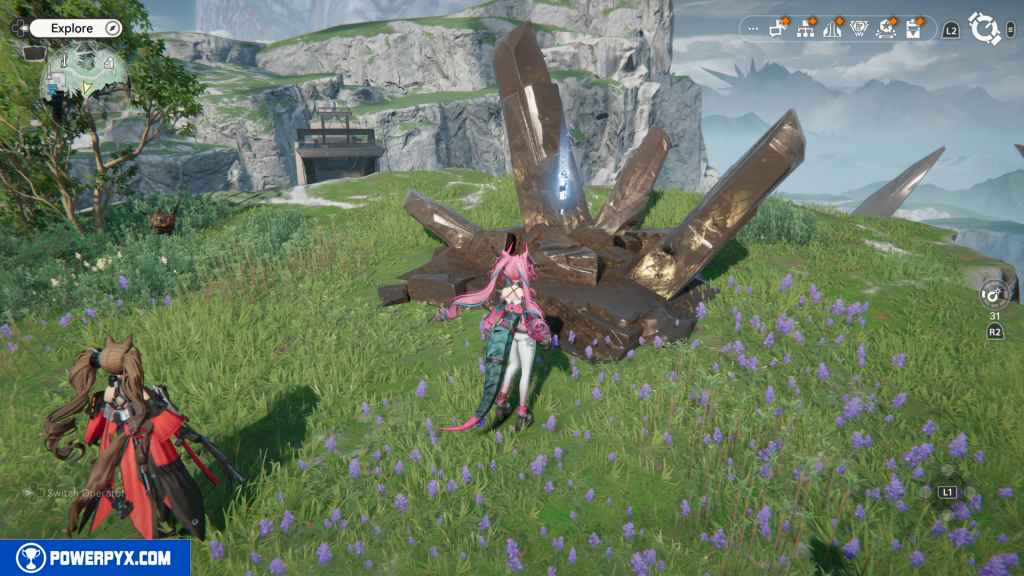
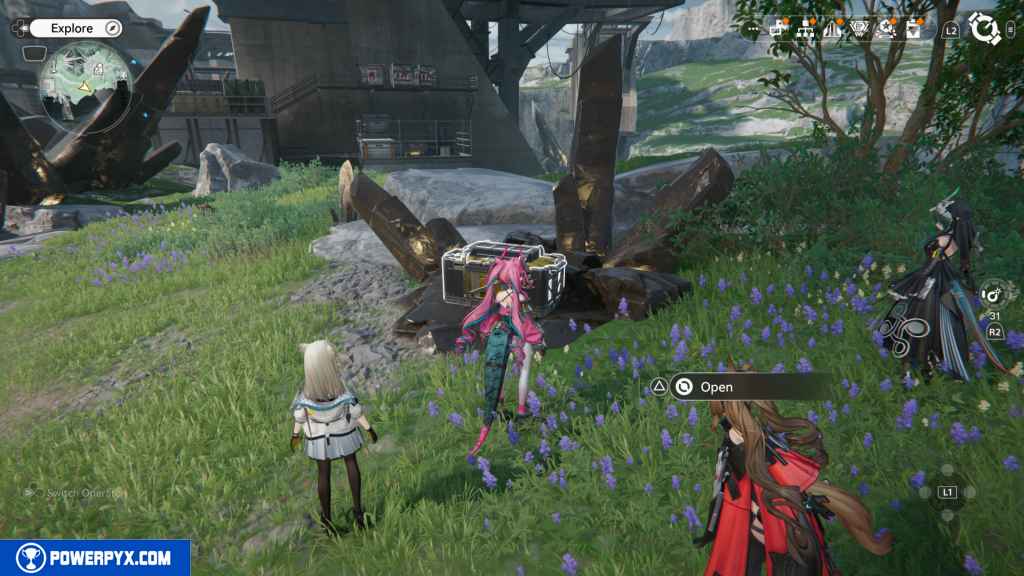
Return to the crate and unlock it.
108 – Aurylene 14
Go north past all the crystal farming areas, and you should see a long protruding crystal. At the end of the crystal is the Aurylene.
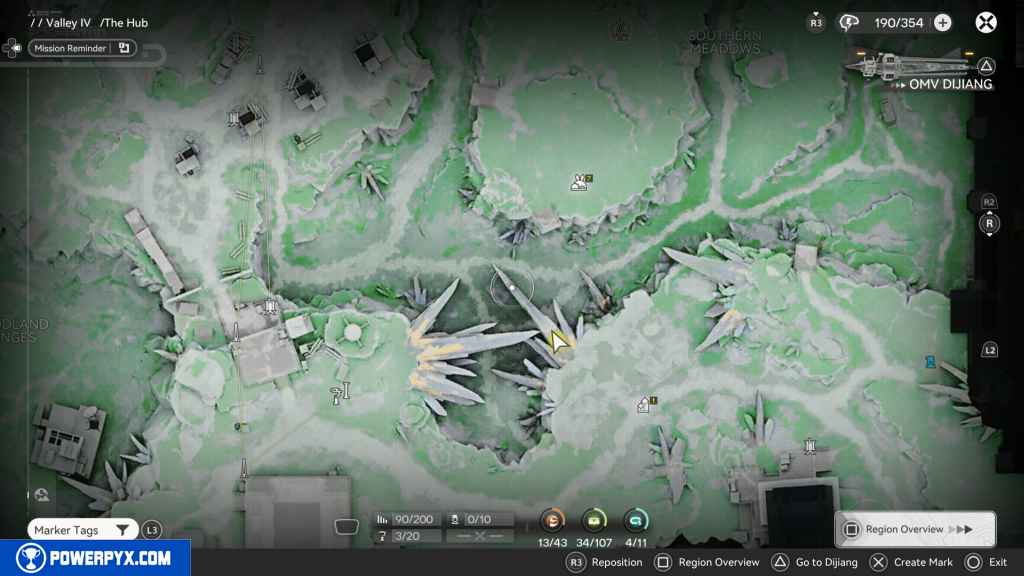
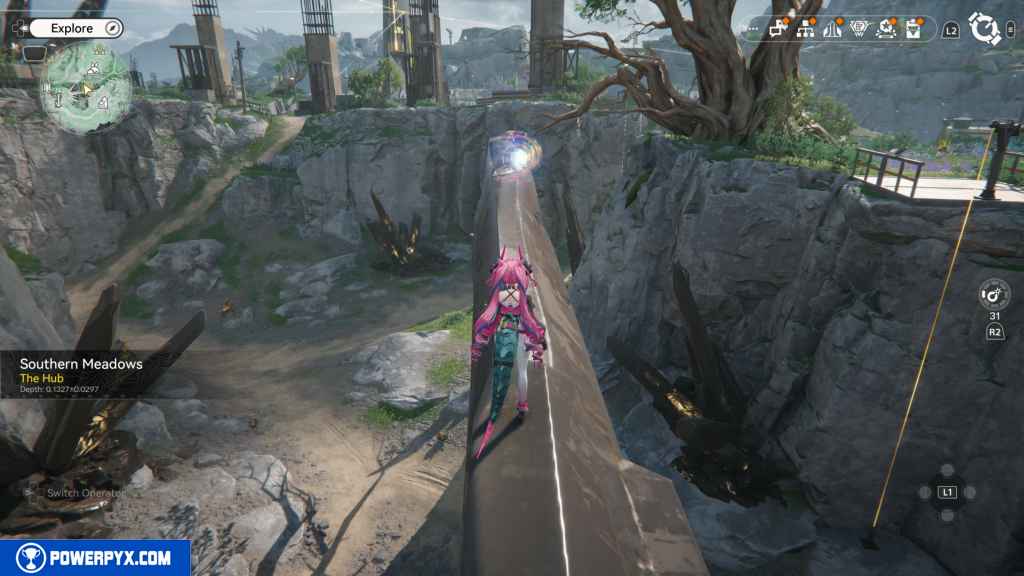
109 – Gathering Point 53
Continue on the path until you see another facility on your right. You need to power up the Electric Nexus to activate the switch to turn off the electric barrier.
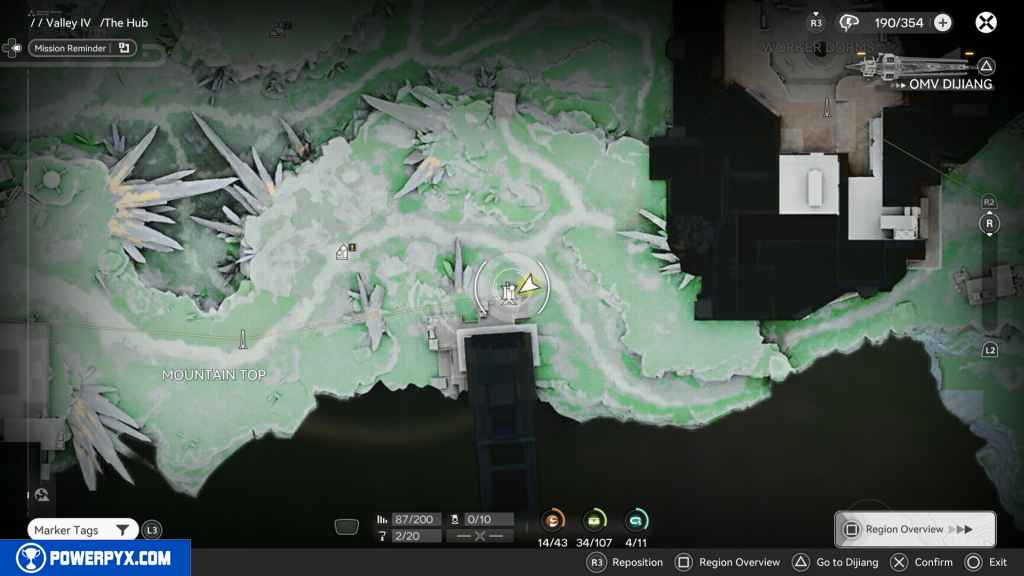
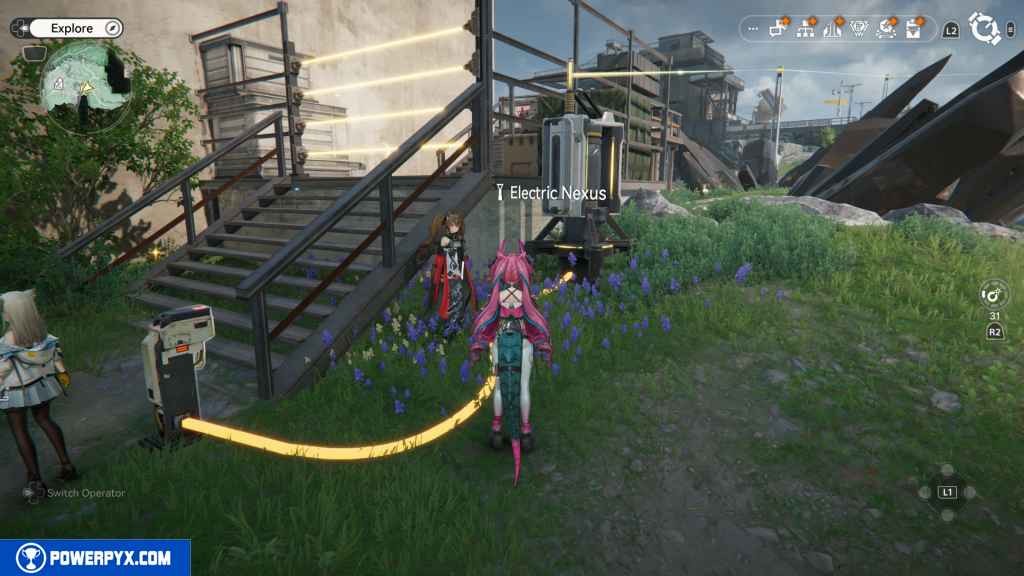
Once done, head up the stairs, and you will find an exploding box. Blow it up to reveal the Gathering Point.
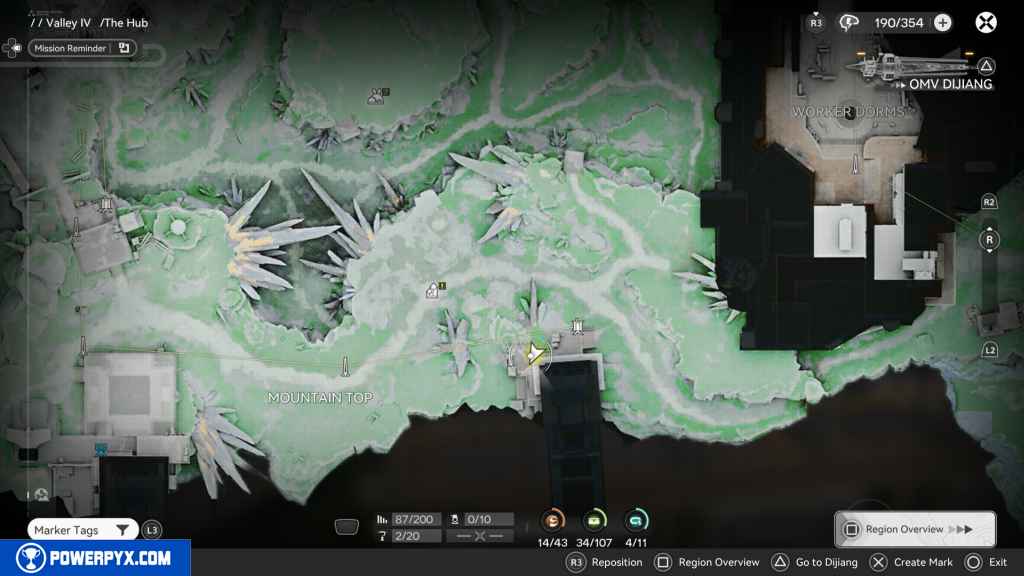
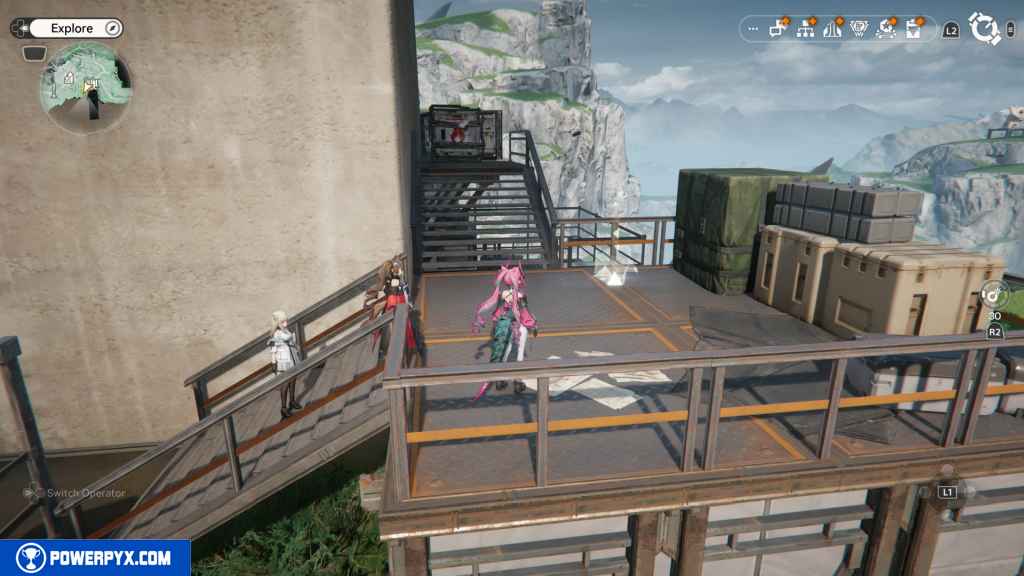
110 – Aurylene 15
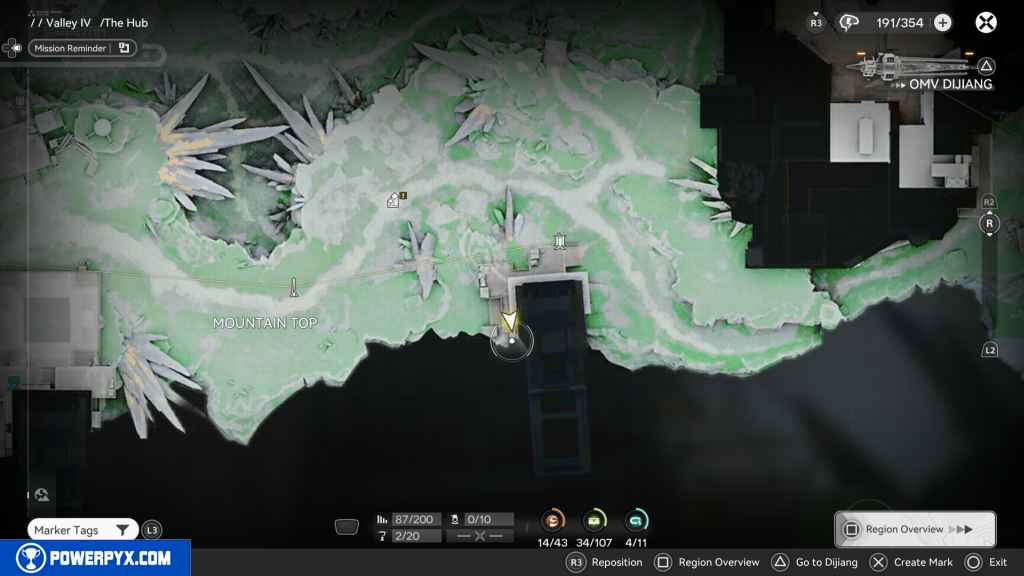
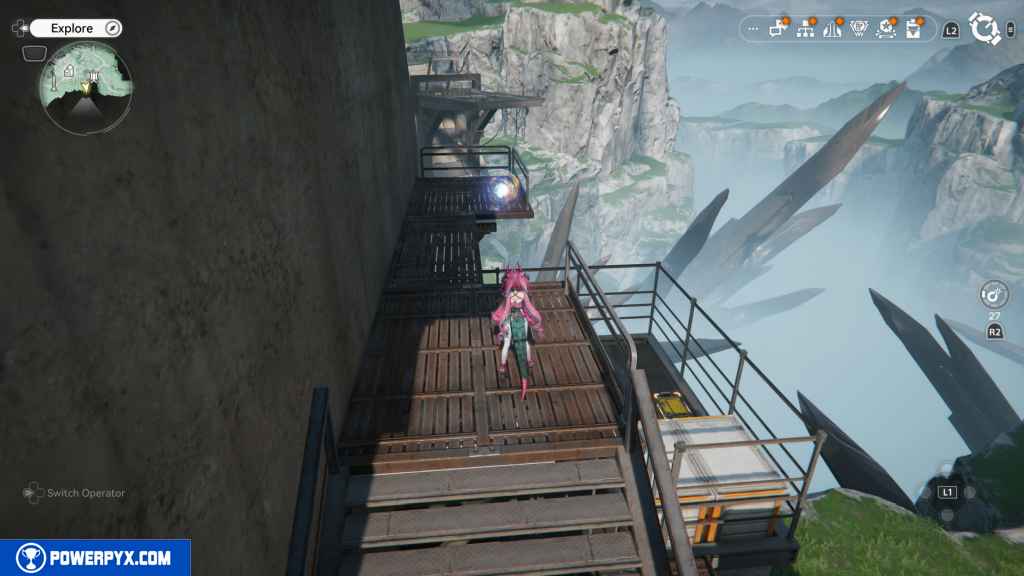
Head south on the platform to some more explosive boxes. Blow them up to reveal the Aurylene.
111 – Crate 34
Drop down to the area below the Aurylene, and you should find the crate right in front of you.
112 – Aurylene 16
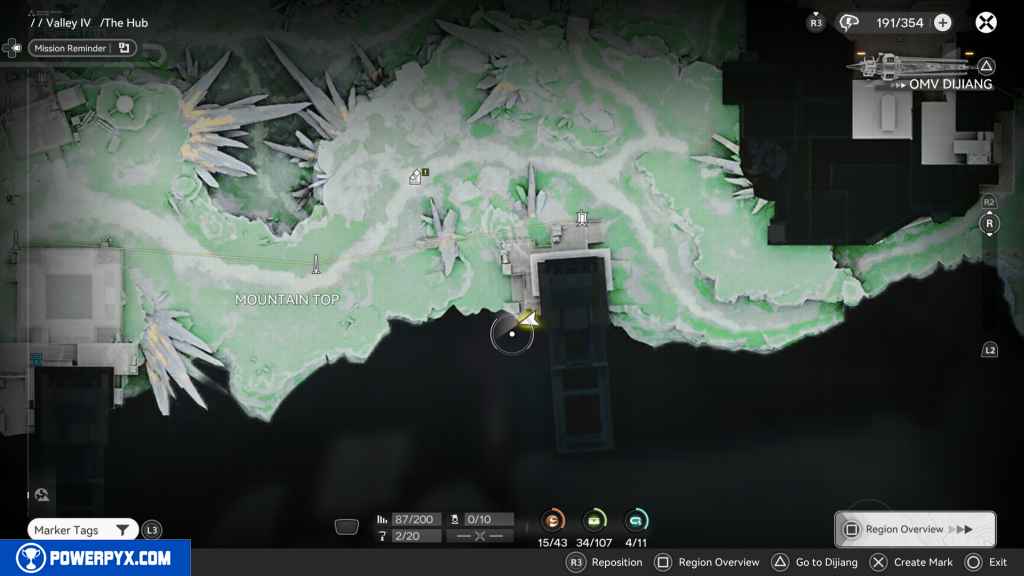
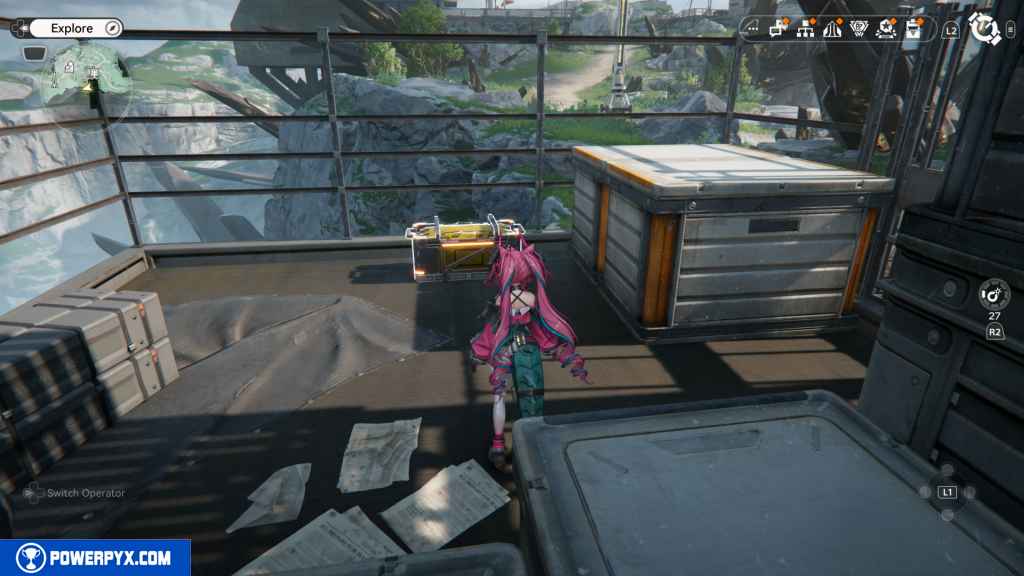
Head directly north from the facility, and you should reach the edge of the cliff and see a rope to activate to descend into the valley. Hanging around this rope is the Aurylene, which will move away down the rope. Head down to grab it.
113 – Crate 35
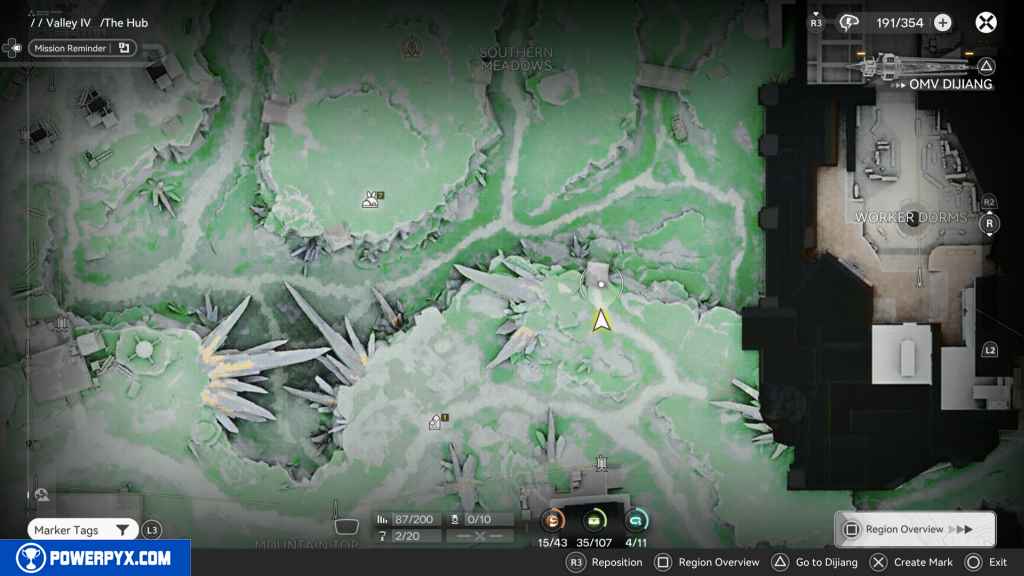
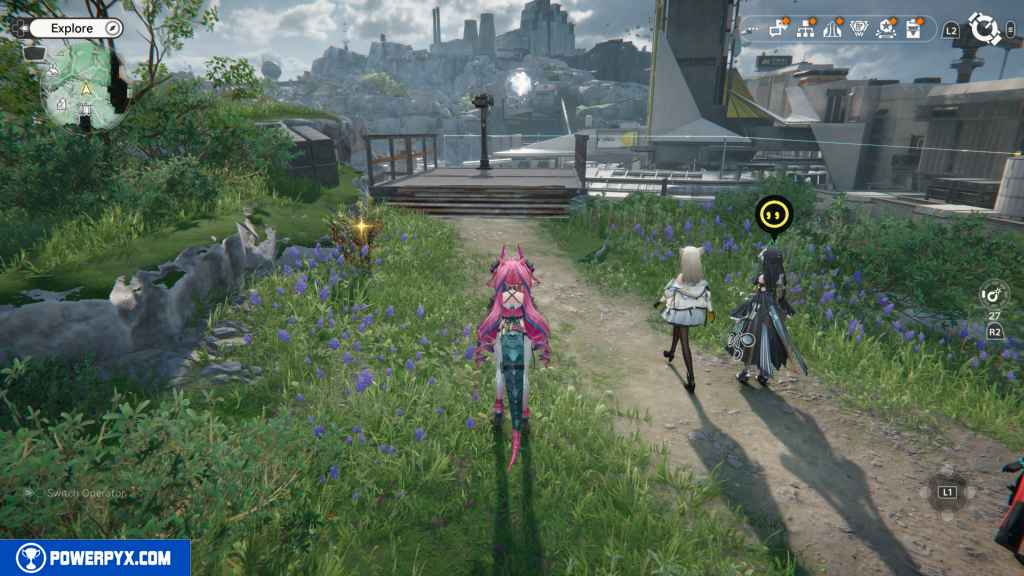
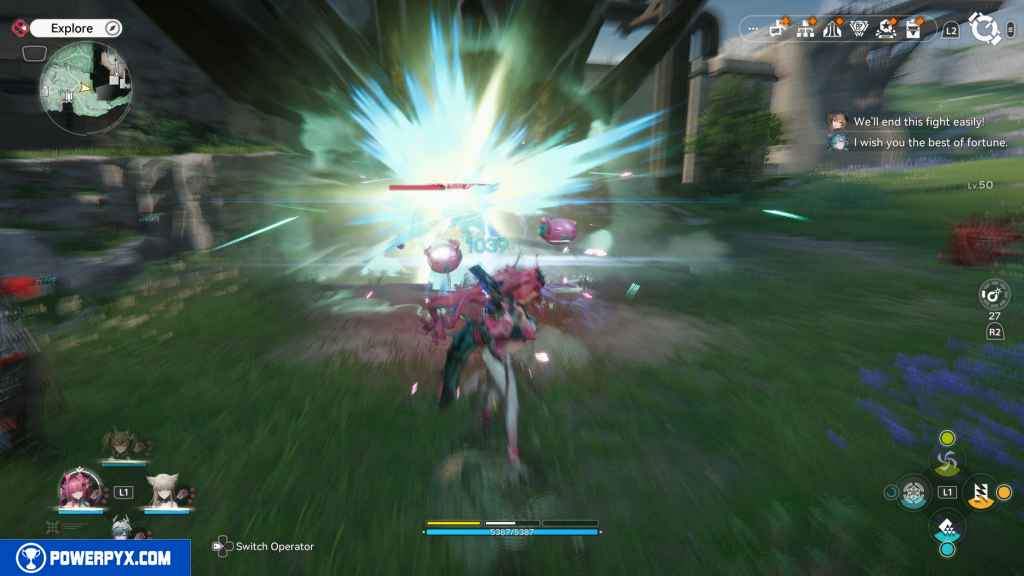
Go southeast from the Aurylene, and you should see the next crate being guarded by a bunch of red snails. Defeat them to get the crate.
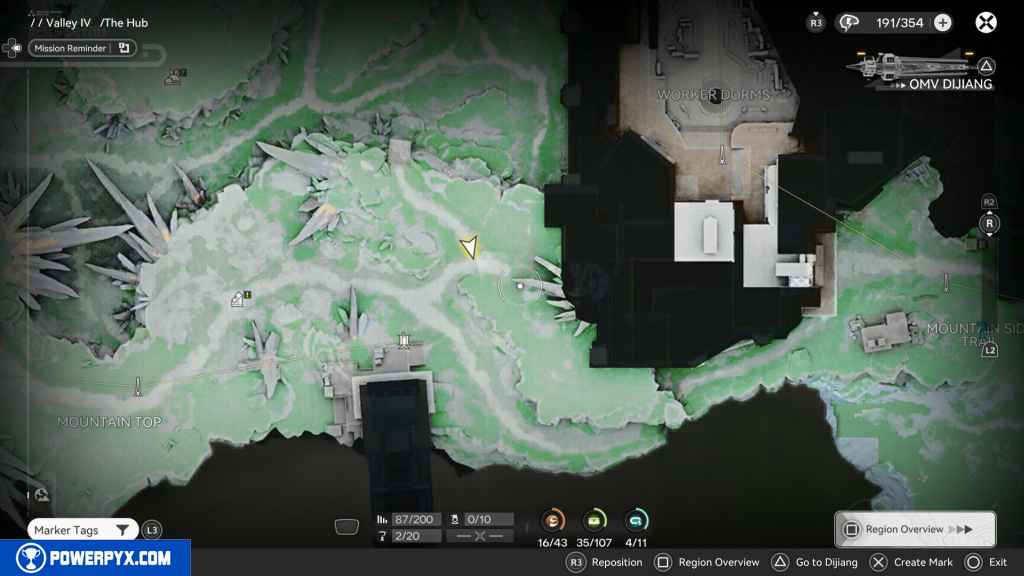
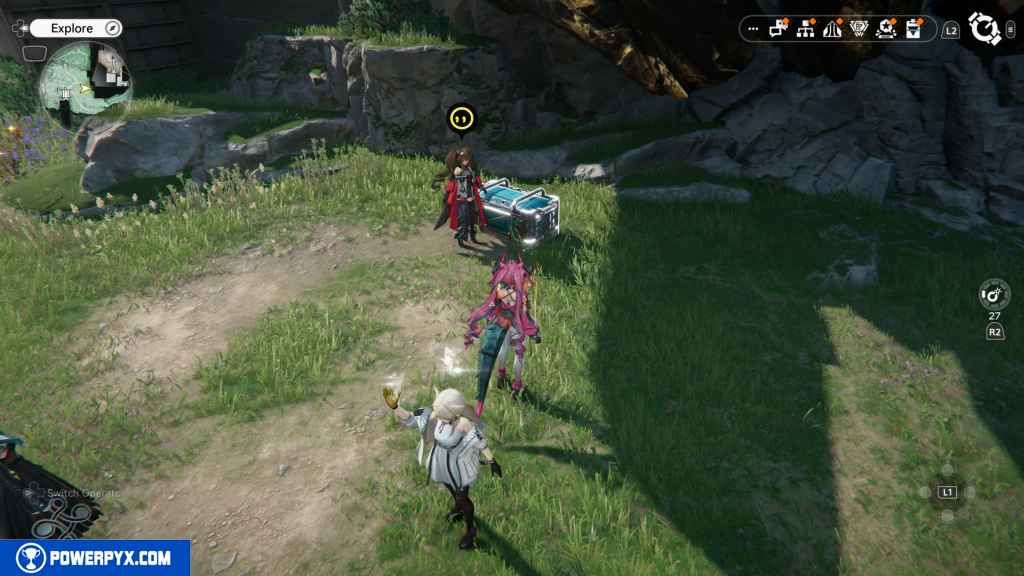
114 – Aurylene 17
Continue southeast all the way to the end, and at the end of the hill, by a small tree, is the Aurylene.
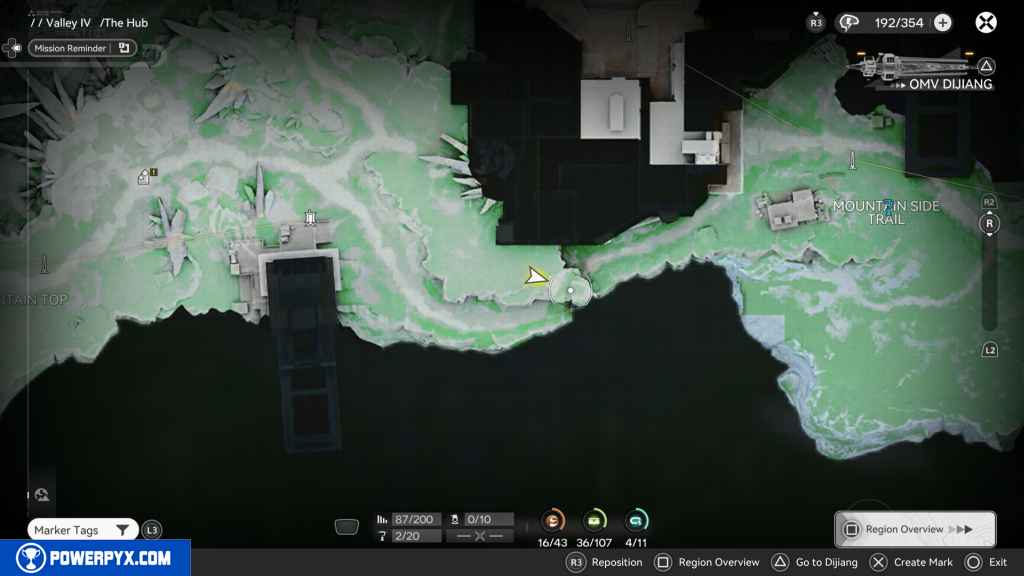
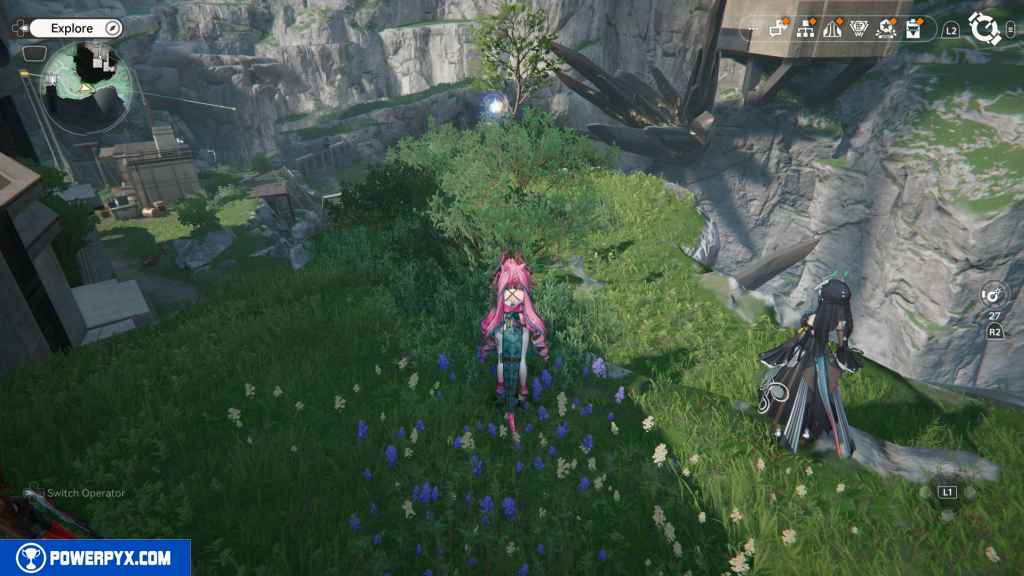
115 – Aurylene 18
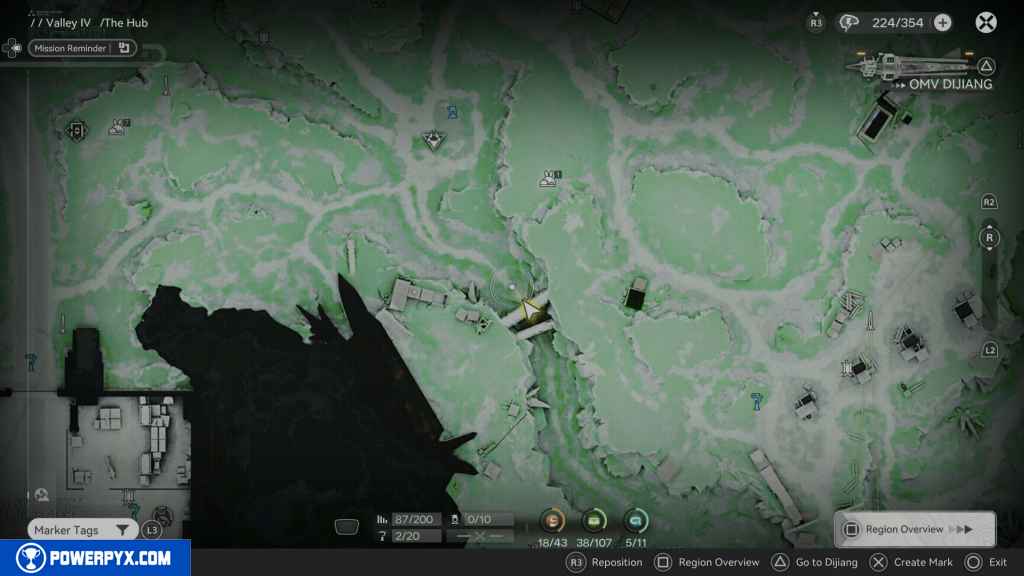
Return to the four pillars. From the pillars, head west until you see a jump pad that goes over the gorge. Look up from the jump pad, and you should see the Aurylene in the sky. Use the jump pad to reach it.
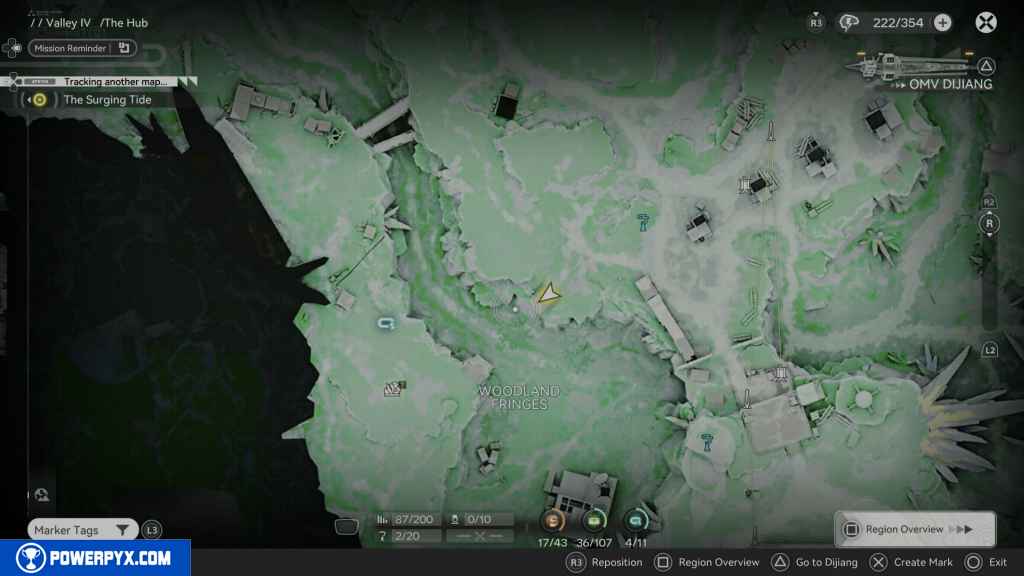
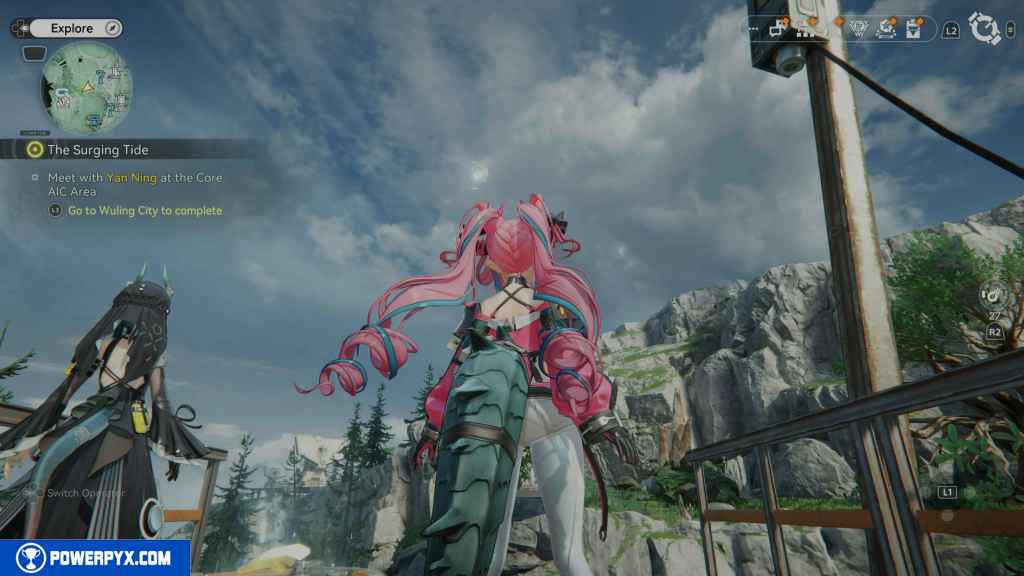
116 – Protocol Datalogger 2
This Datalogger is located on the other side of the gorge you landed on after using the jump pad. It’s located to the north.
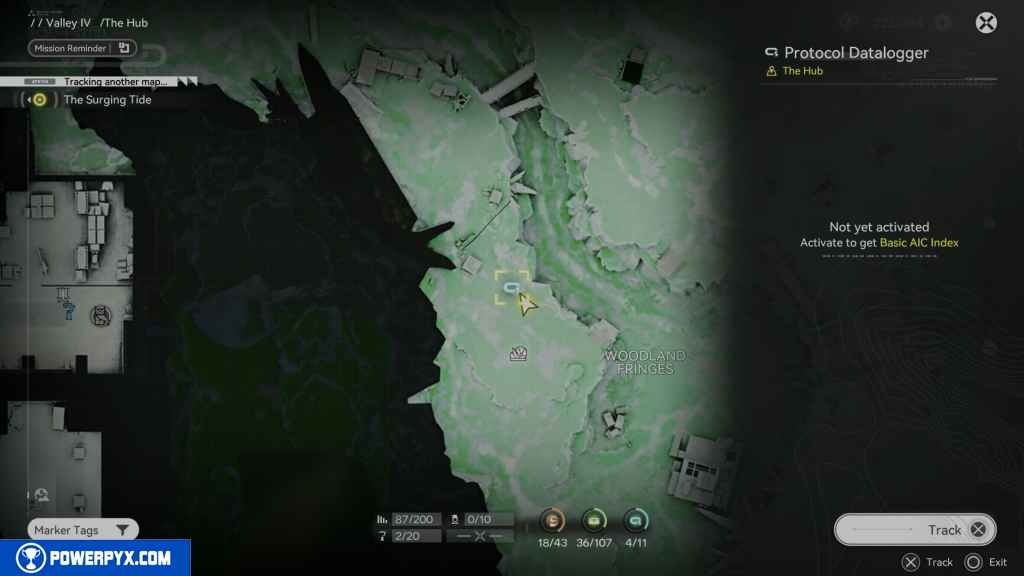
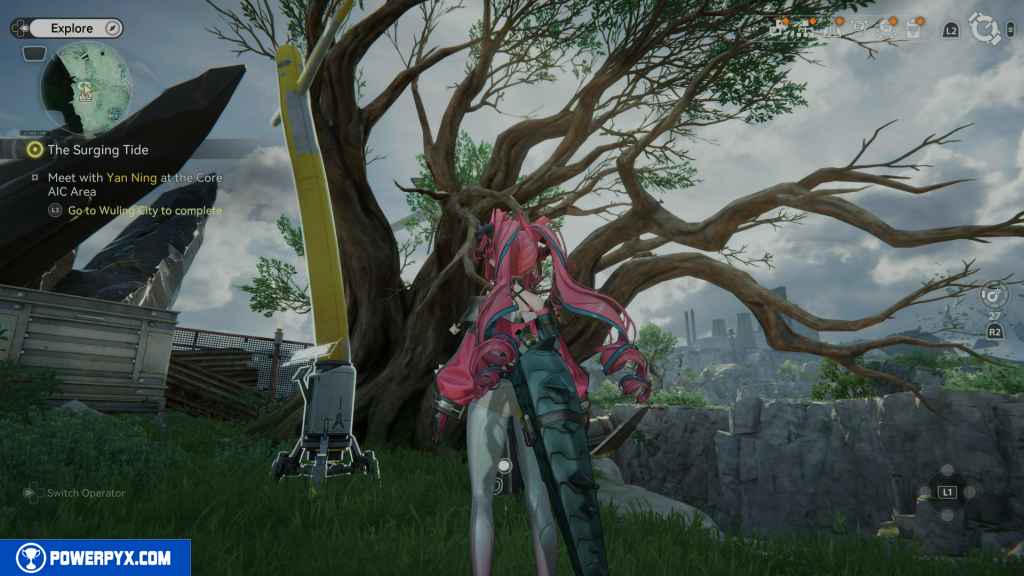
117 – Gathering Point 54
West of the Datalogger, look for the Gathering Point on your left from the gate.
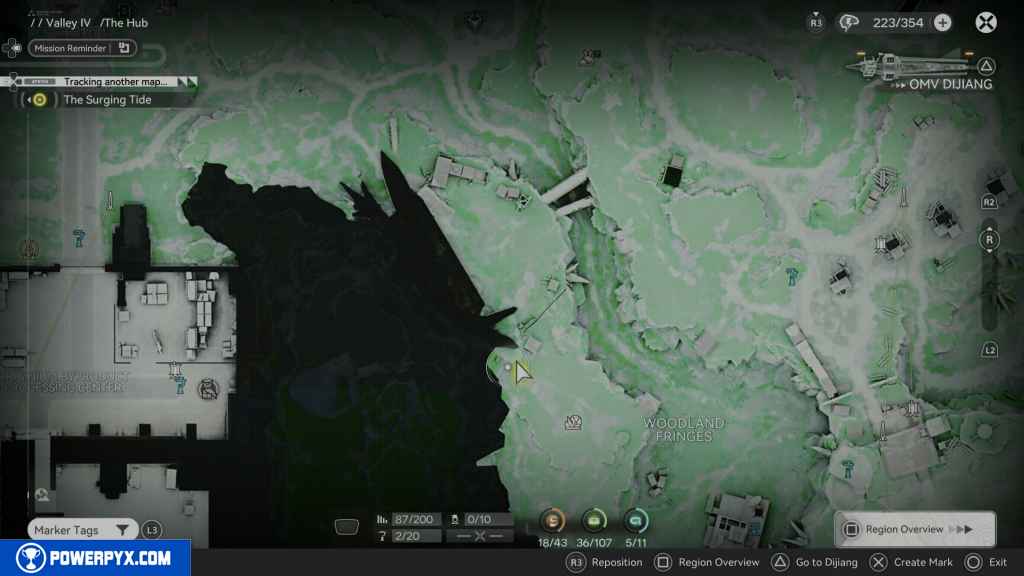
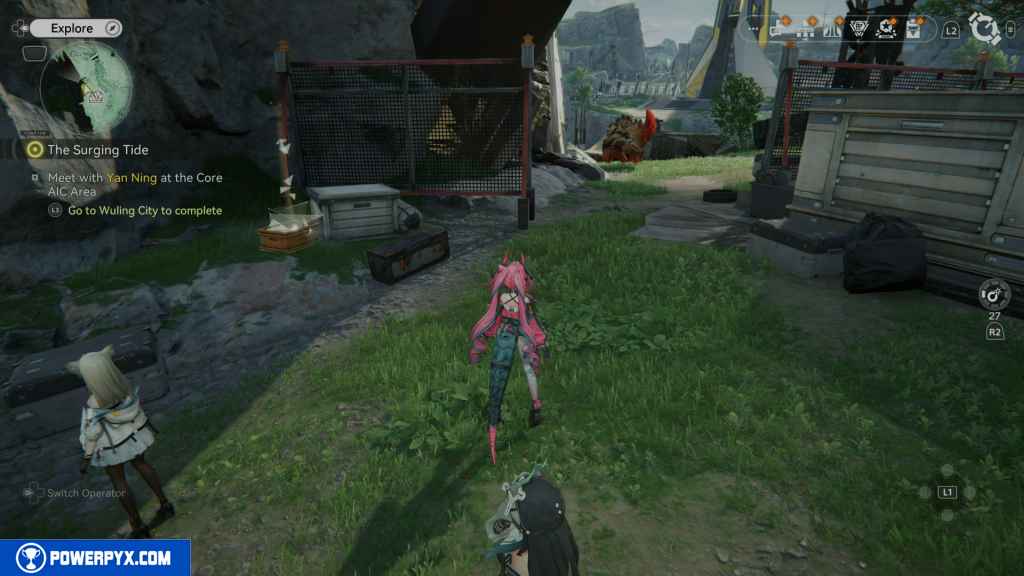
118 – Gathering Point 55
Go past the gate and turn right. You should find the Gathering Point next to a green tarped box and a dead Landbreaker.
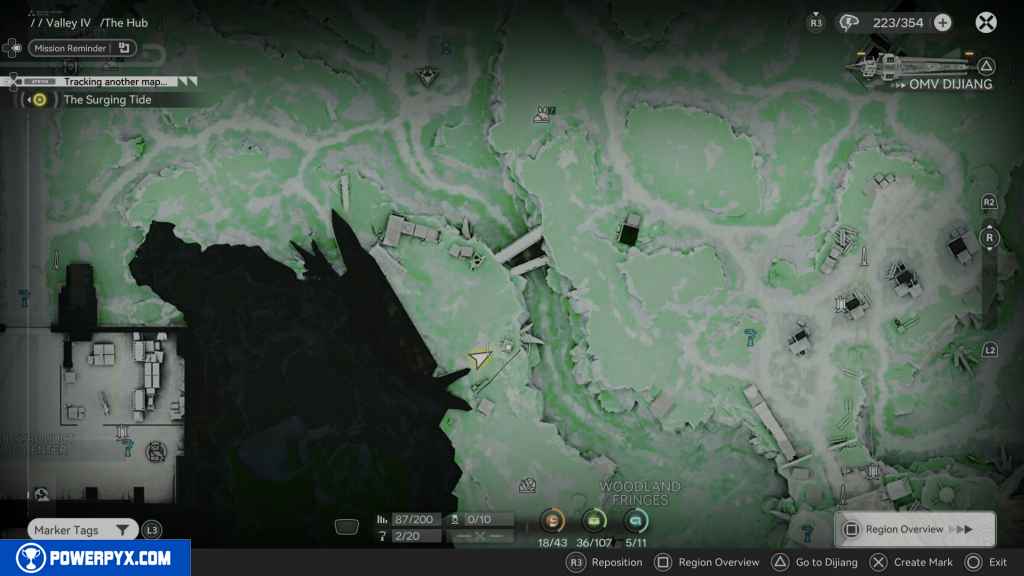
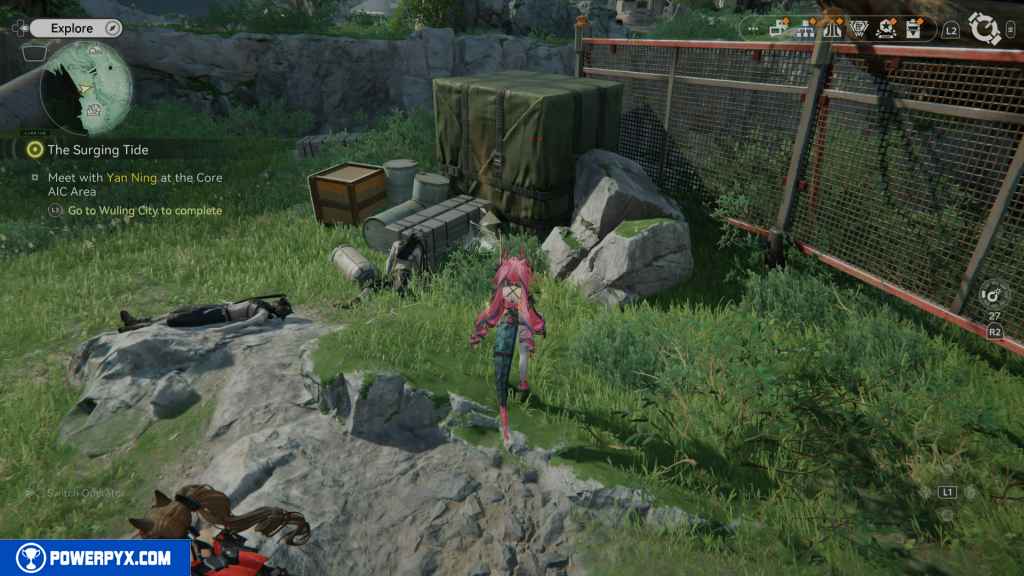
119 – Crate 36
Head north, and ahead of you will be a crate.
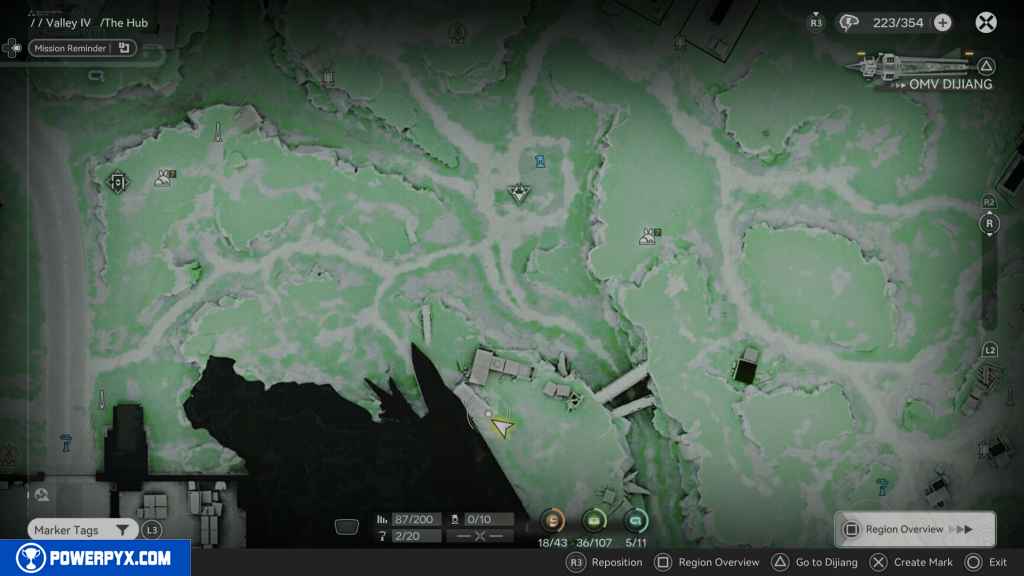
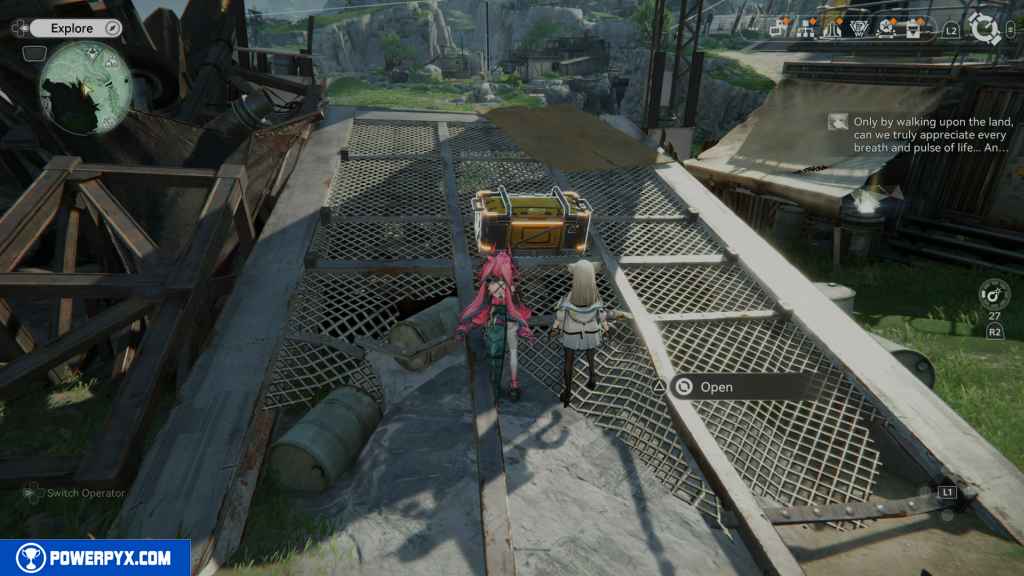
120 – Gathering Point 56
On the right side of the crate is the Gathering Point on top of a barrel.
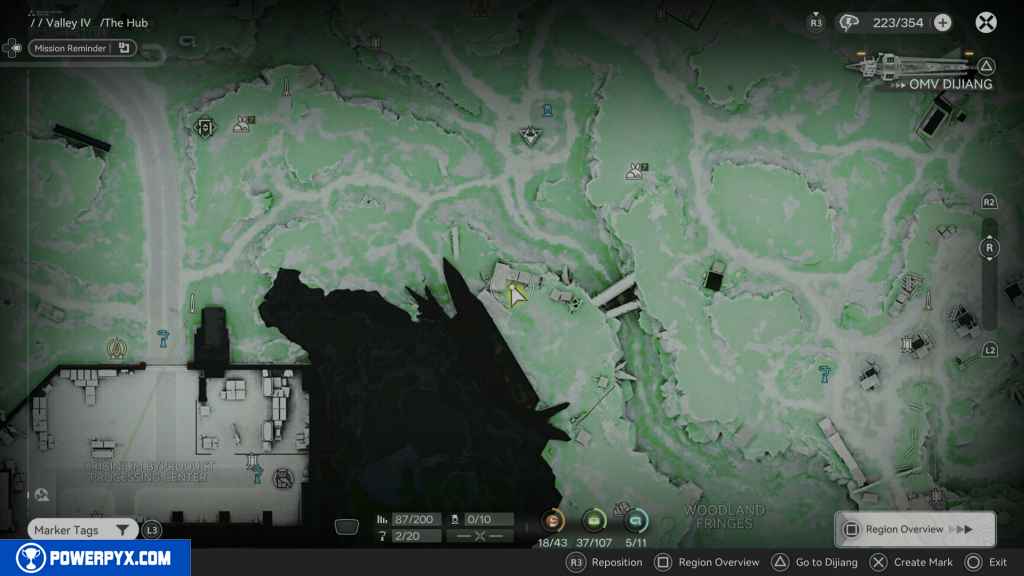
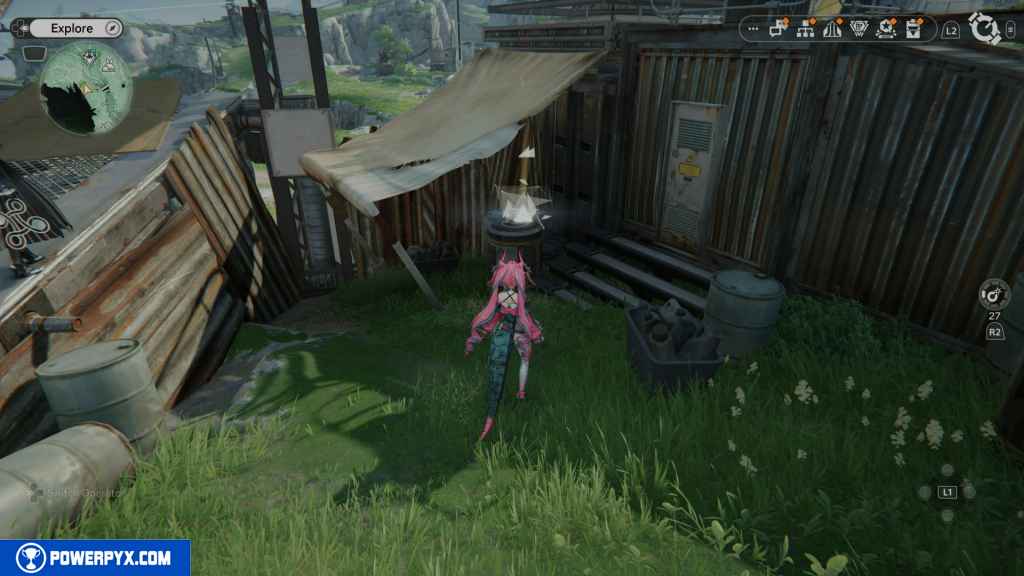
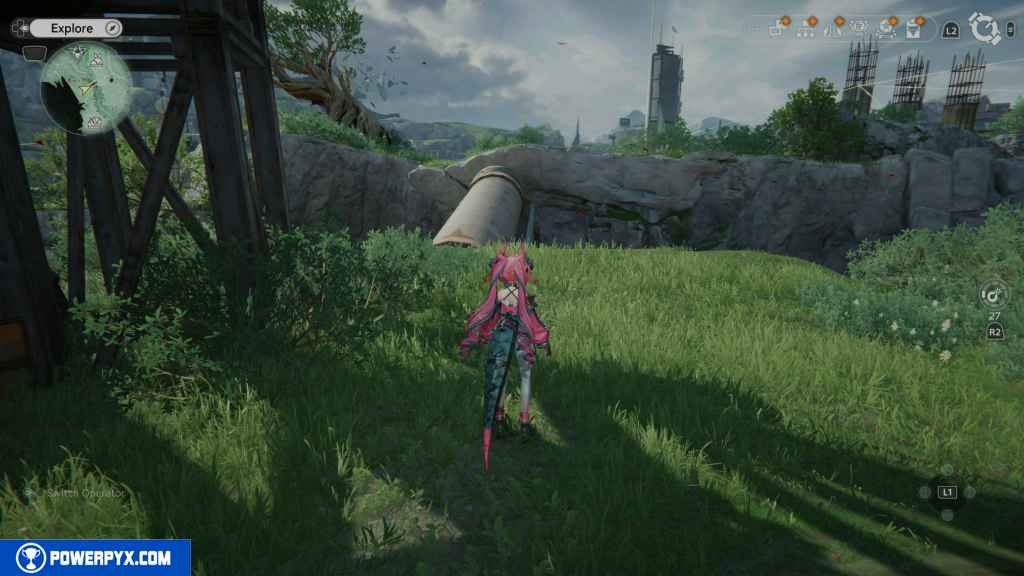
121 – Gathering Point 57
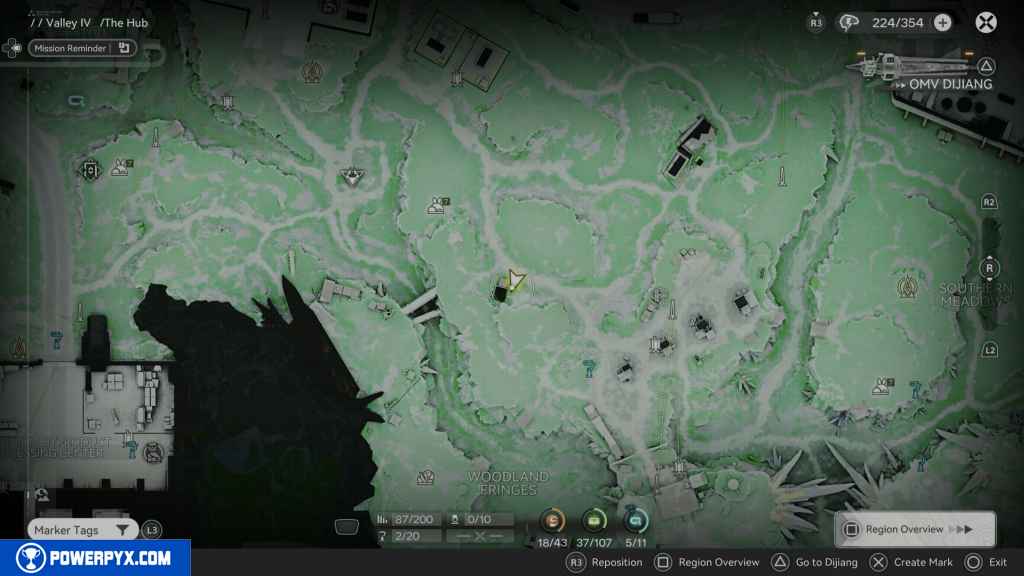
Back up a little bit and look to the east. You should see a large pipe that takes you across to the other side. Follow this pipe, and you should see a small camp and a tent on your right. The Gathering Point is right next to the tent.
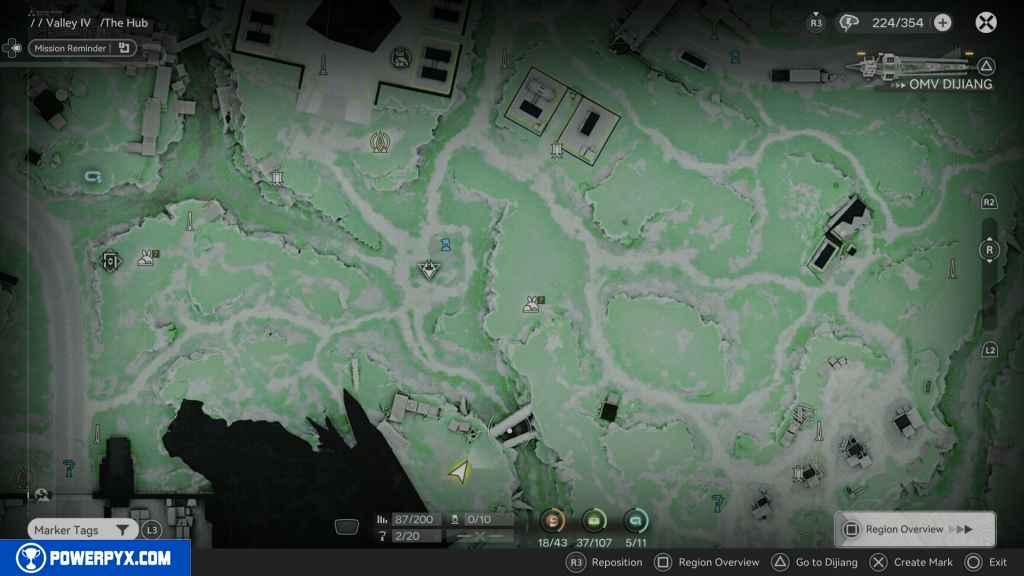
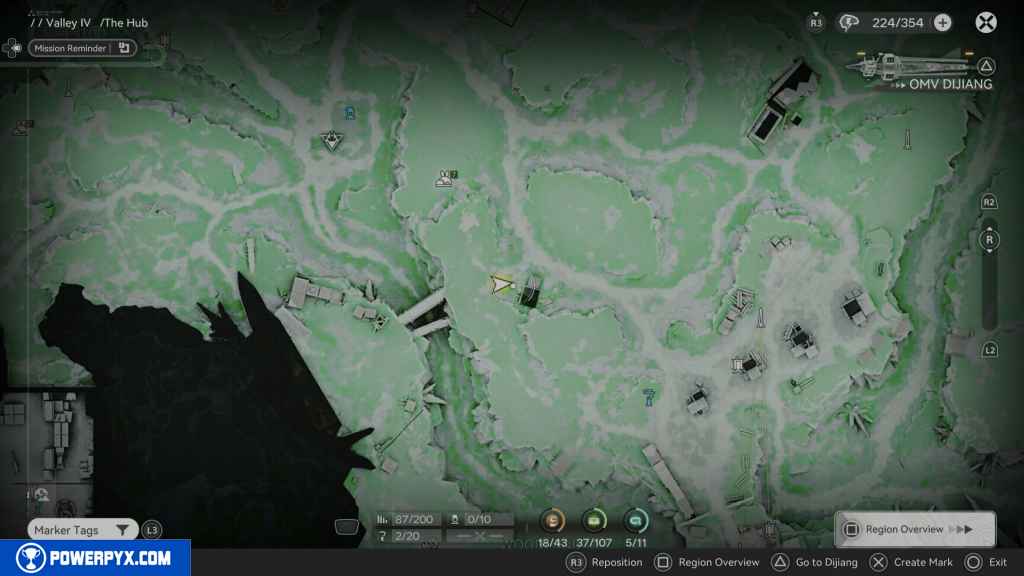
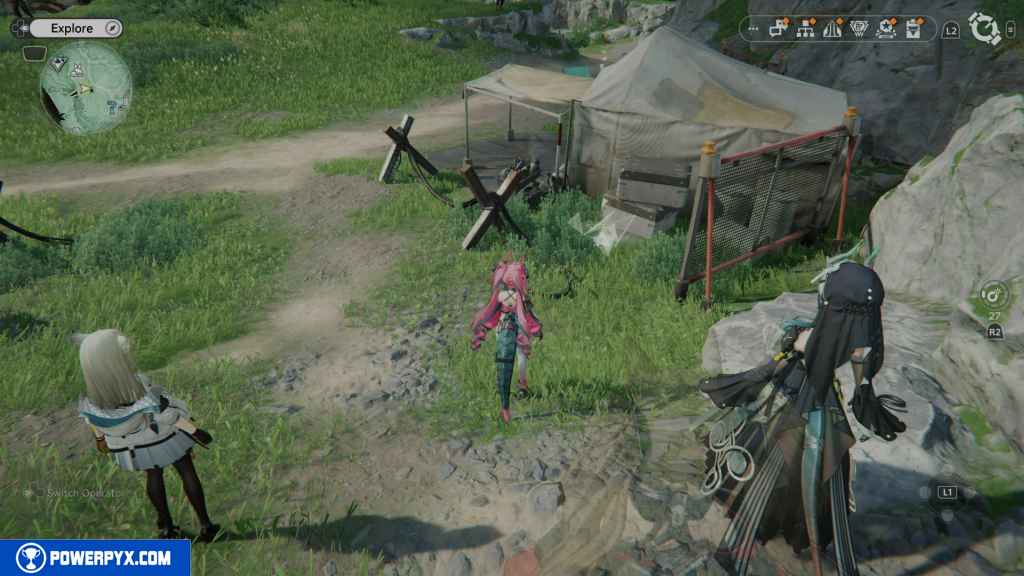
122 – Gathering Point 58
The next Gathering Point is located in front of the tent next to the camping chairs.
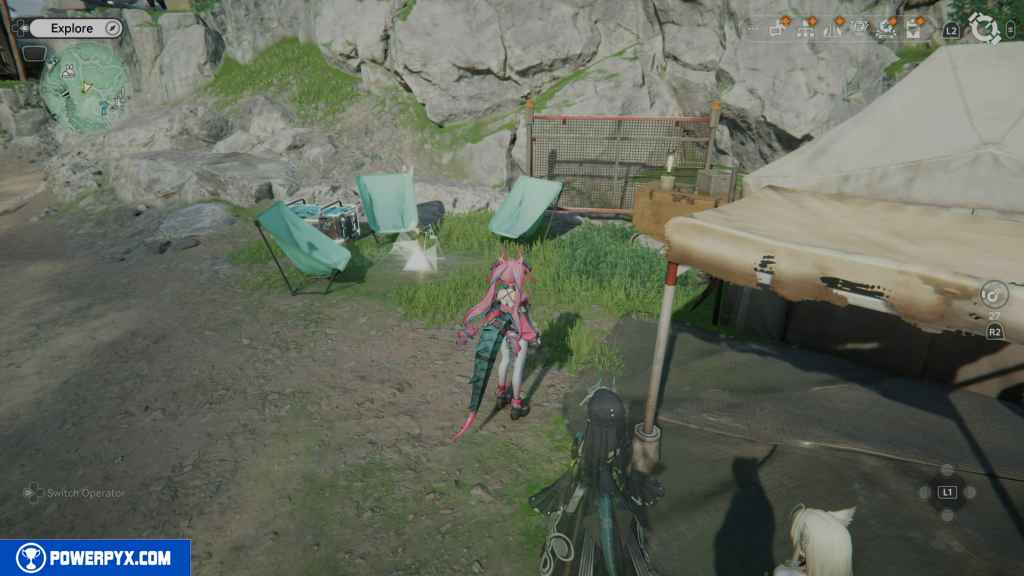
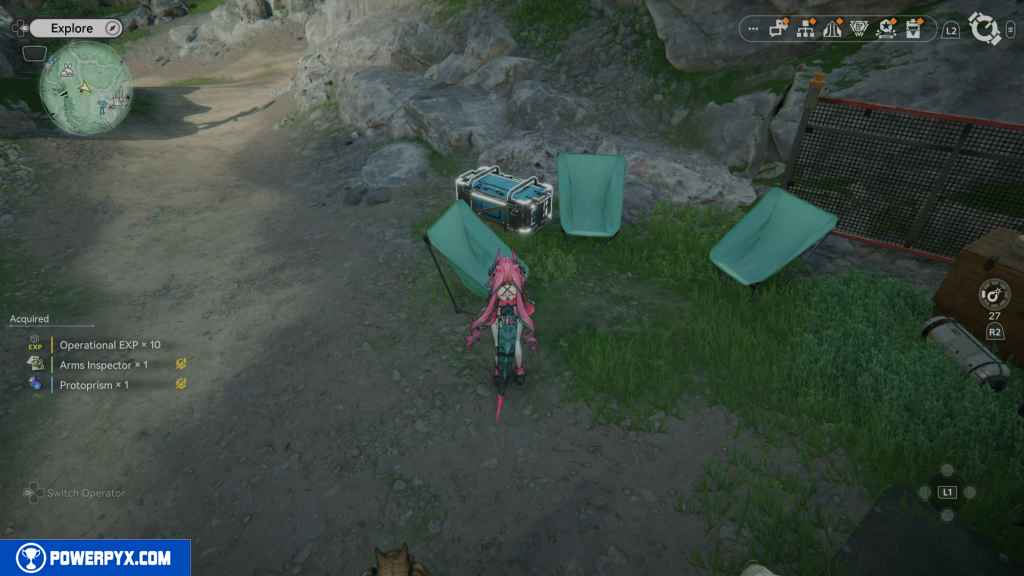
123 – Crate 37
Right next to the last Gathering Point.
124 – Aurylene 19
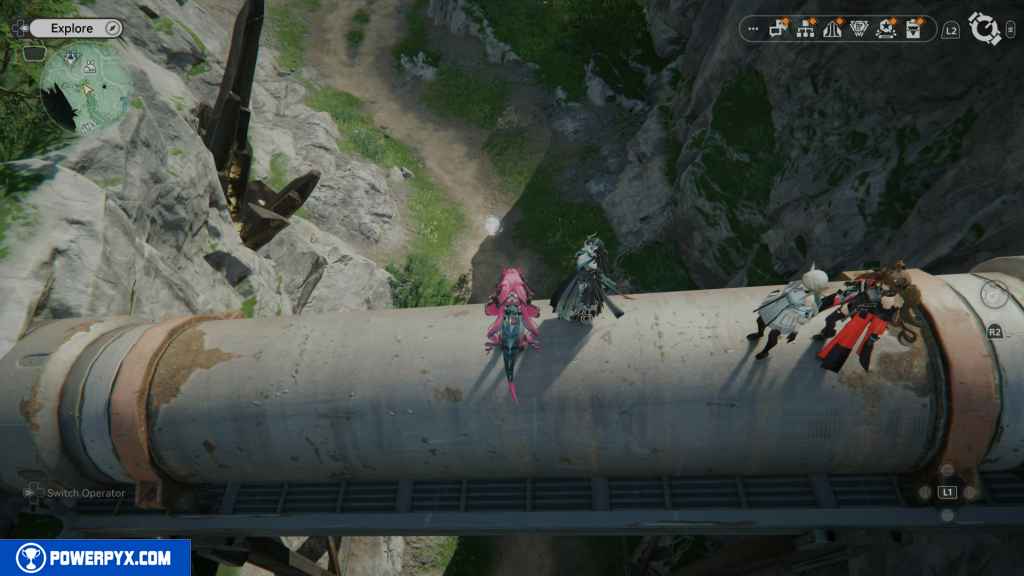
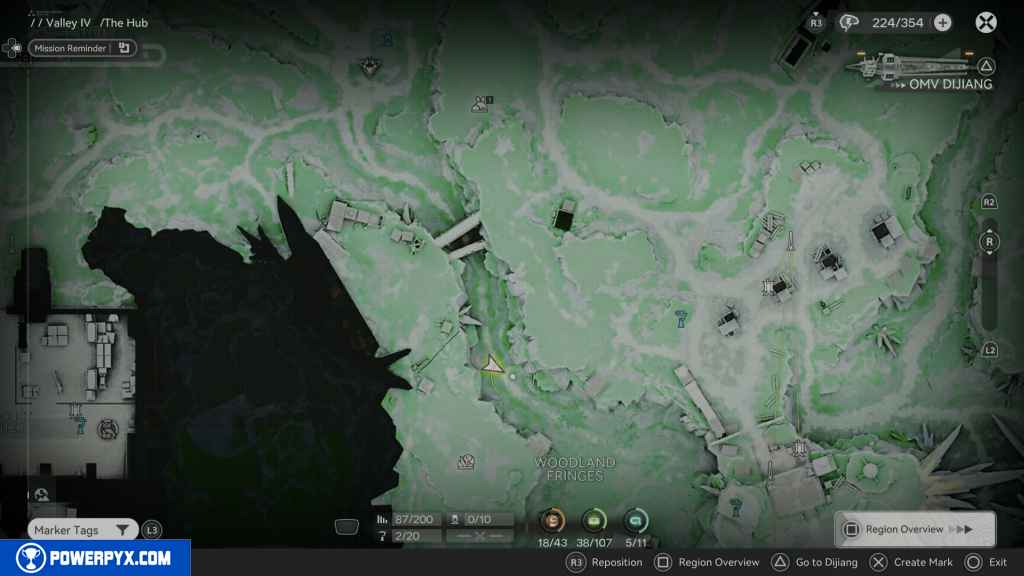
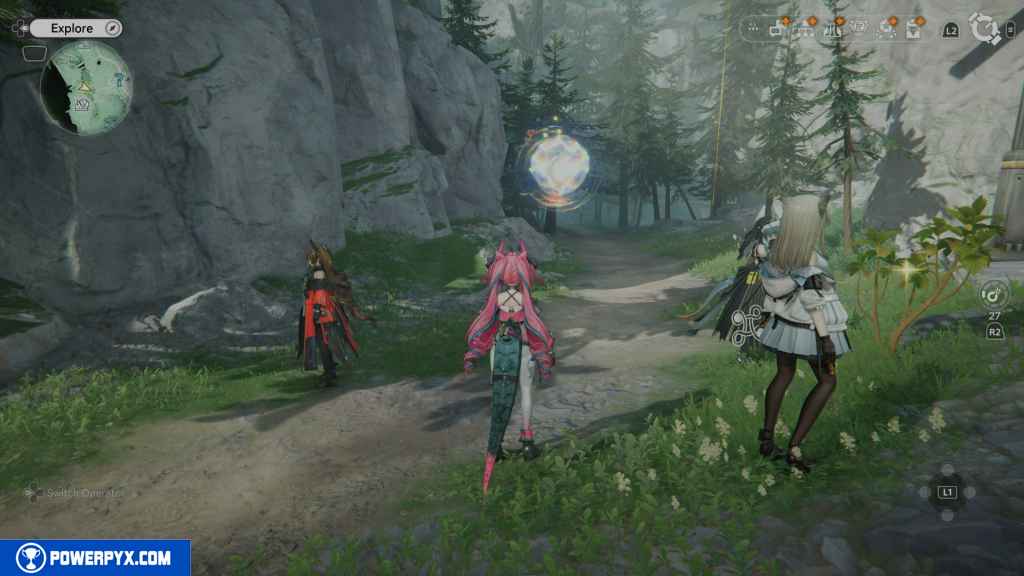
Head back to the large pipe you crossed. Look down and north from the pipe, and you will see the Aurylene on the ground floor. Drop down, and it will fly away. Follow it until it stops, then collect it.
125 – Crate 38
Head north up to the small facility east of the TP point. You will need to connect a Power Relay to the Electric Nexus and use the switch to deactivate the electric barrier.
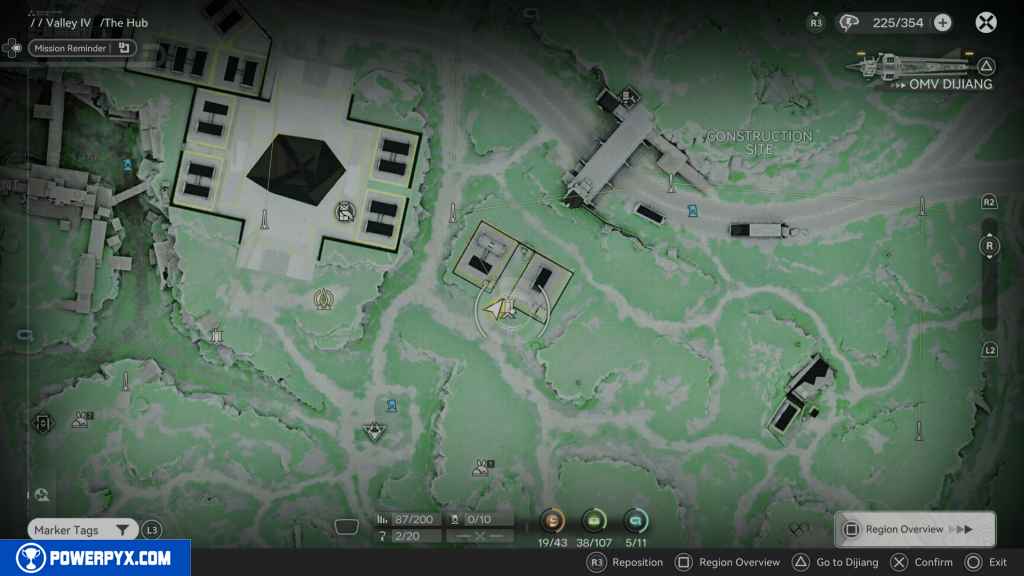
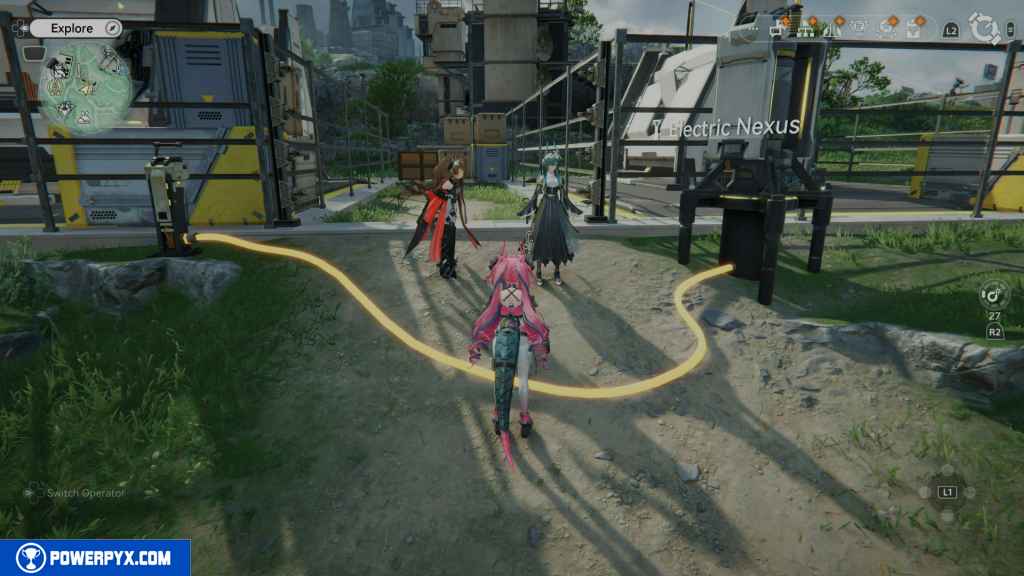
Once open, go north to all the boxes, then jump up to the right side and go east. Behind the fence is the crate.
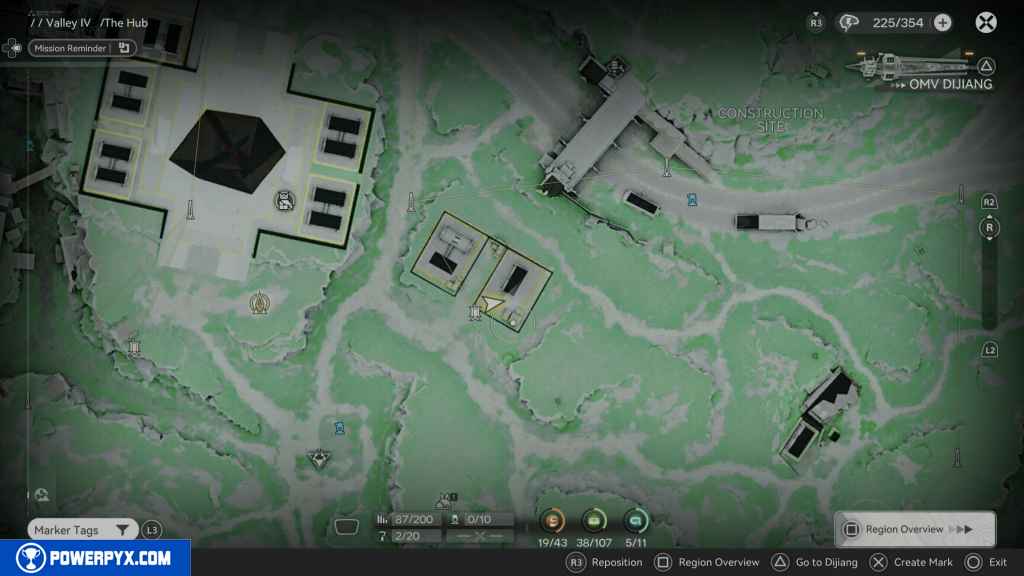
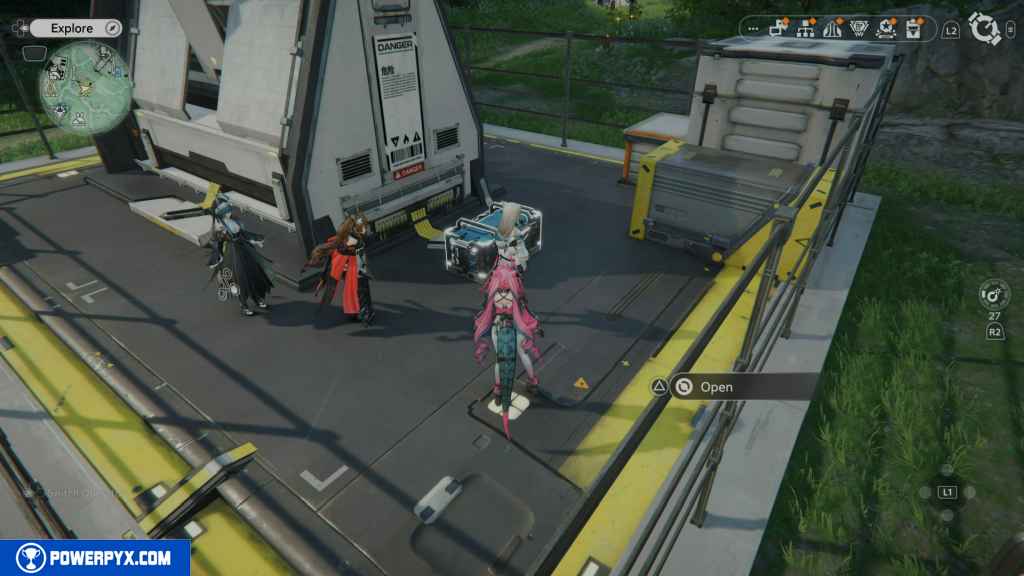
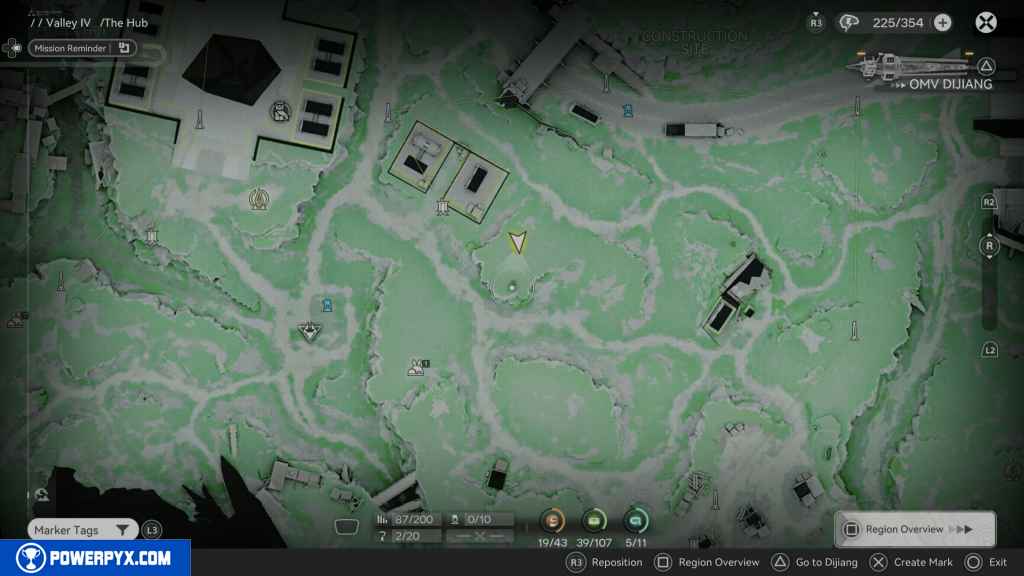
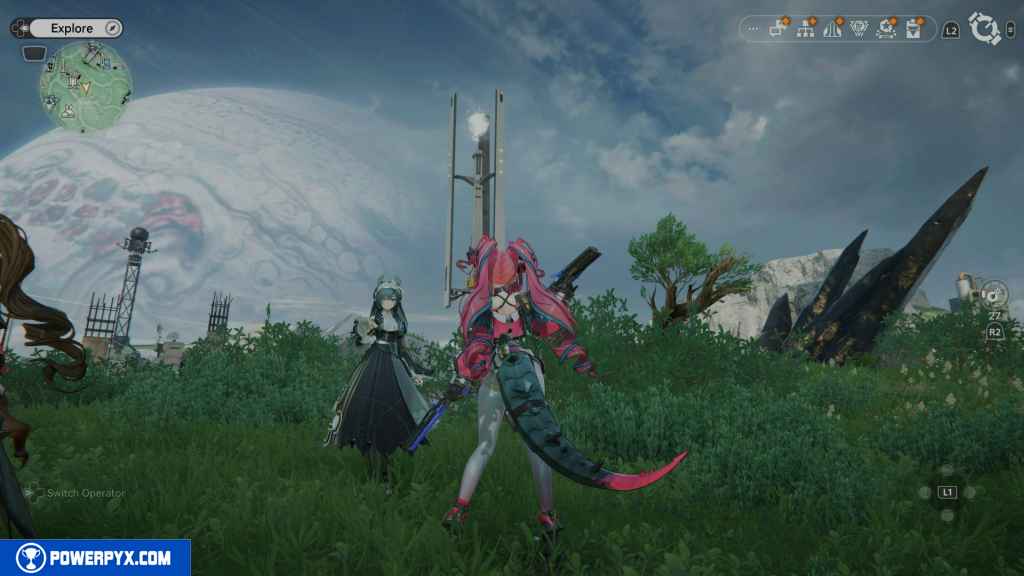
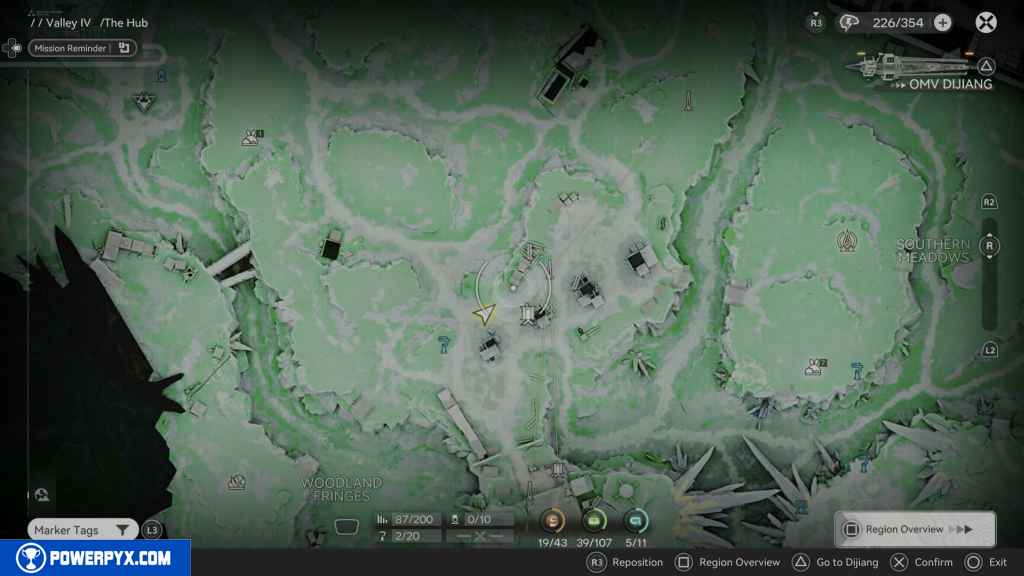
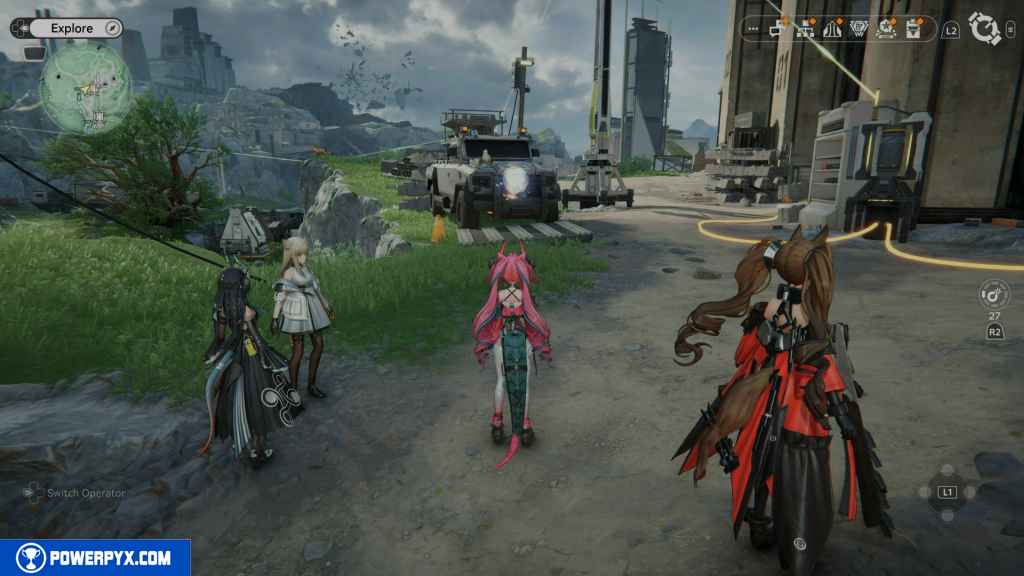
126 – Aurylene 20
Look southeast from the facility, and you should see a structure on a hill spinning. On top of the structure is the Aurylene. Jump up and try to grab it, and it will fly away. Follow it to the front of the truck next to the four pillars and grab it when it stops.
127 – Aurylene 21
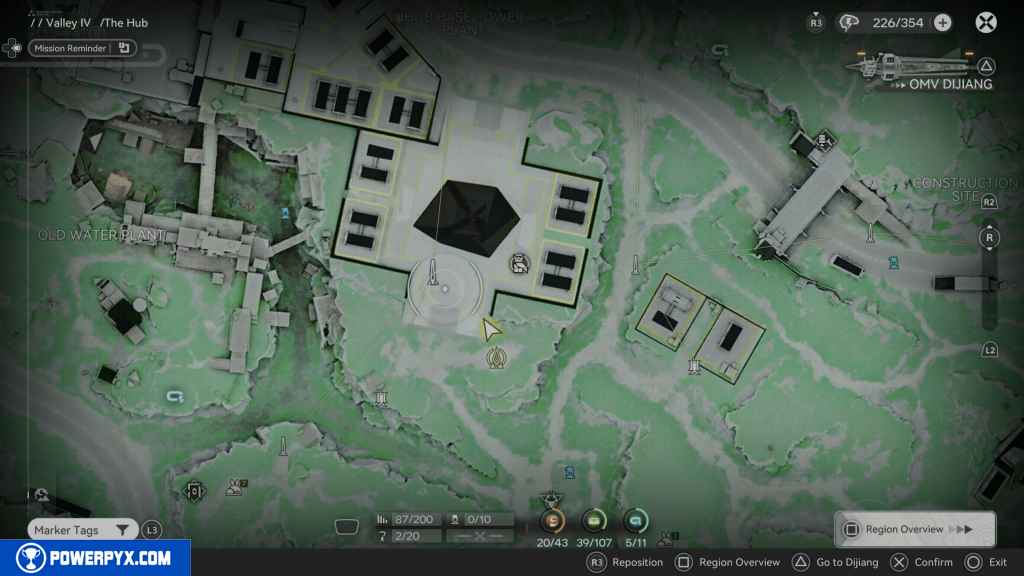
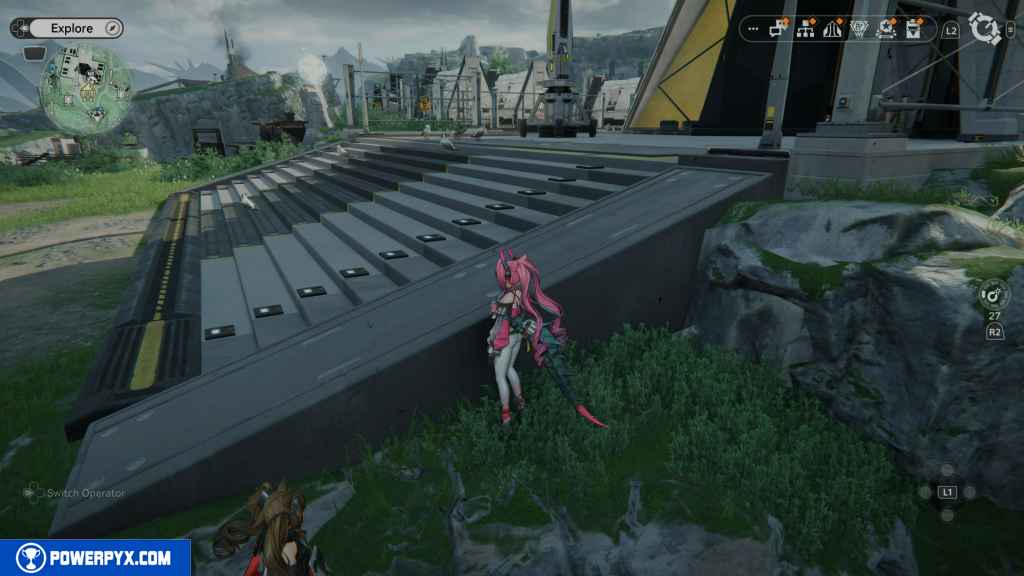
Fast travel to the TP point at the Old Water Plant. From the TP point, look for the Aurylene floating over the stairs. Approach it, and it will fly away to the jump pad next to the Electric Nexus. Follow it and use the jump pad that should be activated through the Electric Nexus. When you use the jump pad, you should grab it in the air.
128 – Aurylene 22
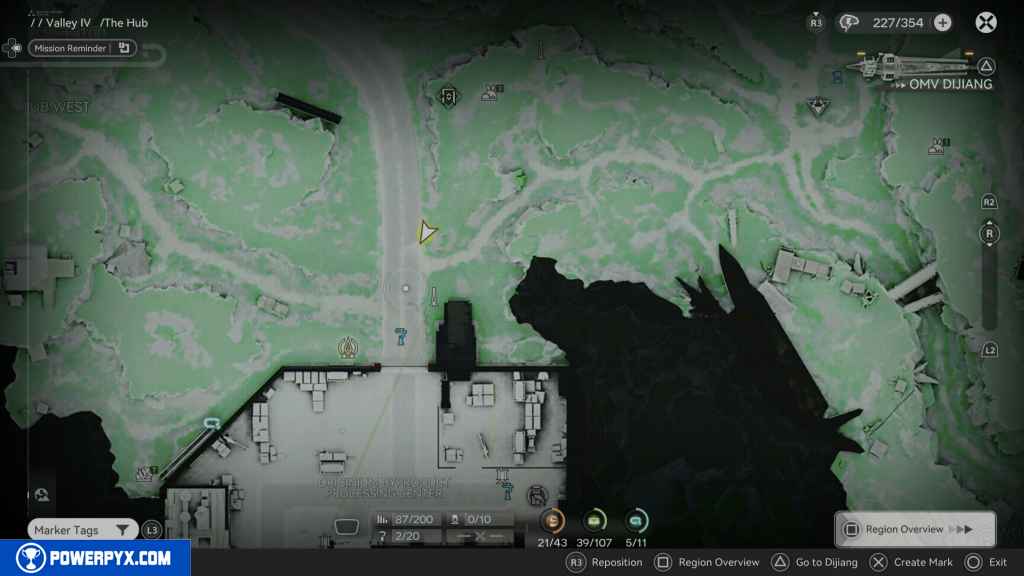
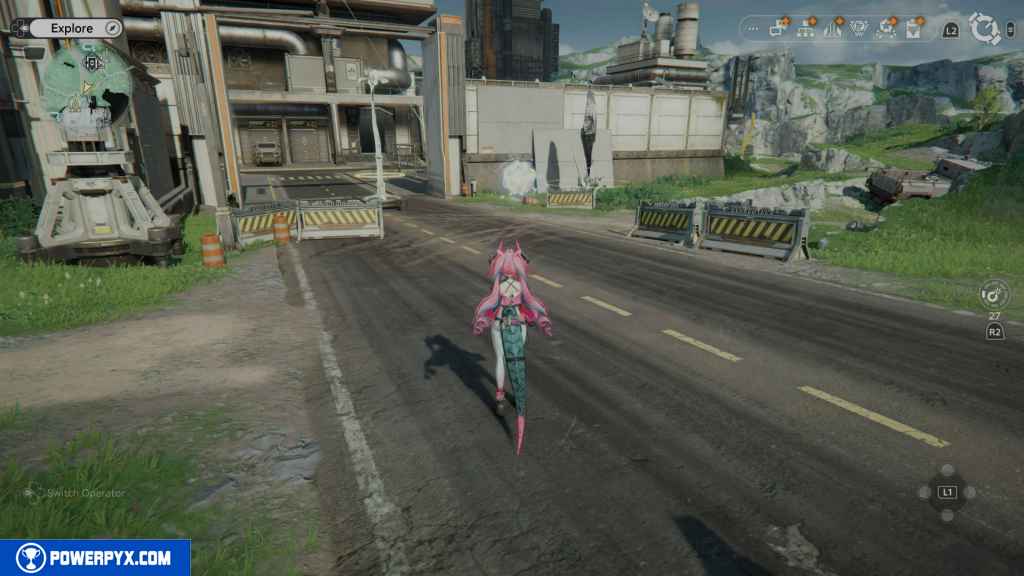
When you land on the other side after using the jump pad, the next Aurylene will fly away immediately in front of you. Follow it as it heads to the base to the southwest and pick it up when it stops.
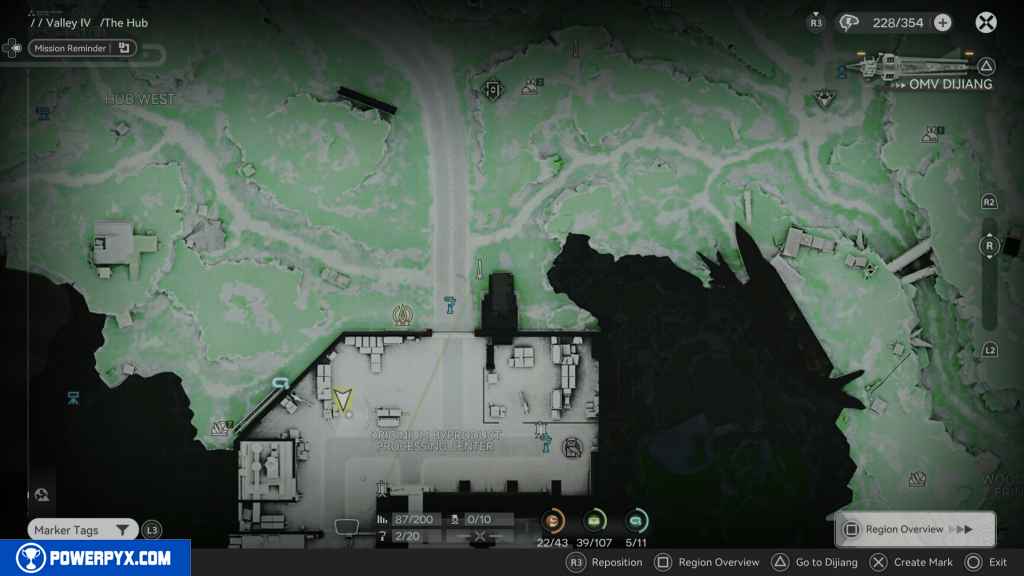
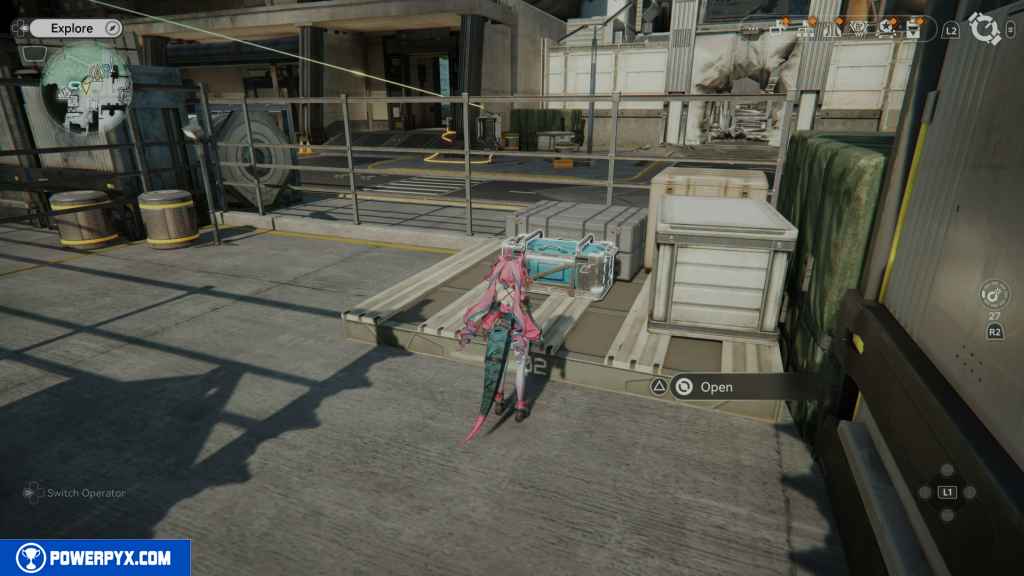
129 – Crate 39
Head inside the base. You must have completed the 5th Main Mission – Rally and Unite. When inside, look to the right and go into the area. You should find a movable crate to the north. Grab the crate and move it over to the two large boxes to the west. Jump on the crate and over the boxes to the other side.
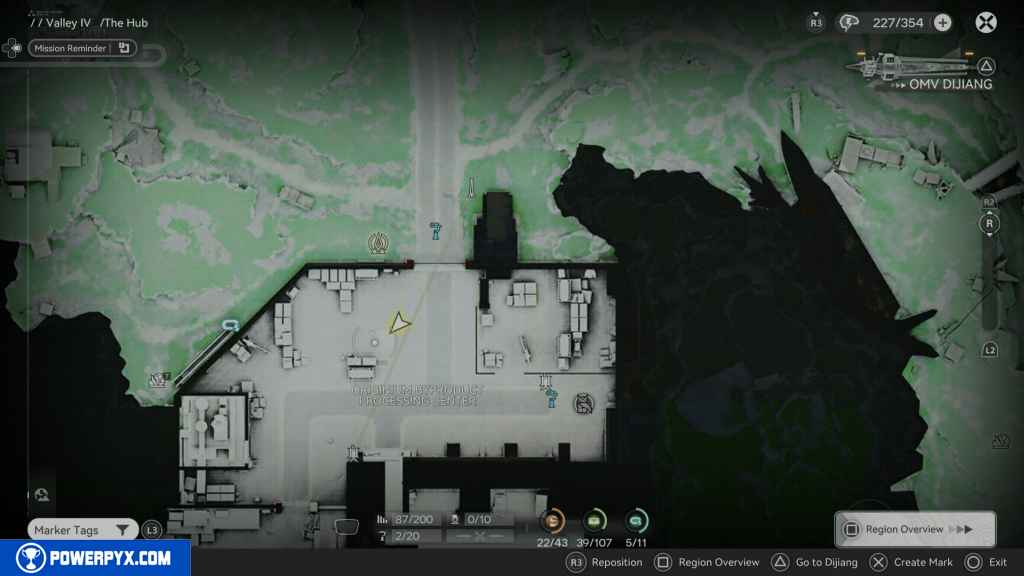
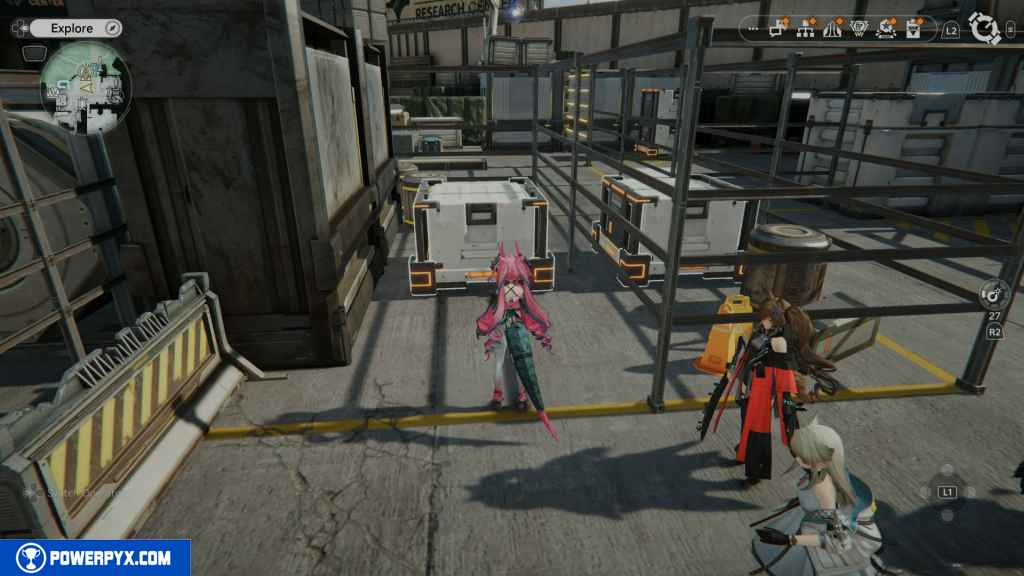
On the other side, grab the double cart and move it over onto the pressure plate to shut off the electric barrier.
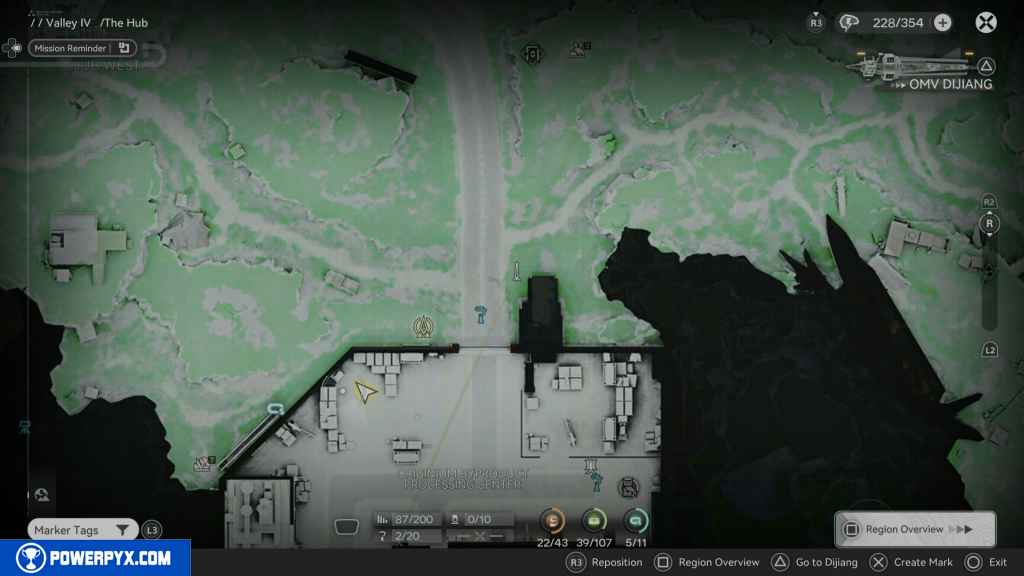
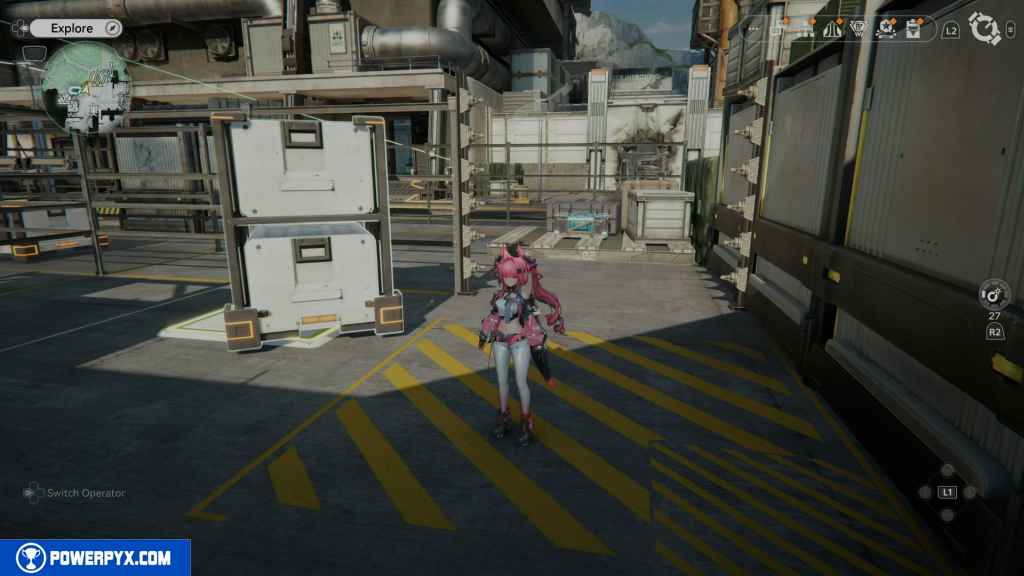
Go past the barrier and grab the crate.
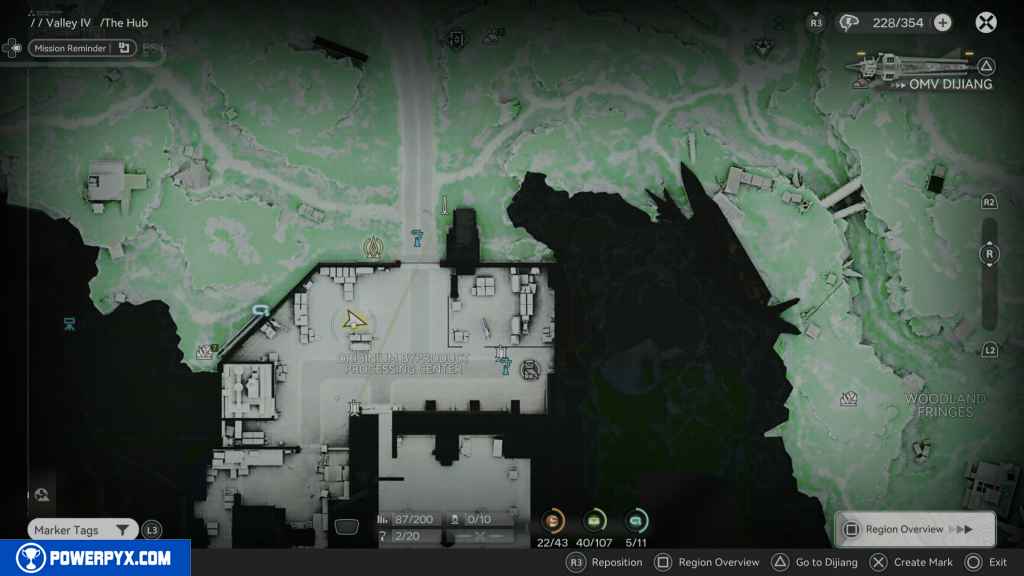
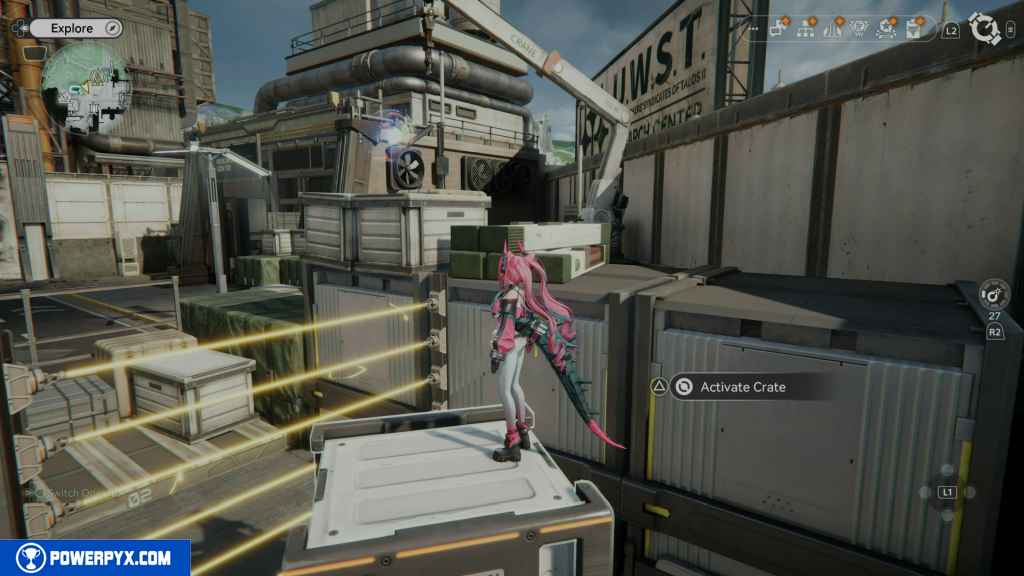
130 – Aurylene 23
In the area with the last crate, go east, and you should find another movable crate. Grab it and take it to the area with the double crate. Place the two movable crates next to each other so you can jump up to the boxes to the west. At the top is the Aurylene.
131 – Crate 40
Jump down to the west, and you should see the next crate in the corner by the wall to the west.
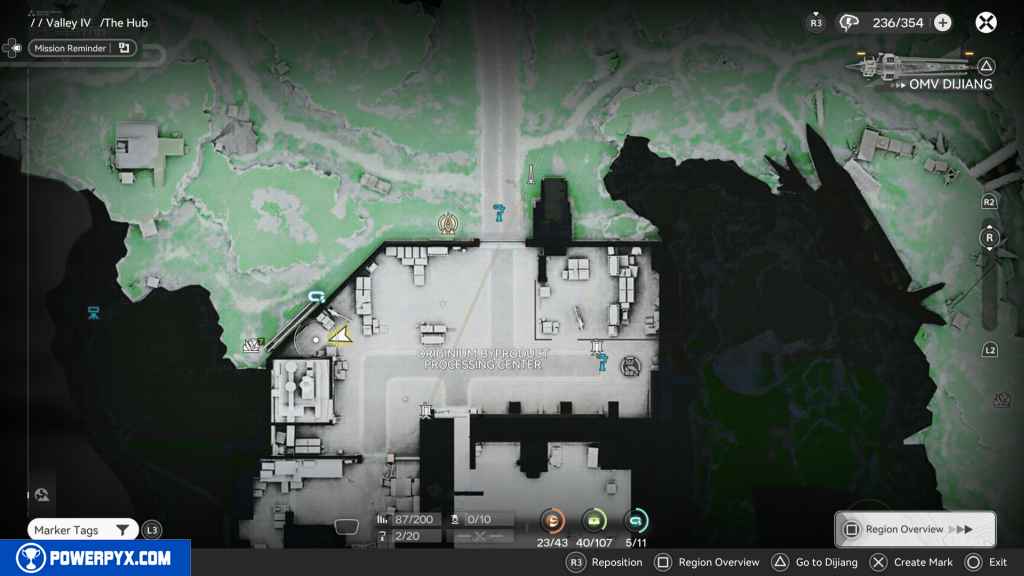
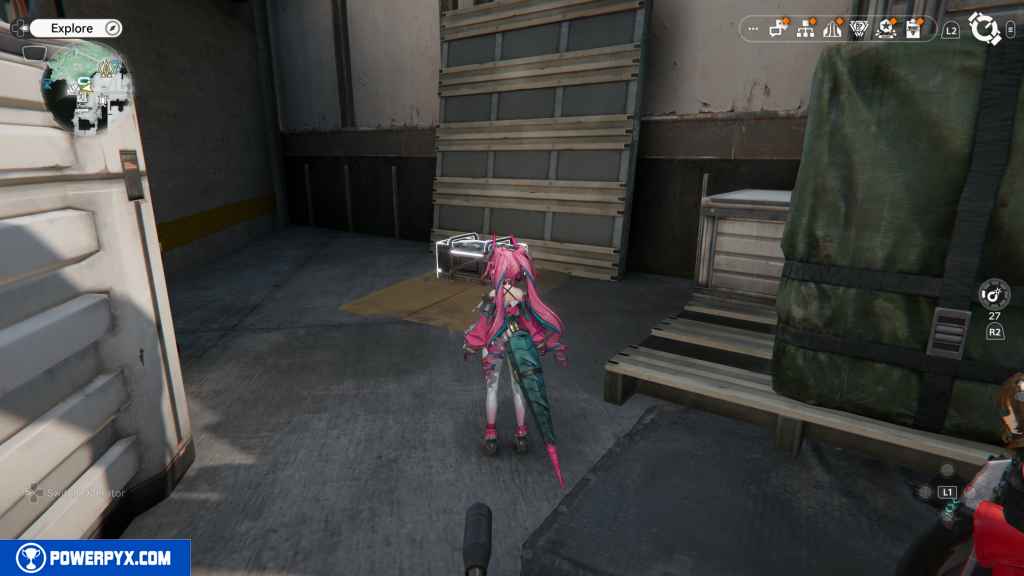
132 – Crate 41
Head east to the other side of the facility. You should see an Electric Nexus and an electric barrier blocking your path.
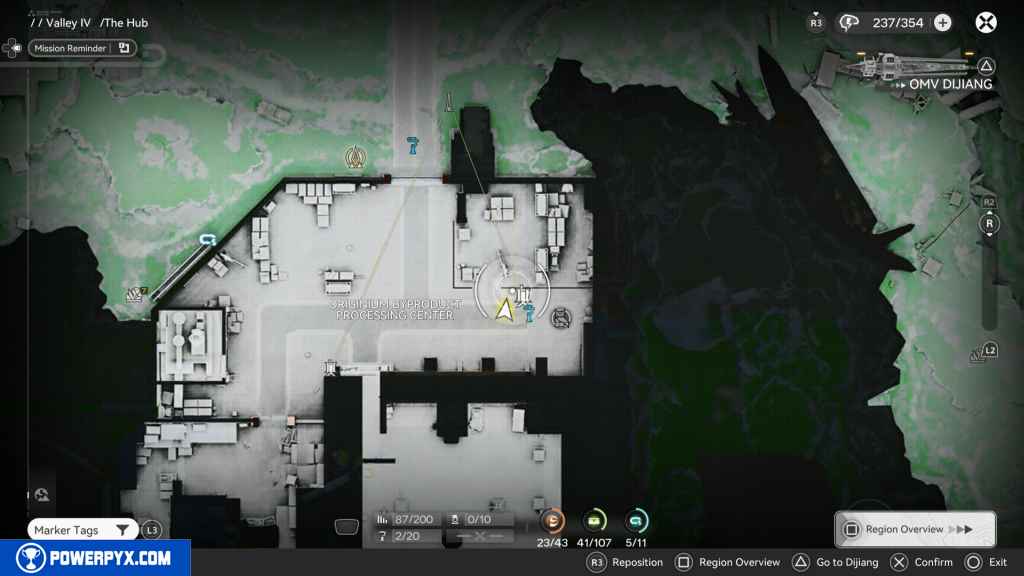
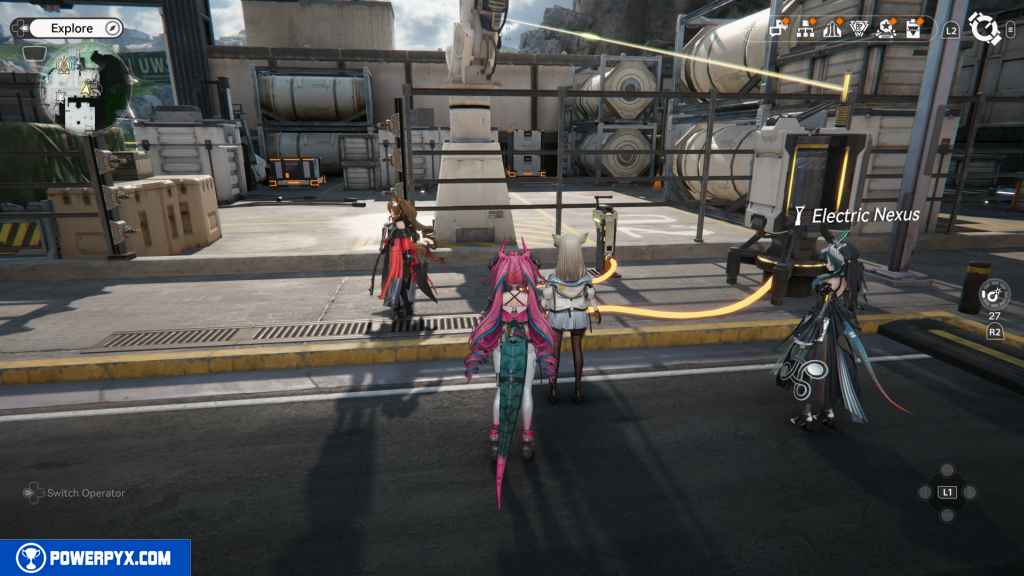
Connect a Power Relay to the Nexus to power it and shut down the barrier. Inside, right in front of you, is the crate.
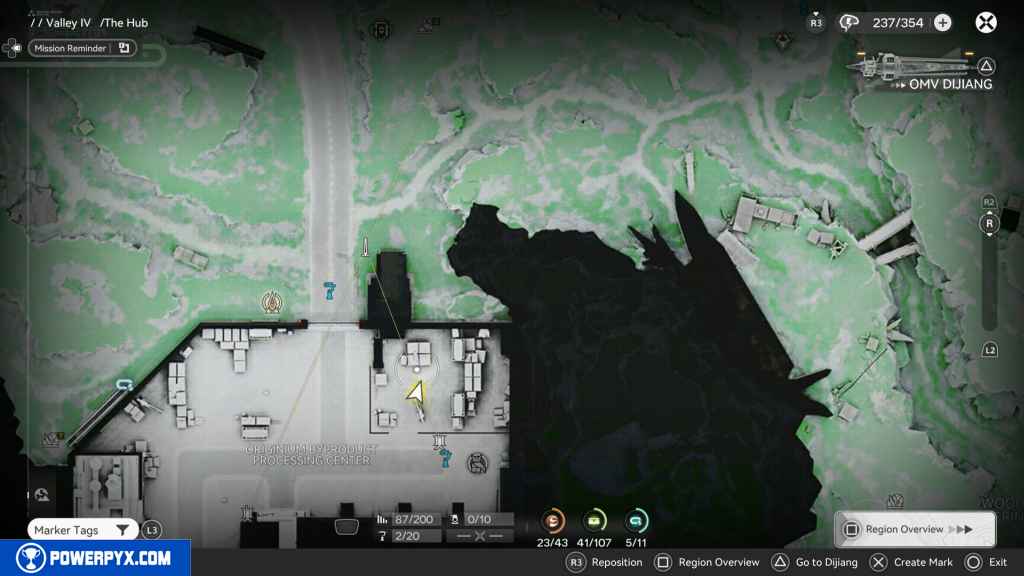
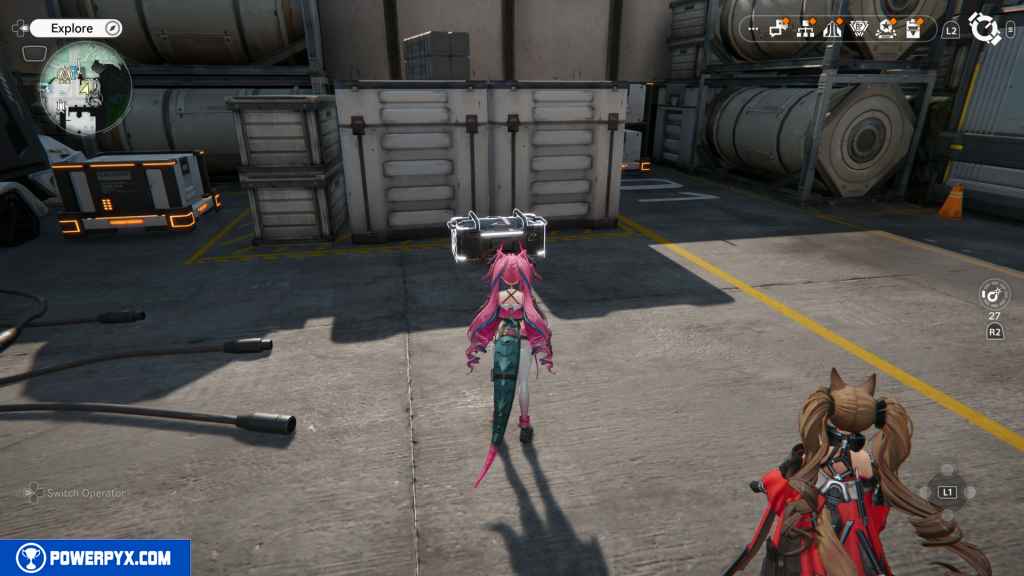
133 – Aurylene 24
This Aurylene is sitting atop the two large crates to the east. There are two movable crates in this area. Position them so you can jump on them and up to the Aurylene.
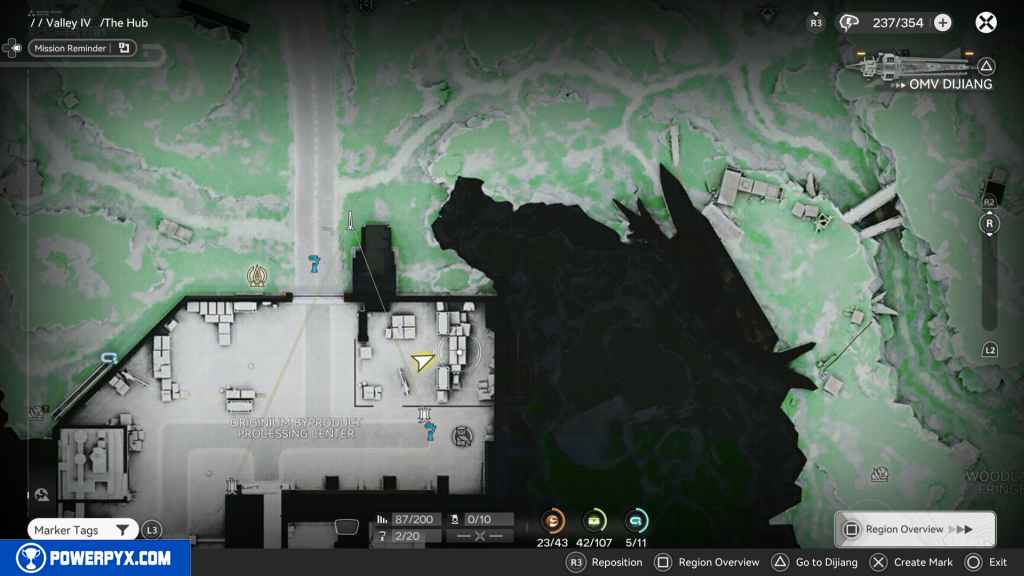
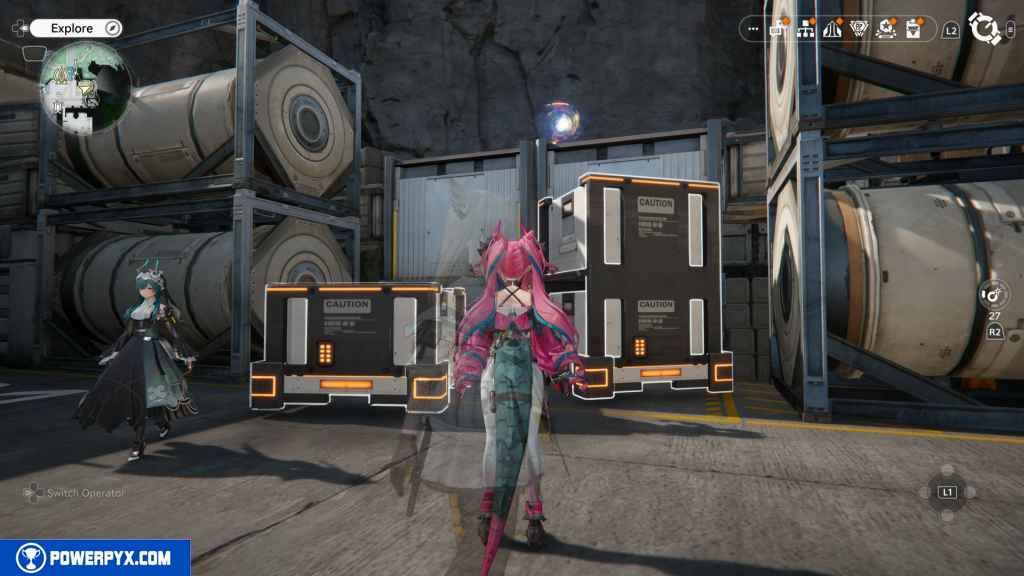
134 – Gathering Point 59
Jump down to the other side to the east and go north. Around the corner is the Gathering Point.
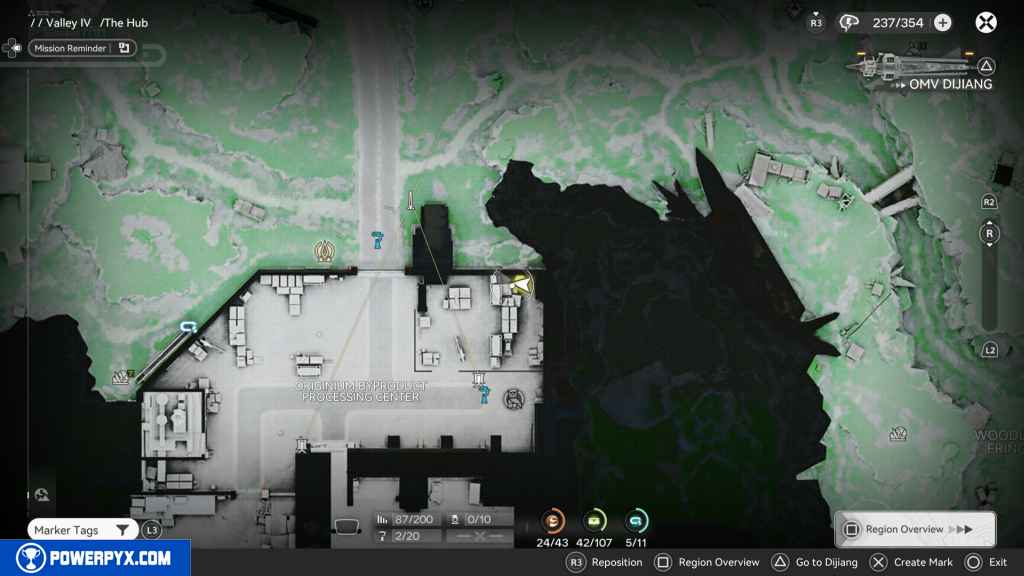
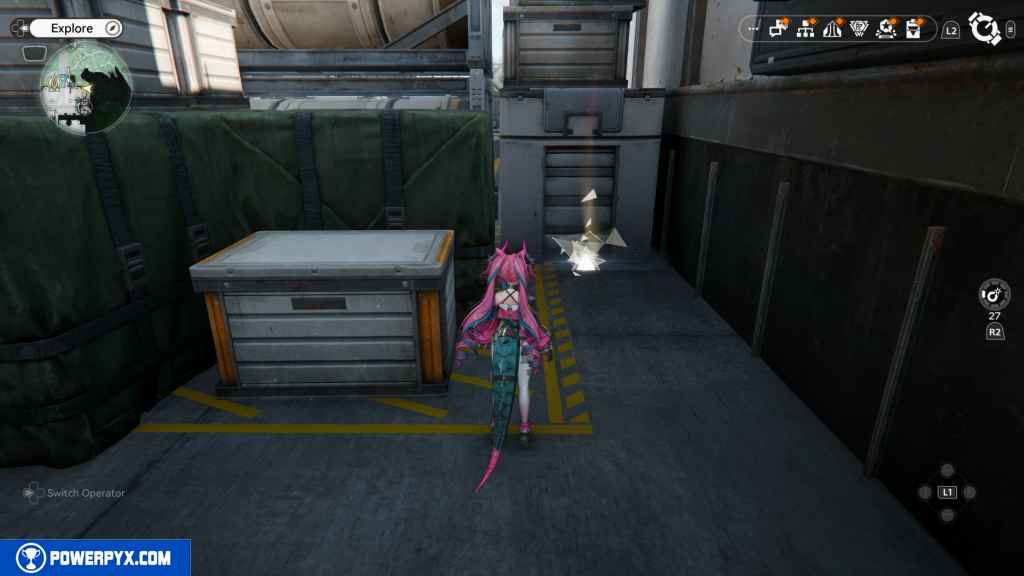
135 – Crate 42
Head south, and the crate should be in front of you to the left.
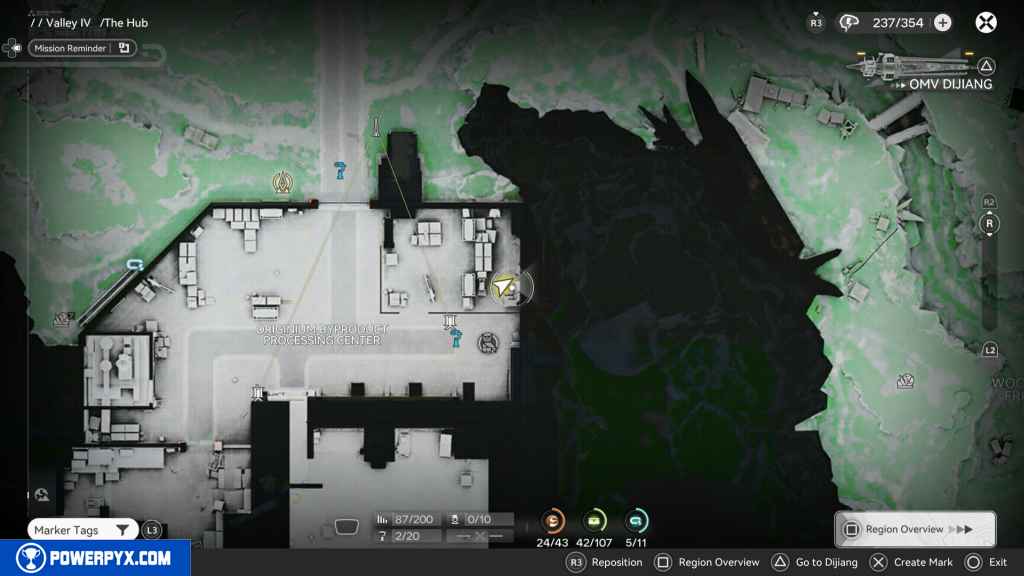
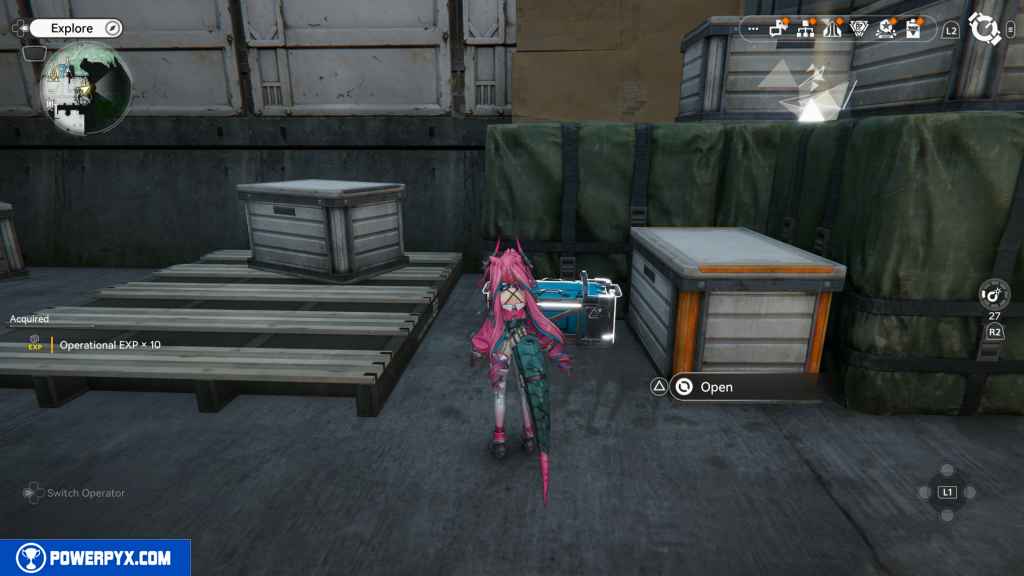
136 – Gathering Point 60
Right next to the last crate on top of the boxes to your right.
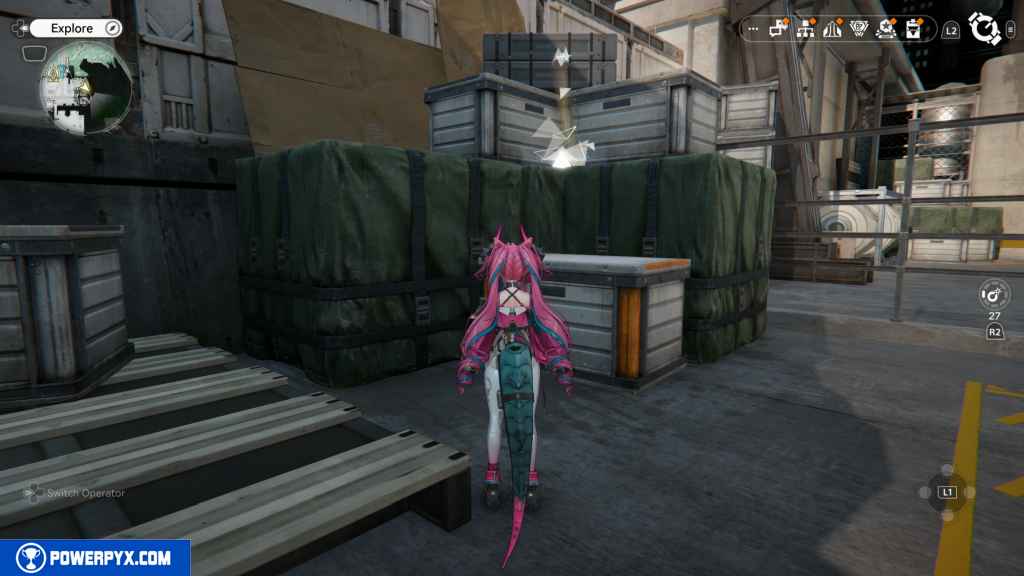
137 – Gathering Point 61
Jump out of the area, and you should see two big trucks parked in the parking area. Between the first two trucks is the Gathering Point.
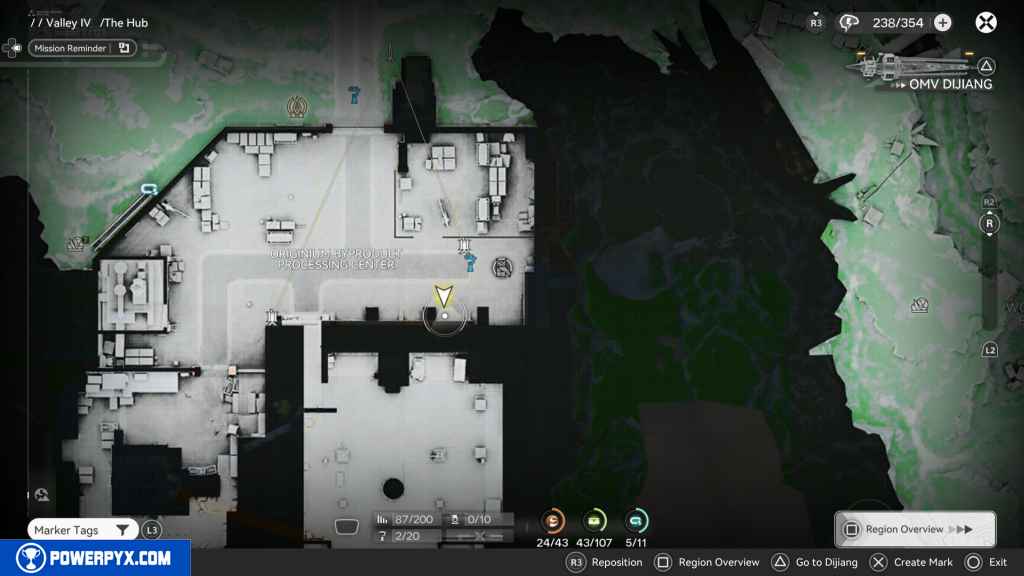
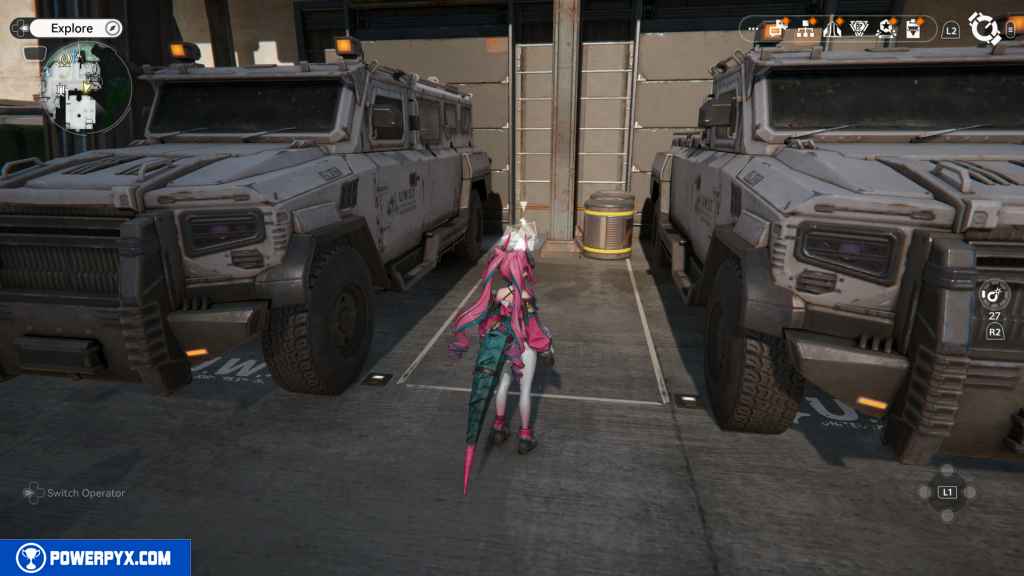
138 – Gathering Point 62
To get to the next few collectibles inside the facility, you need to start Side Mission – Had To Be Done. Once inside, head to the southwest corner of the ground floor to find this Gathering Point on top of a box.
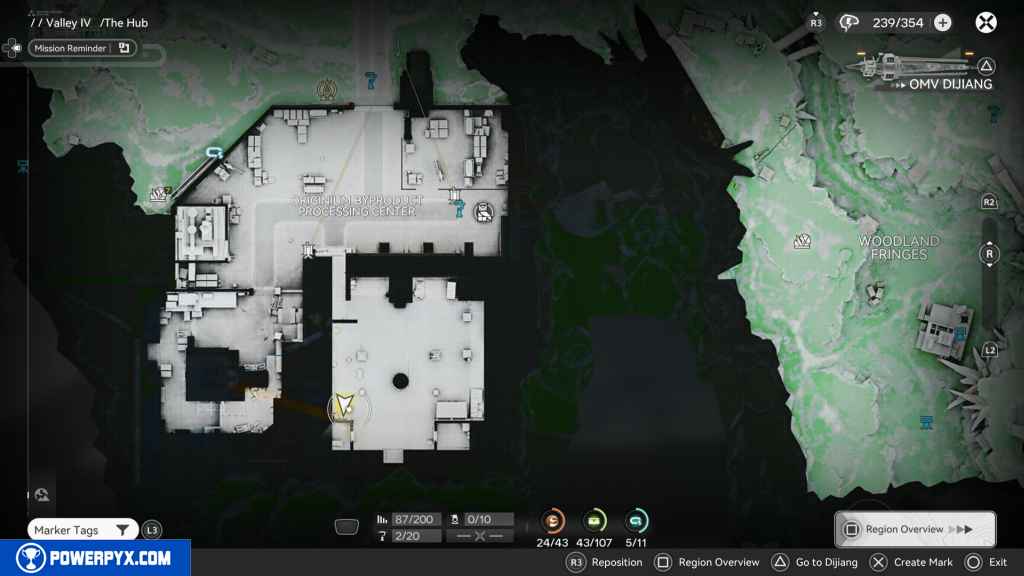
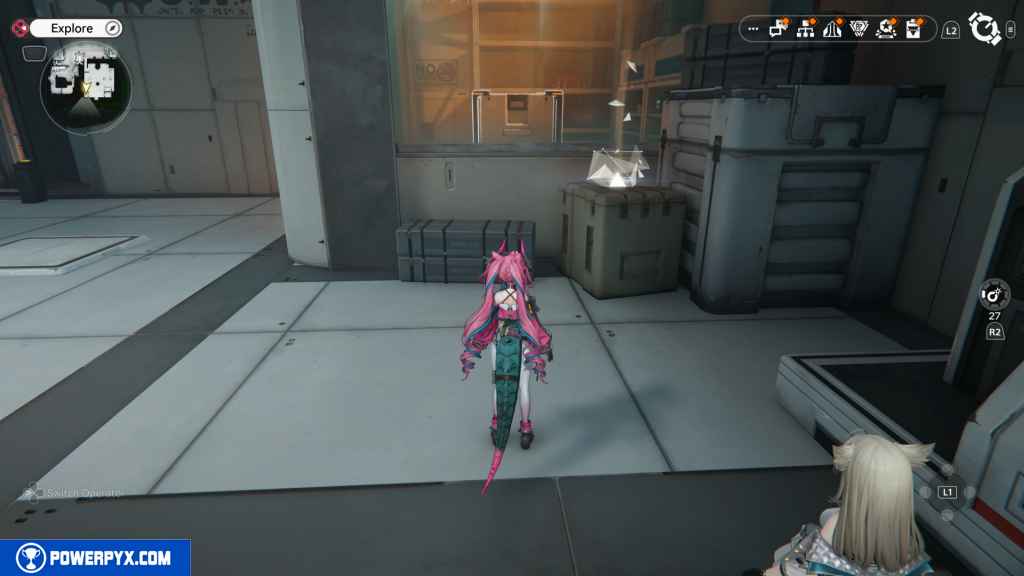
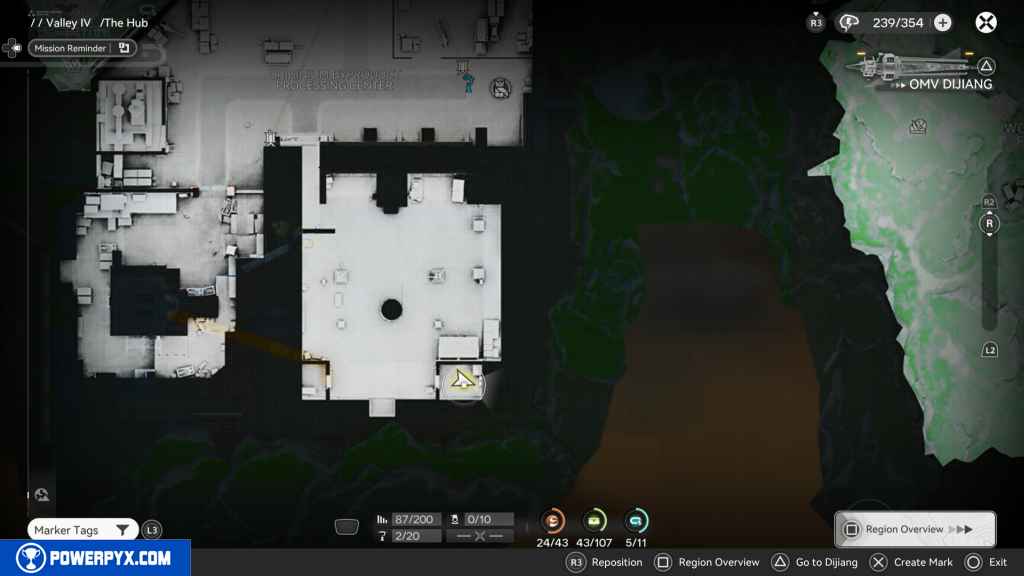
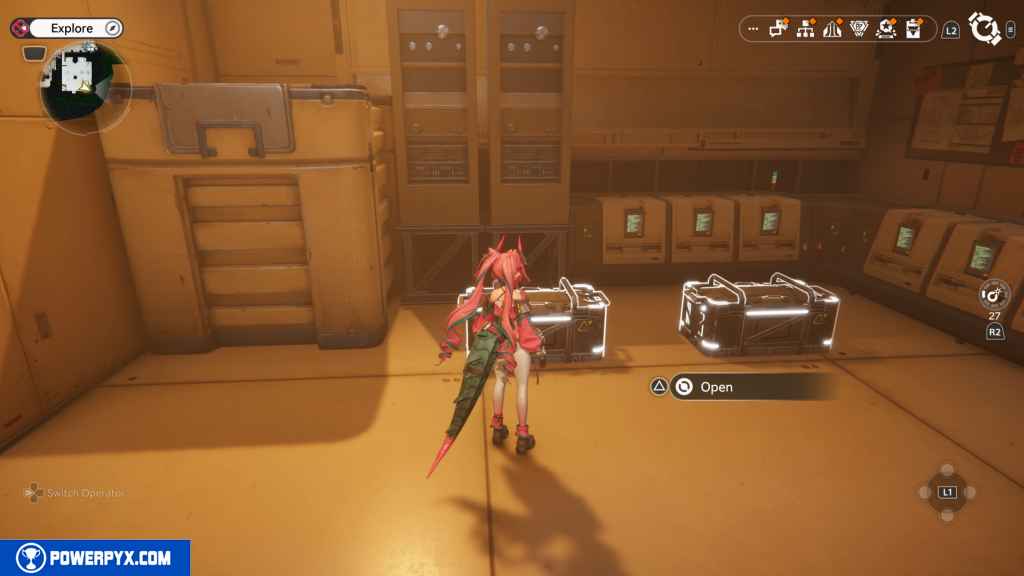
139 – Crate 43
During the Side Mission – Had To Be Done, you should have unlocked the room to the southeast by placing a crate on a pressure plate. Inside this room are two crates.
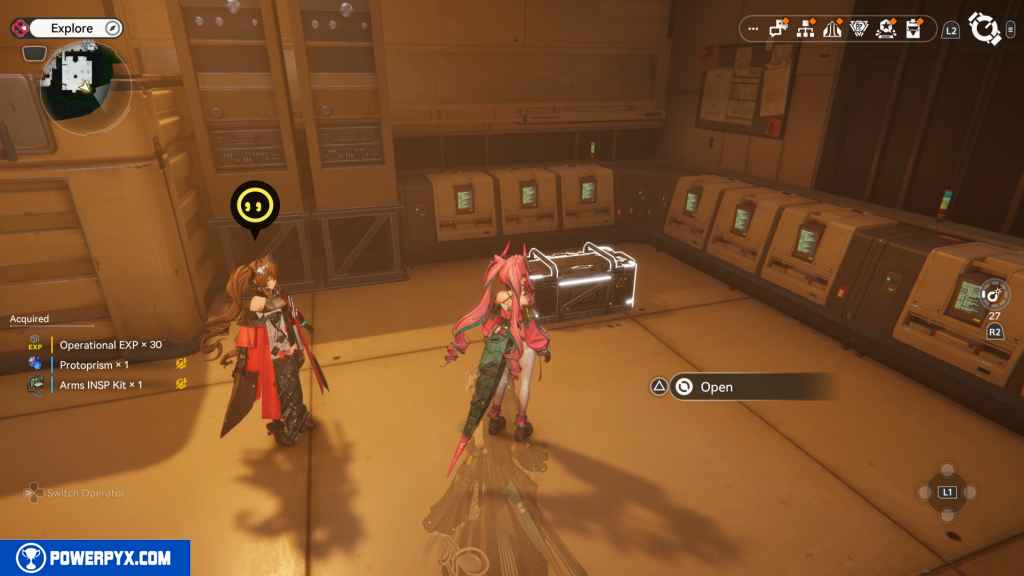
140 – Crate 44
Next to the last crate.
141 – Gathering Point 63
Head to the second floor via the south elevator. Run around to the northeast to find the Gathering Point on the ground.
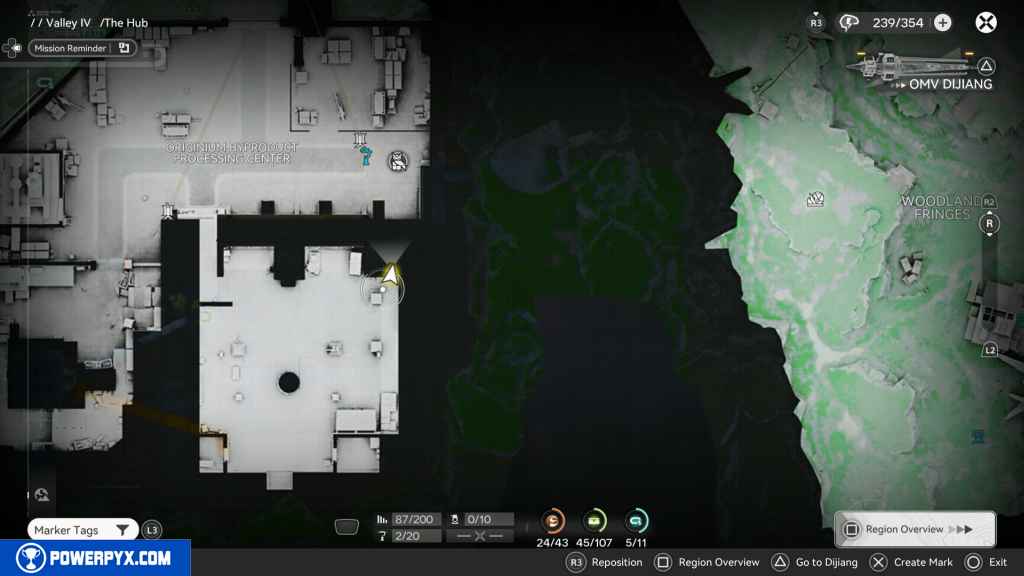
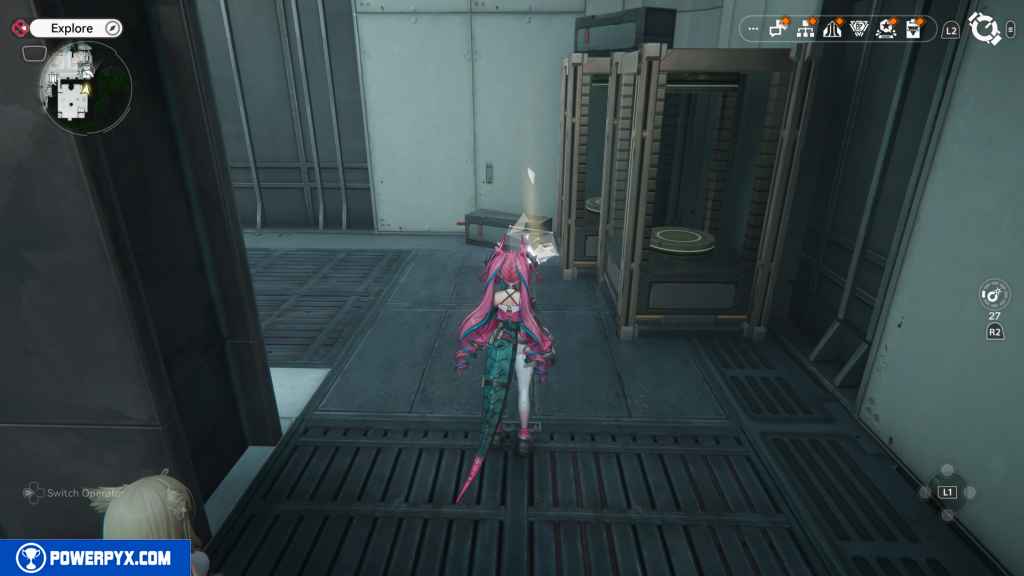
142 – Gathering Point 64
Leave the facility and continue west into the building. Inside, you will find the Gathering Point on the desk to the west.
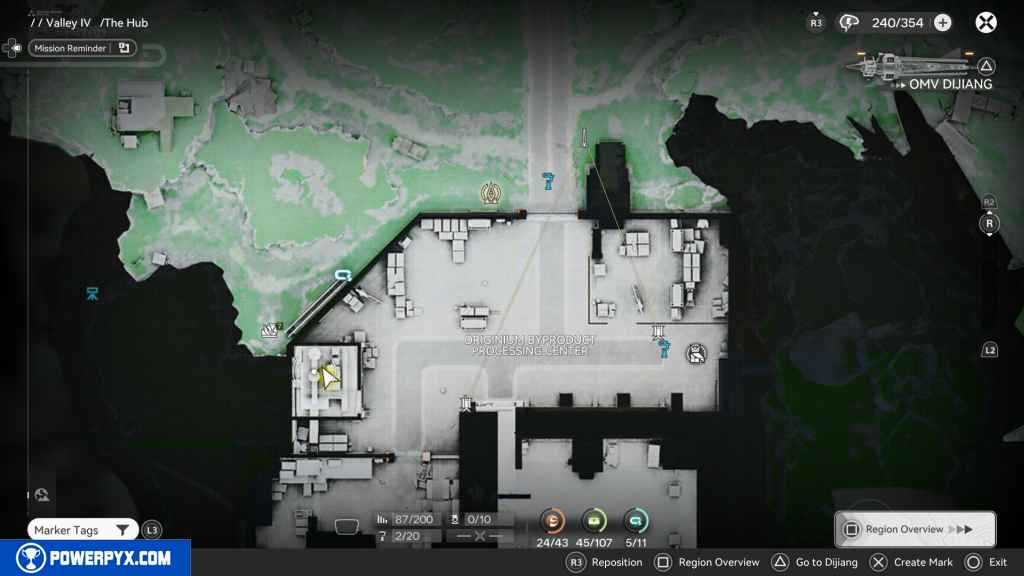
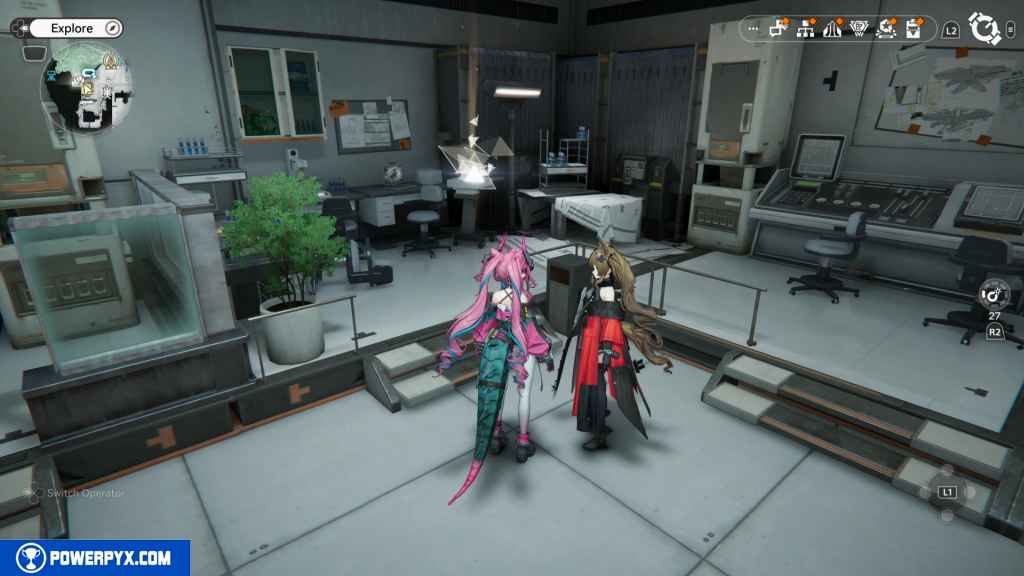
143 – Gathering Point 65
Leave the building and head toward the blown-open gate. Before reaching it, turn right and look west down the small alley. You should see the Gathering Point at the end.
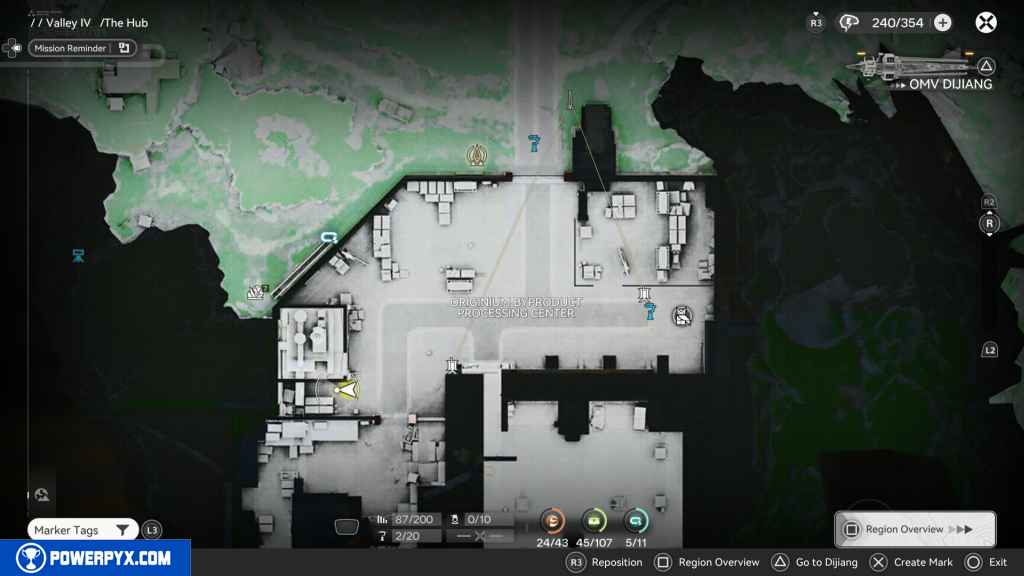
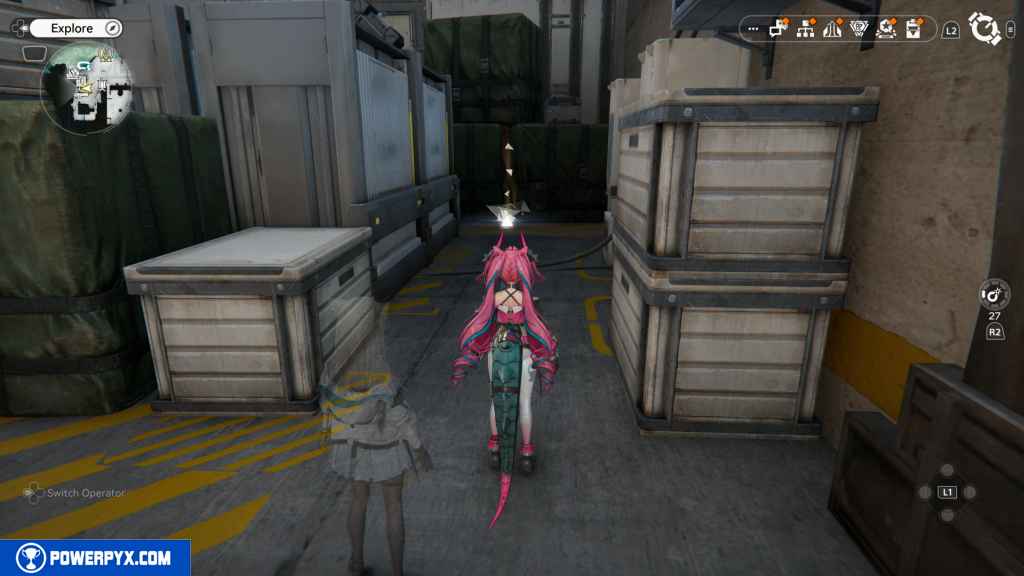
144 – Crate 45
Head past the blown-open gate and go west. In front of you are large boxes you can jump up on. Do so, and you should see the crate on a platform in front of you at the top.
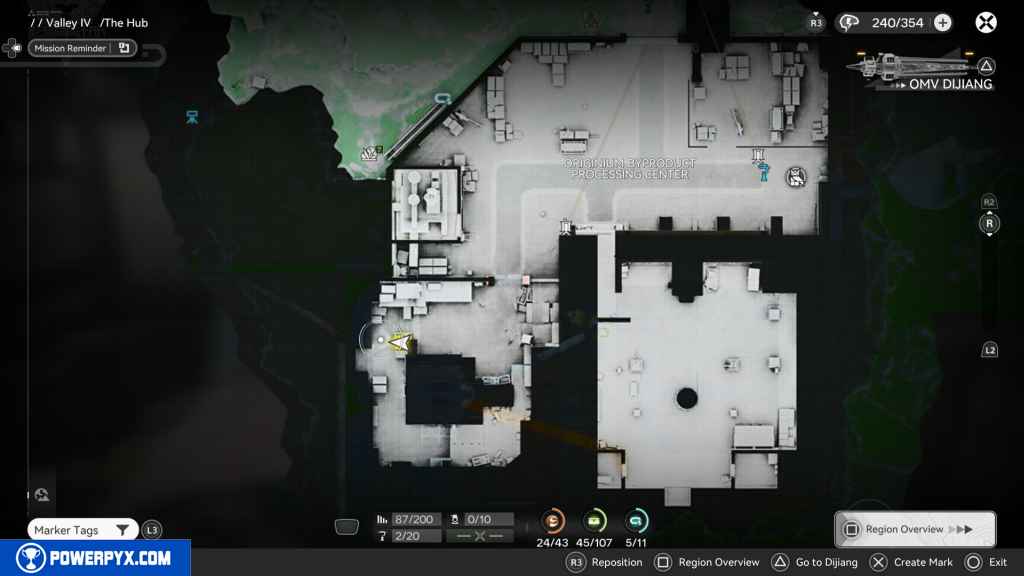
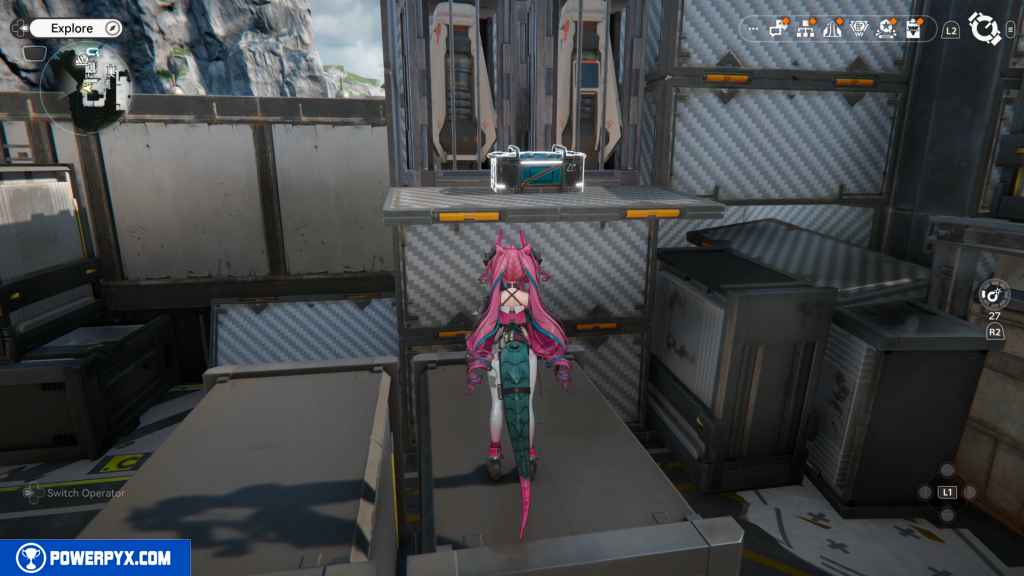
145 – Crate 46
Head back to the blown-open gate. East of the gate are some charred boxes with smoke coming out of one. Climb up these boses to reach the top of the stacked boxes.
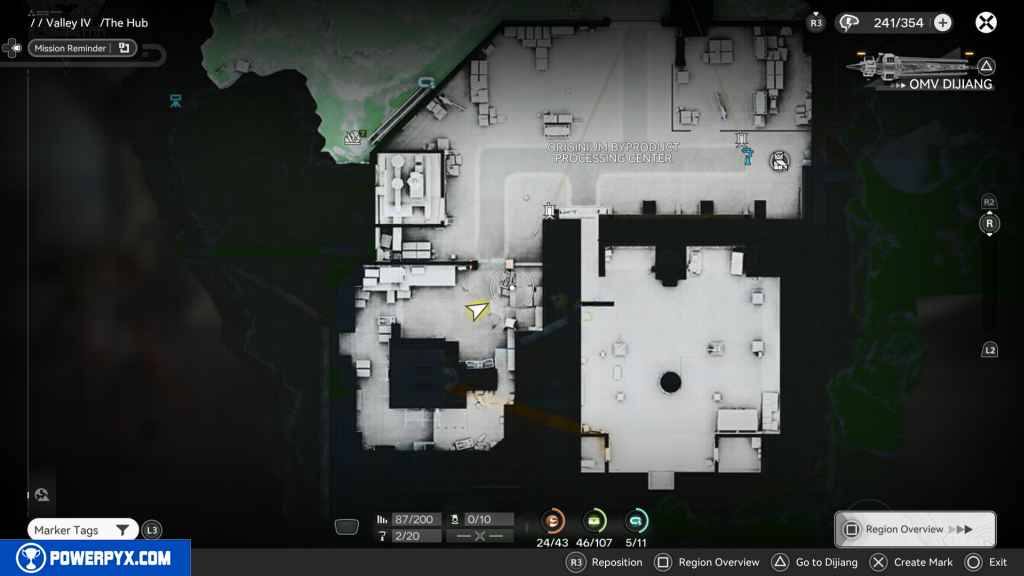
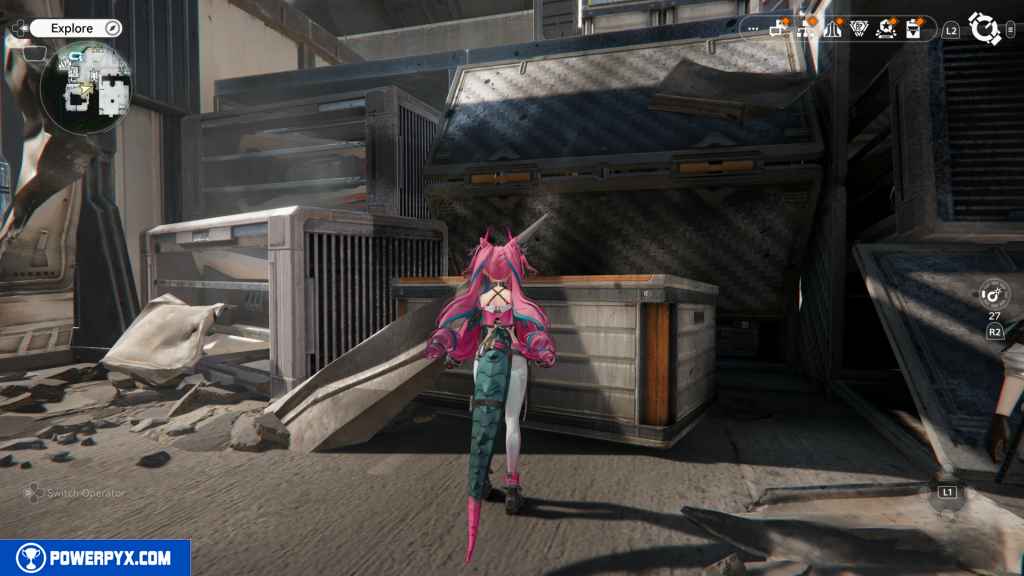
Once on top, continue down the path, blow up the box in front of you, and go around the corner. When you reach the end, you will see three crates at the bottom.
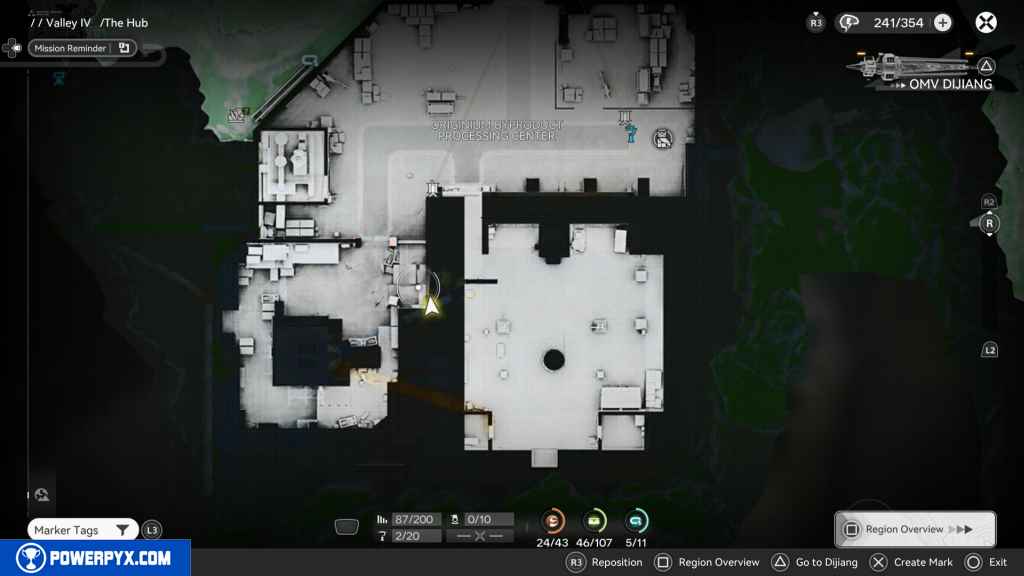
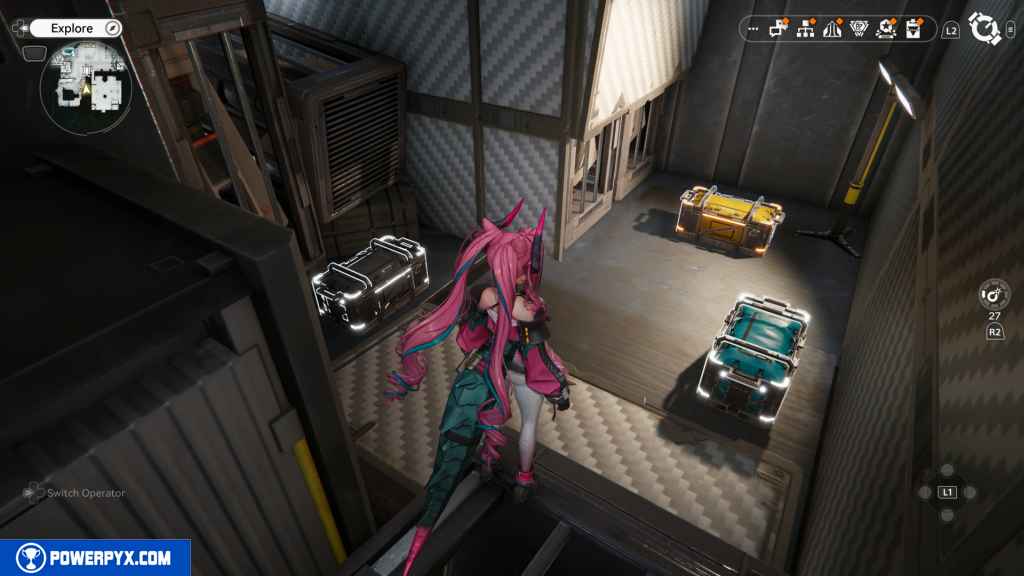
146 – Crate 47
Next to the last crate.
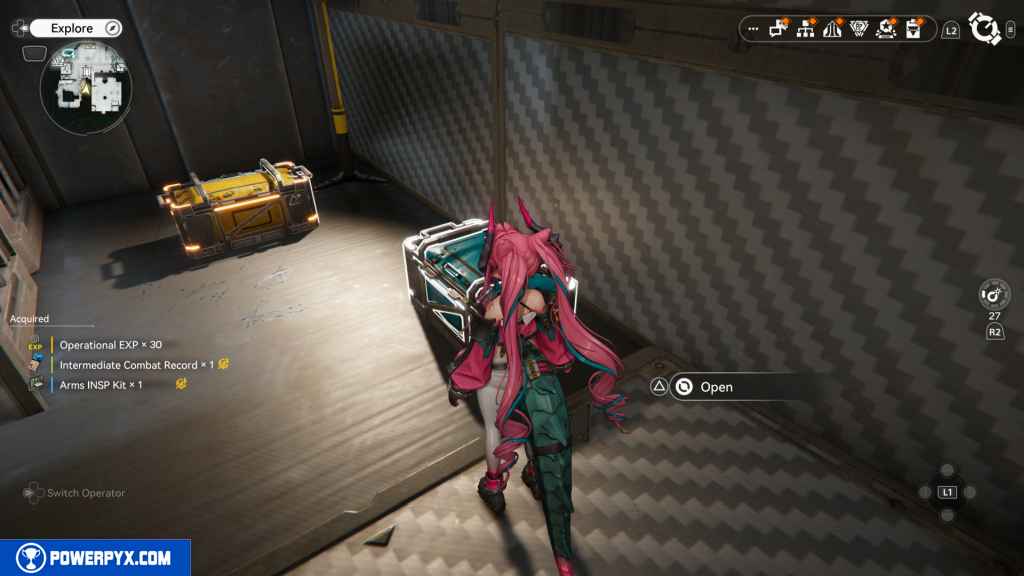
147 – Crate 48
Next to the last two crates.
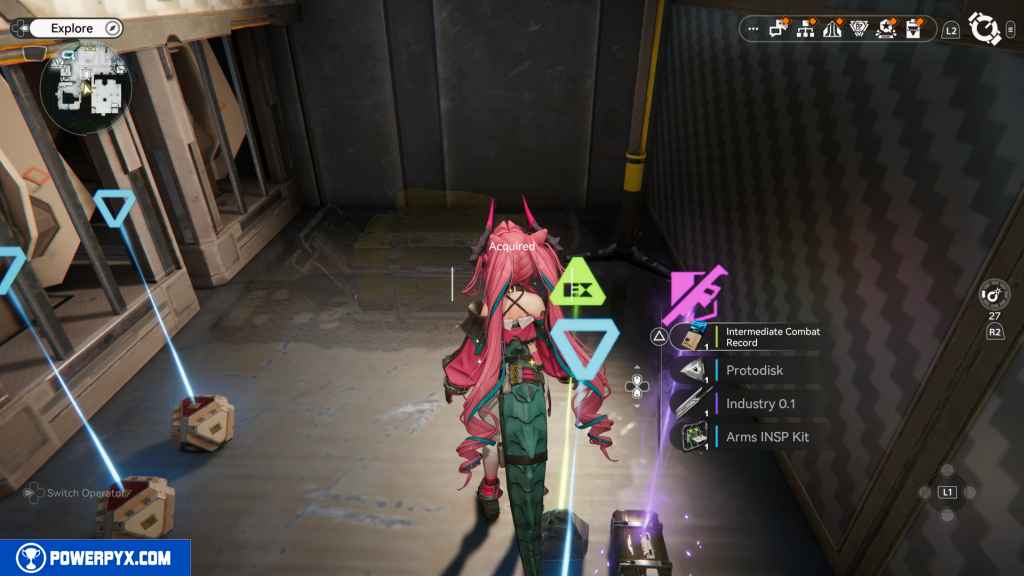
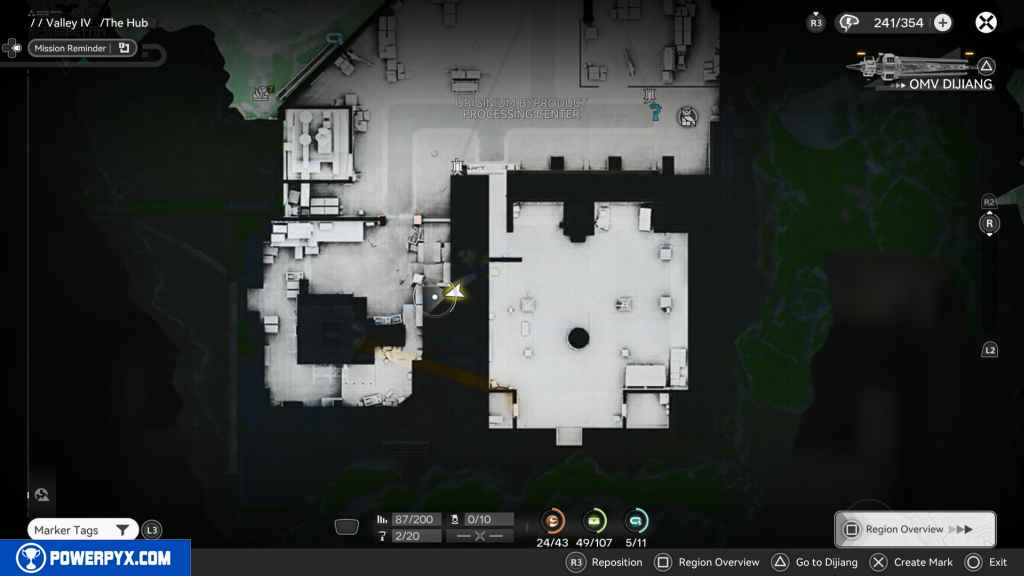
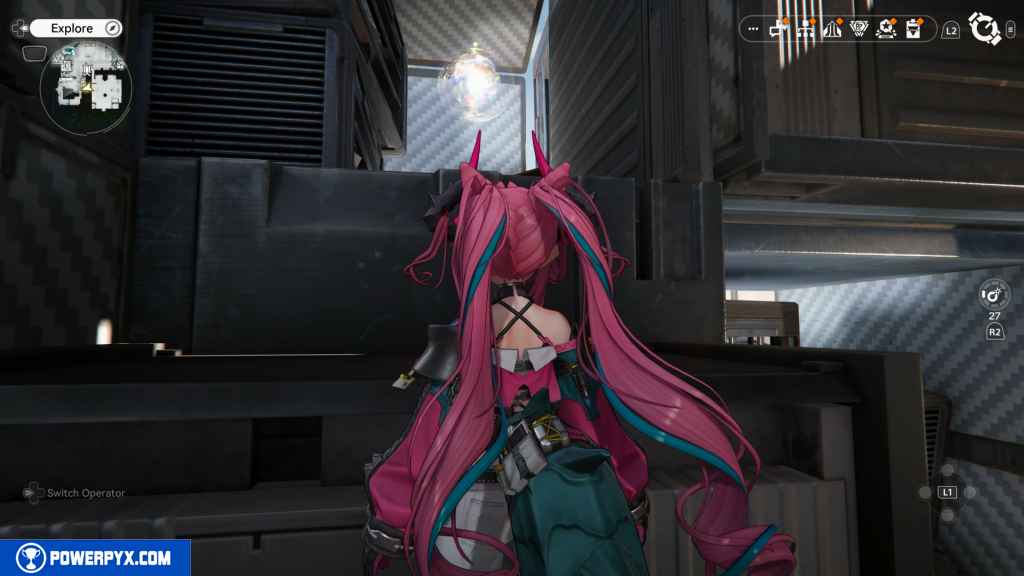
148 – Aurylene 25
Jump up the boxes and turn right. You should see the Aurylene at the exit of the containers.
149 – Gathering Point 66
Head back to the area with the three trucks. The first truck, next to the facility entrance, has the Gathering Point in its bed.
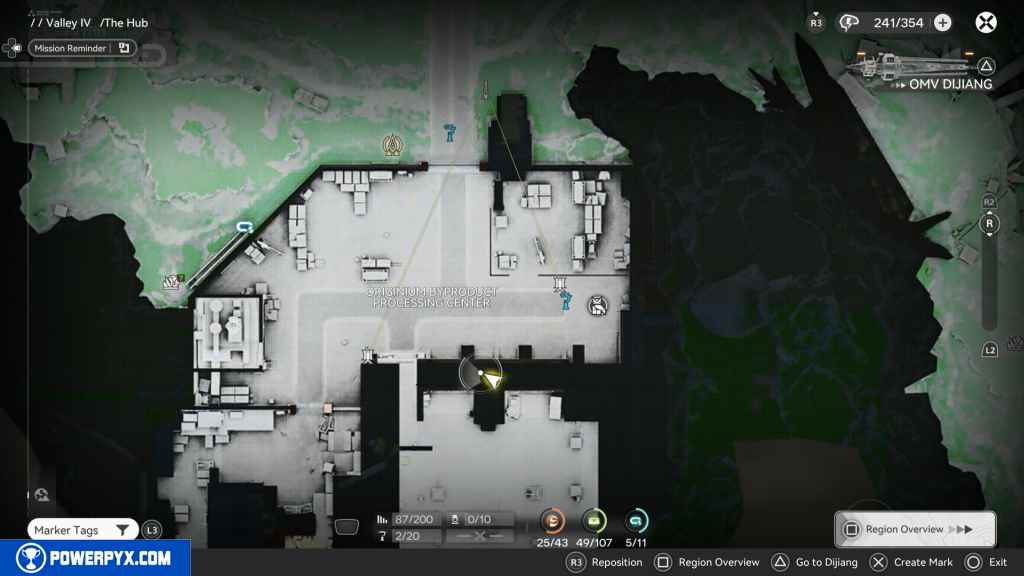
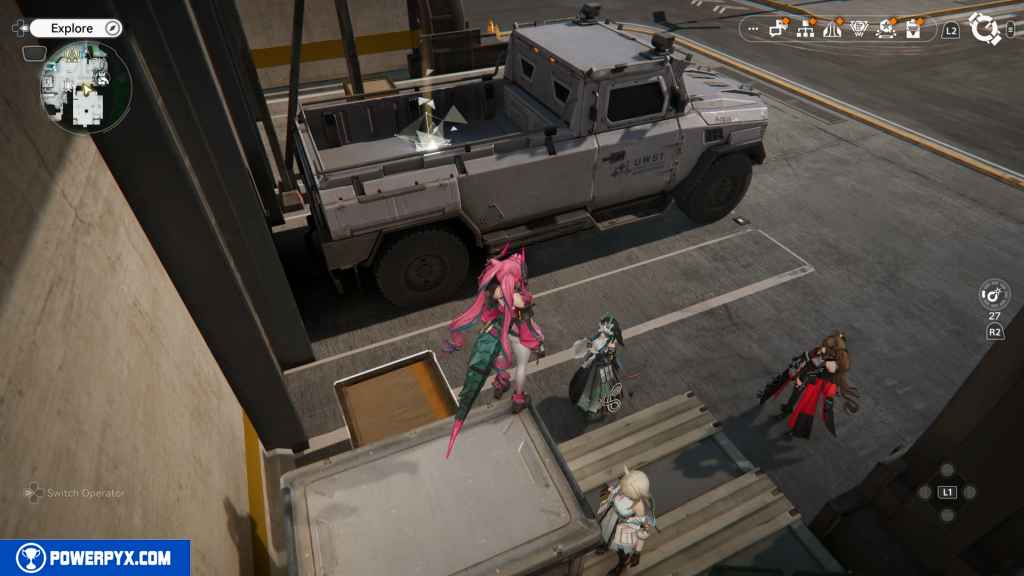
150 – Crate 49
Leave the facility and turn left to go west. Past the TP point, you should see a truck on the road. The crate is in the truck’s bed.
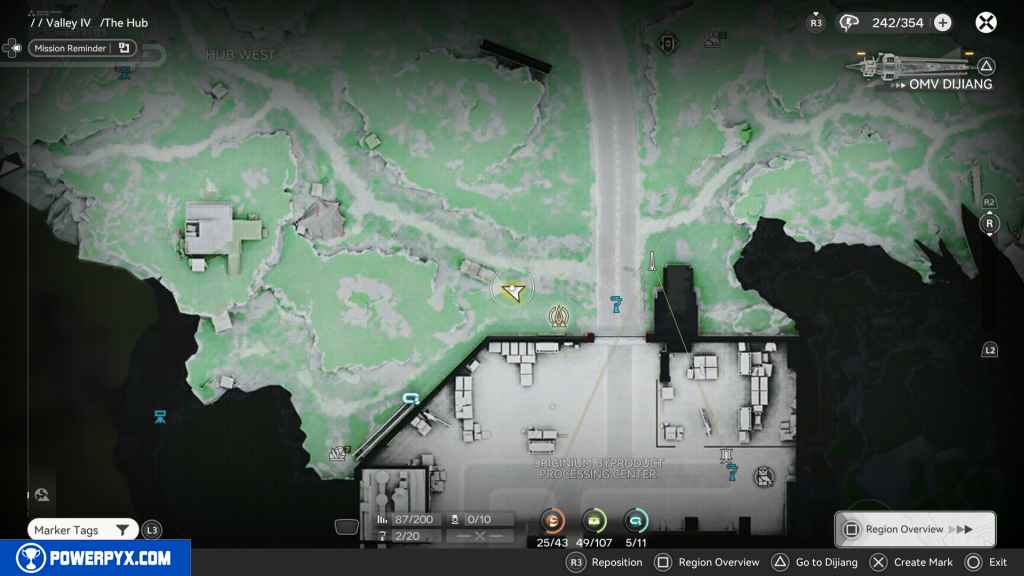
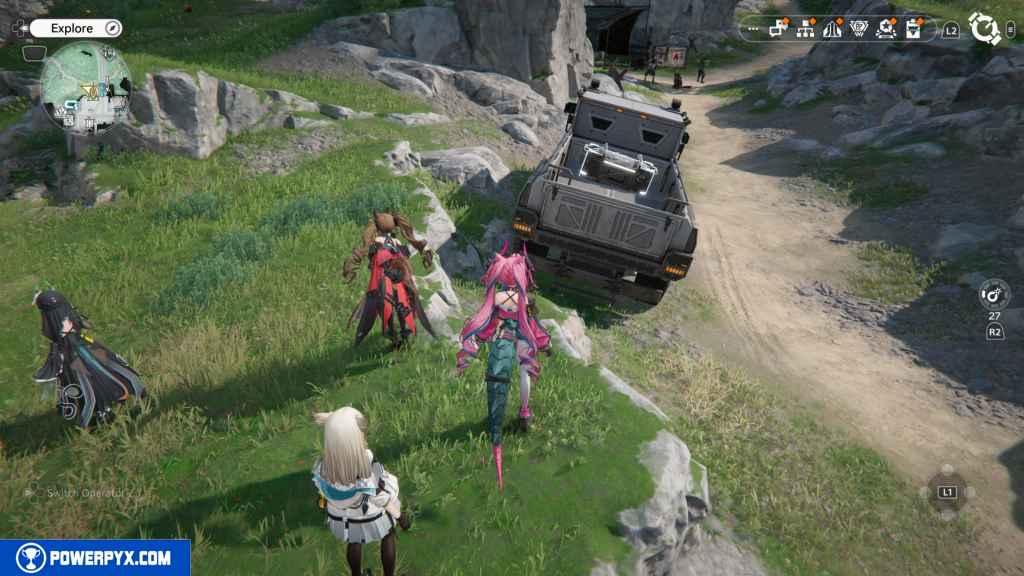
151 – Crate 50
West of the last crate, you should find the locked crate in the middle of the hill. You need to find the three blue keys to unlock it.
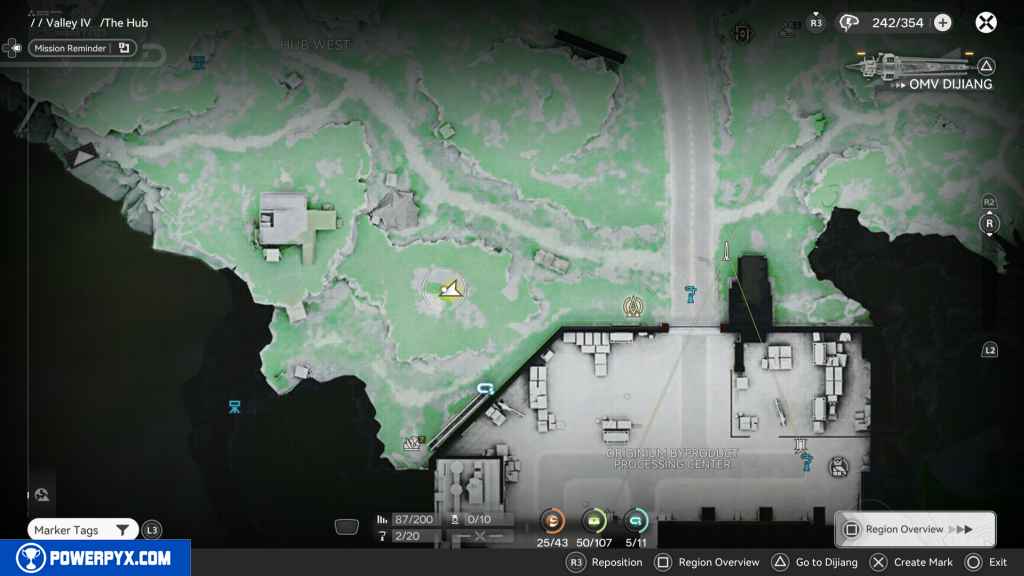
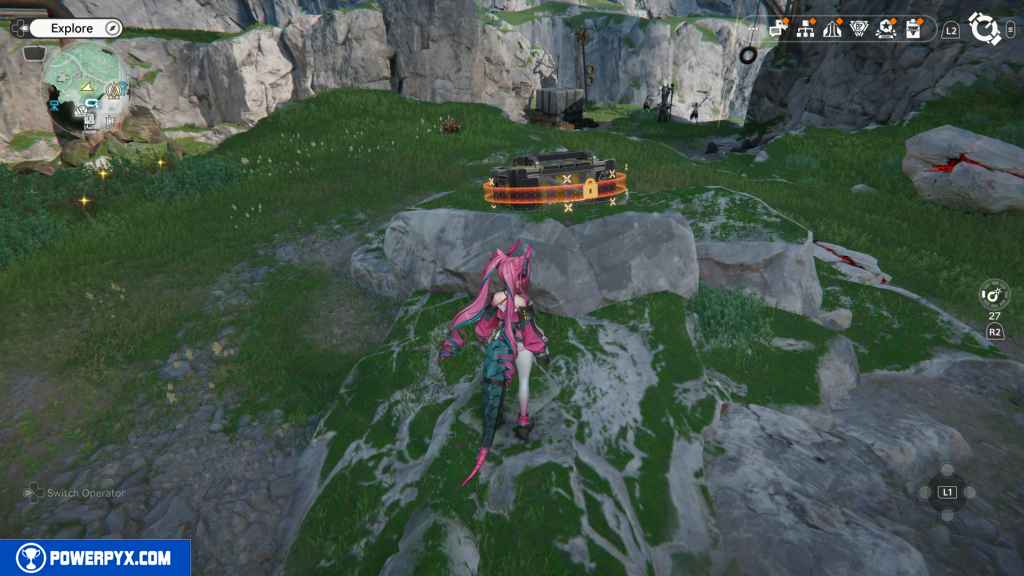
The first key is directly east of the crate at the edge of the hill, 1/3.
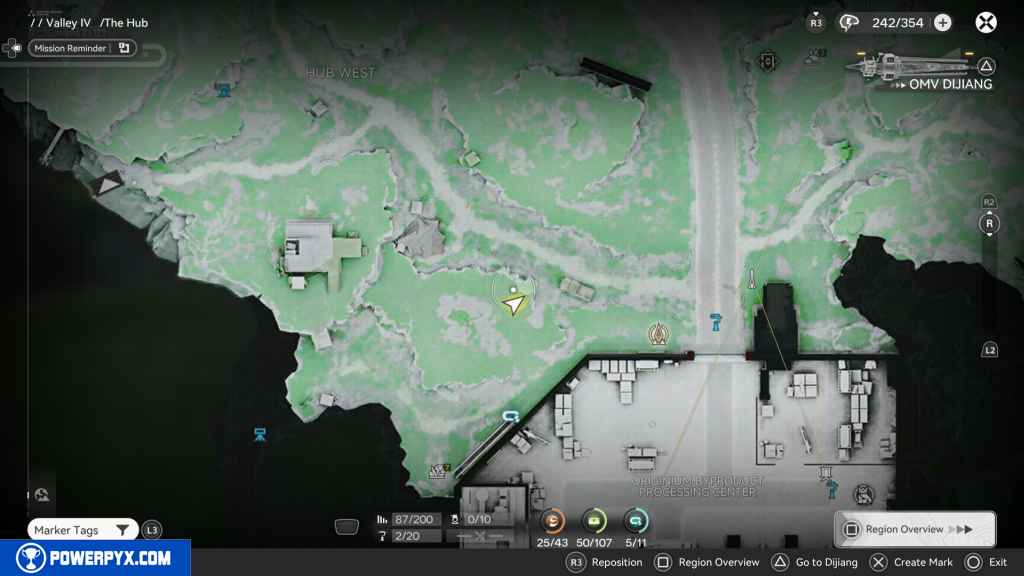
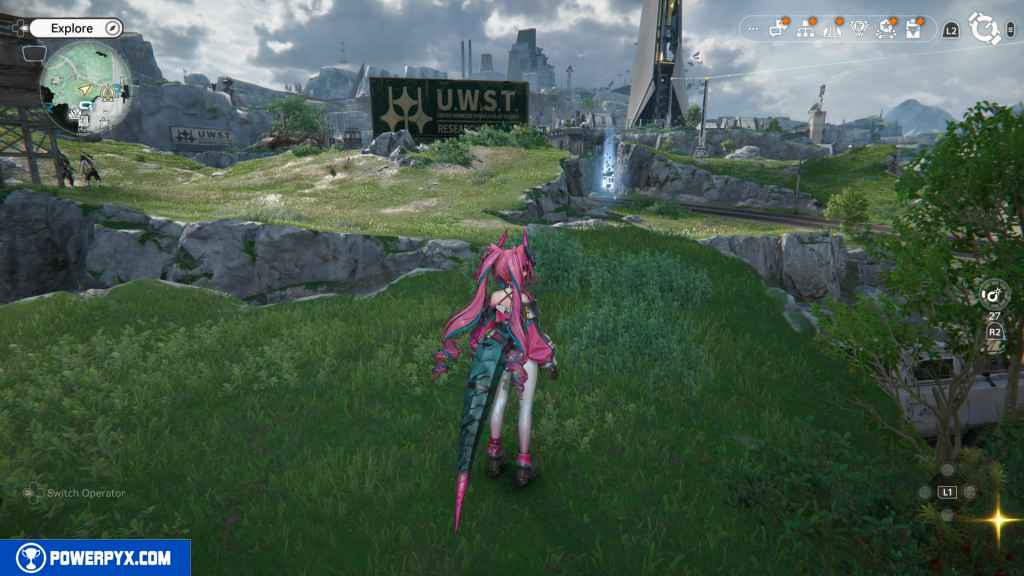
The second key is north of the crate on the roof of the Landbreaker camp building 2/3.
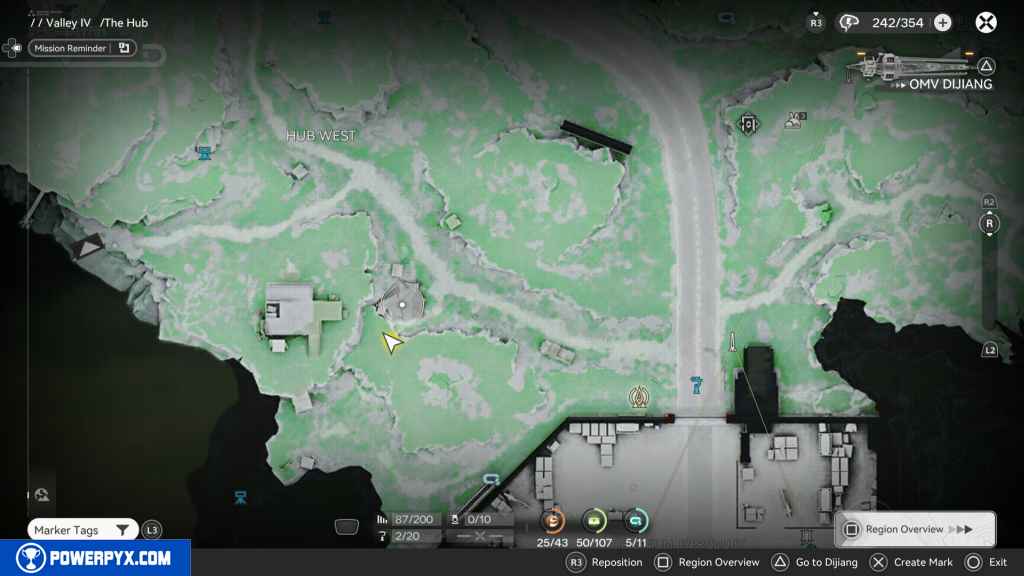
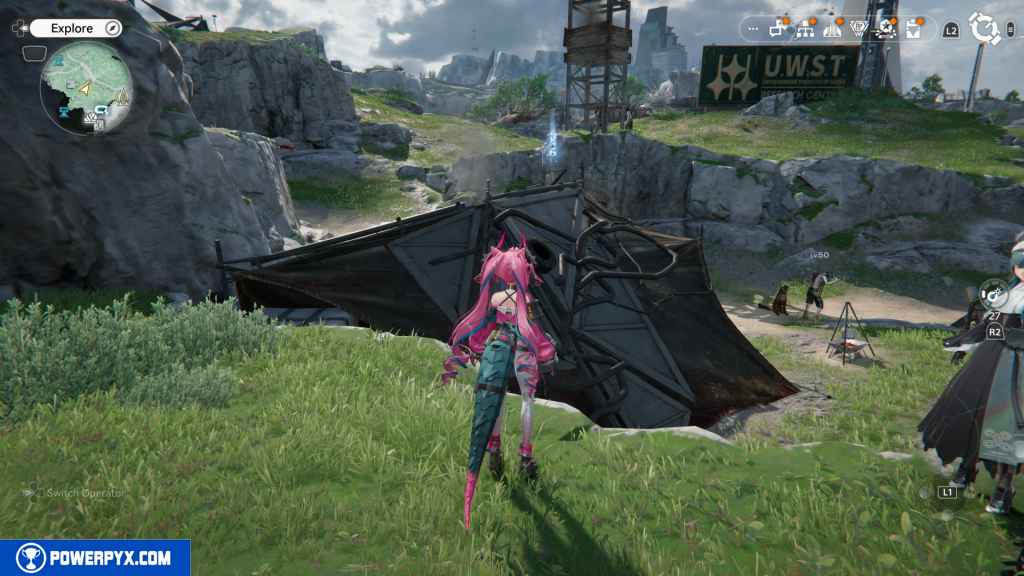
The third key is located on the hill to the northwest, where the watchtower is. Climb the hill, and you should see the key next to the rope machine. 3/3.
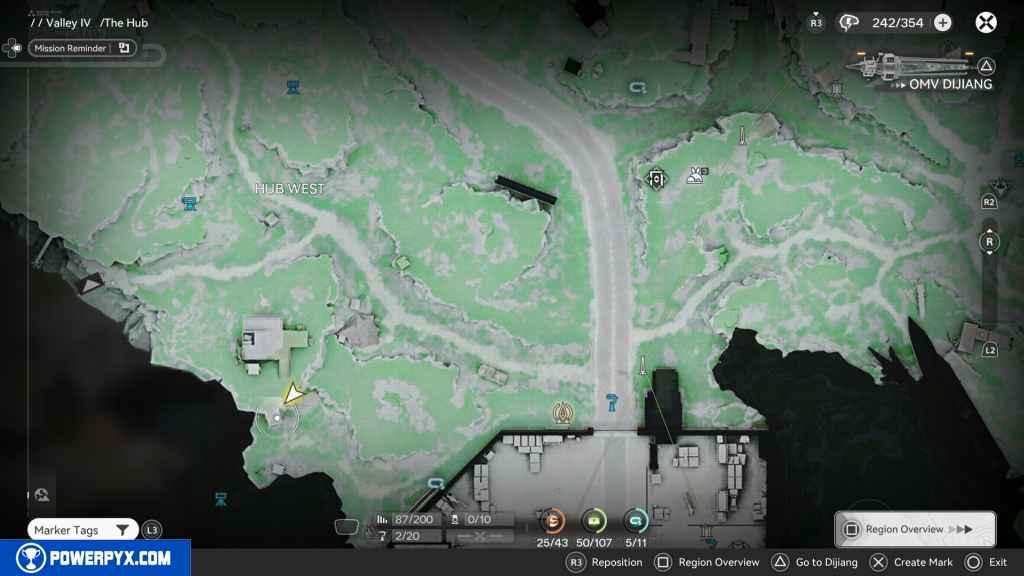
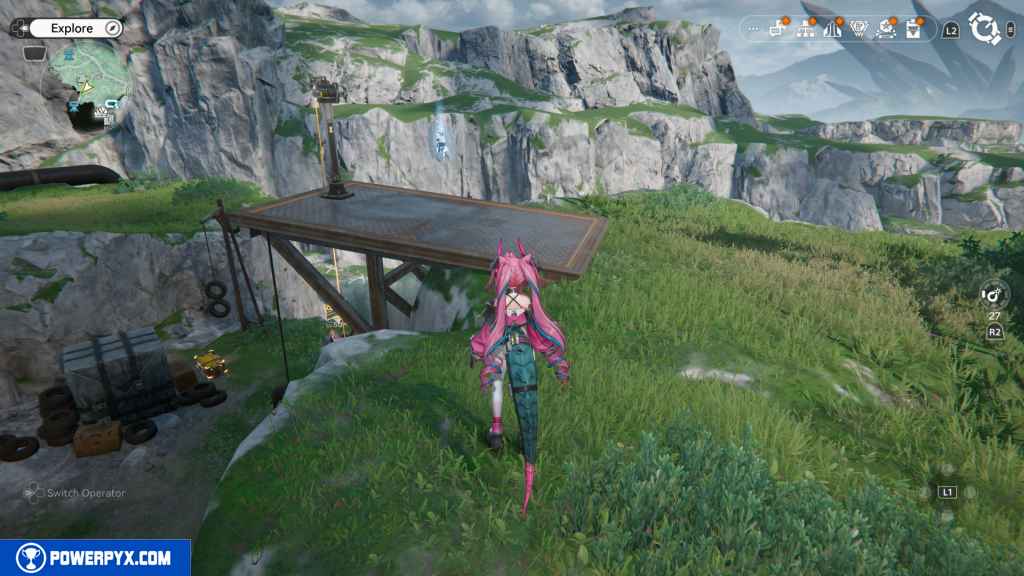
Return to the crate and open it for the rewards.
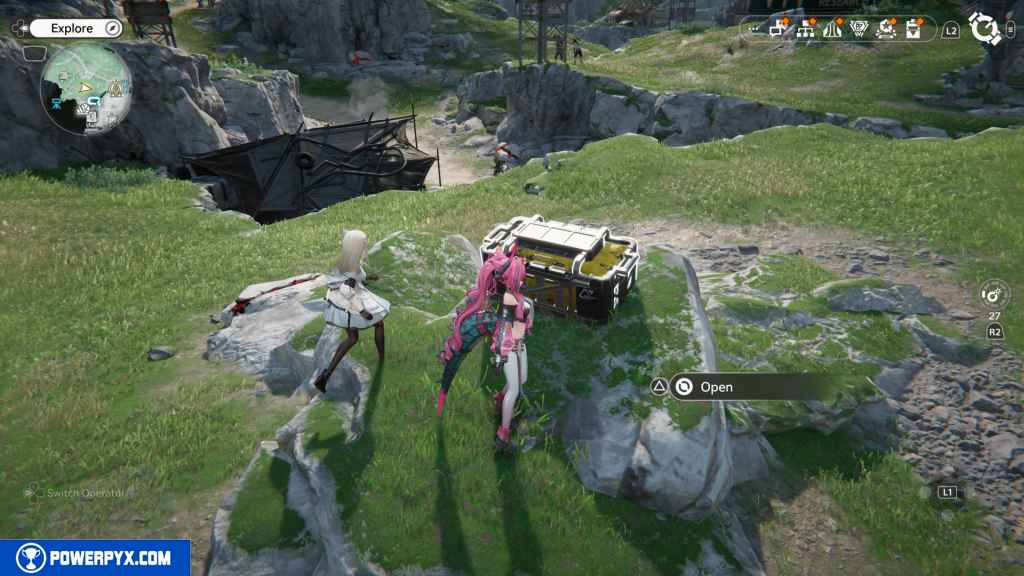
152 – Aurylene 26
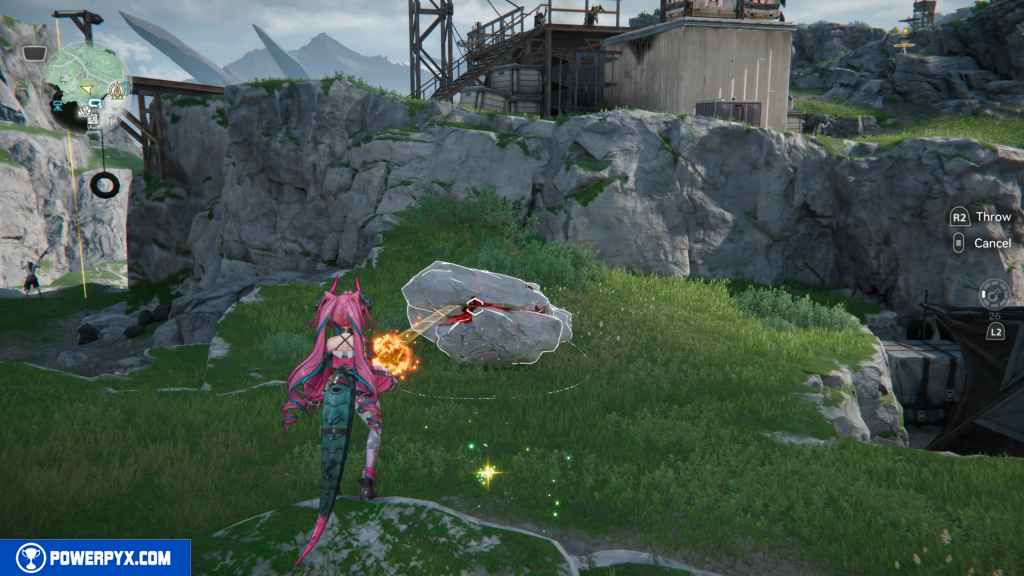
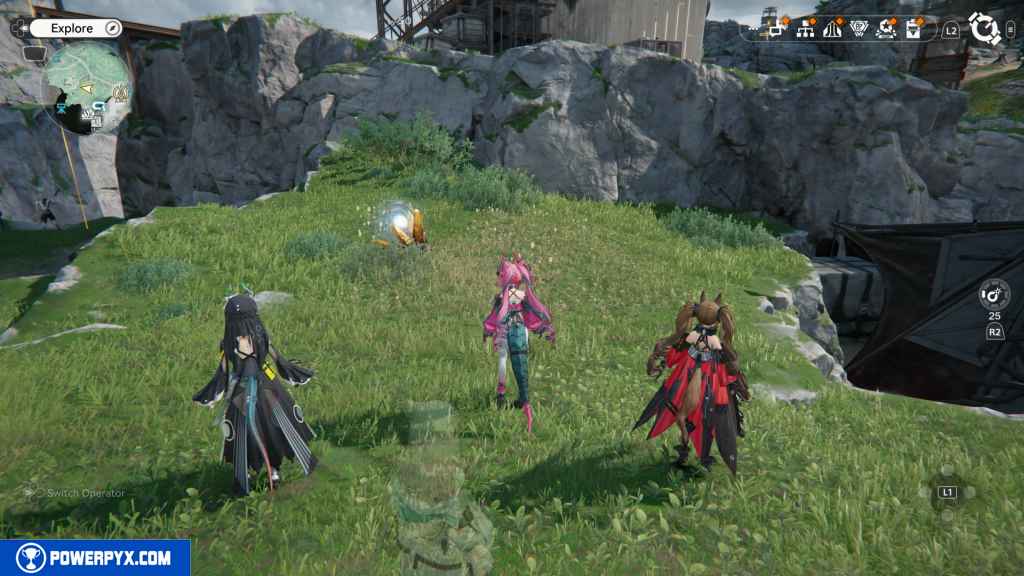
This Aurylene is located behind an explodable rock west of the crate. Once you blow it up, Nydworm will emerge along with the Aurylene.
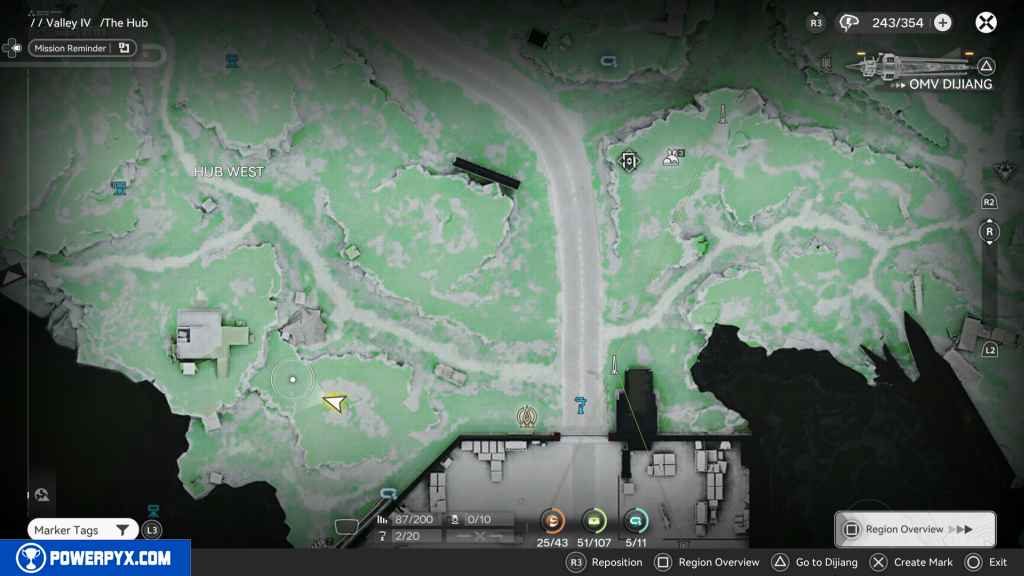
153 – Protocol Datalogger 3
South of the locked crate is the Datalogger.
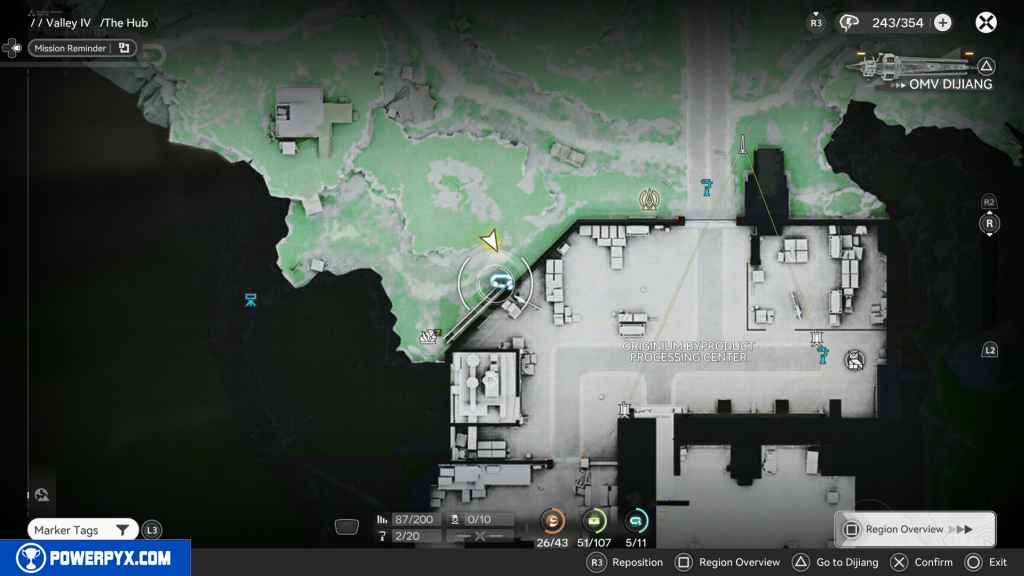
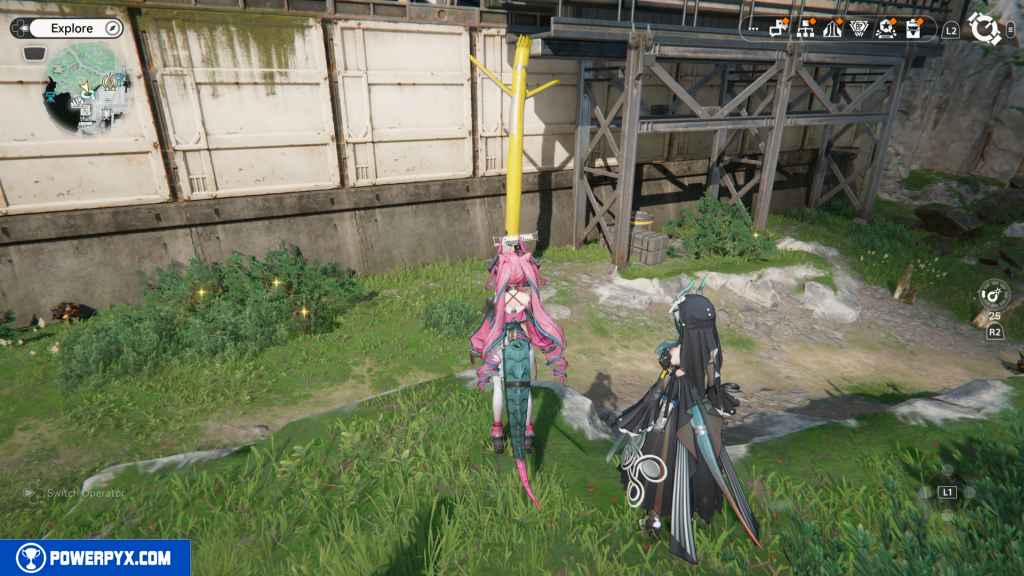
154 – Crate 51
Head west to the end of the path. You should see some boxes and tires. Next to them is the crate.
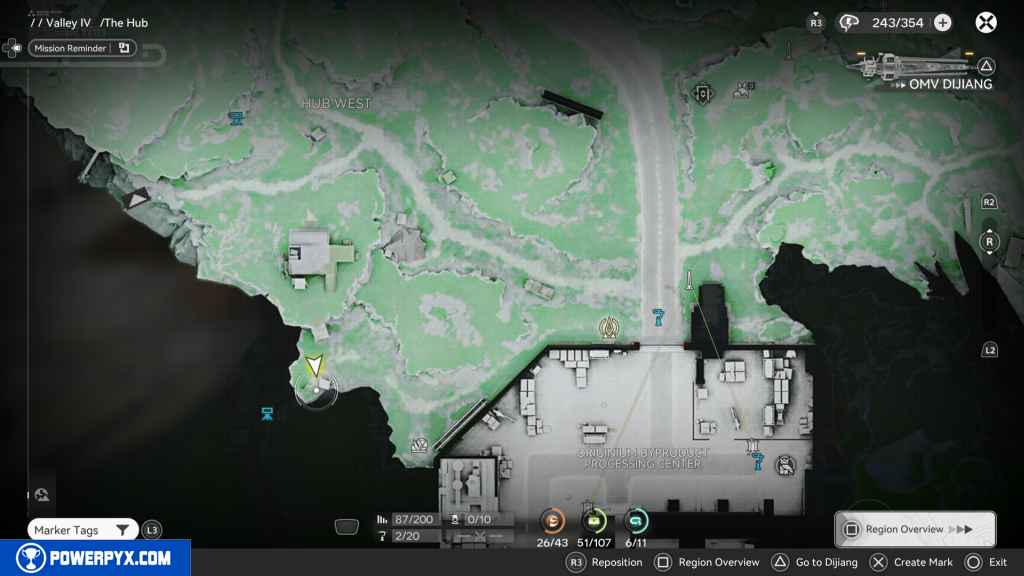
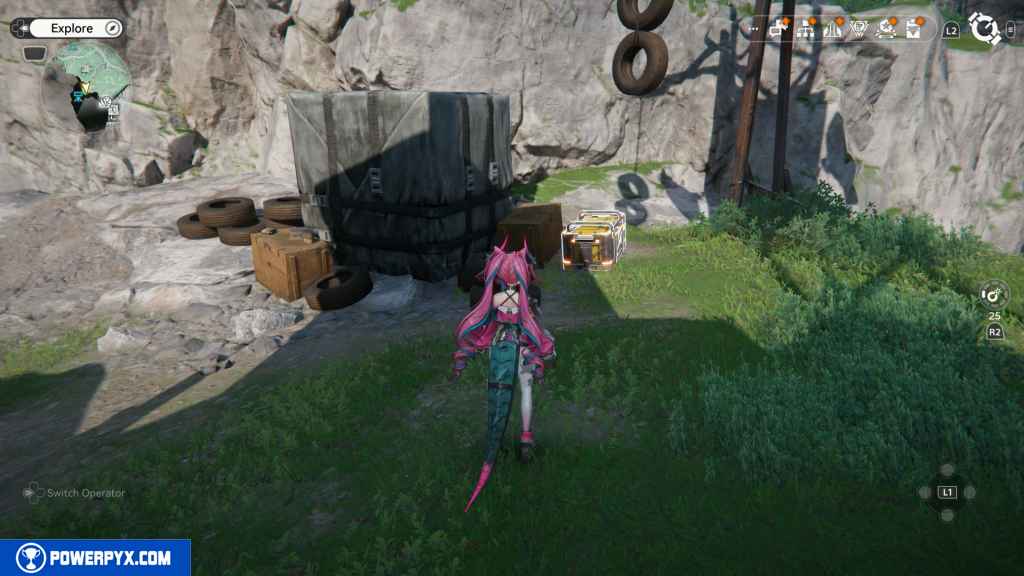
155 – Gathering Point 67
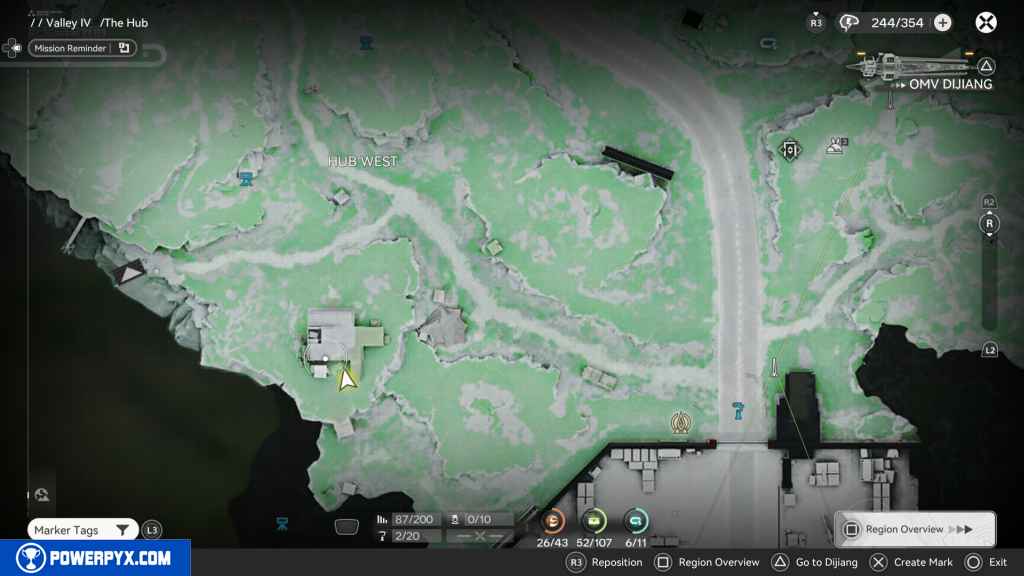
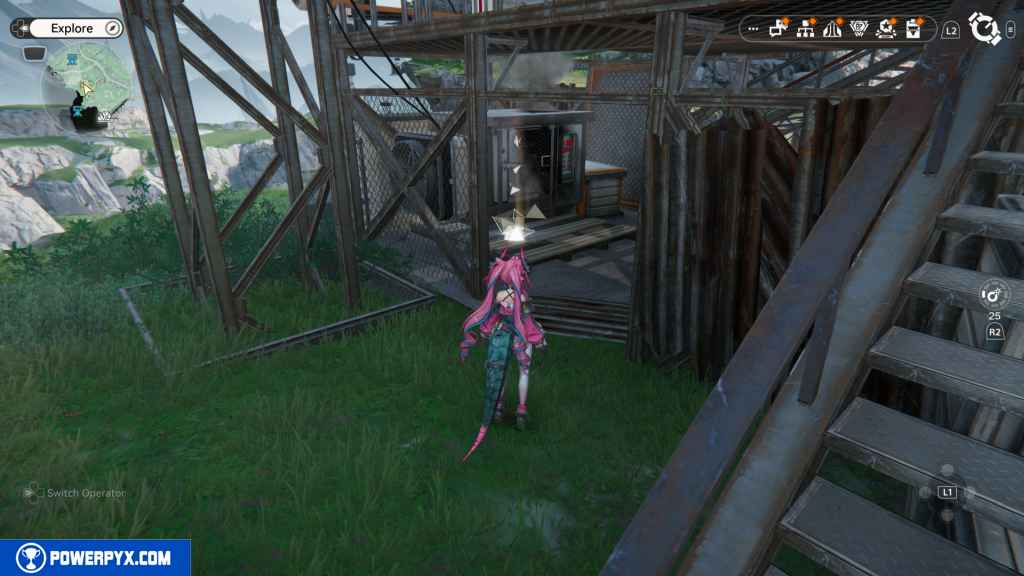
If you activated the rope to reach the watchtower to the north, use it. If not, climb up the rocks to reach it. Inside, under the watch tower, is the Gathering Point.
156 – Aurylene 27
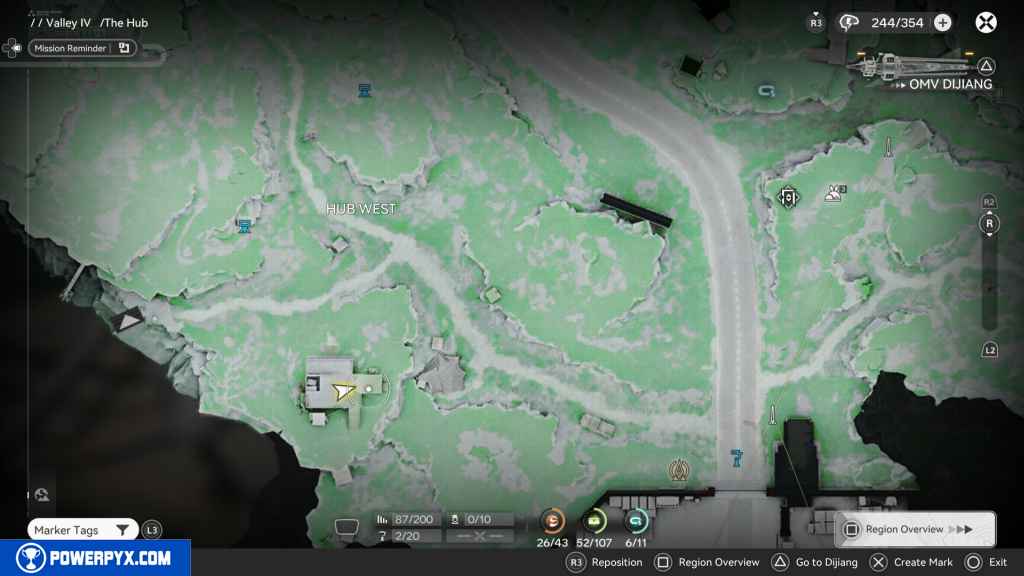
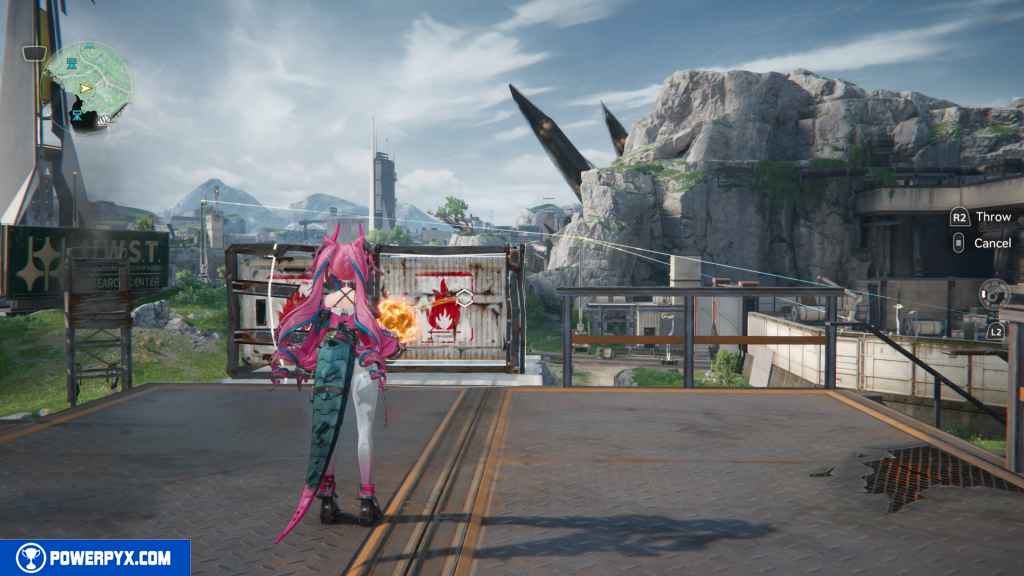
At the top of the tower, you should see two explodable boxes. Blow up the one on the right, and inside is the Aurylene.
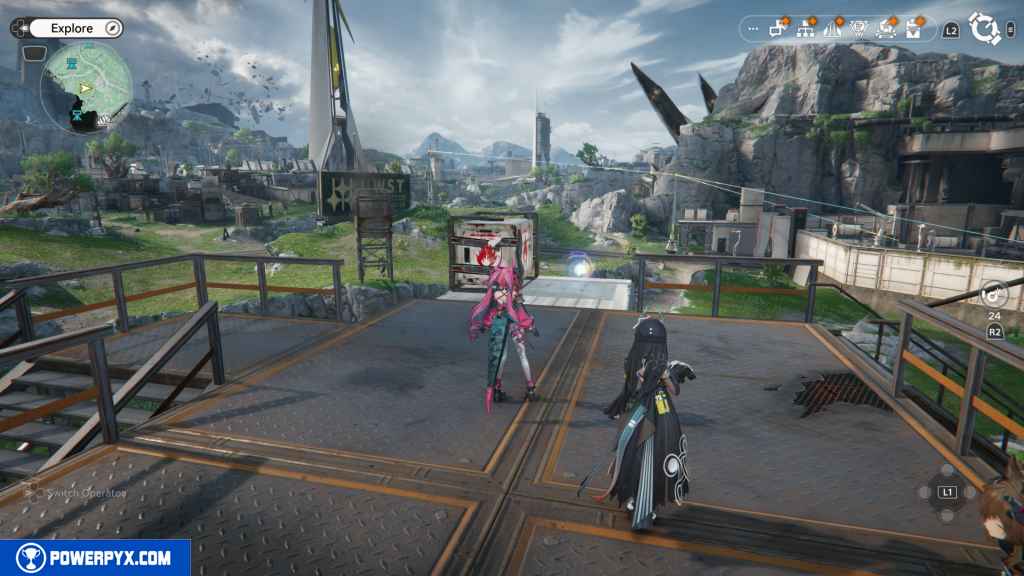
157 – Gathering Point 68
From the watchtower, you should see a Landbreaker camp to the east. Go to the camp and blow up the explodable box next to the camp to reveal the Gathering Point.
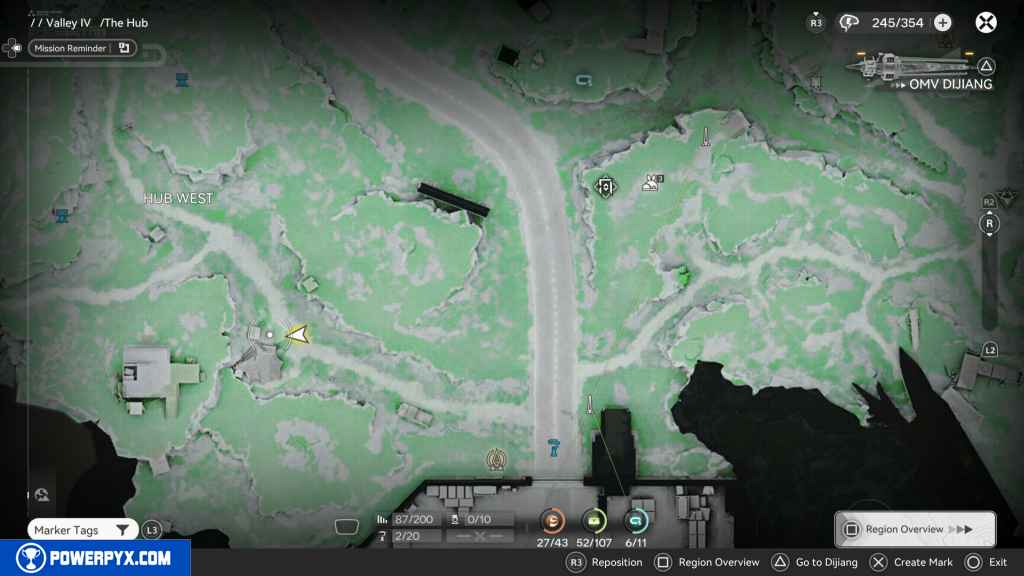
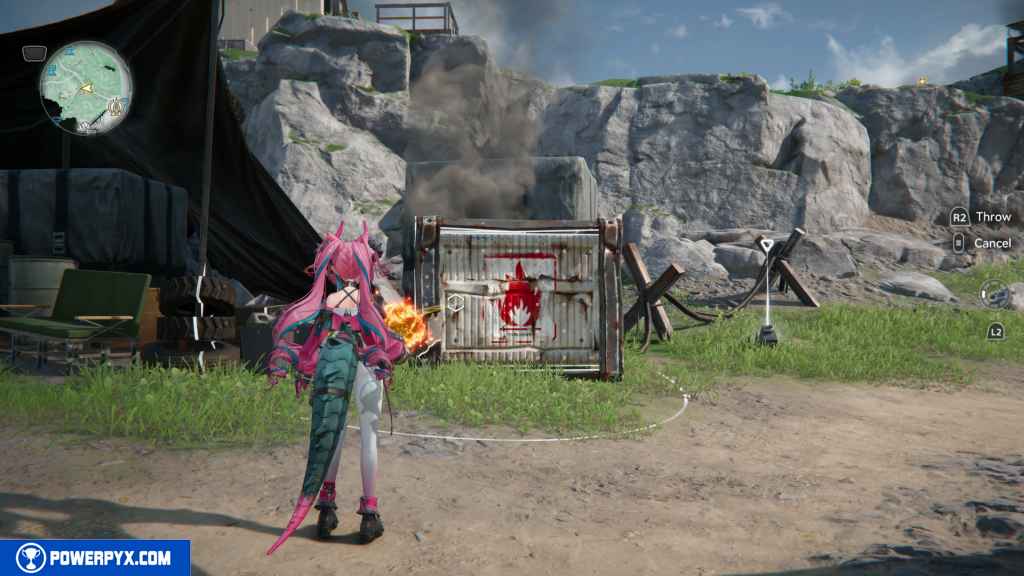
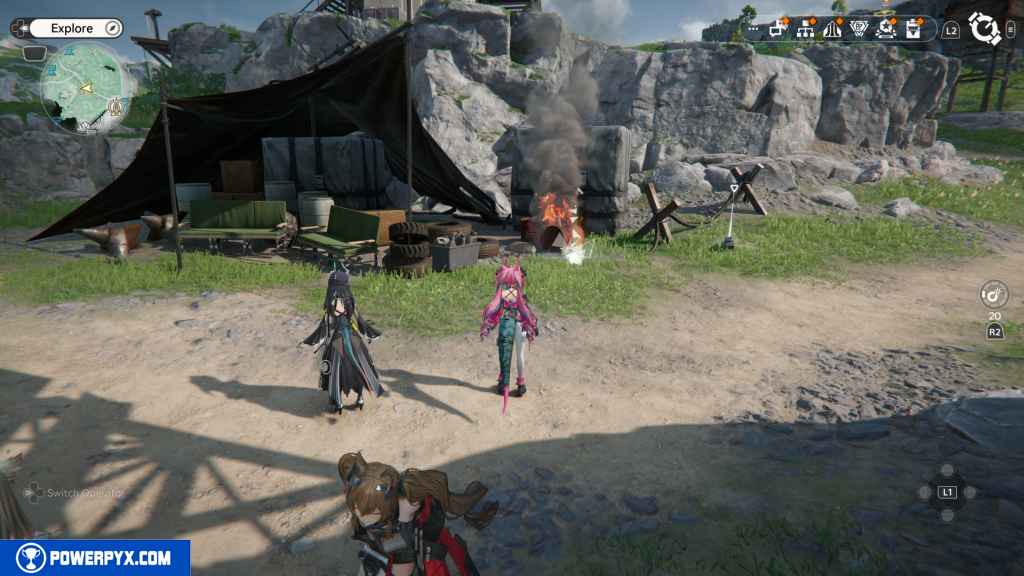
158 – Gathering Point 69
Go north from the camp, and you should see an explodable rock up the hill. Blow it up to reveal the Gathering Point.
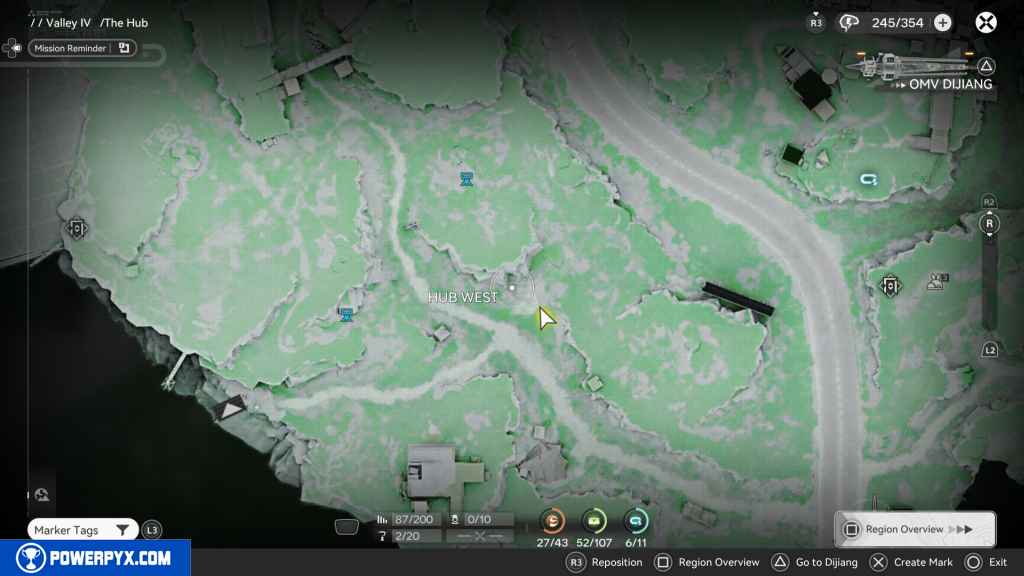
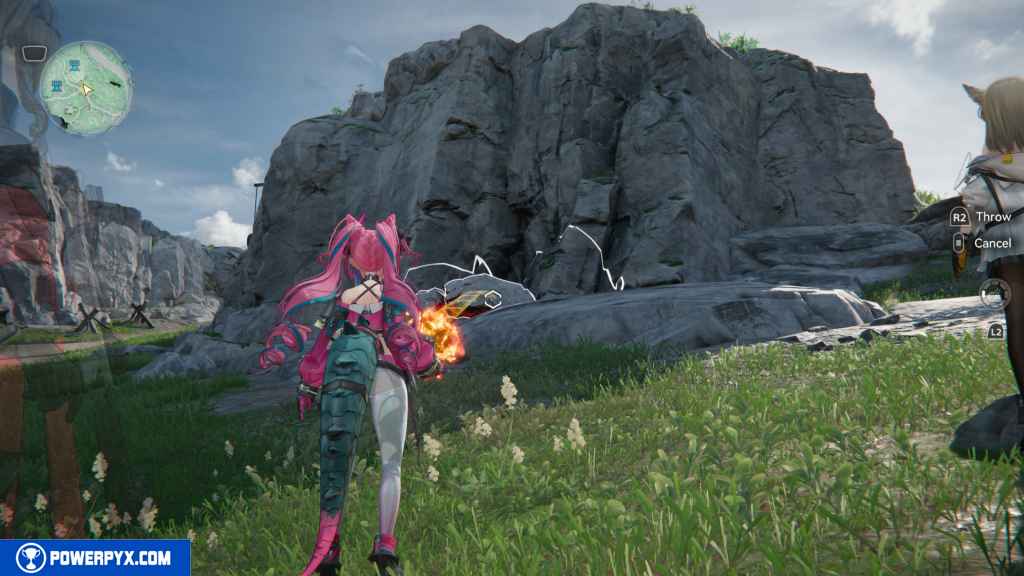
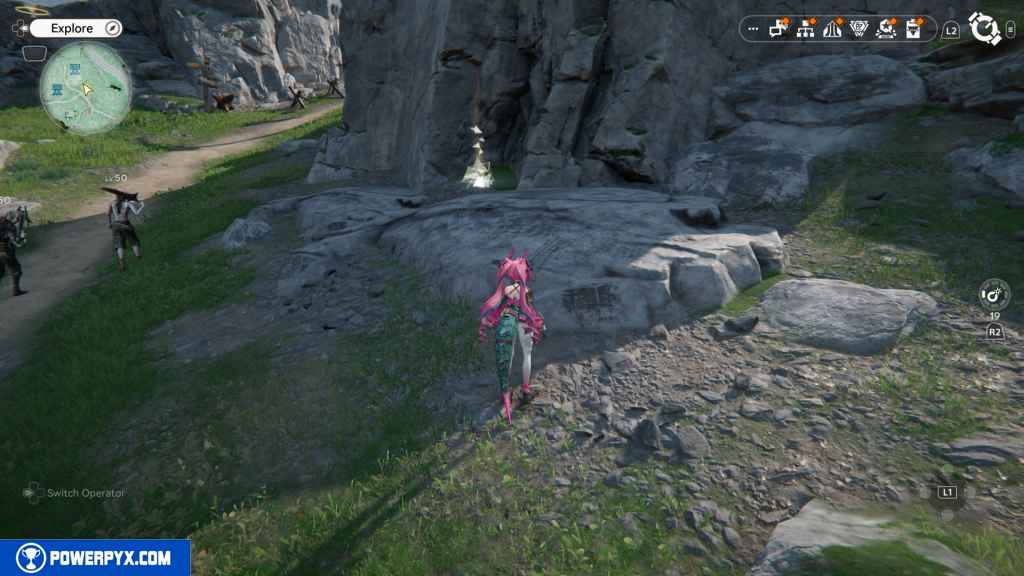
159 – Gathering Point 70
Head west past the watchtower, and you should see another explodable rock on your right. Blow it up to reveal the Gathering Point.
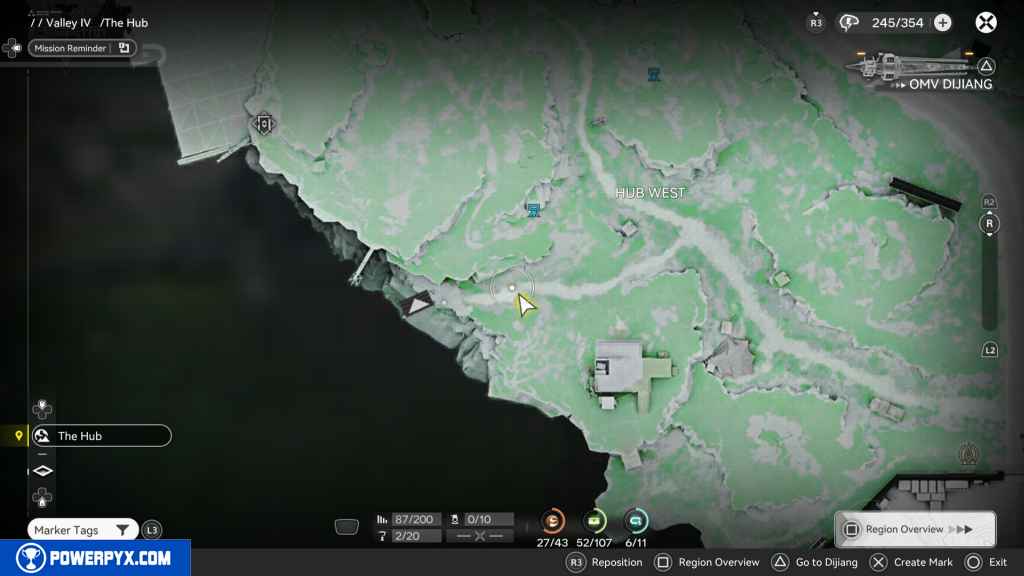
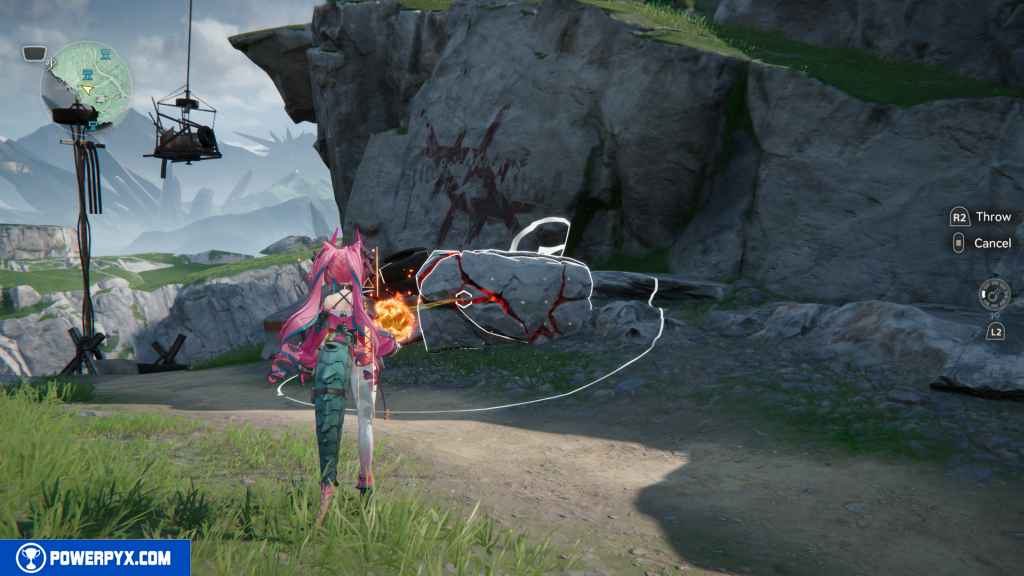
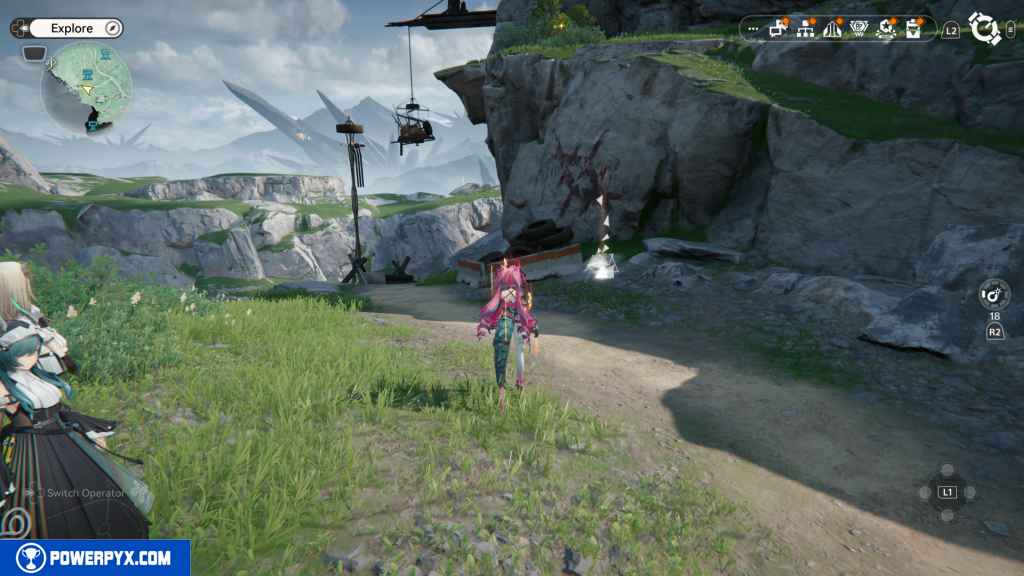
For these next few collectibles, it’s important to have finished Side Mission – Invisible Glyphs: Discovery and either begun or finished Side Mission – Invisible Glyphs: Investigation.
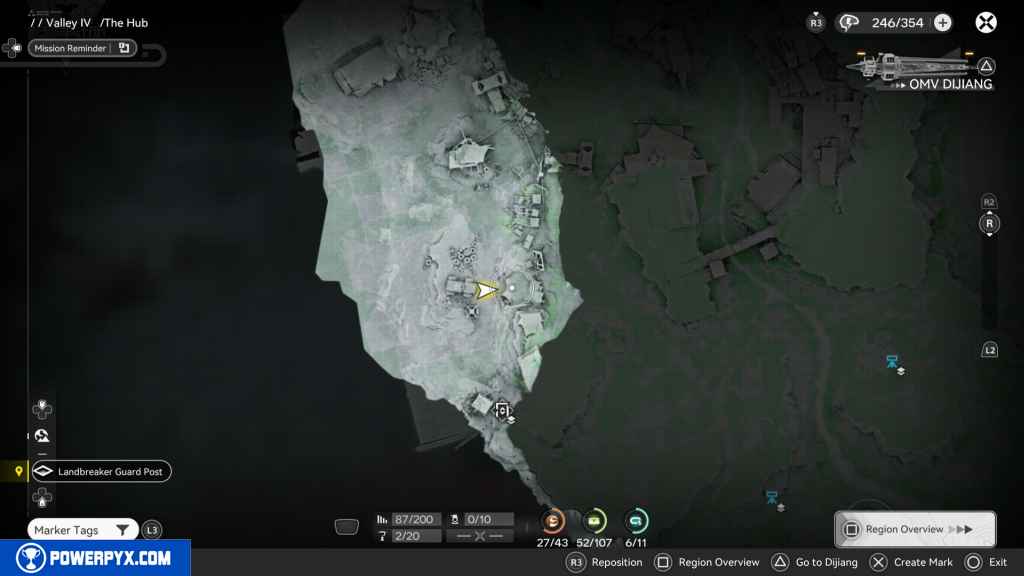
160 – Gathering Point 71
Head northwest down the rocky path to the shore cavern from the last Gathering Point. Continue until you see your first camp on the right. Inside this camp is the Gathering Point.
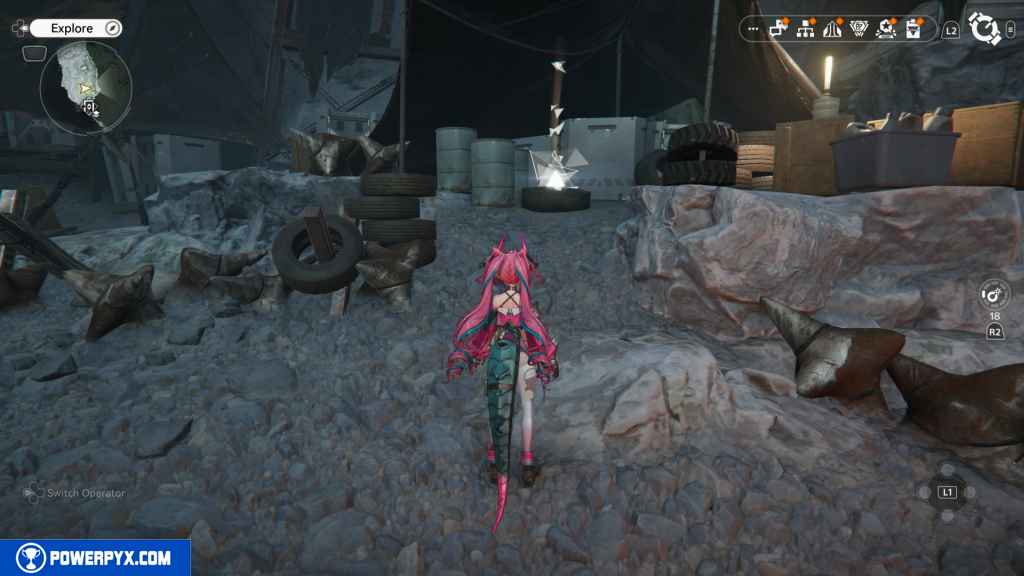
161 – Crate 52
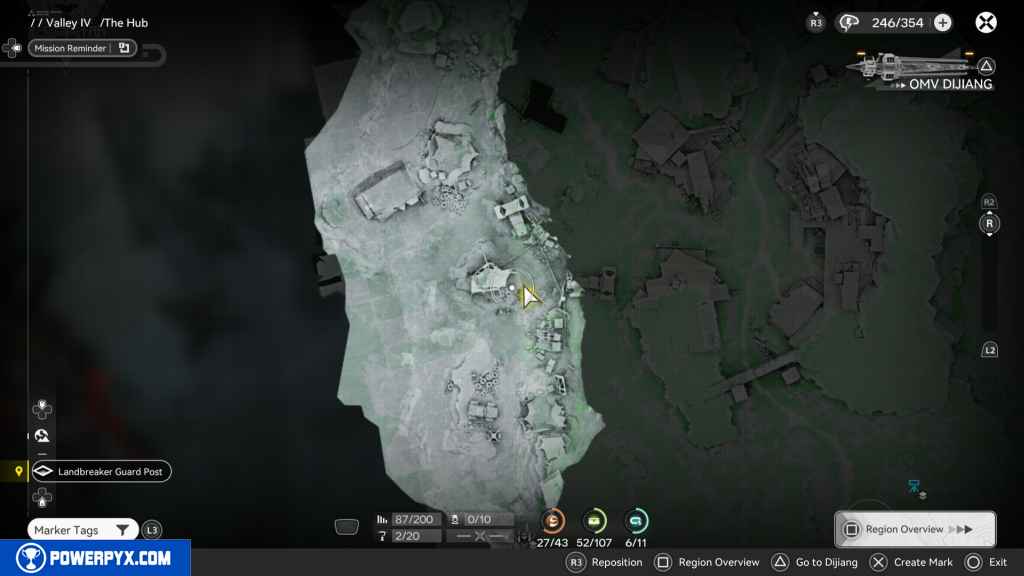
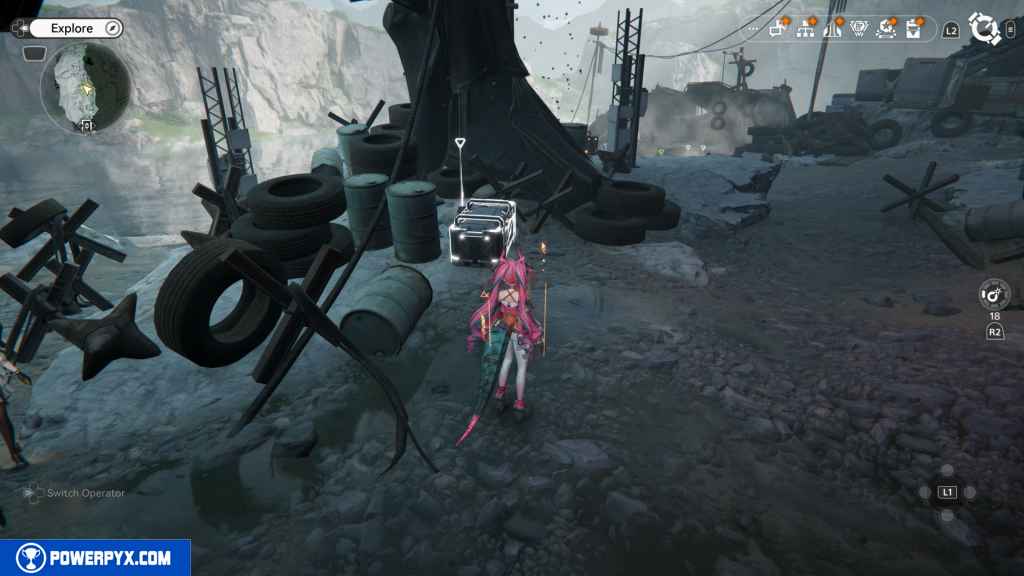
Go north to the large structure. The crate is on the east side of the structure.
162 – Crate 53
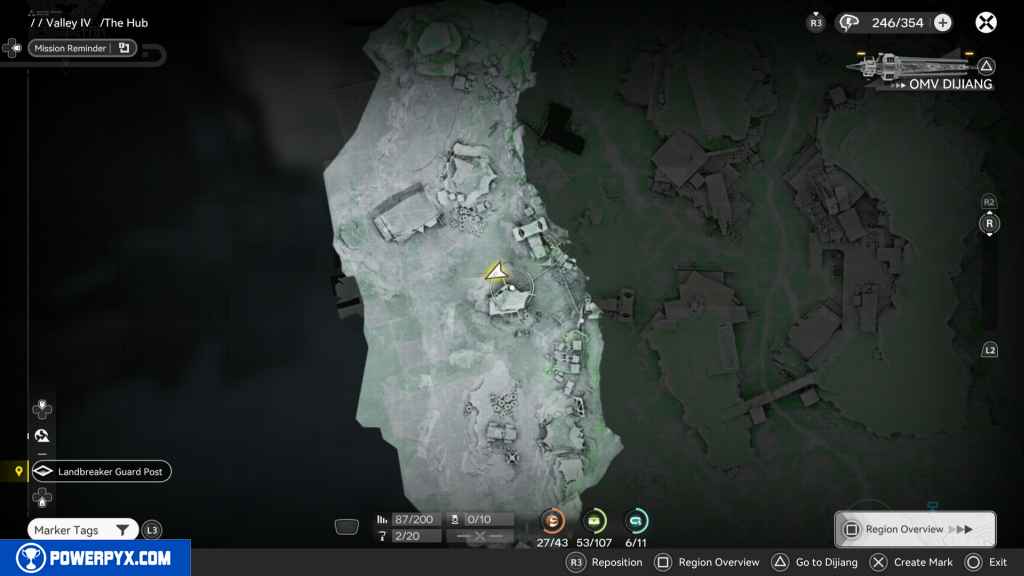
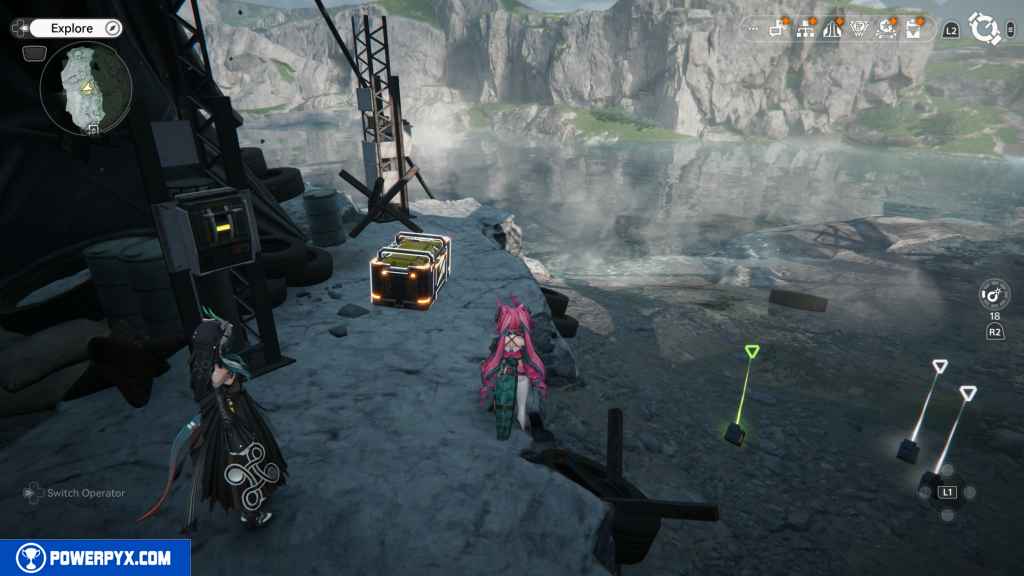
The north side of the same structure is another crate.
163 – Crate 54
Head northwest around the camp with boxes, and around the corner is the crate.
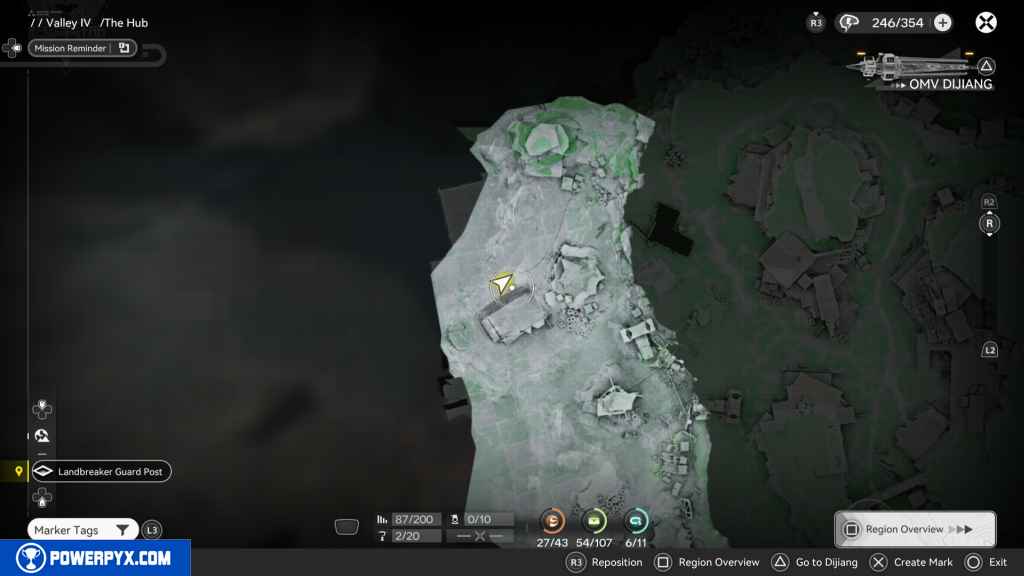
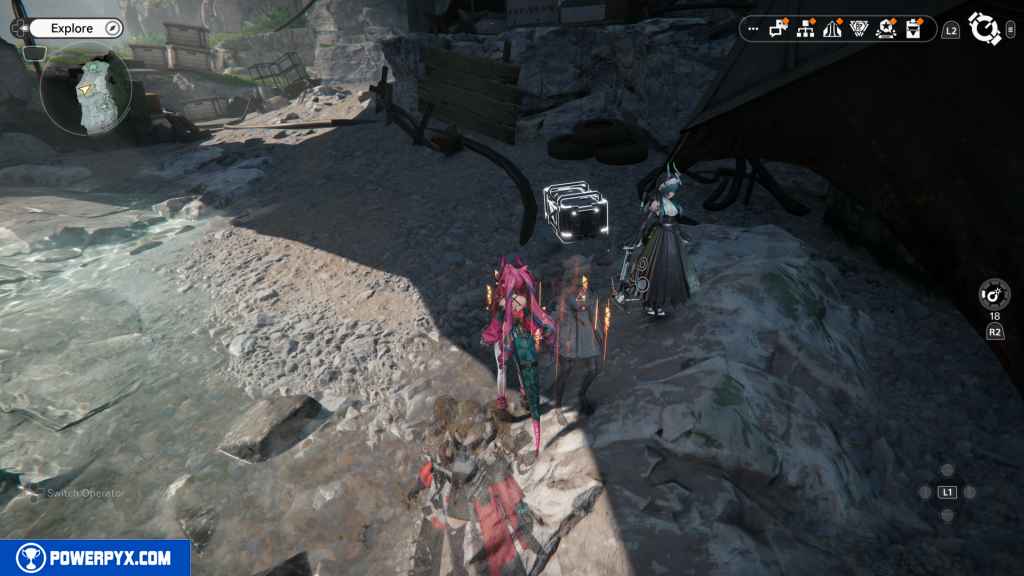
163 – Gathering Point 71
Head north from the crate and in Debrey, and the boxes are the Gathering Point.
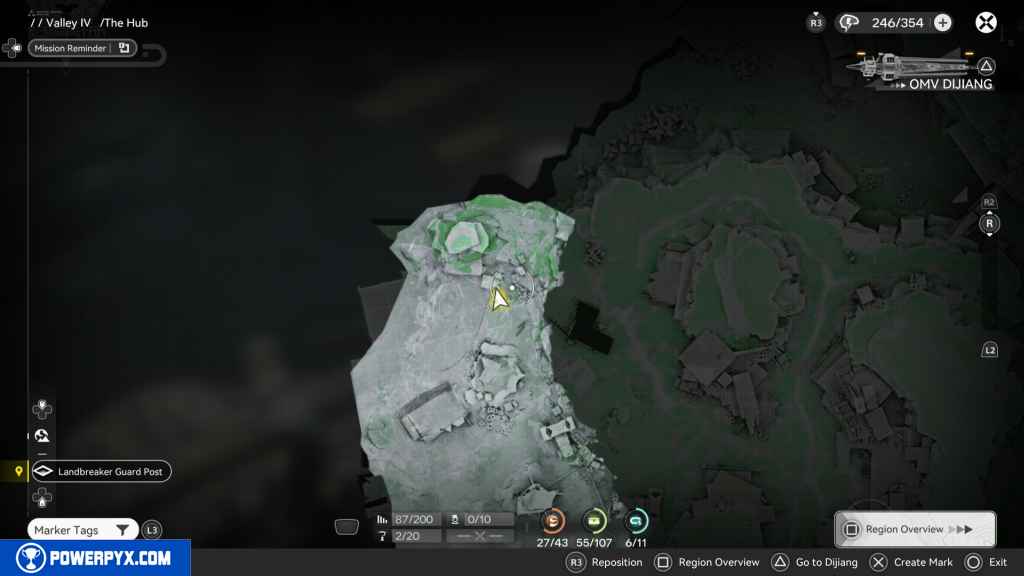
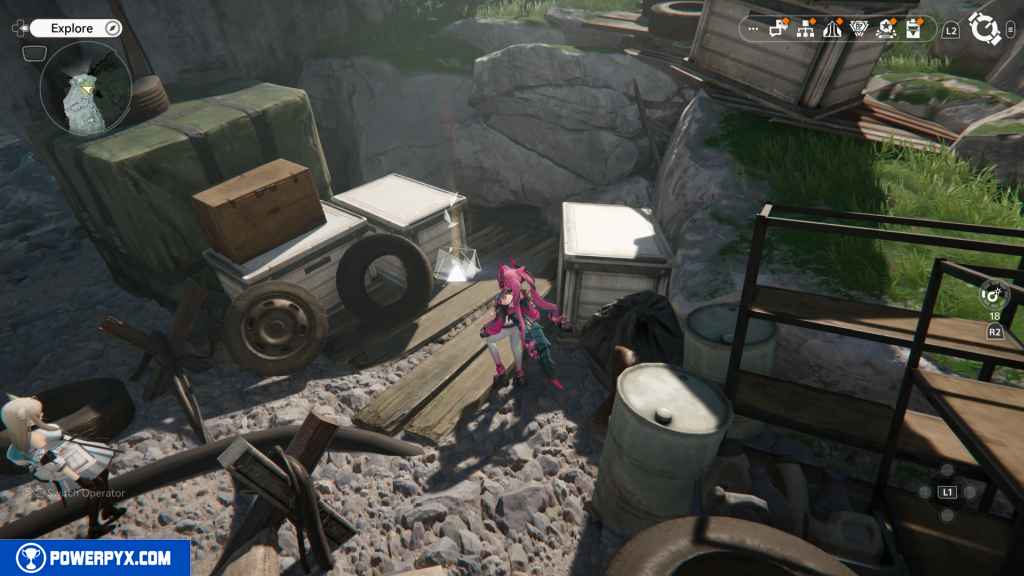
164 – Gathering Point 72
Turn around and go back on the path you left. In the camp on the right, the Gathering Point is.
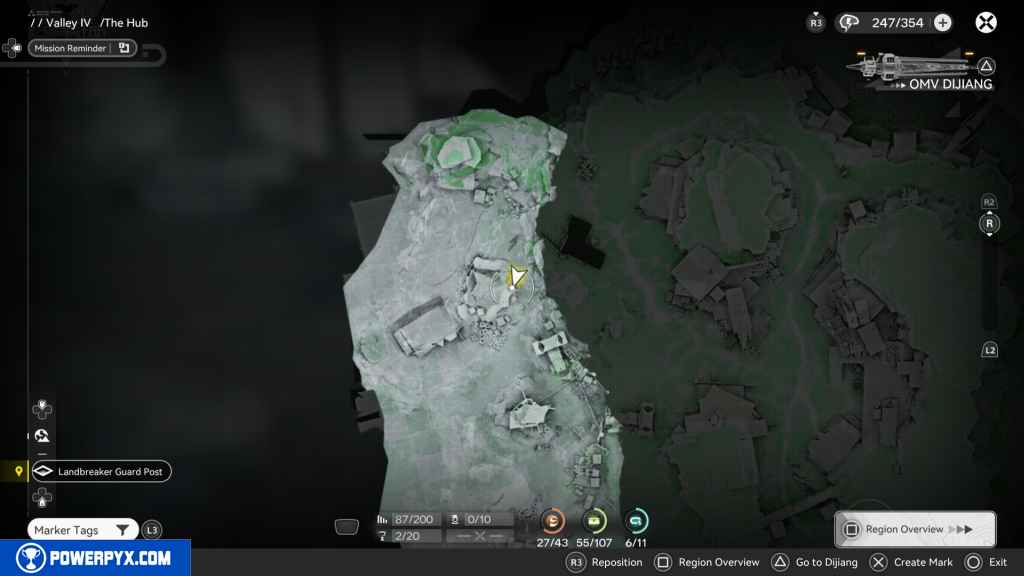
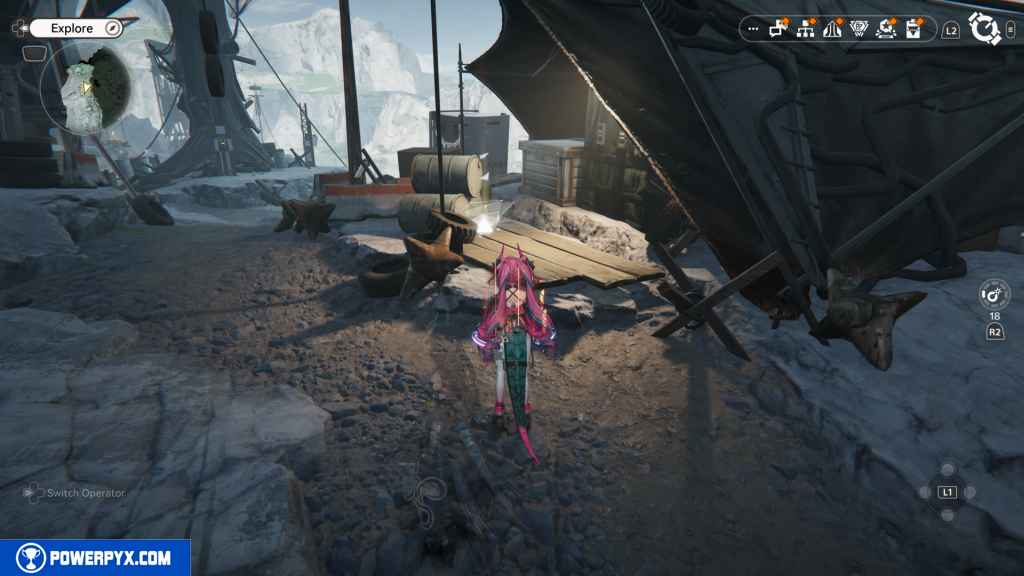
165 – Crate 55
To get the next couple of collectibles, you need to have started or finished Side Mission – Invisible Glyphs: Investigation. In the cave, look for the path to the east as part of the Invisible Glyphs: Investigation quest. Go inside the cave and along the path, and you will find the crate at the campsite.

166 – Crate 56
This crate is required to be picked up at the end of the Side Mission – Invisible Glyphs: Investigation, and cannot be missed.

167 – SOS Repair Bot 5
Leave the cave and drop down to the container graveyard. Look northwest, and you should see the SOS Repair Bot on the dock with a burning Landbreaker and three crates. Defeat the Landbreaker so he doesn’t interfere with your bot repair.
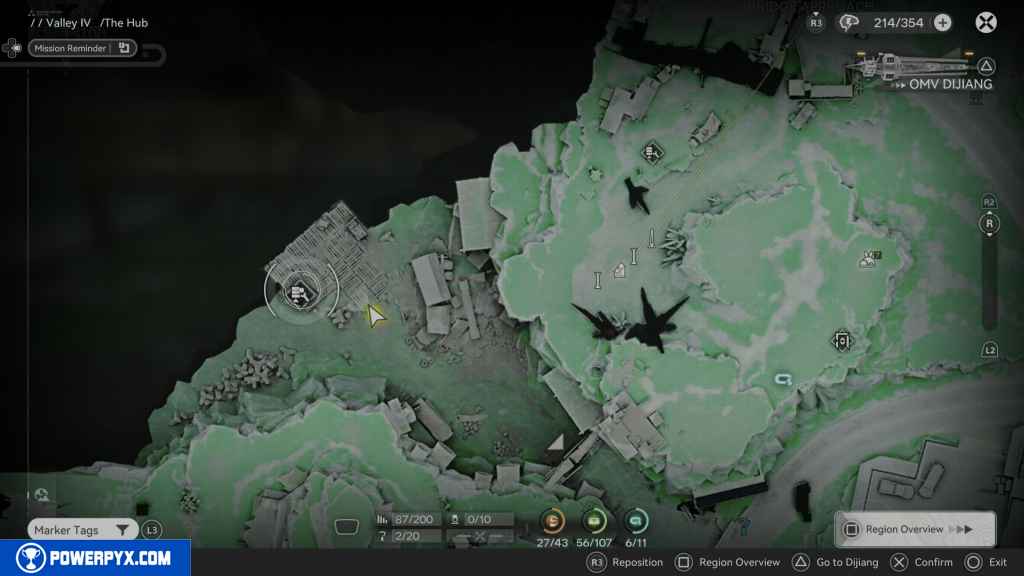
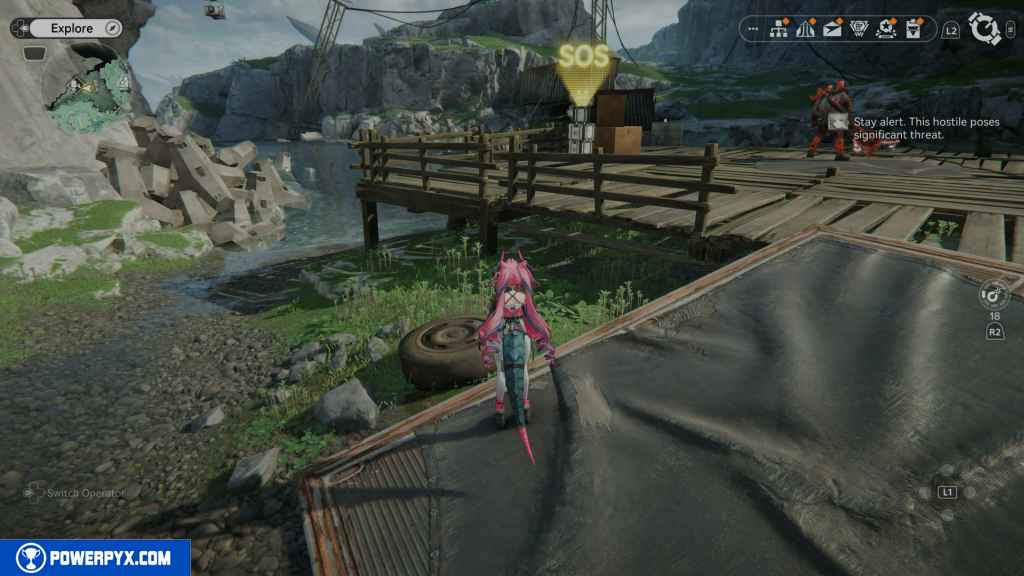
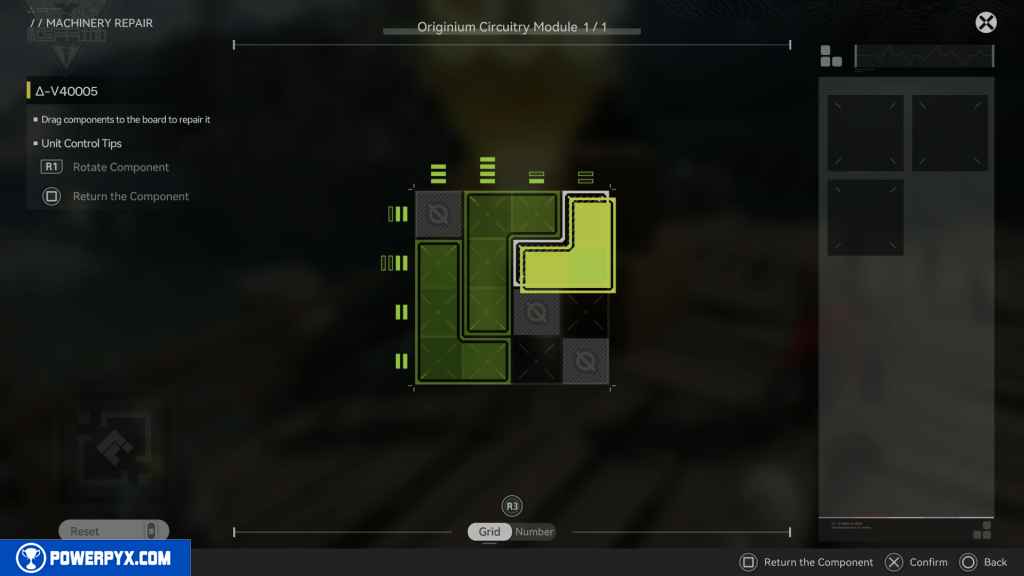
168 – Crate 57
The three crates at the harbor will also unlock so that you can pick them up.
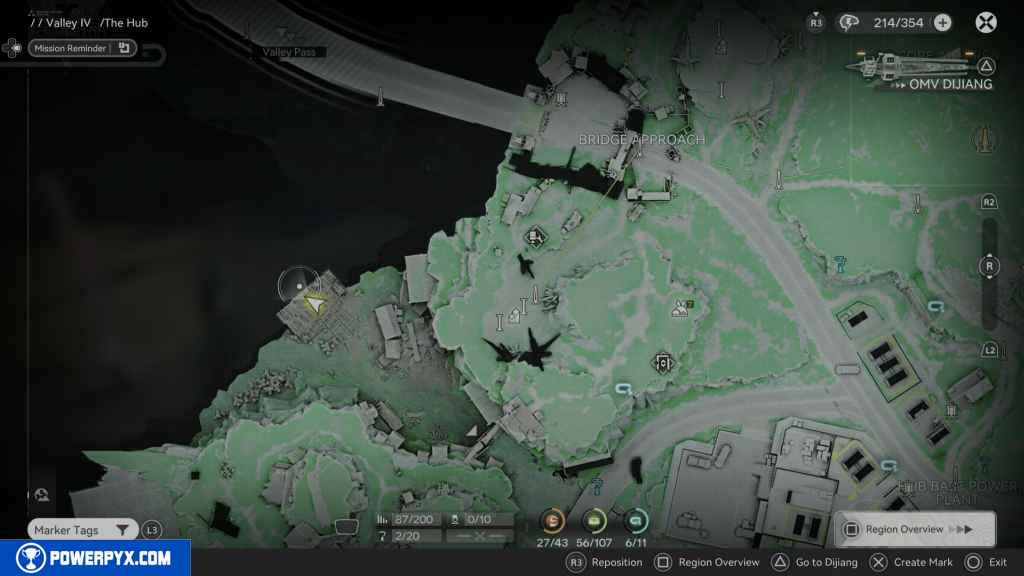
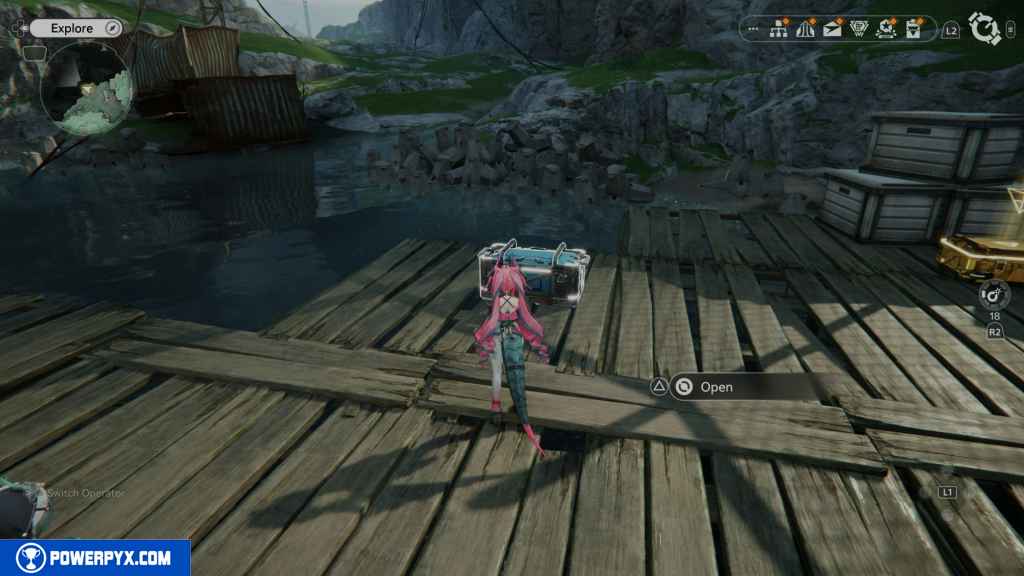
169 – Crate 58
On the harbor with the other two crates.
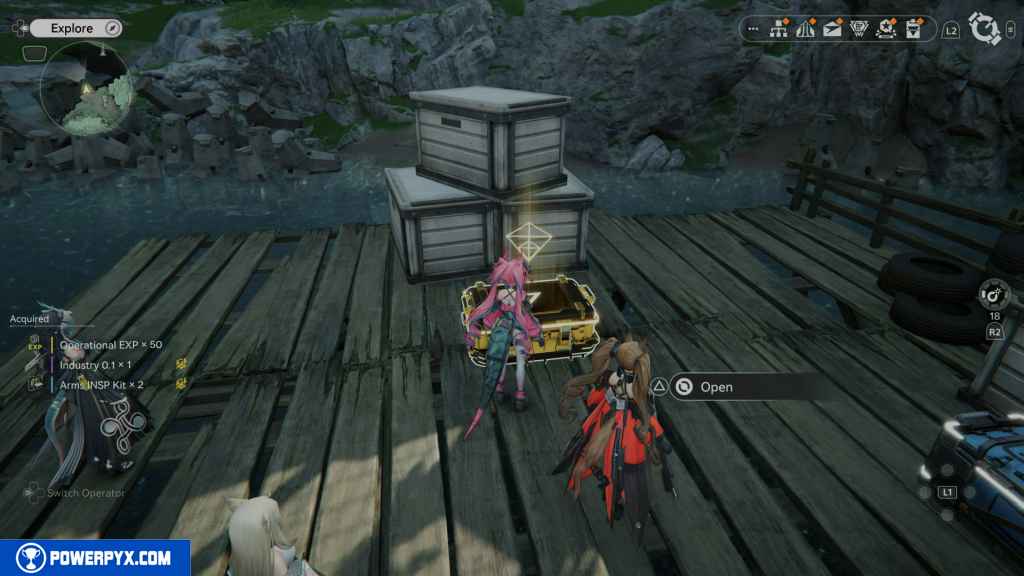
170 – Crate 59
Also on the harbor with the other two crates.
171 – Crate 60
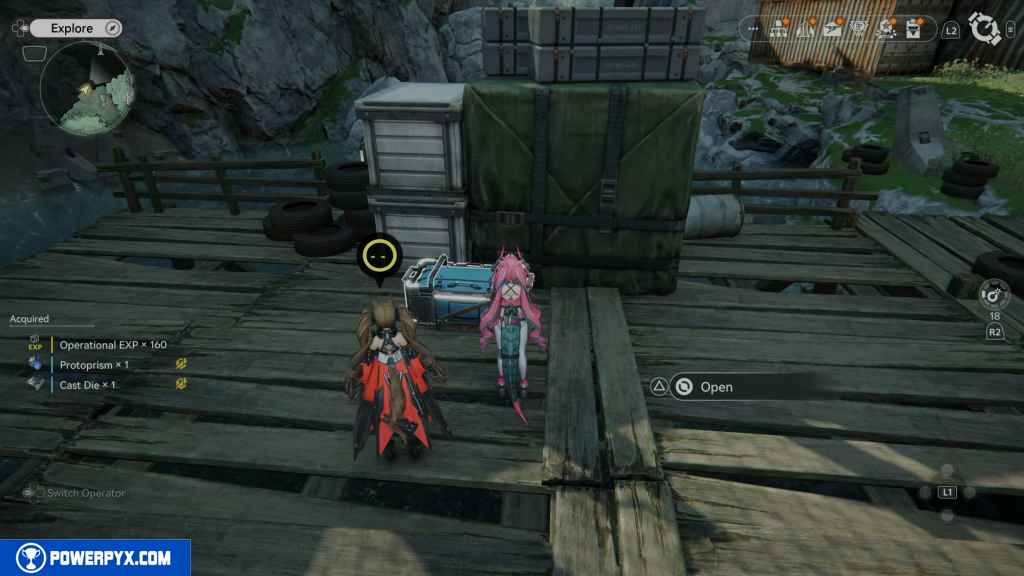
Head southeast along the path under the scaffolding. Along the path, you will see a makeshift path on your right going up the hill. Use it, then turn right and go up to the top of the hill westbound. You should find this crate at the top.
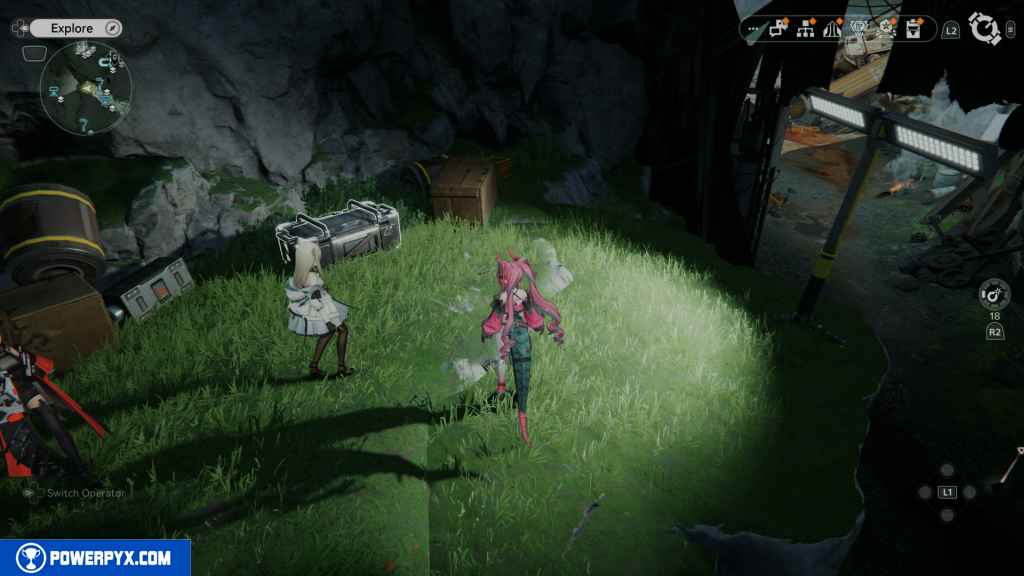
172 – Gathering Point 73
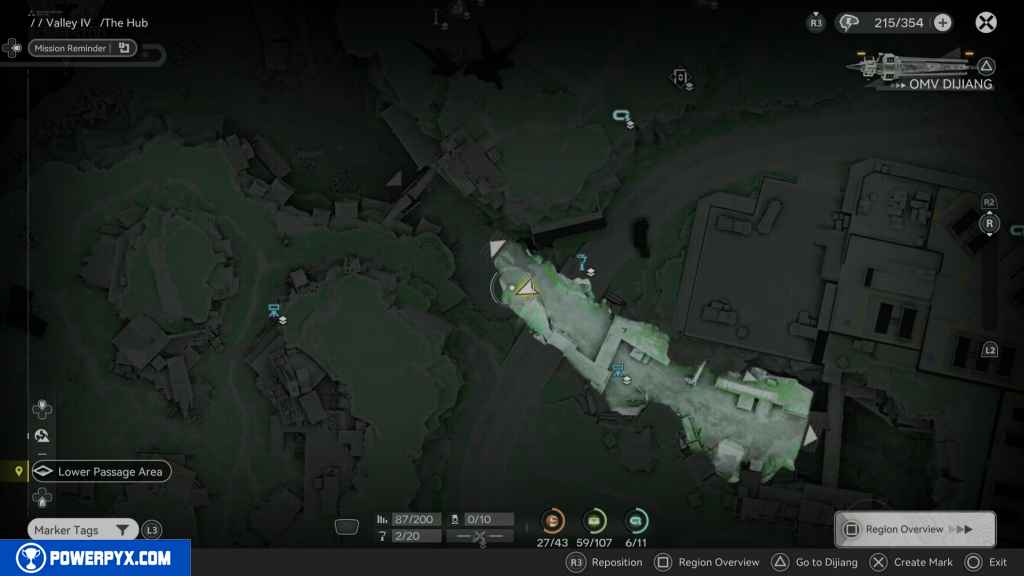
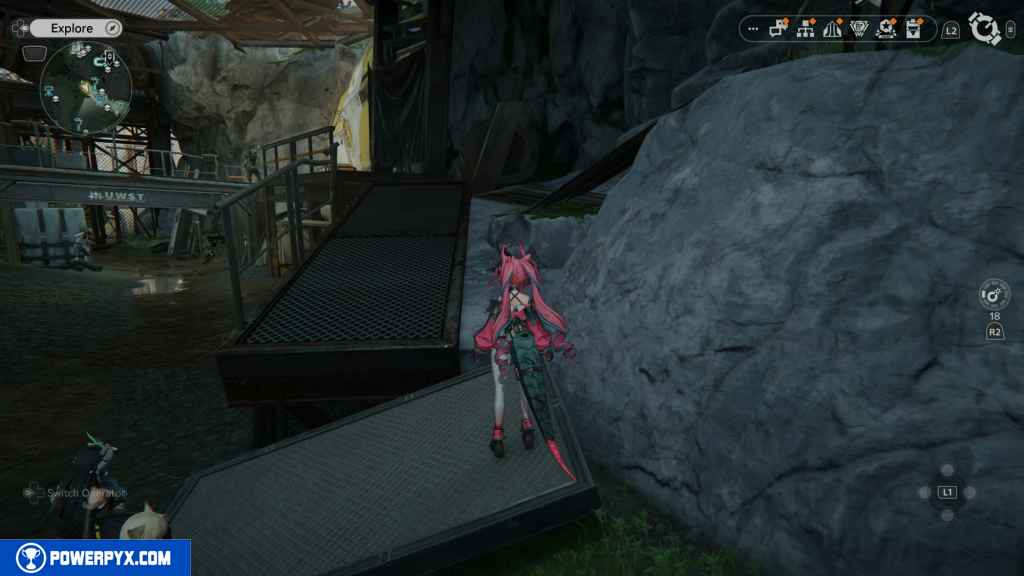
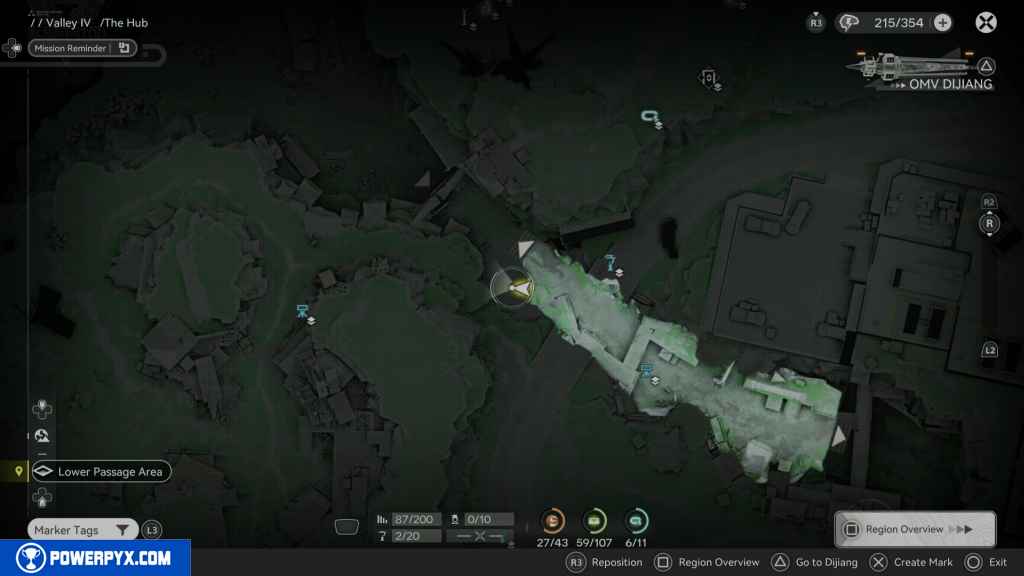
Continue along the path. A blocked cage is in front of you. Turn around, and you should see an explodable box. Blow it up to reveal the Gathering Point.
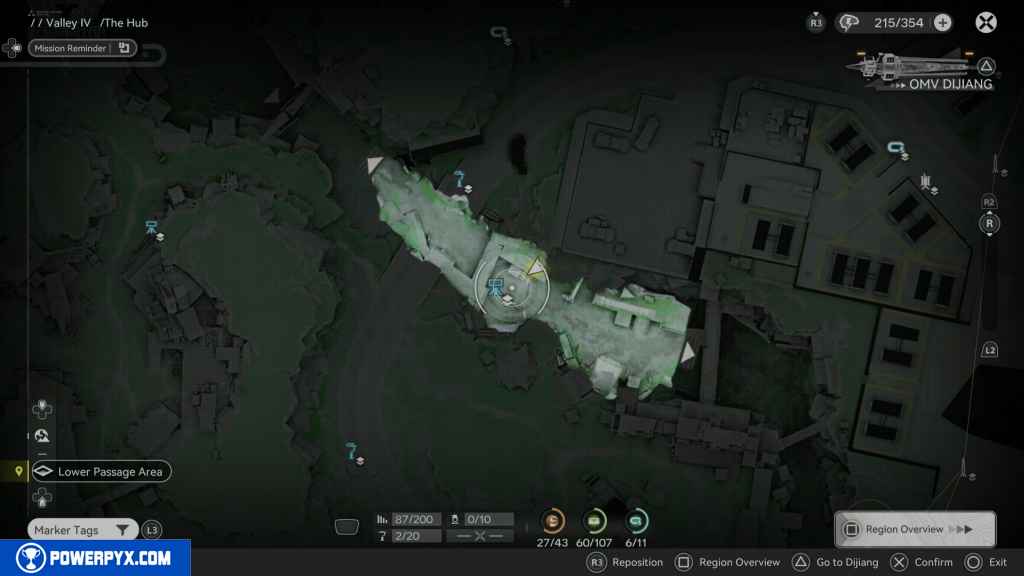
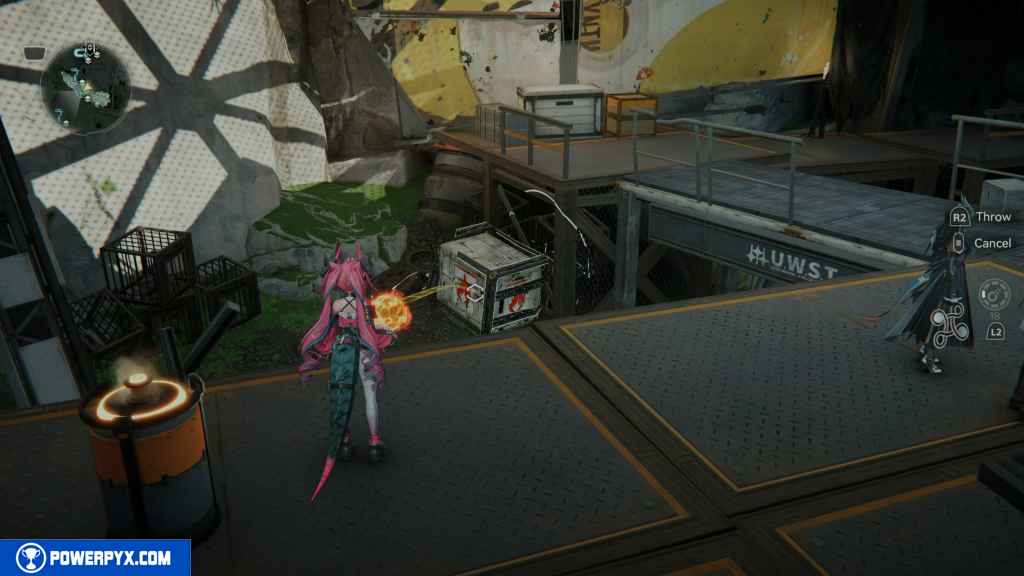
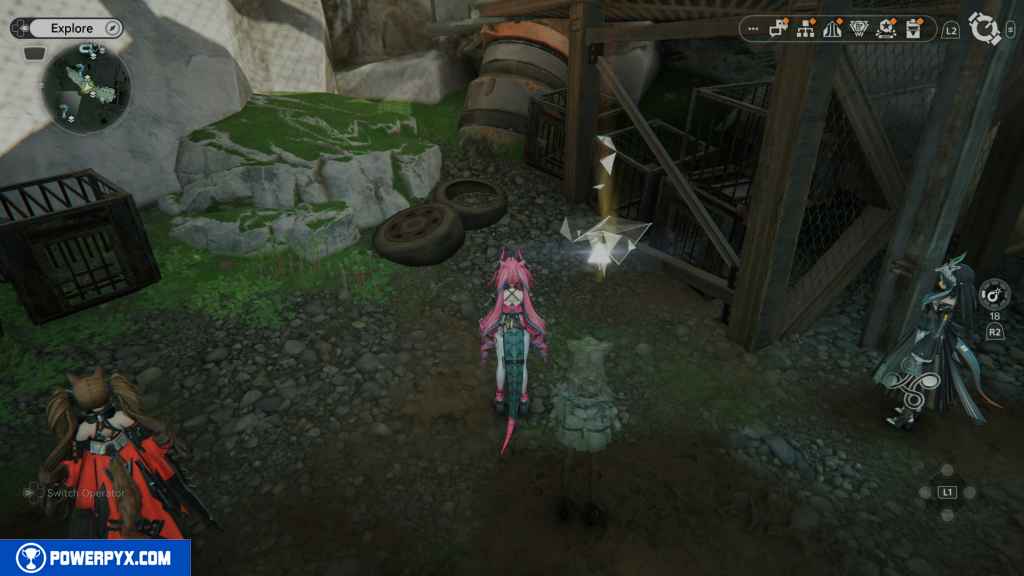
173 – Gathering Point 74
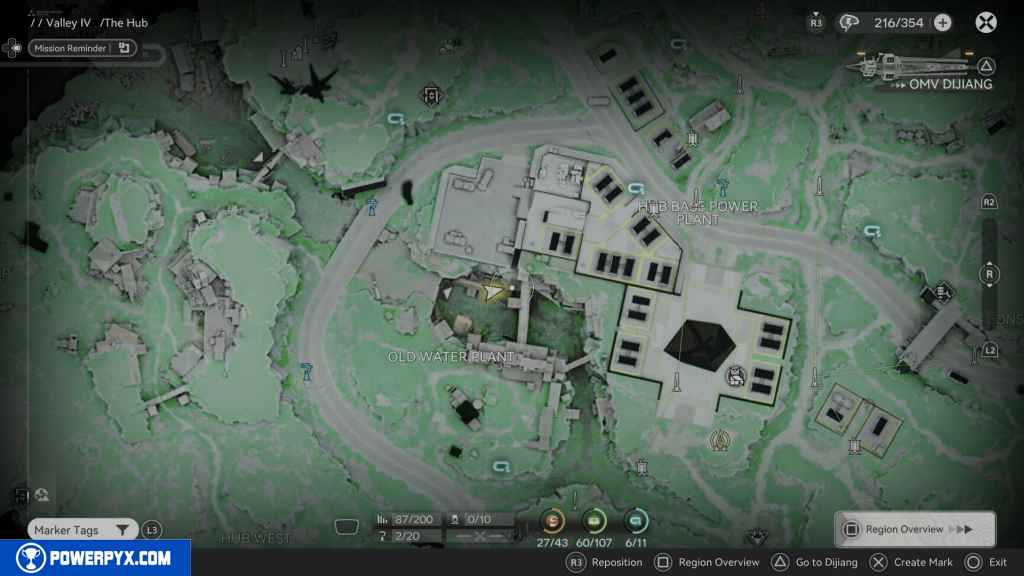
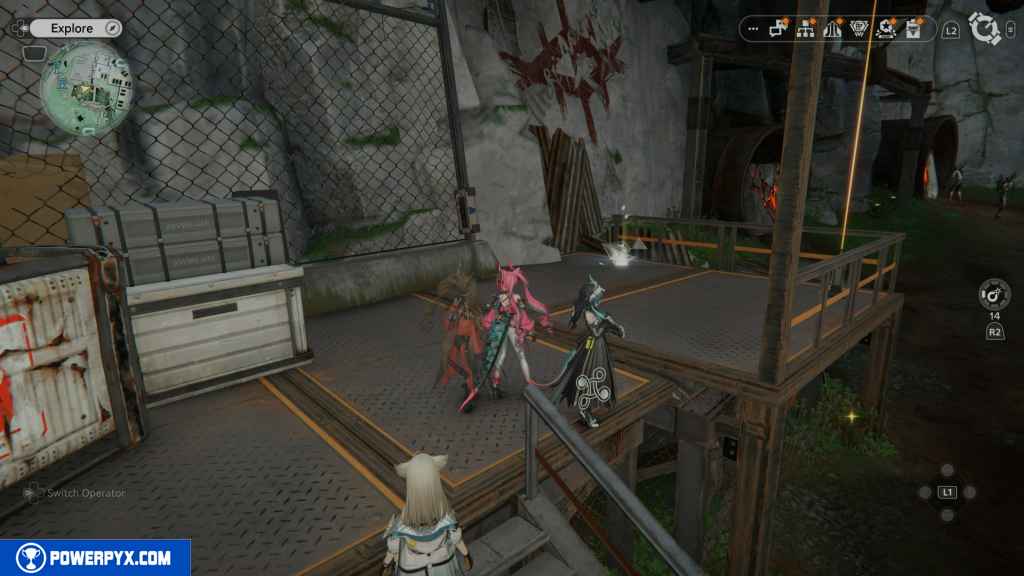
Blow open the explodable wall to pass through the large gate. You will come out in a camp with Landbreakers and a lot of explodable boxes. The box on the second level, far east, has a Gathering Point.
174 – Gathering Point 75
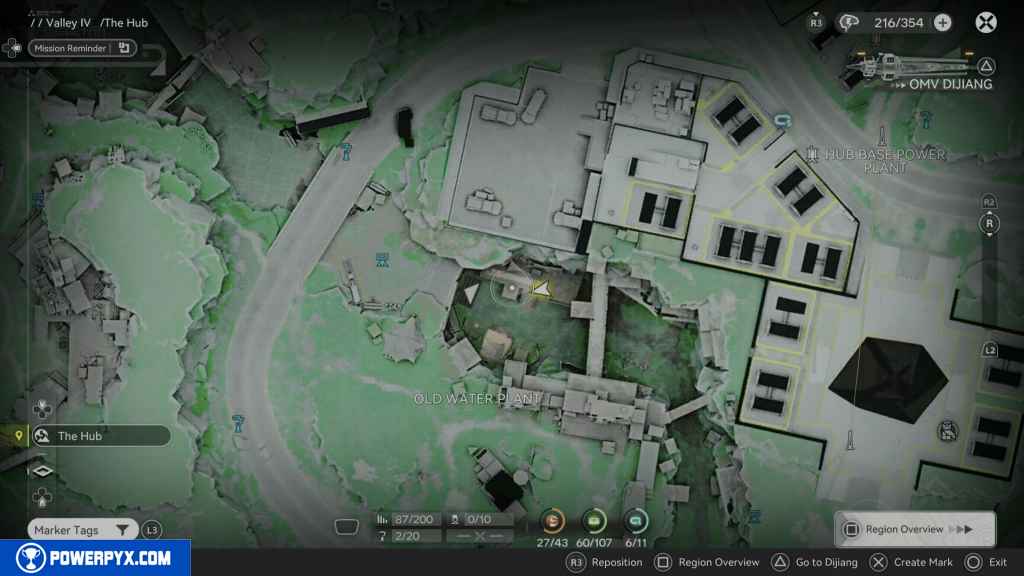
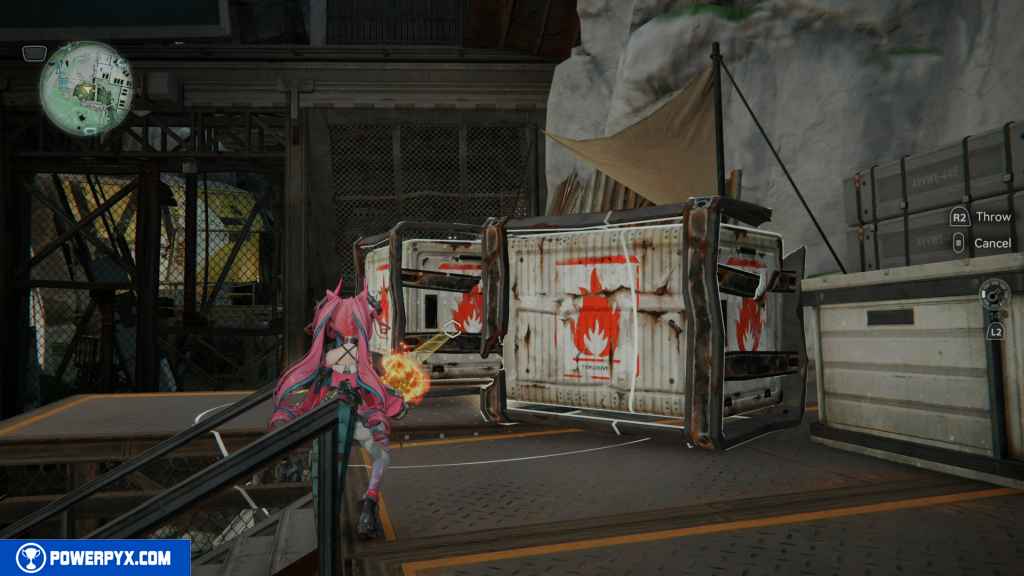
West of the last Gathering Point are two more explodable boxes. The far one to the west has another Gathering Point.
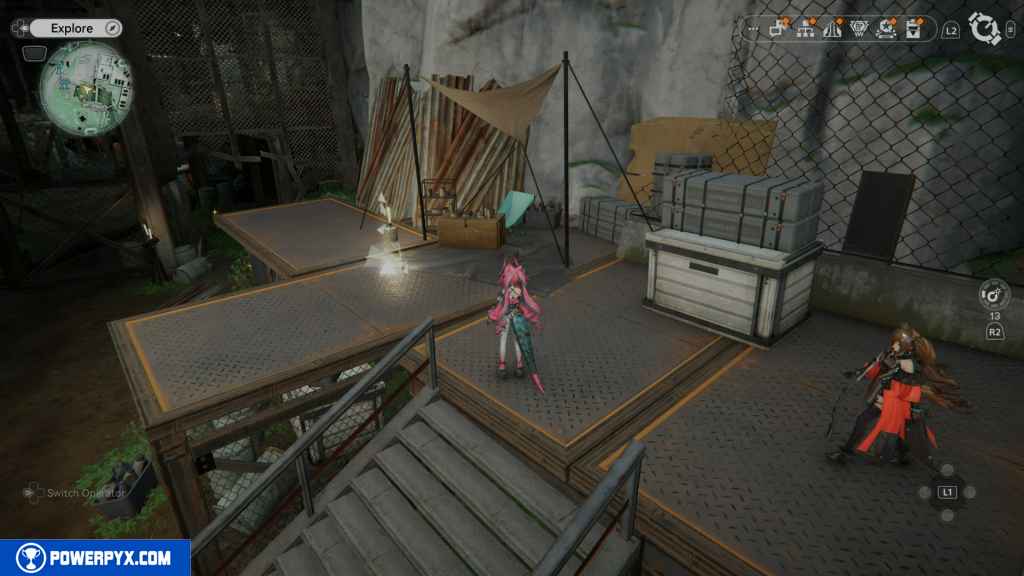
175 – Crate 61
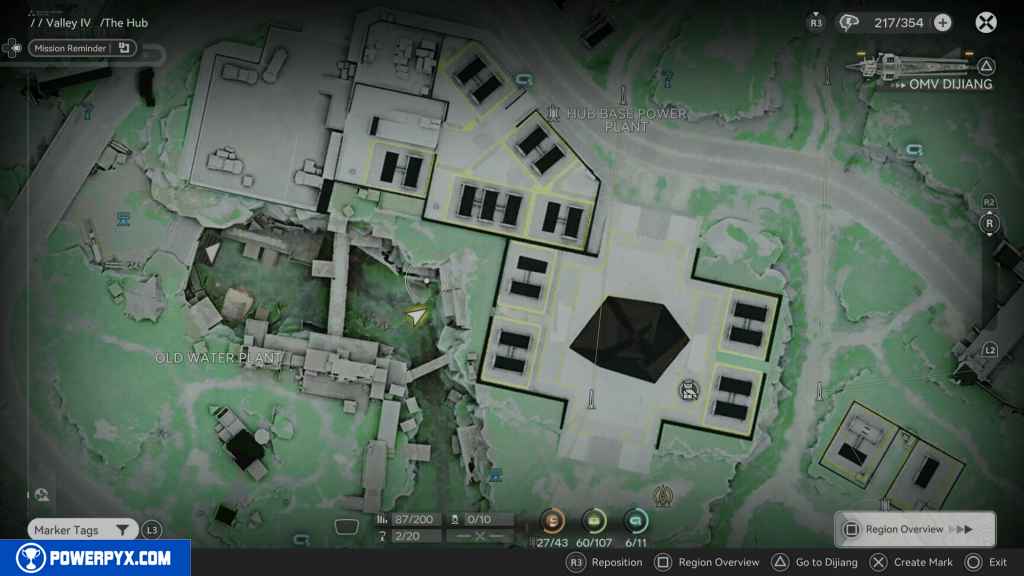
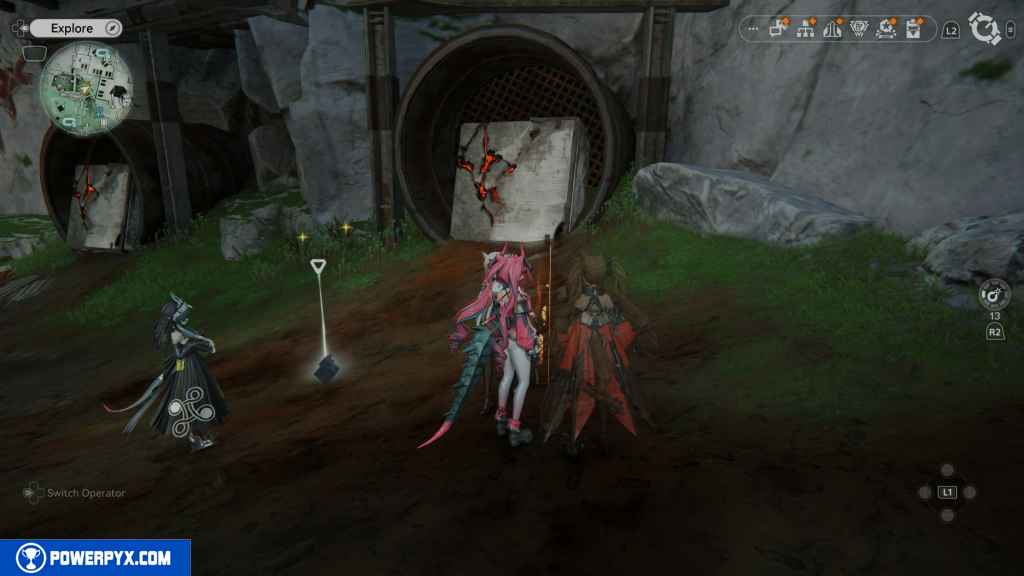
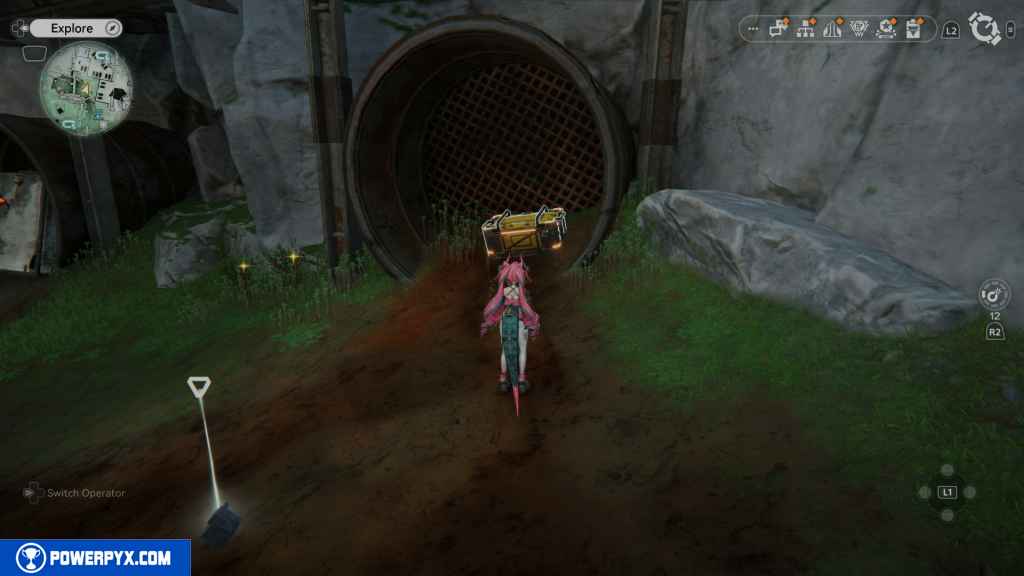
Further east, you will see two pipes with explodable walls. The far eastern pipe has a crate behind the wall.
176 – Crate 62
Head south from the last crate, and you should see another pipe with a walkway on top of it with a crate. Jump up the boxes right in front of you to the left and up to the crate.
177 – Crate 63
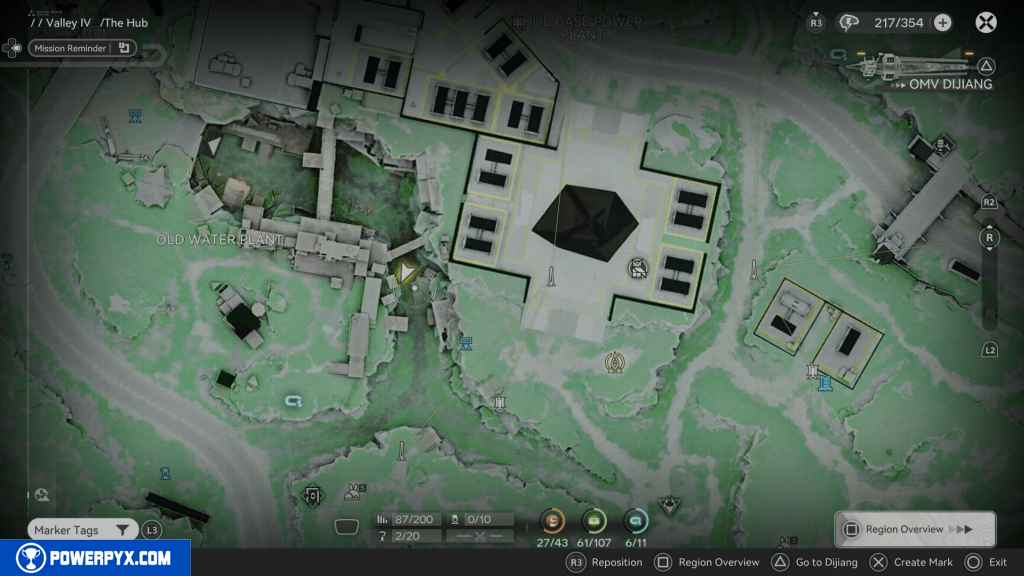
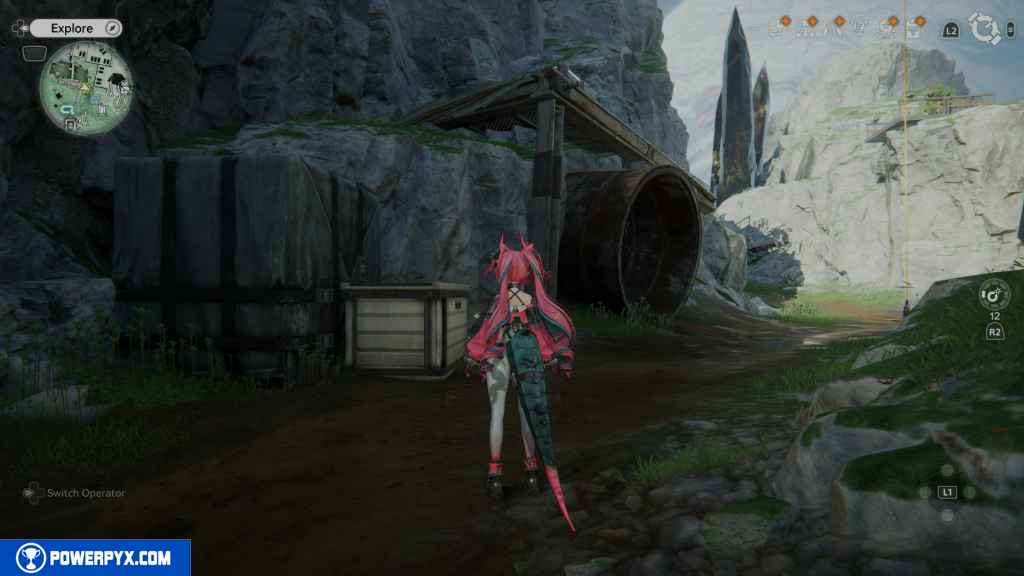
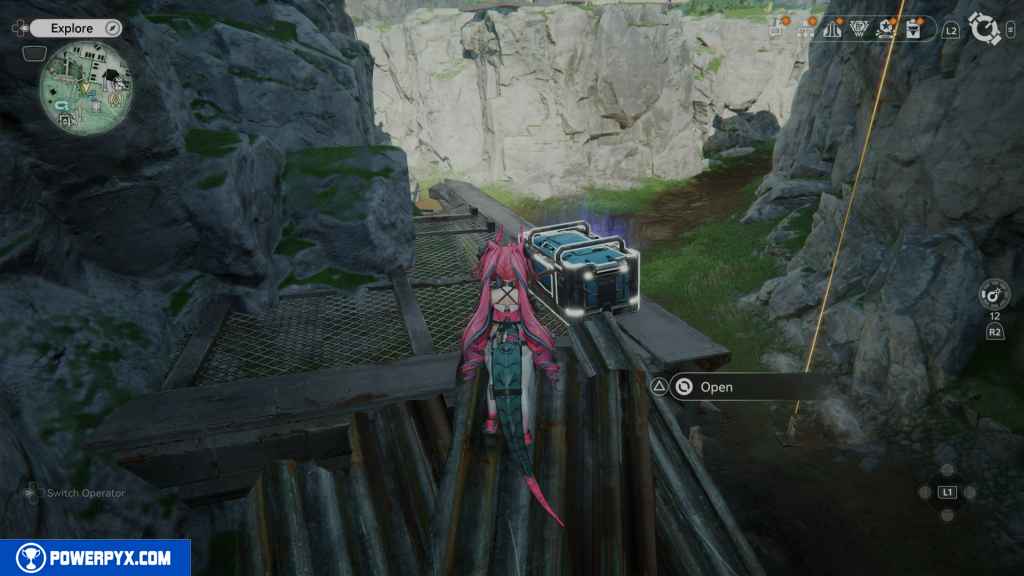
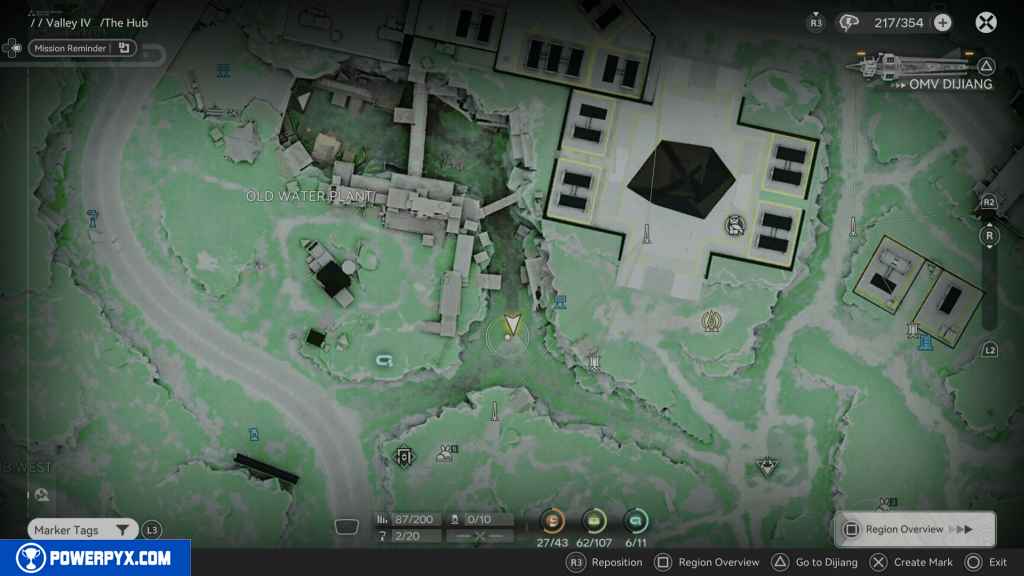
South of the last crate is an Energy Alluvium. Activate it and defeat the enemies to unlock the crate.
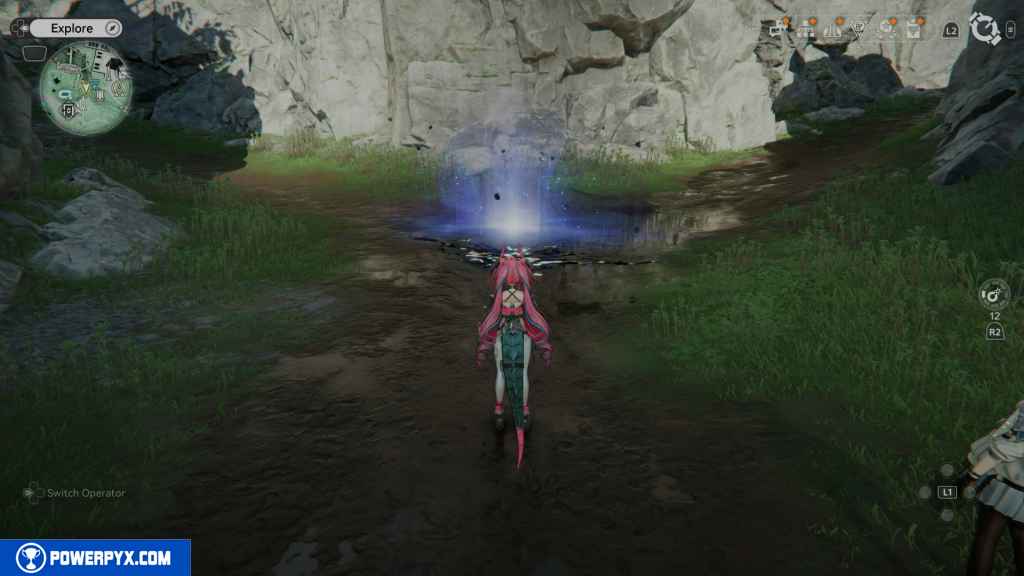
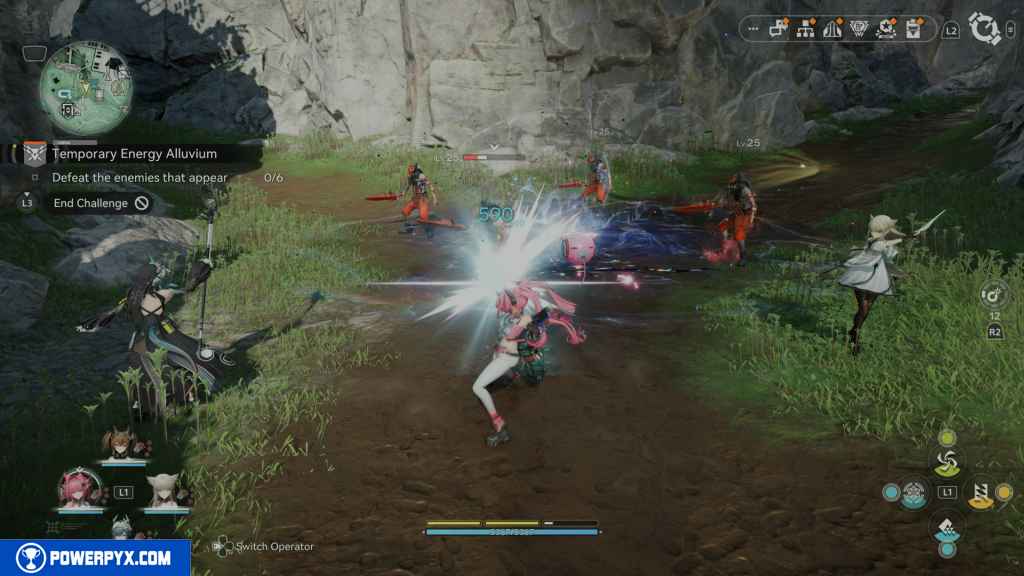
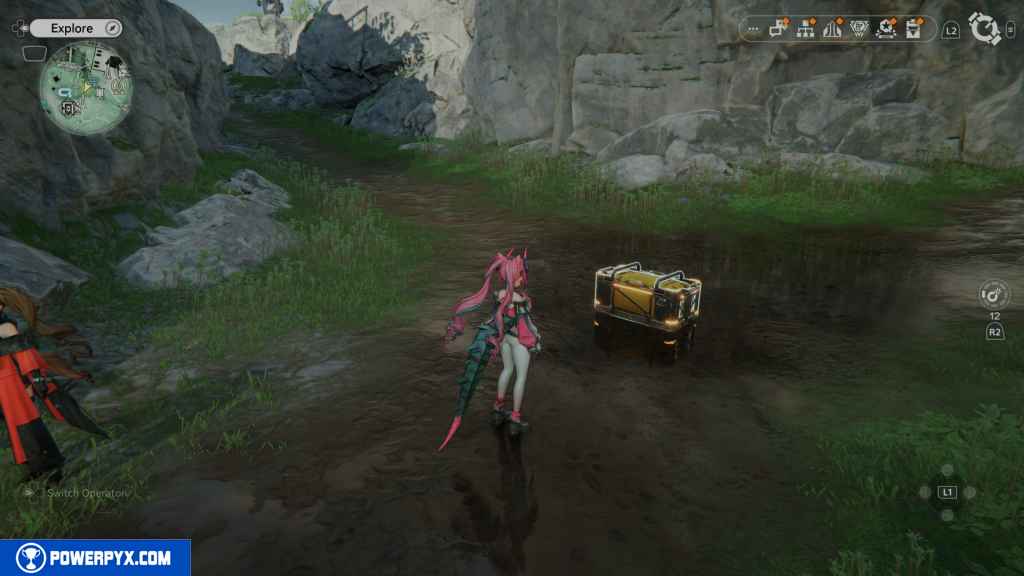
178 – Crate 64
Head west at the split path, and you should come up in front of a large U.W.S.T. sign. Below that sign is another Energy Alluvium. Defeat the enemies that emerge from it to unlock the crate.
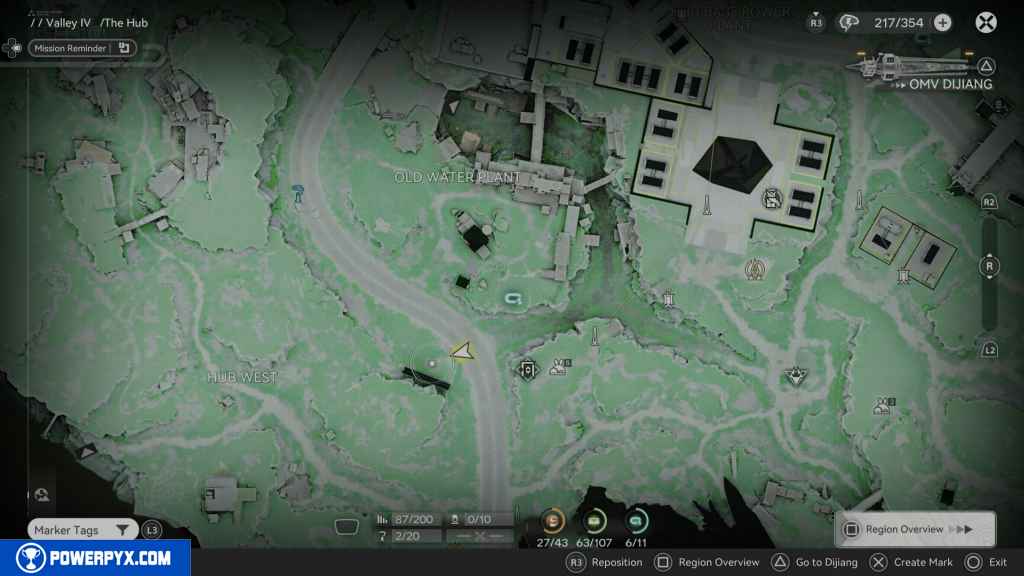
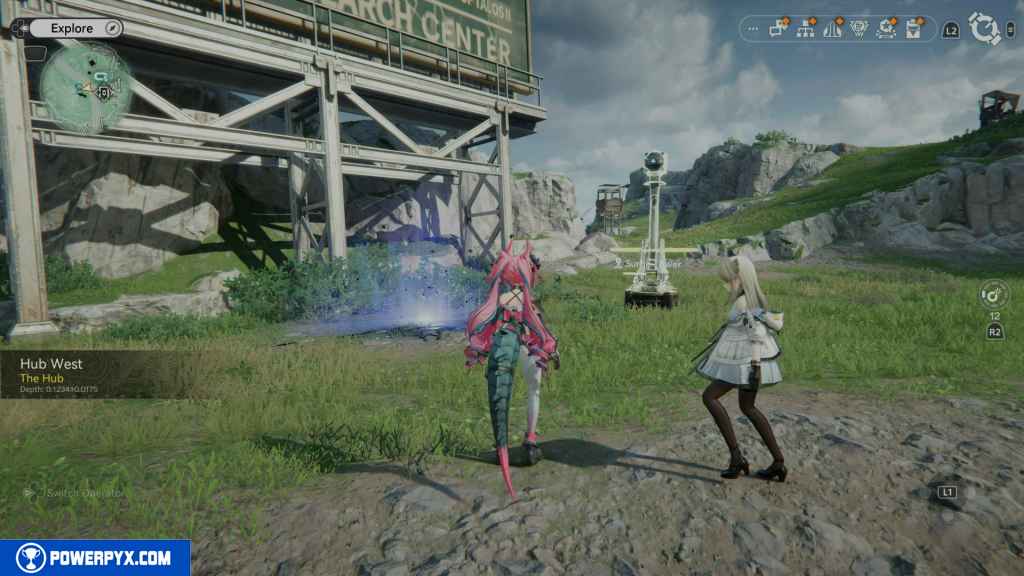
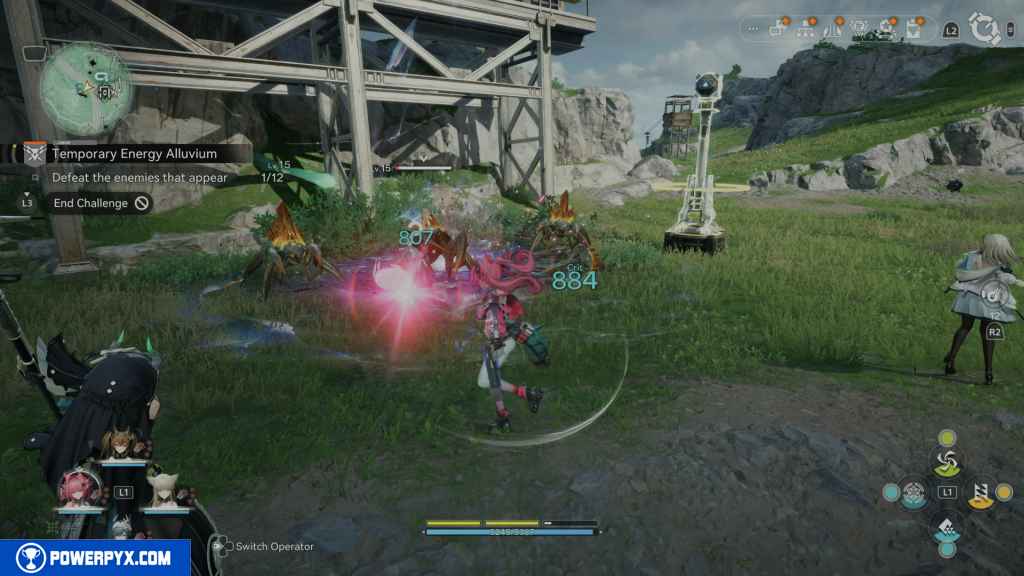
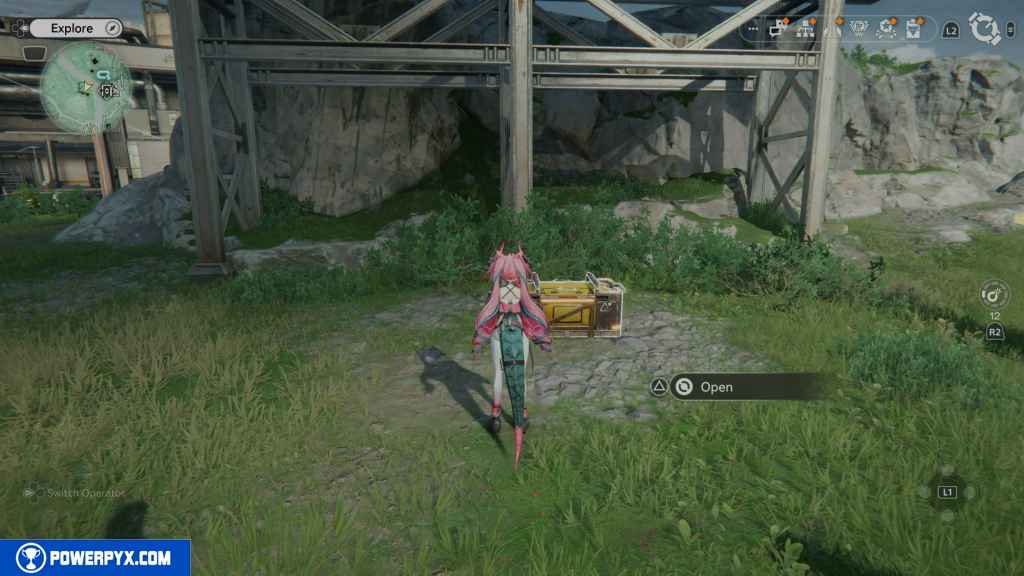
179 – Gathering Point 76
Head to the Landbreaker camp on the hill to the northwest. North of the watchtower. In this camp, you will see many explodable boxes to the east. Blow them up to reveal a Gathering Point.
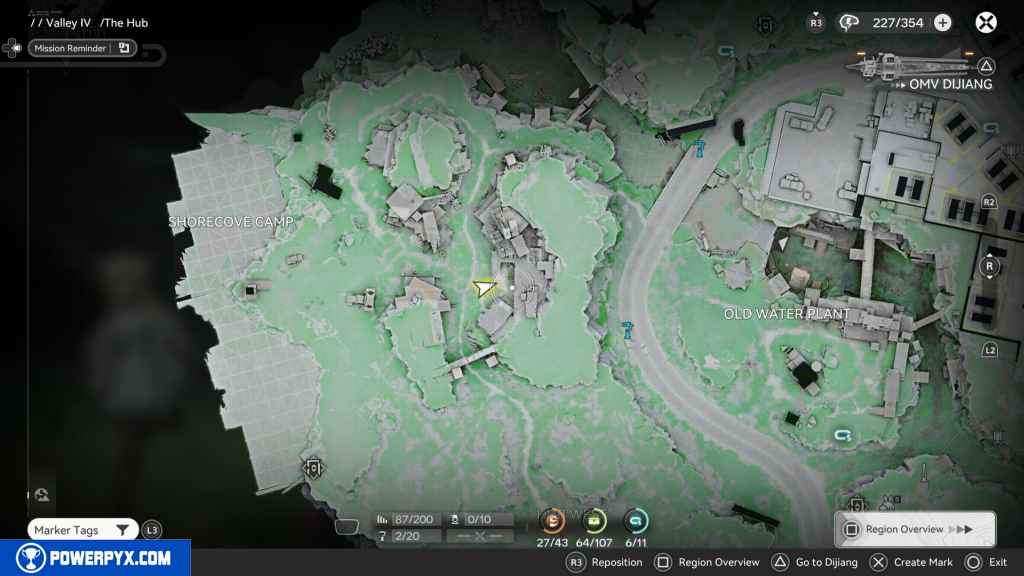
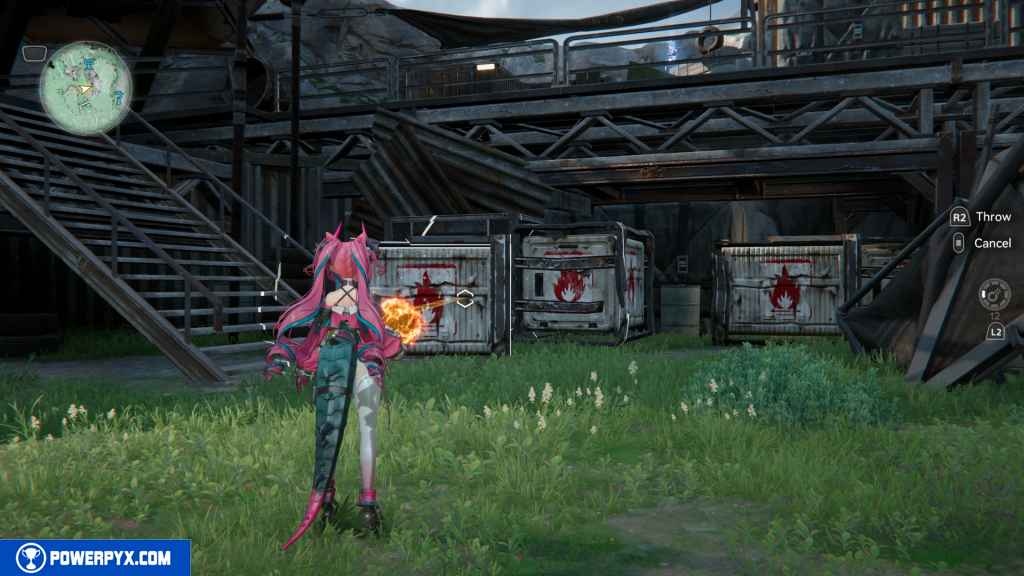
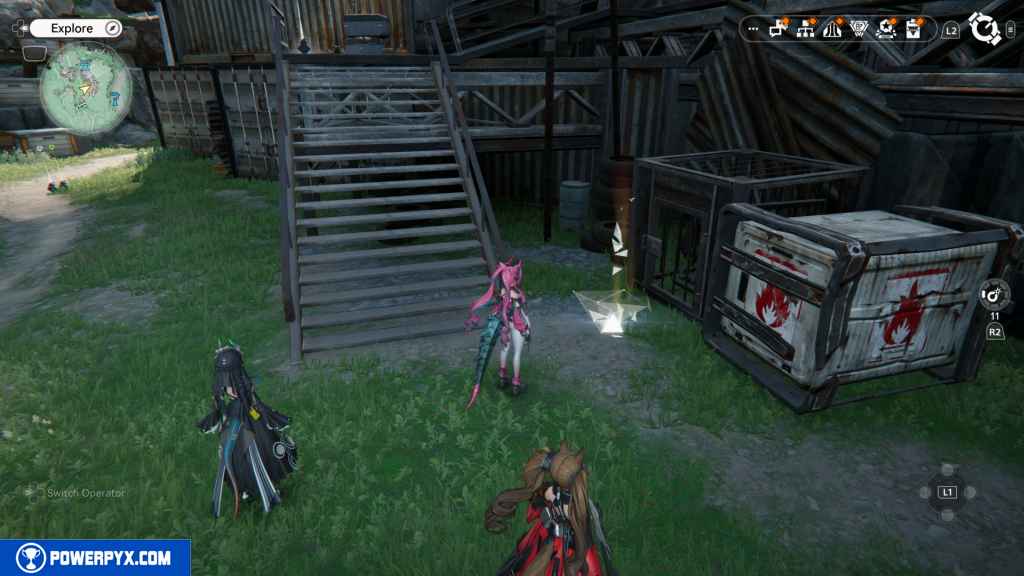
180 – Crate 65
Blow up the rest of the explodable boxes, and a path will appear going underneath the scaffolding platform. Go around the corner underneath it, and you will find two crates.
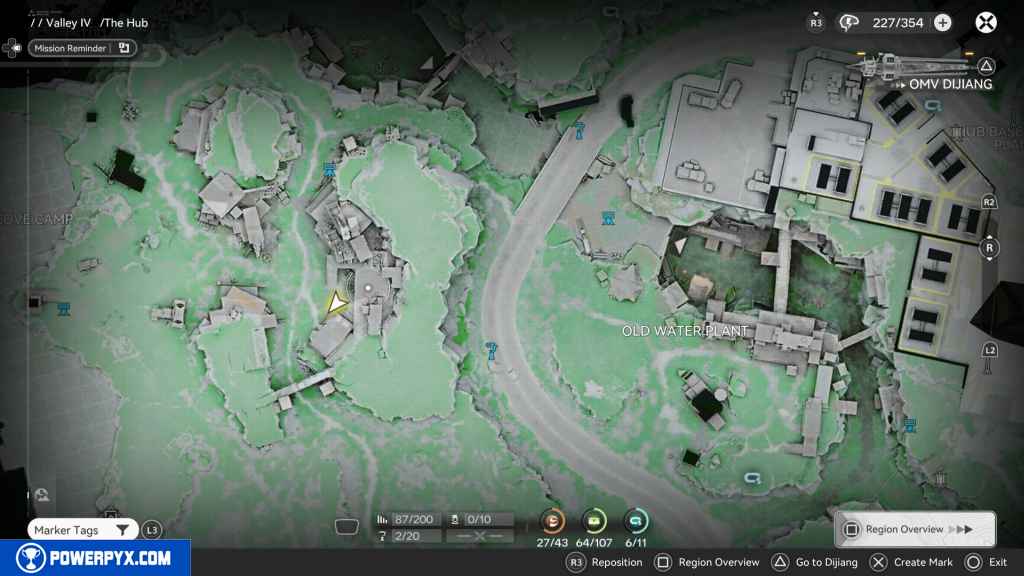
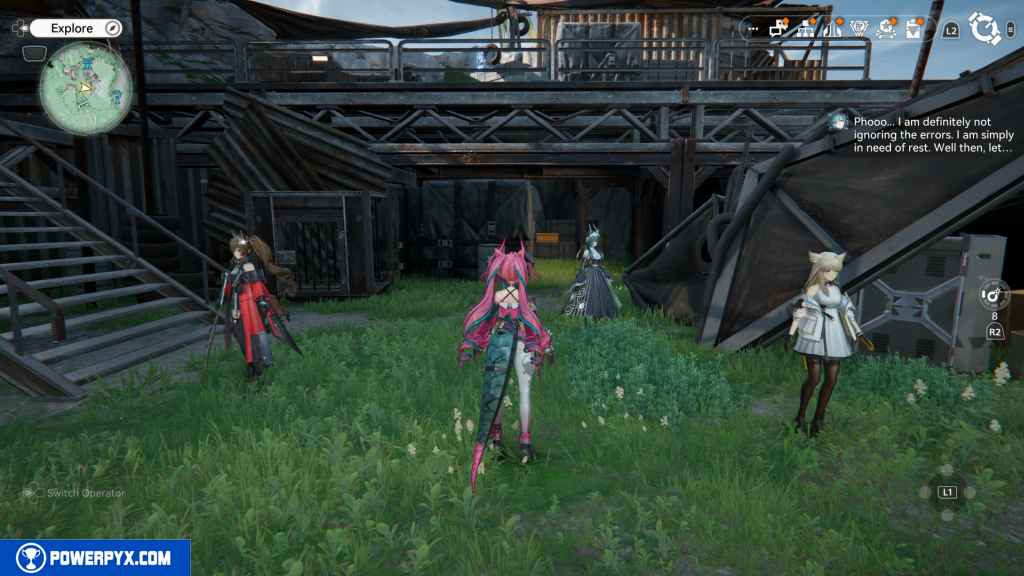
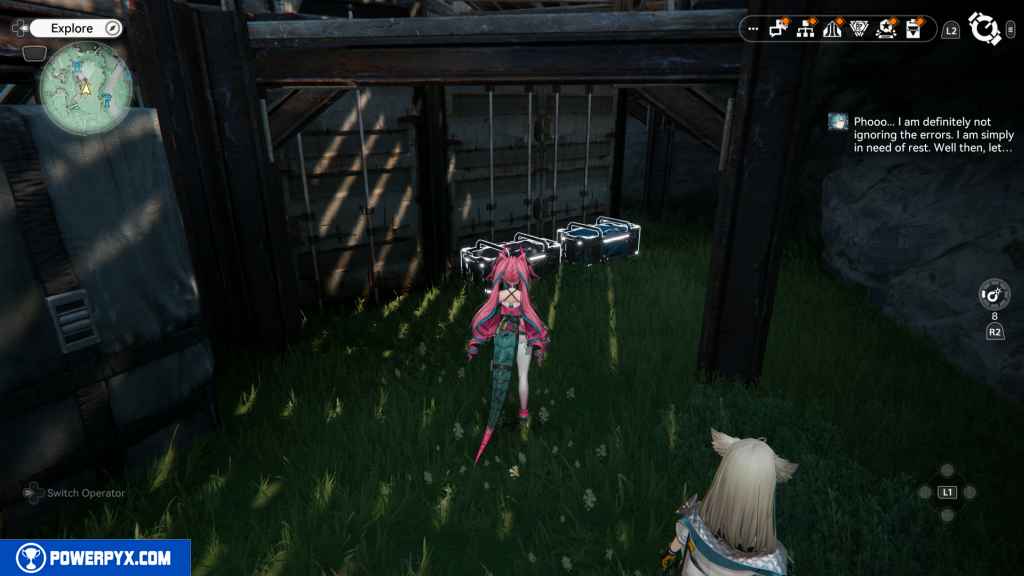
181 – Crate 66
Right next to the last crate.
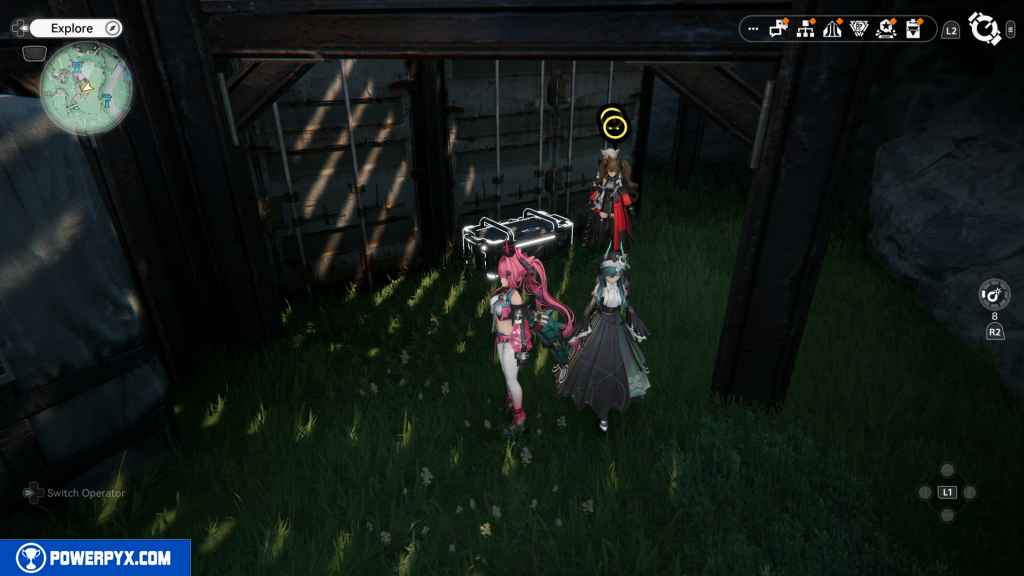
182 – Crate 67
Go up the stairs, and you should see a couple of green couch chairs. Behind the one Western one is the crate.
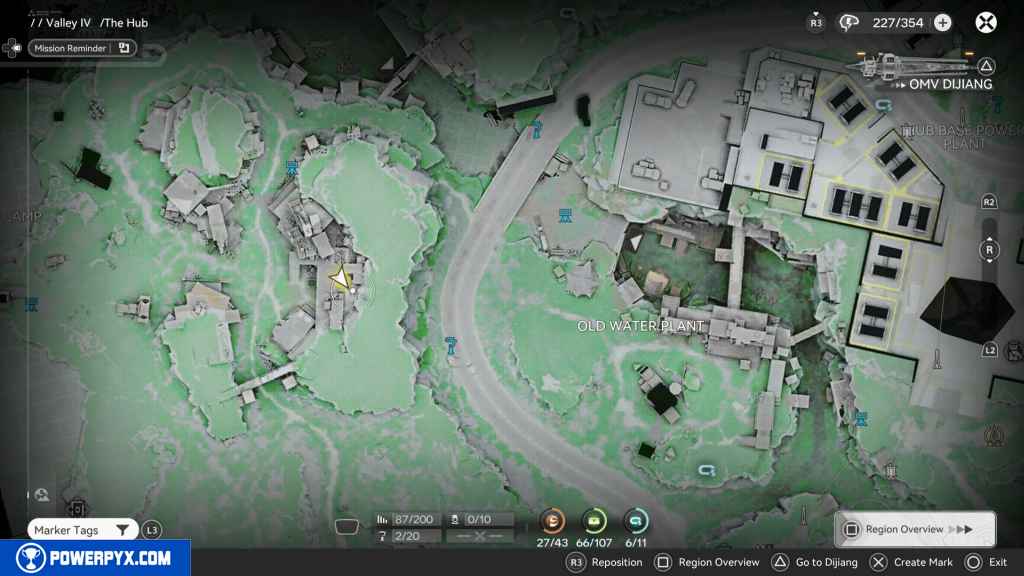
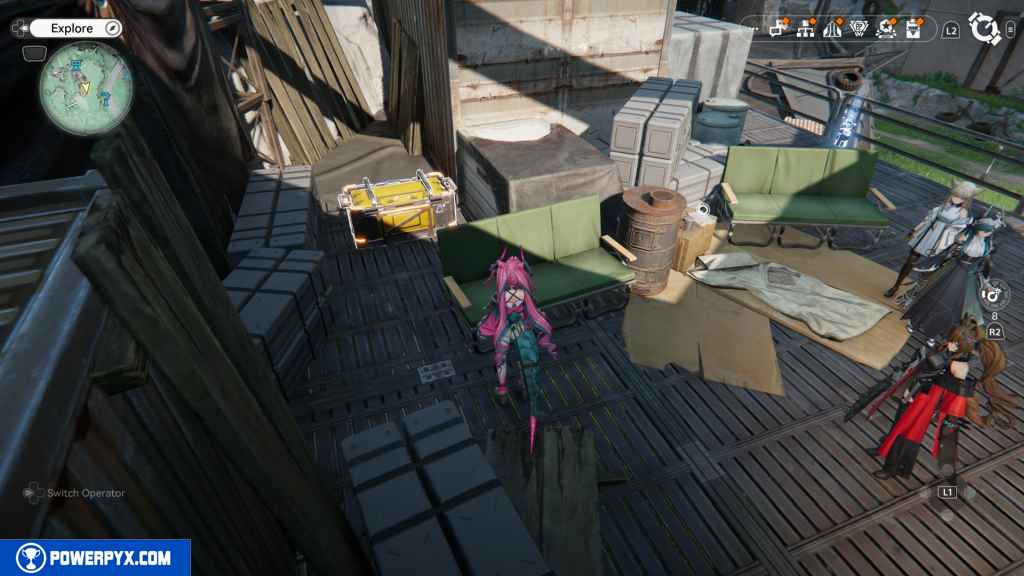
183 – Crate 68
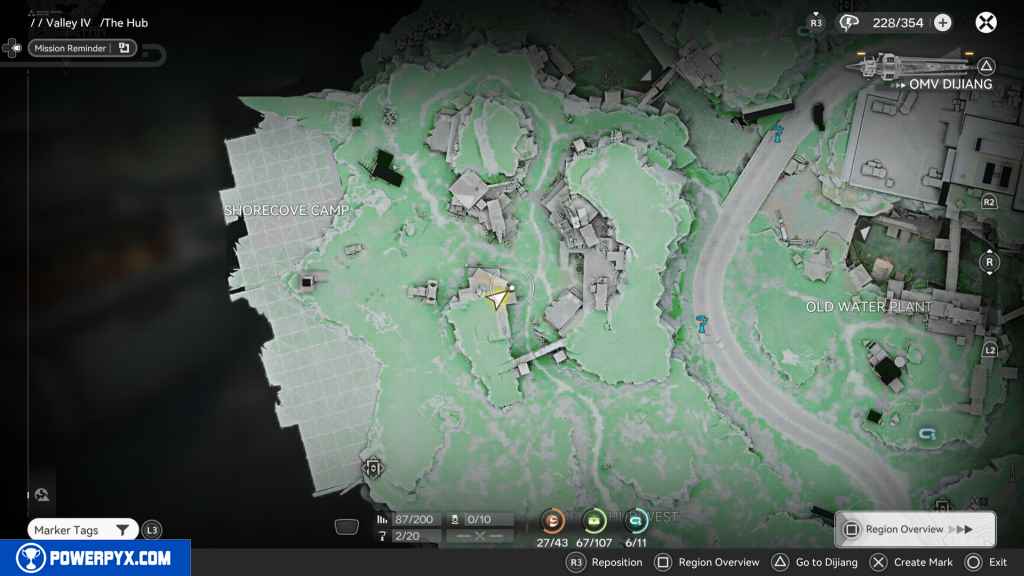
Head south from the last crate, and you should see a makeshift bridge to the other side heading west. Follow it, and up north again, on the other side, you should find the locked crate on top of a box. You need to find three blue keys to unlock this crate.
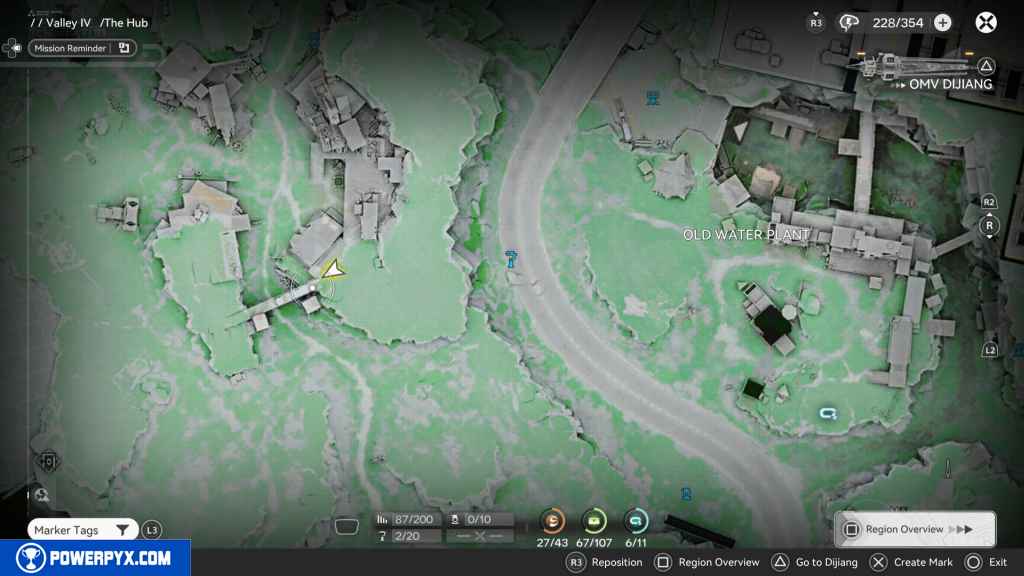
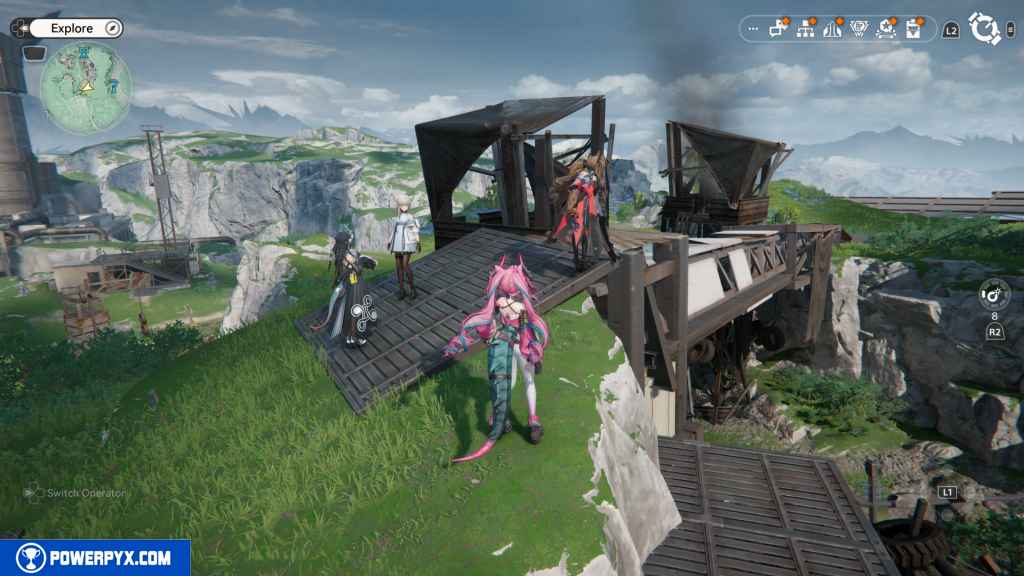
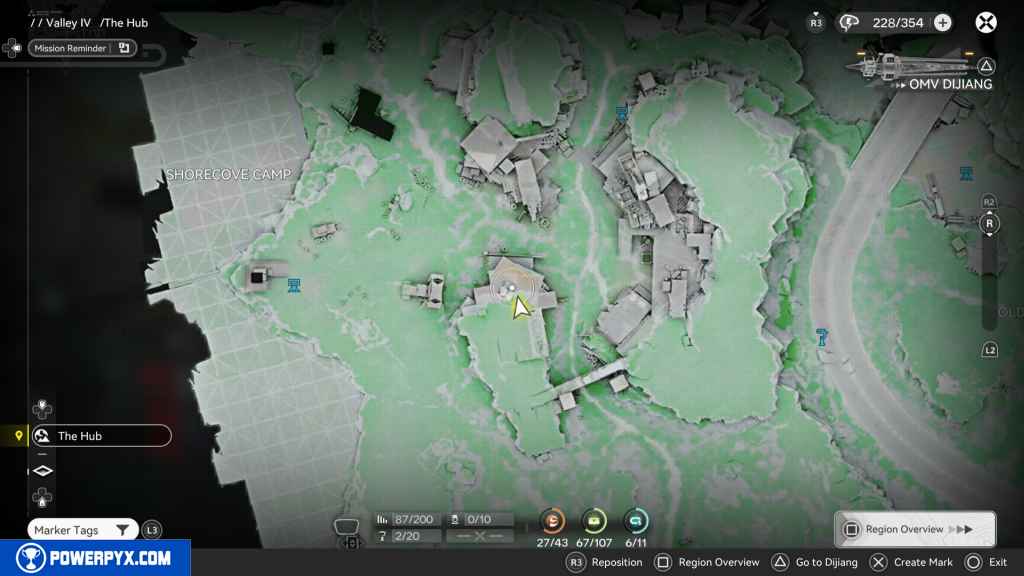
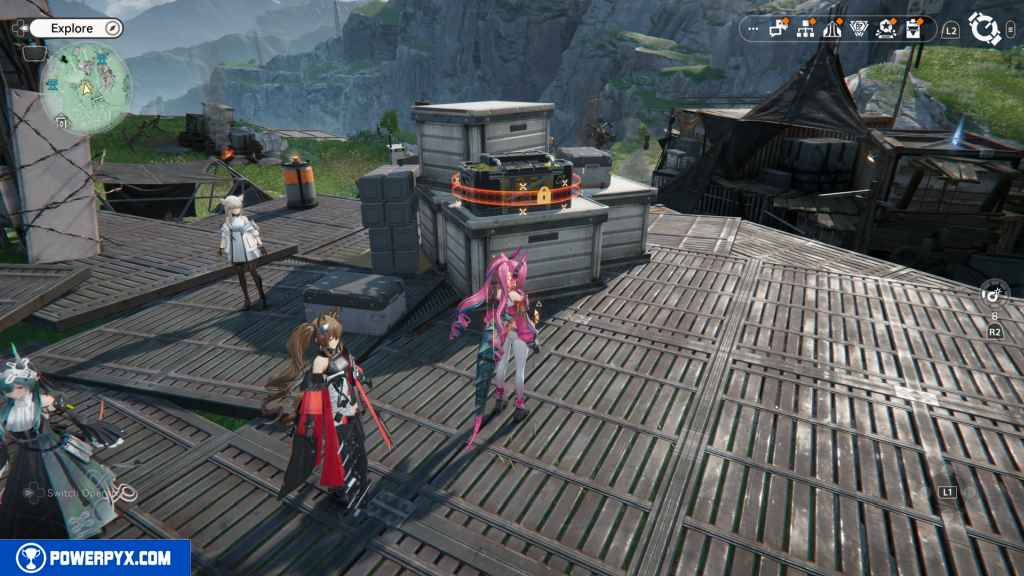
The first key is located right next to the crate to the east 1/3.
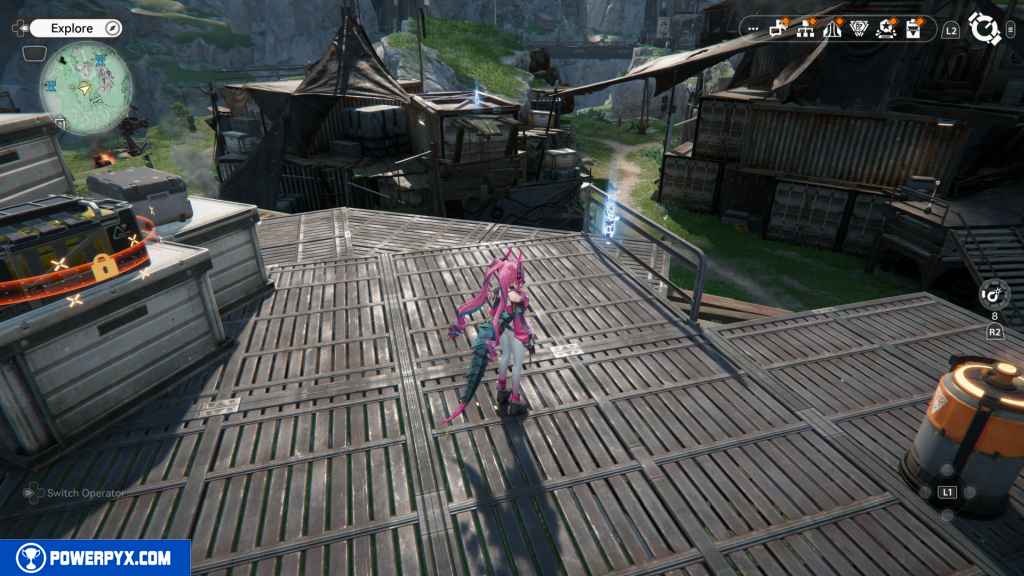
The second key is one you may have passed and picked up on your own. It’s located to the east of the two green couch chairs 2/3.
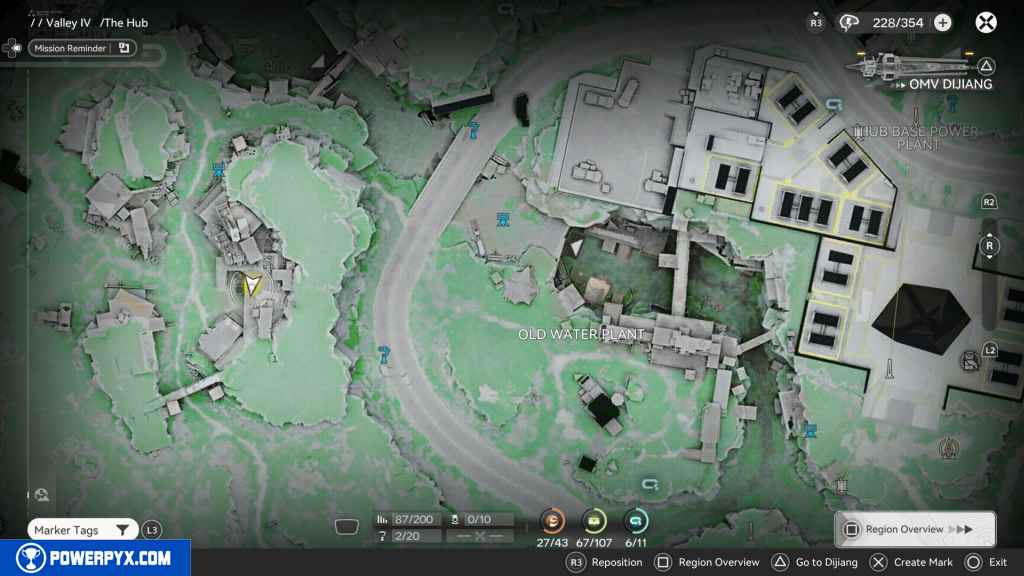
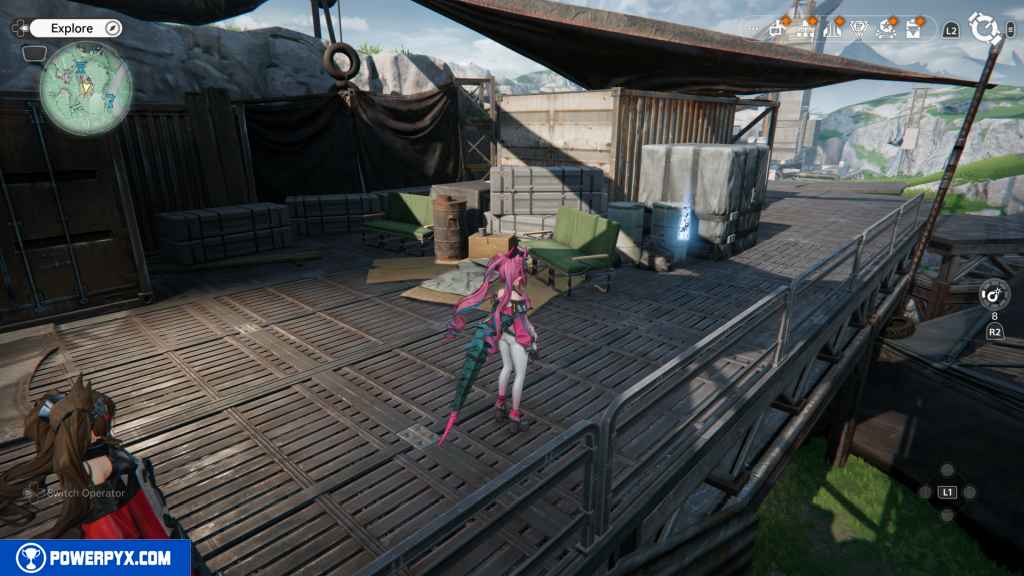
For the third key, head back down to the ground floor and go north. You should see some boxes that make a path by jumping up to the cliff.
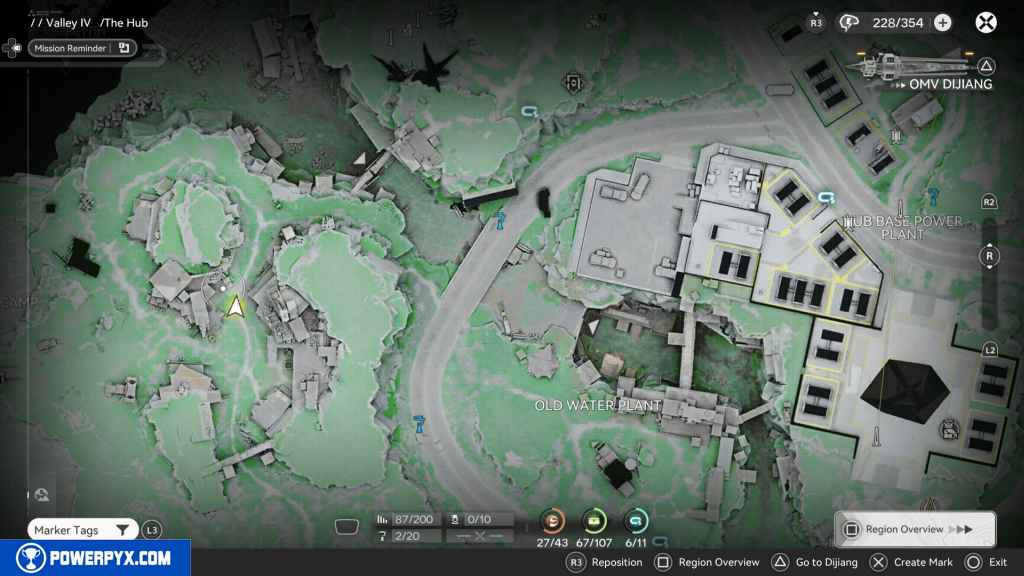
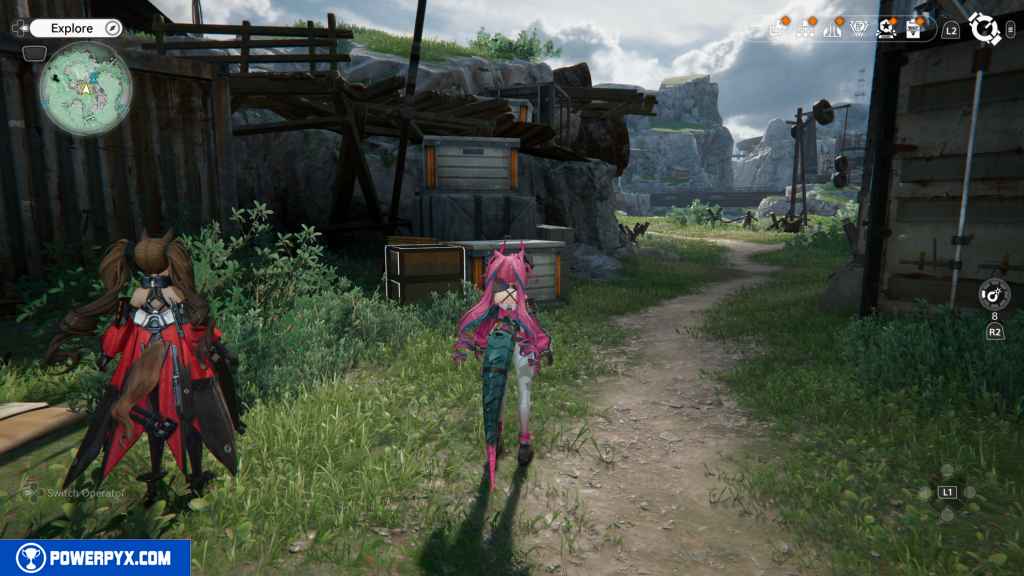
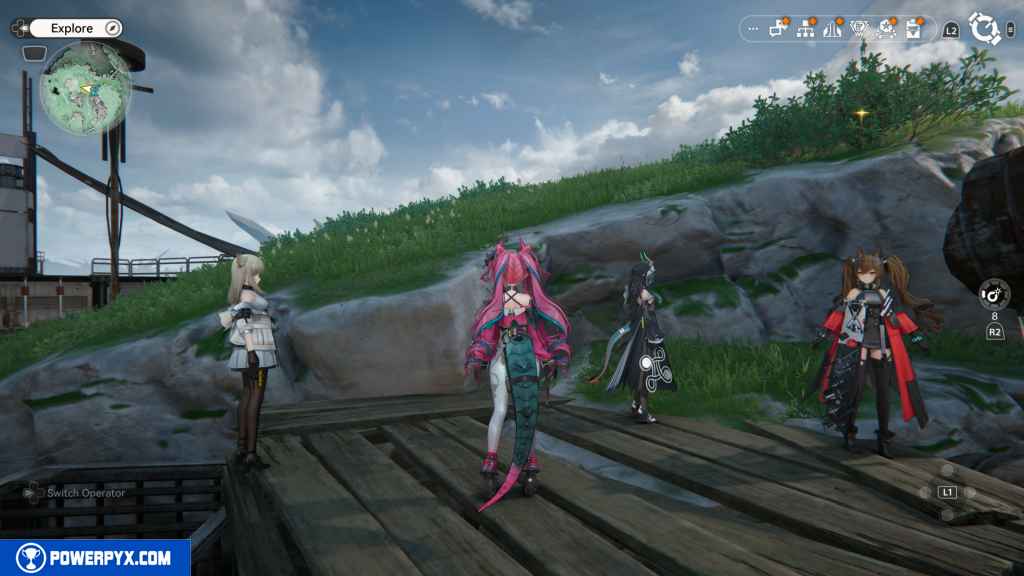
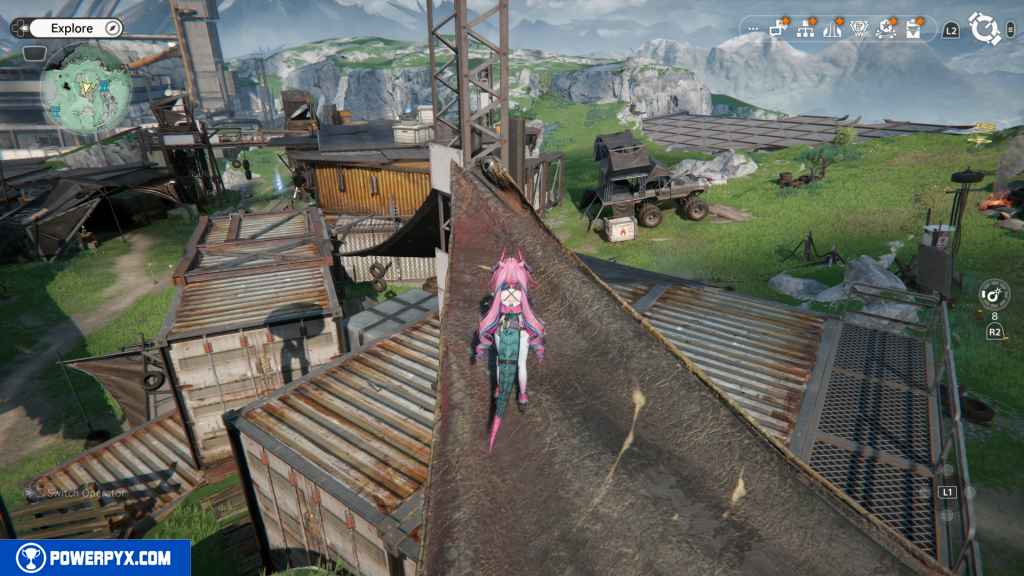
From the cliff jump on top of the tarp, then on top of the containers heading south. You should see the key at the edge of the container 3/3.
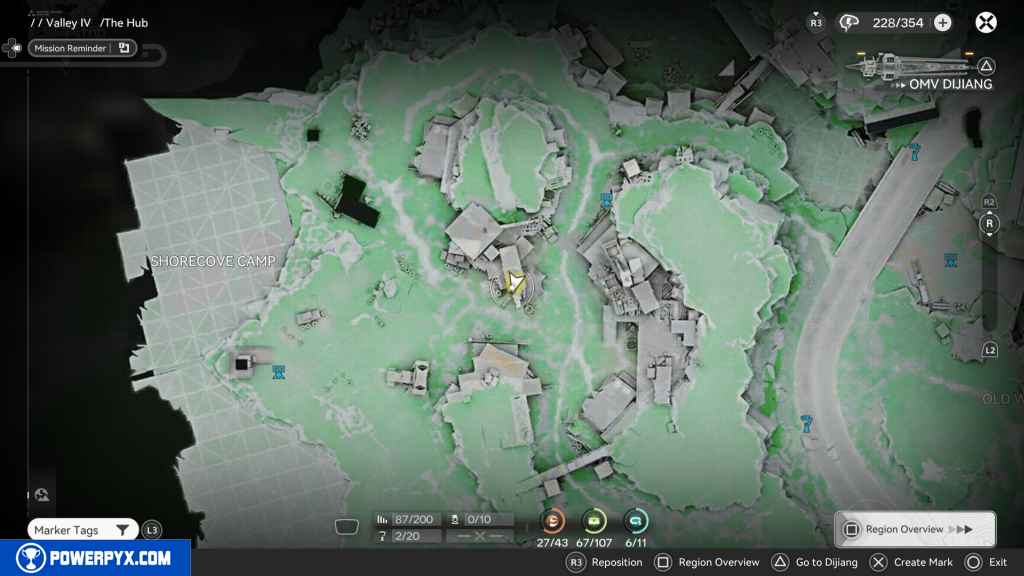
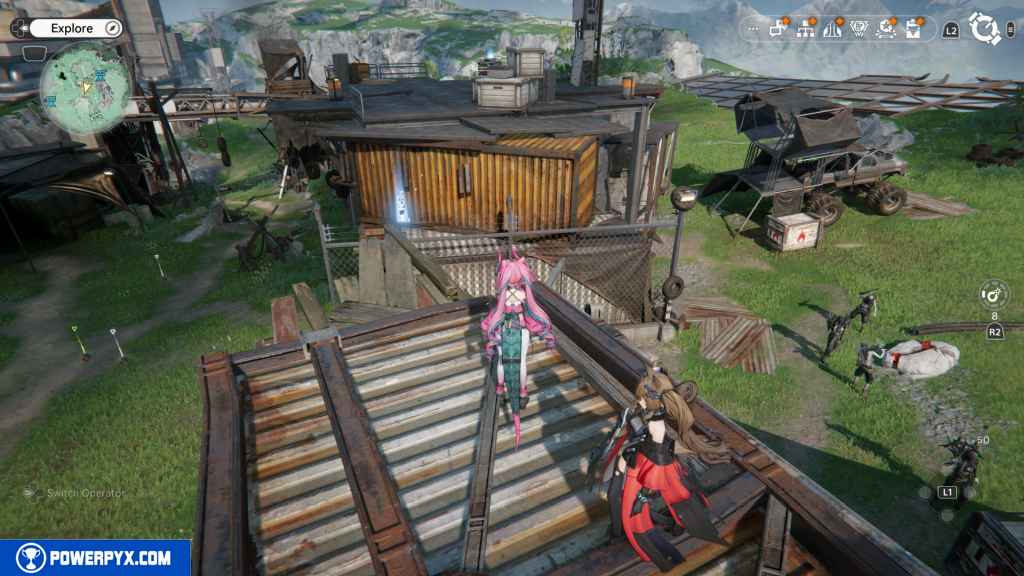
Head back to the crate to acquire the rewards.
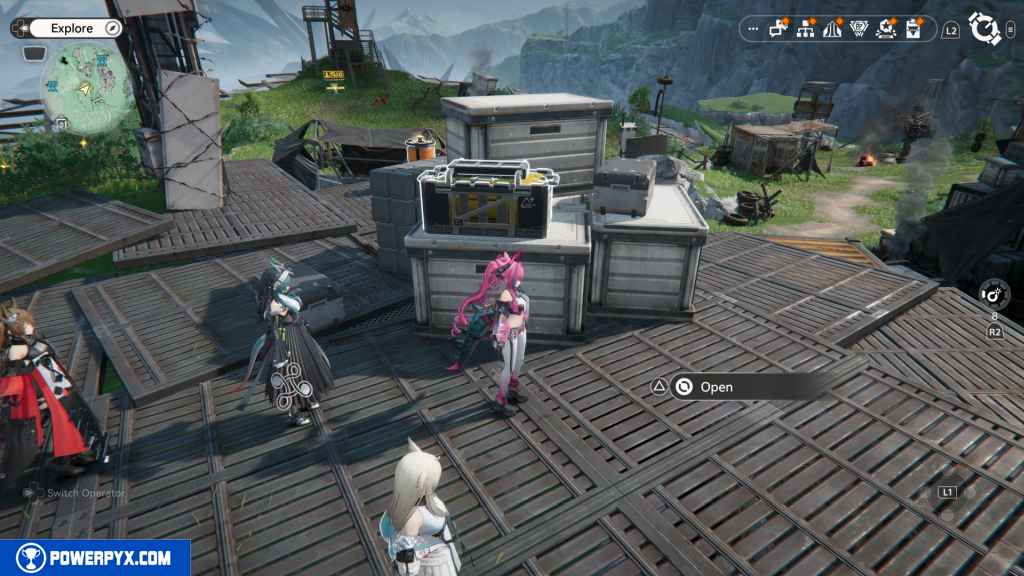
184 – Crate 69
Drop down to the ground floor to the east so you fall closer to the center. Immediately look west, and you should see an open container. Go inside, and next to the box in the container is the next crate.
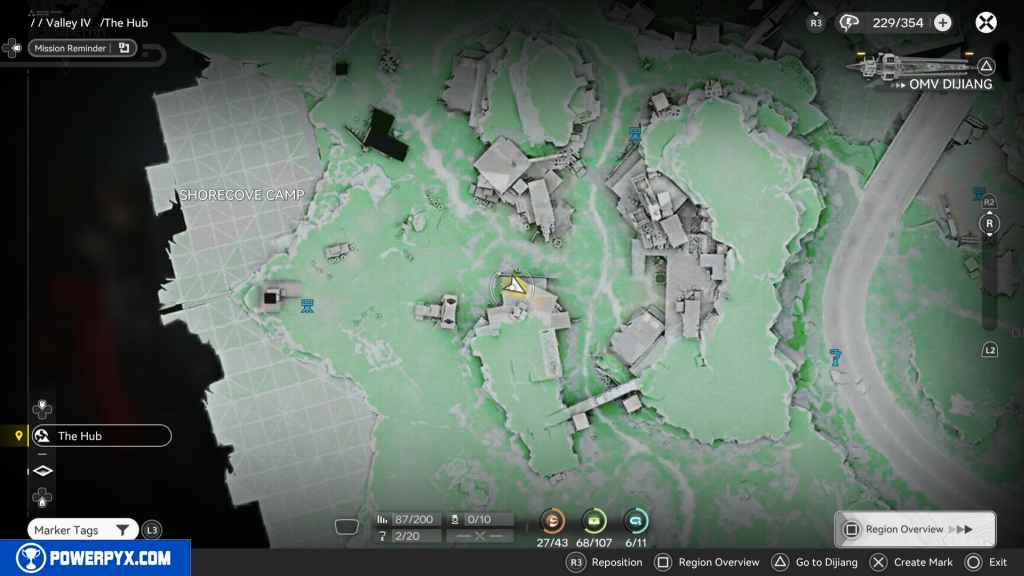
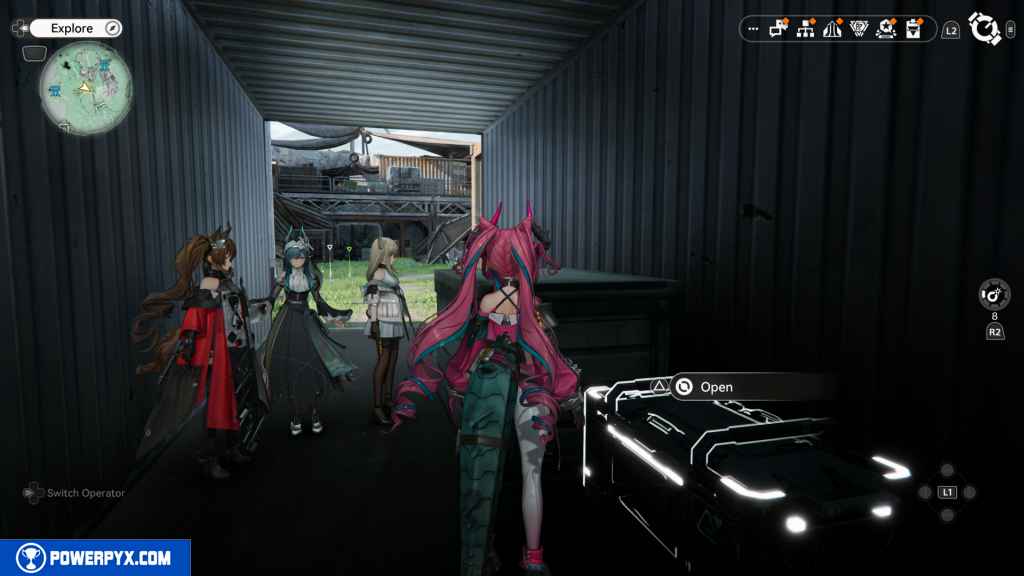
185 – Crate 70
Head north again, then climb the boxes you just passed to find the third key. Instead of going up the rocky cliff, look left and in between the two containers in the crate.
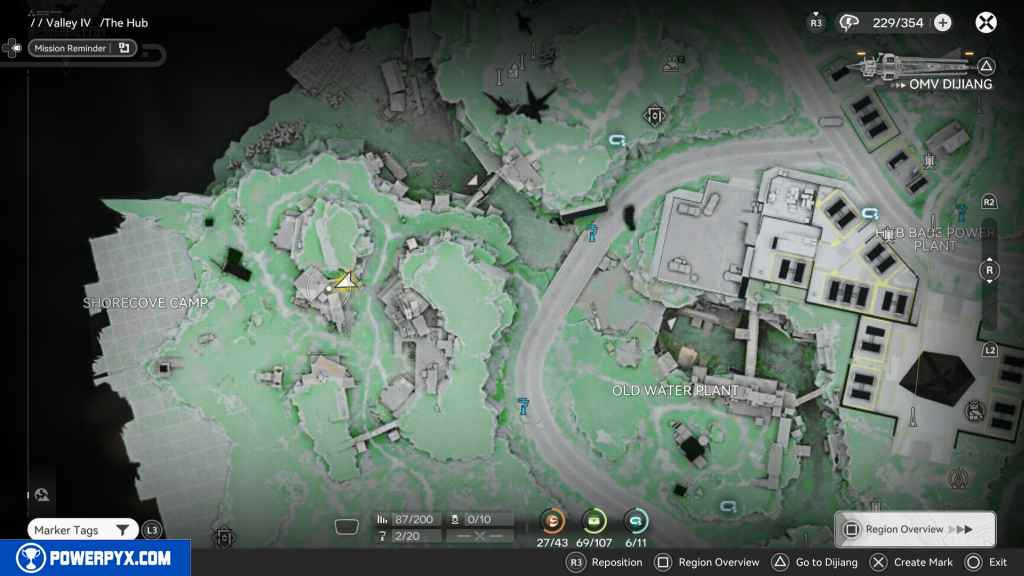
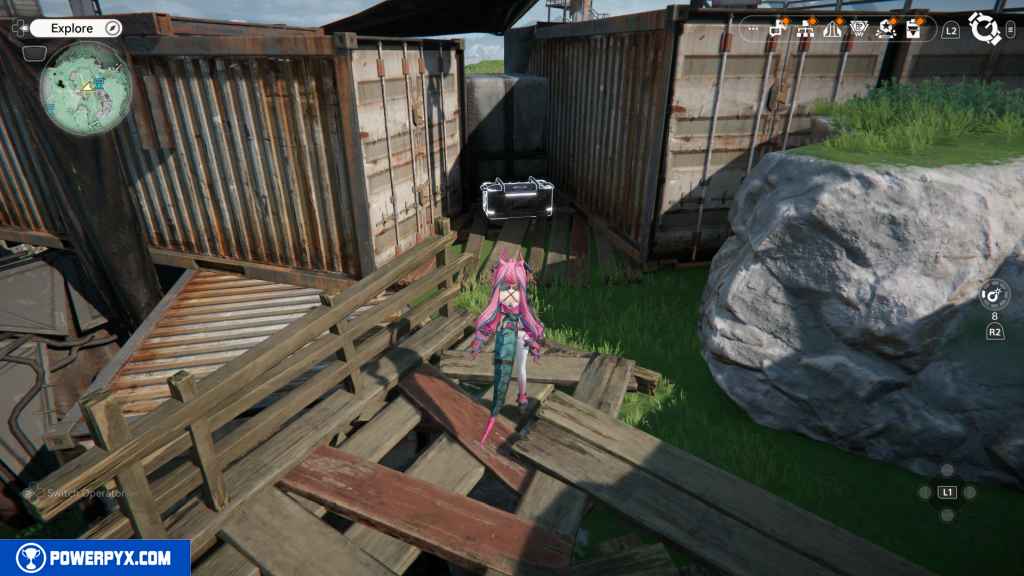
186 – Gathering Point 77
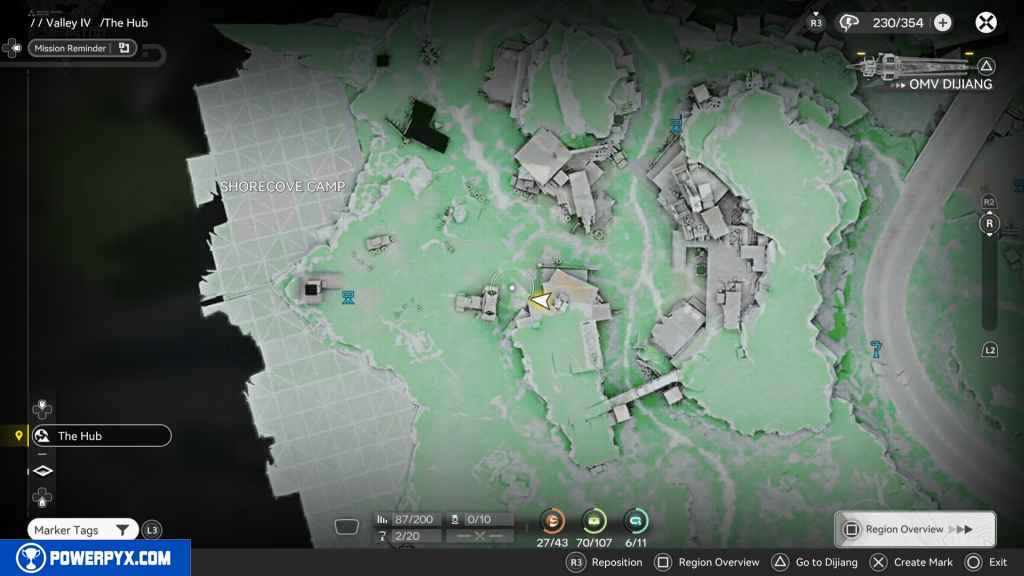
Go back down to the ground floor. This time, head west, and you should see some explodable rocks and boxes. Blow up the box next to the large Monster truck on your left to reveal the Gathering Point.
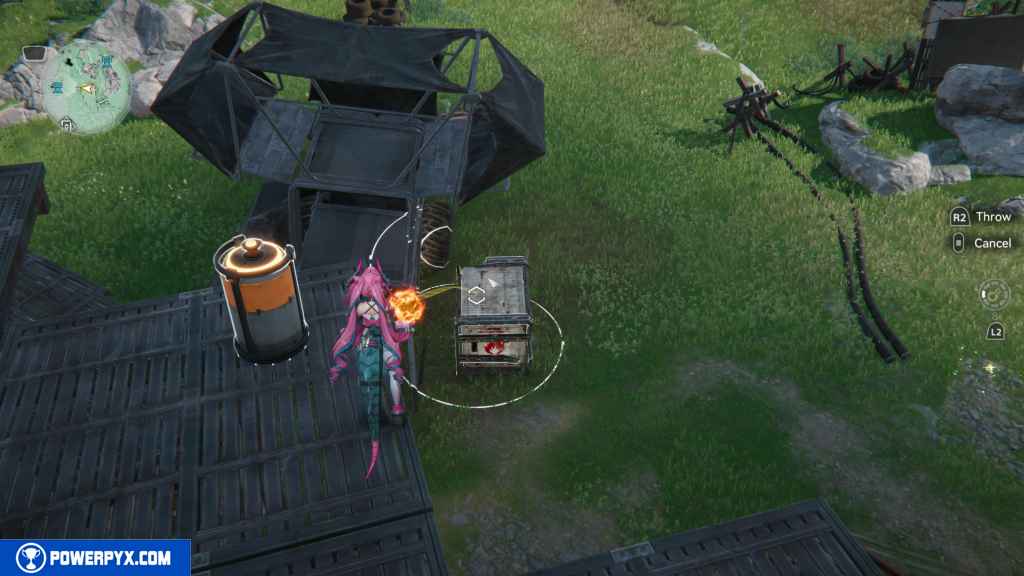
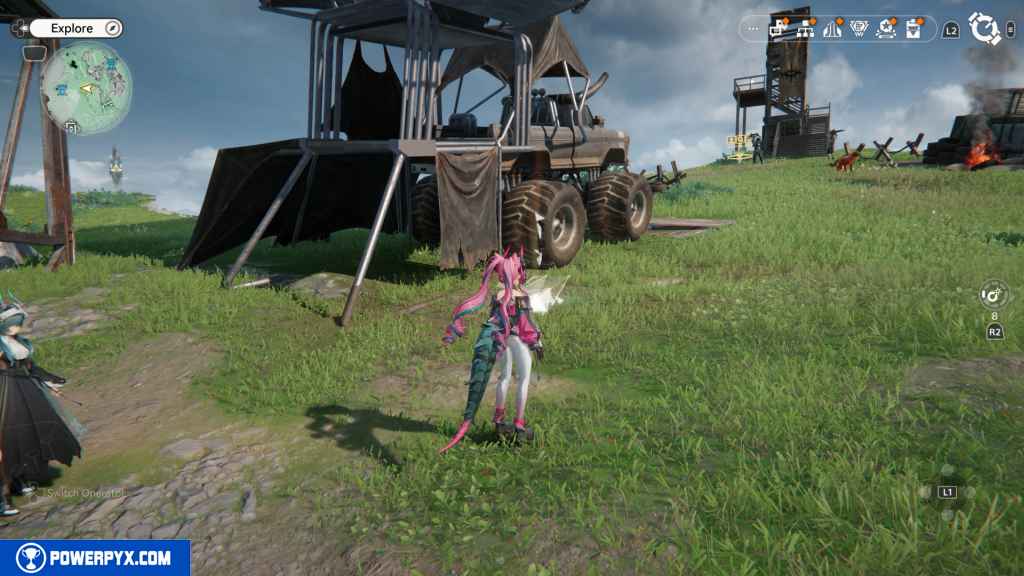
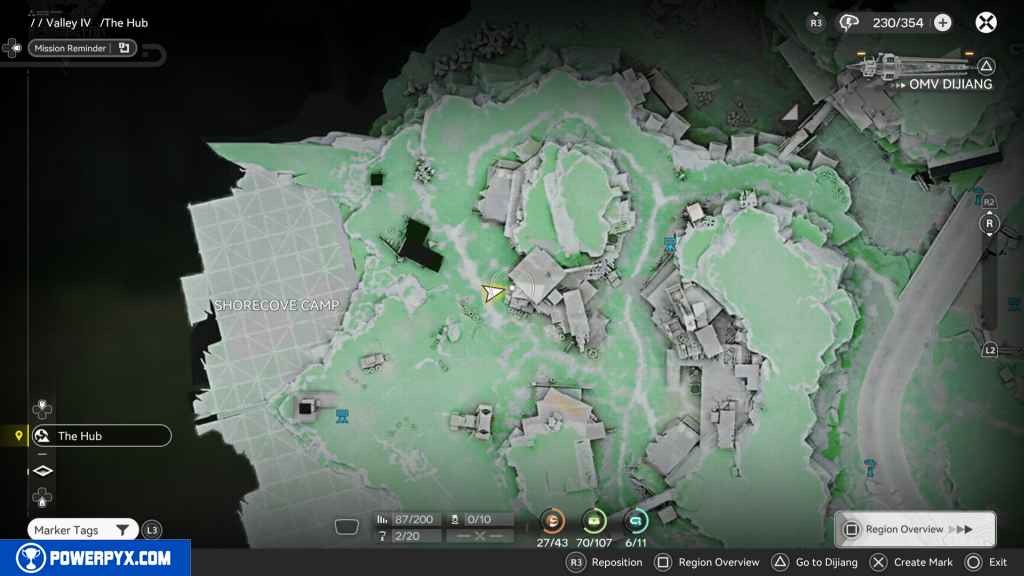
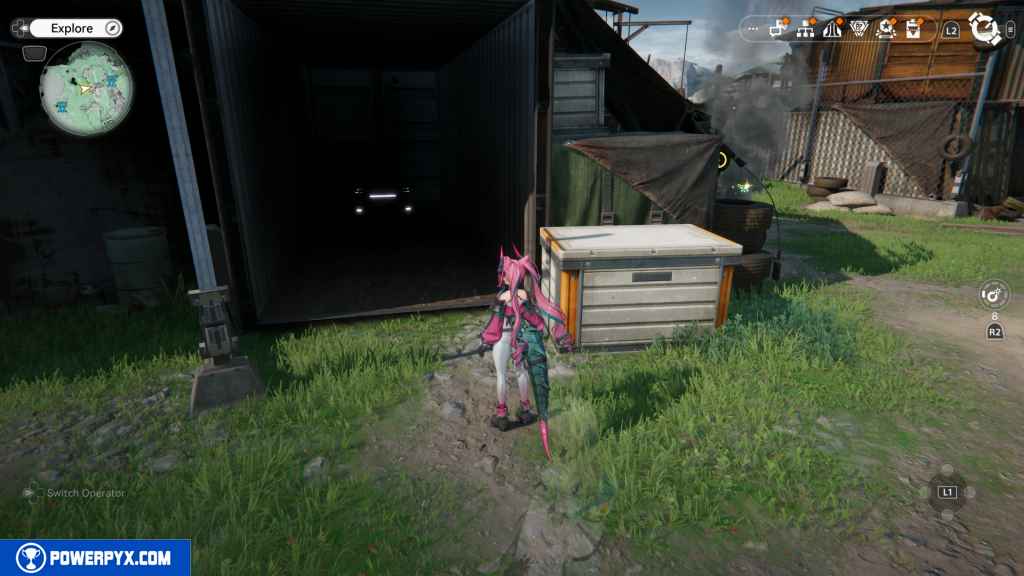
187- Crate 71
Go north from the Gathering Point, just past the tires on your left, and turn right. You should see the crate inside the open container.
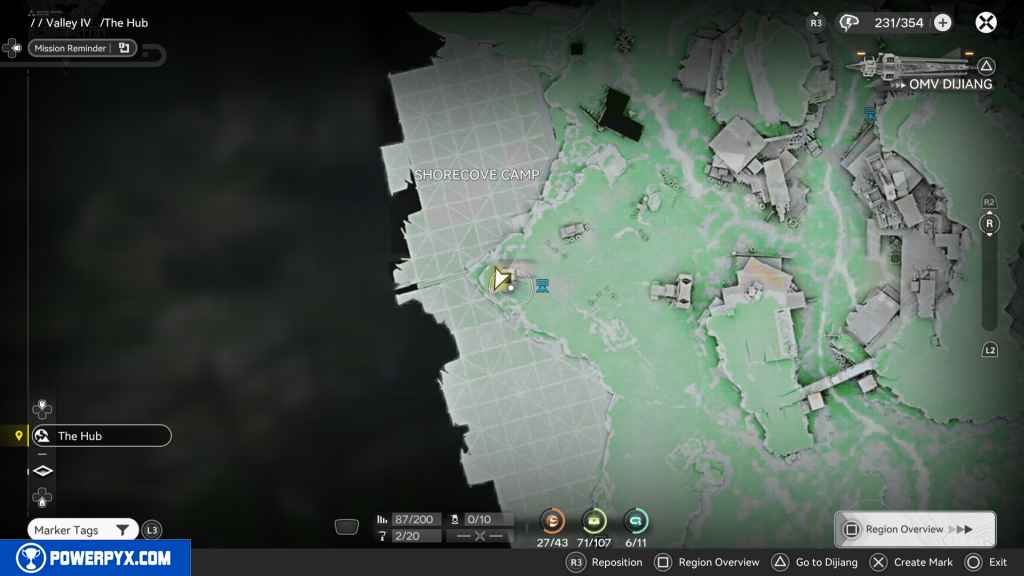
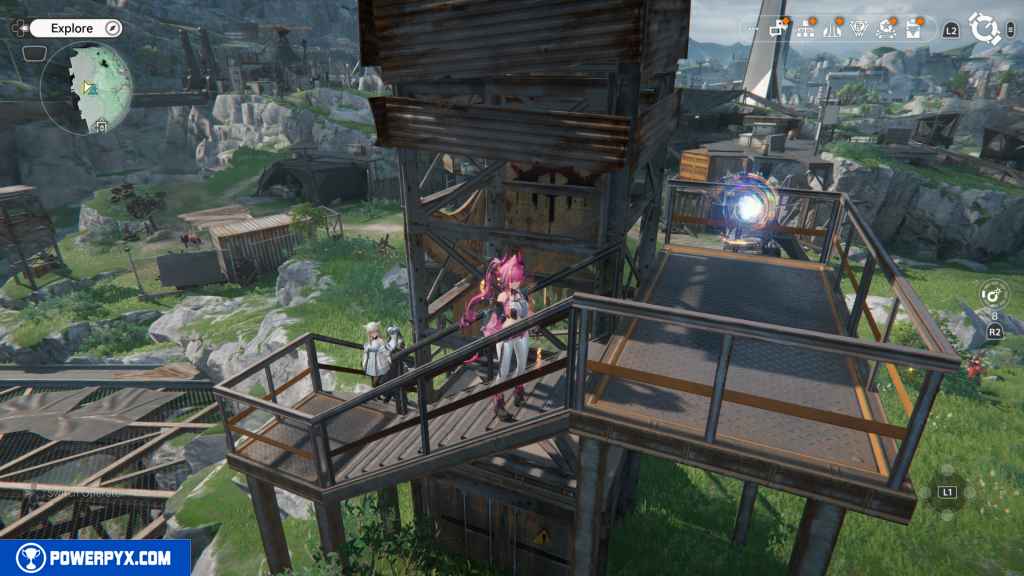
188 – Aurylene 28
Head west to the small watchtower. At the top of the stairs of the watchtower is the Aurylene.
189 – Aurylene 29
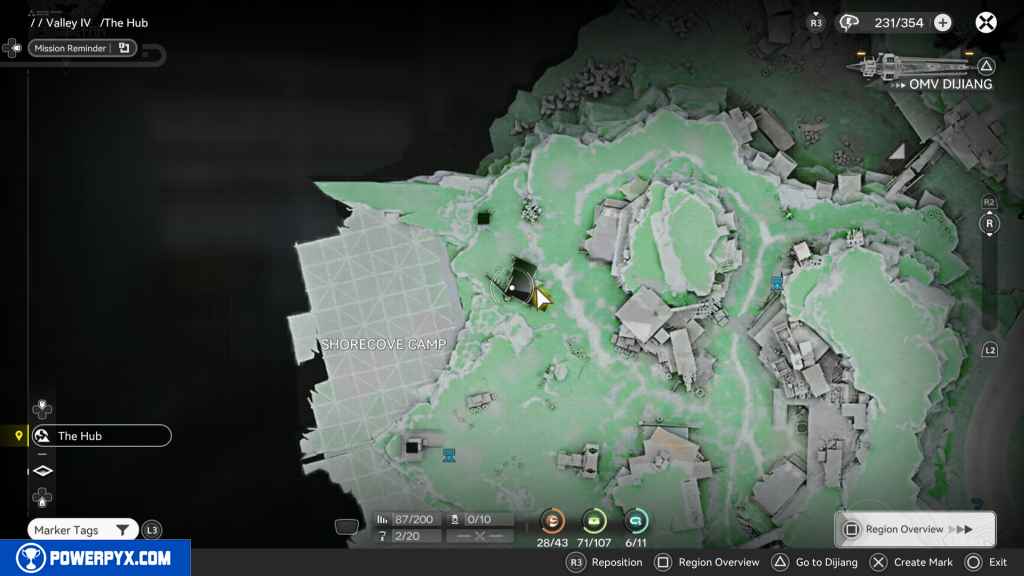
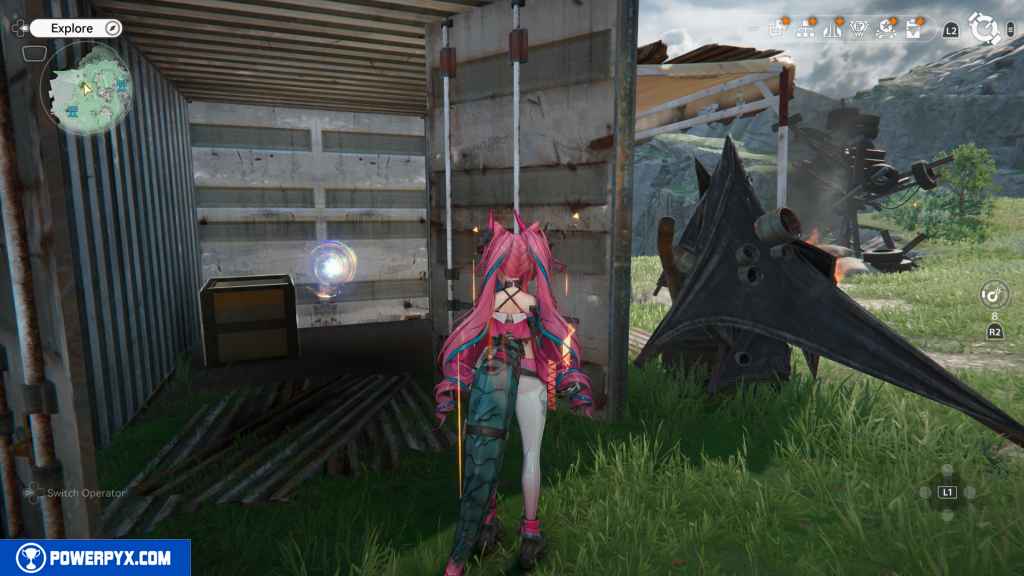
Head northeast, and you should see another container opposite the container that had Crate 72. Inside is the Aurylene.
190 – Gathering Point 78
Head to the furthest spot west on the grassy path, and at the edge of the hill is the Gathering Point.
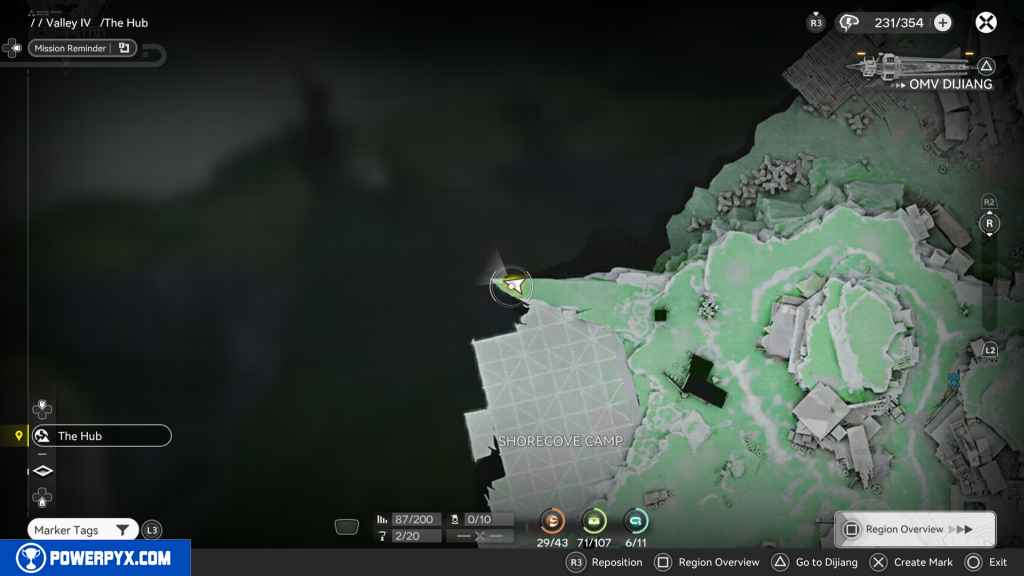
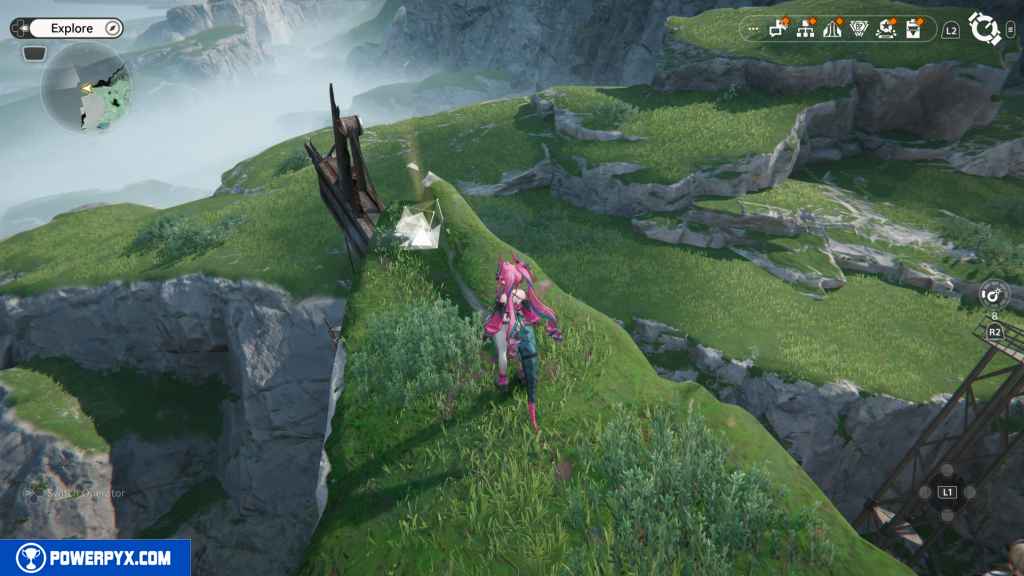
191 – Crate 72
Go back to the Landbreaker camp and take the east stairs up to where the two green couch chairs are. This time, go east to the grassy area and then north. At the top of the hill is the crate.
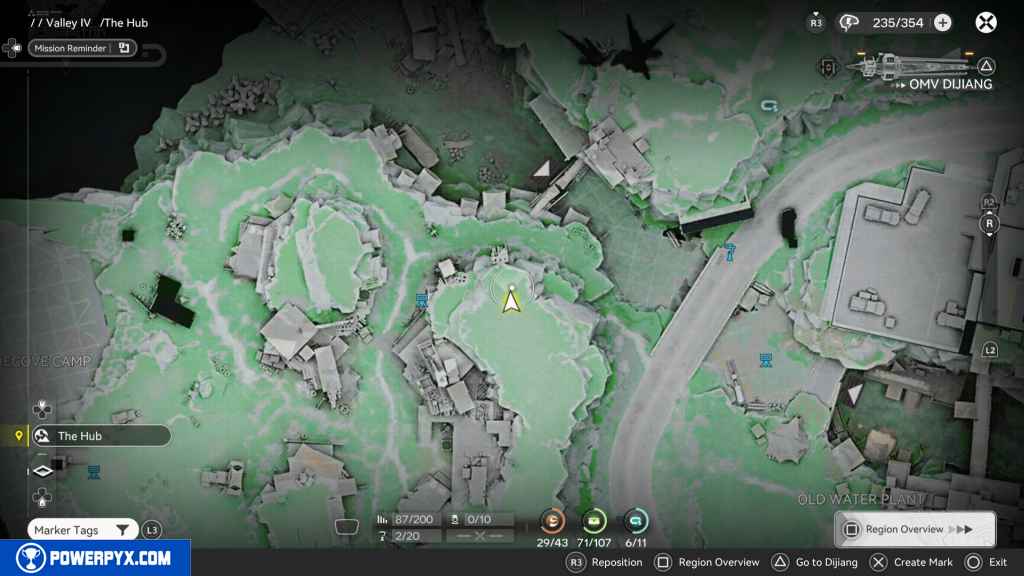
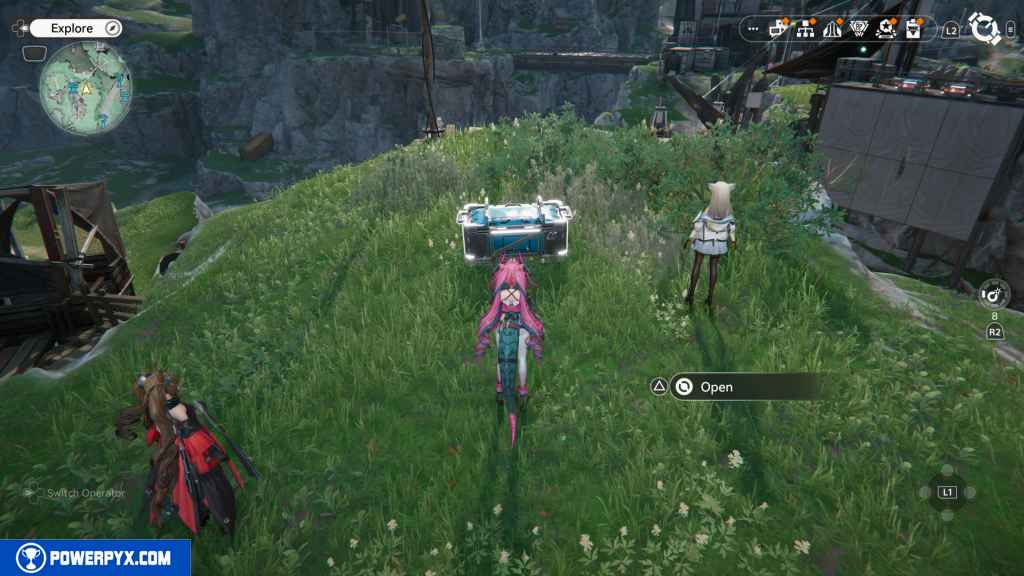
192 – Aurylene 30
Look to the left of the crate, and you will see the Aurylene.
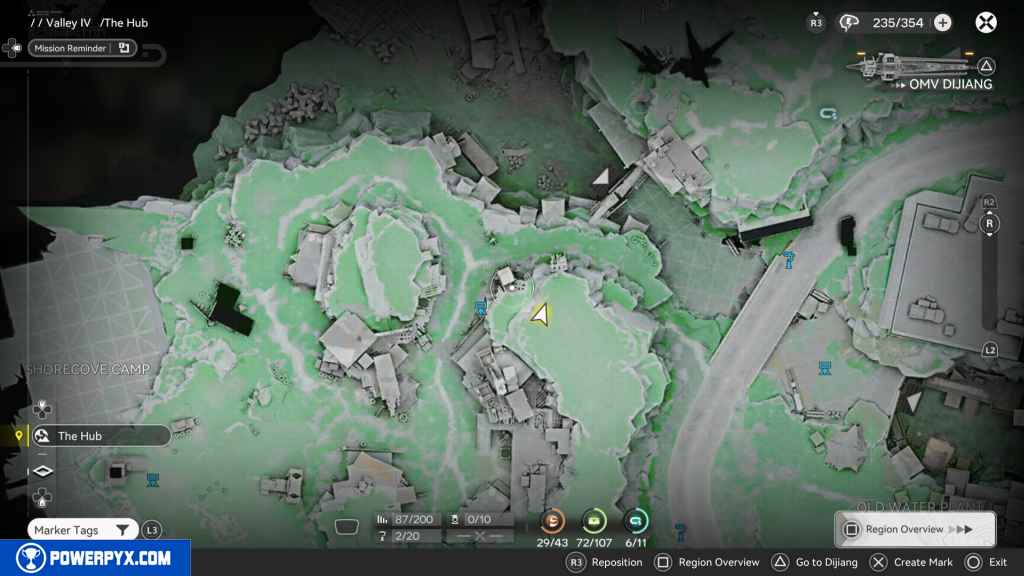
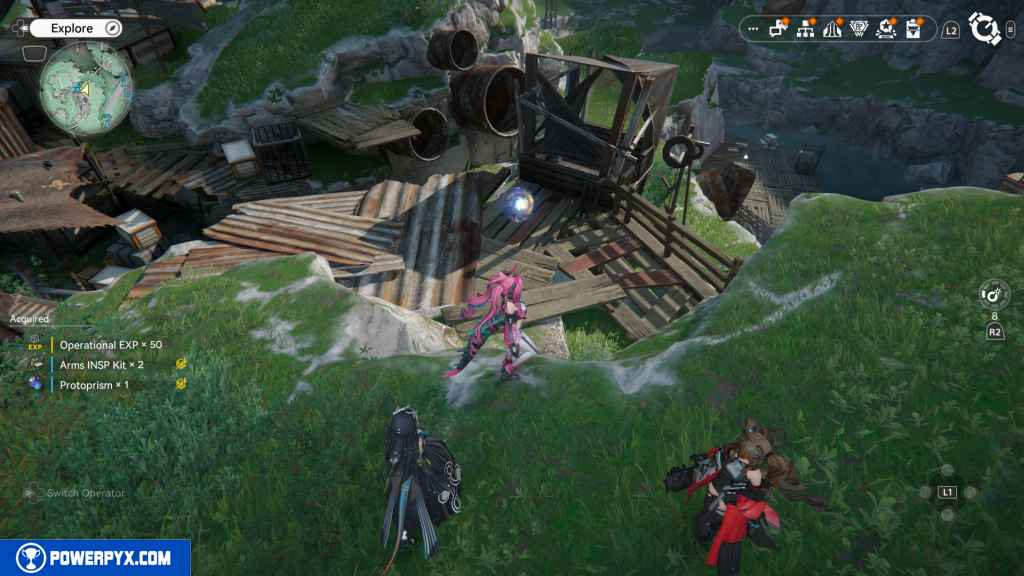
193 – Gathering Point 79
Go north of the Landbreaker Camp and look down into the container graveyard. You should see a Gathering Point on a platform looking down. Drop down to grab it.
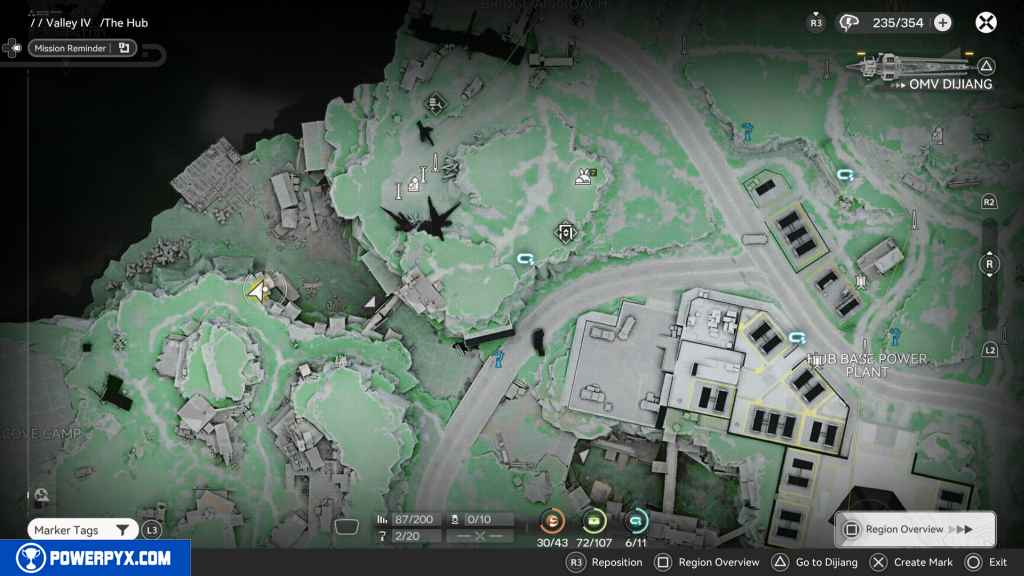
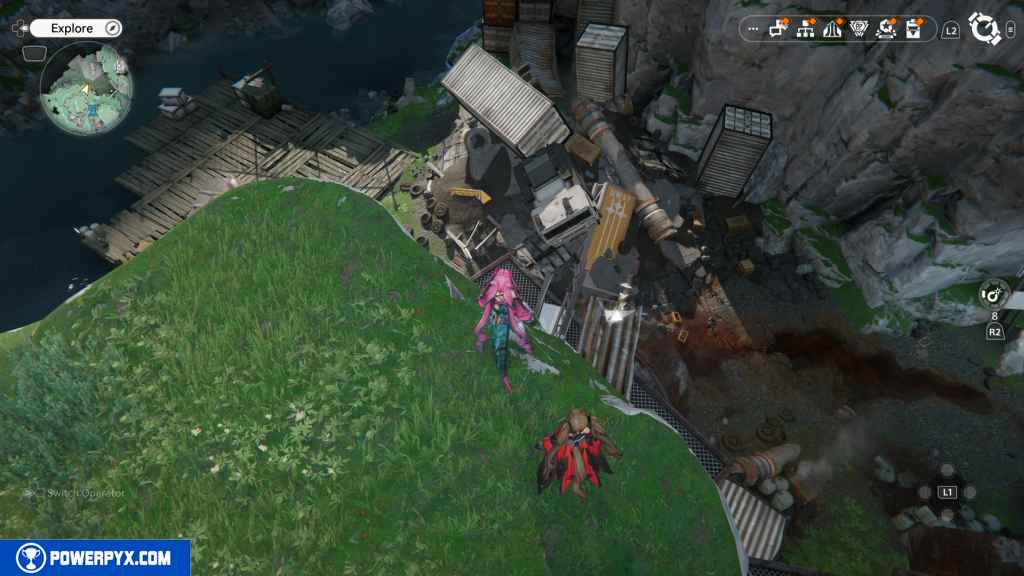
194 – Gathering Point 80
Make your way back up to the Landbreaker Camp. This time, head north, overlooking the container graveyard, then go east past the pipe bridge and drop down to the grated platform. You should see a large pipe facing south. Inside this pipe is the Gathering Point.
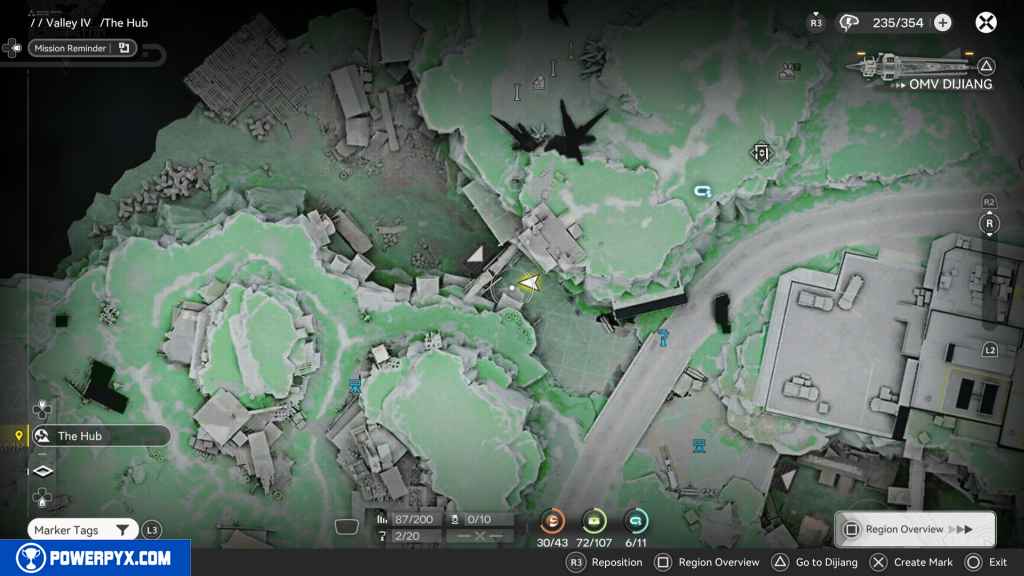
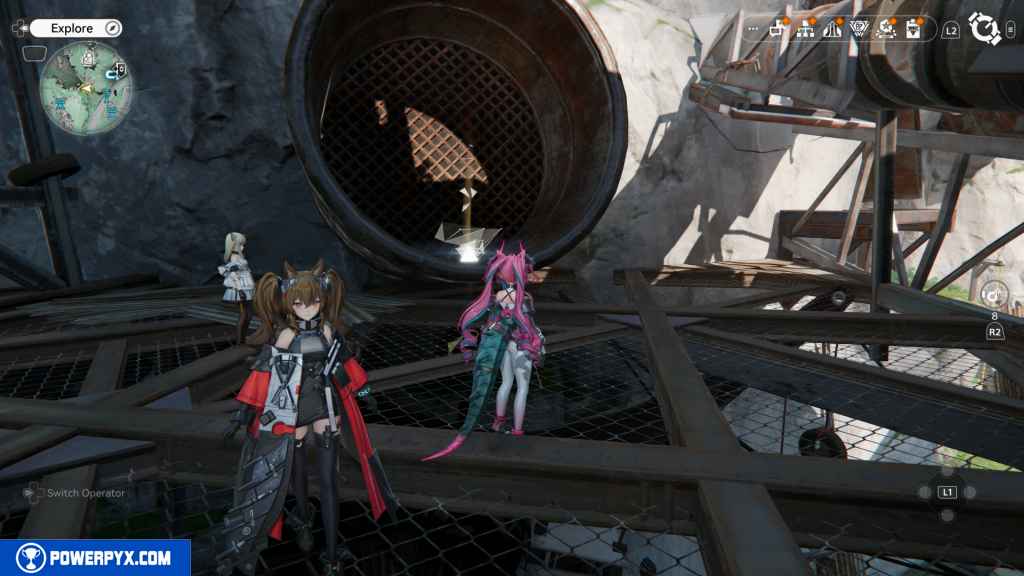
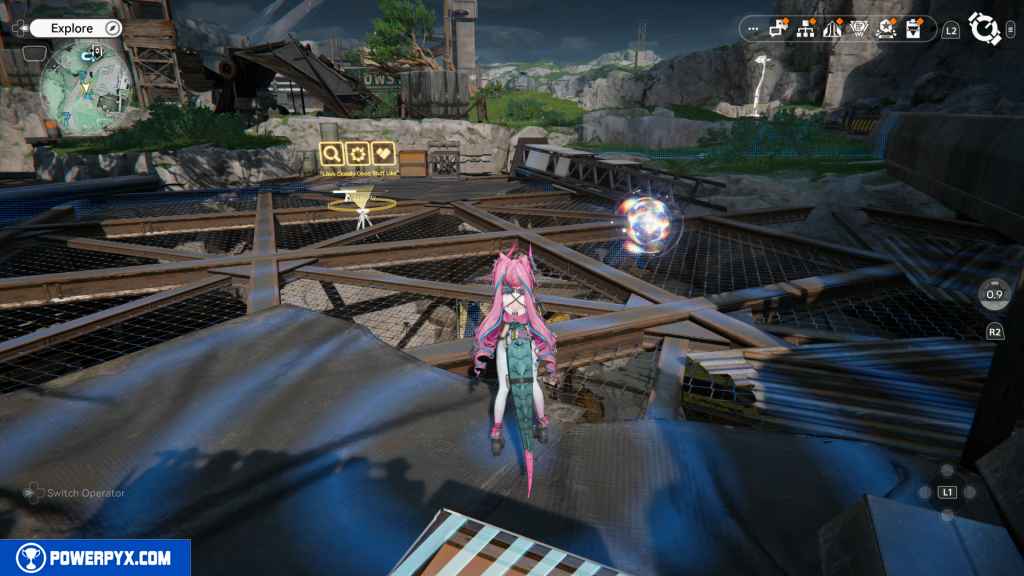
195 – Aurylene 31
Head east past the bridge and to the next grated area. You will see distortion moving around. Use your scanner  on the PS5 to reveal it as an Aurylene, then grab it.
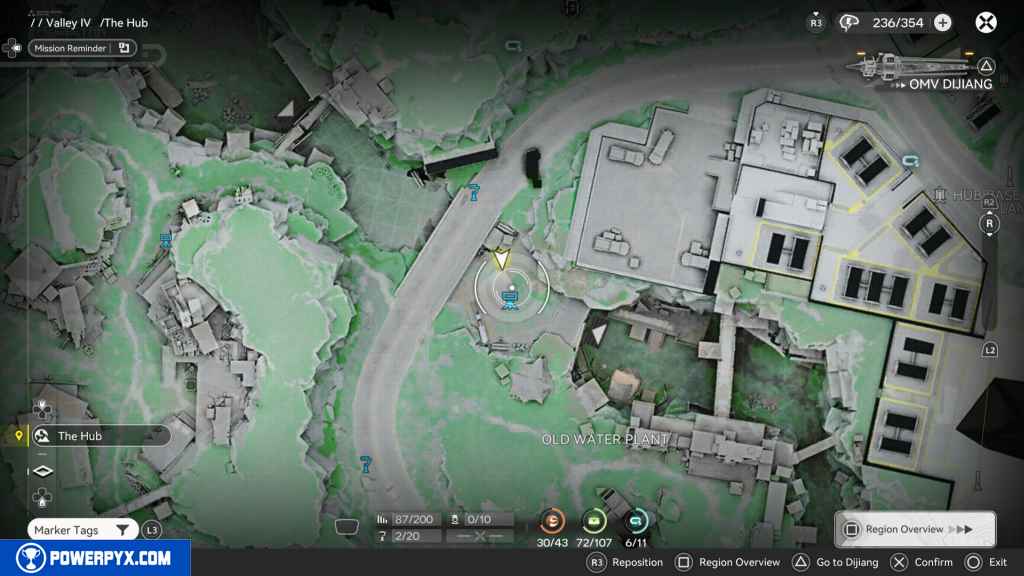
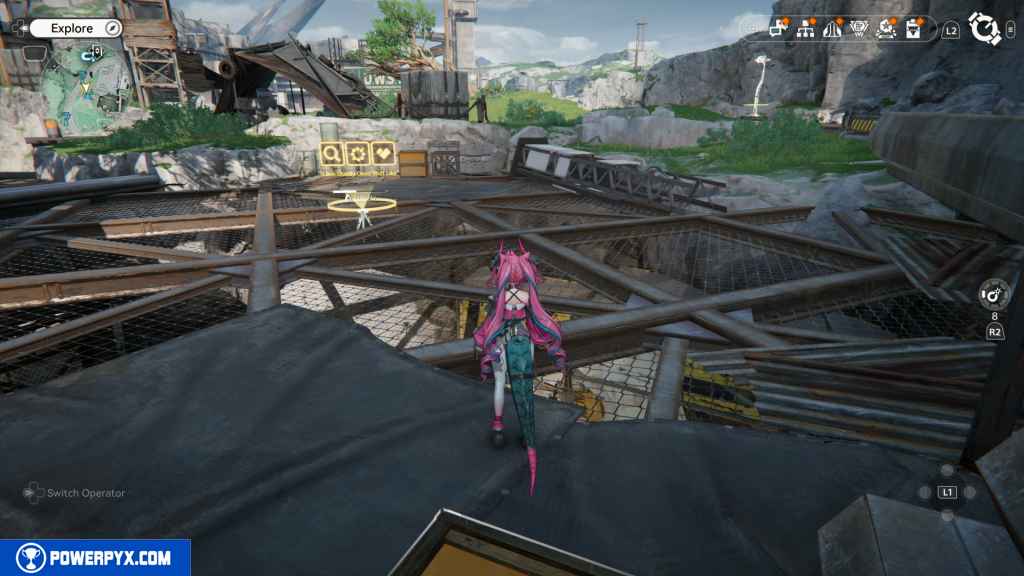
196 – Gathering Point 81
Go south from the Aurylene, and you’ll come across another small Landbreaker camp on your left. Inside is the Gathering Point.
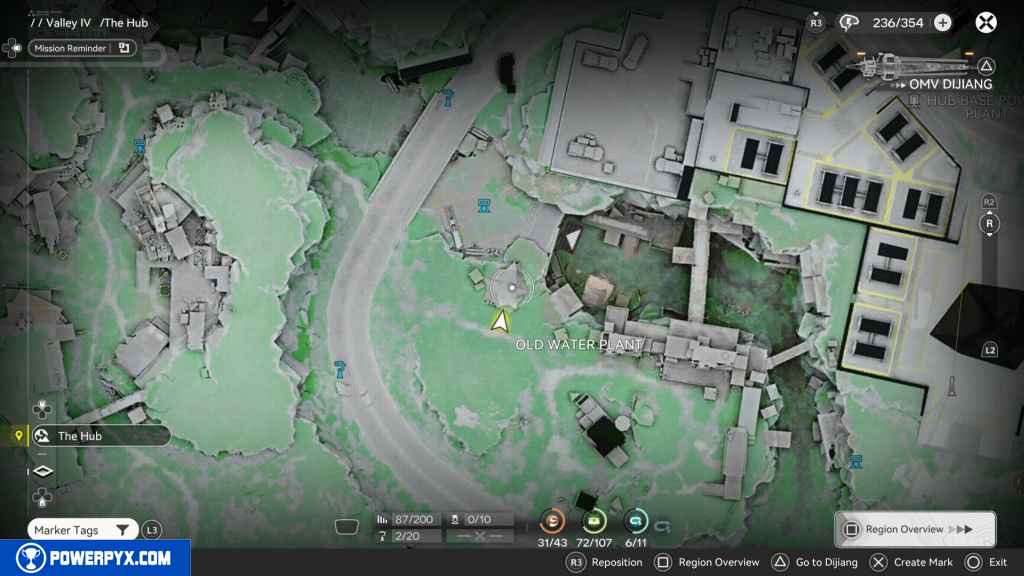
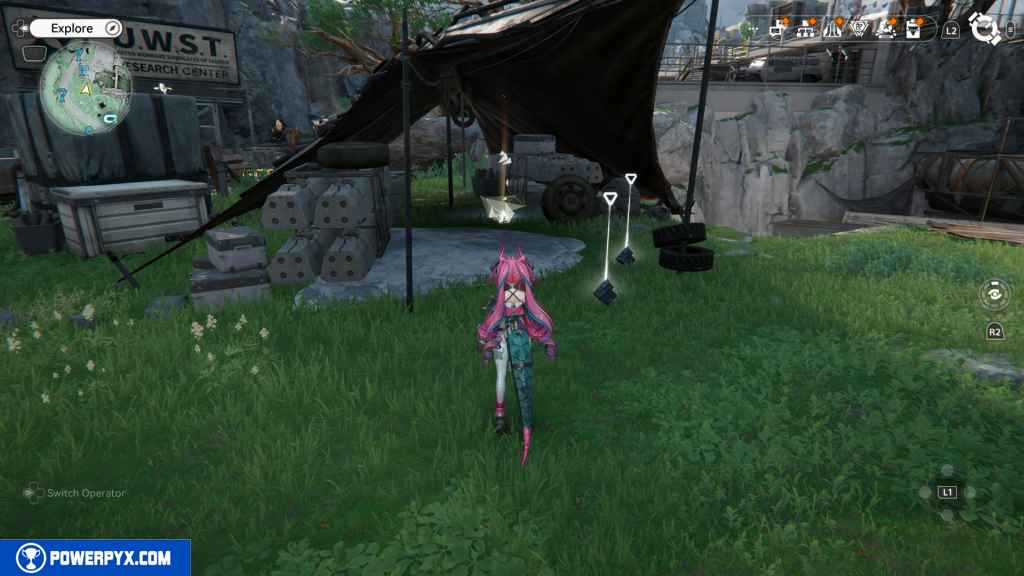
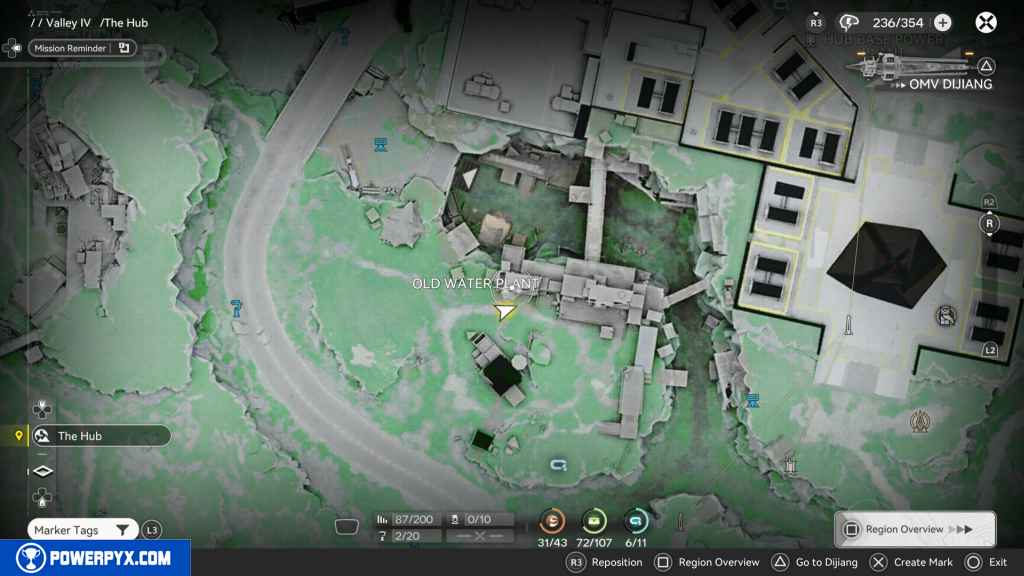
197 – Gathering Point 82
Go southeast, and you should approach another Landbreaker camp. Before you go in on your left is an open-container home with the Gathering Point inside.
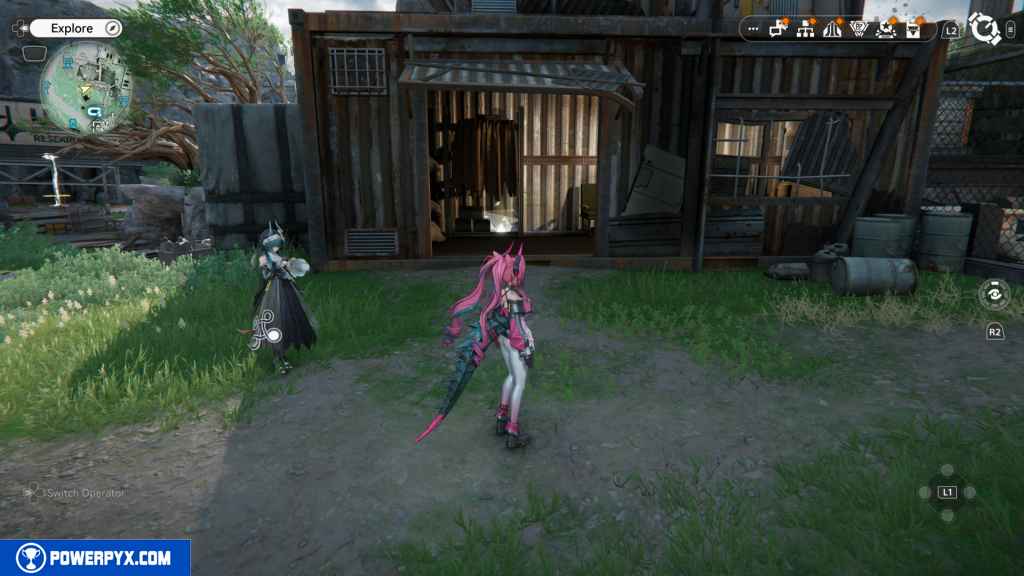
198 – Gathering Point 83
Go east into the camp, then go up the stairs as you approach them. You should find the Gathering Point to the west.
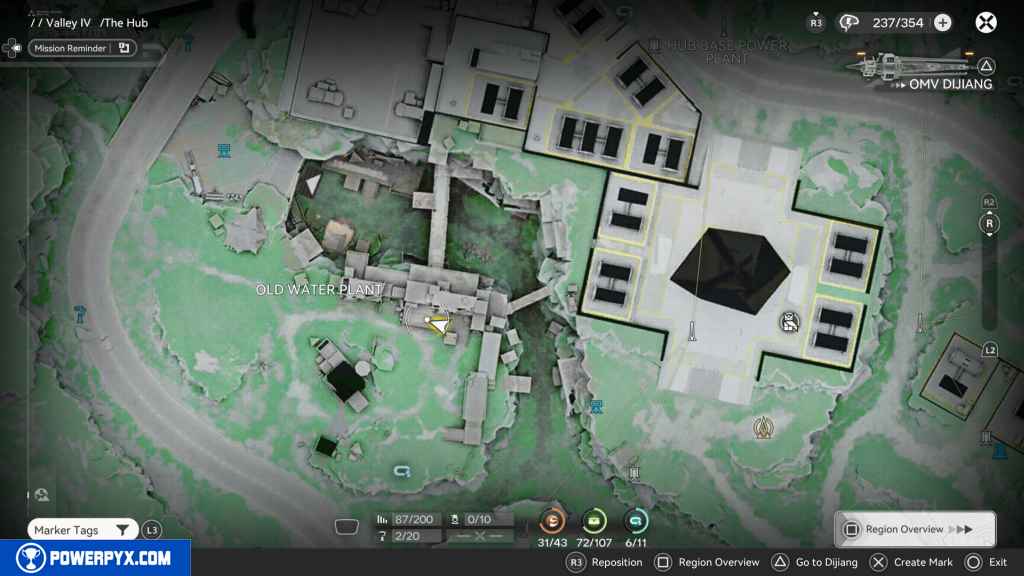
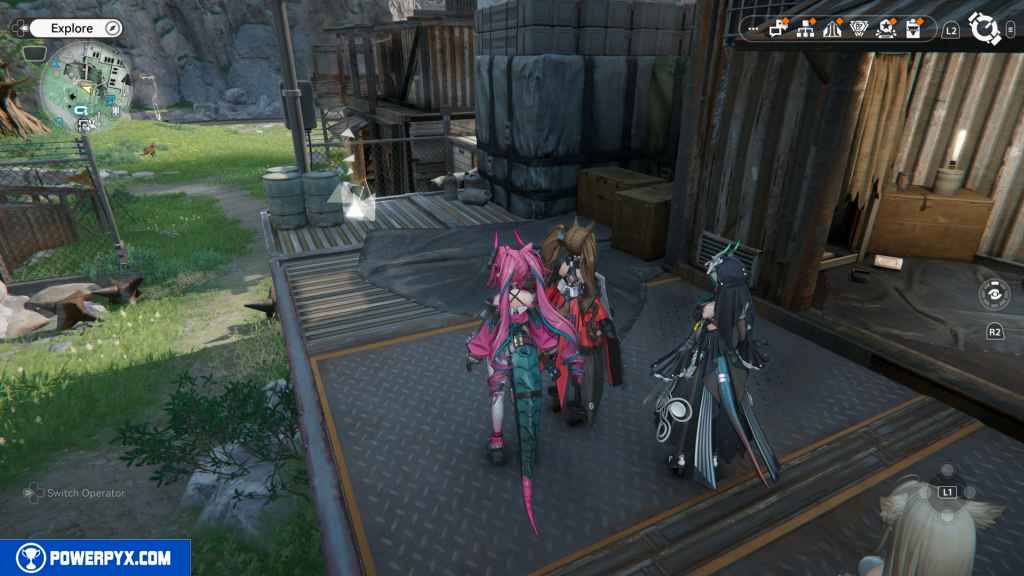
199 – Crate 73
North of the Gathering Point is another container house with a crate inside it.
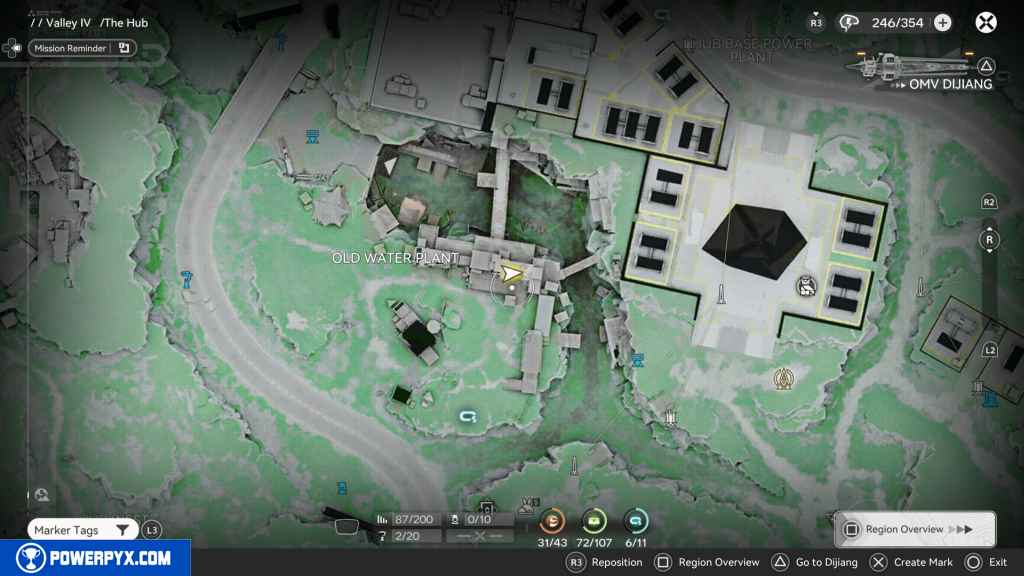
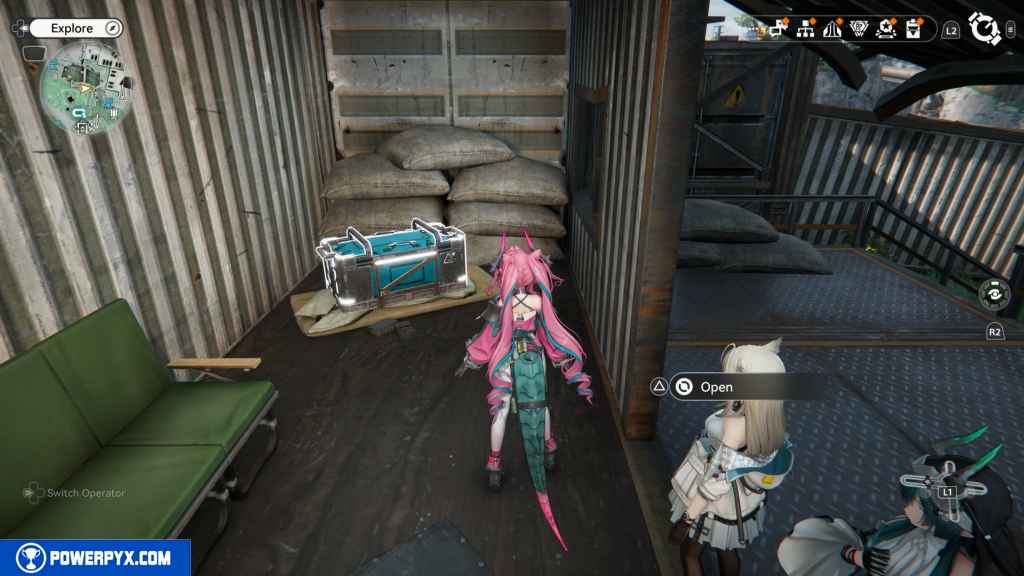
200 – Protocol Datalogger 4
Go south, and the Datalogger should be in front of you.
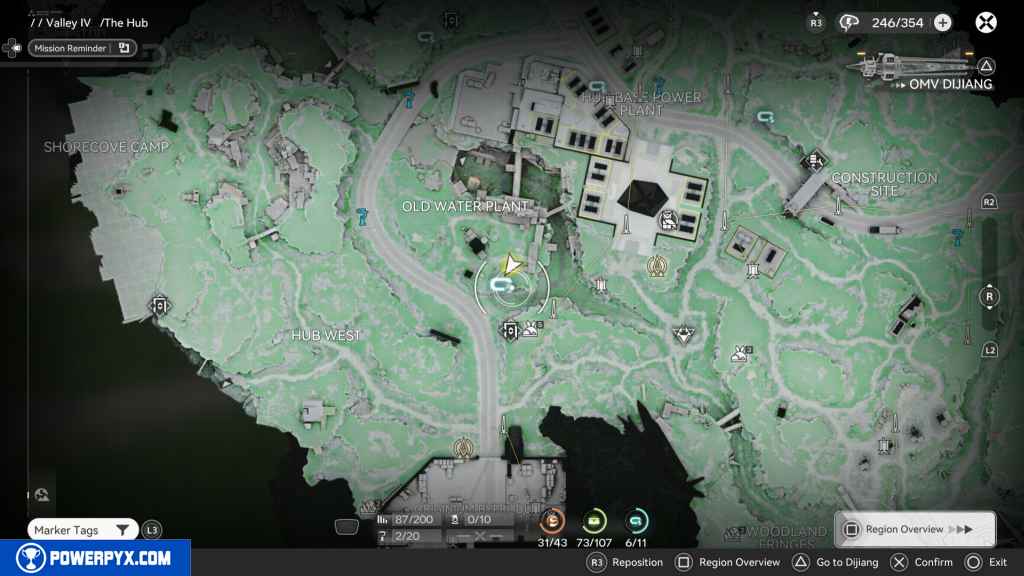
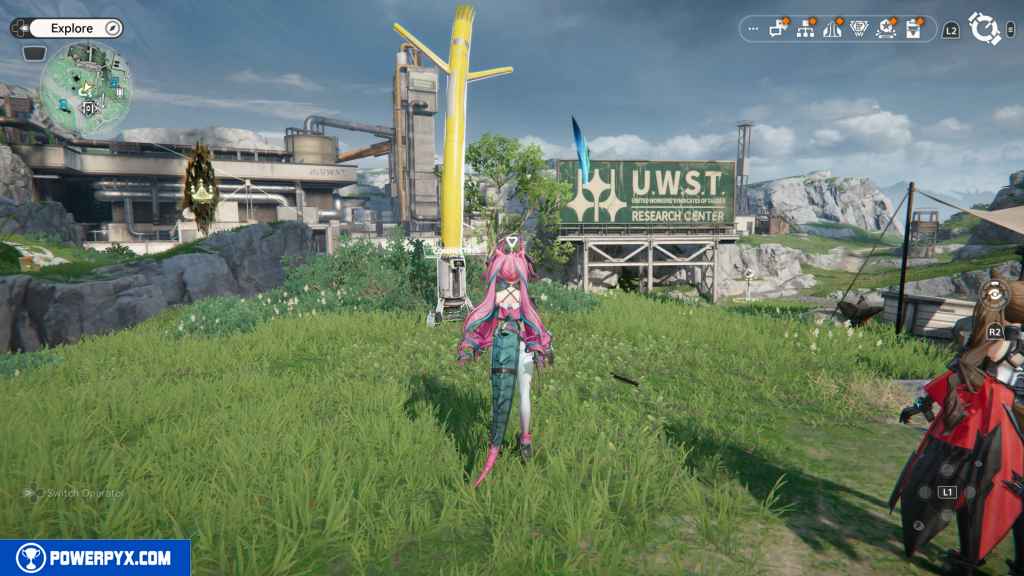
201 – Crate 74
Go northwest to the building. Go behind it, and you should see some boxes to jump up. Do so to get to the roof and grab the crate.
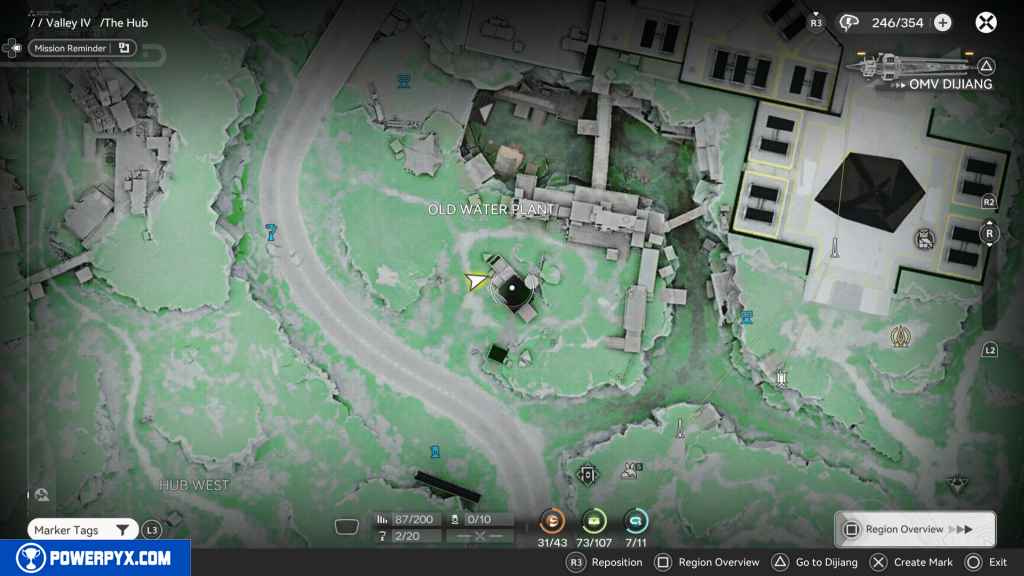
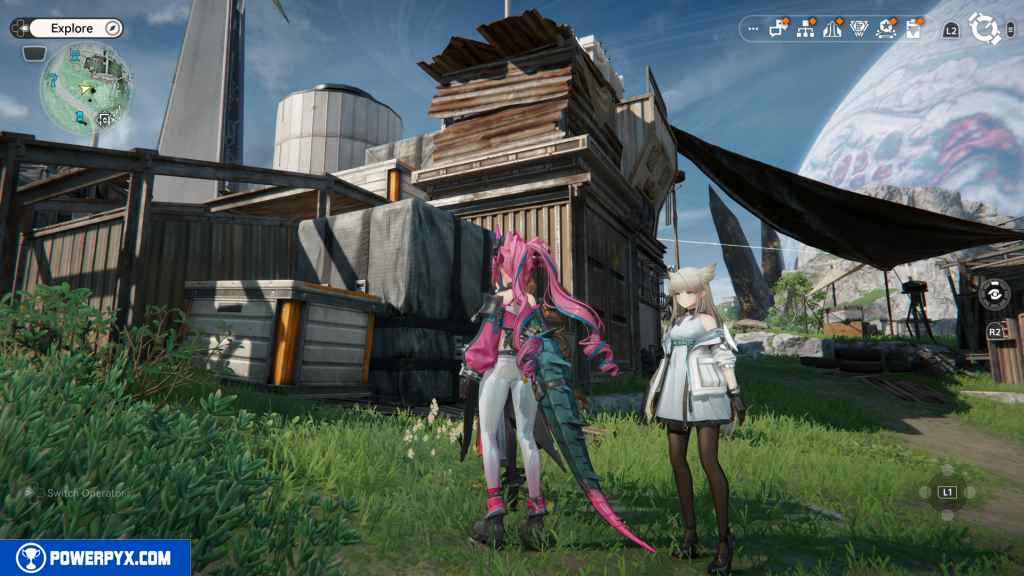
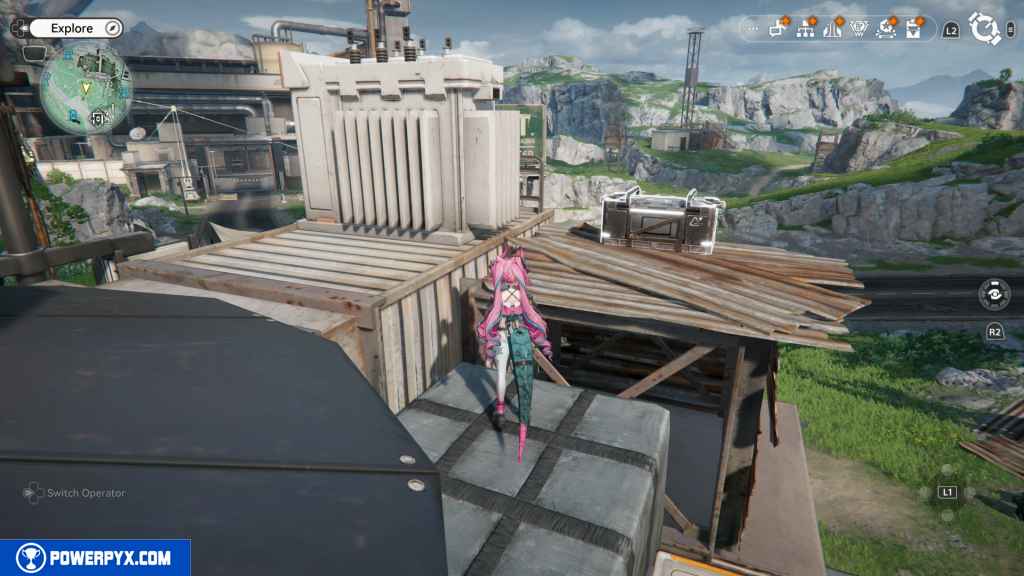
202 – Aurylene 32
Go east and up the stairs of the containers. Look to your right, and you should see three platforms you can jump on. Jump across these platforms to reach the very top of the containers. Head west, and you should see the Aurylene on the roof.
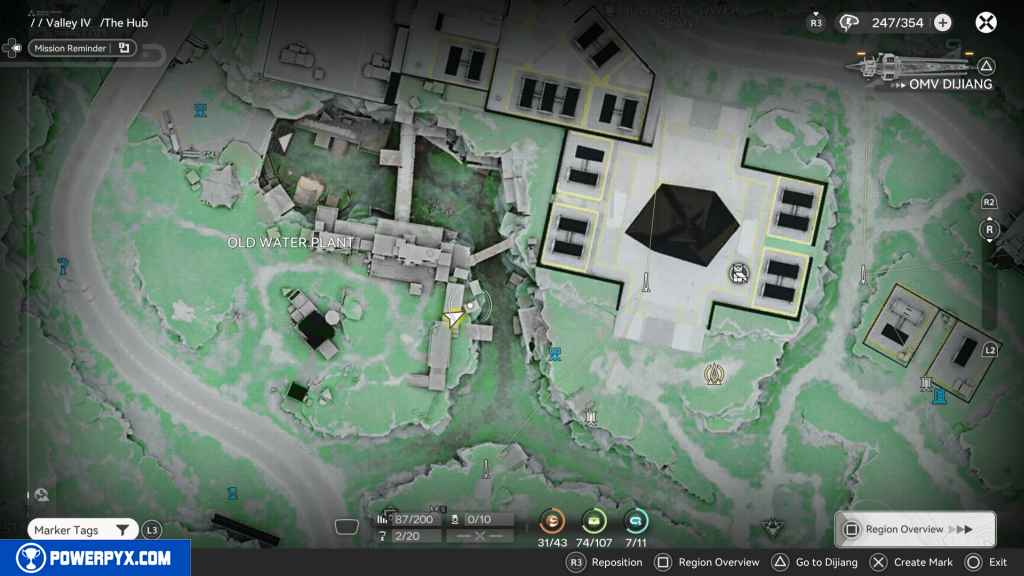
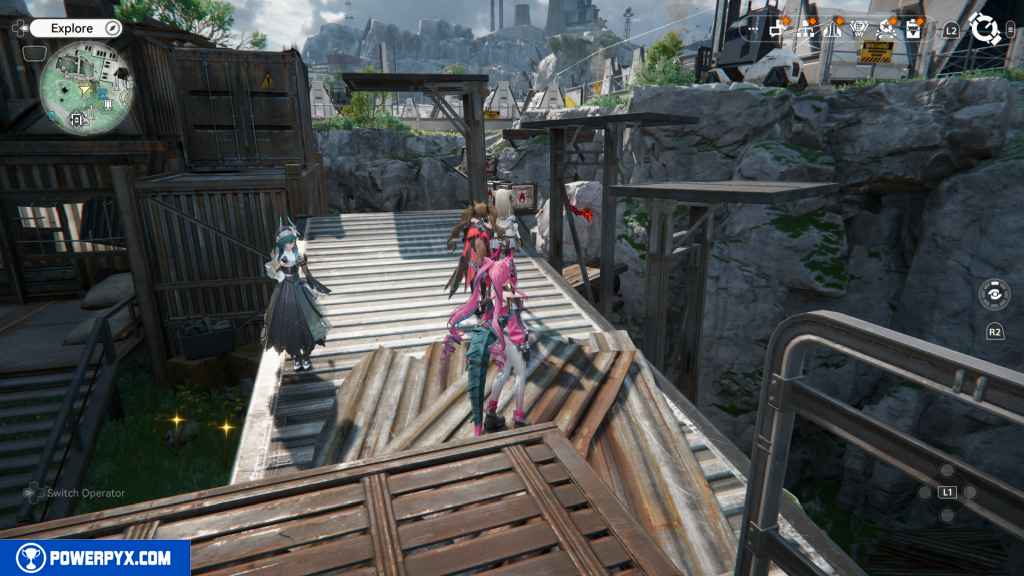
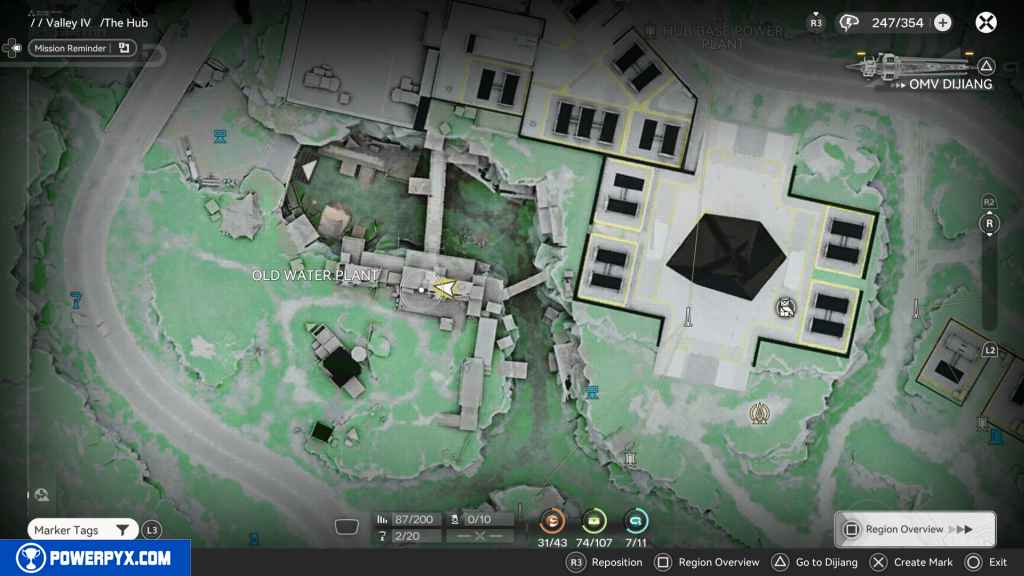
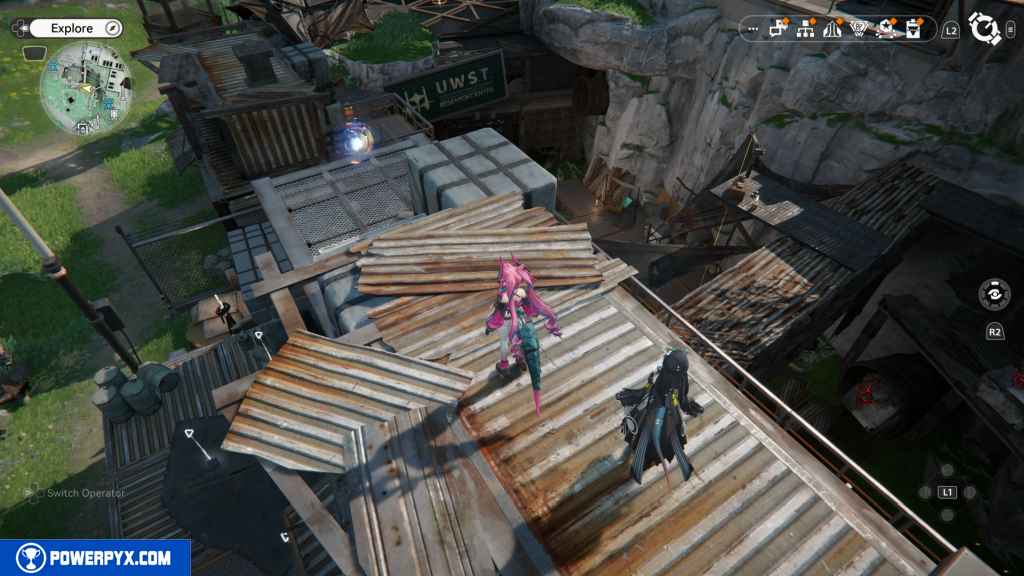
203 – Crate 75
Directly west of the Aurylene below you is the next crate.
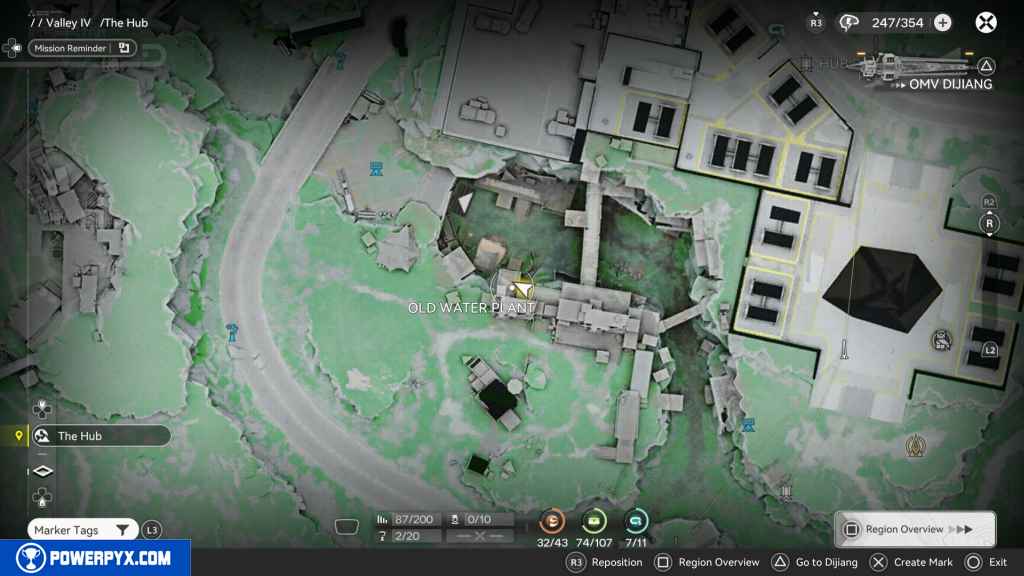
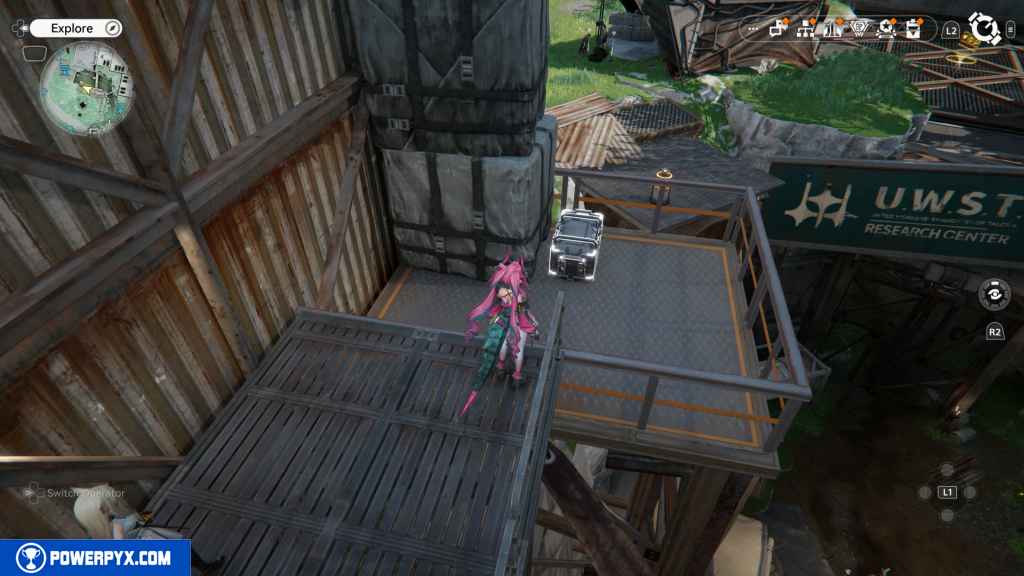
204 – Gathering Point 84
Head east, and you should see explodable boxes on some platforms across the chasm. Blow them up with bombs to clear a path, and one of the boxes will reveal the Gathering Point. Make your way across the makeshift bridge and onto the platforms to reach the Gathering Point.
205 – Aurylene 33
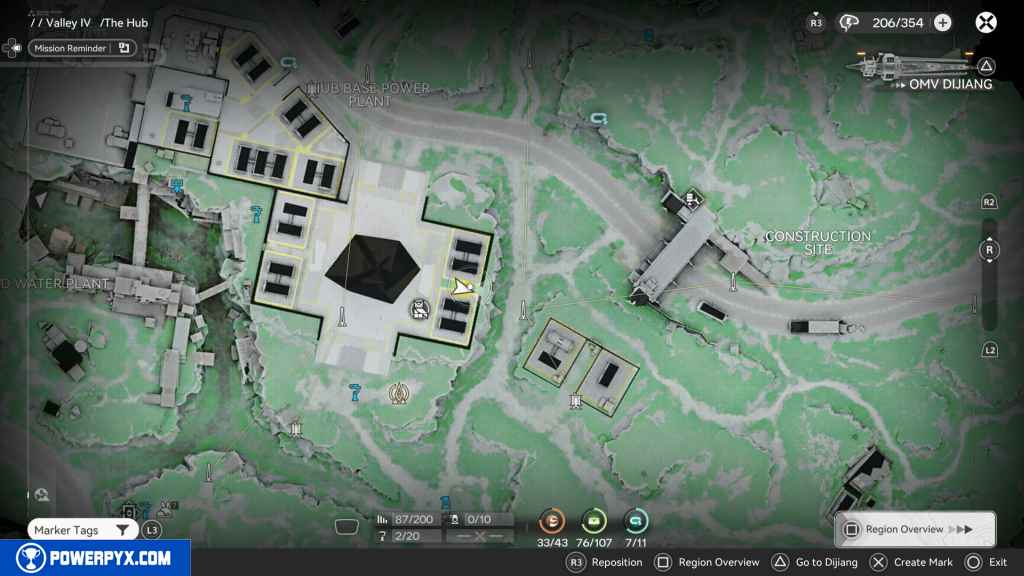
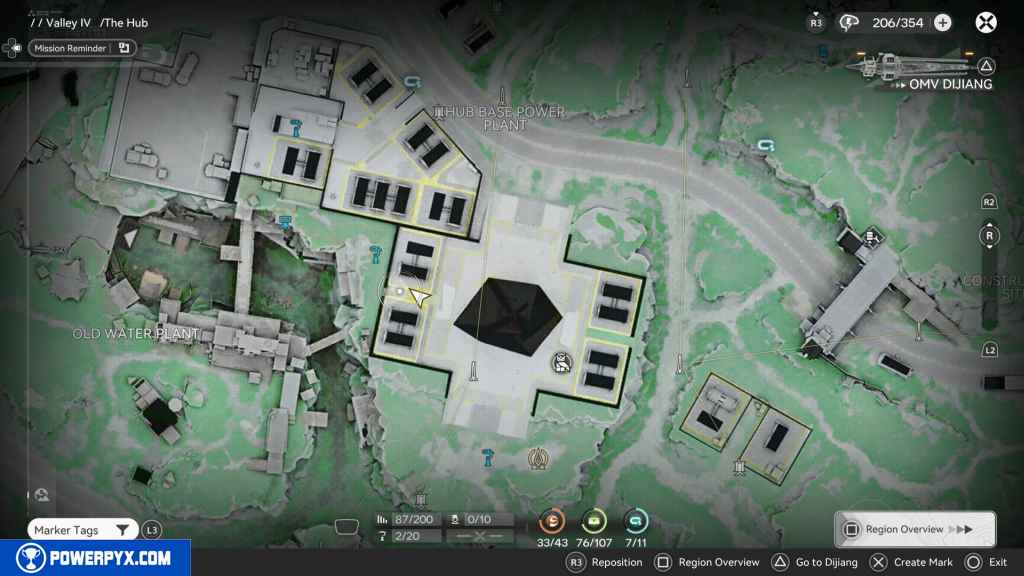
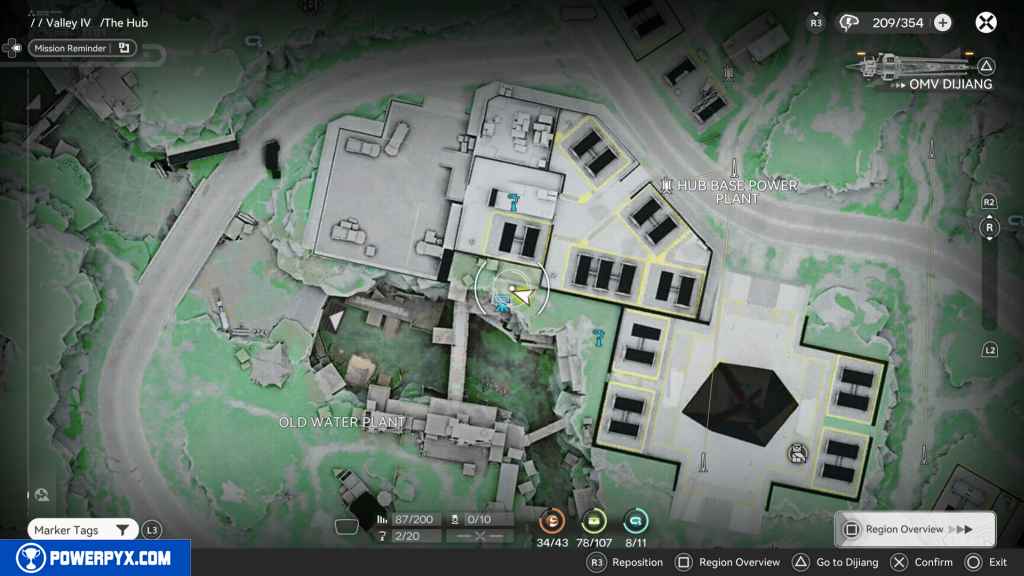
Teleport to the TP point east of the Old Water Plant. To the northeast, up the stairs, between the two power generators, is the Auryene.
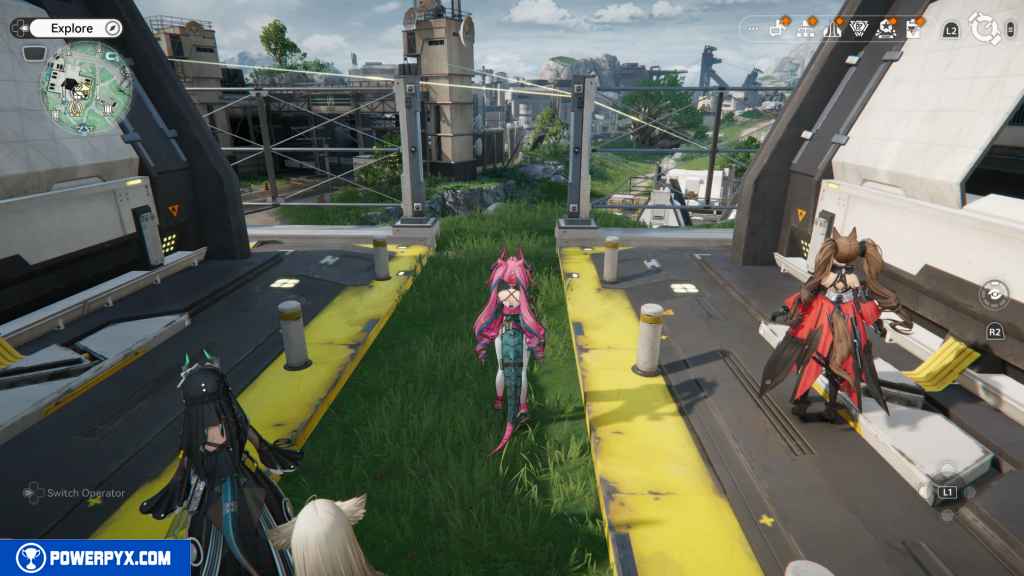
206 – Crate 76
On the west side, the crate is between the power generators.
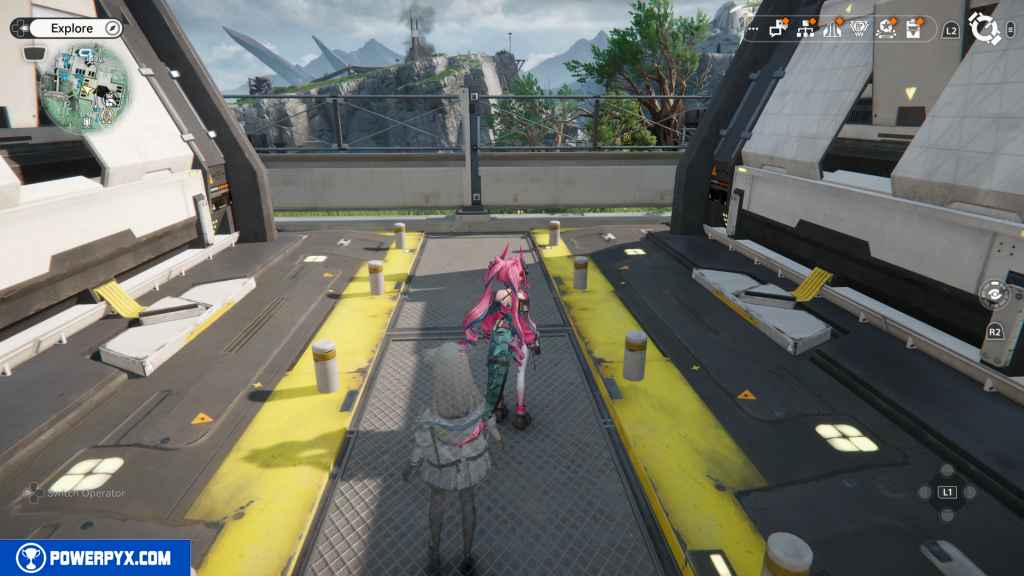
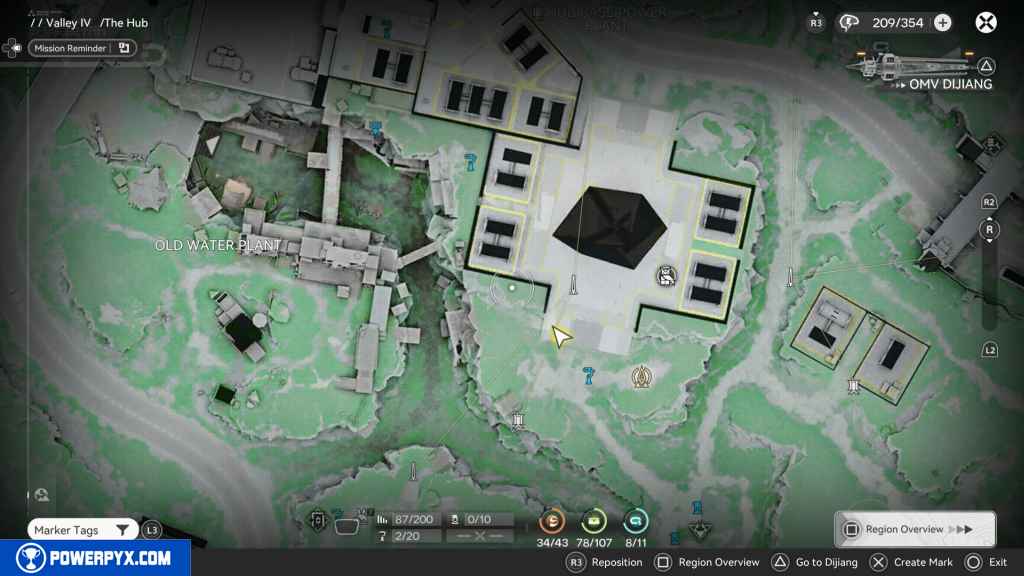
207 – Aurylene 34
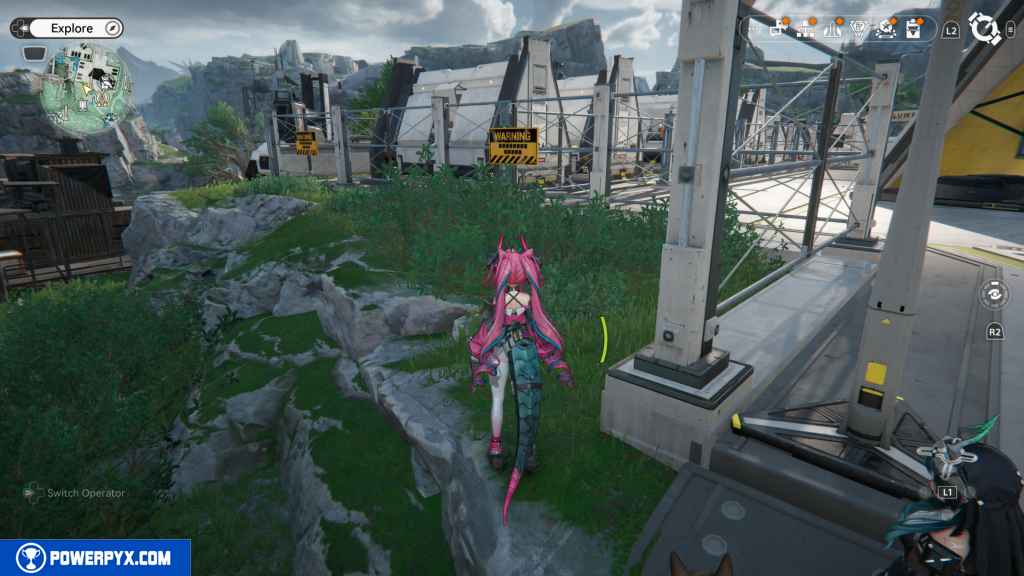
Go south back to the stairs, and this time go west around the grassy part outside the fence. Keep going until you reach a forklift. Jump around it and go along the path until you reach the end with an Aurylen.
208 – Protocol Datalogger 5
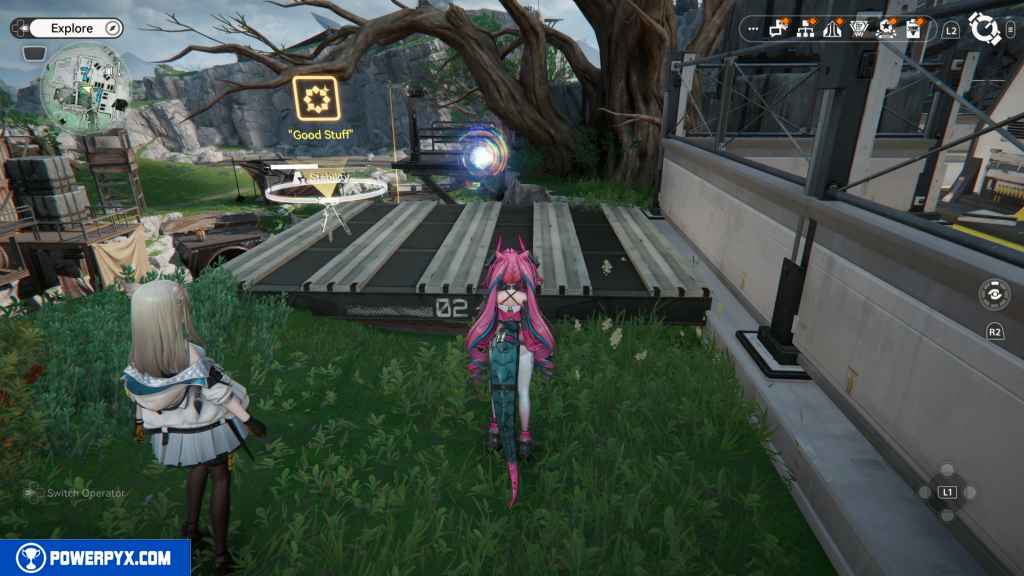
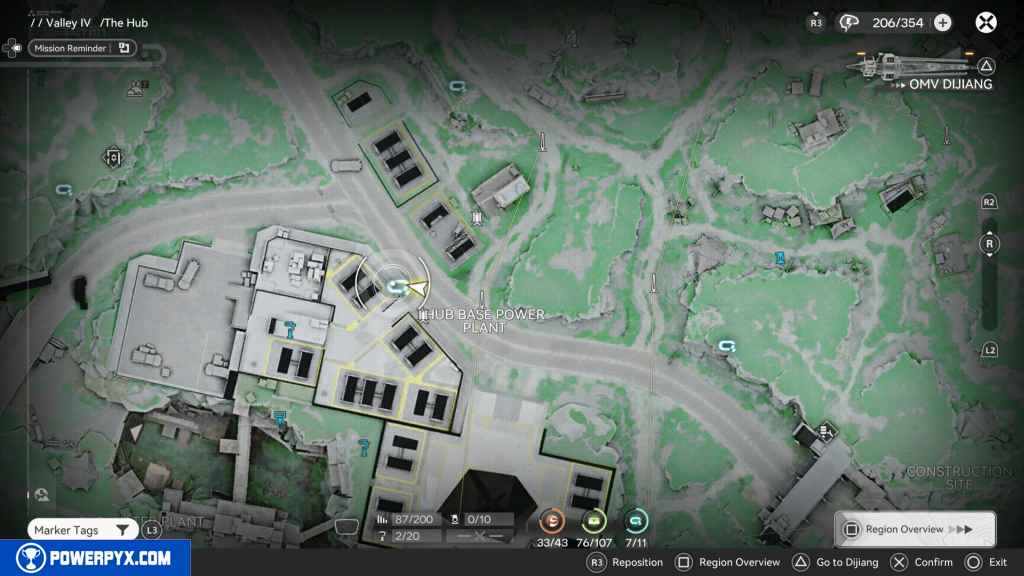
Return to the TP point, then head north to the main road. From there, go west, and you should see the Datalogger on your left.
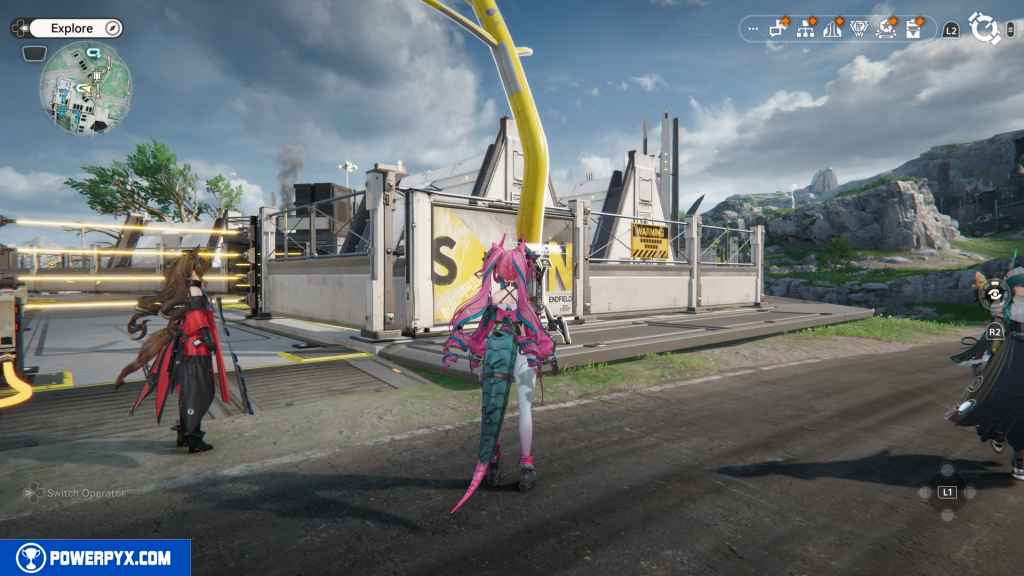
209 – Crate 77
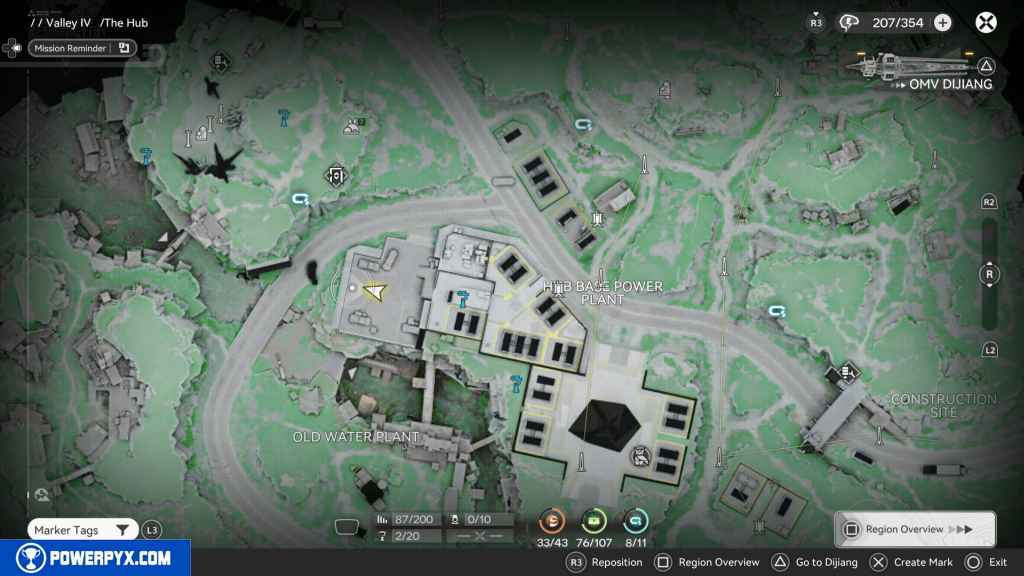
Next to the Datalogger is an Electric Nexus. Power it up with a Relay Point to deactivate the energy barrier.
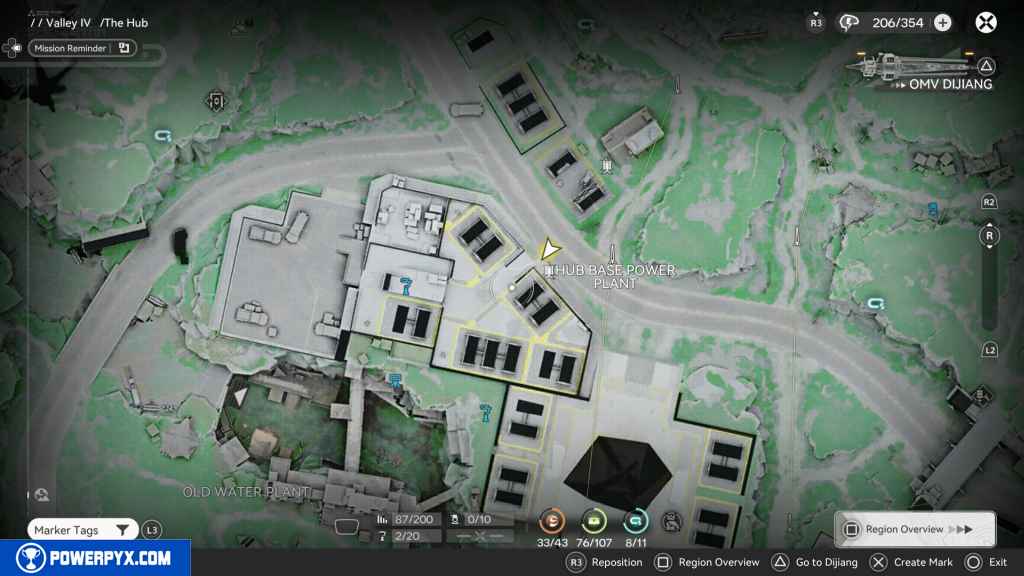
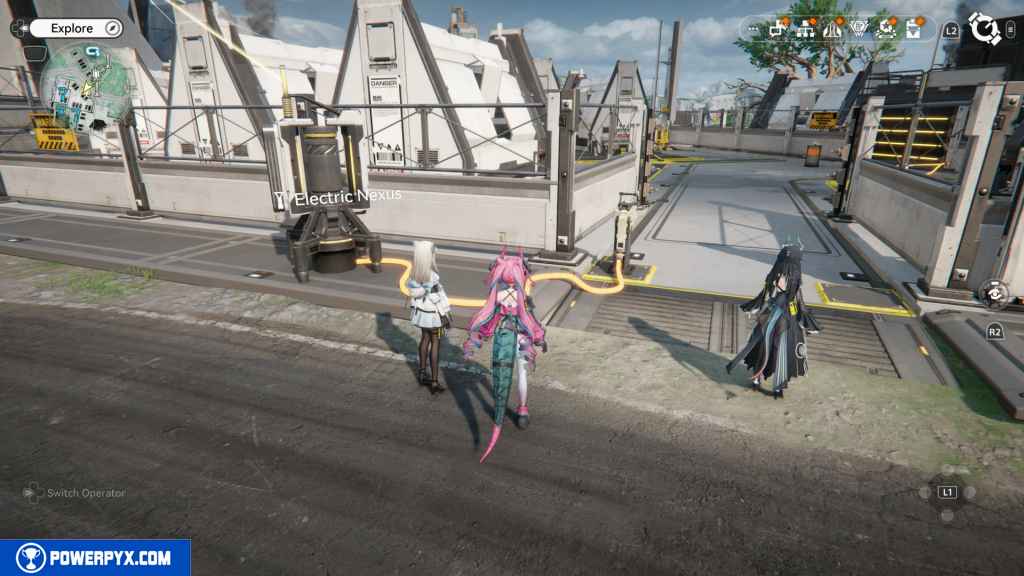
Go inside, and on the right is another energy barrier. Take out a bomb and use it on the electric pylon to turn off the barrier.
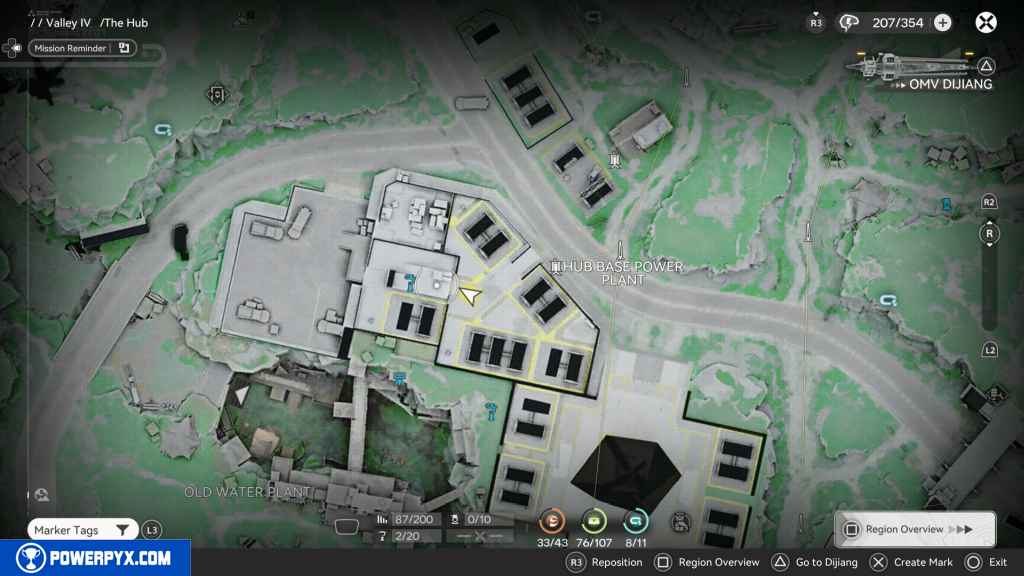
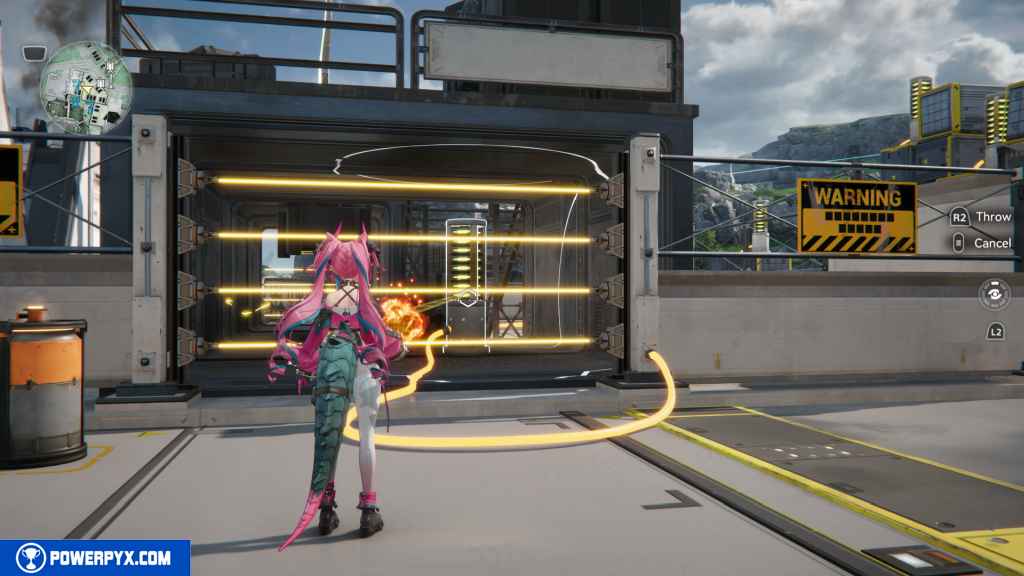
Continue forward, and you will run into yet another barrier. This one requires you to blow up three electric pylons. Look north, then east, and you’ll find some stairs to go up, and you should see the pylons to the north. Throw bombs at all three of them to turn off the barrier.
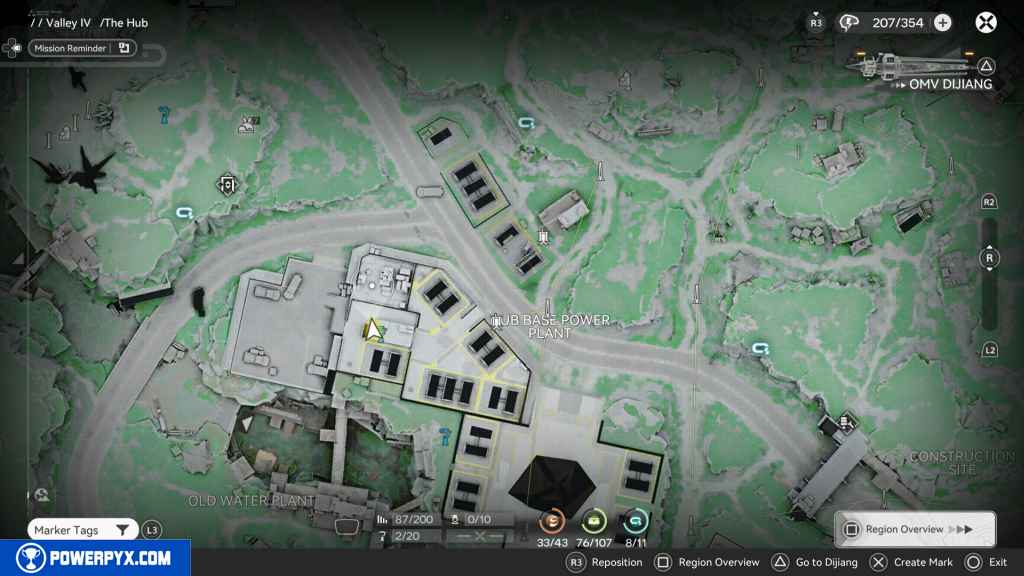
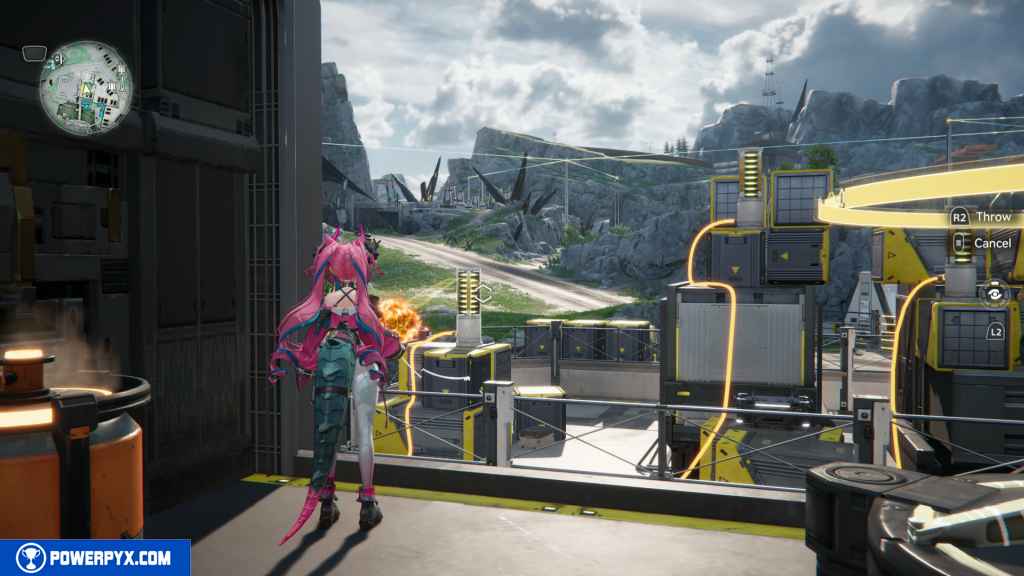
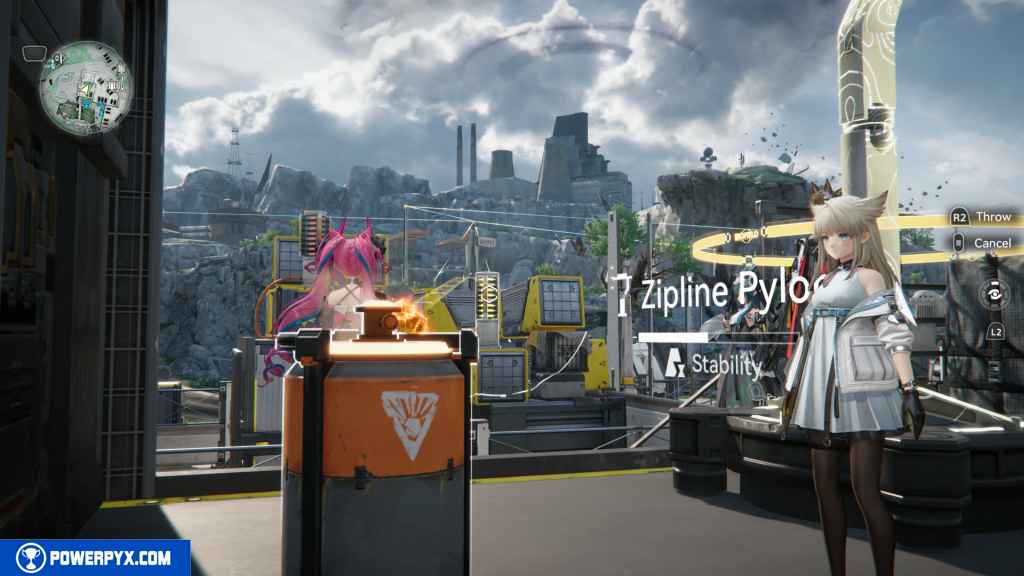
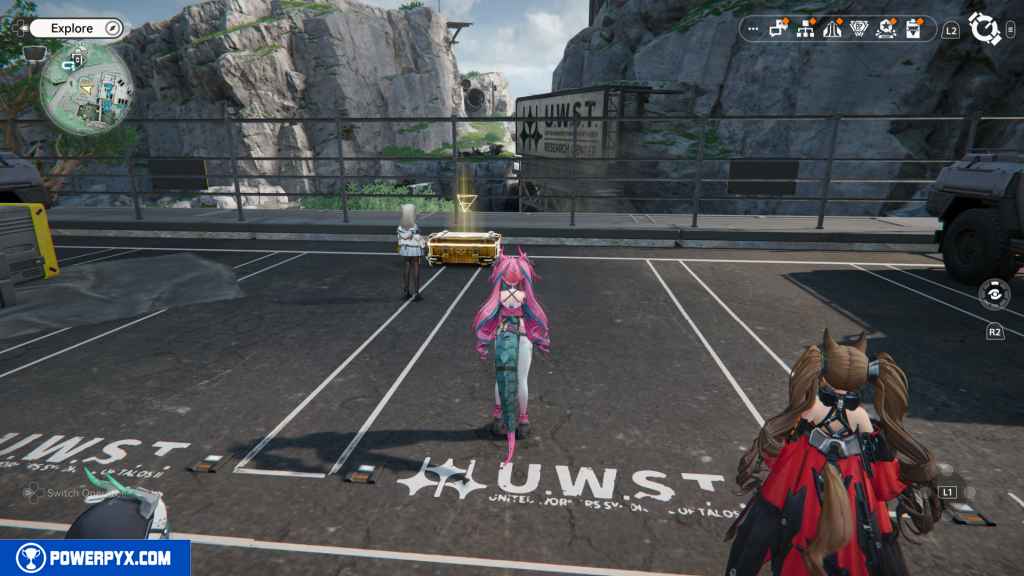
Go west to the parking area and defeat all the enemies there. The crate will be to the west.
210 – Gathering Point 85
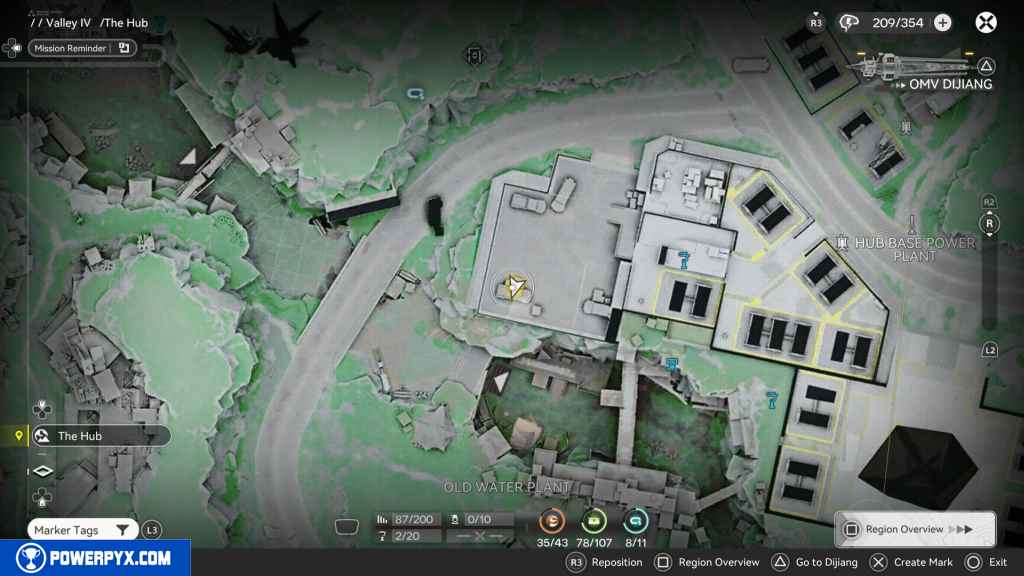
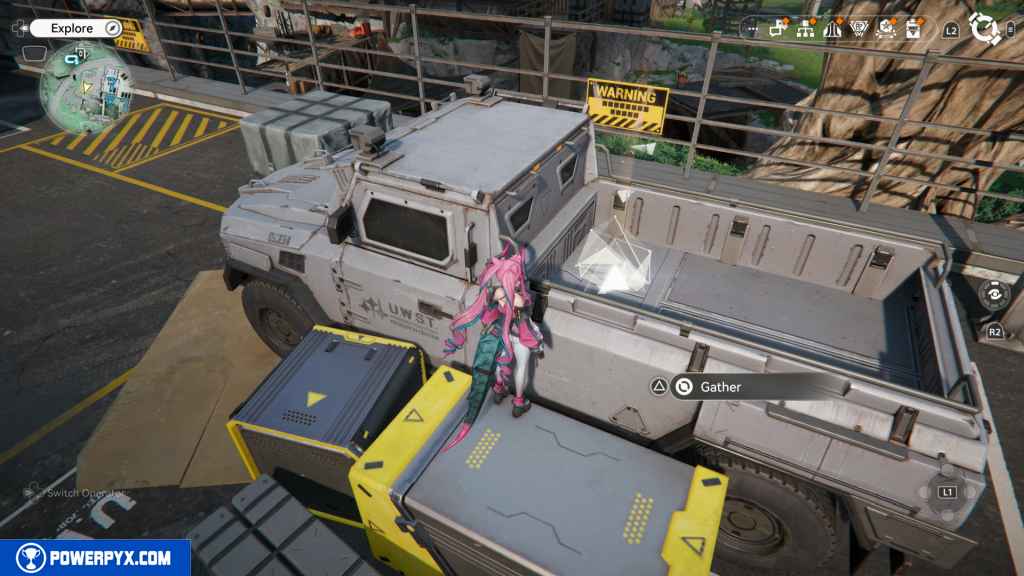
Turn left from the crate, and you’ll see some boxes with a yellow outline next to a truck. Jump up the boxes to reach the truck’s bed, where the Gathering Point is.
211 – Crate 78
Go north, and next to the stairs you used to get to the parking area, you’ll find some yellow colored boxes. Jump on them to reach the area with the Pylons you threw granades at. Right in front of you, on a box, you’ll find the crate.
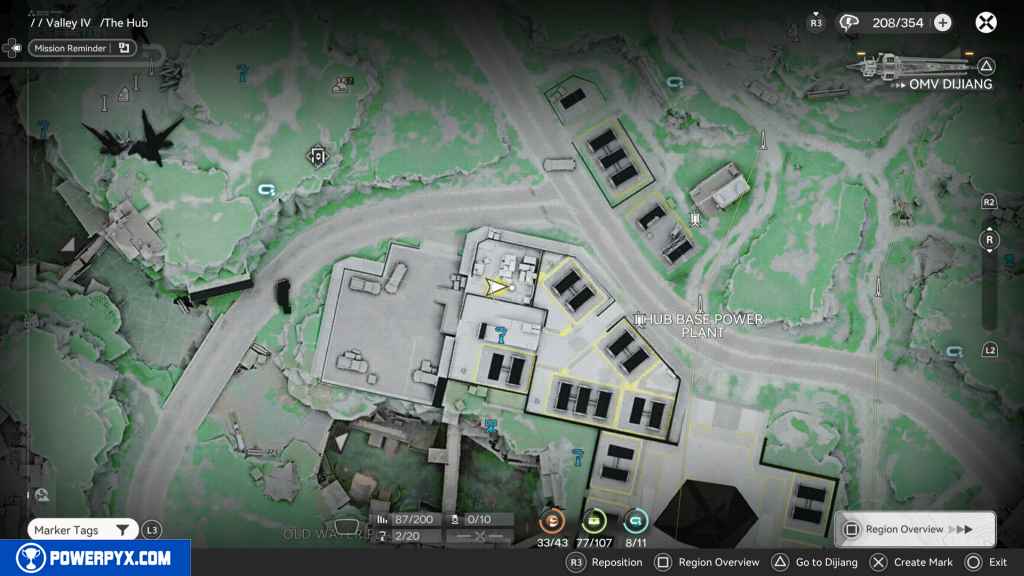
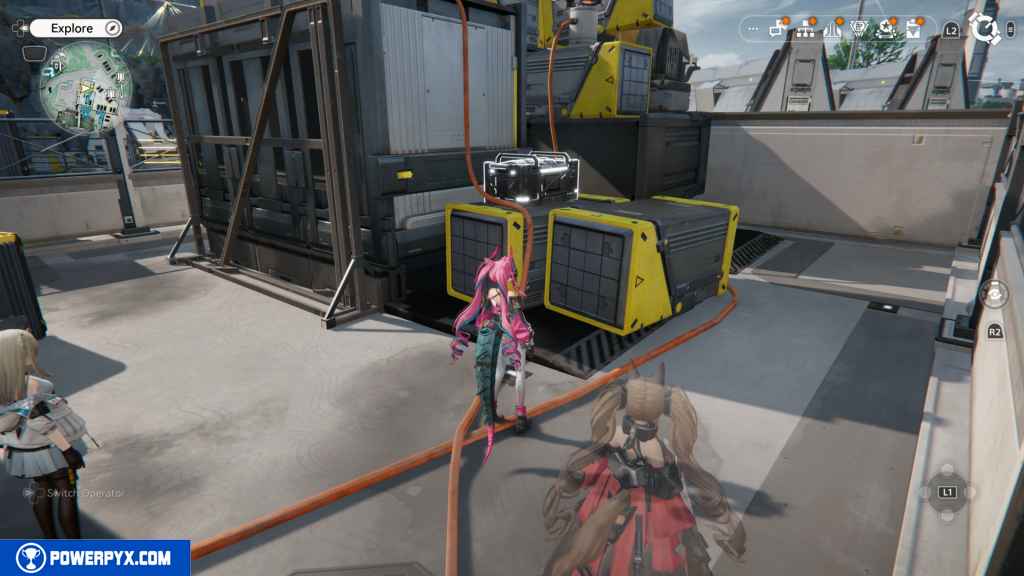
212 – Aurylene 35
Go north behind the large power generators to find the next Aurylene.
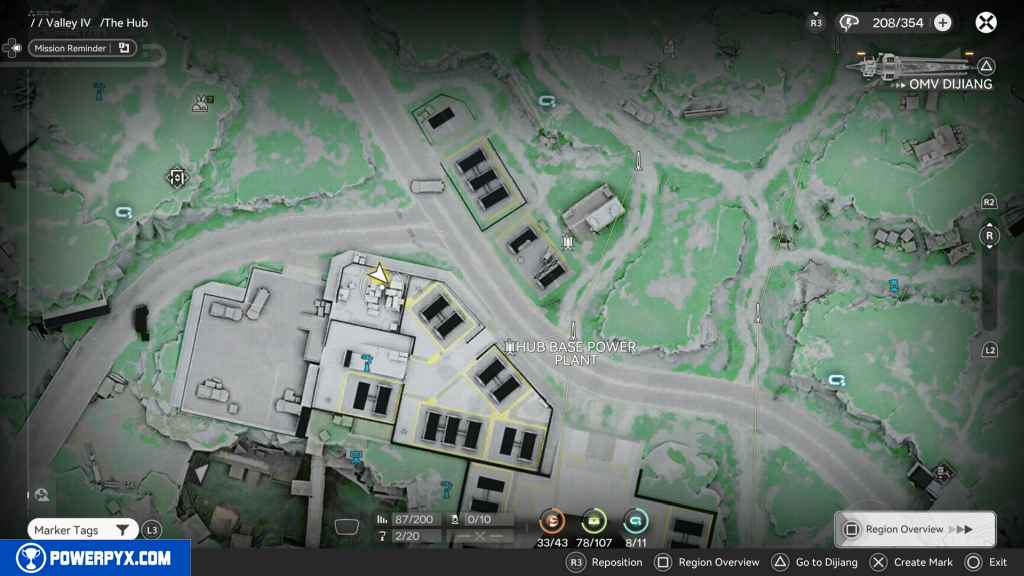
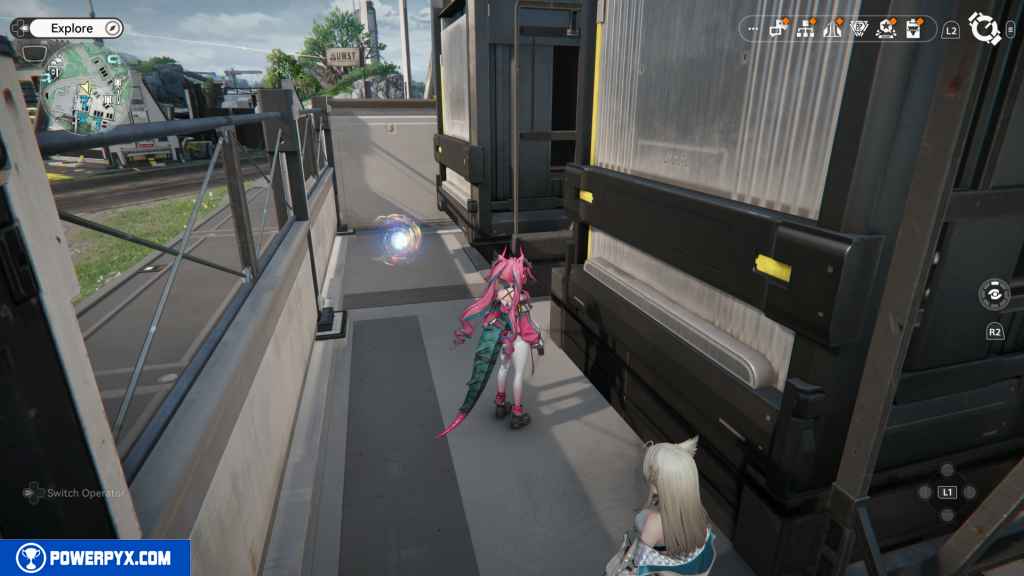
213 – Protocol Datalogger 6
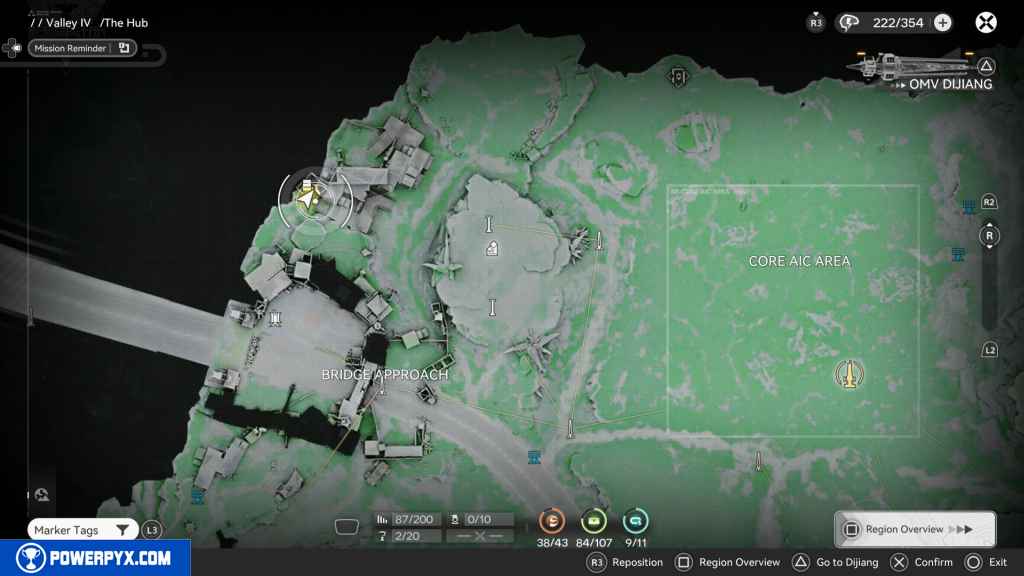
Go north and approach the Bridge Approach. Don’t go into the area; instead, turn south and go up the hill. Continue up the hill past the material gathering, and you’ll see the Datalogger.
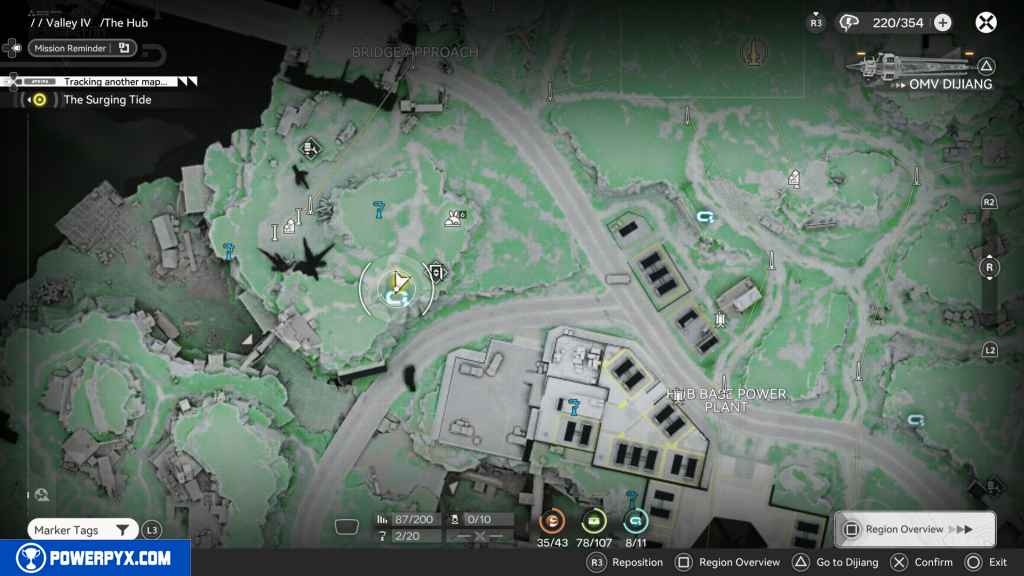
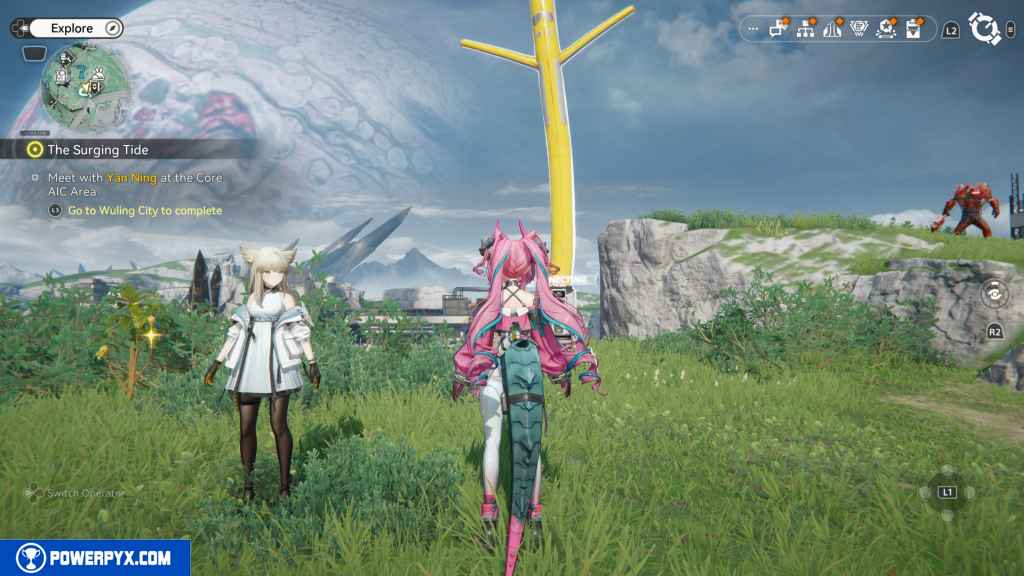
214 – Crate 79
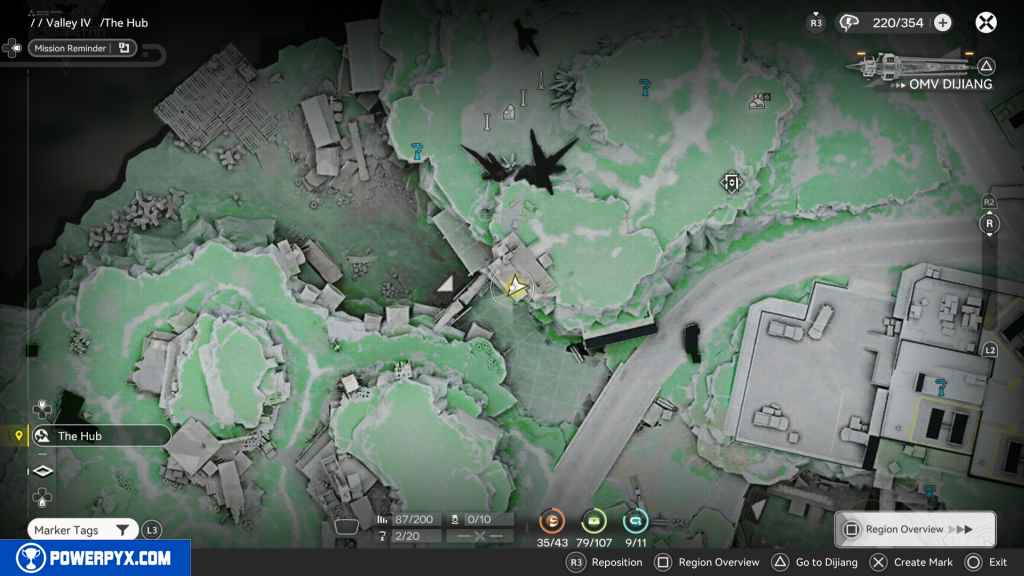
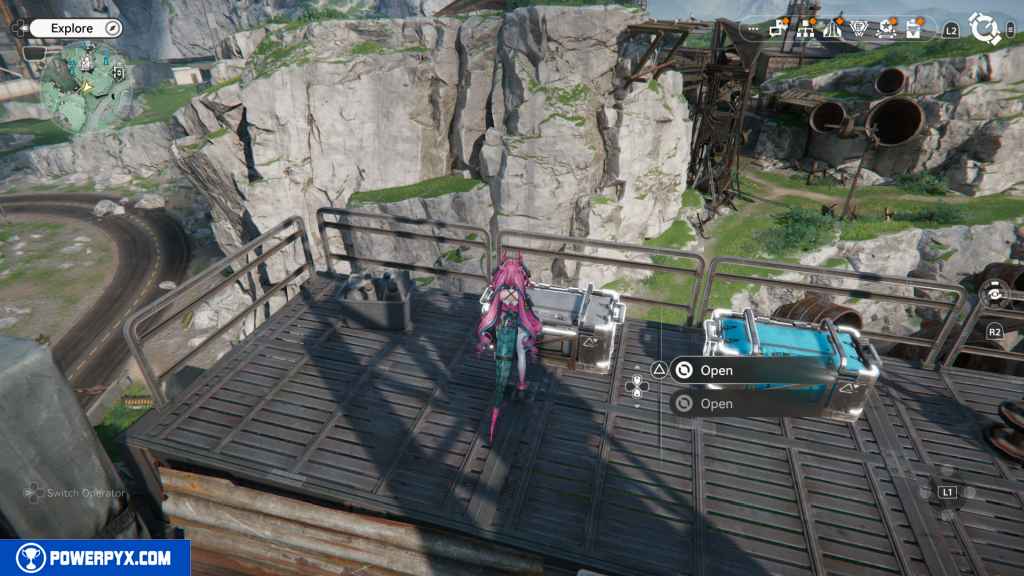
Go west from the Datalogger, and you’ll see a large red glowing Landbreaker. Defeat him and continue west to the platform. Go up the stairs, and on your left is the crate.
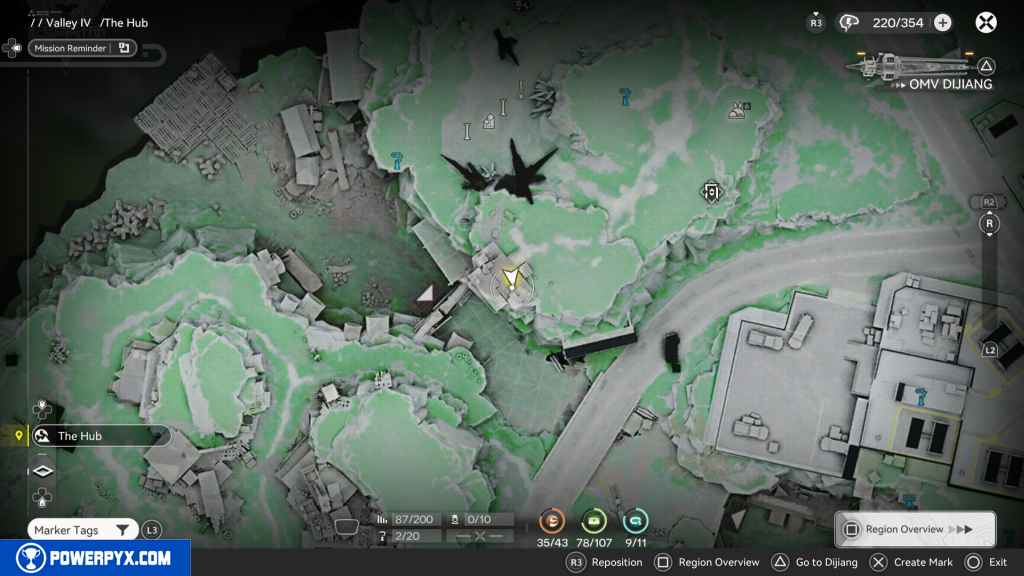
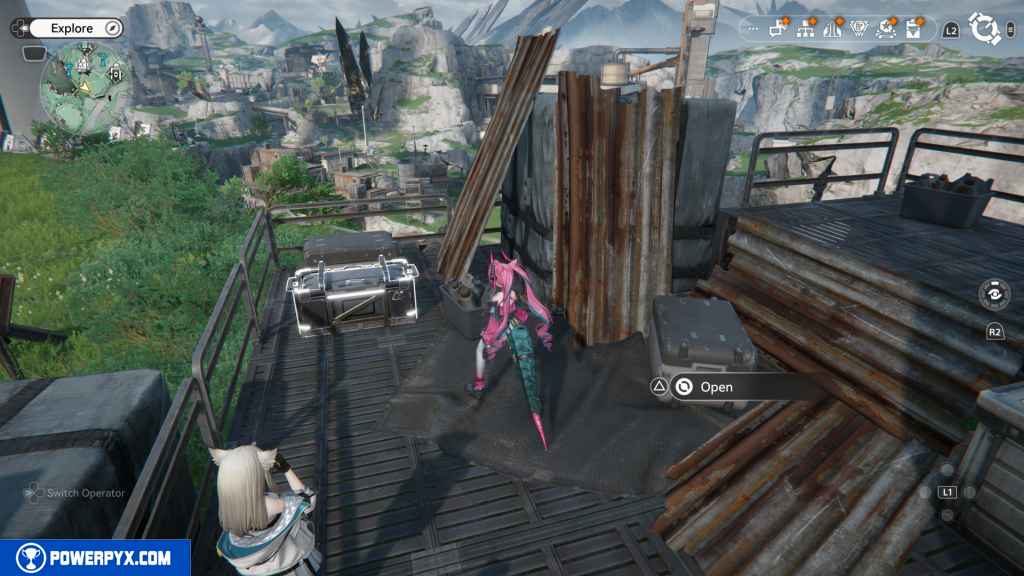
215 – Crate 80
Next to the last crate to the west, you will see two more crates.
216 – Crate 81
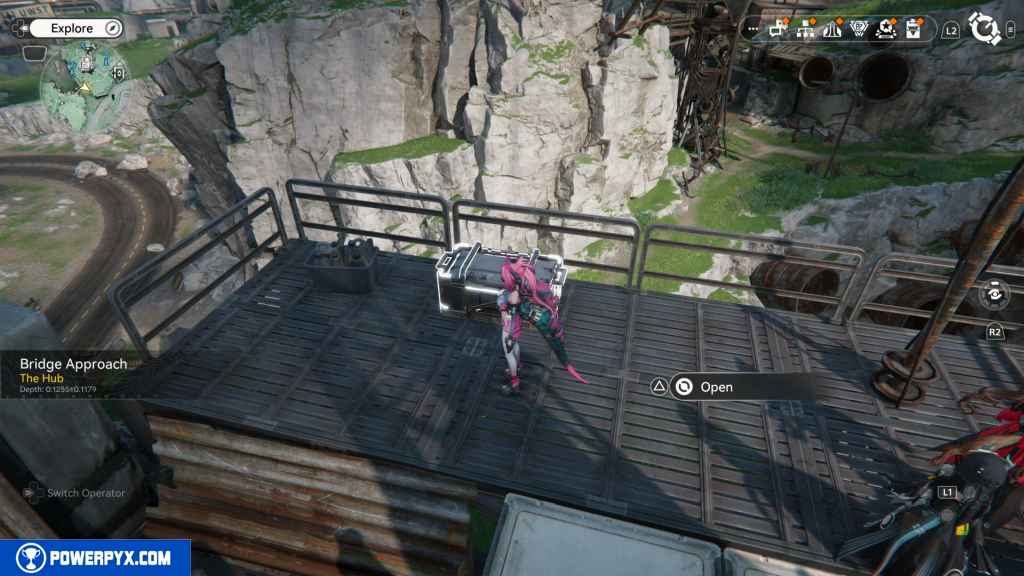
Next to the last crate.
217 -Aurylene 36
Look north from the crates, and you’ll see the Aurylene on top of a box.
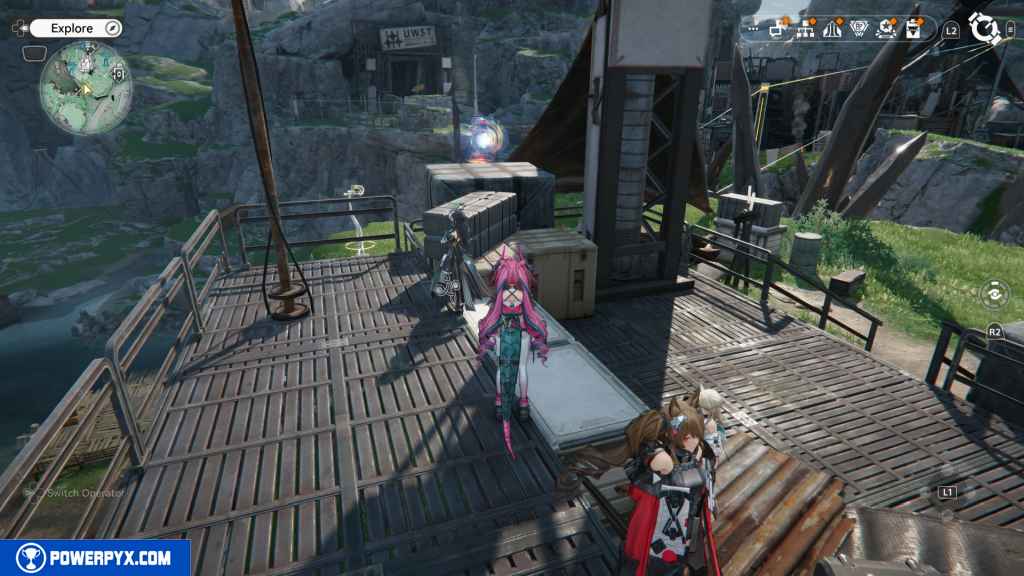
218 – SOS Repair Bot 6
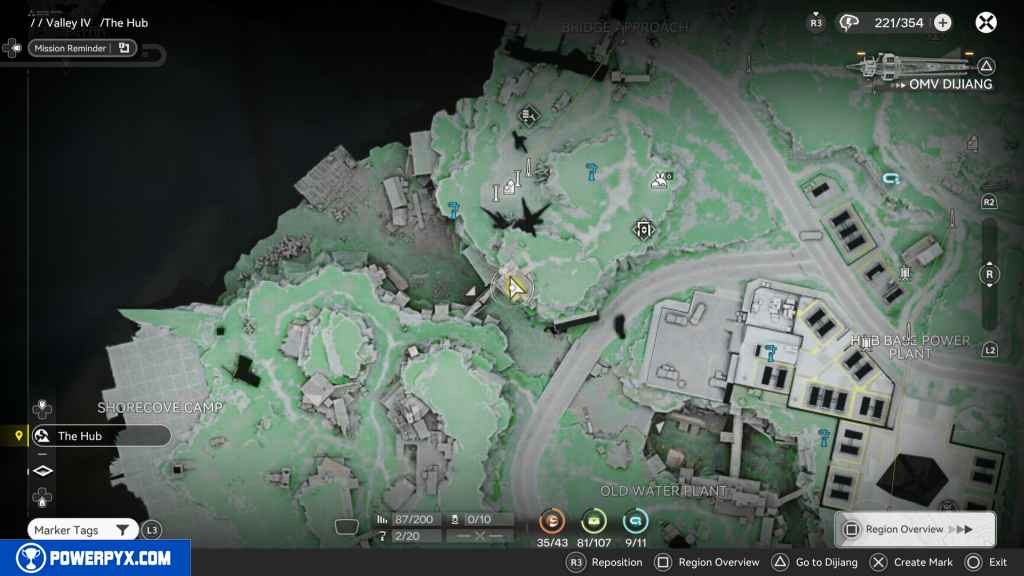
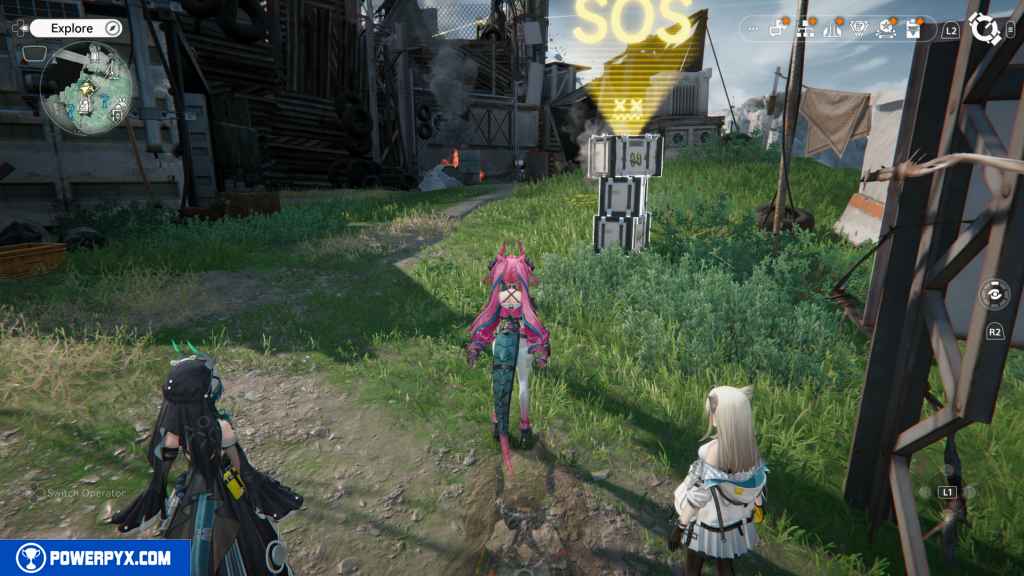
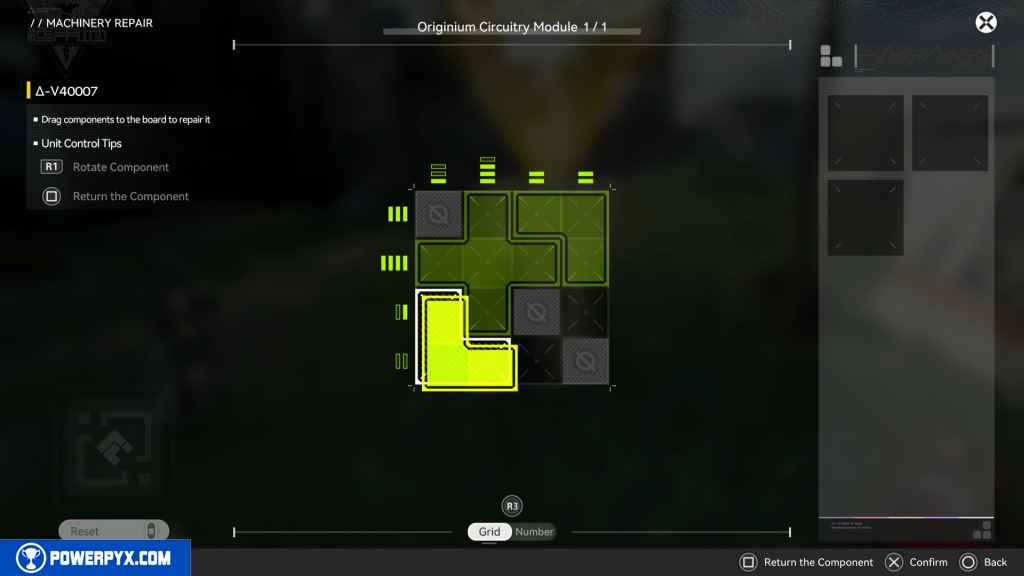
Continue north up the path to the Bridge Approach. On your right will be the Repair Bot.
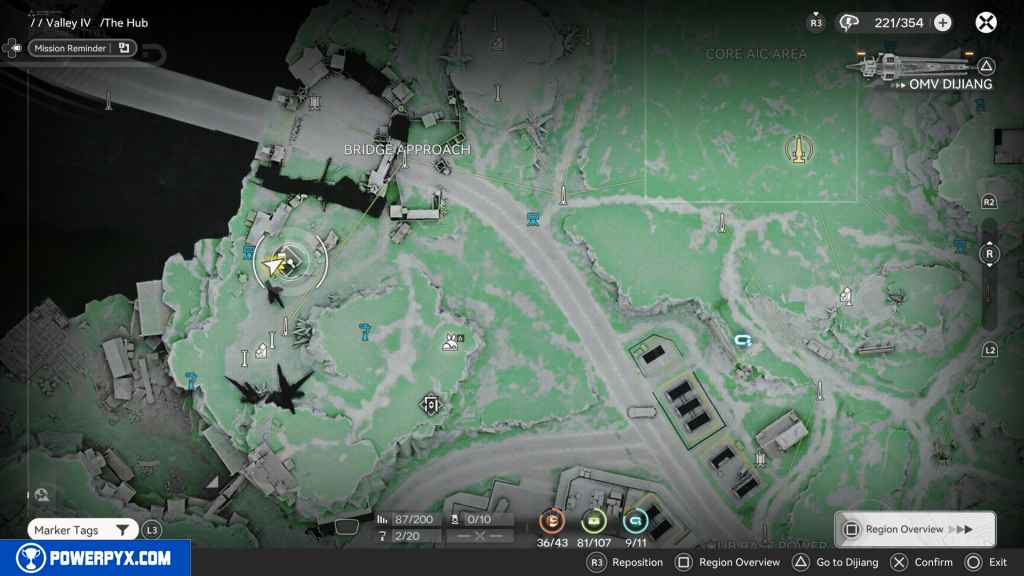
219 – Aurylene 37
West of the repair bot, you should see an open container. Go inside, and at the end is the Aurylene.
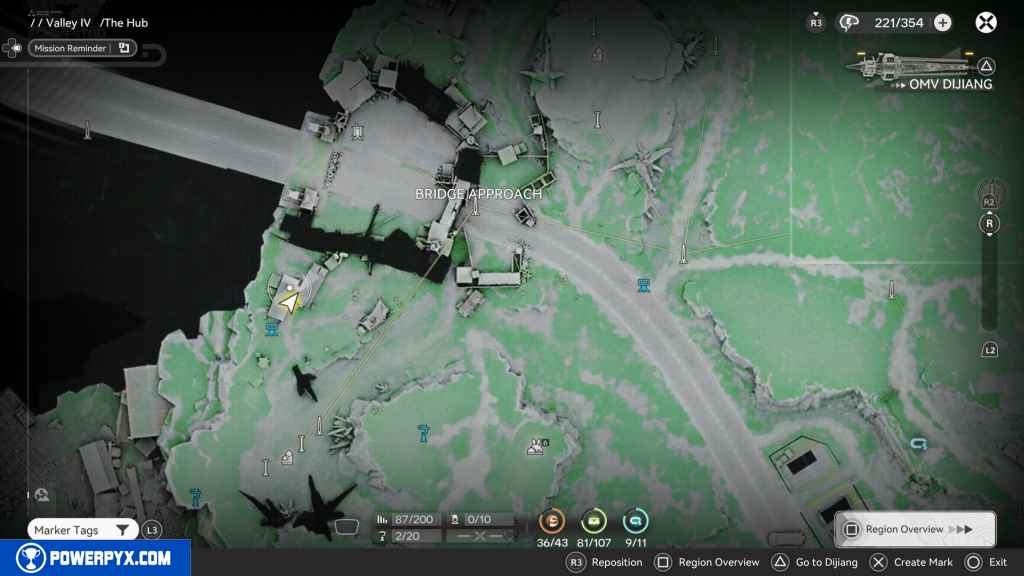
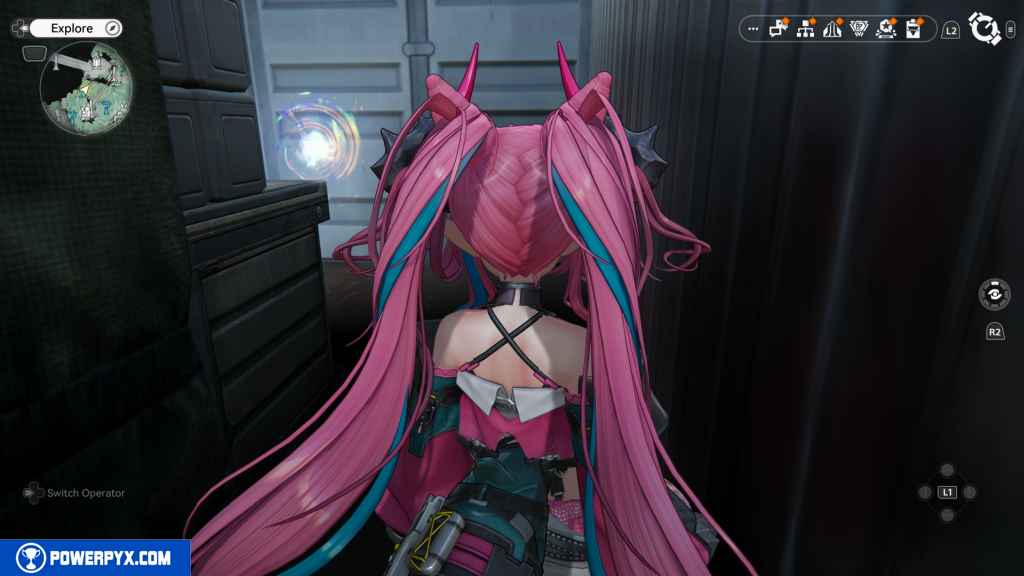
220- Crate 82
On the west side of the container are some boxes to jump up to the top. At the top is the crate.
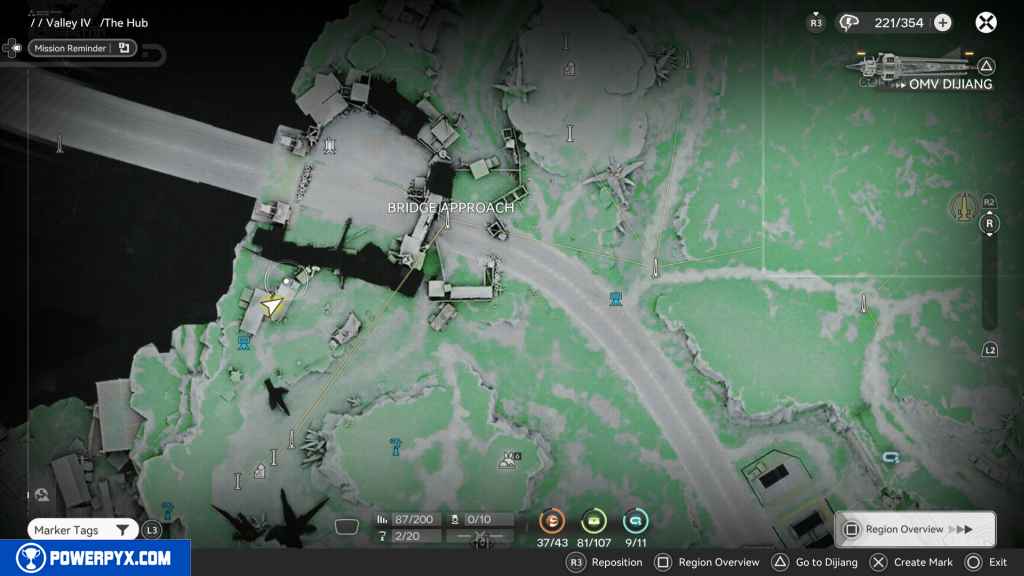
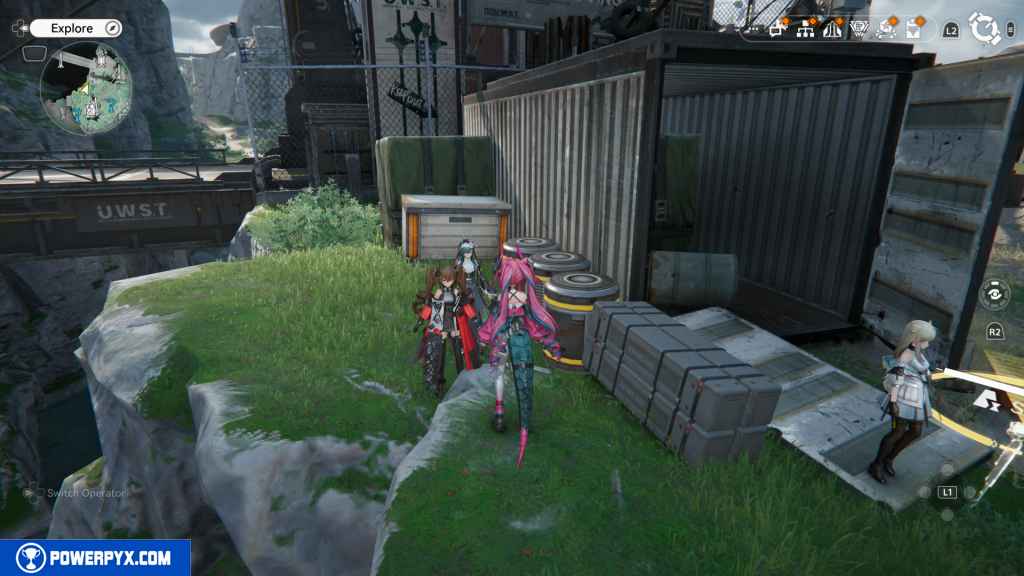
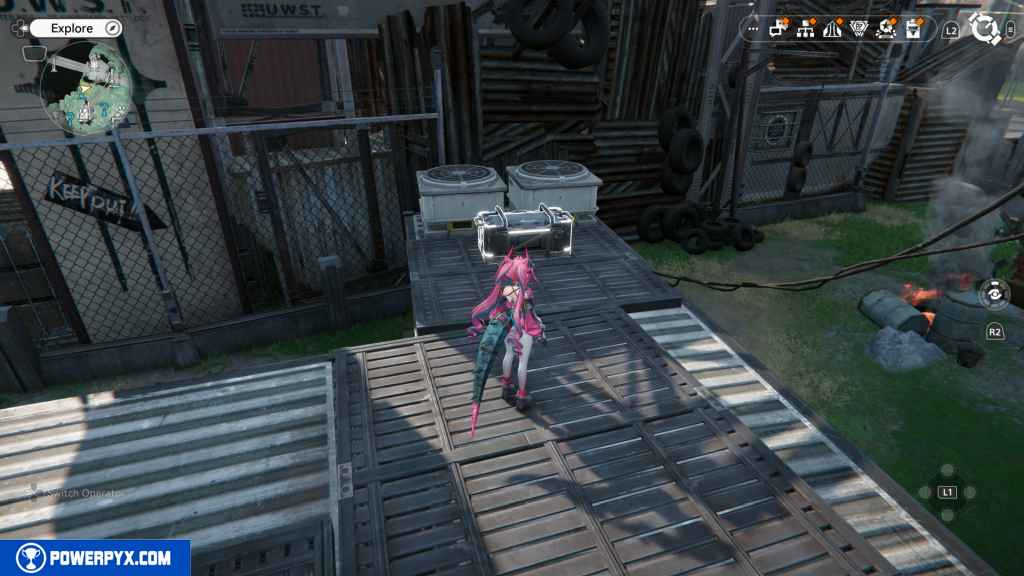
221 – Crate 83
Go into the Bridge Approach and after passing the entrance, turn left, and you’ll find some boxes to jump up. At the top is the crate.
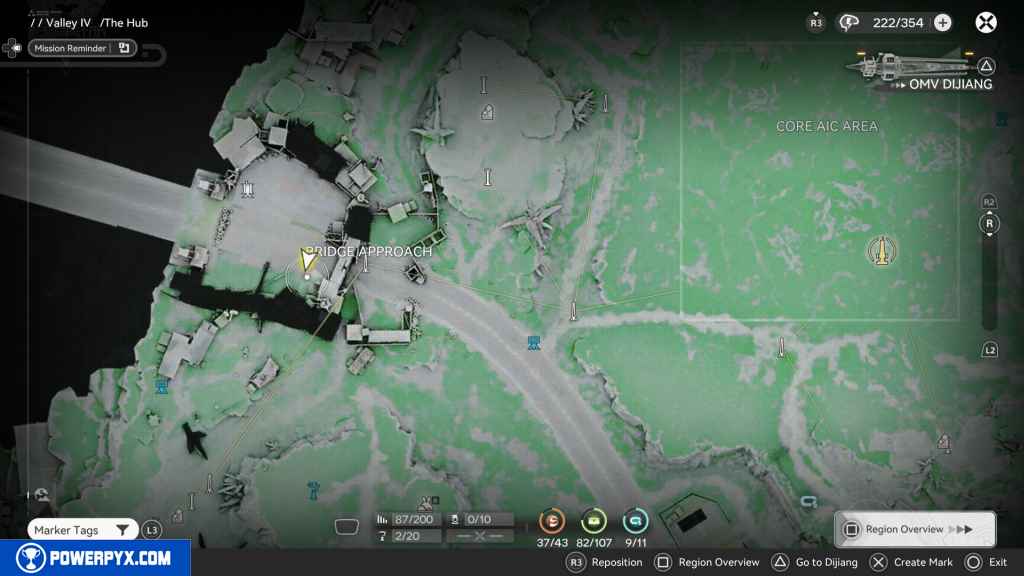
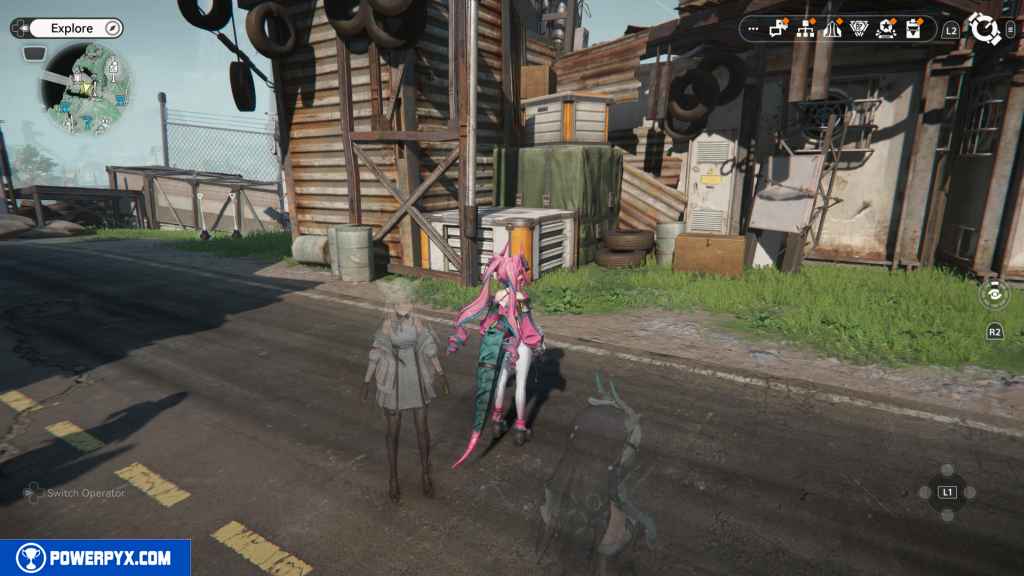
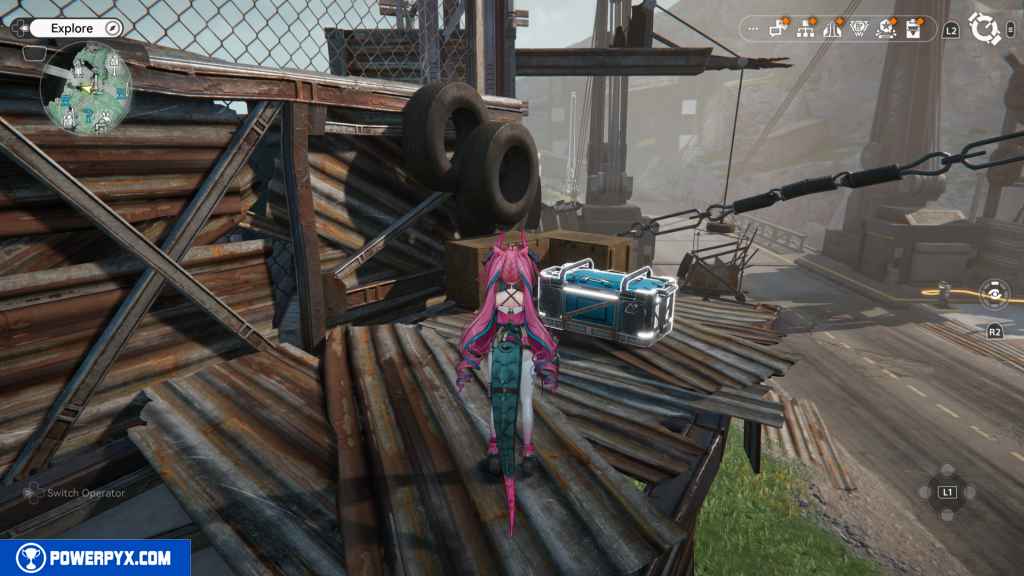
222 – Aurylene 38
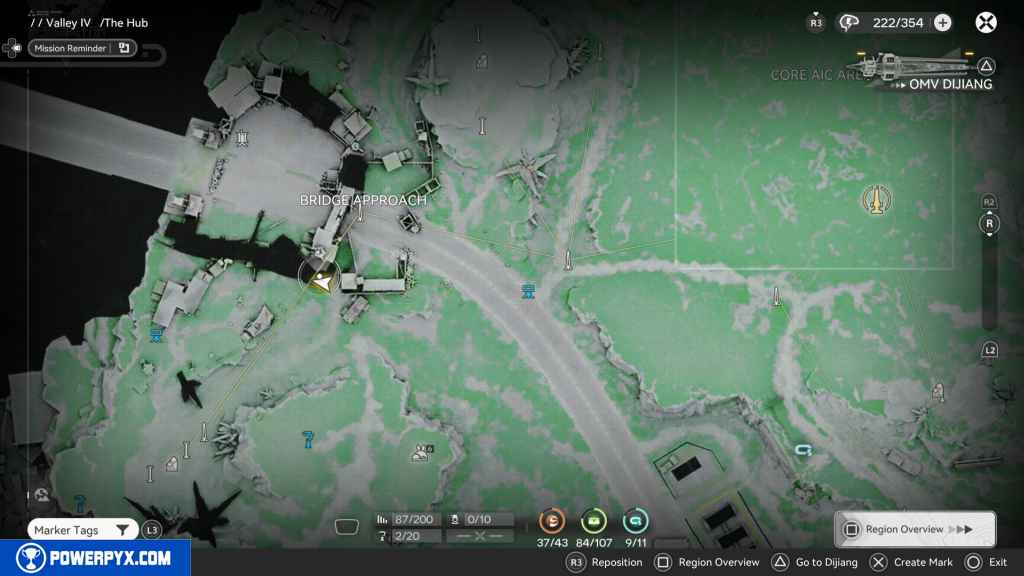
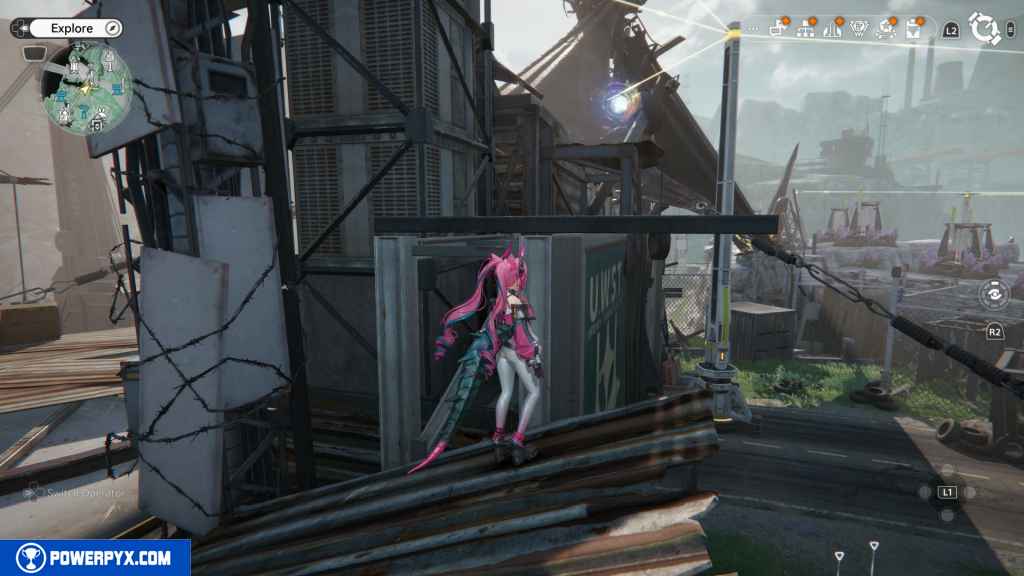
From the crate, turn around, and you’ll see a path that leads up a ramp to the outside. At the end of the ramp, you should see the Aurylene at the top of the entrance to the Dridge Approach.
223 – Crate 84
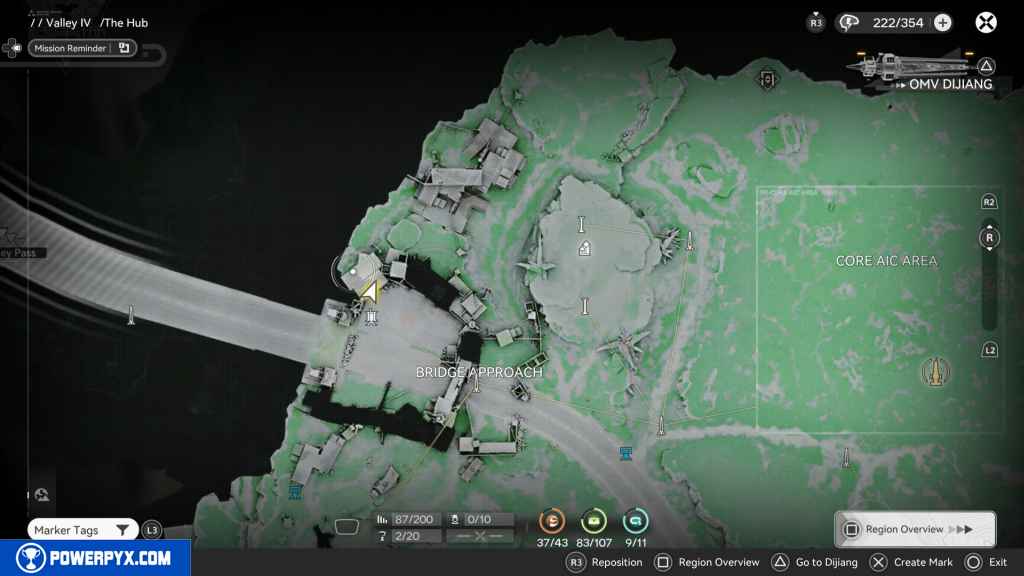
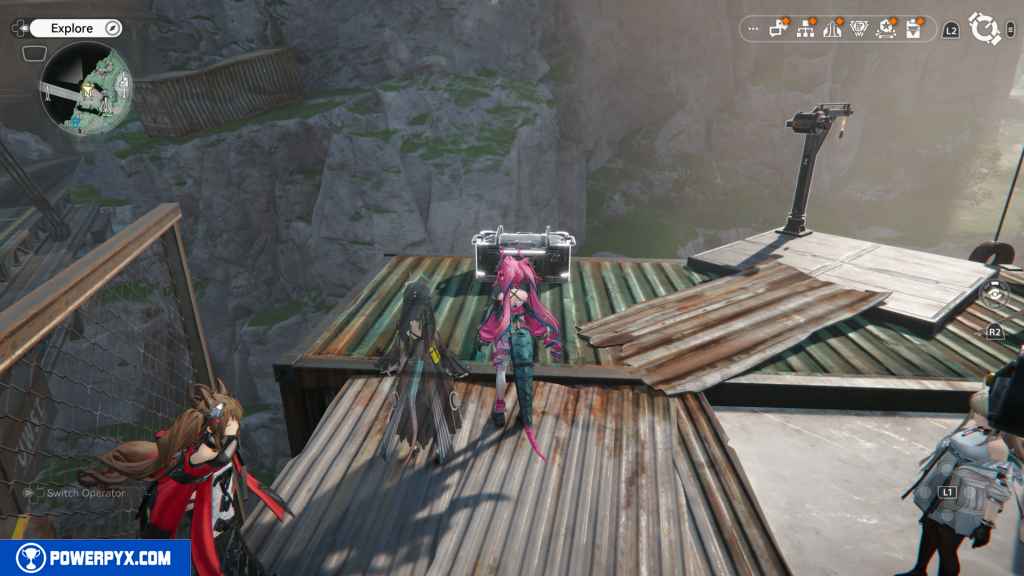
Go north on the ground floor to the rope in the northwest corner. Use the rope to get up to the top, and the crate will be right in front of you.
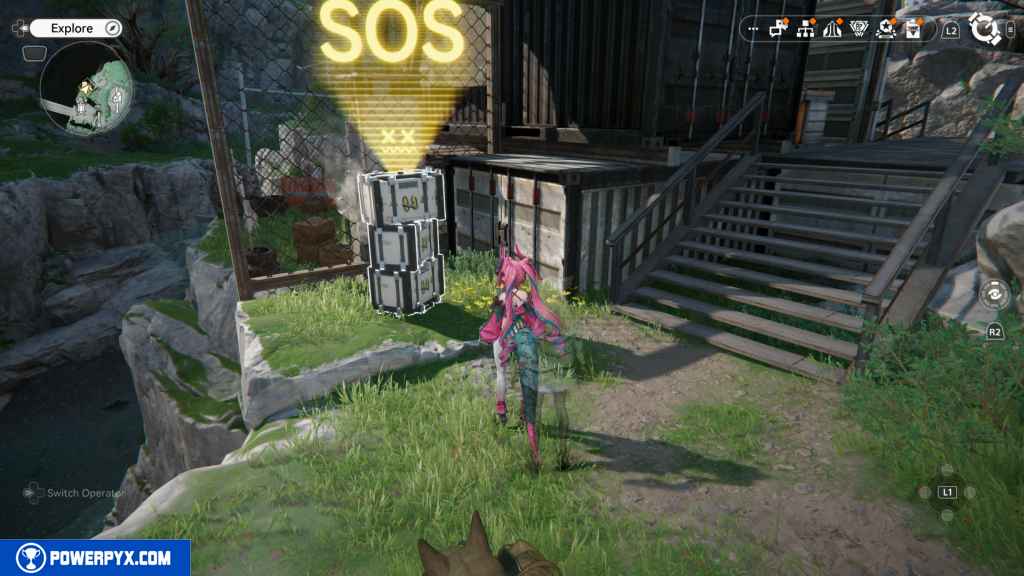
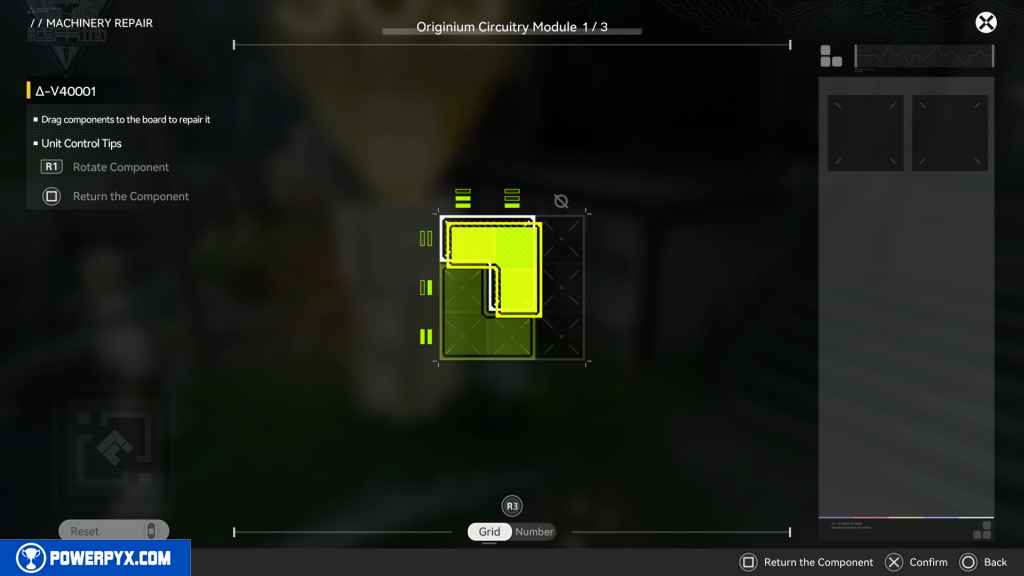
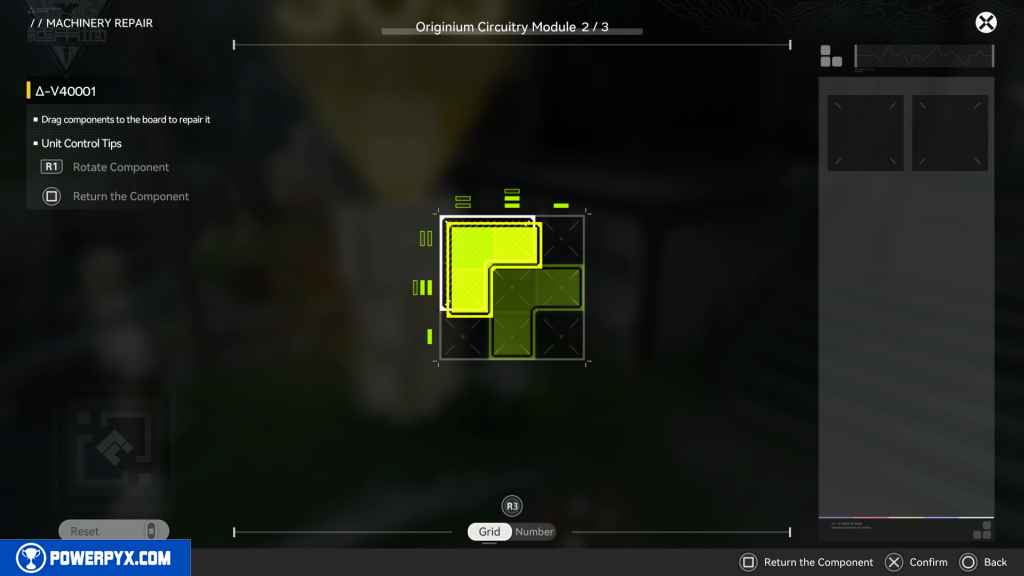
224 – SOS Repair Bot 7
Drop down to the north, and the Repair Bot will be right in front of you.
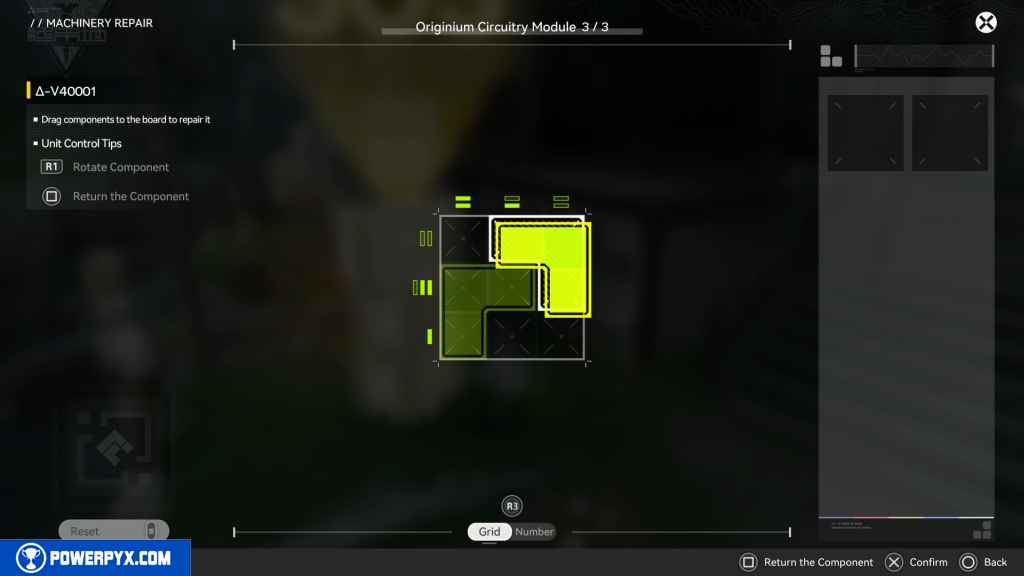
225 – Gathering Point 86
Go east up the stairs, then quickly turn left to find some boxes to jump on. At the top, continue through the container. At the other end, you can see the Gathering Point atop the green transparent box.
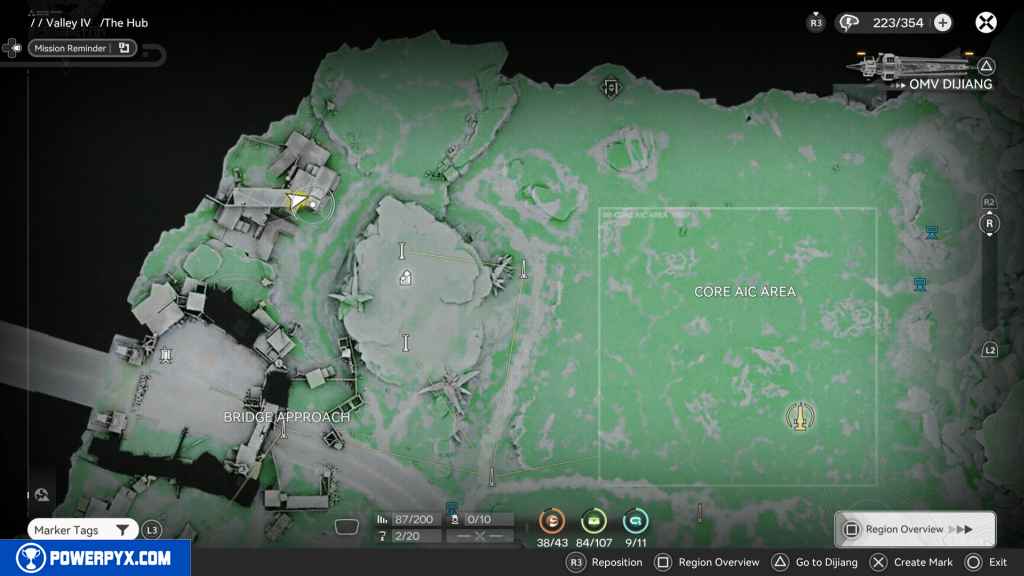
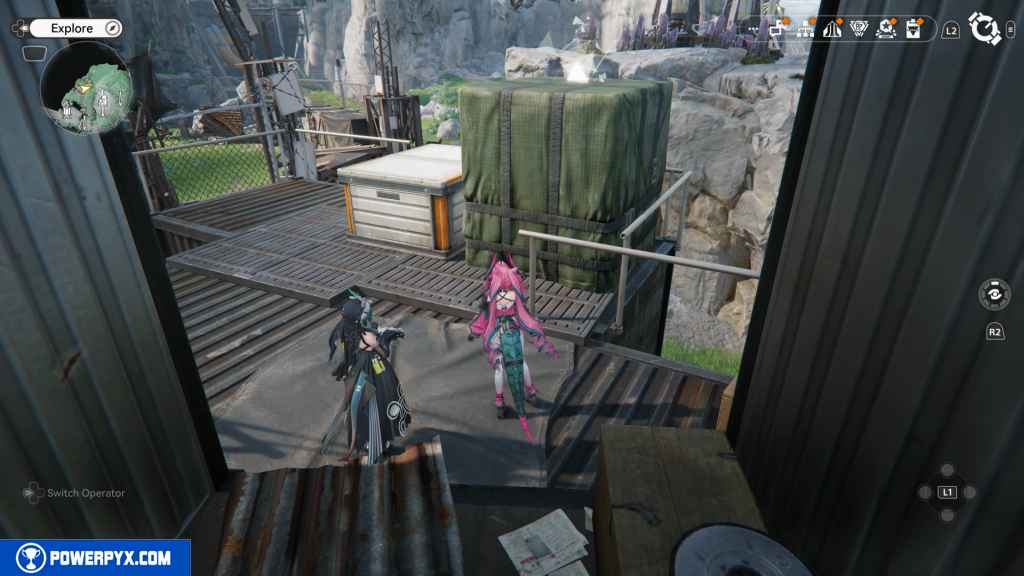
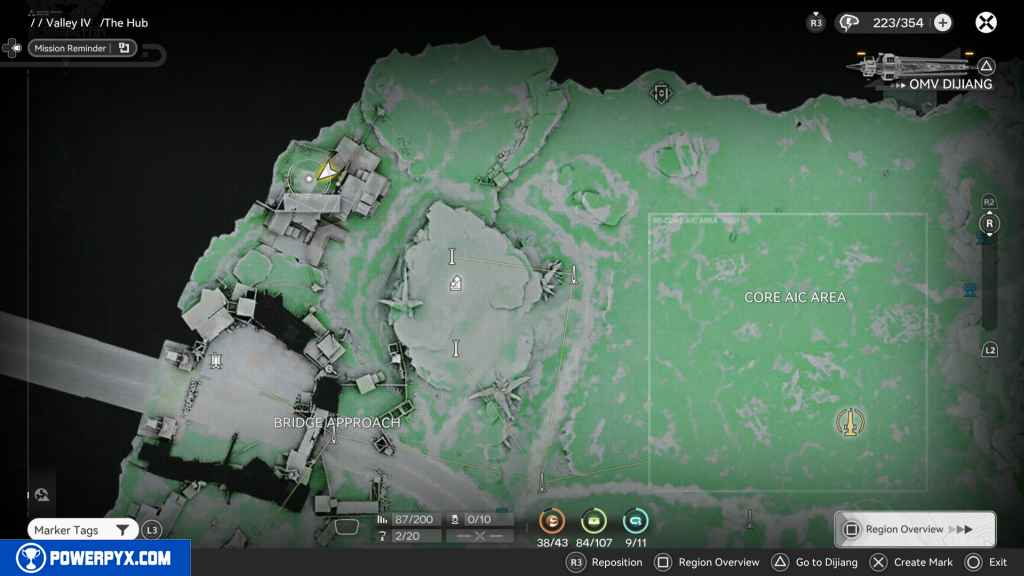
226 – Gathering Point 87
Go north and drop down to the next container. Quickly turn around to look south, and you should see some stairs leading to a small camp area. Here you will find four Gathering Points. Grab the one on the right first, by some boxes.
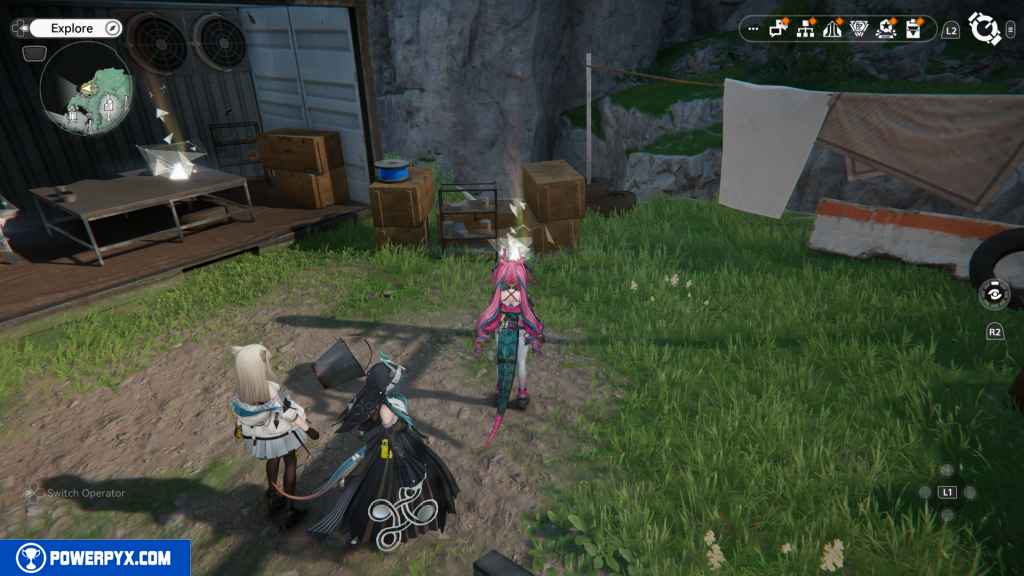
227 – Gathering Point 88
On the table left of the last Gathering Point.
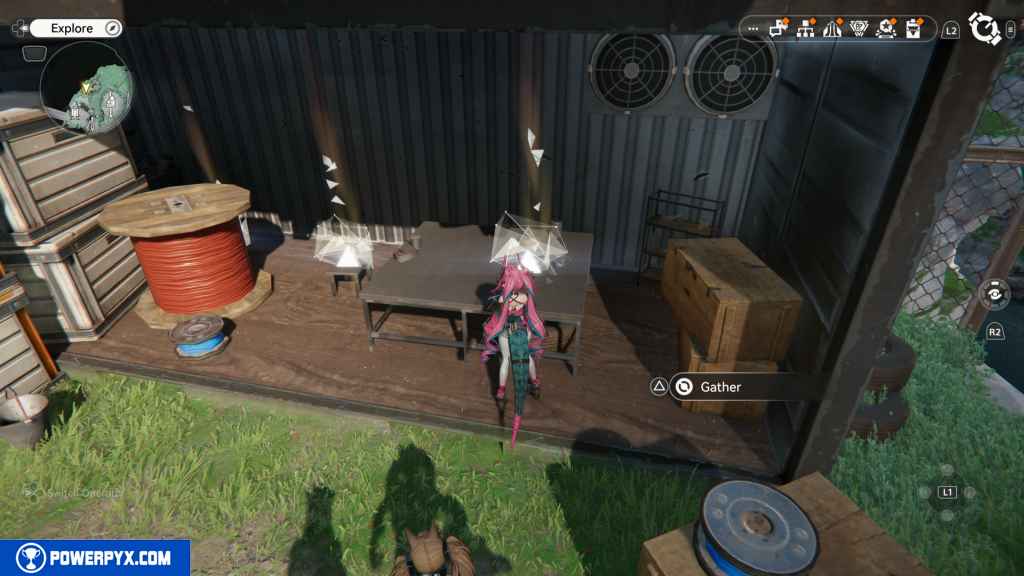
228 – Gathering Point 89
On the chair next to the table.
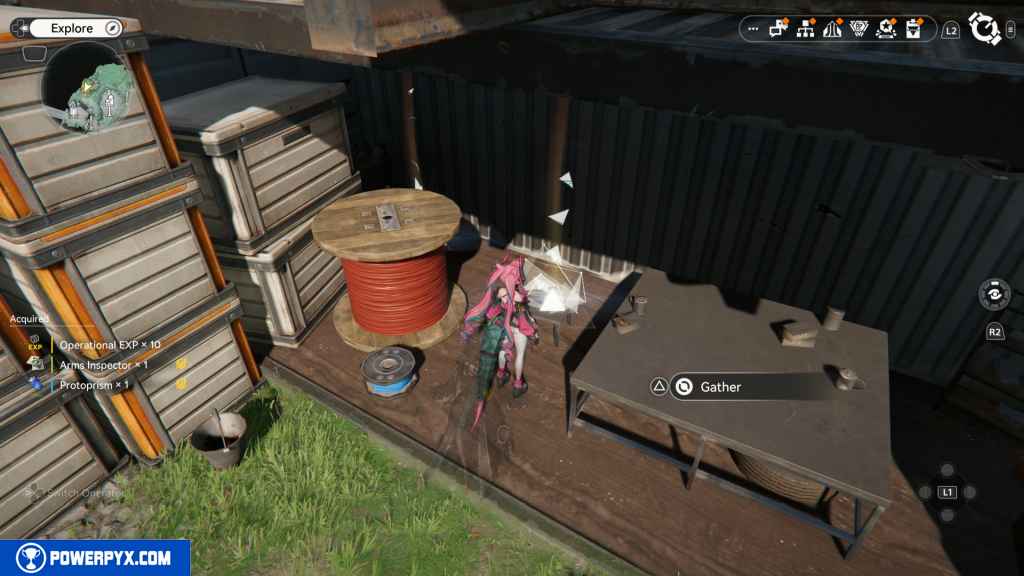
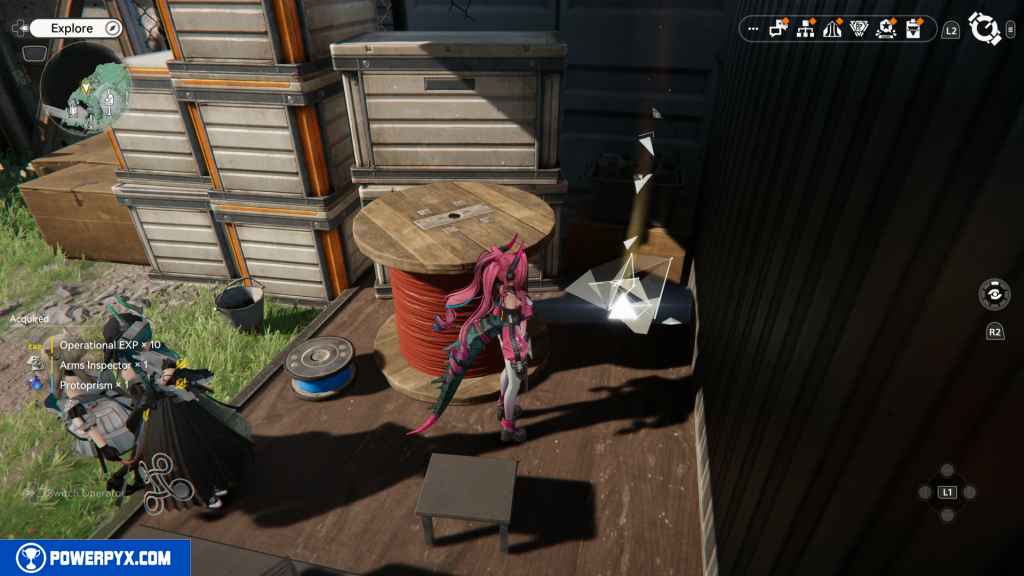
229 – Gathering Point 90
Behind the red wire coil.
230 – Crate 85
Facing east in the same area, you should see some boxes you can climb up to, and the crate will be at the top.
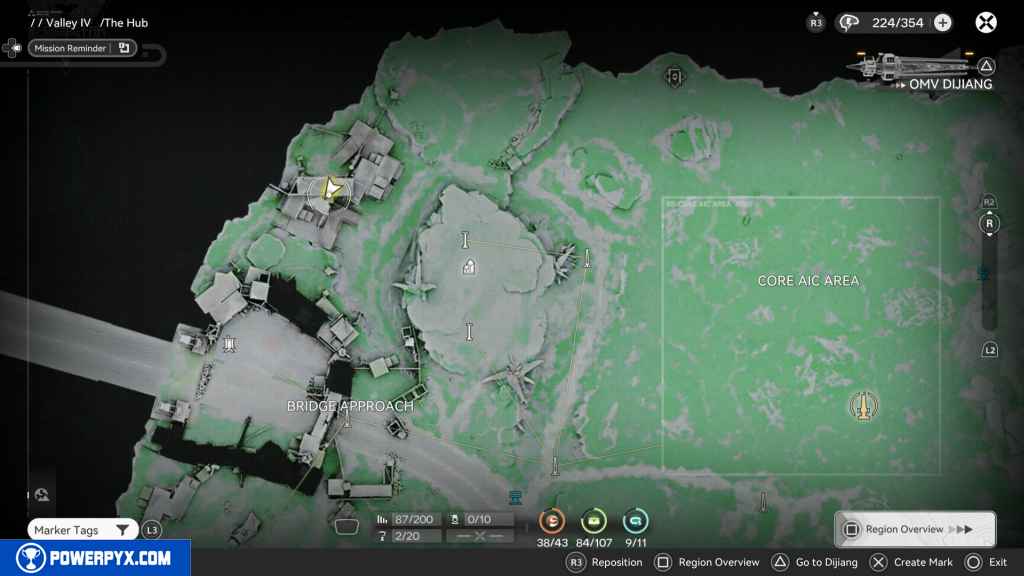
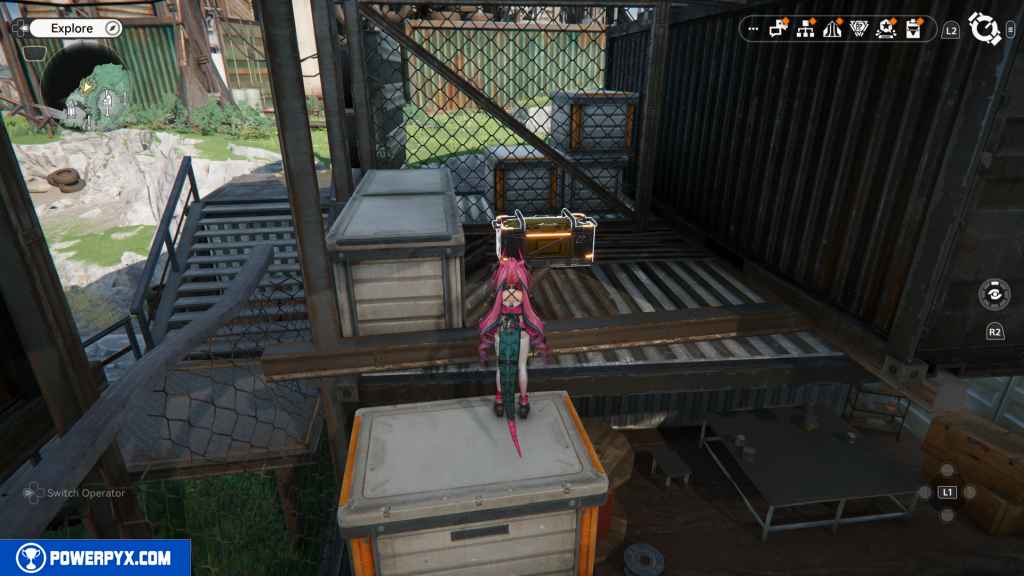
231 – Gathering Point 91
Go up the stairs and drop down into the next area. Look for the container entrance from the west; inside it is the Gathering Point.
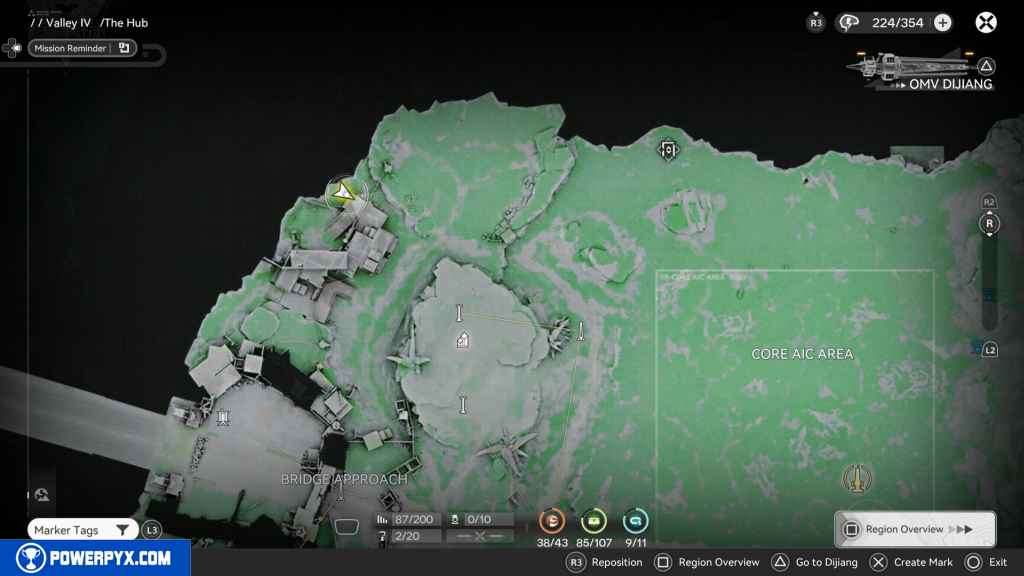
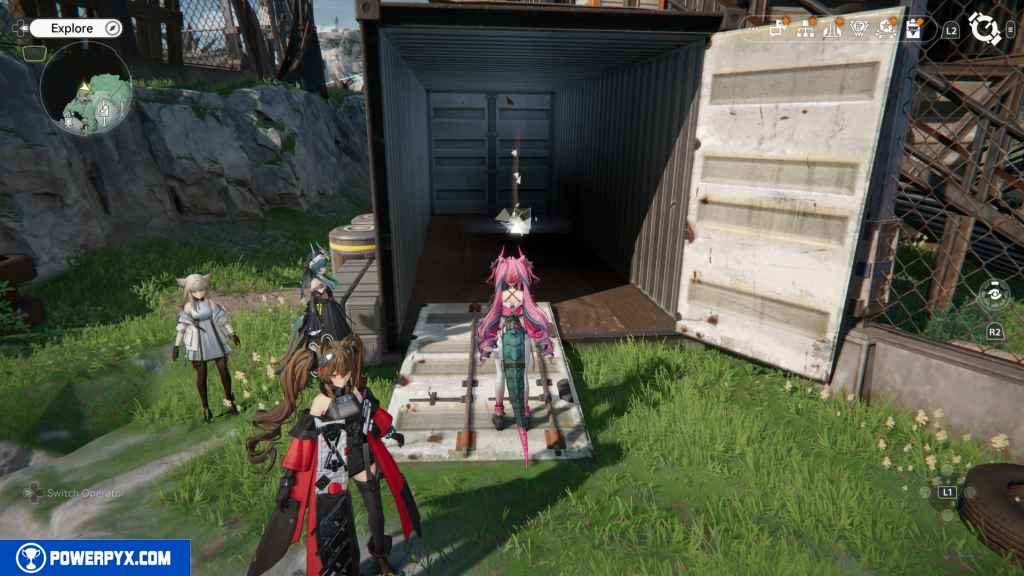
232 – Crate 86
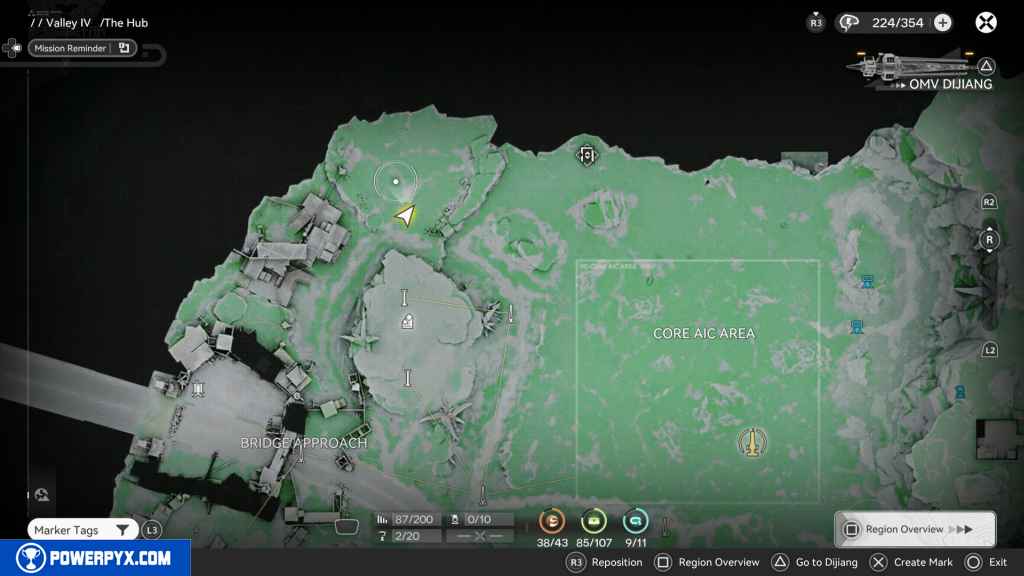
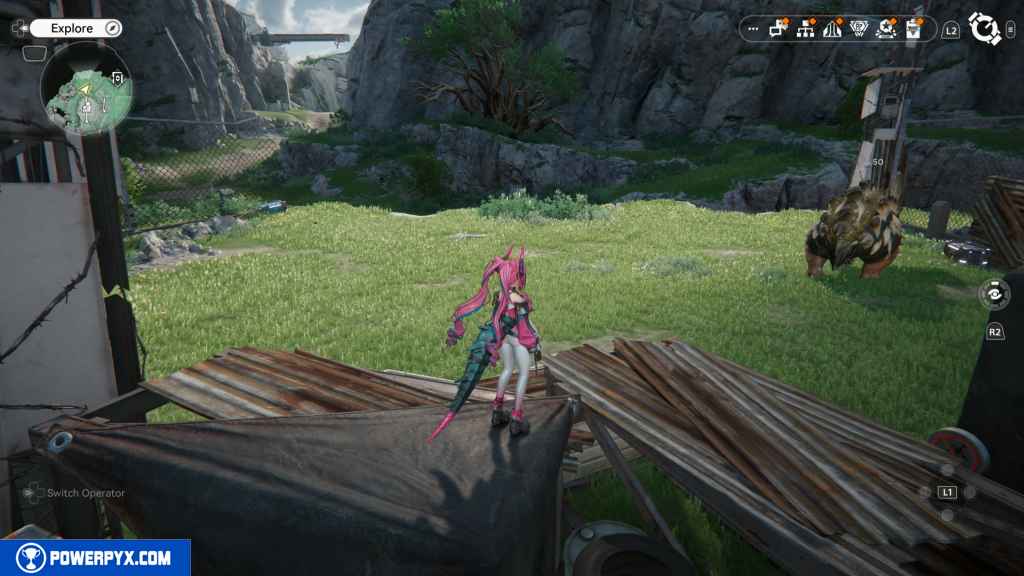
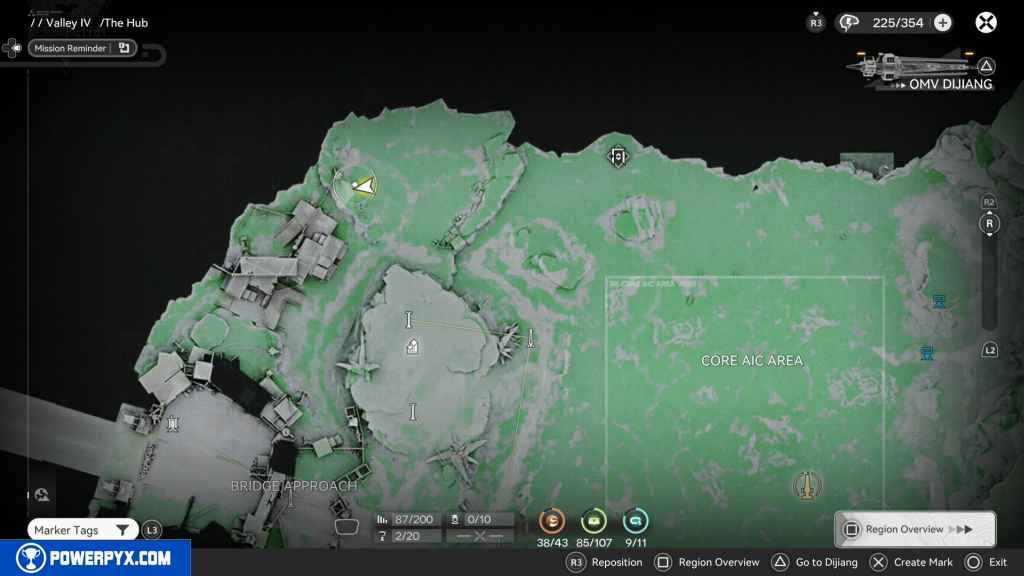
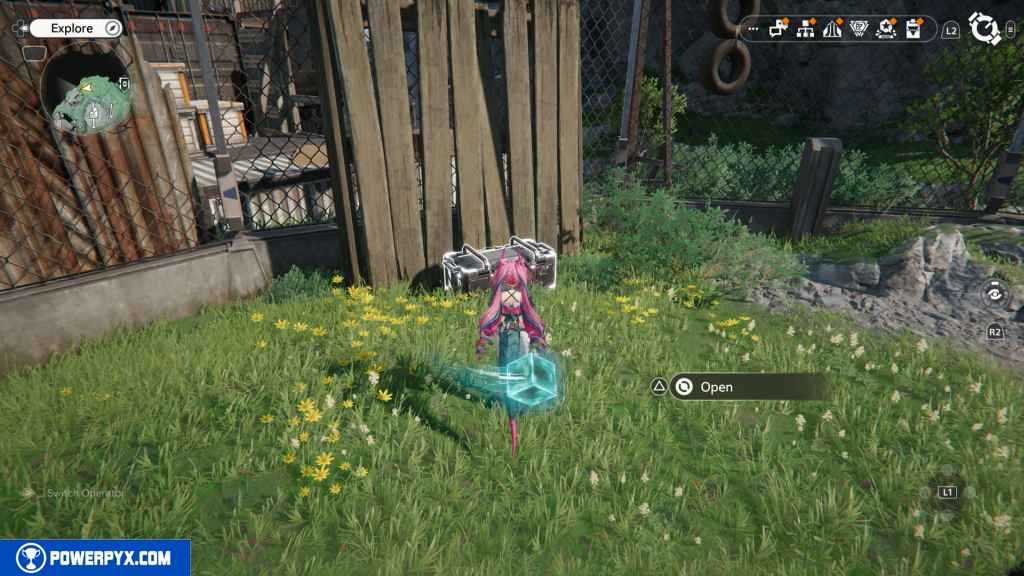
Go east, then north, and you jump up the boxes to reveal an enclouser with a giant Rino enemy. Drop into it and defeat the enemy. Look west, and you’ll find the crate.
233 – Crate 87
This crate is located directly north of the last one.
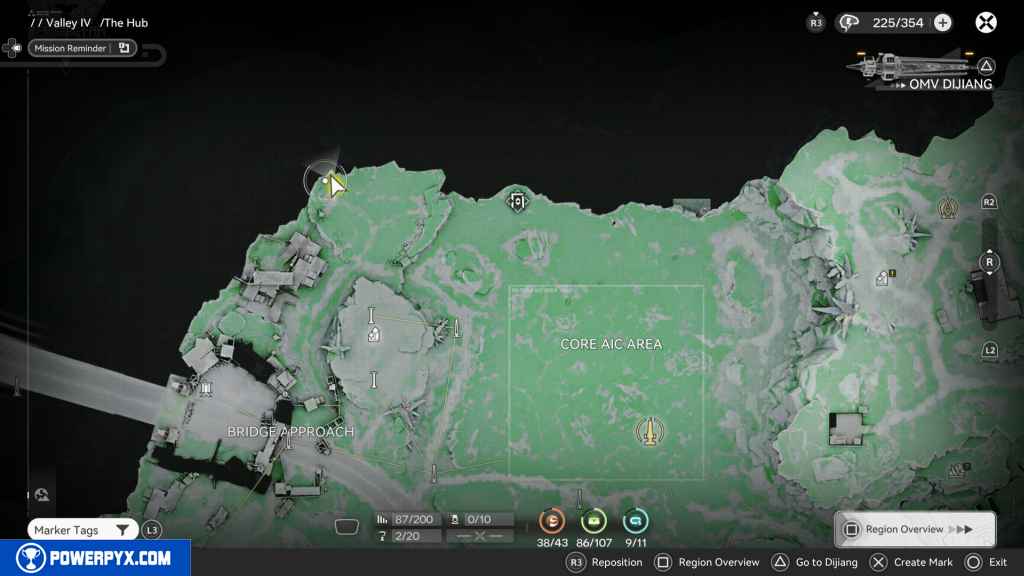
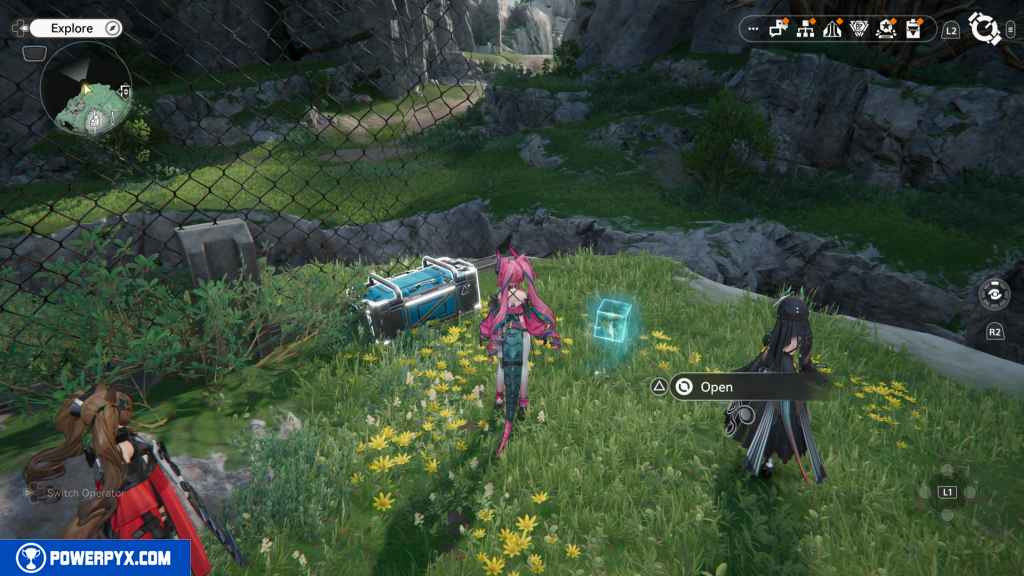
234 – Crate 88
East of the last crate, you’ll find the next one.
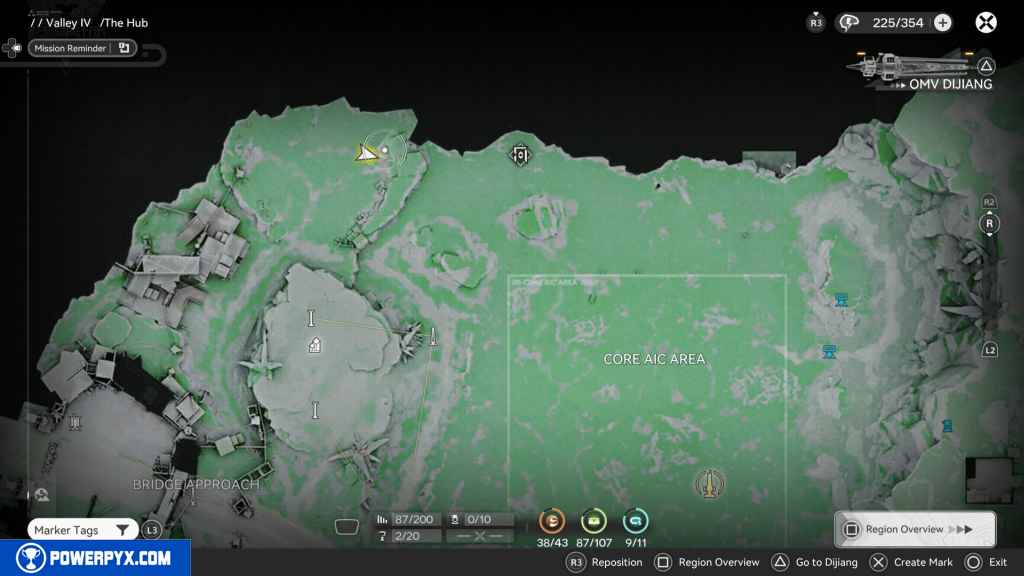
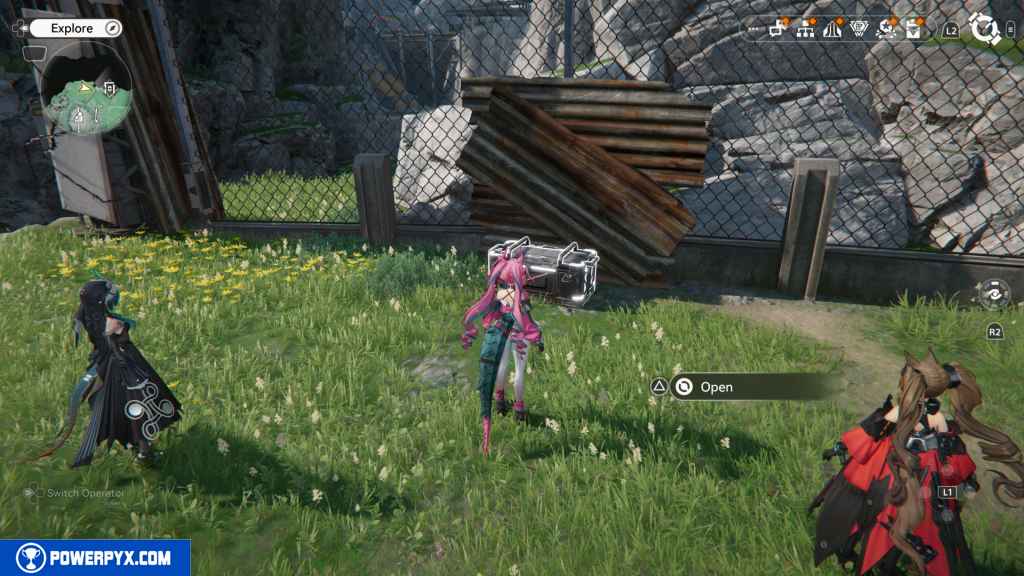
235 – Protocol Datalogger 7
Go east and then south. Go up to the top of the hill to harvest all the mineral points. You’ll find the Datalogger here.
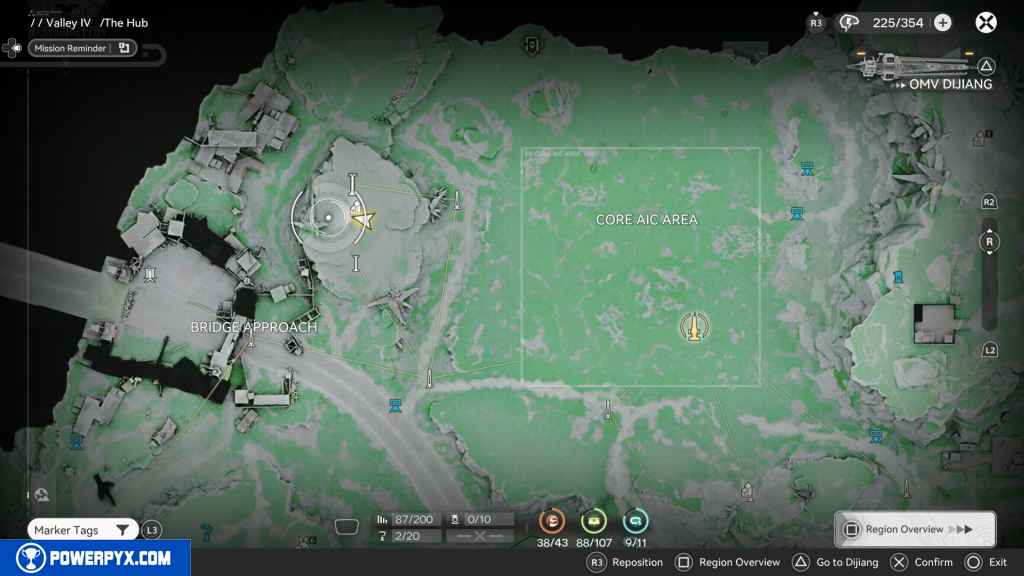
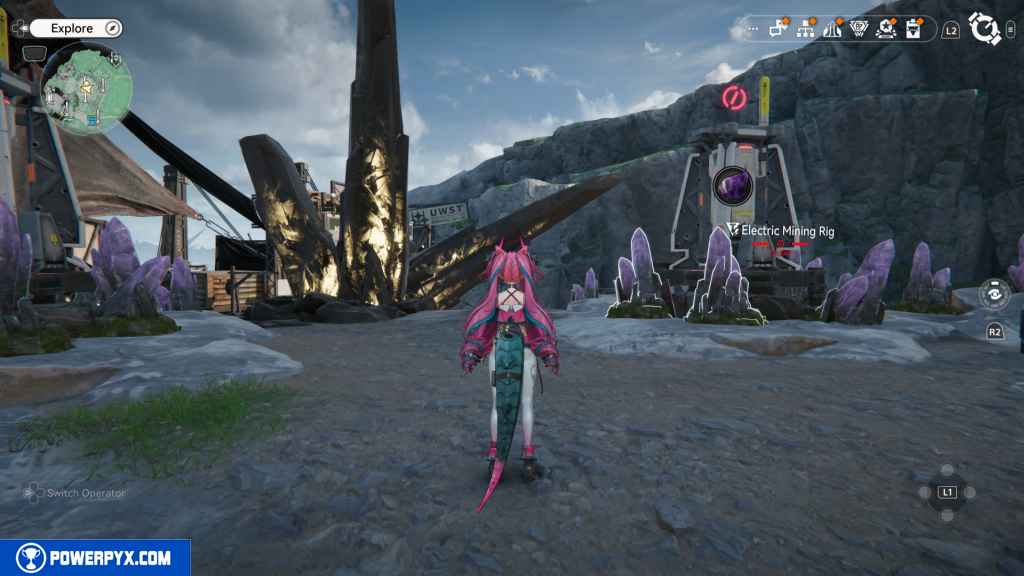
236 – Protocol Datalogger 8
You unlock this one as part of the story. Can’t be missed.
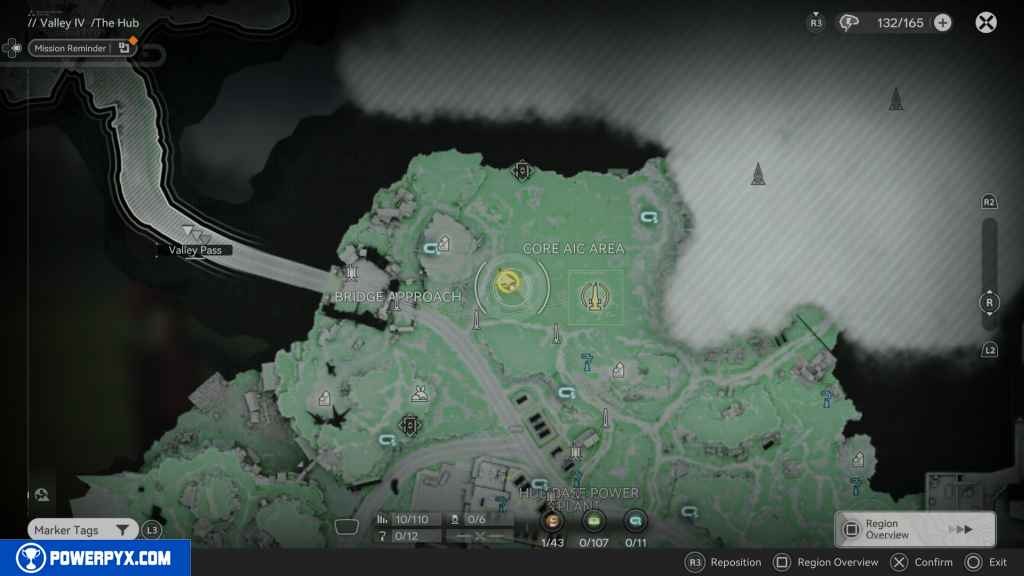
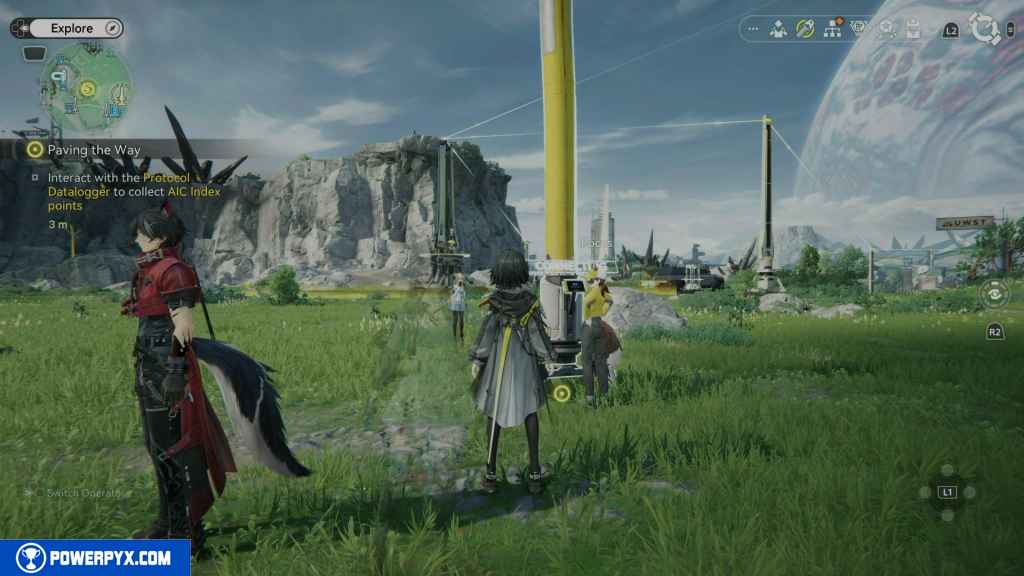
237 – Protocol Datalogger 9
Go east up the hill to the north, and you’ll find this next Datalogger.
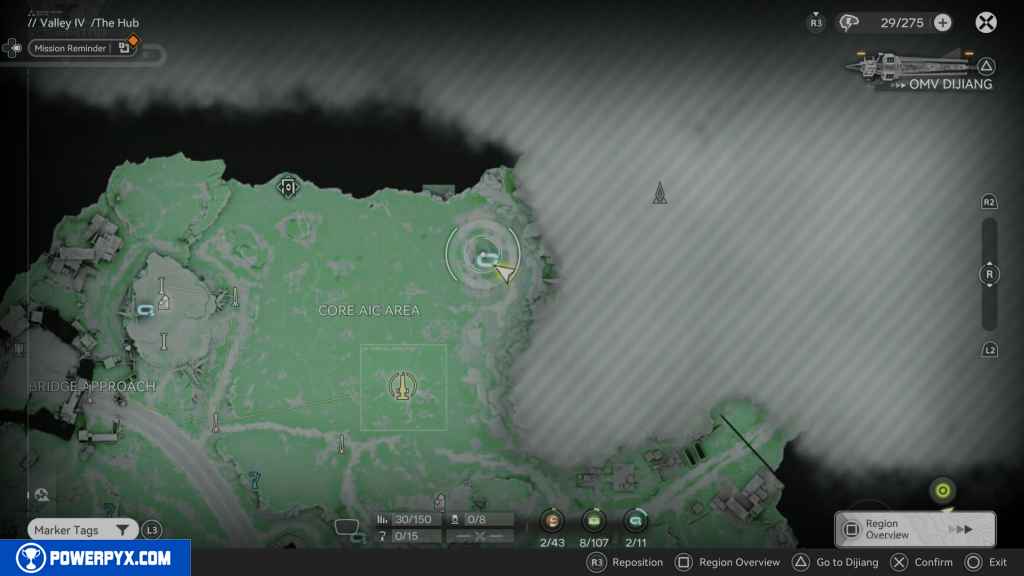
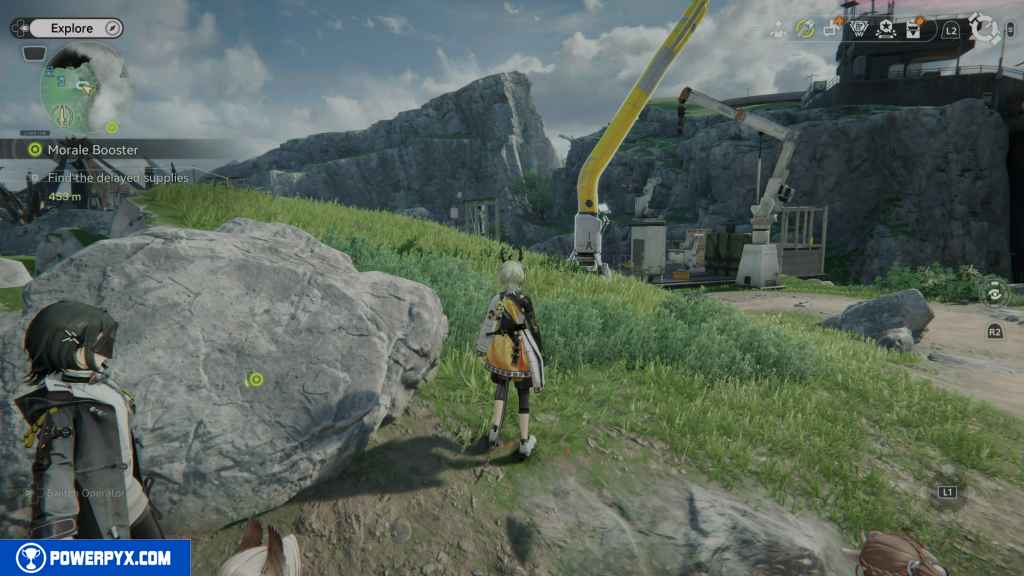
238 – Crate 89
Head south from the PAC to Andre. Behind him and the truck next to him is the crate.
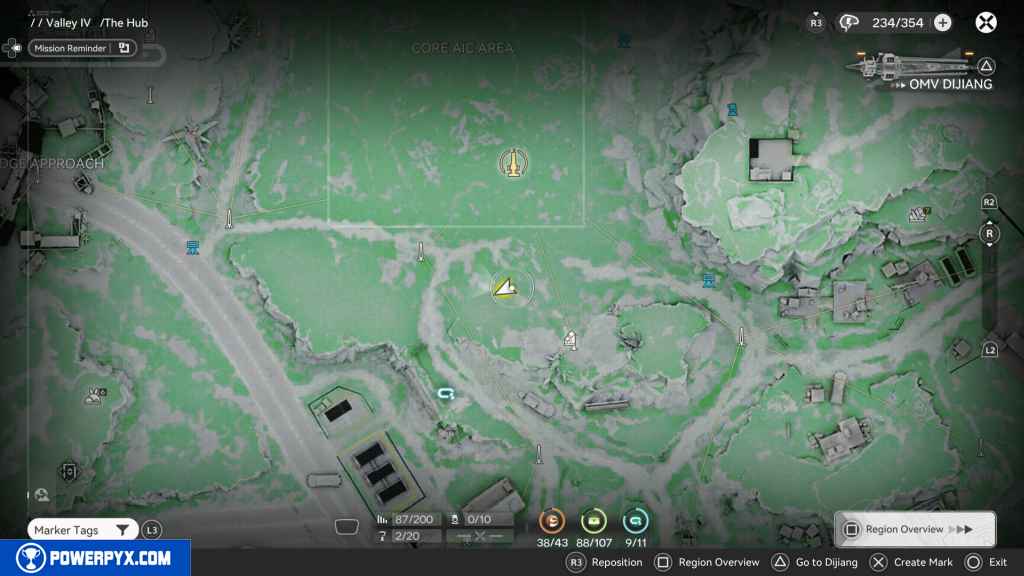
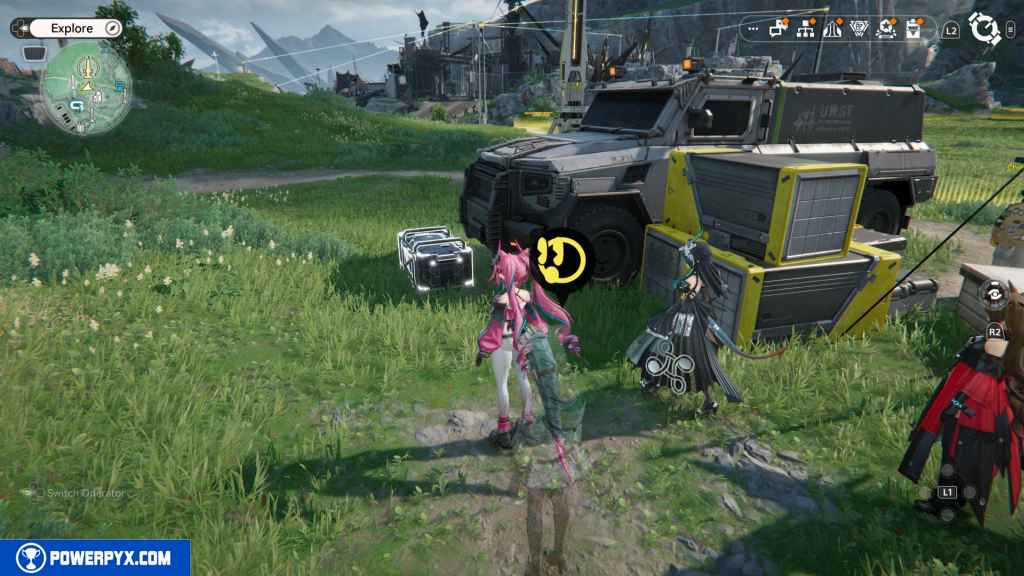
239 – Protocol Datalogger 10
The Datalogger is located directly south of the crate and can’t be missed.
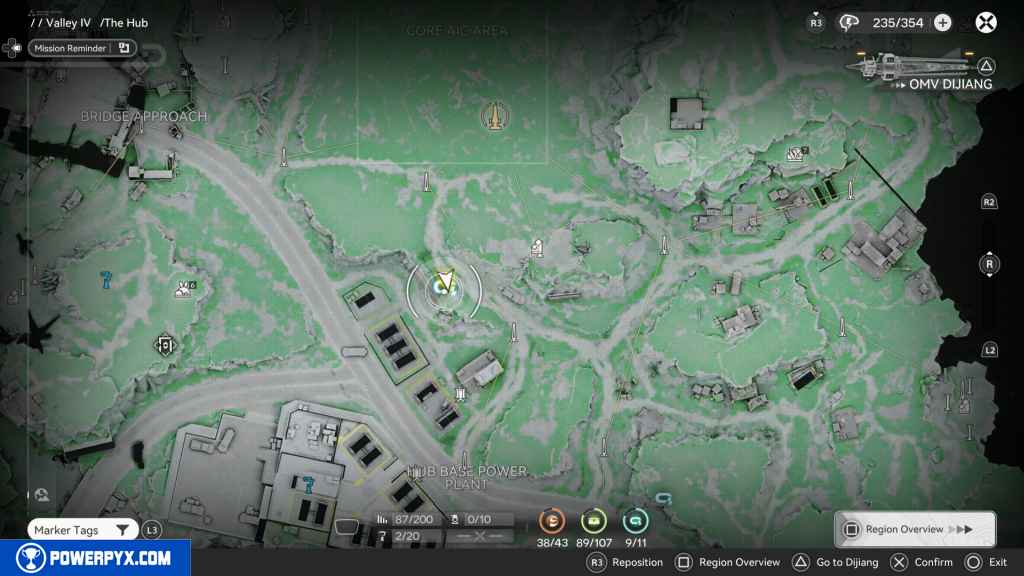
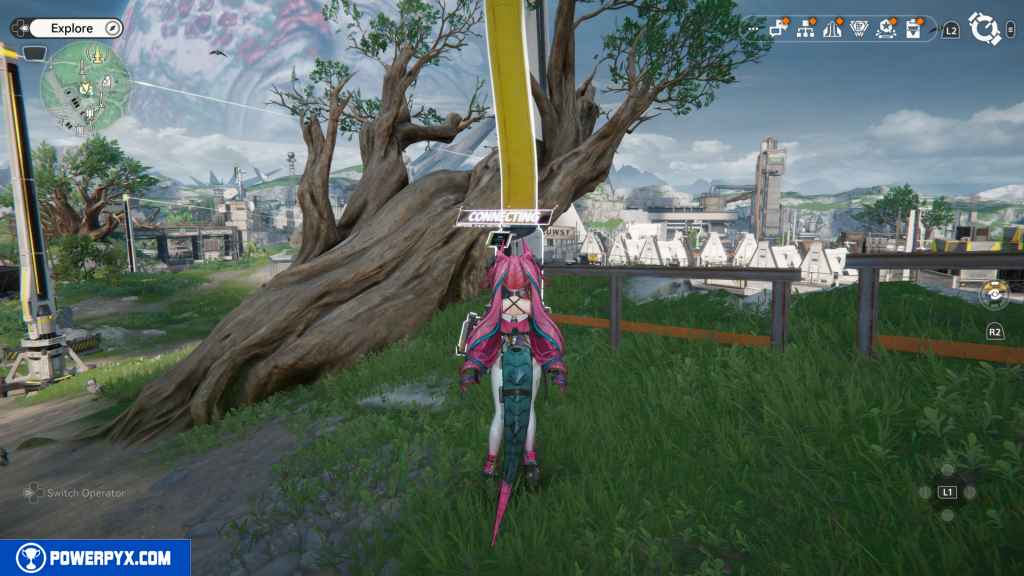
240 – Crate 90
Drop down south from the Datalogger, and you should find his locked crate next to the wall. It requires three blue keys to unlock.
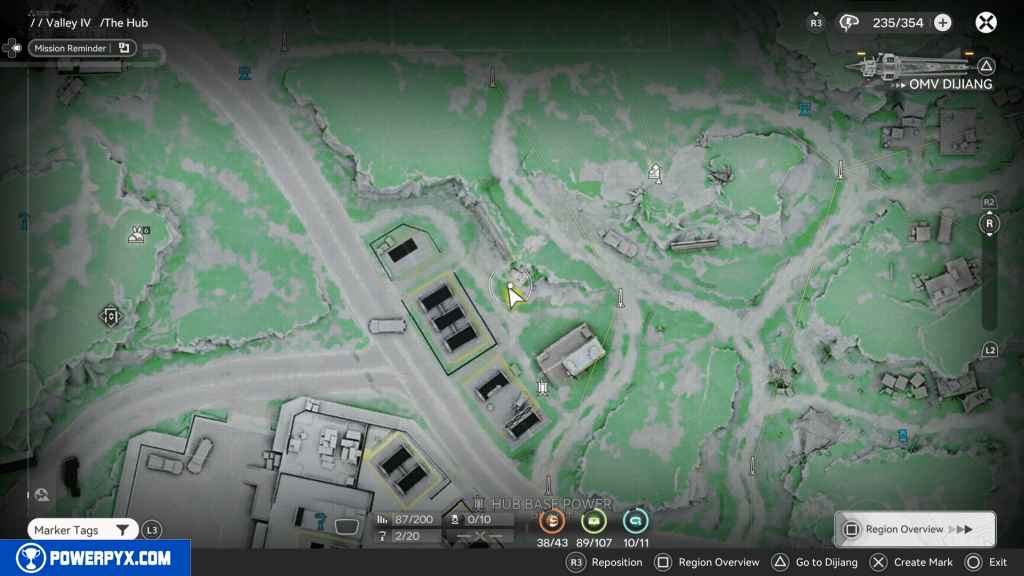
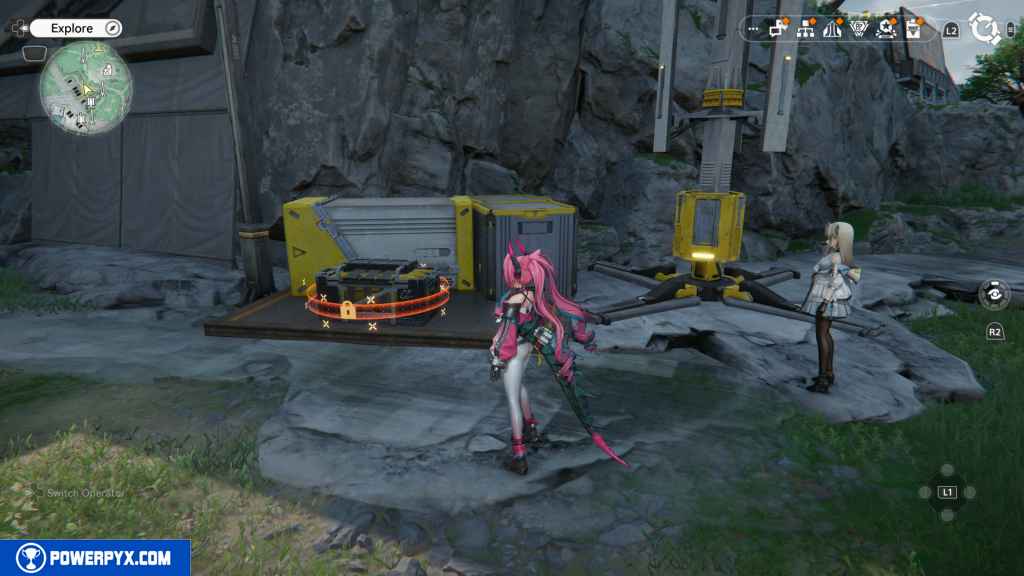
The first key is located to the west. Head to the road and go north until you reach a control panel that deactivates the electric barriers. Once deactivated, you can grab the key 1/3.
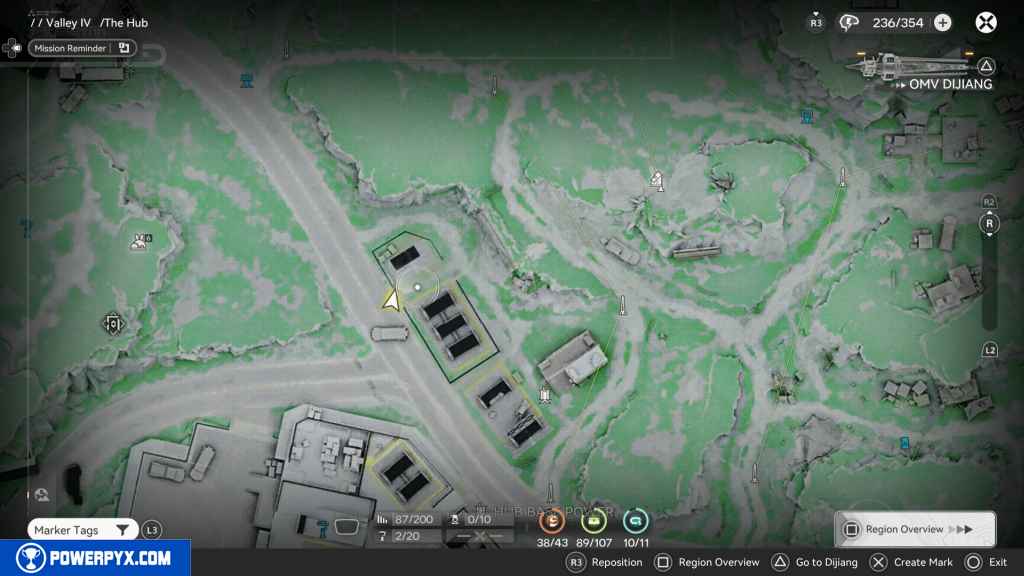
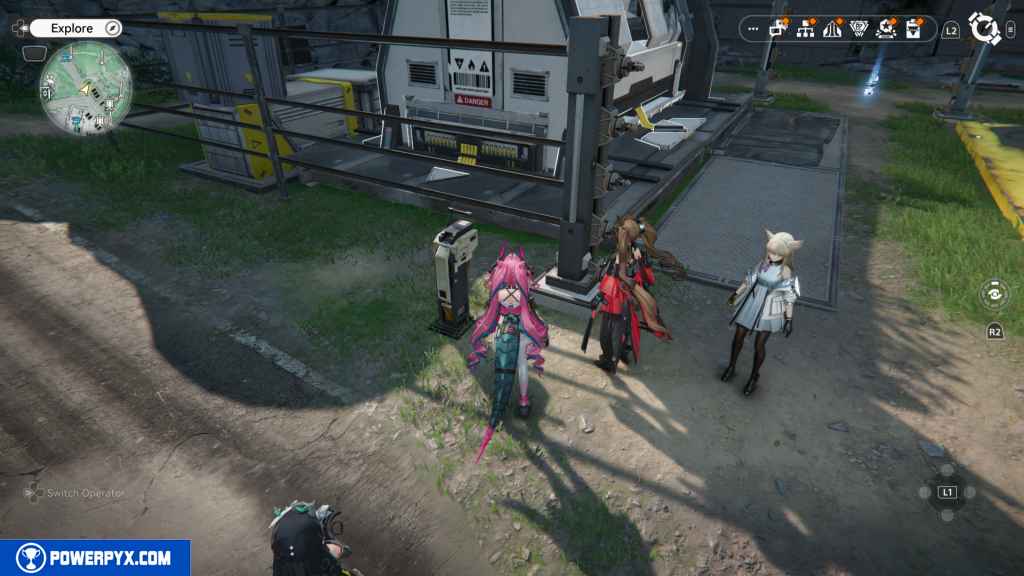
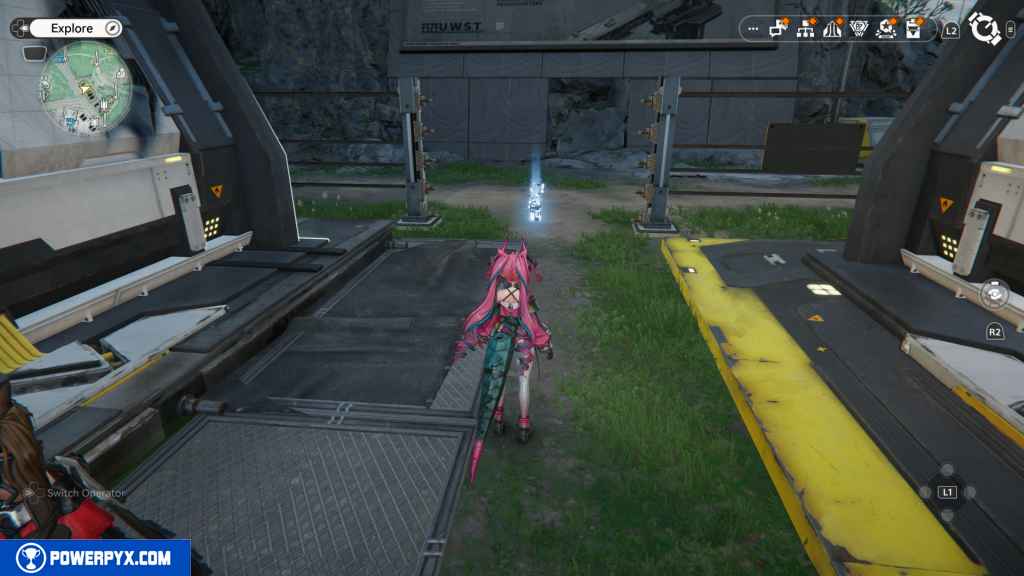
East of the locked crate is a building. Go to it, and go up the stairs, and you’ll see the key on top of the box 2/3.
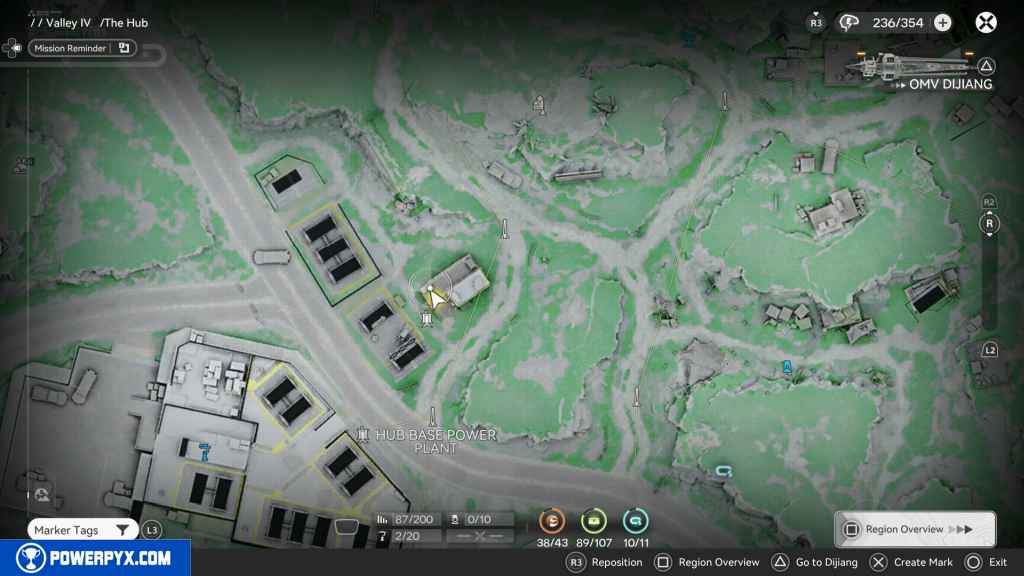
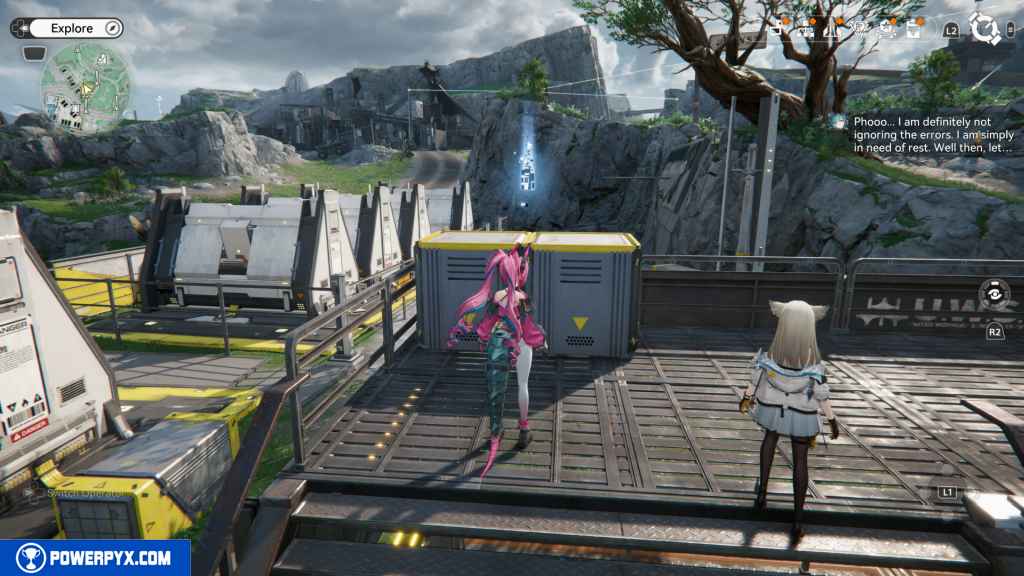
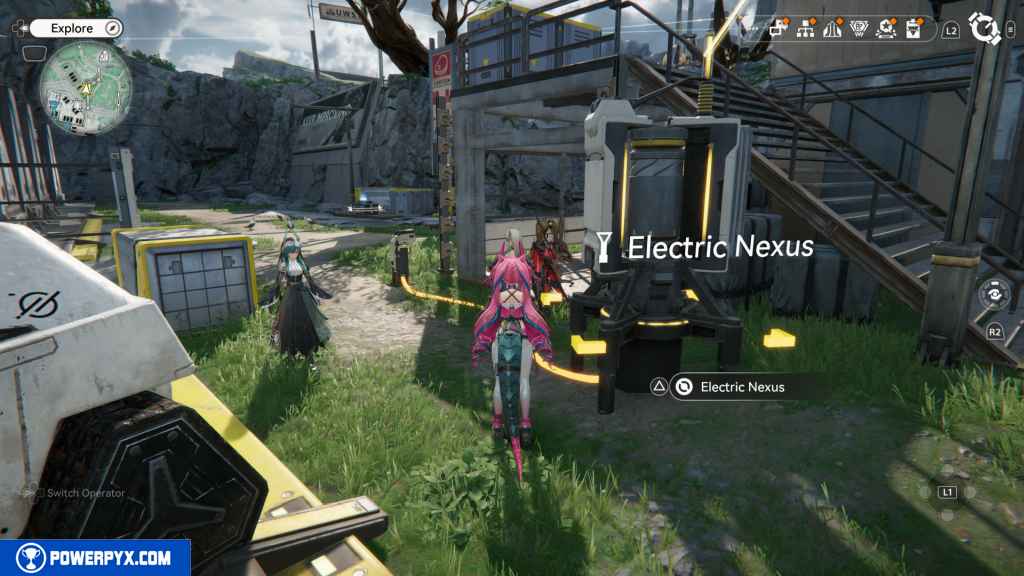
The final key requires you to power up the Electric Nexus on the building’s ground floor. One powered up with a Relay Point. Deactivate the barrier, then go inside to get key 3/3.
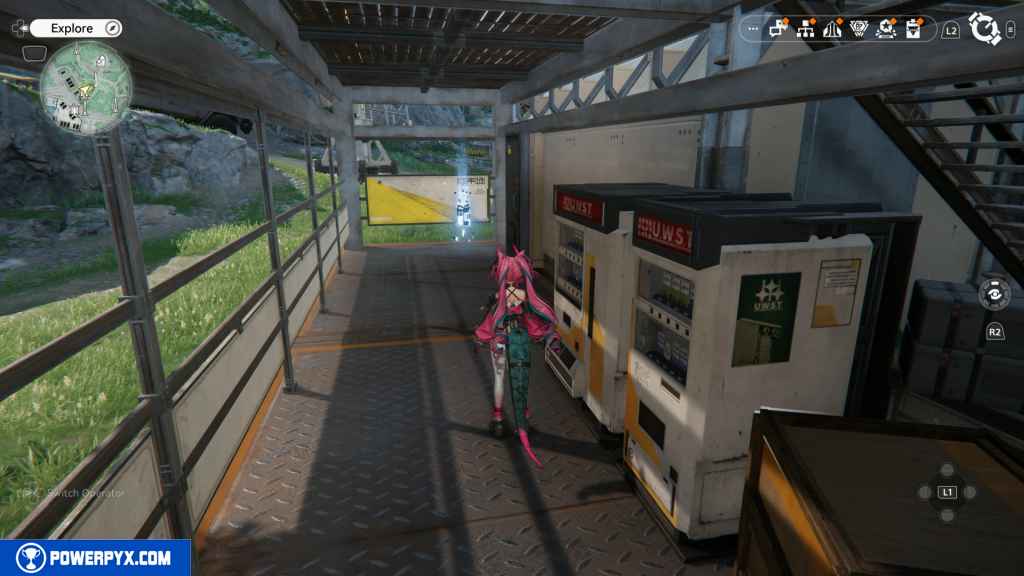
Go back to the crate to grab your reward.
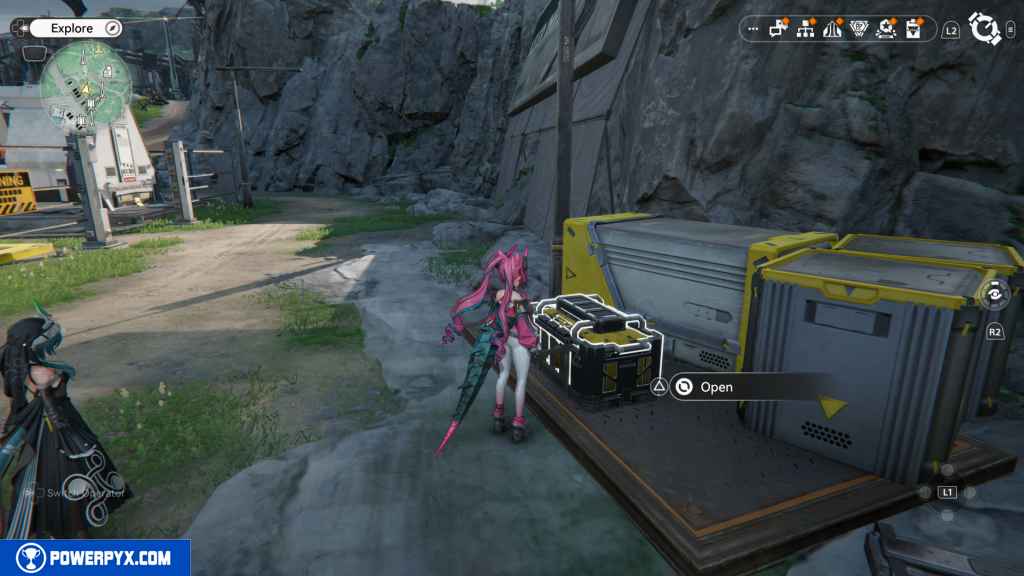
241 – Gathering Point 92
Go back up to the second floor of the building where you found key number two. Go north to the generator and jump on top of it. Then jump to the roof of the building with the satellite dish. The Gathering Point is on this roof.
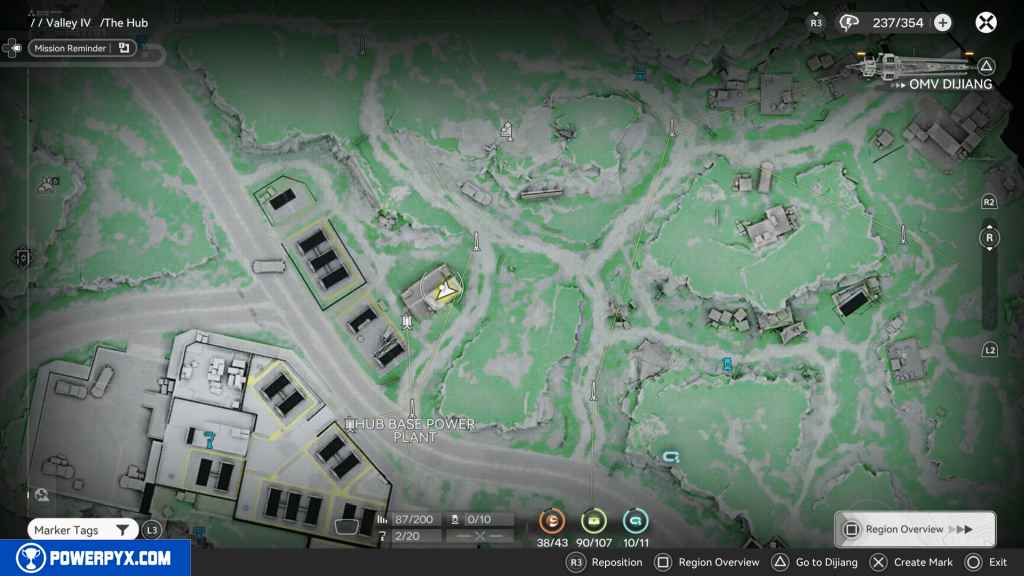
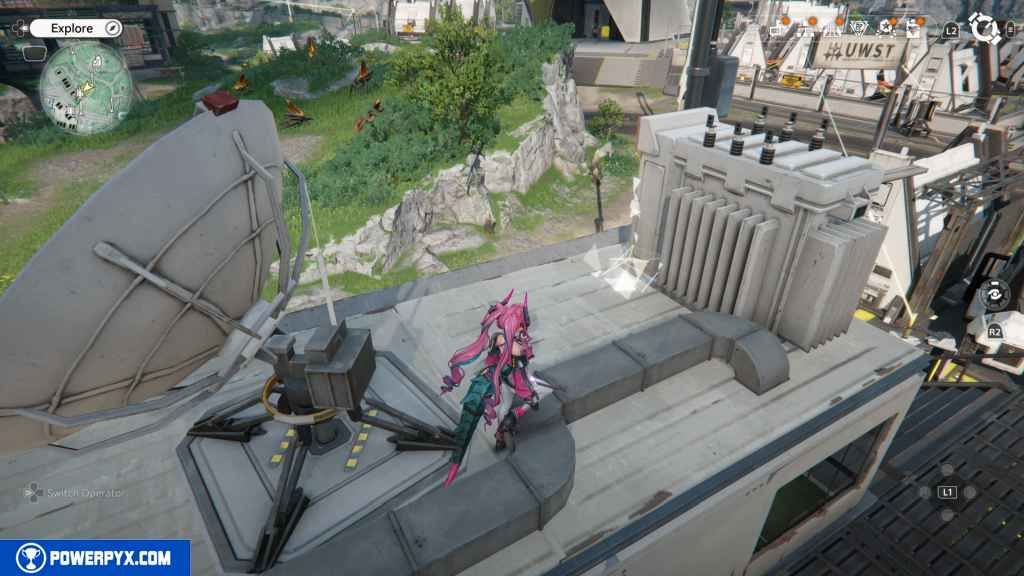
242 – Gathering Point 93
Go east from the last Gathering Point until you reach a path with some small Landbreaker camps. On your right, under a tent, is the Gathering Point.
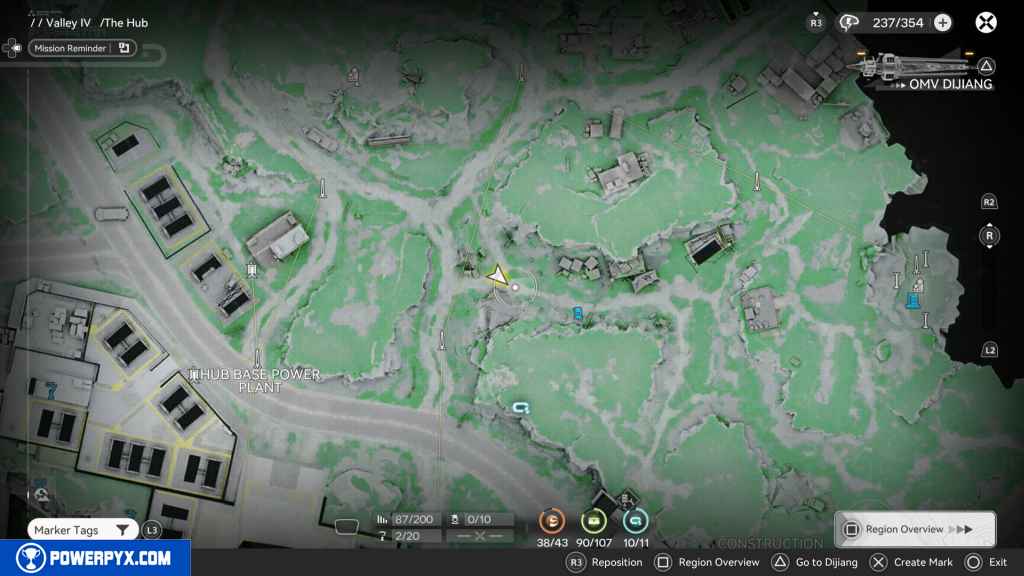
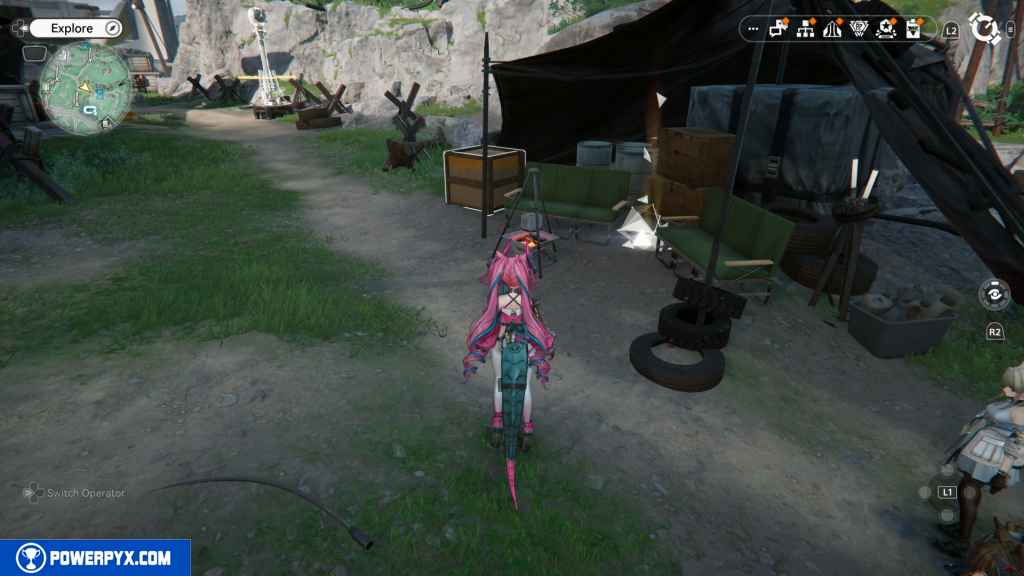
243 – Gathering Point 94
Further down the path, going east, you’ll see this Gathering Point on the fire pit and the hanging cooking pot.
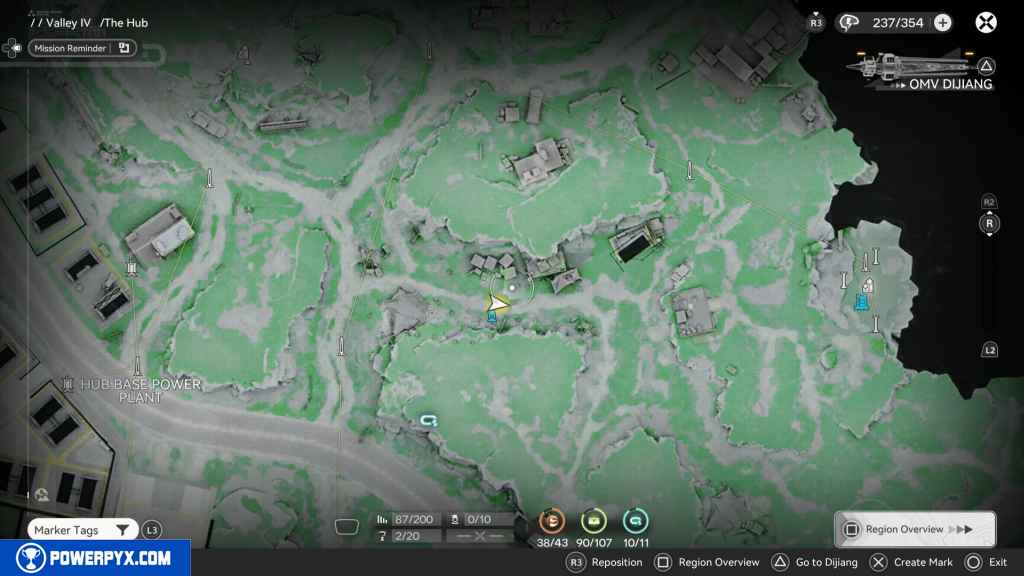
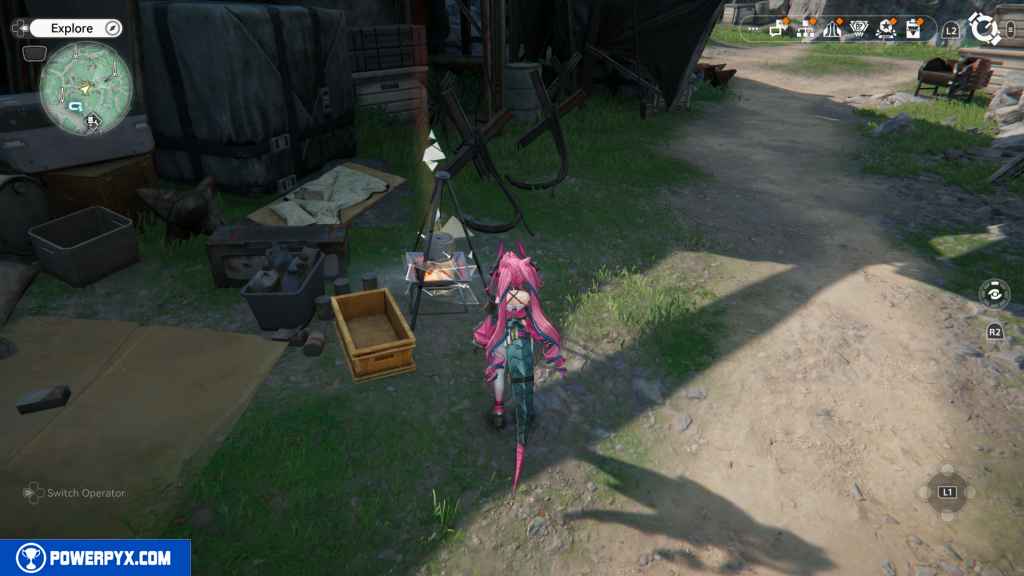
244 – Crate 91
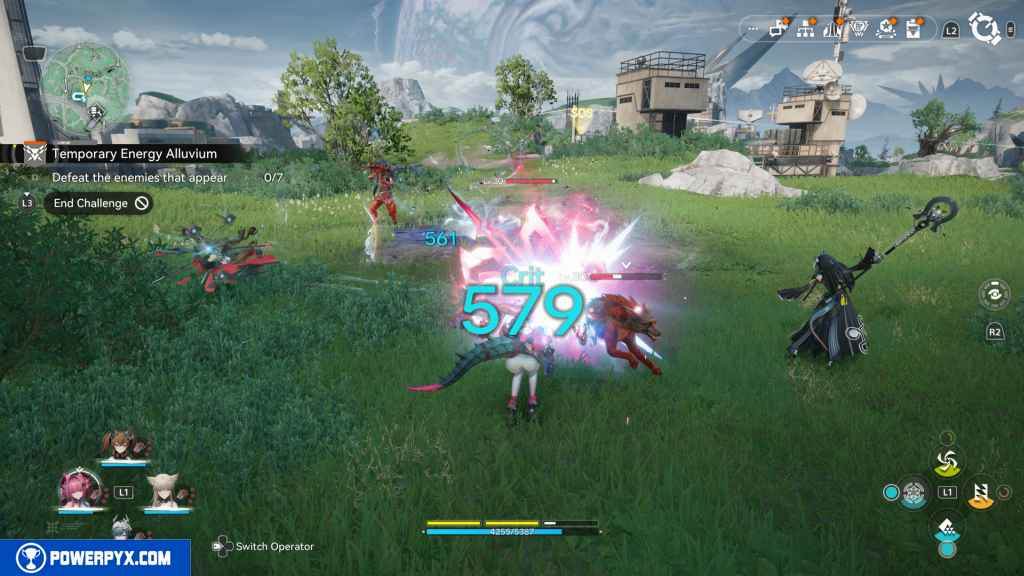
Directly south of the last Gathering Point, climb up the rocky hill, and at the top, you’ll find an Energy Aullvium. Activate it and defeat the enemies to unlock the crate.
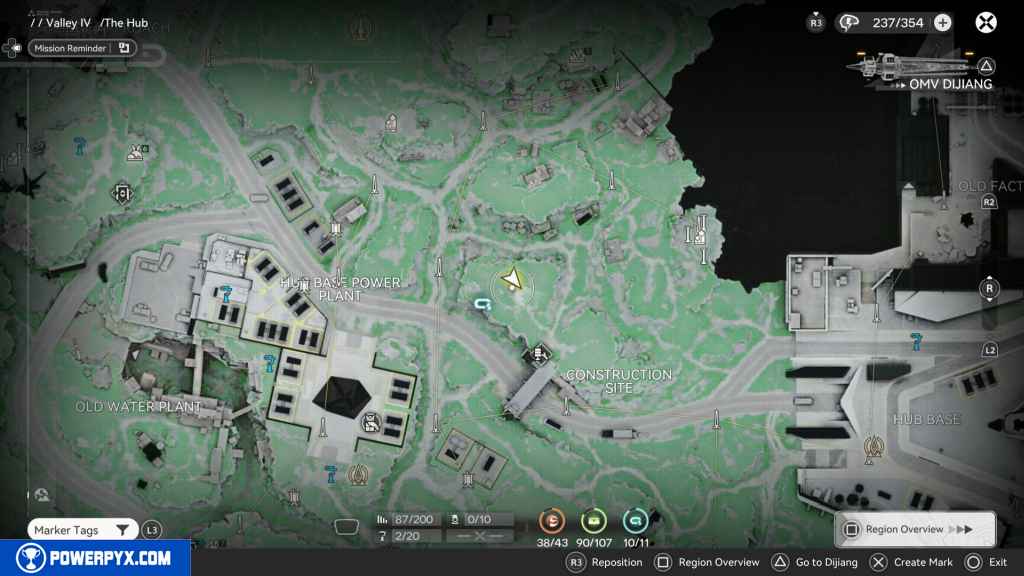
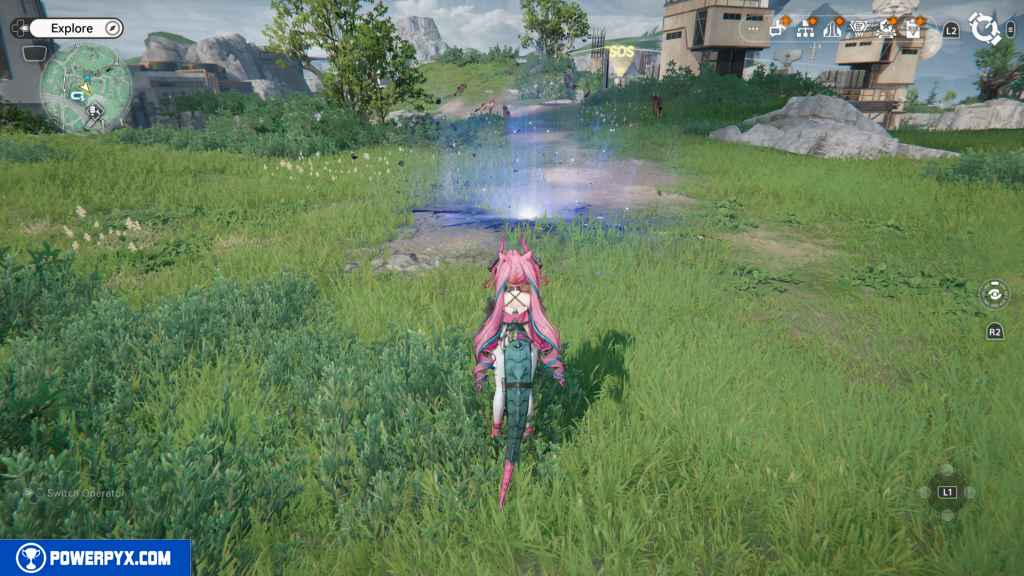
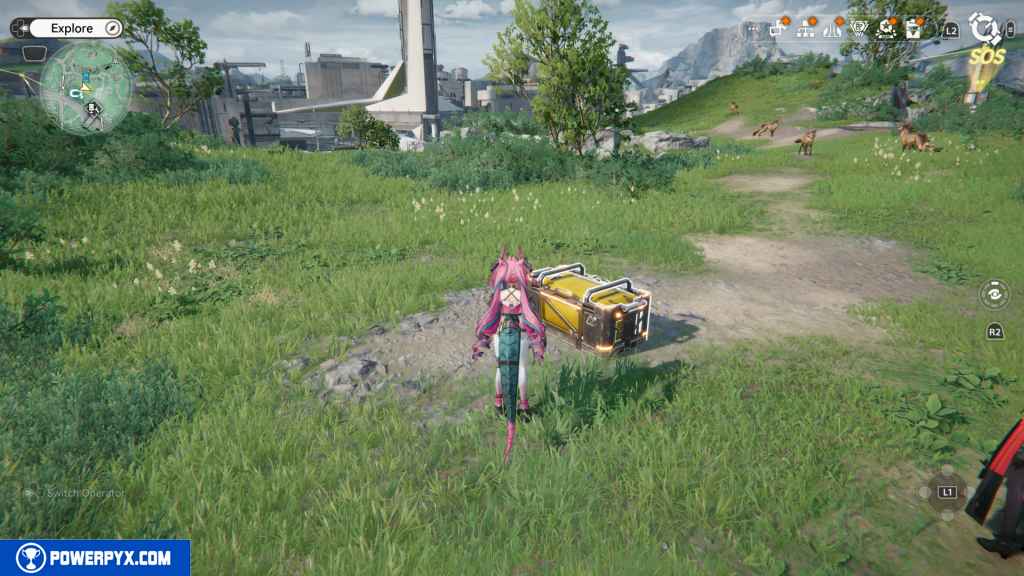
245 – Protocol Datalogger 11
The final Datalogger in The Hub is located west of the Energe Aulvium.
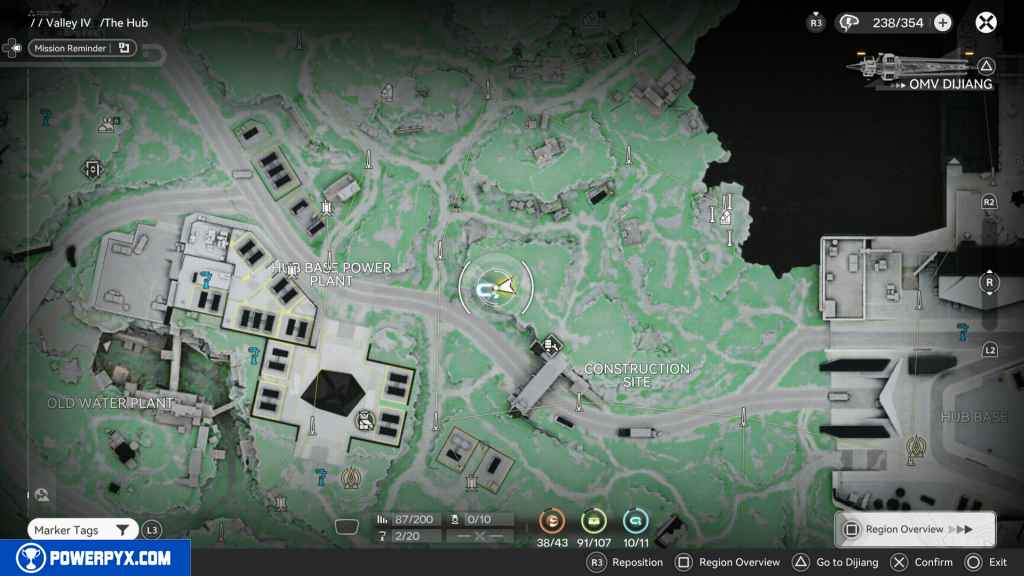
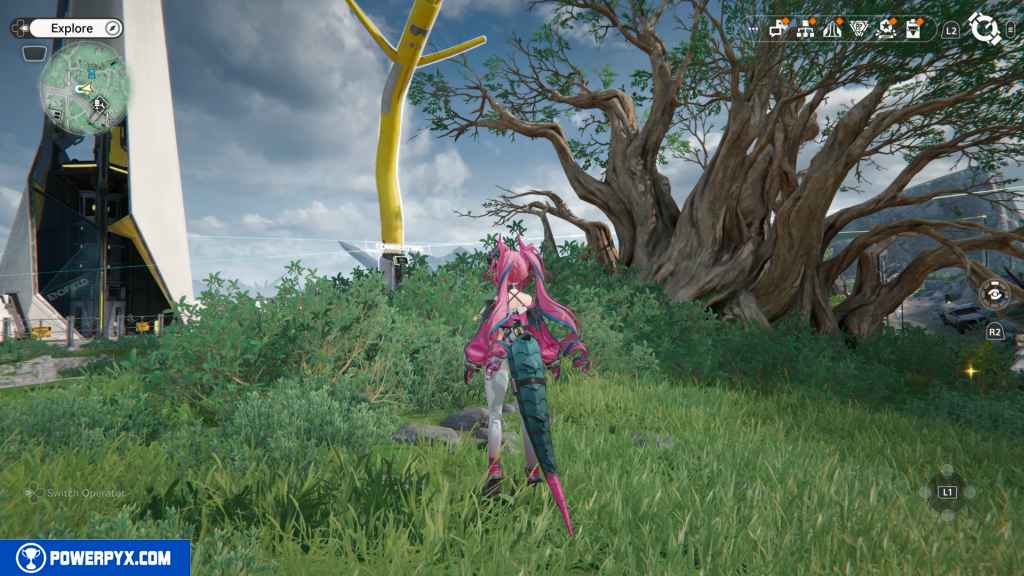
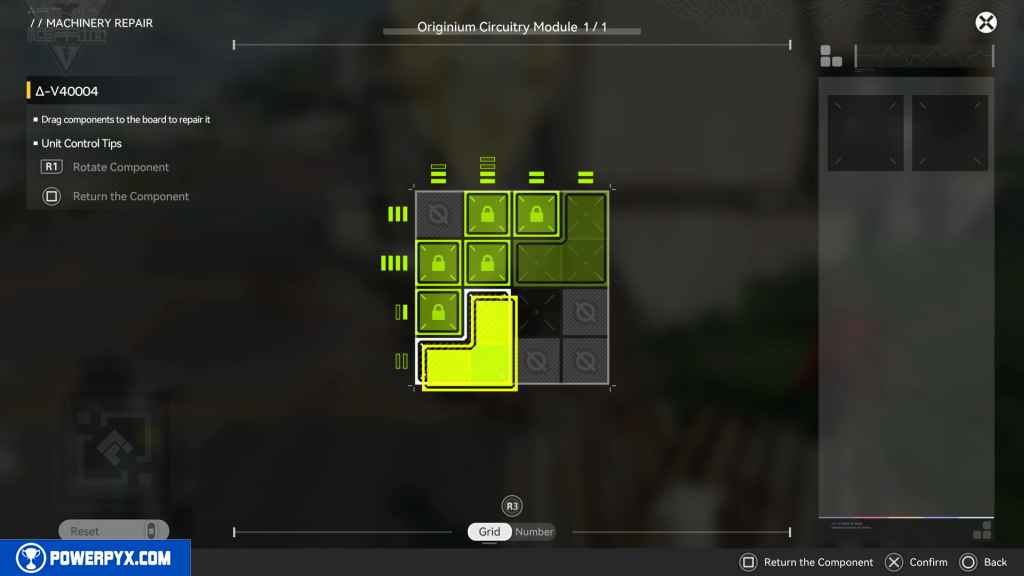
246 – SOS Repair Bot 9
Go southeast to the bridge, and you’ll find this Repair Bot in front of the bridge.
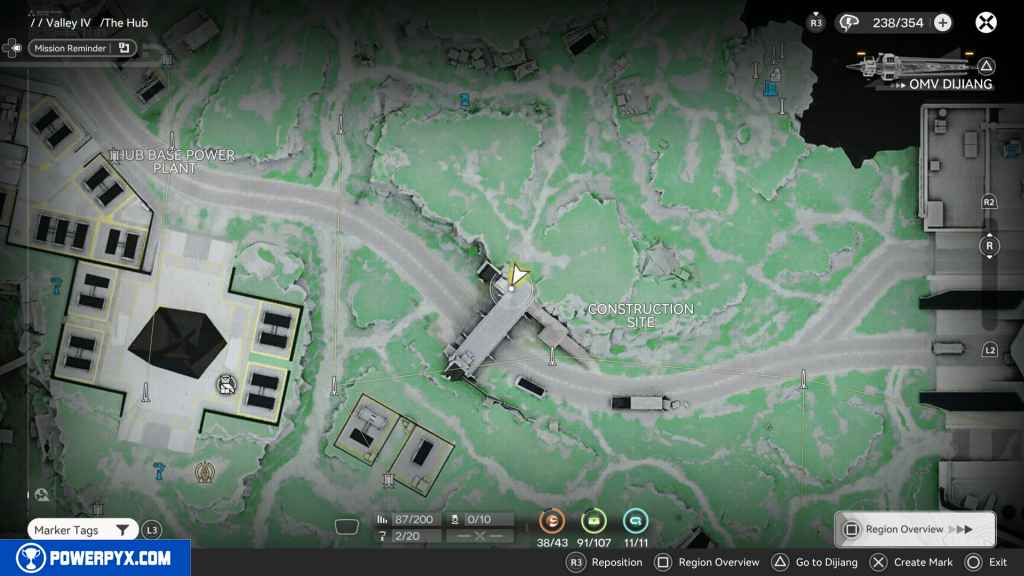
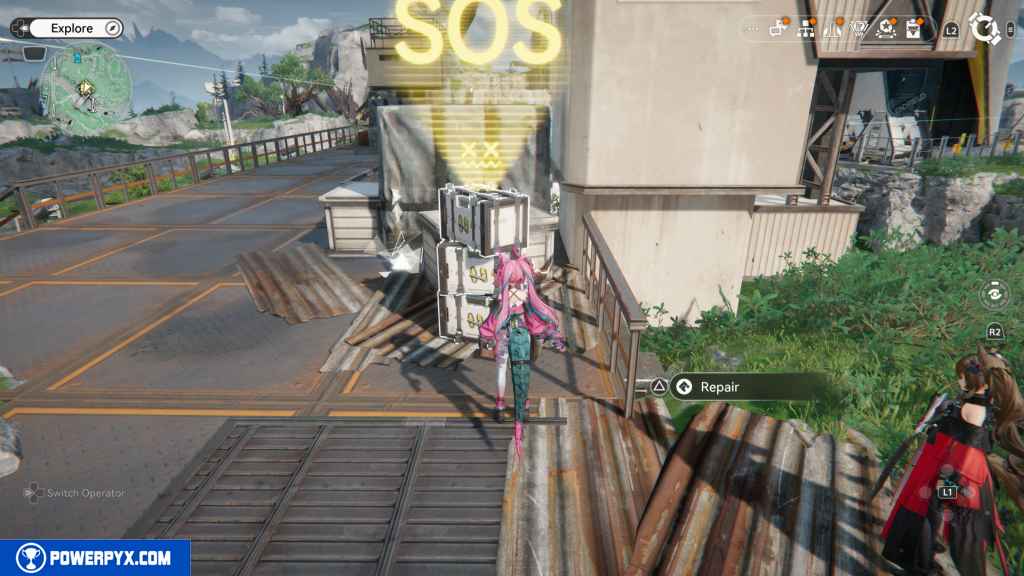
247 – Gathering Point 95
Right next to the Repair Bot.
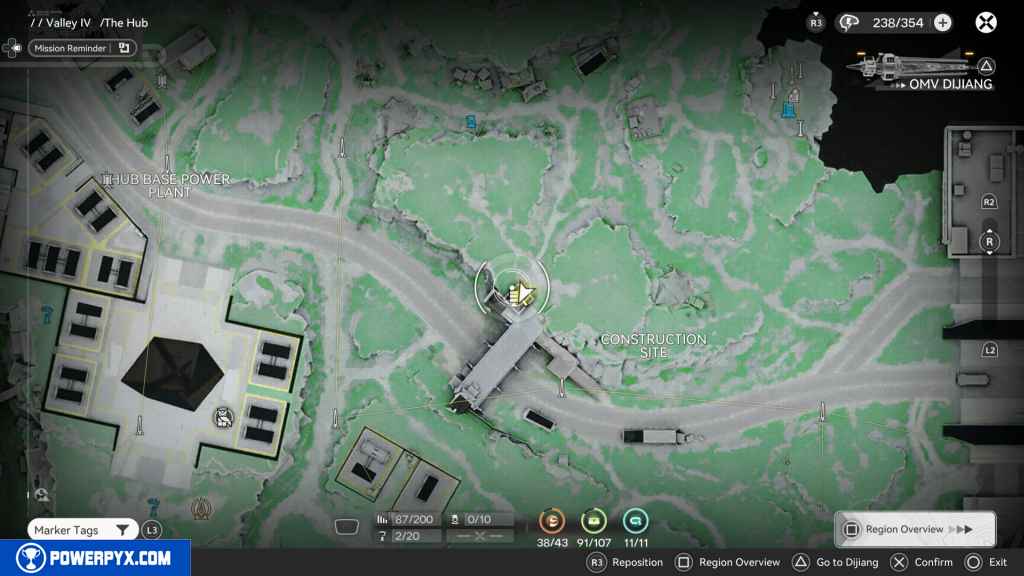
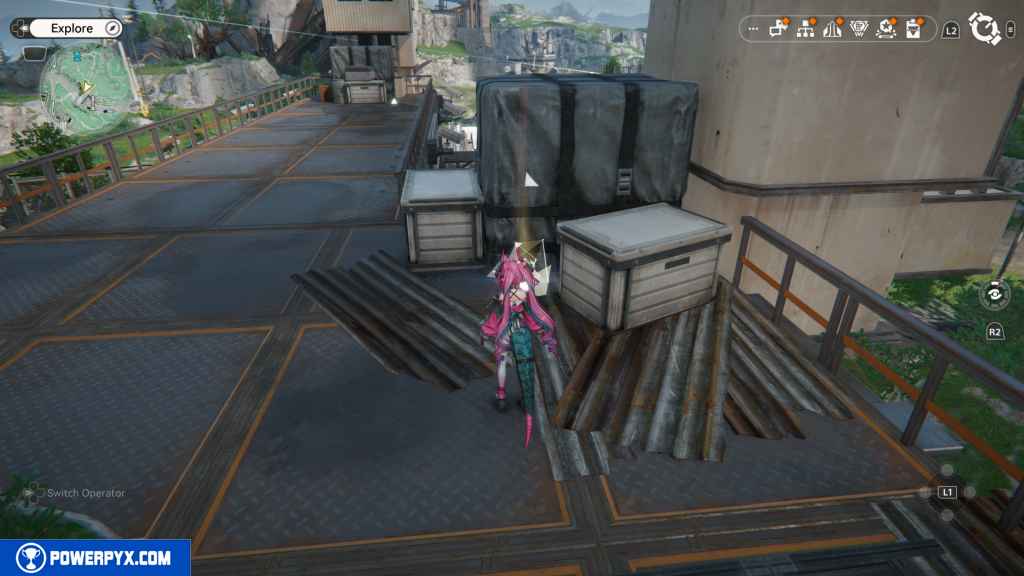
248 – Gathering Point 96
Go south across the bridge, and this Gathering Point will be in front of you.
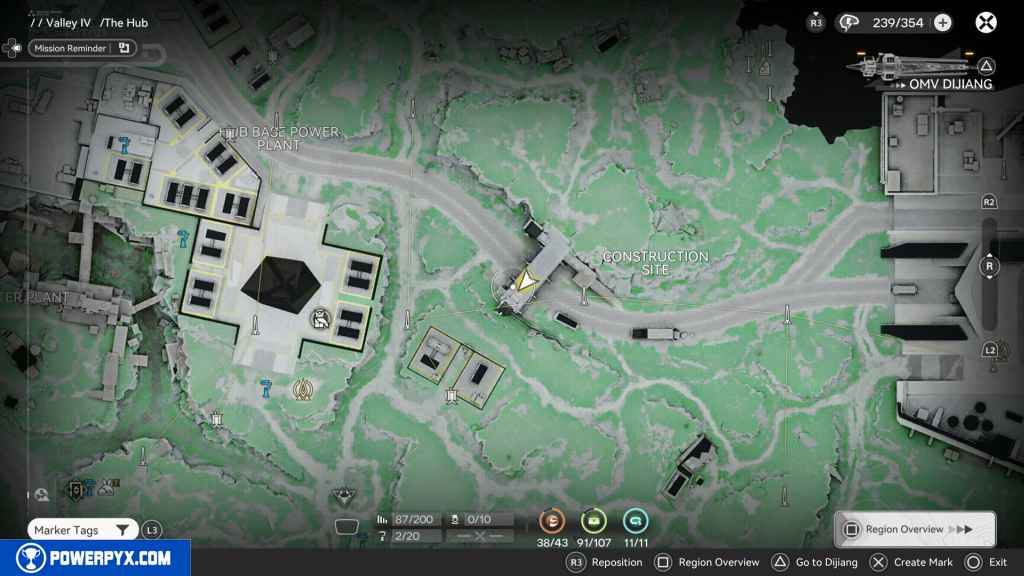
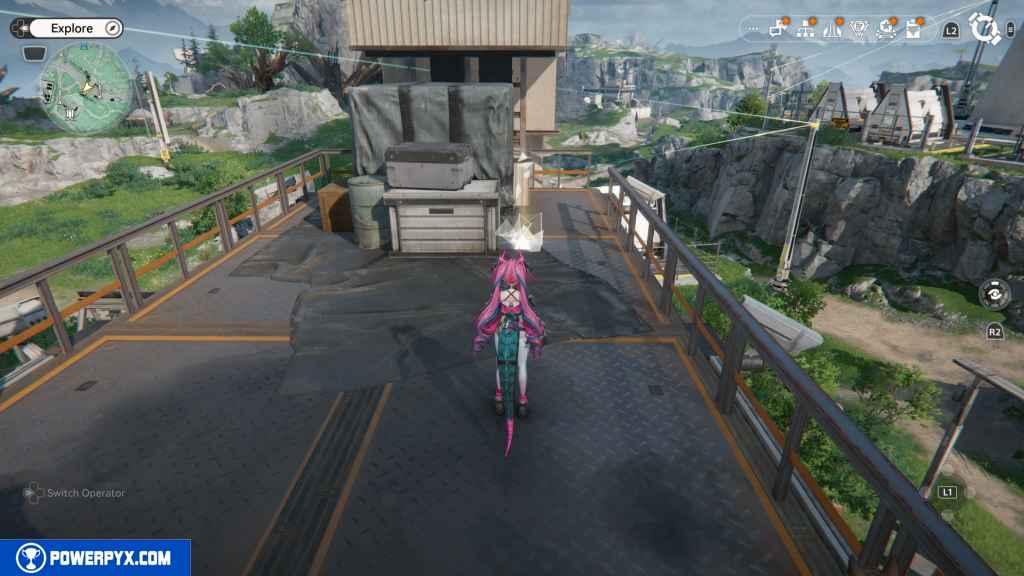
249 – Crate 92
Looking west and down from the last Gathering Point, you should see a small platform to drop down to. From there, you should see a big white box to drop down to the next level, and eventually to the crate.
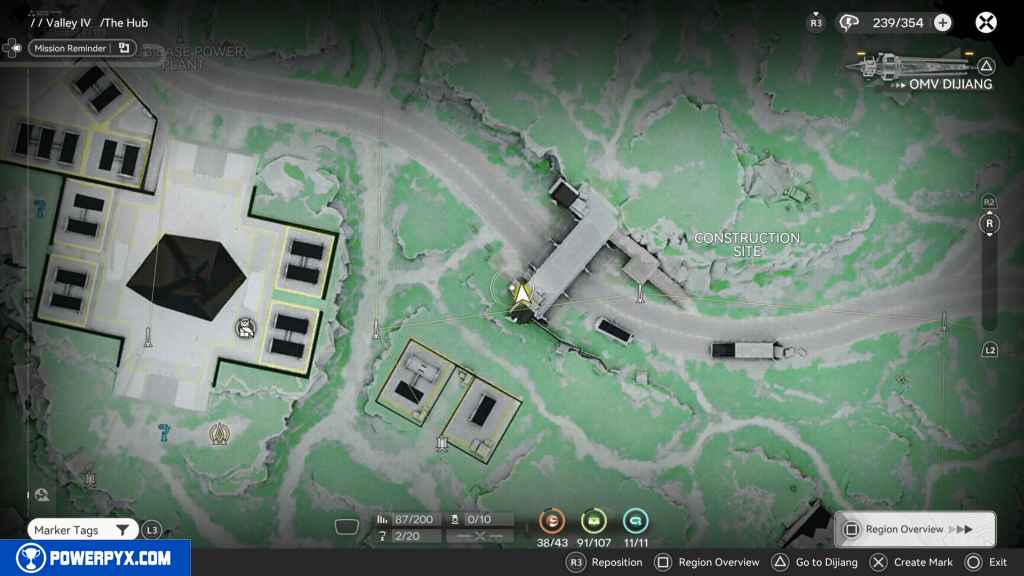
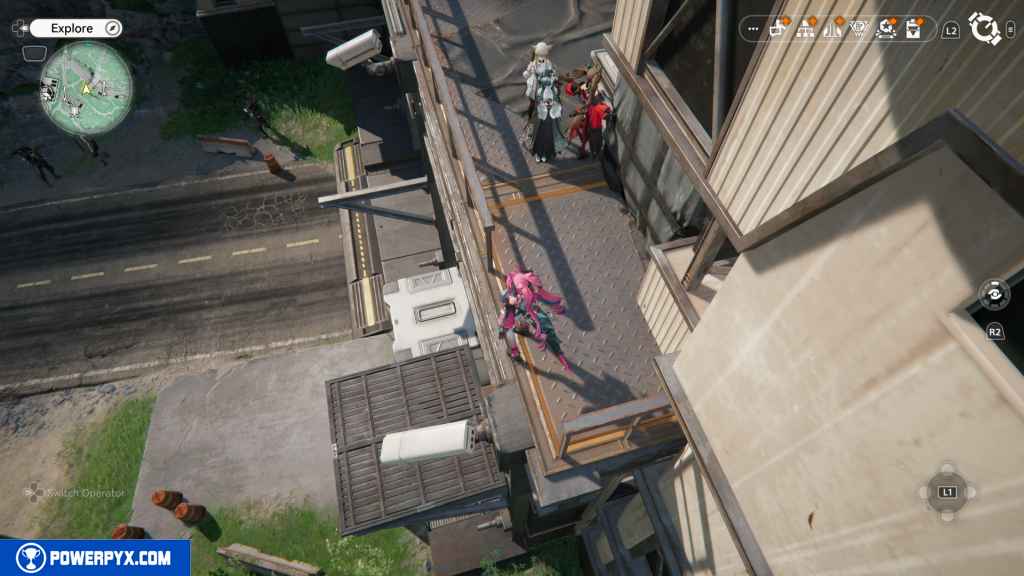
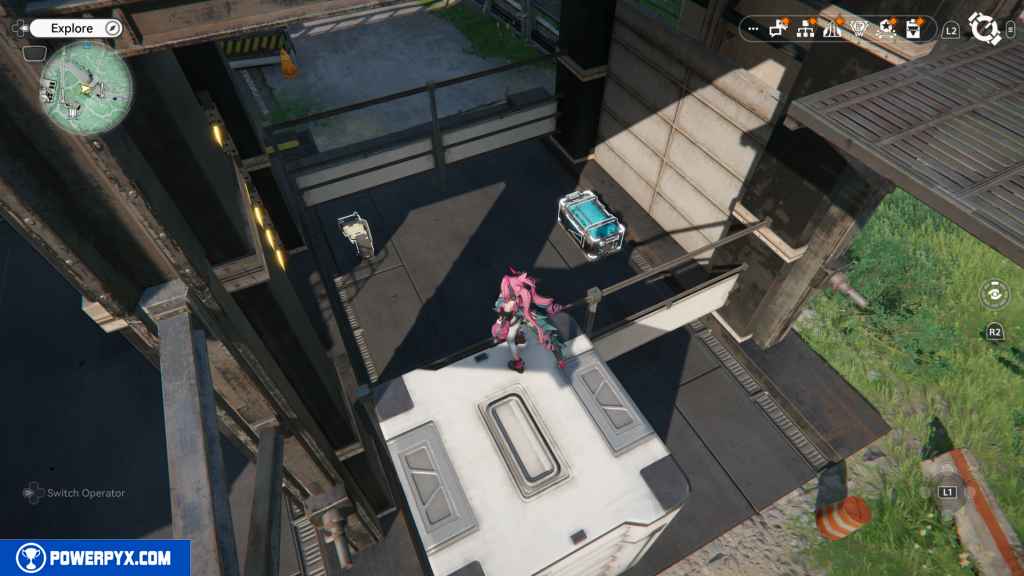
250 – Gathering Point 97
Go east along the road until you reach a truck with boxes falling out of its trailer. Next to those boxes is the Gathering Point.
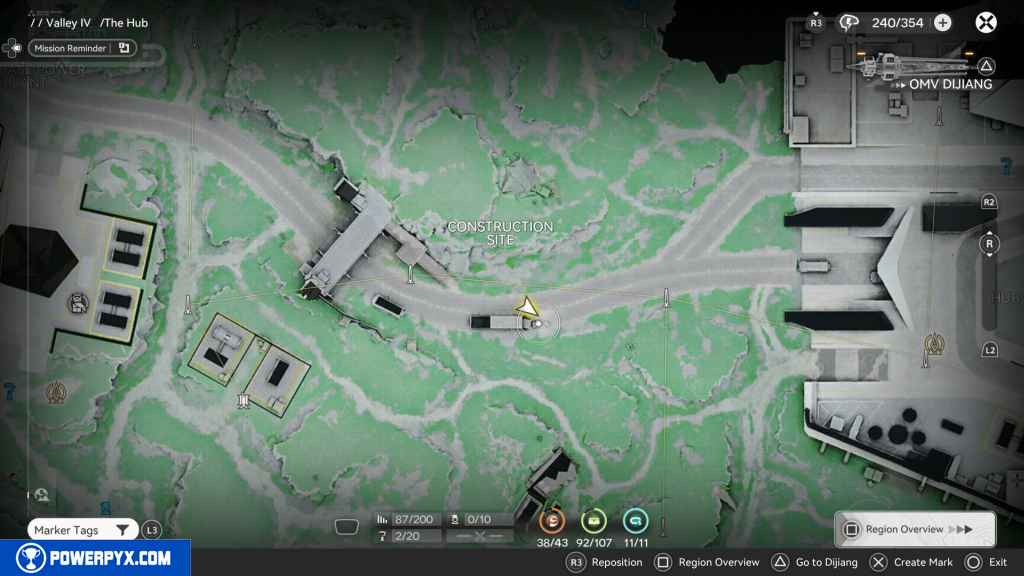
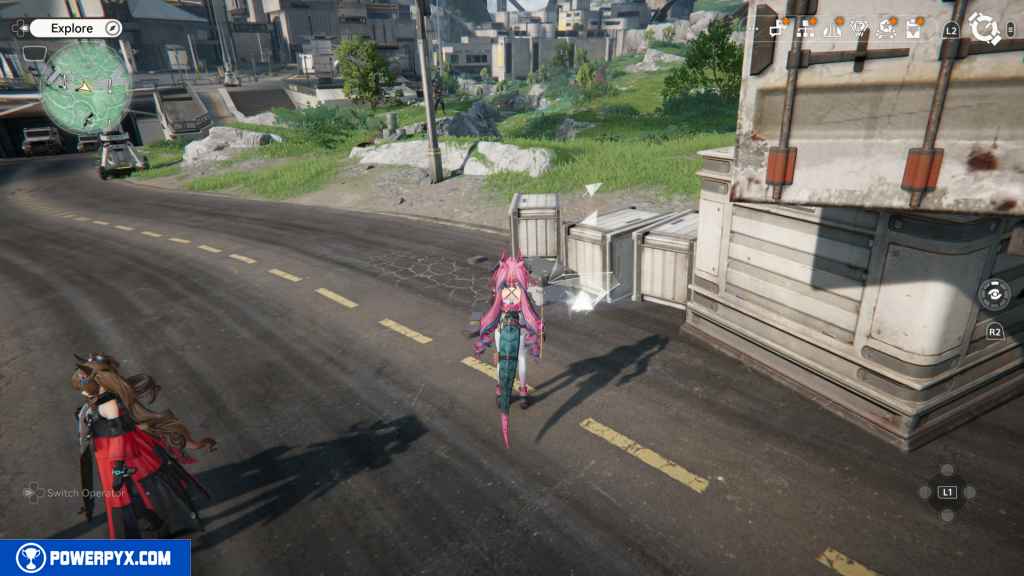
251 – Aurylene 39
Jump inside the trailer and go to the back to find the Aurlene.
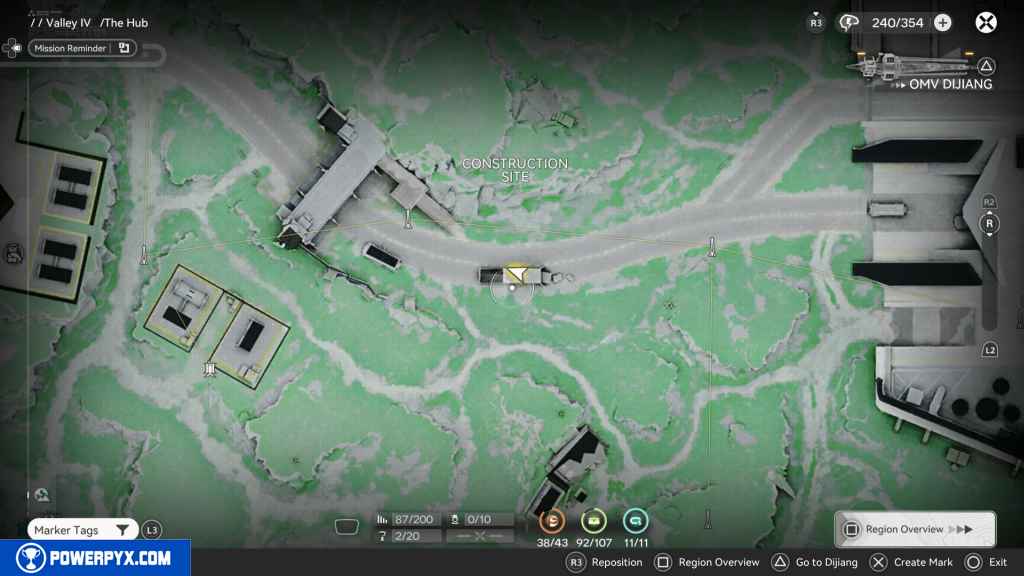
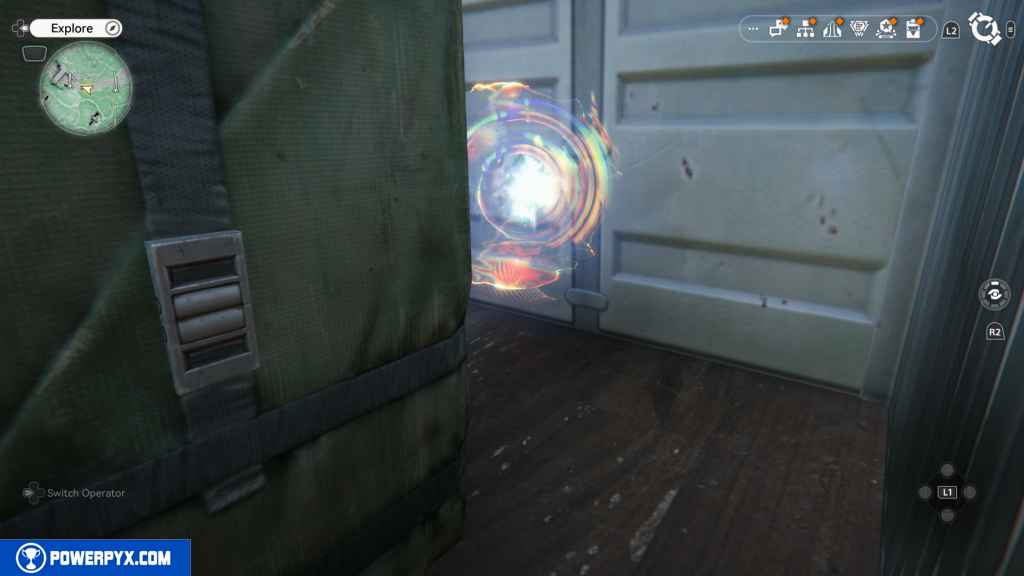
252 – Crate 93
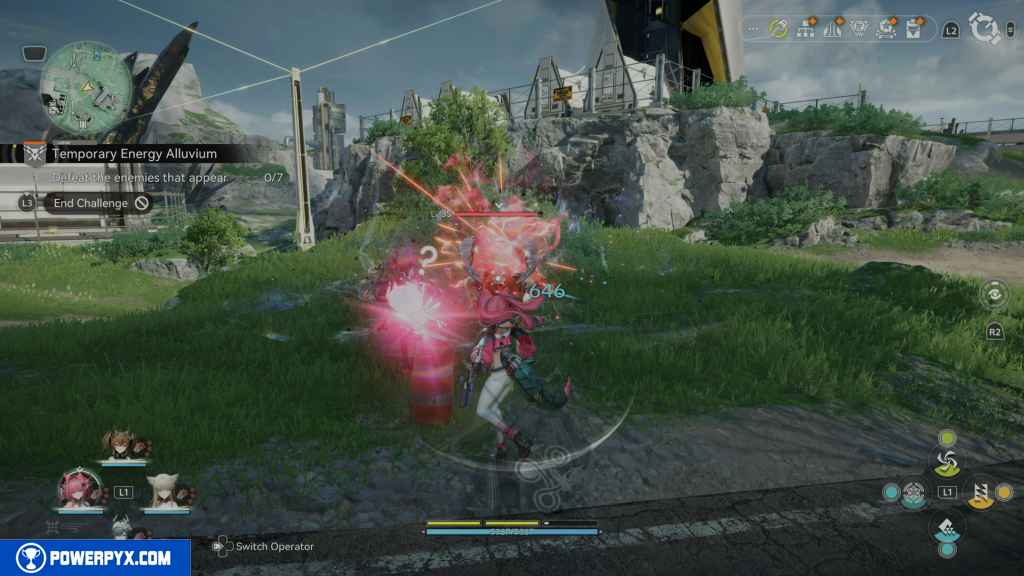
From the truck, go back west past the bridge, and on your left, you’ll find another Energy Alluvium. Activate it and defeat the enemies to unlock the crate.
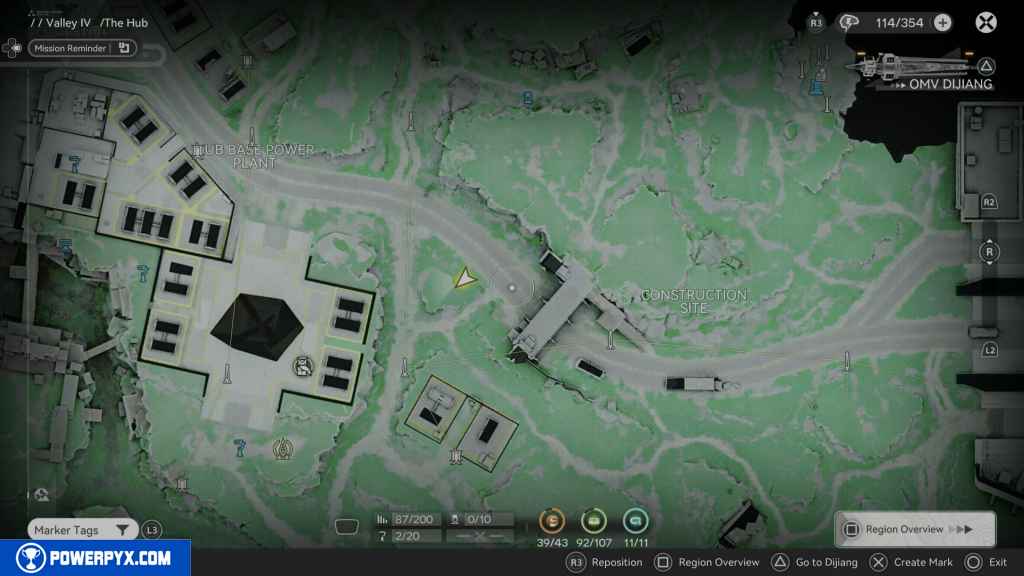
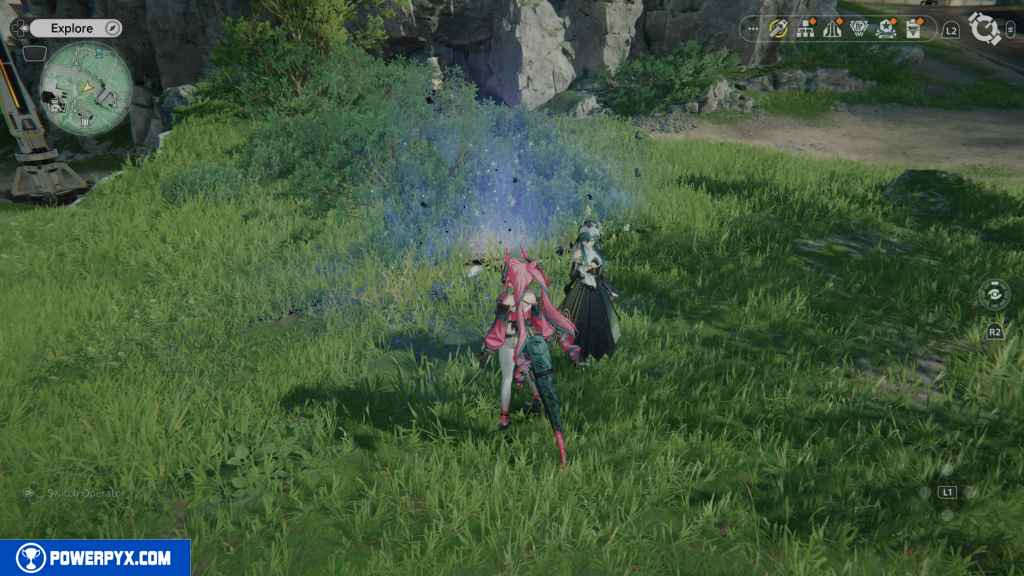
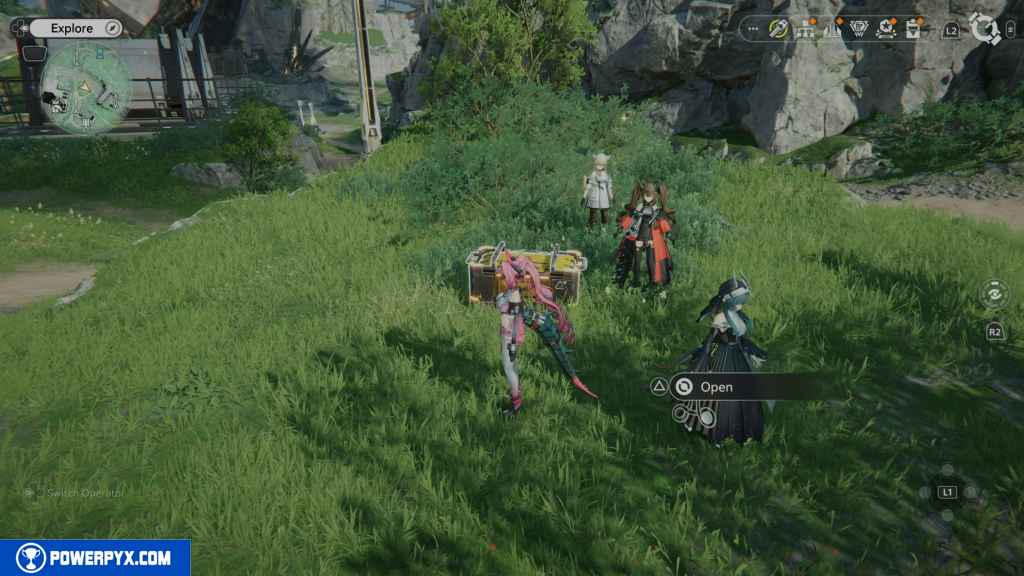
253 – Gathering Point 98
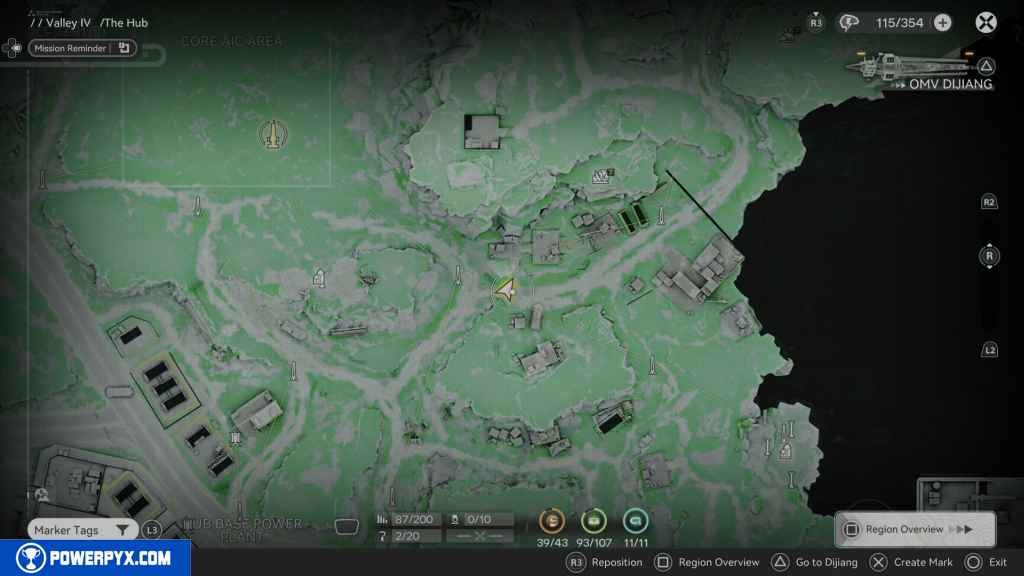
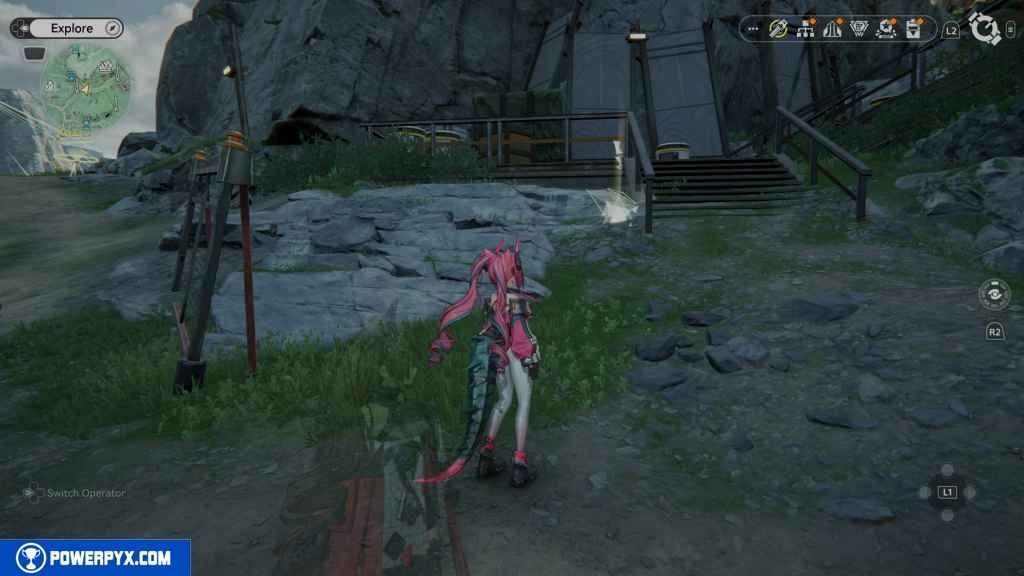
Go north up the path to the Landbreaker Camp southeast of the PAC. As you approach it from the west, you should see the Gathering Point on the ground next to the stairs.
254 – Crate 94
Go up the stairs and up the next stairs on your right to find this crate.
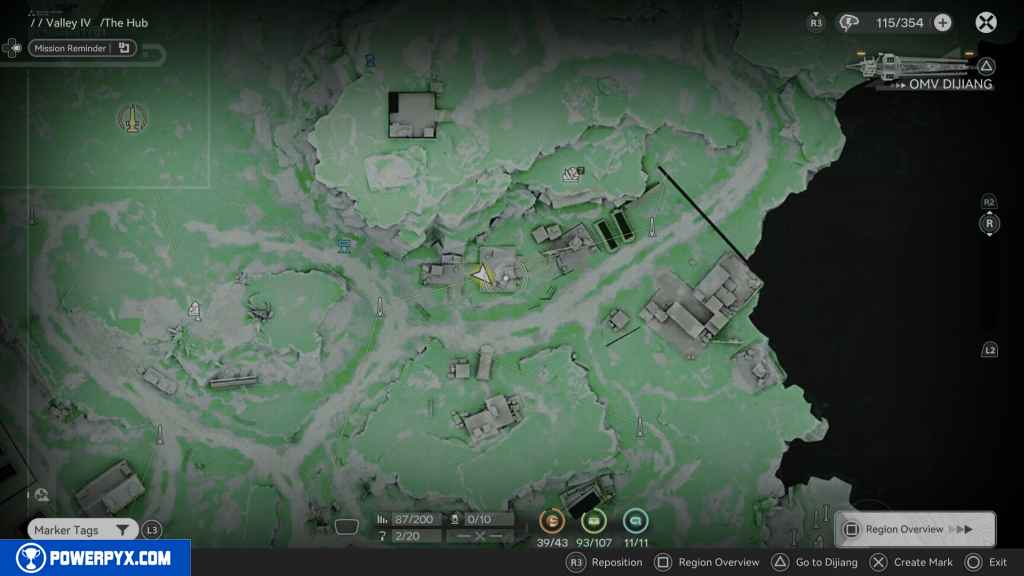
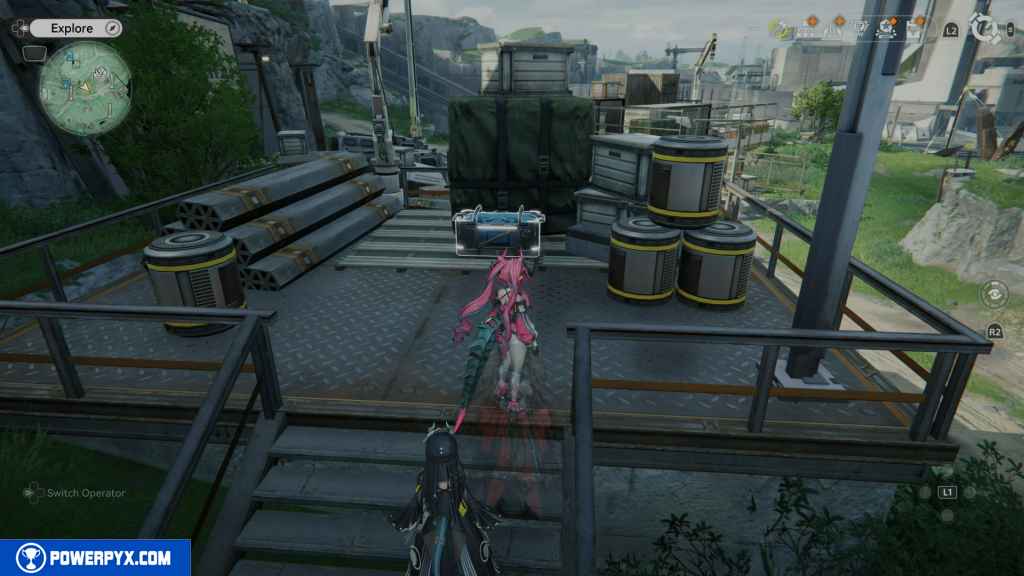
255 – Crate 95
Continue east, and on your left, you’ll find the next crate next to the large trucks.
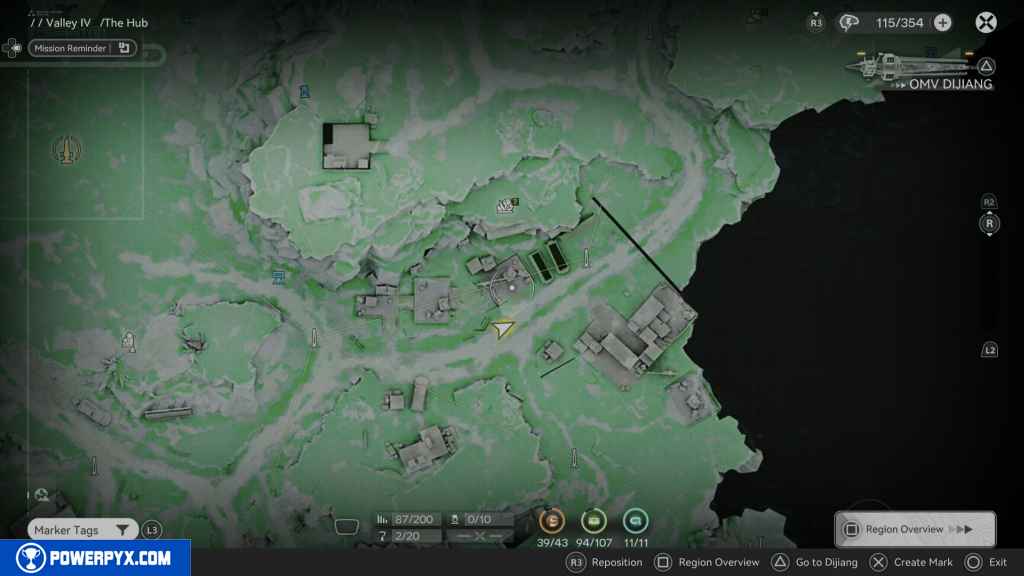
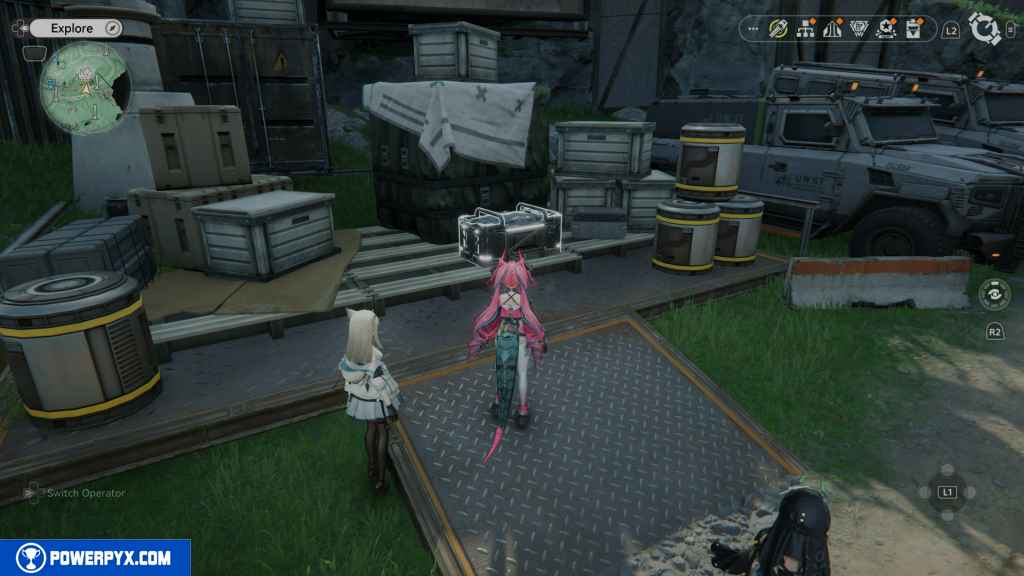
256 – Crate 96
South of the trucks, you’ll find another area blocked by an electric barrier. Deactivate it using the console. Go into the area and through the container on the left. Around the corner is the crate.
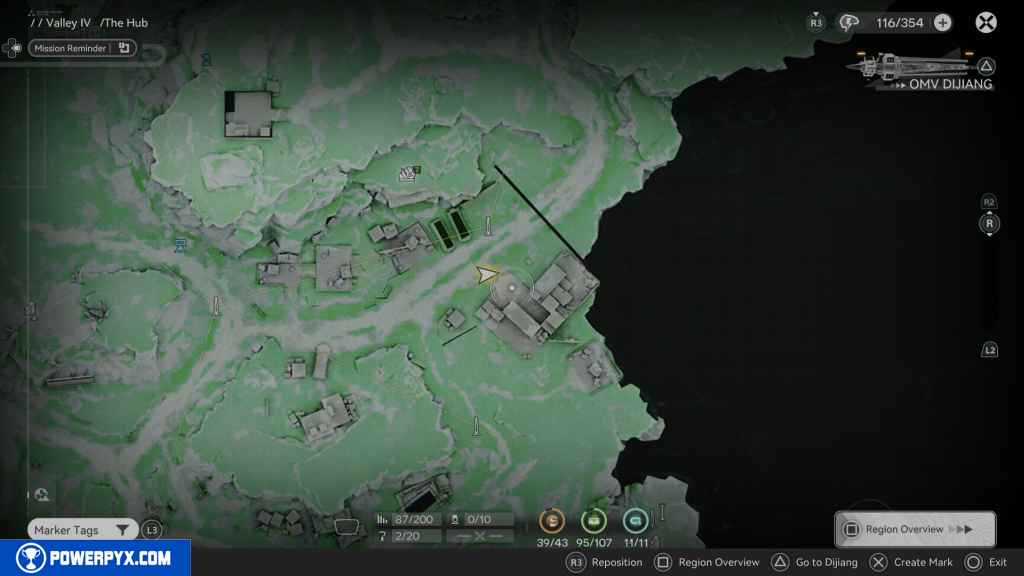
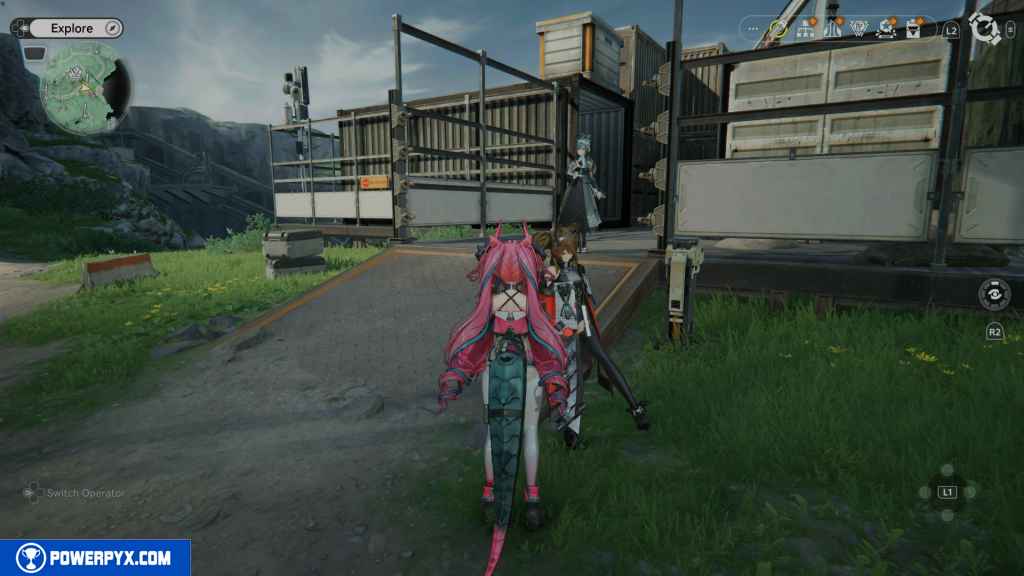
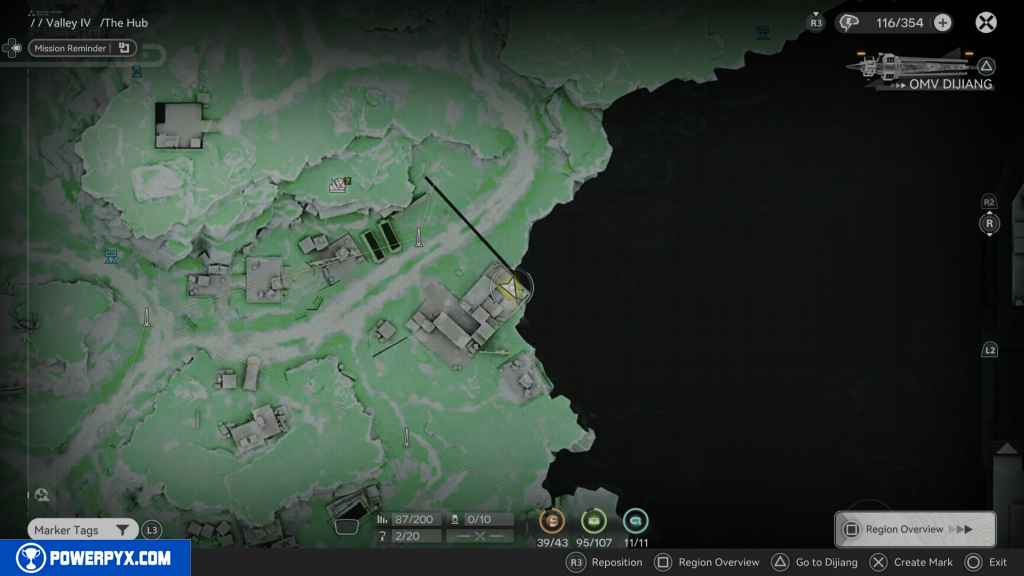
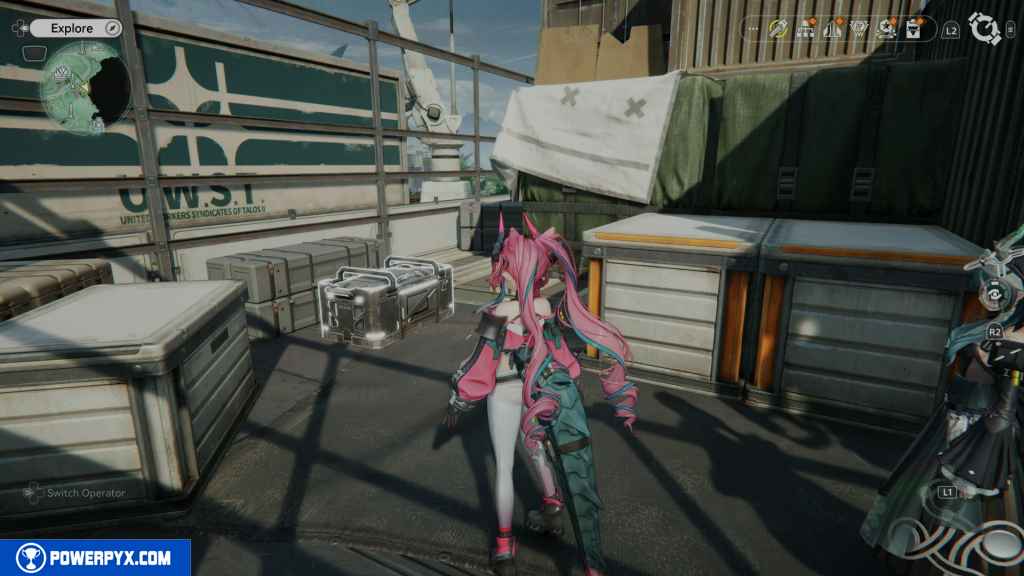
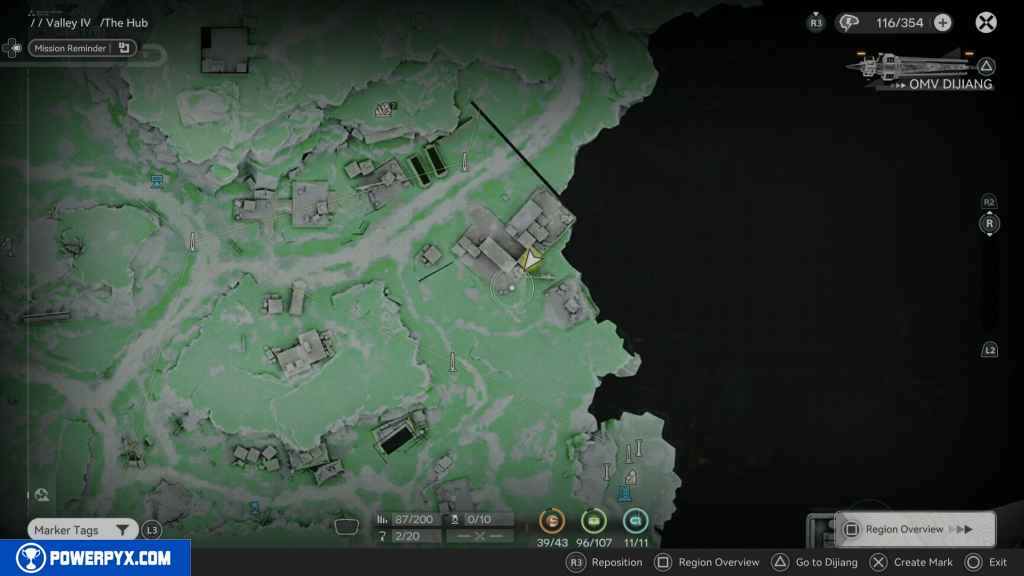
257 – Gathering Point 99
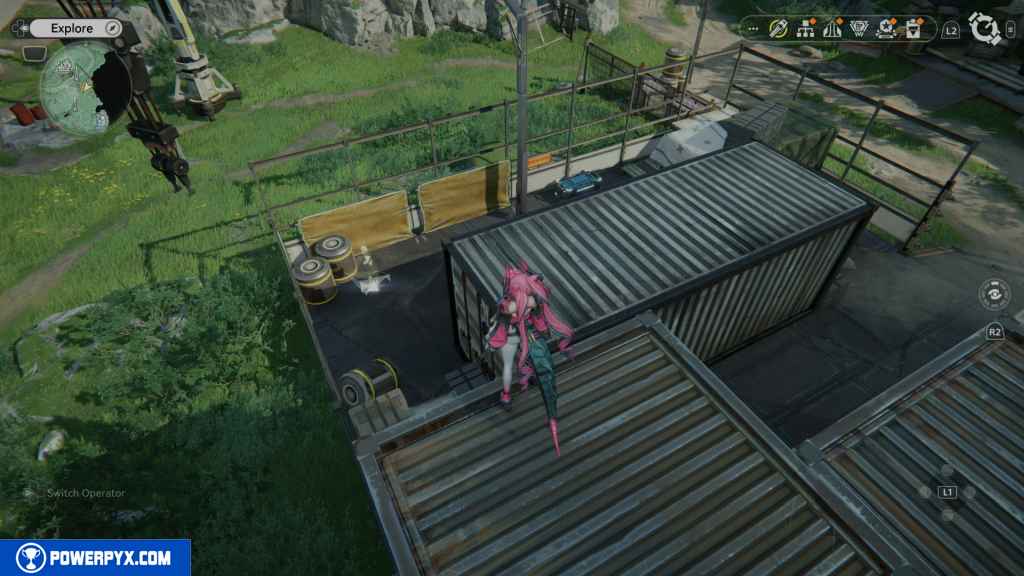
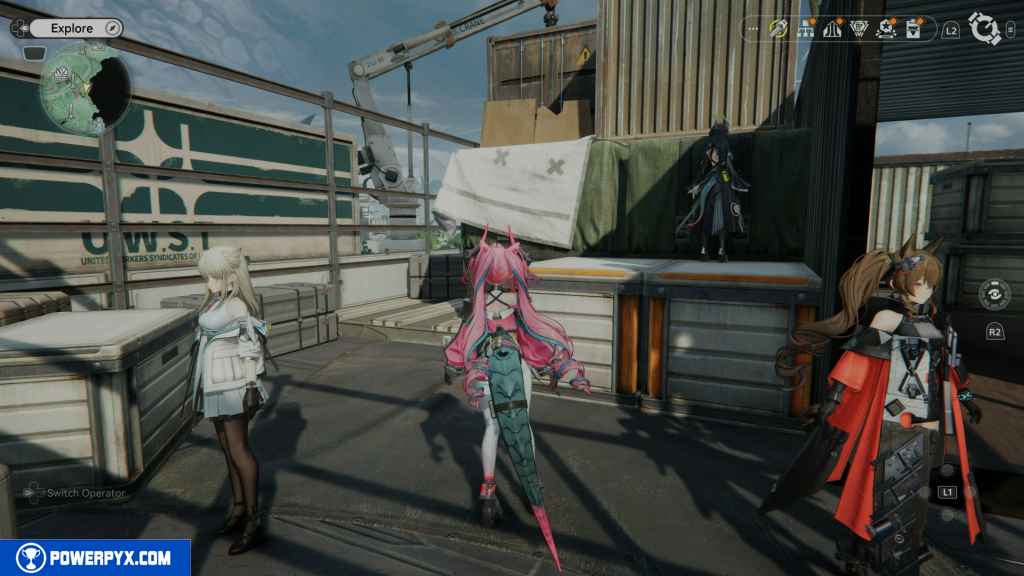
Jump up the boxes to reach the top of the containers. Jump up to the next portion of containers and look west to see the Gathering Point on the other side of the containers that were blocking your path. Drop down over there to reach the Gathering Point.
258 – Crate 97
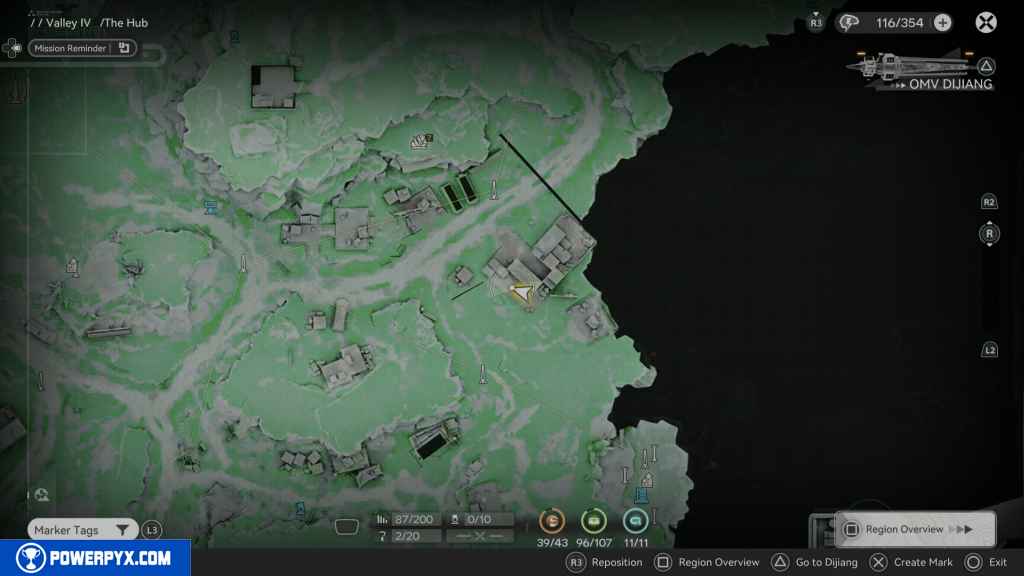
On the right of the last Gathering Point is the crate.
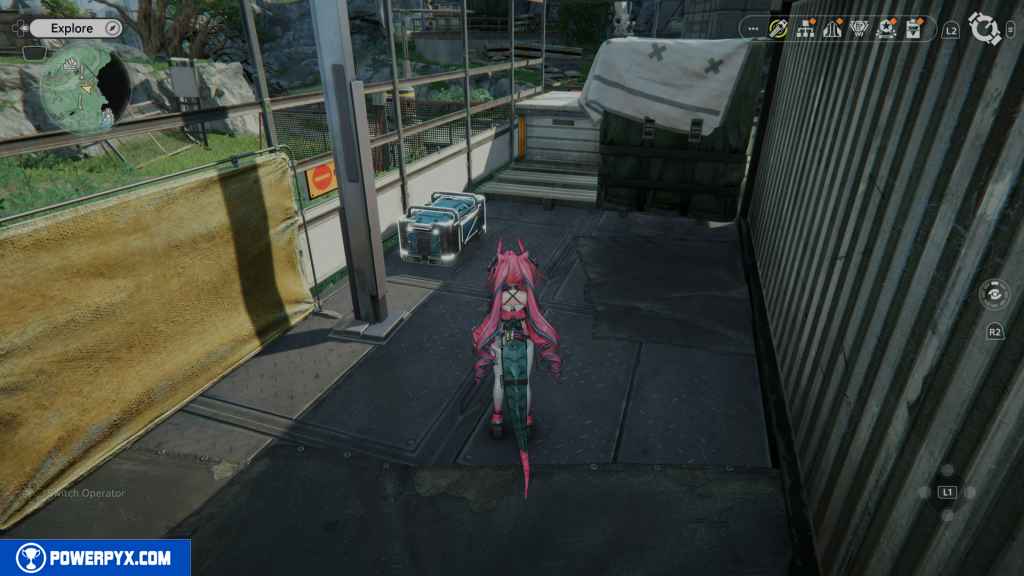
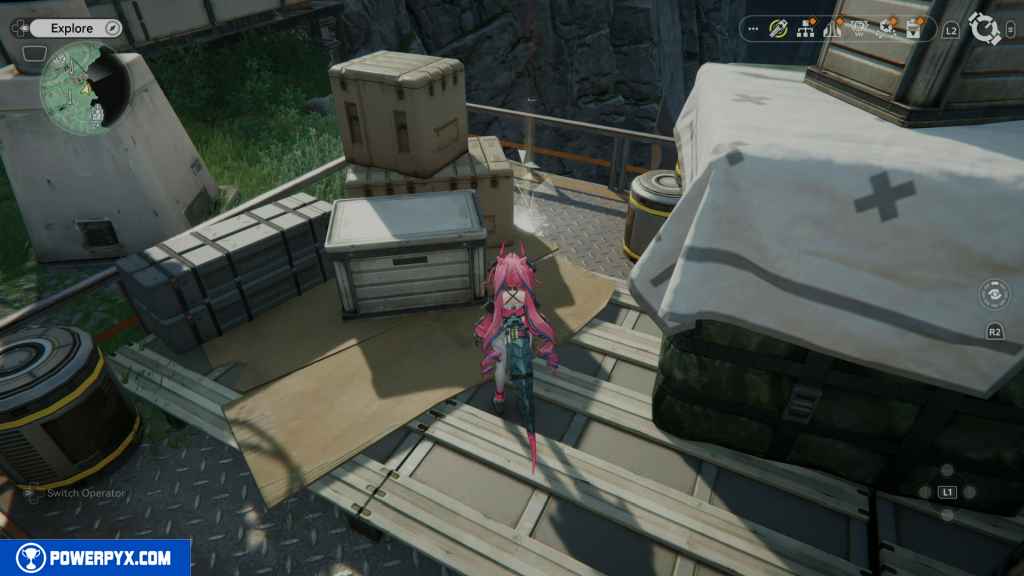
259 – Gathering Point 100
Leave the area and go southeast behind the container area you were just at. You find another area with a bunch of stored boxes. Behind the tan boxes is the Gathering Point.
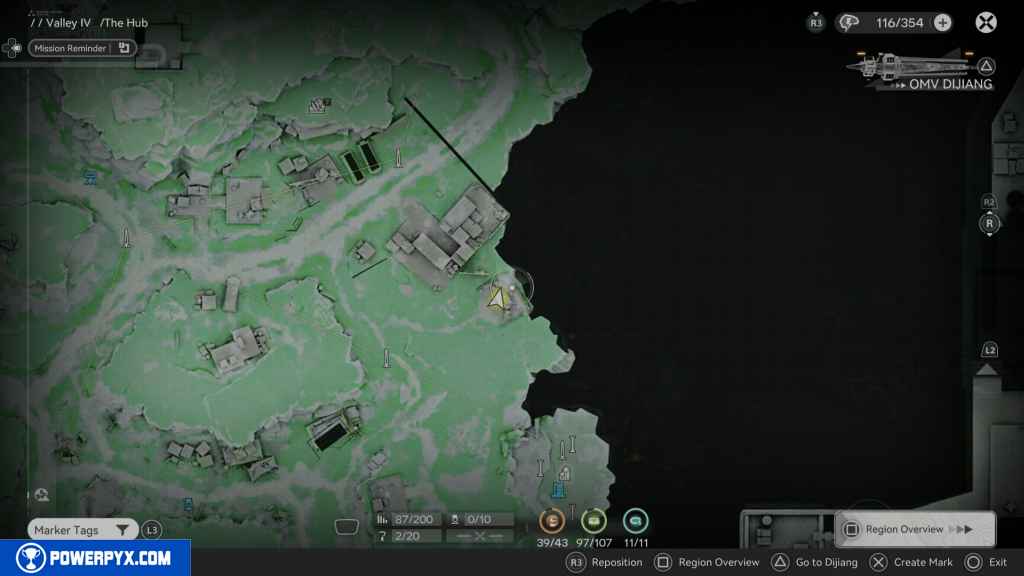
260 – Aurylene 40
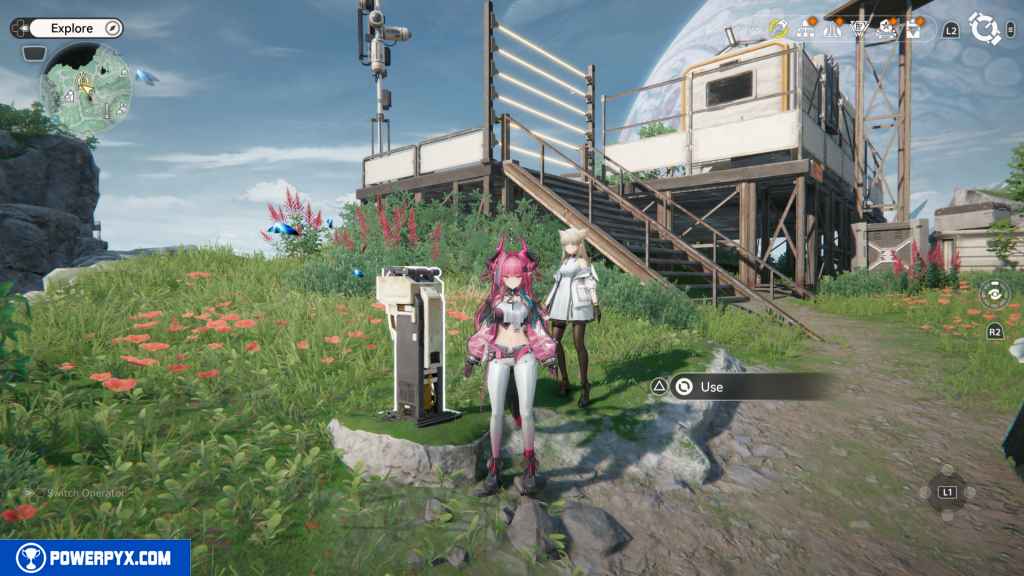
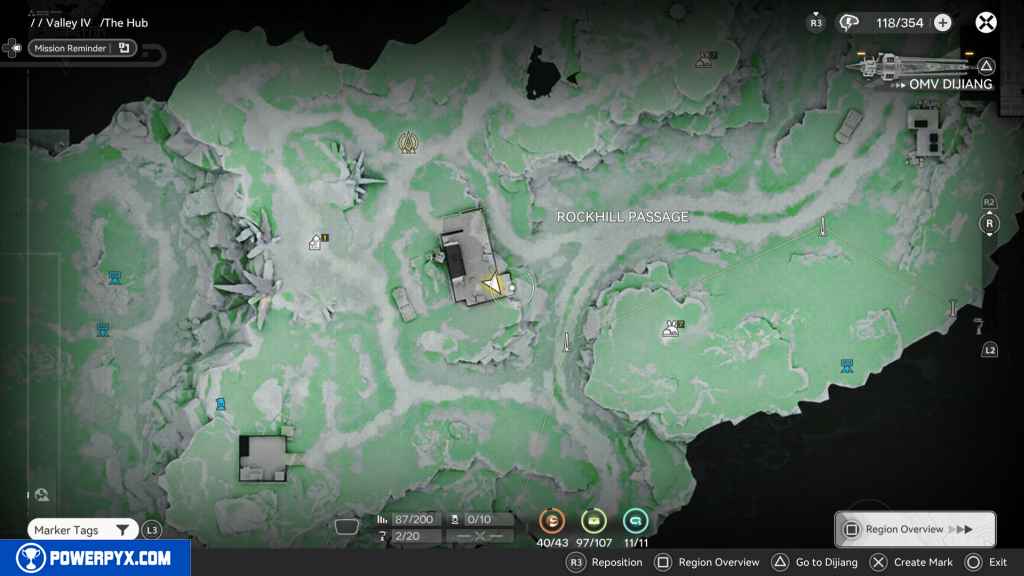
To reach the next area, you have to have finished the final story mission in Valley IV before heading to Wuling. You should also have started or finished the Side Mission- The Road is Rough. Go up the path to the north to Rockhill Passage.
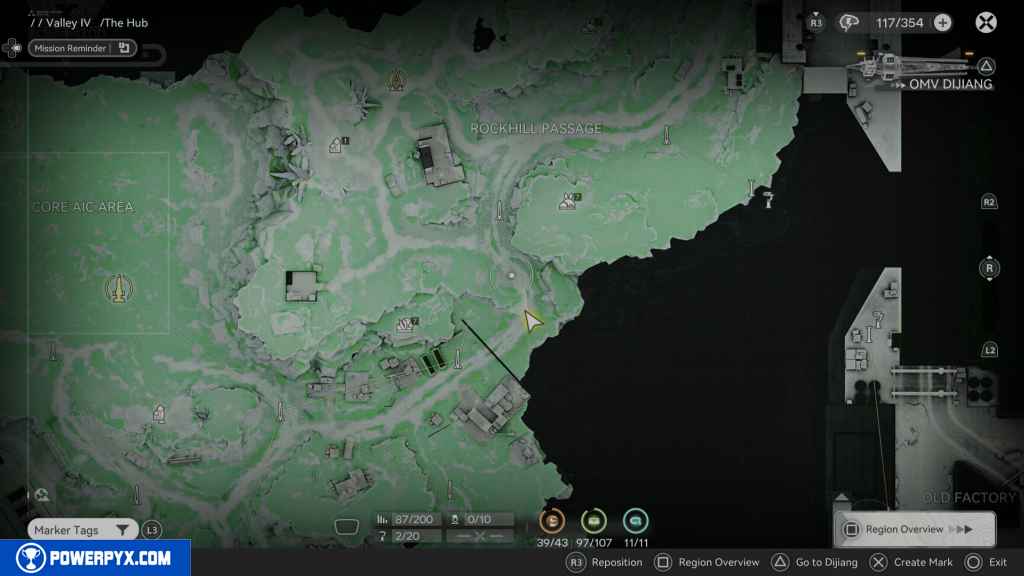
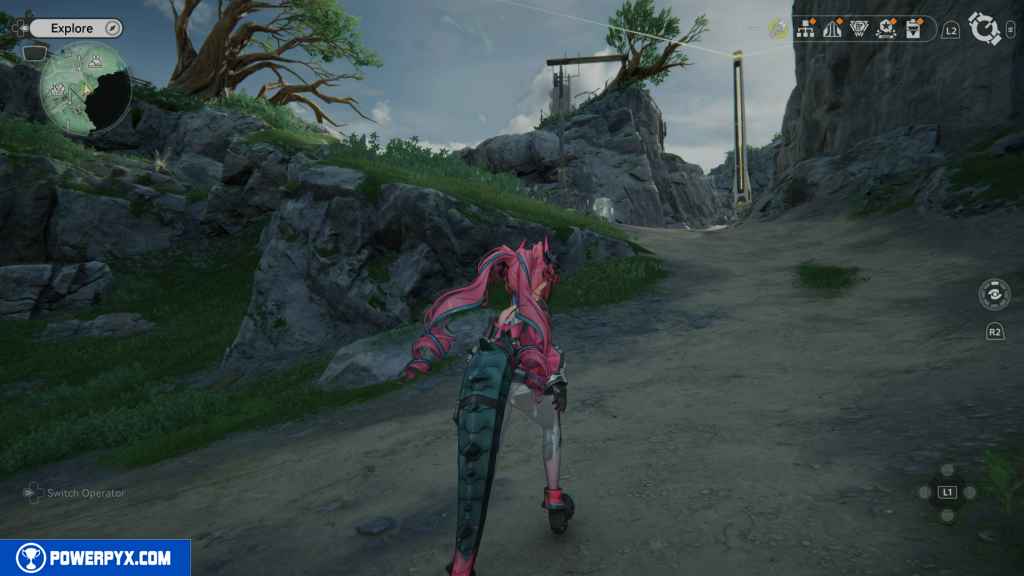
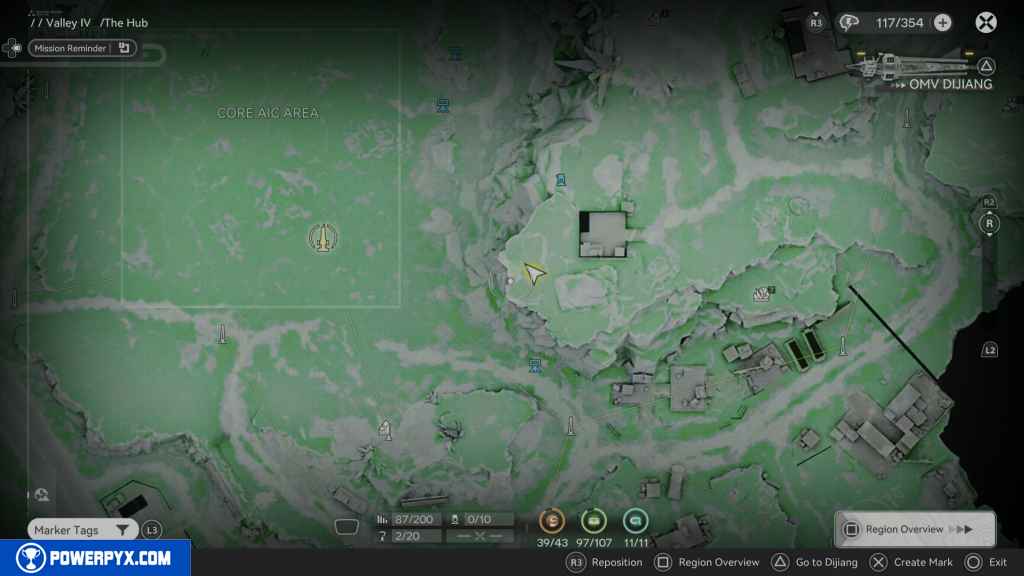
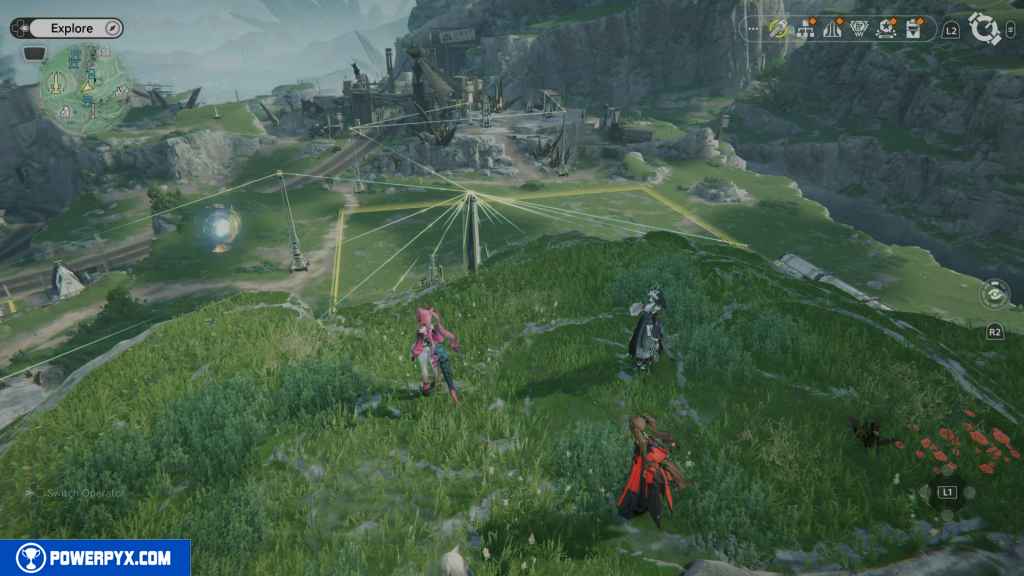
When you reach the fork in the road, go west. Go past the small generator facility until you reach the edge of the cliff. The Aurylene can’t be missed at the edge of the cliff.
261 – Crate 98
Go east to the next facility you run into. There will be a truck on the road, so you know it’s the right one. Go north of the truck to find a control panel to deactivate the electric barrier. Do so, and go up the stairs in the corner of the facility, where the crate is.
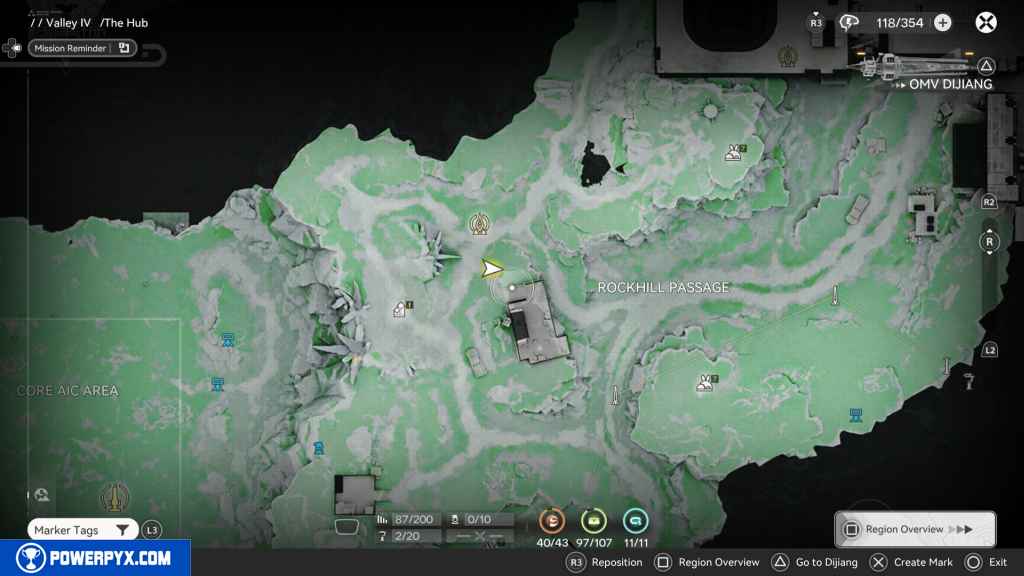
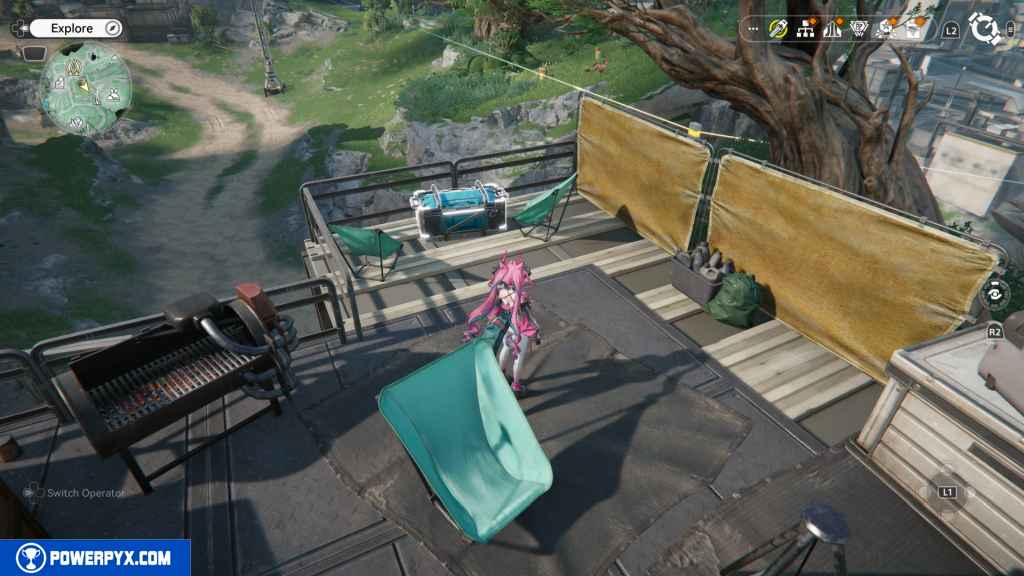
262 – Aurylene 41
Head north to the TP point. Just northwest of it, you will see an Aurylene floating in the air, moving around. Jump to grab it.
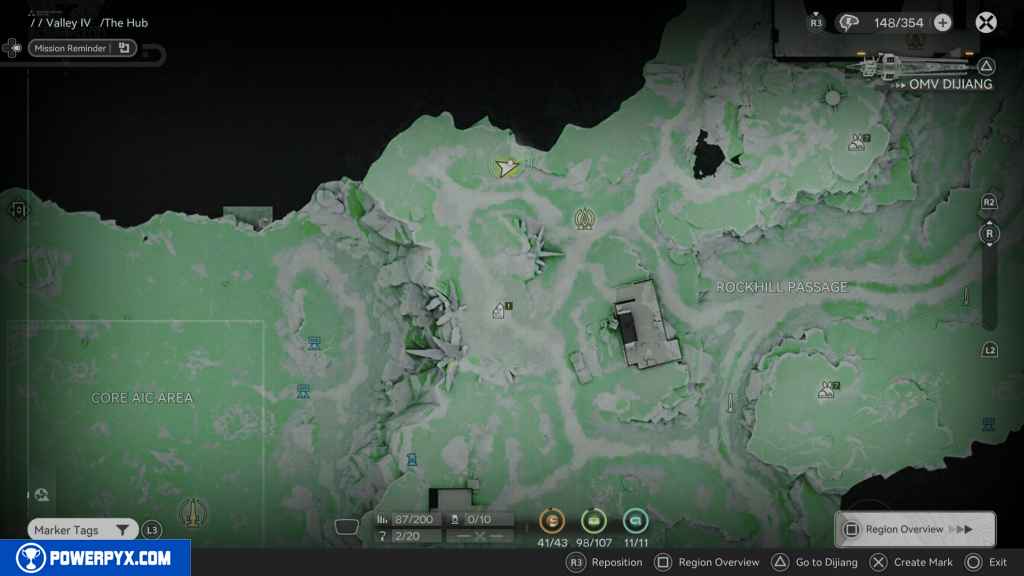
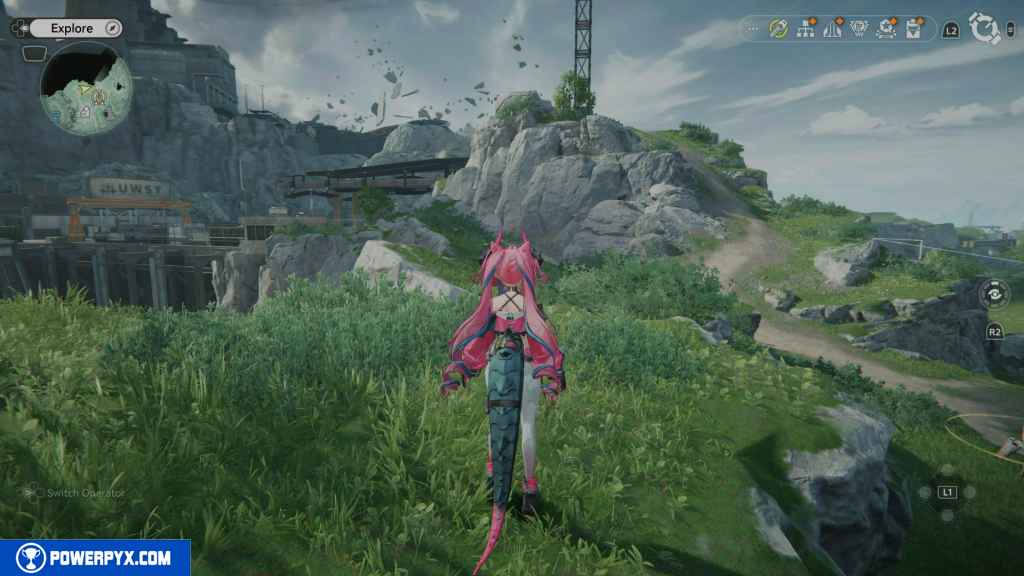
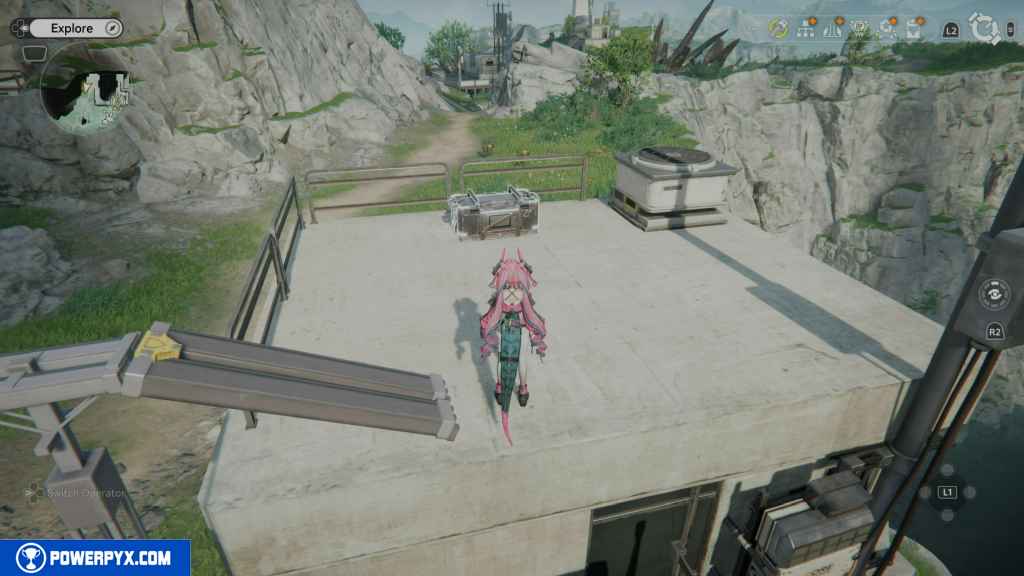
263 – Crate 99
Go northeast up to the top, and west of the structure there. On your left are some boxes you can jump onto to reach the building’s roof. Do so to find the crate.
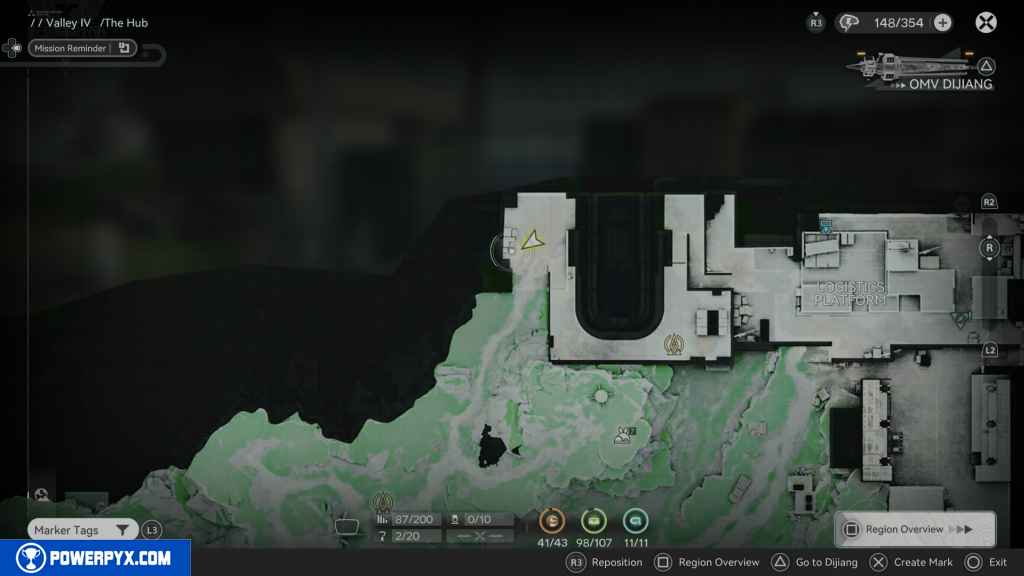
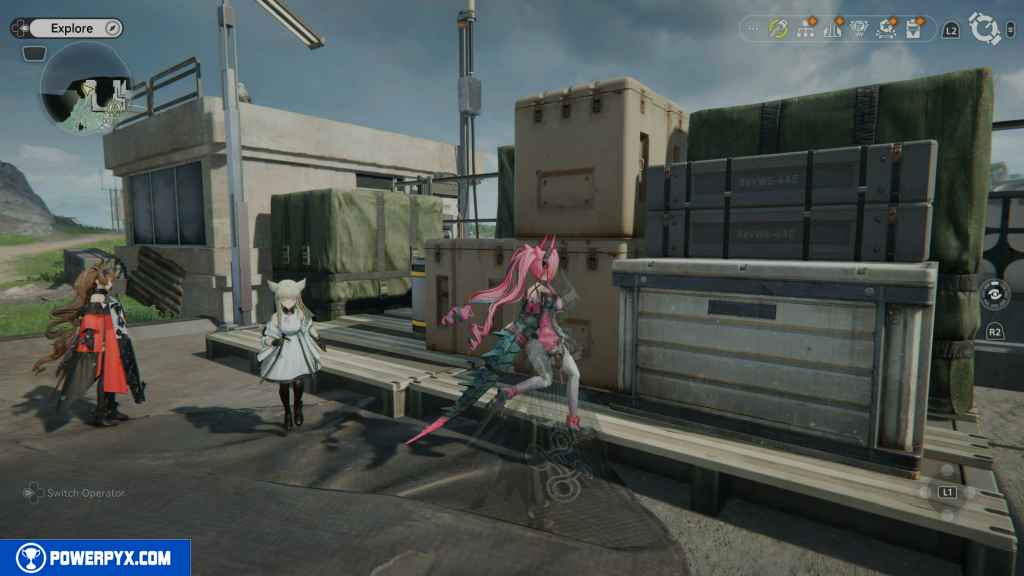
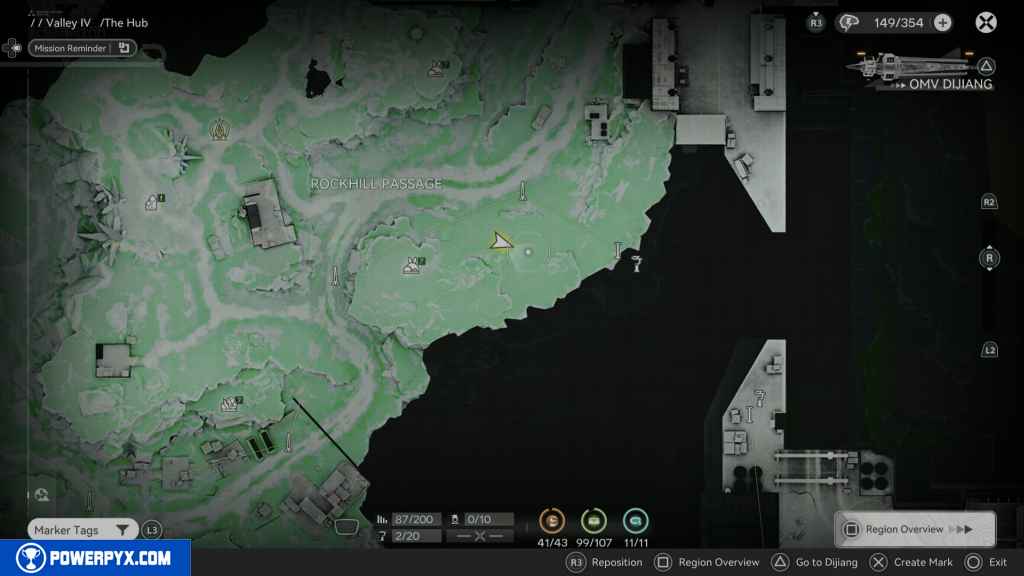
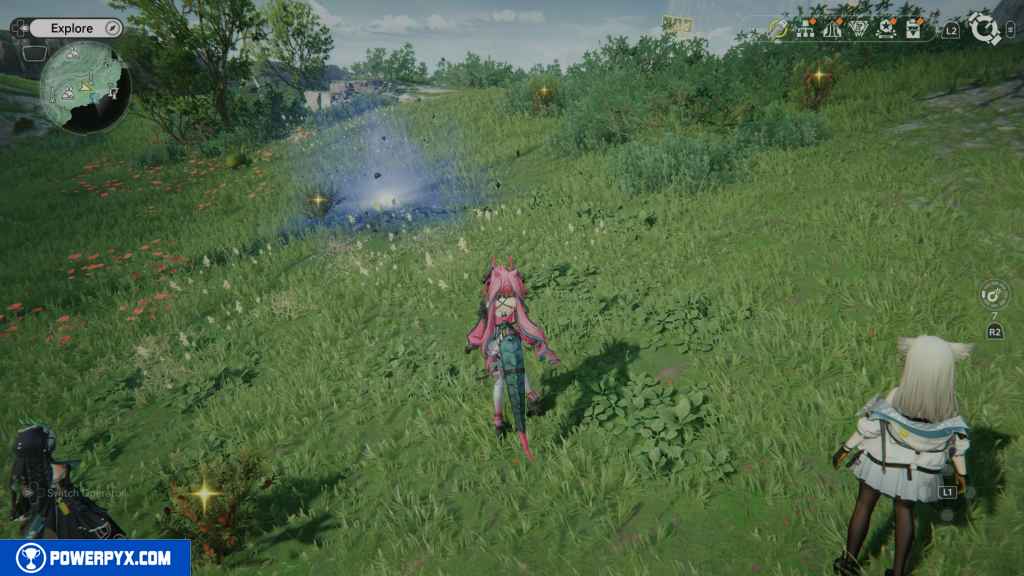
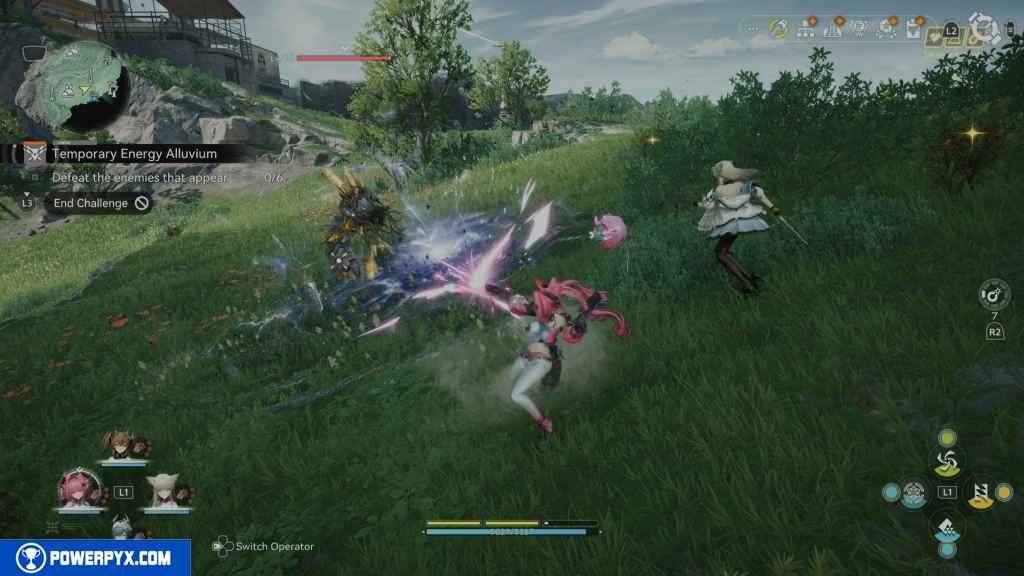
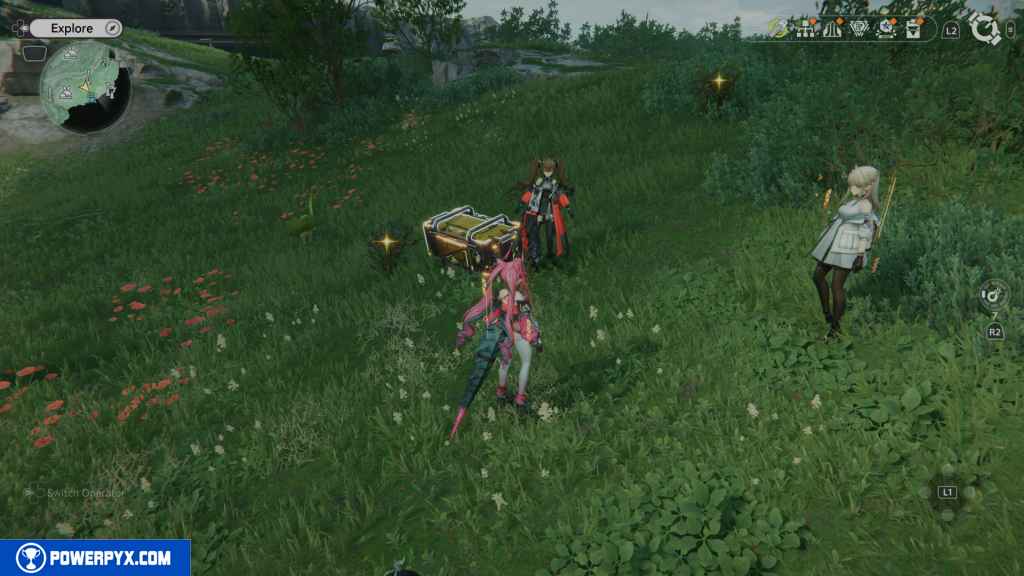
264 – Crate 100
Head south to the Rockhill Passage and further southeast from there. You will find an Energy Alluvium on the ground. Interact with it and defeat the enemies to unlock the crate.
265 – Crate 101
Go north from the Energy Alluvium crate, and you’ll come across a truck. The crate is on the west side of the truck.
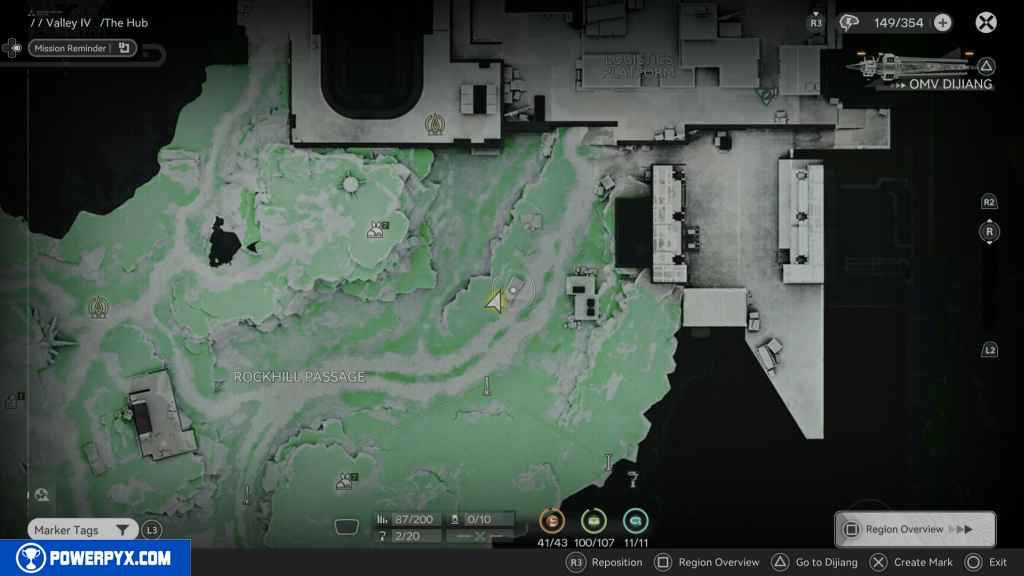
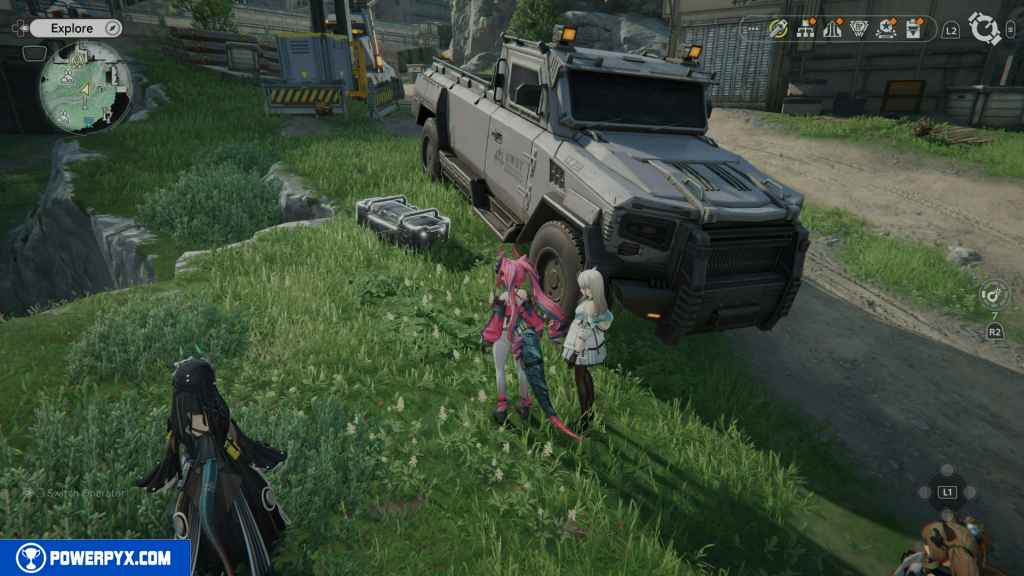
265 – Gathering Point 101
Go north from the crate, and you’ll find a forklift. Activate it to reveal the Gathering Point.
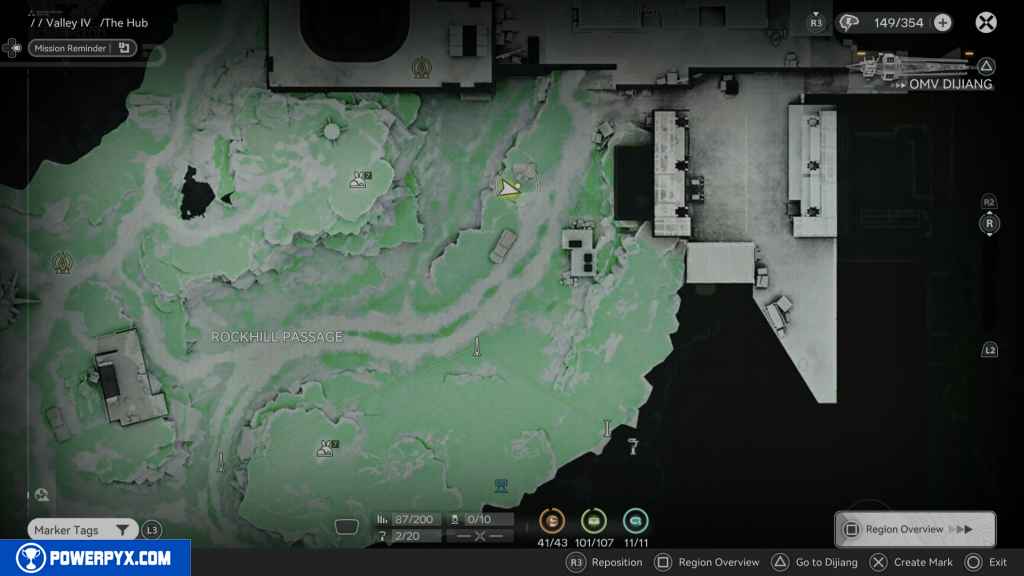
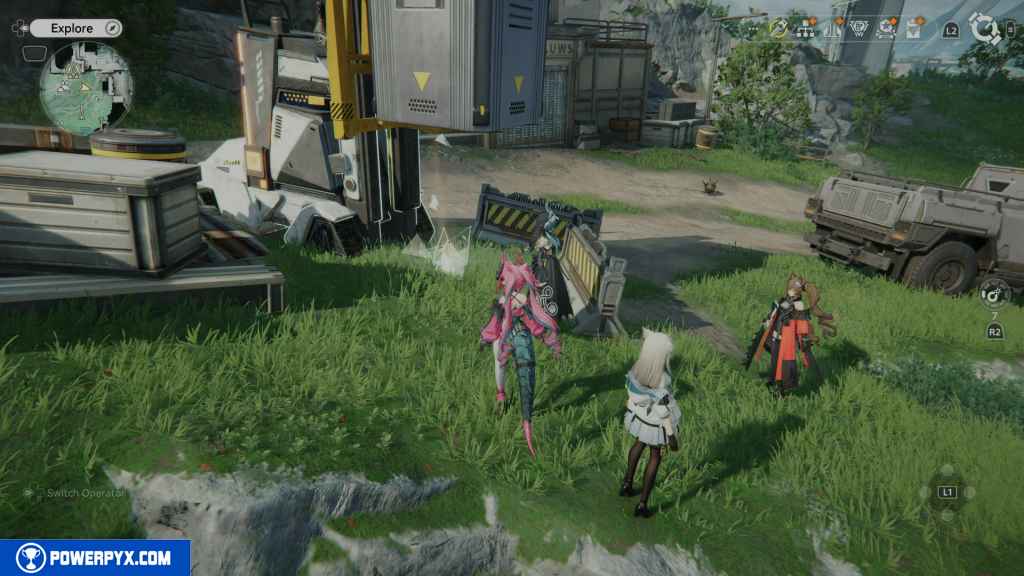
266 – Gathering Point 102
Fall down the path on your left and go north. You’ll find an explodable wall. Blow it up with a bomb to reveal the Gathering Point.
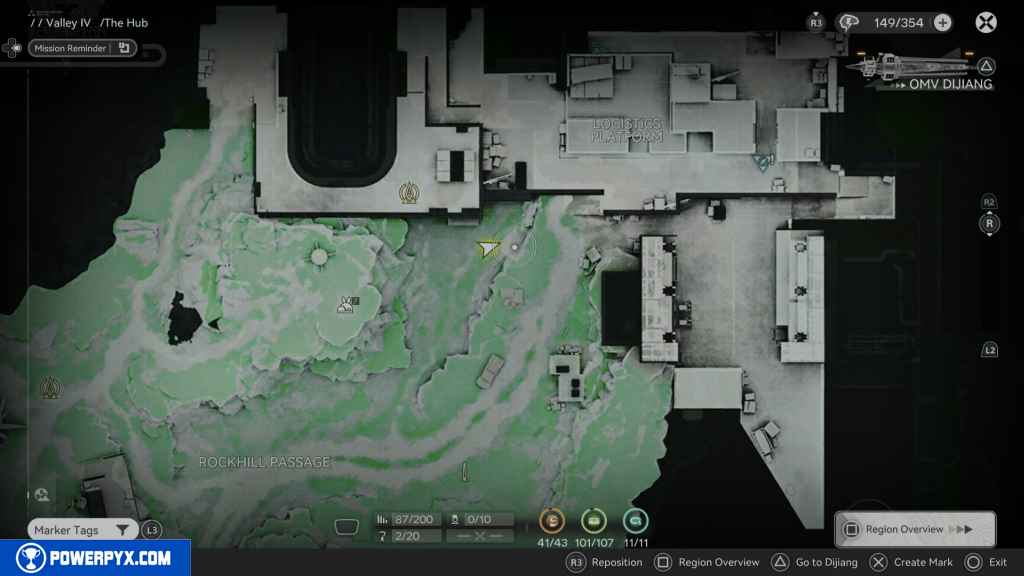
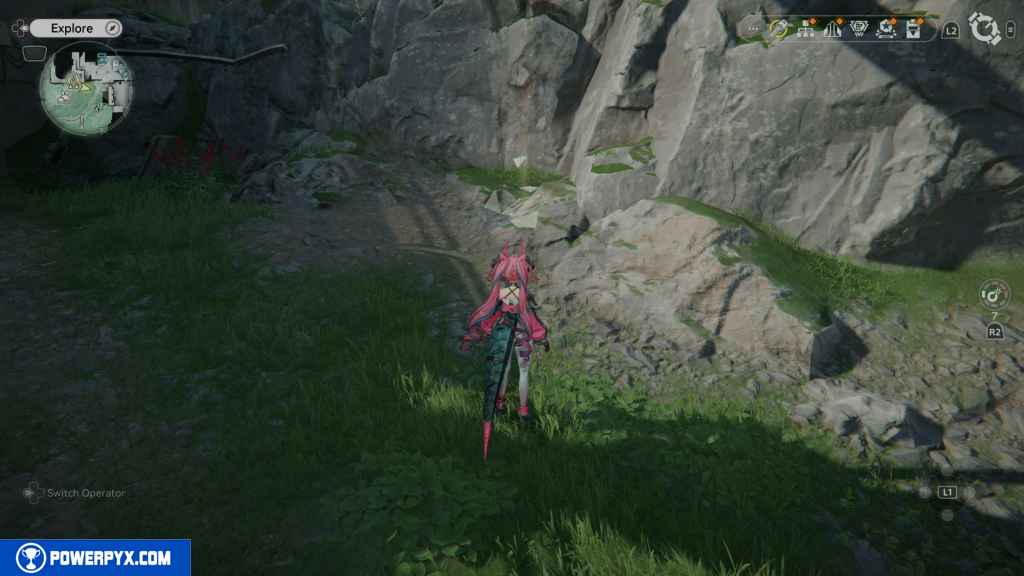
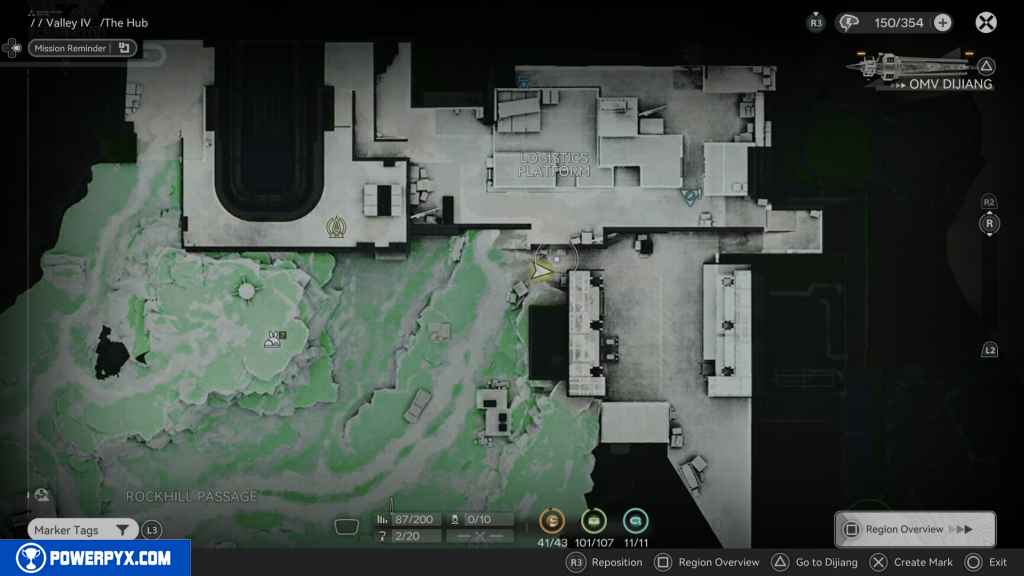
267 – Gathering Point 103
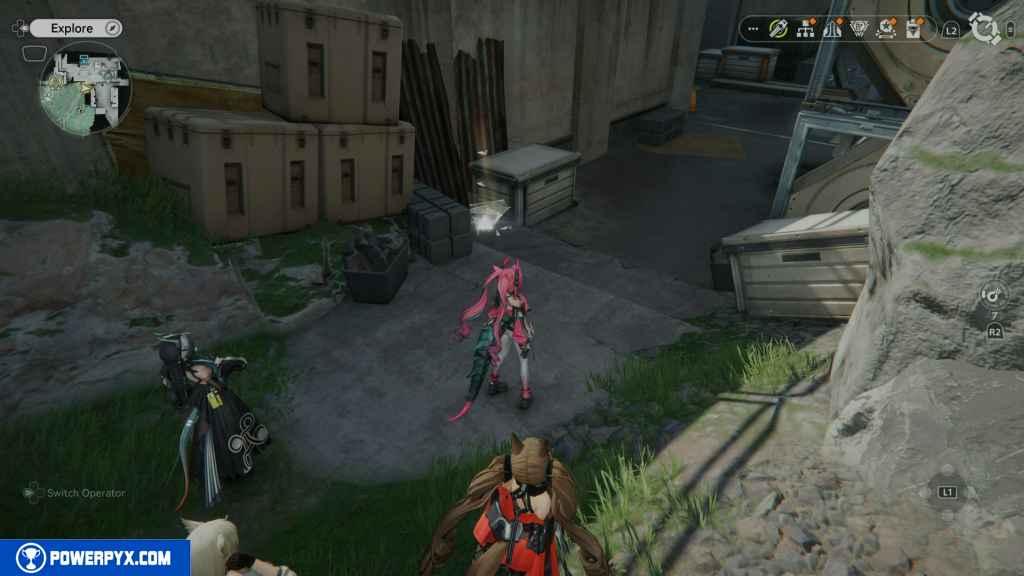
Go back up the path past the forklift and turn right. Head down this way to find the Gathering Point on the floor to your left.
268 – Aurylene 42
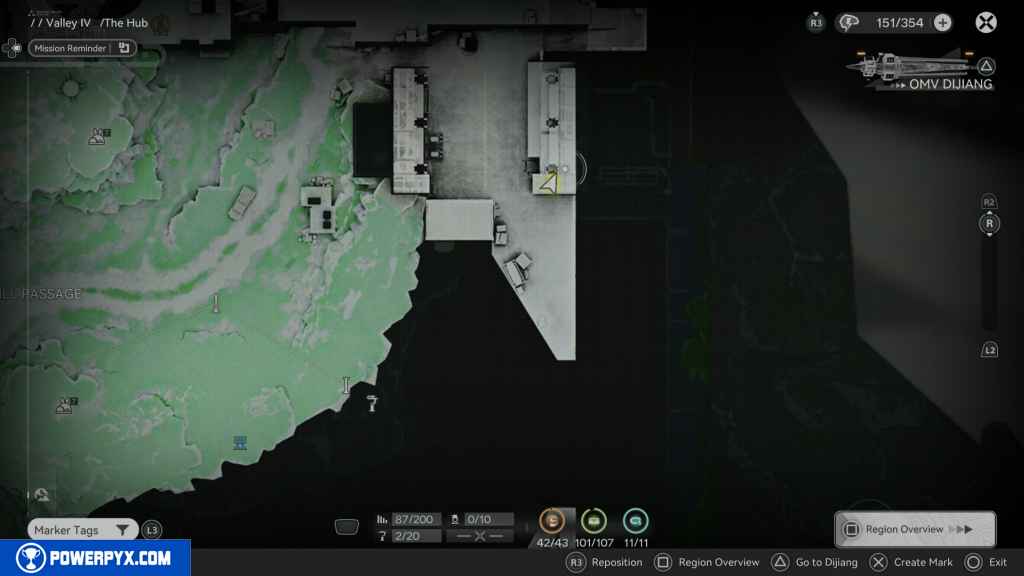
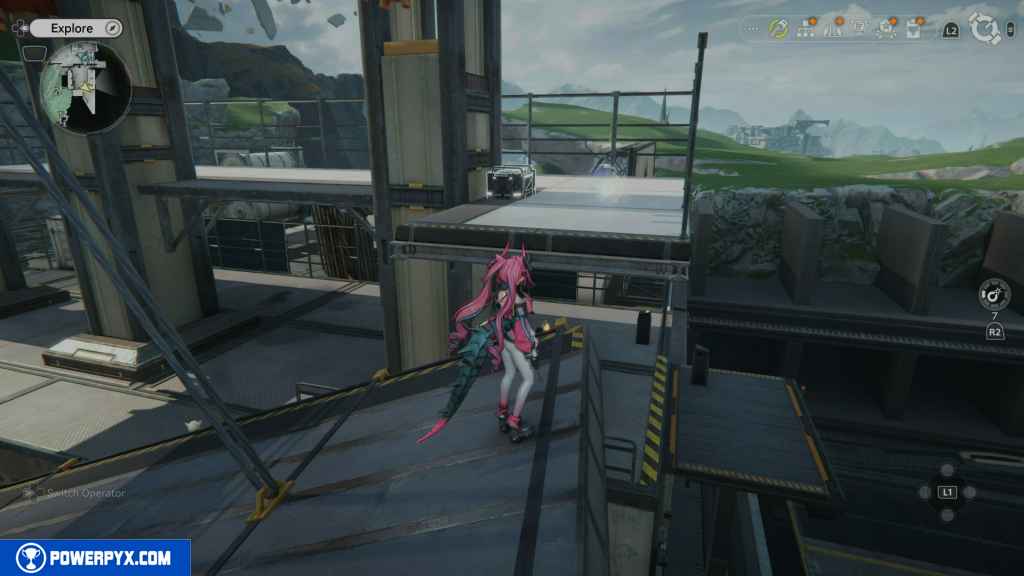
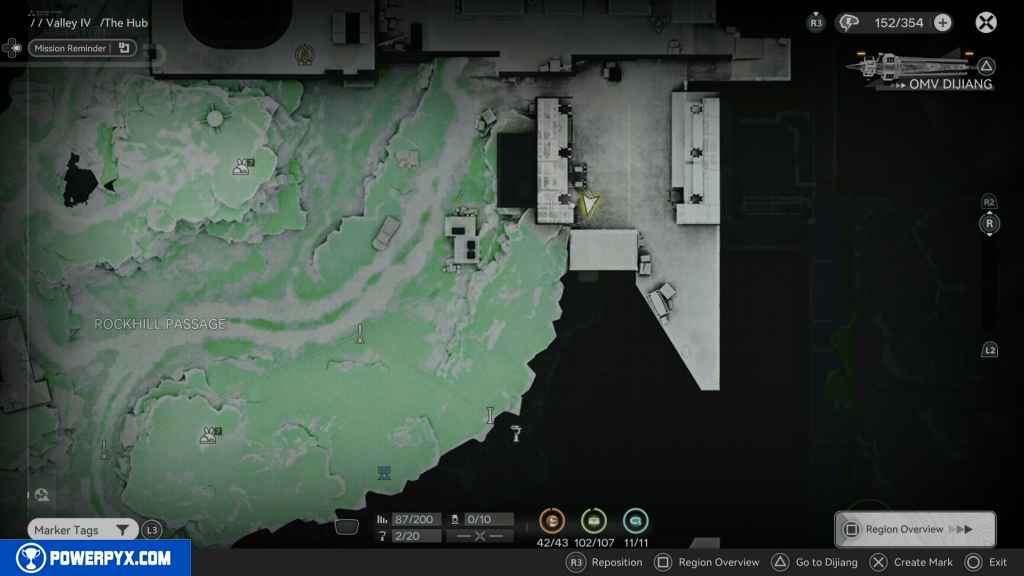
Complete the Side Mission –Elevator Repairs to open up the area and the elevators here. Use the elevator to the east next to Leon by pressing the console button.
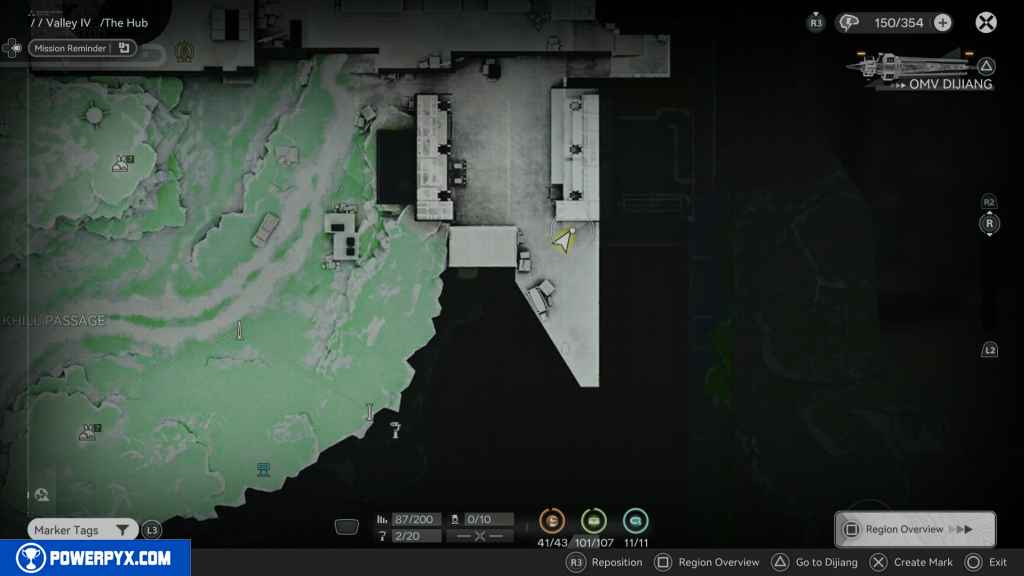
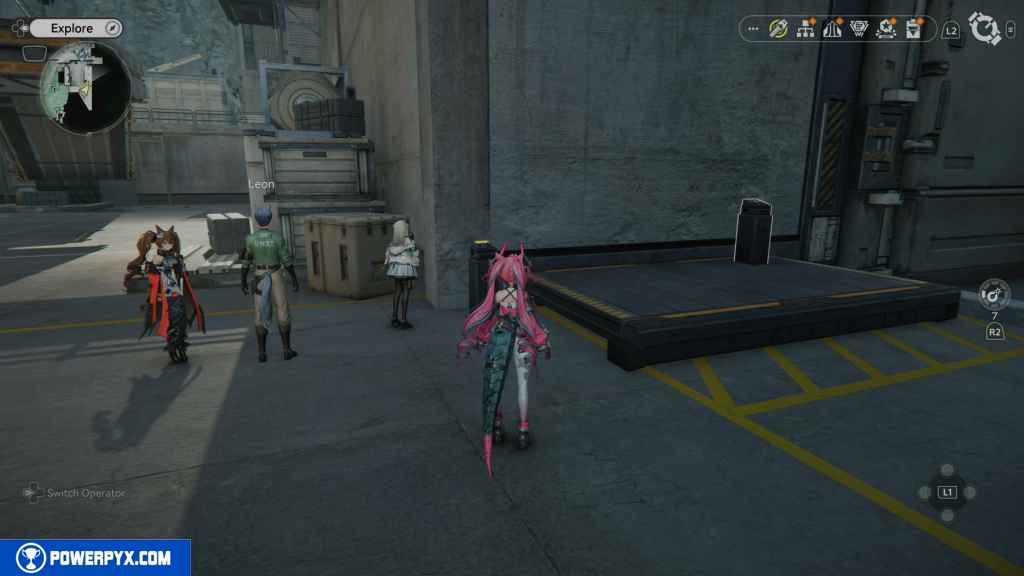
At the top, use the first of the three consoles to raise the three platforms. Once raised, use the third button to move the platforms closer to you. Then use the second button to rotate the platforms until the one closest to you is raised from the south.
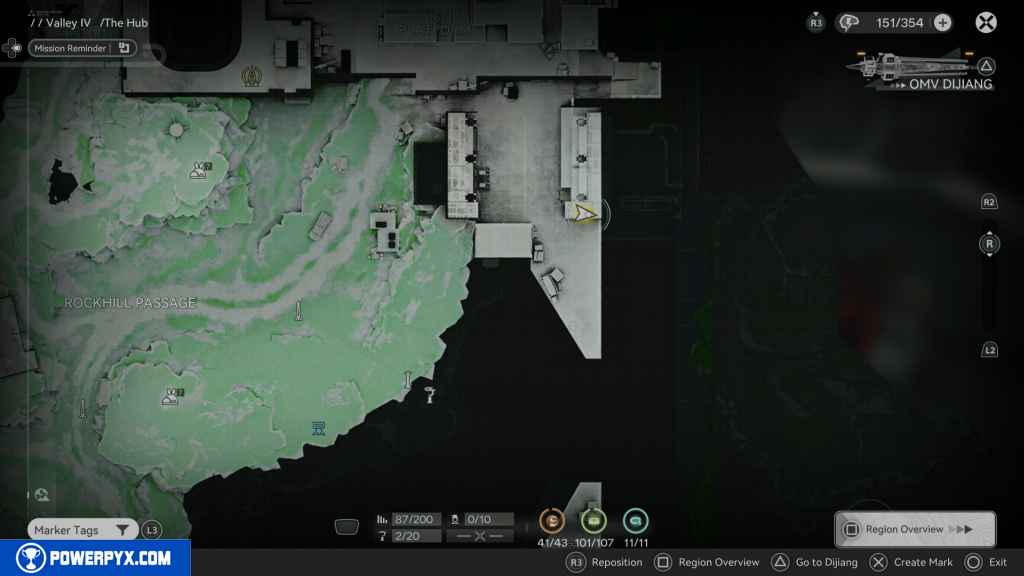
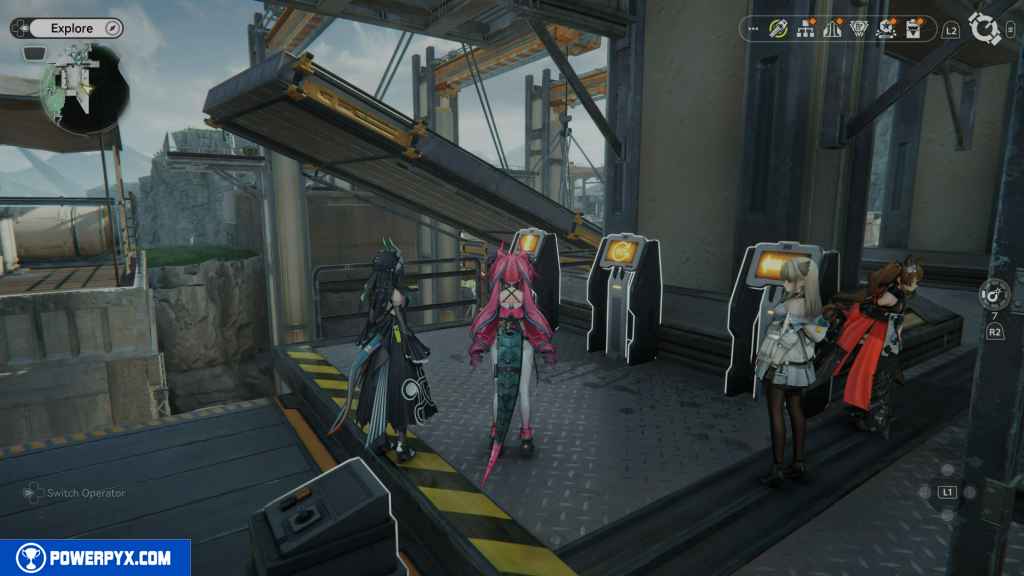
Walk around the Pillar and jump on the platform, then jump on the roof above the three consoles to grab the Aurylene.
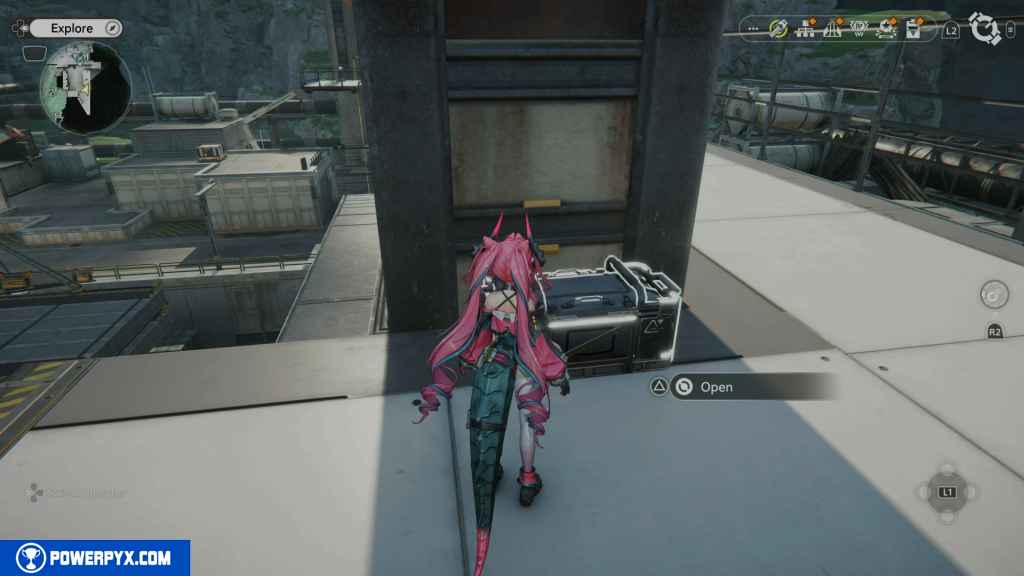
269 – Crate 102
Right next to the last Aurylene is the crate.
270 – Crate 103
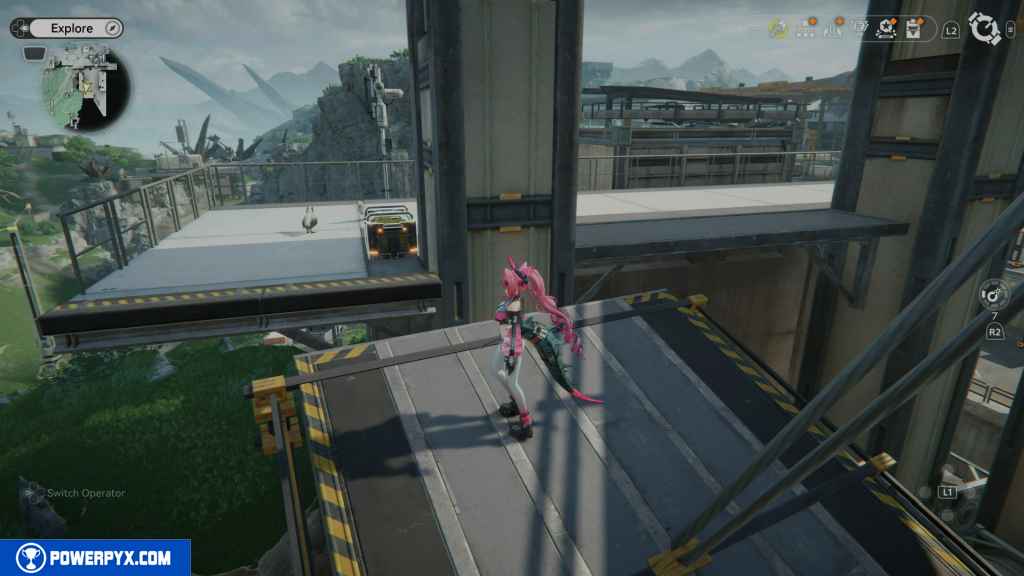
Go back down to the three consoles. Select the rotating one first to turn the platforms so the closest one to you has the incline facing west. Then use the third console button twice to move the platform closer to the west wall.
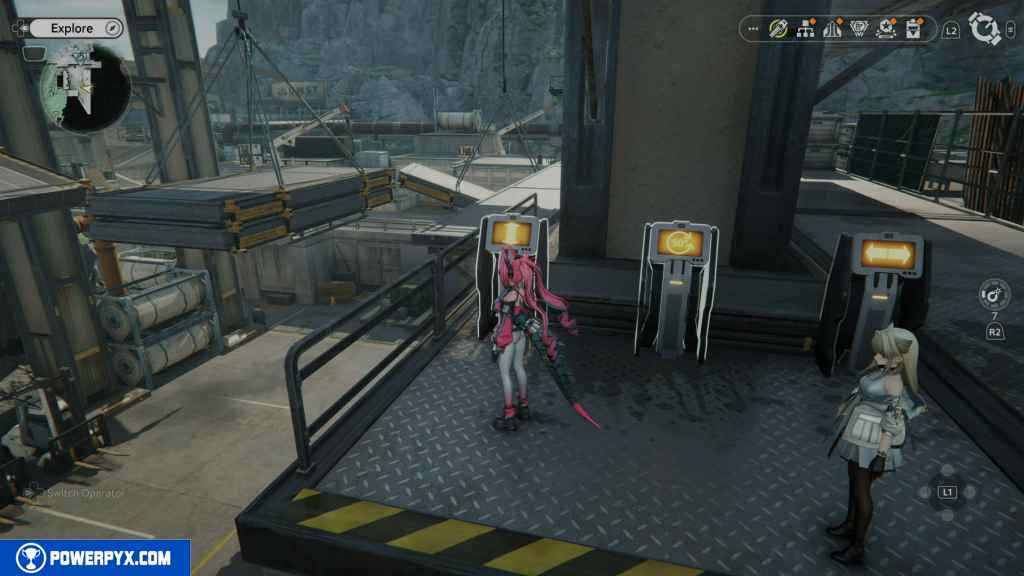
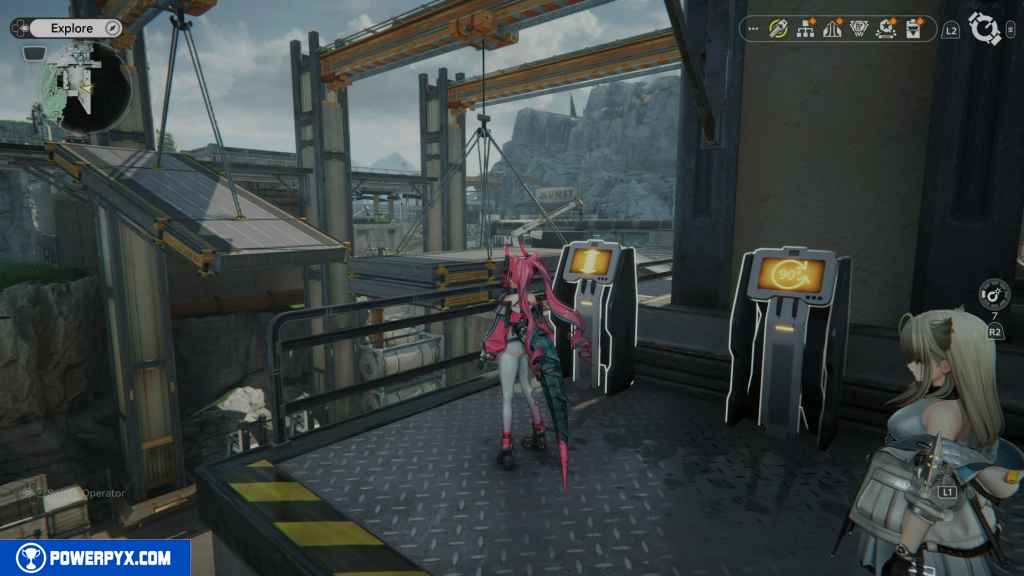
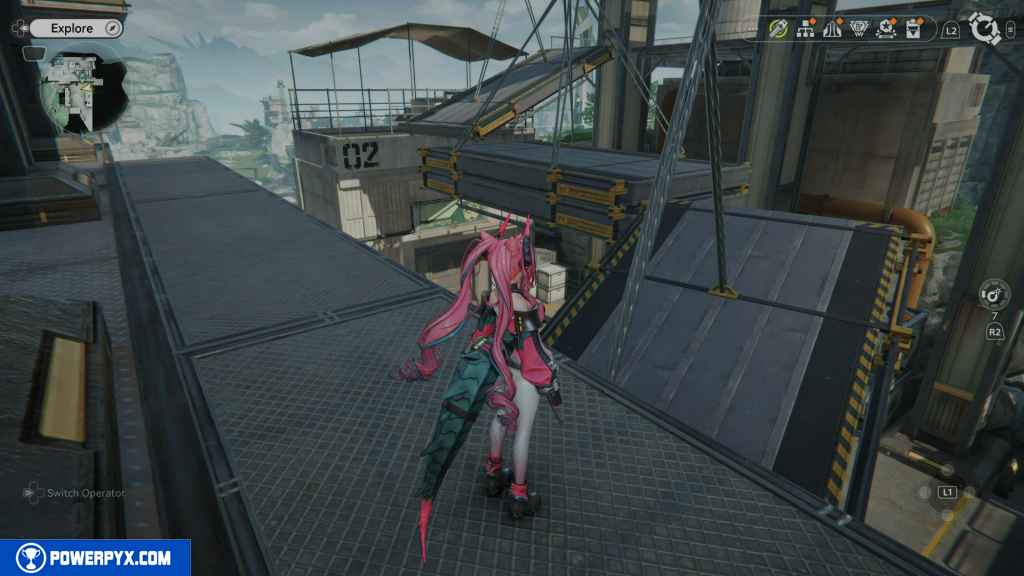
Head down the path to the north and jump on the platform, then jump onto the middle one, and then onto the last one, and eventually reach the crate on the roof of the building to the west.
271 – Crate 104
Go north and then west out of the platform area. On your right are stairs leading up to the facility. Go up these stairs, and the crate is right in front of you on top of a box.
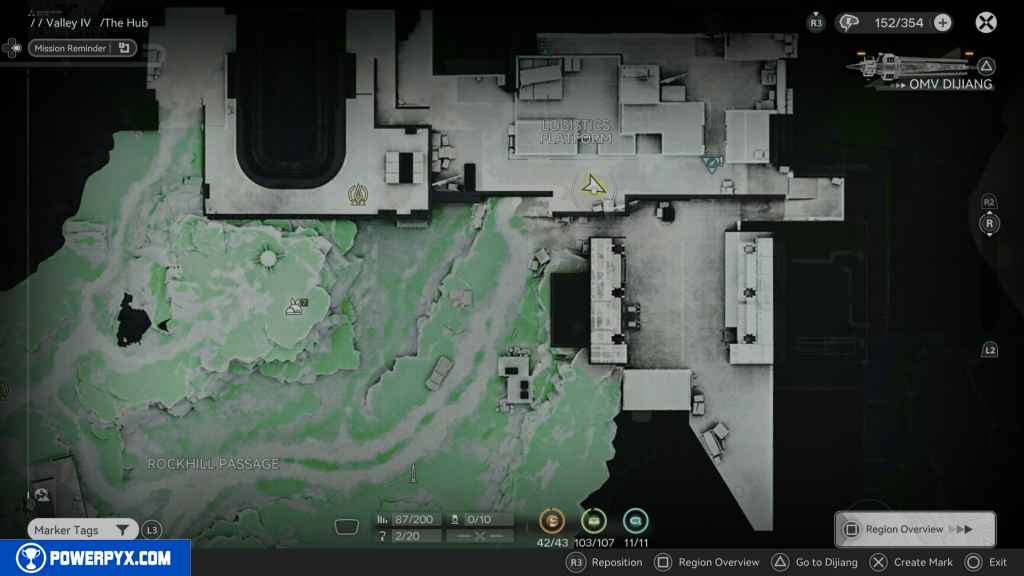
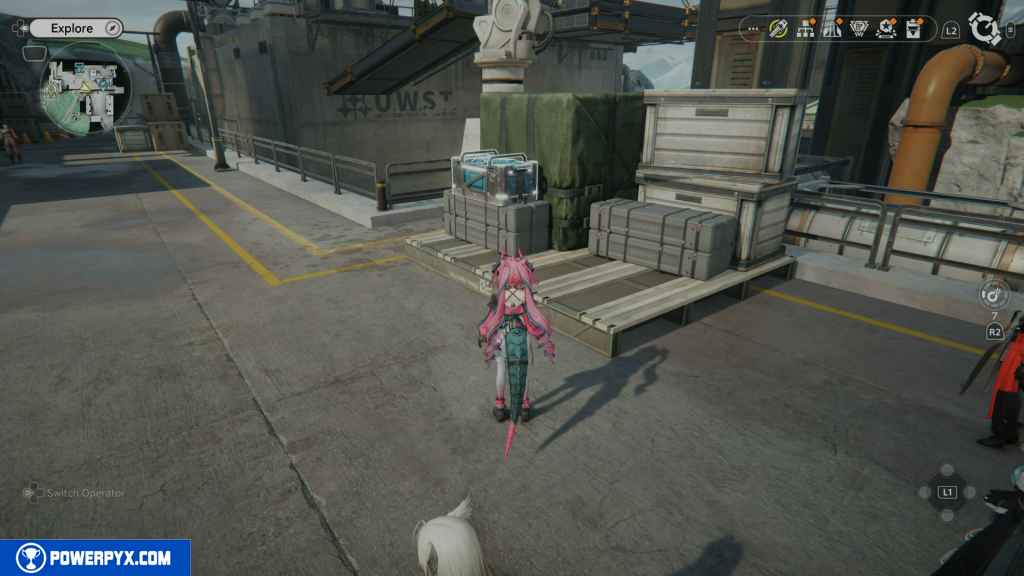
272 – Crate 105
Go west from the last crate, and you’ll see some stairs leading up. Next to those stairs is the crate.
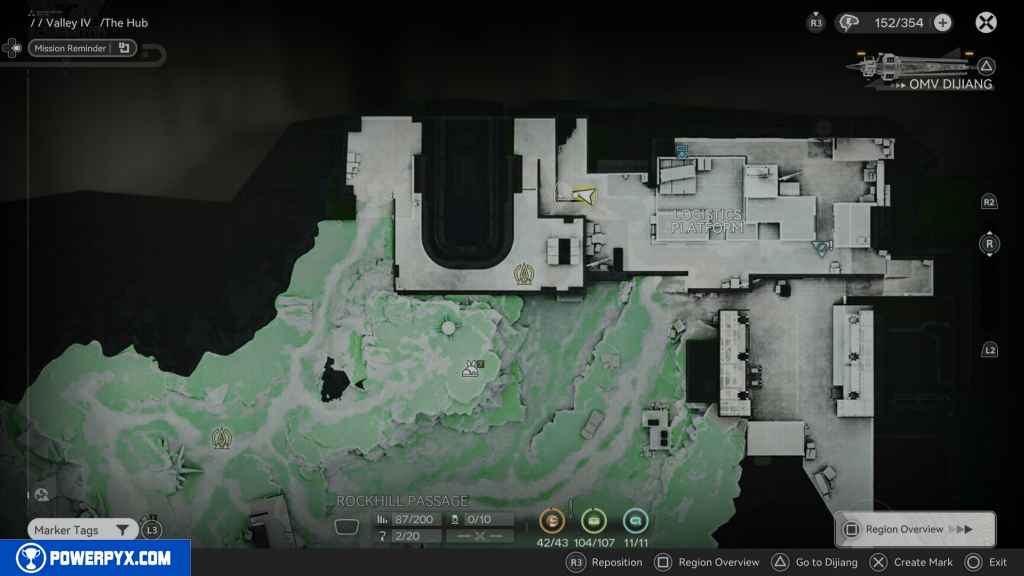
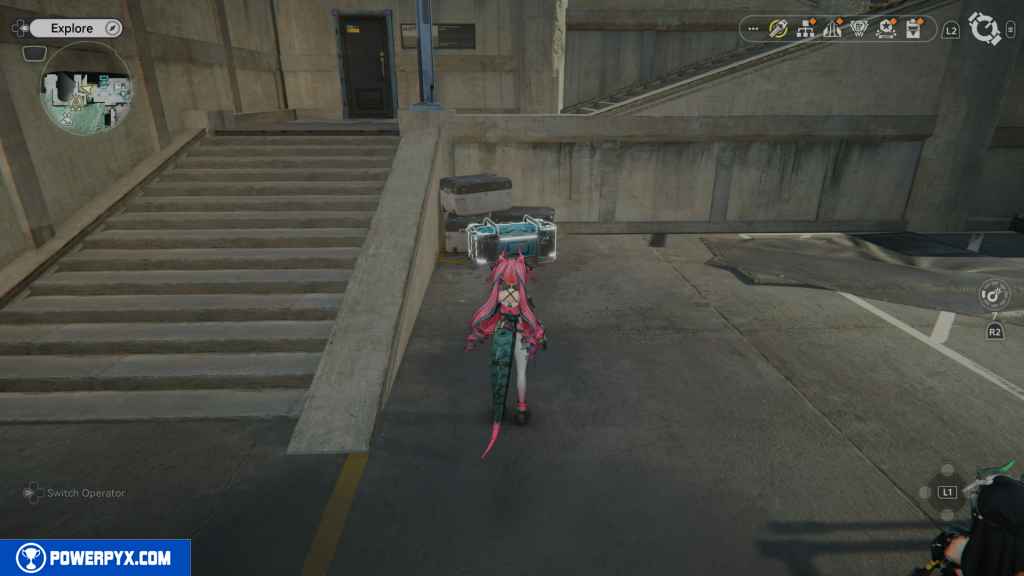
273 – Gathering Point 104
Go up the stairs all the way to the top, and at the top, to your right, next to the locked gate door, is the Gathering Point.
274 – Gathering Point 105
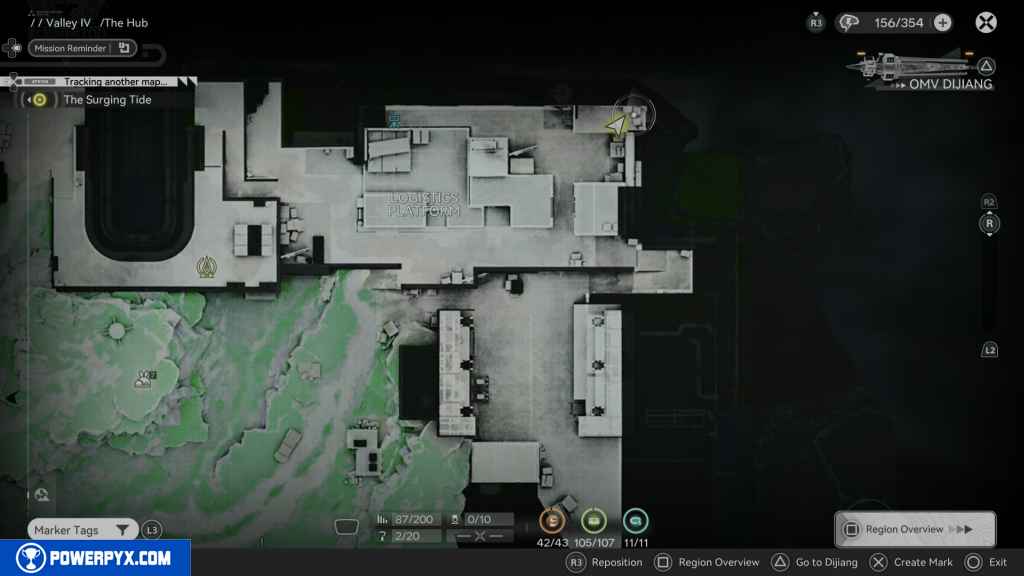
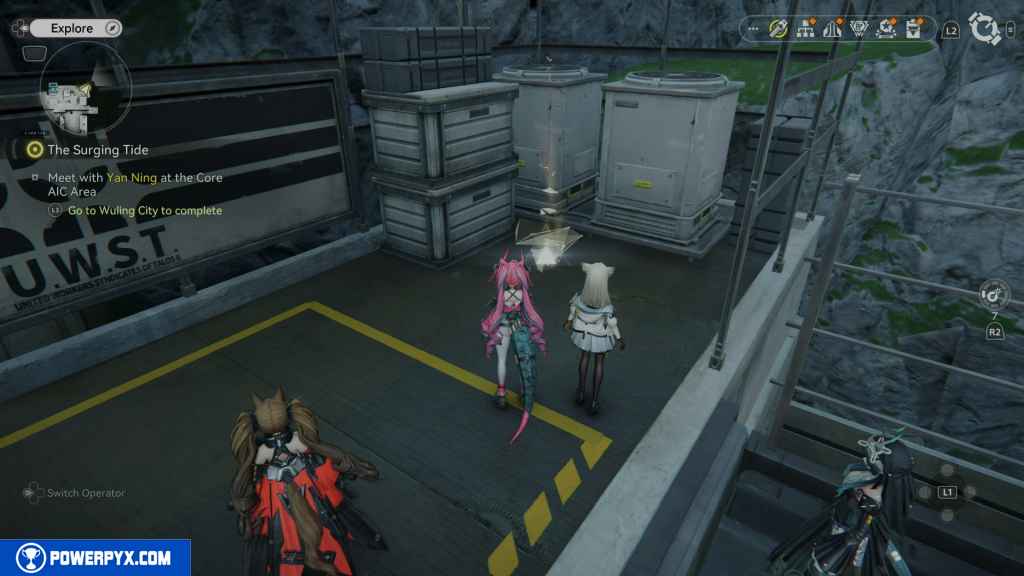
This final Gathering Point can be reached when completing the Side Mission – Antique Drone. When going to collect the third drone part across the bridge, turn right to find this Gathering Point.
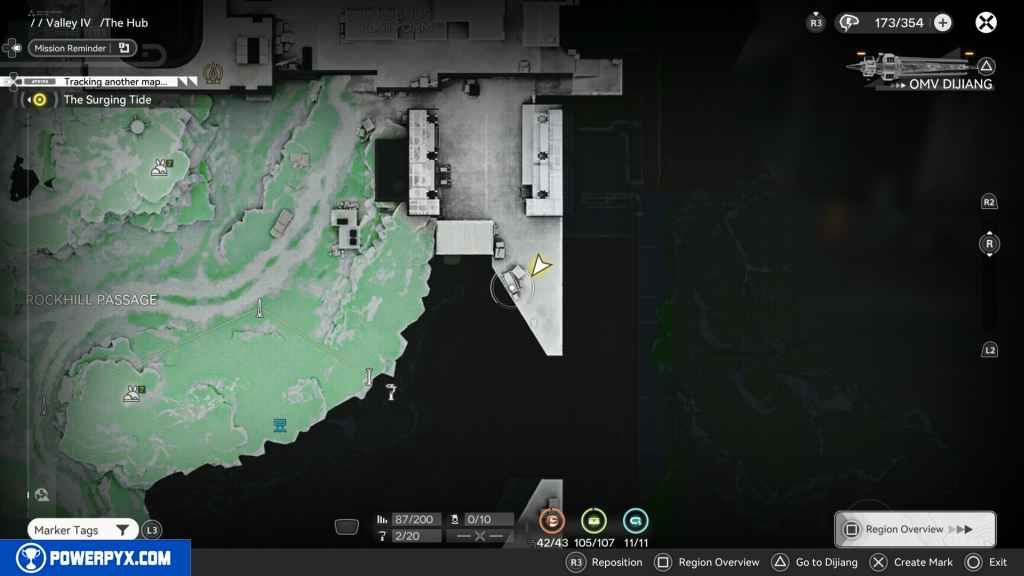
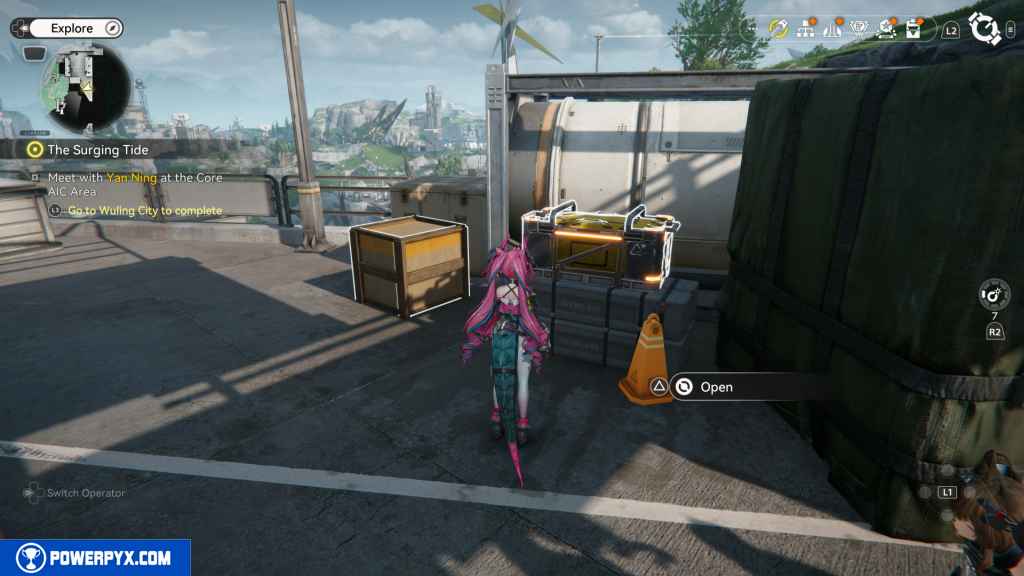
275 – Crate 106
Go back south to the area with hanging platforms. Run south past Leon and look for the box with the green tarp. Around this box is the crate.
276 – Crate 107
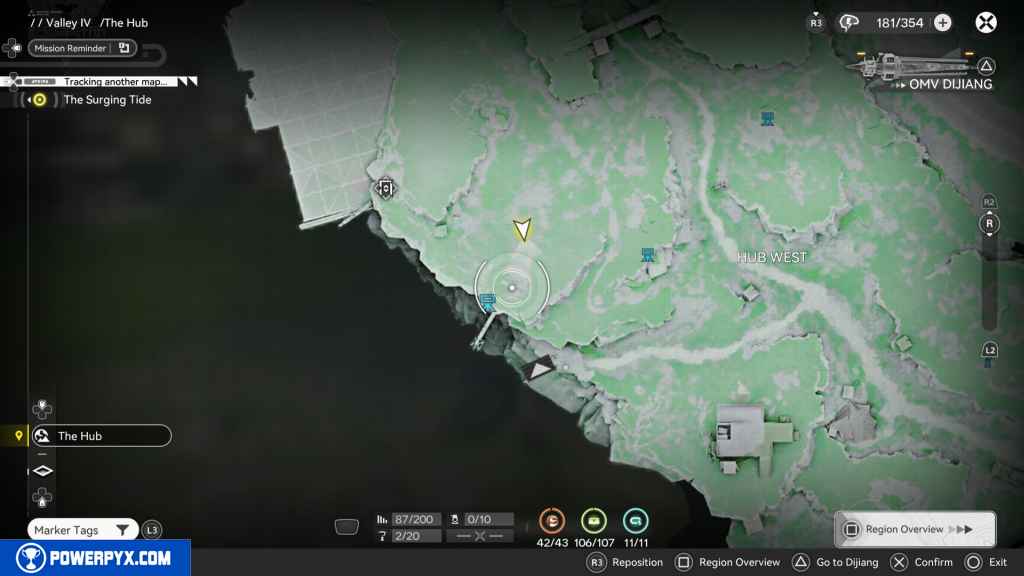
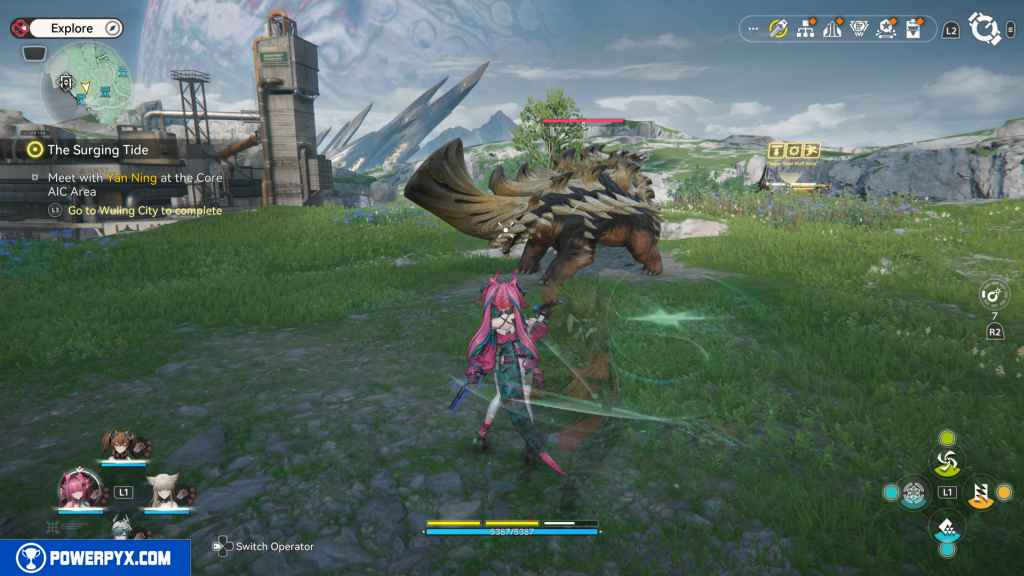
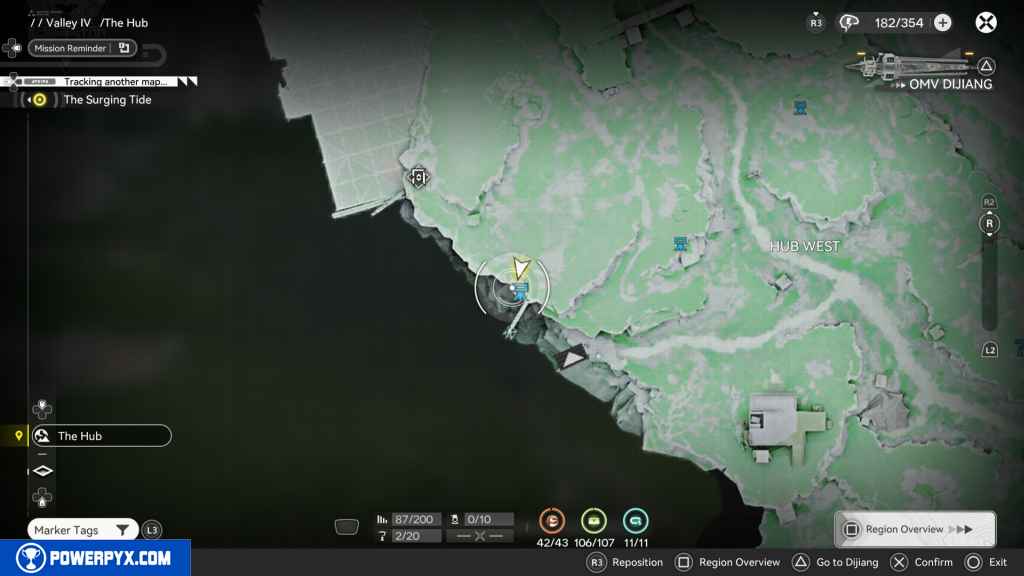
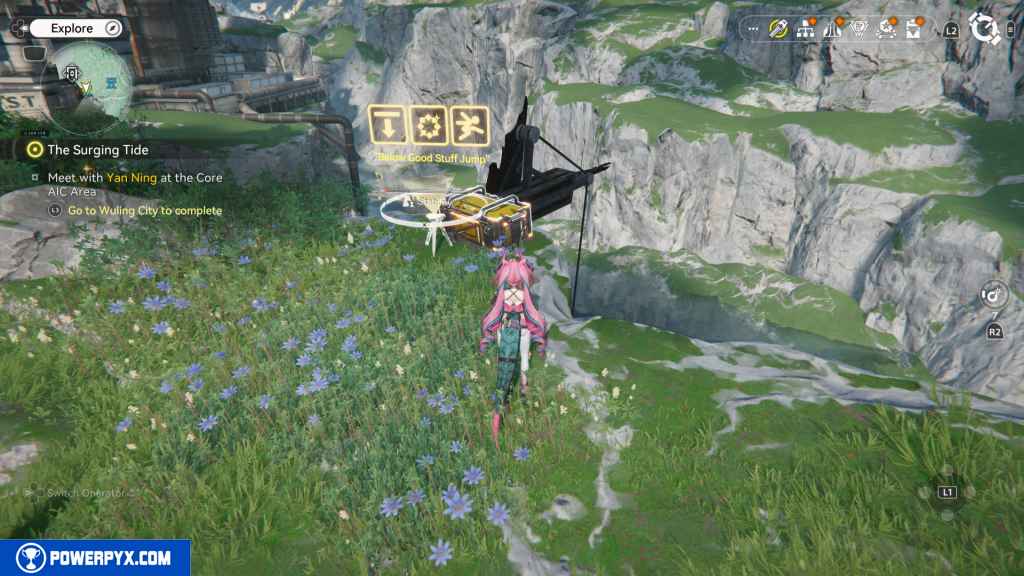
To get the final crate, go to the Hub West region. Go north, but before entering the Landbreaker Camp, go southwest instead. You’ll encounter a large Rino enemy. Defeat it and go southwest to find the crate on the edge of the hill.
277 – Aurylene 43
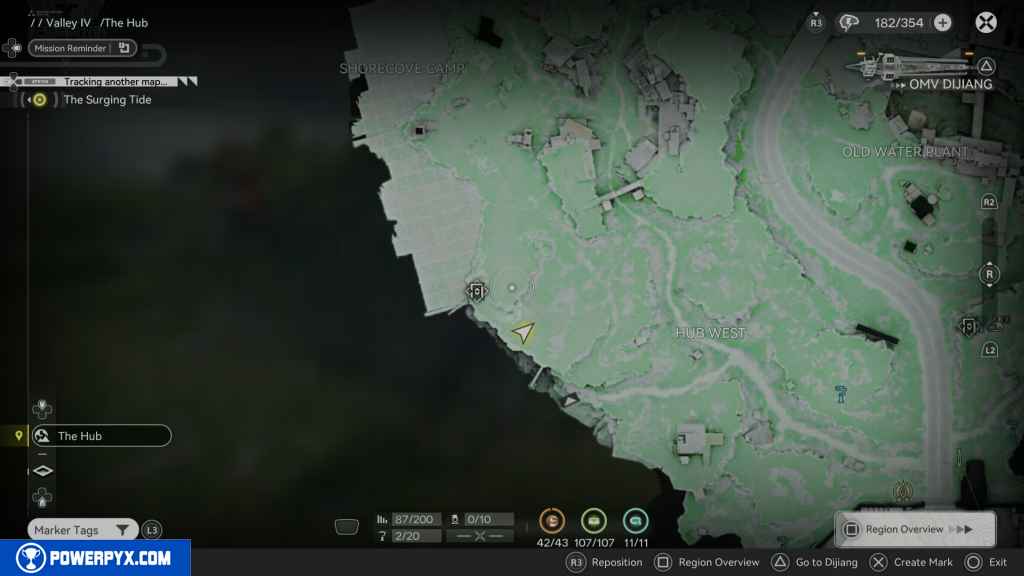
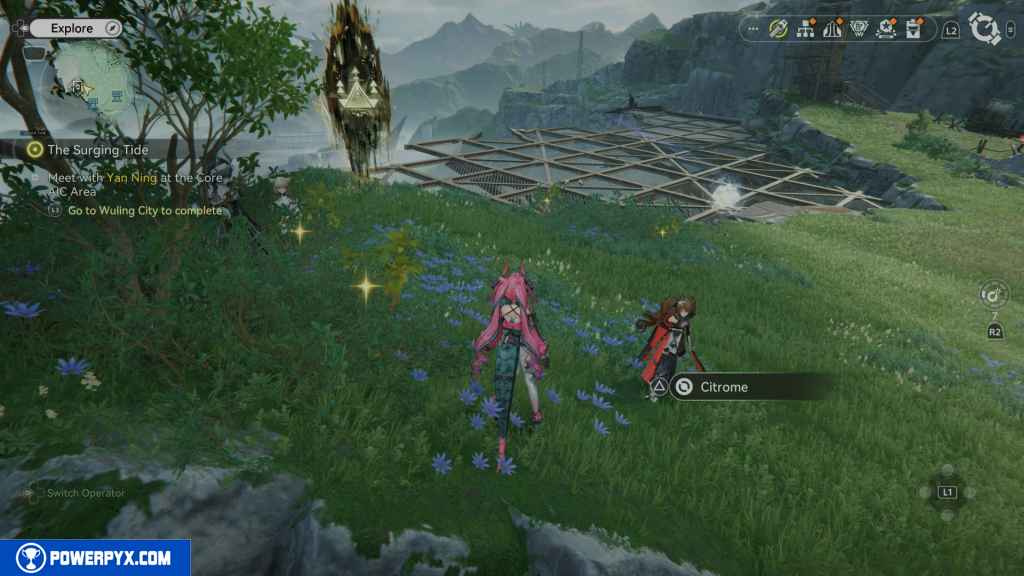
The final Aurylene is located north of where you grabbed the last crate. Go up to the Protocol Space, and you will see the Aurylene flying around it in a wide circle. Grab it when it approaches.
That’s 100% of the collectibles you can find in the The Hub area in Arknights Endfield.
For all other regions, refer to the Arknights Endfield Collectible Guide.
Leave a Reply