
This walkthrough for Chapter 11 in Resident Evil 4 Remake will guide you through all objectives. This also includes Collectibles, Trophies and Key Items.
For other Chapters see Resident Evil 4 Remake Walkthrough.
Objectives:
- Make your way to the surface
- Defeat the two giants
- Fight Krauser

Chapter 11
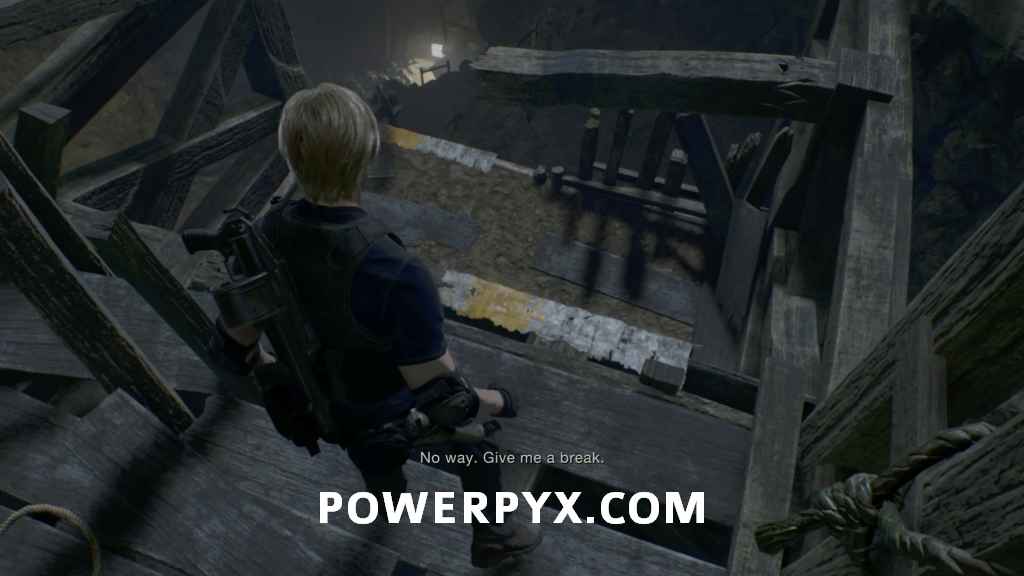
Make your way to the surface
Shooting Range (3A, 3B, 3C)
Right at the start of the chapter you’ll have a merchant nearby, along with the next elevator to the shooting range. The third set of four Challenges (3A, 3B, 3C) is now available. Remember to get S Rank in all of them.
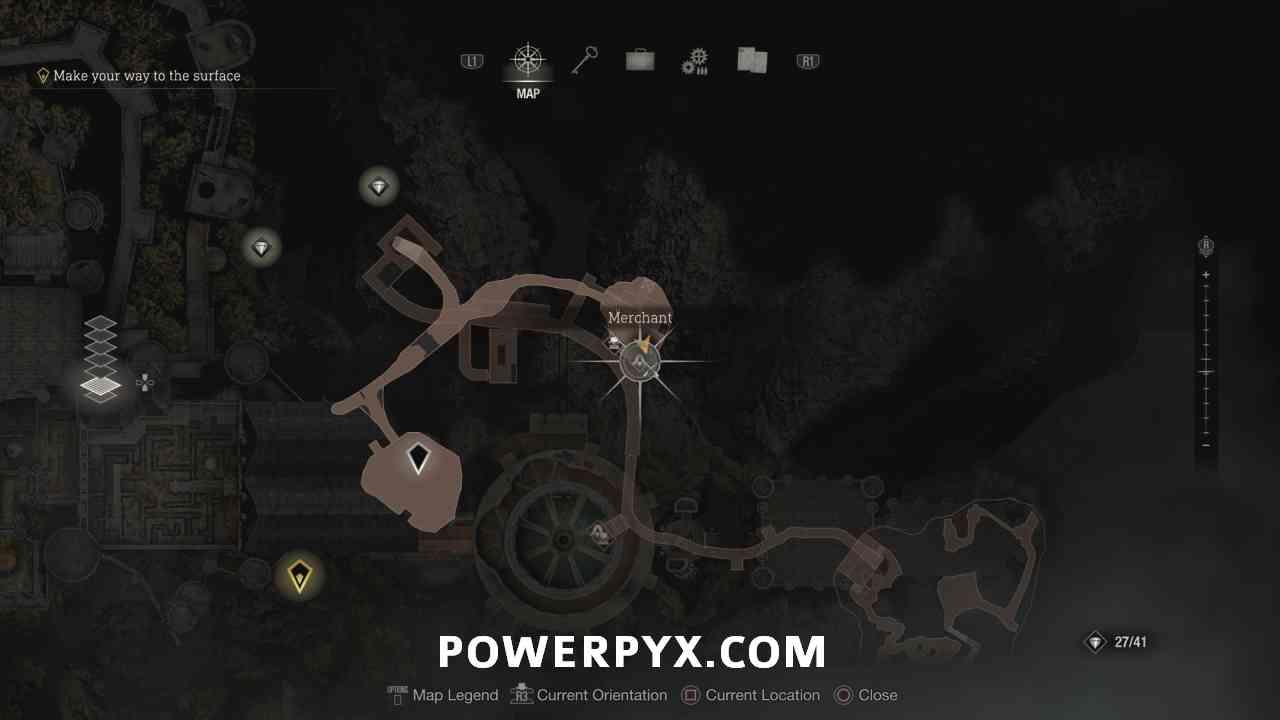

When you’re ready to continue, climb up the ladder to the platform above and follow the path. You’ll run into a spot with a rock blocking the path, and need to make a detour to pick up some dynamite to blow it up (though if you have the Infinite Rocket Launcher in later playthroughs you can just shoot it and you don’t need to do the next combat encounter).

Follow the side path into the Mines area, then watch out for the enemies that will start appearing. You need to make your way up to the walkway on the opposite side of the room, but need to drop the bridge first. Take the stairs up into the building on the south side, and on the second floor there will be a lever to start lowering the bridge.

You can take the stairs down to the first floor to open the blocked door, then make your way up the walkway.
Treasure: Sapphire
At the top of the stairs look to the left first where you can spot a metal cage hanging from a beam. Shoot it down to obtain a Sapphire.
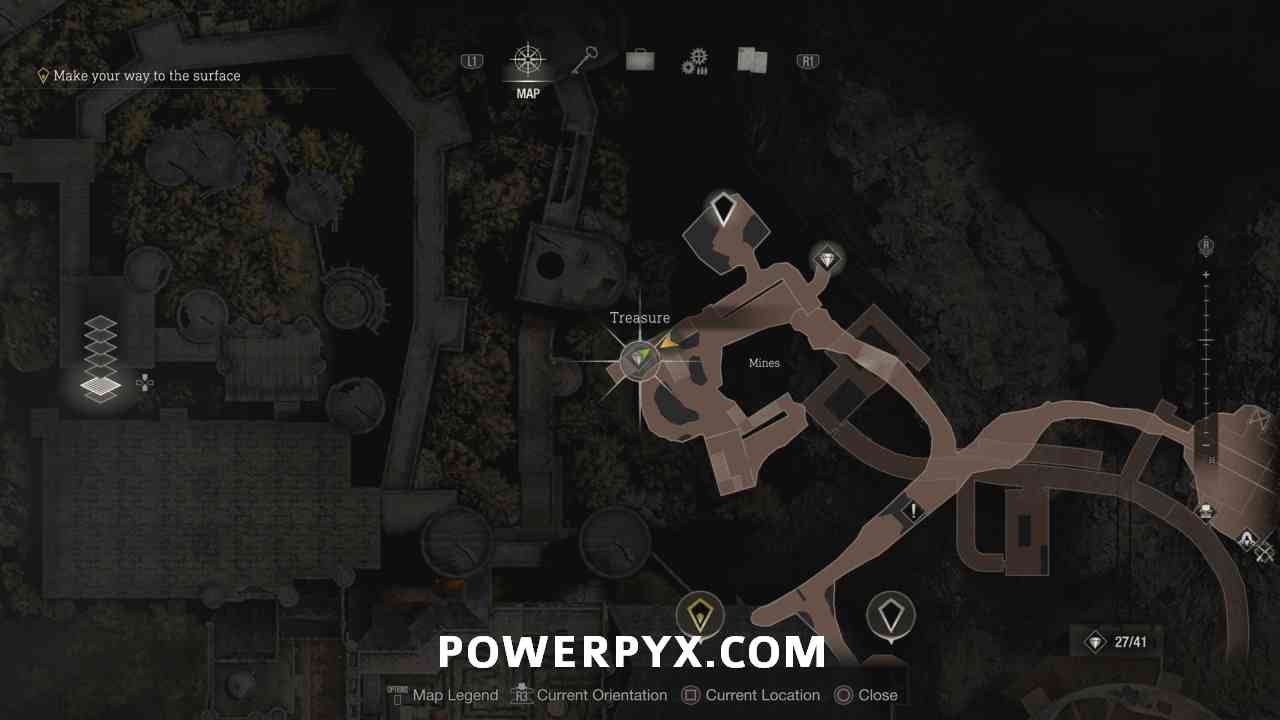

Key Item: Dynamite
Turn around and walk across the now lowered bridge, then turn into the room to the left. You can pick up the Dynamite of the boxes here.


Treasure: Golden Hourglass
Back to the walkway continue towards where you entered, but head left into the final area where you can find a chest containing a Golden Hourglass.
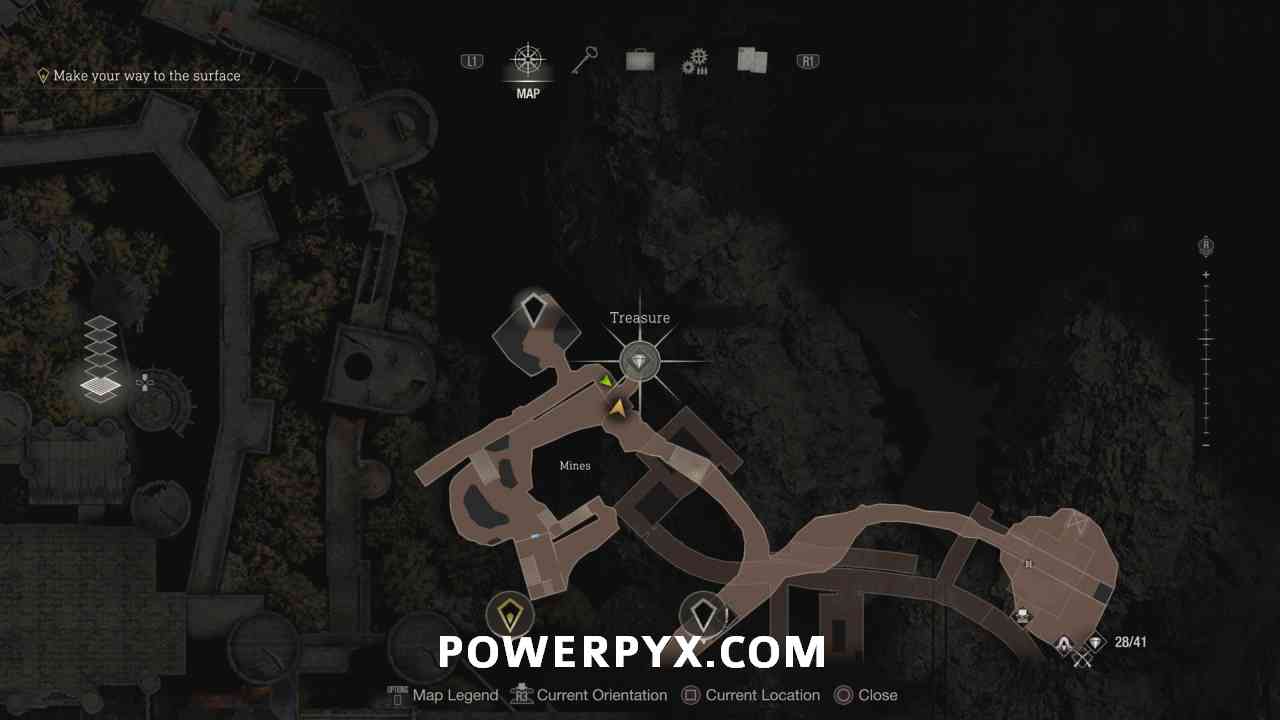

You can then follow the path back to where the rock was blocking the path. Interact with it to place the dynamite, then get out of the way to avoid the rocks that get blown out of the way (you can go stand by Luis). Once the path is clear continue ahead.

Defeat the two giants
In the next room, you’ll be fighting two Gigante, one armored and one unarmored. In this area there is a specific manner you can defeat them which doesn’t involve having to shoot them over and over like the one you fought earlier in the game. For the unarmored one, damage it until its Plagas pops out, when it is standing over the grate in the middle of the room, damage the Plagas to stun the giant. You can then interact with the console near the center of the room to open up the floor, dropping it into the lava.
For the second giant you can’t damage it immediately as it’s the armored one from earlier in the castle. Avoid its attacks for a while and Luis will run off, then return with some dynamite. You need to walk the giant near the walkway where he is located and he’ll put the dynamite on its back. Shoot it to blow off the armor and reveal the Plagas. You can then repeat what you did with the first one where you stun it over the grate in the middle and drop it into the lava.

You can then boost Luis over the wall to open the door and continue along the path.
Trophy: Hope You Like Thrill Rides!
In the next area you’ll reach the first minecart section. For this trophy, you need to complete both without taking any damage from enemy fire or hitting obstacles. The damage is displayed in the bottom right corner. If you take damage, simply reload the last autosave to be put back at the start of the minecart section and try again.
On the minecart you need to steer around turns to avoid falling off. This is pretty simple as you just lean the stick in the same direction the track is turning, so if it’s turning to the right lean right, if it’s turning to the left lean left. You only have to worry about leaning in sections with no shooting, you don’t need to do both at the same time.
You have unlimited ammo and are using the Red9 handgun in this section, which is very accurate. Aiming for about a second gets you a very tight aiming circle.
Once you reach the end of the first section you’ll automatically stop and have a short walking section again.
Treasure: Flagon
Head up into the “Stopover” building and deal with the enemies here. Go out onto the balcony on the opposite side of where you come up and you can find a chest on the walkway containing a Flagon.


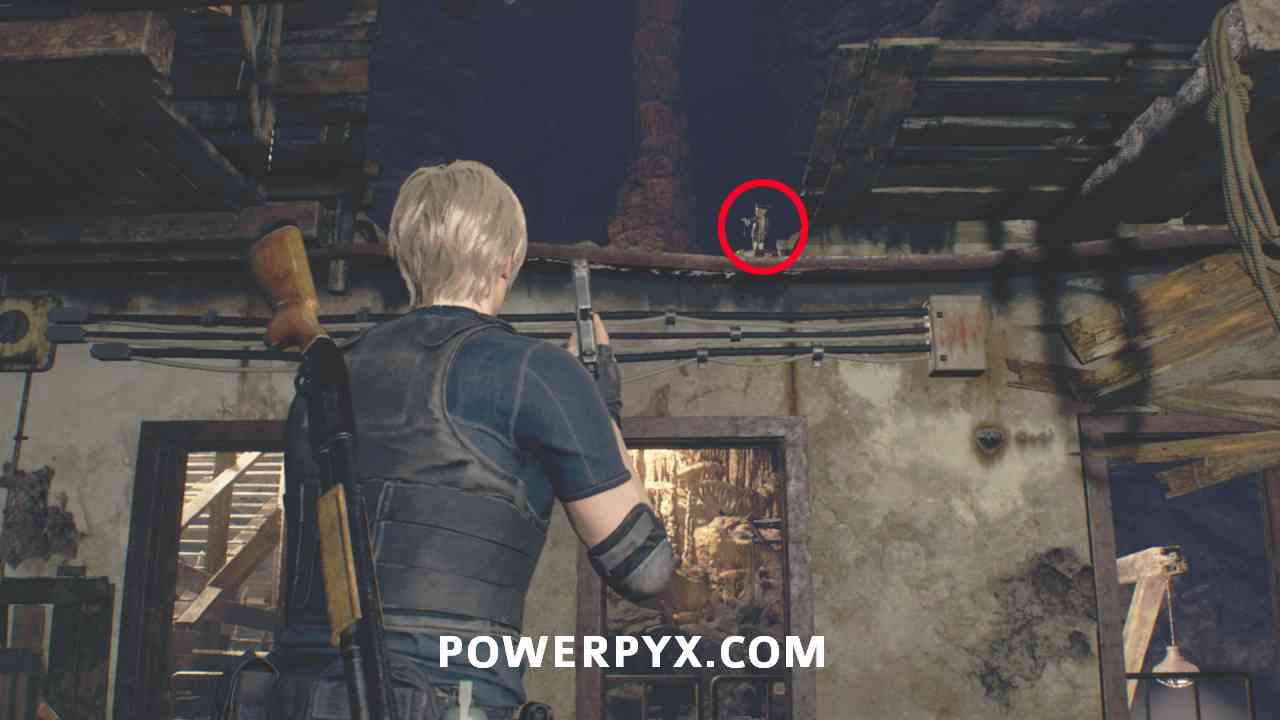
Castellan 11
To the immediate right of the previous treasure chest, on top of the Stopover building wall you can find the Castellan.

When you’re ready to continue, get on the next minecart and remember you are avoiding taking damage, but can reload checkpoint if you do. The main change in this section is a Chainsaw Villager will appear a couple times in a cart right beside you, but you can stop them damaging you by shooting them in the head whenever they rev up their weapon.

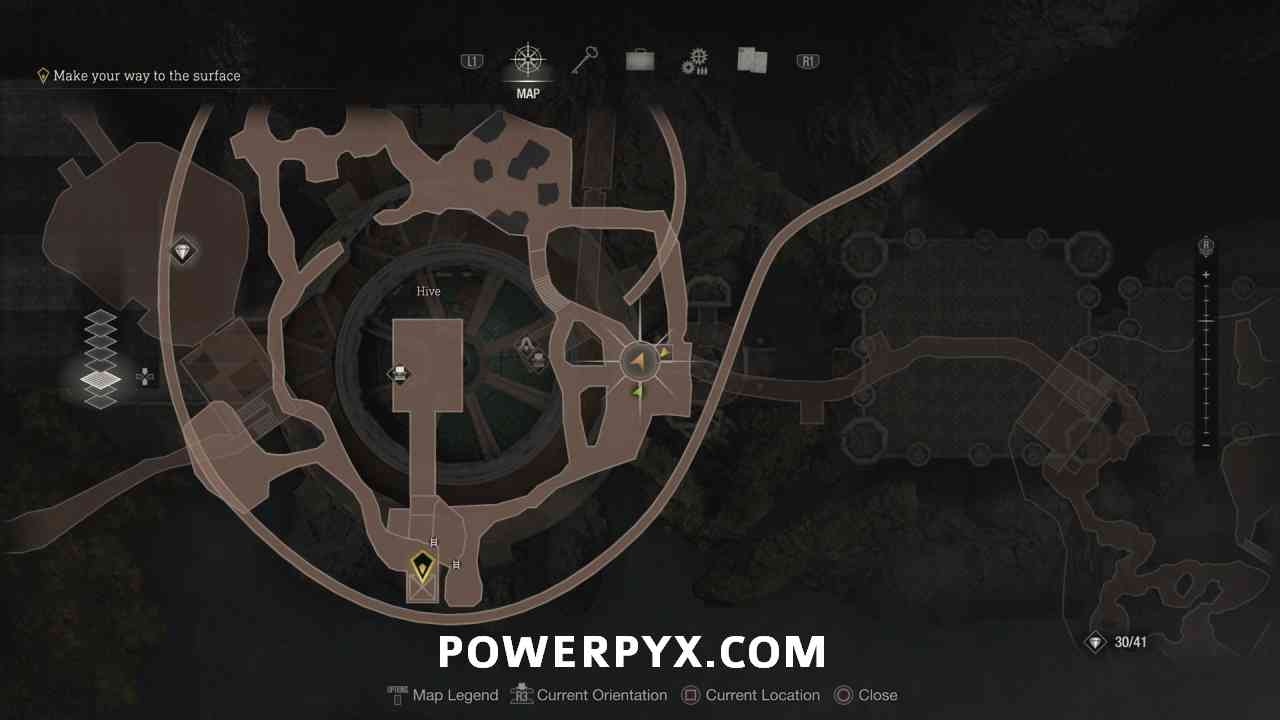
After the ride you’ll be in the Hive area. This is another basically very linear section, where you’re going to make your way in a circle around the entire area to reach the elevator. When the platform collapses, follow the path down to reach the other area and start making your way around.
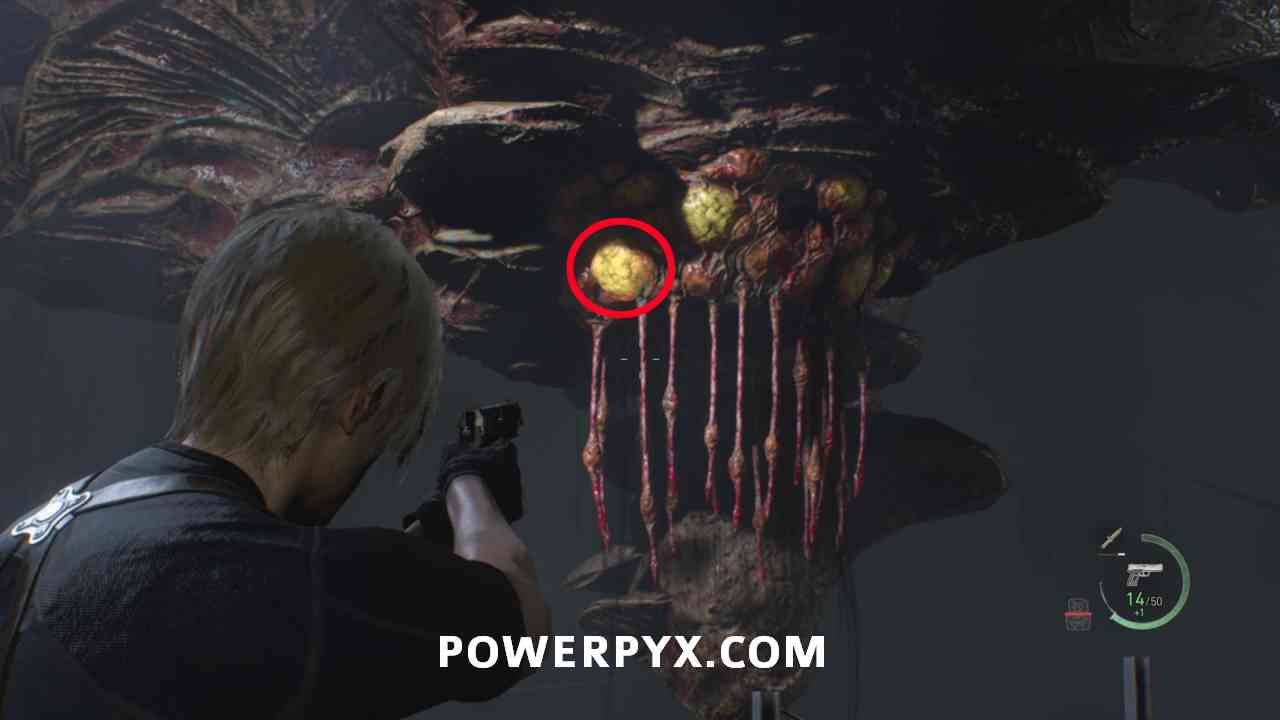
Merchant Request: Insect Hive
In the east of the “Hive” area. Behind an explosive barrel, hanging on a wooden pallet you can find this request. You must destroy all 4 entrances to the Hive above you. They are the yellow glowing sacks on the ceiling in the middle of the area. They will be listed below individually.

Hive 1
From the Merchant Request turn left and look up, shoot the yellow glowing sack until it explodes (takes about 5-6 pistol bullets).


Hive 2
Go up the path behind the merchant request letter but before entering the tunnel look left and up for the second Hive.


Treasure: Gold Bar (L)
Continue along the path and at the west of the Hive, in the tunnel, shoot the red explosive barrel to blow up the rubble, then behind the rubble open the treasure chest to obtain a Gold Bar (L).


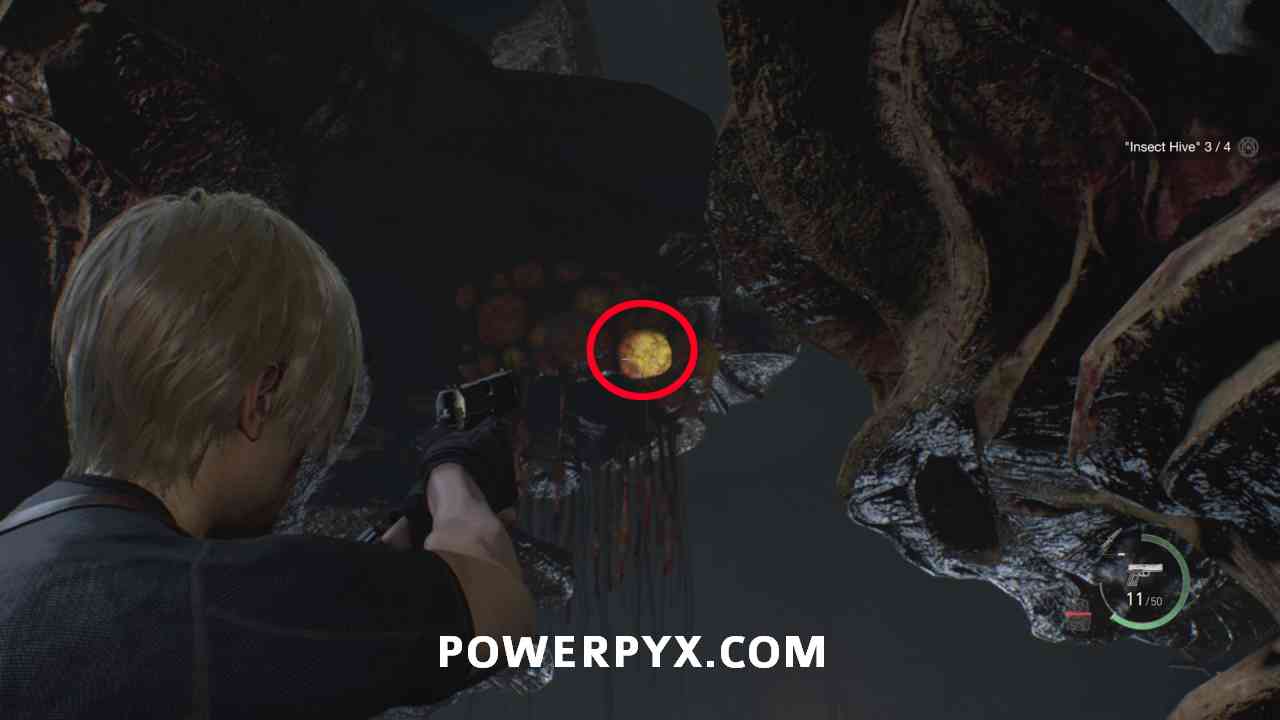
Hive 3 + Hive 4
Continue along the path and just after exiting the tunnel where the last treasure was you can shoot the remaining 2 Hives.


Continue on the path and make sure you crouch under the wall on the right to reach your final merchant and a save point. You can then continue to the elevator.

Fight Krauser
After the scenes, you will be fighting Krasuer on a platform. For this fight you only have your knife, so need to make use of parrying to avoid his damage. After parrying you can also get a couple of slashes in yourself before he’ll counter again. He will sometimes jump over you, and you can quickly turn around by pressing  +
+  . He will also sometimes do a sweep attack which you can evade with the
  prompt. If you miss this you’ll be hanging off the edge of the area and need to mash
  , then press
  to get back up.
After you deal enough damage Krauser leaves, completing the chapter.
This finishes Chapter 11 in Resident Evil 4 Remake.
Next Chapter: Chapter 12 Walkthrough
For all other chapters refer to the Resident Evil 4 Remake Walkthrough.
Leave a Reply