
This walkthrough for Chapter 9 in Resident Evil 4 Remake will guide you through all objectives. This also includes Collectibles, Trophies and Key Items.
For other Chapters see Resident Evil 4 Remake Walkthrough.
Objectives:
- Head for the ballroom
- Rescue Leon

Chapter 9
Head for the ballroom
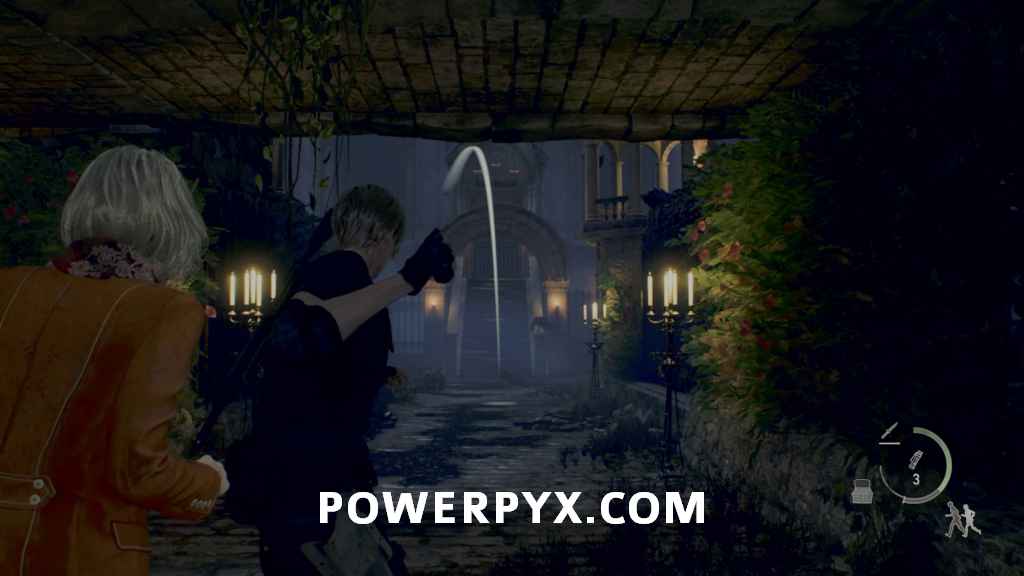
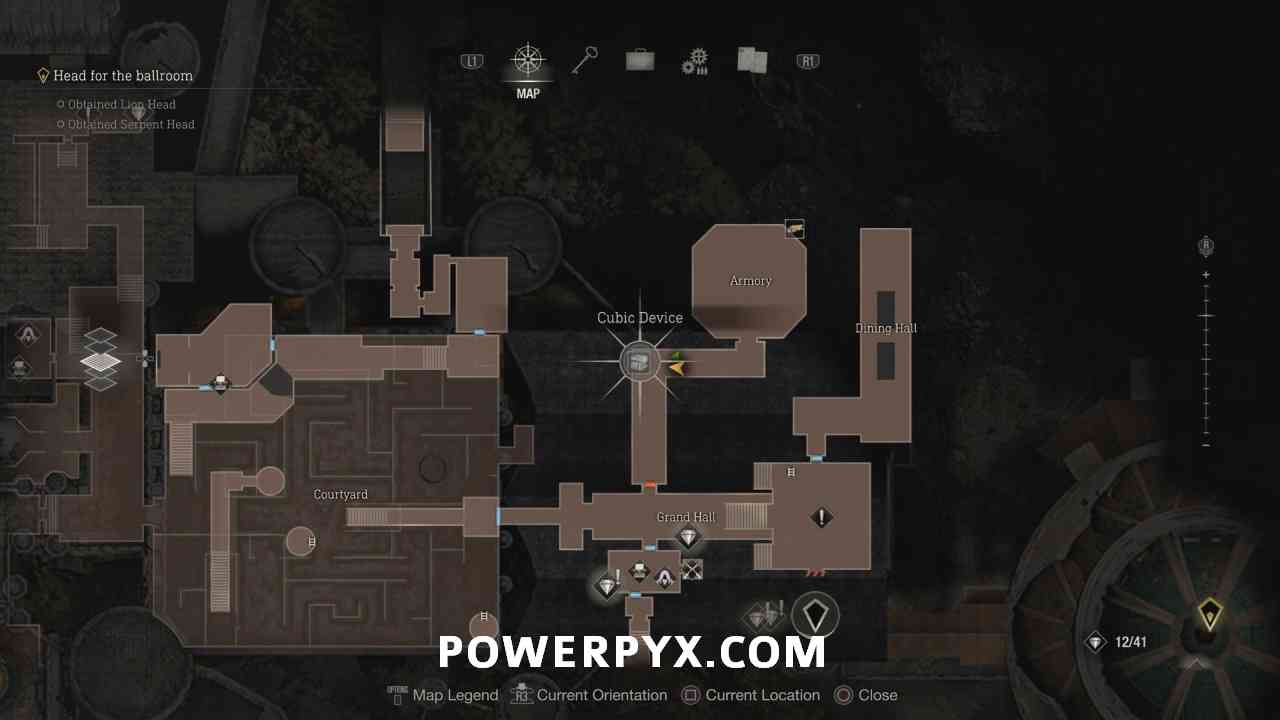
At the start of the chapter, you’ll be back with Ashley and need to continue your way through the castle. You can search around the room for items, then head out the door towards the courtyard and down the stairs. If you missed Shield Your Eyes  earlier in the game this is another spot you can earn it, as there are a number of crows in the central area of the courtyard.
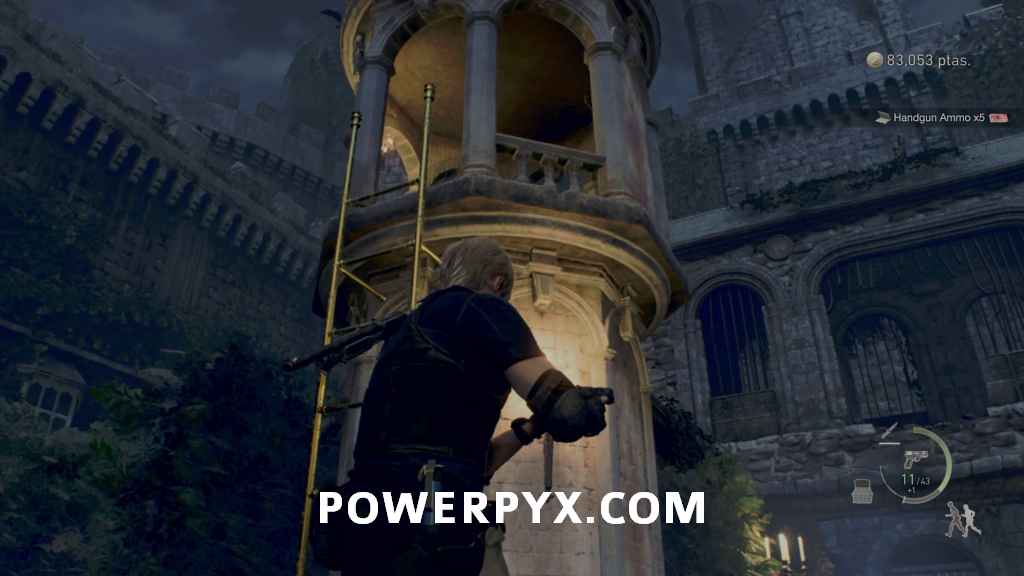
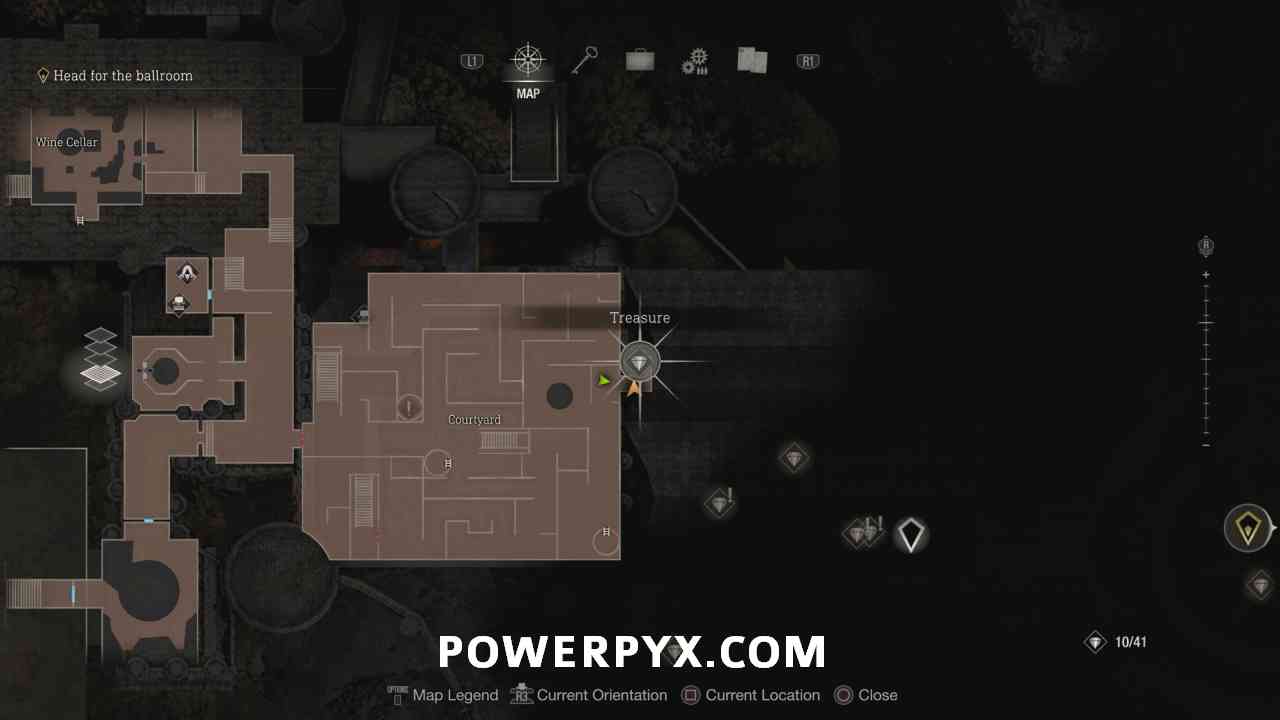
In the central area climb the tower nearby and pull the switch to raise the flag. There are three of these in this area and you need to pull all of them to exit the courtyard.
Drop down and (relative to the entrance) take the second path on the left. Using the map here is very useful to get around as it shows the whole maze, so make sure to check it if you can’t figure out where you’re going.

Castellan 9
Make your way along this path to get to the northwest corner of the maze, underneath the balcony you entered from. In the corner behind some junk you can find this Castellan.
Now follow the path to reach the northeast corner of the maze. Watch out for the dogs in the metal cell as they break out to attack you.

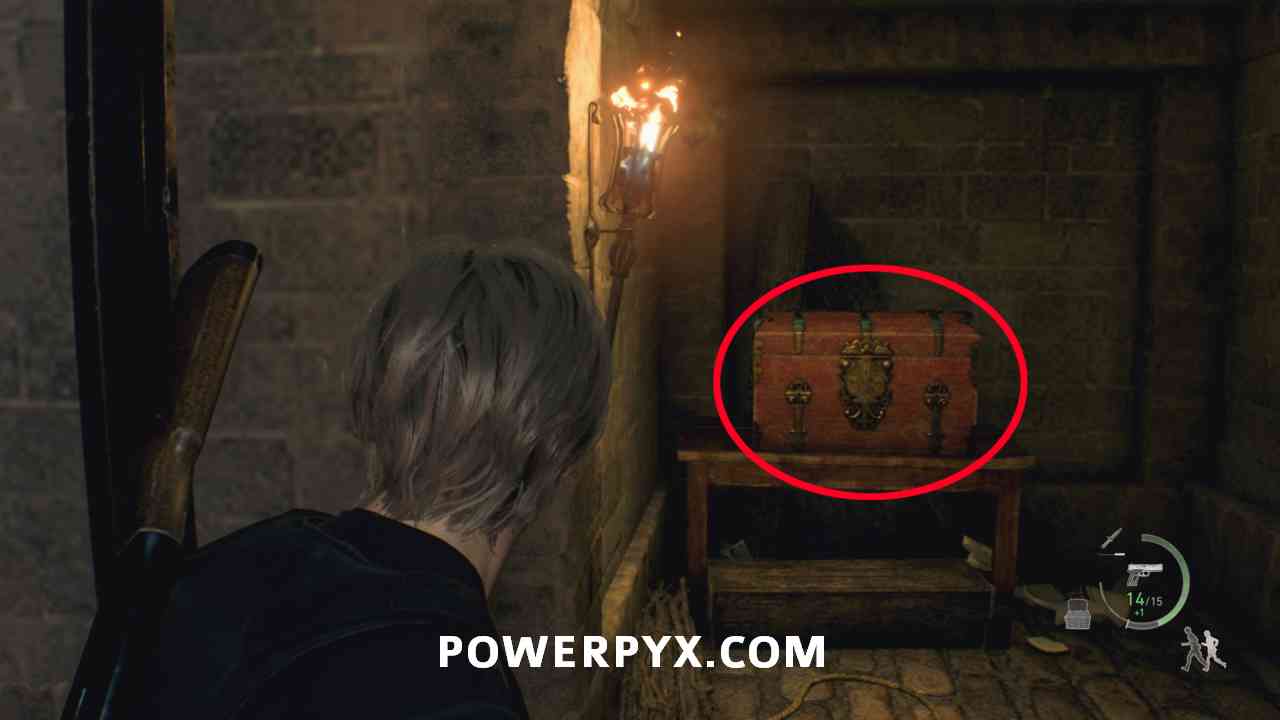
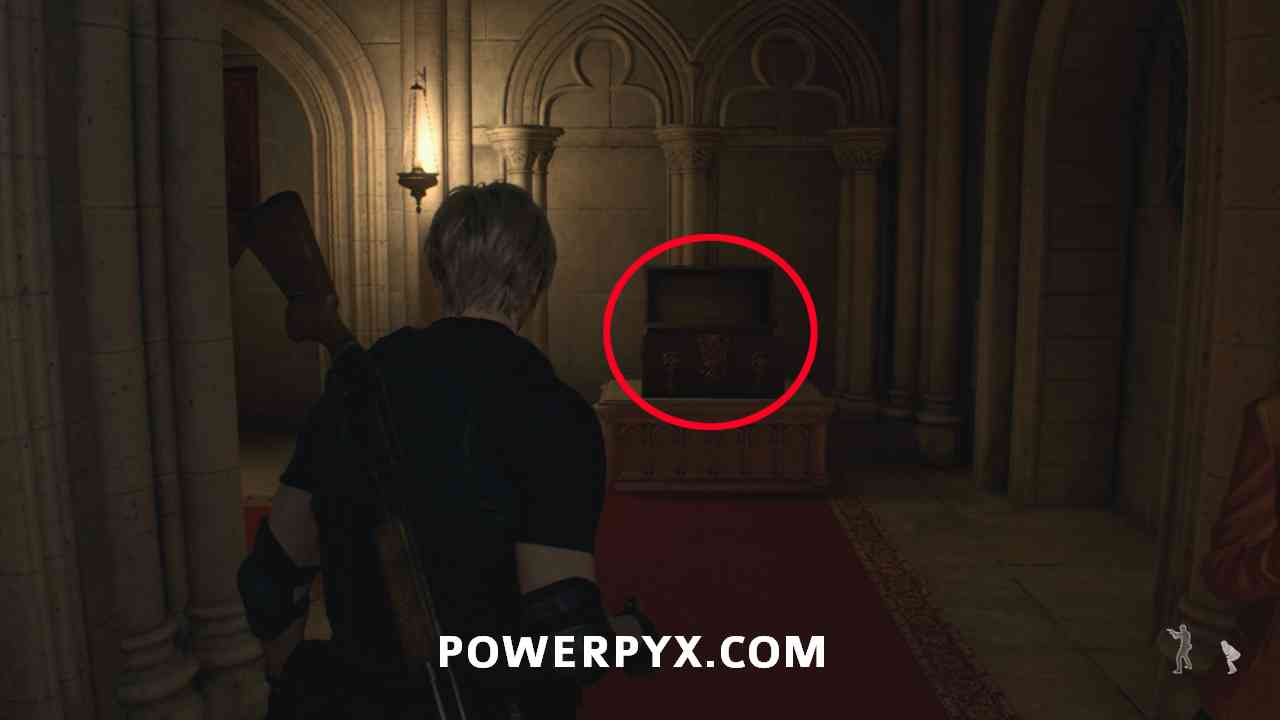
Treasure: Elegant Chessboard
Just past where the dogs were you can find a small room in the wall. Inside there is a chest that contains an Elegant Chessboard.
You can then keep following the path to the southeast corner where you can find the second tower.

You can then move immediately south where there is a locked door you can go through, then follow this path all the way to the southwest corner.

Order Ashley to hold the switch for you, which opens the gate on the other side. You then need to run around while she is holding it, allowing you to reach the final tower.

After pulling the switch the gate at the start of the area opens and a number of enemies run into the courtyard. You need to drop down and quickly run back to Ashley, as most of these enemies are rushing over to try and grab her.
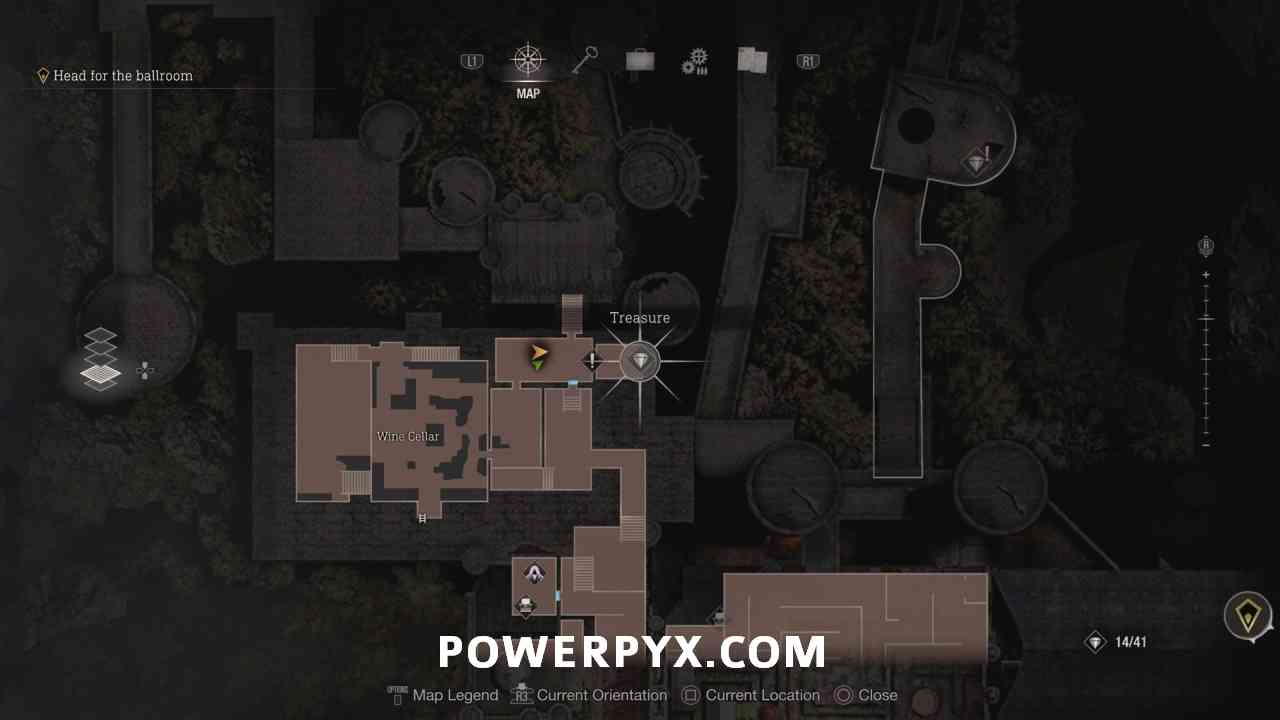
Treasure: Depraved Idol
When all the enemies are dealt with, but before continuing east out of the maze, go back west through the now open gate and BACKTRACK to Wine Cellar. There’s a chest containing a Depraved Idol behind a locked door you couldn’t get in Chapter 8. Now you can boost up Ashley to the gap to have her unlock the door. This is one of the most highly missable treasures in the game, in later Chapters you can no longer get it, you have to backtrack for it now.
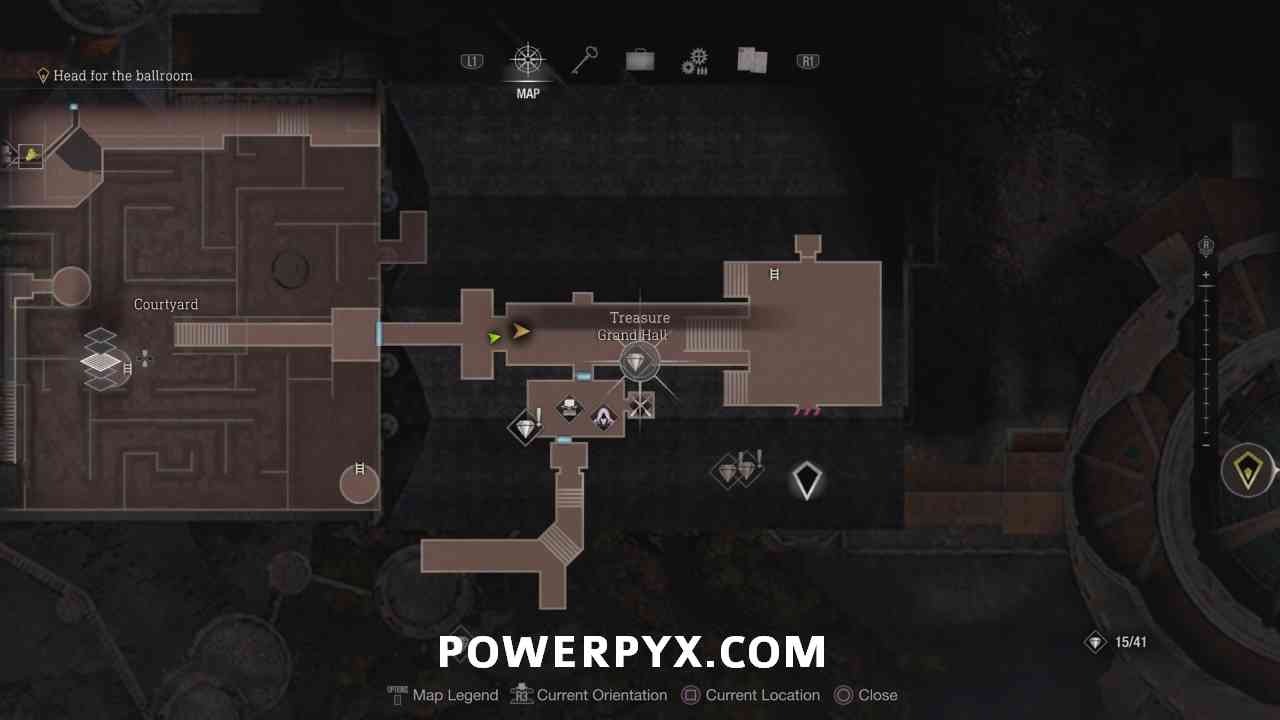
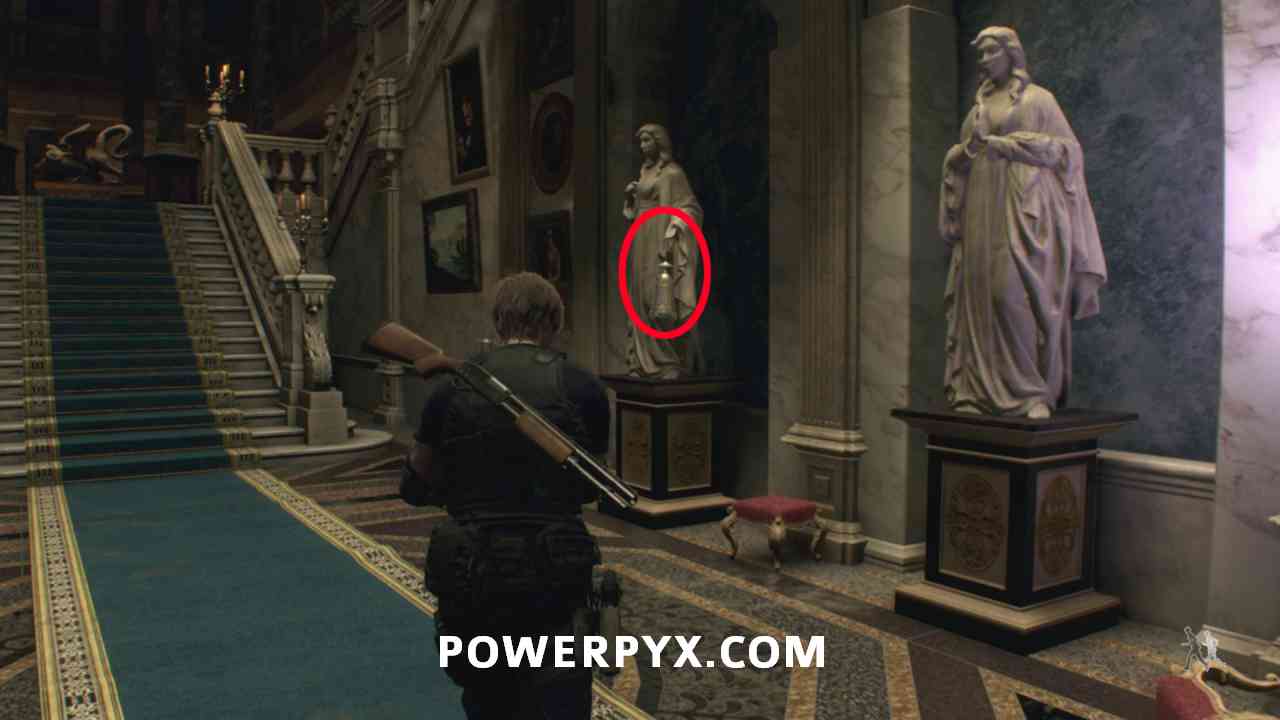
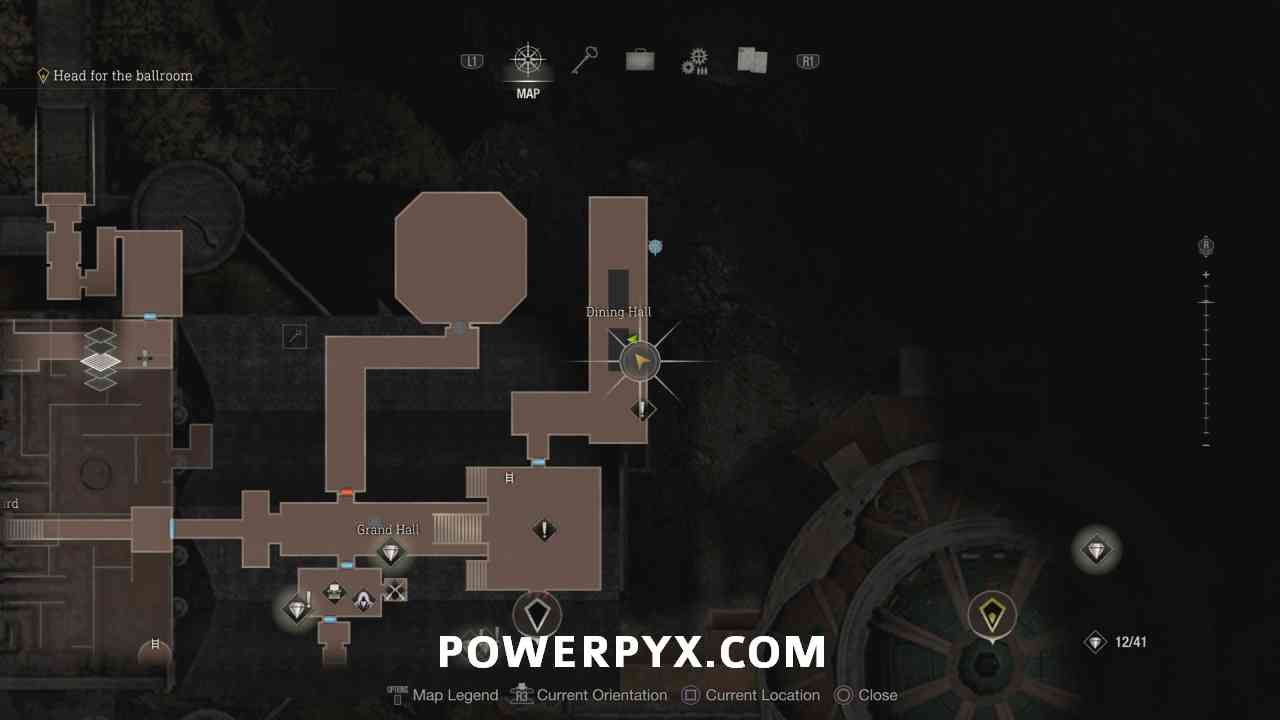
Treasure: Alexandrite
Now head back and exit the maze through the east to enter the Grand Hall. Before going into the Merchant room you can shoot a metal cage hanging from a statue on the right, obtaining an Alexandrite.
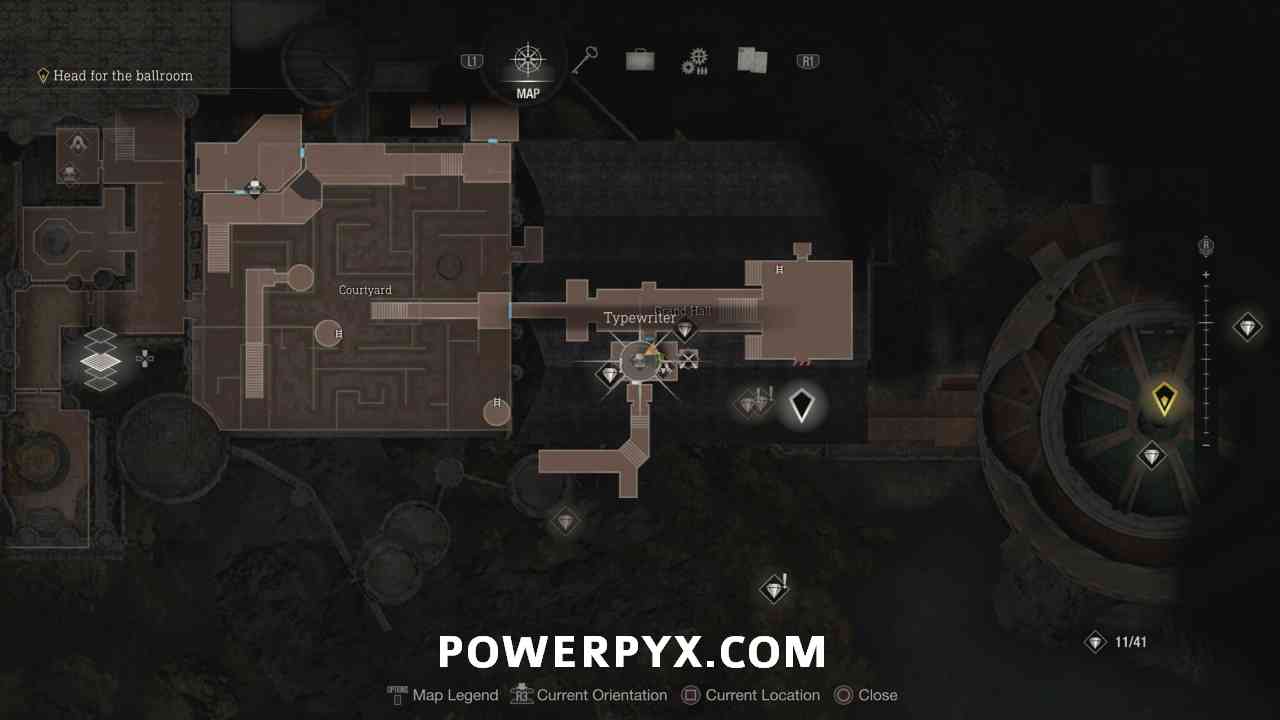
Shooting Range (2A, 2B, 2C)
In the typewriter save room after the maze, enter the elevator next to the merchant for another shooting range. Must get S rank on all 3 new shooting range challenges here, they count towards  Real Deadeye trophy. However, you will still need another Shooting Range found later in the game so can’t earn the trophy yet.
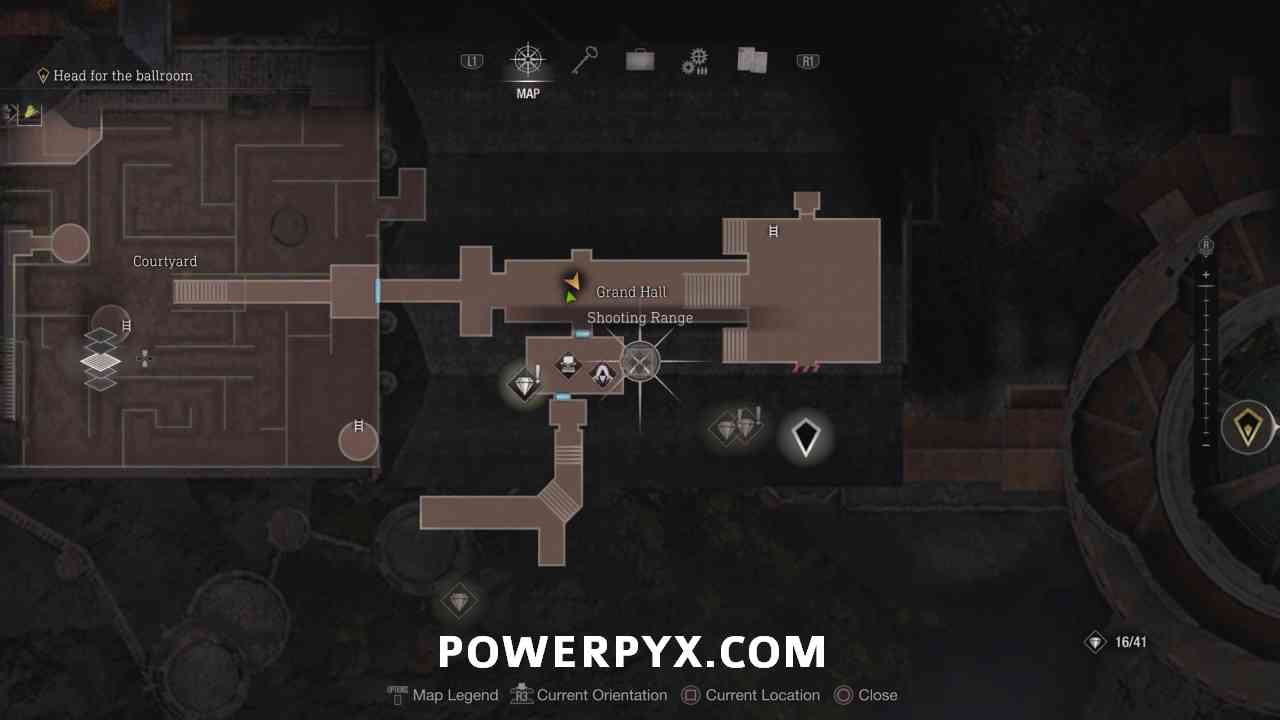
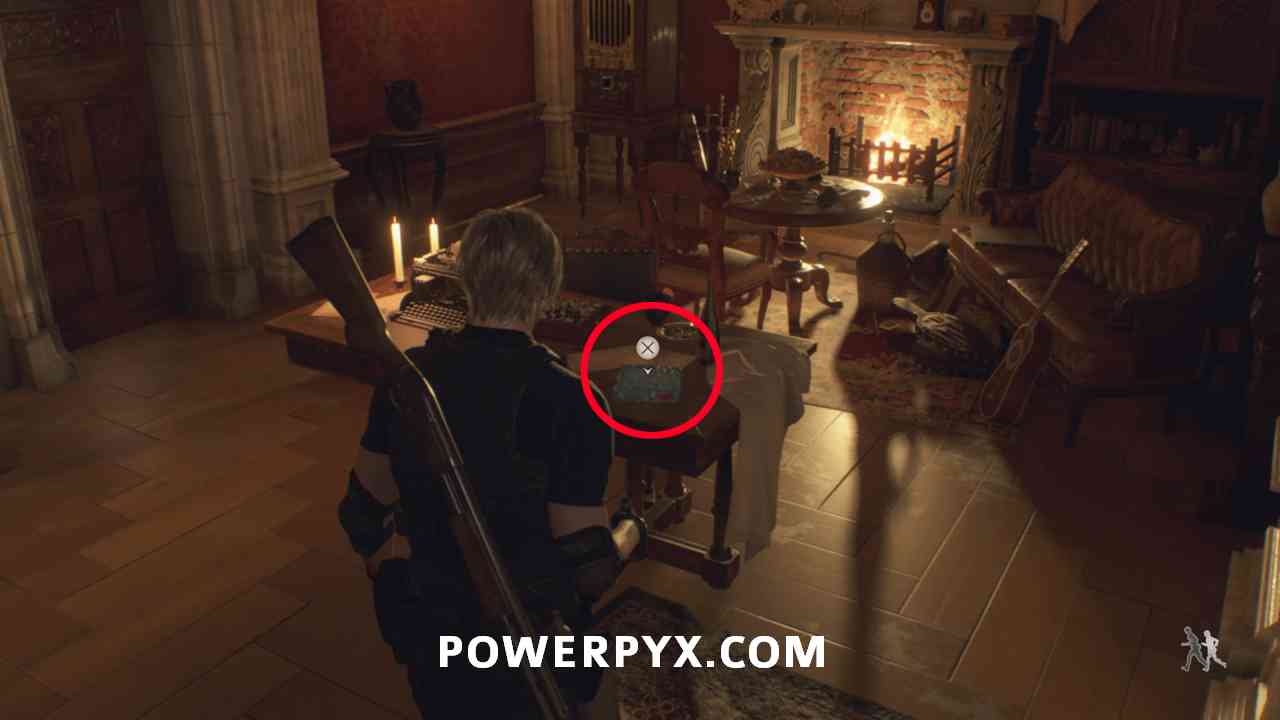
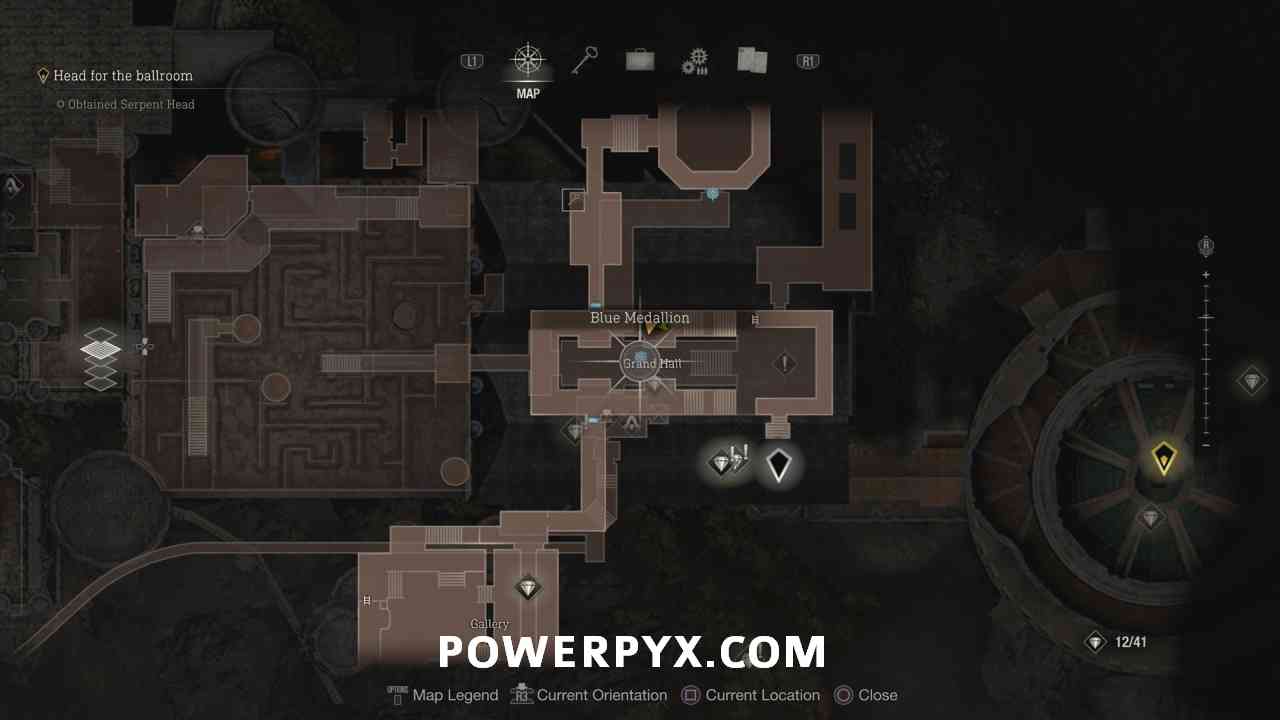
Merchant Request: Destroy the Blue Medallions 4
In the same typewriter save room with merchant, on the table with the typewriter. Must destroy 6 Medallions, their locations are listed below individually.
Blue Medallion 1
Backtrack a little bit to the door to the maze. Look south in the inset part of the wall to find the first medallion.


Blue Medallion 2
Now head all the way east in the grand hall and you can find this medallion behind the Headless Statue.

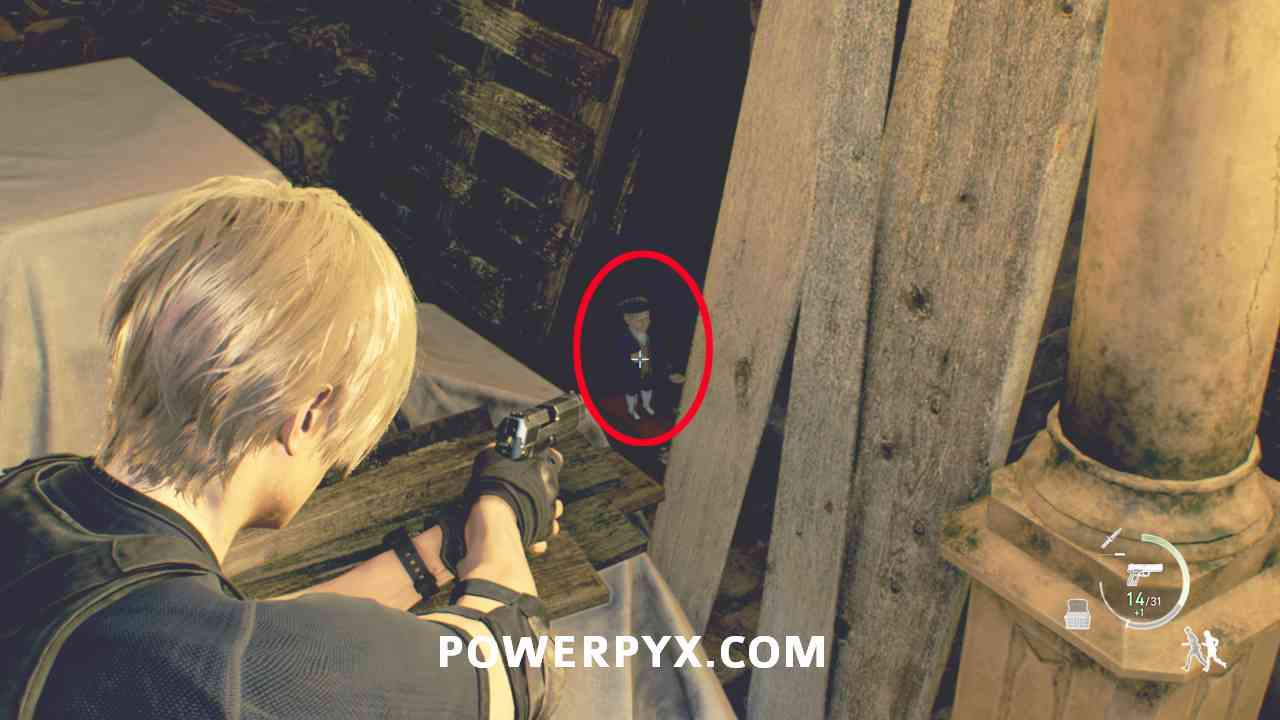
Merchant Request: More Pest Control
On the wall left of the Headless Statue, you can pick up another request to kill 3 rats. You can kill two of them in this chapter, then the third will be in Chapter 10.


Rat 1
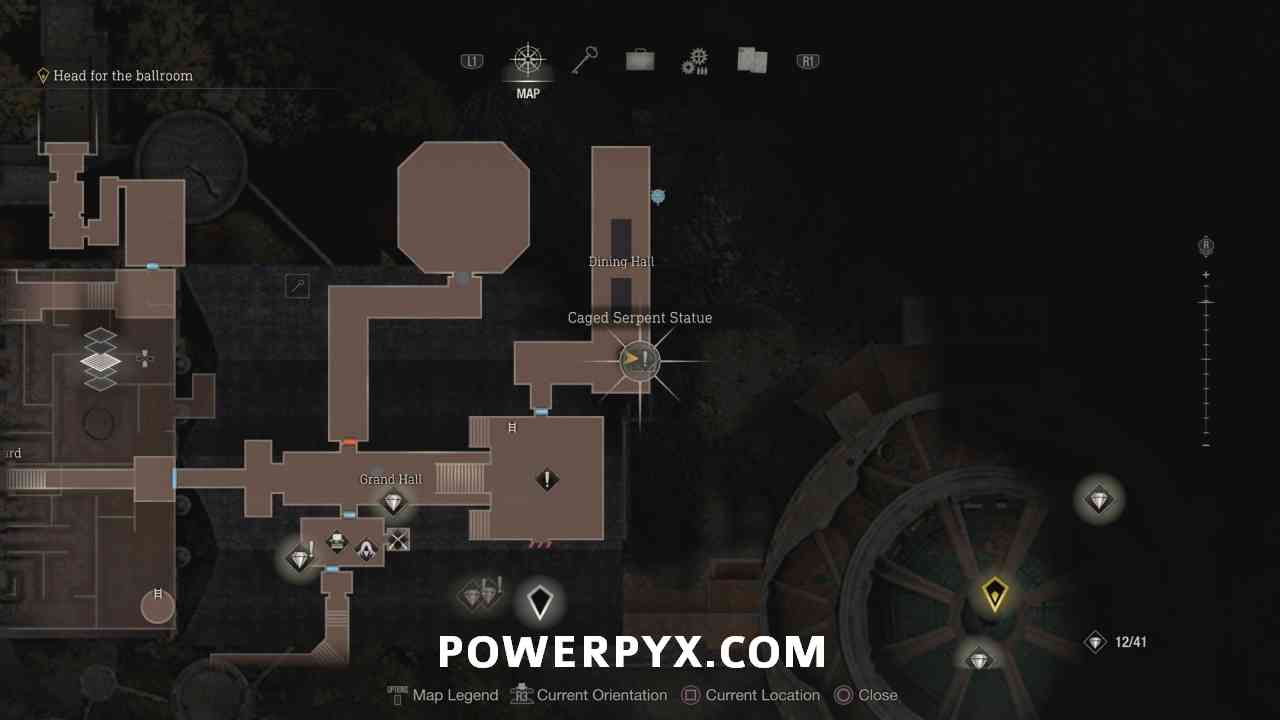
Head through the door into the dining hall and keep an eye on the ground for this rat running around the area.
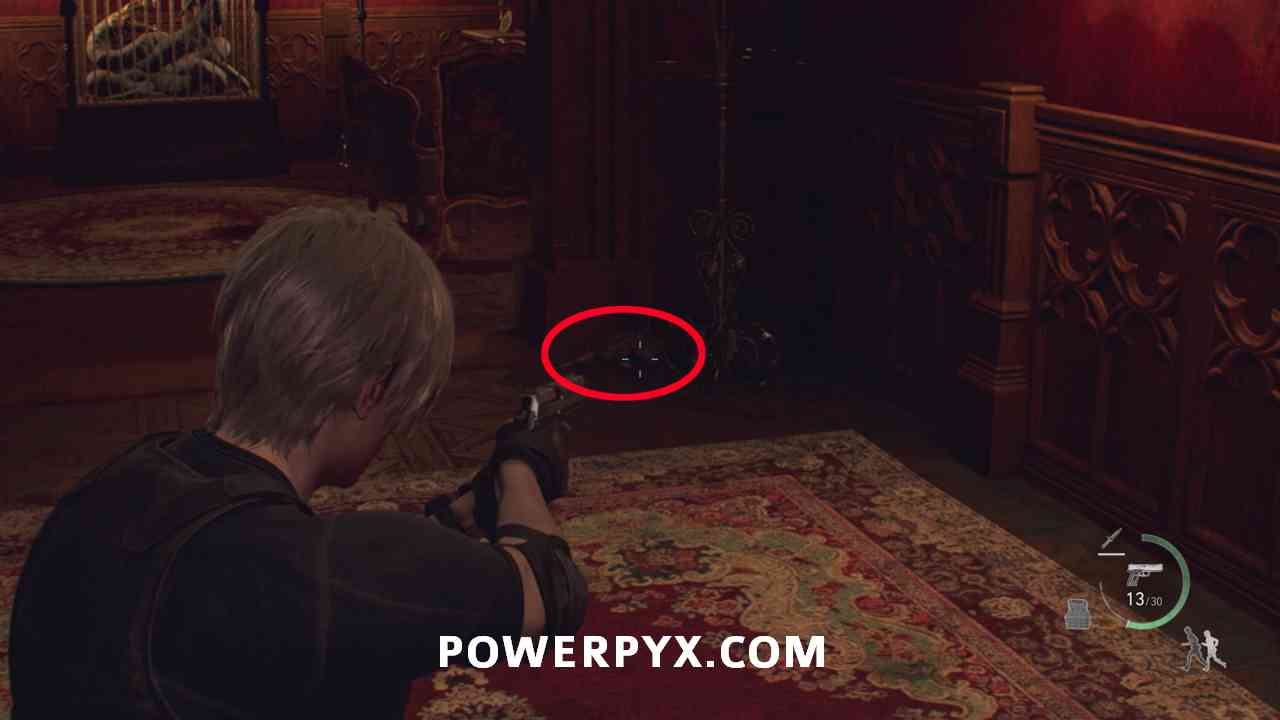
Key Item: Serpent Head
Now in the dining hall, you need to solve a puzzle to obtain the Serpent Head out of the cage in the room. To do this, you and Ashley must sit at the tables displayed on the portraits of the king and queen and ring the bell. Order Ashley to sit down at the queen’s dining place. See locations below. Ashley must sit at the 2nd chair on right, Leon at last chair on left.


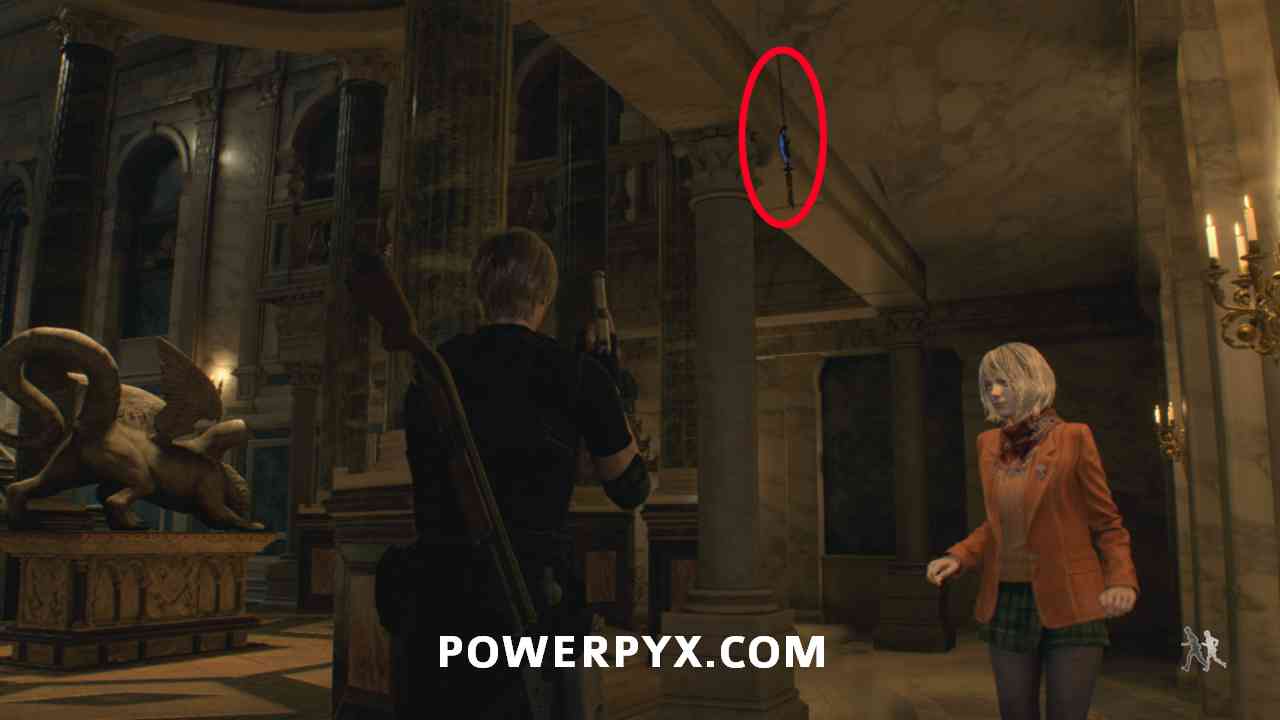
Blue Medallion 3
Now still in the Dining Hall, walk to the north end and look out the final window on the right to find this medallion slightly behind the curtain.

Blue Medallion 4
Head back to the Grand Hall and go up the stairs to the upper level. Turn left when you reach the chandelier and shoot the medallion hanging inside.

Key Item: Small Key
Now enter the room upstairs to the north. Open the cabinet in the back left corner for a Small Key.


Blue Medallion 5
Now head into the Armory but don’t drop down yet (if you do you have to backtrack up here later). Go to the right side of the balcony and you can spot this hanging above the throne.


Key Item: Lion Head
Drop down to the lower level and pick this up off the statue in the middle.


After grabbing the head, the suits of armor kill come alive. These enemies (Armadura) are basically suits of armor with Plaga inside that control them. At the start you can only damage them by shooting the exposed parasite section around their neck. After dealing a bit of damage they’ll generally be stunned, and you can melee them to knock their helmet off. They then sprout the Plaga tentacles from the neck which you can damage like human enemies.

Once all of the armor is defeated you can go under where Ashely is standing to catch her, then interact with the two statues to open the exit to the room.

Cubic Device (needed for treasures)
In the corridor after exiting the Armory you can find a chest that contains the Cubic Device. This doesn’t count as a treasure itself but you need it to open the treasure shrines throughout Castle that you might have spotted earlier.
Rat 2
In the same corridor after exiting Armory you can find the second rat running around.


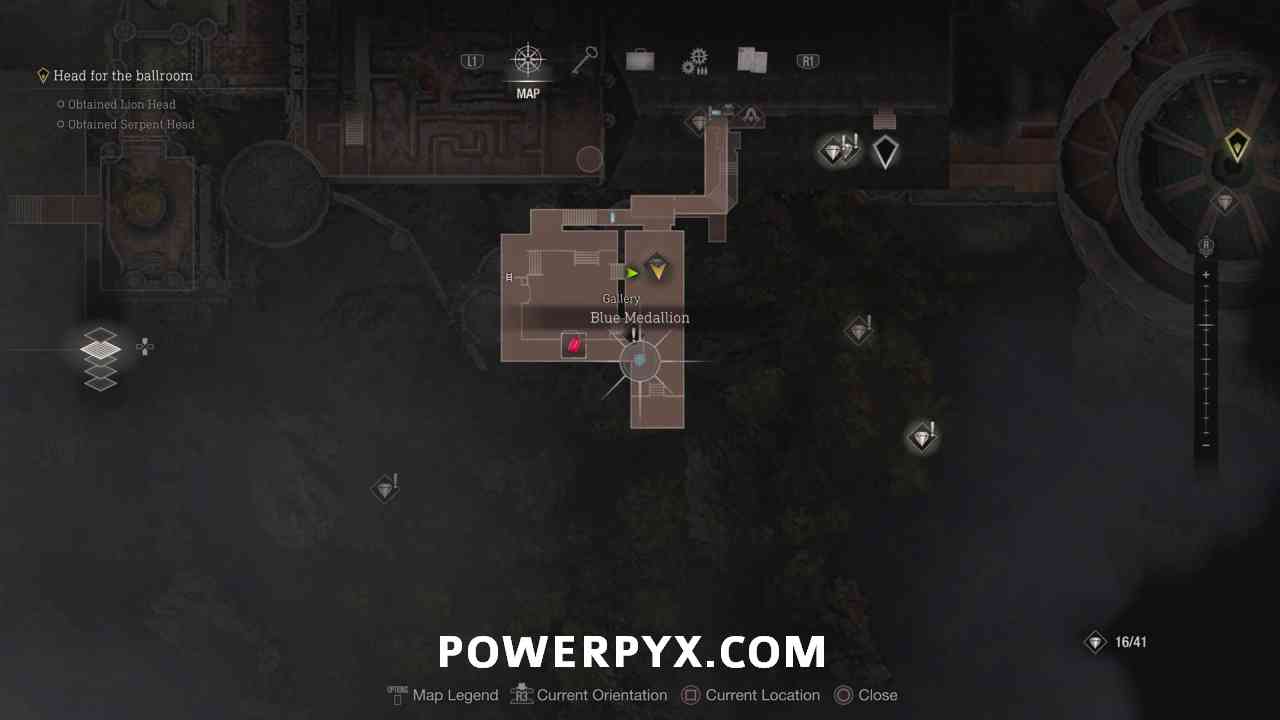
Head out the door to return to the Grand Hall, then this time go up the stairwell on the other side of the room, then through the door leading south to enter the Gallery. Try going across the path, but an enemy will pull a lever on the balcony nearby dropping the path into the floor.

There will be a summoner there as well, which you will want to deal with as quickly as possible to avoid them turning the other enemies in the room. If you have extra grenades you can toss them up on the balcony, or make your way to the other part of the room where there is a ladder leading up to this area. You need to go up there regardless though to pull the lever and raise the path again.

Blue Medallion 6
Once all the enemies are dealt with, stay on the lower floor of the Gallery and walk to the end of where the path was. You can find the final medallion hanging on the back of the pillar in the corner.

Treasure: Yellow Diamond
Now with the path raised, walk underneath to where you can find a chest that contains a Yellow Diamond.


Key Item: Goat Head
Now when you’re done on the lower floor go up the stairs in the other side of the room to get back to where you came in. You can now go across the path to the end to pick up the final head.

Now make your way back to the Grand Hall. Don’t place the heads on the statue yet though as you can backtrack for some more collectibles right now.
Treasure: Butterfly Lamp
Go back to the merchant in Grand Hall. Now you can use the Cubic Device on the Square Lock Box there. For these, you need to rotate the cube so that the slots on it match the slots in the box. Once you open it pick up the Butterfly Lamp from inside.


From the same room, go through the door next to the merchant and use the golden Gondola. You will arrive near Water Hall, and from there backtrack to Audience Chamber.

There will be a number of enemies who are now in the Audience Chamber, including a Summoner. Deal with them before trying to grab the remaining treasure.

Treasure: Justitia Statue
With all the enemies dealt with, go to the northwest corner of the room where you can find another cube box. Open it to obtain a Justitia Statue.


Treasure: Gold Bar
You can then follow the wall to the east where there is a locked drawer. Using the Small Key you picked up earlier you can obtain a Gold Bar.


You now want to head back to the Grand Hall (you can use the gondola again) and if you have nothing else to grab place the 3 heads on the statue.

Rescue Leon
NOTE: This area has 3 treasures you must pick up before the end of the chapter. If you don’t pick them up now you can’t obtain them during this playthrough.
You’ll now be playing as Ashley, and need to find a way to get Leon out of where he got locked in. Pick up the lantern from the pedestal here to open up the path, then follow along until you reach the Library. Here head to the south of the room where there is another pedestal. Place the lantern on it to move the shelves, revealing a crank that lowers a set of stairs.

Key Item: Bunch of Keys
Grab the lantern to move the shelves back and go up the stairs. On the table, you can find this set of keys.


Treasure: Elegant Perfume Bottle
Go back downstairs and watch out for the armor that will now be walking around. With the lantern you can shine it at the armor with  to temporarily stun it. Crouch under the hole in the bookshelves on the west side of the room to reach a chest. Use the 2nd key from the left to open it, allowing you to obtain an Elegant Perfume Bottle.


Now crouch back out and go to the north end where there is a locked elevator. Use the 3rd key to open the door and then activate it.

Treasure: Sapphire
In the next room hang a left and you can find another chest around some bookshelves. Use the 4th key to open it, obtaining a Sapphire.


Now go to the opposite side of the room where you can spot a clock. Using the clue from the table in the room you need to set a specific time on the clock to open a hidden door. The correct times: 11:04 on Assisted / Normal or 7:00 on Hardcore / Professional.

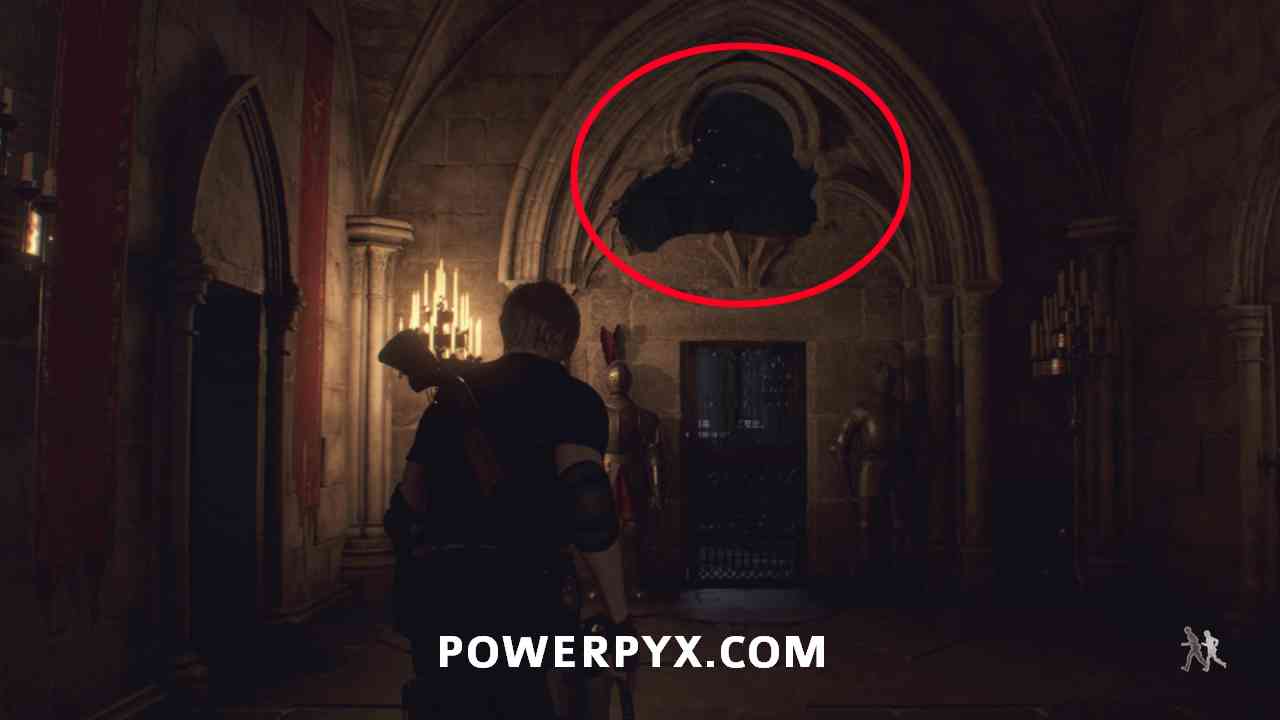
Now backtrack through the library along the path you came through when you grabbed the lantern. There is another clock in this room you can set the same time to which opens a path underground. Follow the path and take the elevator down. The next room will have another of the symbol doors where you need to ring gongs to open it. There are 4 in this room and you need to ring them all, but note that when you ring them the armor in the room will come alive and start coming after you. The symbols are basically in the 4 corners of the room (you can look around for them before you start) and it’s recommended you start at the northwest one and go clockwise so you end up near the door when ringing the final one to open the door.

Treasure: Emerald
Now when you go through the door hang an immediate right around the wooden wall to find the final chest. Use the 1st key to open it and obtain an Emerald.


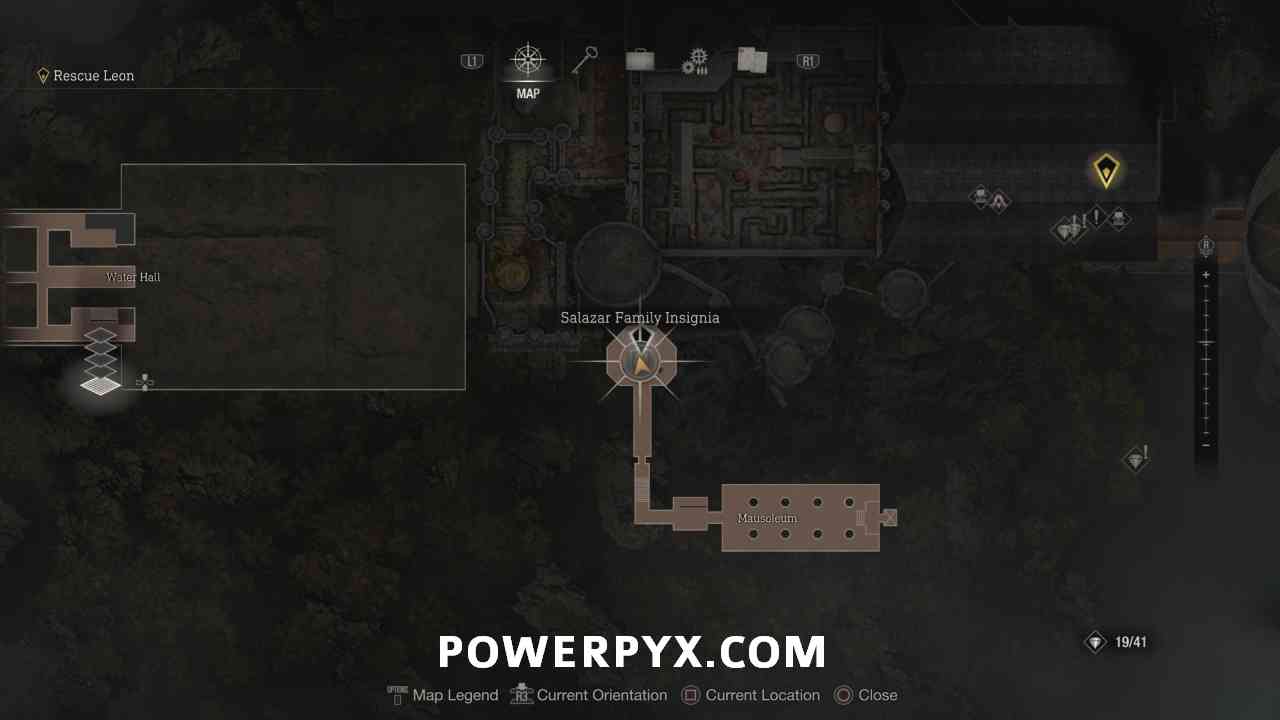
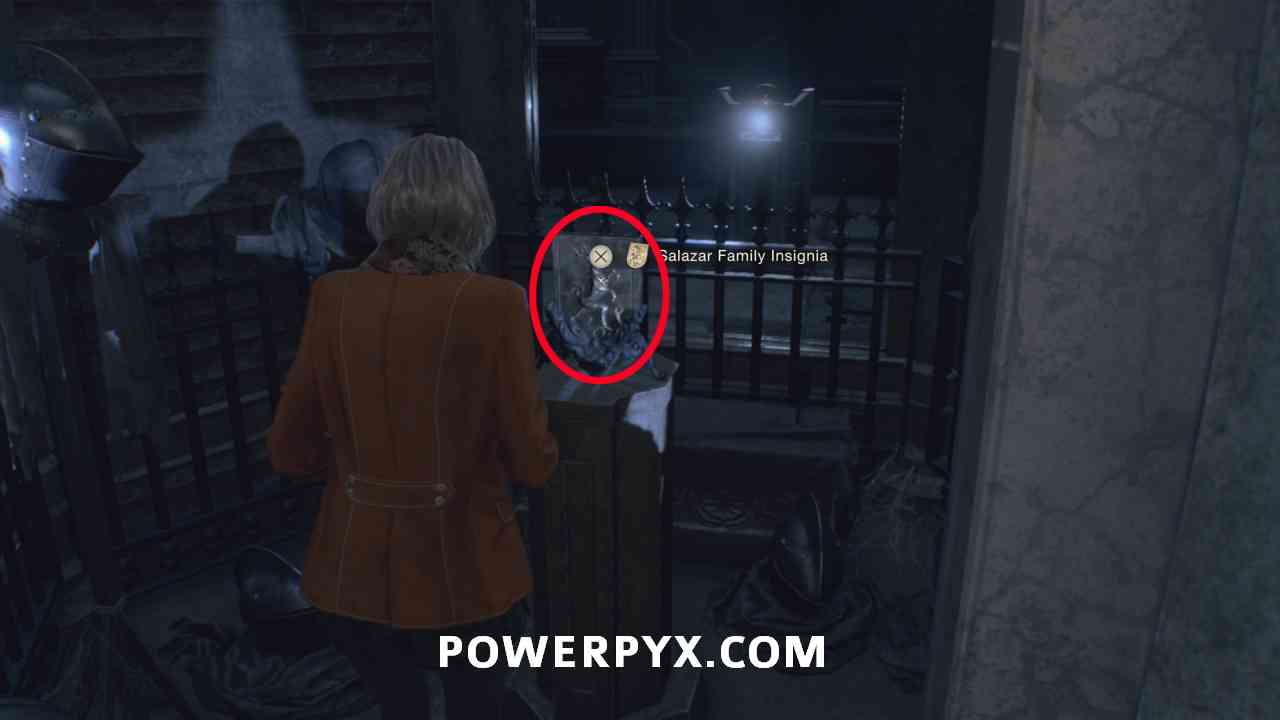
Key Item: Salazar Family Insignia
Now keep following the path in the Mausoleum until you reach a lamp puzzle. You must place the lamps on the correct pedestal. Each lamp projects a certain shape onto the wall. You can simply switch out the lamp in your hand with the one from a pedestal and move them around. Swap the one you’re holding (full moon) with the one at the back first, then move this to the left (crescent moon) then place the third on the open spot to the right. This opens the central area so you can grab the Salazar Family Insignia.
After you grab this all the blue light goes away, and you start being chased by armor with no lantern. You basically just need to continue running without stopping to backtrack to where you saw Leon in the typewriter room. To avoid the armor you can basically just run toward them until they start winding up, then dodge to the side quickly.

In the library remember to go back up the path you opened through the clock, then when you are ready place the Insignia in the spot in the wall to complete the chapter.
This finishes Chapter 9 in Resident Evil 4 Remake.
Next Chapter: Chapter 10 Walkthrough
For all other chapters refer to the Resident Evil 4 Remake Walkthrough.
Leave a Reply