
Control Resonant has 6 Testing Facility locations. Finding all Testing Facilities and completing their puzzles is needed for the Unsupervised Science side quest. It’s also one requirement toward the Threshold Researcher trophy & achievement.
- Starting Location: Complete any Testing Facility
- Requirement: Enter any Testing Facility
- Reward: (Per Test Site) 120 Area XP, 1 x Undefined Reading, 1 x Power Upgrade Point (in the unlocked room in the area), (at mission completion) Untapped Scrunchie Artifact
- Quest Description: During the Oldest House lockdown, it seems like FBC researchers were running experiments in facilities across the city. And whatever they were working on may have gotten out of hand… It needs to be shut down.
Objectives:
- Shut Down the Experiments
- Downtown
- Central
- Evacuation Zone
- West Incursion Zone
- The Park
- Unknown
- Go Into the Threshold
Video Guide
Starting Location: Unsupervised Science
This quest is started when you enter any of the 6 Testing Facilities. They get marked on the map with a computer icon. They can be done in any order. There’s one per region except the Underpass which doesn’t have one.
Shut Down the Experiments
Testing Facility #1: Downtown
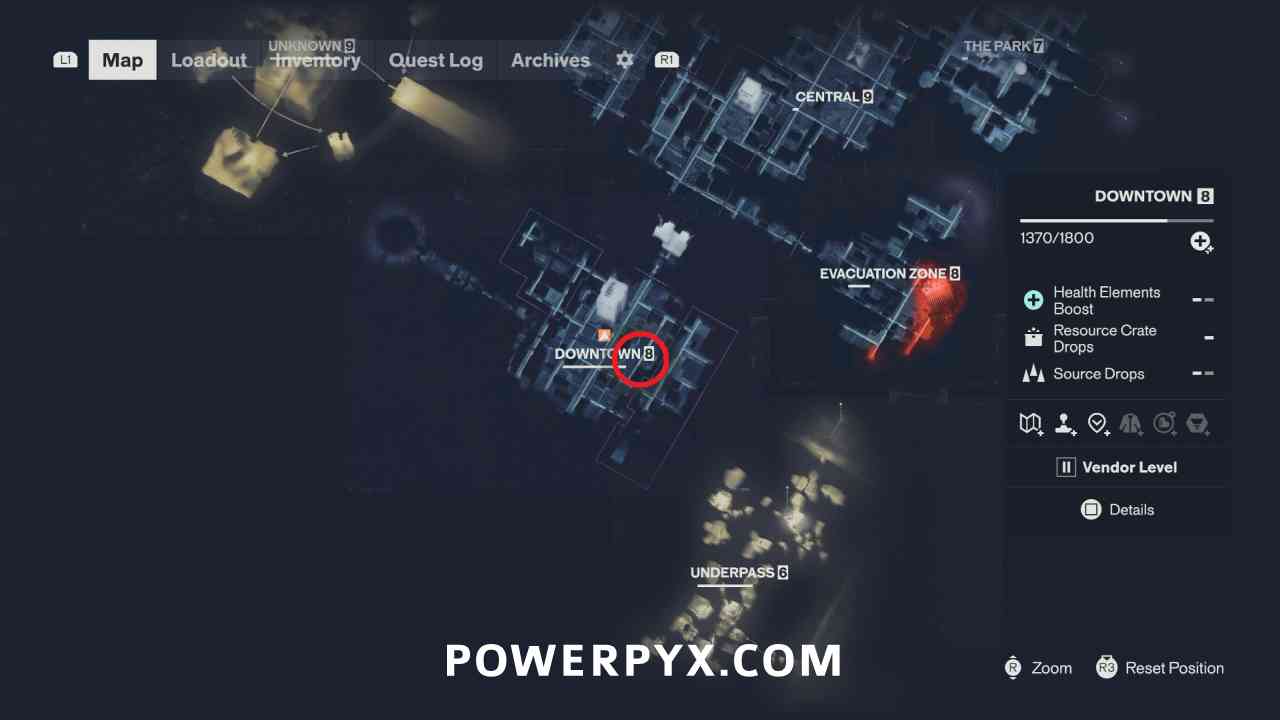
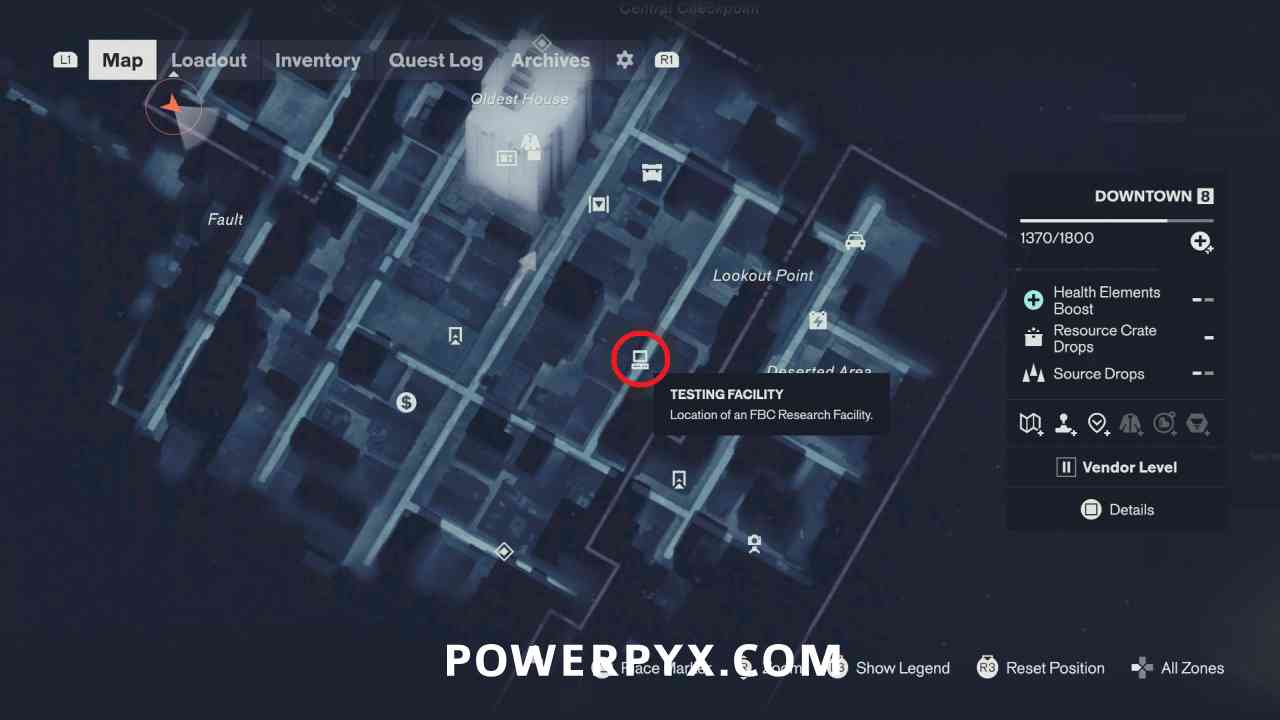
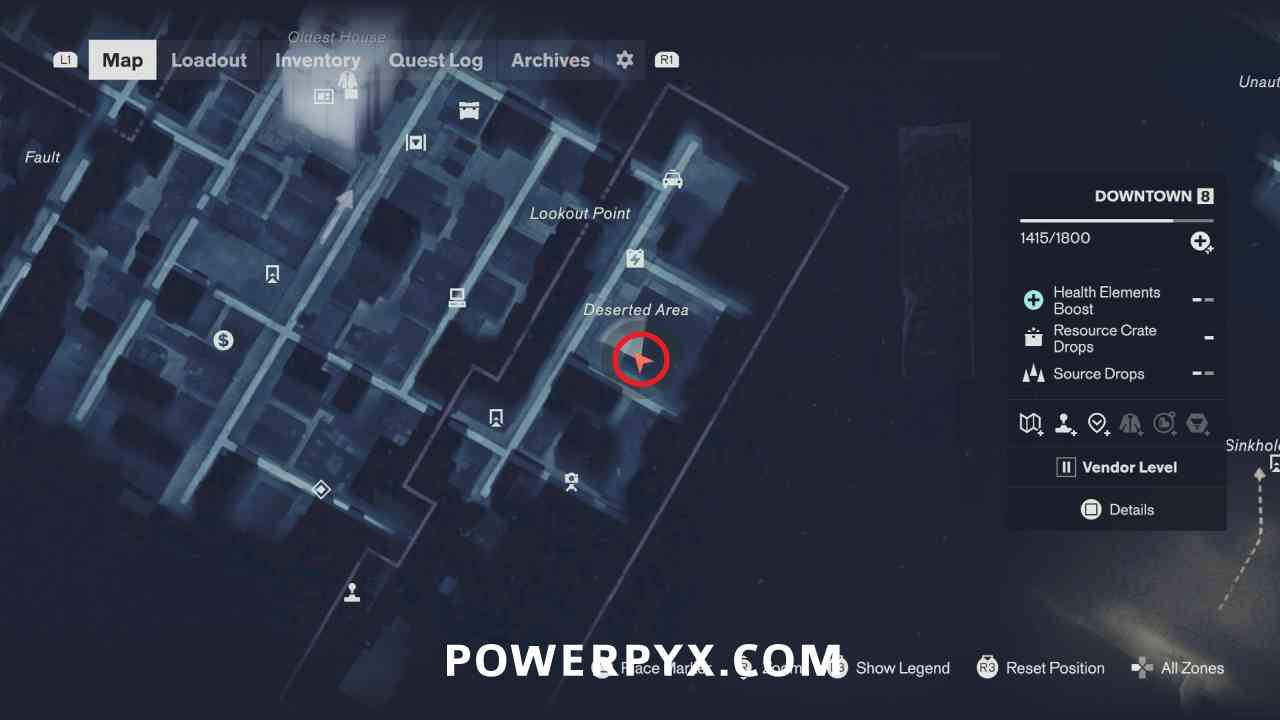
The Testing Facility in Downtown is reached through the inside of the construction site in the Deserted Area. On the ground floor there is a pipe that you can drop into leading east to the Testing Facility.
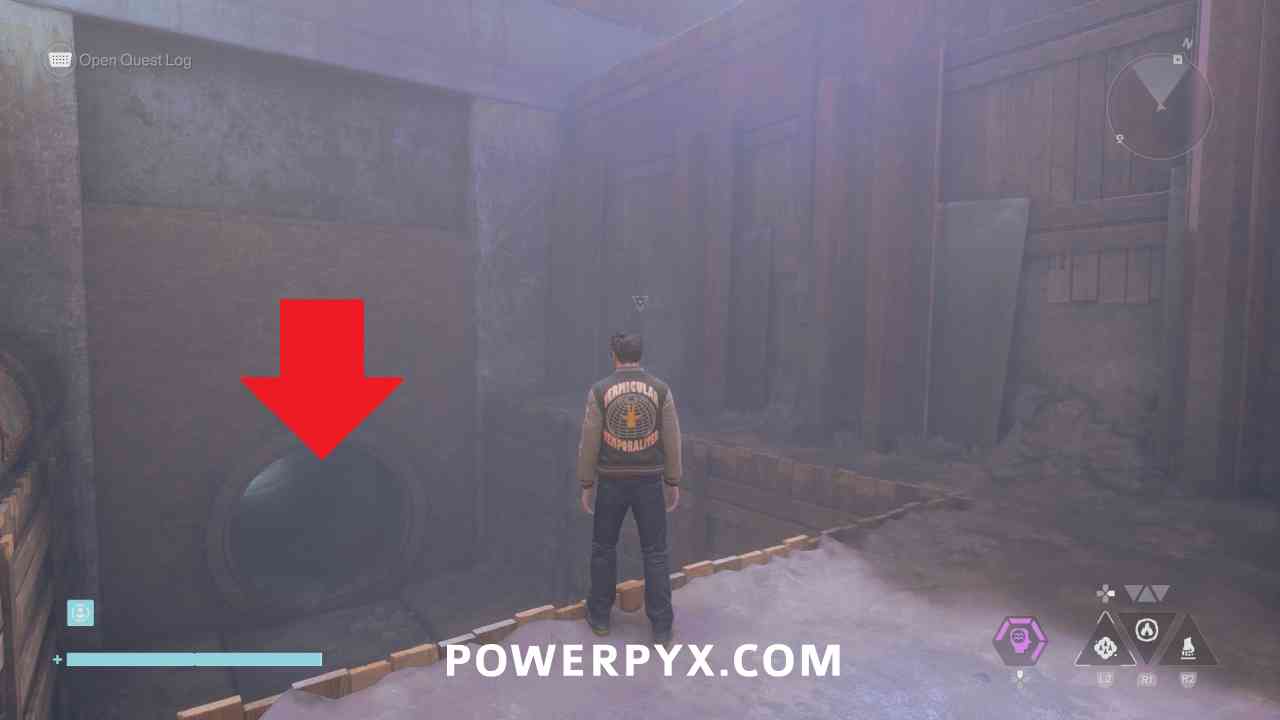
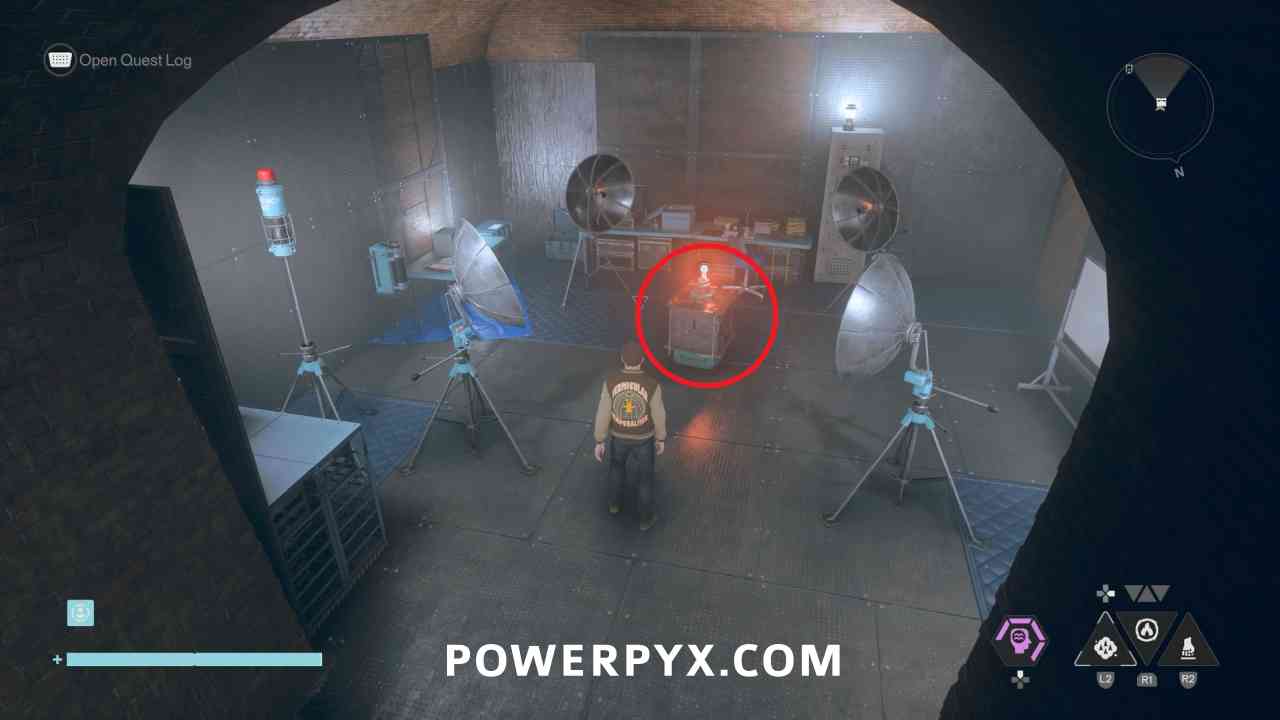
In this area there are 5 objects around the room, and you need to carry them to the squares in the middle. While carrying them when you cross the lines, the objects change what form they are. You need to place all objects in the middle of the room while they are changed into soda machines.
The starting objects are randomized so the exact solution will be different for every player. But basically, bring the objects to the middle and start walking in circles around the T intersections and you should eventually be able to switch them to the soda machine, as the objects rotate through 4 states, and you can switch them between 3 states at the intersections beside each placement spot.
When you have placed all 5 soda machines in the middle, go back up near the computer icon and interact with the switch (if the switch doesn’t turn green, pick up the audio log next to it to register the quest “Unsupervised Science”, then it will work). You can go to the unlocked door in the corner to collect a Power Upgrade crate.
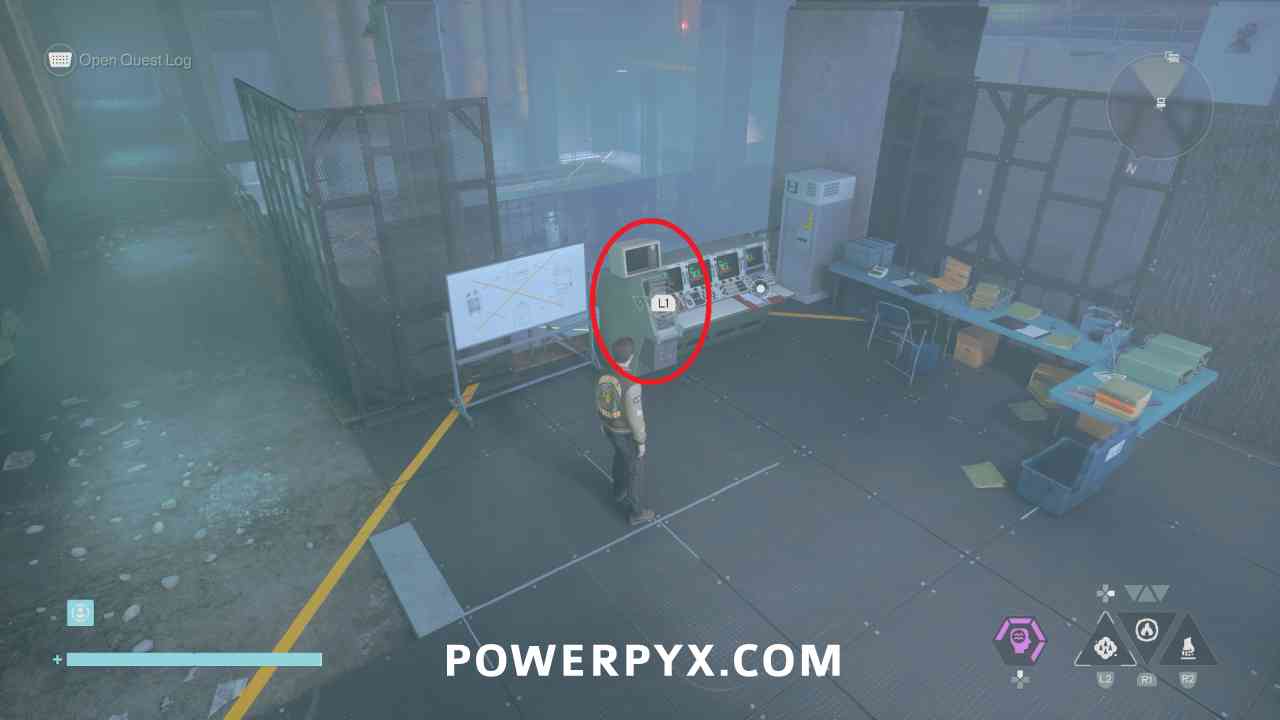
Testing Facility #2: Central
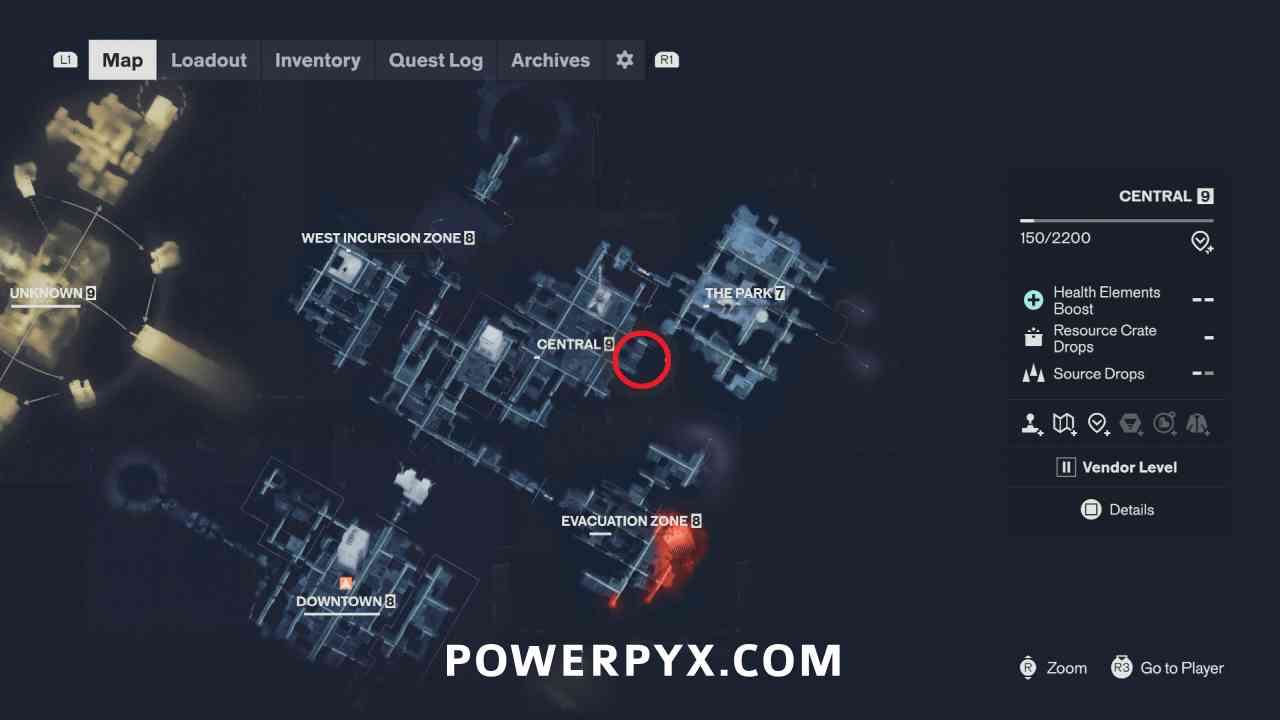
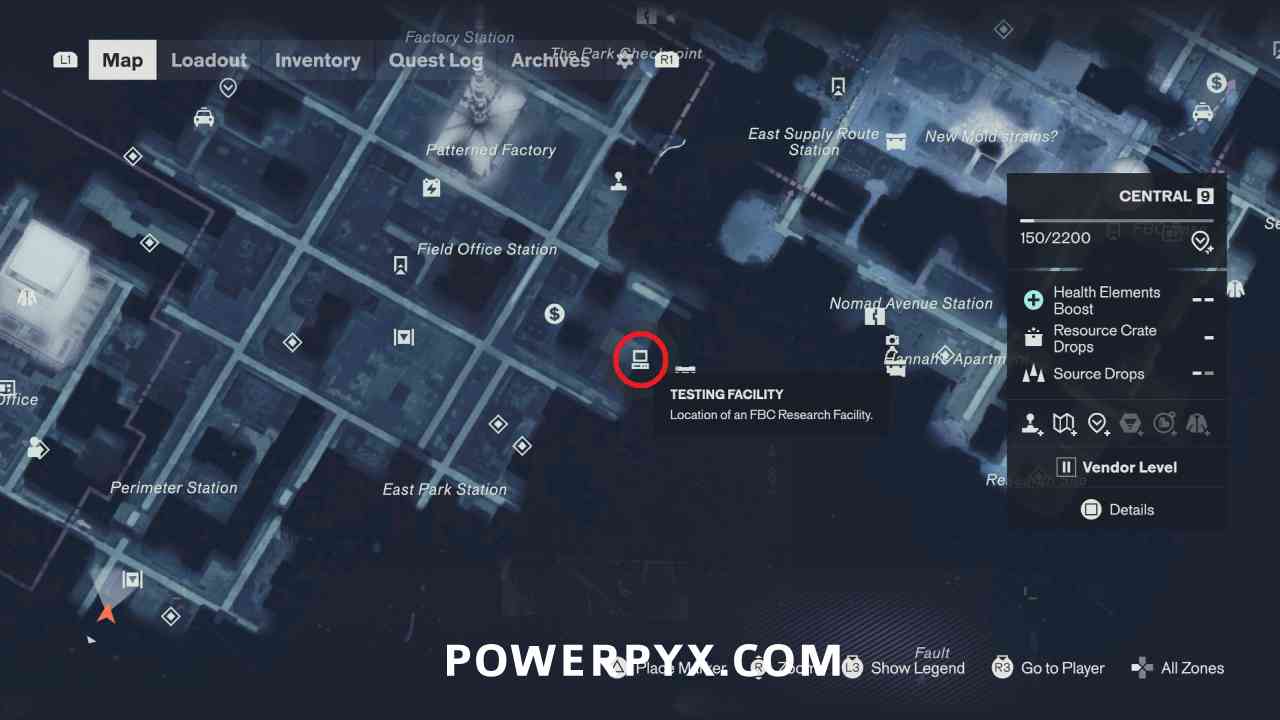
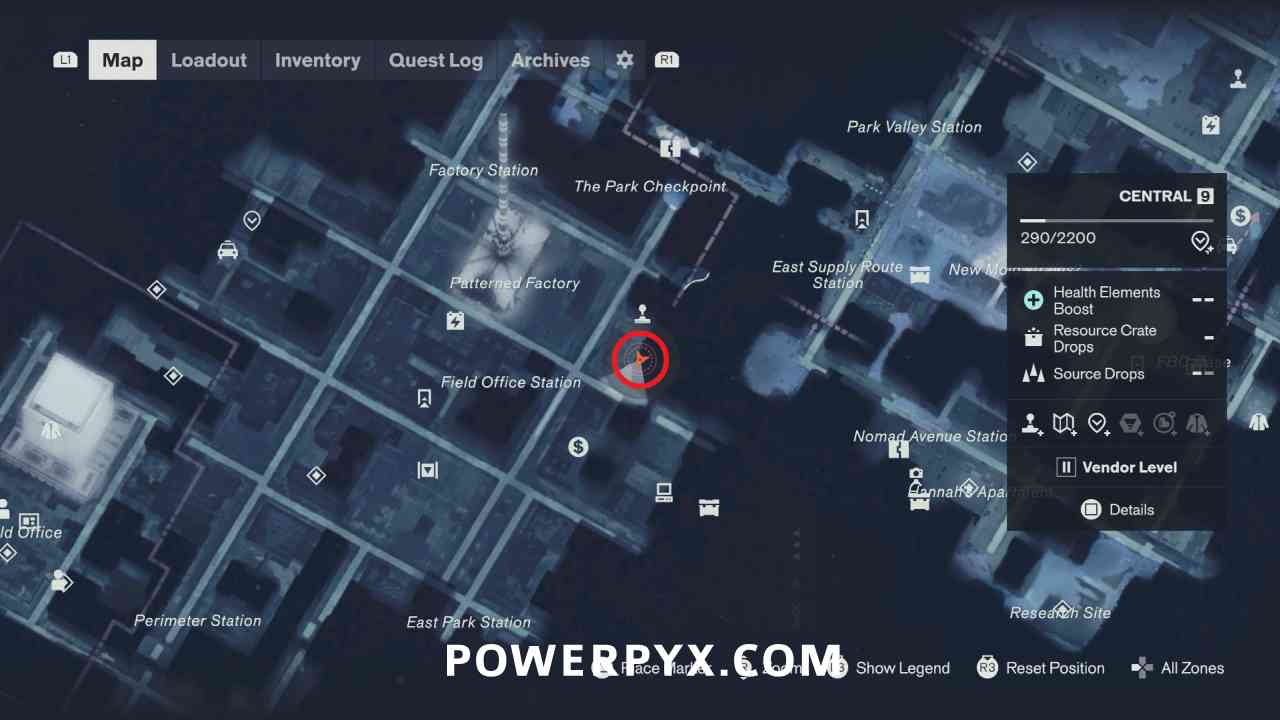
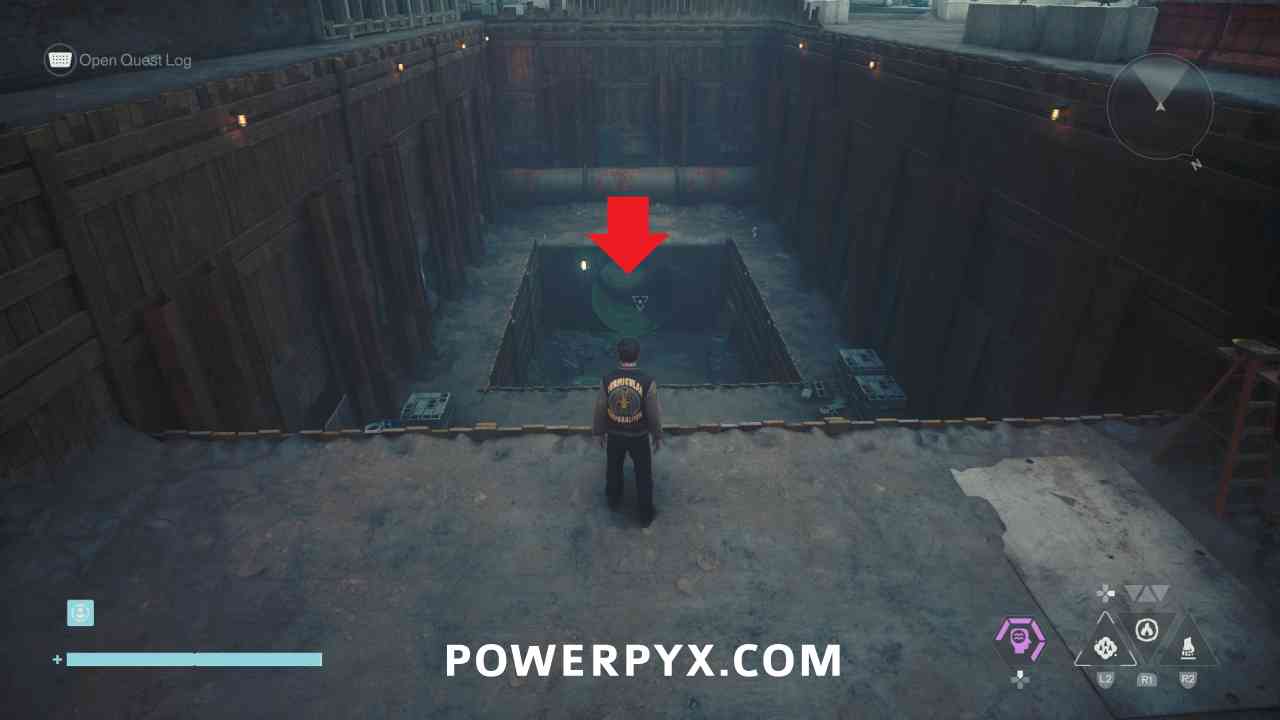
The Testing Facility in Central is reached through a pipe in an open pit southeast of the Patterned Factory.
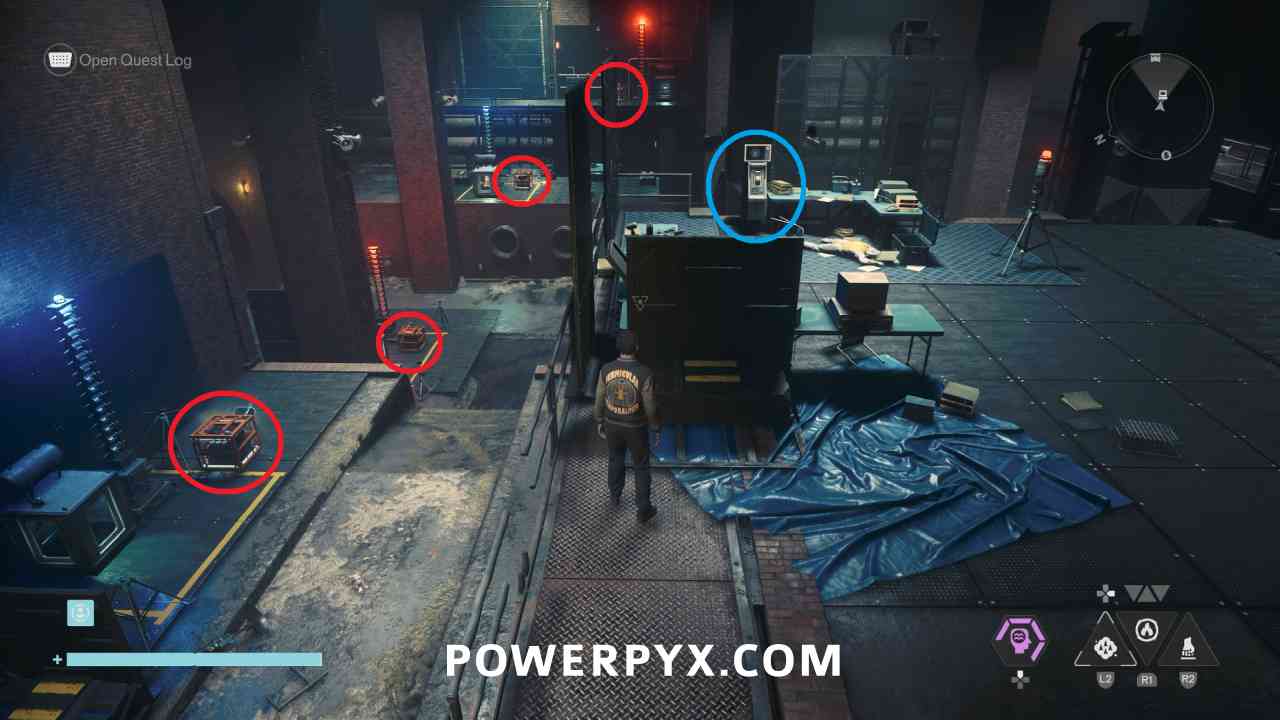
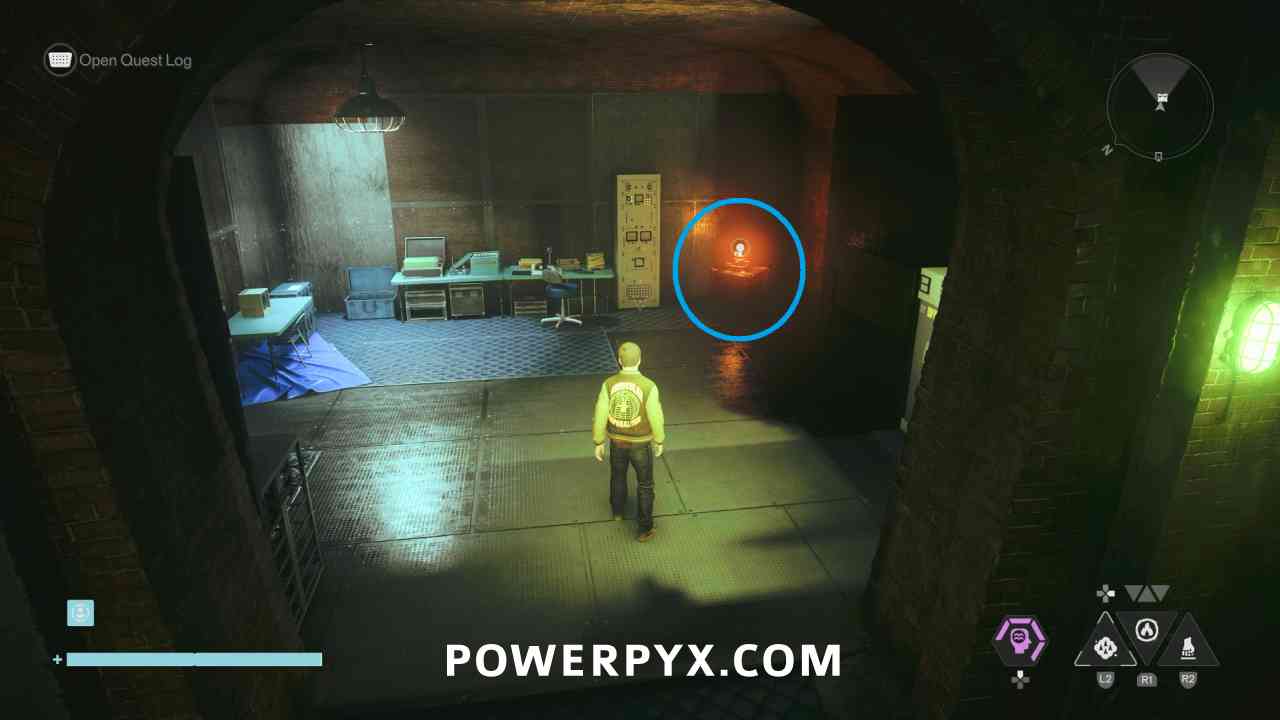
This area has 4 Charge cores, with 2 charges present. You need to interact with the switch (blue circle in below image) which starts a 60 second timer. During this time you need to keep moving the charges back and forth between the cores so that they don’t overload. The spot that currently has a charge is blue, and one that doesn’t have a charge is red. You need to keep moving the charges back and forth between the spots, grabbing them from a blue spot when it is blinking and putting it on a red spot when it is blinking. This seems a bit random, but you have around 15 seconds of total time on each spot before it forces you to restart, so you can keep grabbing from the blue spot that you placed second last and move it to a red spot, and you should be able to get through even though it seems like all spots are blinking quite fast.
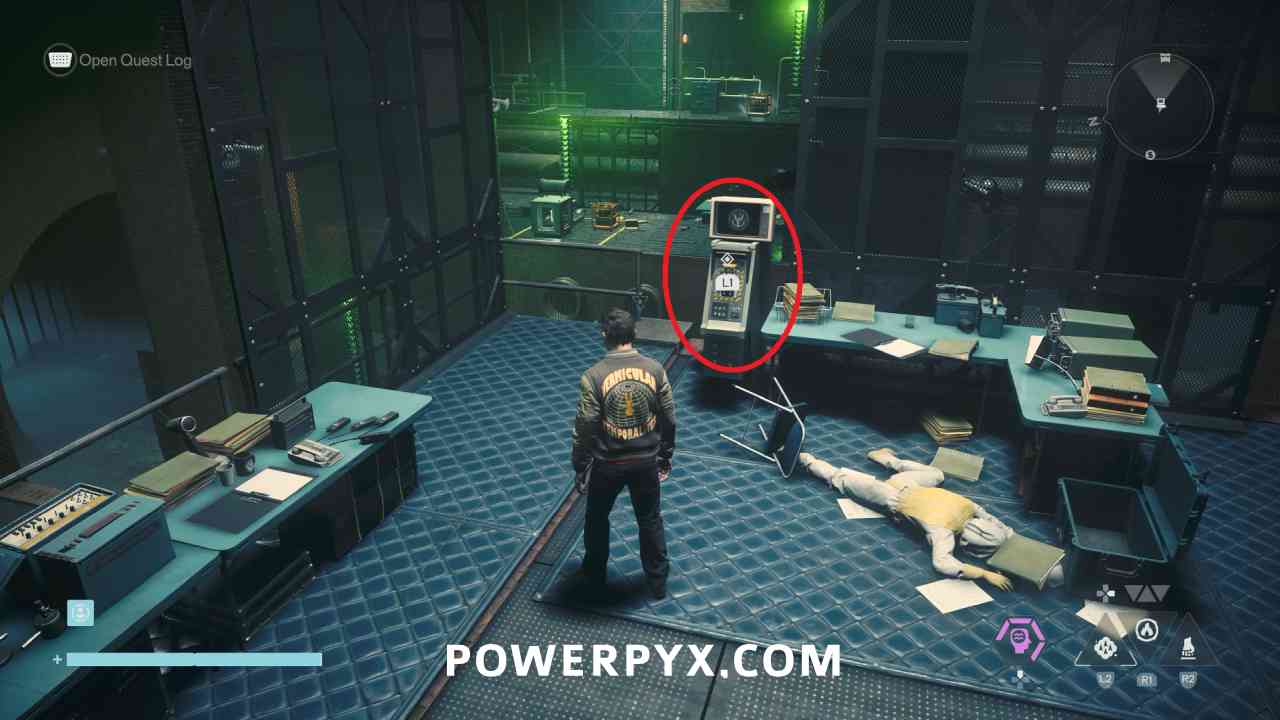
When you have correctly lasted for 60 seconds all the stations will turn green. Then go back up near the computer icon and interact with the switch. You can go to the unlocked door in the corner to collect a Power Upgrade crate.
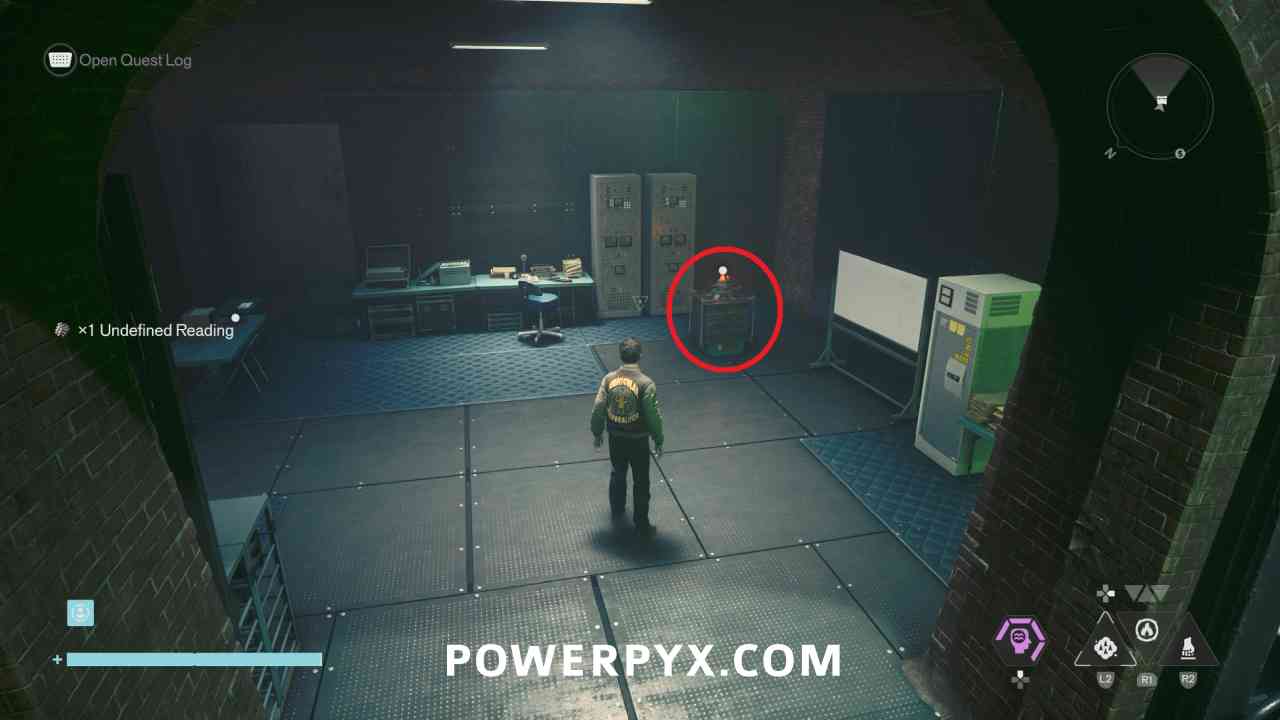
Testing Facility #3: Evacuation Zone
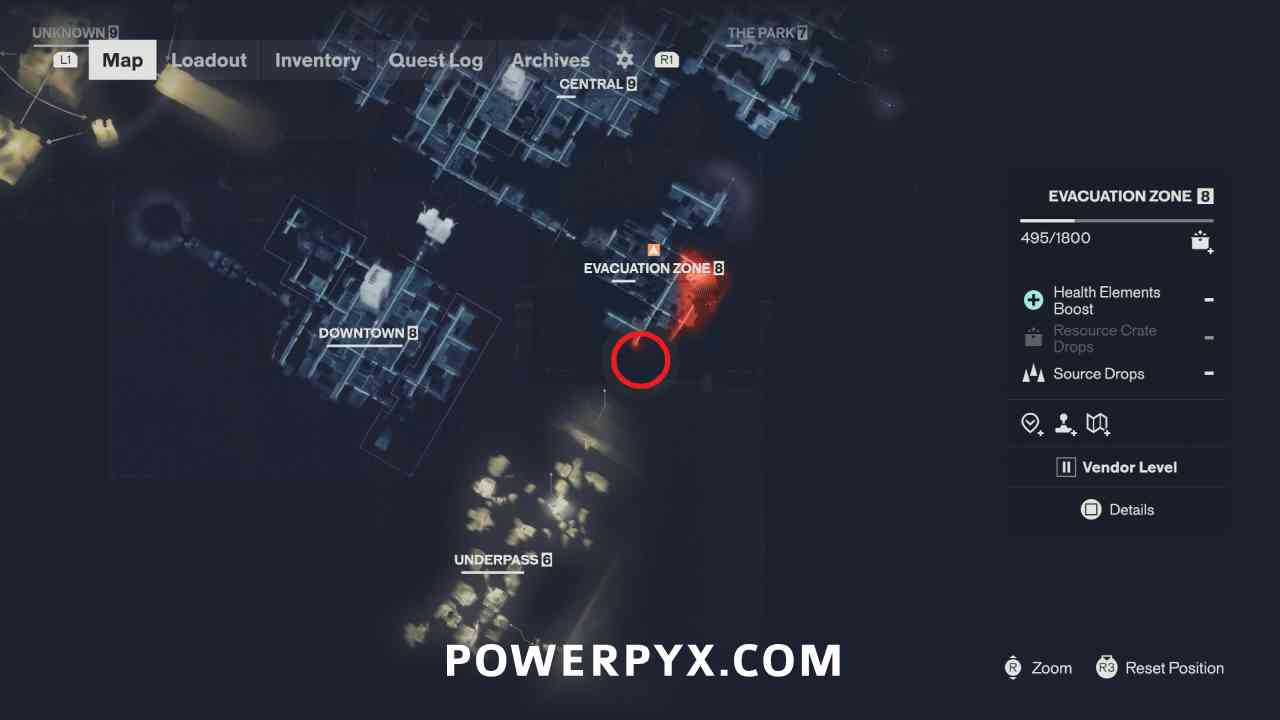
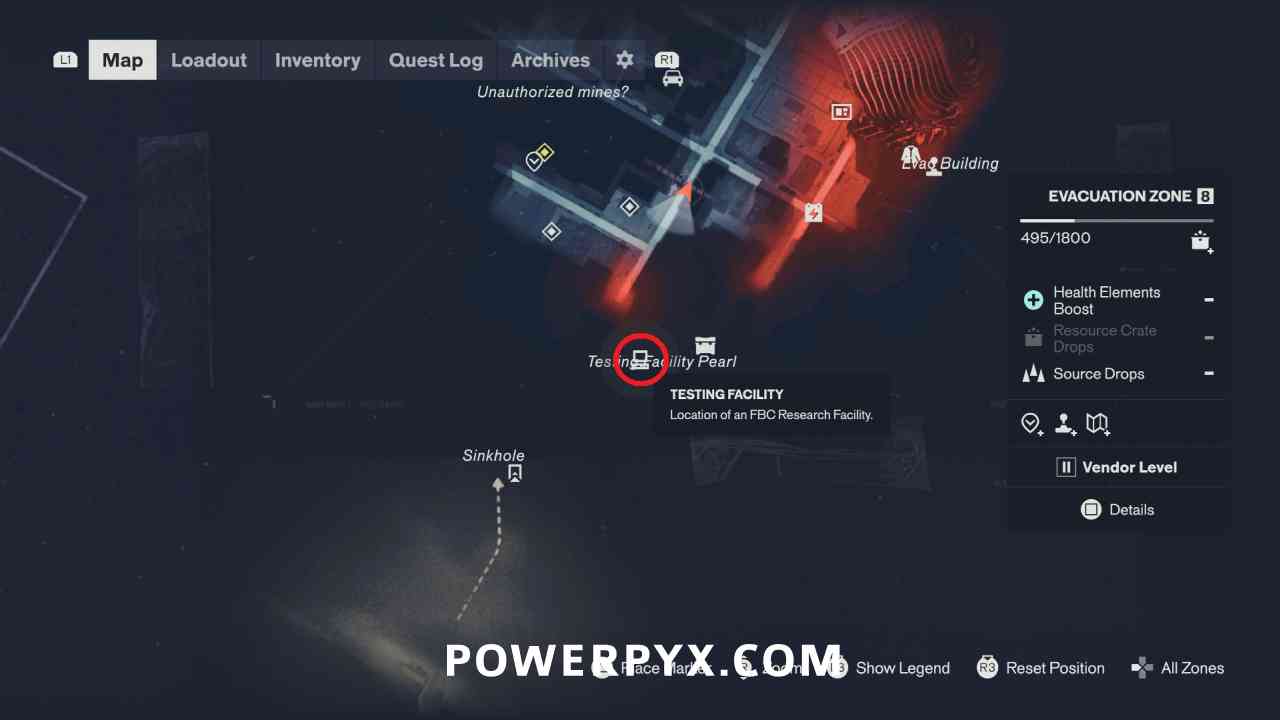
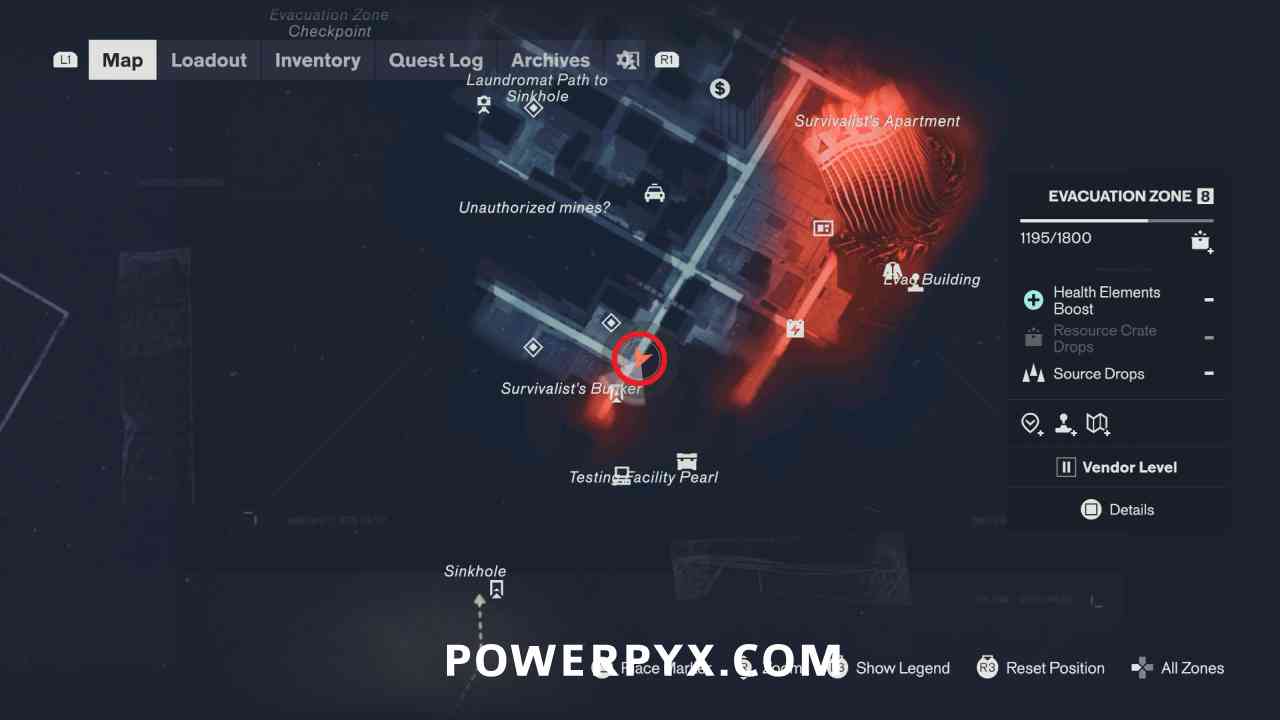
The Testing Facility in Evacuation Zone is reached through a pipe directly below the Survivalist’s Bunker fast travel door. This is reached first by going through the parking garage near the “Unauthorized mines?” map text.
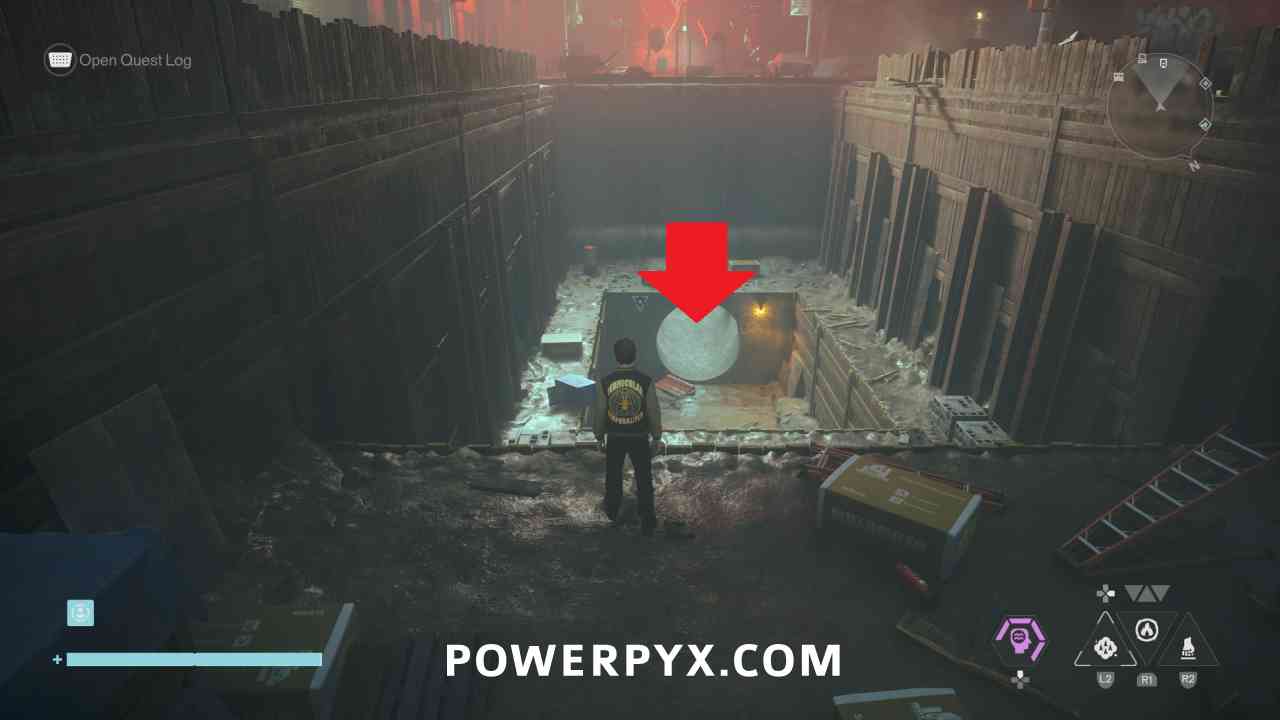
In this area there are 5 objects around the room, and you need to carry them to the squares (1 is upstairs, 4 downstairs in the corners). While carrying them when you cross the lines, the objects change what form they are. You need to place all objects inside the yellow squares while they are changed into soda machines.
The starting objects are randomized so the exact solution will be different for every player. But basically, you can brute force it by walking diagionally across the lines where they intersect until you eventually get the soda machine.
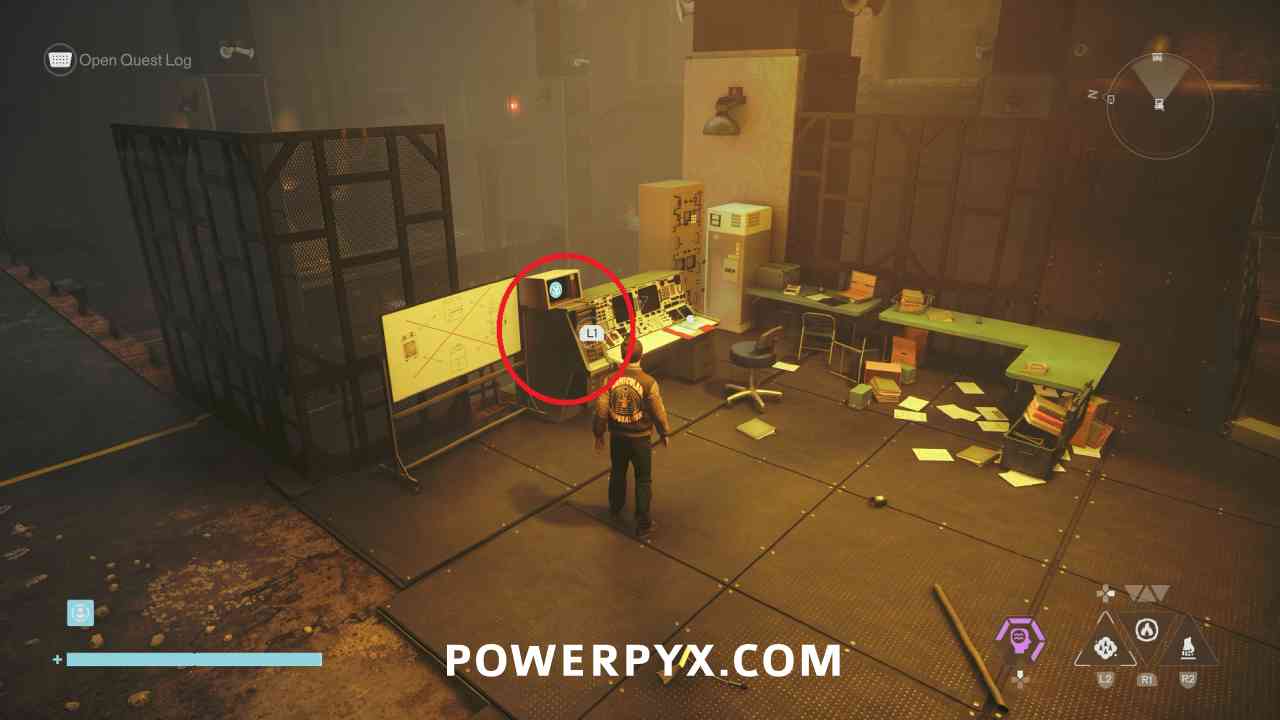
When you have placed all 5 soda machines (1 upstairs, 4 downstairs), go back up near the computer icon and interact with the switch. You can go to the unlocked door in the corner to collect a Power Upgrade crate.
Testing Facility #4: West Incursion Zone
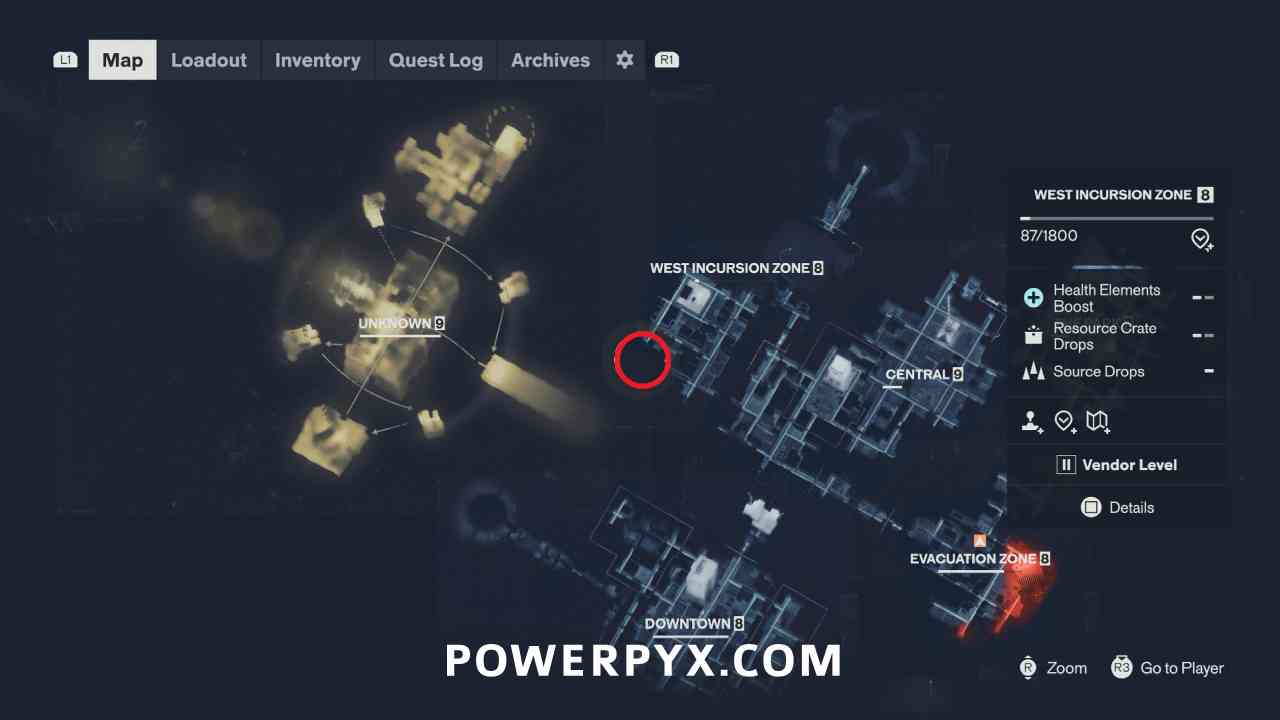
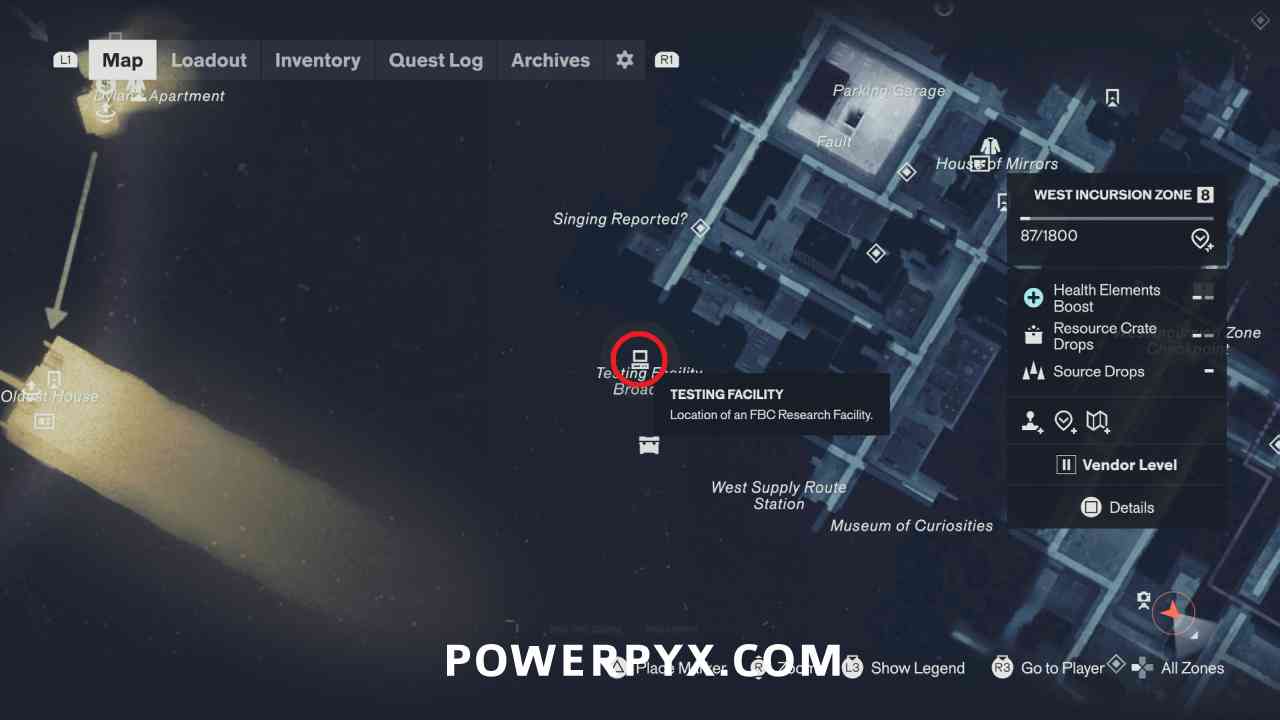
The Testing Facility in West Incursion Zone is reached through a pipe in a construction pit along the road in the center of the area.
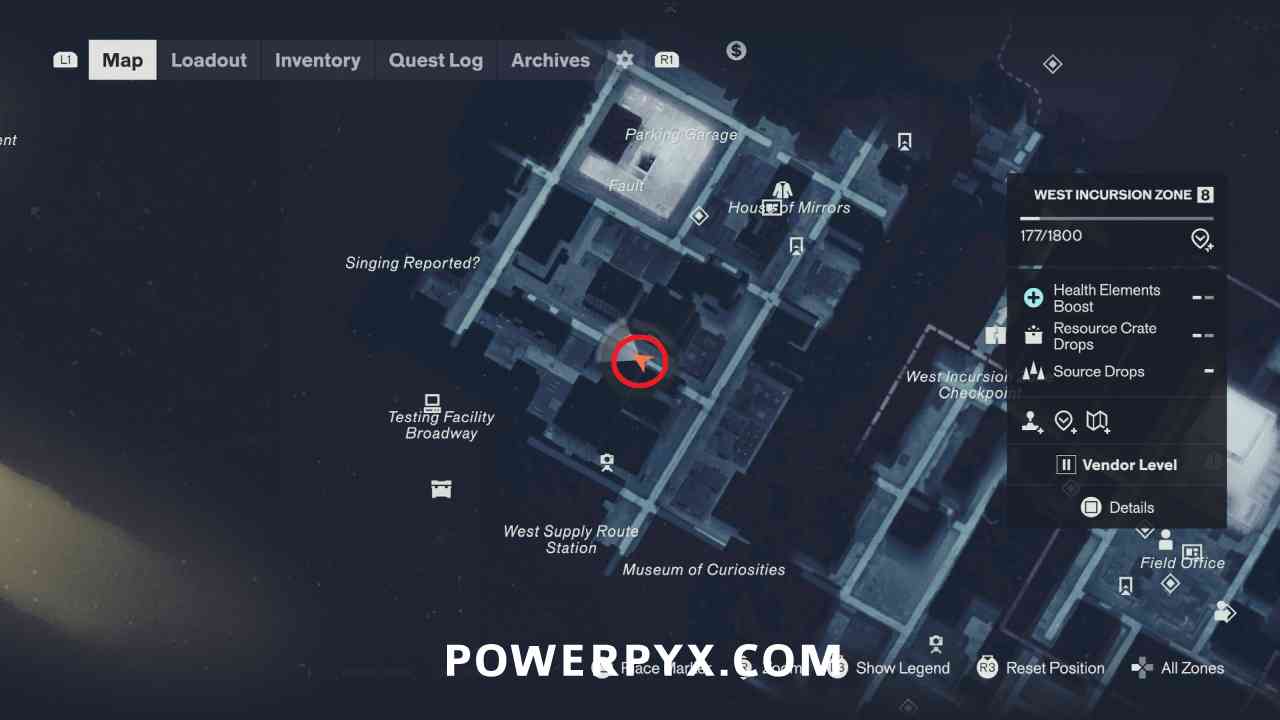
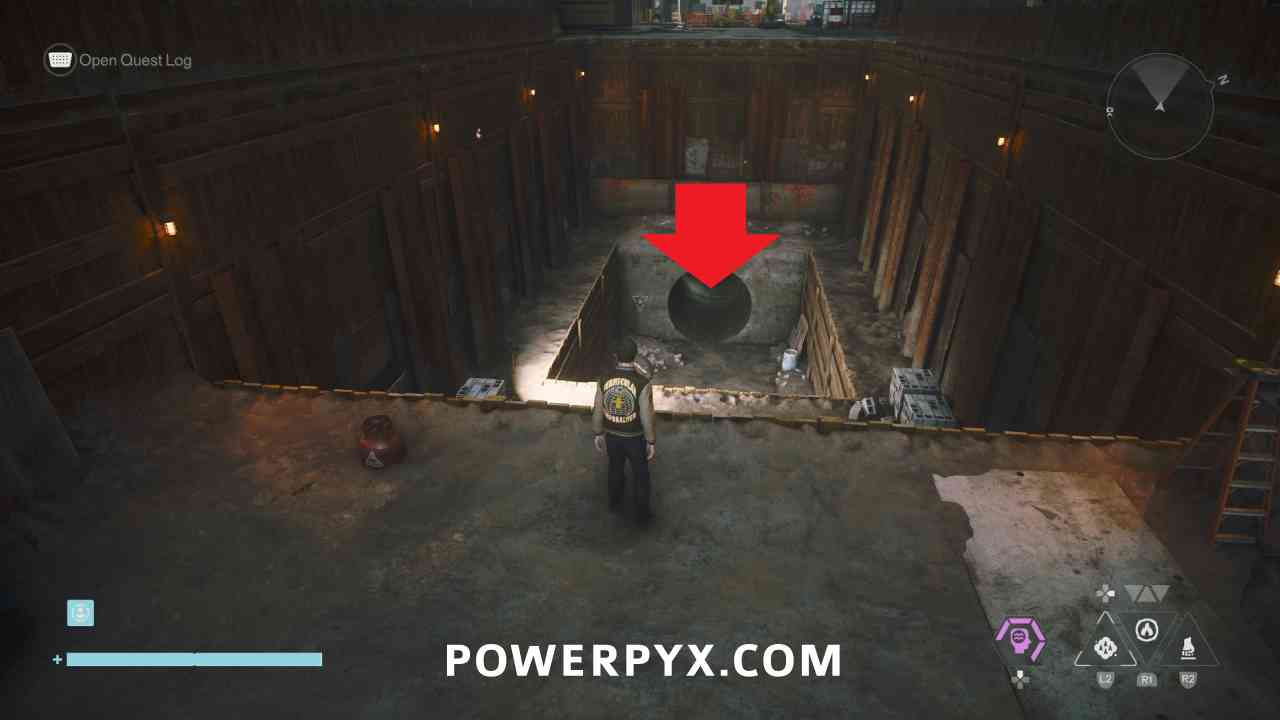
In this area there are 5 objects around the room, and you need to carry them to the squares in the middle. While carrying them when you cross the lines, the objects change what form they are. You need to place all objects in the middle of the room while they are changed into soda machines.
The starting objects are randomized so the exact solution will be different for every player. But basically, bring the objects to the middle and start walking over the lines until you are able to transform them into soda machines.
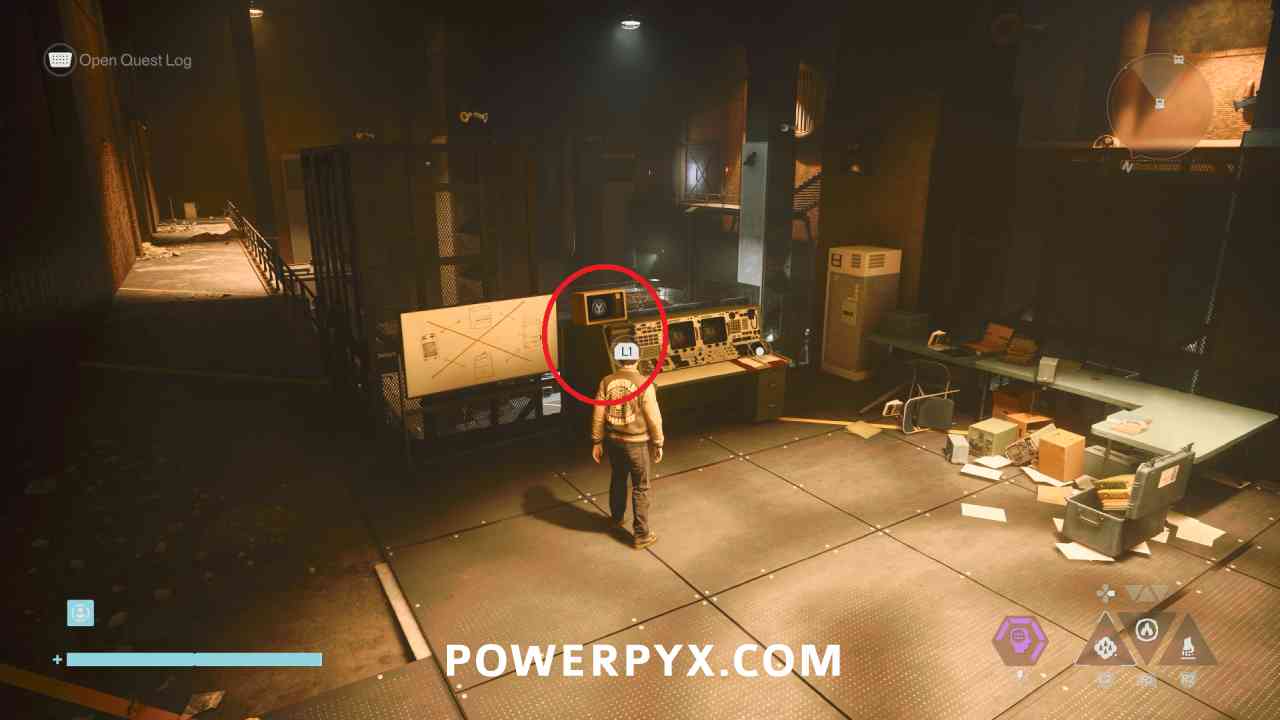
When you have placed all 5 soda machines in the middle, go back up near the computer icon and interact with the switch. You can go to the unlocked door in the corner to collect a Power Upgrade crate.
When you have correctly placed all soda machines, go back up near the computer icon and interact with the switch. You can go to the unlocked door in the corner to collect a Power Upgrade crate.
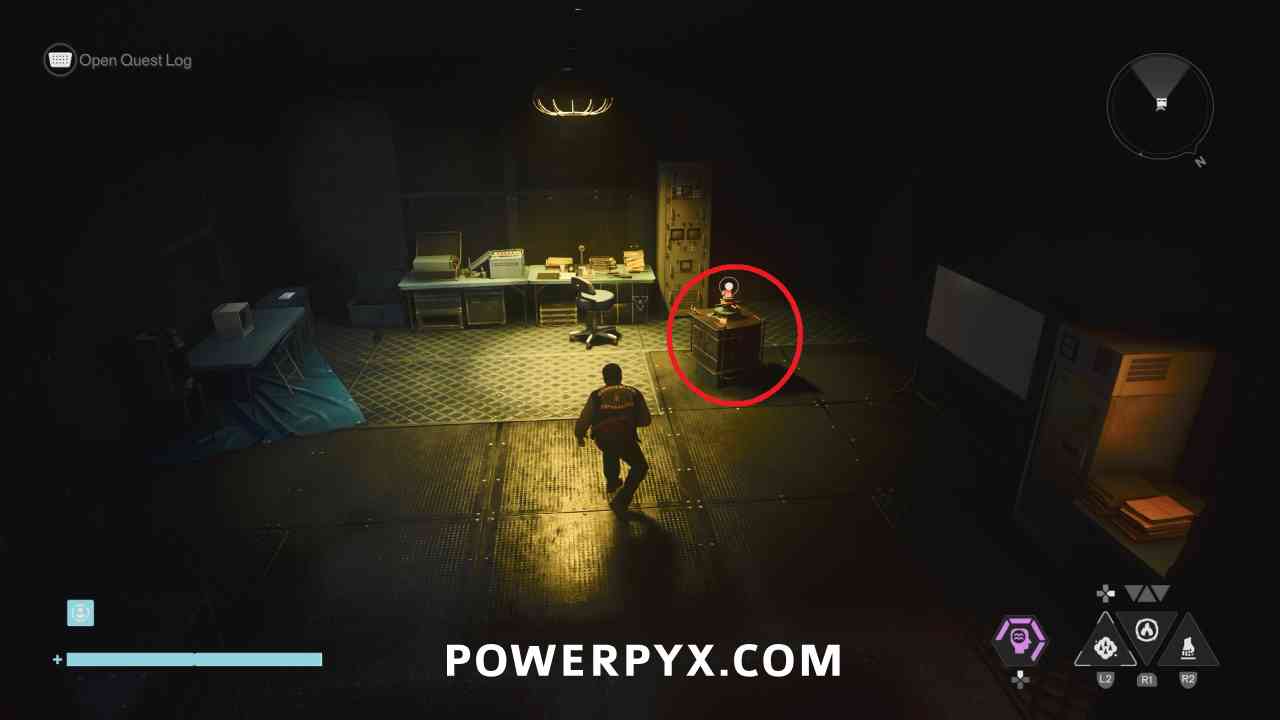
Testing Facility #5: Park
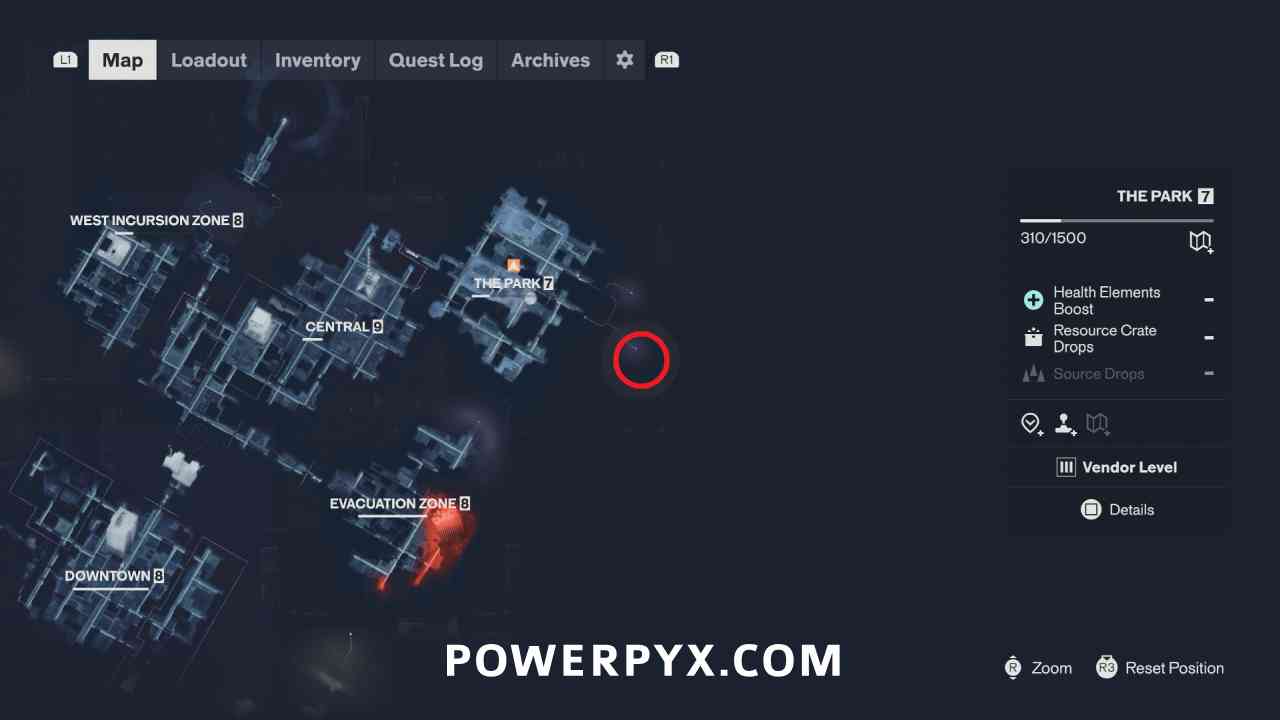
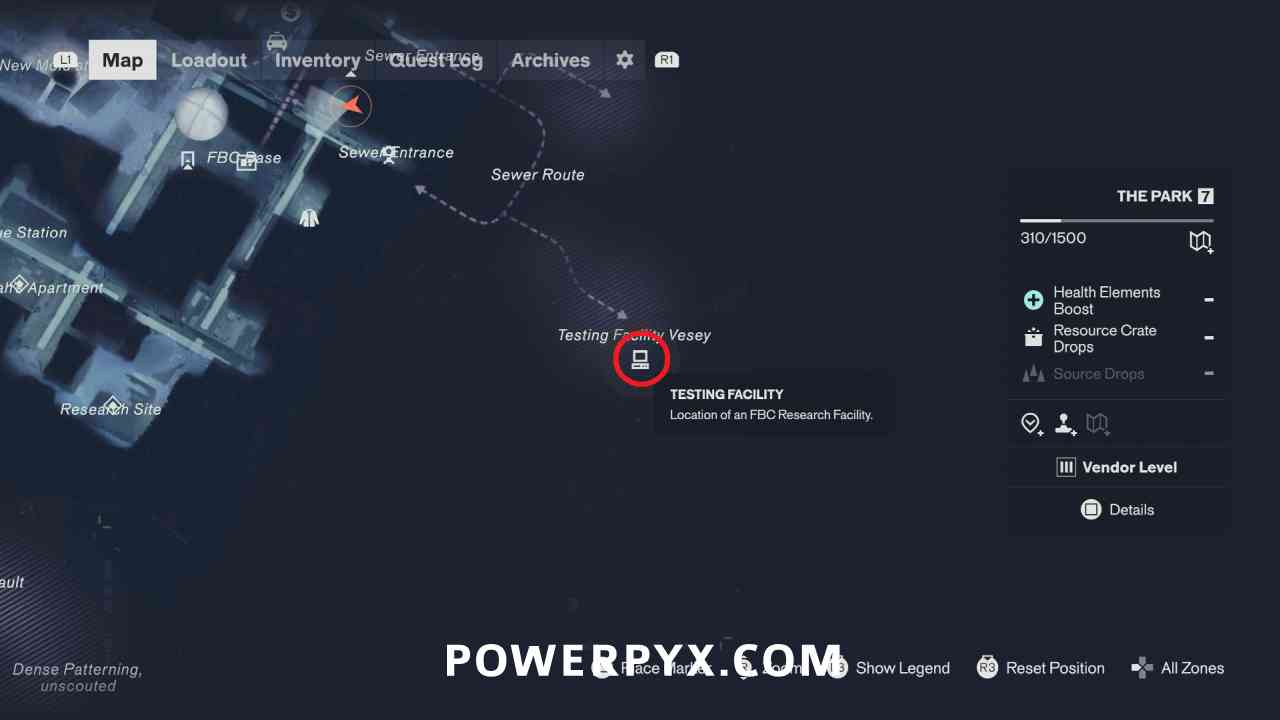
The Testing Facility in the Park is reached by going into the Sewer Route area on the east side of the Park. Follow the path to the southeast to reach the facility.
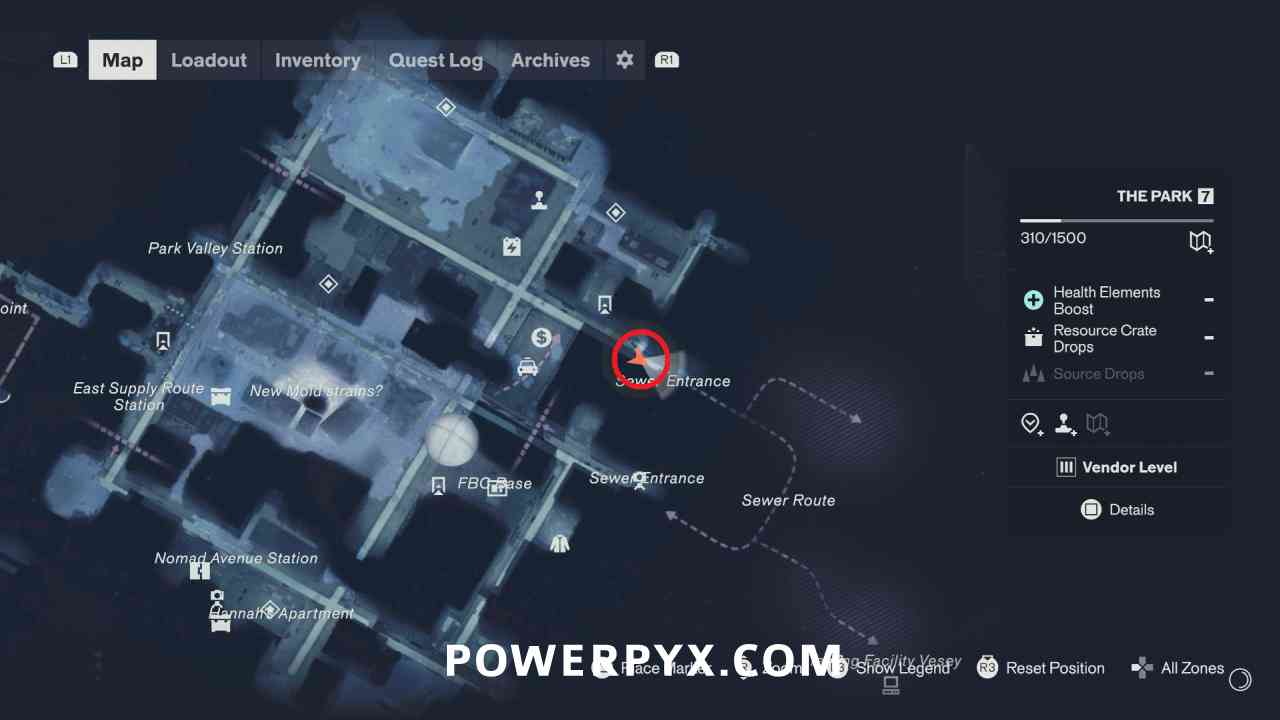
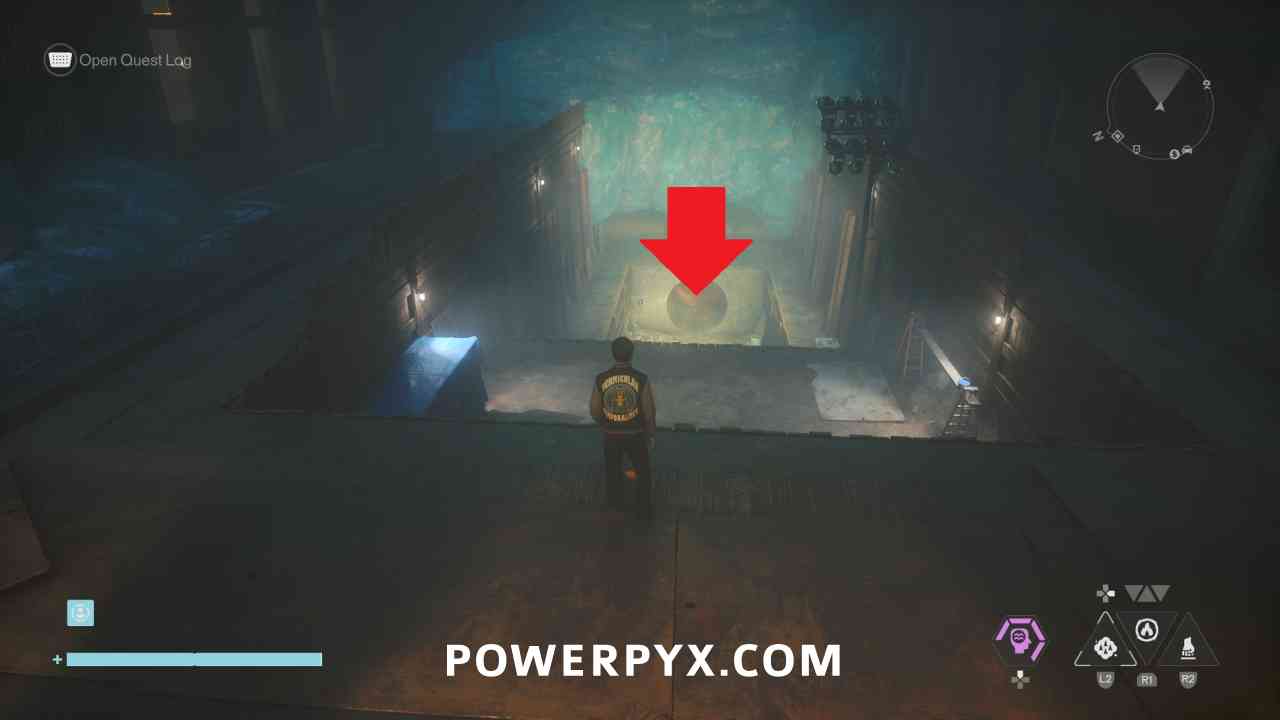
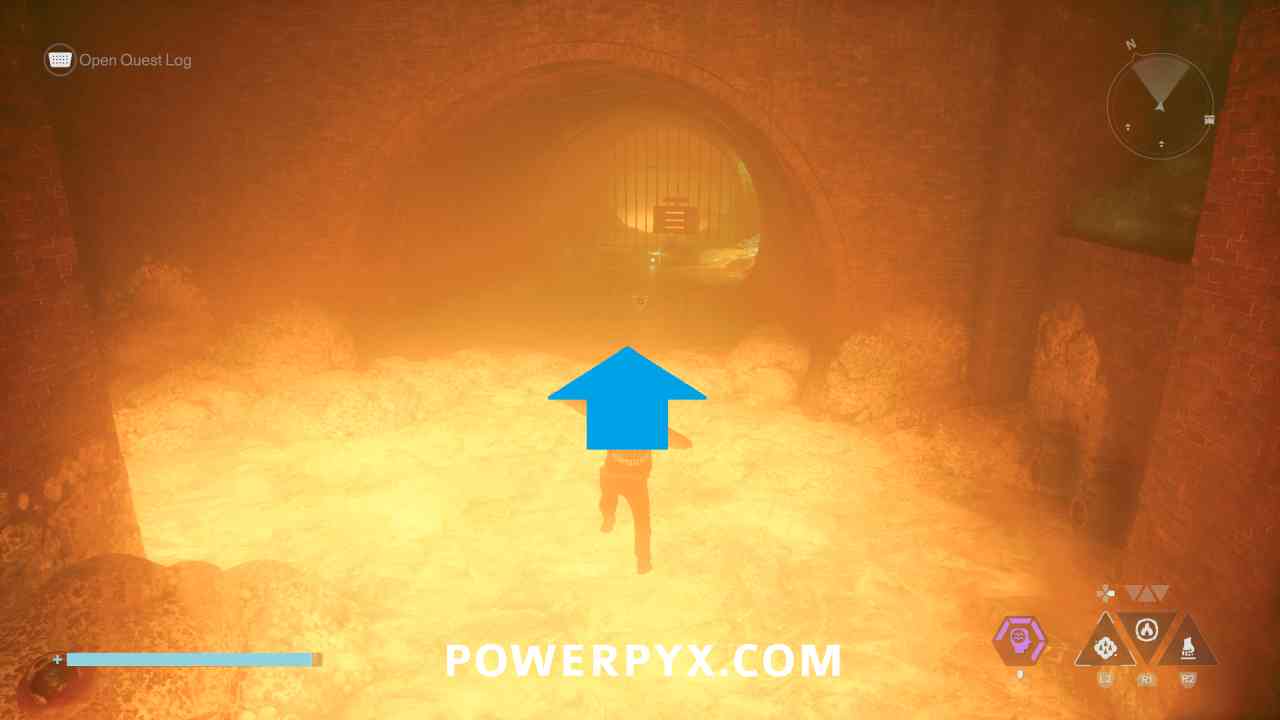
To reach the testing area progress to the “lava” room, then you need to jump to the path to the northeast that is on the same level as the lava to reach the testing area.
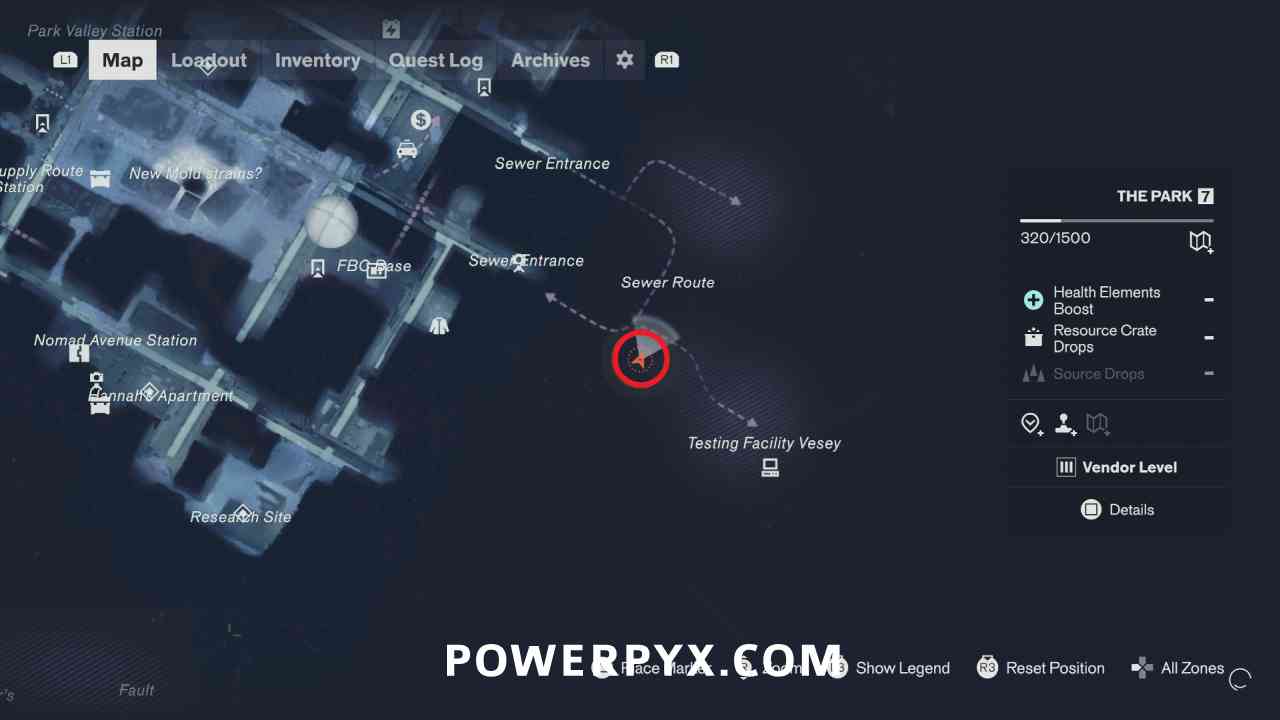
This is a charge puzzle like the area in Central, but this time there are 5 cores instead of 4. The way to solve the puzzle is the same though. You need to interact with the switch (blue circle) which starts a 60 second timer. During this time you need to keep moving the charges back and forth between the cores so that they don’t overload. The spot that currently has a charge is blue, and one that doesn’t have a charge is red. Grab the charge from a blue spot when it is blinking and put it on a red spot when it is blinking. This seems a bit random, but you have around 15 seconds of total time on each spot before it forces you to restart, so you can keep grabbing from the blue spot that you placed second last and move it to a red spot, and you should be able to get through even though it seems like all spots are blinking quite fast.
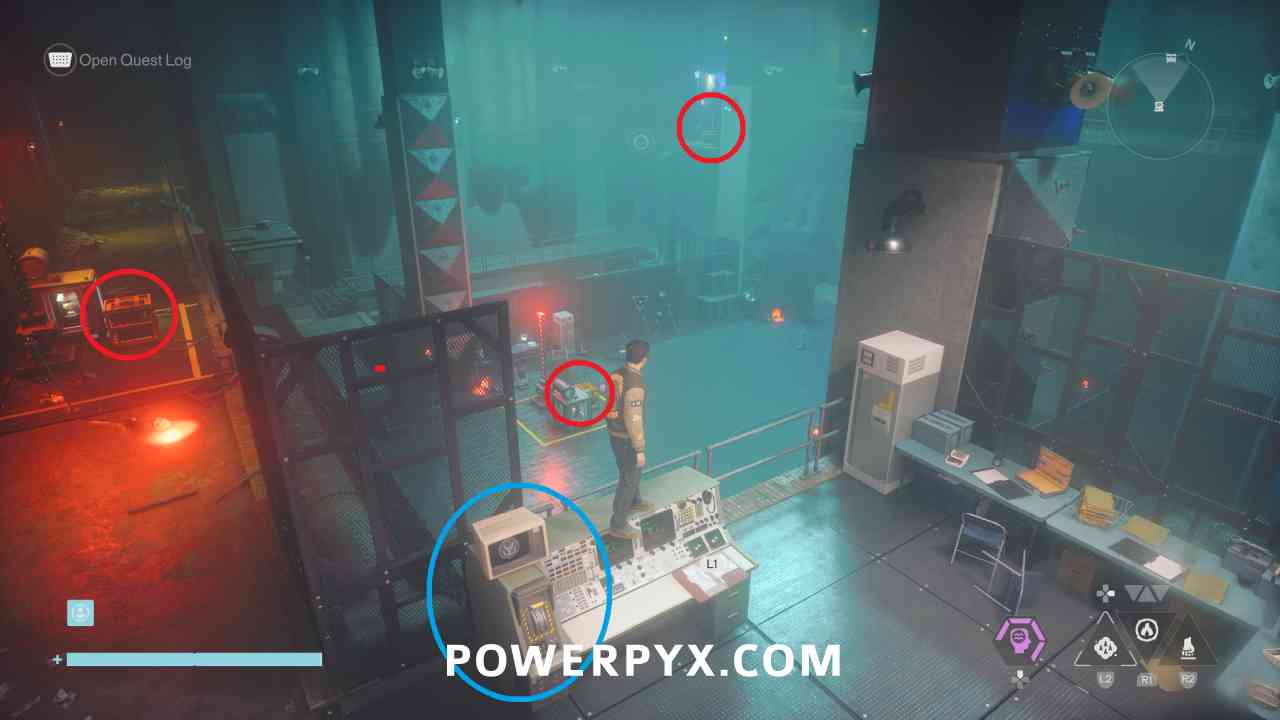
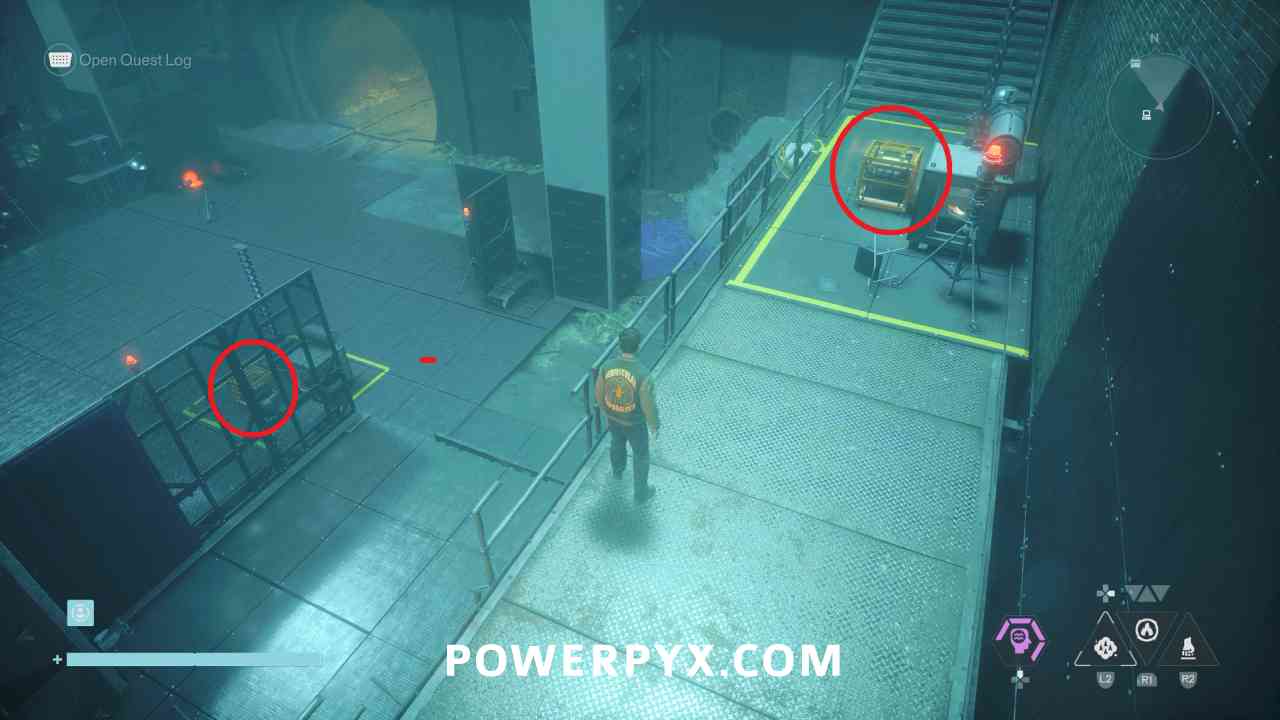
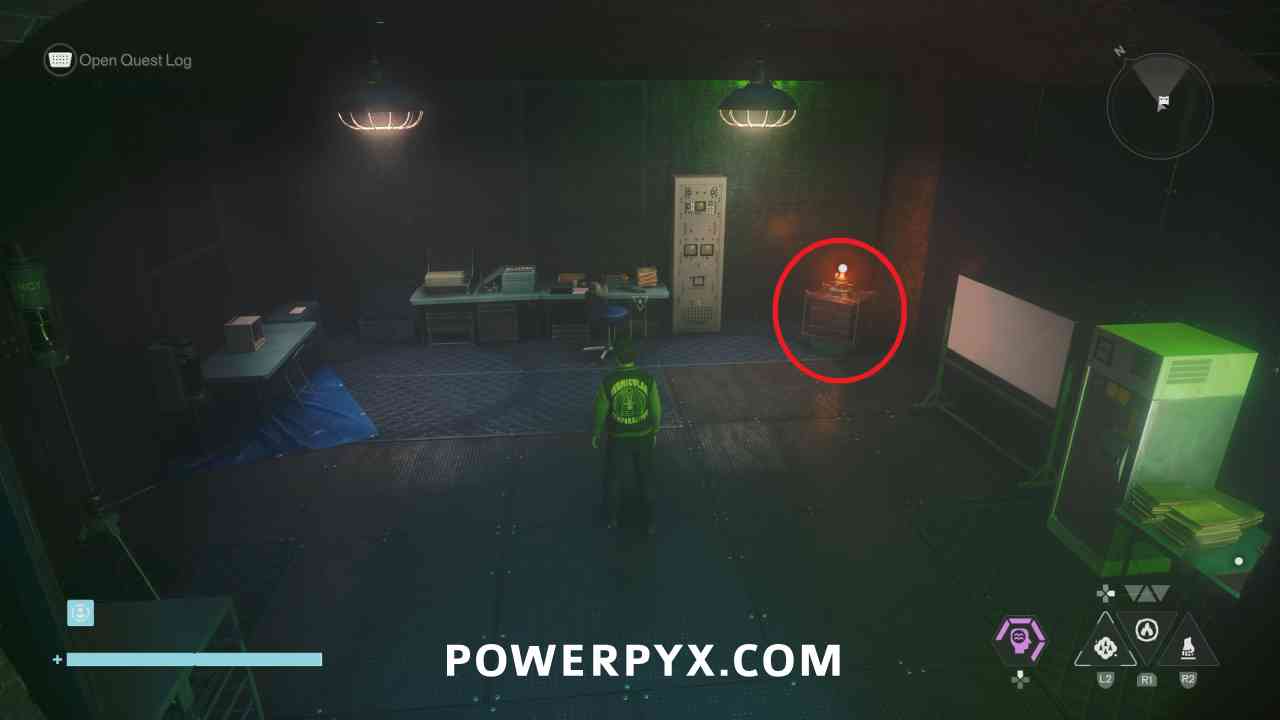
When you have correctly lasted for 60 seconds all the stations will turn green. Then go back up near the computer icon and interact with the switch. You can go to the unlocked door in the corner to collect a Power Upgrade crate.
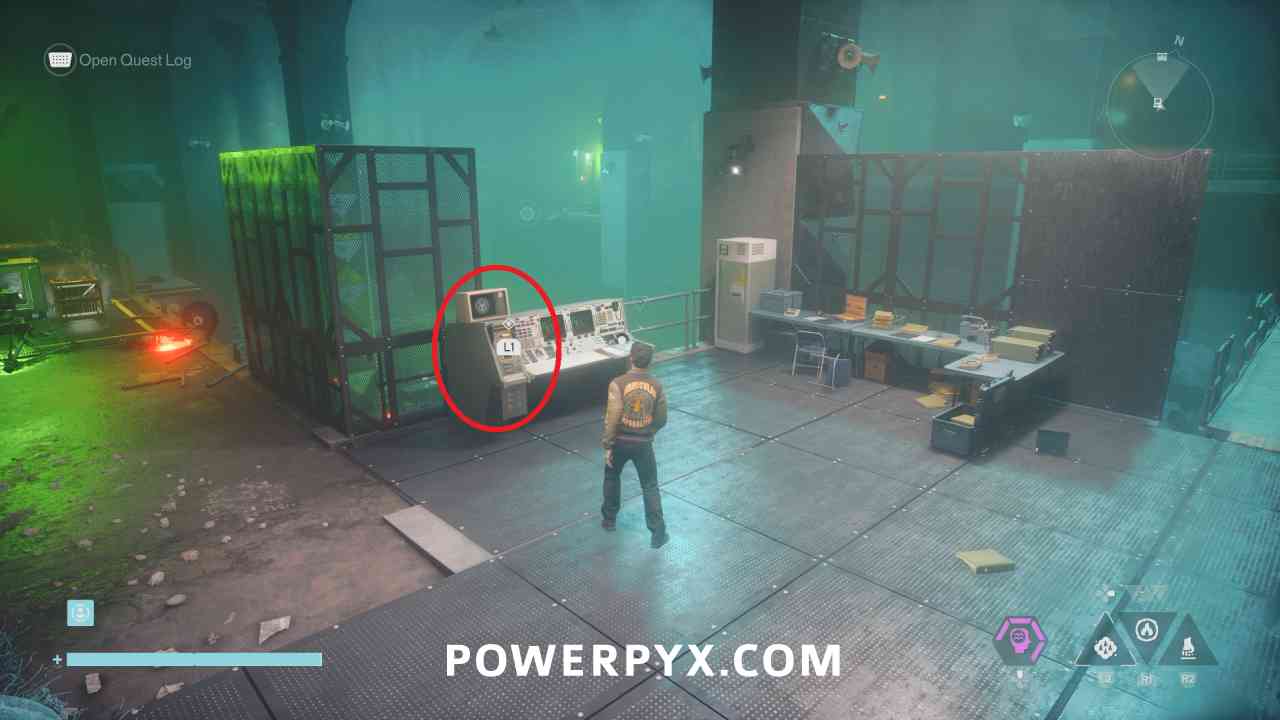
Testing Facility #6: Unknown
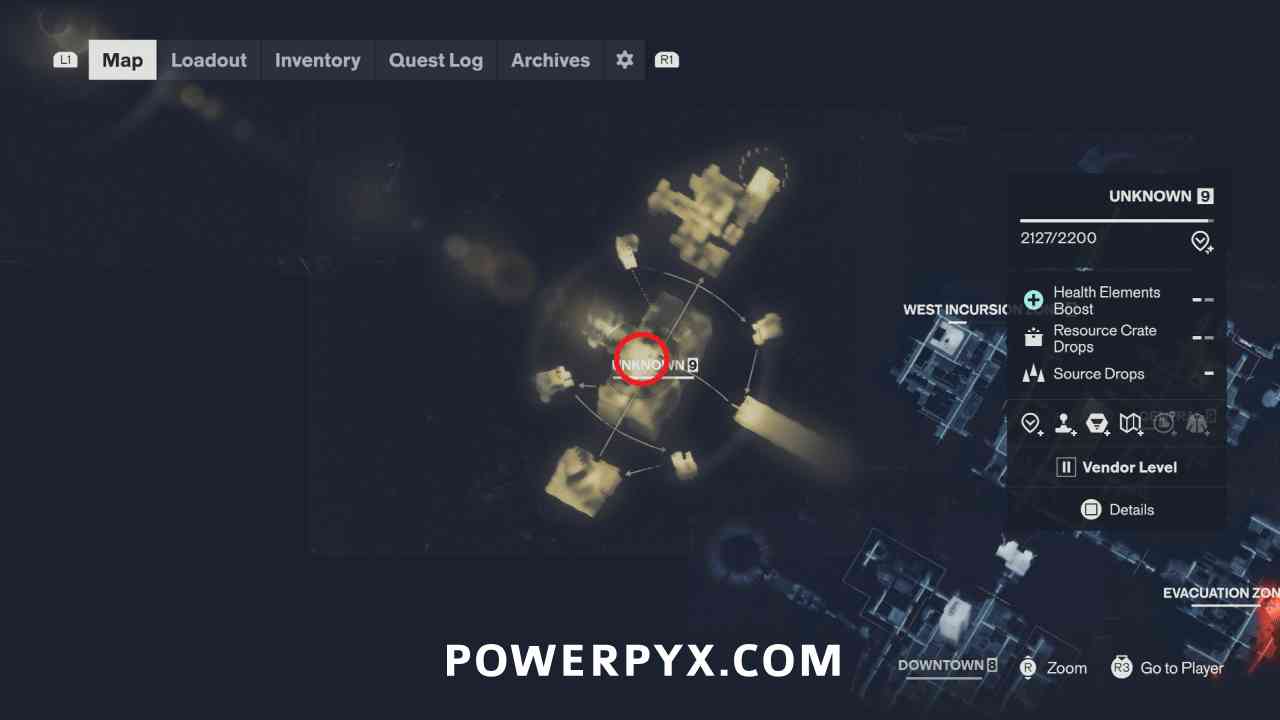
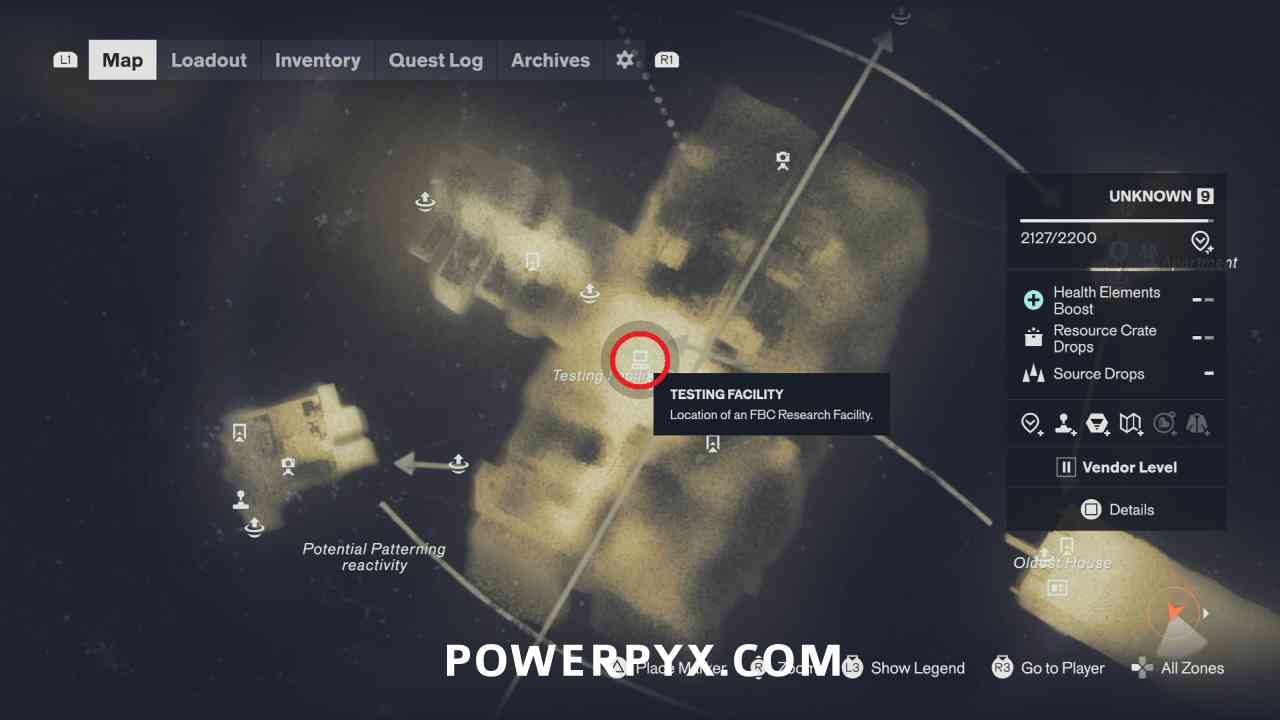
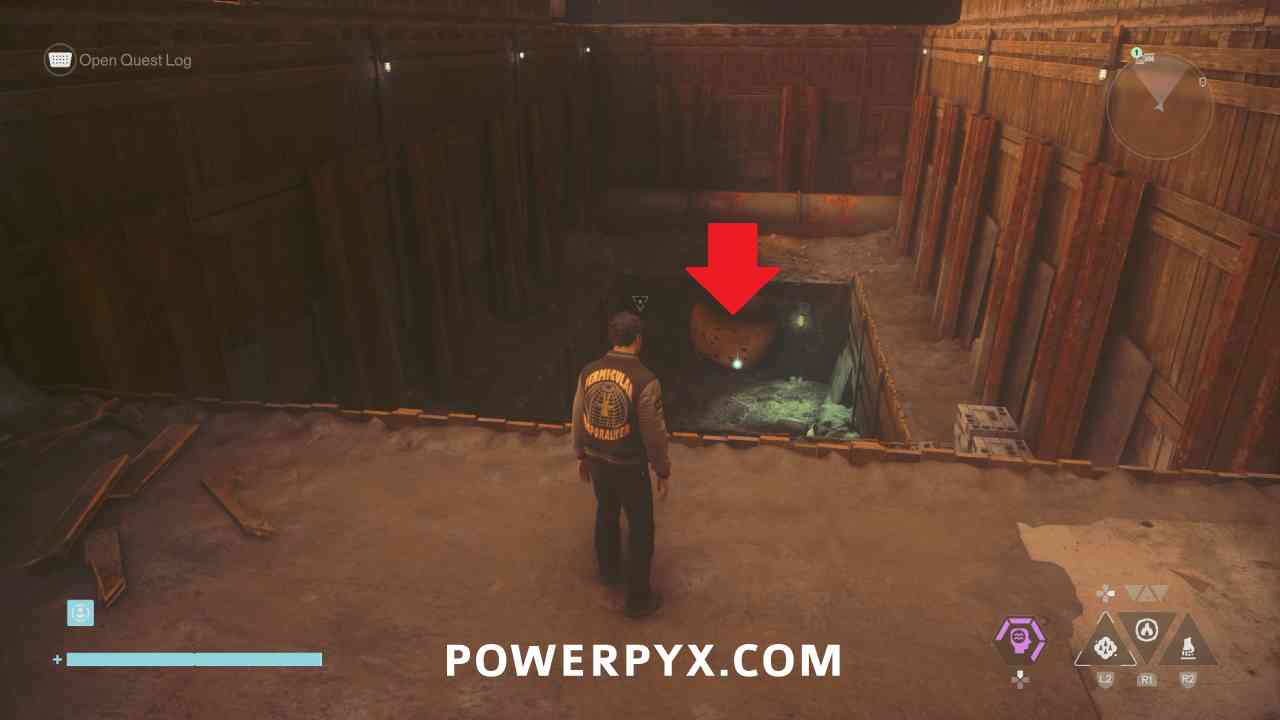
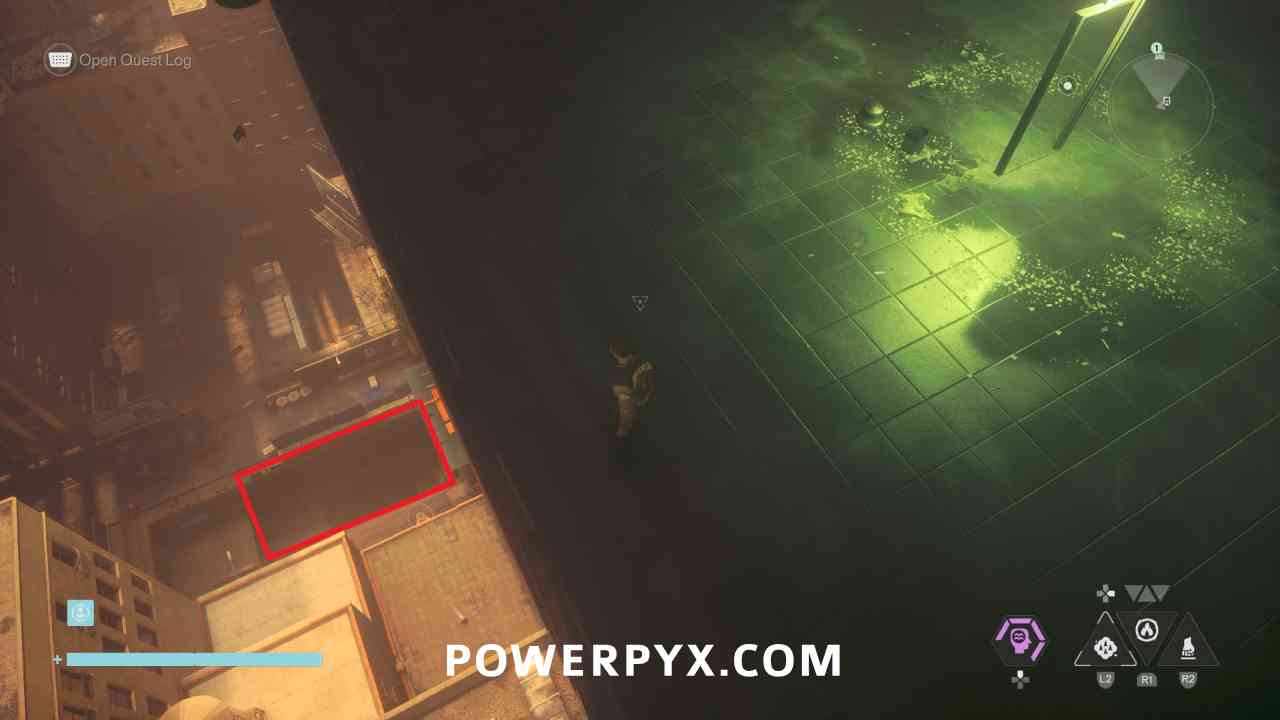
The Testing Facility in Unknown is reached through a pipe in a construction pit on the “ground” part of Unknown, west of the Twisted Rooftops fast travel door.
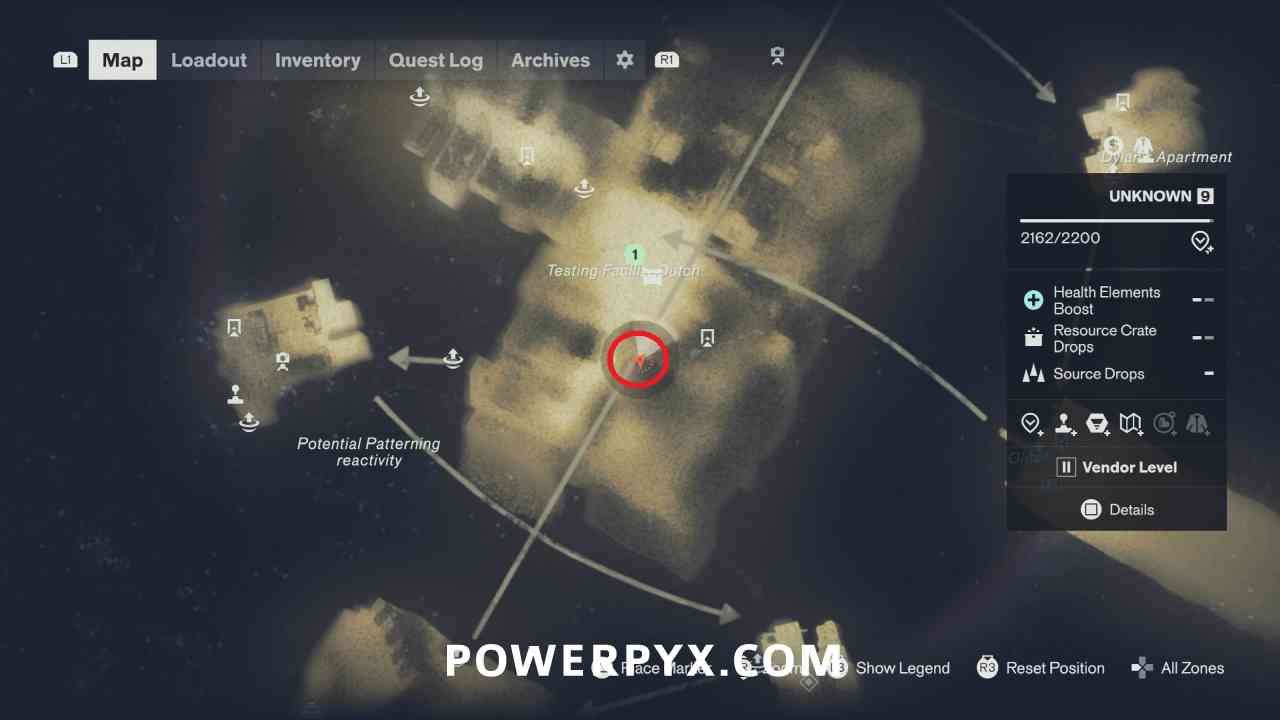
This is also a charge puzzle, with 5 cores like the one in The Park. The way to solve the puzzle is the same. You need to interact with the switch (blue circle) which starts a 60 second timer. During this time you need to keep moving the charges back and forth between the cores so that they don’t overload. The spot that currently has a charge is blue, and one that doesn’t have a charge is red. You need to keep moving the charges back and forth between the spots, grabbing them from a blue spot when it is blinking and putting them on a red spot when it is blinking. This seems a bit random, but you have around 15 seconds of total time on each spot before it forces you to restart, so you can keep grabbing from the blue spot that you placed second last and move it to a red spot, and you should be able to get through even though it seems like all spots are blinking quite fast.
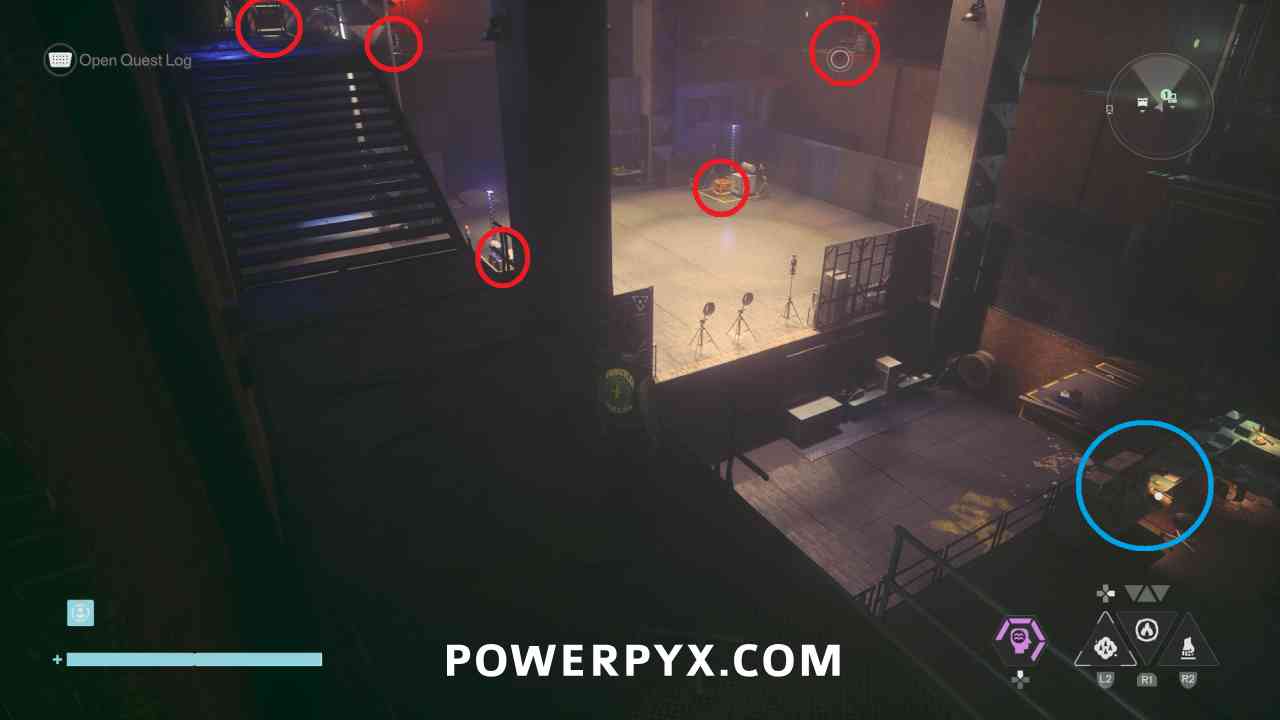
Then you have correctly lasted for 60 seconds all the stations will turn green. Then go back up near the computer icon and interact with the switch. You can go to the unlocked door to the left of the switch to collect a Power Upgrade crate.
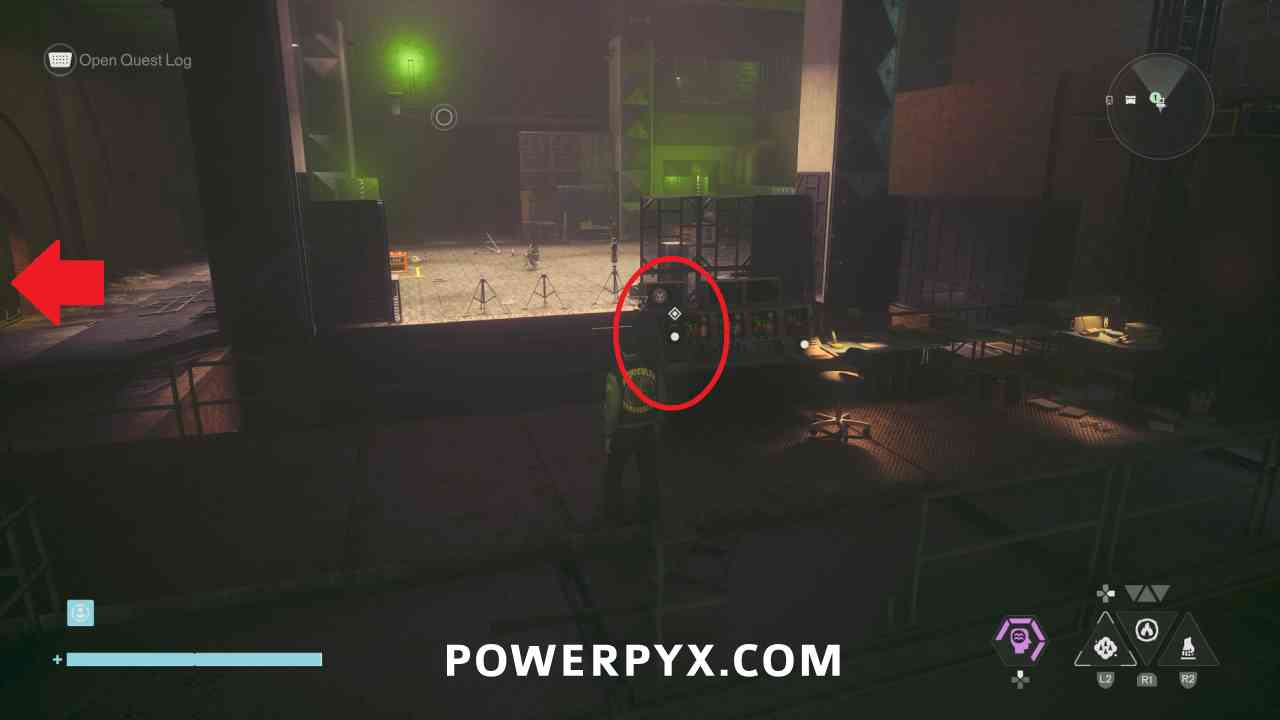
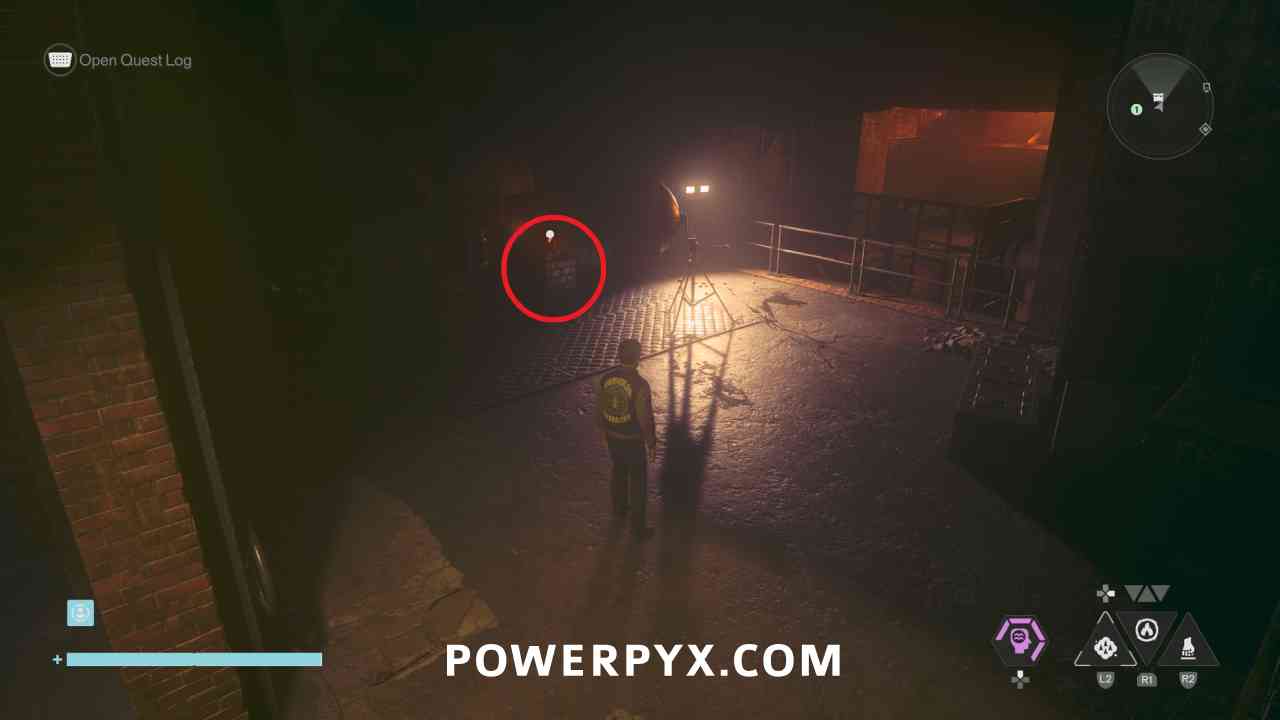
Go Into the Threshold
After deactivating all 6 test sites, you can return to the test site in Unknown if that wasn’t the last one you completed. In the room with the Power Upgrade crate you can interact with the switch to open a door ahead of you.
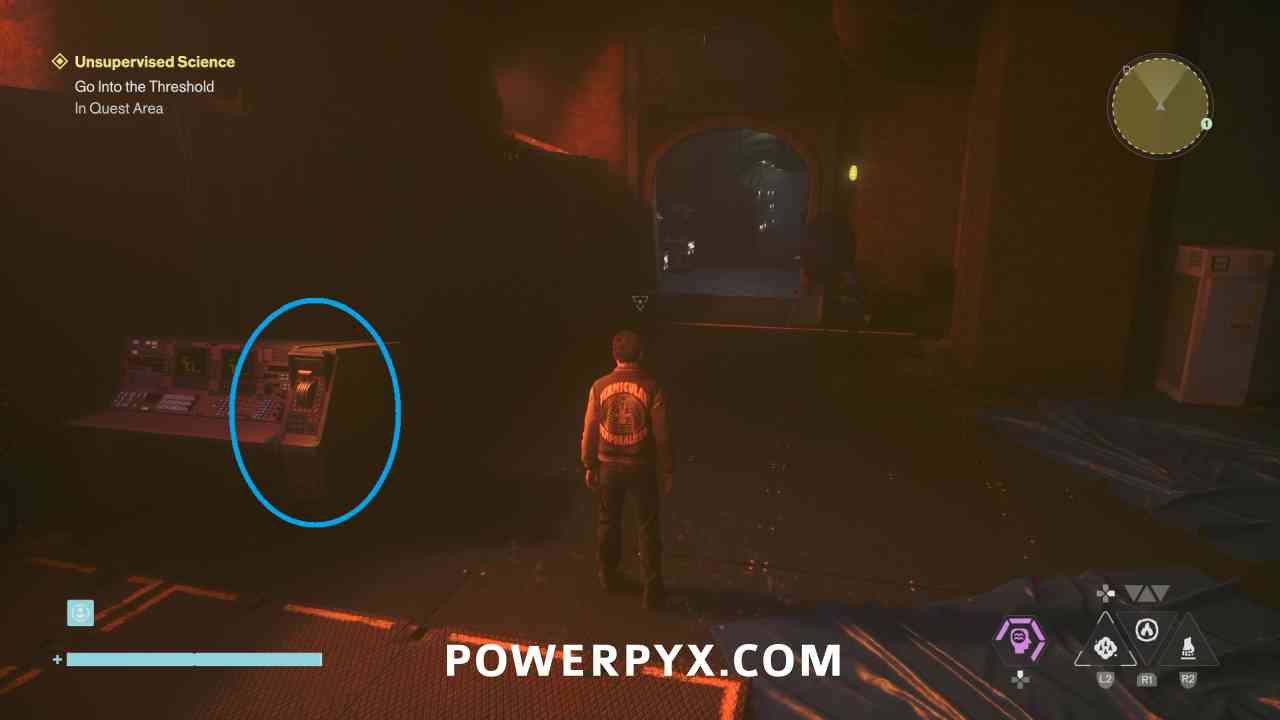
Follow the path straight to the dead end where you can pick up a recording beside a dead body, which completes this mission.
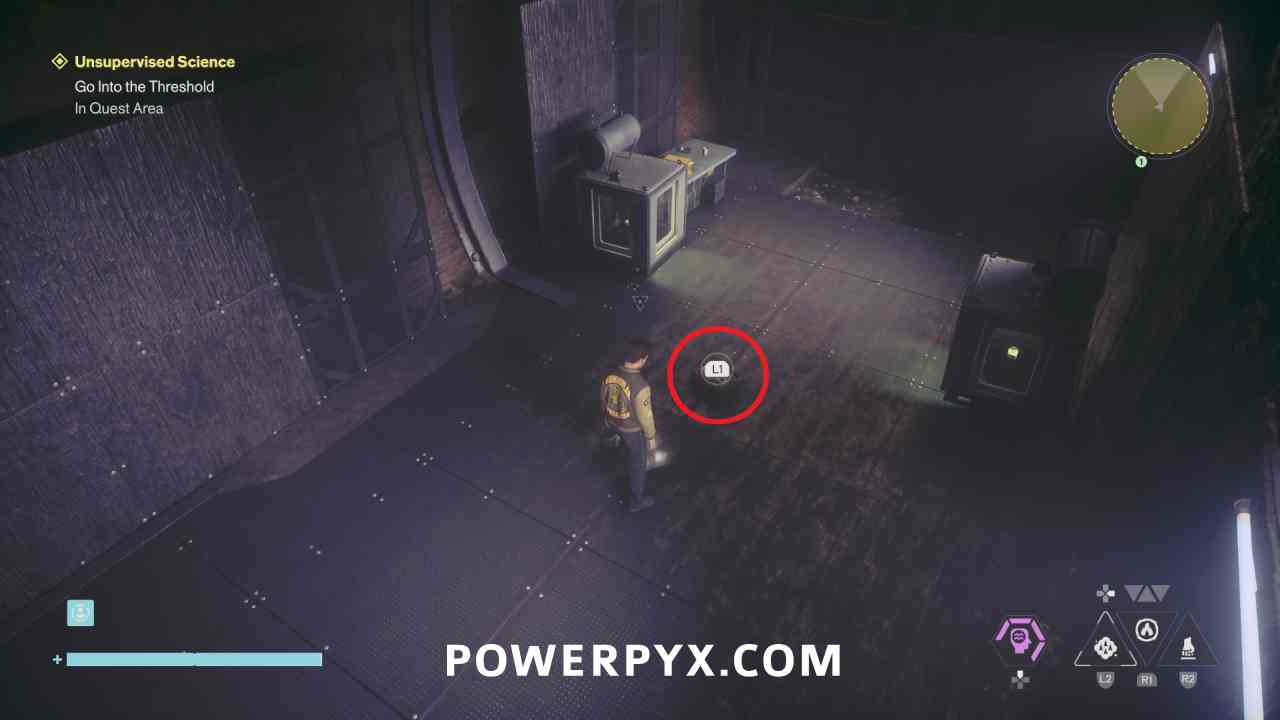
This finishes the Unsupervised Science side quest in Control Resonant.
For all other Quests refer to Control Resonant Walkthrough.
Leave a Reply