PowerPyx.com

PowerPyx

  • Trophy Guides
  • Game Guides
  • Wikis
  • Trophy Lists
  • Next Guides
  • Contact
Show SearchHide Search
Home » Trophy Guides » Ghost of Yotei: Echoes of Sekigahara DLC Trophy Guide & Roadmap

Ghost of Yotei: Echoes of Sekigahara DLC Trophy Guide & Roadmap

October 4, 2026 by Darth_Krid Leave a Comment

Ghost of Yotei: Echoes of Sekigahara DLC Trophy Roadmap

  • Estimated trophy difficulty: 3/10
  • Approximate amount of time to 100%: 6-8 hours
  • Offline Trophies: 0 (0trophy, 0trophy, 0trophy, 12trophy)
  • Online Trophies: 0
  • Number of missable trophies: 0
  • Glitched trophies: 0
  • Does difficulty affect trophies?: No, can do everything on the easiest difficulty “Casual”. Can also use all accessibility features.
  • Hardest Trophy: trophy No More Snakes
  • Minimum Playthroughs: 1
  • Free-Roam after Story?: Yes, can do everything after the story in free-roam.
  • Supports Manual Saves?: Yes, 10 manual Save Slots
  • Release Date: October 01, 2026

Introduction

Welcome to the Ghost of Yotei Echoes of Sekigahara DLC Trophy Guide! This is a new story expansion that takes place toward the end of the main story, in a new area of the map called Ashoro Foothills. It features 7 Main Tales, a Mythic Tale, new Bounties and a sprinkling of the activities you can find in the main game (Altars of Reflection, Bamboo Strikes etc.). The area is smaller than any of the major areas in the main story and it shouldn’t take you more than 6-8 hours to finish everything.

How to Start Echoes of Sekigahara DLC

To access the DLC, you need to have killed the Oni and the Kitsune in the main story (and to complete the DLC to 100% you’ll need to have reached Oshima Coast), at which point a gold Snake icon will be marked on your map named ‘Echoes of Sekigahara’. Go to any Bounty Board and select ‘Nagato the Handsome’ to begin. This will open up the path to the new area.

Step 1: Finish the story [4-5 Hours]

Enjoy the Echoes of Sekigahara story, which comprises of 6 Tales (one more is unlocked later in Step 3). As you explore the map, feel free to finish any of the side content as you go along, as you’ll need to do a lot of it later anyway for the rest of the trophies.

Step 2: Mythic Tale, Side Tale, Bounties & Clearing Viper Storehouses [1-2 Hours]

Either during Step 1 or after, complete ‘The Wolf’s Chosen’ Mythic Tale, the ‘A Mother’s Love’ Side Tale and complete all the new bounties from the board that you can access from the Ashoro Springs area’s hub. Make sure to also clear up the 4 Viper Storehouses and liberate the Dye Merchant. Try not to spend any of the Viper Rations you obtain from enemies and the Storehouses on things like armour upgrades until you’ve bought all Dye Trade Routes, although you’ll likely end up with a surplus anyway.

Step 3: Final Mission & Miscellaneous [1 Hour]

After completing the main story and all the new bounties, return to Ashoro Springs and speak to Kojiro to start the final Main Tale, ‘The Nature of War’ (or it will start automatically after the previous story quest if you already did all of the bounties). This will unlock trophy No More Snakes. If you have any other trophies remaining, you can quickly mop them up now.

Ghost of Yotei Echoes of Sekigahara DLC Trophy Guide

Main Game & other DLC Guides:
Ghost of Yotei (Main Game) Trophy Guide & Roadmap
Legends DLC

You Are My Ghost
Learn from what might have been.
Story-related, cannot be missed. Unlocks after completing the ‘Dream’s End’ mission.
Food for the People
Secure all Viper Storehouses for the people of Ashoro Springs.
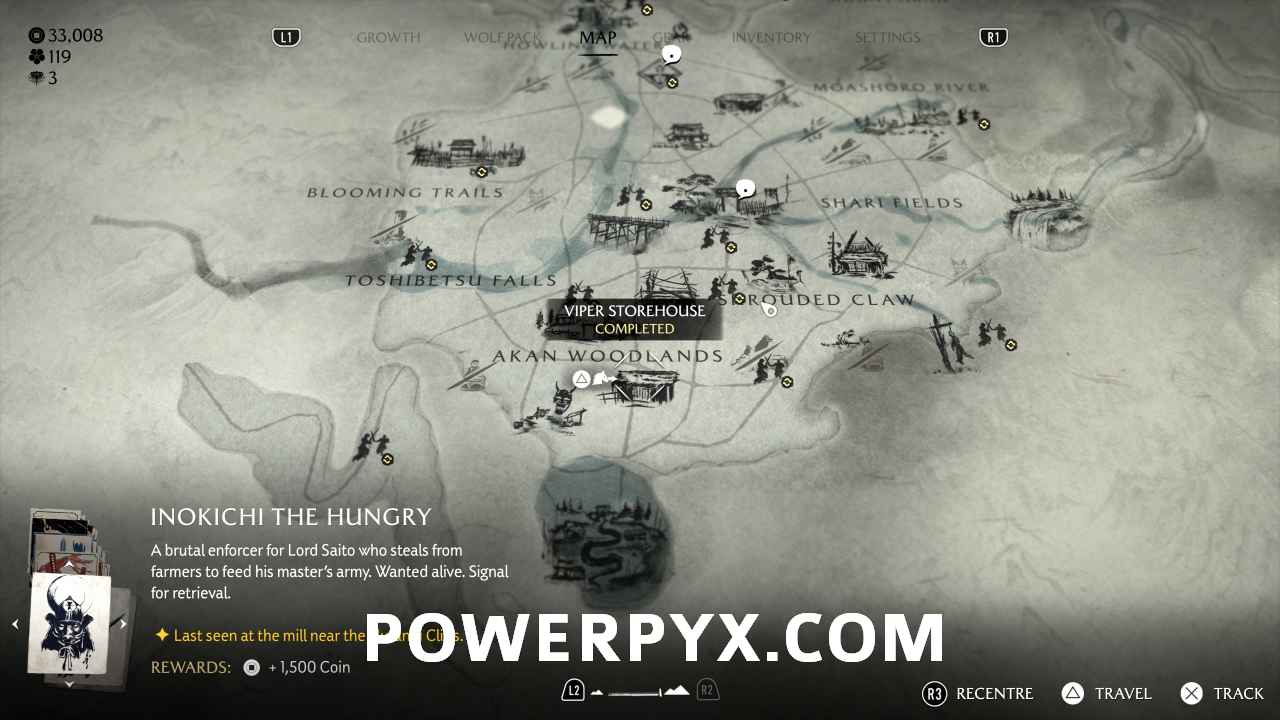
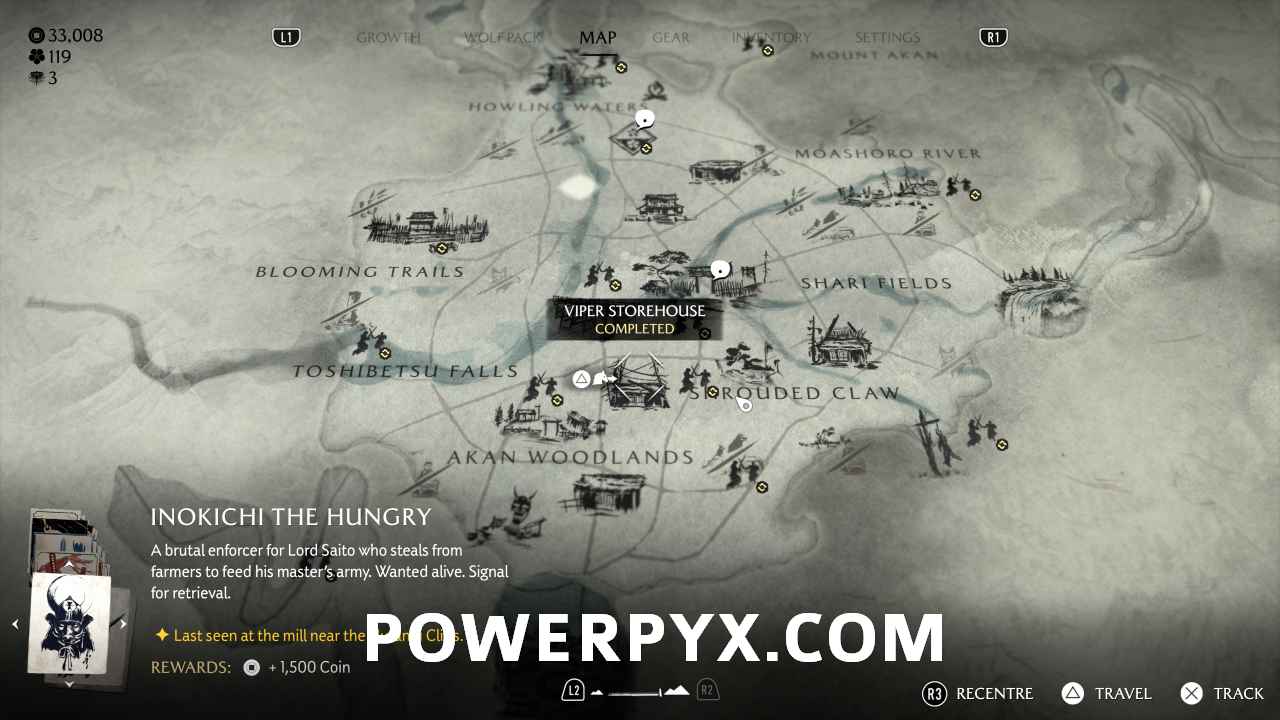
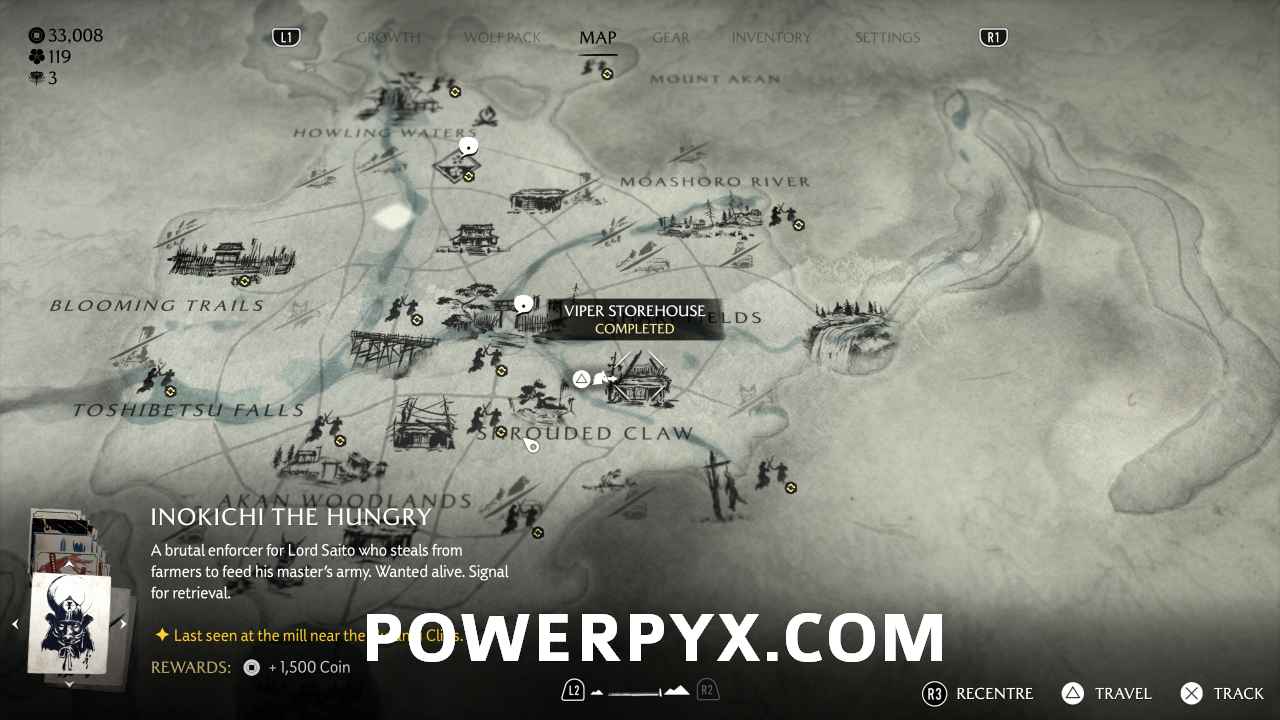
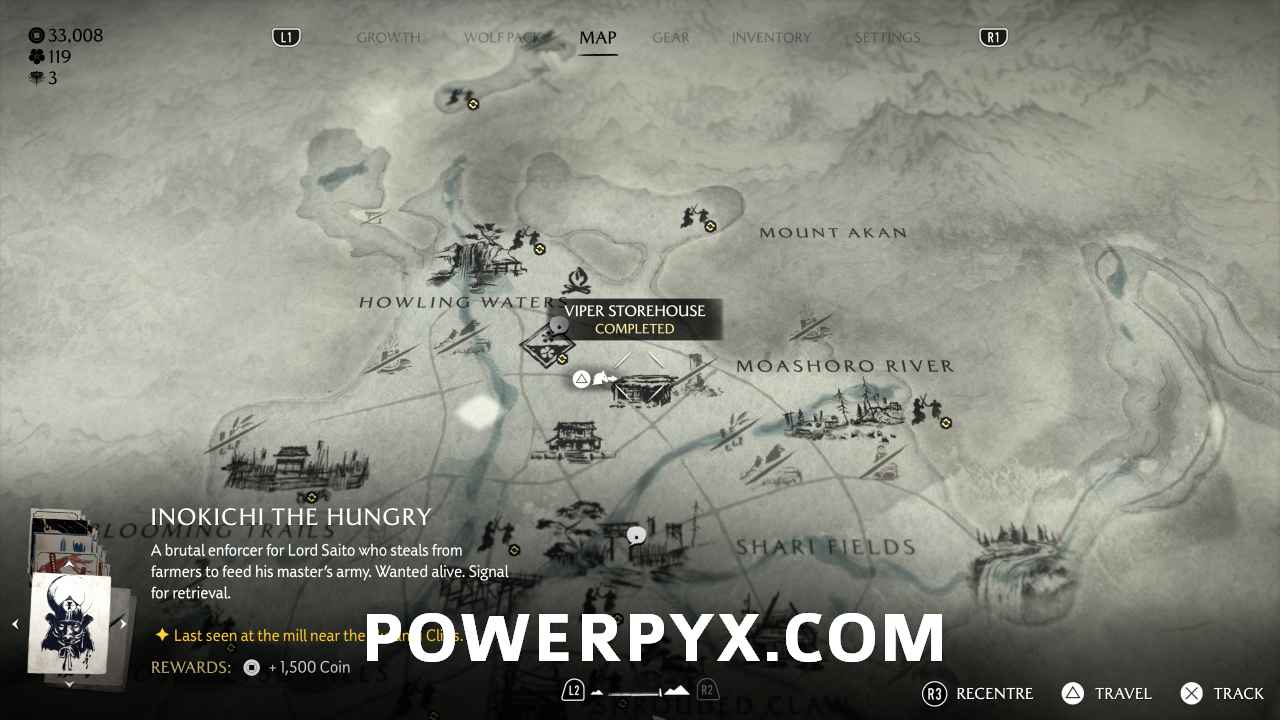
To secure a Viper Storehouse, go to the location (marked red on the map) and kill the enemies around it. Break down the chained door with a heavy weapon and then another group of enemies will attack. Kill them all and you’ll secure the Storehouse. The four locations are as follows:

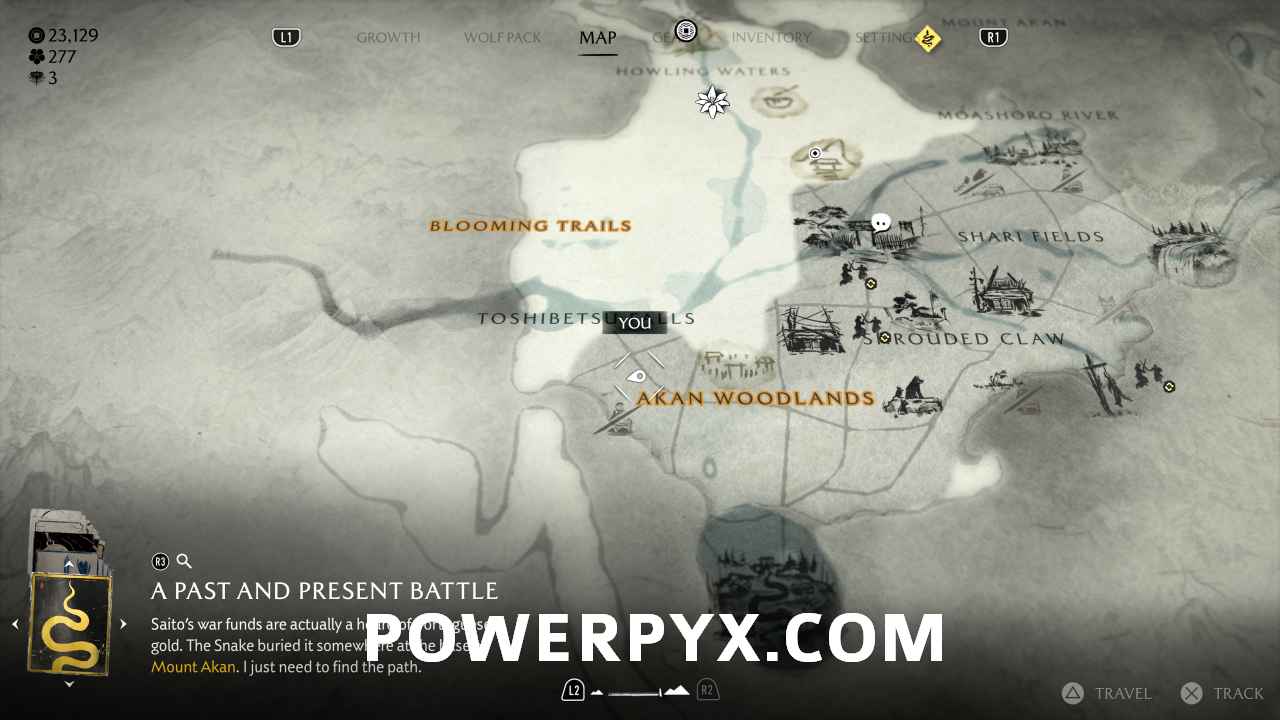
1. South of Akan Woodlands

2. West of Shrouded Claw

3. Northeast of Shrouded Claw

4. West of Moashoro River

No More Snakes
Break the Vipers’ hold over Ashoro Foothills.
For this trophy, you need to first complete two tasks: finish the main story (‘Dream’s End’ tale) and complete all the bounties in Ashoro Foothills. They are:

  1. Munetaka the Horse Thief
  2. Imai the Faceless
  3. Umakichi the Bear Slayer
  4. Bunzaemon the Butcher
  5. Lady Kitami
  6. Nobushige the Unbreakable

Once done, return to Ashoro Springs and speak to Kojiro at the Bounty Board, or if you’ve already completed all bounties by the time you finish ‘Dream’s End’, this one will start automatically. It’s called ‘The Nature of War’ and involves you defending the town with your allies against waves of enemies including a few minibosses. Once they’re all defeated, you’ll get a cutscene and the trophy will unlock.

Unbreakable
Defeat an unbreakable warrior.
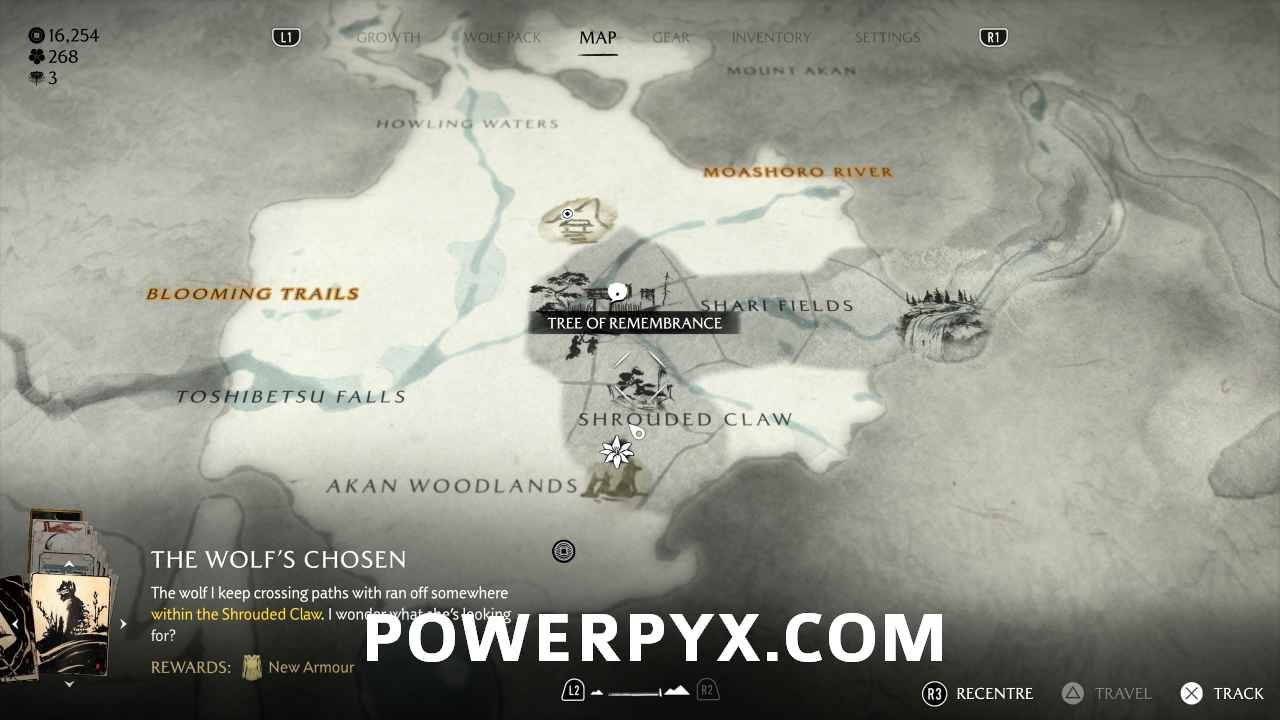
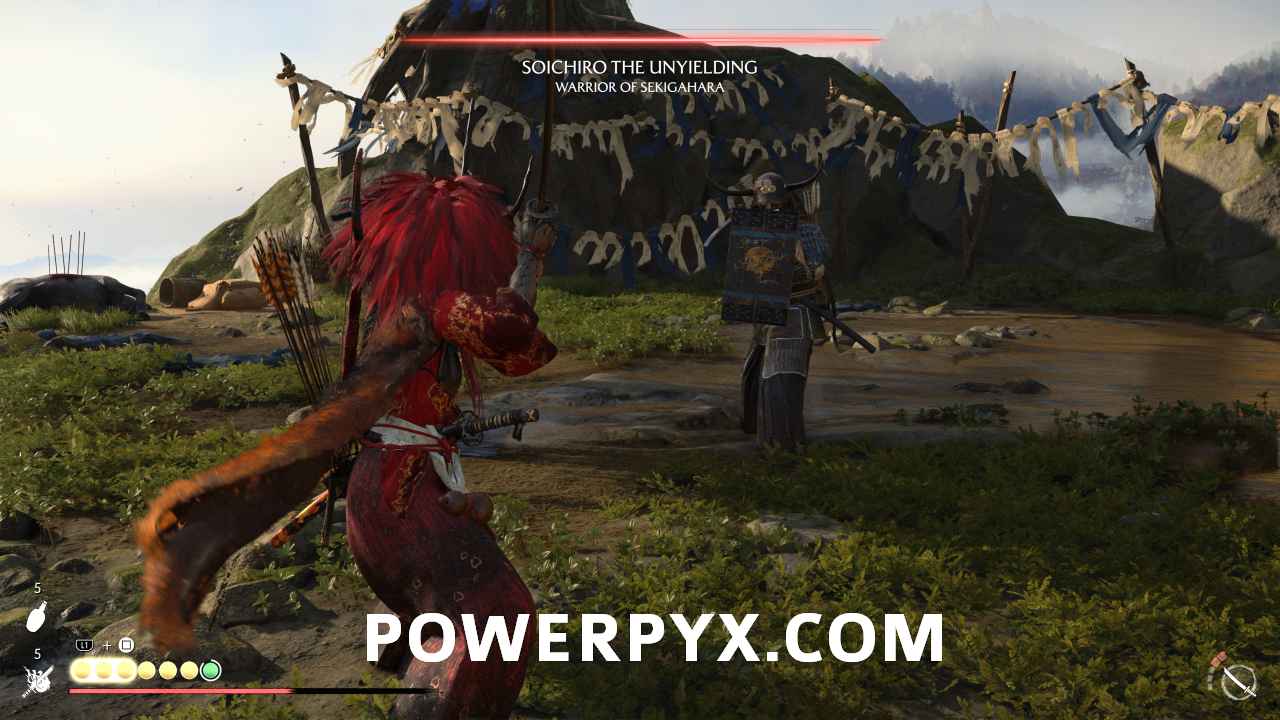
To beat the unbreakable warrior (Nobushige), you have to complete his Bounty quest, which has multiple parts. Firstly, head to the Tree of Remembrance on the map and defeat Soichiro, which will give you two tasks that you need to complete in either order before you face Nobushige.

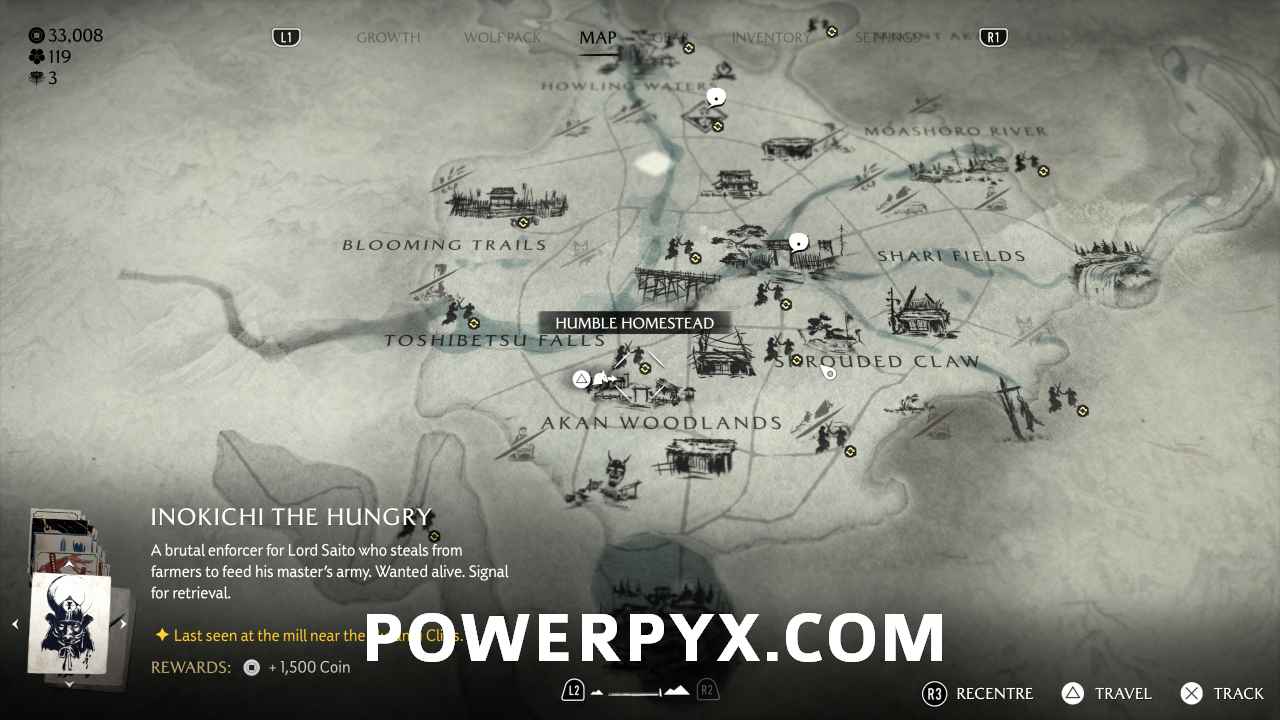
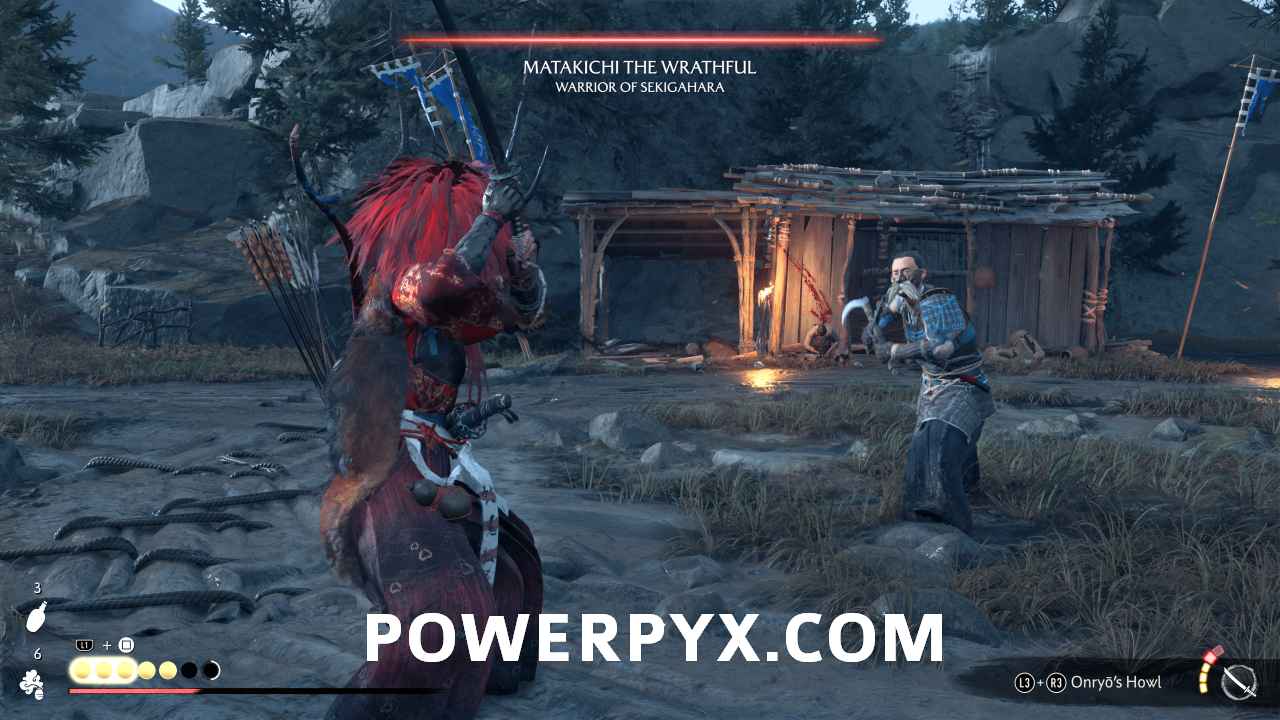
1. Akan Woodlands – At the Humble Homestead, duel Matakichi and defeat him.

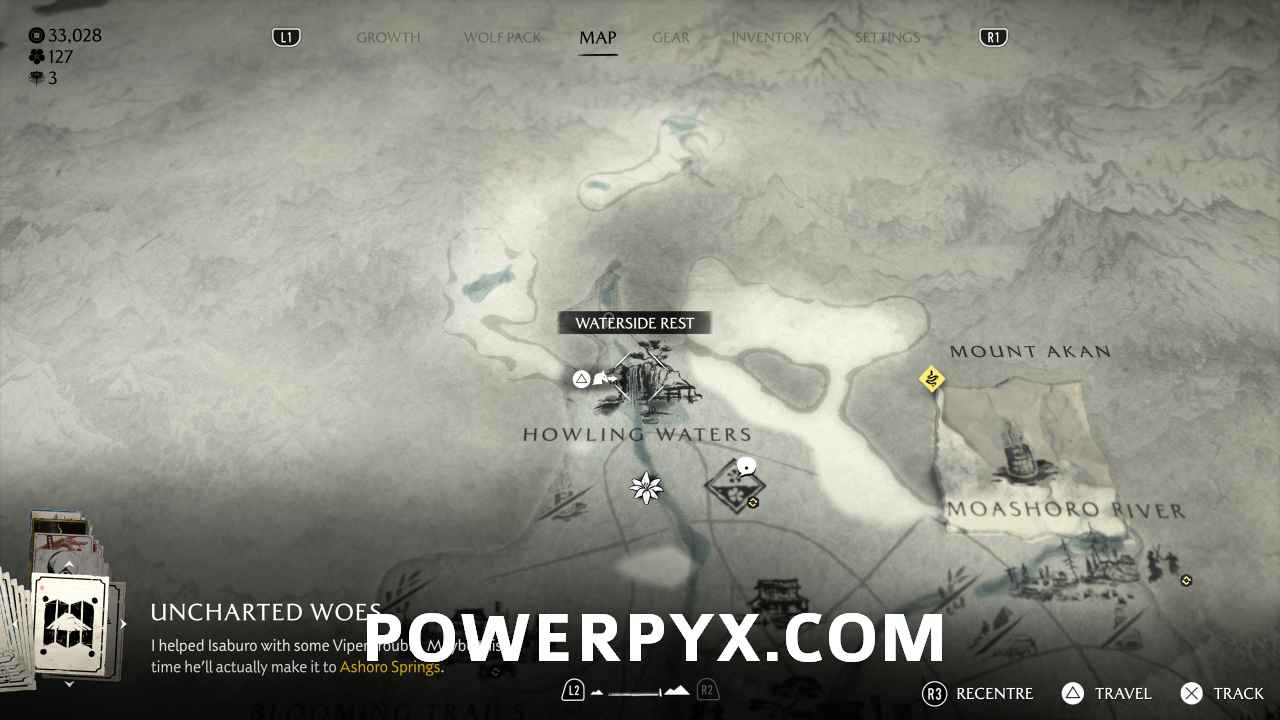
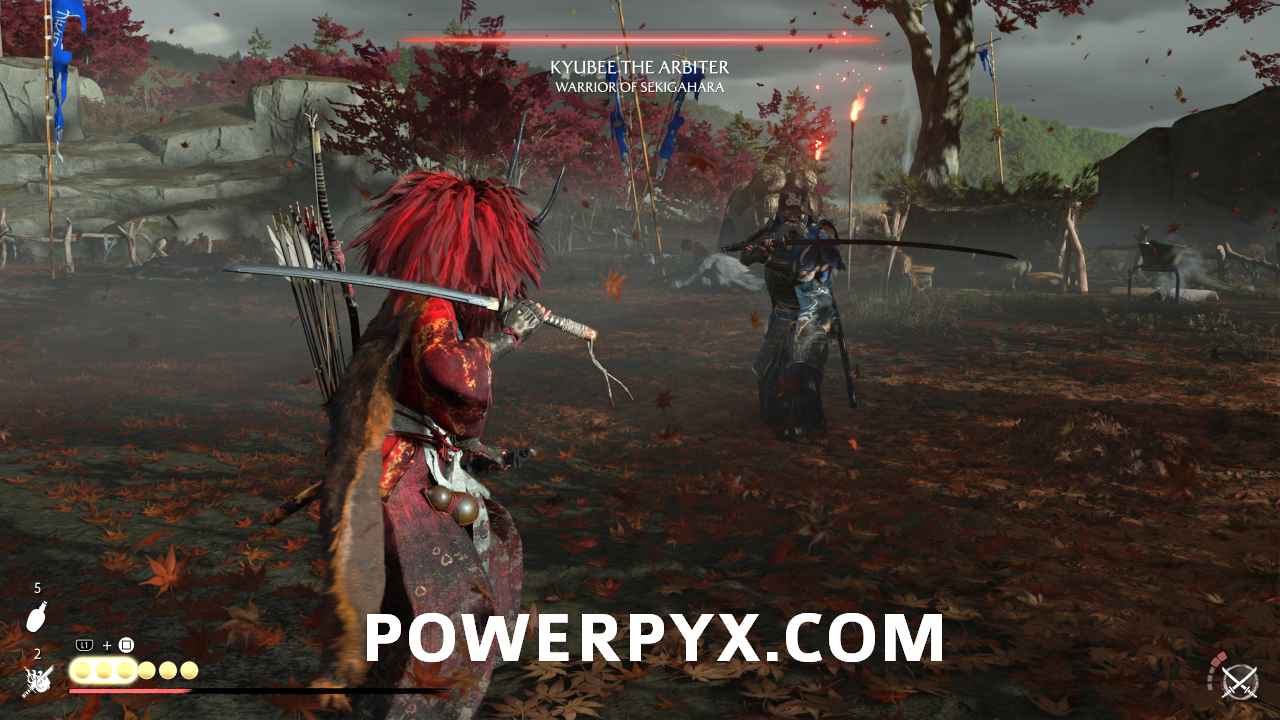
2. Howling Waters – At Waterside Rest, duel Kyubee and defeat him.

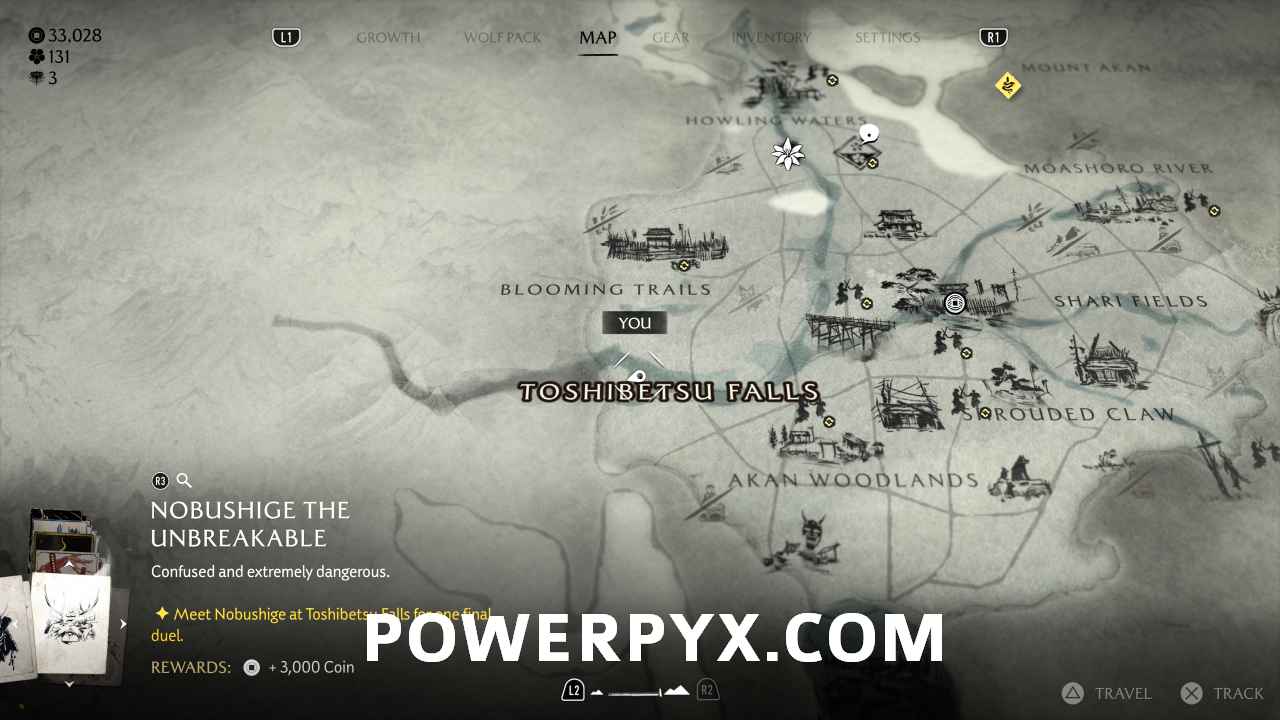
Once both of these are done, head to Toshibetsu Falls to duel Nobushige. He will constantly switch between his different personalities and weapons. Once you defeat him, you’ll unlock the trophy.

Free Bird
Free the Golden Bird from captivity.
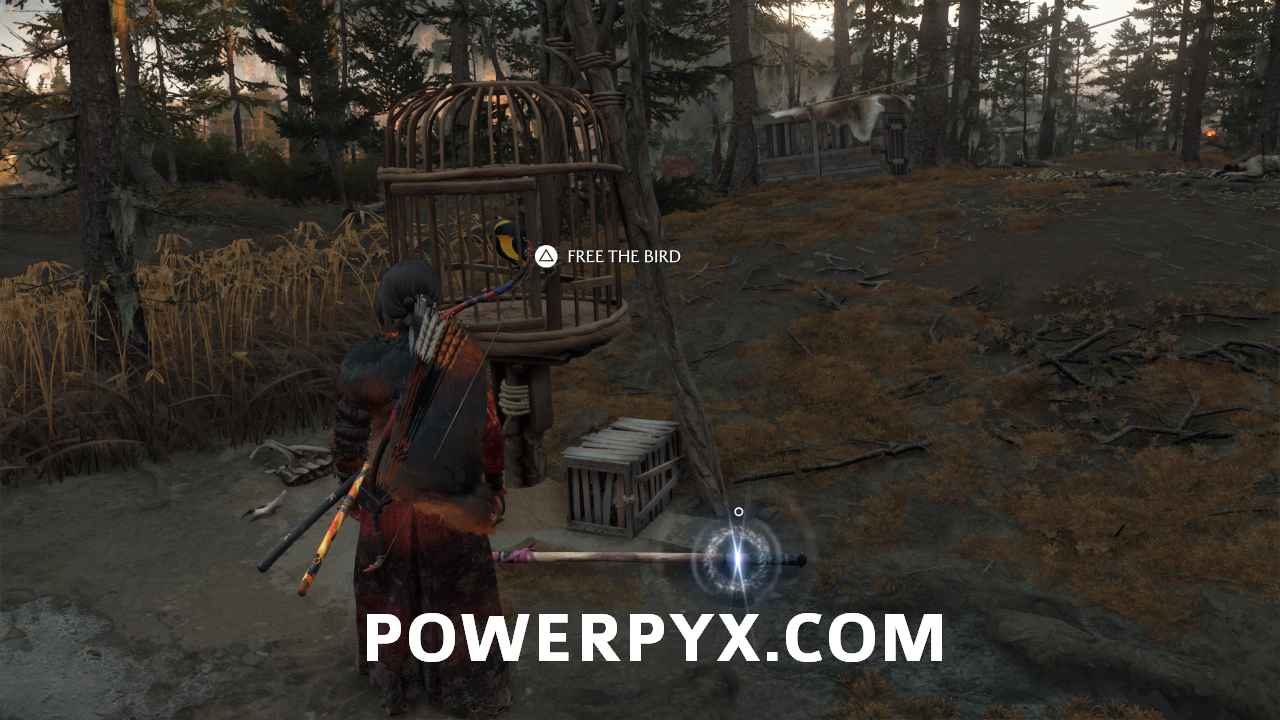
In the south of the Ashoro Foothills, just north of the first ‘A’ in Akan Woodlands and west of the Humble Homestead, you’ll see a small camp of enemies. Kill them all then interact with the cage to free the Golden Bird, which will then guide you towards collectibles like in the main game.

Paths to Color
Purchase all dye trade routes from the Colorful Dye Merchant.
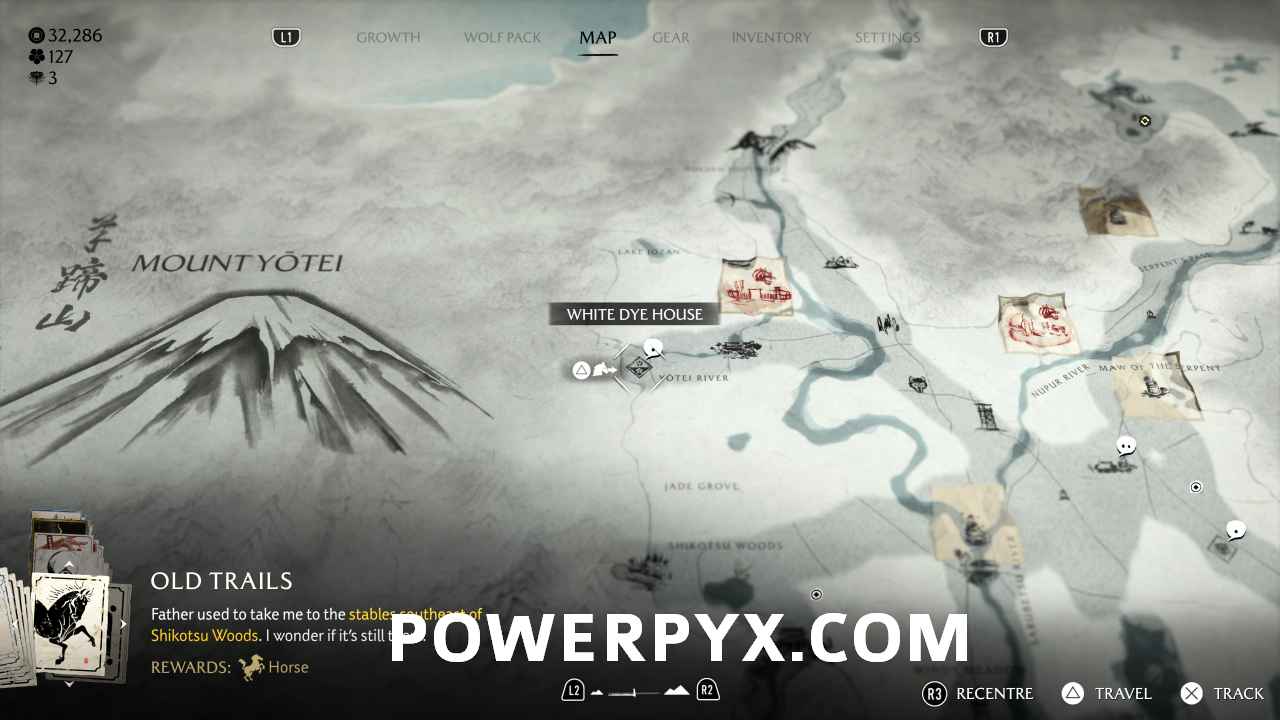
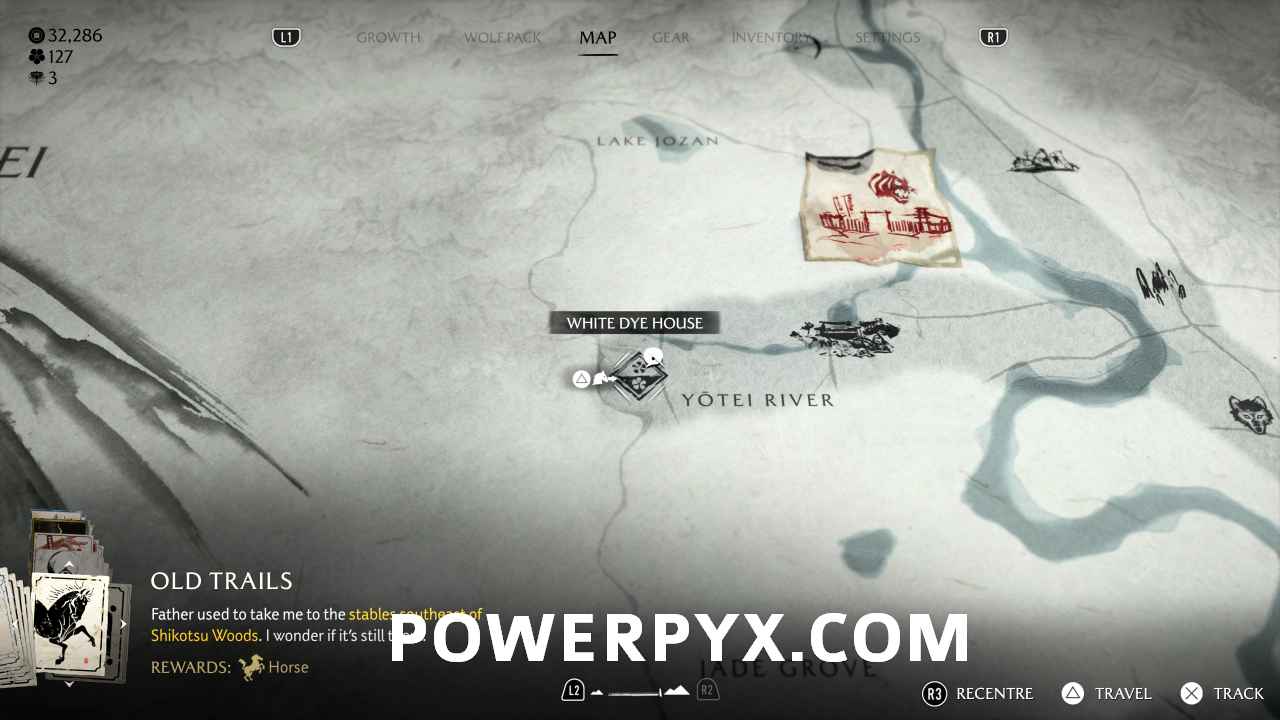
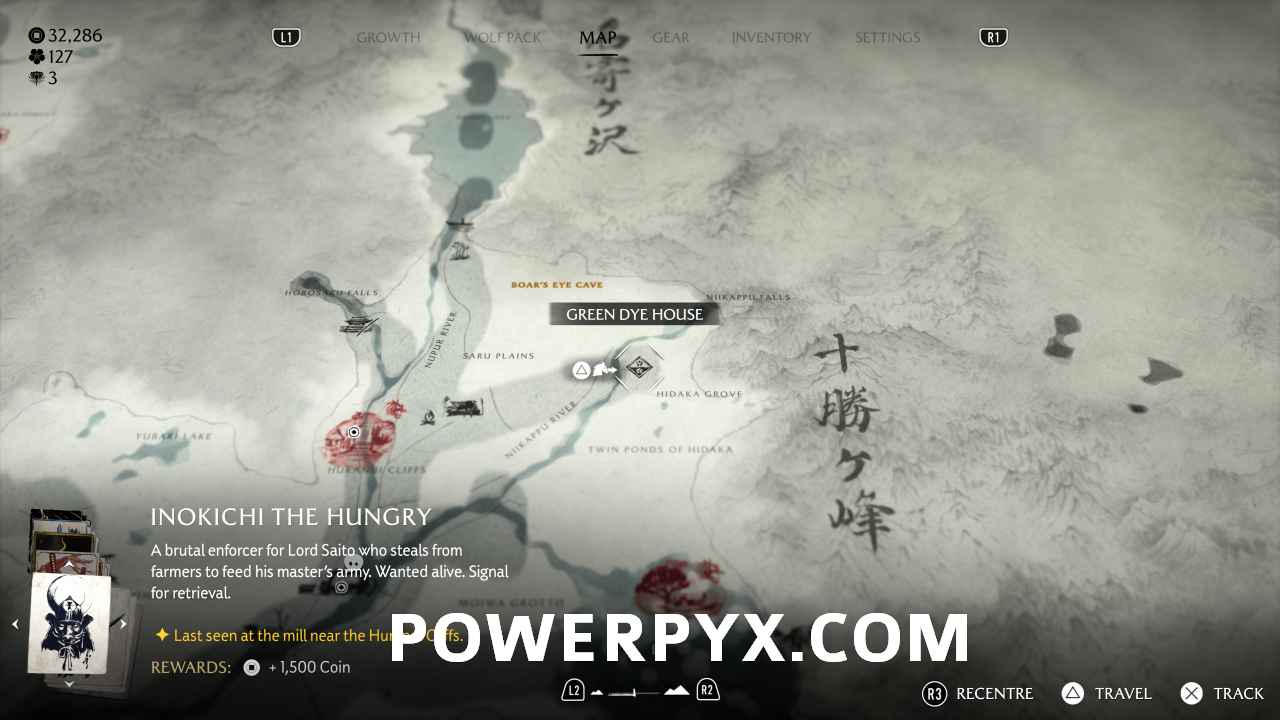
The first thing to bear in mind is that you need to have found all 5 Dye Merchants from the main game before you can unlock this trophy, which requires you to have reached Oshima Coast. They are located here:

1. White Dye – Yotei Grasslands

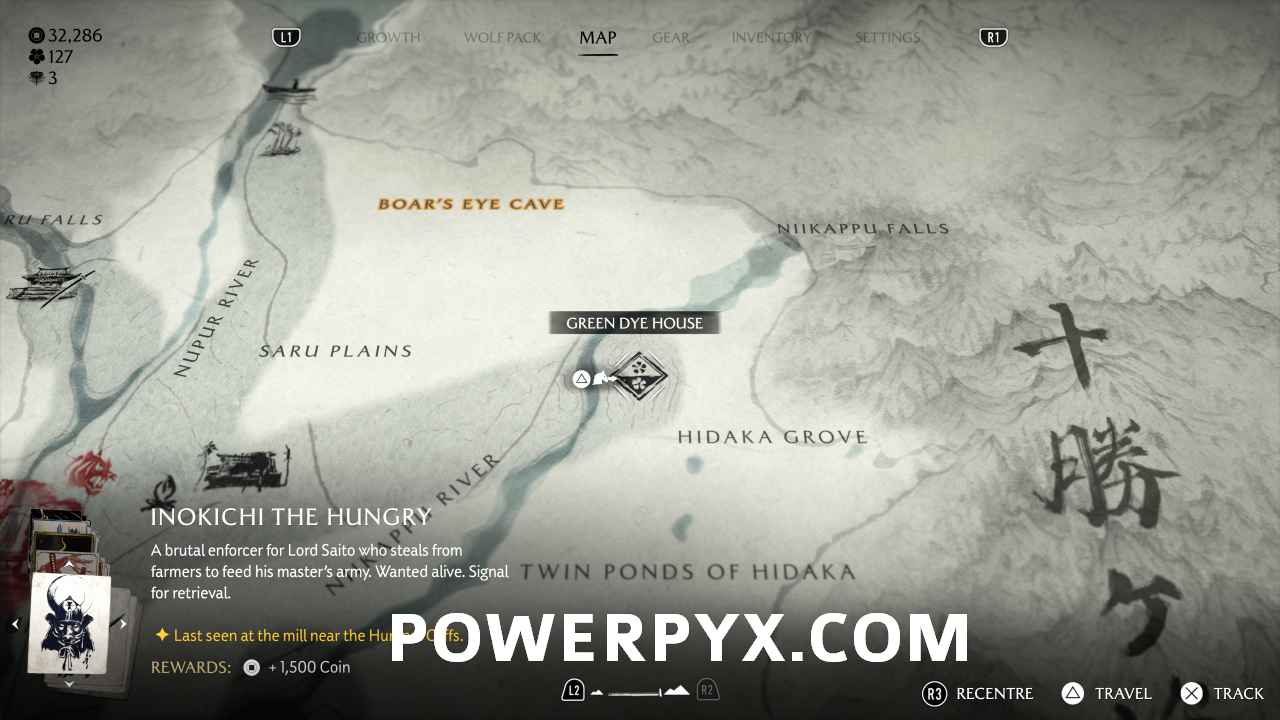
2. Green Dye – Tokachi Range

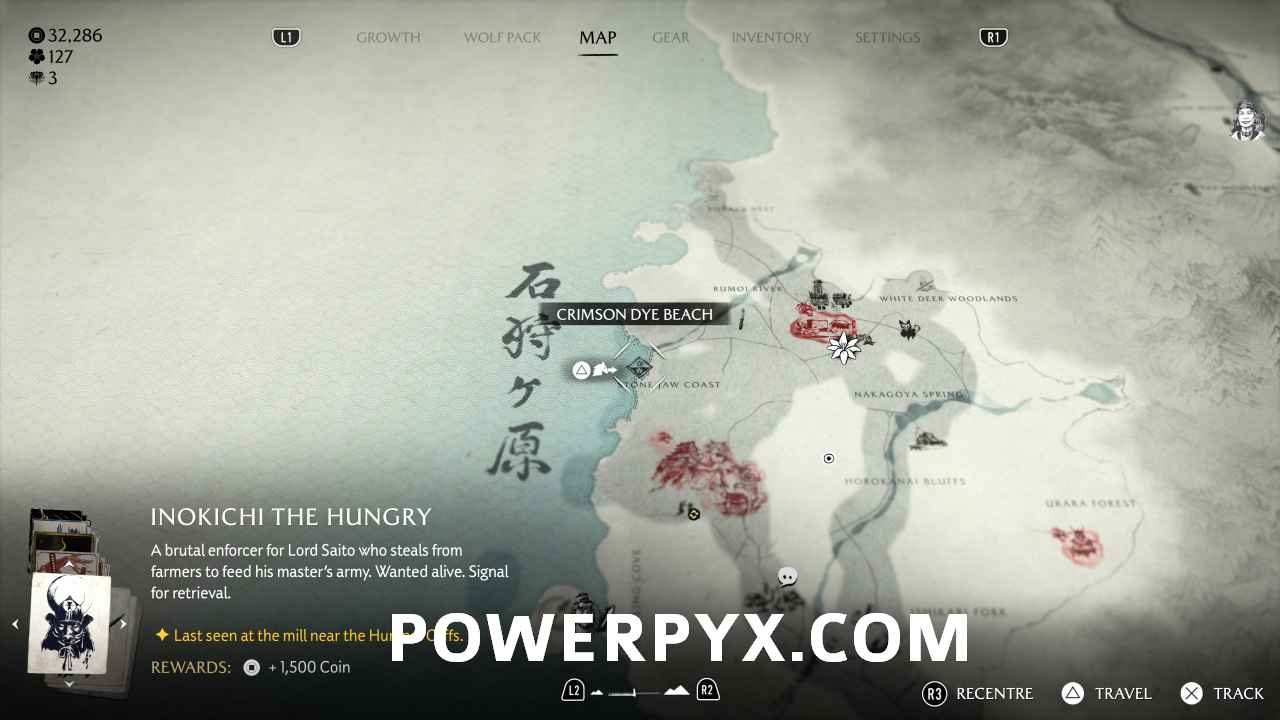
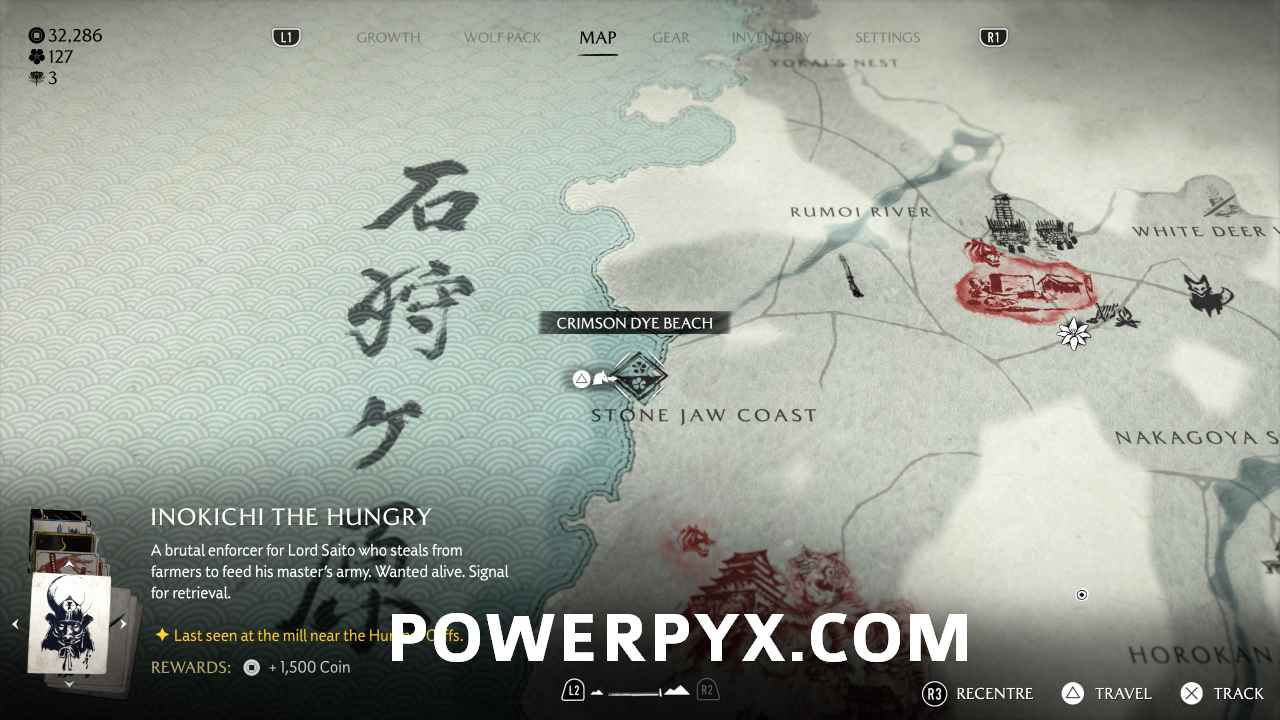
3. Crimson Dye – Ishikari Plain

4. Black Dye – Teshio Ridge

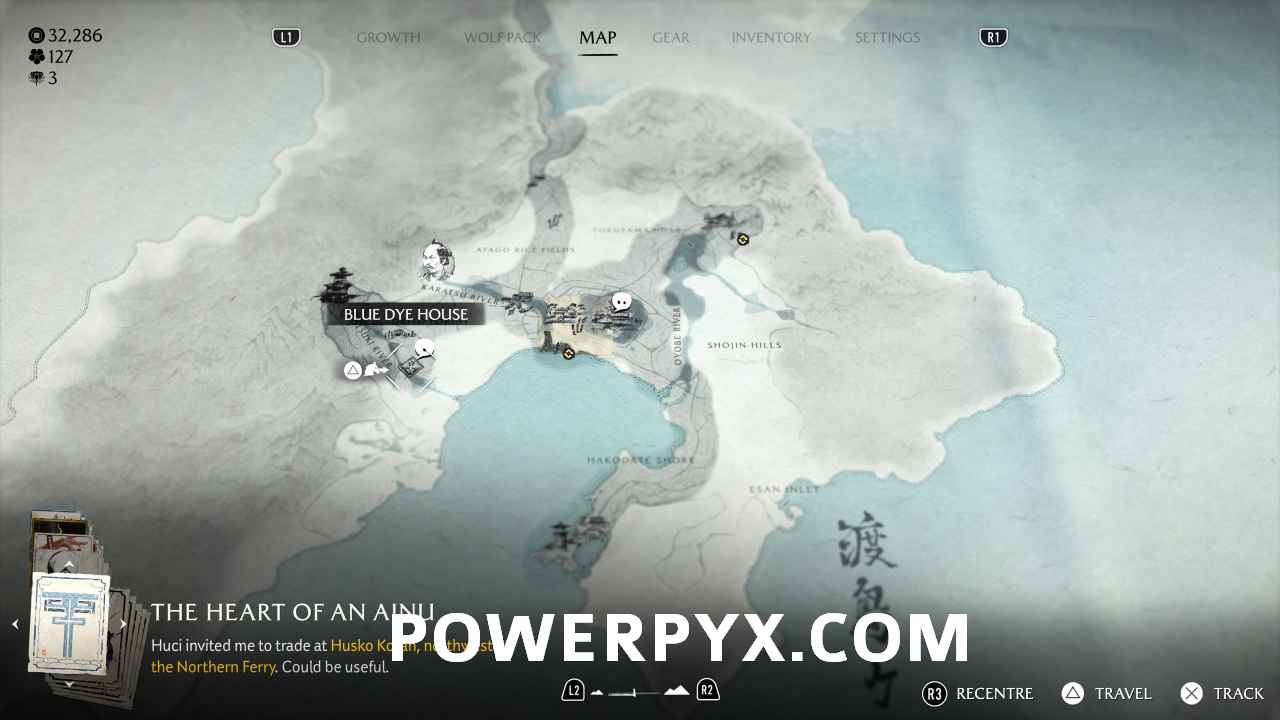
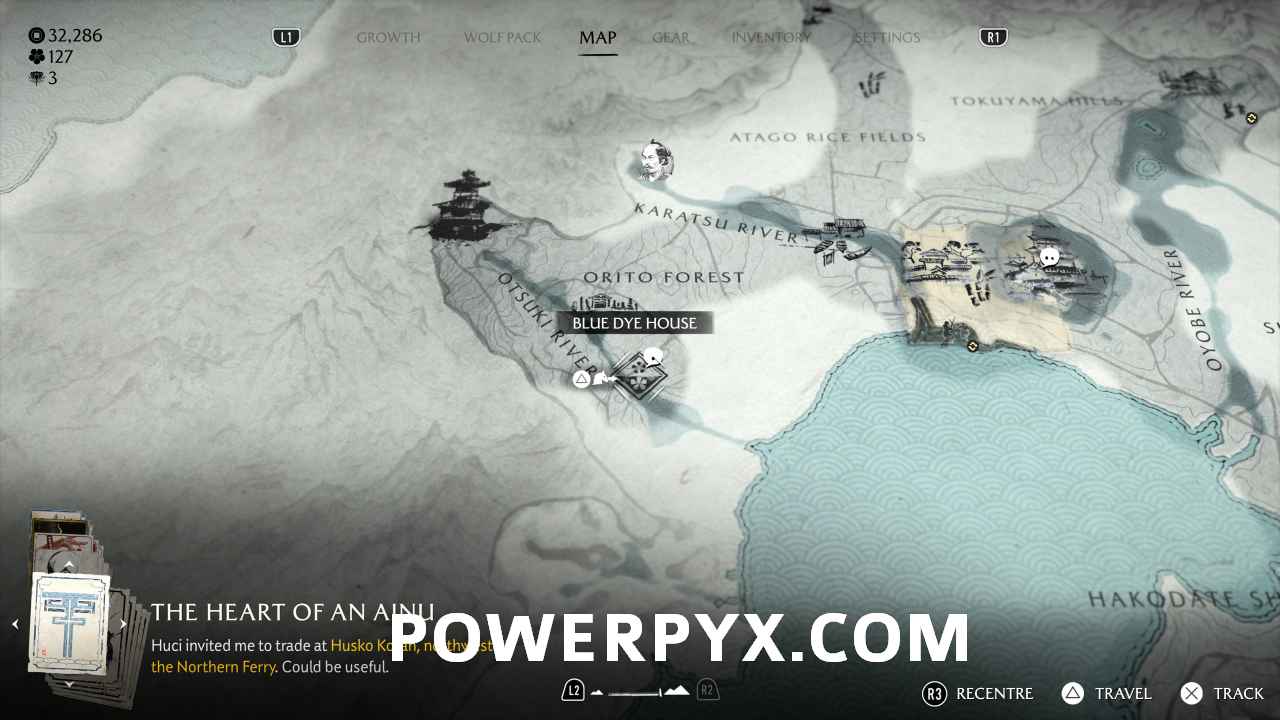
5. Blue Dye – Oshima Coast

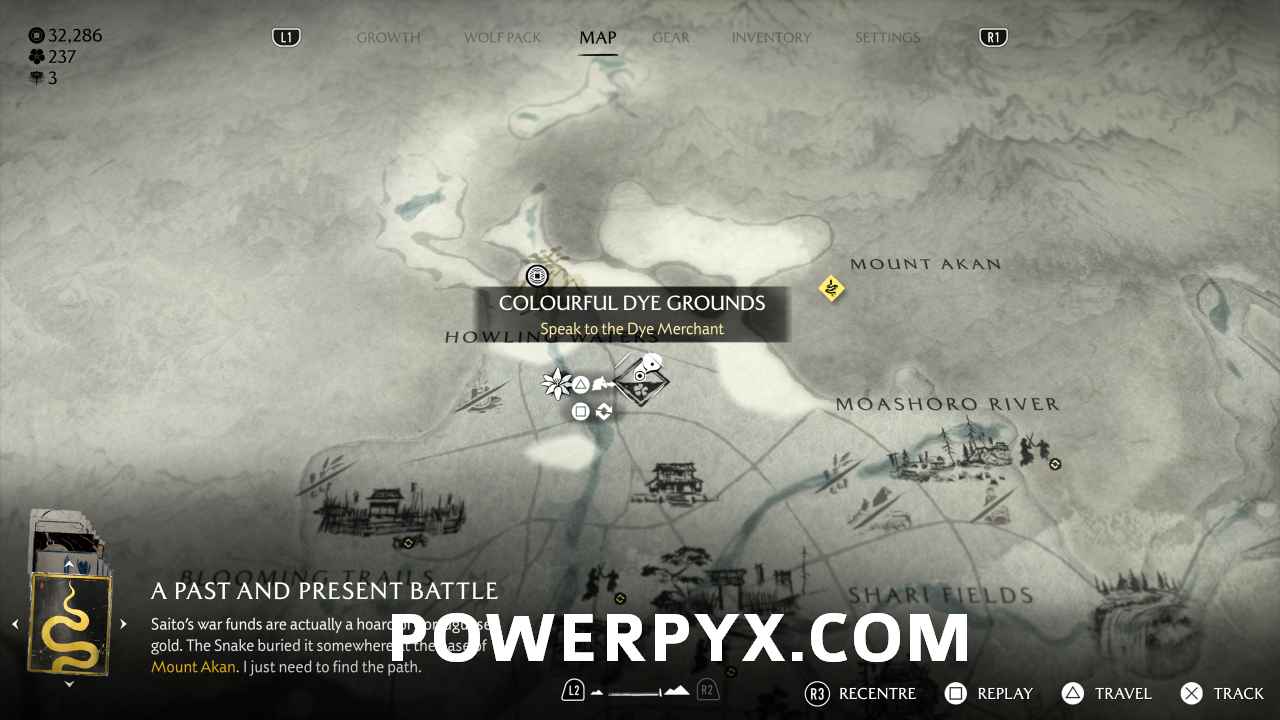
Once done, head to the Colourful Dye Grounds in Ashoro Foothills and defeat all of the enemies, who are using it as a camp. There are many of them, but you can free the prisoner (Dye Merchant) to help you.

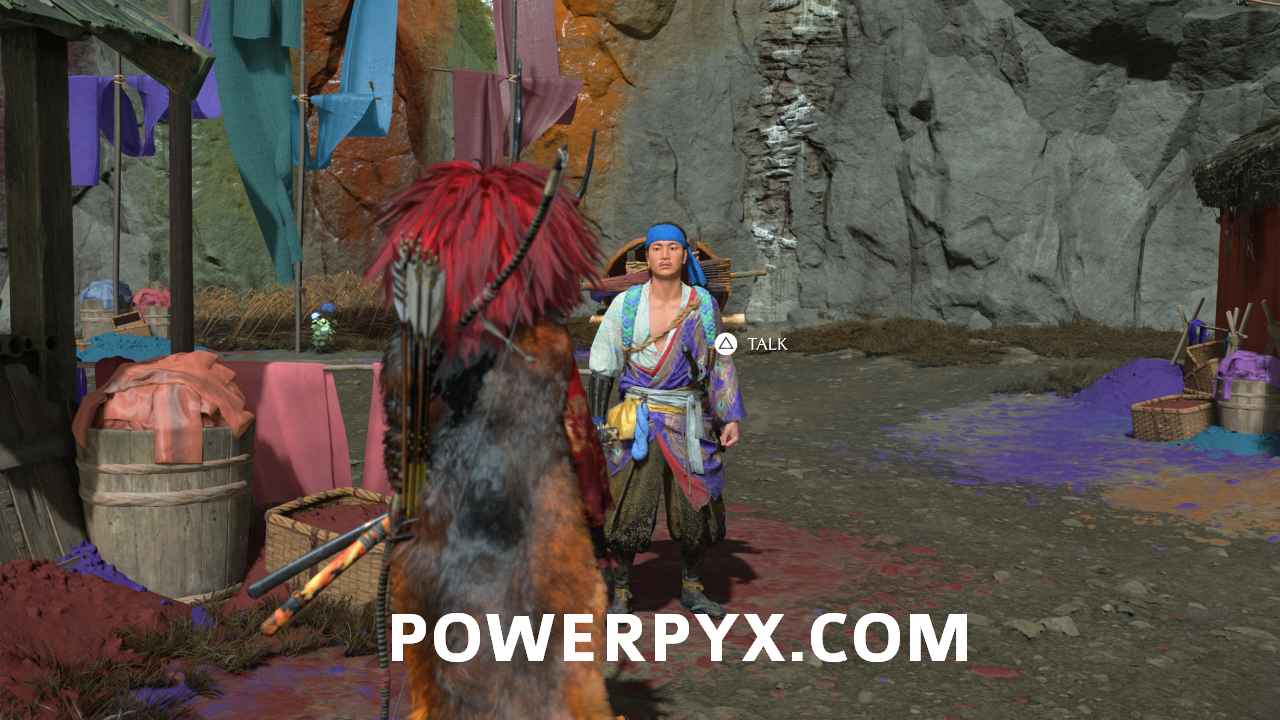
Once done, speak to him and pick the top option ‘Dye Vendor Trade Route’. This basically allows you to access all of the other Dye Merchants’ wares from this one central location. To open the routes, you need to pay in Viper Rations which can be looted from dead Viper bodies, Storehouses and chests. In total, you need 110 Viper Rations. It’s advised not to use them for anything else like upgrading armour until you have unlocked this trophy, although they are plentiful so it shouldn’t be much of an issue and you should have many left over by the time you’ve done everything else.

Mother of Misfortune
Win three games of Zeni Hajiki against a formidable opponent at Fortune’s Asobiya.
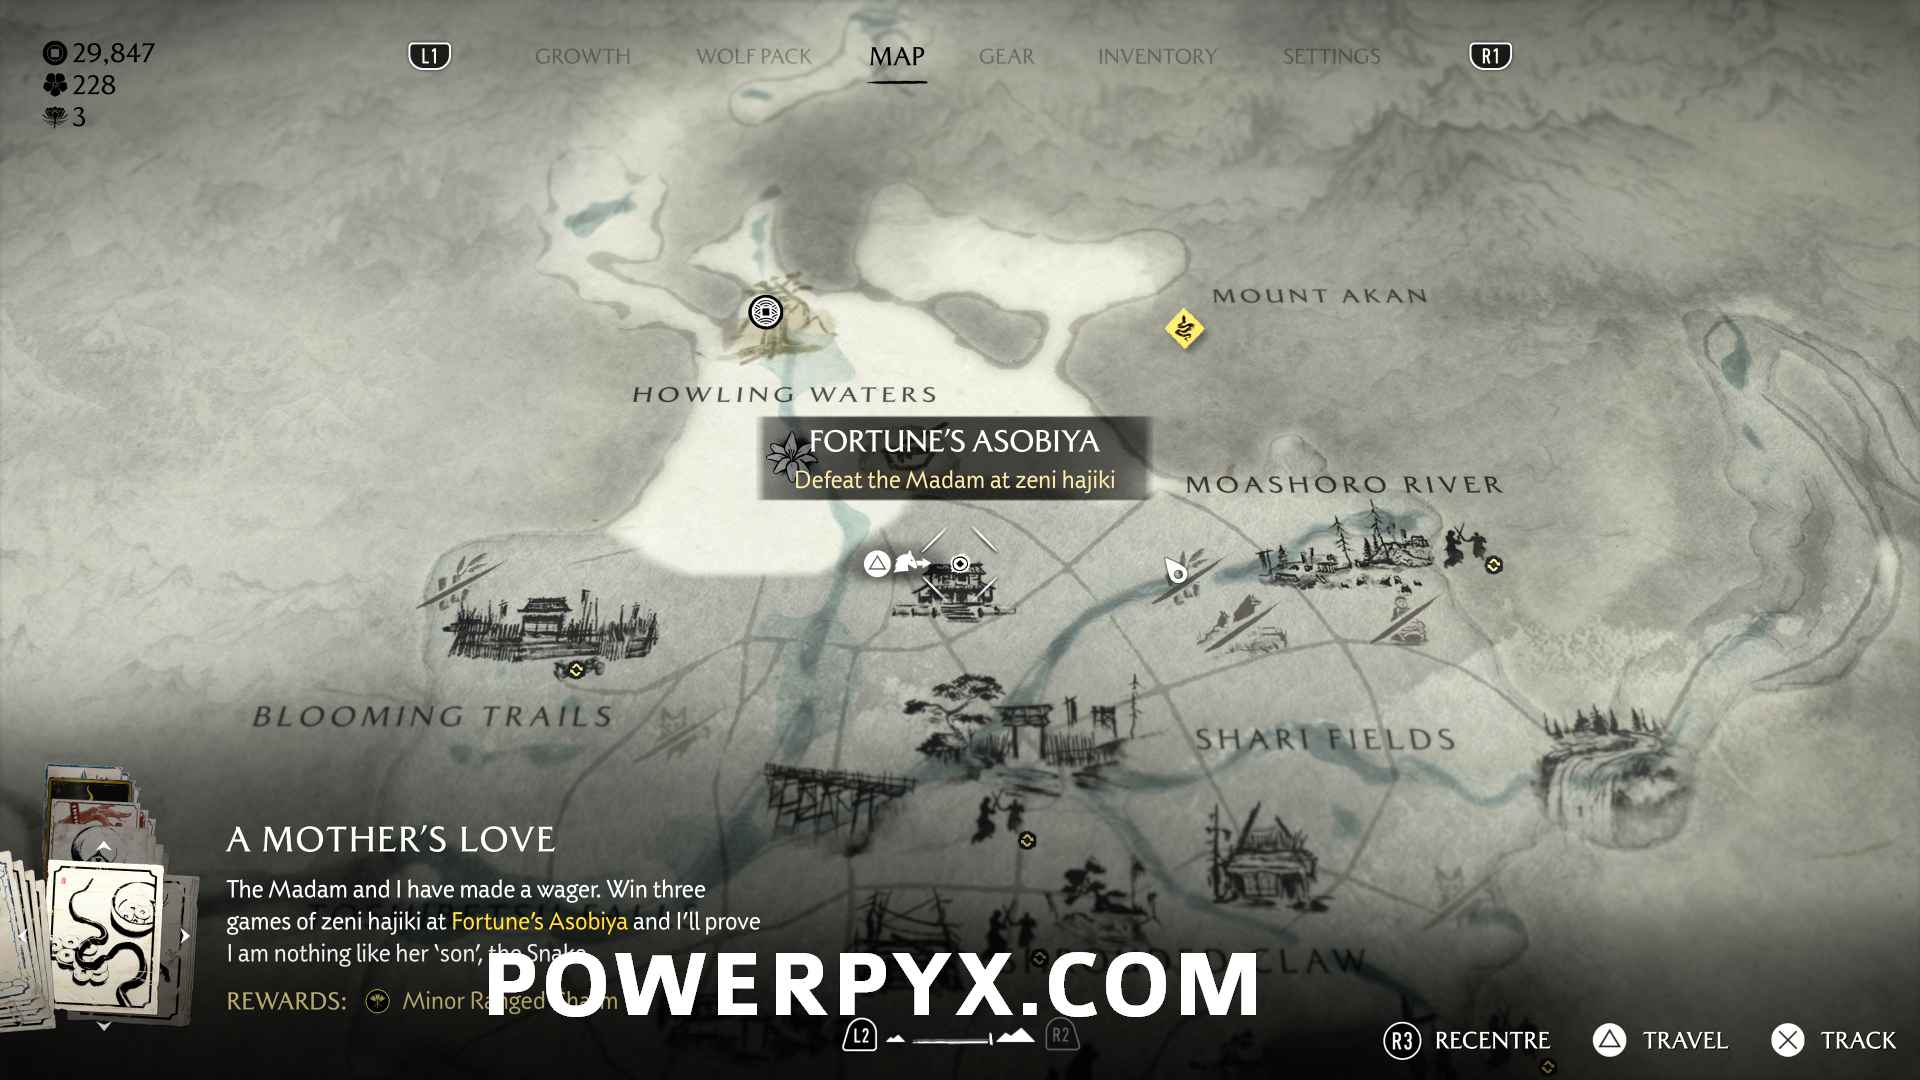
North of Ashoro Springs is the Fortune’s Asobiya gambling den.

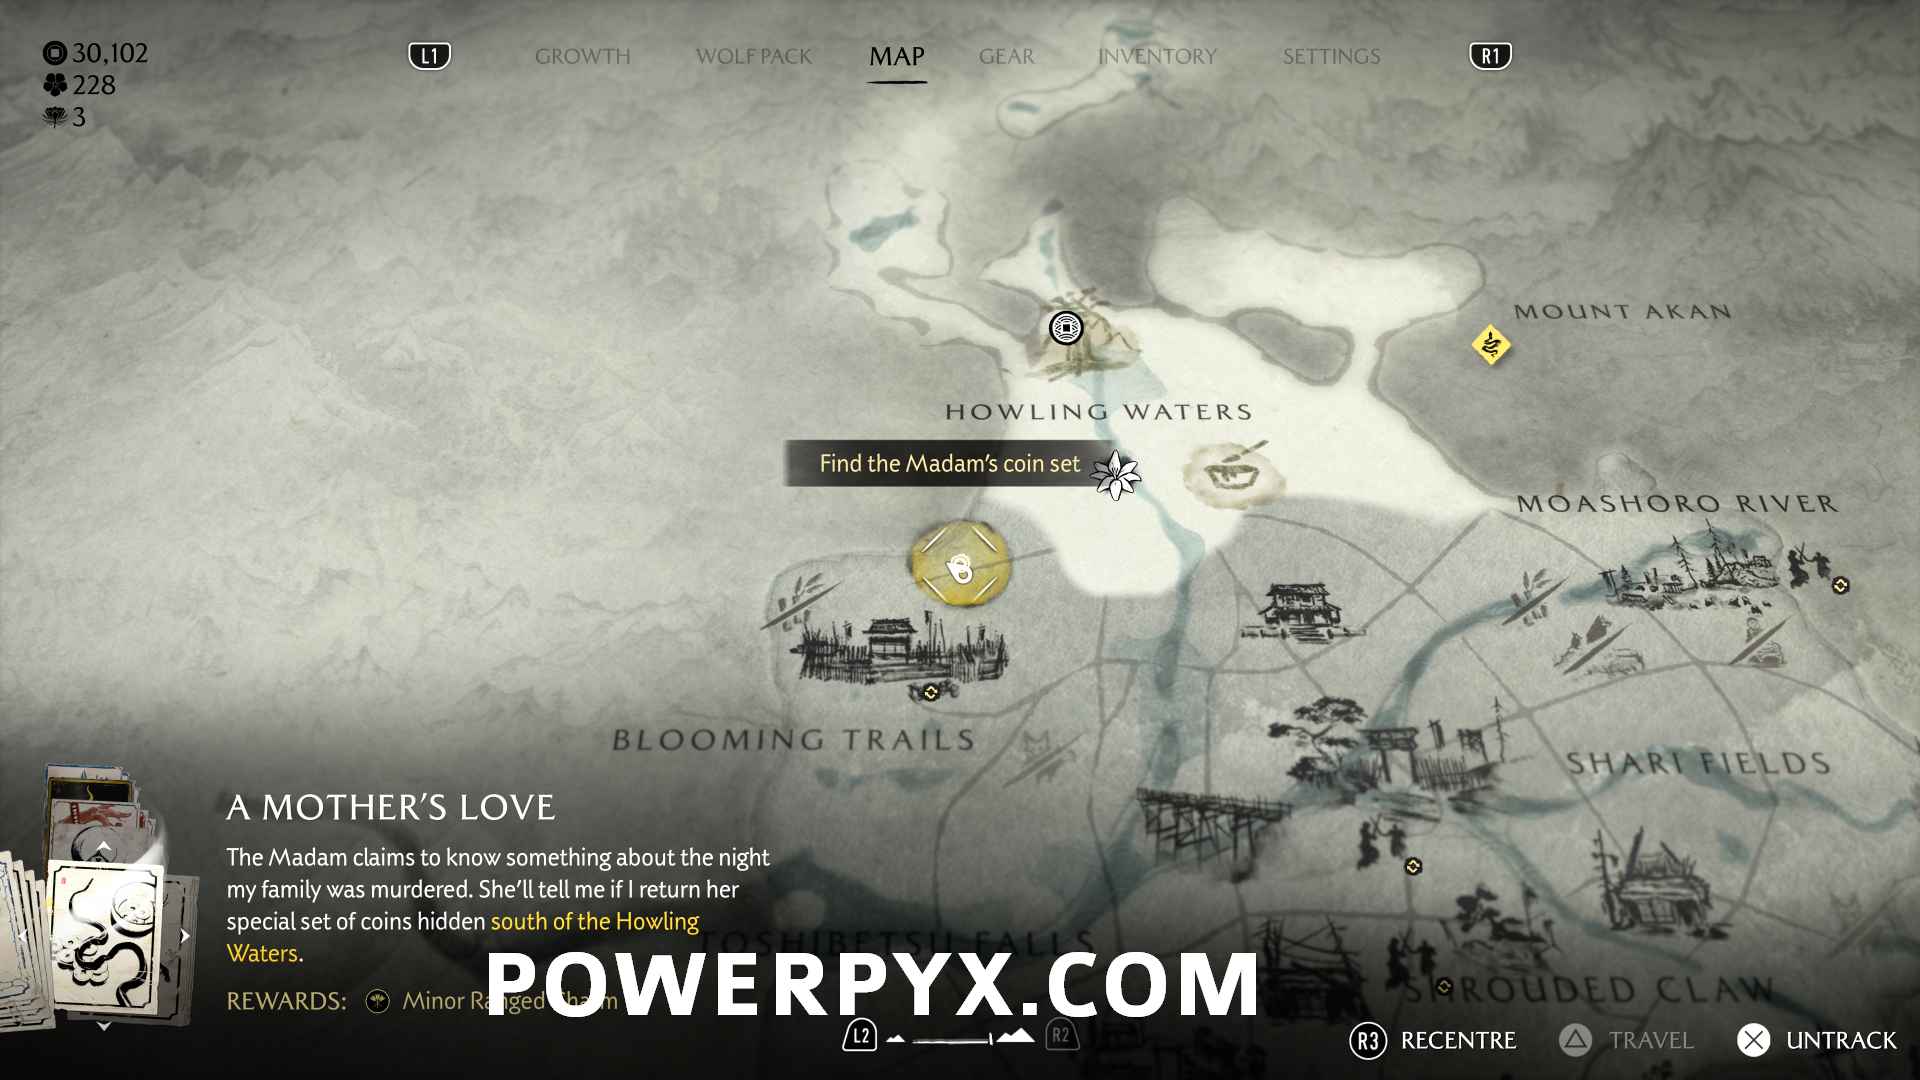
When you get here, a Tale called ‘A Mother’s Love’ will start. You have to beat the Madam in three games at Zeni Hajiki. However, after your first game, she will refuse to play until you return some figurines.

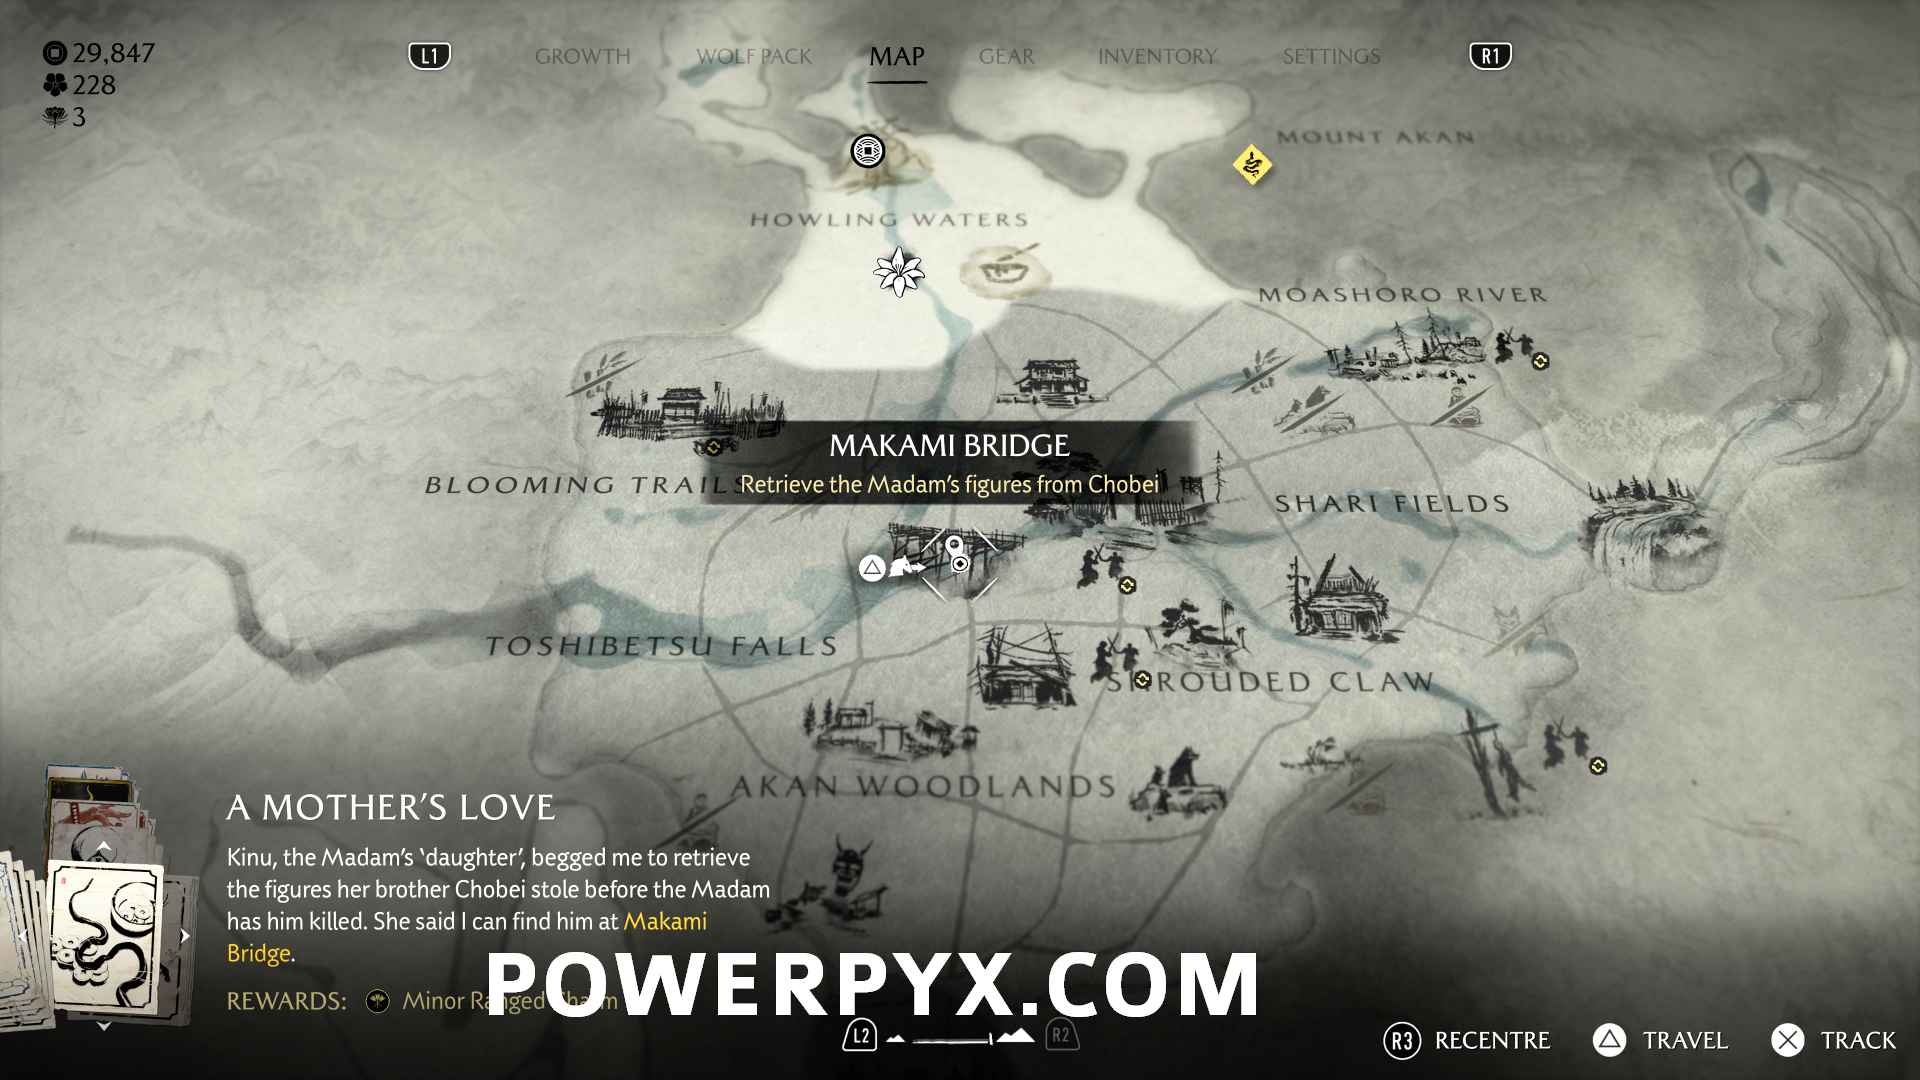
To find them, go to Makami Bridge and duel Chobei.

Defeat him and return to Fortune’s Asobiya and win the second game.

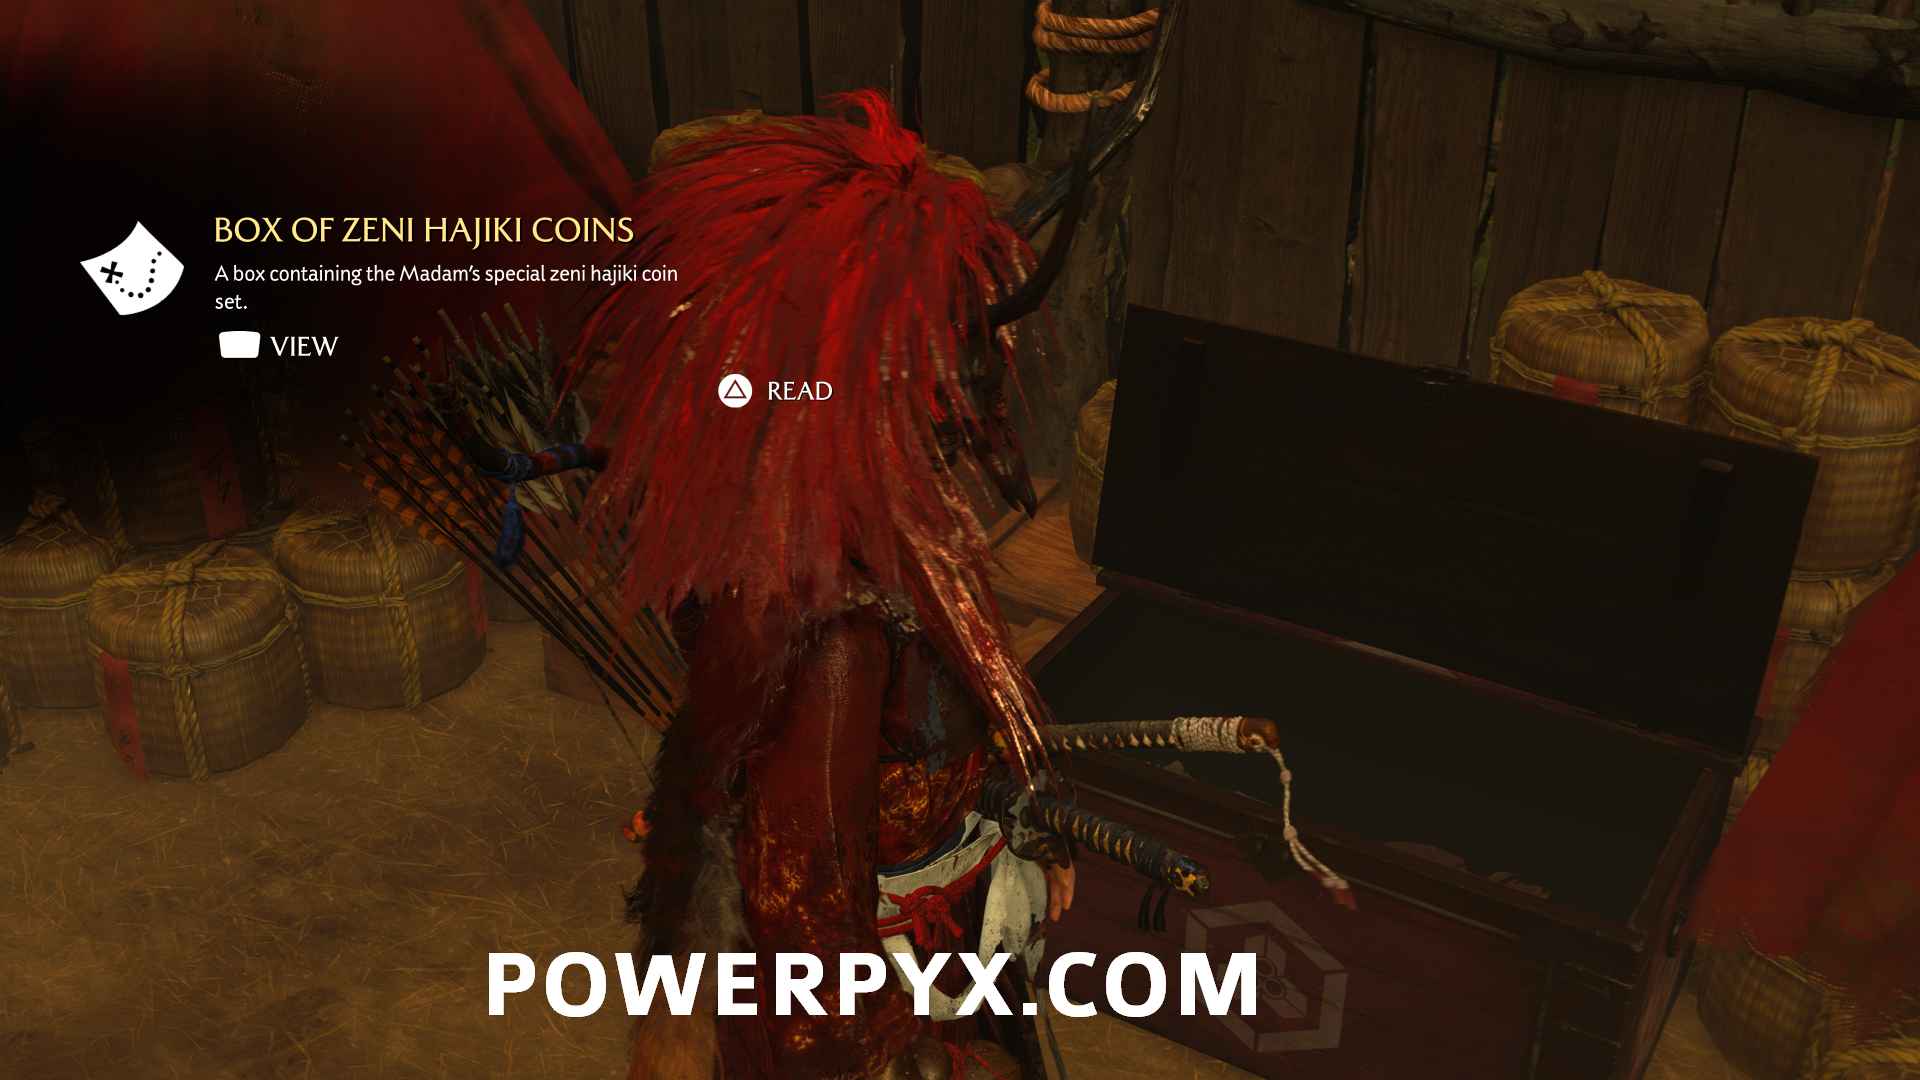
After this game, you’ll need to retrieve some coins north of Nishimura Slaughterhouse. Kill the group of enemies and find the coins in a chest in the small hut.

Return to Fortune’s Asobiya and defeat her for the third and final time to finish the quest.

To make the game much easier, go to Options > Accessiblity > Zeni Hajiki Shot Power Display (ON).

Hungry for More
Discover four new recipes.
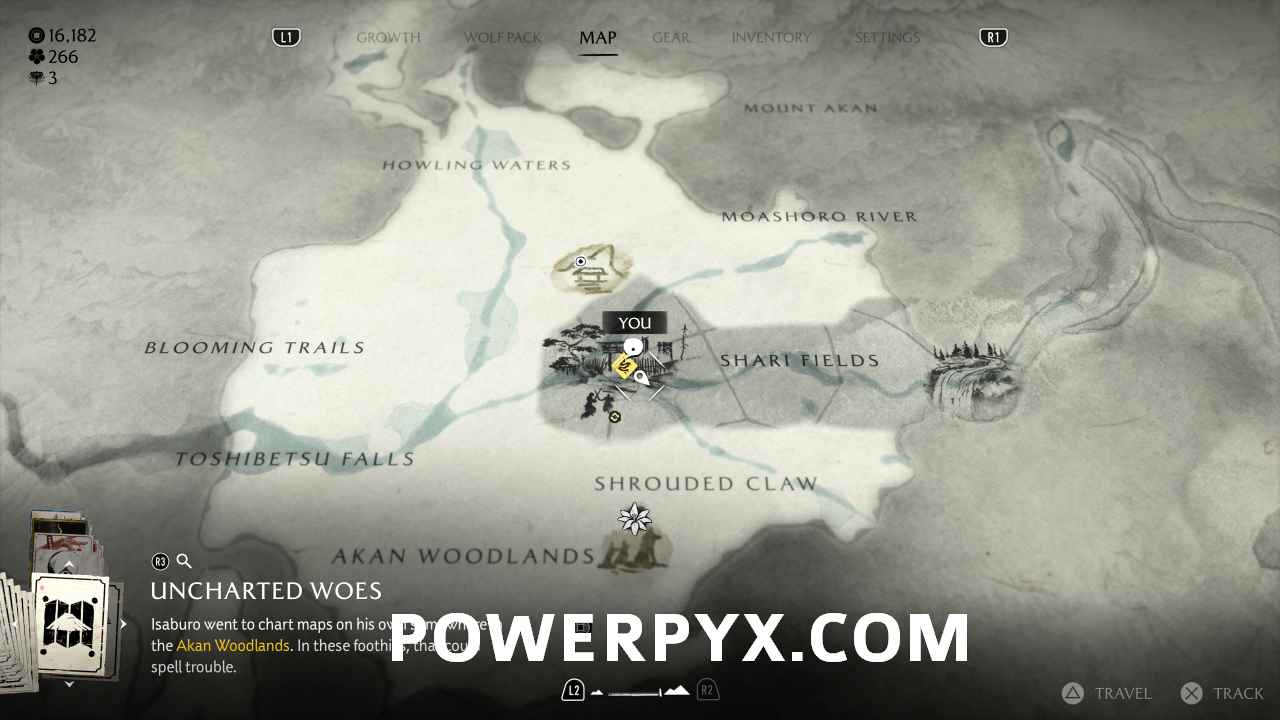
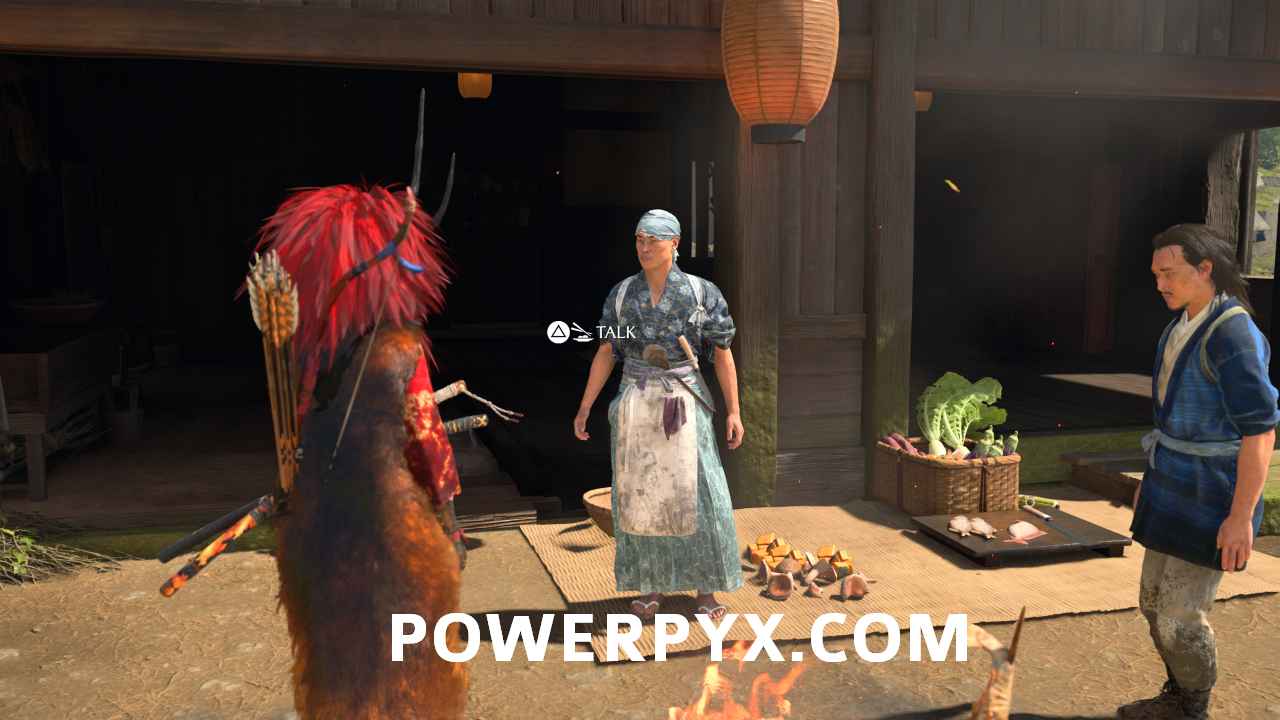
Once you liberate Ashoro Springs, speak to Kihei in the south-east of the inn area and start the ‘Cooking With Heart’ side quest.

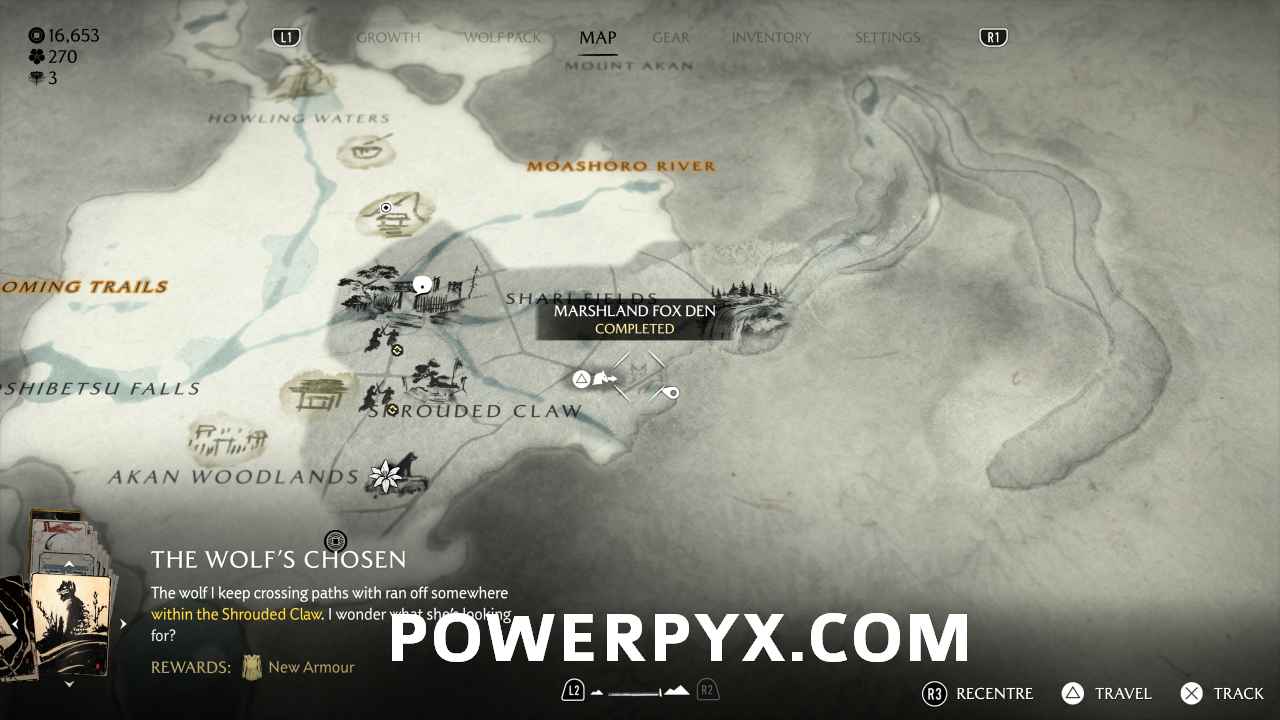
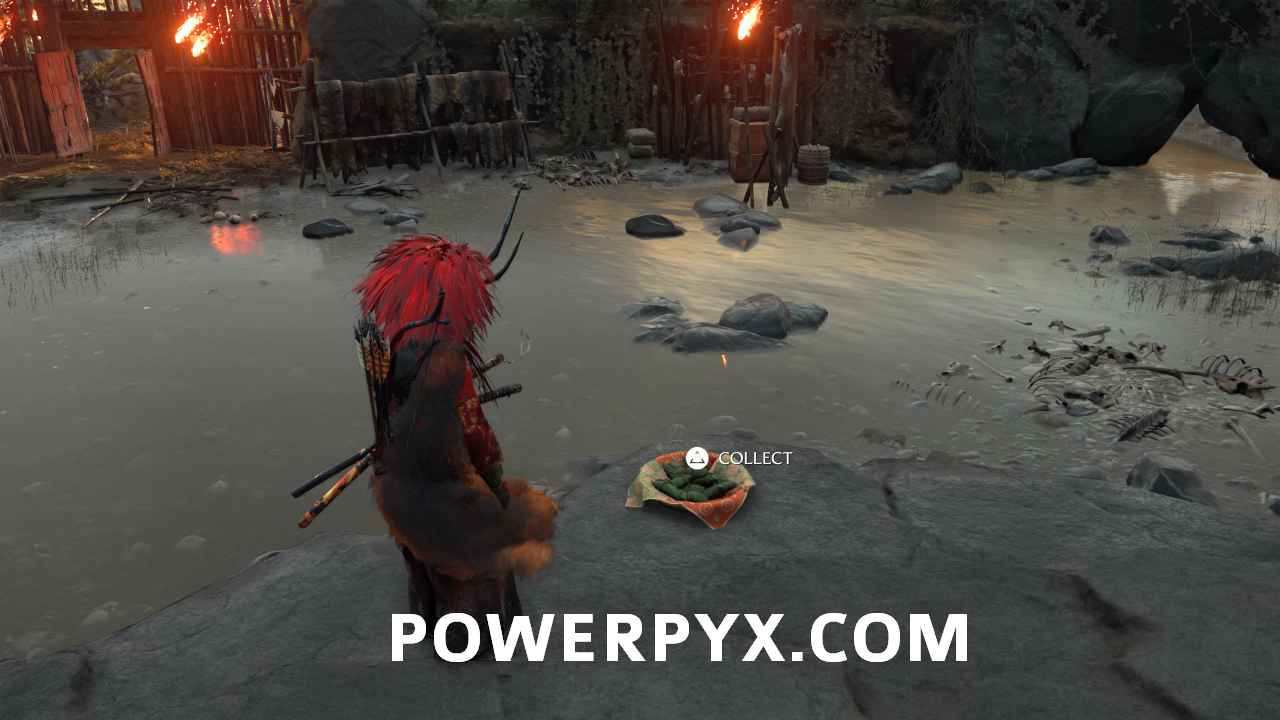
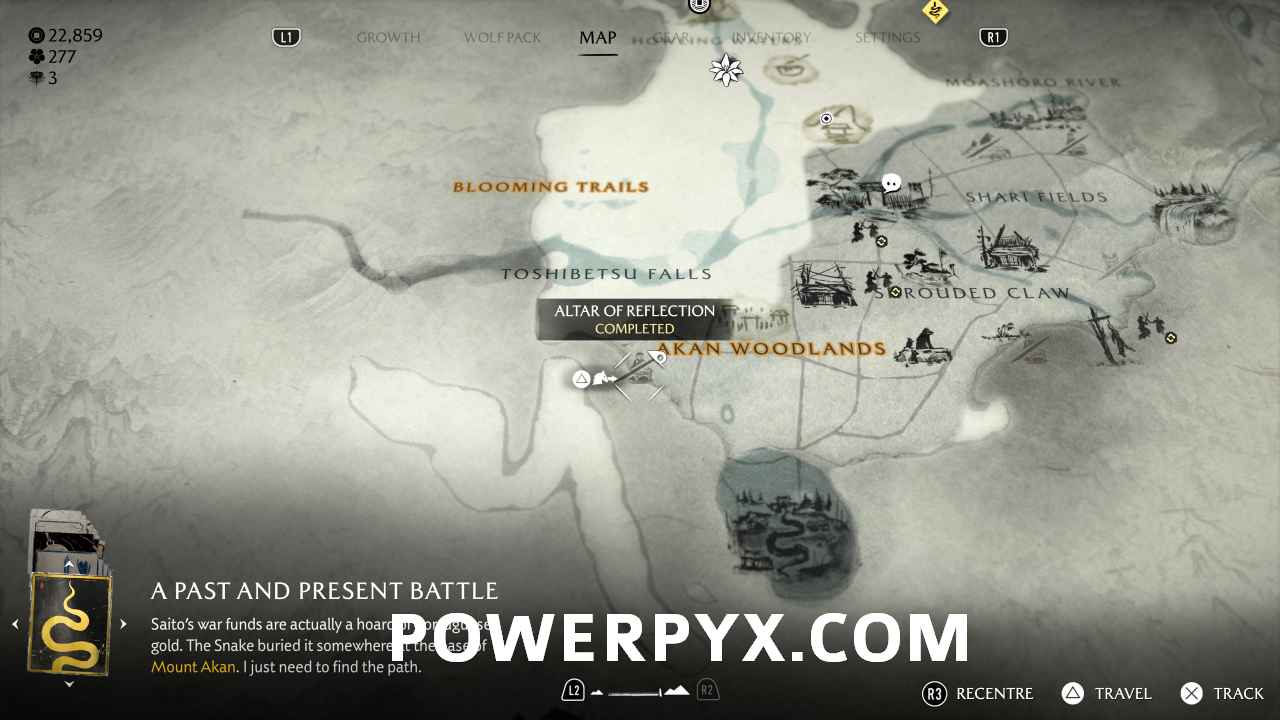
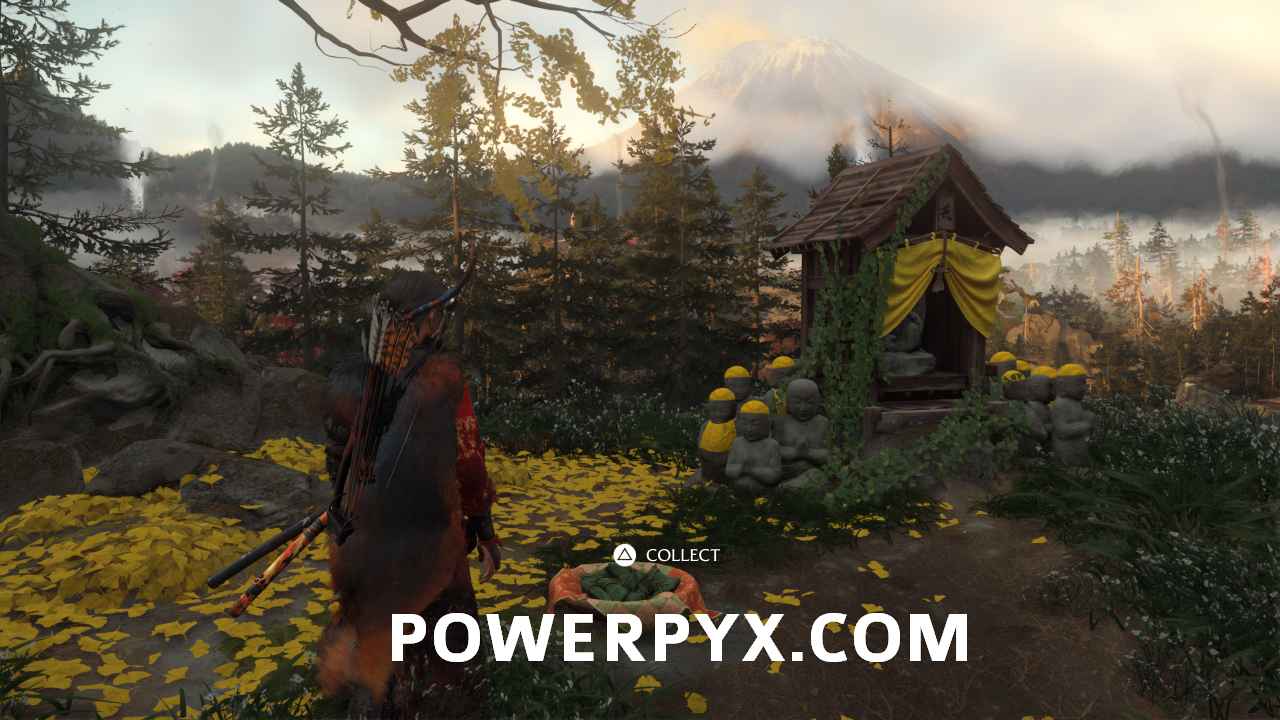
There are numerous recipes in total to find, and they are all located next to the side activities such as the Viper Storehouses, Fox Dens, Bamboo Strikes and Altars of Reflection. They appear as a large dish with ingredients in, which you can interact with to pick up, and they give you perks when you cook them at camp.

Four of the recipes can be found at these locations:

1. Sweet Mushroom Stew – Marshland Fox Den

2. Aromatic Fish – Altar of Reflection (Akan Woodlands)

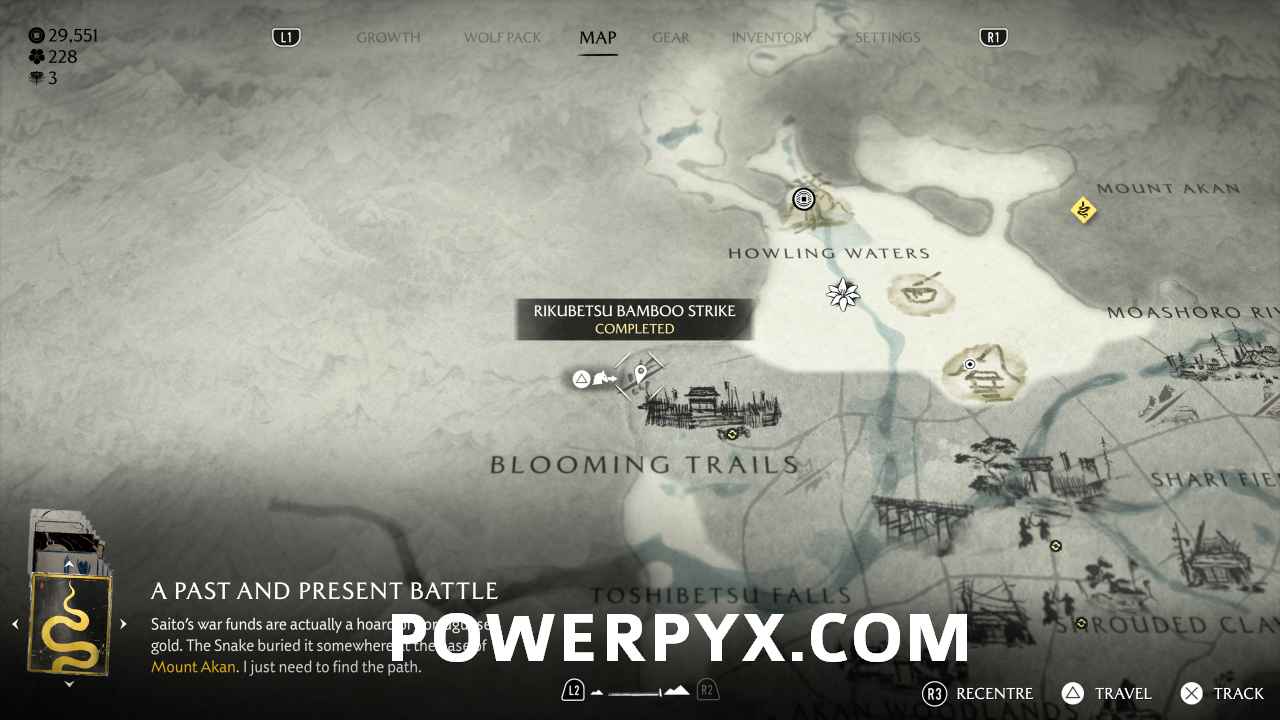
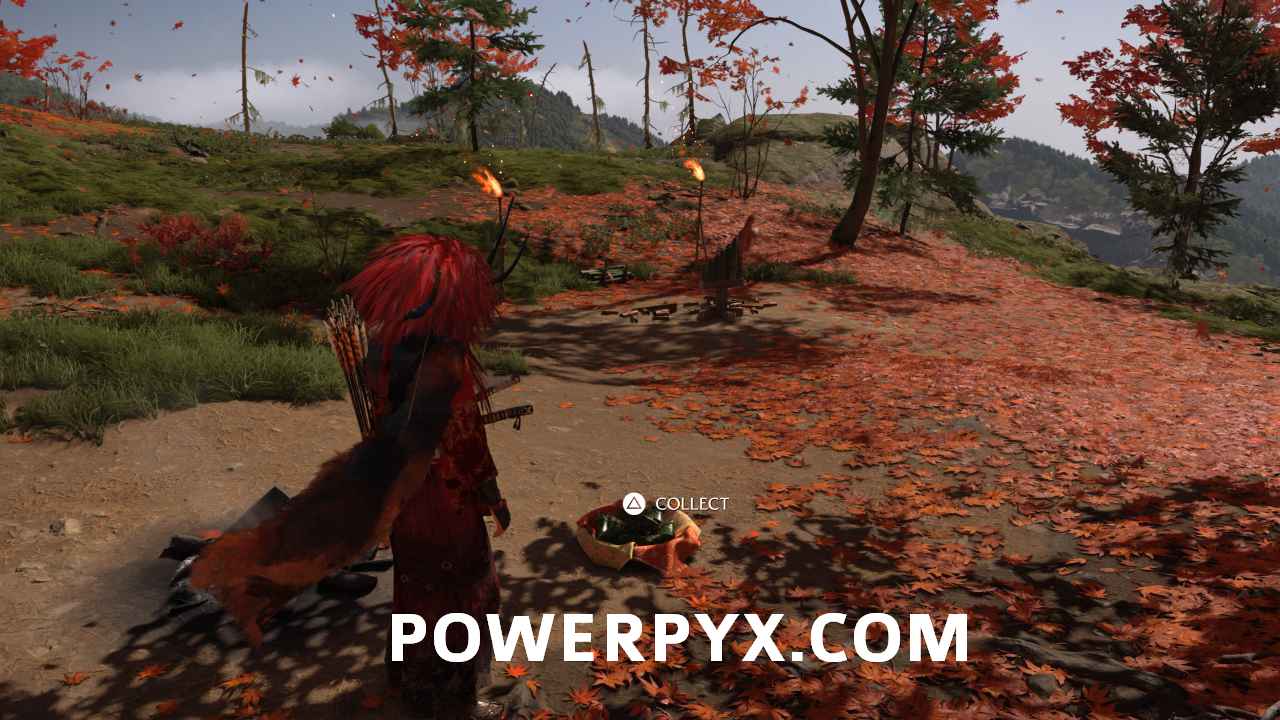
3. Savoury Fish Stew – Rikubetsu Bamboo Strike

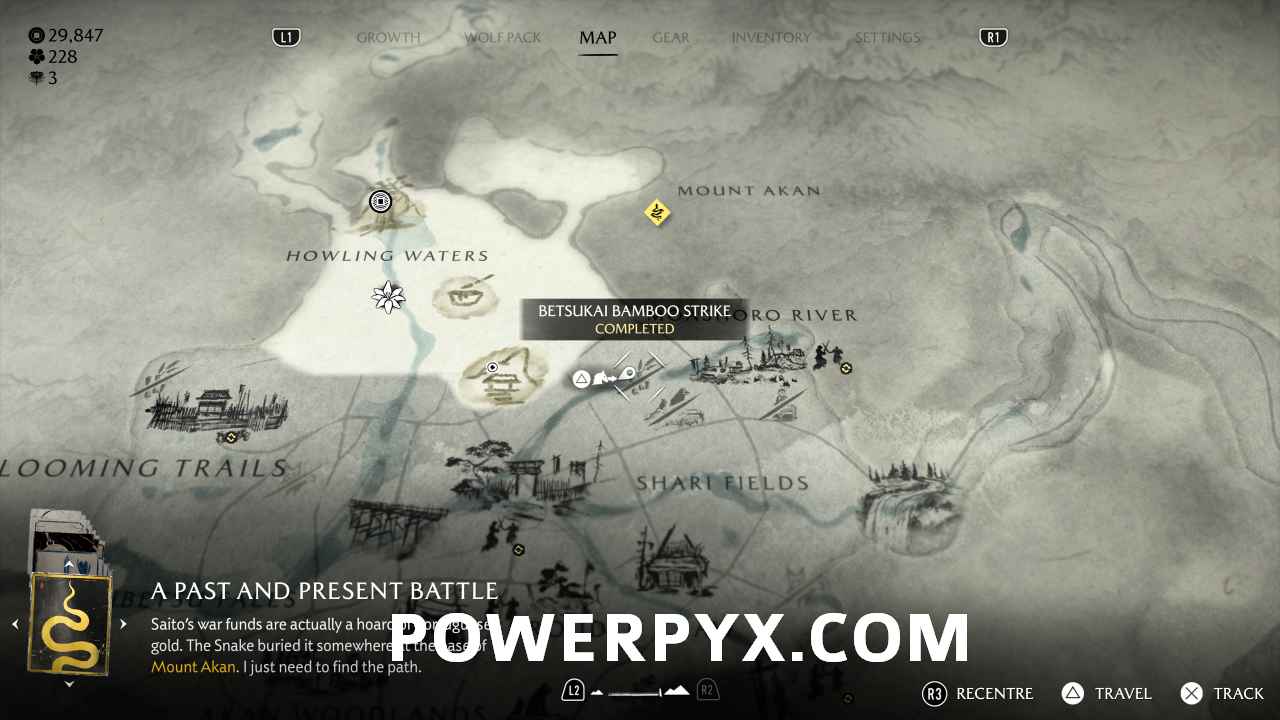
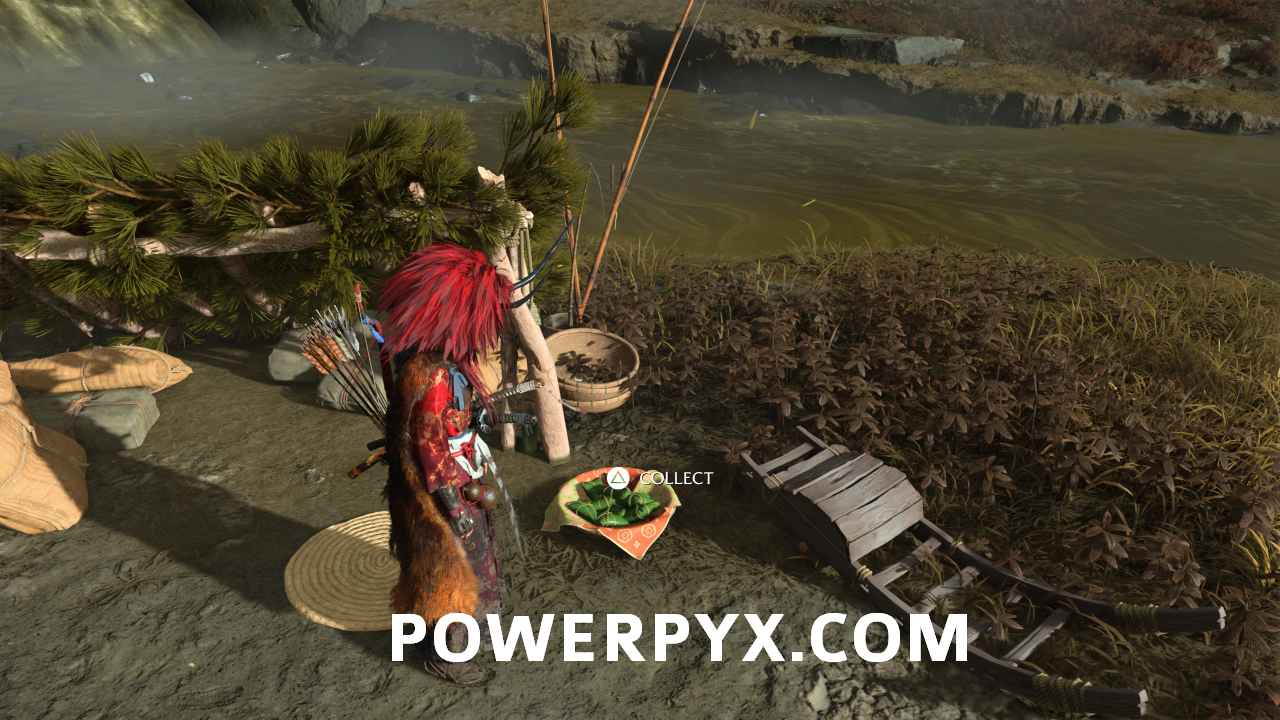
4. Spicy Mushrooms – Betsukai Bamboo Strike

Handsome Yet Deadly
Use Gambler’s Mark to defeat multiple enemies.
Story-related, cannot be missed.

In the story mission ‘A Past and Present Battle’, you’ll come to a flashback section and be wearing the Armour of the Western Army. Gambler’s Mark is a special ability ( :l1: and :r1: ) with this armour that lets you mark multiple enemies and kill them with headshots. You get a tutorial on how to use it, so this trophy is unmissable.

Note that you can also earn this in the Most Wanted DLC mode.

Pack Hunter
Defeat an enemy using the Call of the Pack ability.
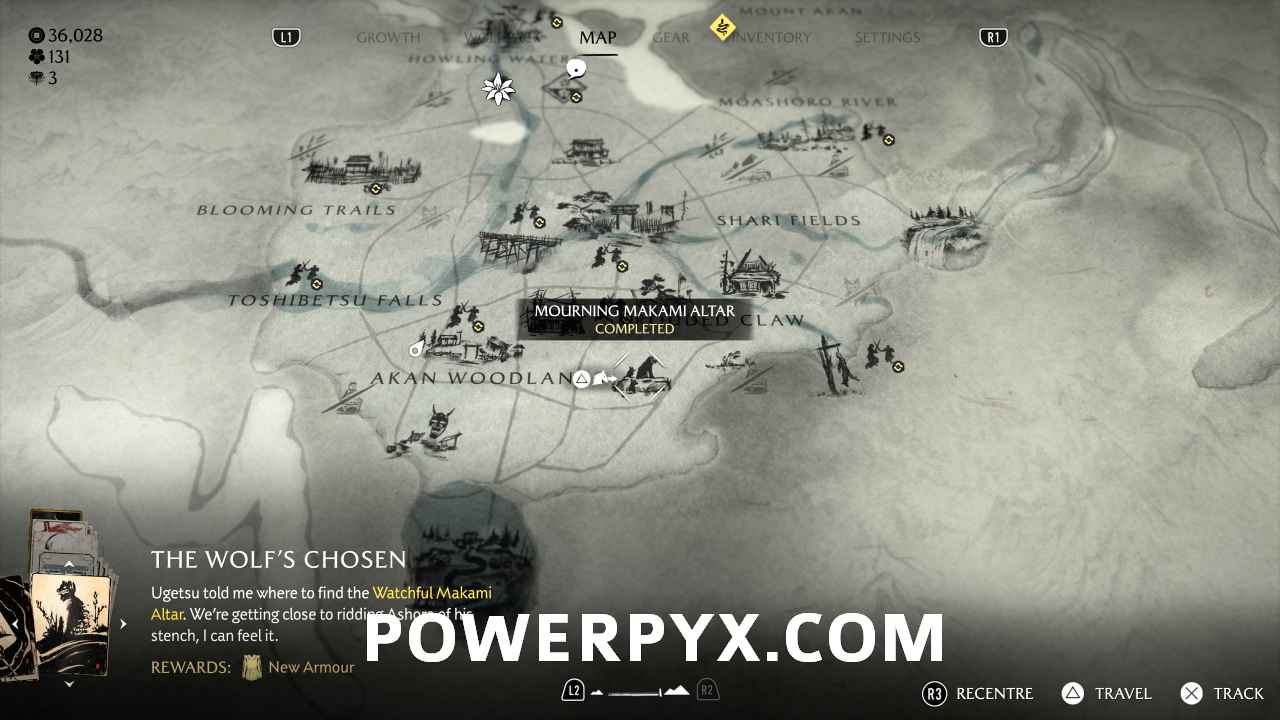
Obtaining this trophy involves a few steps. The first of these is to start ‘The Wolf’s Chosen’ Myth, started by going to the Mourning Makami Altar in the south of the region.

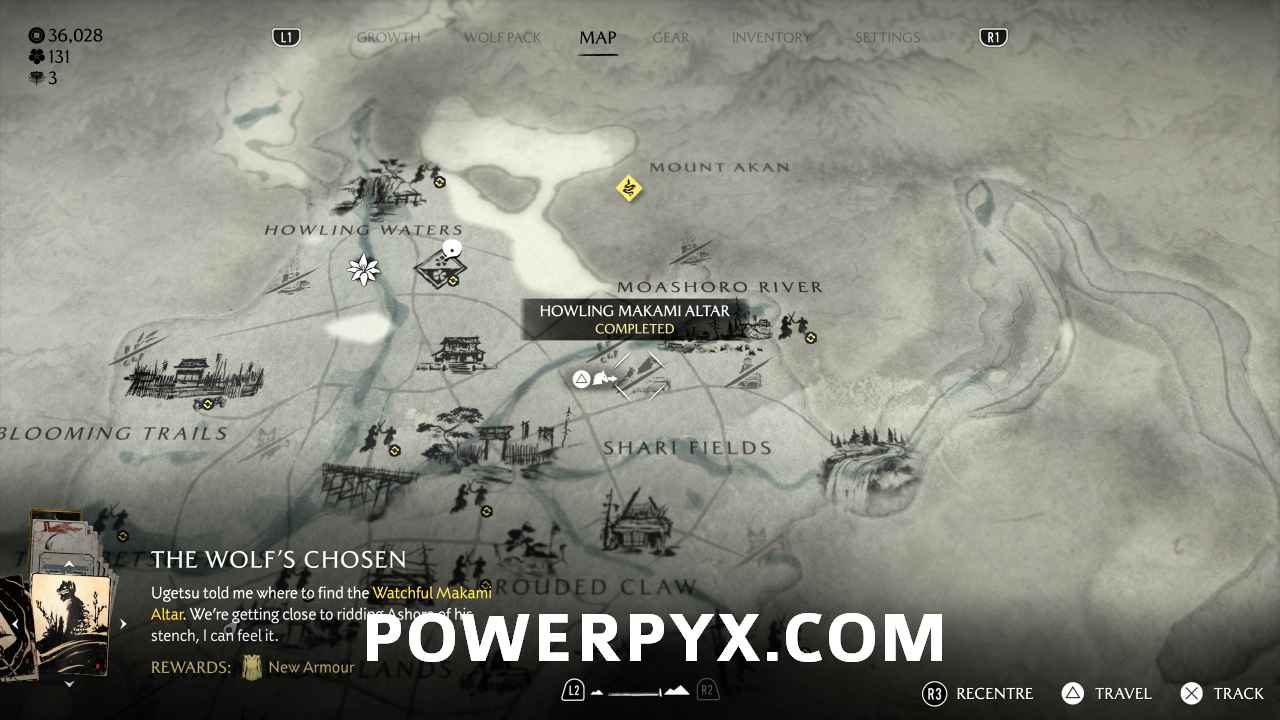
After completing the objectives here, the next part of the quest leads you to finding the Howling Makami Altar in the northeast.

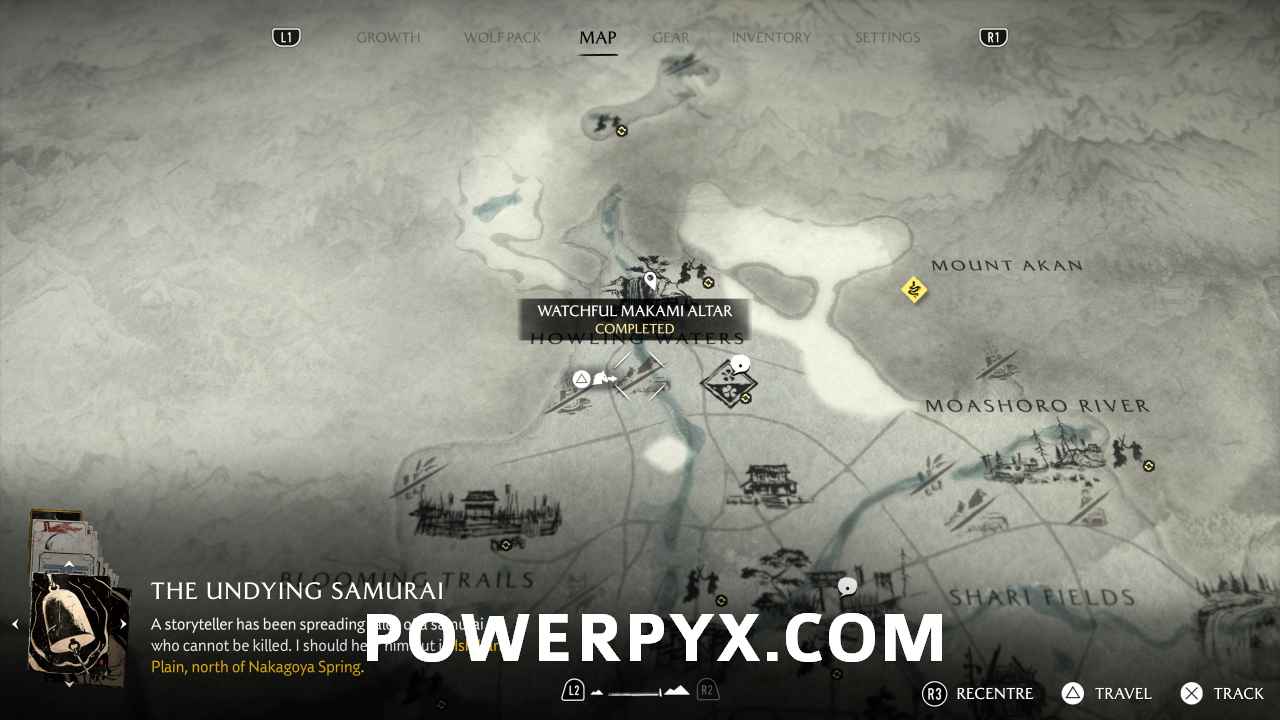
Complete the objectives here and you’ll be sent to find the Watchful Makami Altar in the north.

During this part of the quest, you’ll explore Makami’s Sacred Grove and eventually you’ll come to the Wolf’s Chosen Armour. Interact with it and you’ll duel against Heartless Tatari. When he’s on low health, you’ll automatically be prompted to use the Call of the Pack ability ( :l1: and :r1: ) and the trophy will unlock automatically.

Note that you can also earn this in the Most Wanted DLC mode.

Return to Sender
Kill an enemy with the Catch Arrow ability.
Catch Arrow is a new ability for this DLC. To unlock it, first you need to obtain a skill point from an Altar of Reflection. There are new Altars in this region and you’ll easily come across them as you explore, or you can use one from the main game if you’re on a save where you haven’t found them all. Then, buy the skill (Onryo > Ranged > Catch Arrows) and find an enemy archer. When he is about to fire an arrow and the warning symbol appears, stand still and then press :circle: when he fires it to catch it and fire it back at the enemy.

Note that you can also earn this in the Most Wanted DLC mode.

Not This Time
Disarm a Viper’s trap.
In Ashoro Foothills, enemies often lay traps like trip wires and bear traps to damage you. There are many on the story path throughout the DLC, notably early on in the Snake Estate in the ‘Another Man’s Treasure’ mission. It would be hard to miss them, simply interact with one to disarm it and get the trophy.

Main Game & other DLC Guides:
Ghost of Yotei (Main Game) Trophy Guide & Roadmap
Legends DLC

« PrevGhost of Yotei Legends DLC Trophy Guide & Roadmap
Share
Tweet
Shares 0

Filed Under: Ghost of Yotei, Trophy Guides

Leave a Reply Cancel reply

Your email address will not be published. Required fields are marked *

Youtube 1,240,000Subscriber
Facebook 15,000Fans
Twitter 20,100Followers

Latest Trophy Guides

Minecraft Dungeons 2 Trophy Guide

Ace Combat 8: Wings of Theve Trophy Guide

Control Resonant Trophy Guide

Silent Hill Townfall Trophy Guide

Marvel's Wolverine Trophy Guide

Onimusha Way of the Sword Trophy Guide

The Blood of Dawnwalker Trophy Guide

Resonance: A Plague Tale Legacy Trophy Guide

Mortal Shell 2 Trophy Guide

Assassin’s Creed Black Flag Resynced Trophy Guide

Crimson Desert Trophy Guide

Resident Evil Requiem Trophy Guide

Ghost of Yotei Trophy Guide

Kingdom Come Deliverance 2 Trophy Guide

Red Dead Redemption 2 Trophy Guide

Latest Game Wikis

The Blood of Dawnwalker Wiki

Crimson Desert Wiki

Resident Evil Requiem Wiki

Ghost of Yotei Wiki

Borderlands 4 Wiki

Kingdom Come Deliverance 2 Wiki

Elden Ring Wiki

Hogwarts Legacy Wiki

God of War Ragnarok Wiki

Cyberpunk 2077 Wiki

Red Dead Redemption 2 Wiki

GTA V Wiki

Recent Posts

  • Ghost of Yotei: Echoes of Sekigahara DLC Trophy Guide & Roadmap
  • Little Nightmares 3 DLC #2: The Shores Trophy Guide & Roadmap
  • Little Nightmares 3 The Shores DLC Walkthrough
  • Ace Combat 8 All Ace S-Ranks Walkthrough
  • Minecraft Dungeons 2 All Minecart Station Locations (Fast Travel Points)

Ghost of Yotei Wiki

  • Wiki
  • Walkthrough
    • Prologue
    • The Old Inn
    • The Way of Dual Katana
    • Saito
    • The Yotei Six
    • The Oni
    • The Kitsune
    • The Saito Brothers
    • Call of the Hunt
    • The Final Hunt of the Onryo
    • Takezo the Unrivalled
    • The Five Teachings
    • Master of the Shamisen
    • Old Trails
    • Building Bridges
    • A Fleeting Thought
    • The Worth of a Man
    • Lost in Reflection
    • The Loss We Carry
    • Memories of Home
    • Sleight of Hand
    • A Drink with a Stranger
    • A Normal Life
    • The Ainu Heirloom
    • The Undying Samurai
    • The Way of the Yari
    • The Path of the Yari
    • The Yari’s Fury
    • Sensei Takahashi’s Persimmon Tree
    • The Burning of Castle Ishikari
    • The Bomb Maker
    • Fight Fire With Fire
    • Bold Kaji Forge
    • Broken Horn Garrison
    • Cursed Ground
    • The Lost Scouts
    • Shelter from the Storm
    • Oni’s Breath Inn
    • Artisanal Treasures
    • A Life to Be
    • The Sentinel
    • The Weight of Coin
    • The Spider Lily General
    • The Path of the Odachi
    • The Odachi’s Redemption
    • Master Yoshida’s Final Lesson
    • A Flower For Your Thoughts
    • Those Who Leave
    • Desperate Remedy
    • Marshland Homestead
    • The Soul of an Instrument
    • The Dragonfly Armor
    • Easy Coin
    • A Journey North
    • Protecting the Peace
    • A Matter of Honor
    • Every Man for Himself
    • The Ainu Kotan
    • The Legend of Opusnupuri
    • The Heart of an Ainu
    • The Load We Bear
    • The Face of a Demon
    • The Face of a Master
    • A Melody of Thoughts
    • The Crimson Kimono
    • The Winter Farms
    • The Way of the Kusarigama
    • The Path of the Kusarigama
    • The Kusarigama’s Shame
    • Secrets of the Heart
    • The Blind Stranger
    • A Land Reforged
    • No Brother Left Behind
    • Soya Port
    • The Worth of a Blade
    • Encounters of the Wild
    • The Enemy Within
    • A Fox in Monk’s Clothing
    • Sorrow in Snow
    • That Which We Know
    • The Storm Blade
    • Guns and Consequences
    • Pride Before Tea
    • A Promise of Treasure
    • The New Lord
    • Youth Under Fire
  • Bounties
    • Smiling Yoshitomo
    • Crow Genzo
    • Muneji the Bone Crusher
    • The Three Terrors
    • Black Powder Ippei
    • Soma the Condemned
    • Blue Yamauba
    • Bloody Strings Hachibee
    • Toshi the Torch
    • Eijiro the Ruthless
    • Turtle Man Kamekichi
    • Shiro the Swindler
    • Junpei the Snatcher
    • One-Eye Moritaka
    • Old Lady Yae
    • Bear Man Chikatoshi
    • Inokichi the Hungry
    • Iron Chuta
    • Houndmaster Toyotaro
    • Snowstorm Katagiri
    • Inagawa the Gambler
    • Nameless Killer
    • Black Night Kubo
    • Wayward Oni Raiders
    • Eagle Eye Kondo
    • Iwa the Beautiful
    • A Brokered Trust
    • Tadaaki The Terrible
    • The Last Brother
    • The Tooth Breaker
    • Shinpachi the Armor Thief
  • Mythic Tales
  • Collectibles
  • Armor
  • Melee Weapons
  • Ranged Weapons
  • Quickfire Weapons
  • Shamisen Songs
  • Nine Tails’ Puzzle Boxes
  • Special Places
  • Mountain Reliquary Puzzles
  • Fox Dens
  • Wolf Dens
  • Sumi-e
  • Bamboo Strikes
  • Shrine Climbs
  • Hot Springs
  • Altars of Reflection
  • Pillars of the Fallen
  • Ainu Items
  • Zeni Hajiki
  • Dueling Trees
  • Yotei Six Camps
  • World Map
  • Trophy Guide
  • Legends DLC
  • Echoes of Sekigahara DLC
  • Terms of Service
  • Privacy Policy
  • Cookie Policy
  • YouTube
  • Facebook
  • Twitter

© 2008-2026 PowerPyx.com, all rights reserved.