
The Oni is the 6th main tale in Ghost of Yotei. This walkthrough will guide you through all objectives of the The Oni main quest.
- Chapter: 1 – The Lone Wolf
- Region: Yotei Grasslands
- Requirement: As part of Main Tale 5: The Yotei Six, interrogate enemies and ask them for info on The Oni.
- Reward: Onryo Armor III
- Quest Info: The man who tried to burn me alive is in Ishikari Plains.
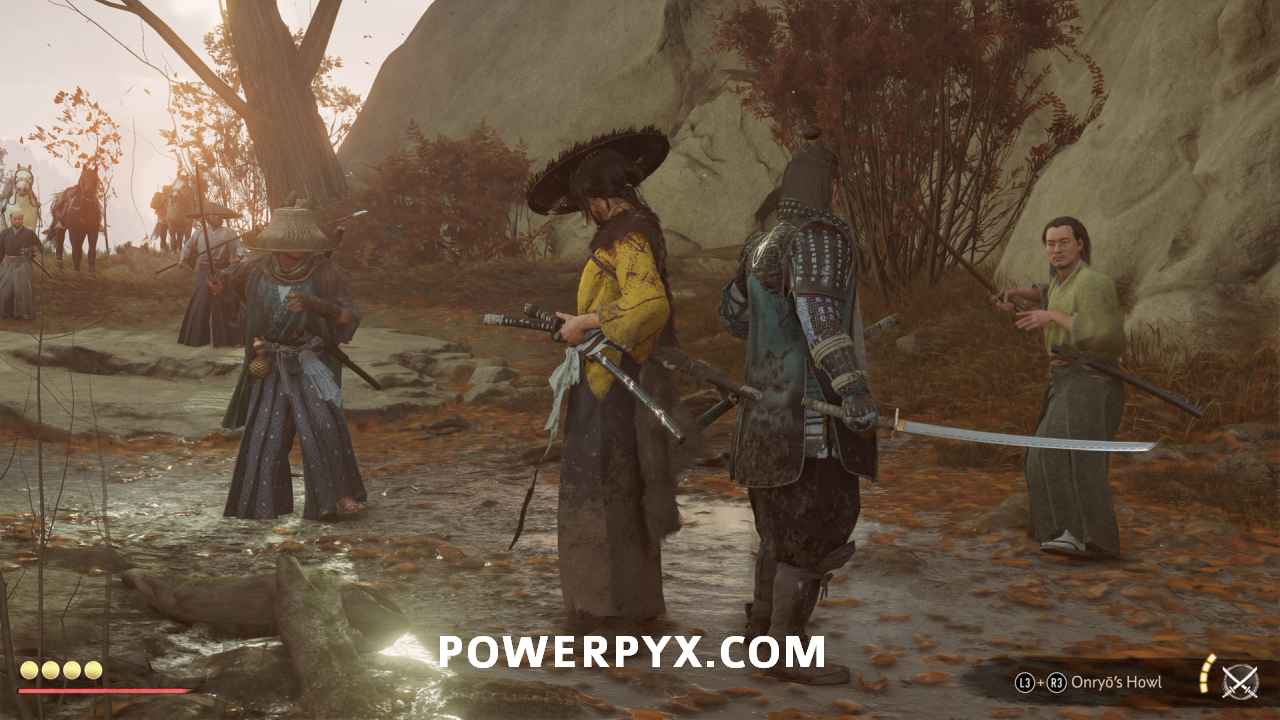
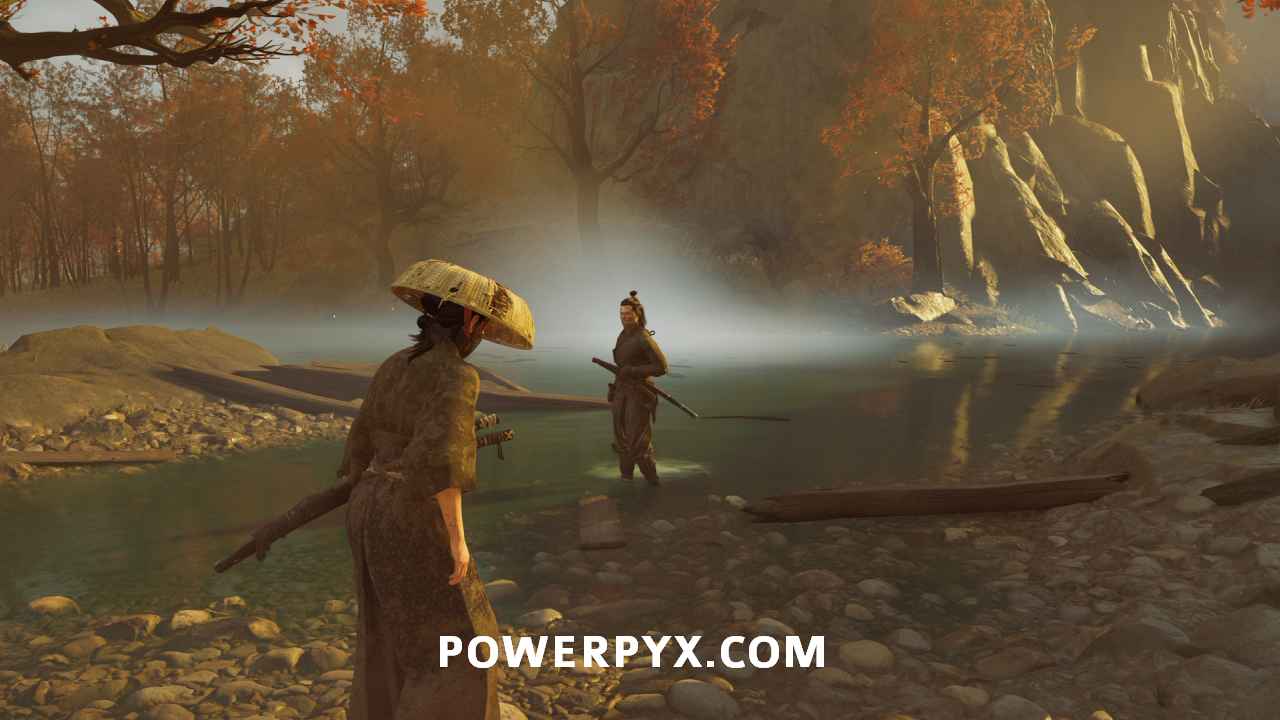
Starting Location: The Oni
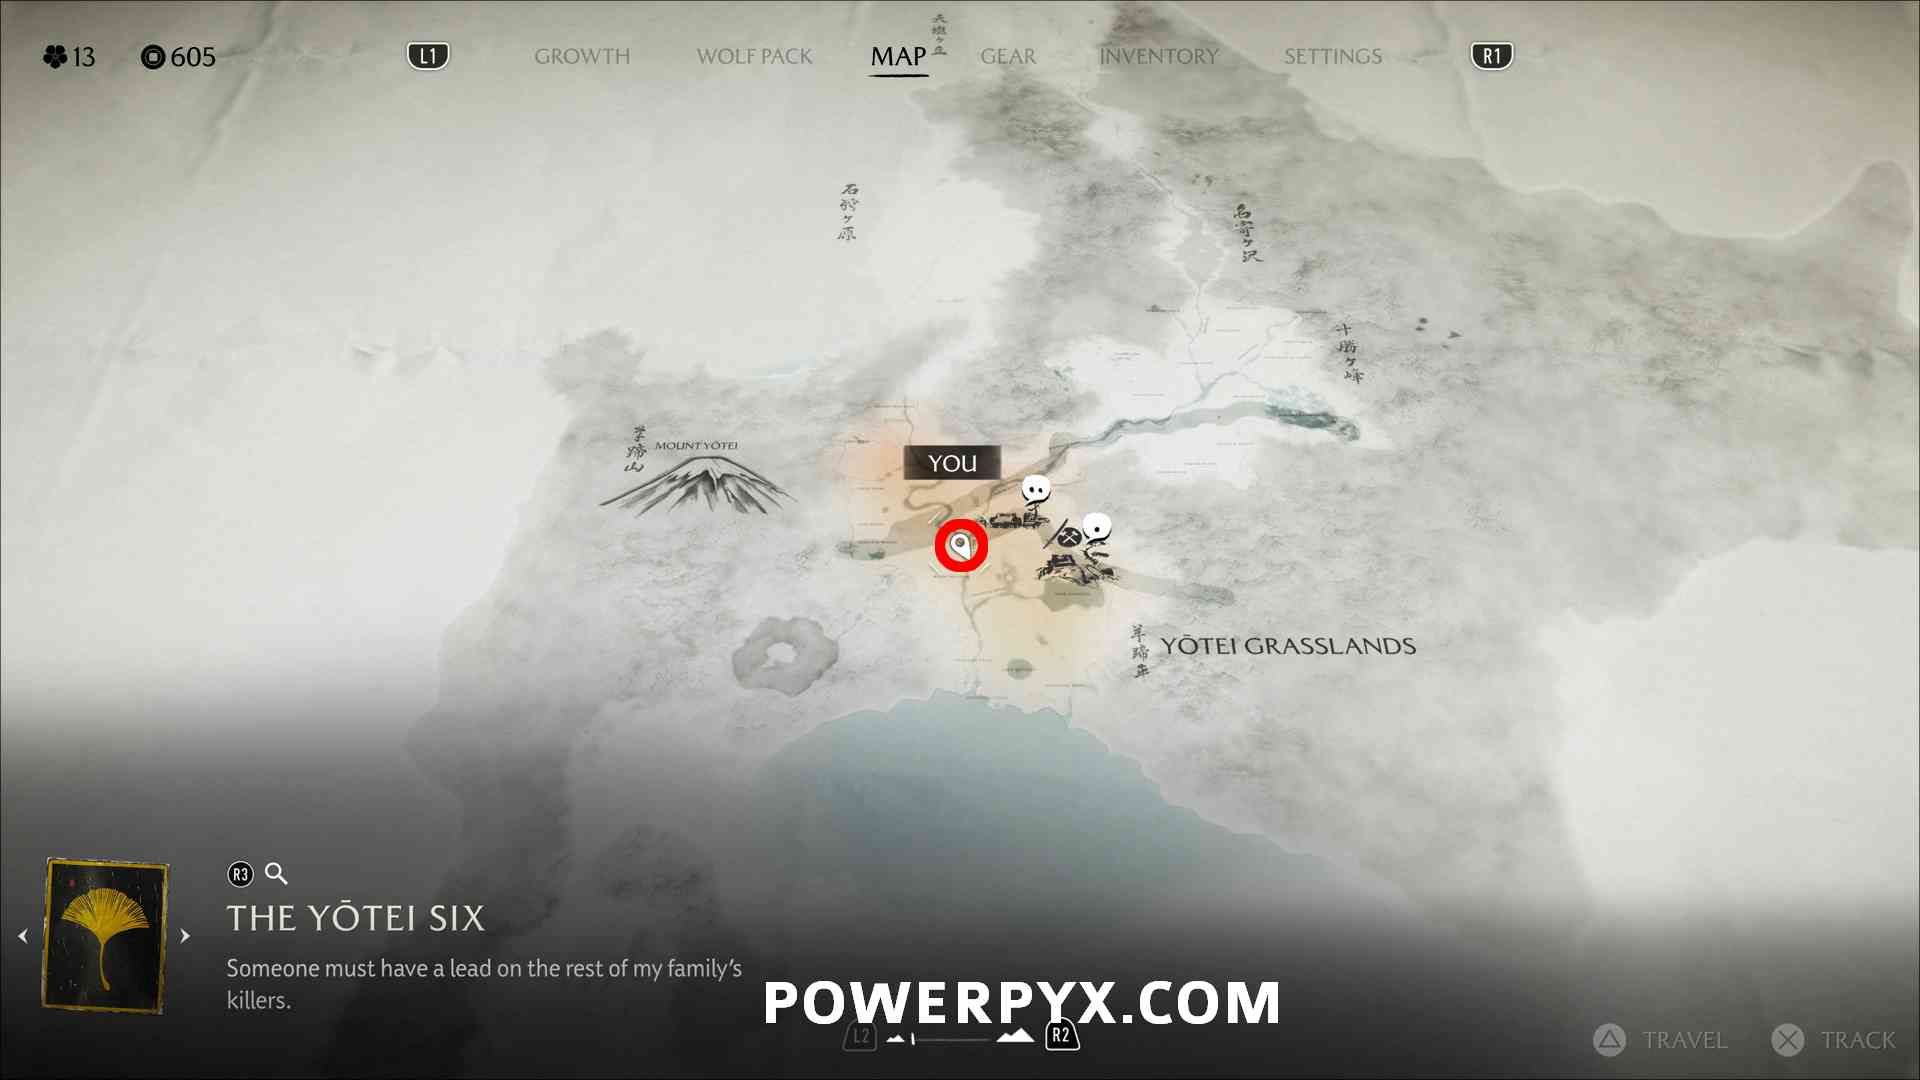
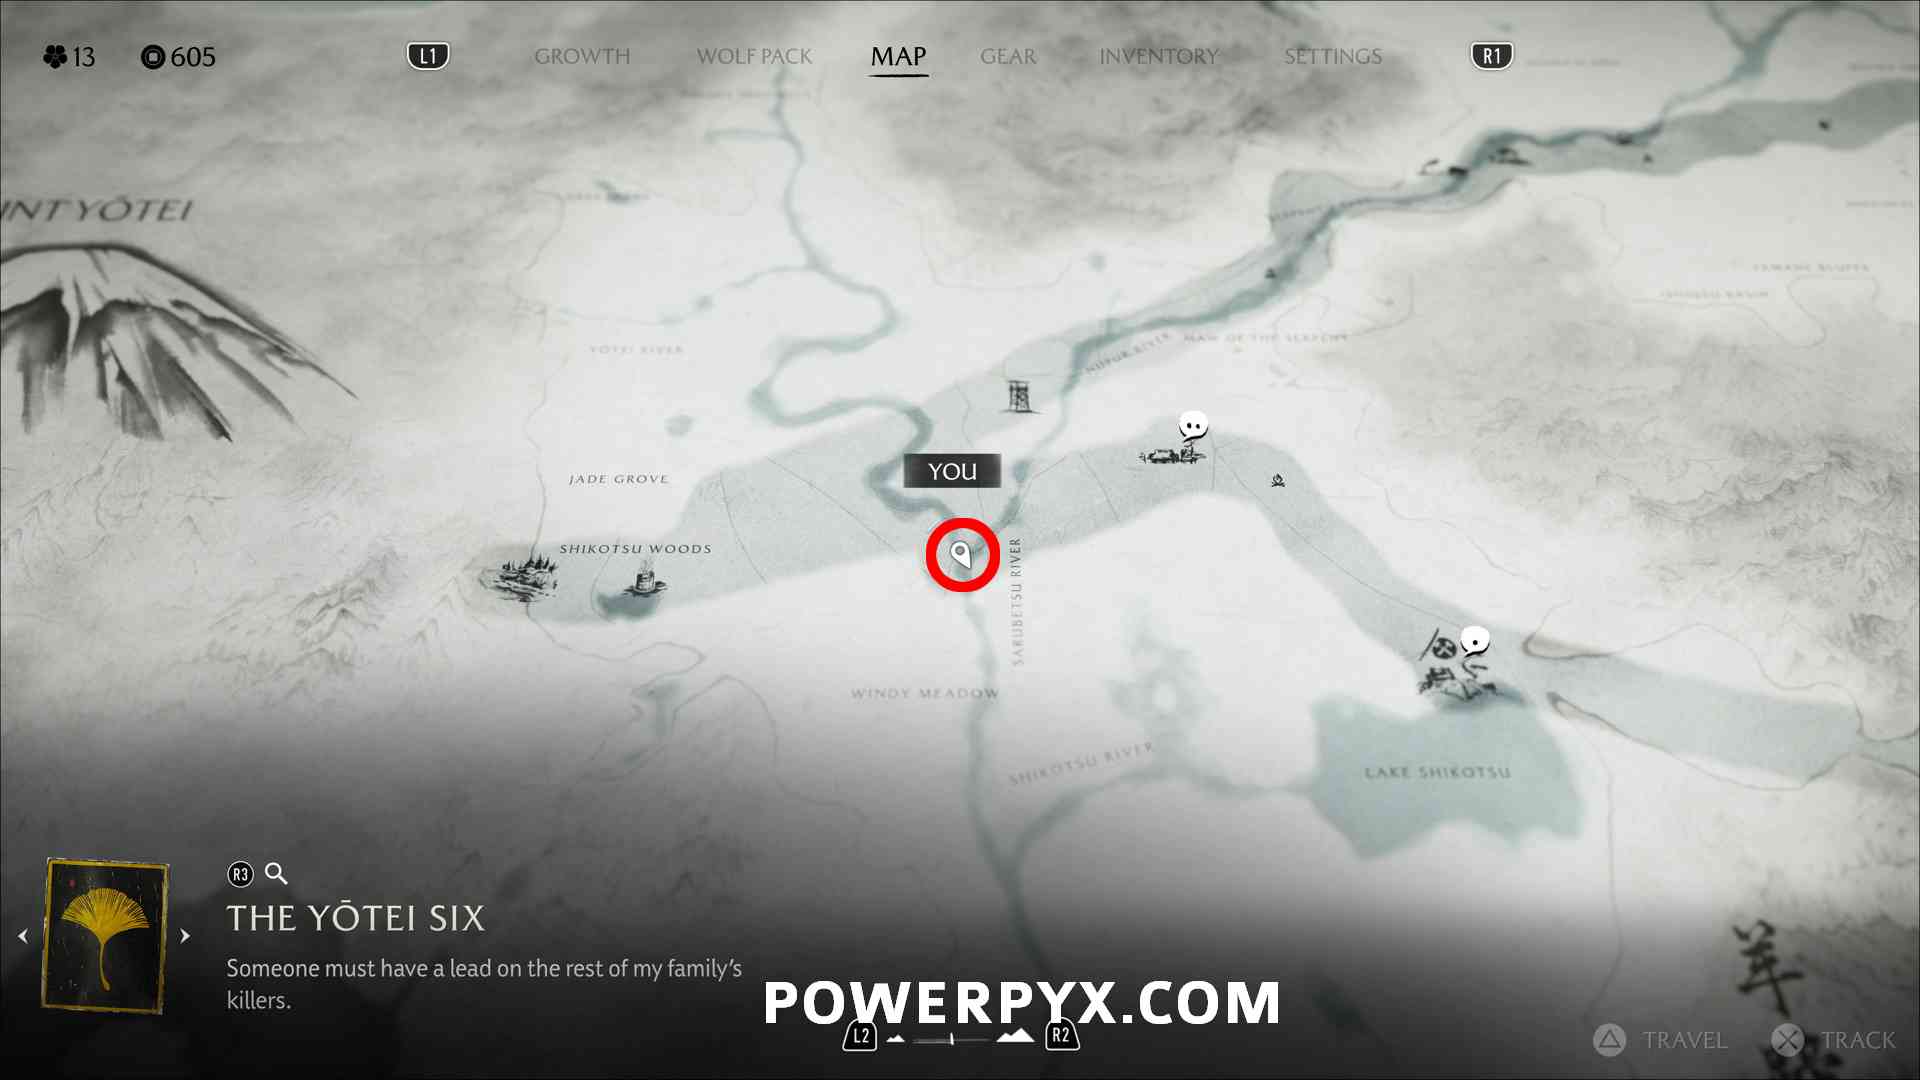
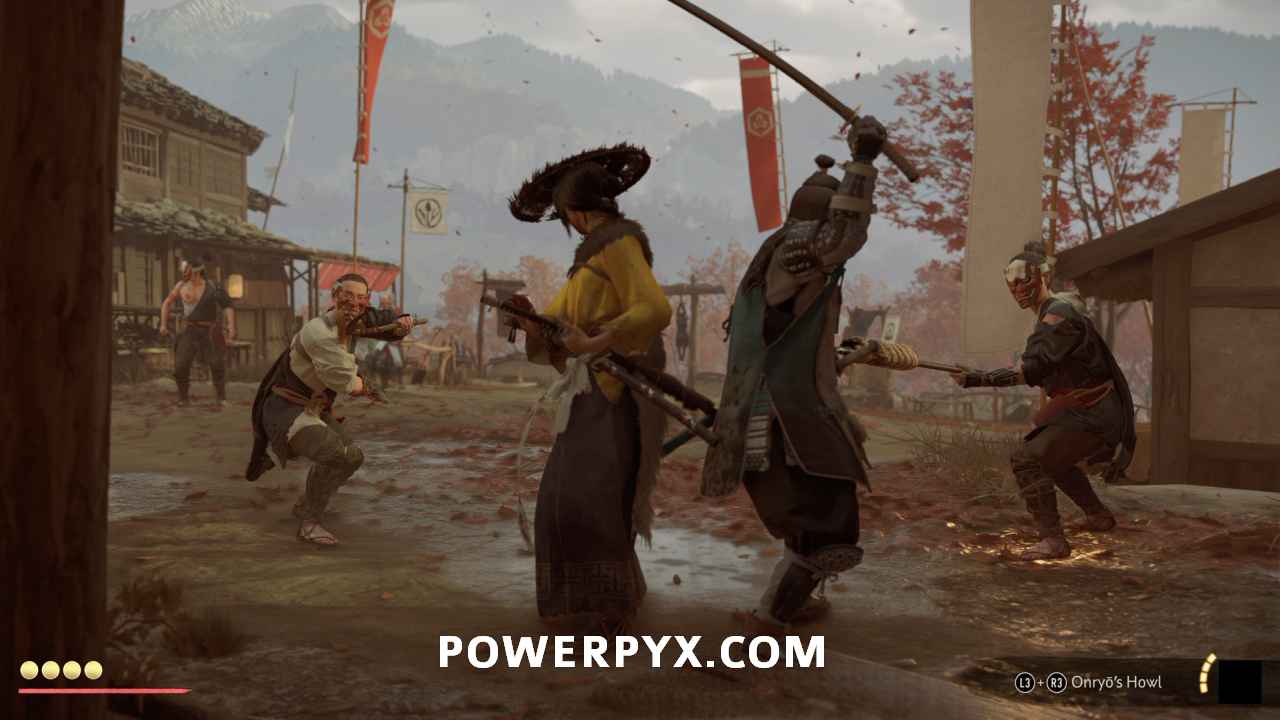
This tale is triggered during Main Tale: The Yotei Six. Head to the river crossing slightly south-west of The Old Inn (west of your home where you start). When you arrive in the area, a cutscene will automatically trigger. A wandering ronin will attack you, defeat him and ask him for info on The Oni. You can also fight other groups of enemies and ask them for info.

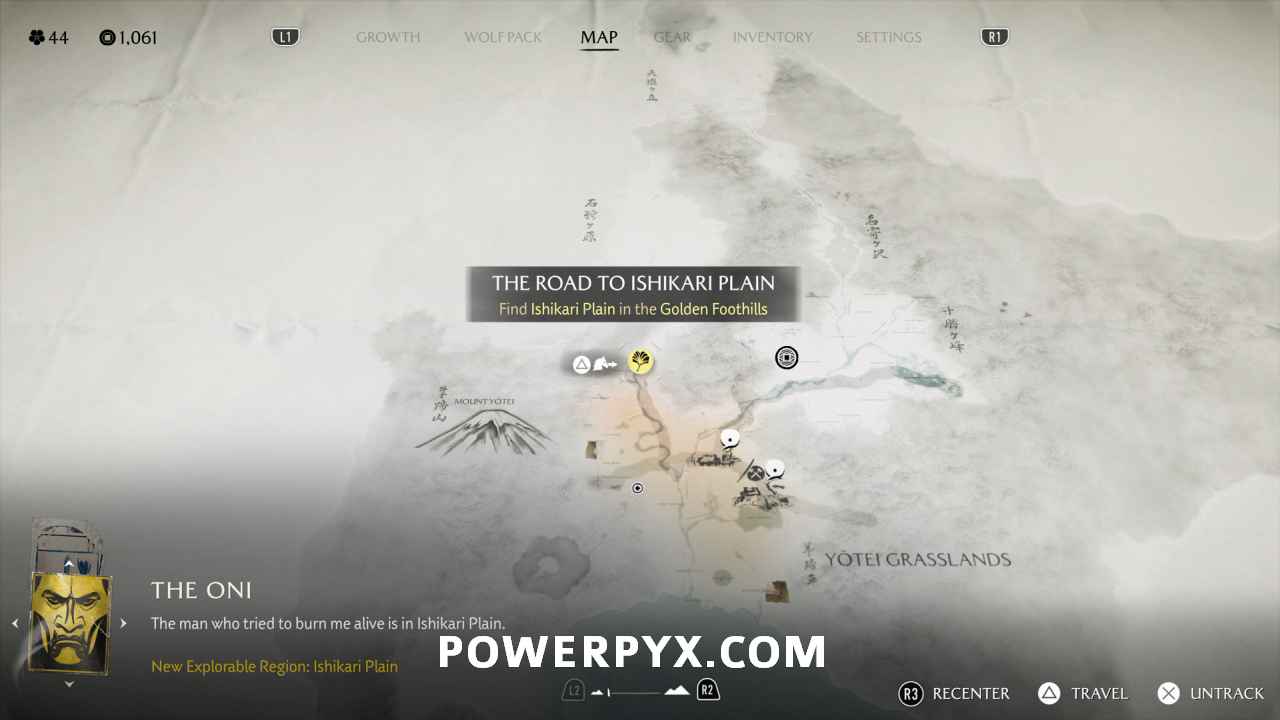
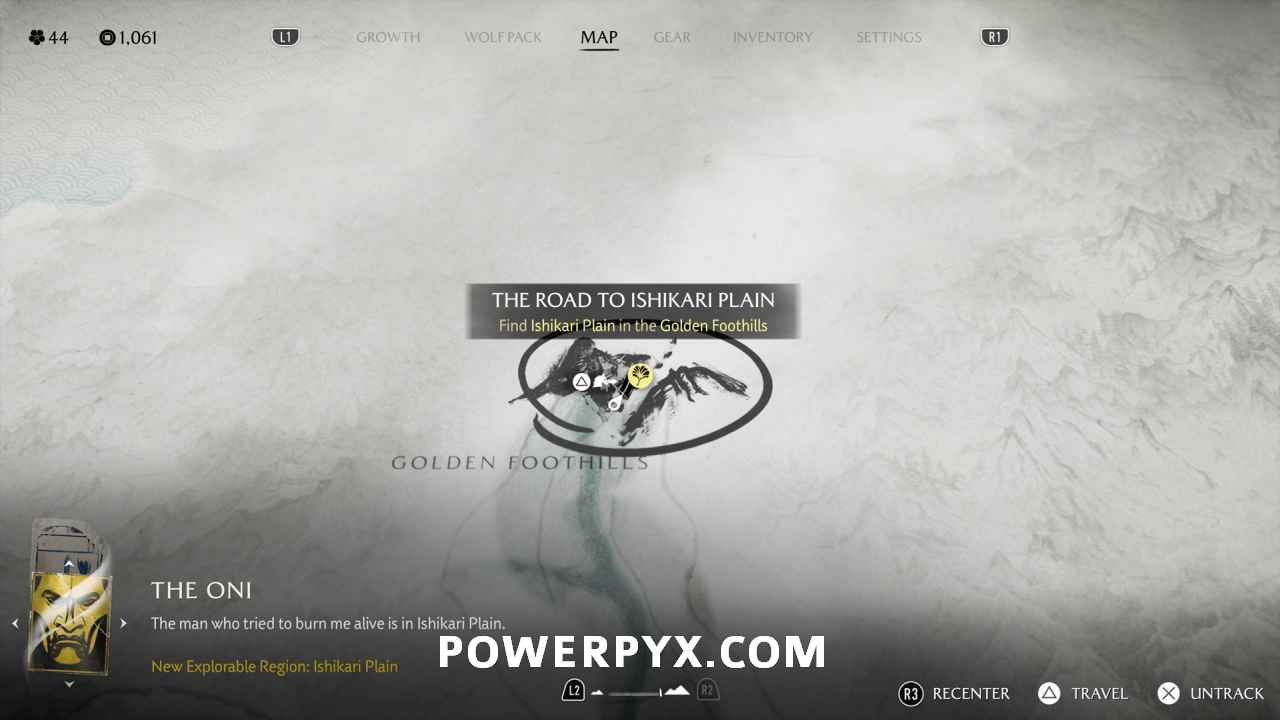
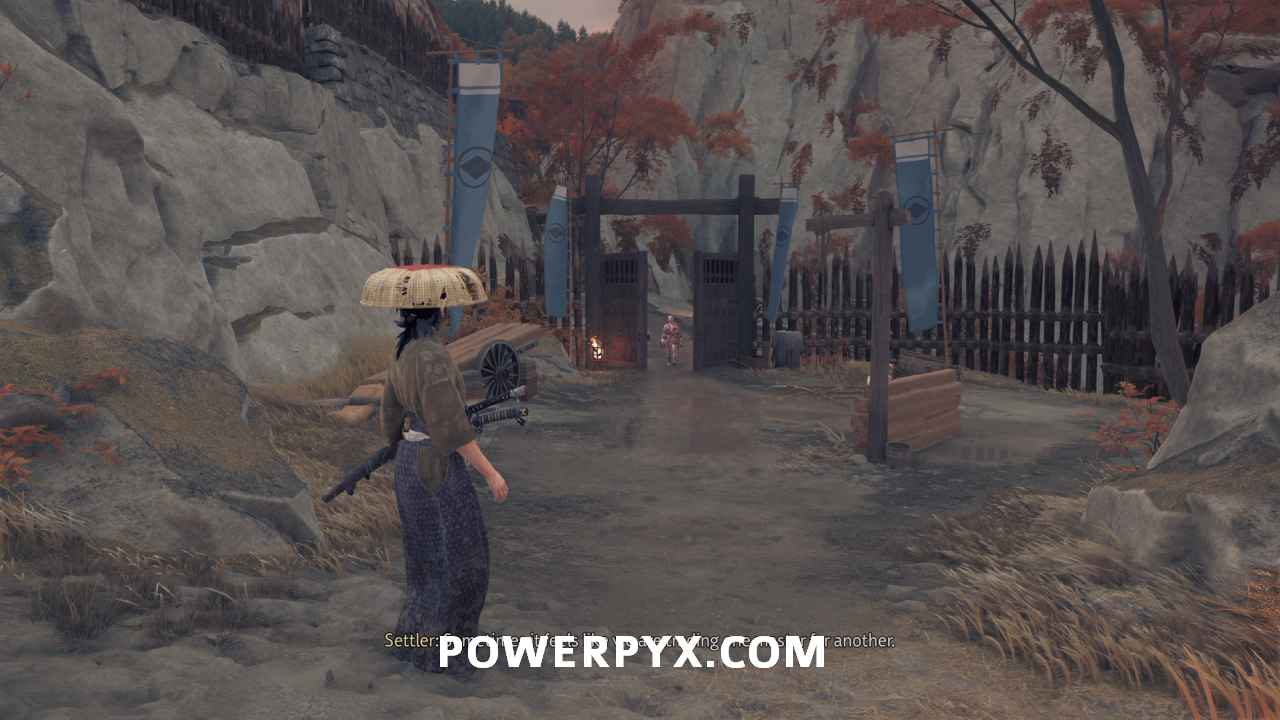
Find Ishikari Plains in the Golden Foothills
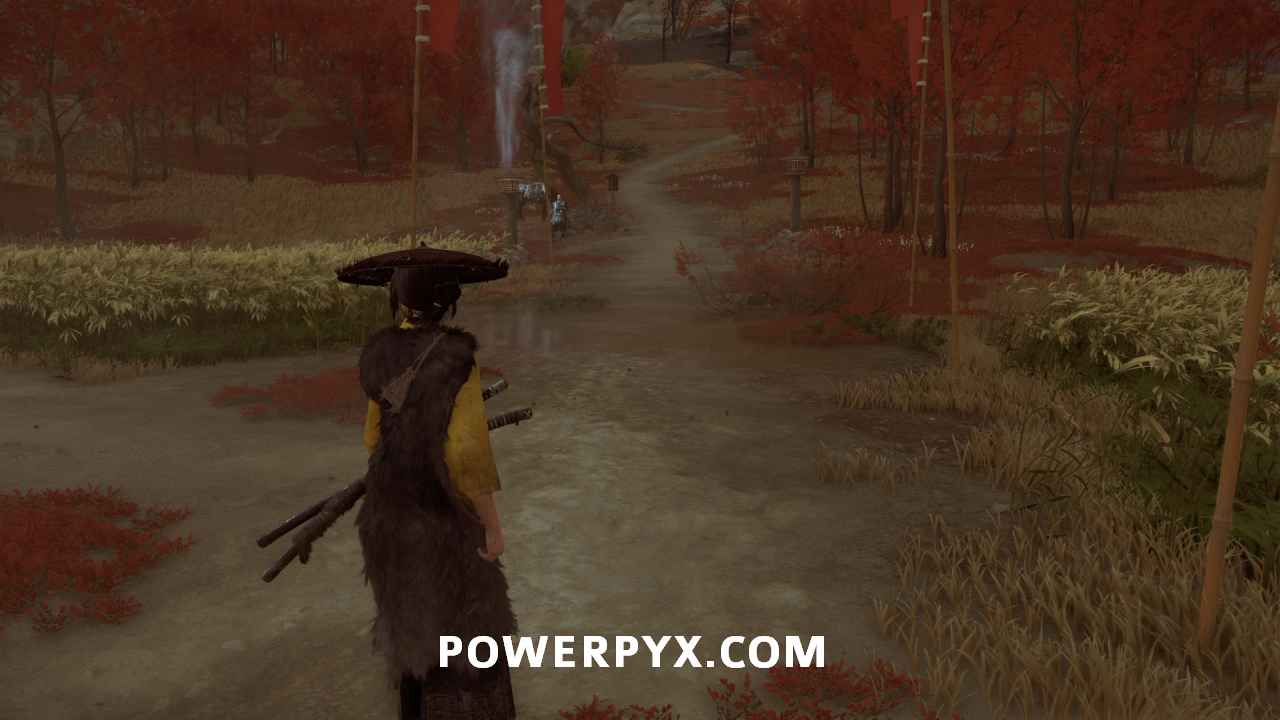
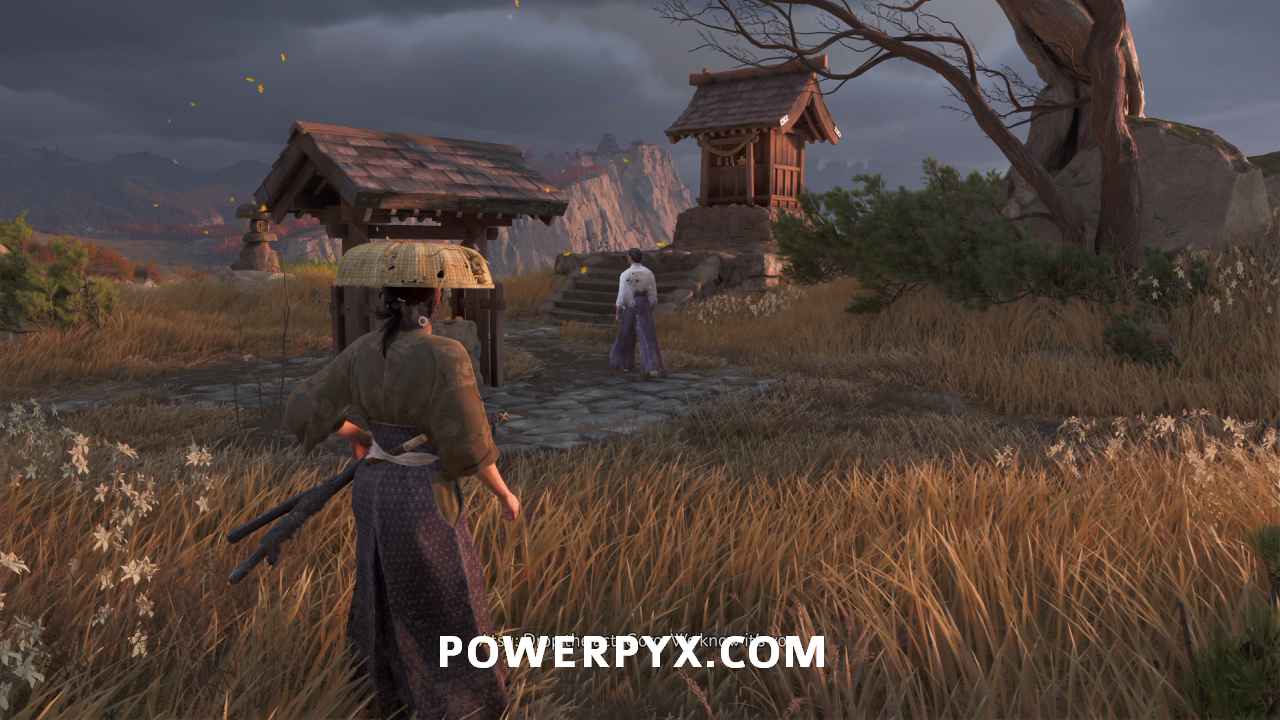
Head north to reach the entrance to the Golden Foothills.
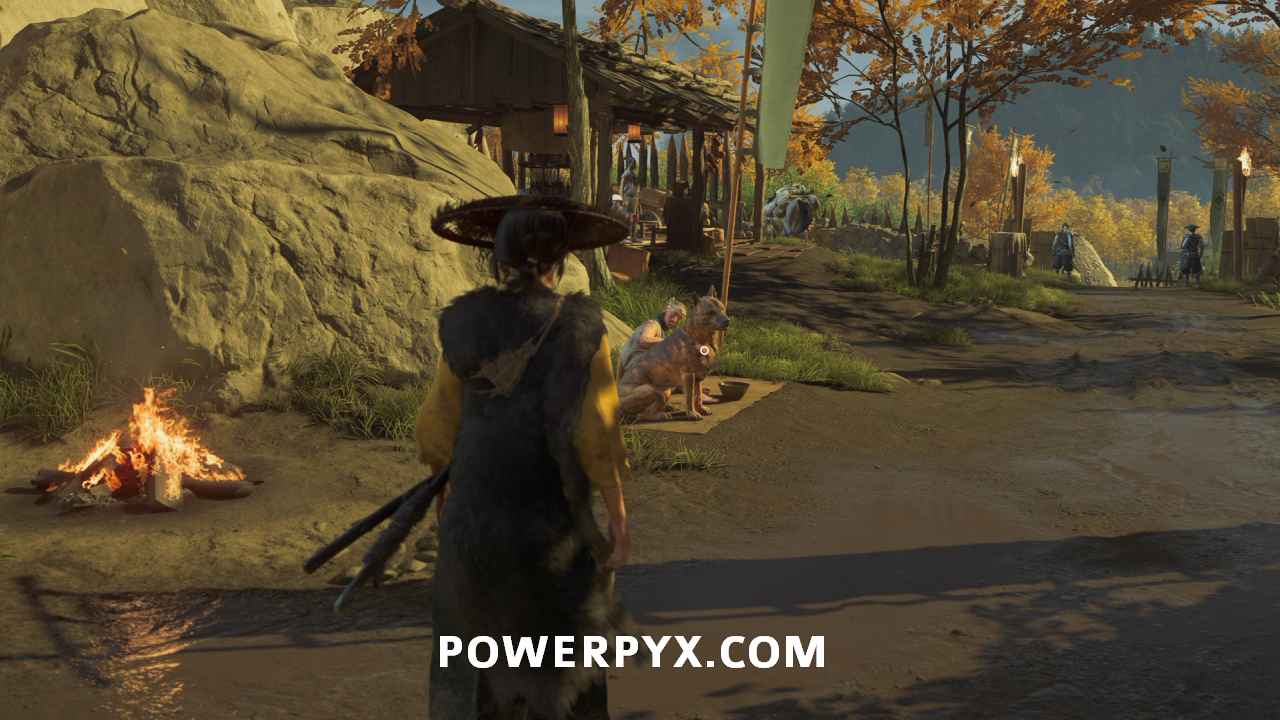
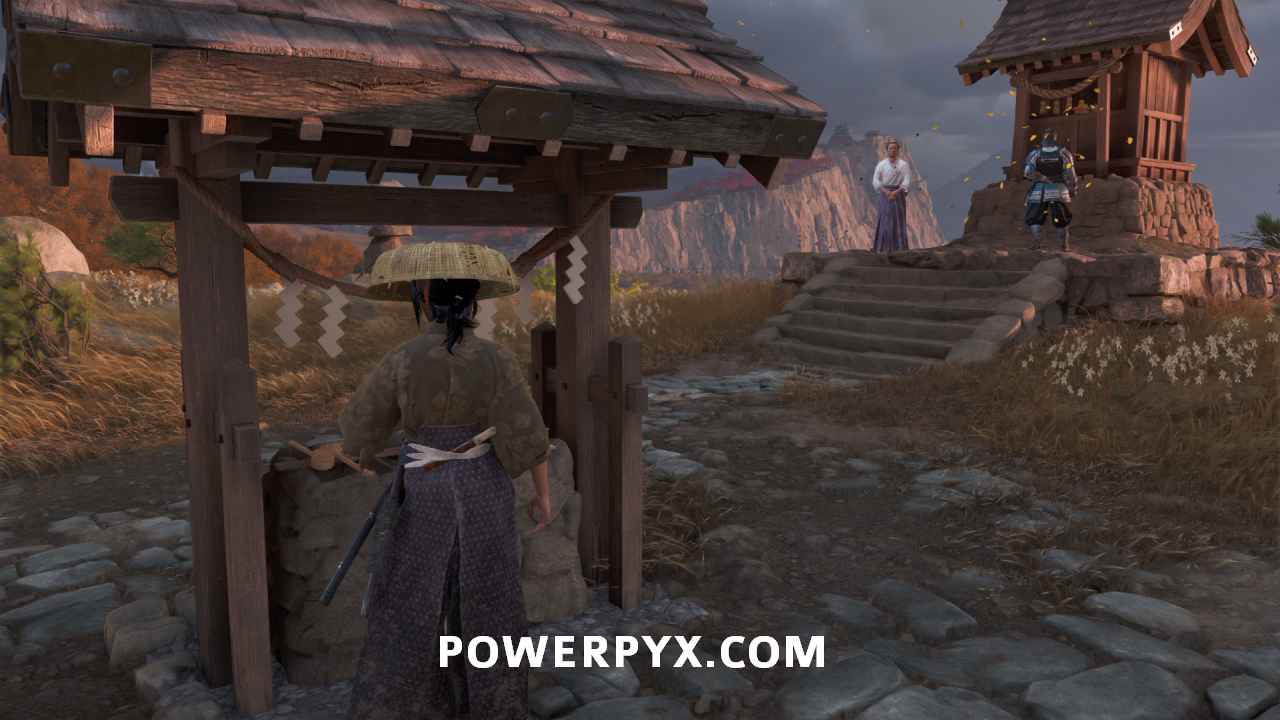
Approach the gate. Before interacting with the two men standing guard, make a donation to the beggar on your right who sits with his dog.
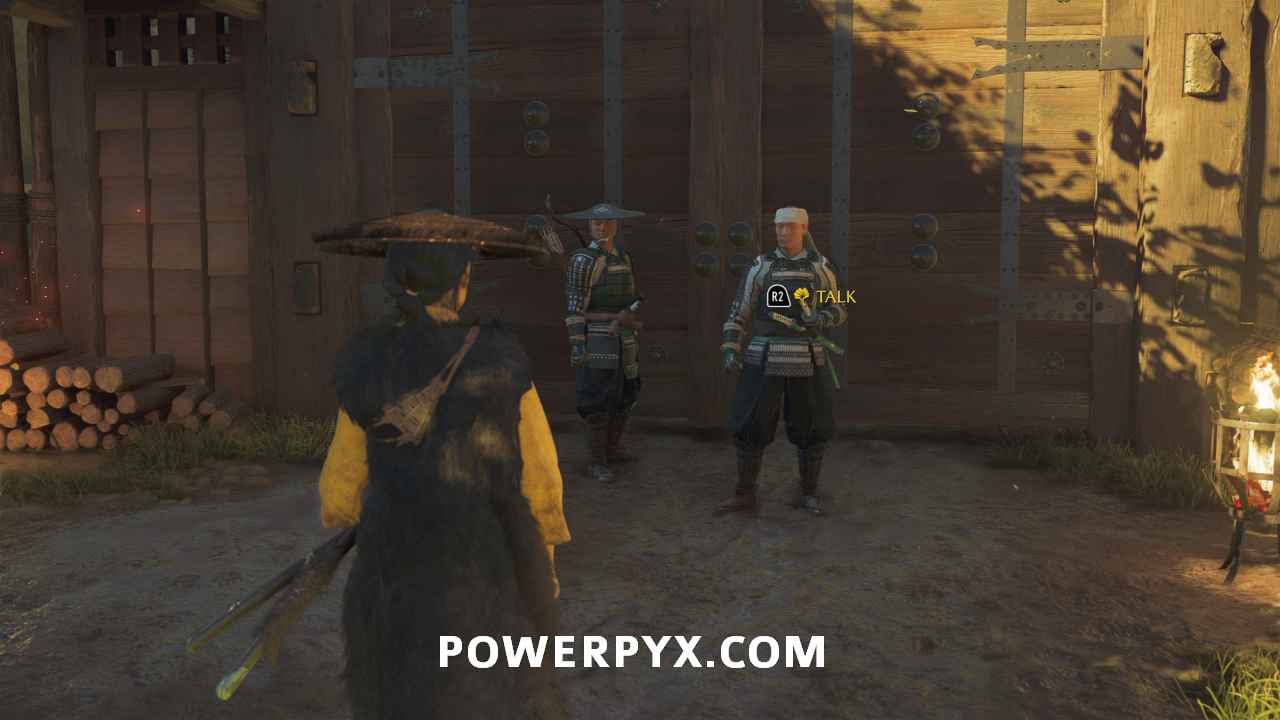
After that, interact with the two men standing guard.
The guards turn you away. Immediately, the beggar to your left offers help. Interact with him.
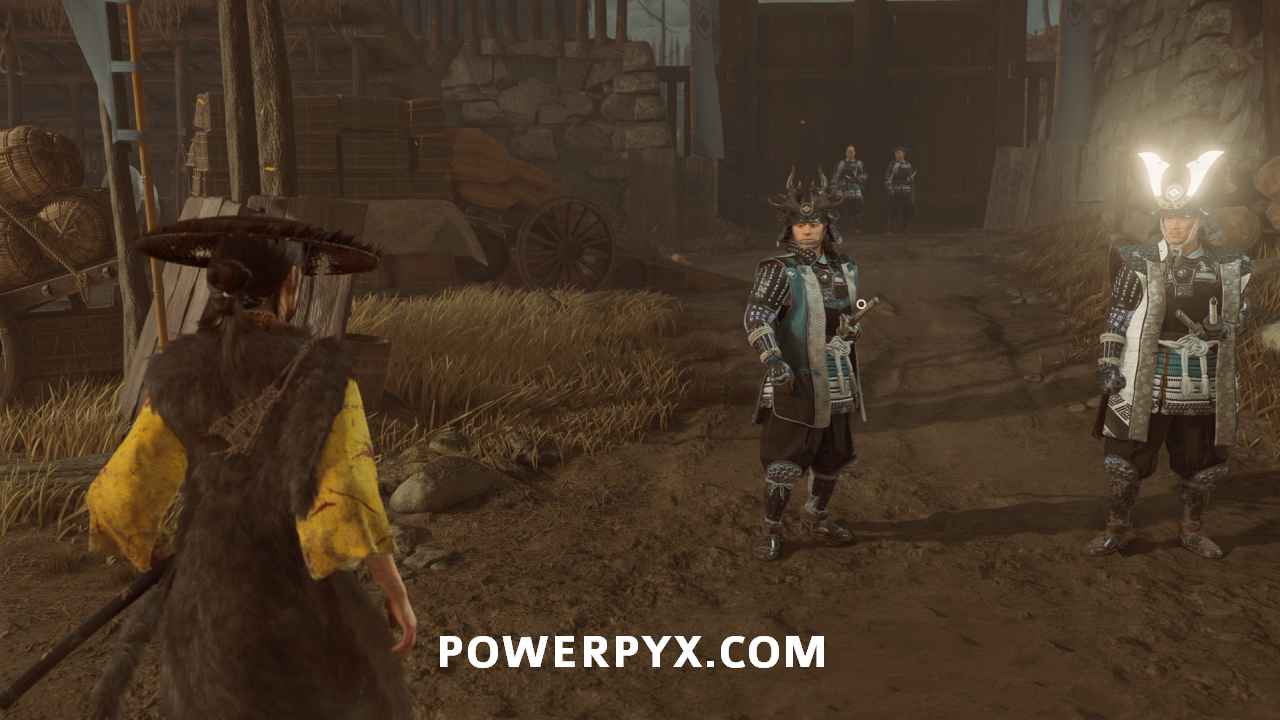
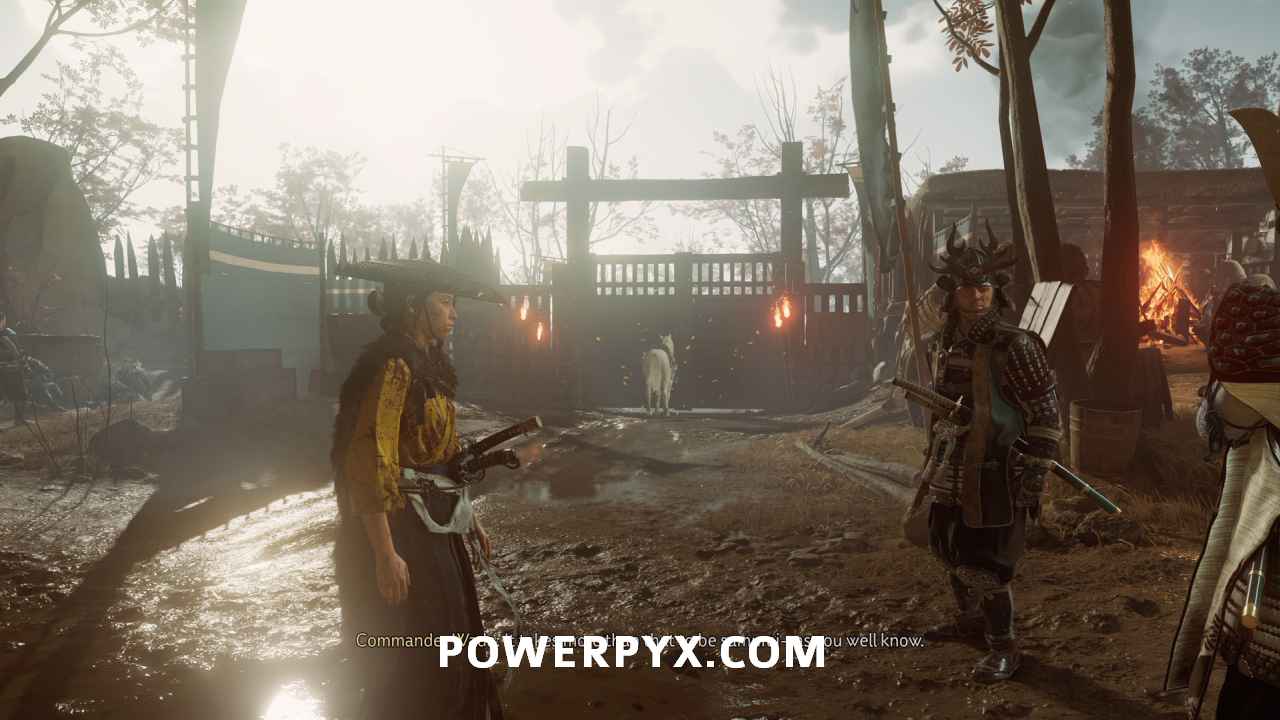
Speak with the guards again to trigger a cutscene.
Defeat the Oni Raiders
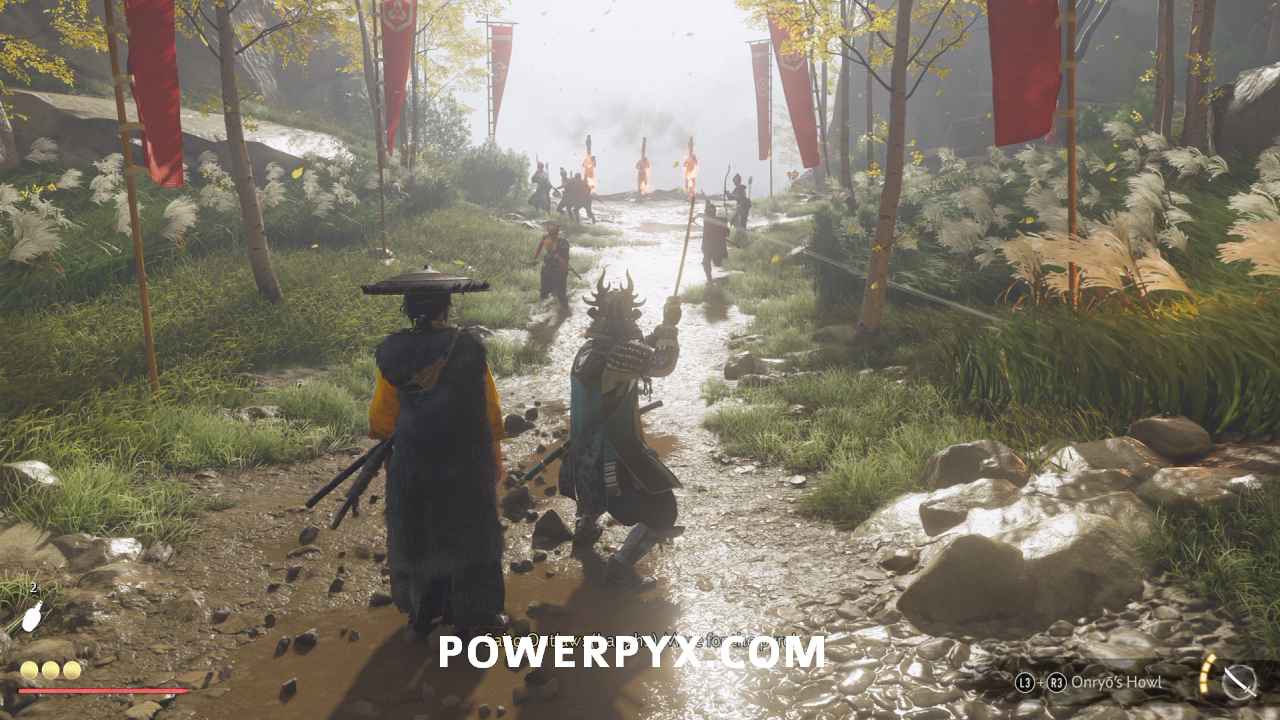
When you regain control, you are on the other side of the gate. Fend off the two waves of attacking raiders.
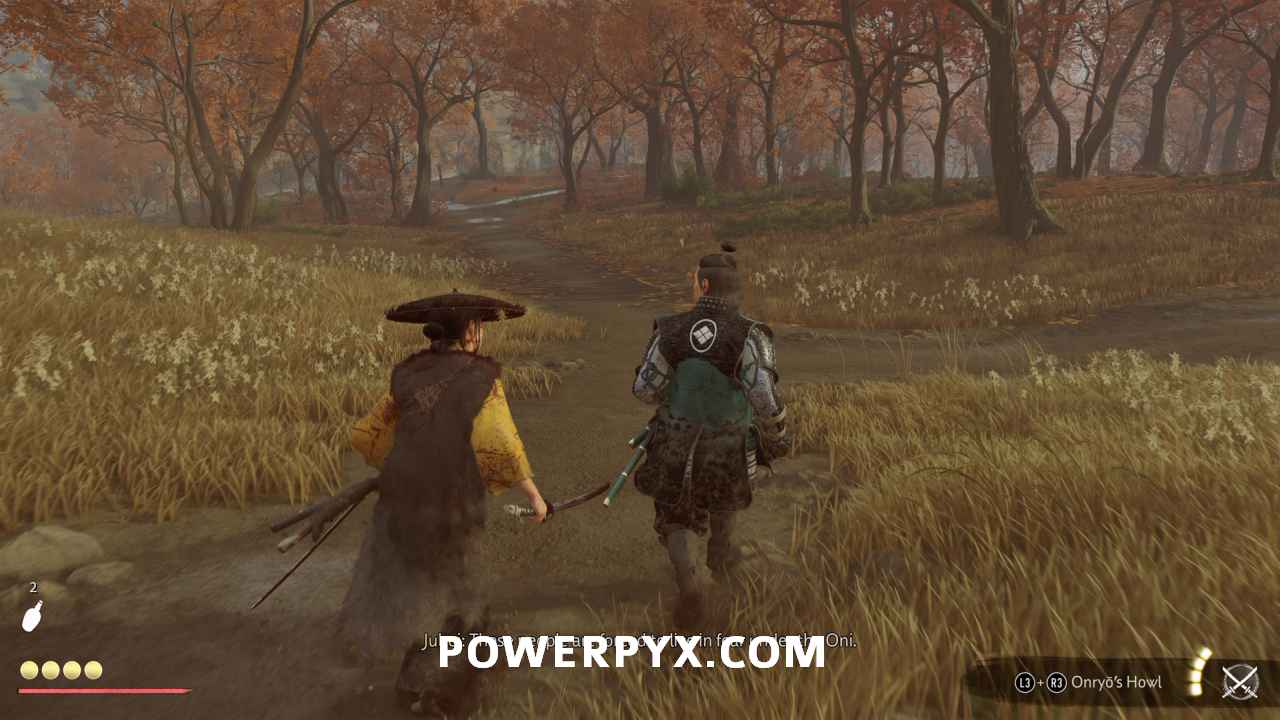
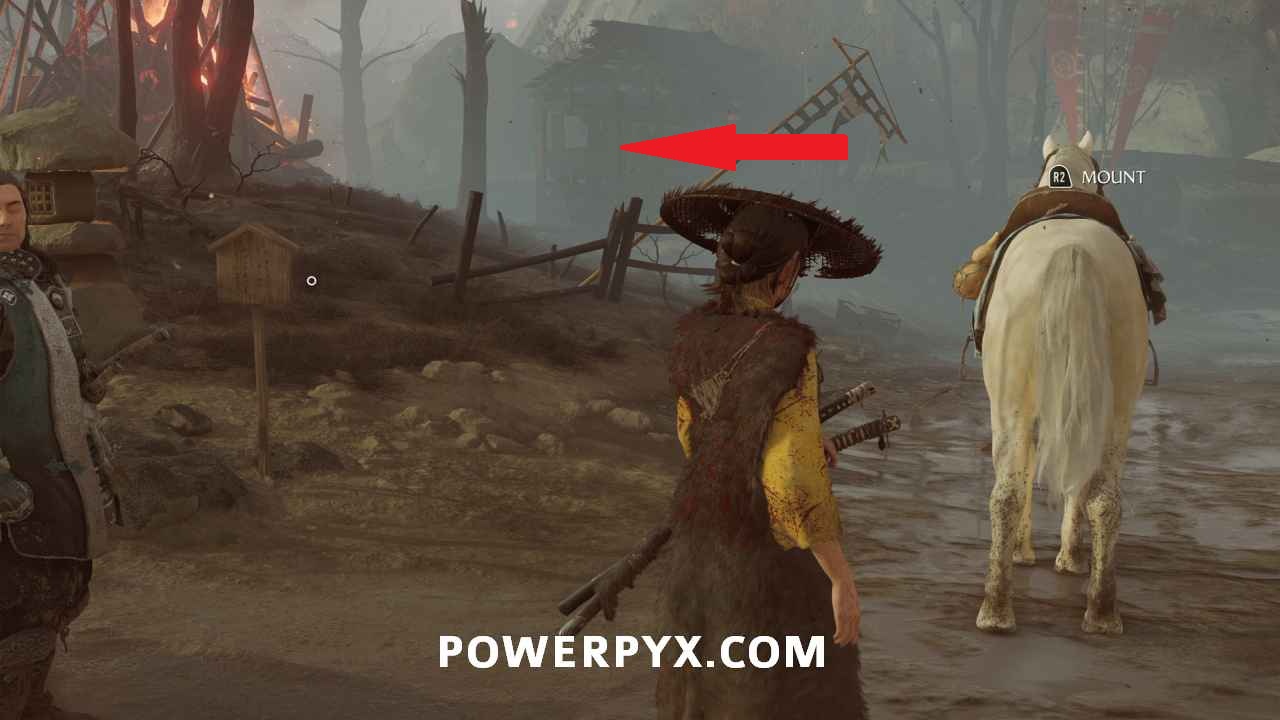
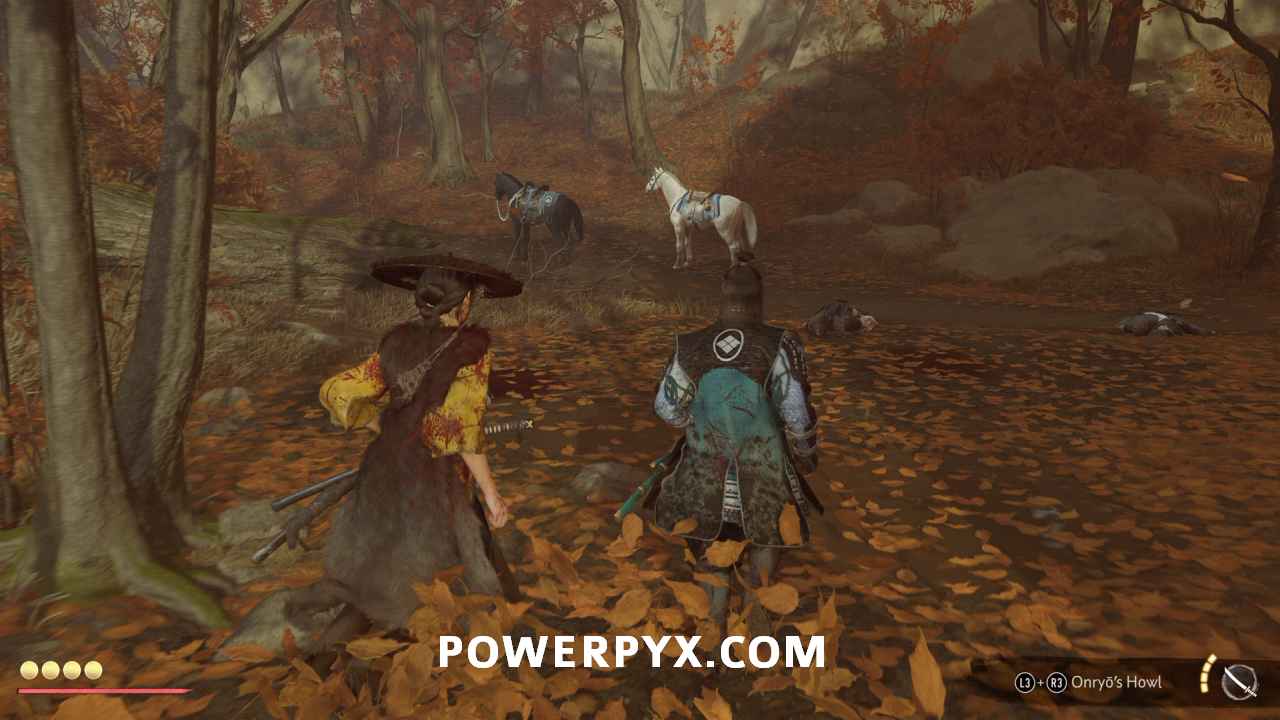
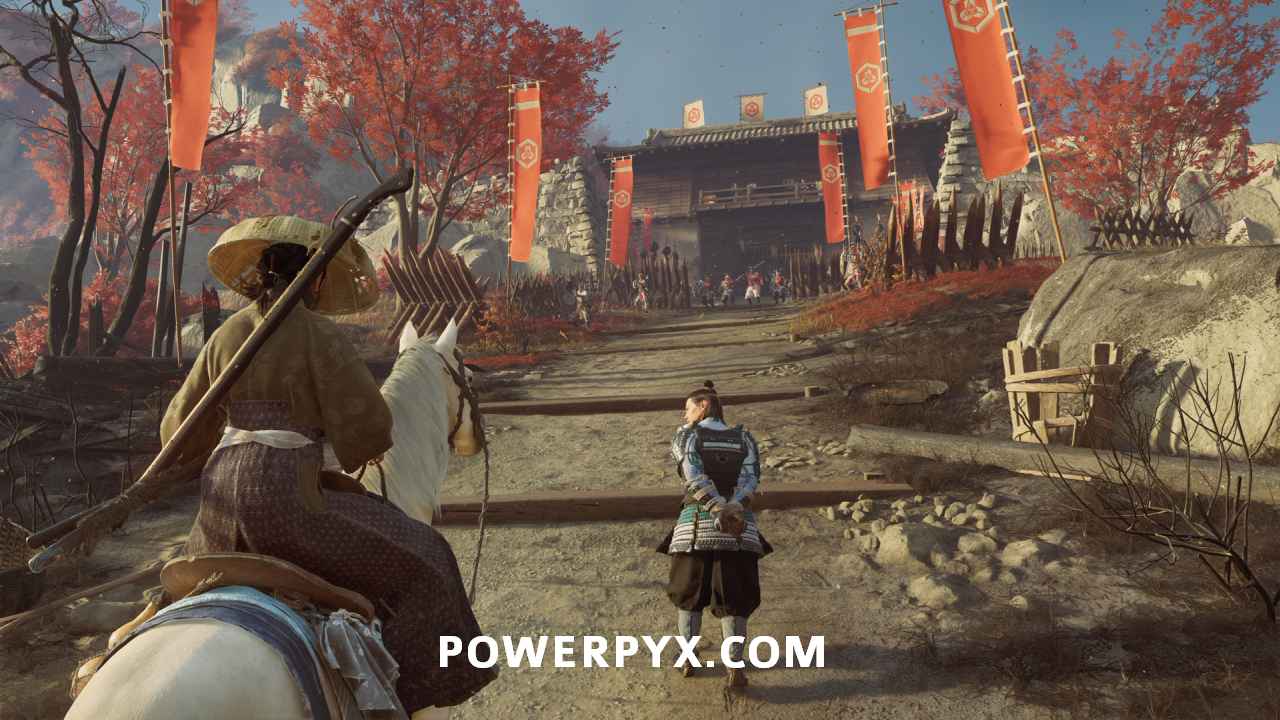
Follow Lord Kitamori
When you regain control, climb on your horse and ride with Lord Kitamori. He rides along the road for a short distance.
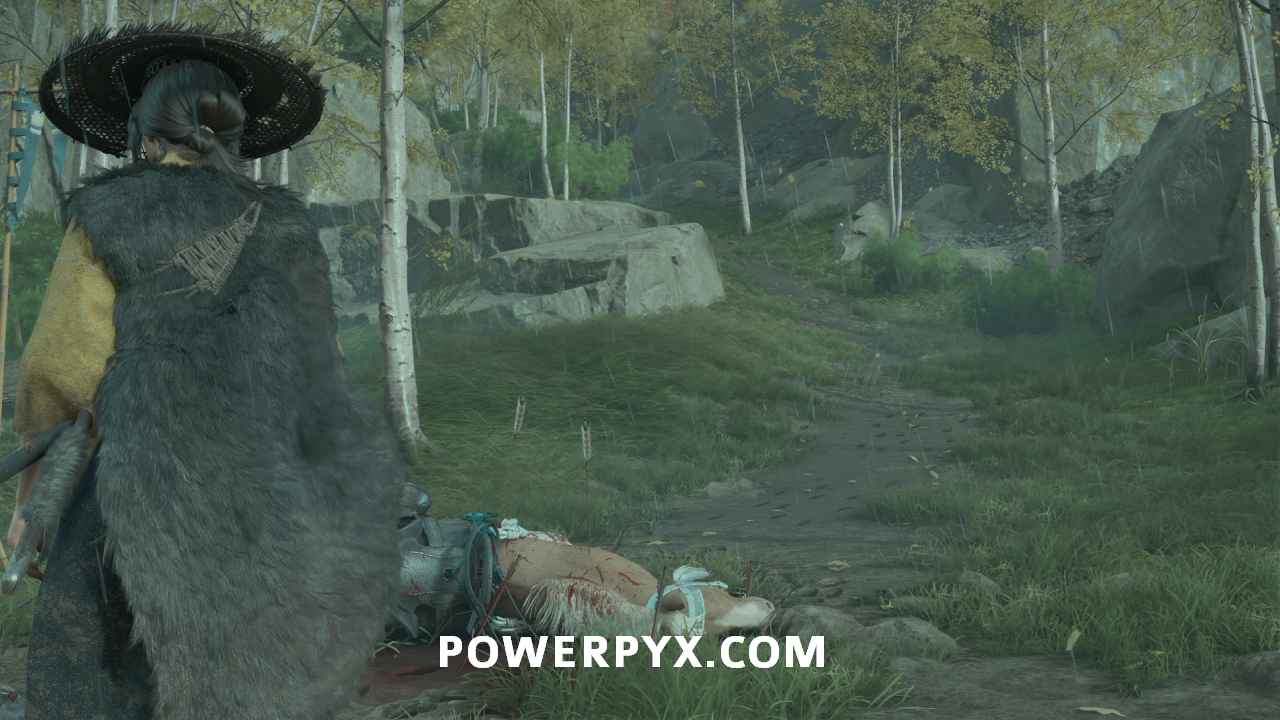
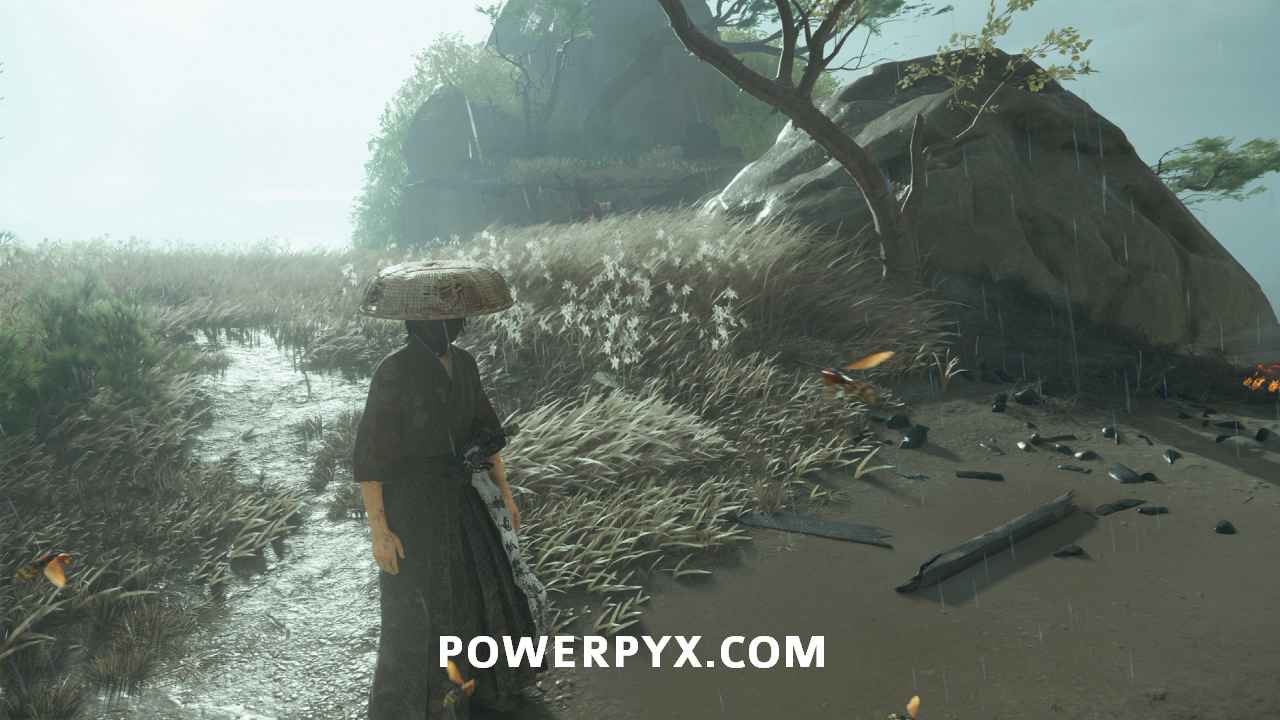
Investigate the Matsumae horses
Interact with the fallen horses to examine them.
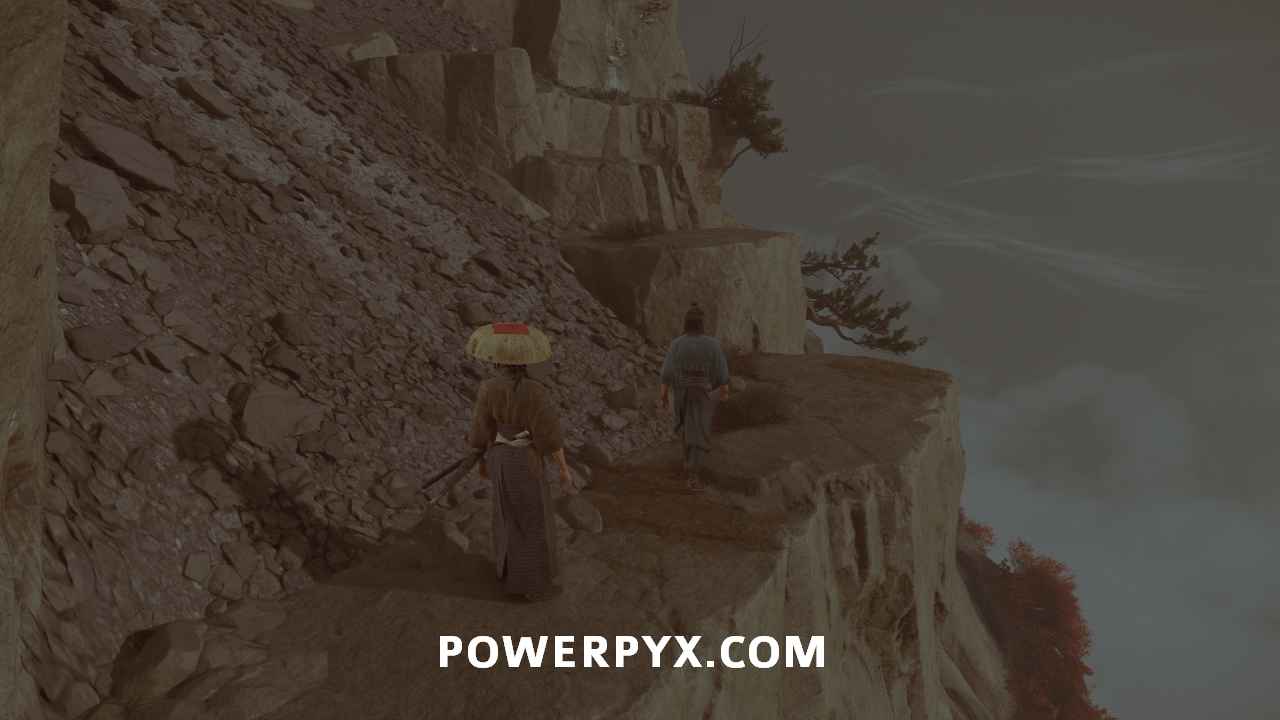
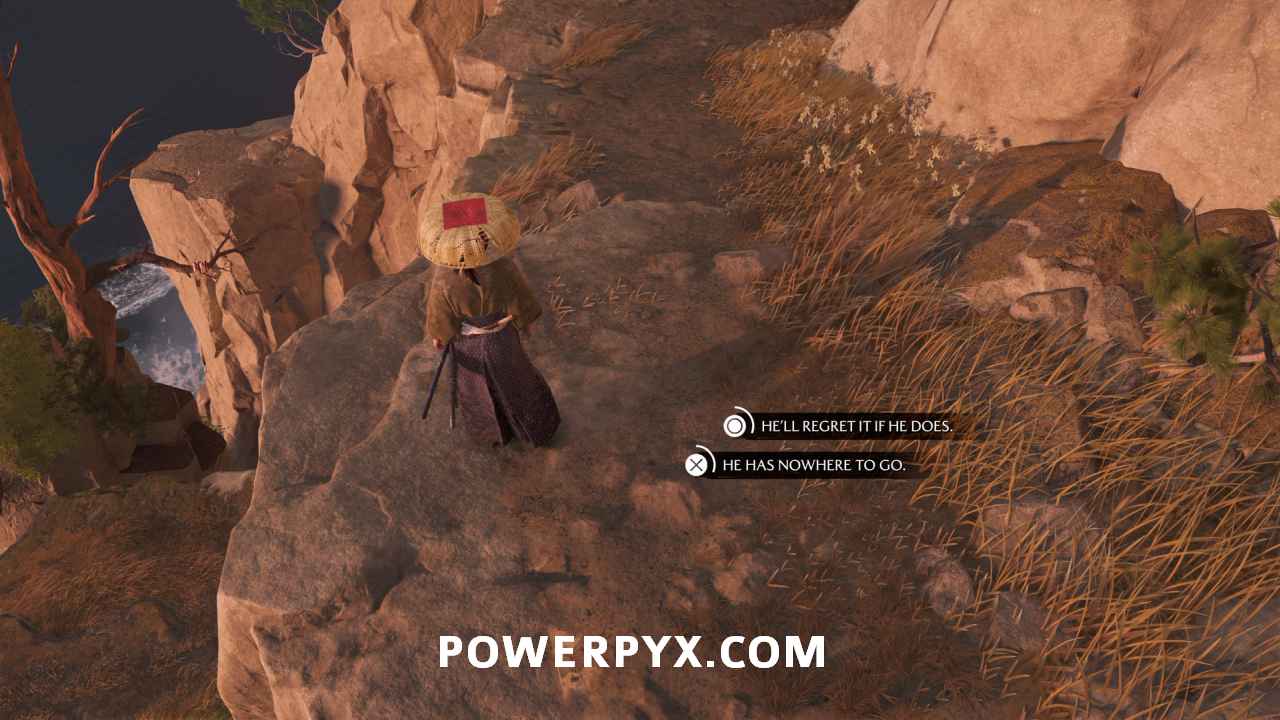
Find the missing Matsumae samurai
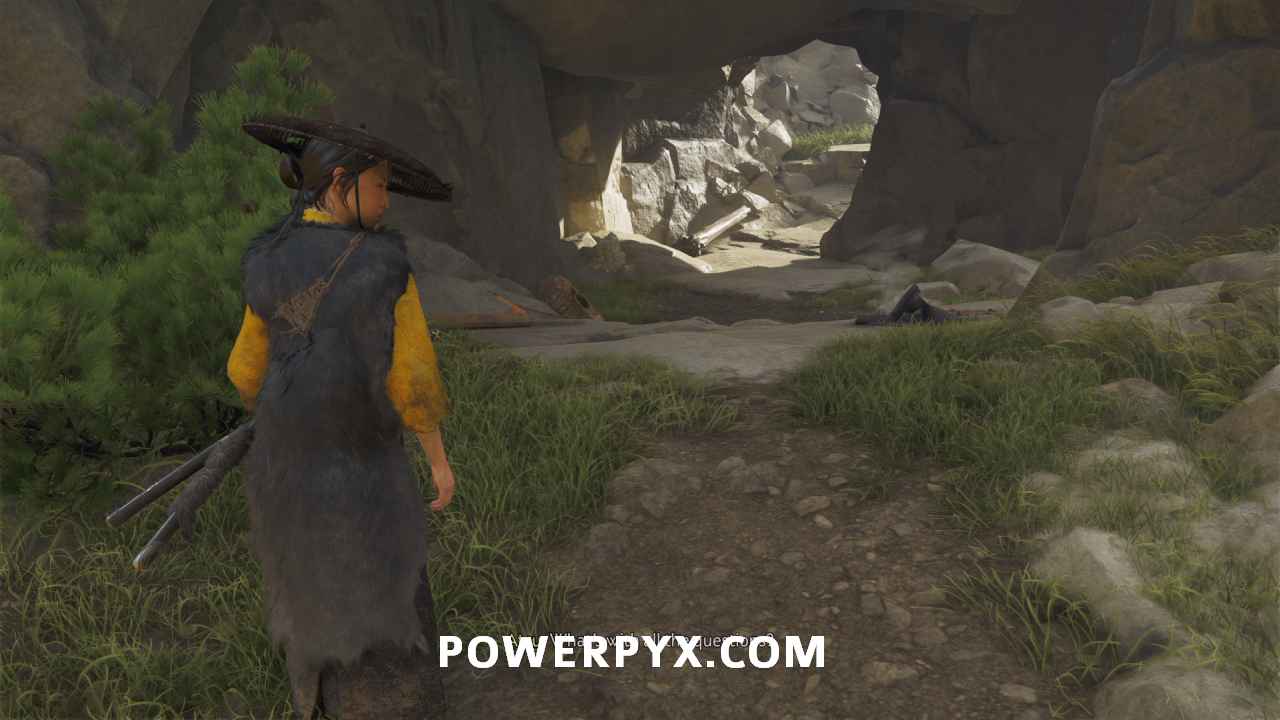
When you regain control, follow up the path where the footprints are in the mud.
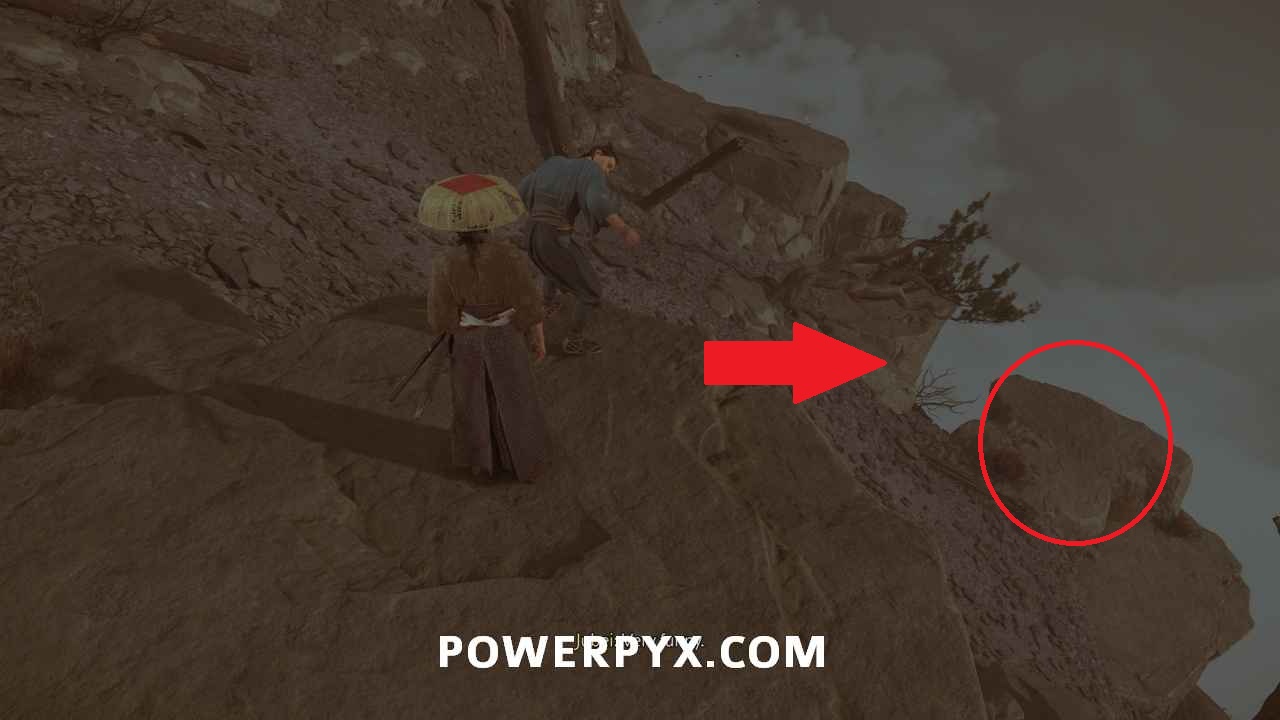
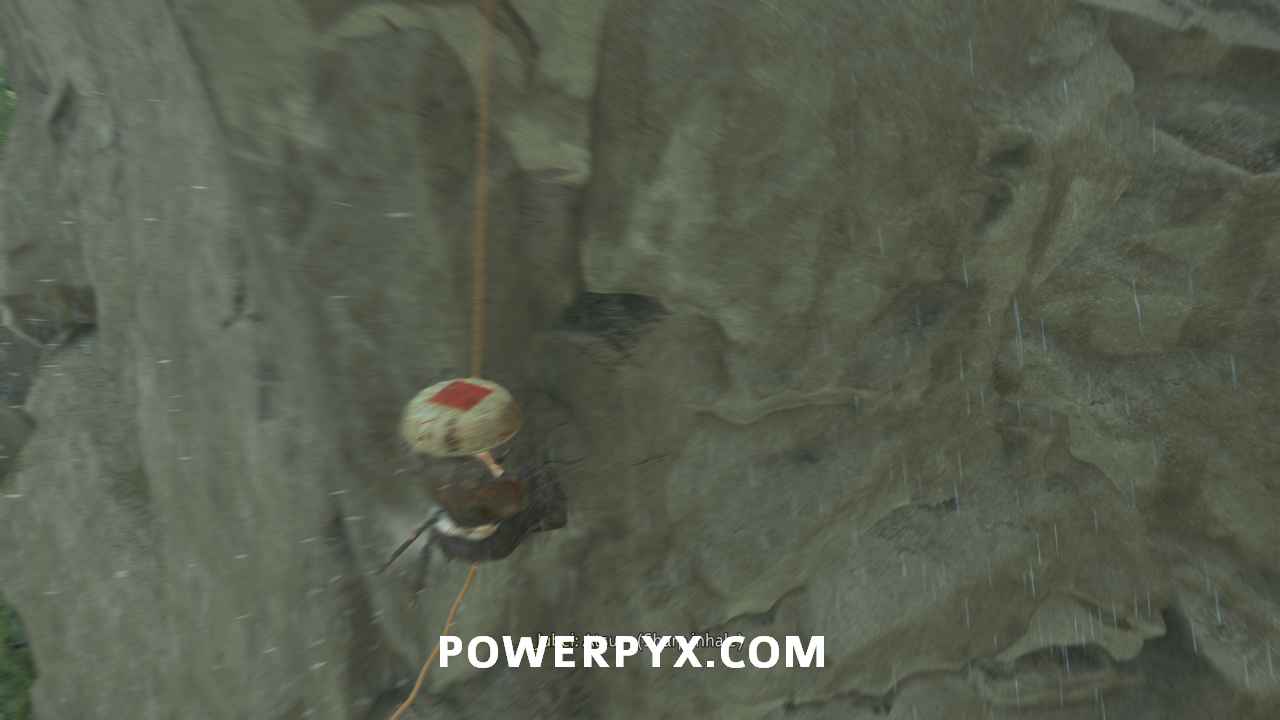
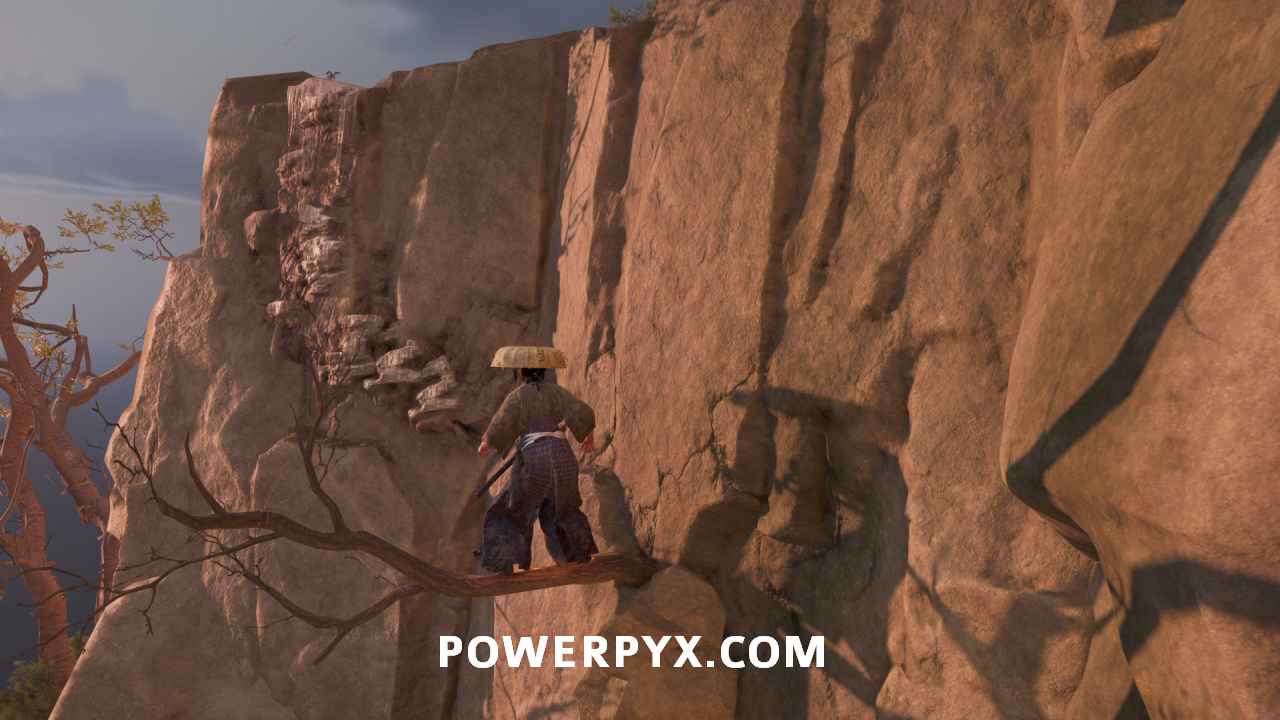
Climb up the two rock faces you come across at the top of the path.
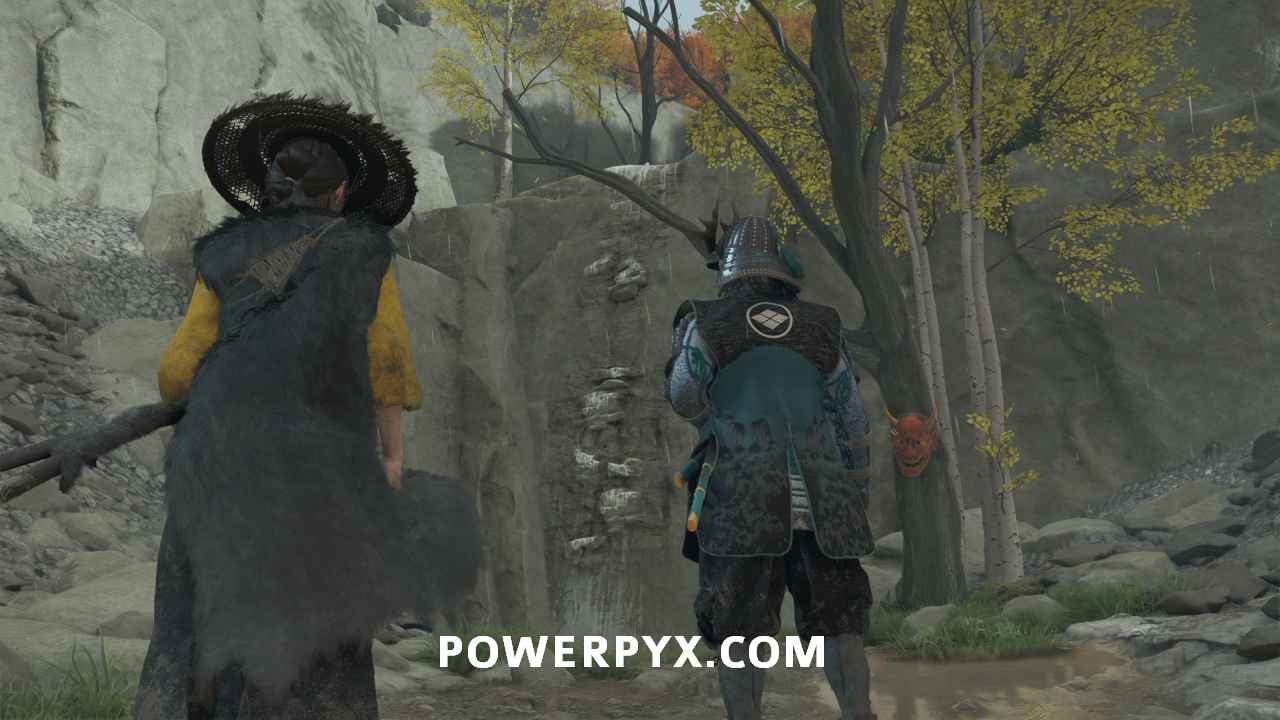
Proceed forward through the rock face and down the path. This triggers a cutscene.
Defeat the Oni Raiders
Take out the six raiders in front of you. As you take them out, another four join them.
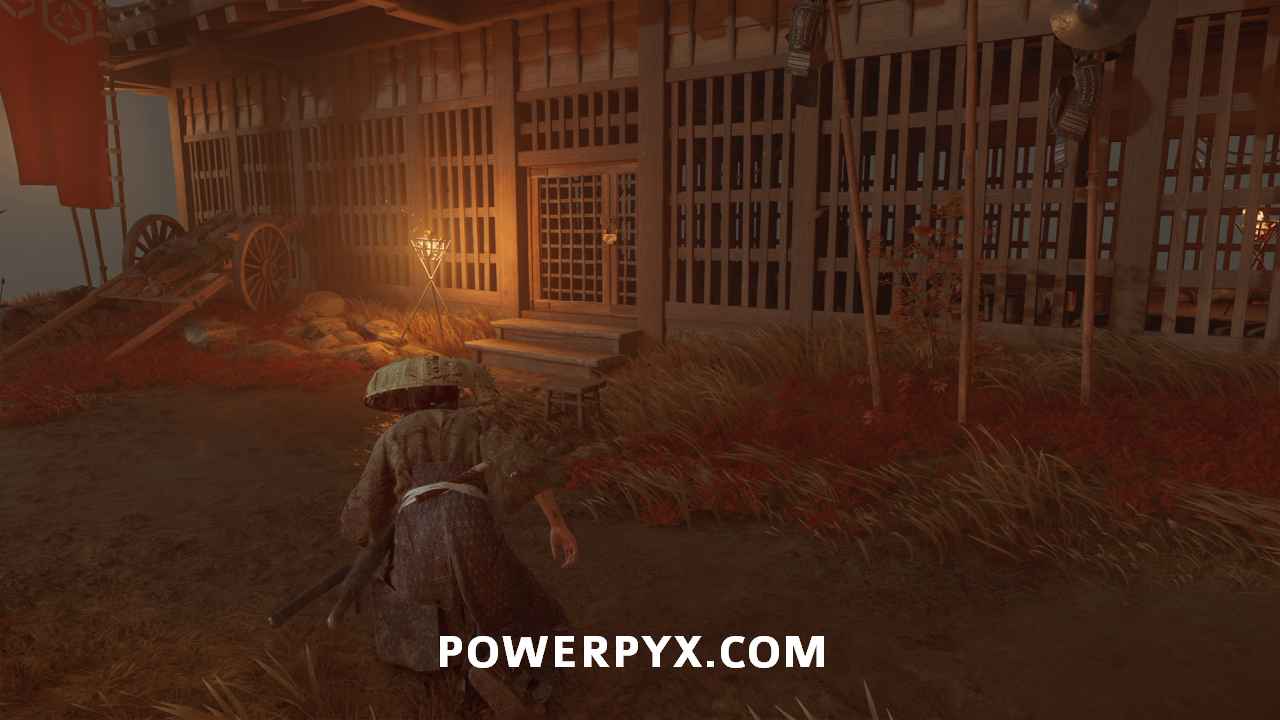
Find food in the Oni Raider camp
When you regain control, head forward along the path, staying left when the path splits.

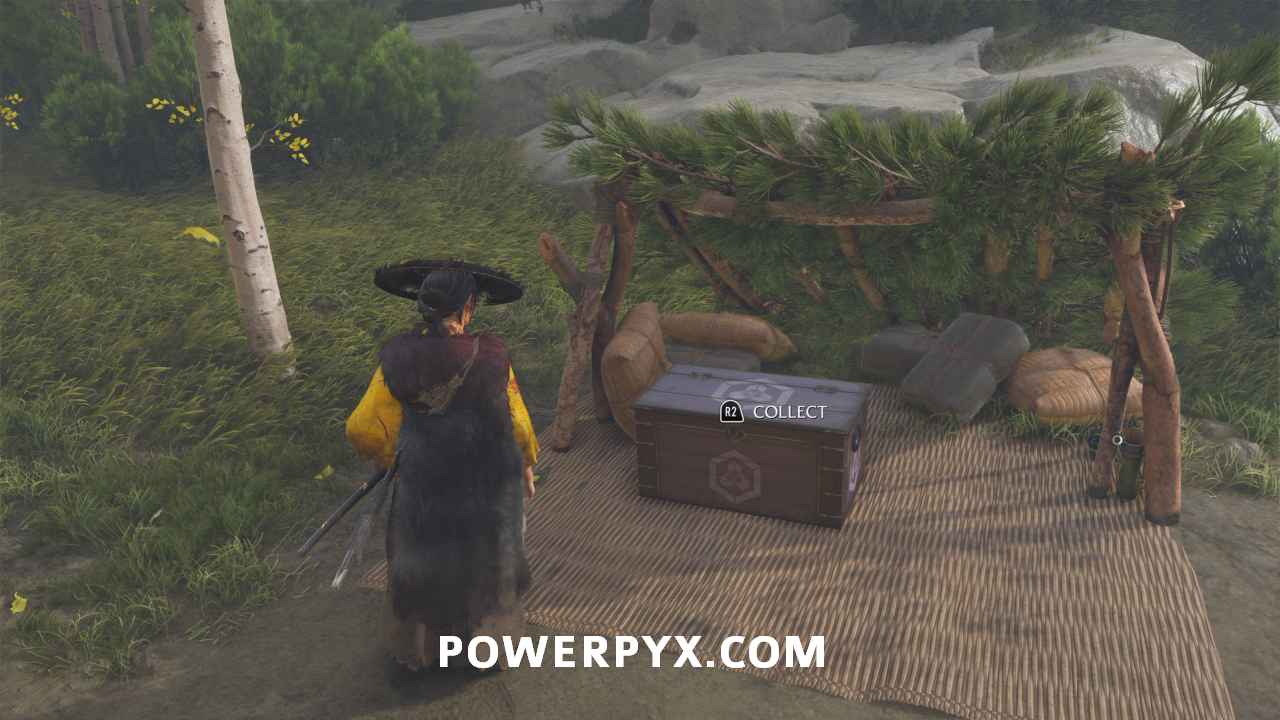
At the camp, make sure to open the chest to collect some Oni Raider Mask Pieces. These are used for upgrading your gear.
At two of the beds in the camp, find a basket of fish. Pick them up.
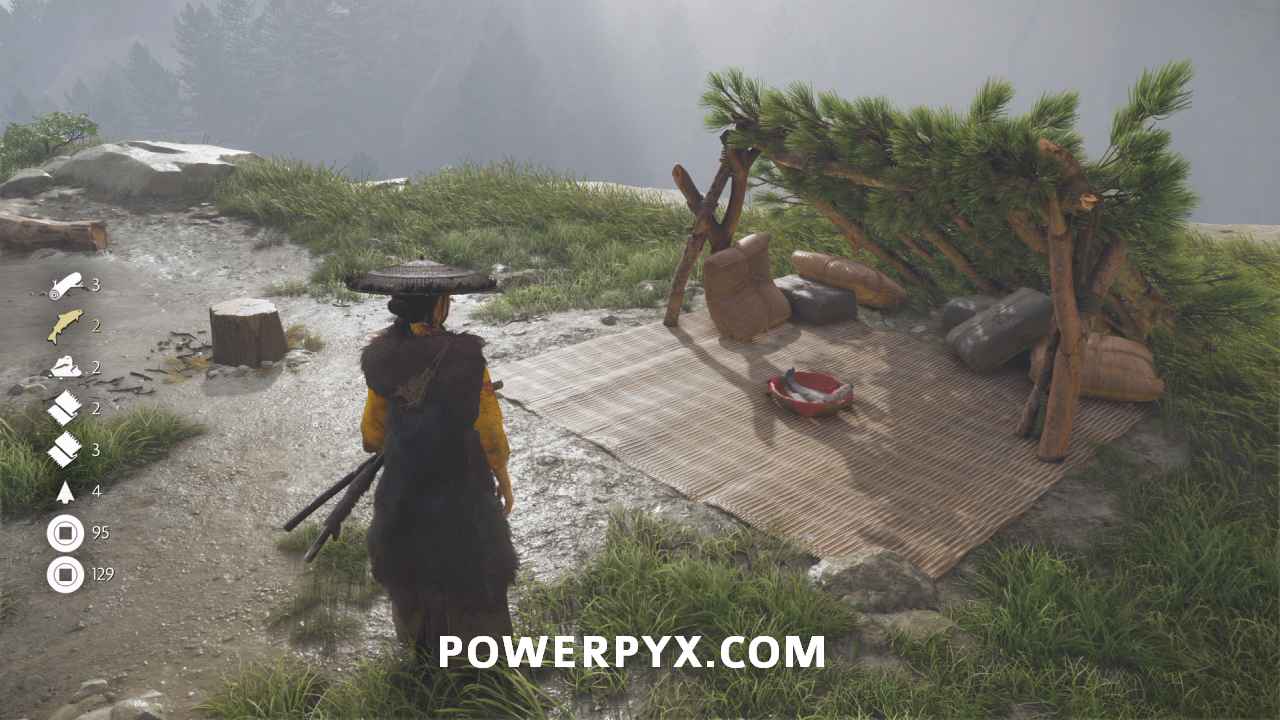
Take them to the campfire and build a fire. Aim the rock with the Left Joystick and swipe up on the Touch Pad to send sparks into the tinder.
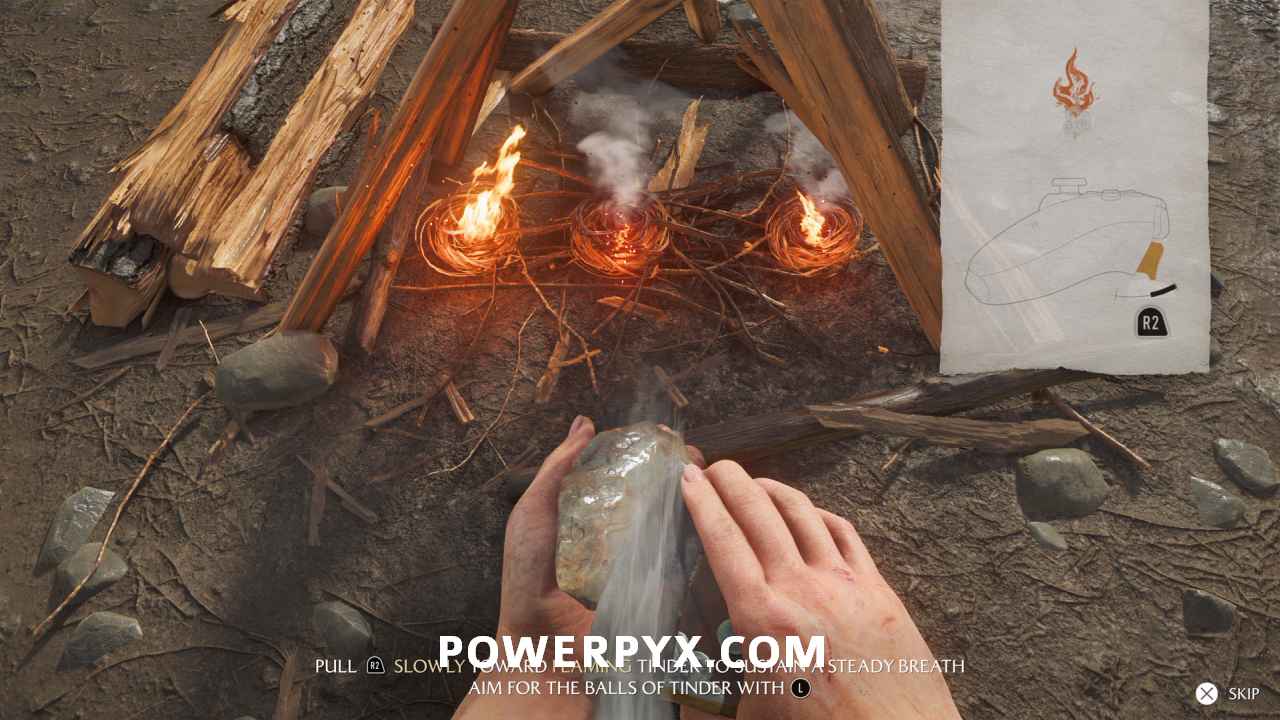
Then, press R2 to blow on the fire and feed the flame. Do this to all three pieces of tinder until each piece makes a bigger flame.
Cook the fish. Adjust how close it is to the flame with the Left Joystick and flip it with R2 as it looks more cooked.
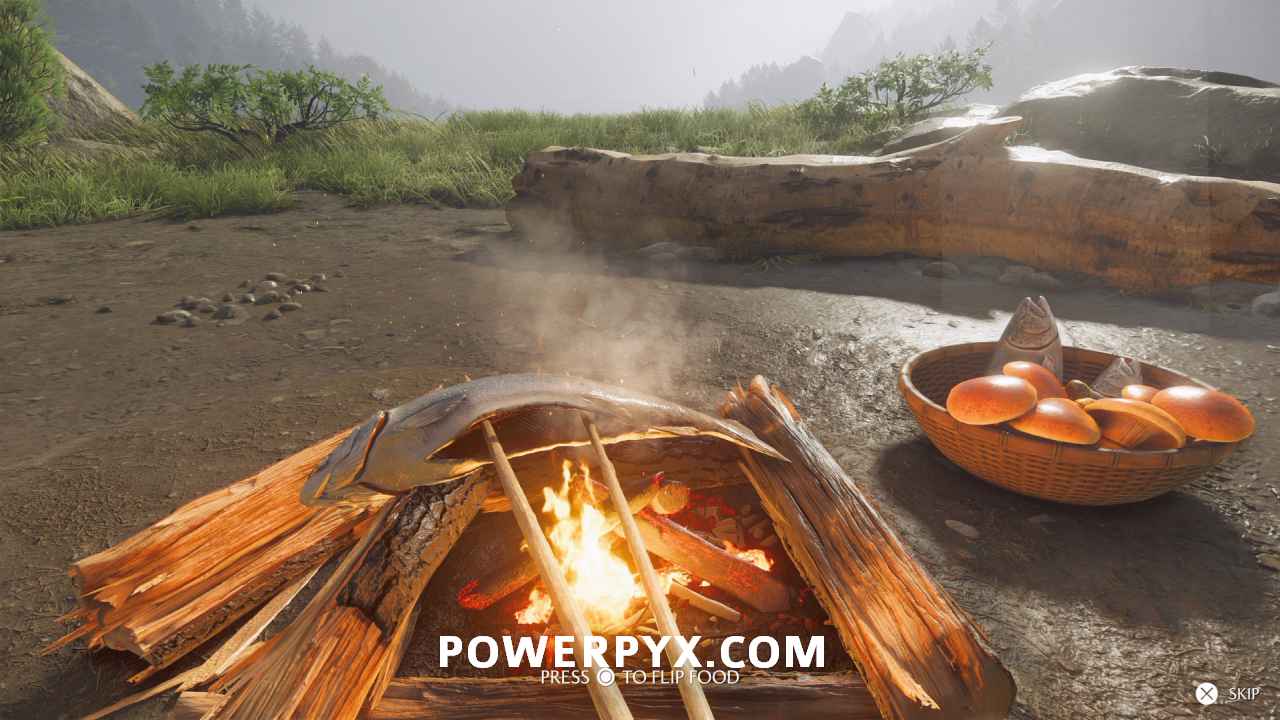
After the cutscene you unlock the trophy  Twin Wolves.
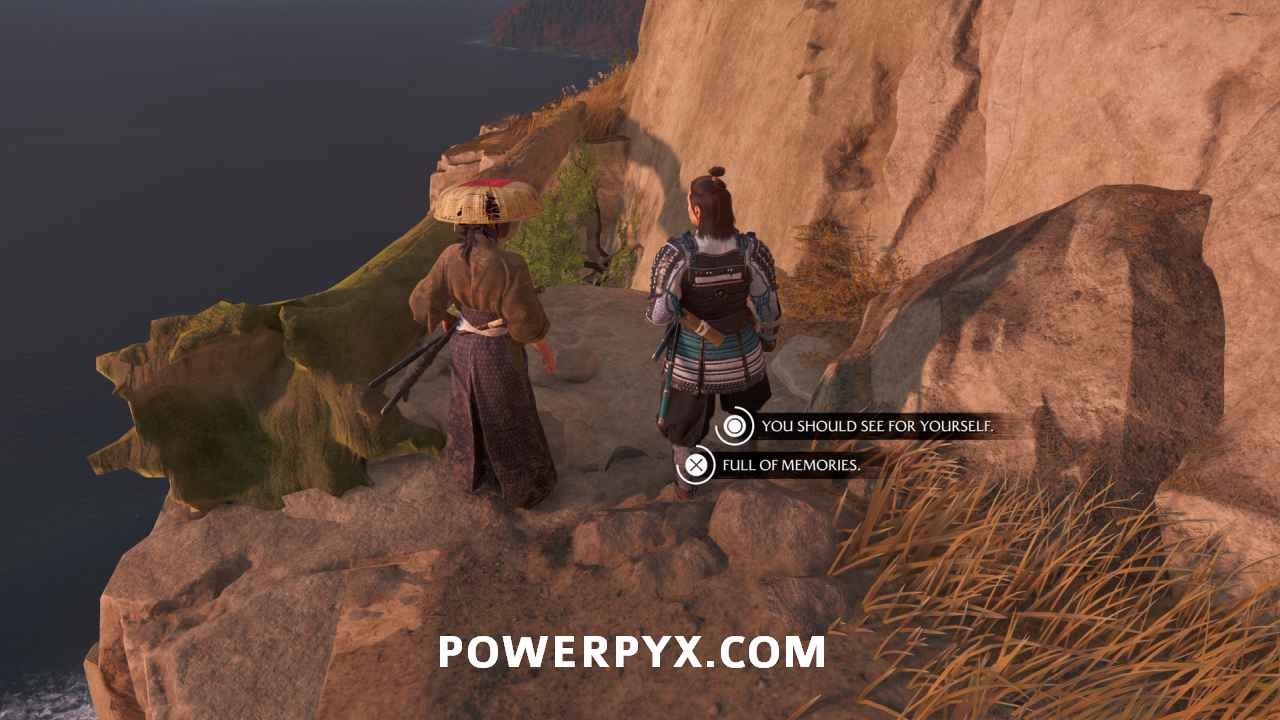
Find Jubei
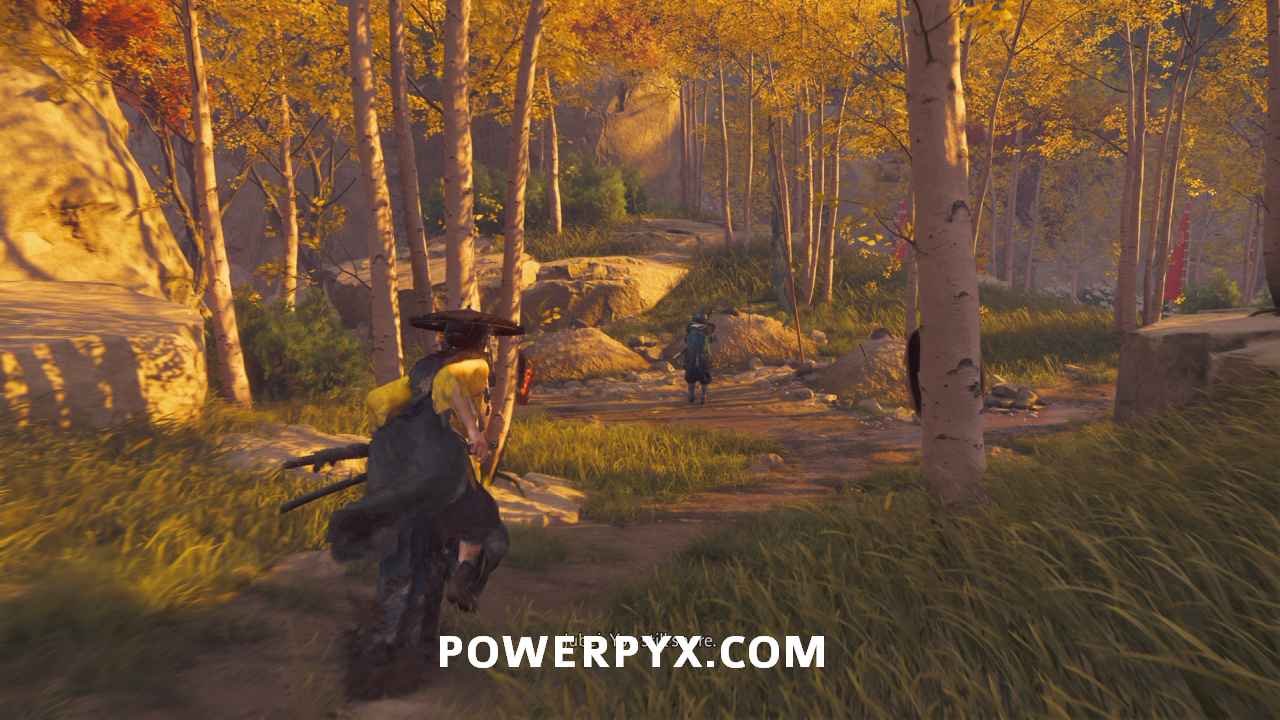
Head out of the camp back the way you came in to find Jubei where the road splits.
Return to the horses with Jubei
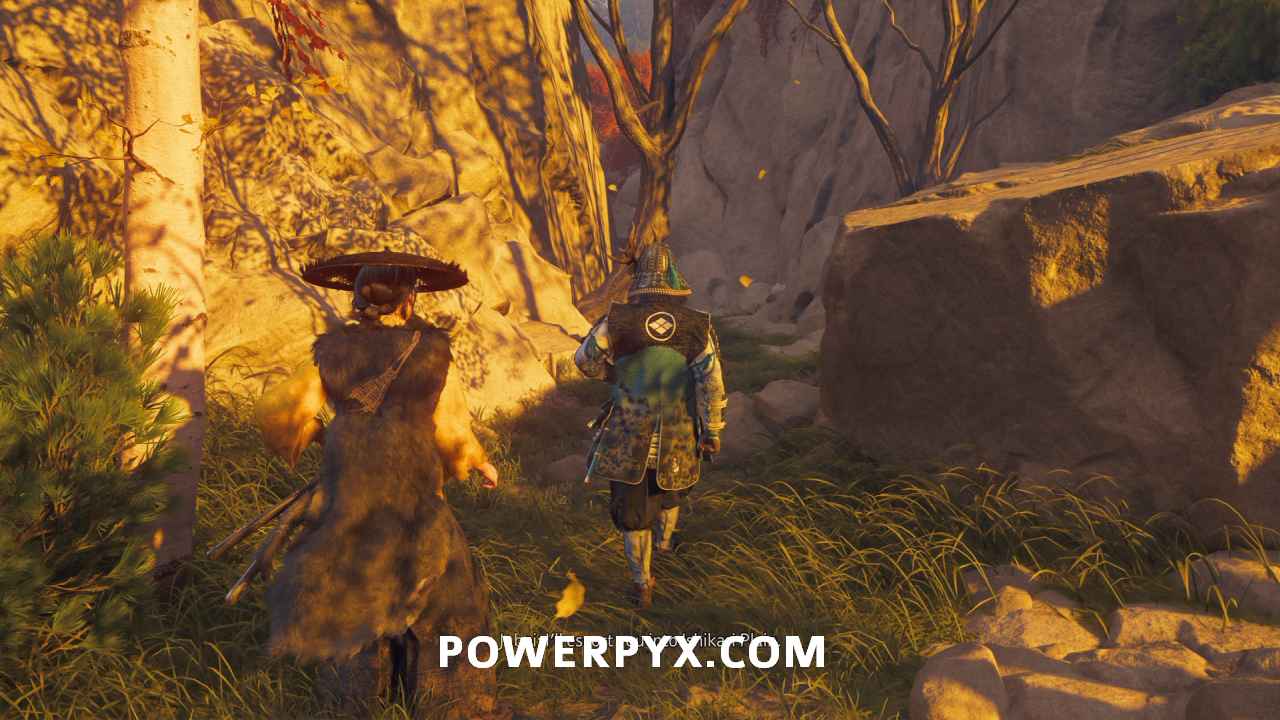
Walk with Jubei down the path. This leads you back to your horses. Climb on your horse to start a short cutscene.
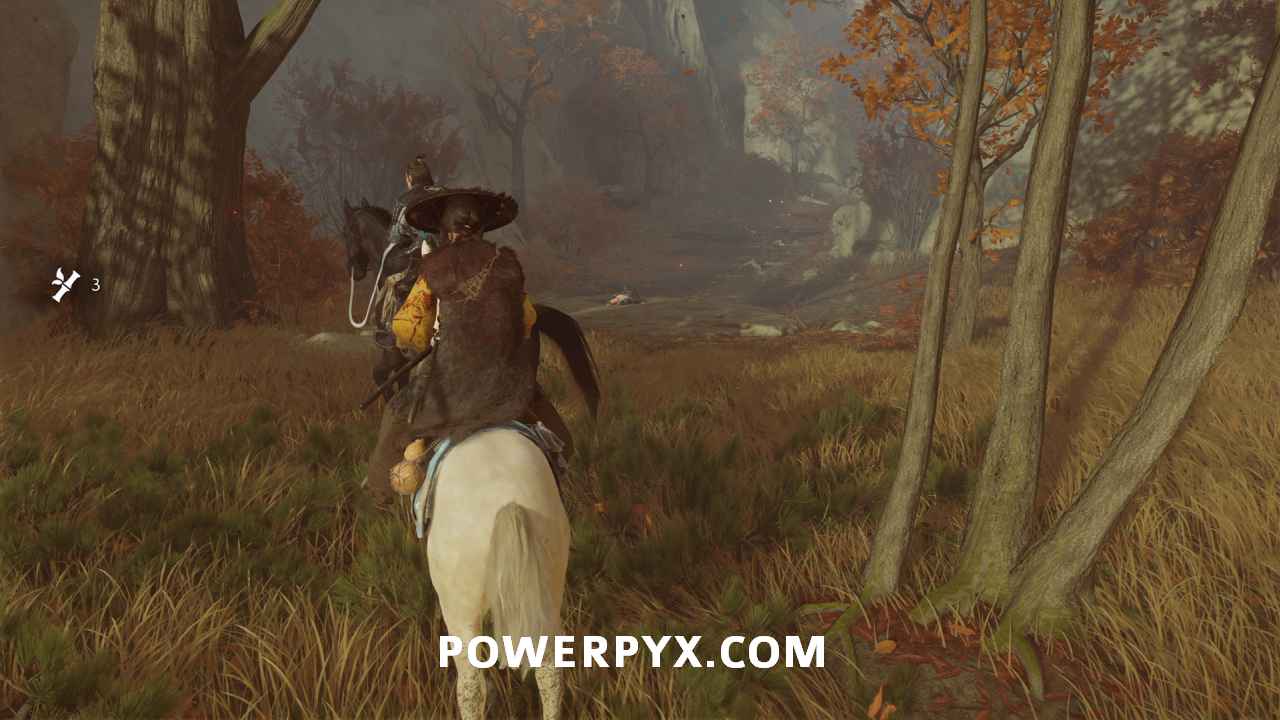
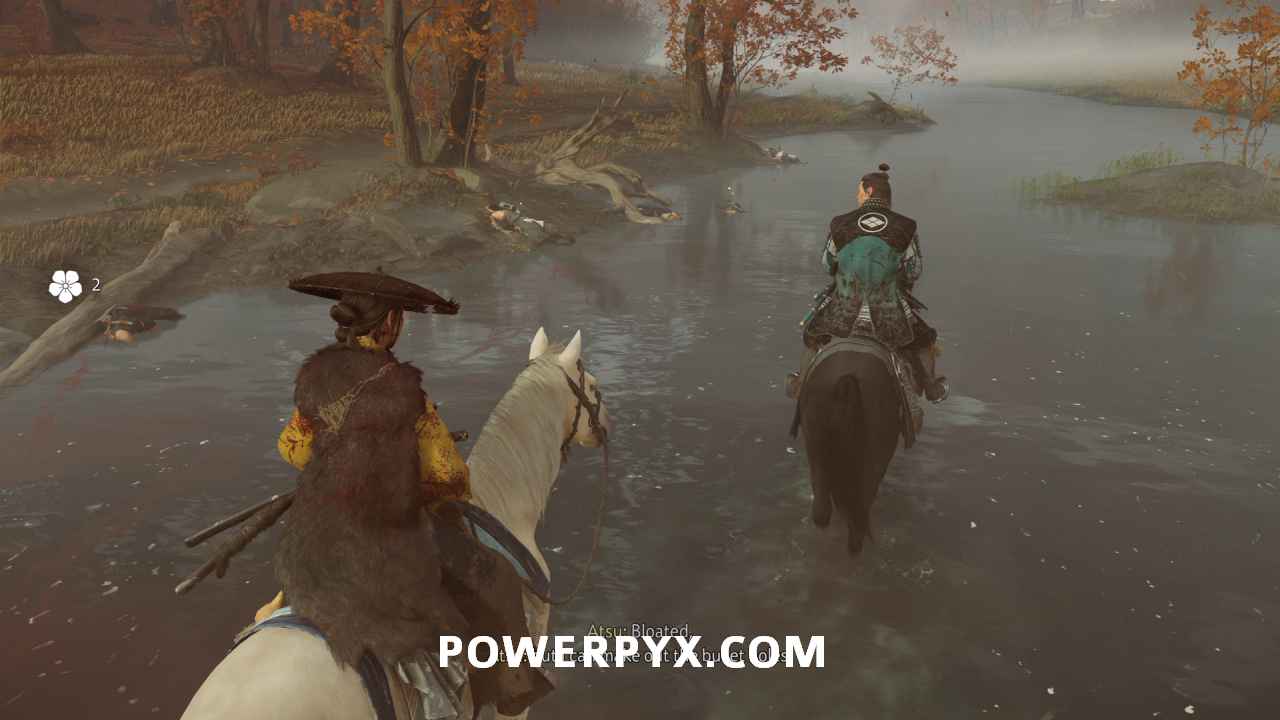
Follow Jubei
This next section sees you riding your horse with Jubei down a canyon. Just enjoy the moment, your horse will automatically follow Jubei.
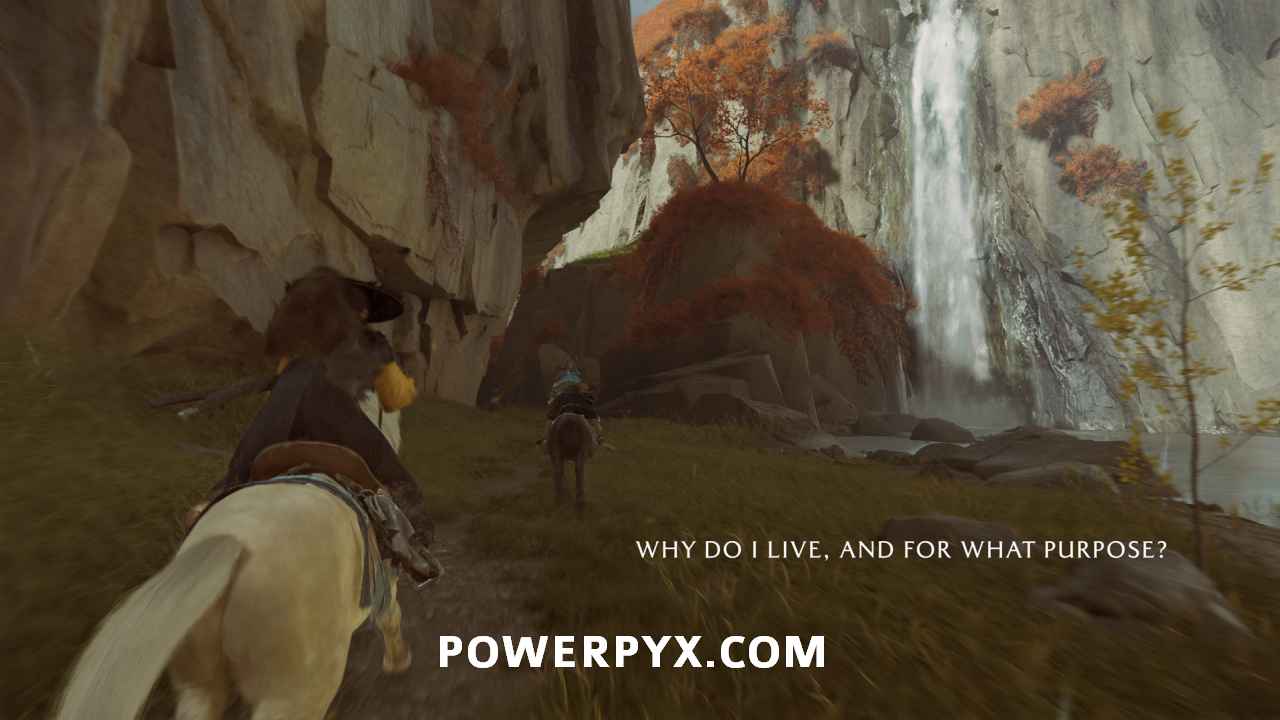
You eventually reach the destination only to find it burned to the ground.

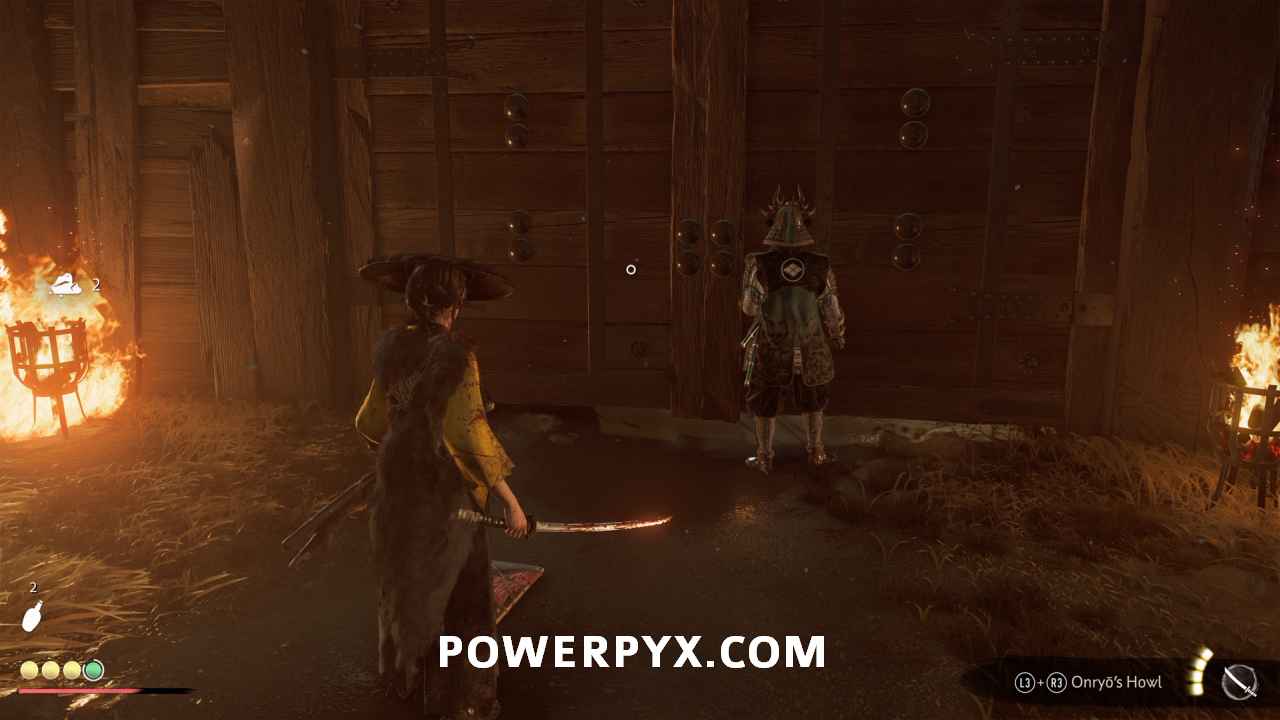
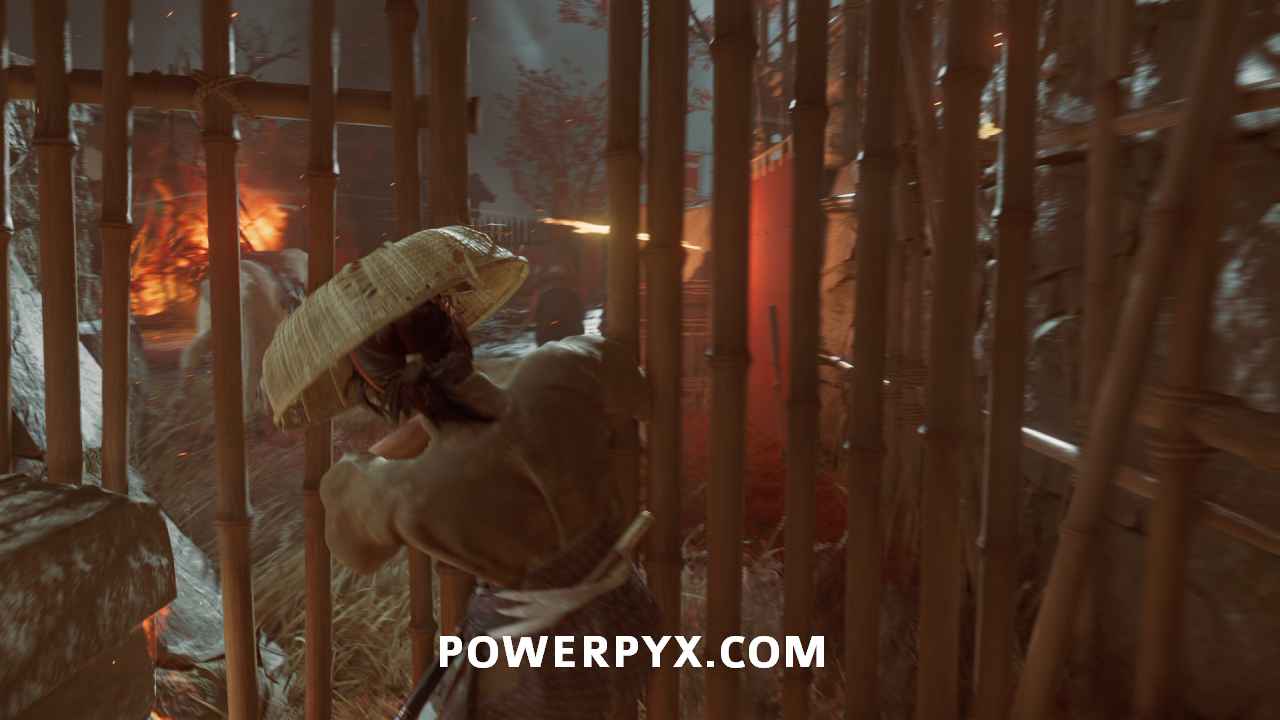
Defeat the Oni Raider Ambusher
This fight is rather straightforward. He’ll be using a burning kusarigama. Break his guard by strong charged  attacks, this is also how you stop him from disarming you when he glows yellow.
Defeat the Oni Raiders
Five raiders remain after you win the duel. Finish them off.
Follow Jubei
After the fight, interact with the gate to escape.
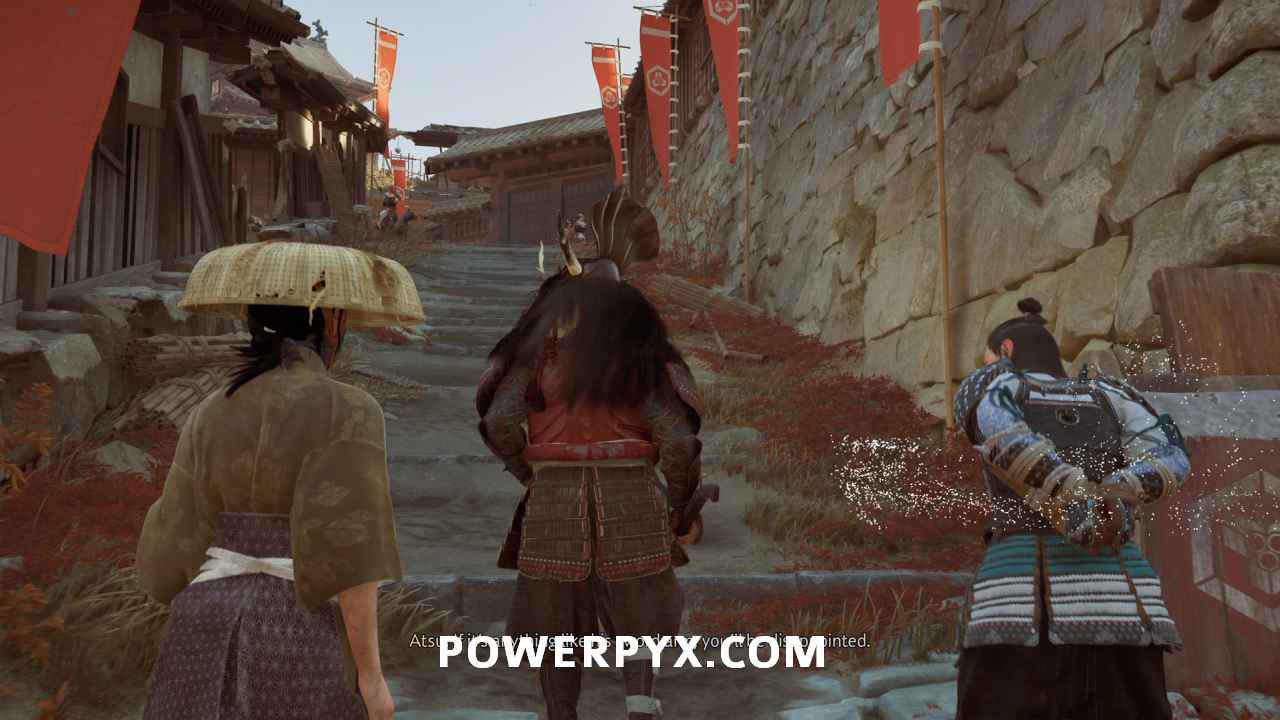
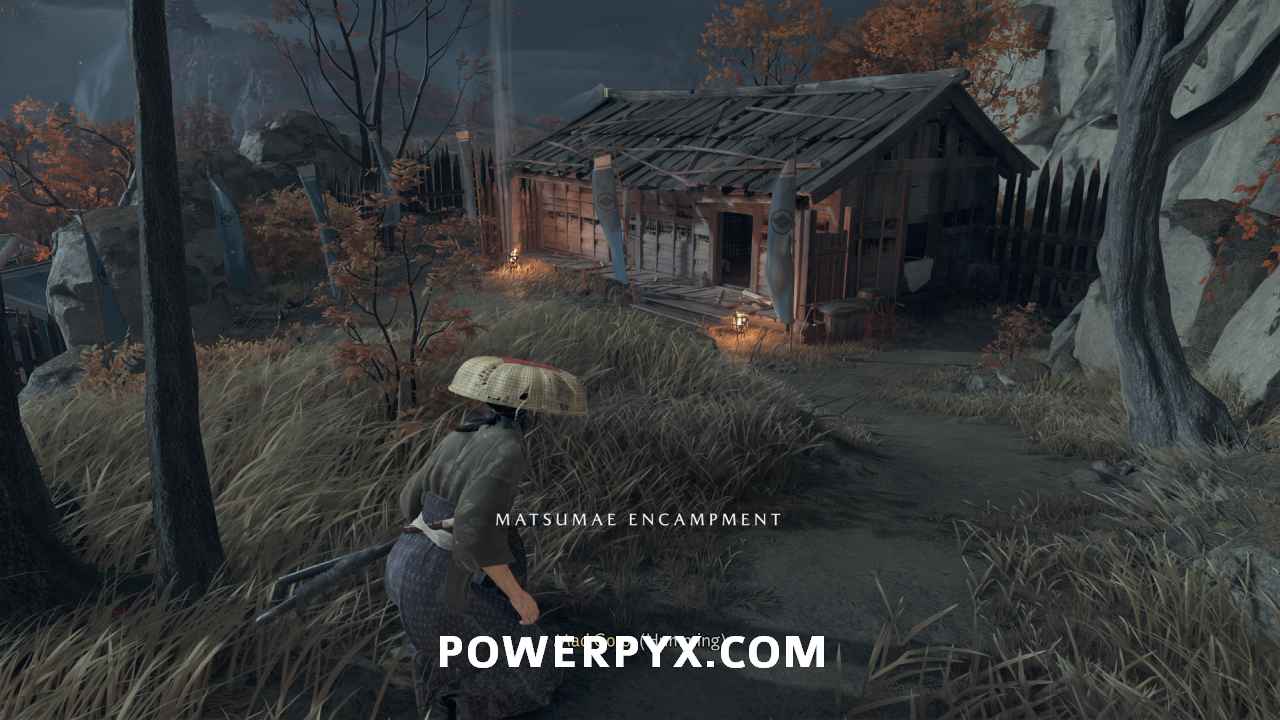
Follow the path with Jubei until you reach the Matsumae Encampment.
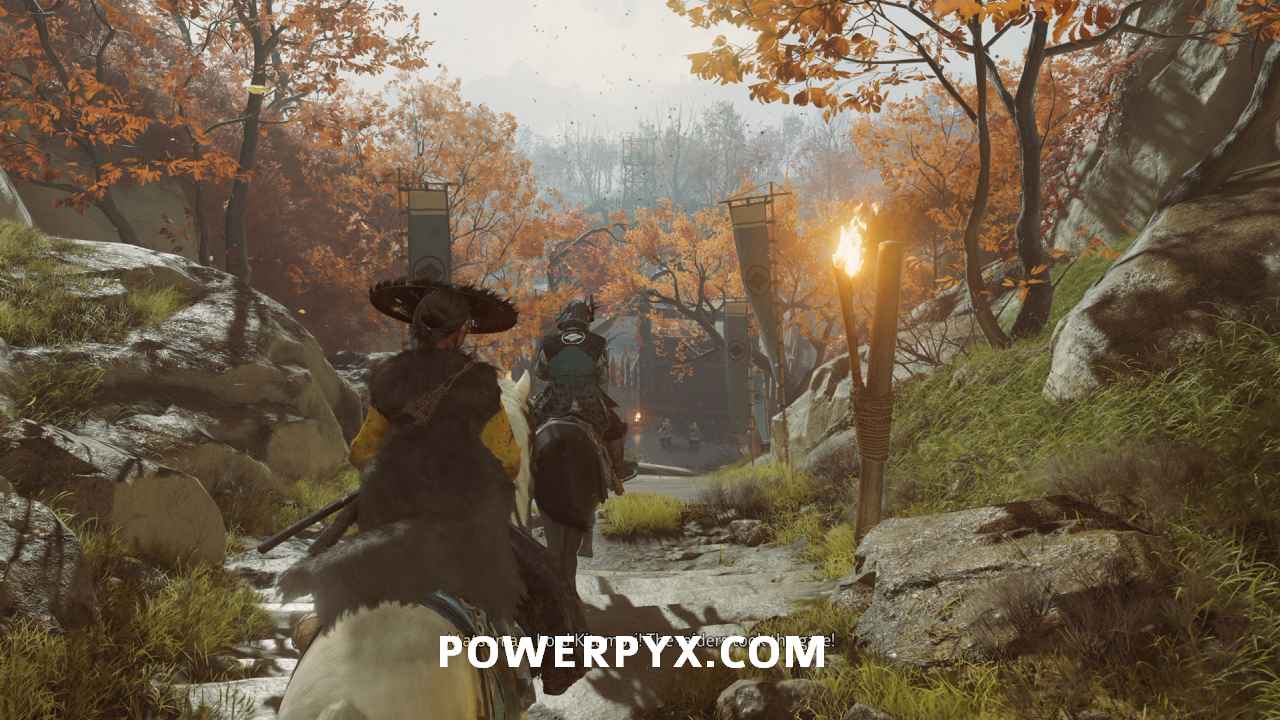
Explore the Matsumae camp
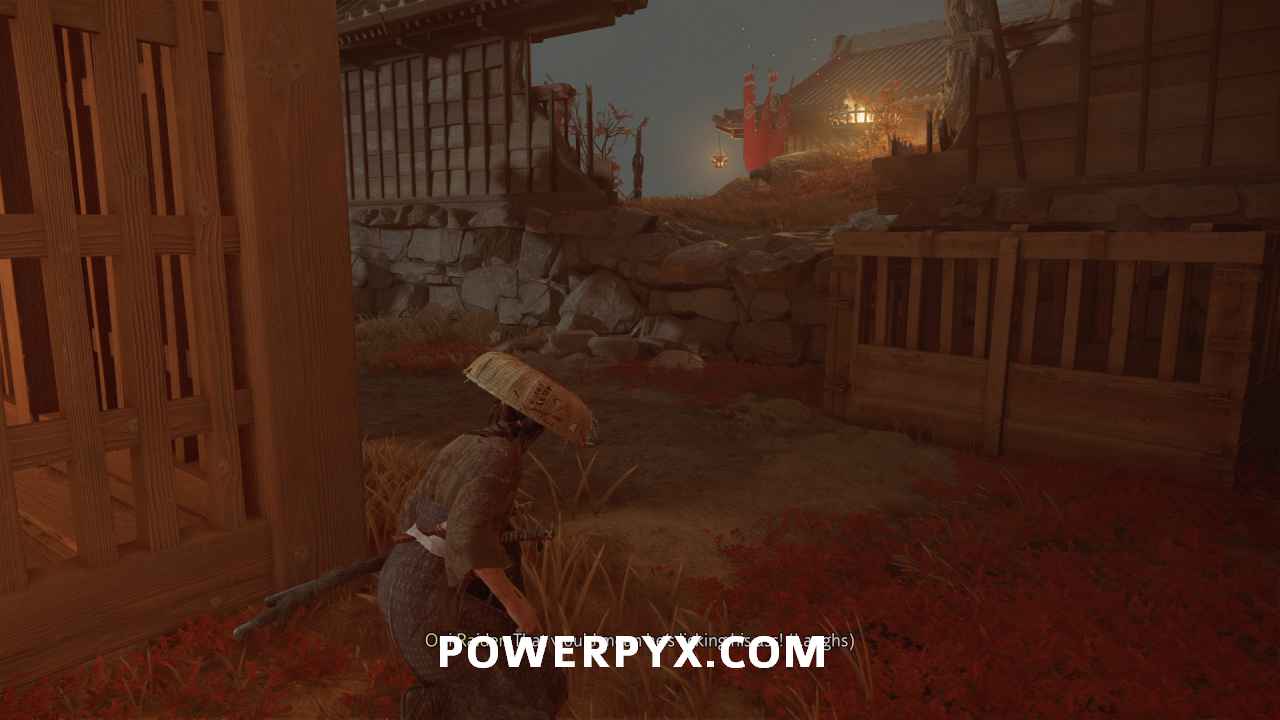
From the gate where Jubei went through, turn around and check the side of the road, here a soldier tells you to chop bamboo. This counts as one of the 15 Bamboo Strike Collectibles.

Completing the task yields you a Clan Matsumae Helmet.
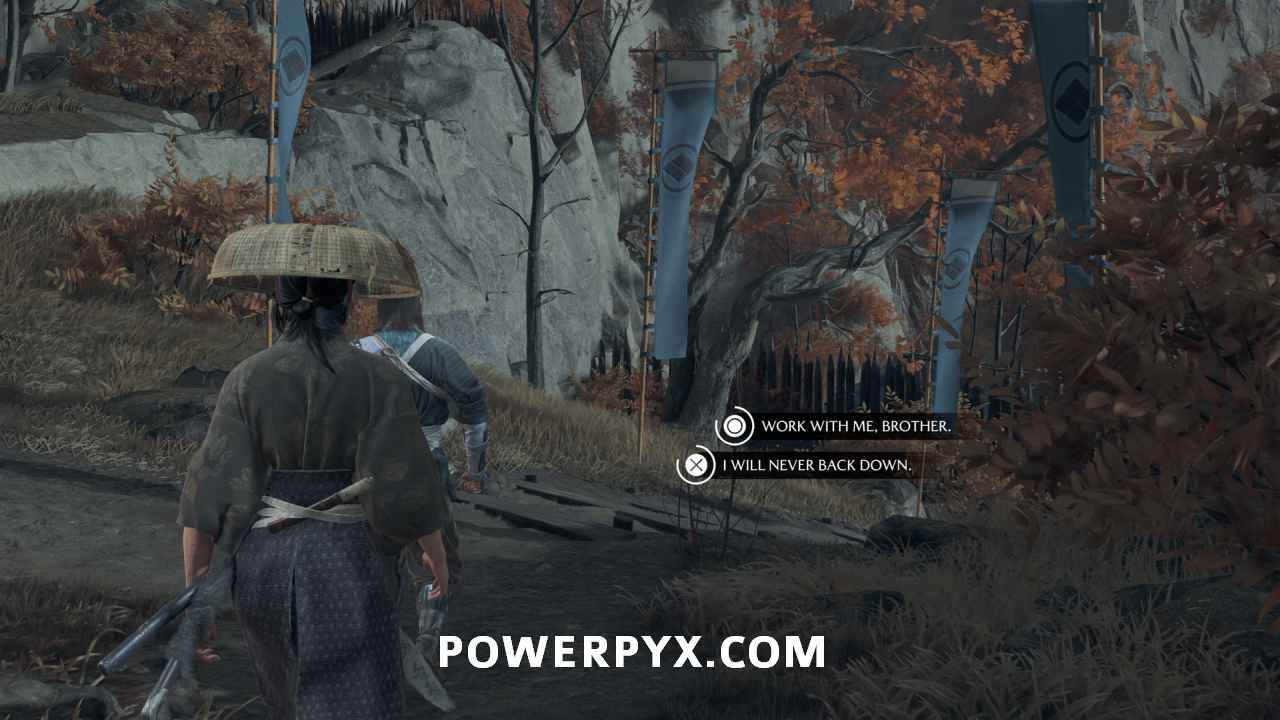
When done, return to Jubei.
There is a dialogue choice here, but the choice does not affect the outcome.
Mount your horse to leave the Matsumae camp
Go forward to get on your horse.
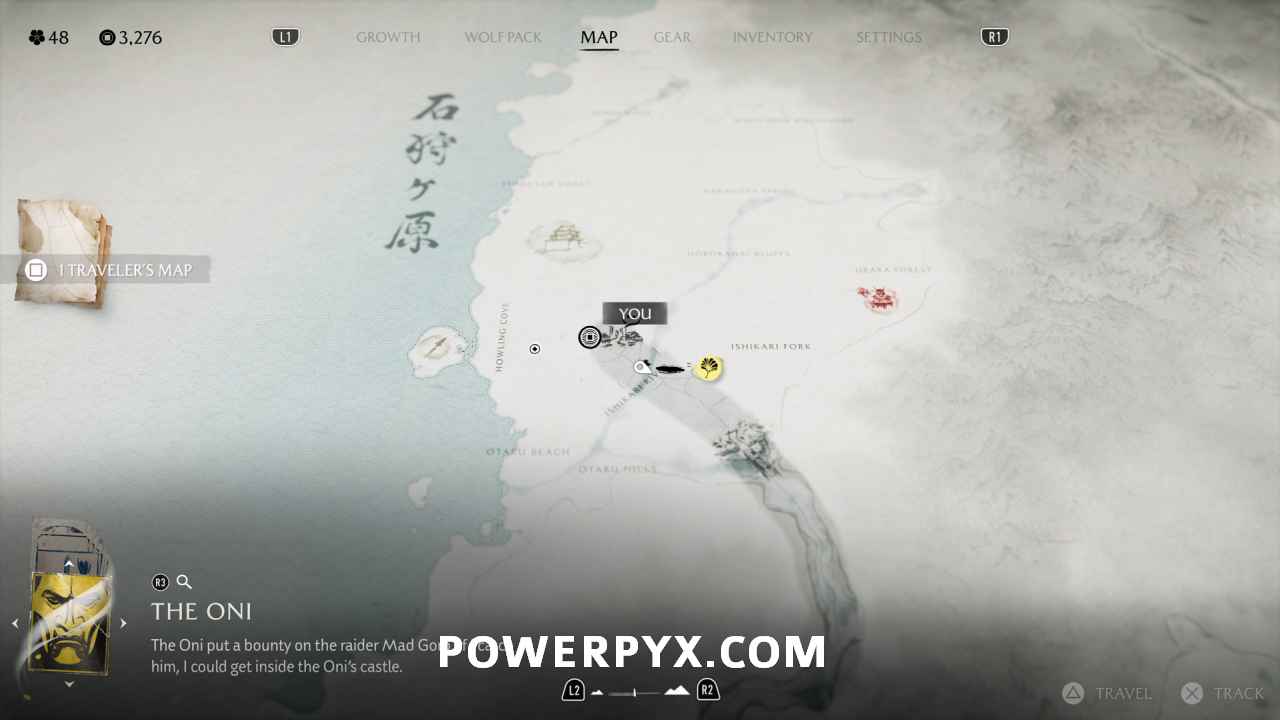
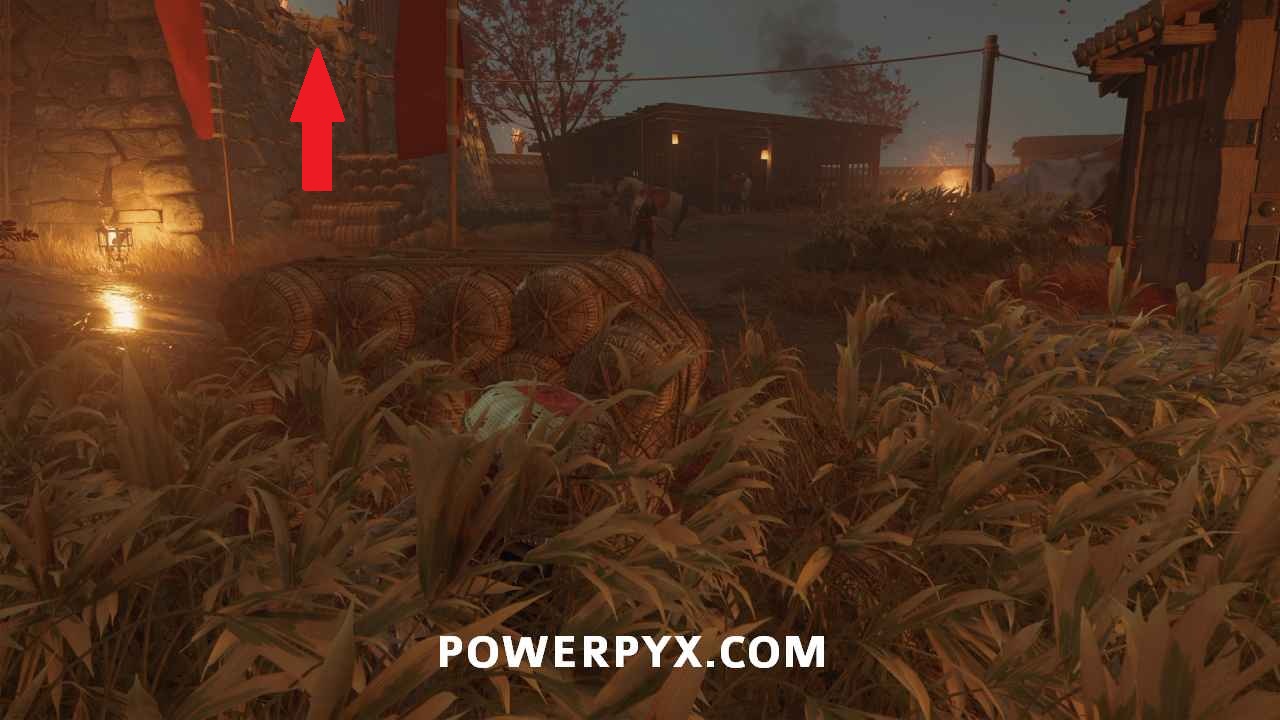
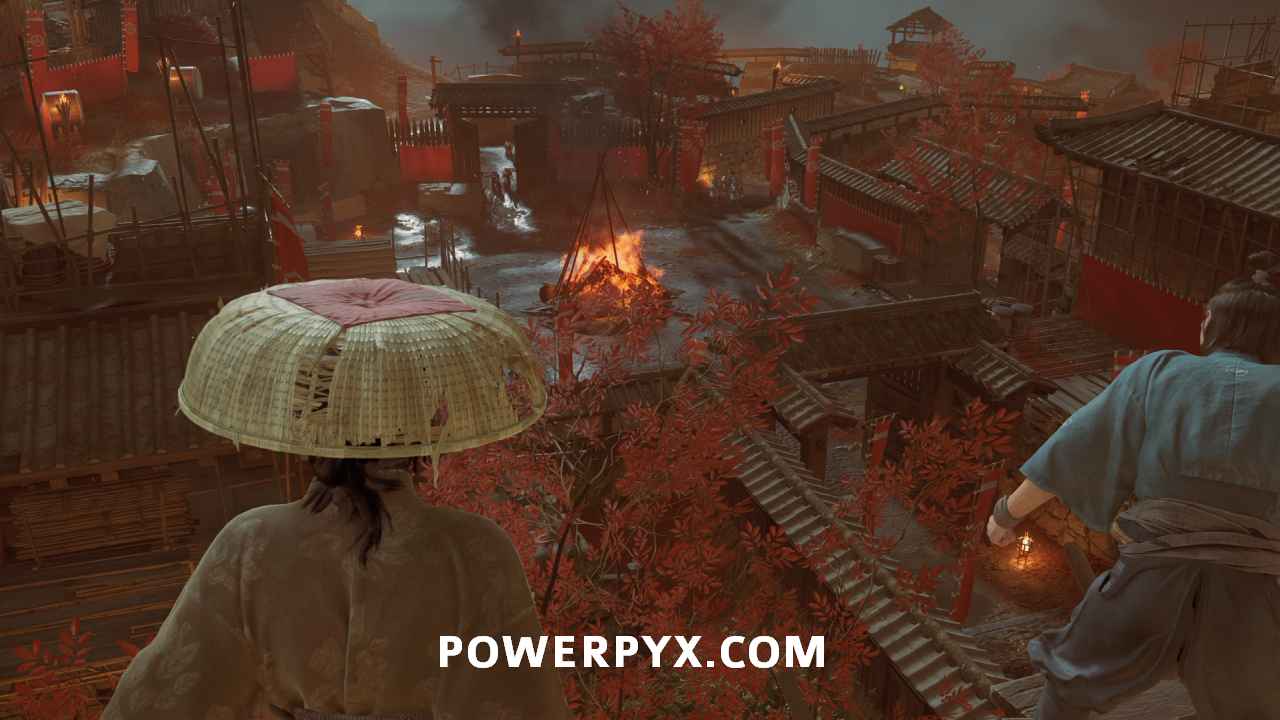
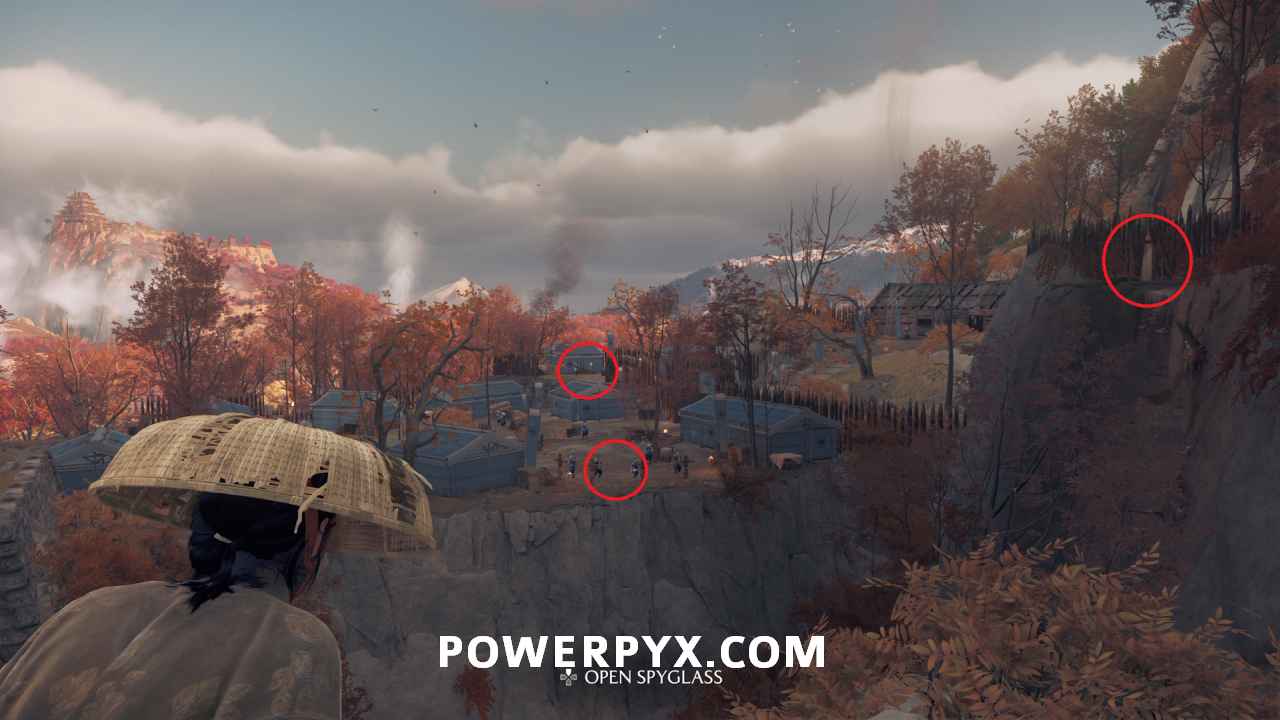
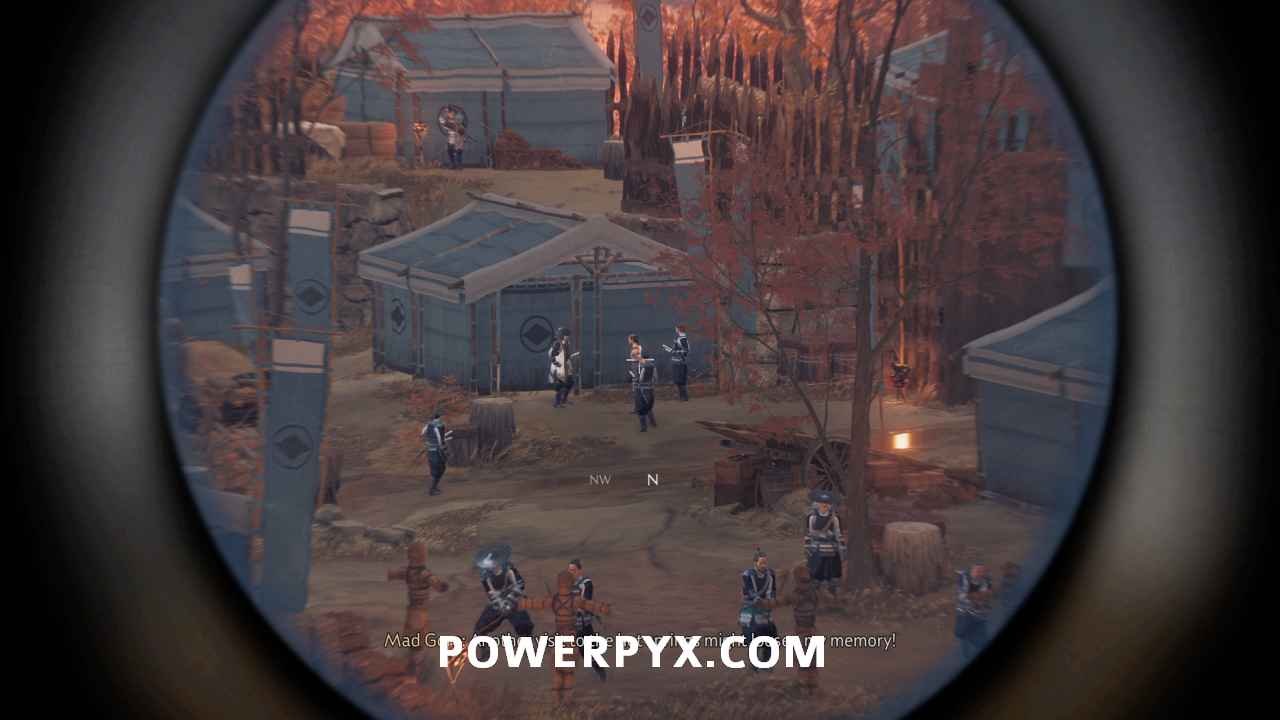
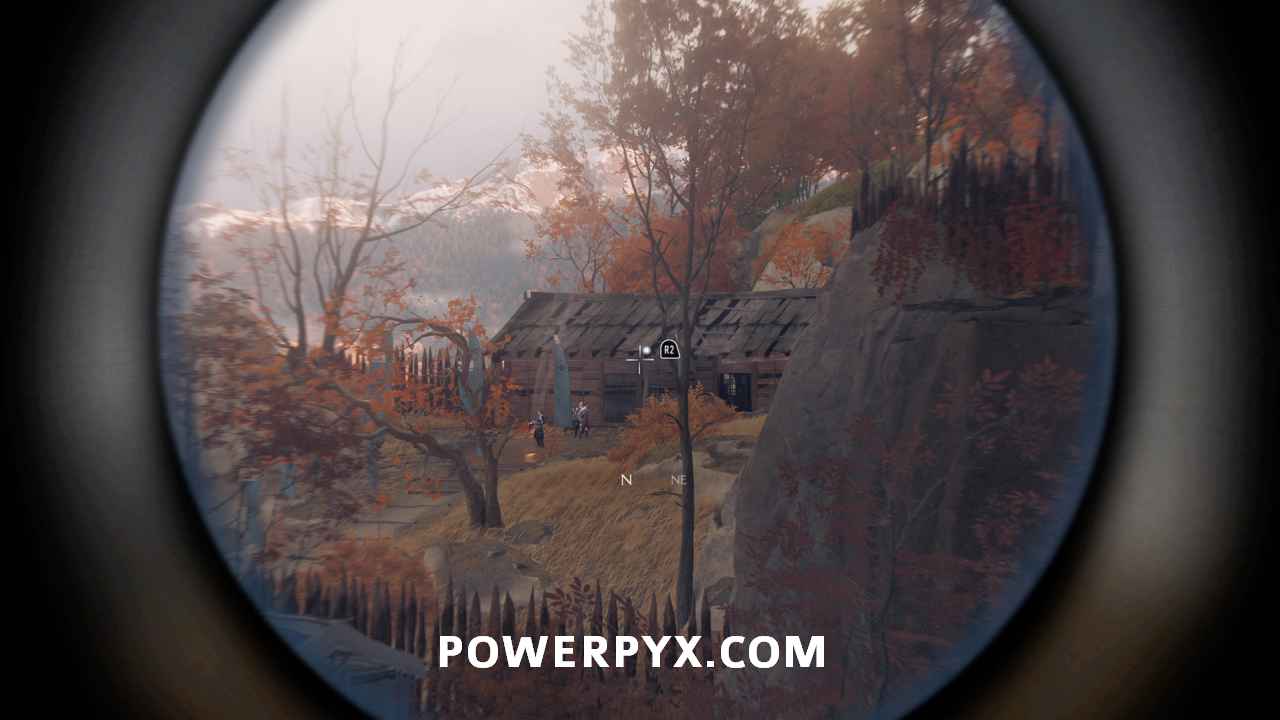
Scout the new region
You are now in the Ishikari Plains. First, scout out the three locations on the image below.
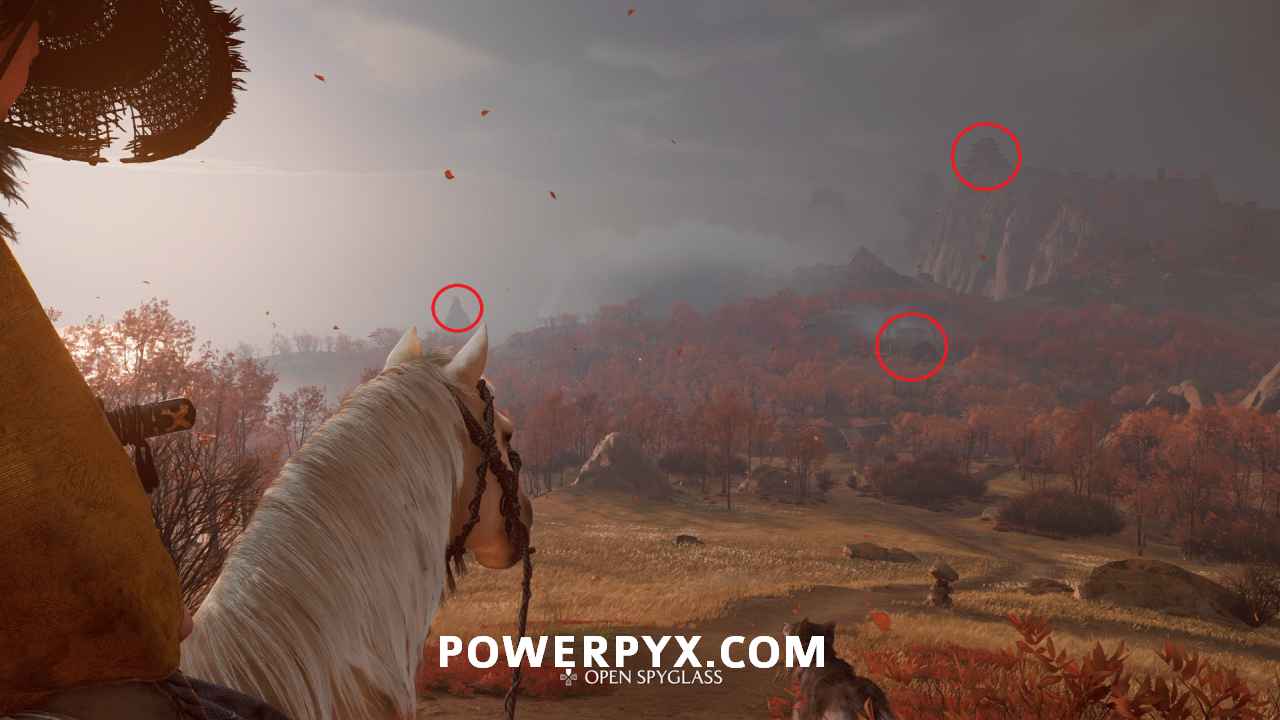
Run forward and cross the bridge to reach Ishikari Market.
Explore Ishikari Market
Head further into Ishikari Market.
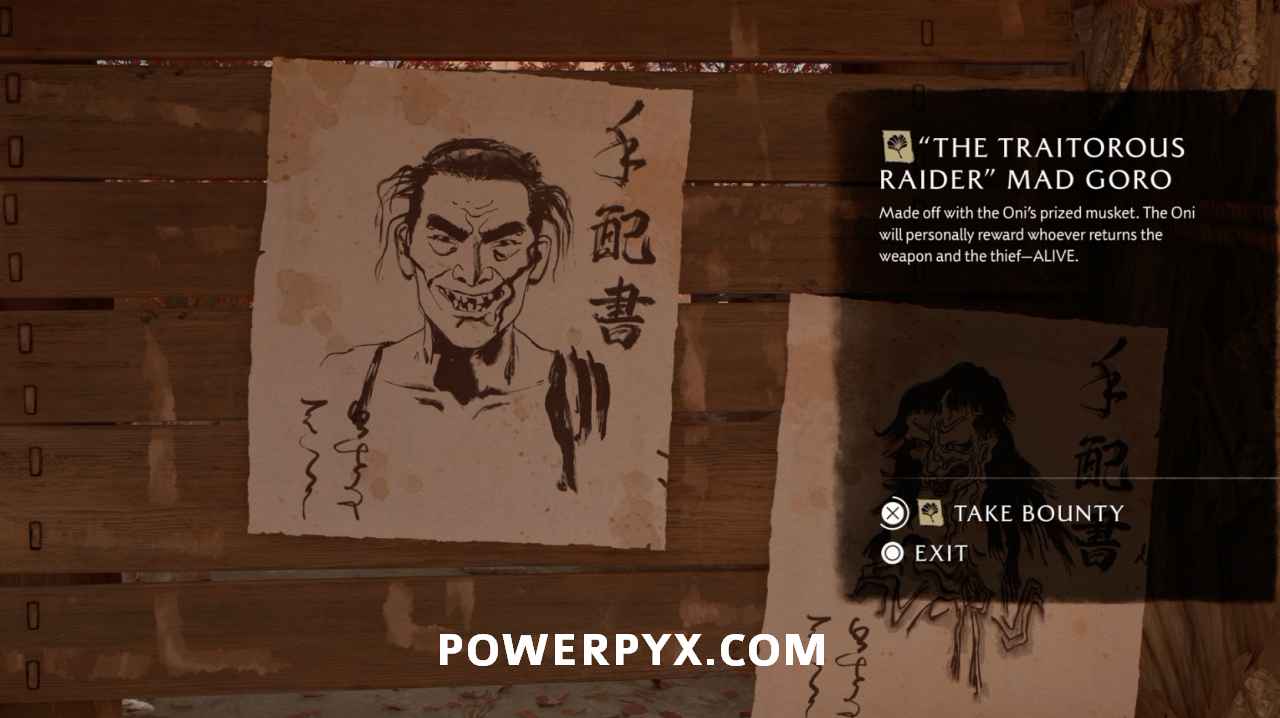
Examine the bounty board in Ishikari Market
Interact with the bounty board. Choose the middle option, “The Traitorous Raider, Mad Goro,” to continue the story. Note that he doesn’t count towards the 31 Bounties for  Master Bounty Hunter.
Defeat the Oni Raiders
You now face two waves of three Oni Raiders. Take them out. The first wave includes an enemy that uses black powder explosives. Dodge away from them when they get thrown at you.
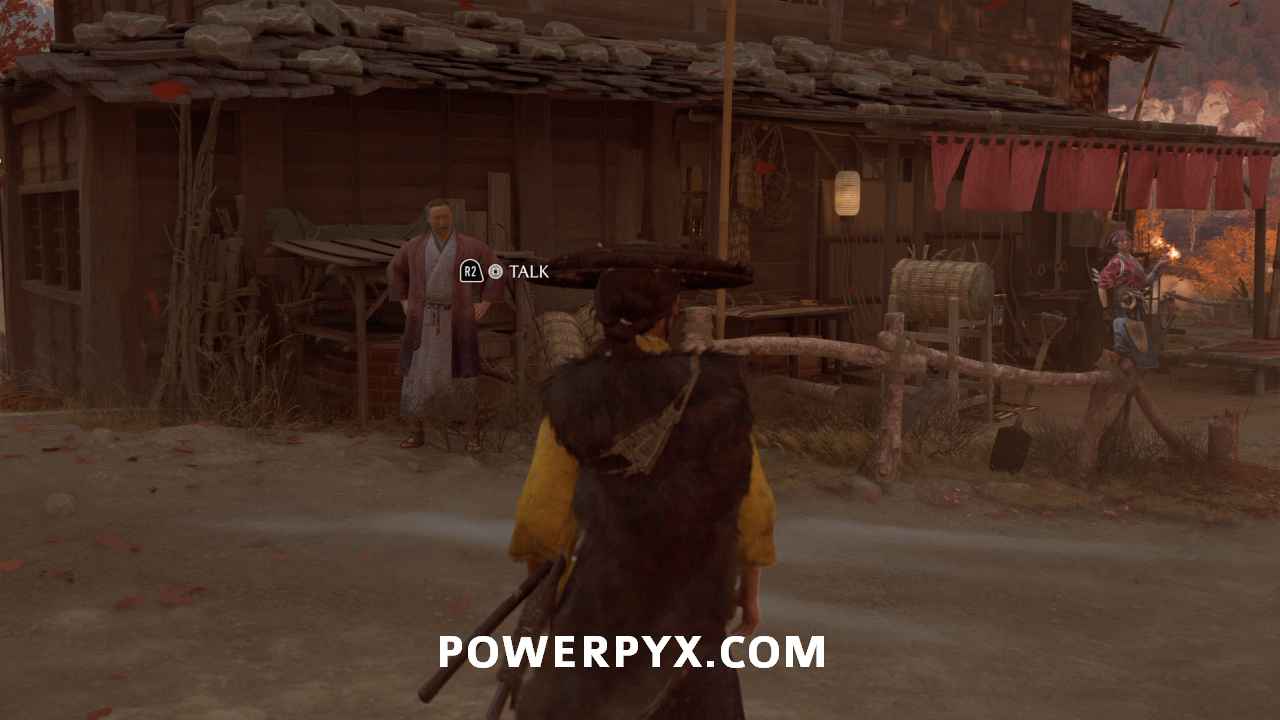
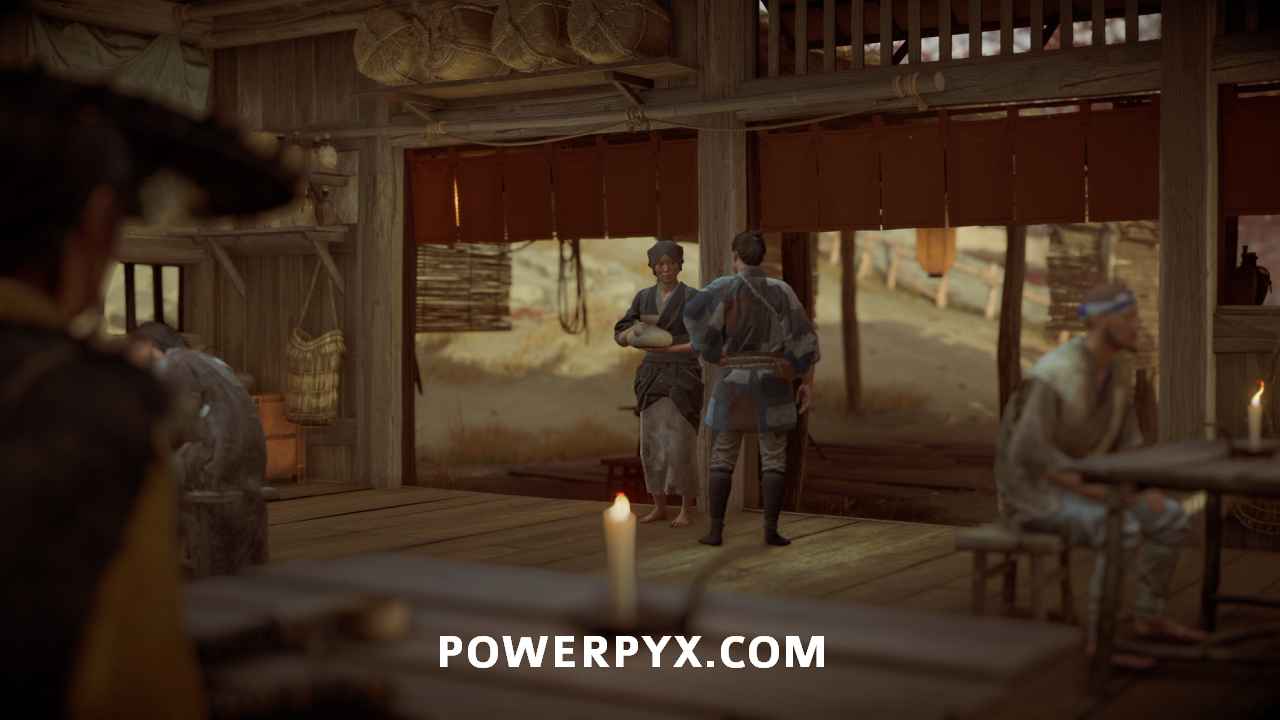
Speak with the barman
Find the barman sweeping the front step of the bar. Speak with him. He presents a dialogue choice, but the choice doesn’t change the outcome. Choose whichever you prefer.
This starts Sub-Chapter: A Mad Pursuit.
Sub-Chapter: A Mad Pursuit
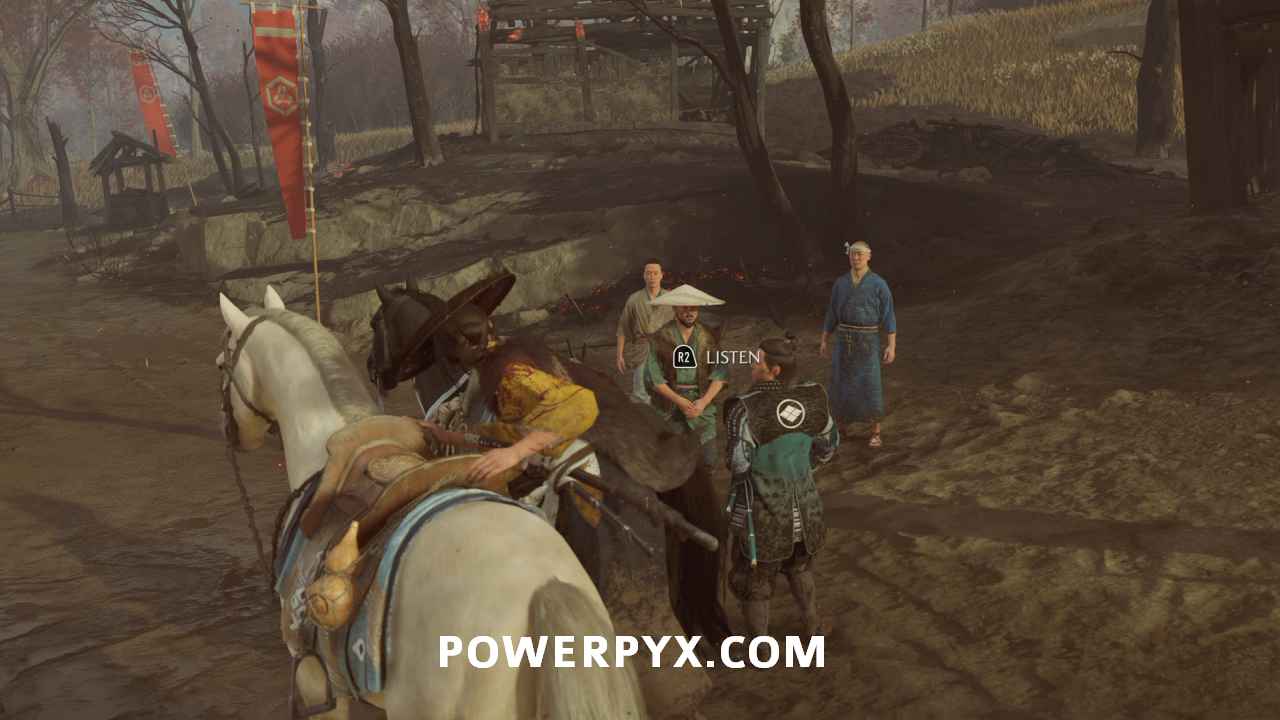
Eavesdrop to find information on Mad Goro
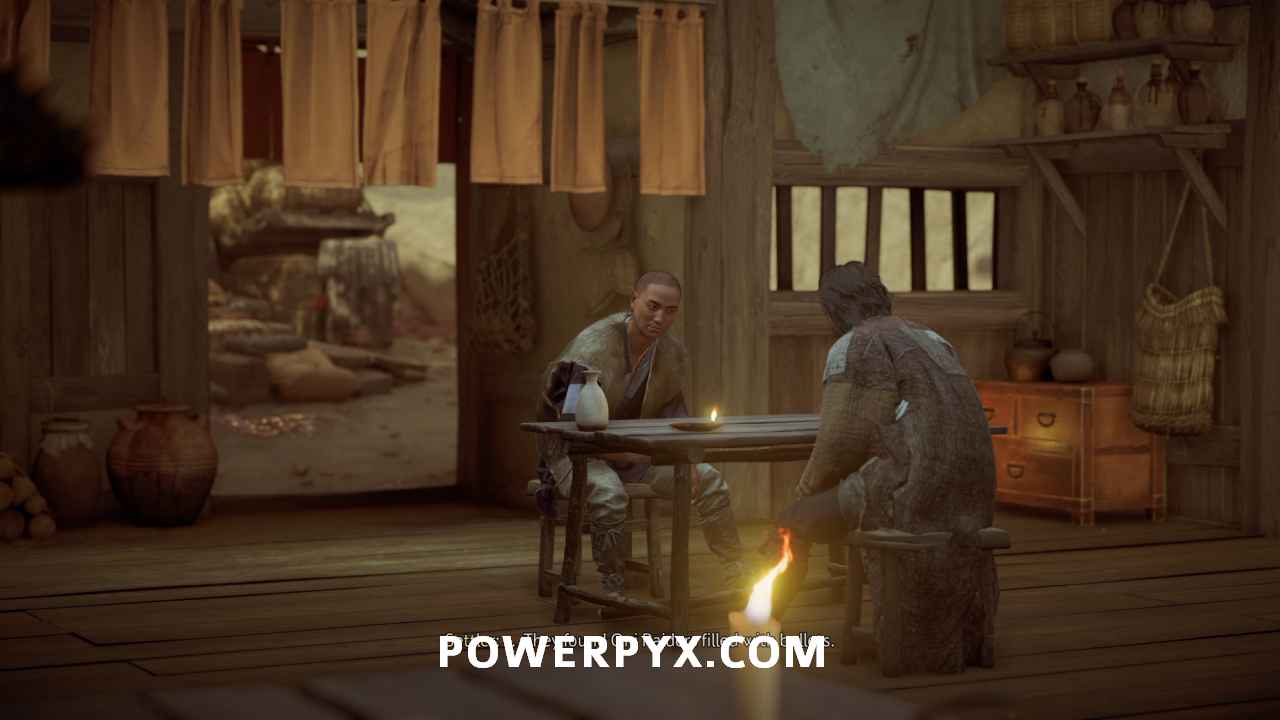
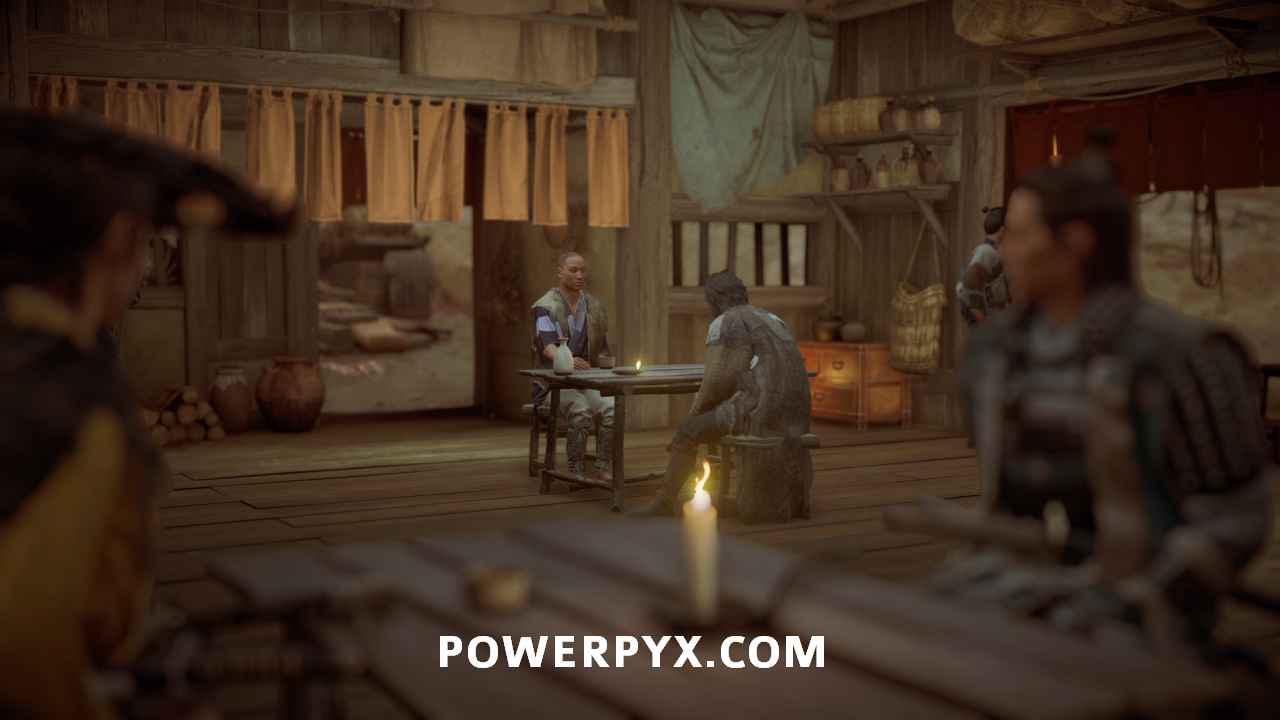
There are three different conversations you can eavesdrop on. First, turn the camera to the barman at the entrance. Then, go right to listen to the two men at the table.
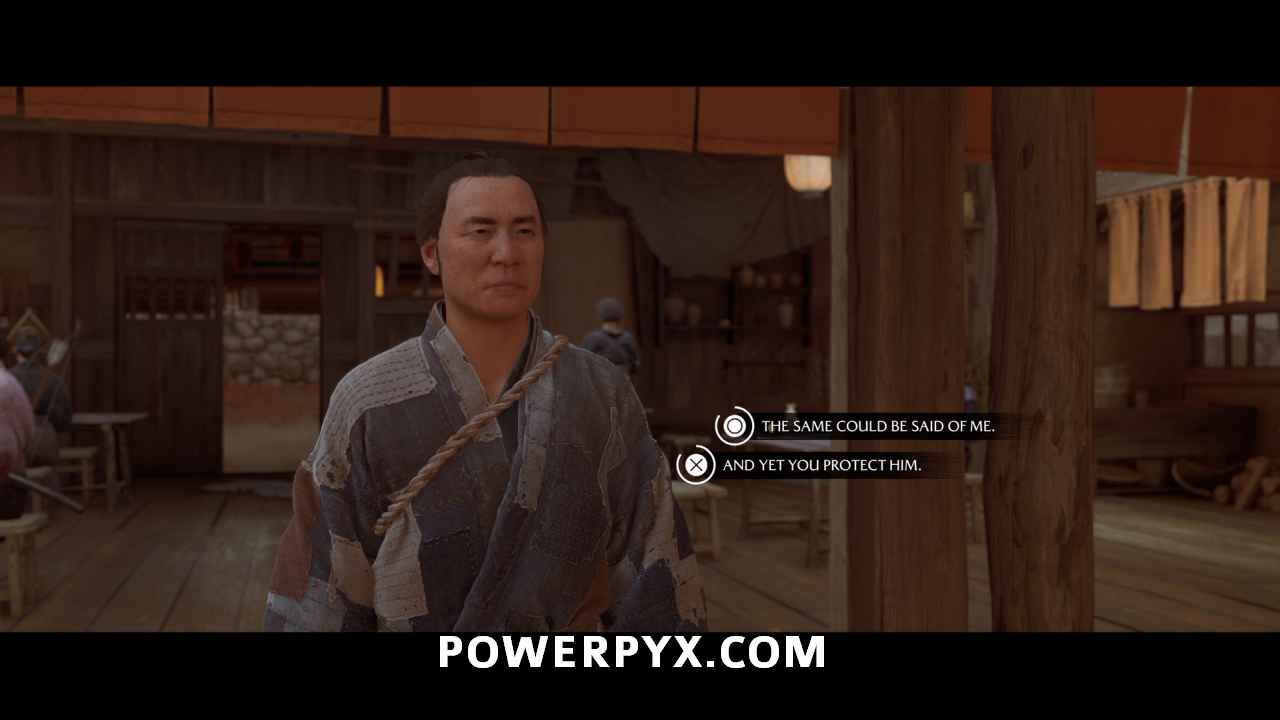
Finally, look left to listen to the two men sitting in the middle of the inn.
After the cutscene, listen again to the same two men sitting in the middle of the inn.
After the scene, you regain control in a standoff. This is an opportunity to earn the trophy Two as One for completing a standoff successfully with a companion. However, it will only unlock if you wait to release until the enemy attacks you. If you attack too early you get hit the trophy won’t unlock here, but there are other opportunities throughout the game.
After taking out the two other raiders, move to the entrance of town and fight off another three enemies.
Reach Jubei’s horse by the river
Leave town and follow Jubei southeast to the bridge that crosses the Ishikari River.
Ask around Iwami Village about Mad Goro
Cross the bridge and then head east to find Iwami Village.
At the center of town, several citizens call to Jubei. Interact with them to continue.
Investigate where gunfire was heard
Head north out of town. Then take an immediate left at the exit.
Soon, you find an opening in the rock face. Go in to find the camp at Bear Rock. The guiding wind will lead you there.
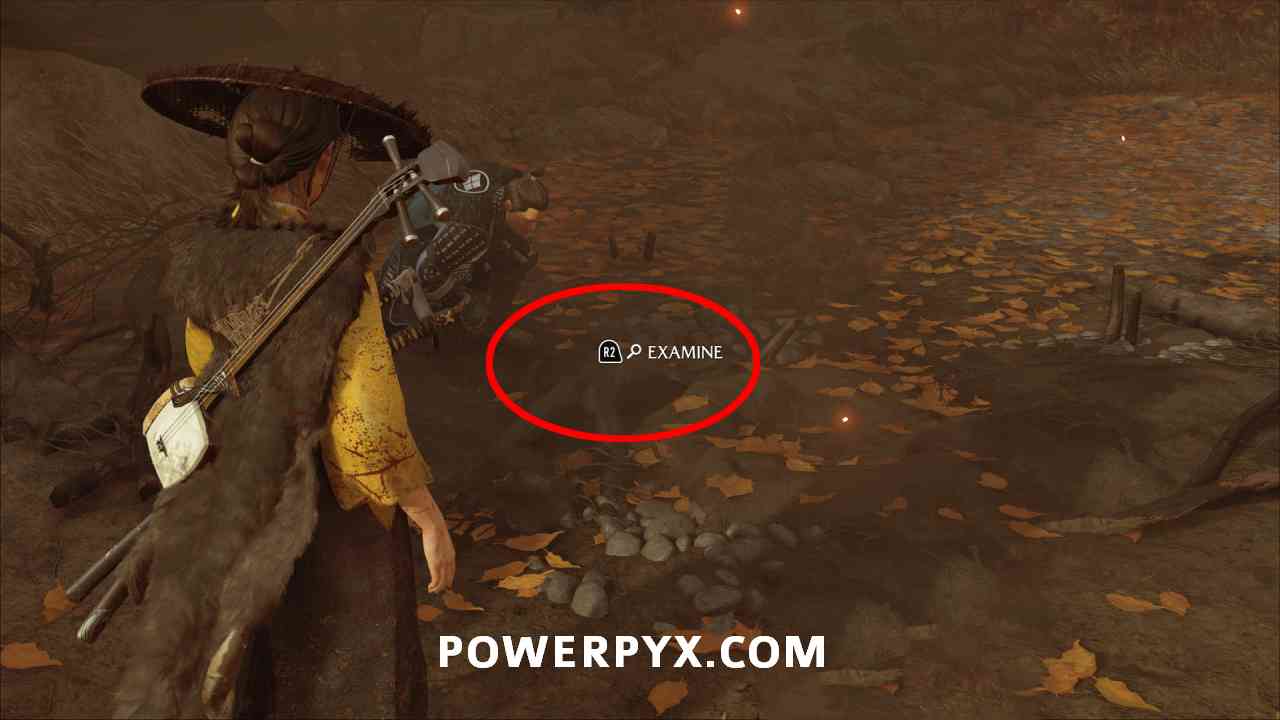
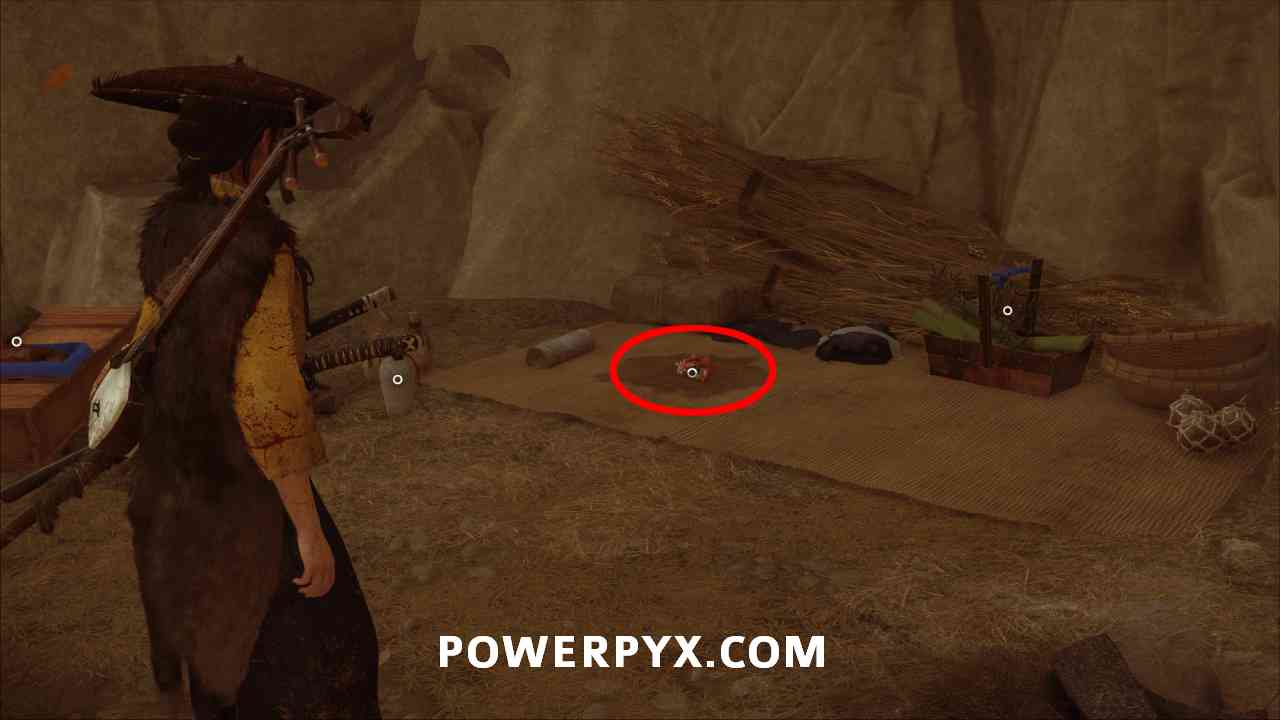
Investigate Mad Goro’s camp
First, interact with the charred body where Jubei kneels down.
Move to your left and interact with the broken mask on the bed mat.
Defeat the bounty hunters
After the cutscene, you face another standoff. From now on, you need to pay attention to enemies feigning attacks in future standoffs. If you attack at the wrong time, then you take damage.
Take out the remaining bounty hunters. The final one, the ronin, surrenders and gives you intel.
Ride to the river
Turn around and get back to your horse.
Head north with Jubei until you reach the river. Then, follow the river to the left. You soon find a few dead oni raiders on the coast of the river.
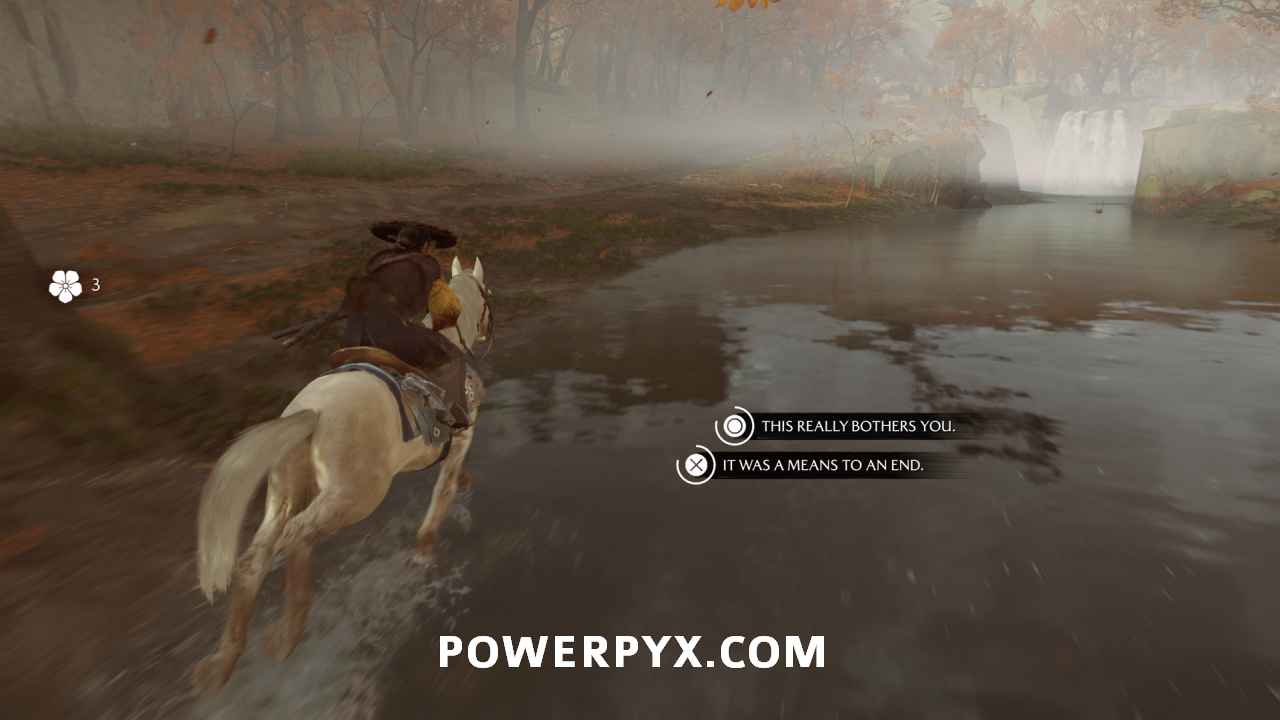
Follow the river
Continue north following the river. During this, Jubei presents you with a dialogue choice. Choose whichever you wish, since the outcome stays the same.
When you find the camp, you scope it out with your spyglass (press  for spyglass).

After that, you get a dialogue choice. This only affects the amount of money you get for performing silent kills.
Defeat the Oni Raiders
You can collect a little extra money here, but it’s a rather insignificant amount. There are eight enemies you can stealth kill for a maximum of 120 oni. Considering most bounties are over 800, this isn’t a great deal of money.
With that said, start with the guy right in front of you to the left. Then, walk across the log to your right to take out that guard.
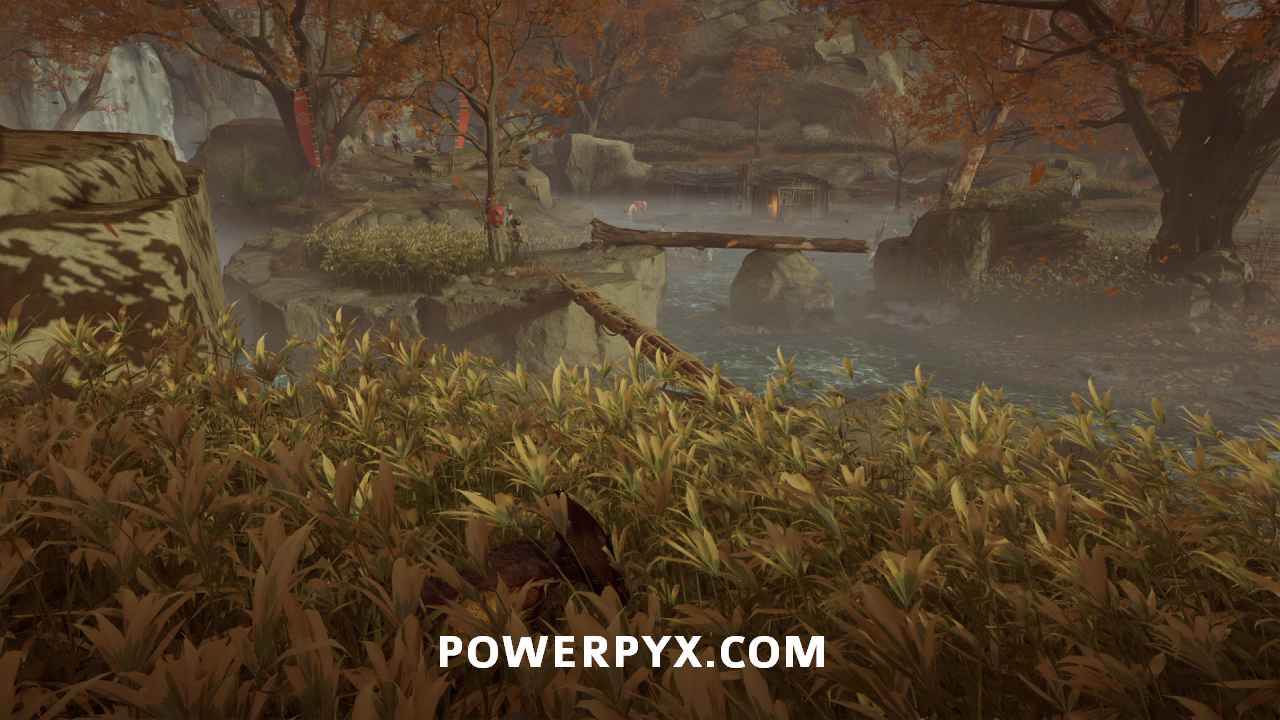
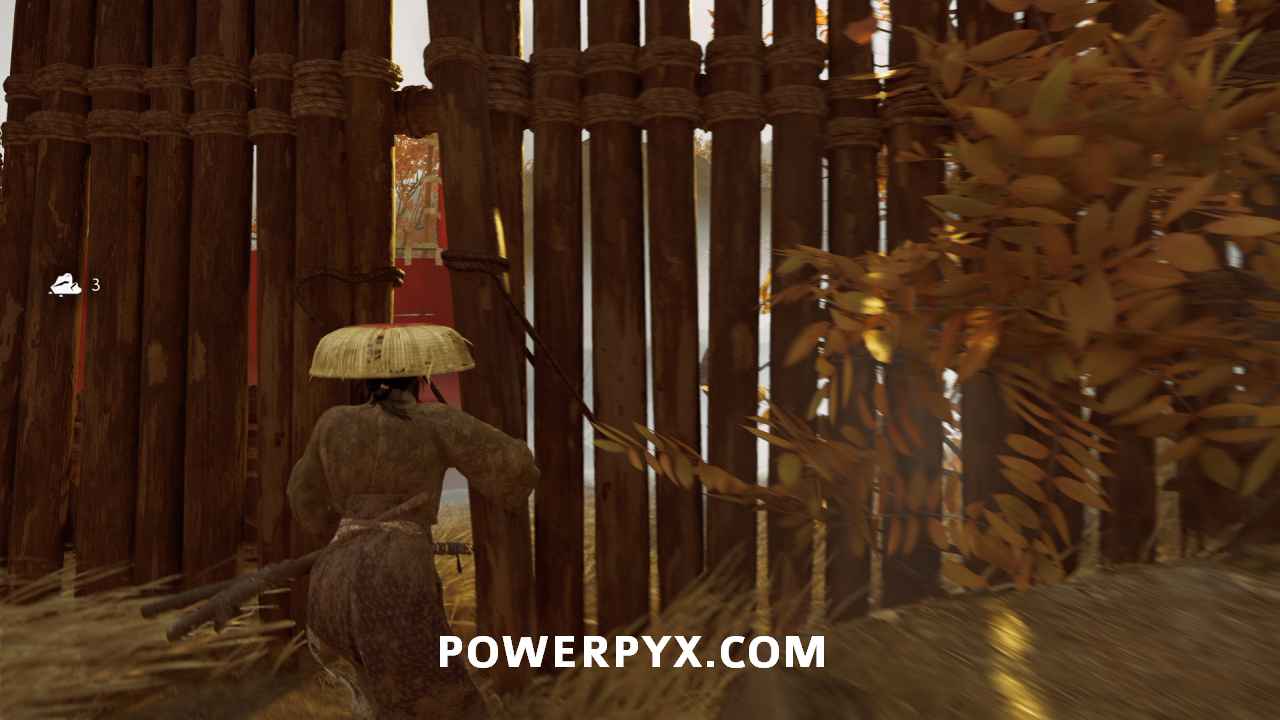
Jump down to the bridge and make your way across to the large rock on your left. Assassinate the guard on top of that rock.
A rope extends from the rock you’re standing on to the nearby building. Use it.
If you need a distraction for the pair of raiders, hold Down on the D-Pad to drink a sake. This leaves you with an empty bottle to throw. Throw it behind the furthermost enemy to make him go investigate. Then, assassinate the closer one before taking out the furthermost enemy.
Turn back around and cross the river, and then head left around the rock. Take out the guard on the beach standing by his horse.
Finally, turn around and climb the hill to where the remaining two raiders stand. At this point, they’re both looking away from you. Take out the closest one before finishing off the last while he smokes a pipe.
Investigate corpses
After all enemies are dealt with, follow Jubei up the little hill, he will kneel down by some corpses. Examine those corpses.
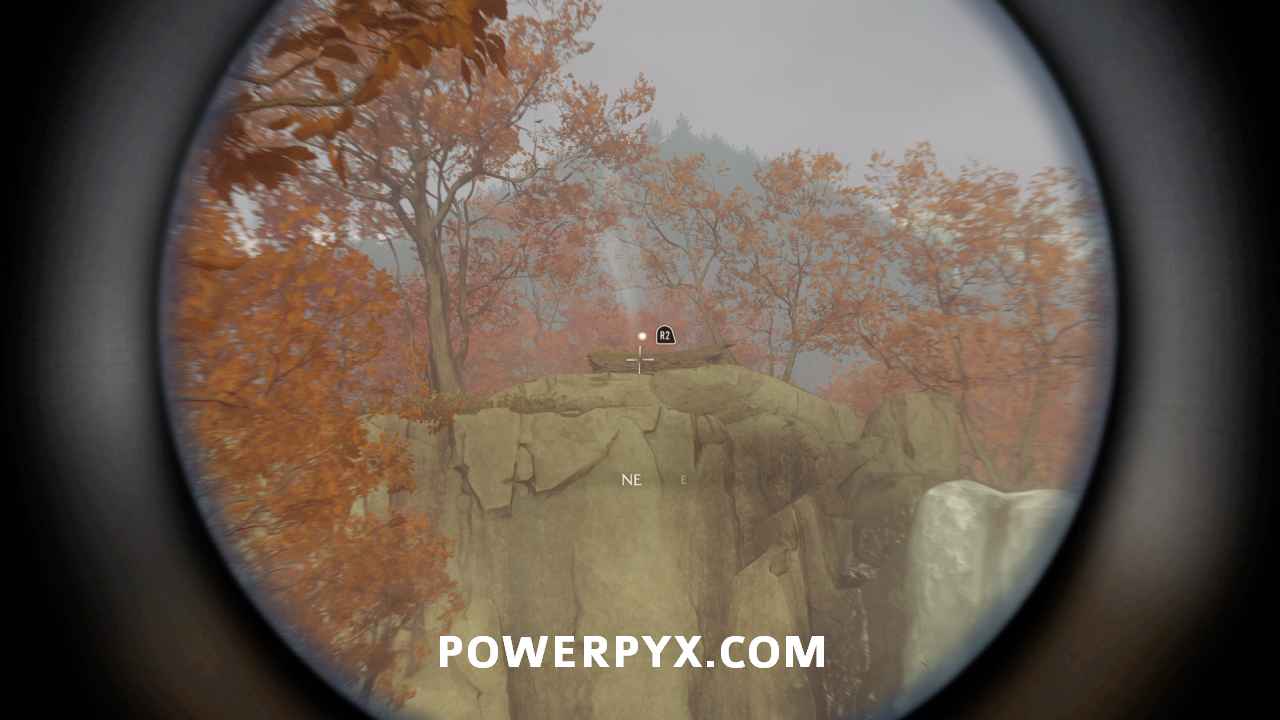
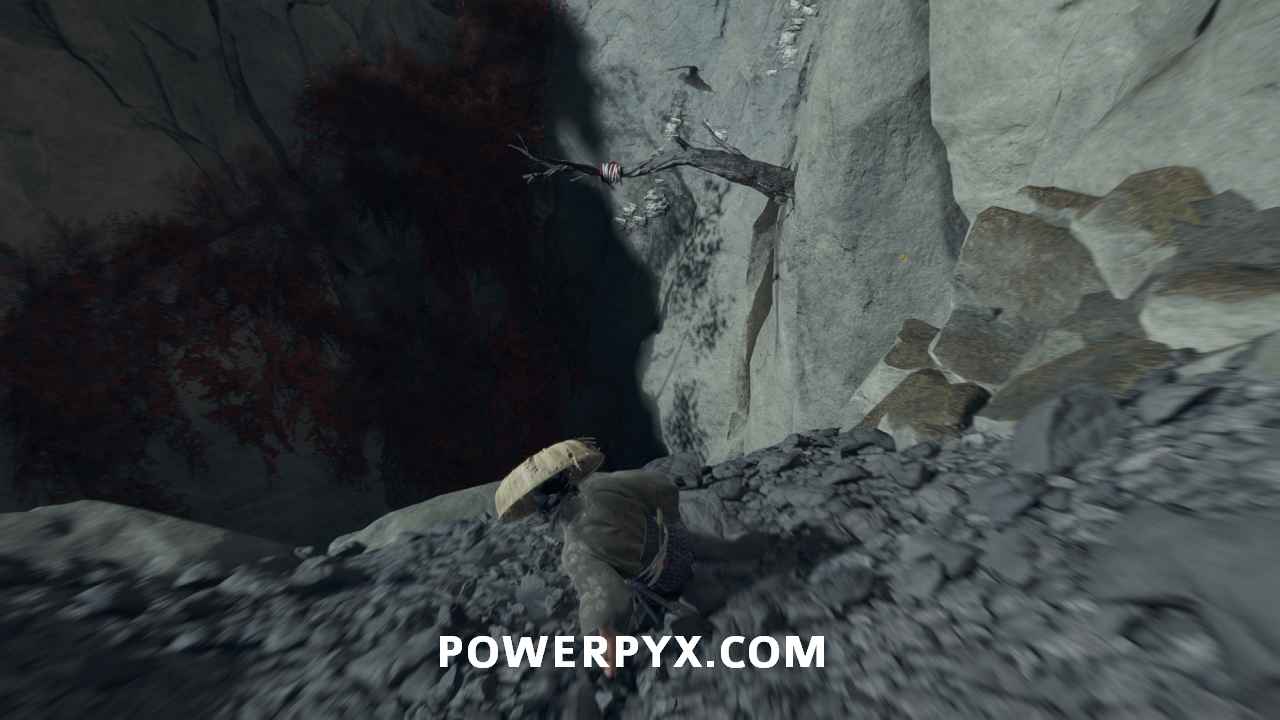
Spot Mad Goro’s camp
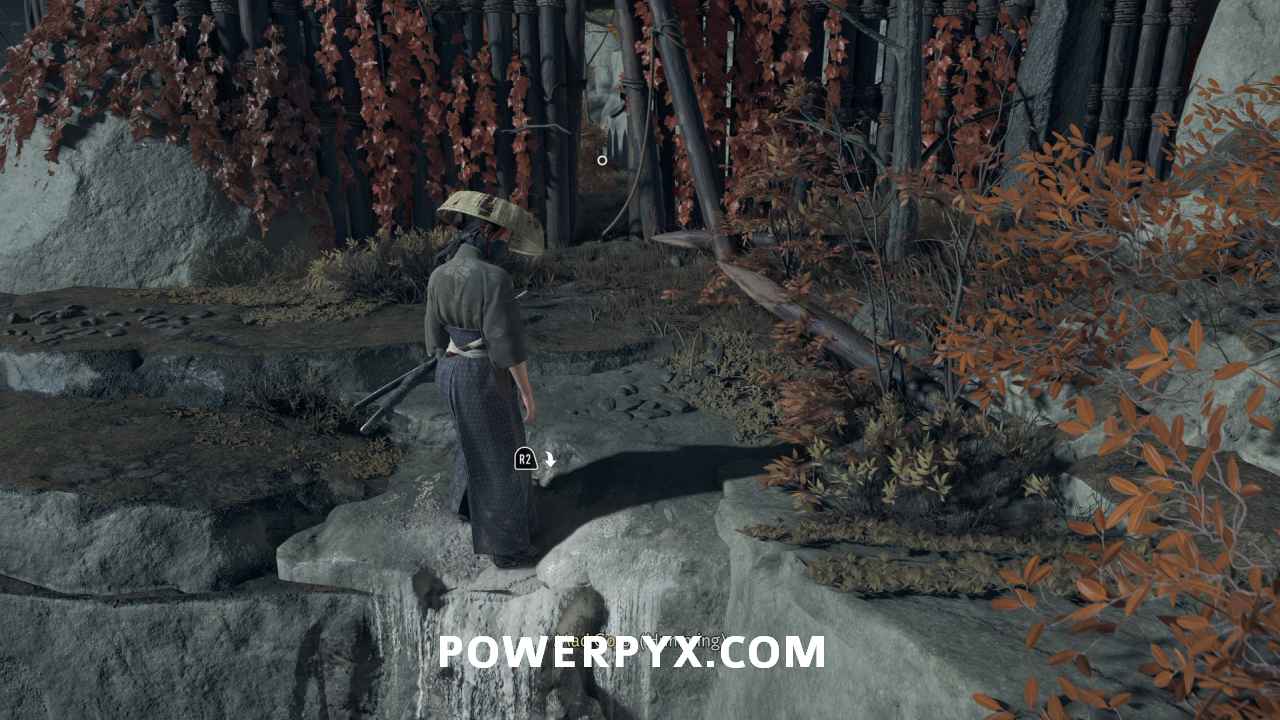
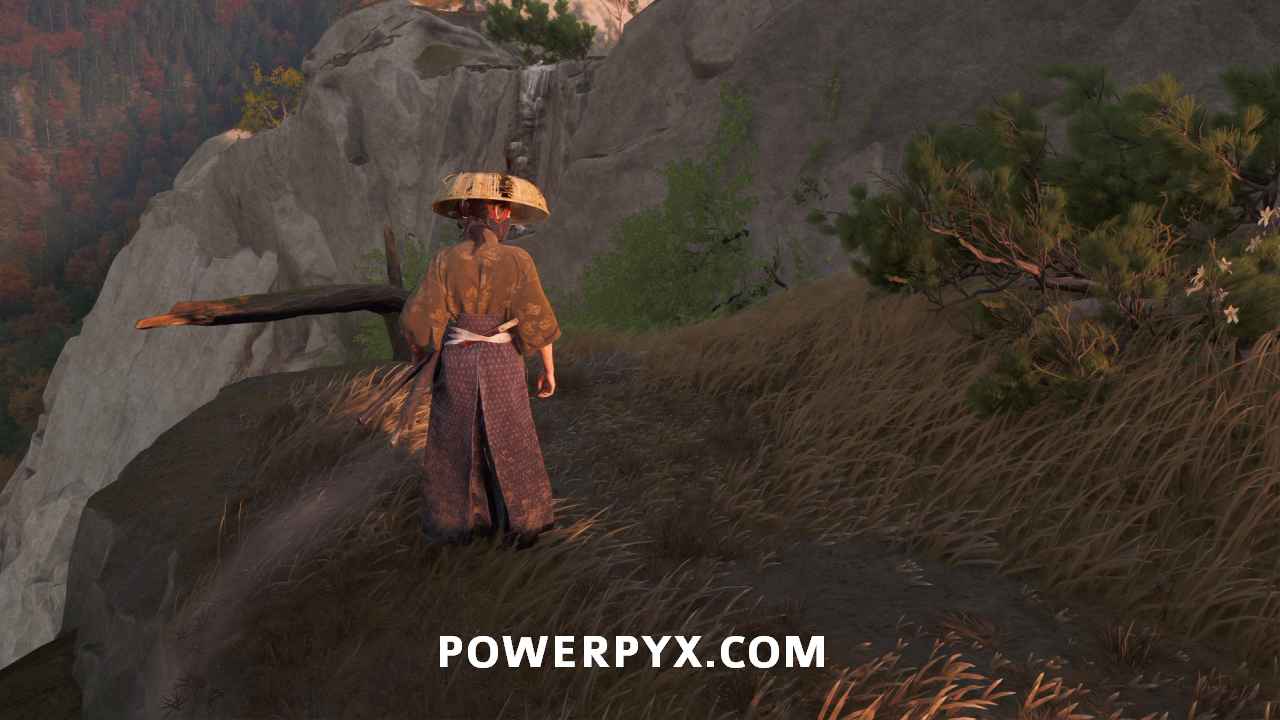
Use your spyglass to look at the log on the ledge in front of you by the waterfall.
Capture Mad Goro alive
Jump on the log sticking out in front of you to swing across the grappling point.
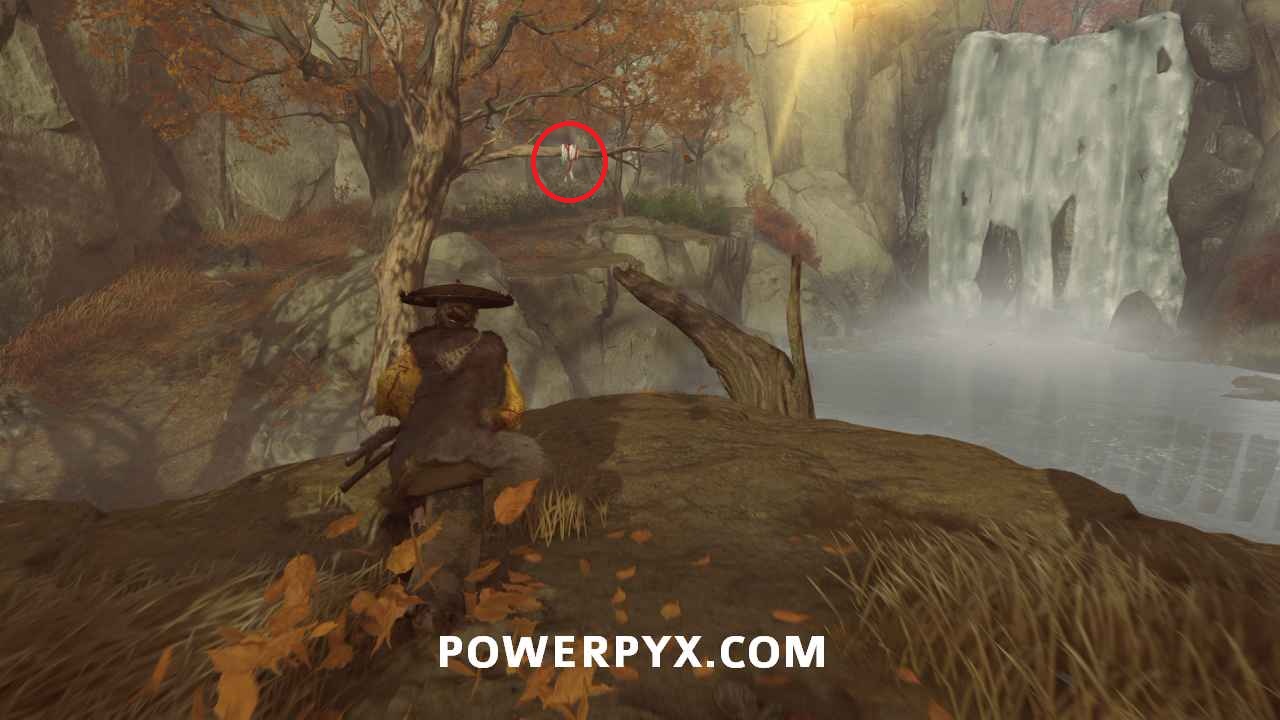
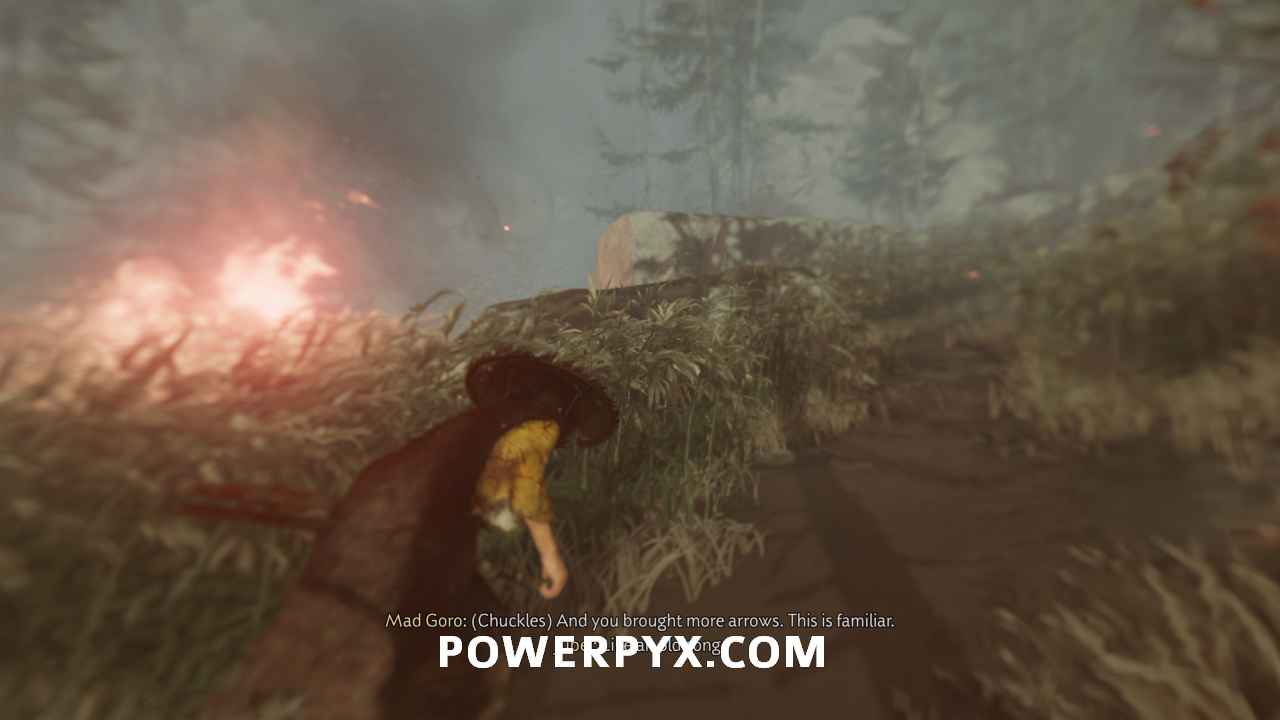
Keep running forward to reach the stone ladder on the rock face. Watch out for fire bombs that Mad Goro throws at you.

Once at the top, Mad Goro gets on his horse. Call your horse with  and give chase. Follow him for a while, avoiding his fire bombs along the way.
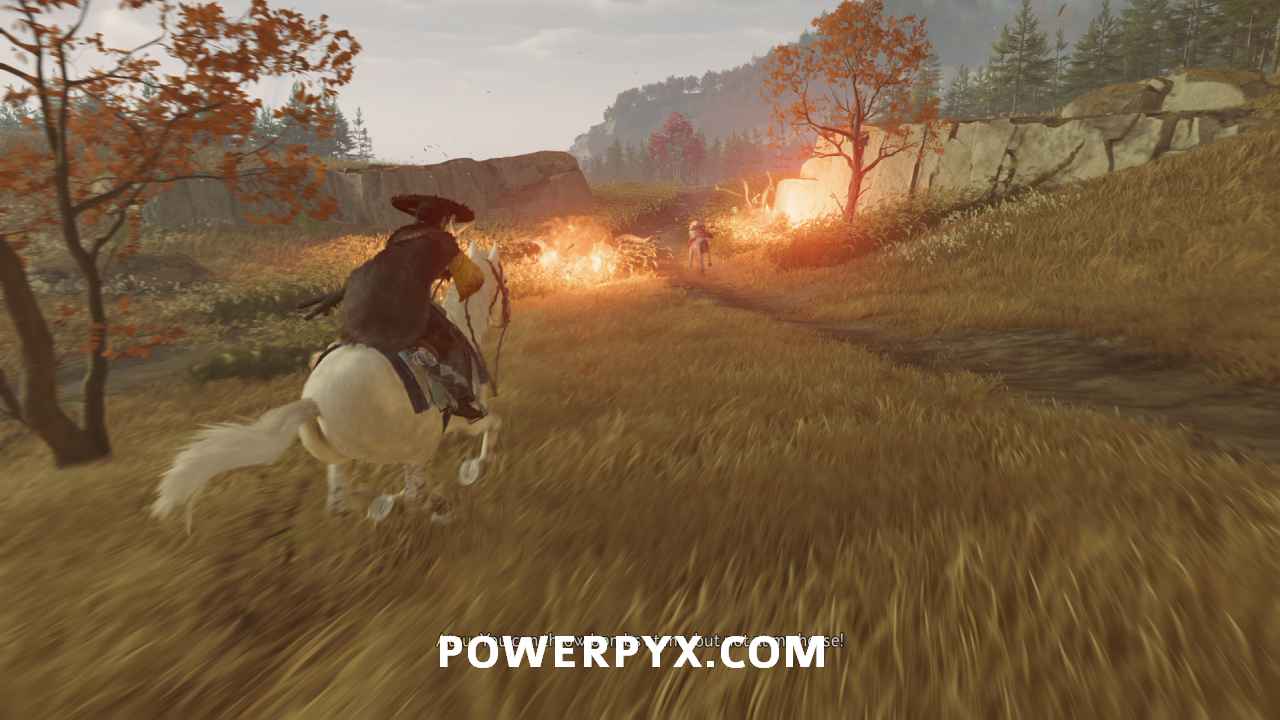
Eventually, he reaches a bottleneck and starts shooting a musket at you.
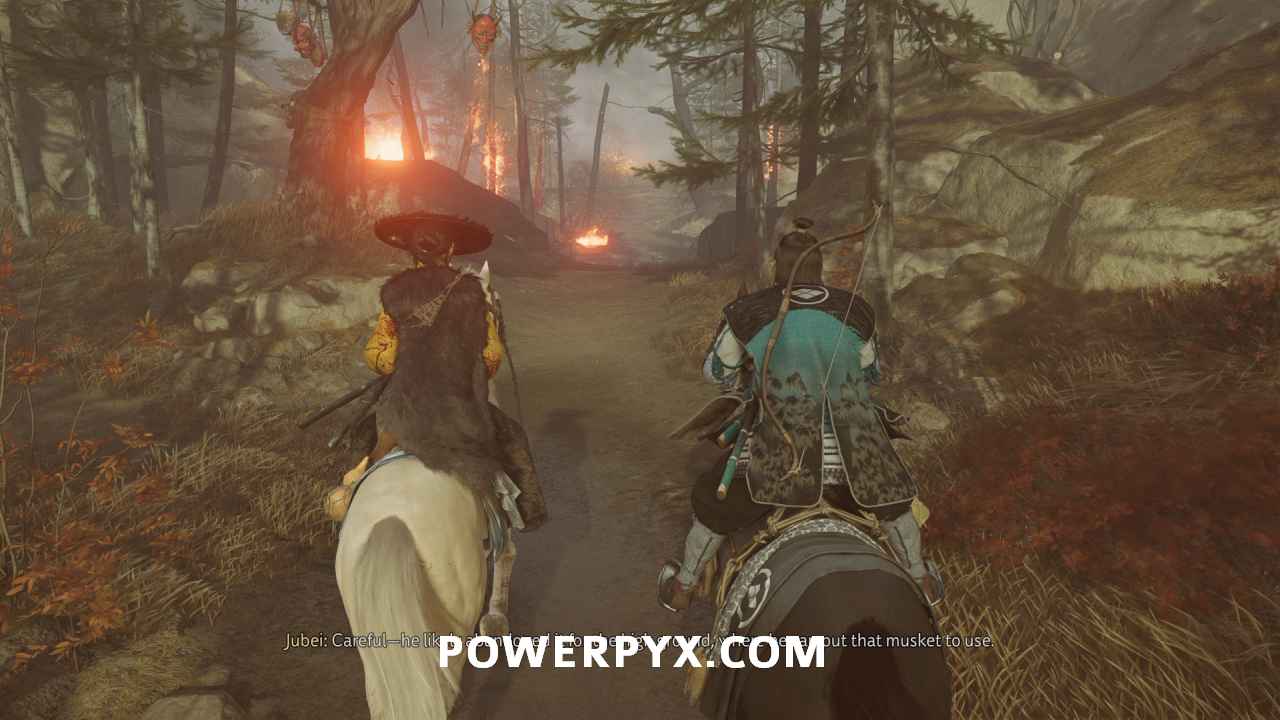
Jubei starts heckling Mad Goro. At that point, go right along the wall and follow the path. It loops to the left around and behind Mad Goro.
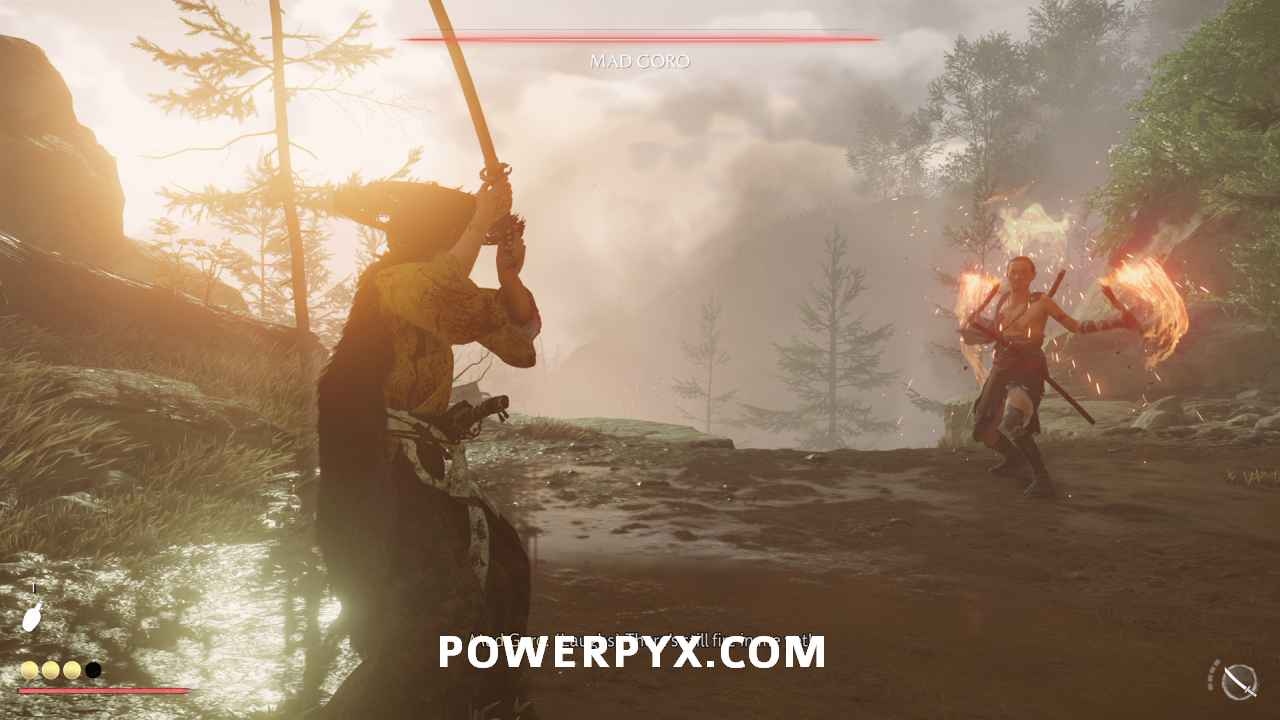
You now face Mad Goro in a duel. Use dual katanas against his fiery kusarigama.
Meet Jubei near Ishikari Market
Before leaving this area, make sure you have “Gale’s Reprieve” unlocked on the map, south of where you wake up. This will be a fast travel point later in this quest to save some time.
Fast travel to Ishikari Market. Find Jubei with his horse just north of Ishikari Market.
This starts Sub-Chapter: Belly of the Beast.
Sub-Chapter: Belly of the Beast
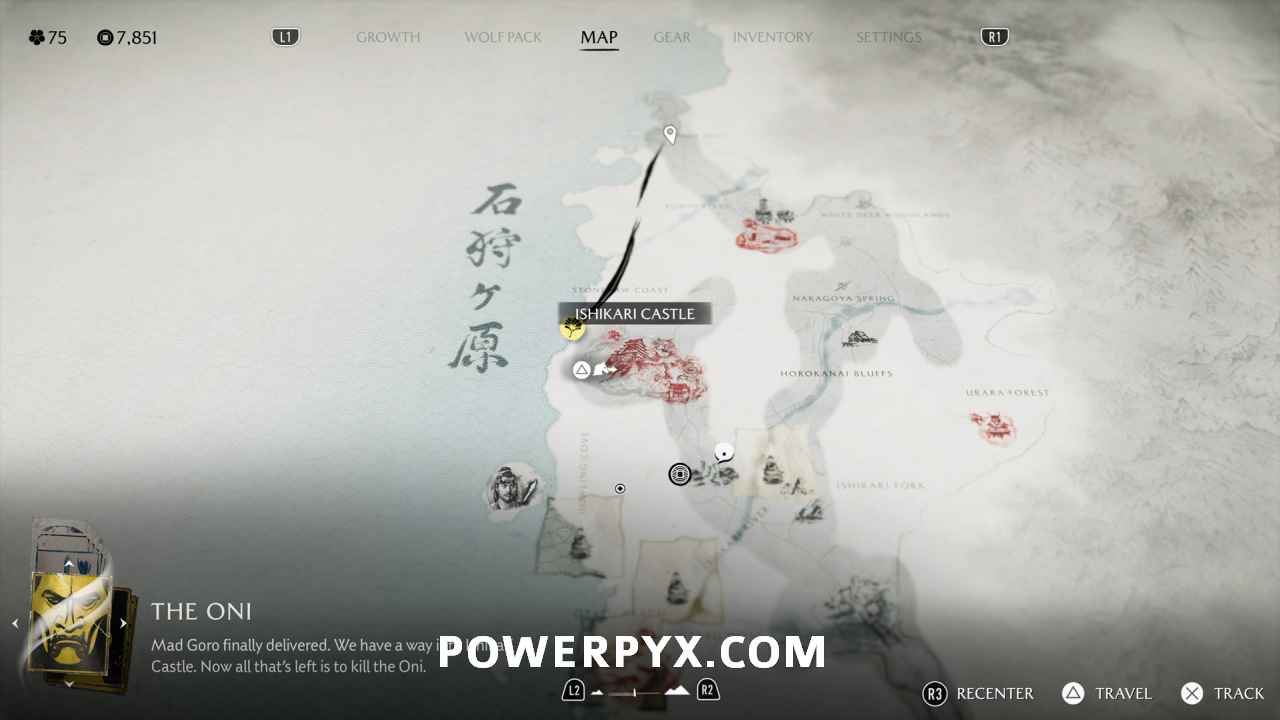
Enter Ishikari Castle
Follow Jubei while on your horse to the gate of Ishikari Castle. You will automatically have equipped the Mercenary Mask + Mercenary Attire here.
In the cutscene, you get a dialogue choice. Choose whichever you prefer. The outcome remains the same.
Follow the Oni
Move along with the Oni. You cannot run during this sequence.
A dialogue option shows up. Like the previous ones, choose whichever you prefer.
Examine the Oni’s treasures
This building has a lot of goods in it, but you can only interact with the three treasures at the front of the room.
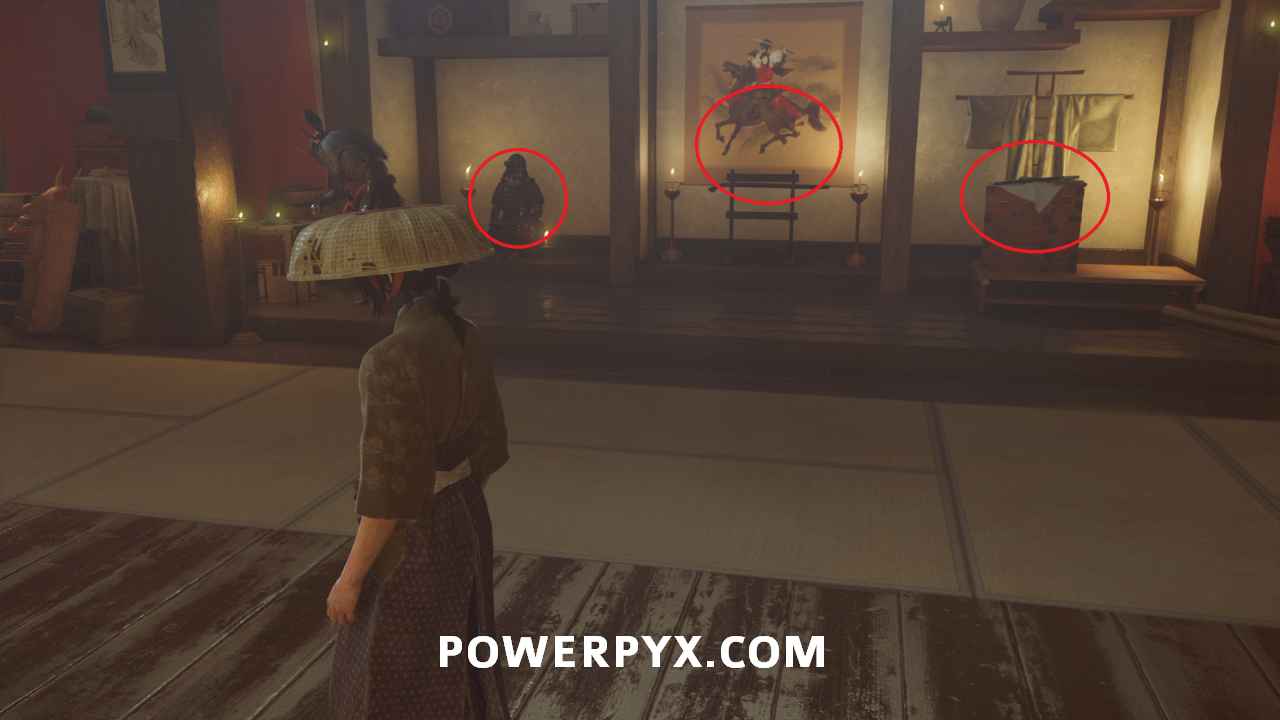
Interact with the scabbard on the right for a flashback. You will get 3000 coins and the Twin Wolves (Wolf Blade) after the cutscene.
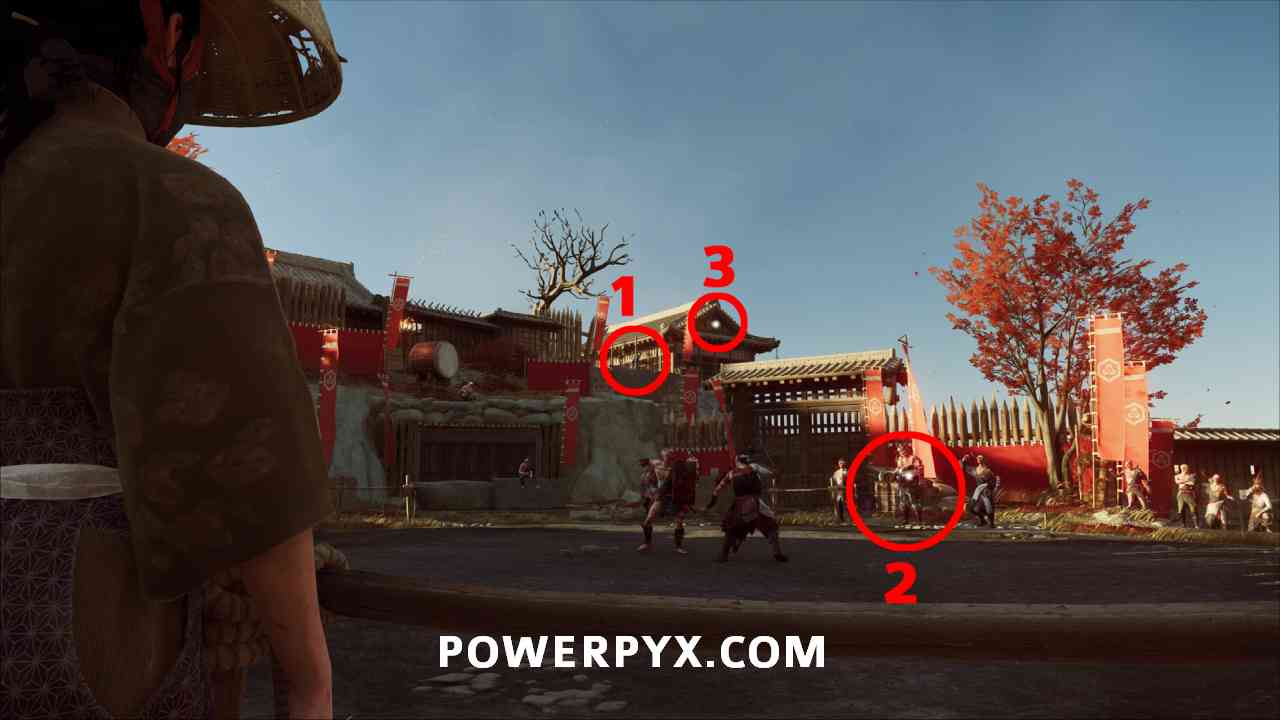
Look for a way to free Jubei
Investigate the three points in this order: corpse on top near house, guards standing in the middle at fight pit, the house where the corpse was.
Steal keys from Kanta the Jailer
Loop around the ring to the right and try to pickpocket the key from Kanta.
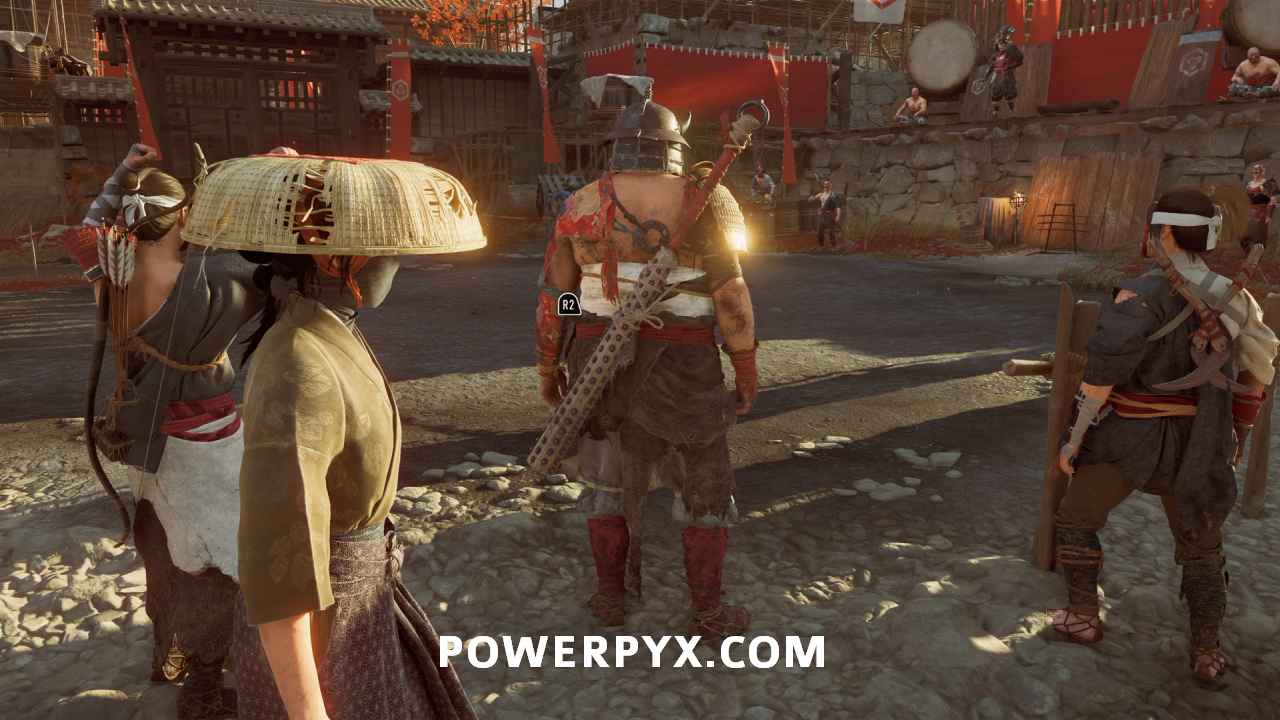
Pick up a bokken
Go to the right side of the ring to grab a bokken.
Defeat Kanta the Jailer
He charges you right away. Dodge out of the way. He has a nasty habit of charging, so stay close to him. Apart from that, keep attacking with basic attacks.
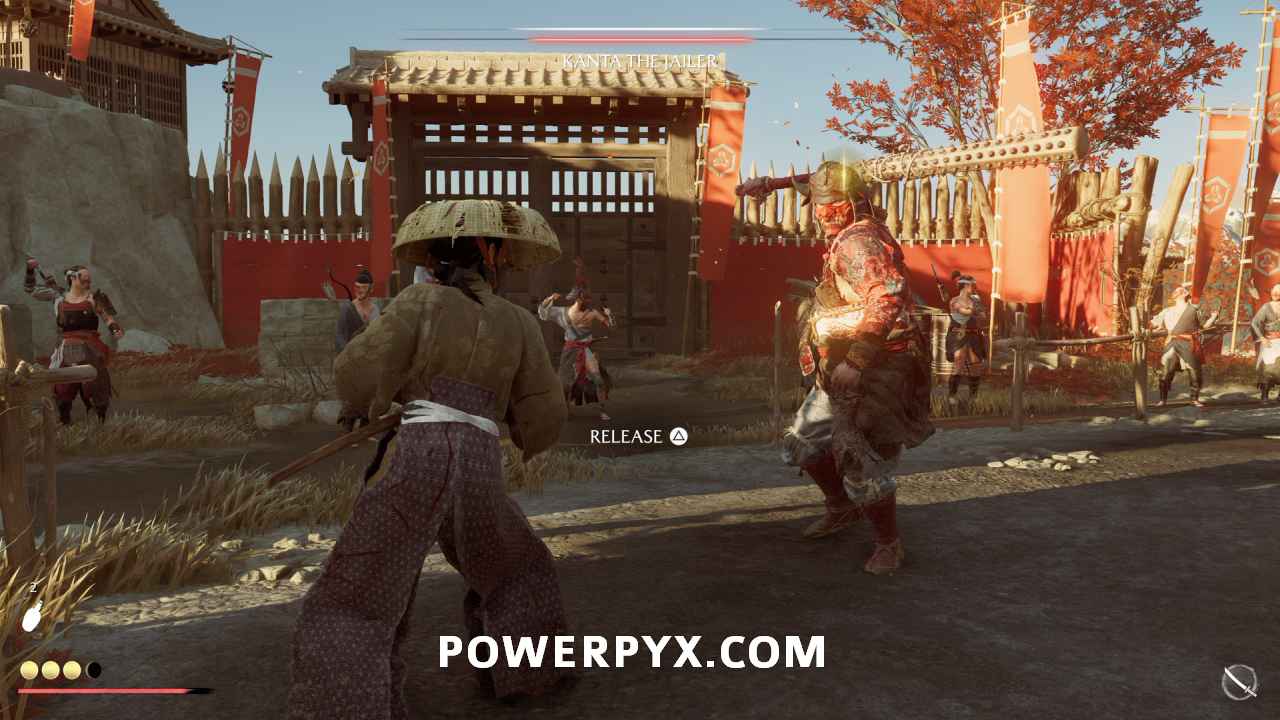
Sprinkled around the ring are empty sake jars. Pick these up and throw them to disorient Kanta. After beating Kanta interact with him on the ground by pressing  to loot his keys.
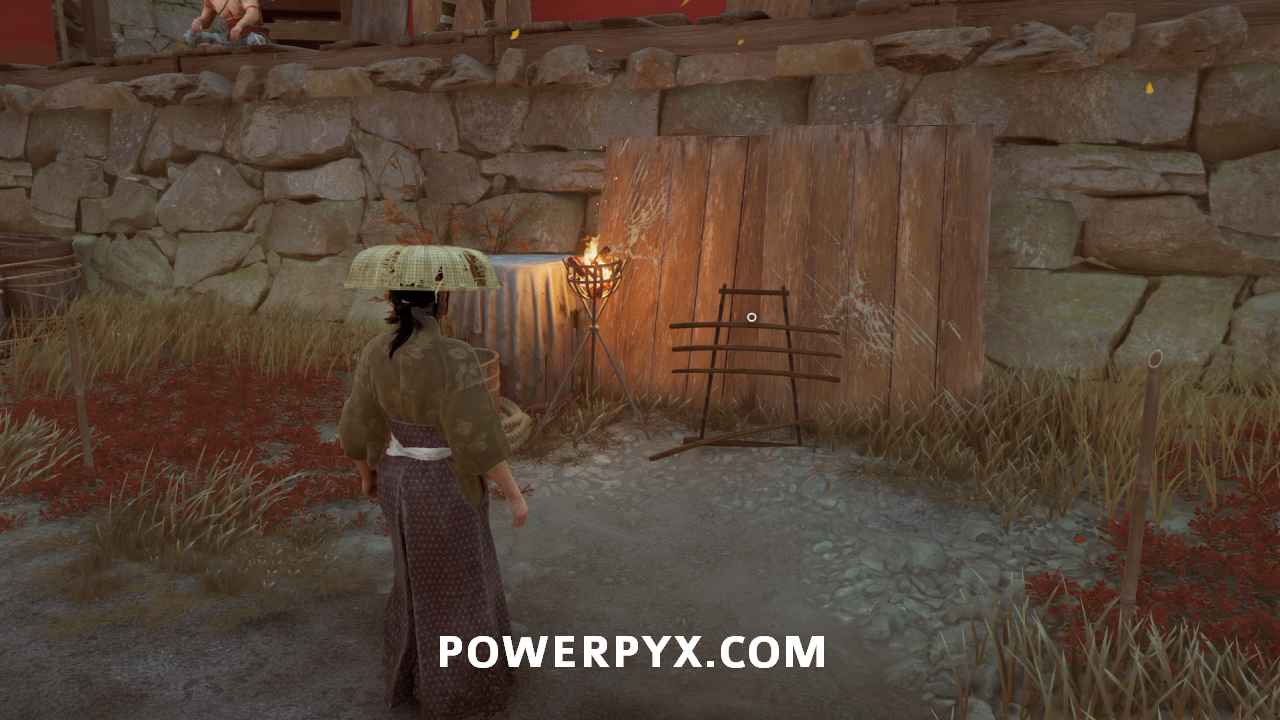
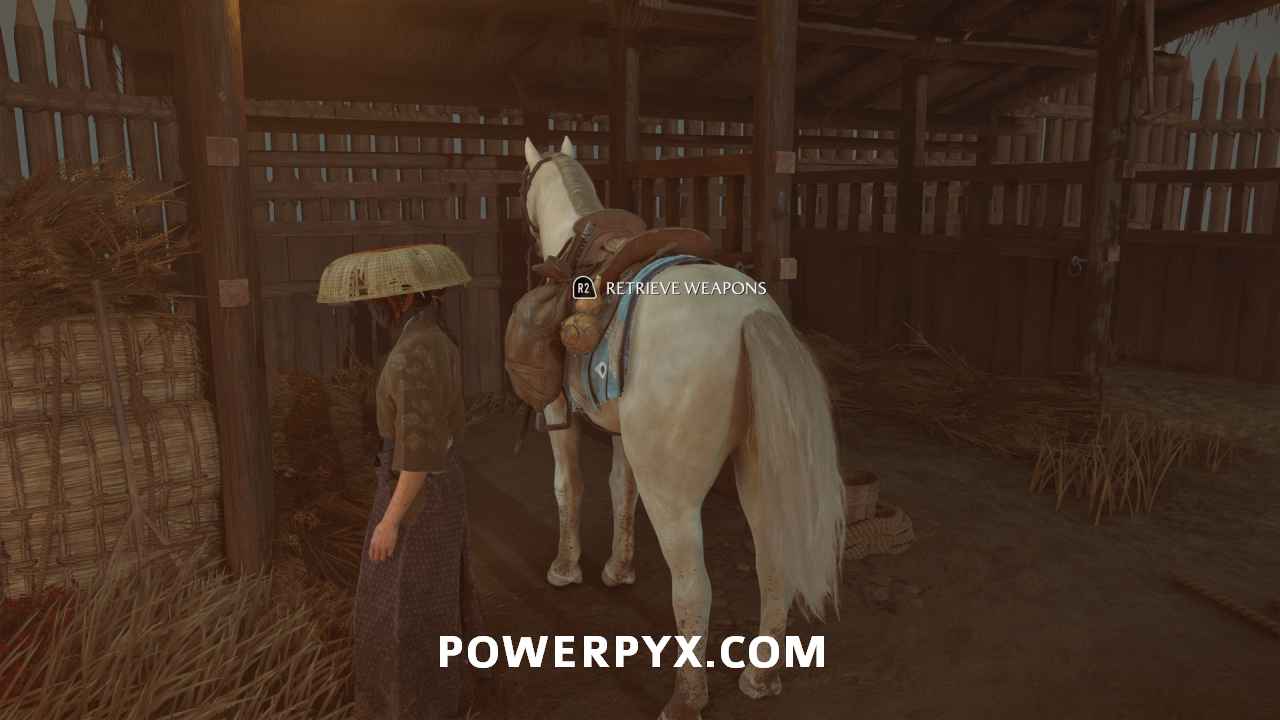
Grab your weapons
Run across the encampment to your horse and grab your weapons.
Reach the holding cells
Follow the outer wall to the left until you reach a large rock.
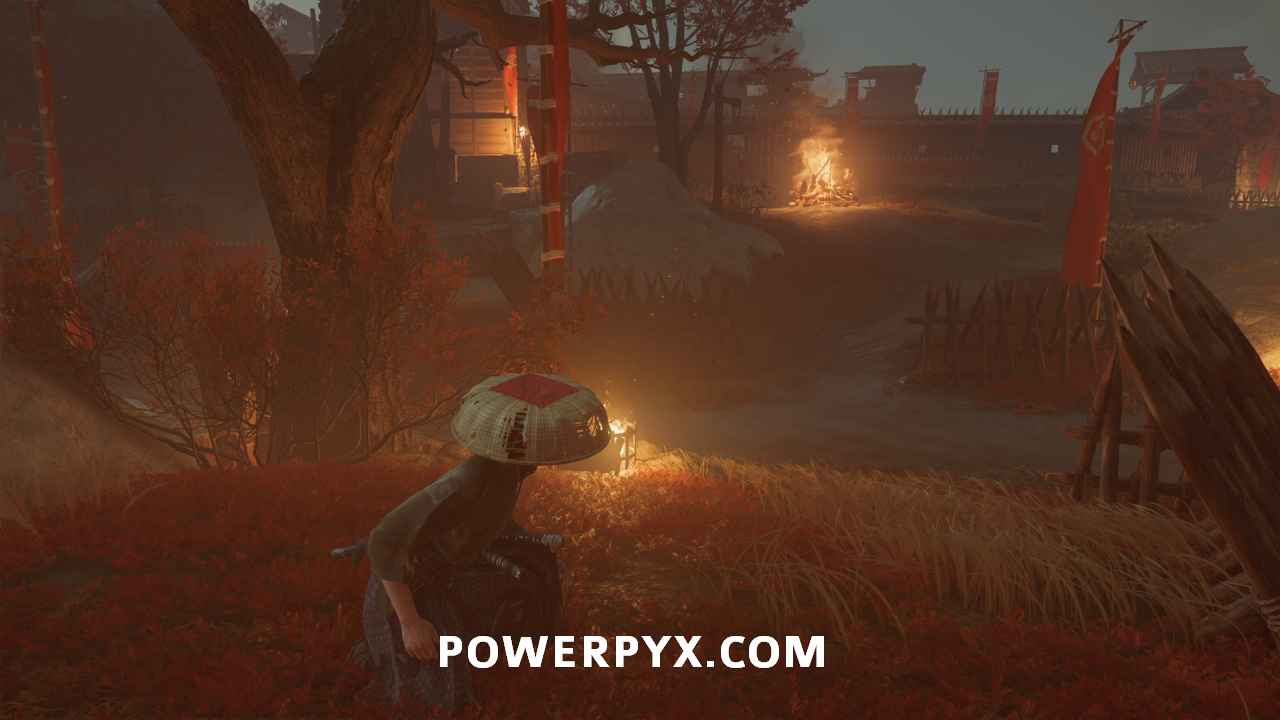
Head right around the rock and down the path just enough to hide behind the rock on your right.
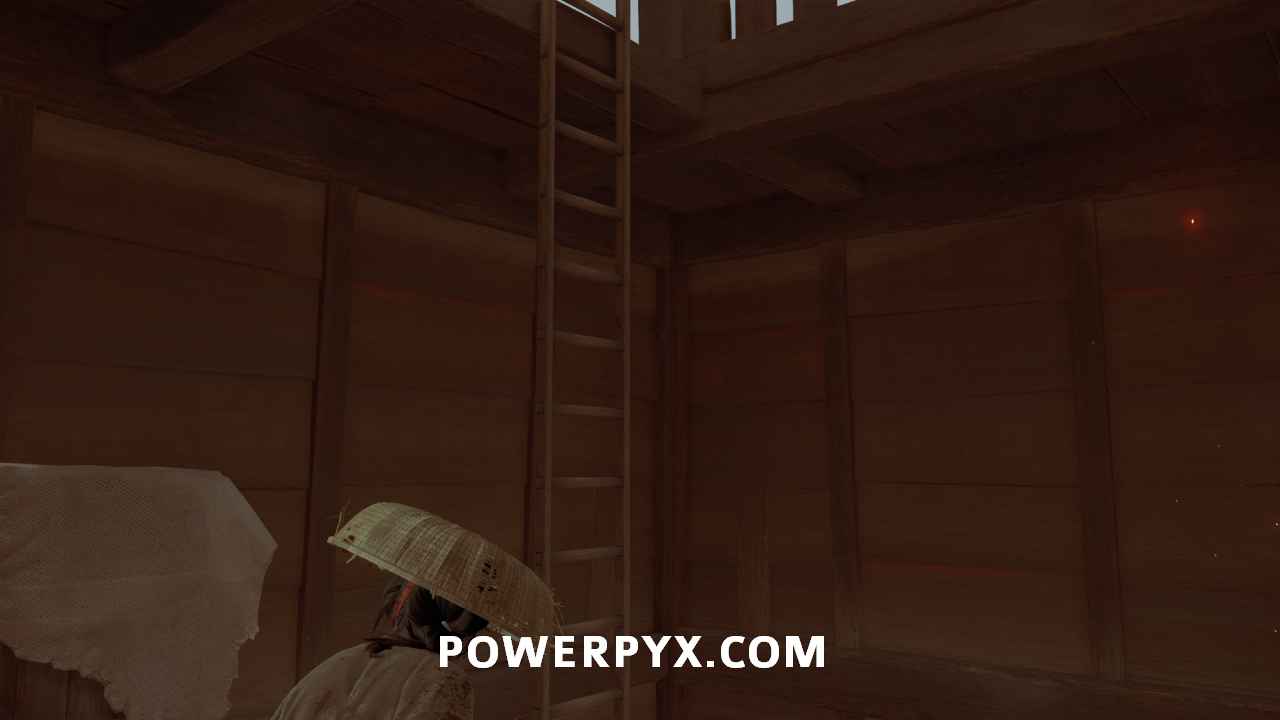
Climb up the rock and then go left to the lit building. Use your grappling hook to climb up into the window.
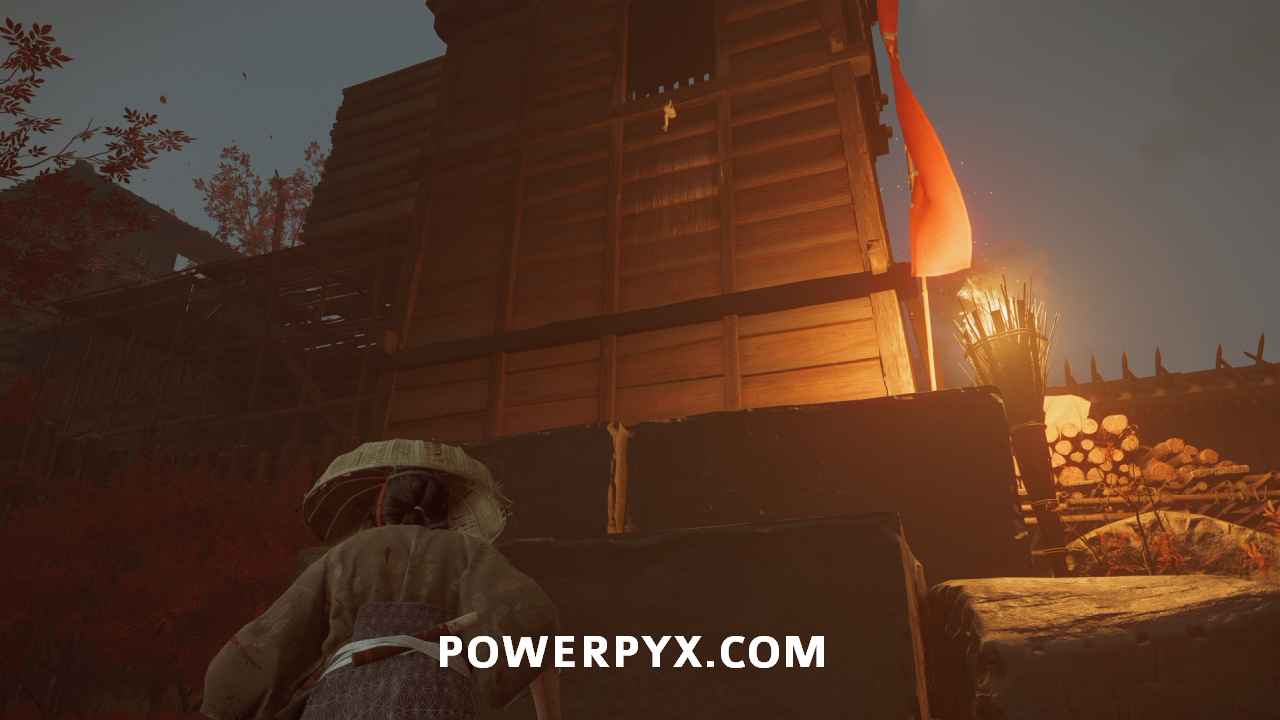
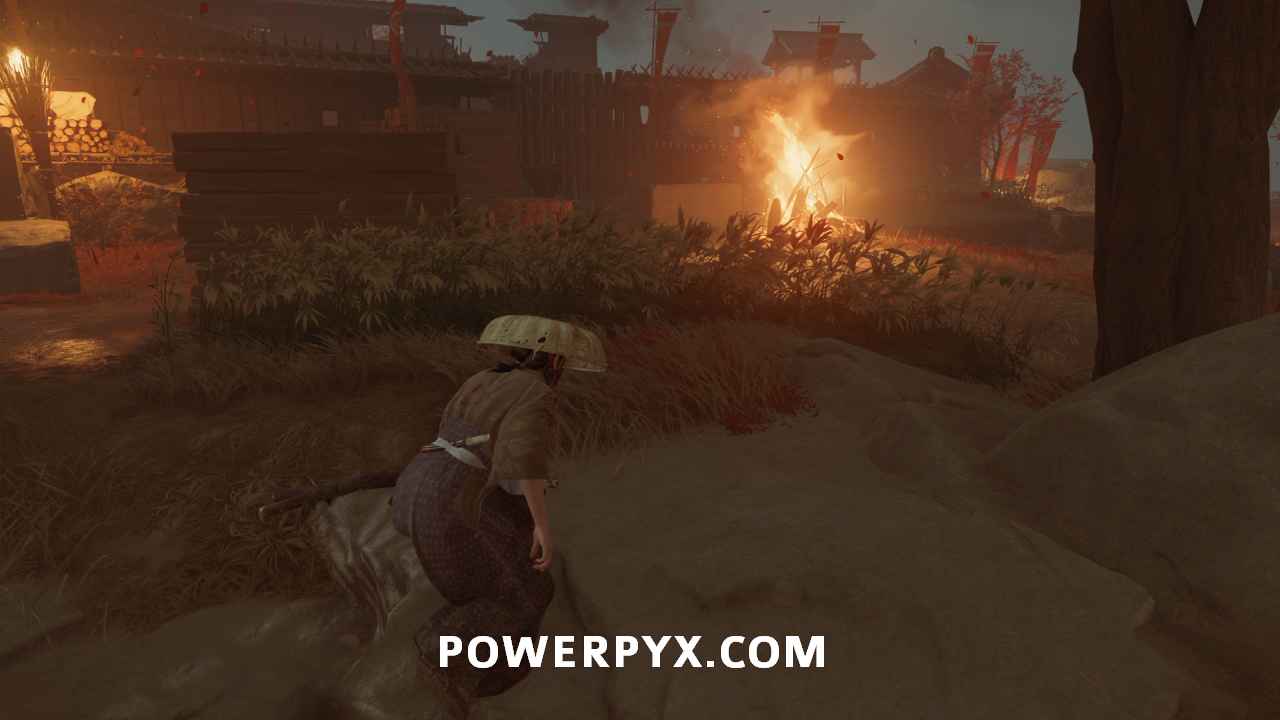
Use the ladder to go to the top of the tower. Assassinate the enemy at the top.
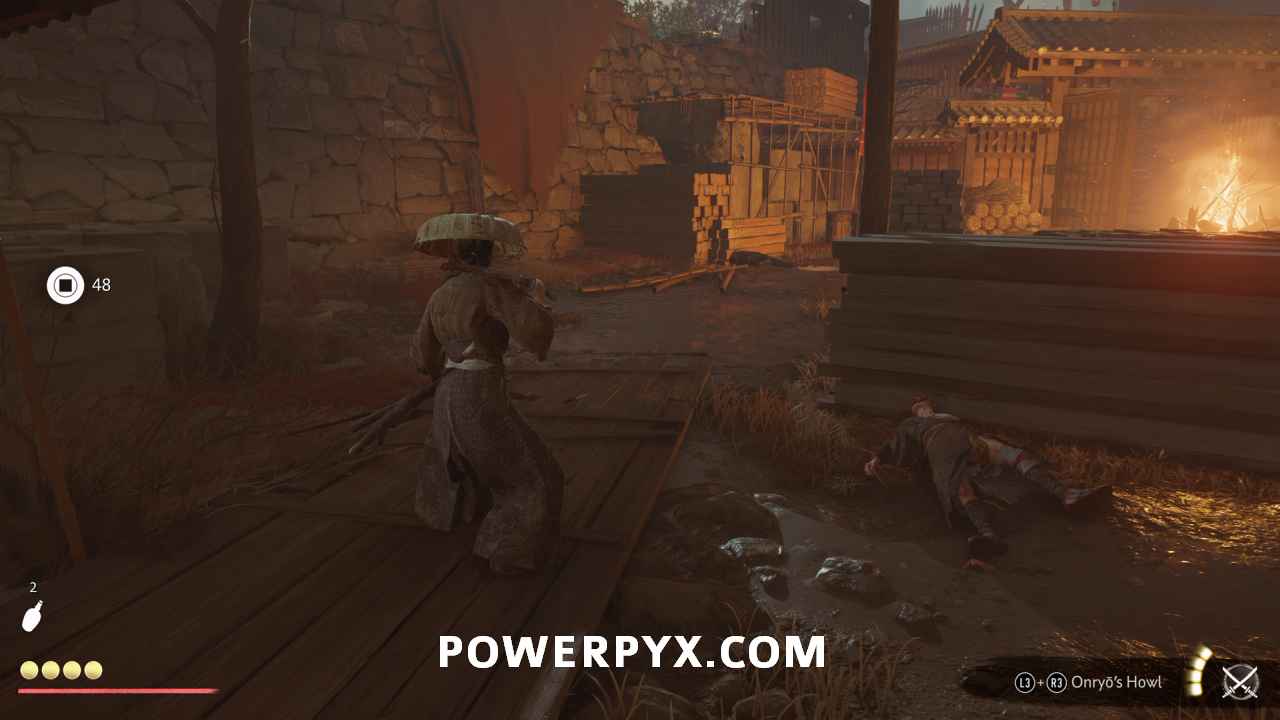
Jump over the short fence. Then, look down in front of you to assassinate the target behind a rectangular stone.
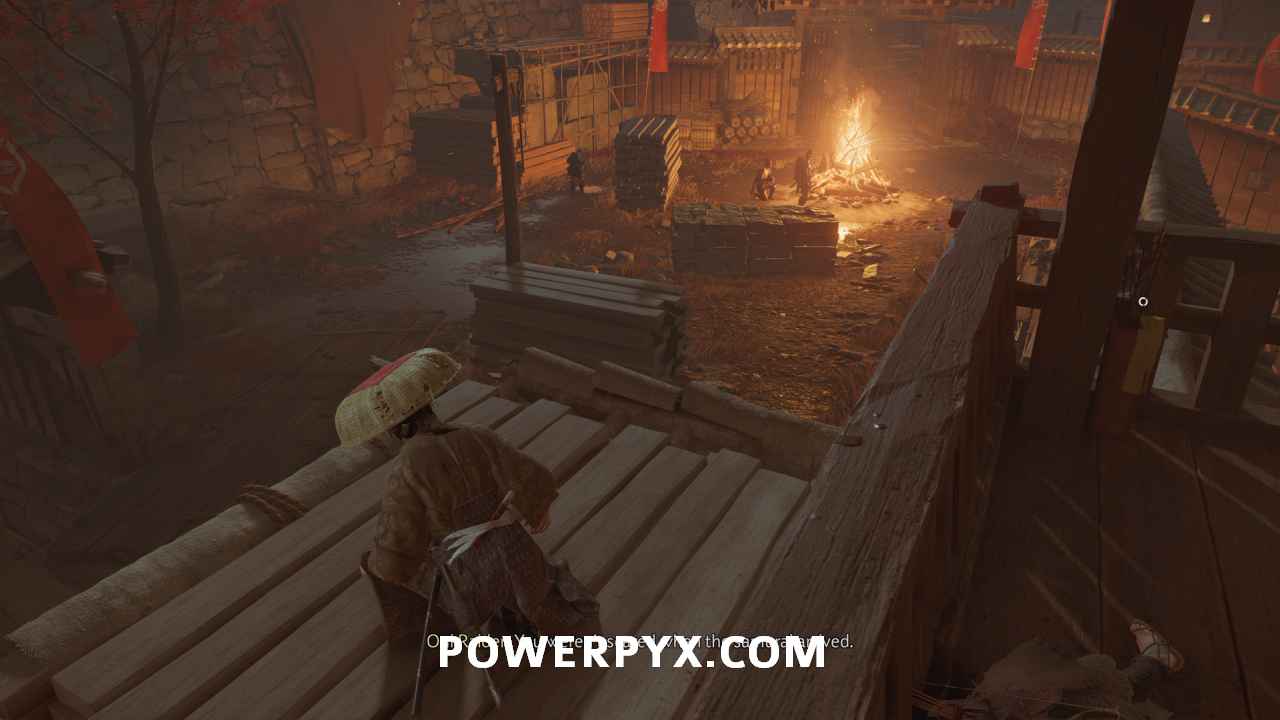
Then, go to the left wall and follow the wall up a couple levels until it drops you on the other side of the next wall.
Wait for the sentry to patrol away from you. At that point, use the stacked hay bales to climb up into the next area.
Follow the left side and climb the stone ladder in the rock face.
At the top of the rock face, continue forward through the opening in the wall straight ahead of you.
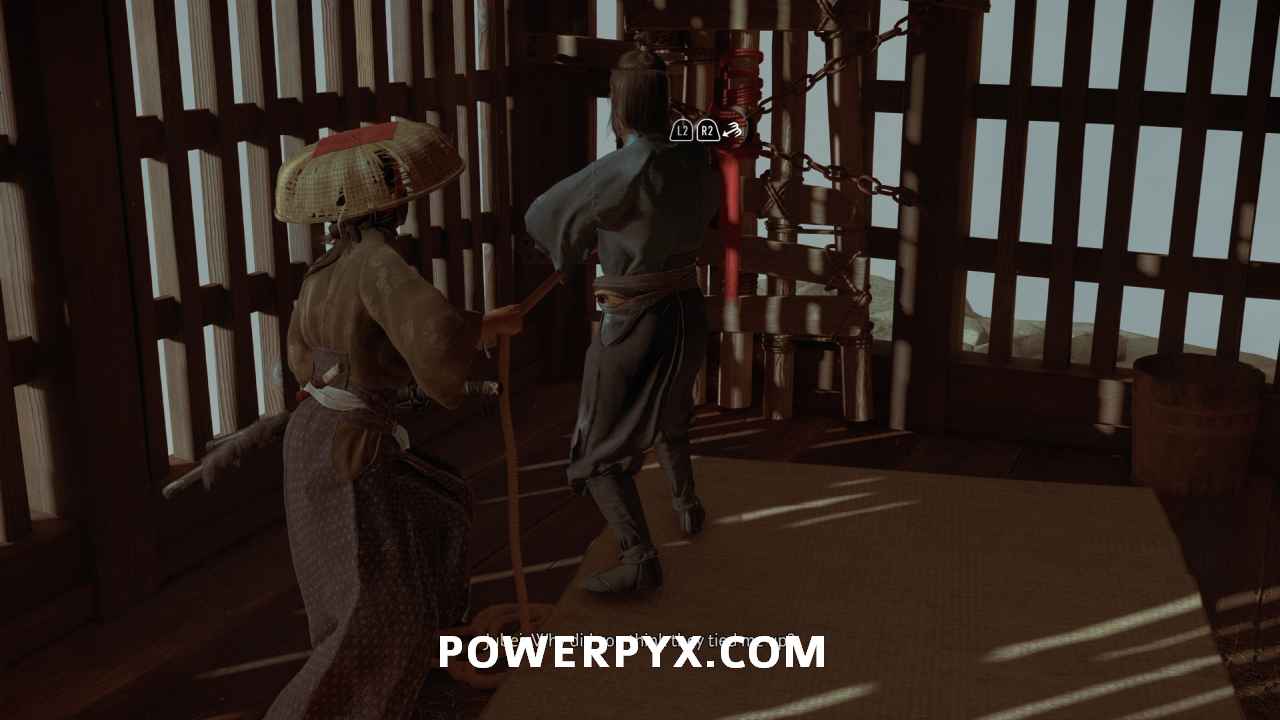
Search the holding cells for Jubei
Turn right and jump up through the broken gap in the wall.
There is no one up here. Approach the jail opposite you to find Jubei. Hold to unlock the jail.
When you regain control, use your grappling hook on the jail wall where Jubei stands.
Climb the cliffs to the castle
Follow Jubei along the cliffs. He leads you down a stone ladder first.
Then, he takes you across a couple fallen trees that lead you to several climbable walls.

At the top of the cliff, go right, jumping the small gaps along the way.
You climb down to a narrow path at the base of several loose gravel slides.
At the end of that path, you climb up to a ledge where you need to use a gravel slide to progress. Jump onto the gravel slide and push forward to reach the large stone at the bottom of the slide.
Climb up the stones and use the stone face to climb the rest of the way.
Assassinate the Oni
Once at the outside wall of the castle, go right and use the scaffolding to climb over the castle wall.
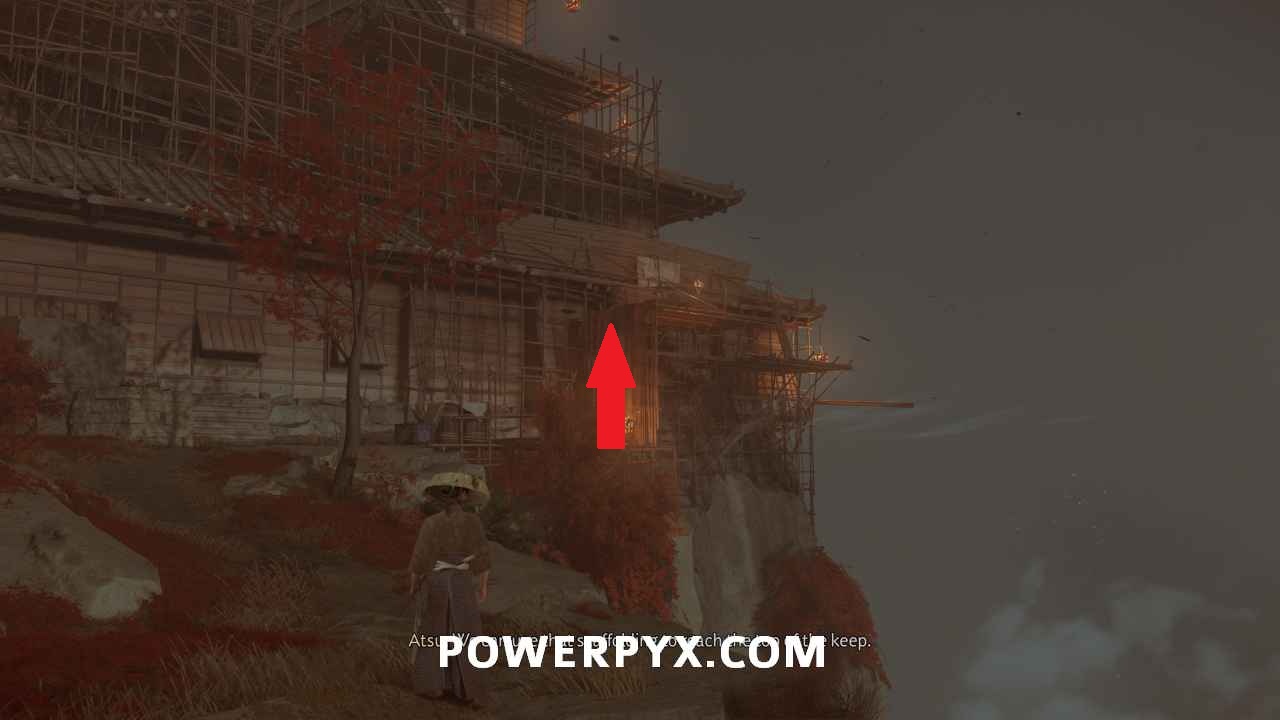
It requires help from Jubei to climb the first length of scaffolding. Use to boost him up. He automatically pulls you up.
Jump across to the wood lattice that jets out in front of you.
Follow the path around the corner.
Take the series of ladders up to the top window of the castle.

Climb into the window.
Escape Ishikari Castle
Follow Jubei forward and around the corner.
Jump off the ledge to fall a long height. When you stand up, squeeze through the gap in front of you.
Get on your horse. Then, hold  and
and  the entire time as you run out of the castle. This allows you to ram through groups of soldiers.
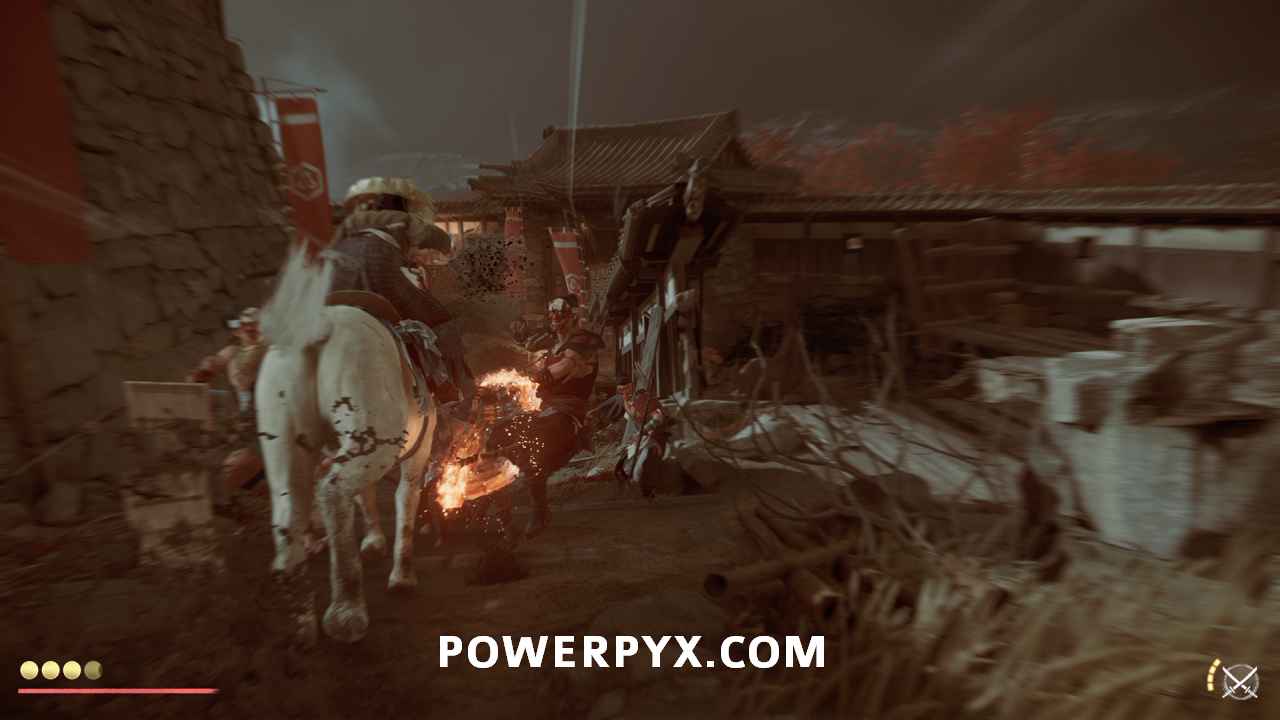
Near the bottom of the path, enemies keep throwing fire bombs at you. Avoid them as you run. Once outside of the castle walls, avoid the large fire bombs they fire at you. When you get further away from the castle a cutscene will automatically begin.
Reach Mad Goro in the Matsumae Camp
Fast travel to the Matsumae Camp, south of Ishikari Market, it will have a yellow map marker. Speak to the guard in front of the gate.

Find a way inside the Matsumae Camp
Go to your right around the camp until you reach a gate. Two workers open it on their own.
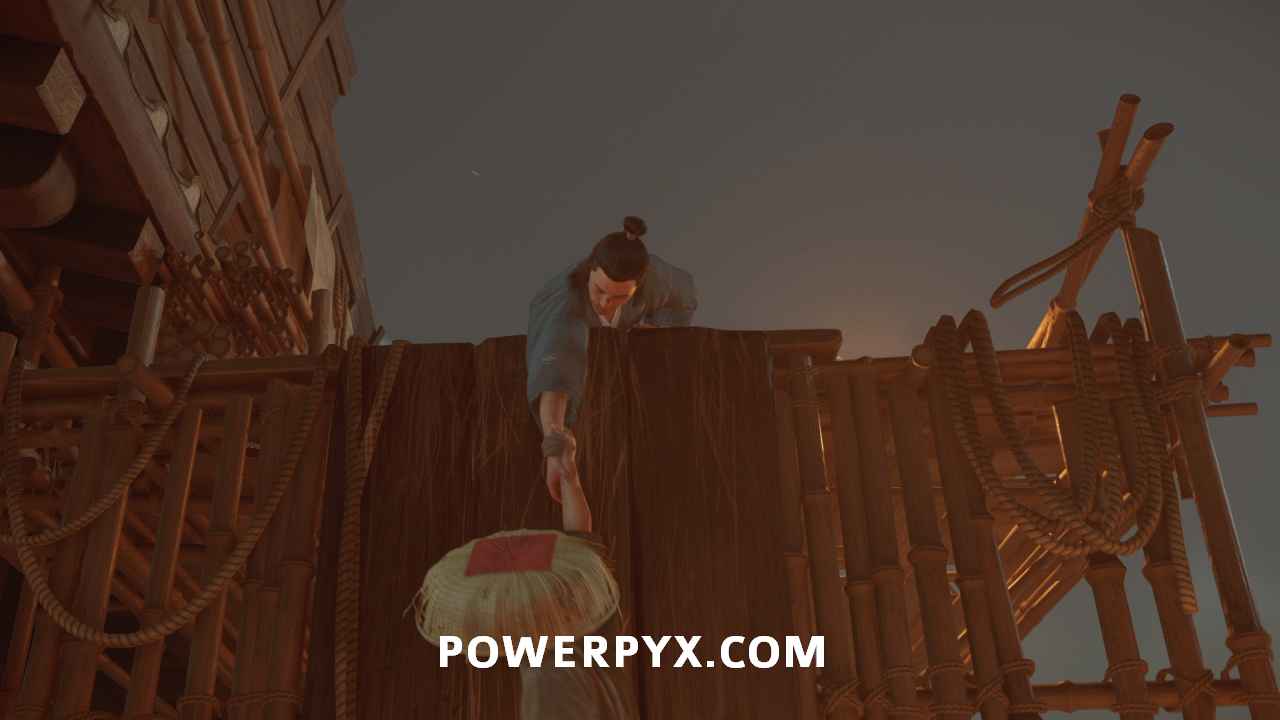
Go through the gate and proceed through the scaffolding.
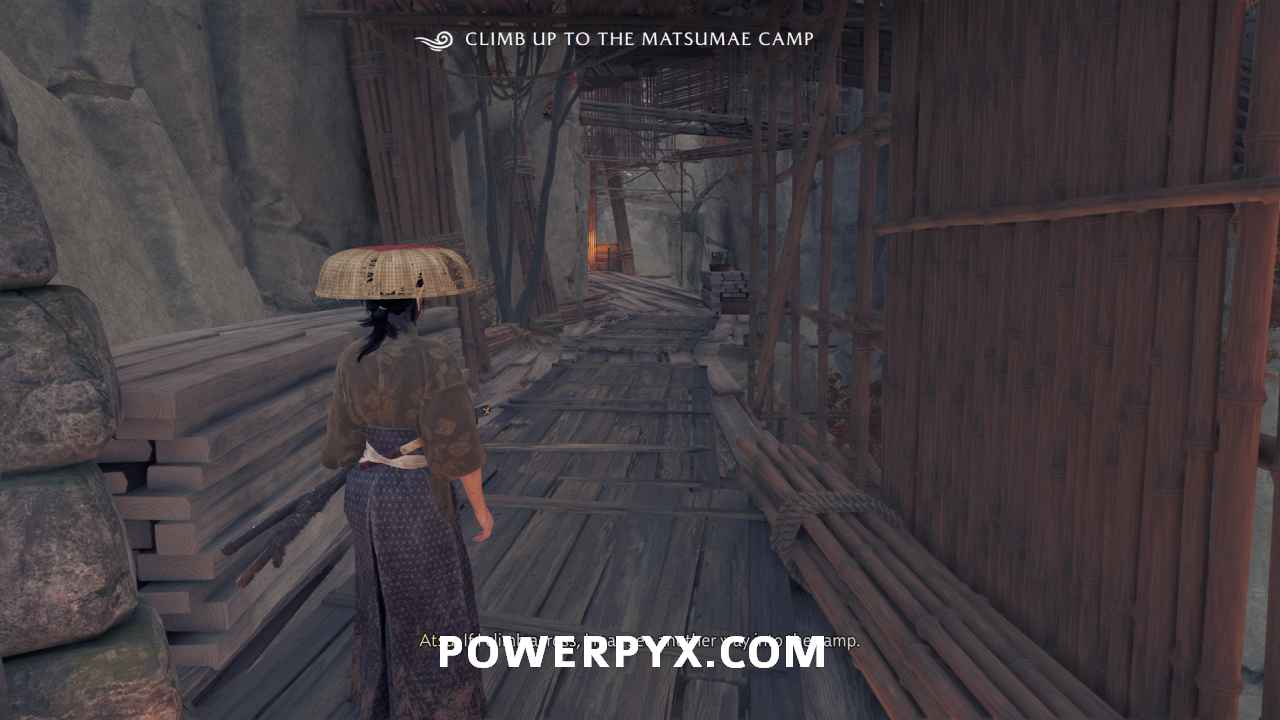
Climb up to the Matsumae Camp
Follow the path until you are underneath the bridge. Climb up the two levels of scaffolding in front of you.
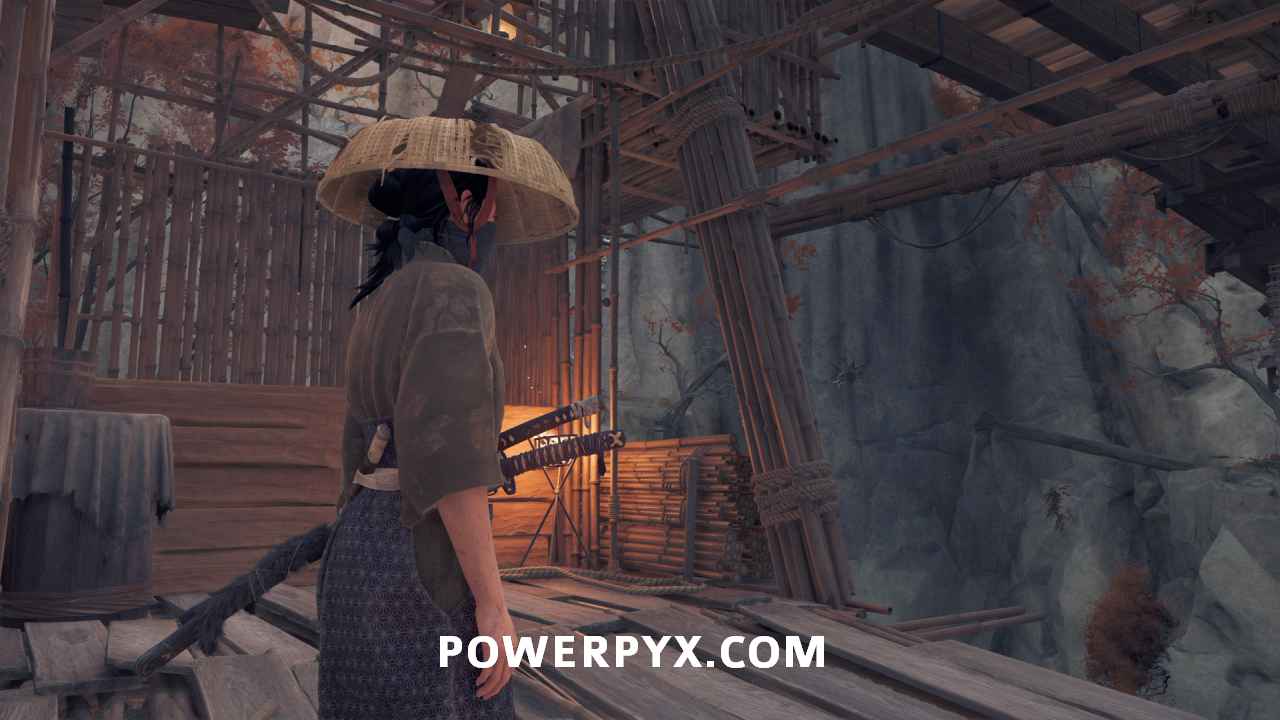
Jump onto the wooden bundle ahead of you and make your way underneath the bridge. Use the grappling point to swing across.
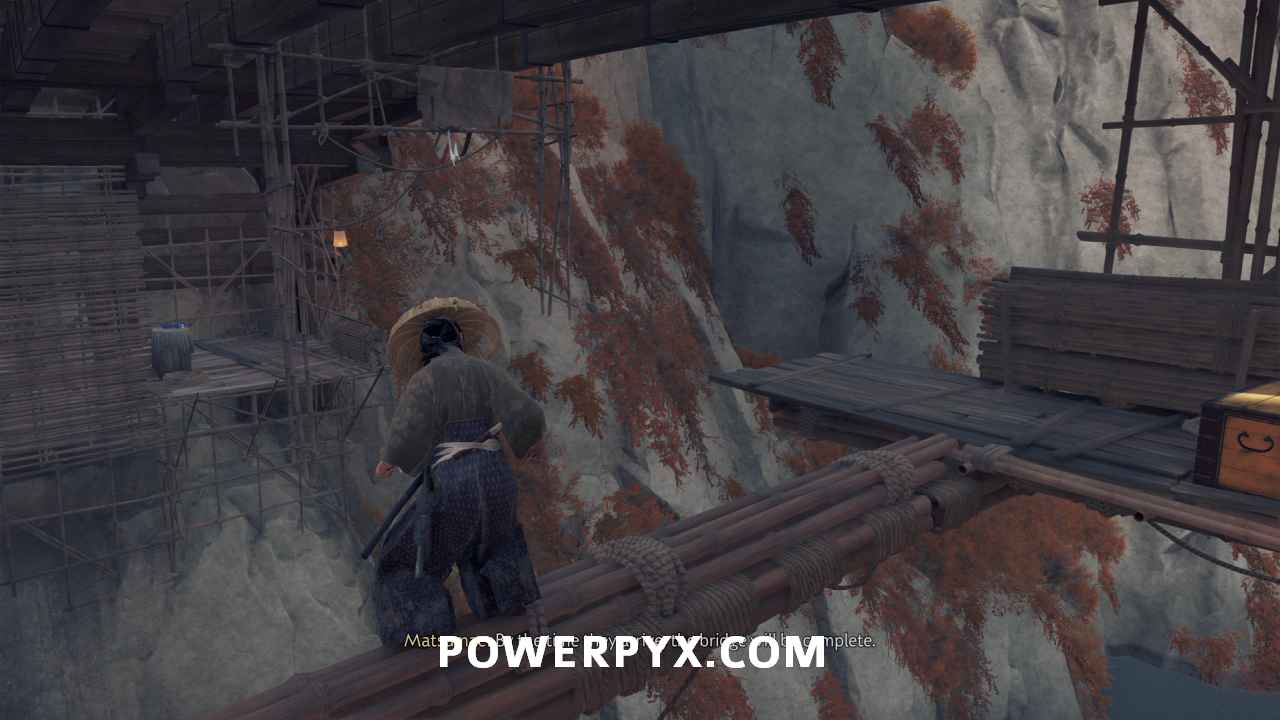
On the other side, go left across a fallen tree.
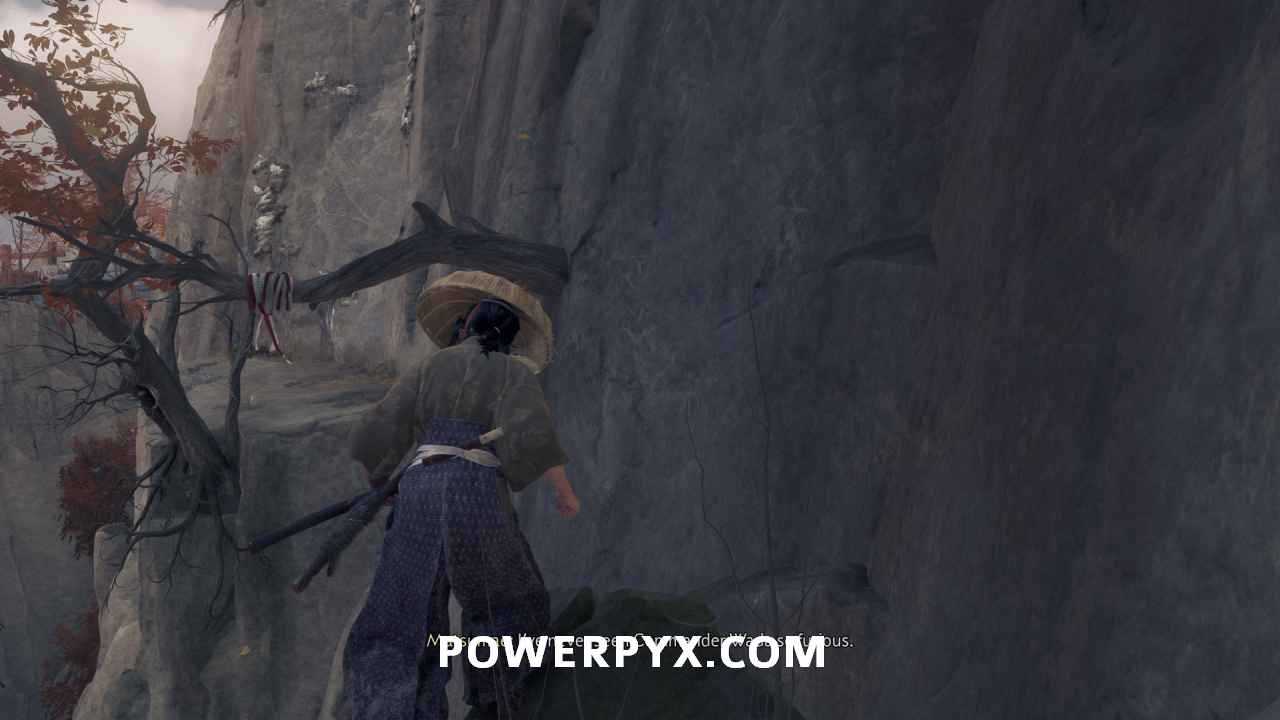
At the end of the fallen tree, turn left and swing across the grappling point. Climb up the rock face using the rocks.
Locate Mad Goro in the Matsumae Camp
Use your spyglass to locate Mad Goro. Examine any of the three spots to continue.
Mad Goro appears in the middle of the map. Scope him out.
Then, look at the last point on the right side of the camp. This triggers a cutscene.
This starts Sub-Chapter: A Fiery Consequence.
Sub-Chapter: A Fiery Consequence
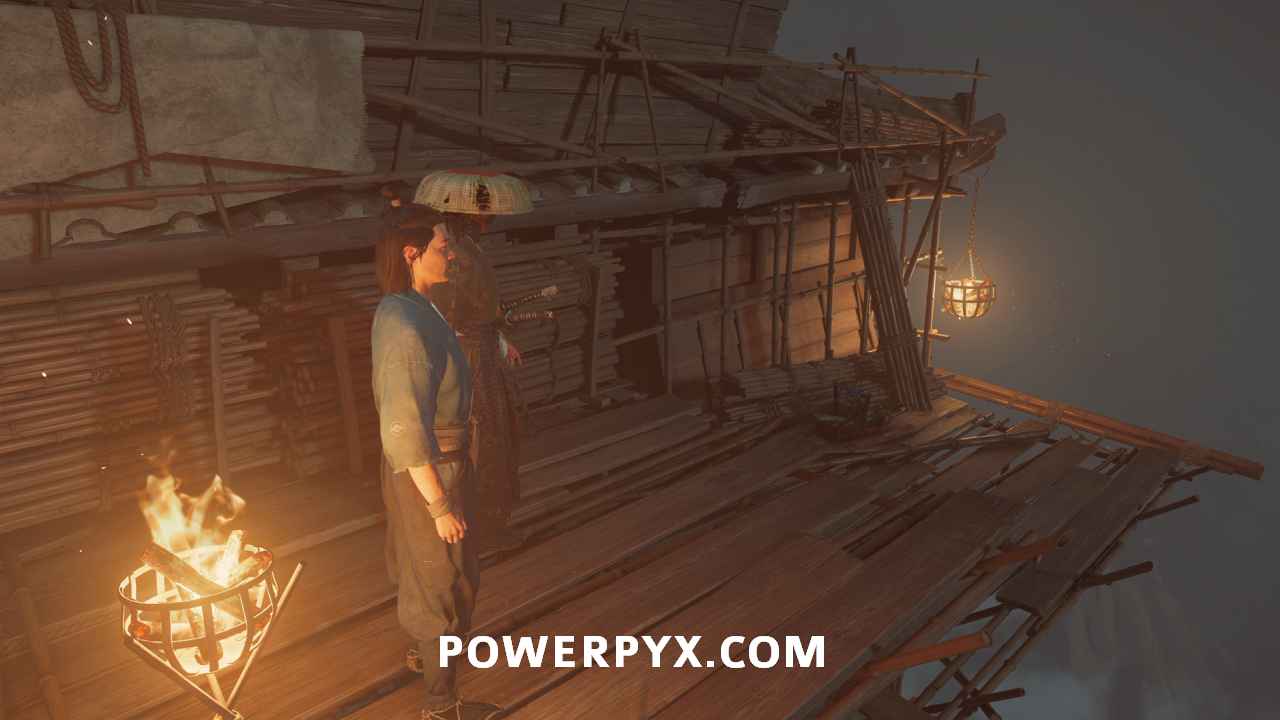
Reach Mad Goro in the Matsumae Camp
Slide down the loose gravel in front of you. At the bottom, jump and use the grapple point to reach the stone holds on the cliff face.
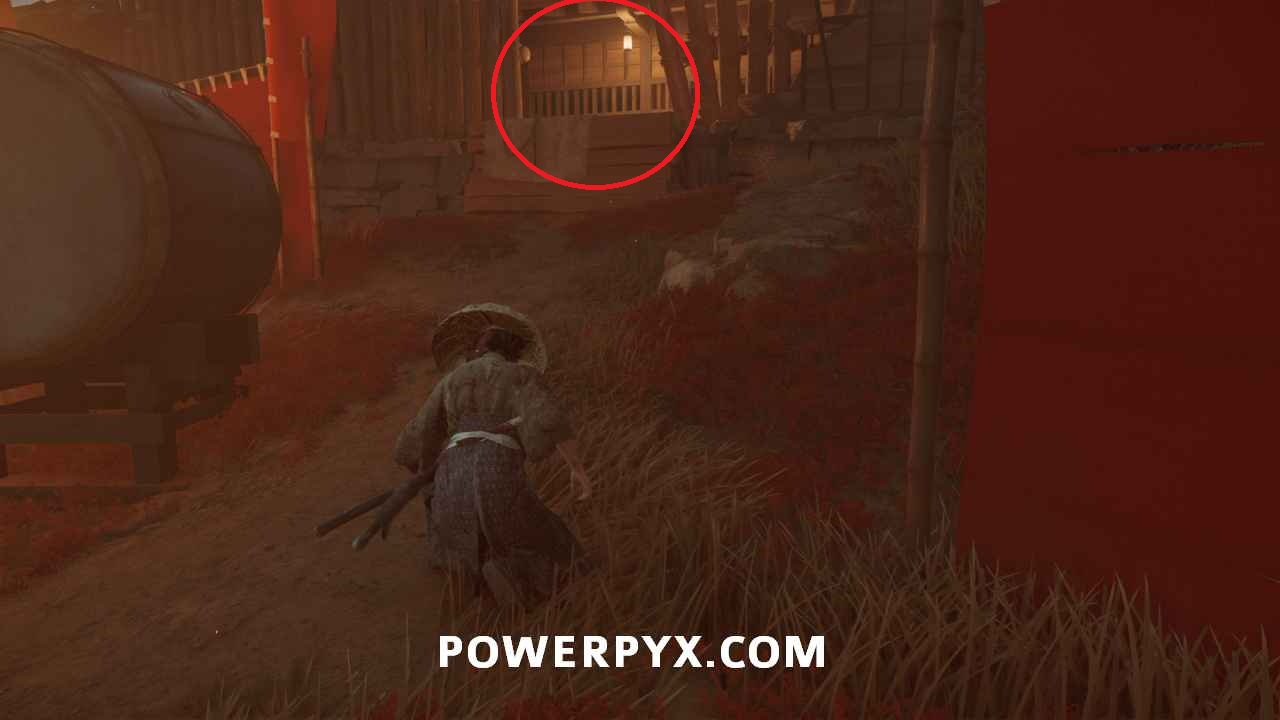
Climb up the cliff. Then, squeeze through the gap in the fence you scoped out earlier.
From here, just head straight into the building ahead of you.
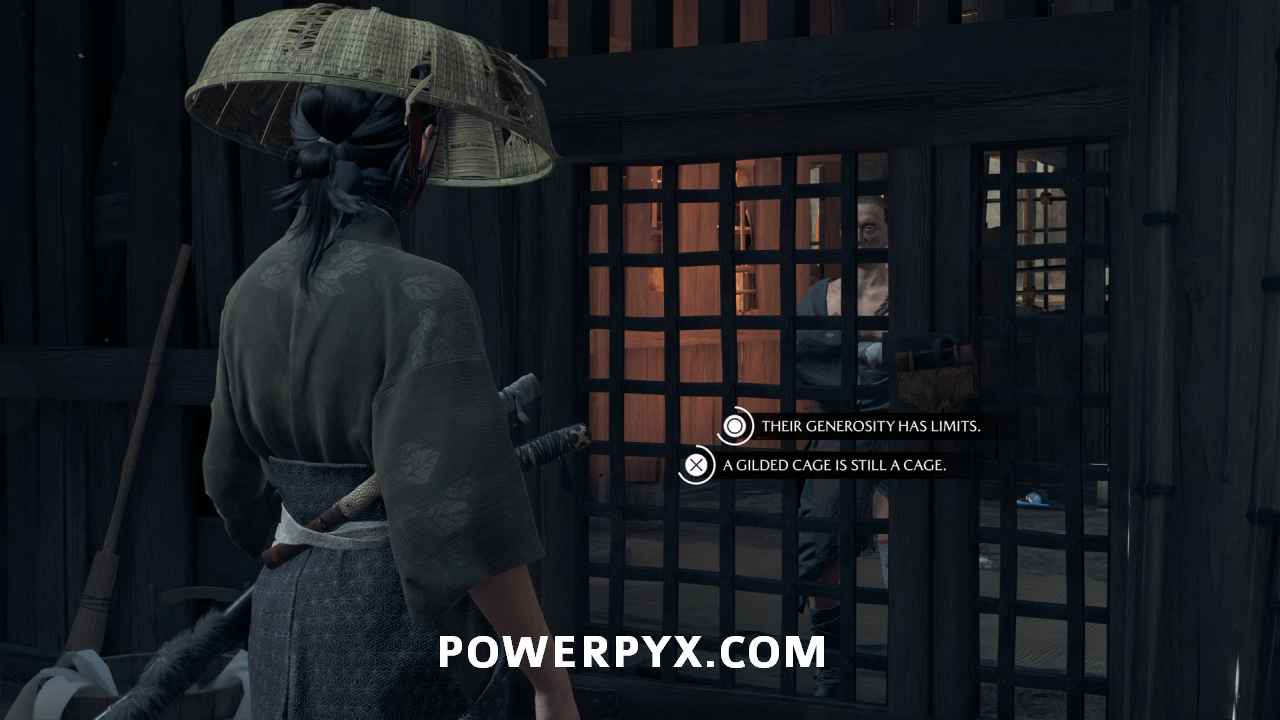
Inside, speak to Mad Goro to your left.
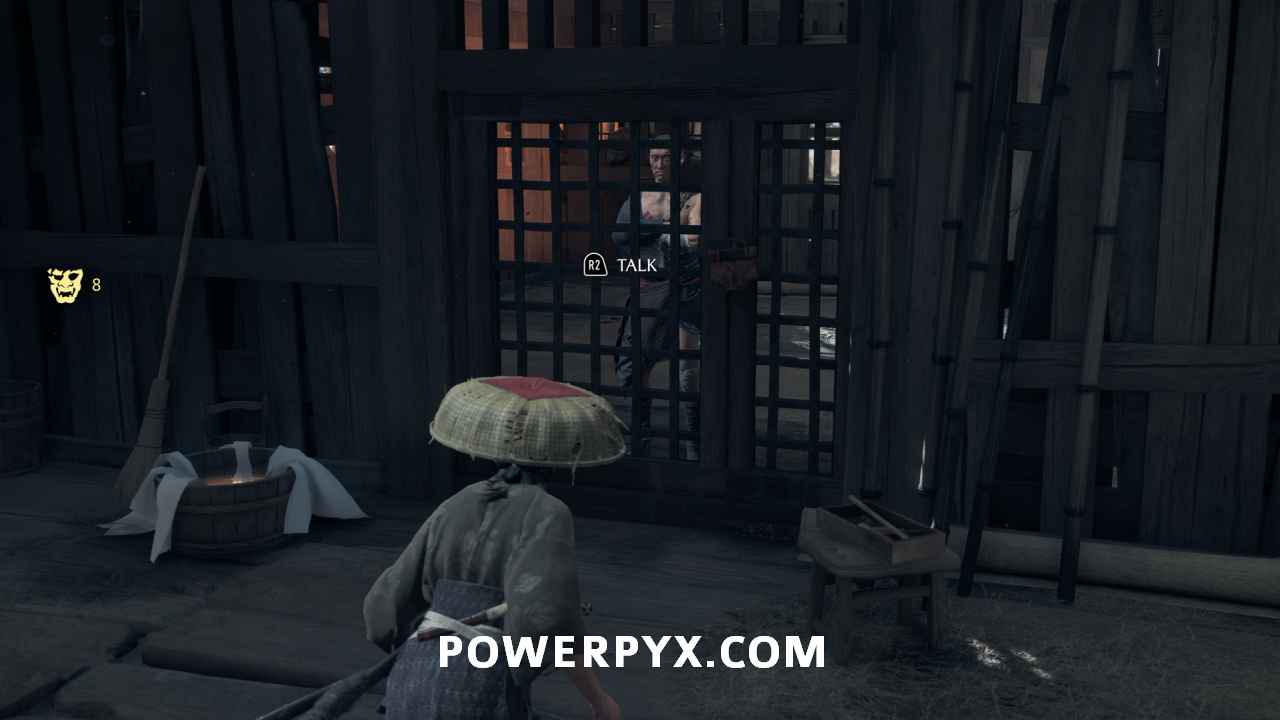
He presents you with a dialogue choice, but the choices lead to the same outcome. Choose whichever you like.
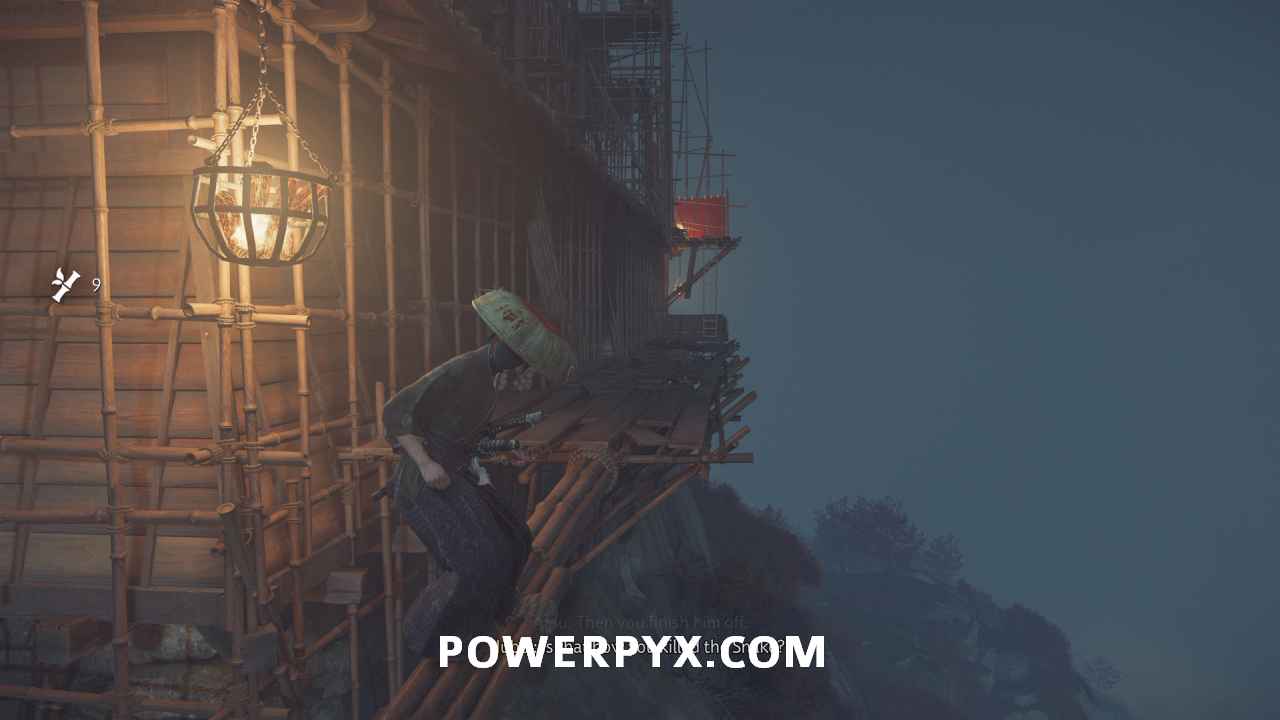
Find a way to free Mad Goro
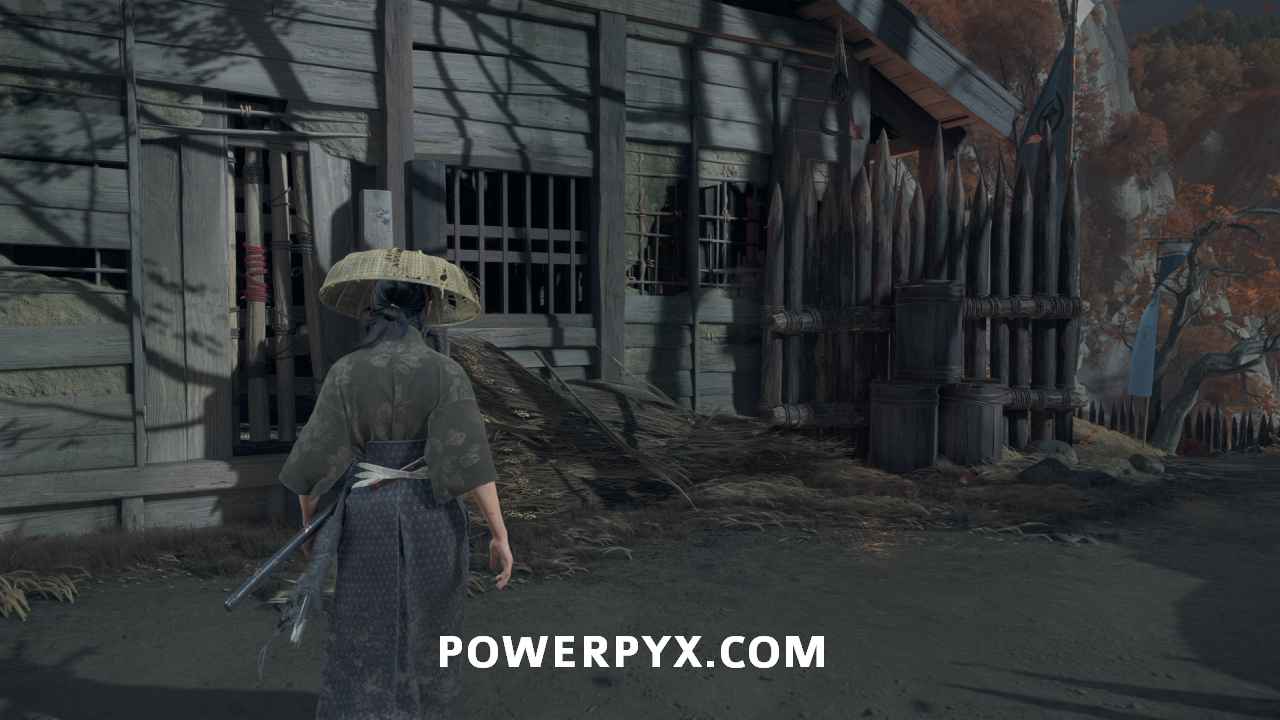
Leave the jail and go immediately right to the right side of the building.
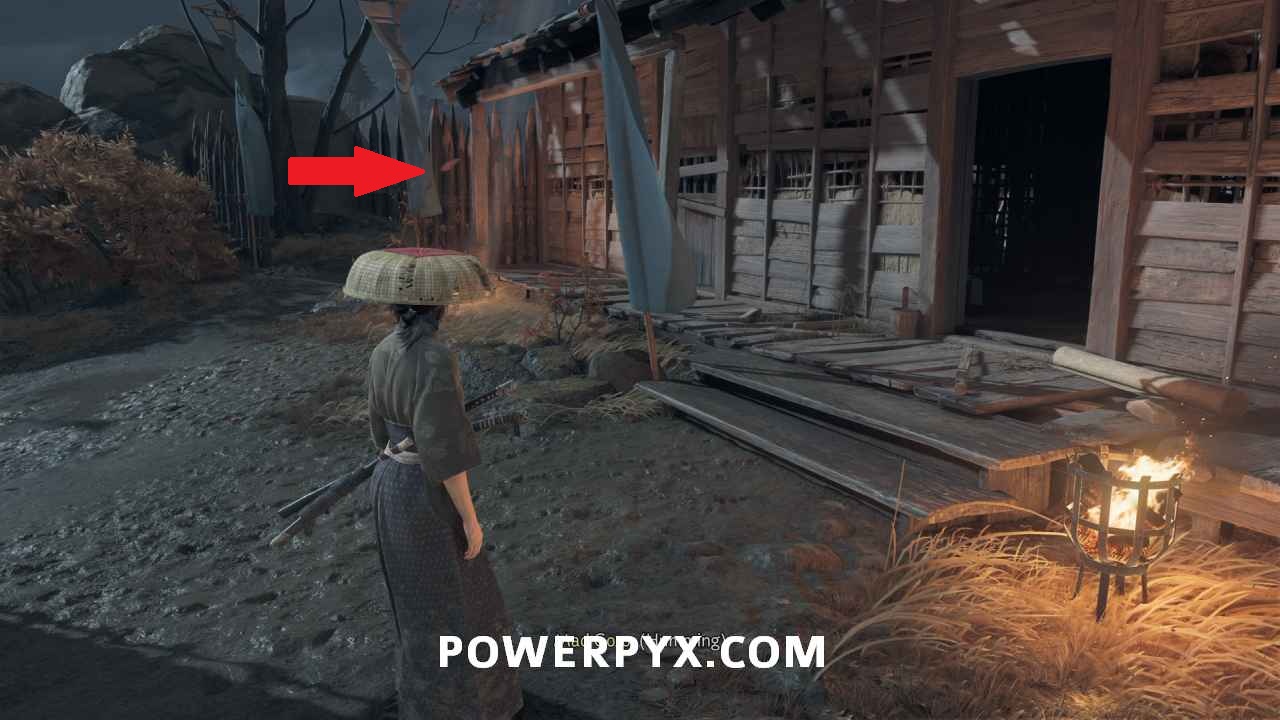
Find a loose board you can break down, just behind where Mad Goro was standing.
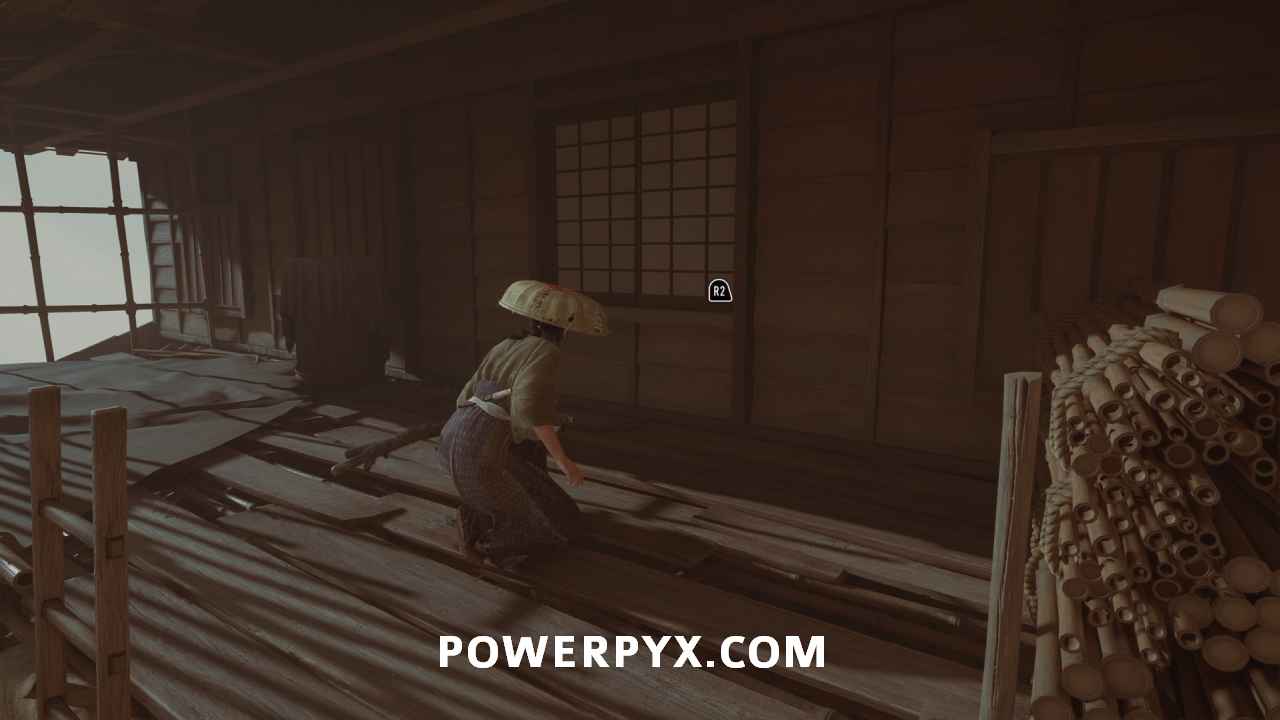
Find a way inside Mad Goro’s cell
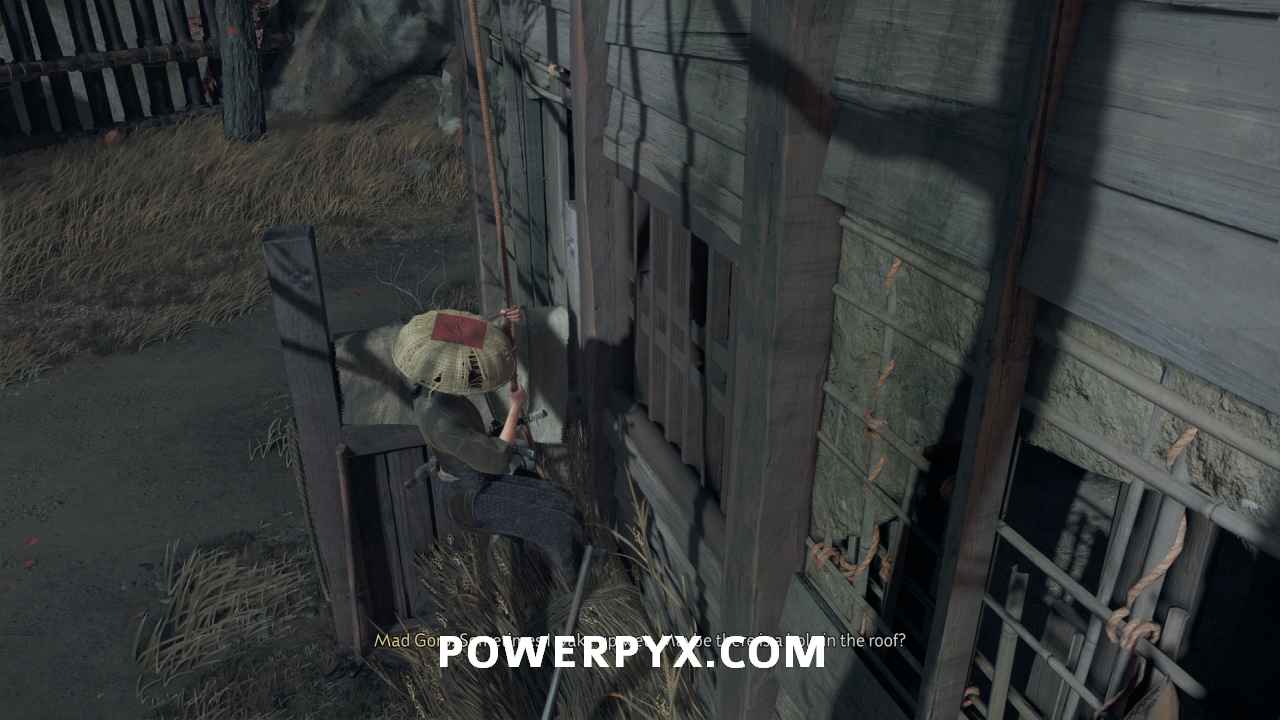
Right next to that weakness in the wall, jump to prompt a grappling point at the peak of the roof.
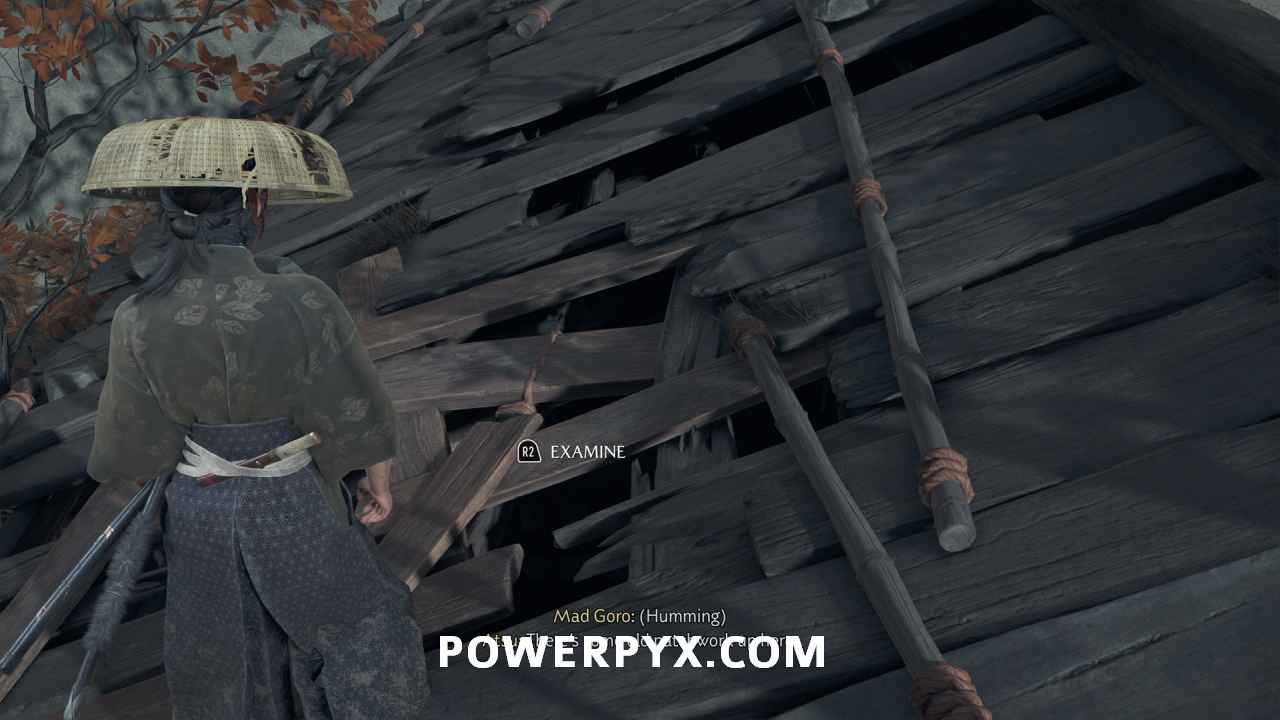
Climb up onto the roof to find a weak section of roof to break through.
Free Mad Goro
Use your grappling hook to break the weak spot in the wall. Squeeze through after you break it open.

Follow Jubei
Walk down the path with Jubei for a minute or so before a bombardment hits the camp. The dialogue choice you get doesn’t affect the outcome.
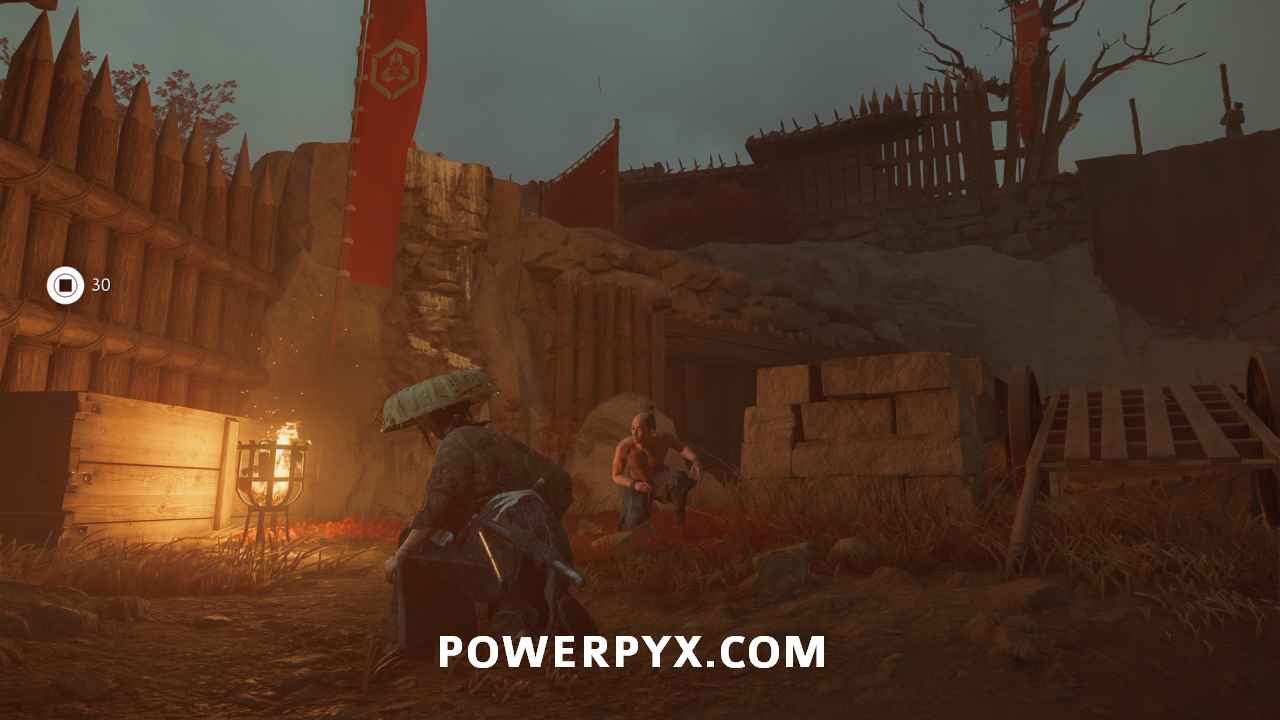
Defeat the Oni Raiders
Run down the path to the locked gate. The Oni Raiders blast through the gate and attack. Defeat them.
Defeat the Oni Raiders and silence their bo-hiya
After defeating the first round of raiders, continue down the path through the broken gate.
You fight over a dozen enemies here. Clear them out. Make sure to loot as many as you can, since a lot of them drop oni mask fragments.
Stop the Oni Raiders firing on the bridge
Fight your way forward up the hill. The road eventually turns to the left.
Once you defeat all of the enemies in your path, a cutscene plays.
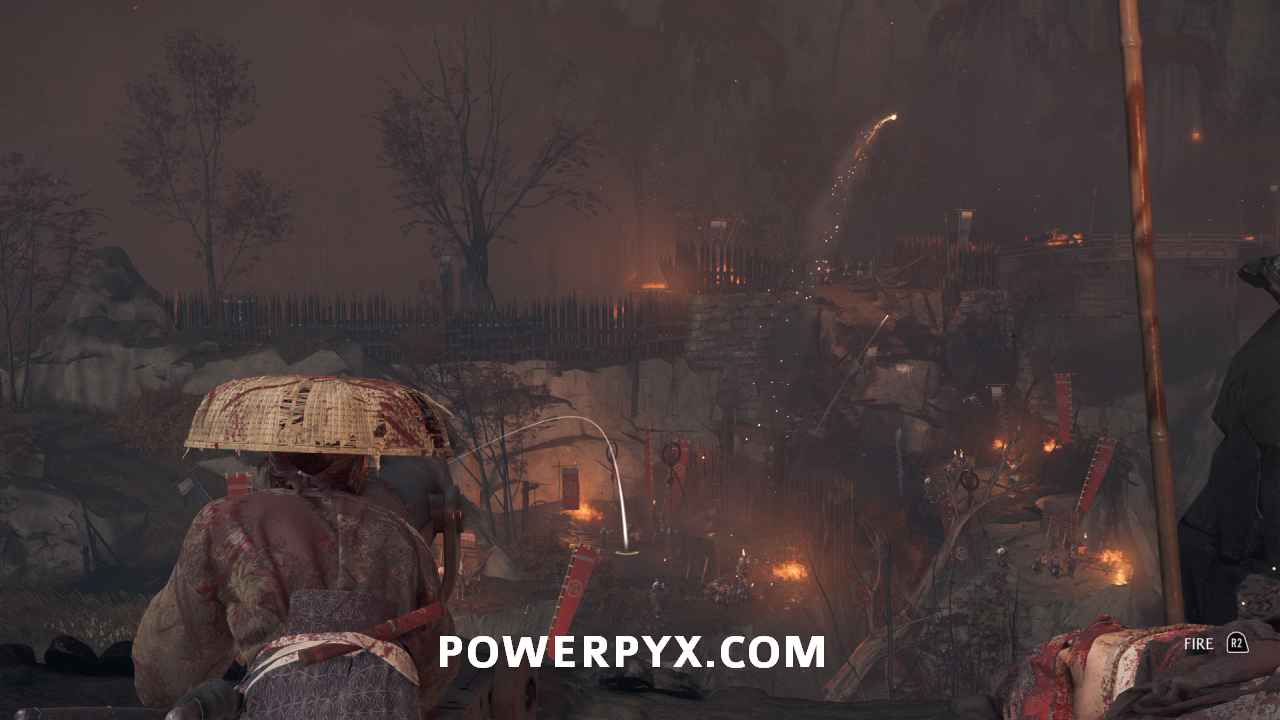
Use the bo-hiya to defeat the Oni Raiders
Aim the bo-hiya (fire cannon) at the different groups of enemies. Use to fire. There is a reload time between shots, so clear out the closer ones first to avoid as much damage as possible.
Reach Jubei on the bridge
Slide down the loose gravel then run forward. Swing across with the grappling point then climb up the stones a bit further up the path.
Feel free to run by everyone here. They will all come to you when you reach the bridge. This saves some time.
Defend the bridge
Three waves of Oni Raiders come at you. Take them out.
Follow Jubei
Jubei leads you back to camp. Just follow him up the path and you get a cutscene at the end.
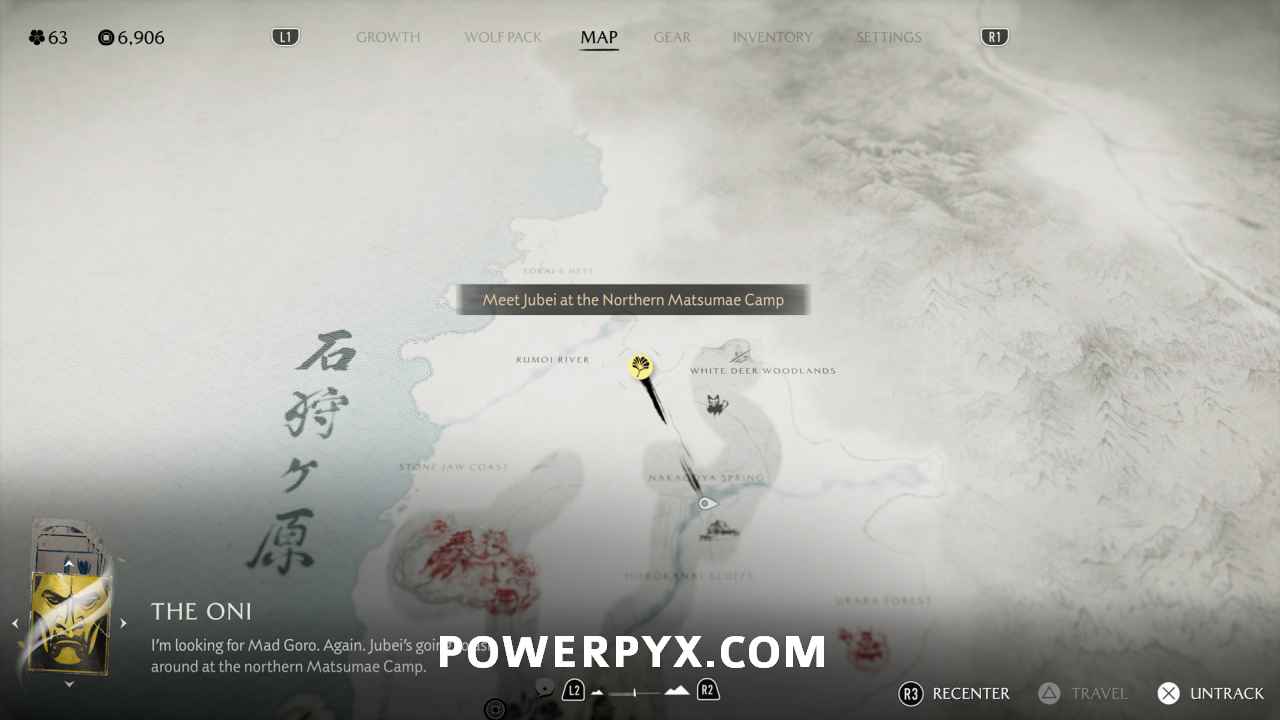
Meet Jubei at the Northern Matsumae Camp
Fast travel to Gale’s Reprieve, where you found Mad Goro’s camp earlier in this quest. If you found any other locations closer to the quest marker you can fast travel there instead.
Ride to the marker between Rumoi River and White Deer Woodlands.
Squeeze through the front gate.
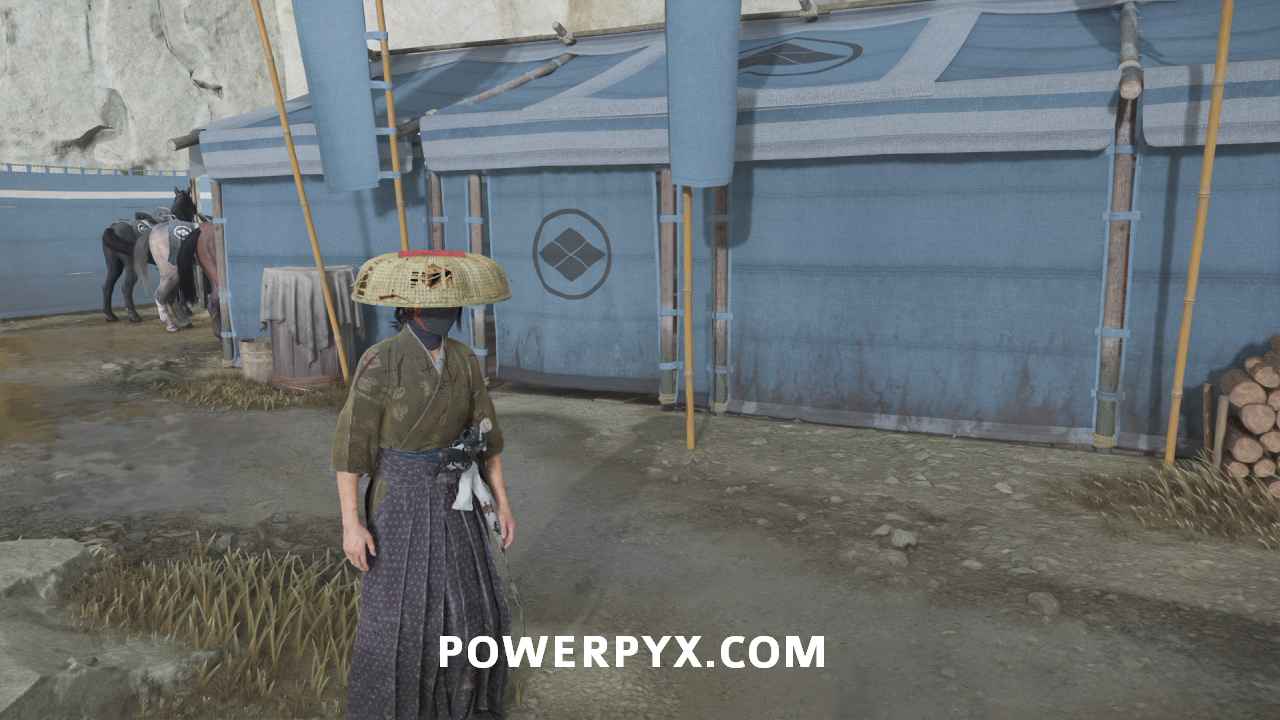
Find Jubei inside the blue tent on the wall opposite where you came in.
Follow Jubei
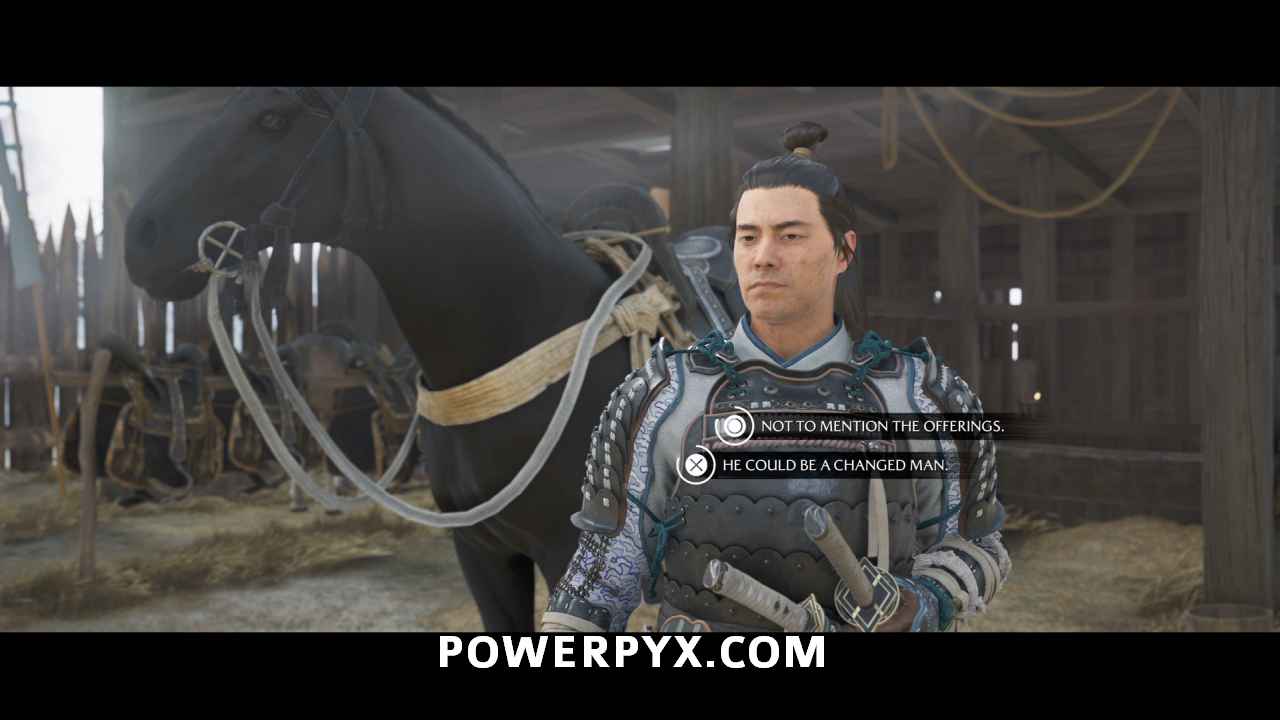
Jubei leads you to the stables near the entrance.

This cutscene also presents you with a dialogue choice. Choose whichever option you prefer. The outcome of the choice remains the same.
This starts Sub-Chapter: Twin Wolves, Twin Hearts.
Sub-Chapter: Twin Wolves, Twin Hearts
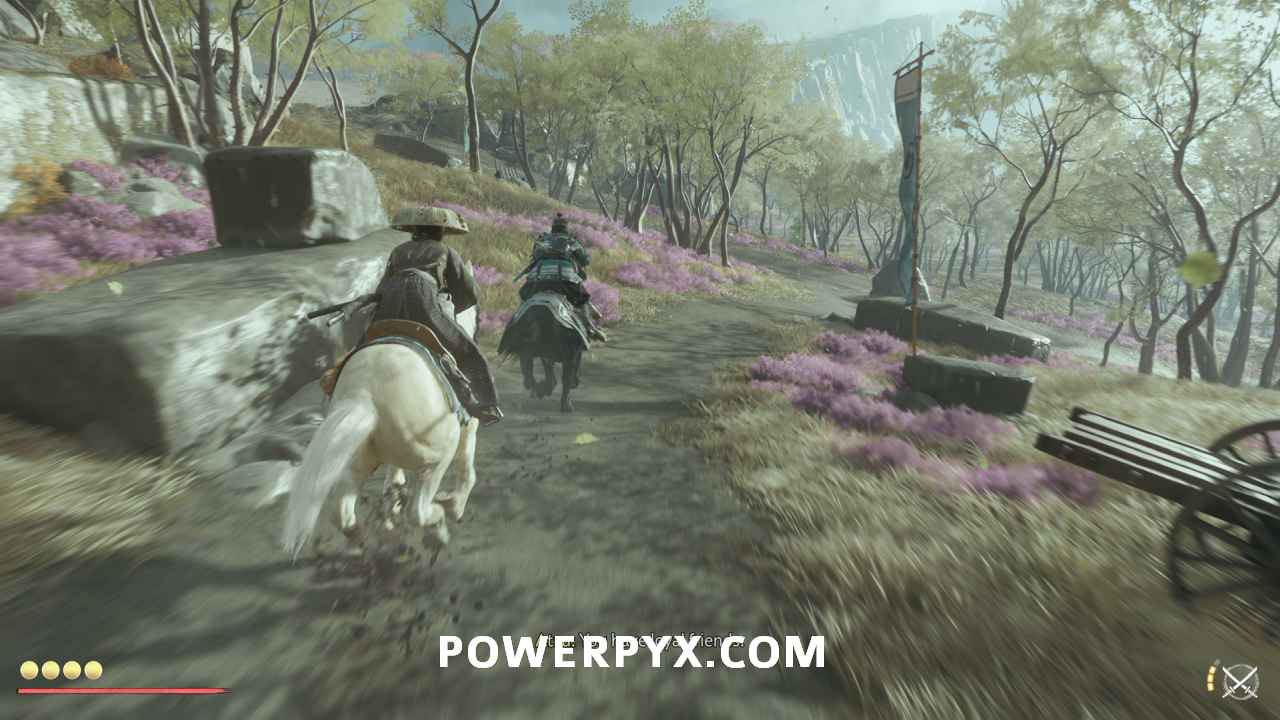
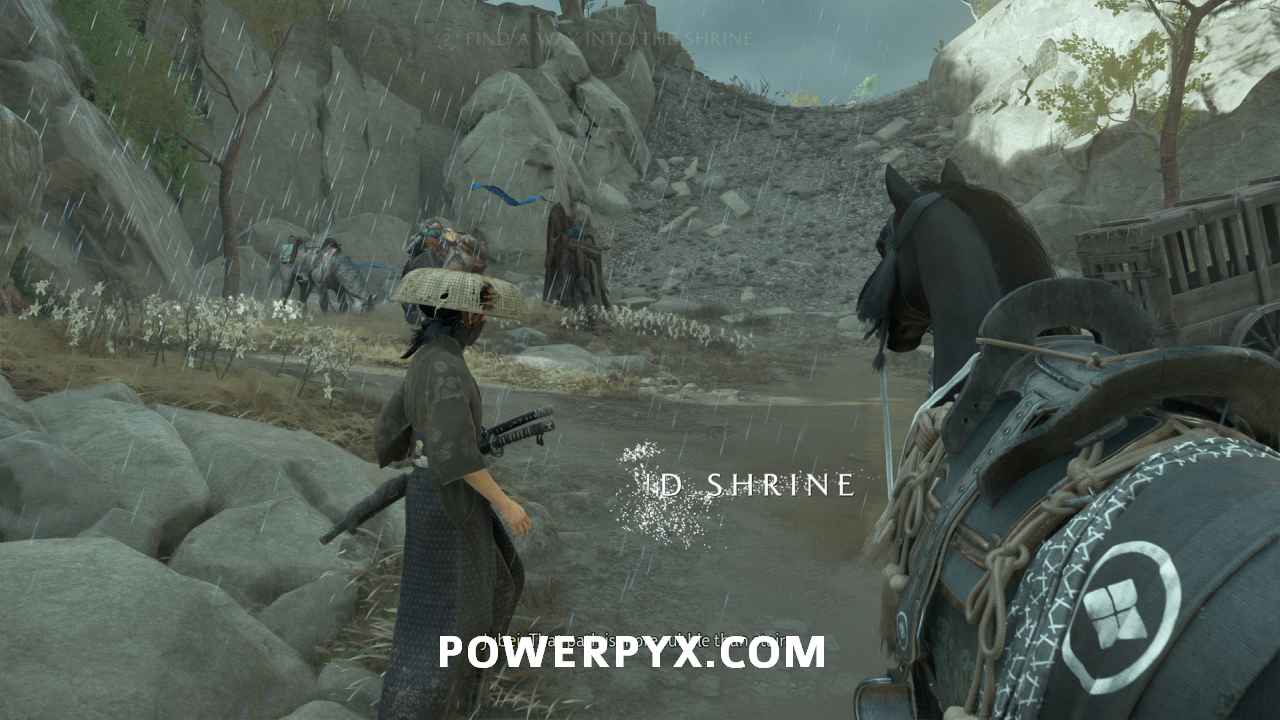
Follow Jubei to the shrine
Jubei leads you northwest by horse across the Rumoi River. There’s a dialogue choice in here, but it doesn’t affect the outcome. Choose whichever you want.
Find a way into the shrine
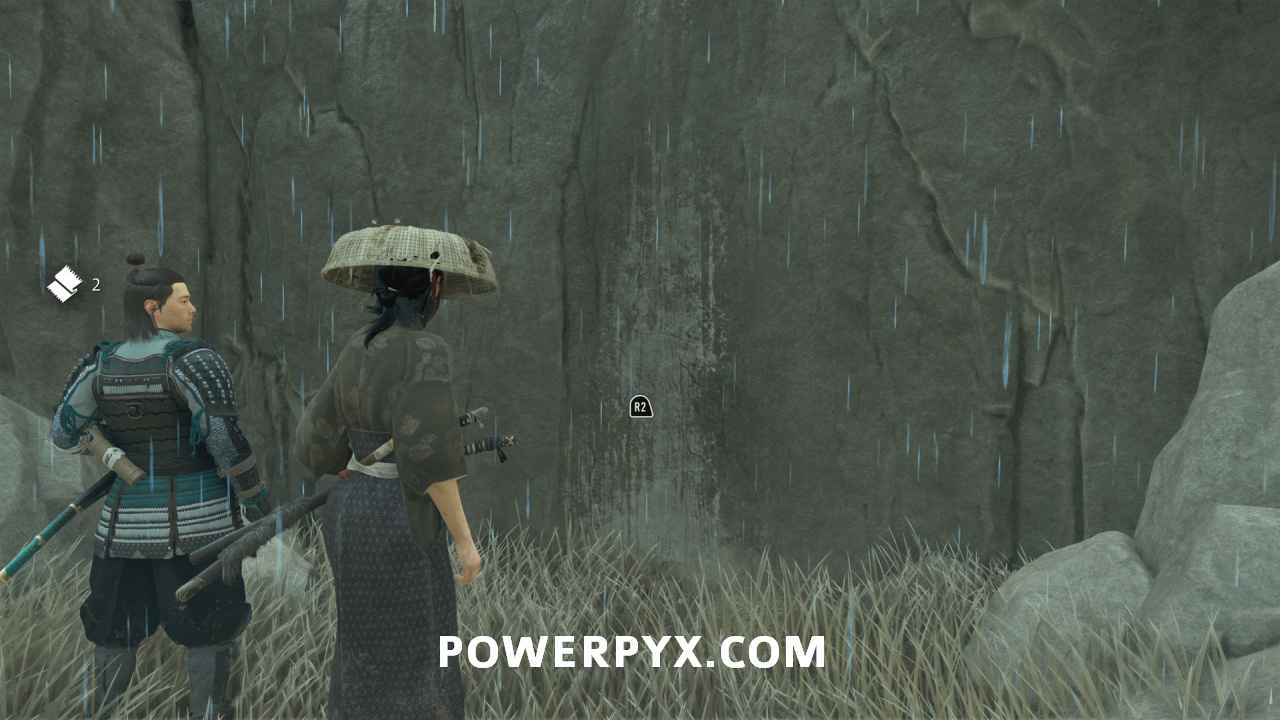
When you get off your horse, look to your left to see a break in the rock face. Interact with to climb up.
Give Jubei a boost
Approach the wall and use to give Jubei a boost up the ledge.
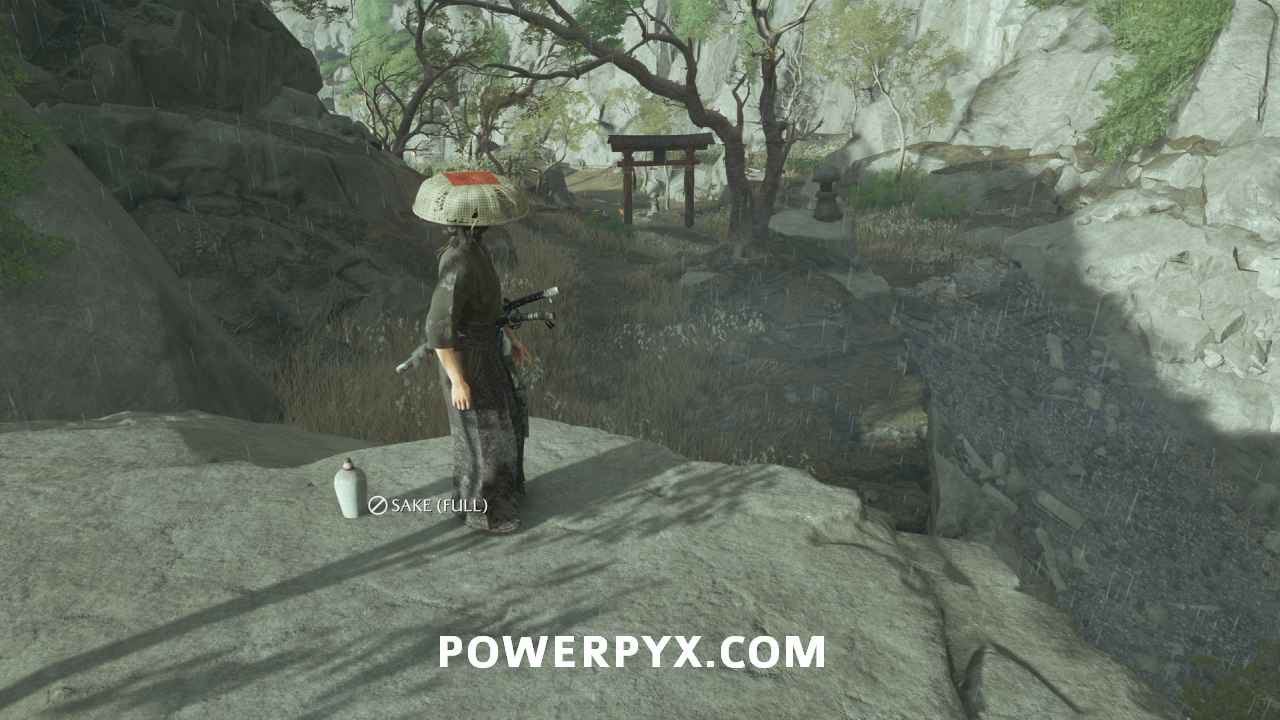
Climb up to the shrine
Follow the path as it winds to the right. It leads out to an open area with a loose gravel slide to your right.
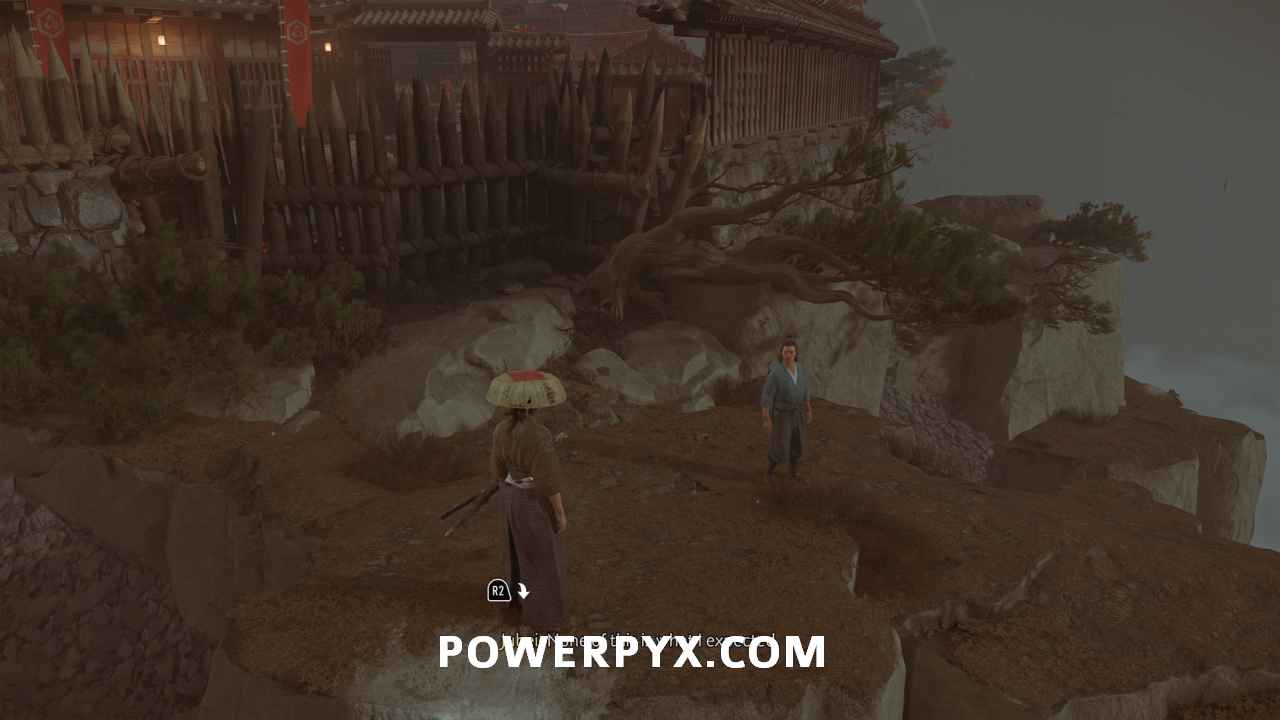
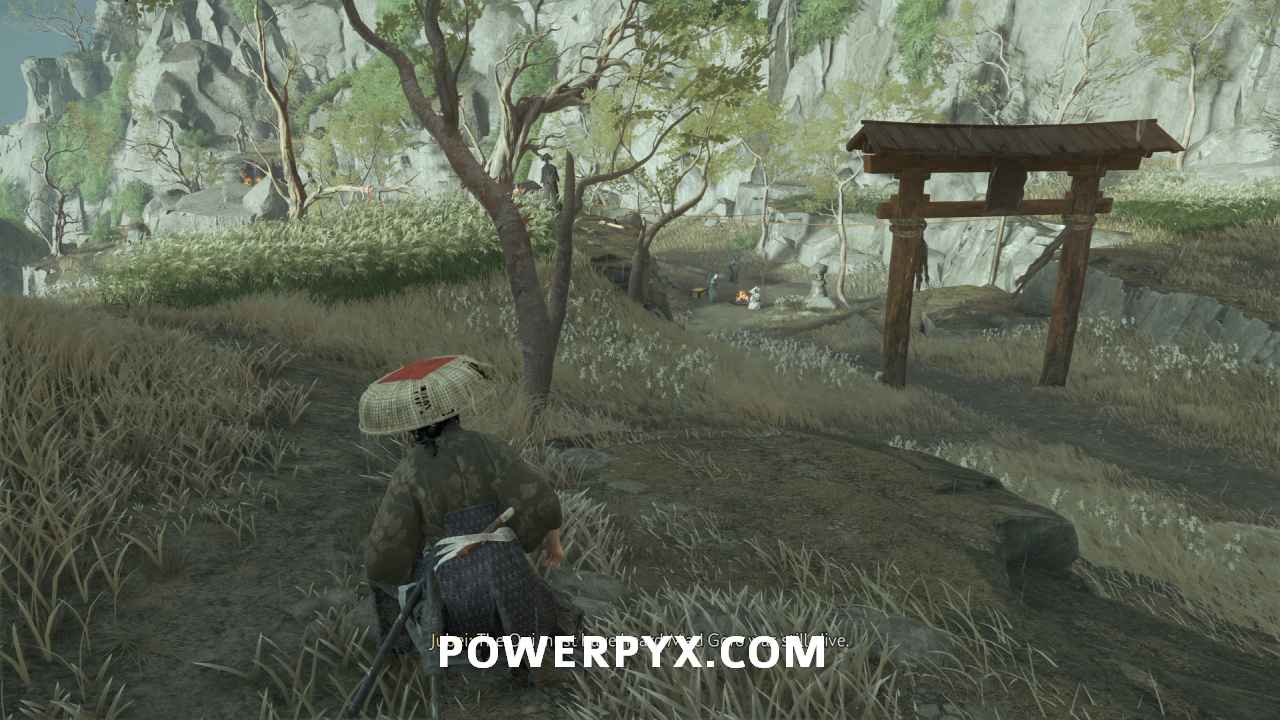
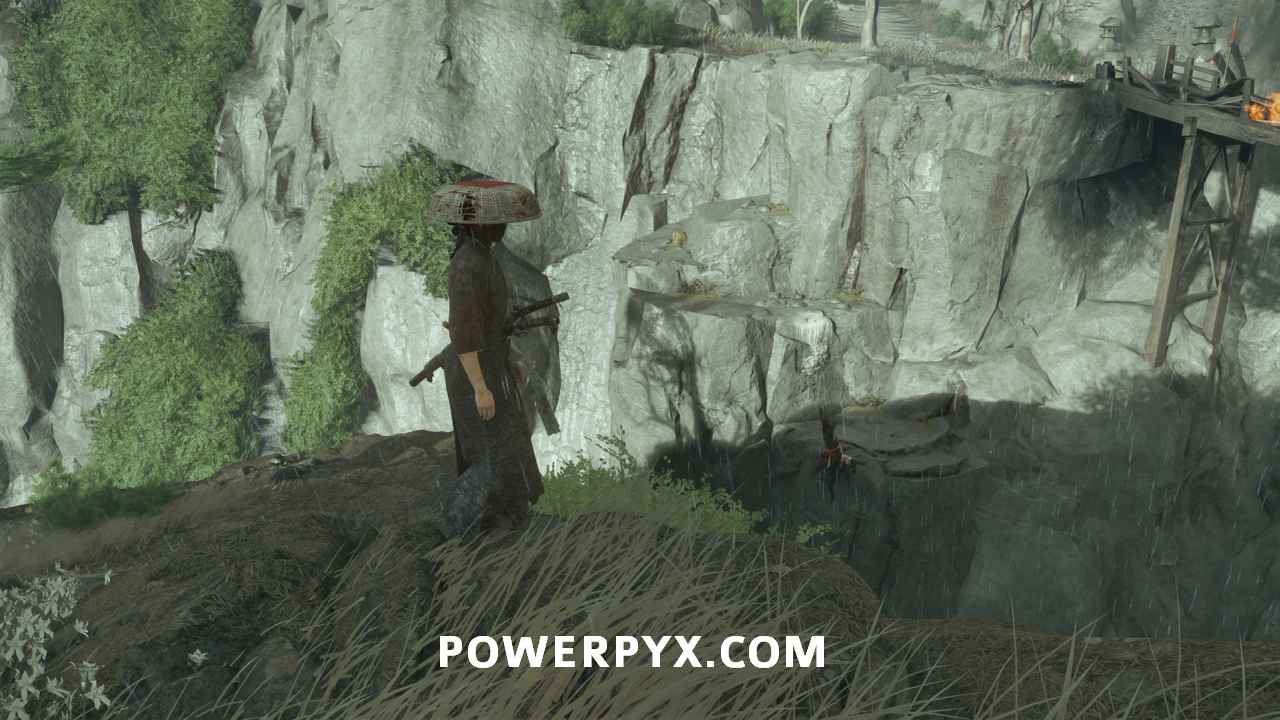
Defeat the bounty hunters
You can just standoff to bring everyone to you or sneak around and kill everyone. There’s no benefit to either approach, so take out the enemies as you wish.
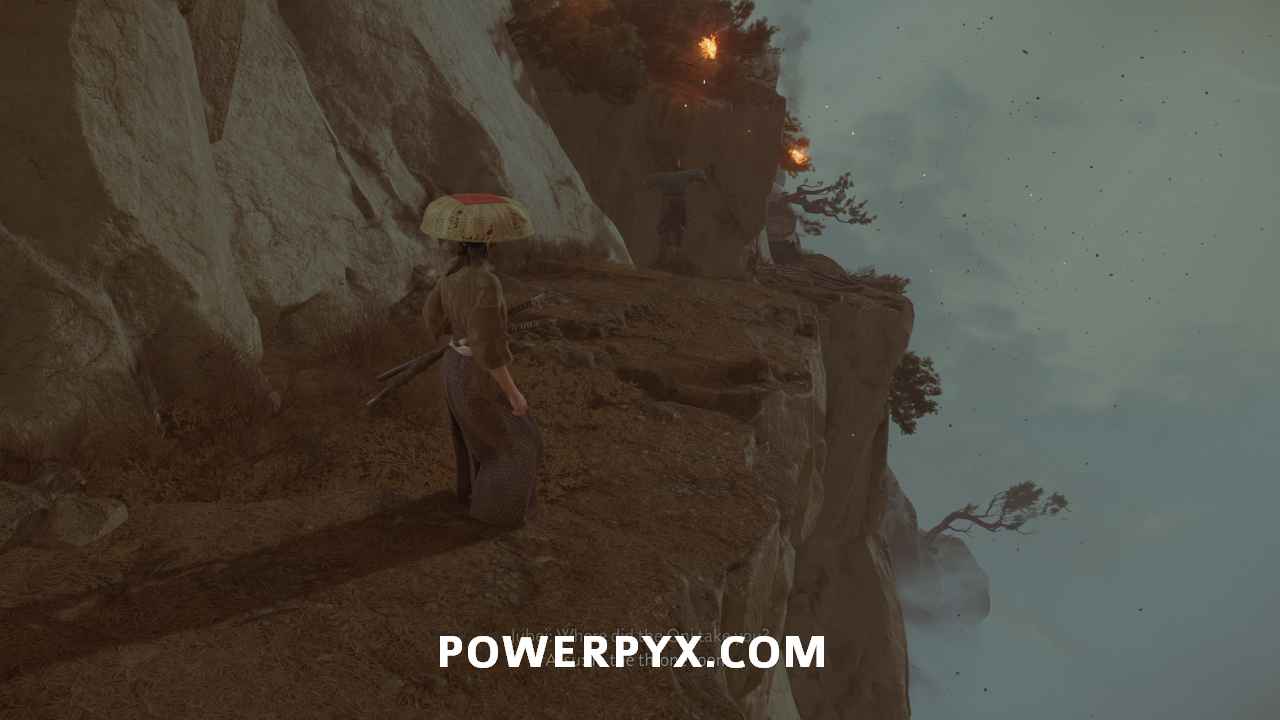
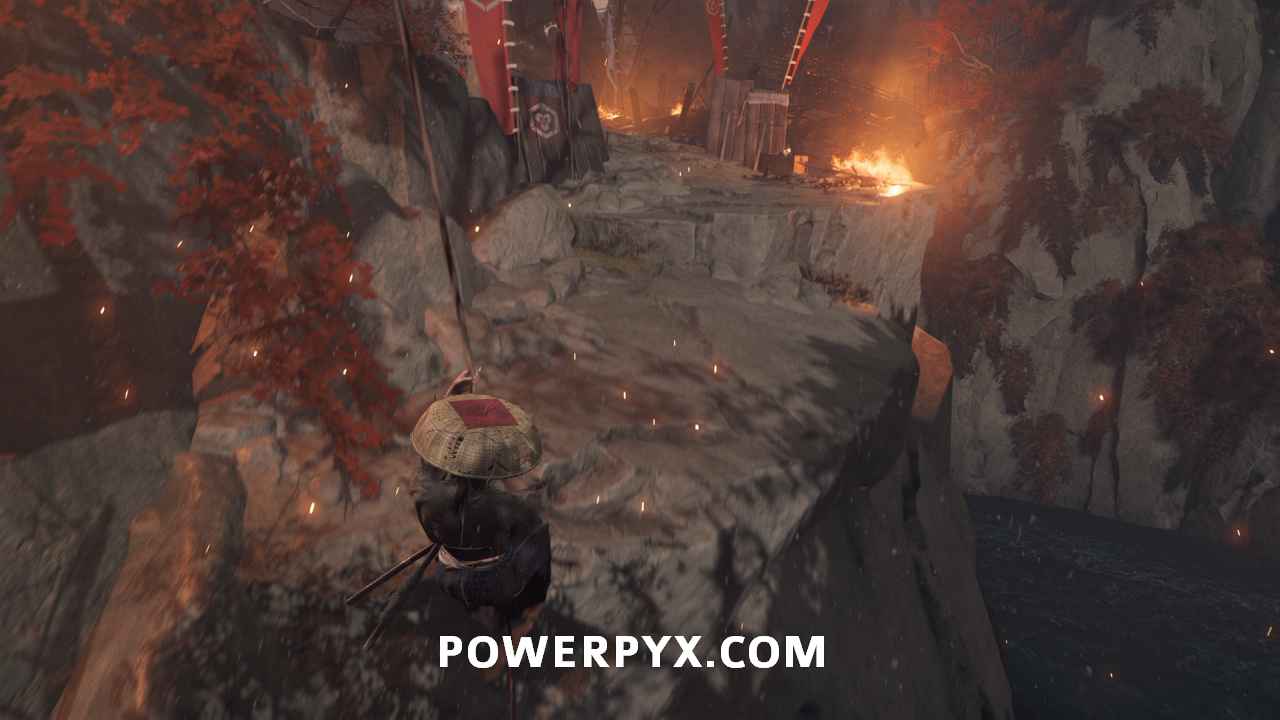
Climb up to the shrine
While looking at the burning bridge, turn immediately left and jump to the grappling point.
Follow the path down to the right and jump to the grapple point across the gap in front of you.
Then climb up the rock steps and use the stone holds to climb up to the other side of the burning bridge.
Clear the debris on the bridge
Approach the burning bridge and use to pull away the burning debris.
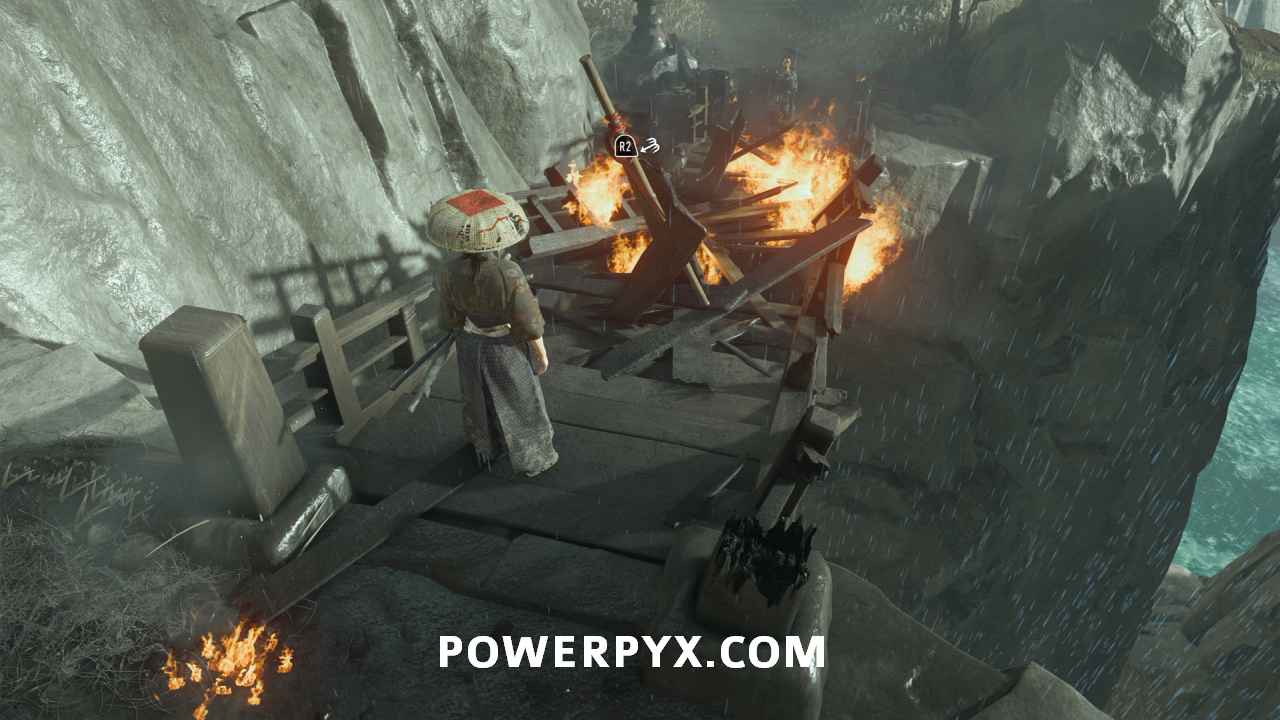
Find Mad Goro at the shrine
Turn around and follow the path up the stone steps and into the cave.

At the blocked crevice, hold to yank out the loose wood.
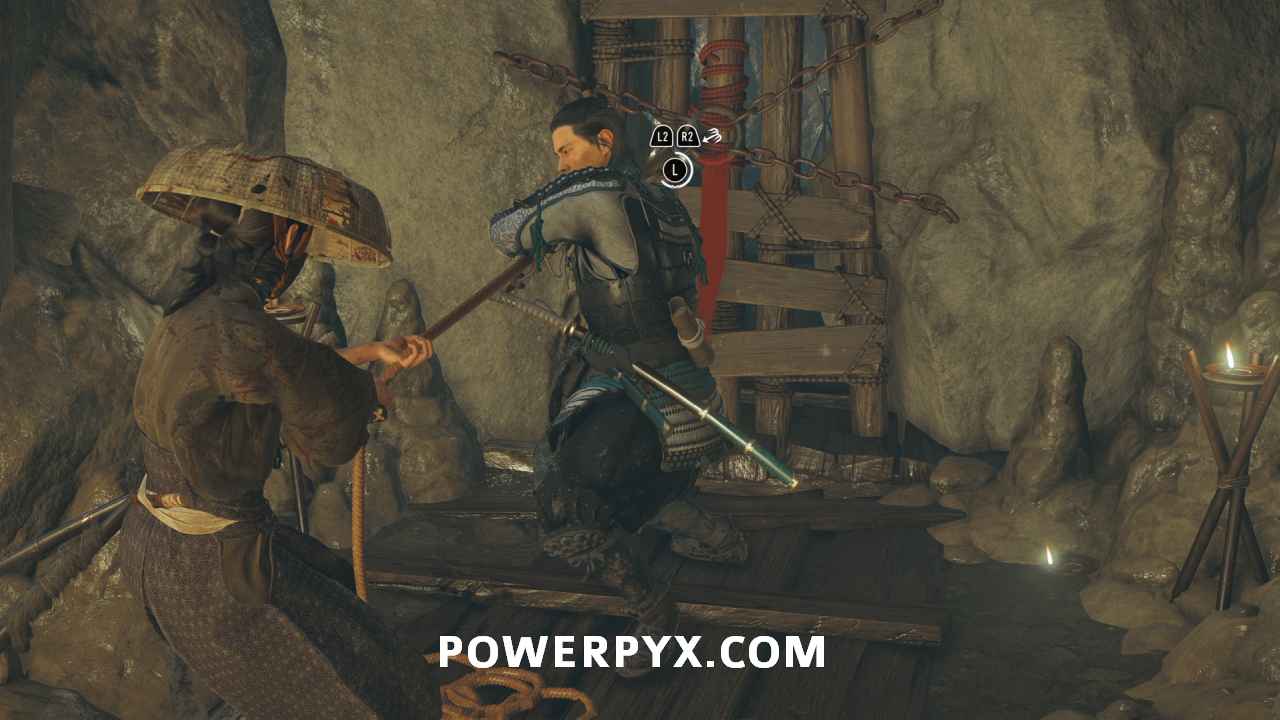
Squeeze through the gap and continue into the cave.
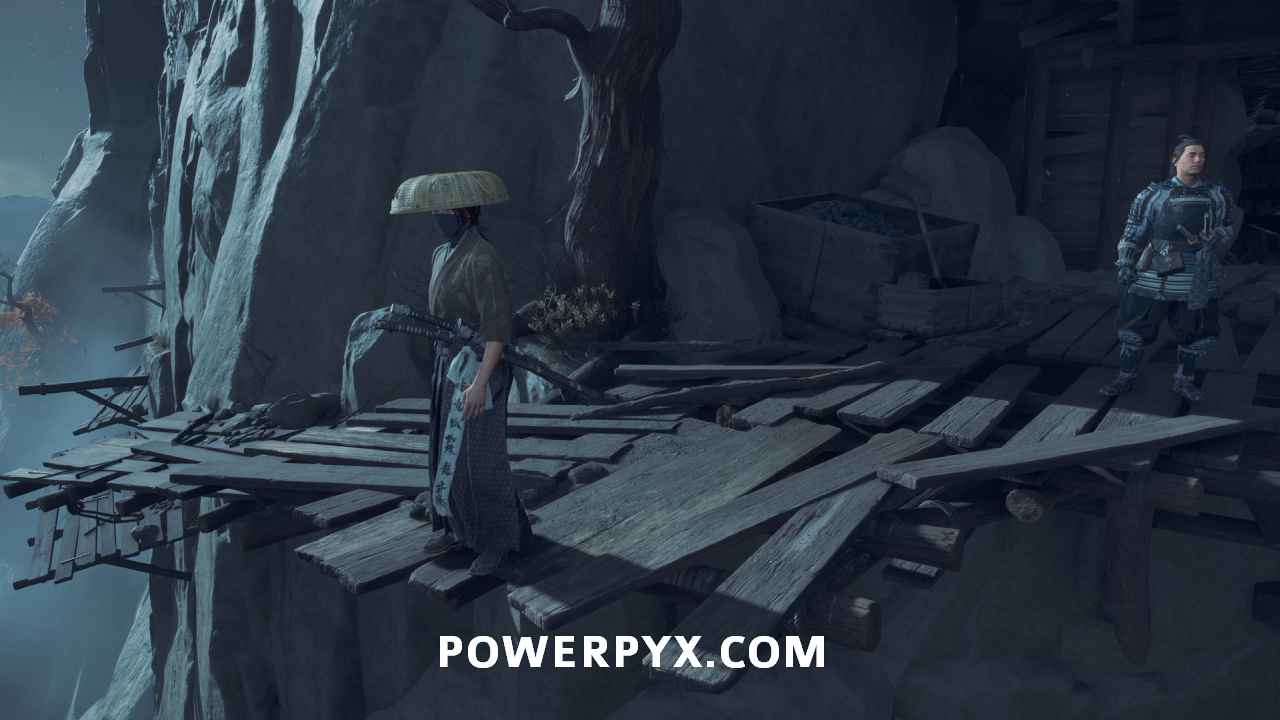
The bridge you try to cross falls out from underneath you.
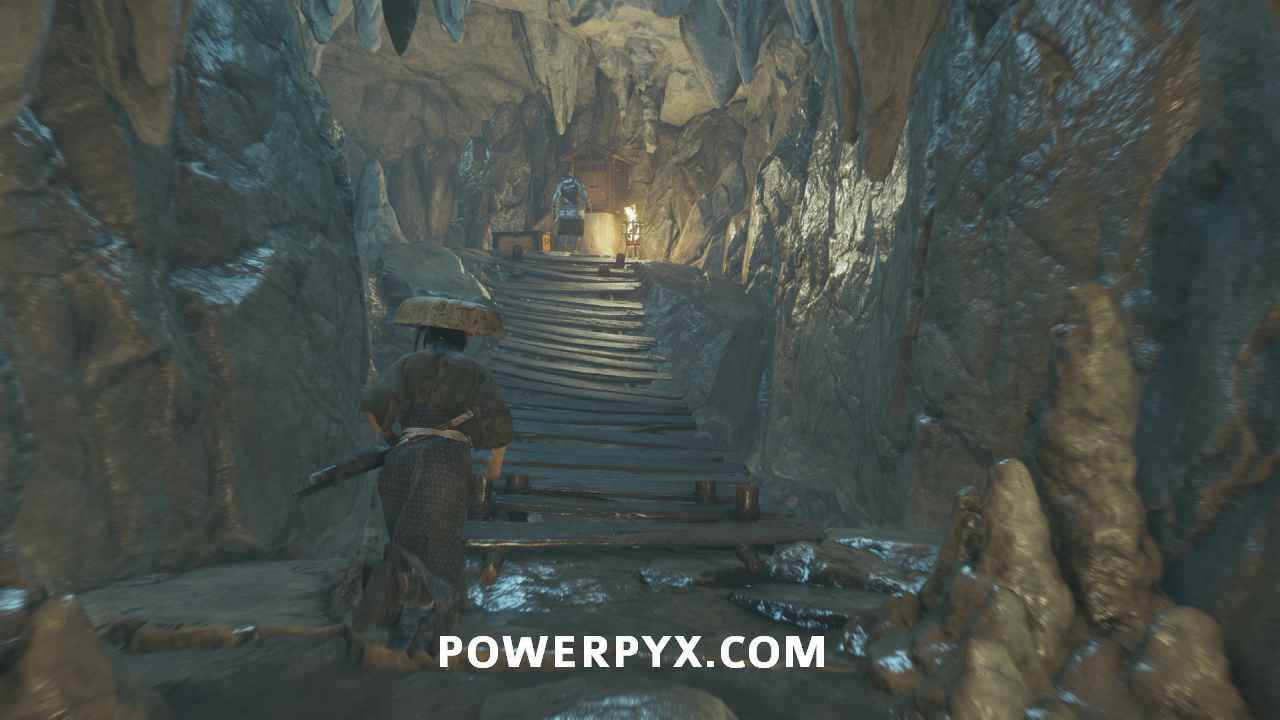
When you get up, take the exit behind you.
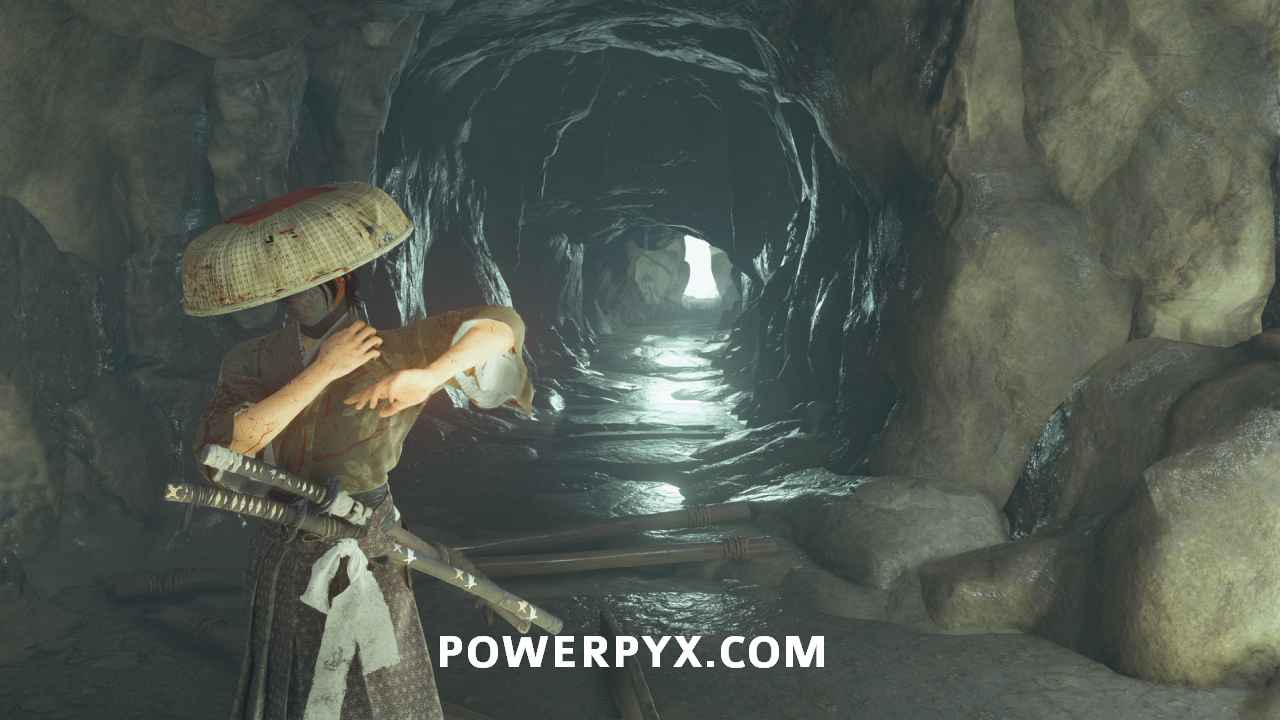
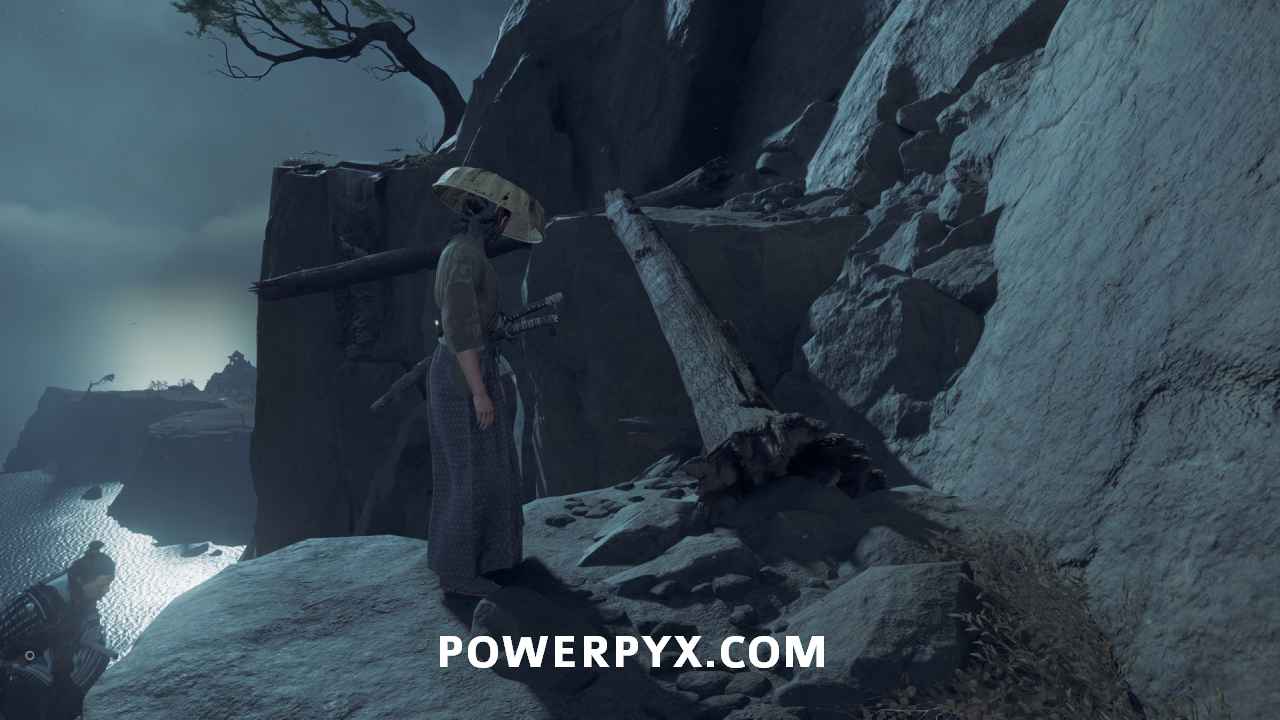
Climb down the rock face. Then, follow the path along the cliff.
When the path turns left, swing across the gap and then climb up the wall to meet up with Jubei again.

After the cutscene, you get a dialogue choice. The choice doesn’t matter, so pick whichever you prefer.
Follow the rocks in front of Jubei.
At the top, walk across the fallen tree to cross the gap. You get a dialogue choice here. Choose whichever you like better.
Finally, jump to the broken tree in front of you and then to the rock holds to your right. Climb up to find Mad Goro.
Wash your hands
Approach the well in front of you to wash your hands.
Honor the shrine
Go to your right and pray at the shrine. Swipe down on the Touchpad.
Defeat the bounty hunters
You now get access to the Quickfire Weapon Oni’s Flame. It allows you to spark some oil on your weapon and ignite them. ignites your weapon.
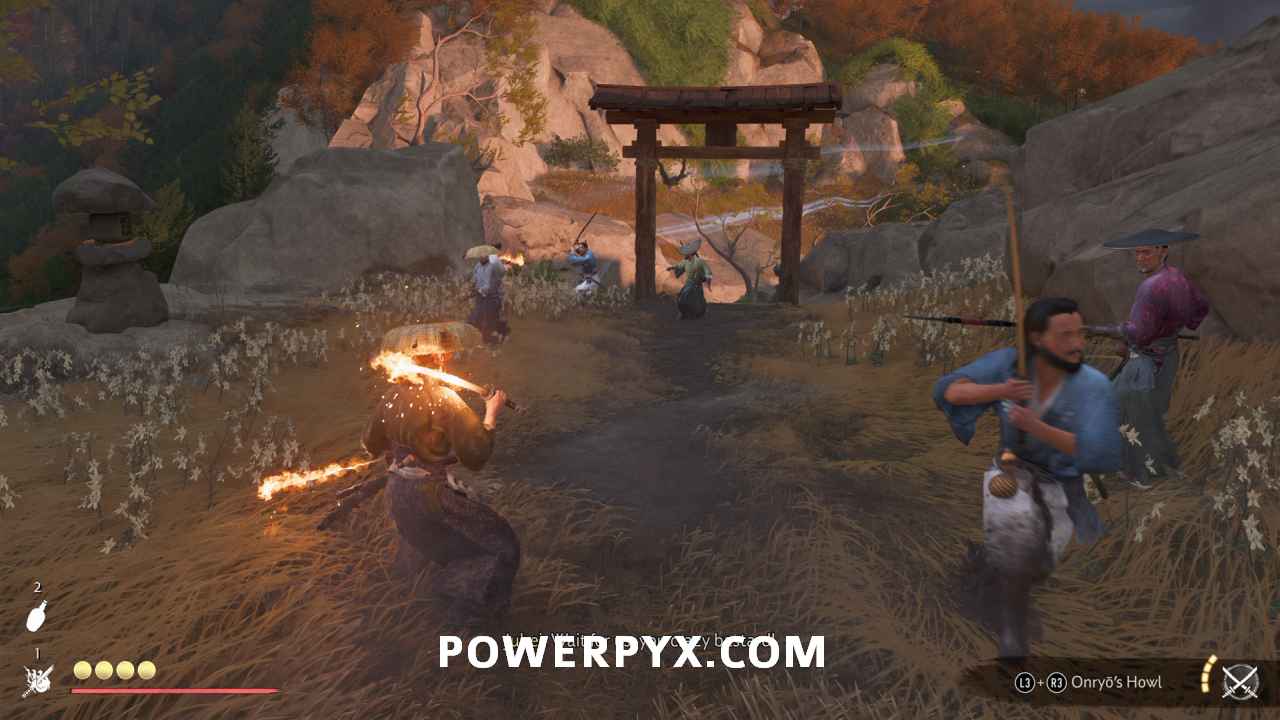
Take out the five bounty hunters in front of you.
After that, another four bounty hunters come after you. Take them out.
Escape with Jubei and Mad Goro
Make your way down the mountain, fighting your way through enemies.
The last section of the fight is right after you cross the burned bridge again. Take out two large batches of enemies.
When the trio starts talking together, you’ve made it to the last stretch of this escape.
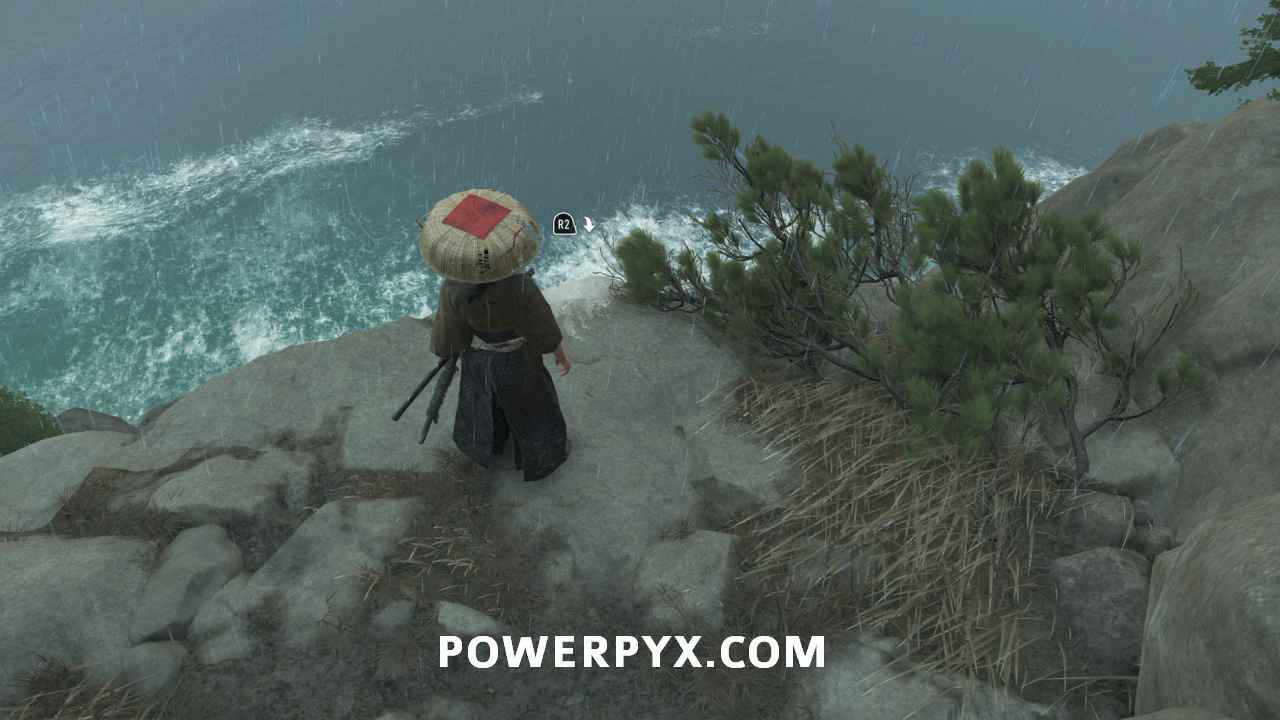
Meet Jubei on the coast
If you wish to unlock more of the map, head south along the coast to reach the west side of Ishikari Castle.
Otherwise, just fast travel to Ishikari Castle and work your way around the castle.
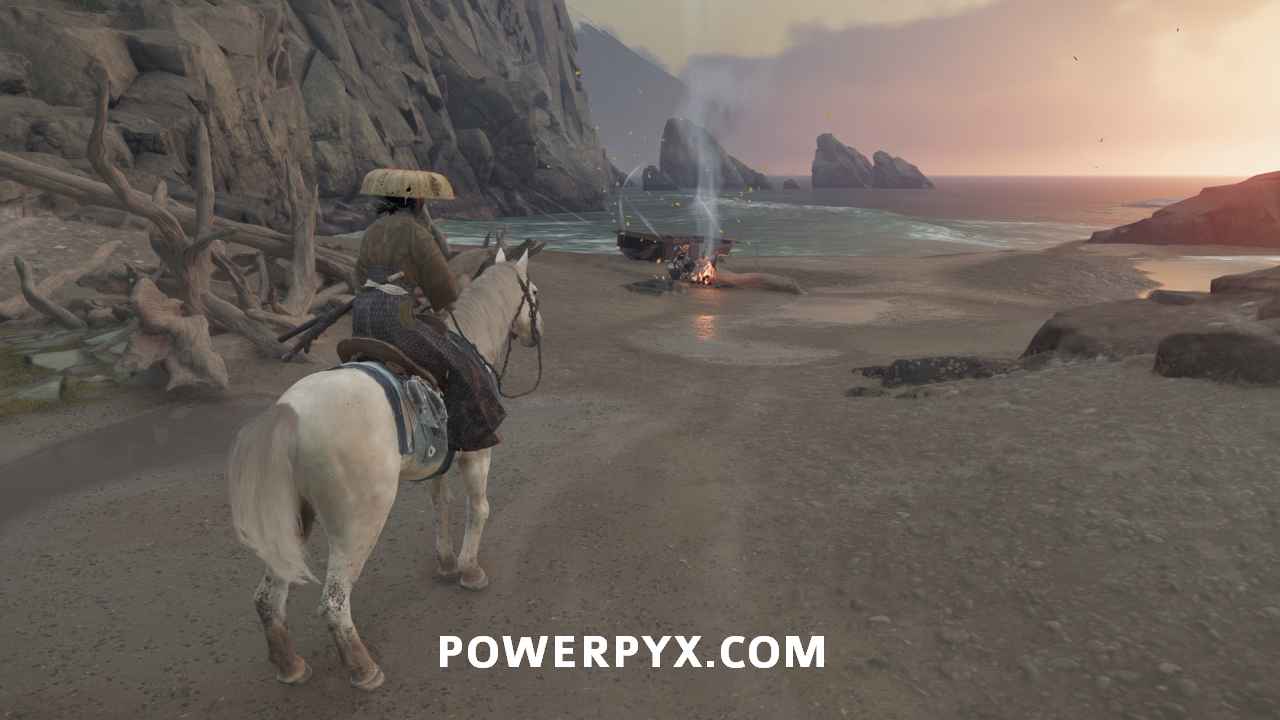
Find Jubei at a camp on the coast to trigger a cutscene. This starts Sub-Chapter: The Tale of the Oni.
Sub-Chapter: The Tale of the Oni
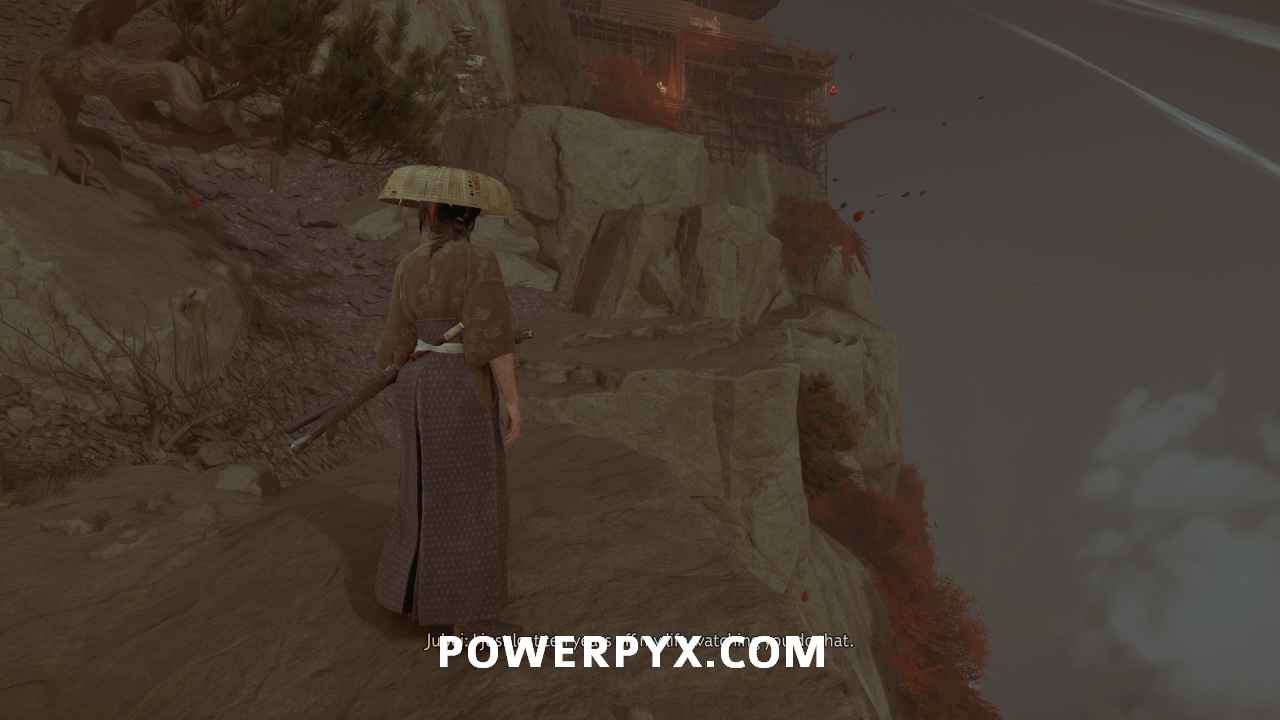
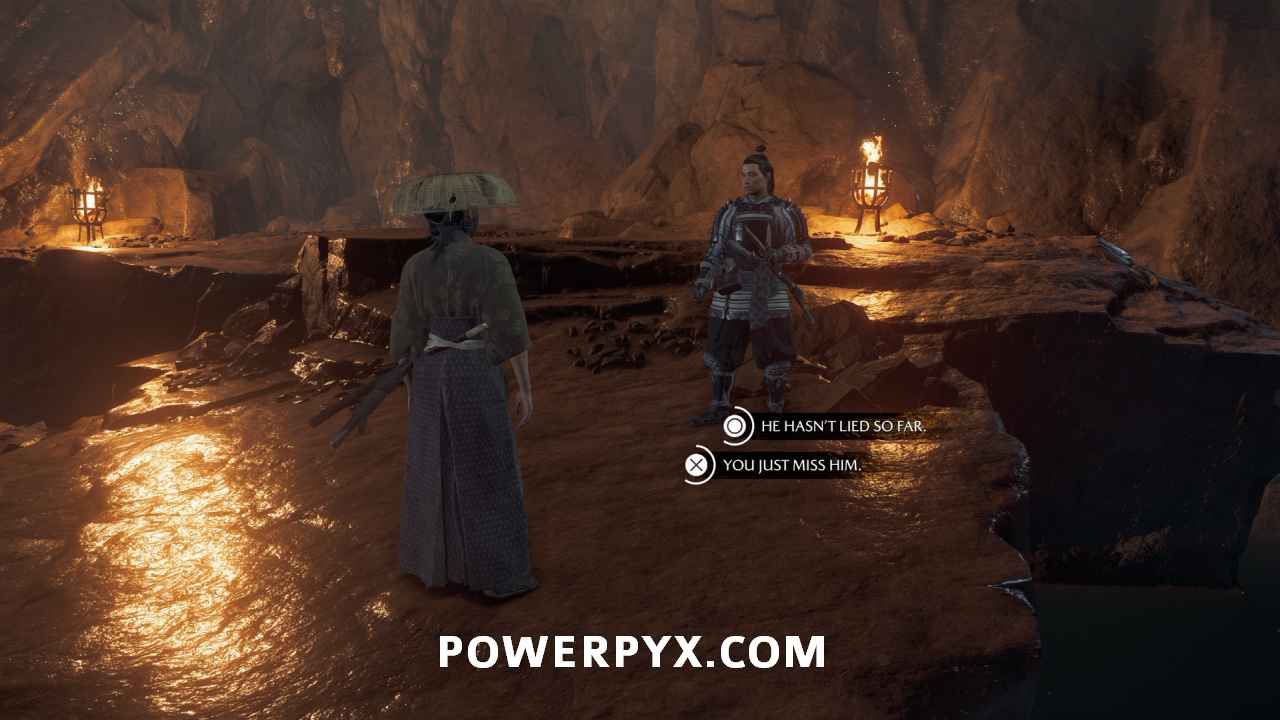
Climb up to Ishikari Castle
In the cave when Jubei talks to you, choose whichever dialogue choice you like. The outcome remains the same.
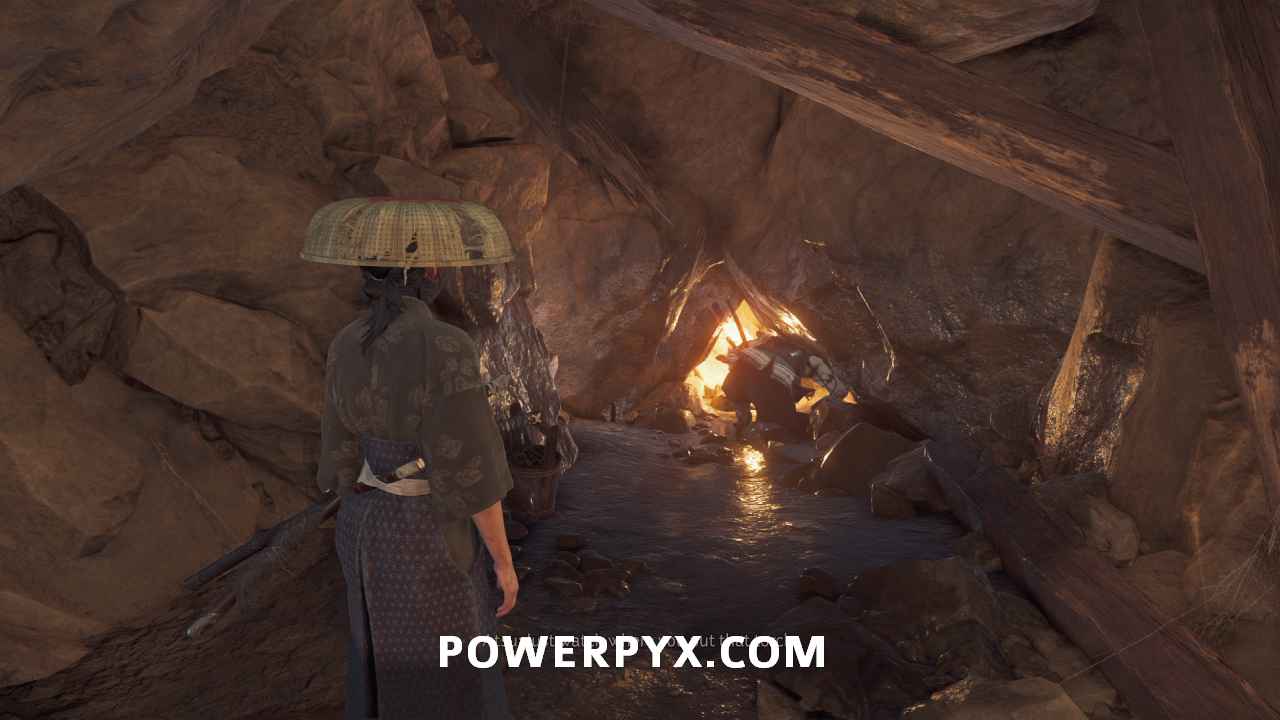
Head forward into the cave. Walk up the cliff to the left of the water. At the top Jubei will find a torch. Follow him through the dark.
Eventually, he leads you to a crawl space to the next area.
Continue following Jubei through the mine shaft. Collect the ore along the way.
You soon come to an obstacle filled with rotted bamboo. Use Jubei to climb up to a higher ledge.
Turn right and use the grappling point to reach the scaffolding.
In front of you is some loose bamboo you can pull on. Get into position and tear it down.
Approach the newly-opened area to pull Jubei up to your level.

Turn around and follow Jubei through another stretch of the mine shaft.
Climb up another stretch of stone holds before continuing down a dark shaft. This finally leads to the outside.
The path now curves to the right around the cliff. Use the planks to progress.
Climb up the rock face, then use the fallen trees to get across a gap.
Use the last stretch of planks to reach the opening of another mine shaft.
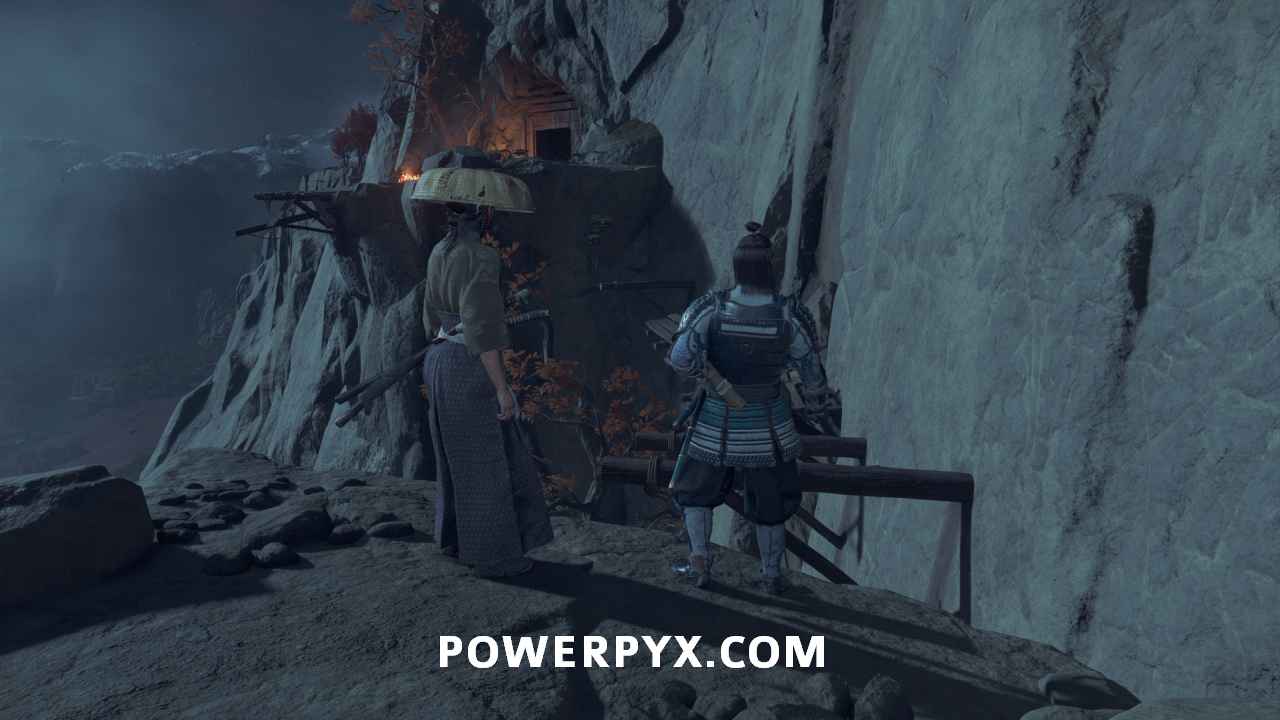
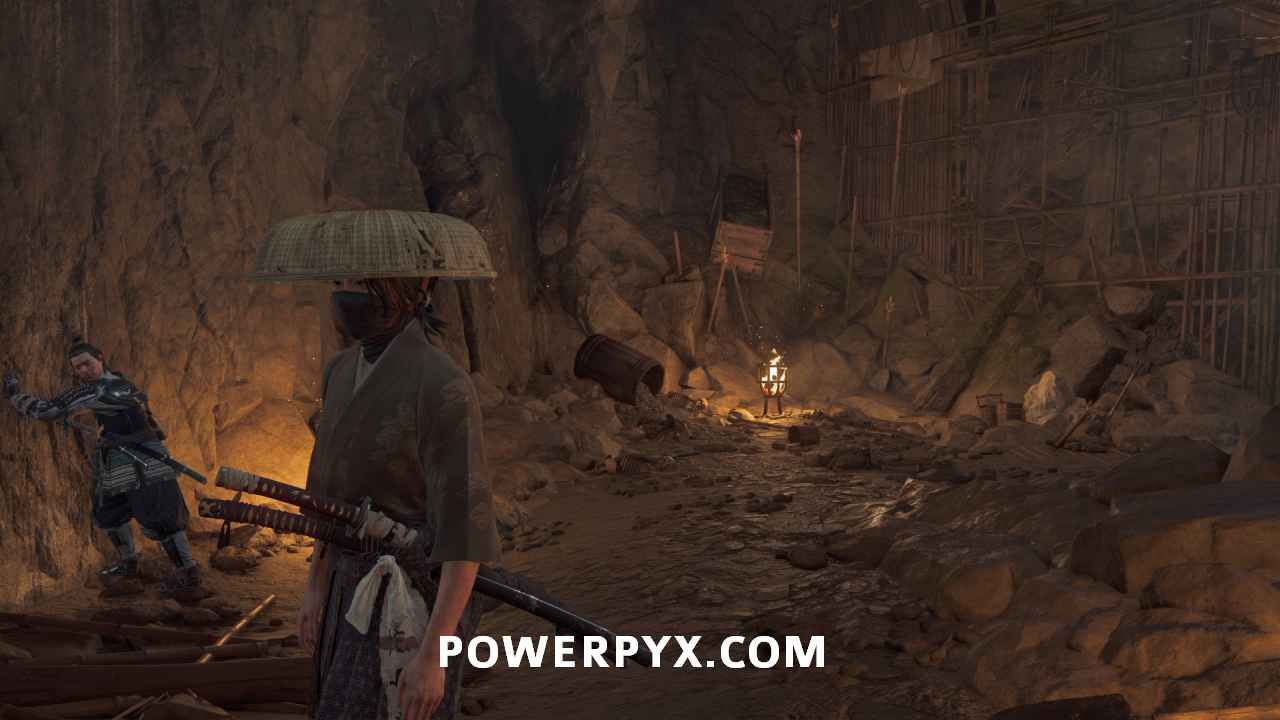
At the entrance, take out the Oni Raider that walked to the ledge.
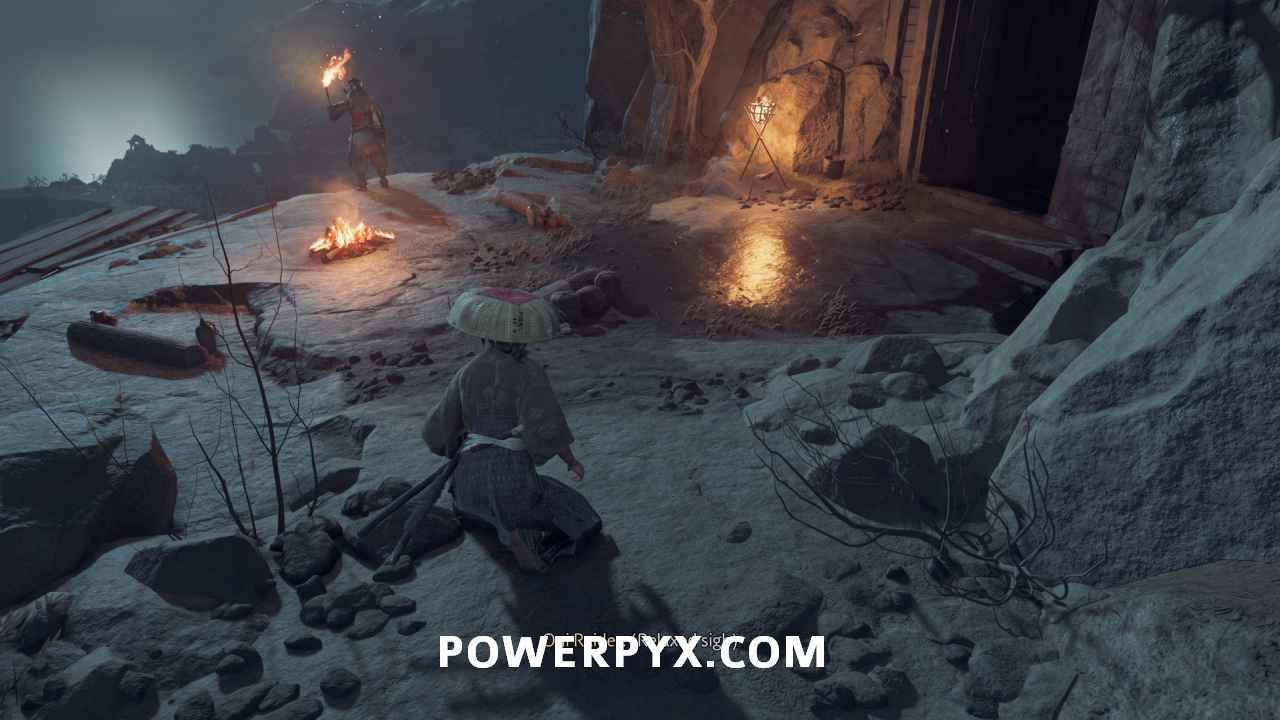
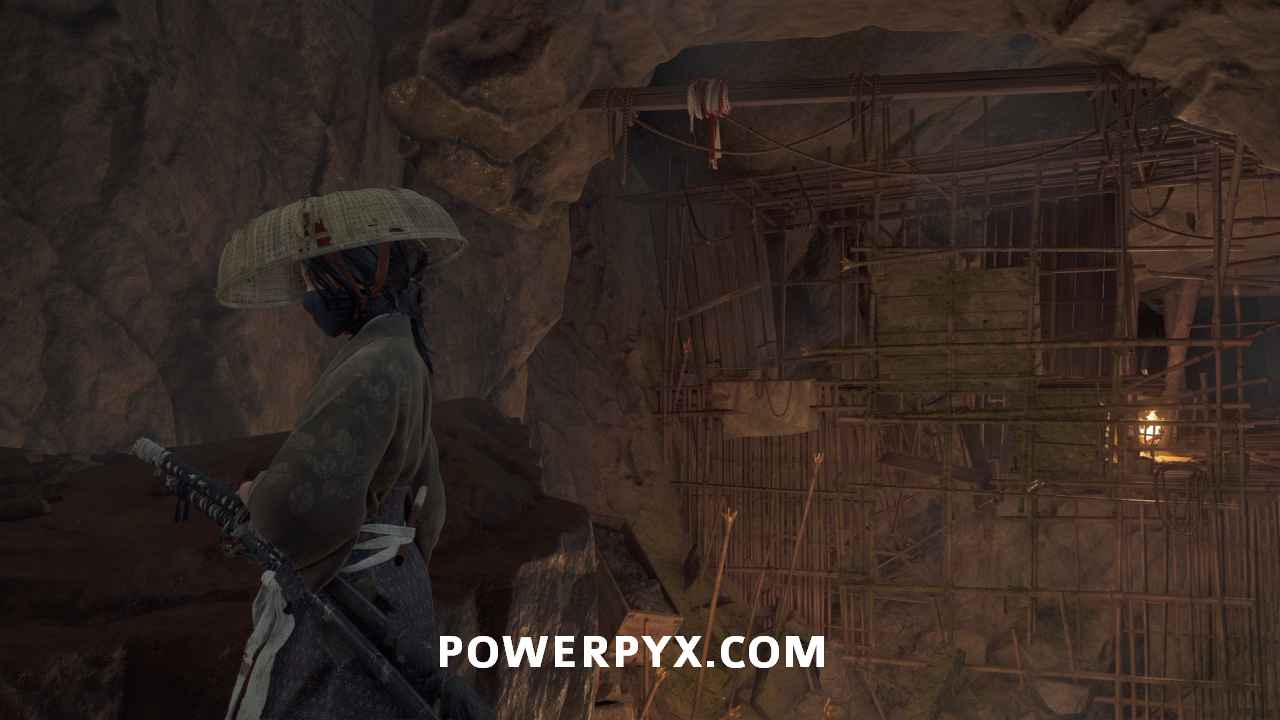
Head into the mine shaft and follow the path until it opens up to a mining expedition.
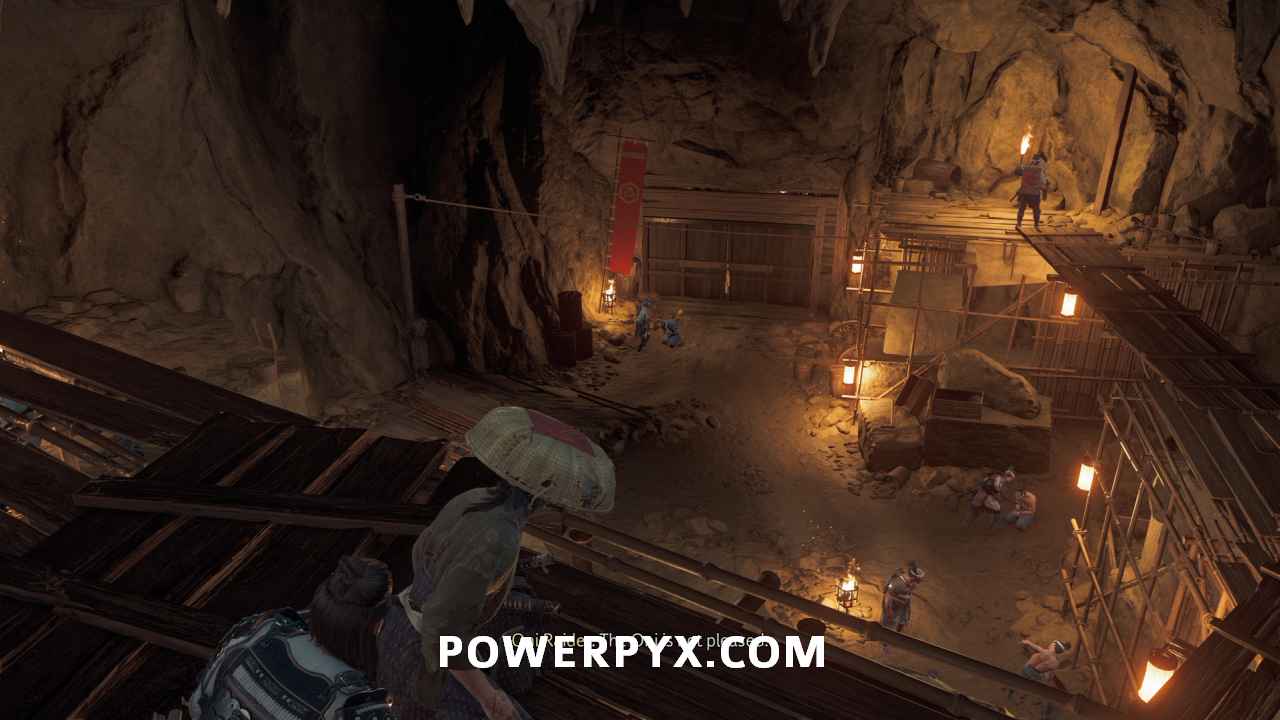
Take out the enemies to progress, then you get a cutscene.
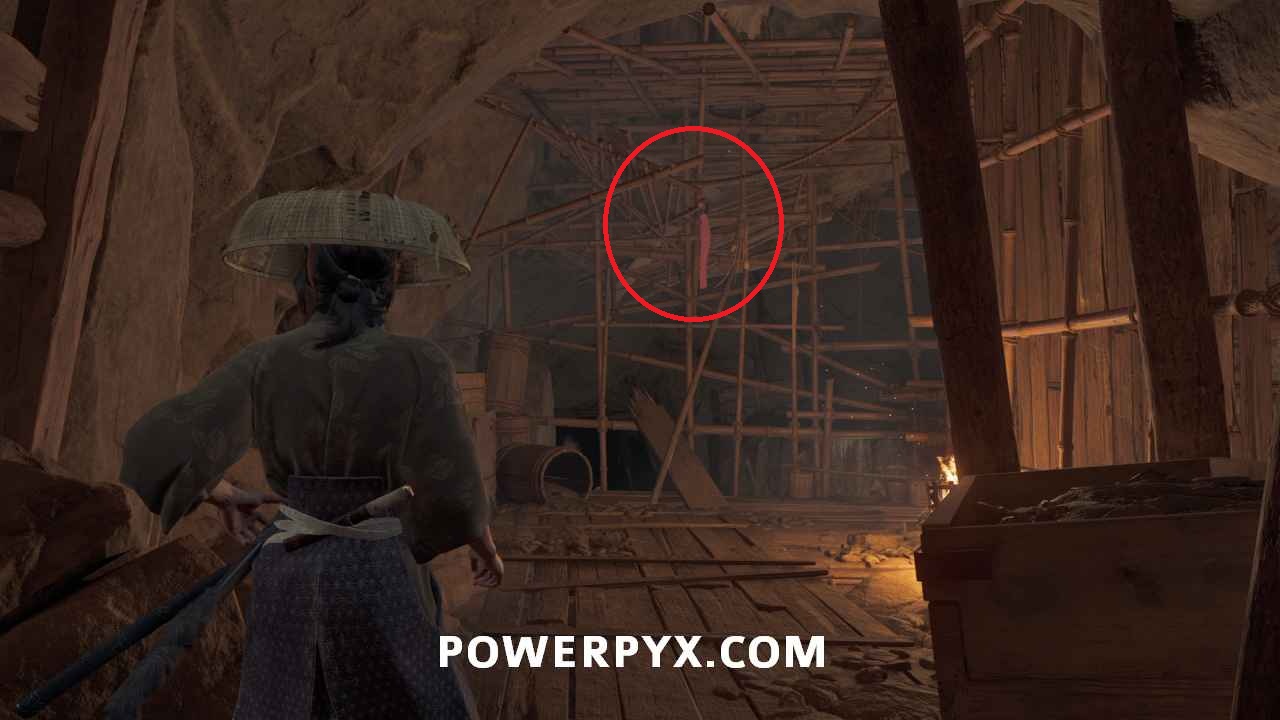
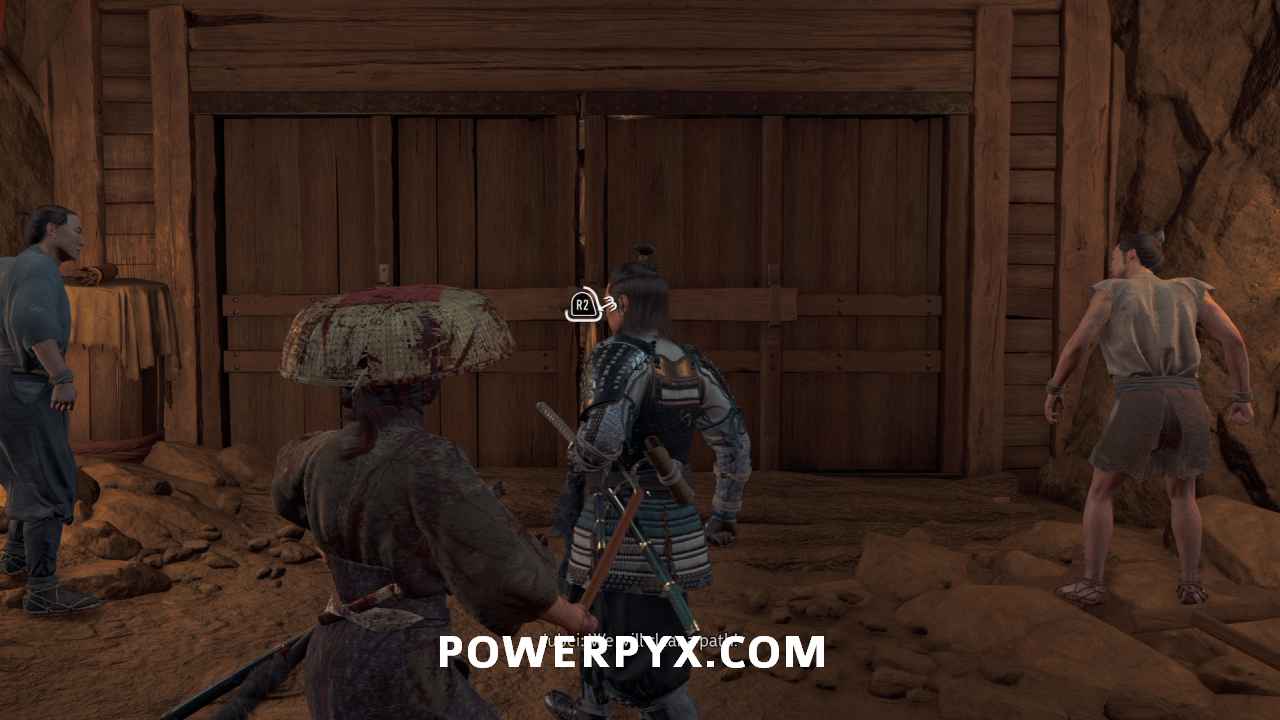
Free the Matsumae prisoners
When you regain control, hold to pull down the door.
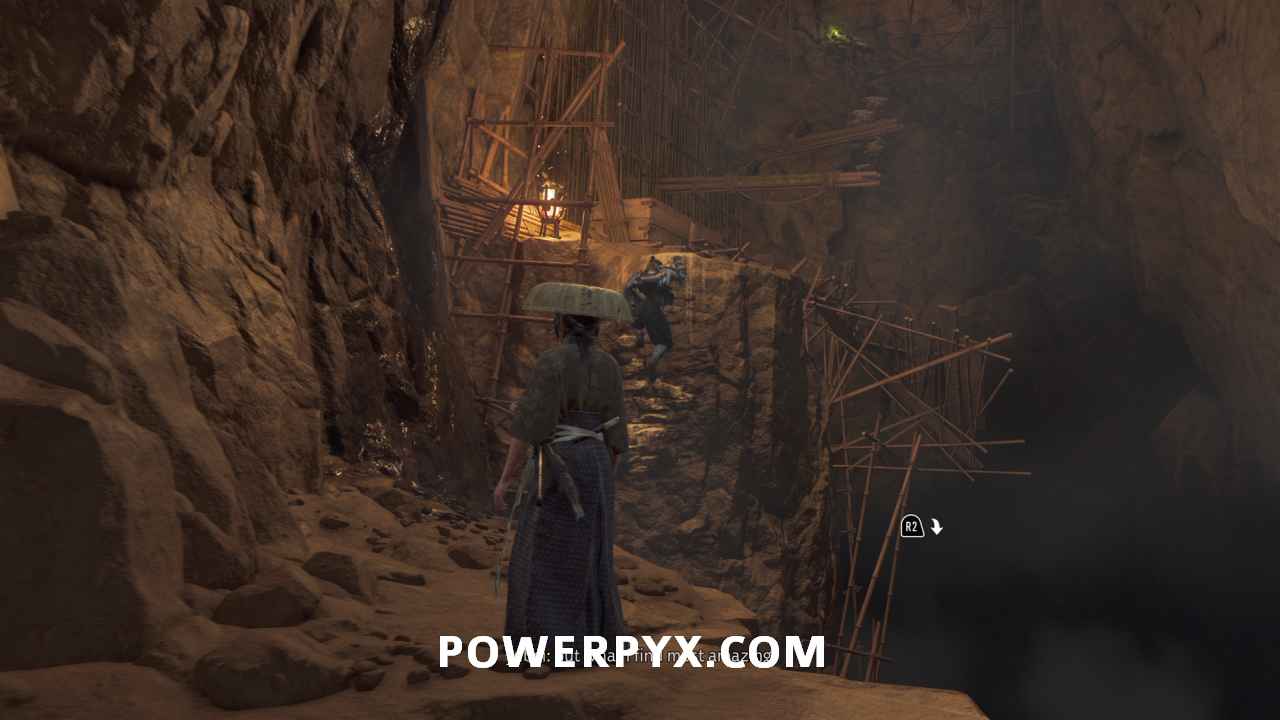
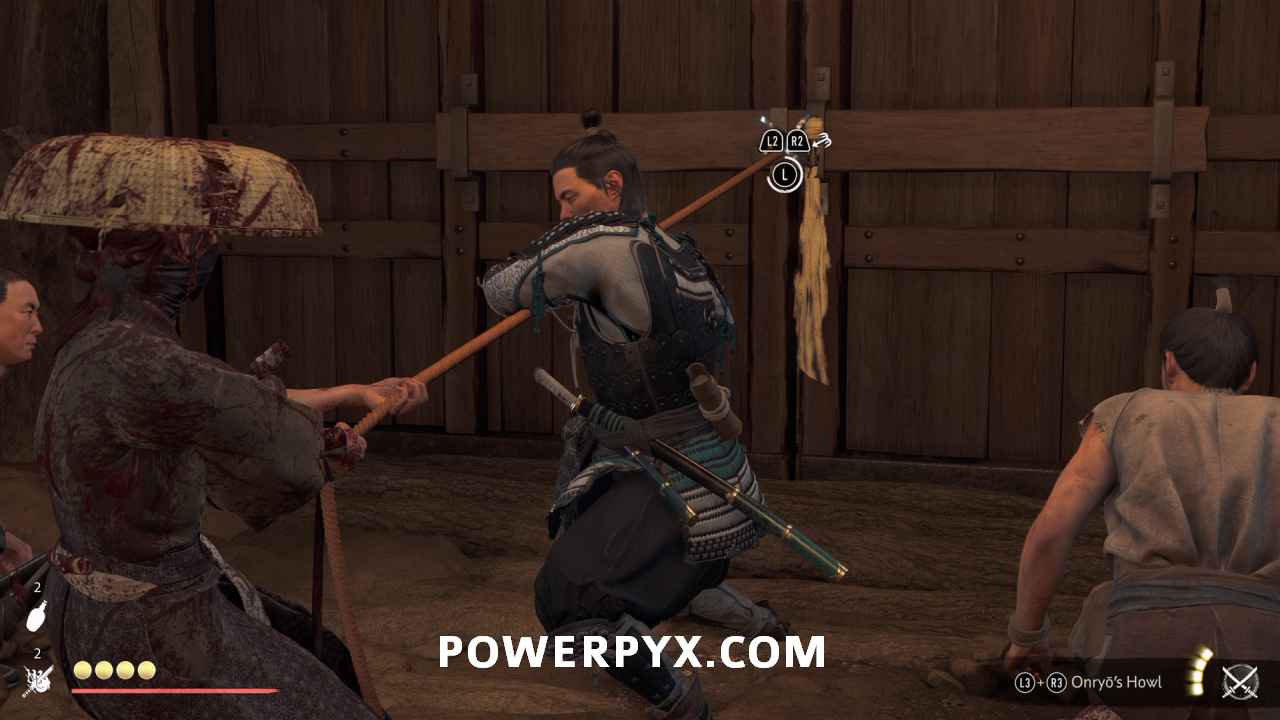
Fight your way up the mine shaft. As you progress, more Matsumae prisoners join your cause.
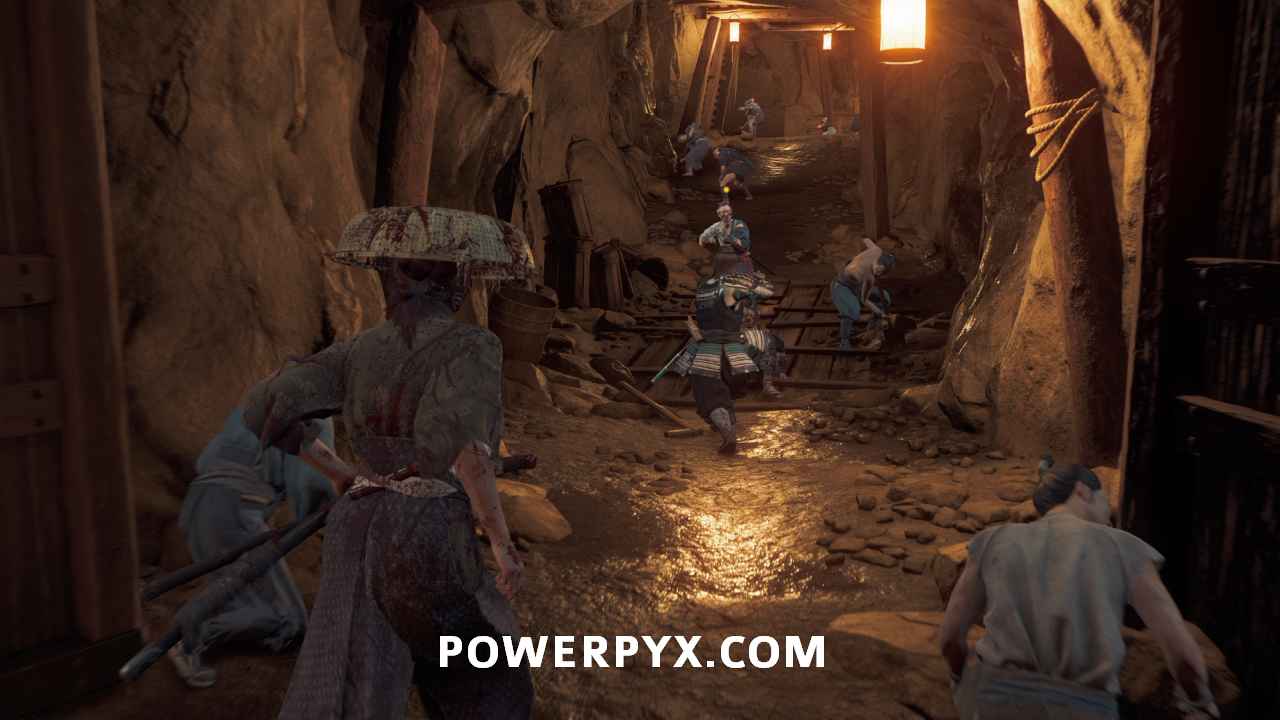
It’s worth noting that you cannot just run through the mine shaft to skip the fights. You need to defeat all of the Oni Raiders in your way.
Along the way, you pull down another three locked doors. After the third one, the path opens up to the Ishikari Castle.
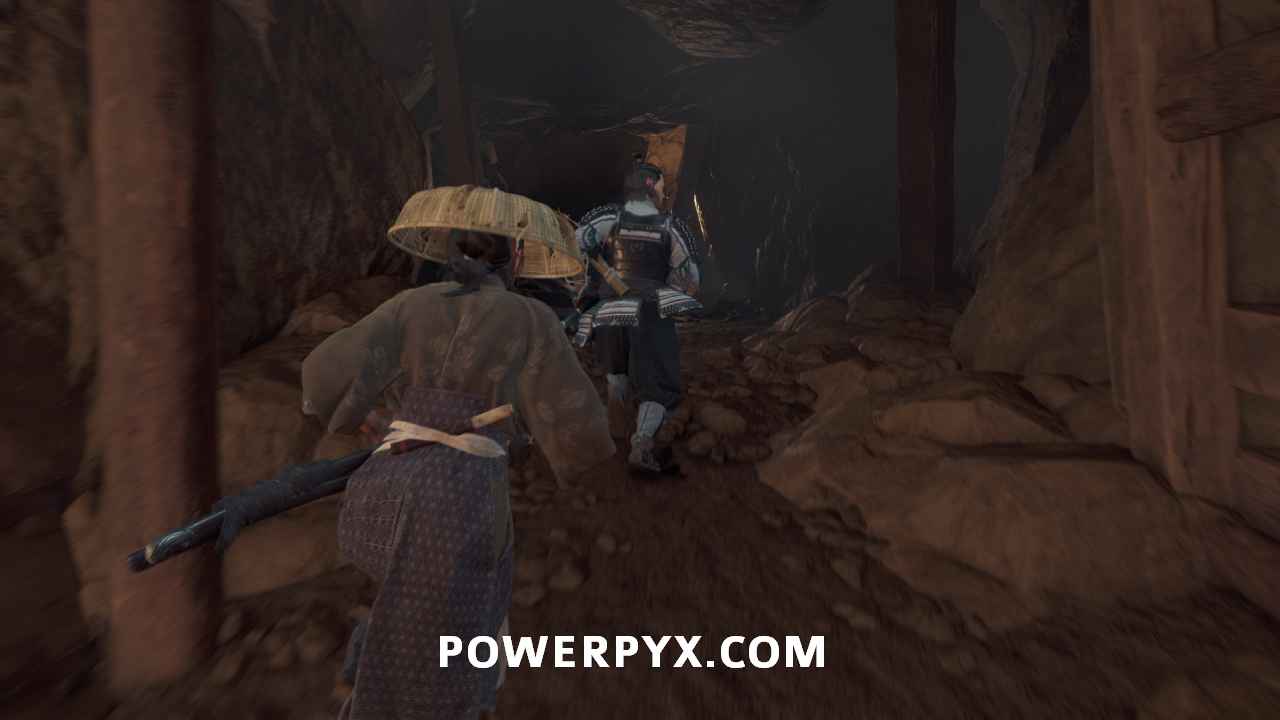
Defeat the Oni Raiders
A large amount of Oni Raiders await you behind the last door. Take them all out to progress.
Confront the Oni
You are now on your own. Fight your way forward.
Before opening the first door, you can go left and right to find arrows, Oni Flames, etc. to restock. Otherwise, open the door to meet the Oni.
Kill the Oni
There’s nothing too complicated about this part of the fight. He uses a single katana the entire time. Use a single katana against him during this phase.
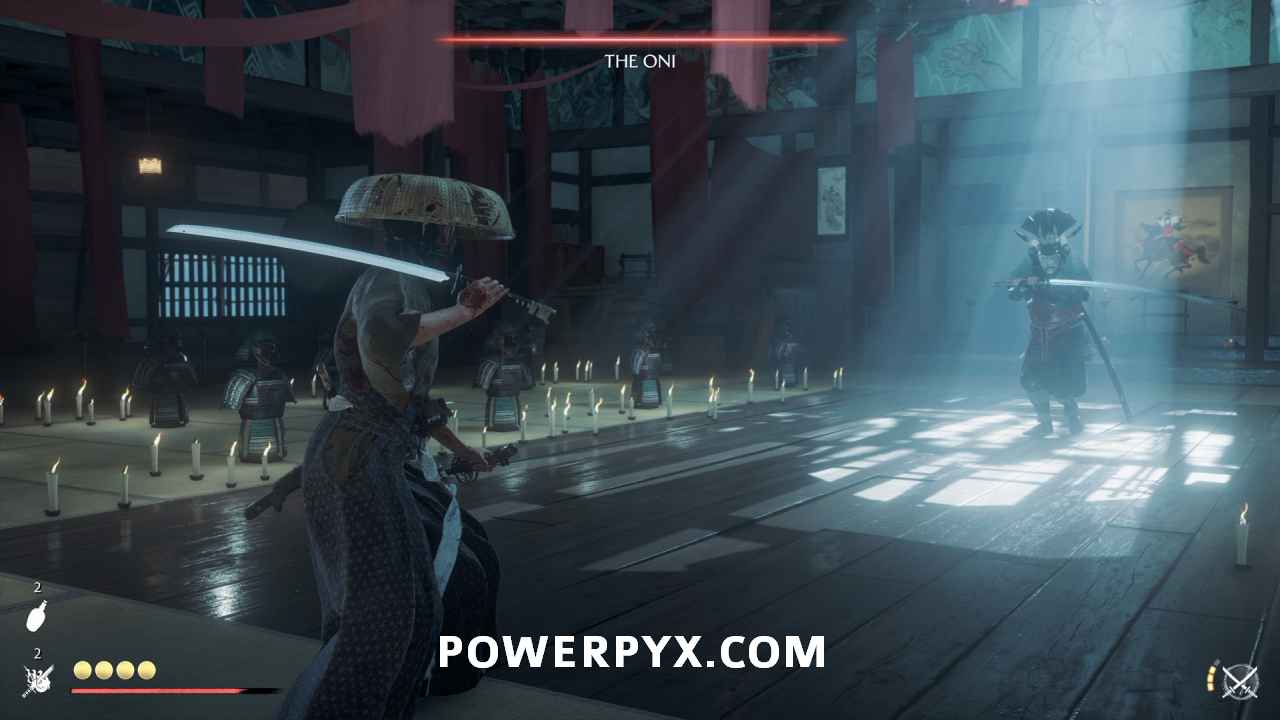
For the second phase, he ignites his sword. The fight mechanics remain the same as the first. The single katana works best here as well.
This finishes The Oni in Ghost of Yotei. Completing this Tale provides you with Onryo Armor III.
NEXT: The Yotei Six / The Kinsune / The Saito Brothers -or- Call of the Hunt (if you defeated the Yotei Six)
For all other Quests refer to Ghost of Yotei Walkthrough.
Leave a Reply