
Kingston contains 33 Collectibles in Assassin’s Creed 4 Black Flag Resynced (2026 Remake).
Collectibles get marked on the world map when going near them or synchronizing viewpoints. Kingston contains the following collectible locations:
- Viewpoints: 6
- Taverns: 1
- Assassin Contracts: 4
- Naval Contracts: 1
- Chests: 5
- Song Sheets: 6
- Secrets: 4
- Huntable Animals: 3
- Portraits / Paintings: 2
- Data Files: 1
Collectibles Overview:
Kingston Location
Kingston Coordinates: 617, 167
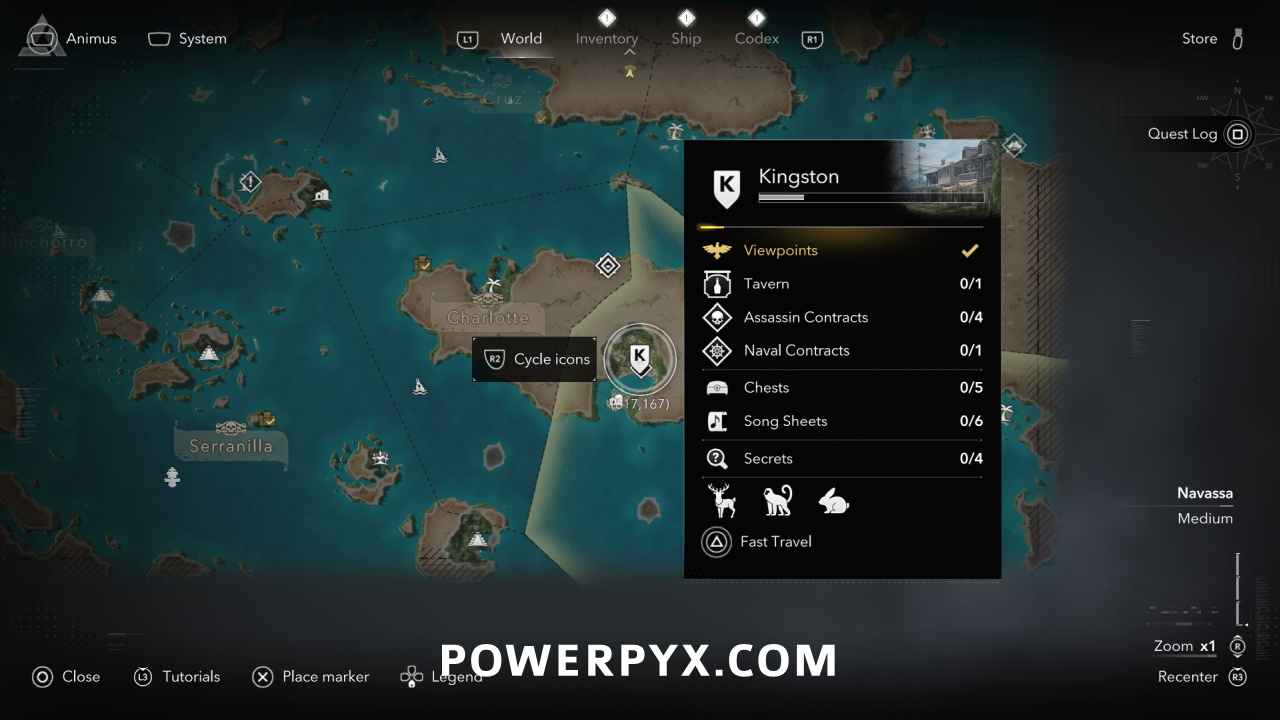
Collectibles
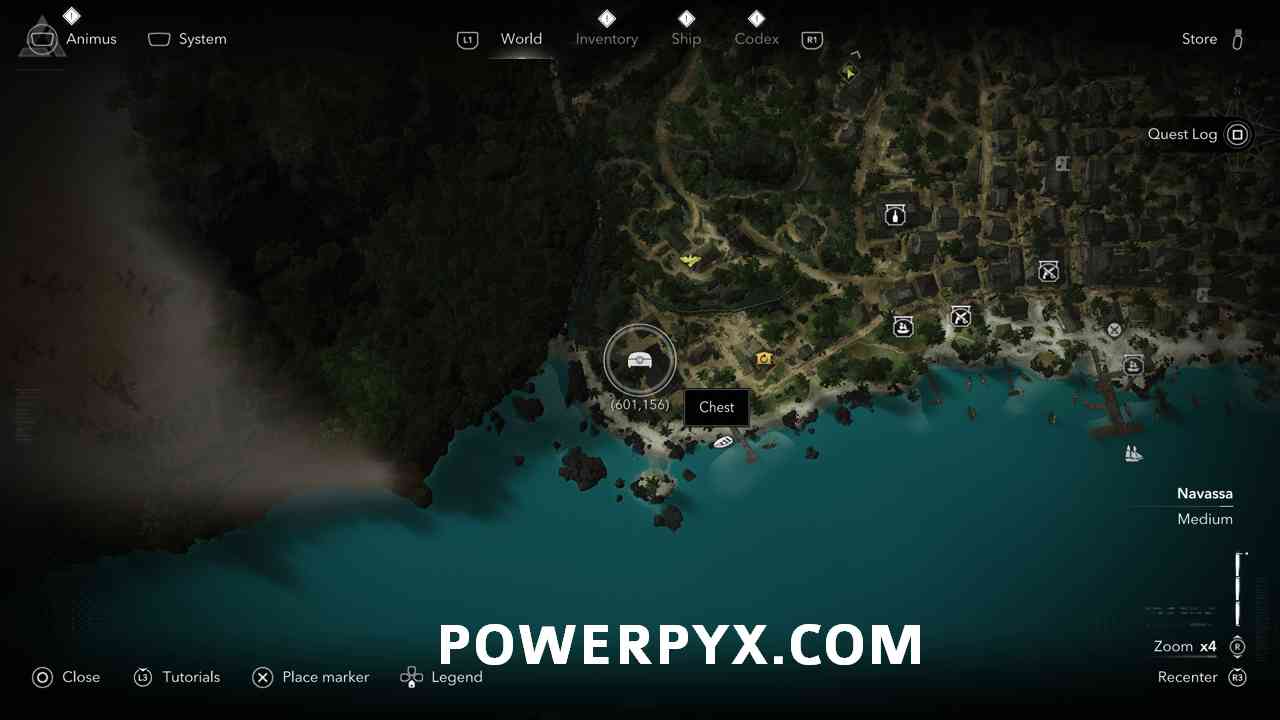
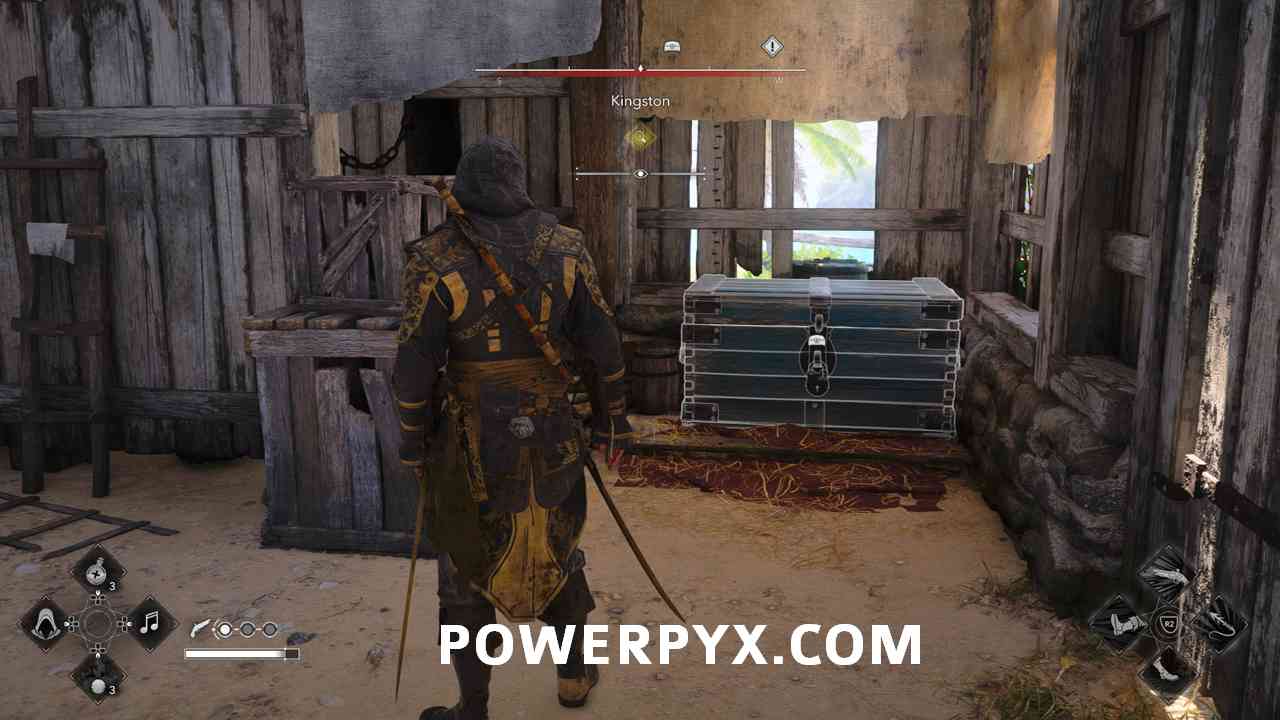
#1 – Chest 1/5 (Money)
Located on the bottom of Kingston to the West of the South Warehouse. This chest is inside the building guarded by several men.
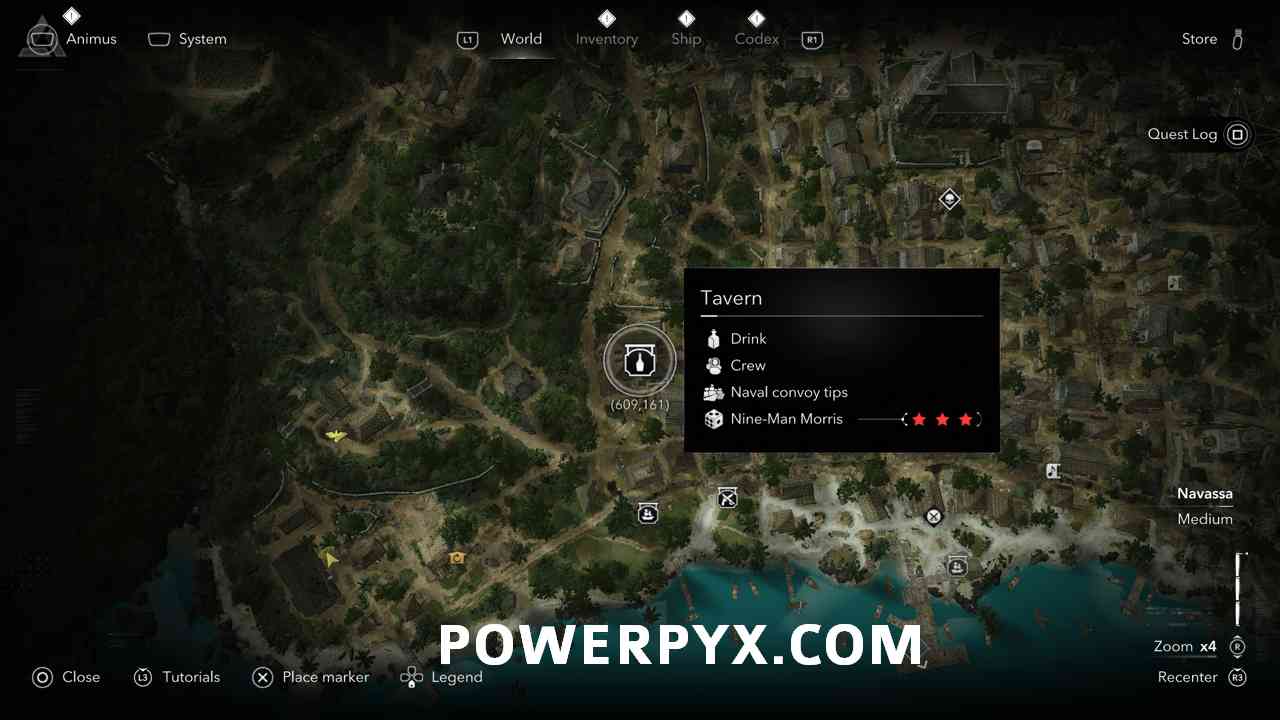
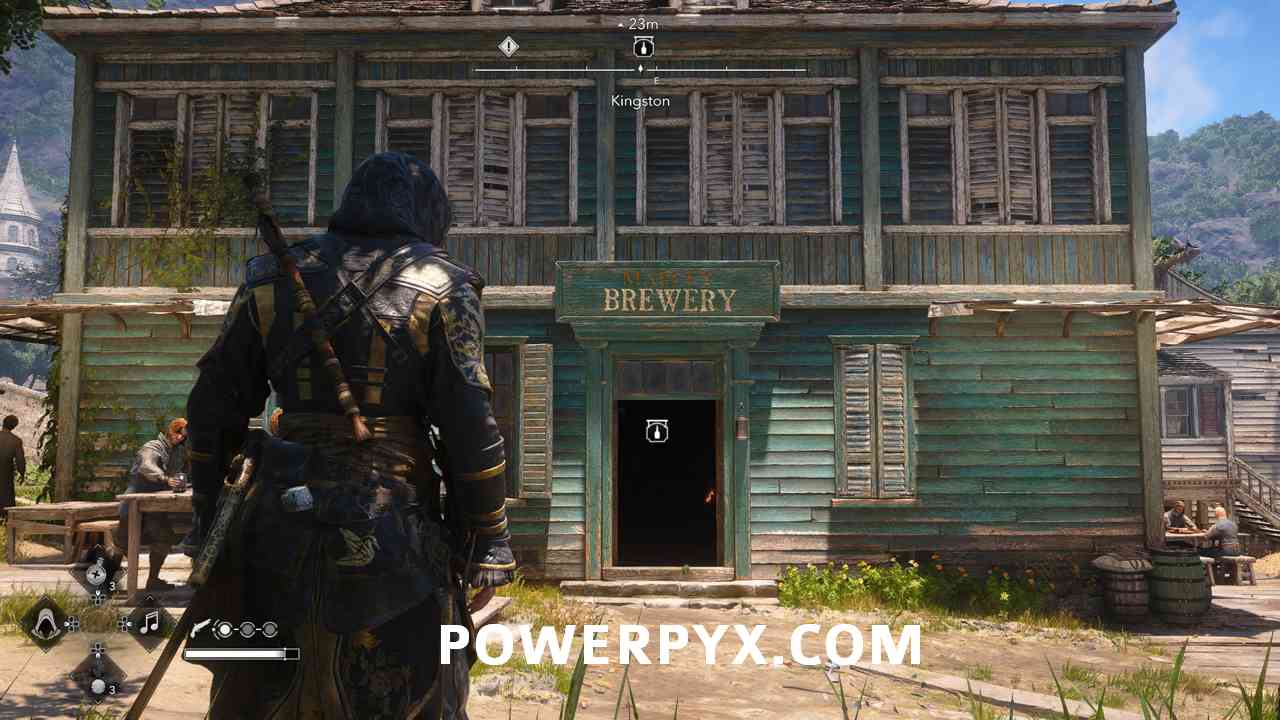
#2 – Tavern
Located North of the Harbormaster. Approach the front counter and order a drink to start a street fight. Win the street fight to unlock the Tavern.
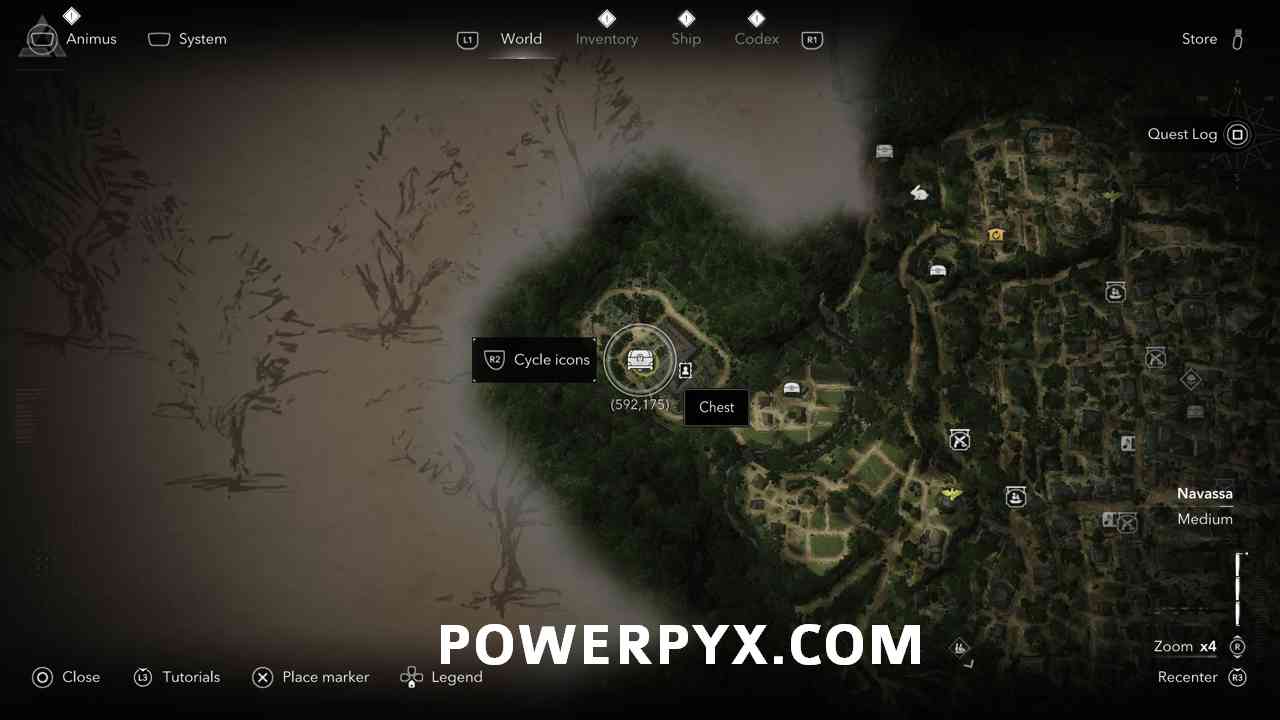
#3 – Secret 1/4: Chest (“Magellan’s Ship” Manuscript)
Located in the West Wing on the second floor of the Plantation House on the West side of Kingston.
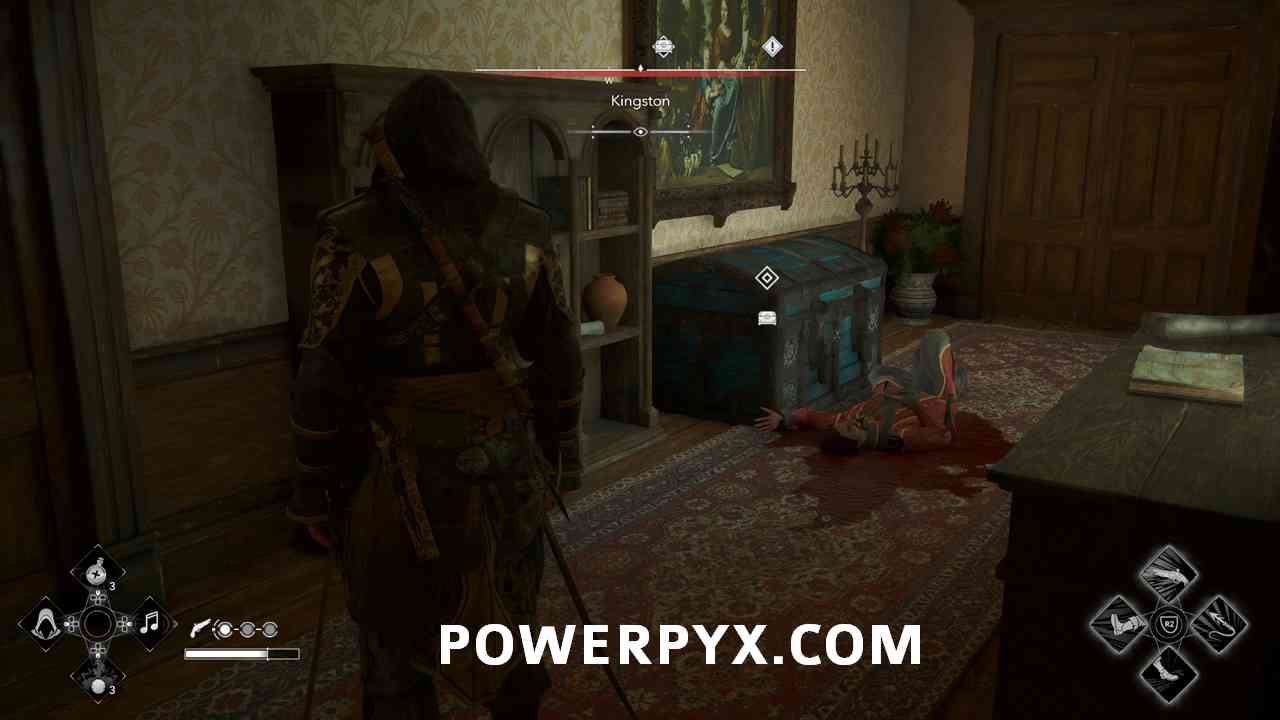
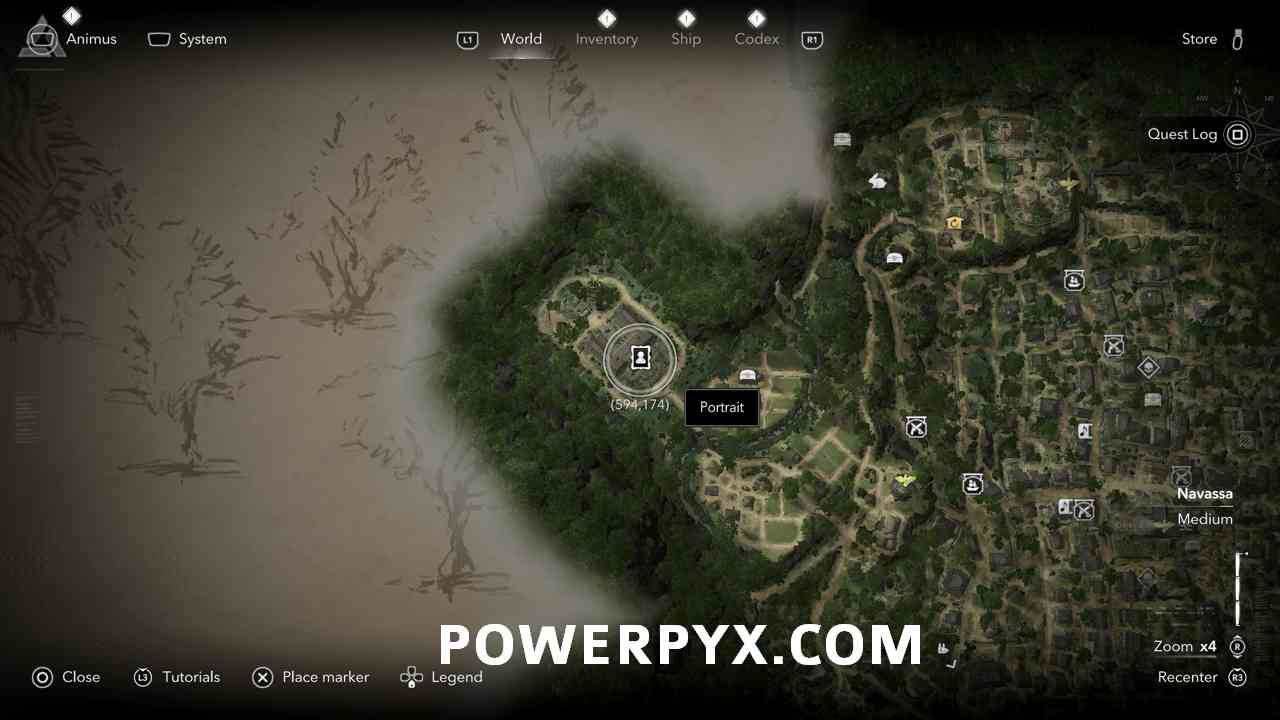
#4 – Portrait (Laurens Prins’ Portrait)
Located in the second floor room of the Plantation House on the West side of Kingston (The Bloody Spanish Medal Trinket can also be found in this room).
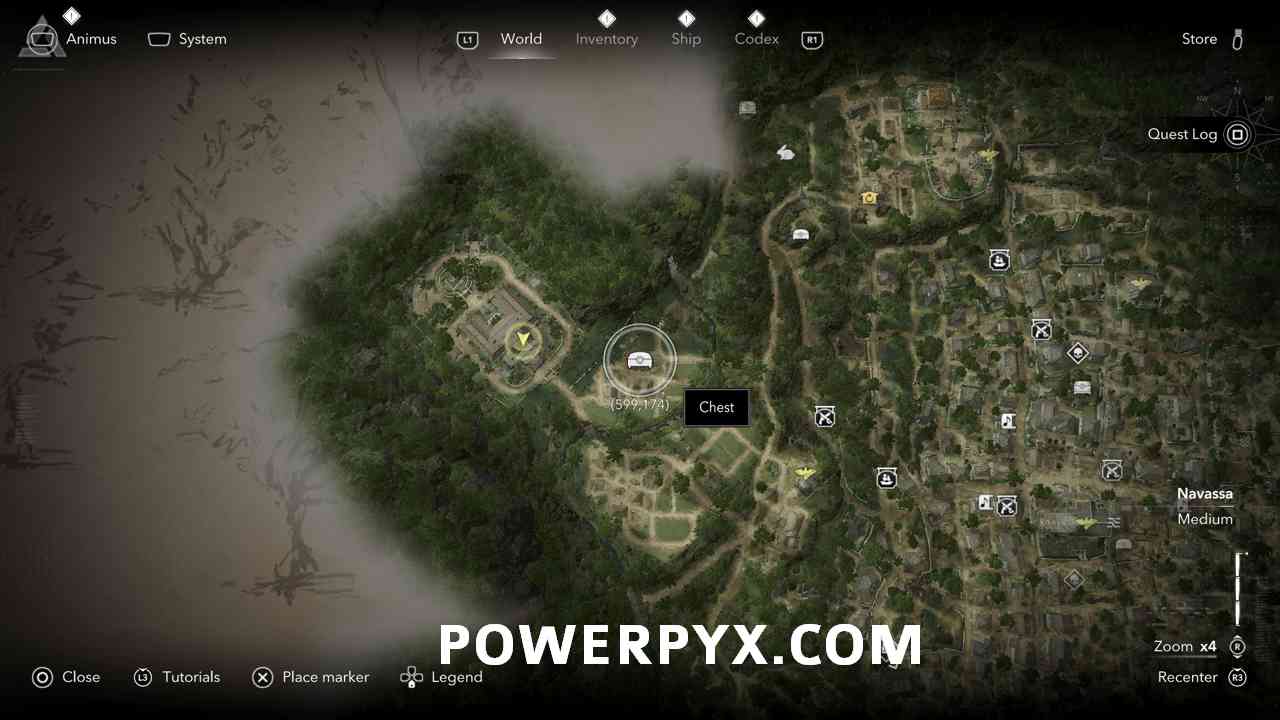
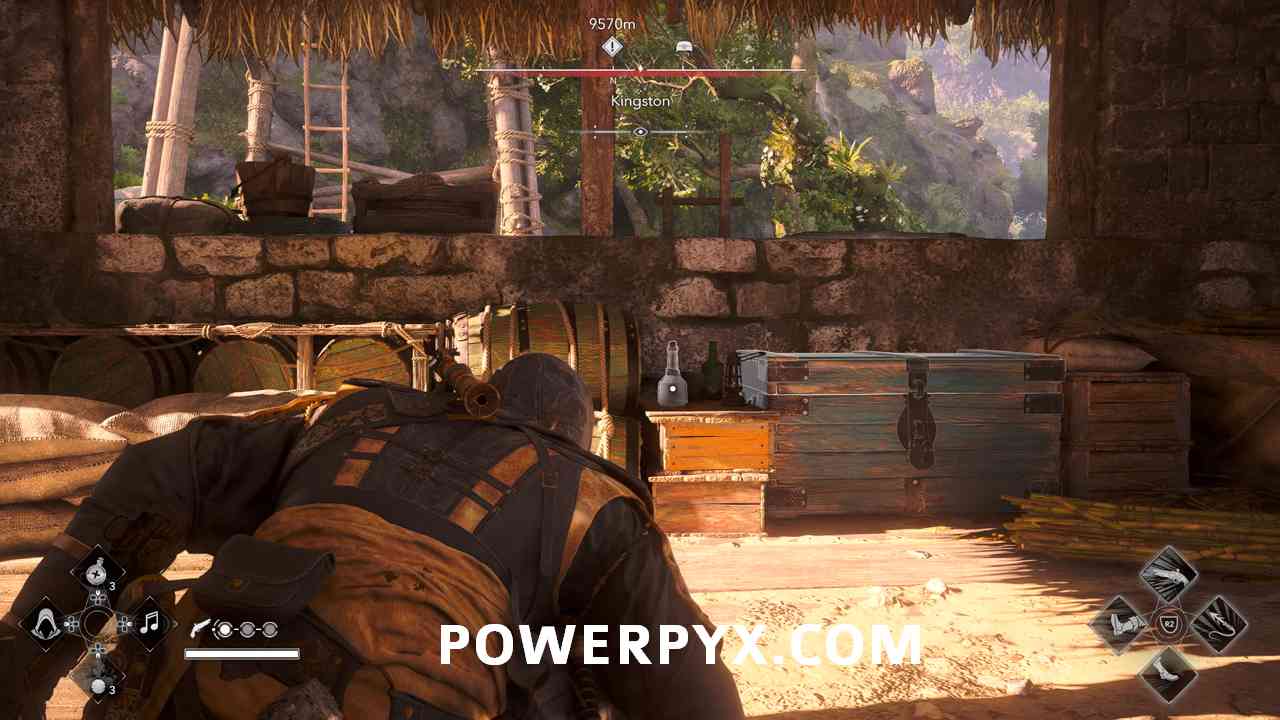
#5 – Chest 2/5 (Money)
Located in a small building next to the Northern most watchtower of the plantation on the West side of Kingston.
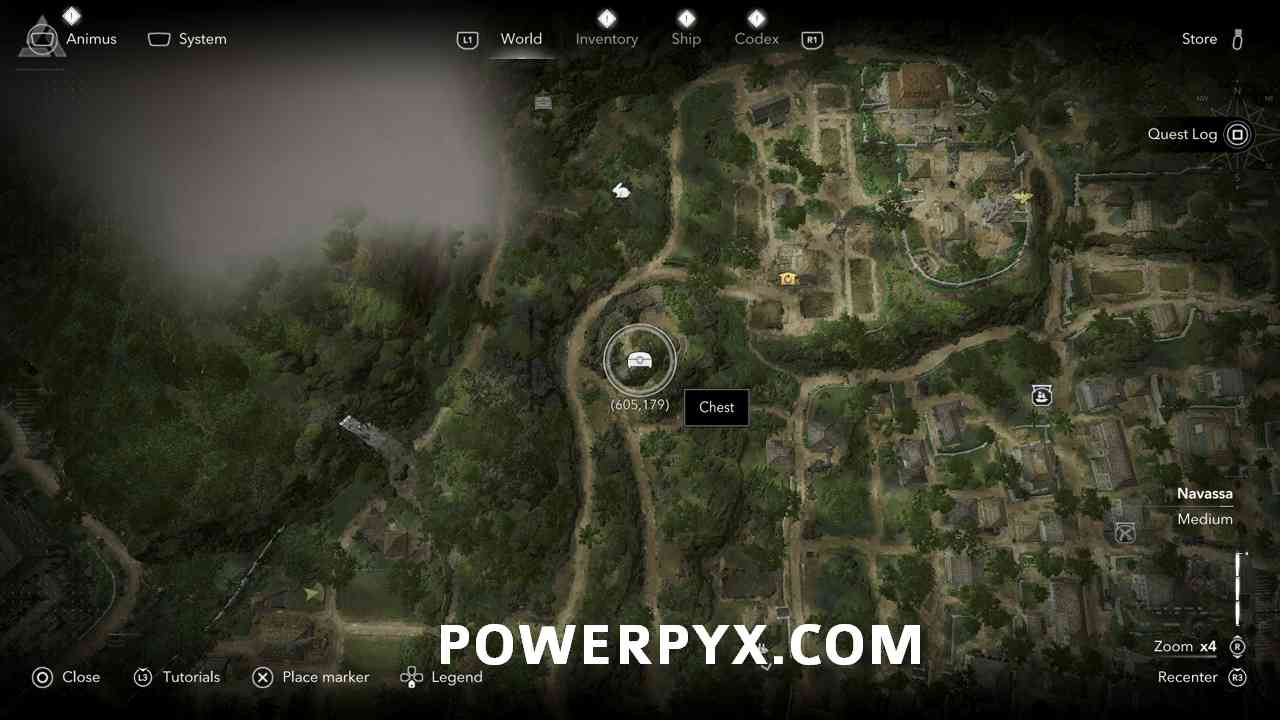
#6 – Chest 3/5 (Money)
Located on a raised section of land just Southwest of the North Plantation.
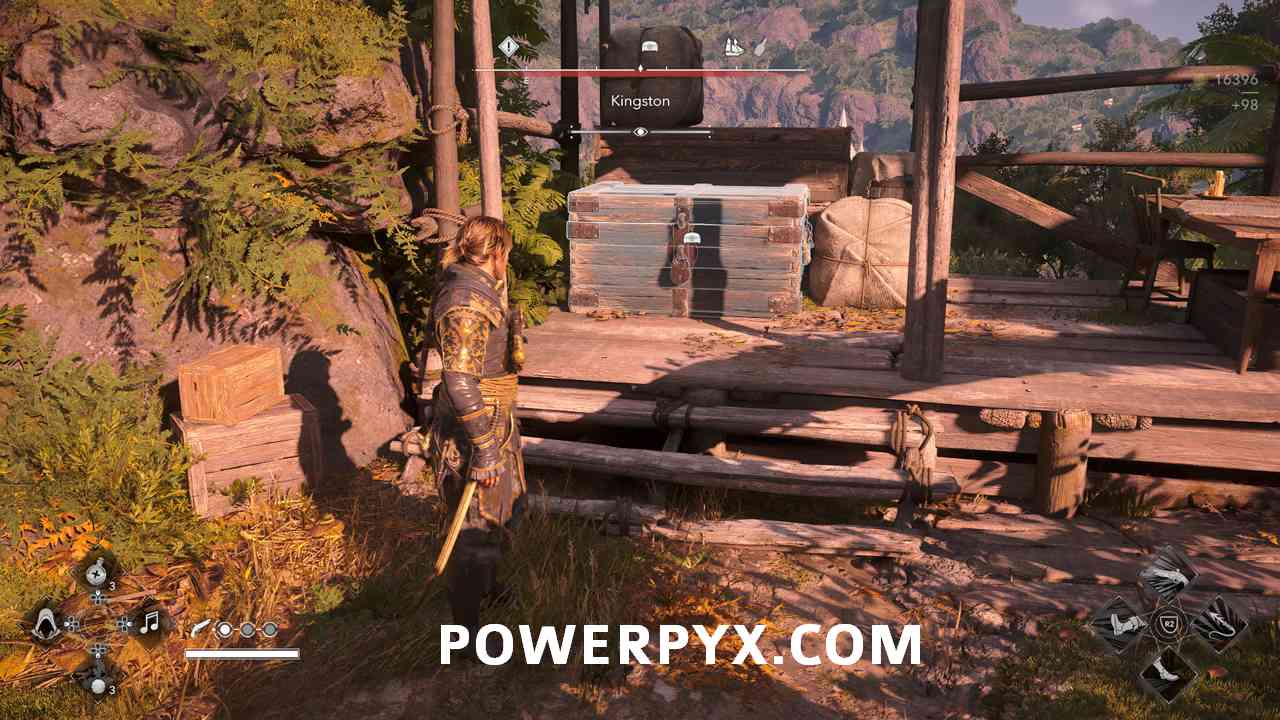
#7 – Secret 2/4: Chest (“World Map” (1570) Manuscript)
In the top Northwest corner of Kingston there is a small campsite with British enemies. This chest is in this camp.
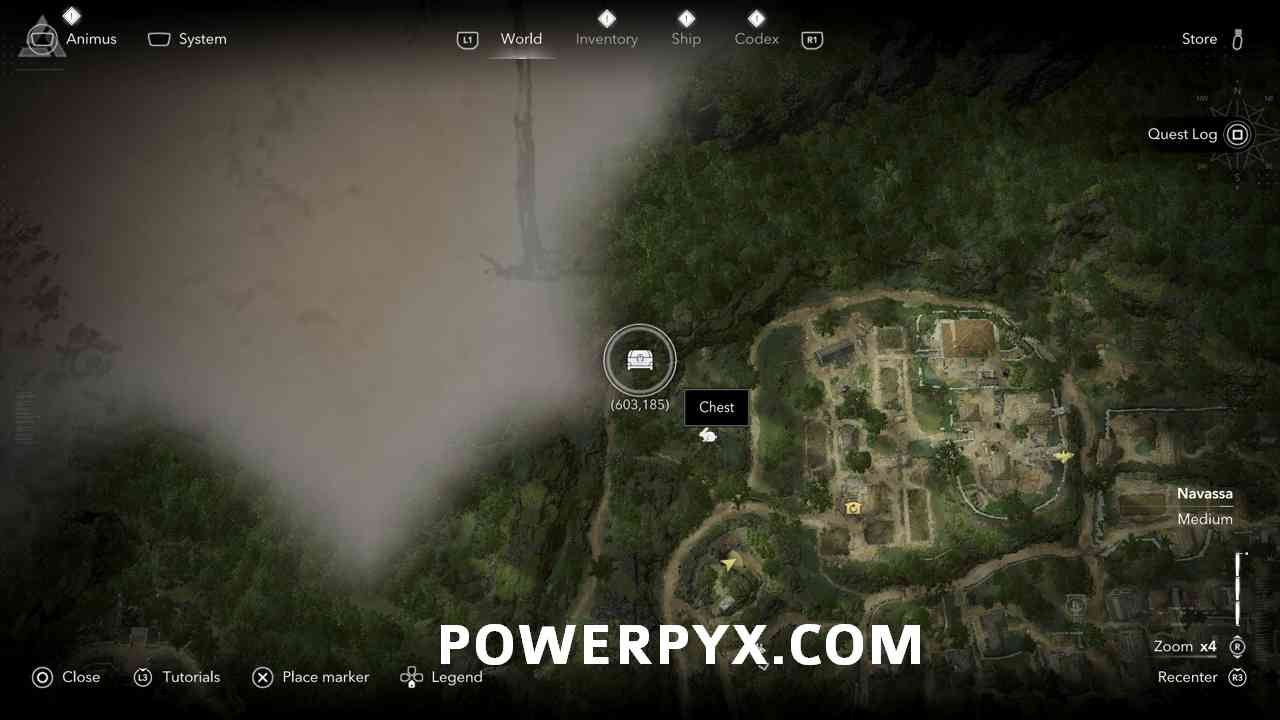
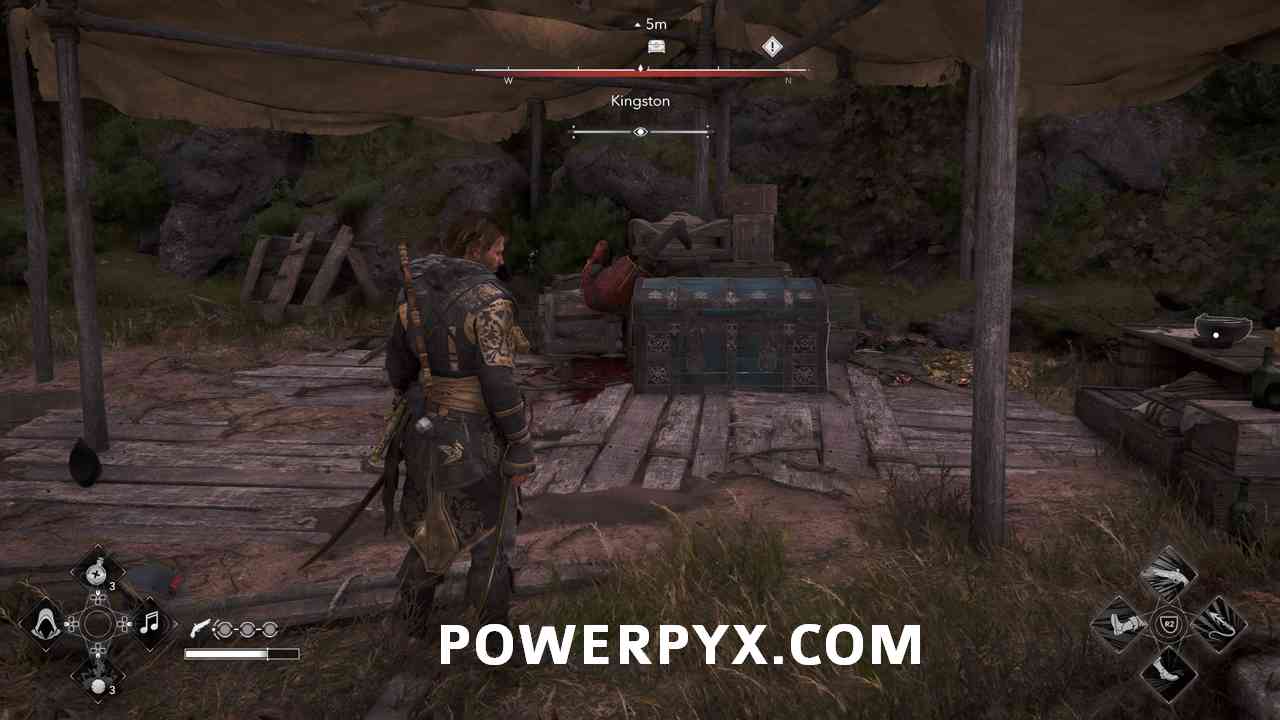
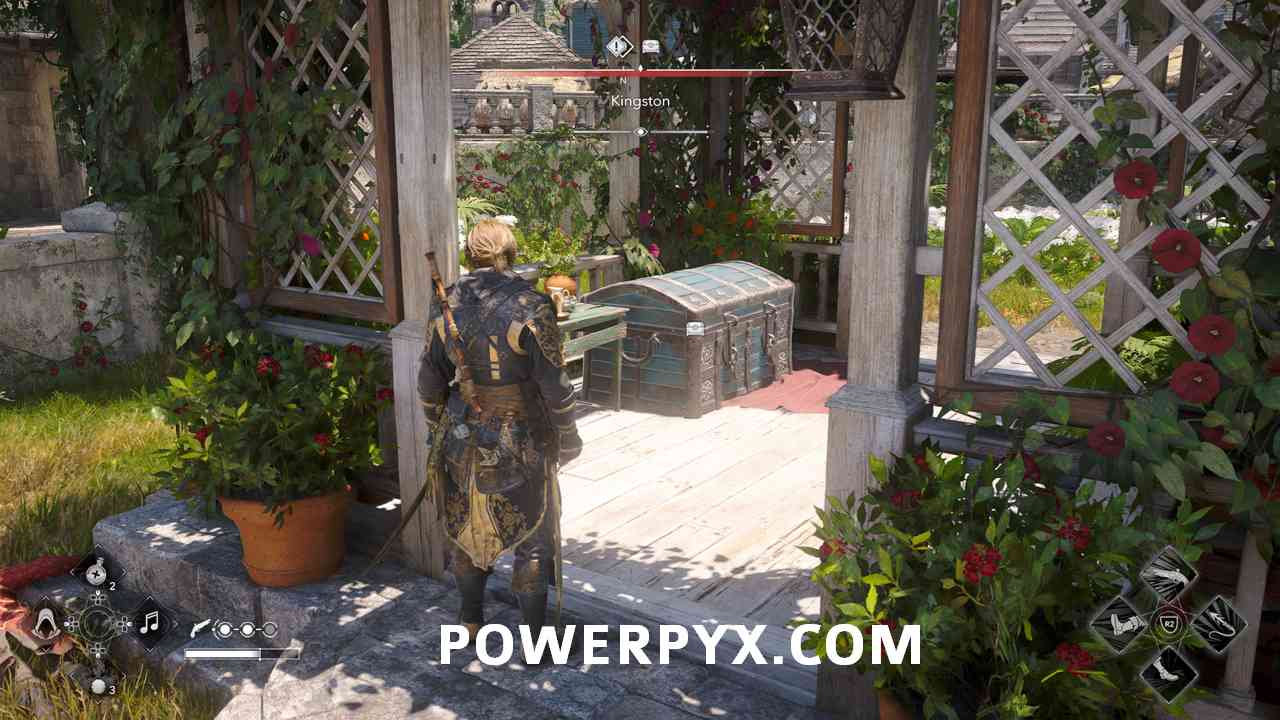
#8 – Secret 3/4: Chest (Art Piece – Triptych)
Just North of the church in a gazebo in a courtyard surrounded by enemies.
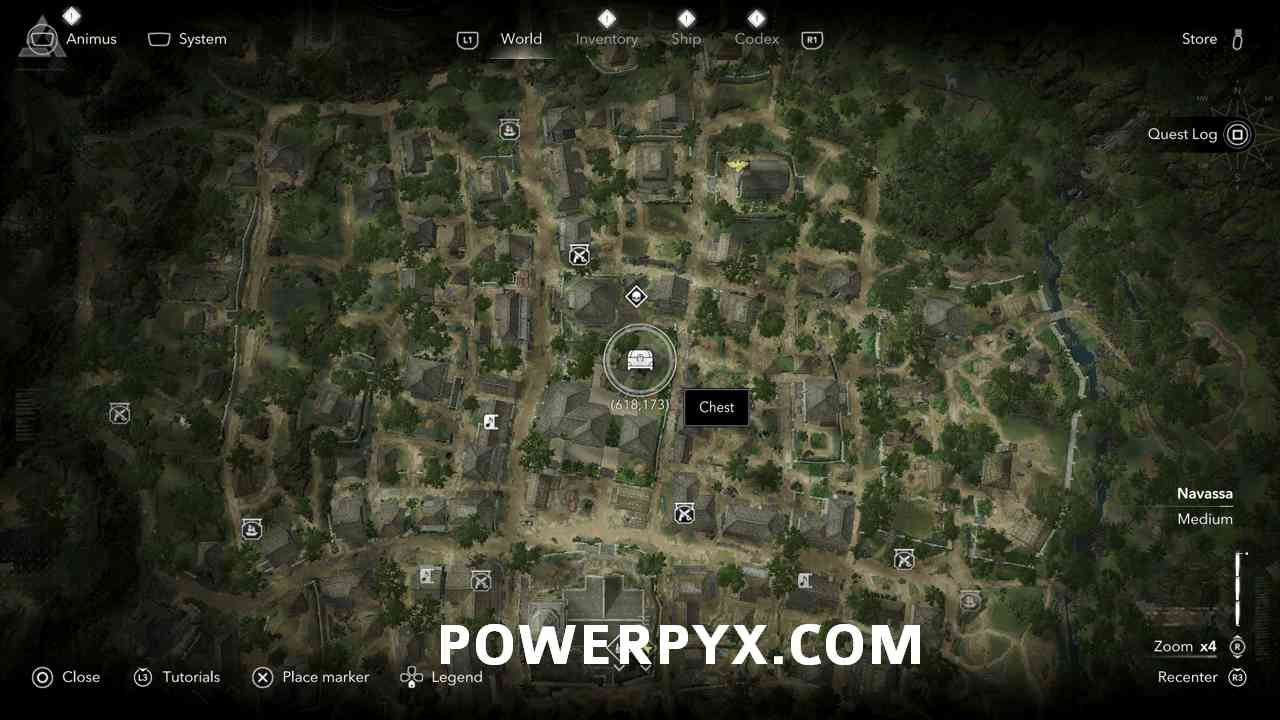
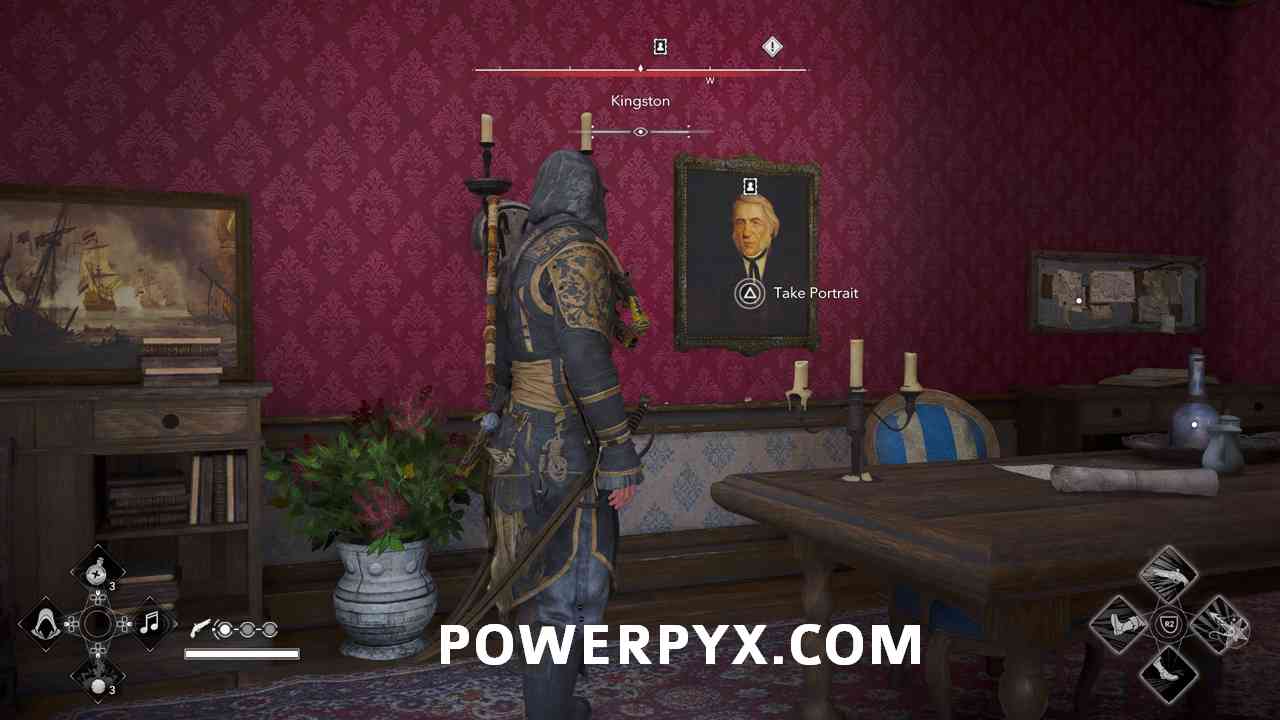
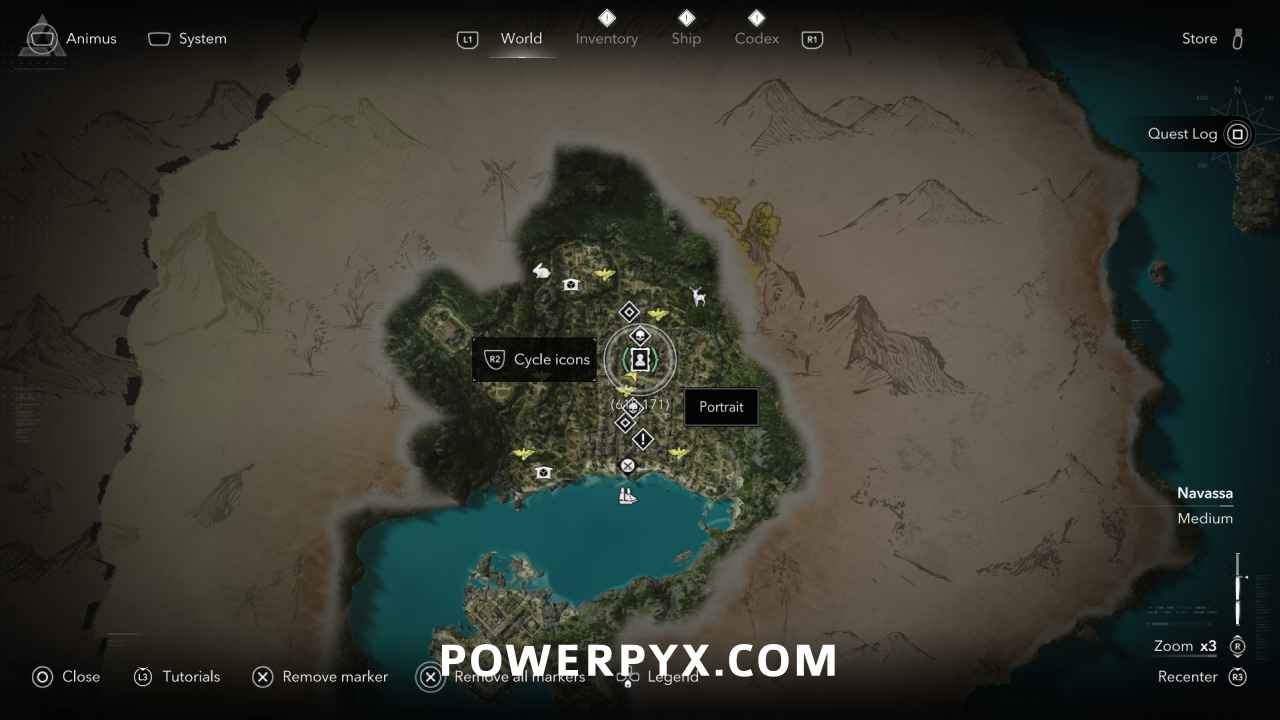
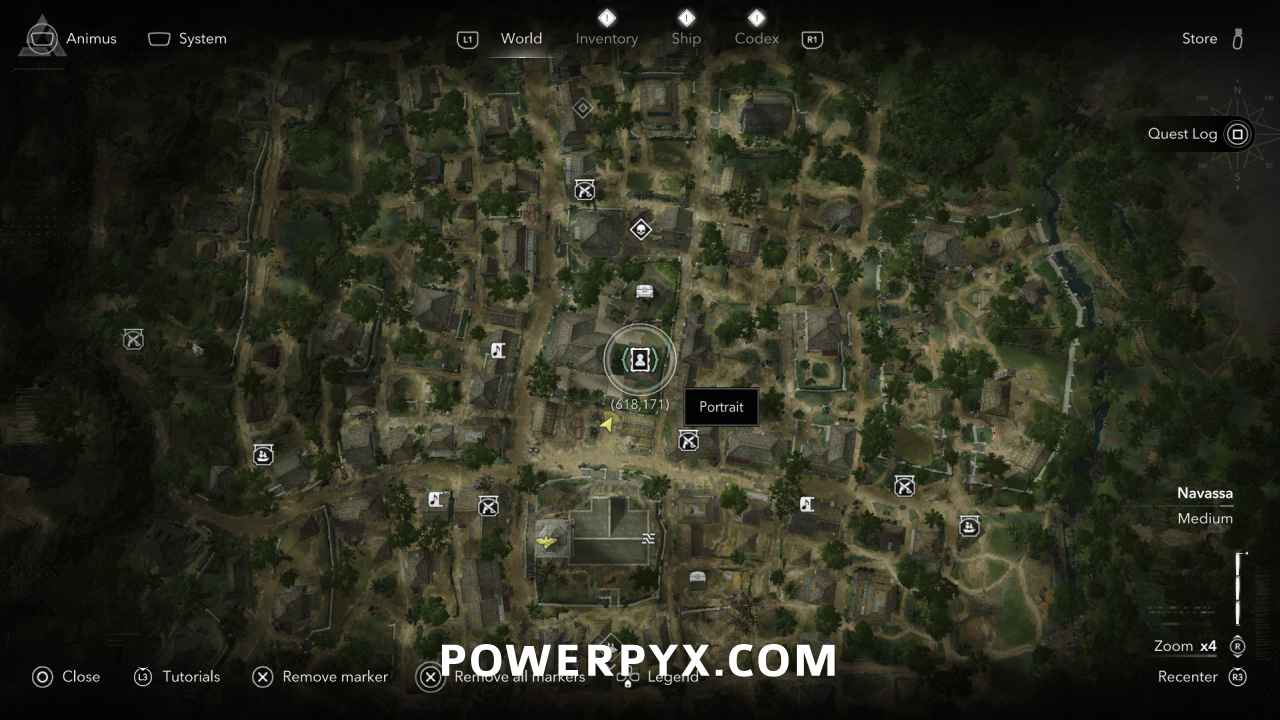
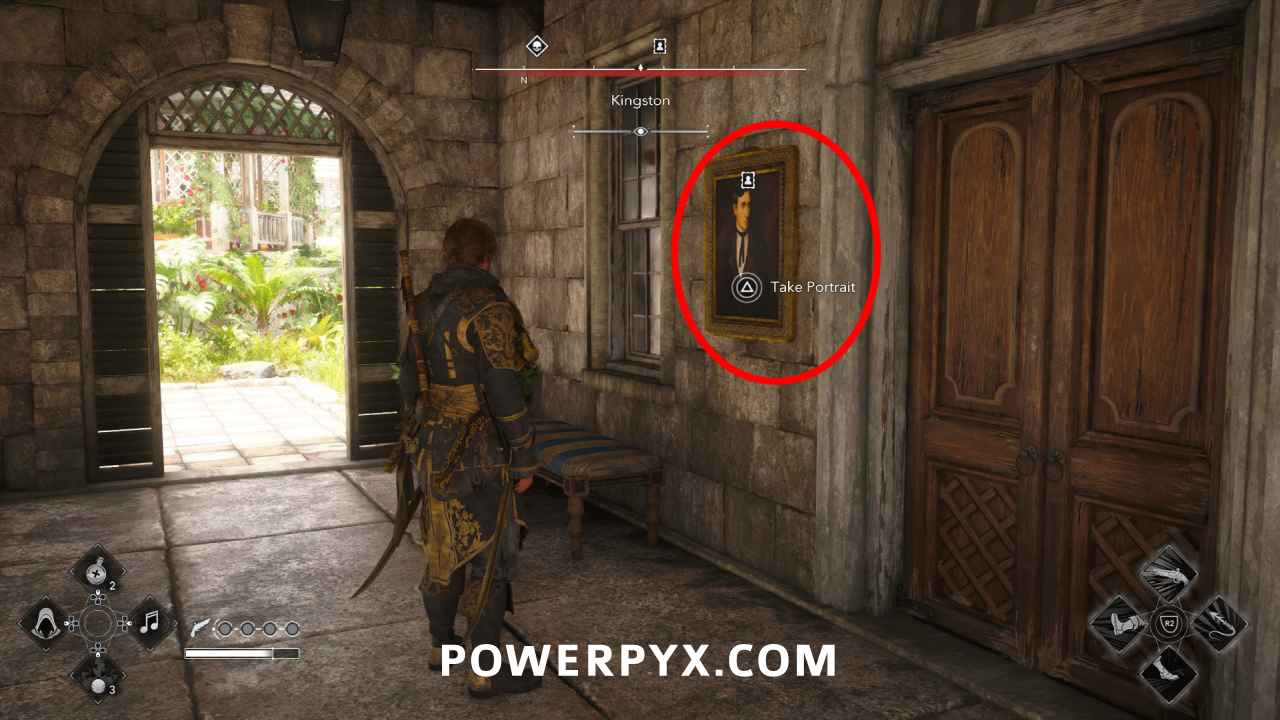
#9 – Woodes Rogers’ Portrait (*requires Story Progress, Sequence 12)
In the hallway of the manor in the middle of Kingston (618, 171). The portrait only spawns after advancing the story to Sequence 12 – Mission 01: A Governor No Longer.
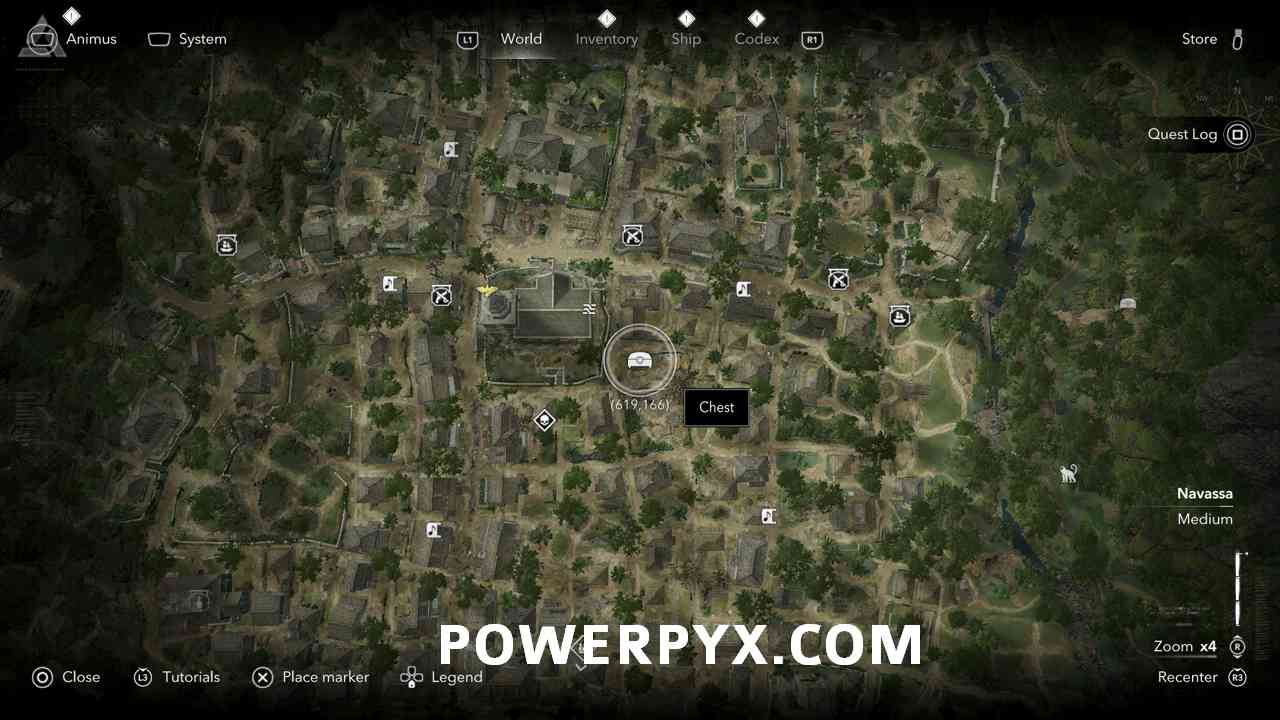
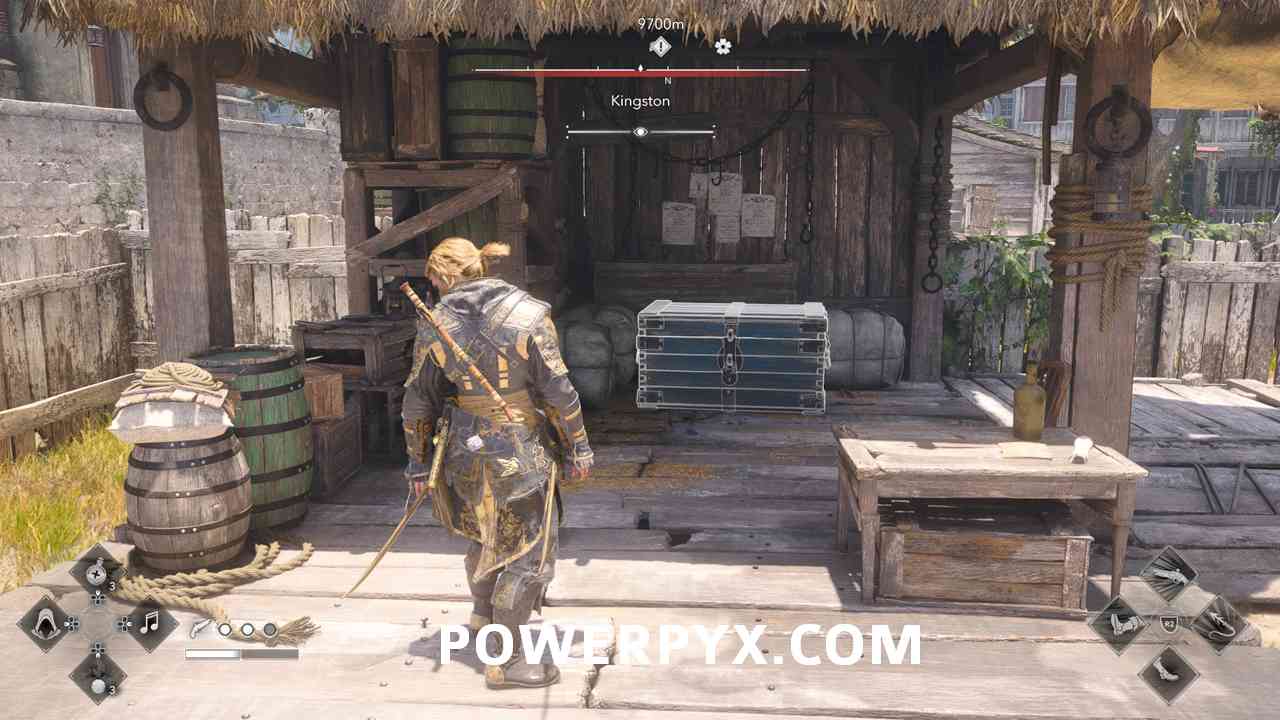
#10 – Chest 4/5 (Money)
Just East of the church in the center of Kingston in a little alcove surrounded by enemies.
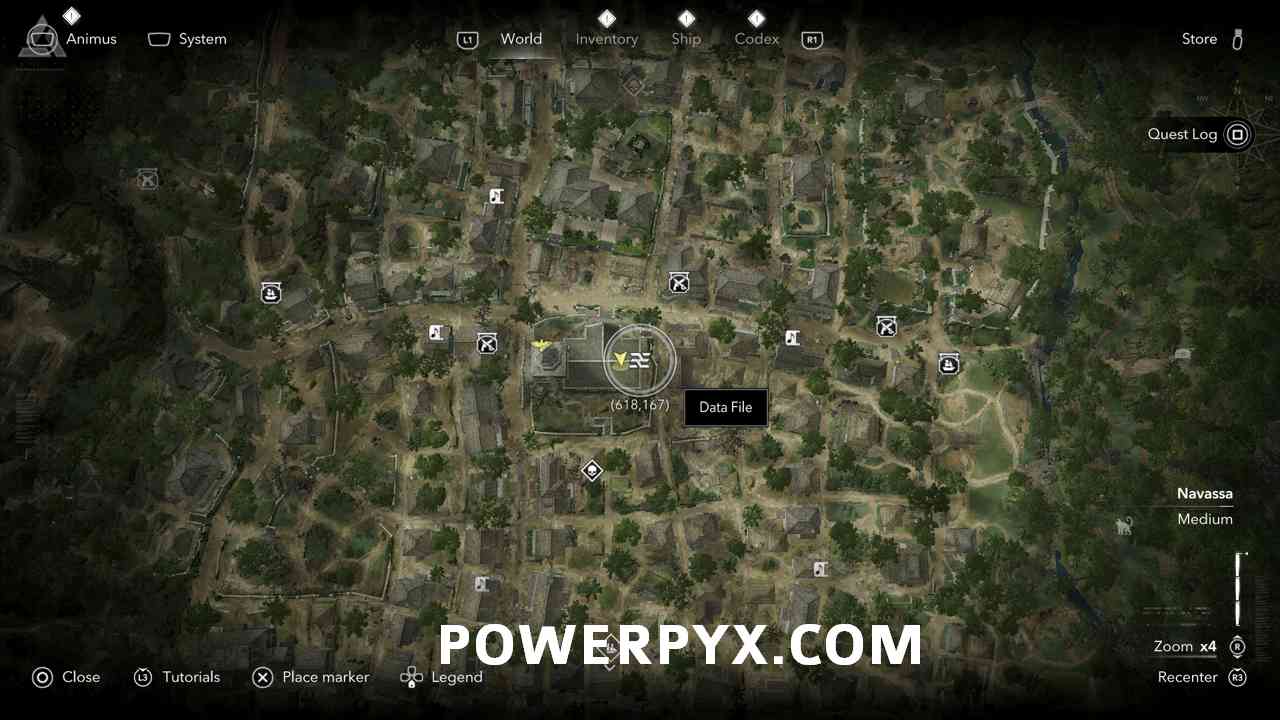
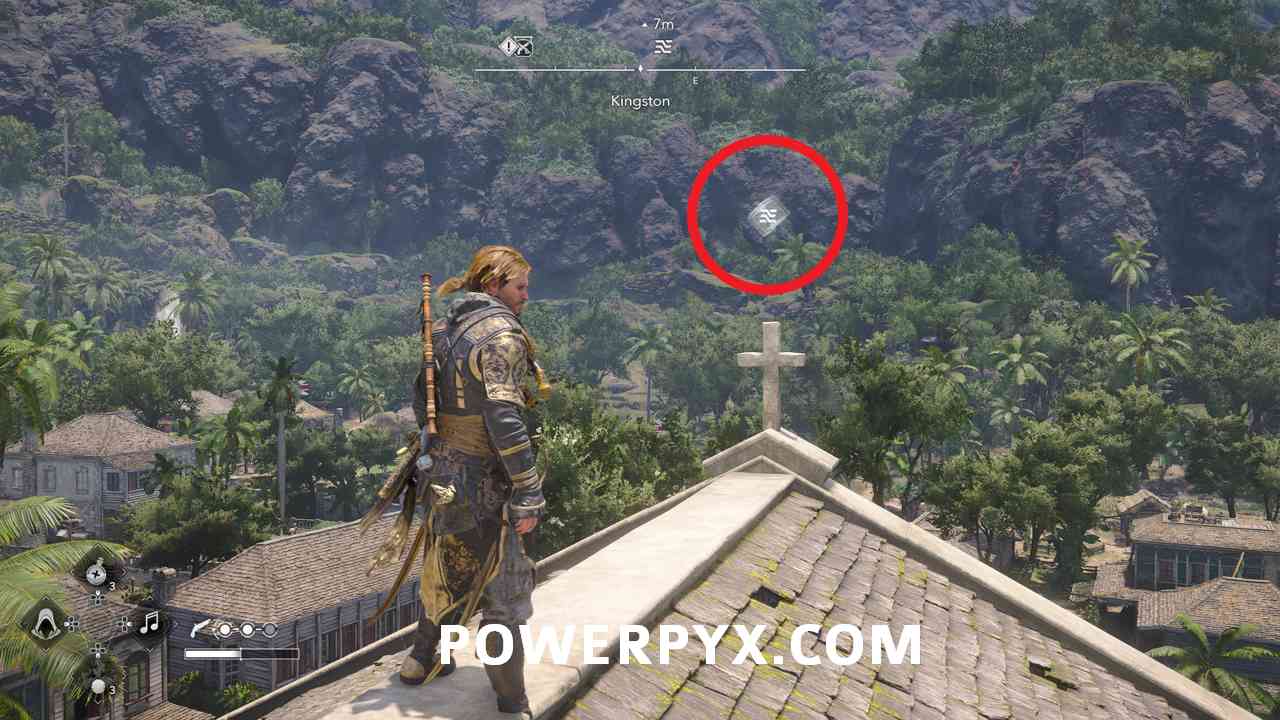
#11 – Data File
Located on the roof of the church in the center of Kingston.
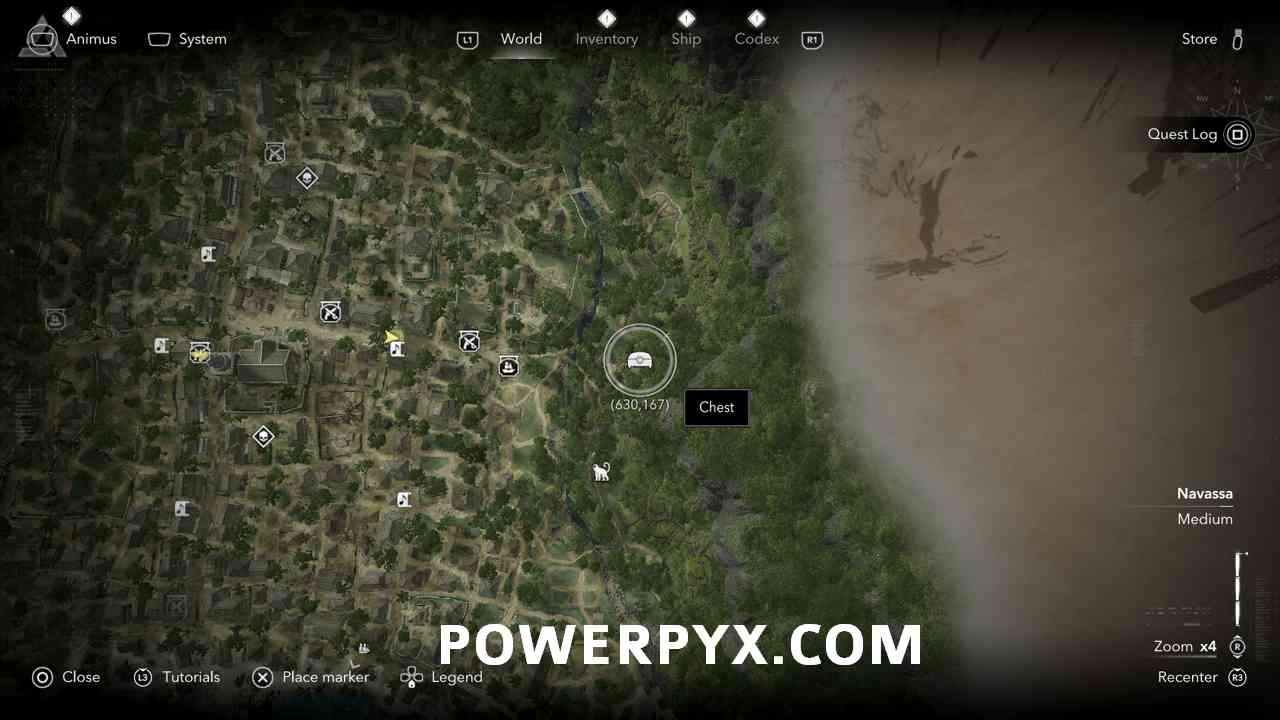
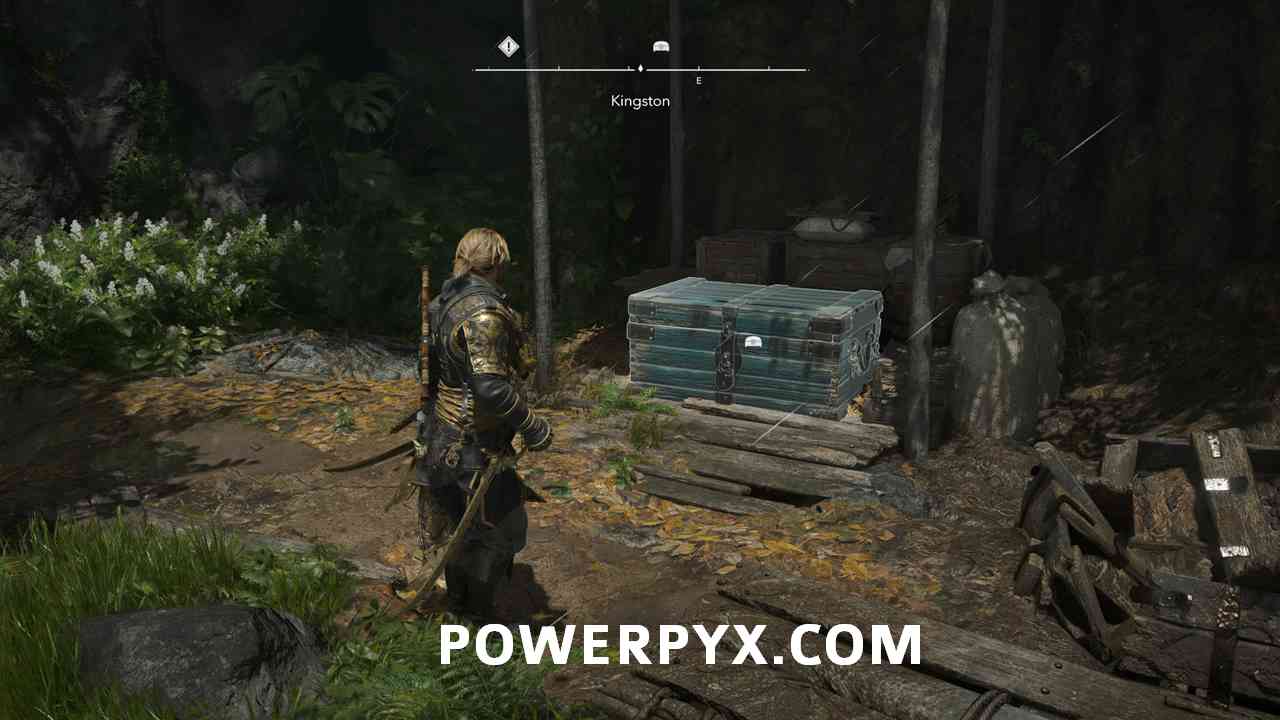
#12 – Chest 5/5 (Money)
Located on the East side of Kingston on a cliff. On the South side of the cliff is a tree with a barrel next to it. Use that tree to climb your way up to the cliff above.
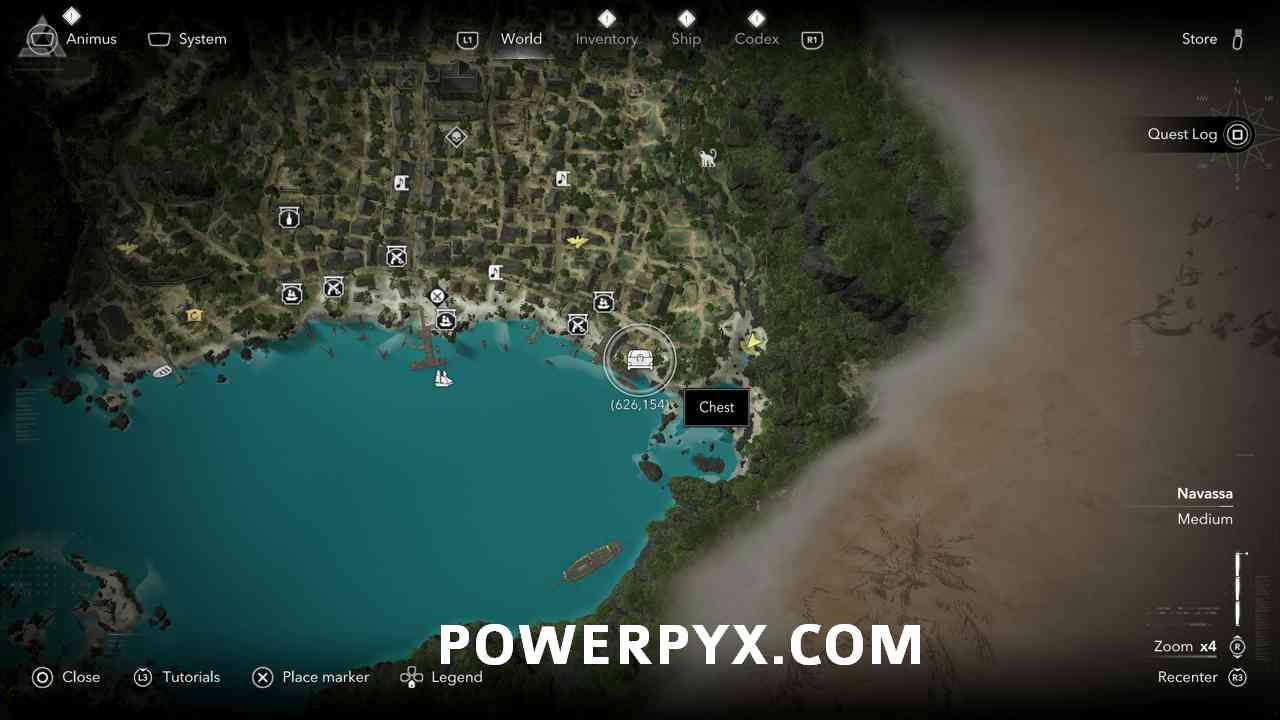
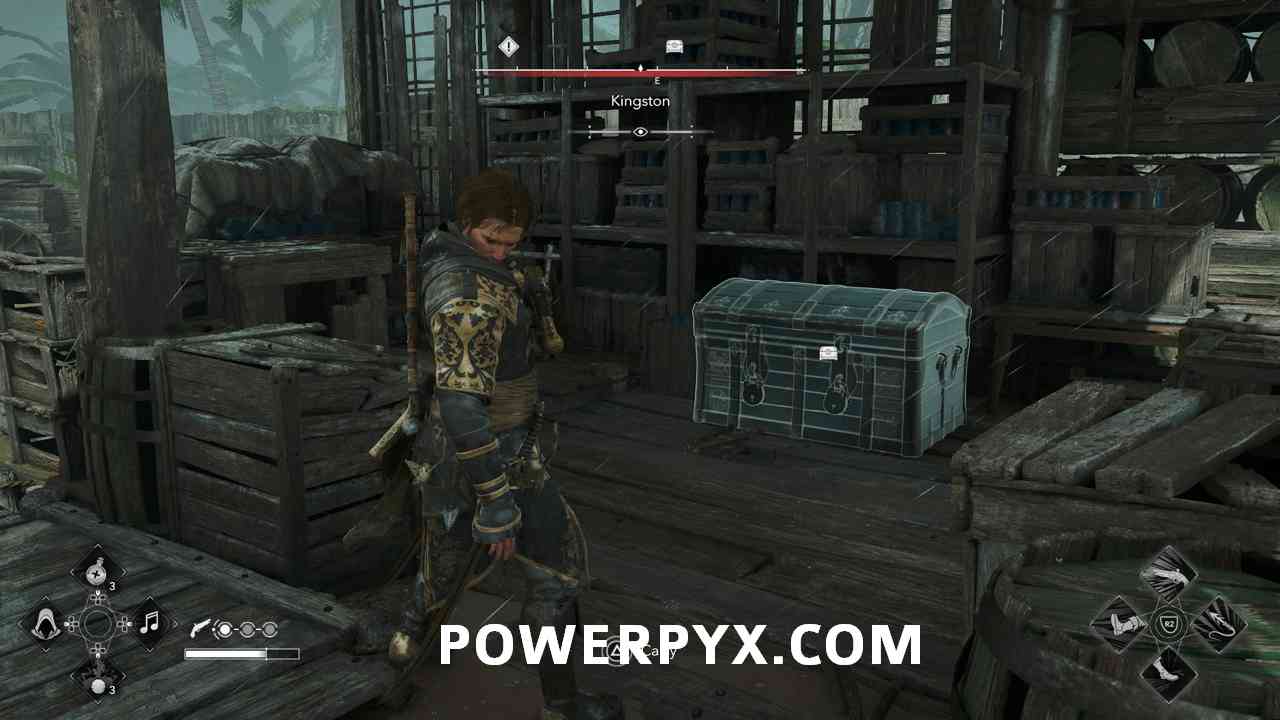
#13 – Secret 4/4: Chest (“De Gama Diary Extract” Manuscript)
Located on the Southeast side of the island in a small court behind a barn.
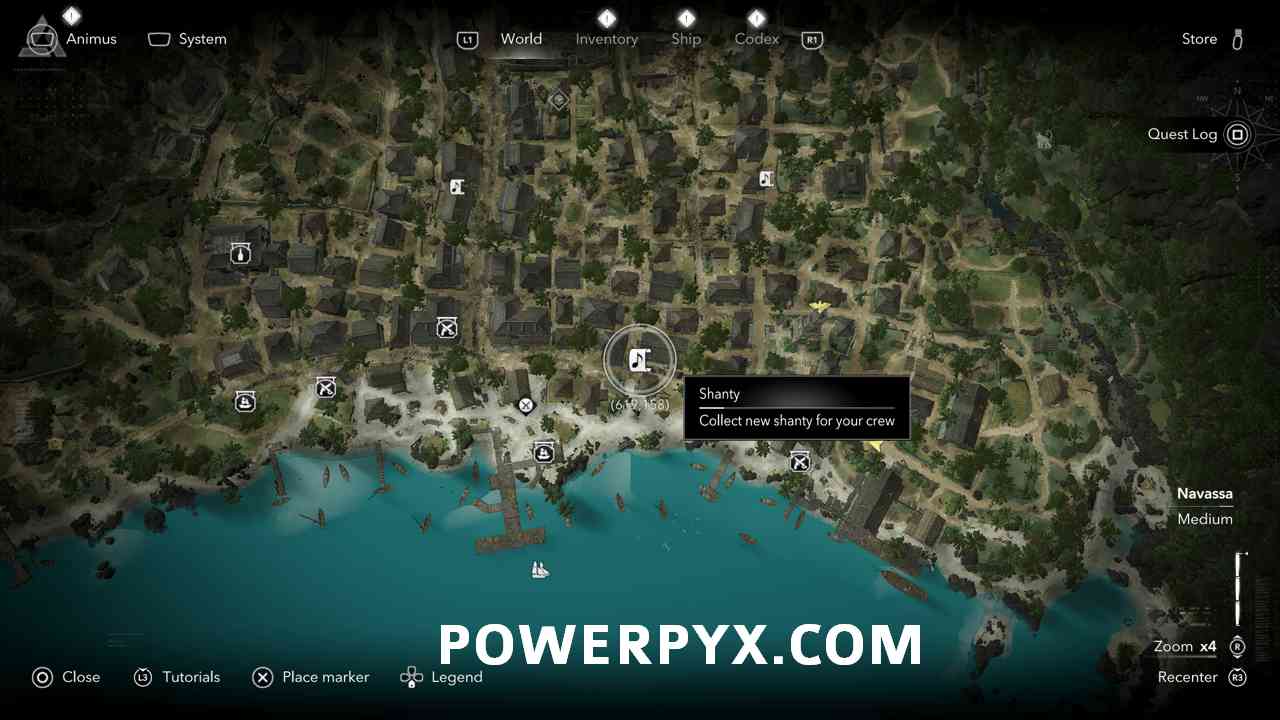
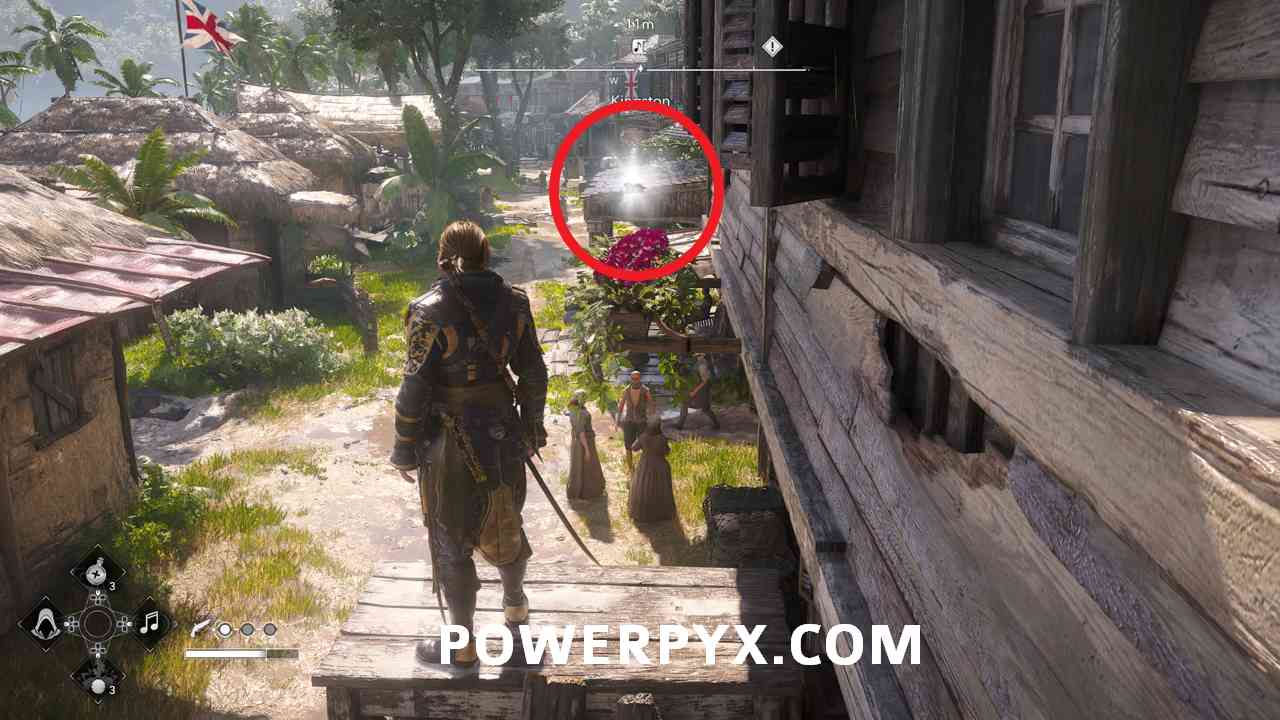
#14 – Song Sheet 1/6: “Roll and Go”
Located just off the shore in the South of Kingston. Once you approach it, it’ll start flying away. Chase it down and it’ll eventually stop for you to pick it up.
#15 – Song Sheet 2/6: “Hi-Ho Come Roll Me Over”
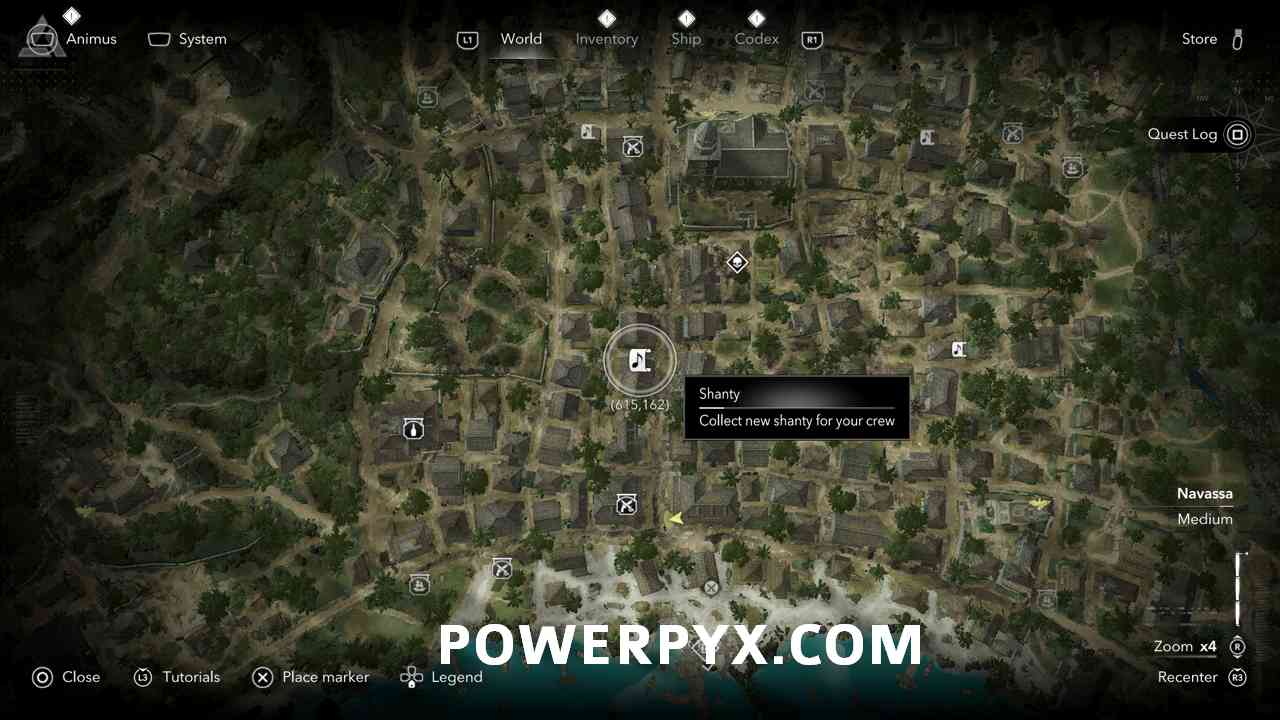
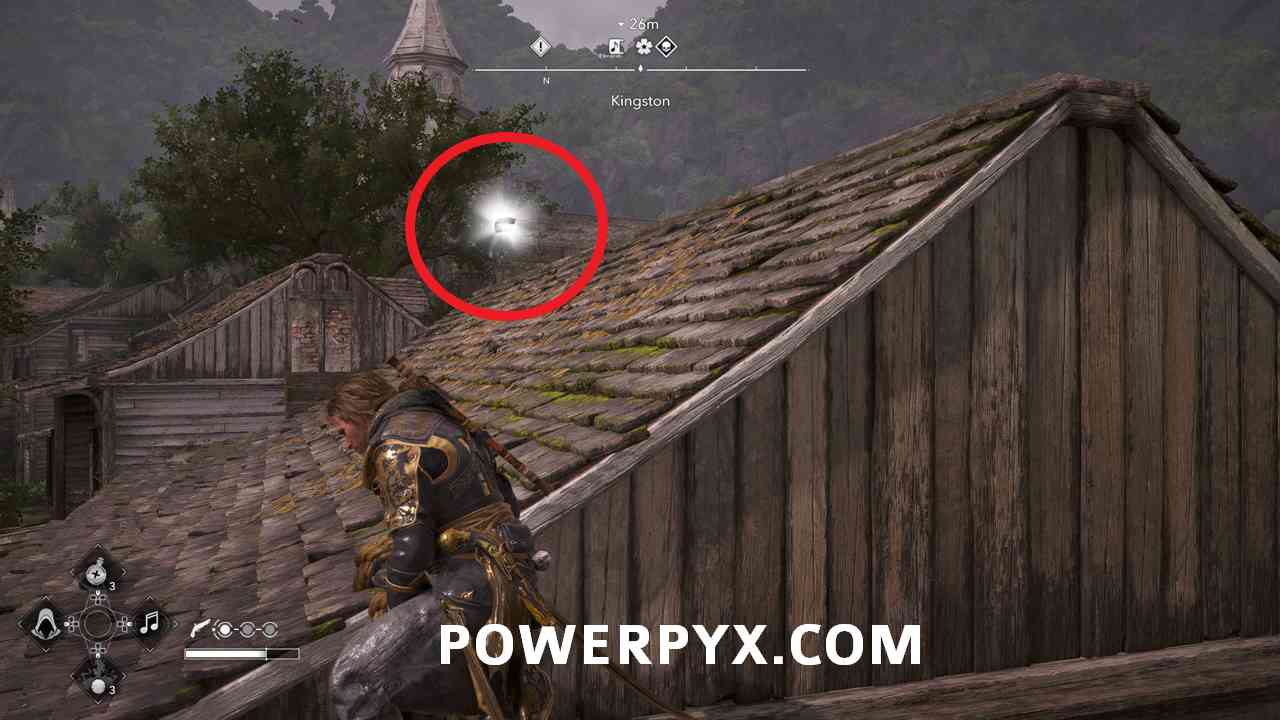
Located on a rooftop Southwest of the church. Once you approach it, it’ll start flying away. Chase it down and it’ll eventually stop for you to pick it up.
#16 – Song Sheet 3/6: “Good Morning Ladies All”
Located on a rooftop to the West of the church. Once you approach it, it’ll start flying away. Chase it down and it’ll eventually stop for you to pick it up.
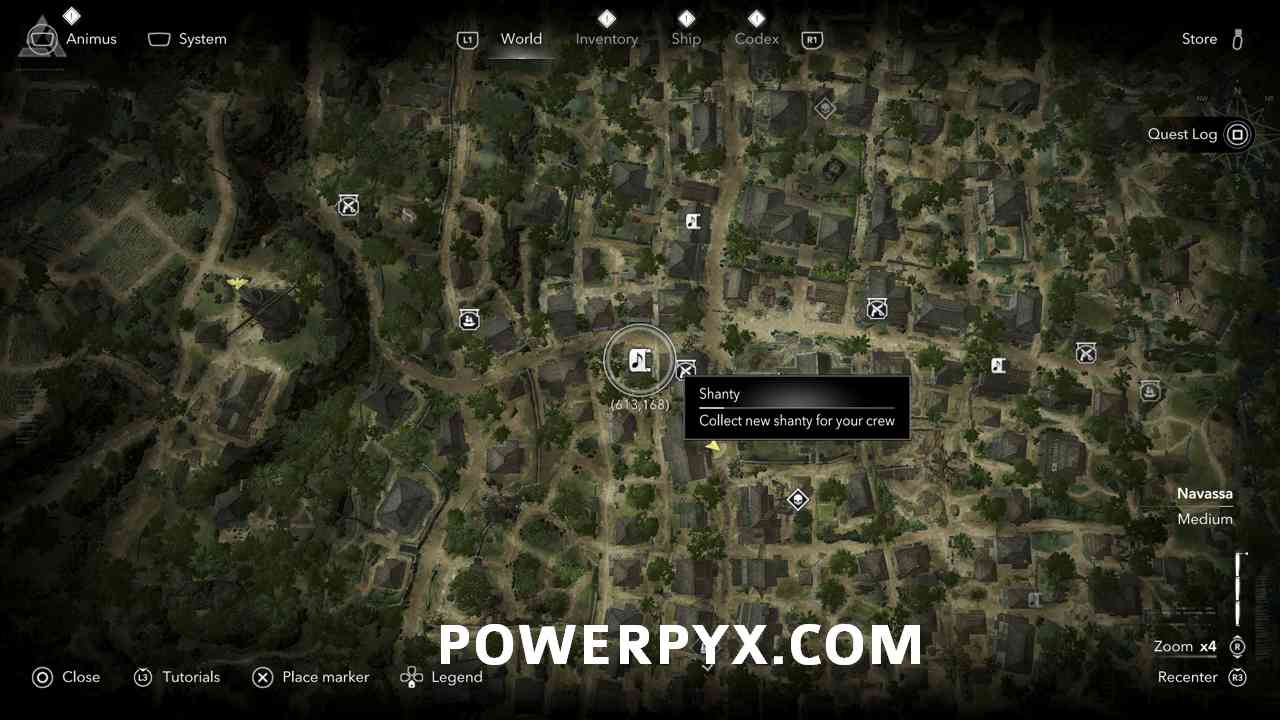
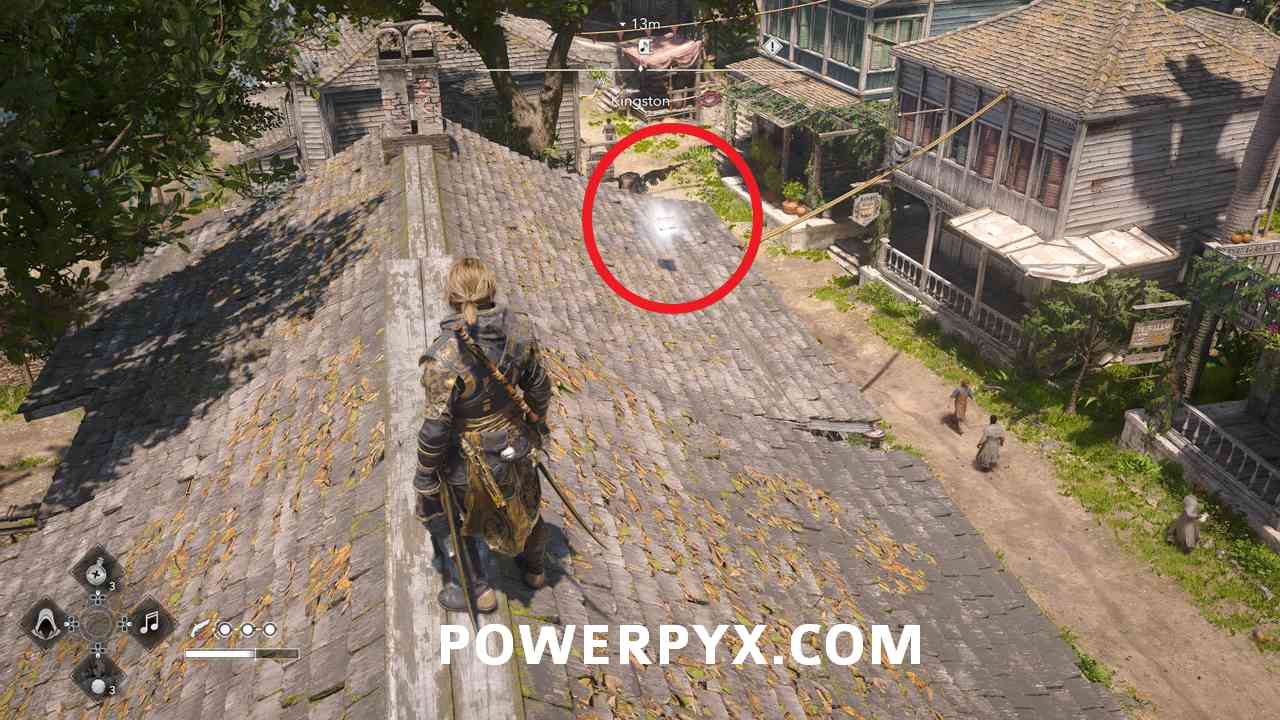
#17 – Song Sheet 4/6: Handy Me Boys
Located North of the church across the street on a rooftop. Once you approach it, it’ll start flying away. Chase it down and it’ll eventually stop for you to pick it up.
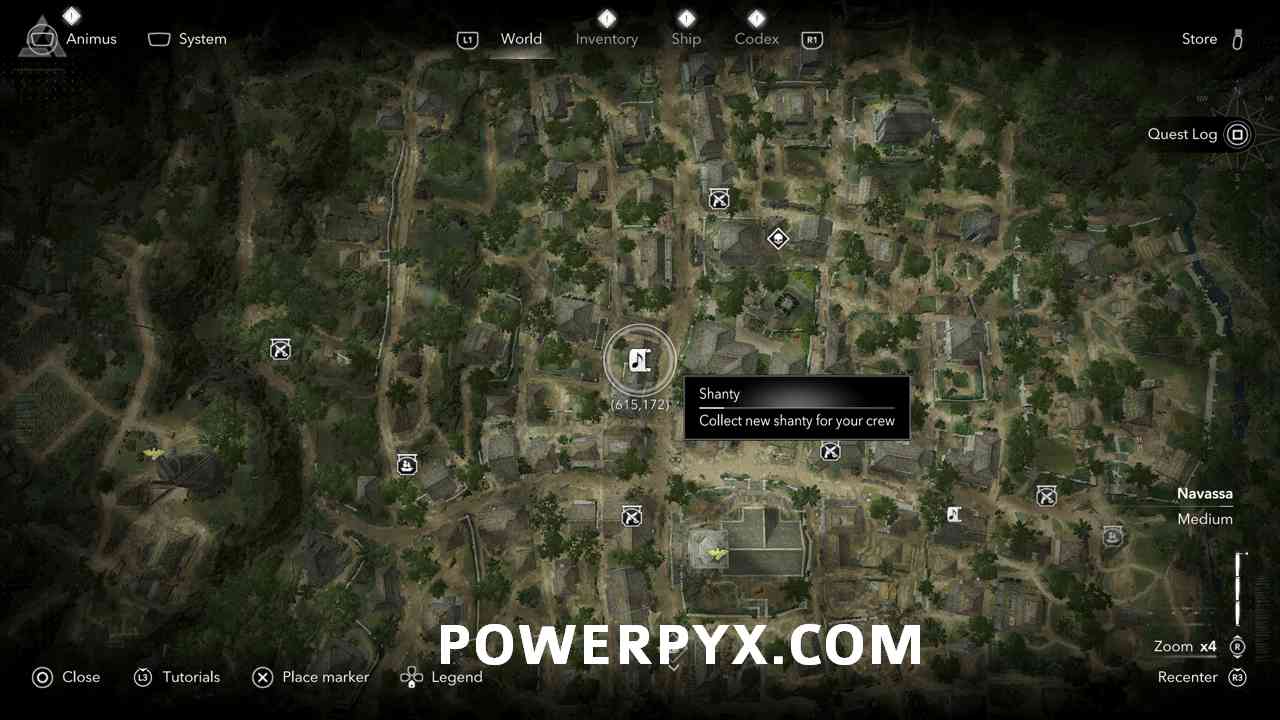
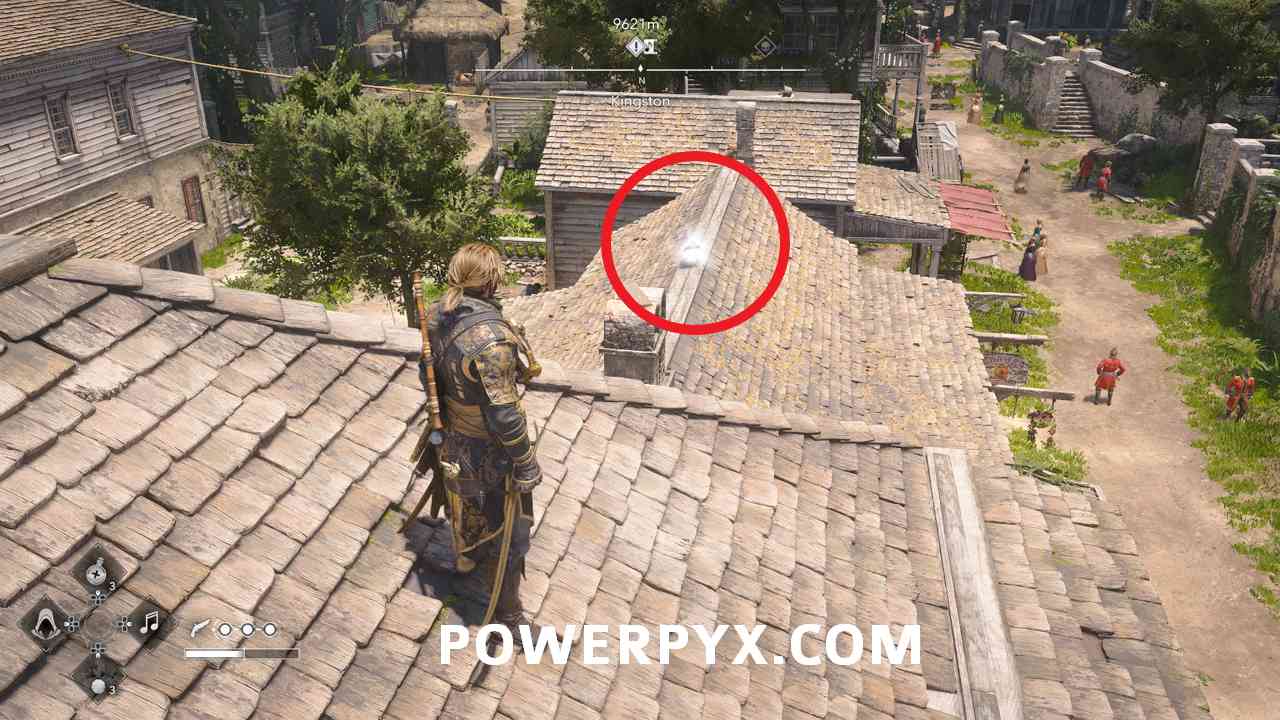
#18 – Song Sheet 5/6: “The Sailboat Malarkey”
Located just East of the church in the center of Kingston. Once you approach it, it’ll start flying away. Chase it down and it’ll eventually stop for you to pick it up.
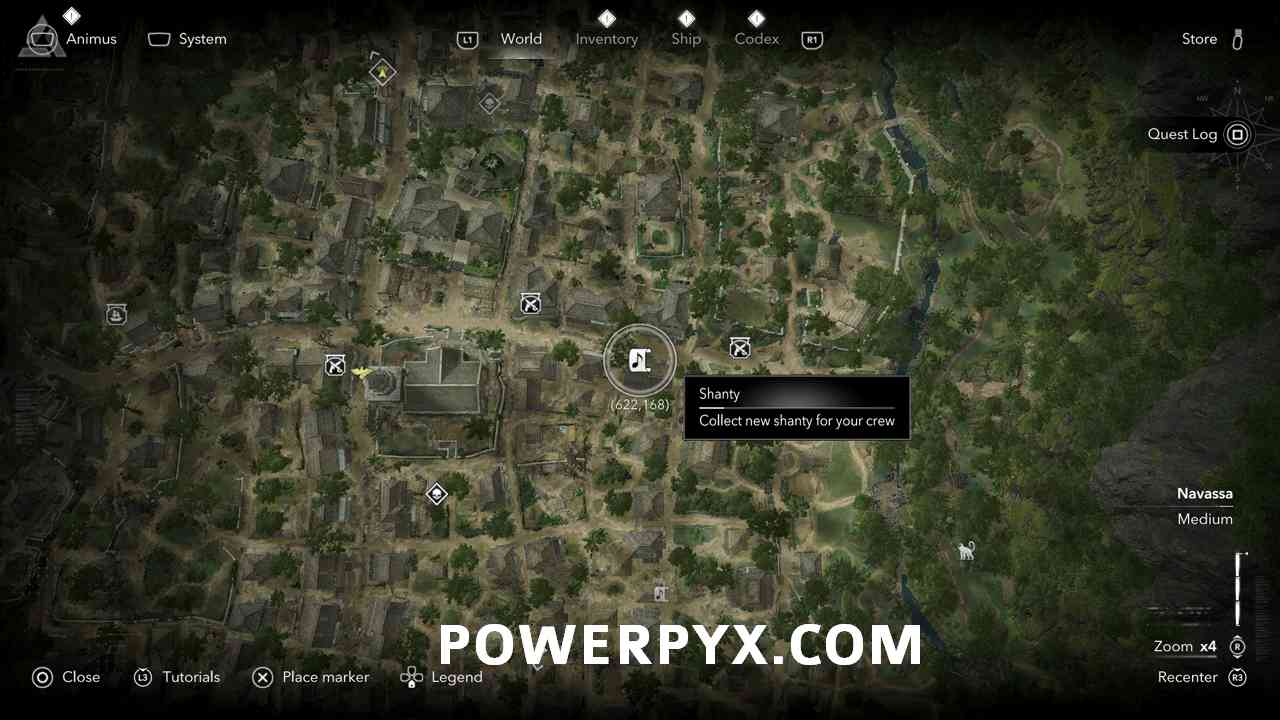
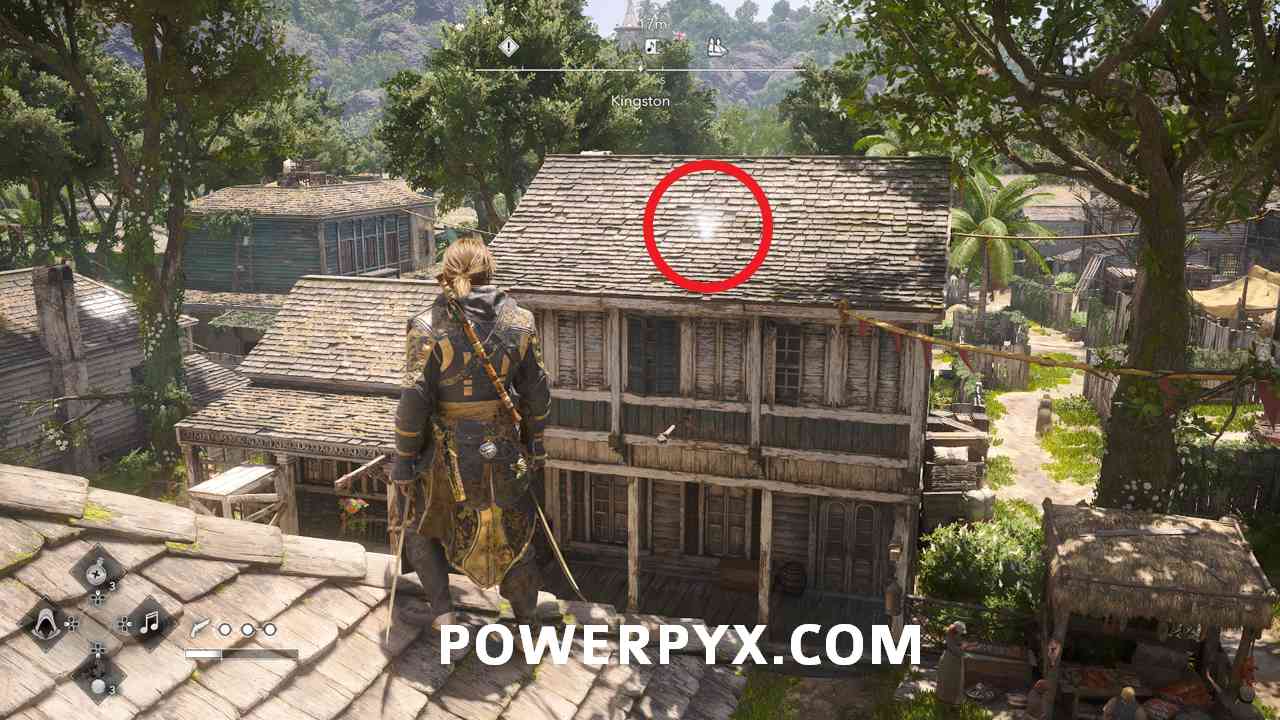
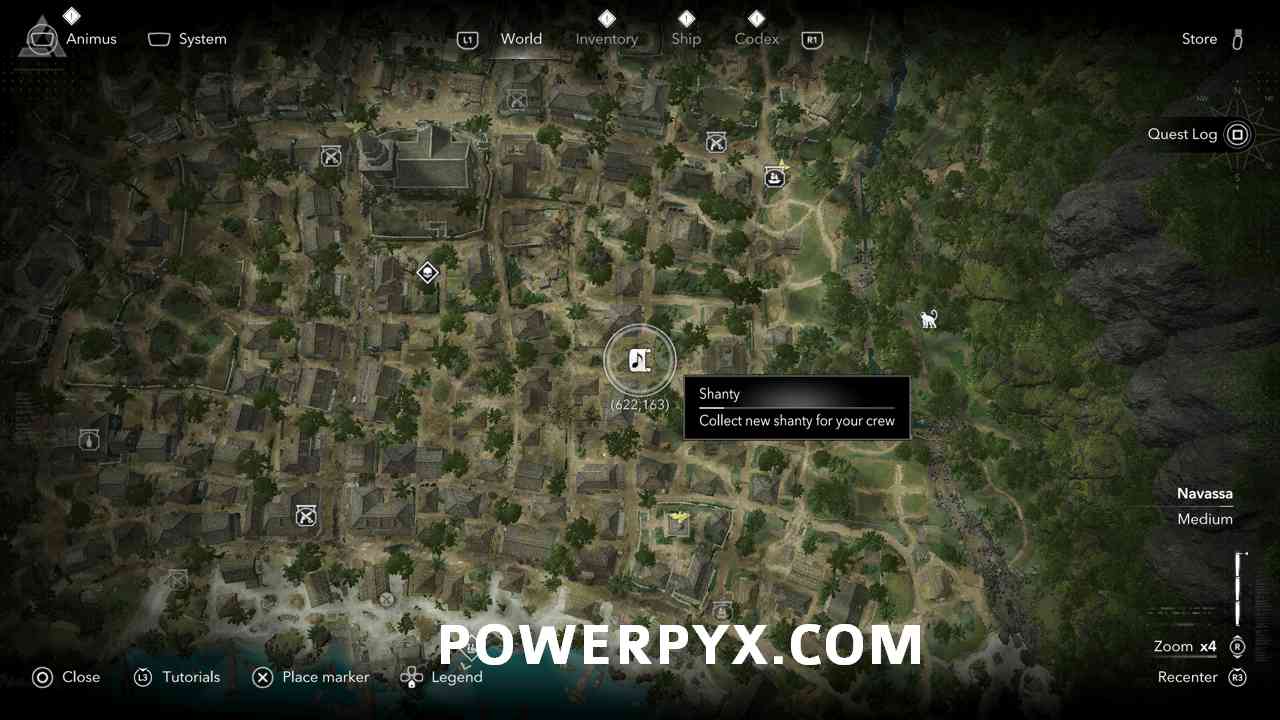
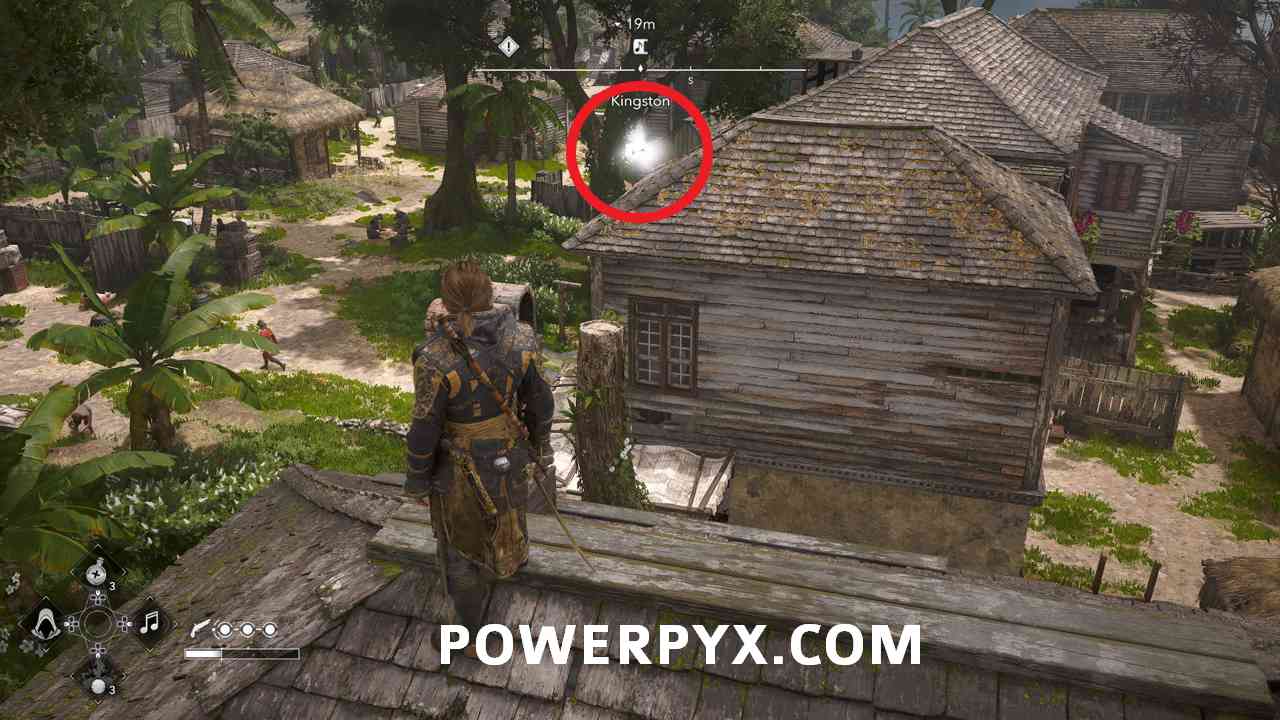
#19 – Song Sheet 6/6: “Cheerly Man”
Located on a rooftop Southeast of the church in the middle of Kingston. Once you approach it, it’ll start flying away. Chase it down and it’ll eventually stop for you to pick it up.
Viewpoints
#20 – Viewpoint 1
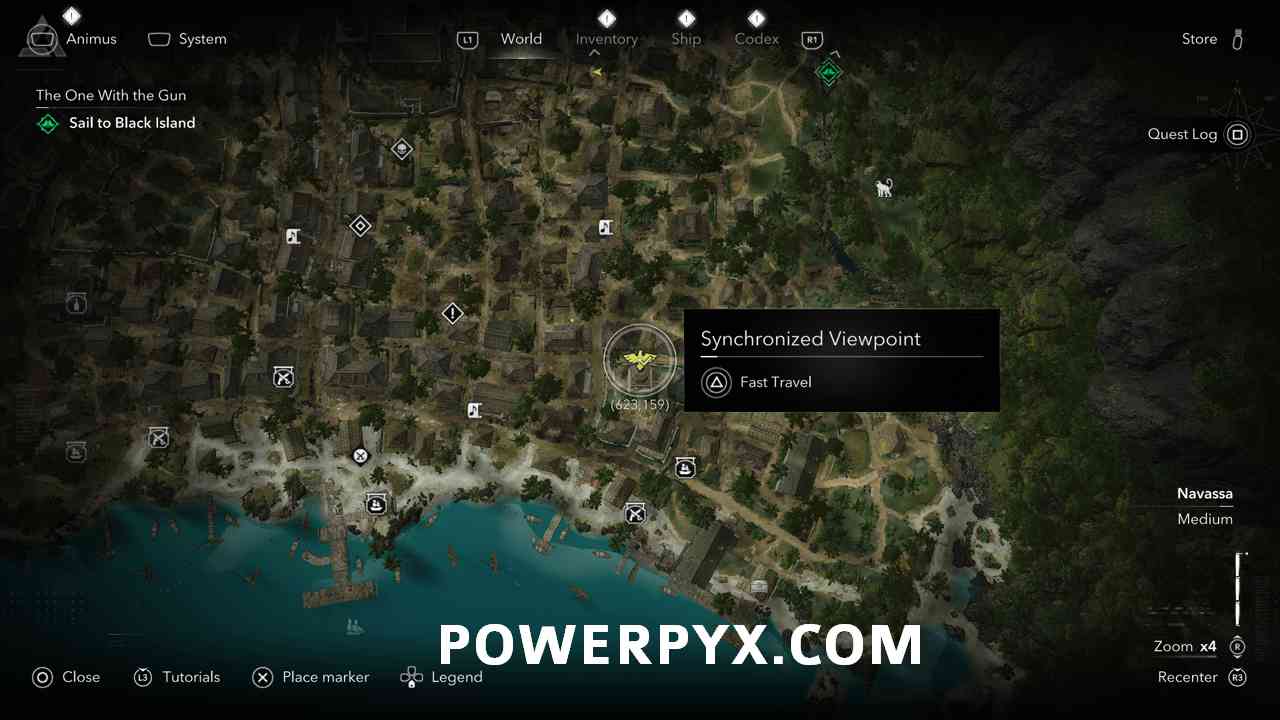
#21 – Viewpoint 2
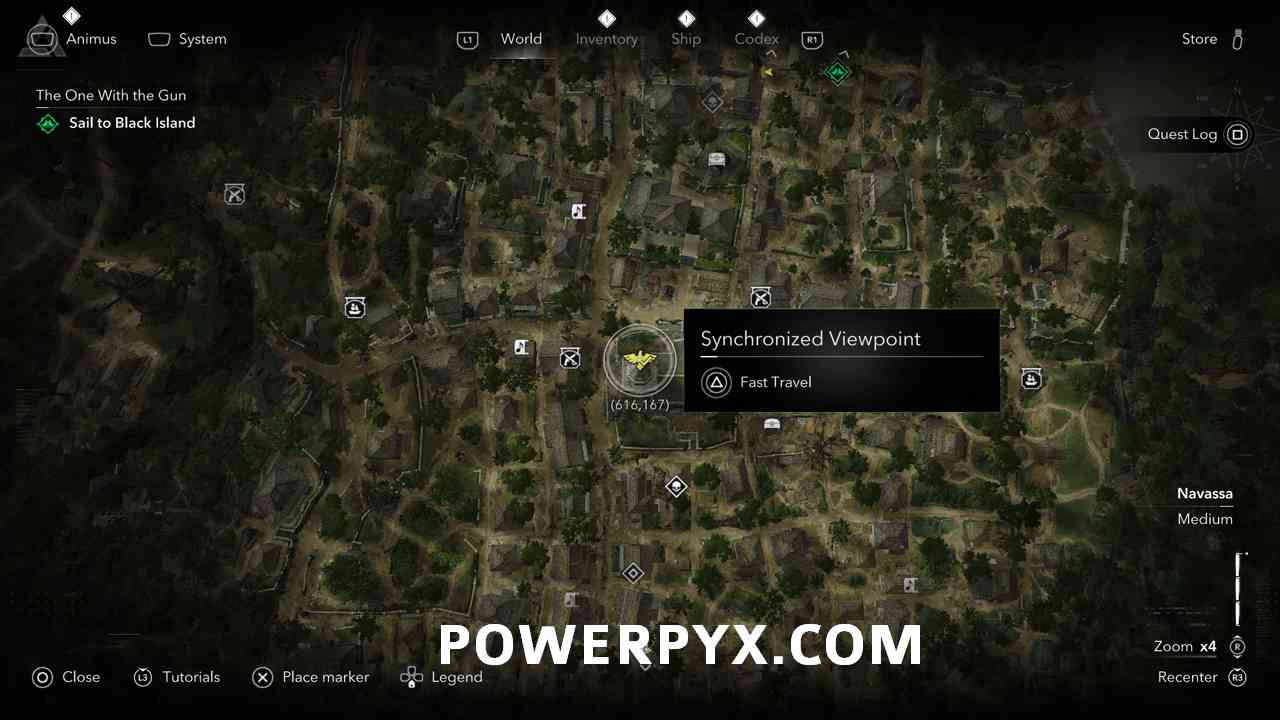
#22 – Viewpoint 3
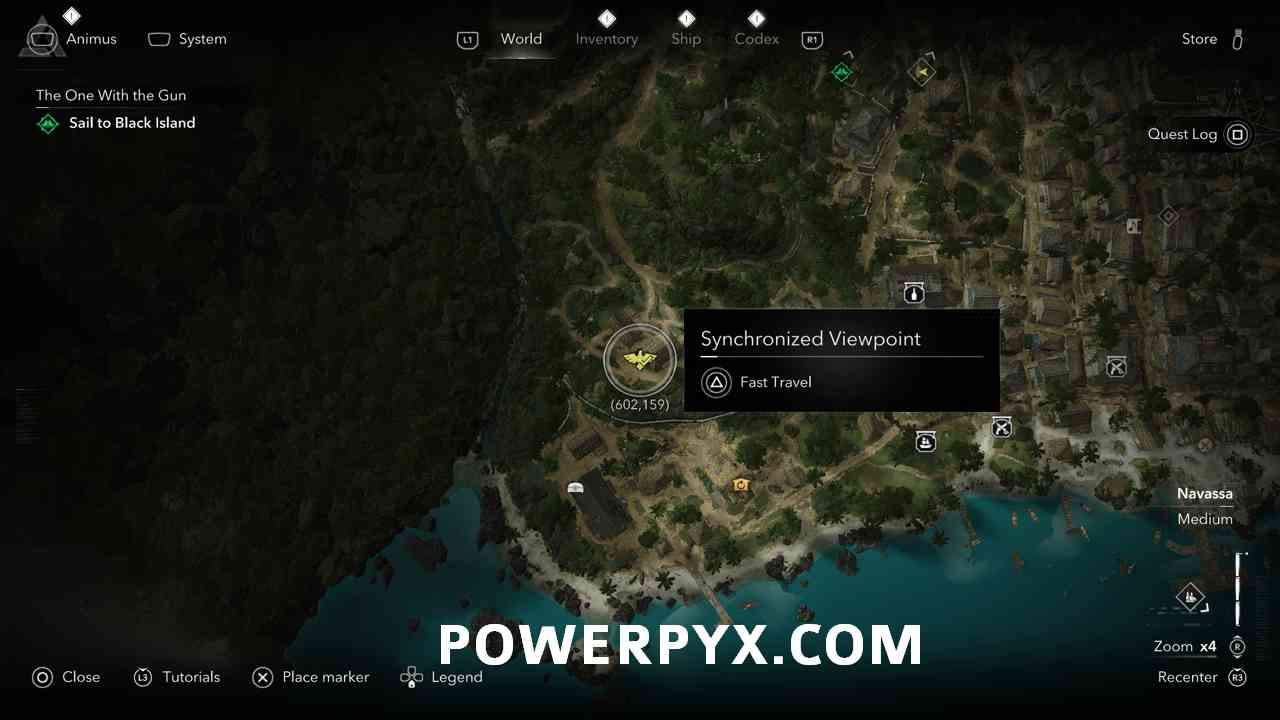
#23 – Viewpoint 4
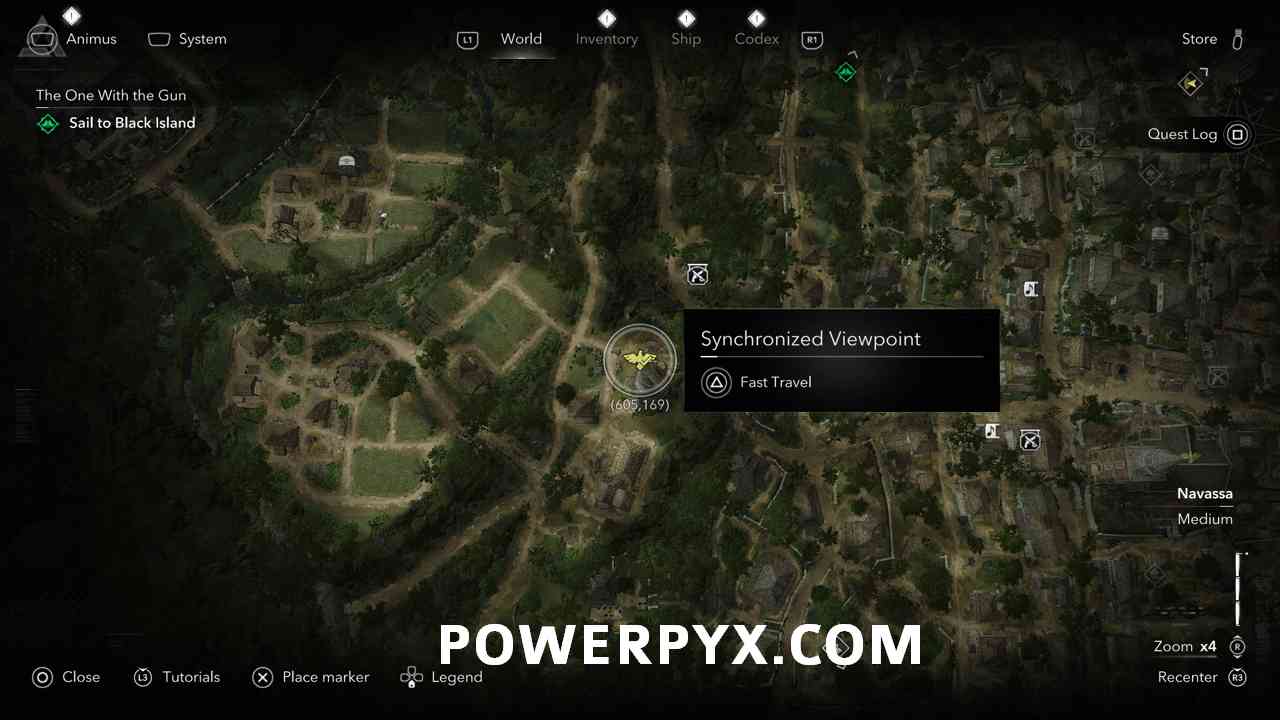
#24 – Viewpoint 5
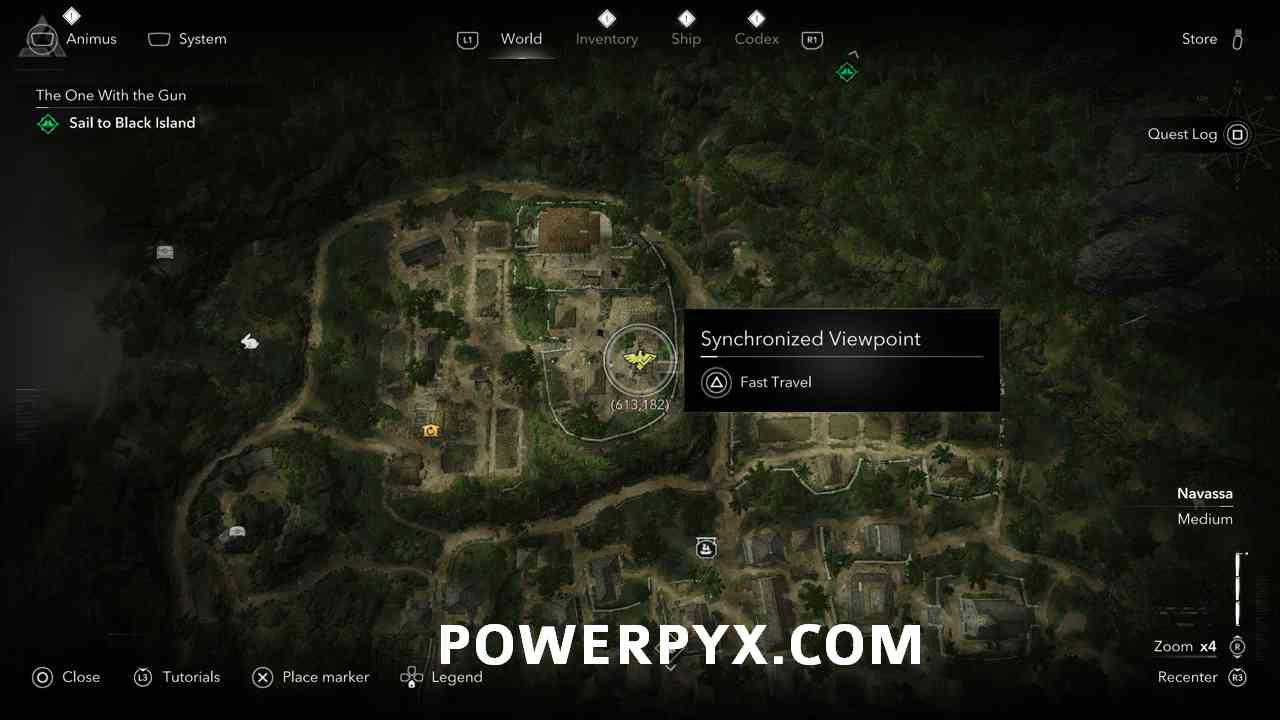
#25 – Viewpoint 6
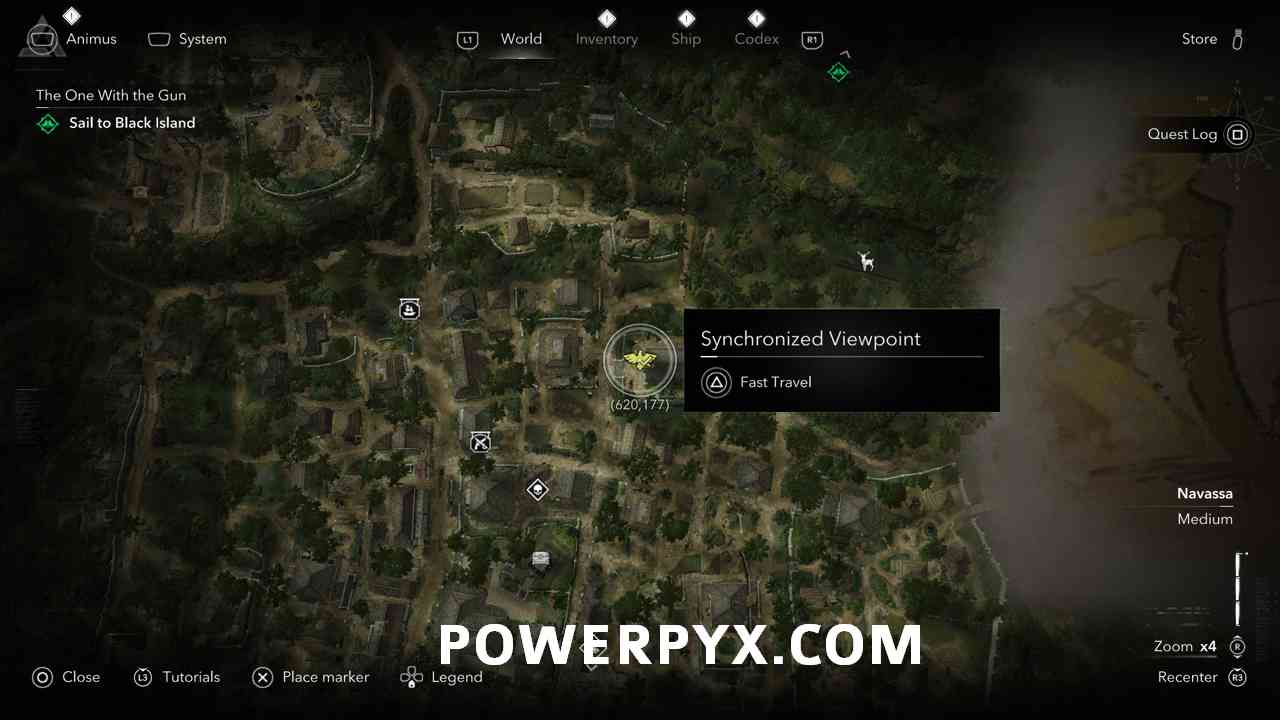
Contracts
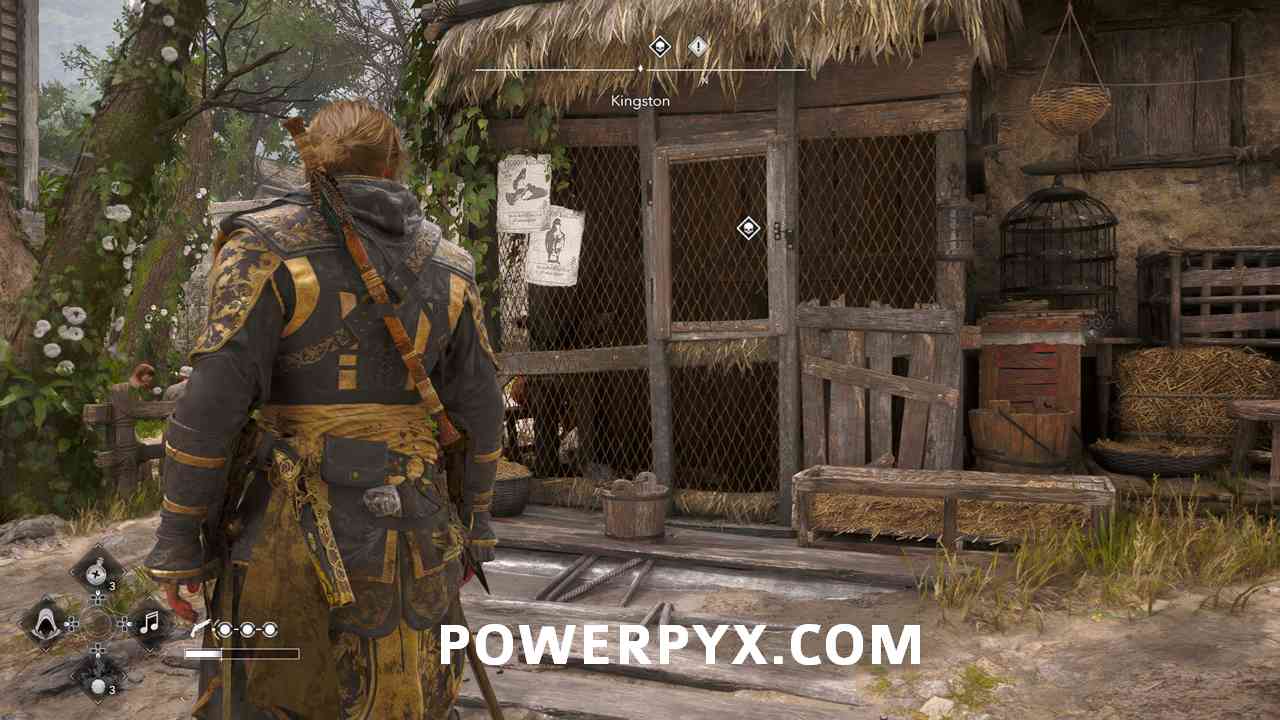
#26 – Assassin Contract 1: The Weapons Smugglers
Accept this mission from the pigeon coop just South of the church in the center of the map.
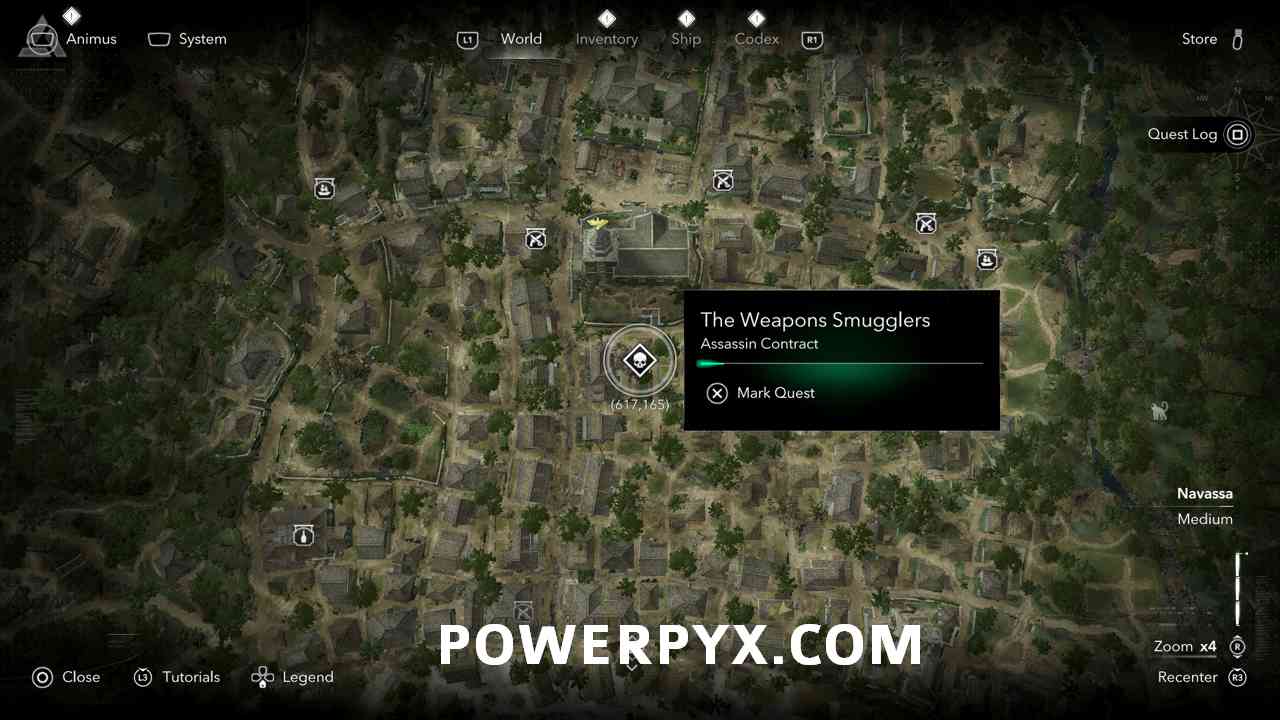
The weapons smuggler will be in a court just East of the church.
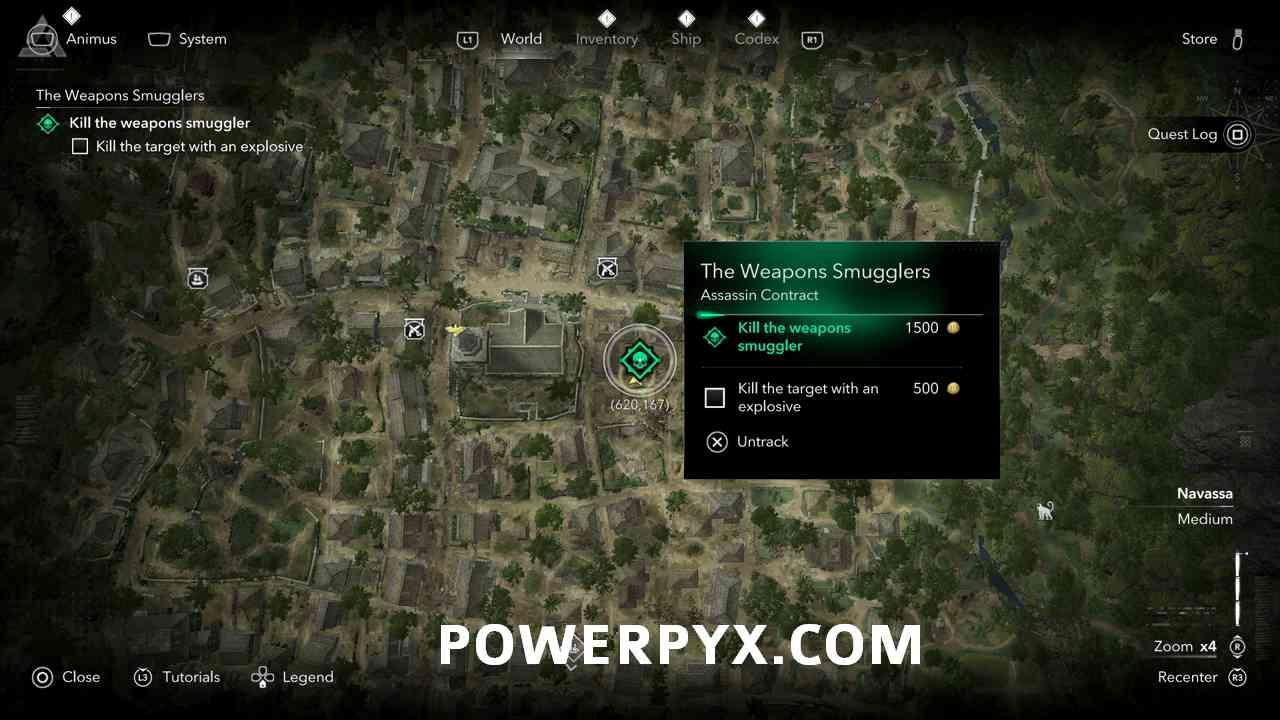
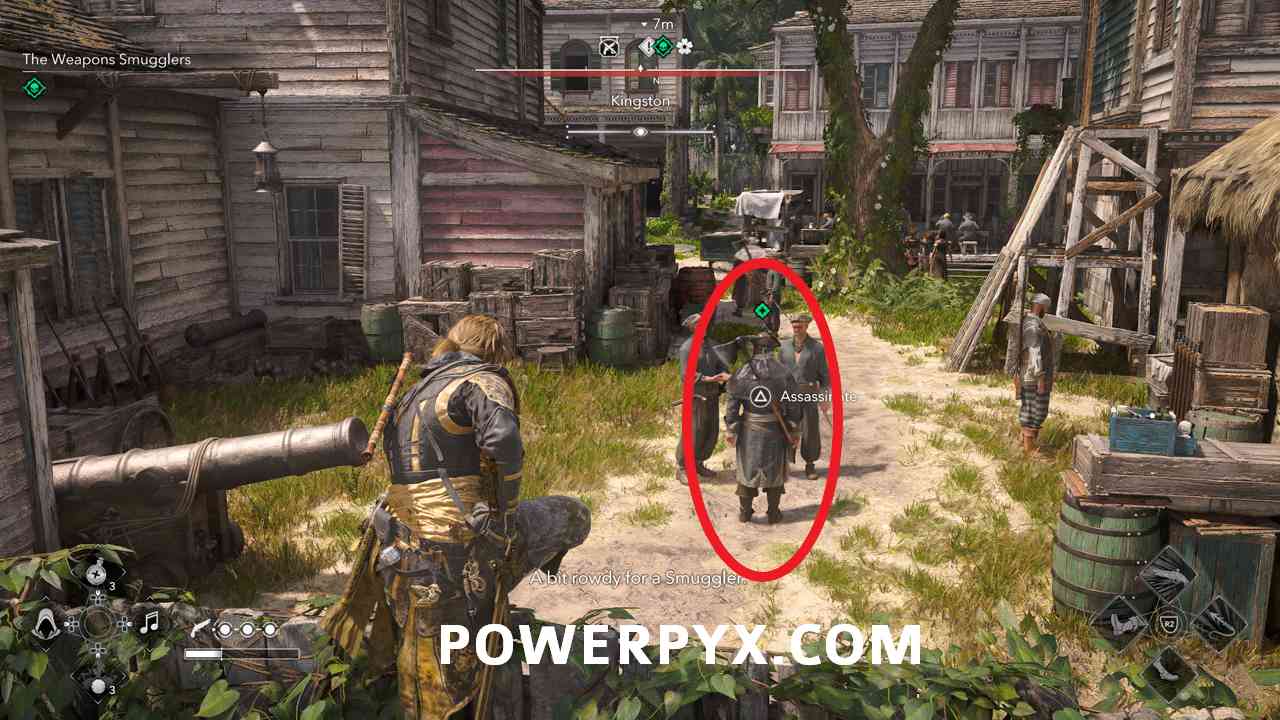
Kill the weapons smuggler and the rest of the enemies here to complete this contract. If you kill him with an explosive you will earn an extra 500 Reales.
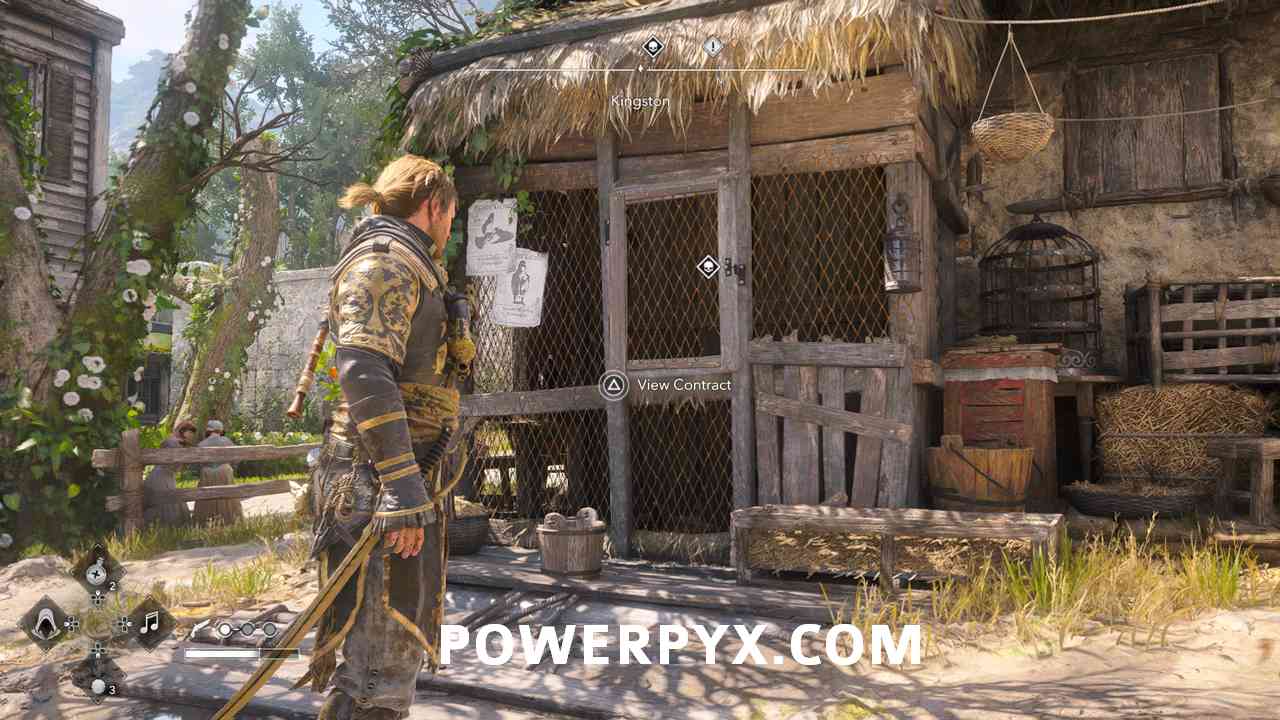
#27 – Assassin Contract 2: The British Captain
Accept this mission from the pigeon coop just South of the church in the center of the map.
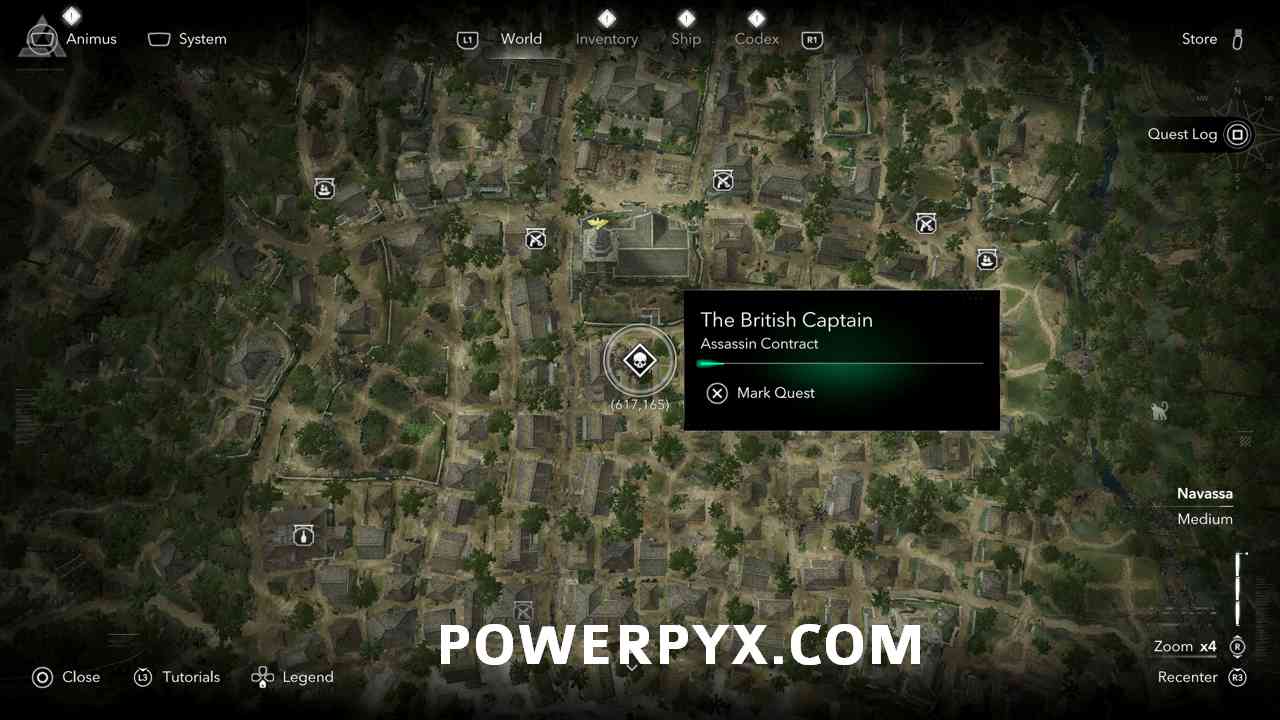
The British Captain will be along the shore at the south of the island.
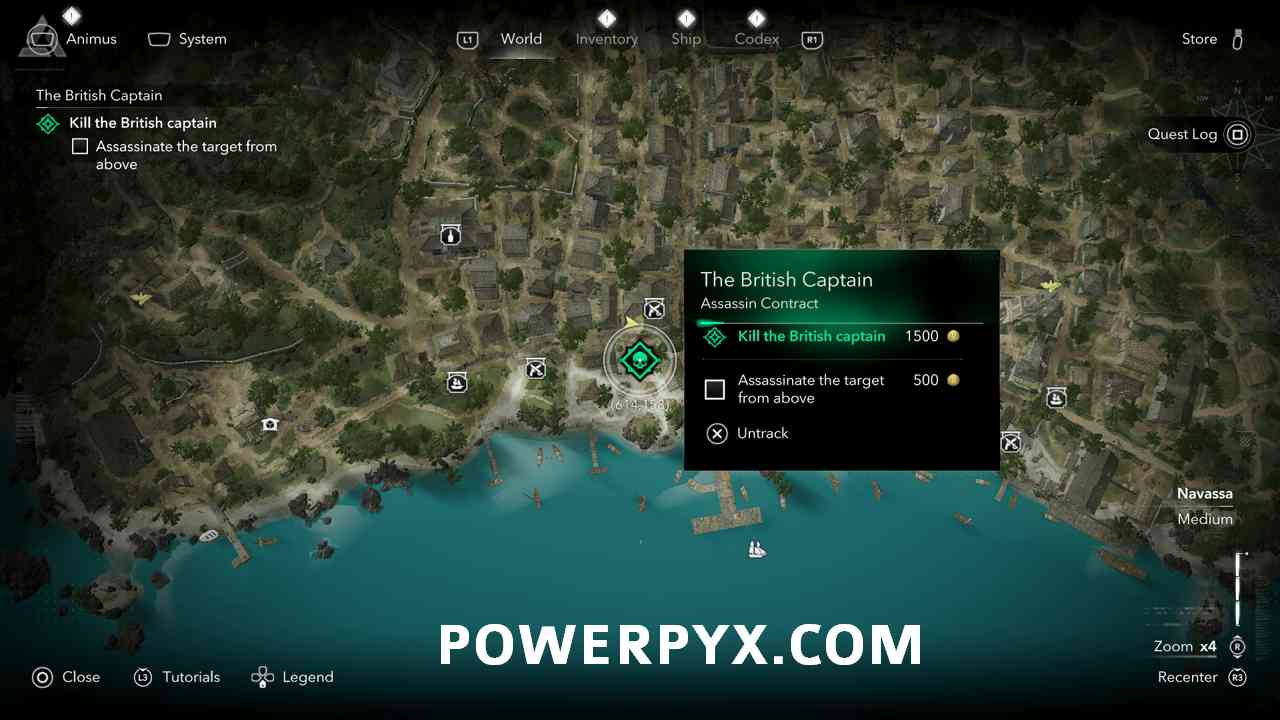
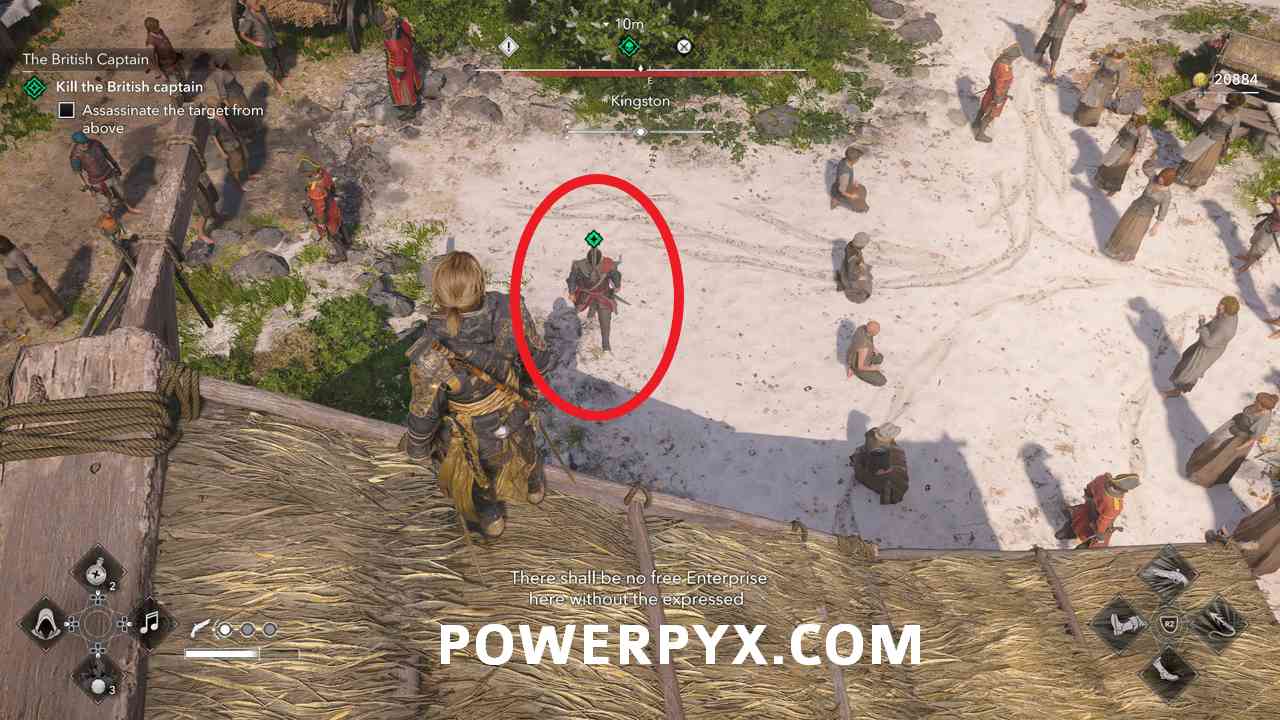
Kill the British Captain and the rest of the enemies here to complete this contract. If you kill him from above you will earn an extra 500 Reales.
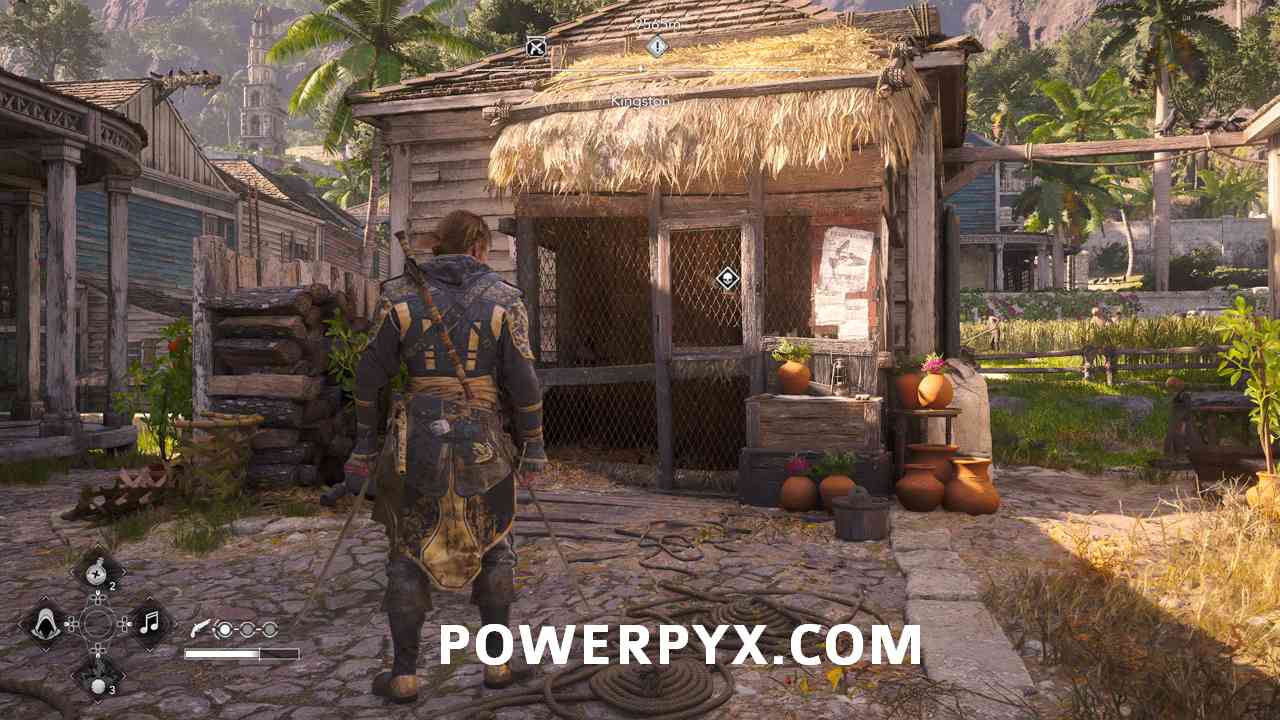
#28 – Assassin Contract 3: The Plantation Master
Accept this mission from the Pideon Coop North of the church near the General Store.
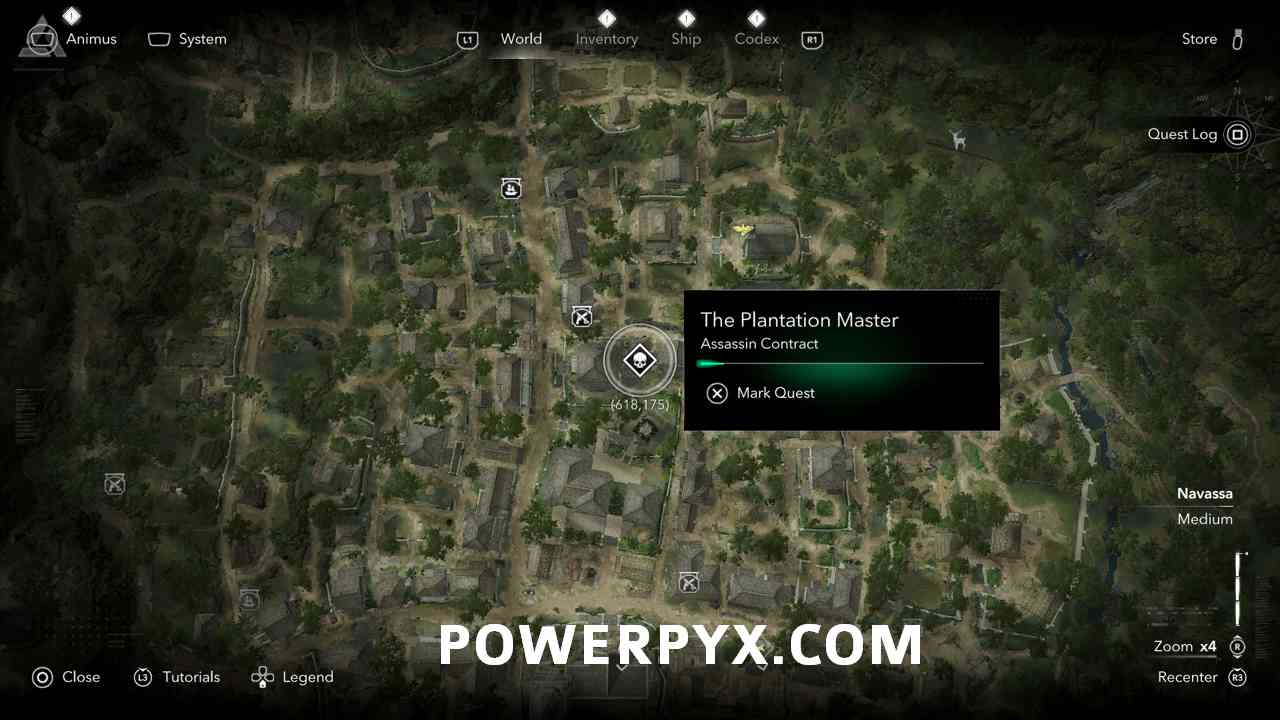
Head North to the plantation. He is standing just outside his plantation house and is heavily guarded.
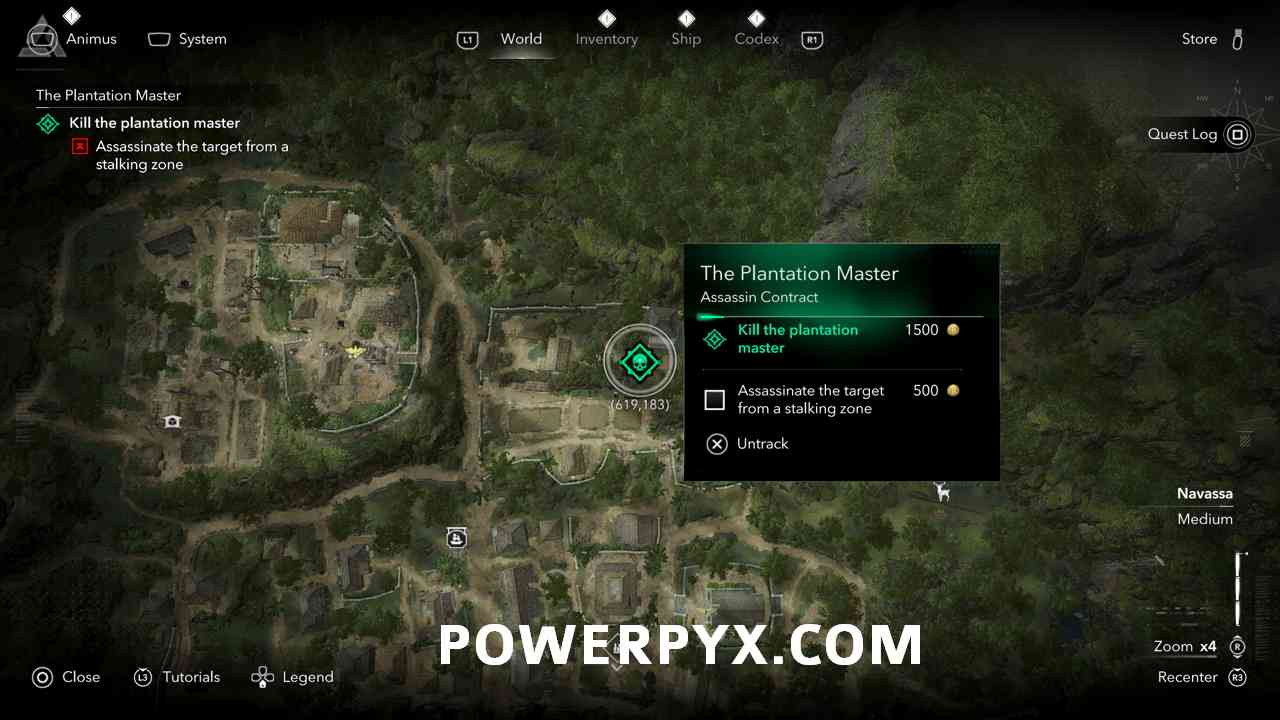
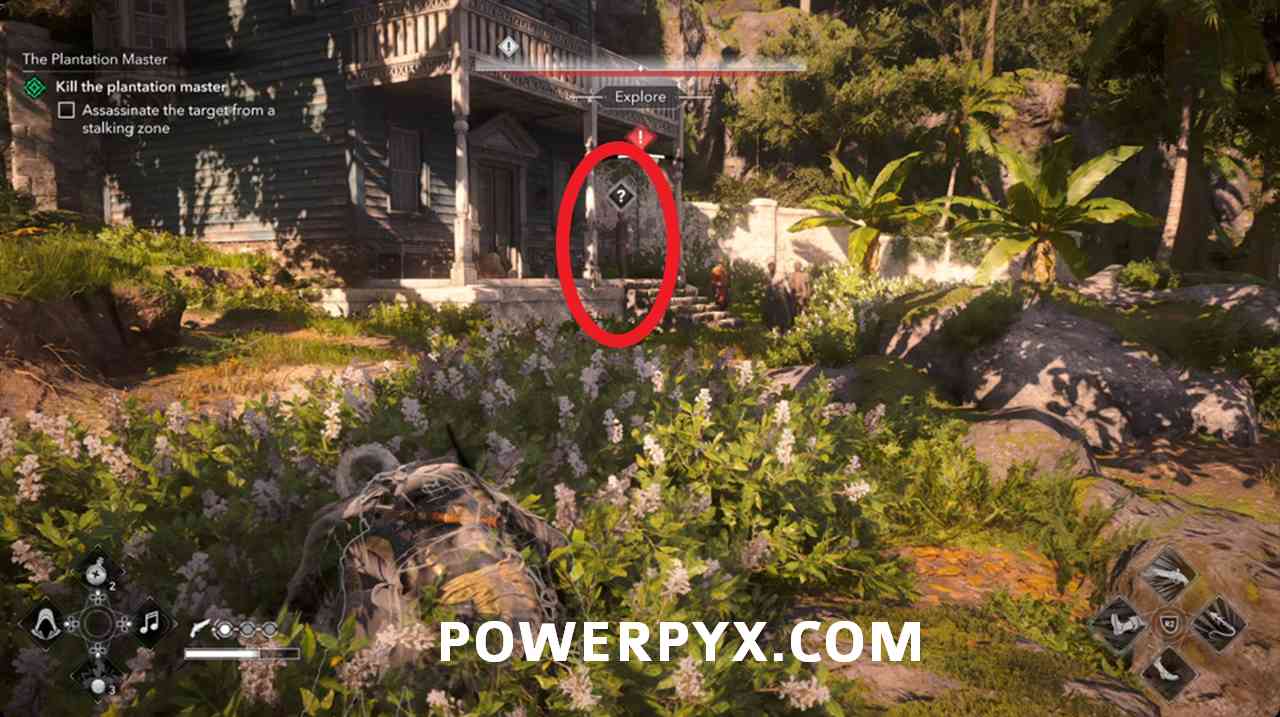
Kill the owner and either get away or kill the other guards also to complete this quest. To get an extra 500 Reales kill him from a stalking zone like crouching in the brushes.
#29 – Assassin Contract 4: The Guard Post
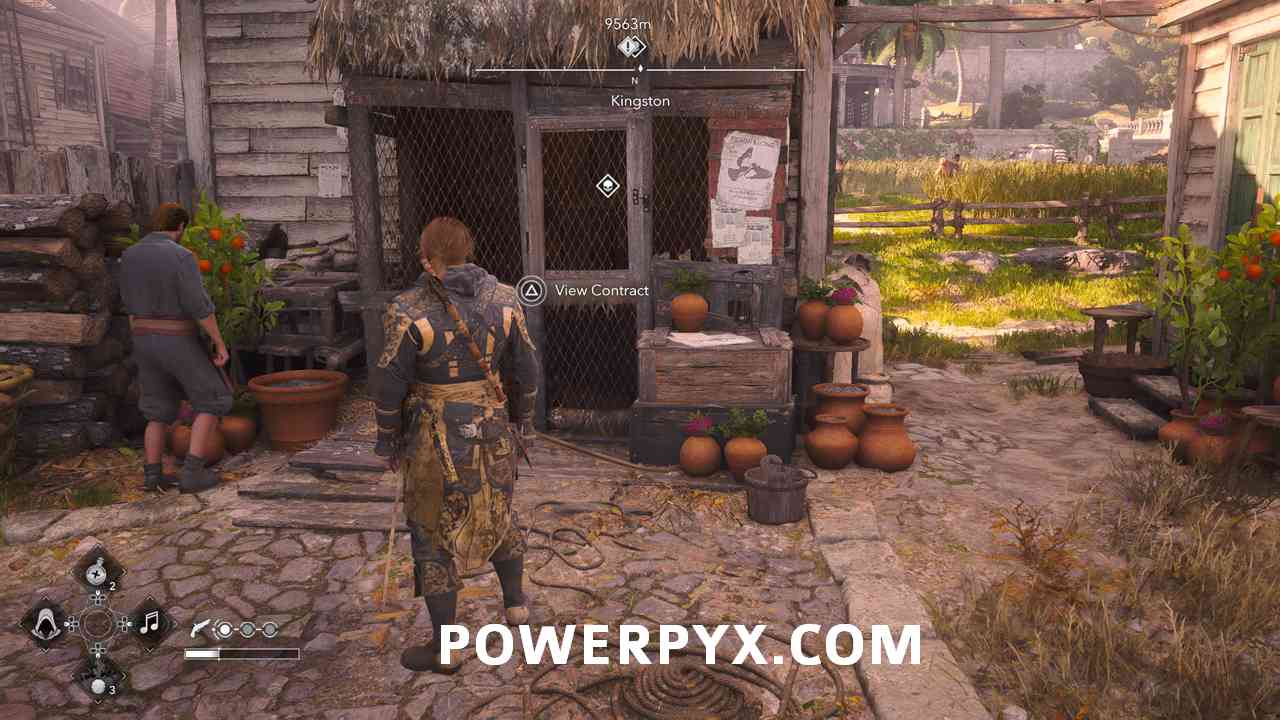
Accept this mission from the Pidgeon Coop North of the church near the General Store.
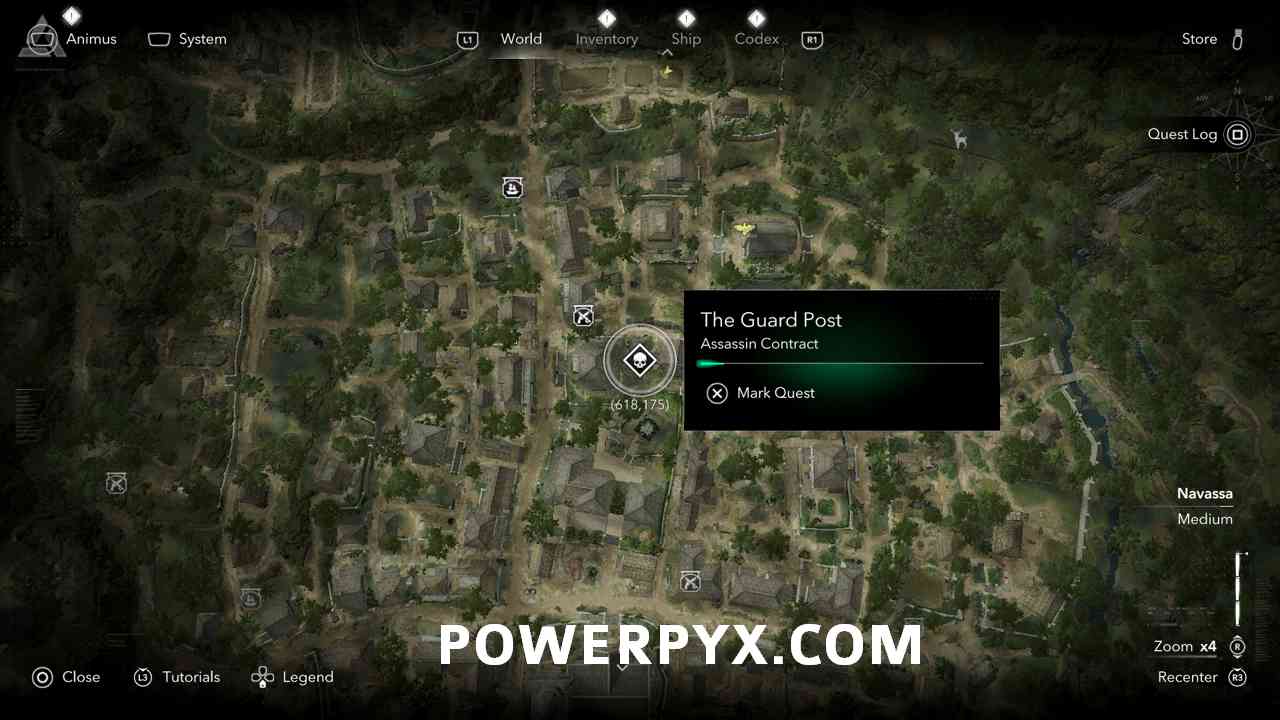
Head to the raised piece of land Southwest of the Northern Plantation where the Templar captain is.
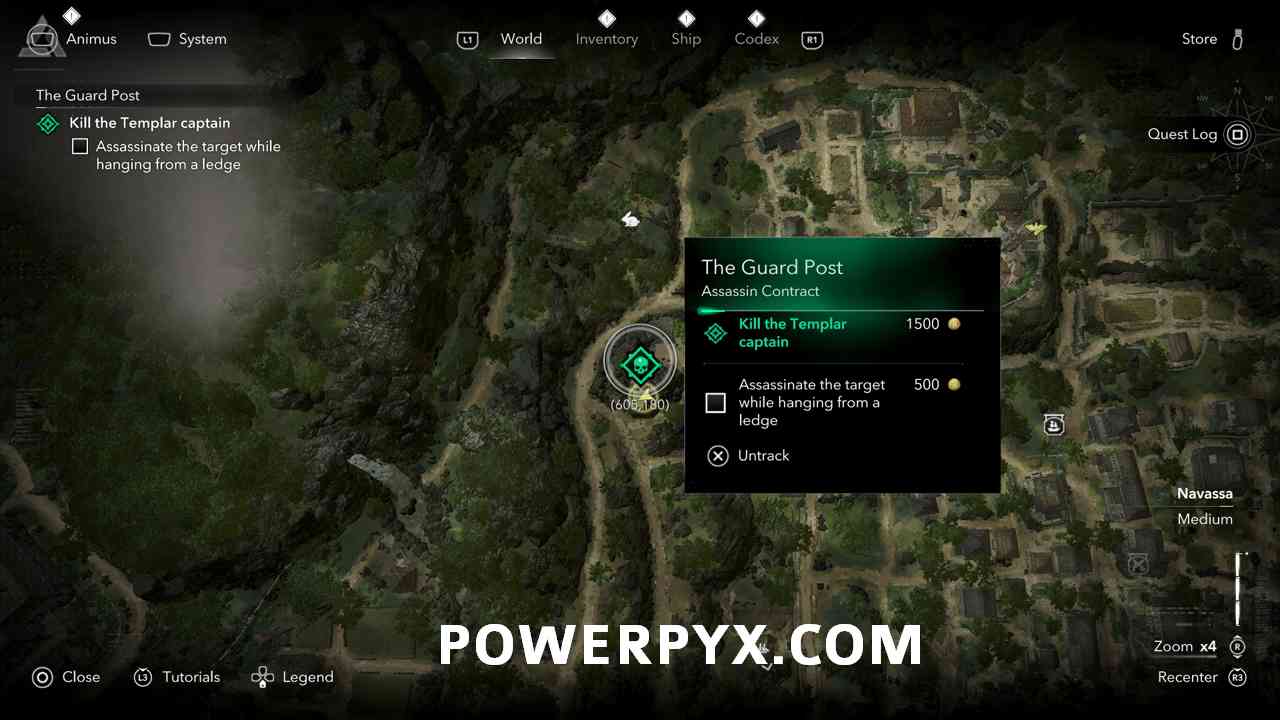
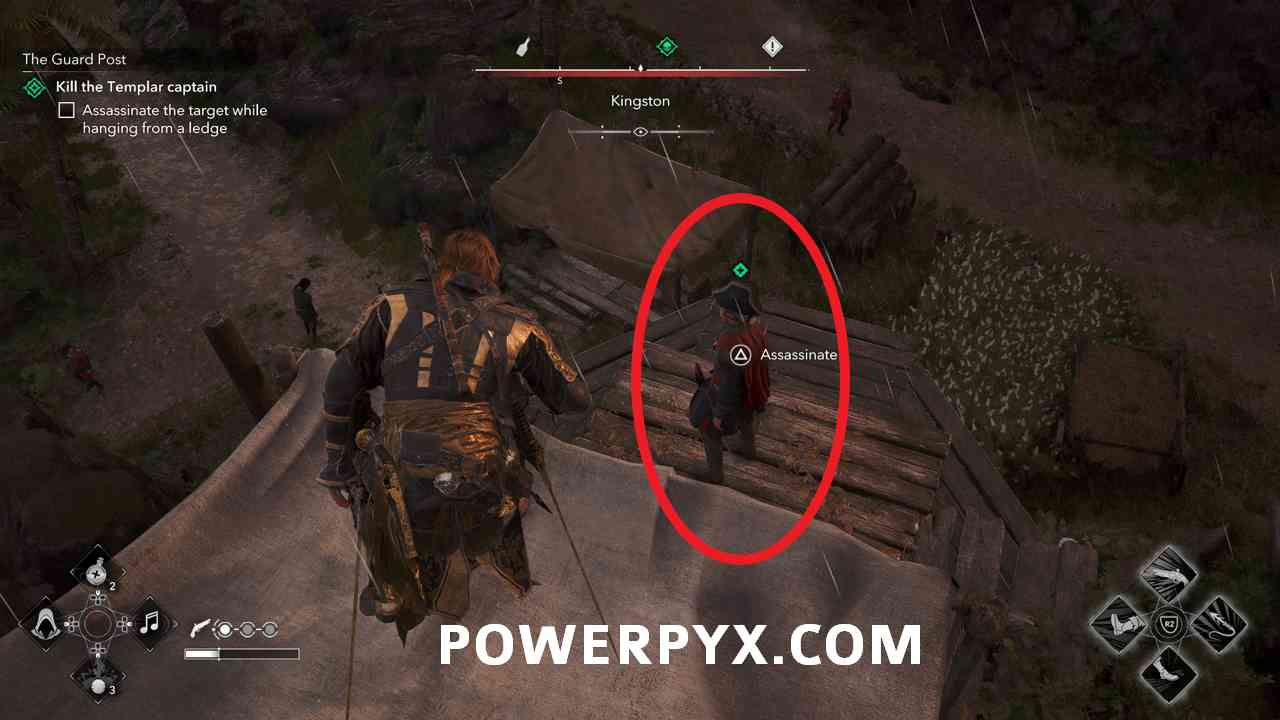
Kill the Templar and the few enemies on the elevated land to complete this quest but kill the Templar while hanging from a ledge to earn an additional 500 Reales.
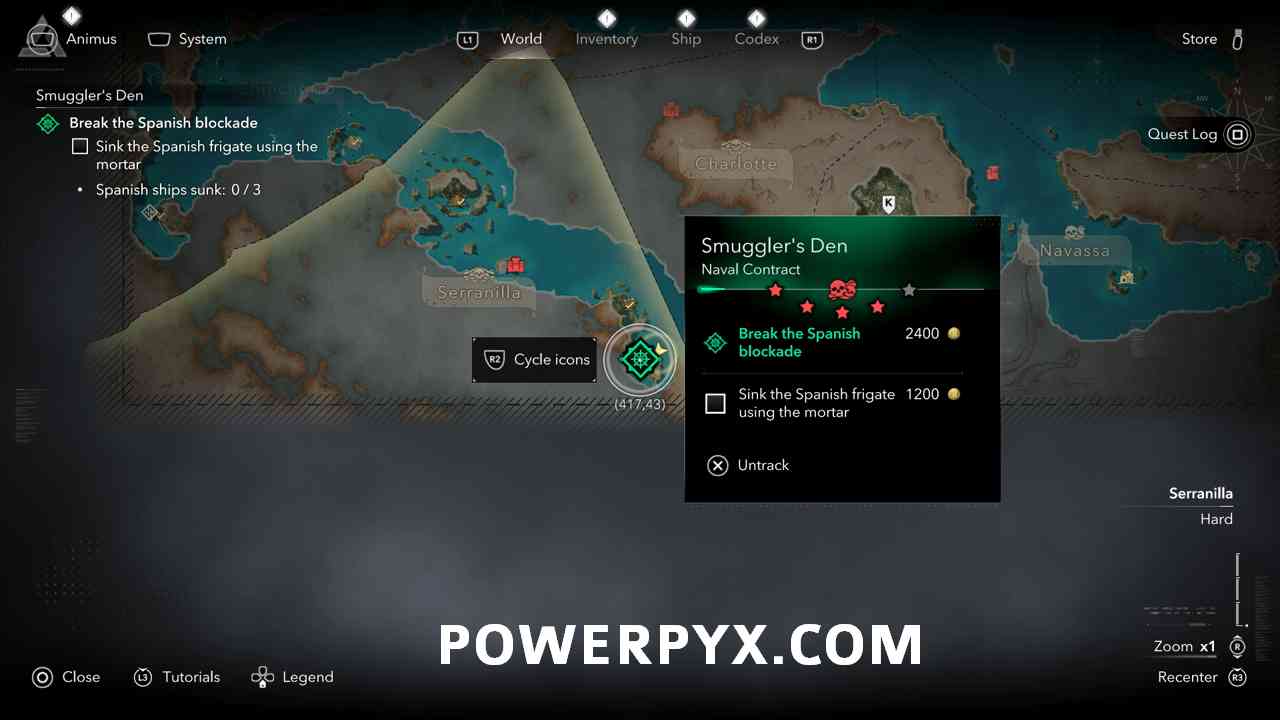
#30 – Naval Contract 1: Smuggler’s Den
Accept the mission from the man on the dock where you dock the Jackdaw.
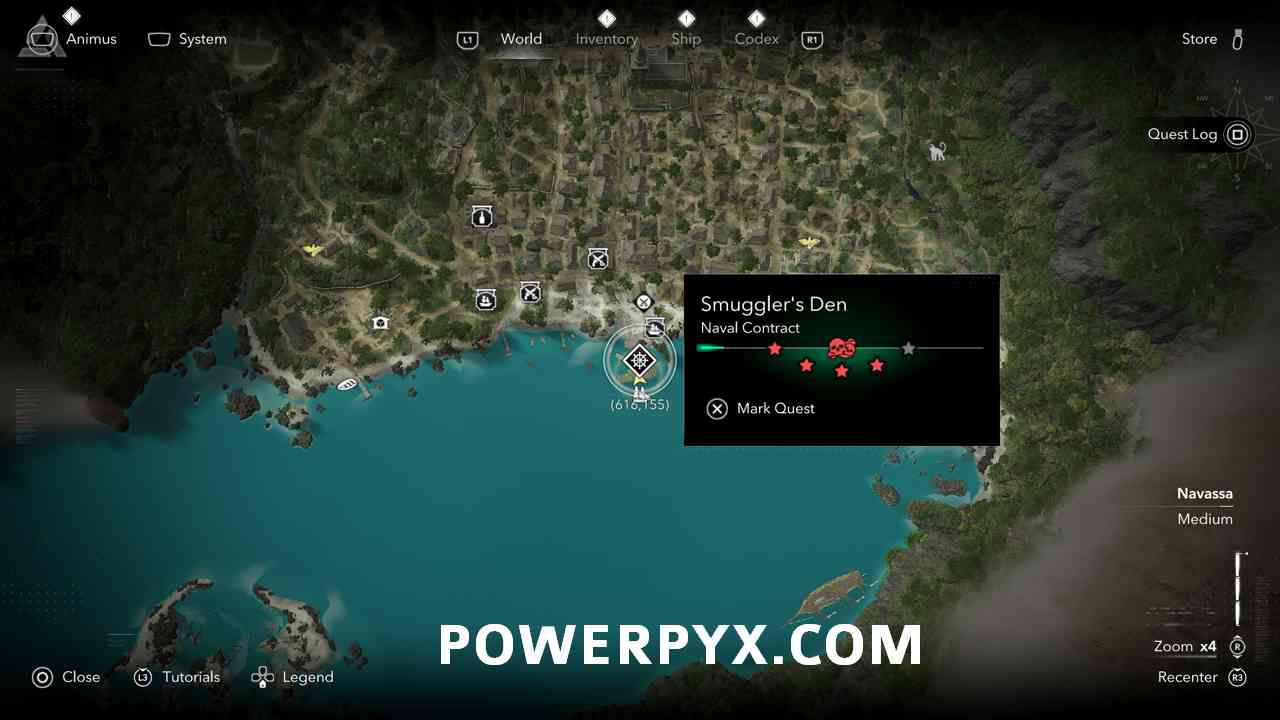
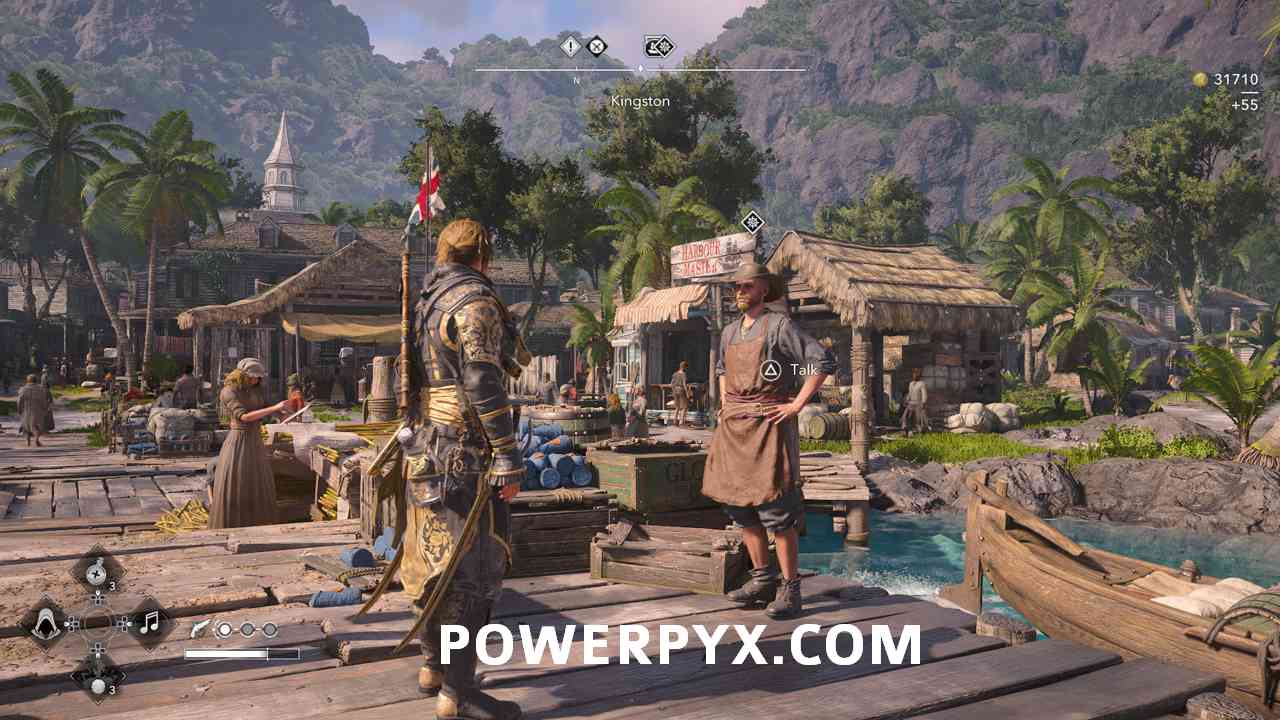
You are requested to destroy the Spanish blockade. Head to the quest location. There will be 3 different ships at the blockade. Damage the medium and small ships so they aren’t getting cheap shots on you while you attack the big ship. Destroy the medium ship with a Mortar for the extra Reales but keep the small ship around and board it when you need to heal the Jackdaw.
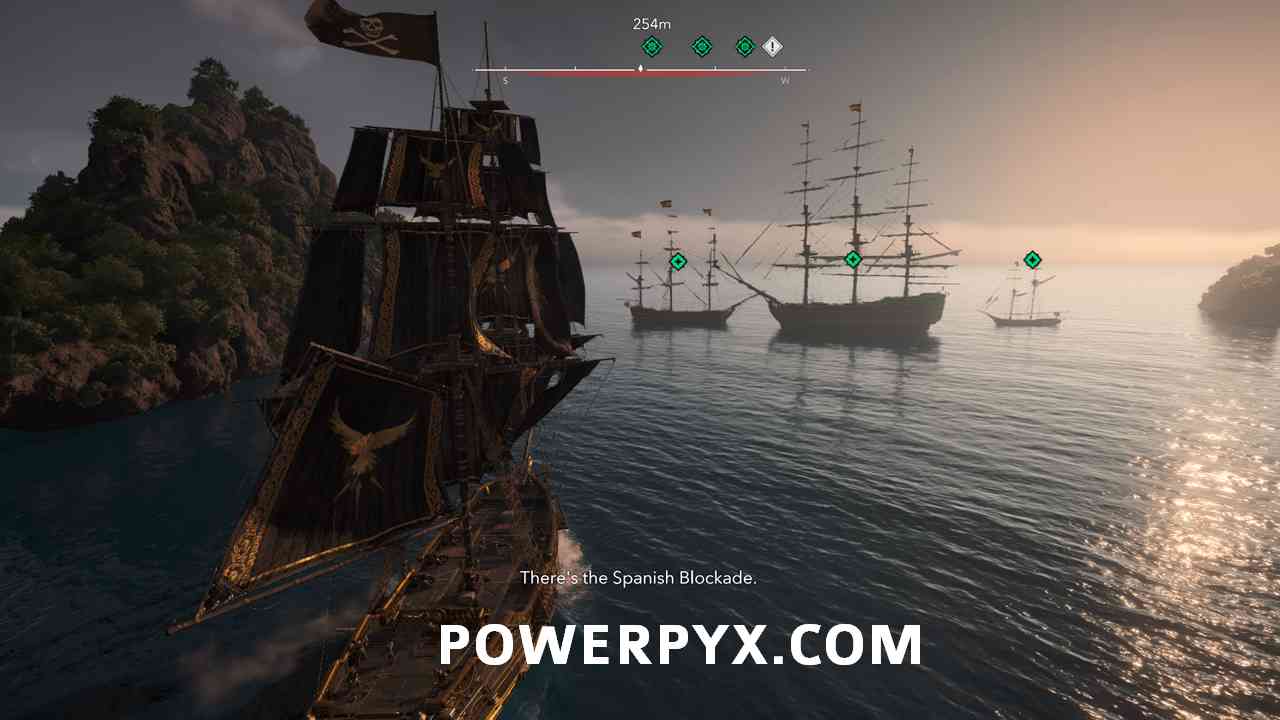
To get the bonus Reales you will need to sink the Frigate with a Mortar shot. The Frigate is the medium sized ship. Once all three ships have been sunk you will complete this contract.
Animals
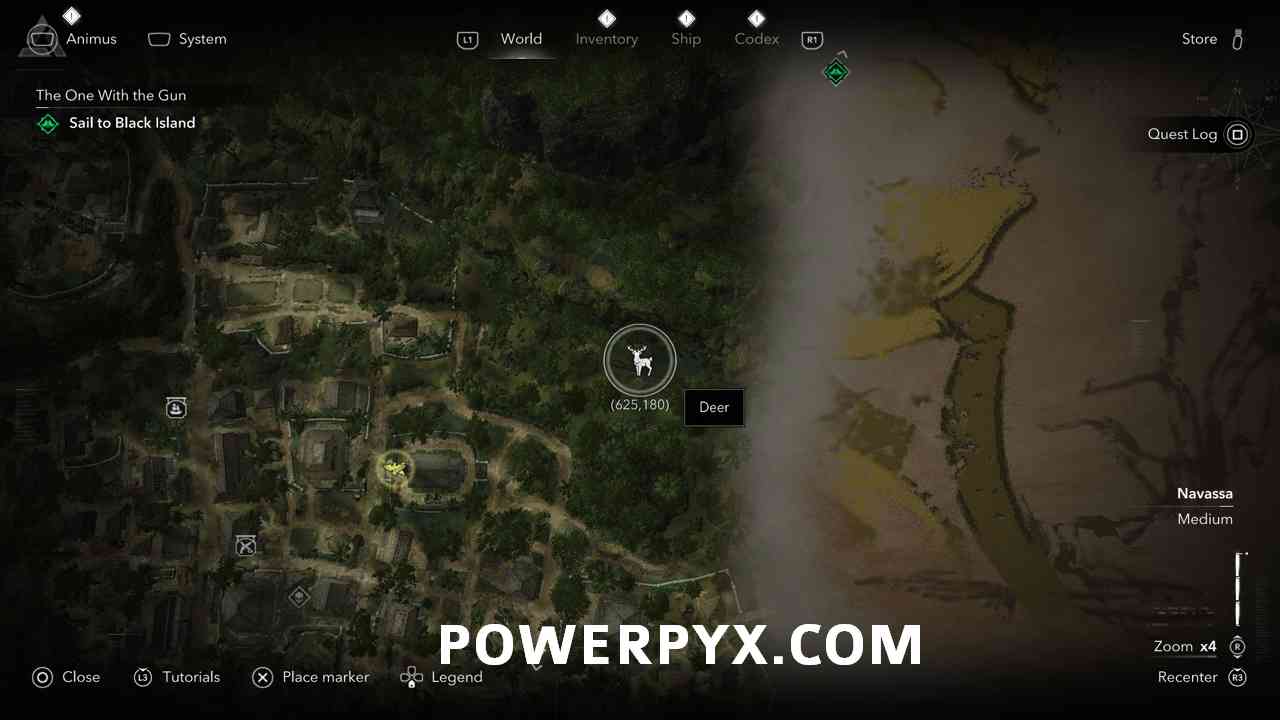
#31 – Deer
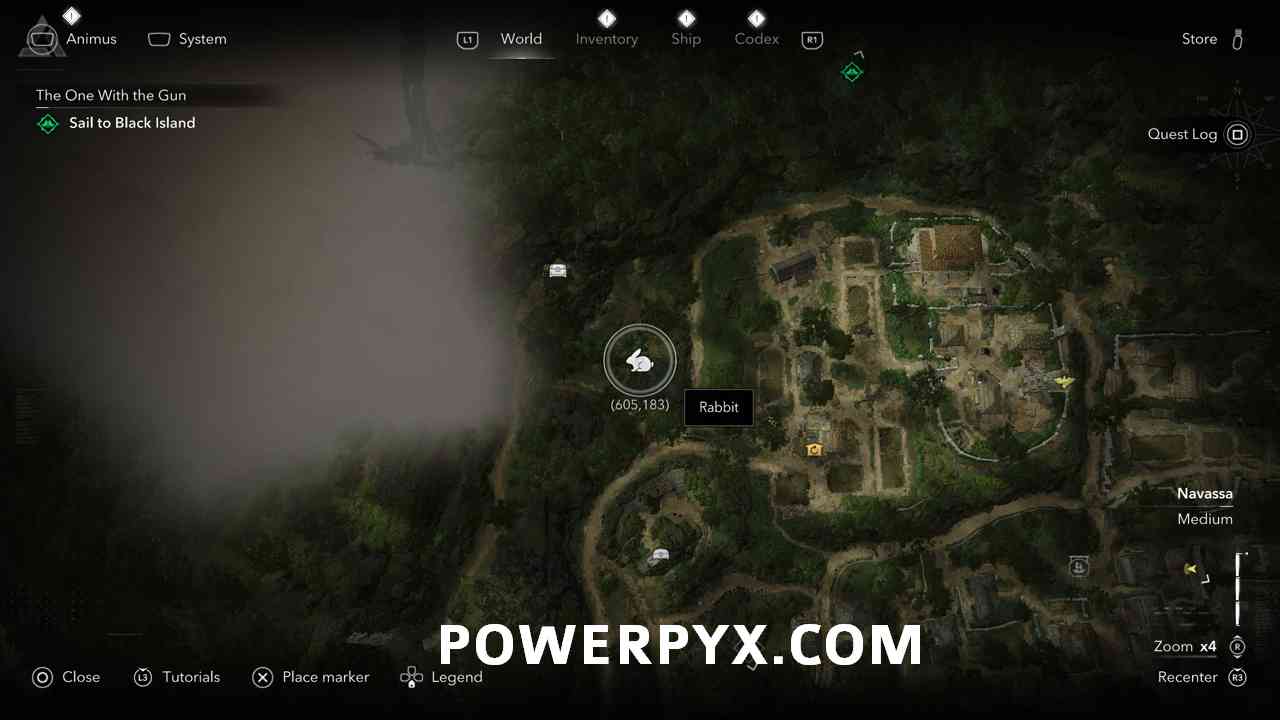
#32 – Rabbit
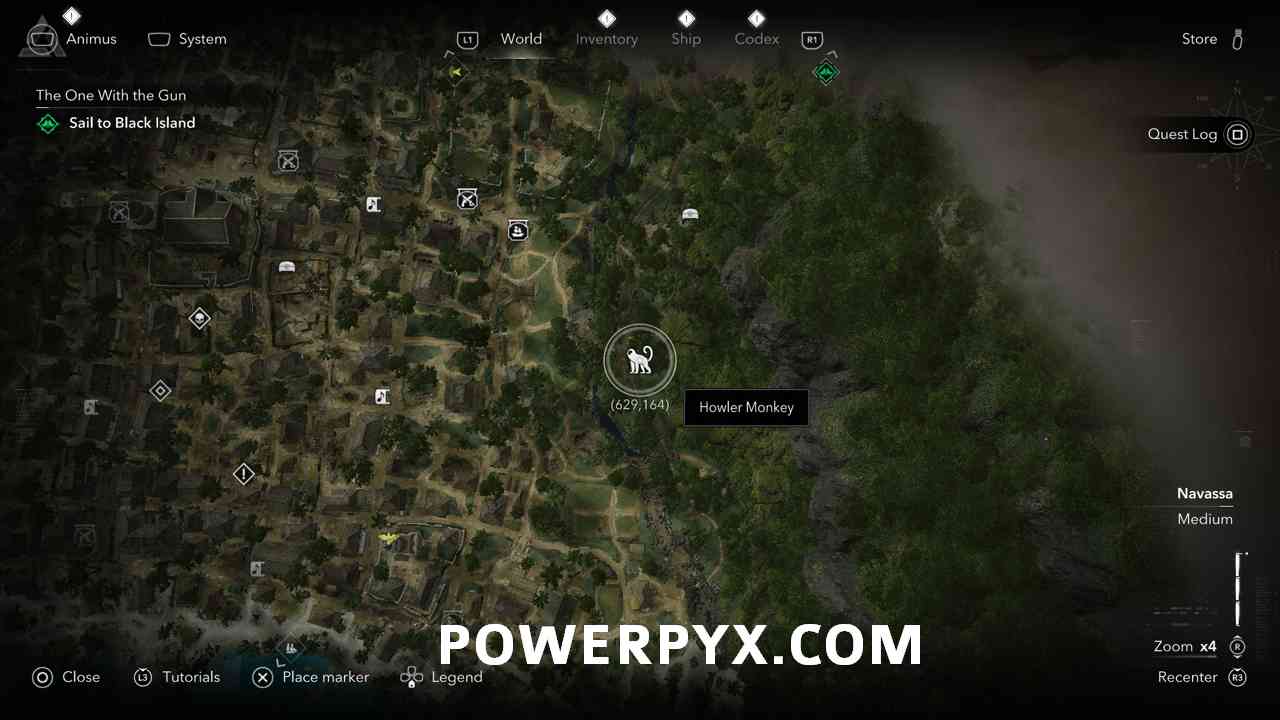
#33 – Howler Monkey
Quests & Local Events
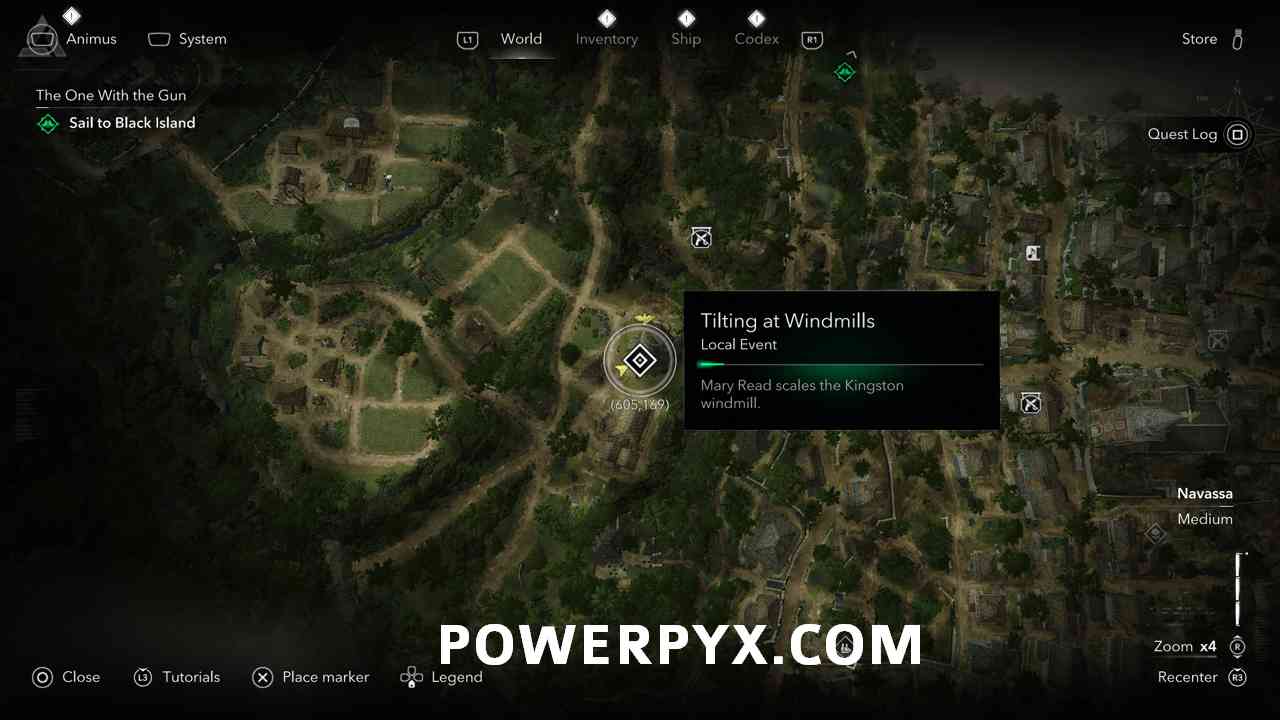
Local Event: Tilting at Windmills
Climb the Windmill on the Western side of Kingston just outside the plantation and sit down at the top. Once the conversation ends you are free to leave.
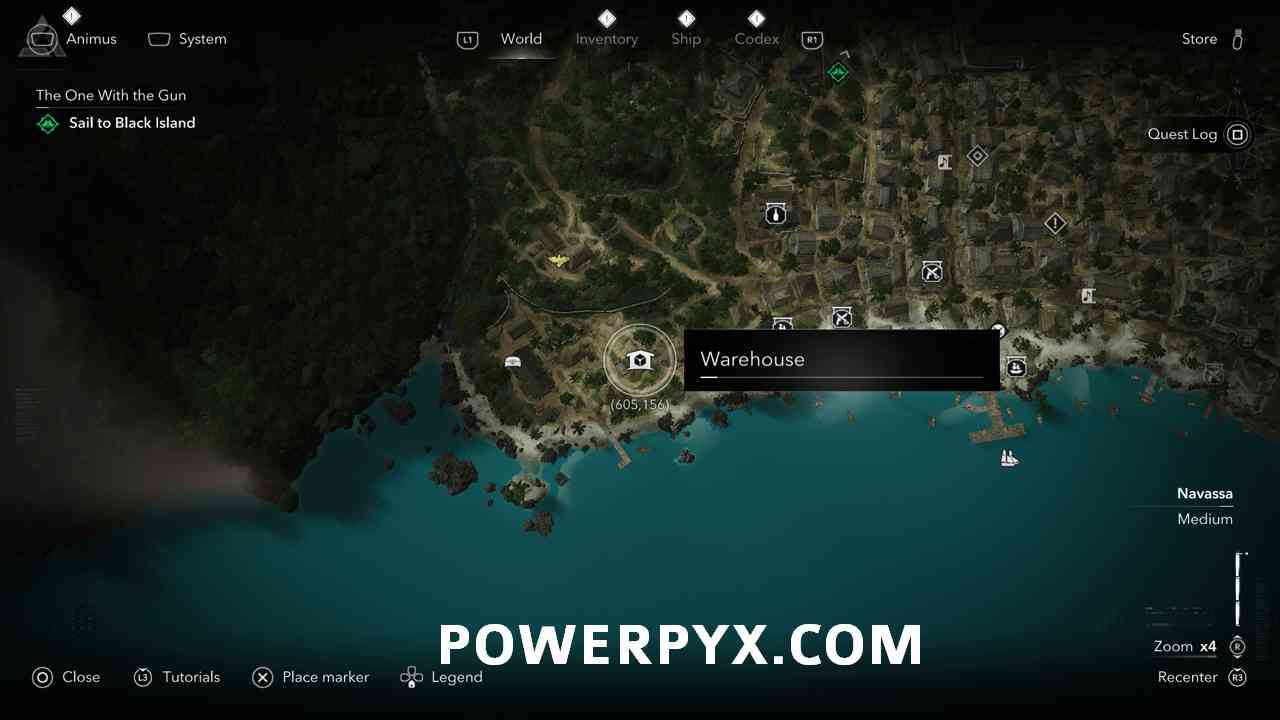
Side Activity: Plunder the Warehouse 1/2 (Treasure Map from Kingston Warehouse + “Nymphs By A Fountain” Painting)
Approach the Warehouse in the South and this activity will activate:
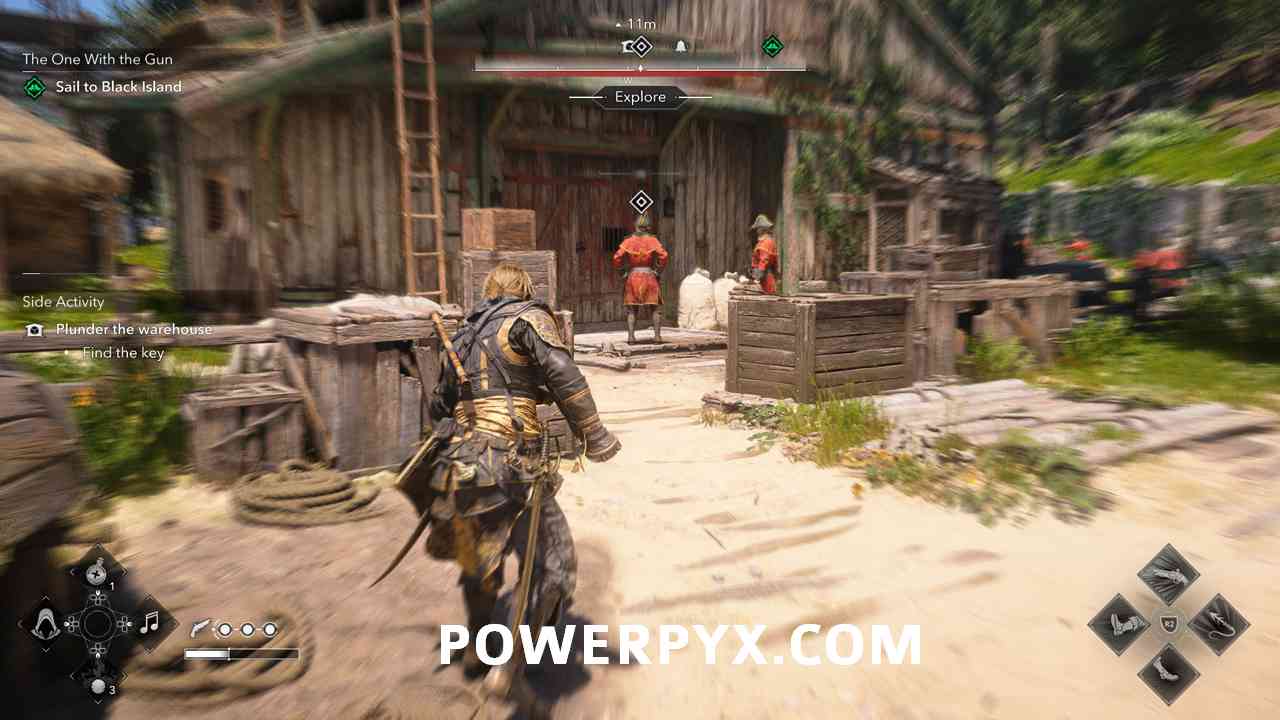
Defeat the surrounding enemies in this area until one shows up with an icon over his head:
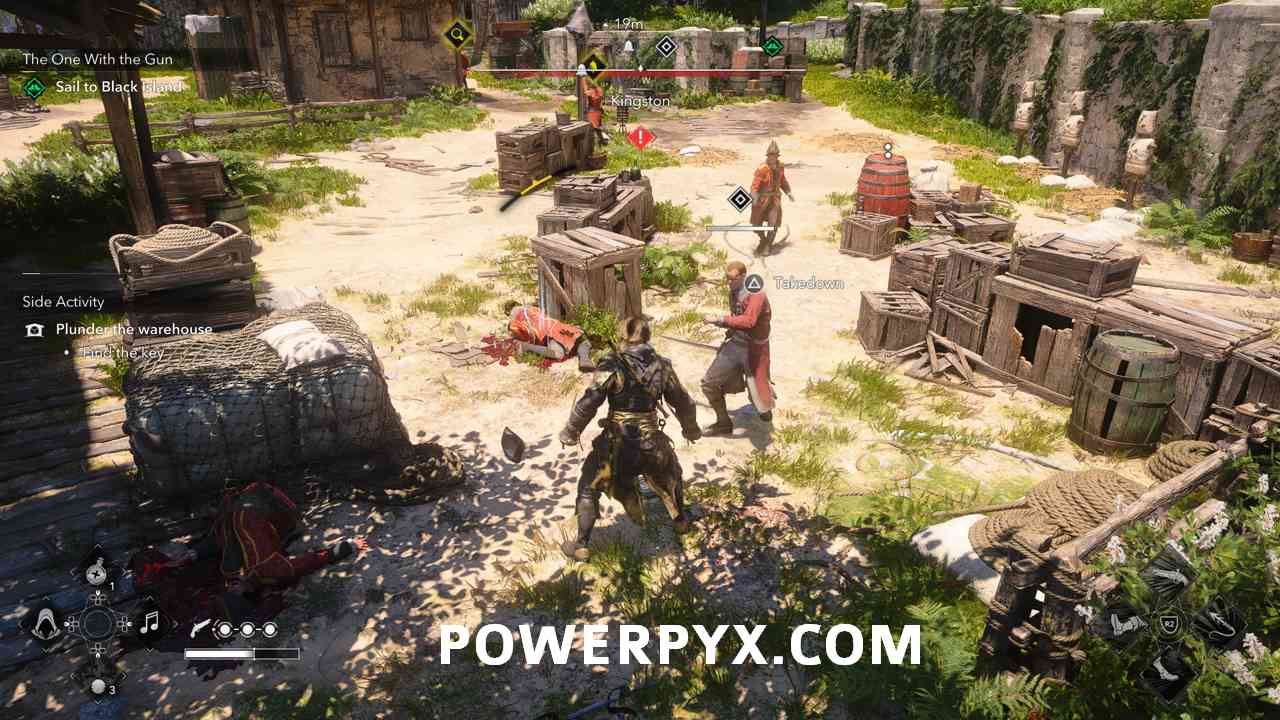
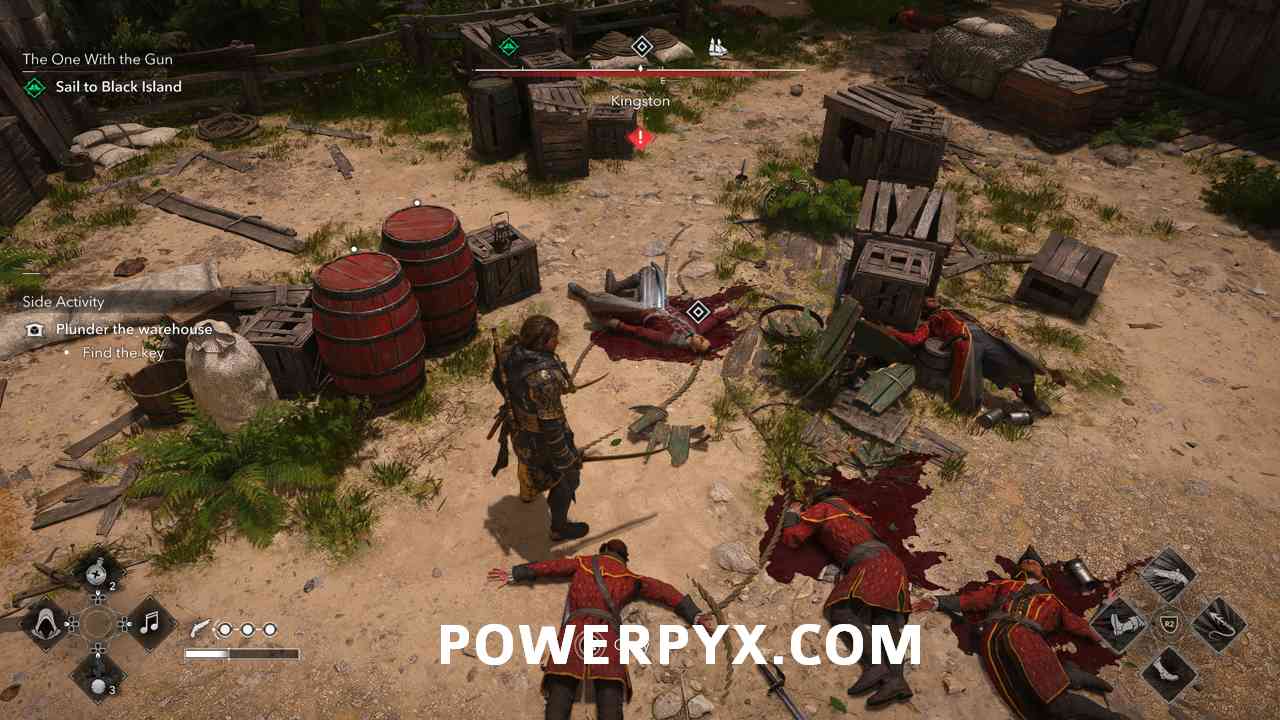
Defeating him and looting the Kingston South Warehouse Key from his body will give you access to the warehouse. Once all enemies in the area are defeated open the warehouse doors.
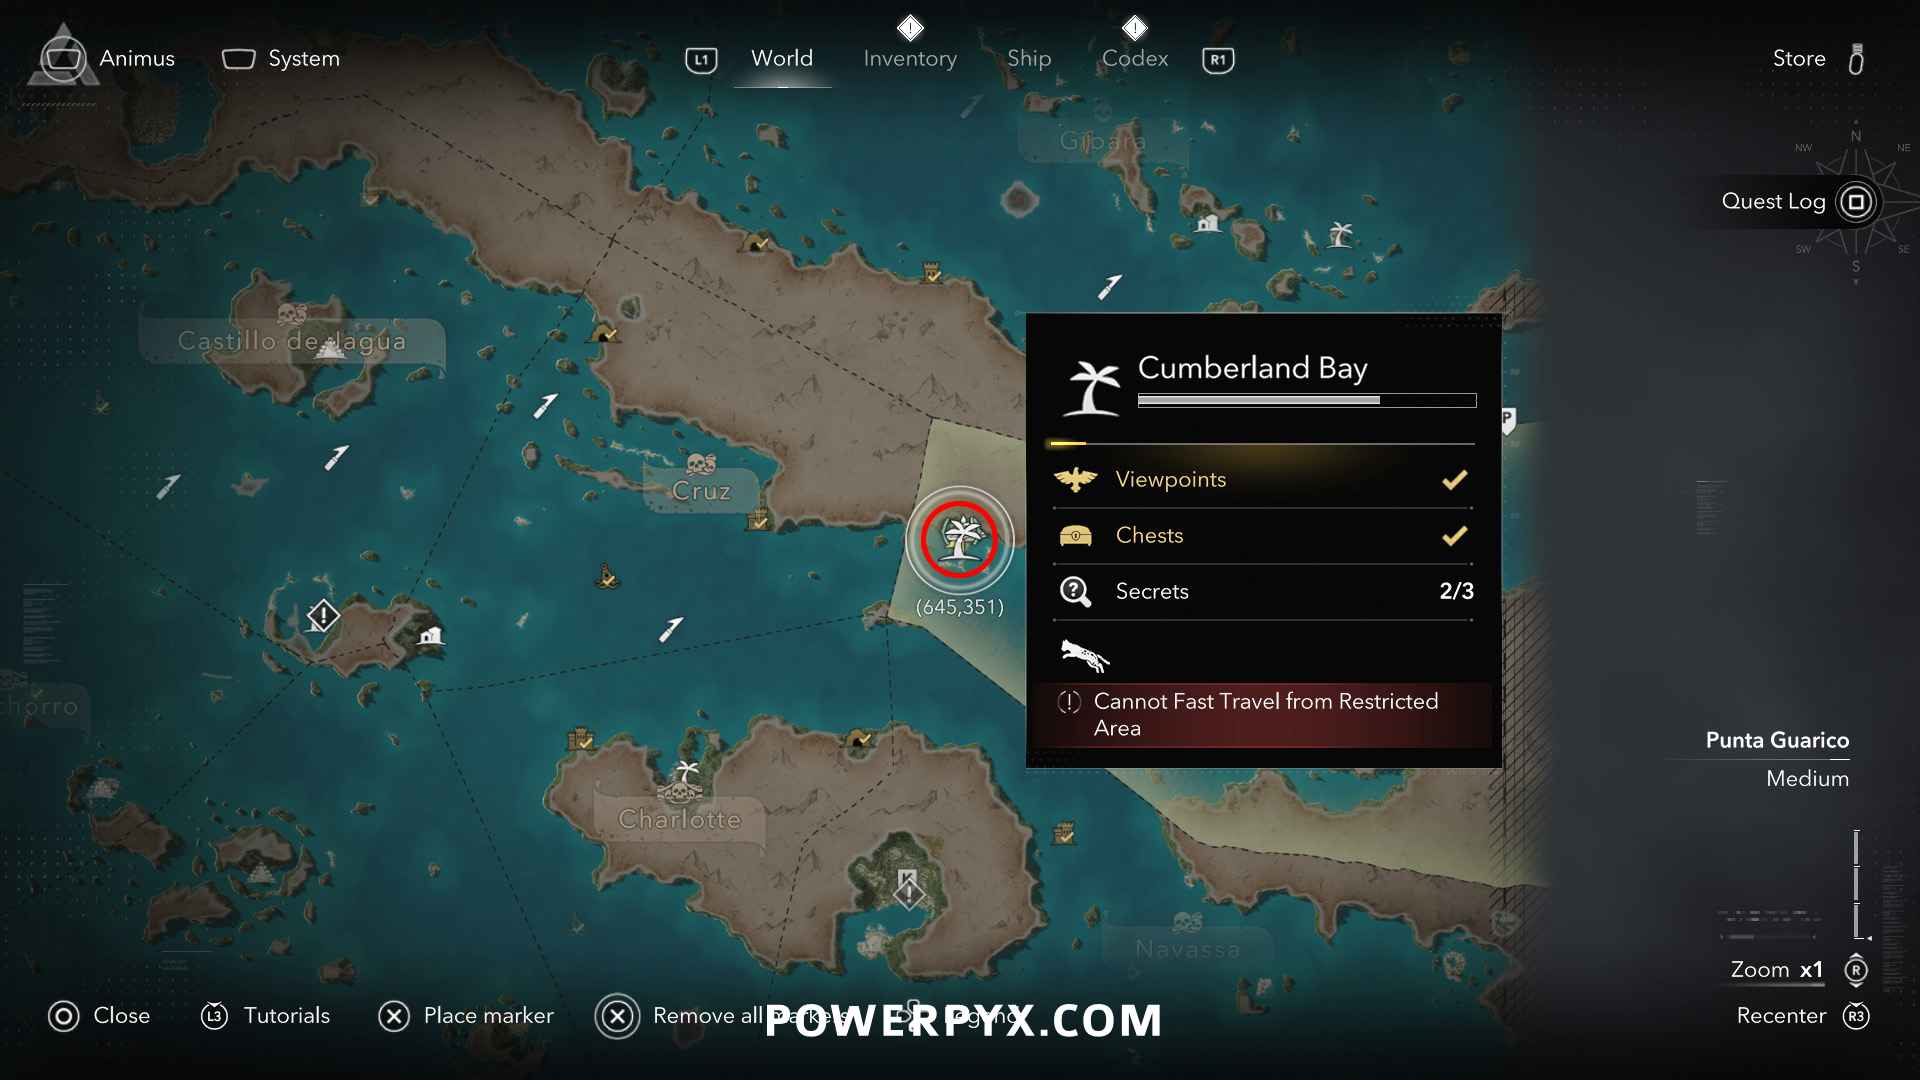
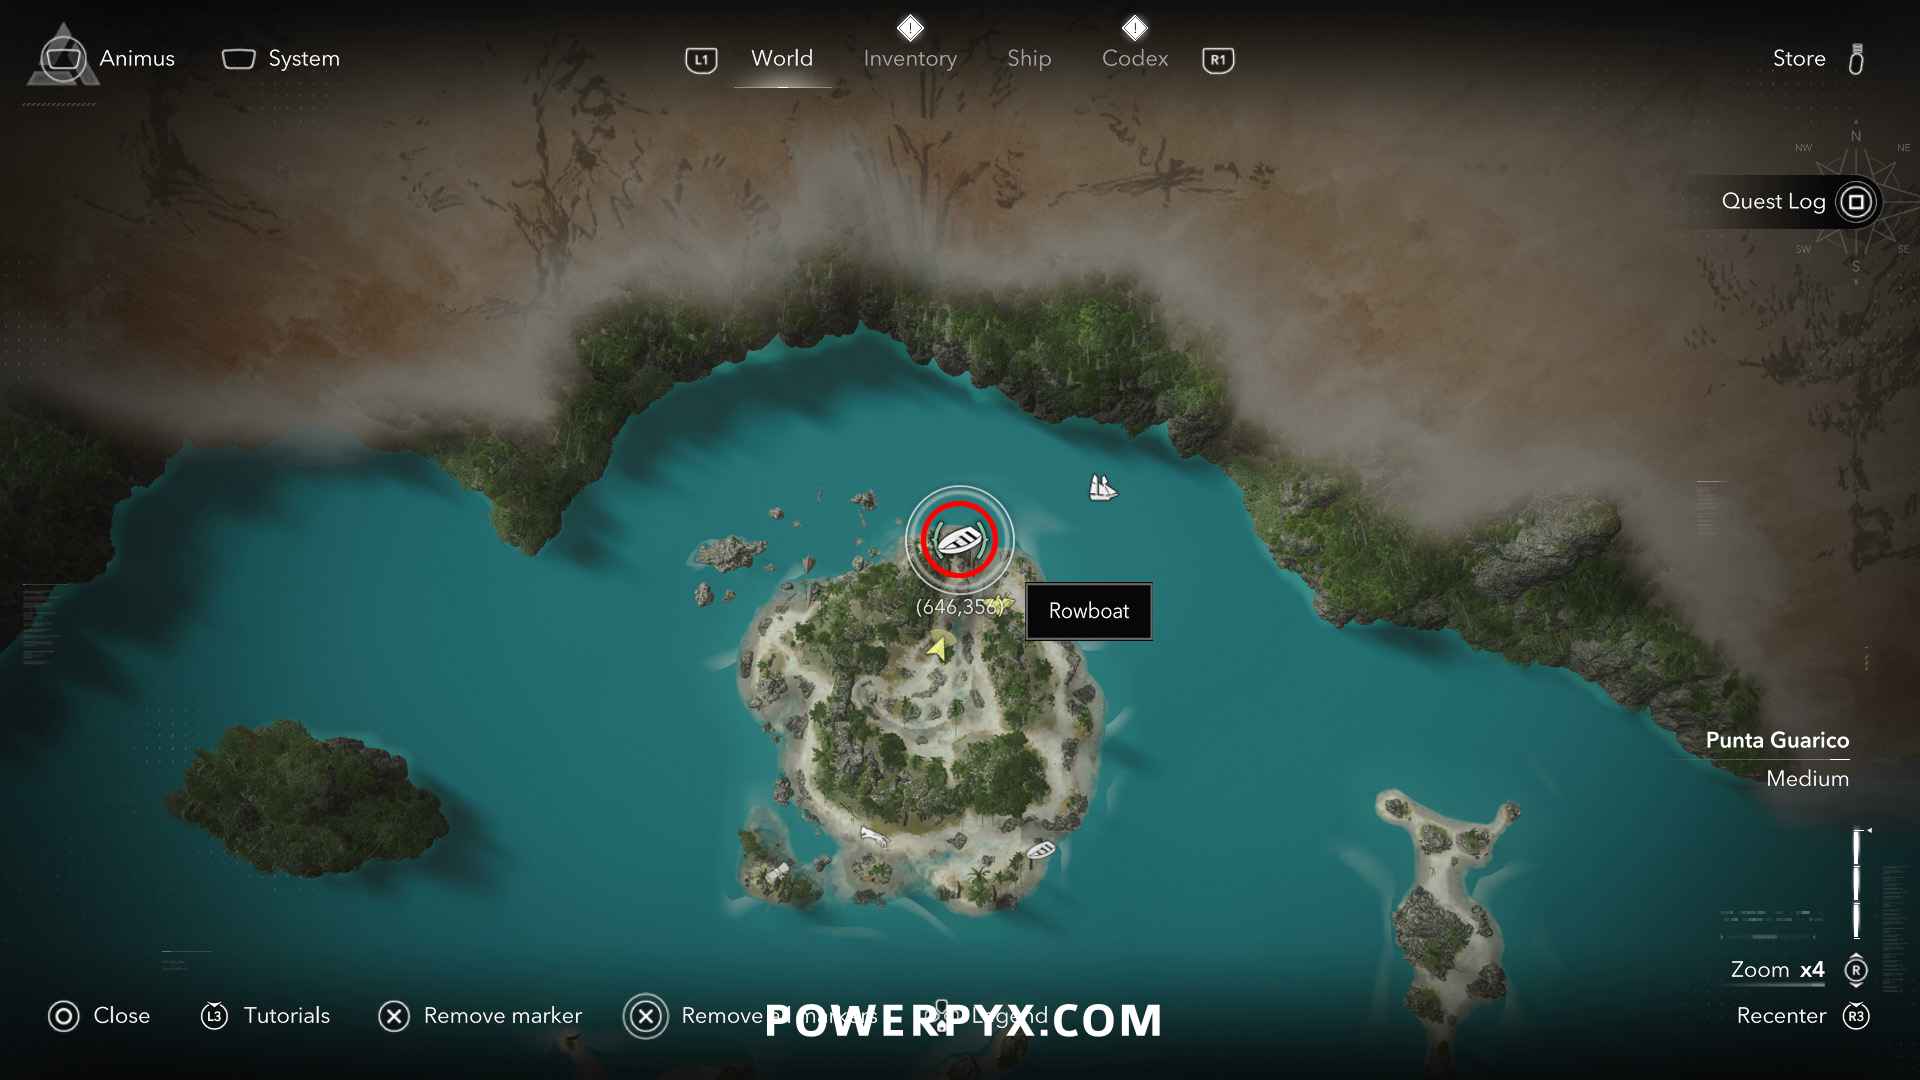
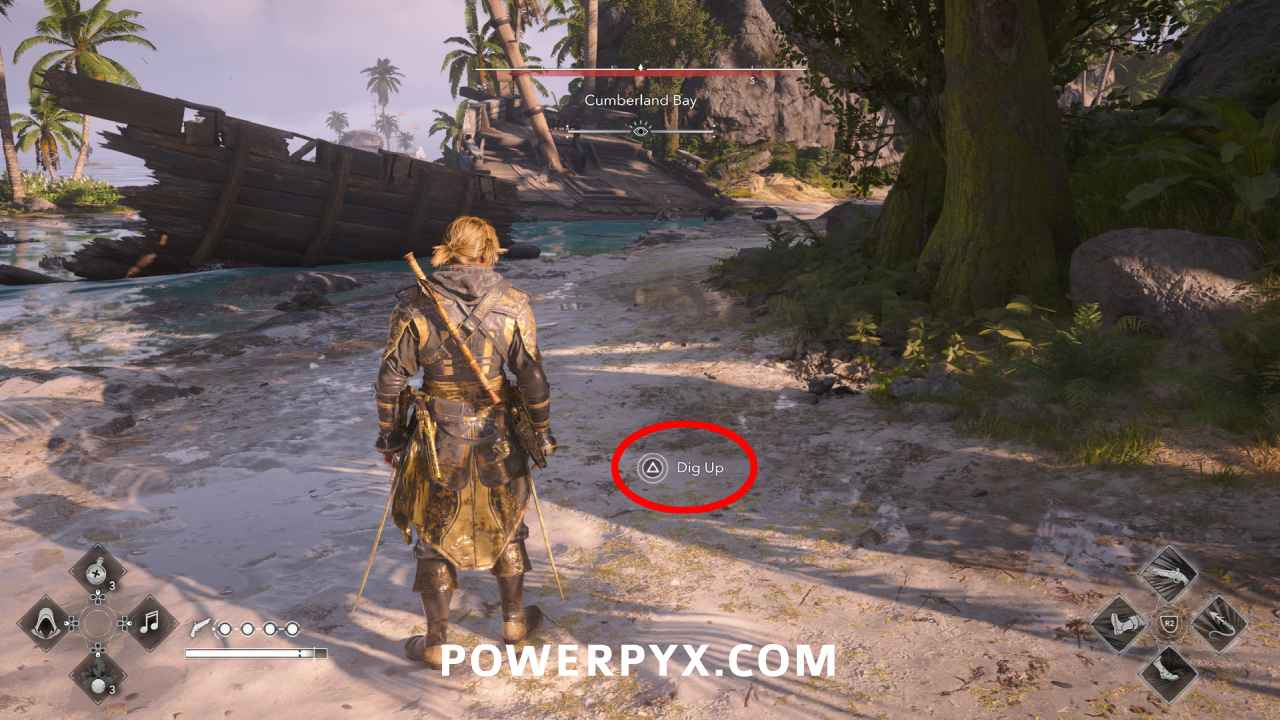
Treasure Map Solution: Cumberland Bay (645, 355) – next to an interactable rowboat in the sand
Side Activity: Plunder the Warehouse 2/2 (Vanita’s Still-life Painting)
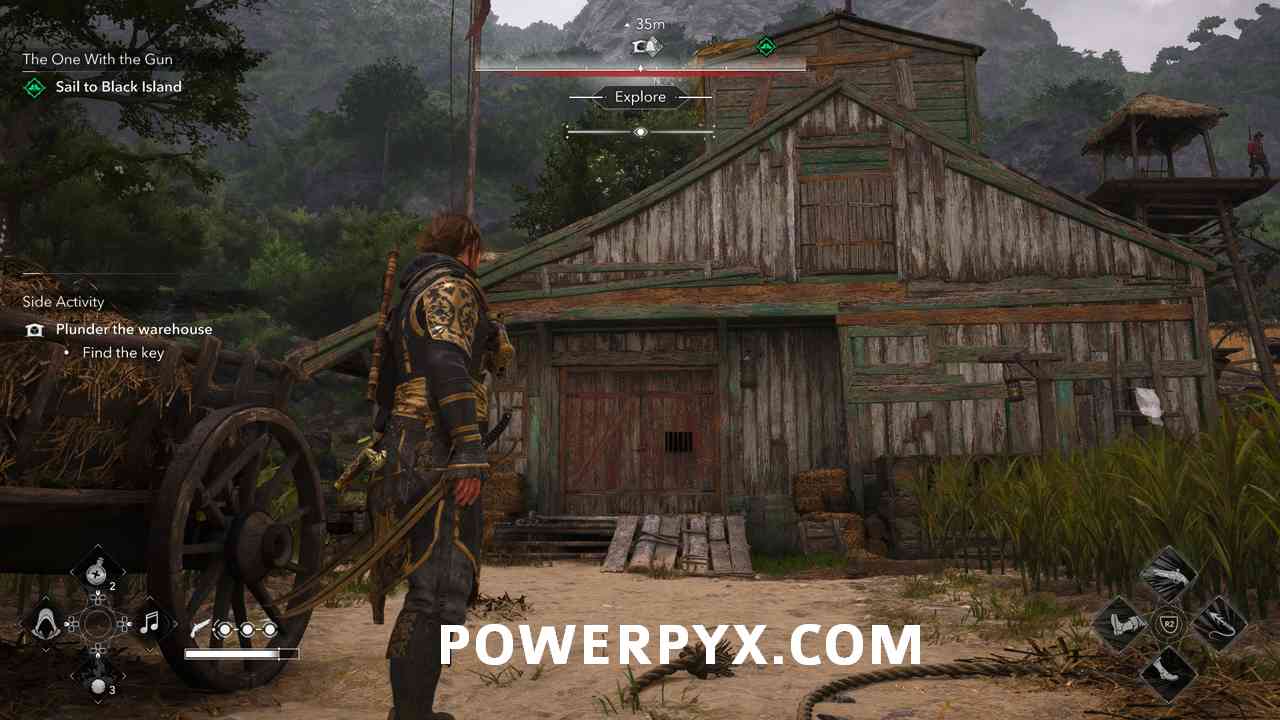
Approach the Warehouse in the North and this activity will activate:
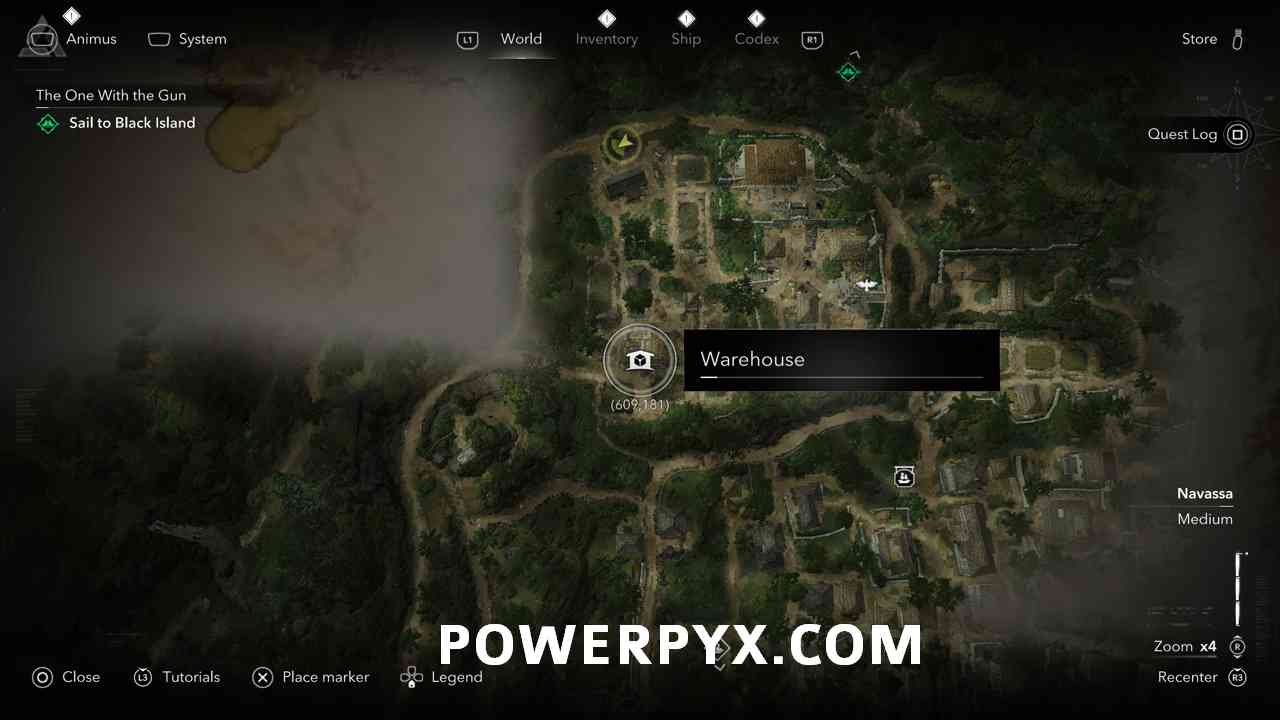
The enemy with the key is in the plantation house in the Northern portion of the plantation.
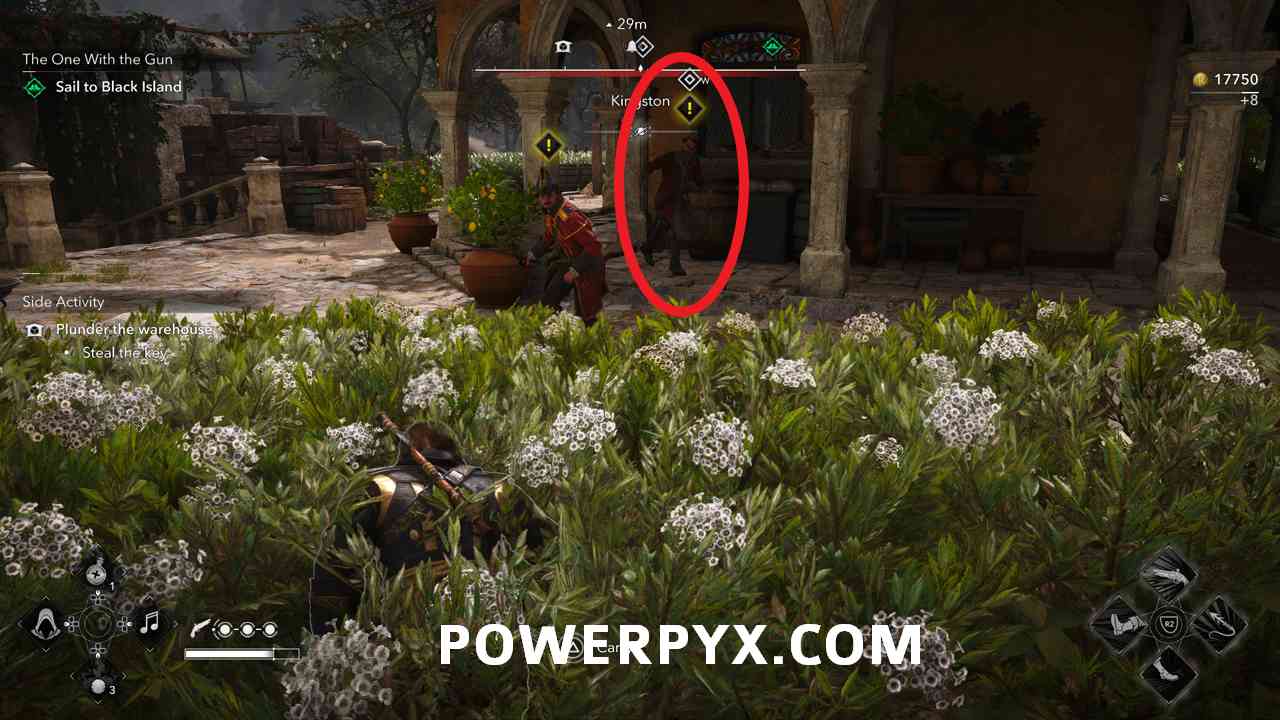
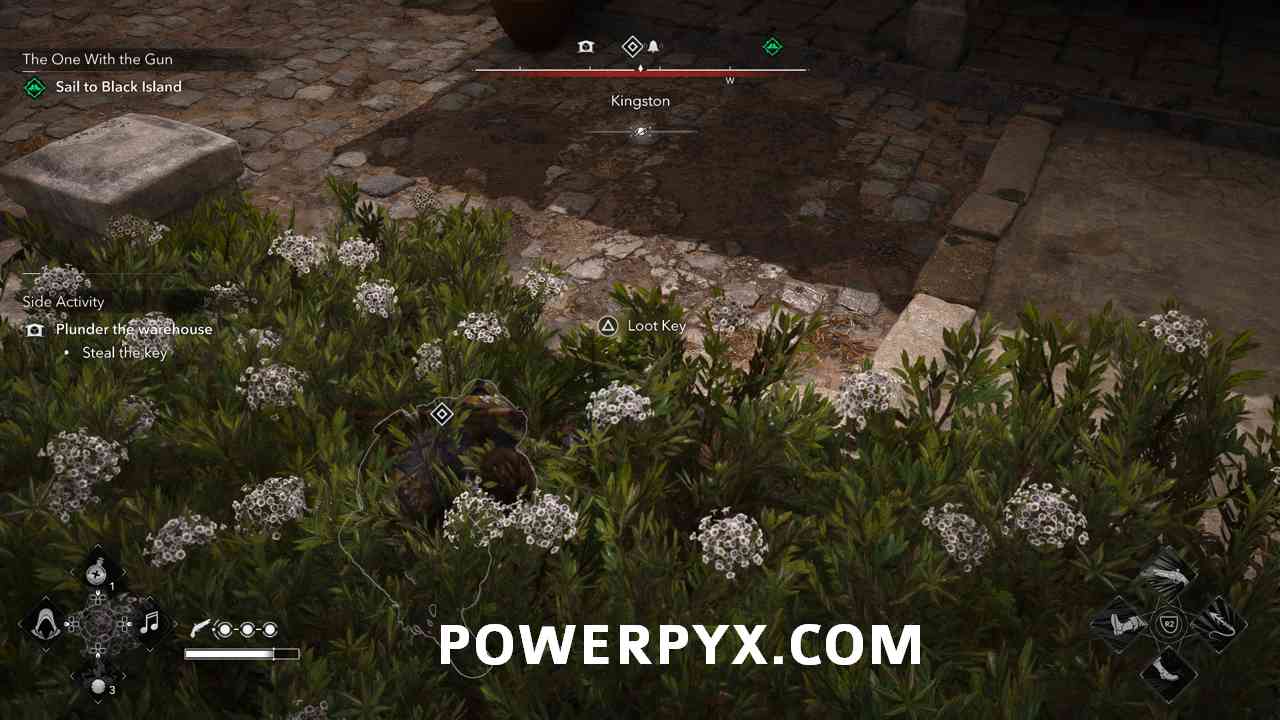
Defeat the key bearer and loot the Kingston North Warehouse Key from his body which will give you access to the Warehouse. Once all enemies in the area are defeated open the warehouse doors.
Local Event: Beat the Chest
Approach the man at the marker and purchase his chest for 250 Reales.
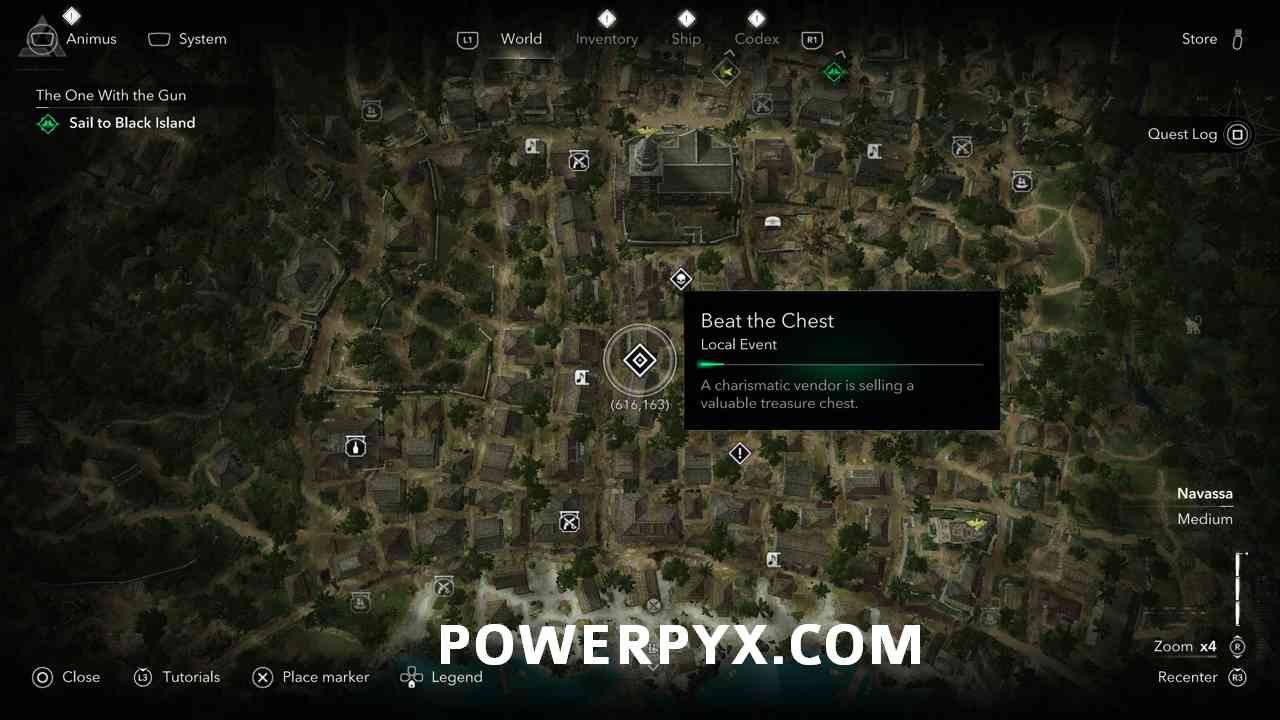
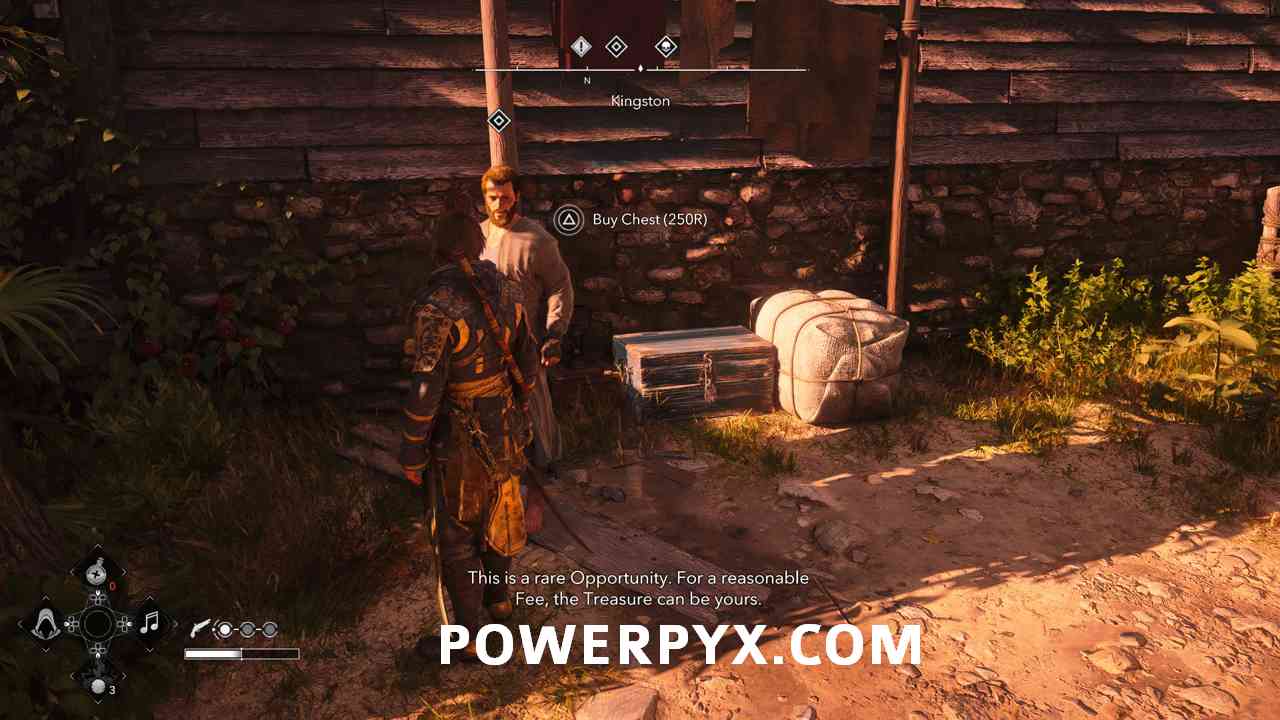
The chest you bought will be empty and you will have to chase the man down and tackle him. Once tackled kill him and loot his body to recover your 500 Reales.
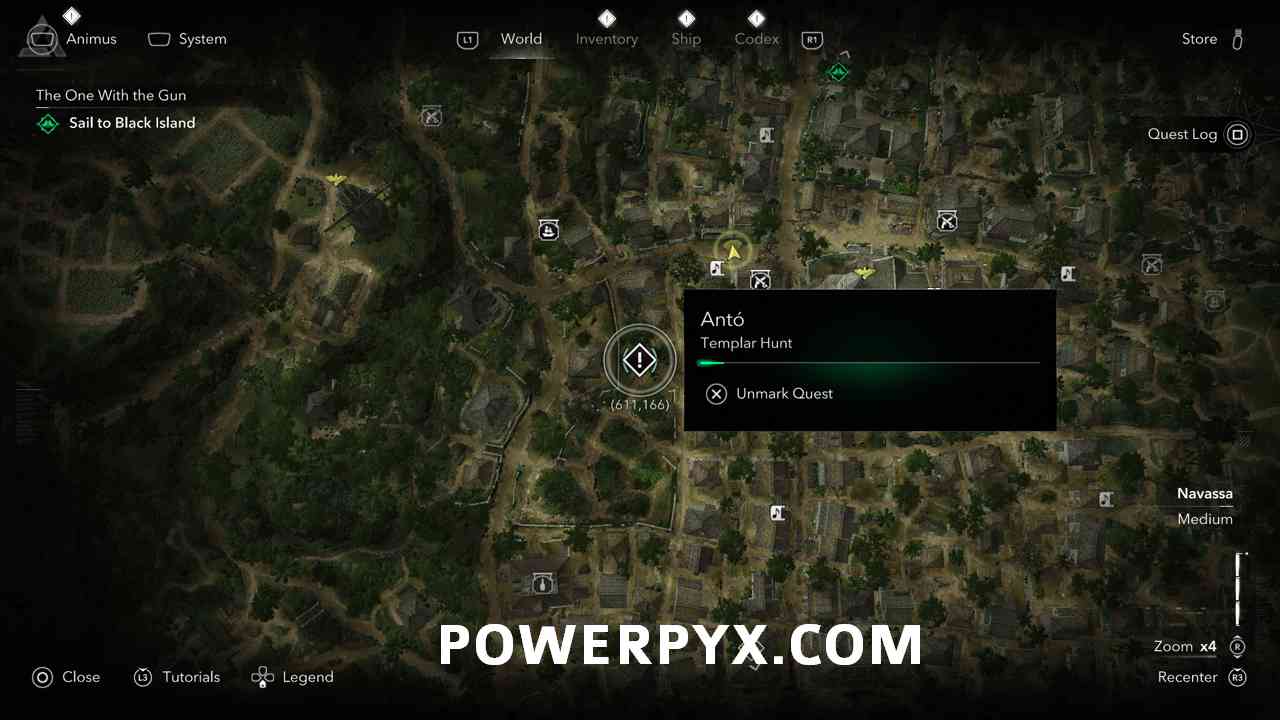
Templar Hunt: Antó – The Maroon Assassin
Approach the Templar at the mission waypoint and speak to him to start the mission.
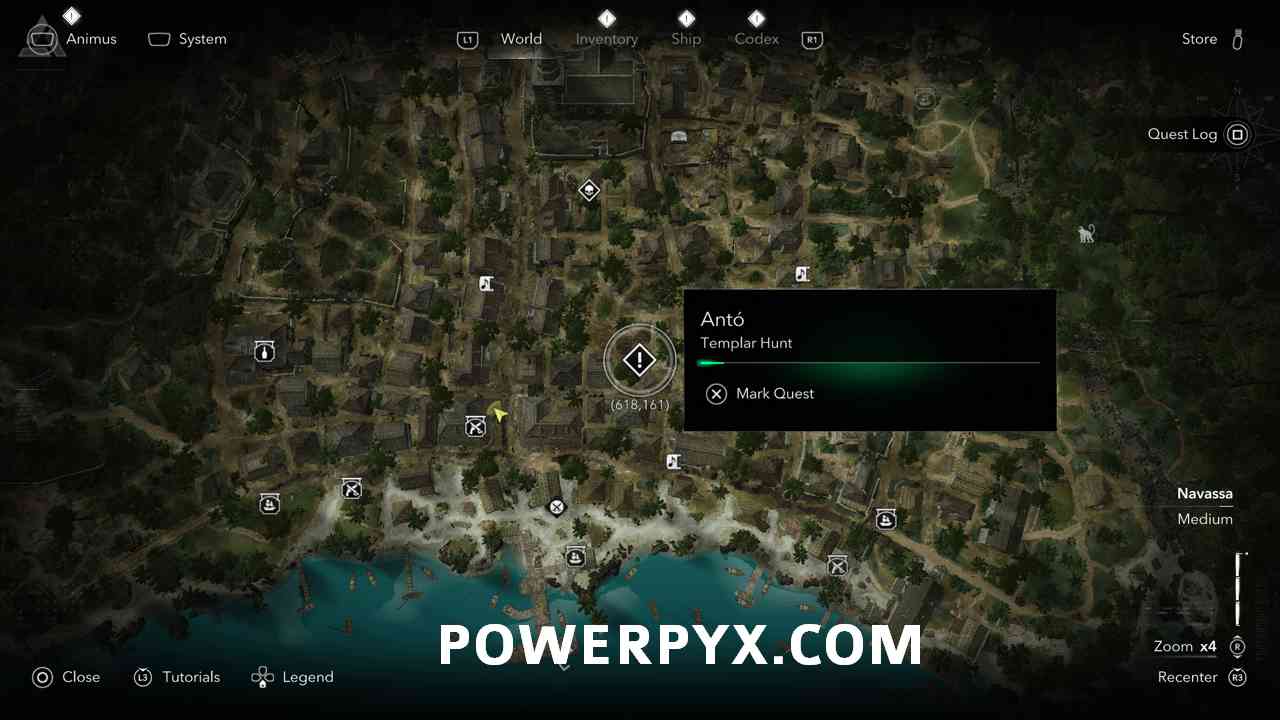
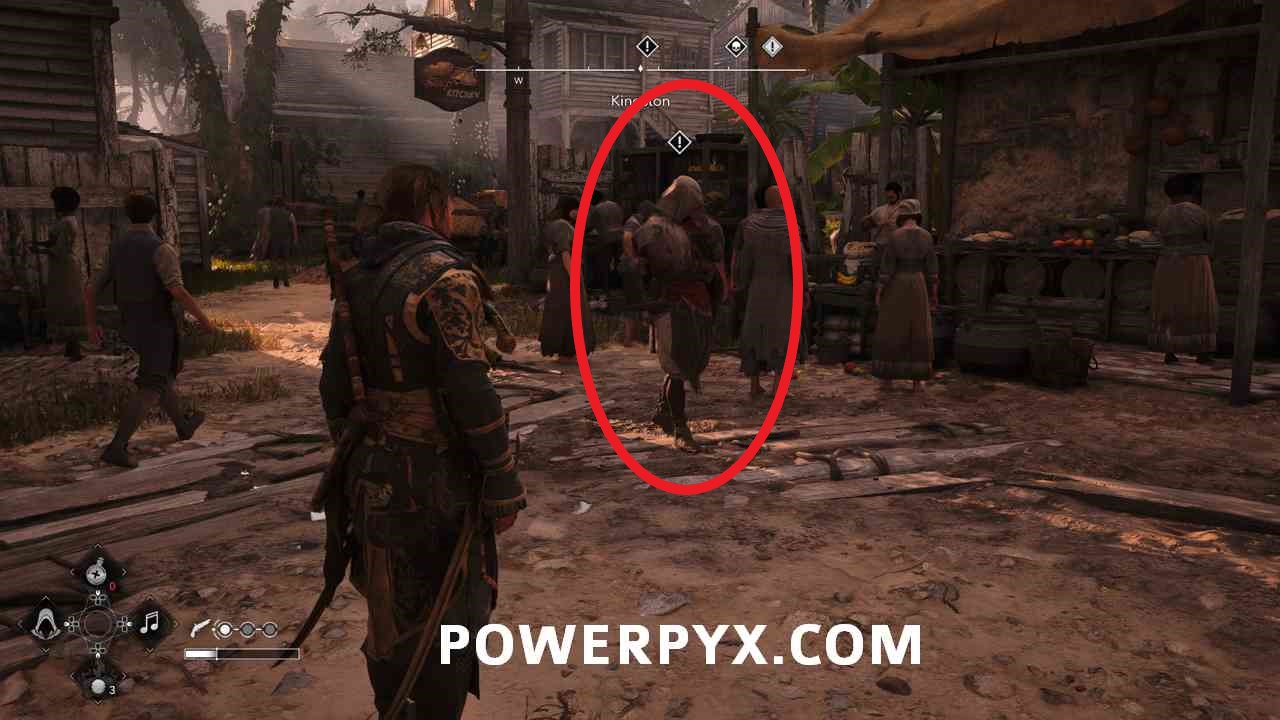
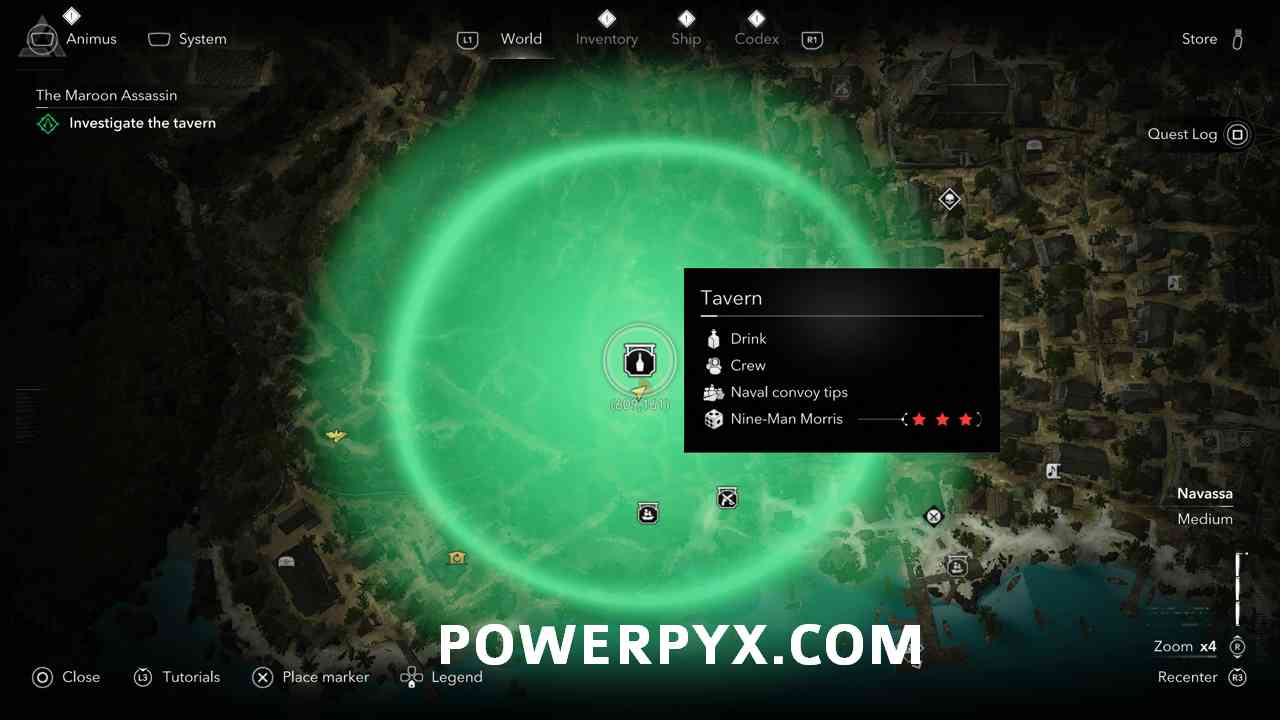
Investigate the Tavern. Head to the Tavern exactly where the marker is on the map.
Head inside the Tavern and locate the paper on the table in the back with a green marker on it. Examine it.
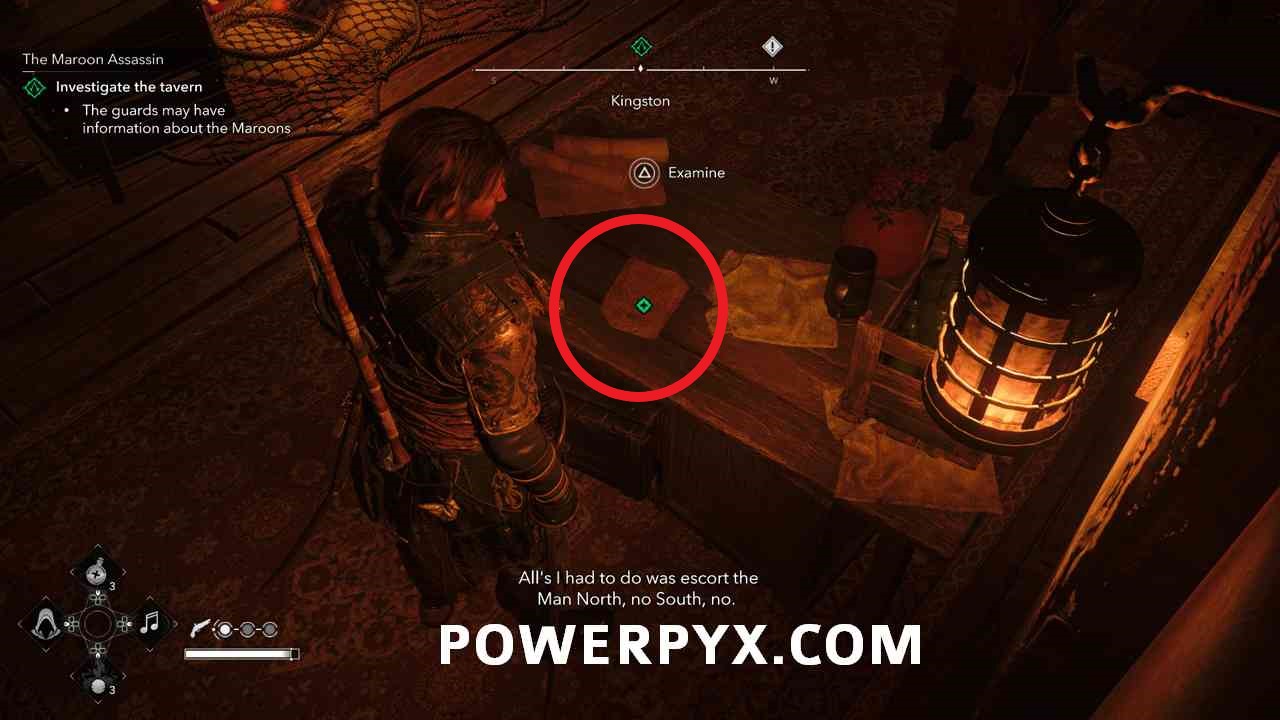
After reading the Notice of Dismissal head to the church where the mission marker is.
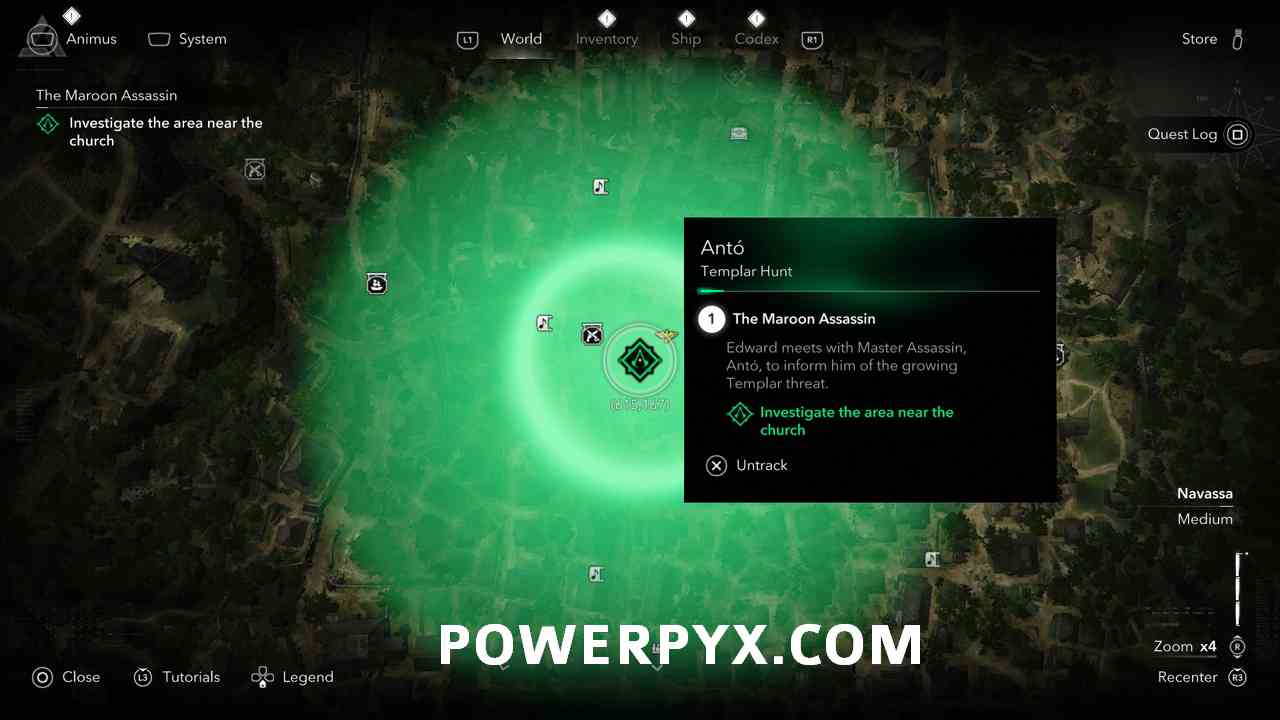
Once at the church walk around until you are instructed to follow a set of guards. Locate them (they will have green mission markers above their heads) and follow them without getting too close or risk being caught. They will go into an alley and when you get close they will scramble. Run after one and tackle them. This will complete this quest.
Templar Hunt: Antó – Recruiting Maroons
Approach Antó and speak with him at the mission waypoint.
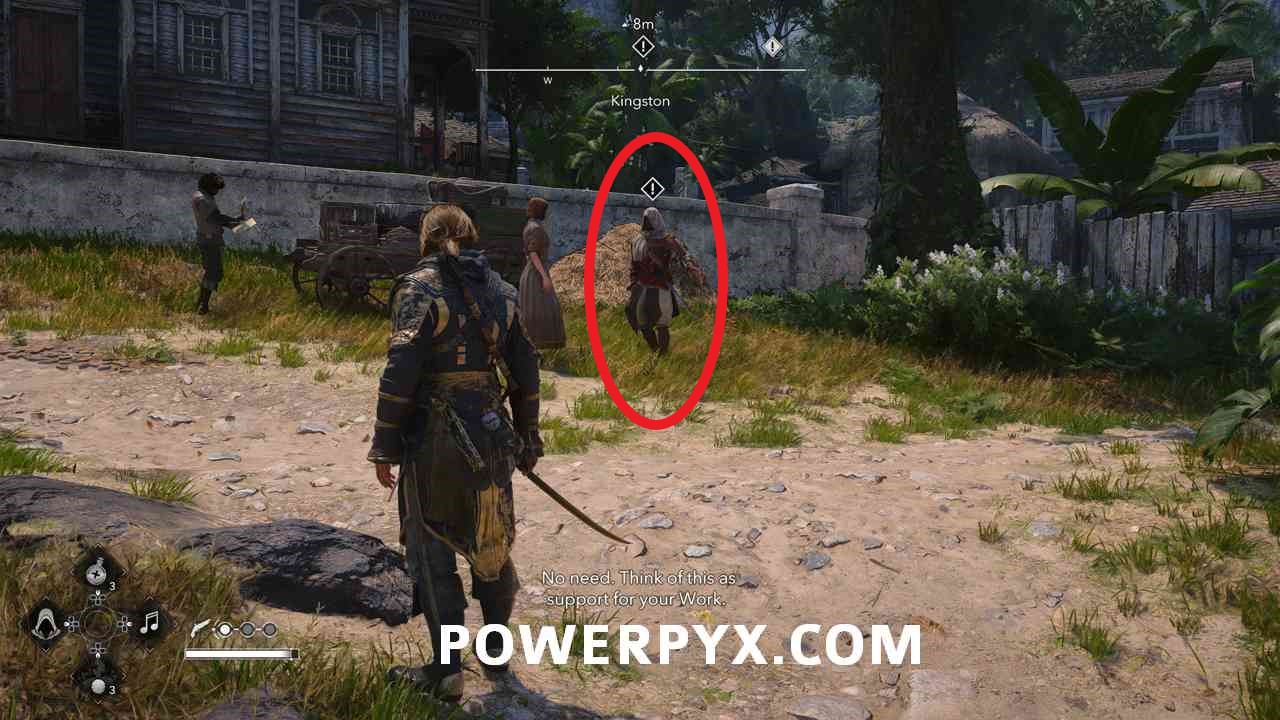
Once spoken to you will start to follow Antó automatically. Once stopped you will need to free the Maroons. Do so by heading into the restricted area ahead and defeating the enemies. You can run up and Double Takedown the guards in the gate and then the two harassing the first prisoner. Once defeated release the prisoner. Next head to the next marker.
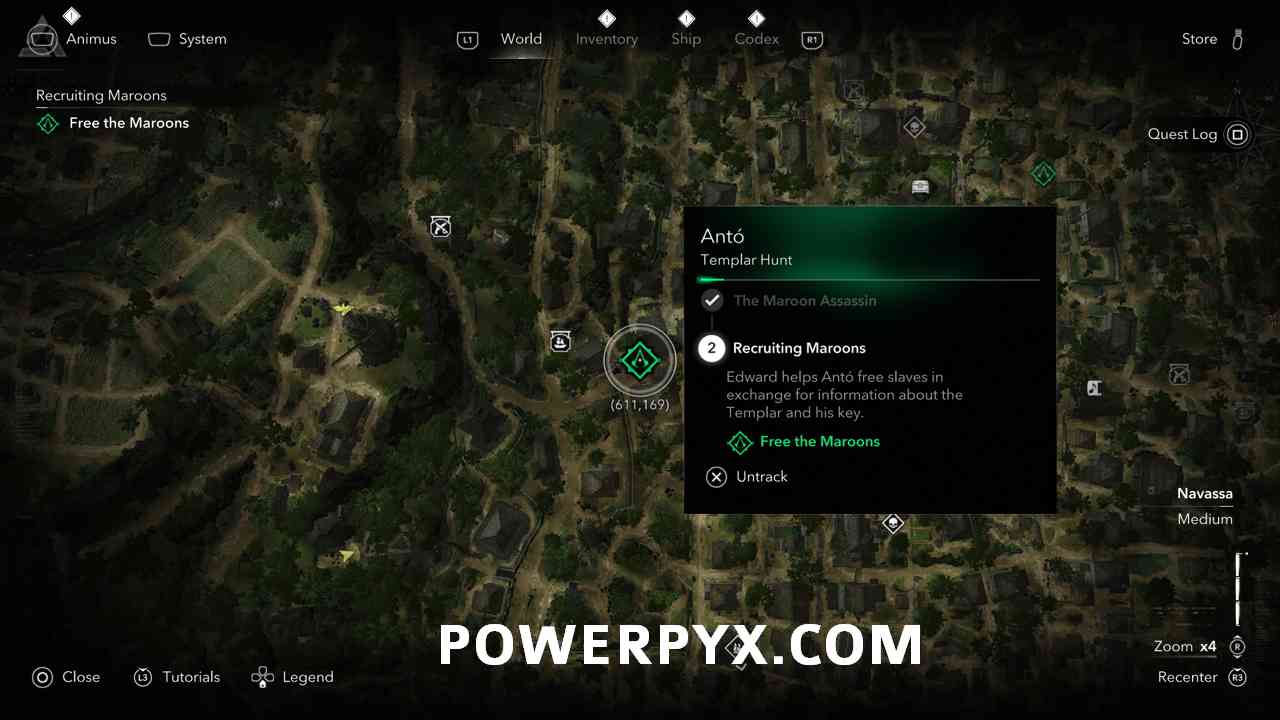
At the second marker the enemies will be walking the prisoner. Take the four out to rescue the second prisoner.
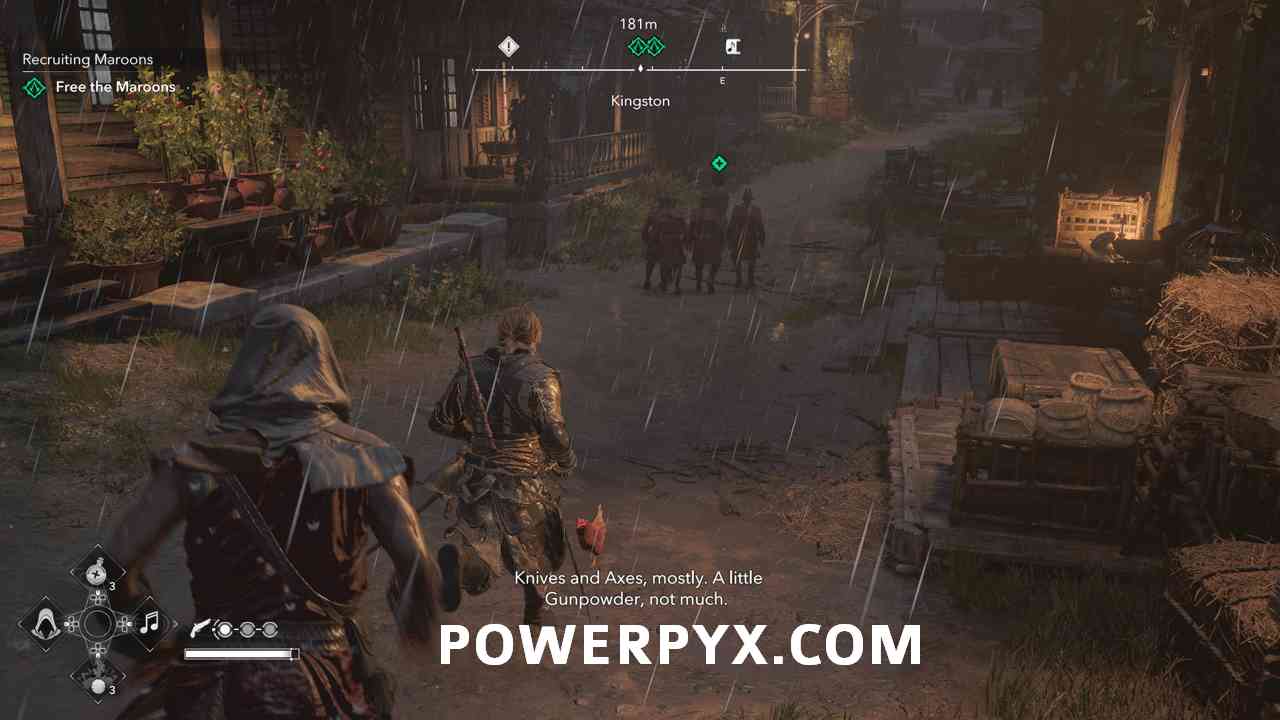
Head to the third marker.
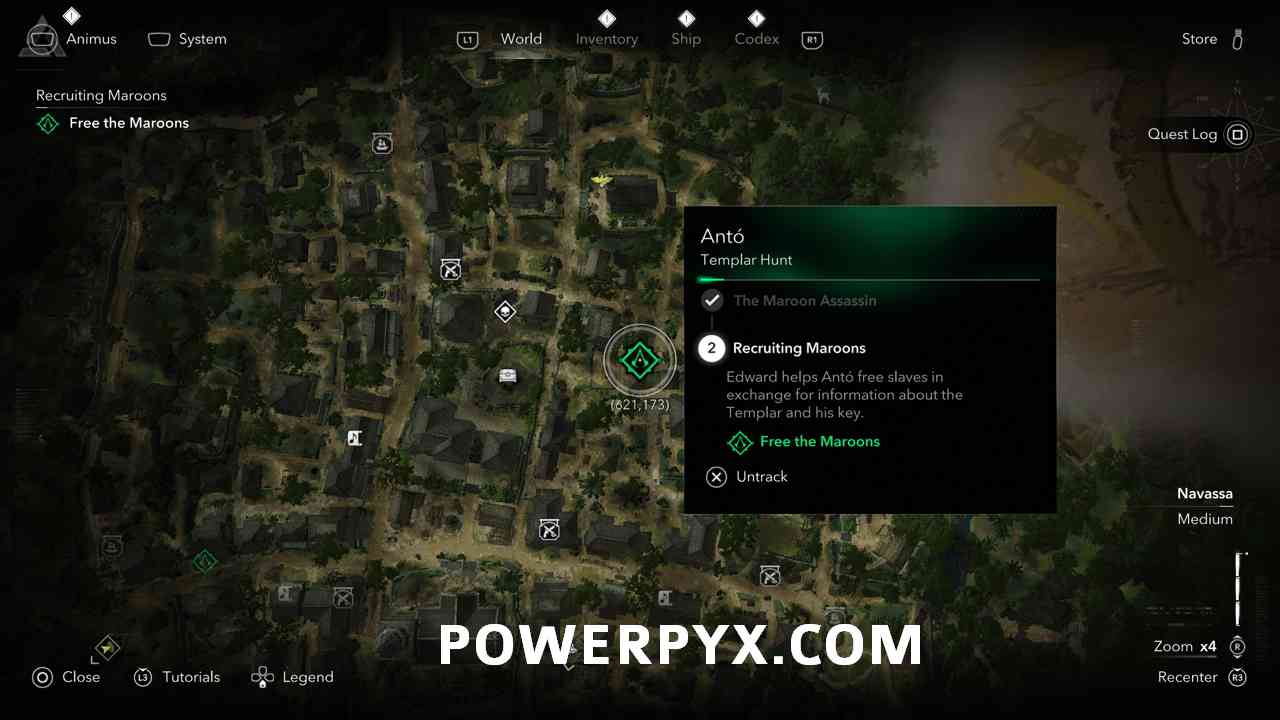
The third marker is guarded well. Defeat the group of guards and release the 3rd prisoner. Next you will be instructed to go to the next marker and assassinate the officer.
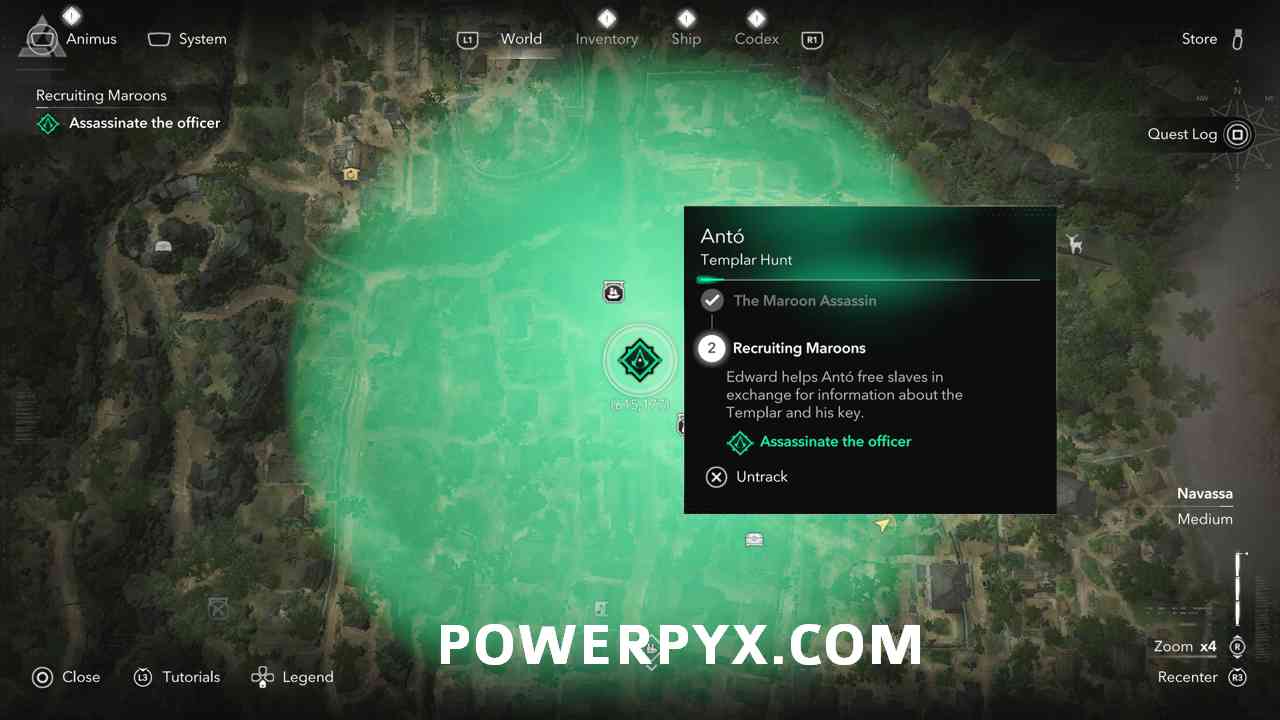
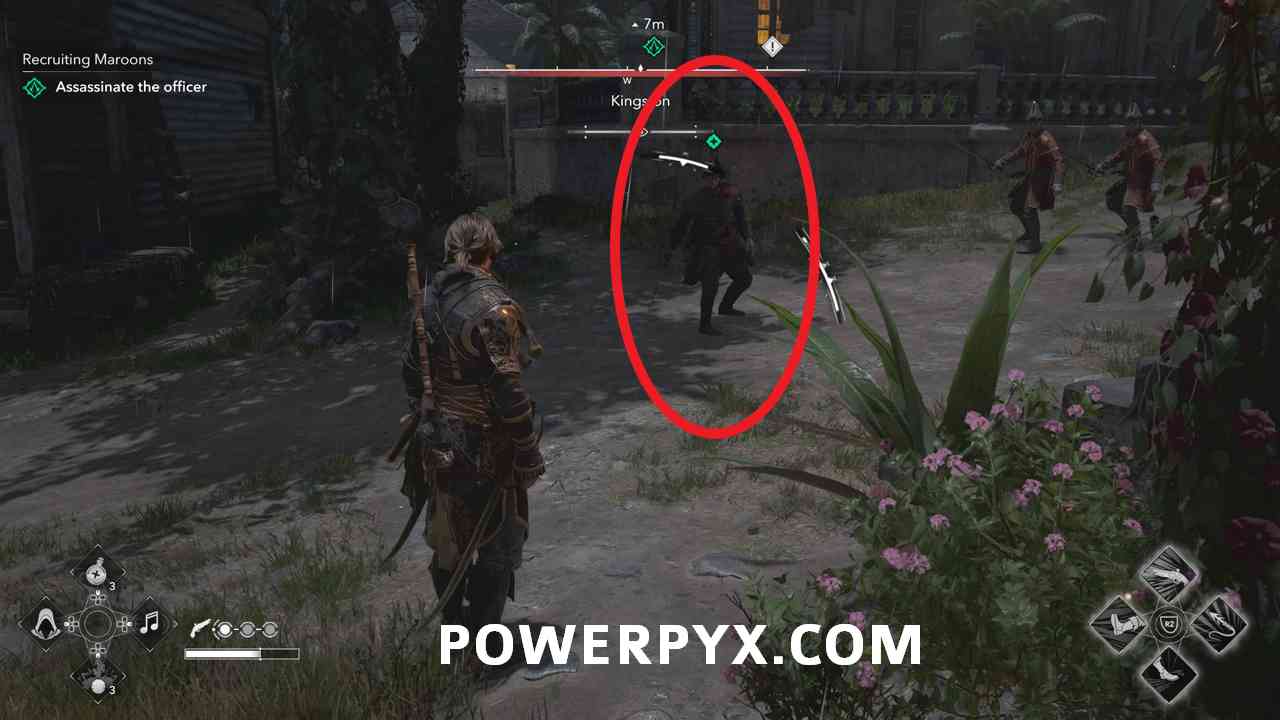
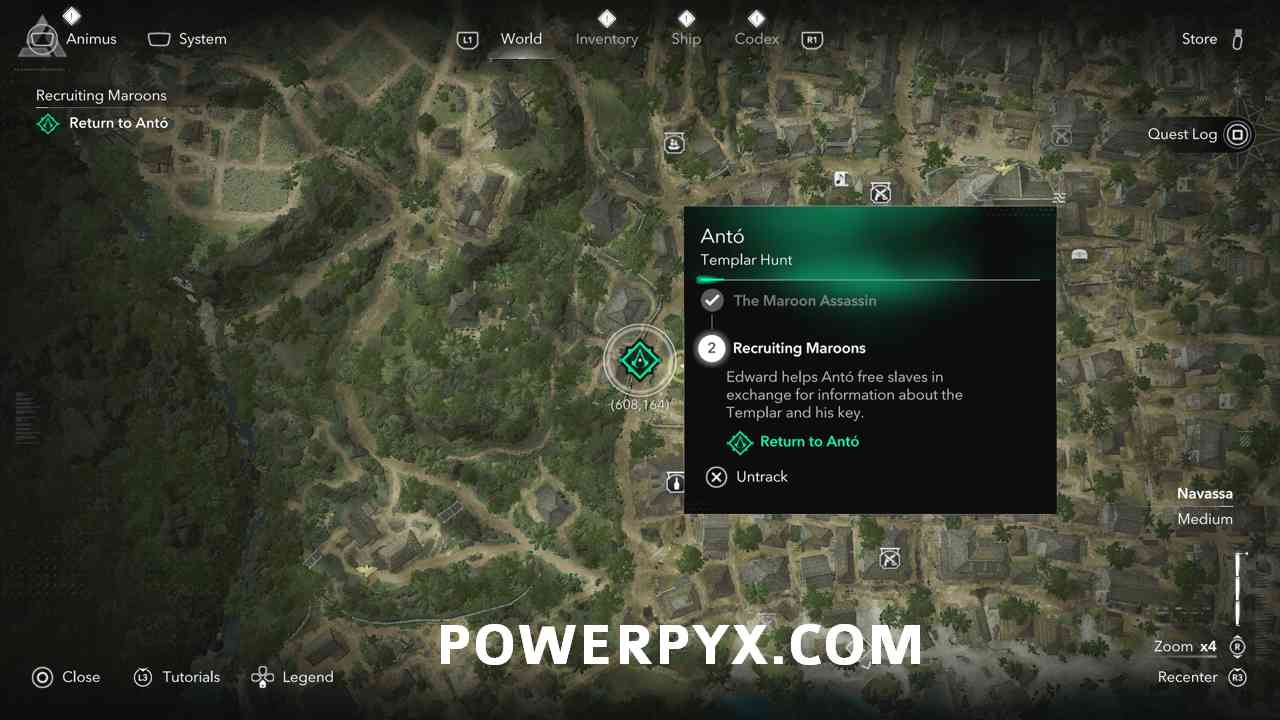
Once assassinated return to Antó in the graveyard. to complete this quest.
Templar Hunt: Antó – Under Attack
Approach Antó and speak to him at the mission waypoint to start this mission.
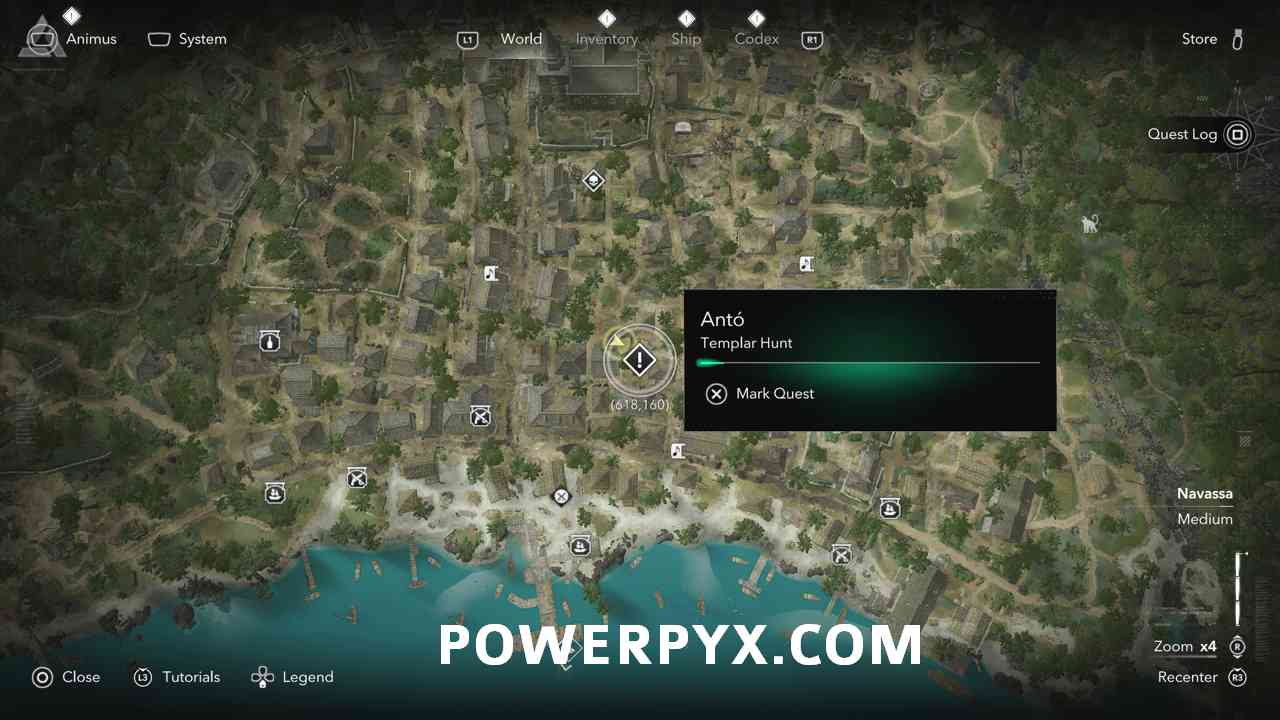
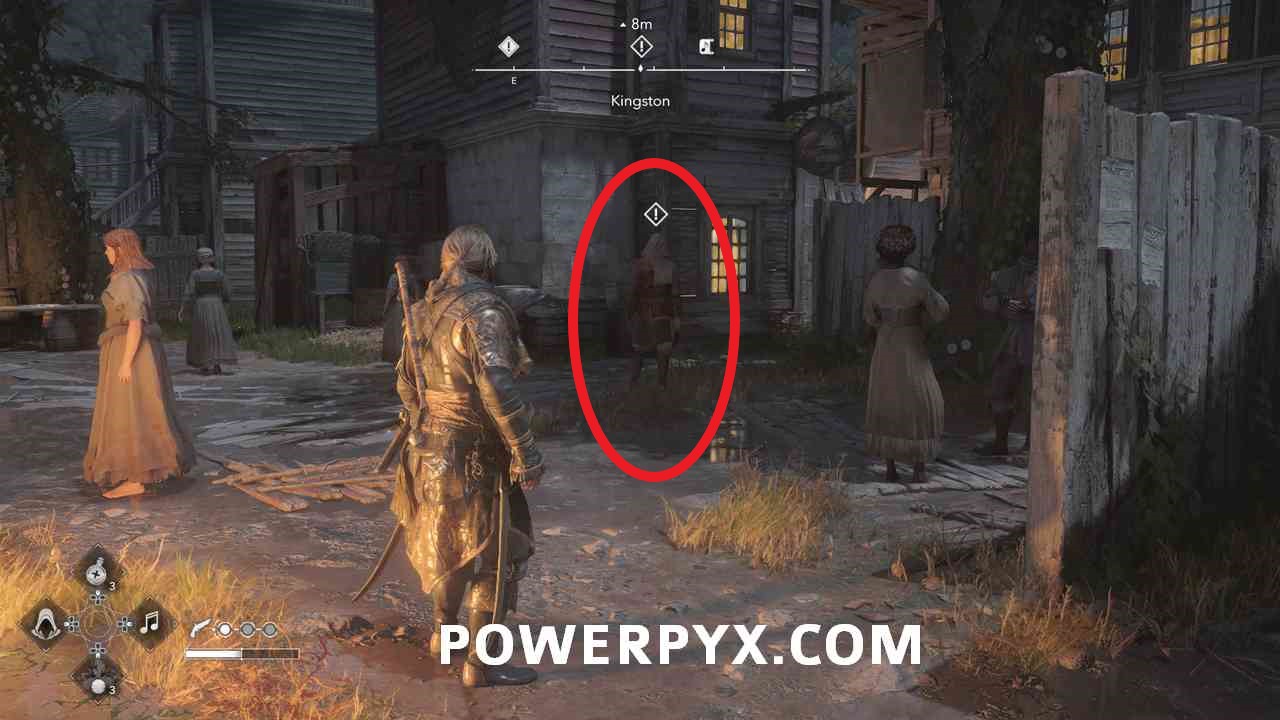
This mission wants you to defend the Bureau from the Templar attack alongside him and the prisoners you freed. Once defeated reinforcements will arrive. Defeat the second wave and await the third and final wave. Once defeated you will have completed this quest.
Templar Hunt: Antó – The Commander’s Ruse
Approach Antó and speak to him at the mission waypoint to start this mission.
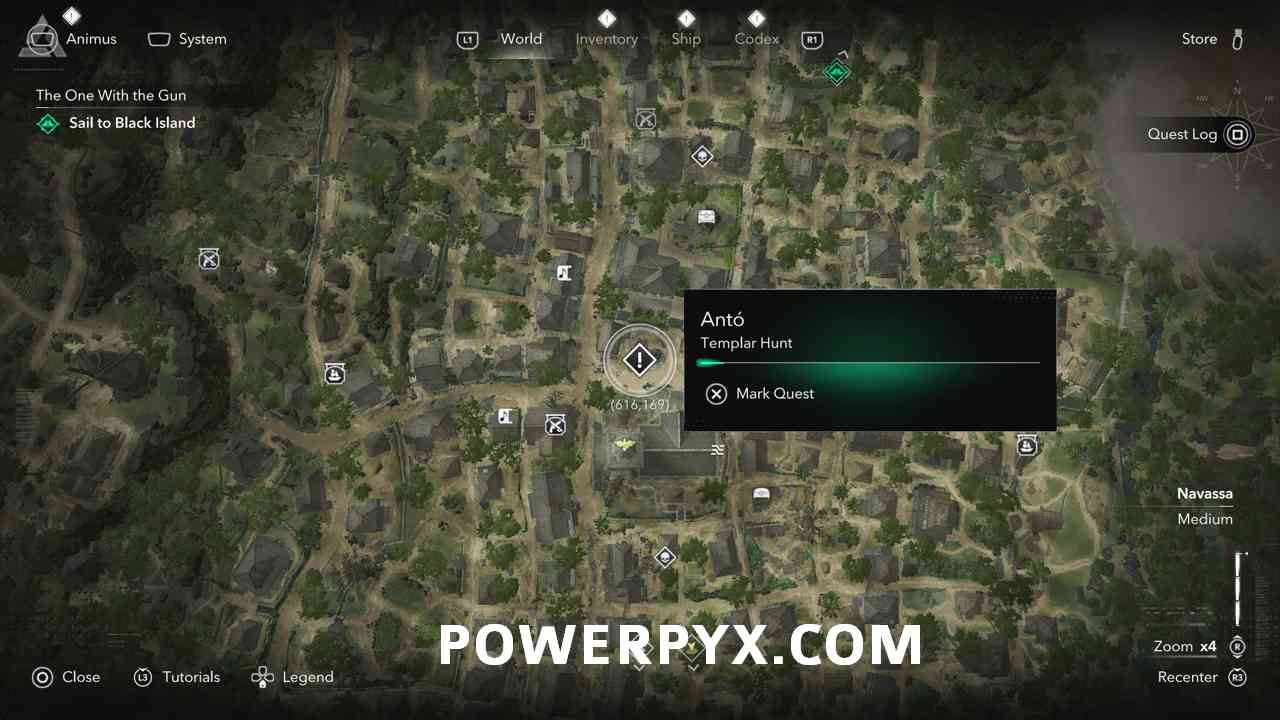
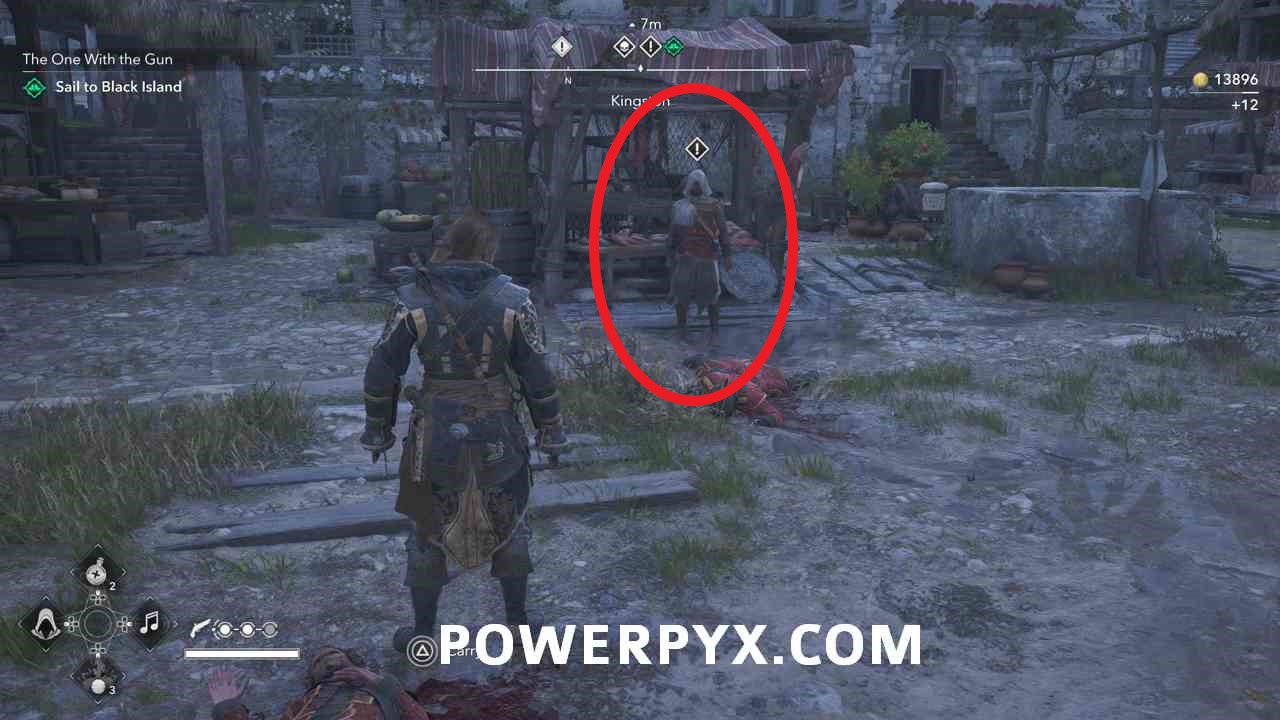
Antó wants you to assassinate Kenneth Abraham with him. As soon as the mission starts officers will appear. Assassinate them both to receive the Invitation to Officers Party letter. Head to the officers’ party with Antó.
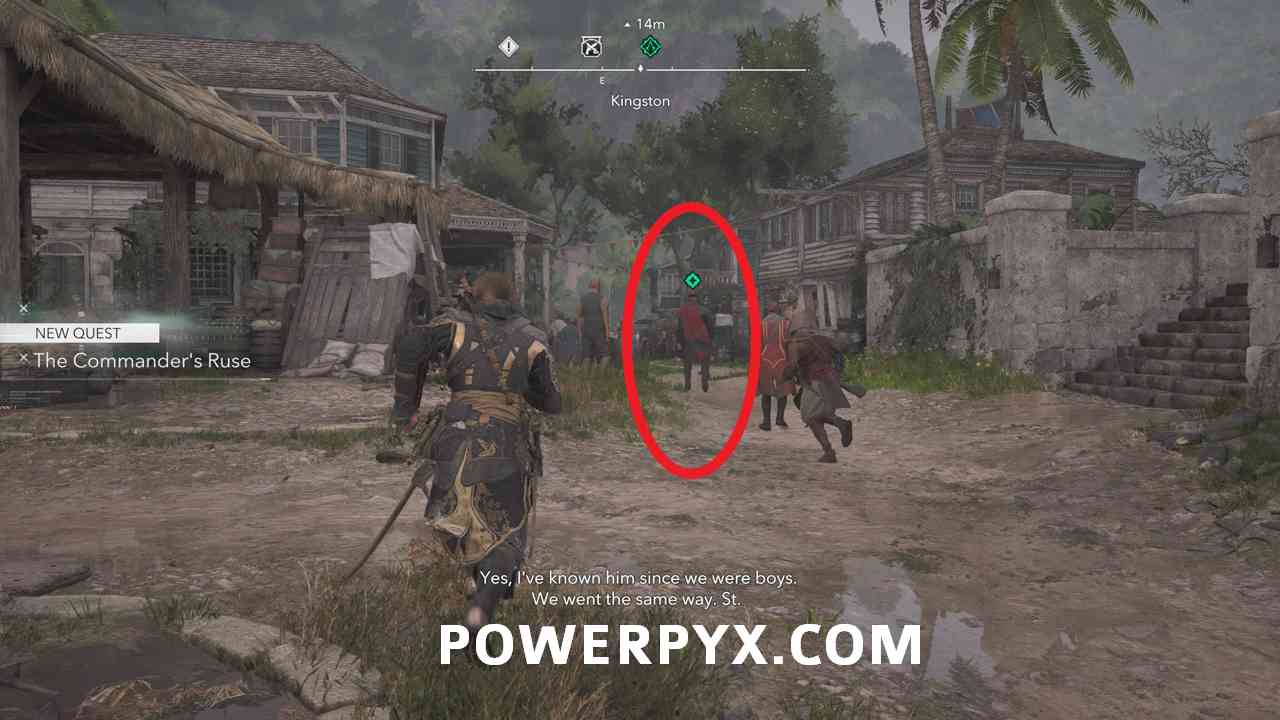
Once at the restricted area start taking out enemies and working your way to Kenneth who is near the buffet.
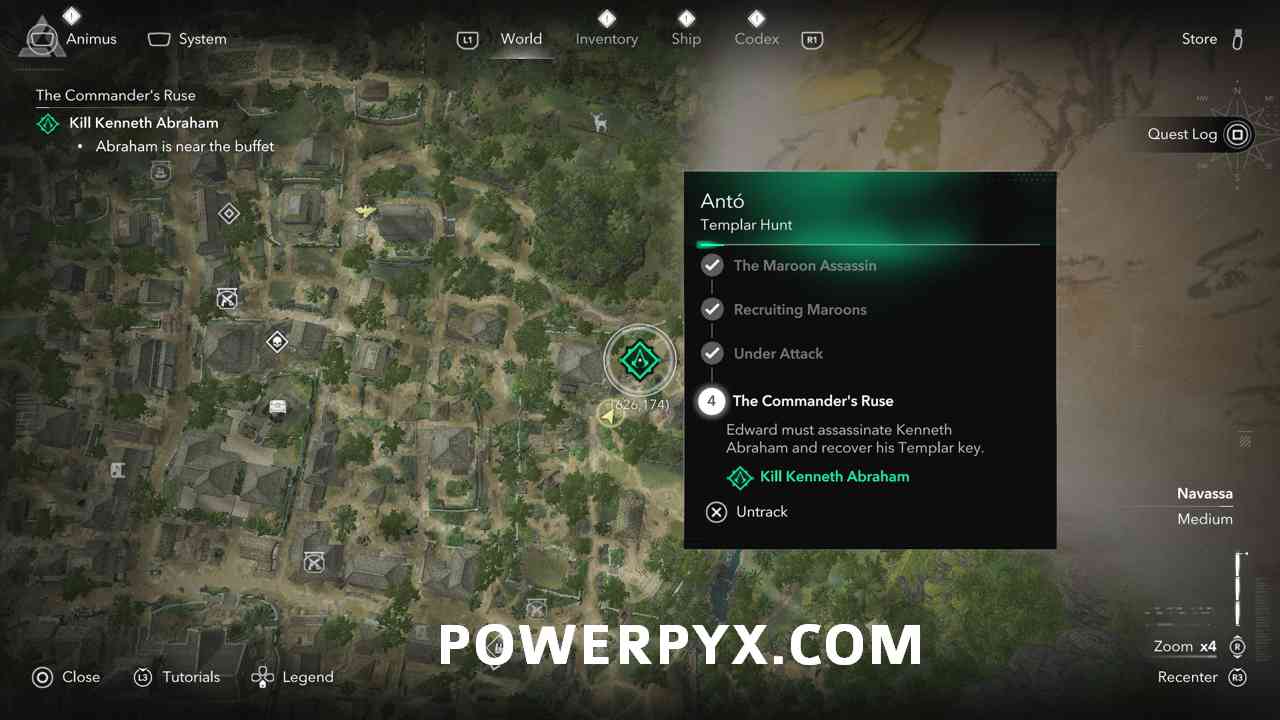
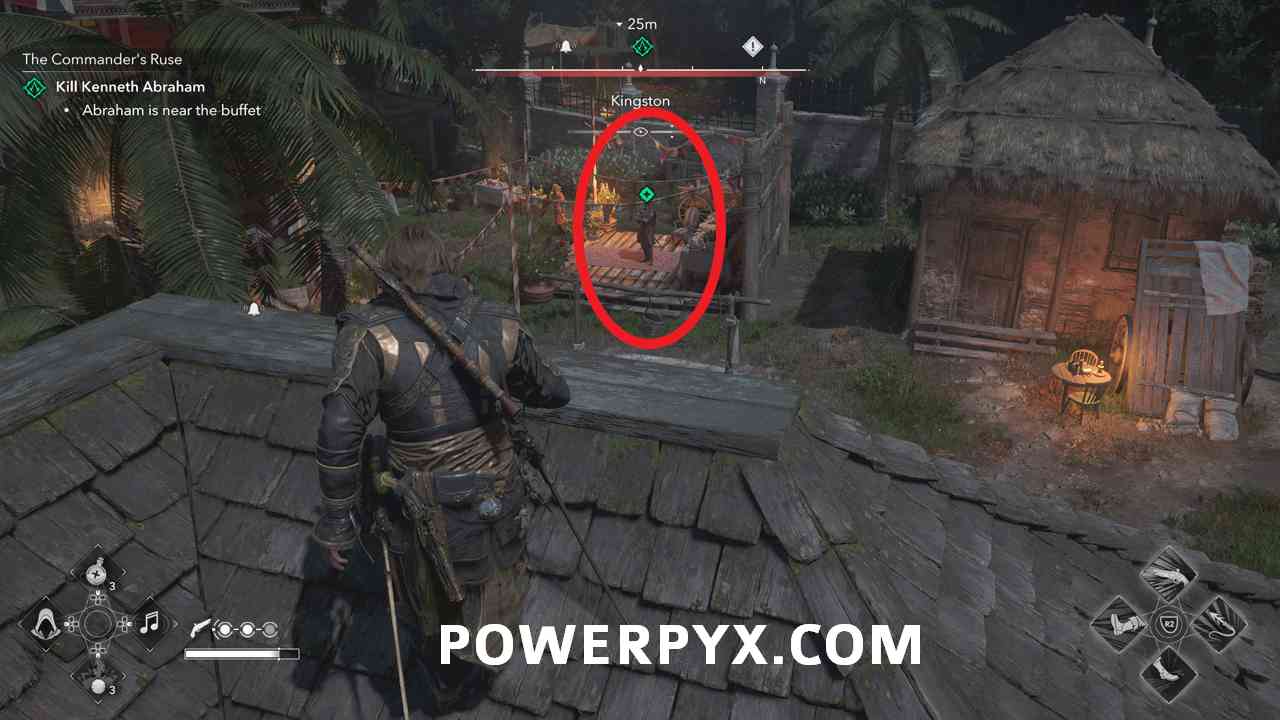
Assassinate him and return to speak with Antó at the Bureau to complete this mission.
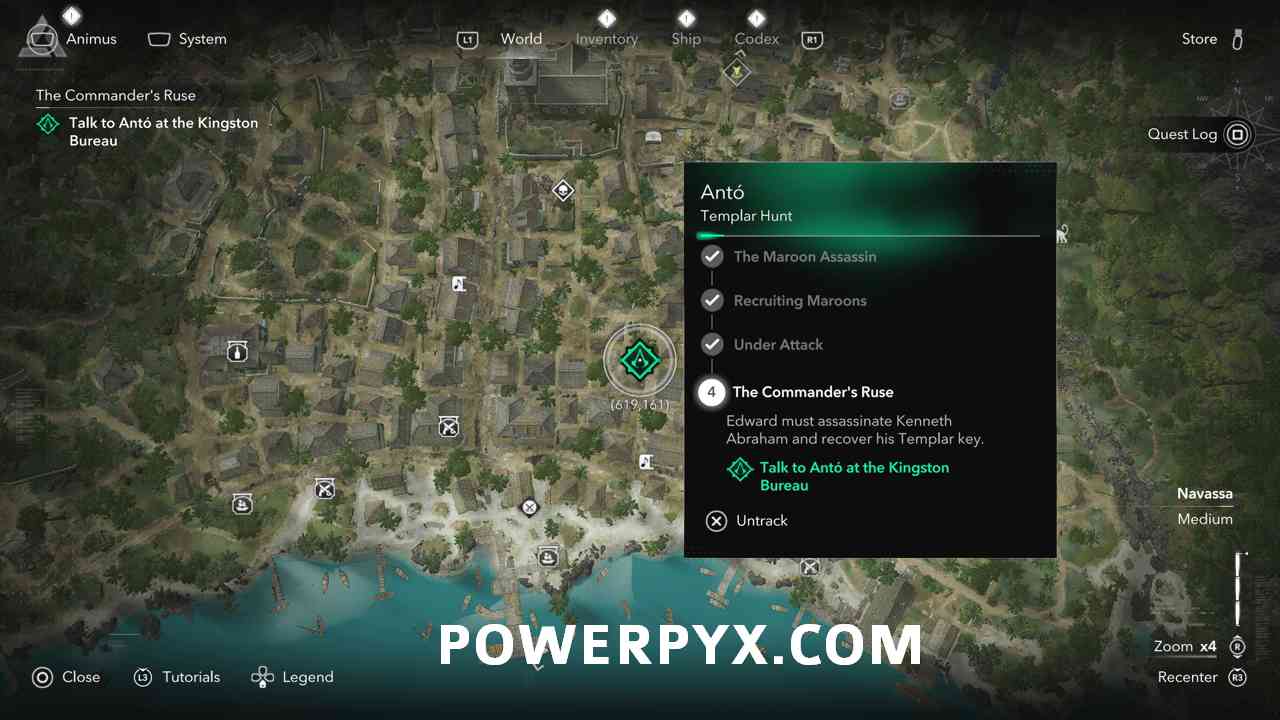
Local Event – Tithes Paid
Approach the man cowering at the mission marker.
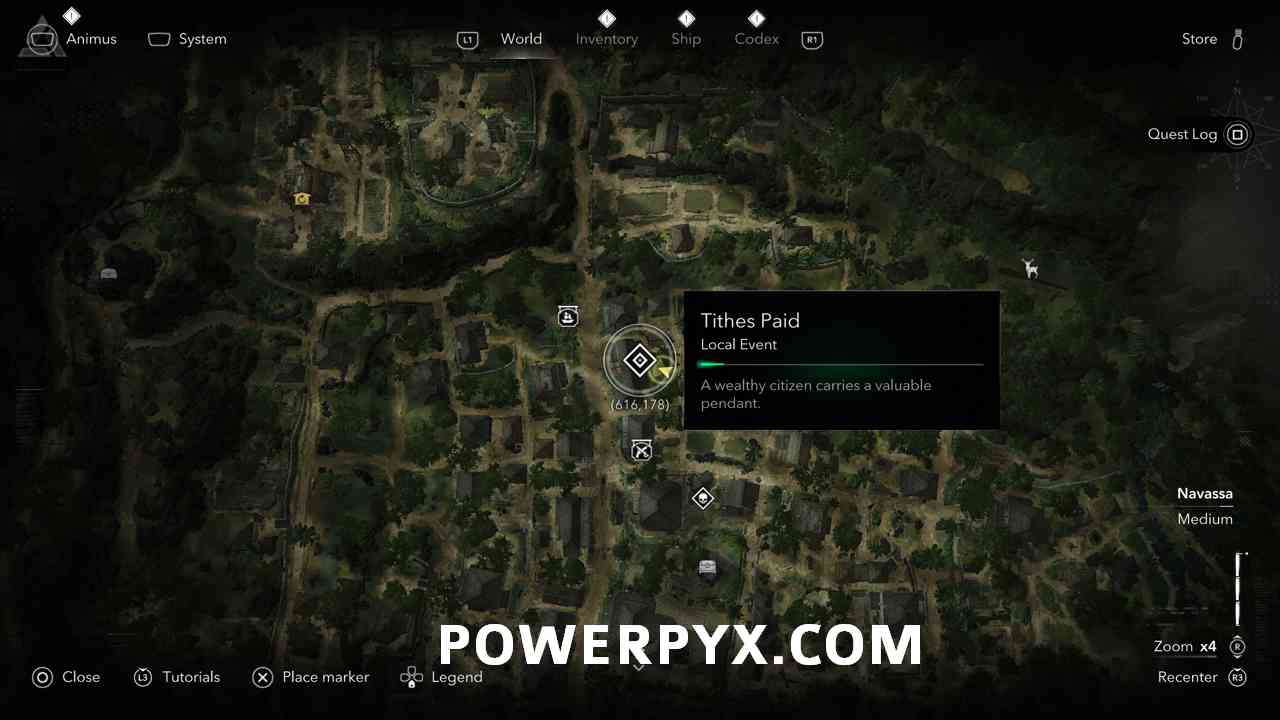
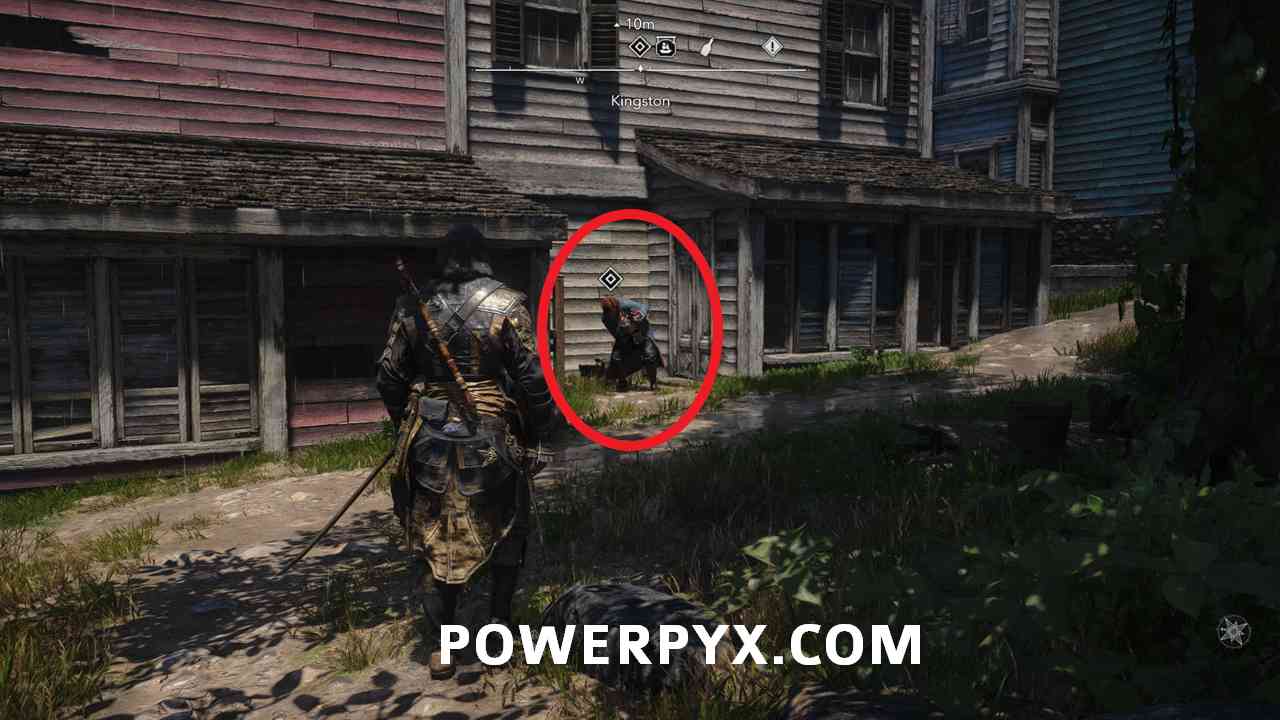
He will give you the Item Trinket ‘Cross Pendant’.
That’s 100% of the Collectibles you can find in Kingston location of Assassin’s Creed IV: Black Flag Resynced (2026 Remake).
For all other regions and collectibles by type check out the complete Assassin’s Creed IV: Black Flag Resynced Collectible Guide.
Ferro_r says
Hi, you are missing from this list the Woodes Rogers’ Portrait at (618, 171)
PowerPyx says
It’s added now. It only spawns later in Sequence 12.