
This guide shows all Accessory Locations in Final Fantasy VII Remake. Accessories can be equipped for status boosts. Here you find a list of all Accessories in the game and where to locate them. The best accessories are found in the late game and some are even exclusive to hard difficulty (which is unlocked after the first playthrough). Knowing where to locate the Accessories is good preparation for a hard difficulty playthrough.
None of the Accessories in Final Fantasy 7 Remake are missable. After the story you unlock chapter select and can go back to grab what you missed. Accessories are found in Chests and some are rewards from Side Quests or Challenges. This guide shows everything in chronological order and also includes duplicates (most Armor Pieces spawn more than 1 time). Additionally, you can buy some duplicates from Merchants and Vending Machines.
Accessory List:
- Power Wristguards – Increases Strength by 5%
- Bulletproof Vest – Increases vitality by 5%
- Earrings – Increases magic power by 5%
- Talisman – Increases spirit by 5%
- Supernatural Wristguards – Increases Strength by 10%
- Survival Vest – Increases vitality by 10%
- Platinum Earrings – Increases magic power by 10%
- Timeworn Talisman – Increases spirit by 10%
- Champion Belt – Increases max HP by 10% / Strength by 5%
- Circlet – Increases max MP by 10% / Magic Power by 5%
- Star Pendant – Become immune to Poison
- Headband – Become immune to Sleep
- Protective Boots – Become immune to Slow & Stop
- Tarot Cards – Extends the duration of detrimental status effects applied to others
- Otherworldly Crystal – Reduces the duration of detrimental status effects
- Enchanted Ring – Extends the duration of beneficial status effects applied by the wearer.
- Fury Ring – Enter battle with the berserk status effect
- Enfeeblement Ring – Enter battle with the toad status effect
- Transference Module – Consuming ATB charges fill the limit gauge
- Spectral Cogwheel – Consuming MP fills the limit gauge
- Revival Earrings – Enter battle with the Auto-Life status effect, breaks upon use
- Crescent Moon Charm – Reduces damage taken when equipped by non-active characters
- Whistlewind Scarf – Enter battle with a slightly filled ATB gauge
- Clarity Pendant – Completely fills the ATB gauge after using Refocus.
- Salvation Badge – Increases the effectiveness of healing spells cast on you when HP is 25% or lower
- Healing Carcanet – Increases the effectiveness of healing items, spells and abilities
- Mythical Amulet – Strengthens summons called forth in battle
- Moogle’s Amulet – Increases the probability enemies will drop items when defeated in battle.
- Gotterdammerung – Enter battle with a full limit break gauge. Limit break gauge gradually fills during battle.
Accessory Locations
Accessory #1: Power Wristguards
Chapter 2 / Objective: Evade Pursuers / Location: Loveless Street – After the very first combat encounter, defeat the next group of enemies on the main path and then take the next path to the left. At the end of the path open the chest to find the first accessory inside. It’s just before reaching the big market square where enemies arrive in helicopter.

Accessory #2: Bulletproof Vest
Chapter 3 / Objective: A Job for the Neighborhood Watch / Area: Residential Area – Bought from Weapon Store.
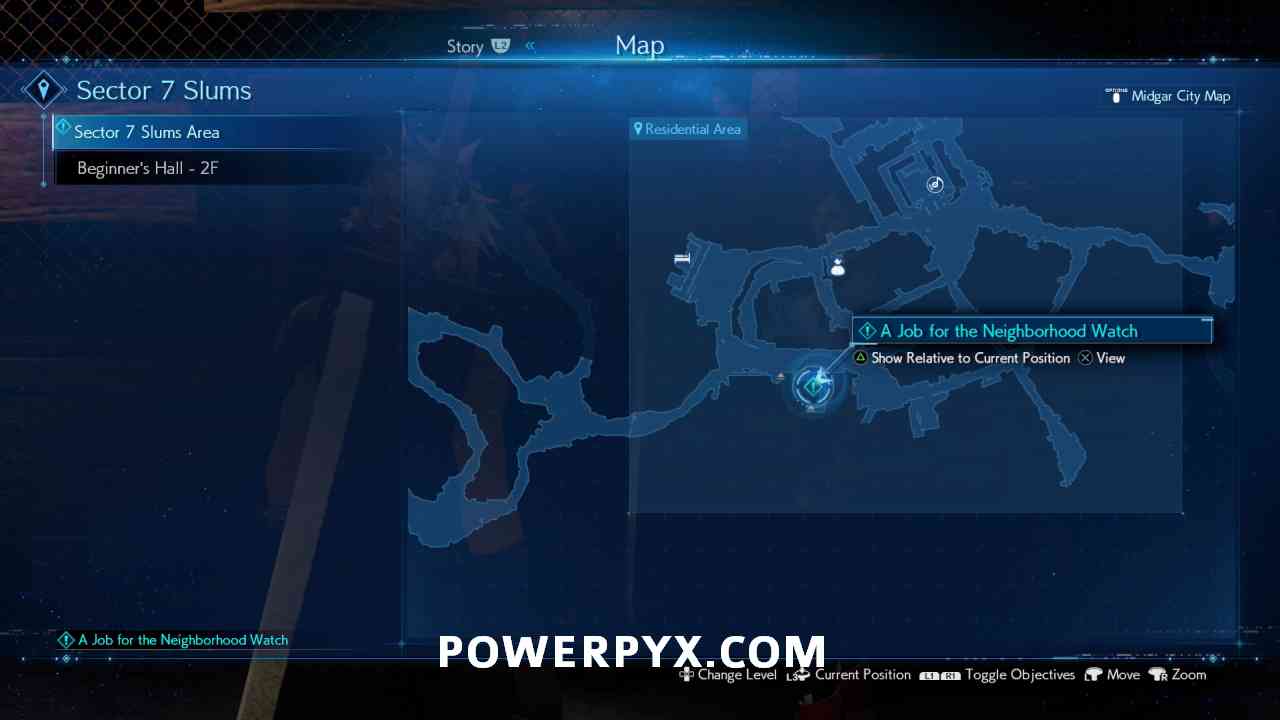

Accessory #3: Earrings
Chapter 3 / Objective: A Job for the Neighborhood Watch / Area: Residential Area – Bought from Weapon Store.


Accessory #4: Talisman
Chapter 3 / Objective: A Job for the Neighborhood Watch / Area: Residential Area – Bought from Weapon Store.


Accessory #5: Revival Earrings
Chapter 3 / Objective: A Job for the Neighborhood Watch / Area: Residential Area – Bought from Weapon Store.


Accessory #6: Revival Earrings
Chapter 3 / Objective: A Job Well Done / Area: Residential Area – To the immediate left of where Chadley stands is a scoreboard that says “Fiends Slain This Month”. Talk to the woman in the yellow sports bra at the scoreboard and she’ll show you 3 rewards. Defeat 20 Fiends (Monsters) for the Revival Earrings. You should have gotten enough kills from side quests, if not you can farm this in the Scrap Boulevard (dusty area to the right of Chadley).


Accessory #7: Crescent Moon Charm
Chapter 3 / Discovery Encounter: Alone at Last / Area: Residential Area – After completing all 6 side quests in Chapter 3, you will get a purple “discovery” icon on the map where your bedroom is. Complete this discovery encounter and you get this Accessory as a reward.


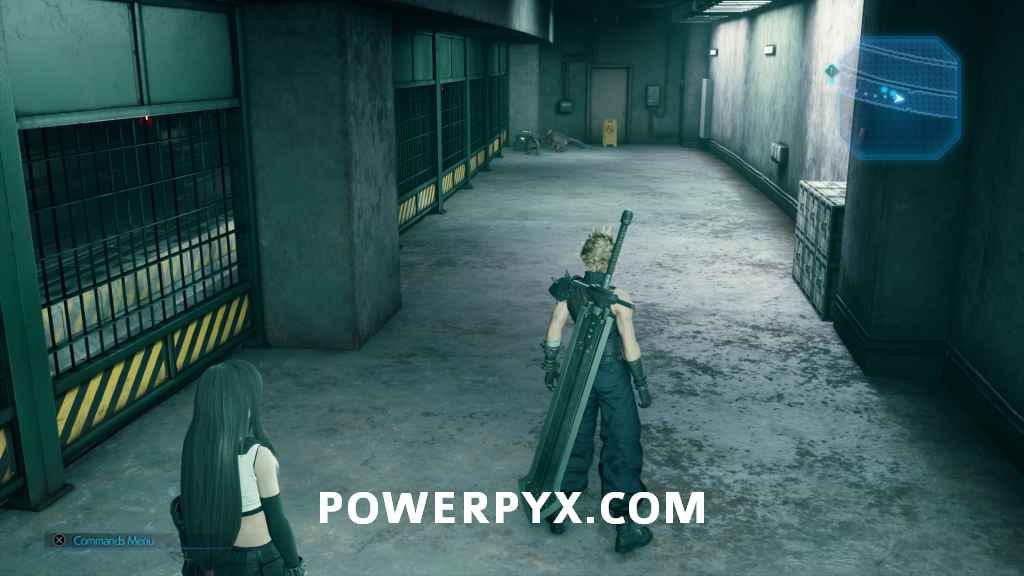
Accessory #8: Star Pendant
Chapter 5 / Objective: Find Stamp / Area: Railway Control C4 – You will run into a group of drones you need to defeat. After this, instead of going down the tunnel go up the stairs to the left to find a chest at the end of the hallway with some Wererats around it. Deal with them then open the chest to find a Star Pendant.

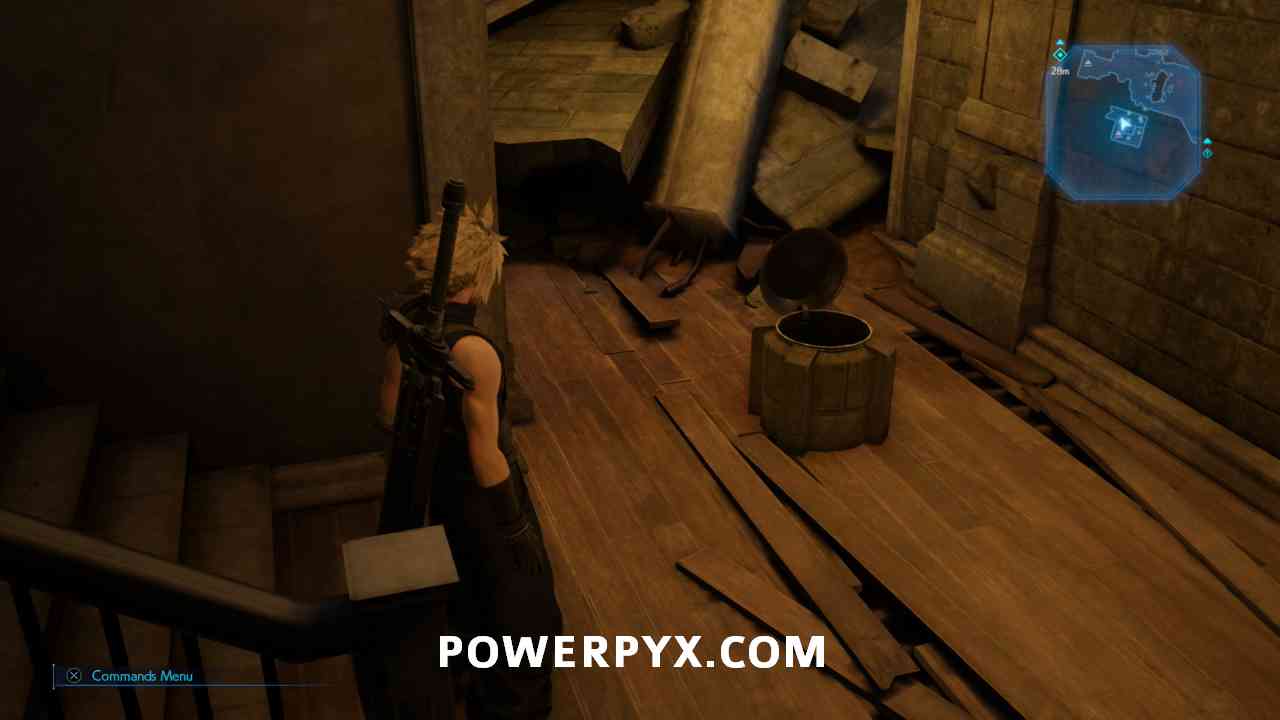
Accessory #9: Talisman
Chapter 8 / Objective: To the Attic / Area: Church – In the church after the railing of the balcony breaks off, go down the next staircase to find this in a chest.

Accessory #10: Star Pendant
Chapter 8 / Objective: Leaf House Delivery / Area: Sector 5 Slums Area (Center District) – Bought from the Weapons Store in the Slums.


Accessory #11: Whistlewind Scarf
Chapter 8 / Objective: Requests for the Mercenary / Area: Sector 5 Slums Area (Children’s Secret Hideout) – Bought from Moogle Shop.
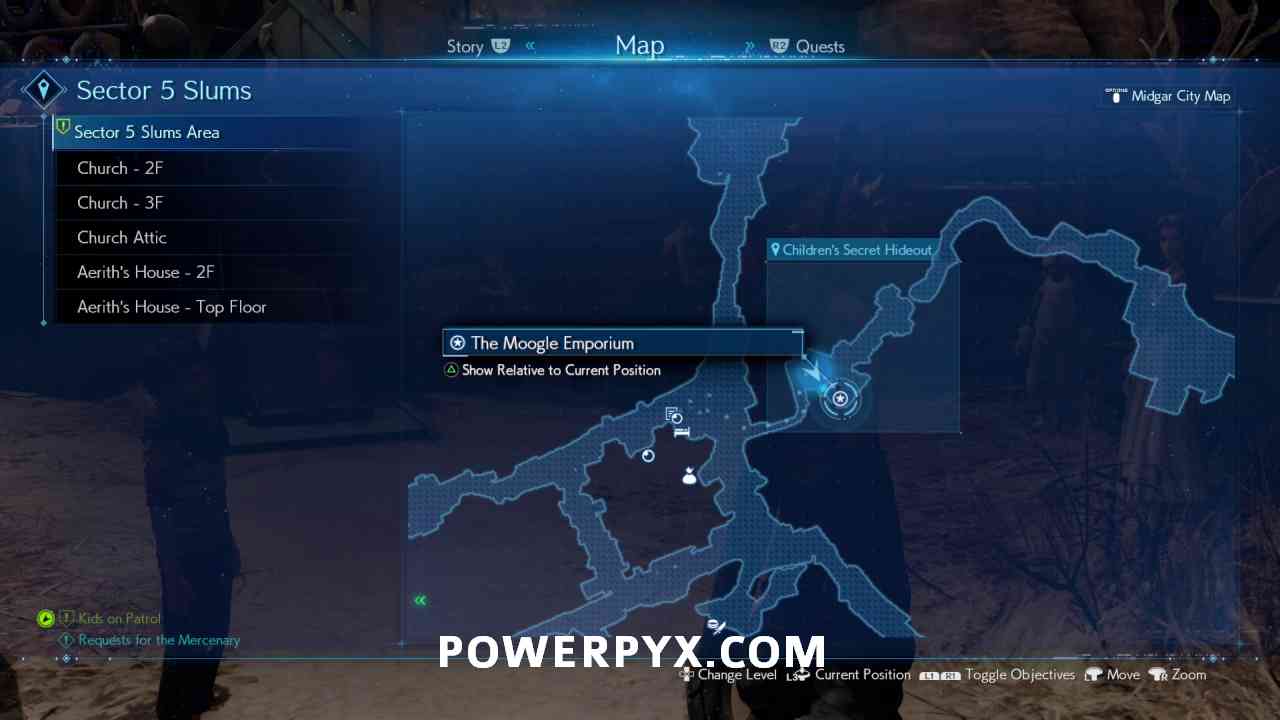
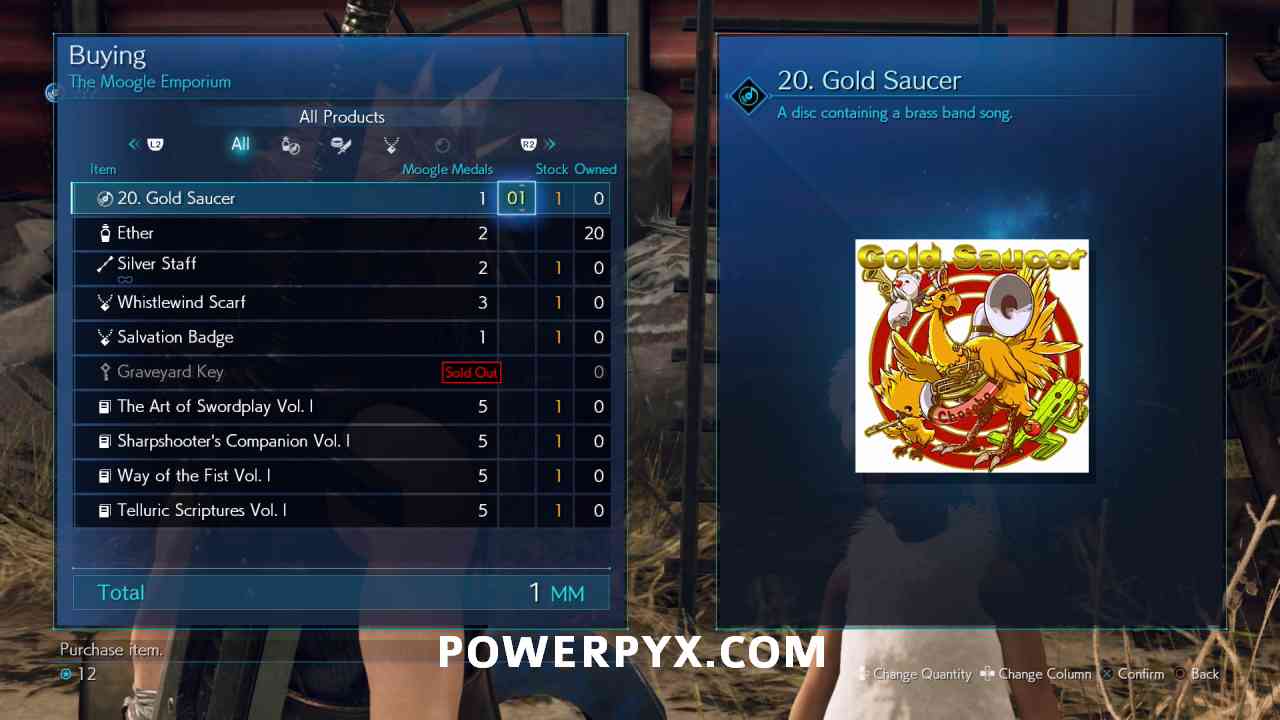
Accessory #12: Salvation Badge
Chapter 8 / Objective: Requests for the Mercenary / Area: Sector 5 Slums Area (Children’s Secret Hideout) – Bought from Moogle Shop.
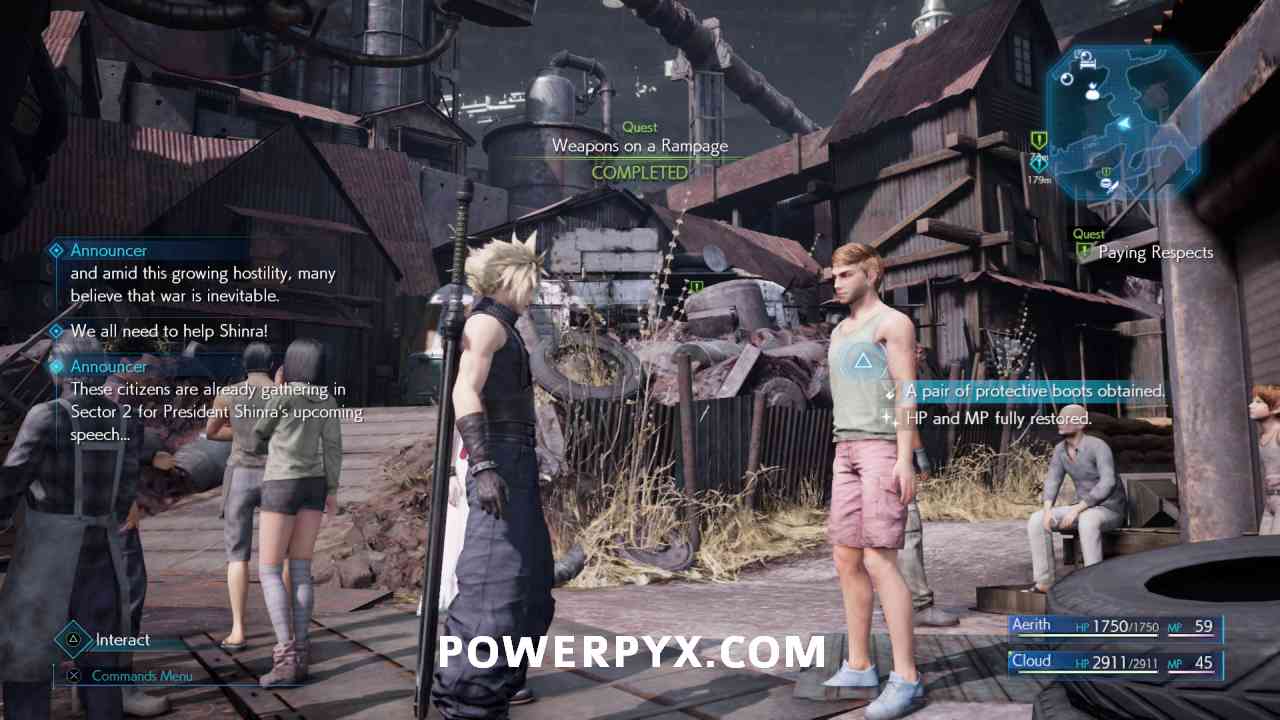
Accessory #13: Protective Boots
Chapter 8 / Side Quest: Weapons on a Rampage / Area: Sector 5 Slums Area (Station Way) – Automatic Reward for completing Side Quest “Weapons on a Rampage“.

Accessory #14: Crescent Moon Charm
Chapter 8 / Side Quest: A Verified Hero / Area: Sector 5 Slums Area (Children’s Secret Hideout) – Earn 20,000 points in the Whack-a-Box Challenge to get this item (can be repeated if you don’t get it first try).

Accessory #15: Spectral Cogwheel
Chapter 8 / Side Quest: A Verified Hero / Area: Sector 5 Slums Area (Children’s Secret Hideout) – Earn 30,000 points in the Whack-a-Box Challenge to get this item (can be repeated if you don’t get it first try).
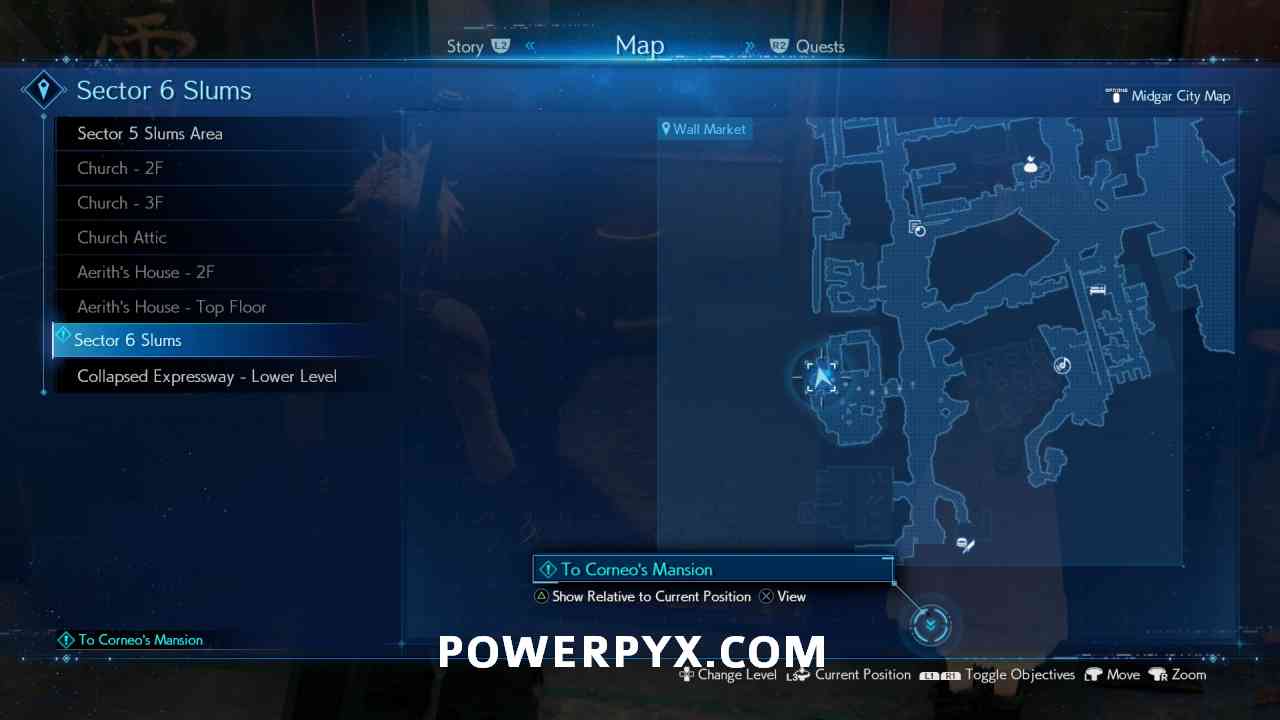
Accessory #16: Headband
Chapter 9 / Objective: To Corneo’s Mansion / Area: Wall Market – In the shower room of the Gym (street south of where Chadley stands).

Accessory #17: Champion Belt
Chapter 9 / Side Quest: Burning Thighs / Area: Wall Market – Complete the Side Quest “Burning Thighs” to unlock Squat Challenges. Beat all Squat Challenge at the Gym to unlock the Champion Belt.


Accessory #18: Star Pendant
Chapter 9 / Objective: Parting Ways / Area: S6-5 Road – Before returning to the dressed Aerith in the massage place, take the exit road in the north of Wall Market. Follow the road and shortly you come to some ruins on the left, in them is a chest with this item. After getting it you can backtrack to Wall Market.


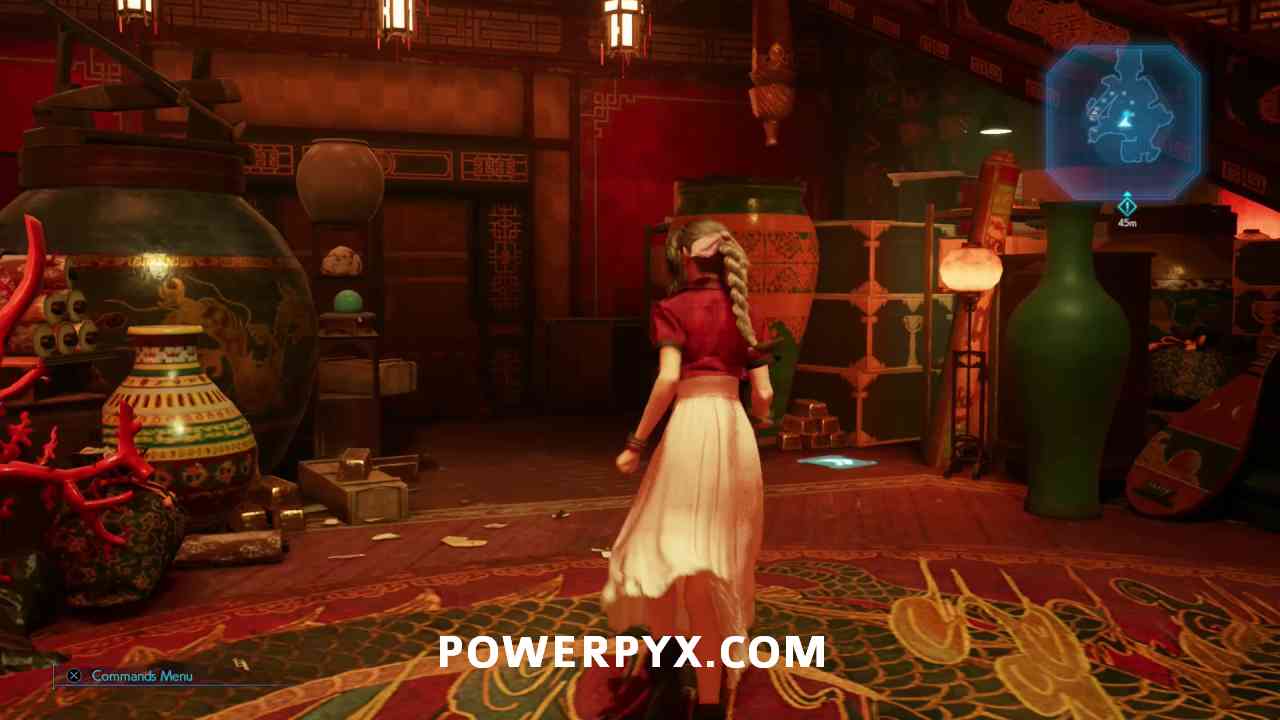
Accessory #19: Fury Ring
Chapter 9 / Objective: Showdown with Corneo / Area: Corneo’s Mansion (Central Foyer) – After Corneo chose his bridge (Cloud) and Aerith/Tifa break free from the men, go downstairs and defeat the enemies. There you can squeeze through some shelves to find an item chest with this accessory.

Accessory #20: Revival Earrings
Chapter 10 / Objective: To the Sector 7 Slums / Area: Aqueduct 1 – Before proceeding to the Inter-Aqueduct Passage (where the objective marker is), explore the south section of the Aqueduct 1 too! In the southernmost room you find this in a chest.


Accessory #21: Mythical Amulet
Chapter 13 / Objective: Checking on Friends / Area: Aertih’s House 2nd Floor – In Aerith’s bedroom where you check on Marlene, open the chest there.


Accessory #22: Healing Carcanet
Chapter 13 / Objective: In Solitude / Area: Underground Lab B4 (Researcher Access) – In the section where you play as Barret, after climbing up the 2nd ladder destroy the rocks on the left to find this in a chest.


Accessory #23: Champion Belt
Chapter 14 / Side Quest: Wavering Heart / Area: Sector 6 Slums (Wall Market) – After completing Side Quest “Wavering Heart” in the gym of Wall Market, you need to win the Pull Up Challenges against Jay and Jules (Pro difficulty challenge).

Accessory #24: Crescent Moon Charm
Chapter 14 / Challenge: Whack-a-Box (Hard) – Go to the Children’s Secret Hideout in Slums 5 Area. Where you played Whack-a-Box before, talk to the girl and she will offer you a harder version of Whack-a-Box. Get 20,000 points to unlock this.


Accessory #25: Transference Module
Chapter 14 / Challenge: Whack-a-Box (Hard) – Go to the Children’s Secret Hideout in Slums 5 Area. Where you played Whack-a-Box before, talk to the girl and she will offer you a harder version of Whack-a-Box. Get 30,000 points to unlock this.
Accessory #26: Enfeeblement Ring – Chapter 14 / Area: Sector 5 Slums (Children’s Secret Hideout) – Bought from Moogle Merchant.

Accessory #27: Circlet
Chapter 14 / Side Quest: Corneo’s Secret Stash / Area: Sector 5 (Steel Mountain) – Behind one of the red/gold dragon gates you go through in Side Quest “Corneo’s Secret Stash“. The gates cannot be opened without advancing this quest.


Accessory #28: Enchanted Ring
Chapter 14 / Side Quest: Subterranean Menace / Area: Sector 6 Slums (Evergreen Park) – Stealable item from Type-0 Behemoth, the boss enemy at the end of Side Quest “Subterranean Menace“. Must use Steal Materia on this enemy (the first screenshot shows the quest start).


Accessory #29: Sorcerer’s Armlet
Chapter 14 / Area: Wall Market – Go behind the alley to the right of the Honey Bee Inn. There you find this in a chest.


Accessory #30: Otherworldly Crystal
Chapter 14 / Objective: Intel Gathering / Area: Corneo’s Mansion (Underground Passage) – Go back to Corneo’s Mansion and enter the third door upstairs (the last one). Then go downstairs in that room to find this in a chest.


Accessory #31: Enchanted Ring
Chapter 15 / Objective: The Path to Greater Heights / Area: 110M Above Ground Level (Central Tower – 8F)
After the 2nd Vending Machine, use the next 2 mandatory grapple points to go up a few floors in a building. On the floor after using the 2nd grapple, go to the west corner and there you can use a secret grapple point to reach a scaffolding and go down a floor to this chest.


Accessory #32: Gotterdammerung
Chapter 17 / Combat Simulator: Defeat Pride and Joy in Shinra combat simulator in Chapter 17 (different one than the Combat Simulator in Chapter 16). It is only unlocked after completing all Corneo Colosseum challenges in Chapter 9/14 and 13 Shinra Combat Simulator challenges in Chapter 17. If you’re missing the Aerith solo challenge in the Corneo Colosseum then reload Chapter 9 and accept the challenge IMMEDIATELY after defeating Hell House. This is the only time in the game that Aerith is available at the Colosseum. When replaying Chapter 17 through Chapter Select you will then be greeted by Chadley who shows you the new Combat Simulator. The Pride and Joy fight takes place in the 5th round of the 14th and final challenge, ‘Three-Person Team vs. Top Secrets’. It’s only available on Hard Difficulty (finish story one time to unlock Hard Difficulty).

For all other Collectibles and anything needed for 100% completion, check out the Final Fantasy VII Remake Wiki & Strategy Guide.
ProtoFenix says
Moogle’s Amulet increases Drop Rate.
Paul says
Moogle’s Amulet can be acquired in Chapter 14 Corneo Coliseum from the battle challenge two-person team vs. Team Payback.
TheMightyImp2 says
This is a great guide (accessories)
I have one that you haven’t listed though, (tarot cards, comes immediately after protective boots)
Also, enchanted ring should come straight after otherworldly crystal, not after mythical armlet.
Hope this helps.
Also, do you have a guide for the 9 dresses?
PowerPyx says
Thanks, I’ll look into those on my next playthrough. I wish there was a tracker like for Music Discs.
The guide for all 9 dresses will be up in about 12 hours.
TheMightyImp2 says
That’s awesome..
So, I’ve gone all the way through chapter 16 via chapter select, and got to the shines combat simulator.
I was hoping to get the Gotterdammerung, but, rather than find a fight where I can defeat joy and pain, the only one I haven’t been allowed to do is Aerith Vs SOLDIER trainees. Aerith isn’t in my party at this point. How do I bring her here?
Matthew says
After you unlock Chapter Select, you need to start Chapter 17. Chadley will be there this time and have his own Combat Simulator to use.
Luke says
You prob finished it by now, but only time you can do that arena fight is chapter 9 right after you fight the arena final boss. Go back down and complete Aerith’s tasks before continuing the story.
Nocchi Zero says
You can also steal champion belts from those big wrestler enemies with the bandits inside the fallen underground expressway
Matthew says
Thanks for this comment. Good way to get that second Champion’s Belt without having to do Pro level on that awful pullup game.
madcloud says
confirmed. while i was doing the side quest ” price of thievery in chapter 9, equip the steal Materia. When you fight the thieves, get the big guy with red shirt down to 50% and command steal, you get a champion belt which is BIS for some characters.
Zero says
Missing the Enchanted Ring – extends the duration of beneficial status effects applied by wearer. Can be stolen from the Type-0 Behemoth in the “Subterranean Menace” quest in Chapter 14.
Allan says
Can we get several Gotterdammerung accessories if we kill Joy and Pride several times?
PowerPyx says
Only 1 can be obtained.
Paul says
You missed some accessories you can buy in Chapter 9. Supernatural Wristguards, Survival Vest, Platinum Earrings and Timeworn Talisman.
star_moose says
Do I have to do the Corneo Colosseum challenges on hard mode to unlock the Pride and Joy fight?
PowerPyx says
No, on any difficulty is fine.