
Corneo’s Secret Stash is a side quest in Final Fantasy 7 (VII) Remake. This walkthrough will guide you through all objectives of the Corneo’s Secret Stash Side Mission (Odd Job) and where to find all Stash Locations.
Corneo’s Secret Stash becomes available in Chapter 14 after the first scene at Aerith’s house.
Side Quest: Corneo’s Secret Stash
Chapter: 14
Area: Sector 5 Slums – Sanctuary Way
Quest Giver: Damon
Requirement: Available from the start of Chapter 14
Reward: The Art of Swordplay Vol. III, HP and MP restored
Mission Info: The Guardian Angel has stolen the key to Corneo’s fortune from a Shinra employee. A newspaper reporter wants to discover the Angel’s true identity, and asks Cloud to check out her hideout. Head for the Angel’s hideout on Lookout Point.
Objectives:
- Obtain the Corneo Vault Key
- Find the 3 secret stashes
- Give the Tiaras to Marle
Starting Location: Corneo’s Secret Stash
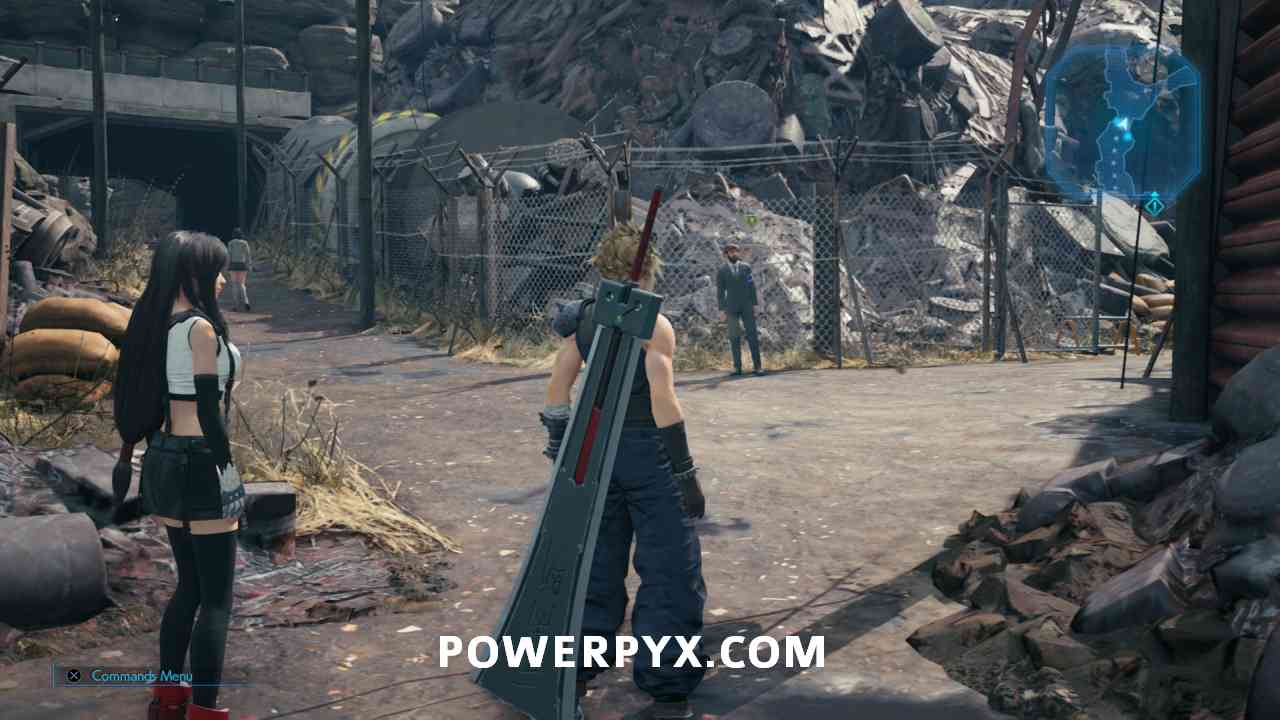
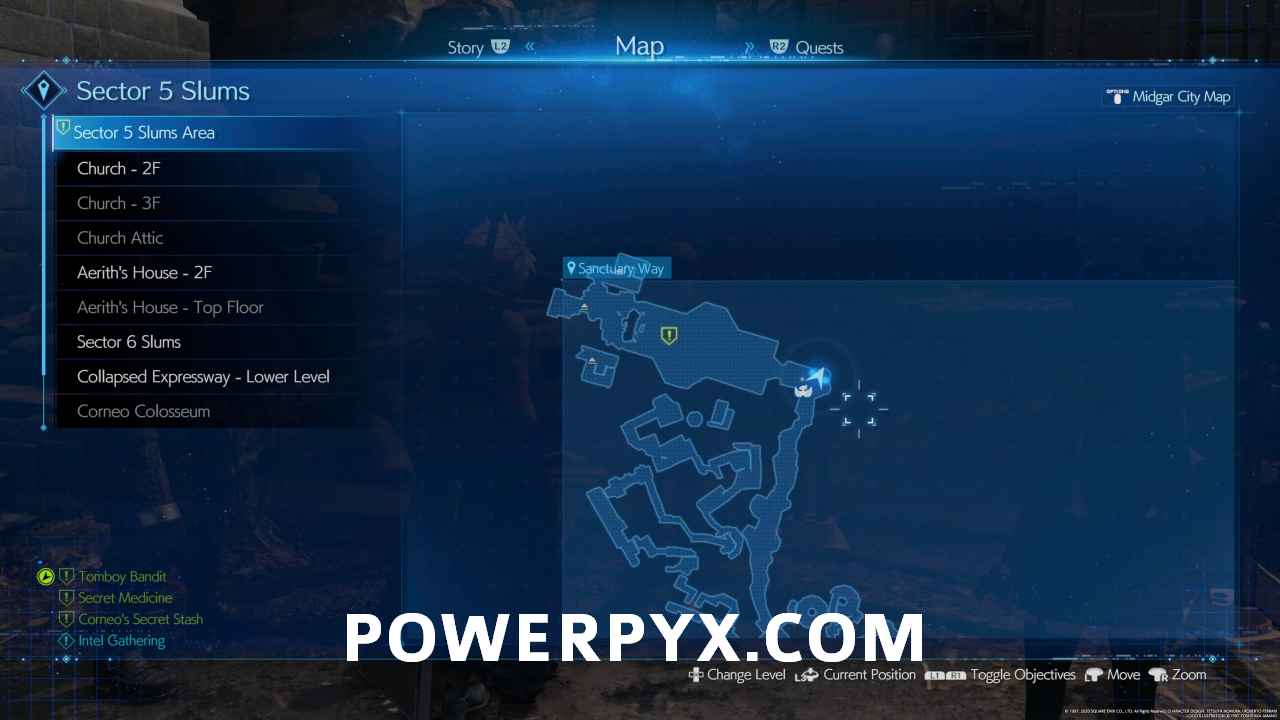
Starting Location #1 (Default) – This is the default starting location of the quest at the start of Chapter 14 after having exited Aerith’s house.

Starting Location #2 (If you already activated “Tomboy Bandit” Side Quest) – If you’ve already talked to Johnny at the Train Station to accept his quest Tomboy Bandit, which leads you to the church, Damon will wait for you in front of the church instead. If he’s not at the first location check this spot.

Obtain the Corneo Vault Key
Complete the side quest ‘Tomboy Bandit‘ to obtain the Corneo Vault Key from Kyrie and the Corneo Vault Note from the Guardian Angel of the Slums.


Find the 3 secret stashes
The secret stashes are locked behind the doors with elaborate decorations which you might have seen during your travels through the game. You have to loot each one completely for the quest to register that you’ve discovered it, although the main quest item is a Ruby, Emerald and Diamond Tiara which are in treasure chests in one location each.
Corneo’s Secret Stash Location #1 – Steel Mountain: In the Steel Mountain area, next to the chocobo fast travel post in that area. Open the red/gold dragon gate and loot the chest in the back right corner for the Ruby Tiara.


Corneo’s Secret Secret Stash Location #2 – Collapsed Expressway: Fast travel to the chocobo post at Collapsed Expressway, head into the tunnel then take the left path at the fork. Behind the red dragon gate you find the Diamond Tiara.


Corneo’s Secret Stash Location #3 – Sewers: You will actually need to continue on with the story of Chapter 14 until you get to this location. When you find this door, there is water blocking the steps down to the stash. Leave it for now, and after finally catching and defeating the Abzu Stoat, head forward until you’re meant to follow Leslie up a ladder. Instead, interact with the console to the right to drain the water and head back to claim your prize (Emerald).


Give the Tiaras to Marle
After you get your last Tiara, you get the option to return to Marle automatically, unless your last Tiara was in the sewers in which case this option appears after the story events there. She will give you The Art of Swordplay Vol. III and restore your HP and MP.
This finishes Corneo’s Secret Stash side quest in Final Fantasy VII Remake.
Next Up: Tomboy Bandit
For all other Side Quest Walkthroughs, check out our complete Final Fantasy 7 (VII) Walkthrough.
Al says
Hey. If I didn’t flick the switch. It is now no longer there. I can’t find a way to remove the water. Is there another way?
PowerPyx says
It only works if you activate the switch after defeating the Mischievous Shoat. Doesn’t it let you backtrack there at all? I’ll check on my current playthrough.
sevonhorn88 says
I’m not gonna risk it, though I think you may be at the wrong room? Hope you can get a closure on this.
sevonhorn88 says
Emerald? Naw.. I’ve got enough gil as it is.. unless it’s a quest item. Thanks for the guide anyway.
larry says
in hard mode killing sahagin prince give u a manuscript
Mick-E-Mouse says
I chose not to automatically return to Marle and when I did return to her she just keeps giving door locations even though I’ve collected all 3 tiaras. I can’t finish the side quest even though I’ve done all that is required. Anyone else having this trouble?
Ni says
That’s not marle, marle is the old lady who owns tifas apmt building
Hannah says
You can backtrack and still get the emerald tiara if you missed it the first time. I just tried it today..although the switch will be in a different and enclosed room—just beside a ladder.
Jd says
Do you remember where and what entrance you used to get there?
SailorKitkat says
I’ve been trying to backtrack & just keep ending up back at the beginning without coming across the ladder or anywhere near where his stash is. HELP!
Aidan says
To SailorKitKat, I know my comment is about 3 years too late, but I ran into the same issue as you. There is a solution. Once you have activated the middle doors, you just need to follow the path as normal, but keep checking for alternate paths on the minimap. At around level 6 (old aquaduct), you will see a pathway on the left side. If you have to squeeze through a narrow duct up above, you’ve gone too far – this will just lead you back to the beginning again. i have been in that loop.